
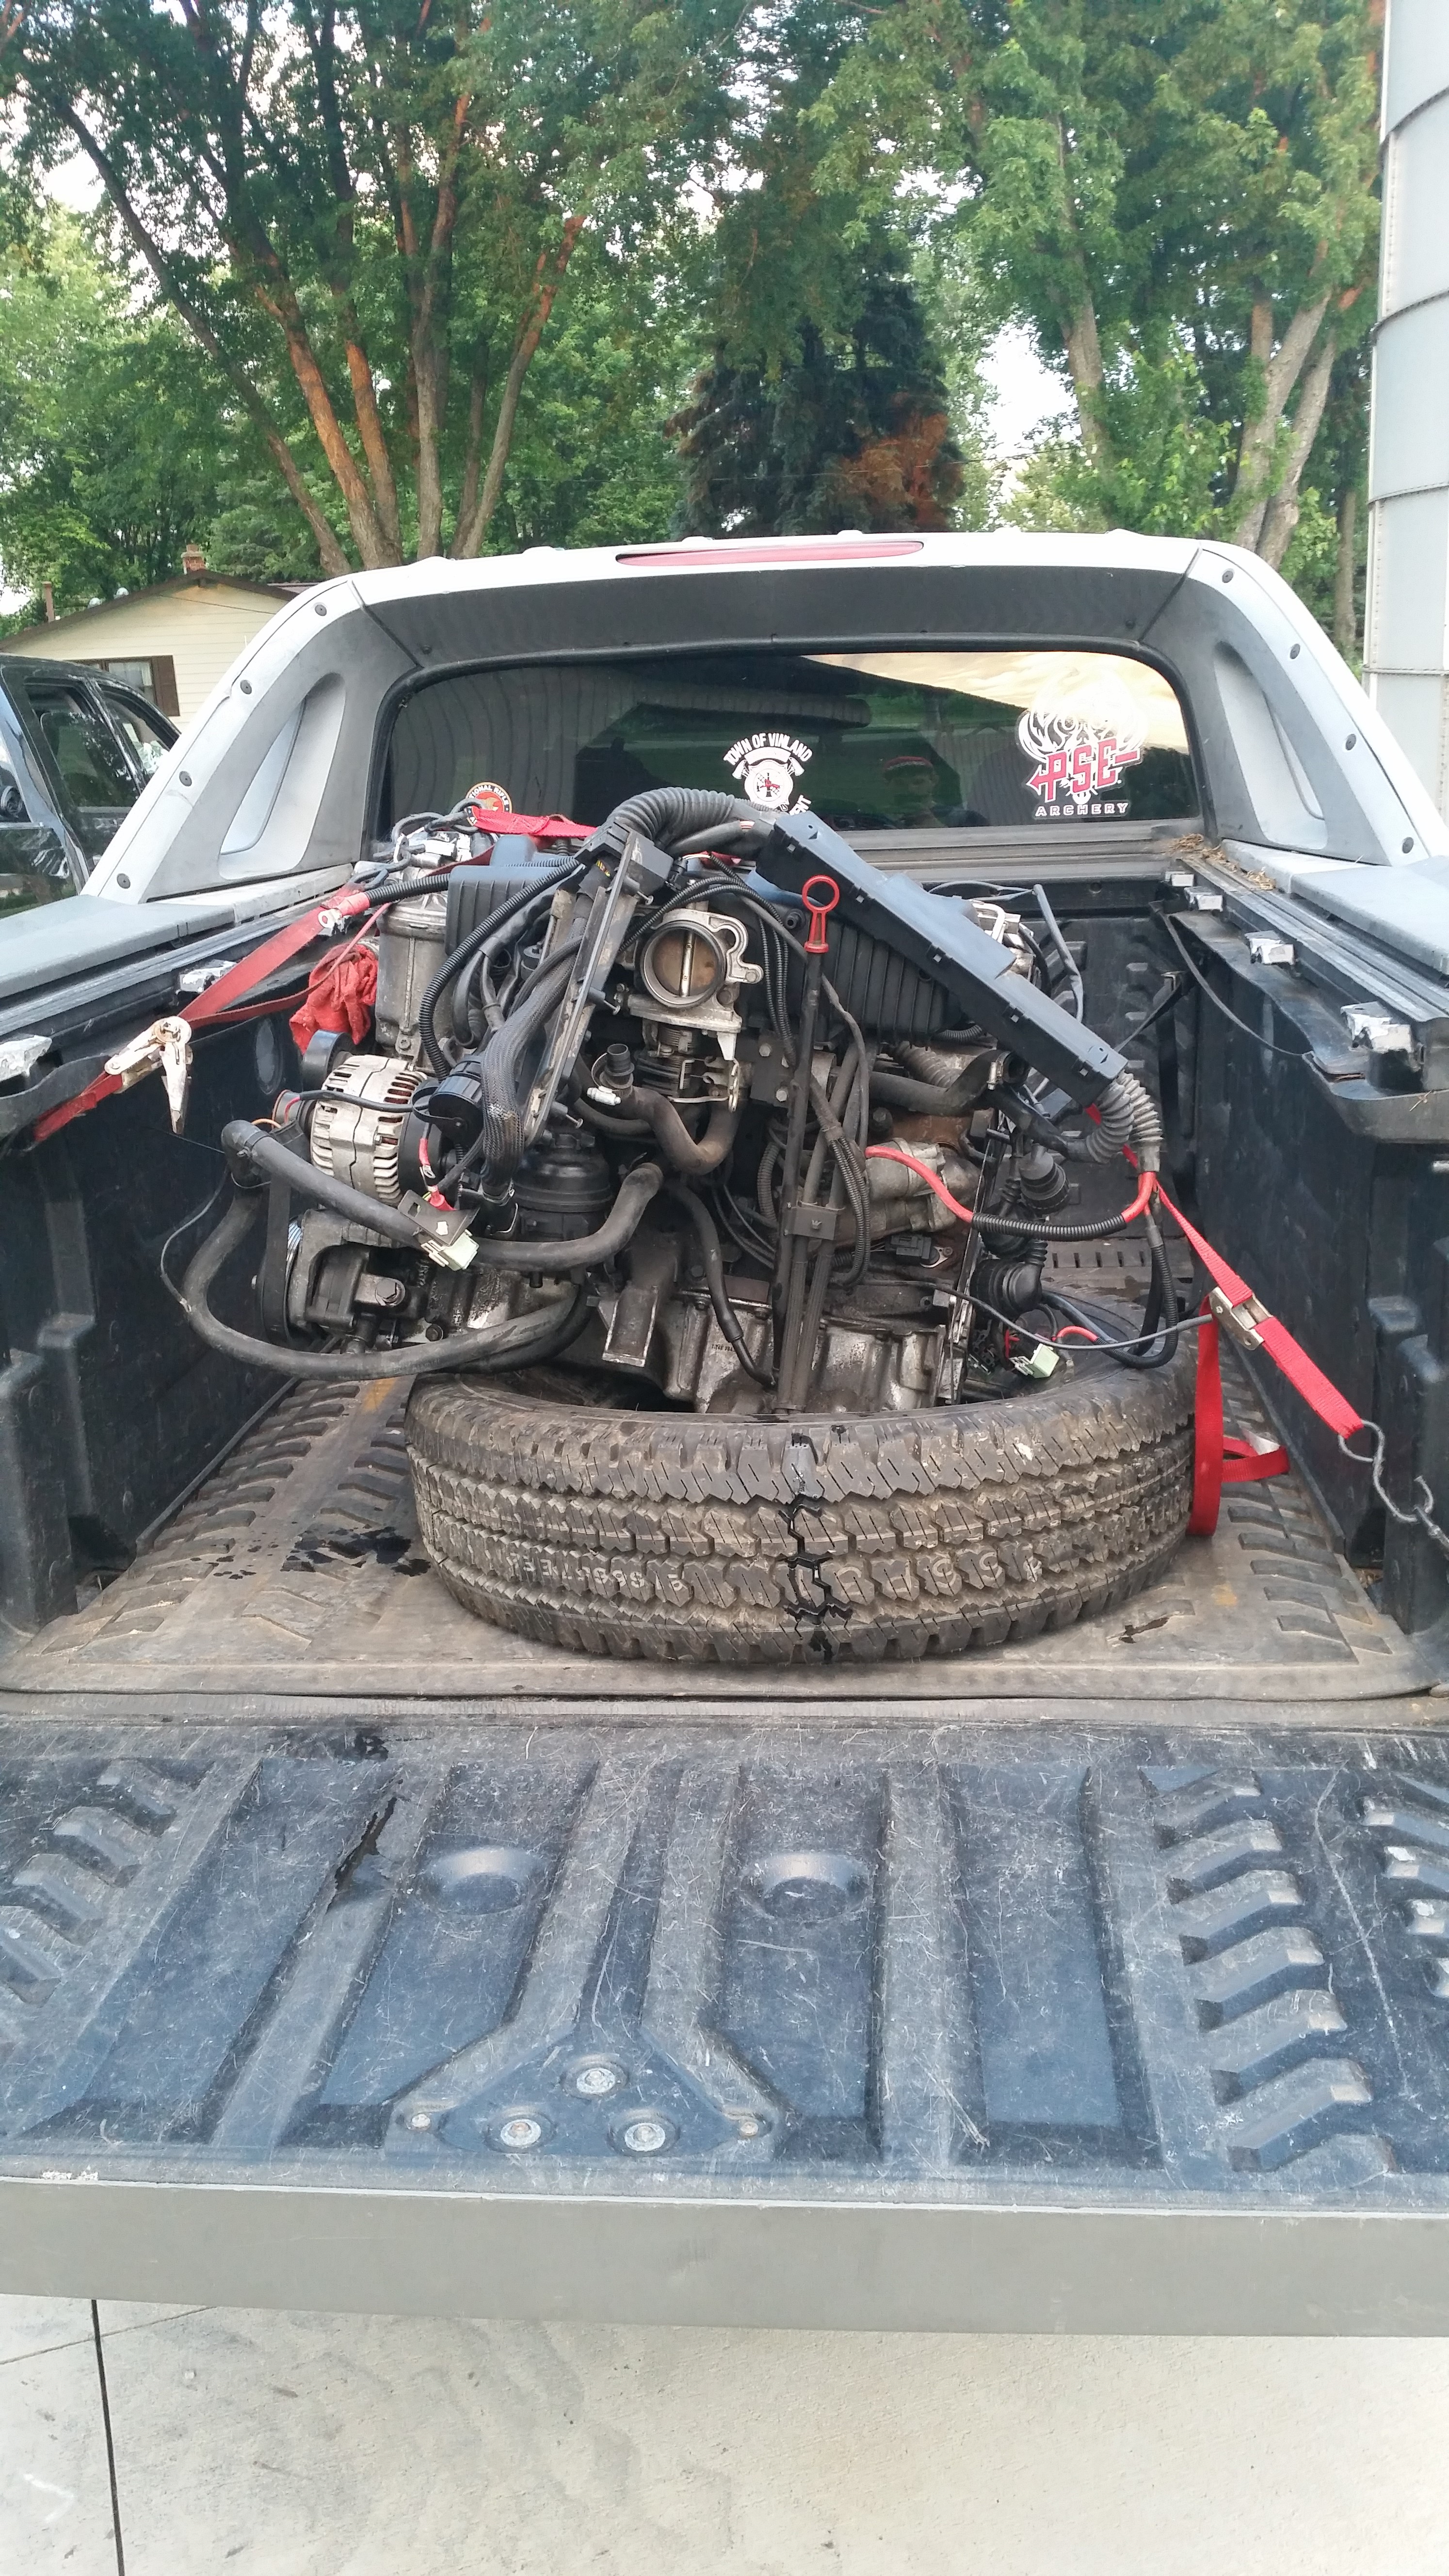
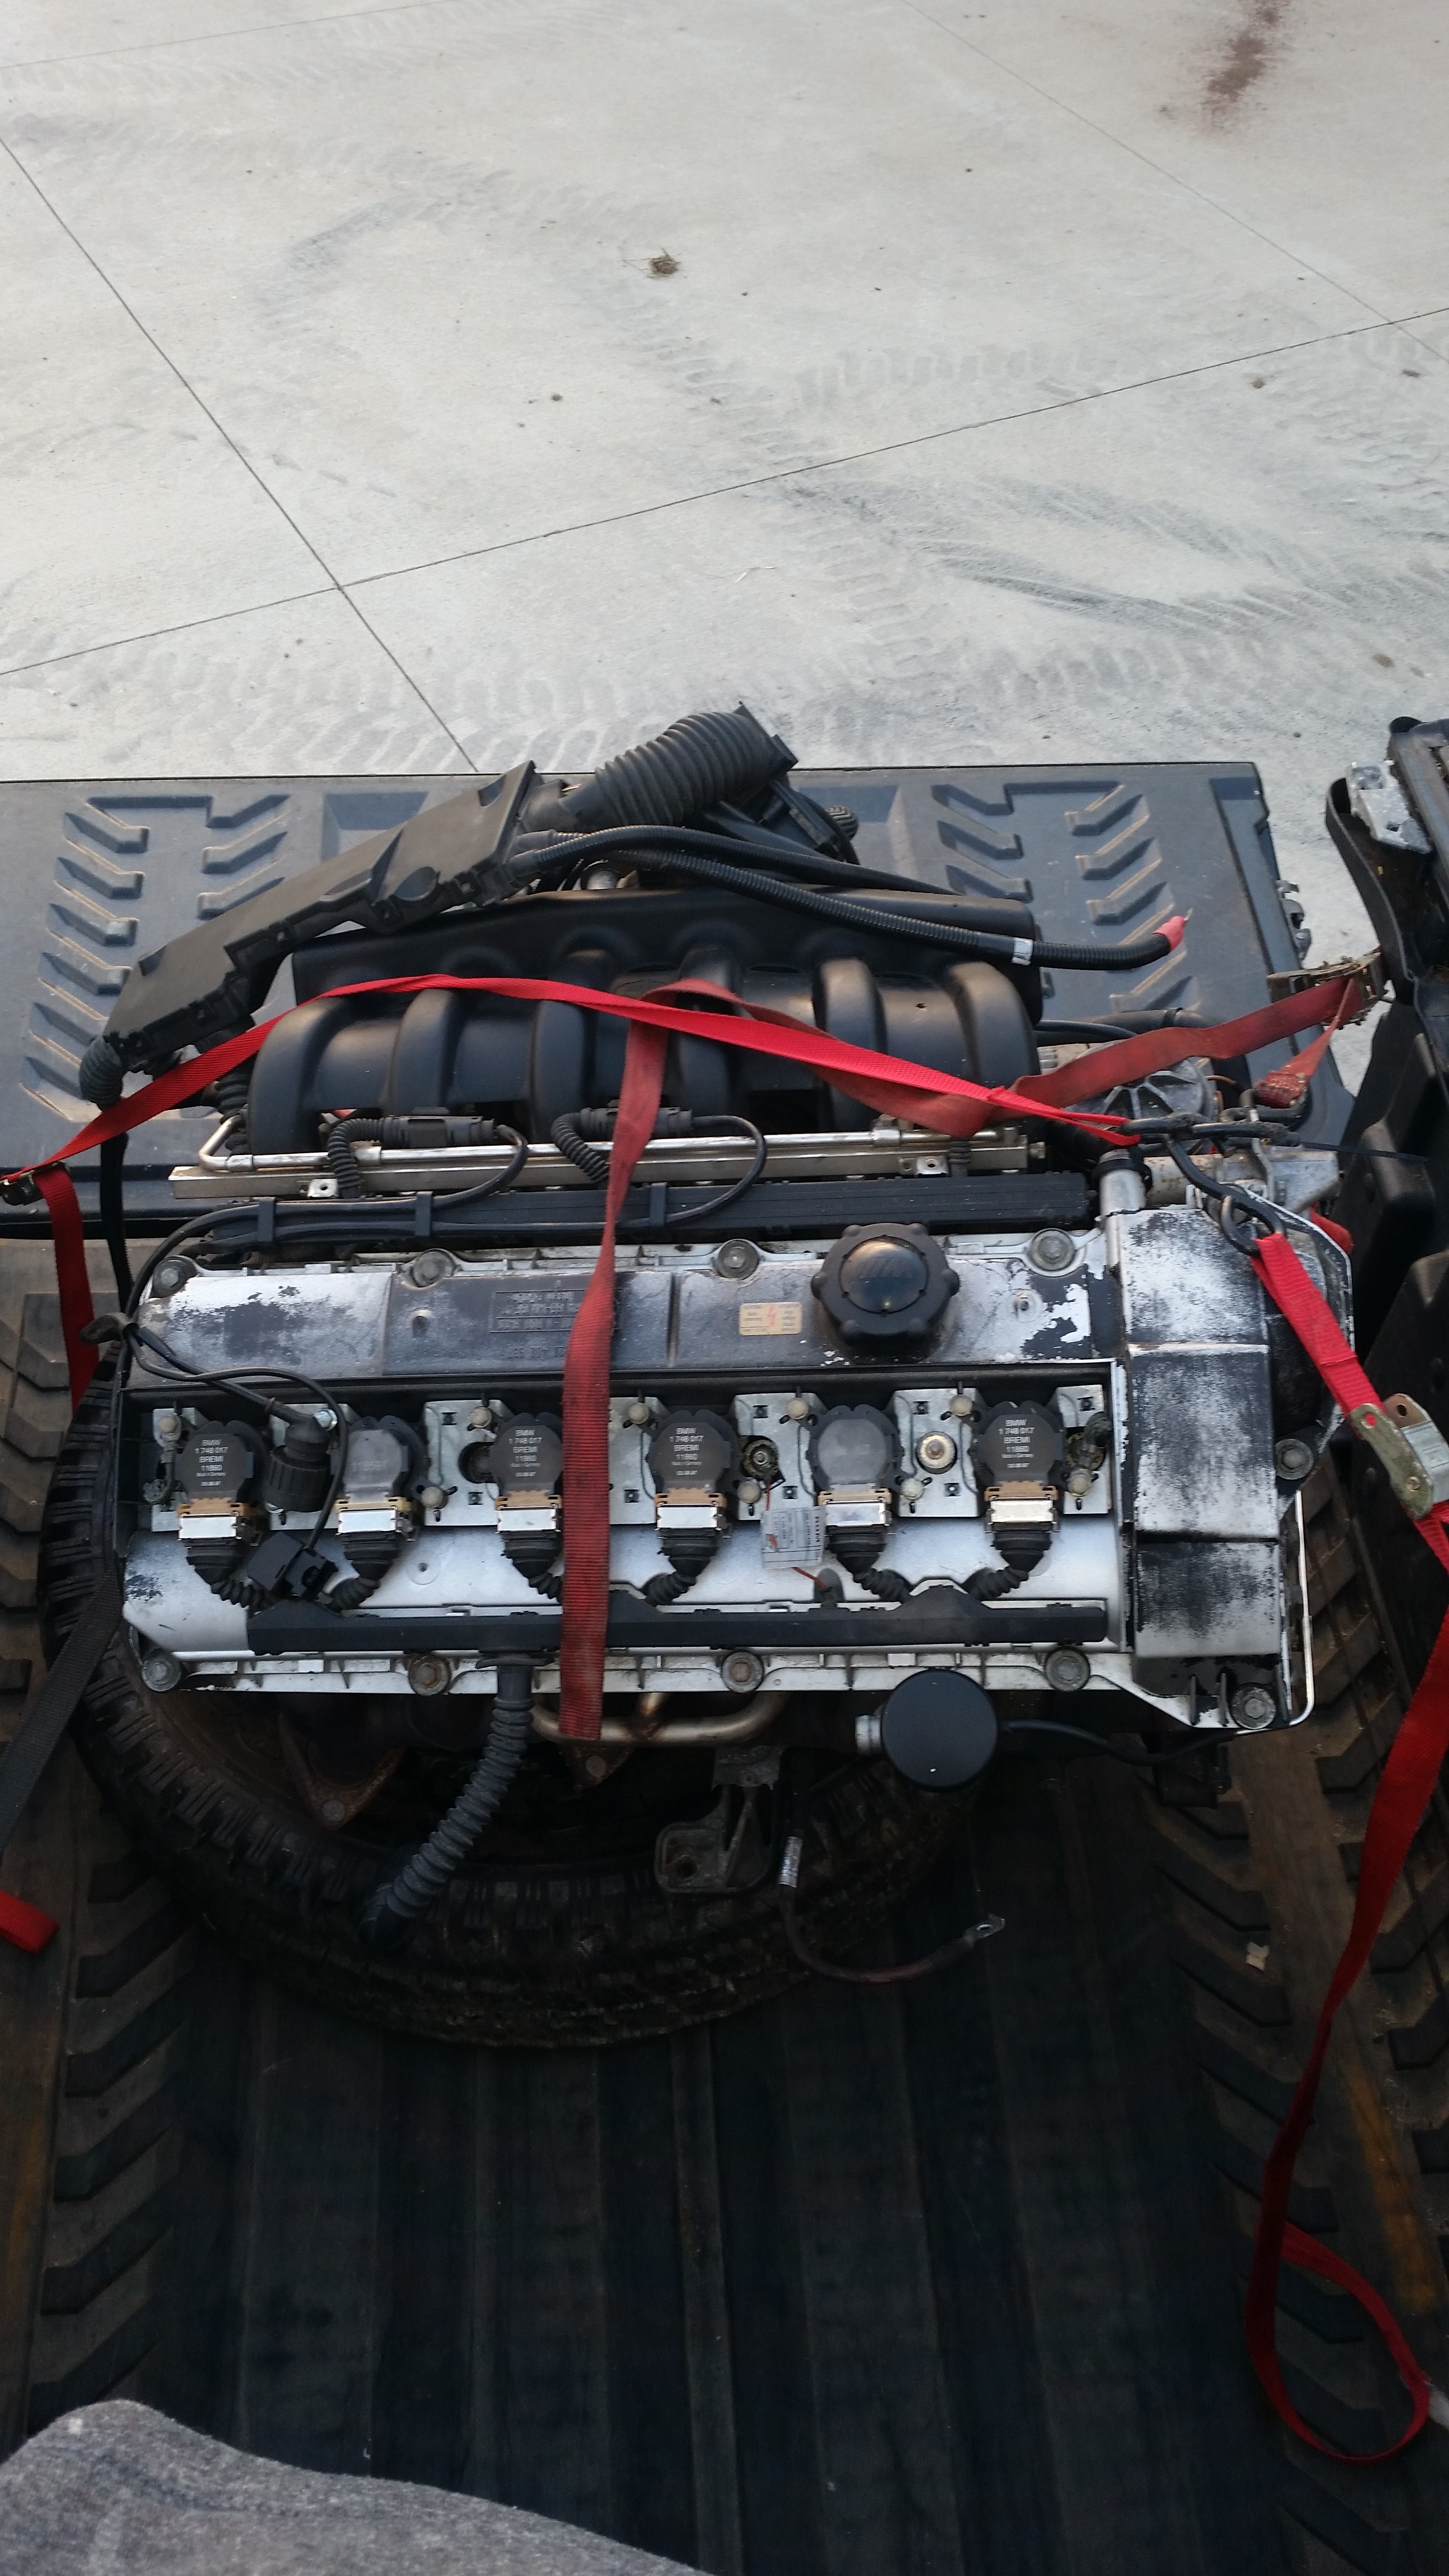
the one and only e30 s52 engine swap
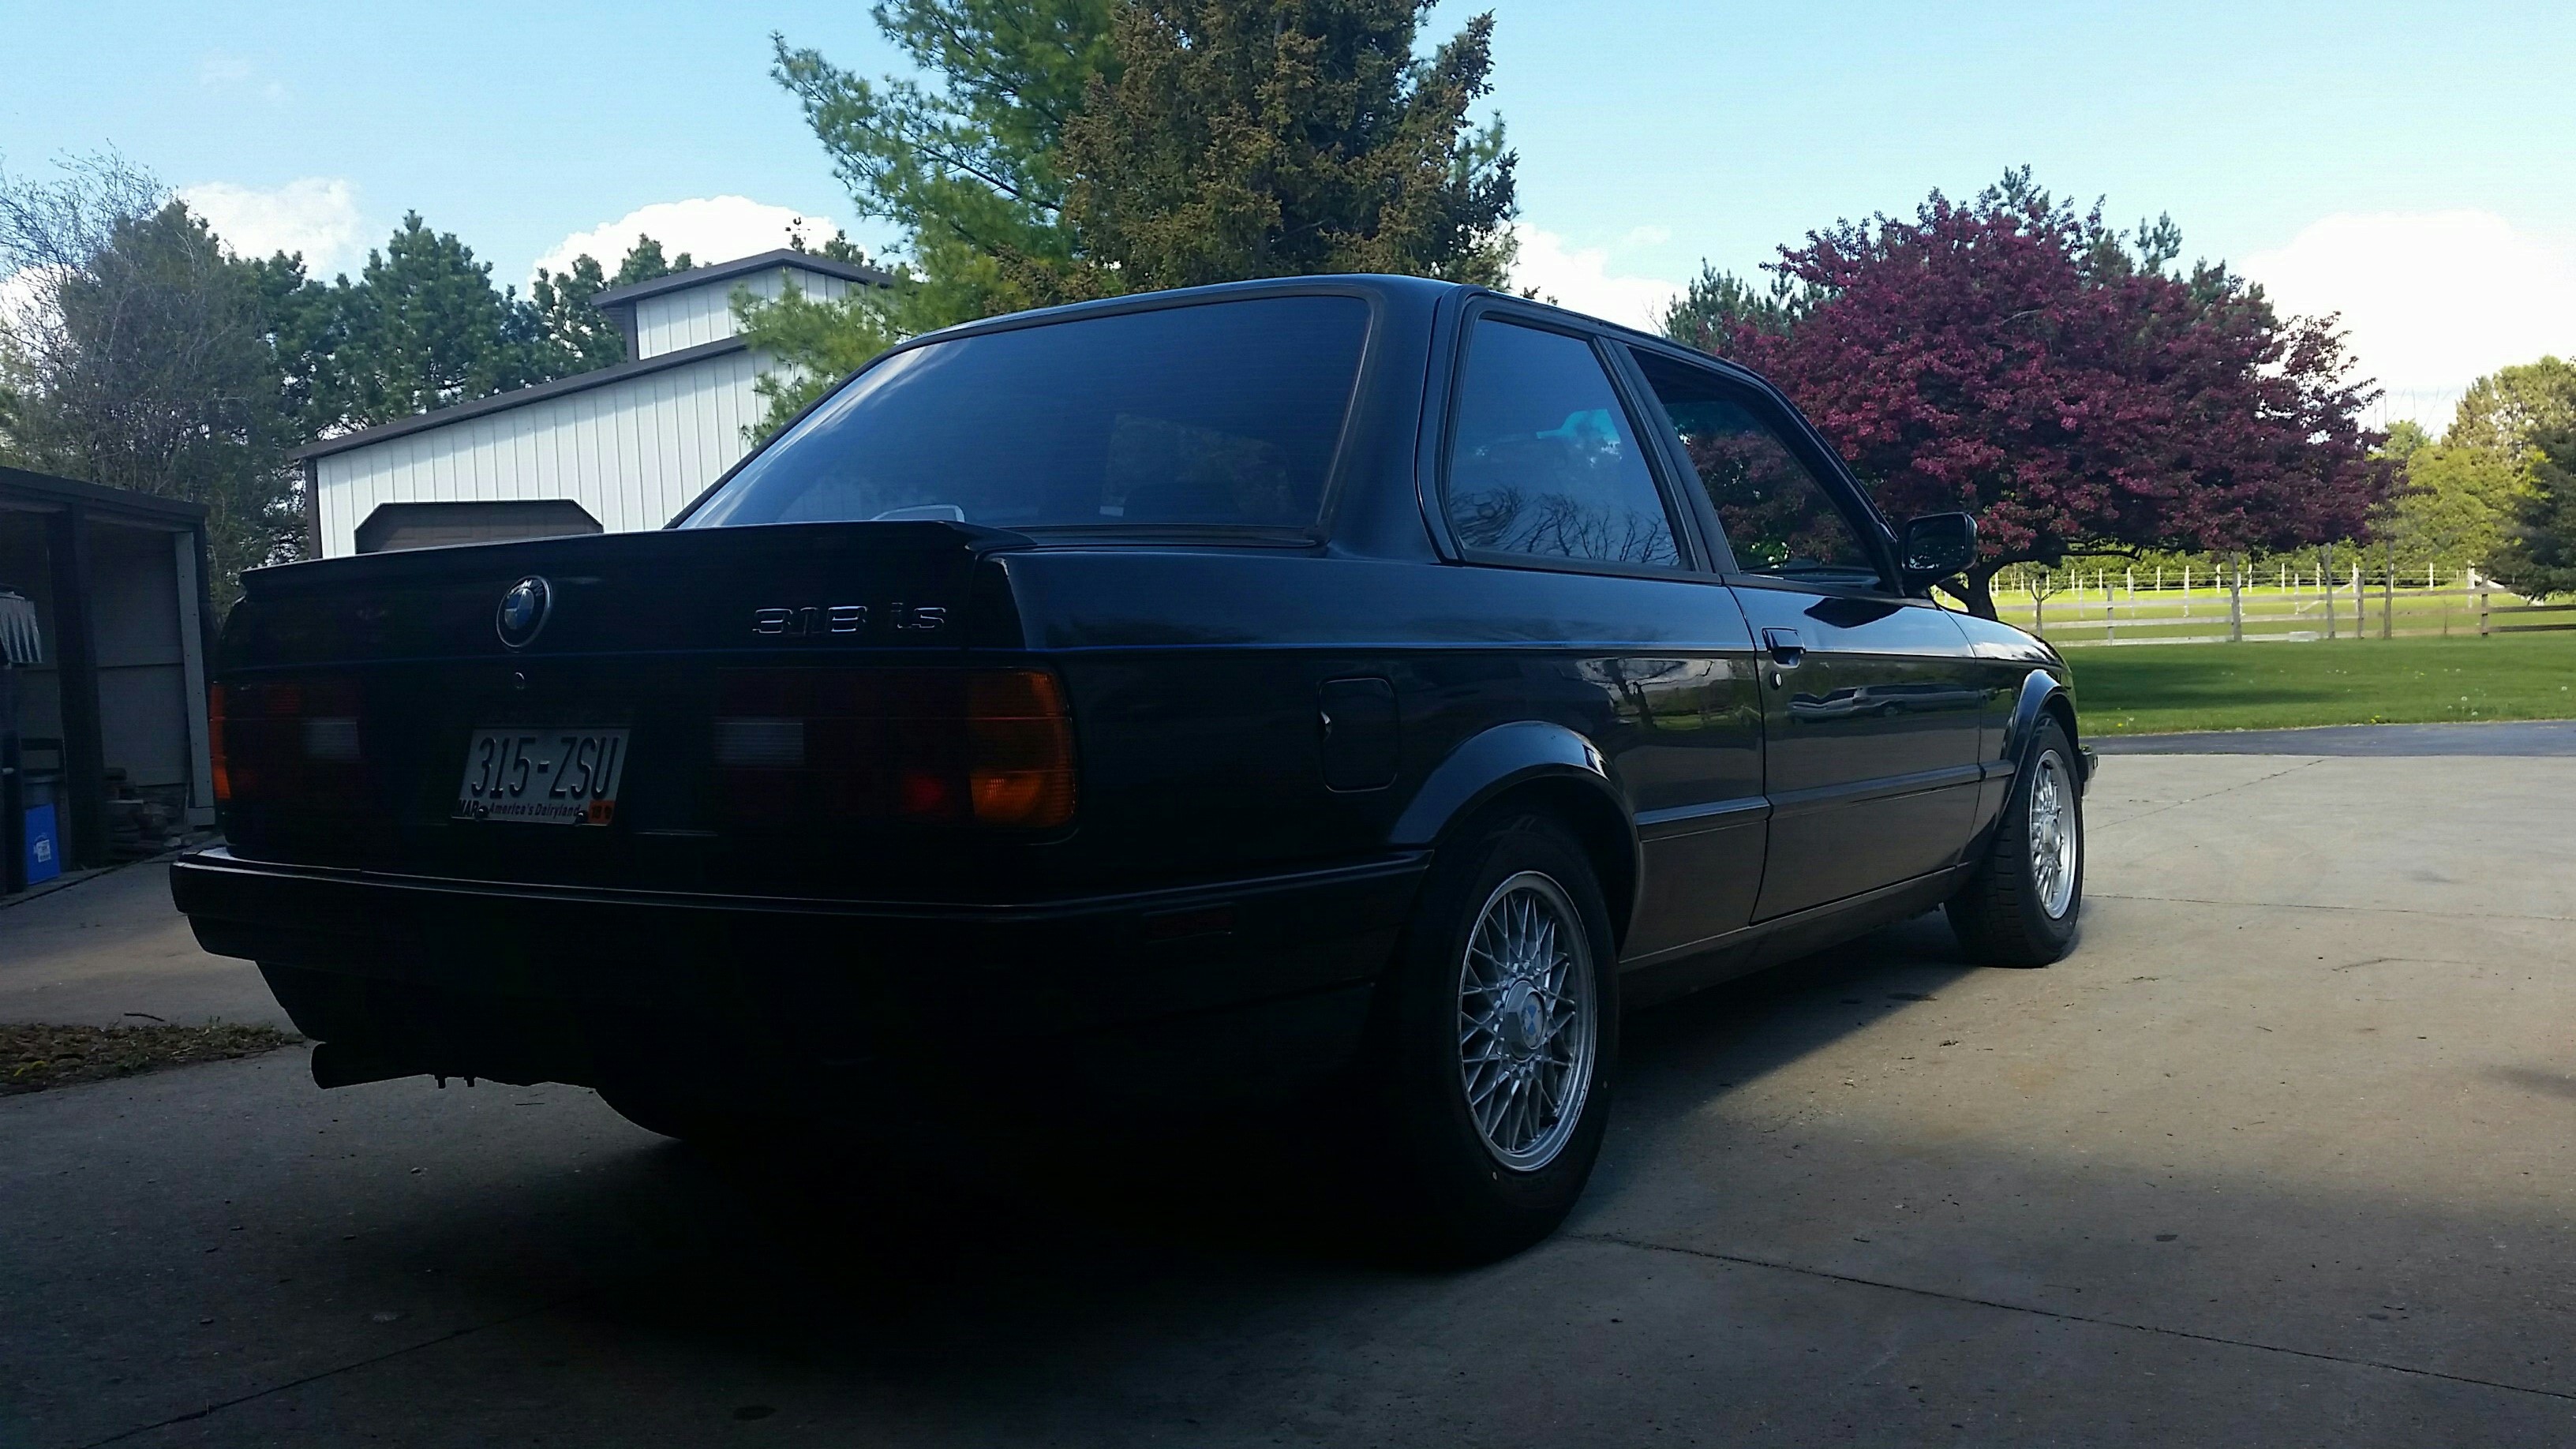
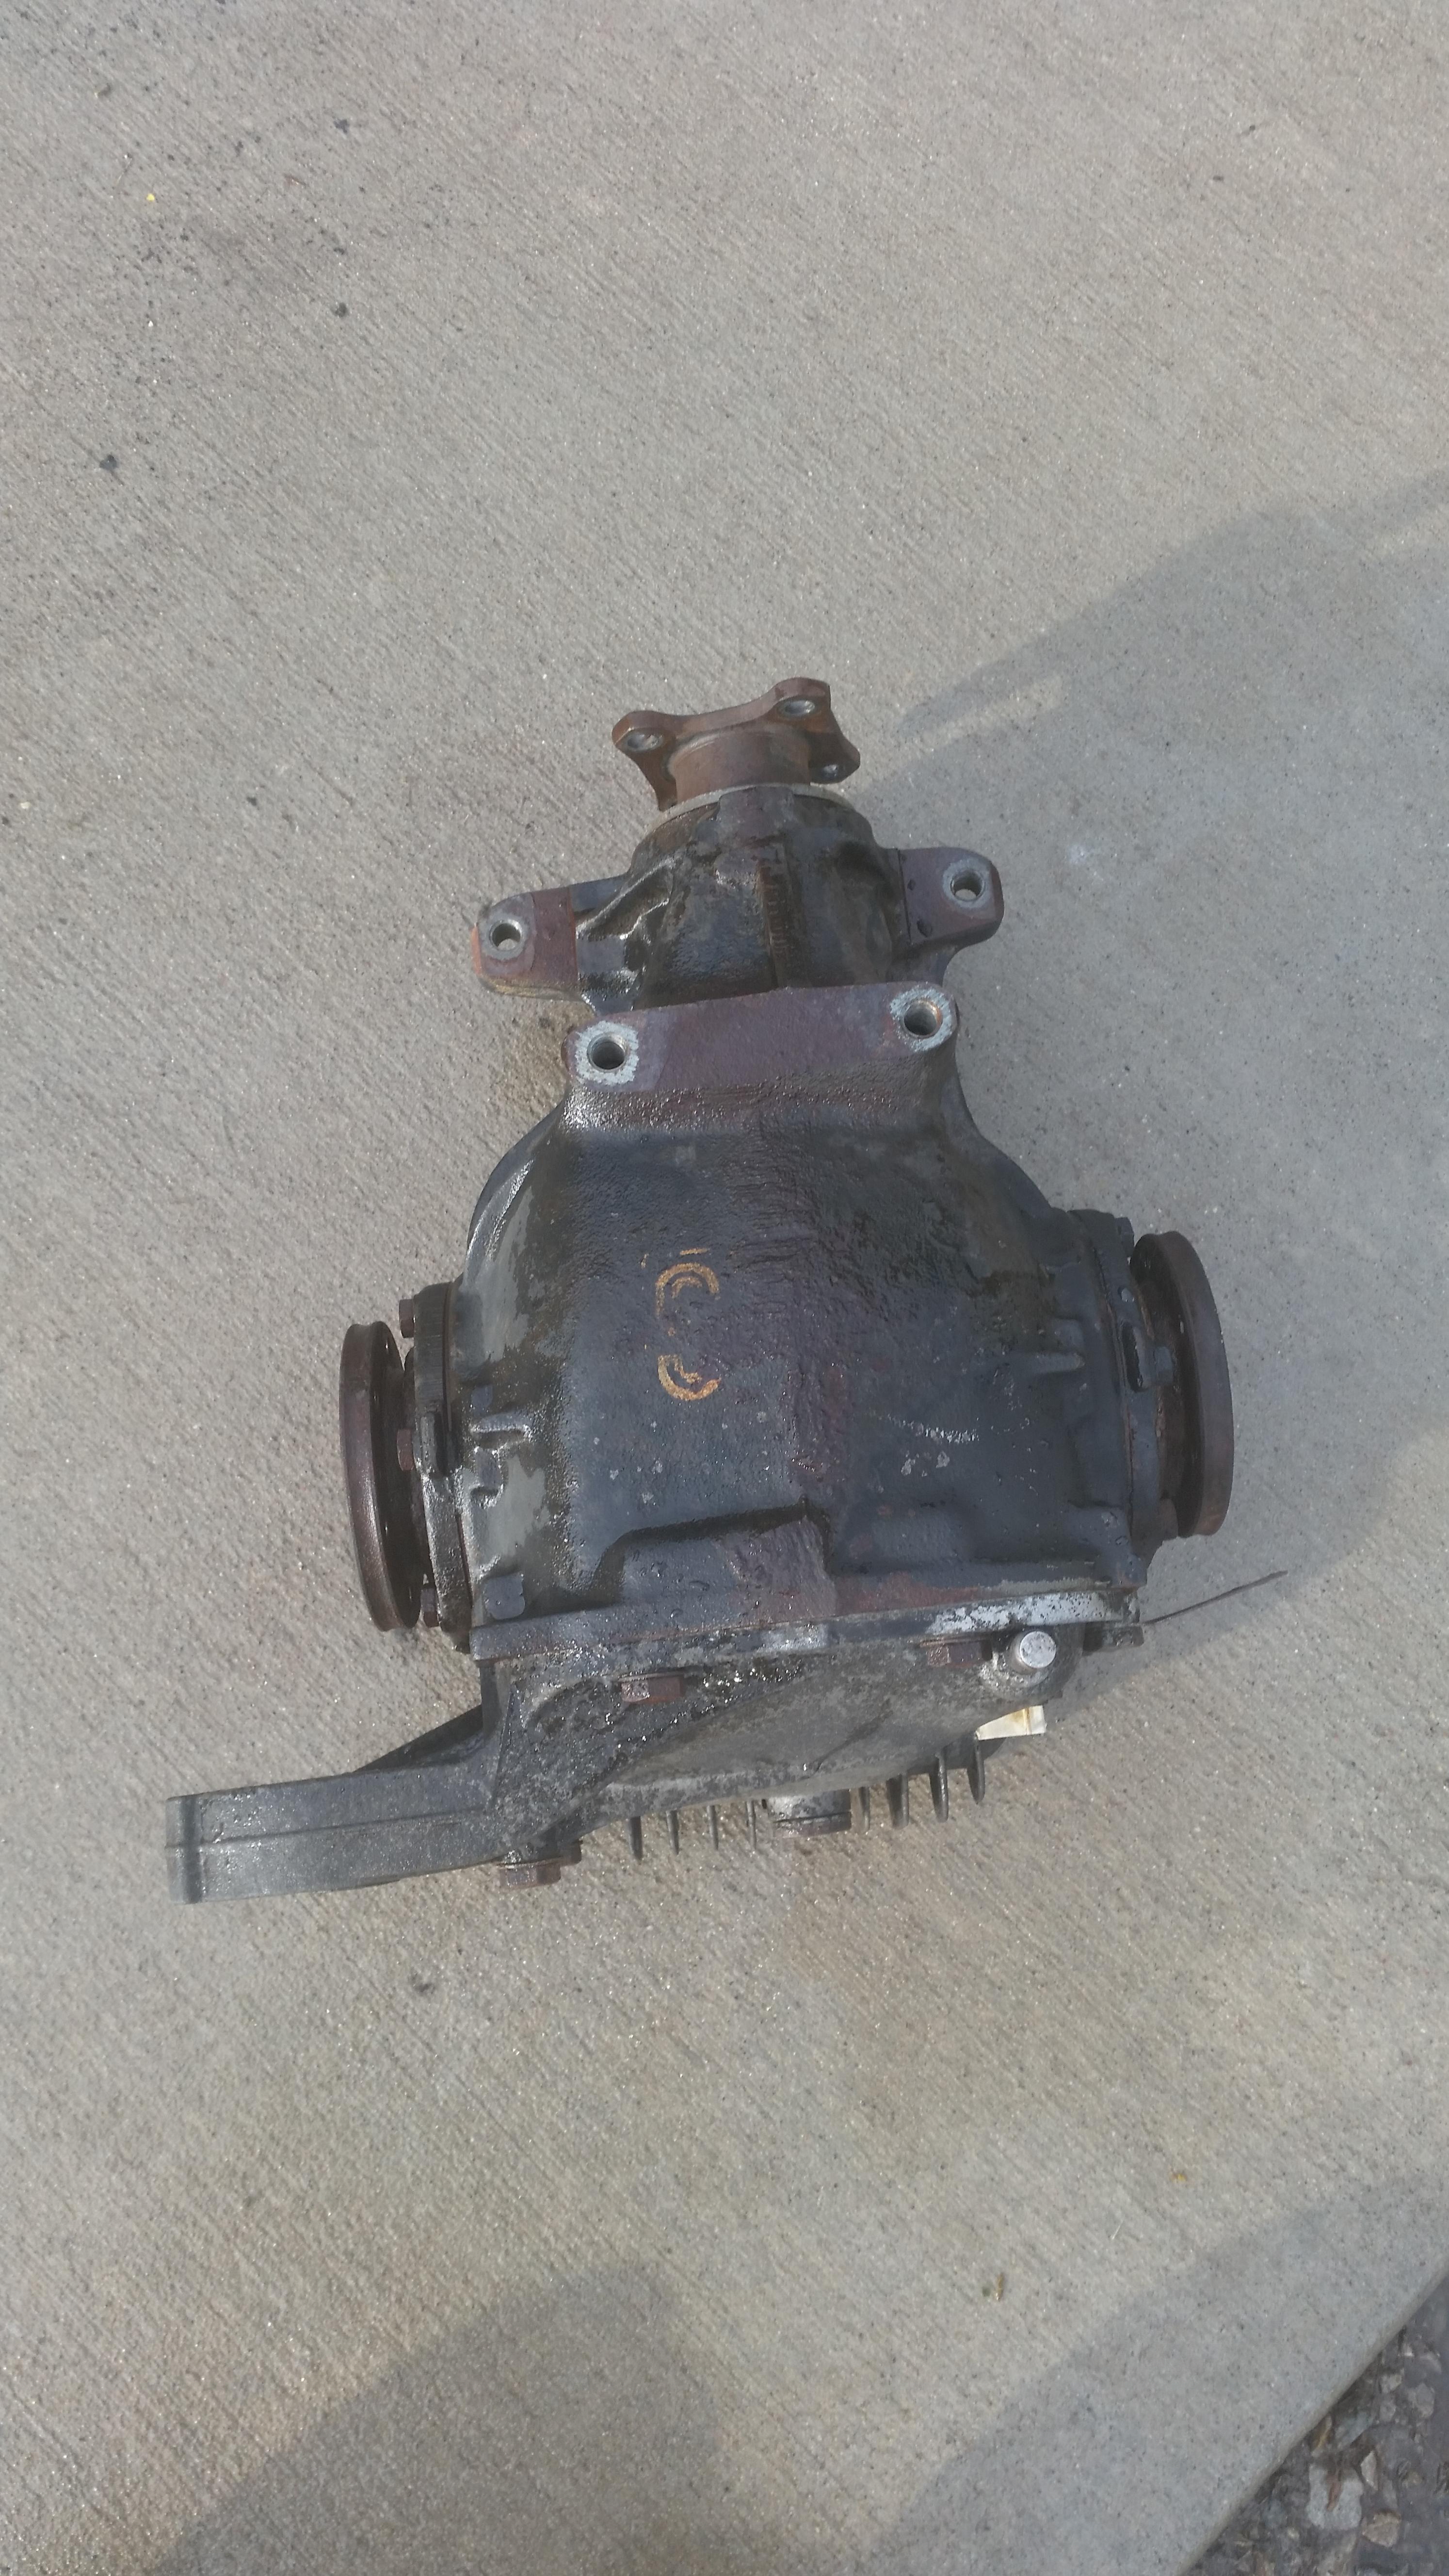
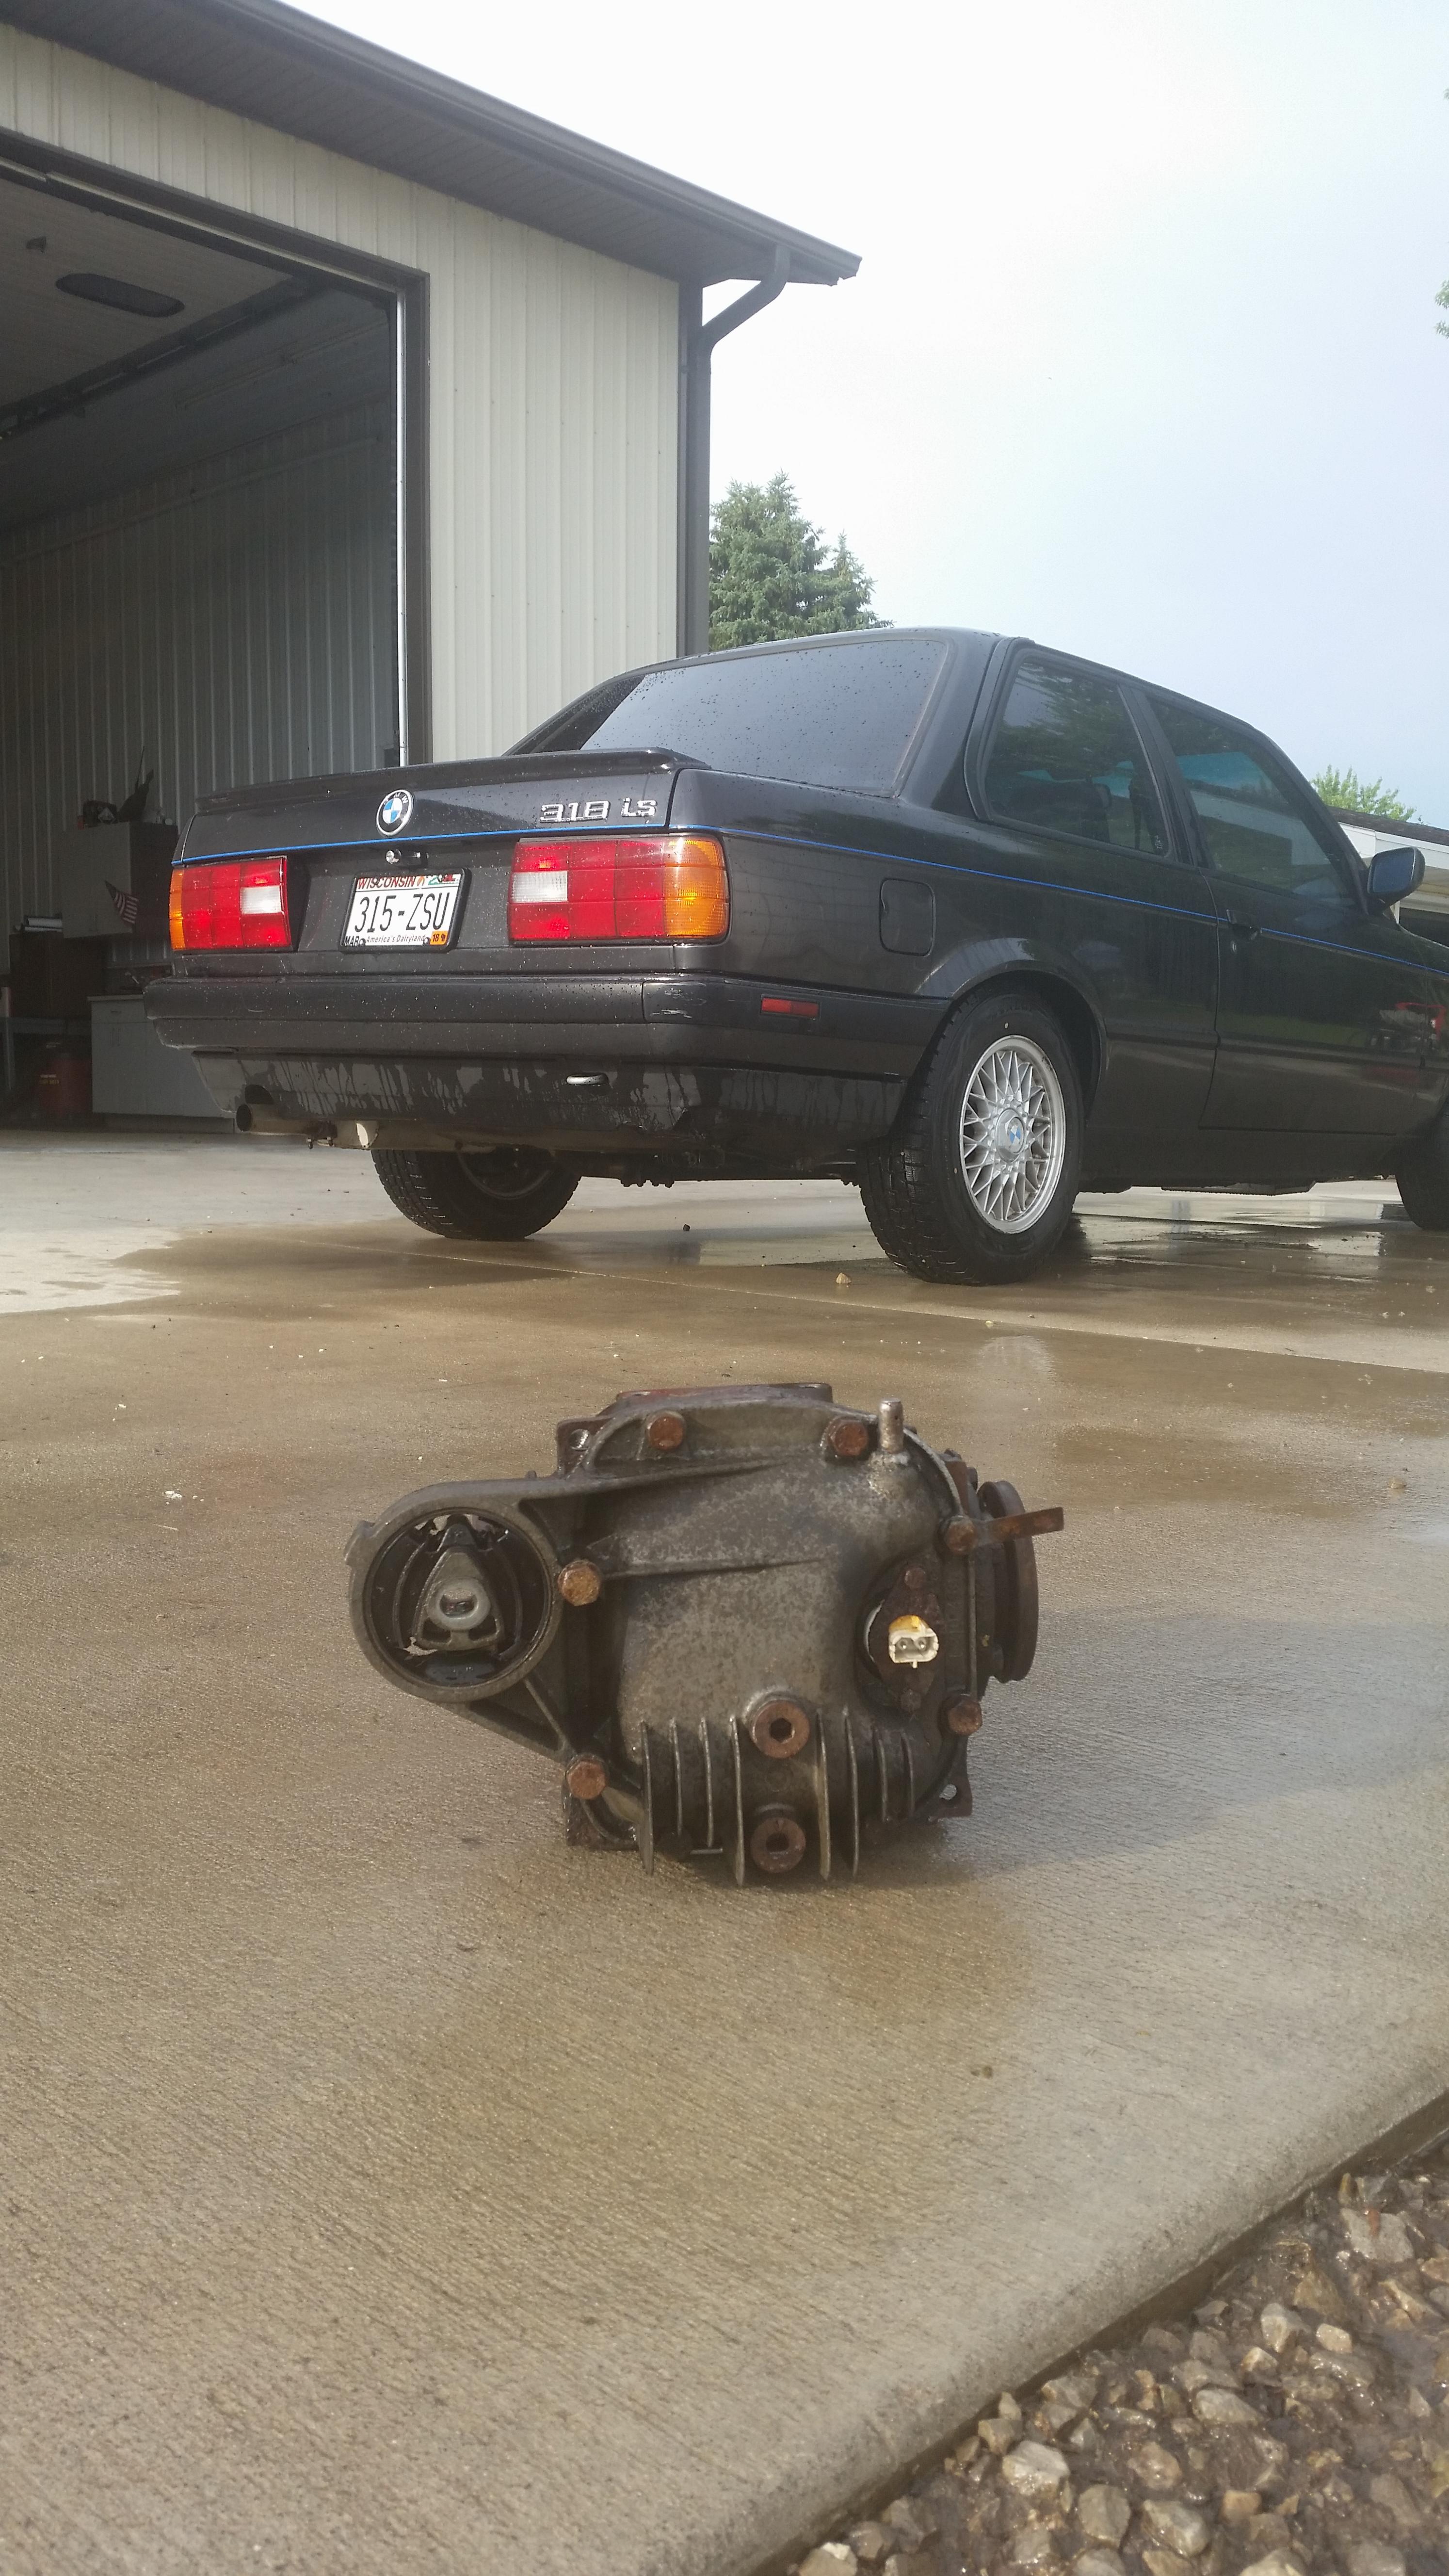
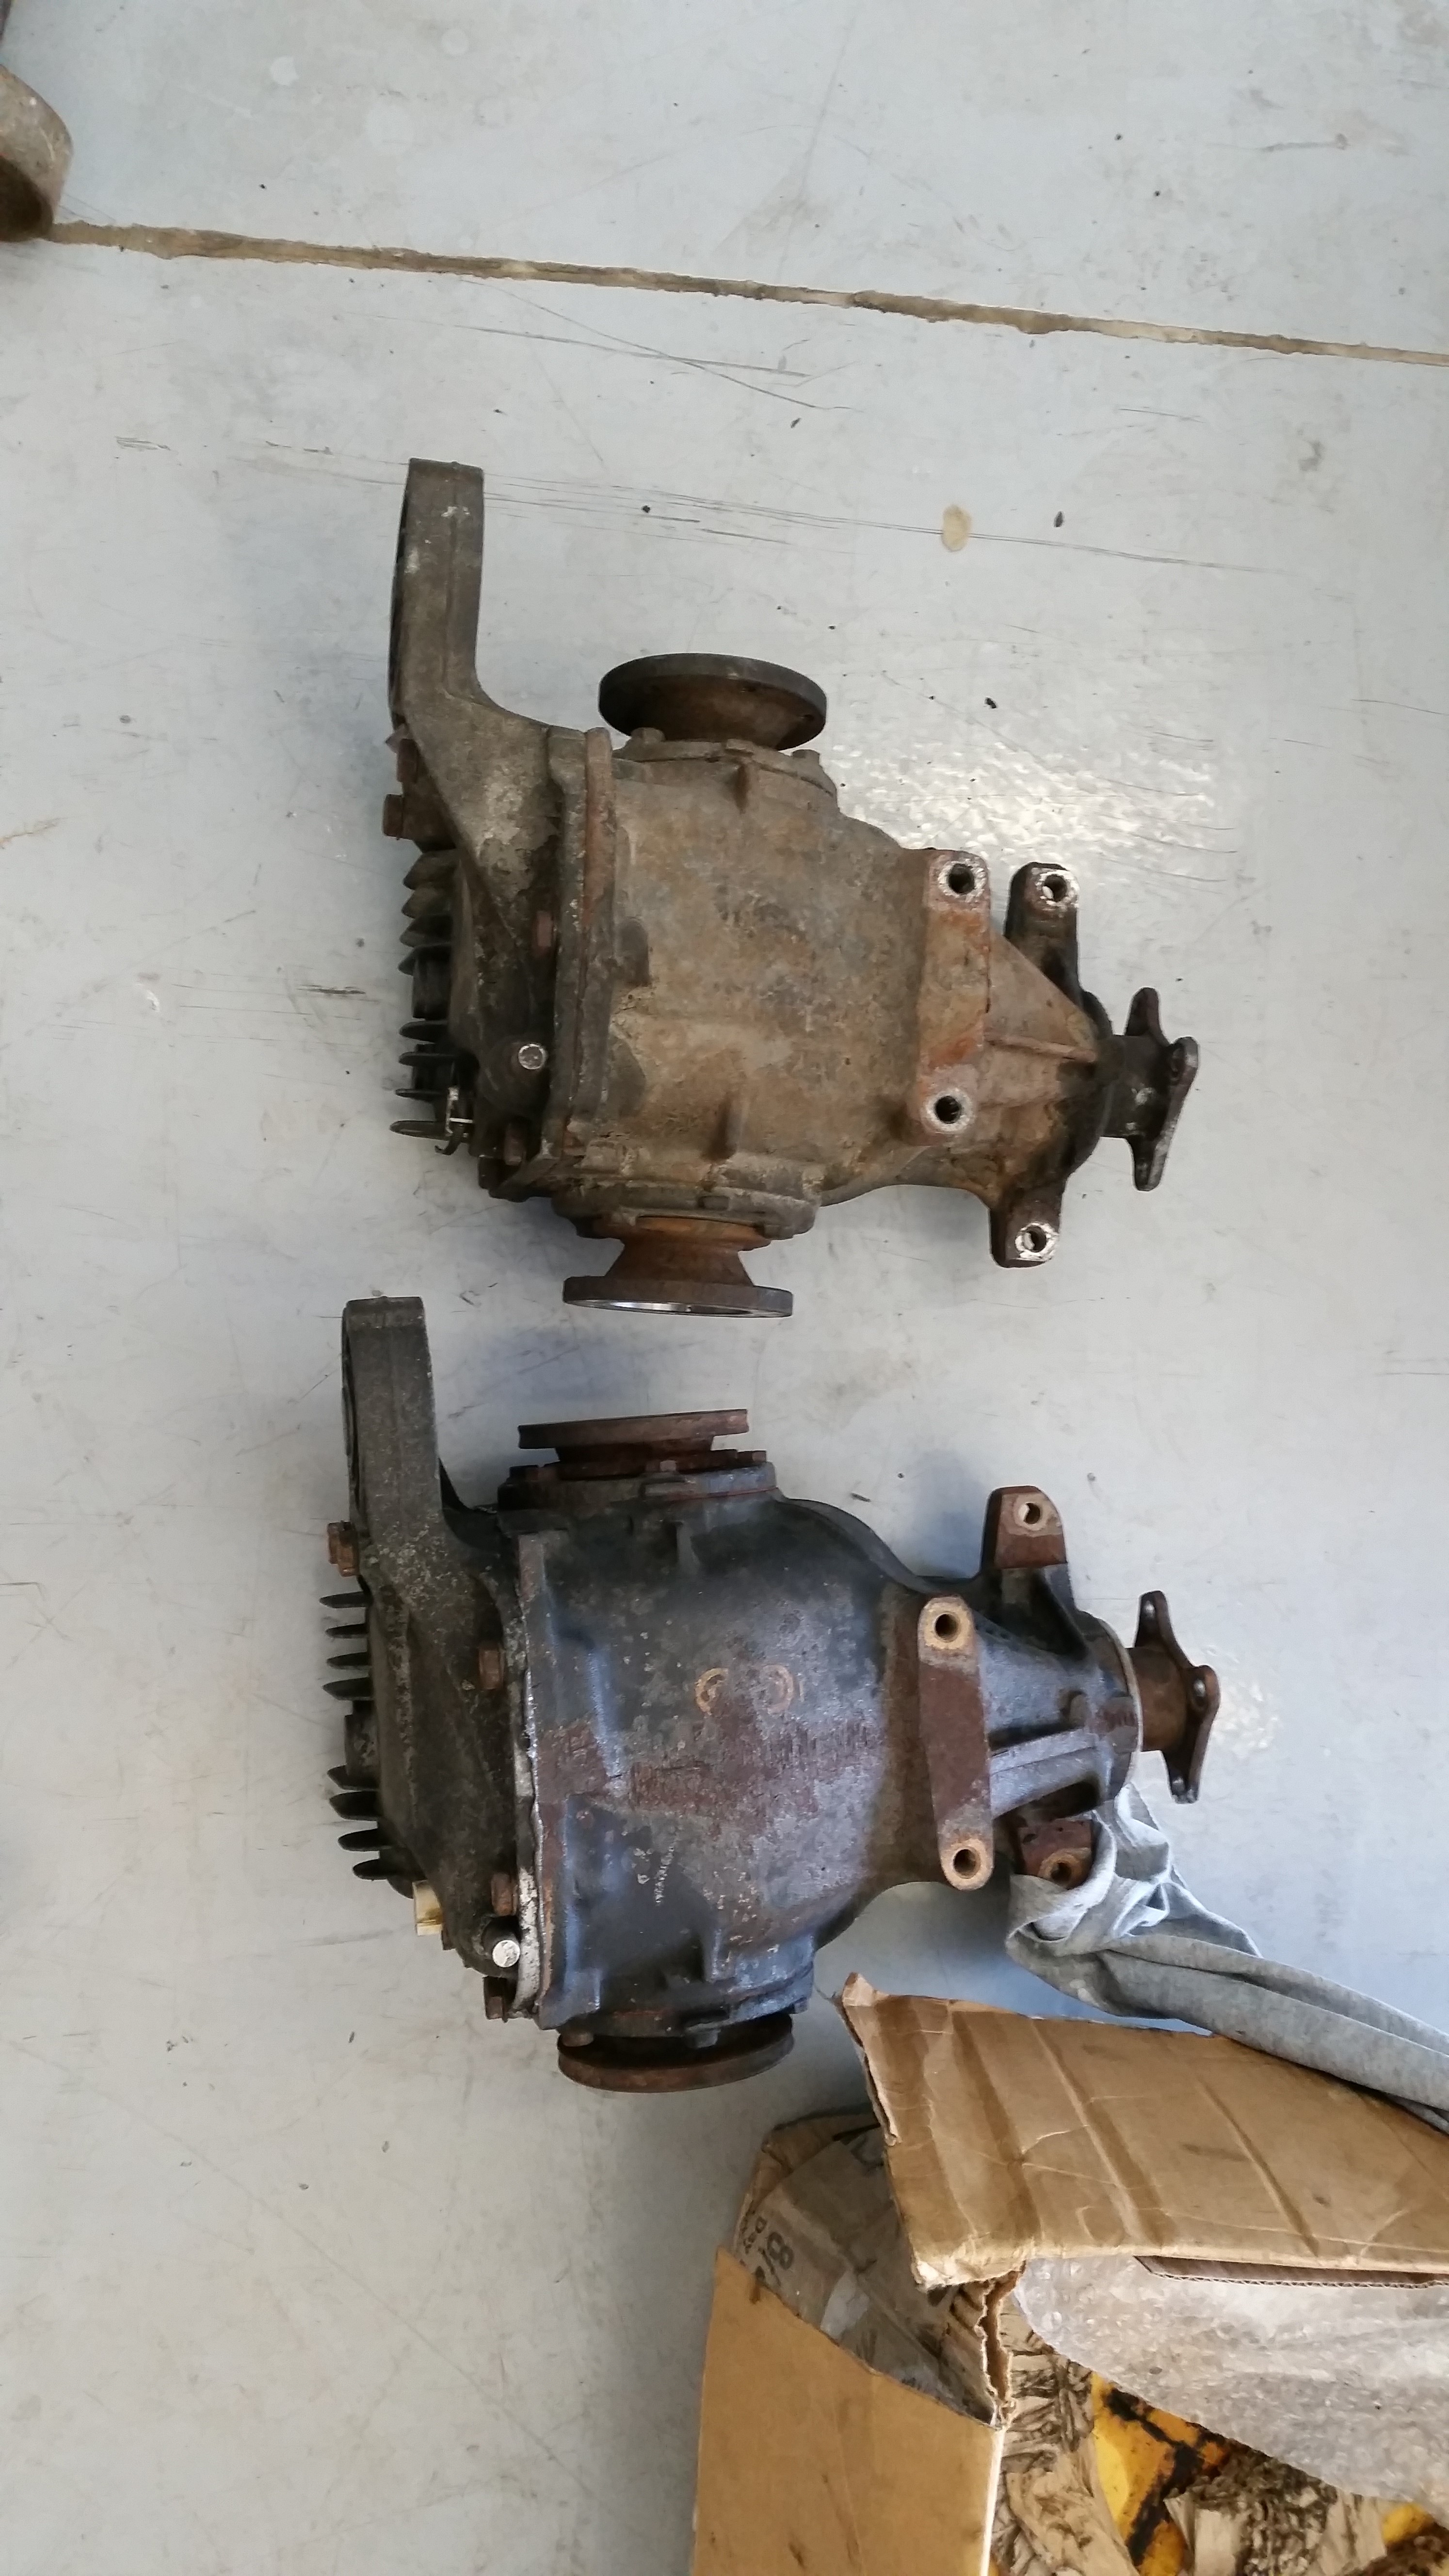
-
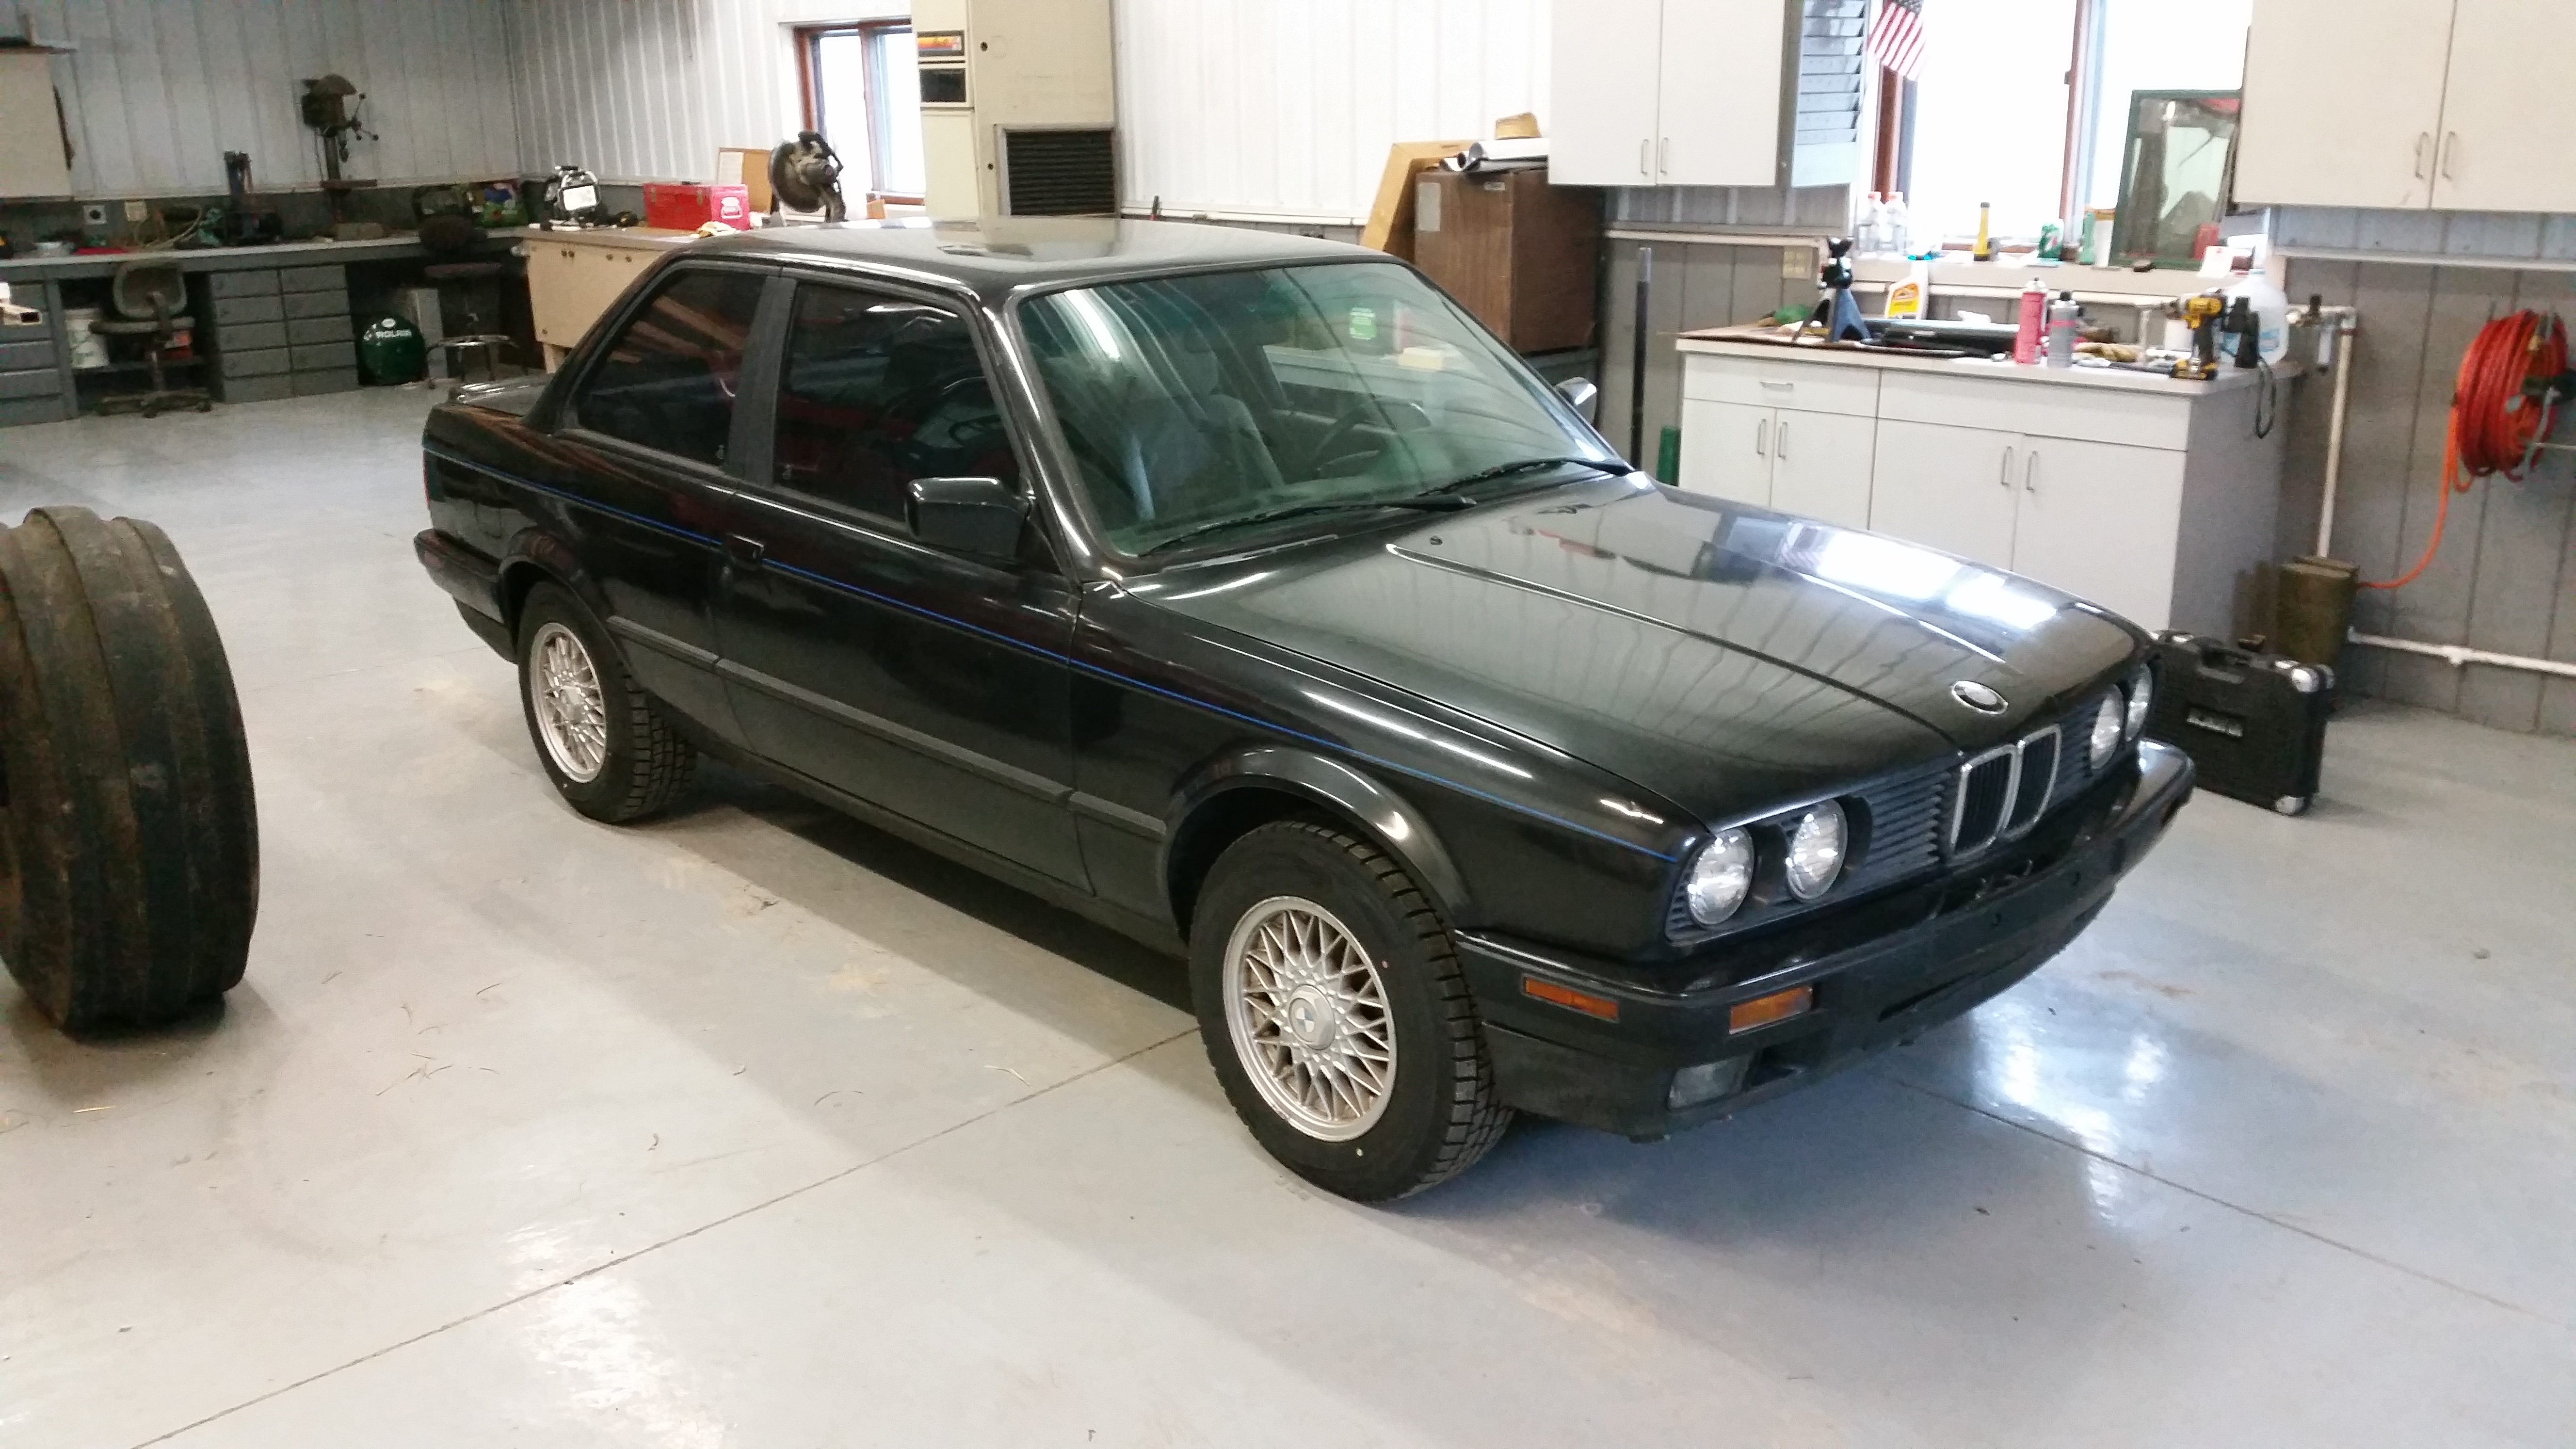
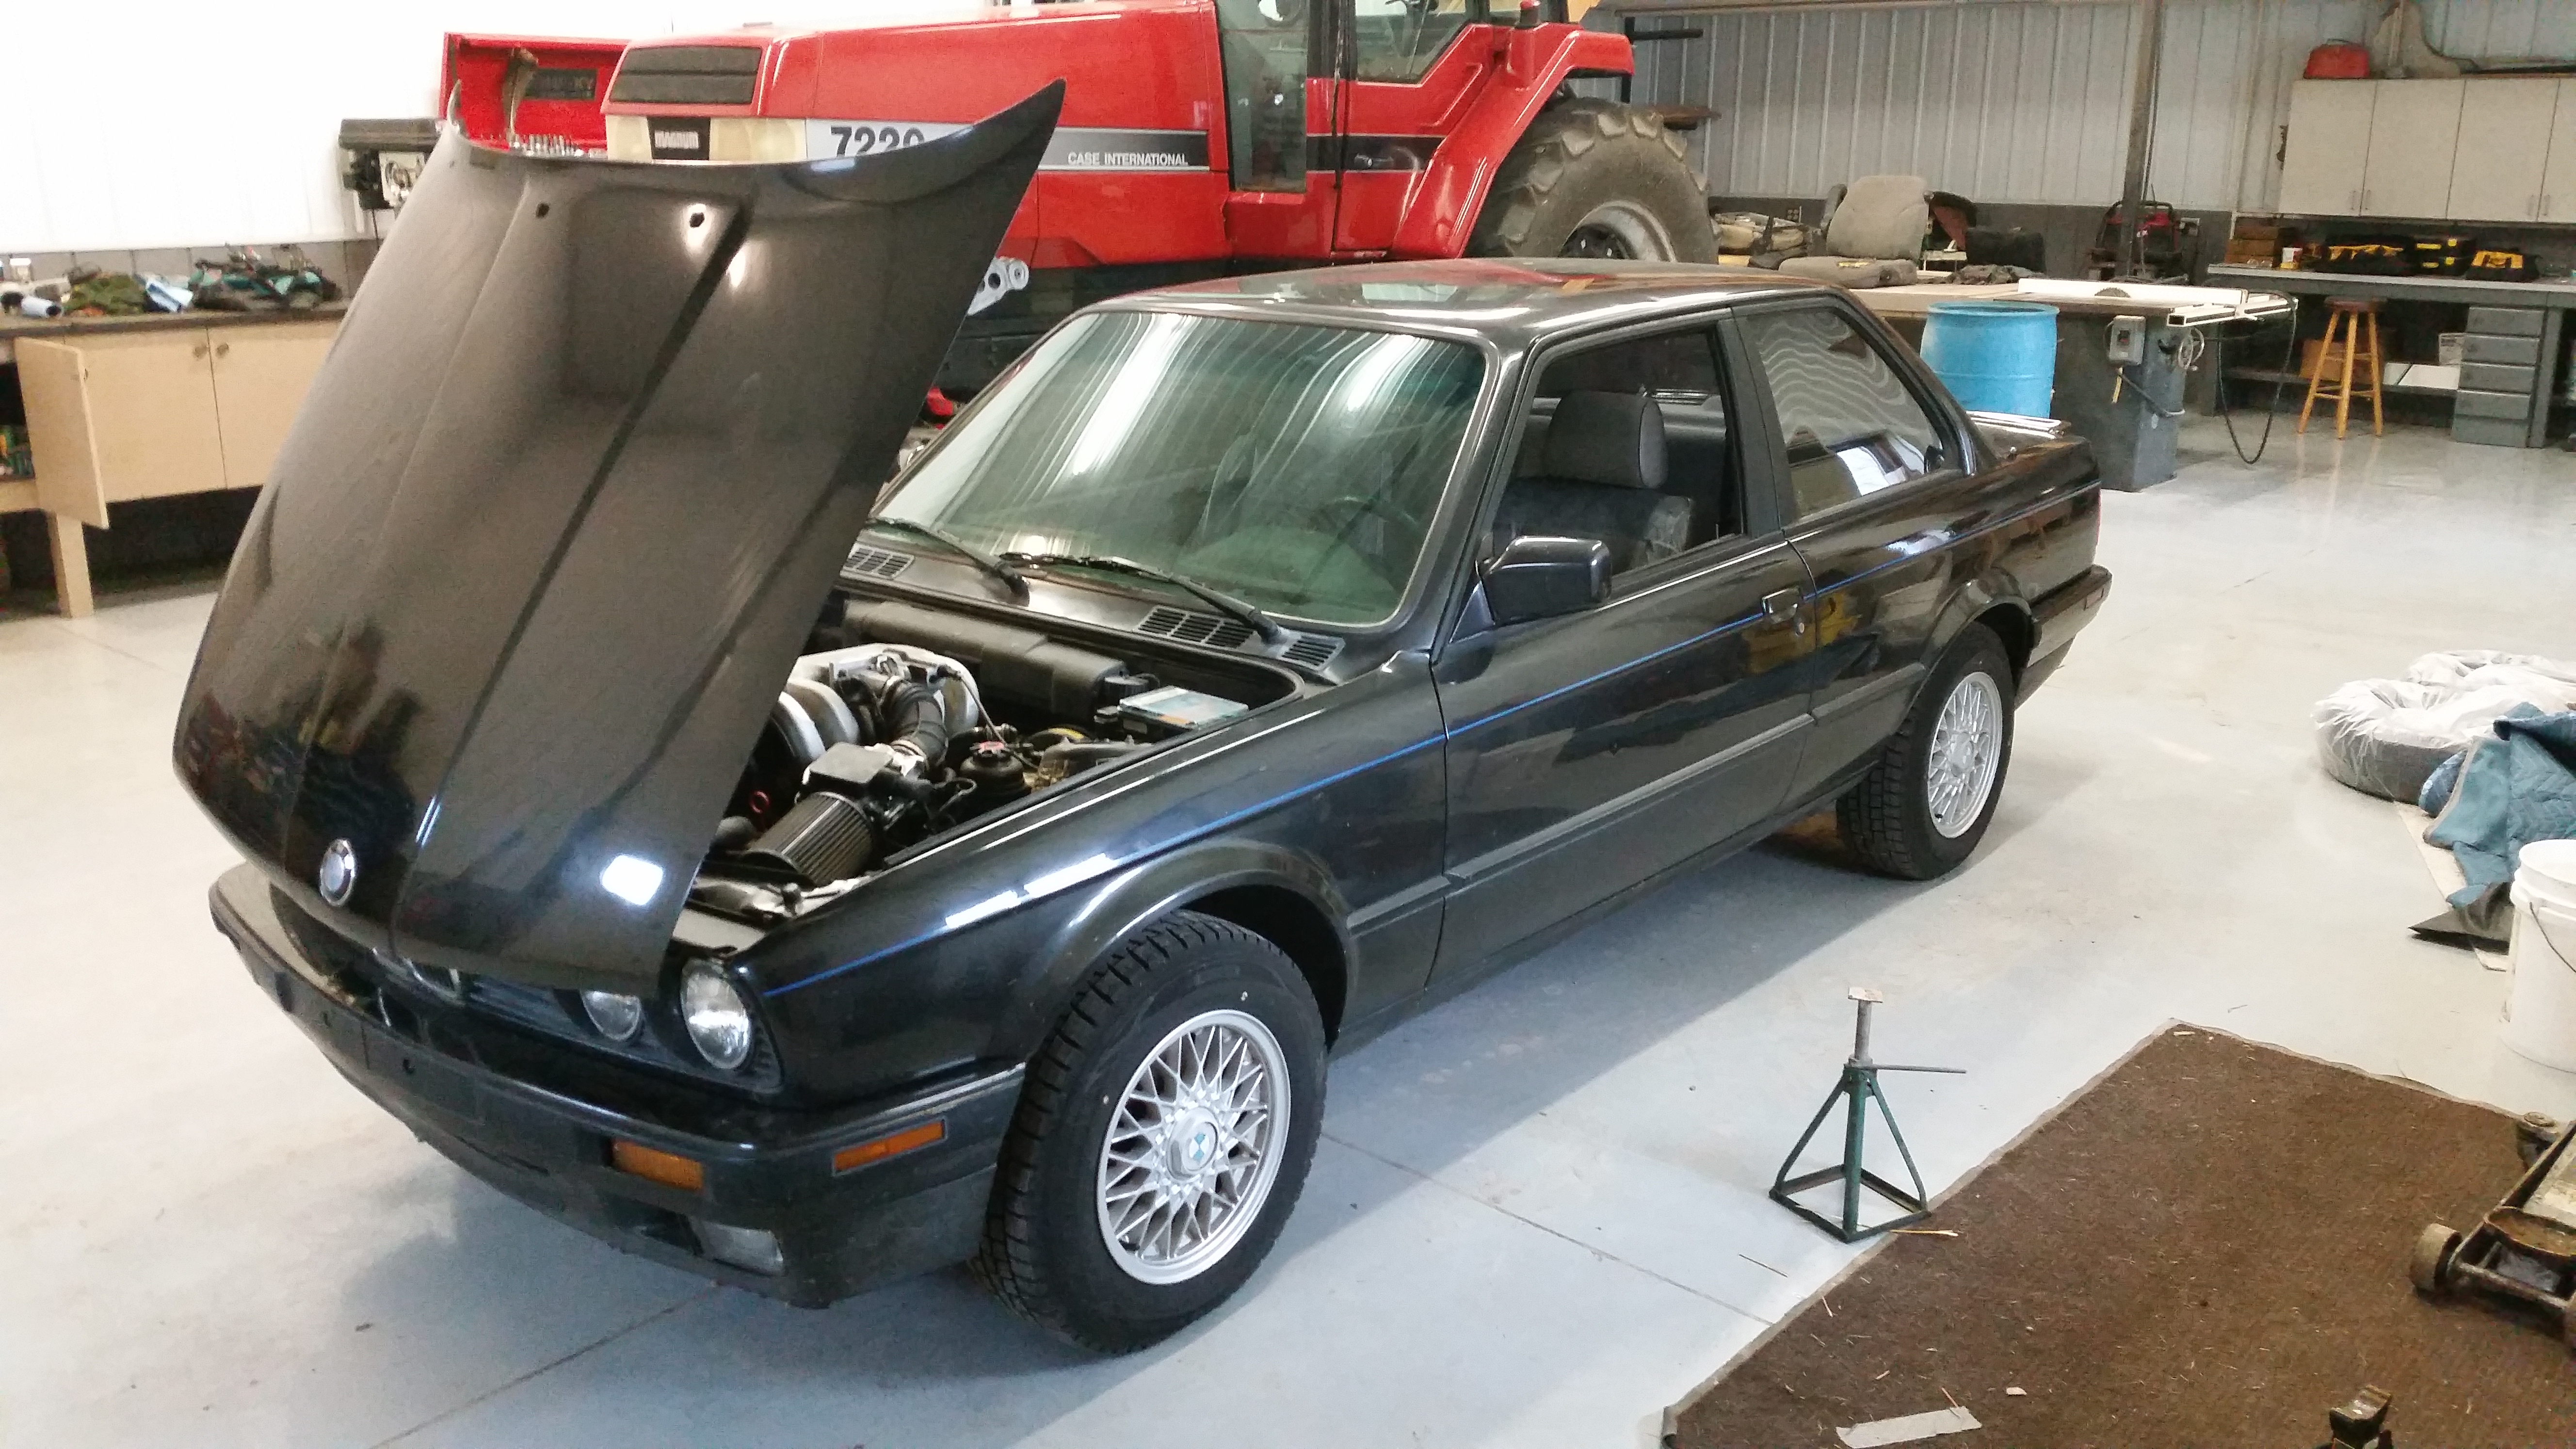
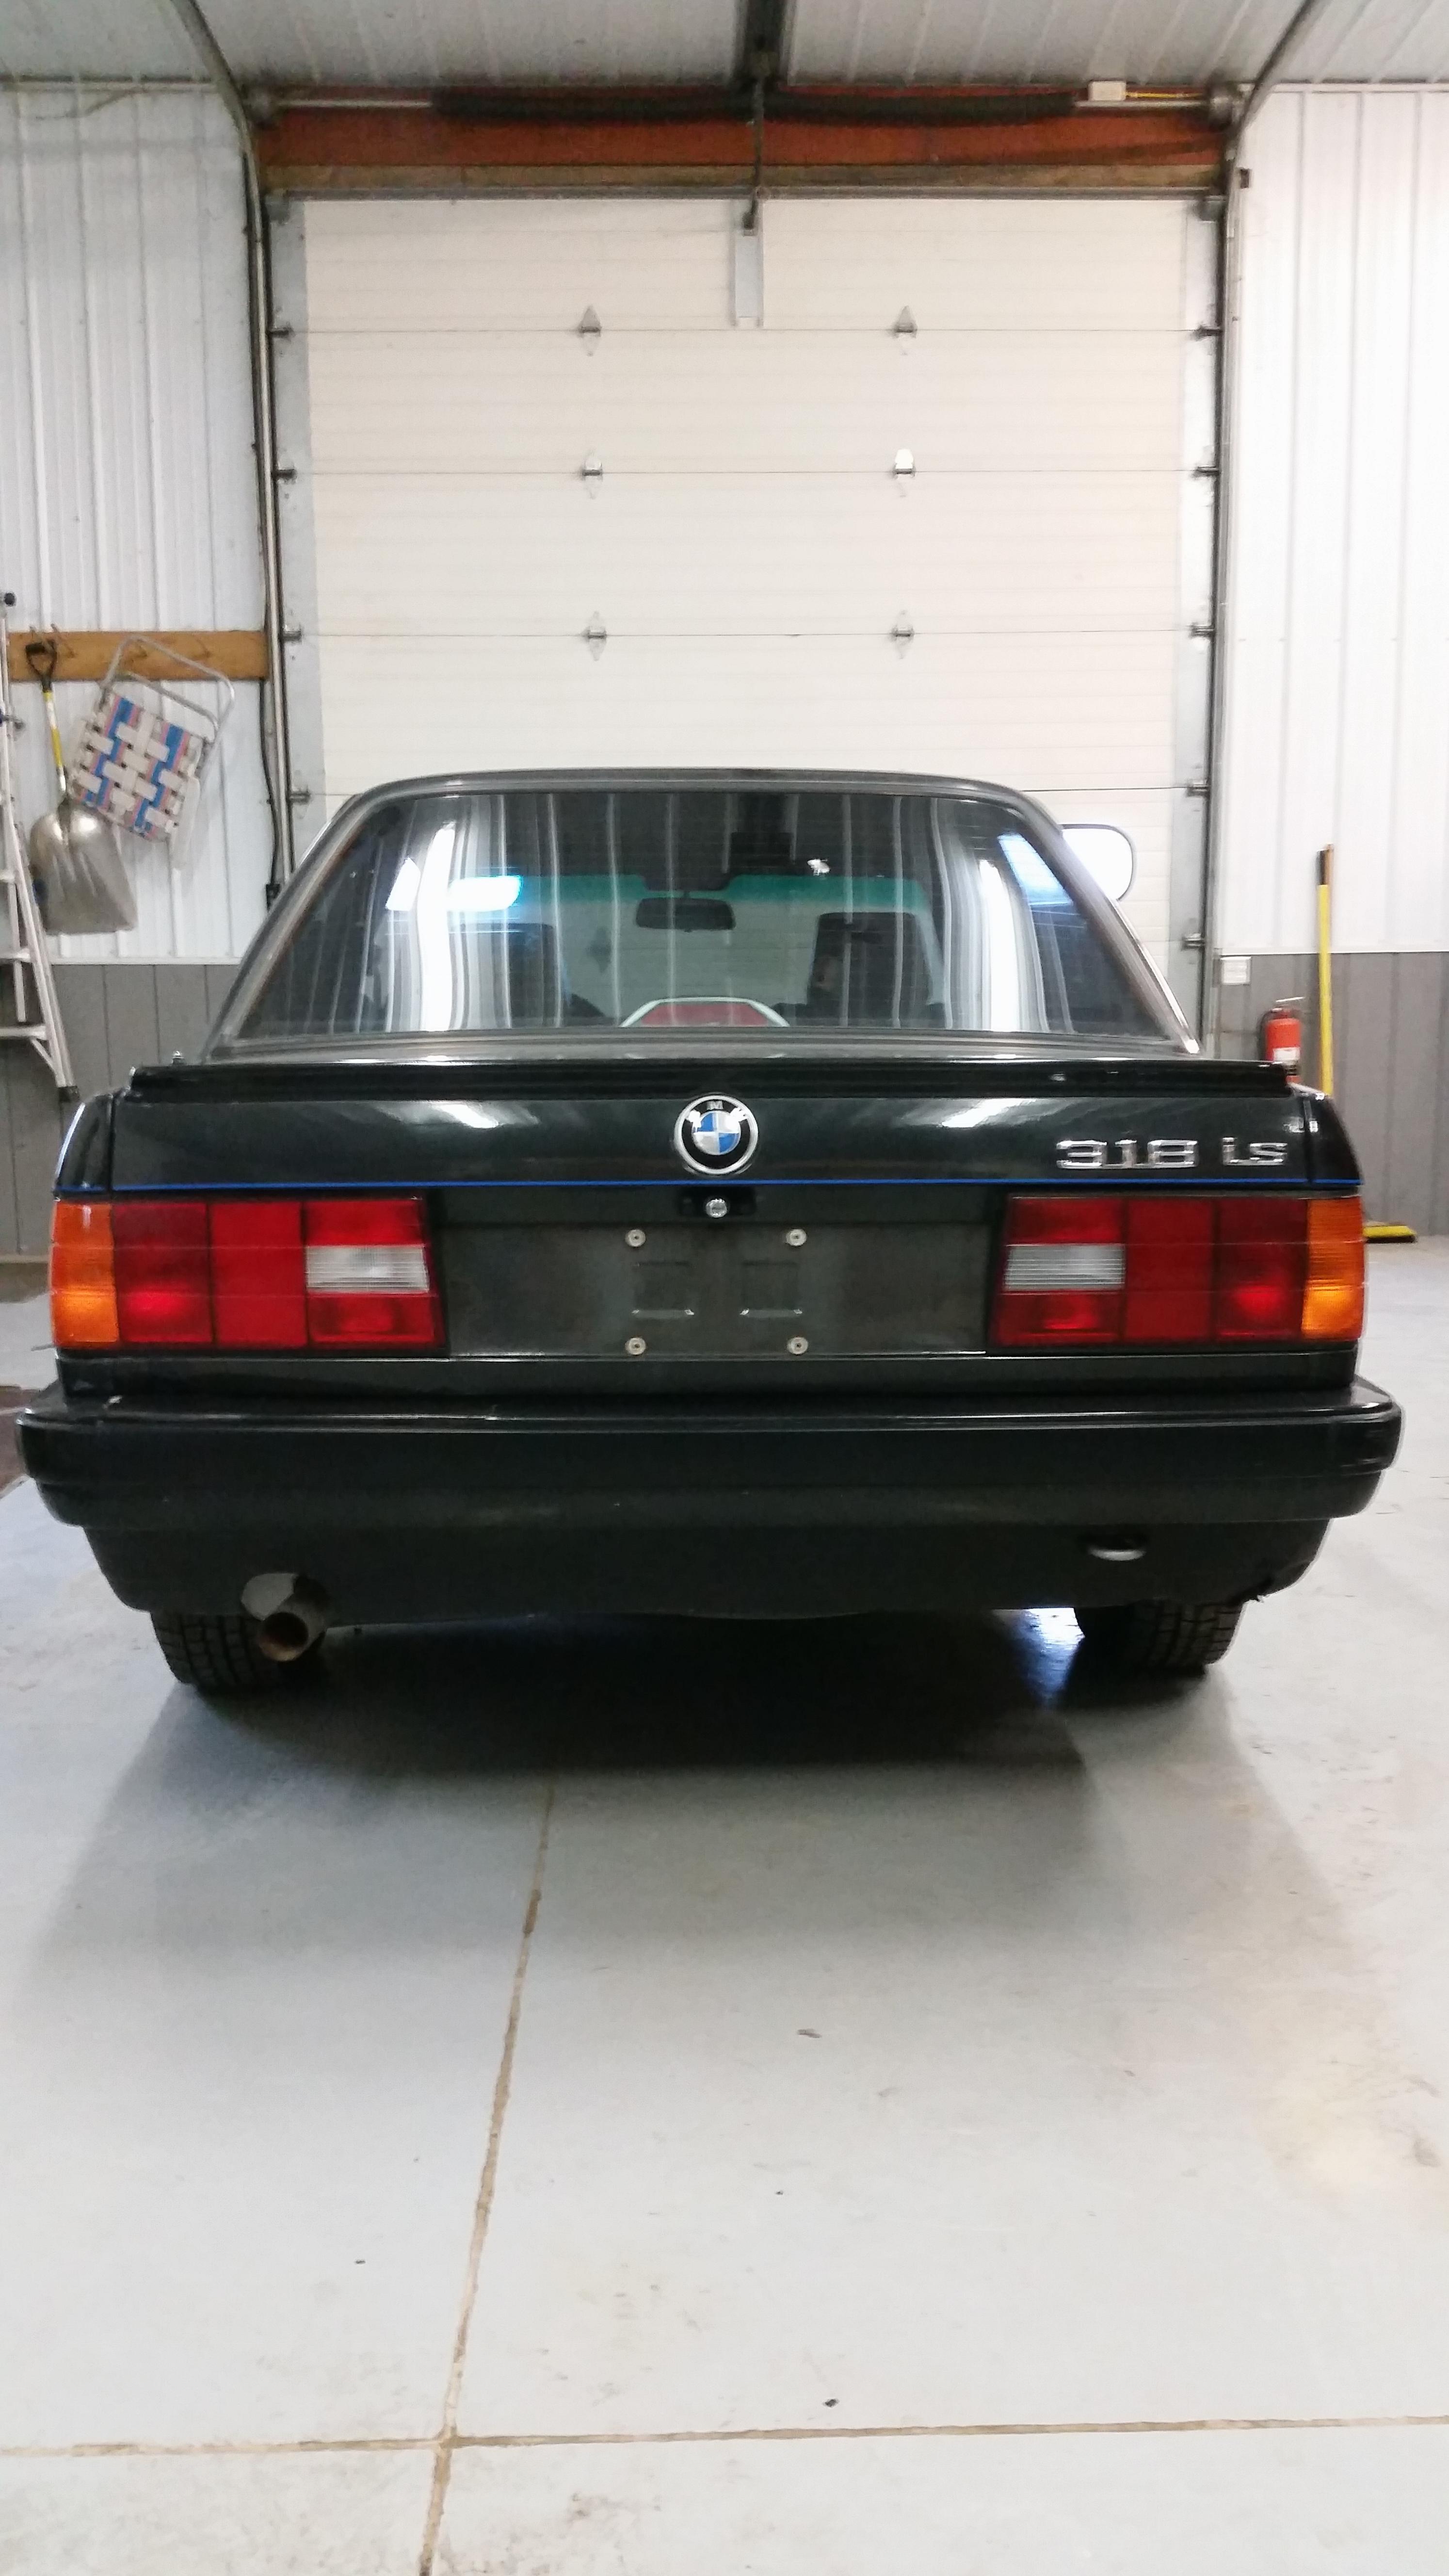
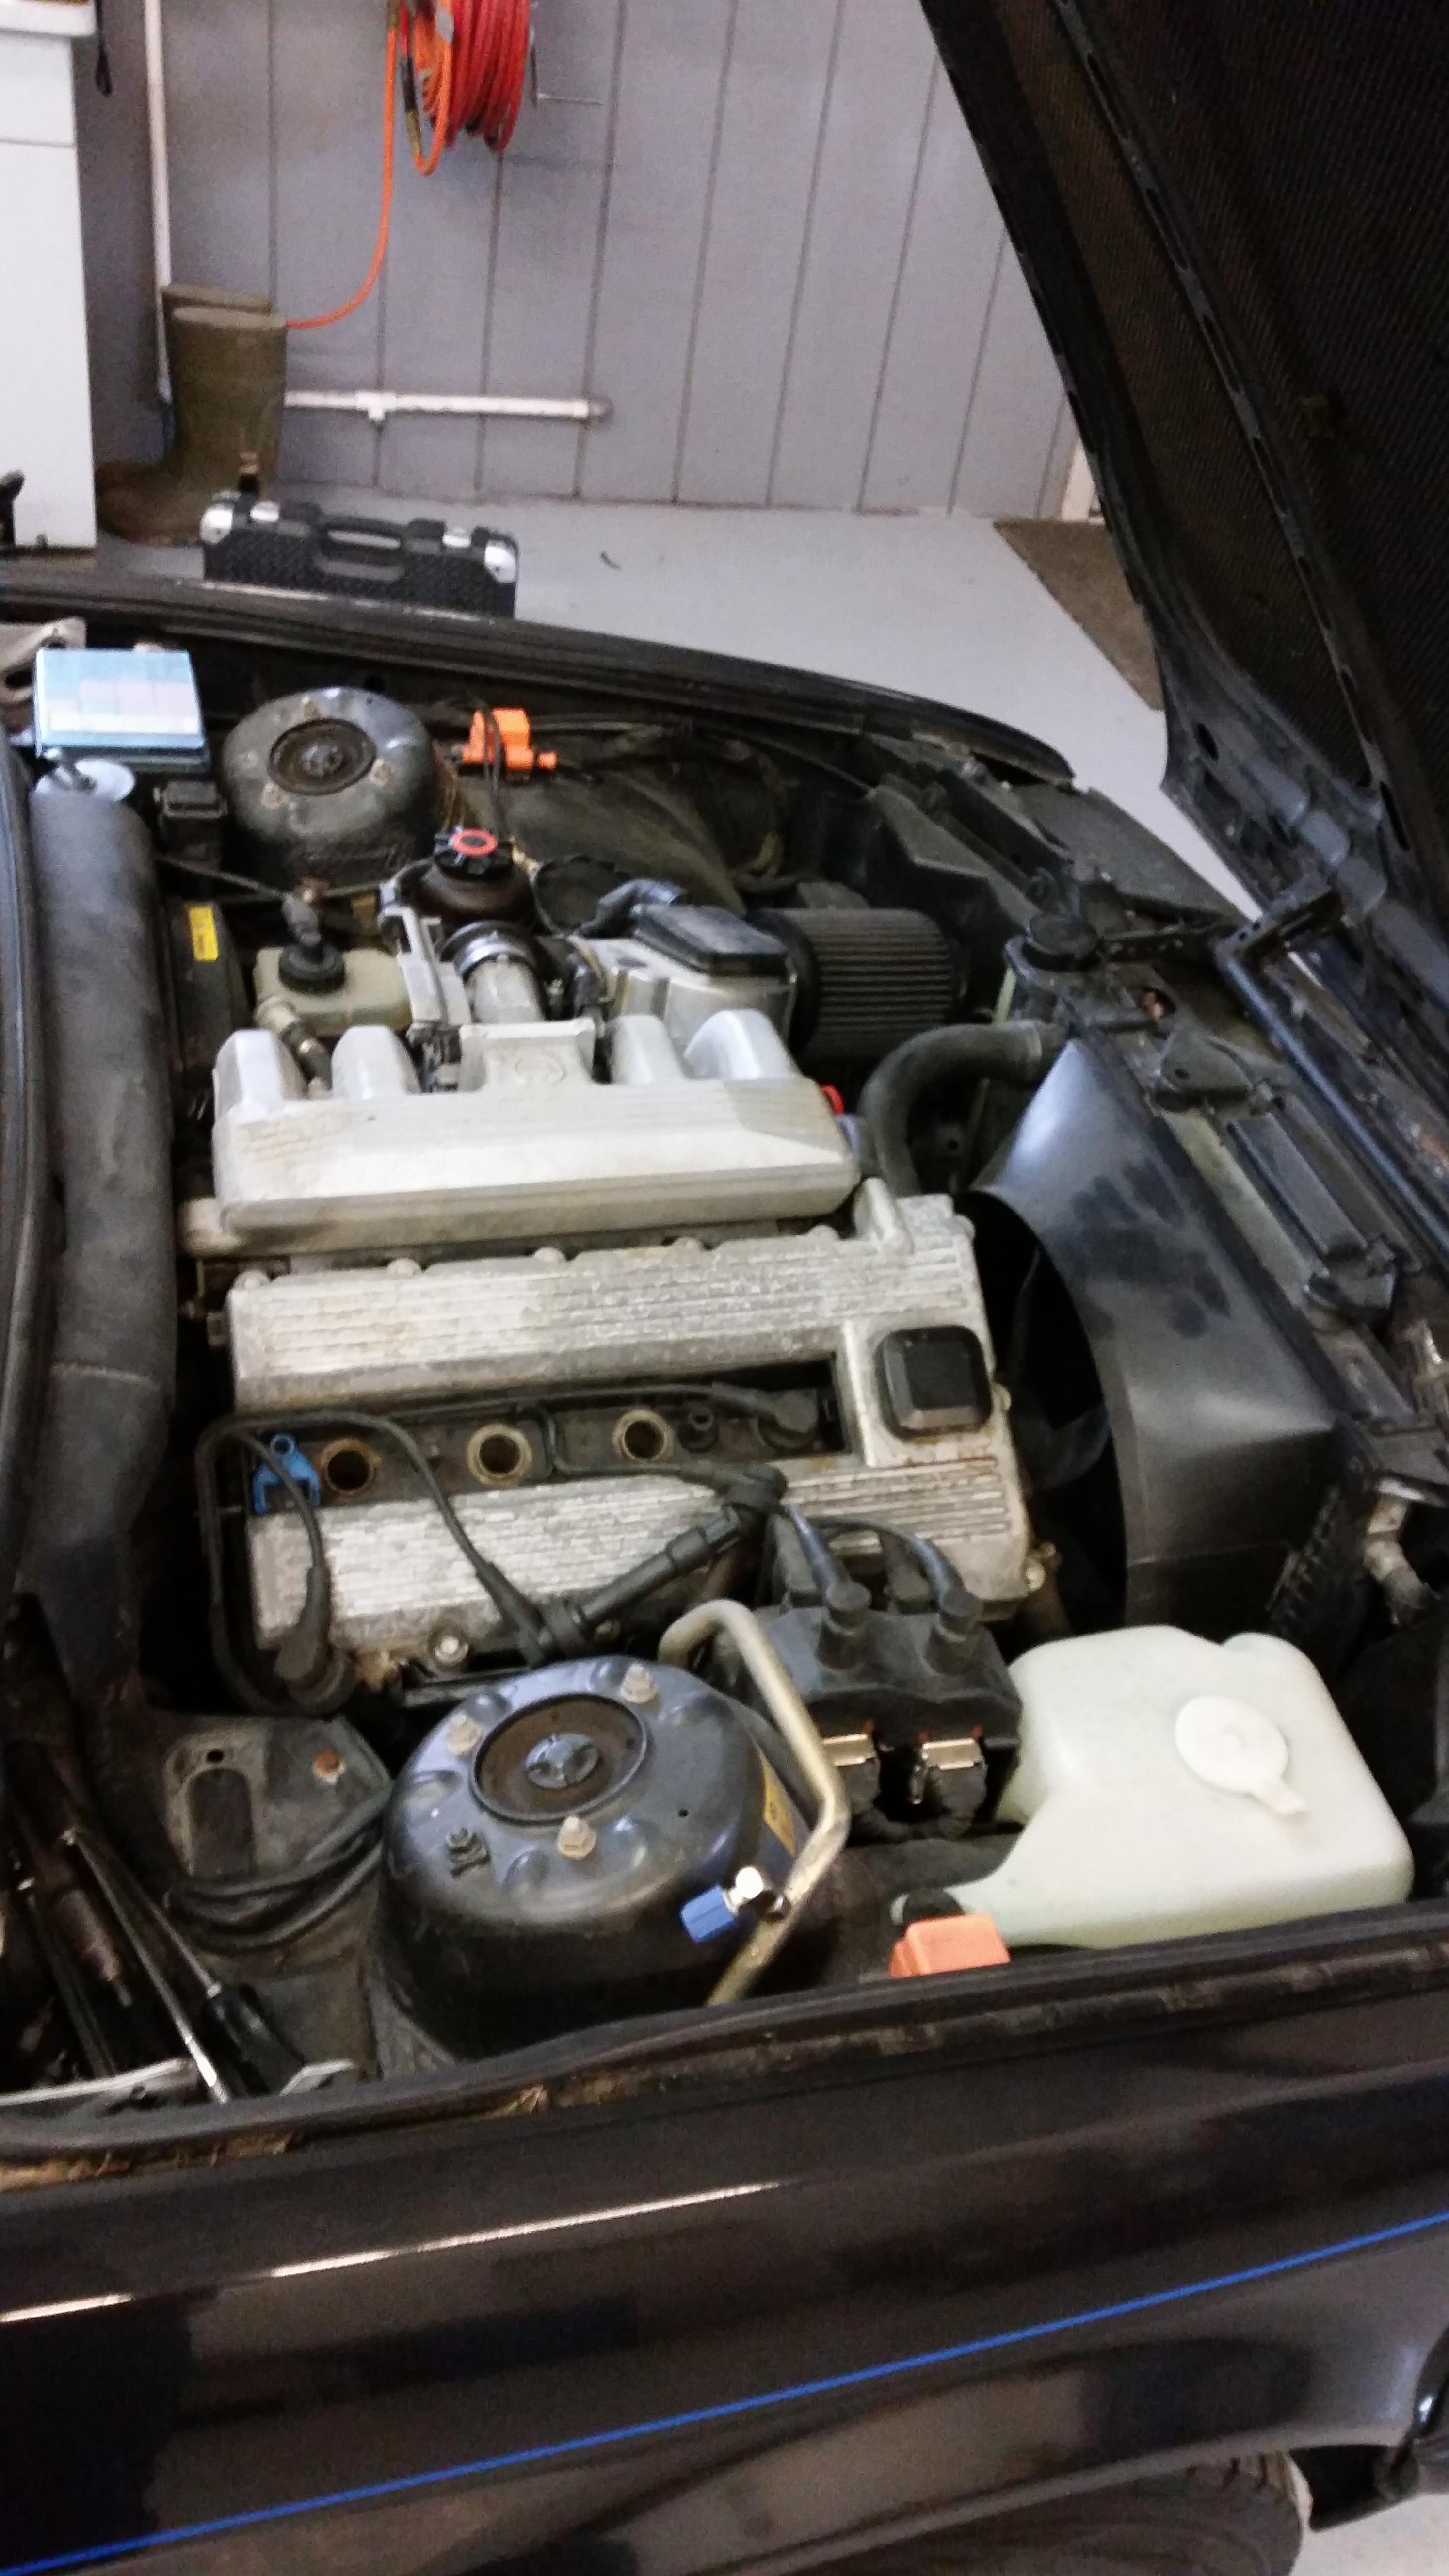
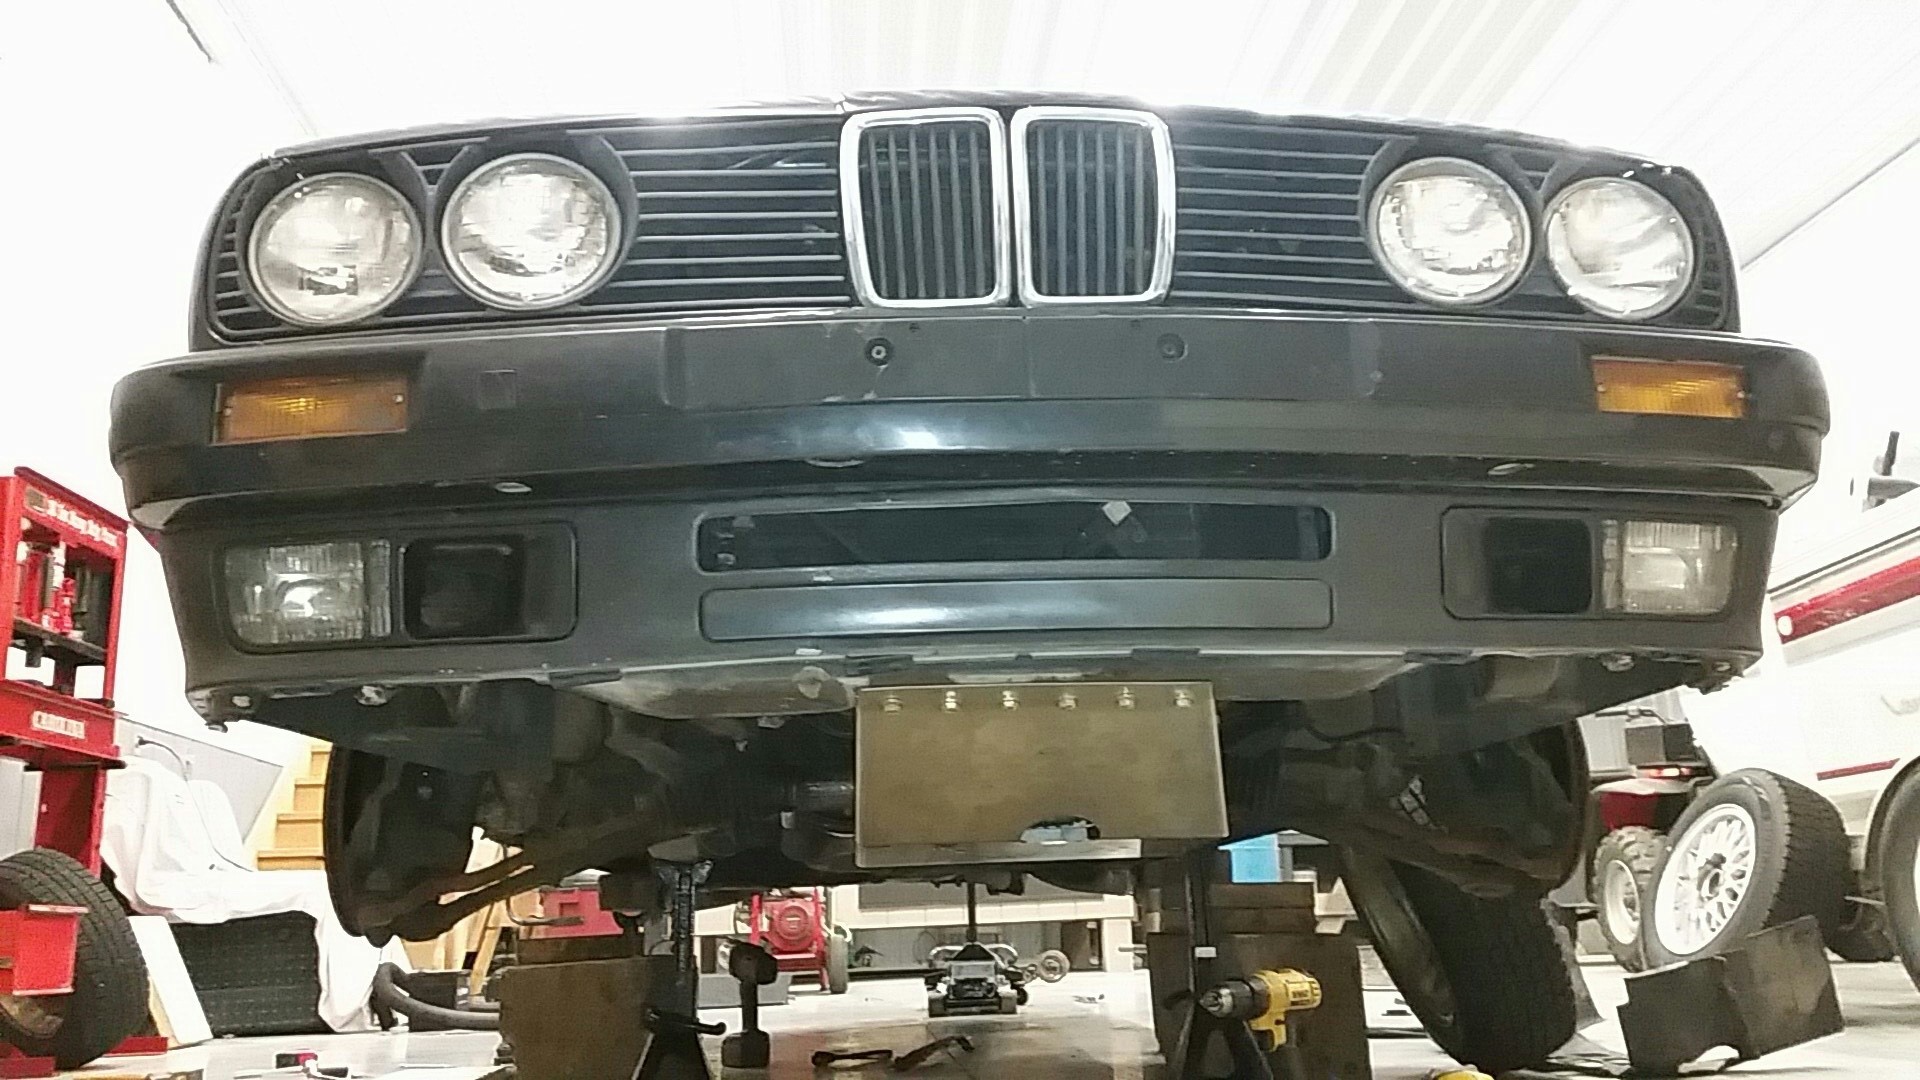
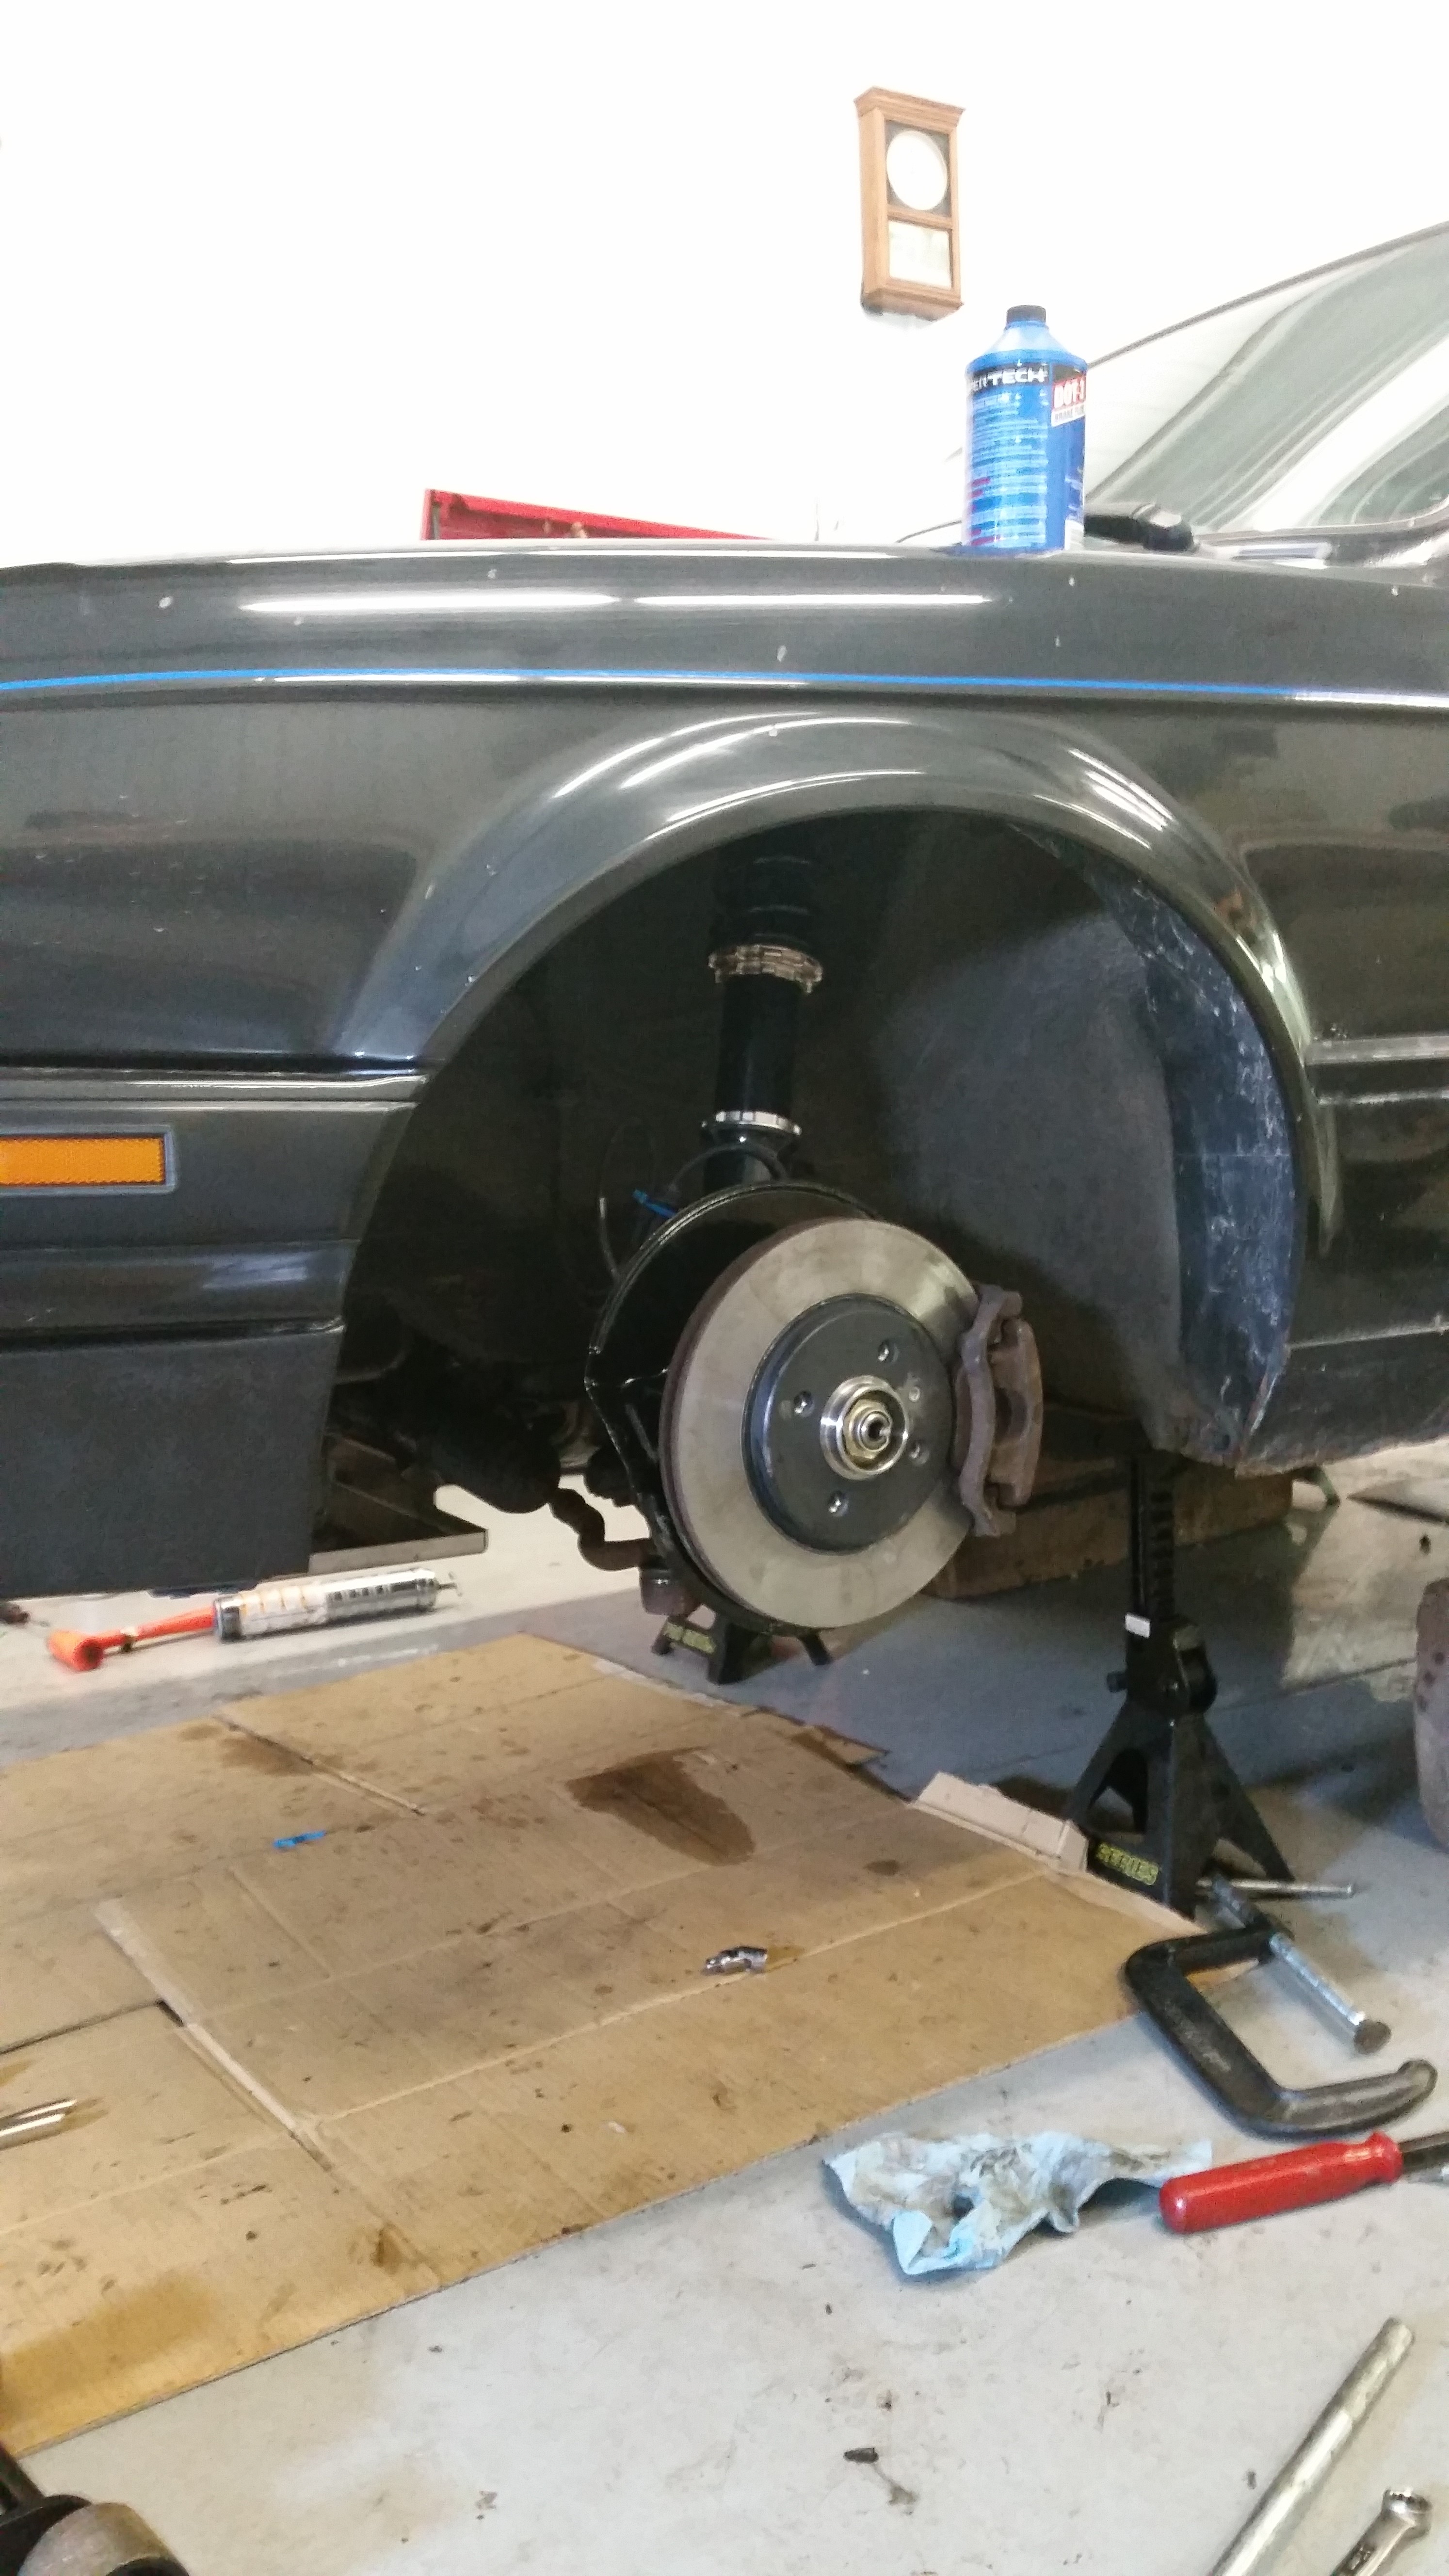
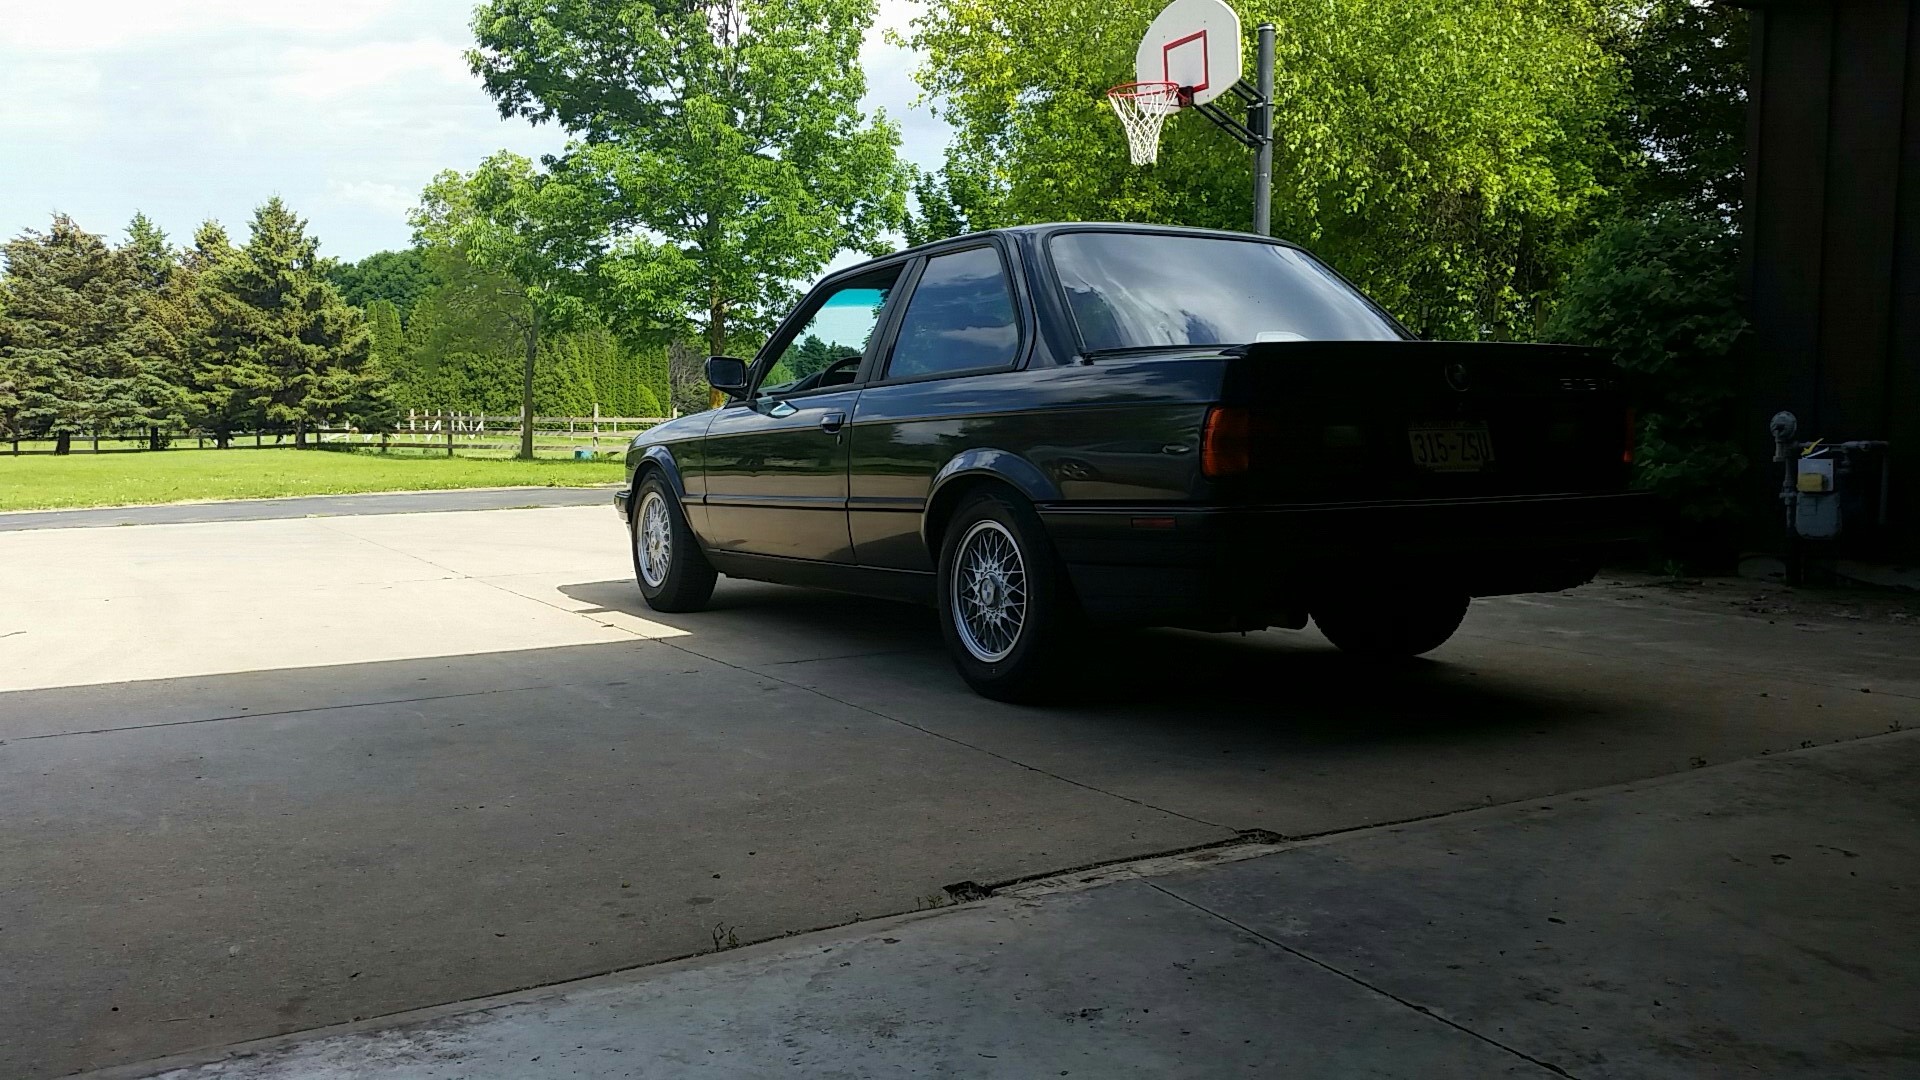
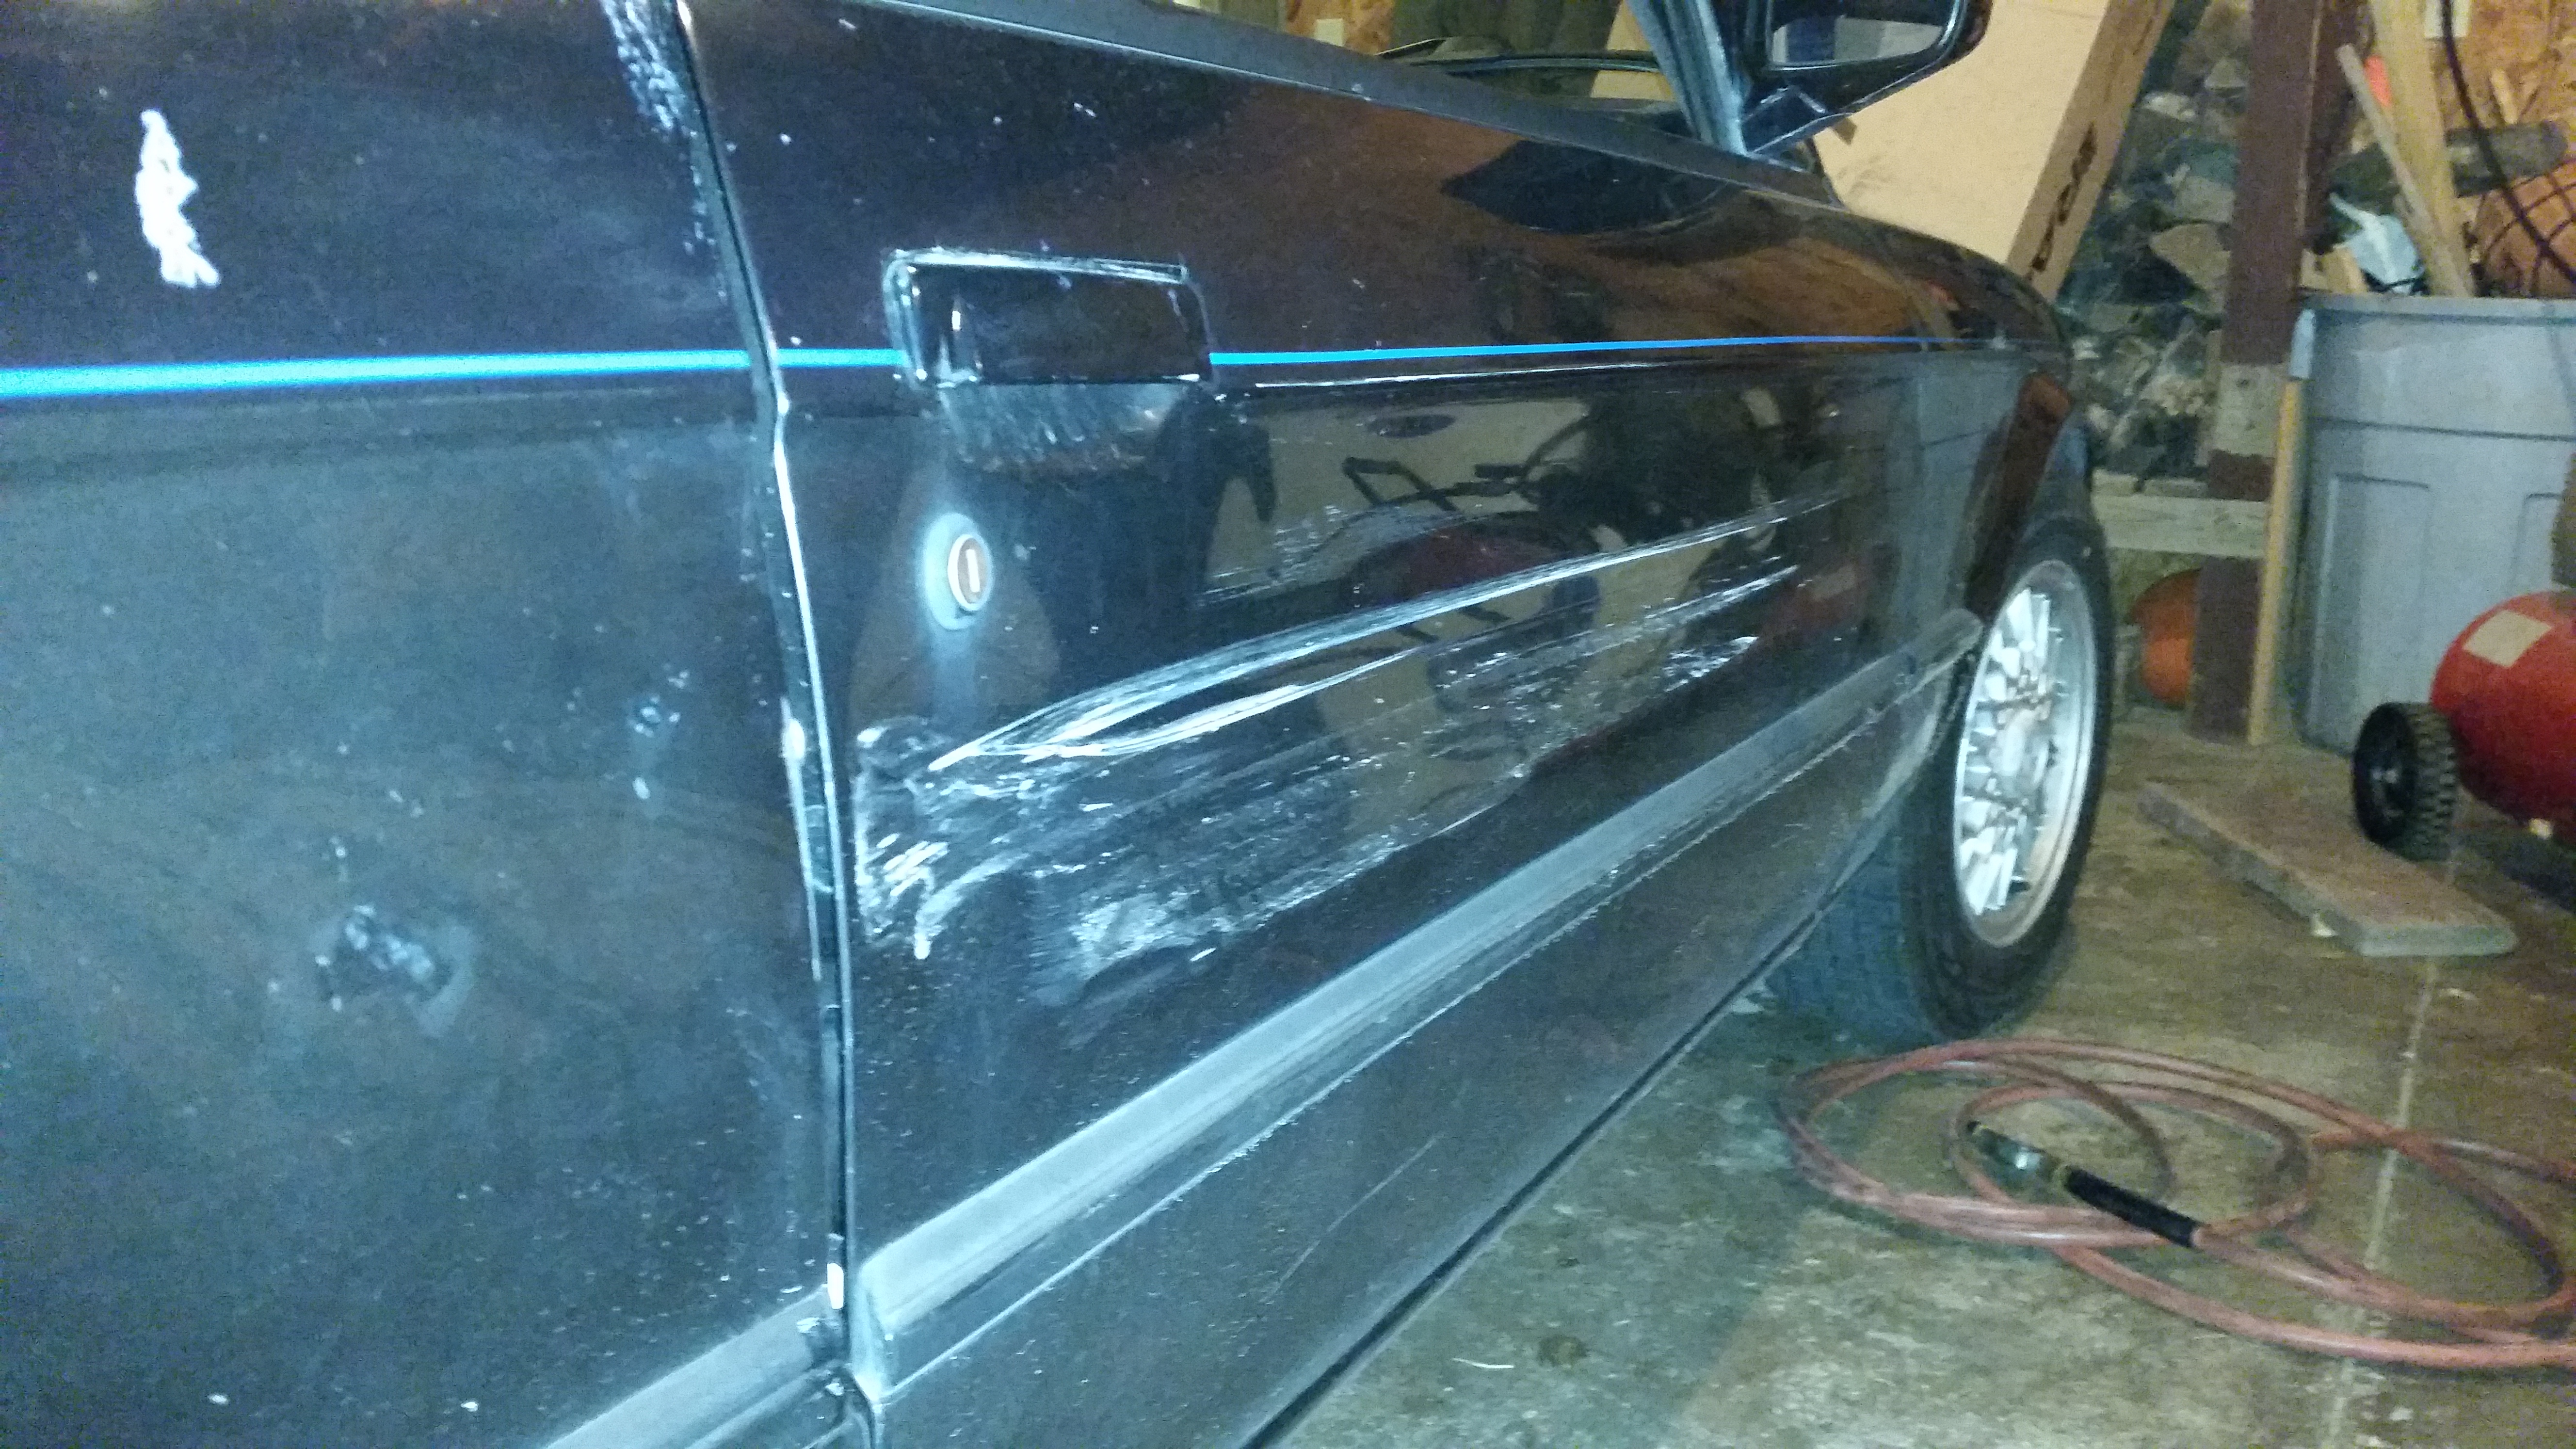
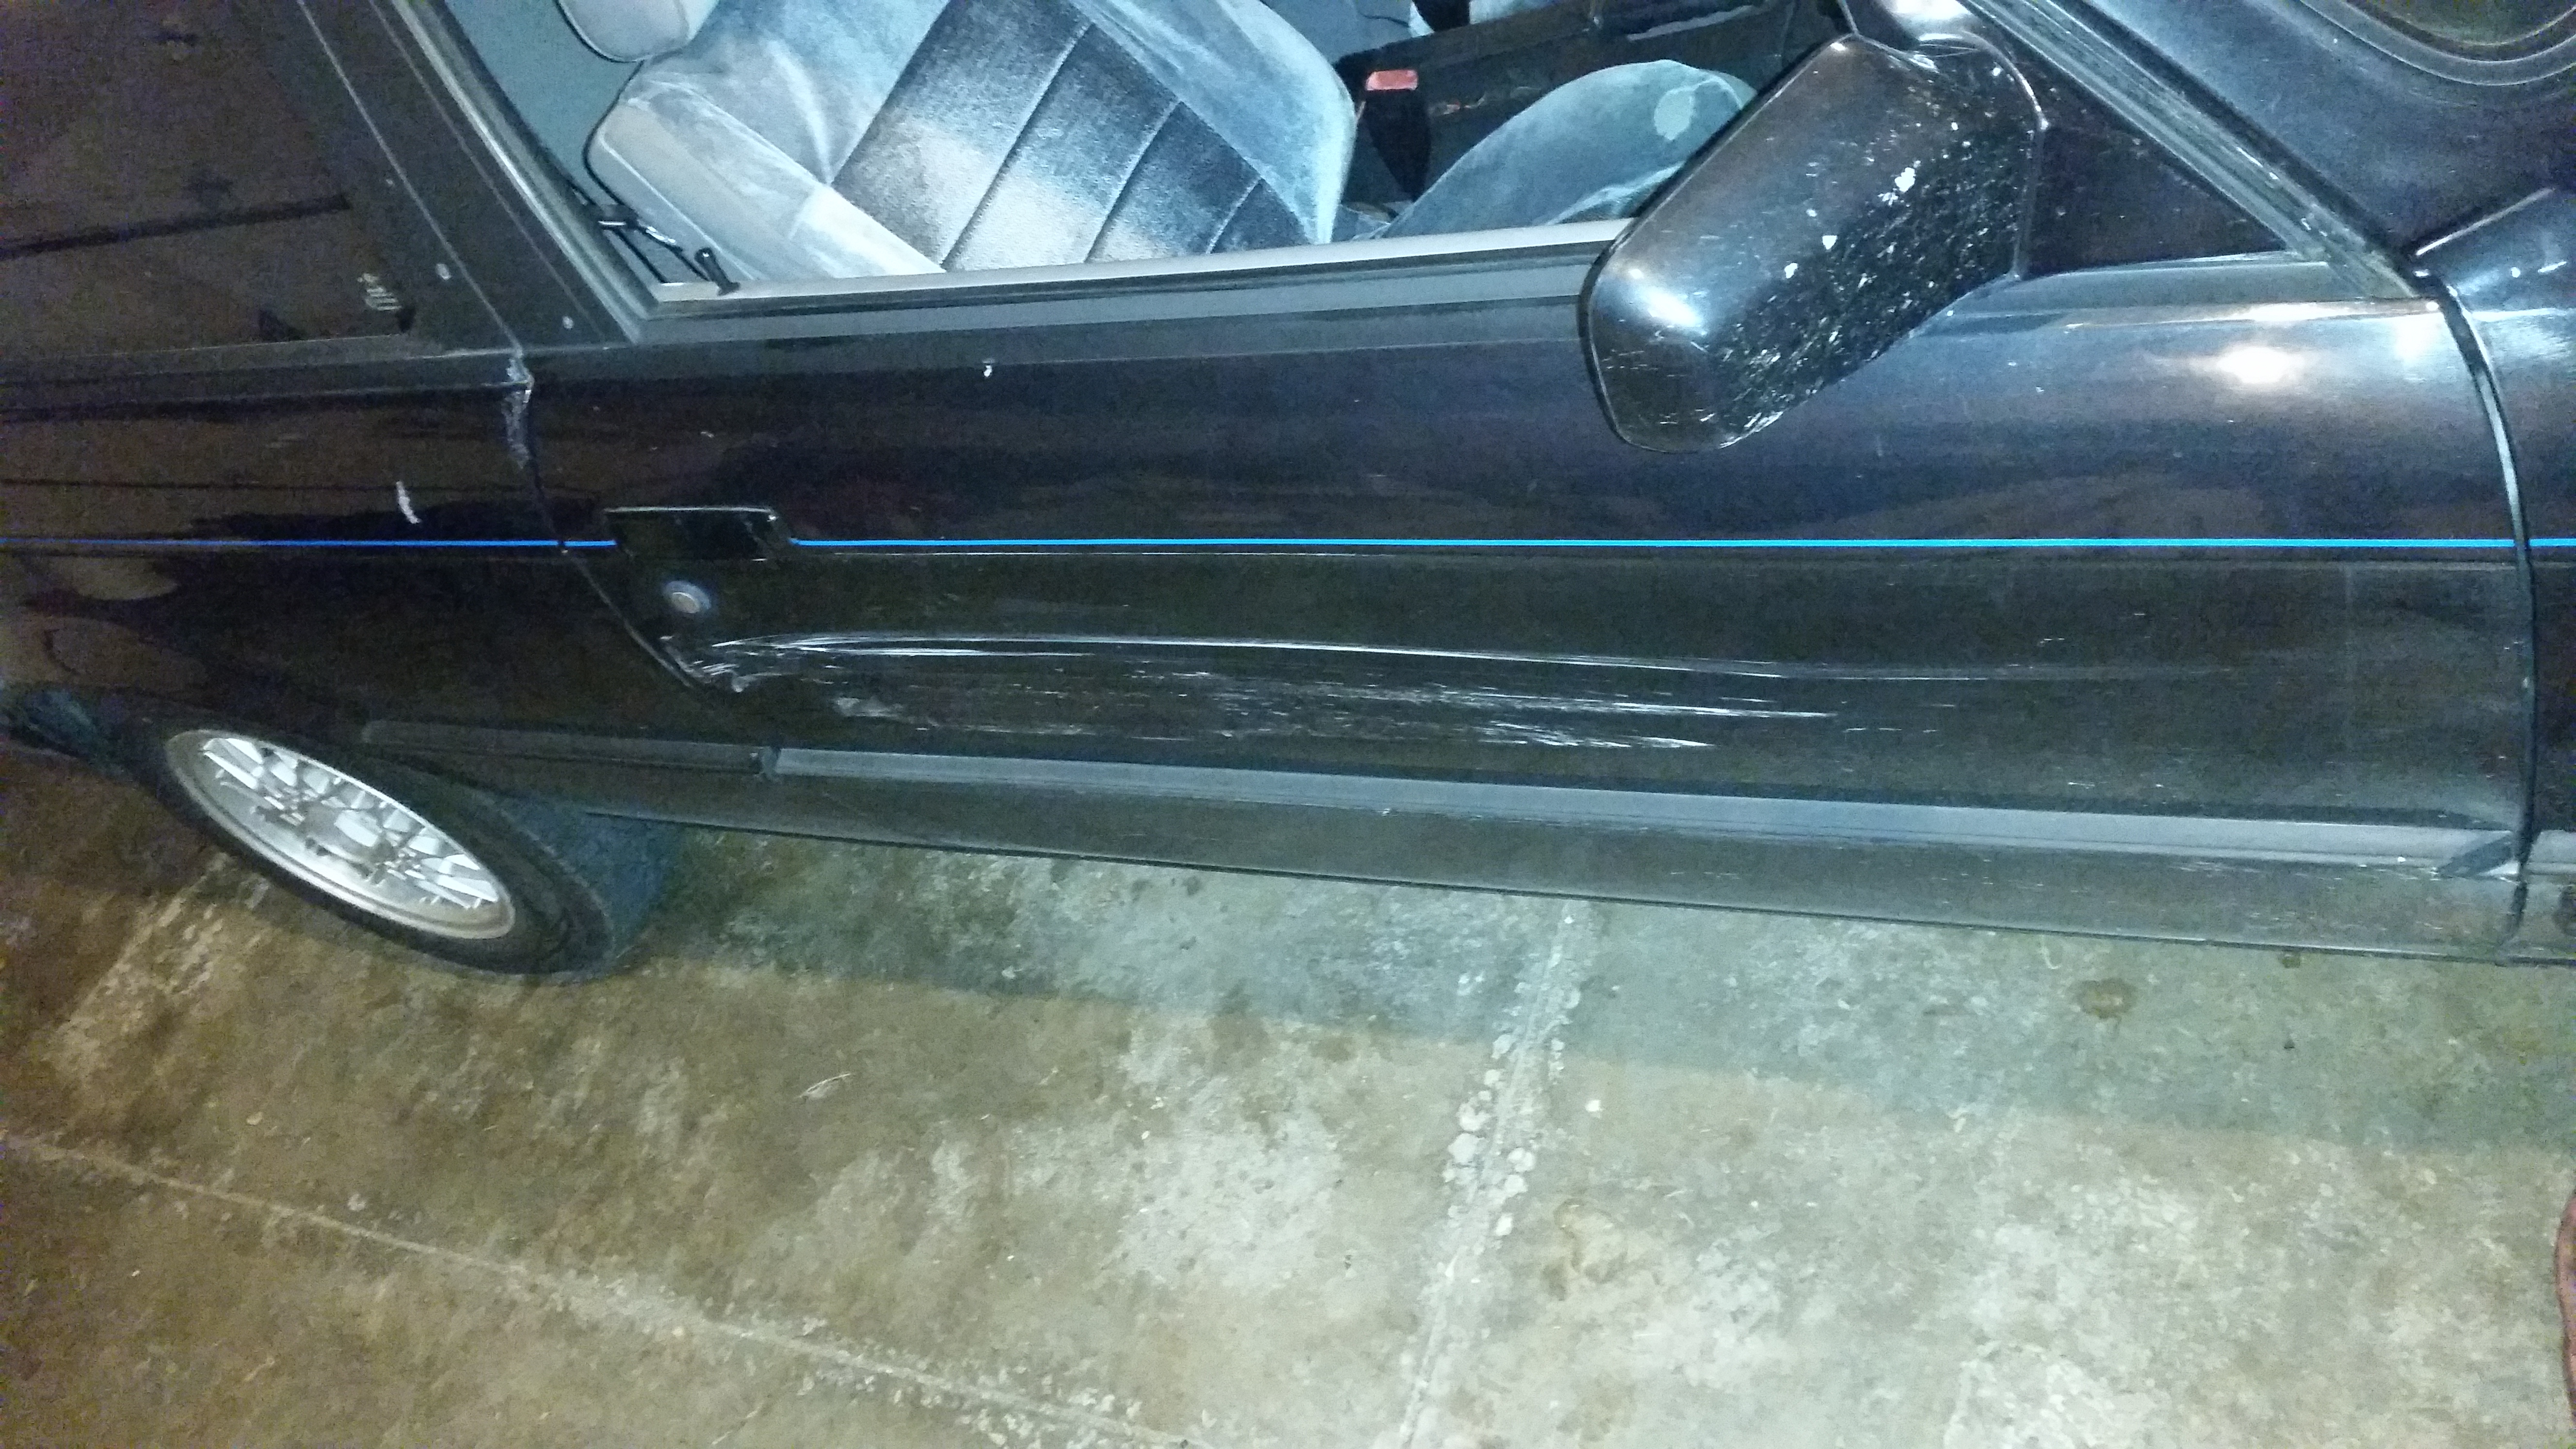
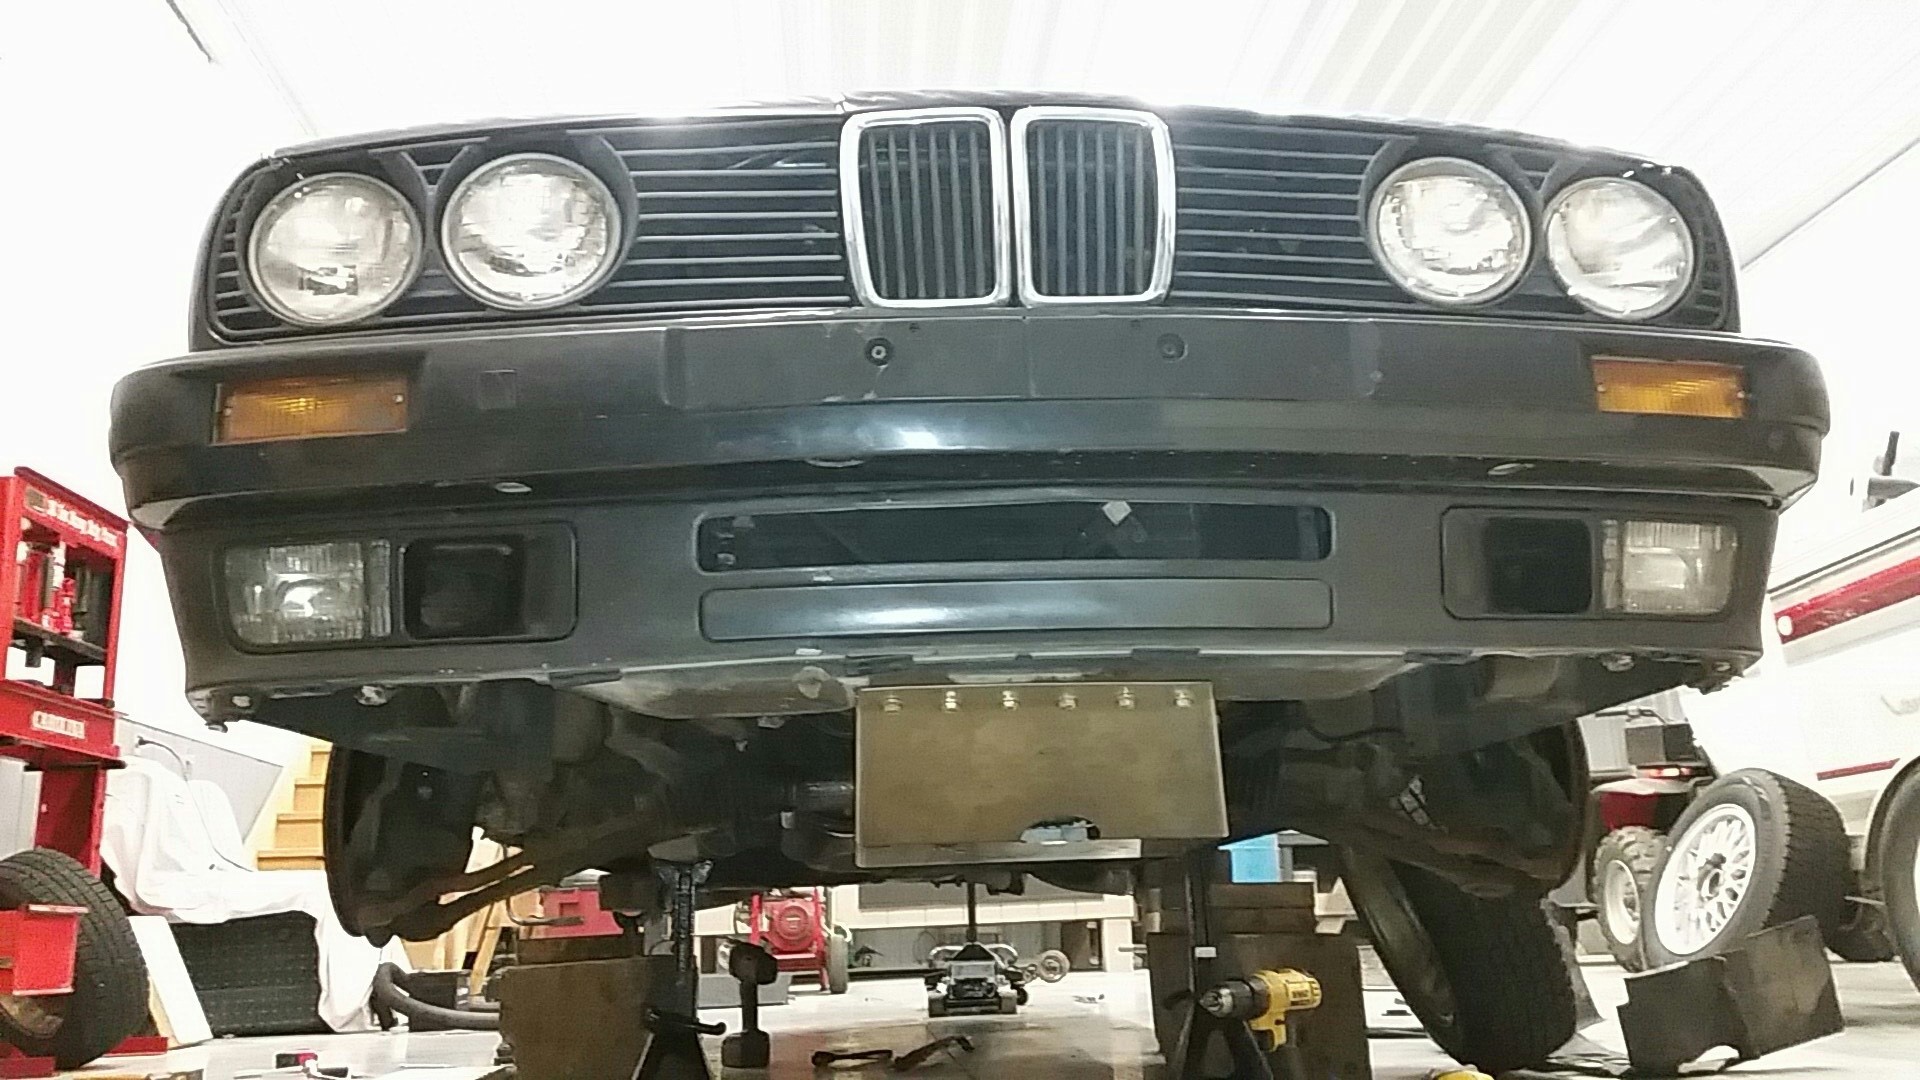
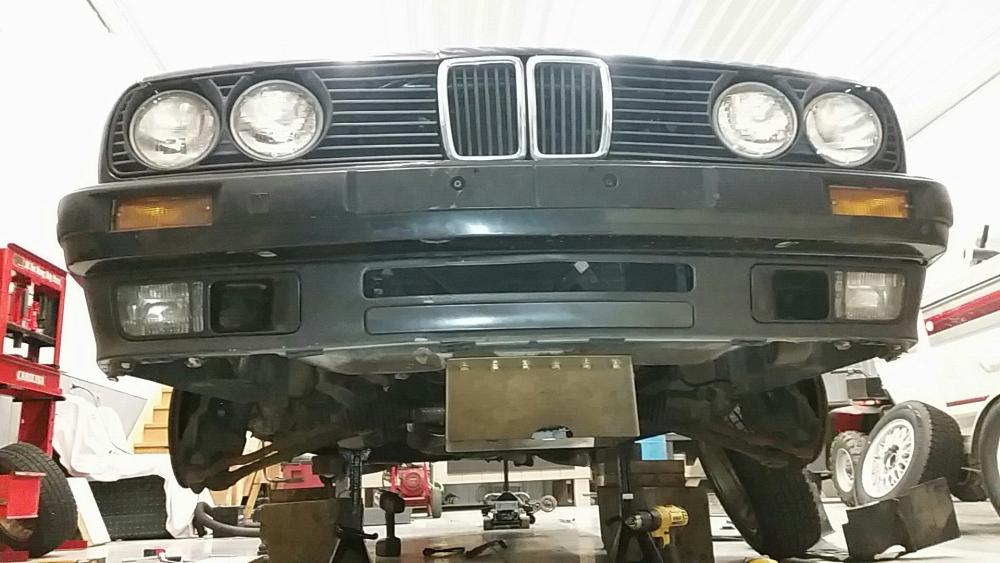
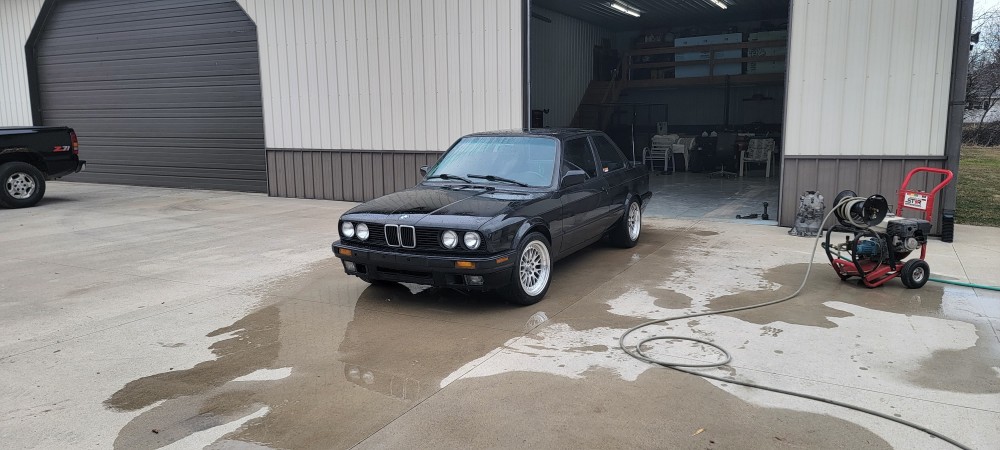
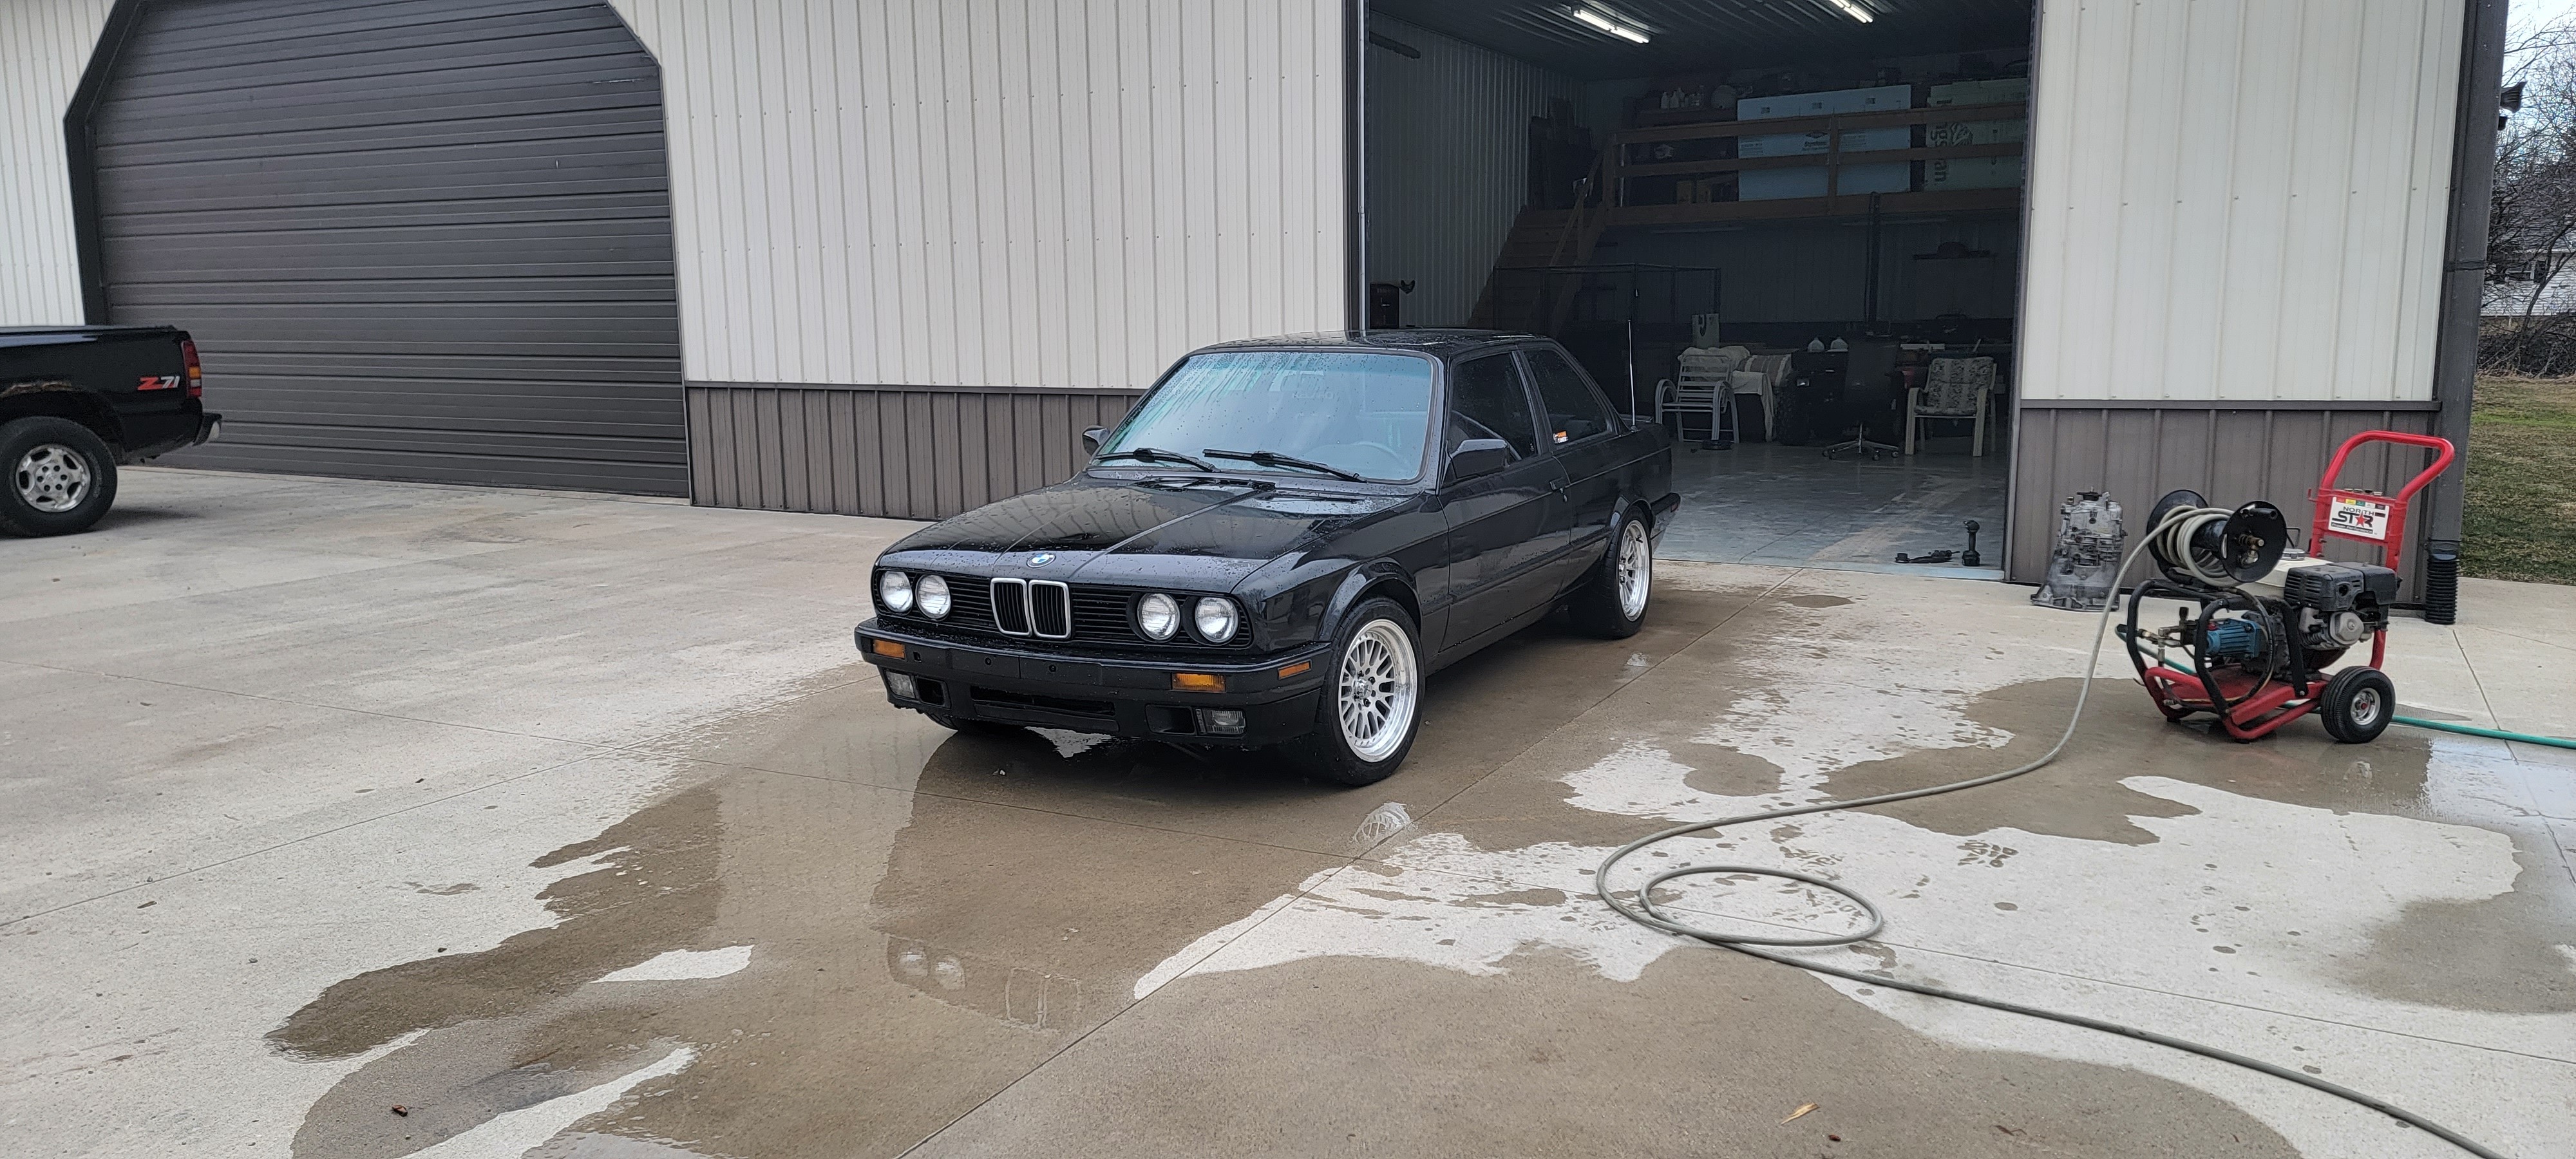
Well I reached the point where I figured it was time to roll the car into the shop. As any car that's been sitting in storage for a year it was quite dusty/dirty so I gave it a good spray down with the pressure washer before rolling it in.
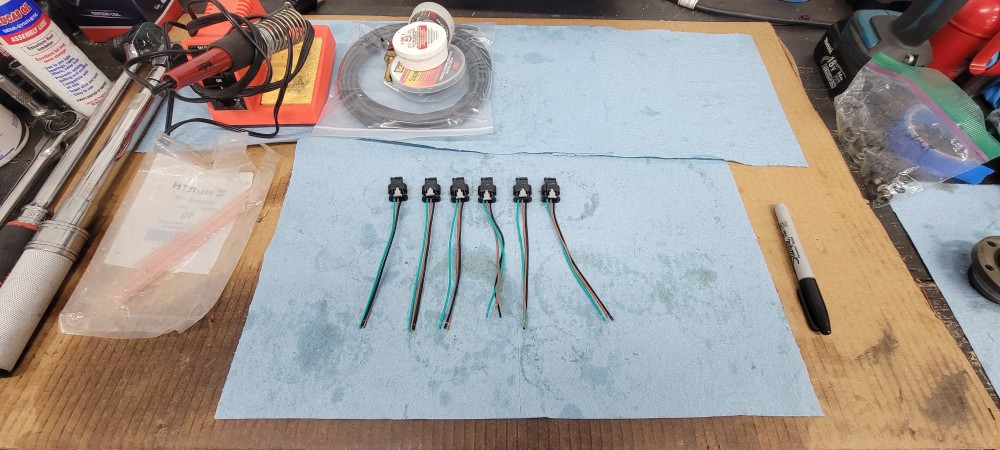
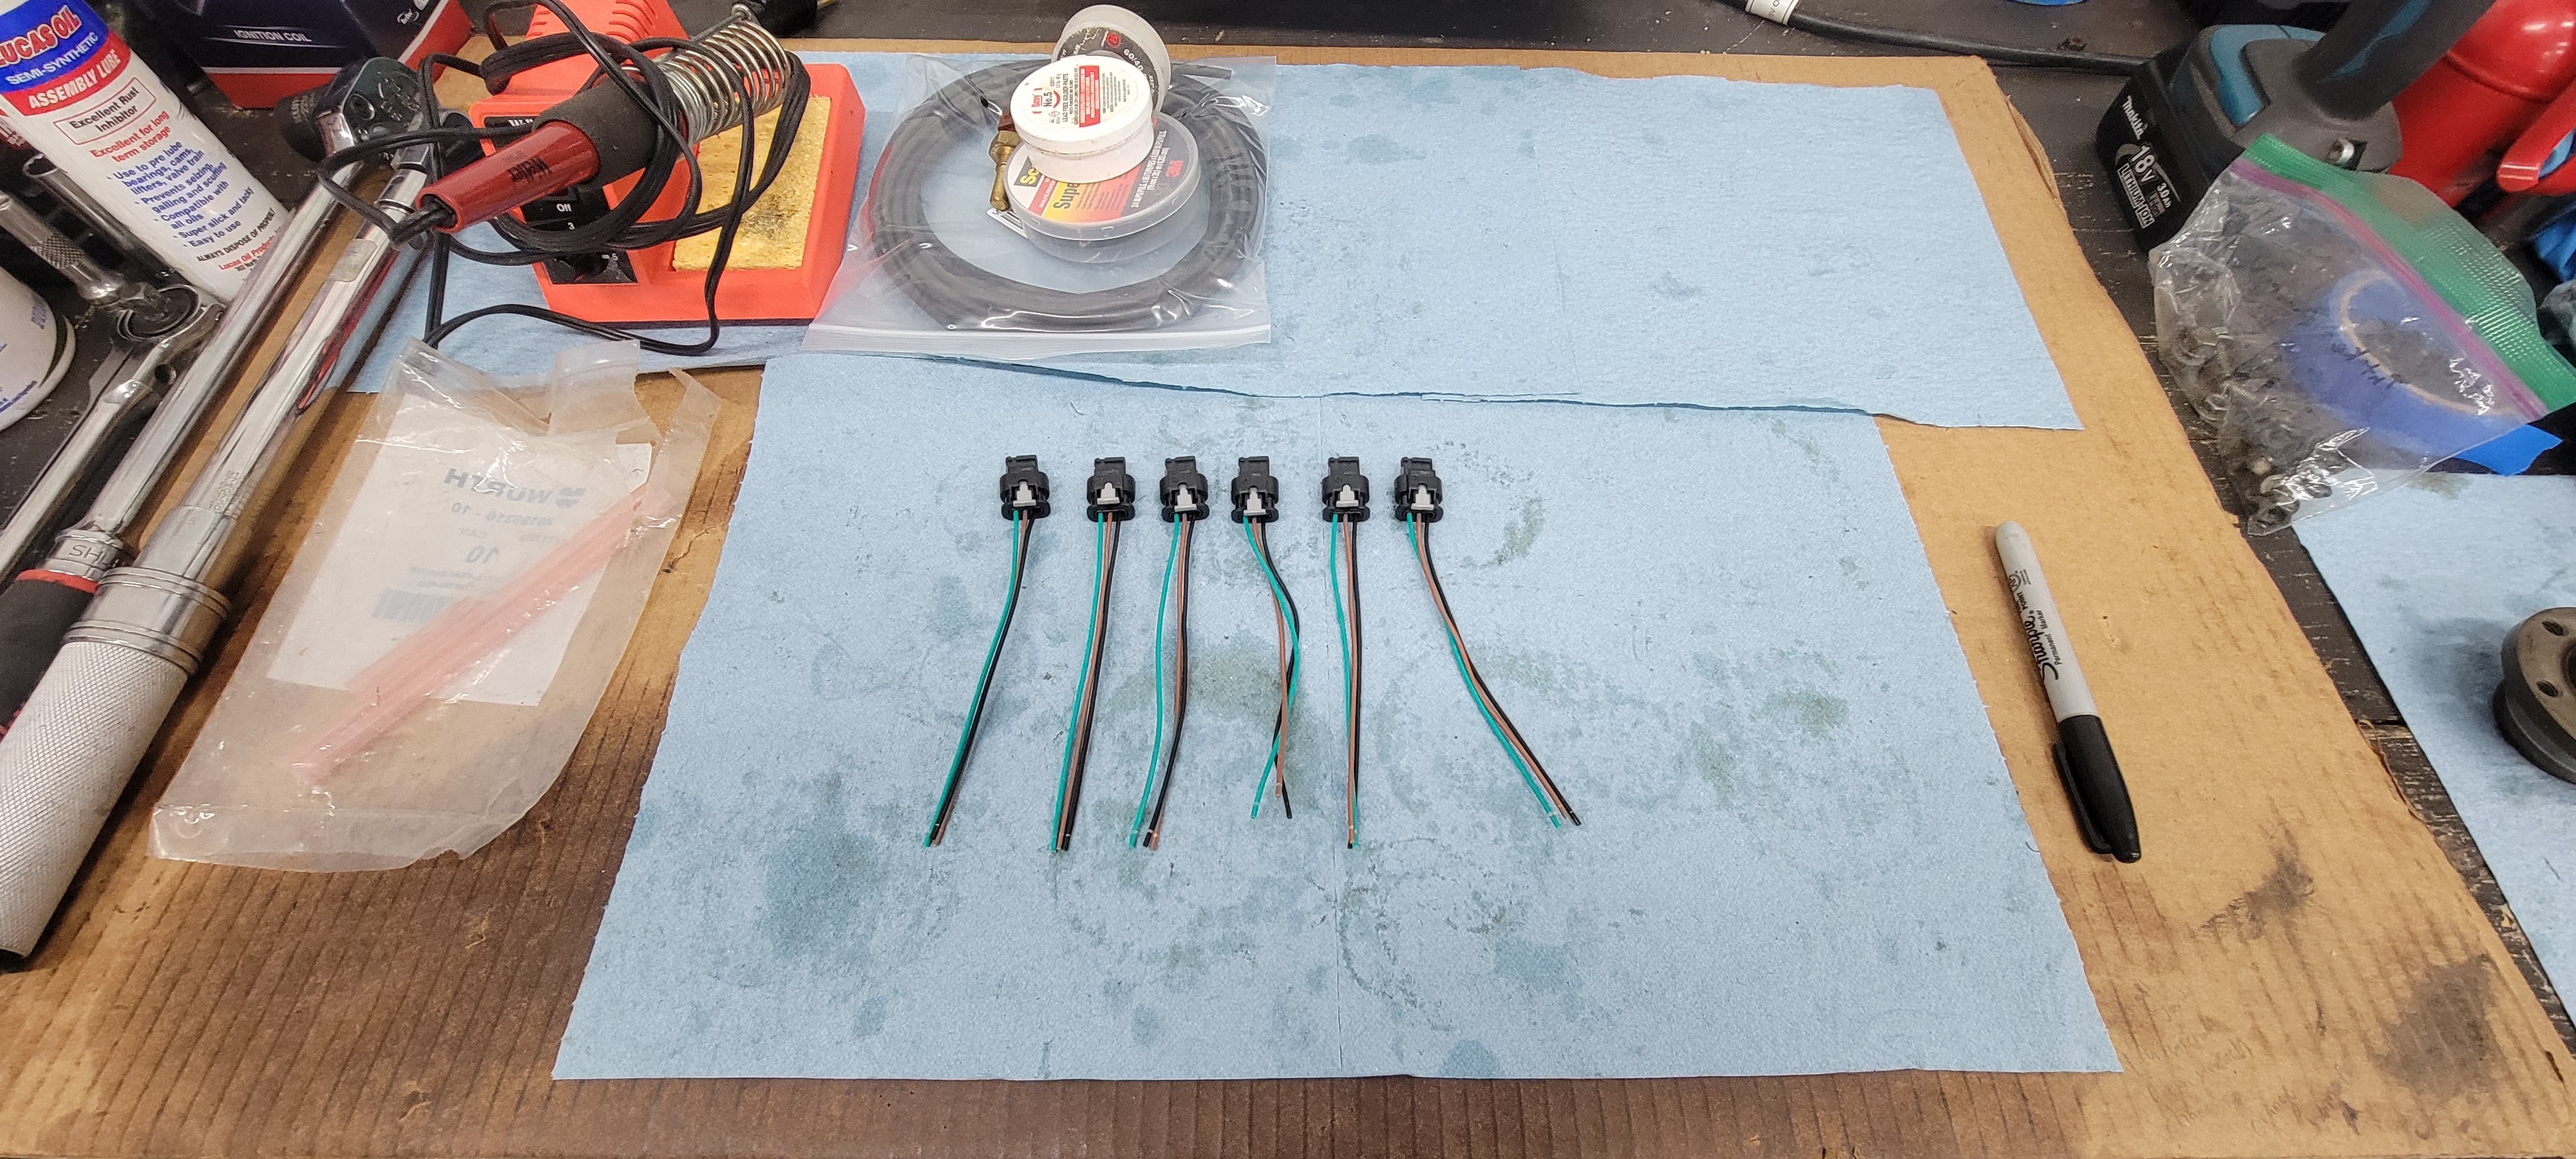
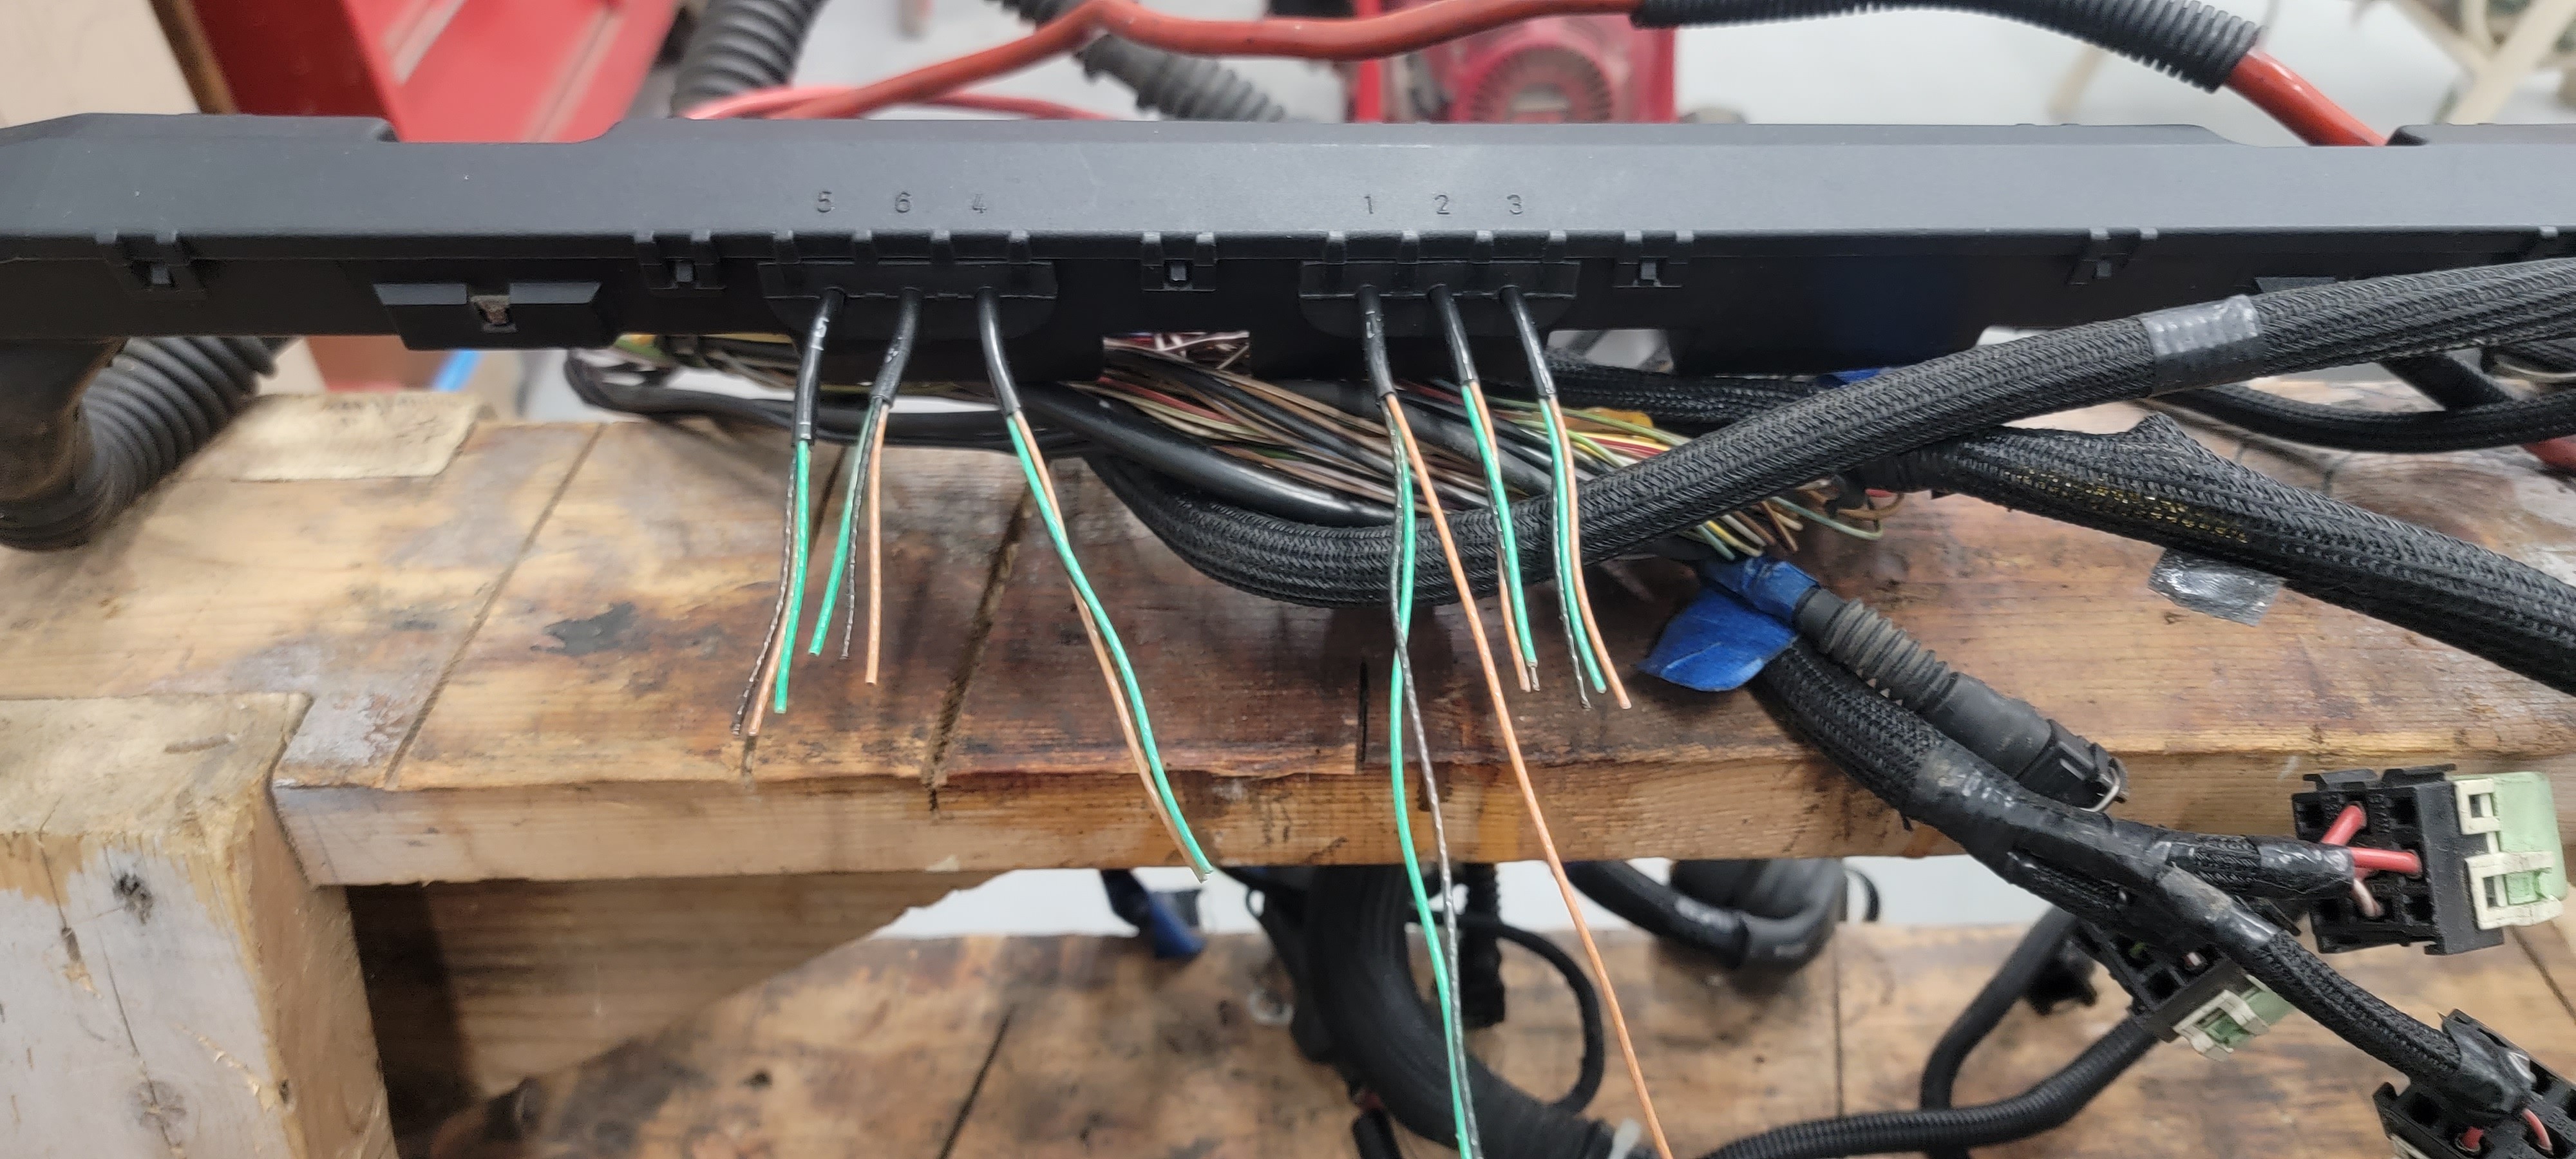
I dug into the re wiring required for the new coils. The pigtails sent with the swap brackets come with matching colored wires with the old connectors for the original coils so splicing them in was pretty straight forward.
Before cutting the old pigtails off I got that part of the harness laid out on the valve cover to see what I would need for lengths.
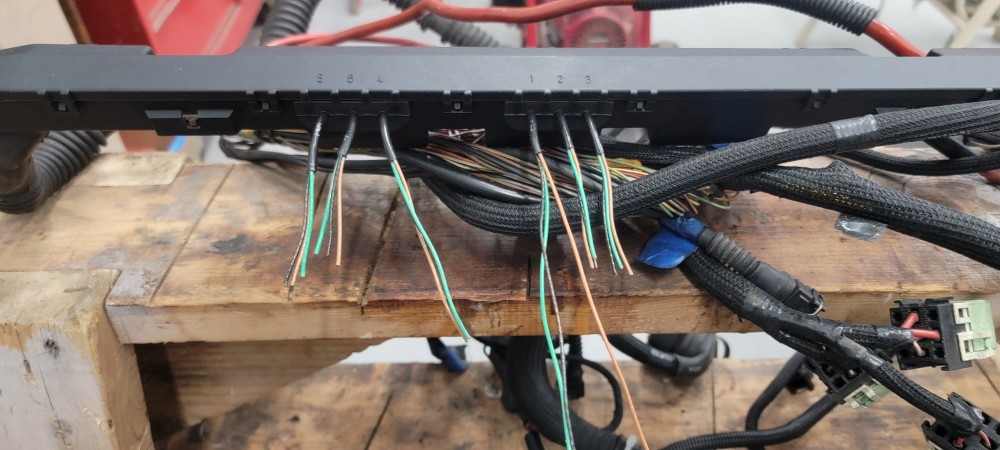
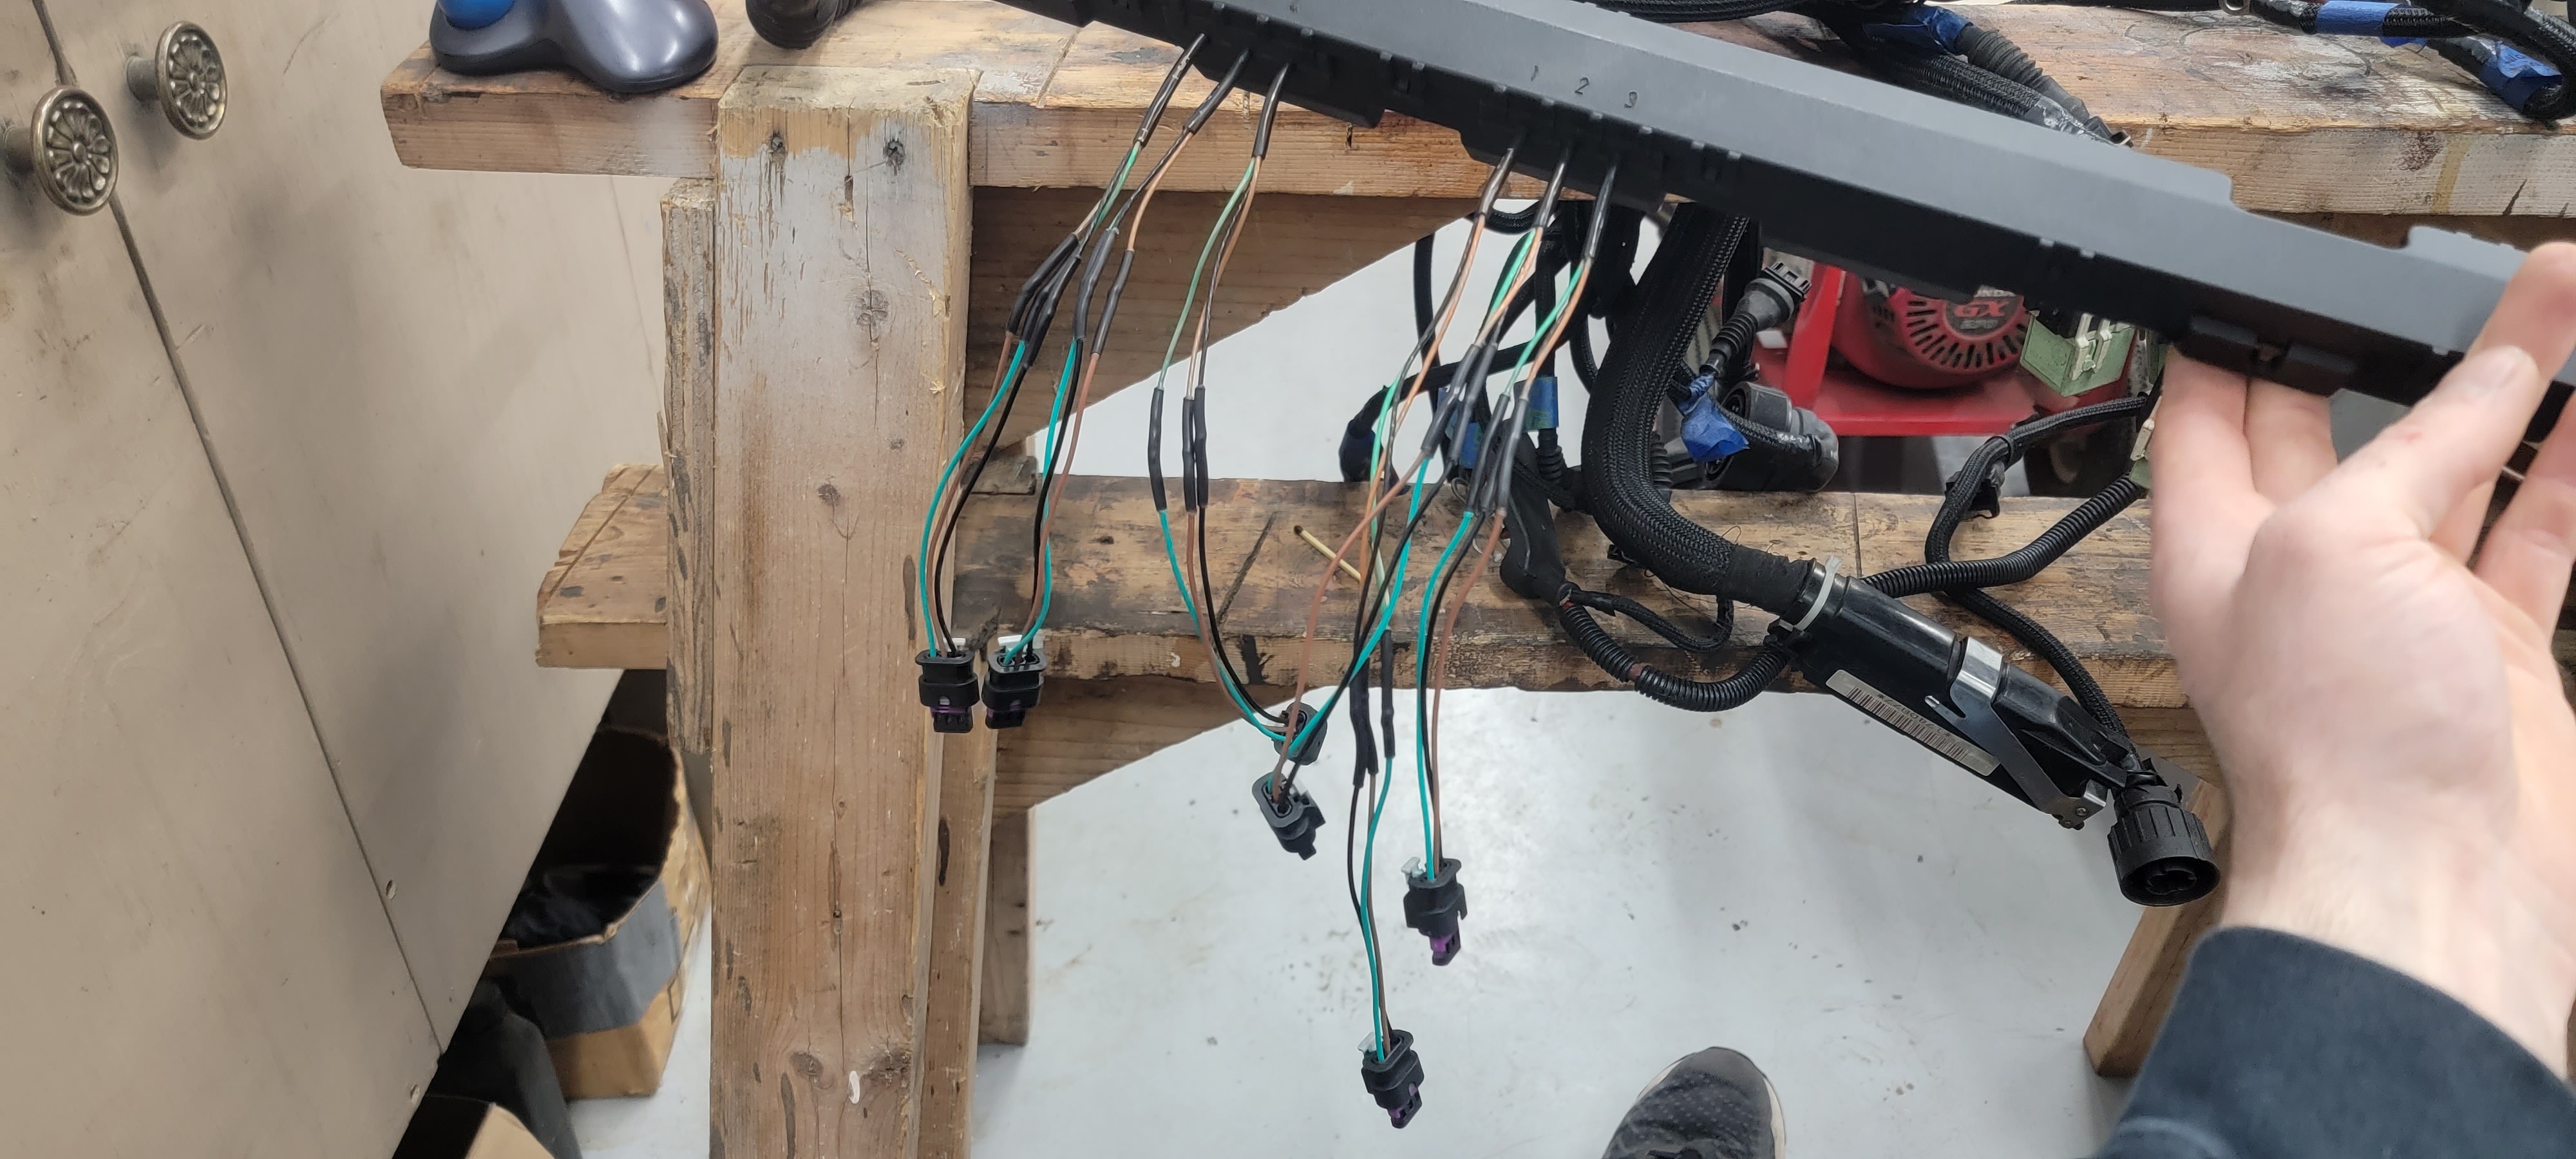
New pigtails soldered and heat shrank on
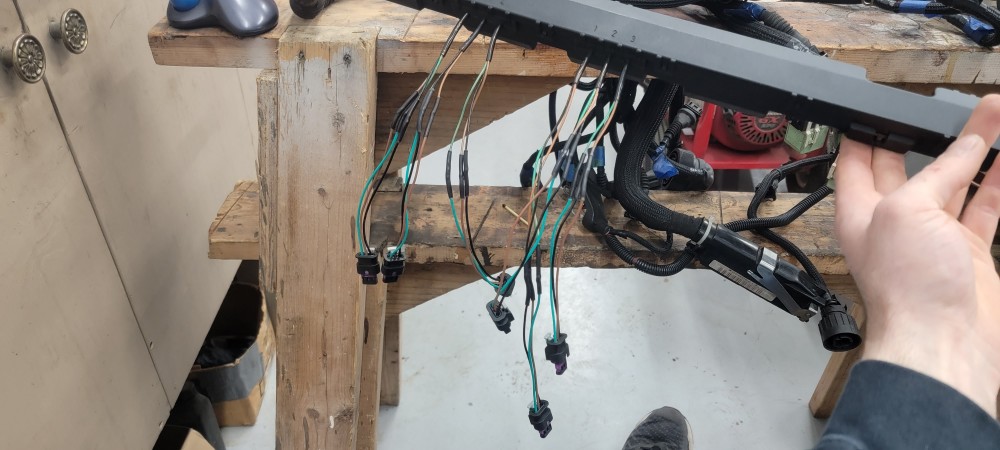
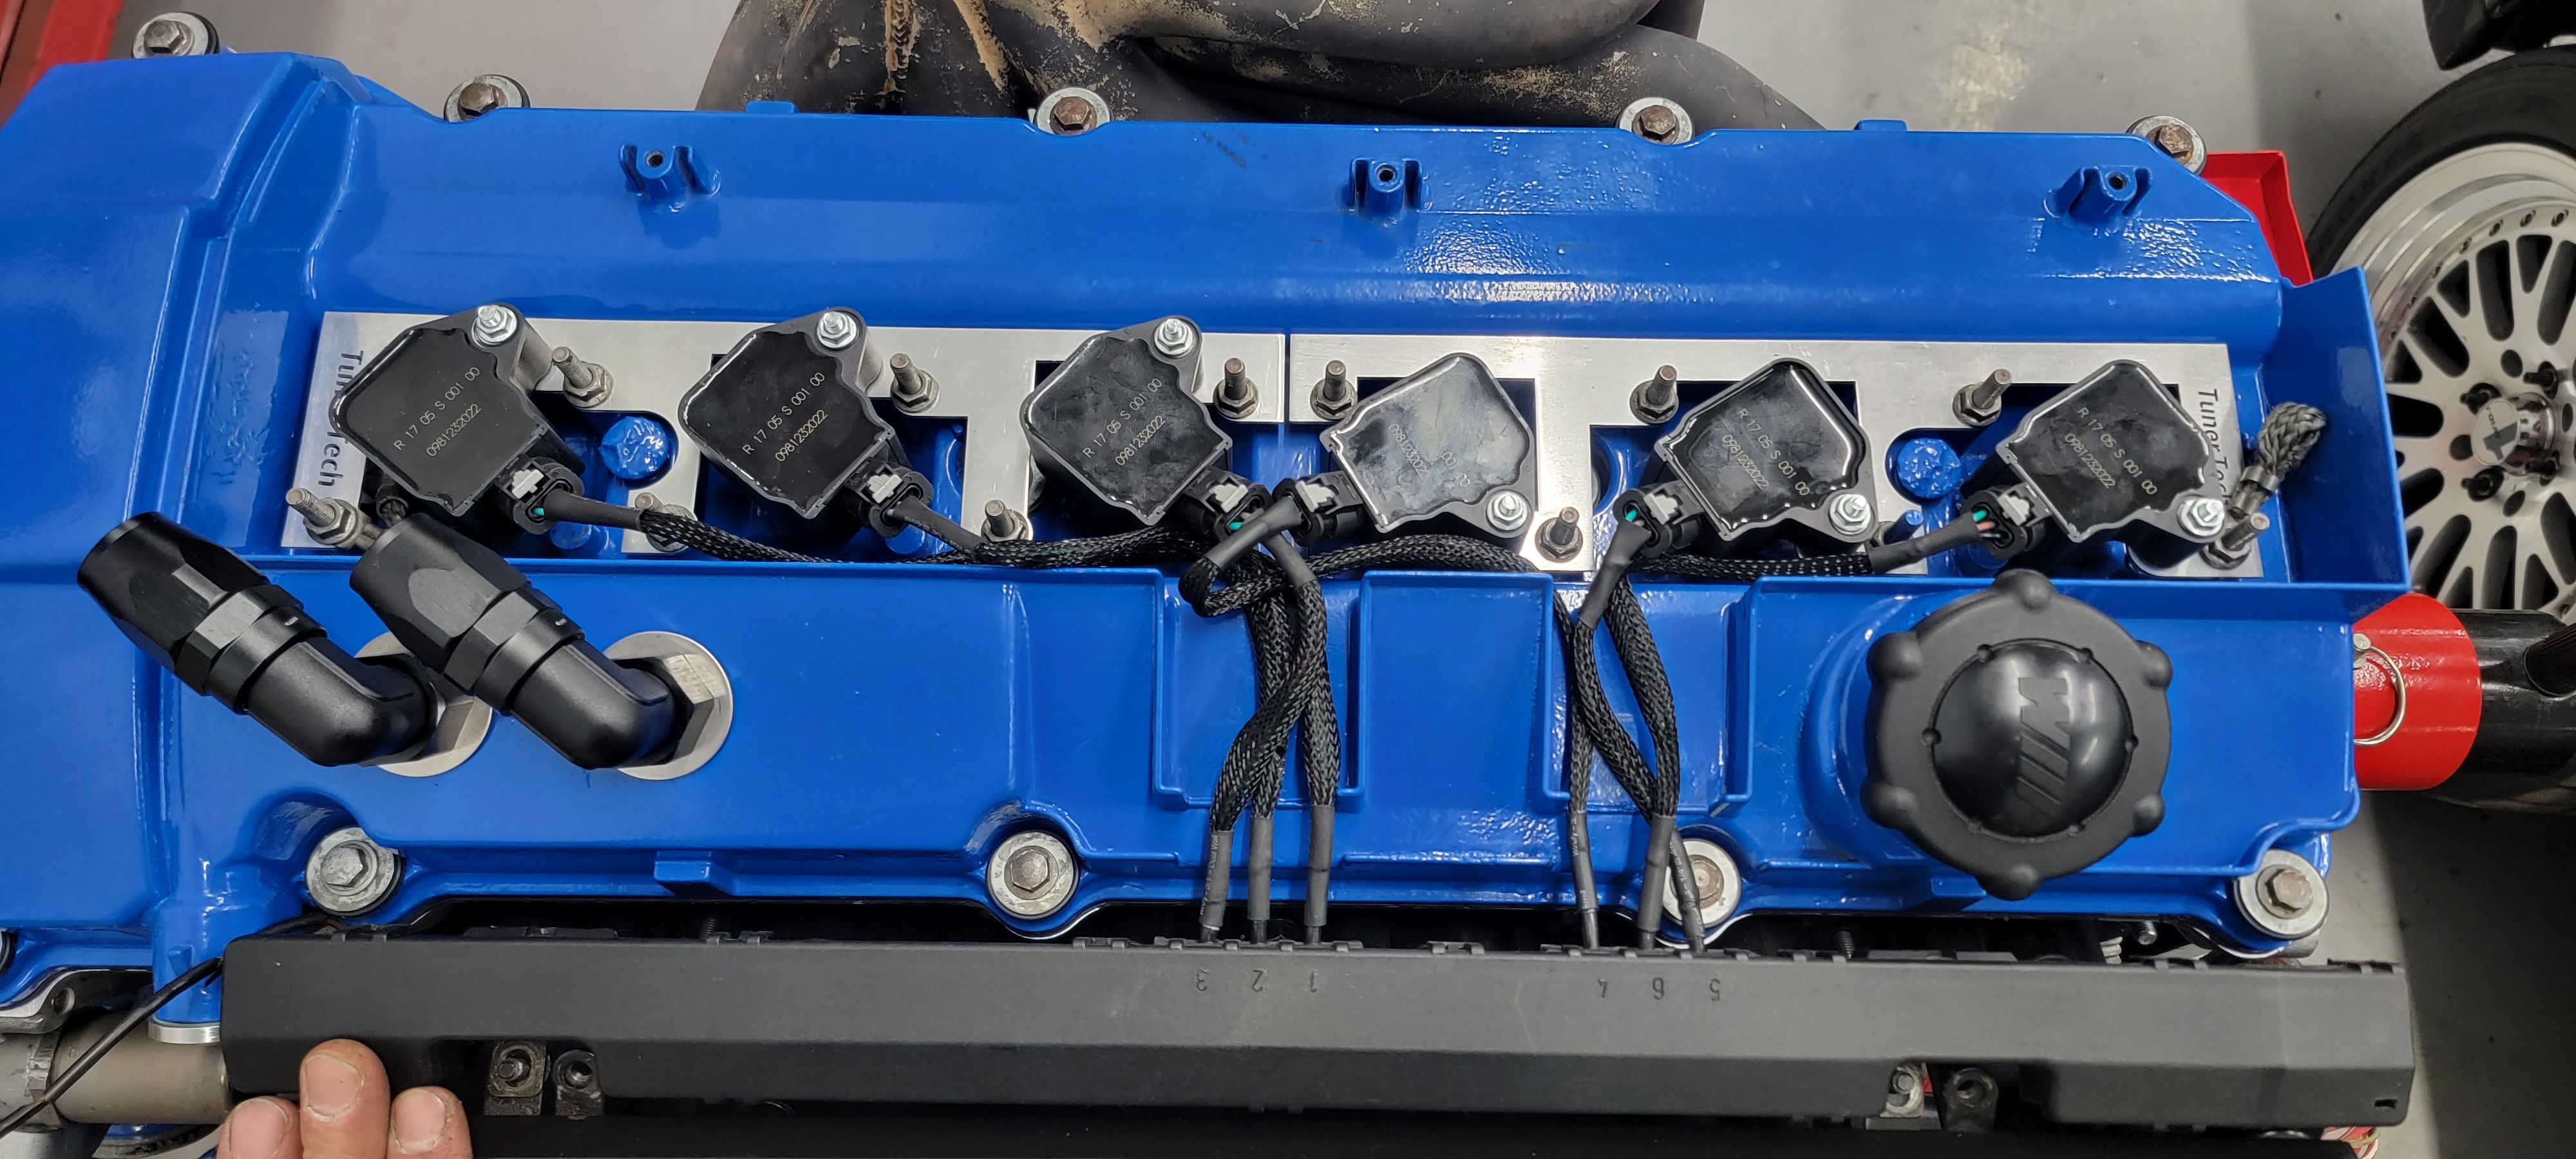
Ordered some 1/4 inch wire wrap with an assortment of shrink tube to clean everything up.
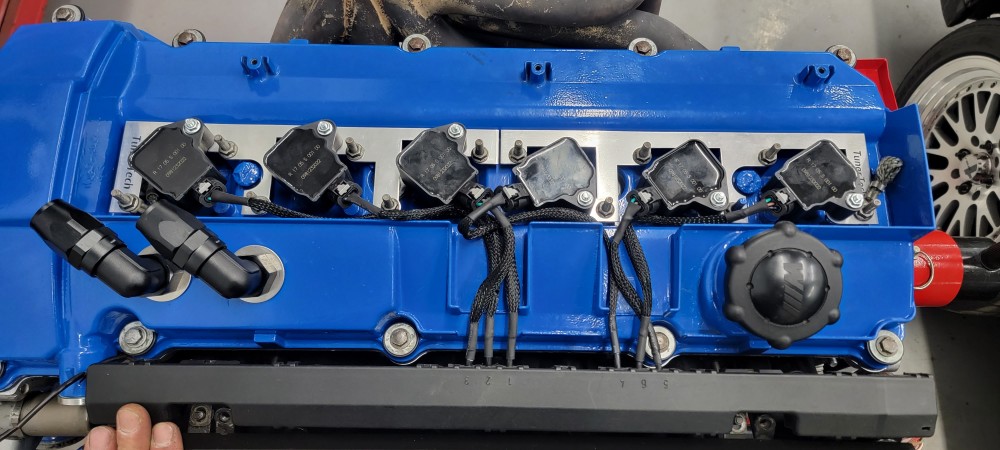
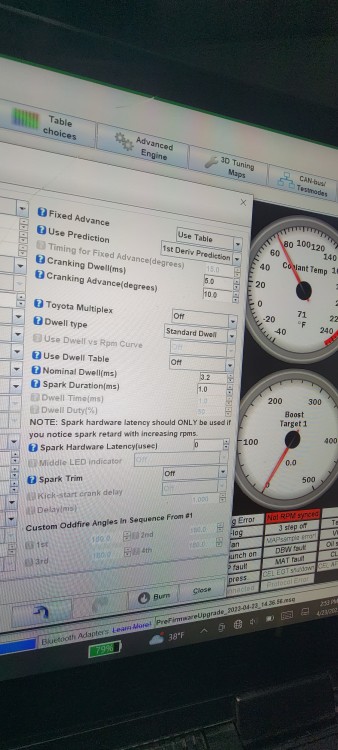
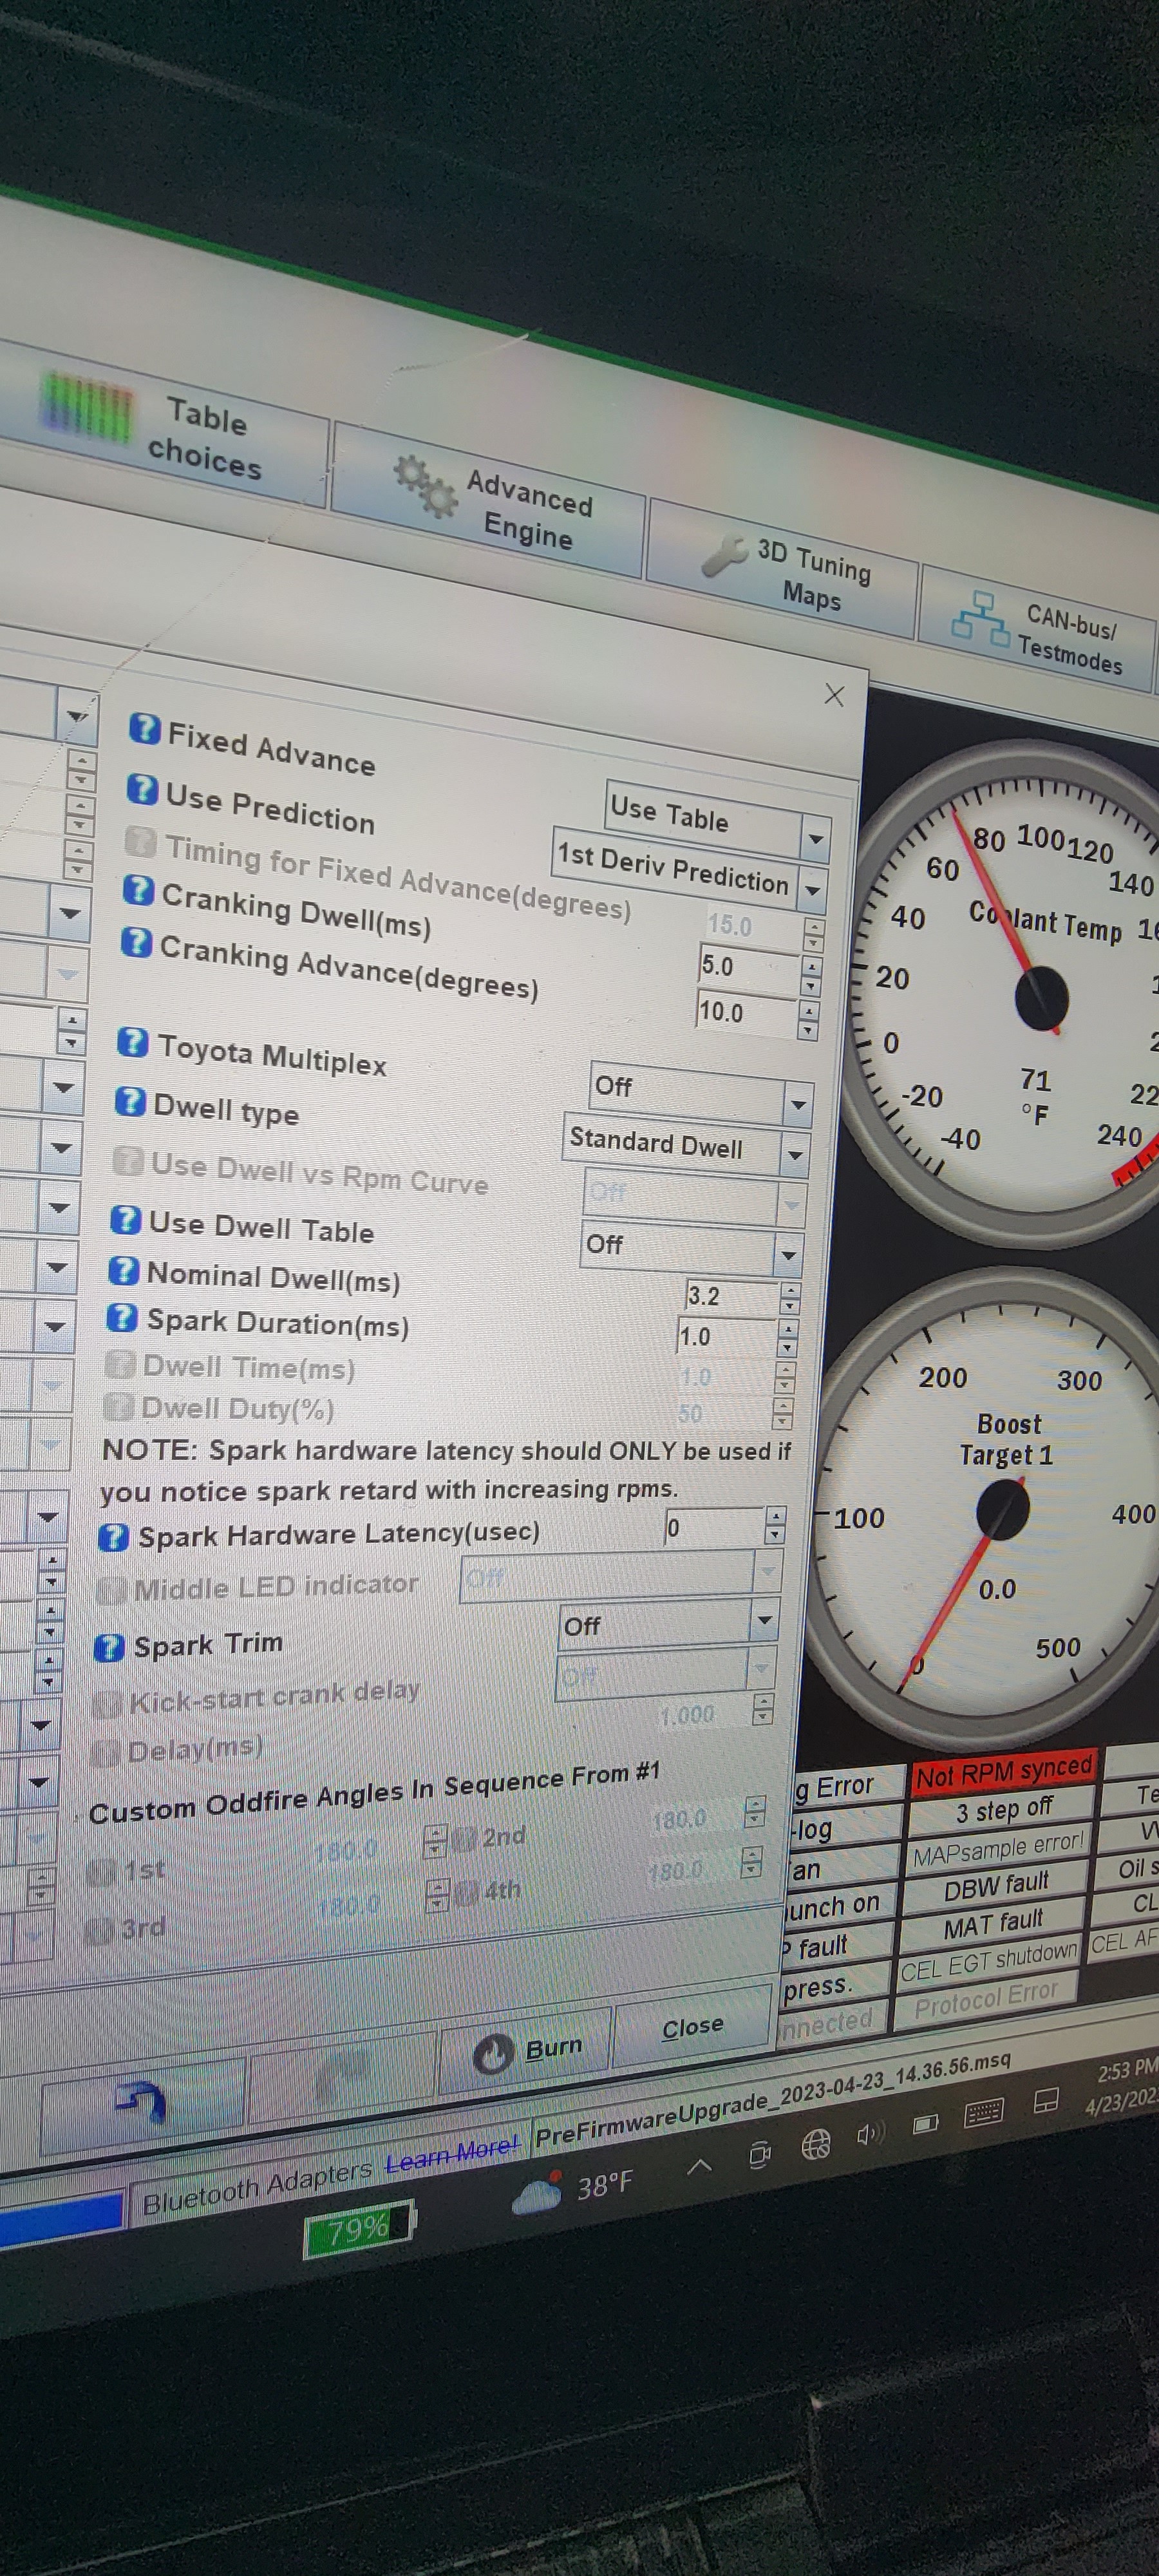
Only thing left is to adjust the dwell timing for the new coils in tuner-studio.
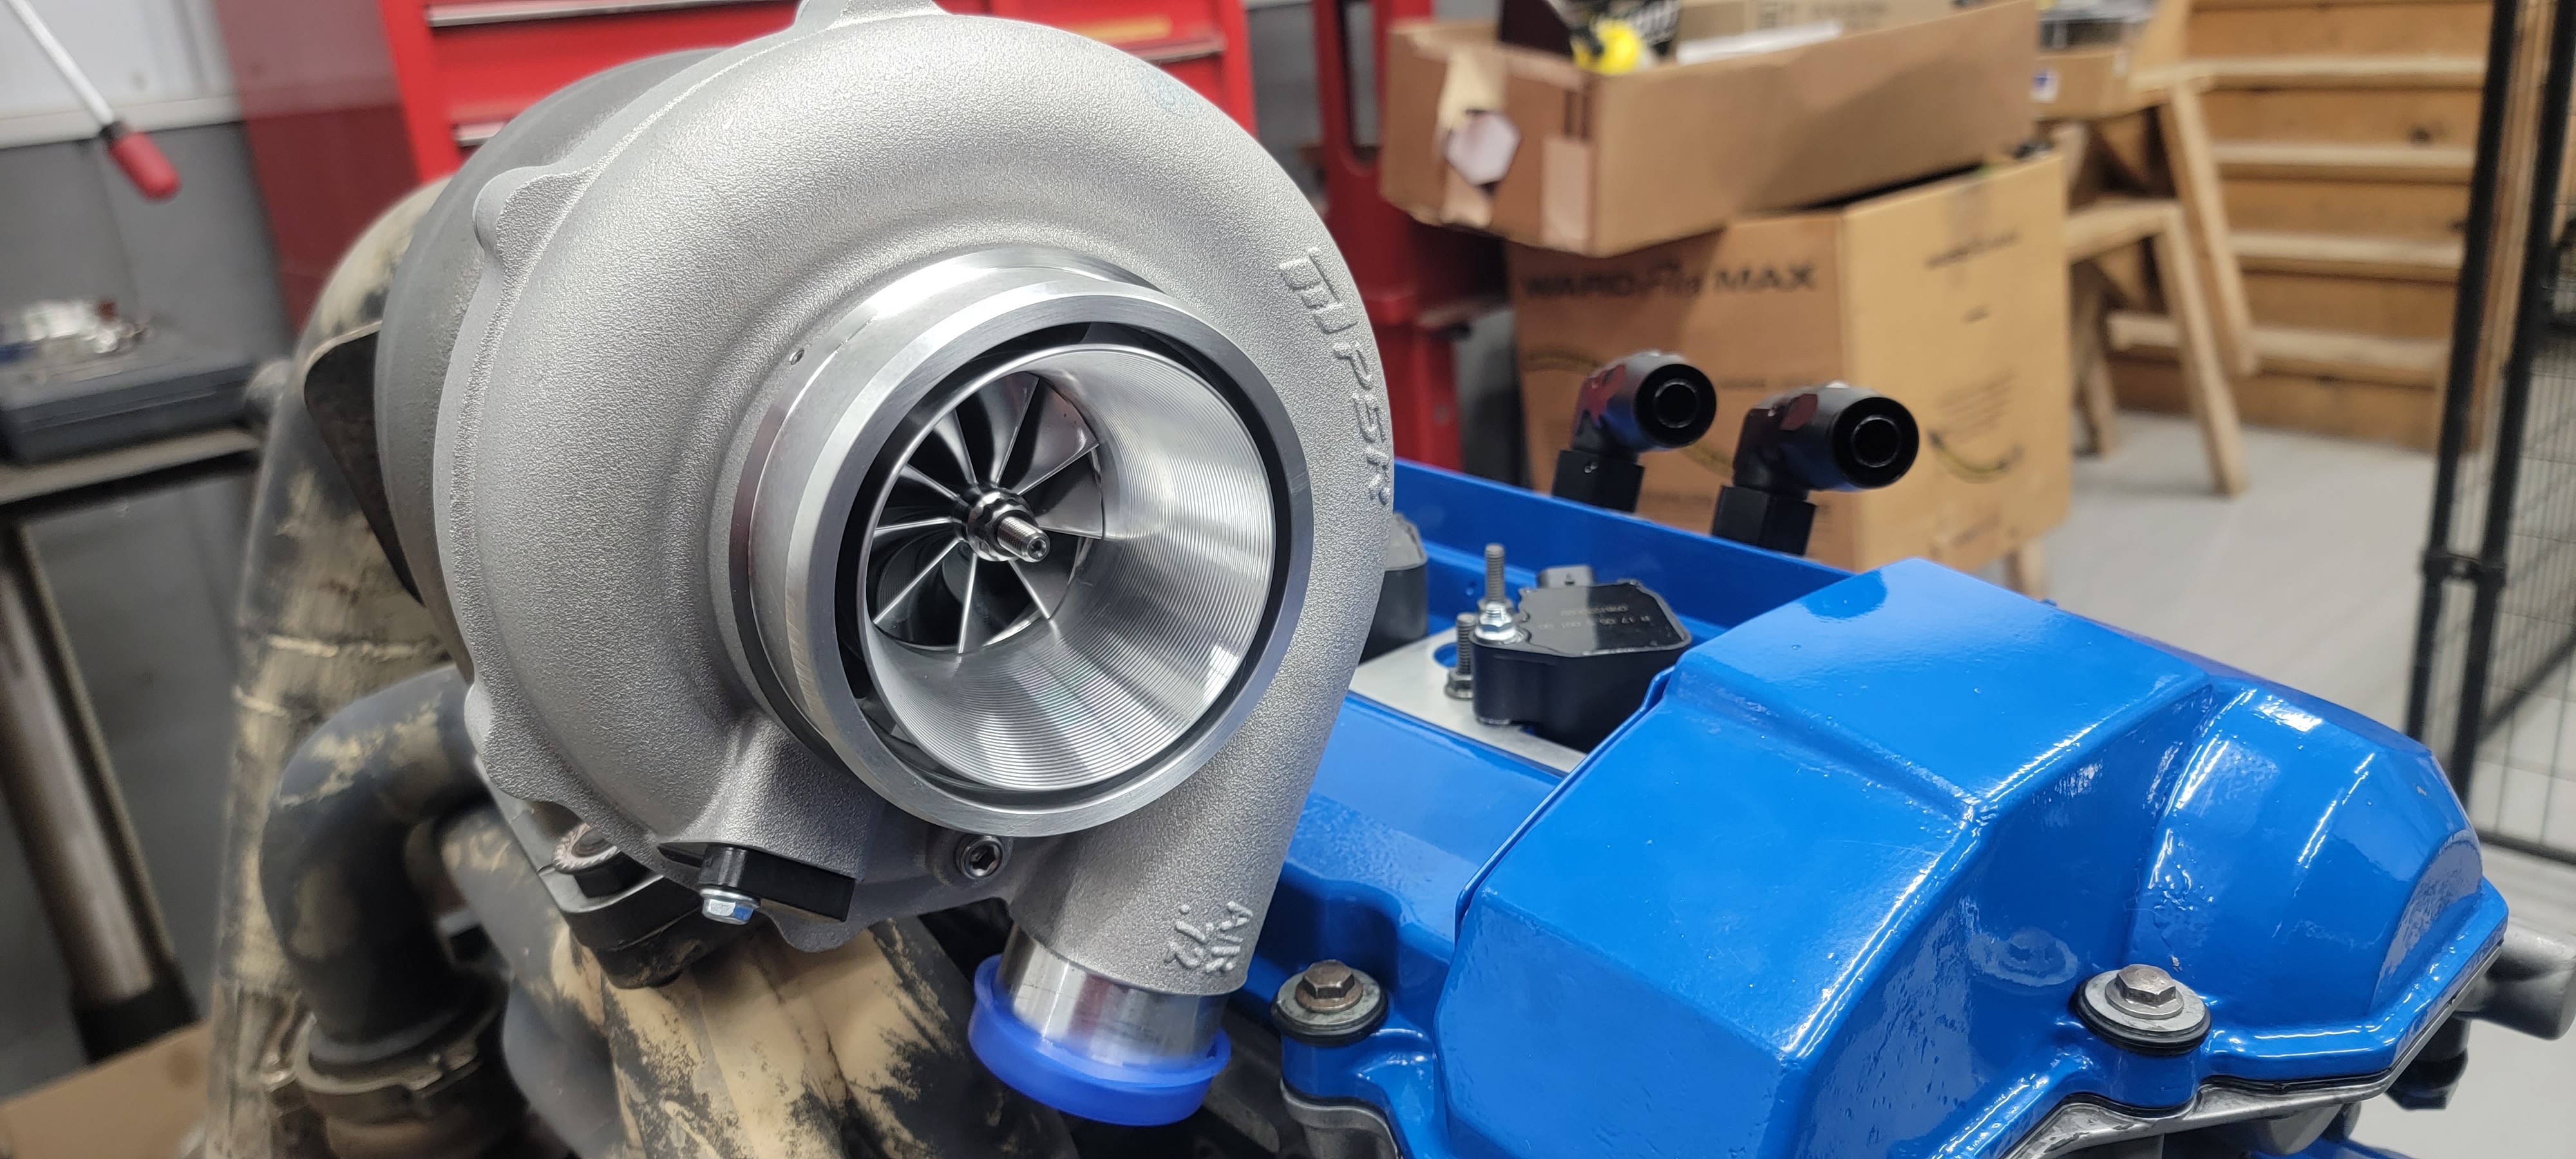
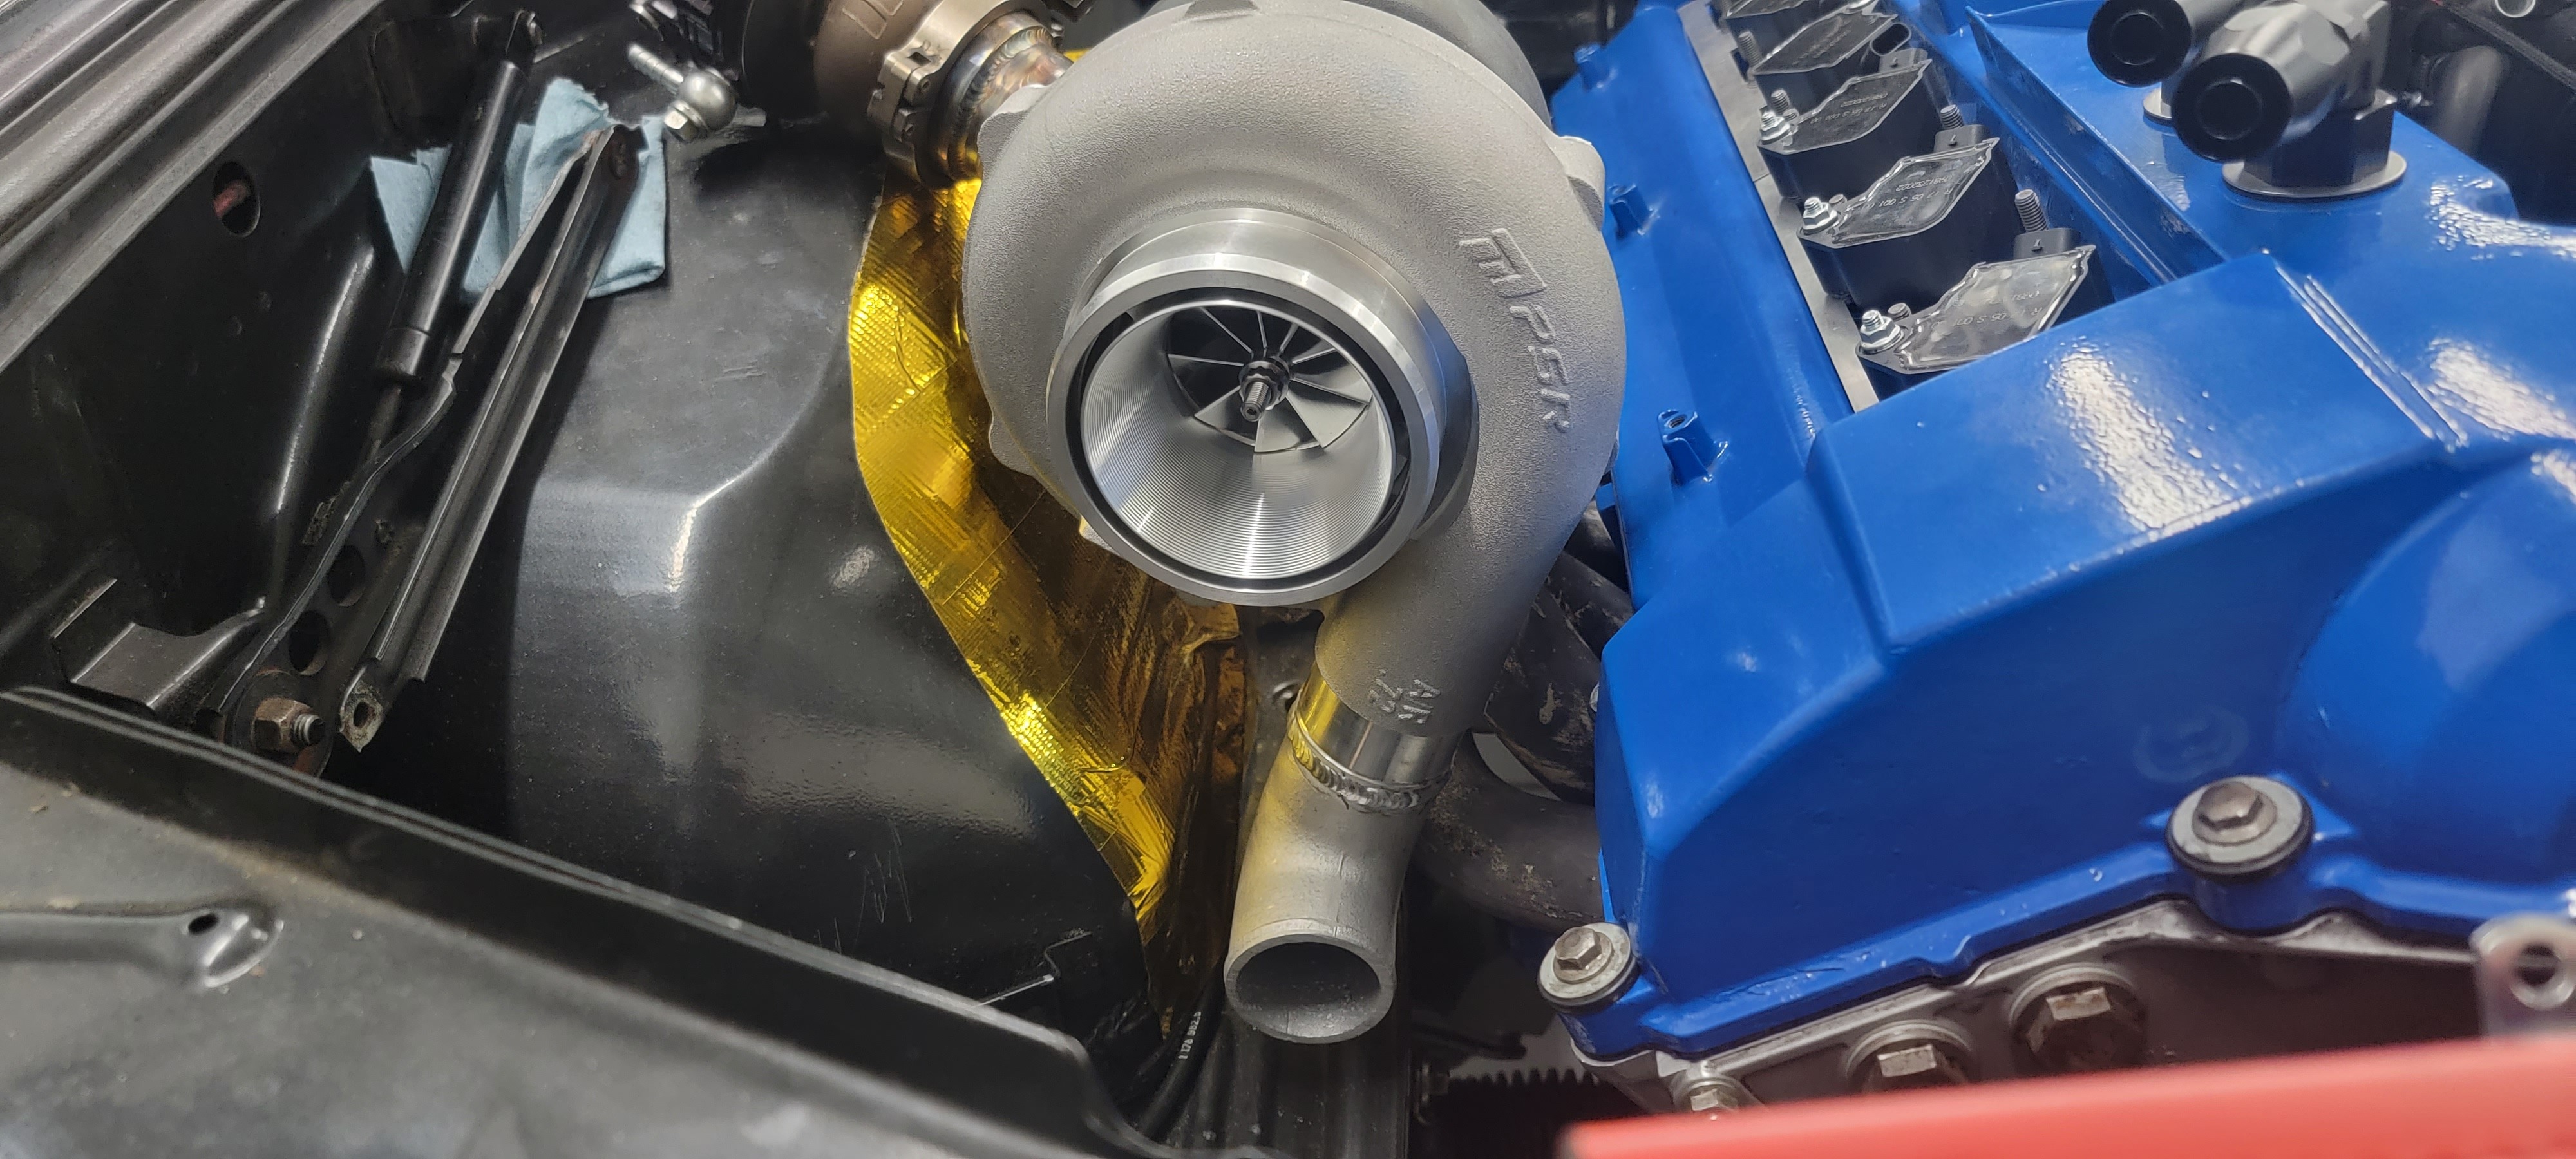
On to the next big task. So I decided it was time to move on from the holset and get something that would give me a bit more flow and better response. After spending a lot of time researching options and what would fit my setup best I landed on going with a PSR5855G from pulsar. It is essentially a clone of a Garrett G30-770. Now typically for this motor, this size turbo would be a bit on the small side but being that I don't plan to surpass 500 whp with this car I figured it would be perfect. I also had them do the t51r mod to the compressor housing right away. Looking forward to the added turbo sounds that will bring.
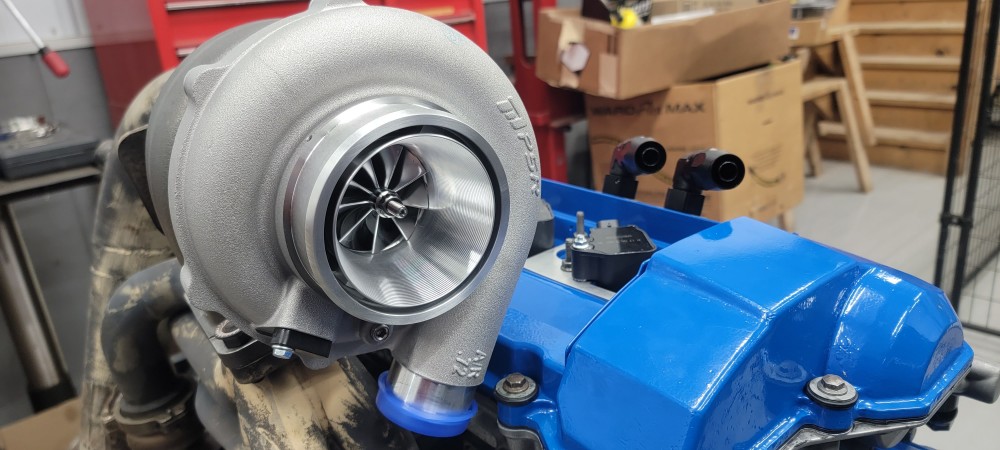
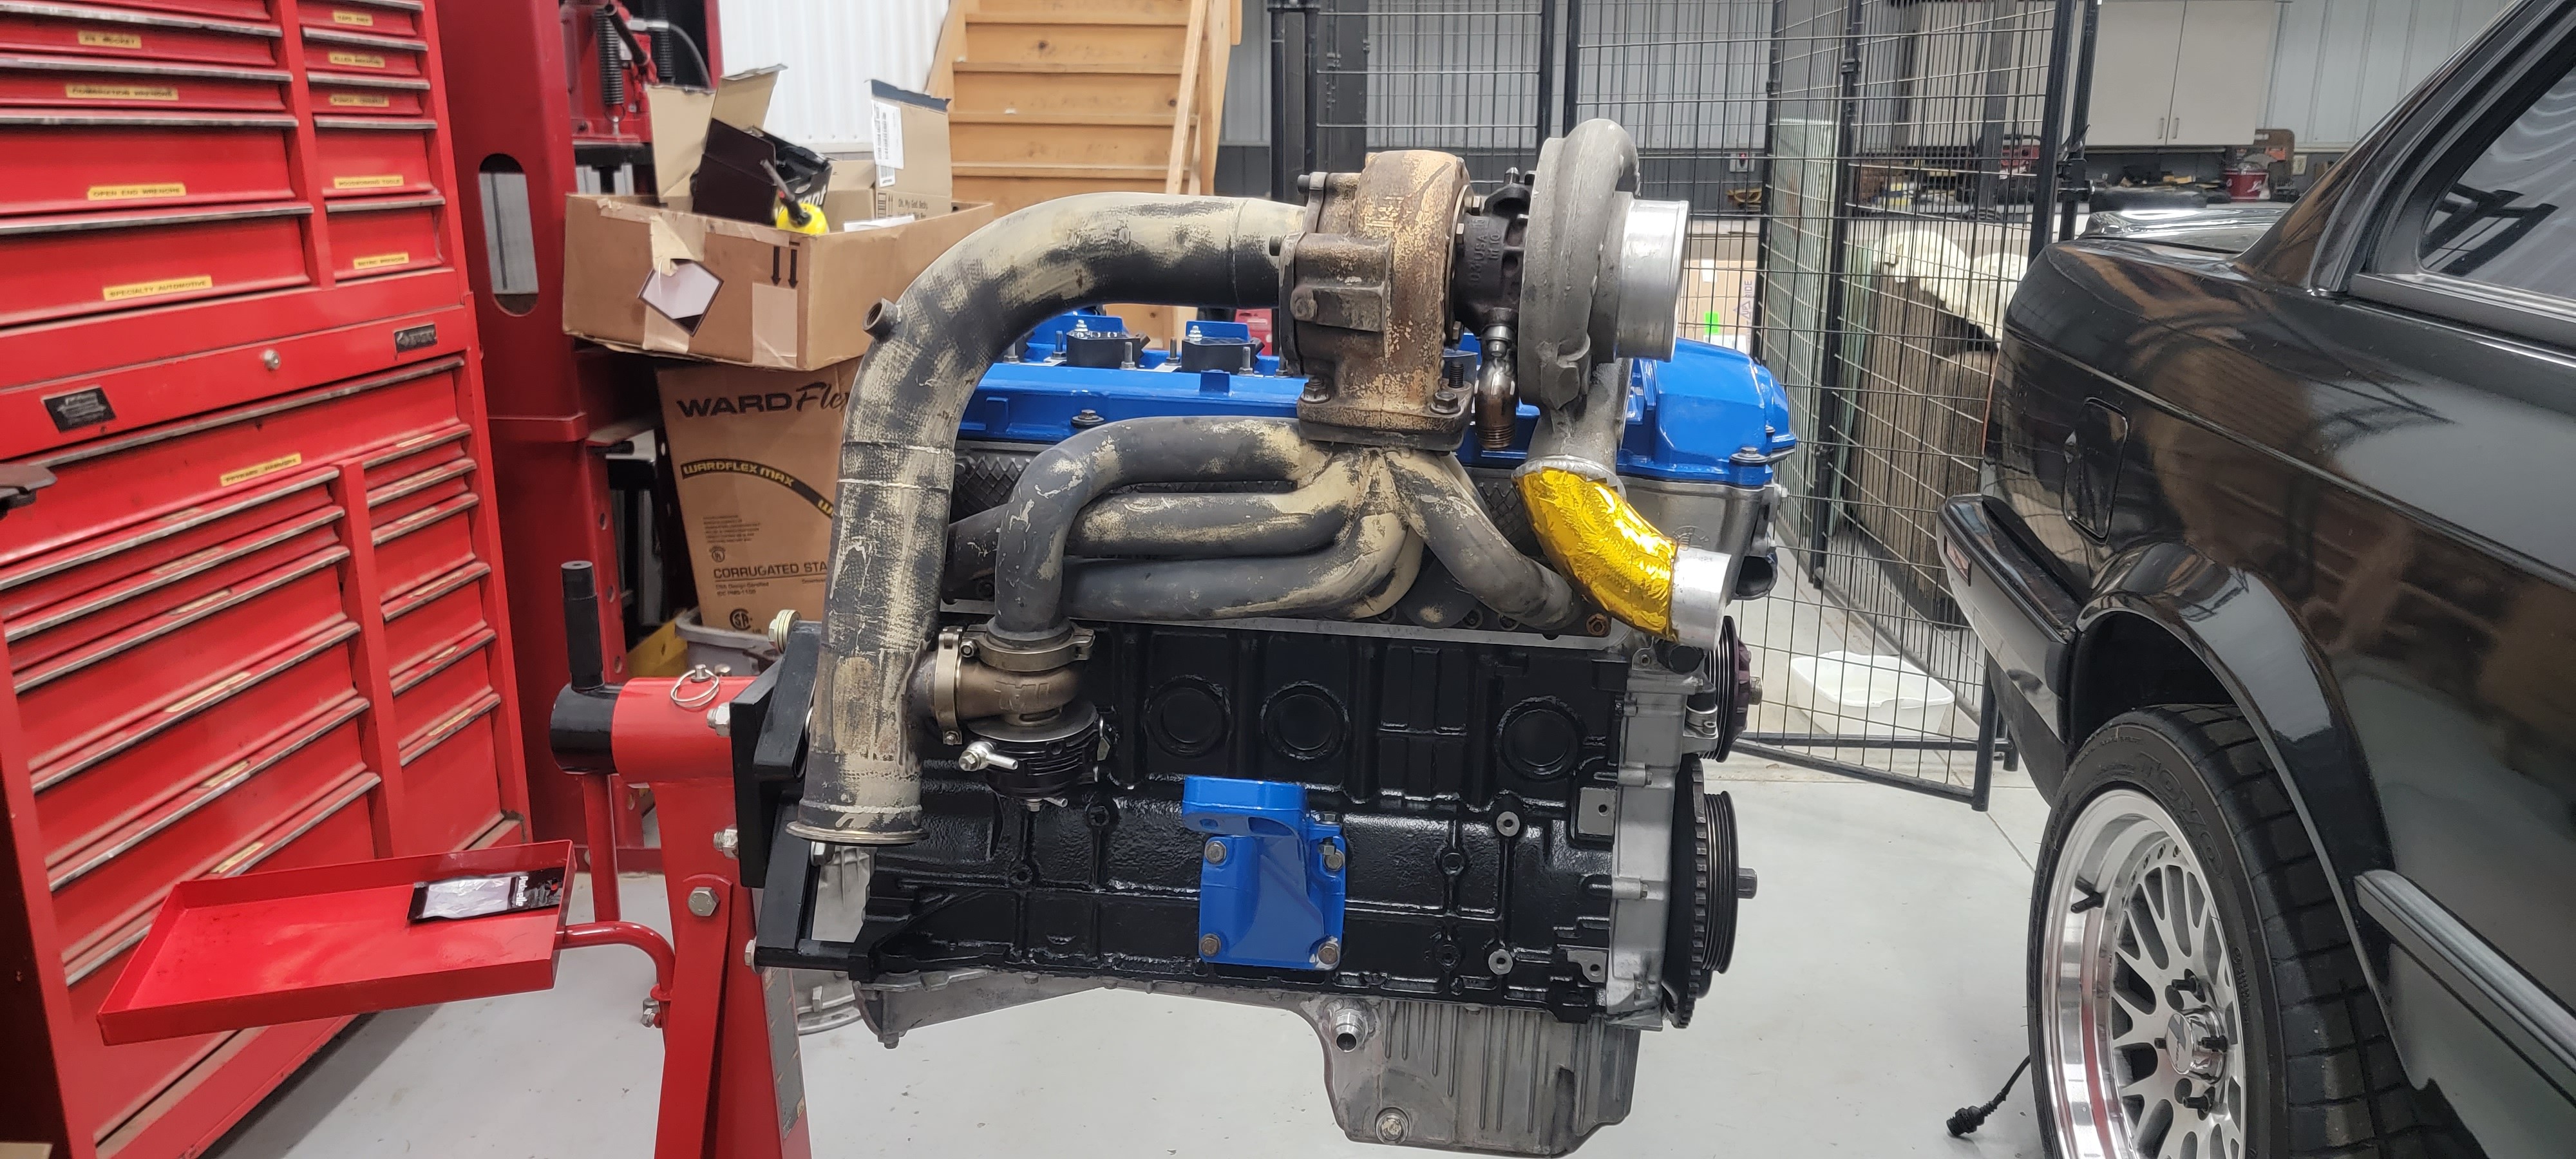
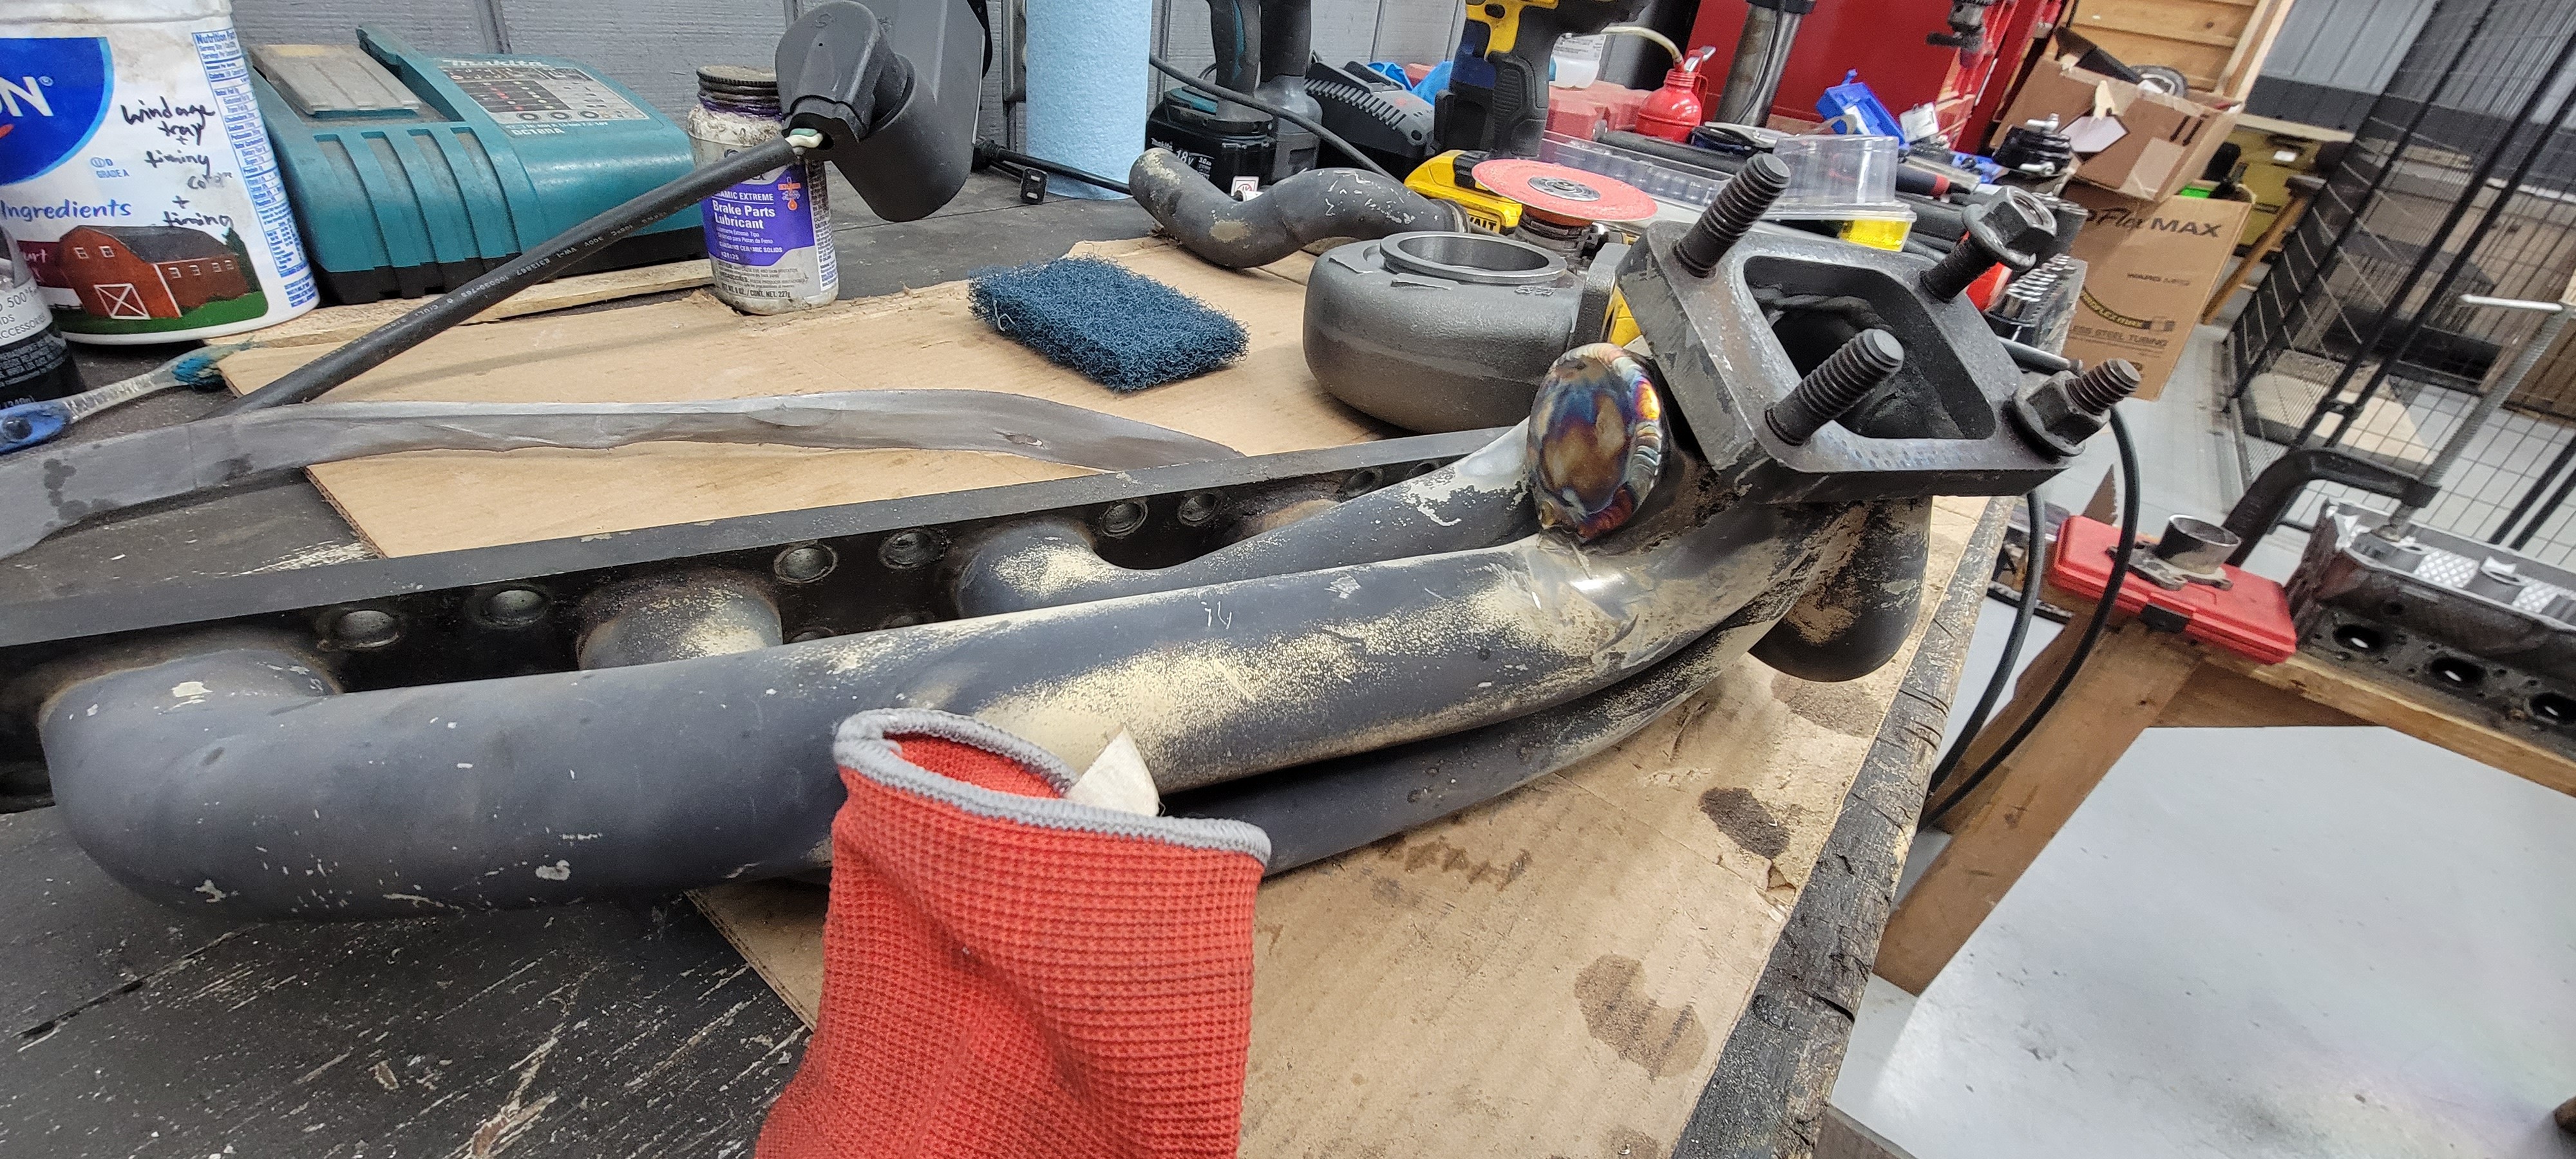
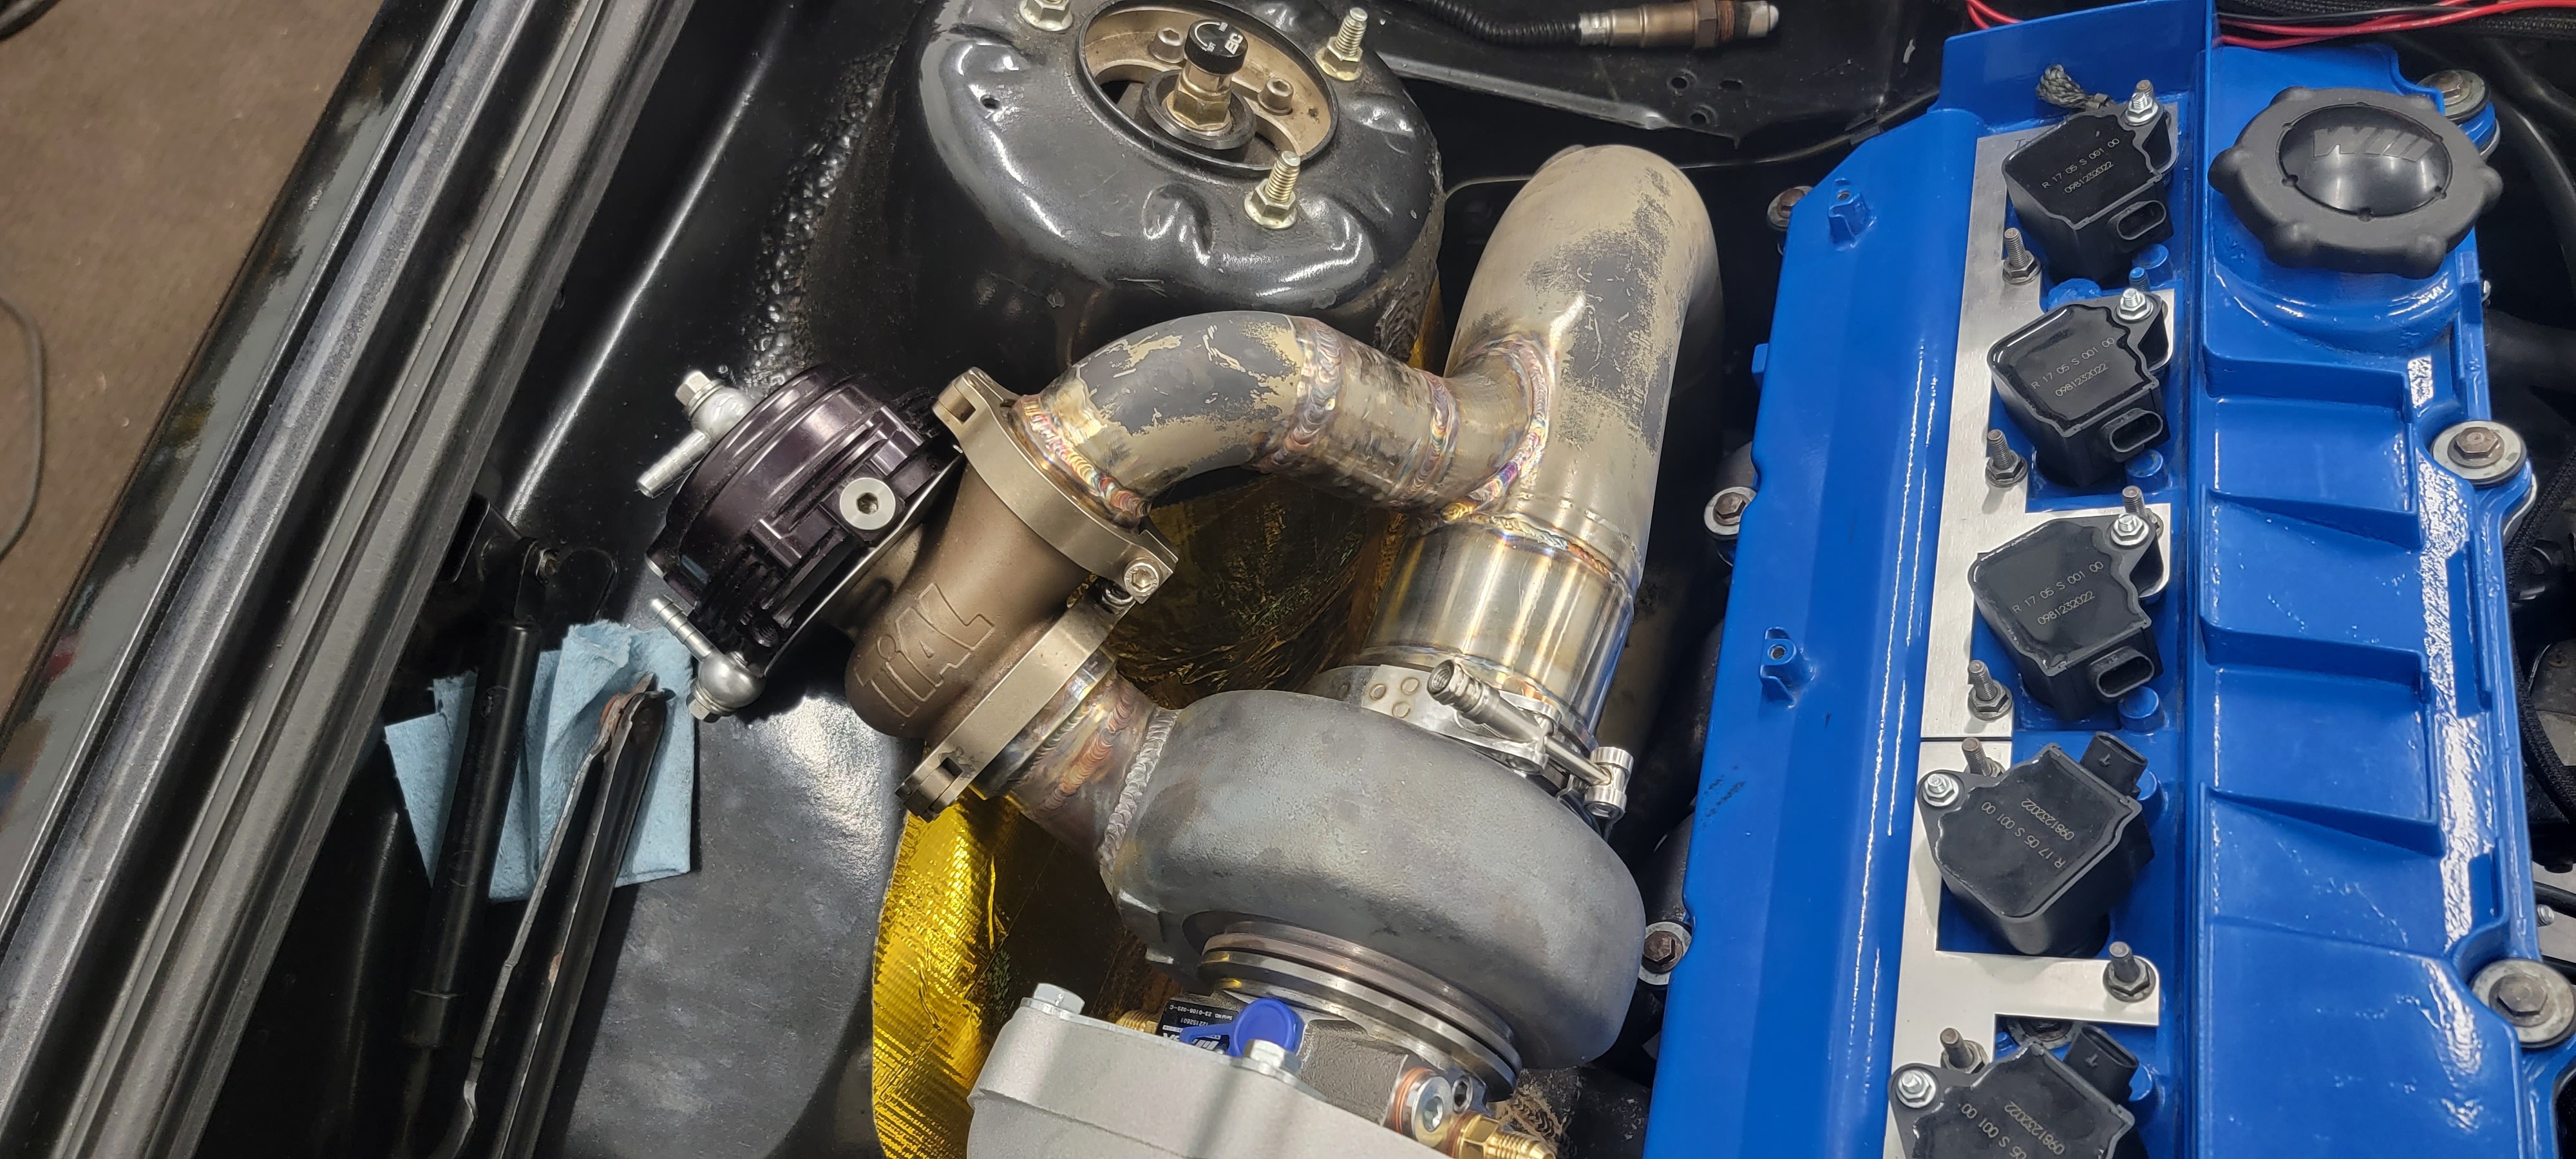
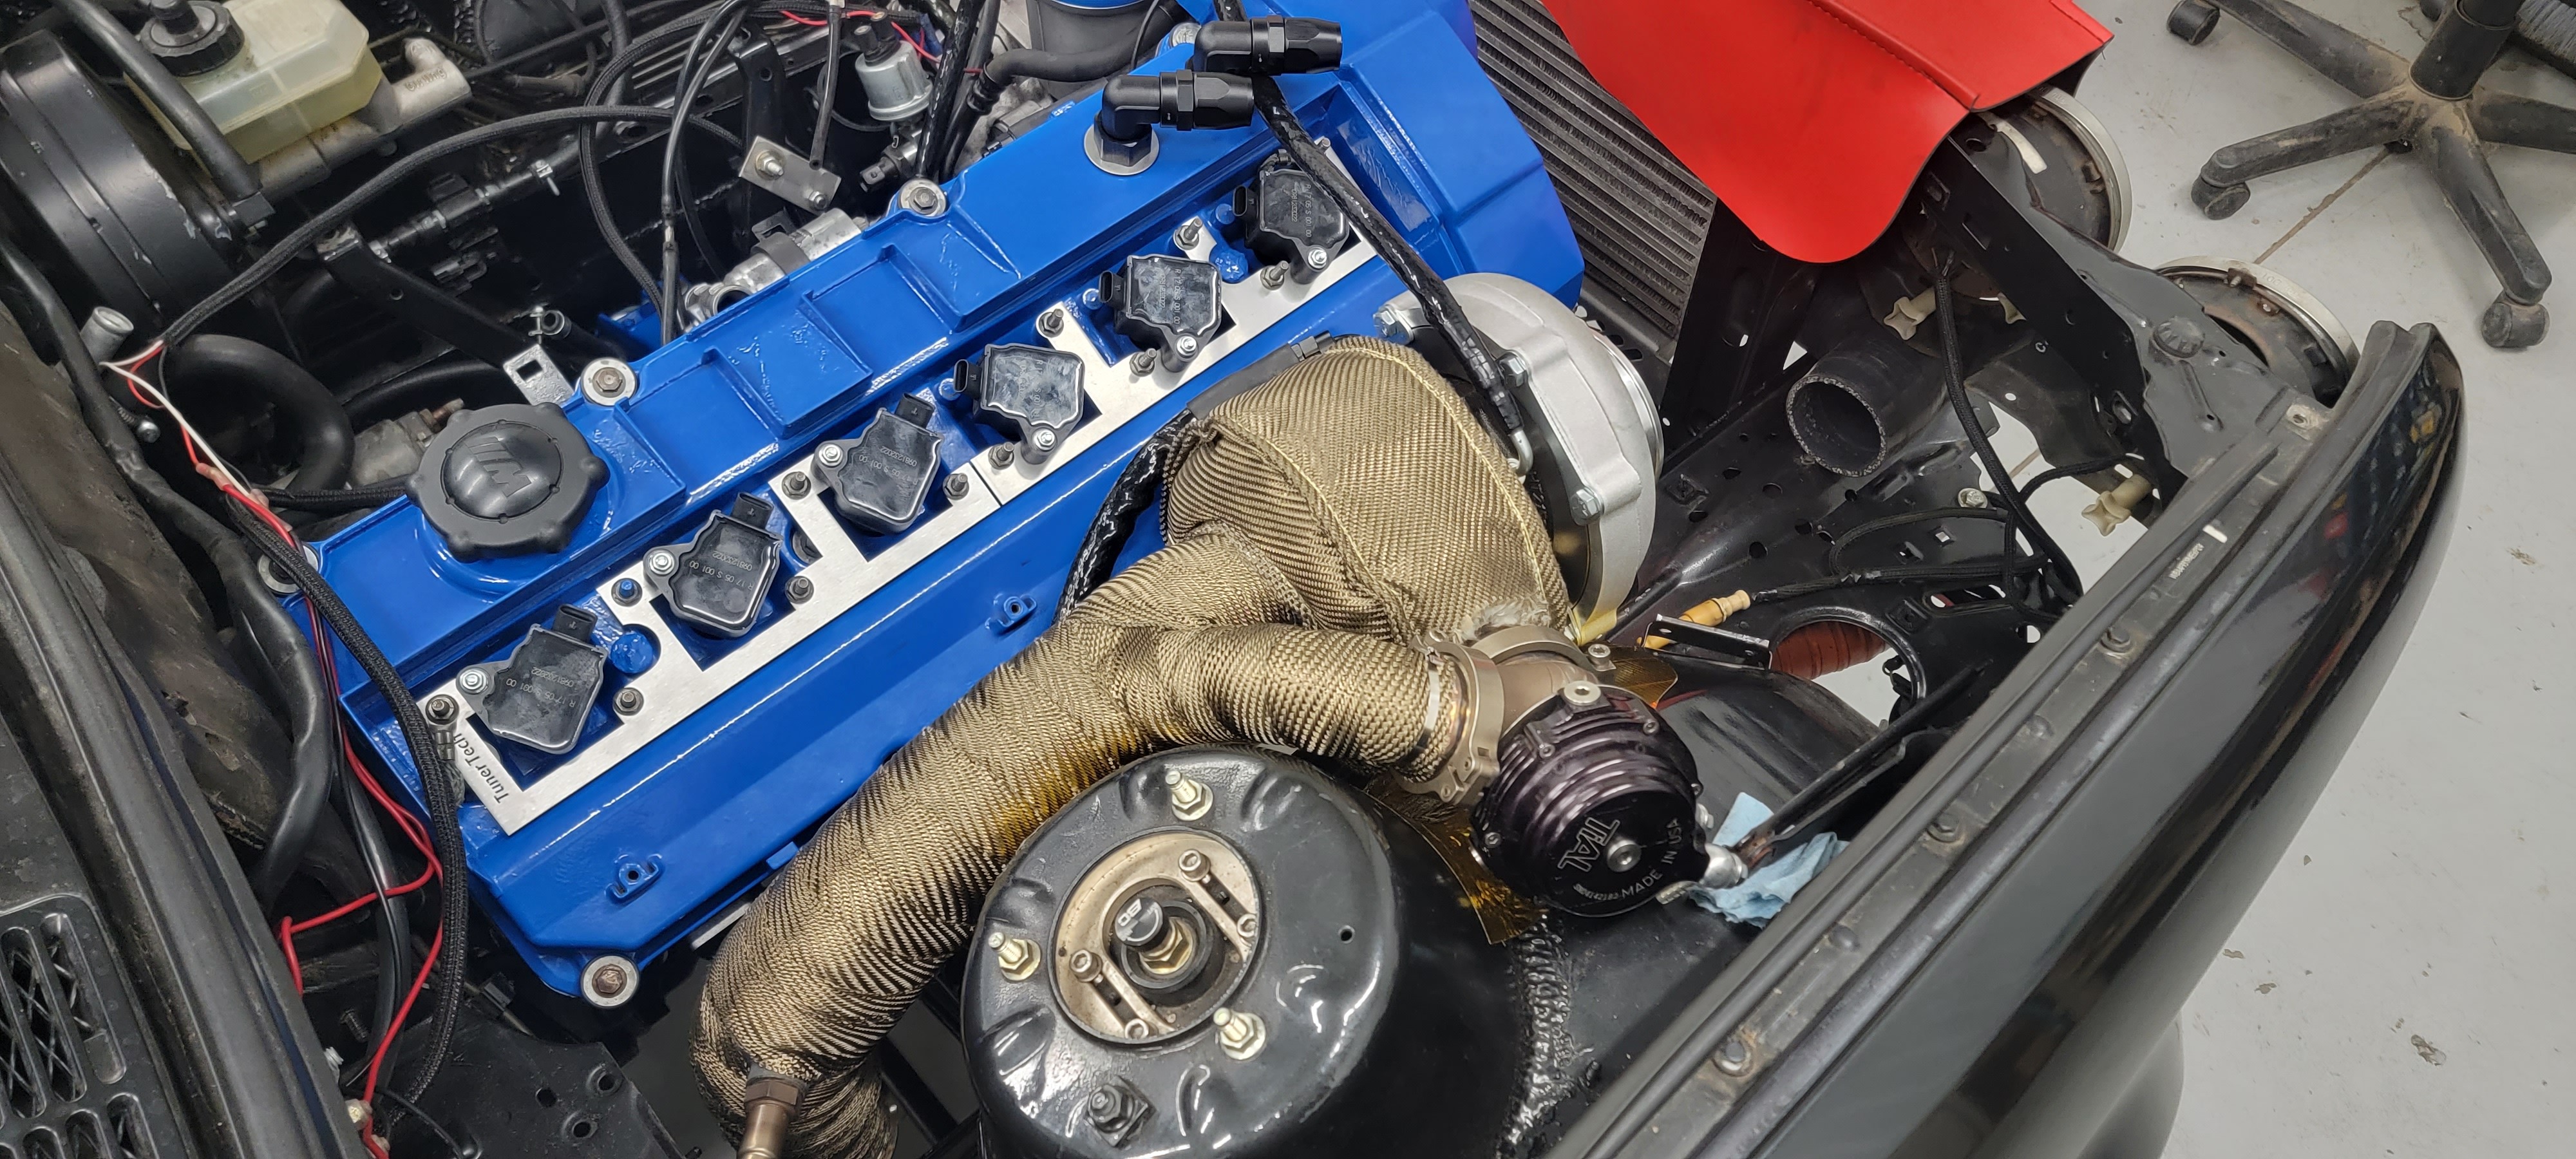
Next thing was to address another issue I was having on my old setup. Boost creep. Although these rapidspool manifolds fit pretty nice and make for a clean look in the engine bay, their design with the wastegate location was sub par. On the original setup I wasn't seeing it to bad, maybe 2 or 3 psi of creep at the worst but that was on low boost (8 psi). I feared with the new setup and plans of turning it up quite a bit more that it would get worse. Instead of spending more money on a different manifold I chose to reuse this manifold and run the wastegate right of the turbine housing as there is no better location for boost control.
(pic of the old setup and waste gate location)
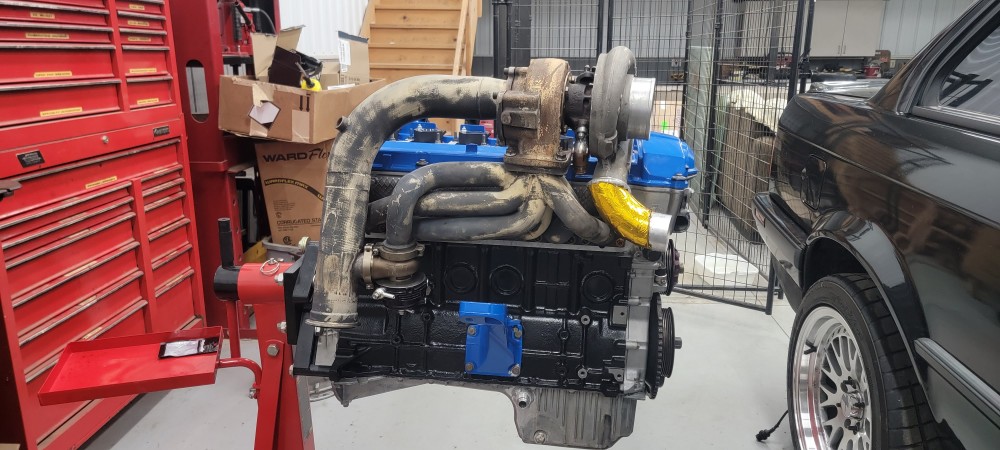
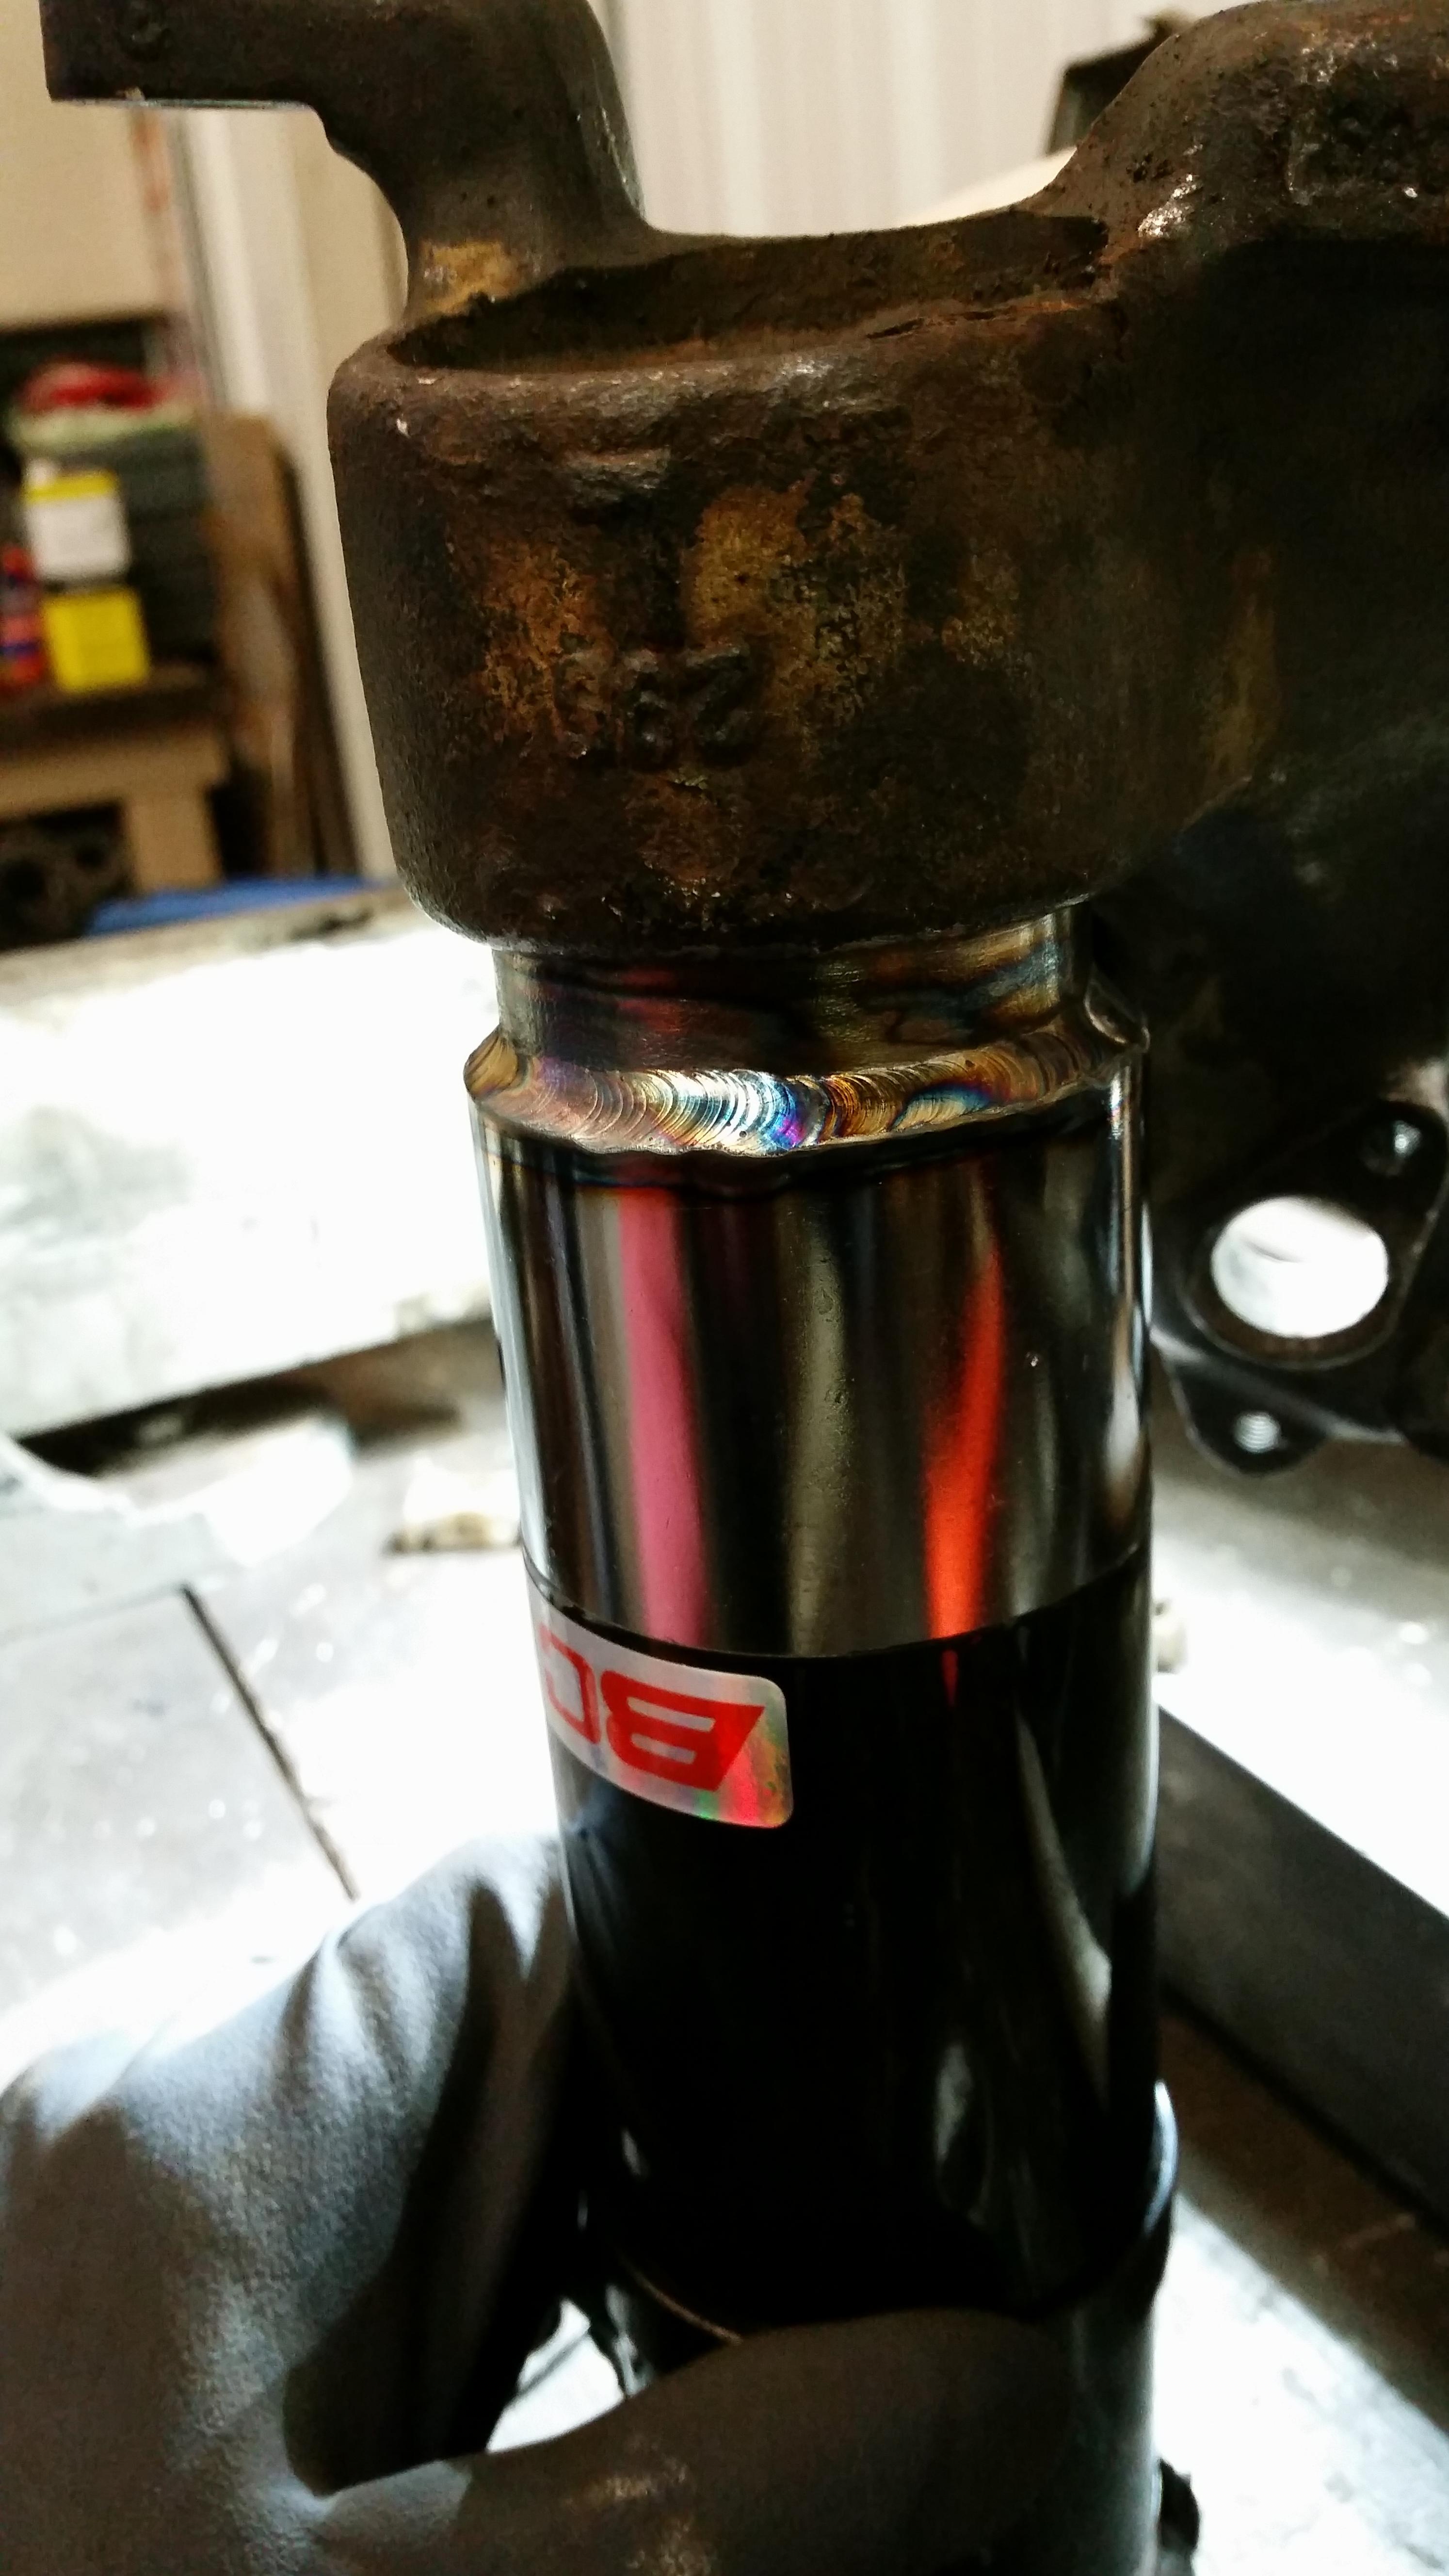
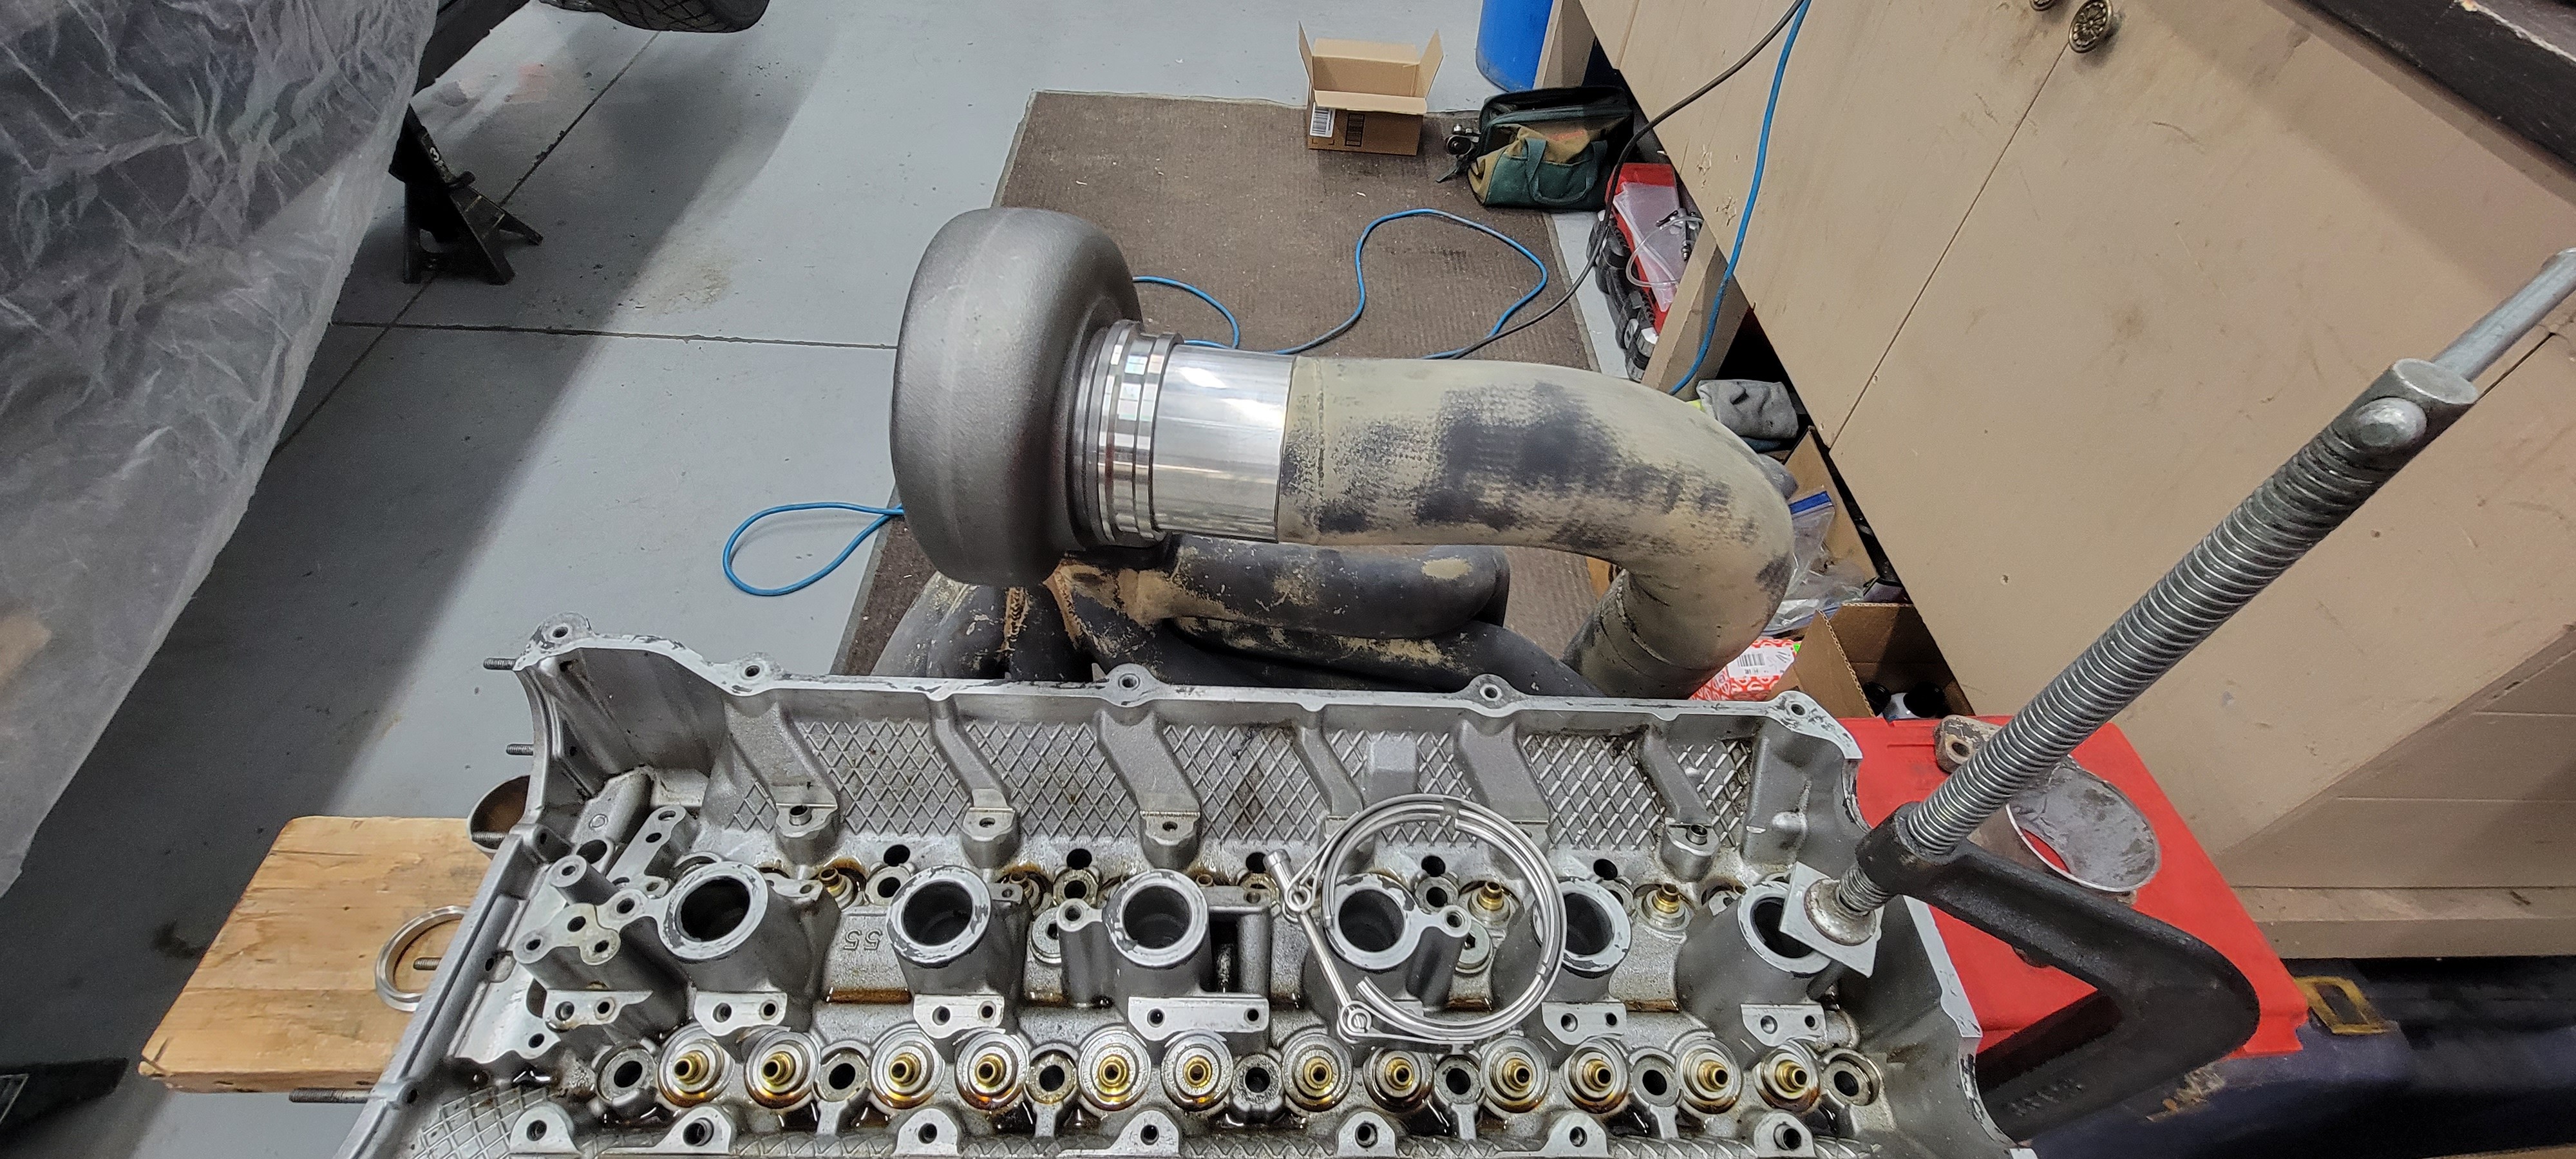
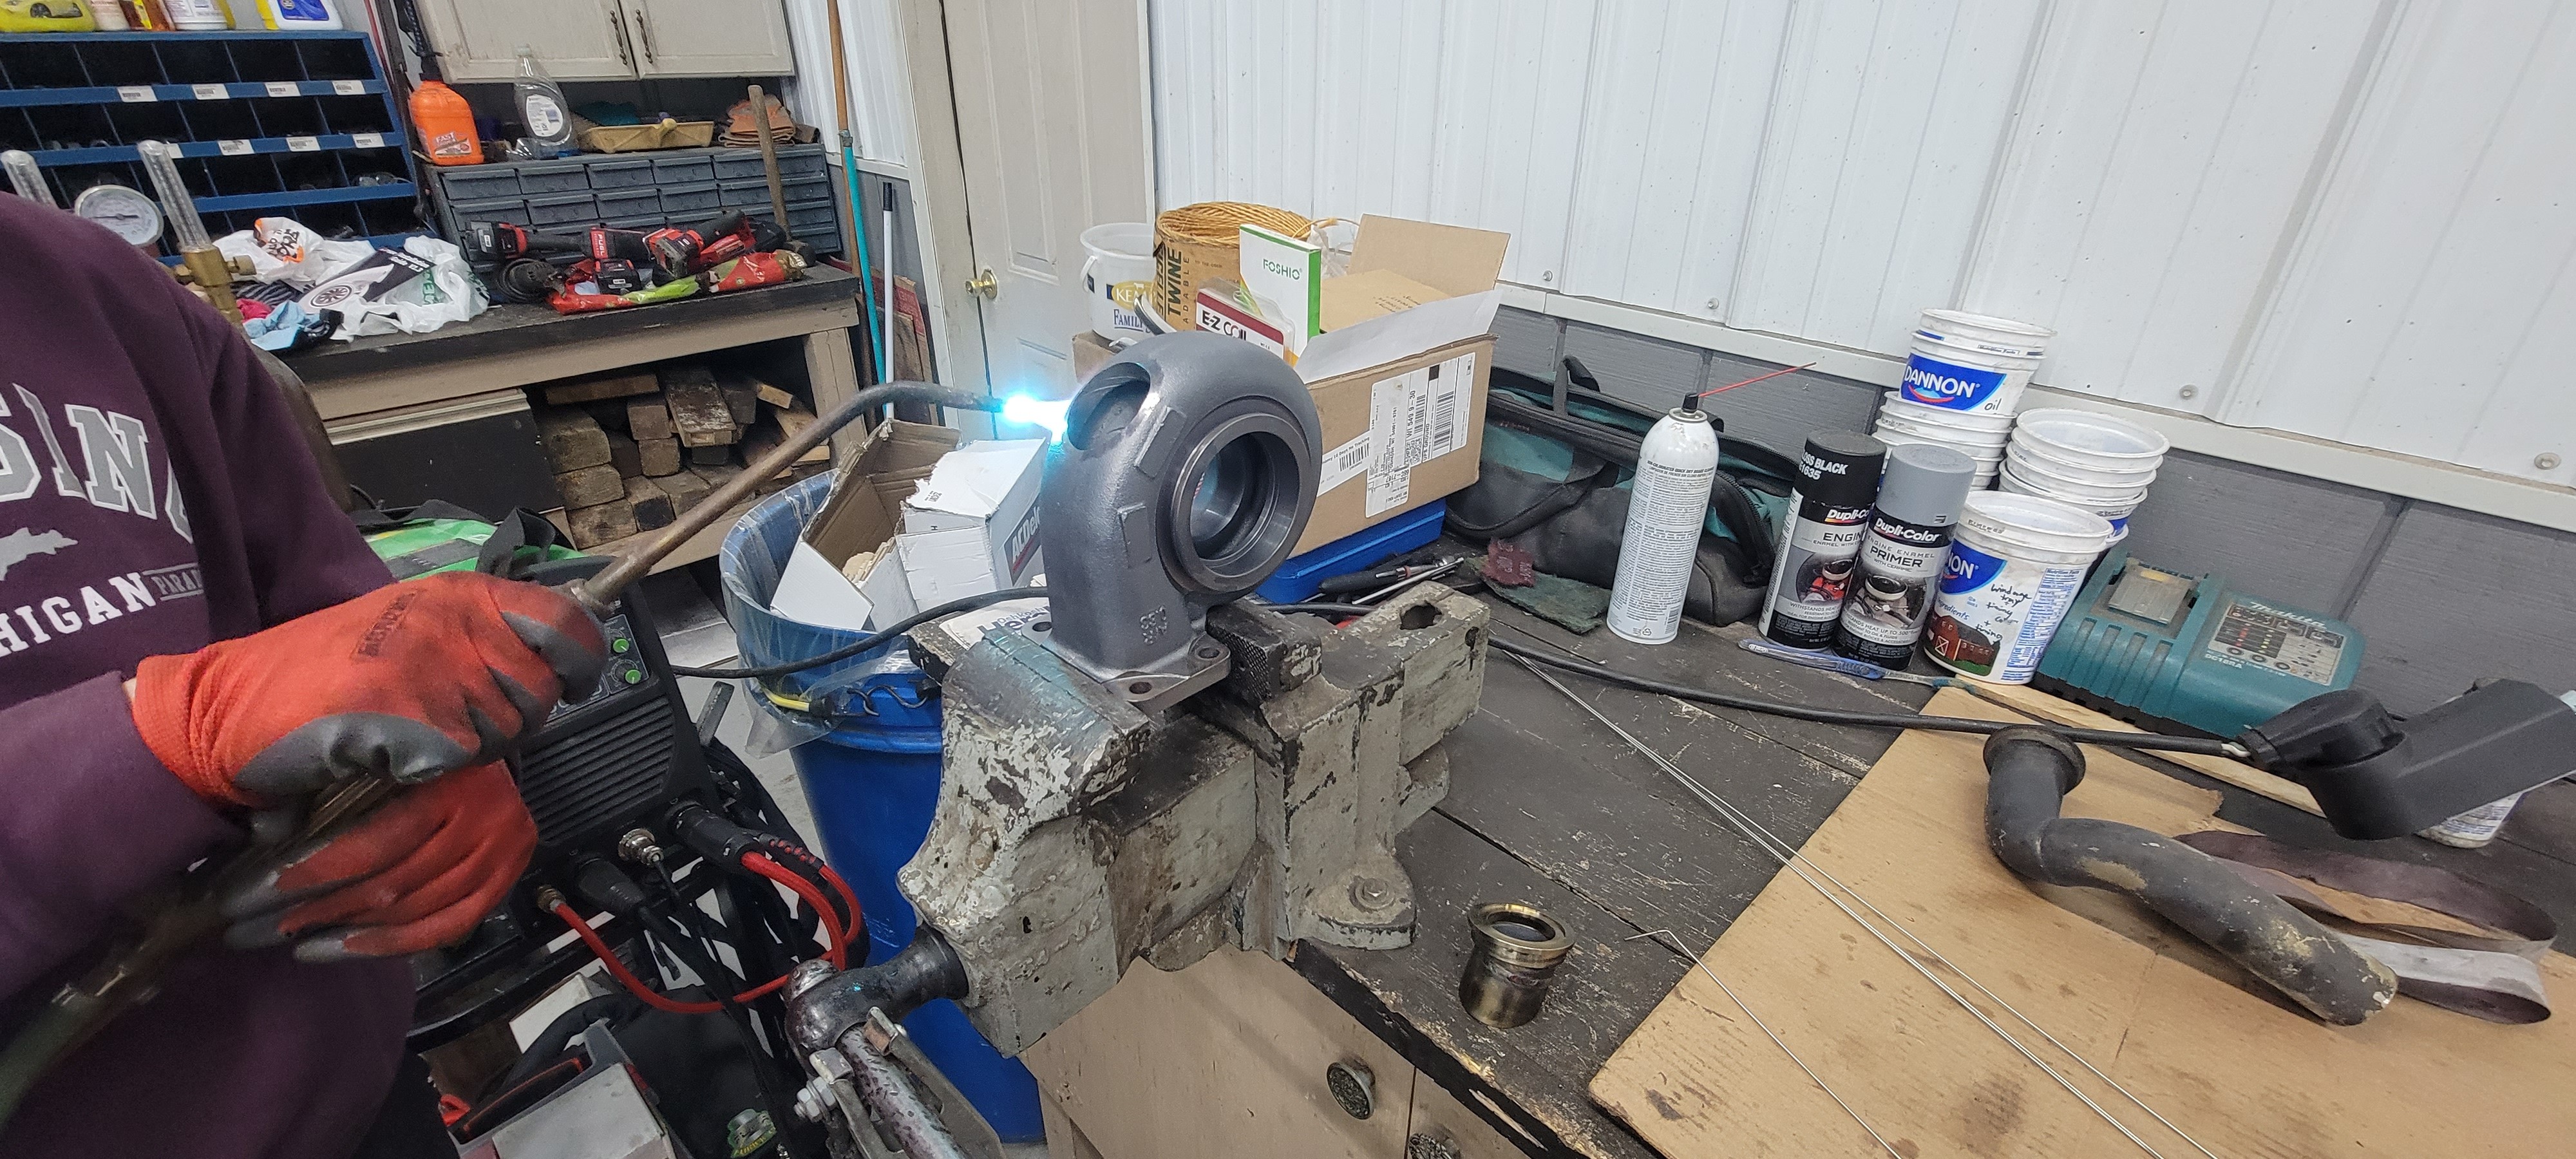
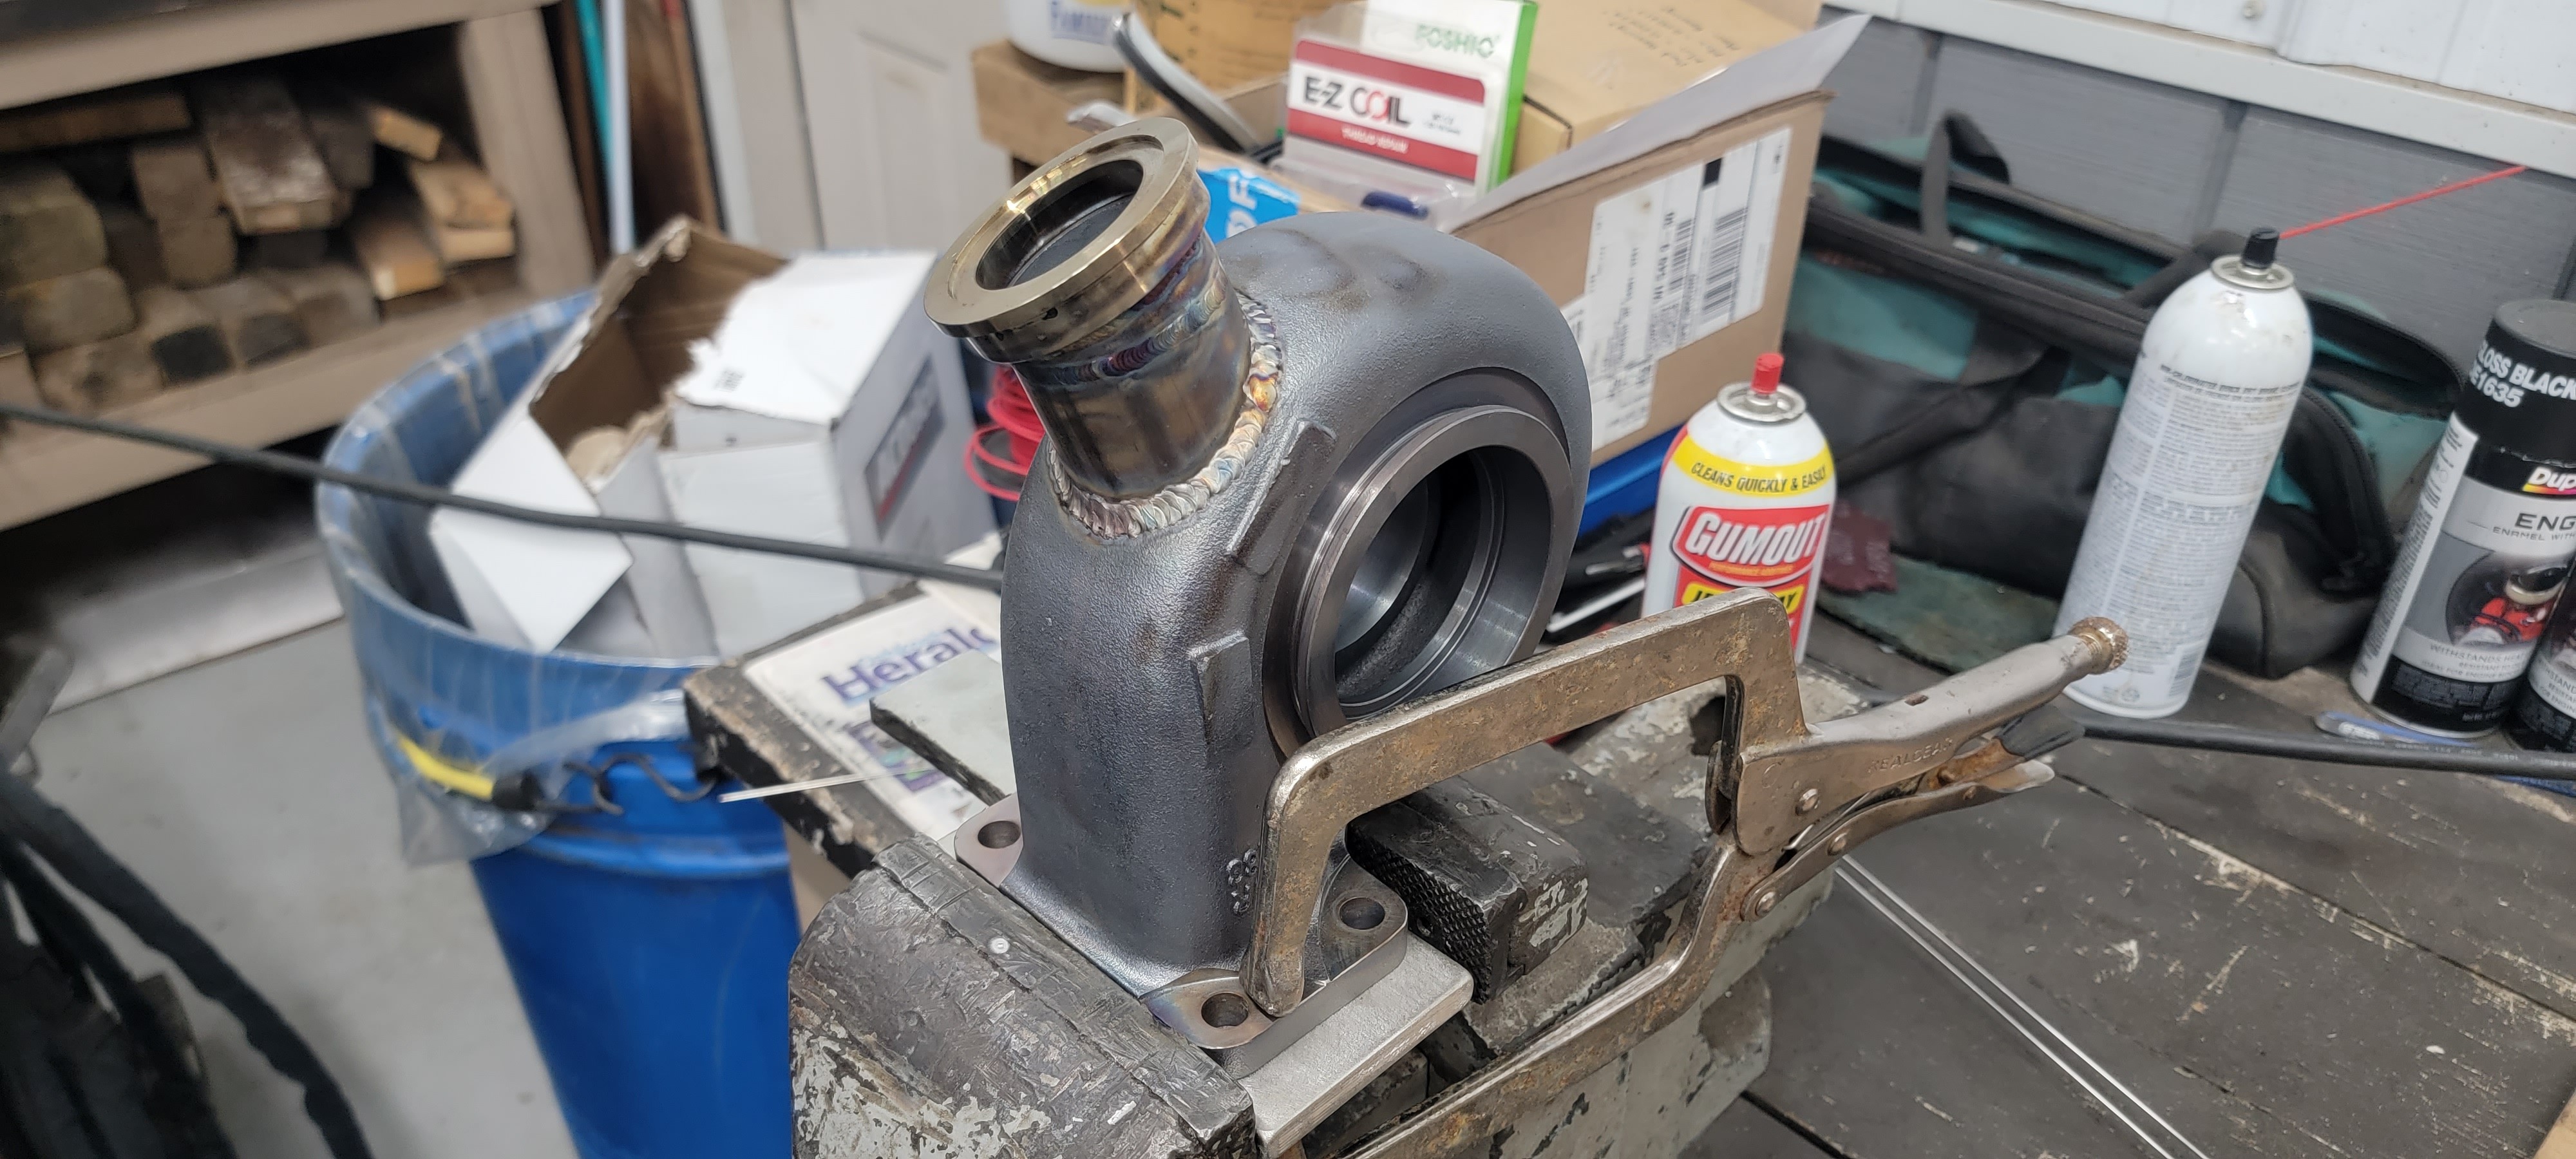
So without further a do I had my buddy swing by with his much better tig welding skills and lend me a hand. Started on getting the down pipe adapted to the v band flange for the new turbine housing. Used one of the old cylinder heads I had laying around as a spot for supporting the manifold.
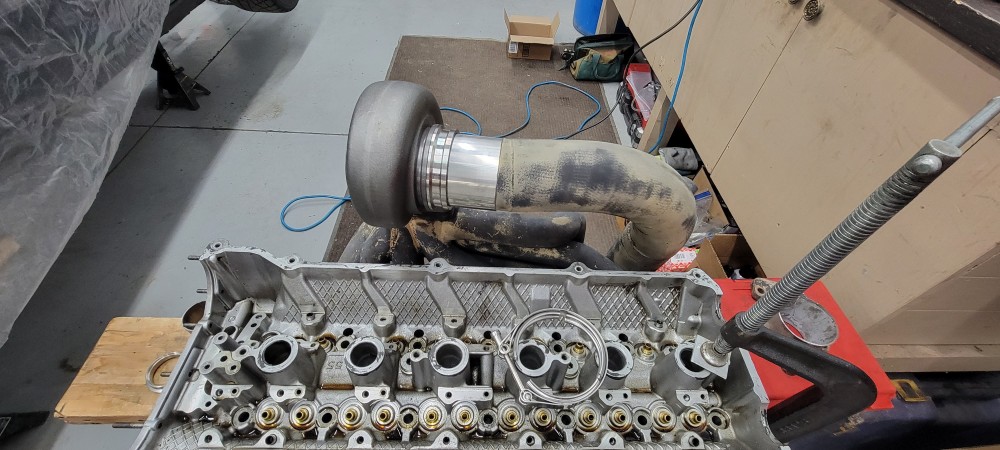
Waste gate pipe was cut back to the flange and capped off.
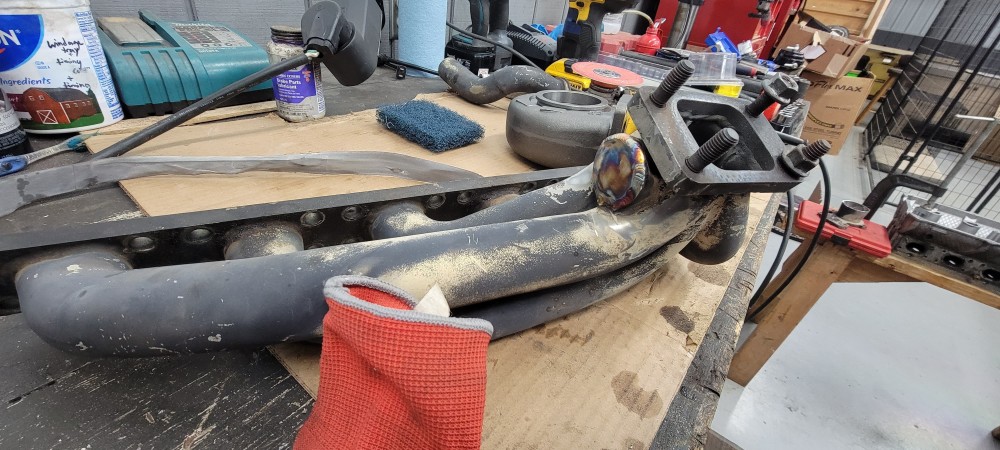
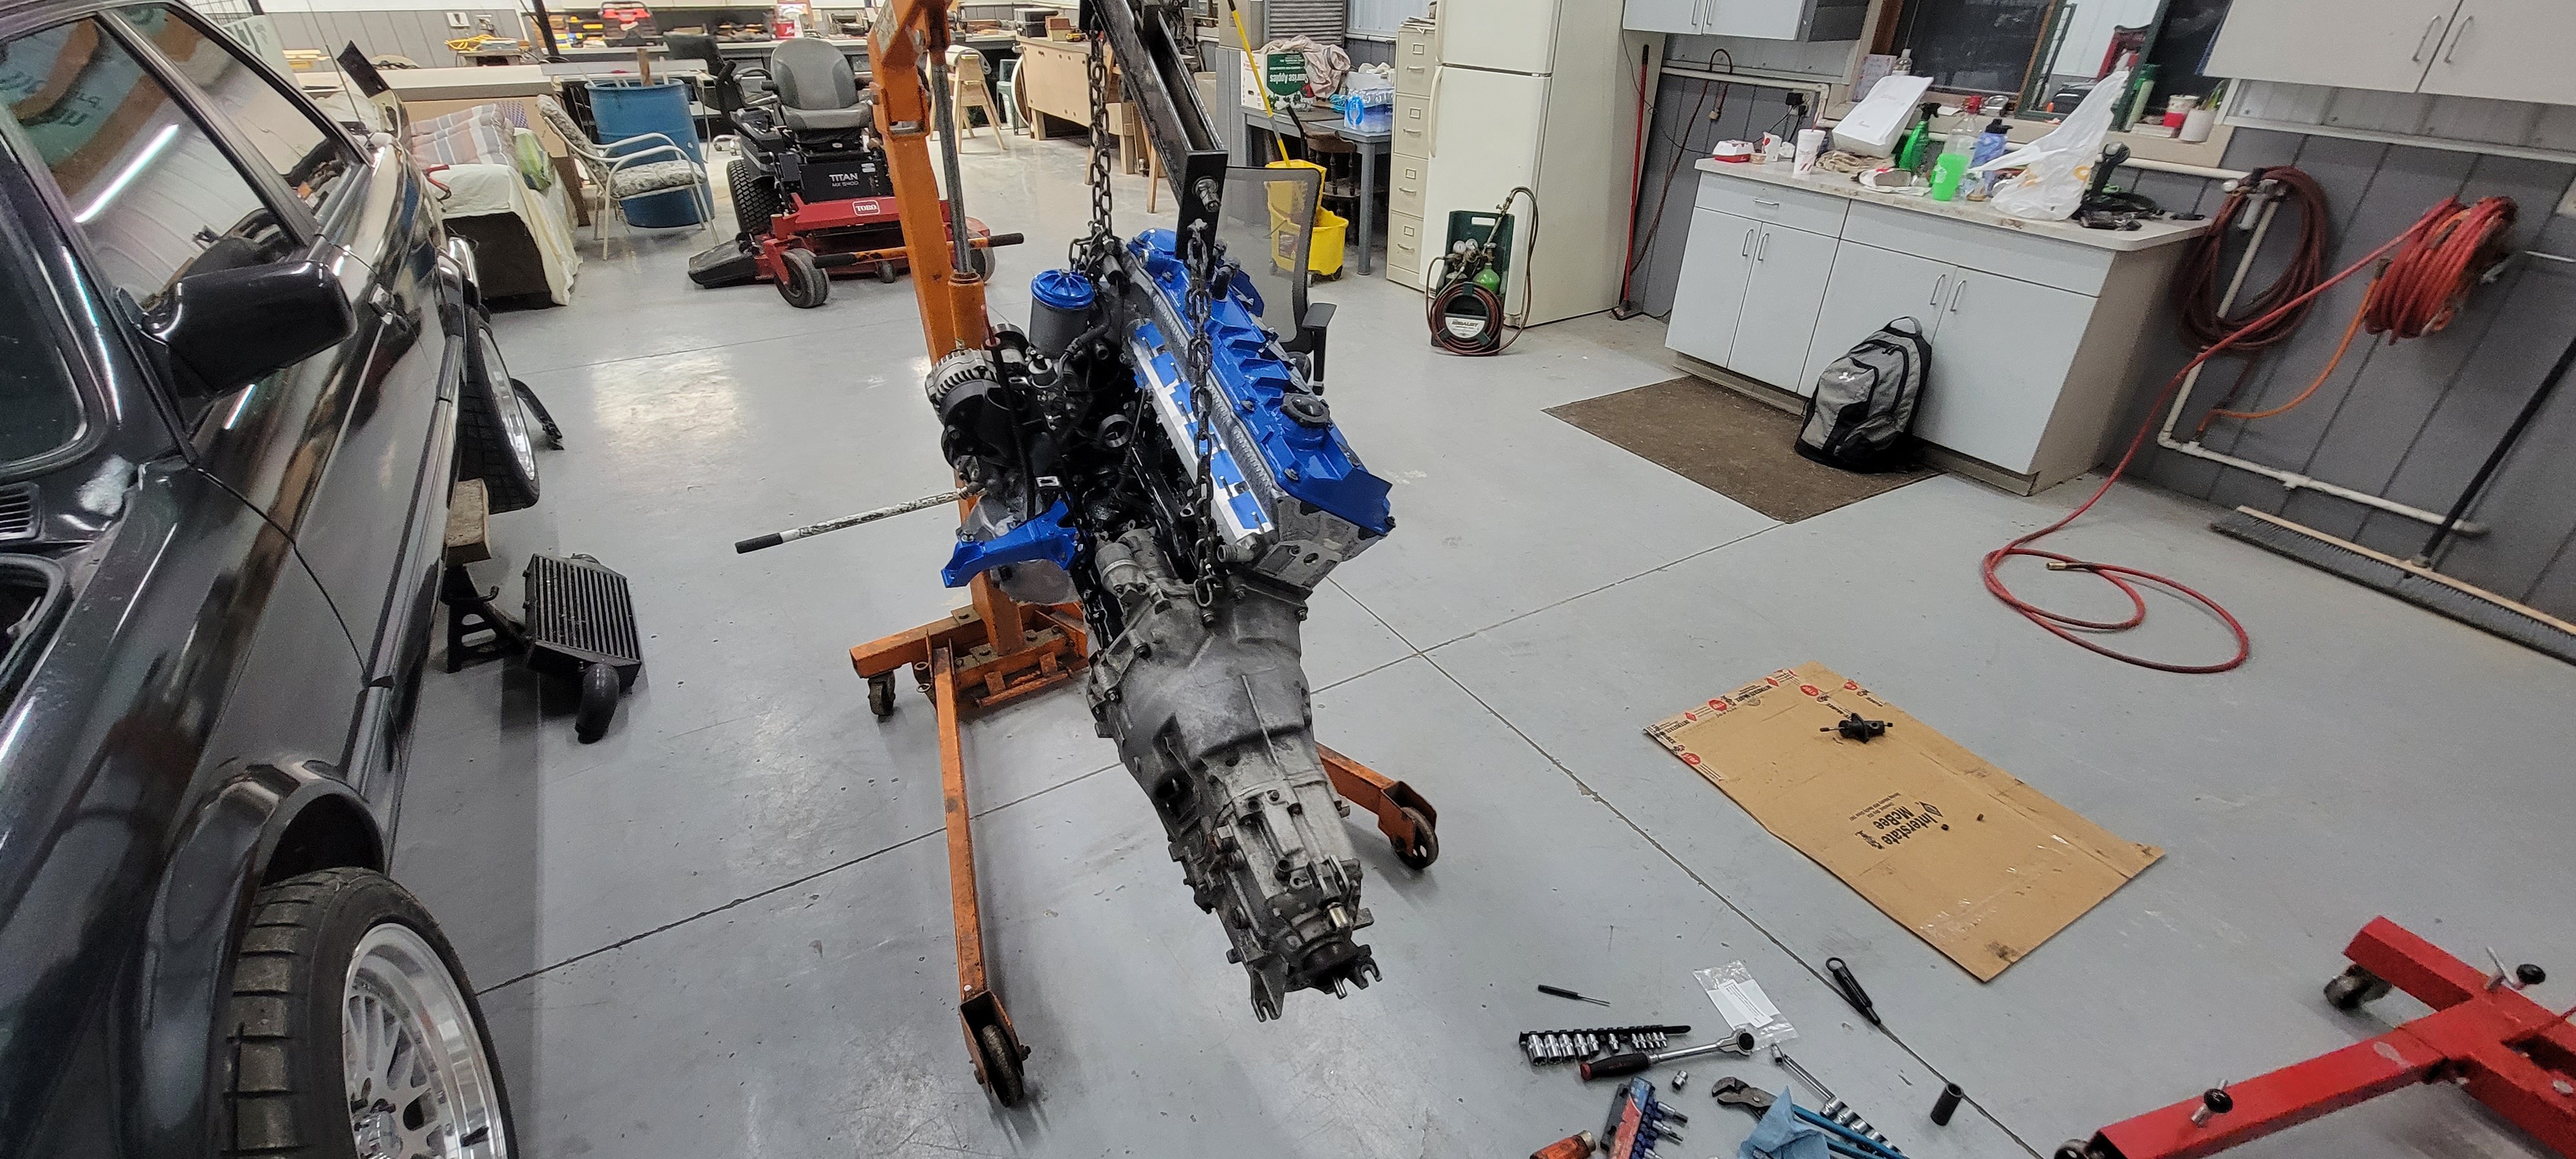
While he was working on that I switched over and worked on getting the freshly cleaned flywheel, clutch and trans installed.
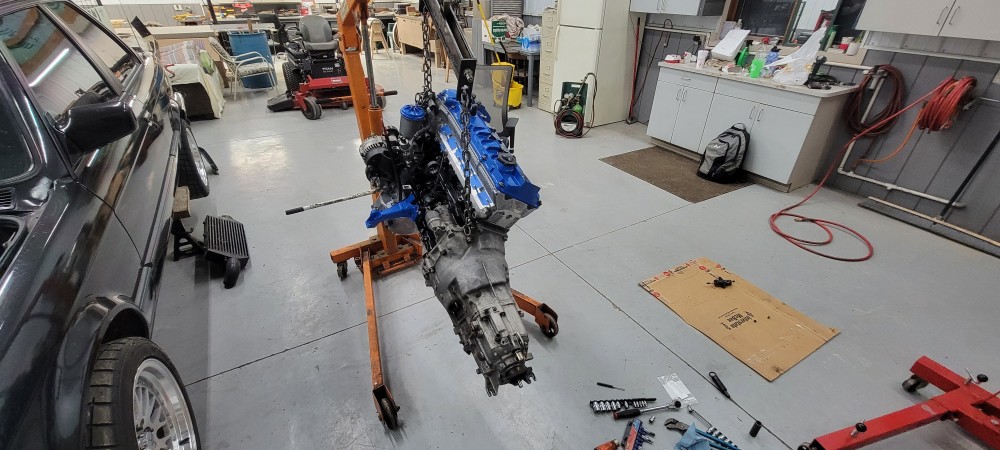
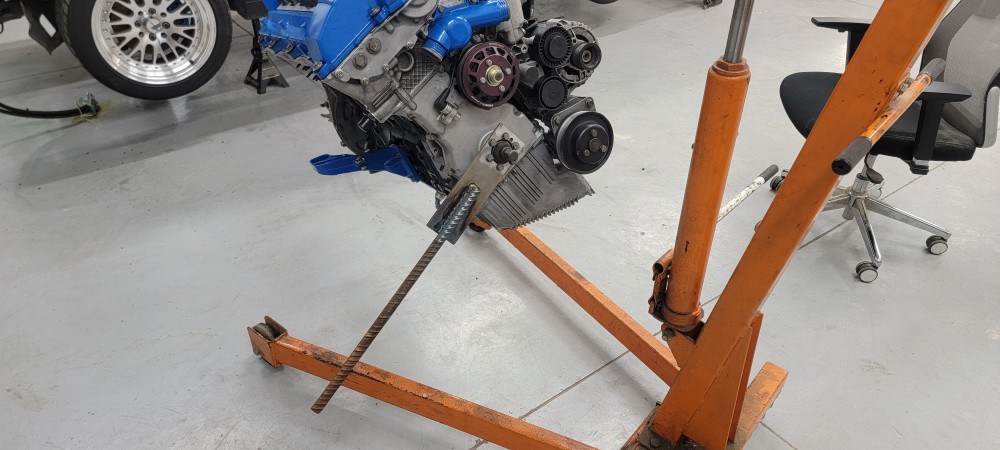
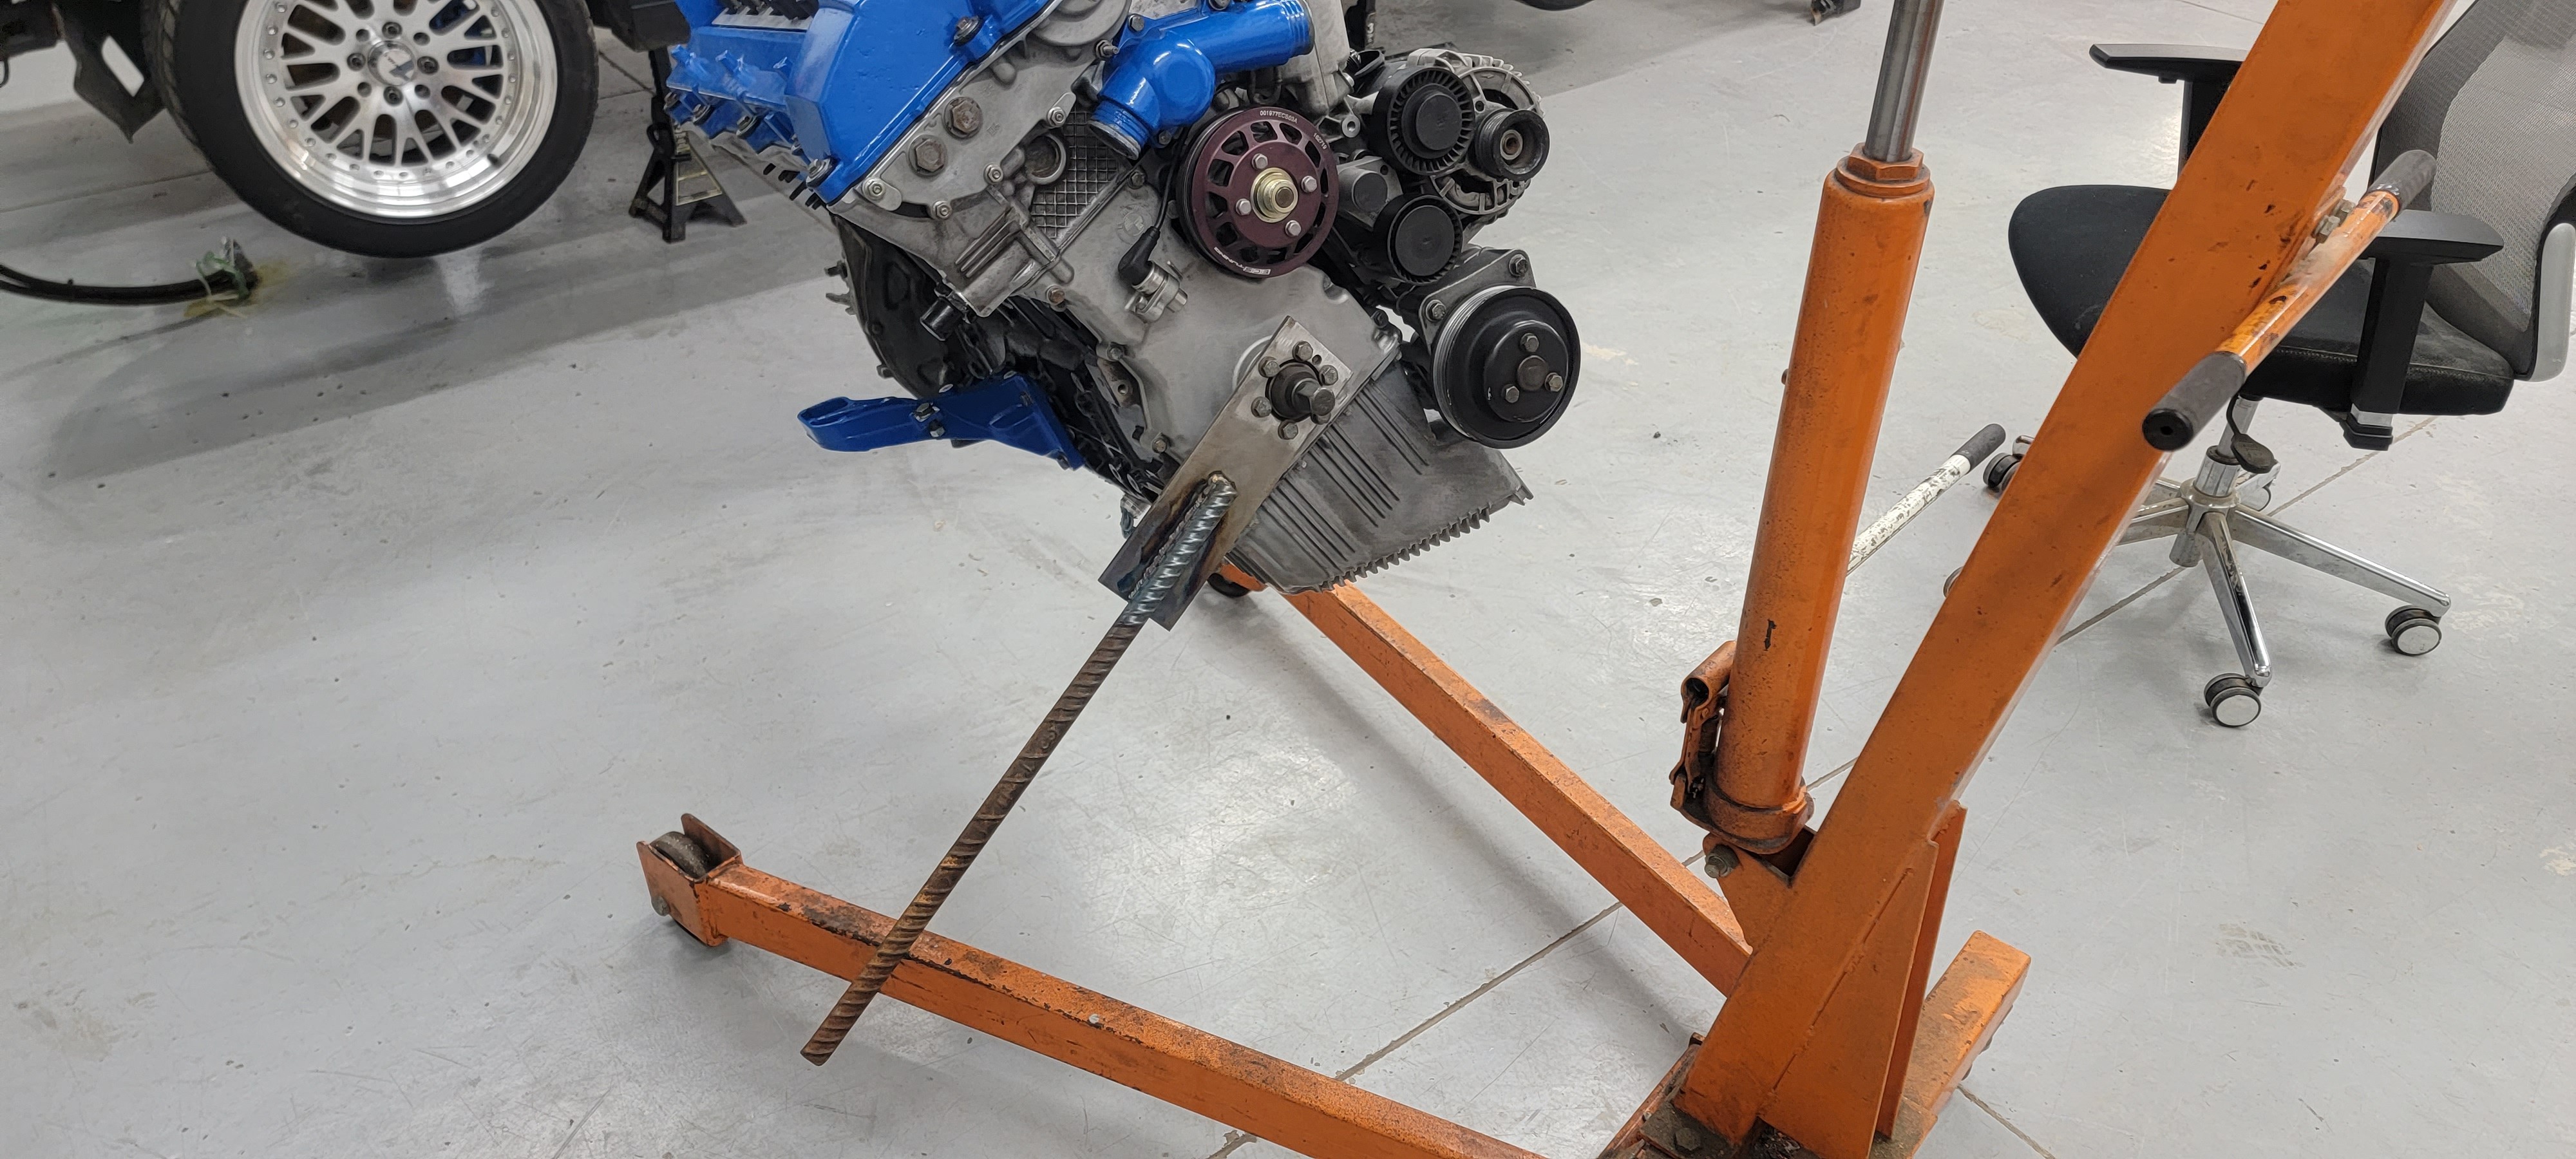
Before I dropped the engine in the car I wanted to get the Jesus bolt torqued down. Found some scrap steel laying around that I was able to drill out to fit the harmonic balancer hub. With my buddy there welding on the manifold I had him quick weld it to some rebar for a handle and voila! We did end up sliding a cheater bar over the rebar to add extra leverage. For a quick thrown together tool it worked awesome for holding the hub to get to that 300 ft lbs.
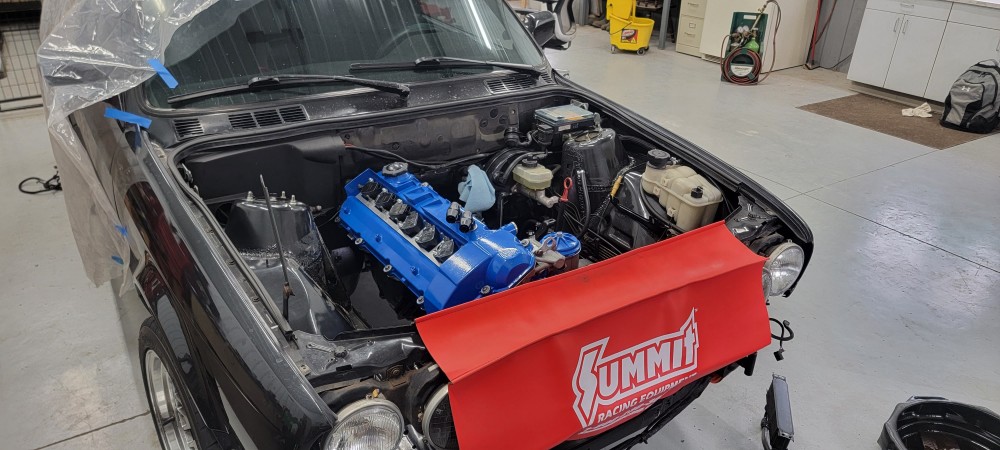
With that in we got the manifold bolted up and figured out our new placement of the wastegate.
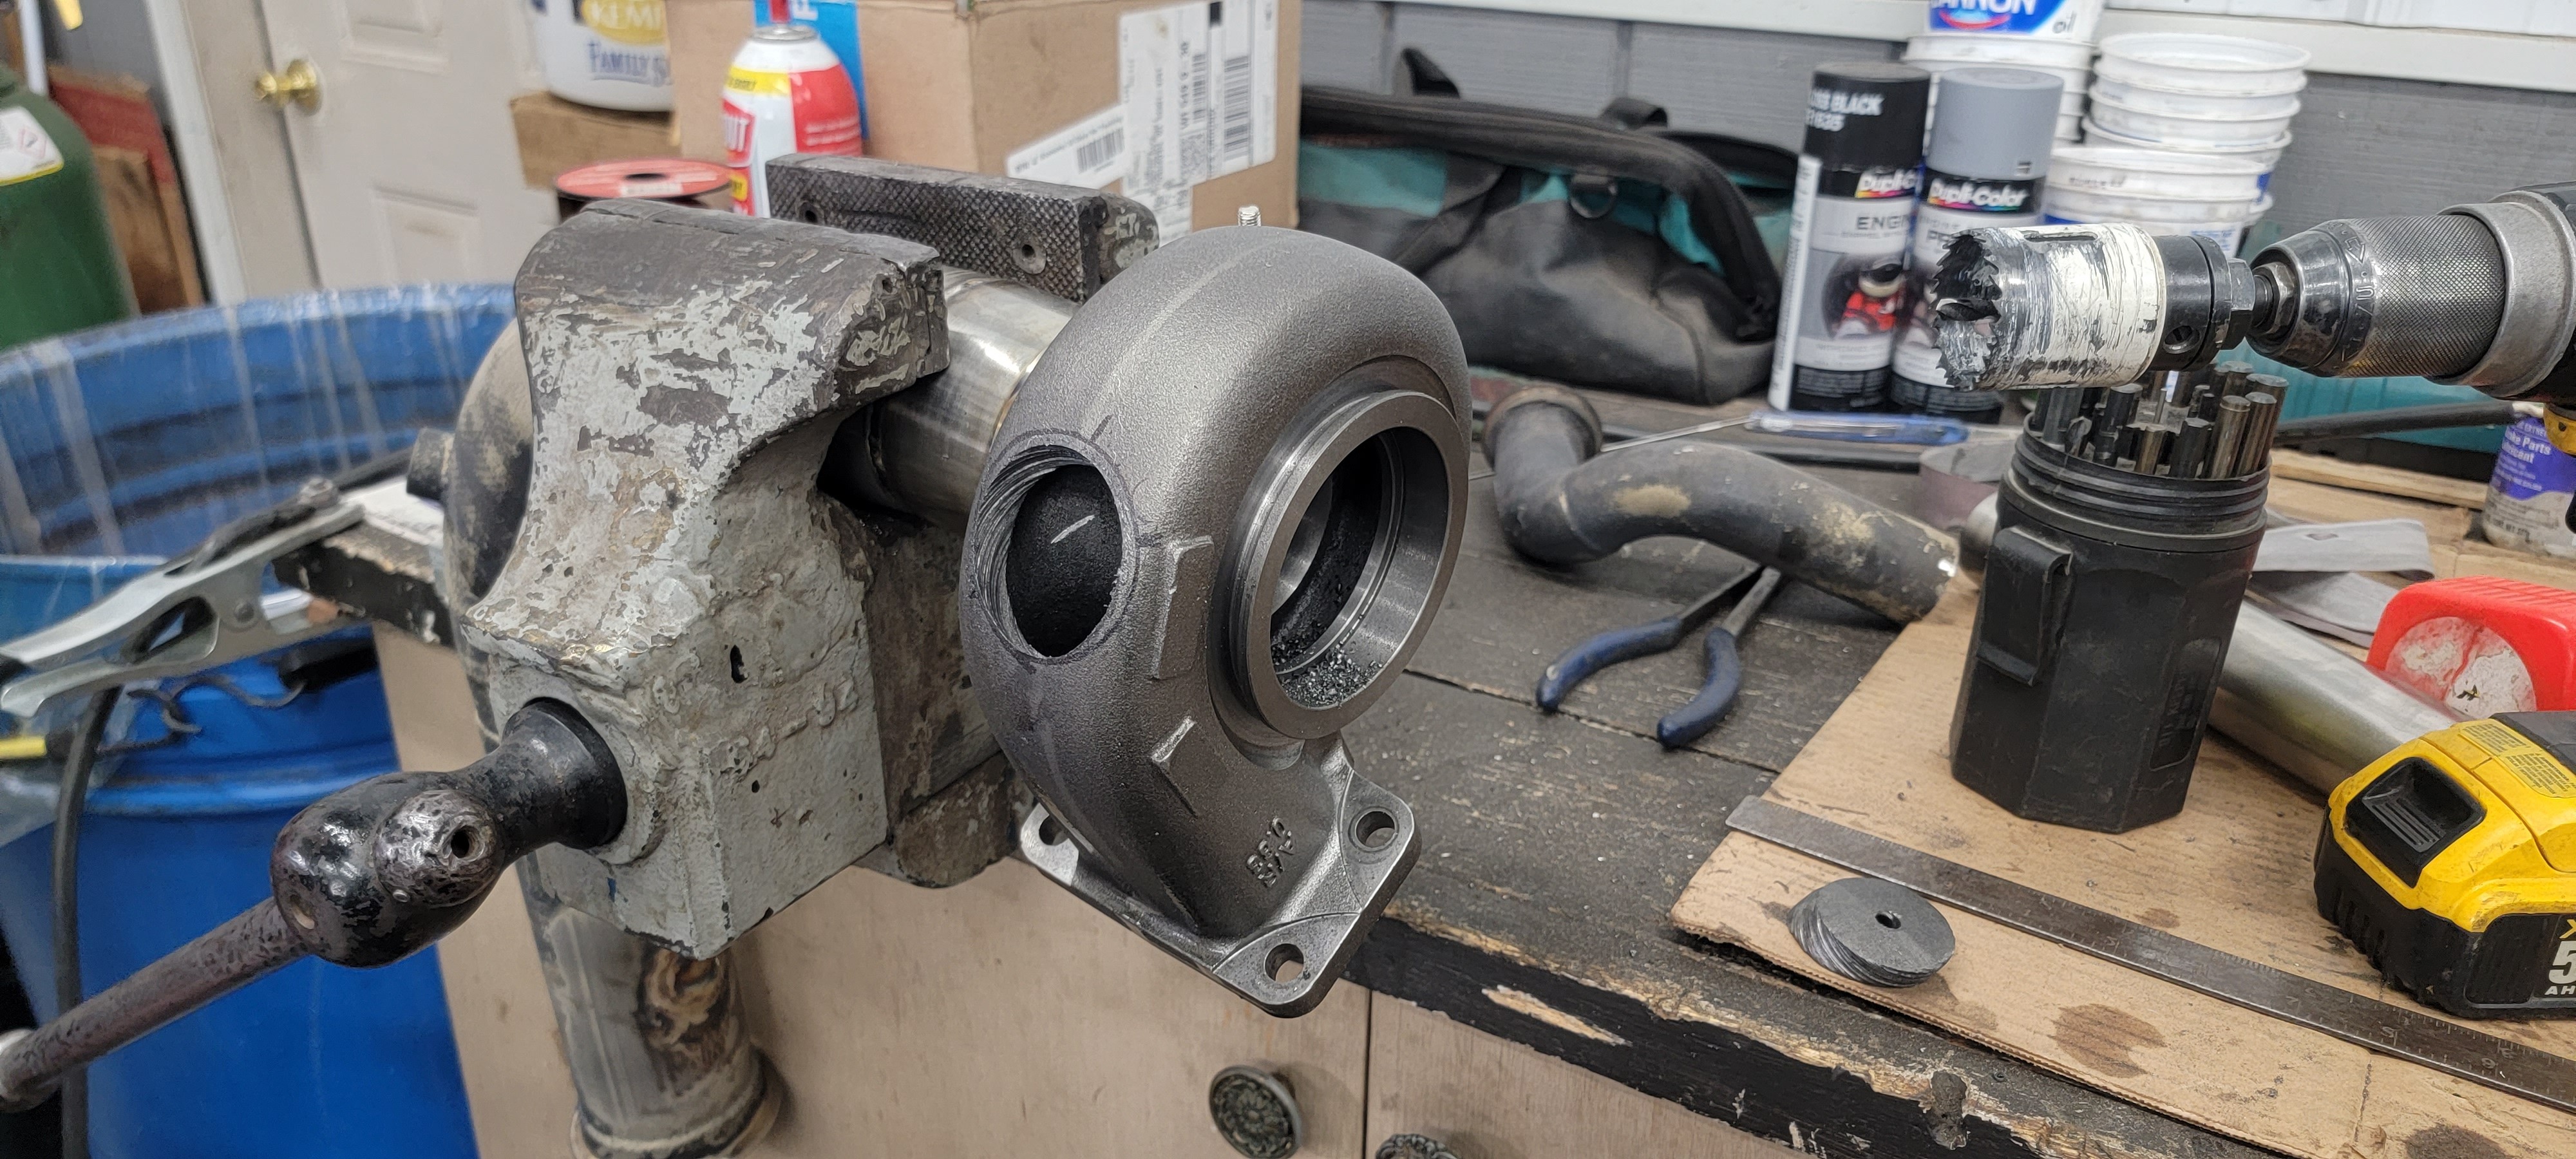
Cast iron drills much easier then I expected.
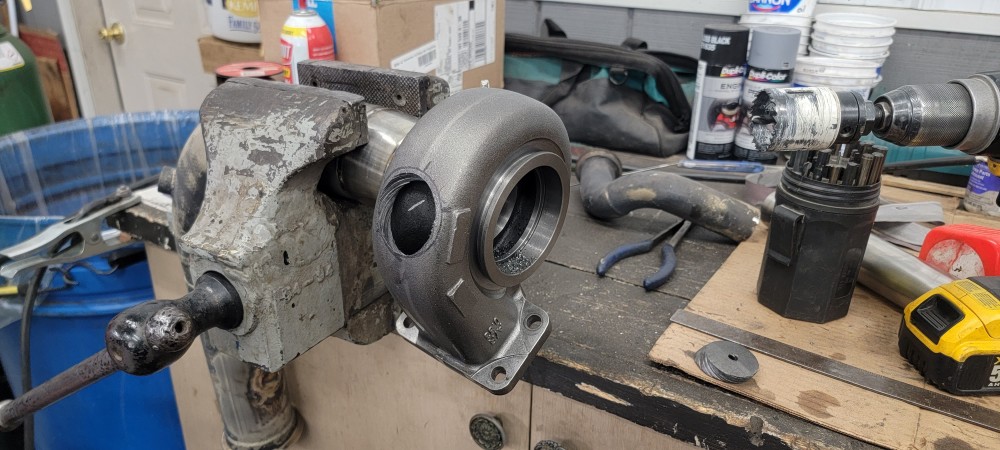
Although it drills easy, it is not so easy to weld. In order to avoid cracking the housing from the stress of the weld we first needed to heat up the entire housing with an acetylene torch to roughly 600 degrees.
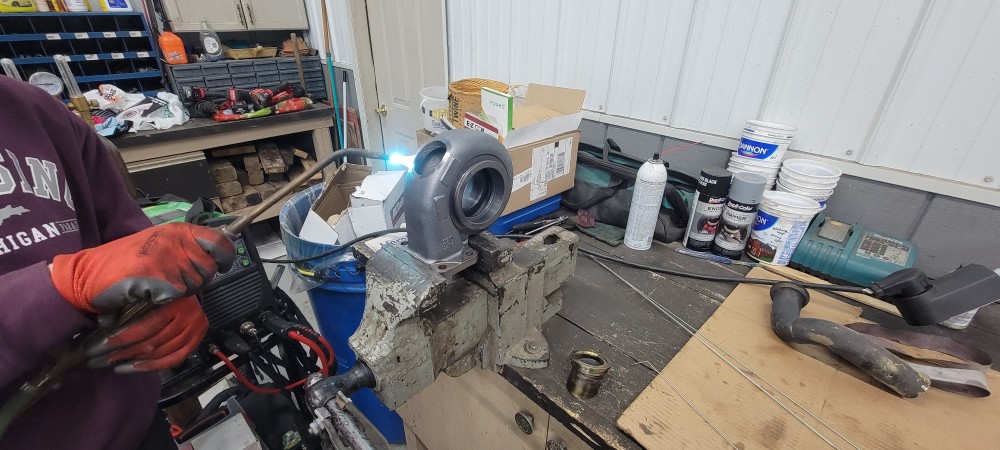
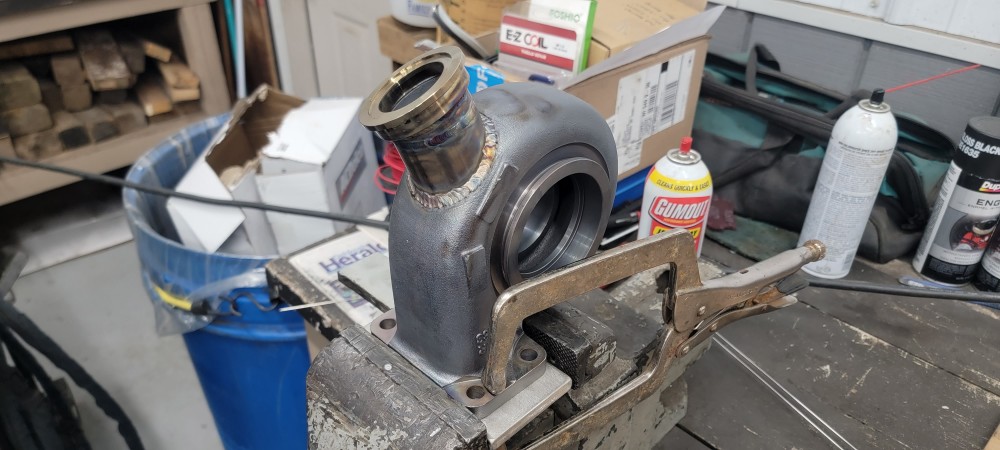
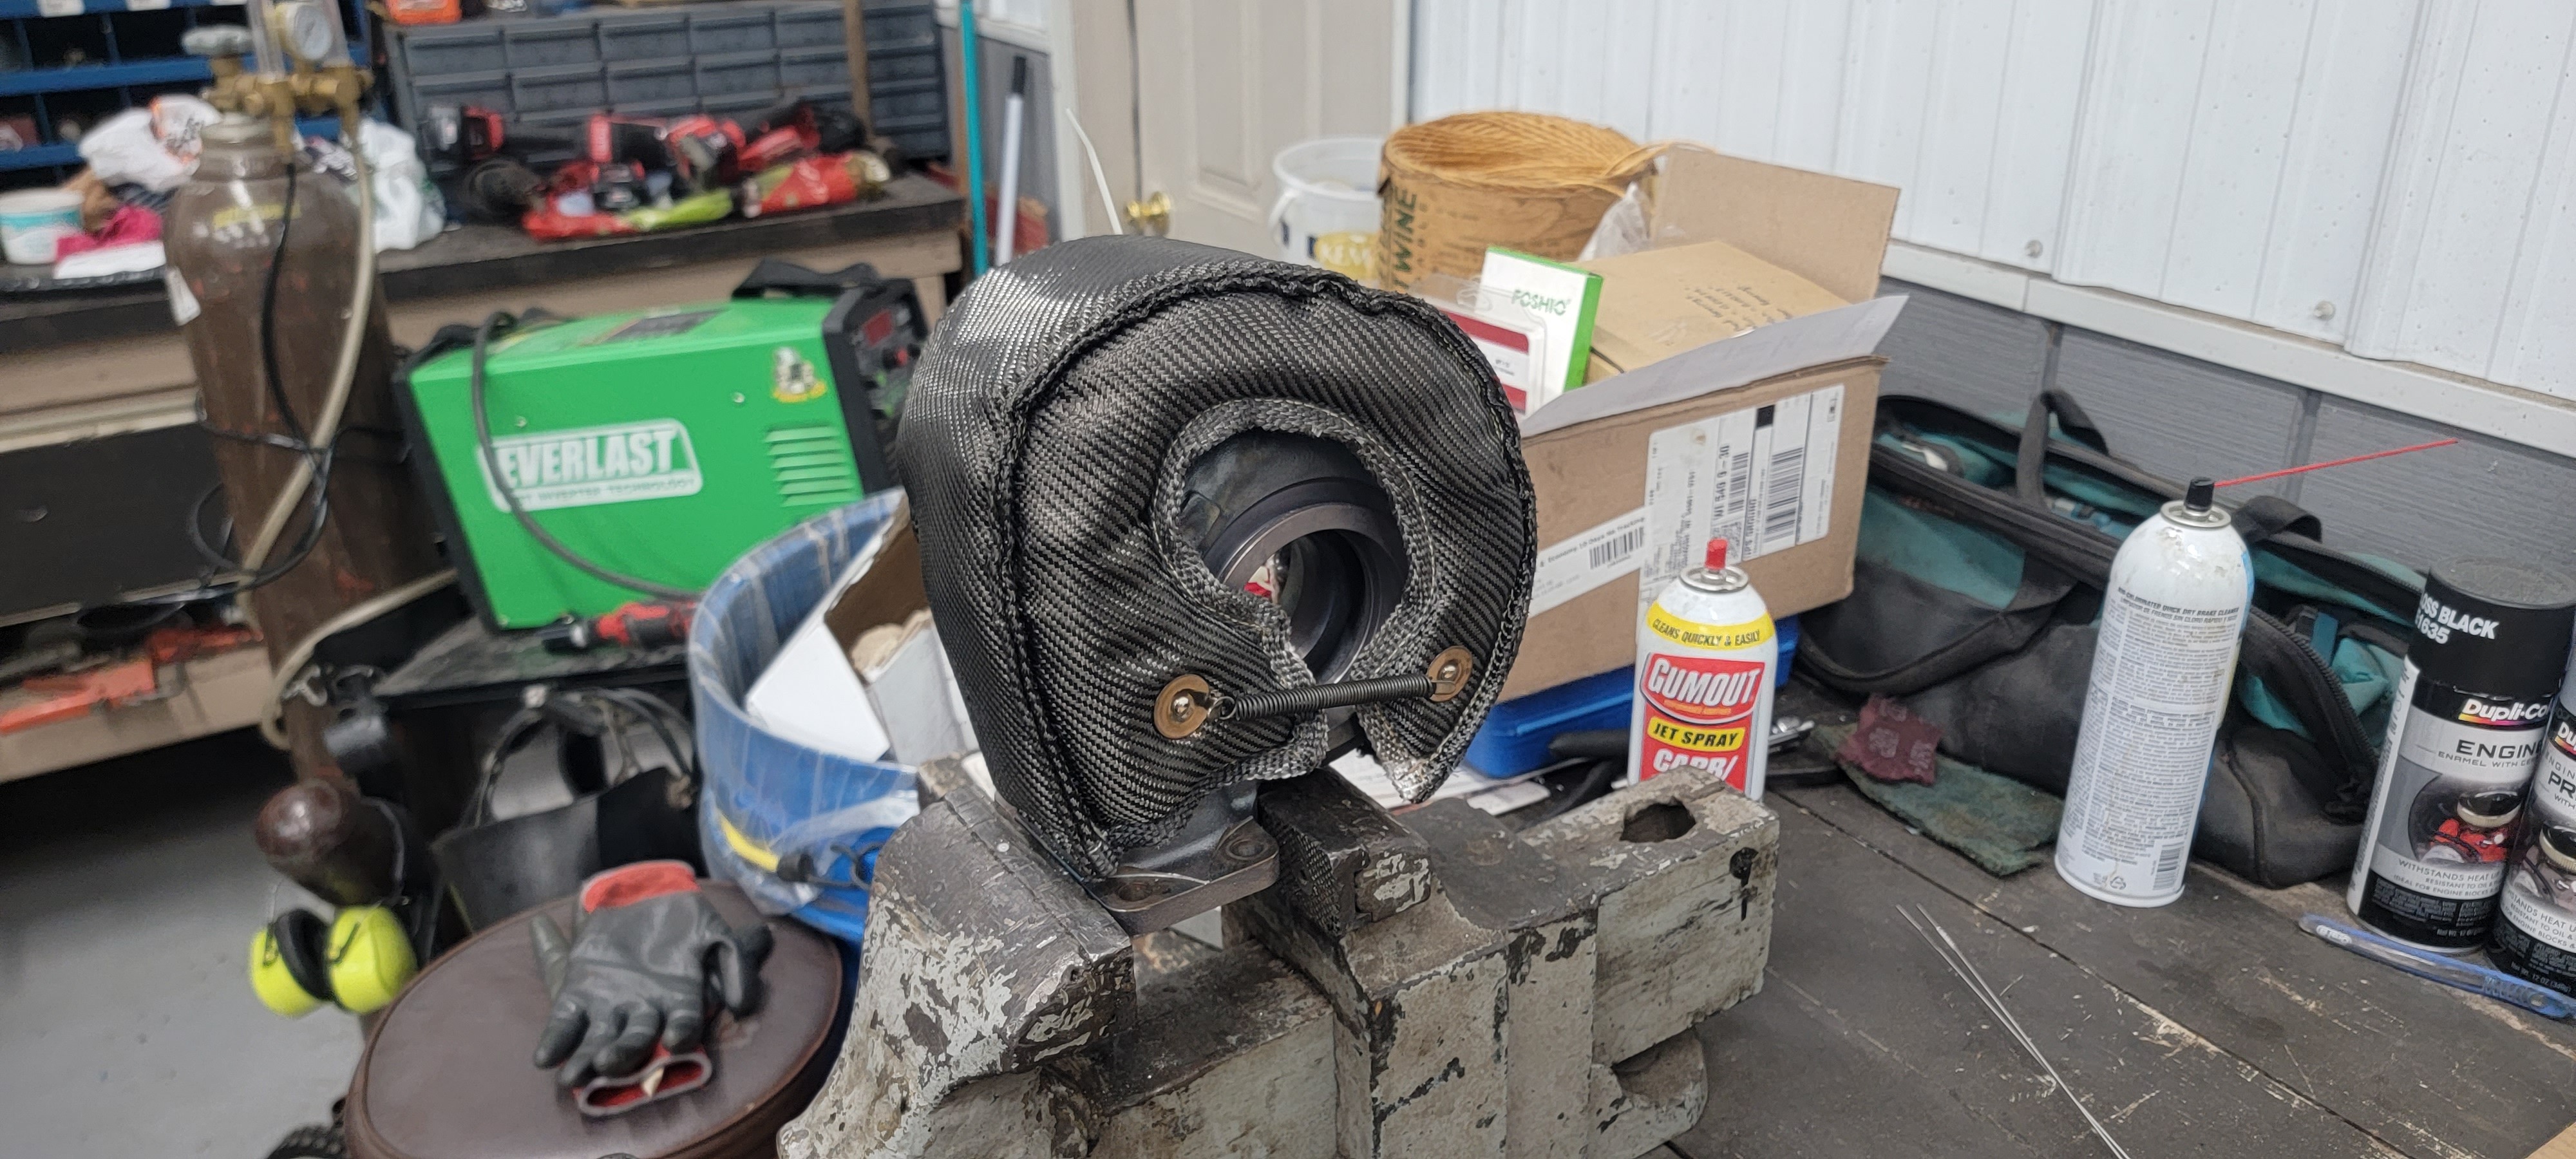
After the welding was complete we wrapped the housing in a turbo blanket as an insulating barrier and monitored it with a temp gun to make sure it was cooling down slowly as letting it cool down too quick can also potentially cause stress cracks.
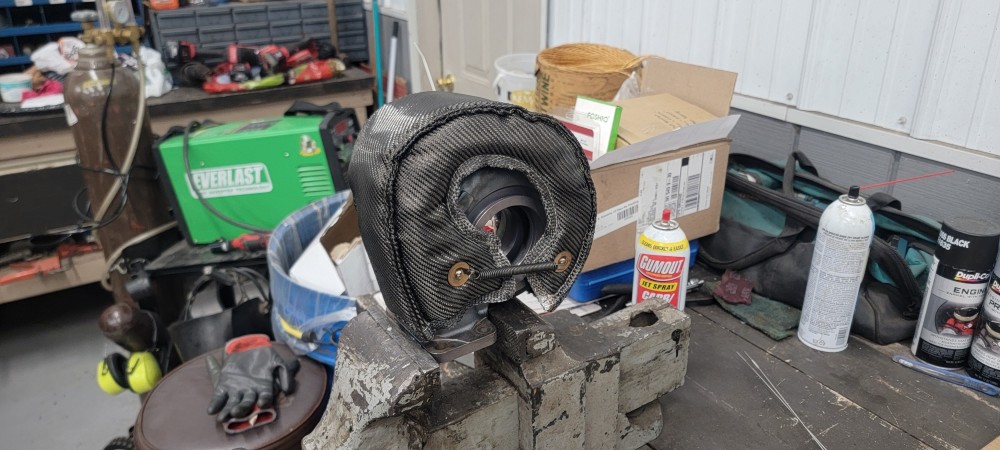
It was now time to pipe the waste gate. I personally really liked the much more mellow sound of the wastegate recirc'd back into the exhaust pipe for a street car vs just dumping it out the bottom somewhere. Luckily enough we were able to reuse most of the old wastegate pipe to route it back into the exhaust. Overall, I was pretty happy with the results and look forward to many boost creep free pulls in the future!
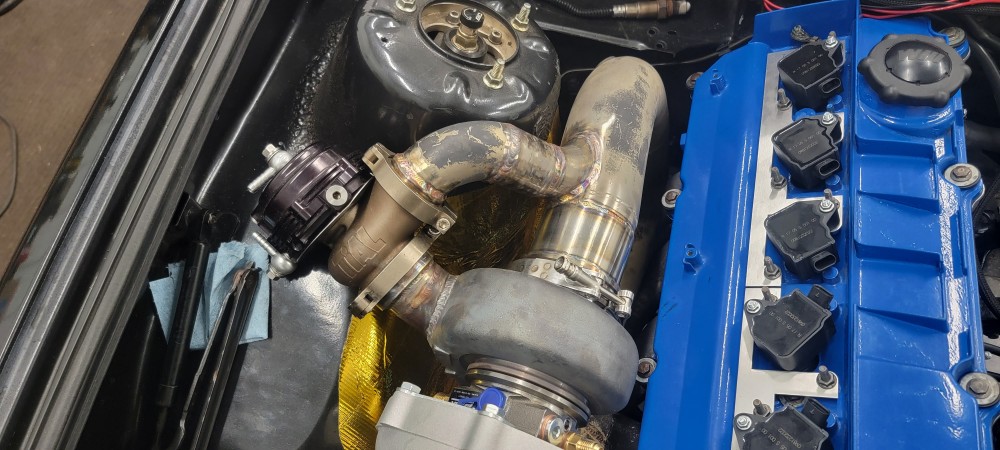
I also went ahead and had a elbow welded on to the compressor housing. My original plan was to run a silicone elbow there but with the smaller frame on this turbo, the elbow was touching the manifold and I feared it would melt it.
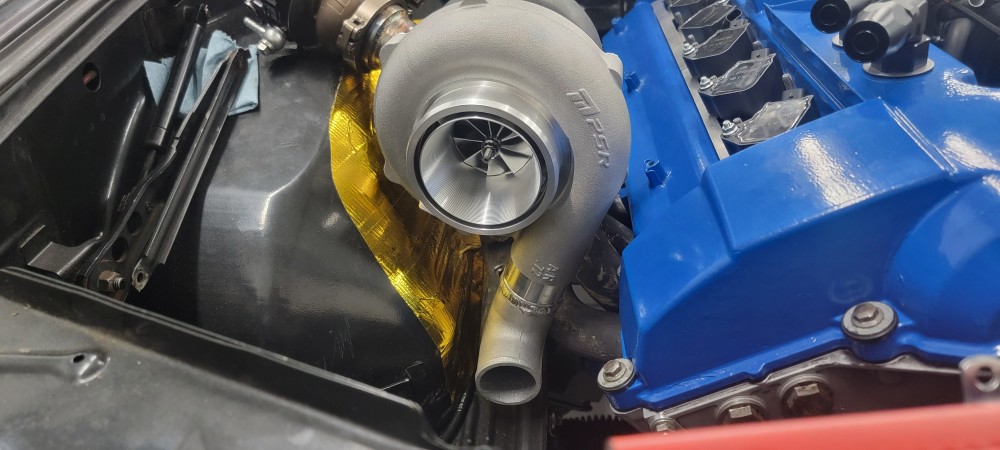
To keep engine bay temps down I got a new turbo blanket that better fits this housing and drilled a 2 inch hole in it to accommodate for the wastegate flange. Rest of the down pipe I wrapped with some heat wrap.
After wrapping this up I got all my an lines made up for the oil drain and cooling lines and installed them right away. Being that this turbo was ball bearing it meant I now had to run water to keep it cool. Ran the water inlet off the third port on the cylinder head next to the Coolant temp sensor. I chose to run the water outlet down into the block drain port.
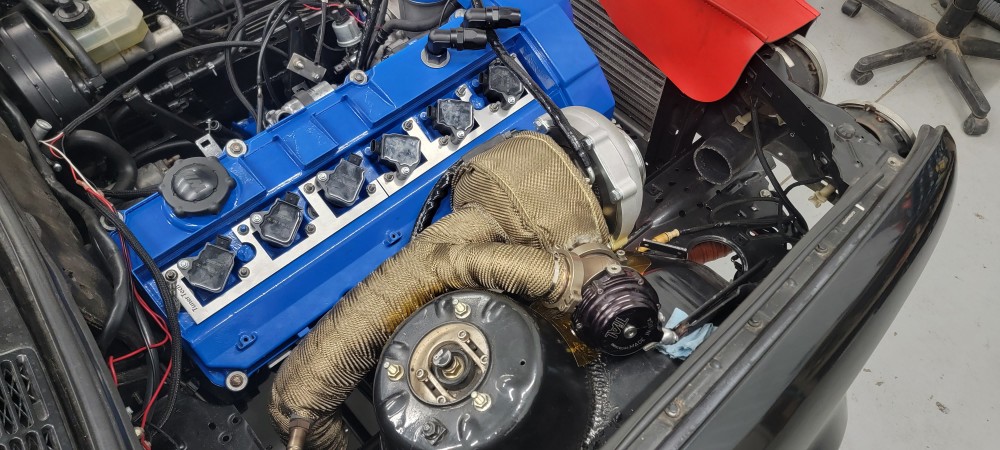
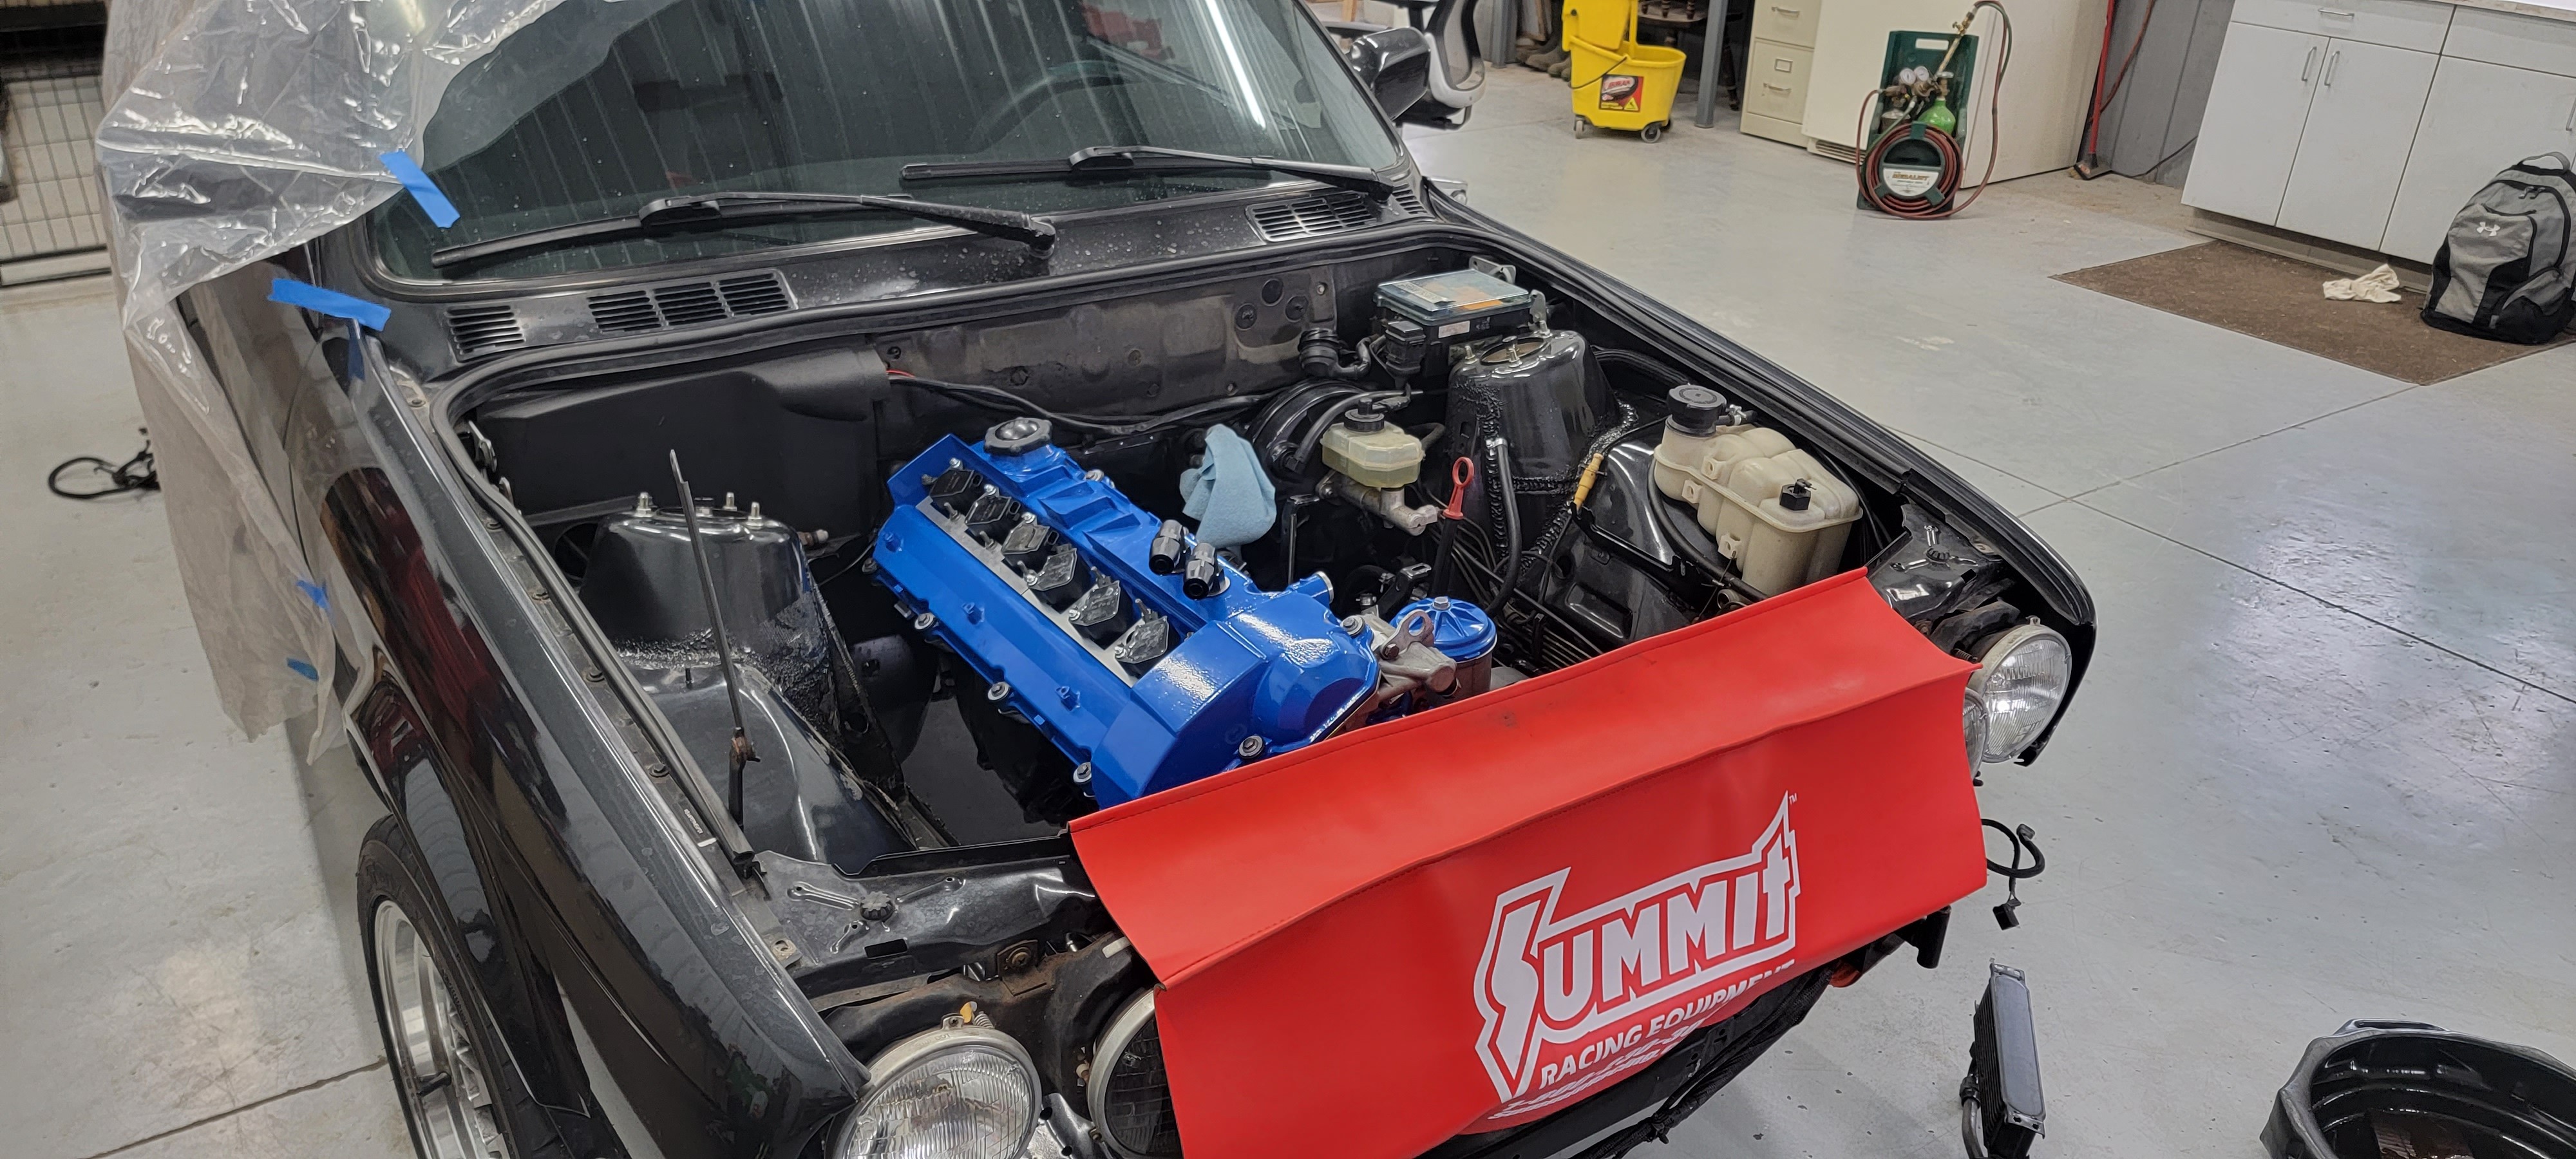
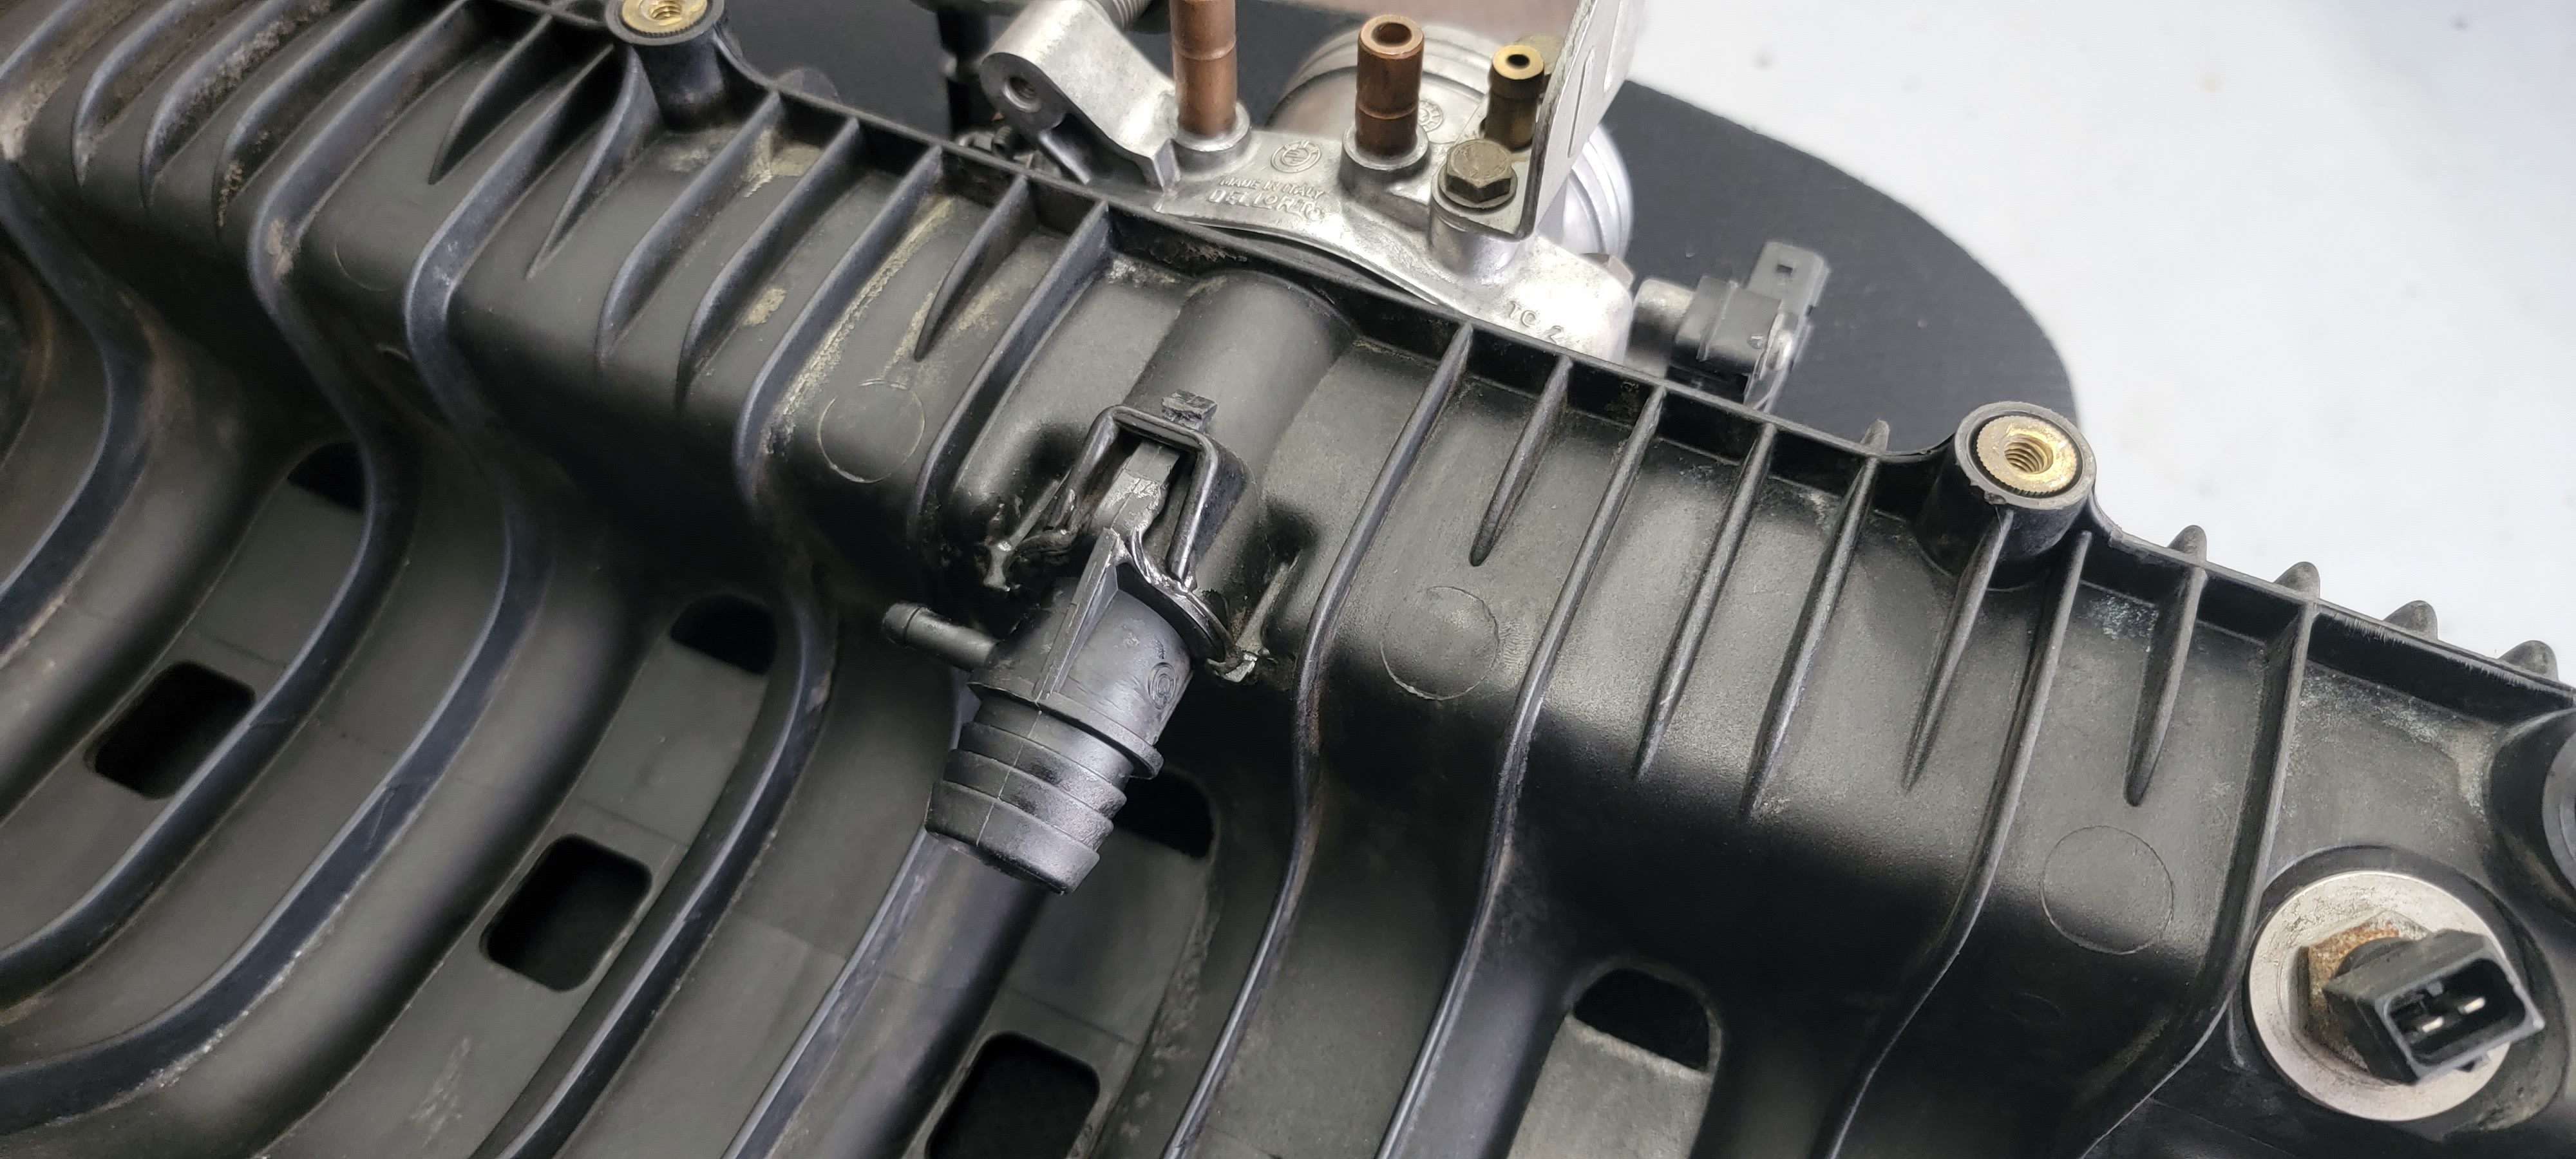
Moved on to the intake side of things. Got the harness back into the car and hooked all up. As for the intake manifold I chose to use some plastic epoxy on the IAC port underneath so I didn't have to worry about that causing a leak.
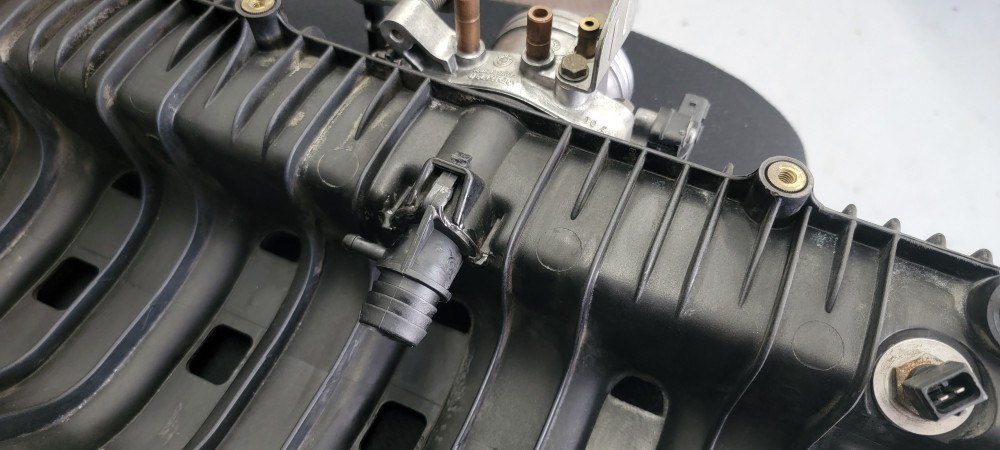
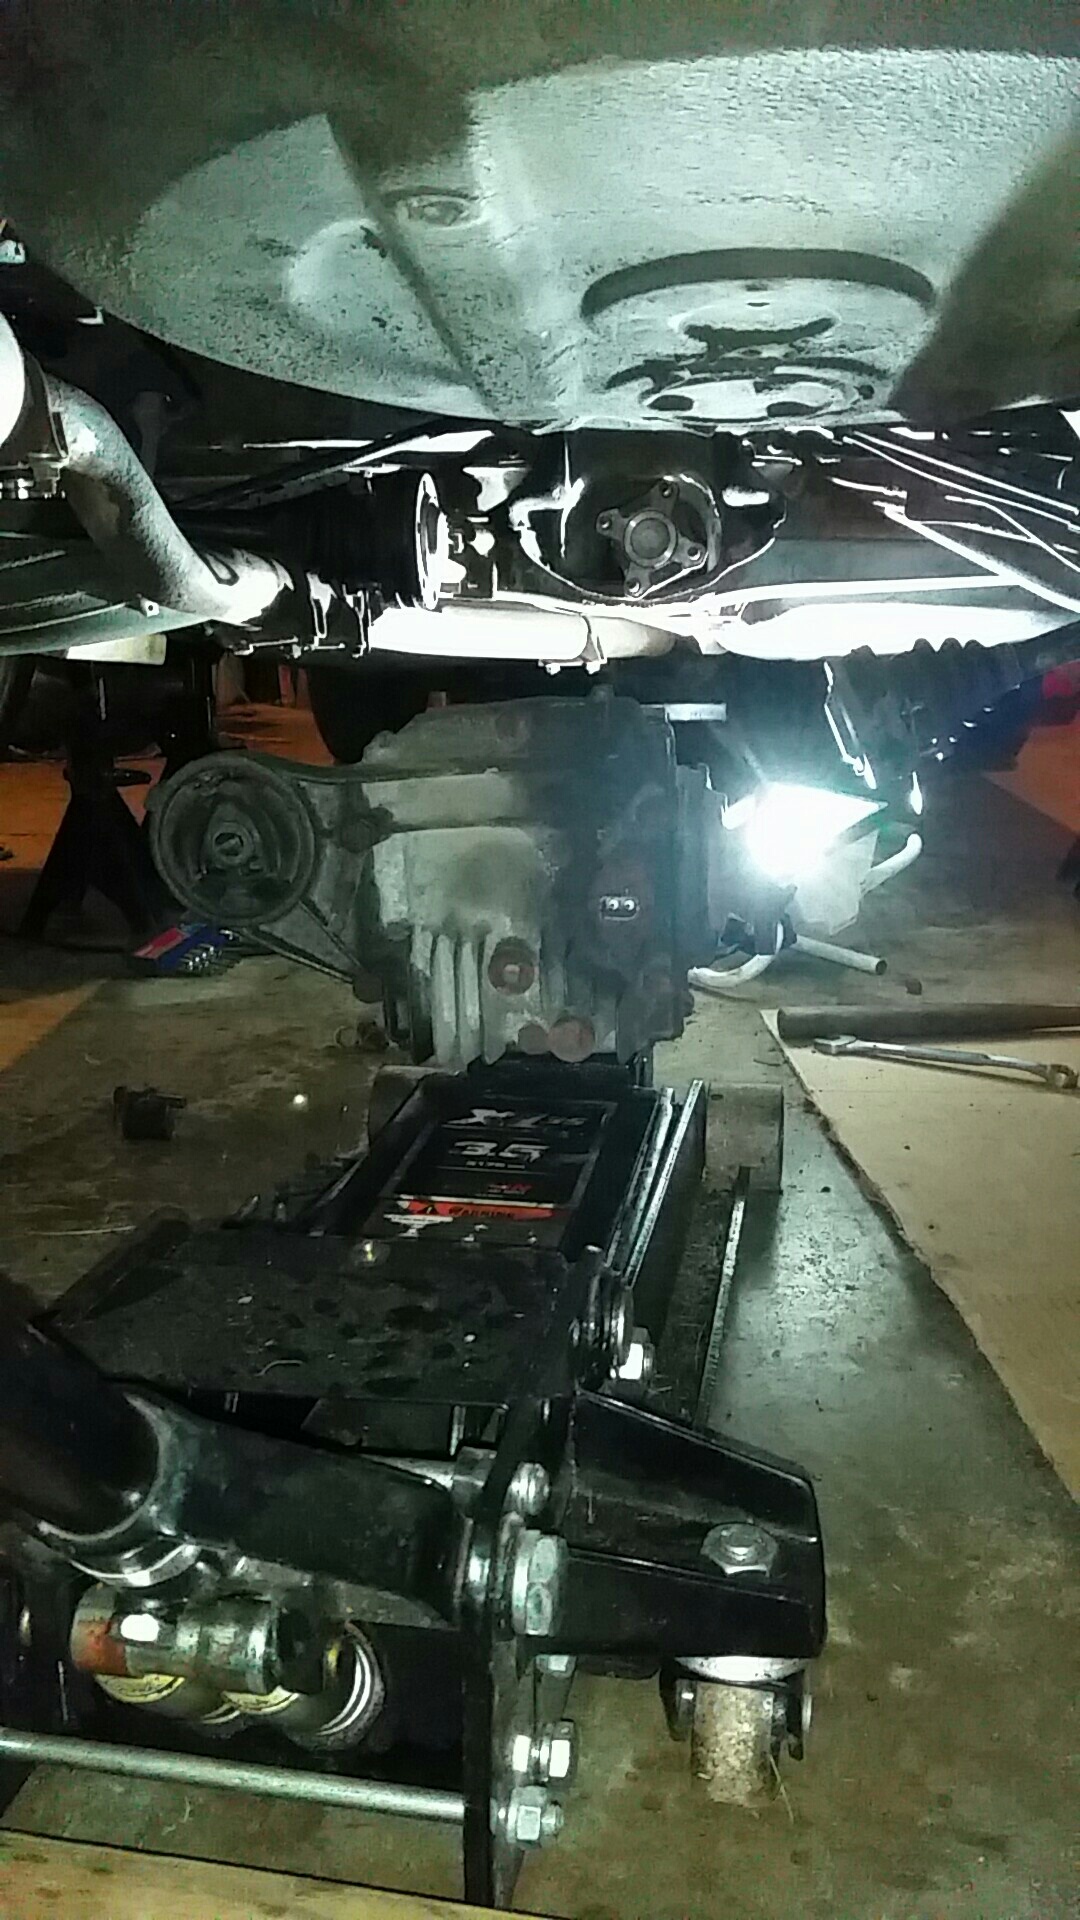
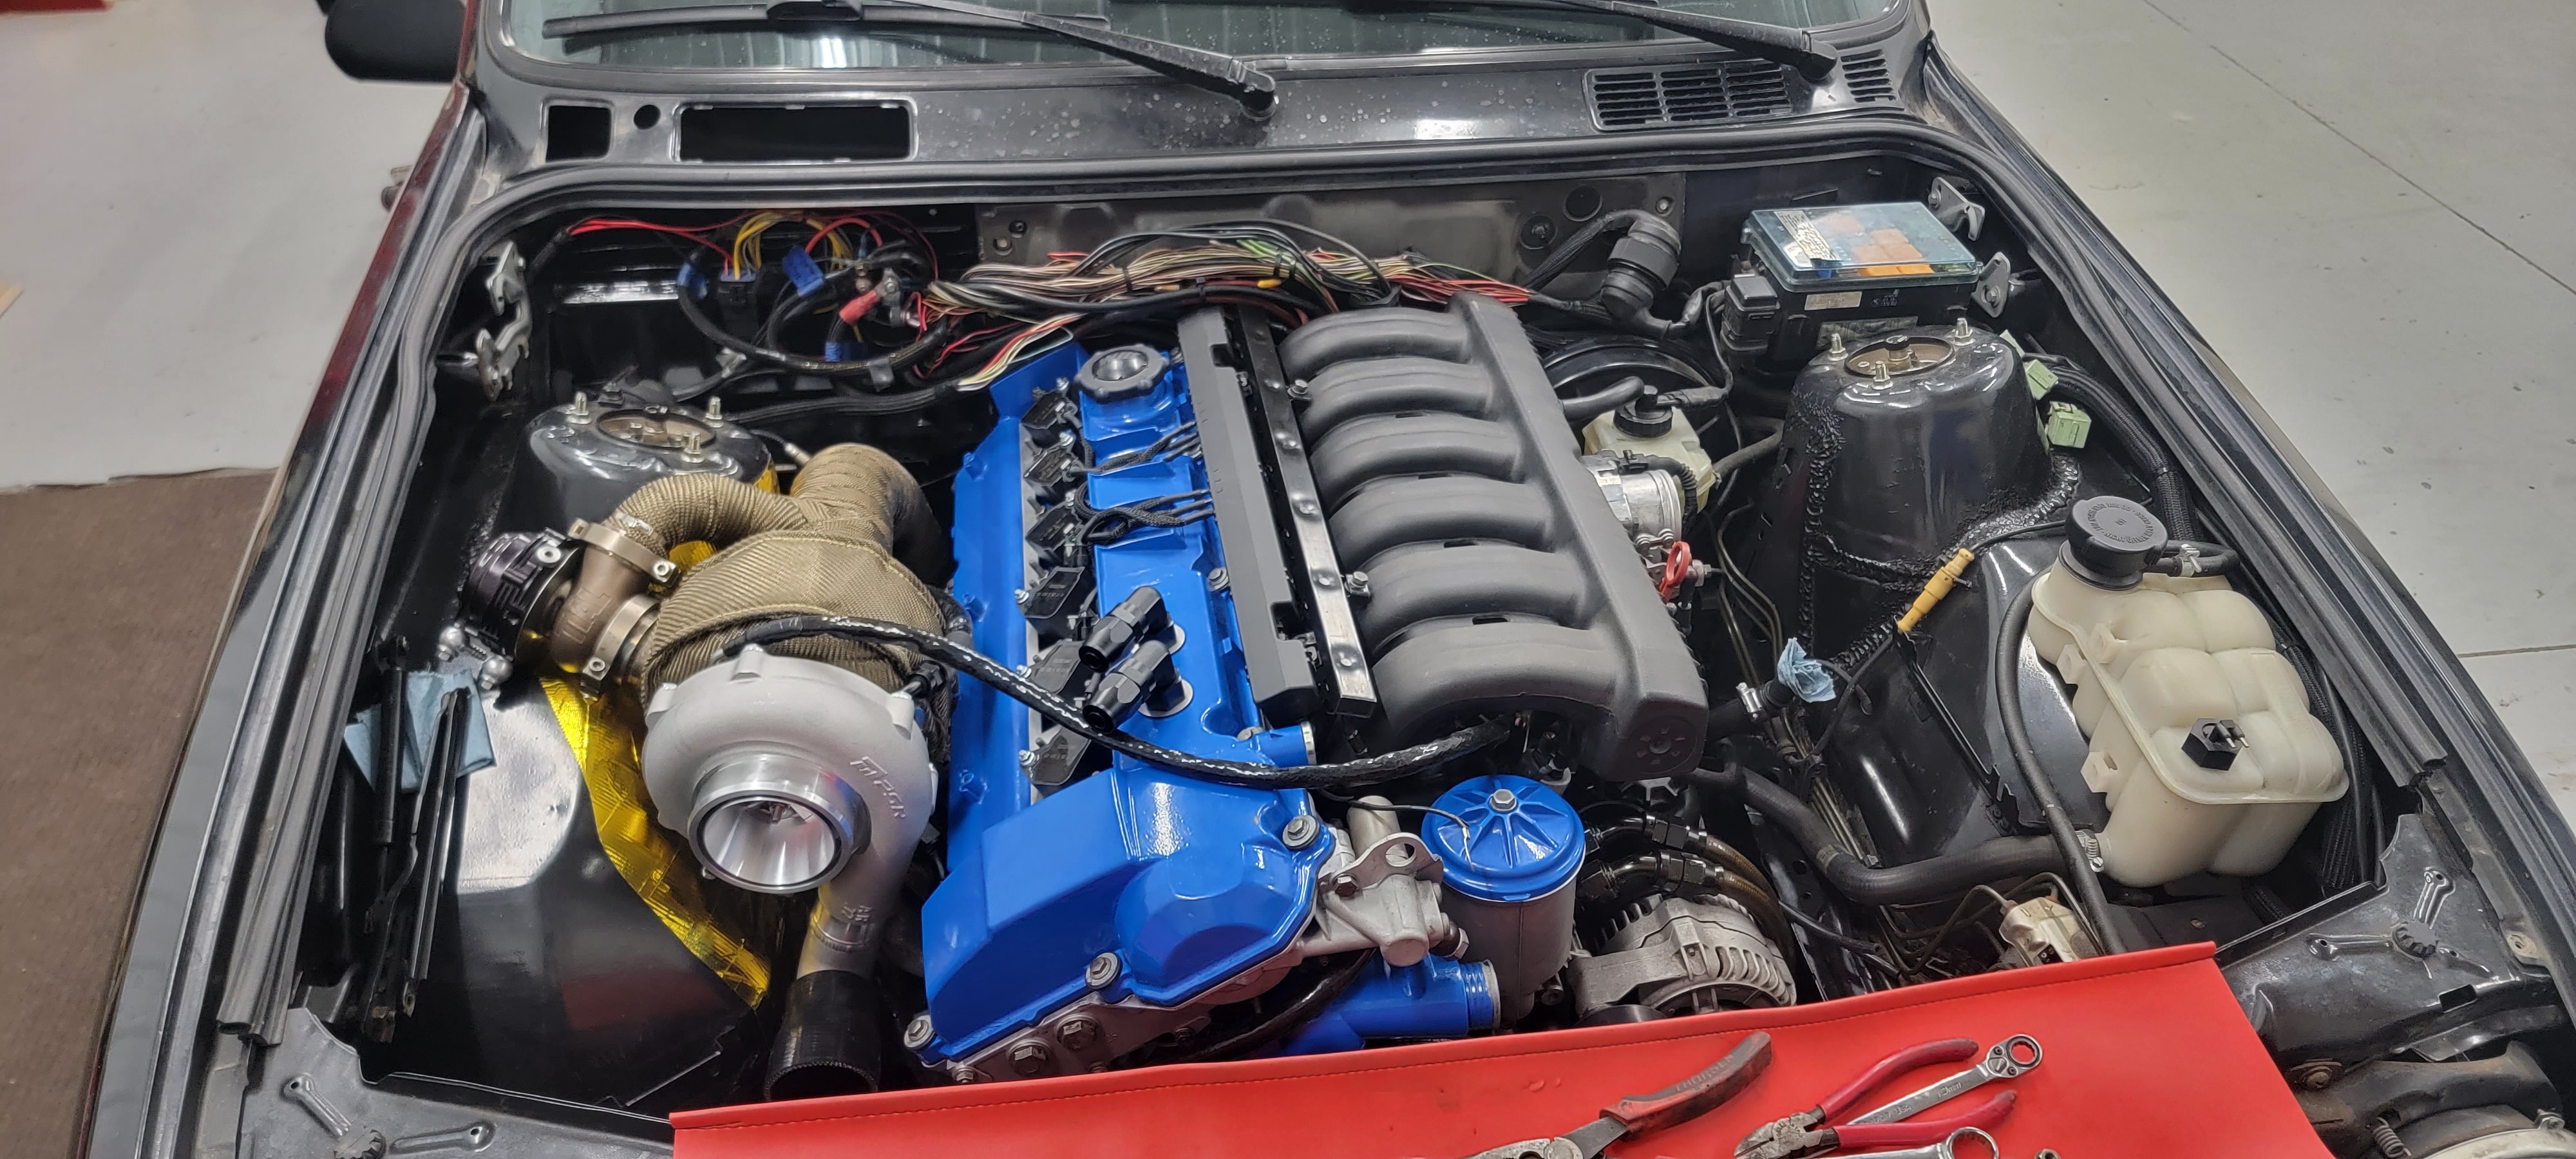
Manifold is in and everything hooked up underneath. Also got the shifter linkage, driveshaft reinstalled and clutch pedal bled.
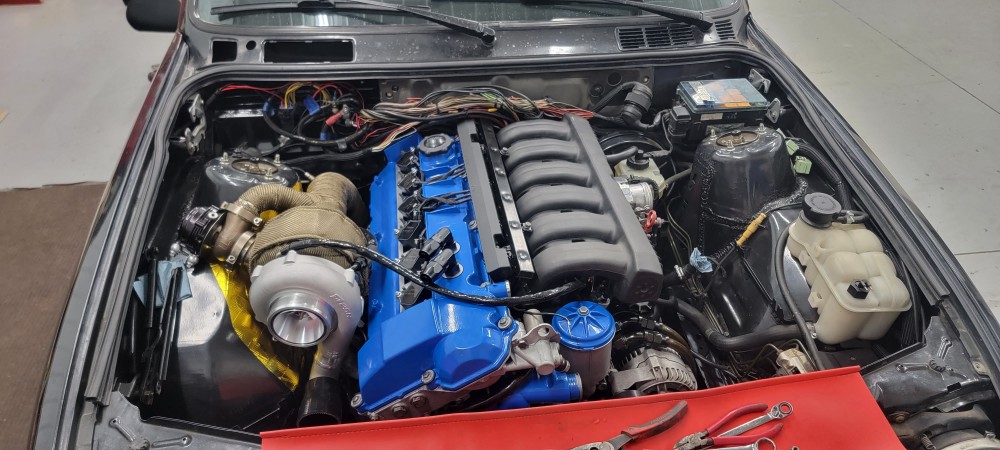
Fuel stuff showing up early this week. Lots of other little things to run and tighty up but the to do list is getting shorter!
-
nice progress!
-
nice progress!
Rally road has something similar to that I had considered getting. I decided against it though after seeing the amount of success guys were having with just epoxying in a new oem one. I personally haven't found anybody mention anything about the epoxied in oem ones failing.
-
Been having a hard time getting on here to post updates so this one is overdue by about two weeks lol.
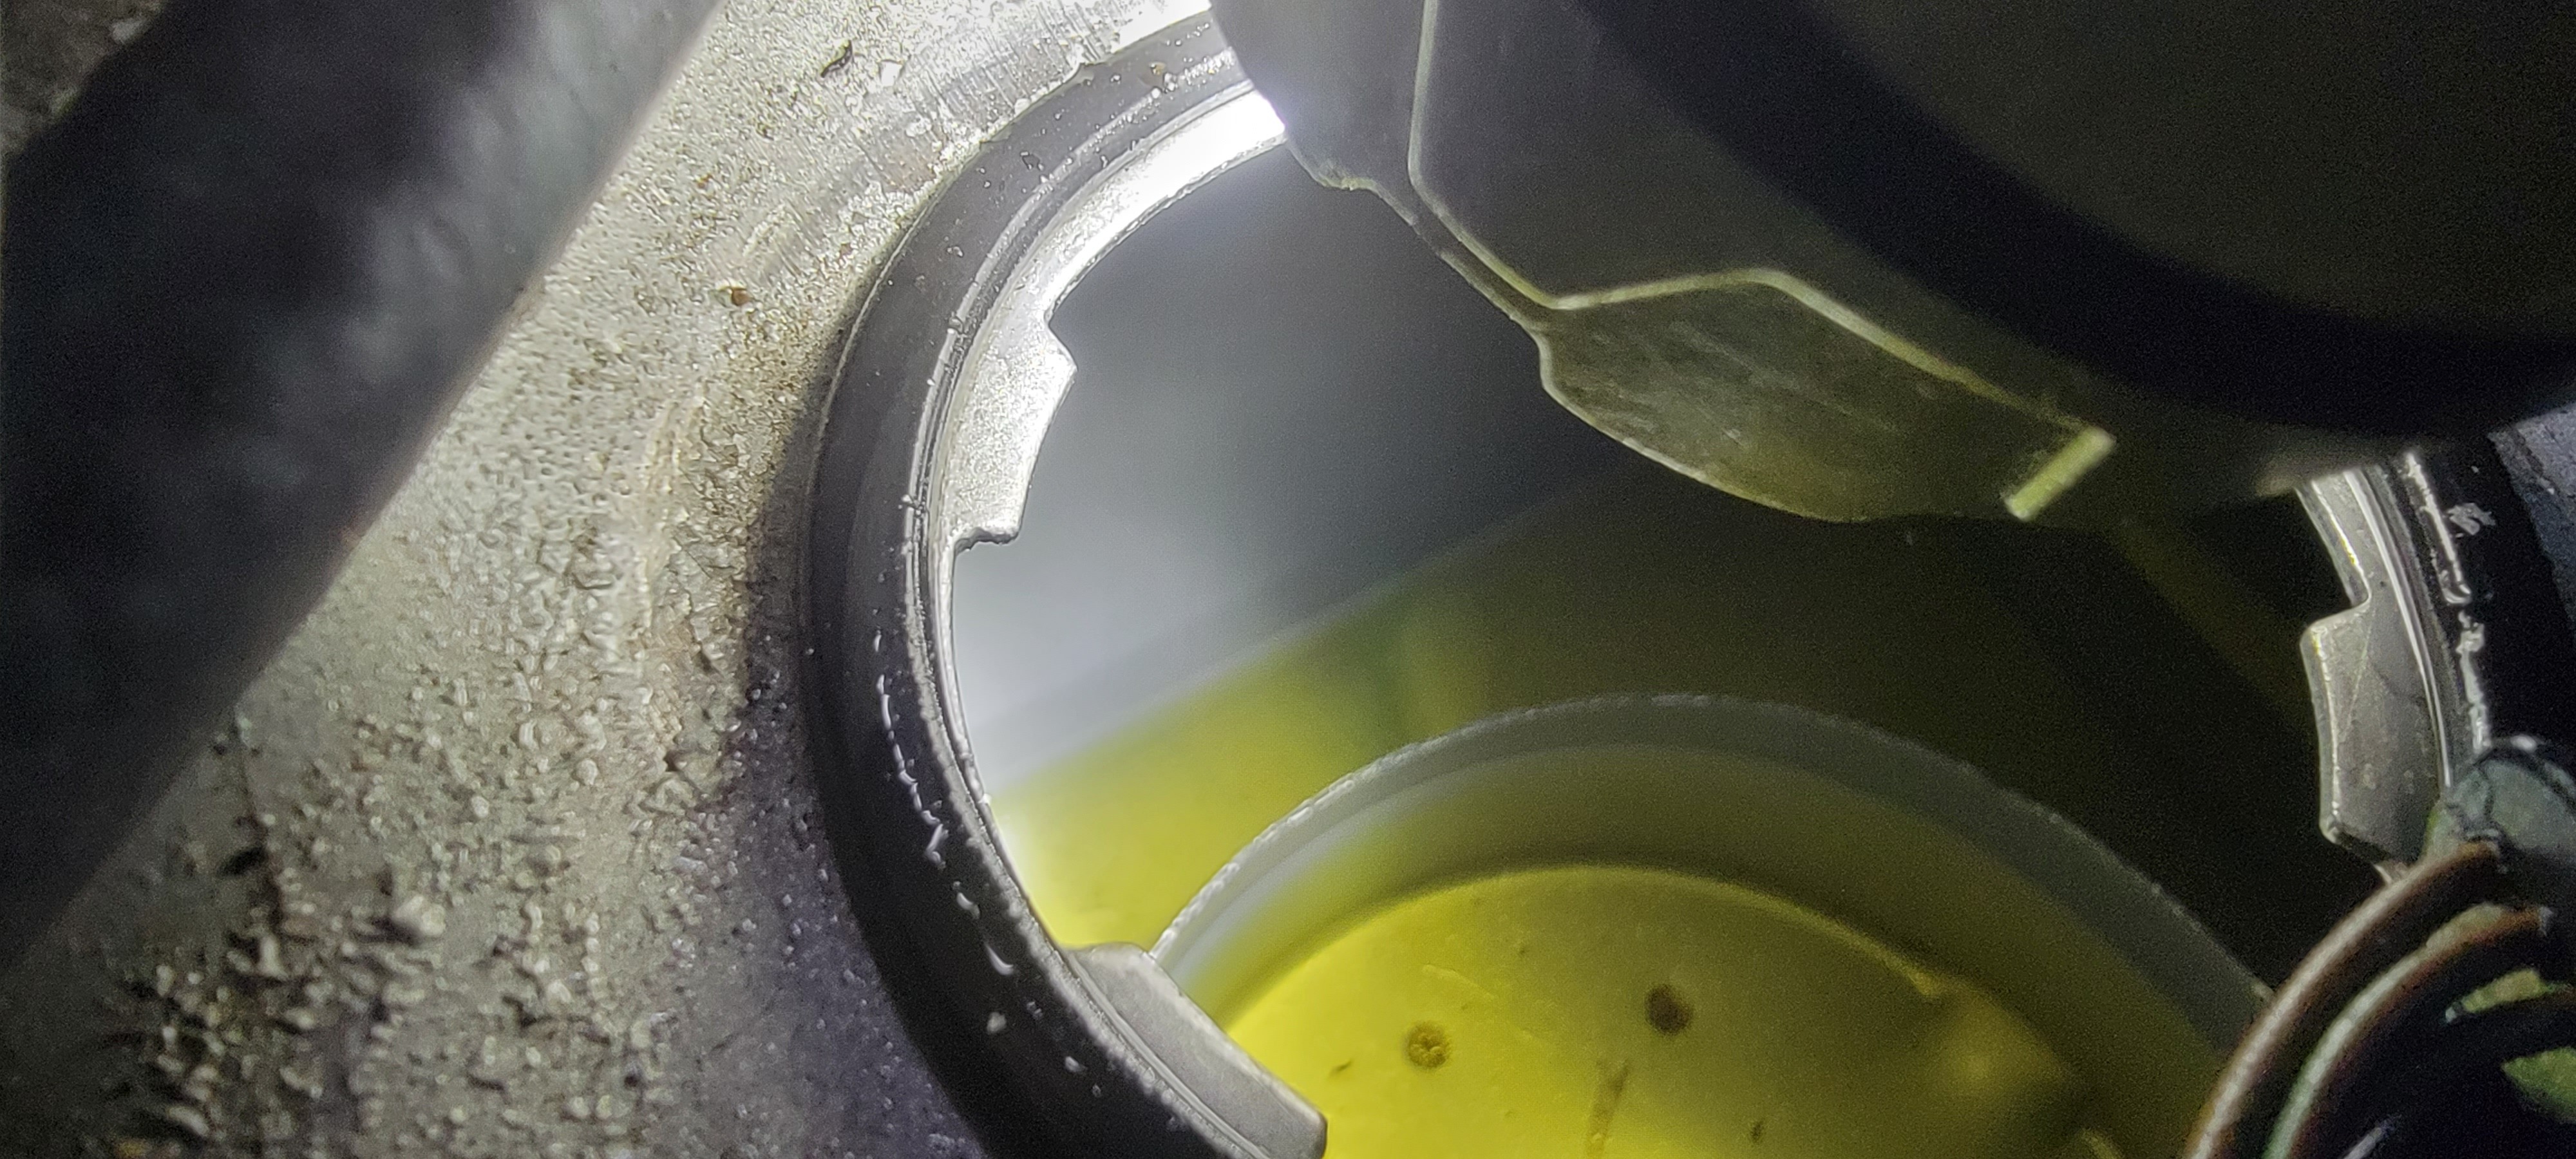
The car still had a full tank of E85 in it so right away I disconnected the feed line on the fuel filter, jumped the relay and put the hose in a gas can to pump out all the old fuel. Once I had about 95% pumped out I pulled the fuel pump assembly out and took a peak inside. Now I did pour some stabil 360 in the tank before storing the car away so I was hoping that would atleast keep the fuel from absorbing a bunch of moisture and rusting out the tank. Sure enough the tank was in perfect shape so that was great to see. Old fuel had a sour smell to it though so definitely wasn't about to dump it back in.
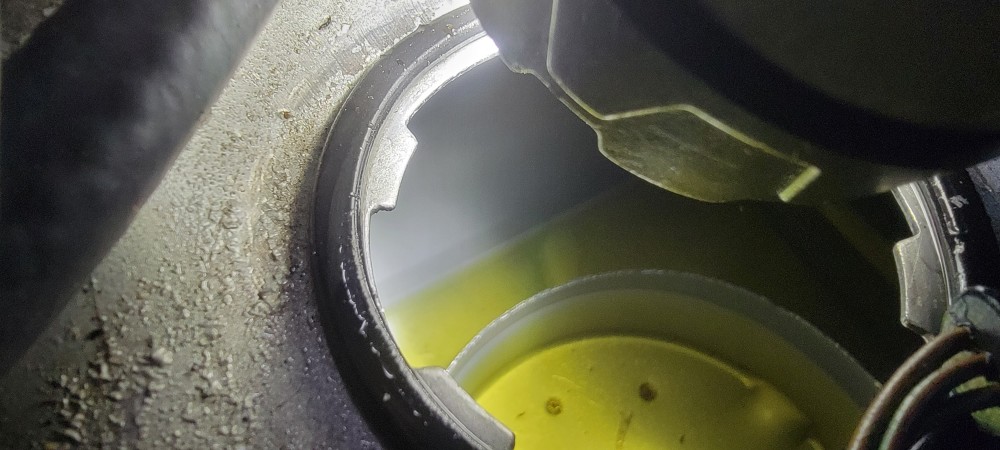
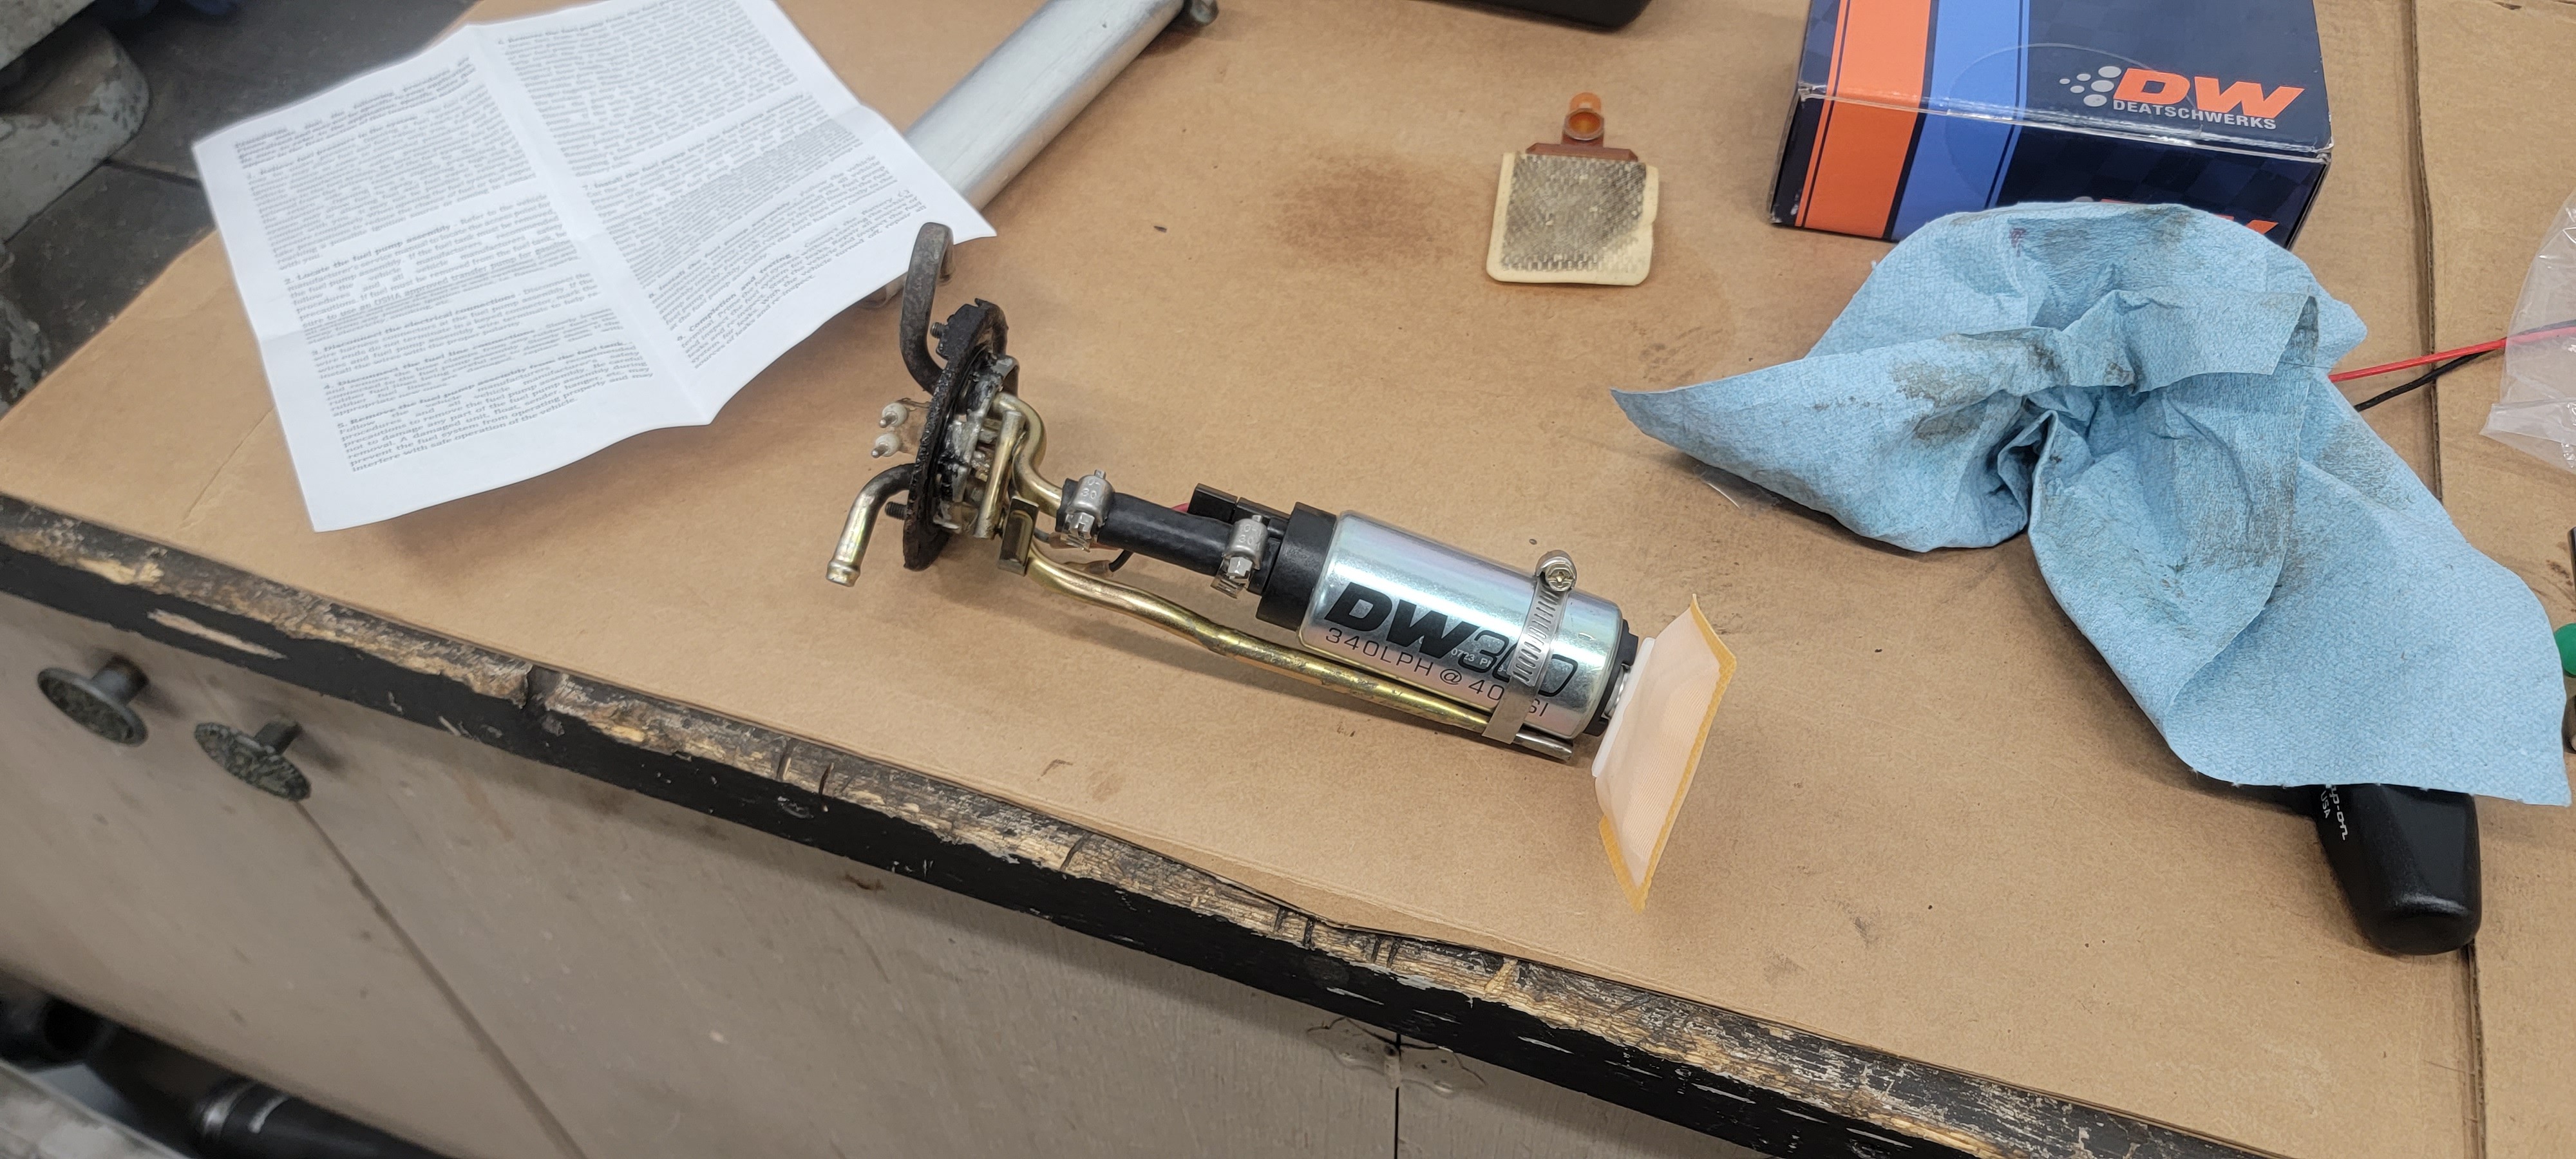
As for the fuel pump, it was time for something with a little more flow. The walbro 255 I had in there is suppose to be good for around 450 hp and being that I have plans to exceed that now I switched over and went with a DW300. With about 100 lph more then the 255 it should fit my power goals perfectly. I didn't want to go too over sized with the pump as I was sticking with running the stock FPR. Deatschwerks and walbro share the same pigtail so switching over the pumps was actually quite simple.
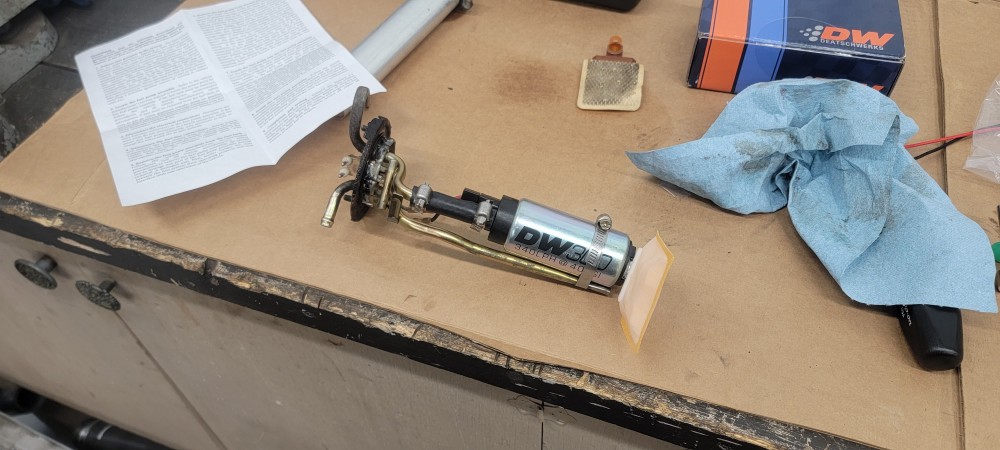
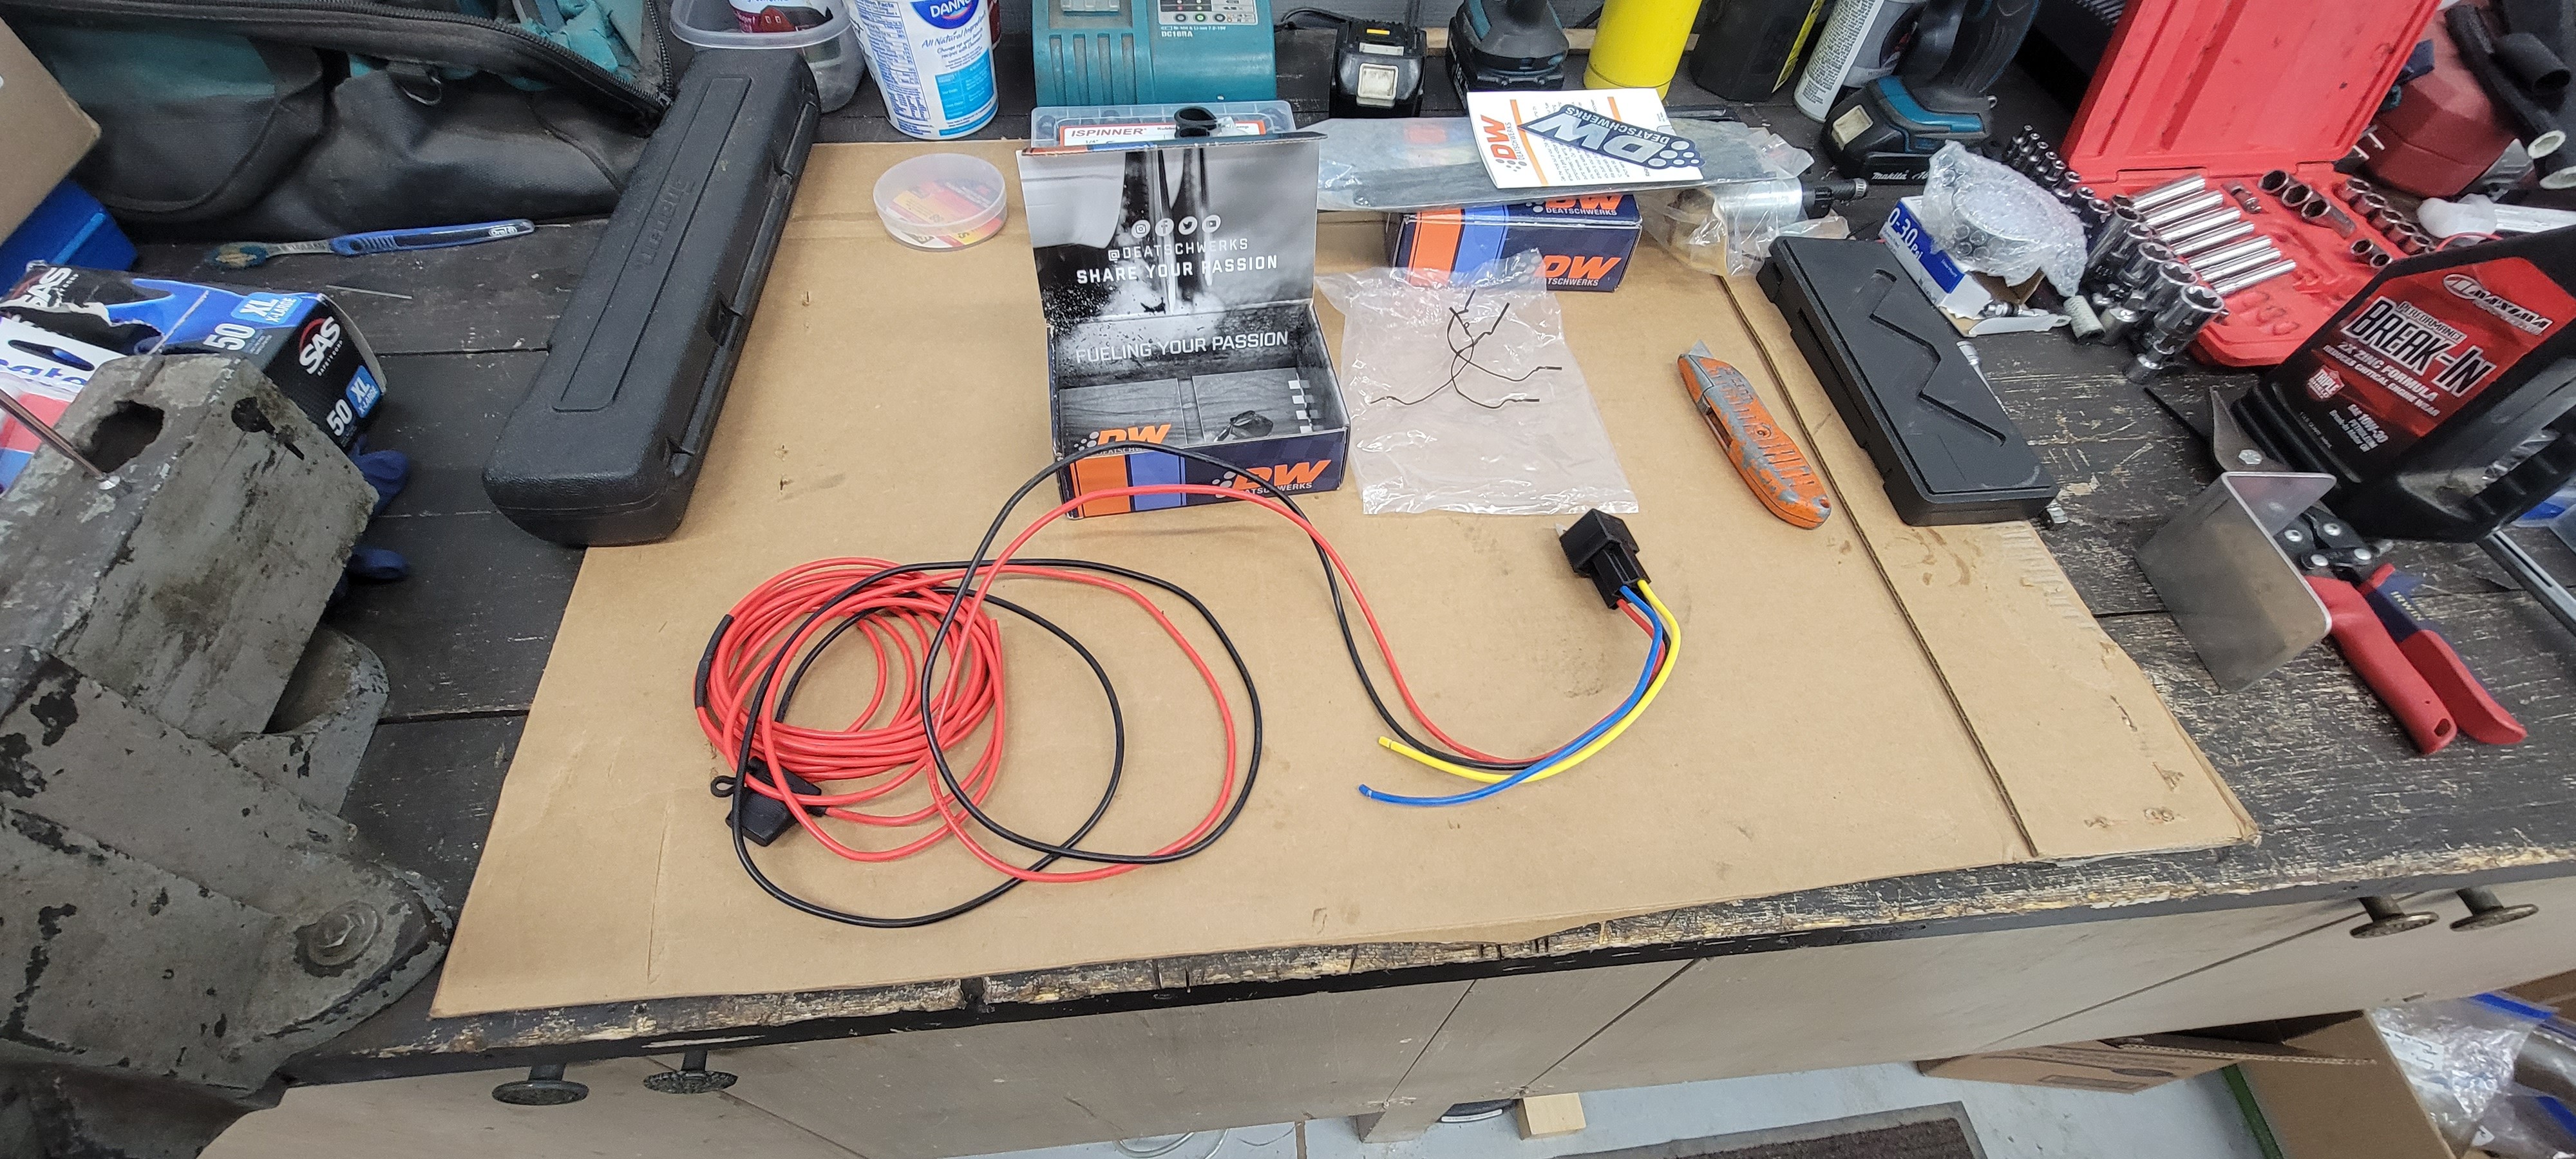
Ordered a relay kit as well to go with the larger pump. Factory wiring won't cut it no more.
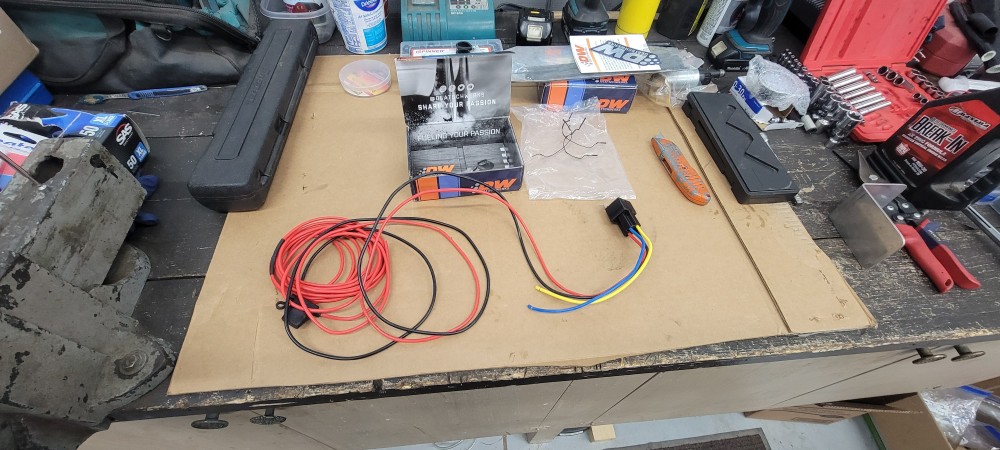
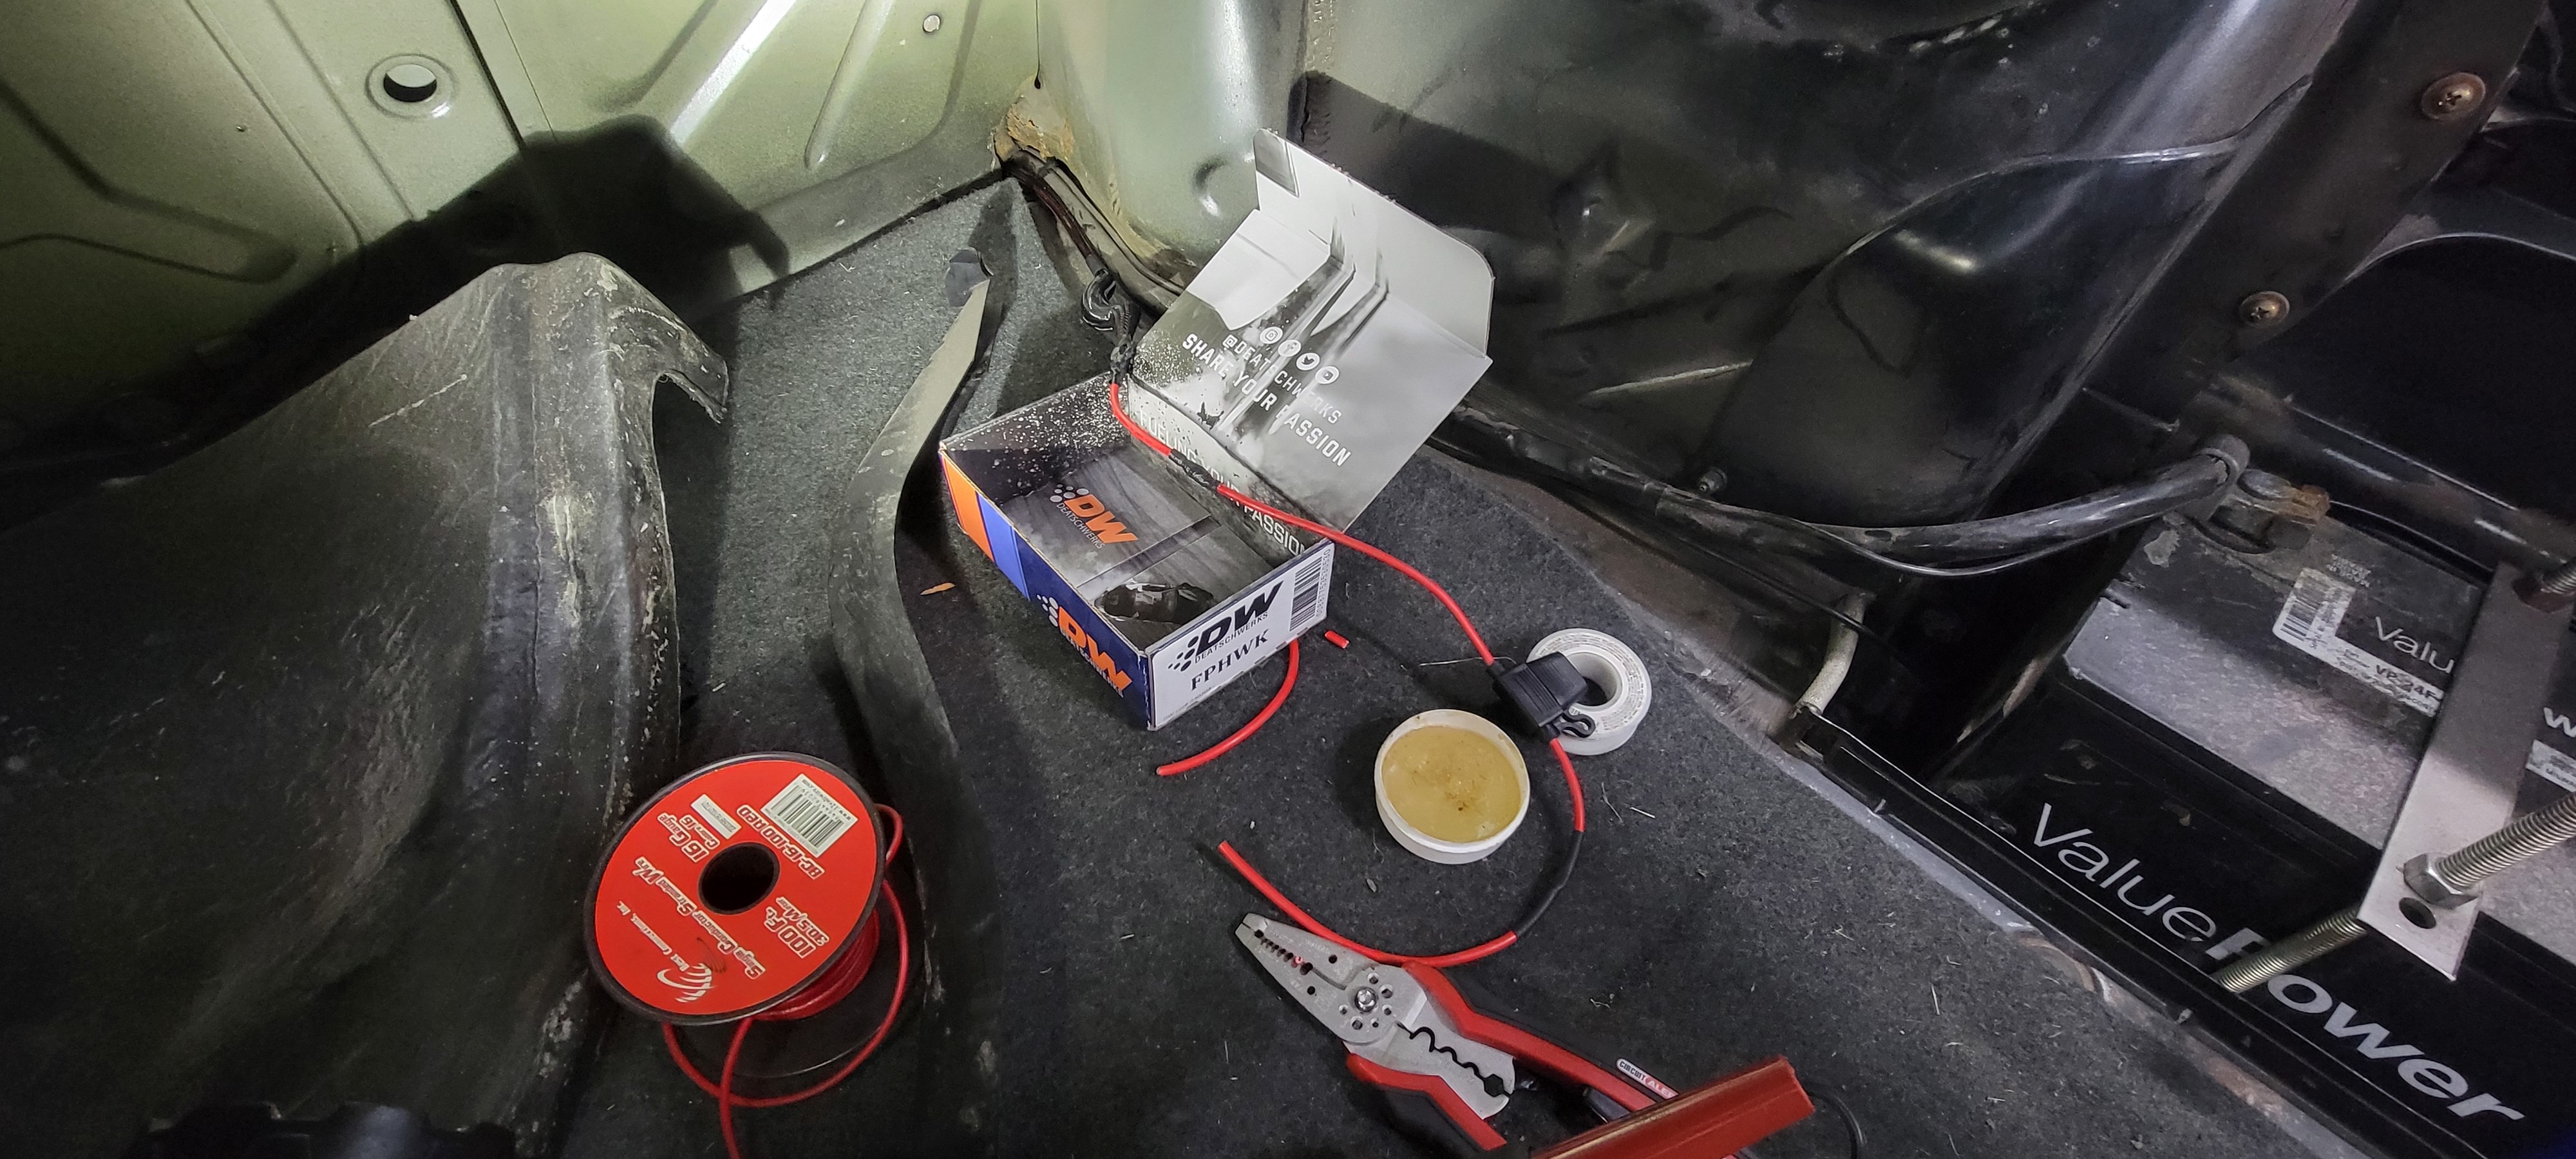
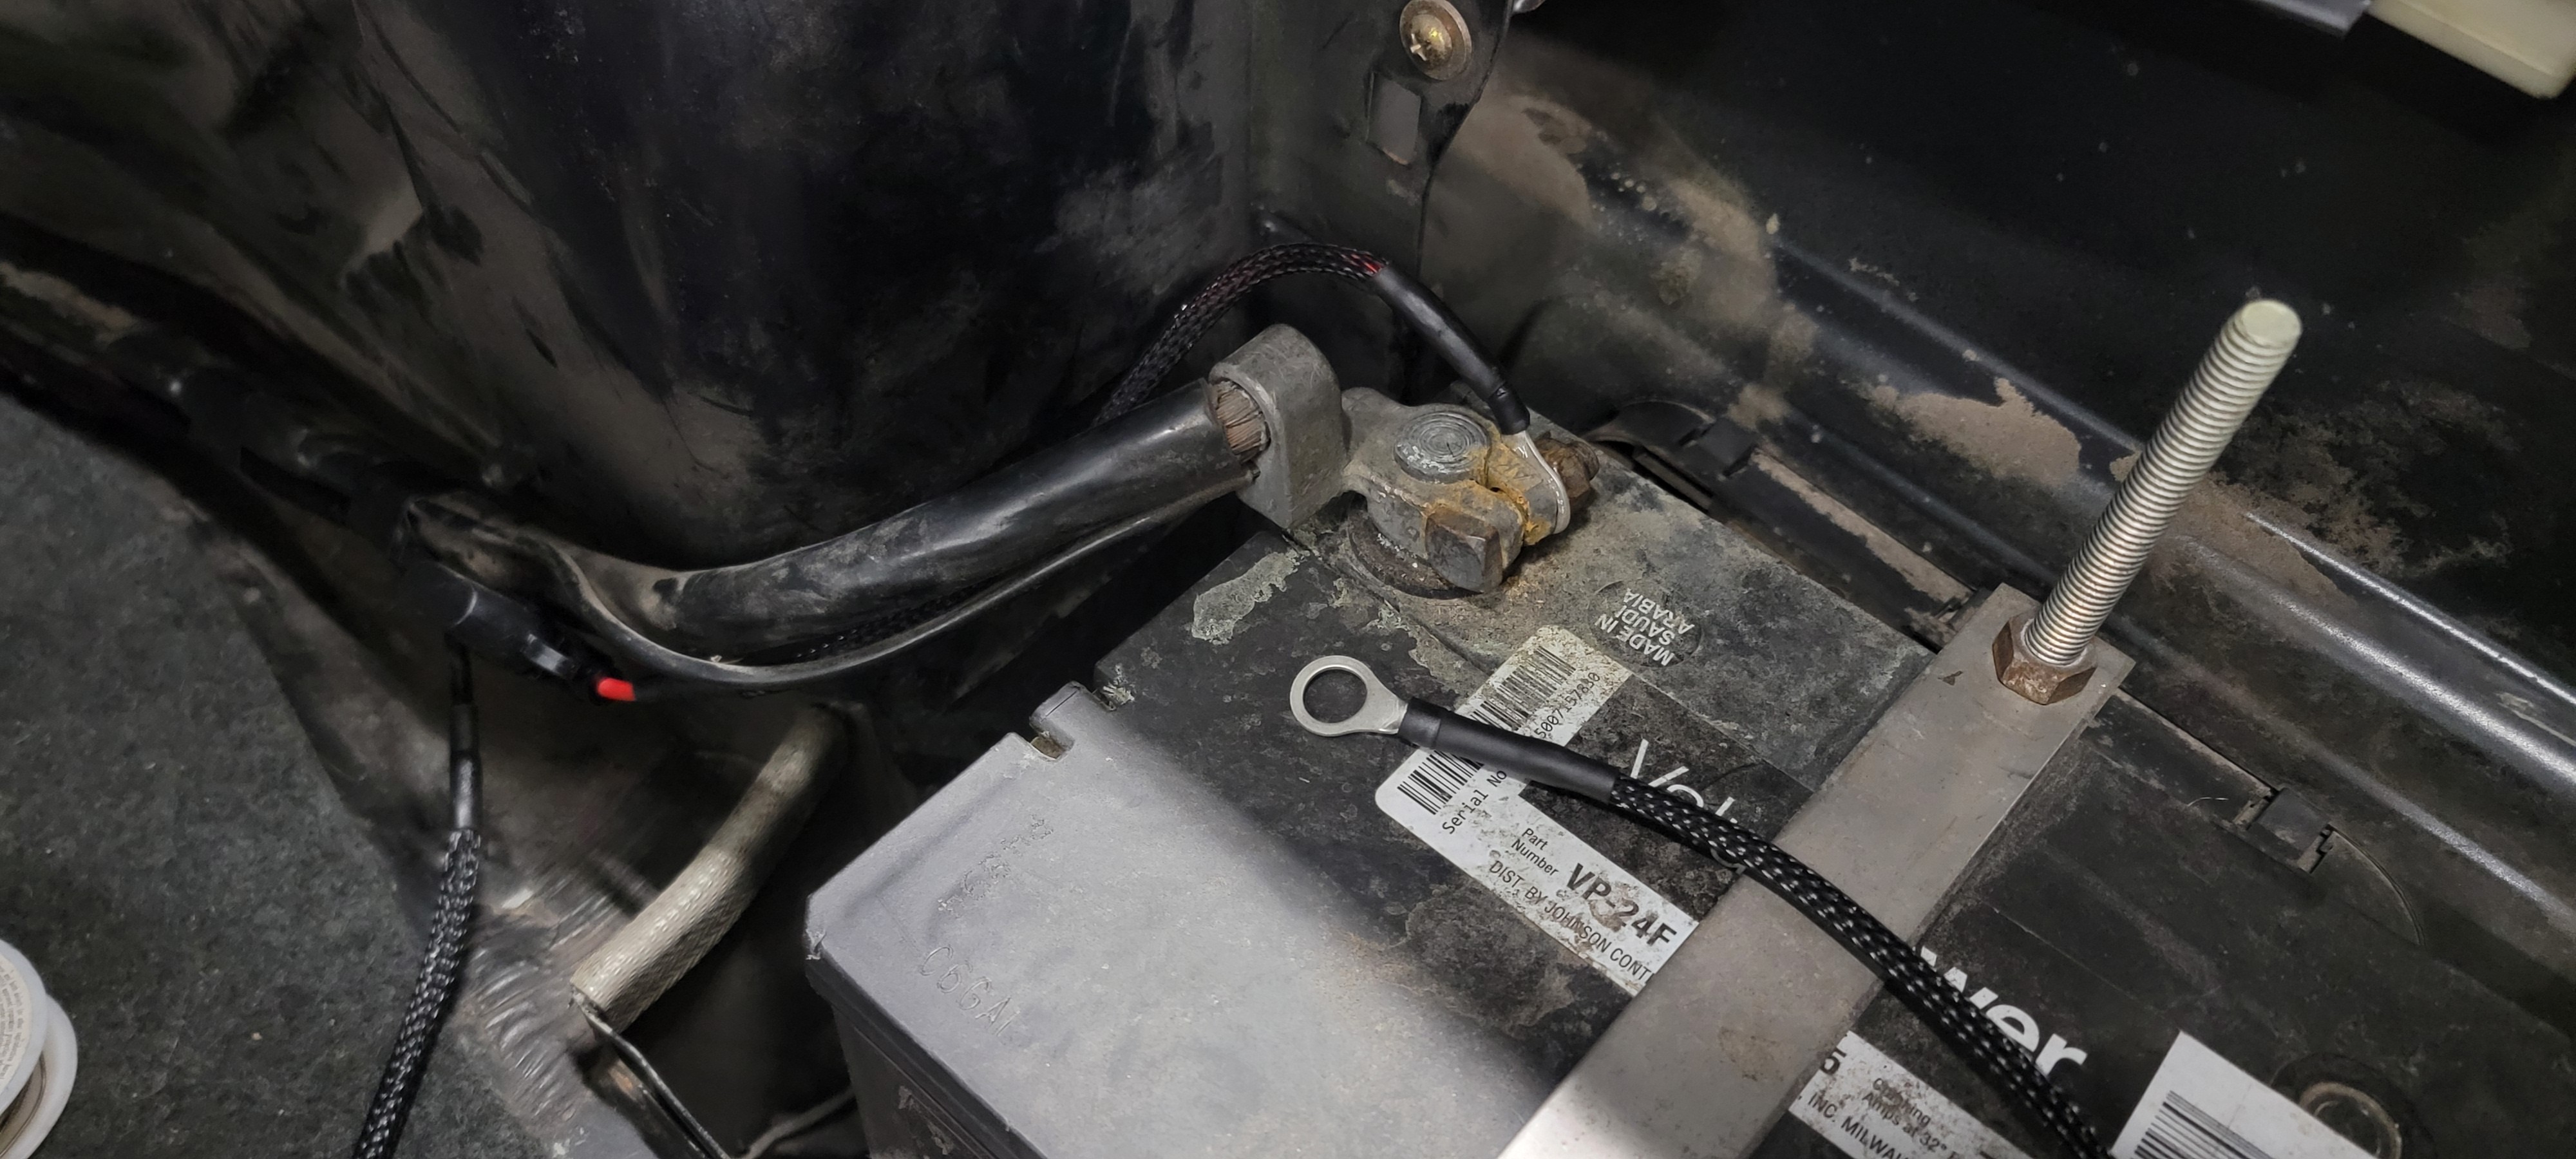
New power ran directly to the battery with a 40 amp inline fuse. Ran the ground to the same grounding point that the battery uses.
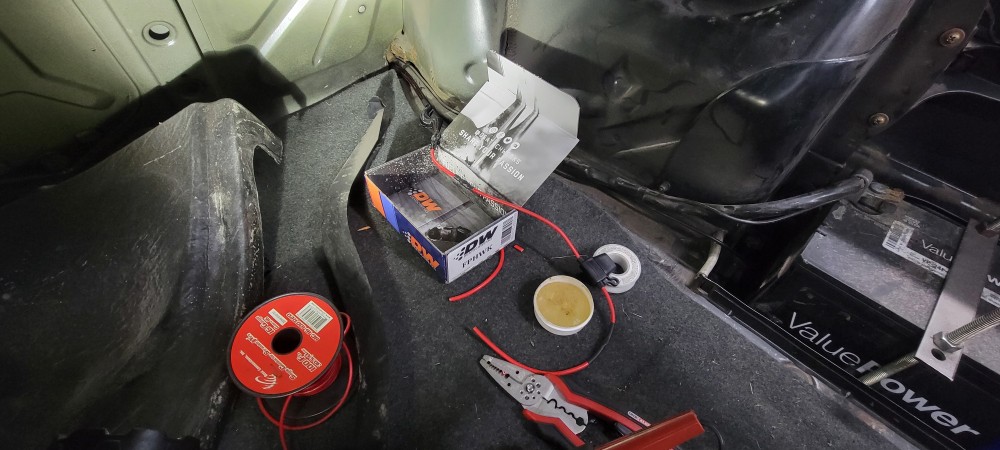
Wire wrapped and heat shrank everything to clean things up.
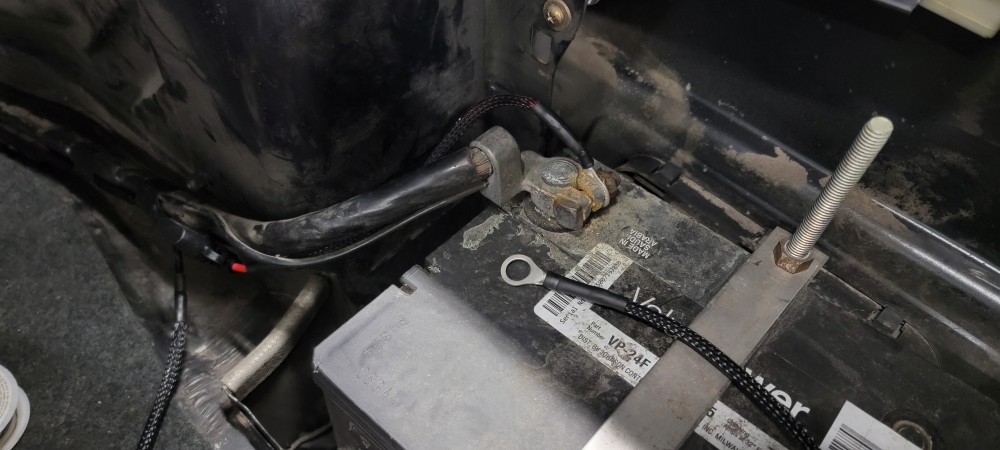
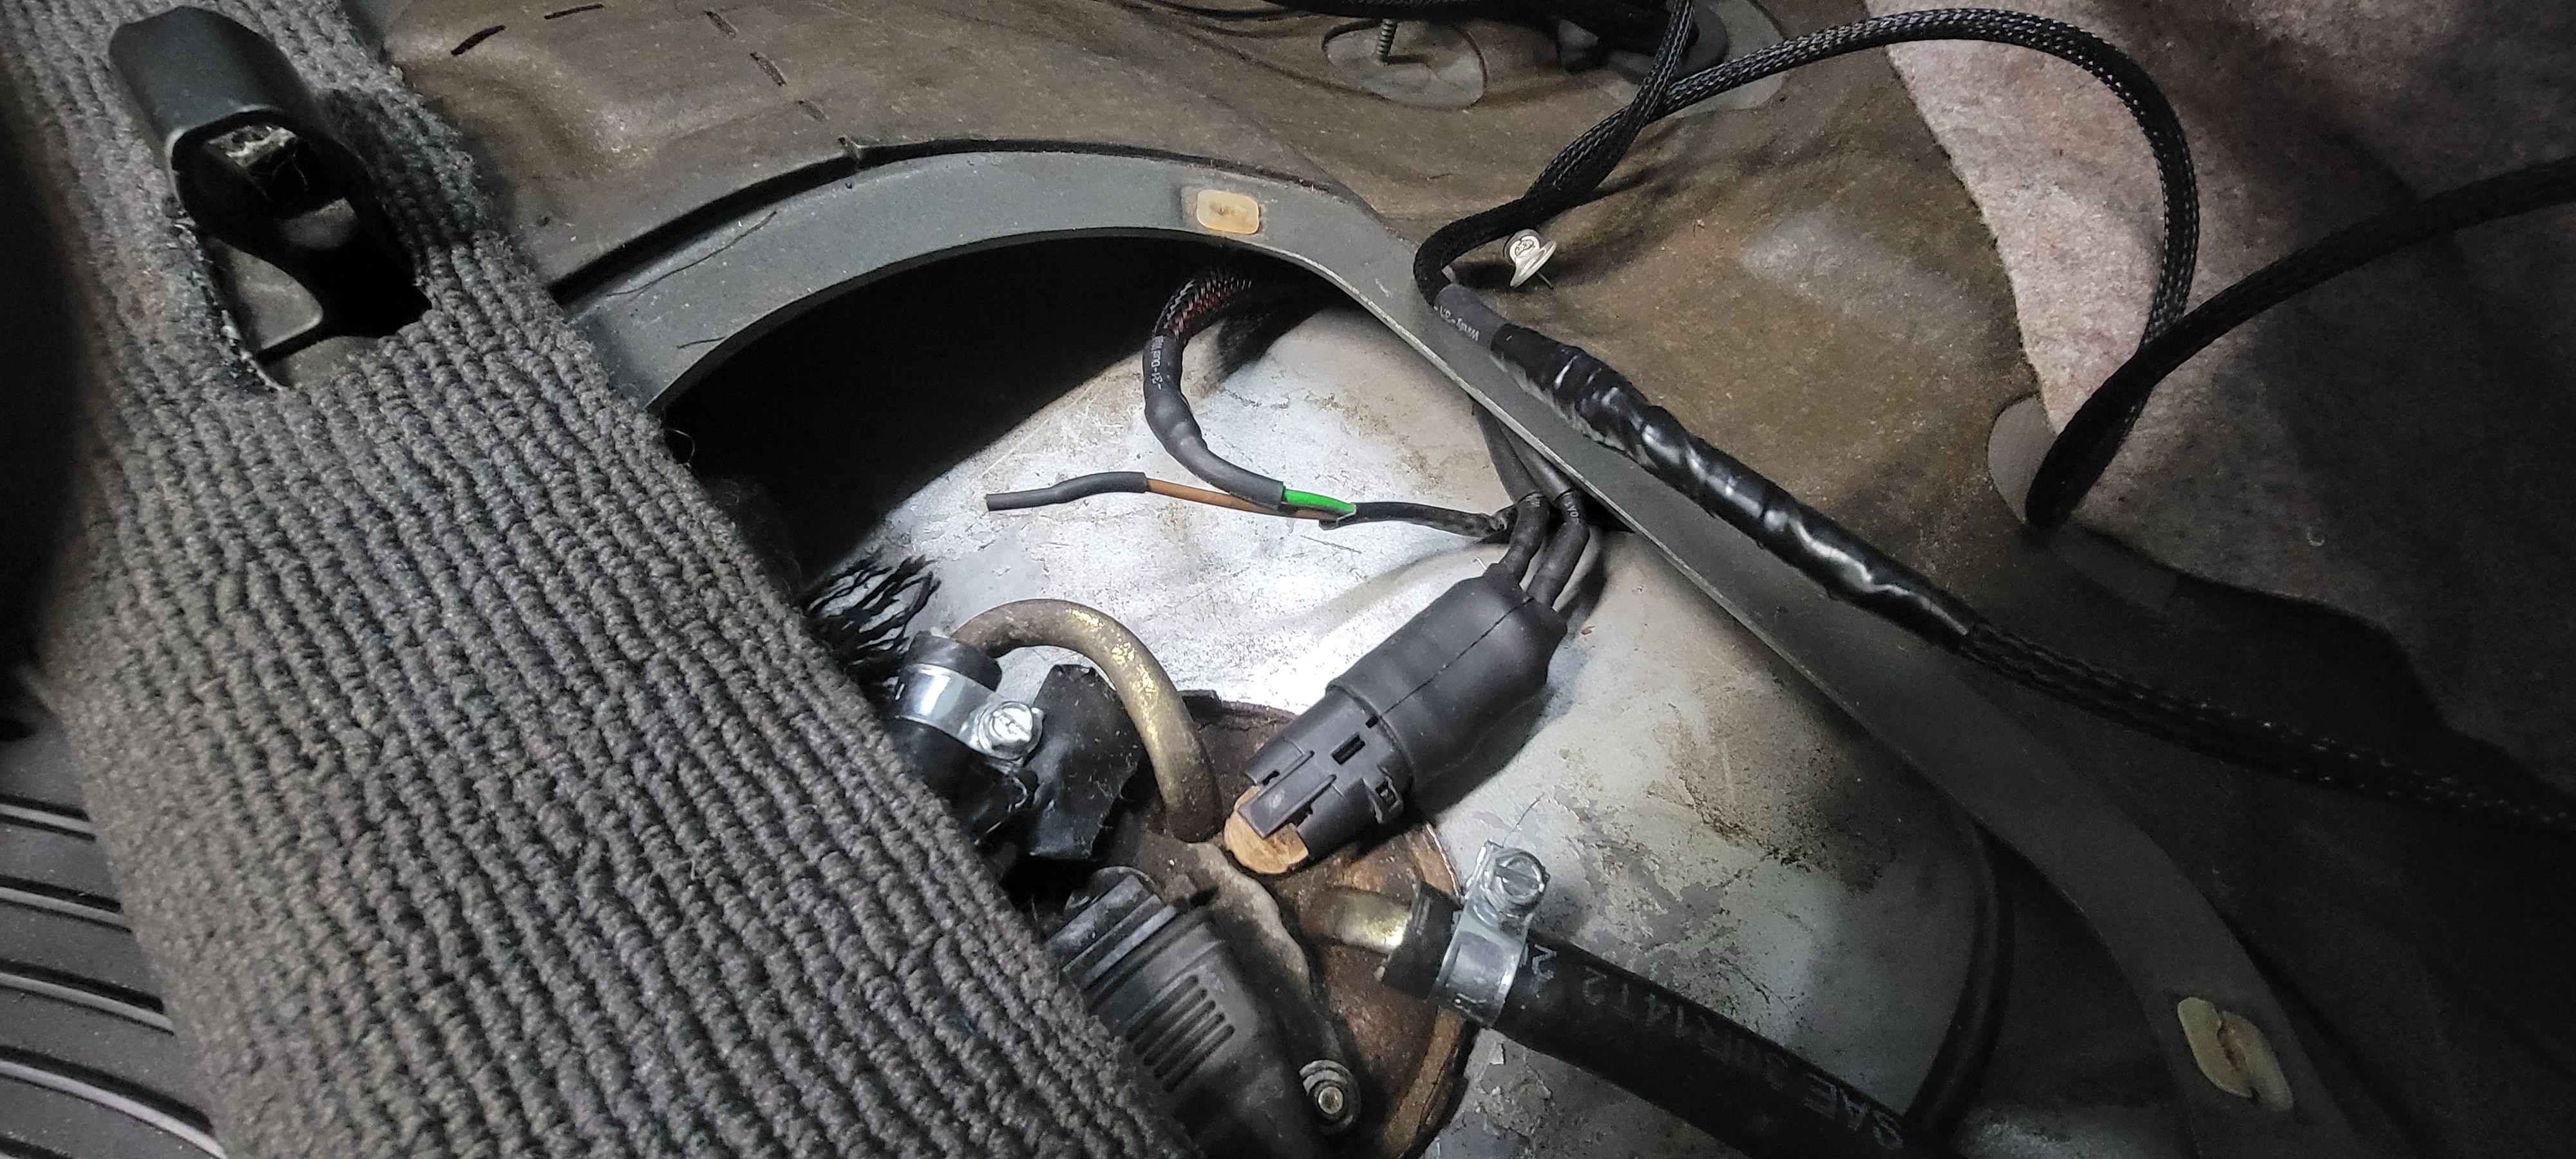
Completely rewired the pump connector to work with the new relay. The brown wire heat shrank off is the old small ground for the pump.
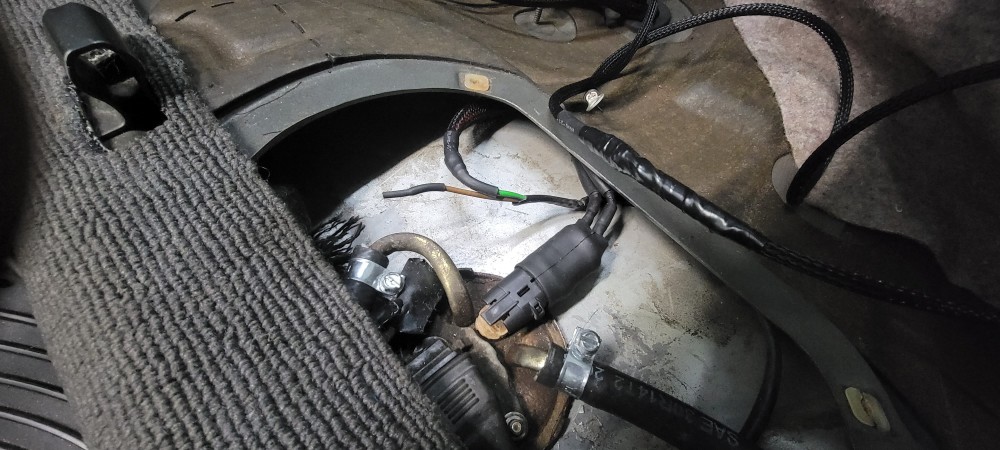
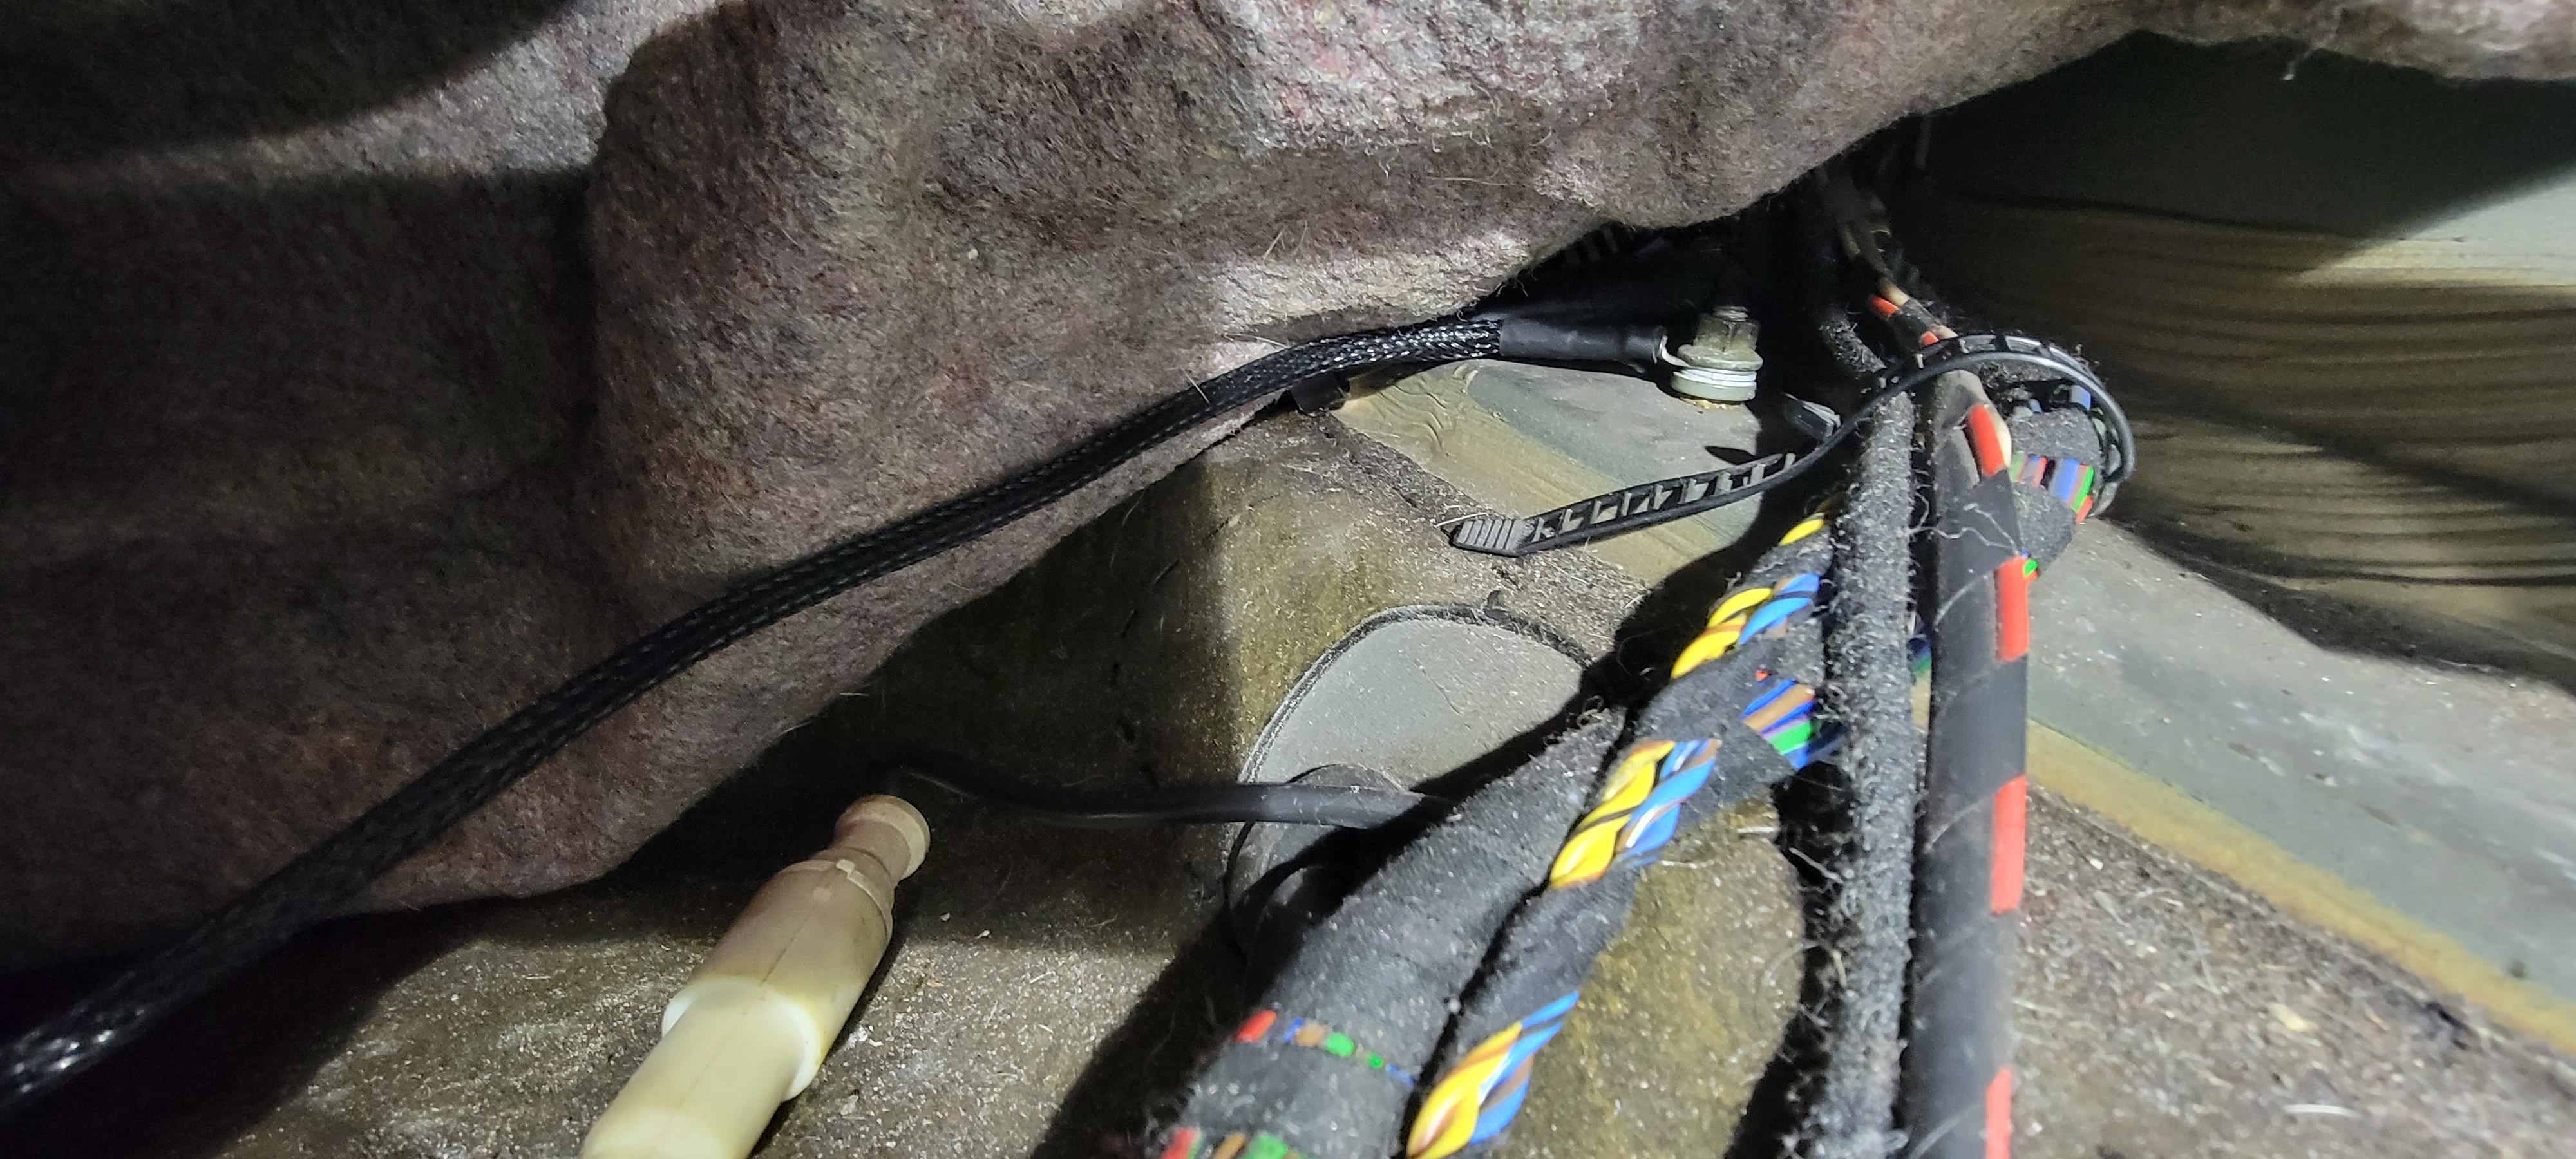
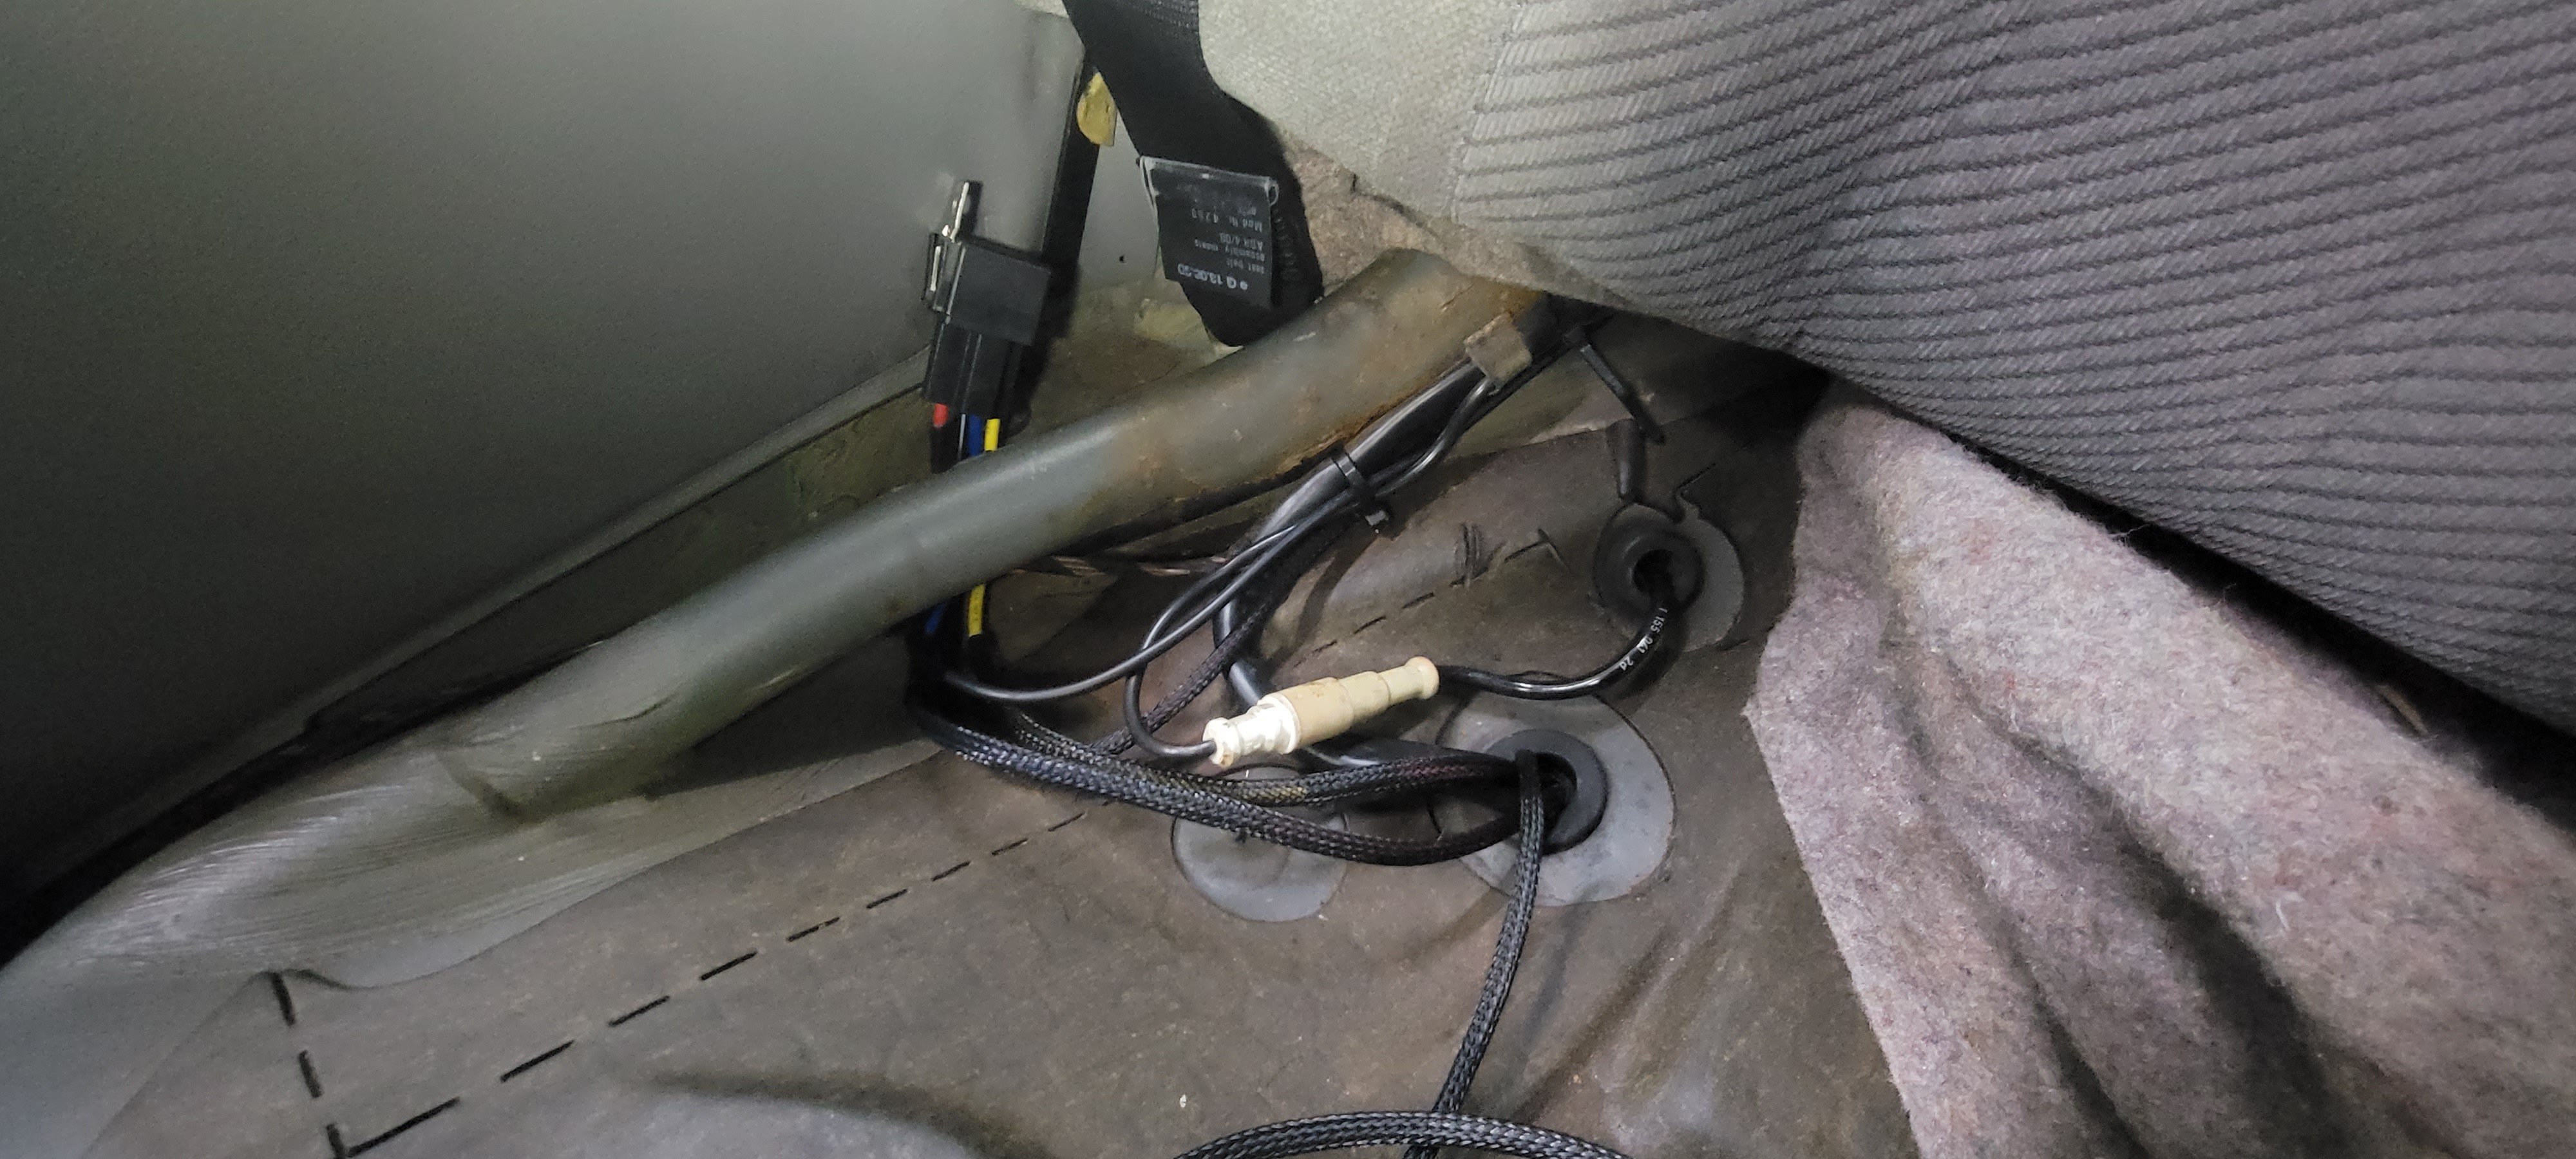
Ran a new ground for the pump circuit to the existing ground point underneath the back seat rest.
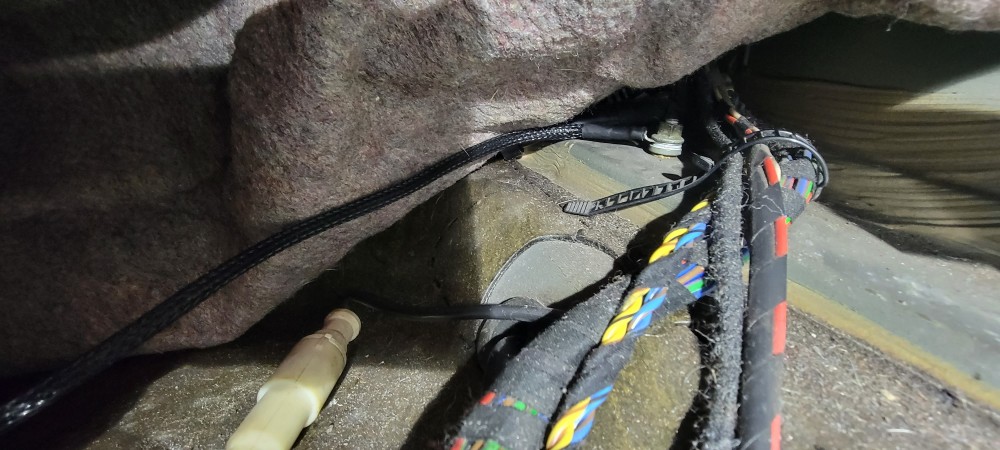
Ran all the wires through the grommeted hole for the OE harness and then snuck them back over the top of the tank to keep things clean and avoid having to run wires under the pump access panel cover.
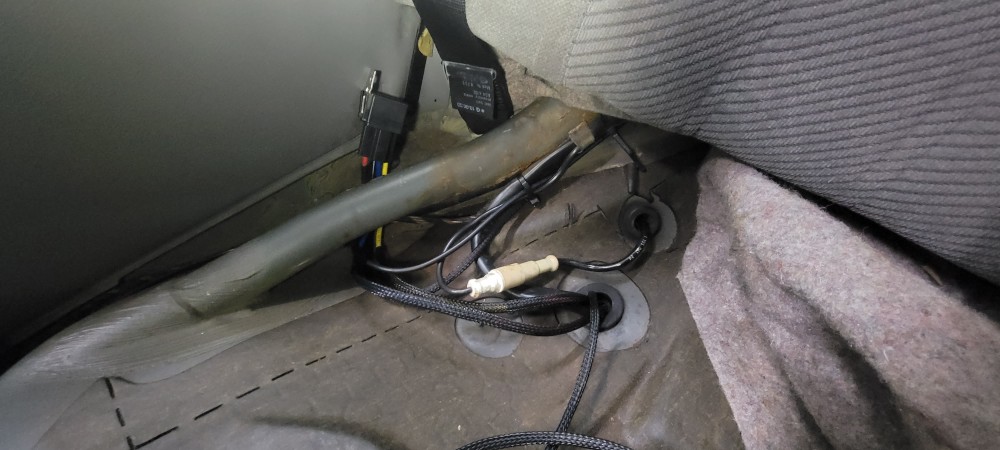
After the wiring was complete I took a multimeter and confirmed I had power at the plug.
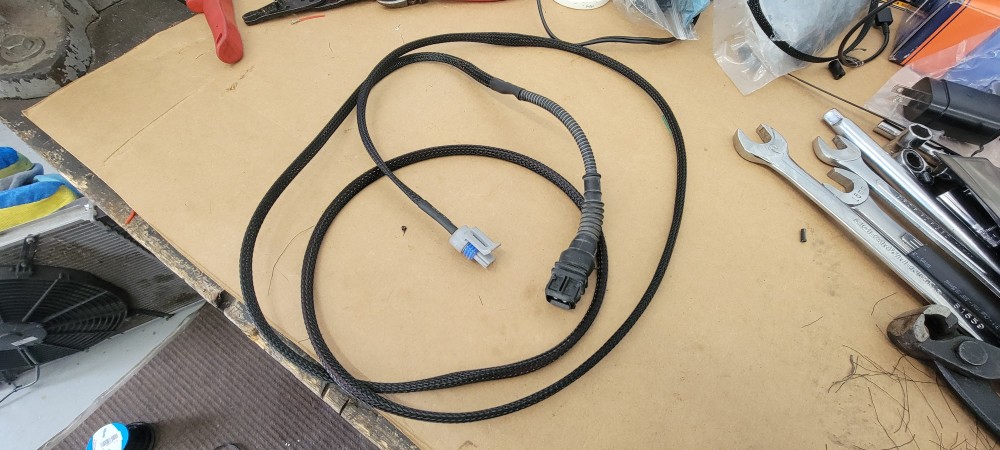
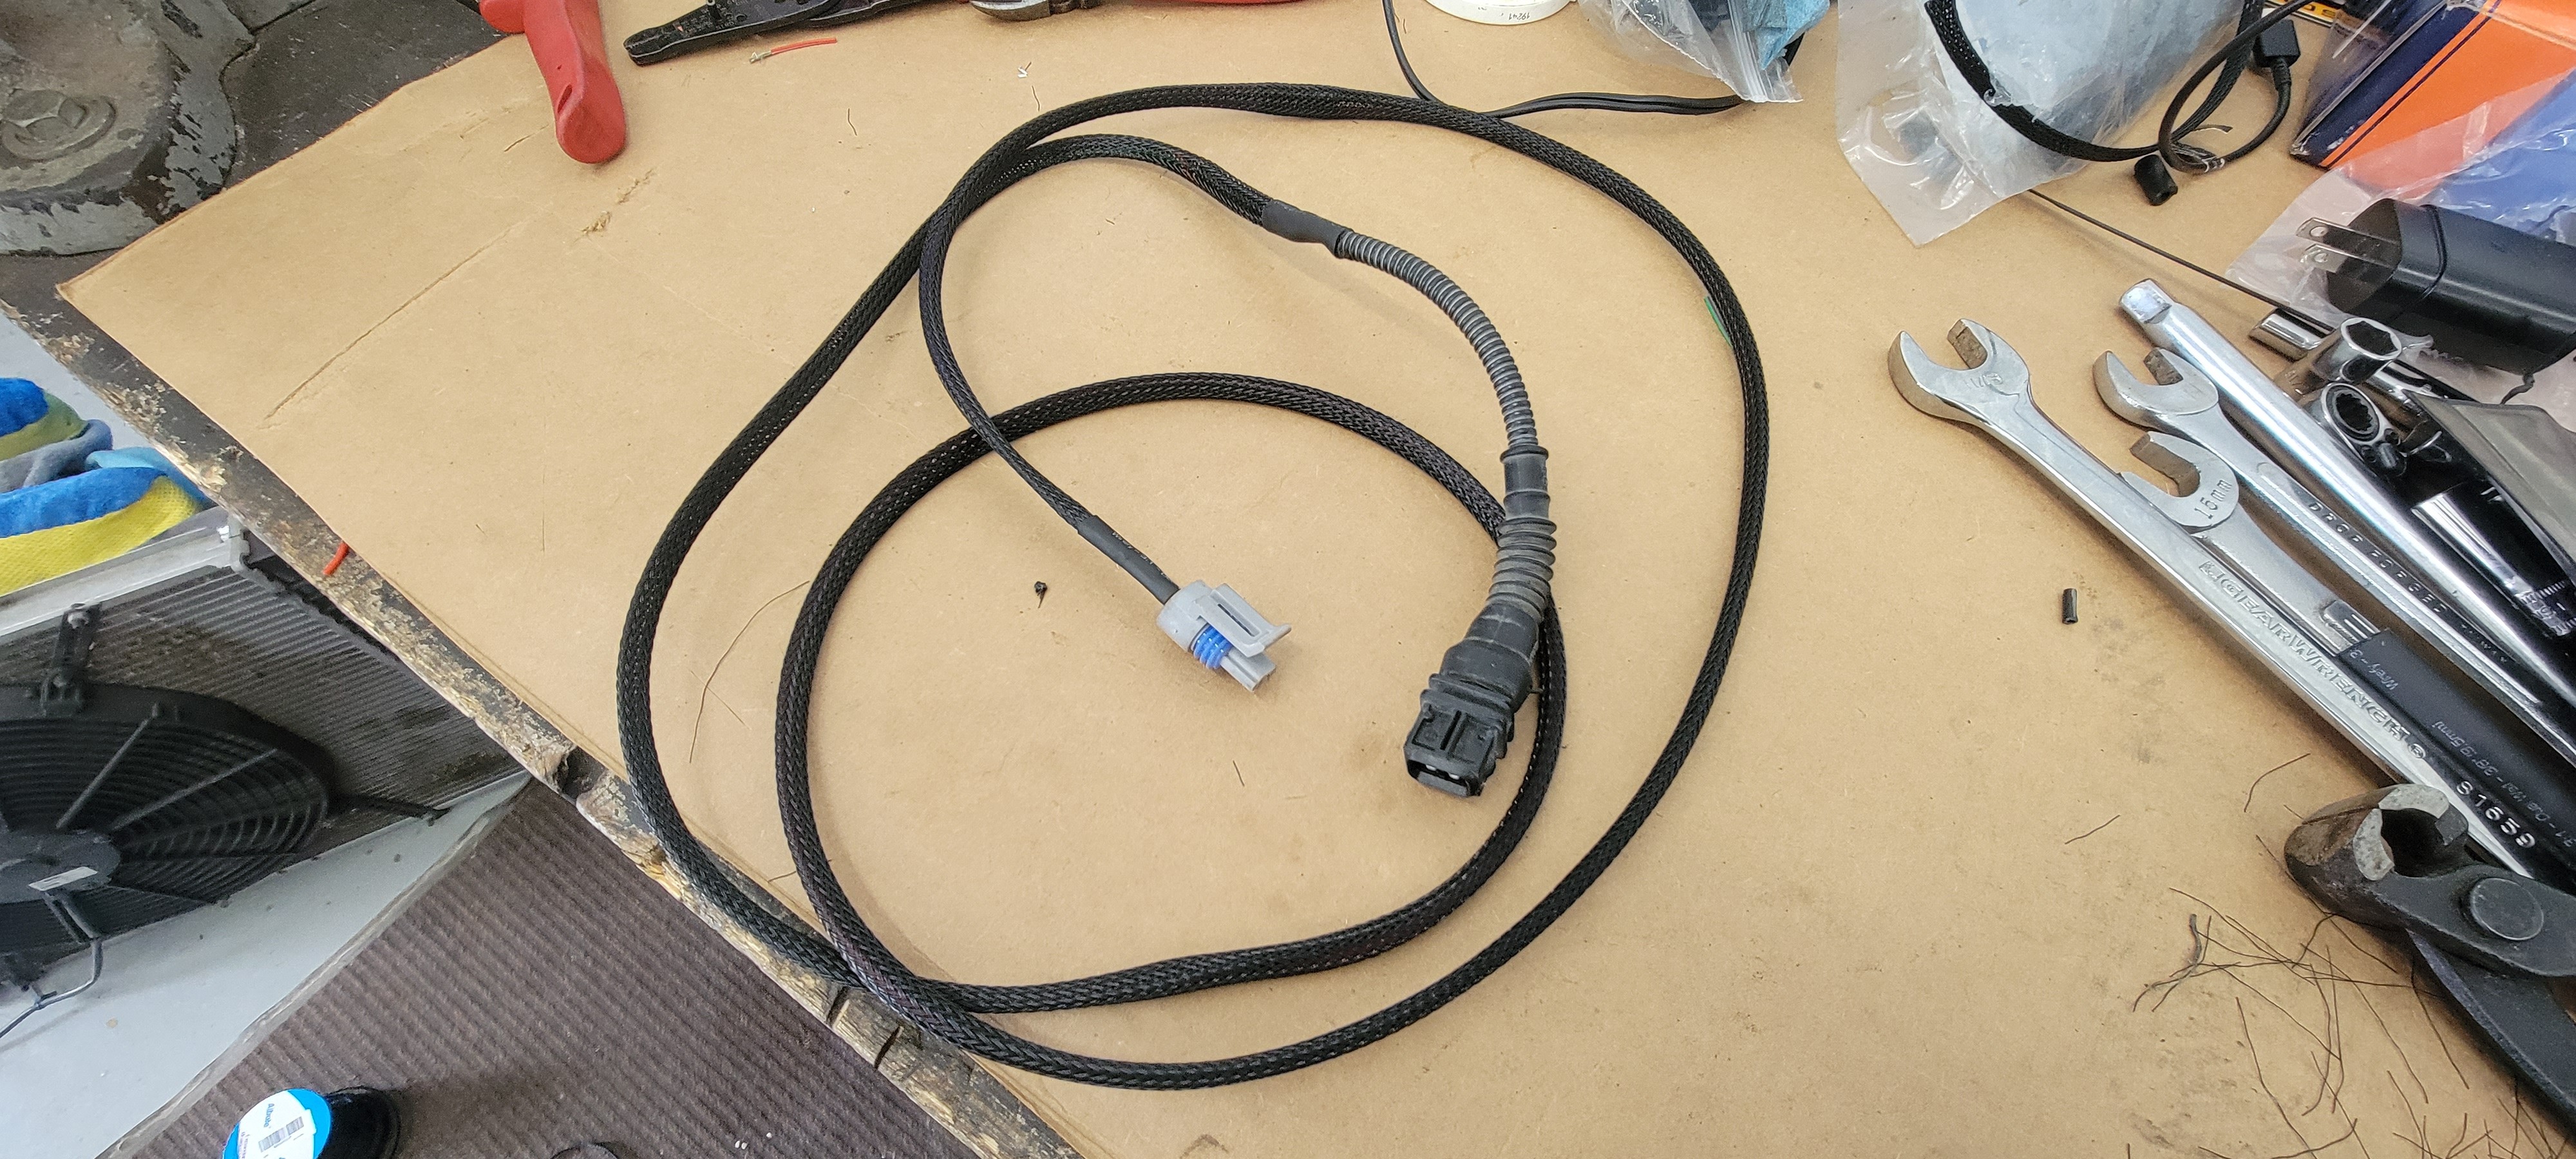
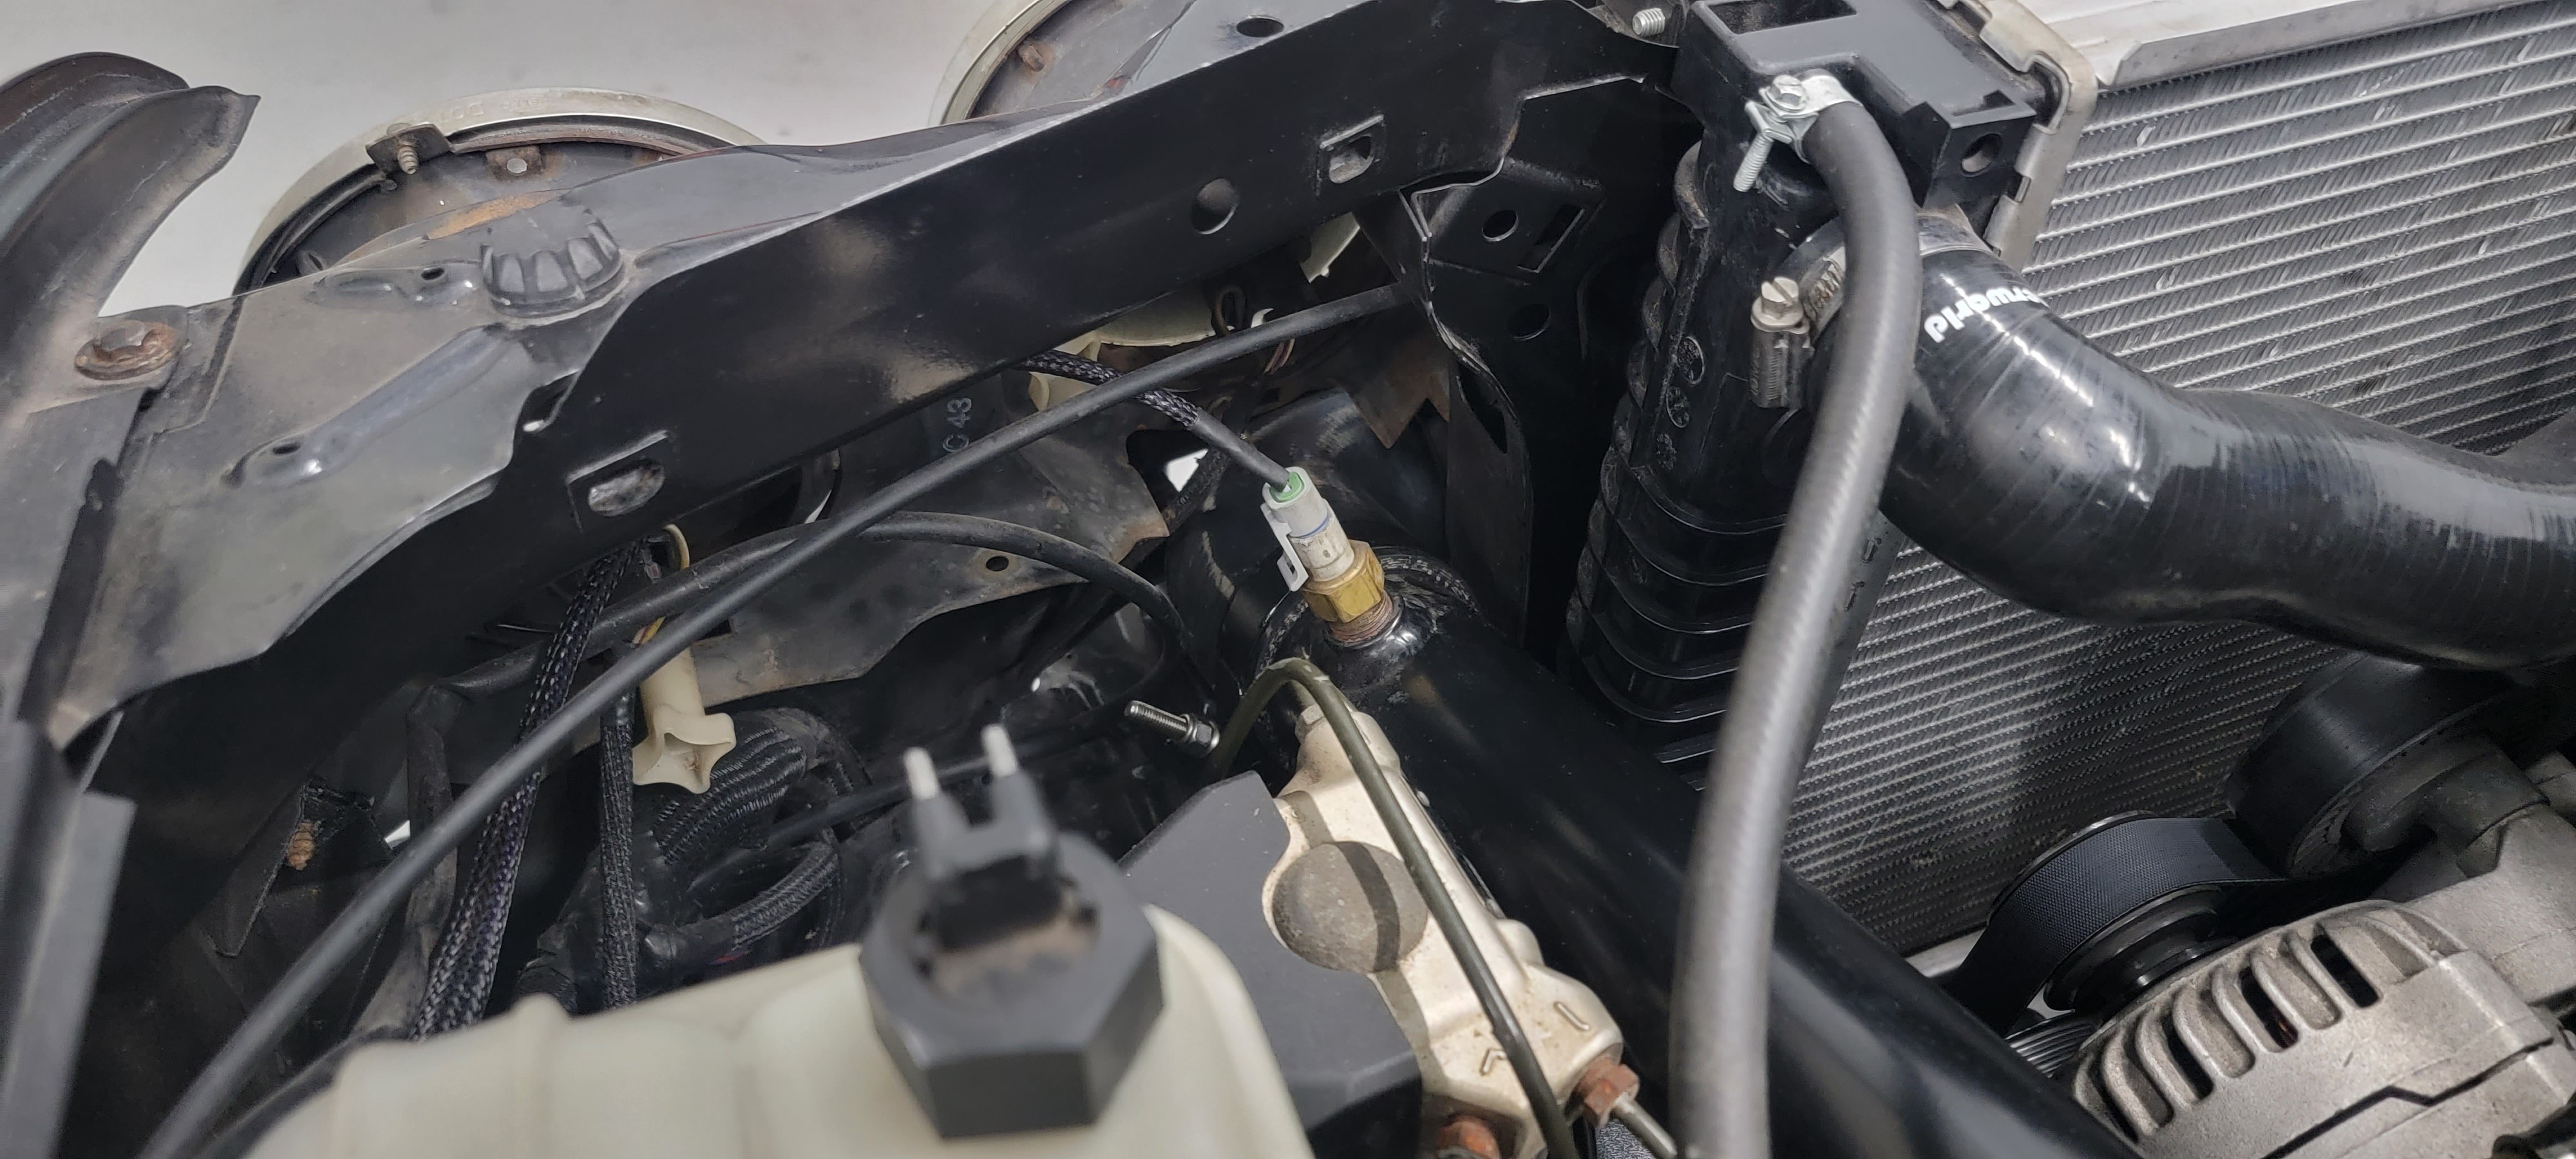
On to more wiring fun! On the old setup I ran a speed density setup using the OEM IAT sensor. The factory sensor doesn't actually do very well for that and it is recommended to run a seperate IAT sensor (GM one is most common) on the charge pipe near the throttle body to measure temps better. Well the bung for the sensor was already welded in and the sensor actually already existed on the charge pipe installed by the previous owner of the kit. Thanks @GunMetalGrey. All that was needed now was to wire it in. Ordered a pigtail for the sensor and ran out to the junk yard and cut off a male connector that would plug into the factory IAT plug under the manifold. added some extra wire in for length so I could run it along with the main loom going down to the front valance.
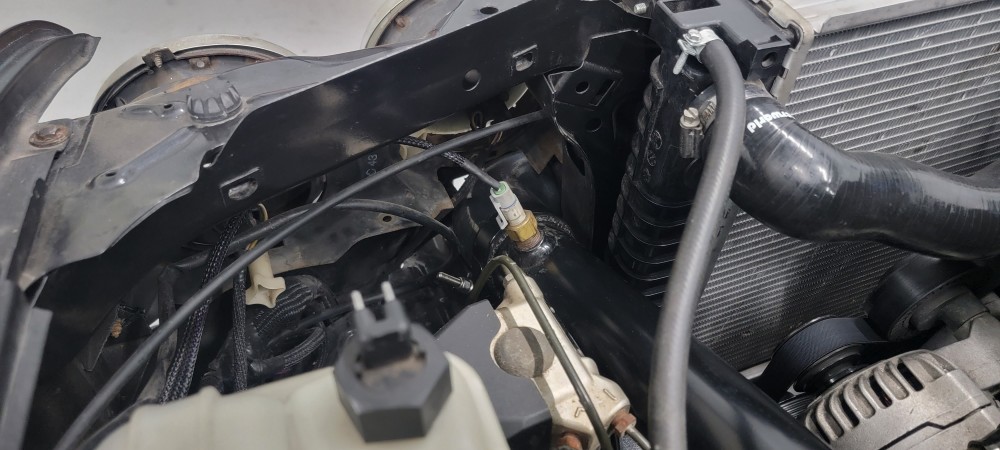
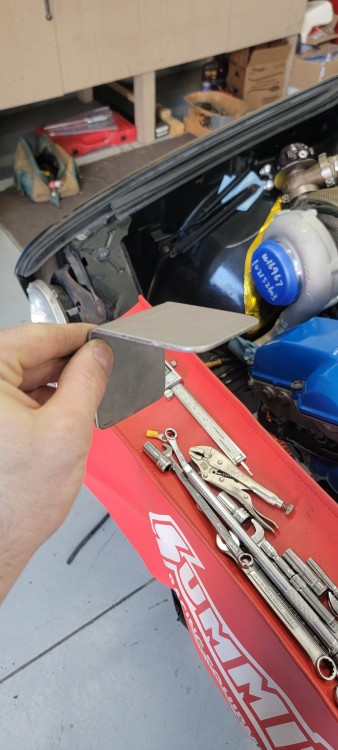
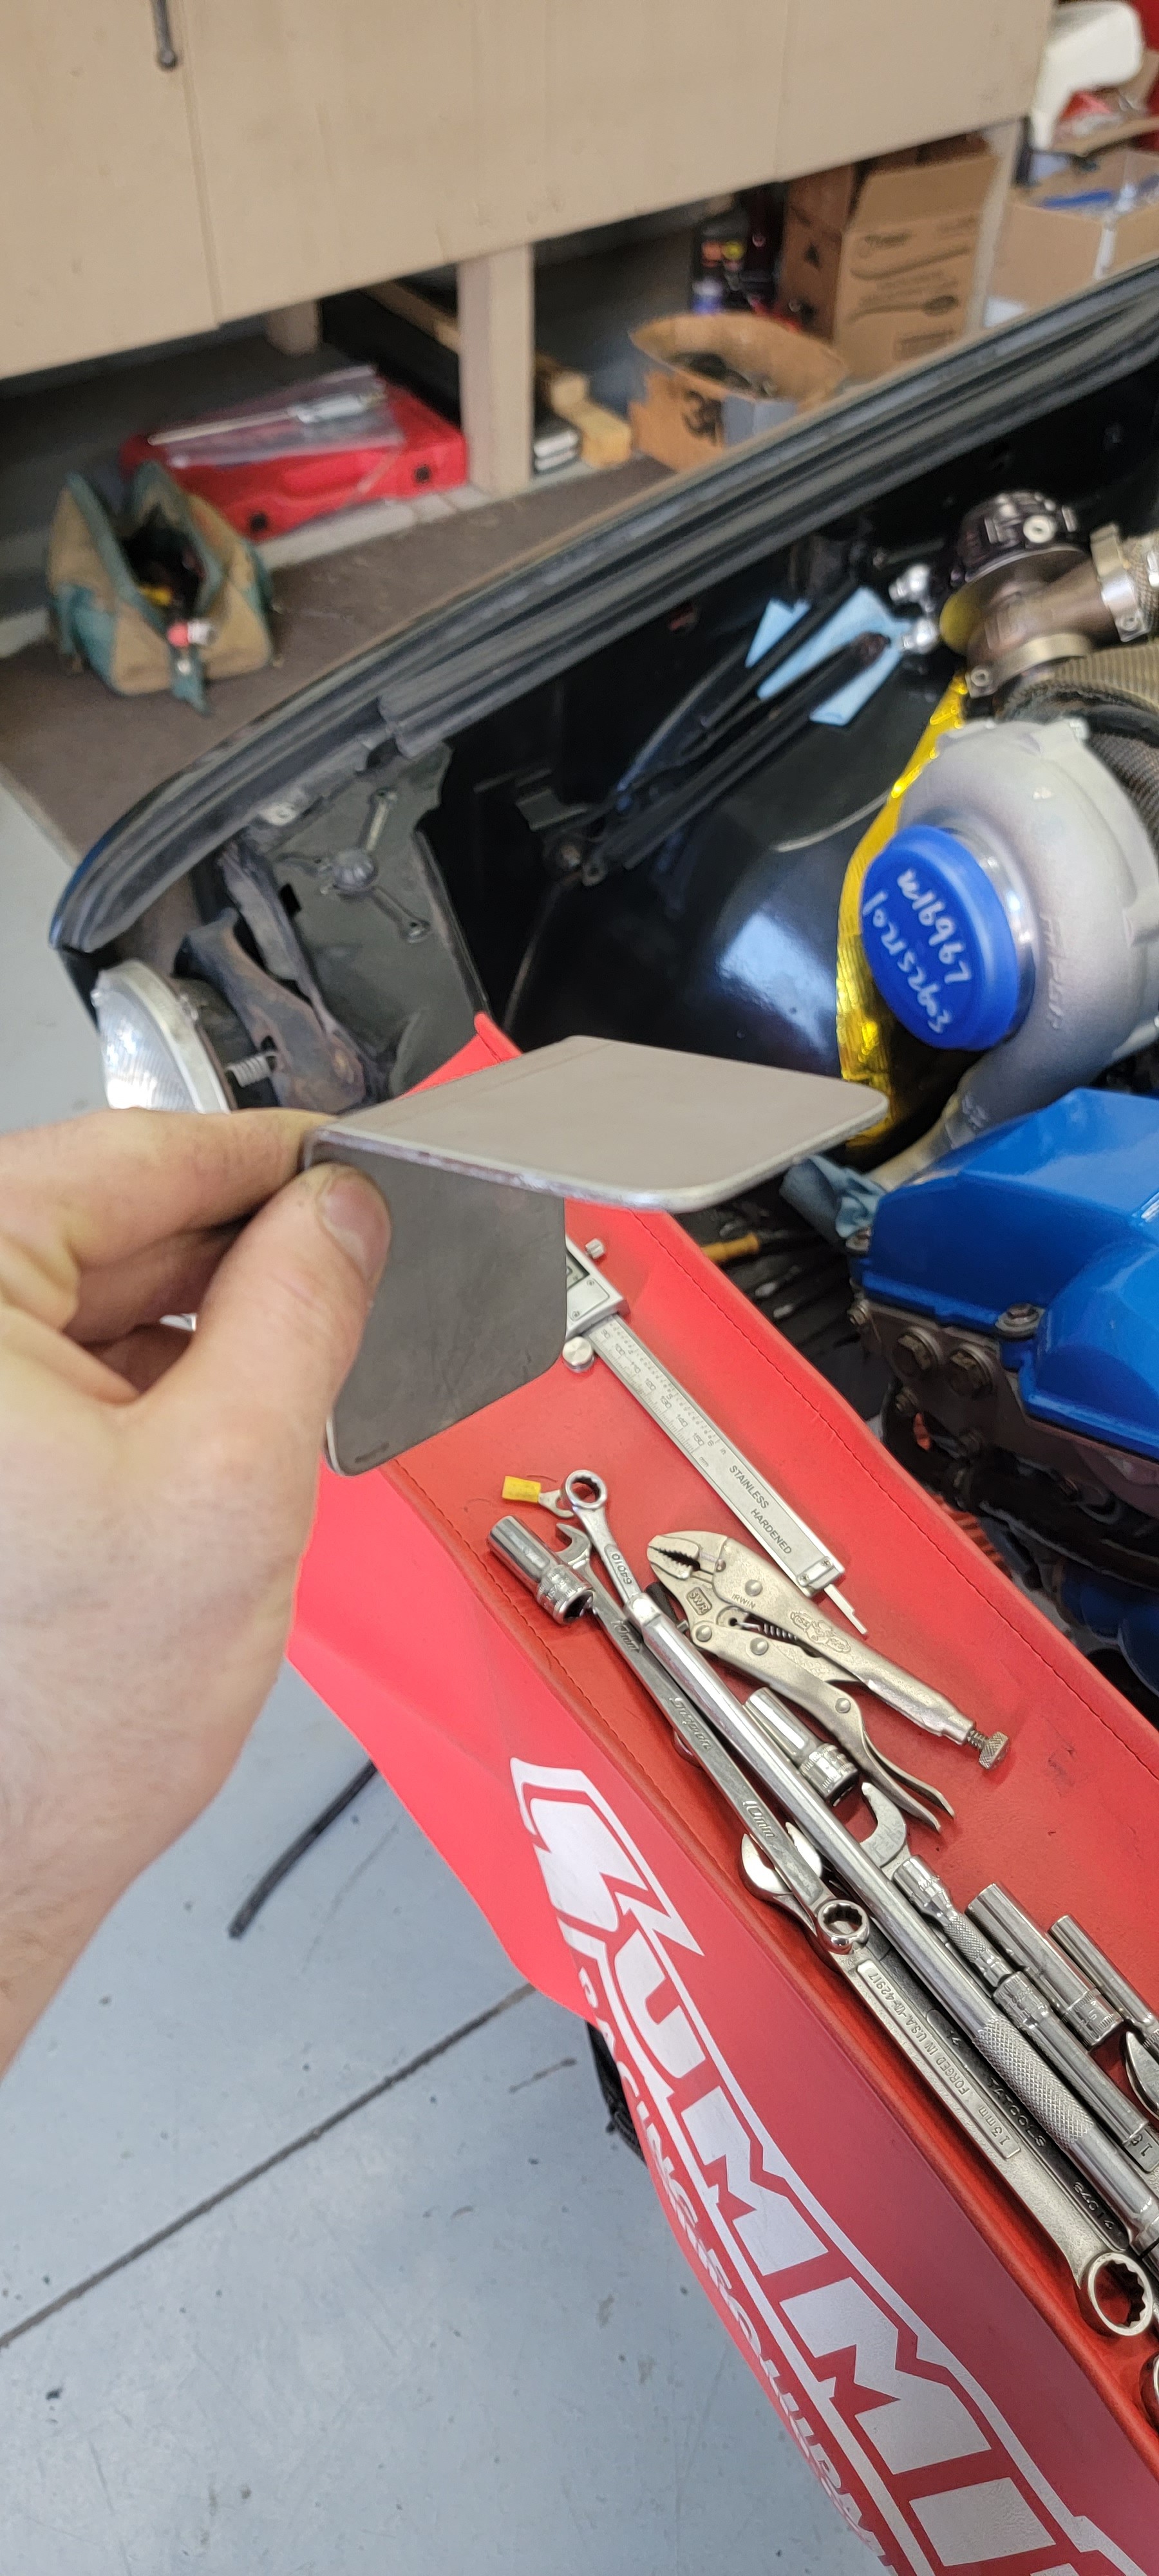
With that complete it was on to getting the catch can mounted up and plumbed. The can that came with the SLG kit is from vibrant. The bracket that comes mounted on it wasn't enough to mount it in the location I wanted it in. In order to do this I had my buddy cut and bend me up a piece of 1/8 inch stainless at work. Only thing from there was to mock it up and drill in the holes for the hardware.
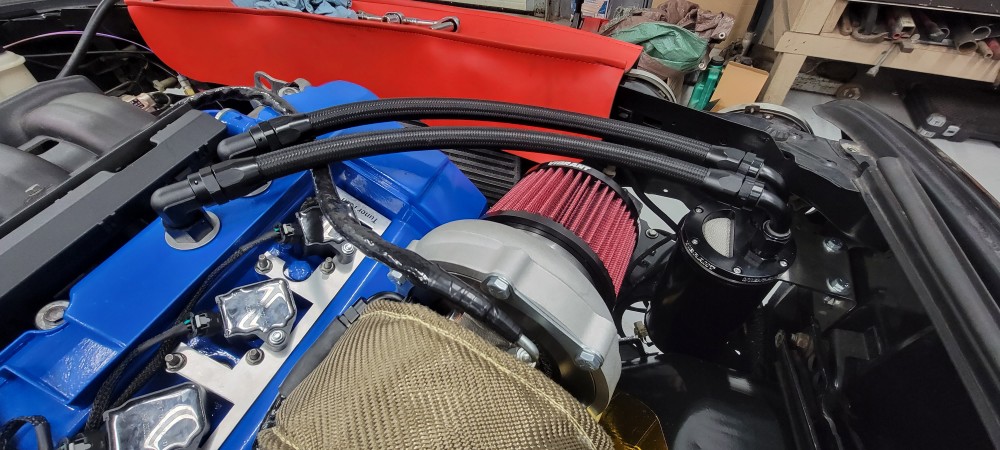
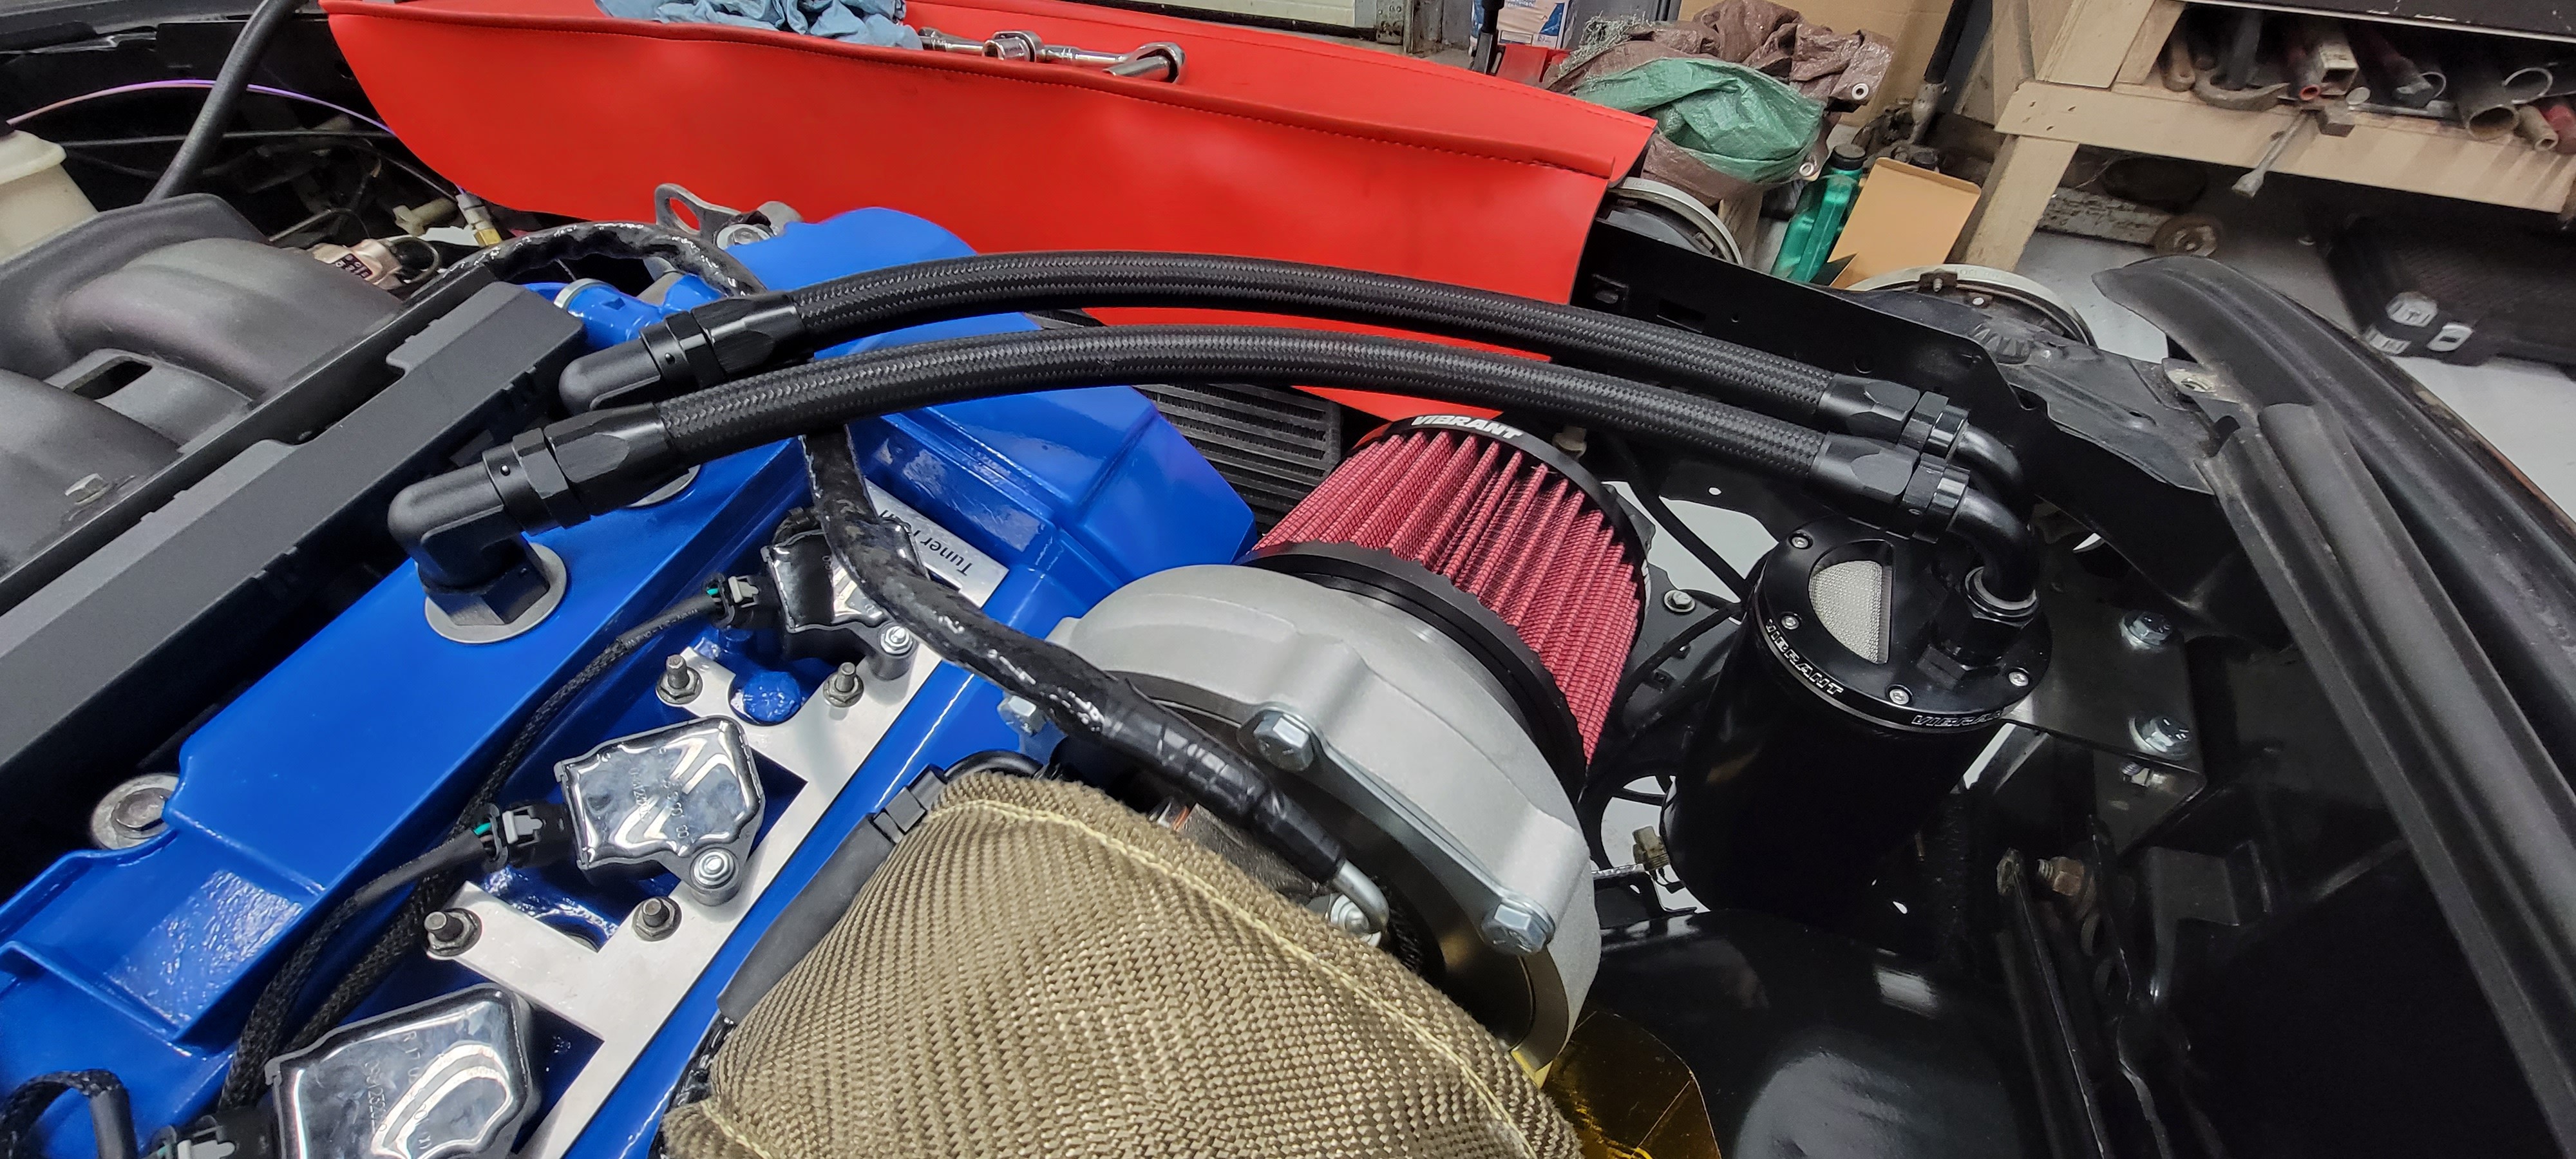
Once the can was mounted up I plumbed in the AN lines. The vibrant catch can is quite large and with the -10 AN 90's tightened down on top of the catch can it is just barely gonna clear under the hood. The location was also nice for draining the can as I can get access to the drain plug pretty easy from underneath through the hole where the old ac dryer was located.
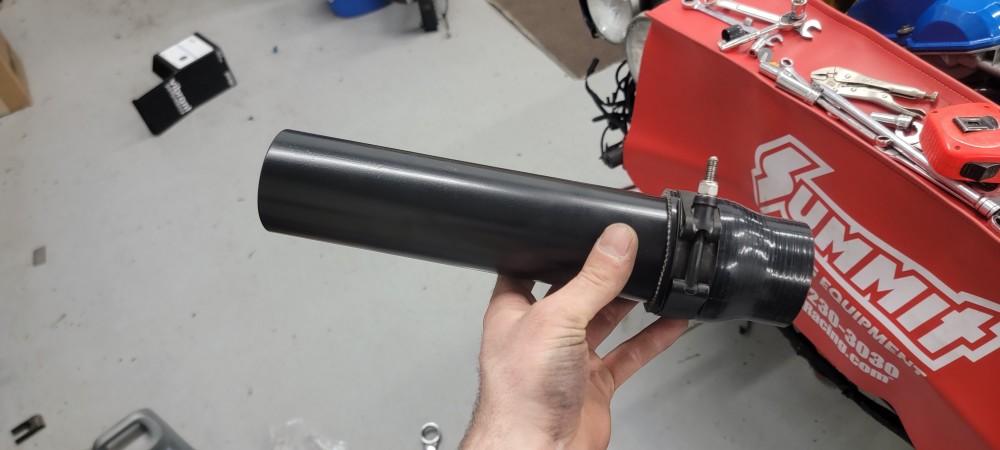
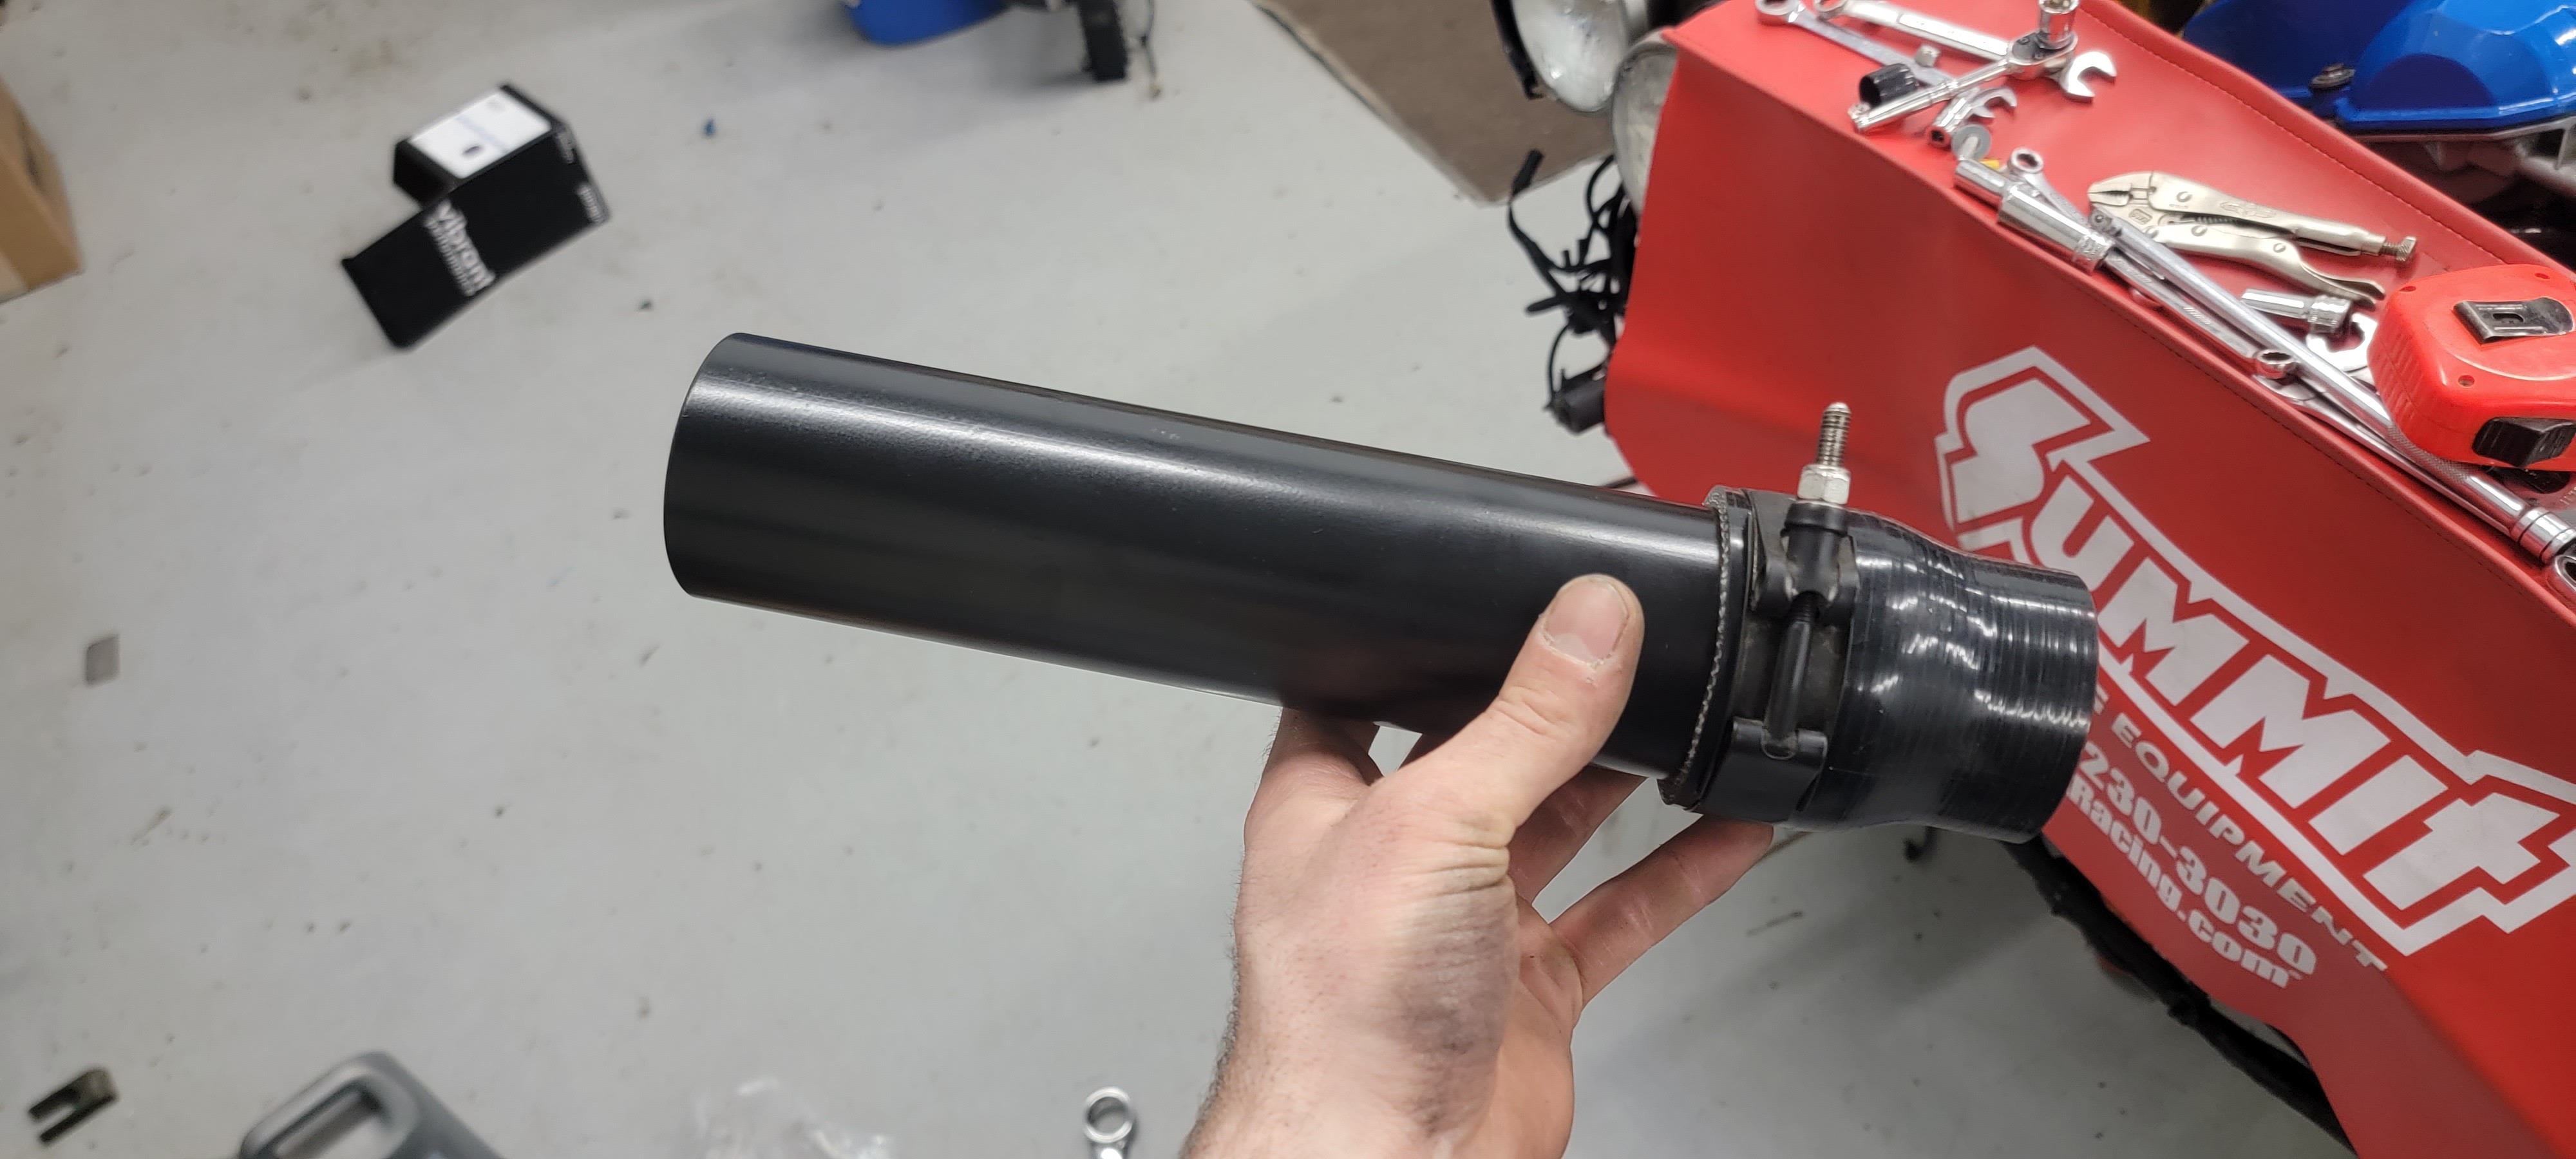
The old charge pipe running from the compressor housing to the silicone 90 on the intercooler was too short for the new setup. I got a new piece of aluminum tubing and cut it to the required length. Before installing, I roughed it up and shot it with a coat of a black semi gloss paint.
Totally forgot to get pics of it but I also got new vaccum lines installed for the wastegate housing as well. tied them in to the EBC which I relocated over to the right above the horn on the passenger side.
Radiator installed with coolant air lifted in. Exhaust installed.
I pulled up tunerstudio and got my dwell timing adjusted for the b58 coils. There will most likely be some fine tuning required with those once on the dyno.
-
I'm glad to see you keeping with the black piping and clamps! Subtle, but a touch of class!
Watch that IAT for heat soak as it can do some weird stuff. I had it up so far toward the intercooler so the headlight cover plate would block off engine bay heat from the sensor as much as possible.
Excellent documentation as always!
-
Watch that IAT for heat soak as it can do some weird stuff. I had it up so far toward the intercooler so the headlight cover plate would block off engine bay heat from the sensor as much as possible.
I've seen some guys rethread the port for the factory IAT to run the gm sensor and not have any heat soak problems so hopefully with the sensor located that far away I should be ok.
-
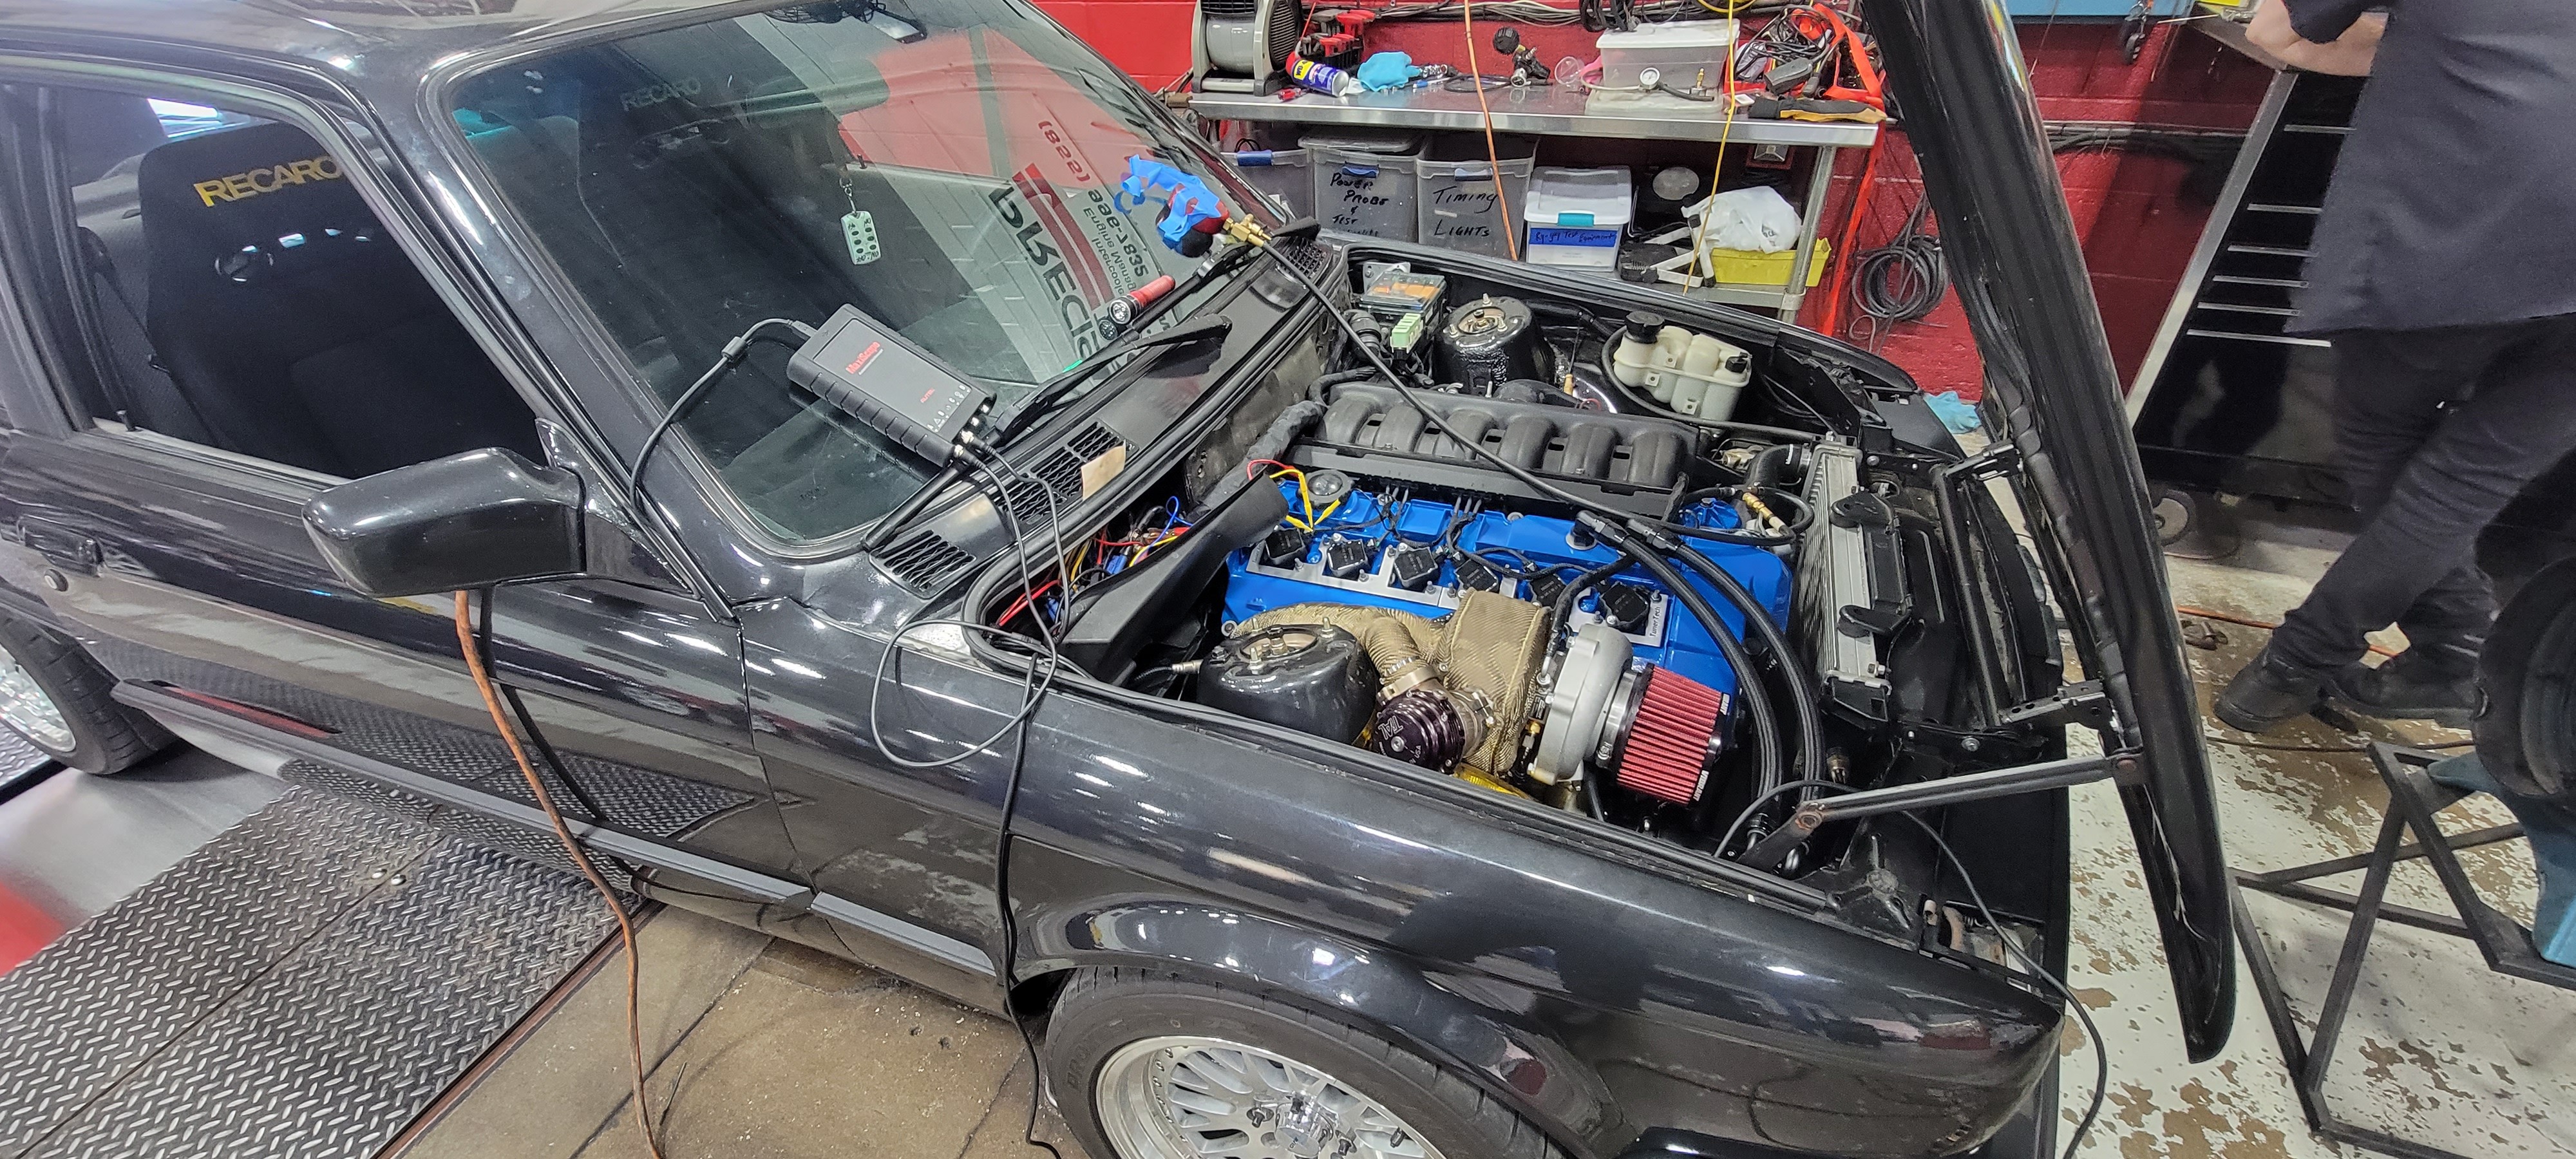
Well, got the break in oil dropped in and did a thorough look over of everything. I ended up using the old tune from the last setup for start up. Other then lower compression and different turbo this new setup wasn't much different from the old setup tuning wise. I figured it would probably run a little rich but still ok for idling and light throttle. Pulled the coils and plugs for ease of priming the motor and got a solid 15 psi of pressure shown on the gauge before re hooking up the fuel pump relay. Did another check over everything and then hopped in and started cranking...
Video was cut short as we noticed a coolant leak and shut it back off to correct that before letting it get up to temp. Once it was up to temp, I got the front valance re-installed and the car lowered on the ground. Being that the engine was running well and the afr's were looking good I wanted to get it out on the road and get some more load on the rings to break em in better. The tune obviously wasn't dialed in enough for this setup to see any kind of boost but some light to medium acceleration would be fine. Went down a few country roads near the shop and besides some trouble to stay idling at a few stops, the car ran really well!
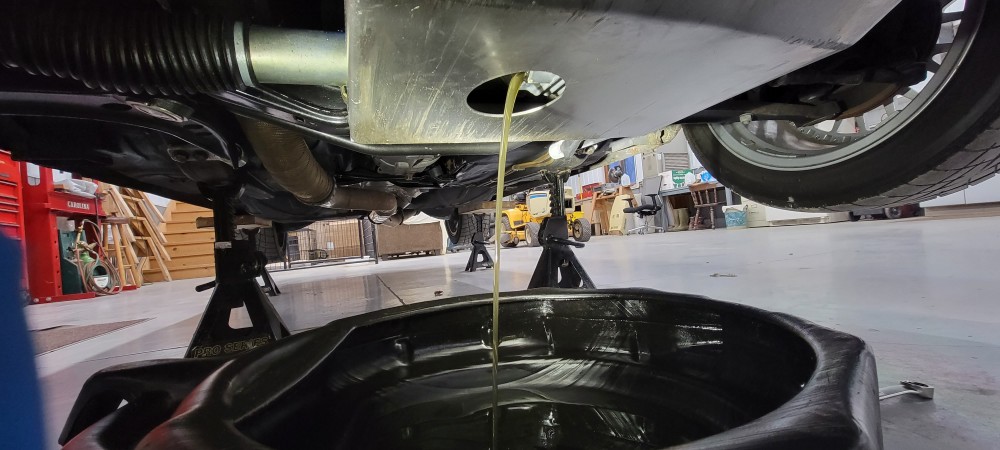
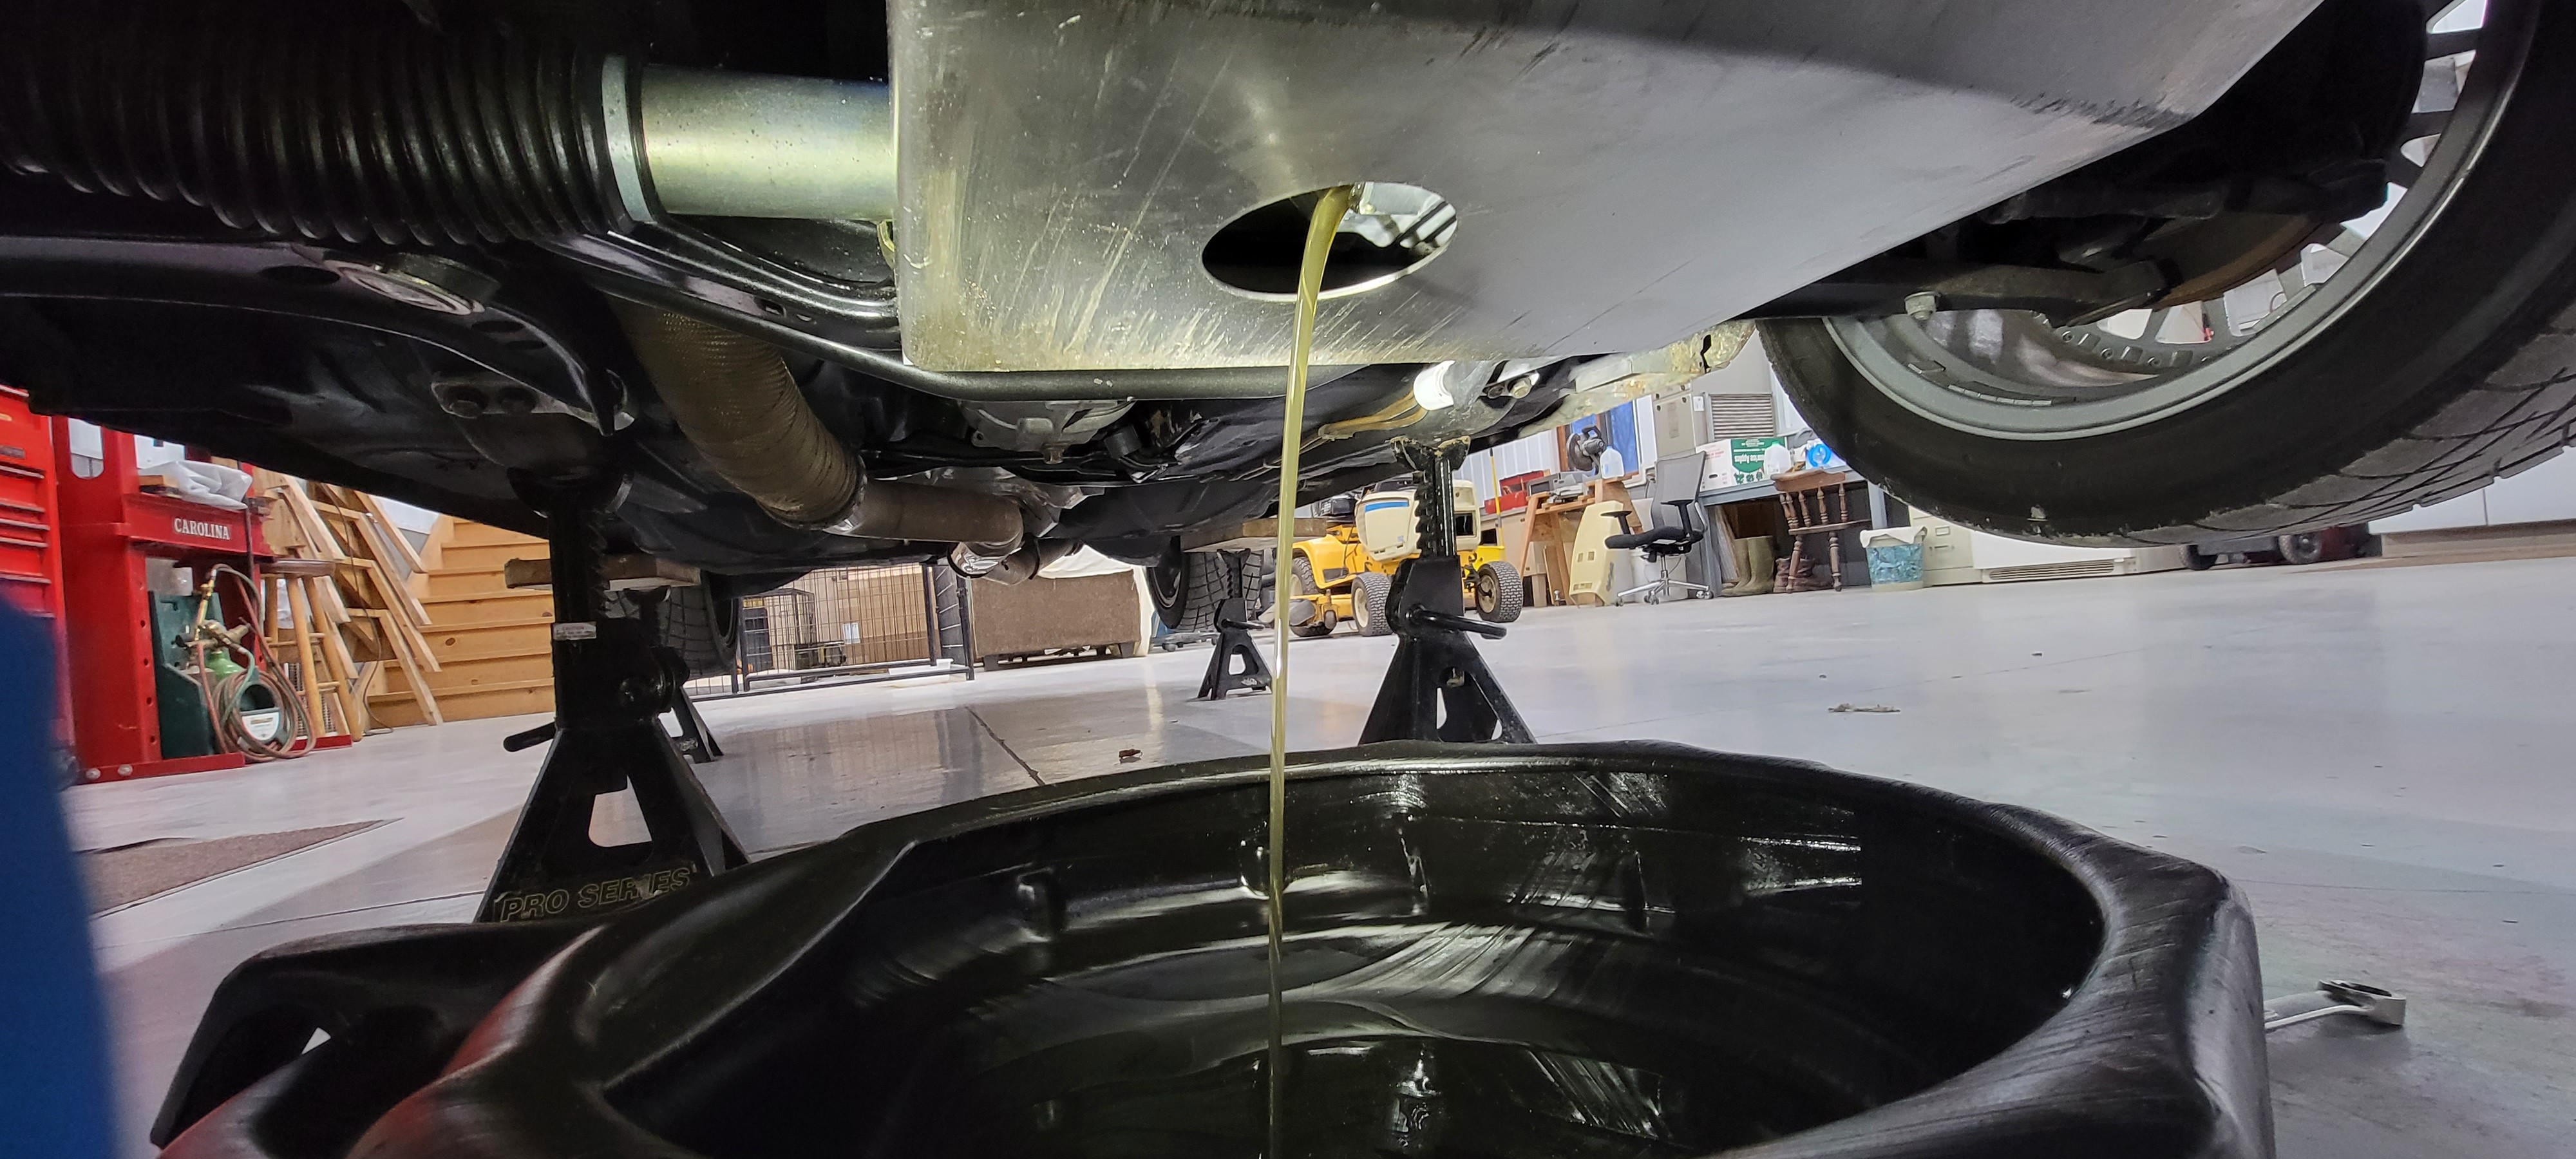
Drove it around about 15 miles before returning to the shop and draining the oil right away and changing the filter.
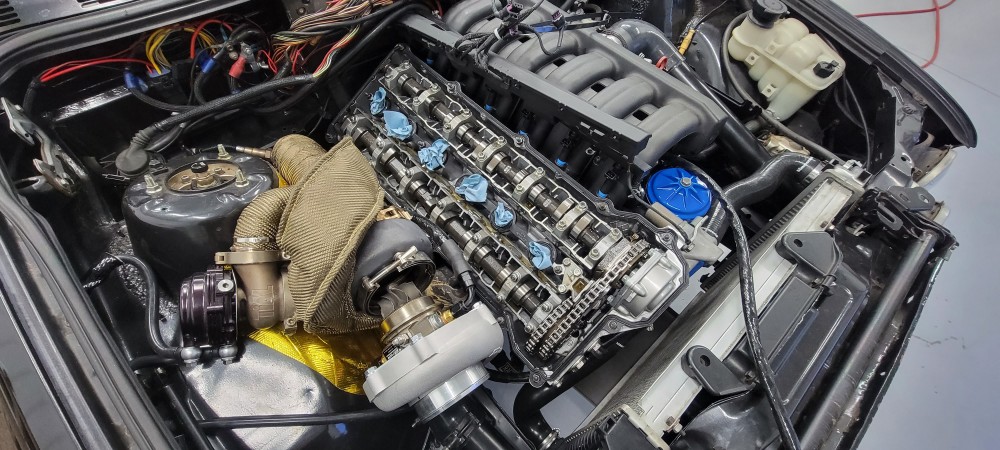
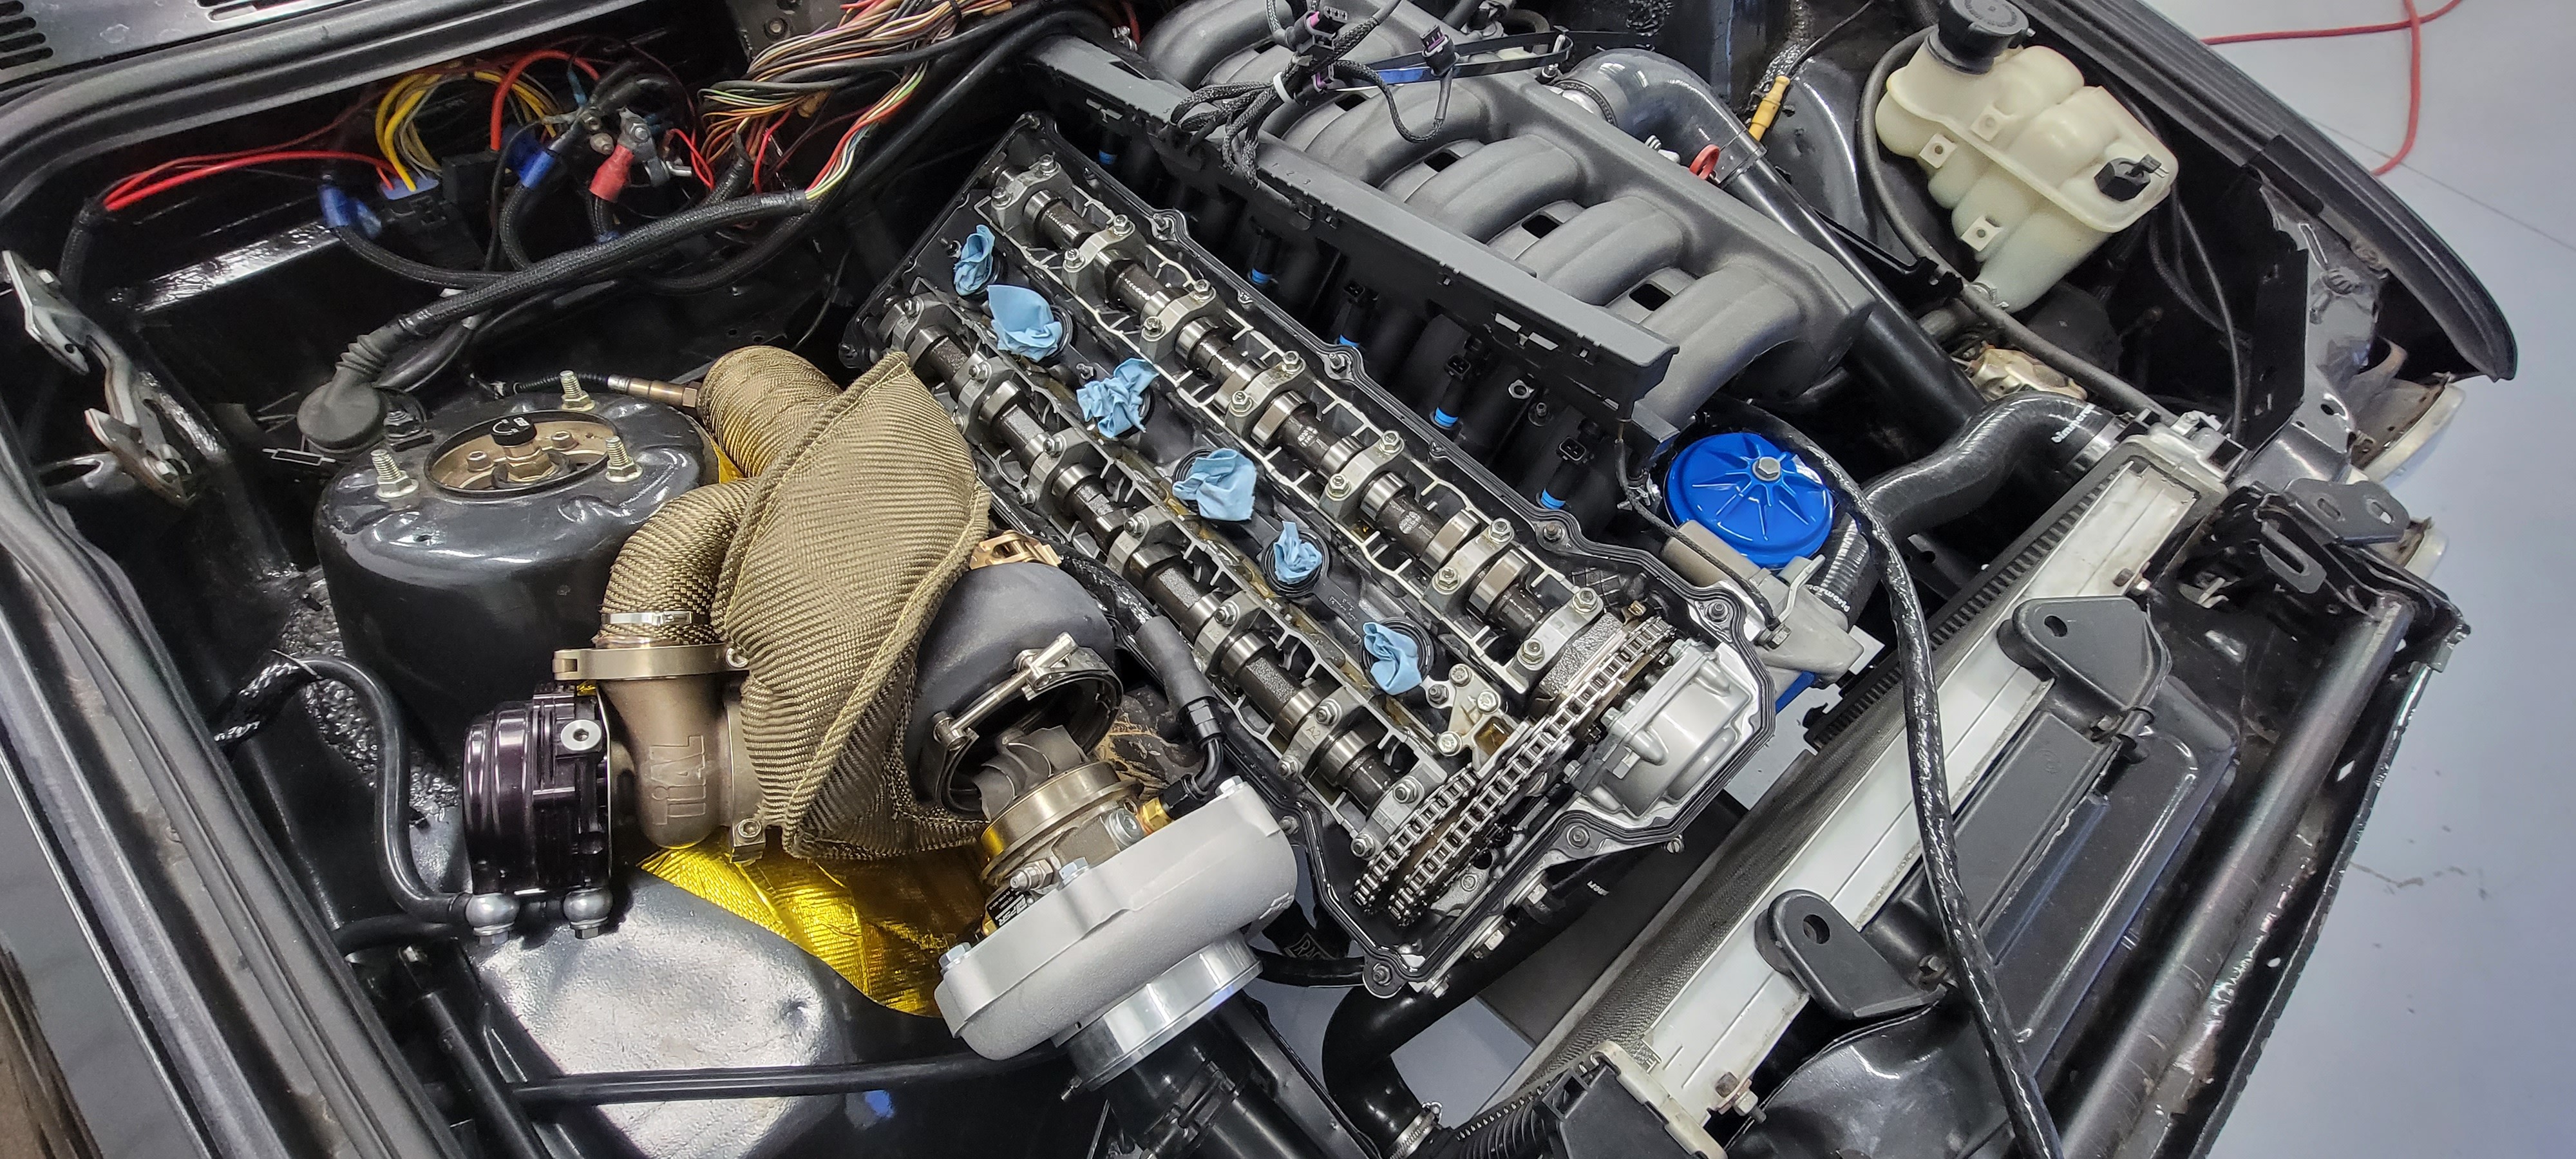
Also went ahead and popped the valve cover back off to re-torque the head studs. I did notice that the gasket had some coolant seeping out which was not ideal to see. I originally torqued the studs in three steps to 75 ft lbs as per arp's recommendations. I did some searching around and found that others had similar issues and followed ces motorsports recommendations of upping the final torque to 85 ft lbs to correct the issue. Re-torqued the head to 85 ft lbs and also checked the torque on all the cam caps before re-installing the valve cover.
So not to much left besides wrapping the wires up and getting things buttoned up. Got my tuning date scheduled but unfortunately that's not gonna be tell June 30th. Wish it could have been sooner but by the sounds of it everyone is booked out atleast a month for dyno tuning. Gives me plenty of extra time to really go through things so it can be fully ready to go.
-
Well, a little late on getting this update up but dyno day finally came around last Friday.
Went with Larry over at sound performance to get the tune dialed in. After arriving and getting everything unloaded we rolled the car in and started going through the pre-dyno checklist. Everything was looking great and they got the car up and running on pump 91. Not sure if I did mention this before but this time around I wanted to do a flex fuel tune so I had options versus just E85 before. Once up and running he dialed in the idle and they went ahead got it all strapped down to do some pulls.
First pull right off the bat he noticed the car lean out quite a bit right around 3500 rpms. Since everything else looked fine on the log we questioned if I was losing fuel pressure. Unfortunately I never did wire in a fuel pressure sensor so we could monitor that. So, we went ahead and spliced in a mechanical gauge to see if that was our issue. I should also note that when we went to do that he noticed I had my flex fuel sensor on my fuel supply line not return. Rookie me didn't realize that needed to be on the return so we swapped that around thinking that may have had some part in our issue.
Hopped back in and did another pull. Once again it leaned out and this time the car just quit. Watching the fuel pressure up to the cut out we noticed no drop in pressure, it held right where it needed to be. After realizing the fuel side was most likely not the issue, we questioned if it had something to do with the B58 coil packs I swapped in. Out came the bore scope and probed into the cylinder 6 ignition coil. Did another couple short pulls and they noticed that the voltage was falling off right after the coil dwell period when there was a call for spark. After further assessing the issue the guess was that the b58 coils required more voltage under load then the factory relay could offer and that was likely causing our lean out condition.
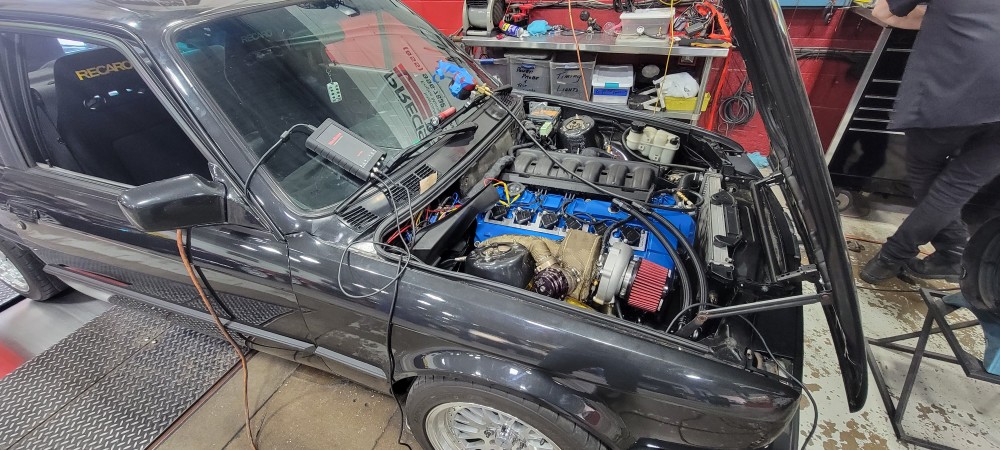
Unfortunately that meant nothing more could be done tell that issue was corrected. Correction for this issue most likely required wiring in a second larger relay to run just the coils.
The tough part was getting back in for tuning, they were booked out solid tell September. They then offered to do the work and said they then would be able to fit the car in to get tuned much sooner.
Left the shop their that afternoon with an empty trailer. I didn't get much of a time frame as to when they may get around to it as they had a decent amount of cars needing work but hoping to hear something before the beginning of August.
-
A little update on whats been going on so far
First off I wanna point out that the engine wasn't leaning out, it was having a random misfire condition that showed lean on the wide band since the 02 sensor was picking up the oxygen mixed in with the unburnt fuel. I realized I forgot to make that clear in my last post which I understand would cause some confusion as to why we were chasing a spark issue if the car was running lean lol.
Anyways, as per the original plan, they rewired the coils power and ground and rebuilt the sub harness to add a second relay. Although the car did slightly improve it did not completely correct the misfire issue. It did however correct the voltage loss we were seeing on the bore scope before so that was a plus. Next thing they tried was swapping in another set of known good b58 coils and a different set of plugs to eliminate a chance there was a bad coil even though they were new oe elders. When they were swapping them over the tech noticed that the coil boots didn't appear to be sliding all the way down to where they needed to be. Sure enough there was about a 10 mm gap between the spring inside the coil boot and the top of the plug! The swap brackets I was using weren't allowing the plug to fully seat. Thinking that they had discovered the main source of the issue, they ordered and installed some longer springs inside the coil boots to fill the gap. After all that they tested it out and the Issue still existed. Last thing they tried was pulling out the ms3 pnp and temporarily wiring in a ecu masters emu black to see if it was an ecu related issue. No change, misfire was still present.
At this point they had eliminated just about everything that could be causing this thing to essentially hit a wall when under heavier load (more then 20% throttle input). The engine runs great otherwise. Idles fine. You can drive it around under light throttle with no issue.
Only idea at this point was to remove the b58 coils and wiring and switch back to the m50 coils I originally had in there which I knew for sure worked fine. Took a trip down there last Tuesday and dropped off the pigtail harness and the old coils. Haven't heard anything yet but hoping to get an update by the end of this week.
-
Diagram from The Book of E30 Ownership
before e30 turbo announcement:
perpetually non-running e30s ---------------------you-----running e30s
after e30 turbo announcement:
perpetually non-running e30s -------------you-------------running e30s
after e30 turbo installation:
perpetually non-running e30s -you-----------------------running e30s
This aged well
-
Got a call from the shop this afternoon with some updates. They figured out what was causing the misfire issue and it was not the coils. After rewiring the original m50 coils back in they tested it out and the issue once again presented itself. They then pulled the injectors and ran them on a test station to find that supposedly a couple of them were staying stuck open. Threw a different set of injectors in it, did a pull and the issue appears to be gone. I do feel a bit frustrated as we went down this rabbit hole of diagnosing these coils, ecu and wiring just to find out the main cause of the issue was not related to any of that and was just a few bad injectors. I am glad to hear the issue was resolved though. They did ask if I wanted to wire the b58 coils back in but I told em to just leave the m50 ones in. They had it on the dyno this afternoon so if all goes well I should be hearing from them early next week!
-
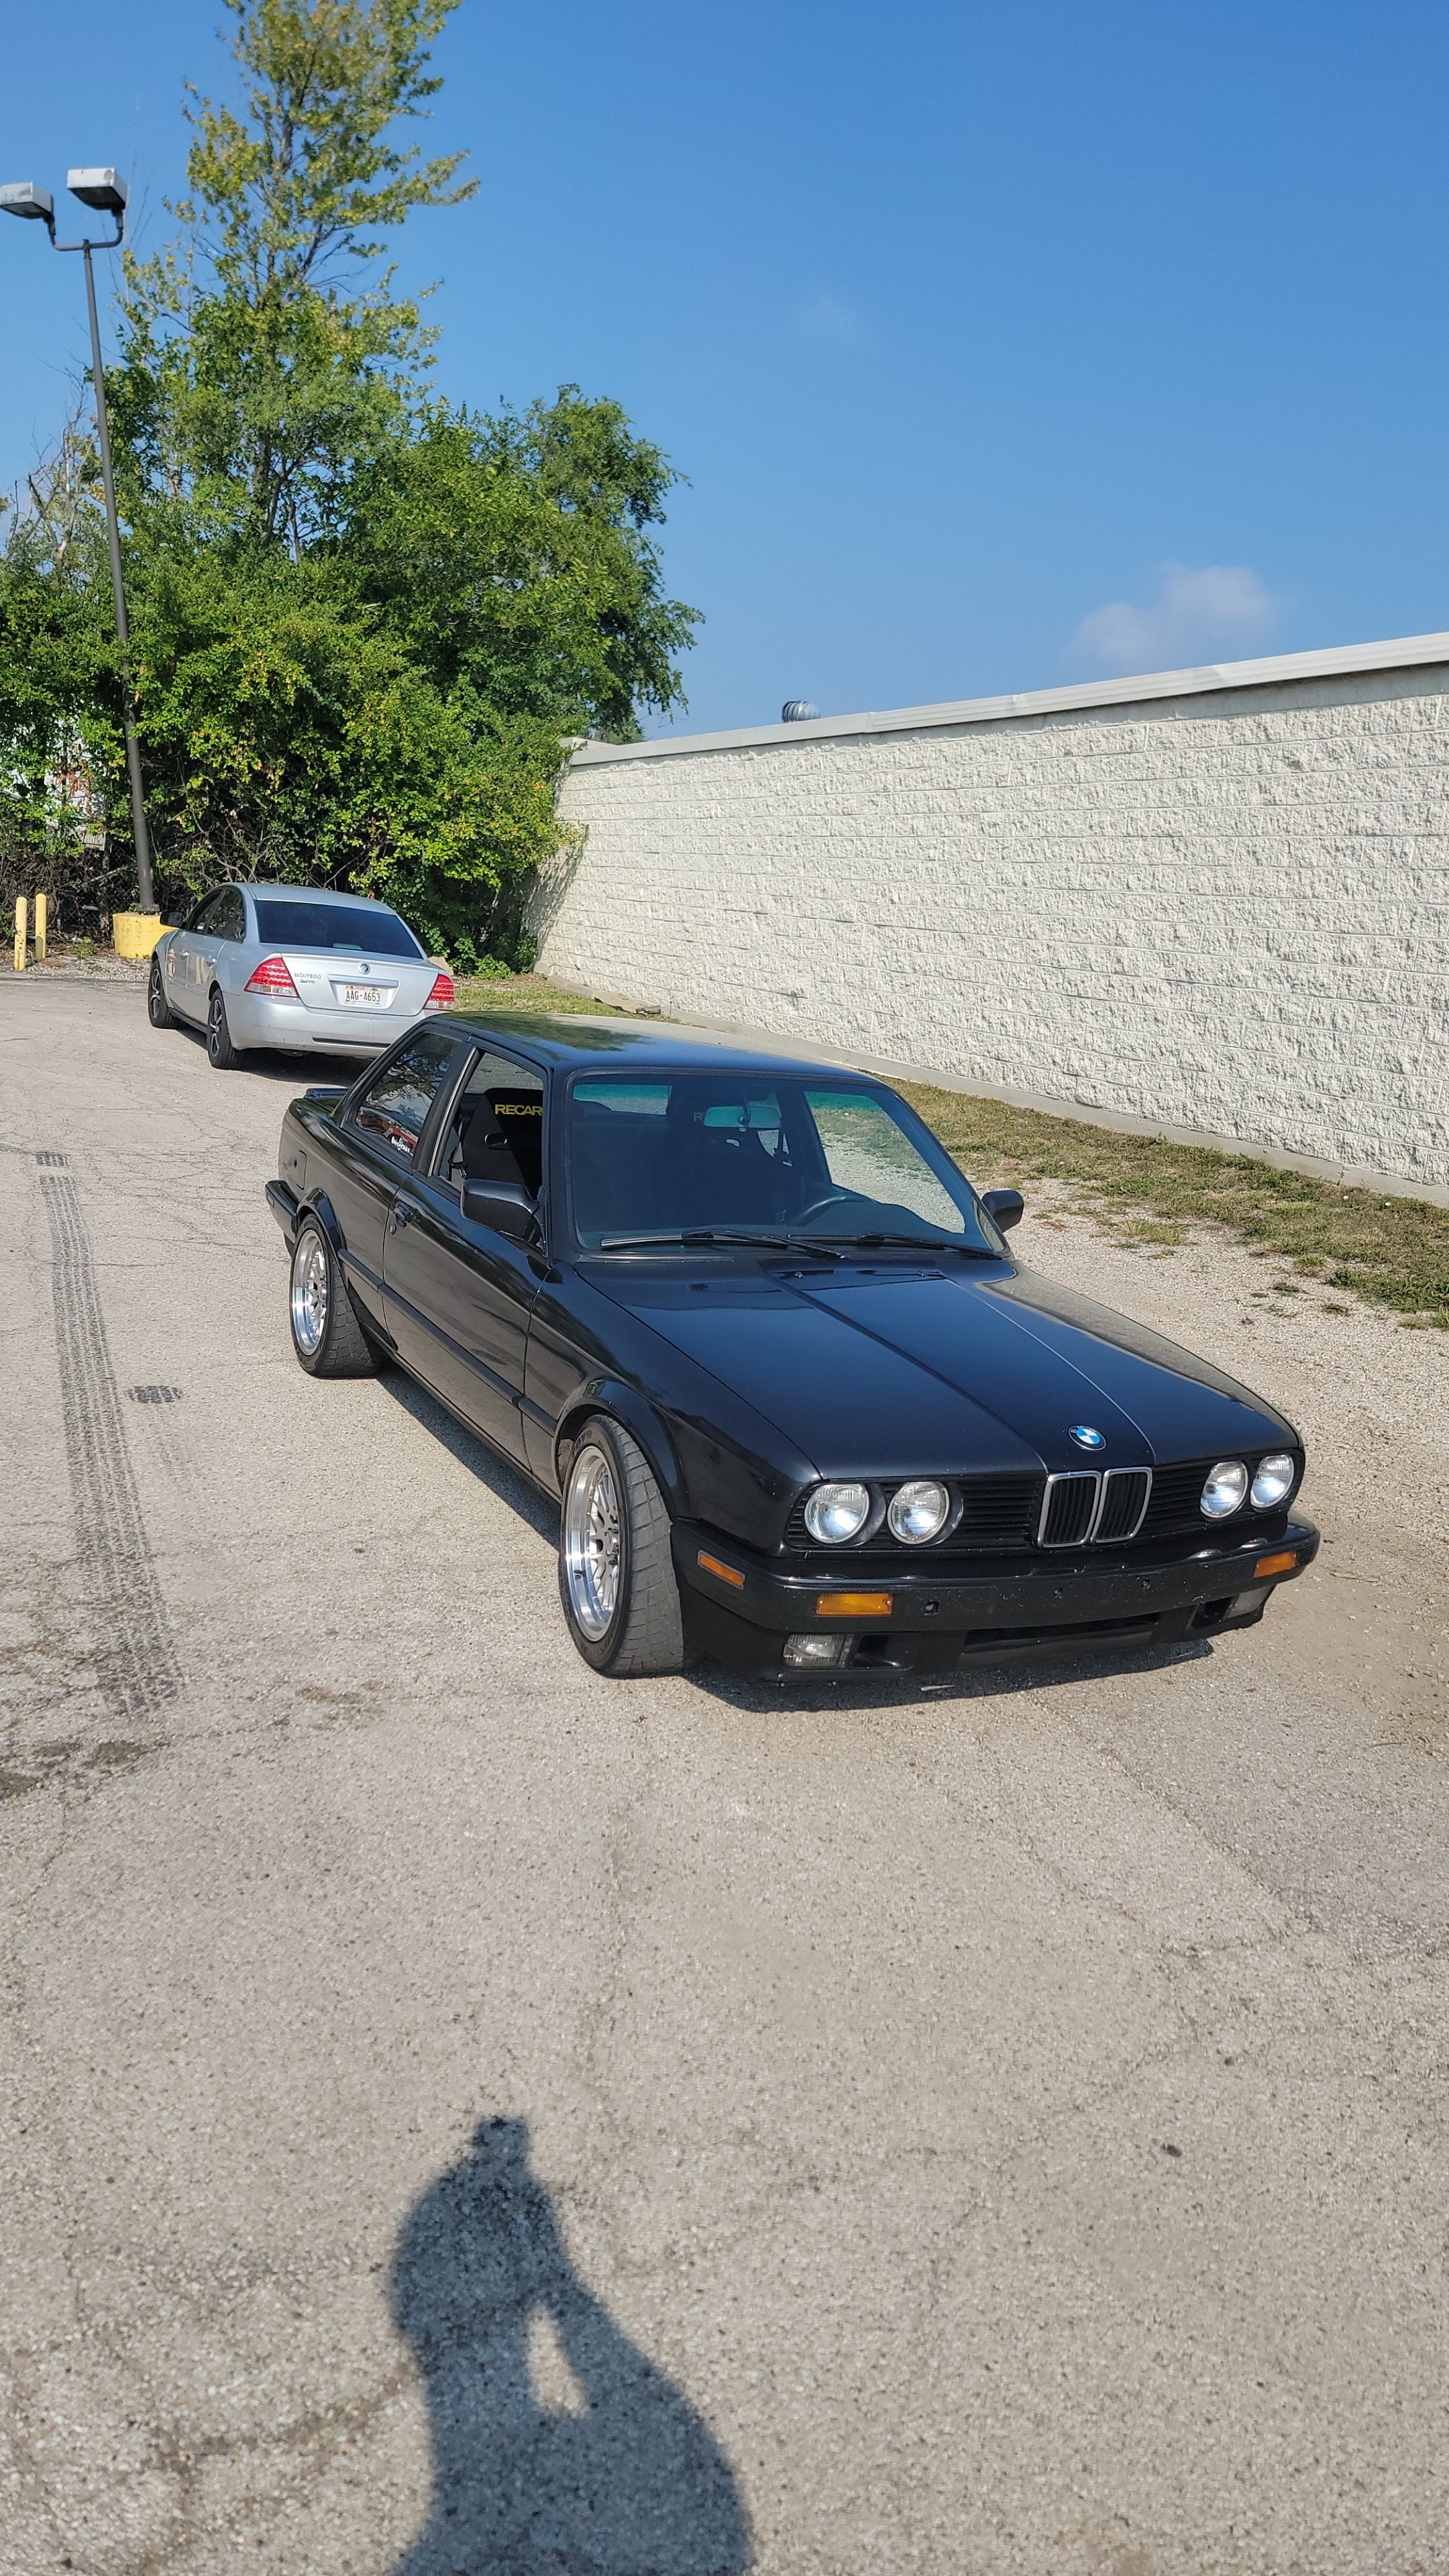
Last Wednesday I took a drive down to Chicago and finally picked up the car!
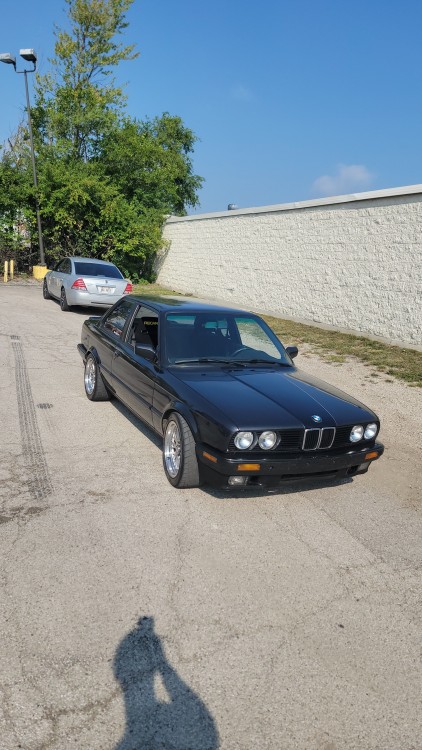
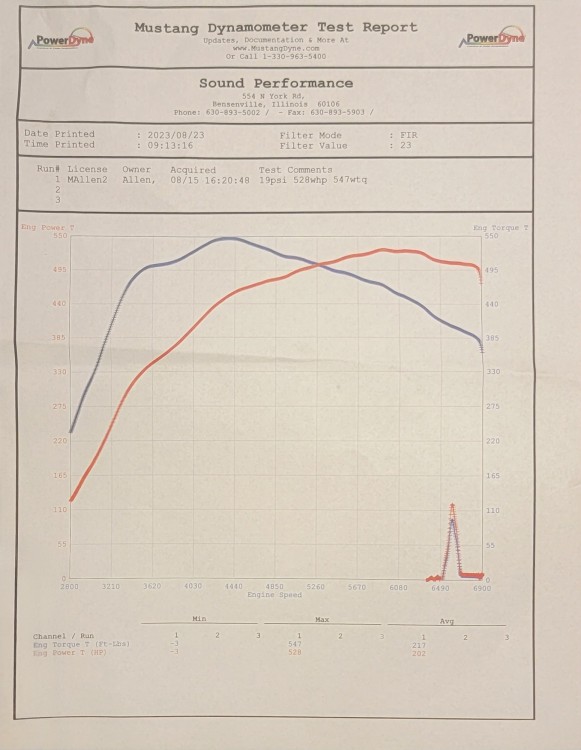
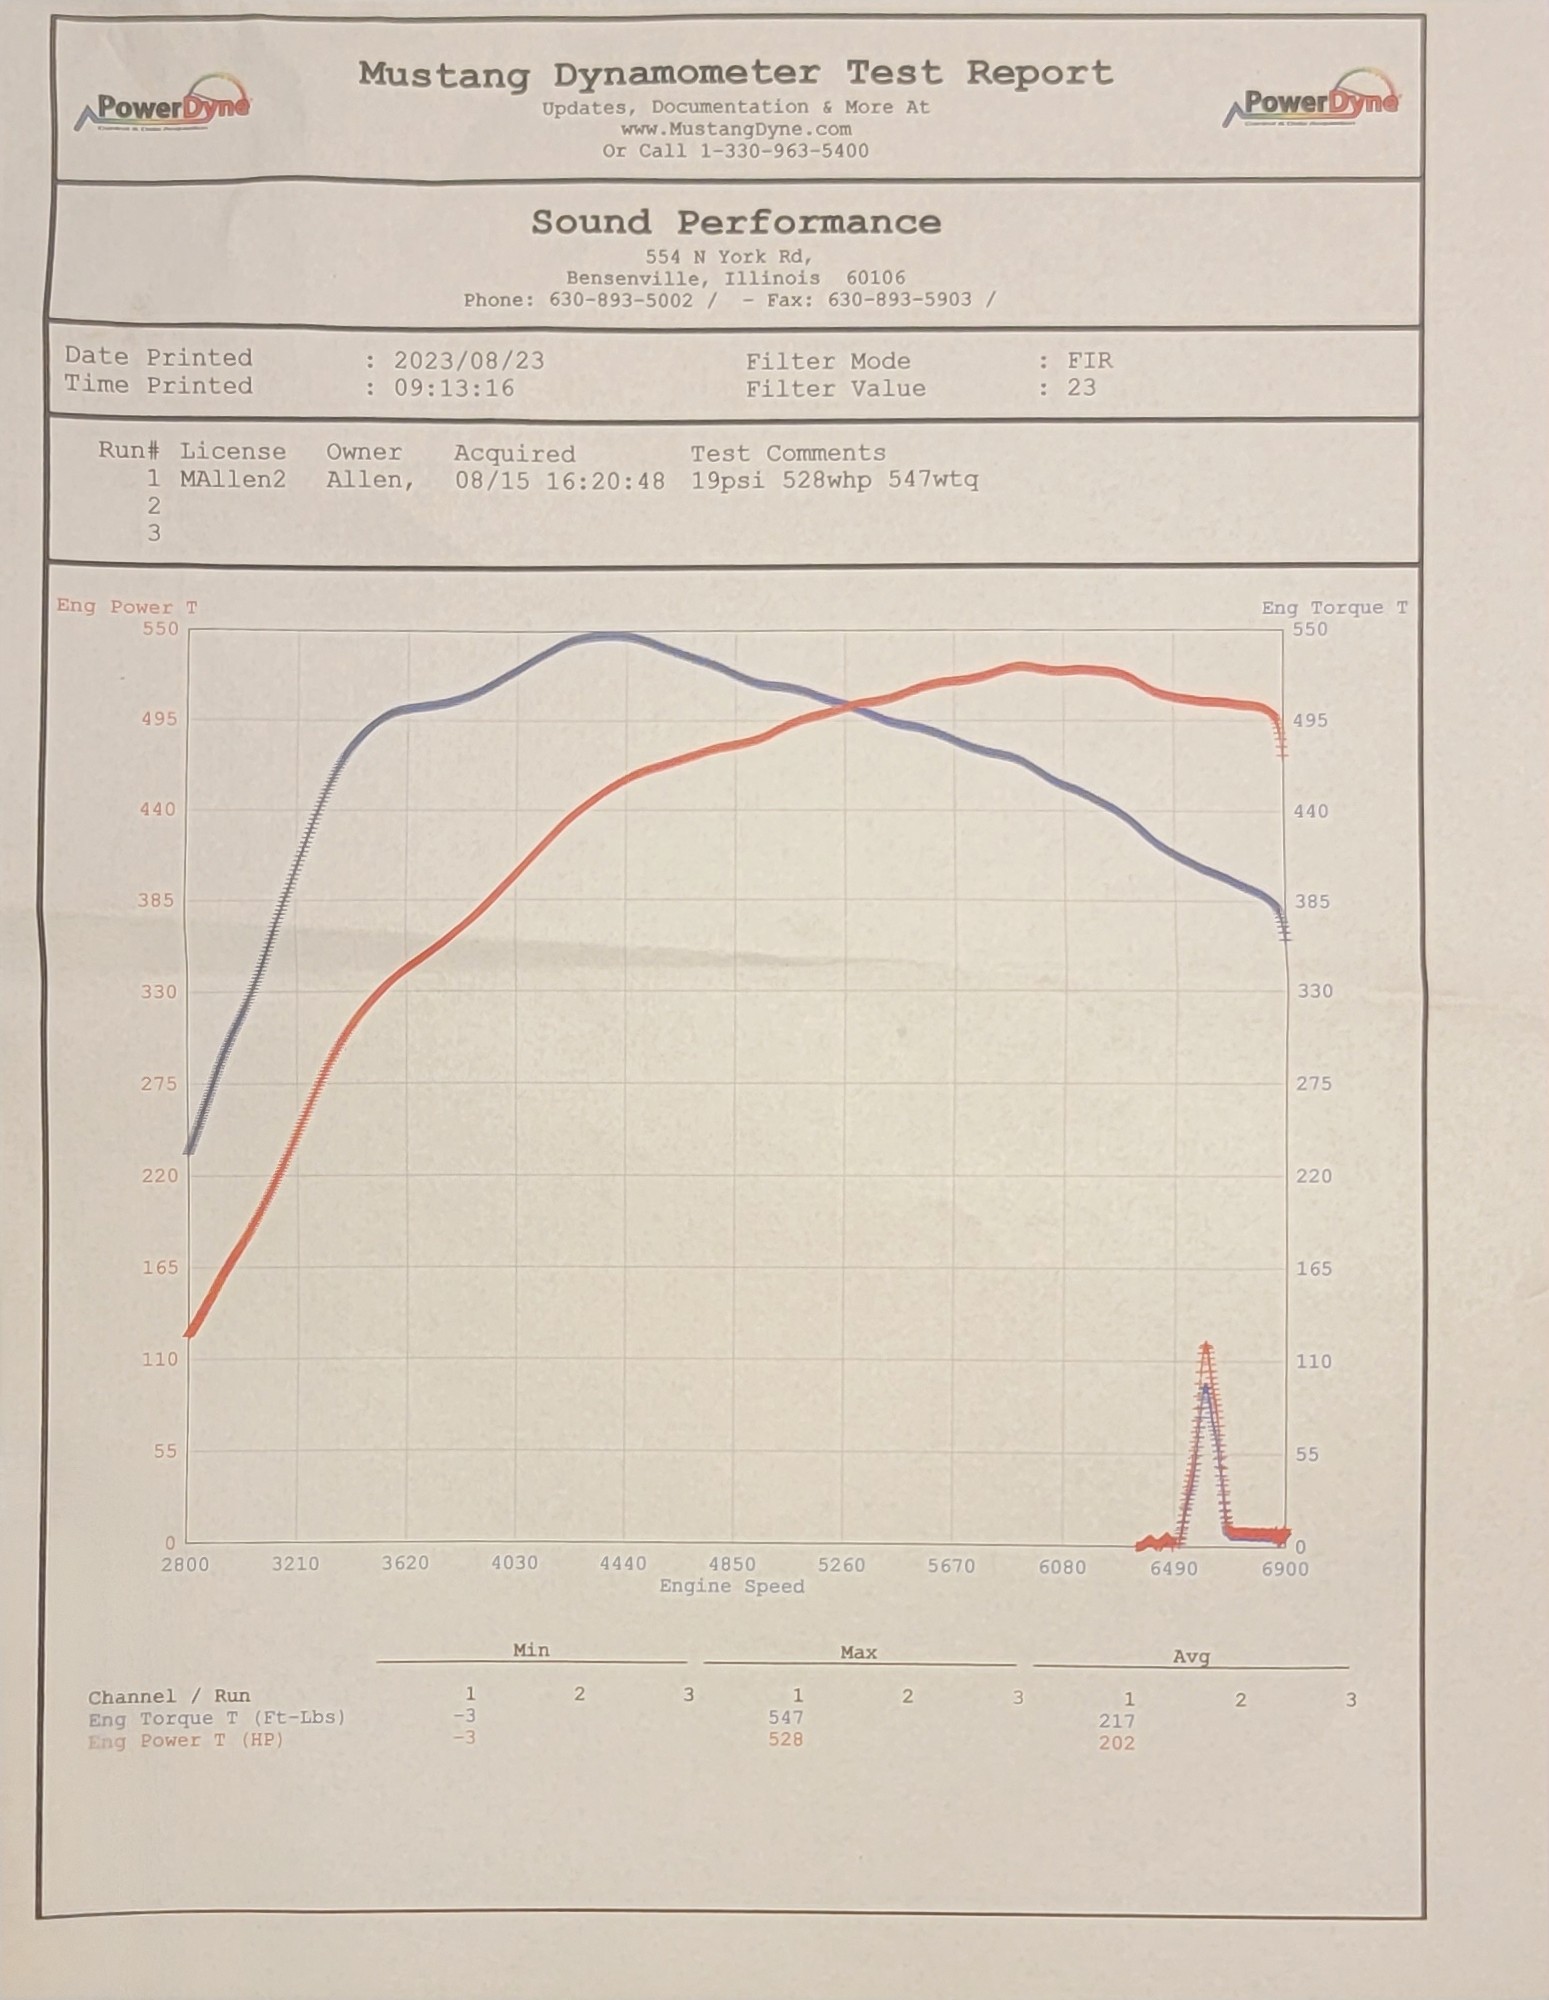
The dyno tuning had been done a week and a half prior to that but they wanted to further dial it in on the street and work out any little drivability issues it had. As for power numbers, on pump gas it made 401 whp (not sure on torque numbers for that). As for E85 though, the numbers were a bit more shocking... in a good way
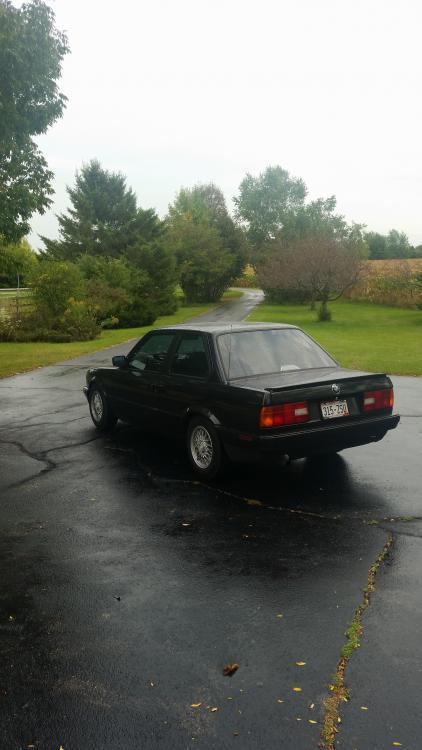
I did end up driving it back from Chicago and besides the 105 degree weather I baked in, it was a pretty enjoyable drive home. The car felt great and the engine didn't skip a beat. I will say though that the clutch is a little more difficult then it use to be. Especially when getting the car rolling in first gear. The one in there is technically only rated for like 480 lb ft torque so we'll see how far that gets me. There are a few things I wanna take care of on it like an oil change and address a few small things but other then that very excited to have the car back to enjoy the little bit of warm weather we have left.



Hello! It looks like you're interested in this conversation, but you don't have an account yet.
Getting fed up of having to scroll through the same posts each visit? When you register for an account, you'll always come back to exactly where you were before, and choose to be notified of new replies (either via email, or push notification). You'll also be able to save bookmarks and upvote posts to show your appreciation to other community members.
With your input, this post could be even better 💗
Register Login