
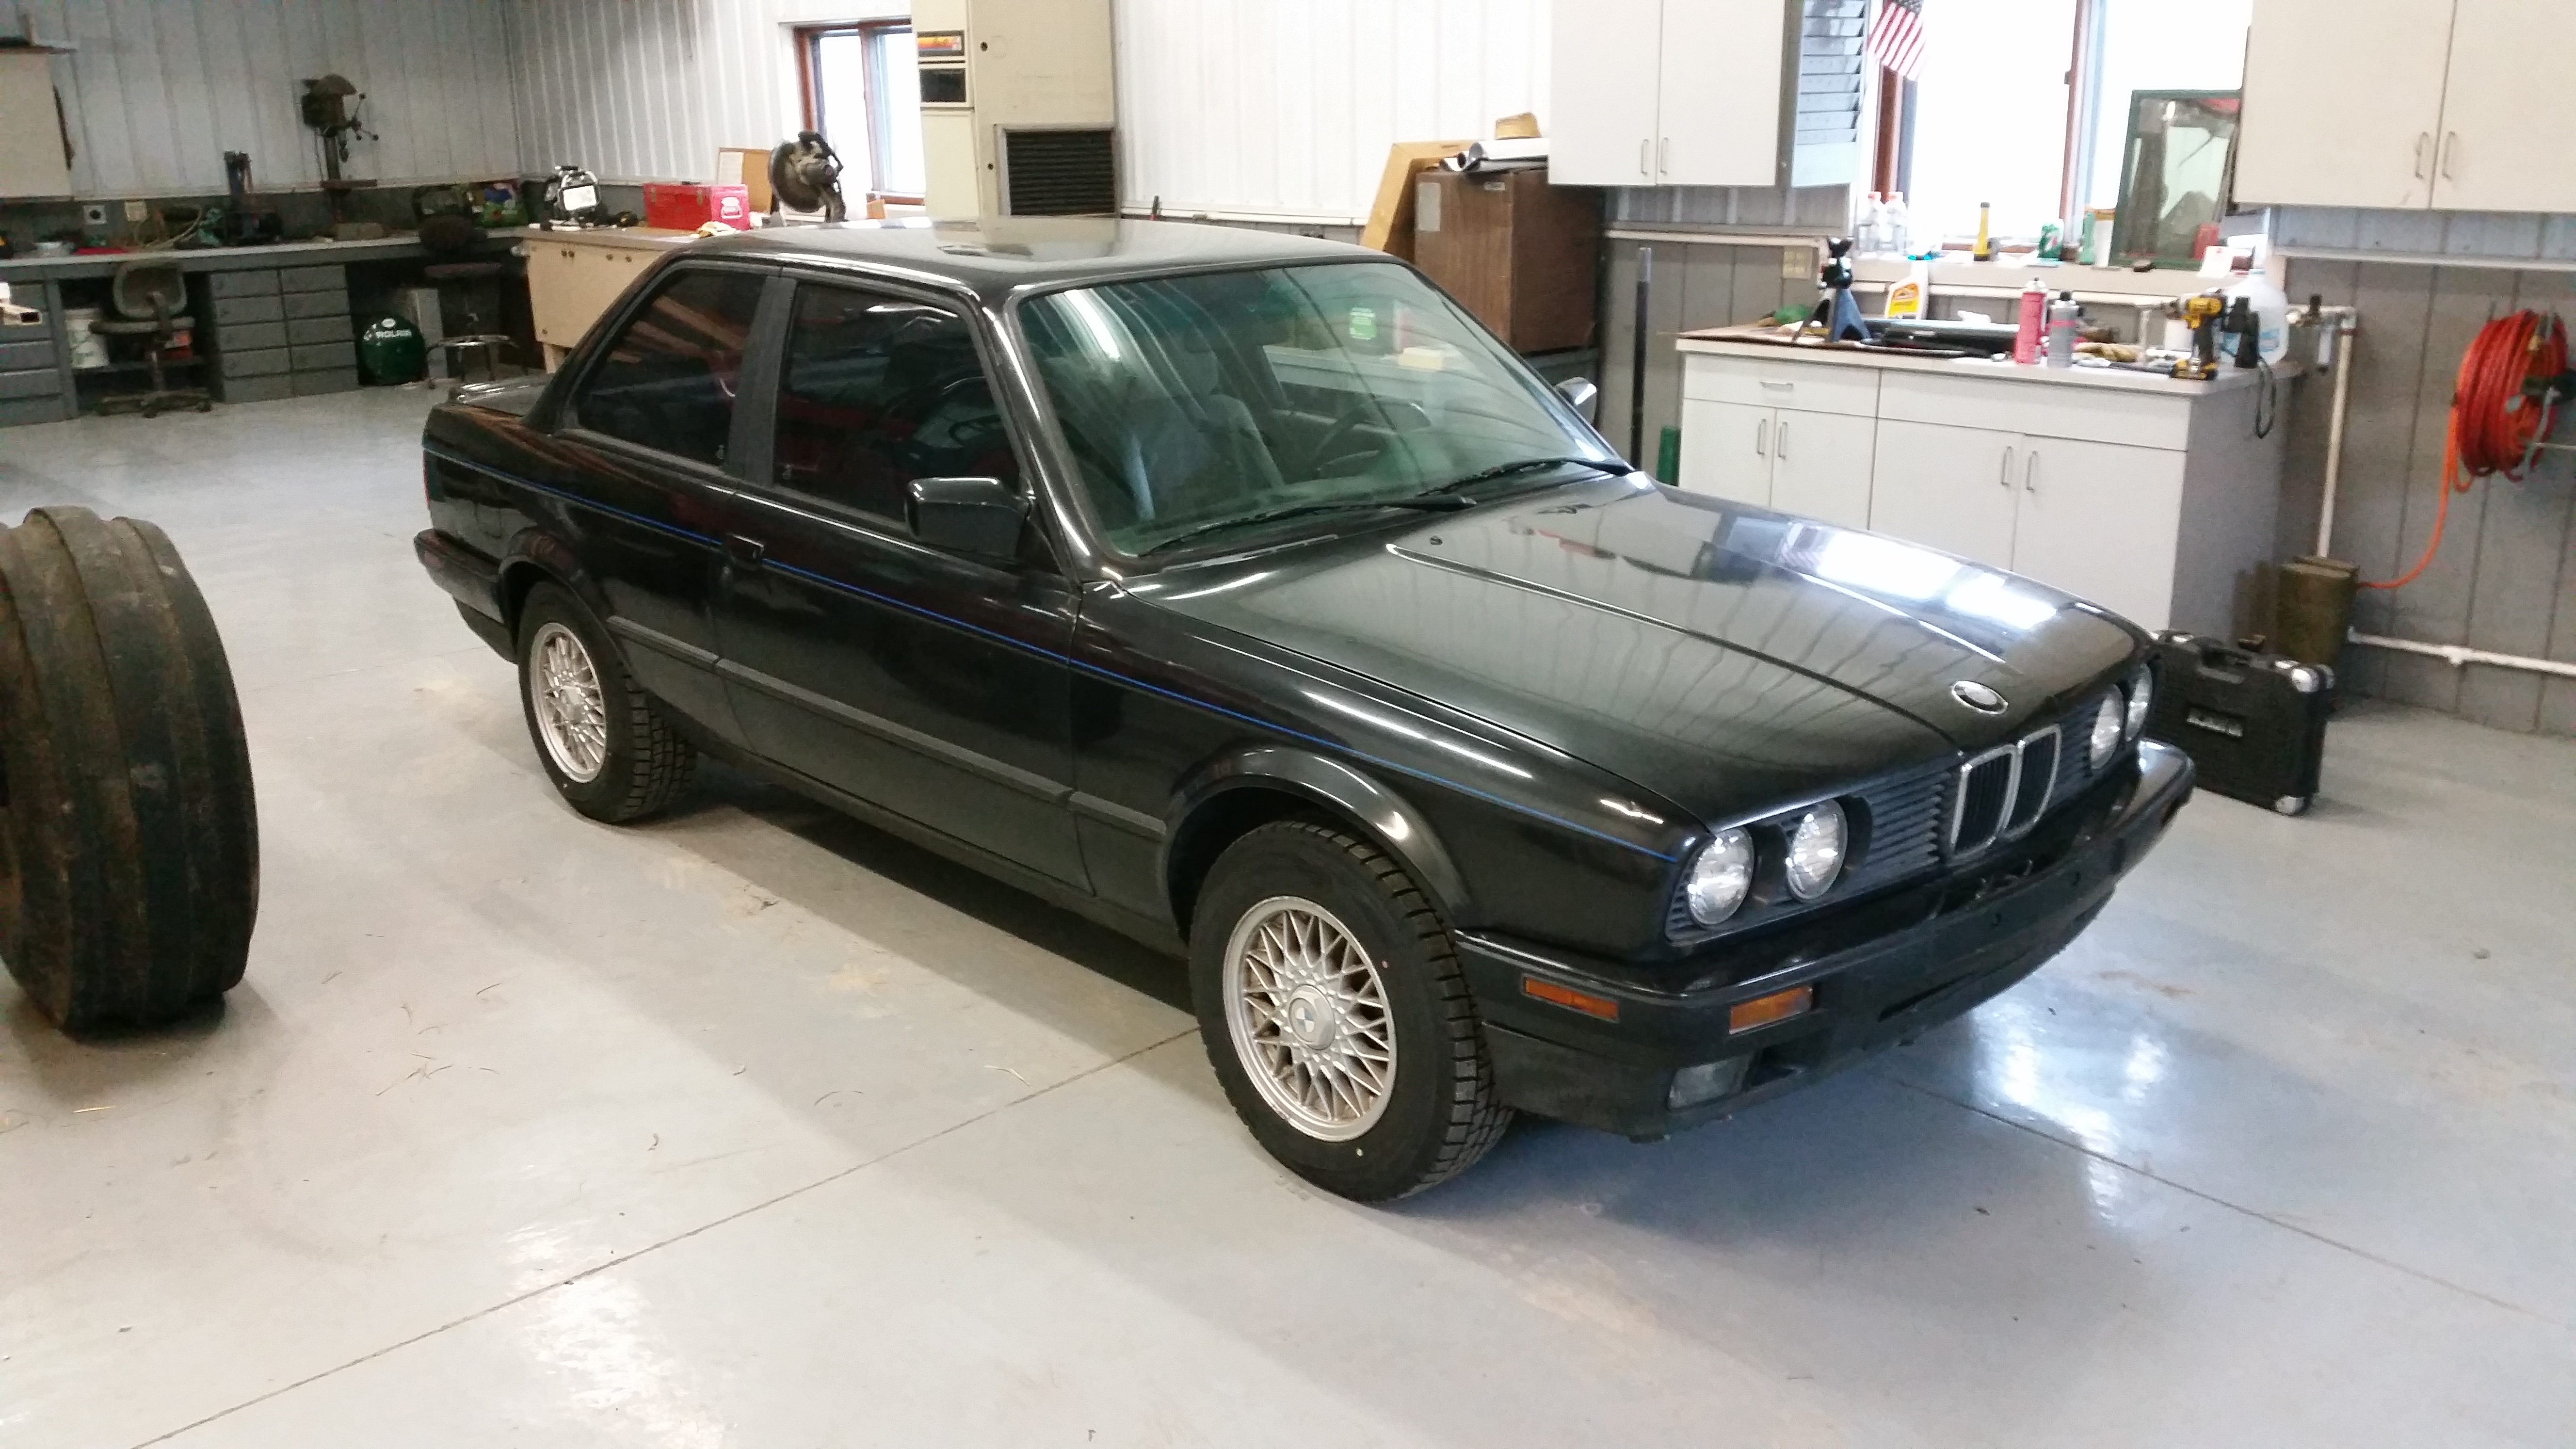
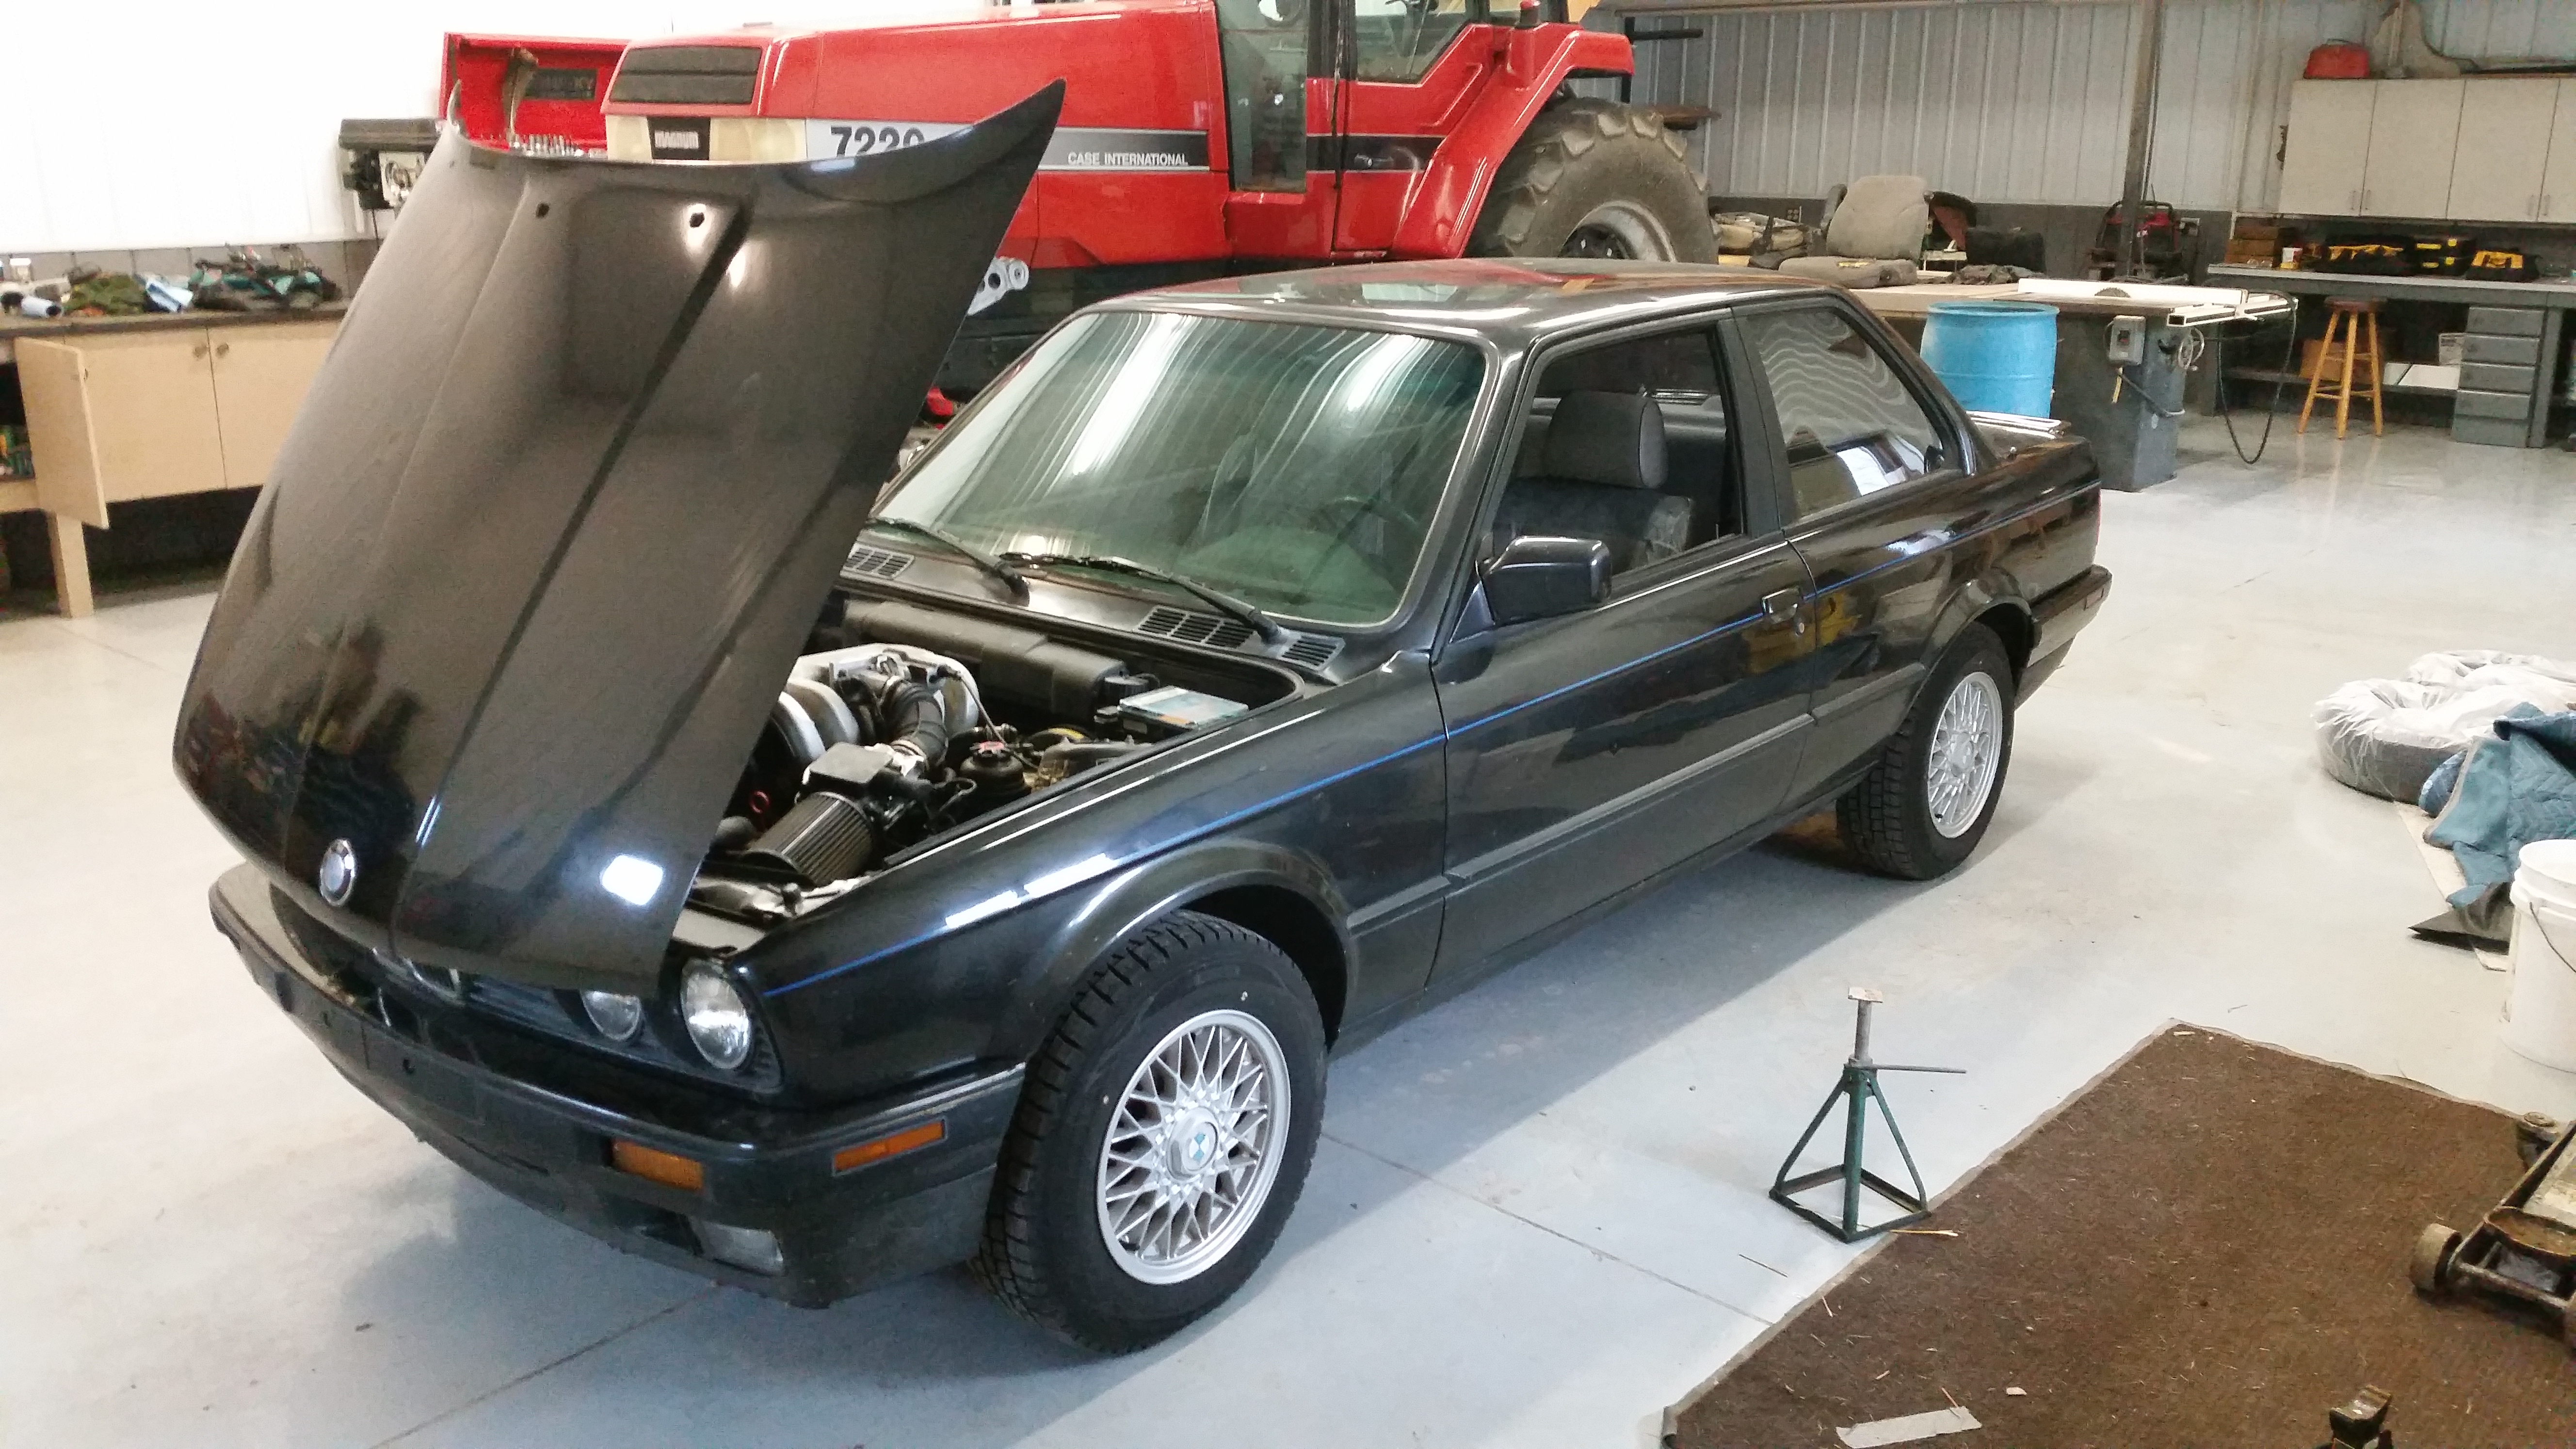
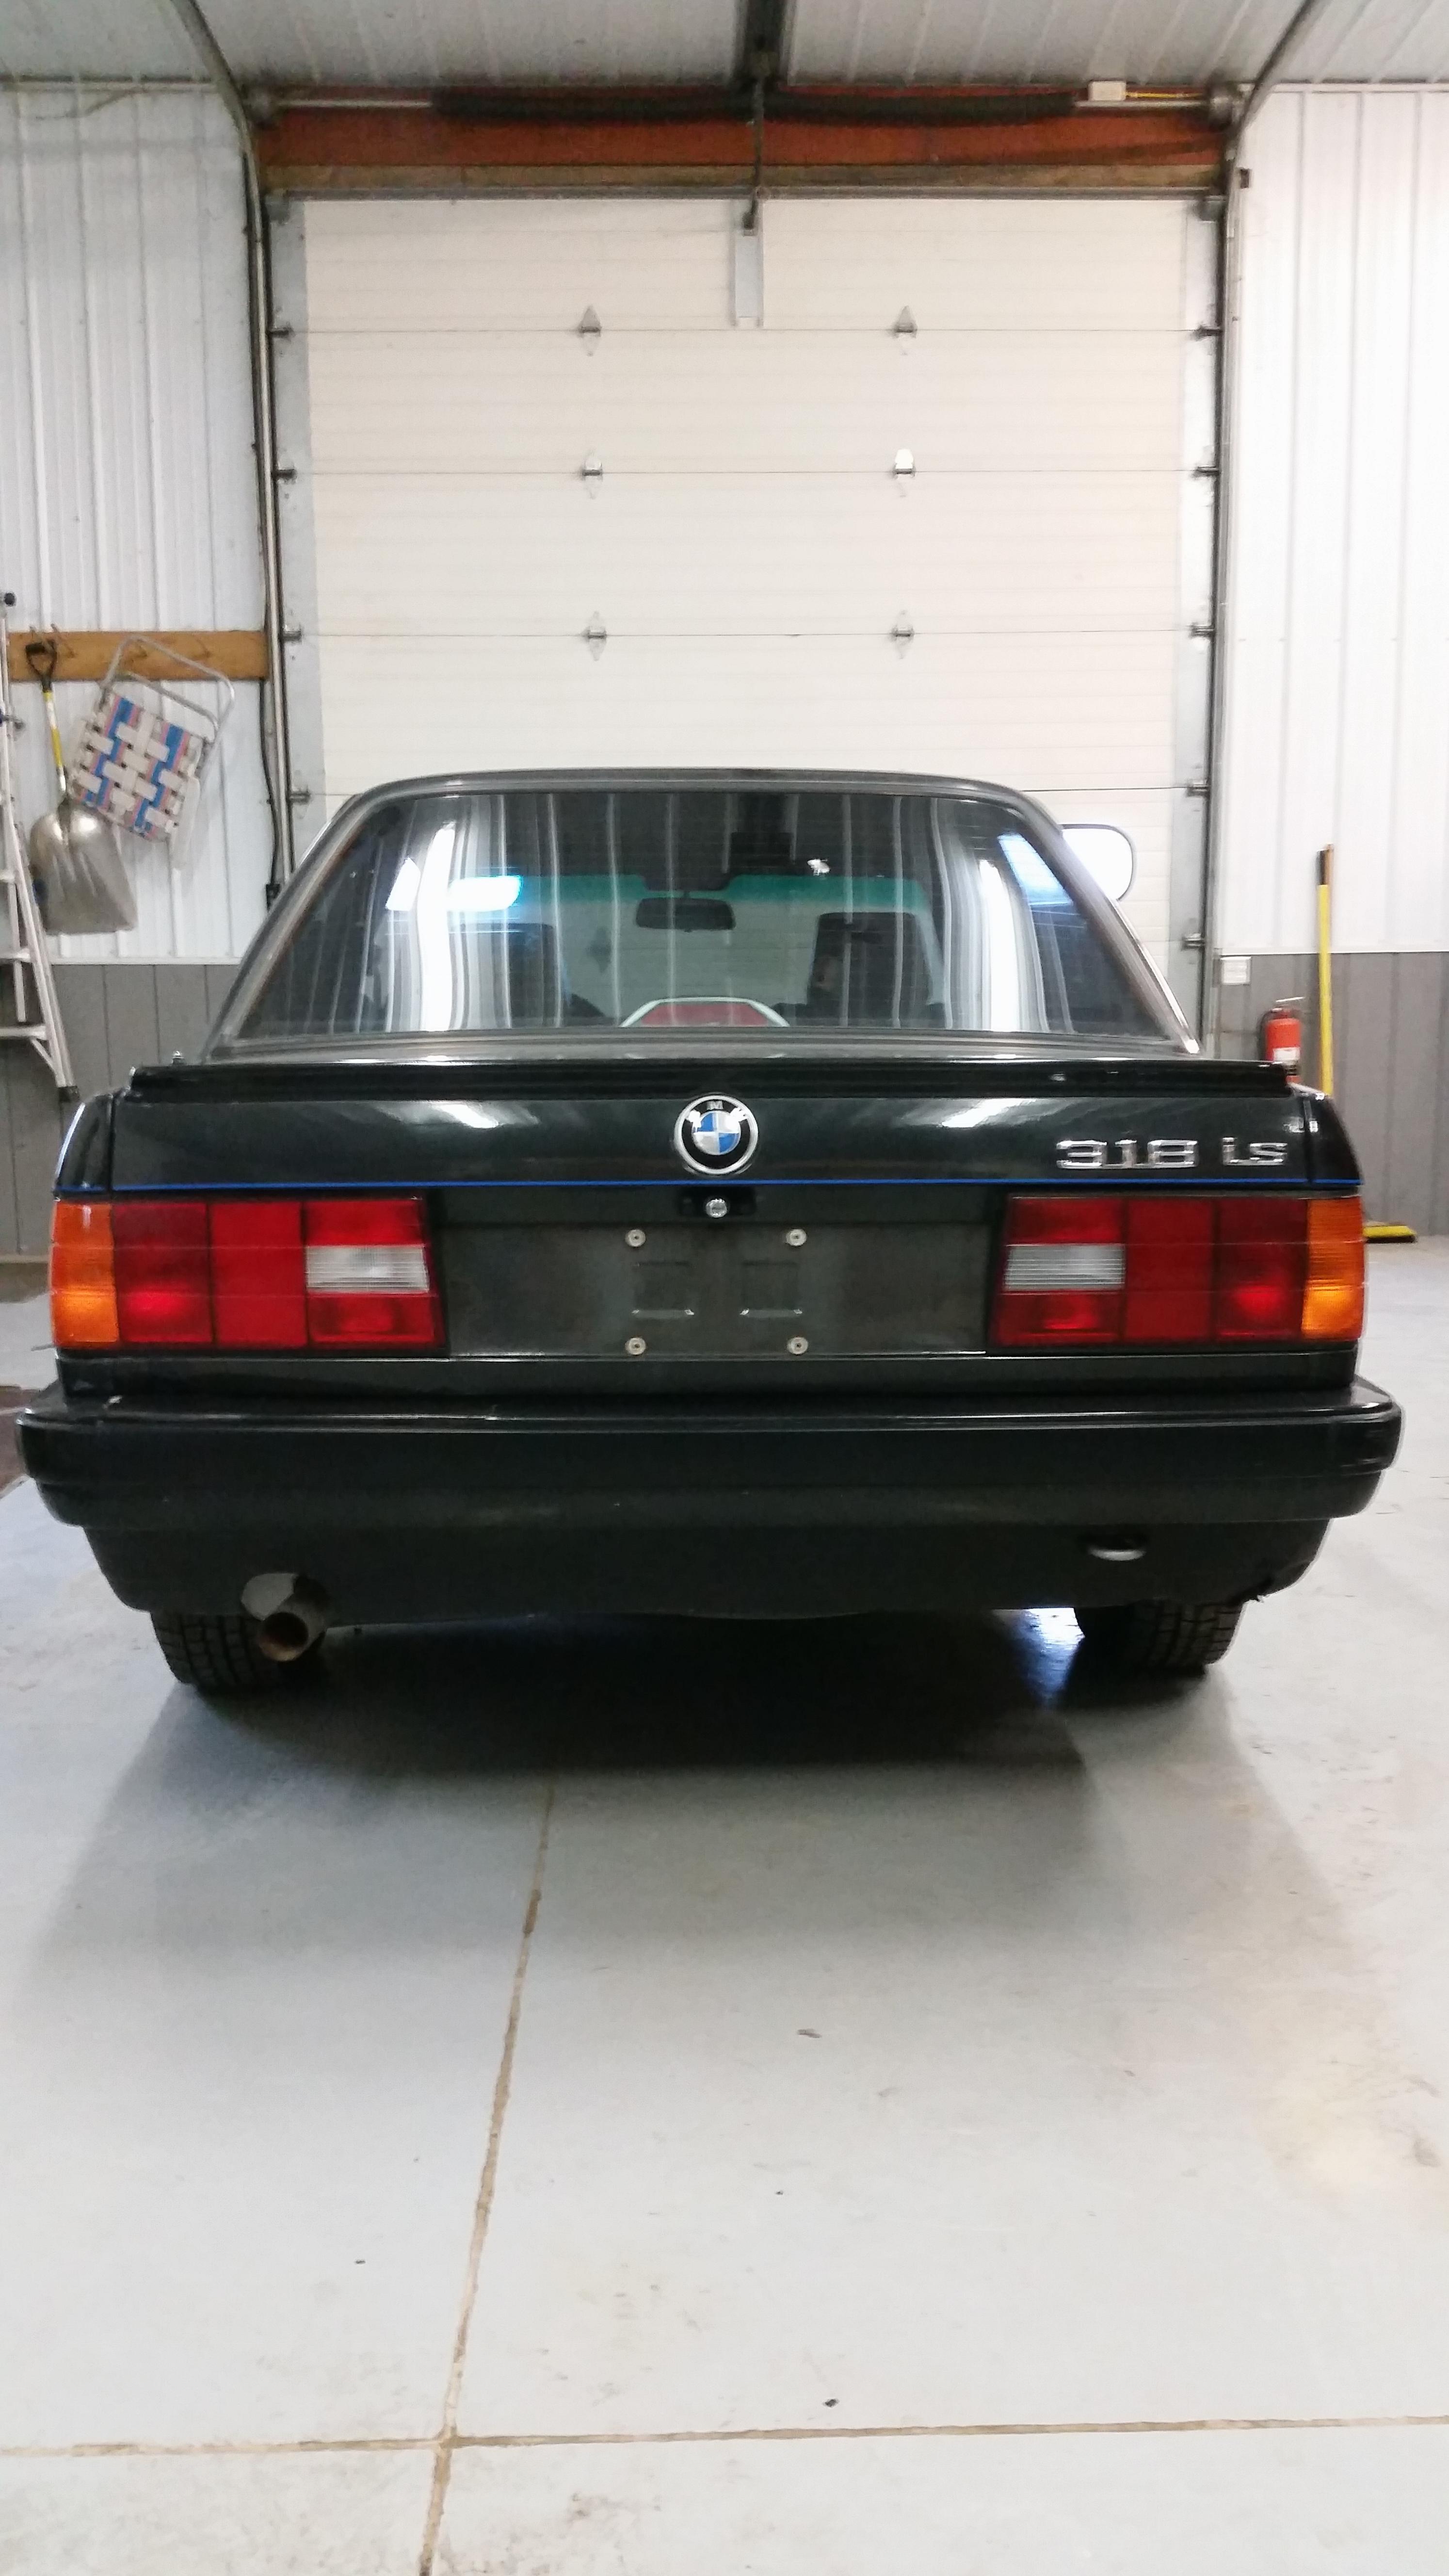
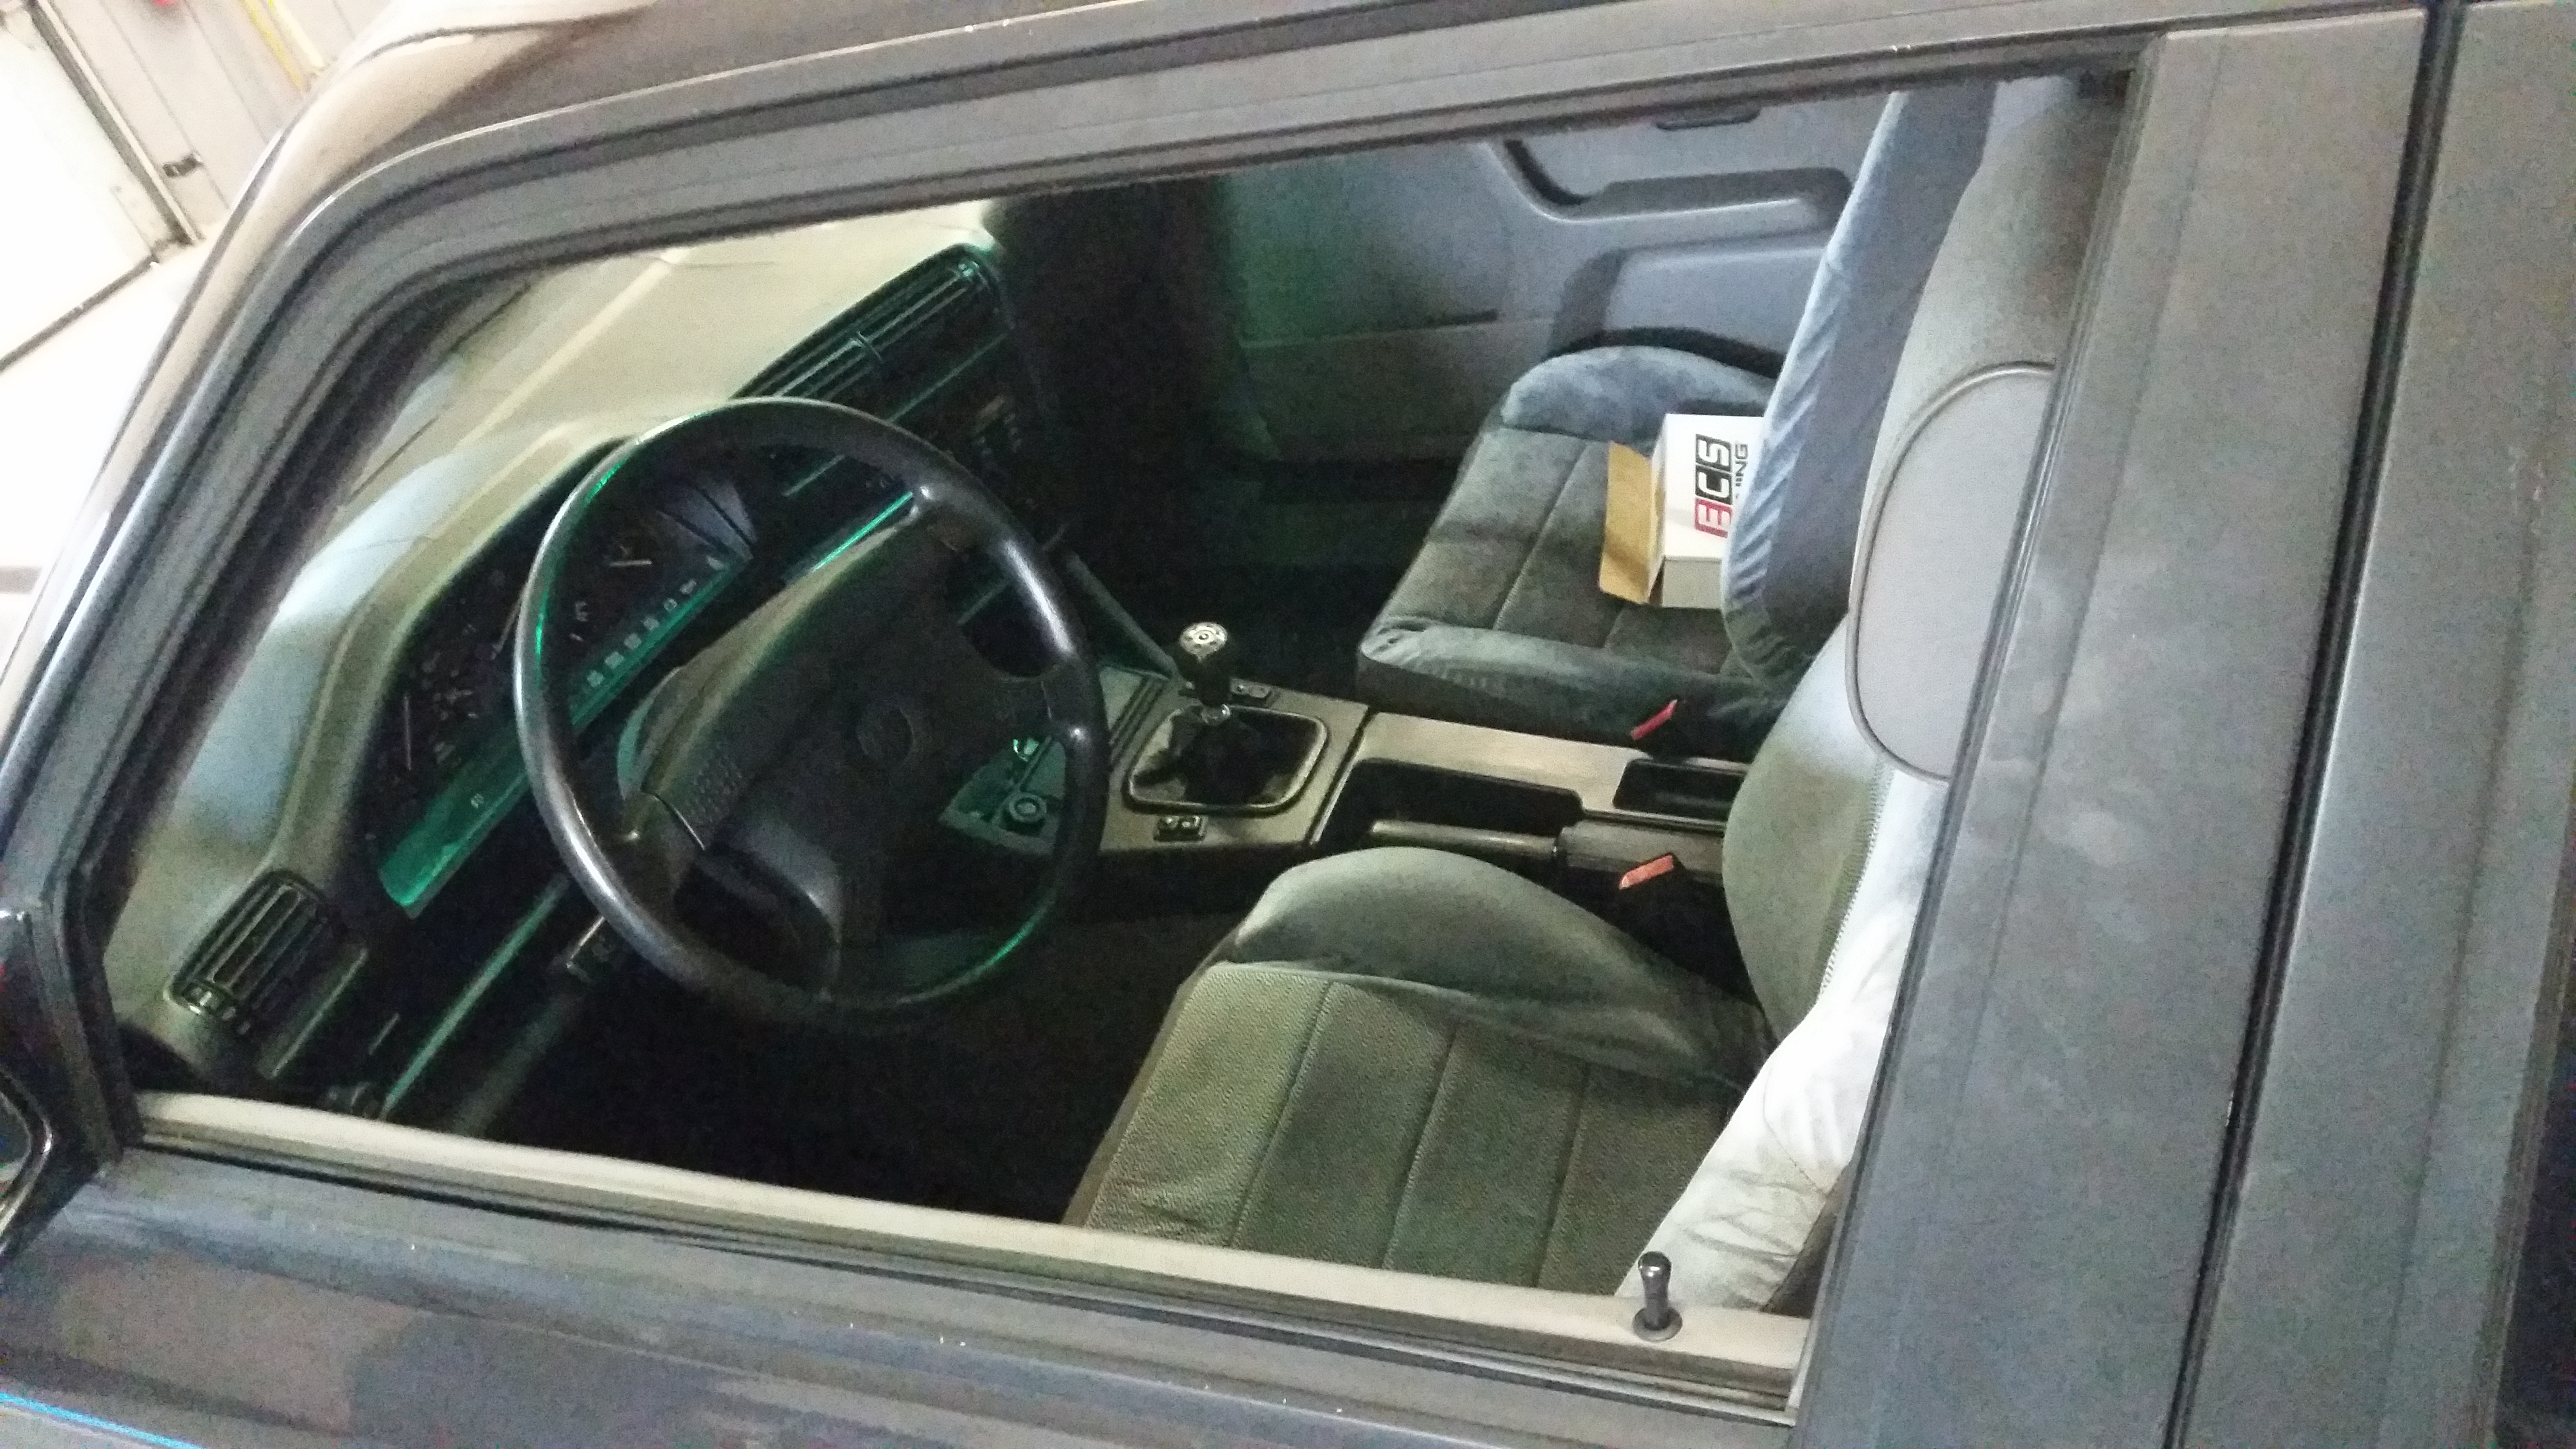
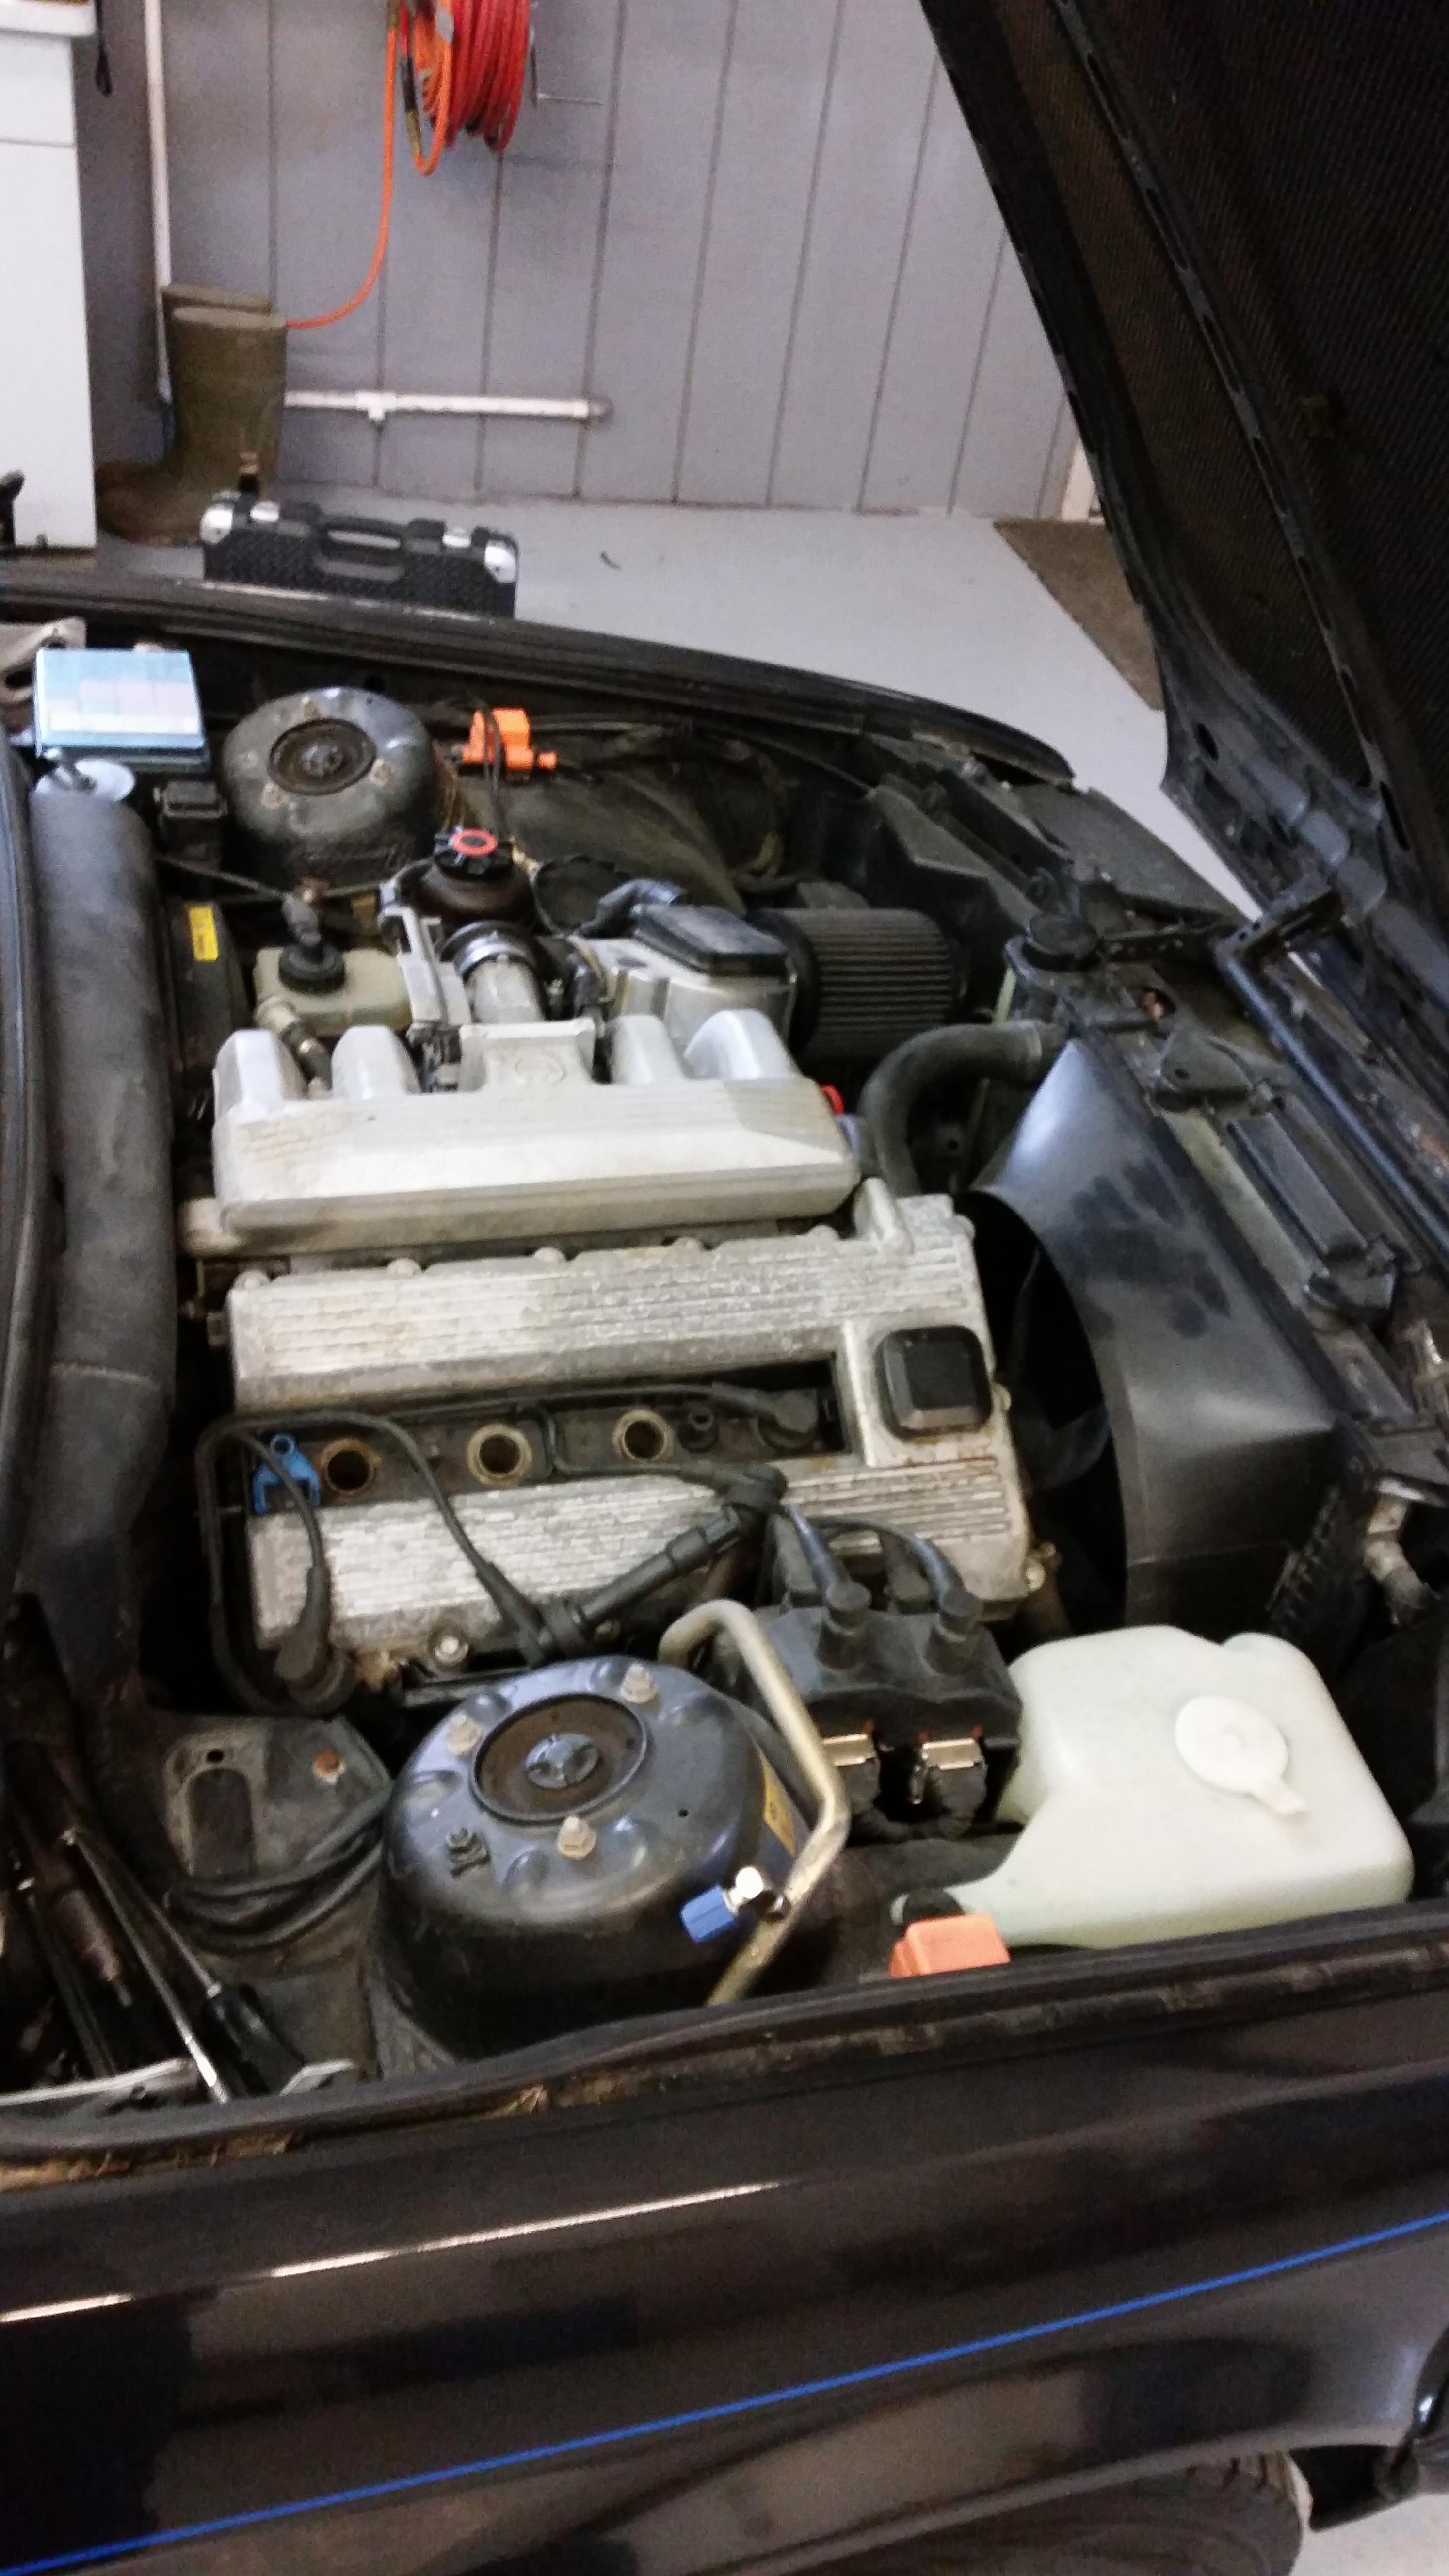
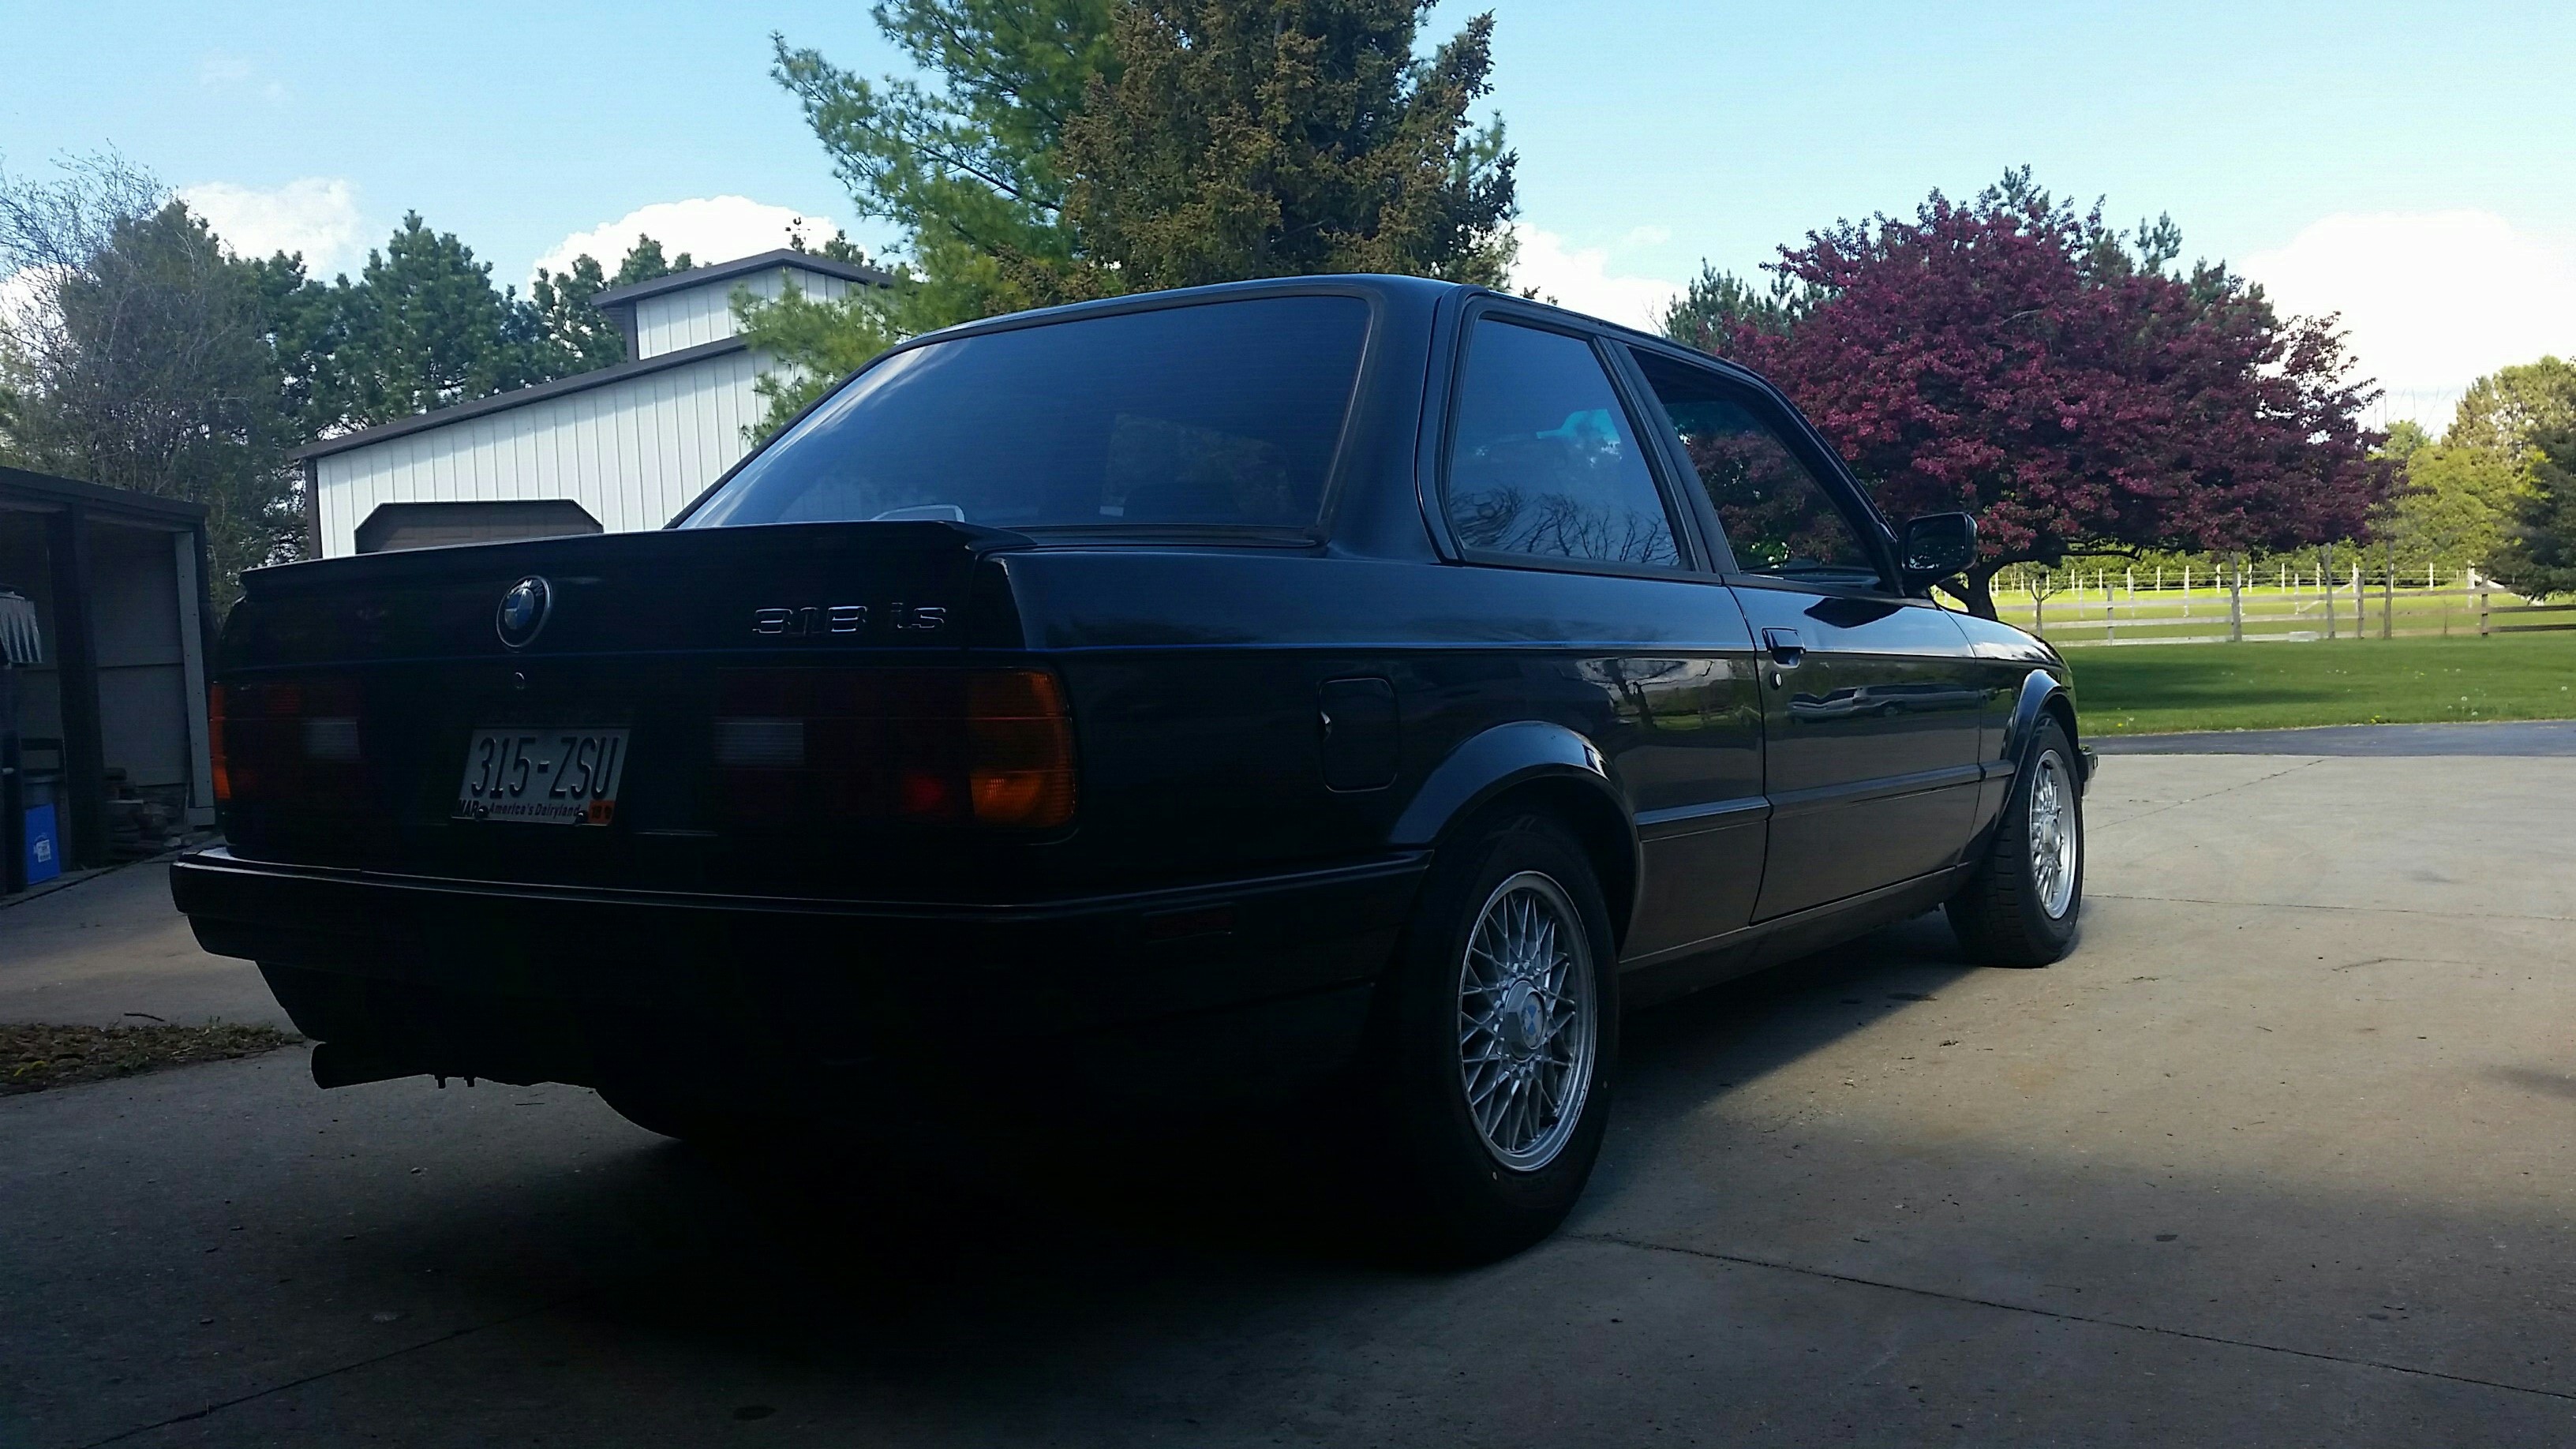
the one and only e30 s52 engine swap
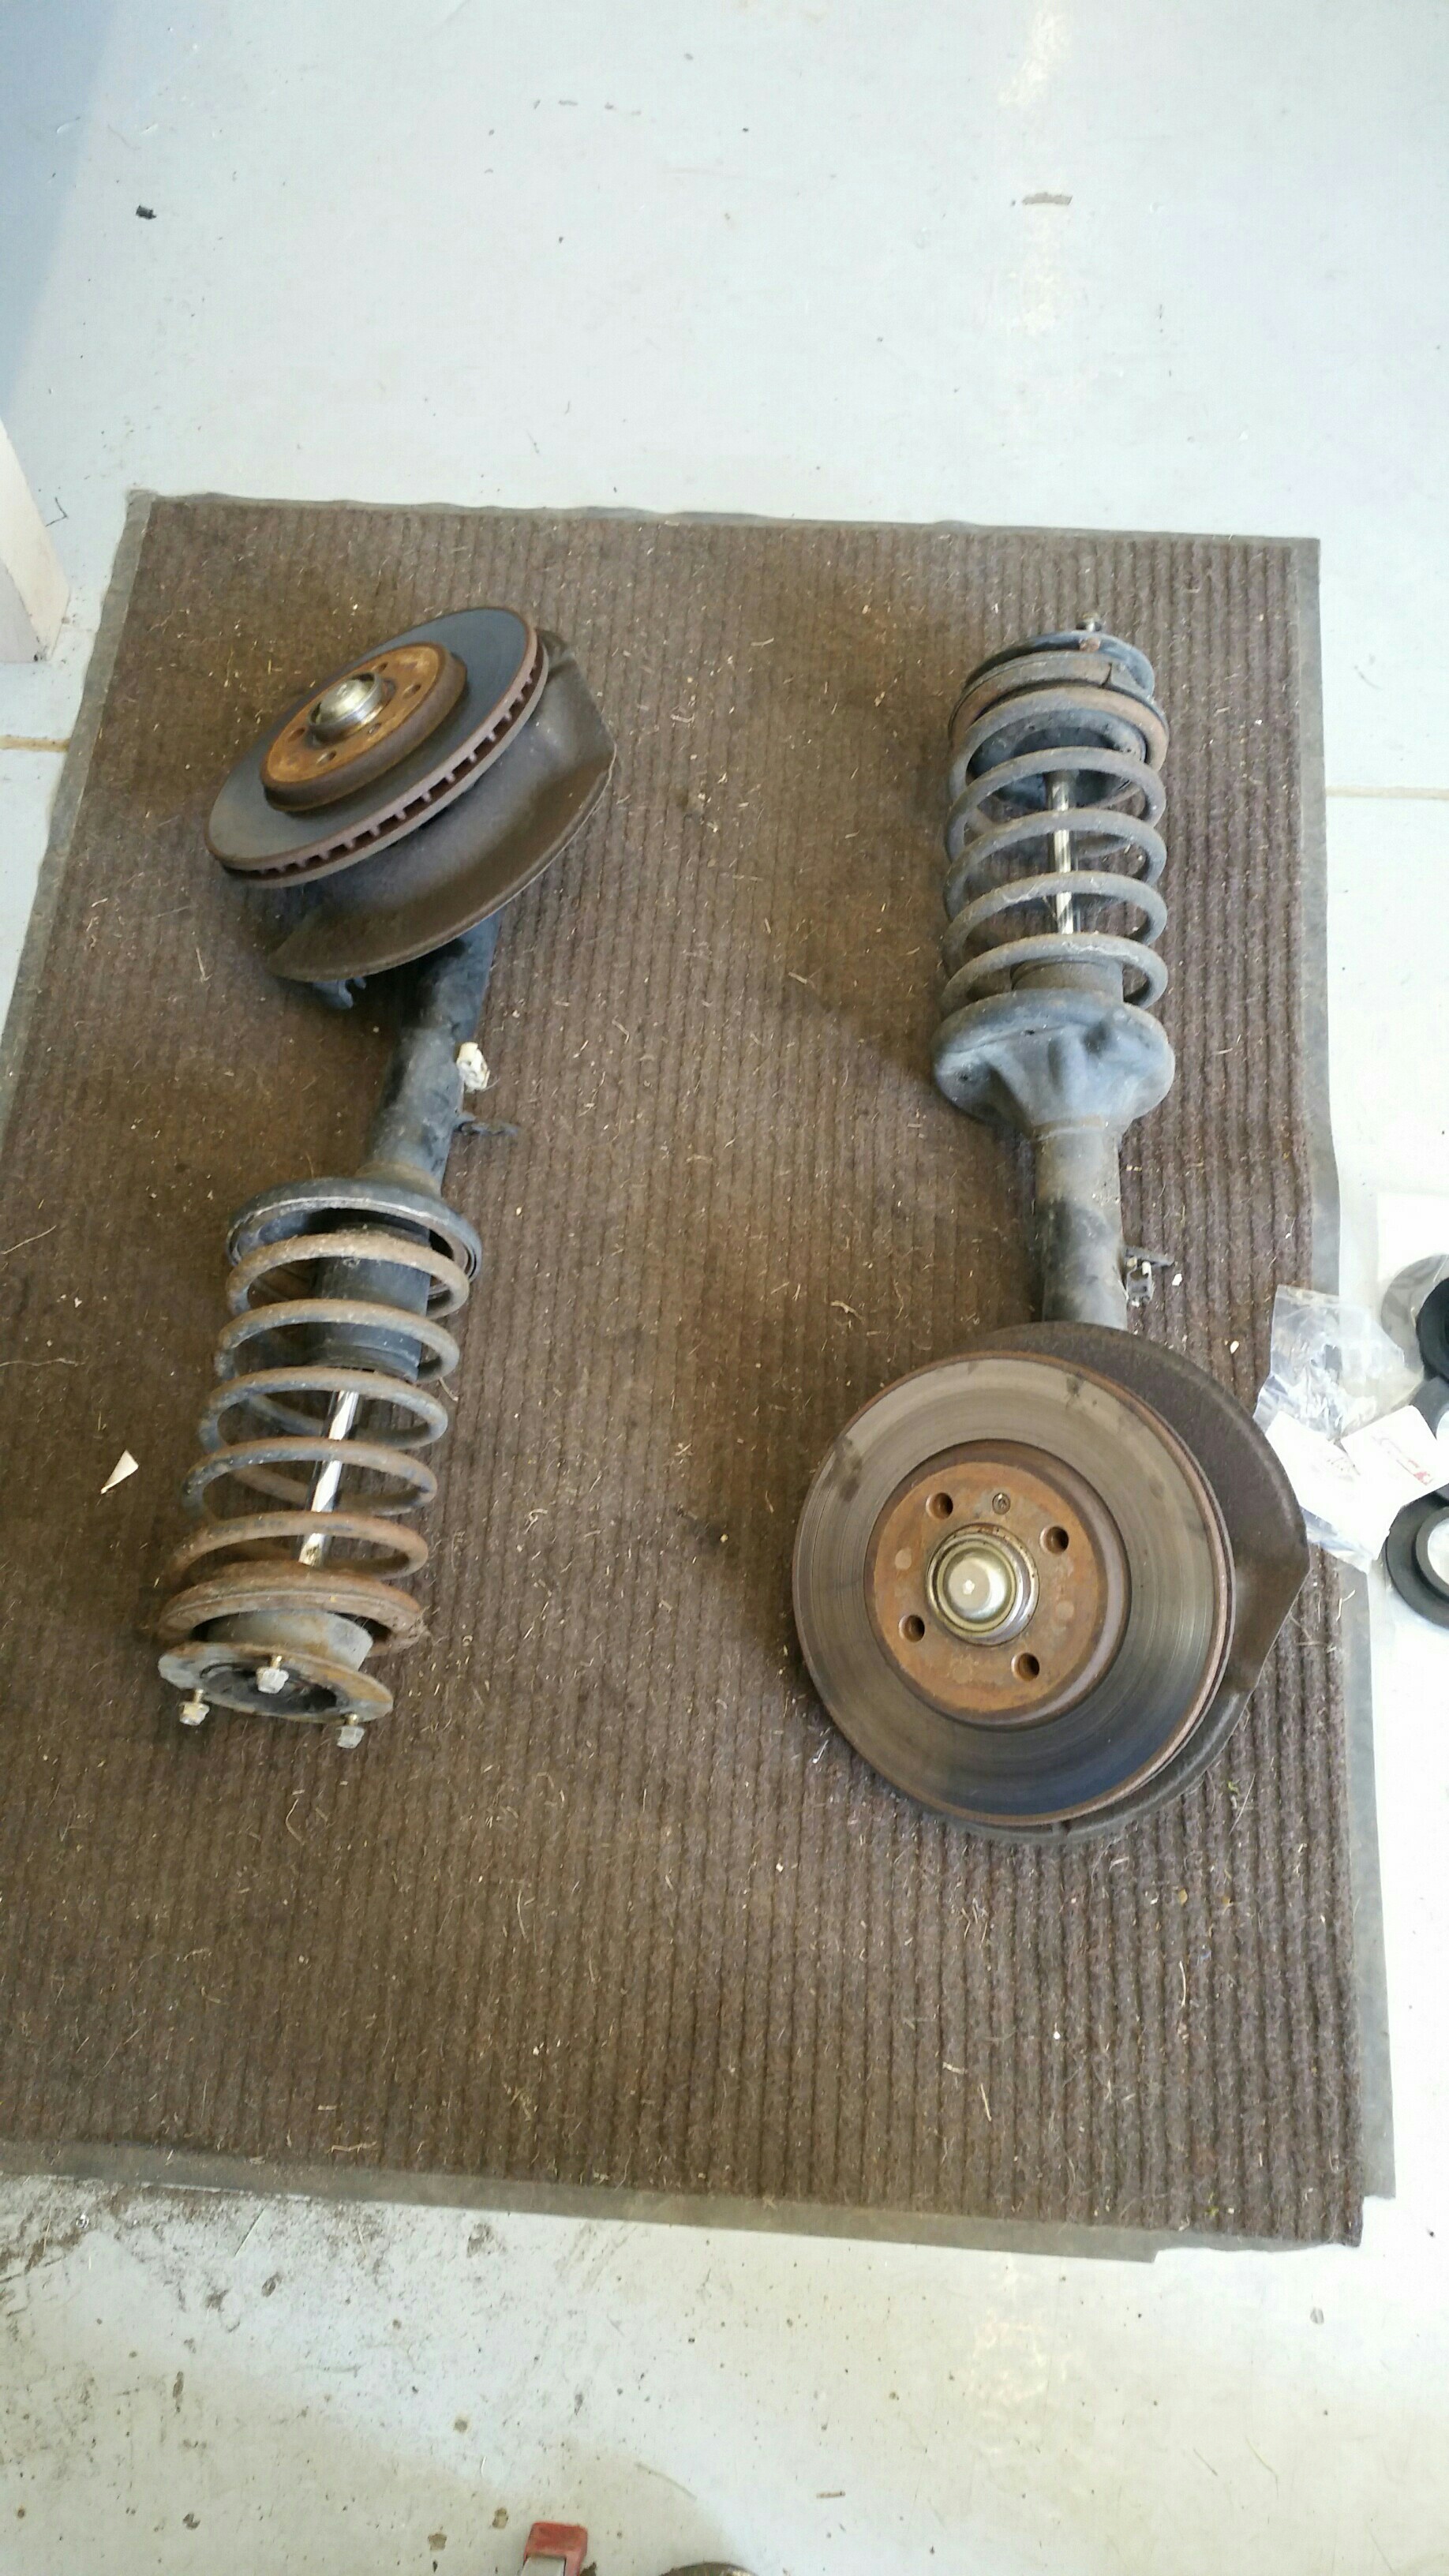
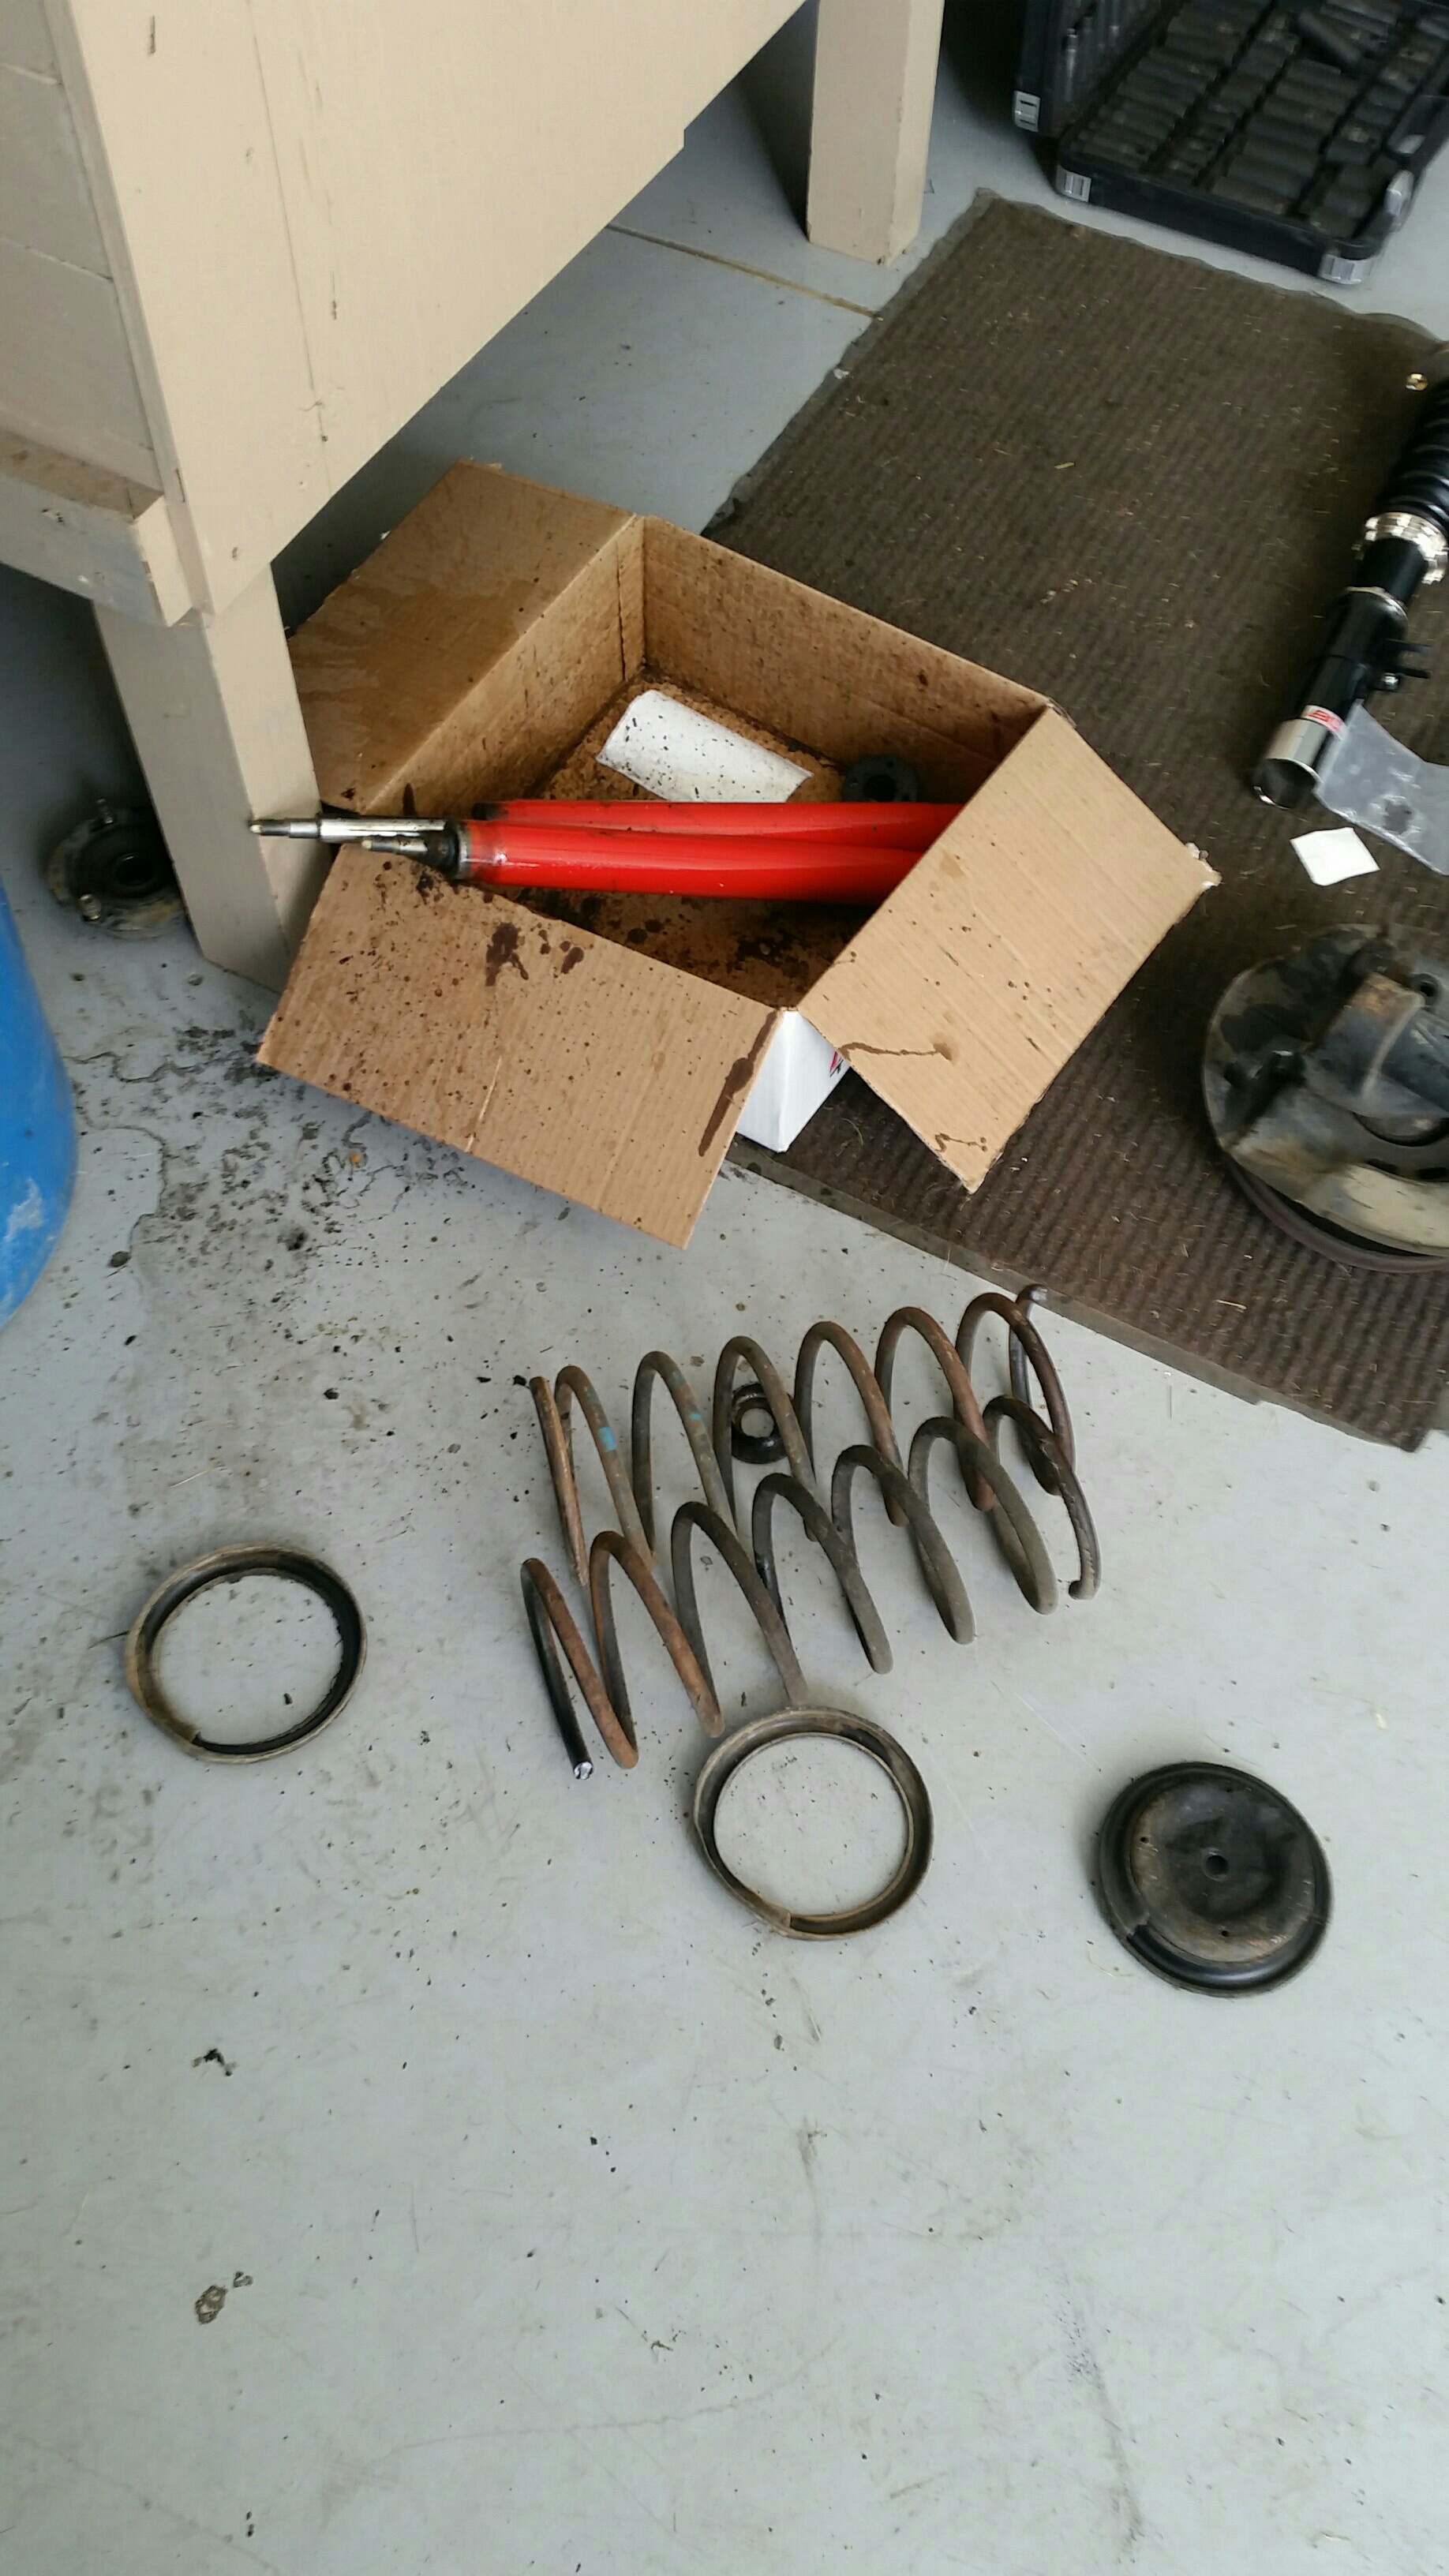
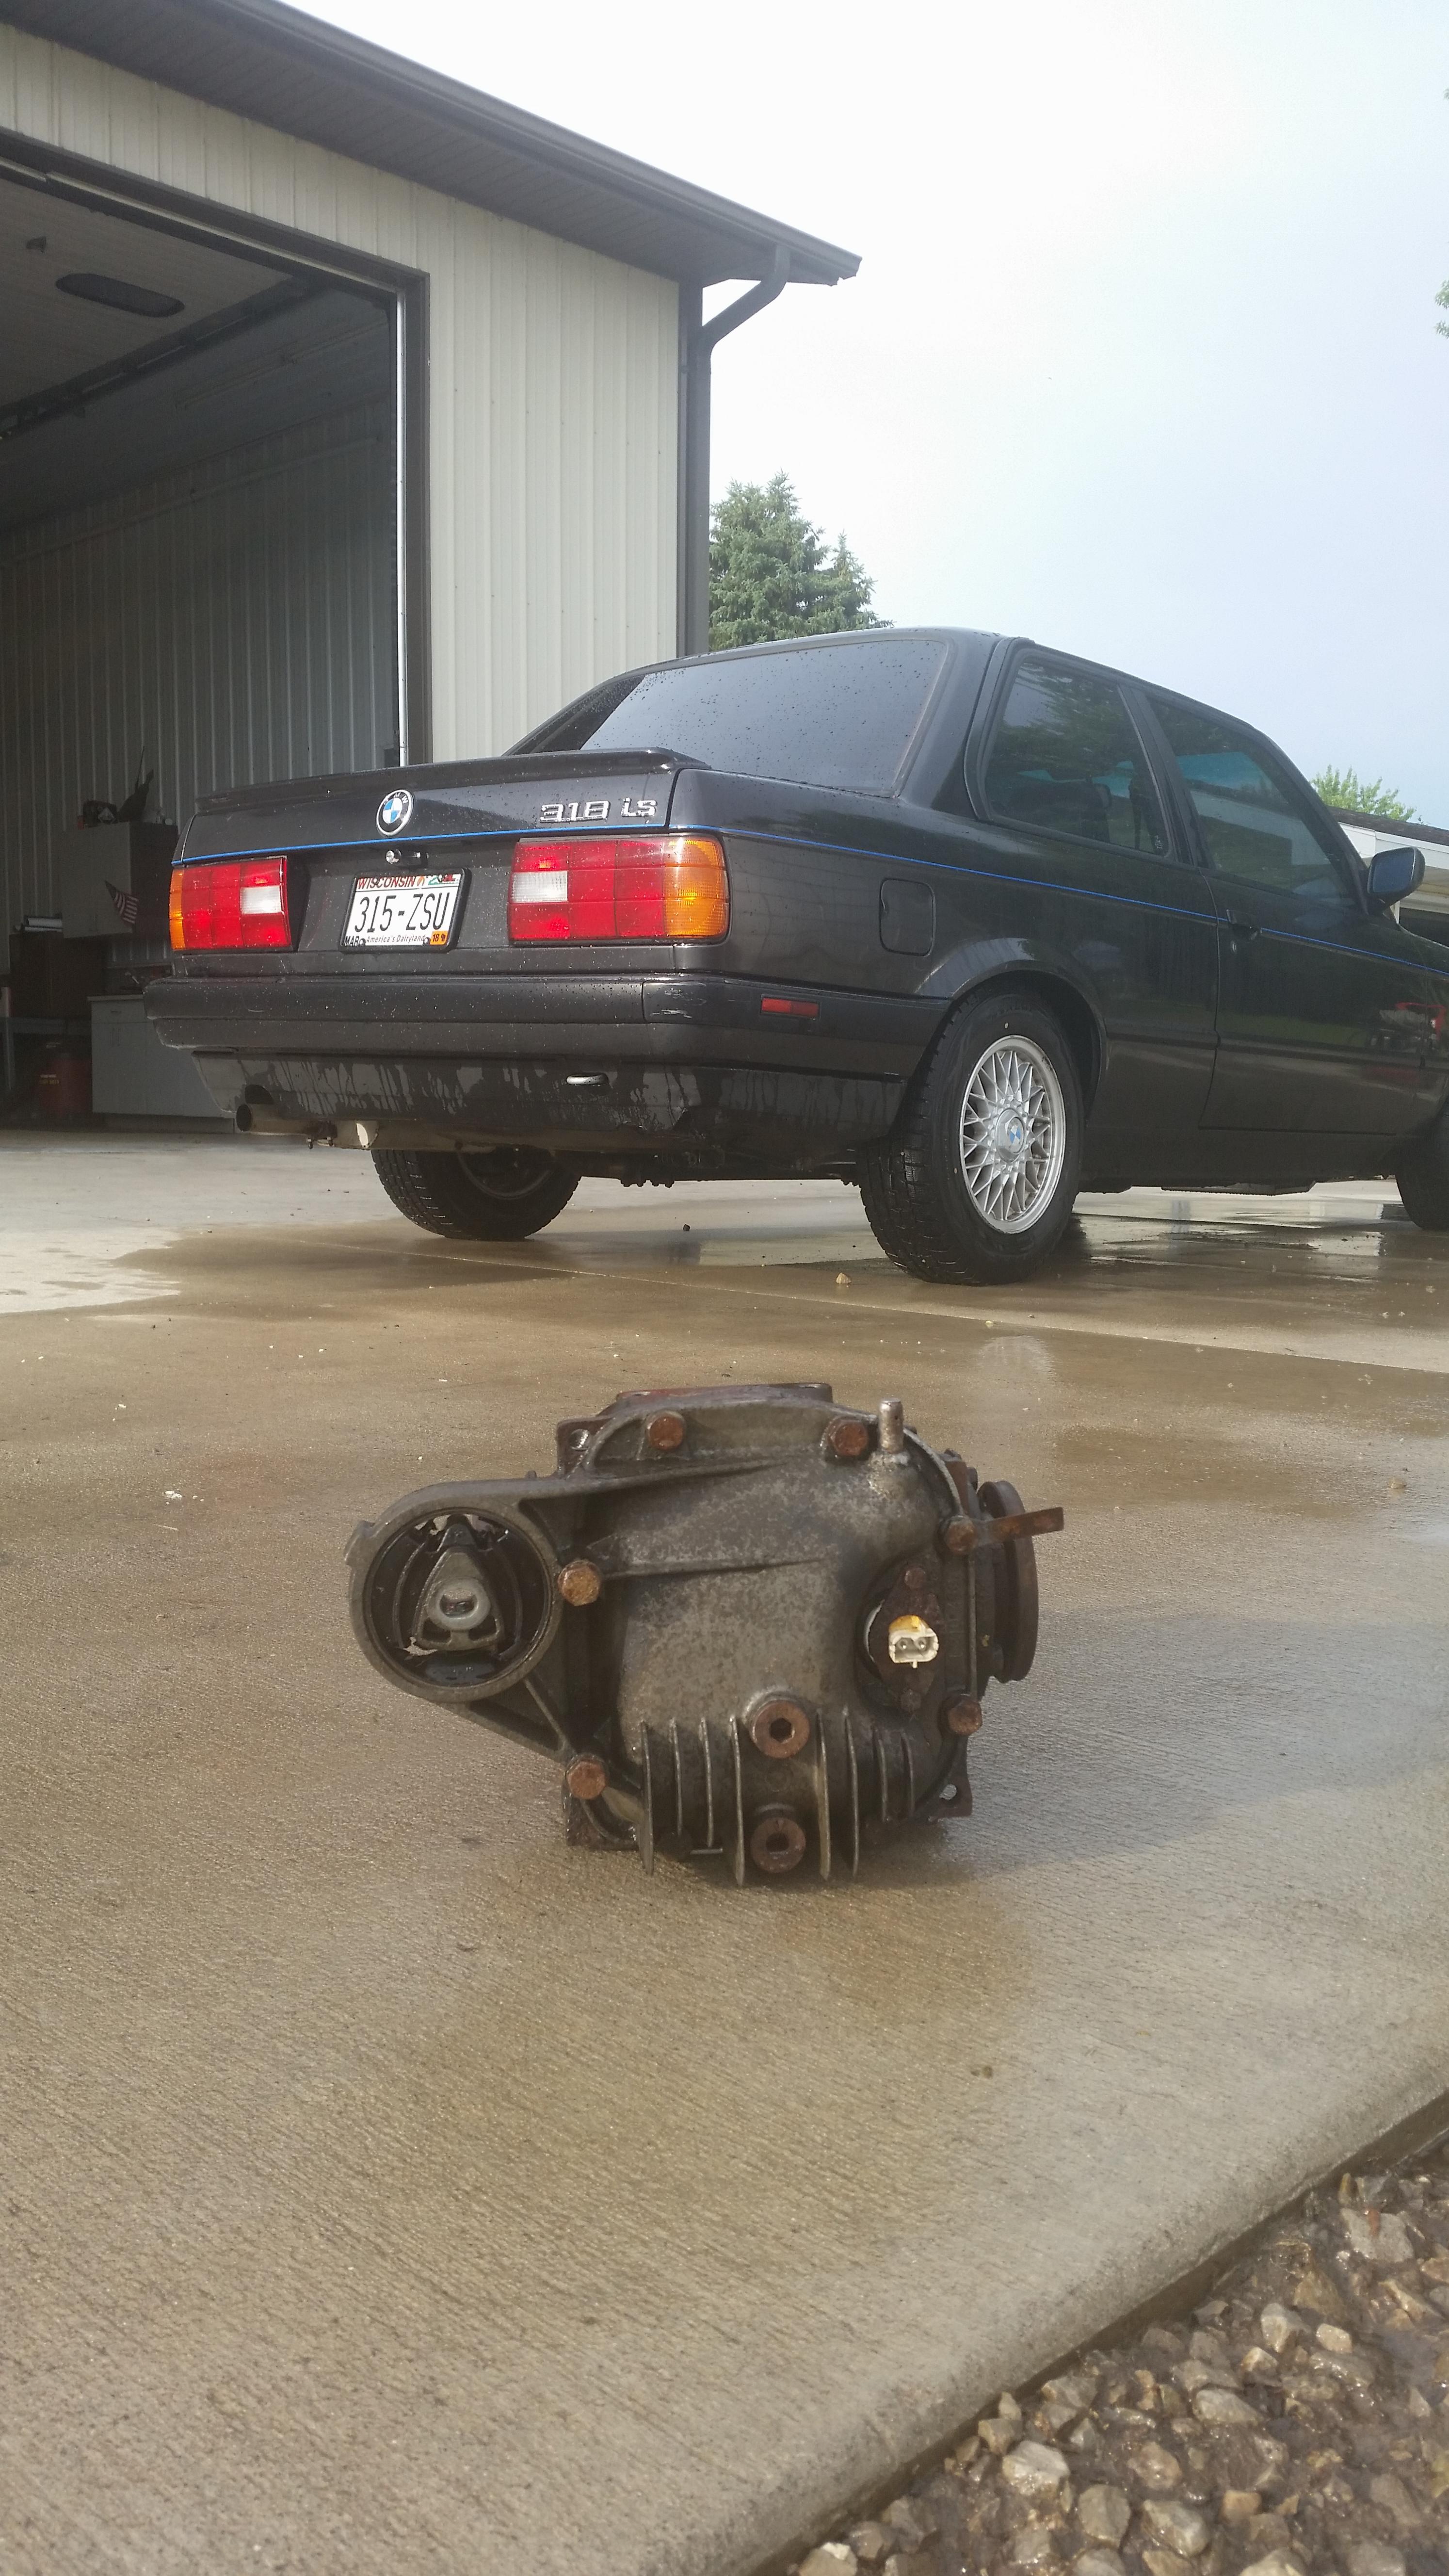
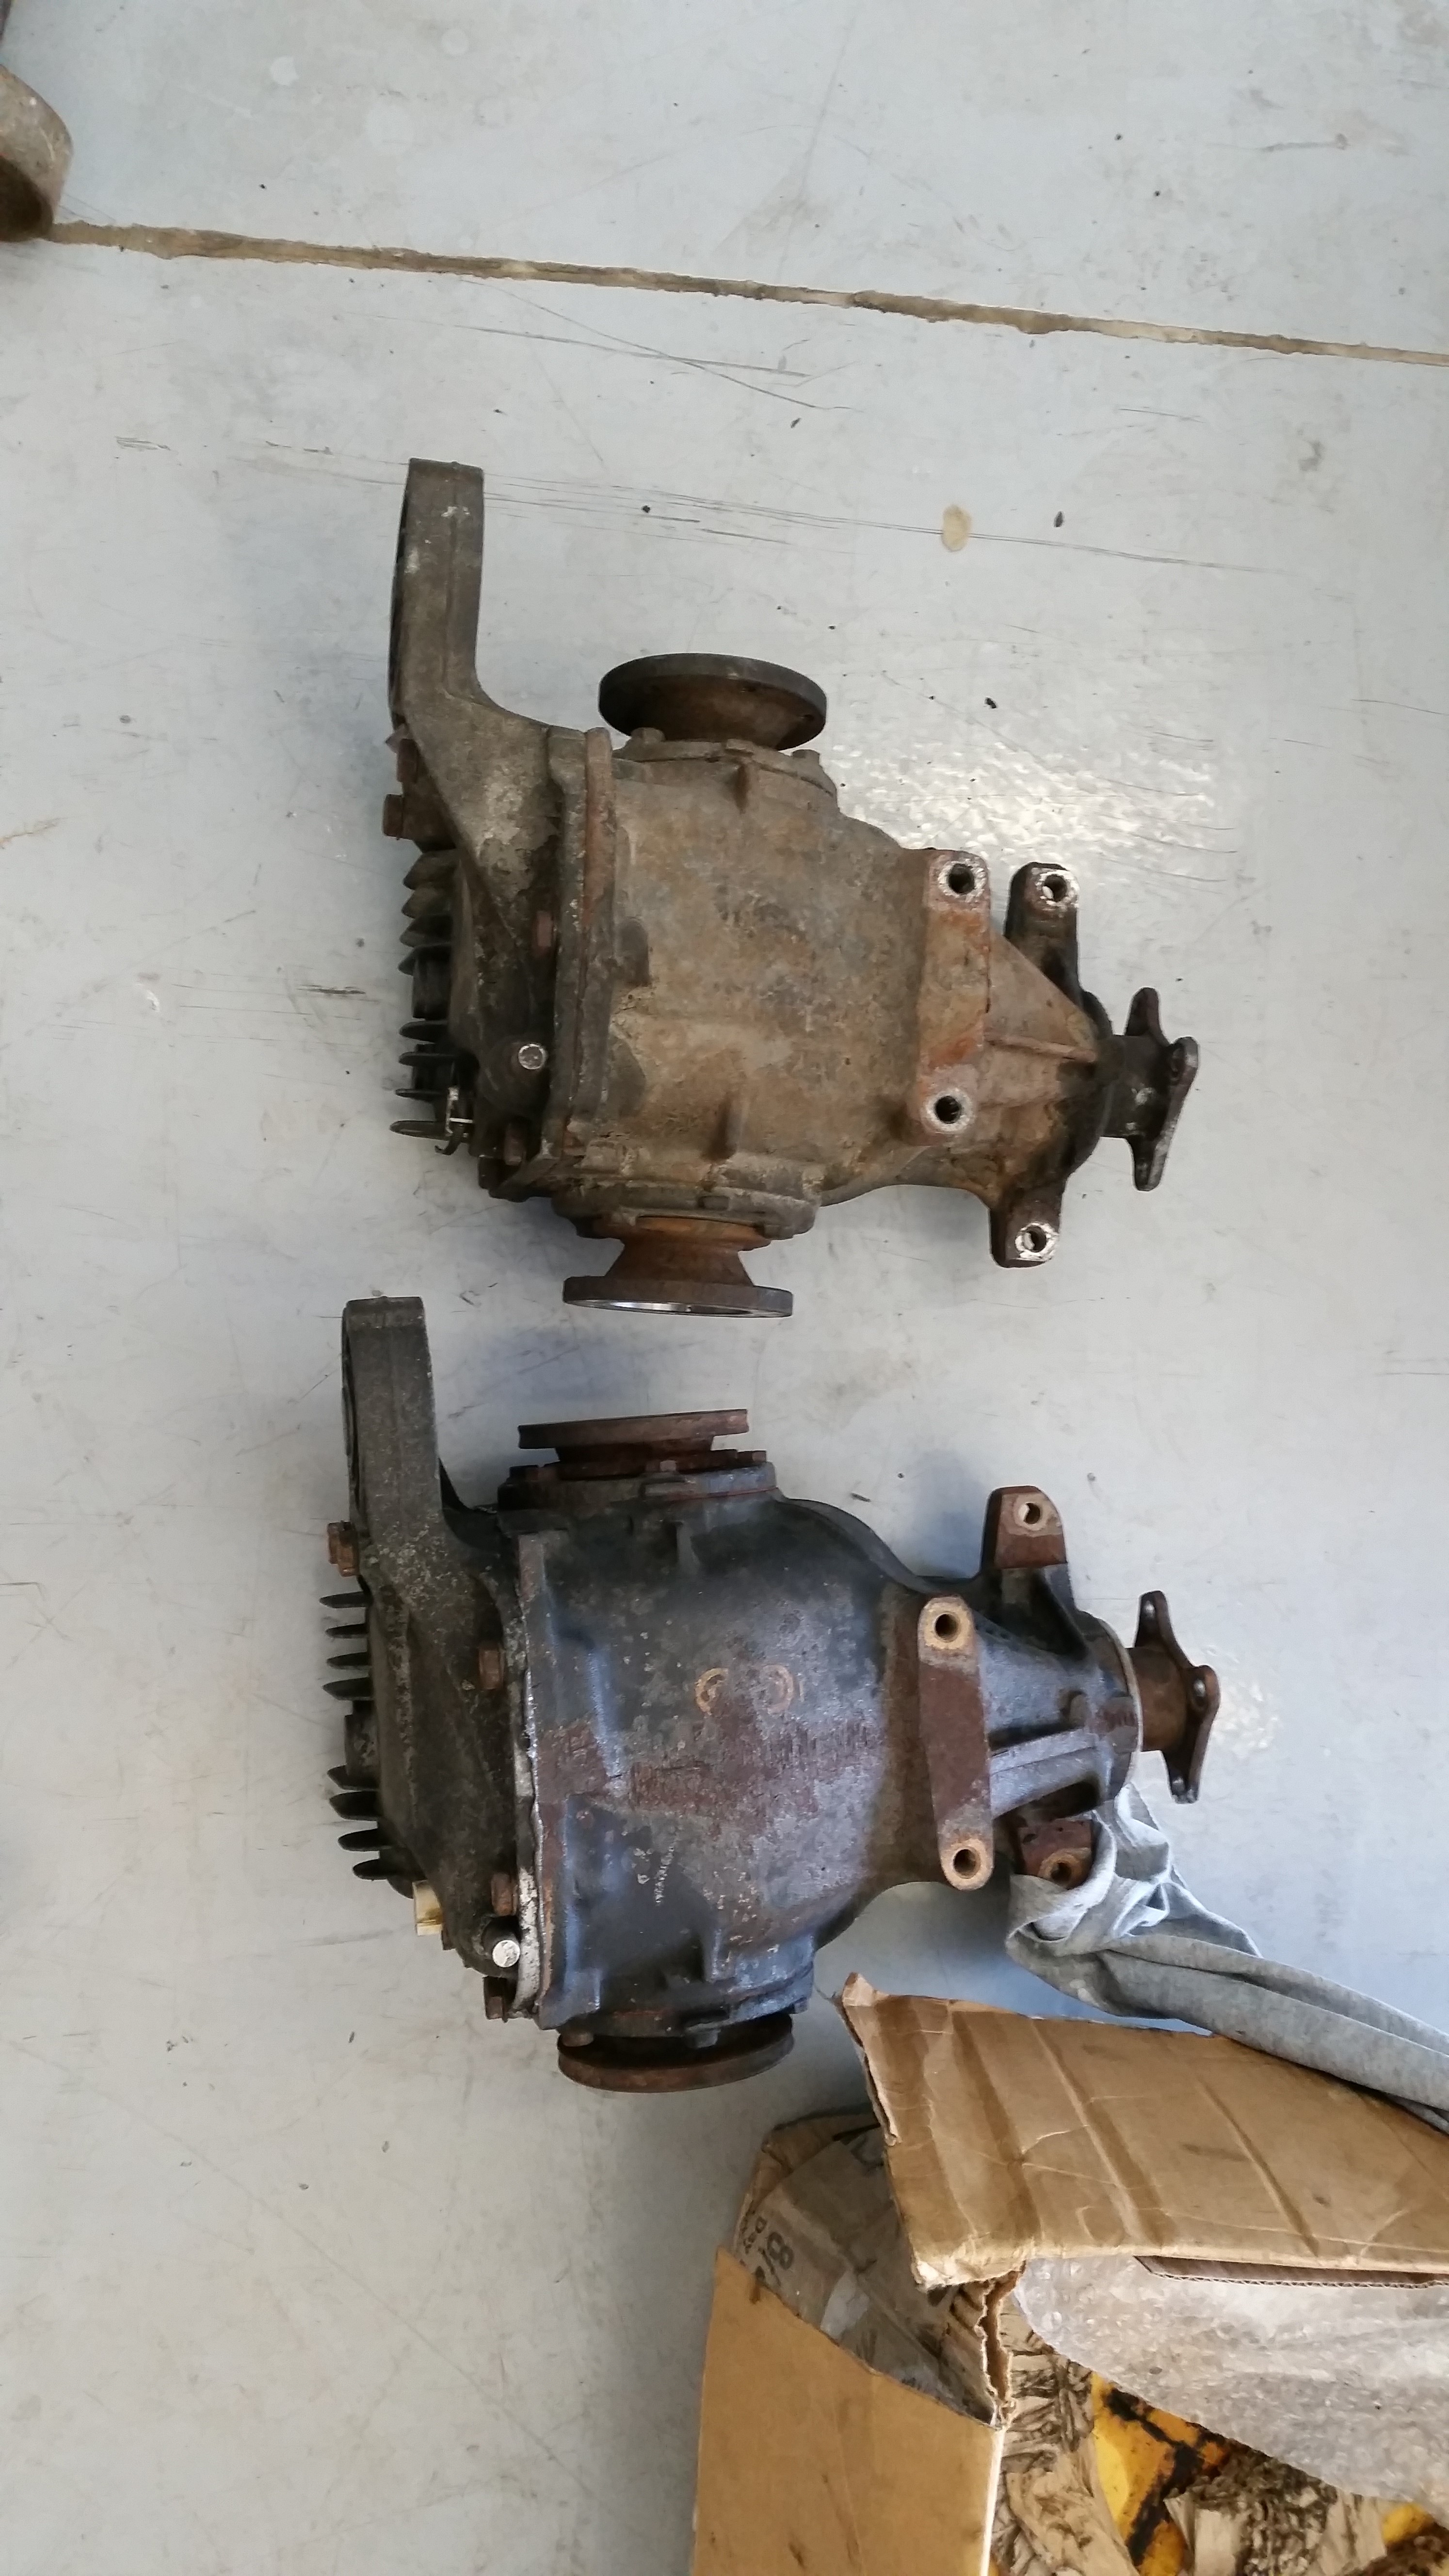
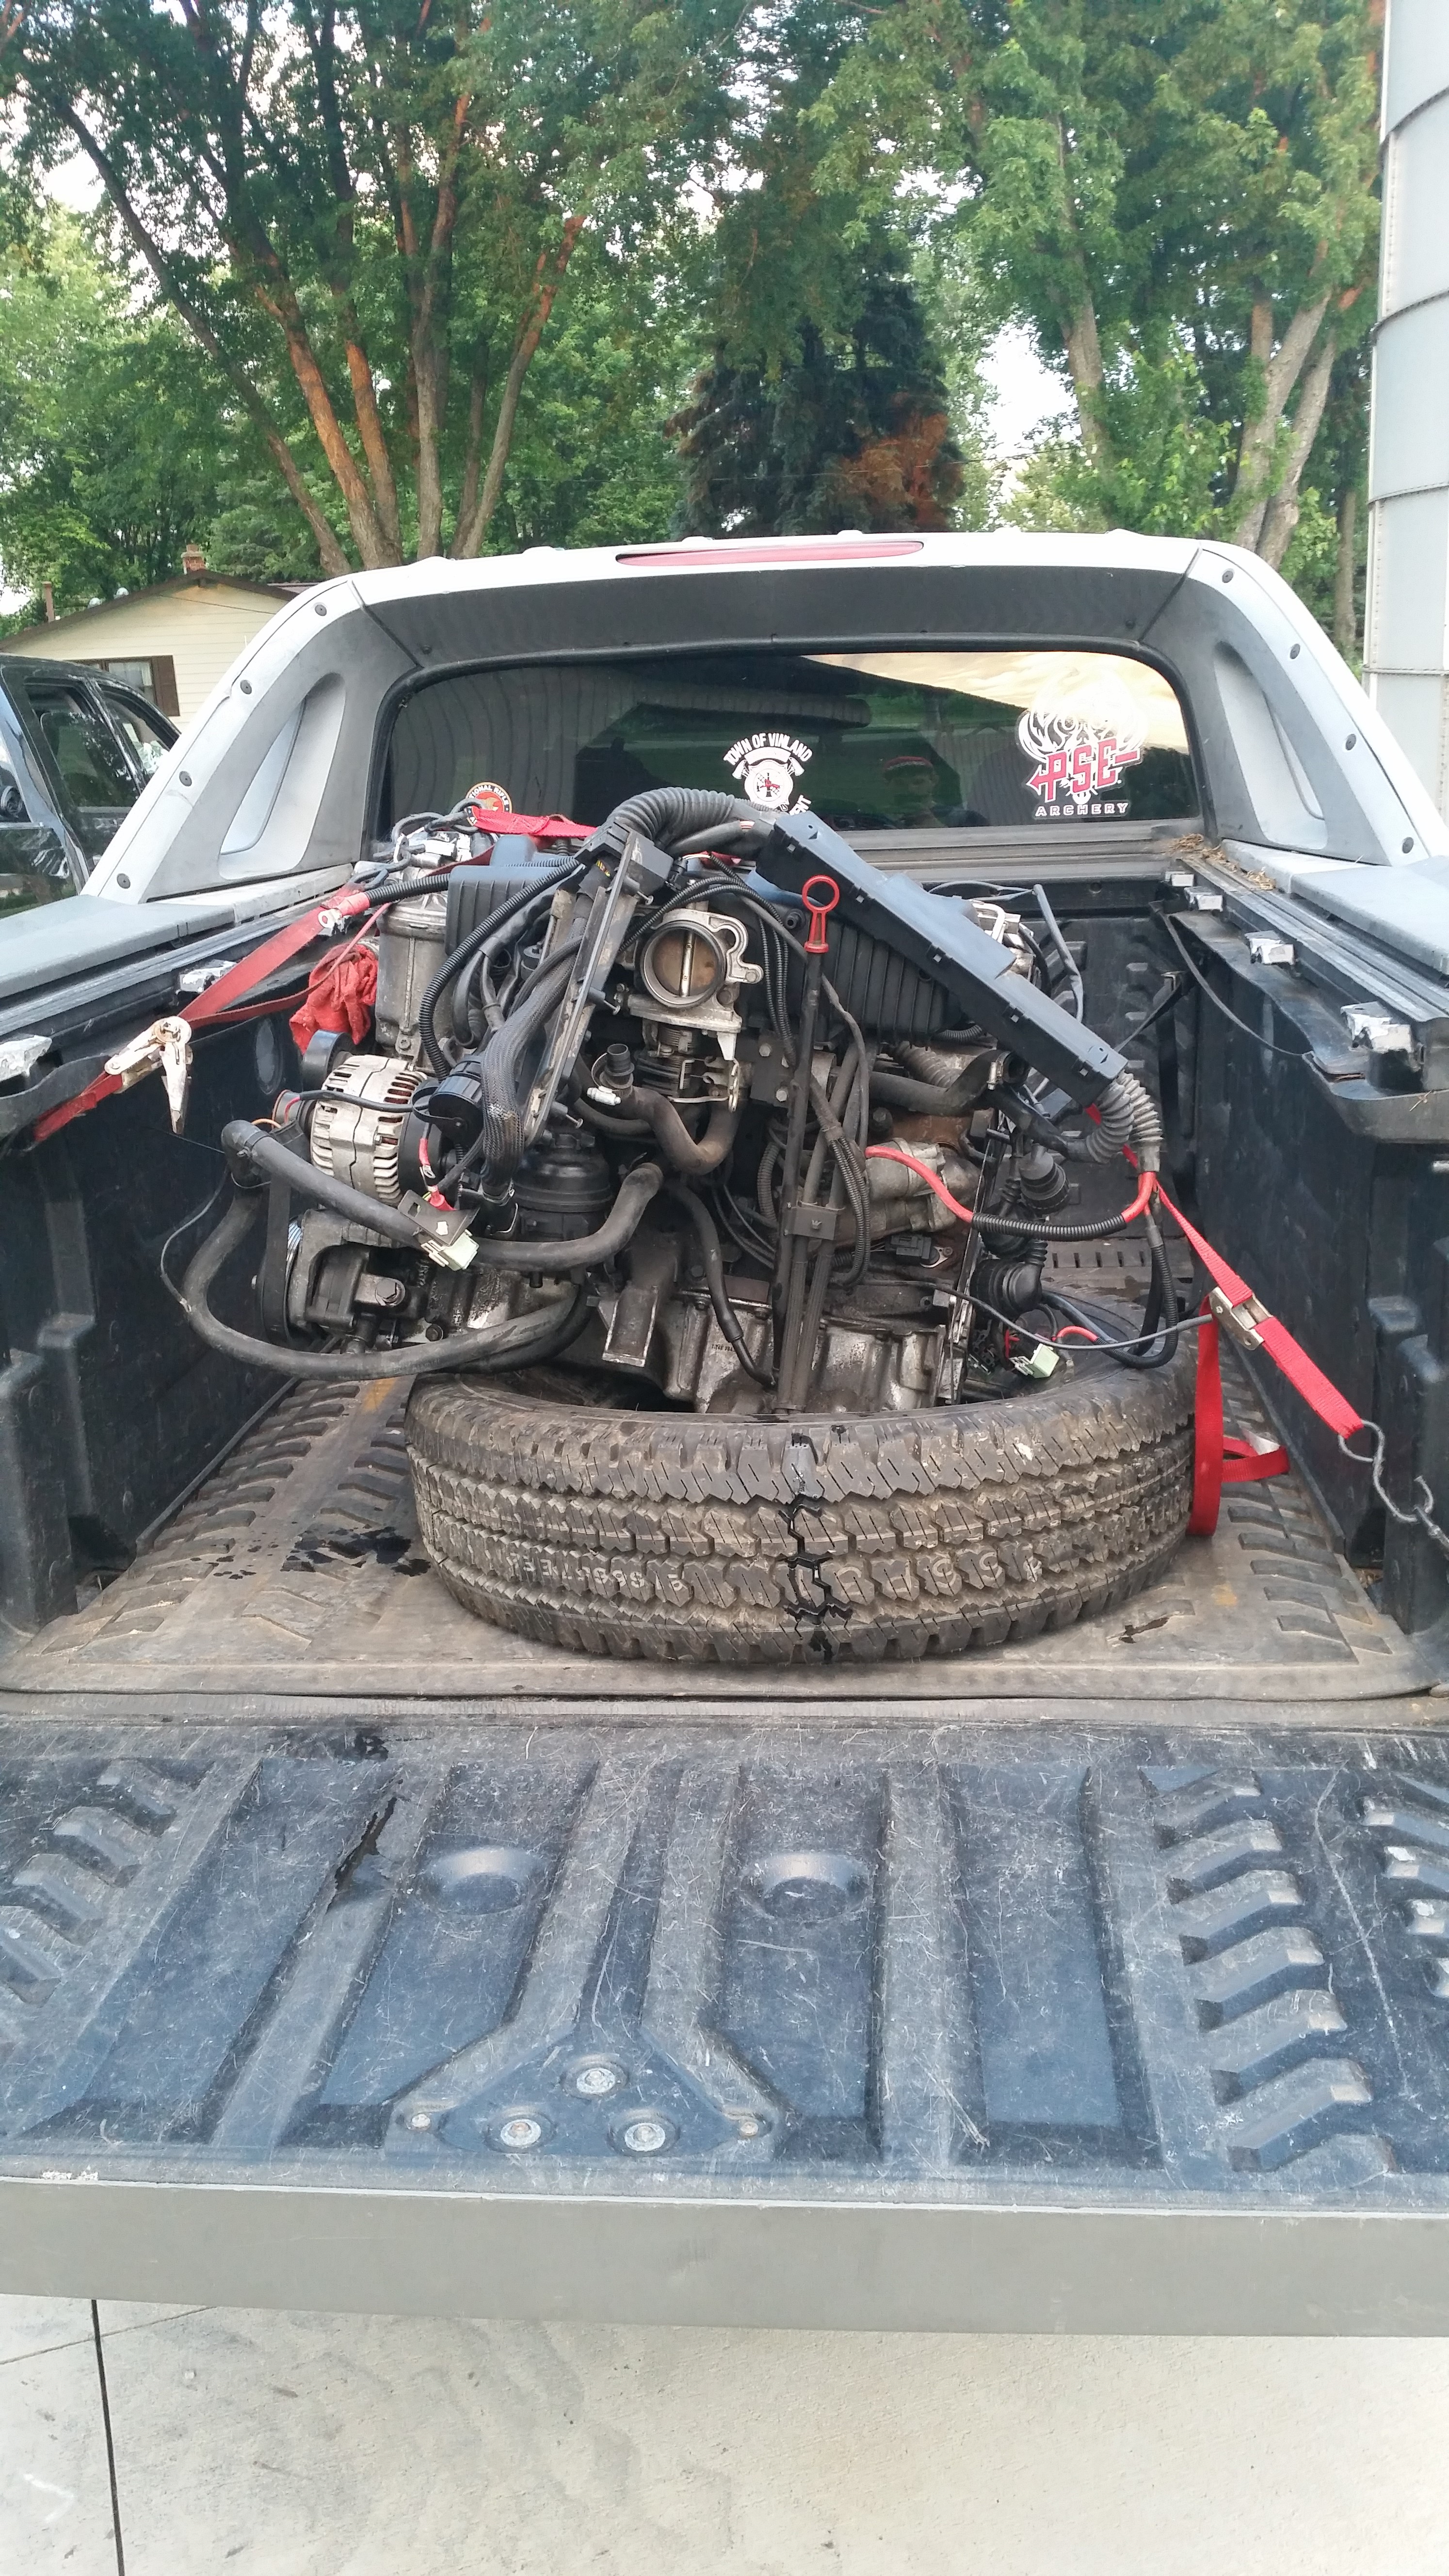
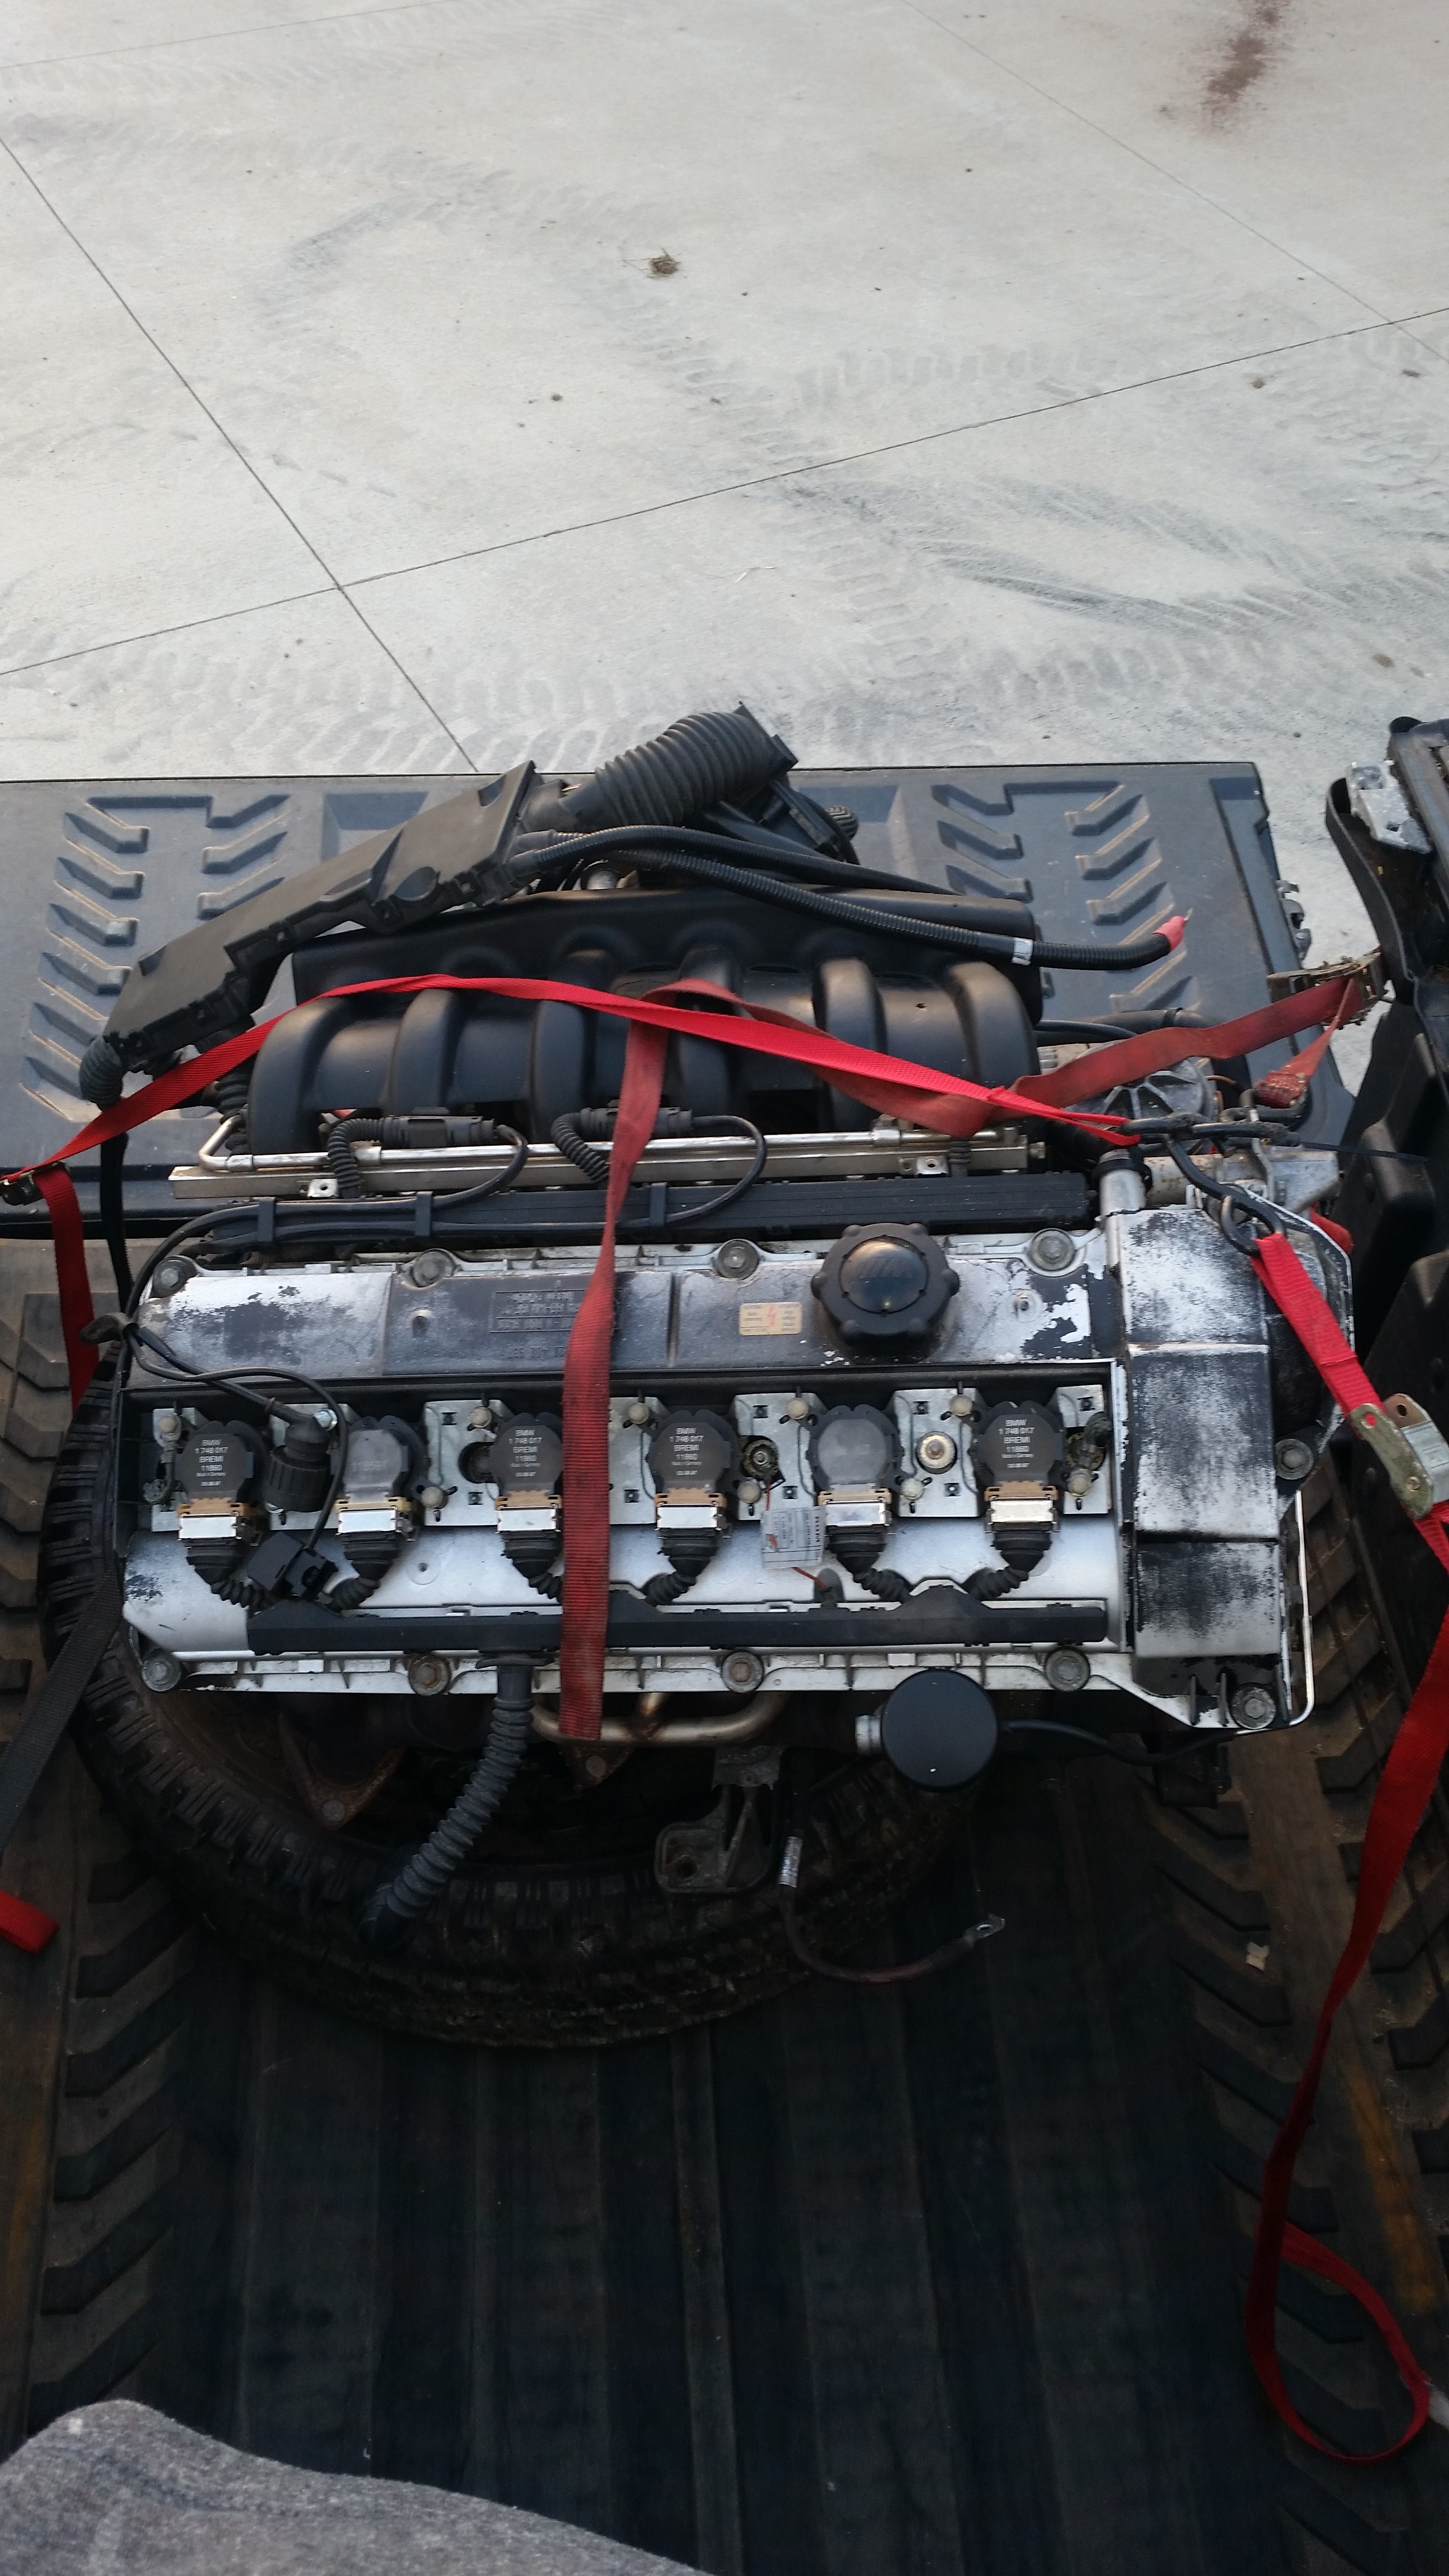
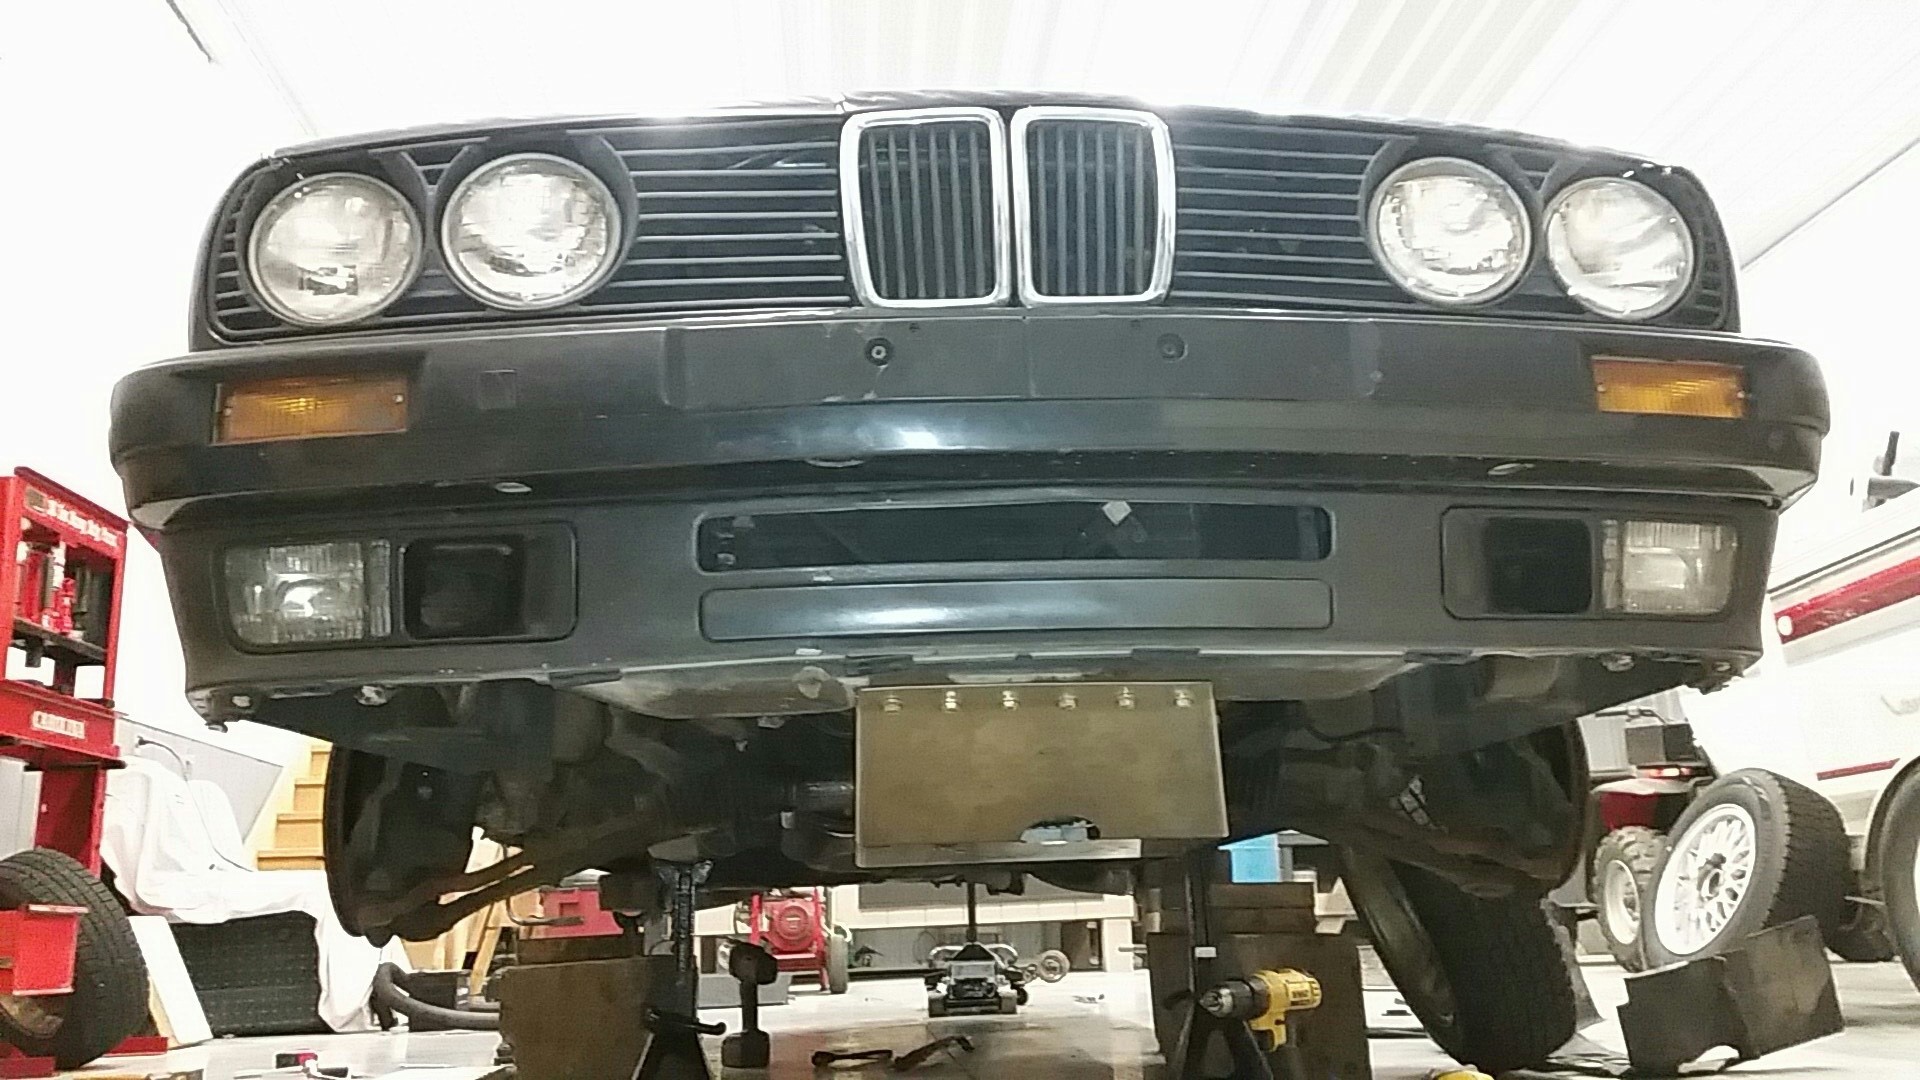
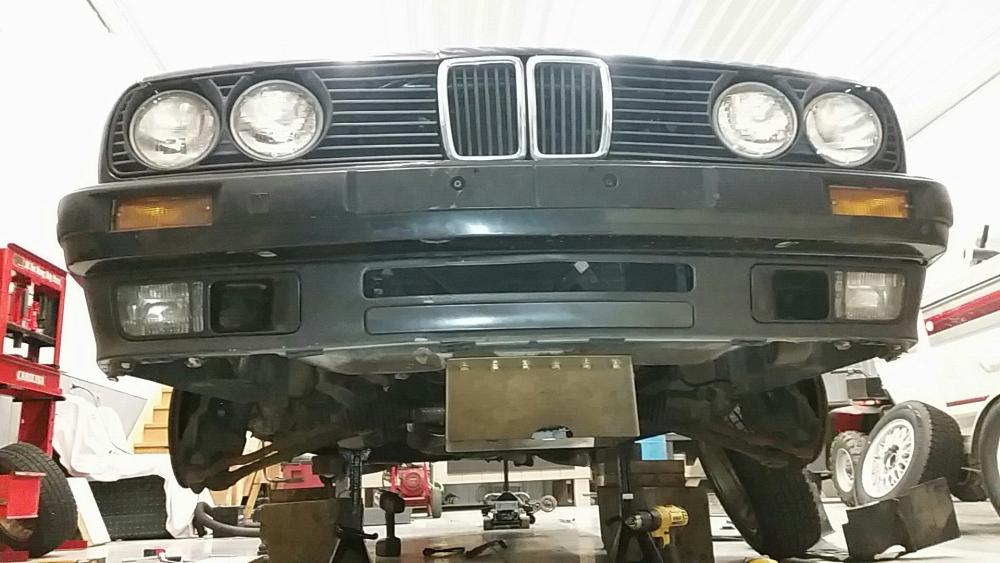
-
More updates!
Thankfully with this weather being so shit forcing class to be cancelled it's given me more time to get things done at the shop.
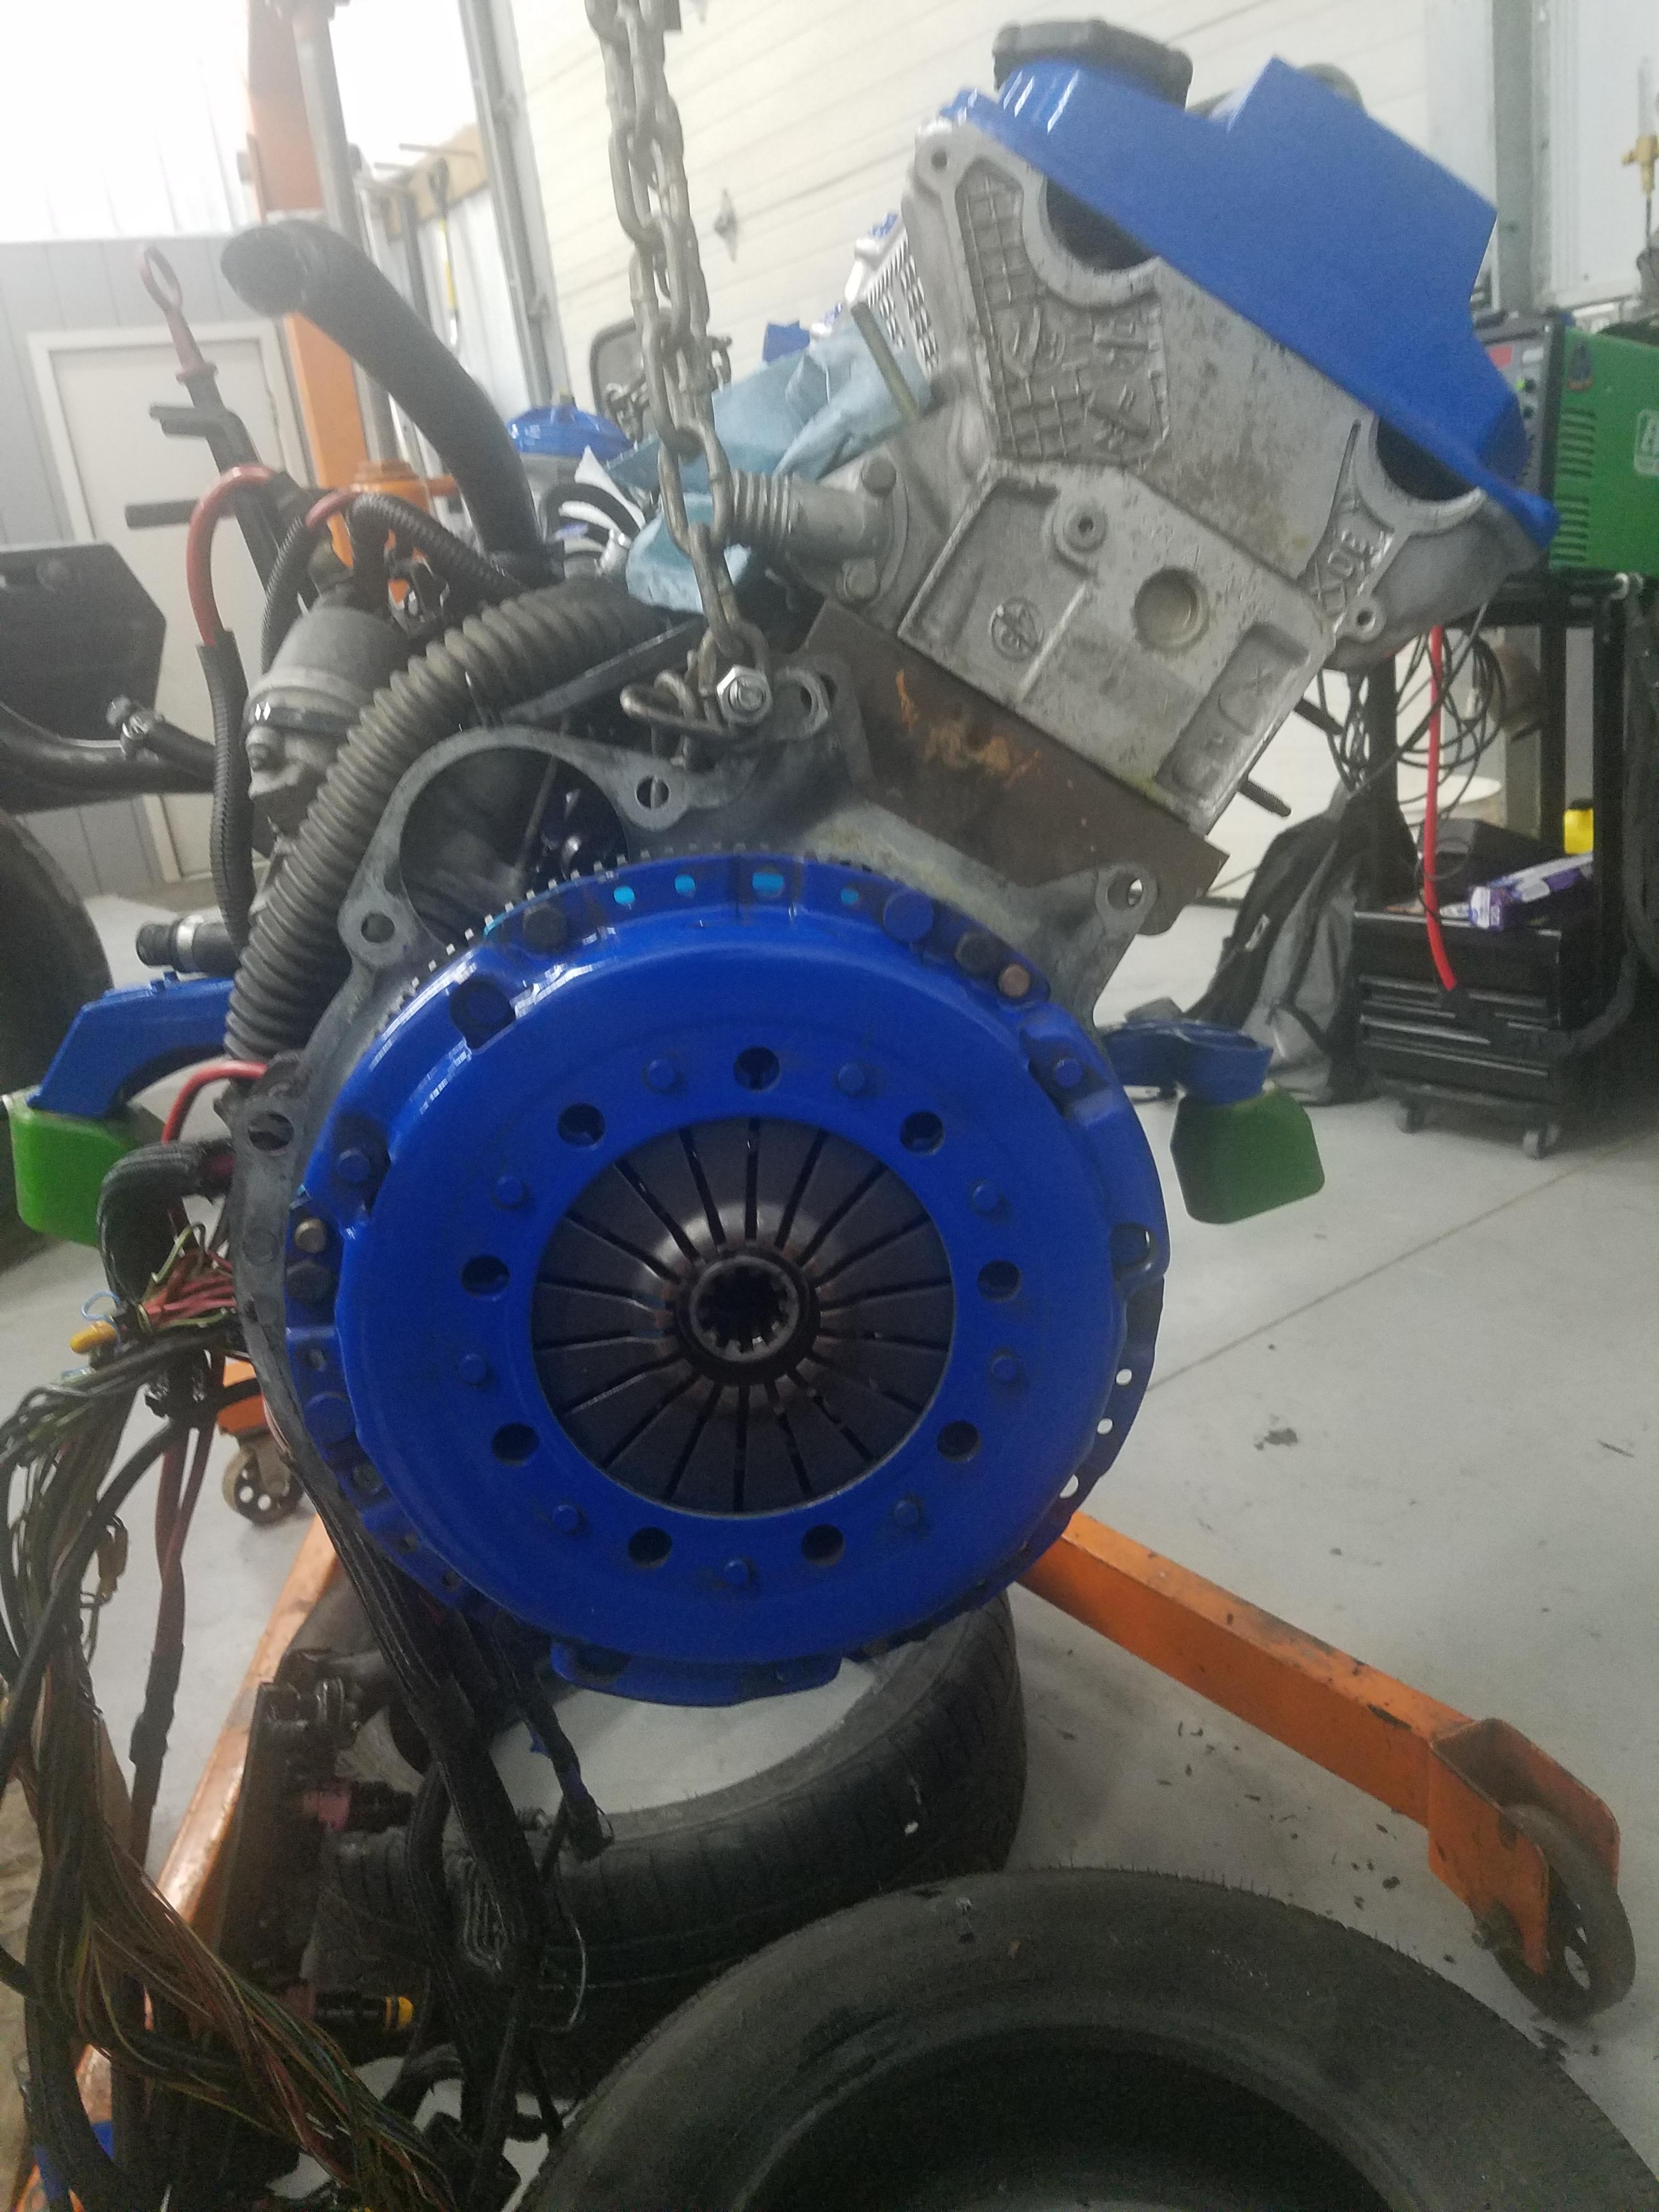
With the motor out of the car I went ahead and popped off the valve cover and re-torqued all the head studs. Luckily I did this as I got a 1/4 turn out of a few of them.
Cams look good as well as everything else visually.
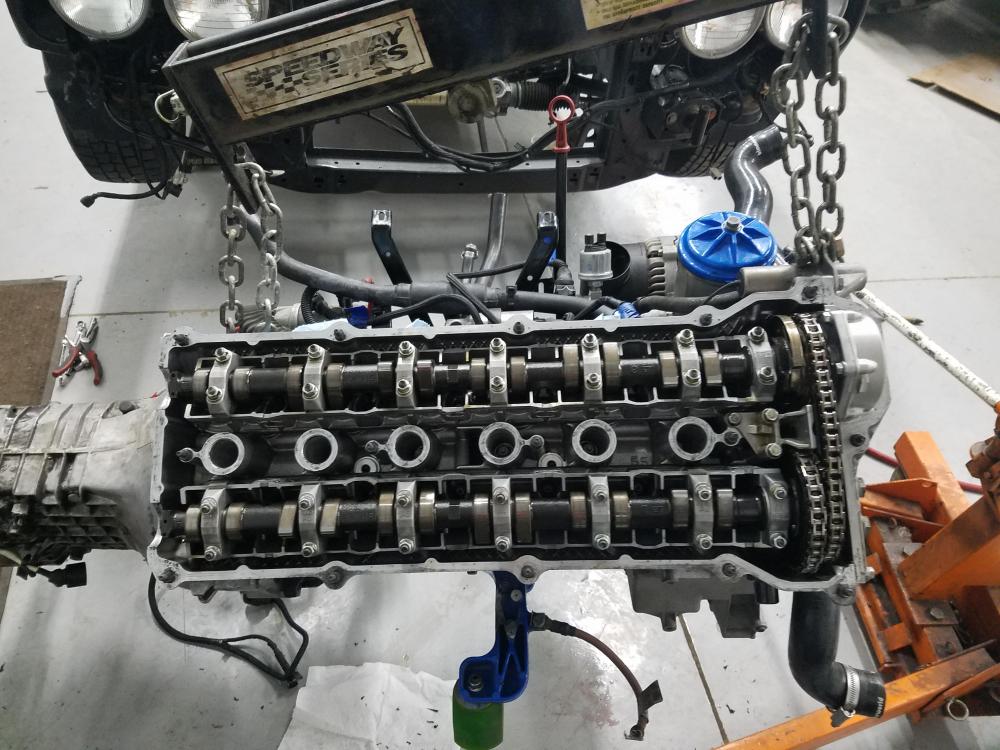
After this I went ahead and popped on a new valve cover gasket and torqued her down. Time to pull the trans.
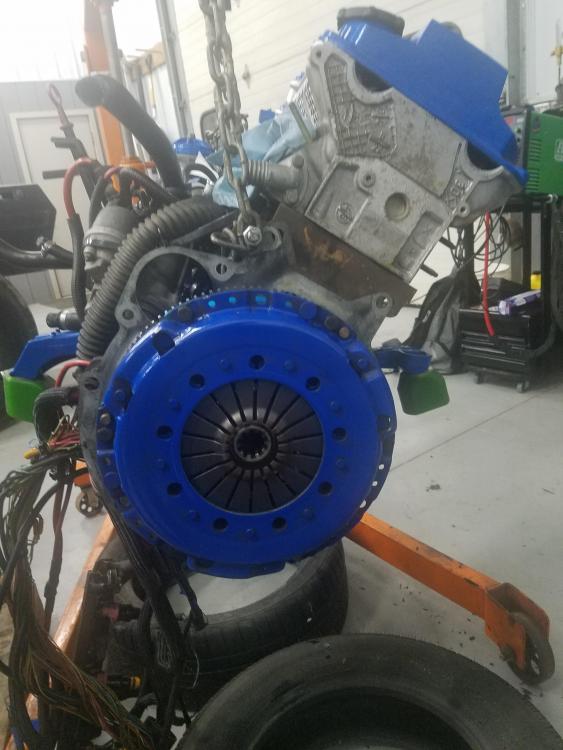
Overall clutch looks fine. Also took a look at the input shaft seal and surprisingly saw no dampness or leaks. Unscrewed the fill ports while the trans was sitting on the bench and the level was right up to the top. Started taking a look at the oil pan gasket and I believe the leak was coming from that area which is great cause pan is coming off anyways.
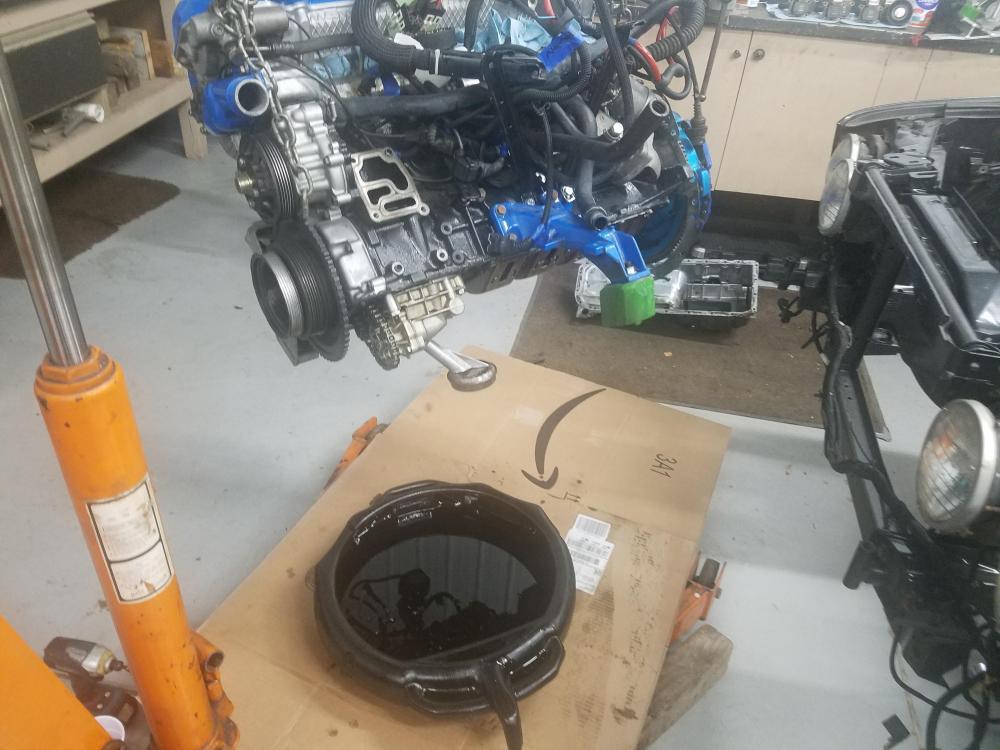
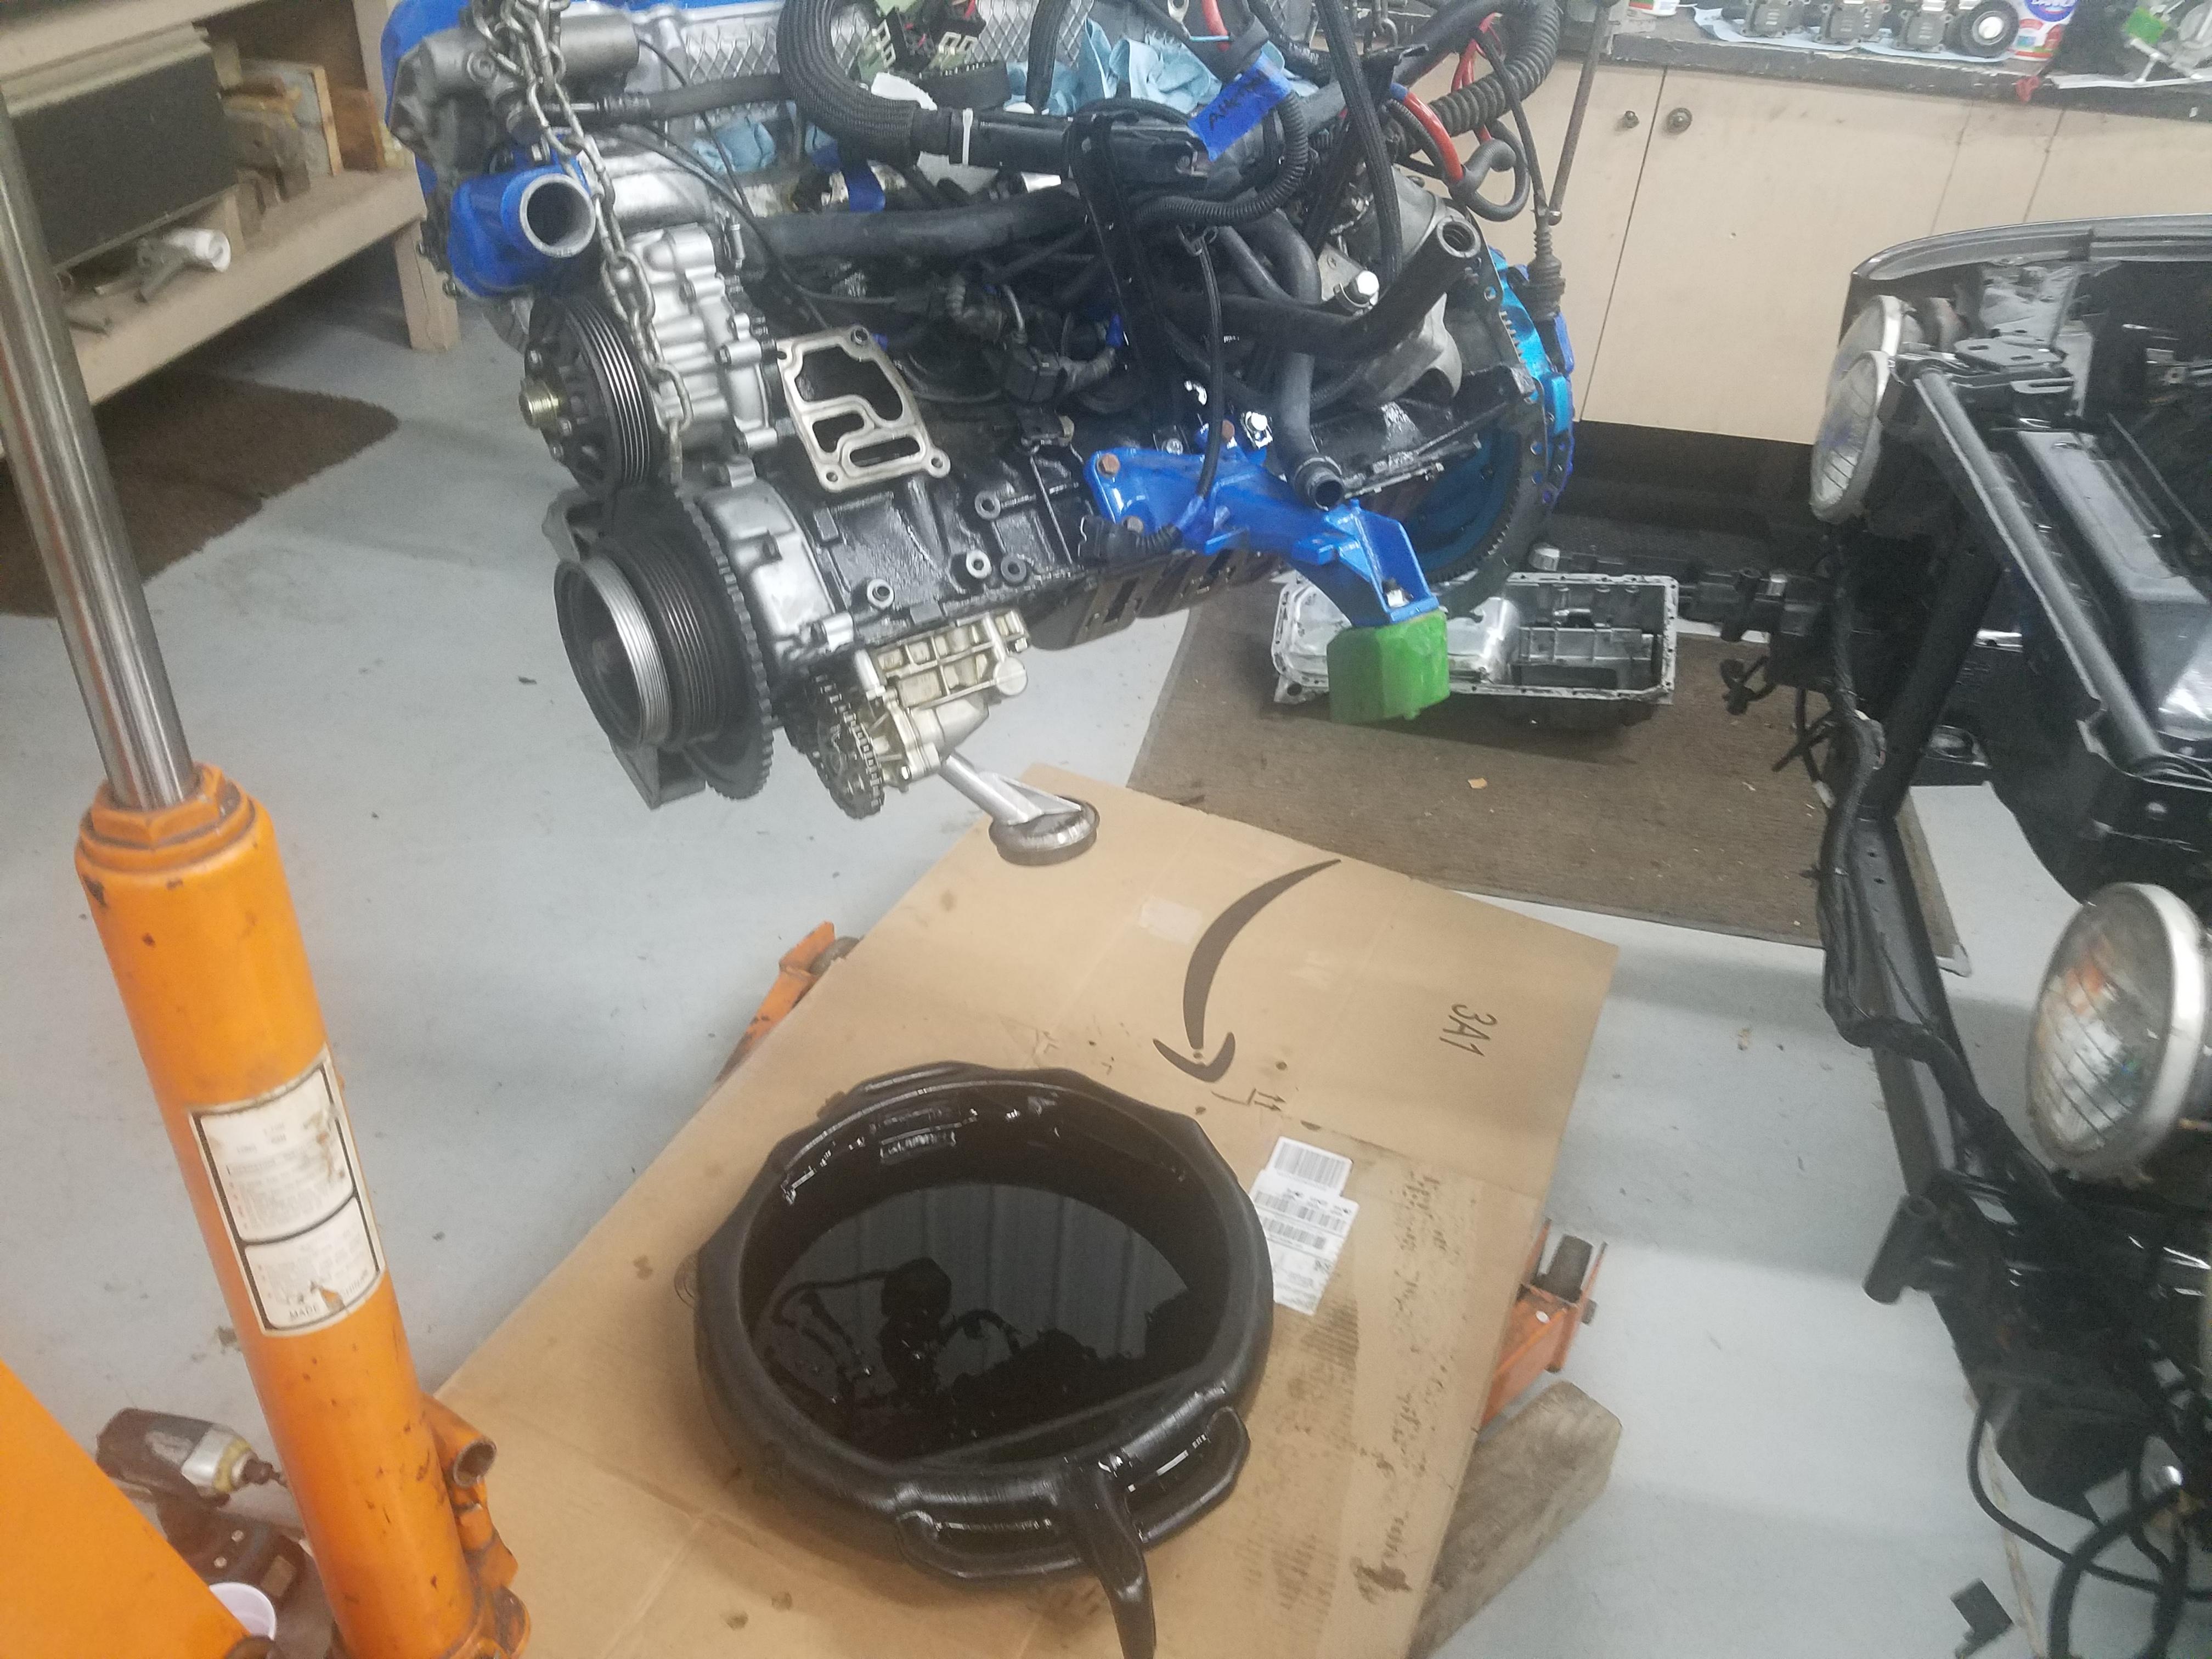
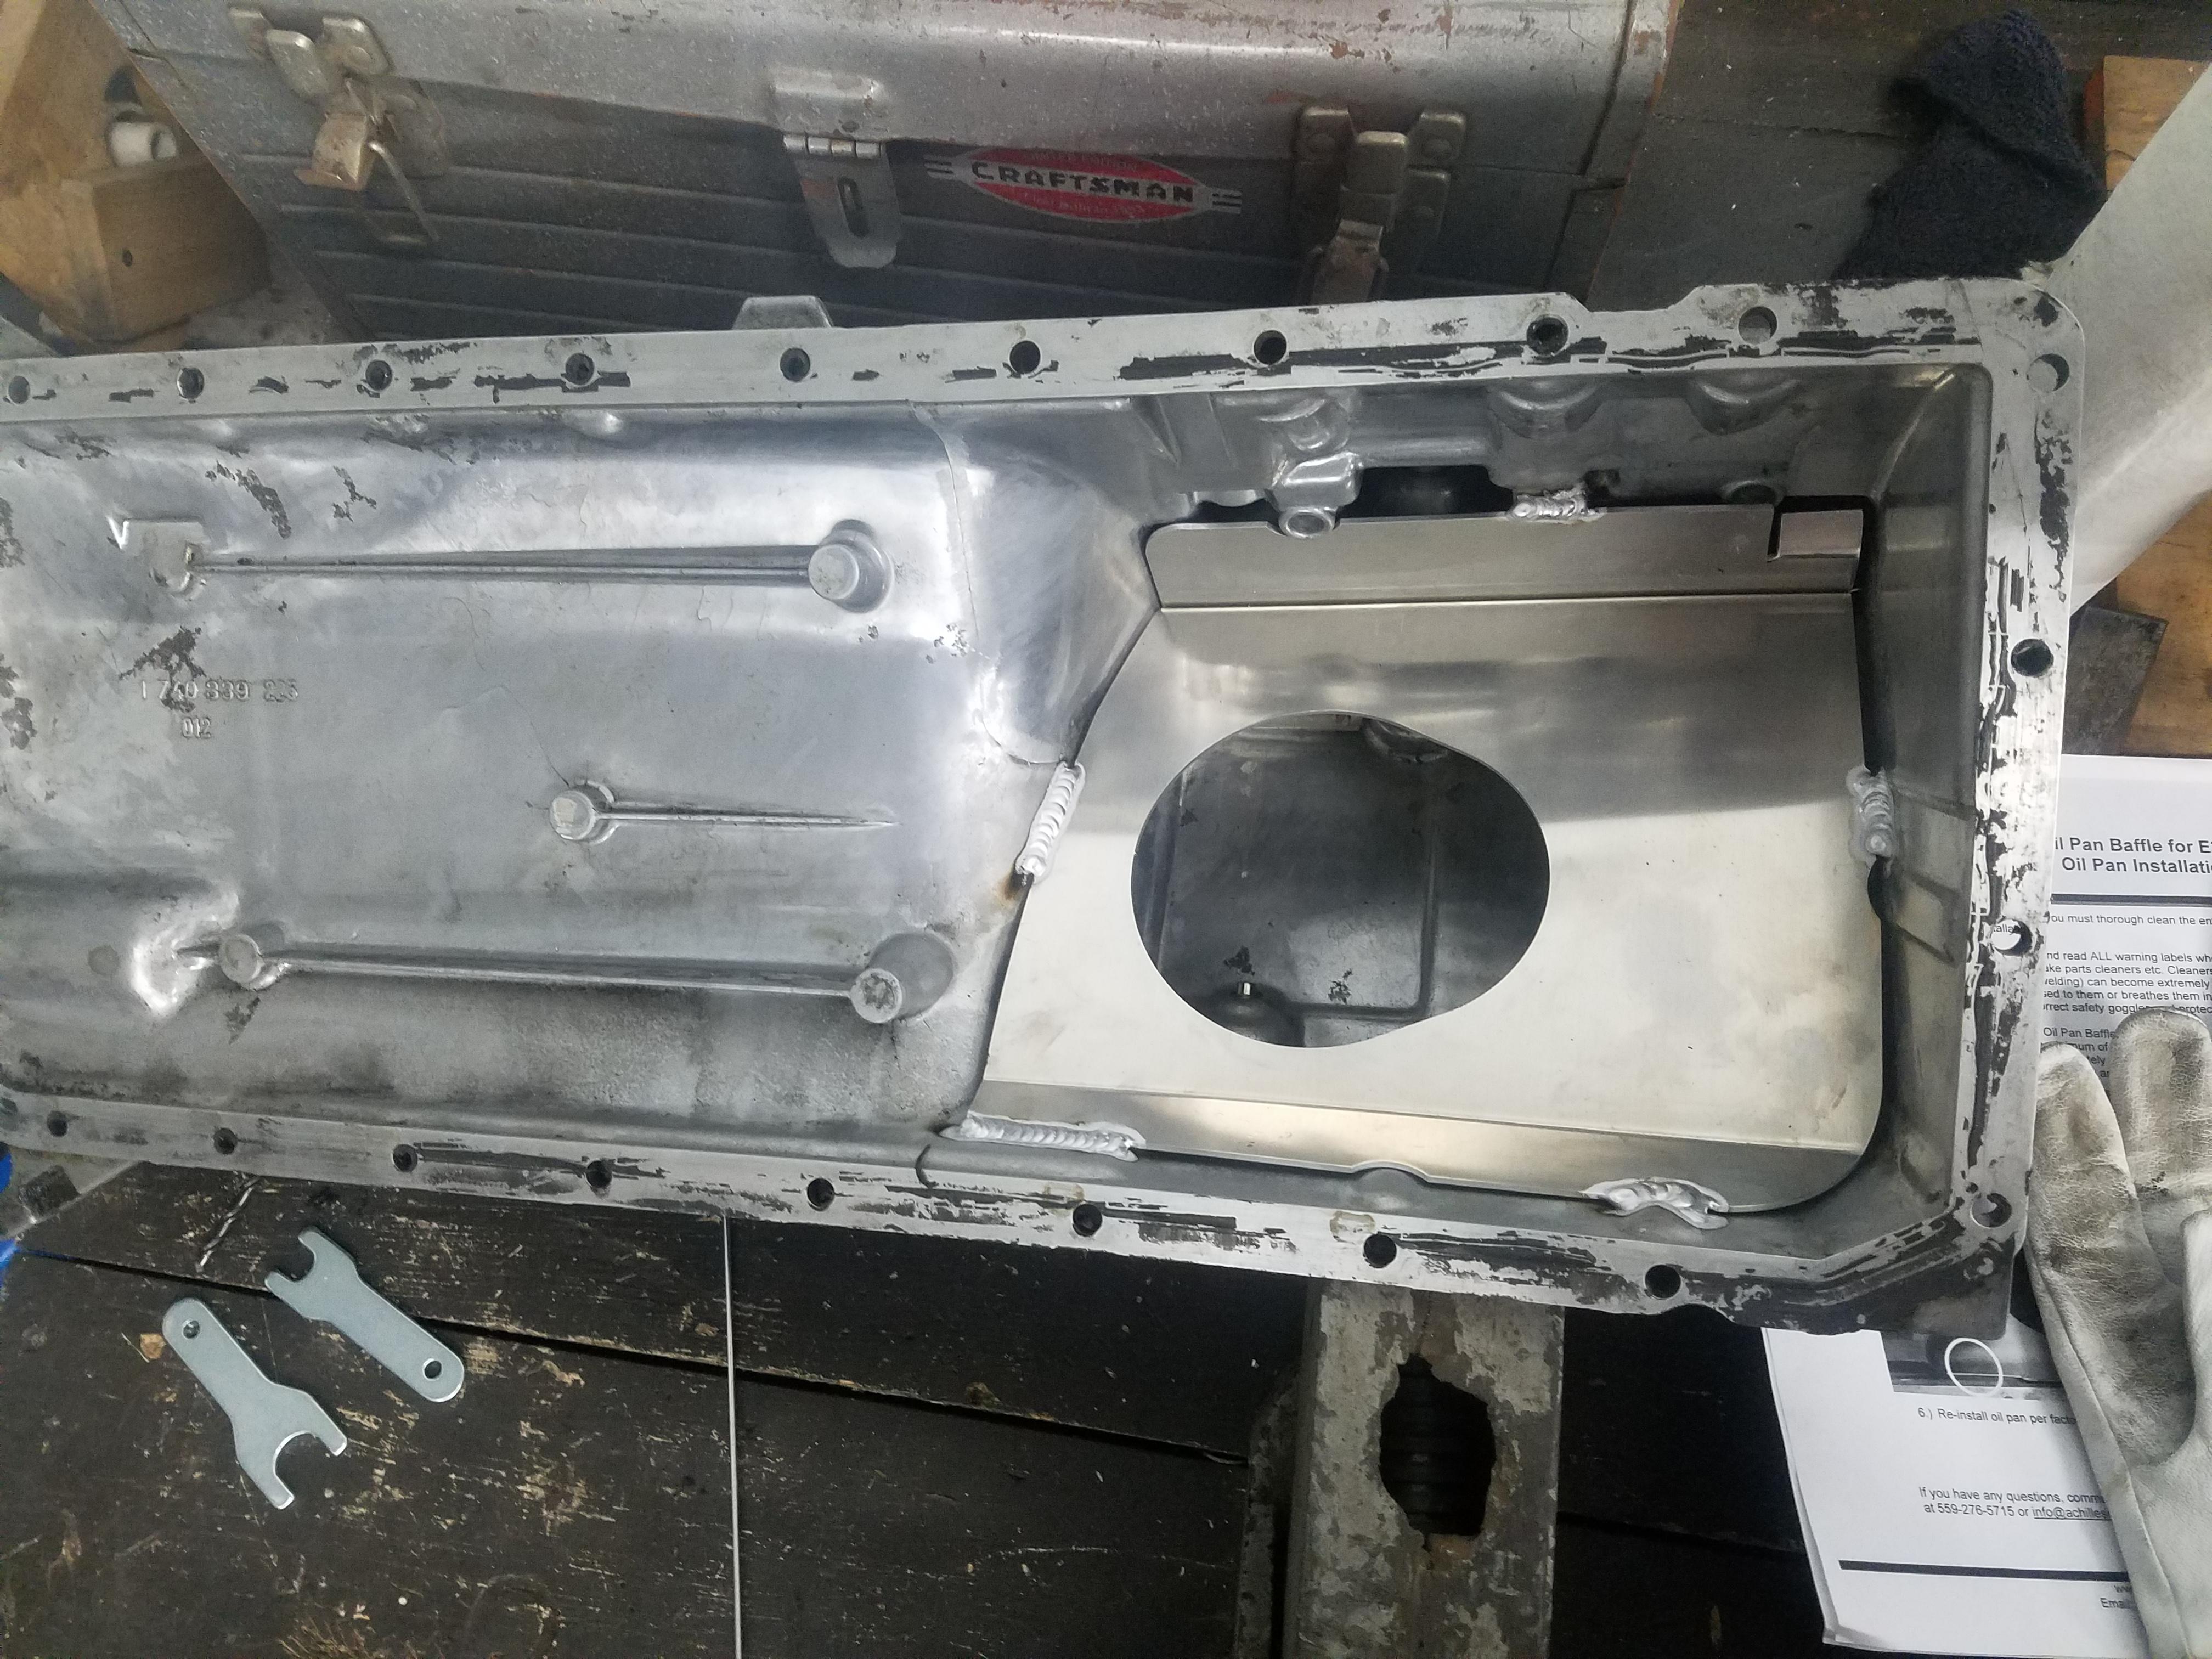
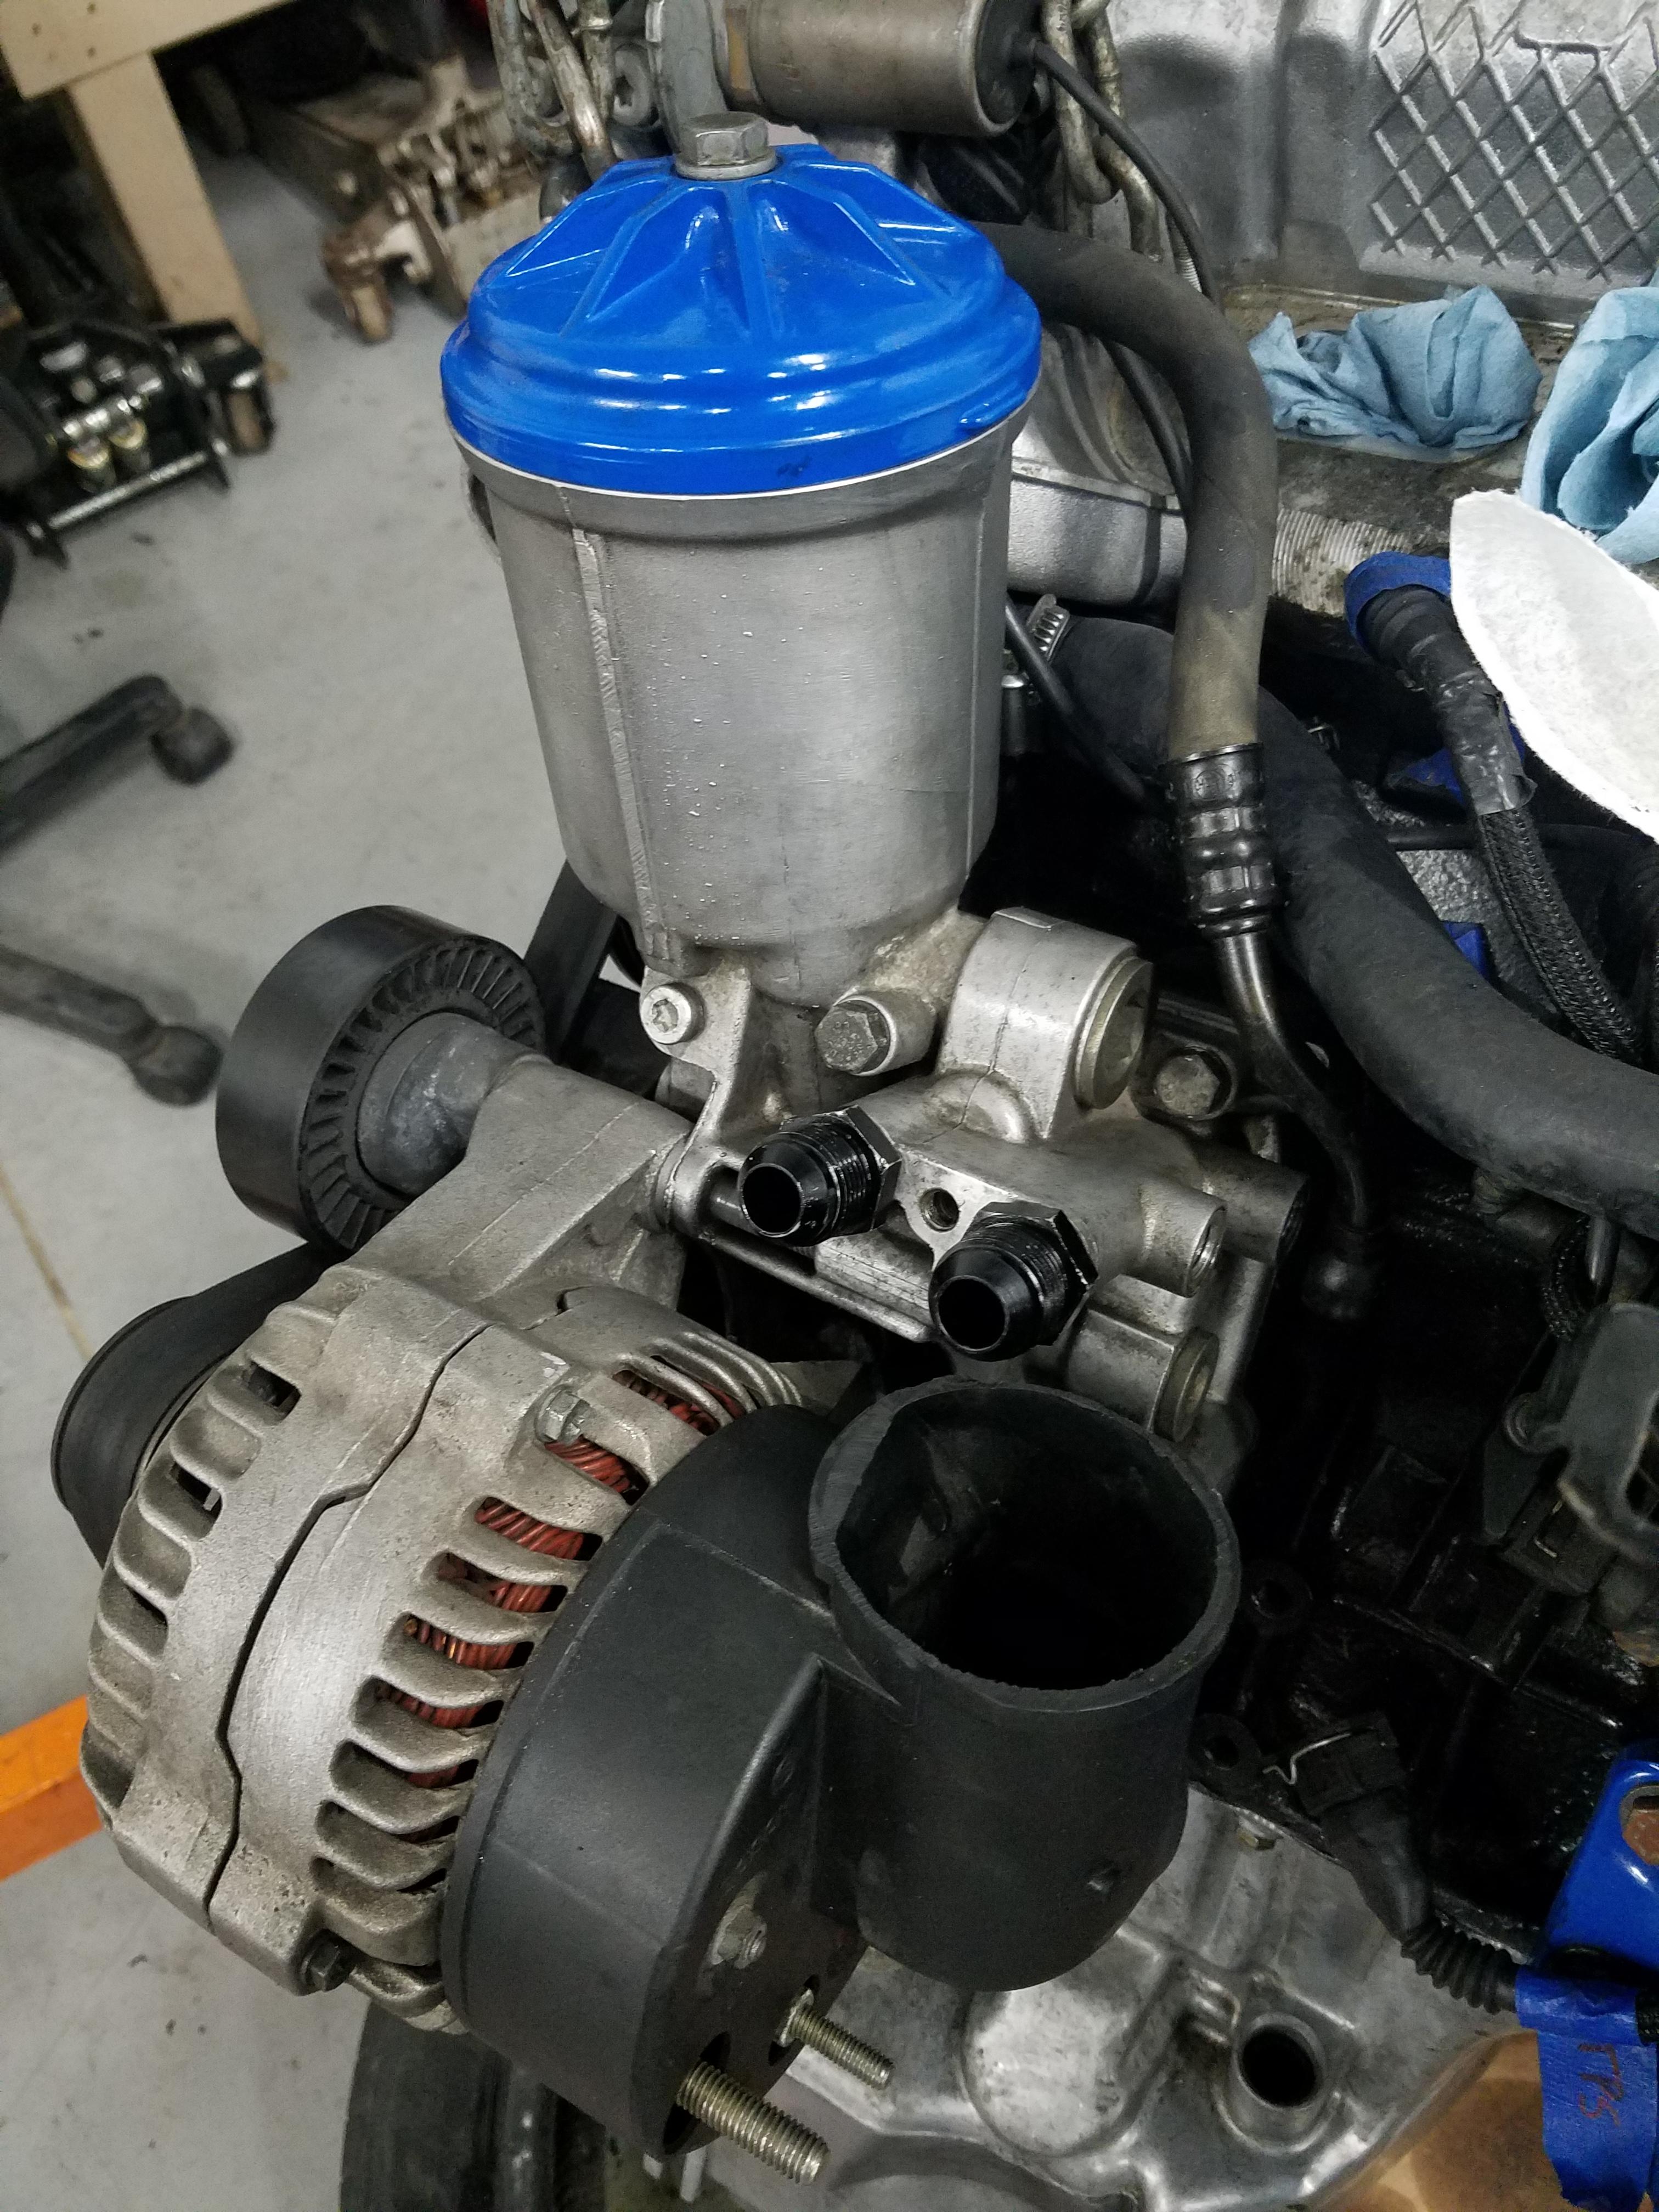
With the oil drained I got the stock oil filter housing removed. Took a thorough inspection of the bottom end and was quite pleased with the way everything is looking. Threw the oil pan on the bench and scrubbed er clean as well as drilling out the rivet holding in the stock e34 baffle.
Following day my buddy stopped by and welded in the new Achilles baffle.
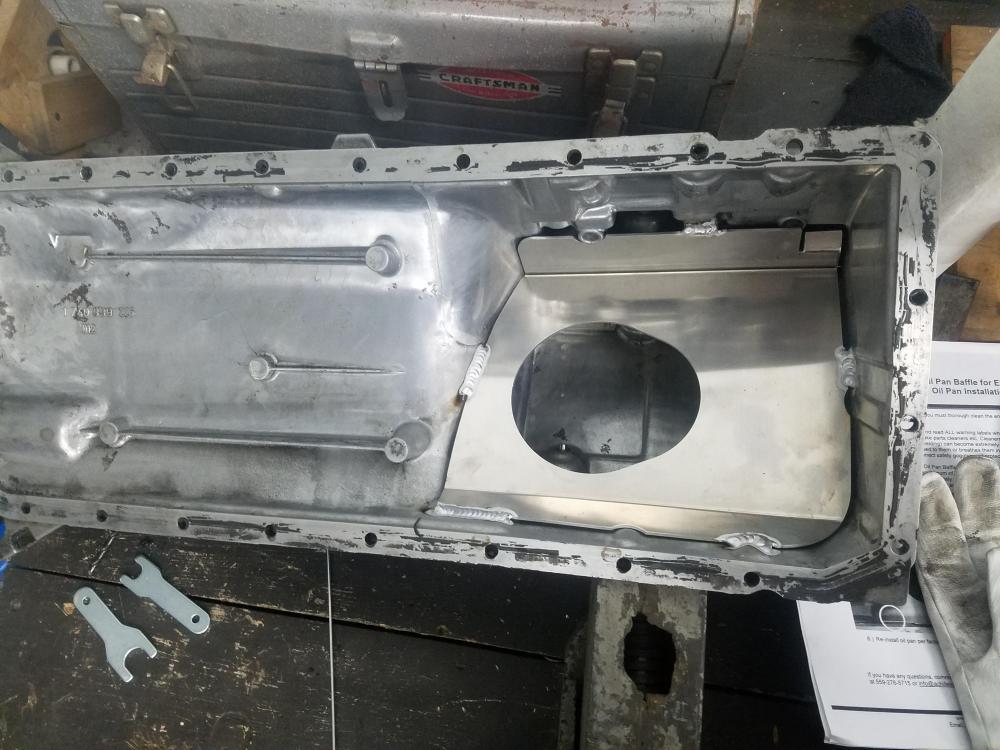
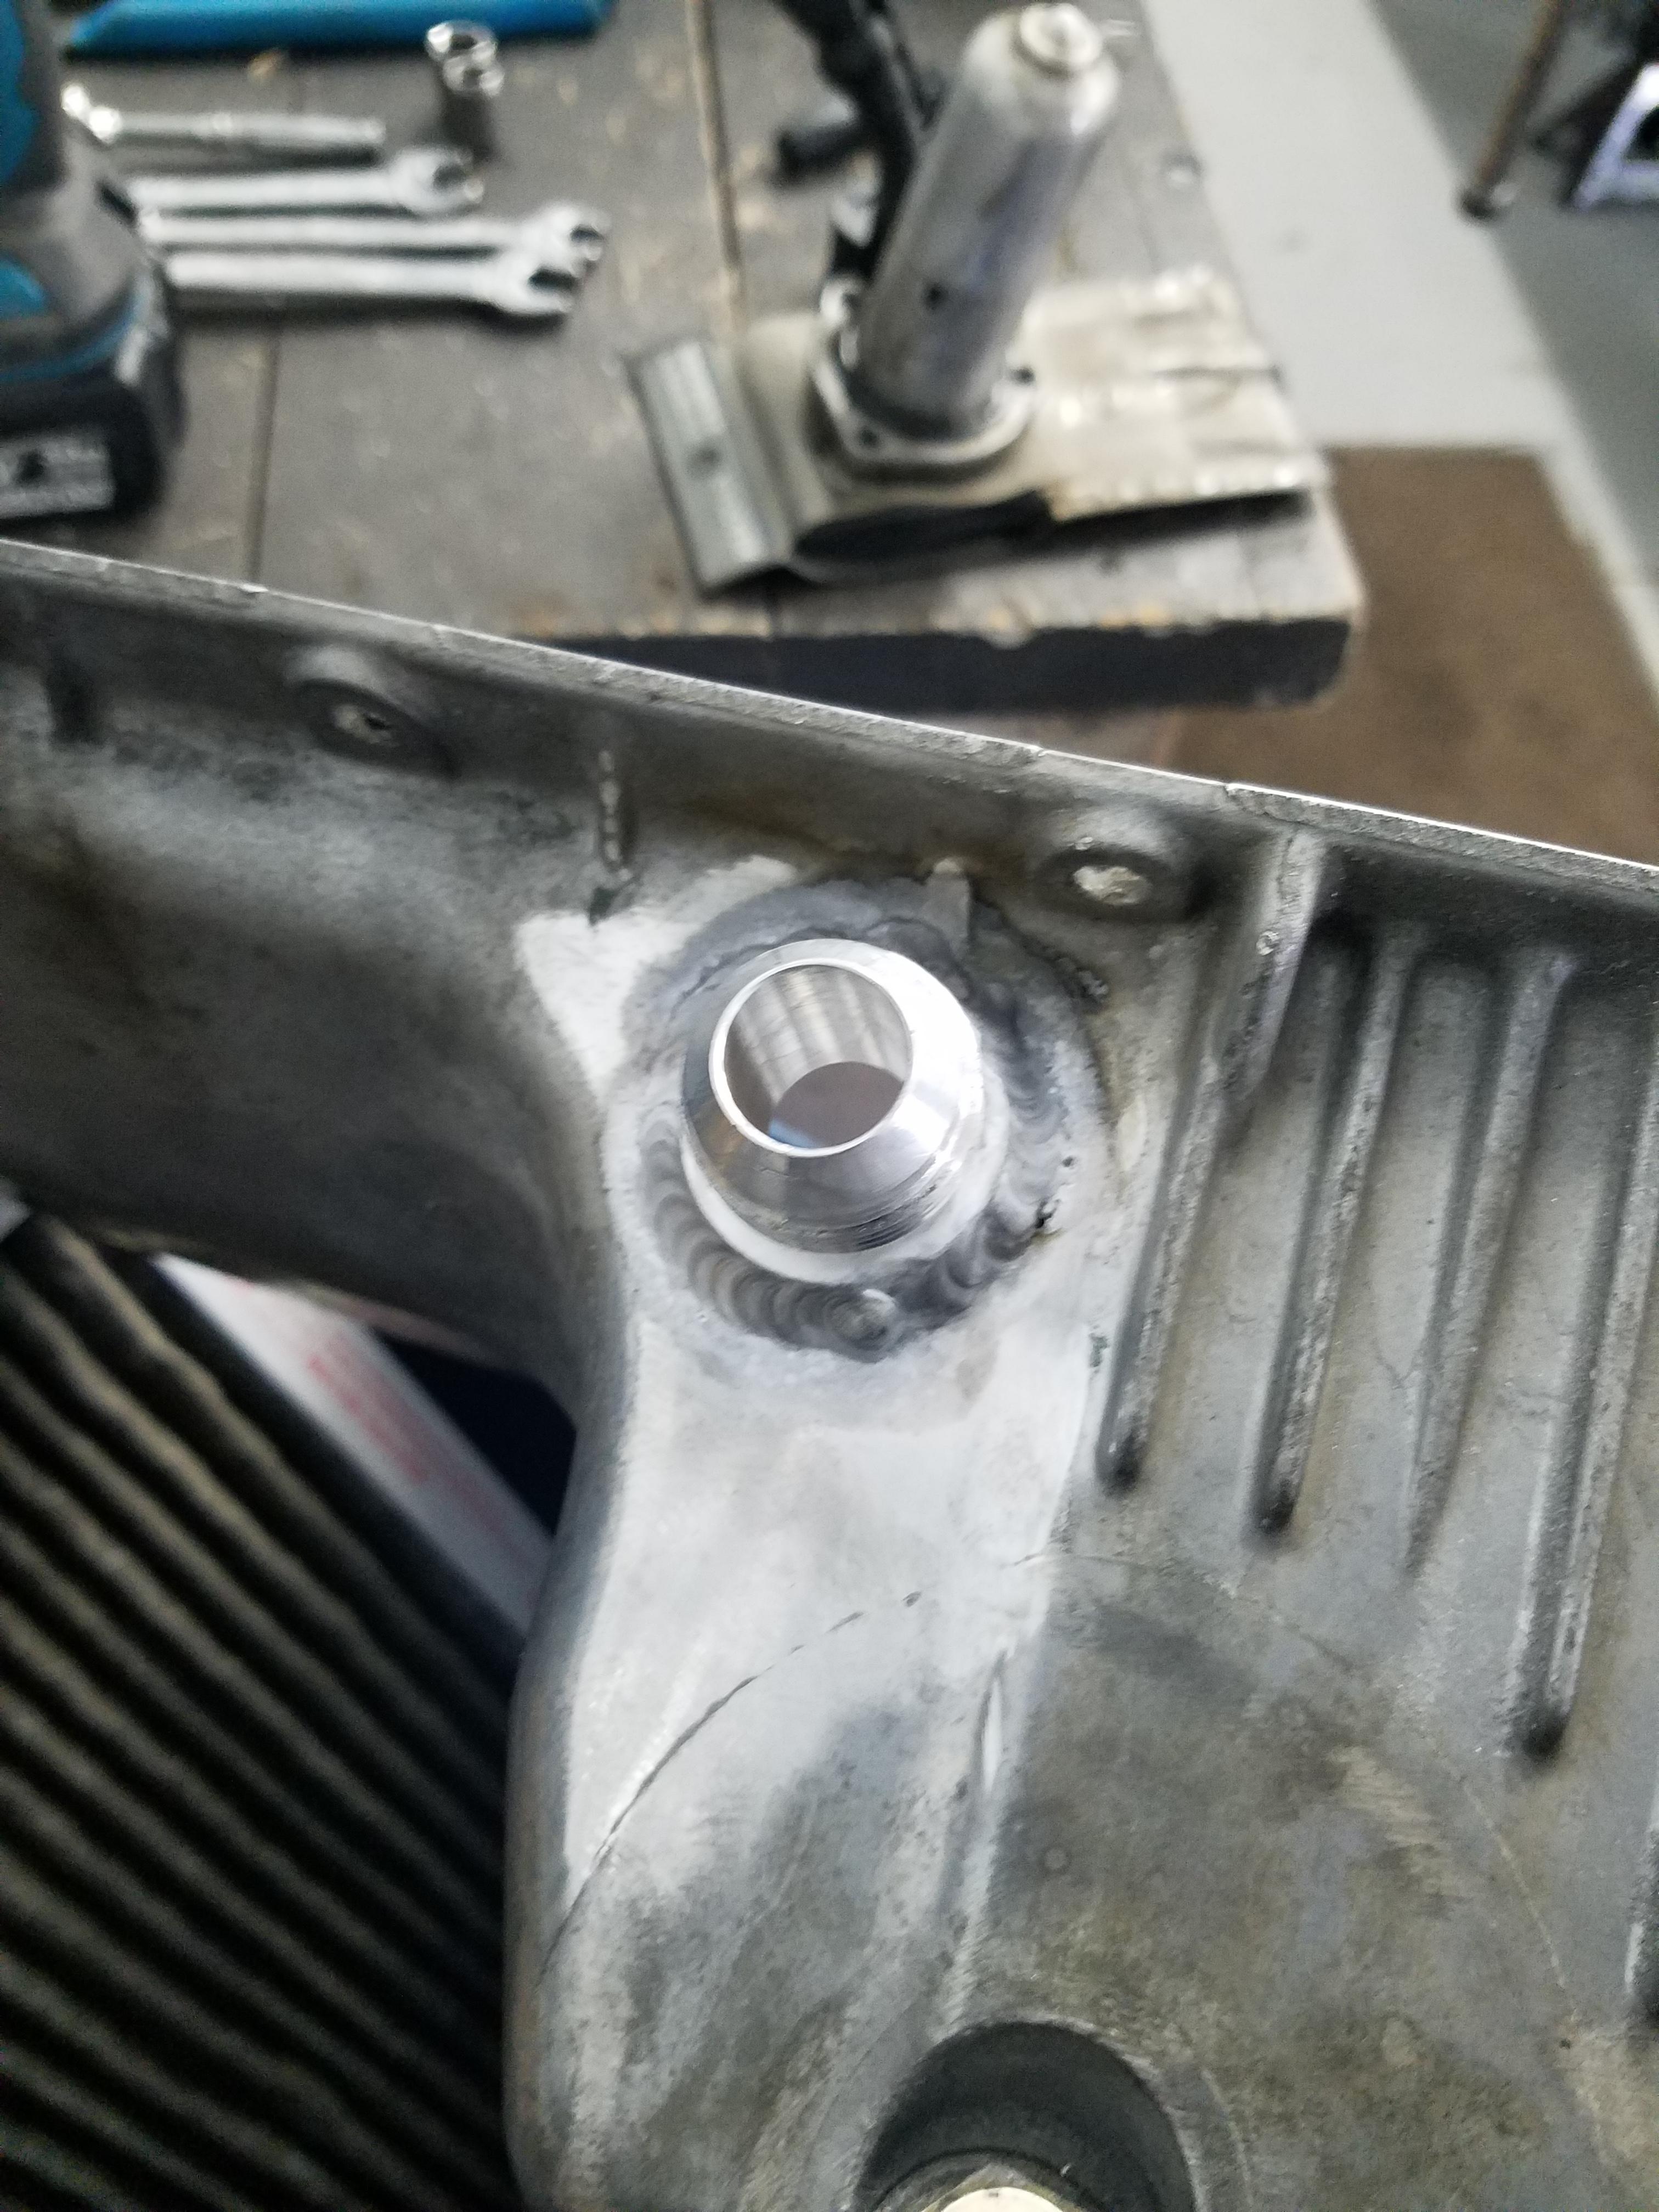
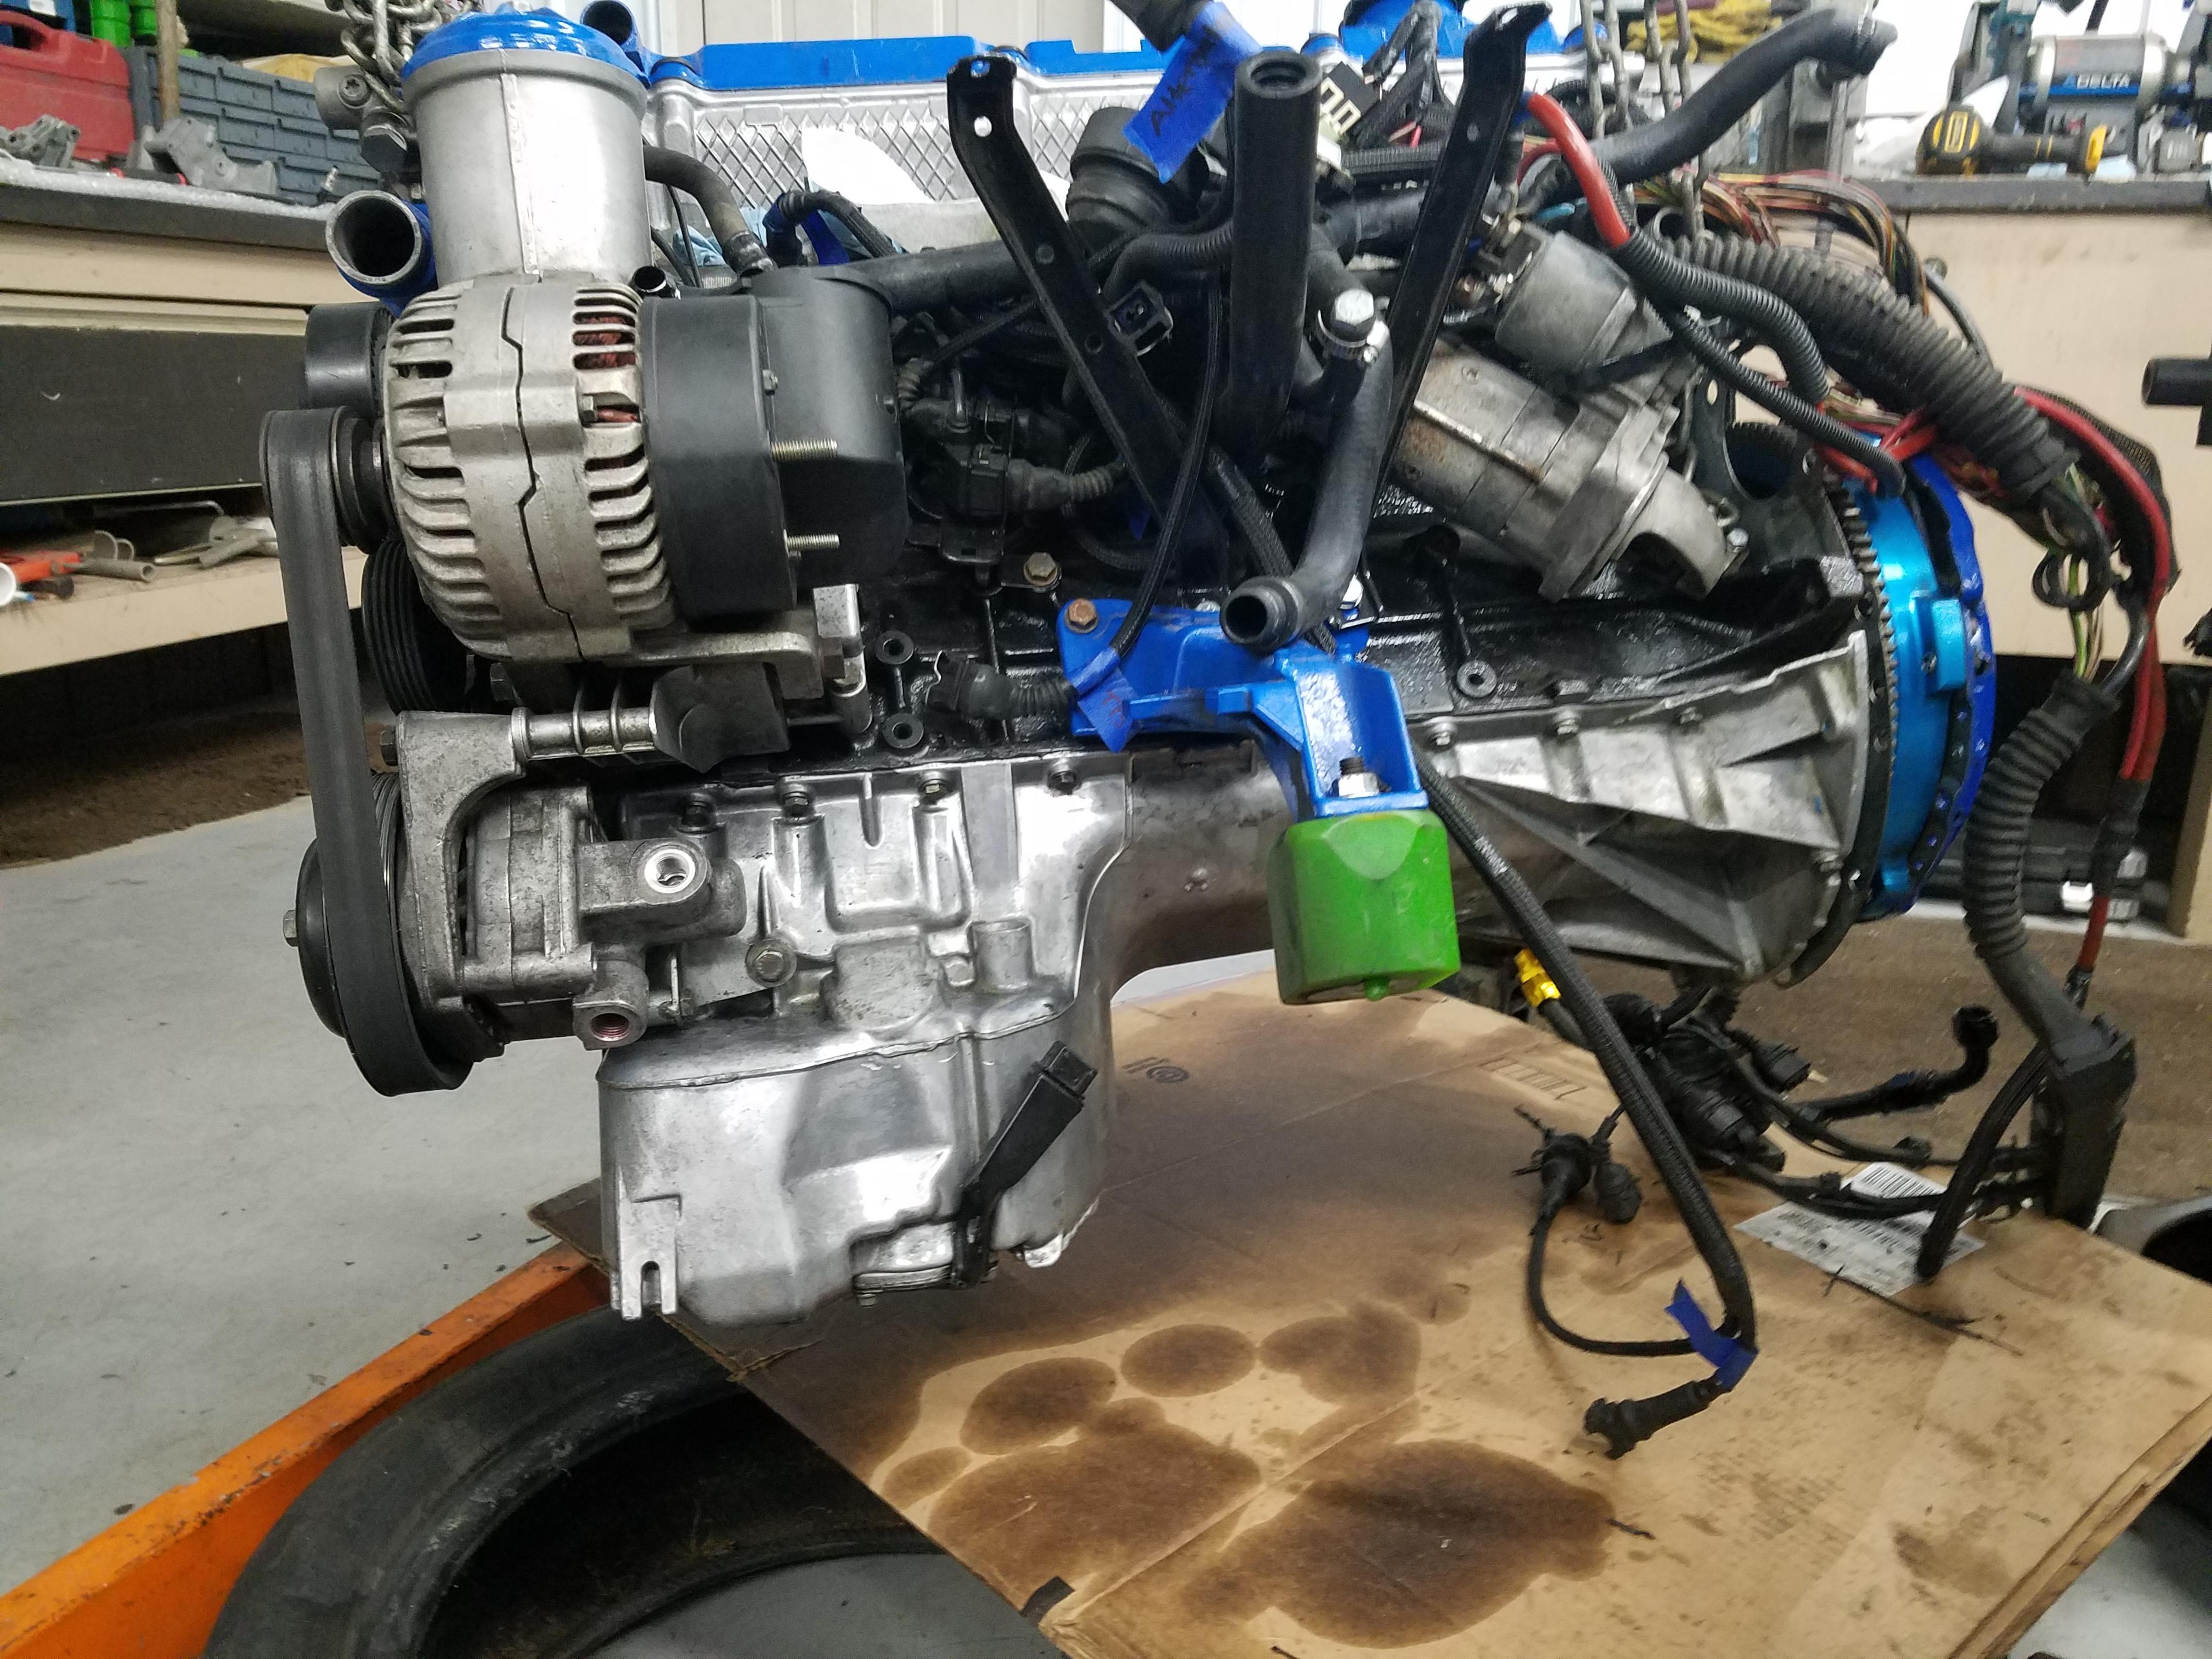
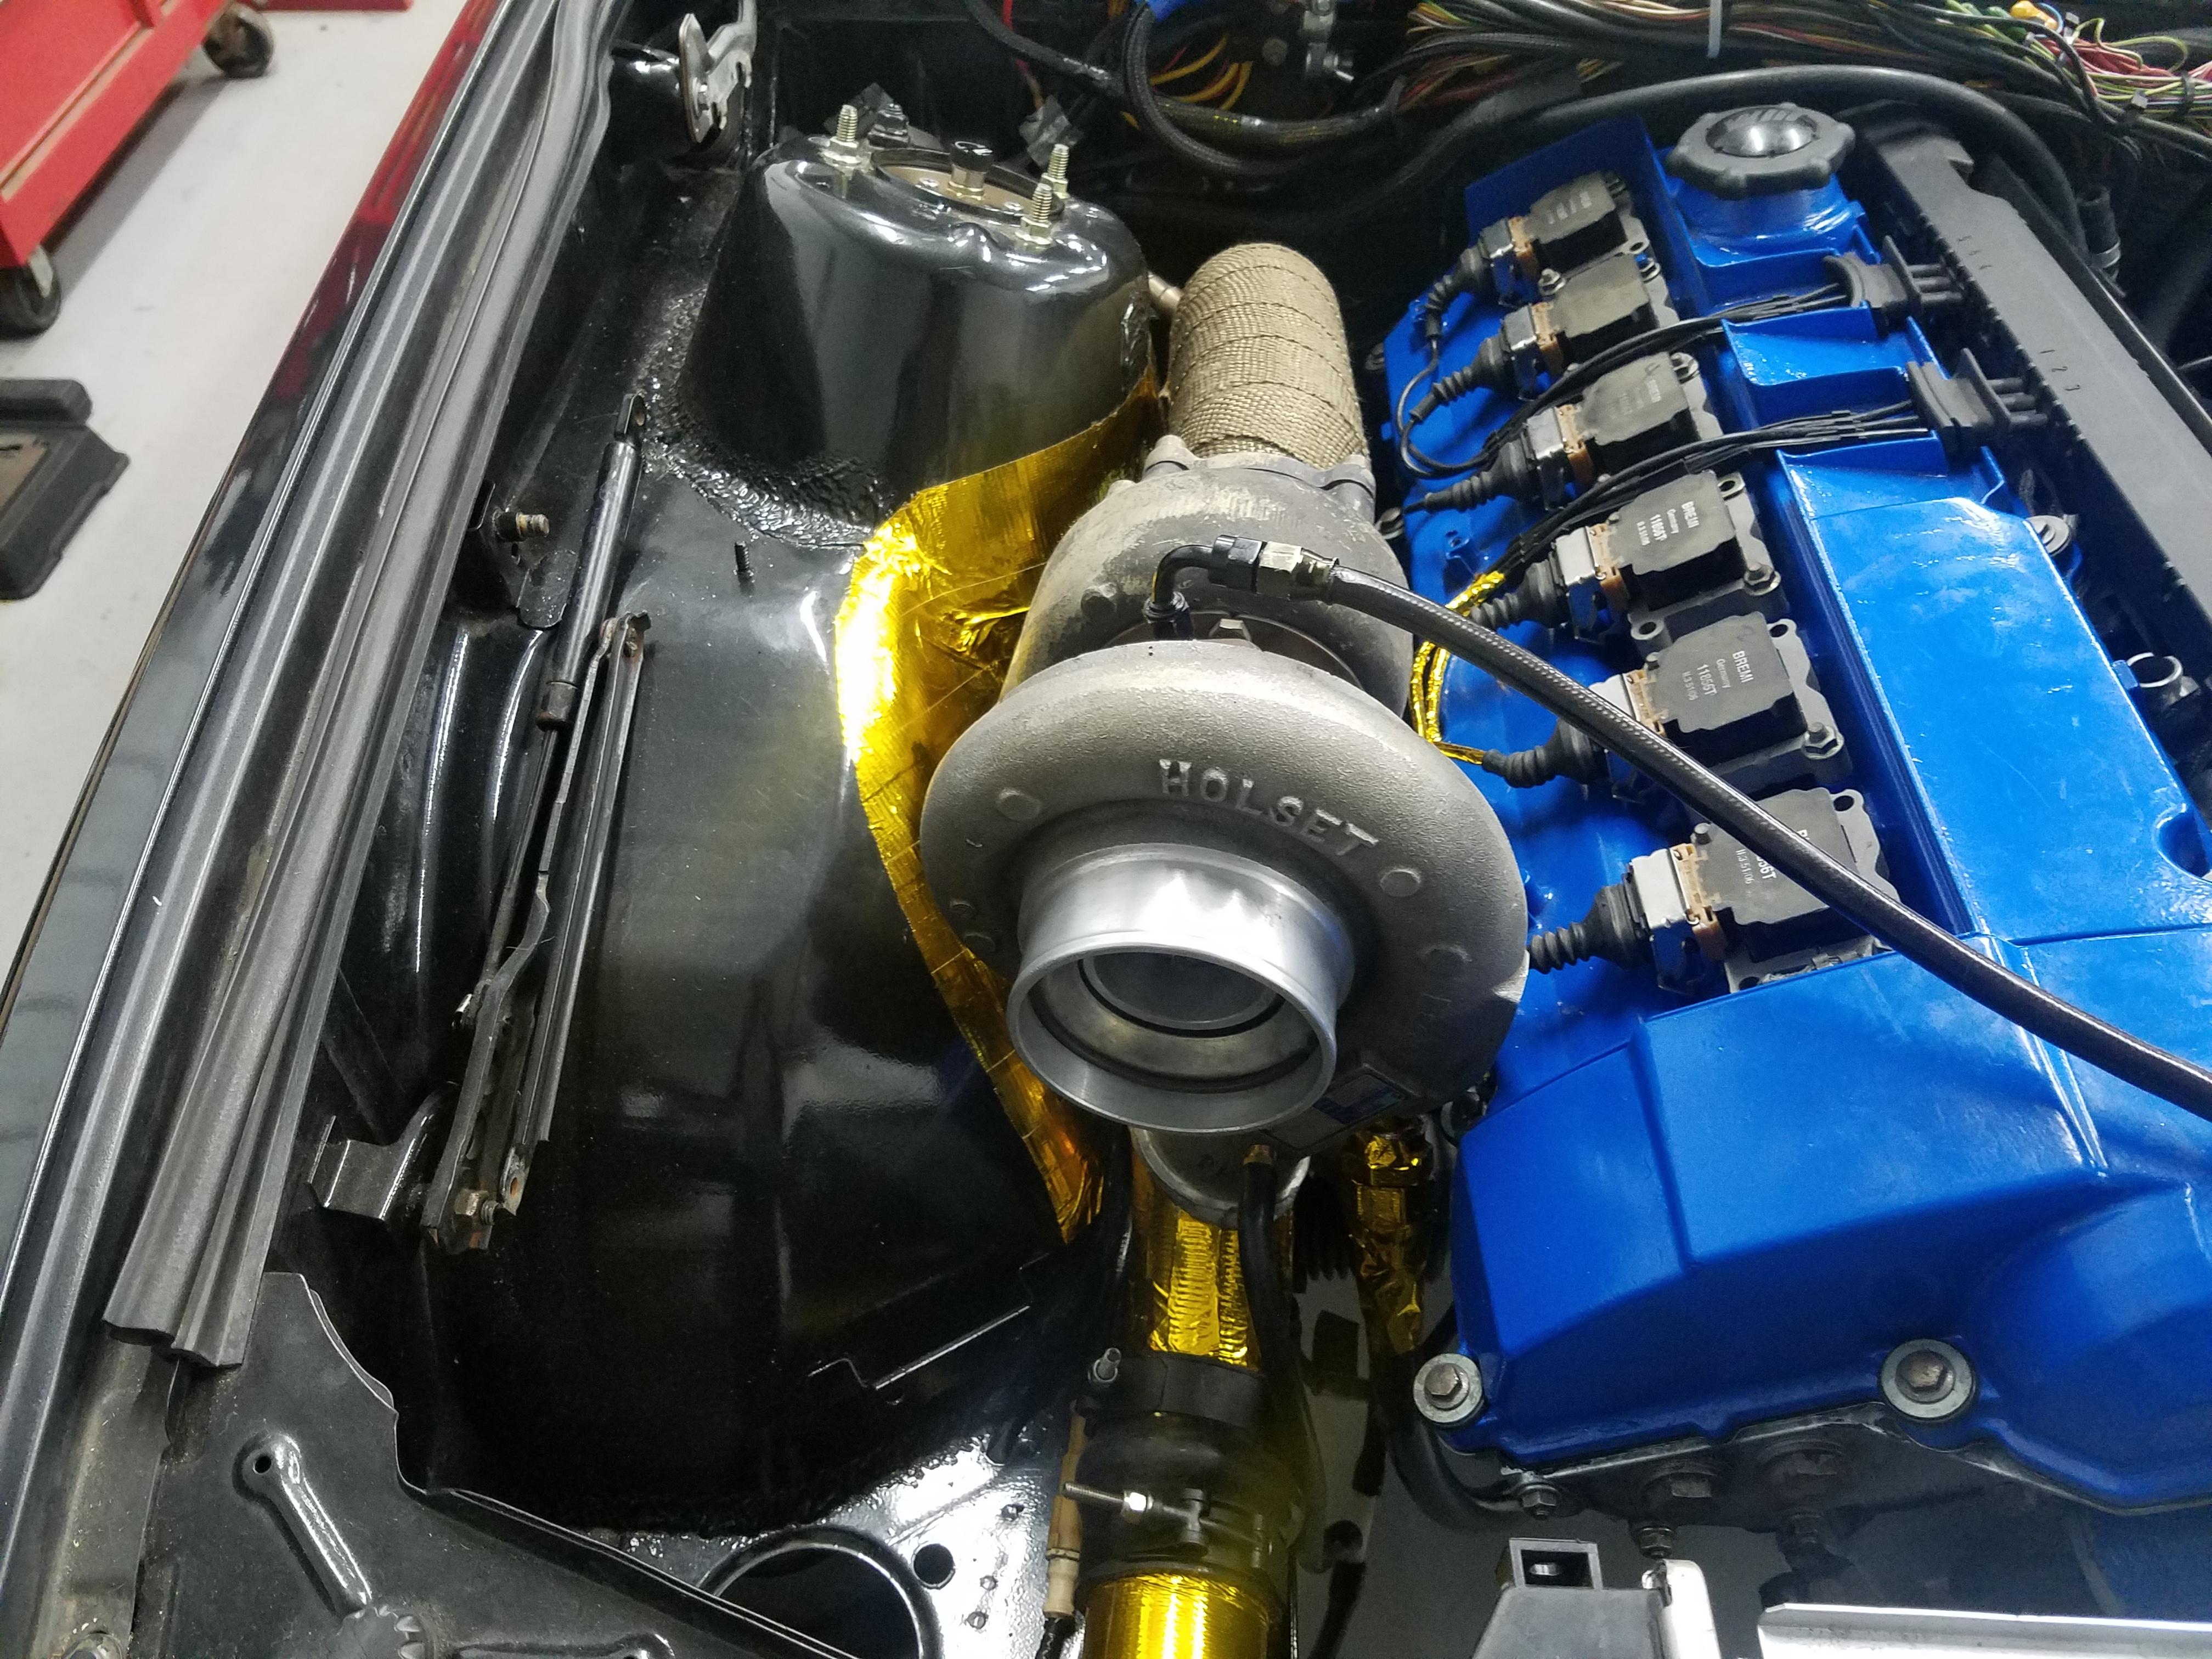
Once done with that we mounted the pan back on the engine with a couple bolts. Mounted the manifold and turbo and got a location for the oil drain line -12 an fitting. Pulled the pan, drilled a hole and welded er in.
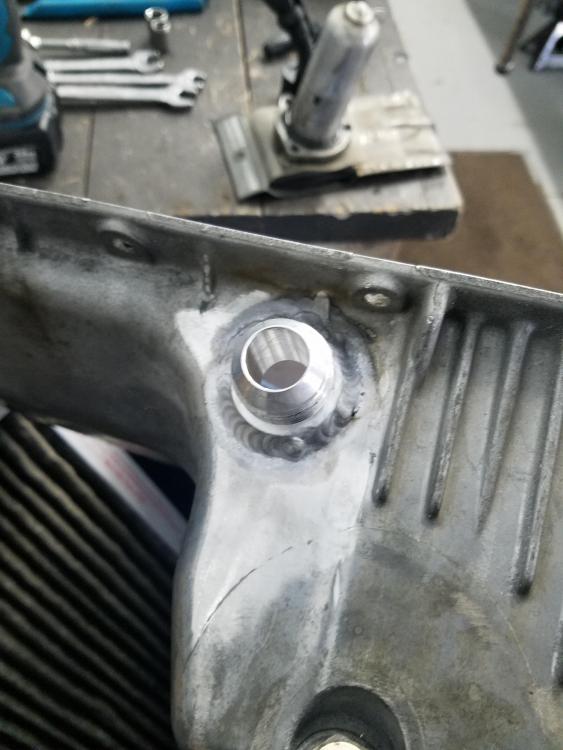
With that done I got to work on removing all the old rtv, always a good time

Now, initially I ran a oil pan gasket with rtv on both sides. But, this time I decided to just run rtv with no gasket and I think it's gonna seal just as good if not better then with the gasket, we shall see.
Also got the s54 housing cleaned up and mounted with a fresh gasket.
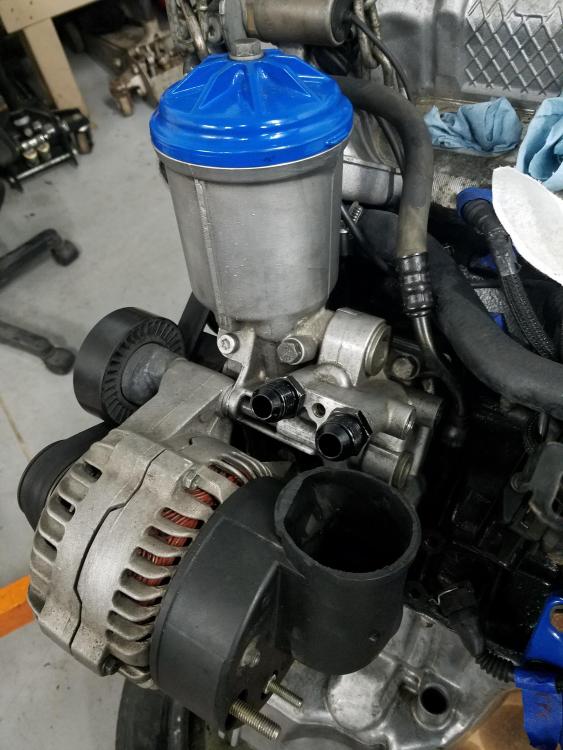
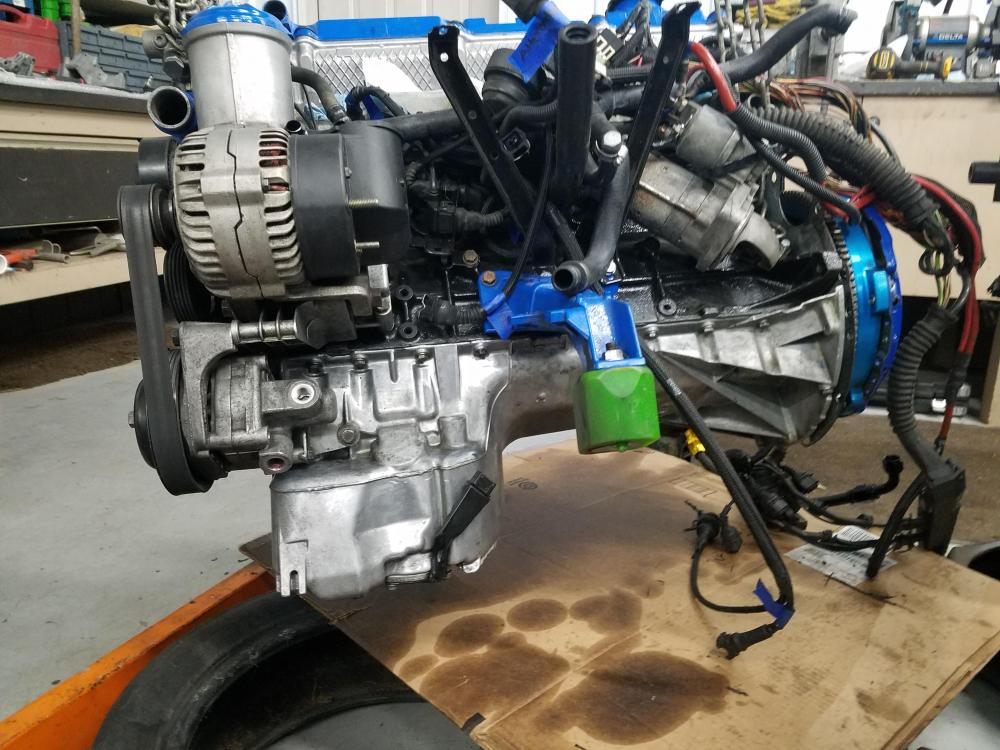
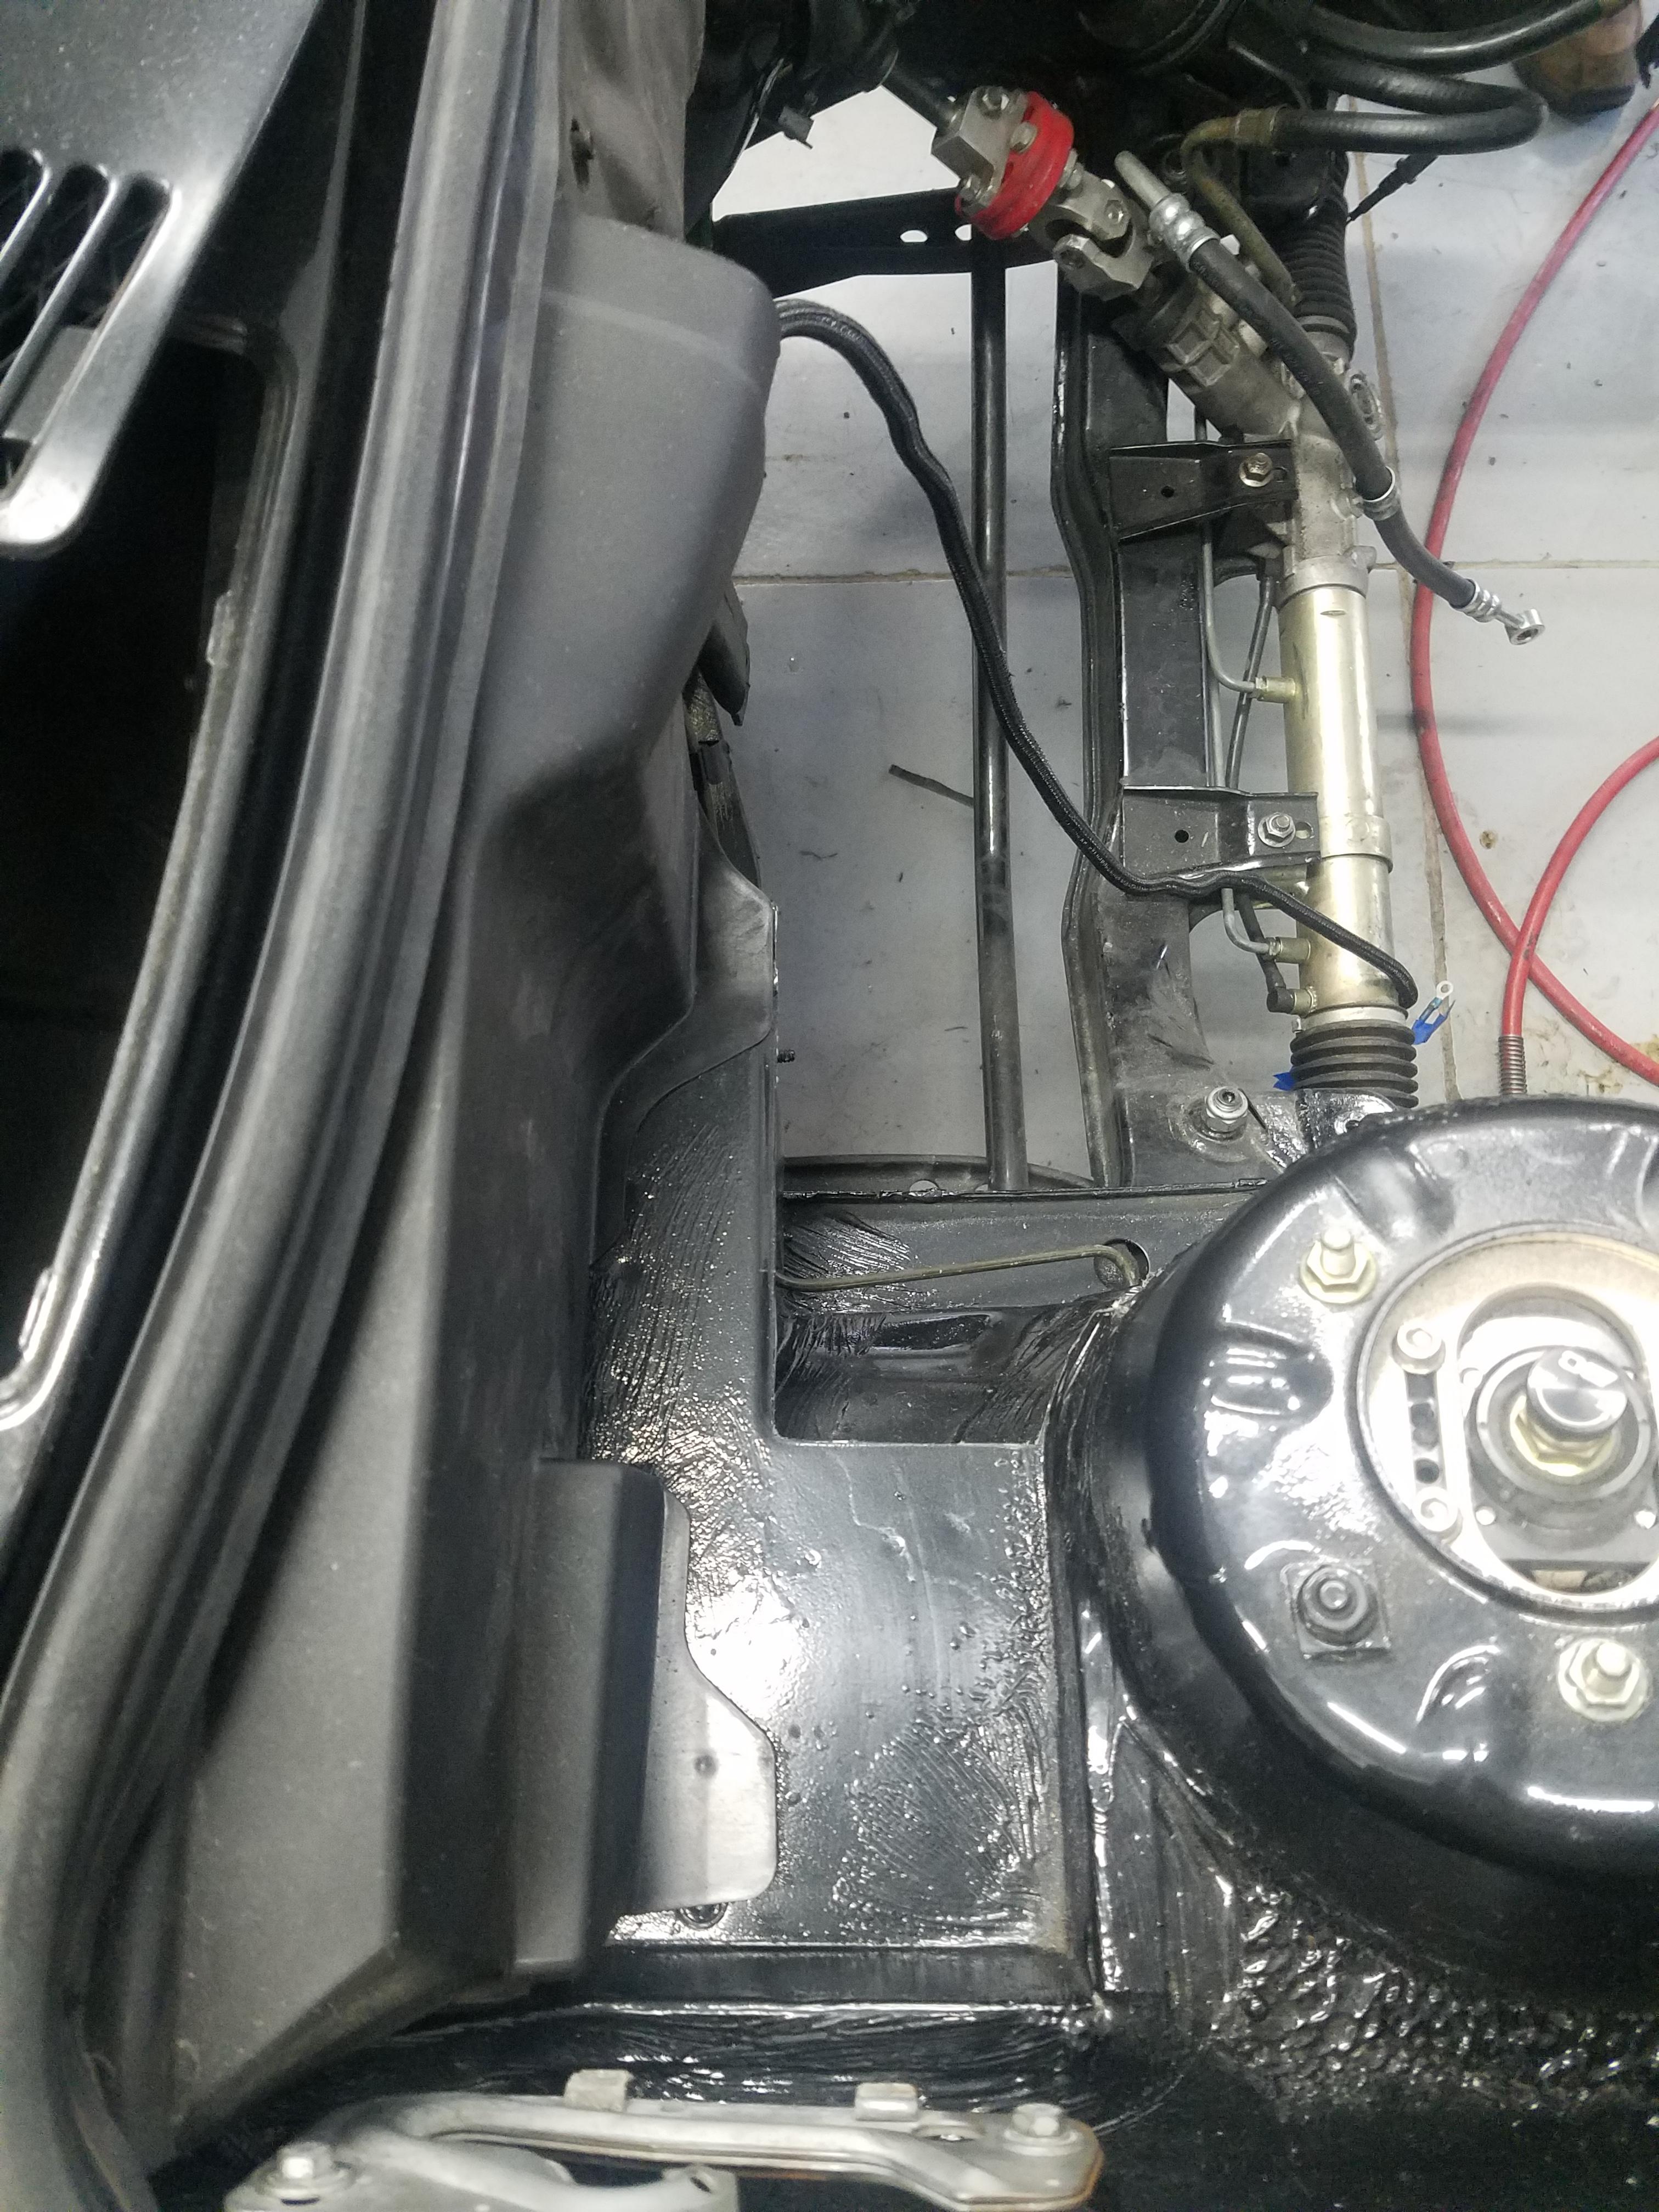
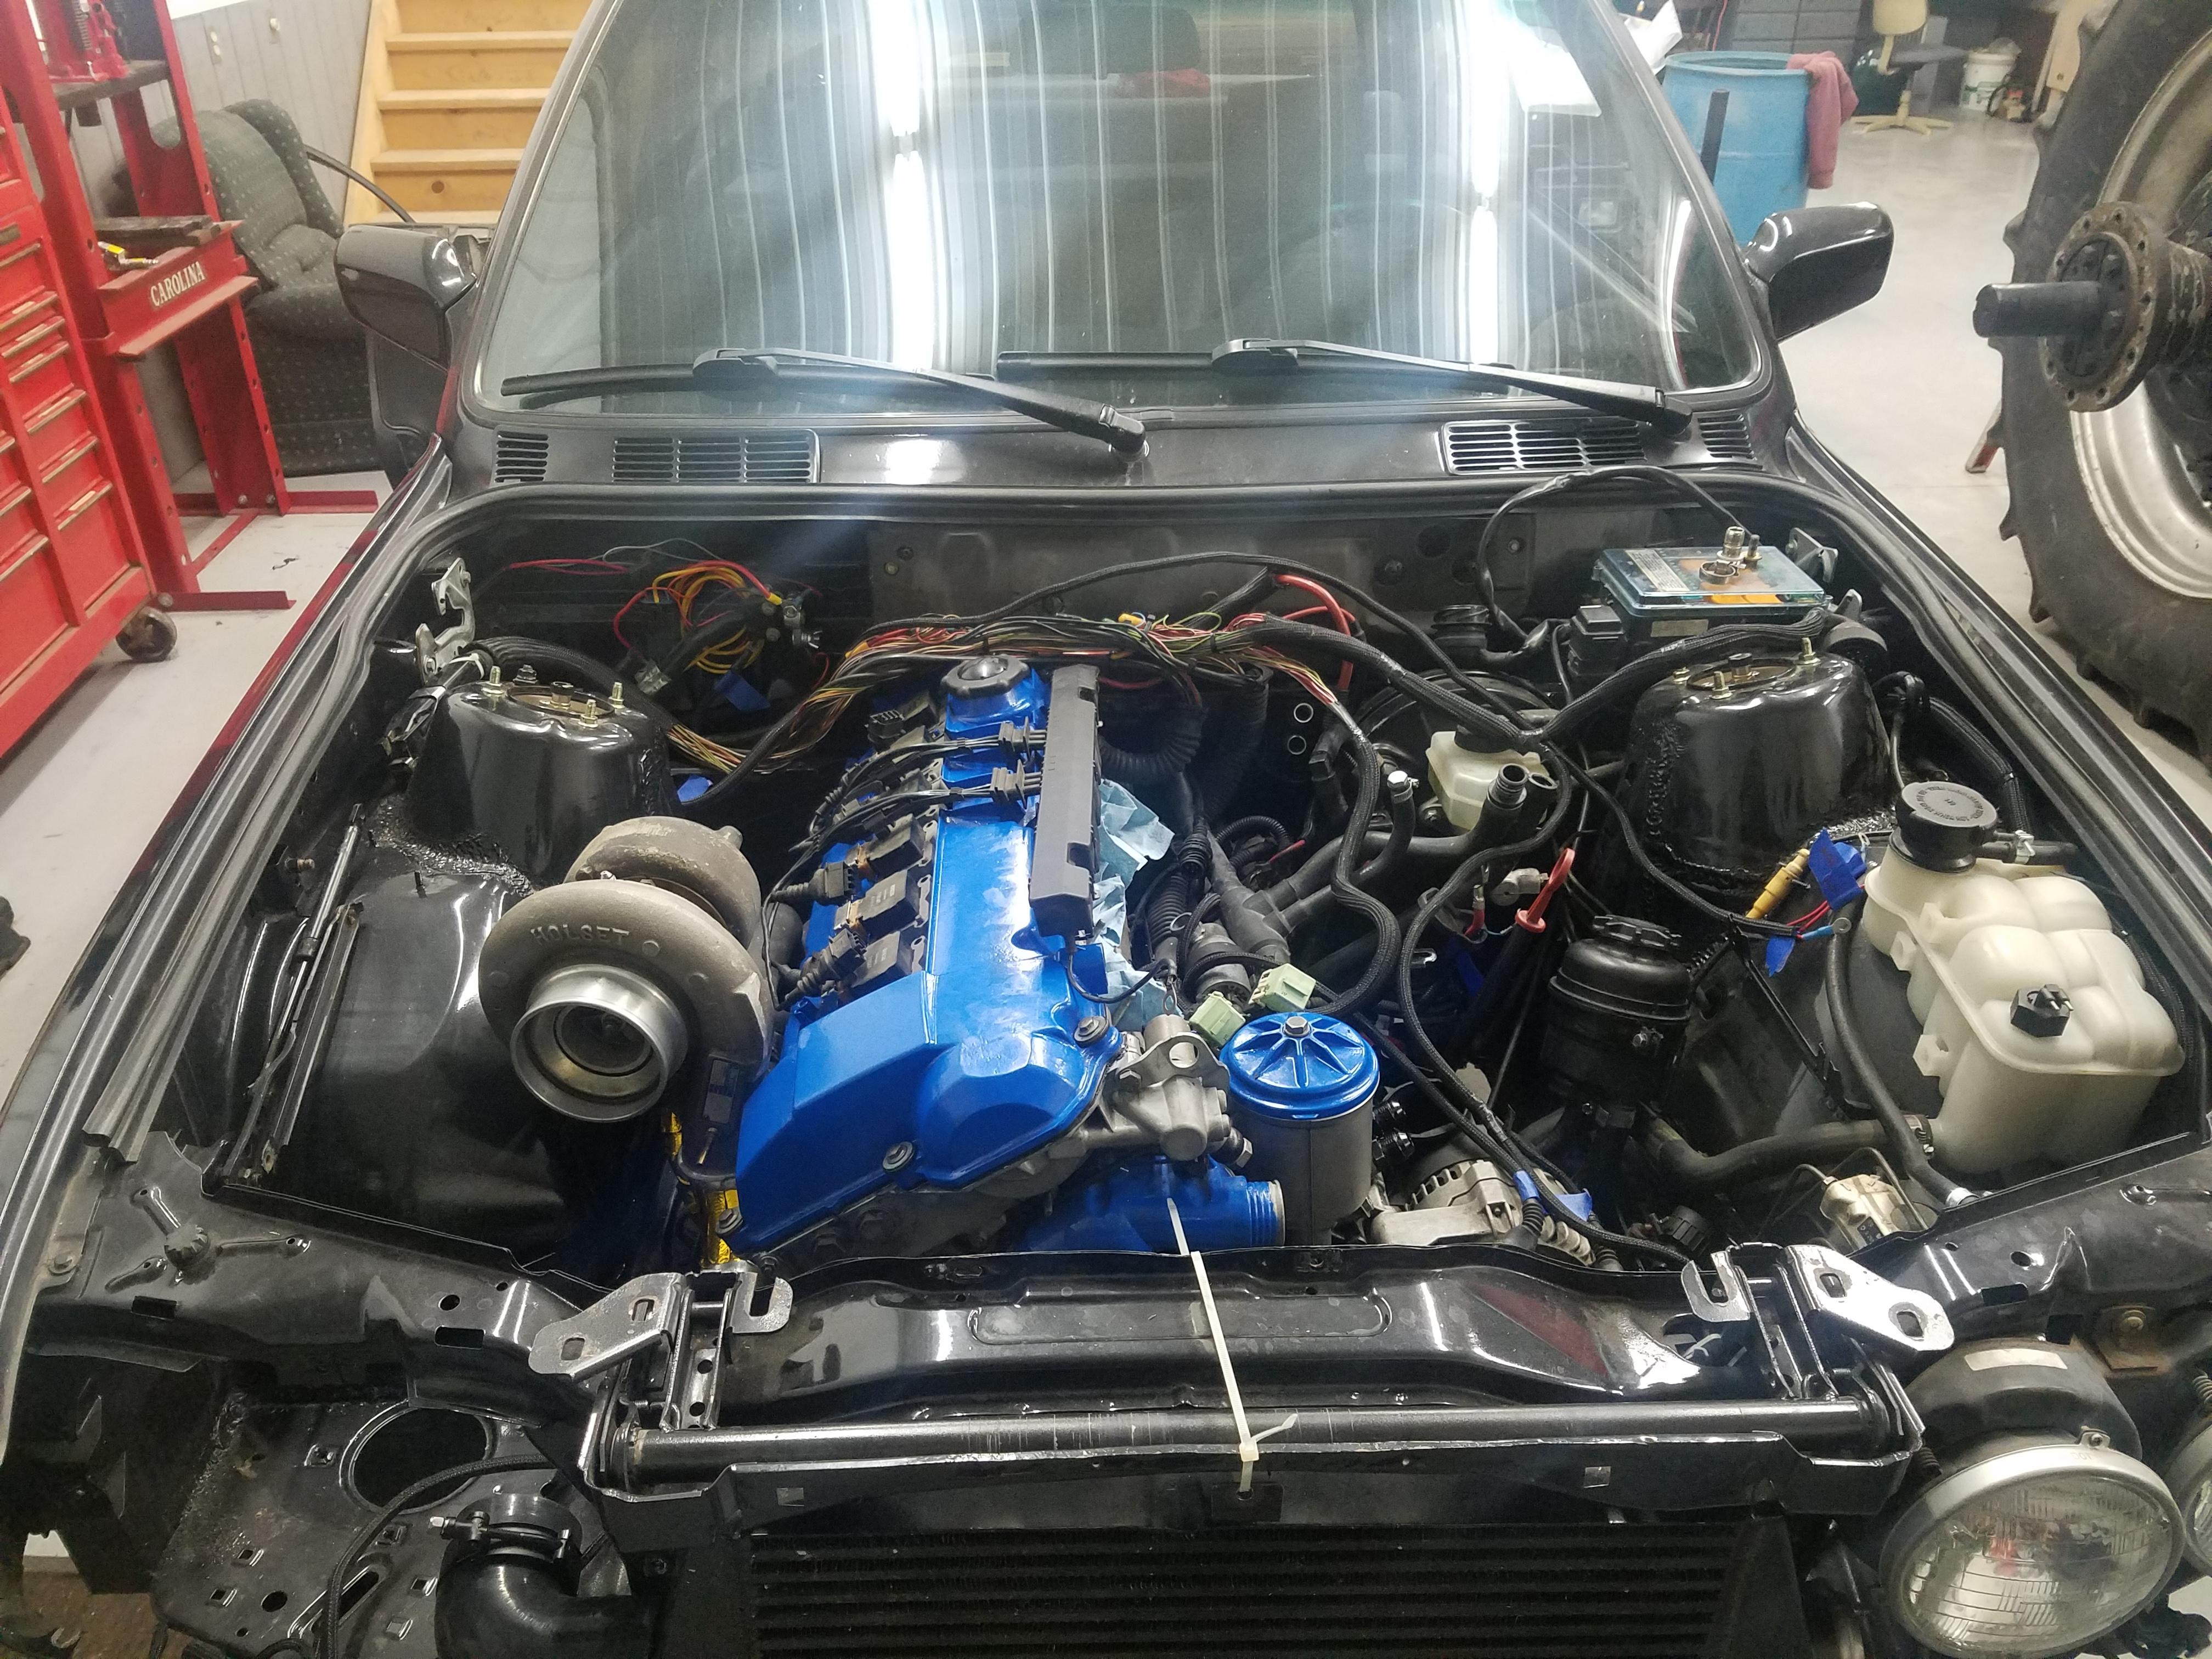
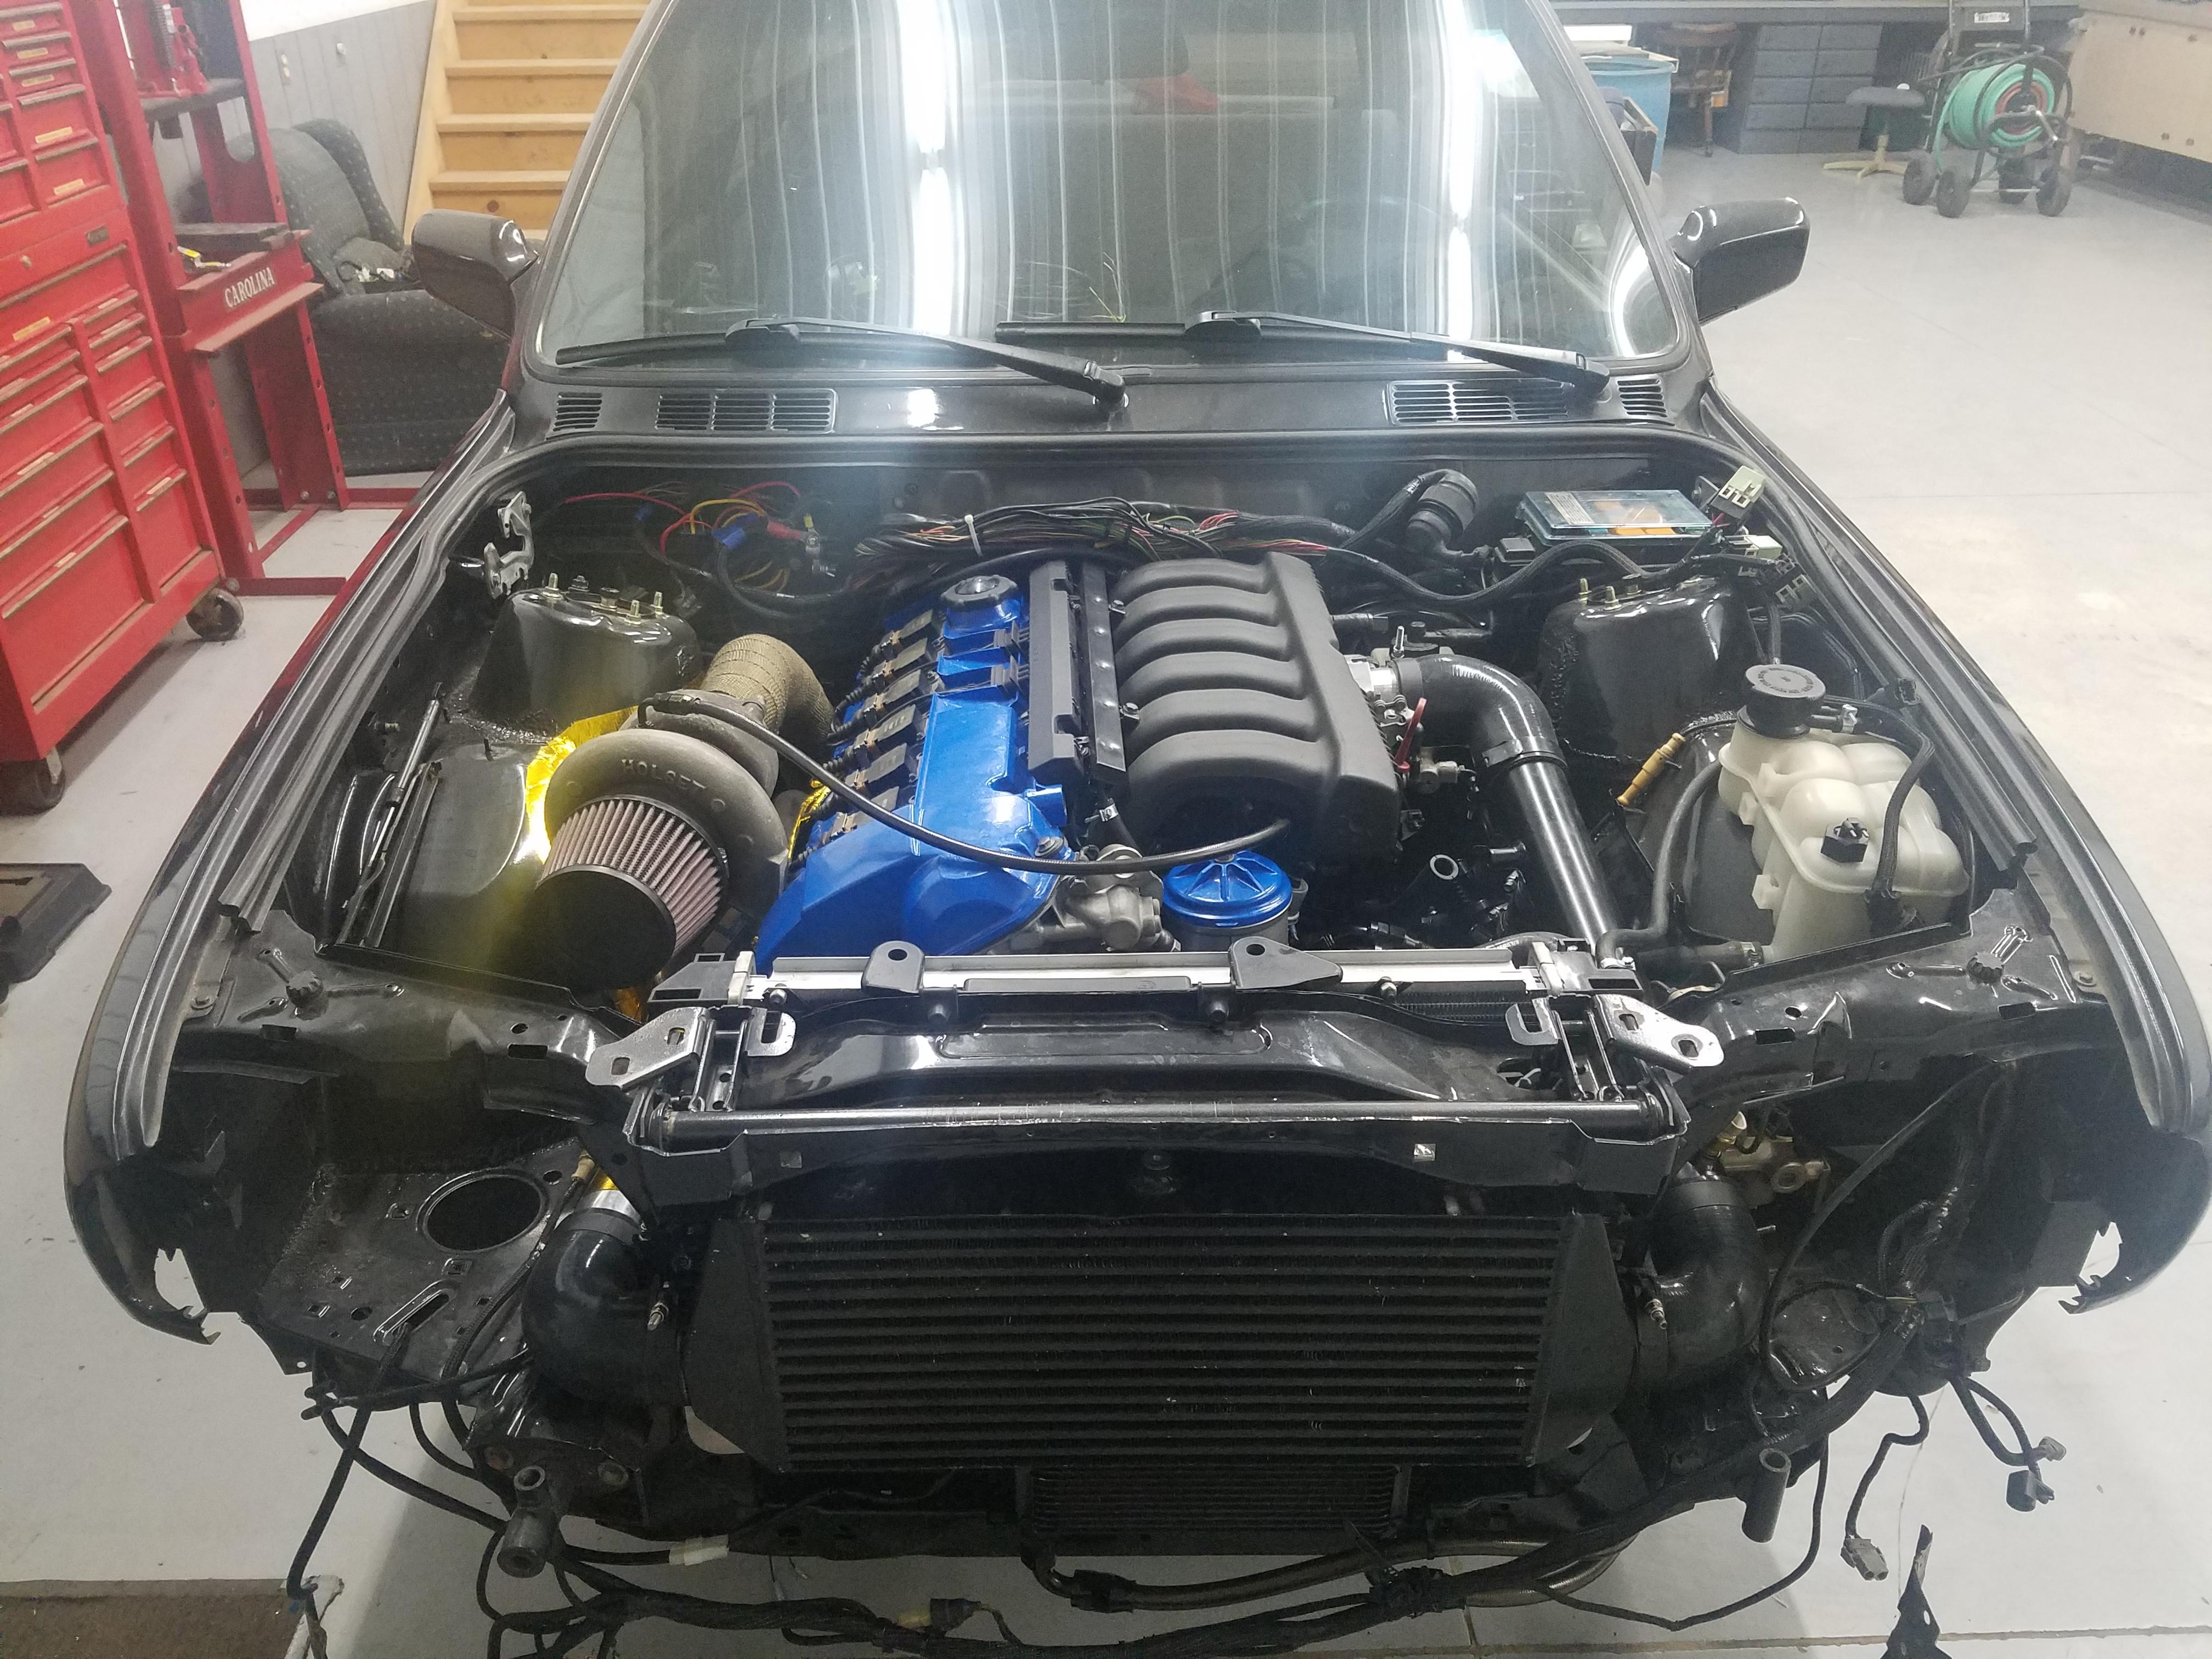
After re-mounting the trans and getting the manifold and turbo all torqued down on the motor it was about ready to be put back in the car. Unfortunately a good chunk of the battery tray has to be cut out for clearance of the down pipe so with the engine out of the car I went at it with a dremel and cutting wheel.
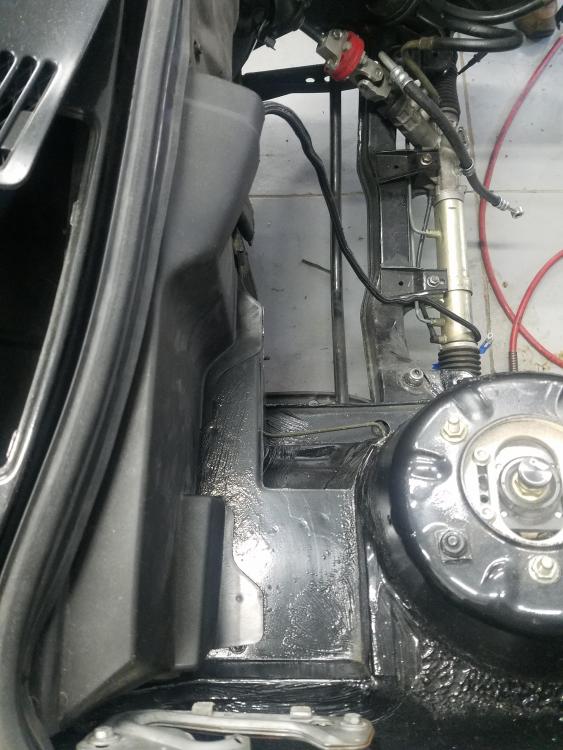
I didn't cut it all the way back as I wanted to keep the holes where the plastic cover sits so that should do.
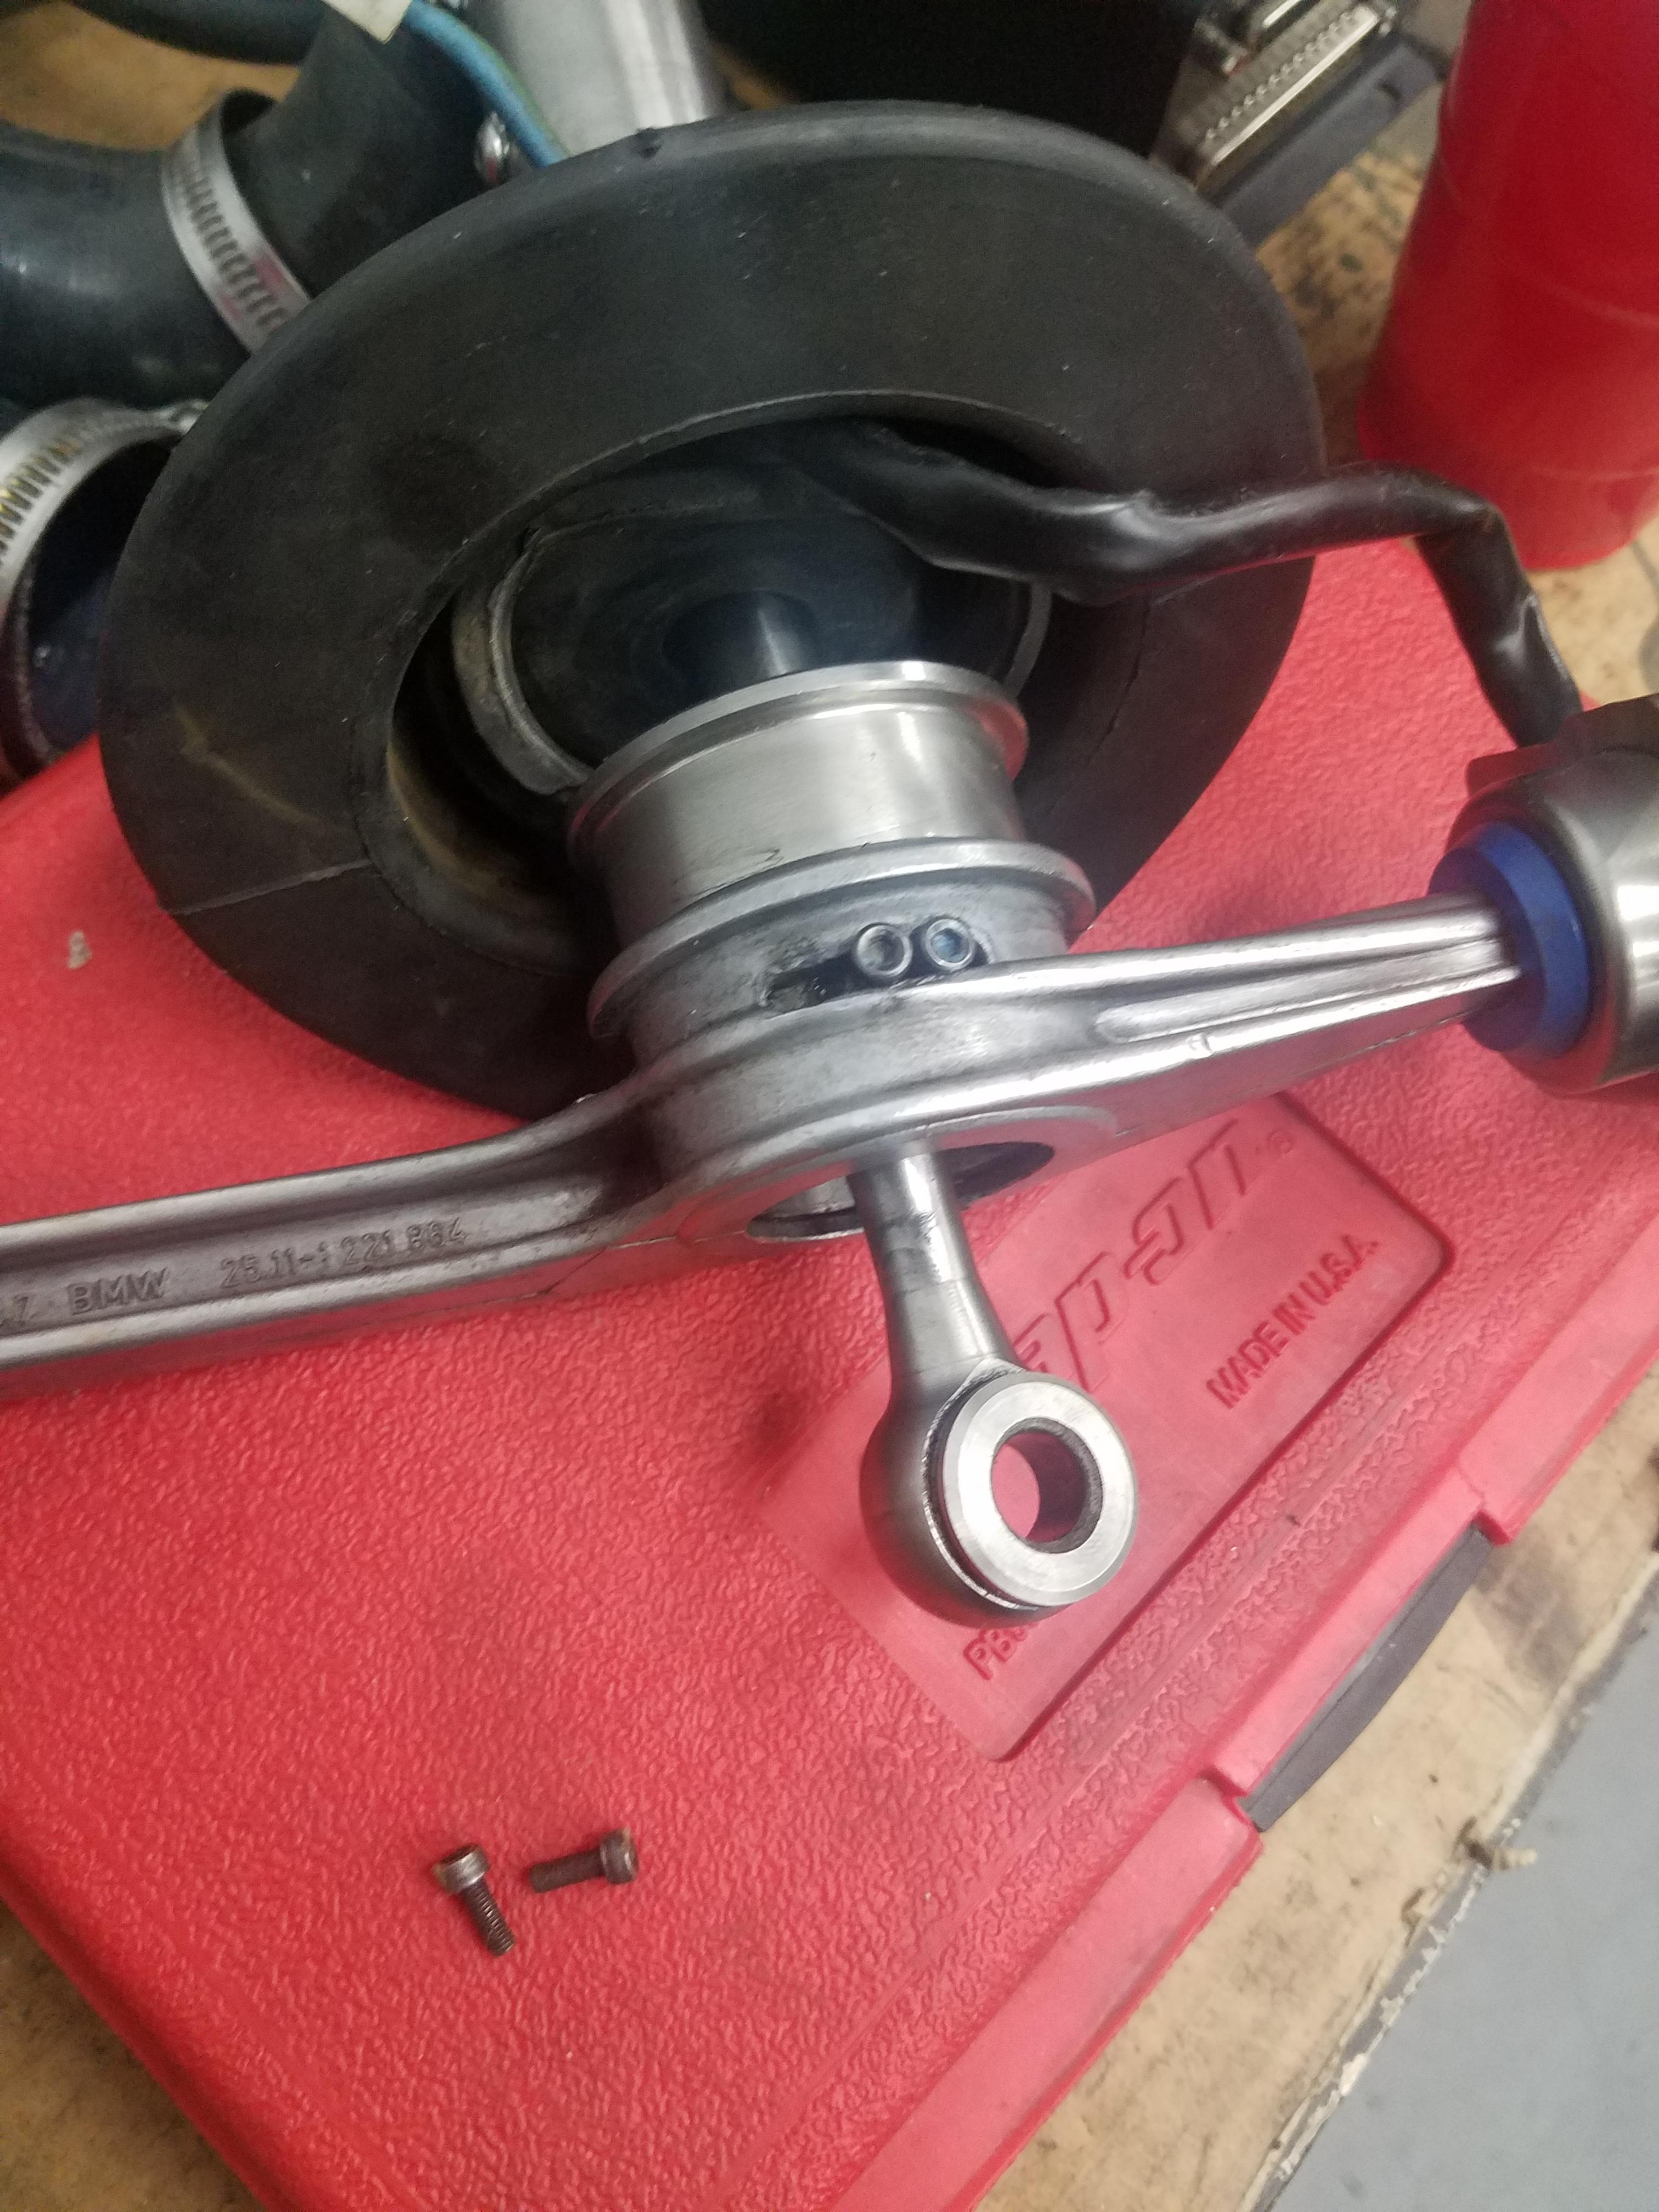
Ah and one more thing! when I initially was pulling the drive shaft out two little screws fell on the ground. After closer inspection I found that they were part of the shifter assembly.
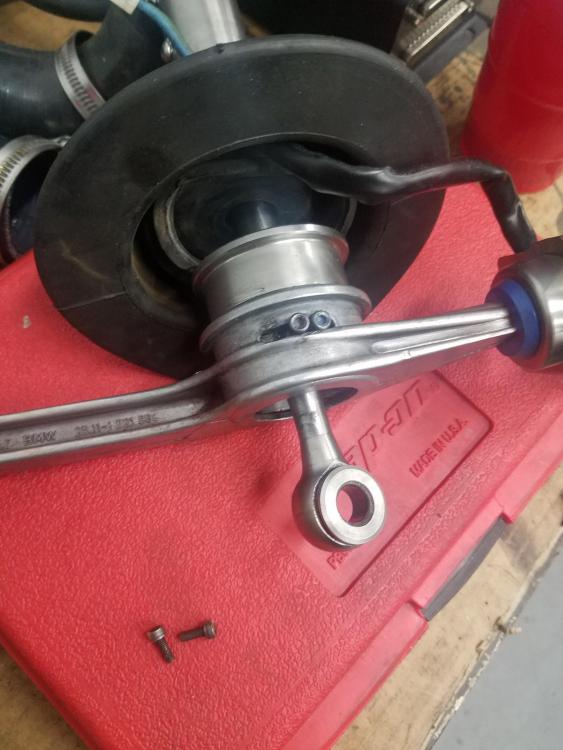
Seeing this, I went ahead and pulled each screw and threw a dab of red loctite on each one and tightened em down good. Hopefully won't be having this issue no more, I am still trying to figure how the hell I didn't lose them in the first place.
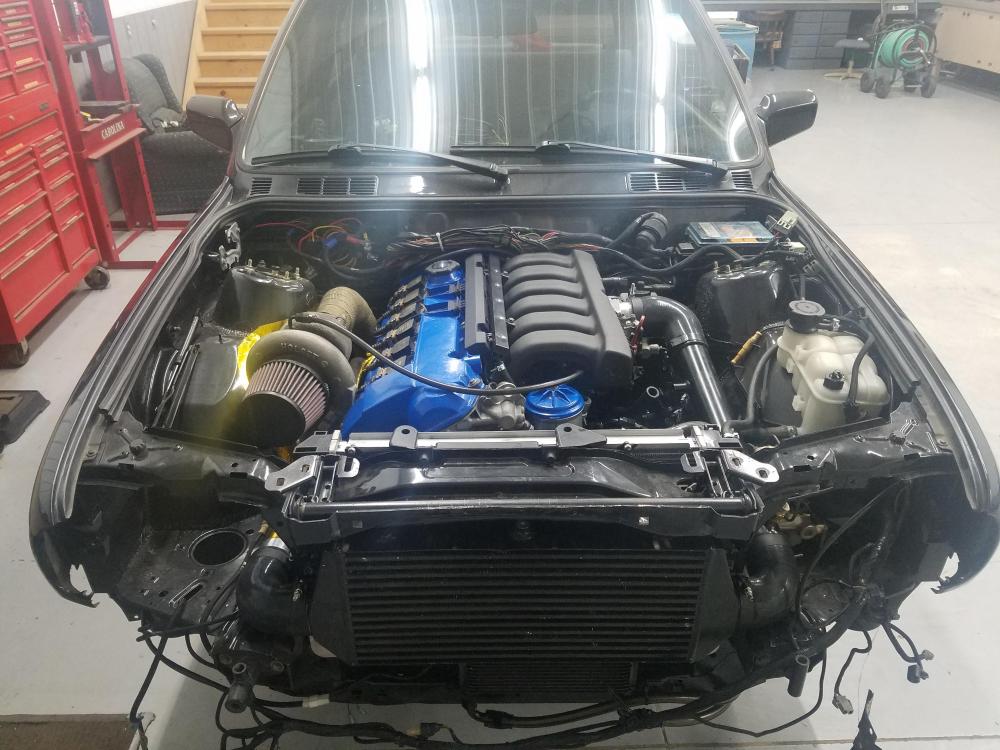
With that all said and done it was time to drop er back in the car.
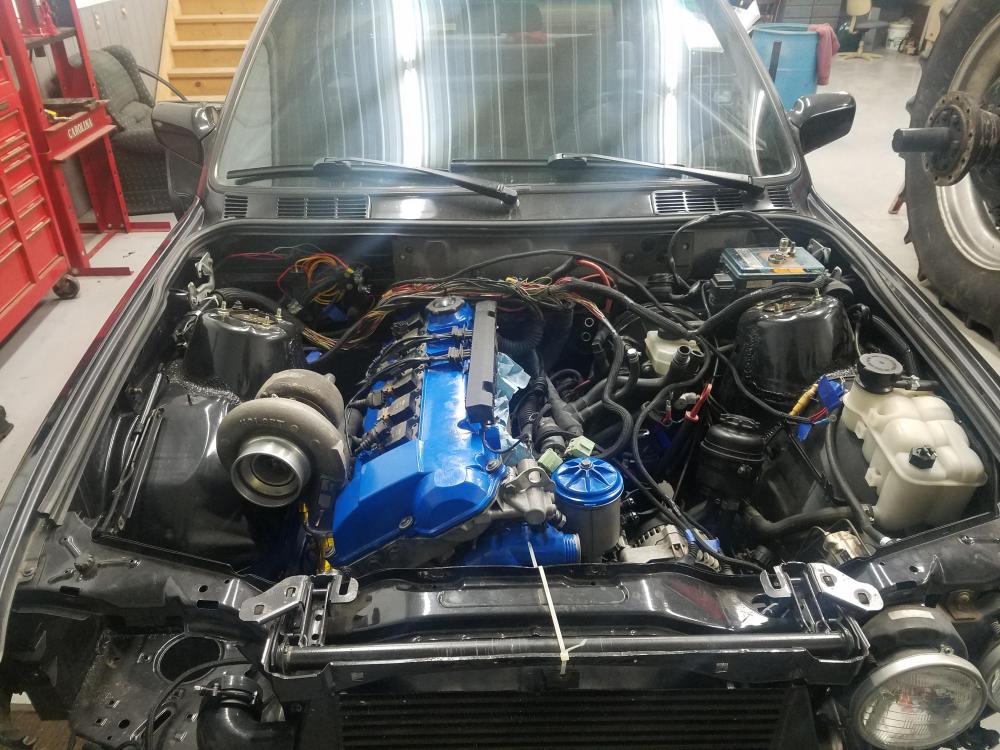
Let me just say If I'm gonna be pulling this out a lot in the future for reasons we will not talk about I will be looking into doing a removable core support as this was about the biggest bitch to get in with the turbo and manifold already on. With it all bolted back up in the car everything does fit pretty well though.
Next couple things on the list to get done include:
- Building a intercooler bracket
- Running some water through the heater core to figure out whats going on there
- Hopefully have some heat tape showing up in the mail here soon and then I can go ahead and get the exhaust installed to see if their are any fitment issues there.
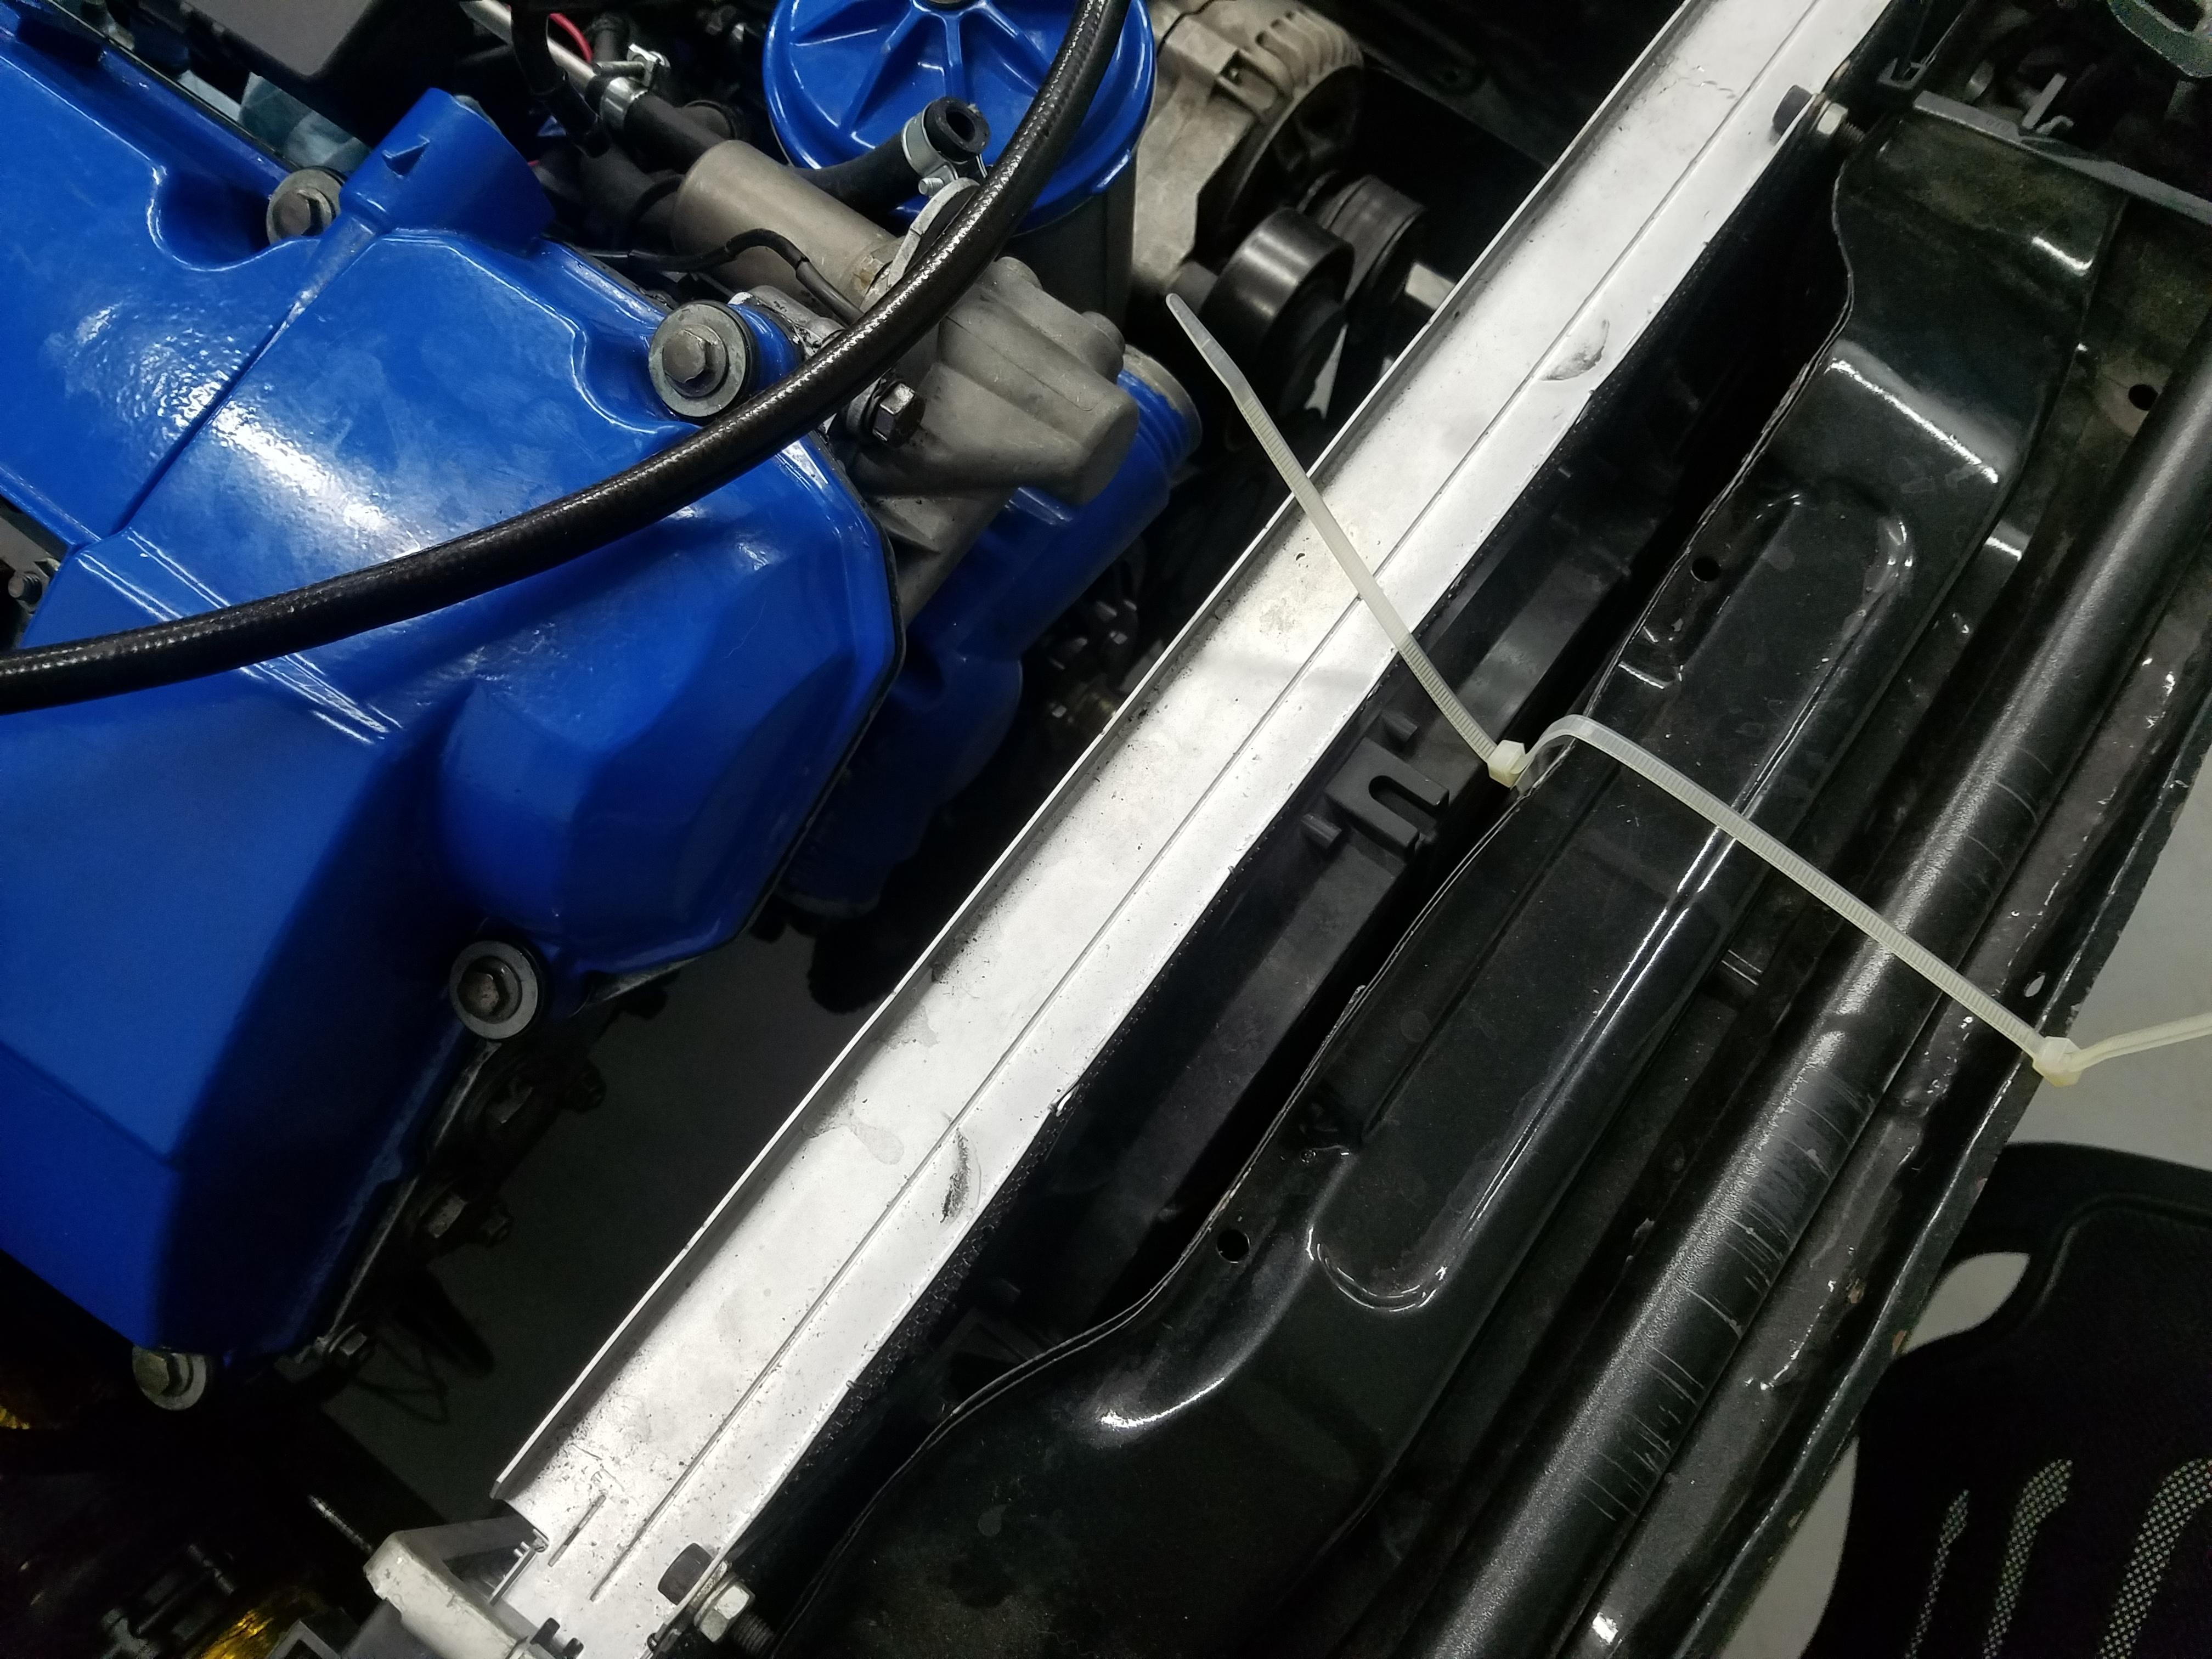
- re-install radiator. With the intercooler I will no longer have room for a pusher fan so I have decided to order up a puller fan and were gonna see if we can make that fit otherwise I'm fucked.
- What I'm gonna be doing for wiring and tuning is still be determined...
-
Ben did a removable core support on his car.
This thing is gonna fuck though.

Dan

-
Man this brings back memories.
Putting motor in or removing, turbo on or not.
Option Number A: Leave turbo off, attach turbo in car, make custom wrenches and use crows foot wrenches to tighten it down as best as you can before your knuckles are at the bone.
Option Number B: Leave turbo on, torque bolts well while out of car, hate yourself for leaving it on while lowering it into the engine bay.
Option Letter 3: Take sawzall to that damn core support that is always getting in the way...I'm glad to see the clock marks were still visible on the cold side of the turbo, did you throw that snap ring in there?
I see you already trimmed your alternator cooling duct, good work. Those lines will wrap quite snugly over the alternator, but it looks dope as hell once it's in there.
- Put the front hose on first, then the one towards the rear of the engine. Fully tighten the first one before going to the second.I look forward to hearing this thing absolutely roasting the stock wheels wrapped in old snow tires

-
I'm glad to see the clock marks were still visible on the cold side of the turbo, did you throw that snap ring in there?
I have not, I need to get the beauty cover trimmed and in place first. I have although tested out the installation process of this snap ring and it now haunts me in my sleep.
I see you already trimmed your alternator cooling duct, good work. Those lines will wrap quite snugly over the alternator, but it looks dope as hell once it's in there.
- Put the front hose on first, then the one towards the rear of the engine. Fully tighten the first one before going to the second.Thank you for this. Oil cooler lines will be hooked up as soon as I have it mounted with the intercooler on the front. I do like how you made it so it mounts right on the bottom of the intercooler, makes it quite easy.
-
Time for some progress updates my dudes.
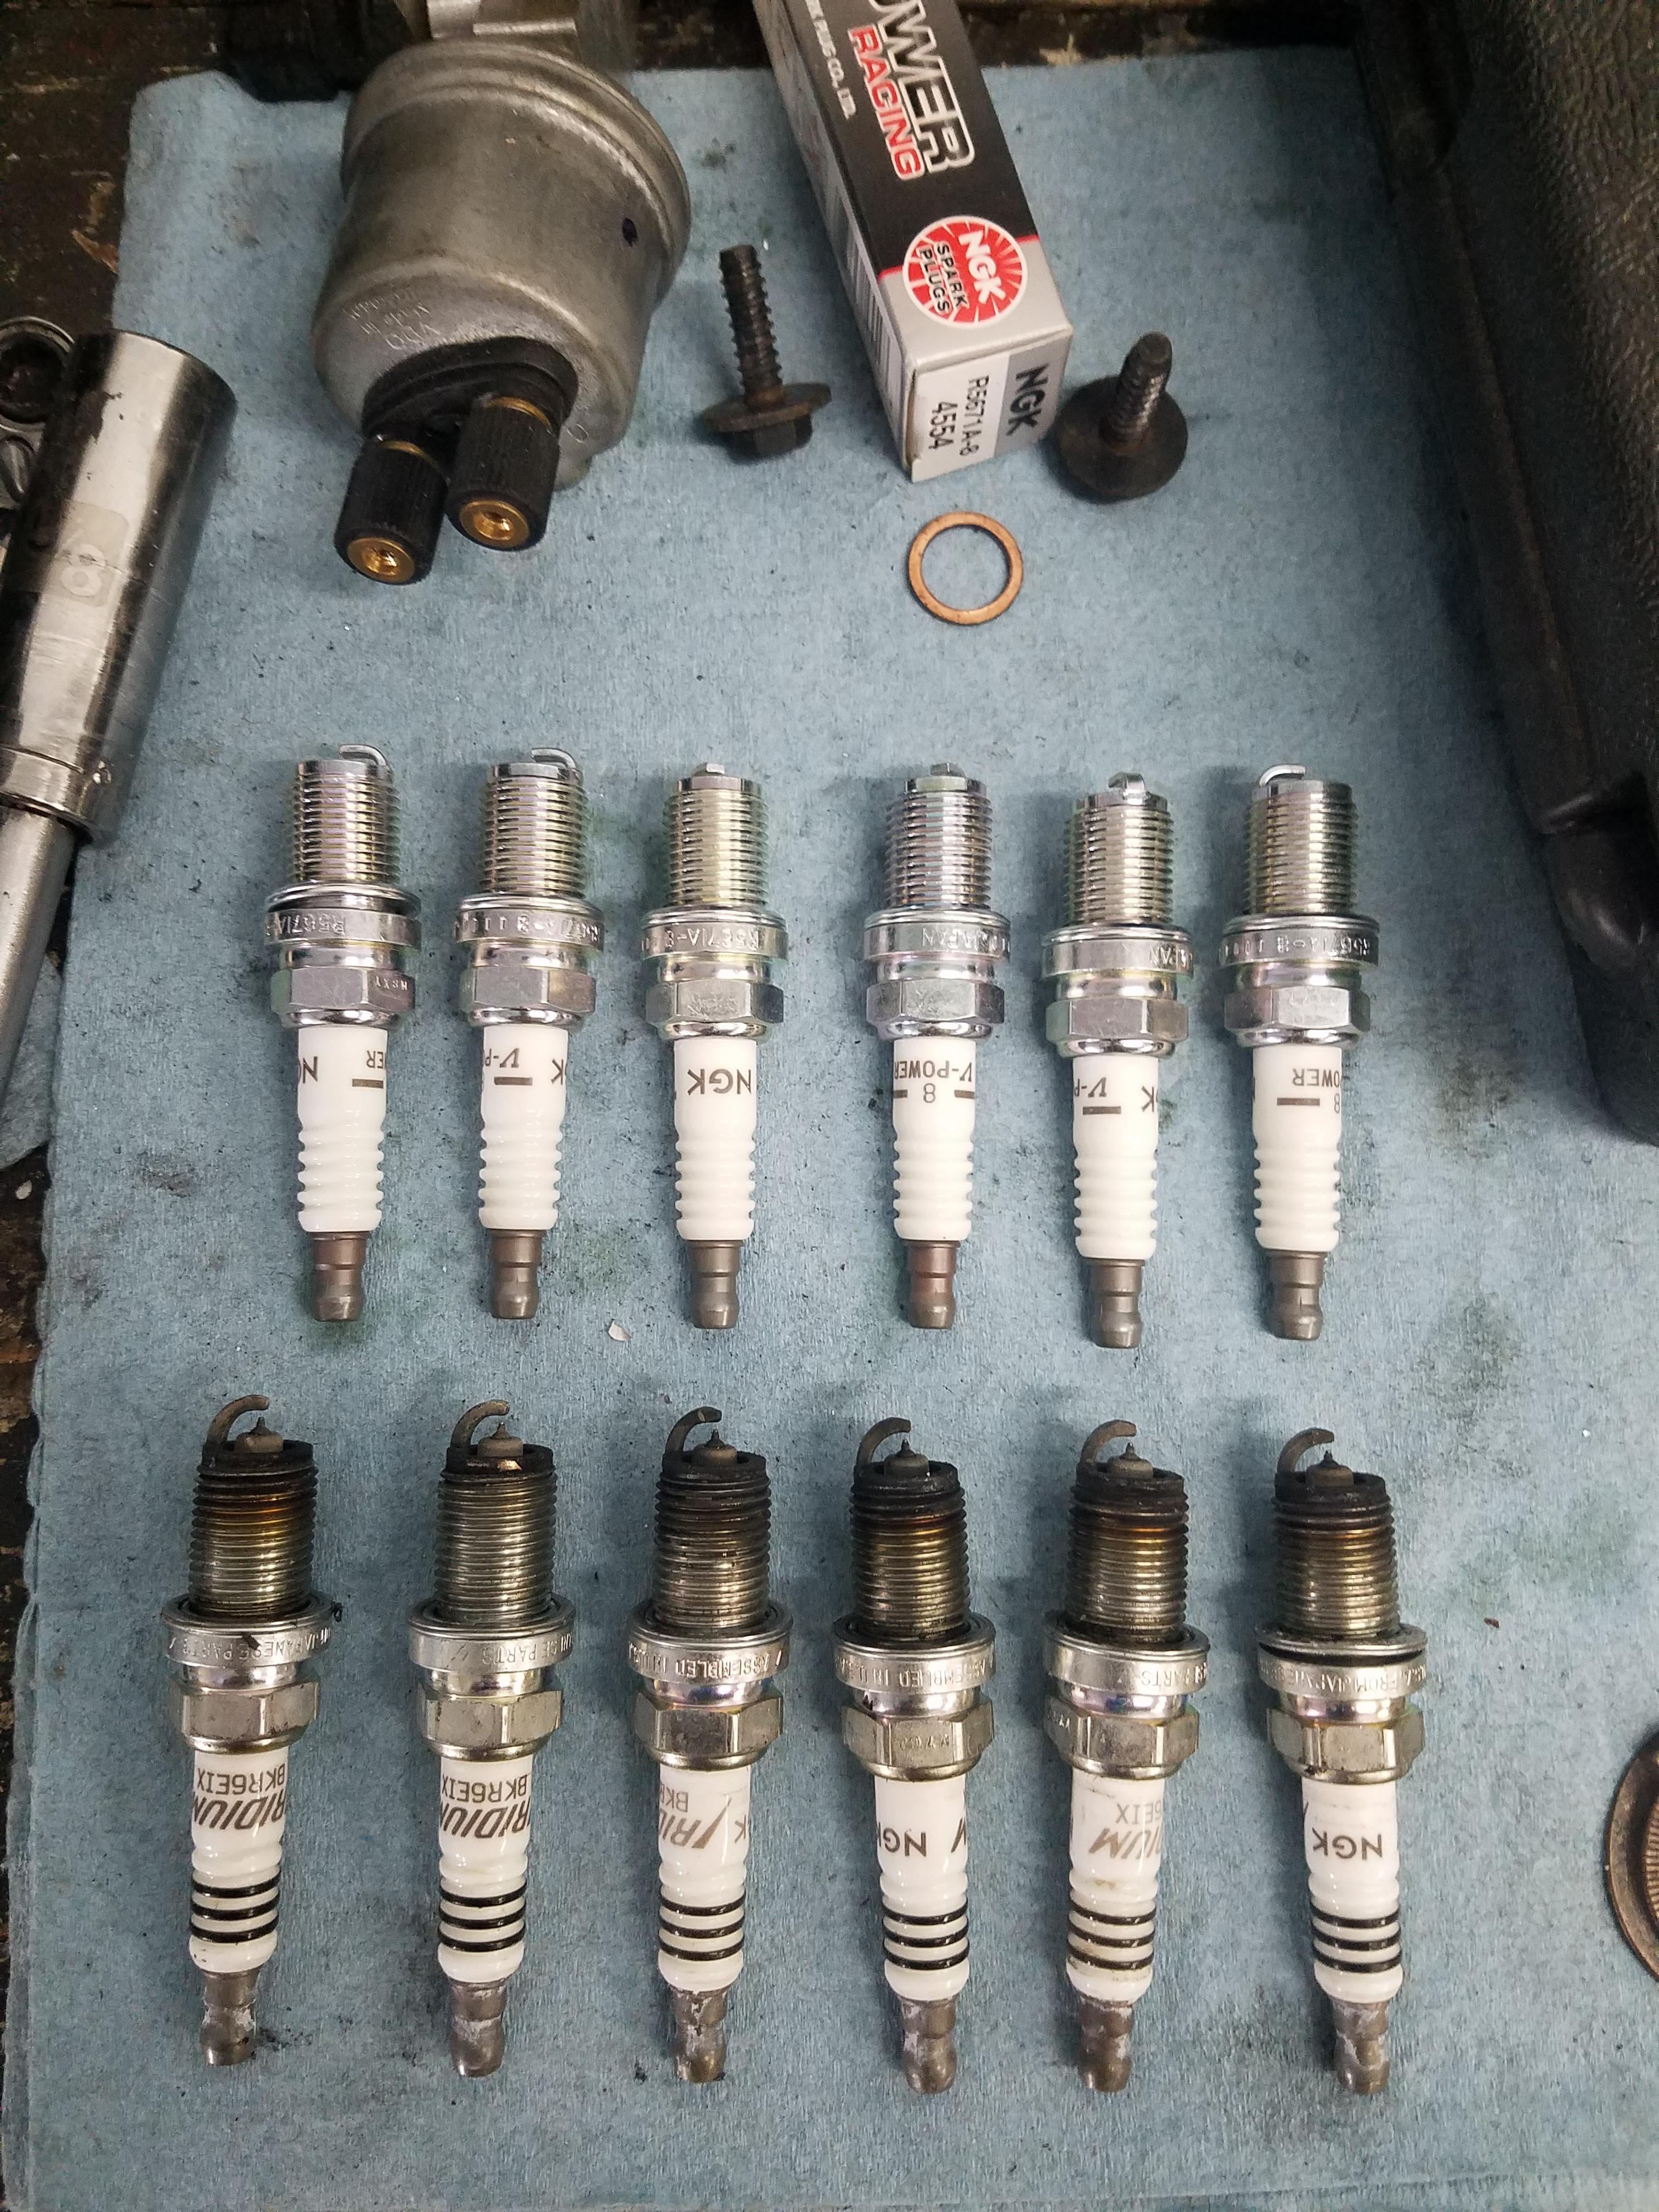
New spark plugs!
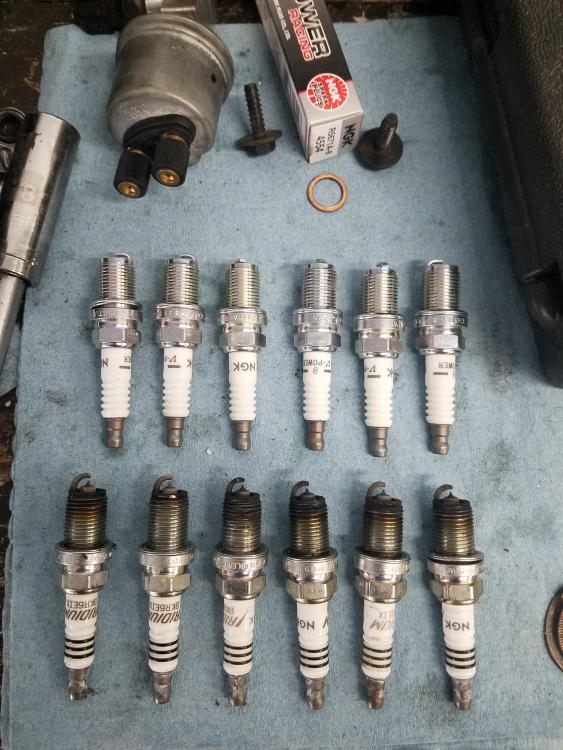
NGK (4554) 2 step colder plugs. Gaped them to .021, hopefully should do the trick.
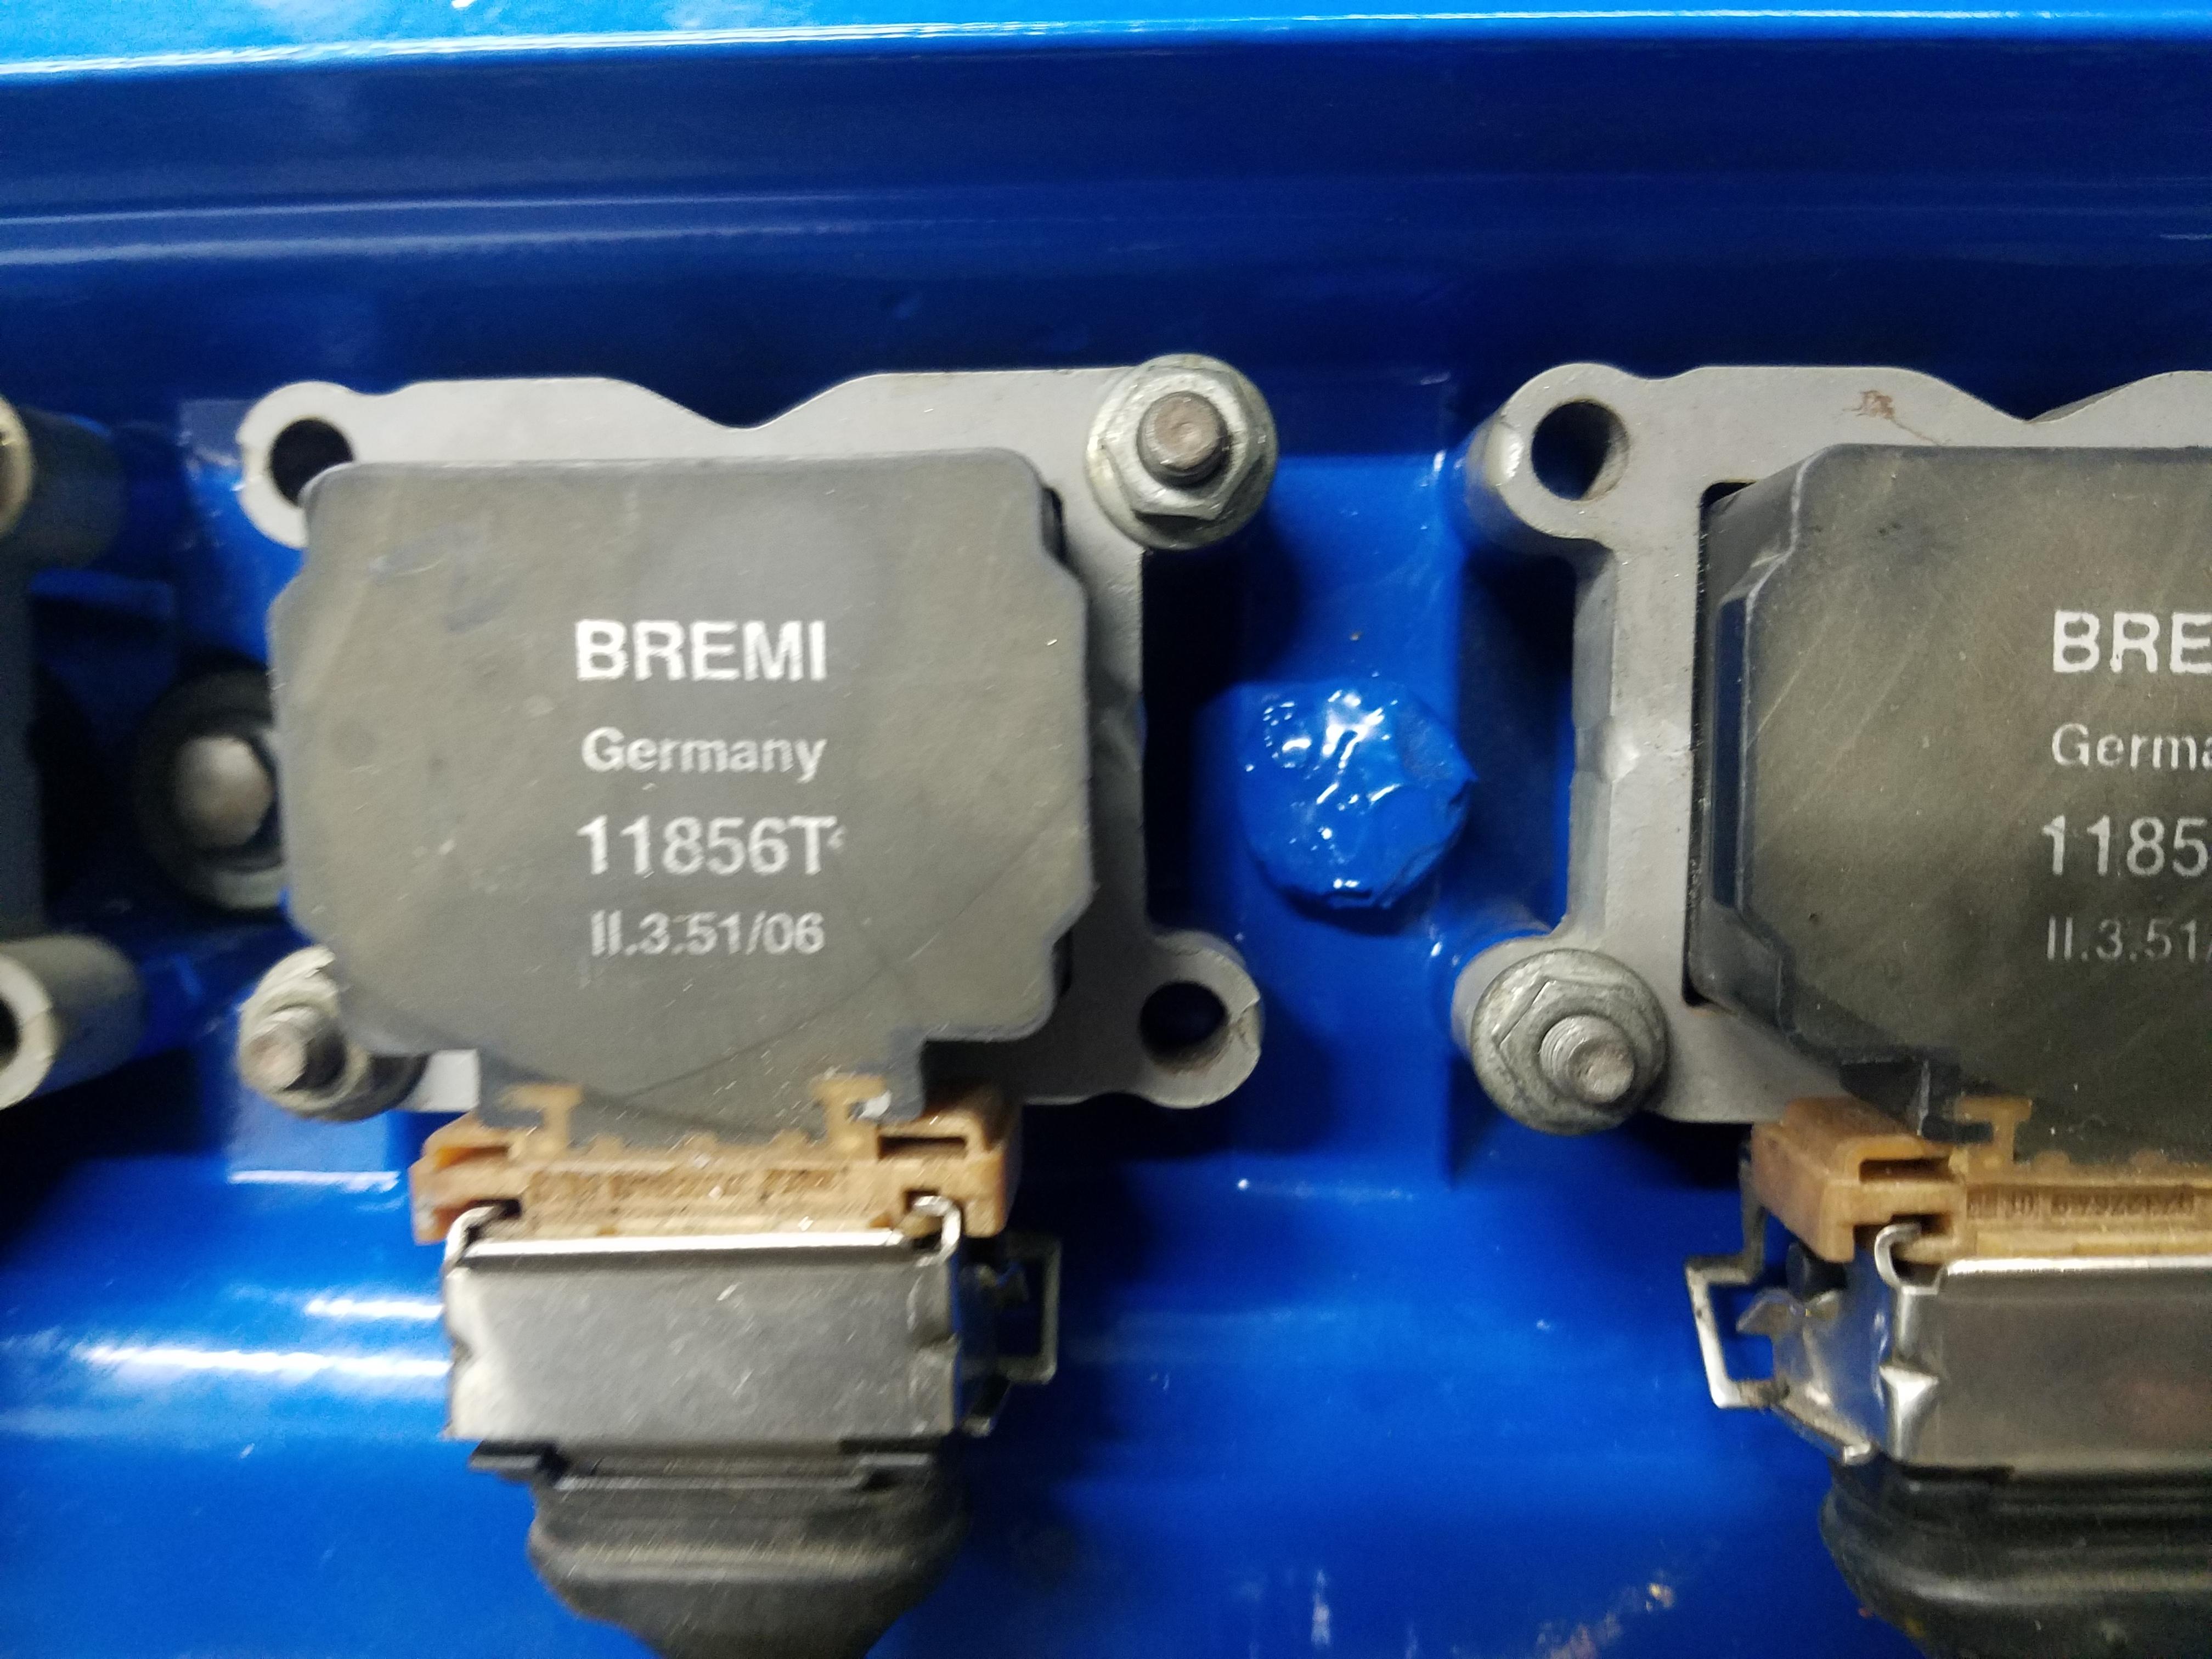
Went ahead and started working on trimming up the beauty cover to clear the turbski's when I noticed something interesting about the mounting points for it on the valve cover.
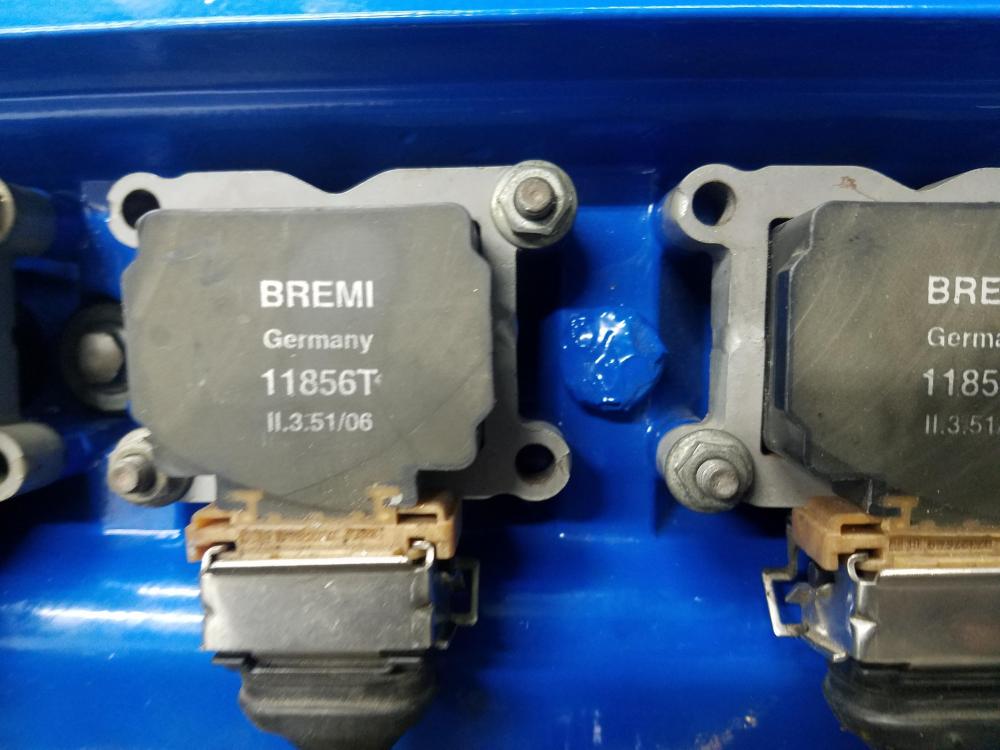
Not sure how the hell that happened and to be honest I never really noticed it tell now. Looks like the beauty cover will be sitting this one out.
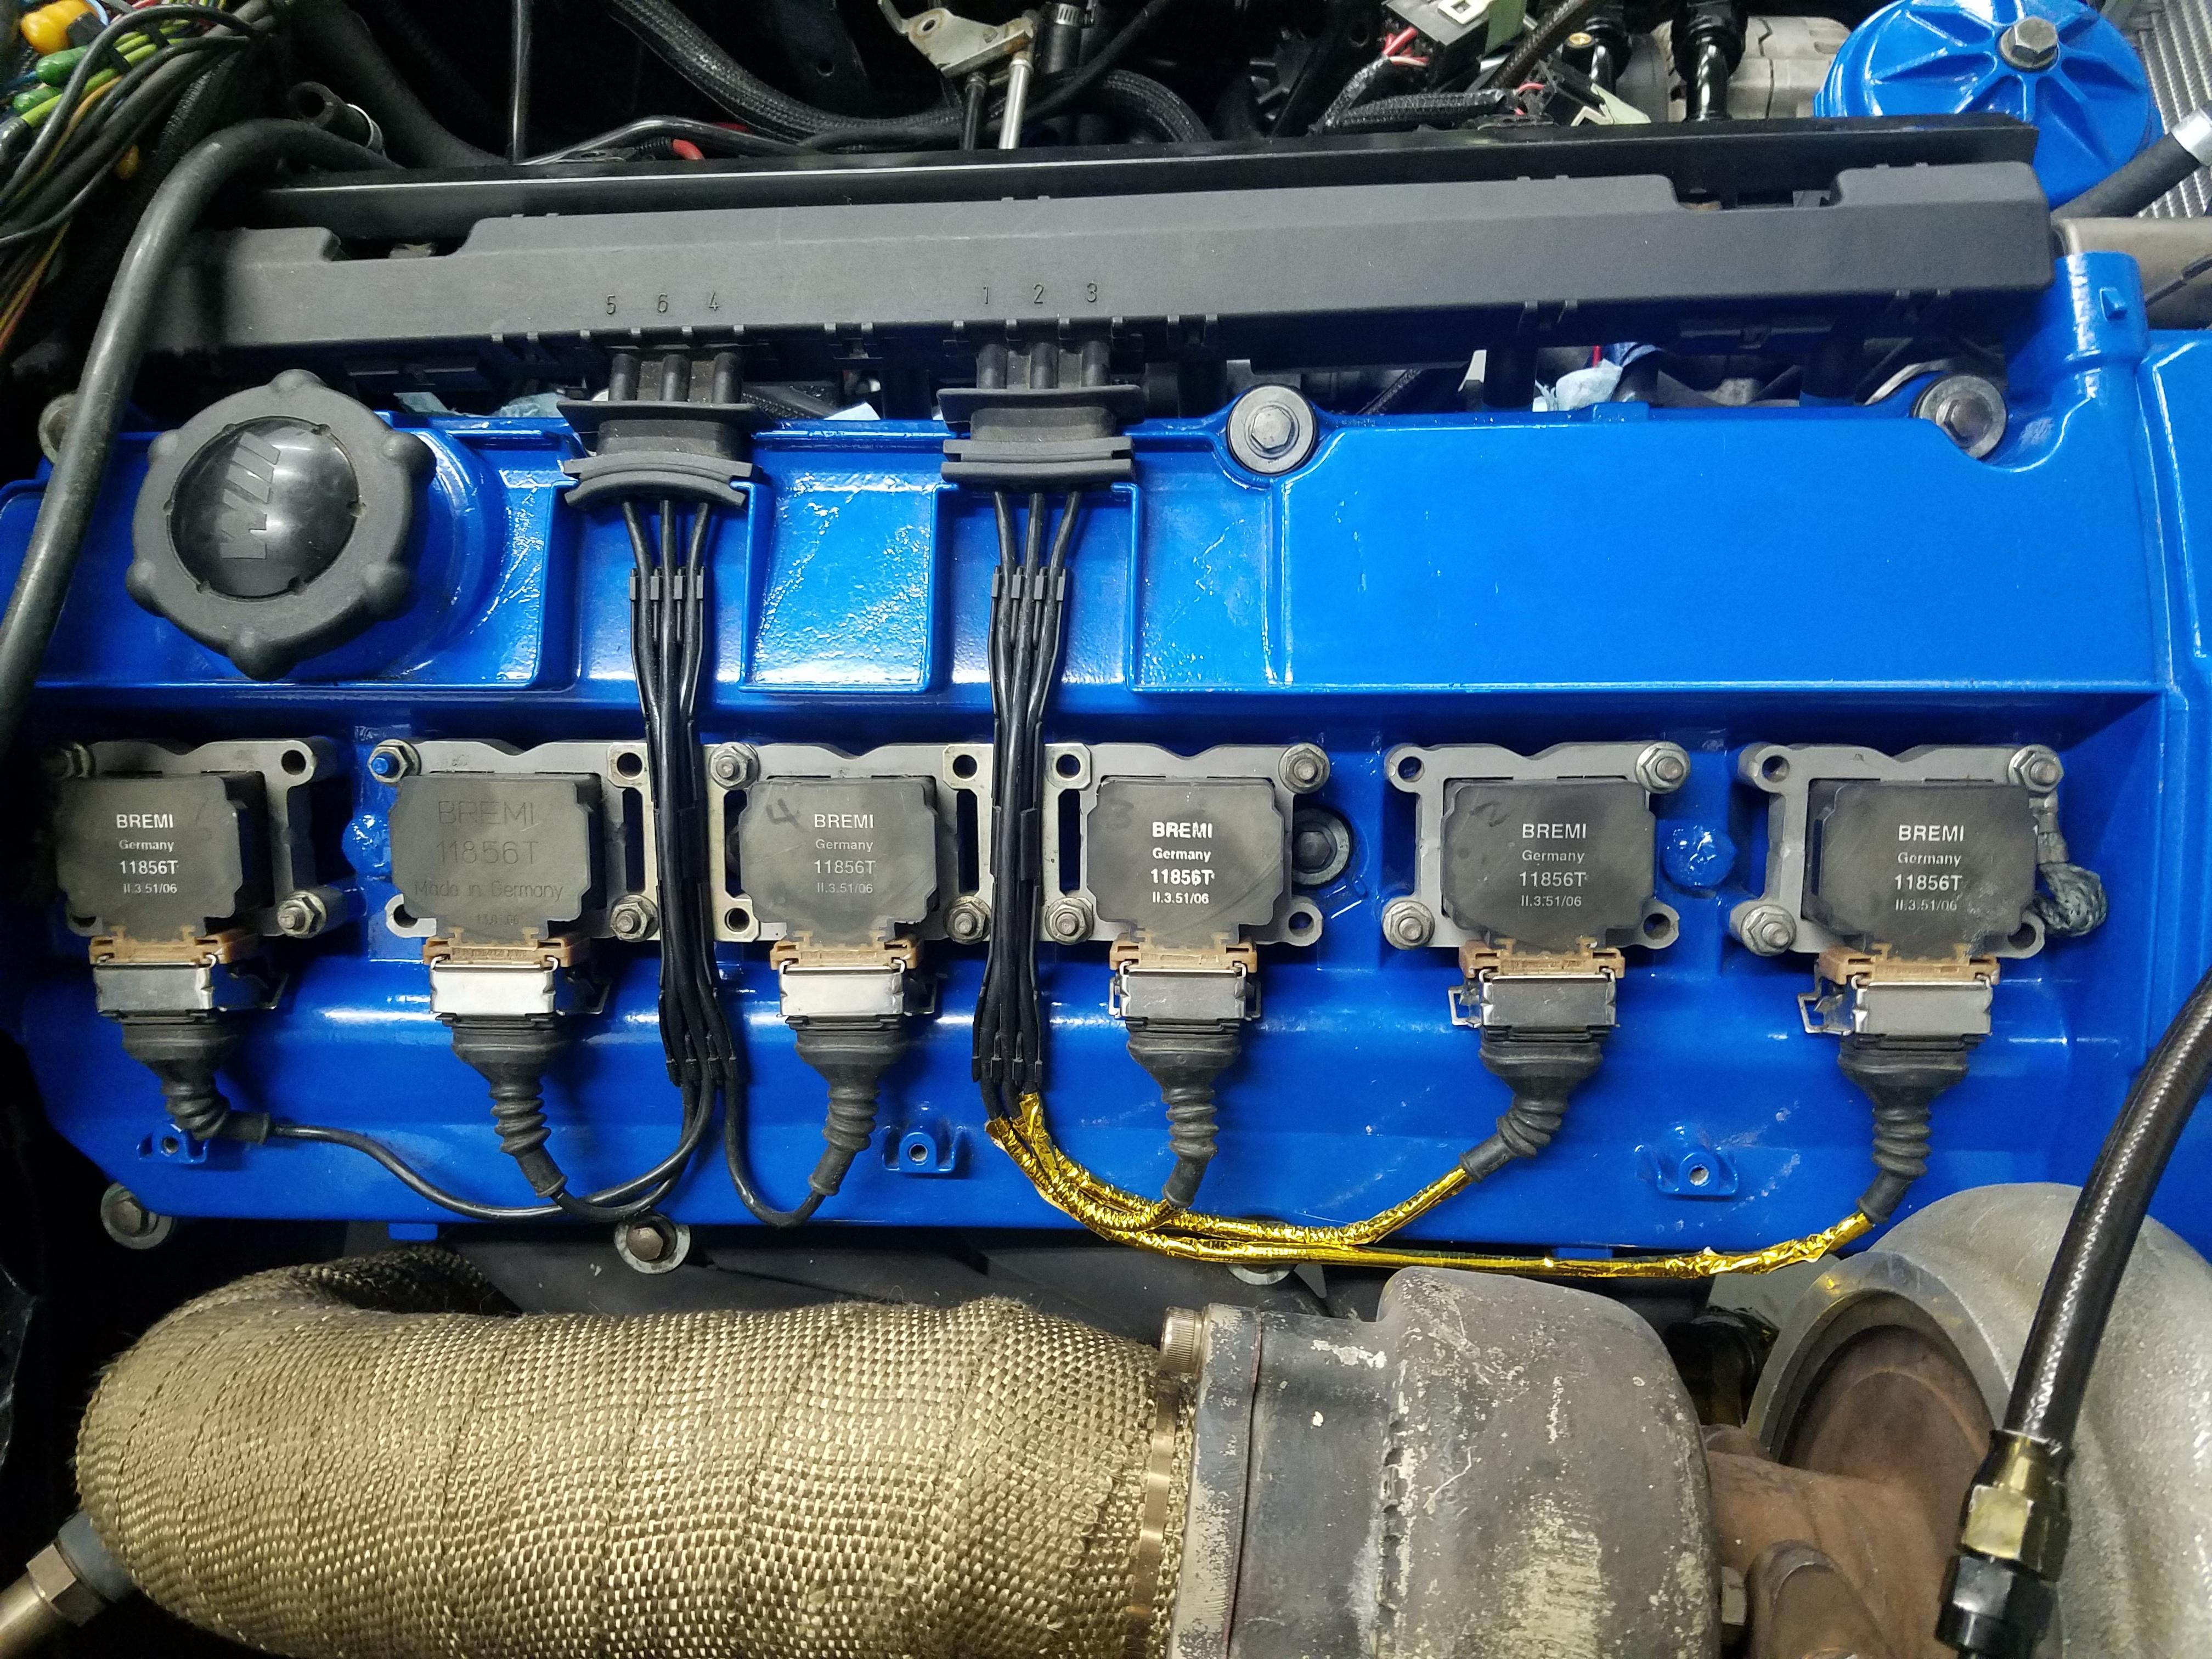
To compensate a little (not to sure how much it will help) I went ahead and heat taped all the wires closest to the hot side of the turbo.
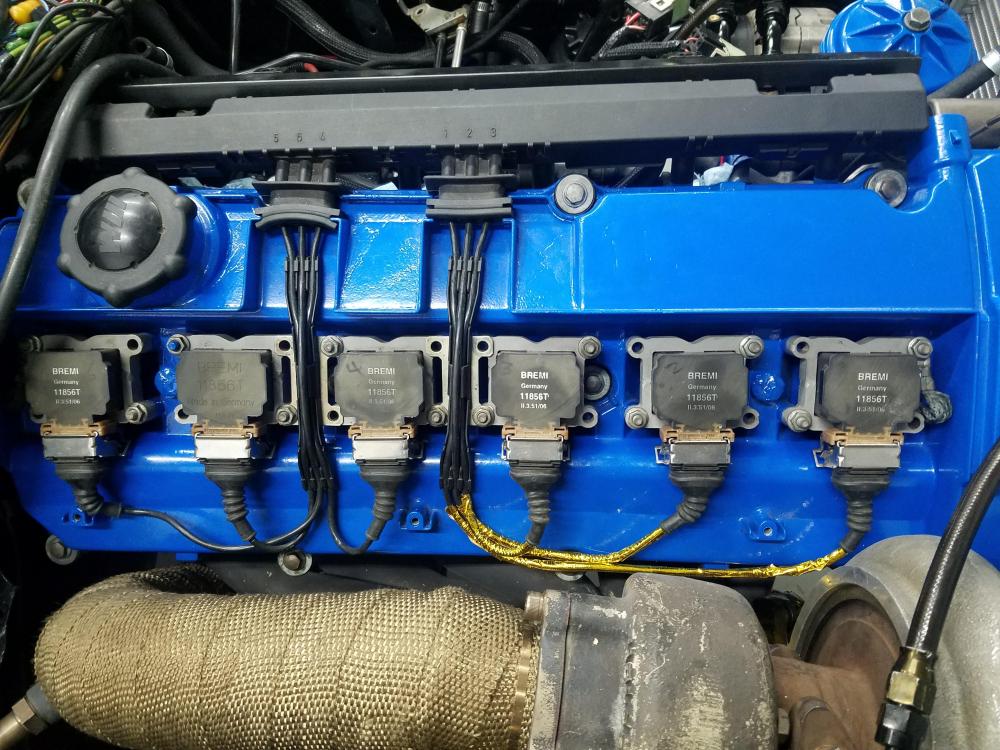
I guess we'll see what happens with that.
Also got the section of the strut tower heat taped where need be.
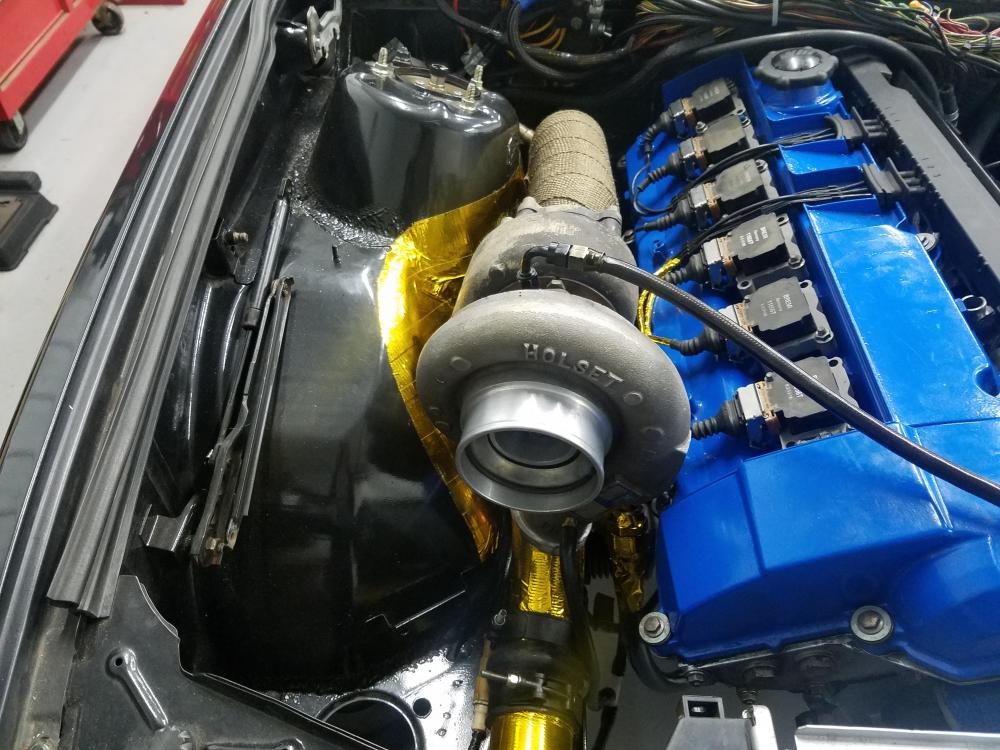
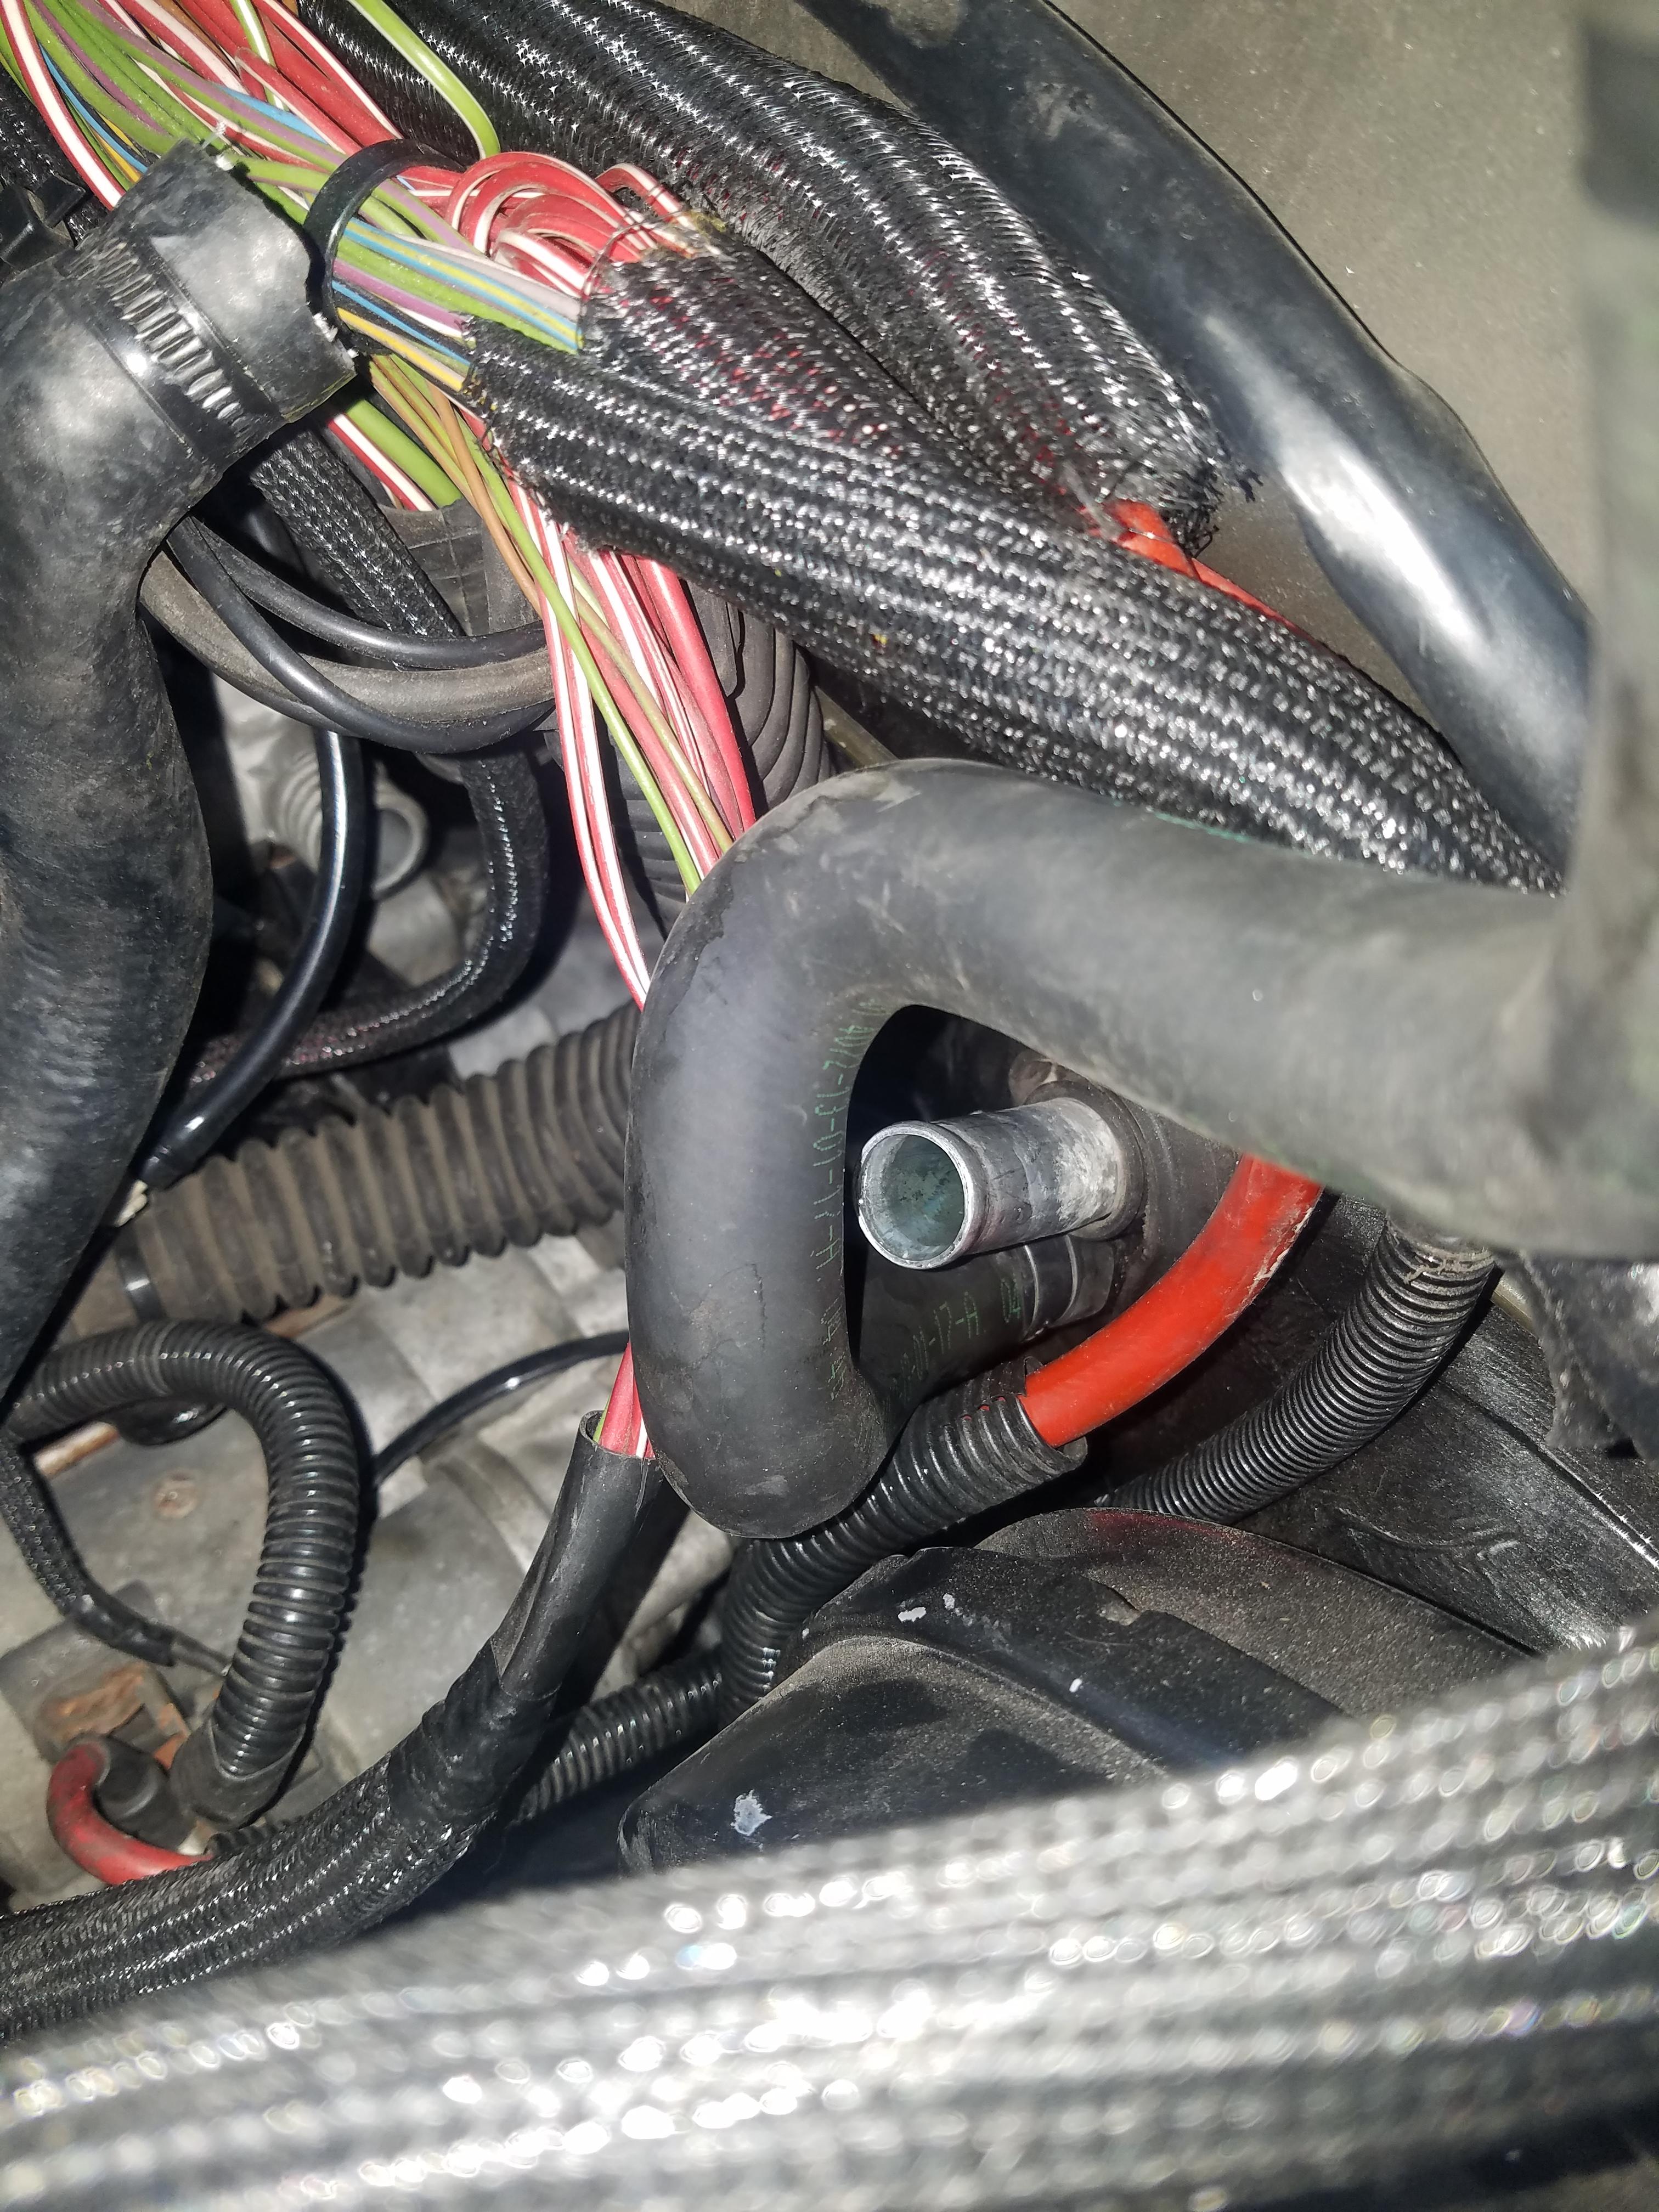
With that finished up I went on to the next thing, heater core issues. As per @straight6pwr advice I went ahead and poured water through both sides of the heater core pipes and sure enough water came out both sides.
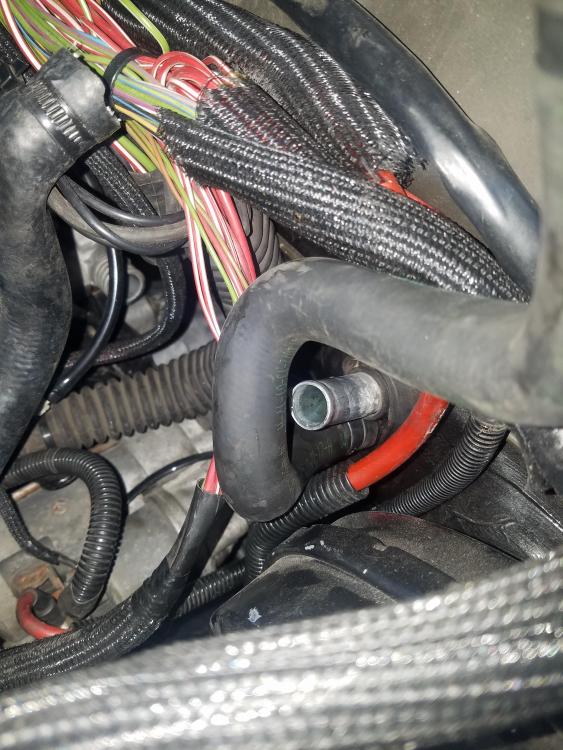
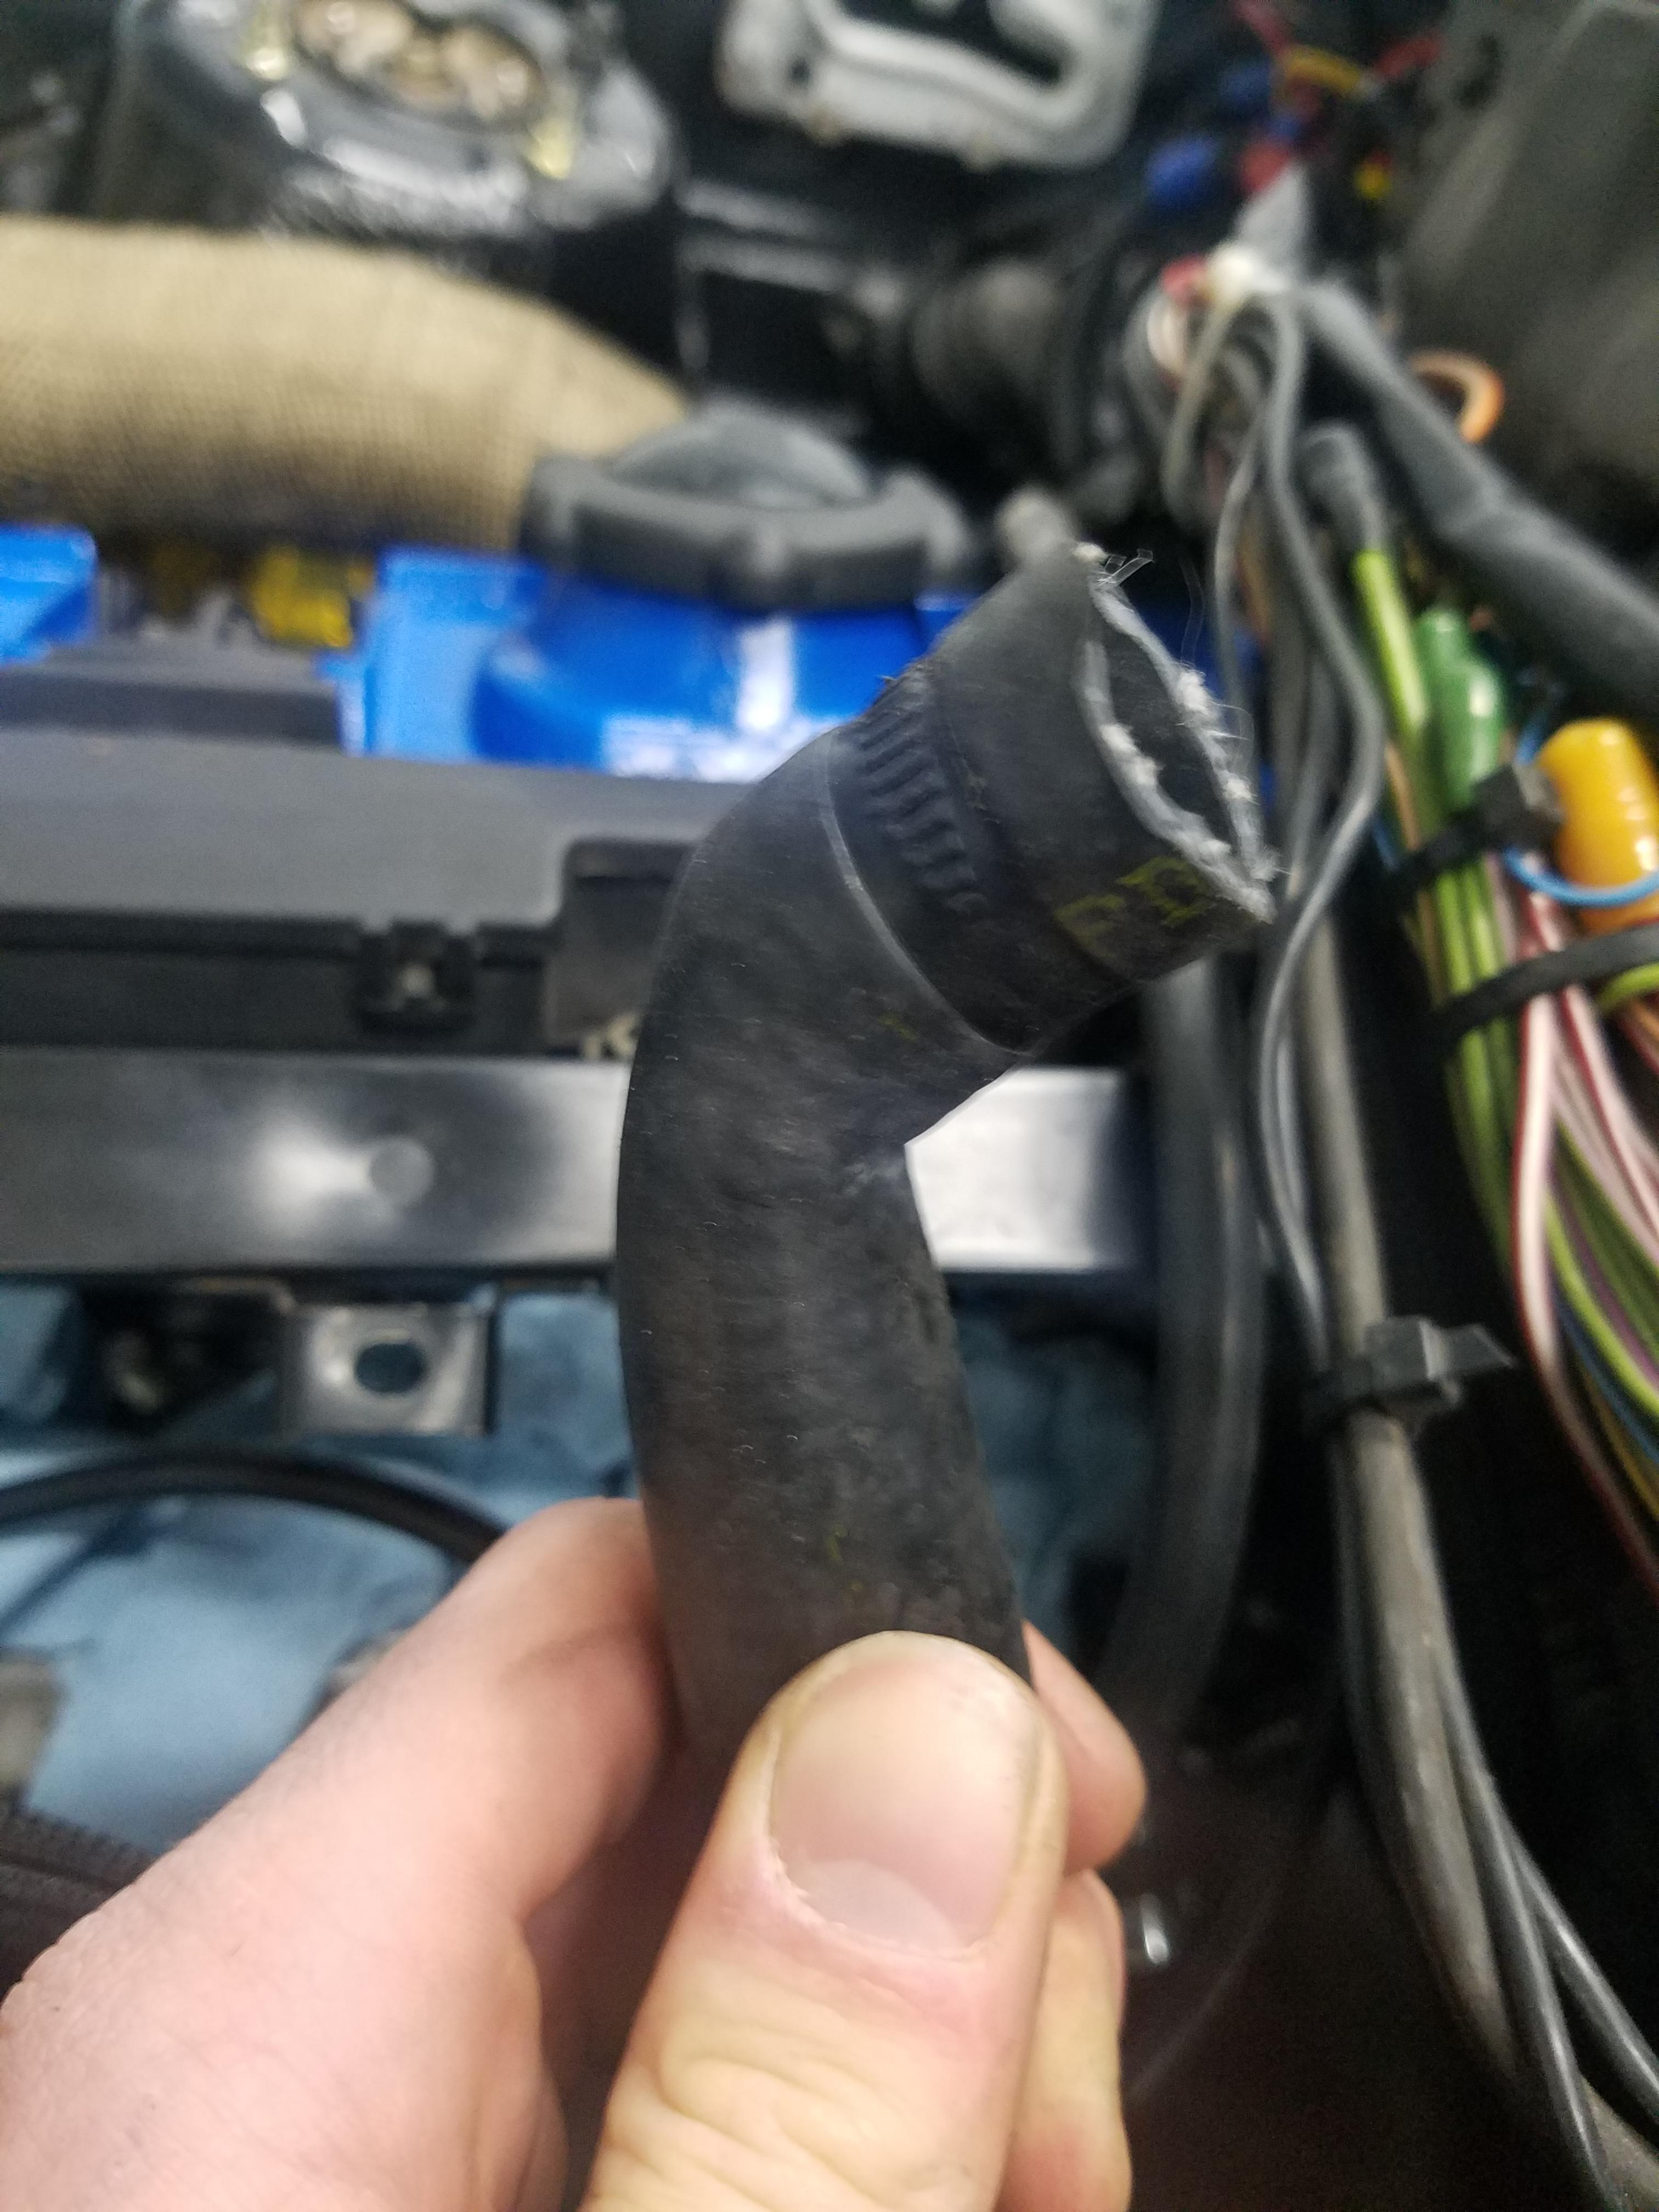
After figuring that the core is most likely not the problem I have now assumed that it had a little something to do with this...
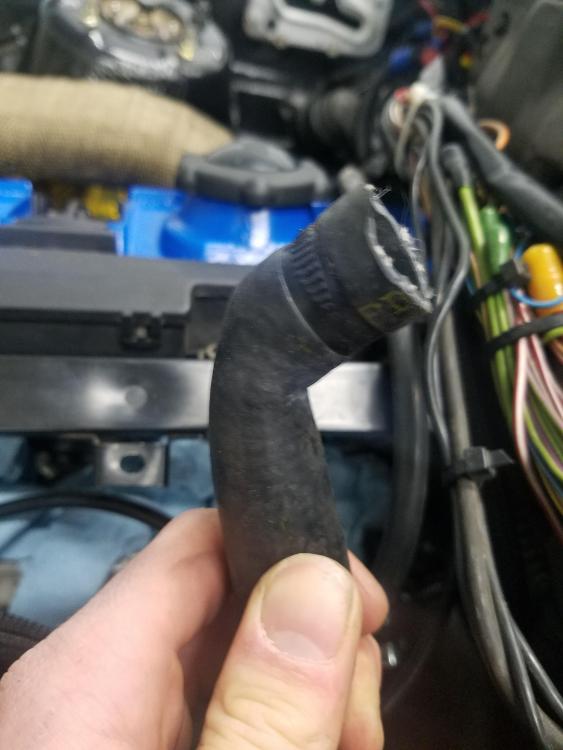
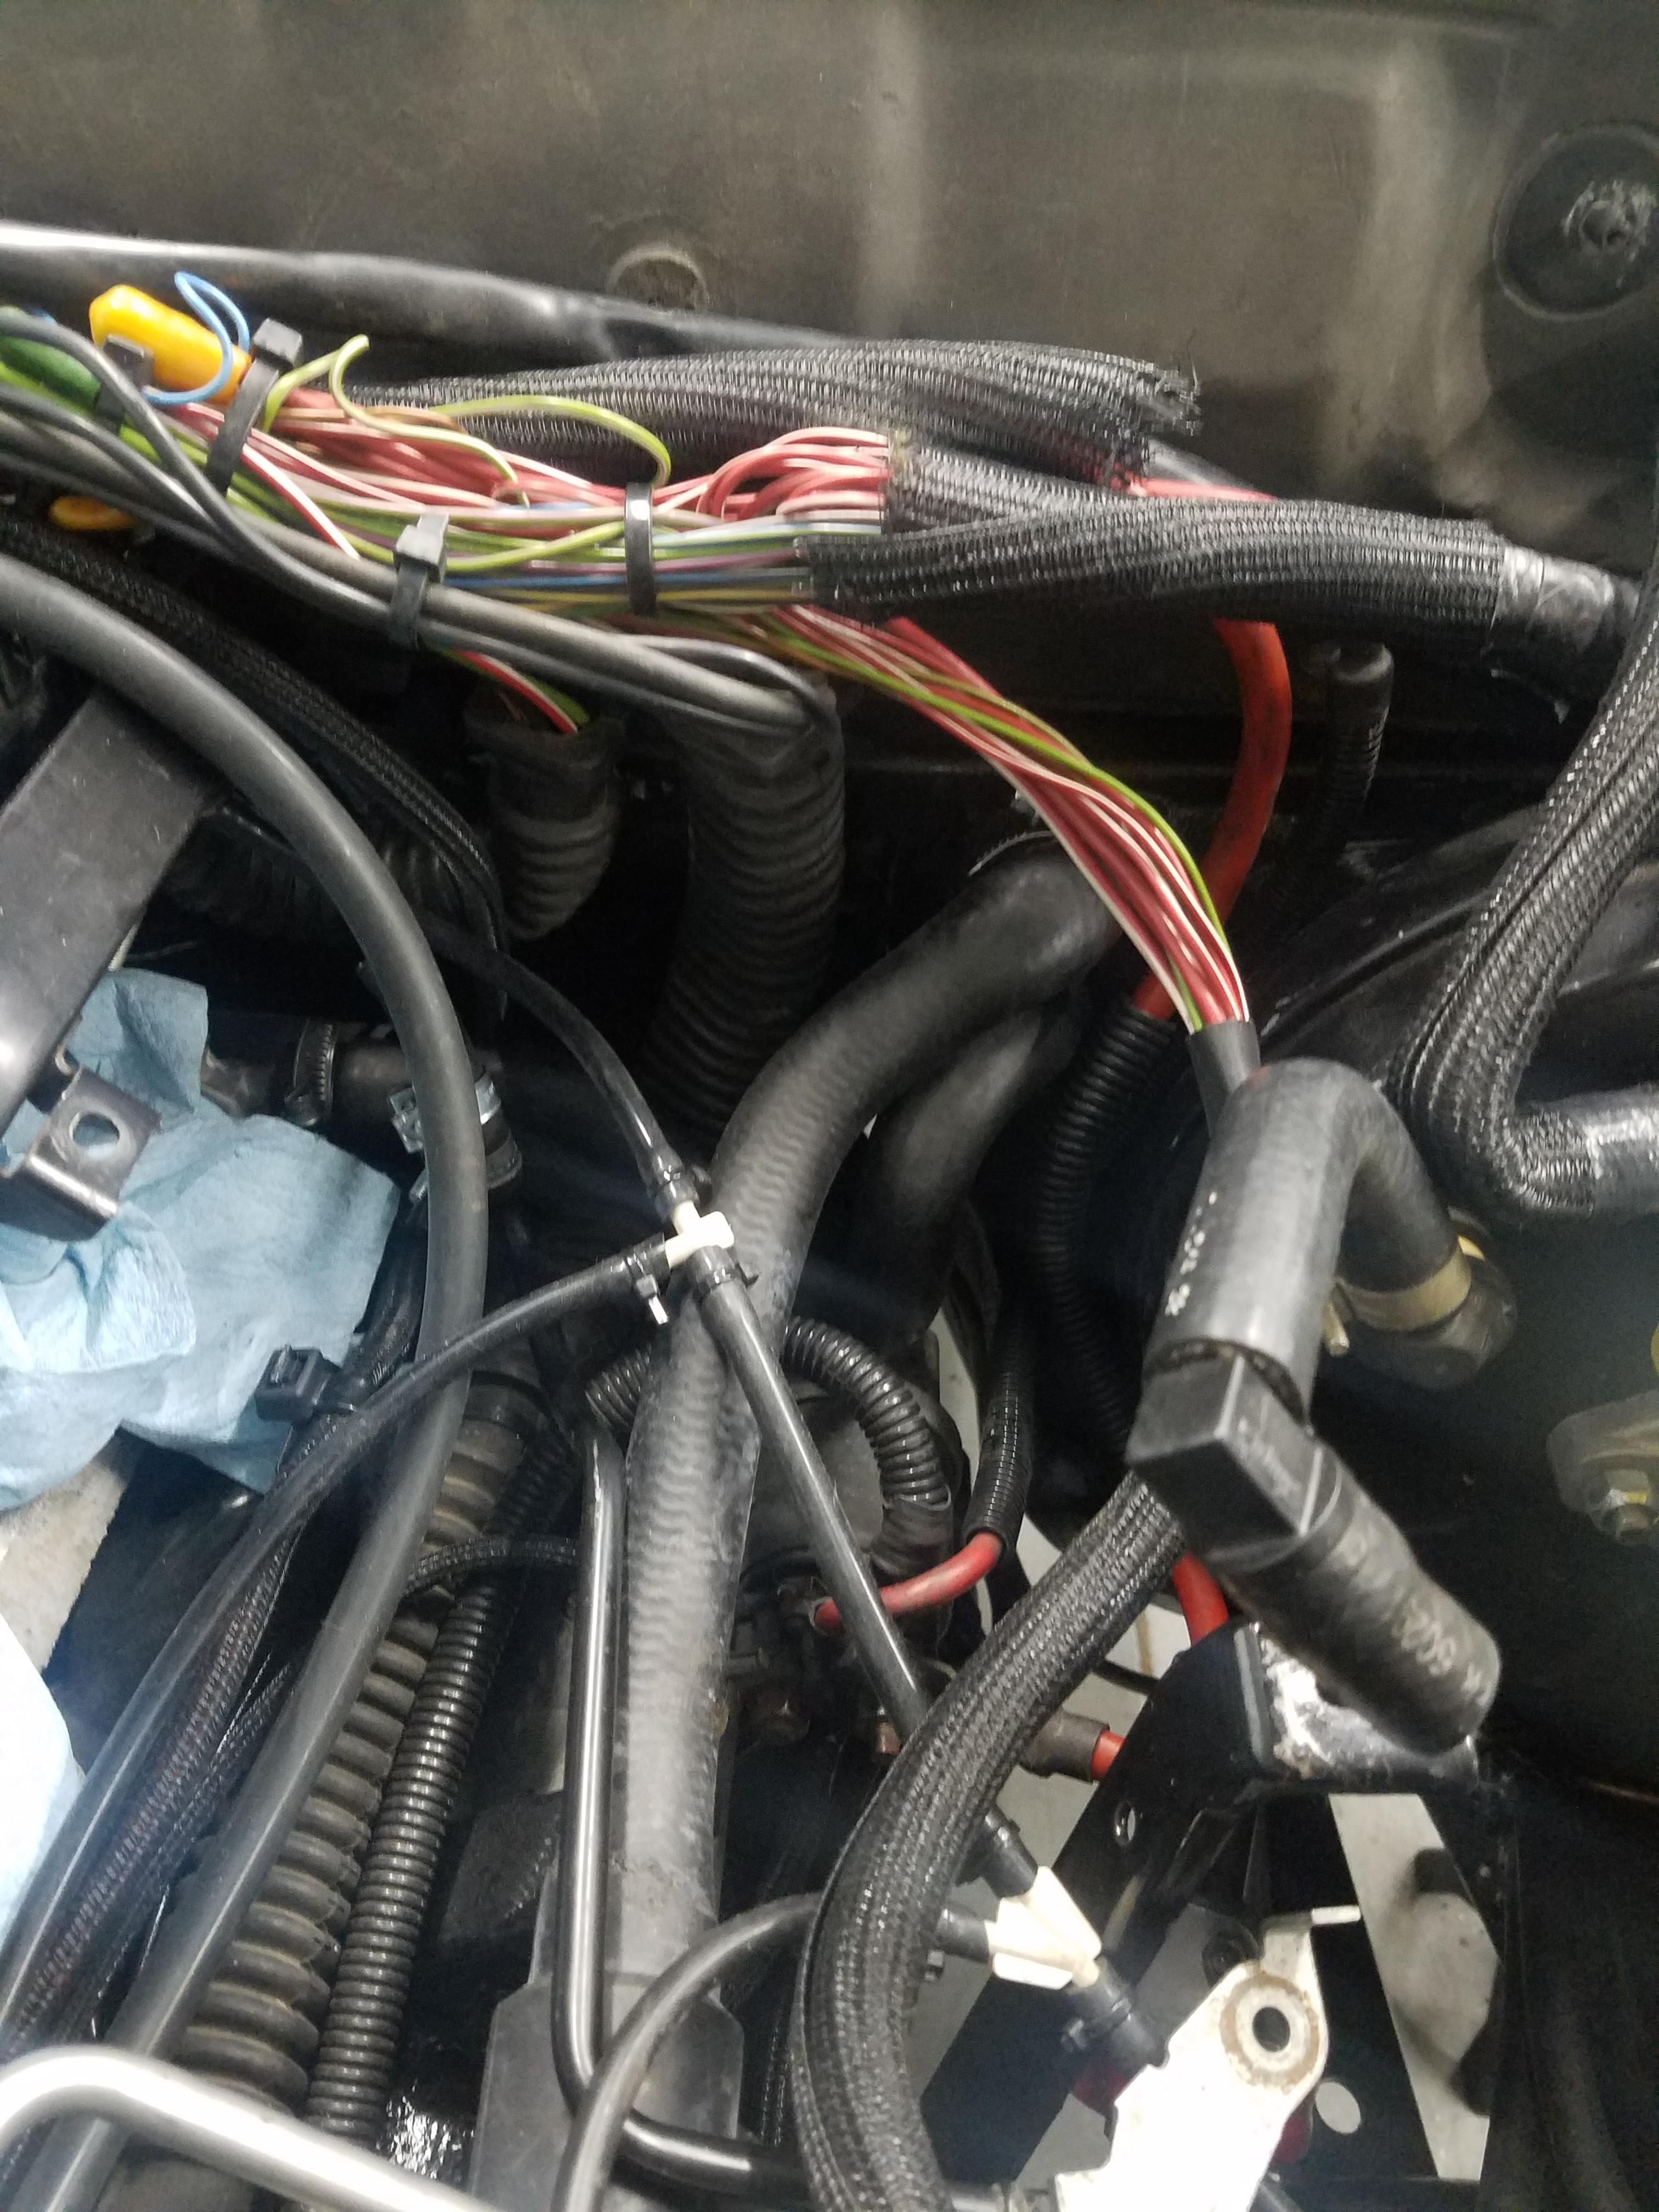
The kink was even worse when it was hooked up originally so I tried twisting it a bit when hooking it back up and I'm hoping that will do the trick.
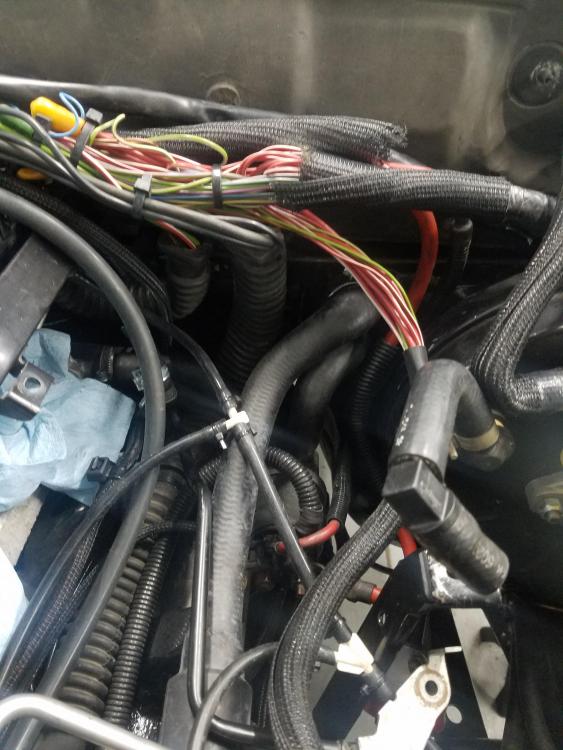
I will also be pulling the HVAC panel to check to make sure the temp dial is functioning properly. I sure am happy to know that it wasn't the heater core though.
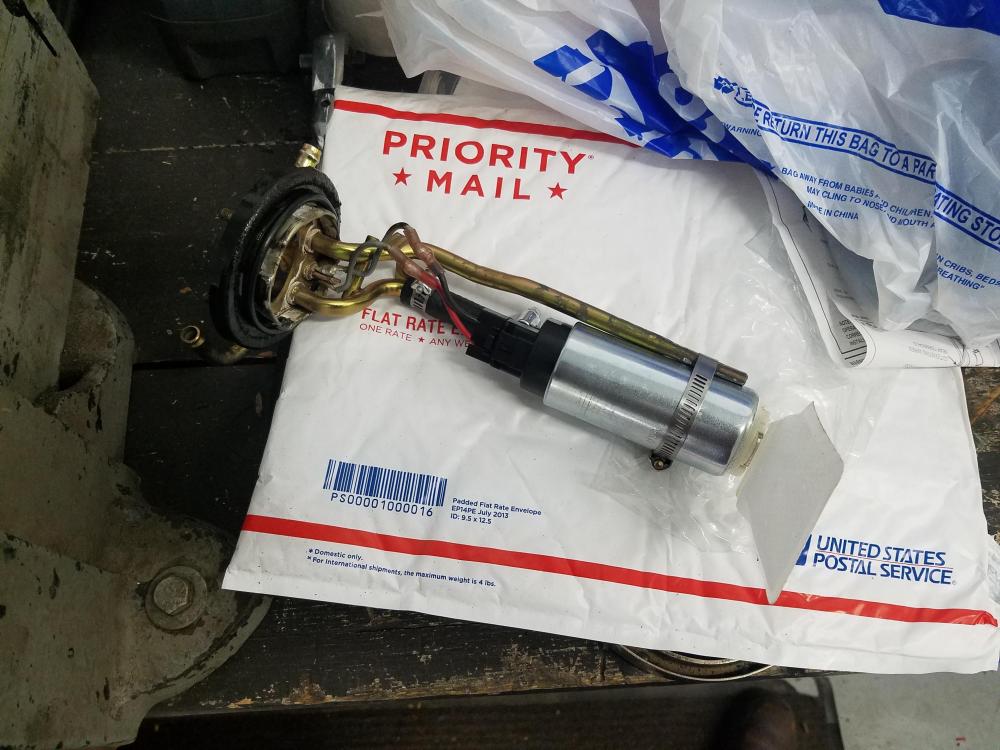
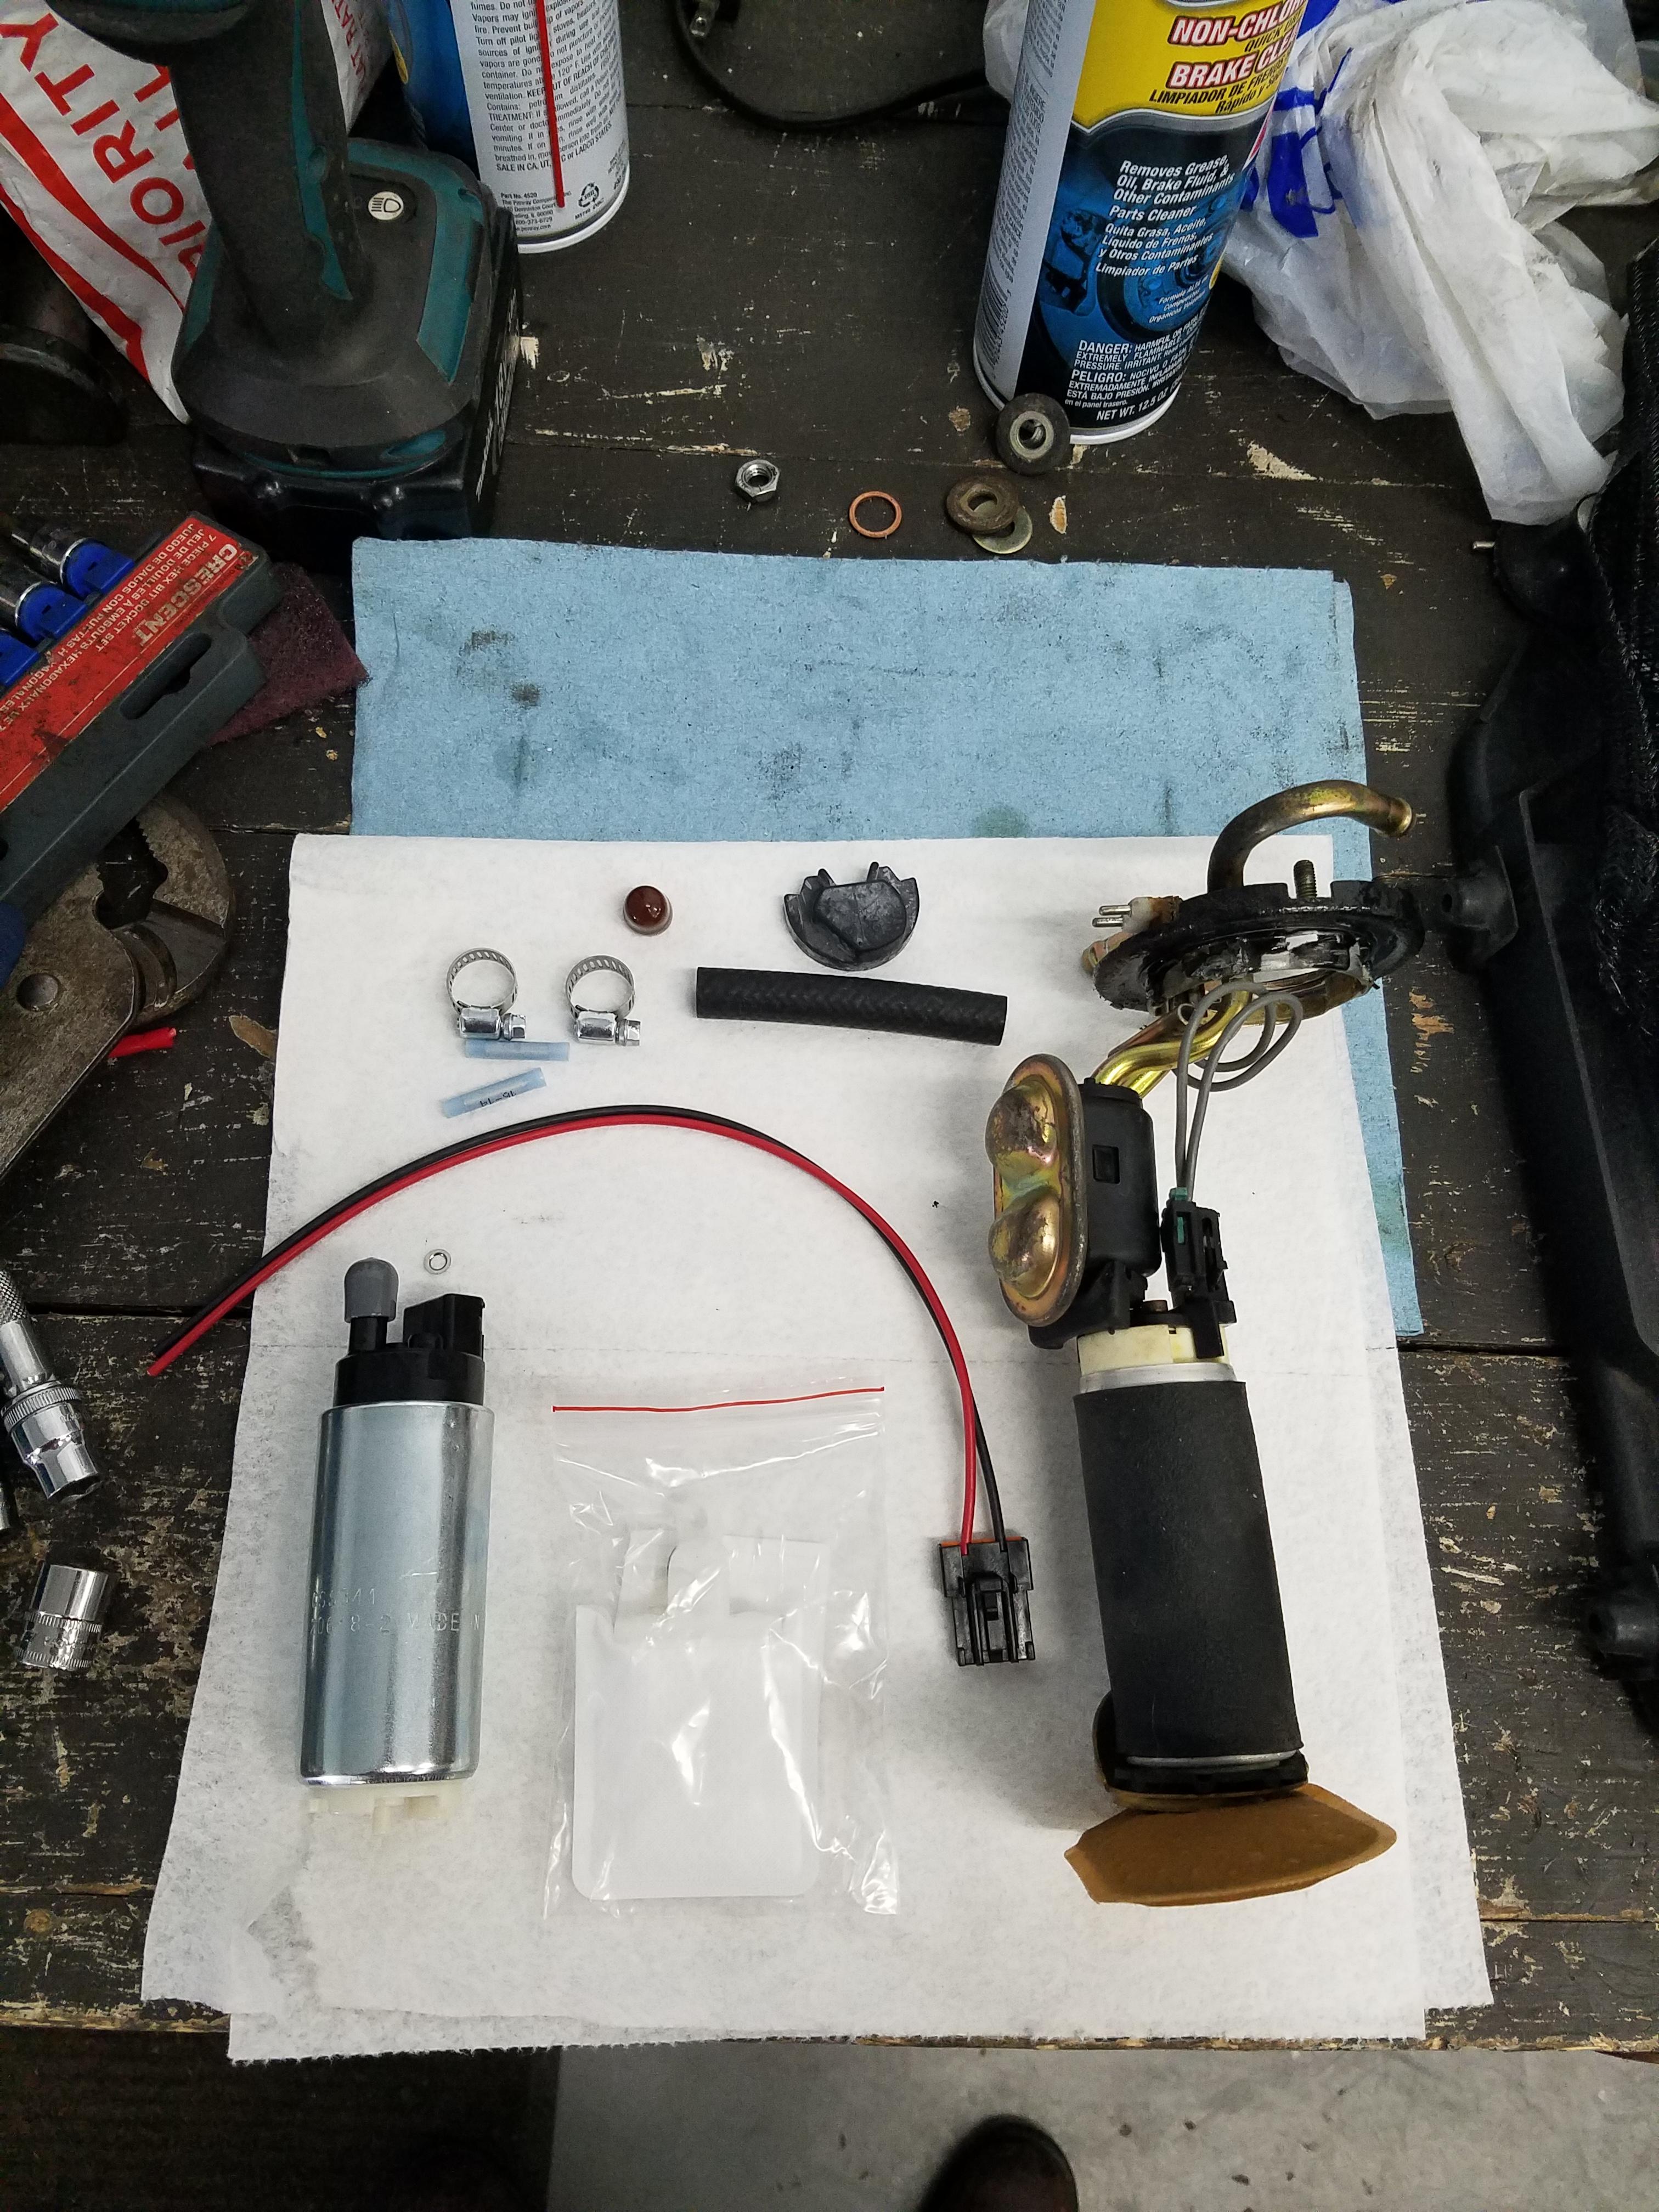
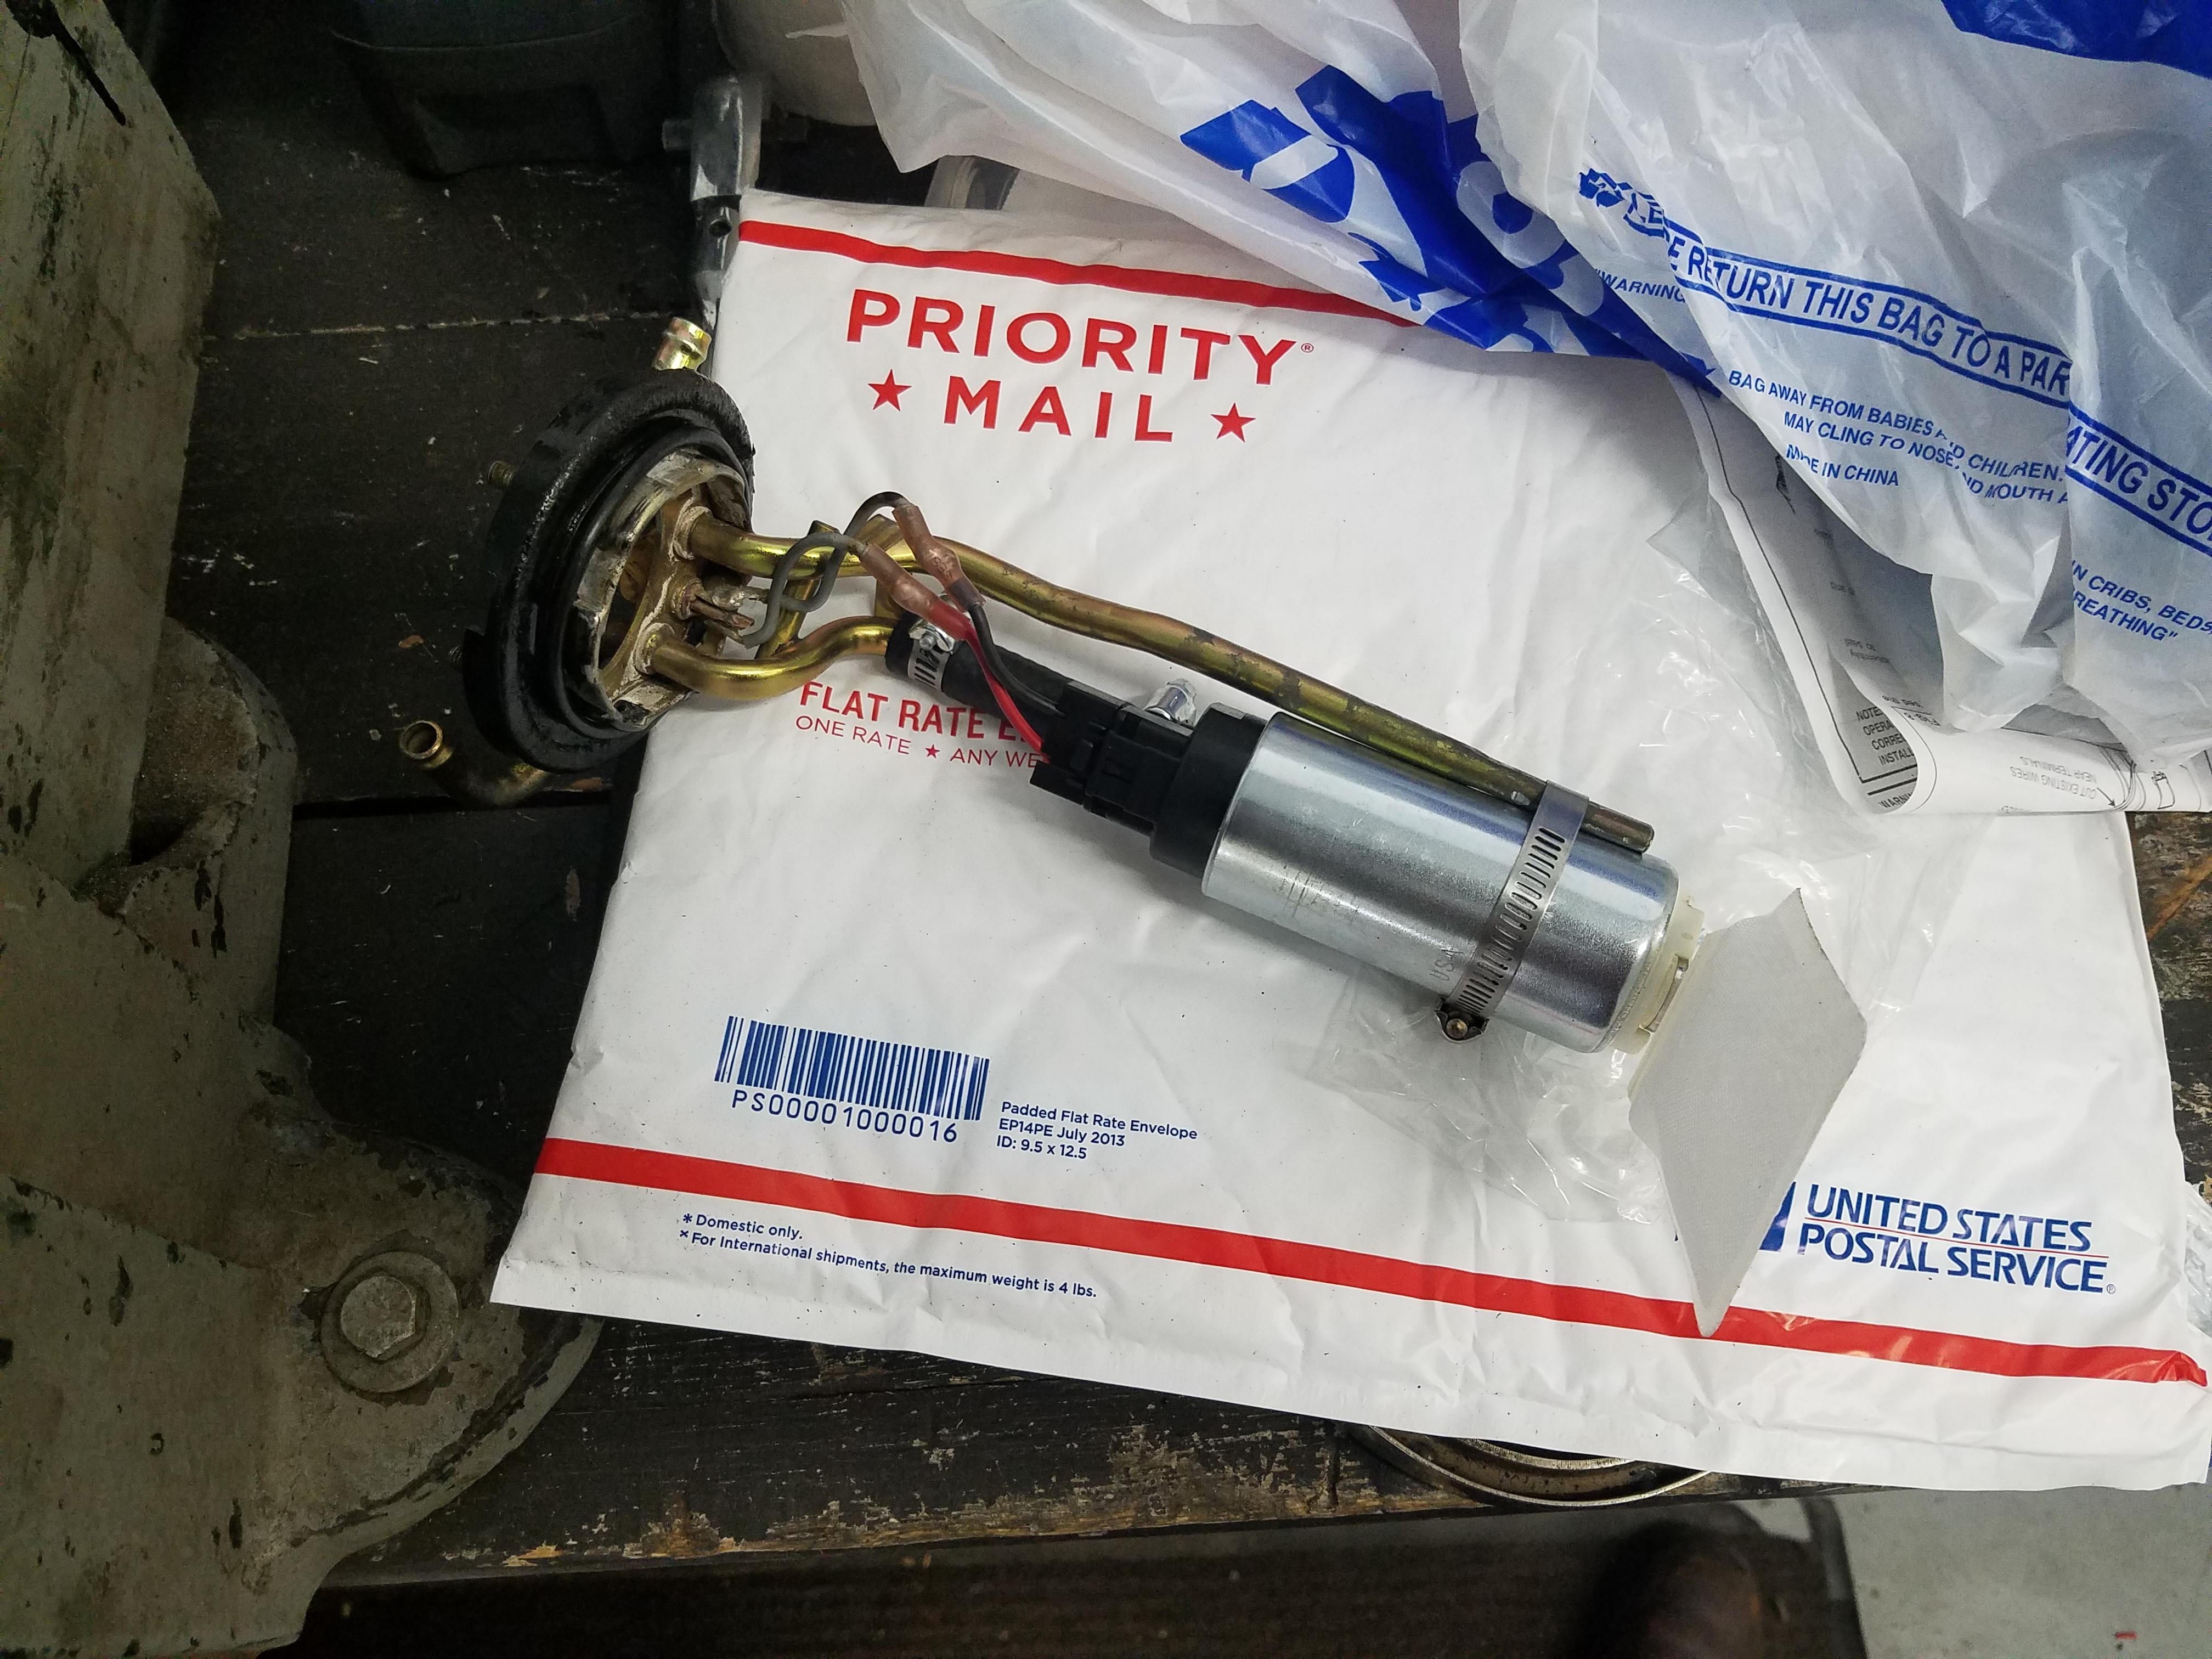
Next up, fuel pump.
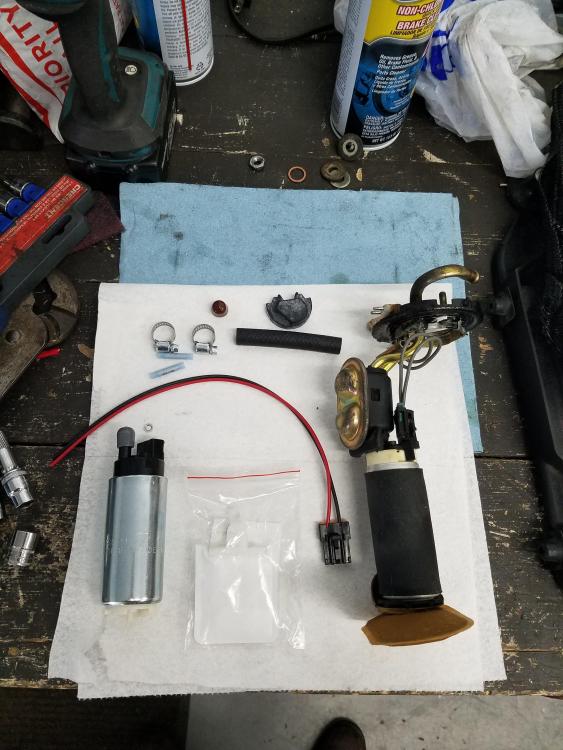
Ordered me up a Walbro 255 fuel pump and the installation kit on amazon. Stock pump ran like a champ with no issues on the NA setup but, with the extra amount of demand for fuel I felt it would be necessary for the upgrade. Everything showed up on Saturday and I got right to it.
Fairly easy install, curious as to how loud this will be in comparison to the stock pump.
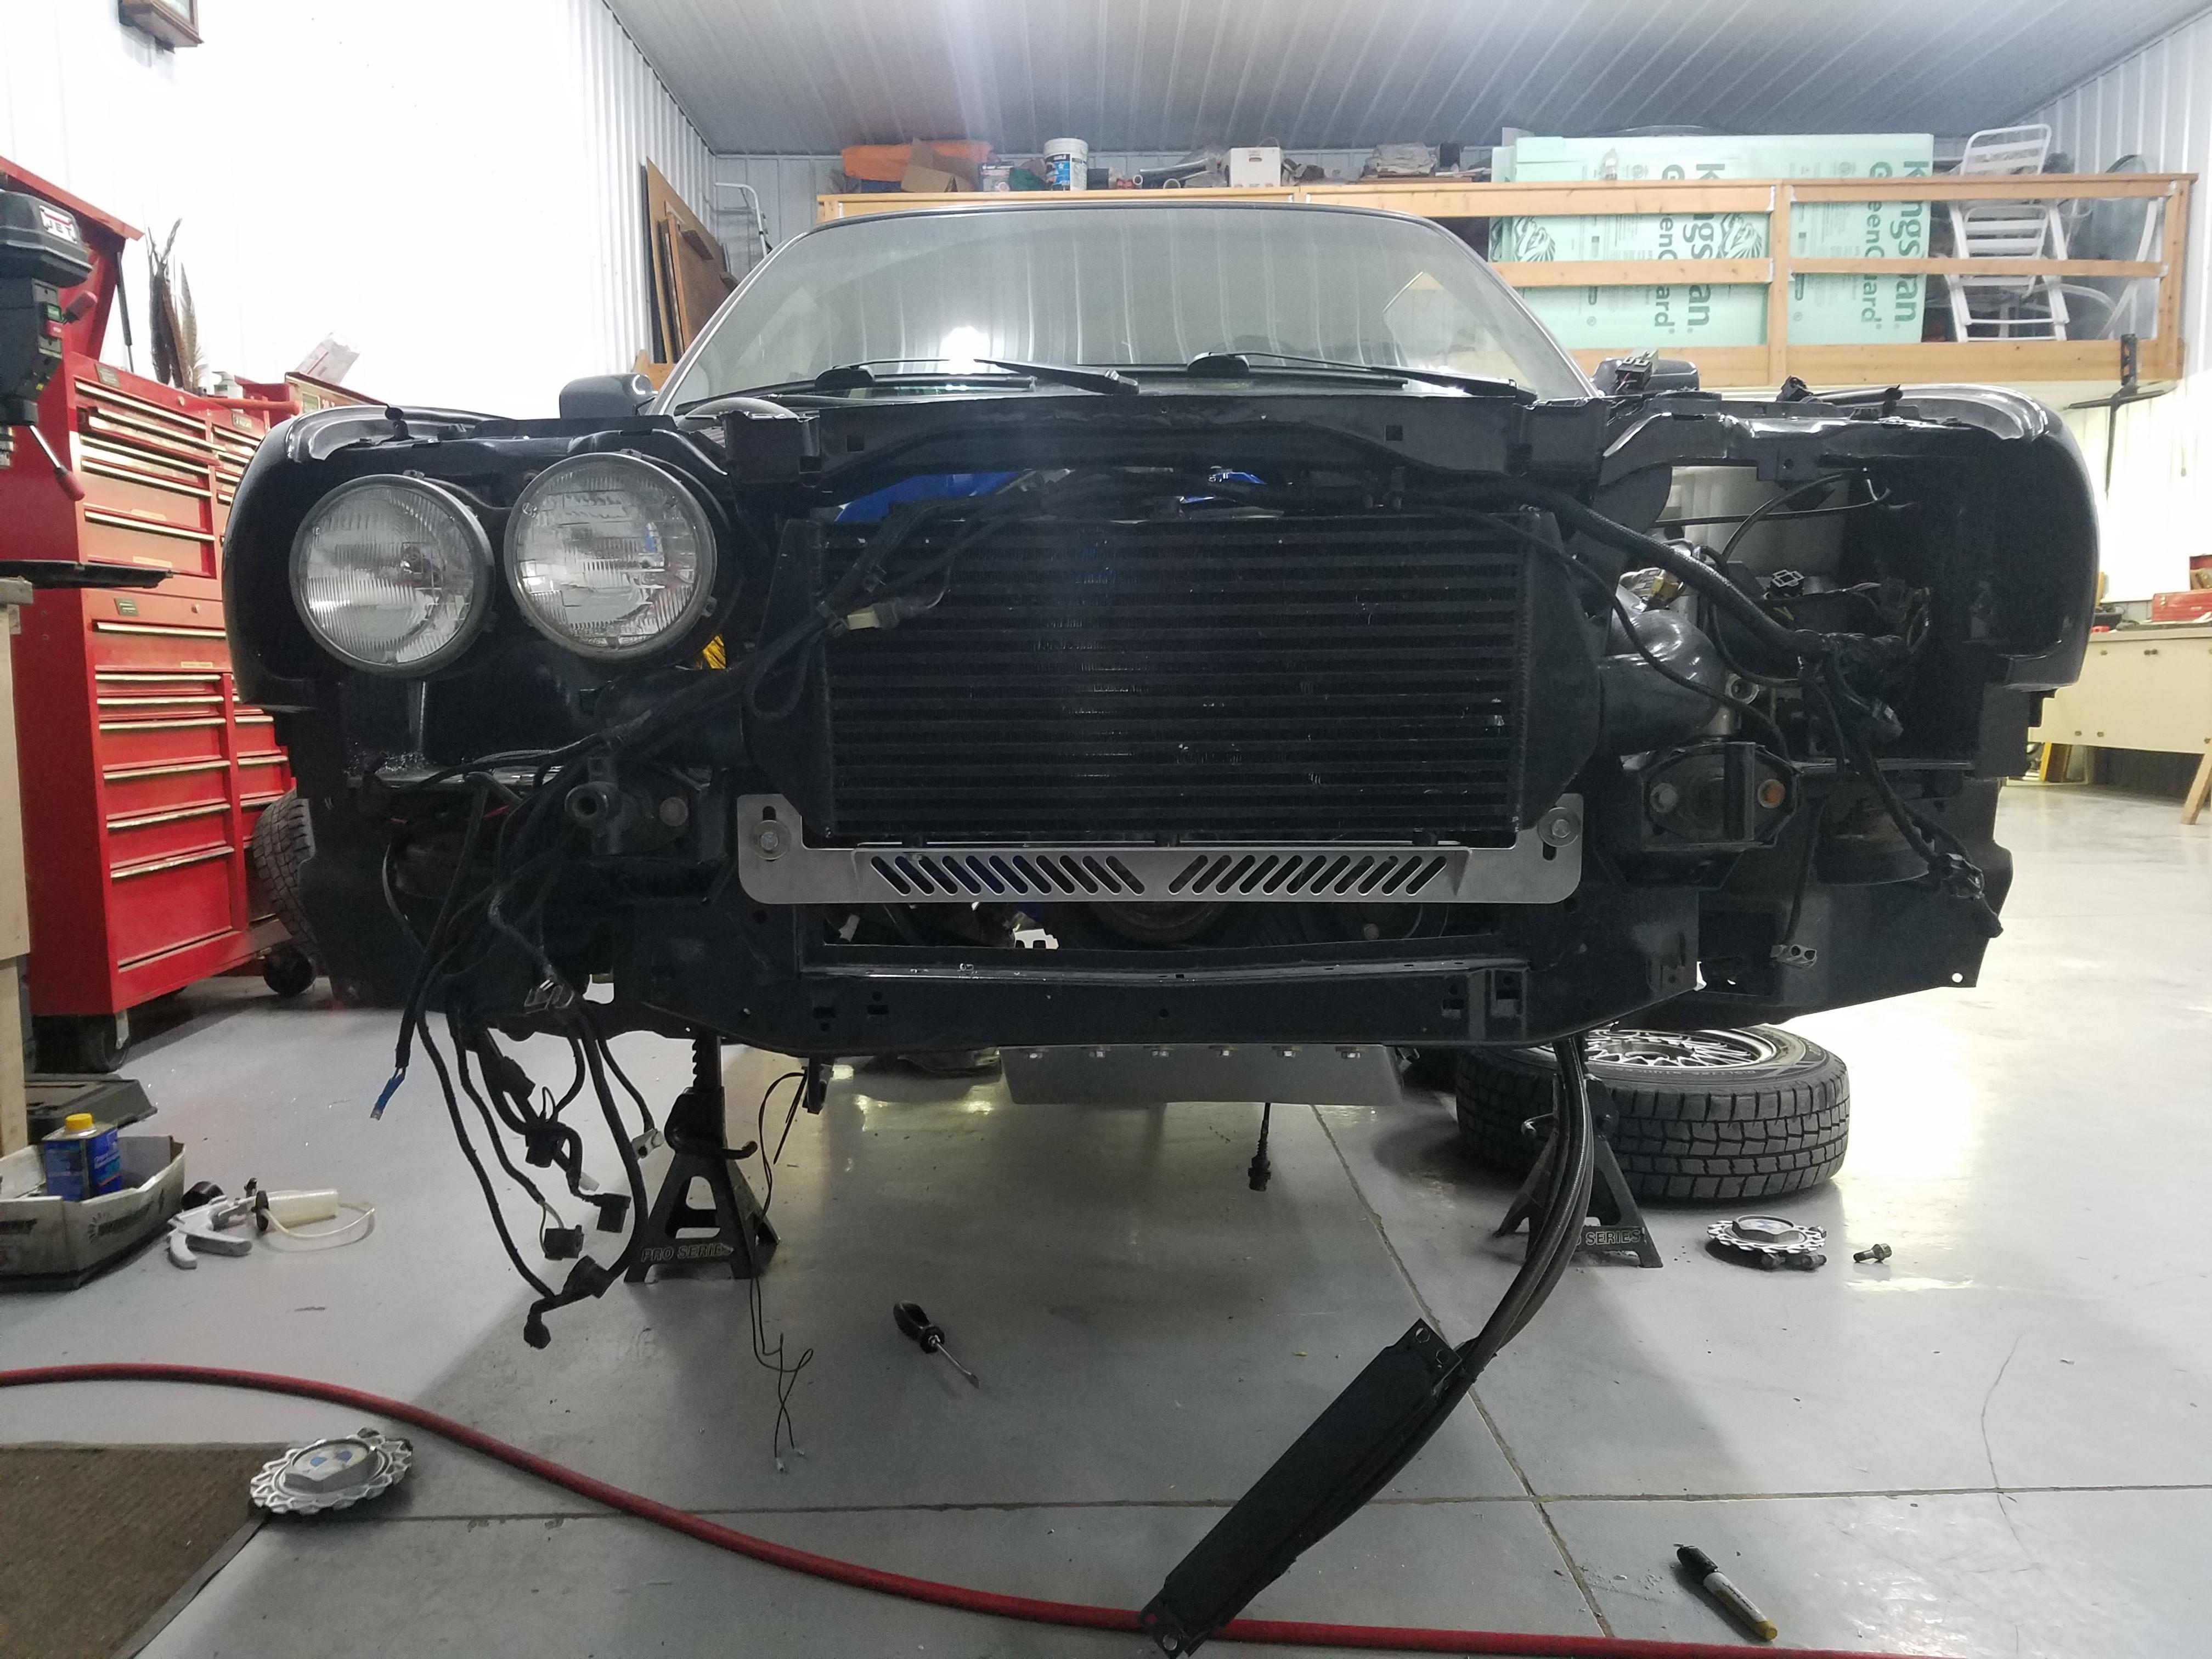
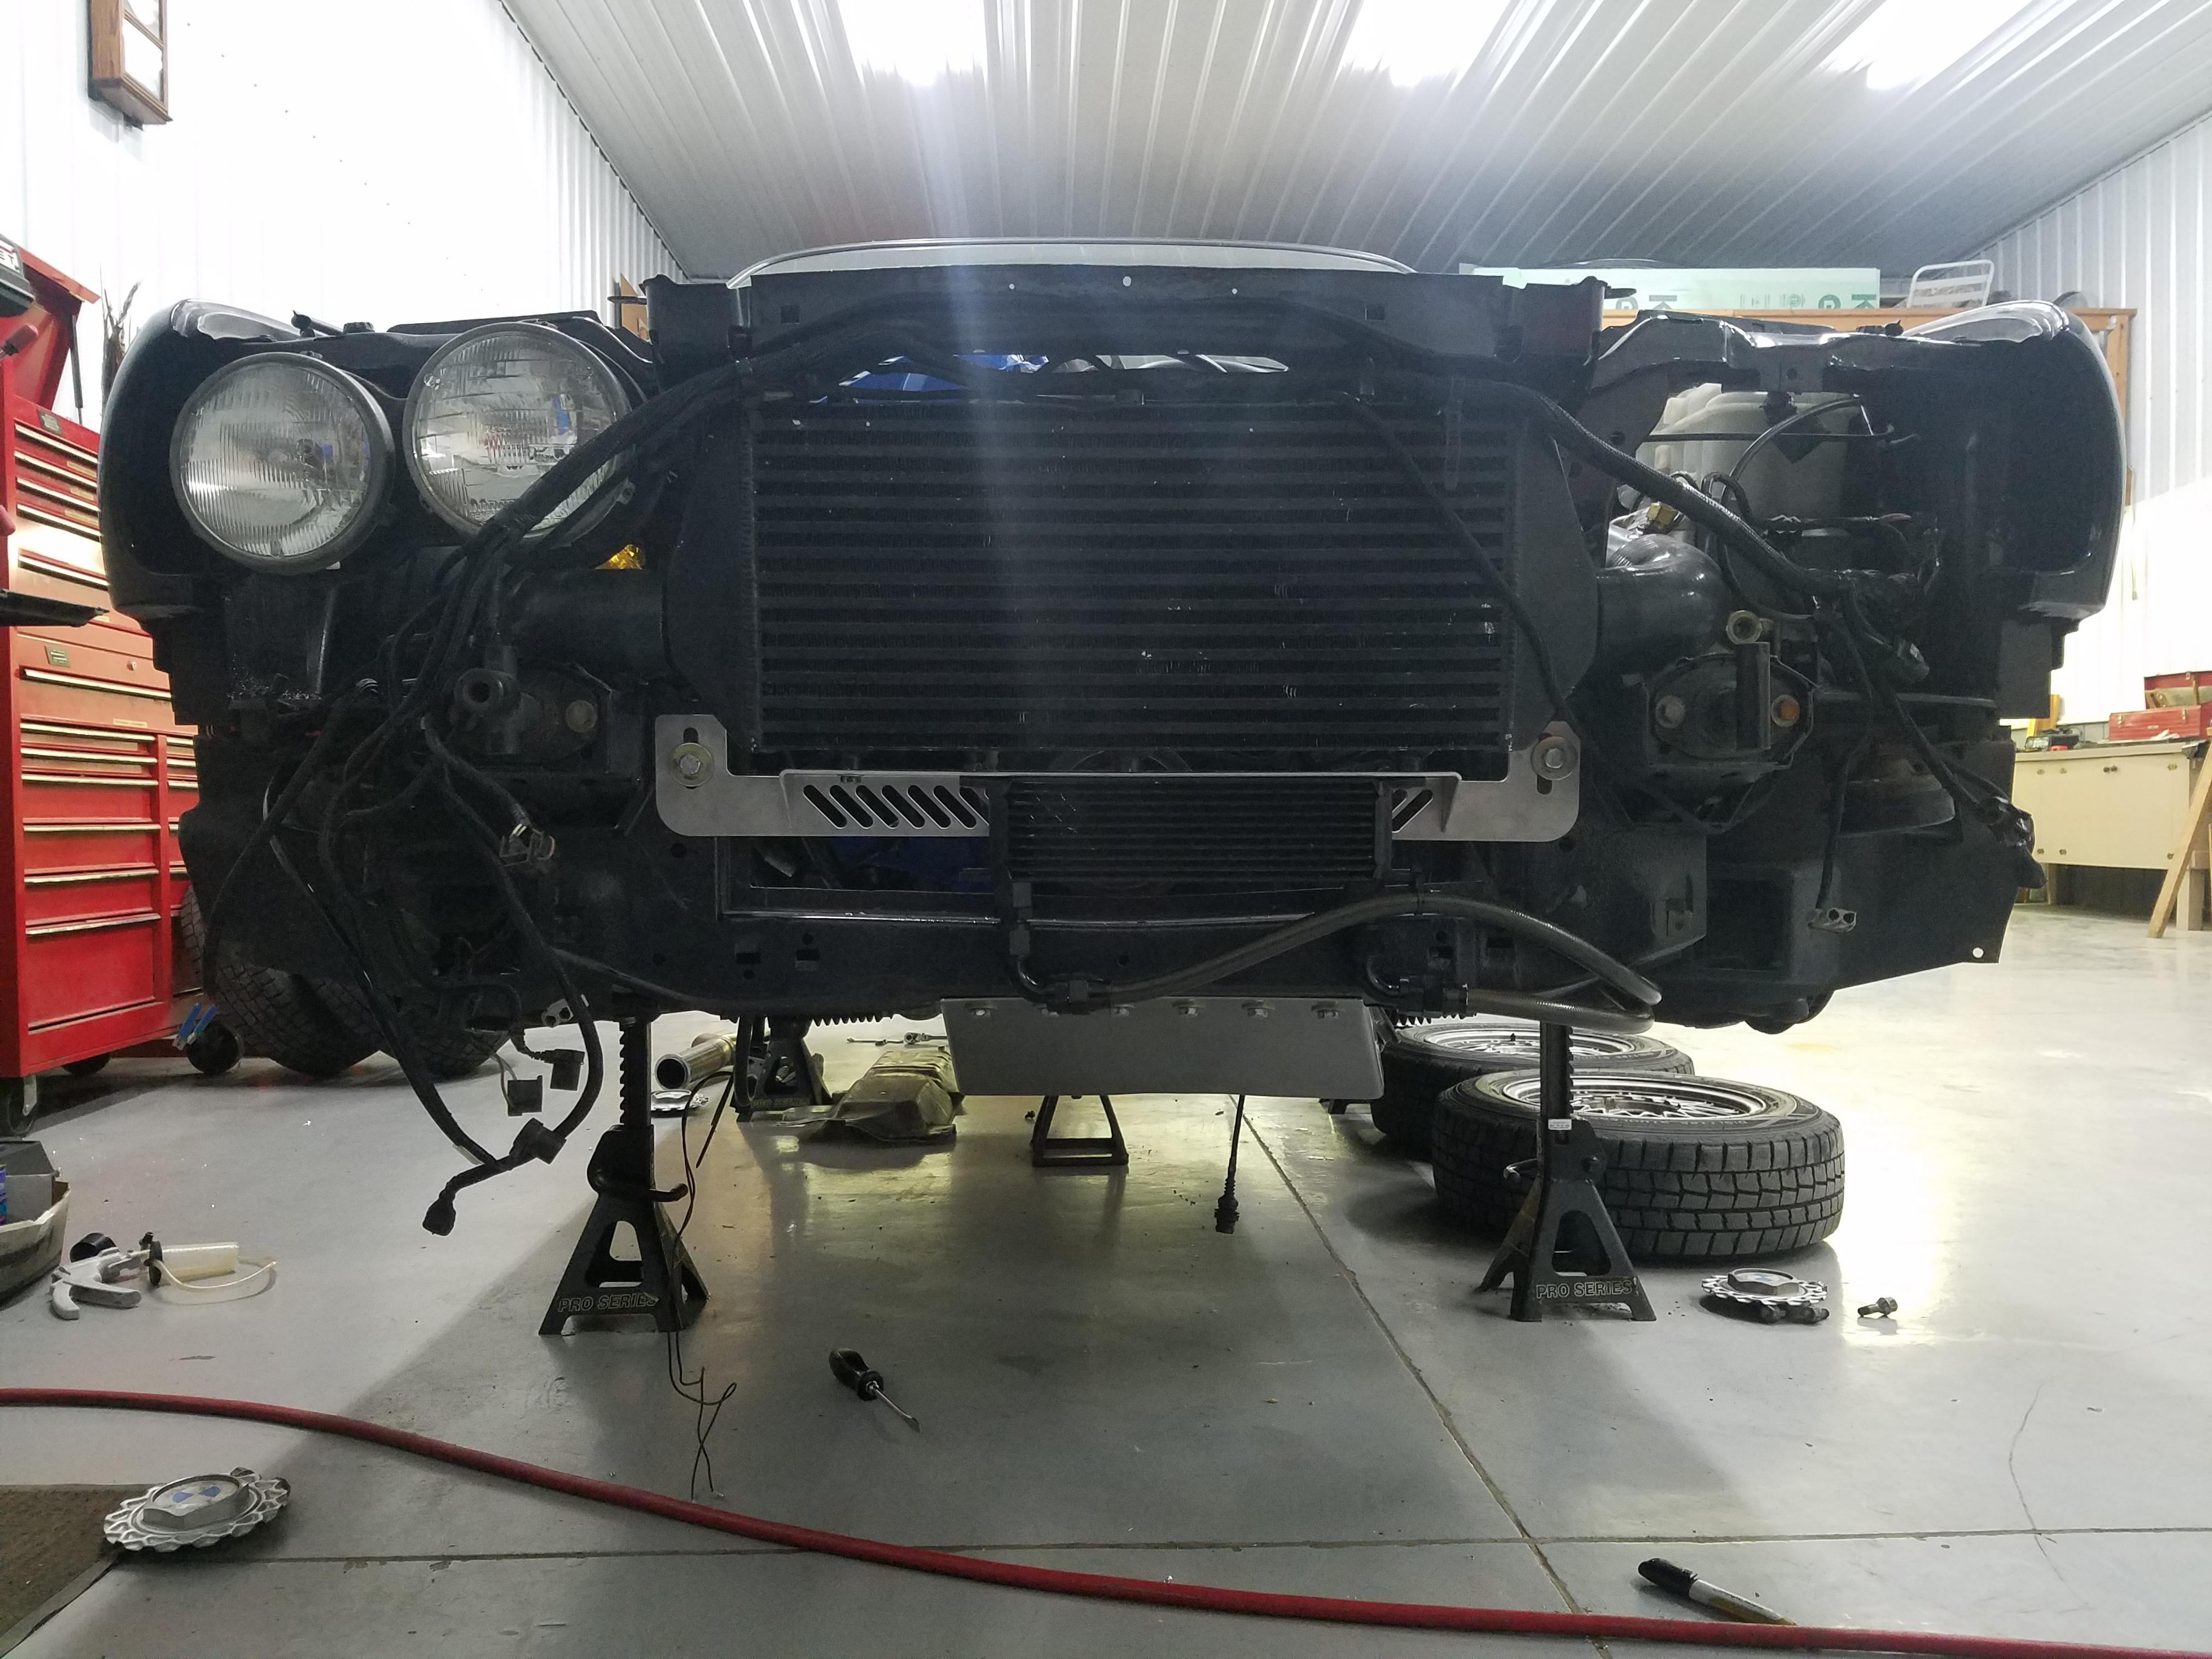
Ah, what's next... Intercooler bracket.
Spent a little time with my buddy on solid works and came up with a cool little design for a bracket. Following day we took the design over to a friends shop and had it cut out on a scrap piece of 3/16 aluminum with his plasma table and bent it up in the press brake.
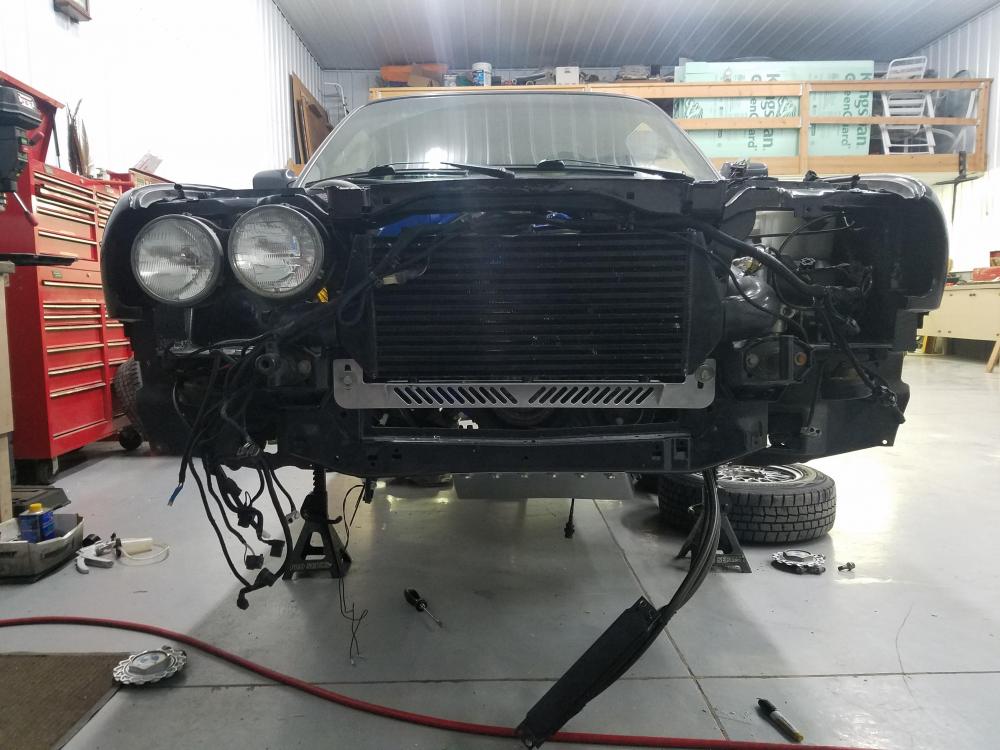
Also had holes cut out for the oil cooler fitment.
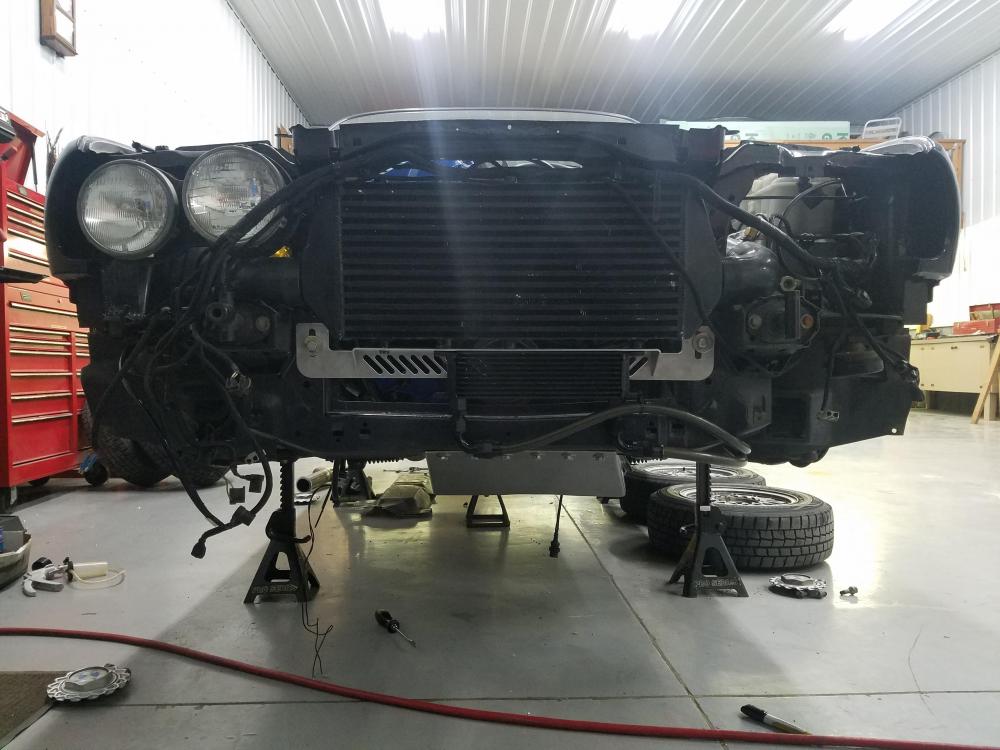
It really keeps the intercooler and oil cooler solid and held in place nicely and I'm super pleased with how it turned out.
Spent the rest of the night getting the intake manifold back on and everything hooked up including the larger 80 lb Siemens fuel injectors, oil cooler lines and the vacuum lines for the 2 diverter valves which is then all routed into the cabin to hook up to the MS.
Speaking of MS. As some of you may of suspected from one of my previous post I had no intentions of running the MS3x with what was supposedly considered a wiring harness.
I will be going with the much more cleaner and user friendly MS3 pro pnp.
-
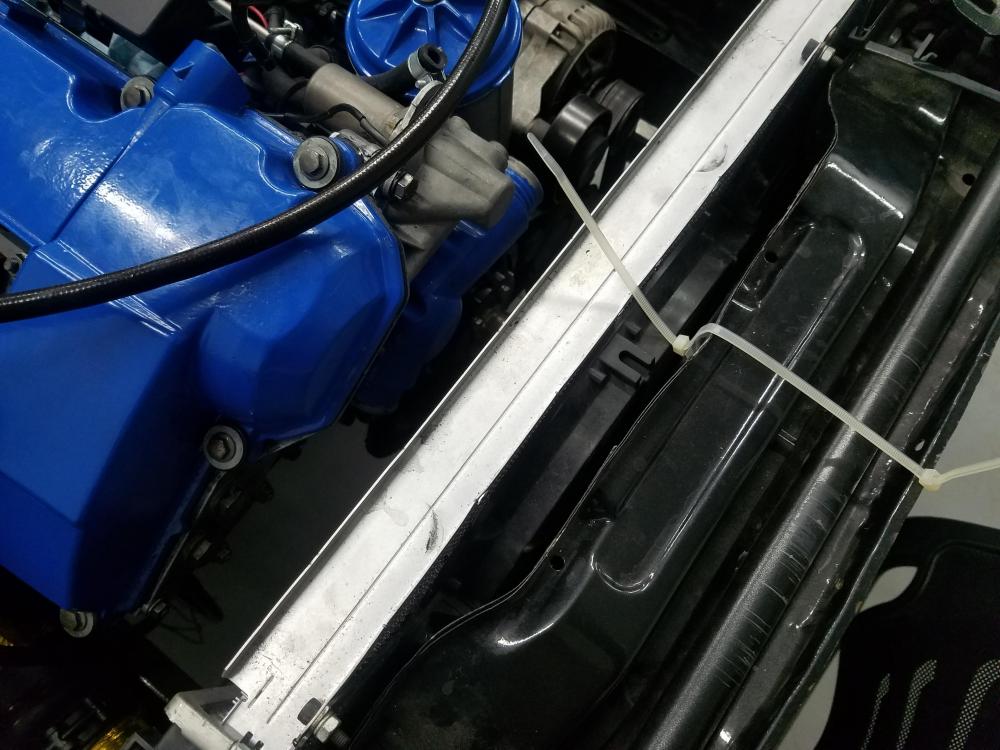
Completely forgot to mention that there was enough gap between the radiator and intercooler for the puller fan to easily fit in between so there will be no need to change up anything there which I am super stoked about. ( if your wondering, that was the reason for the last pic on the previous post lol)
-
That intercooler bracket looks sweet, nice work on that!
I'm super curious to see how your valance fits considering you can stick a fan between the rad and the intercooler!
Looks like you're really busting ass on this thing!
-
Are you going to run a turbo blanket on that thing?
What's the reason for heat-taping the strut tower? Are there wiring/rubber/lines there?
-
Are you going to run a turbo blanket on that thing?
What's the reason for heat-taping the strut tower? Are there wiring/rubber/lines there?
Not to speak for him, but I assume a blanket will be in place.
The heat tape on the strut tower is to keep the strut tower temps down, the exhaust runs pretty snug to it, and there is no need to have it hot.
-
Are you going to run a turbo blanket on that thing?
What's the reason for heat-taping the strut tower? Are there wiring/rubber/lines there?
Yes I will eventually be running a blanket over the turbo, anything to keep the temps down is always a plus in my book.
Heat tape is mostly just for protection of the paint and strut tower but I also have the wheel speed sensor wire running underneath there being partially protected by the tape.
Tuesday I was able to spare a few hours and get over to the shop to crank a few more things out.
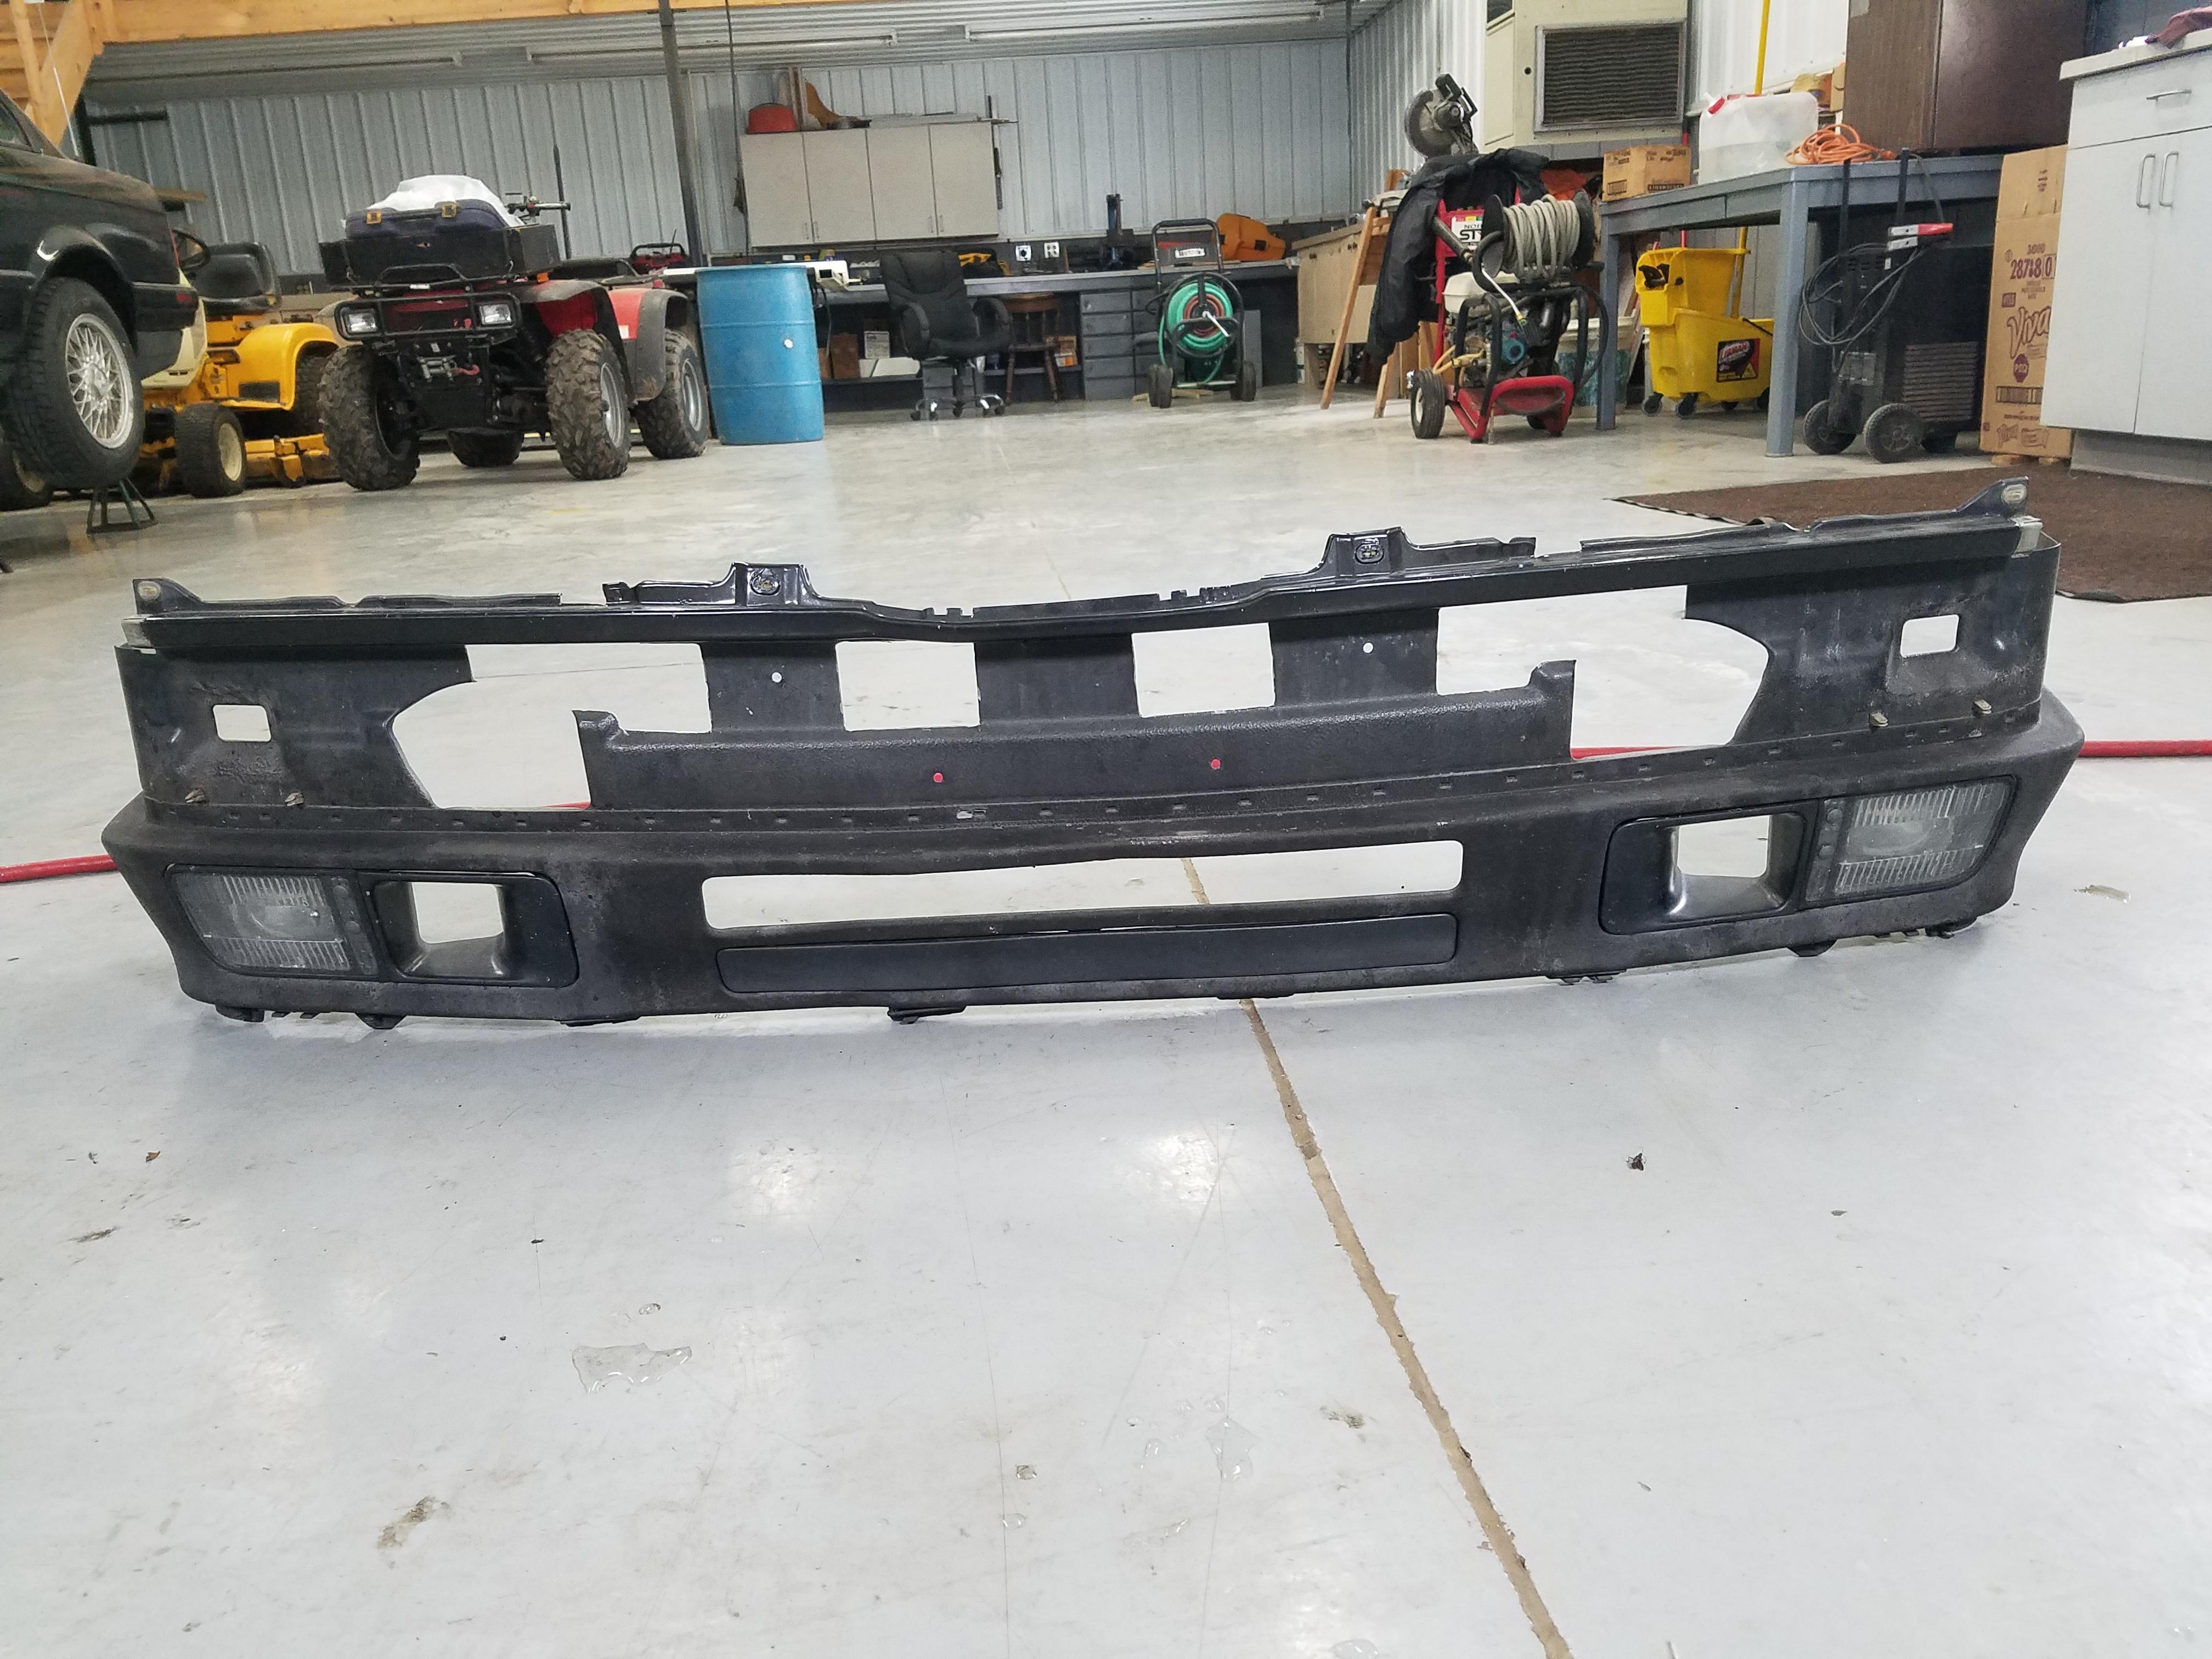
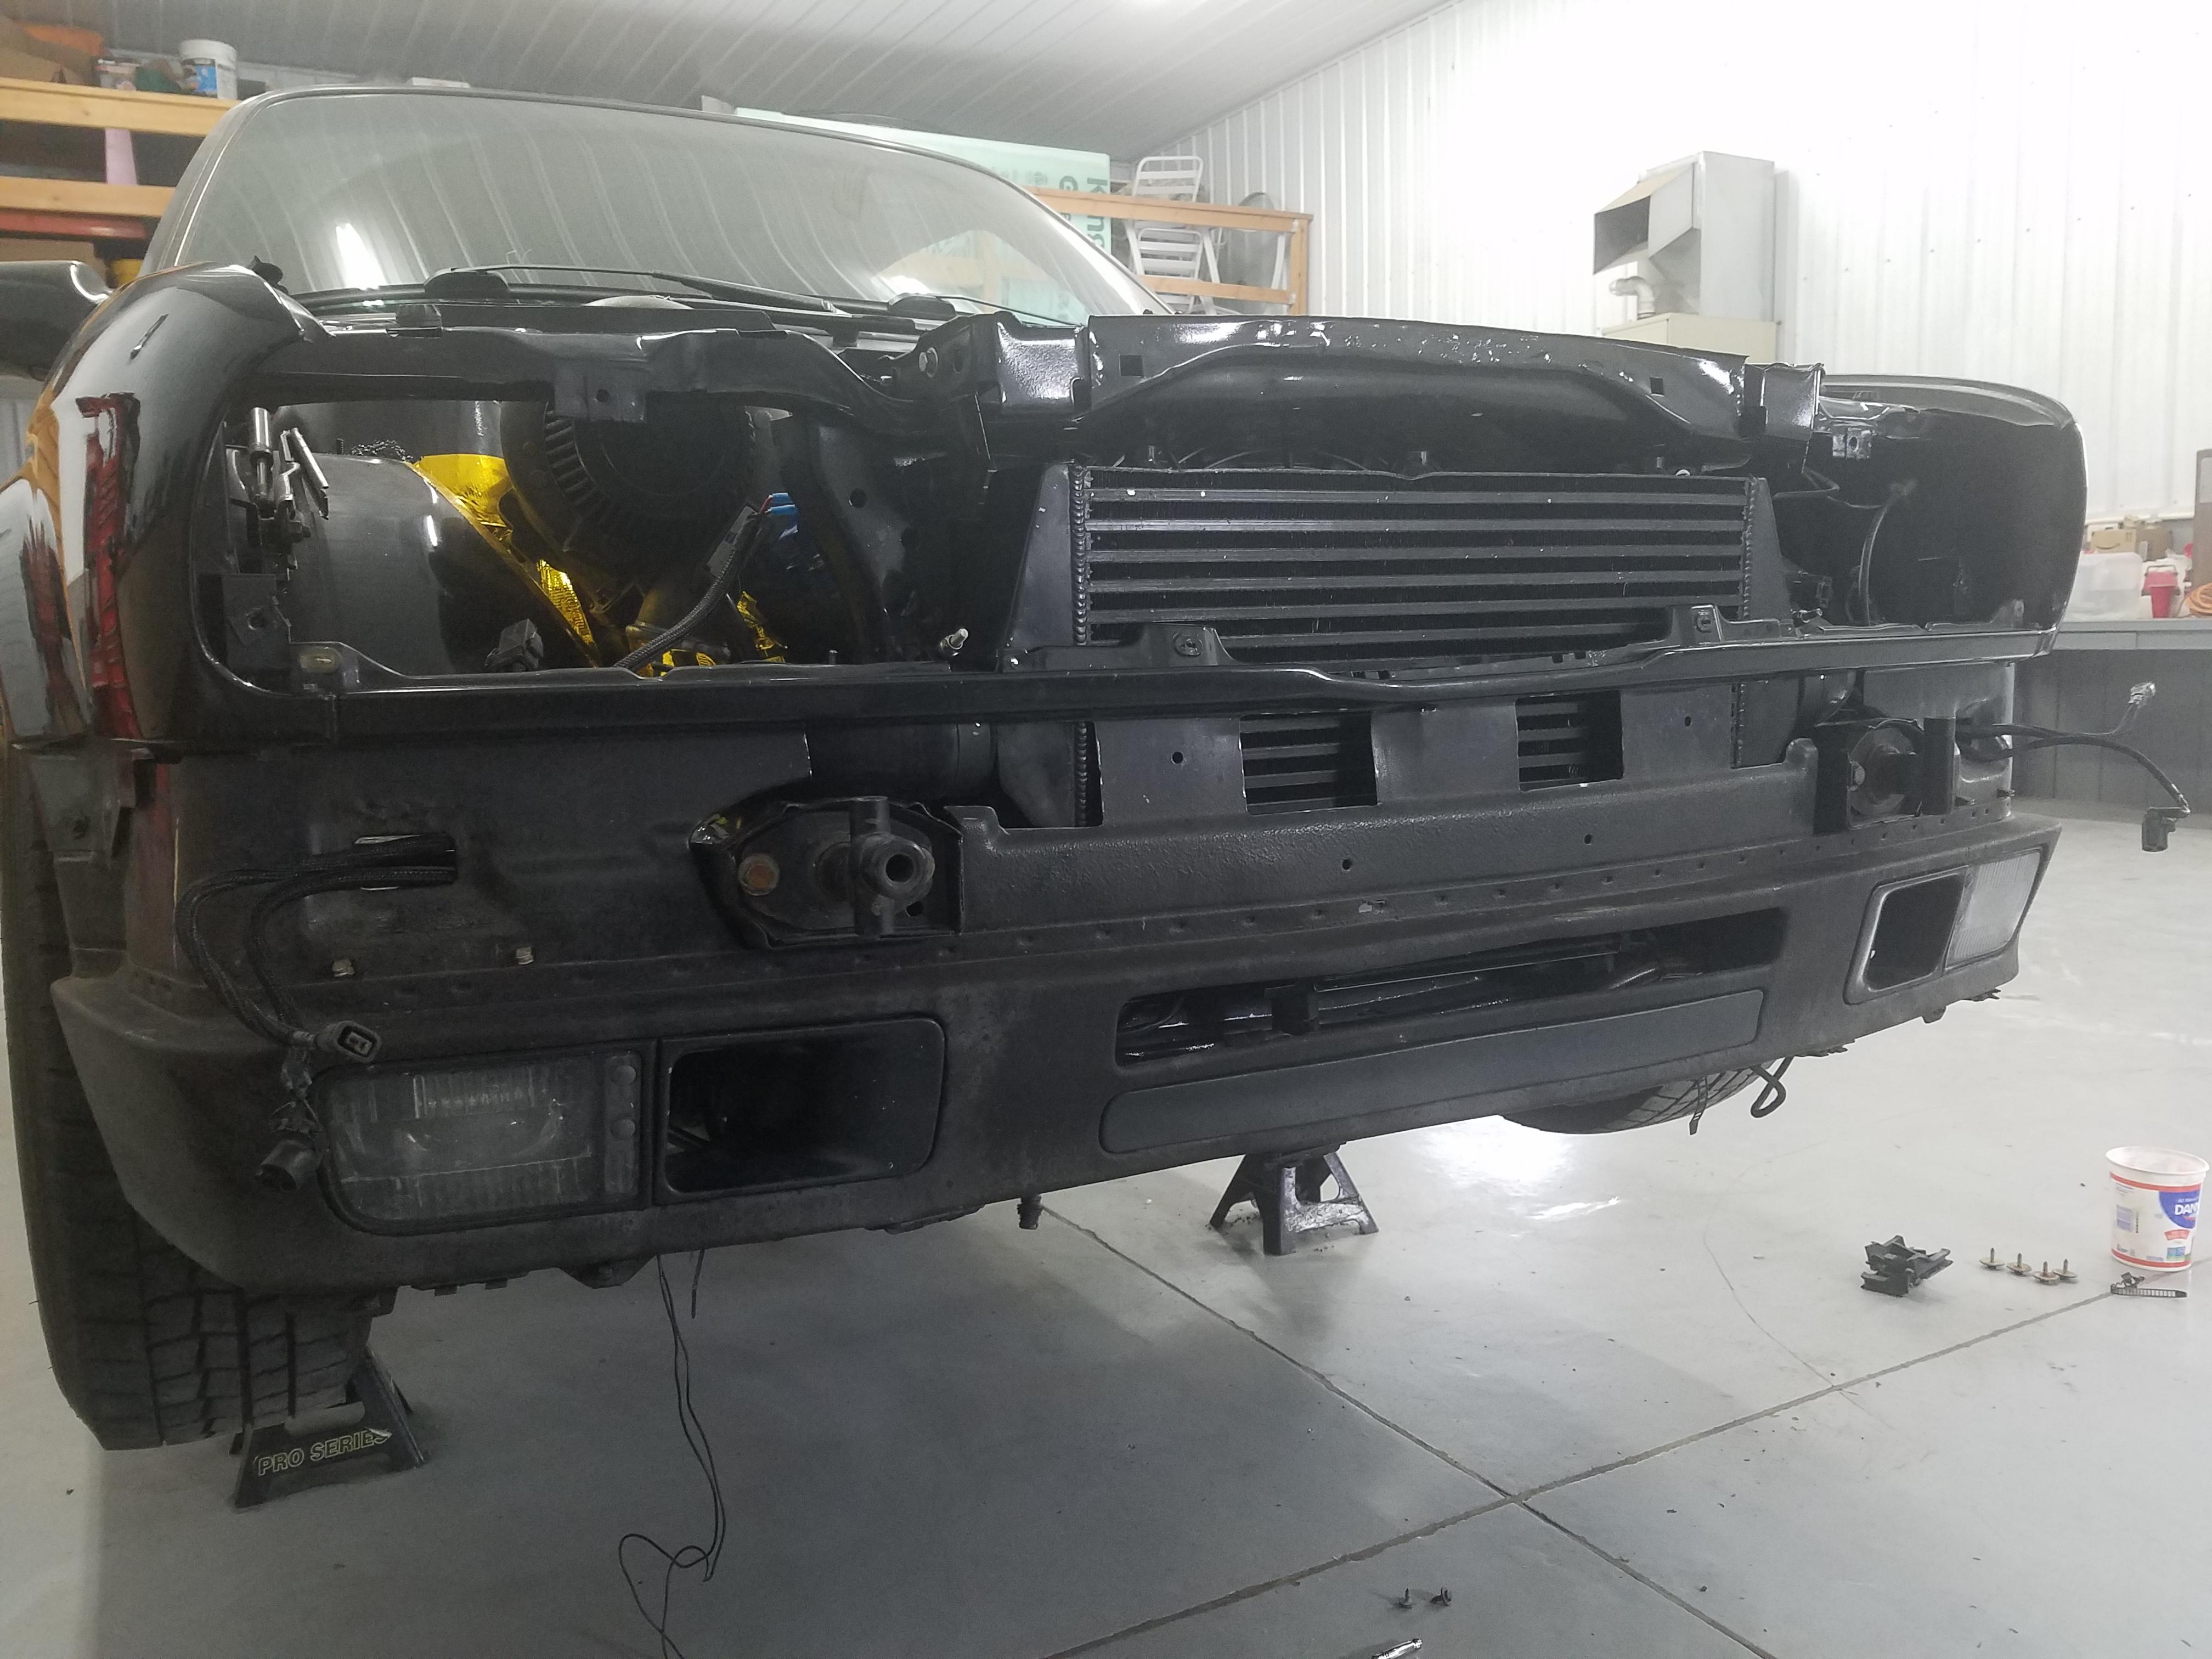
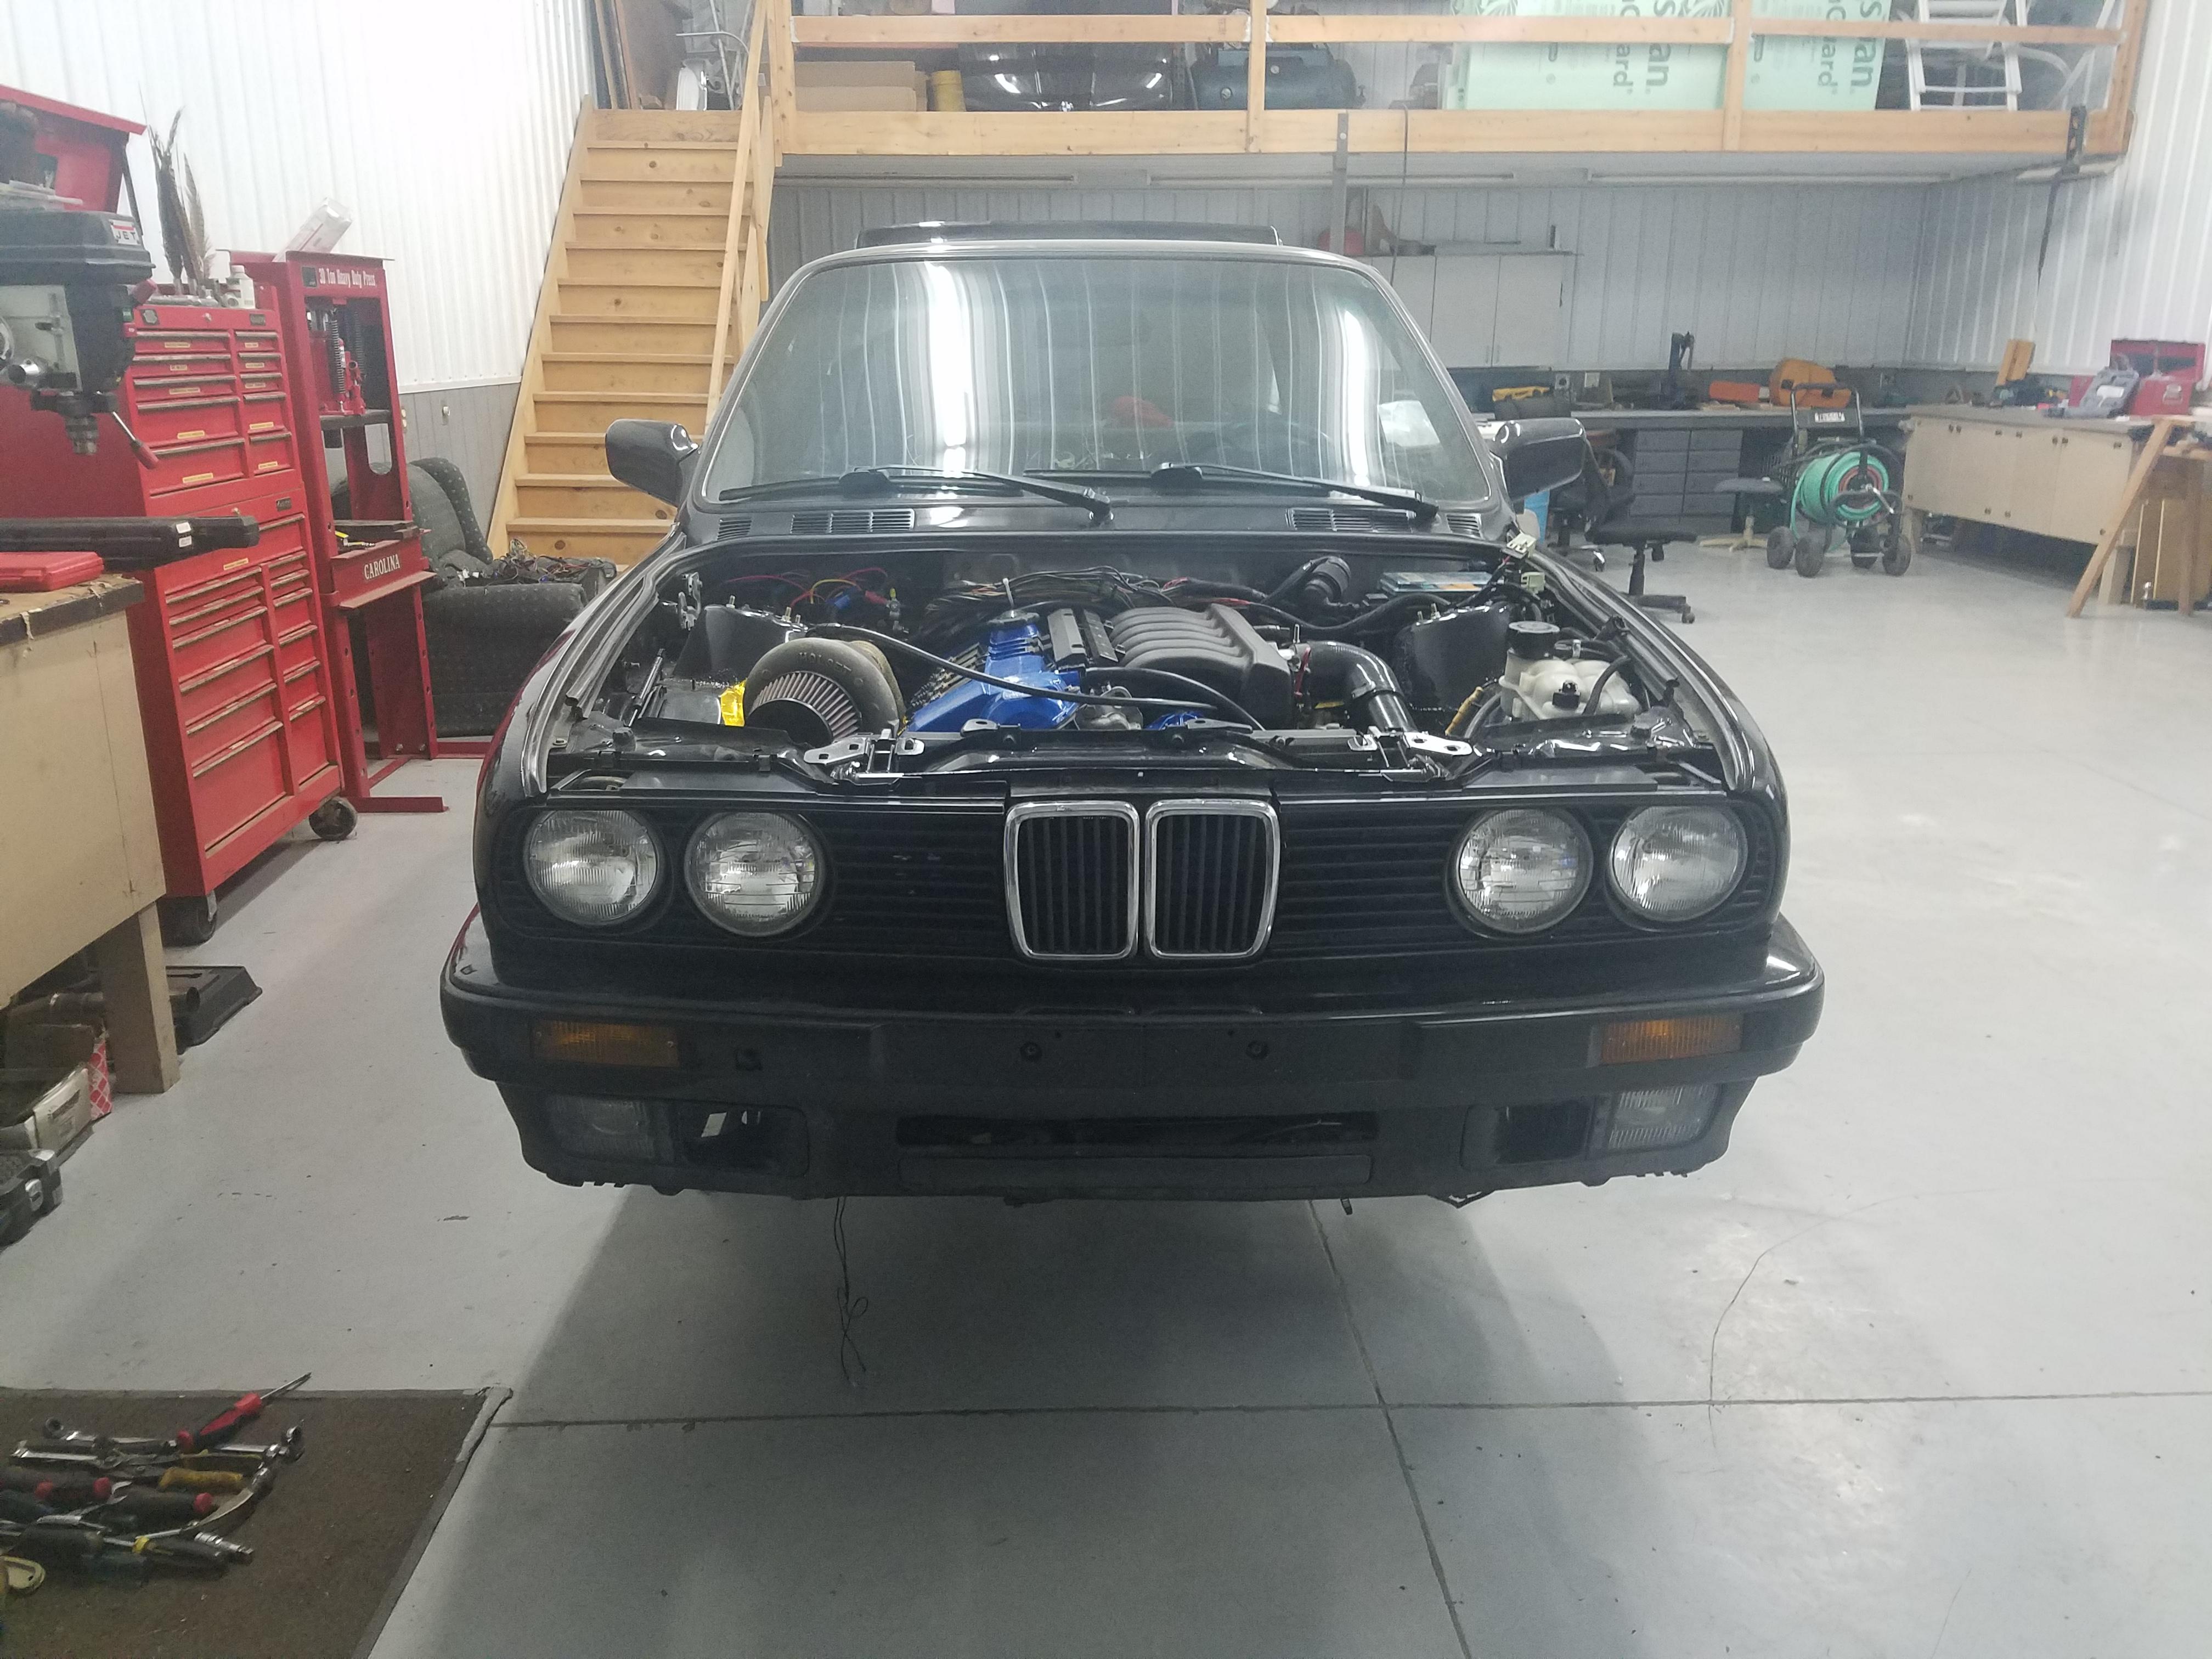
Valance was definitely in need of some trimming to clear the 90 degree silicone hoses and the intercooler.
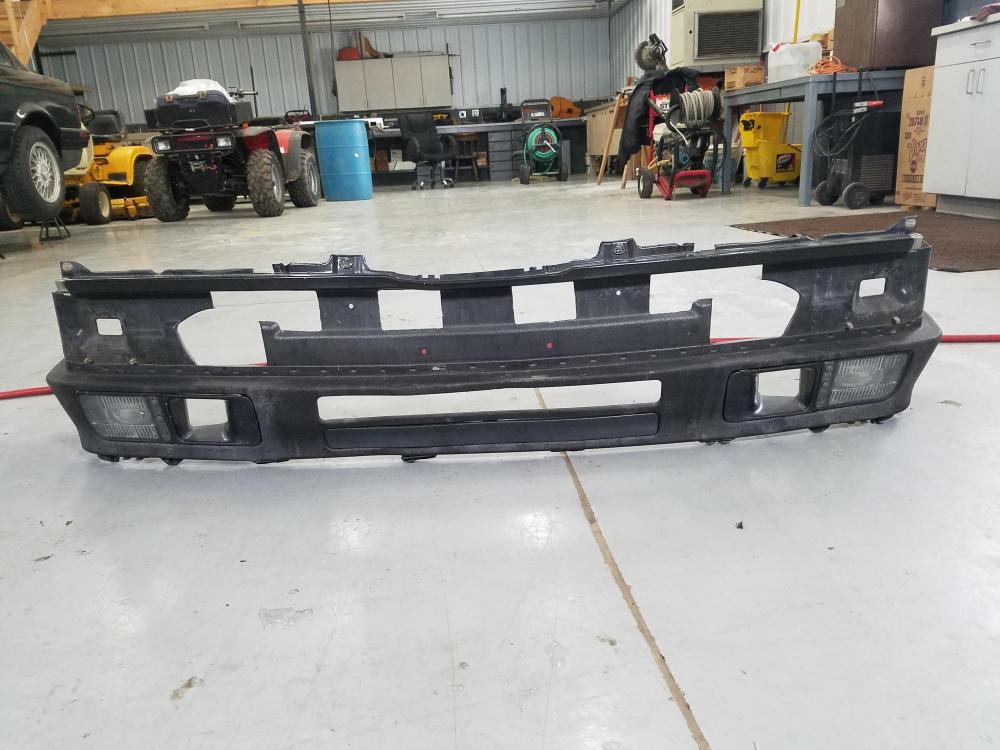
Also had to completely remove both of the upper brackets that attach the valance to the core support.
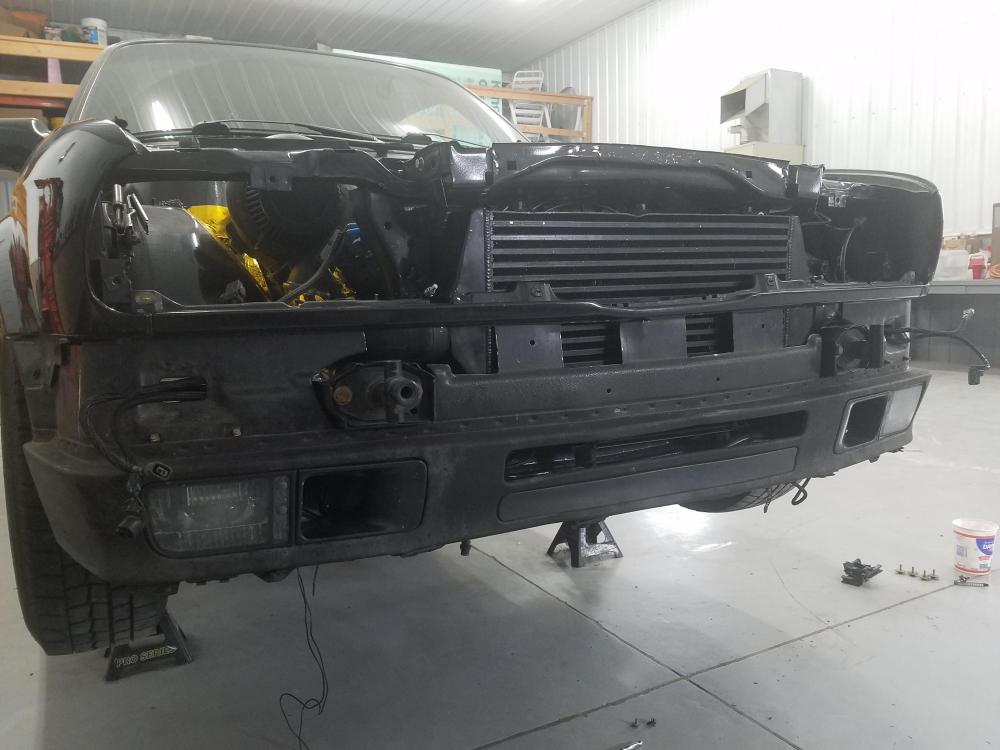
Trimming of the left high beam headlight was necessary to clear the charge pipe. Hopefully will get some projectors to replace the sealed beams sometime in the future.
Finally got to install some euro grills I bought a few weeks back.
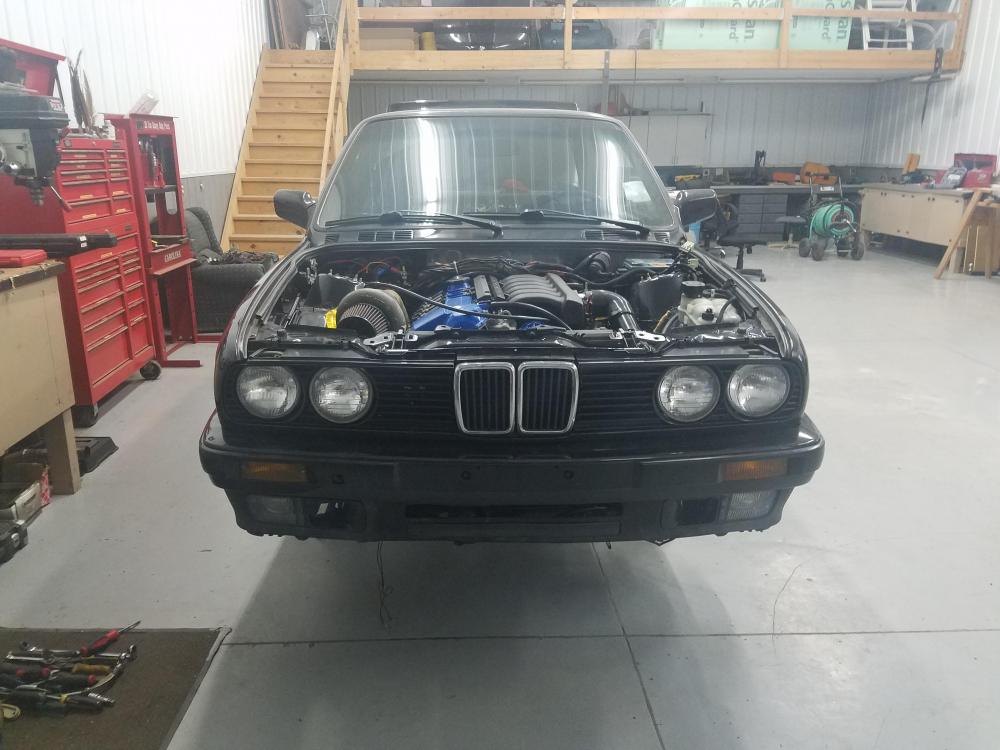
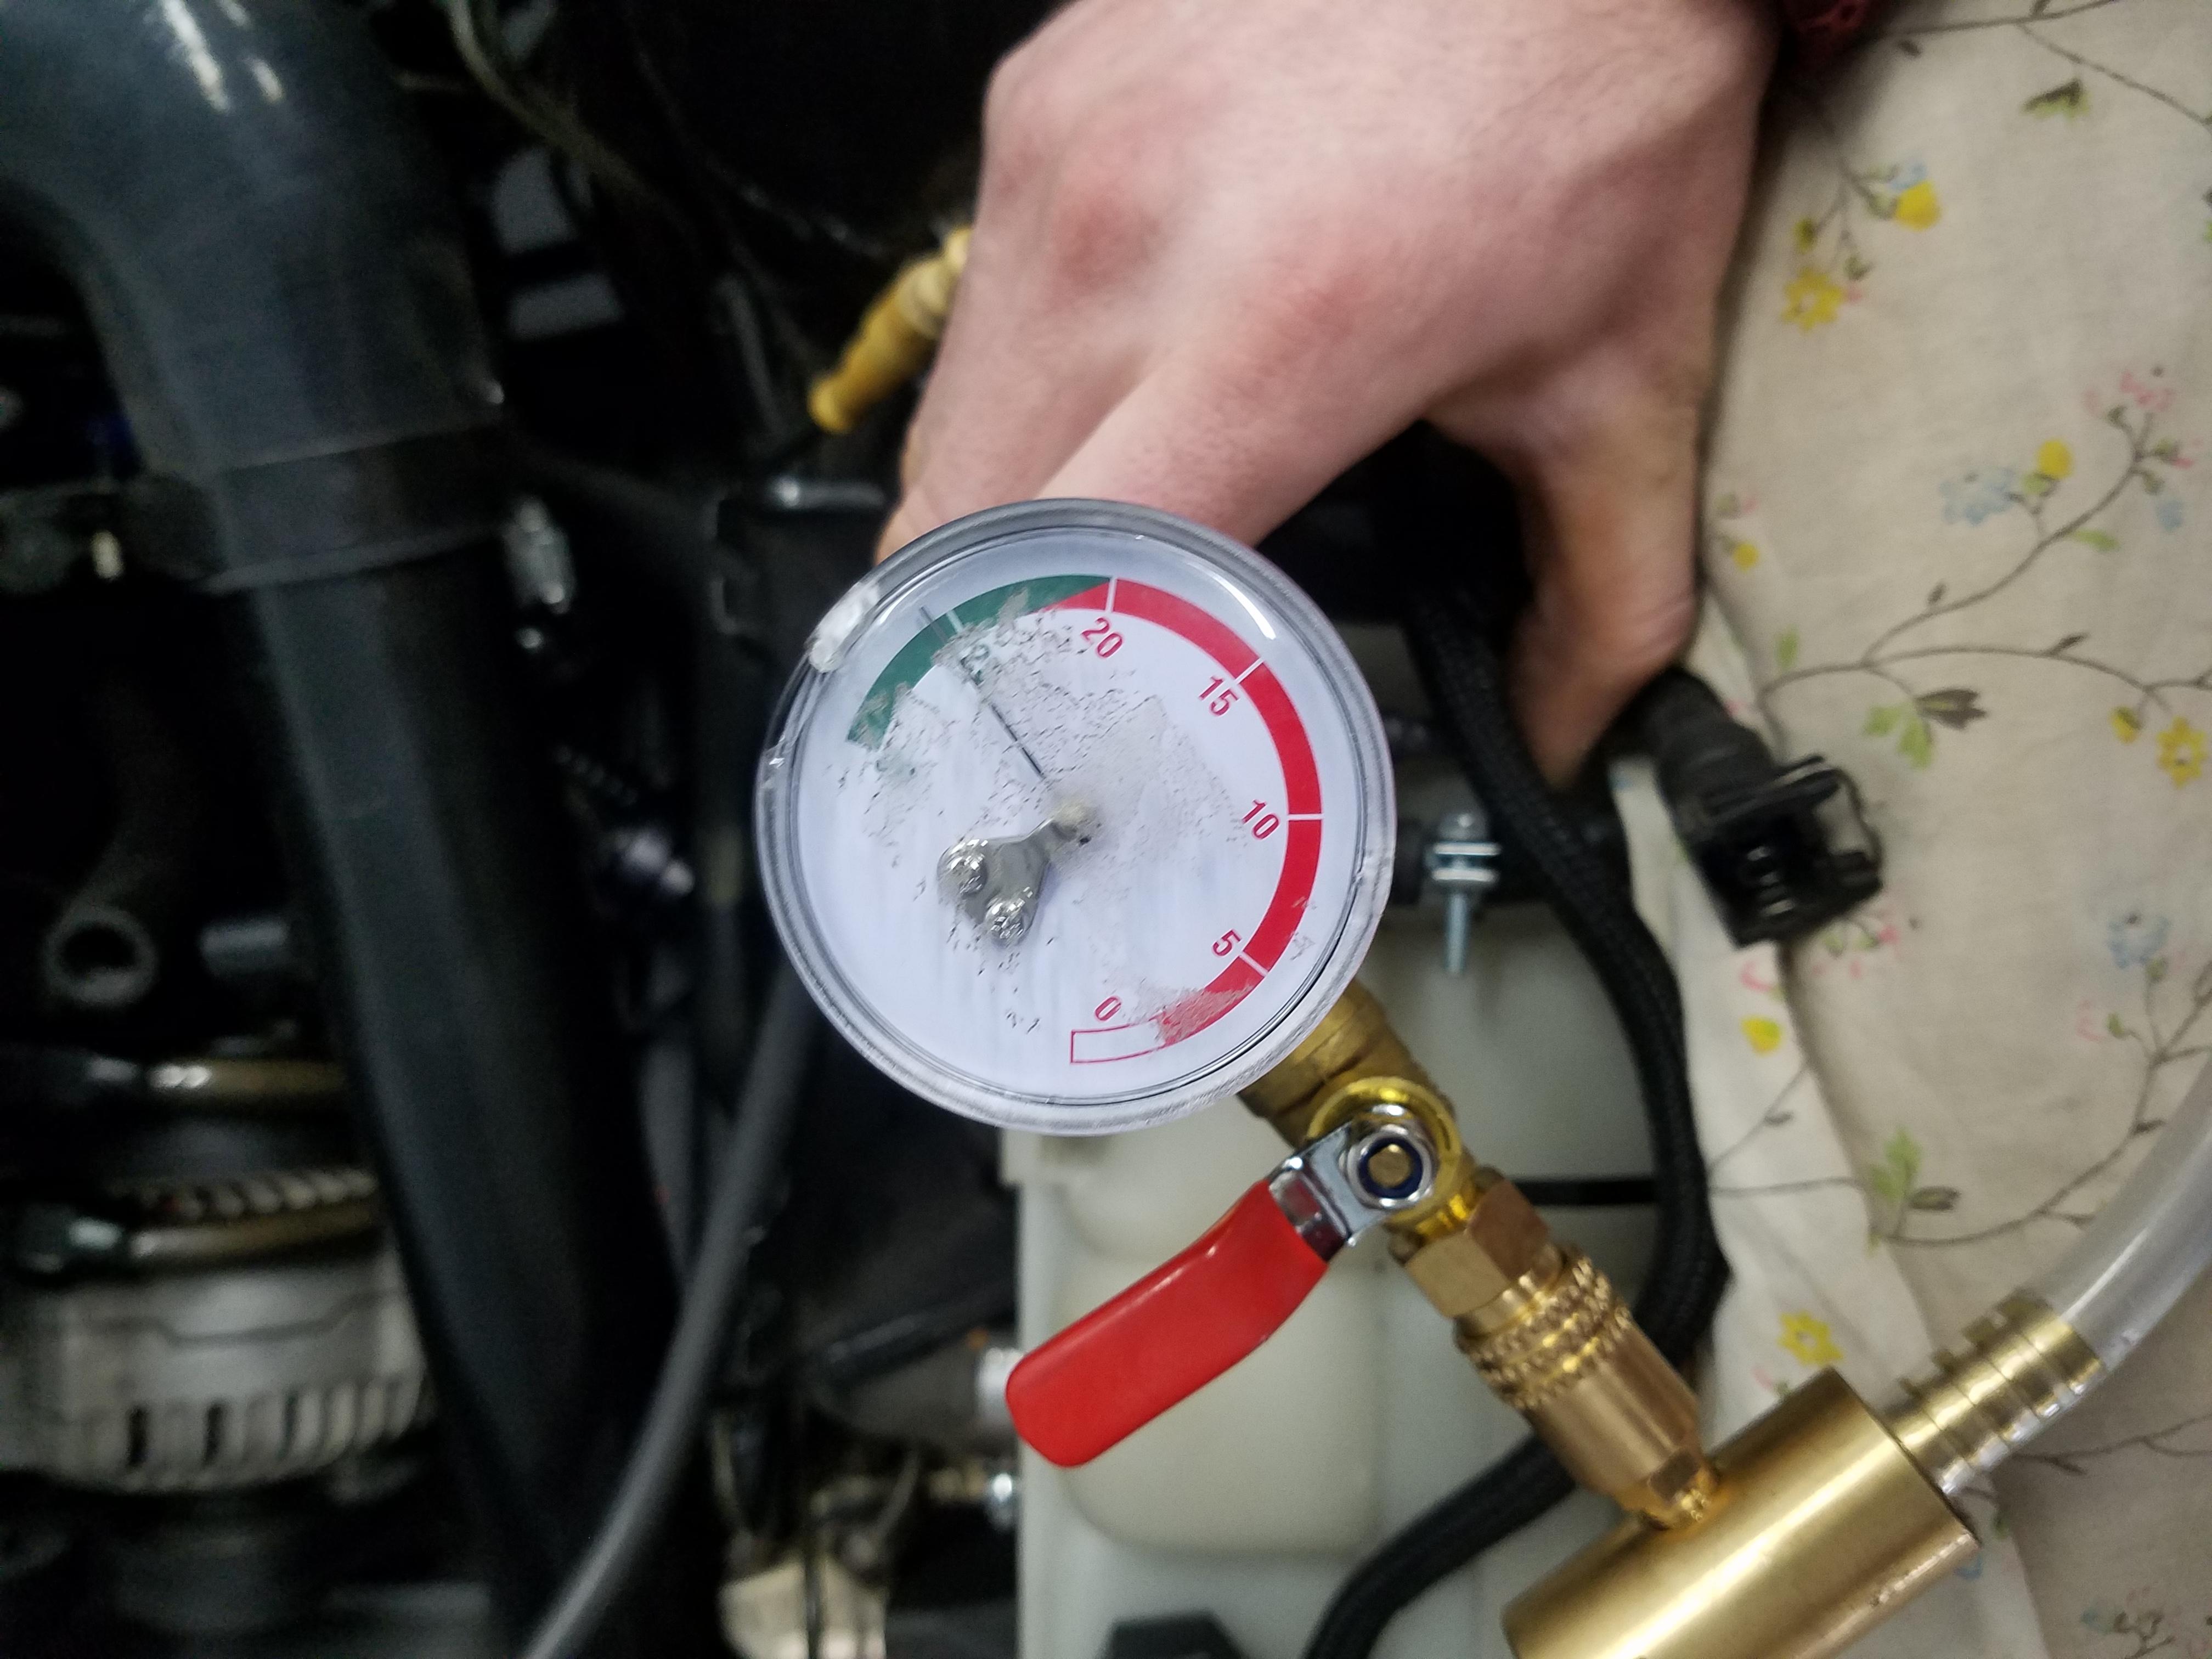
With that all said and done I went ahead and got the coolant system filled back up.
I really can not get over how awesome the air lift system works.
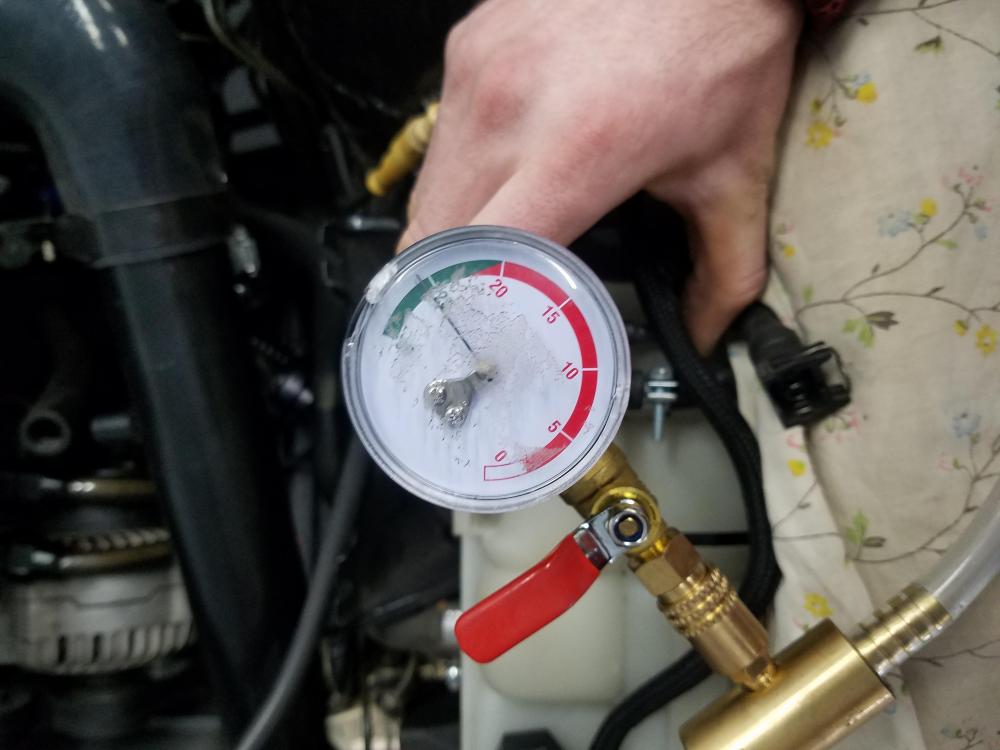
Big exciting things happening tonight... stay tuned!
-
Hi
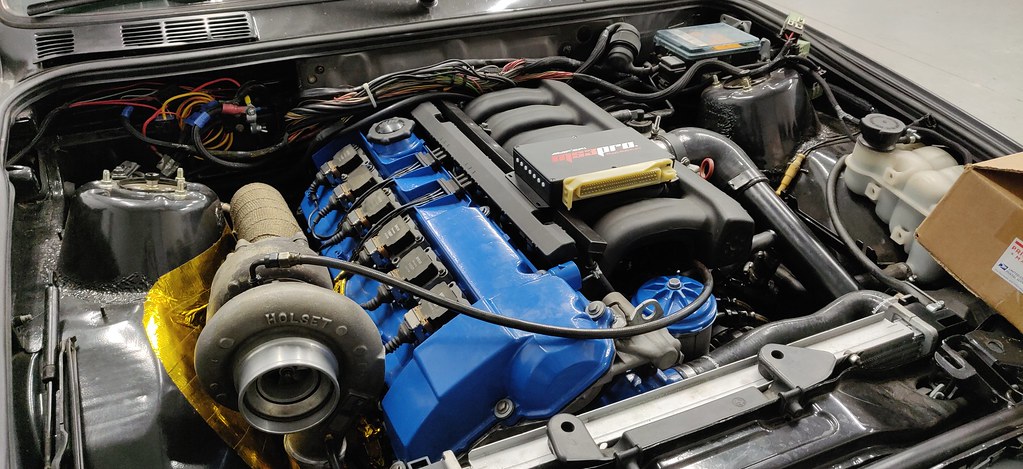
-
I think It's about time I get a damn update on this thread.
Yet's rewind a few weeks lol.
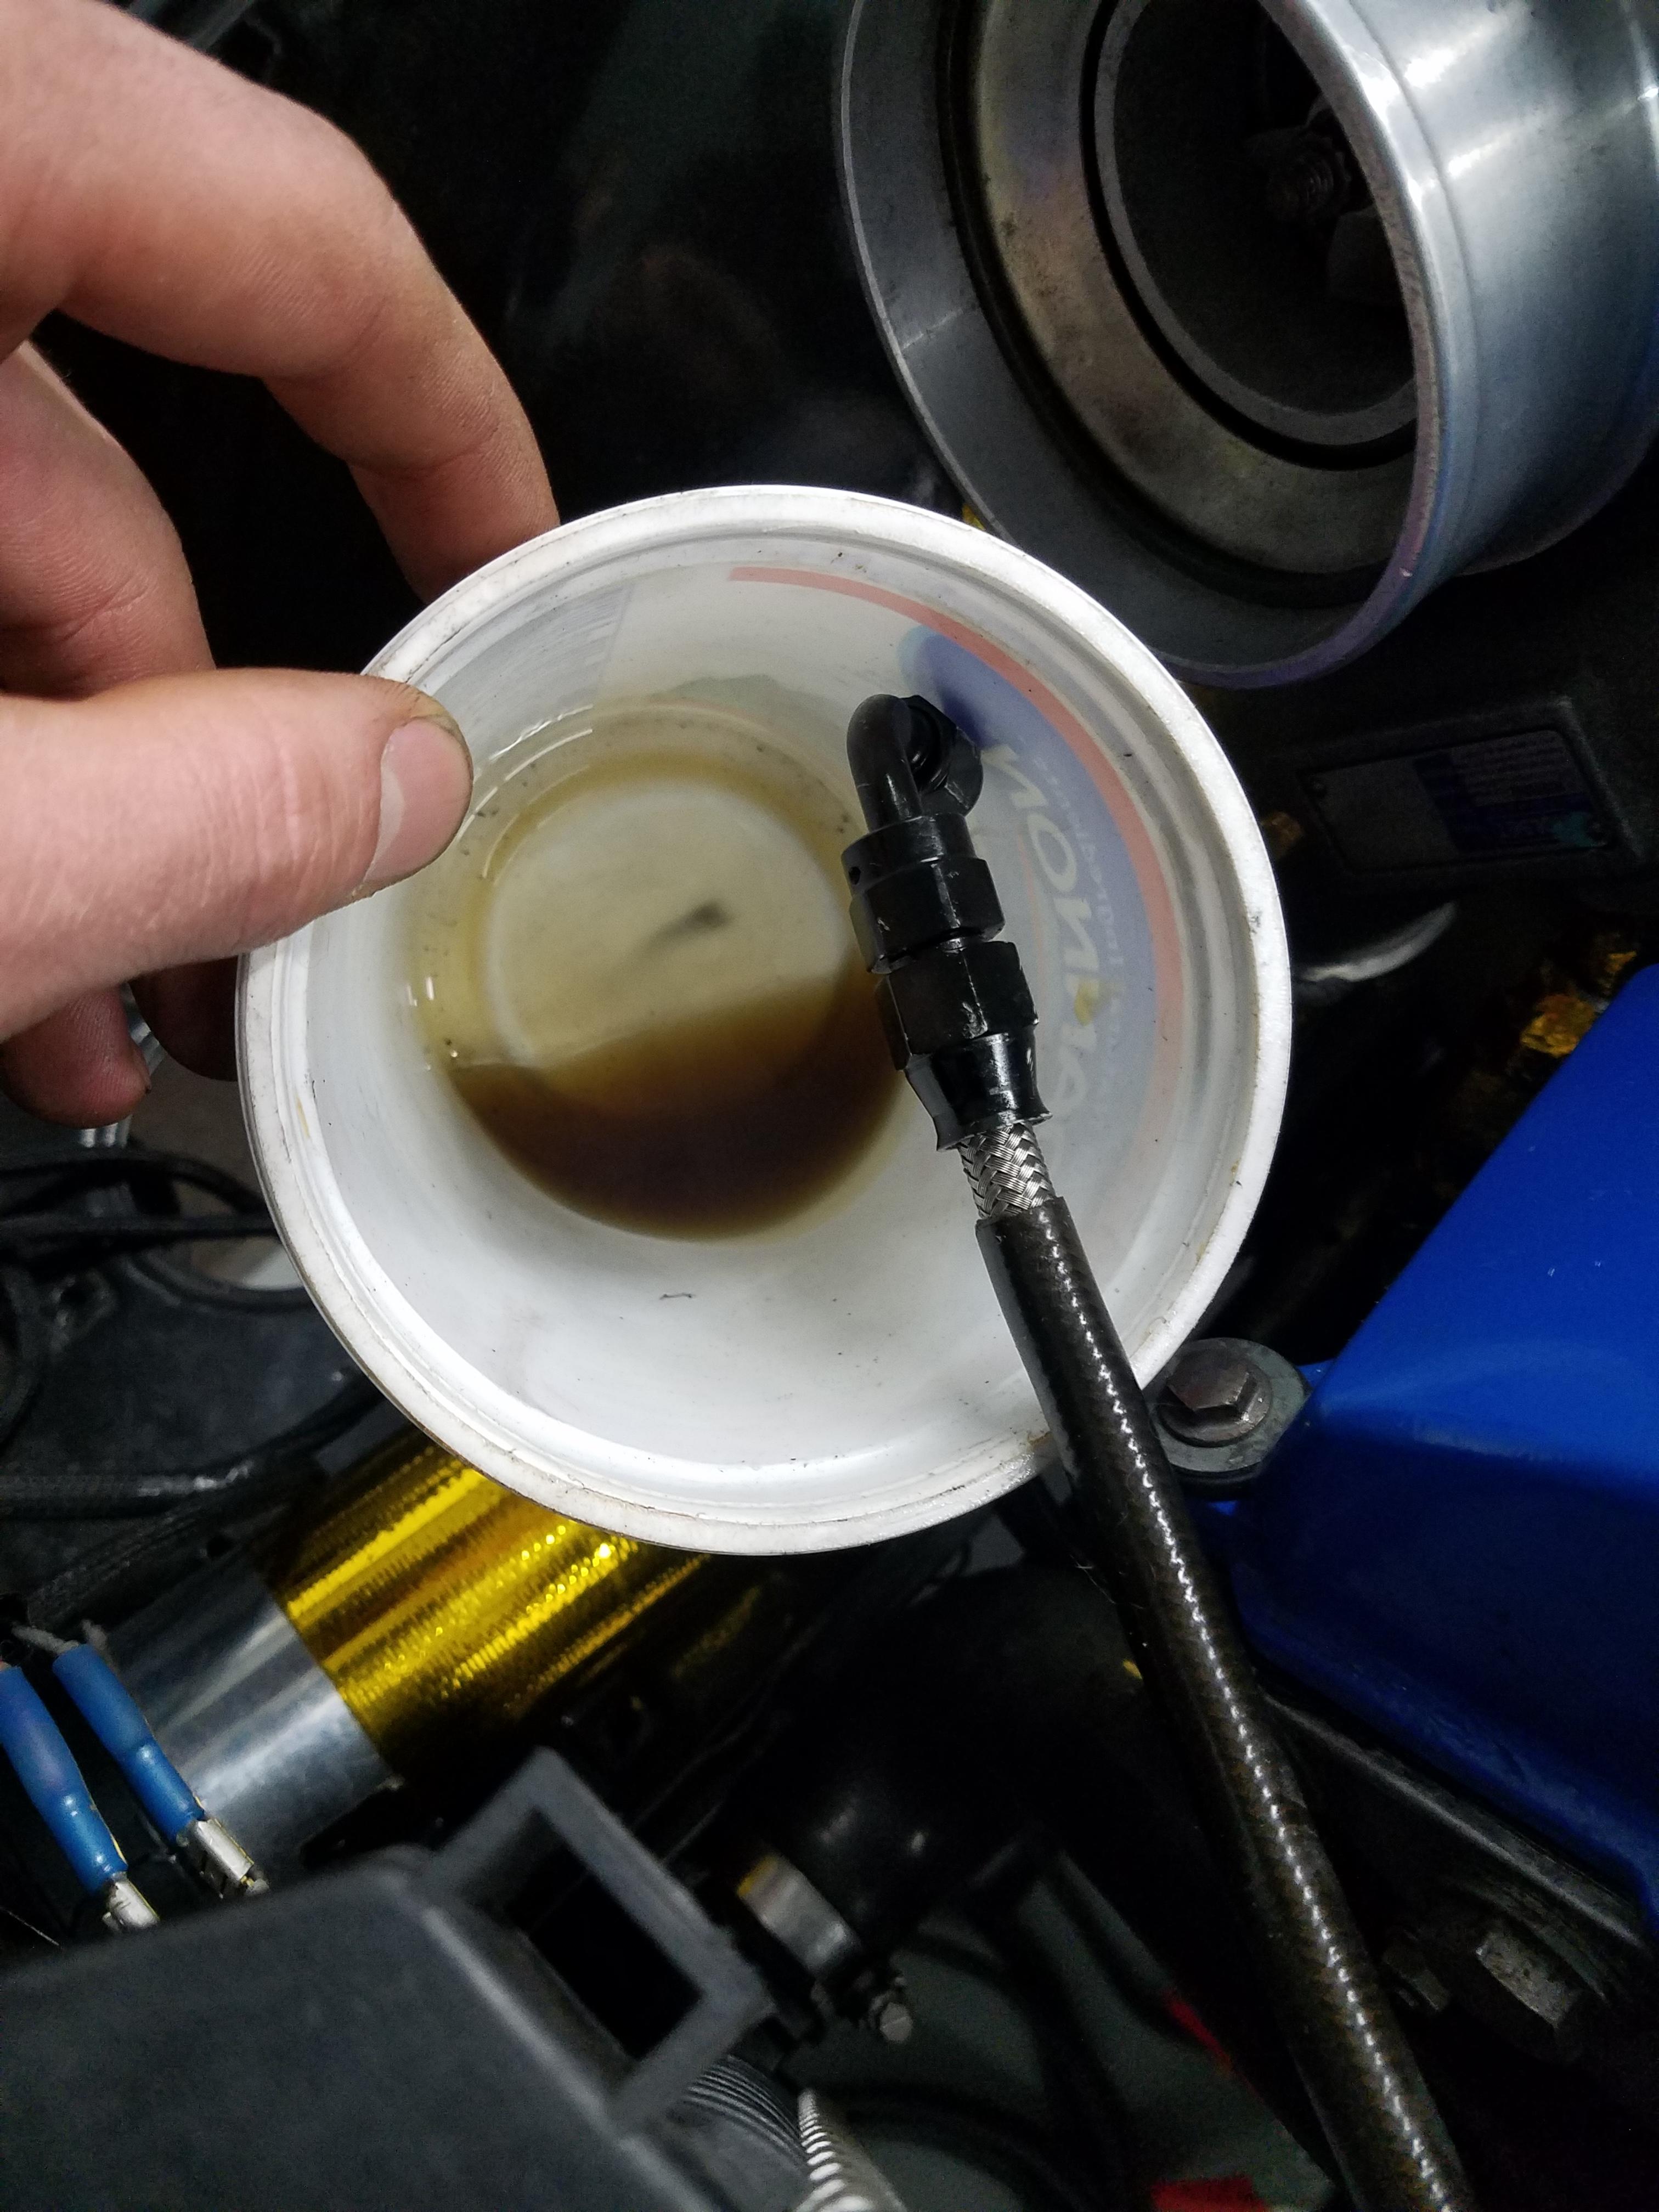
@GunMetalGrey stopped by Thursday evening (valentine's day) with the MS3 pro and to give me a hand with the setup of the base tune and what not. After finagling around with it for about an hour or so we got it all set up and I gave her a go. There was a click, and then nothing, Terrific! I suspected that the grounding issue I once had before had returned so I hooked up a jumper cable, one to the mounting point on the alternator the other on the chassis ground bolt. Hopped in and gave it a go, not more then a second later after cranking she popped right off! The idle was quite rough and we only left it go for maybe 5 seconds before shutting it down and took a look at what they had pre-set for ignition timing on the base map, 31 degrees!? Not sure what the reason was for setting it that high but we tried bringing it down a bit to 18 degrees as well as tweaking with the warm up idle rpm and gave it another whirl. Much smoother, as we let the engine run for a bit and warm up the turbo started sounding very dry and quite loud. Immediately we shut it off, popped off the oil feed line, and after giving the engine a few cranks sure enough, no oil. After this was addressed I loosened up the vanos banjo bolt (being that the feed line and vanos line run off the same port on the filter housing) and once again gave it a few cranks, nothing. Seeing this I back tracked in my head remembering quite well that the oil pressure was sitting right below 60 psi so the motor had good pressure which also means that the port with the distribution block was getting oil but not the vanos one, I was quite confused on how that was possible and after another 15-20 mins of brainstorming on what the hell was going on we called her a night.
Following day while I was on lunch I figured there has to be only two reasons for the issue, somethings backwards or somethings clogged. After work I went straight to the shop and although feeling that it was very unlikely, I flipped the oil cooler lines around, propped the feed line in a cup and gave her a few cranks.
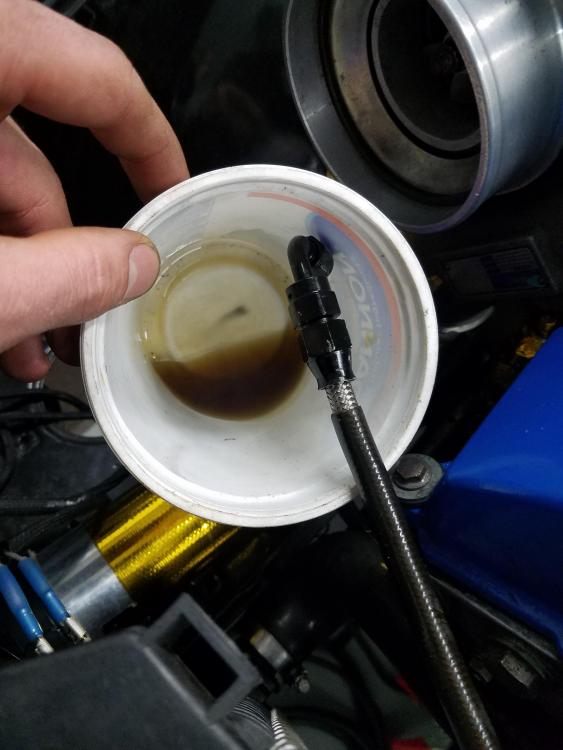
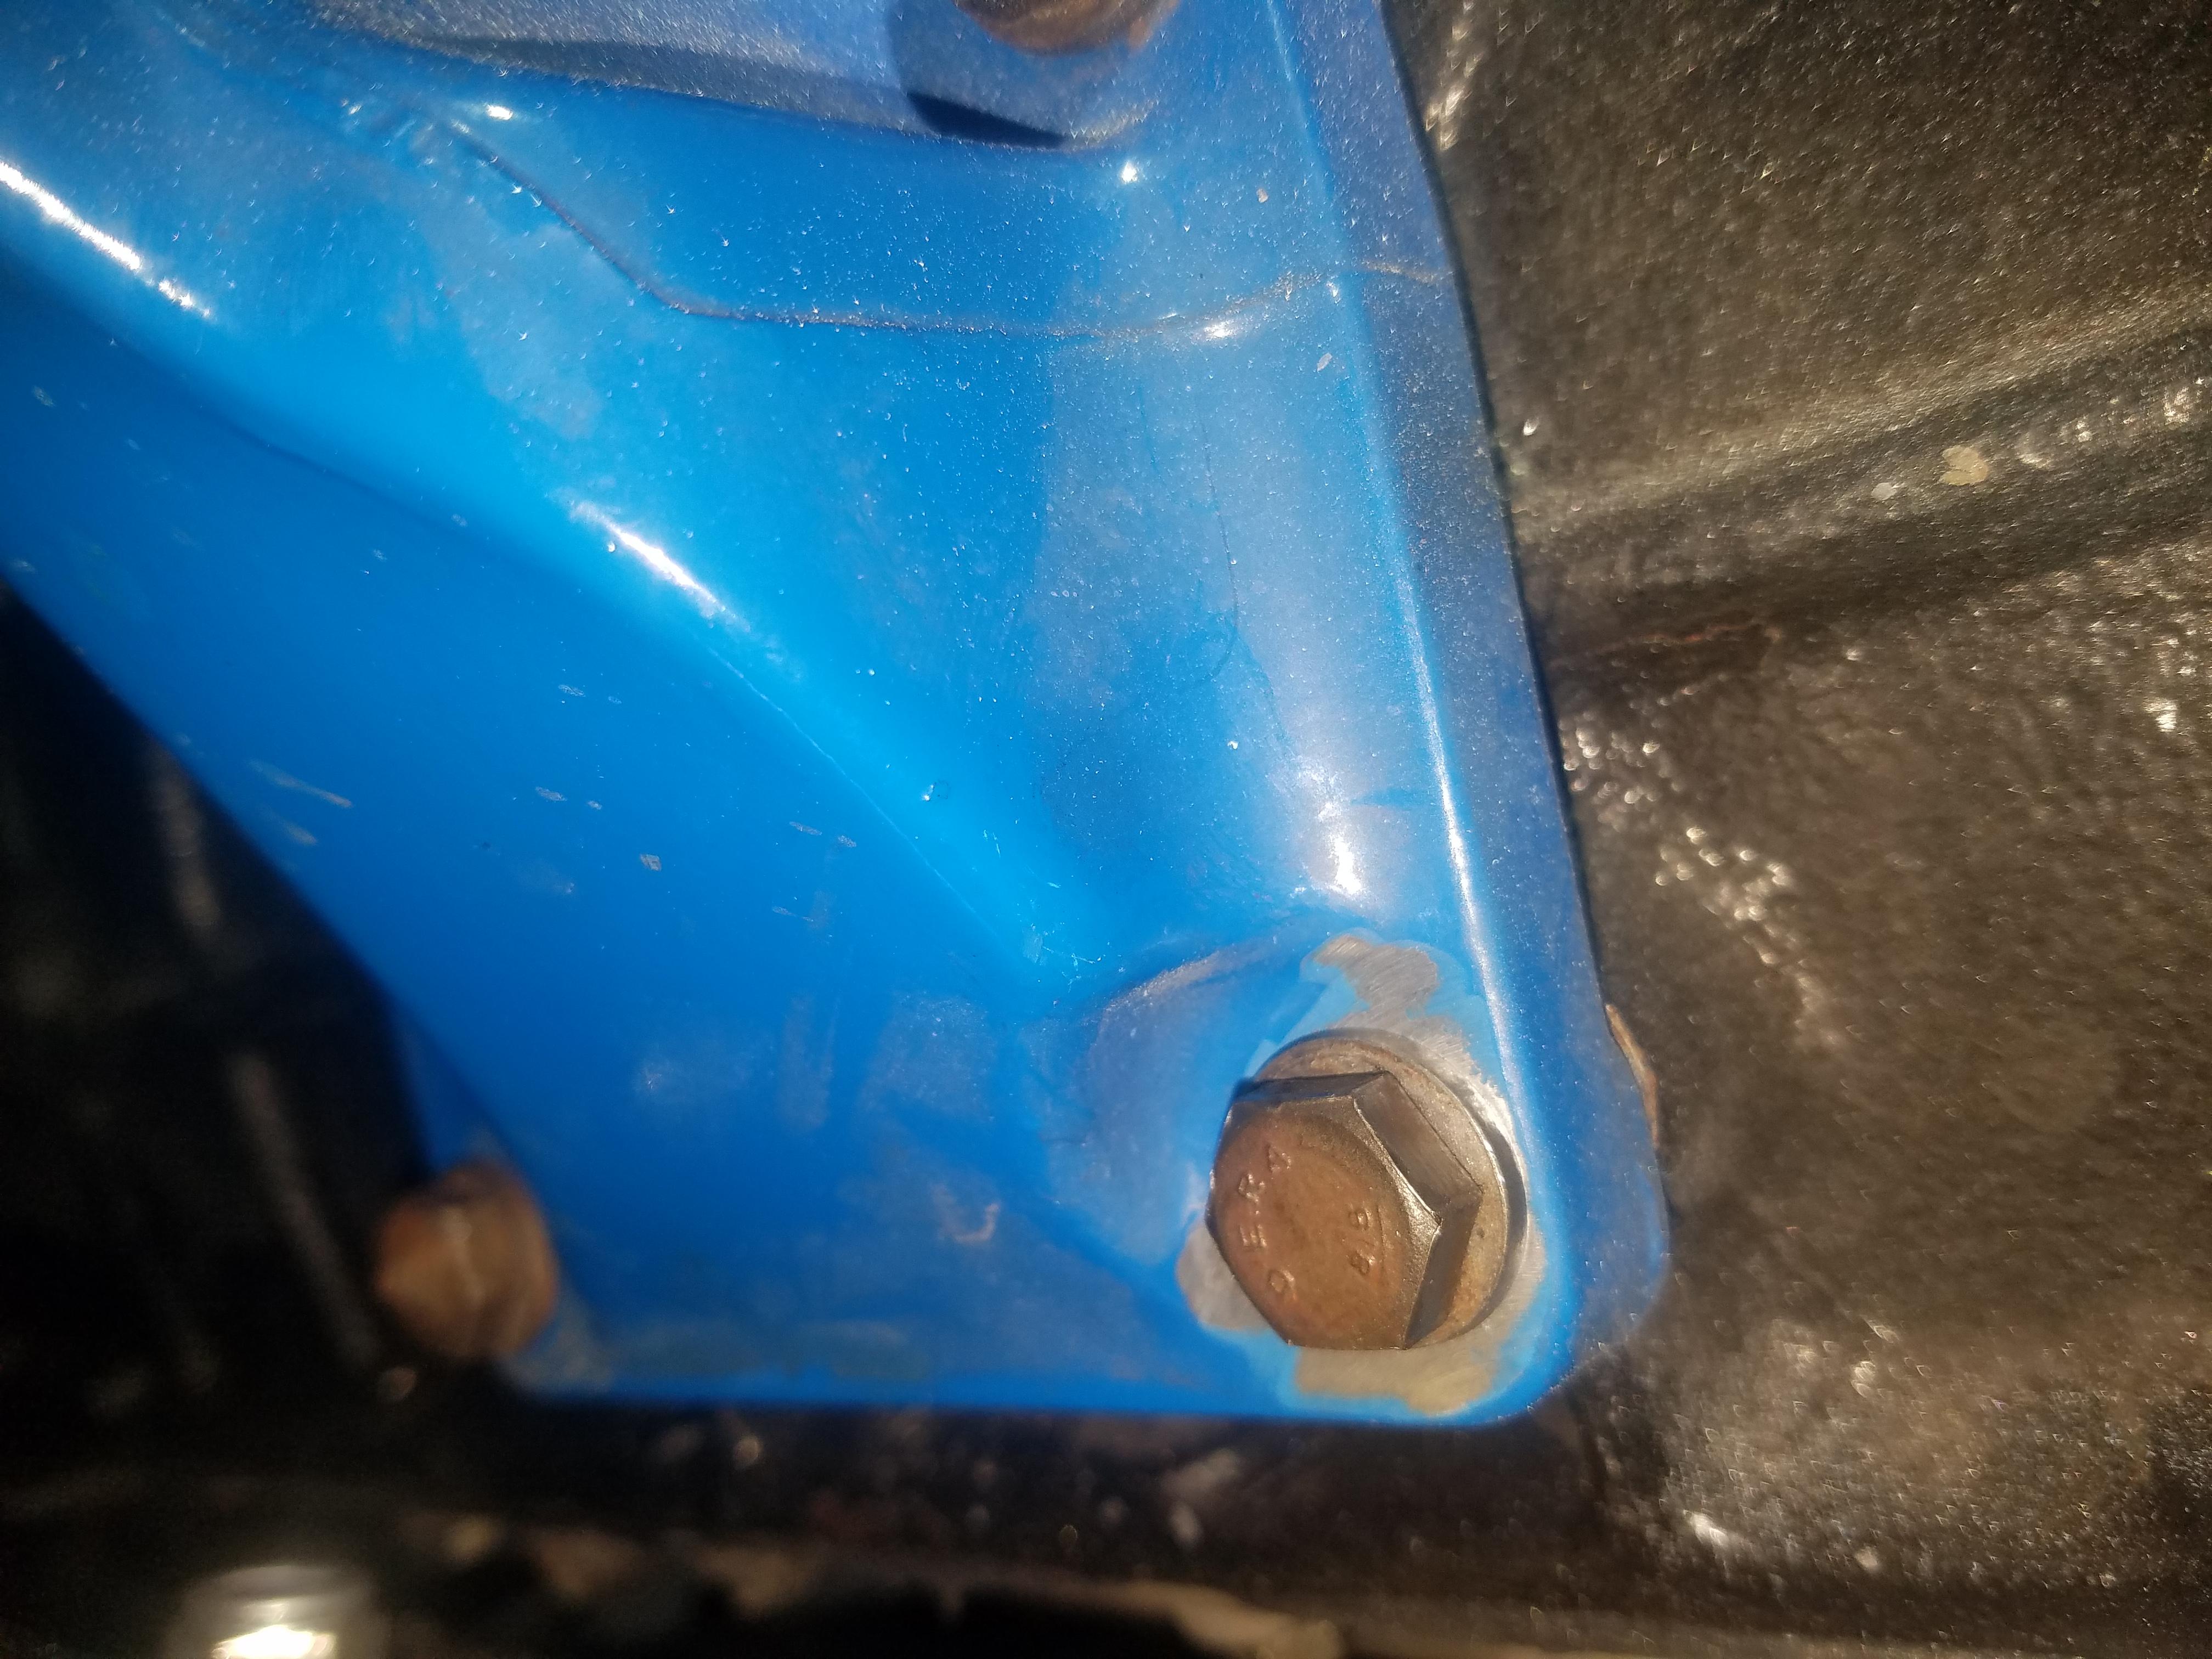
That was it! I still don't quite understand how this was possible other then the fact that the oil cooler must have only allowed flow of oil in one direction with some sort of valve. At that point I also took the liberty of figuring out my grounding issue which was quite simple. The powder-coat on the motor mount had caused an interference with it and somehow I've been lucky enough that it never made a fuss up tell now. Easy enough I removed one of the bolts and sanded away the coating covering that area.
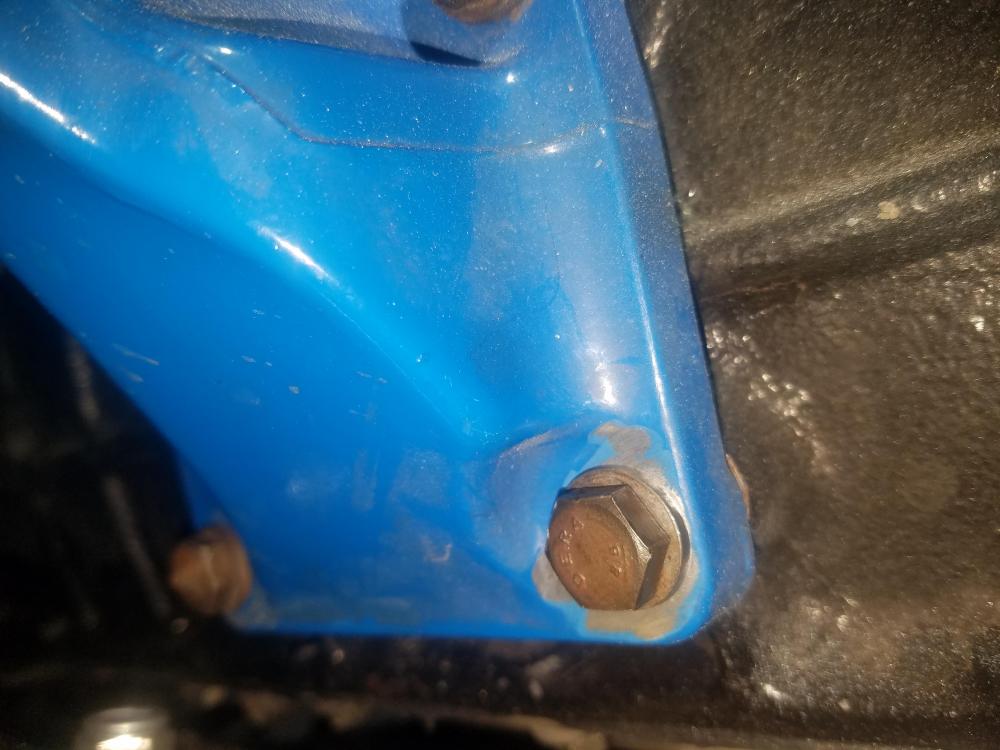
Hopped back in and it cranked right over and was running well once again. This time there was no funny noises coming from the turbo, Yay!
Didn't really tweak with anything else on MS3 (being that I have no idea what the hell I'm doing) other then just run and save data logs whenever the car was running.
With the car now at least running I had to park it over on the other side of the shop (cold side) for a while as per the deal with my grandfather so he could attend to a few projects of his own.
Fast forward to present day, hoping to get the car rolled back over come spring break (Week of March 17th - 24th) to get things finished up.
As for a to-do-list...
- Get another Driveshaft
- Get the exhaust installed. Unfortunately the hangers currently welded to it mount to spots on the car that I would rather not mention. Gonna go ahead and cut those out and make some up to mount to the stock locations.
- Bleed the clutch system a bit more
- Mess with the wiring for the headlights a bit (intercooler caused rerouting of the loom that comes across the front of the car causing them to be a bit short for reach)
- Wire up the boost controller
- Finish up wiring for the wide band and boost gauge and then get everything tucked back up underneath the dash
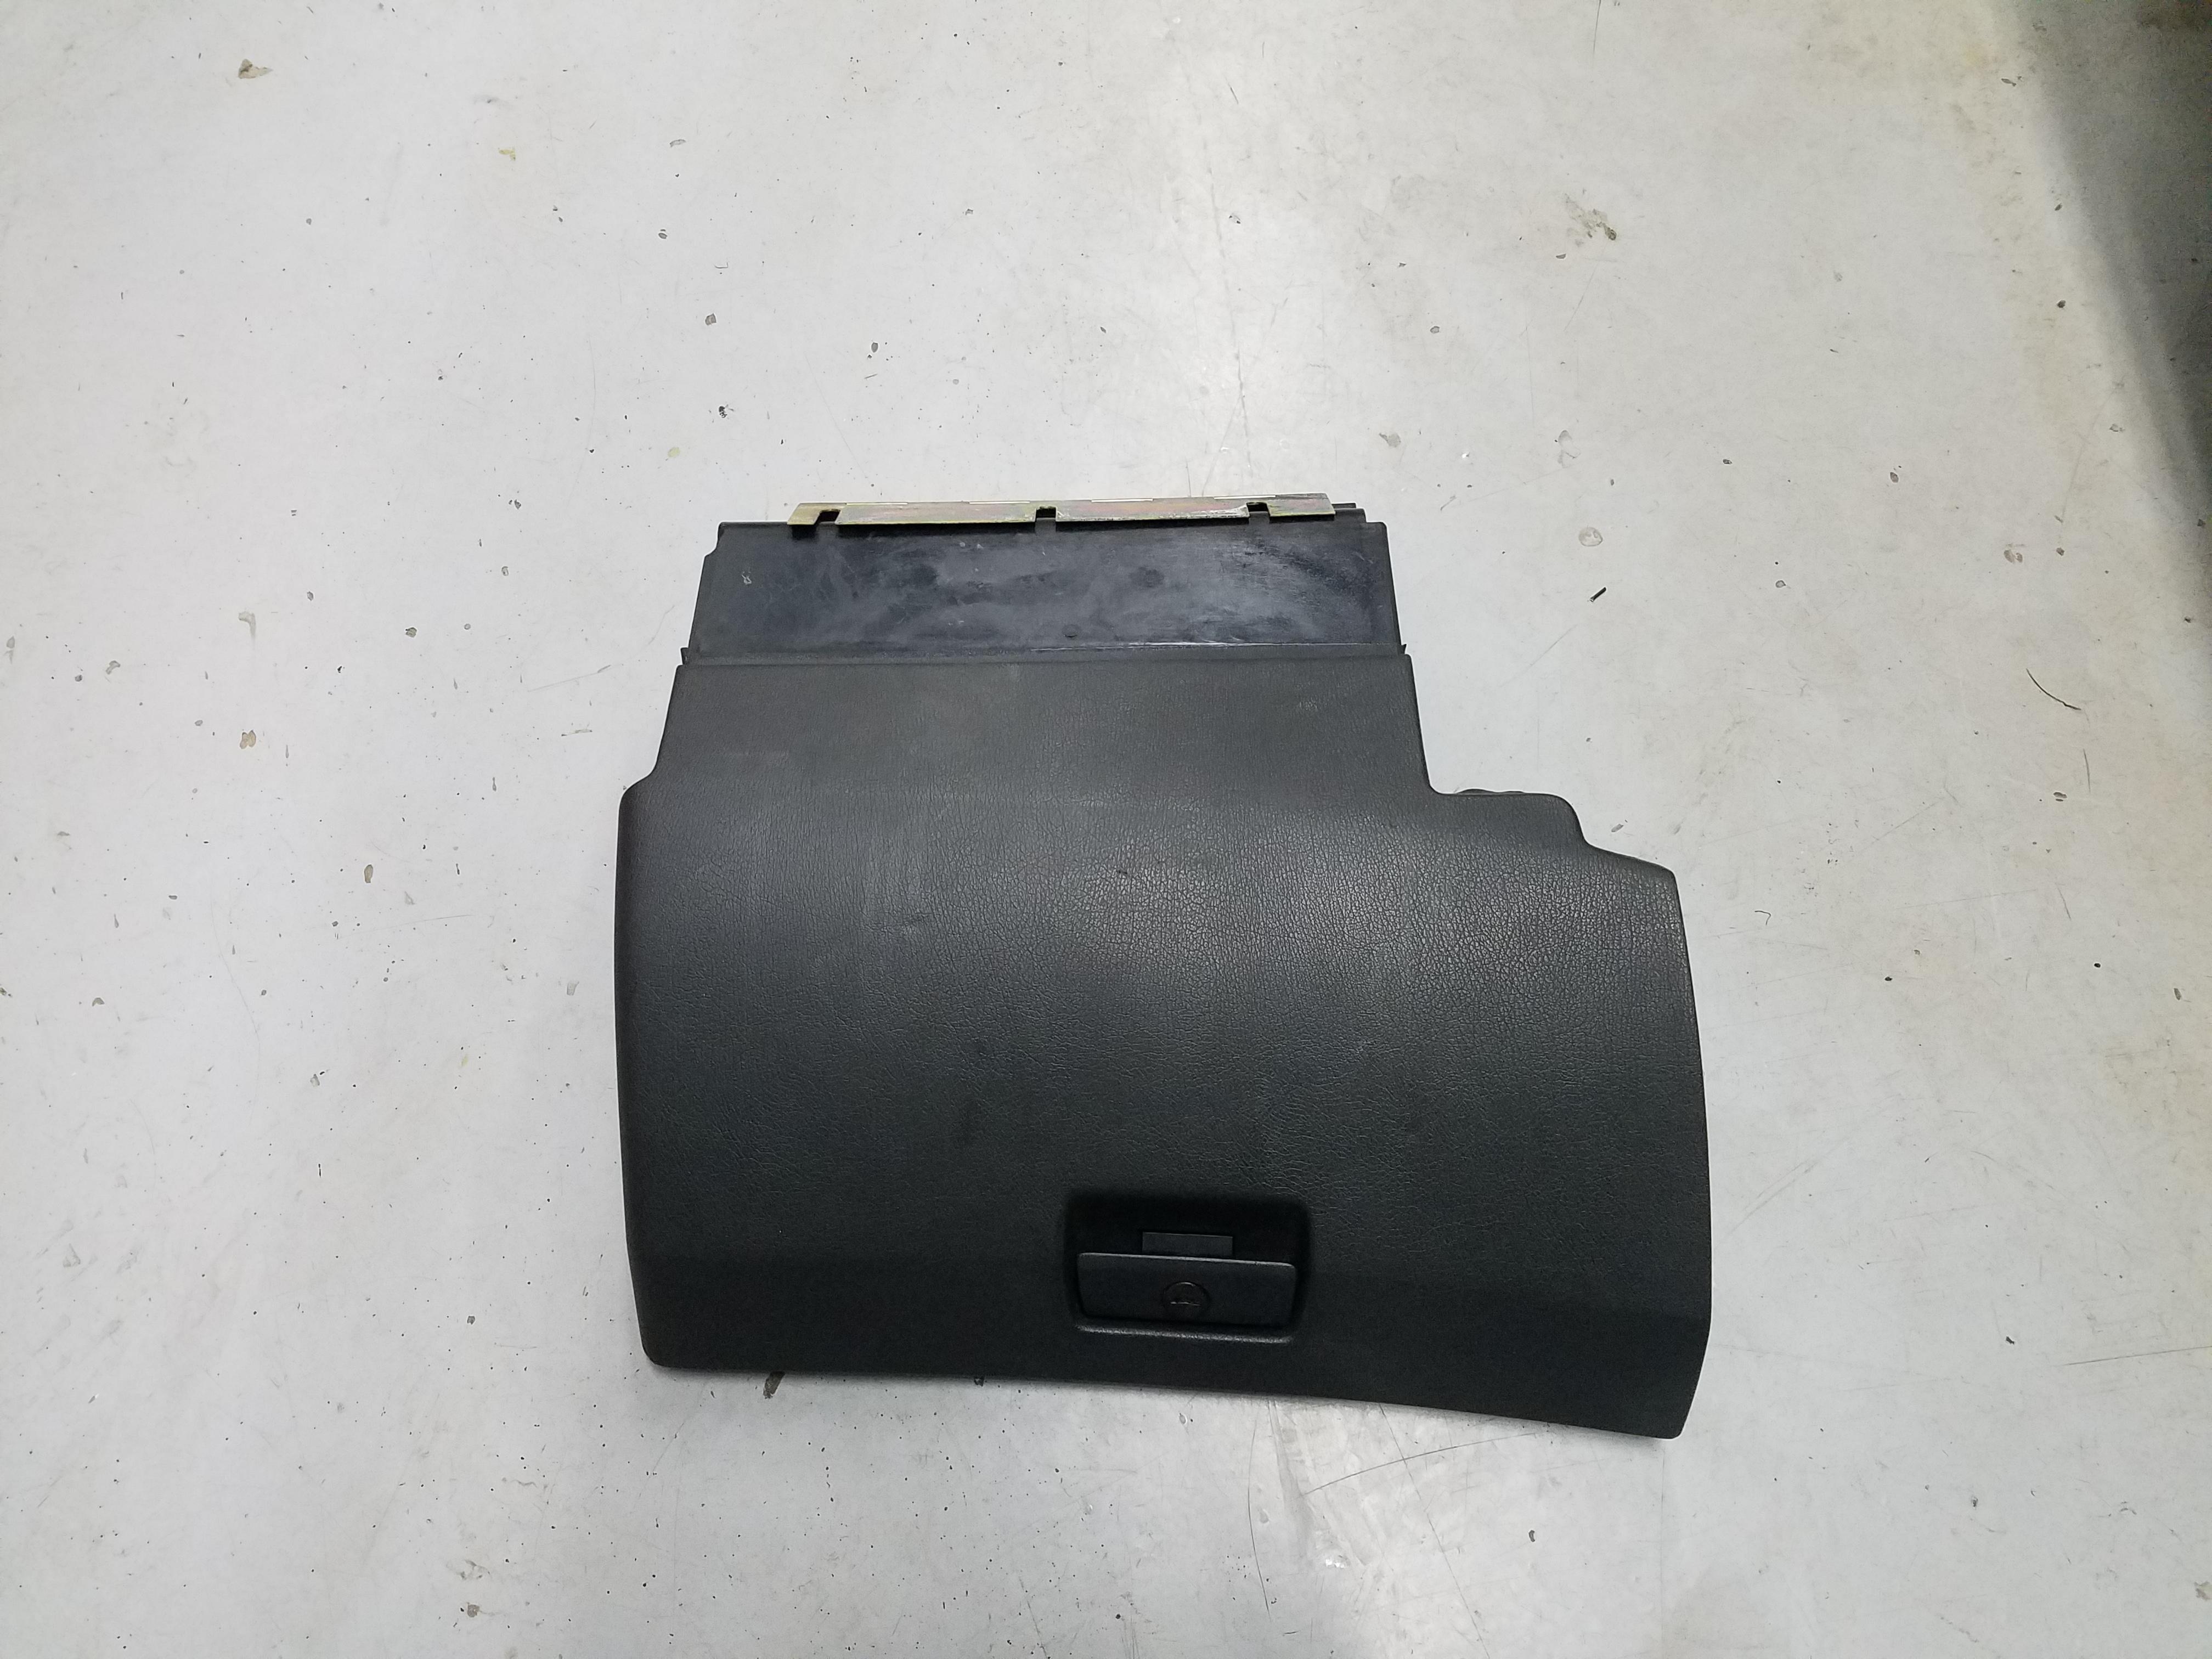
- Find another glove box
- Maybe find some different wheels and tires
- Get it tuned
Luckily there's not a whole lot to get done before she'll be ready to get back on the road.
-
2 things checked off the list today!
Picked up a glove box from a guy off r3v for a fair price. That's gonna be shipped out tomorrow and on it's way.
Called up driveshafts specialists in Texas this afternoon and got me a reman'd driveshaft ordered. I can't even begin to describe how helpful the guys are over there, they really know their shit and were super helpful in figuring out what I needed. Prices were very reasonable as well. 100% recommend!
-
More progress!
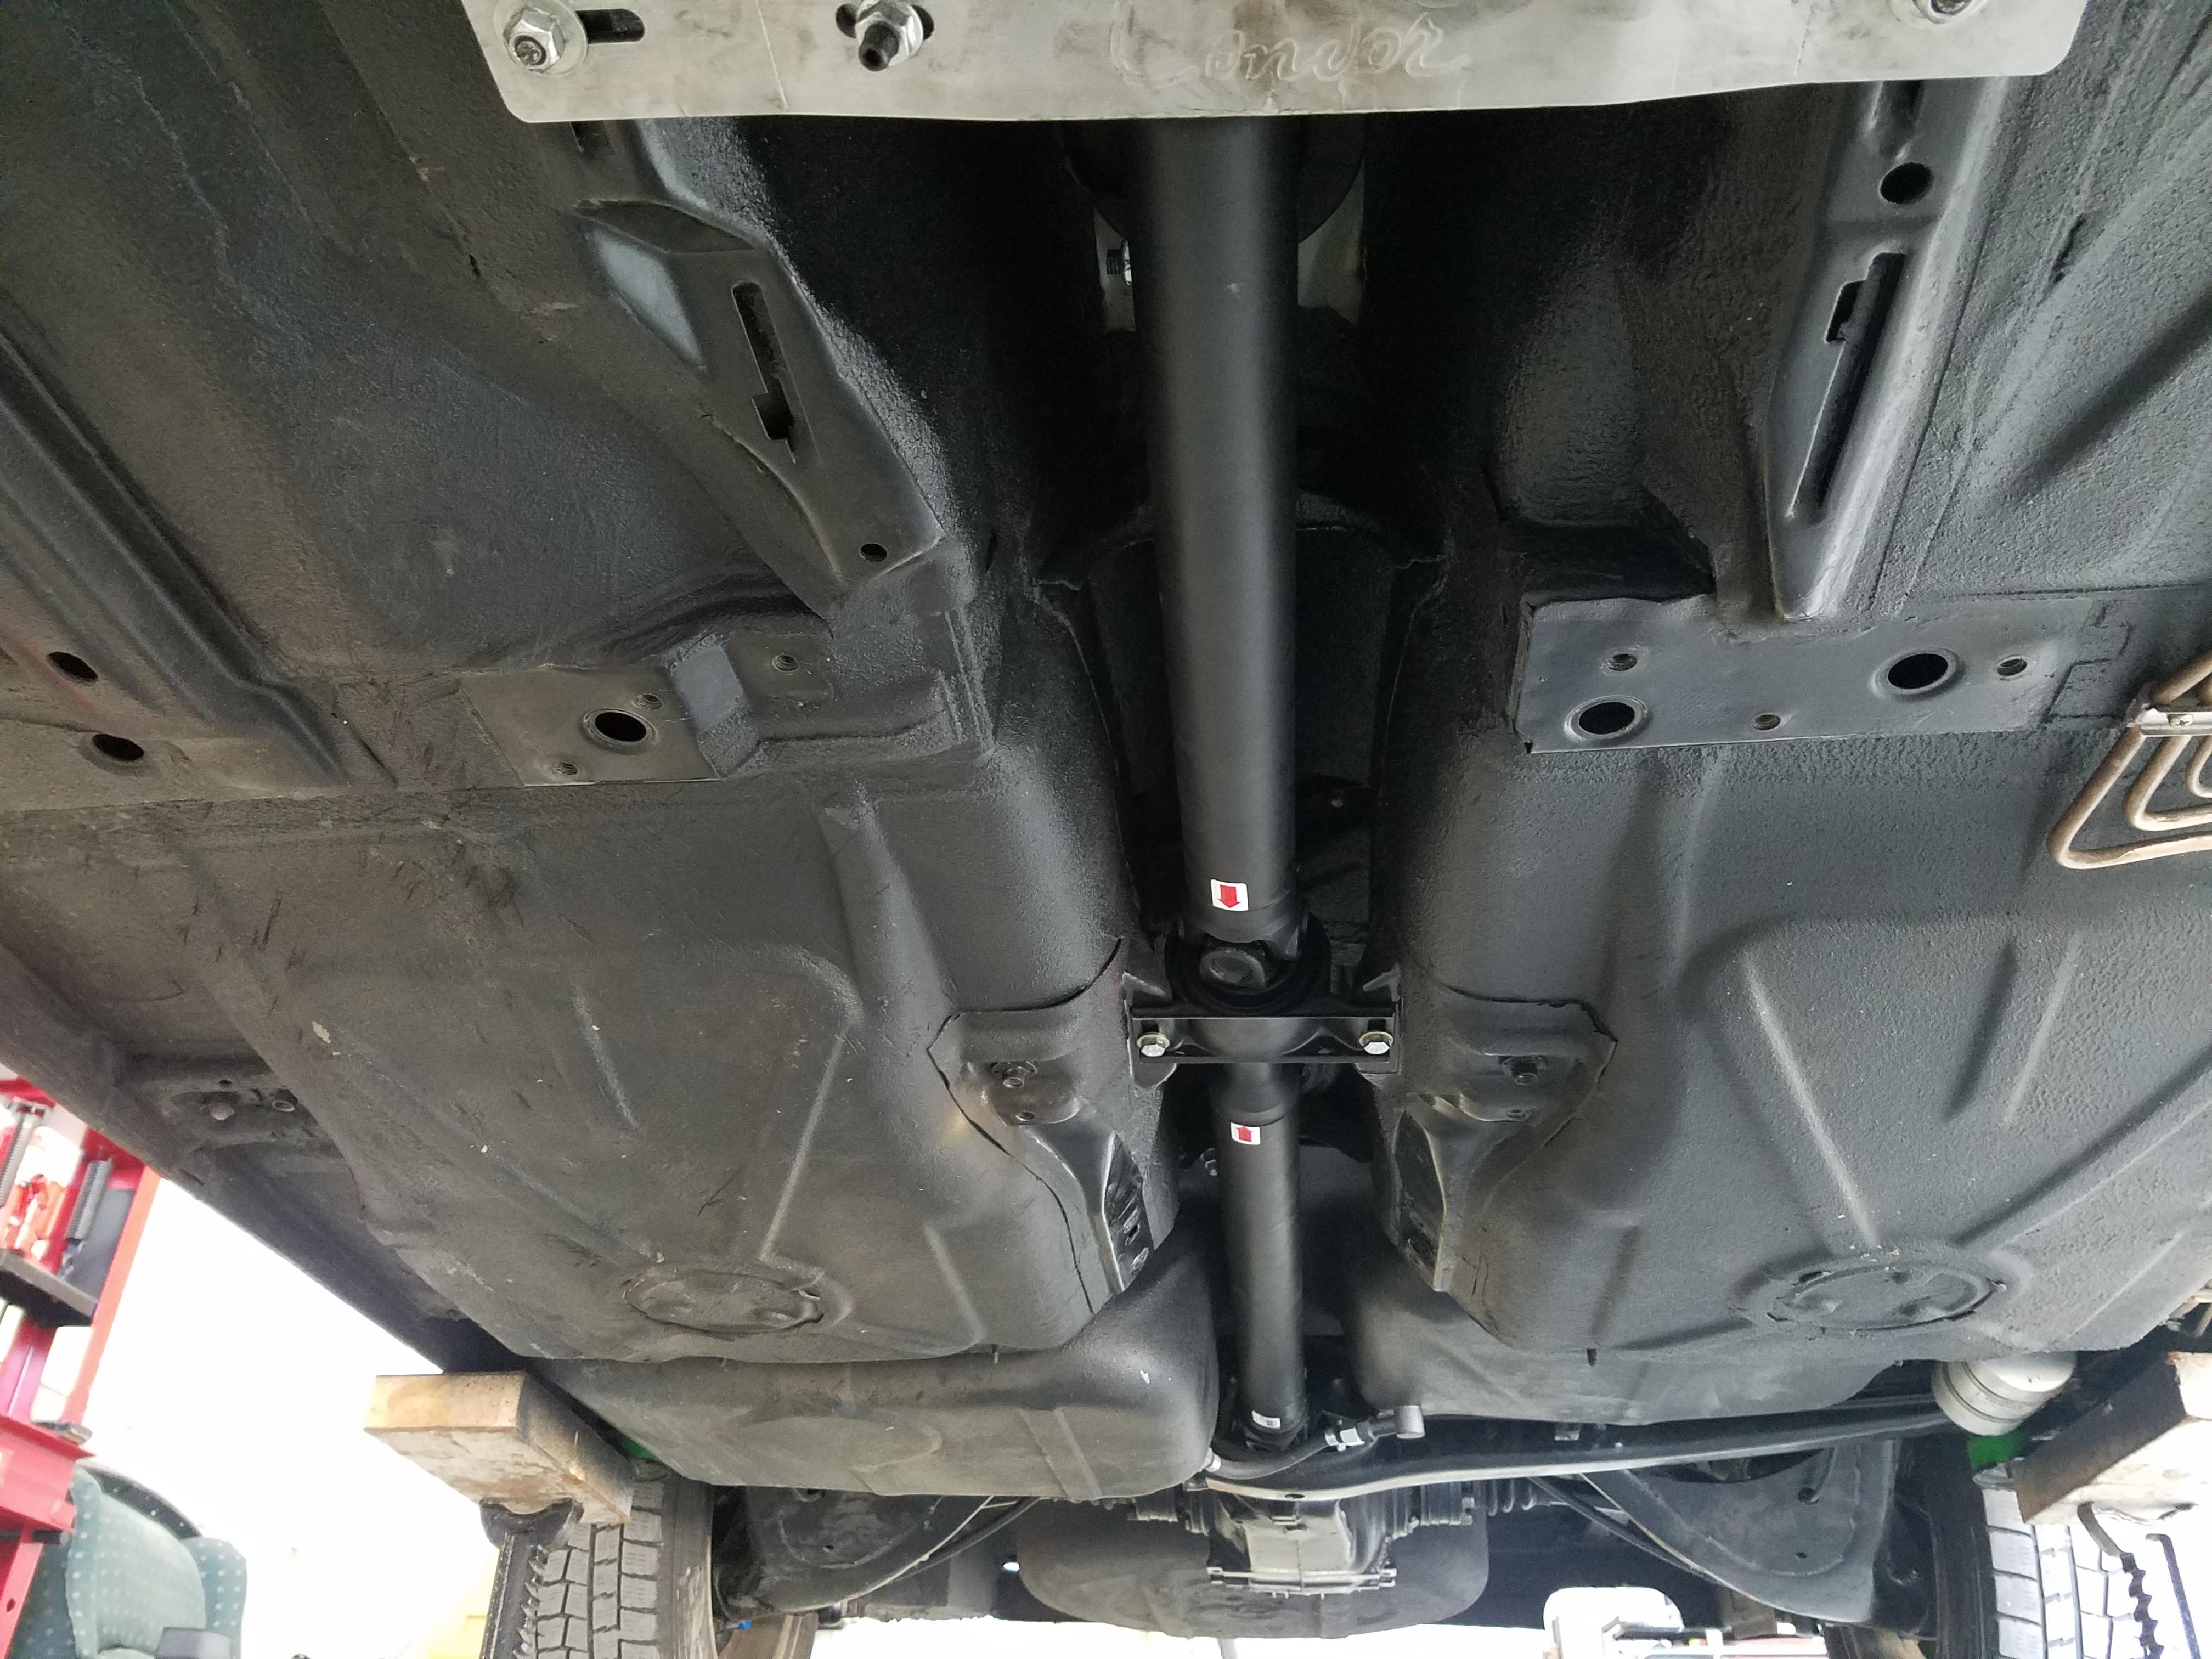
New driveshaft installed, check.
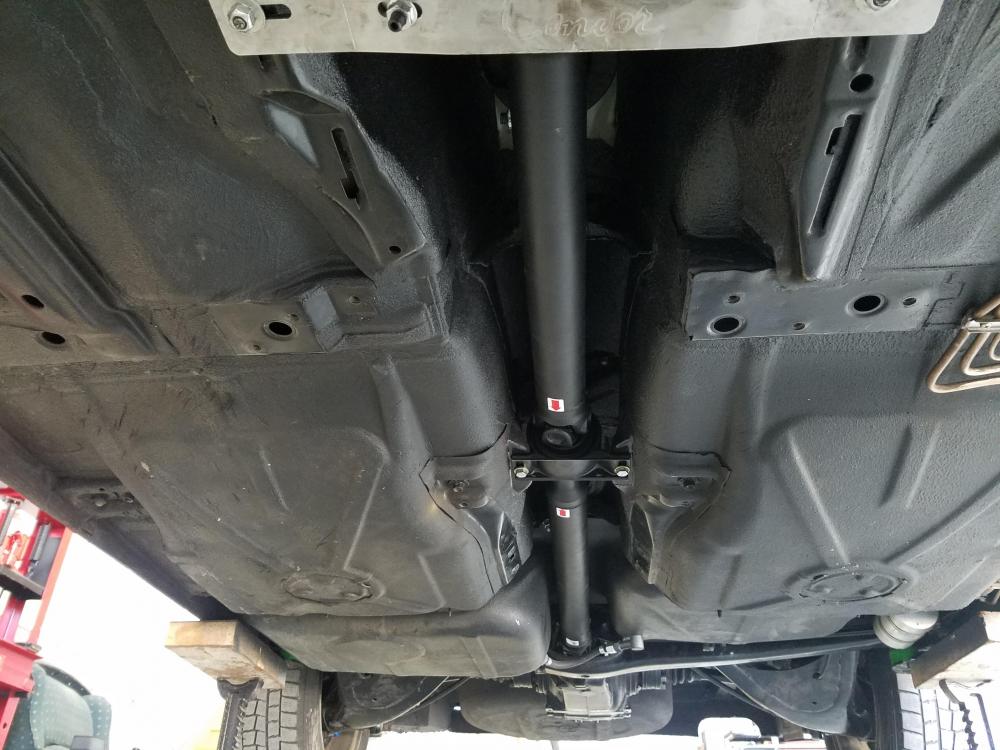
While I was under there I went ahead and finished up bleeding the clutch system.
Next major thing on the list was wiring and finalizing everything.
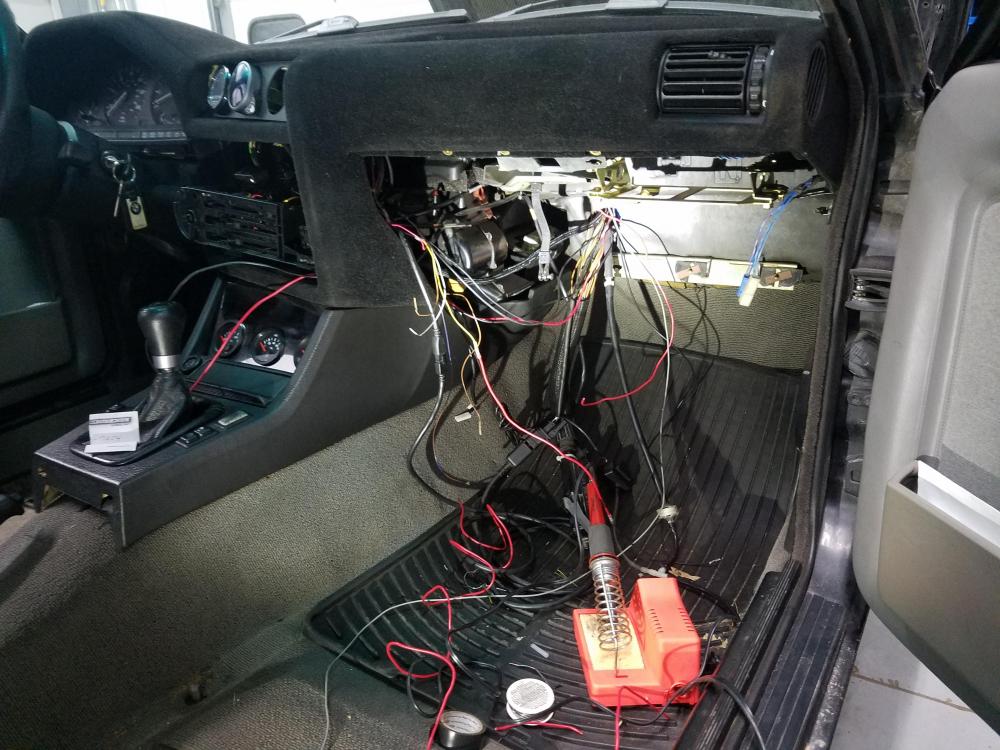
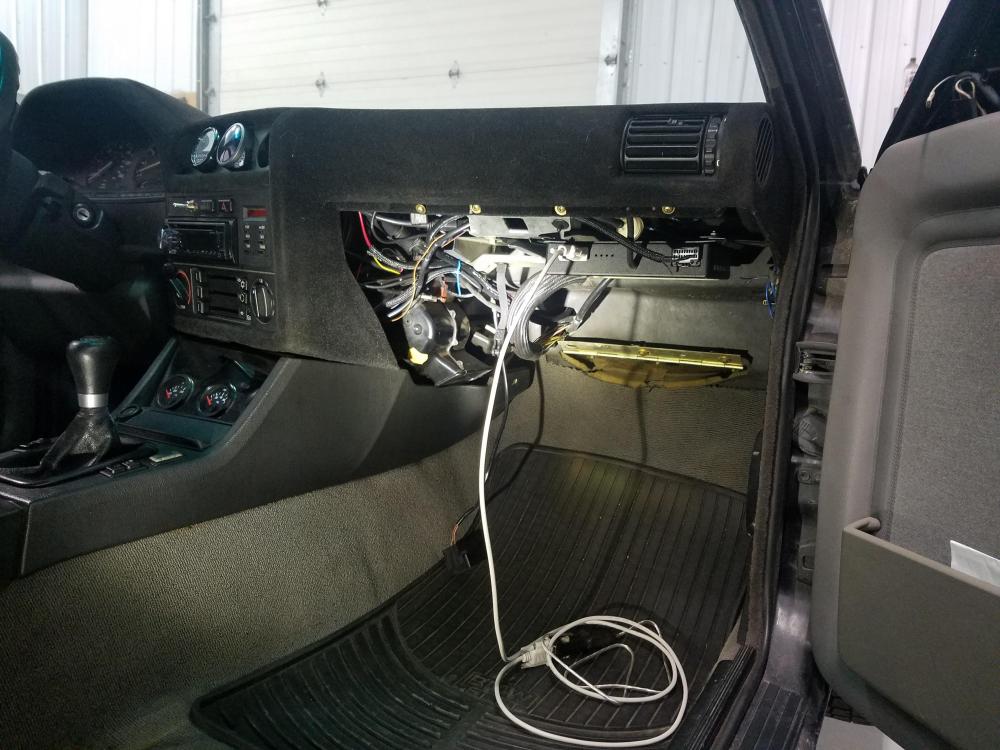
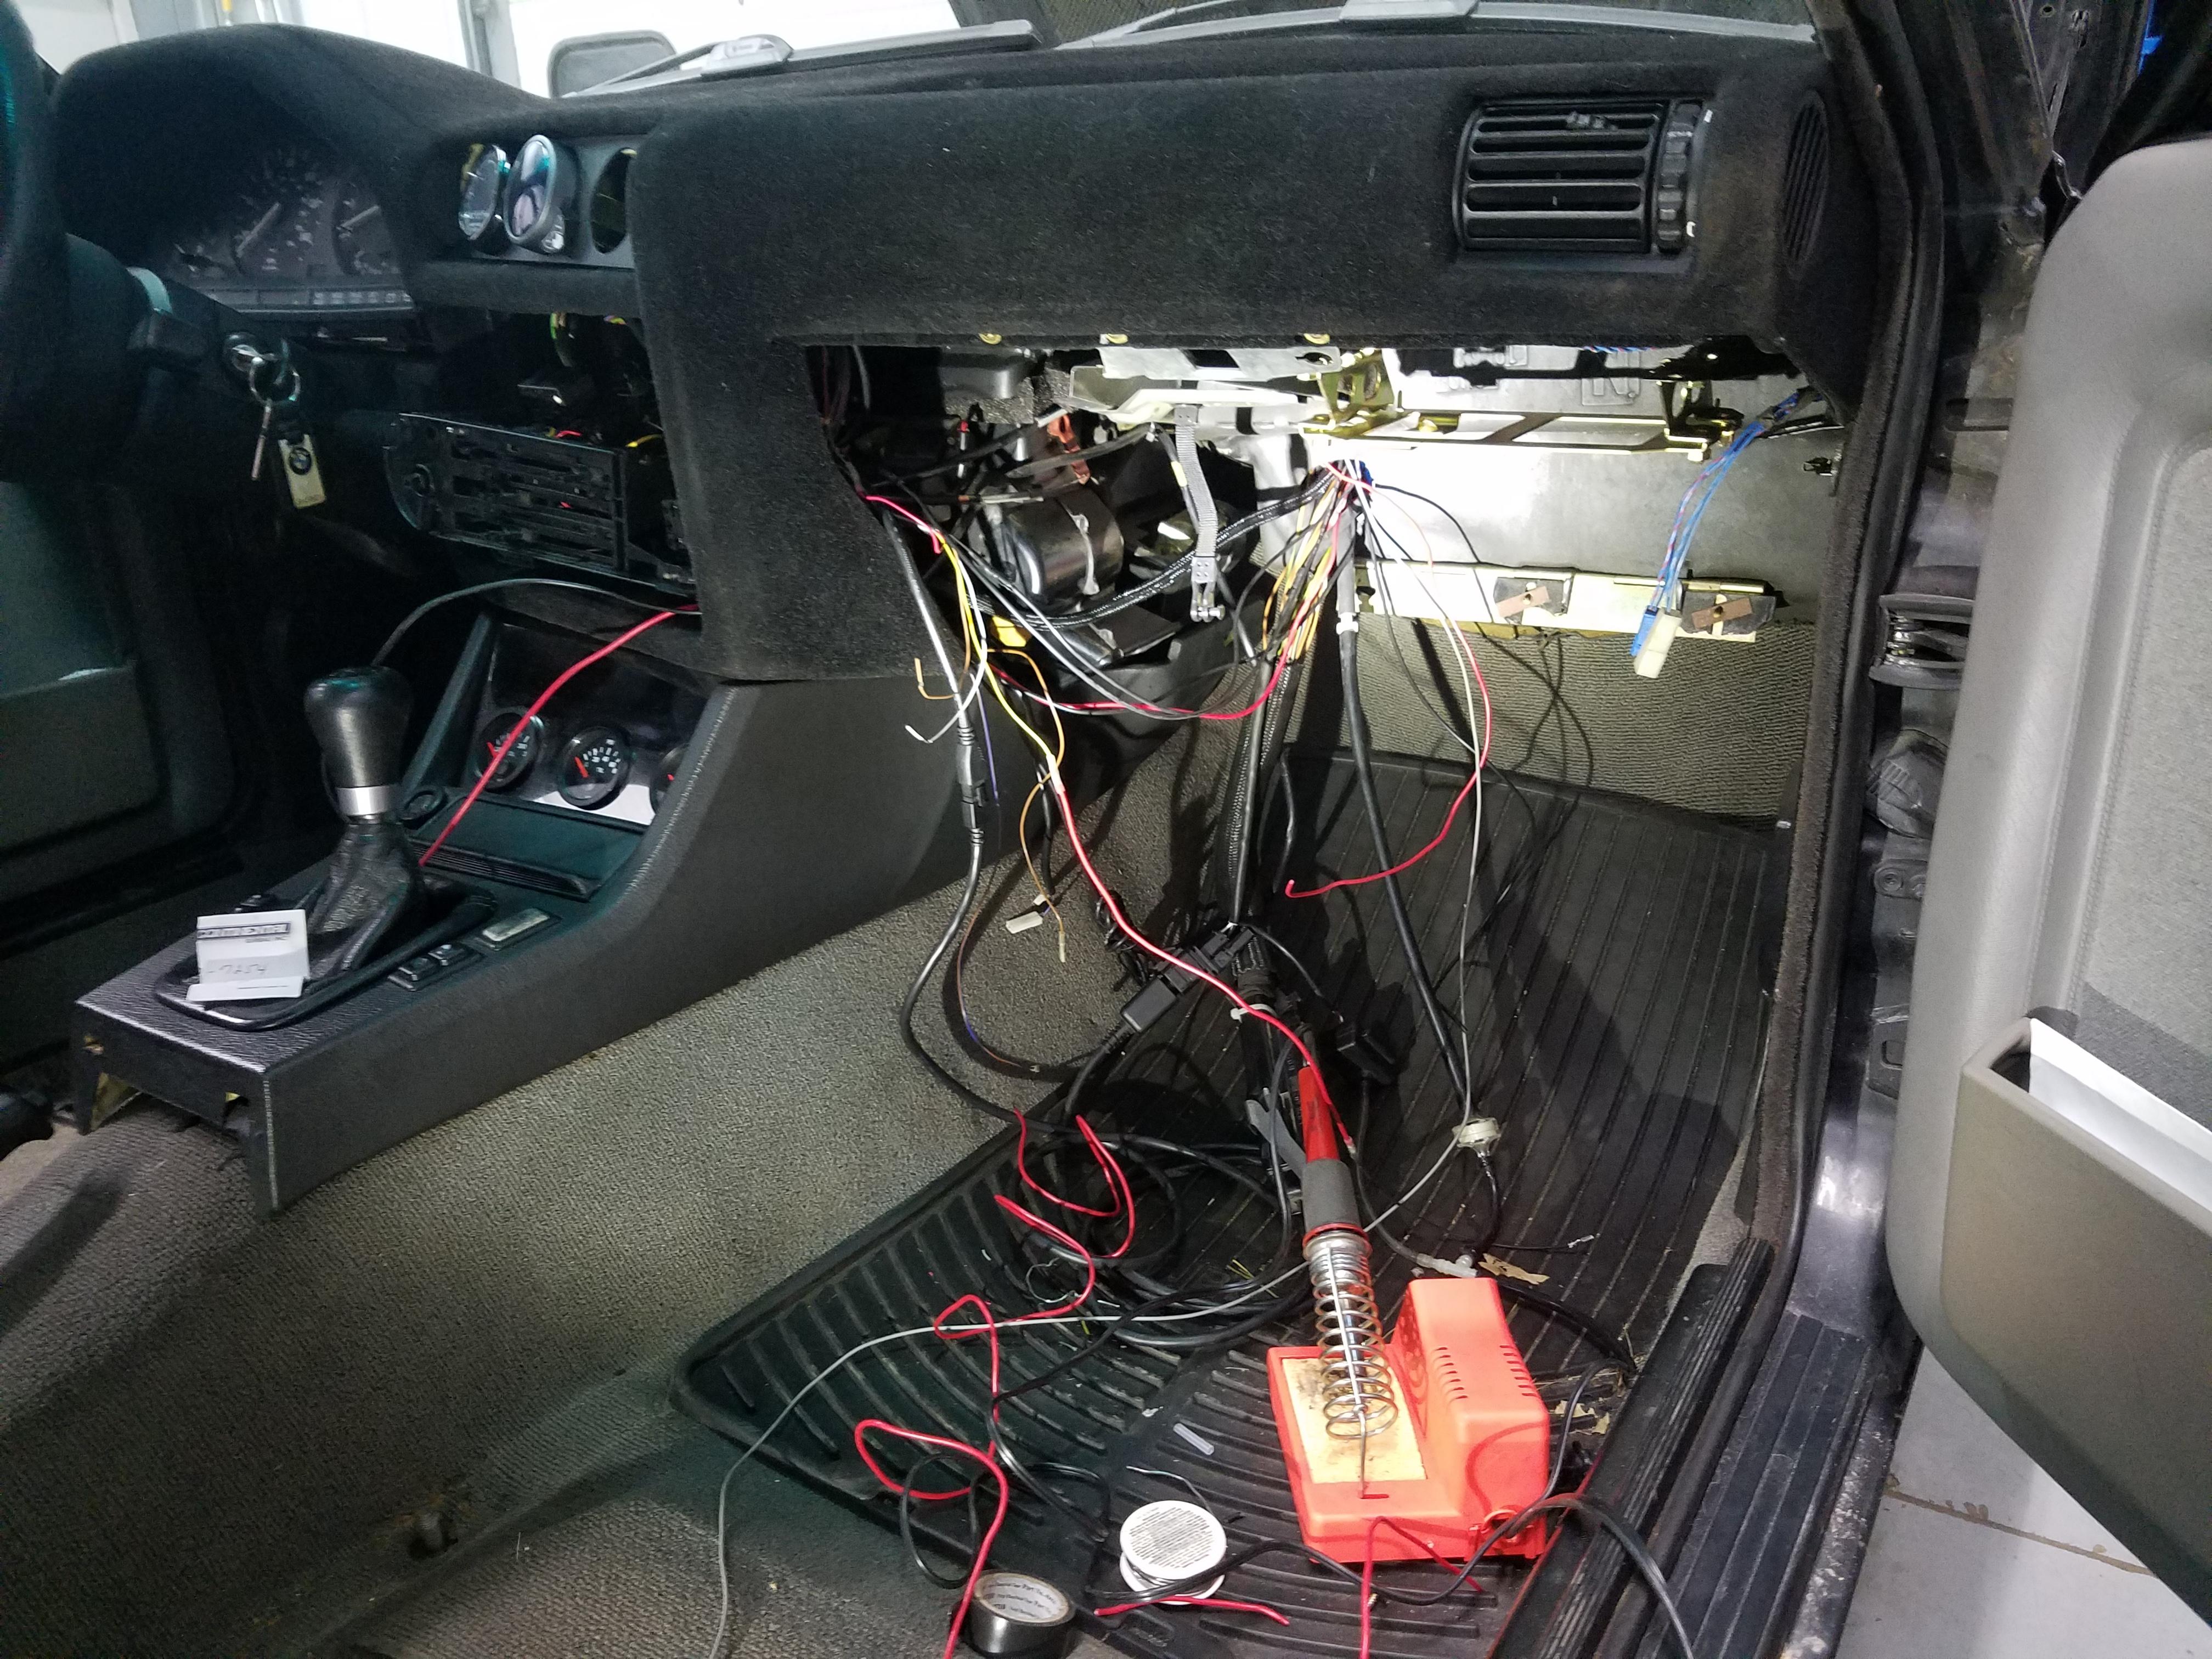
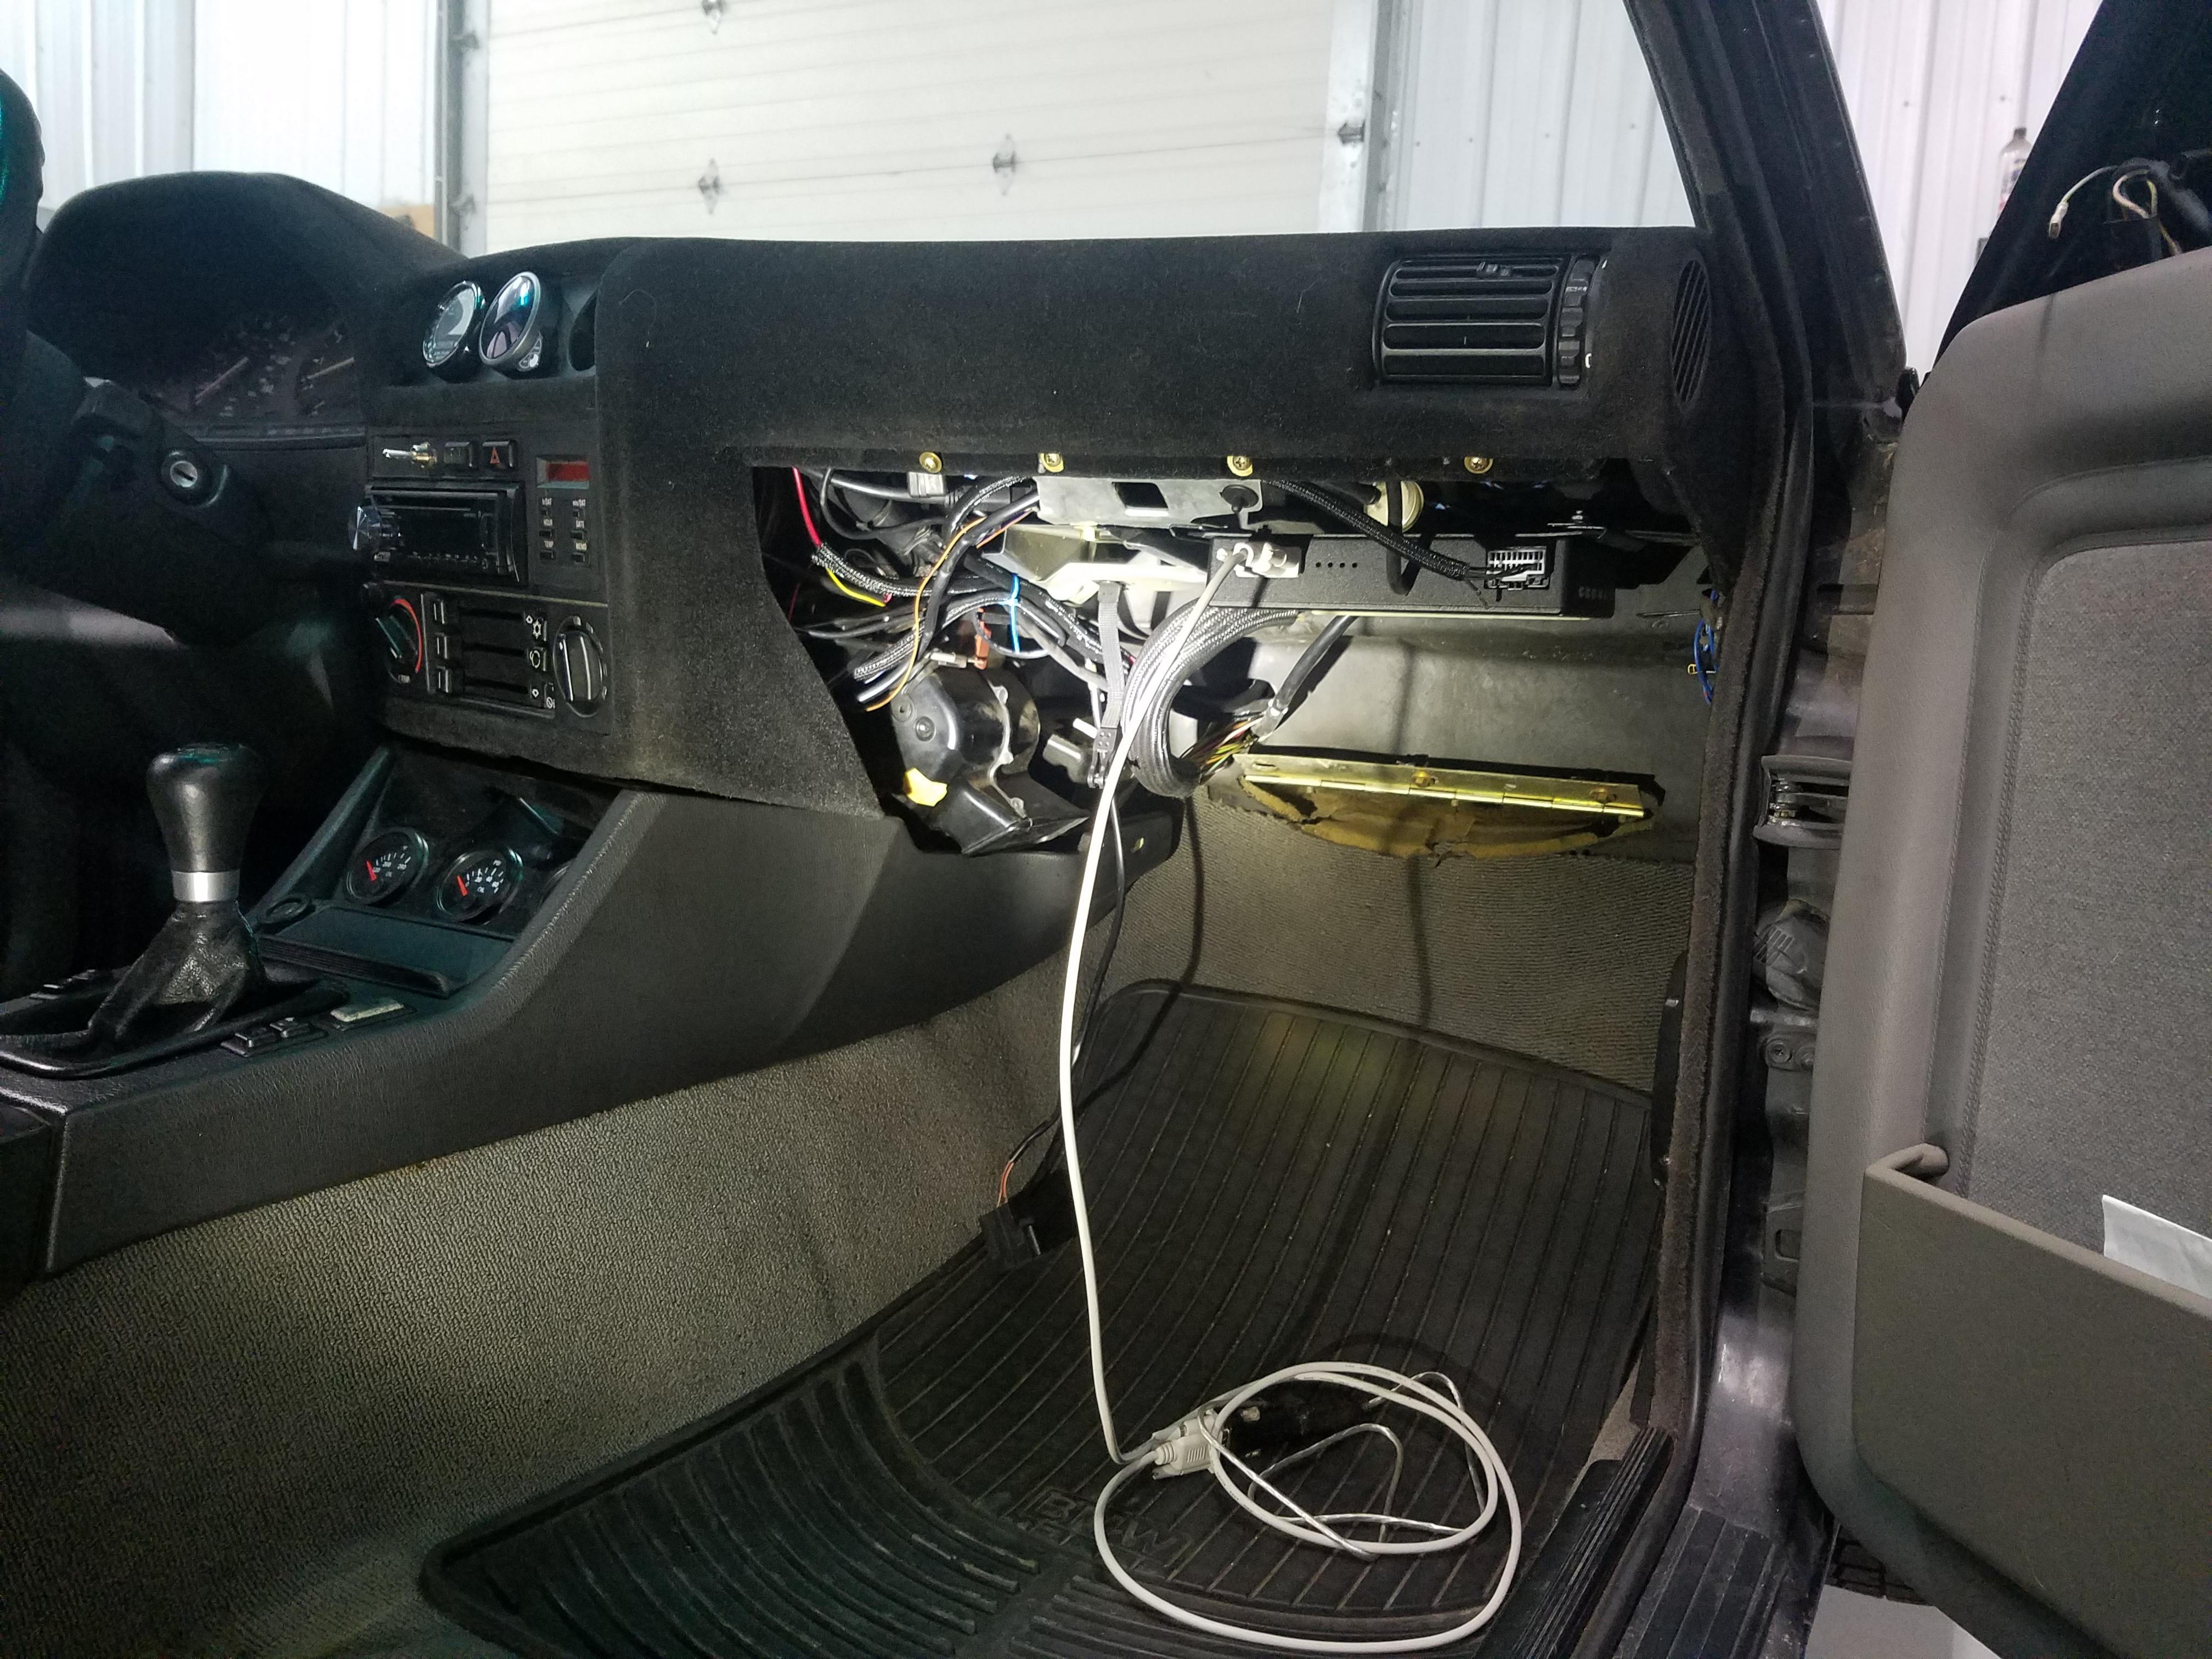
Wideband and boost gauge had to be fit up and wired in. I ran 3 wires for the ms aux plug. One for the wideband, boost controller, and electric fan.
After getting everything routed how I wanted I wrapped all the wires with 1/4 inch split loom for tidiness. Also had to remove the old stock ecu bracket I was using as the ms module is about an inch wider then the 413. Luckily they sent some universal type brackets that I was able to fit up to the old bolt holes for the stock bracket which made for an easy install.
Little before and after...
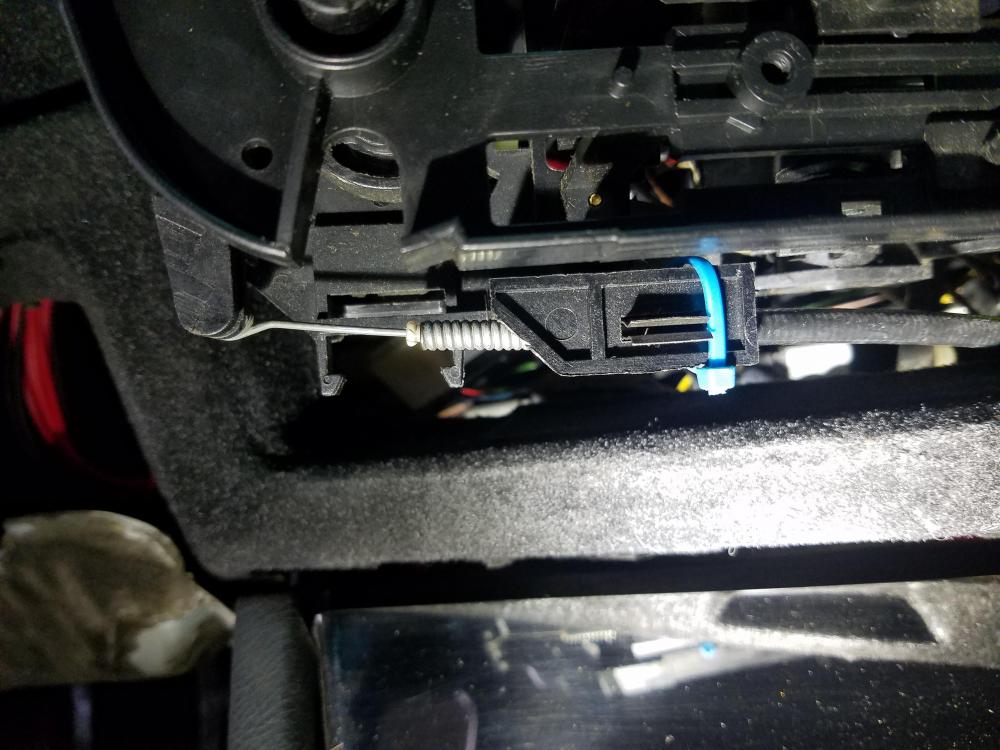
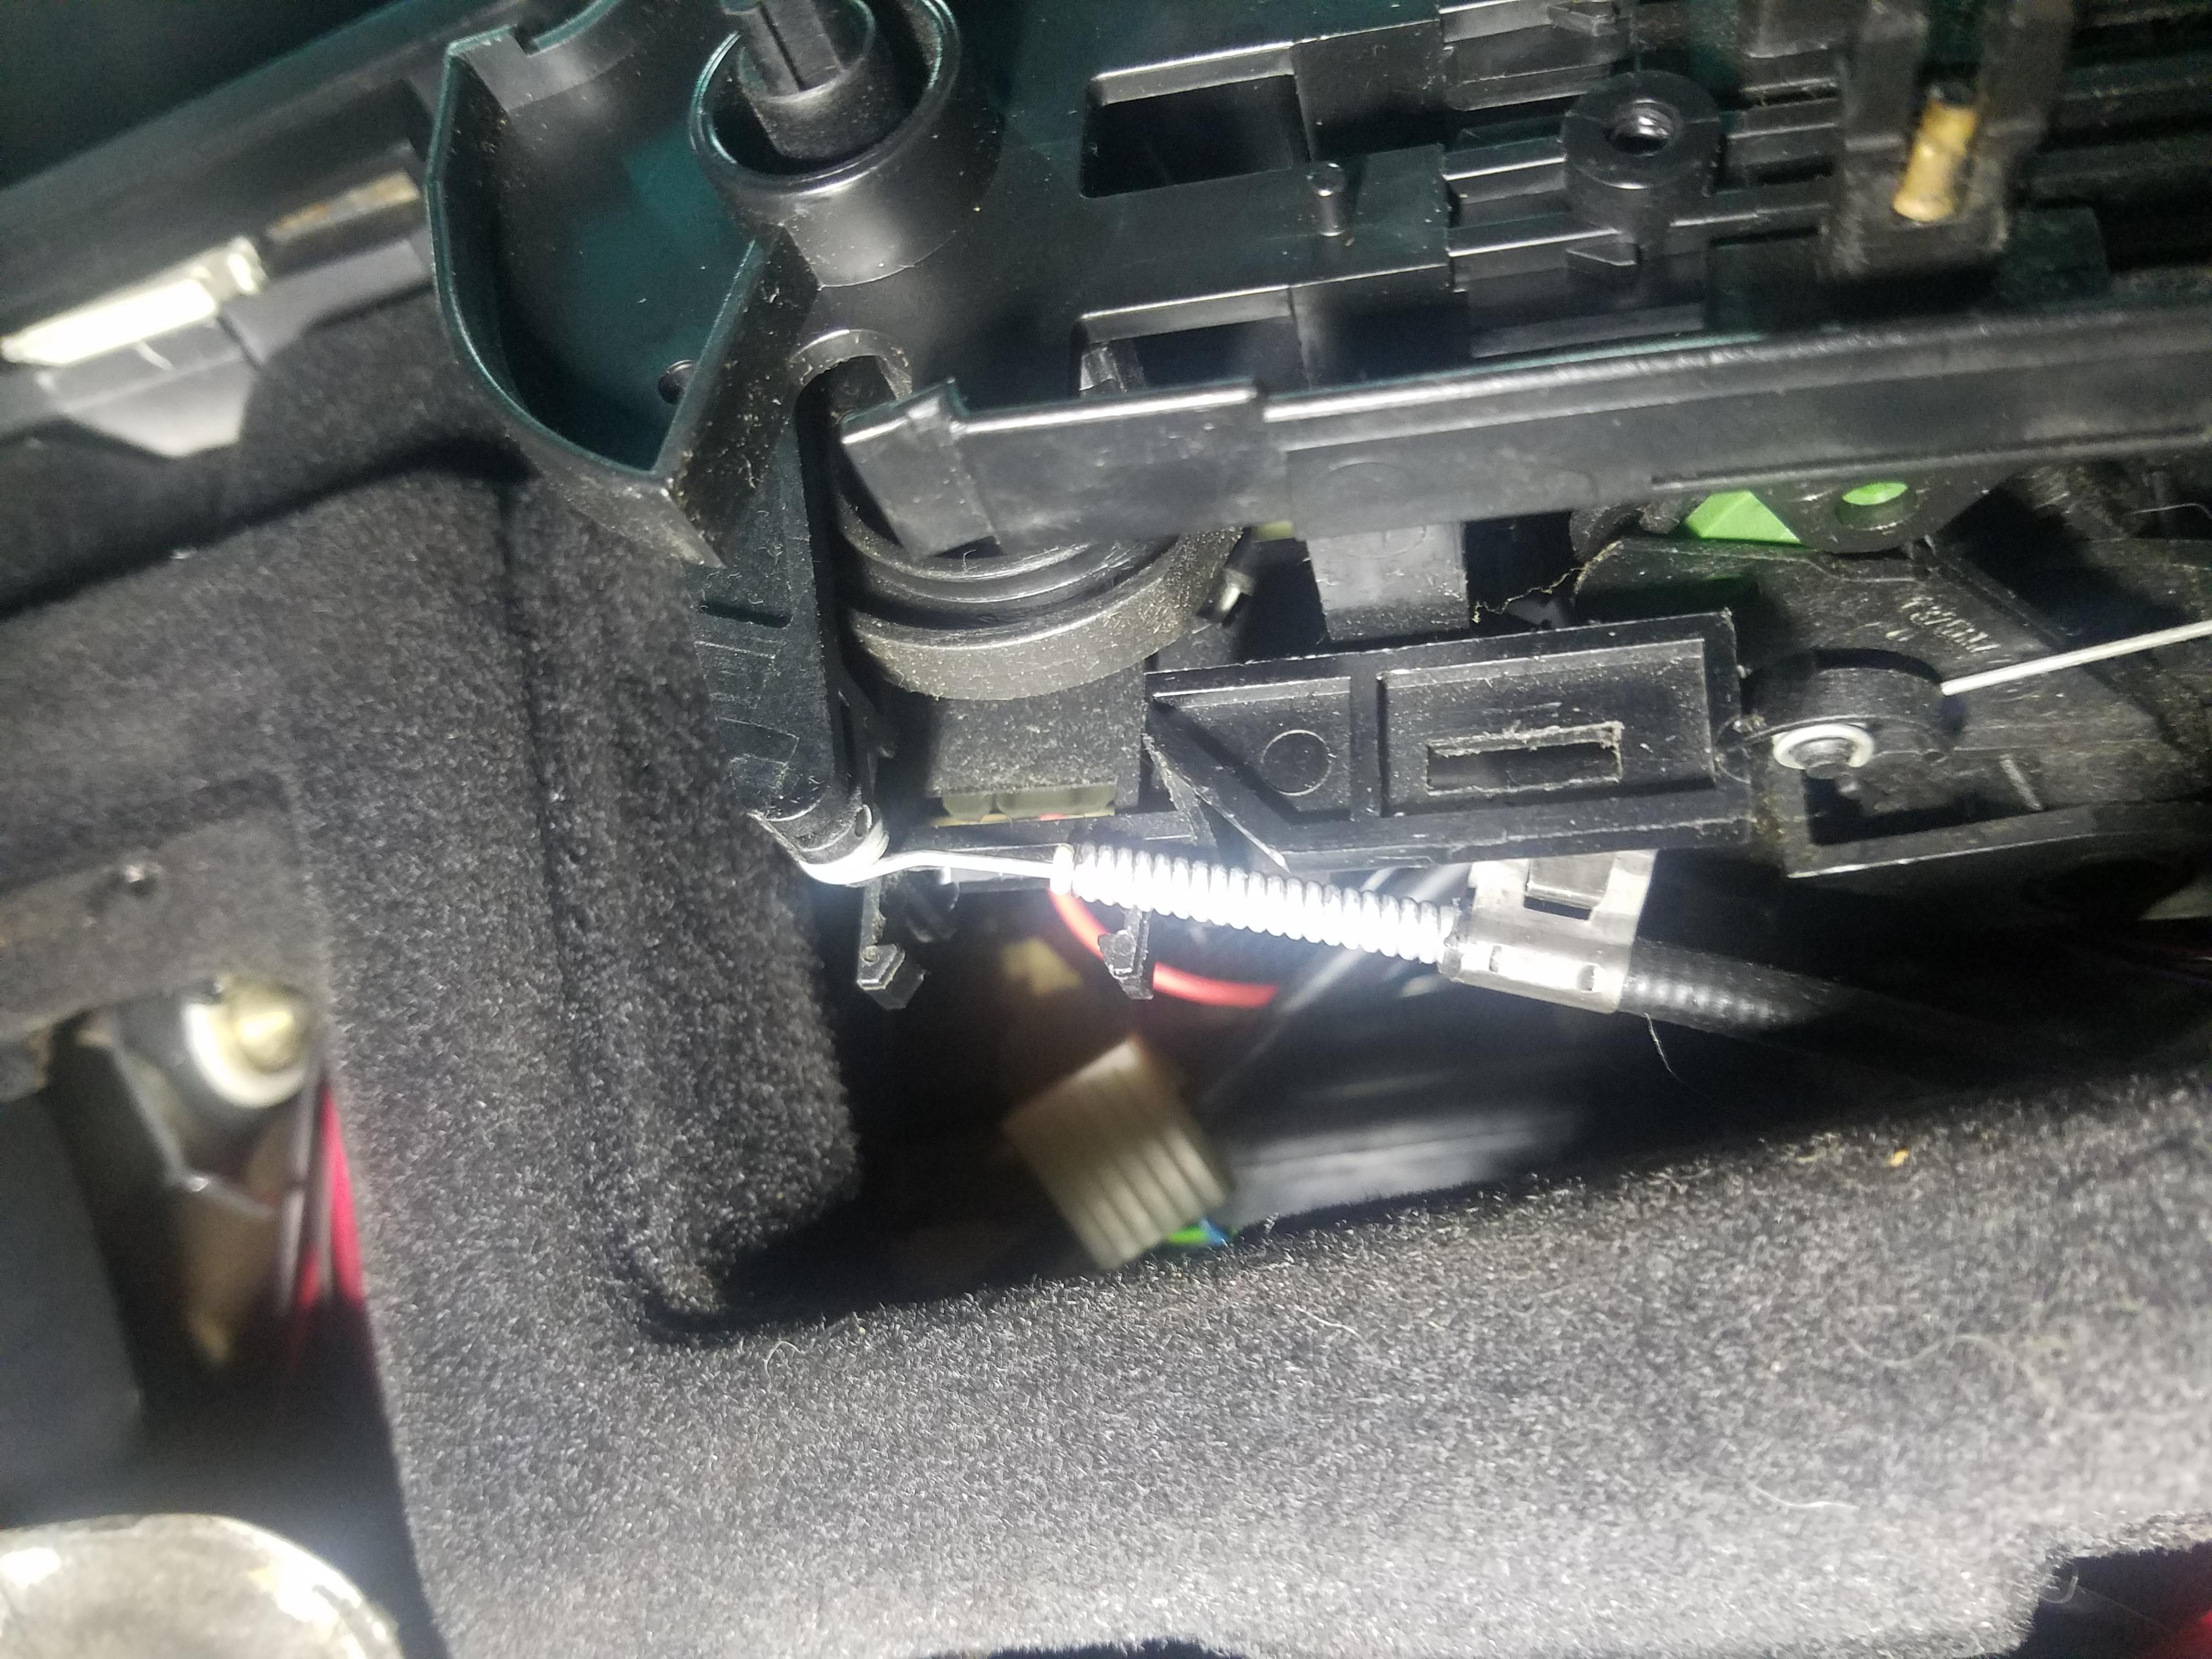
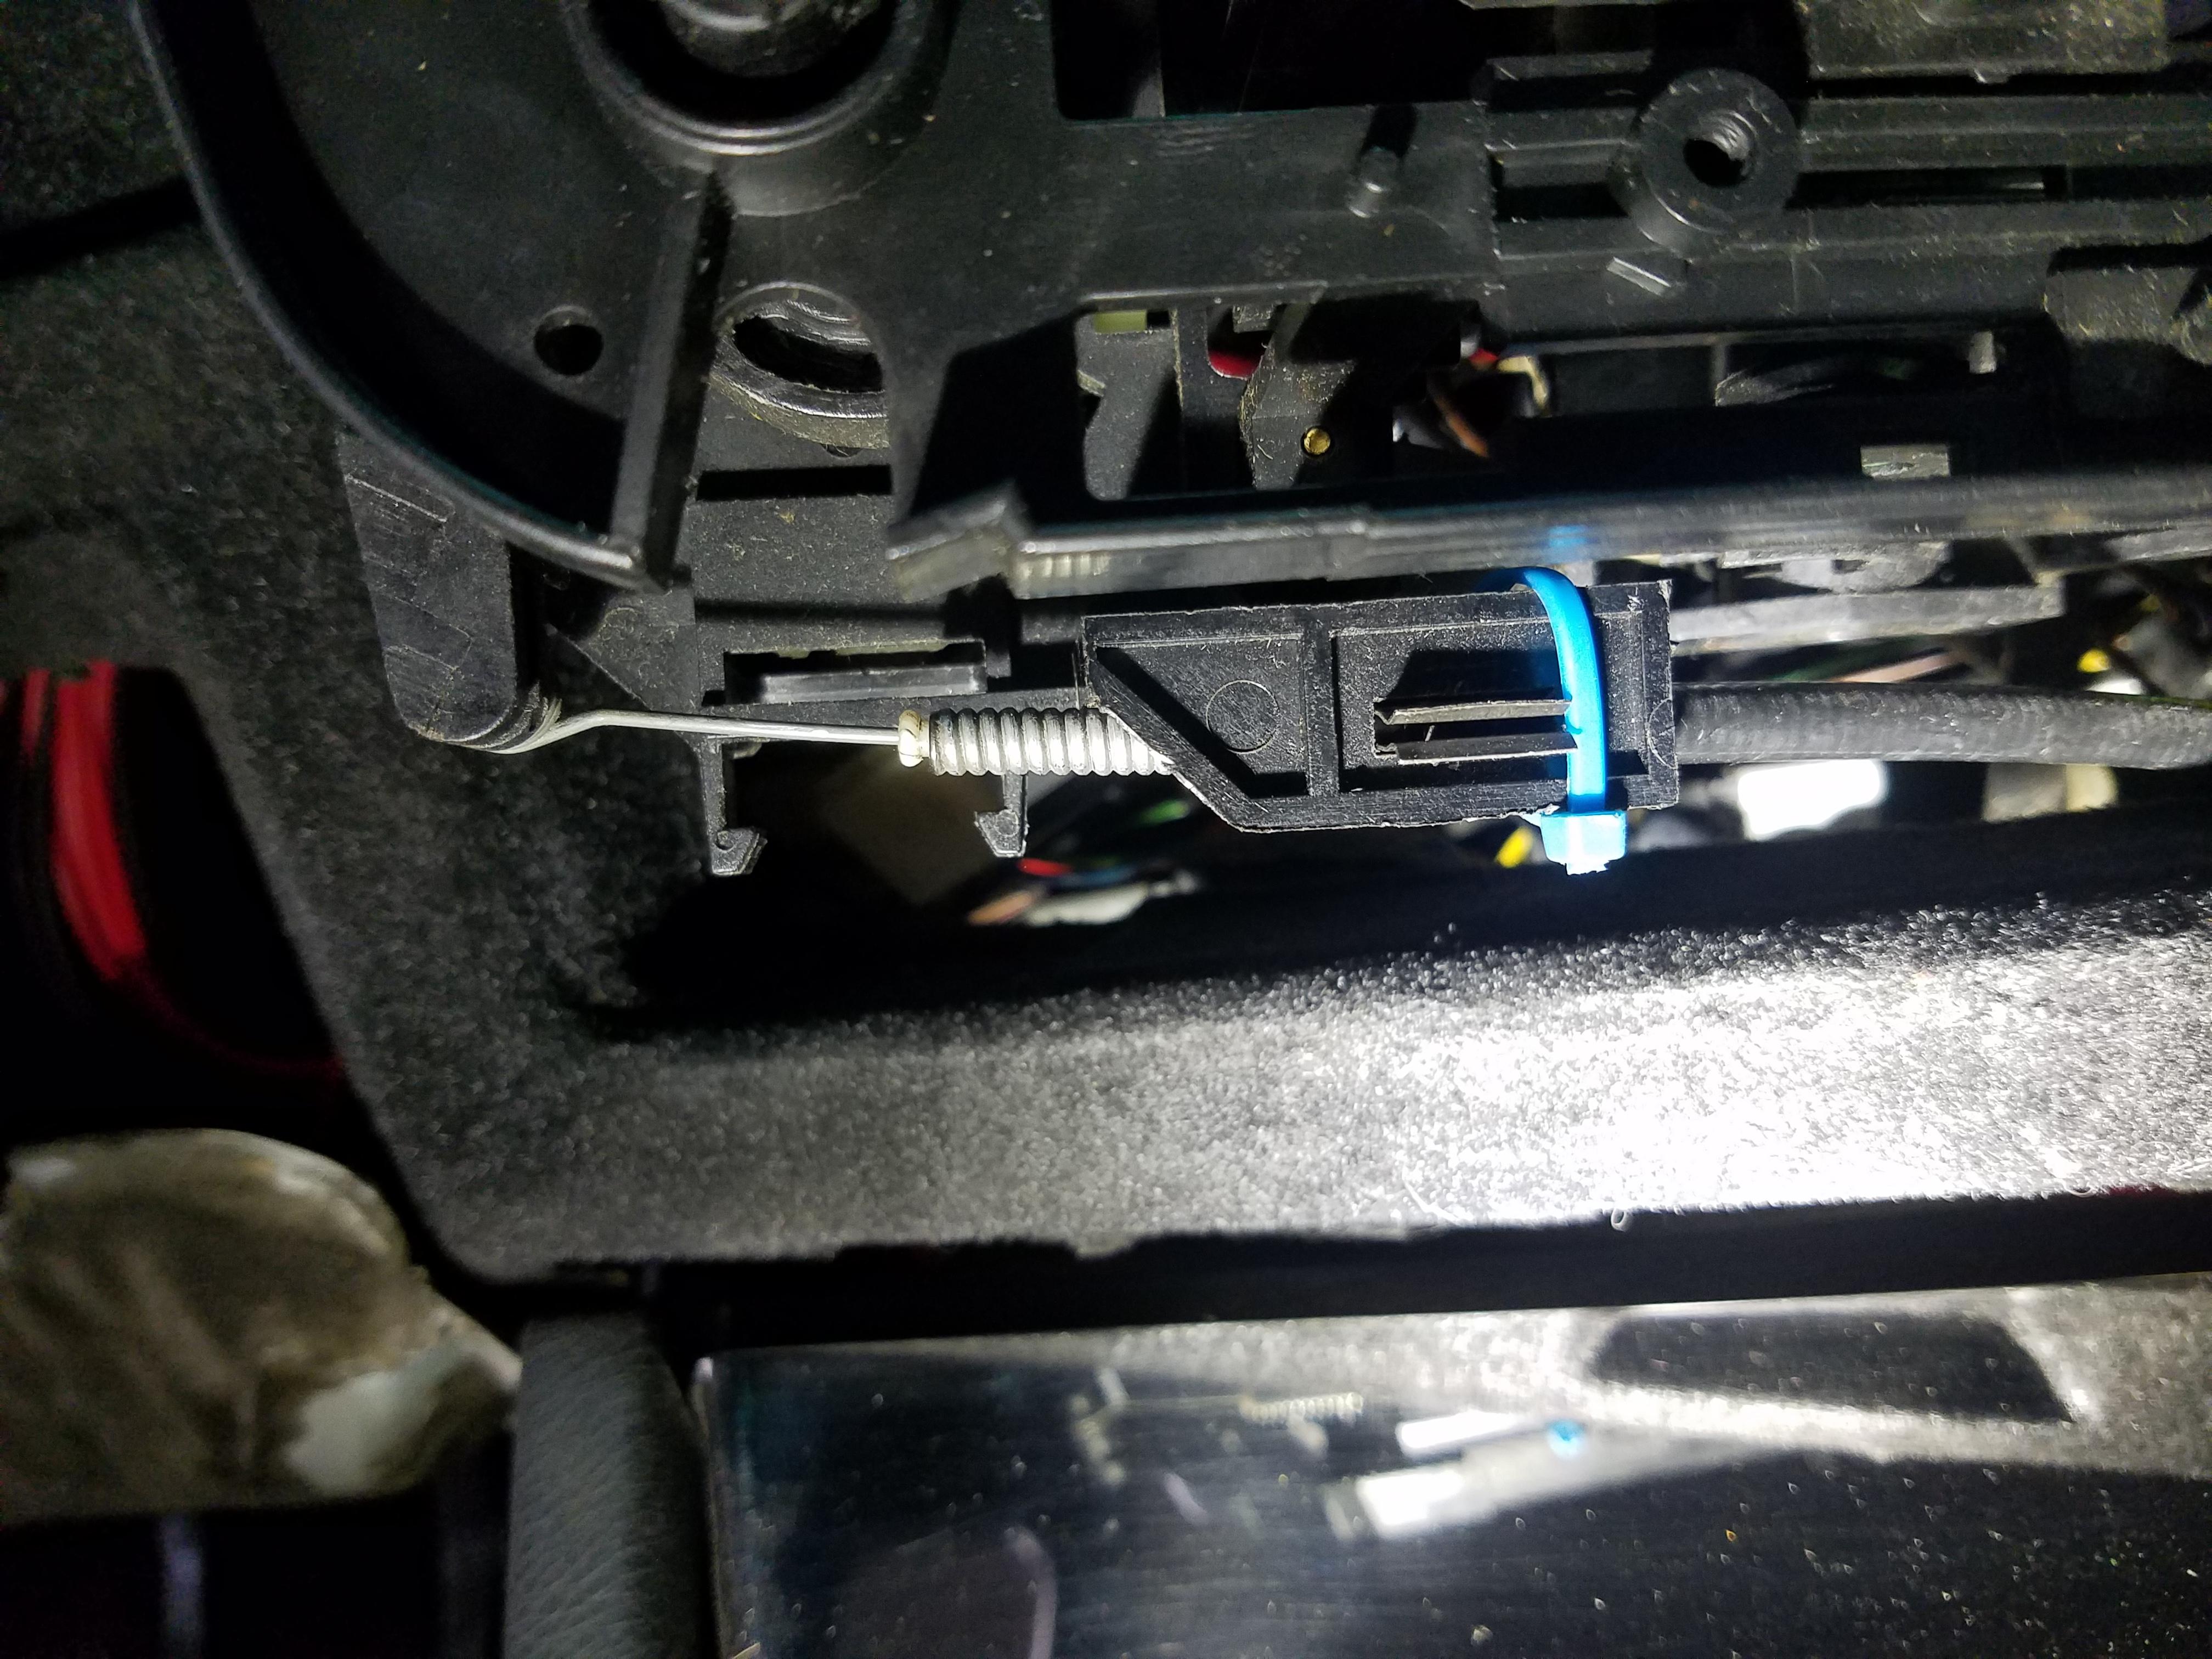
Also found what I'm assuming to be my culprit for the "no heat" issue.
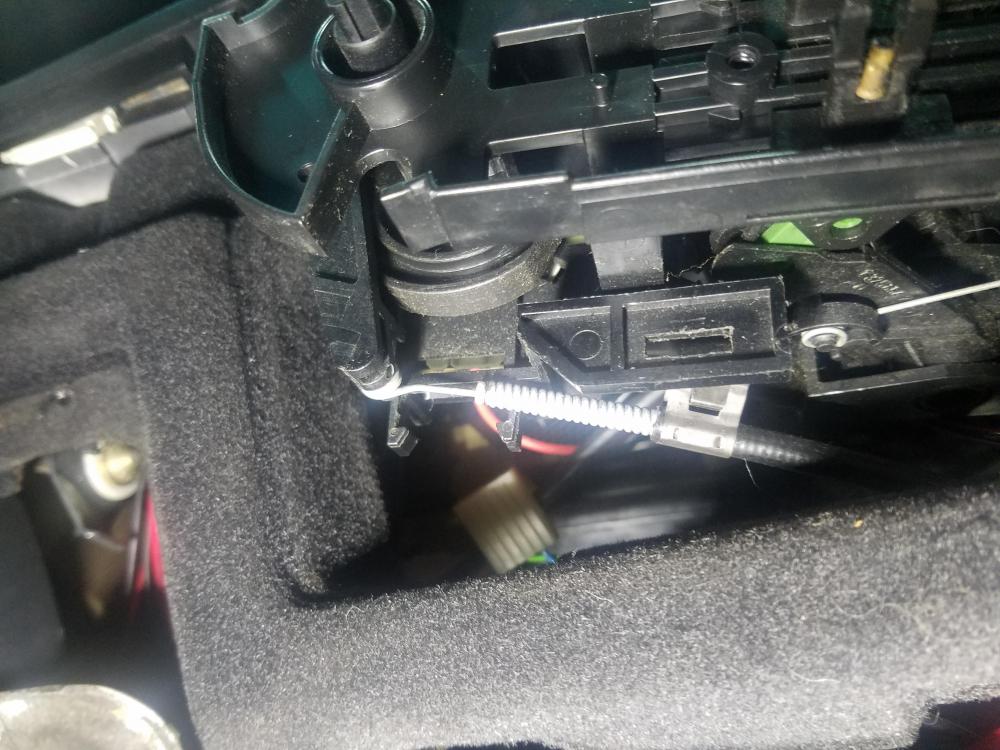
The pin holding the wire was popped out completely so when I was trying to turn the dial to warm it was just pulling the hole sleeve and not the wire. In order to make sure that doesn't pop out anymore I drilled a small hole behind the wire and ran a zip tie around it, crossing my fingers that was it. (blue colored zip tie to follow the theme
 )
)
Picked up a glovebox from a user on r3v a couple weeks back, showed up today.
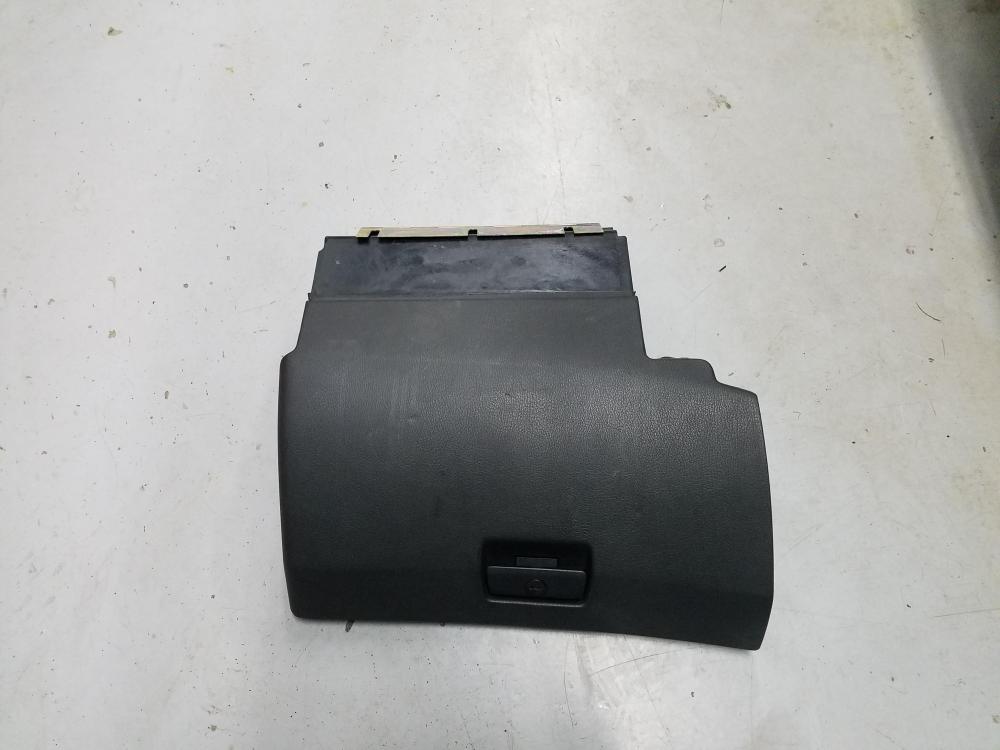
Gonna work on getting that installed tomorrow.
Last major thing on the list before the car is ready for a tune is the exhaust. Friend of mine started working on some new hangers for it Monday night, he will be returning Friday and hopefully we can get that all done so she's ready to go.
-
can you elaborate on the driveshaft company in TX? name and contact info? approx cost for a reman? did they take the core?
Dan
-
They look to be the same remans as Wholesale Import Parts. I have used them a few times with great results
https://www.wholesaleimportparts.com/?gclid=EAIaIQobChMIo7KW8OOT4QIVFZ7ACh21GgZzEAAYASAAEgKKqvD_BwE
-
can you elaborate on the driveshaft company in TX? name and contact info? approx cost for a reman? did they take the core?
I believe the guy I talked with was Brent, super knowledgeable. Before calling make sure to have the driveshaft out of the car and a tape measure on hand as they do require you to make a few measurements to insure they send you the correct one (you wouldn't believe how many different variations there are). Driveshaft was $399 with tax plus a $80 core charge. They send a return shipping label for the core driveshaft which you just simply send back in the same box the reman'd one comes in. New reman'd driveshaft is of very nice quality and comes with a new CSB.
-
I believe the guy I talked with was Brent, super knowledgeable. Before calling make sure to have the driveshaft out of the car and a tape measure on hand as they do require you to make a few measurements to insure they send you the correct one (you wouldn't believe how many different variations there are). Driveshaft was $399 with tax plus a $80 core charge. They send a return shipping label for the core driveshaft which you just simply send back in the same box the reman'd one comes in. New reman'd driveshaft is of very nice quality and comes with a new CSB.
Did you have them put the e30 CSB on the e36 driveshaft?





Hello! It looks like you're interested in this conversation, but you don't have an account yet.
Getting fed up of having to scroll through the same posts each visit? When you register for an account, you'll always come back to exactly where you were before, and choose to be notified of new replies (either via email, or push notification). You'll also be able to save bookmarks and upvote posts to show your appreciation to other community members.
With your input, this post could be even better 💗
Register Login