
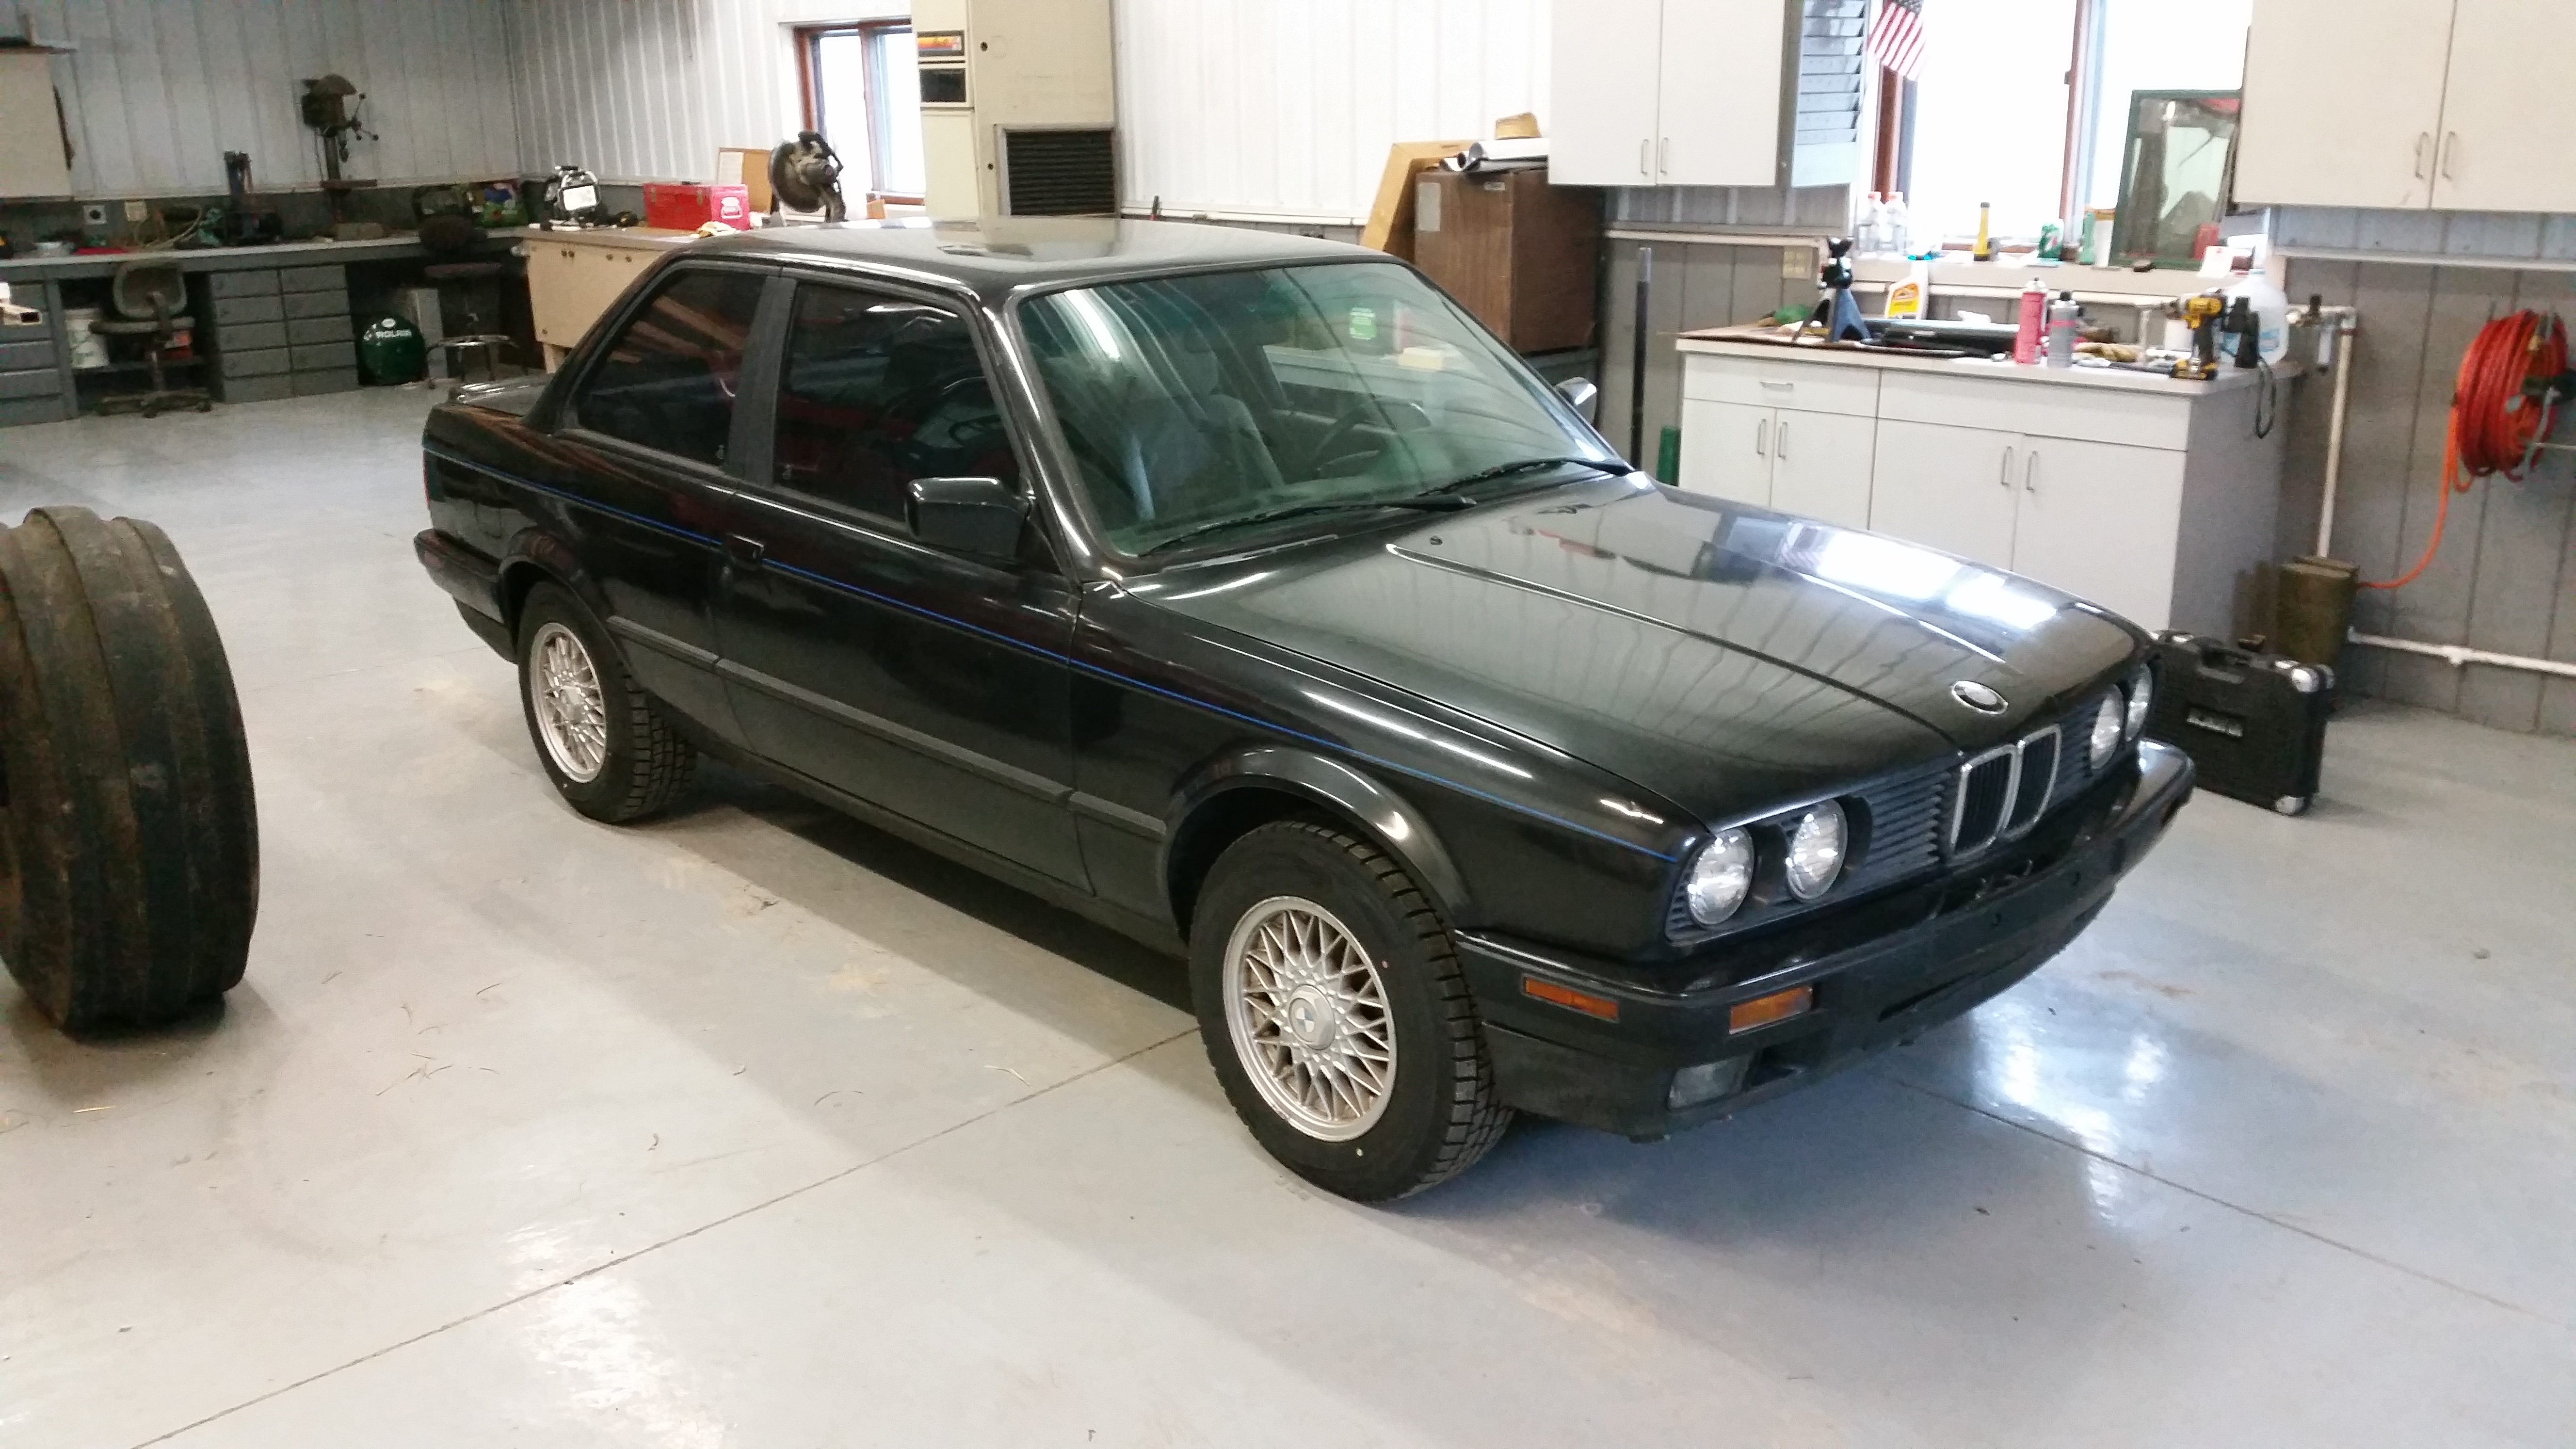
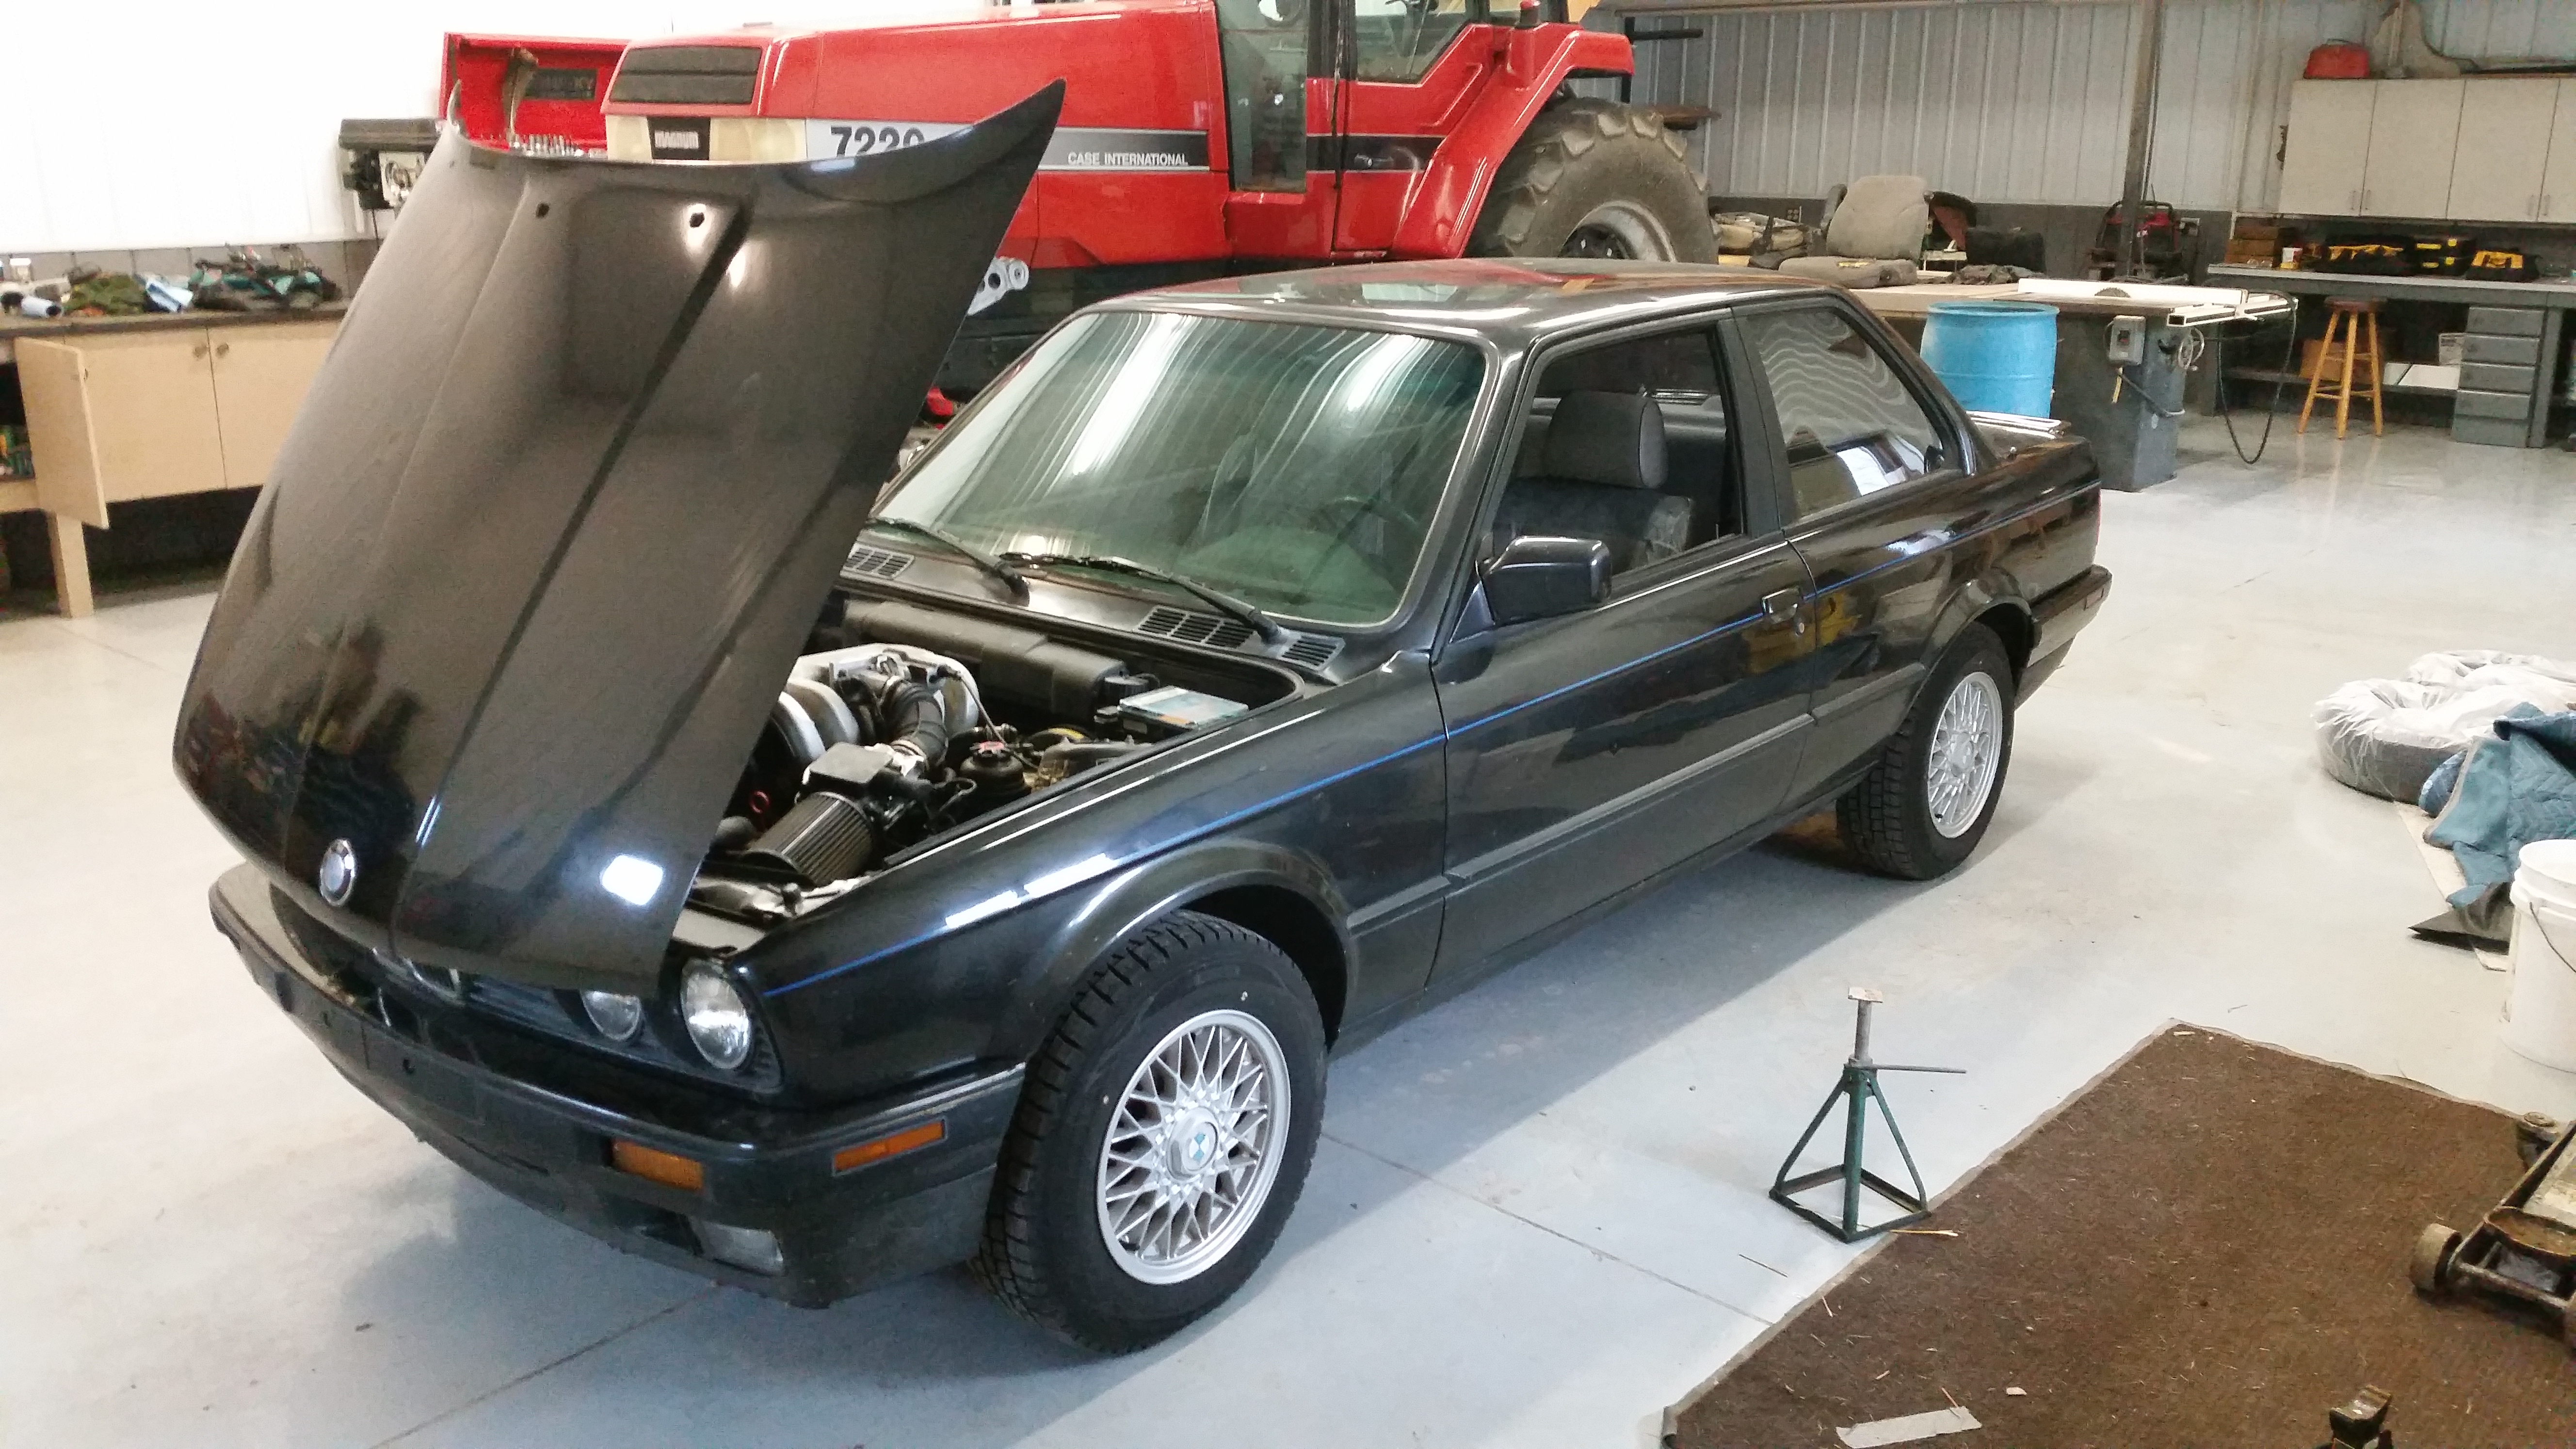
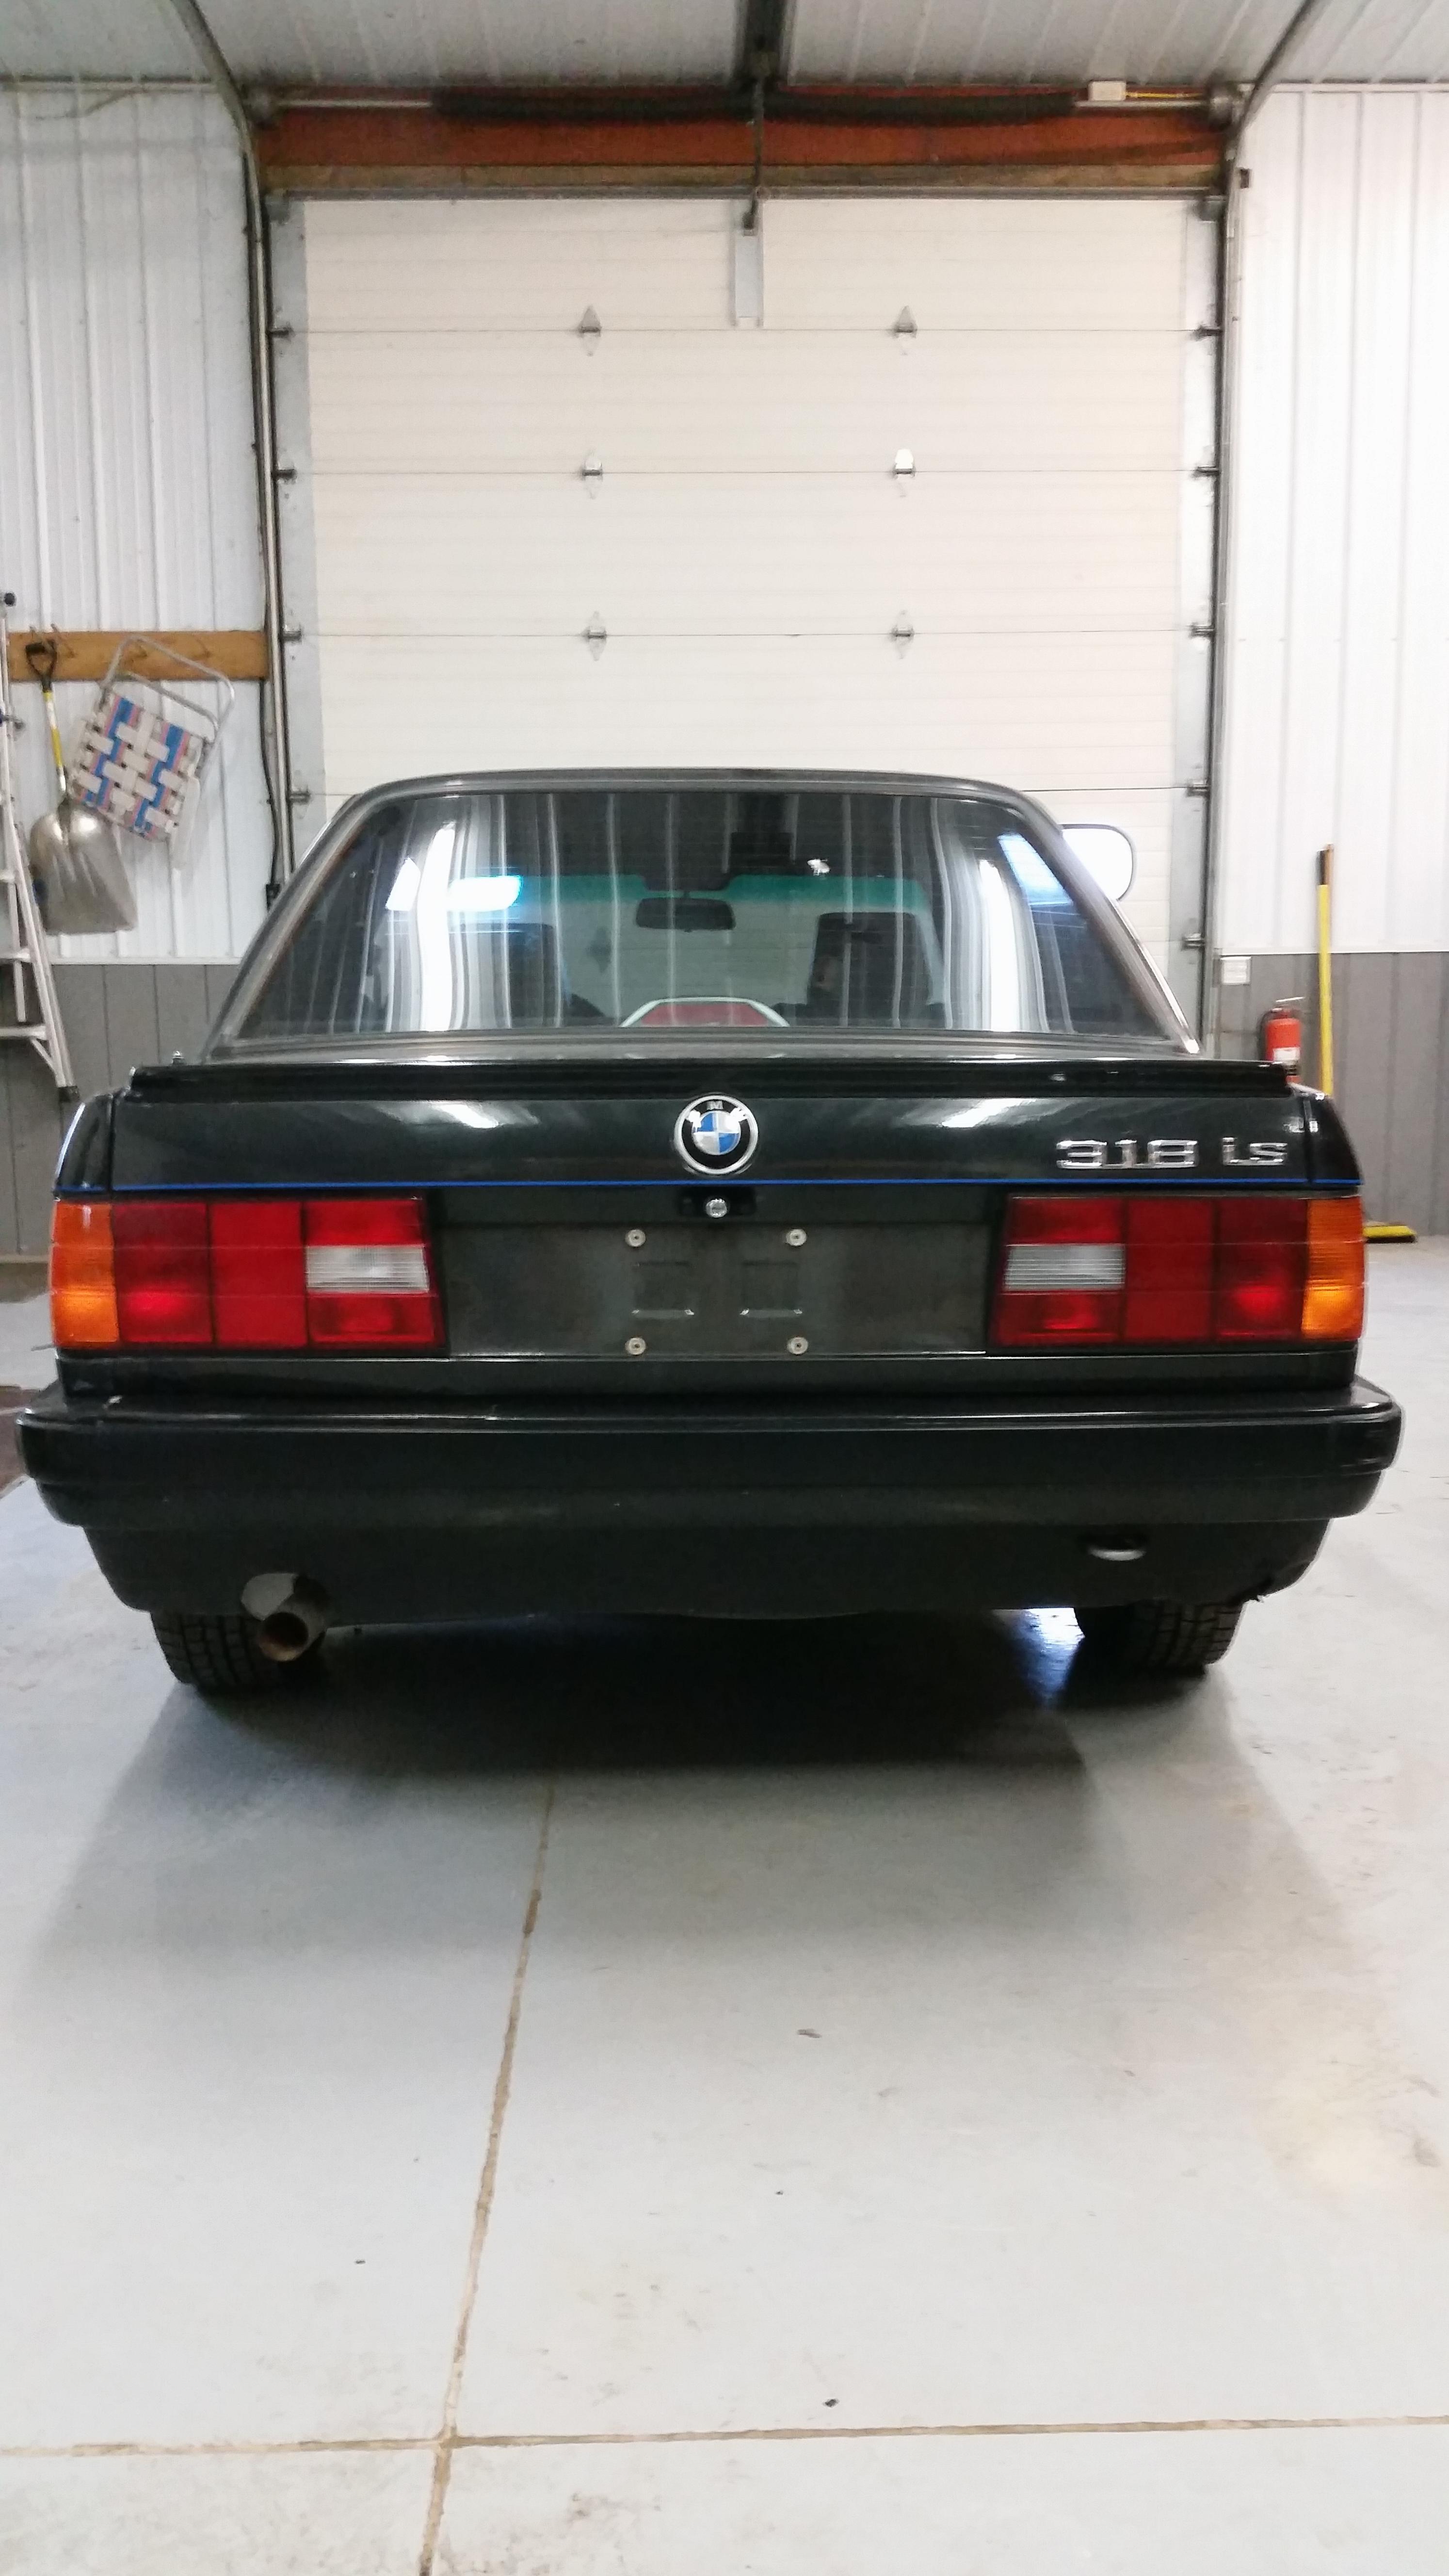
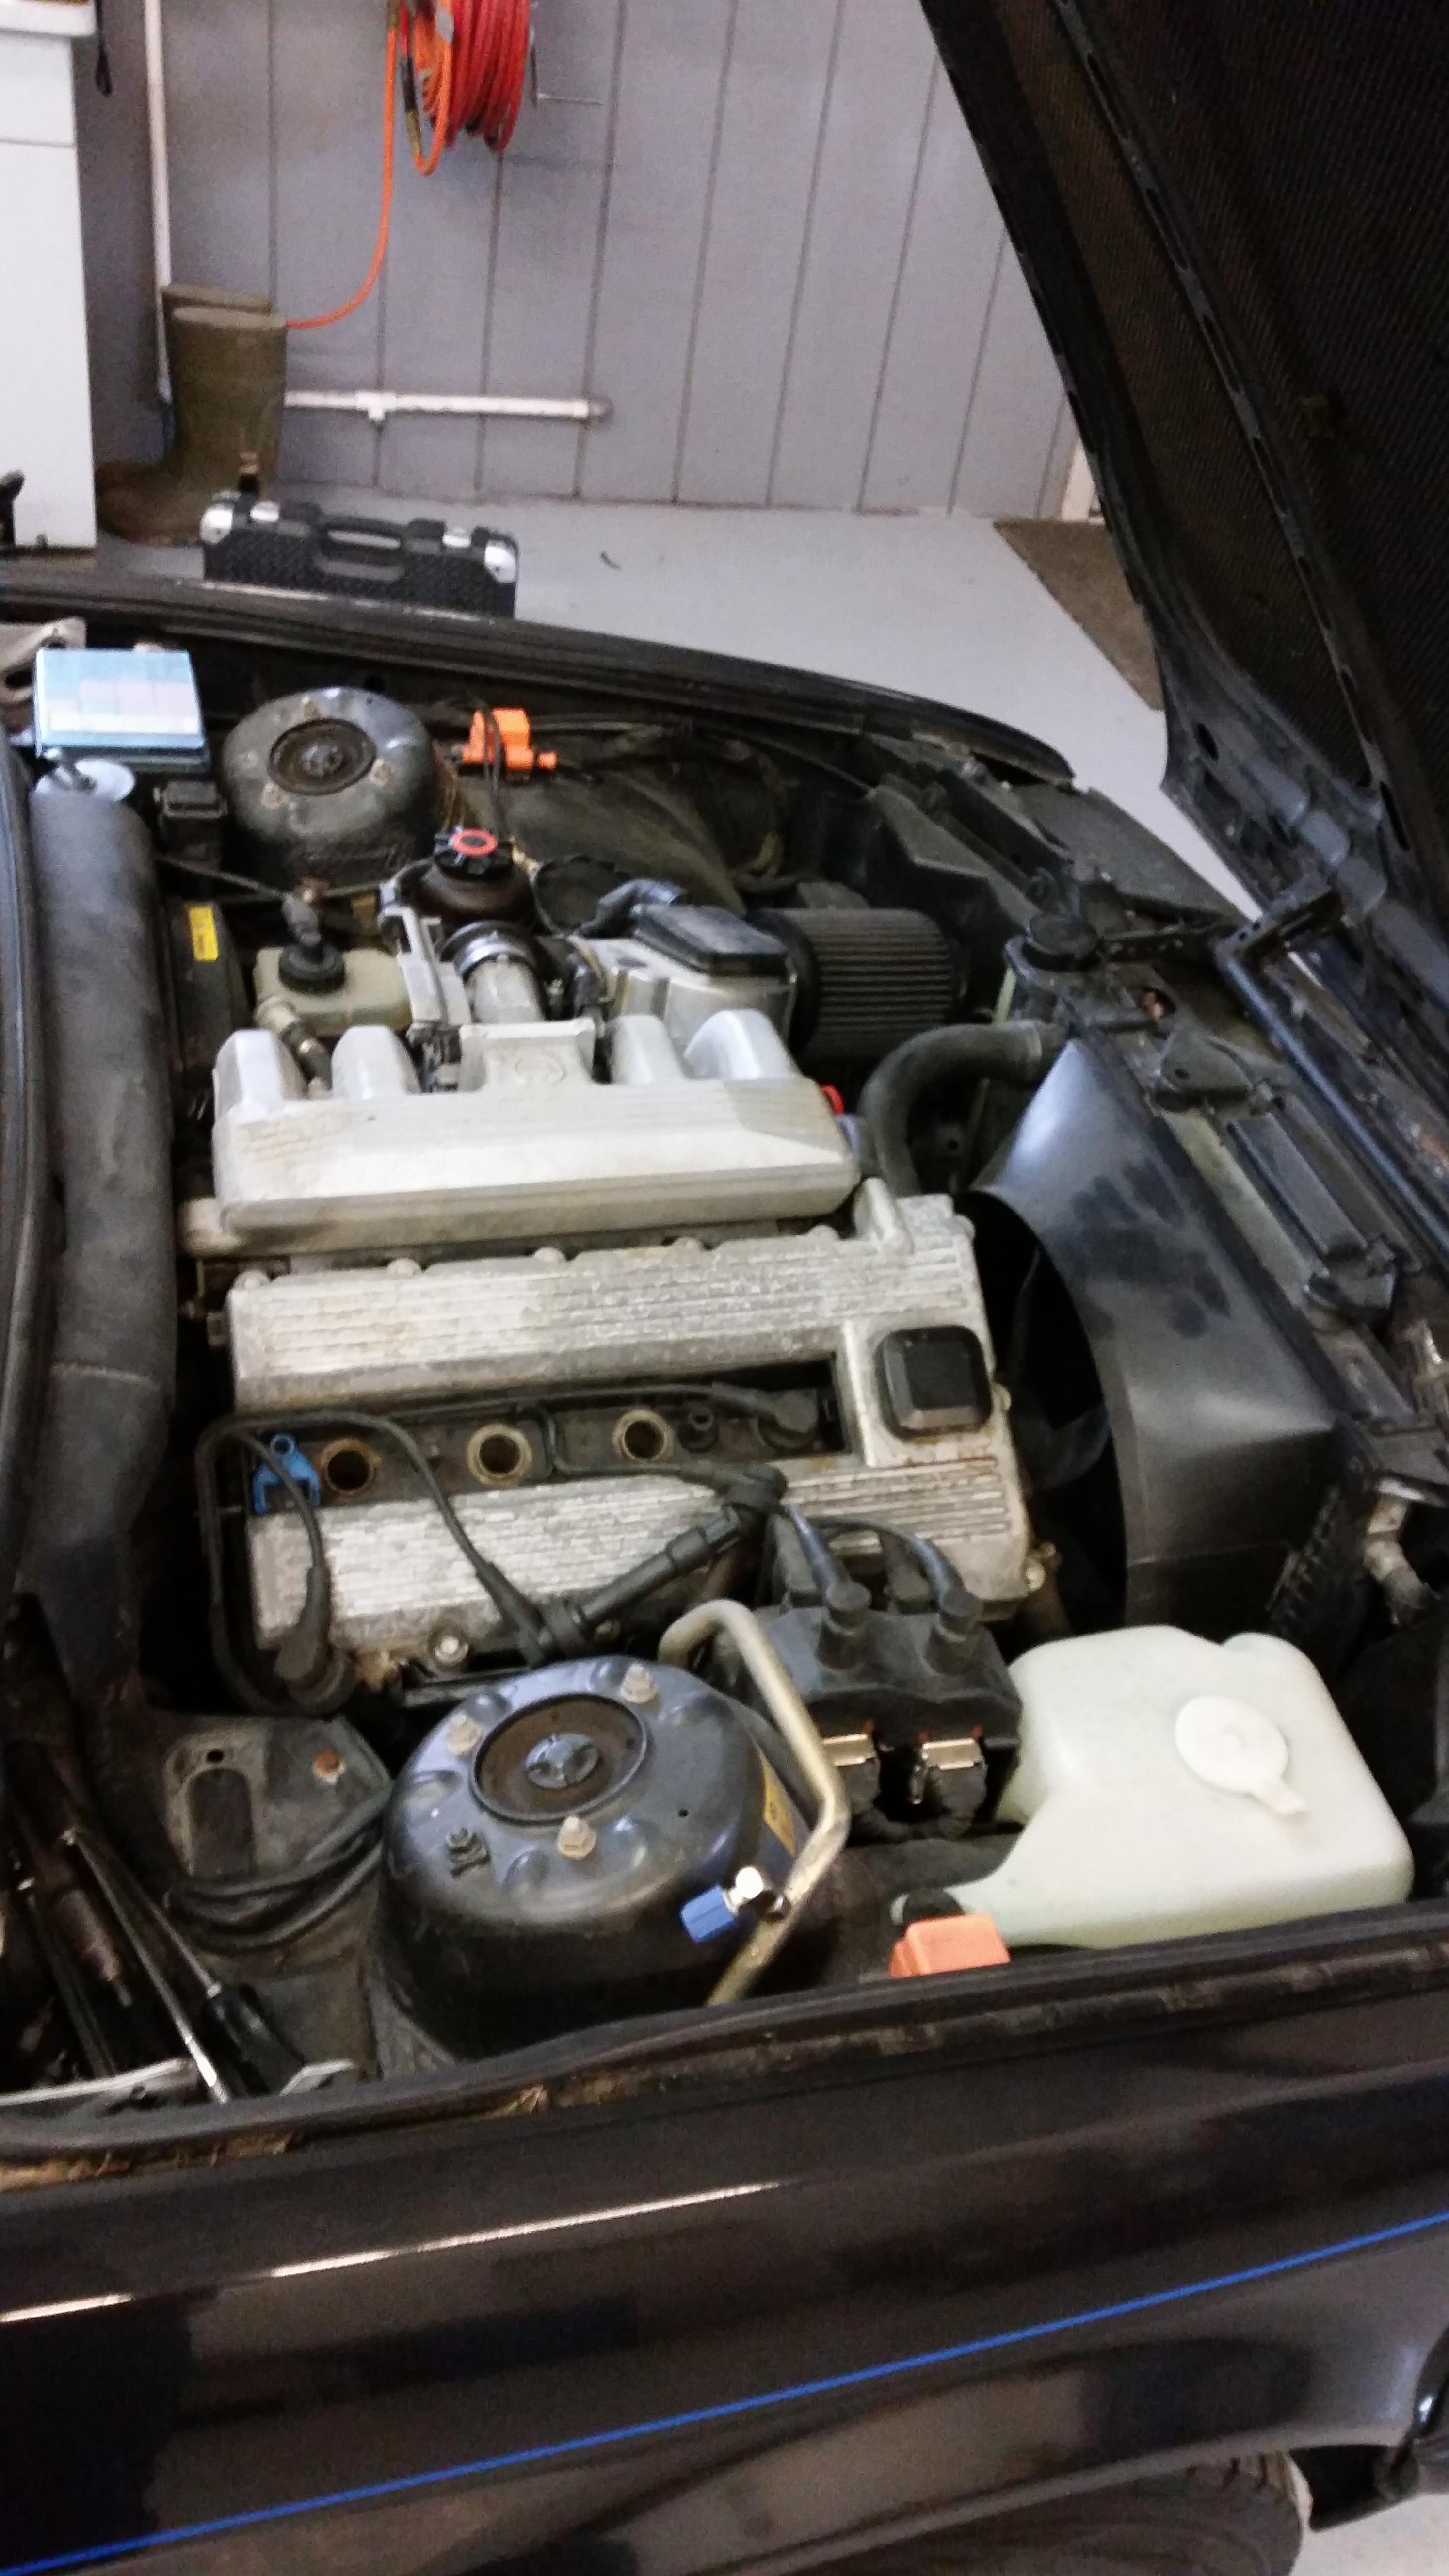
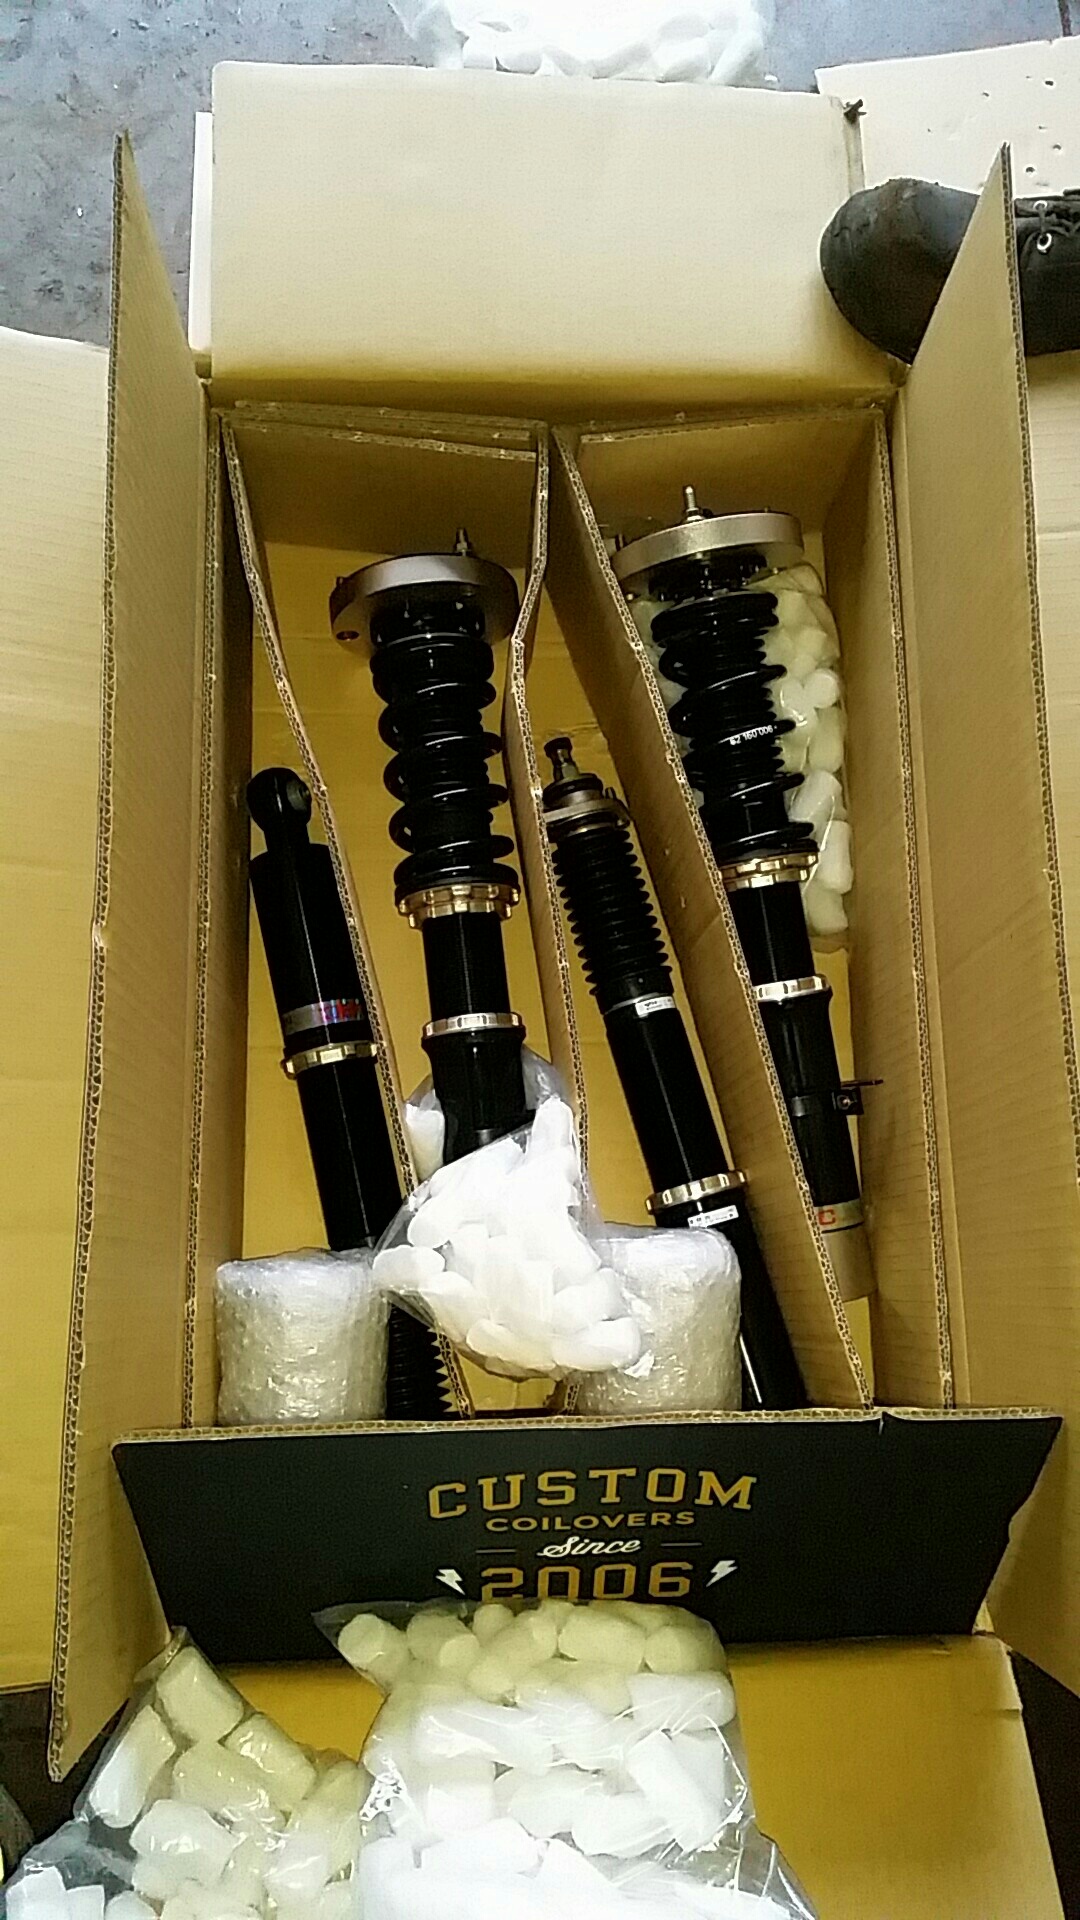
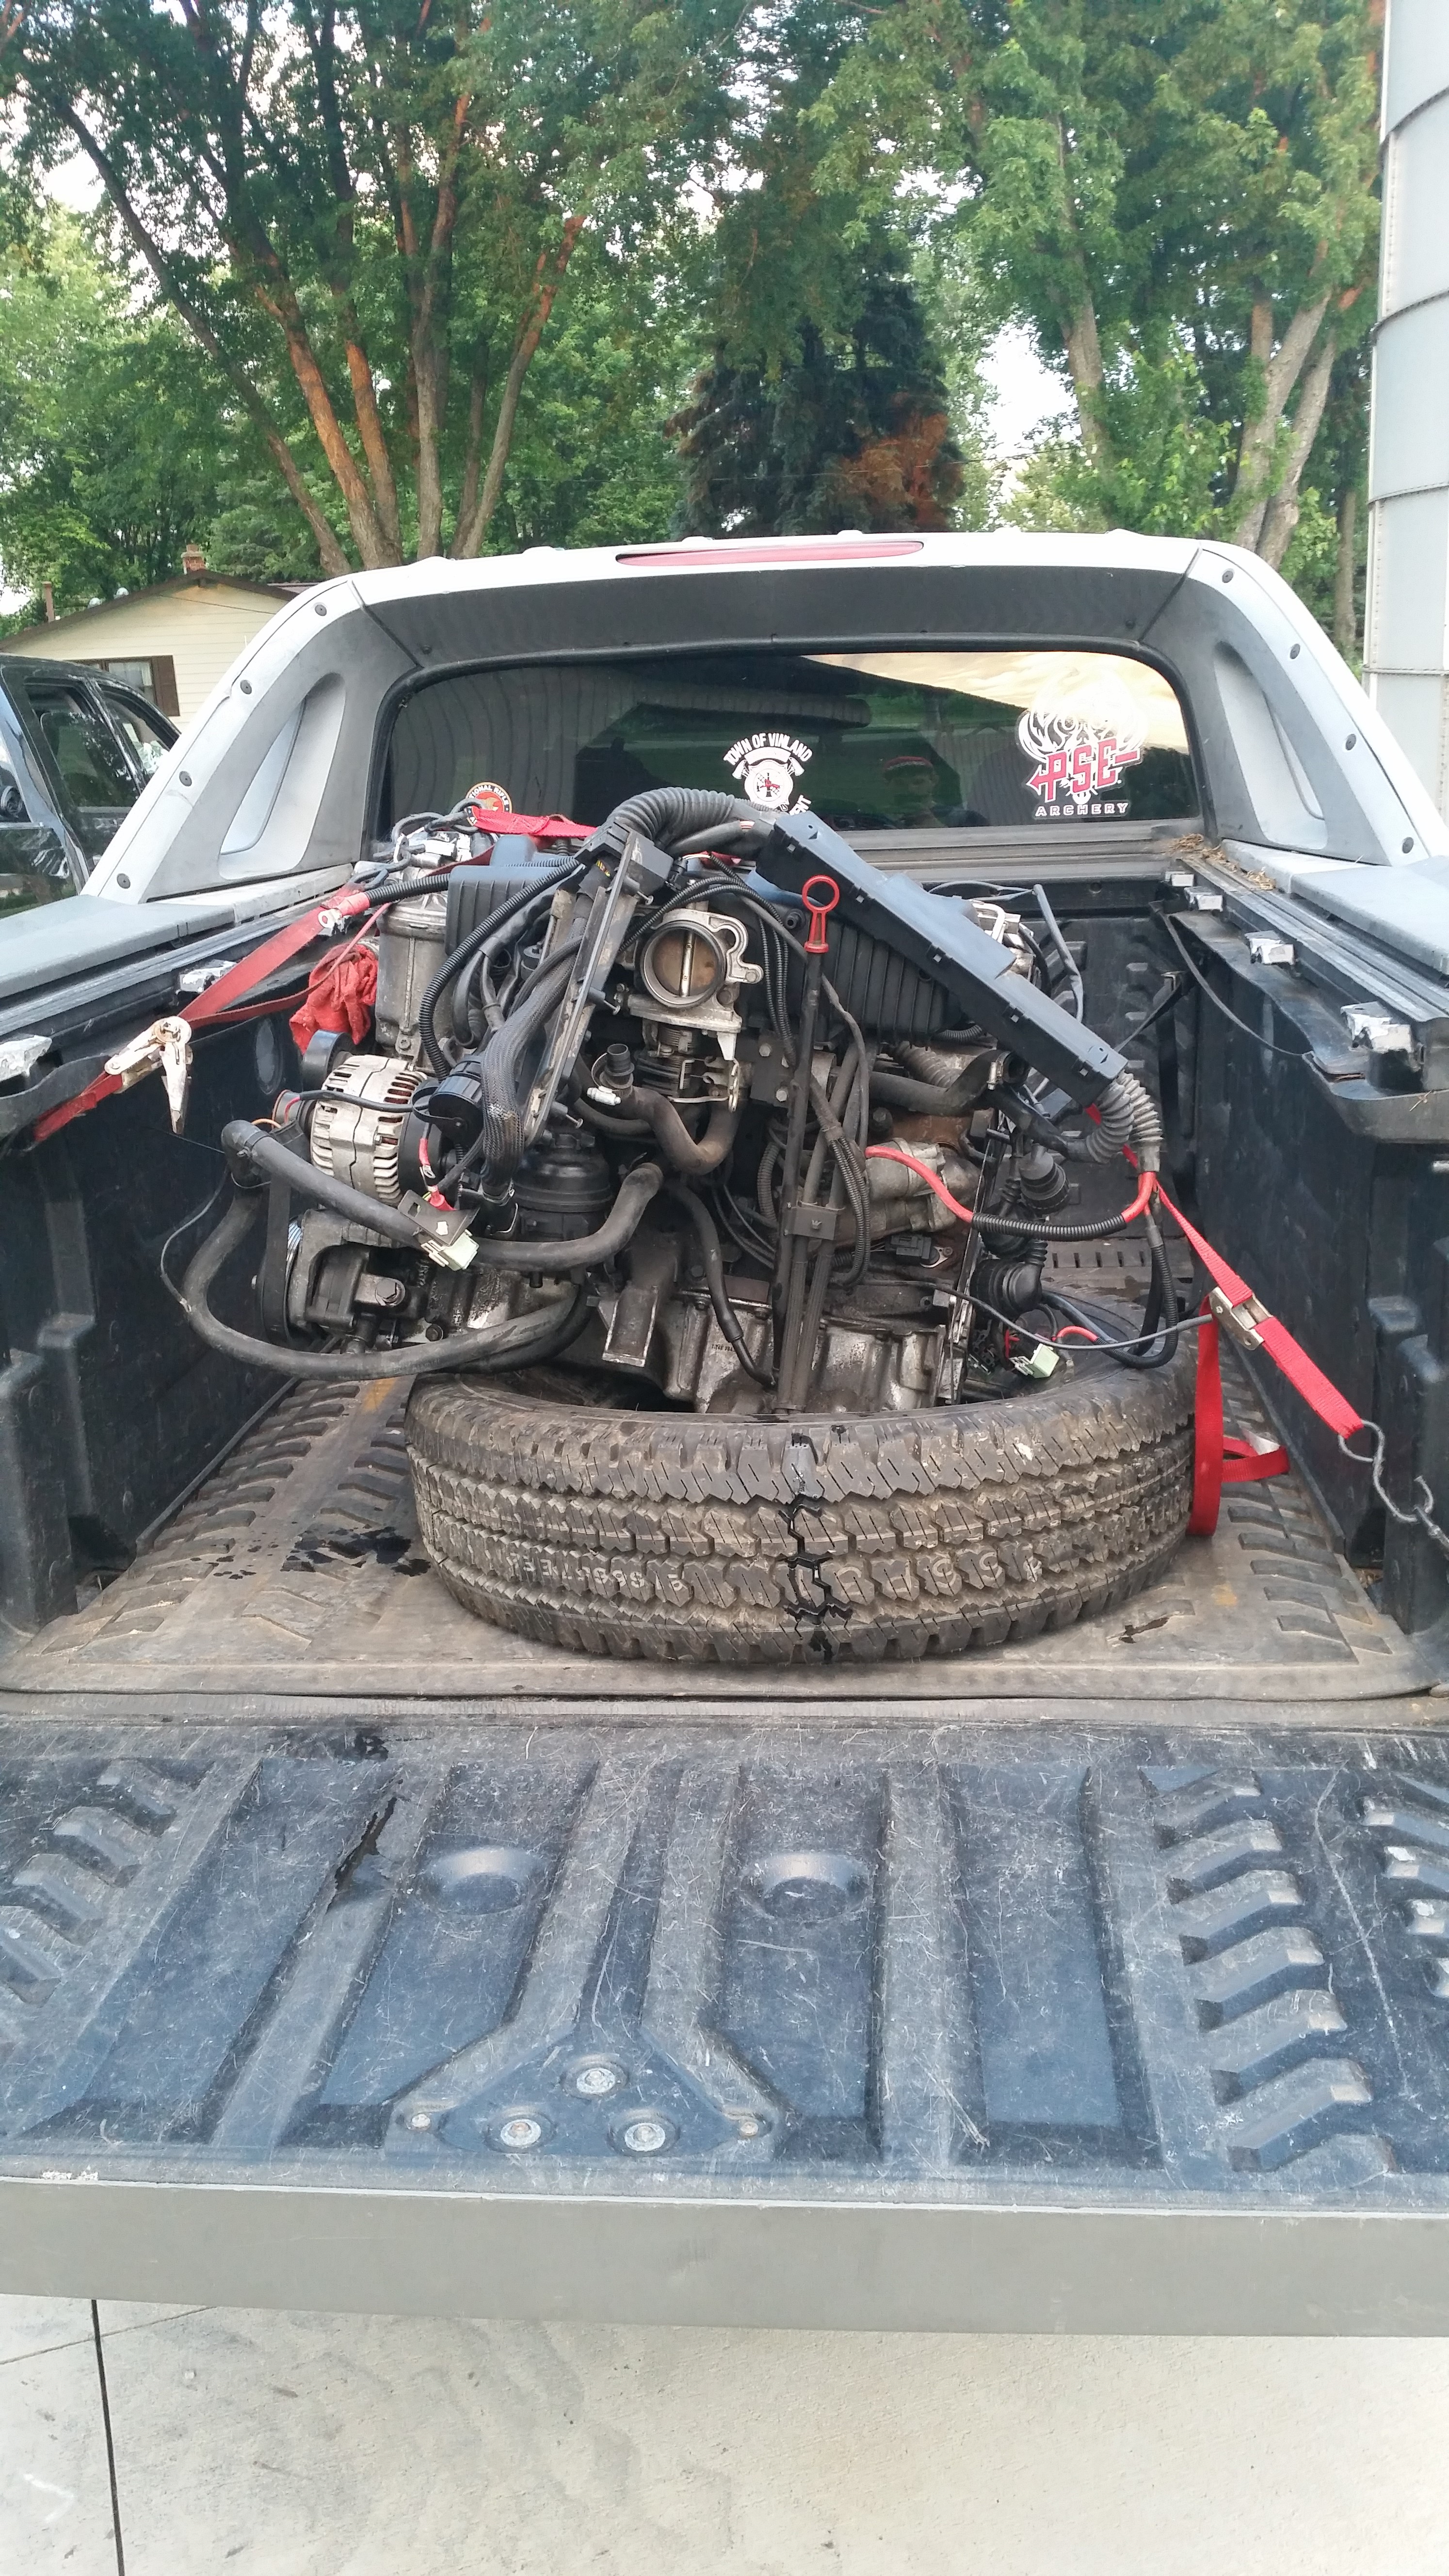
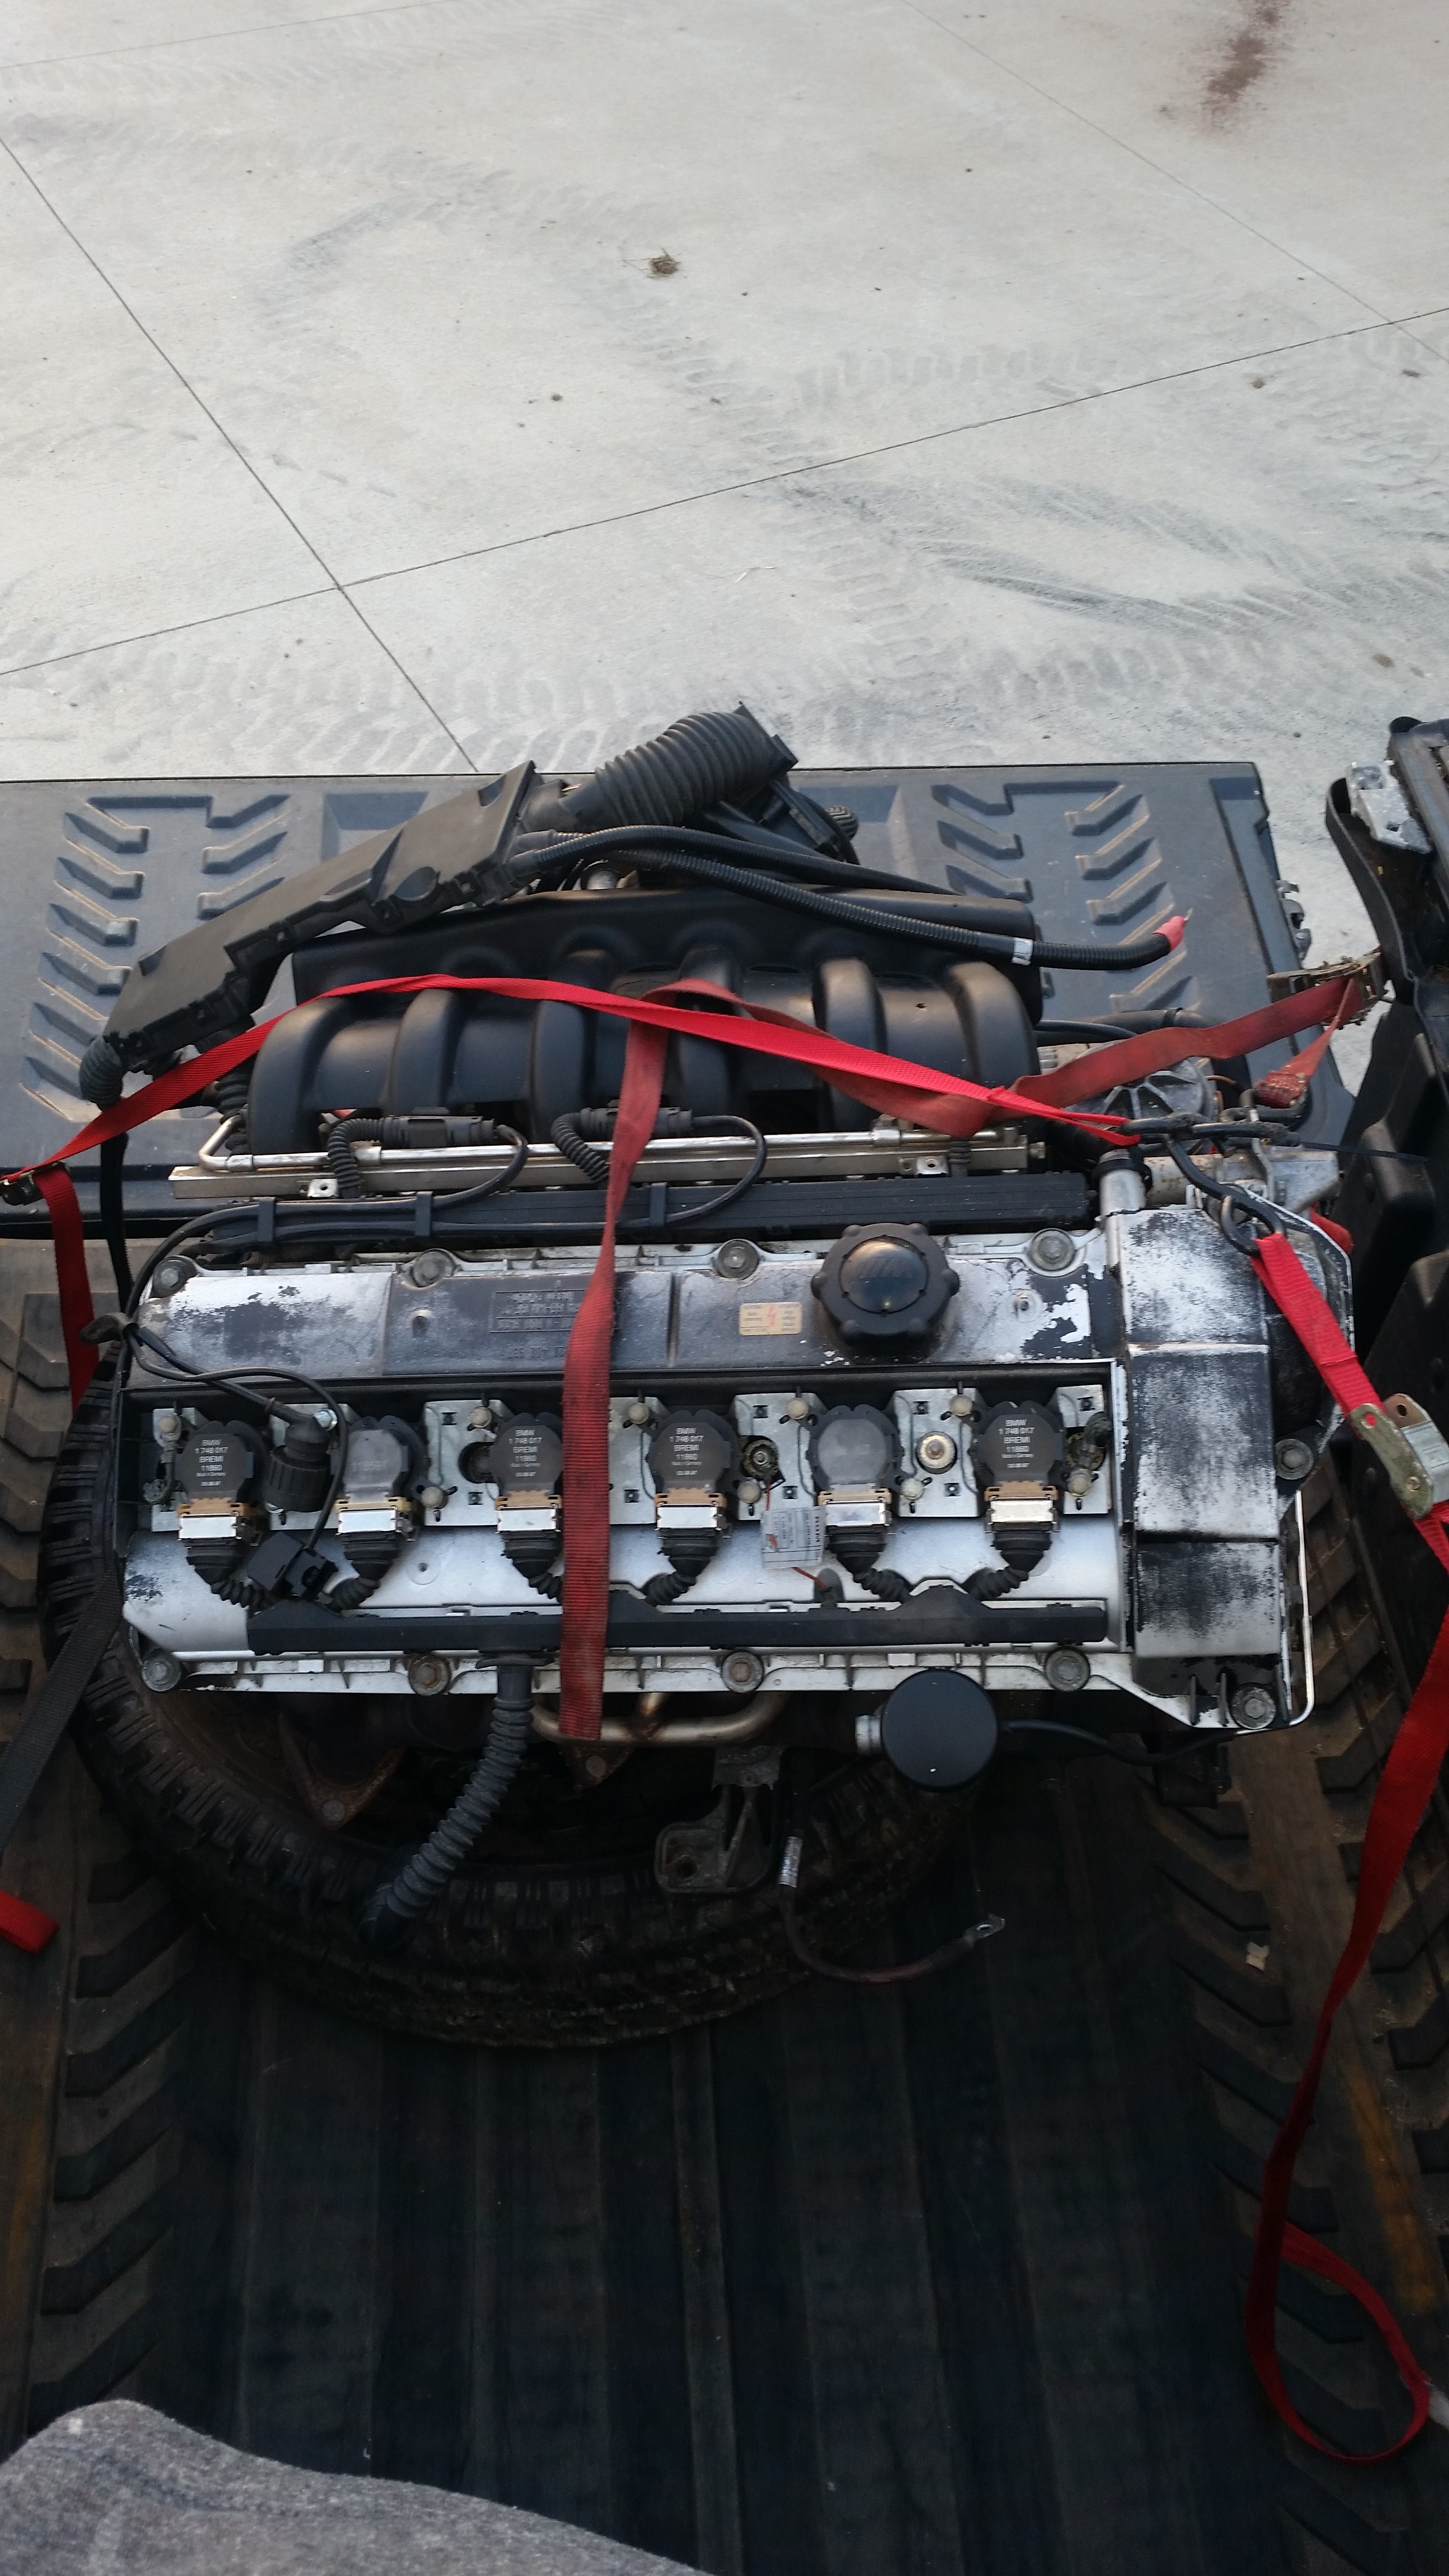
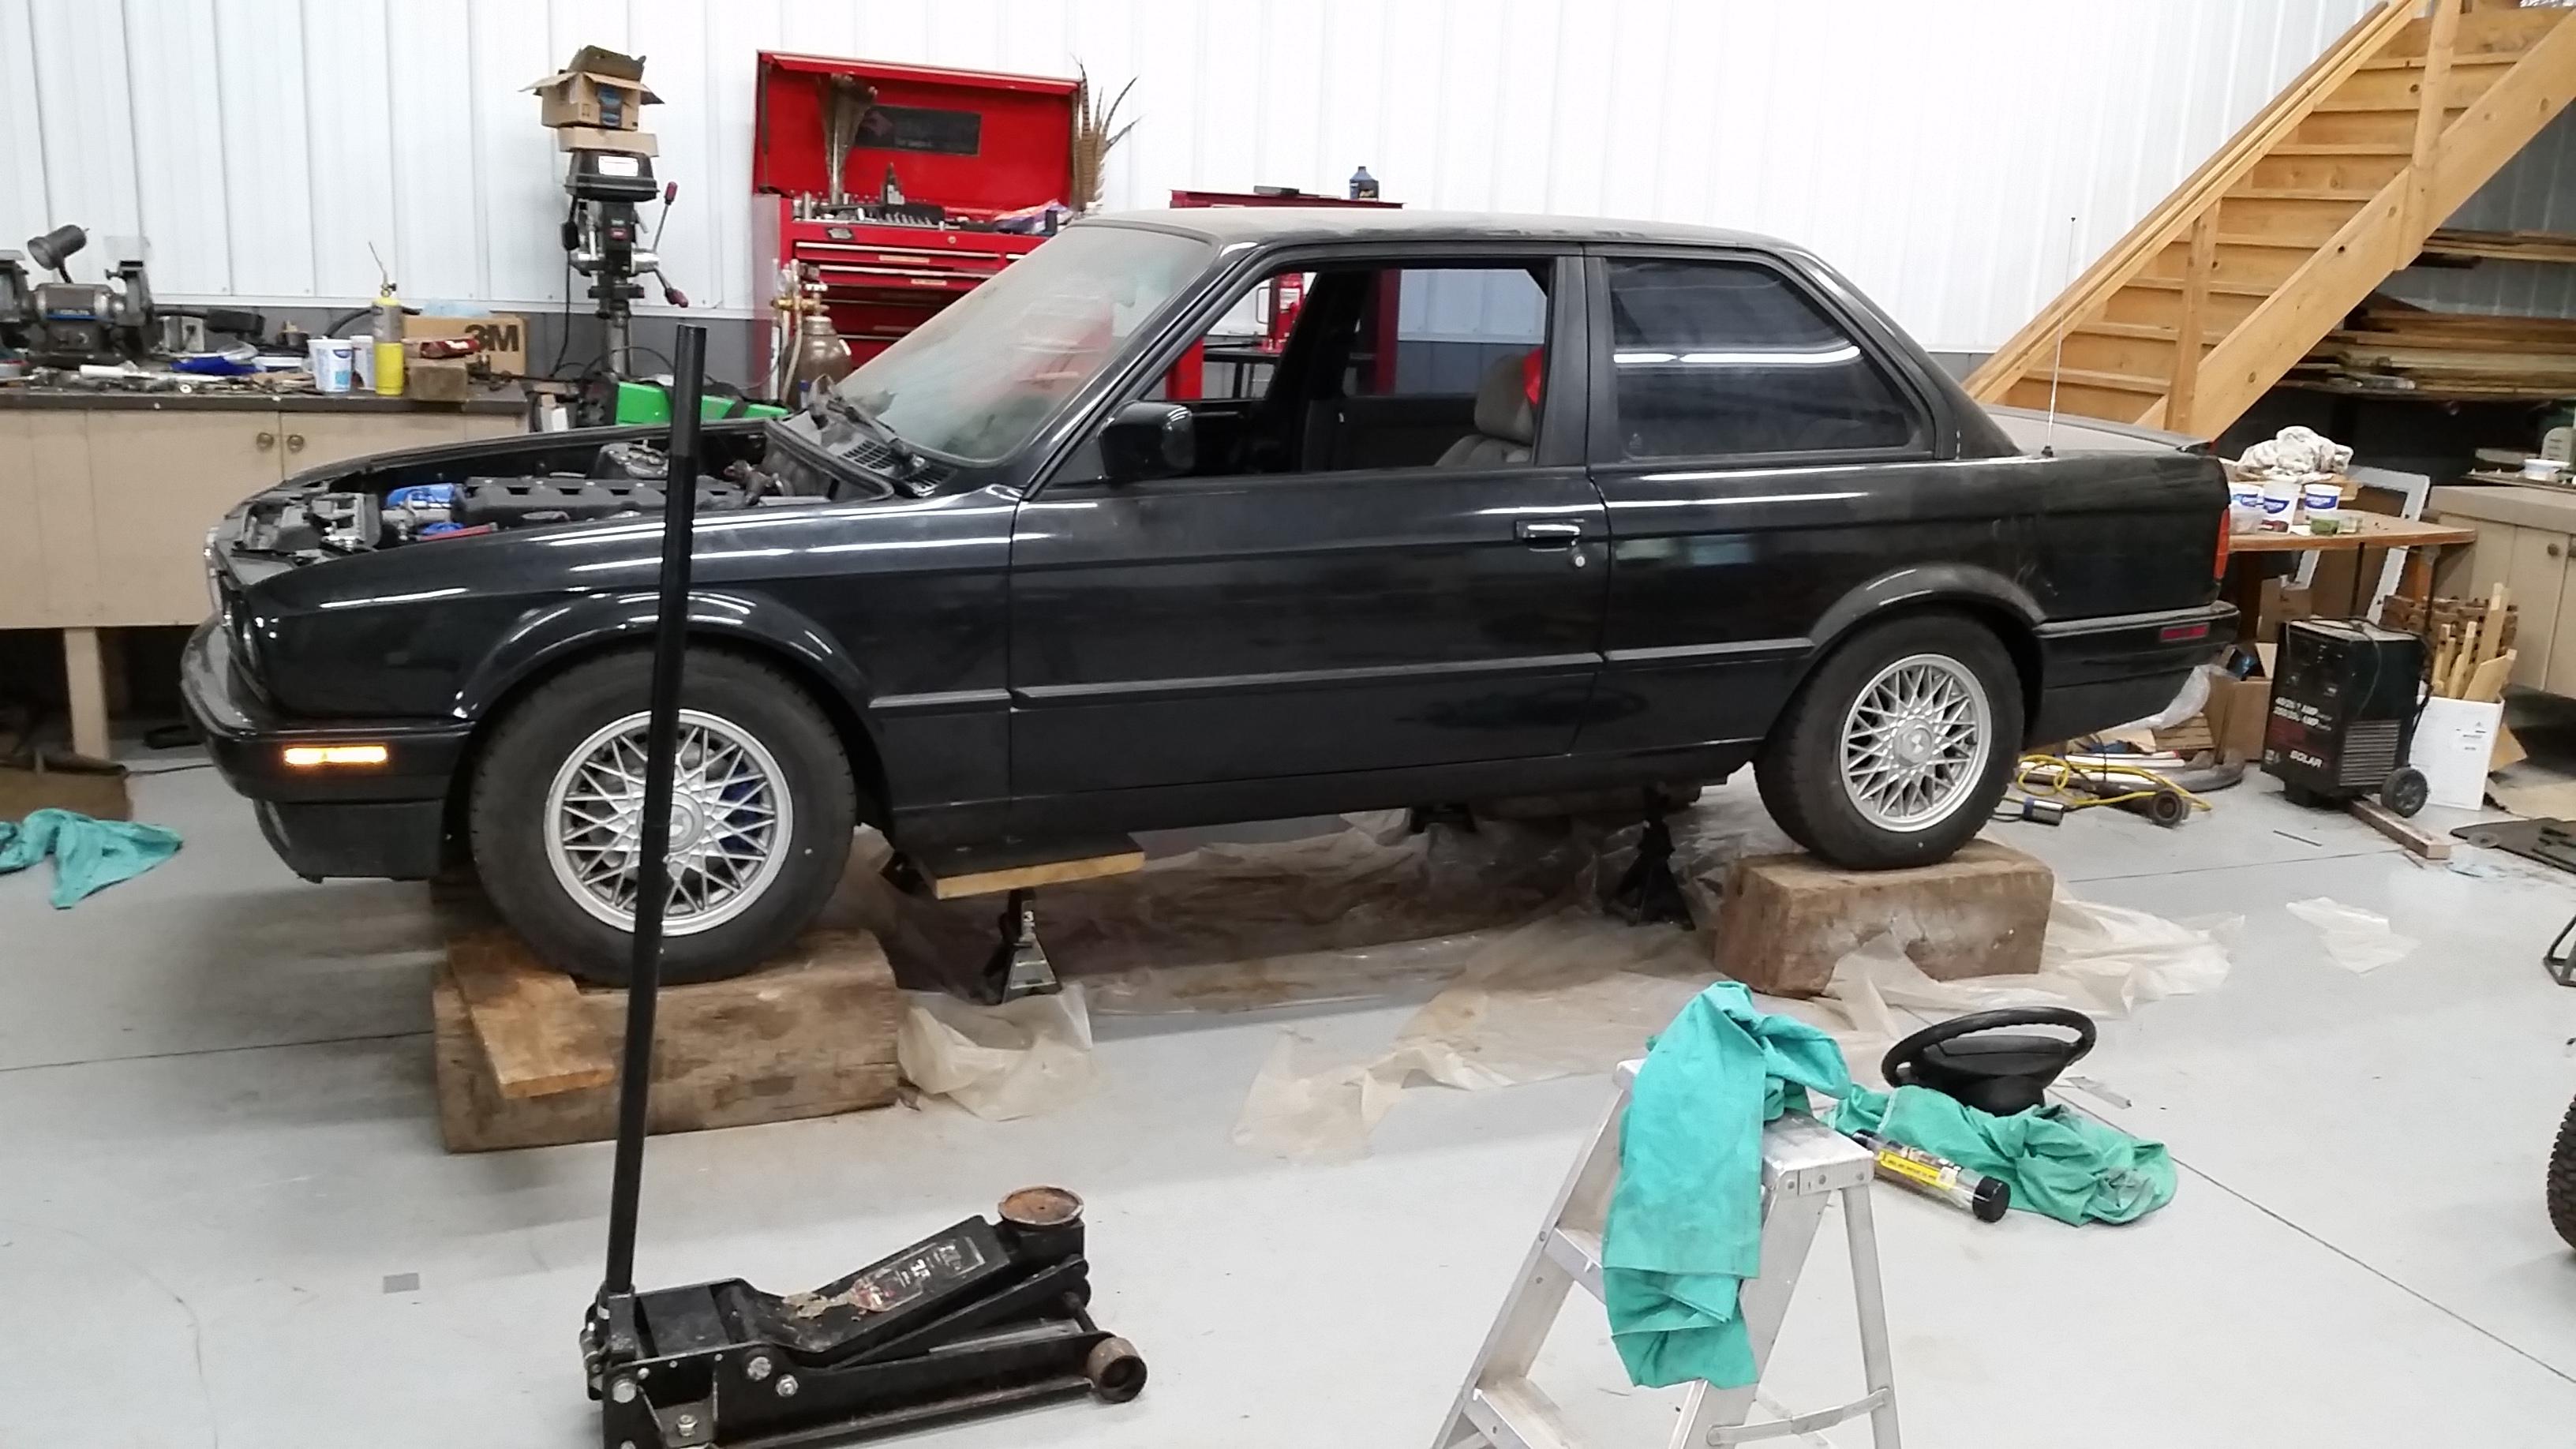
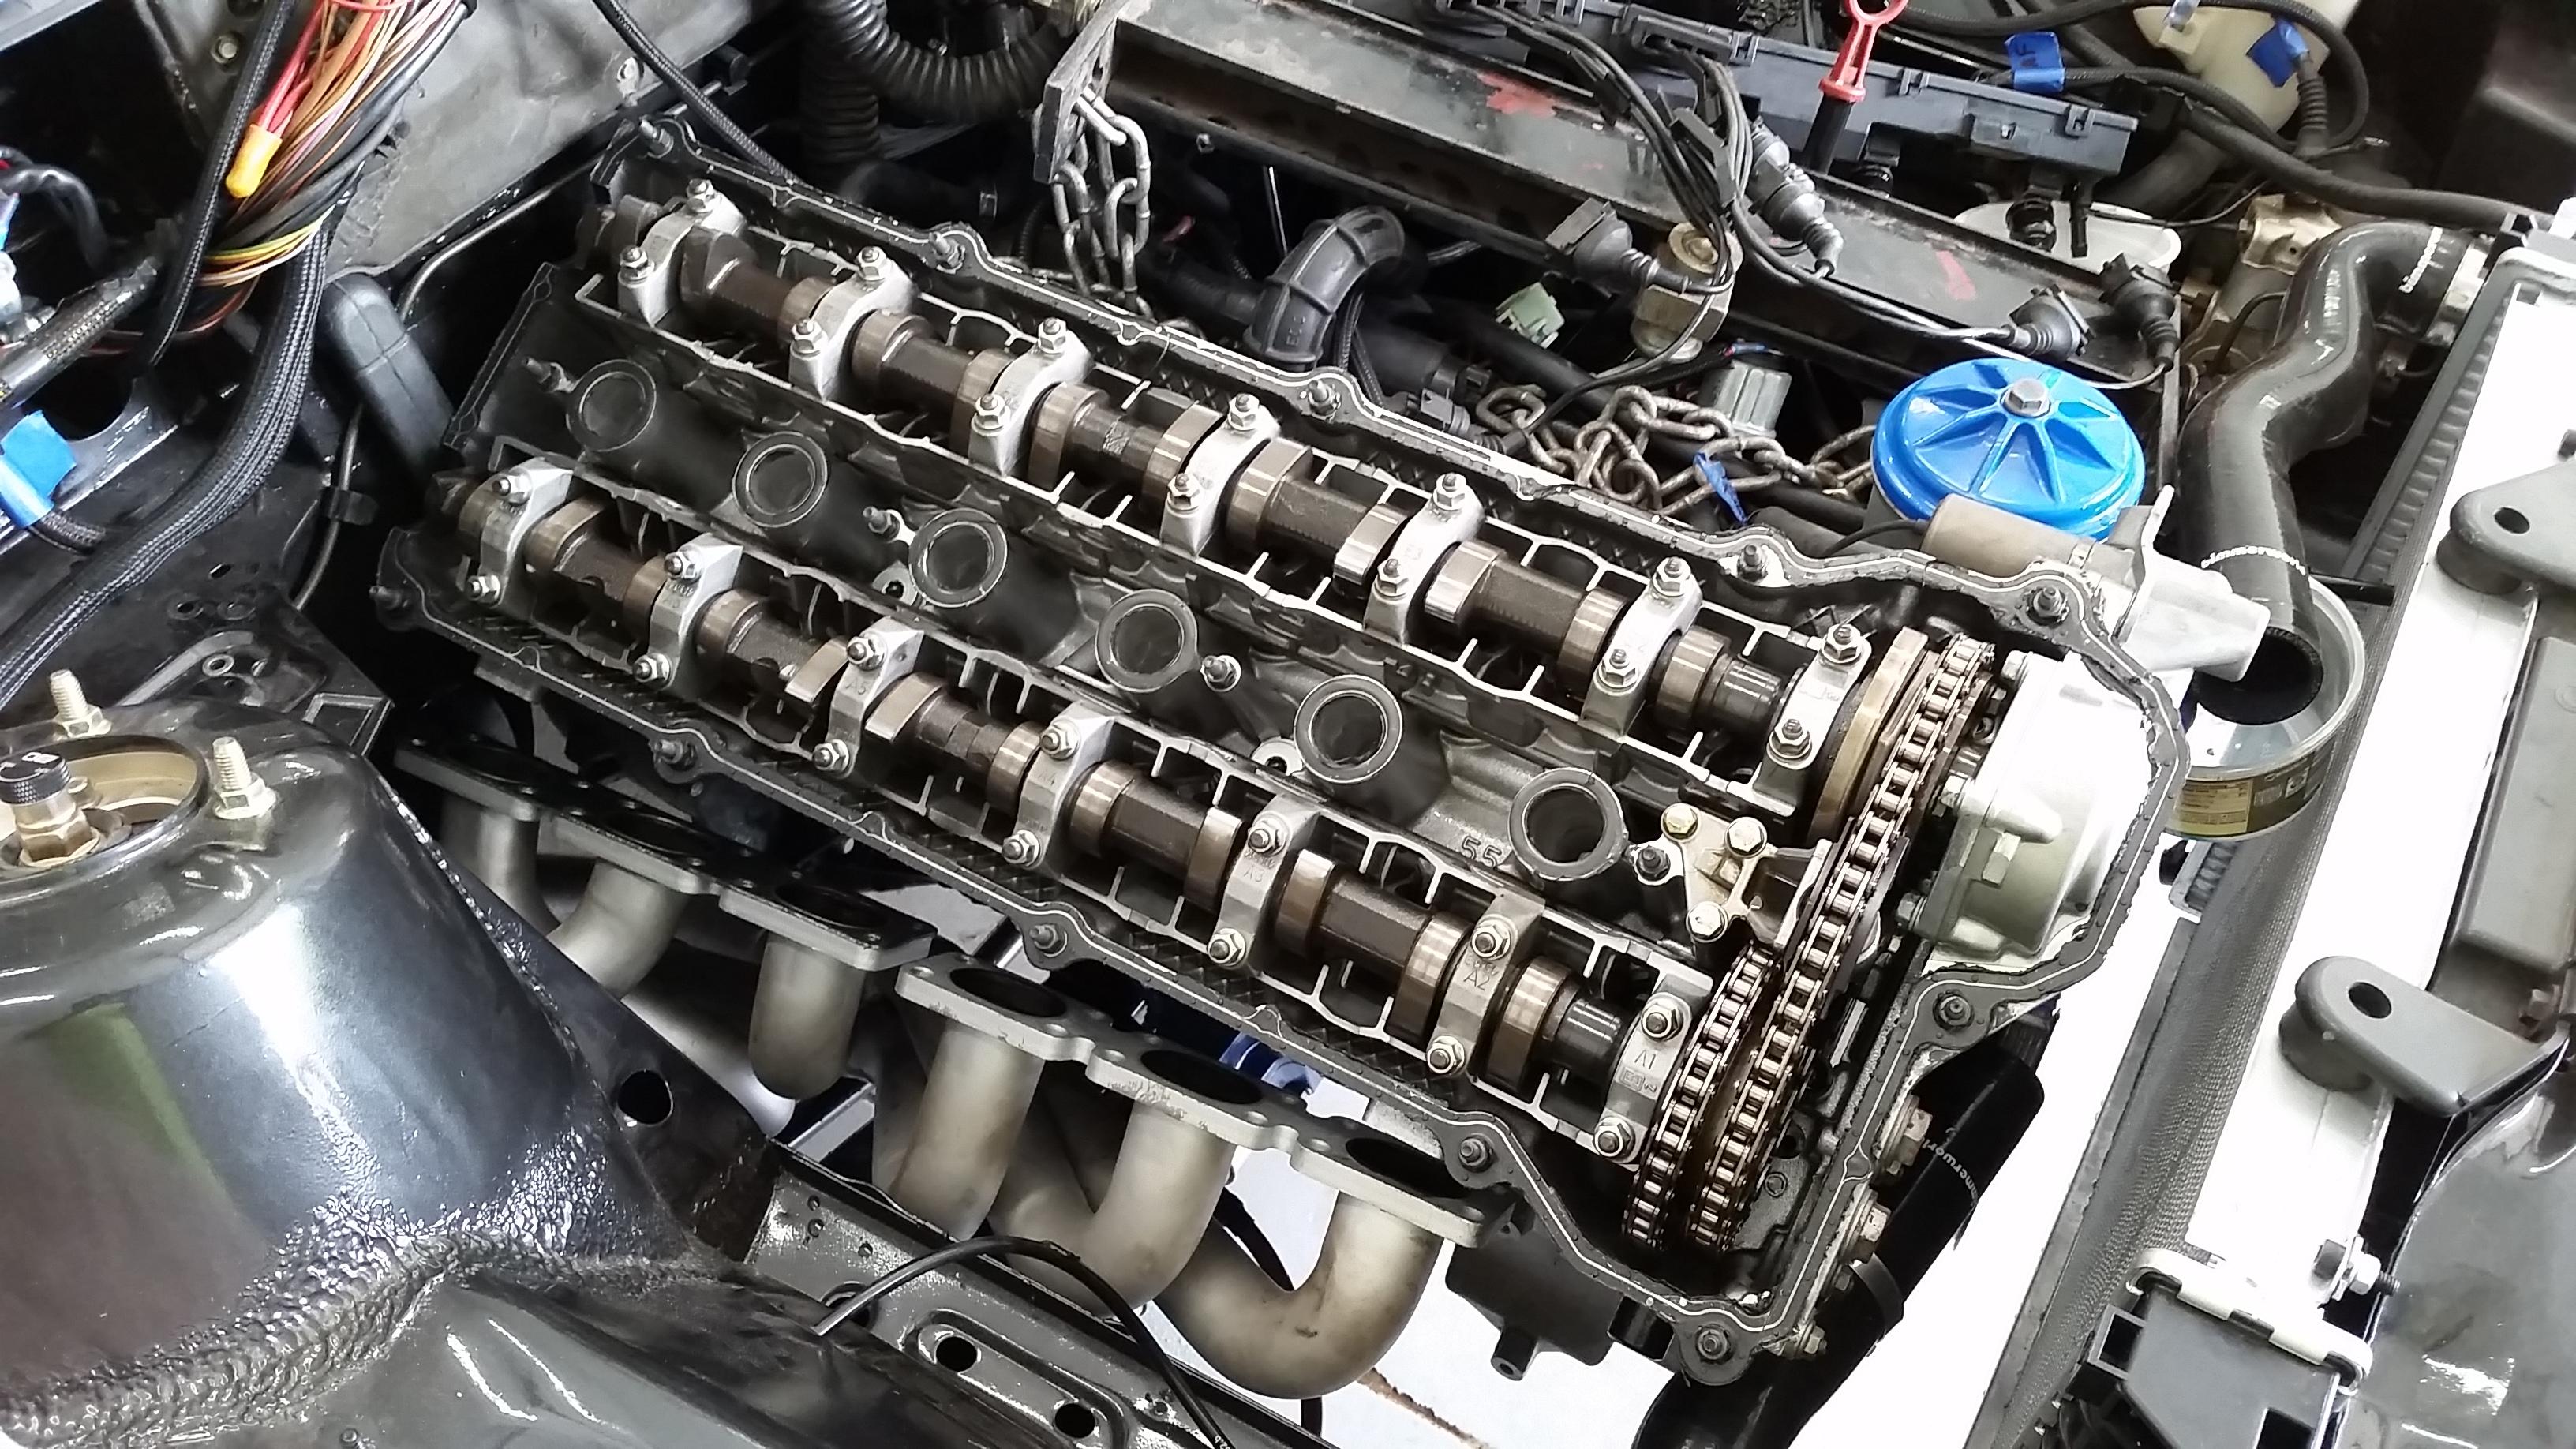
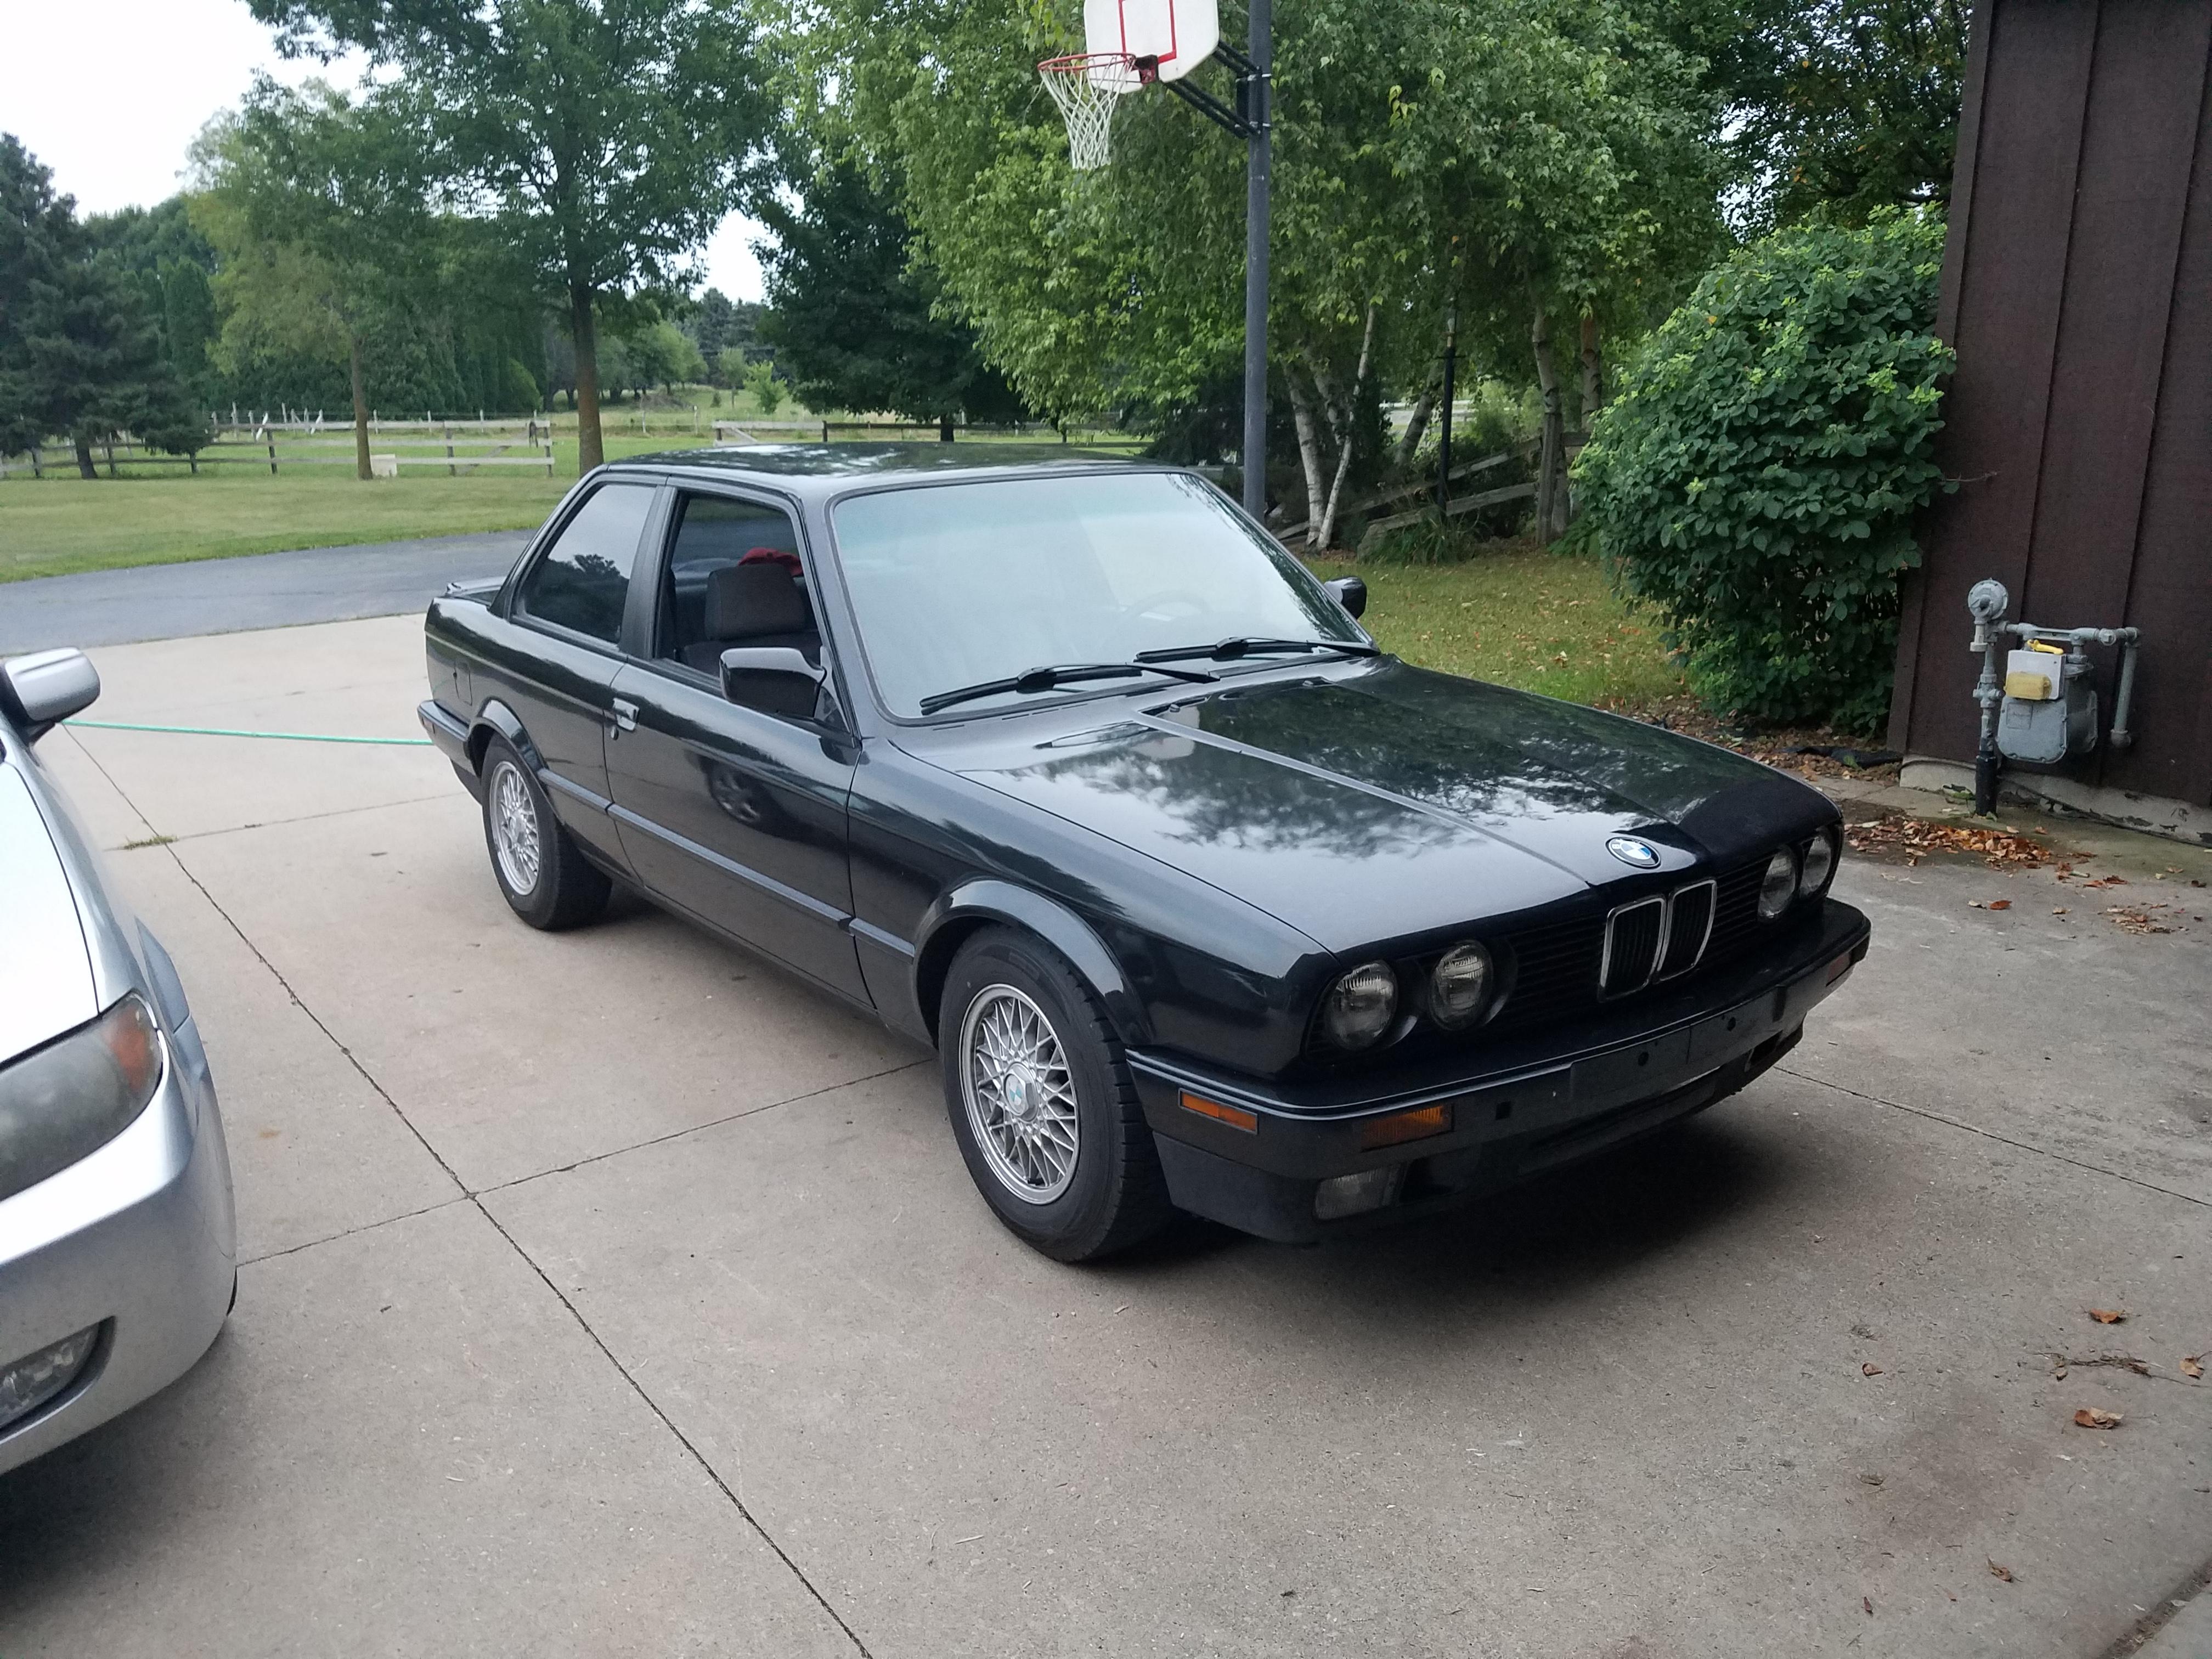
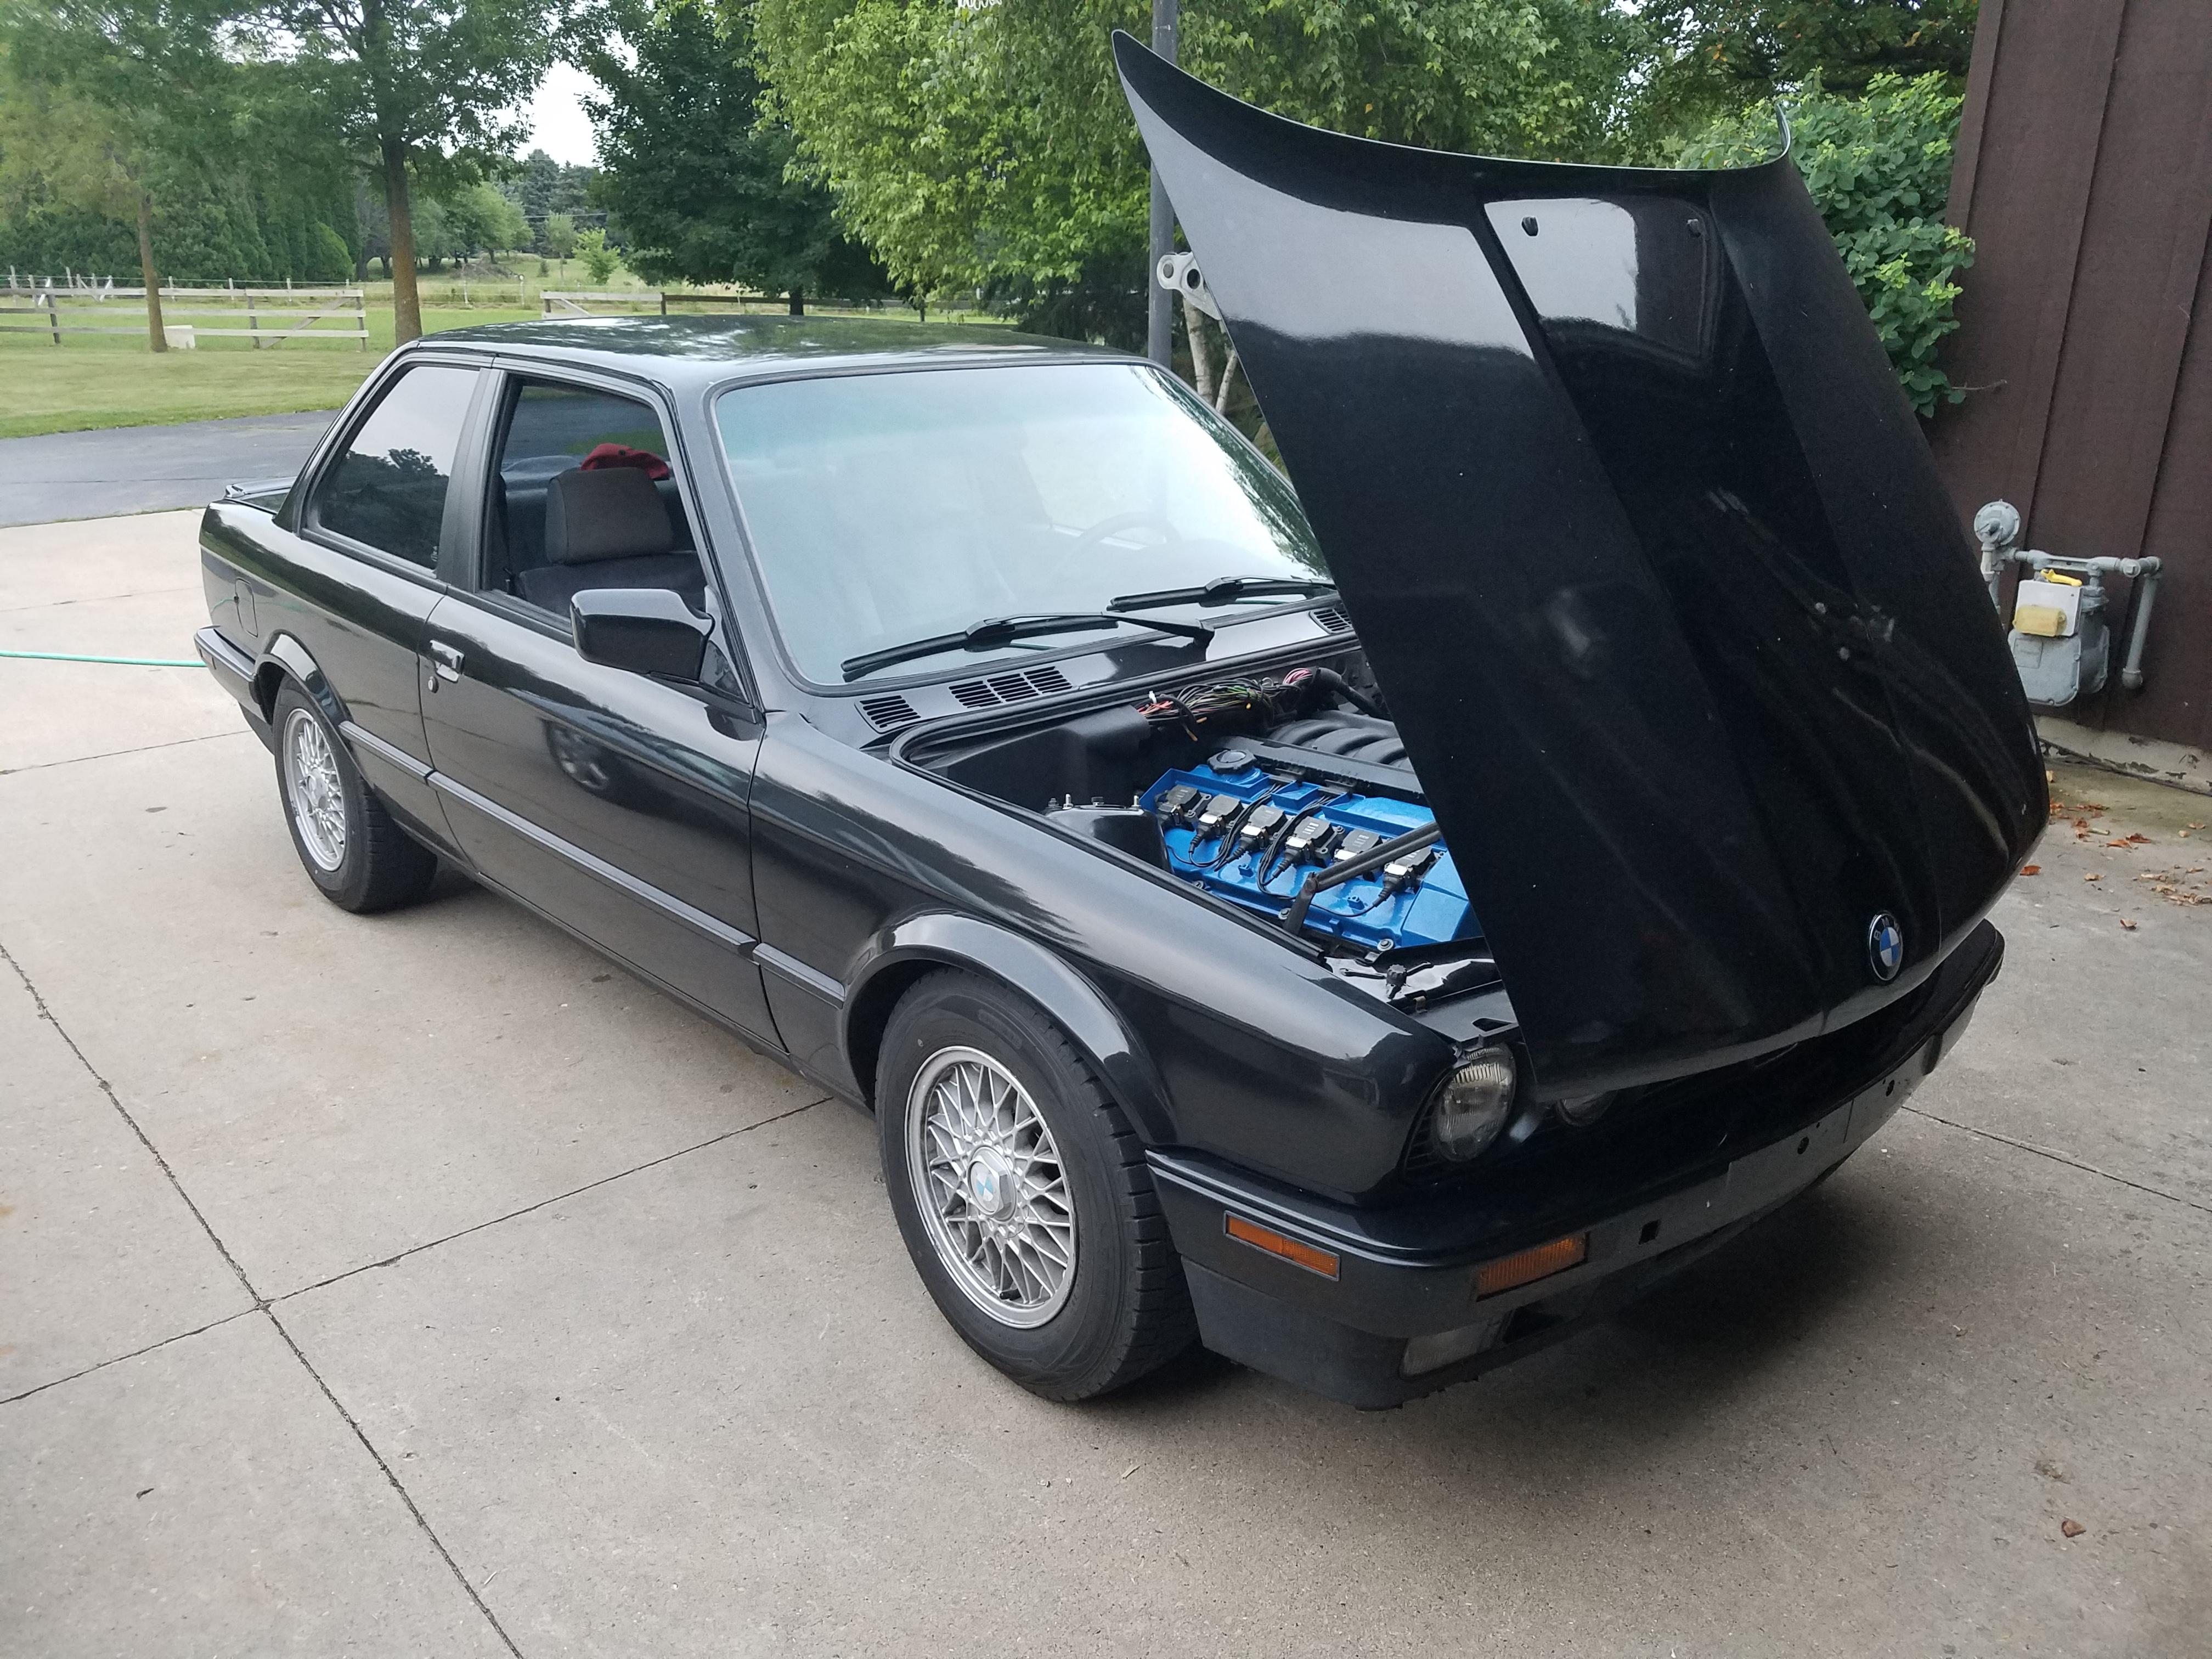
the one and only e30 s52 engine swap
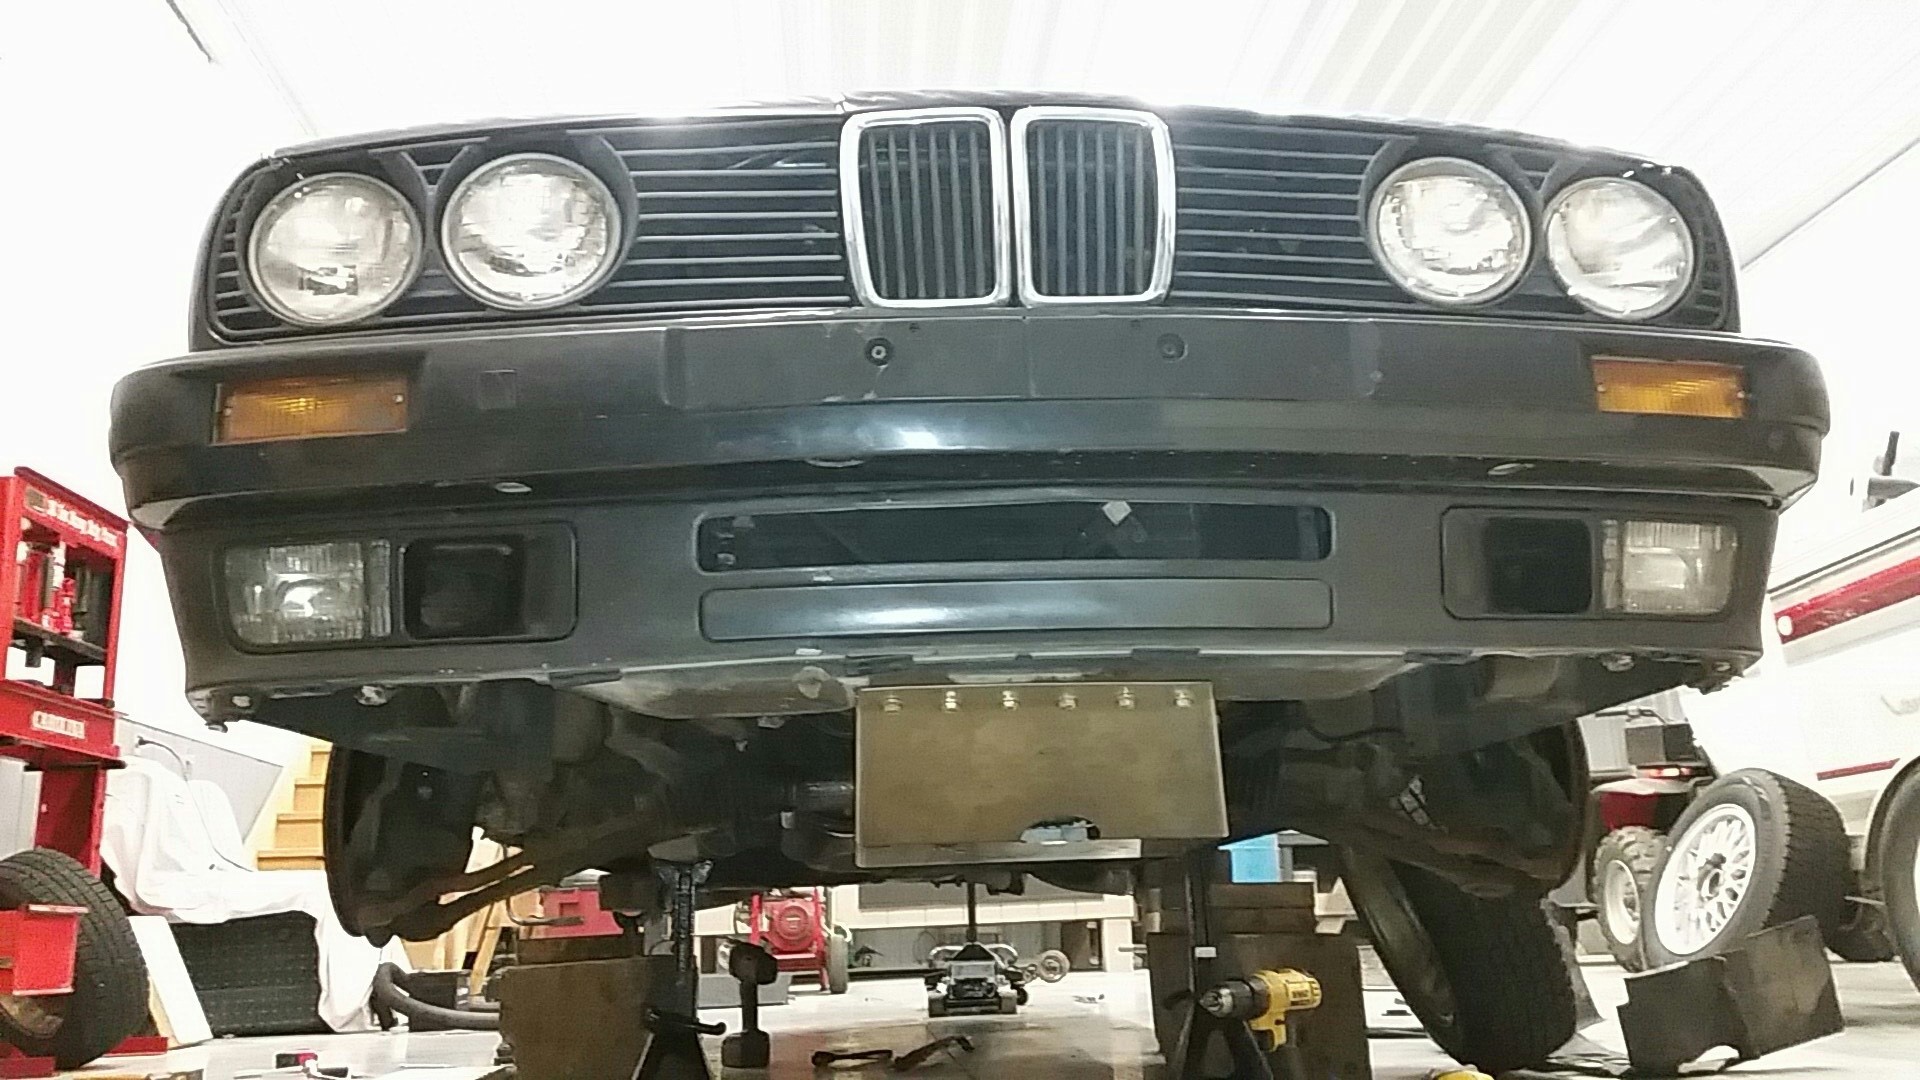
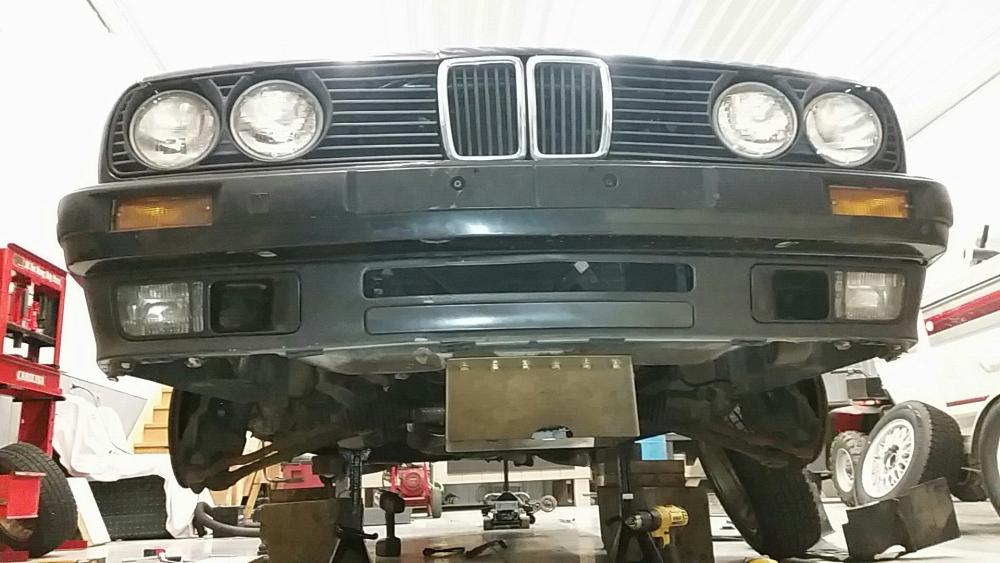
-
Try jumpering pins 11 and 14 on the diagnostic connector with a piece of wire. Remember to have the car in neutral and the ignition switched on. Also note if pins 11 and 14 exist in tge connector, they may be bare (this is fine, just explains why jumpering them wouldnt work)
also try jiggling the key as you try cranking to jostle the ignition switch a little bit
-
Does it crank if you use a jumper from the large red wire on the starter to the black/yellow wire? If it does then you know the grounds are all good. If it doesn't then there is a power or ground problem because you said the starter did work when you hooked power directly to it
Next test would be to set your meter to DC volts and put one lead on a body ground and one on the engine block while someone attempts to crank. If you see voltage it means that something isn't grounded, it could be the starter body to the transmission if things are painted, or the engine block to the mount arm that has the ground strap on it.
-
try listing every bit of work you've done since the car was last started. this may narrow down what has changed, and may be causing the issue.
Dan

-
Try jumpering pins 11 and 14 on the diagnostic connector with a piece of wire. Remember to have the car in neutral and the ignition switched on. Also note if pins 11 and 14 exist in tge connector, they may be bare (this is fine, just explains why jumpering them wouldnt work)
also try jiggling the key as you try cranking to jostle the ignition switch a little bit
My vote is ignition switch as well
-
Does it crank if you use a jumper from the large red wire on the starter to the black/yellow wire? If it does then you know the grounds are all good. If it doesn't then there is a power or ground problem because you said the starter did work when you hooked power directly to it
Next test would be to set your meter to DC volts and put one lead on a body ground and one on the engine block while someone attempts to crank. If you see voltage it means that something isn't grounded, it could be the starter body to the transmission if things are painted, or the engine block to the mount arm that has the ground strap on it.
This. If its not cranking, the starter is bad and / or isnt getting power/signal . What is the voltage output at the starter when its OFF/START/RUN positions?

https://www.instagram.com/_jdesigner_/ http://nevertoolow.tumblr.com/
🥳SOLD BMW E24 633CSI - BMW M30B32 🧪SOLD HCH ES9 - 1.3 LDA
👽BMW E30 325IC - Toyota 1JZ-GTE ⏰ HONDA EF9 CIVIC SI - JDM B18C5
☠️BMW E36 318i - Ford 5.0 FE302 🚴♂️ GT-Labomba - 26x2.75 Freeride
🤹♀️SOLD BMW E36/7 Z3 - BMW M54B25 🧓SOLD BMW E10 2002 - BMW M10M05 -
Just to rule it out is the fusible link blown? Follow the small wire off the positive battery terminal, it's wrapped so you can't do a simple visible check. If blown no power to the main relay and ecu.
Any aftermarket alarm immobilizer or an issue with the OBC?
Some other ideas
http://www.e30zone.net/e30zonewiki/index.php/Engines_Troubleshoot
-
So once I got over to the shop later today I thought over what yall said and went back to start assessing the possibility of a bad ground issue as @jc43089 stated. I went over to the other garage and snagged the jumper cables from the shelf, hooked one clamp to the alternator mounting bracket and the other side to the front subframe mounting bolt. Hopped in the car... turned the key over to start and I was suddenly welcomed with the sweet sweet sound of the starter beginning to crank, hallelujah!!!
Jumped the fuel relay to get some fuel up to the fuel rail, hopped back in the car and she came to life once again.
This is where it gets very odd though. After I ran the motor for a few seconds I shut it off, pulled the jumper cables off and the car started right back up again. Wait, what? Did it just need some kind of encouragement? I shut the car off and started it 5 different times tonight with no issues. I suppose I will leave everything the way it is and further asses the problem if it decides to return.
Thank you to everyone for their helpful feedback!
-
So once I got over to the shop later today I thought over what yall said and went back to start assessing the possibility of a bad ground issue as @jc43089 stated. I went over to the other garage and snagged the jumper cables from the shelf, hooked one clamp to the alternator mounting bracket and the other side to the front subframe mounting bolt. Hopped in the car... turned the key over to start and I was suddenly welcomed with the sweet sweet sound of the starter beginning to crank, hallelujah!!!
Jumped the fuel relay to get some fuel up to the fuel rail, hopped back in the car and she came to life once again.
This is where it gets very odd though. After I ran the motor for a few seconds I shut it off, pulled the jumper cables off and the car started right back up again. Wait, what? Did it just need some kind of encouragement? I shut the car off and started it 5 different times tonight with no issues. I suppose I will leave everything the way it is and further asses the problem if it decides to return.
Thank you to everyone for their helpful feedback!
Thats really weird. Maybe you were just doing something strange last time. Battery terminals tight? Not turning the key all the way? LOLZ
Either way, that's great news!
https://www.instagram.com/_jdesigner_/ http://nevertoolow.tumblr.com/
🥳SOLD BMW E24 633CSI - BMW M30B32 🧪SOLD HCH ES9 - 1.3 LDA
👽BMW E30 325IC - Toyota 1JZ-GTE ⏰ HONDA EF9 CIVIC SI - JDM B18C5
☠️BMW E36 318i - Ford 5.0 FE302 🚴♂️ GT-Labomba - 26x2.75 Freeride
🤹♀️SOLD BMW E36/7 Z3 - BMW M54B25 🧓SOLD BMW E10 2002 - BMW M10M05 -
Update:
Gonna go back a bit before the engine not cranking phase so I can be thorough on whats been a happenin.
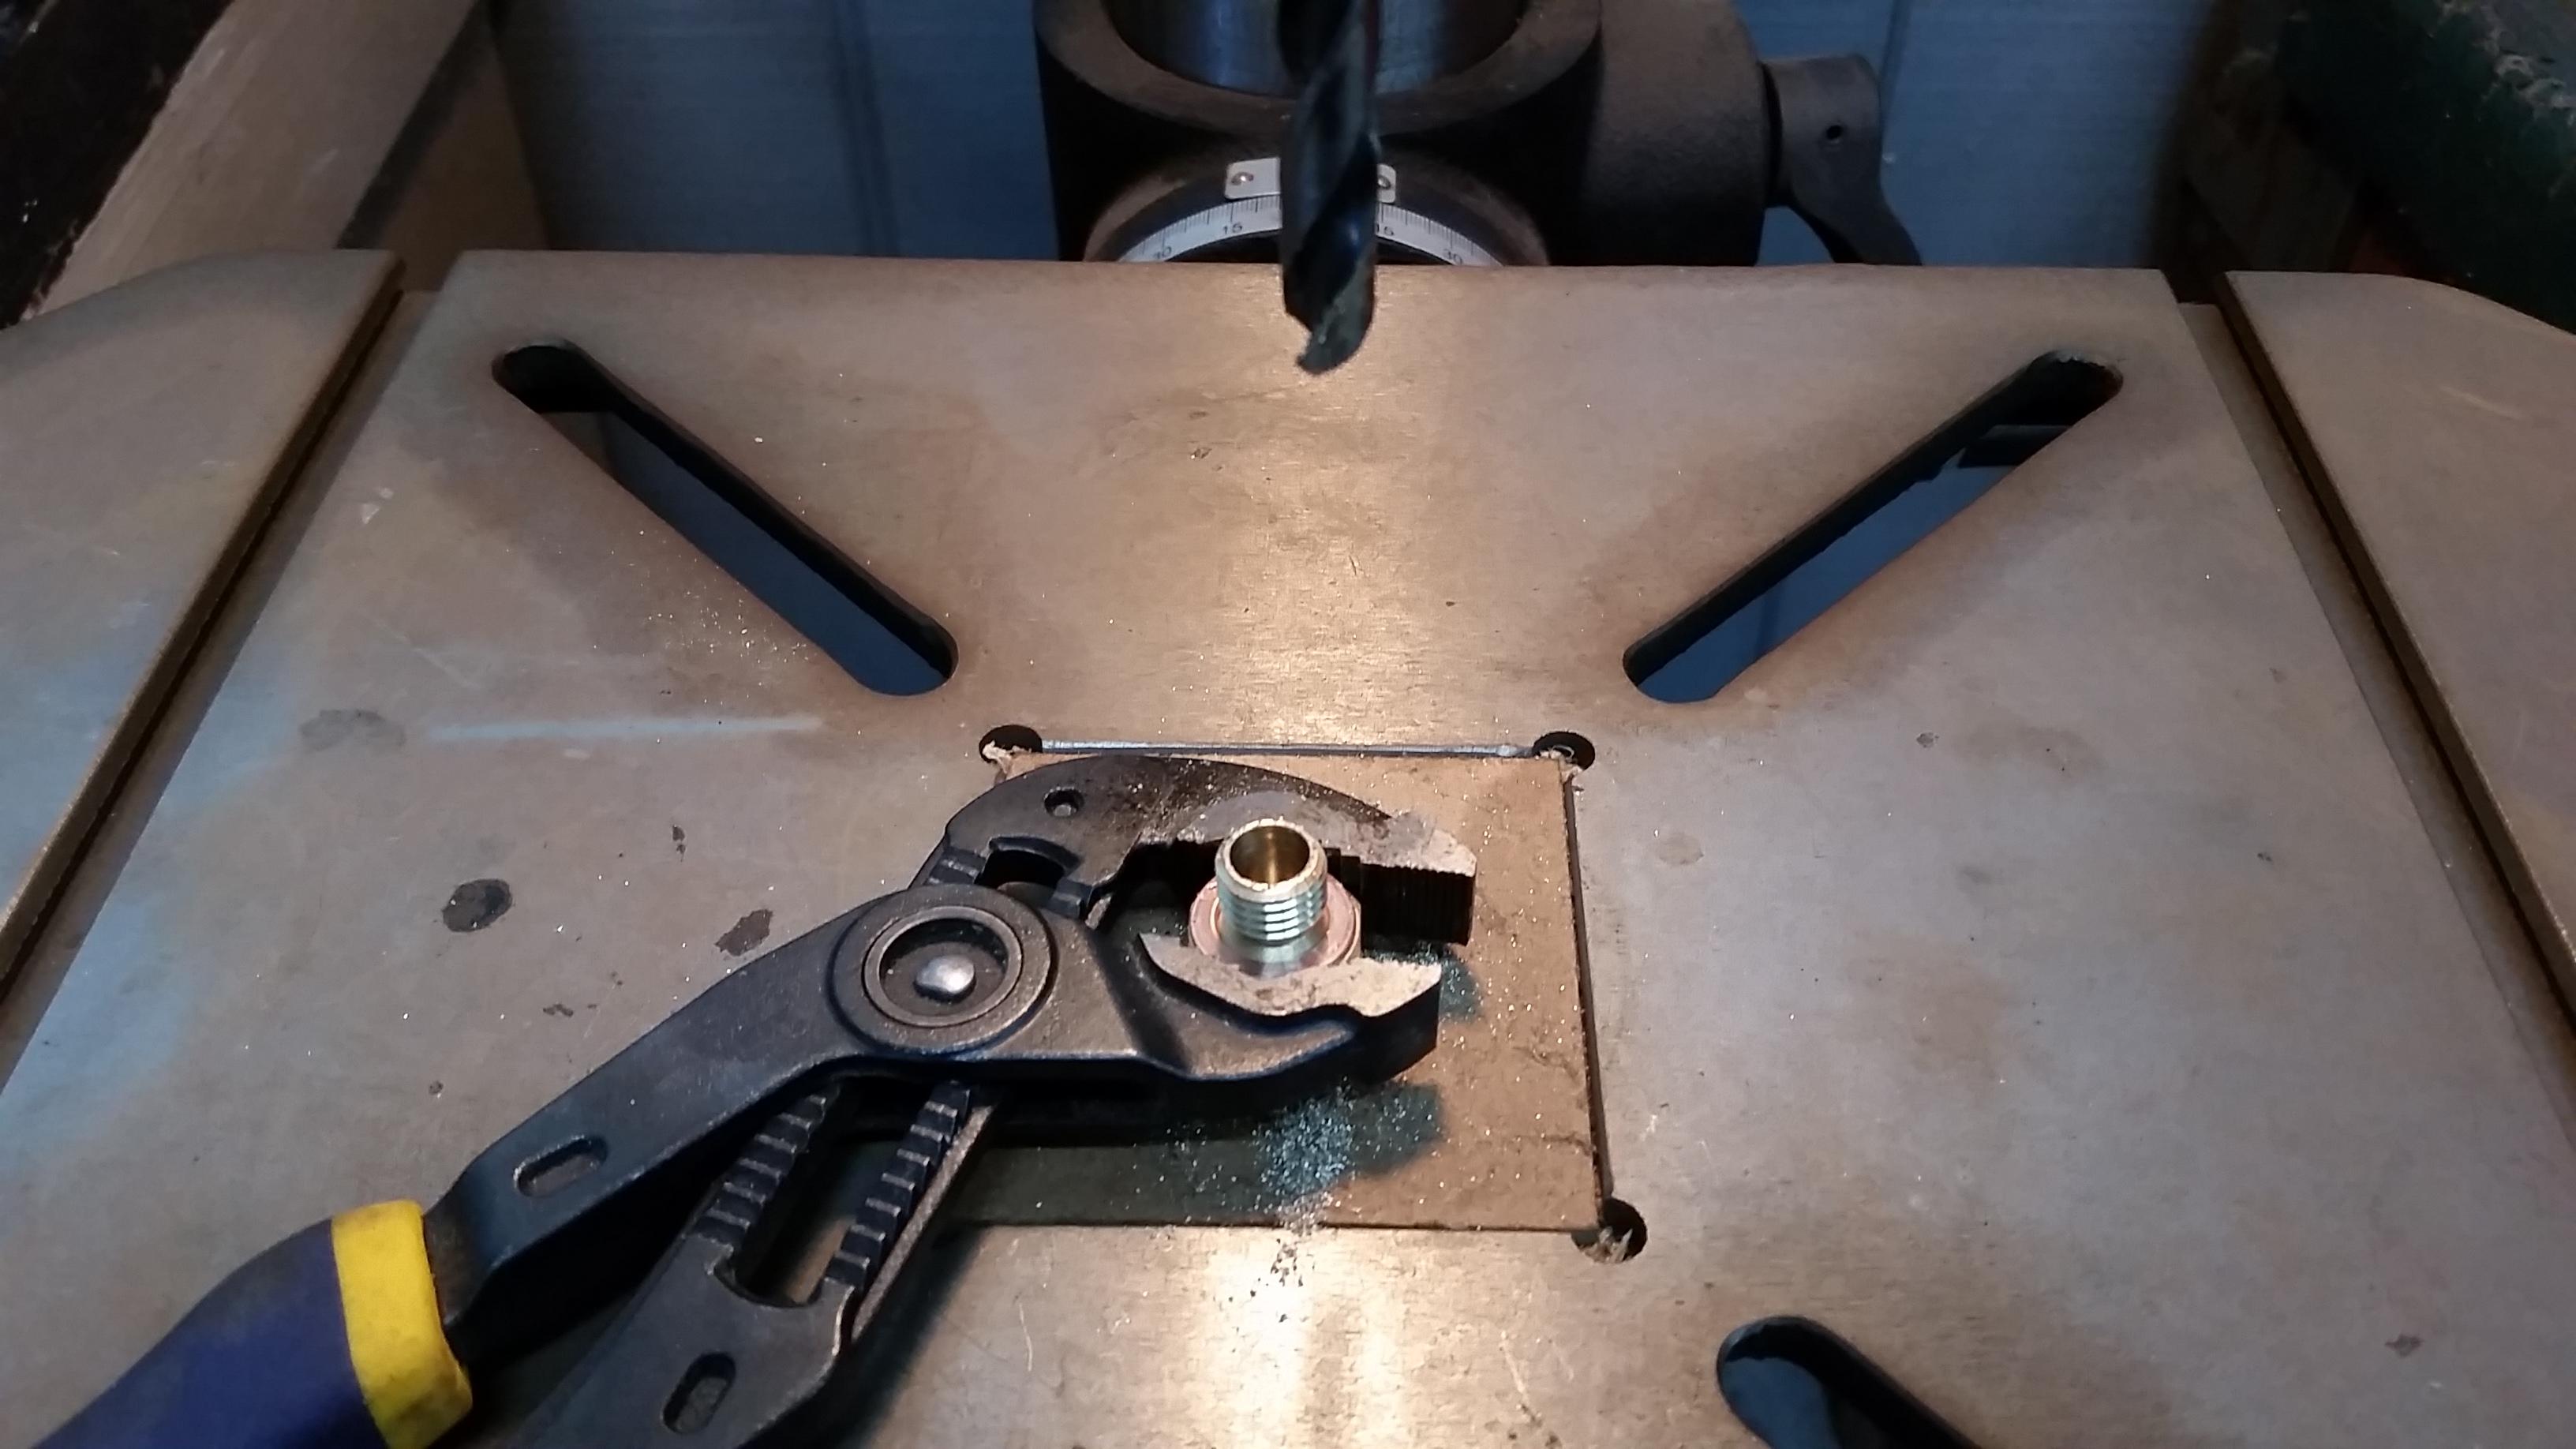
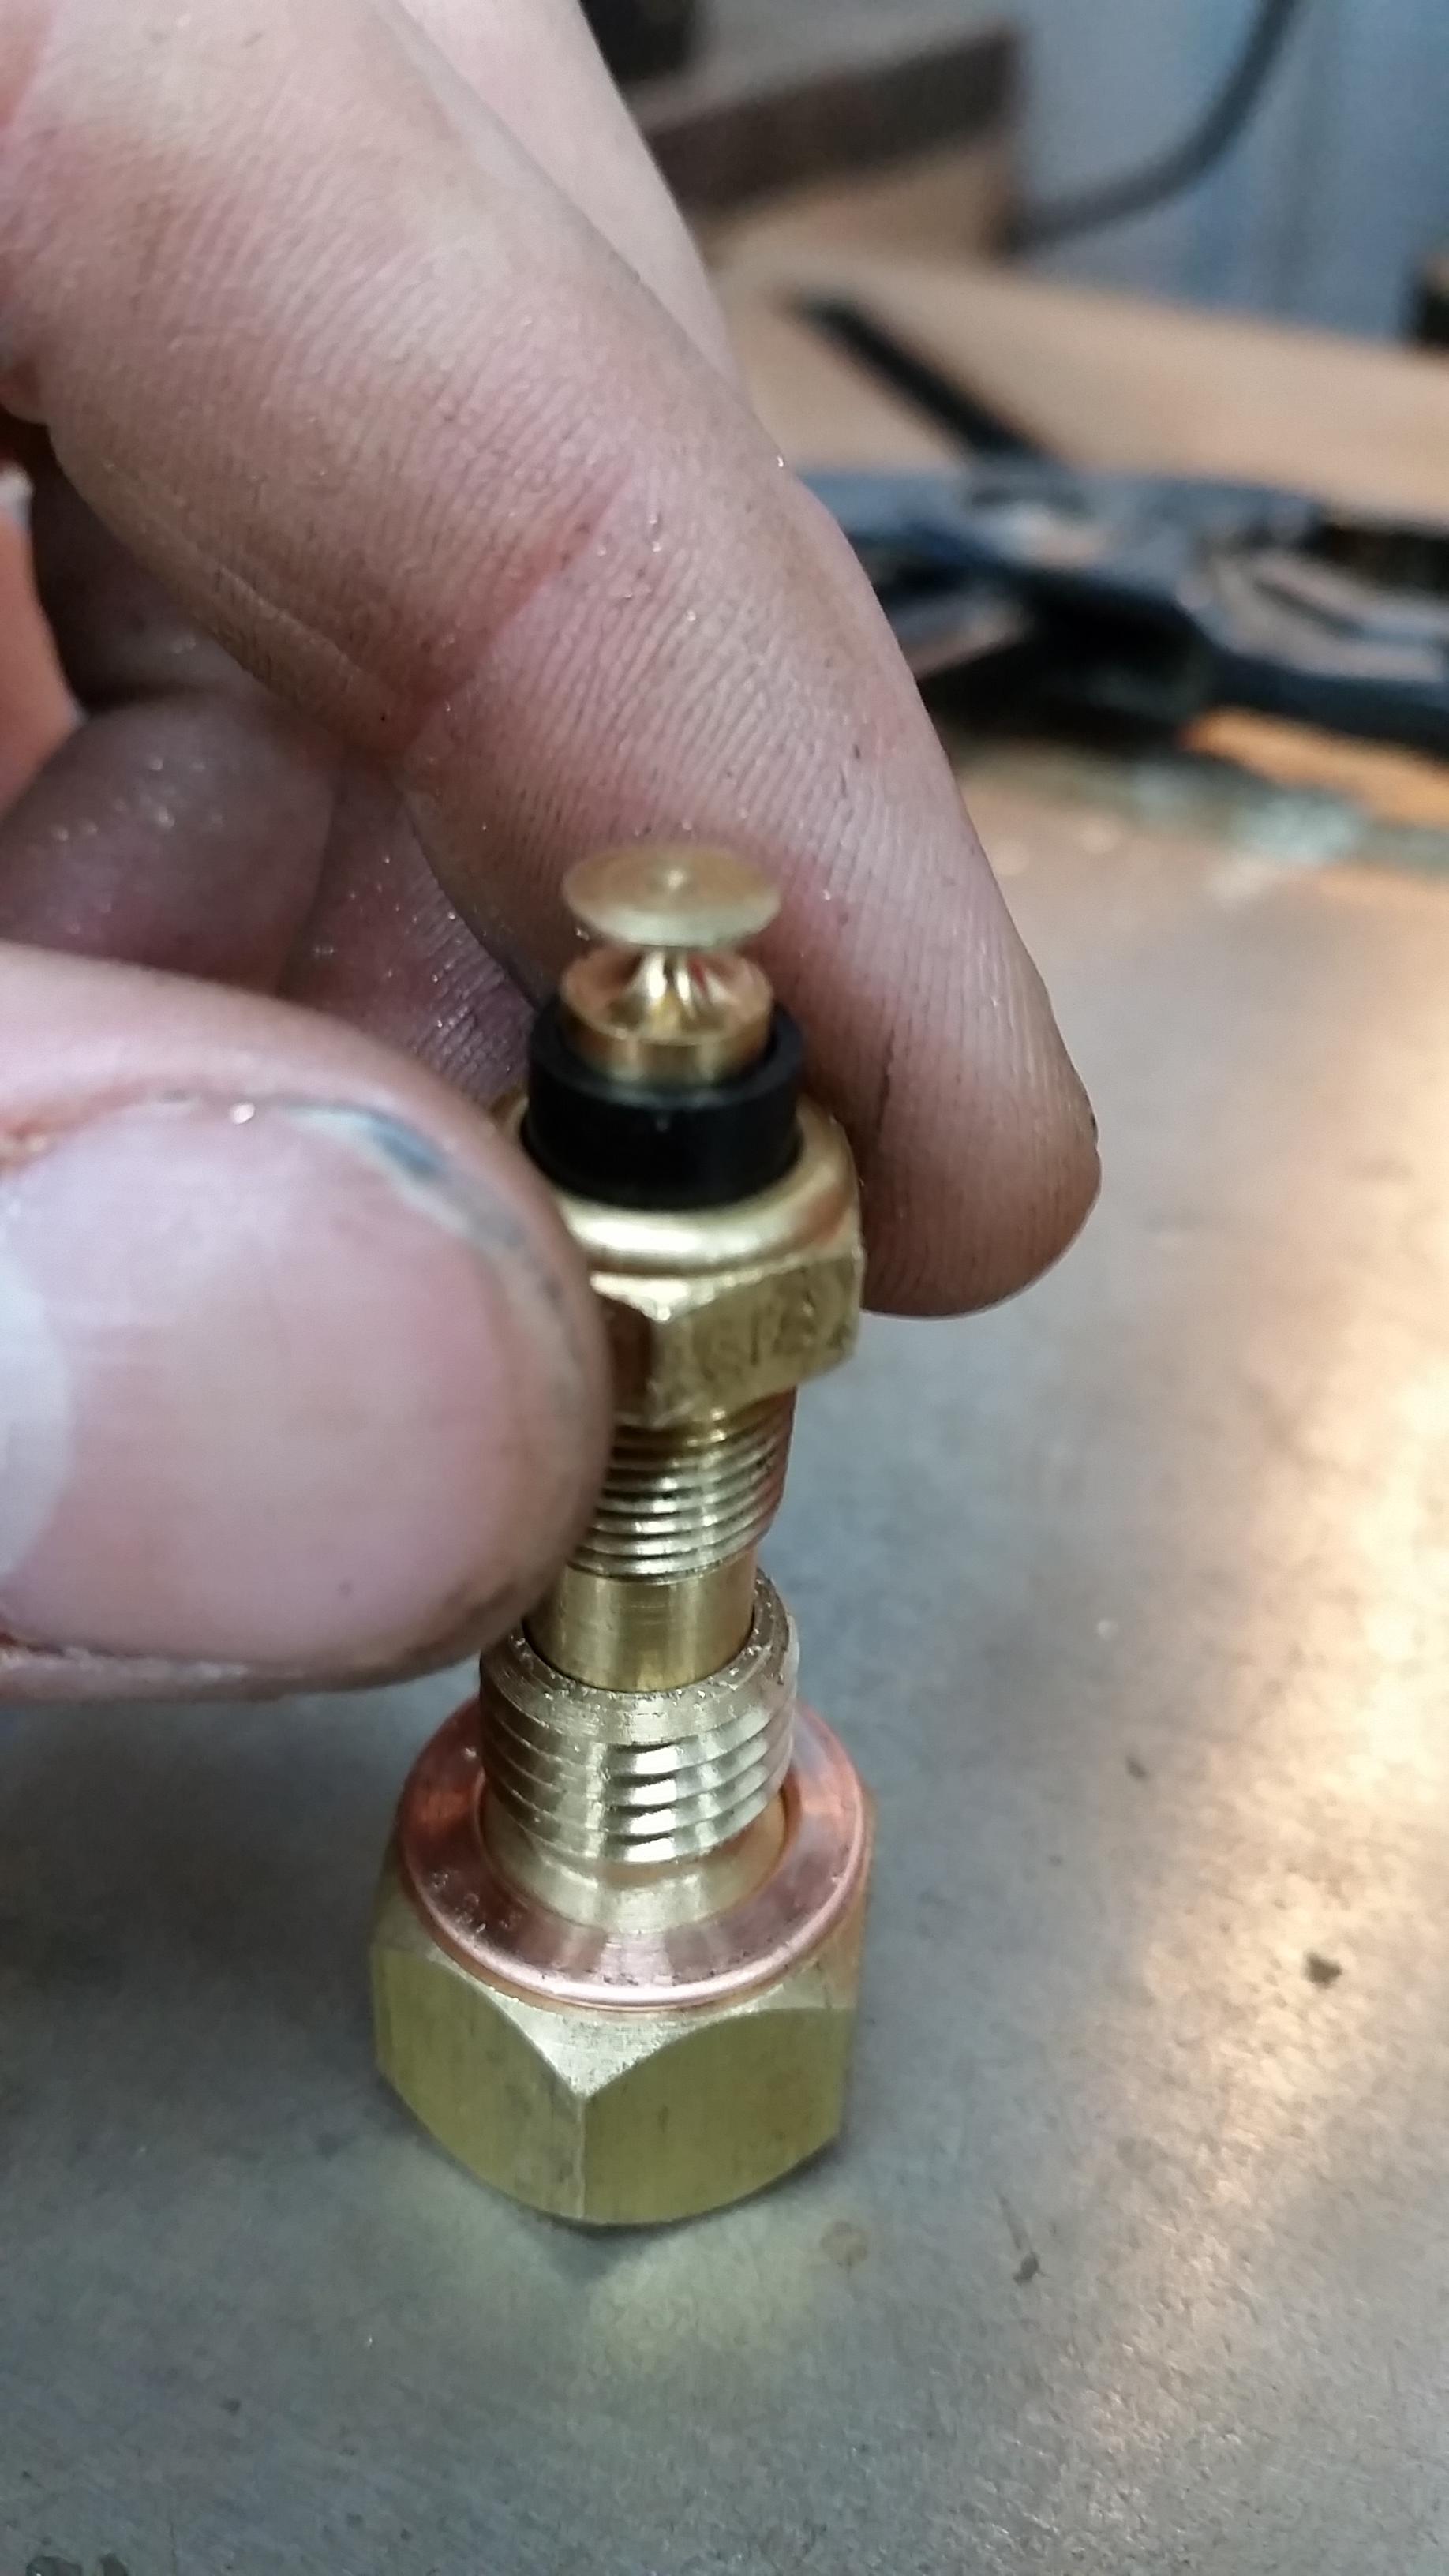
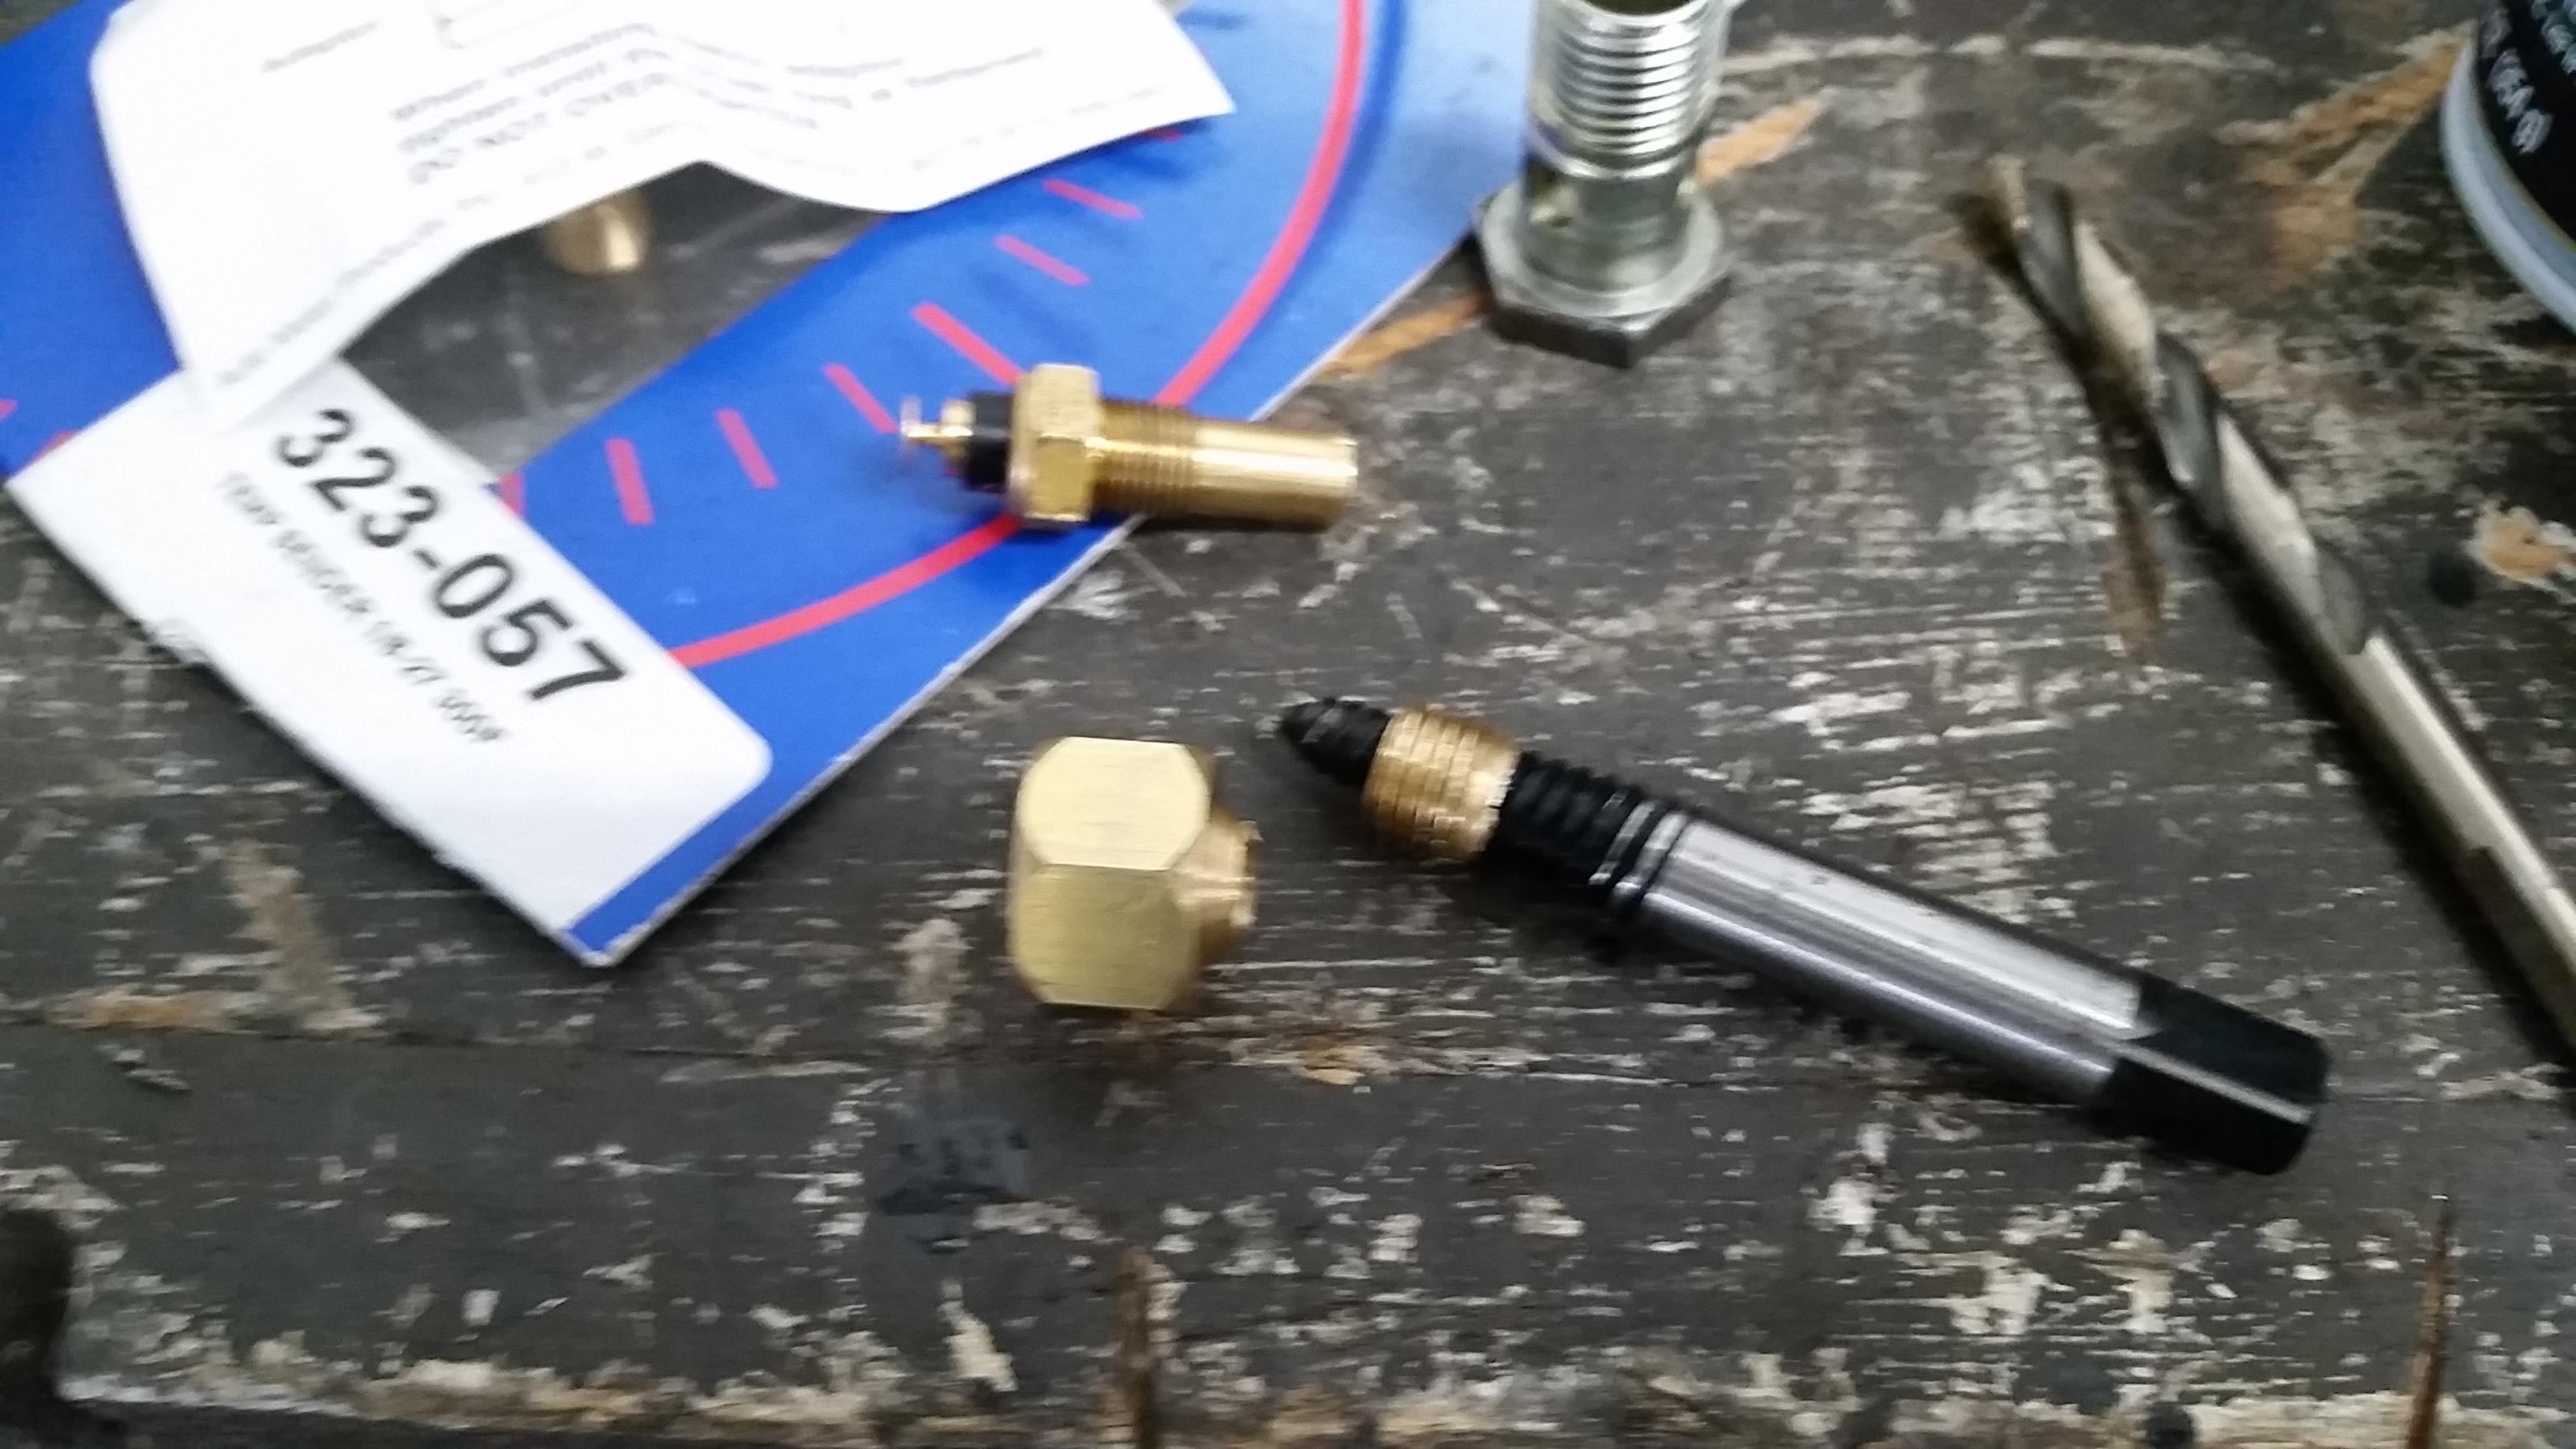
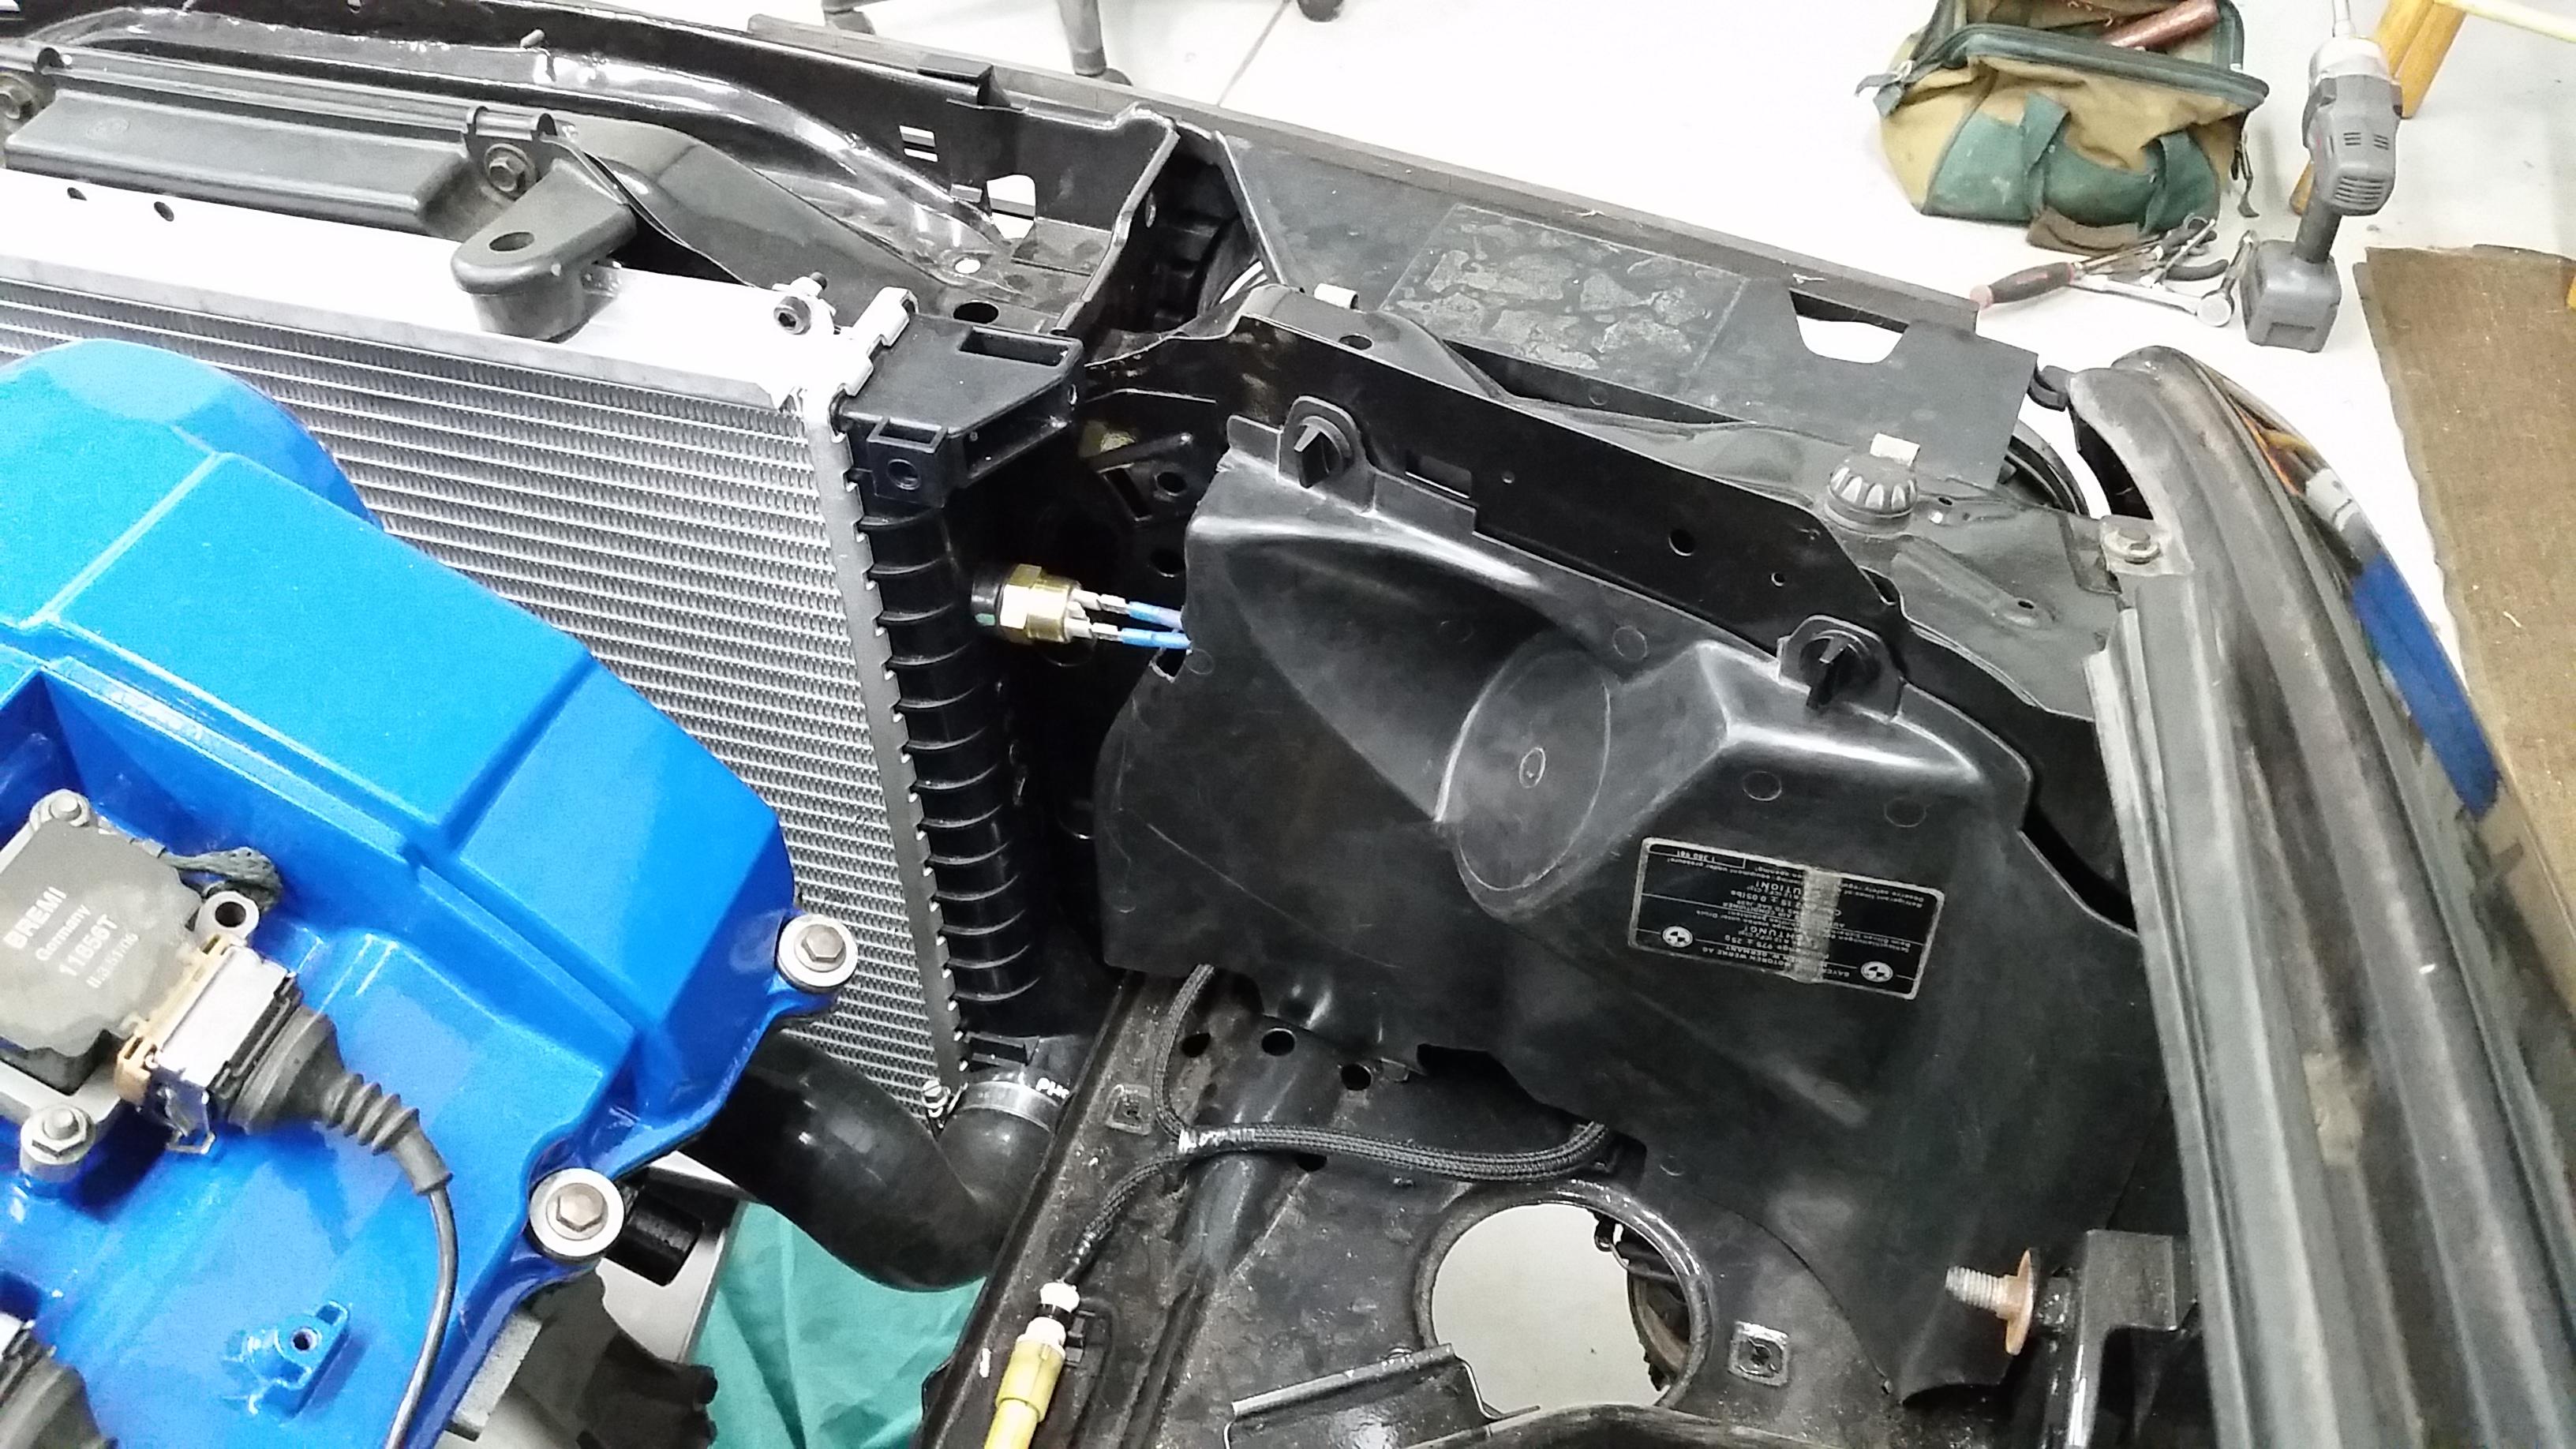
So my adapter for my coolant temp sender unit showed up from auto meter. Right away I tried screwing in the vdo sensor and the inside hole between the threads was way to small of a diameter for the sending unit to slide through. As I wanted to get the thing put on that day I went ahead and decided to drill the hole out big enough (I believe it was a 21/64ths) to get the sending unit threaded in and get both installed on the head.
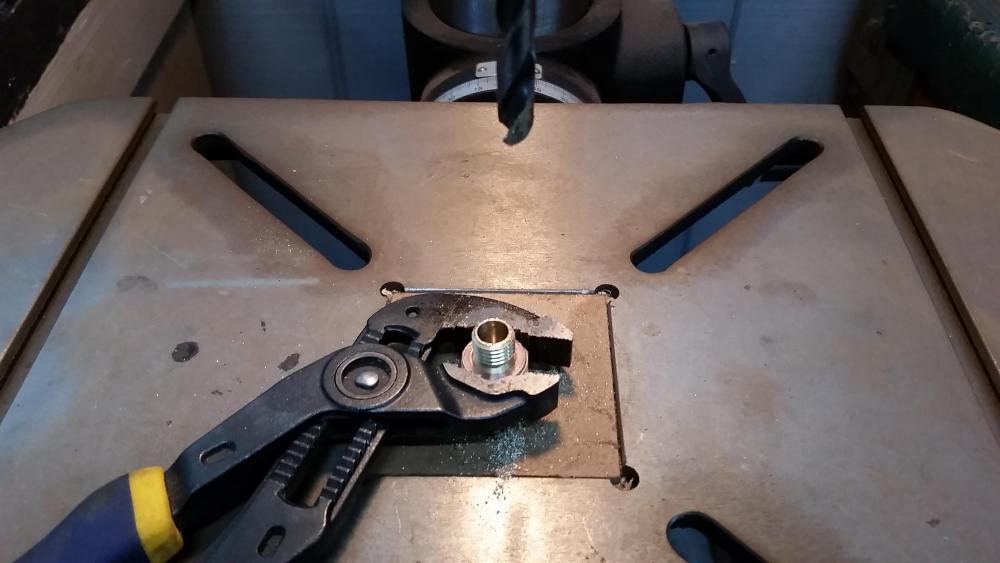
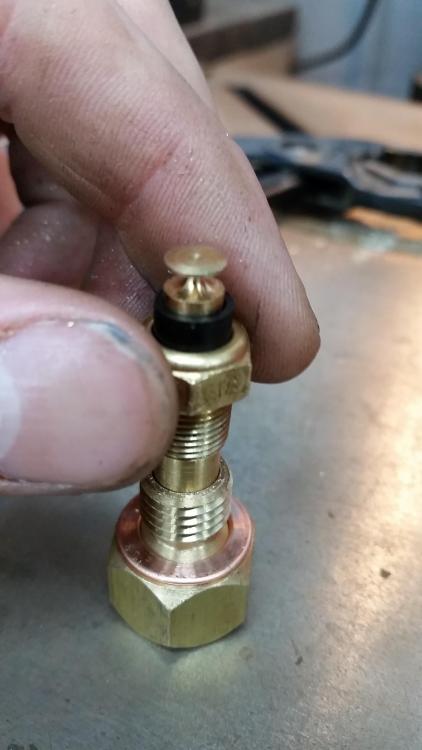
Sense I tend to not think things through before doing I forgot about the fact that drilling out the inside hole larger was only gonna make the walls around it thinner and weaker. As I began to thread in the adapter I didn't even get it flush with the head on the block before the threads snapped off from the larger portion.
After taking a short walk down the driveway to cool off and think everything over I proceeded to remove the portion still threaded in the head out which wasn't all that terrible.
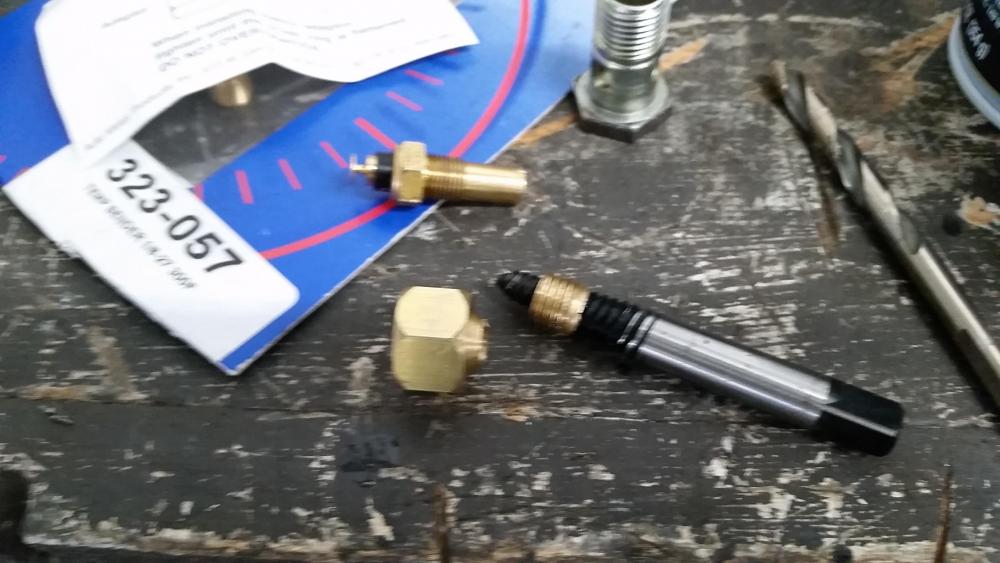
I didn't have another adapter or a way to get the vdo sending unit installed I decided to just throw the brown top m20 back in and run with the stock gauge for now.
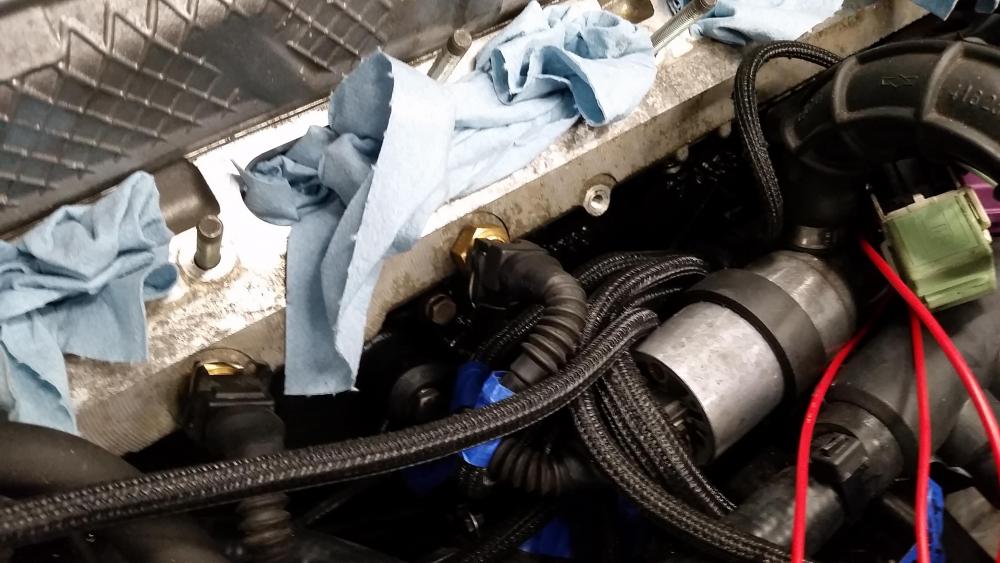
Once I do end up doing the head gasket I will order a vdo sending unit with the correct thread pitch so I won't need to deal with finding an adapter that will work.
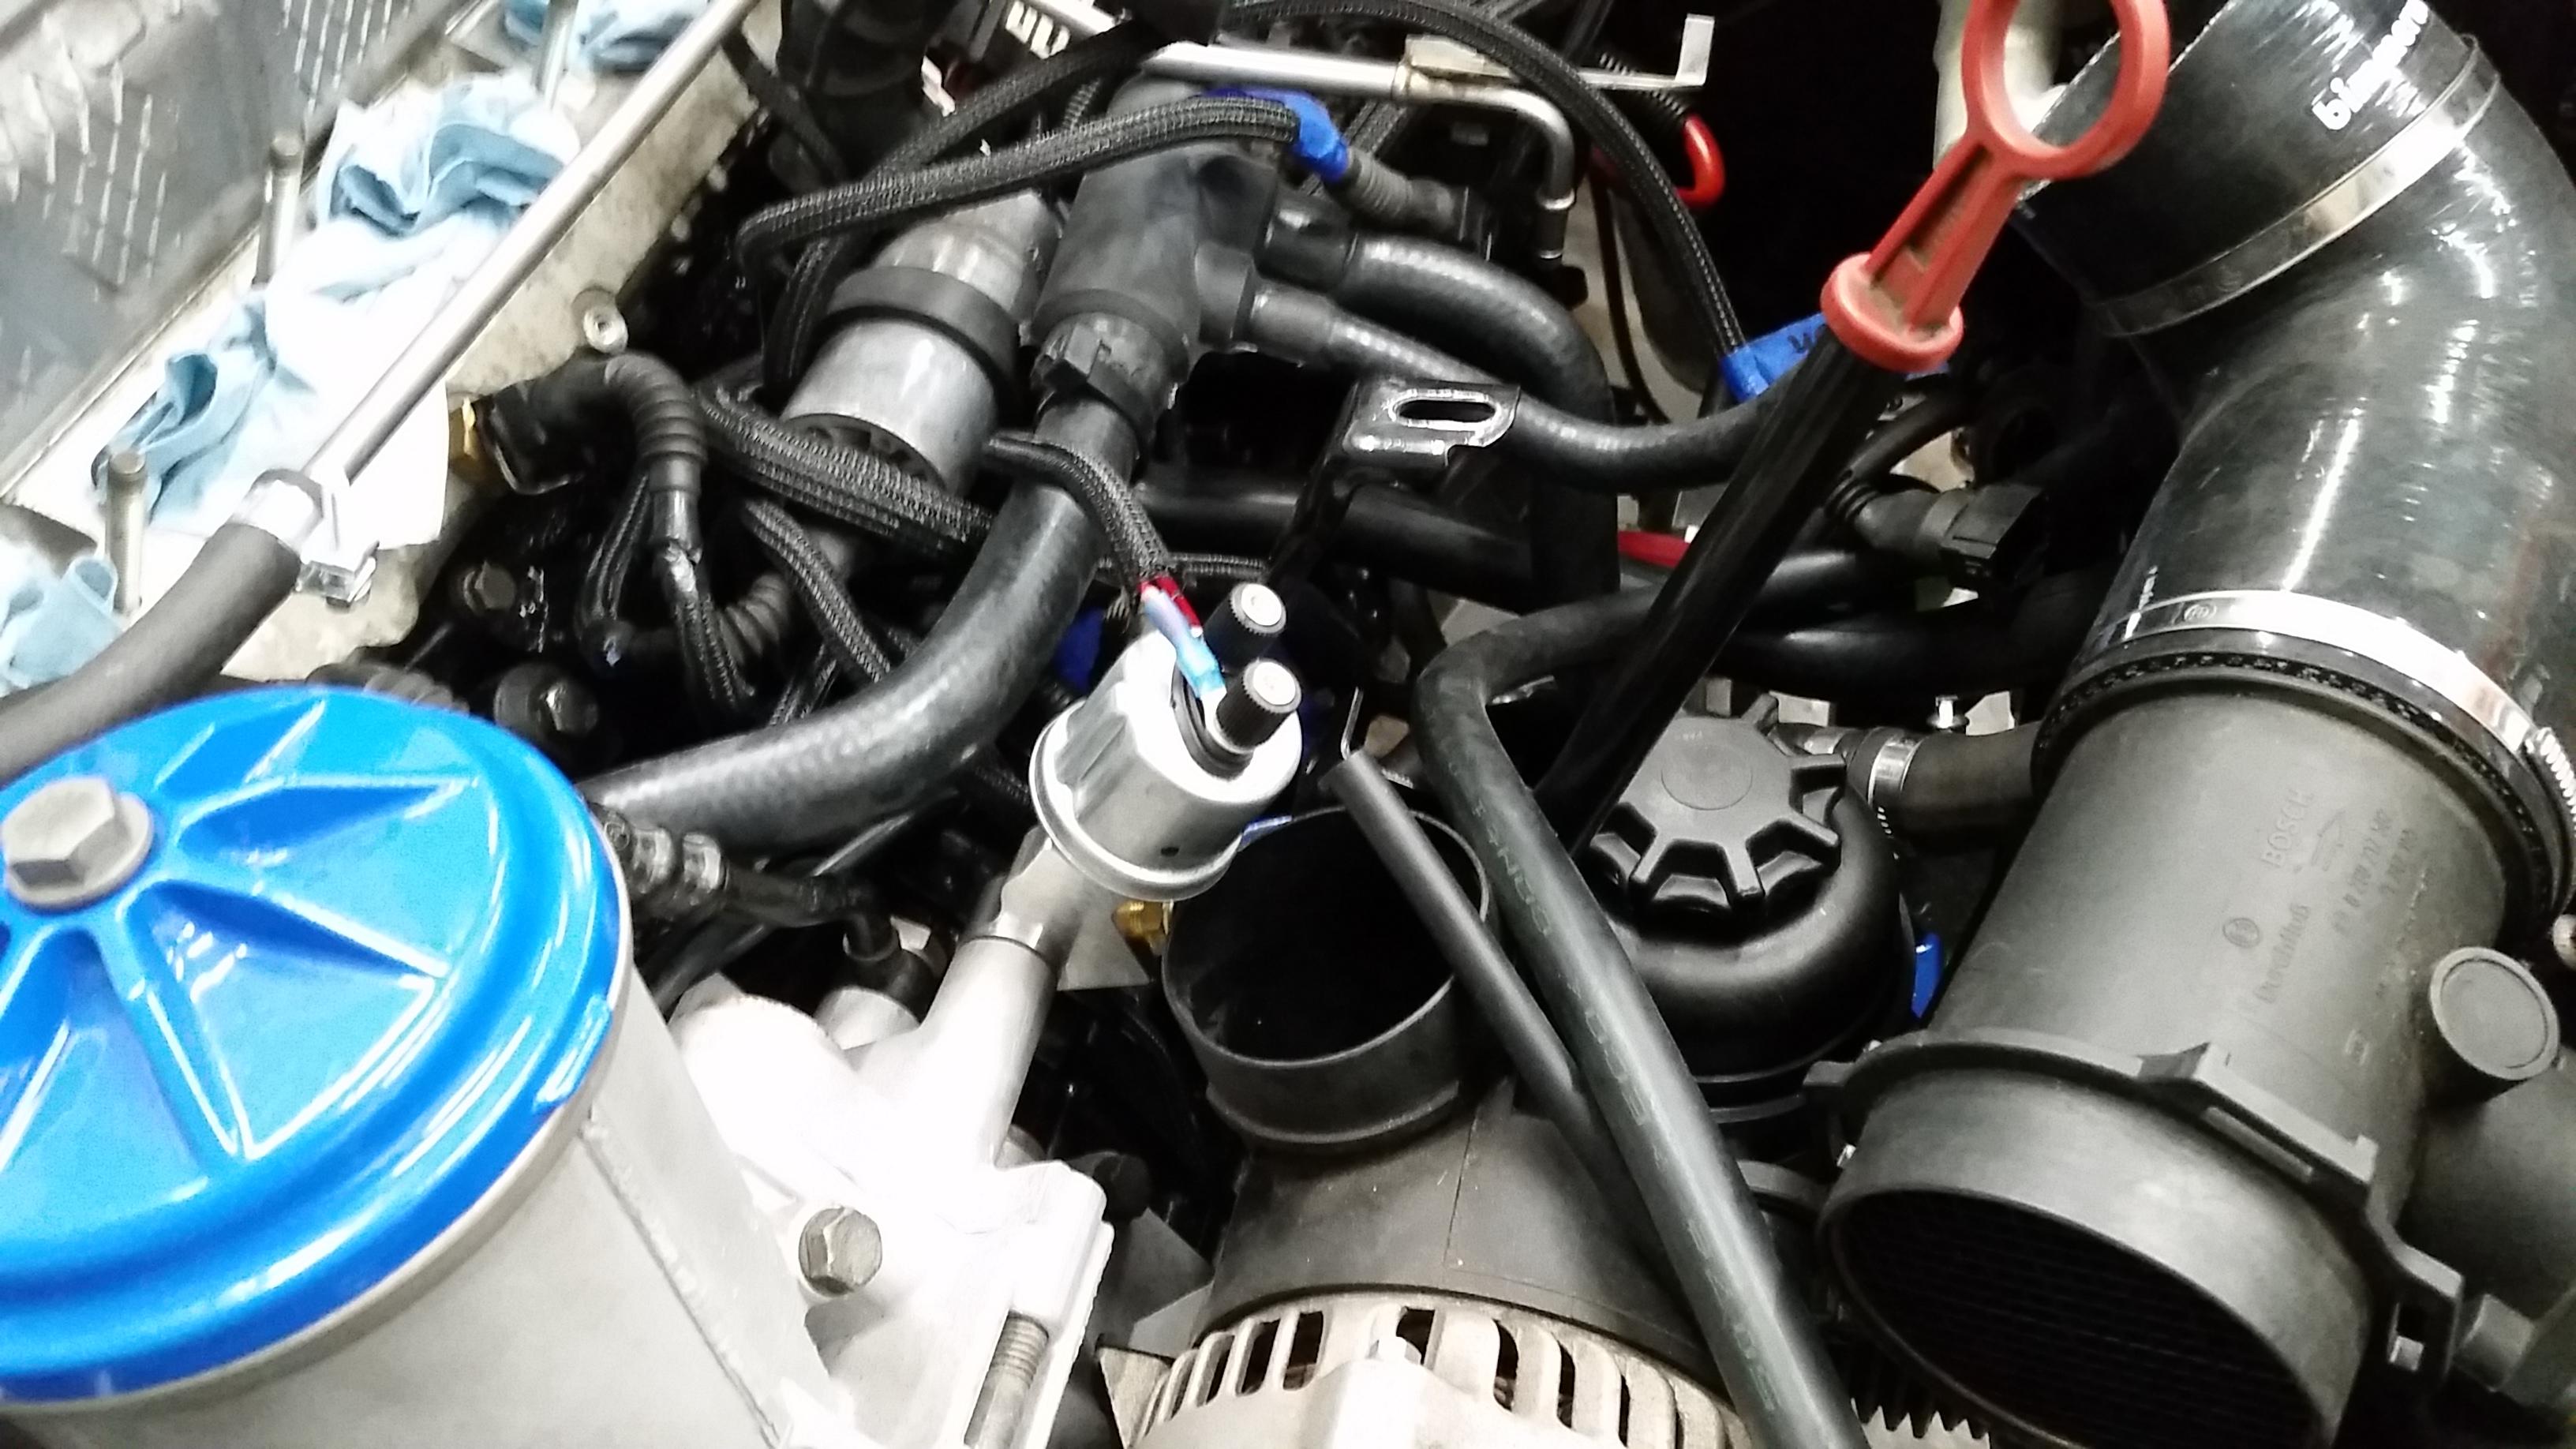
Also installed both my oil pressure, oil temp, and factory oil pressure gauges onto the BW distribution block and tightened that into place. Luckily I had no issues there. Routed some wiring for the sending units.
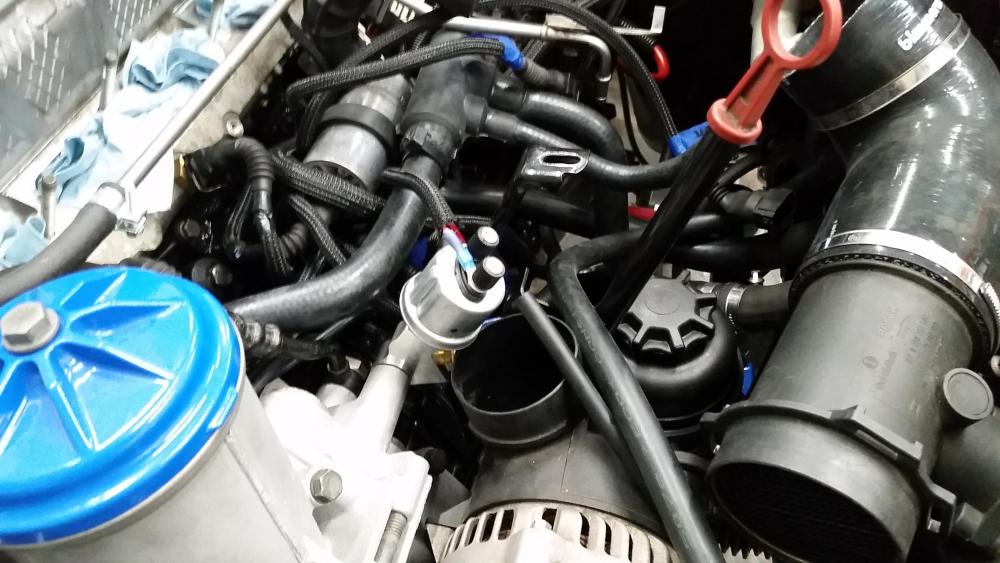
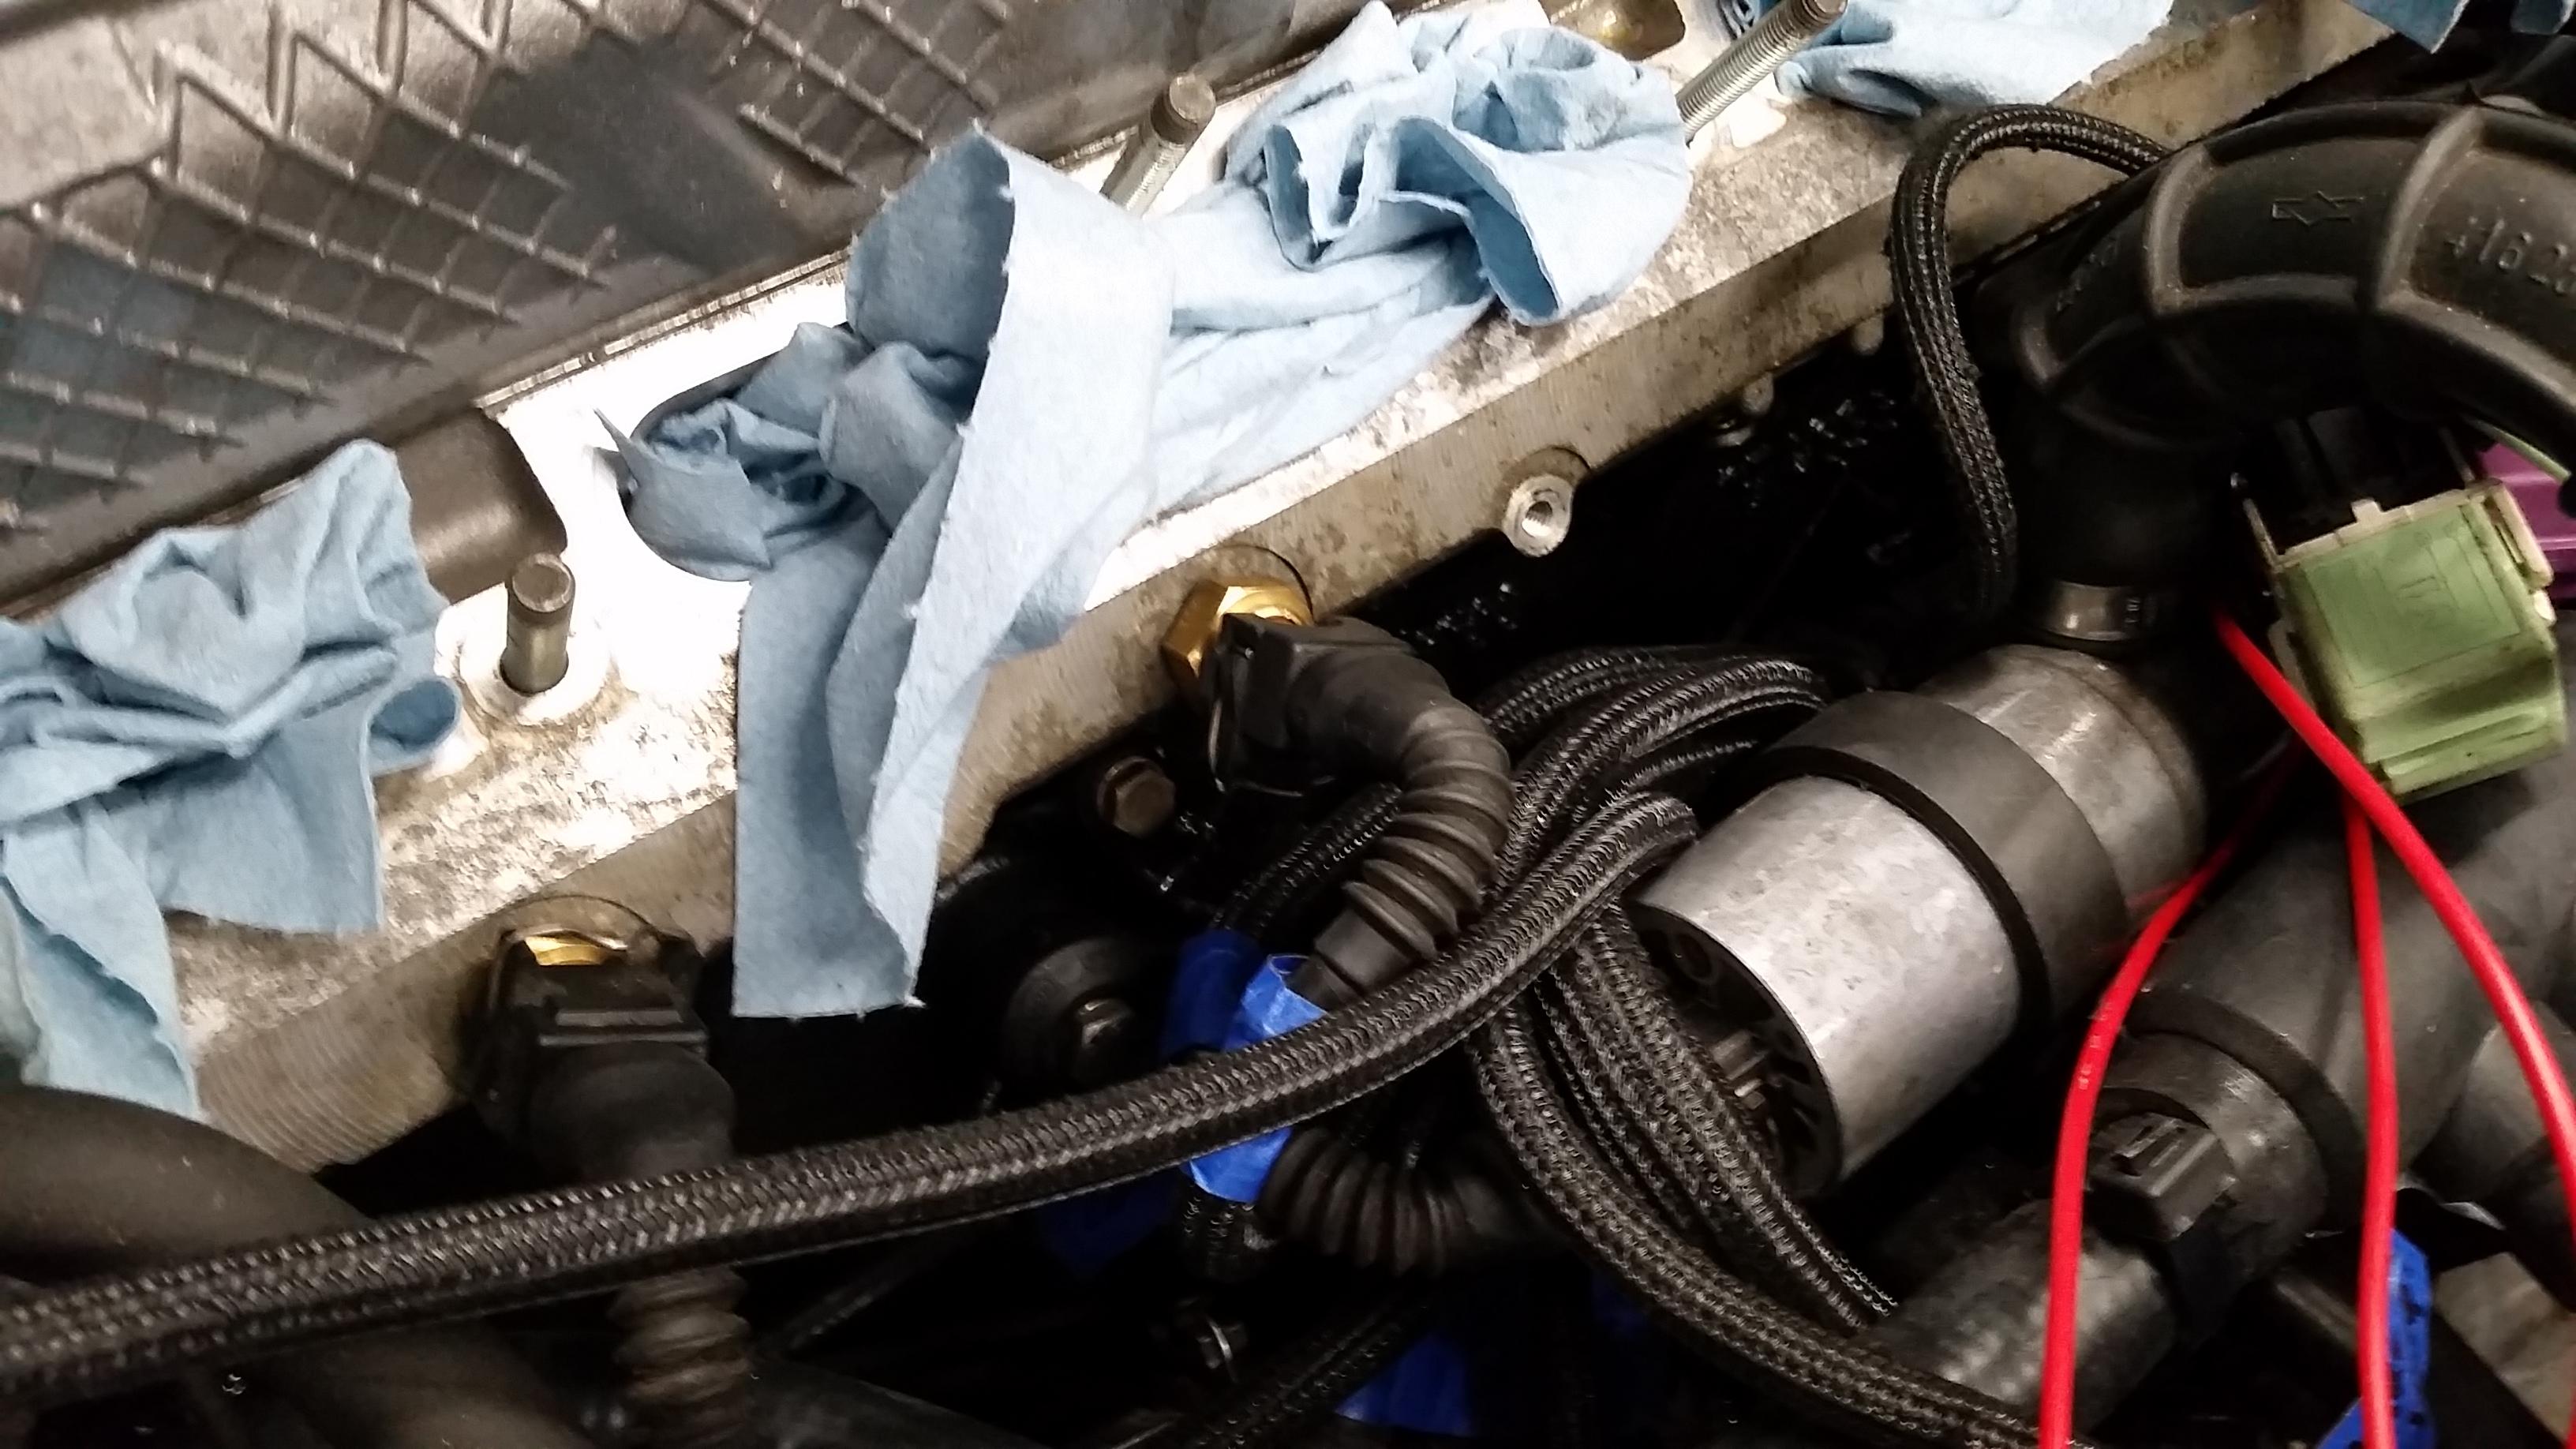
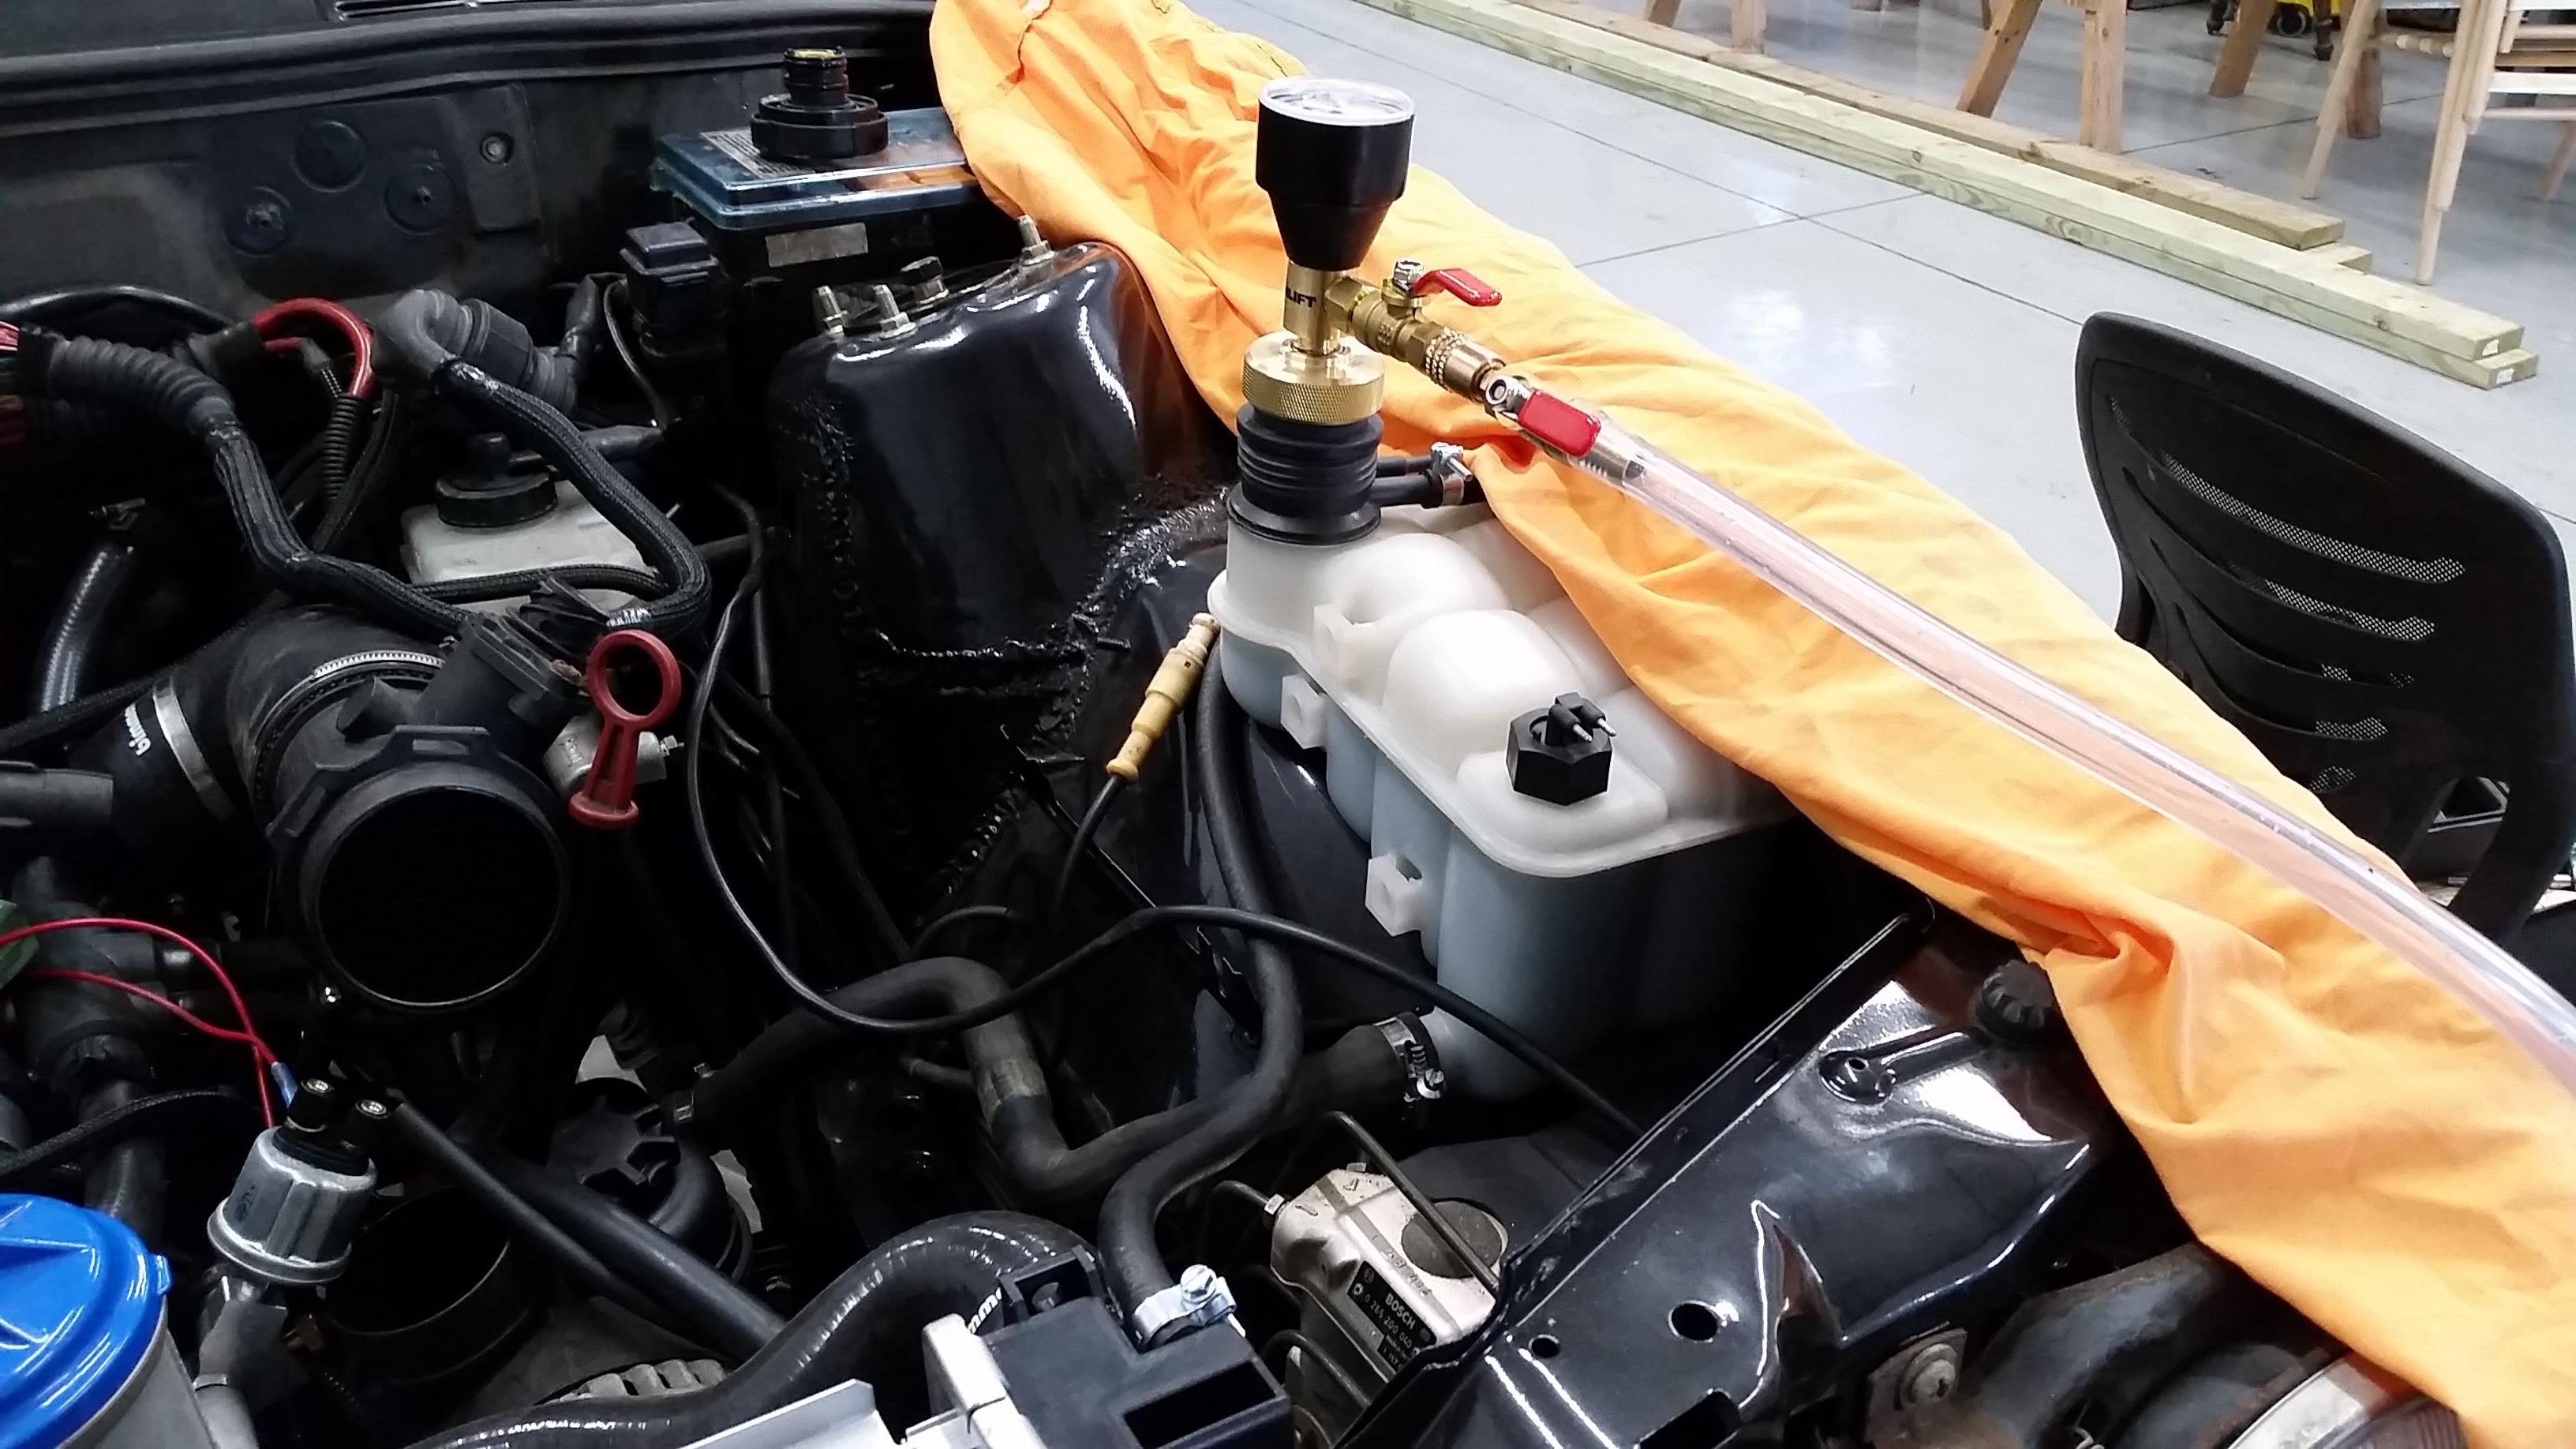
Once installed I went ahead and pulled a vacuum on the cooling system to check for any leaks. I did have a fairly quick loss of vacuum and started checking around to find that the other coolant sensor for ecm was only hand tight. Tightened down and tried again... good to go!
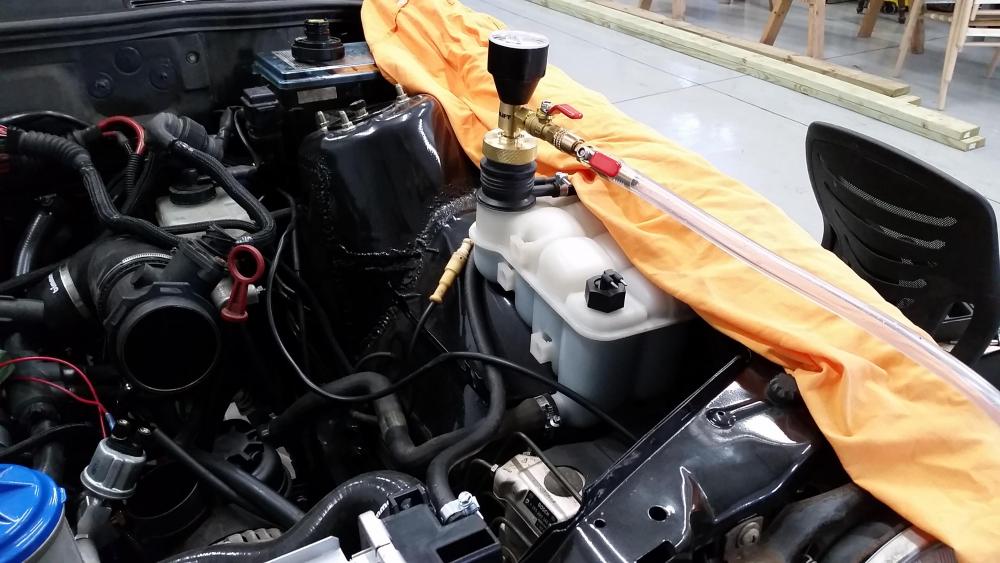
Filled the system up with bmw coolant I think it sucked in something around 2ish gallons all in all.
Got the intake system reinstalled, filled my power steering system with some fresh castrol atf and ran the car for a few minutes to reach around operating temp. Everything seems to be functioning great! Still slowly leaking from the head gasket above the timing cover though.

Next thing on the list... exhaust.
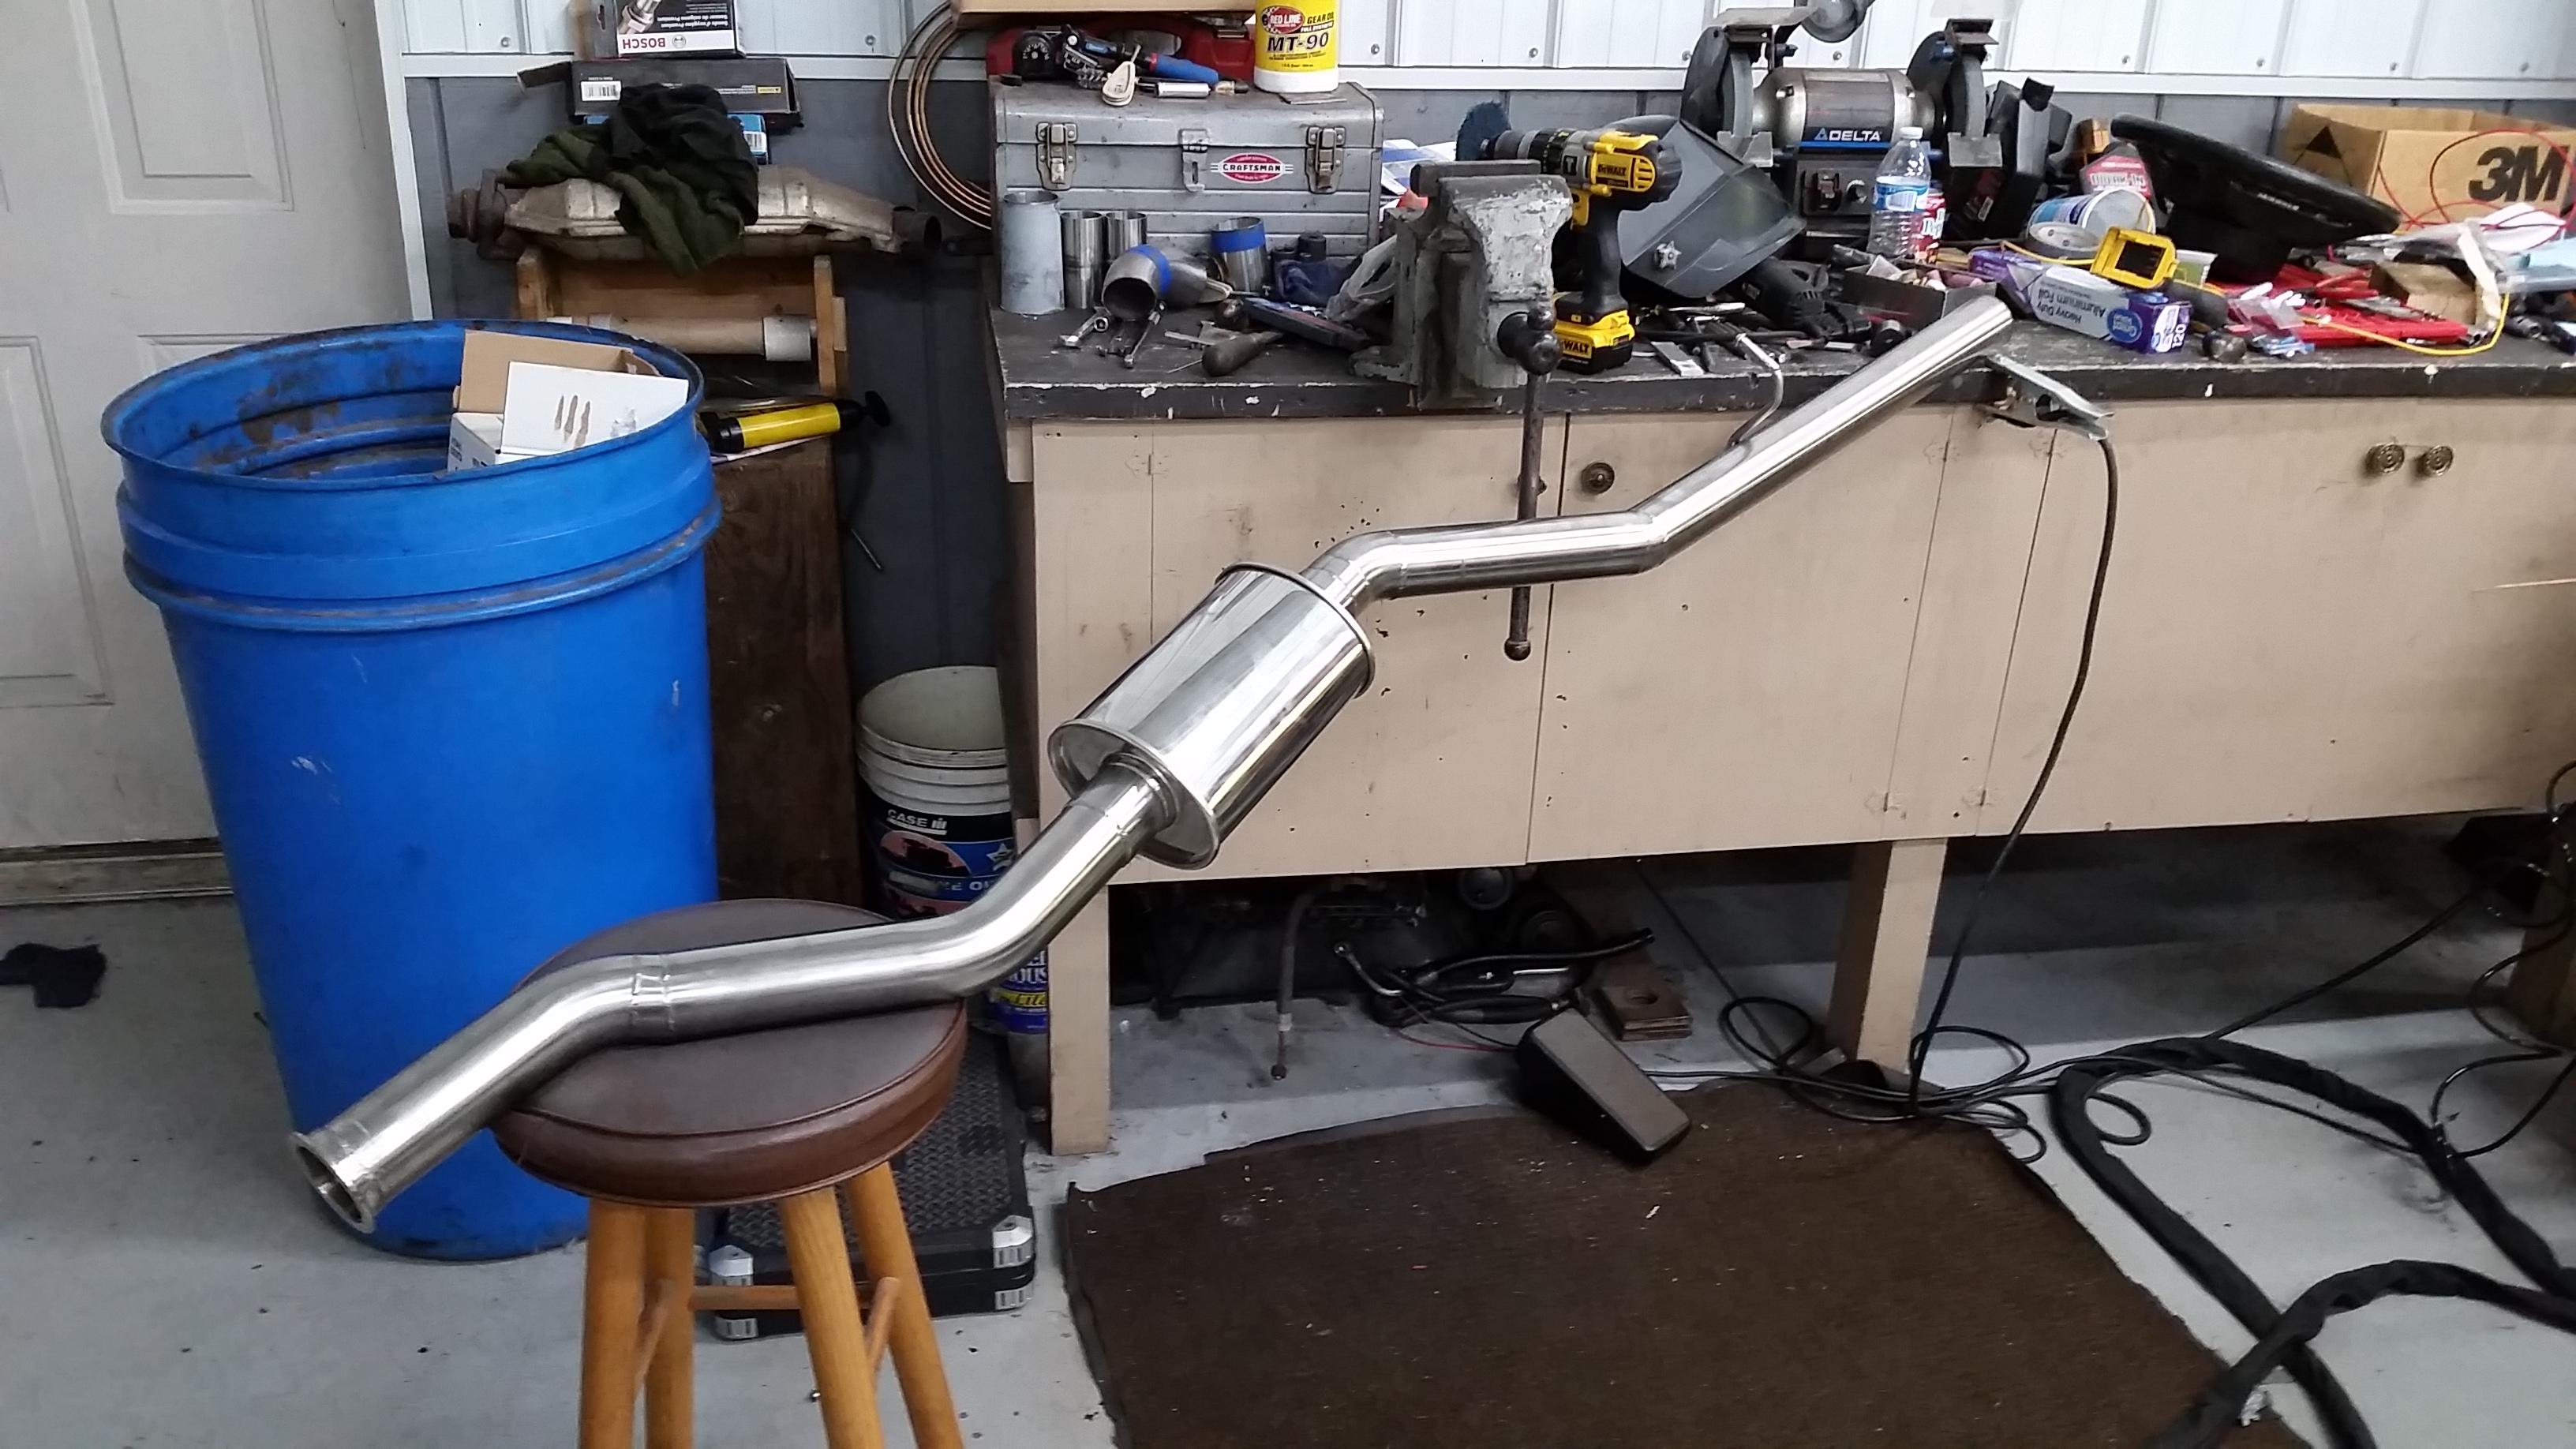
My buddy Forrest came back over last week and started cranking out the rest of the piping. So far its looking great!
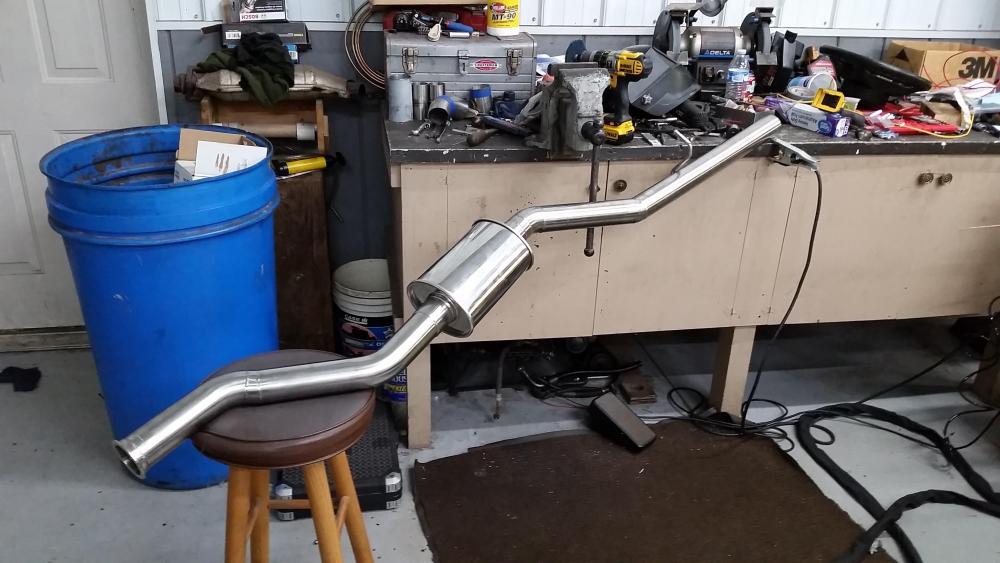
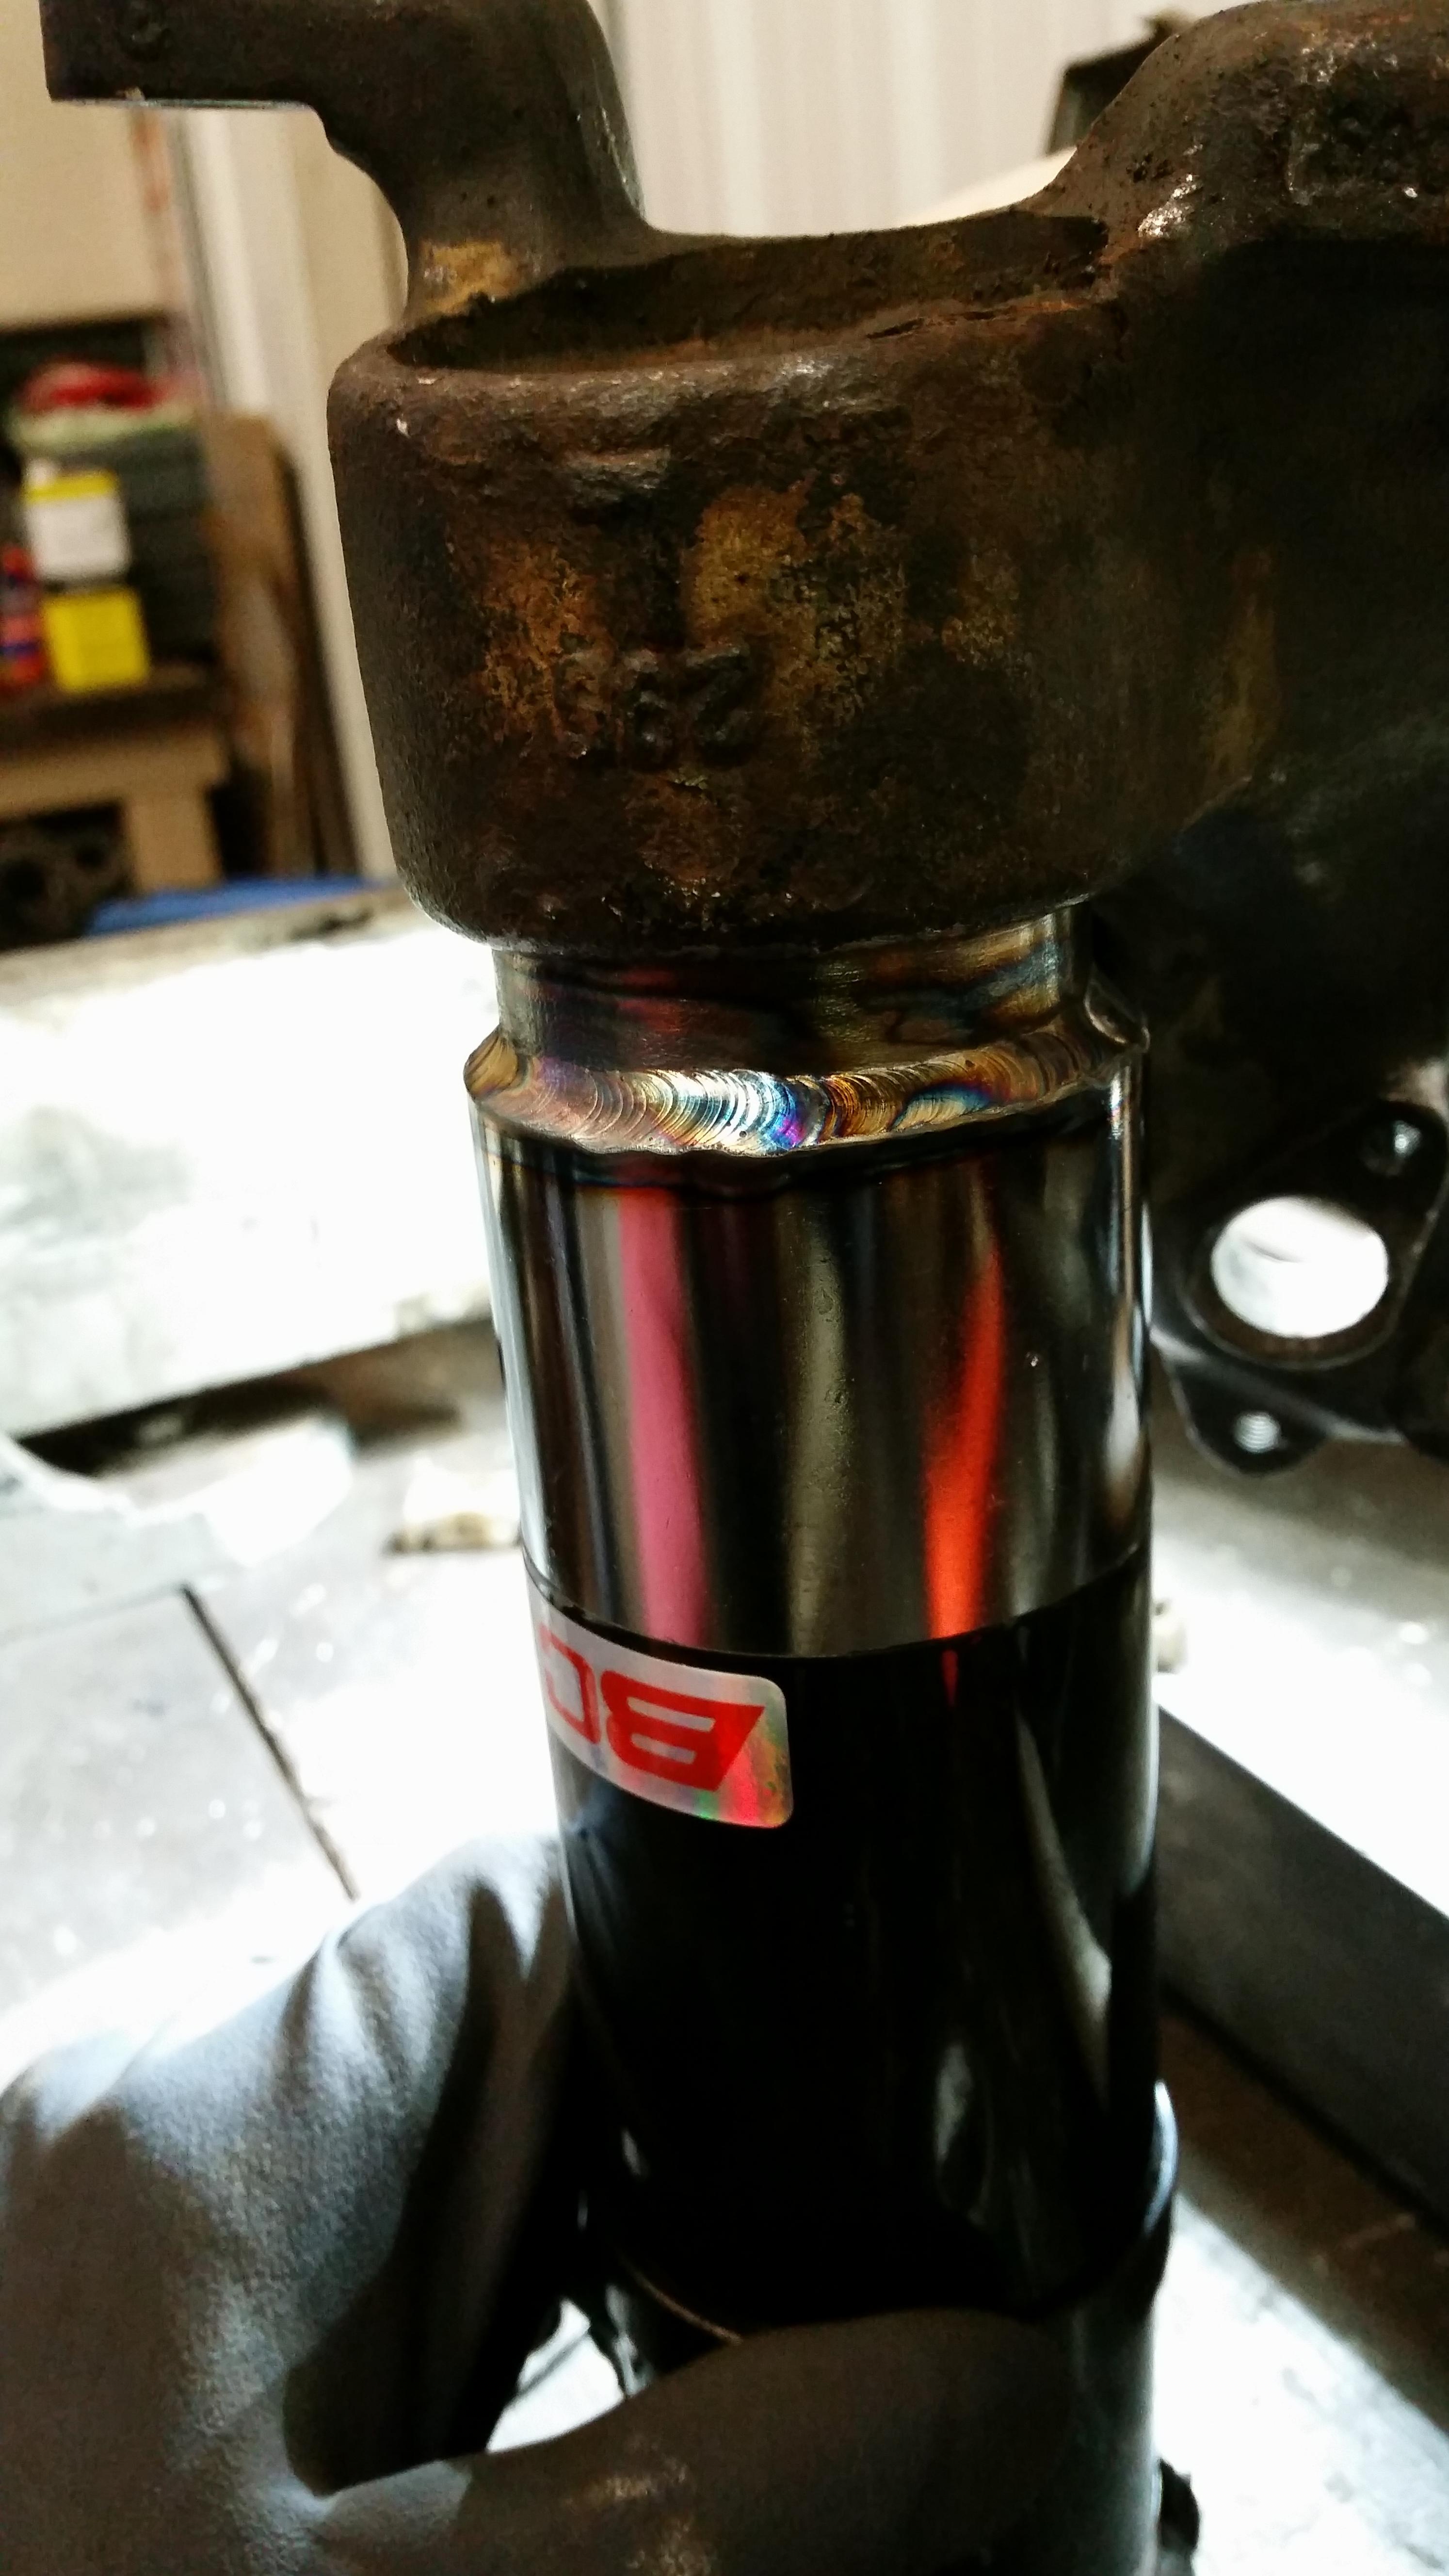
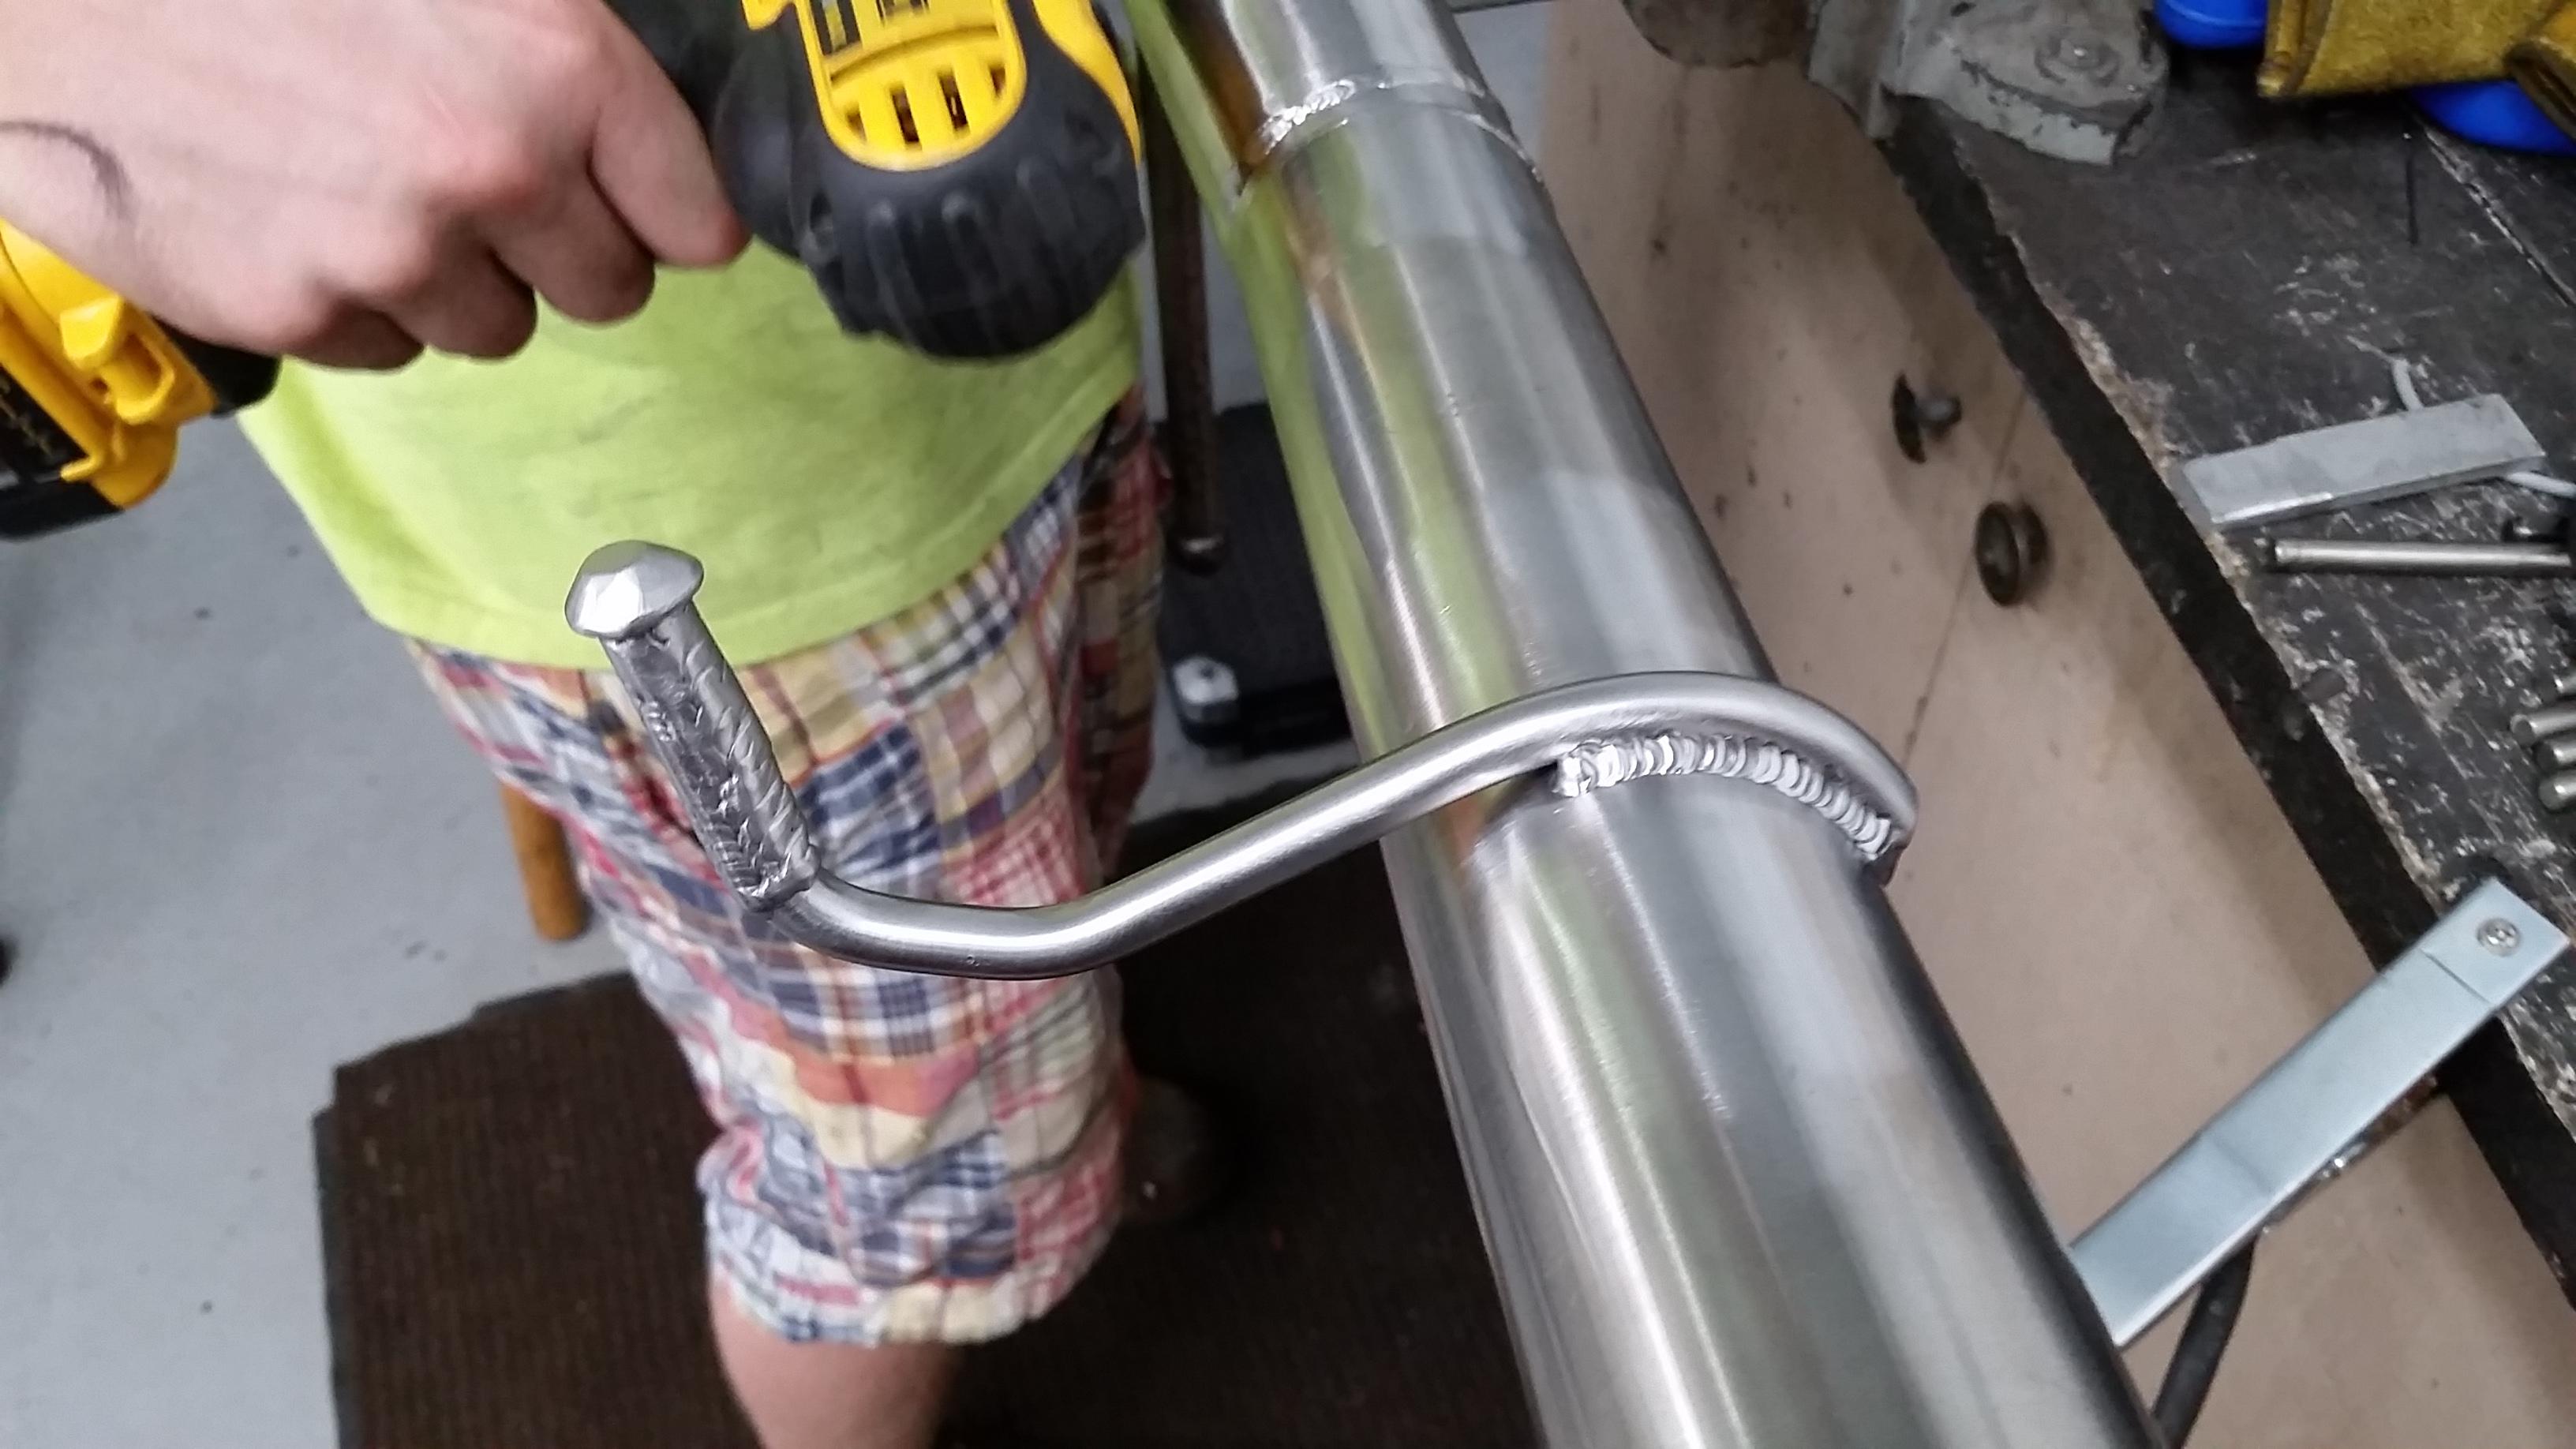
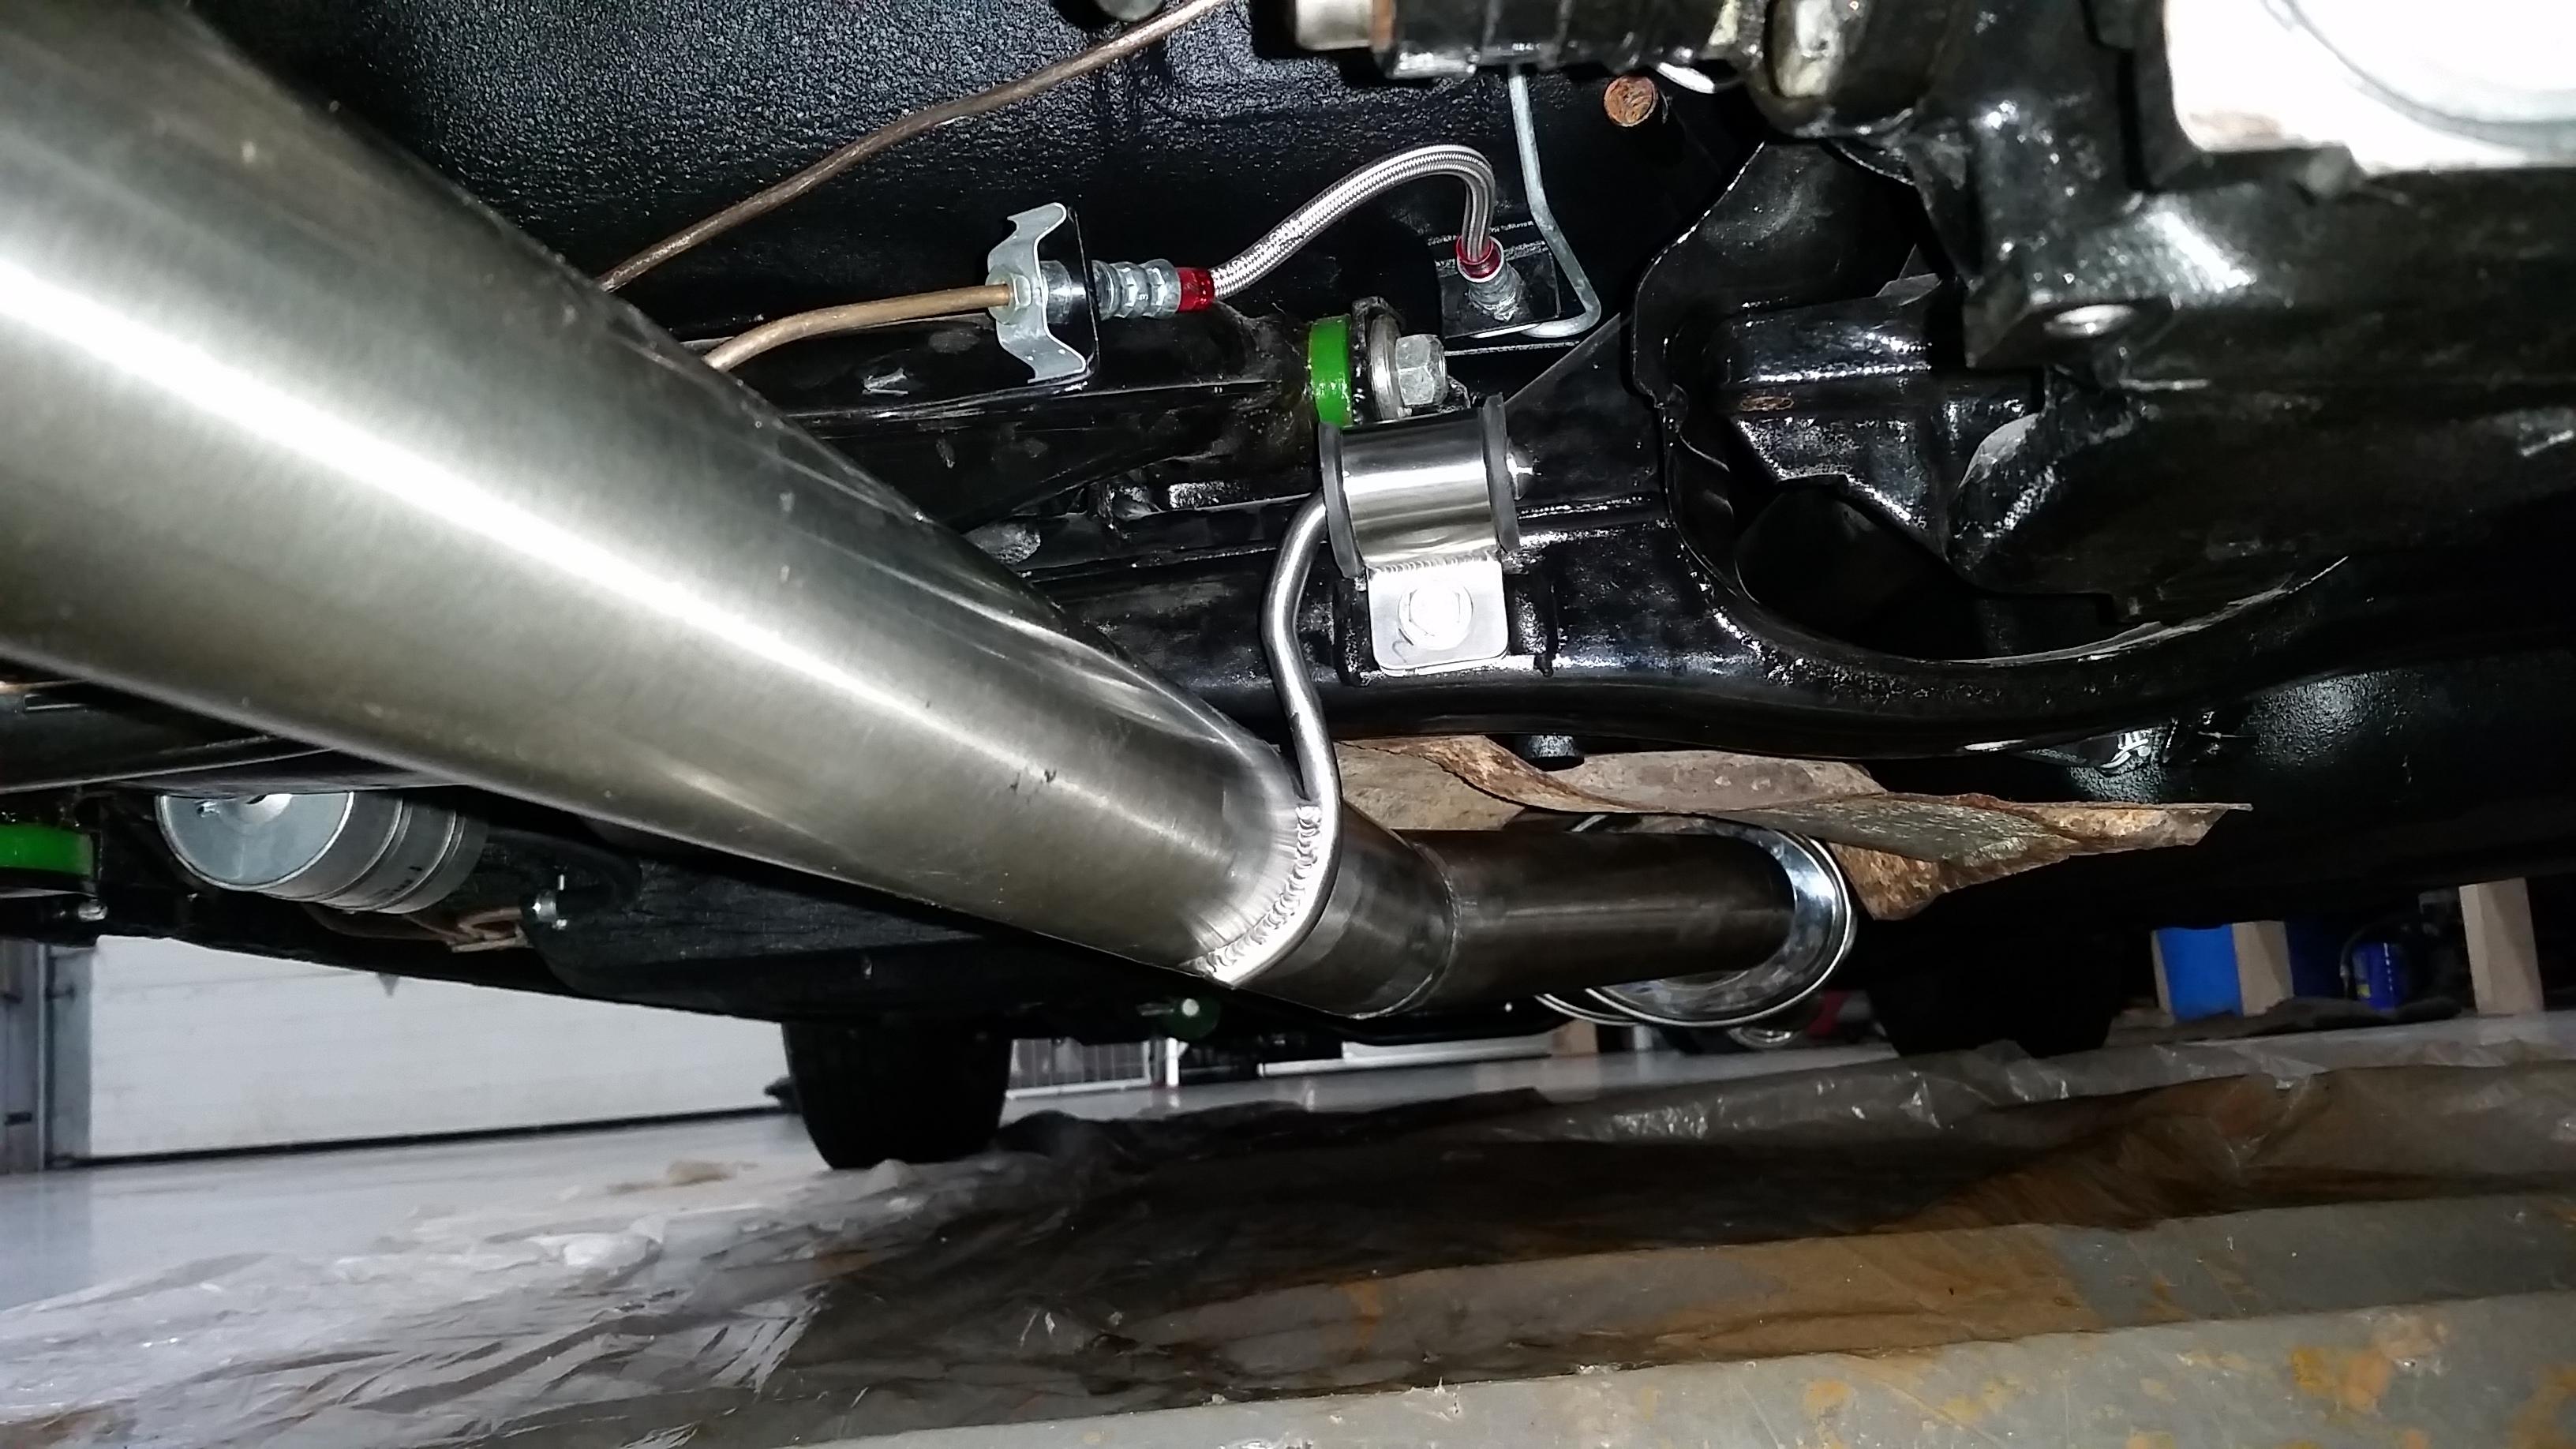
After getting it welded past the rear sub frame I started figuring out how we were gonna hang the thing. Went to other side of the shop and dug through my tub of old parts to scavenge up my old rear sub frame bushings. Luckily we had a bit of scrap 16 gauge stainless sitting around and we went ahead and cut a long rectangular piece out in which we took the press and bump formed a piece to fit around the bushing. We left a flat section to drill a hole through for the M8 bolt that threads into the rear sub frame.
After that piece was made we took some measurements, took a piece of 3/8 stainless bar stock and shaped into something that we could use. Once shaped and fitted up, he tacked it on and welded it up.
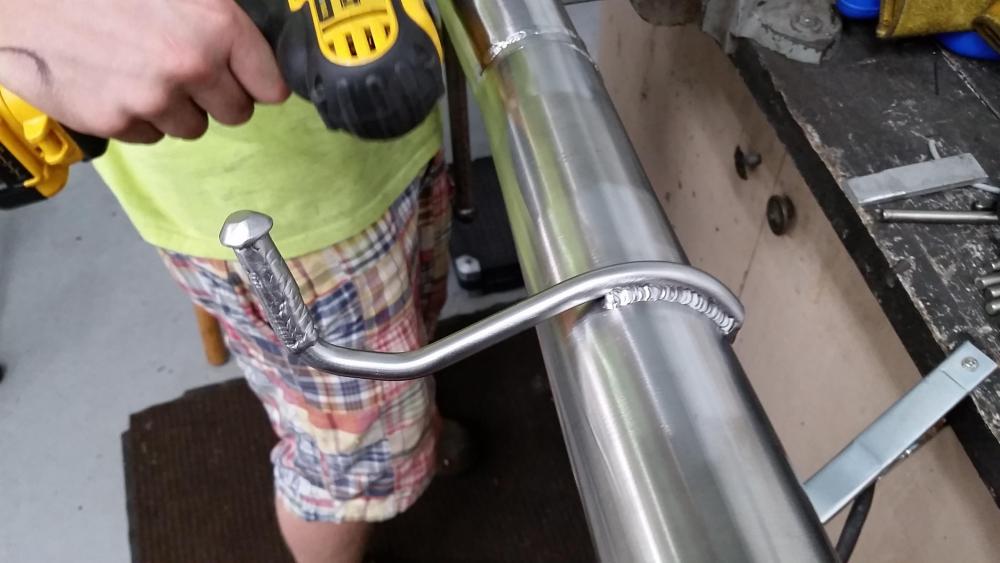
Sense the diameter of the inside hole on the bushing was larger then the 3/8 bar stock we ended up just filling it all around with some weld beads so it fit more snug. Also threw on a little end knob to keep the hanger from slipping out.
Everything installed...
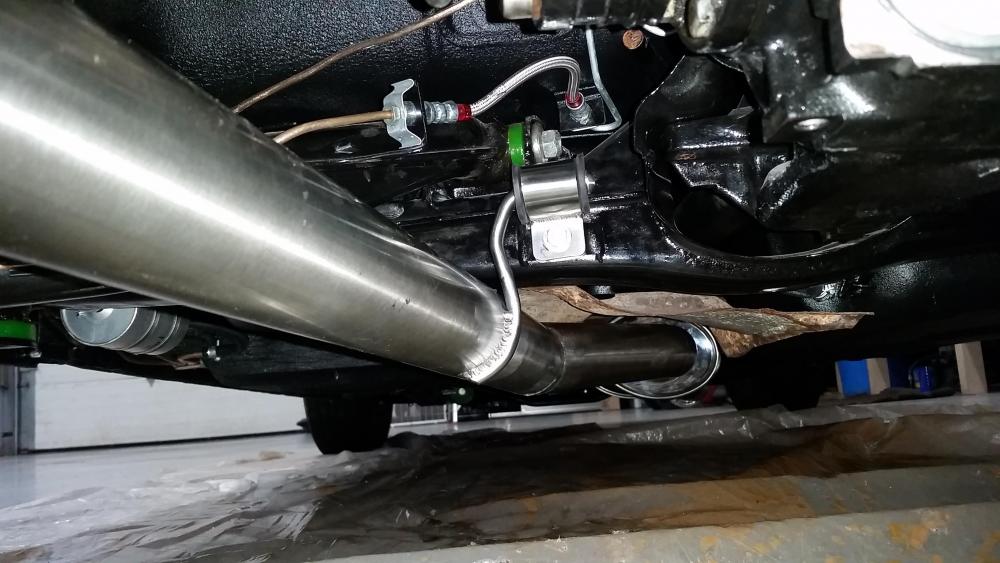
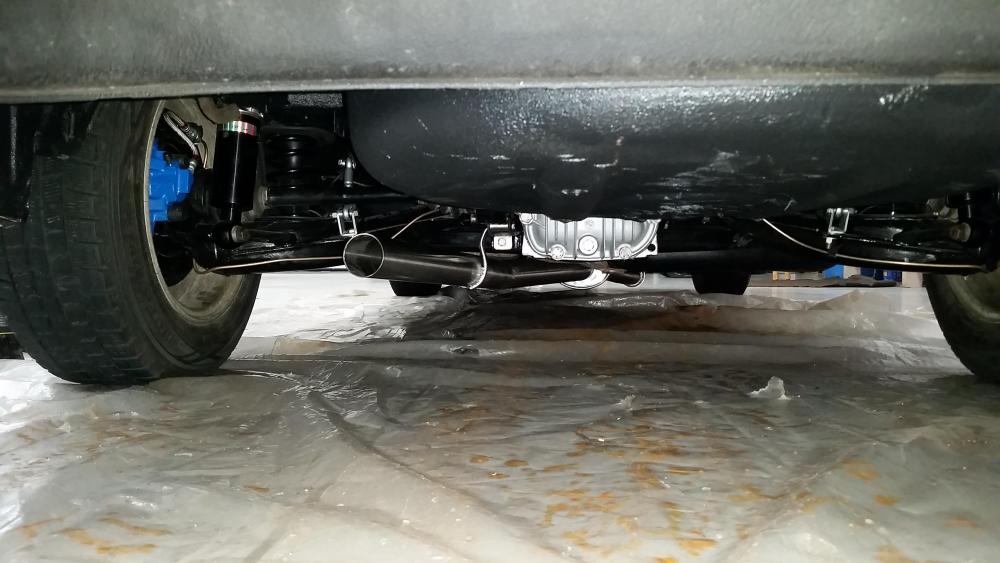
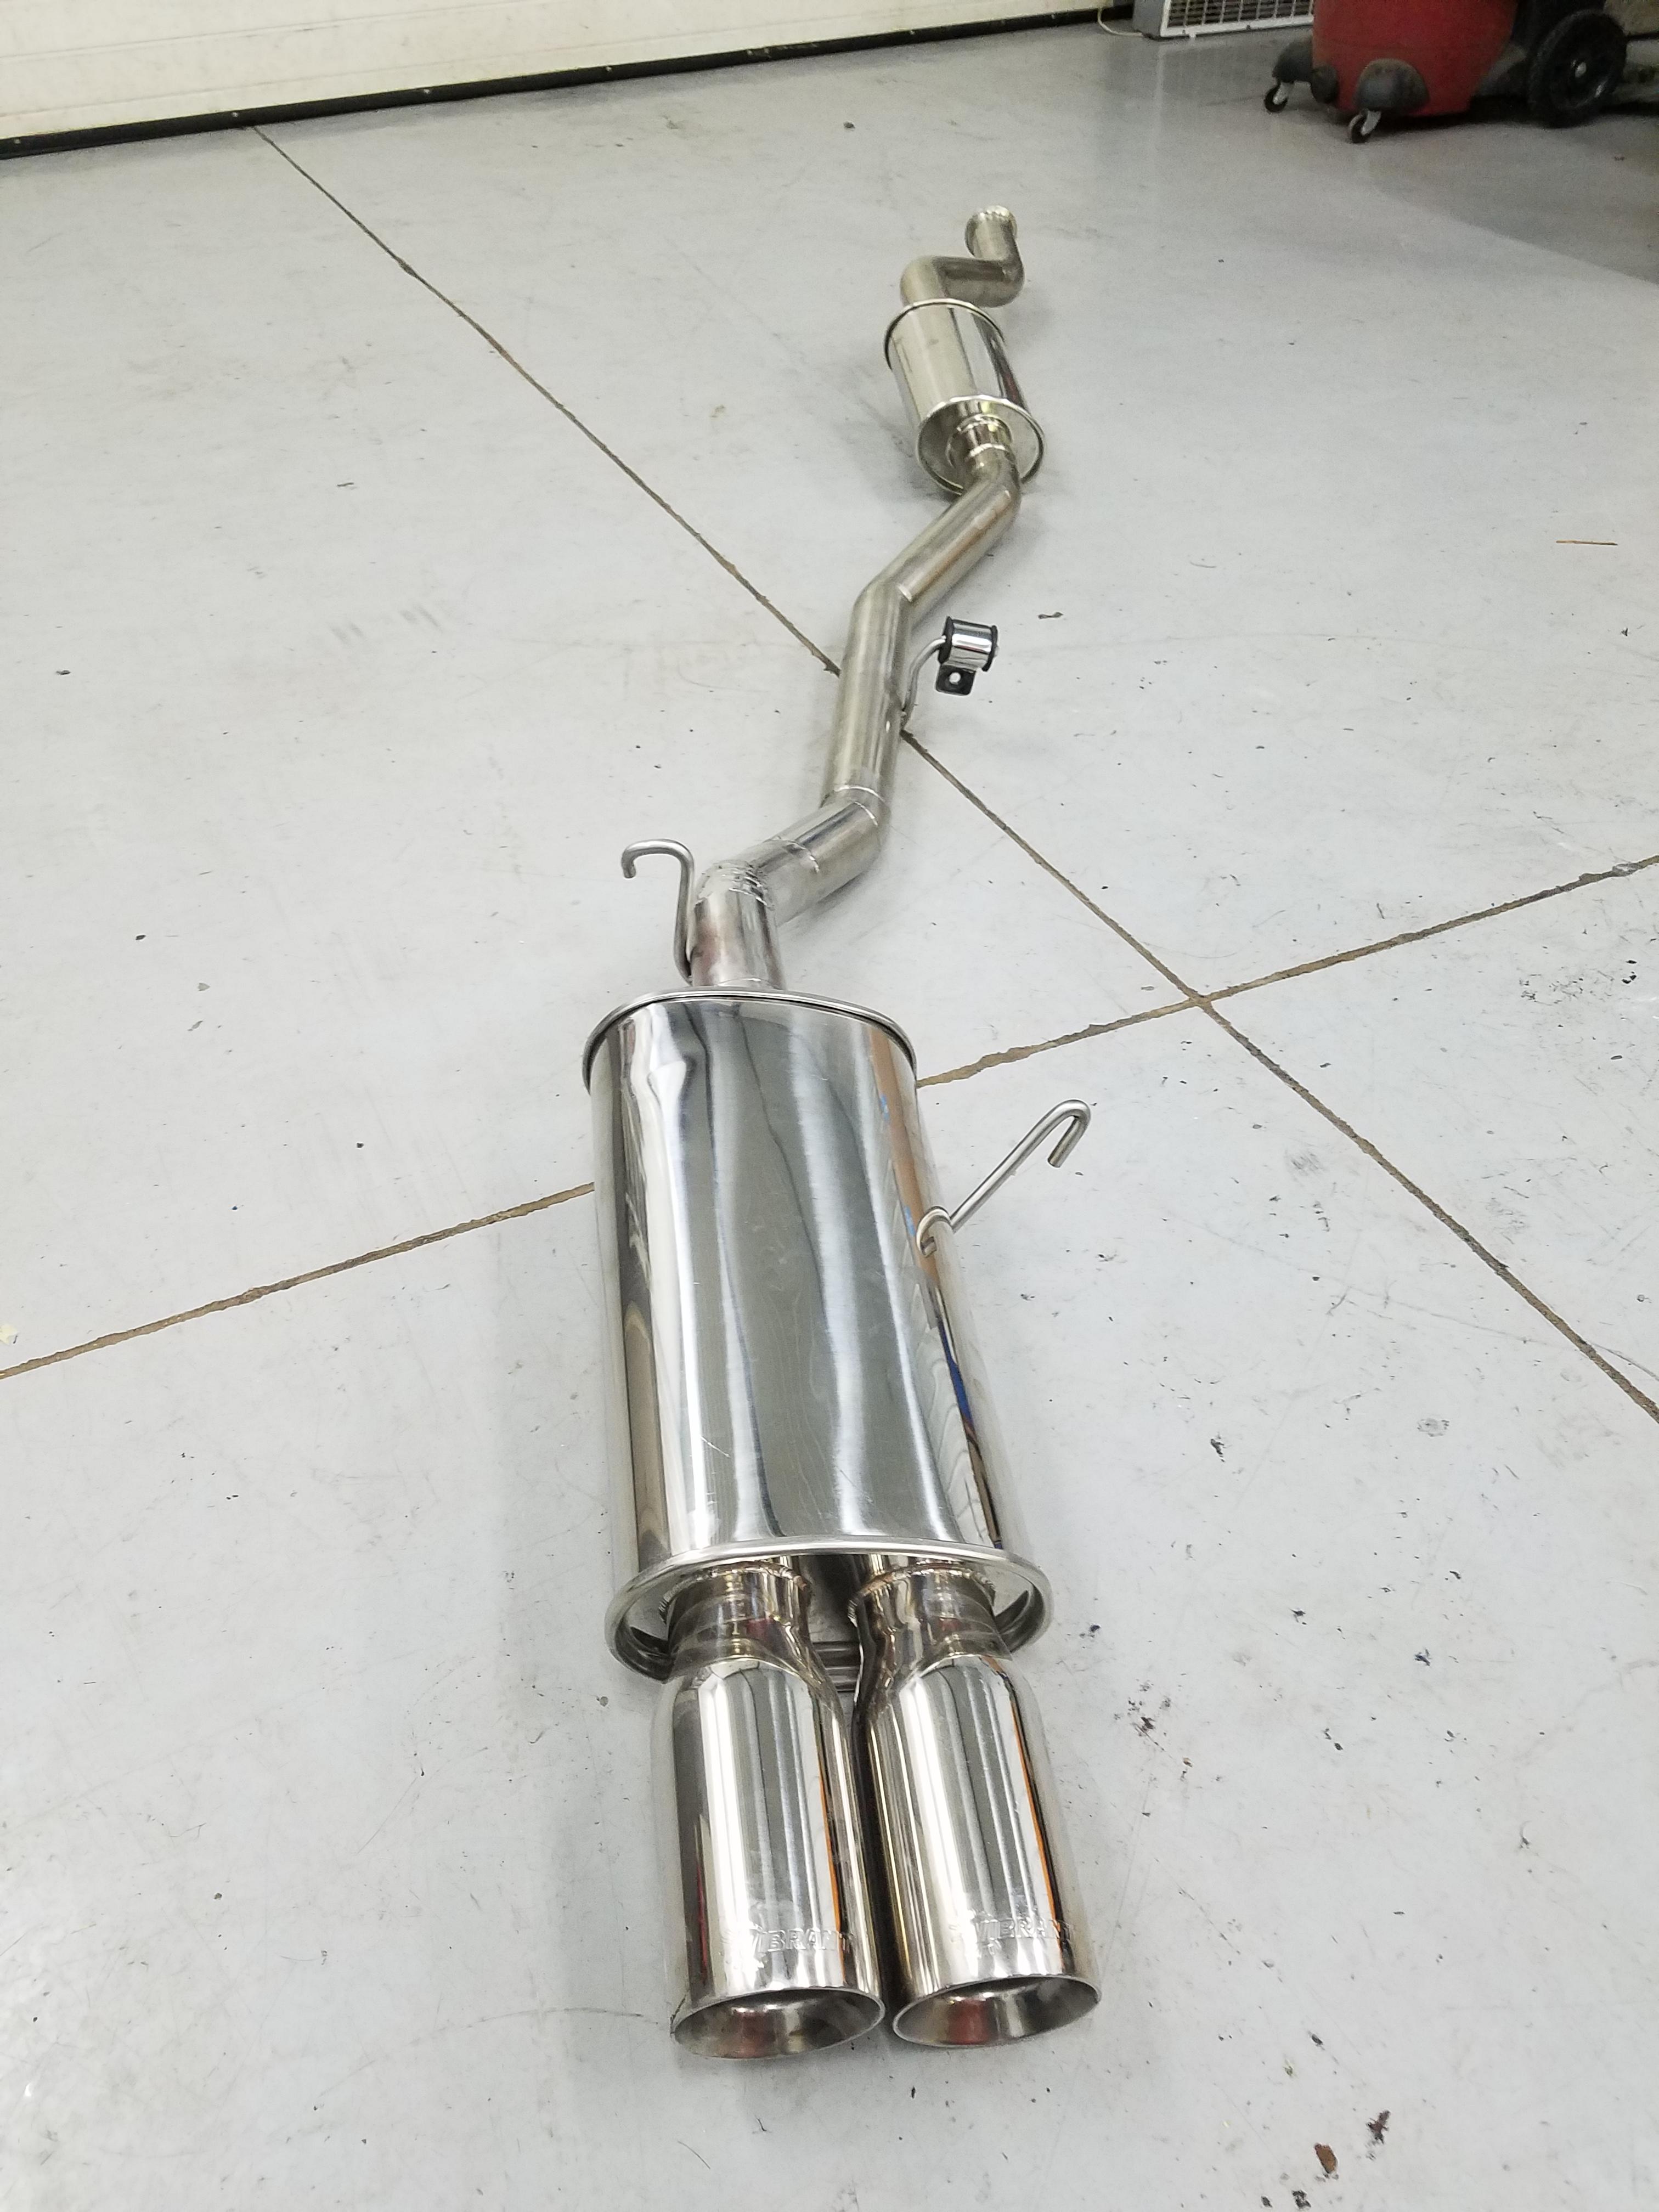
Originally was gonna run with a magnaflow muffler but found out that the inlet pipe was 2 1/4 inch and I didn't like the idea of having to reduce the pipe back down. Instead I went ahead and ordered a vibrant street power muffler which had an option for a 2.5 inch inlet. Hoping to see that tomorrow and we will be able to go ahead and get that installed and the exhaust will be complete.
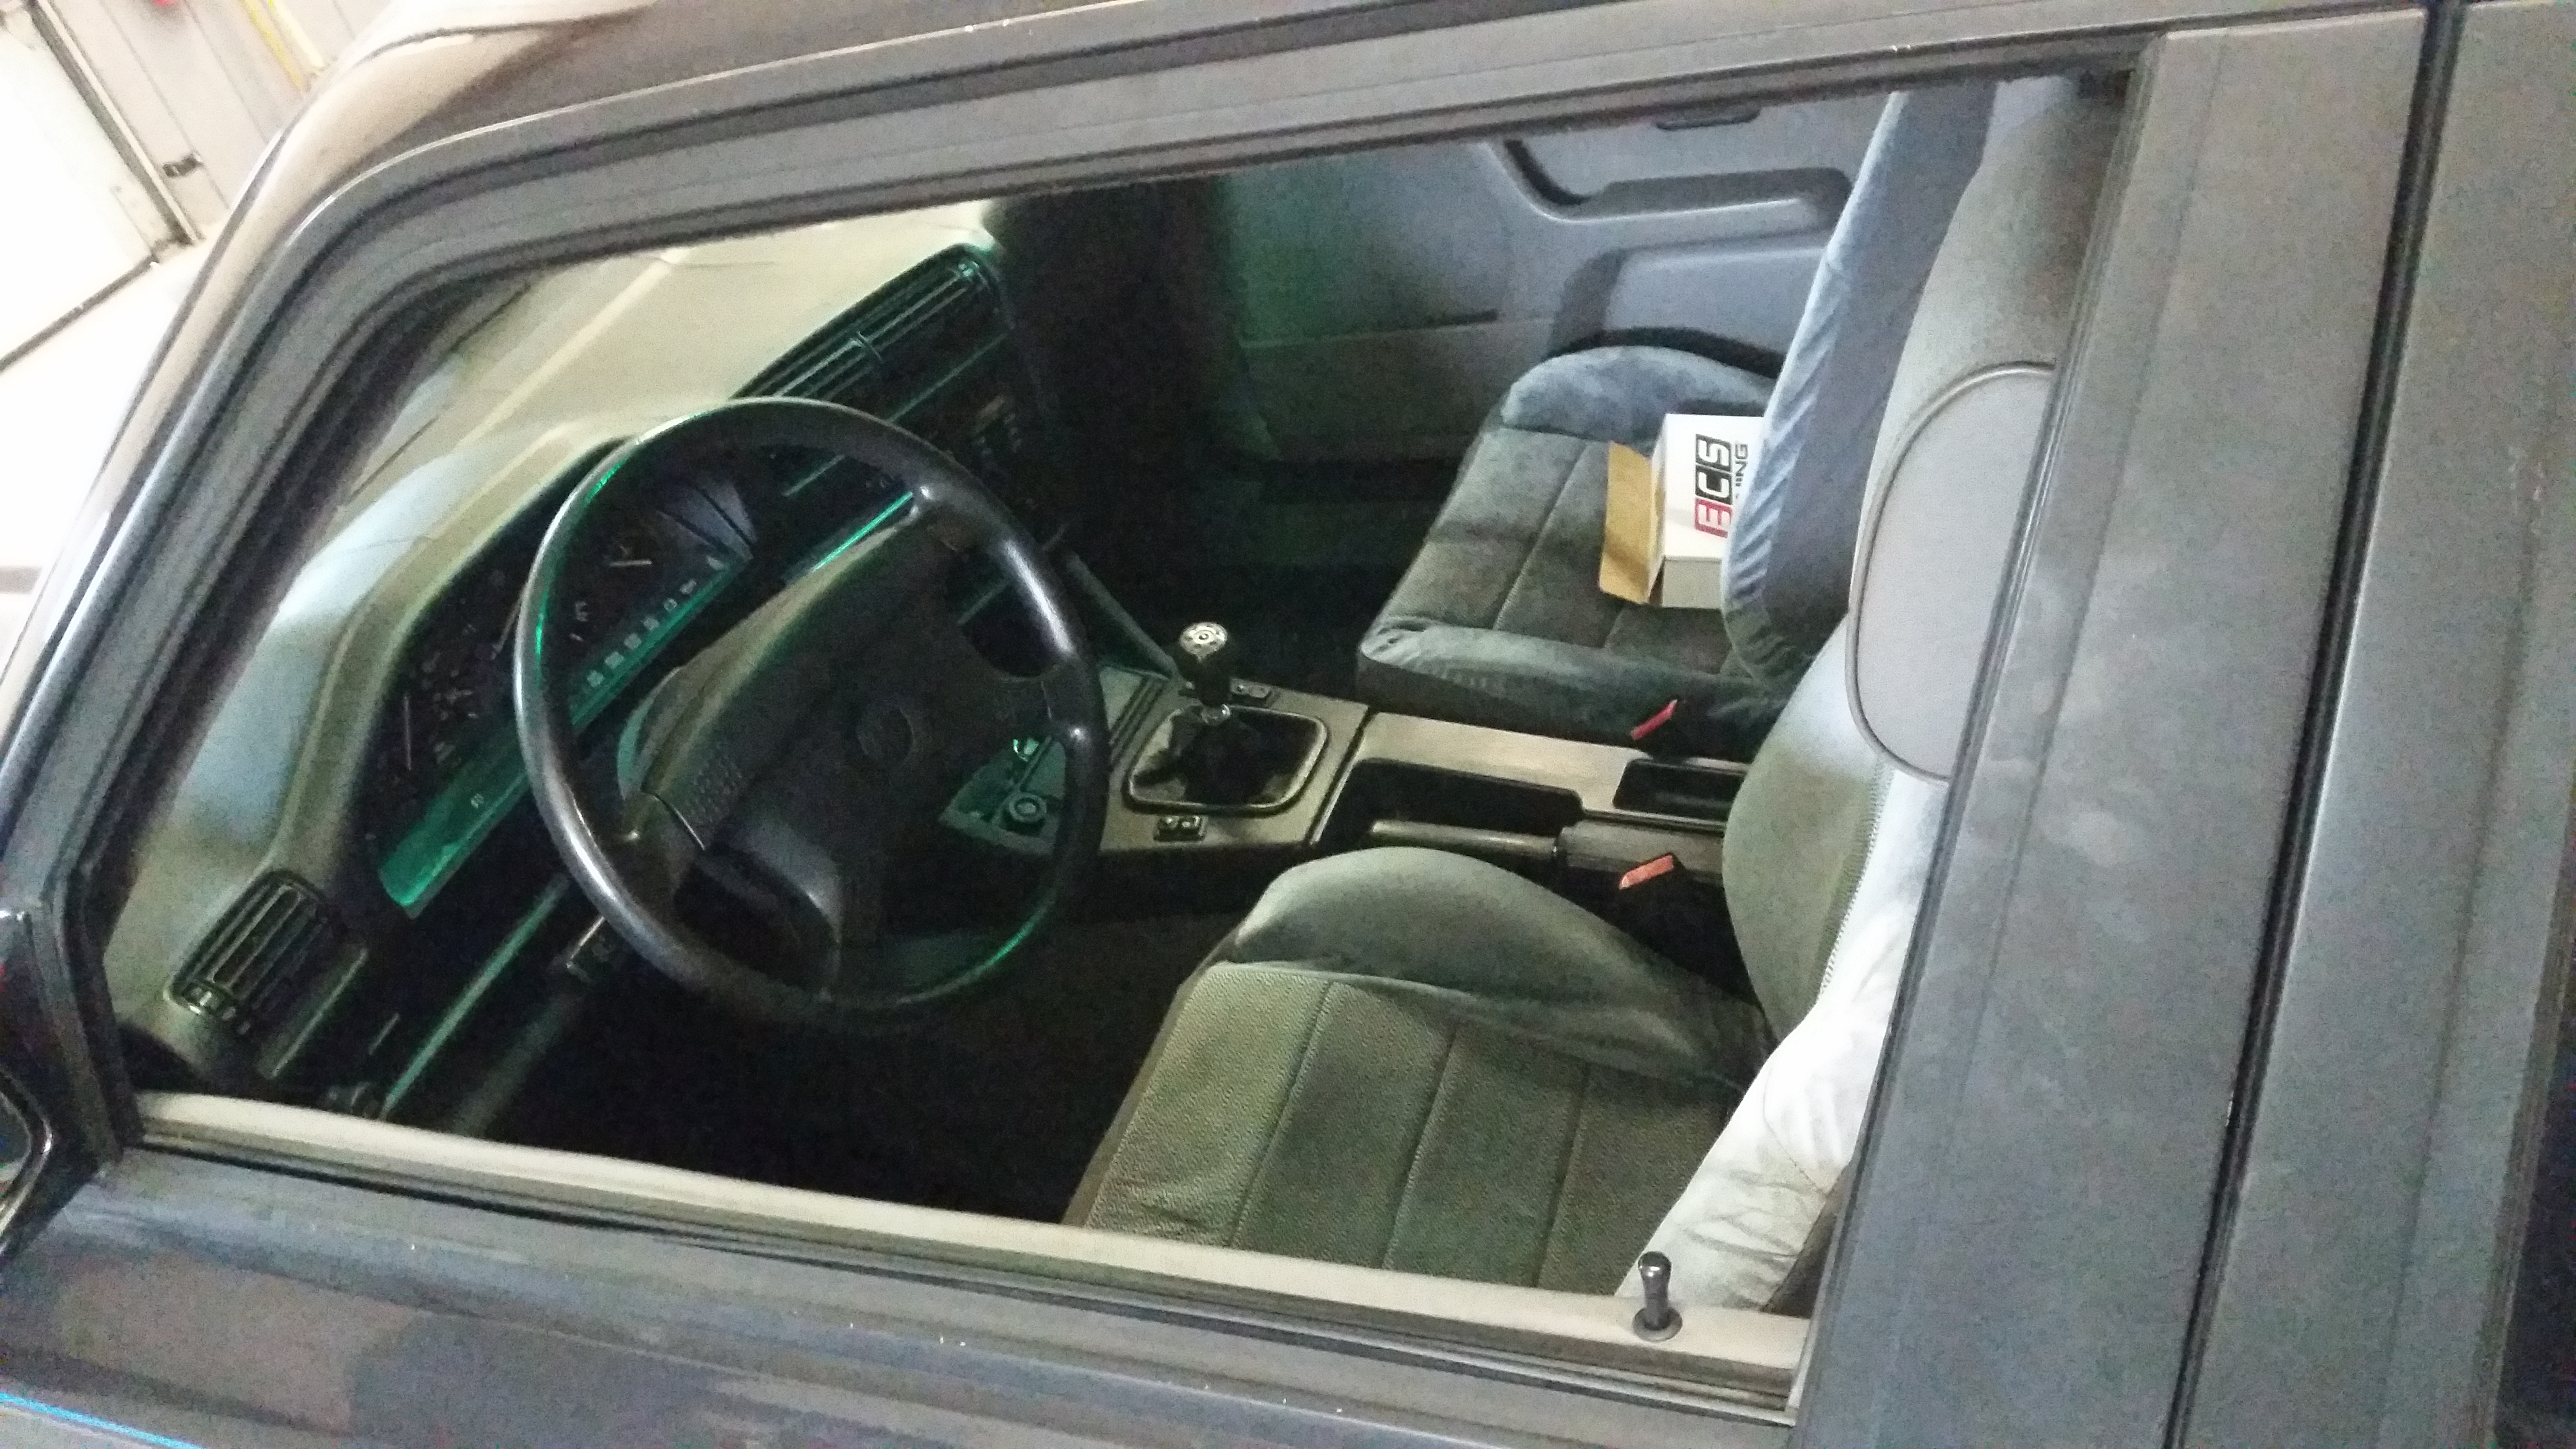
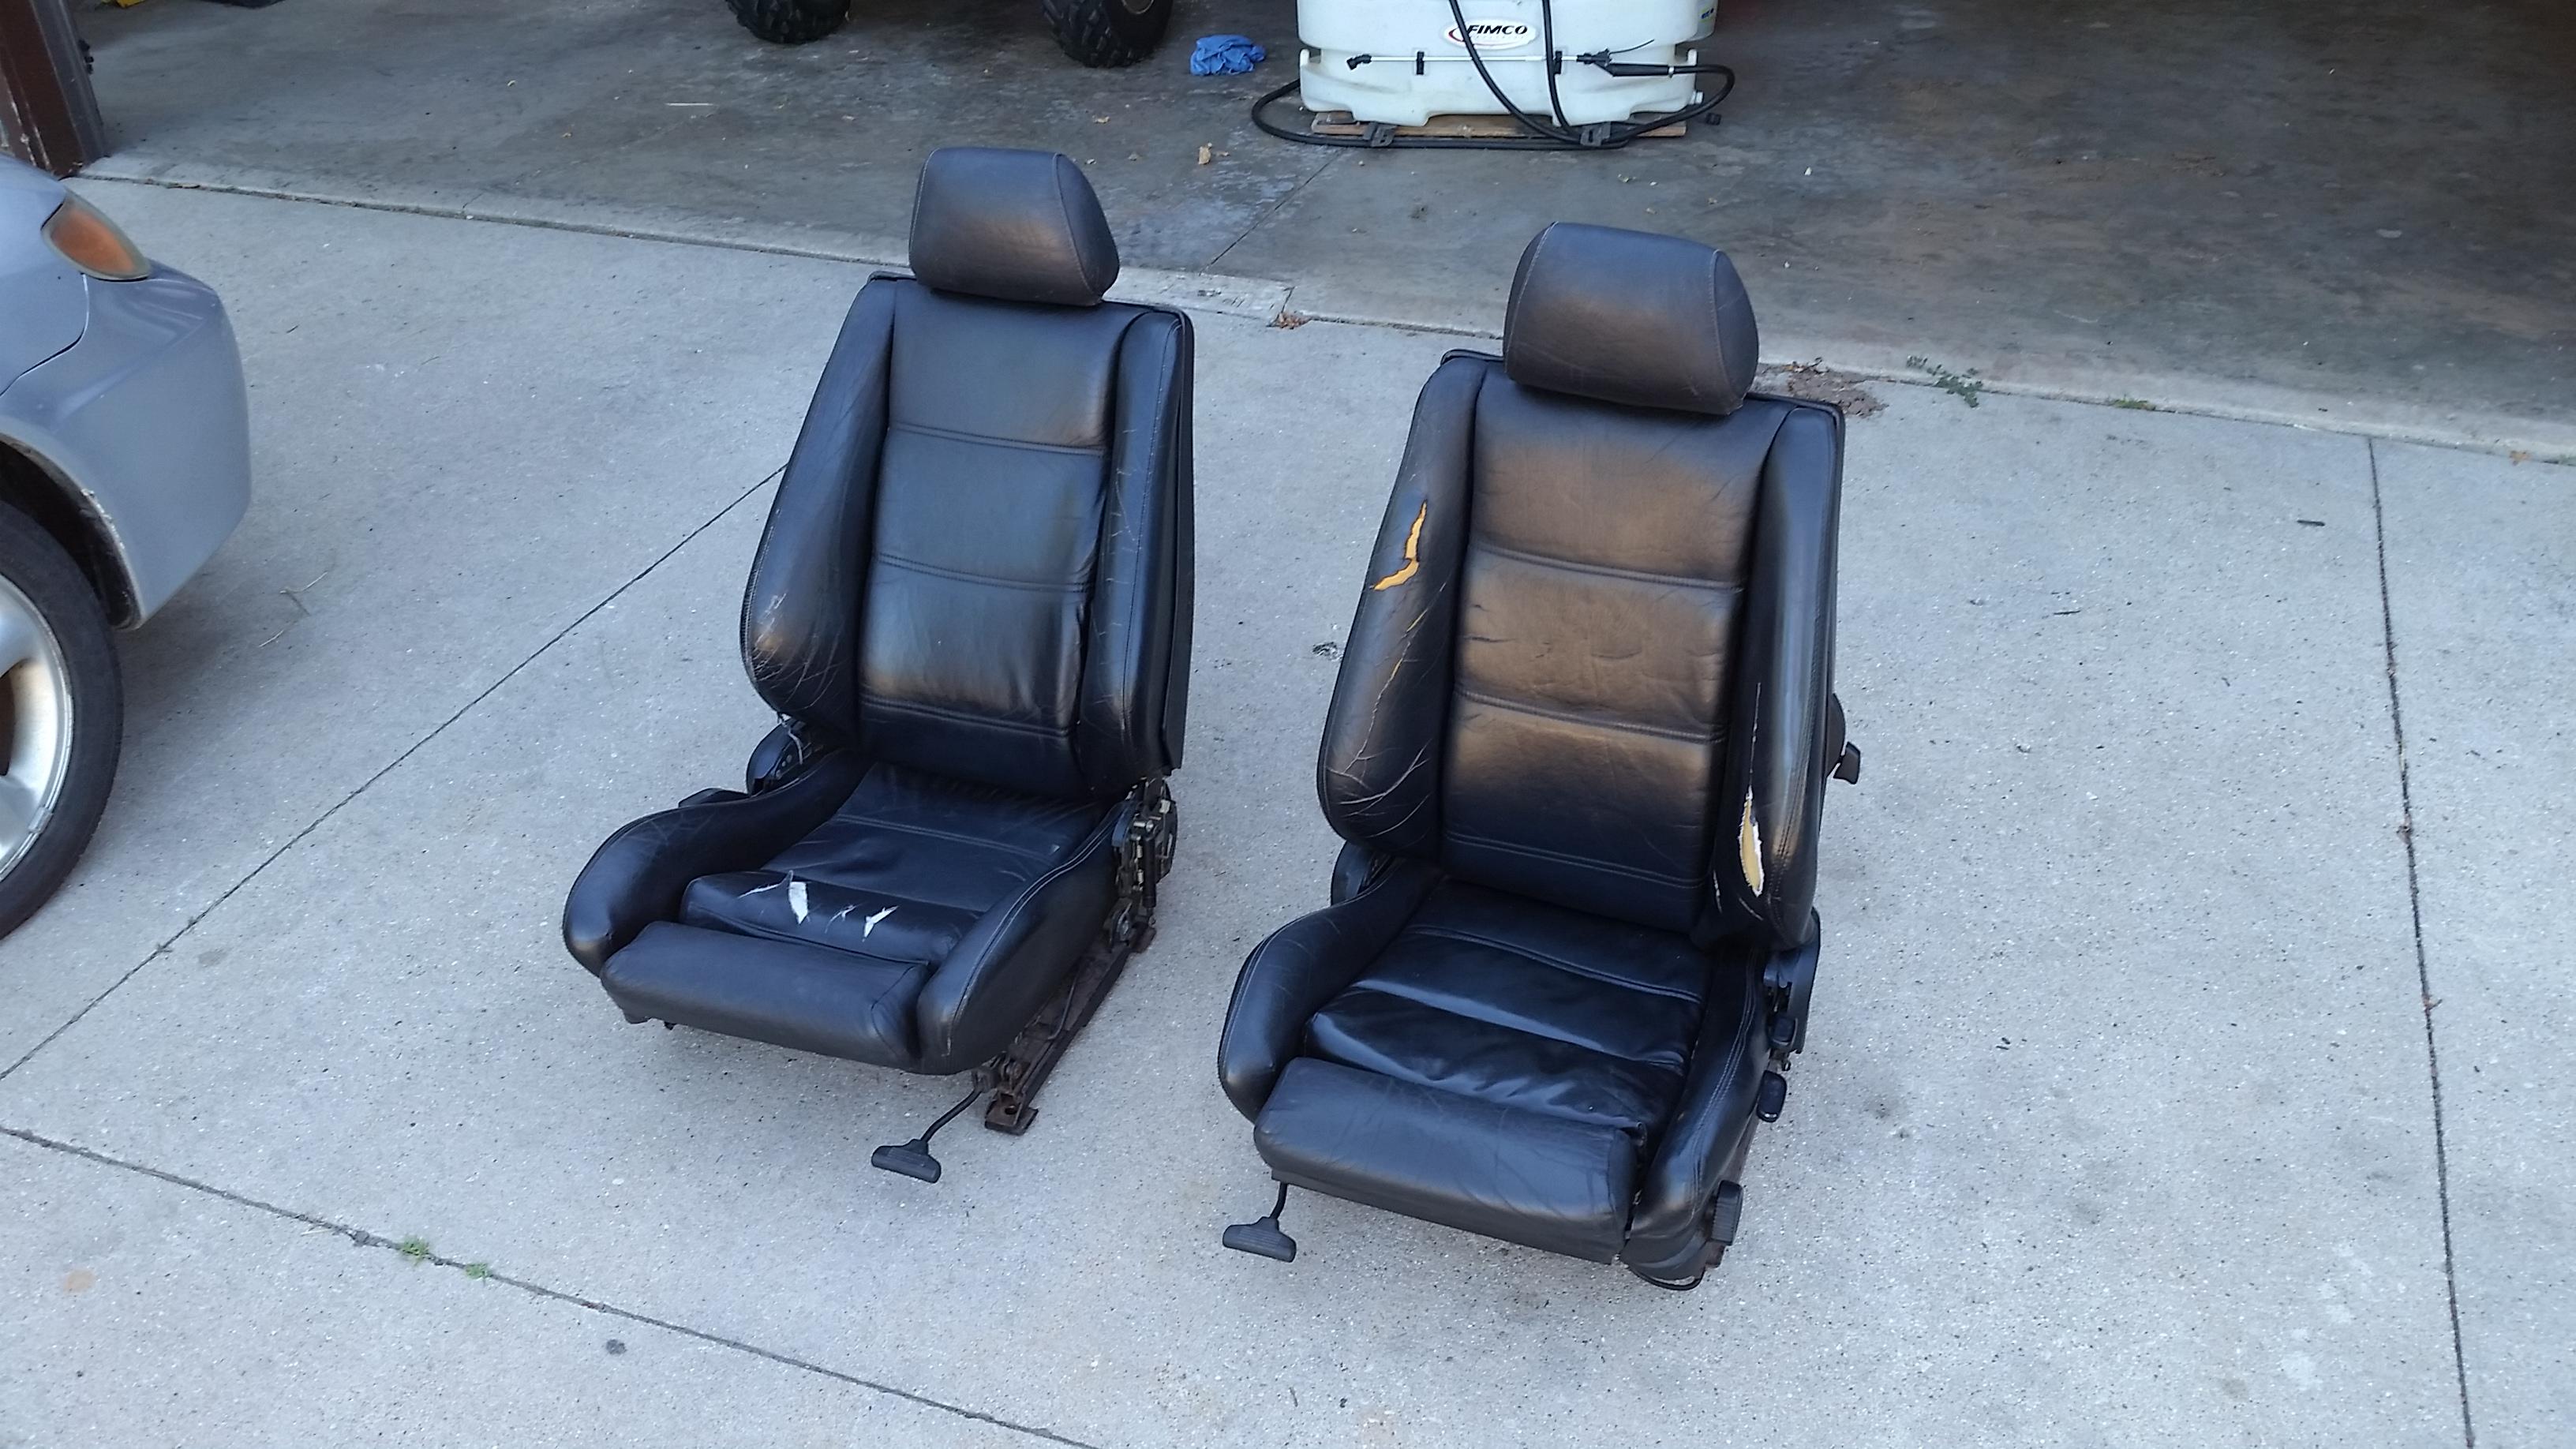
Found me some seats!!! I originally said that I was having some sport seats shipped over from Florida but after doing some further searching through Craigslist I found a guy who was selling his e30 vert and had a spare set of leather sport seats from the car he was looking to get rid of sense he had got some cloth ones for it instead. Took a trip up there about a week ago and picked them up.
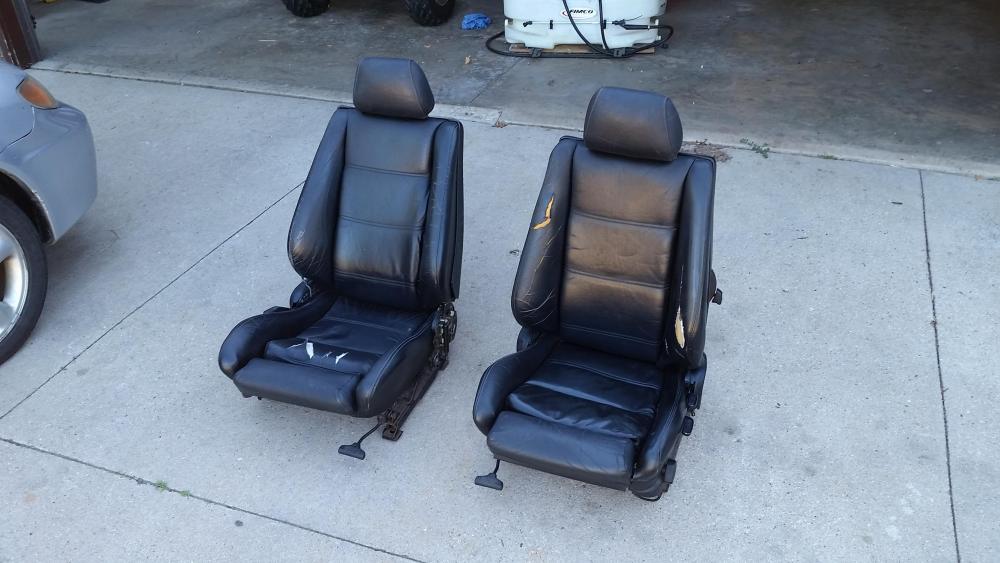
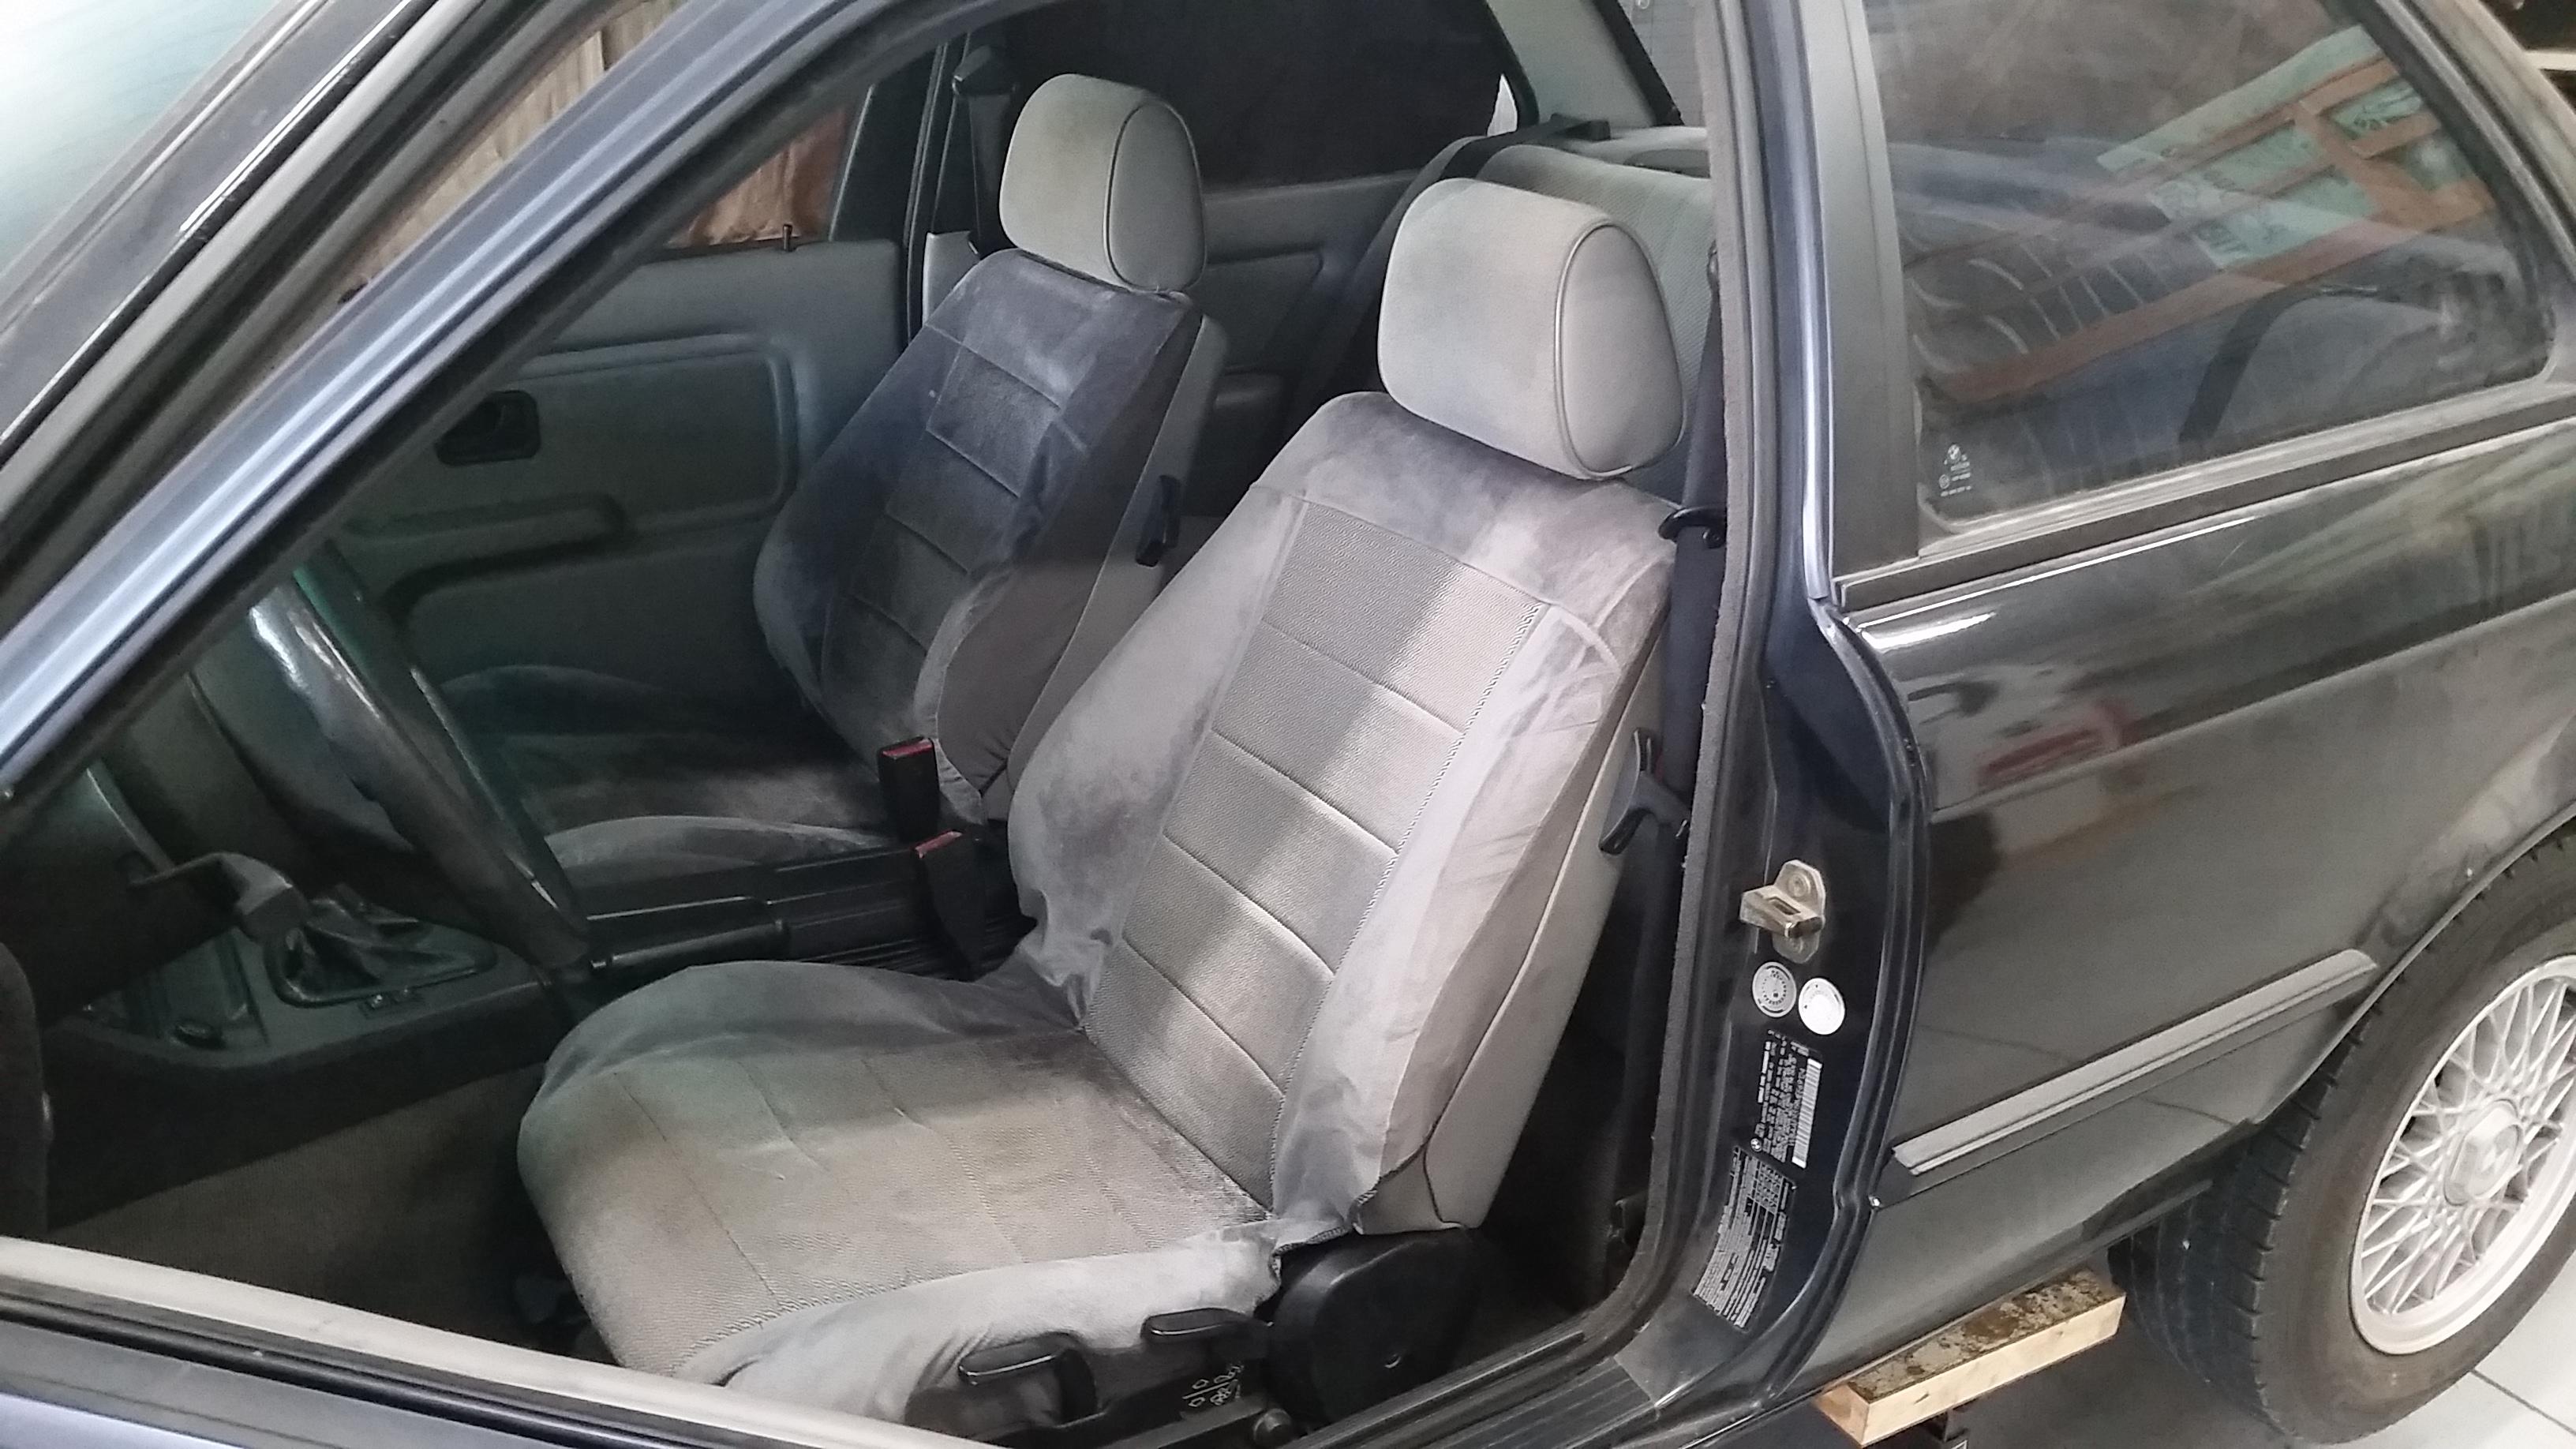
Ya they aren't mint and will definitely need a little work but all the brackets are in solid shape and my plan will be to reupholster them this coming winter. For now though, I will be throwing some nice matching seat covers from the old set back on and run them for the rest of the warm season.
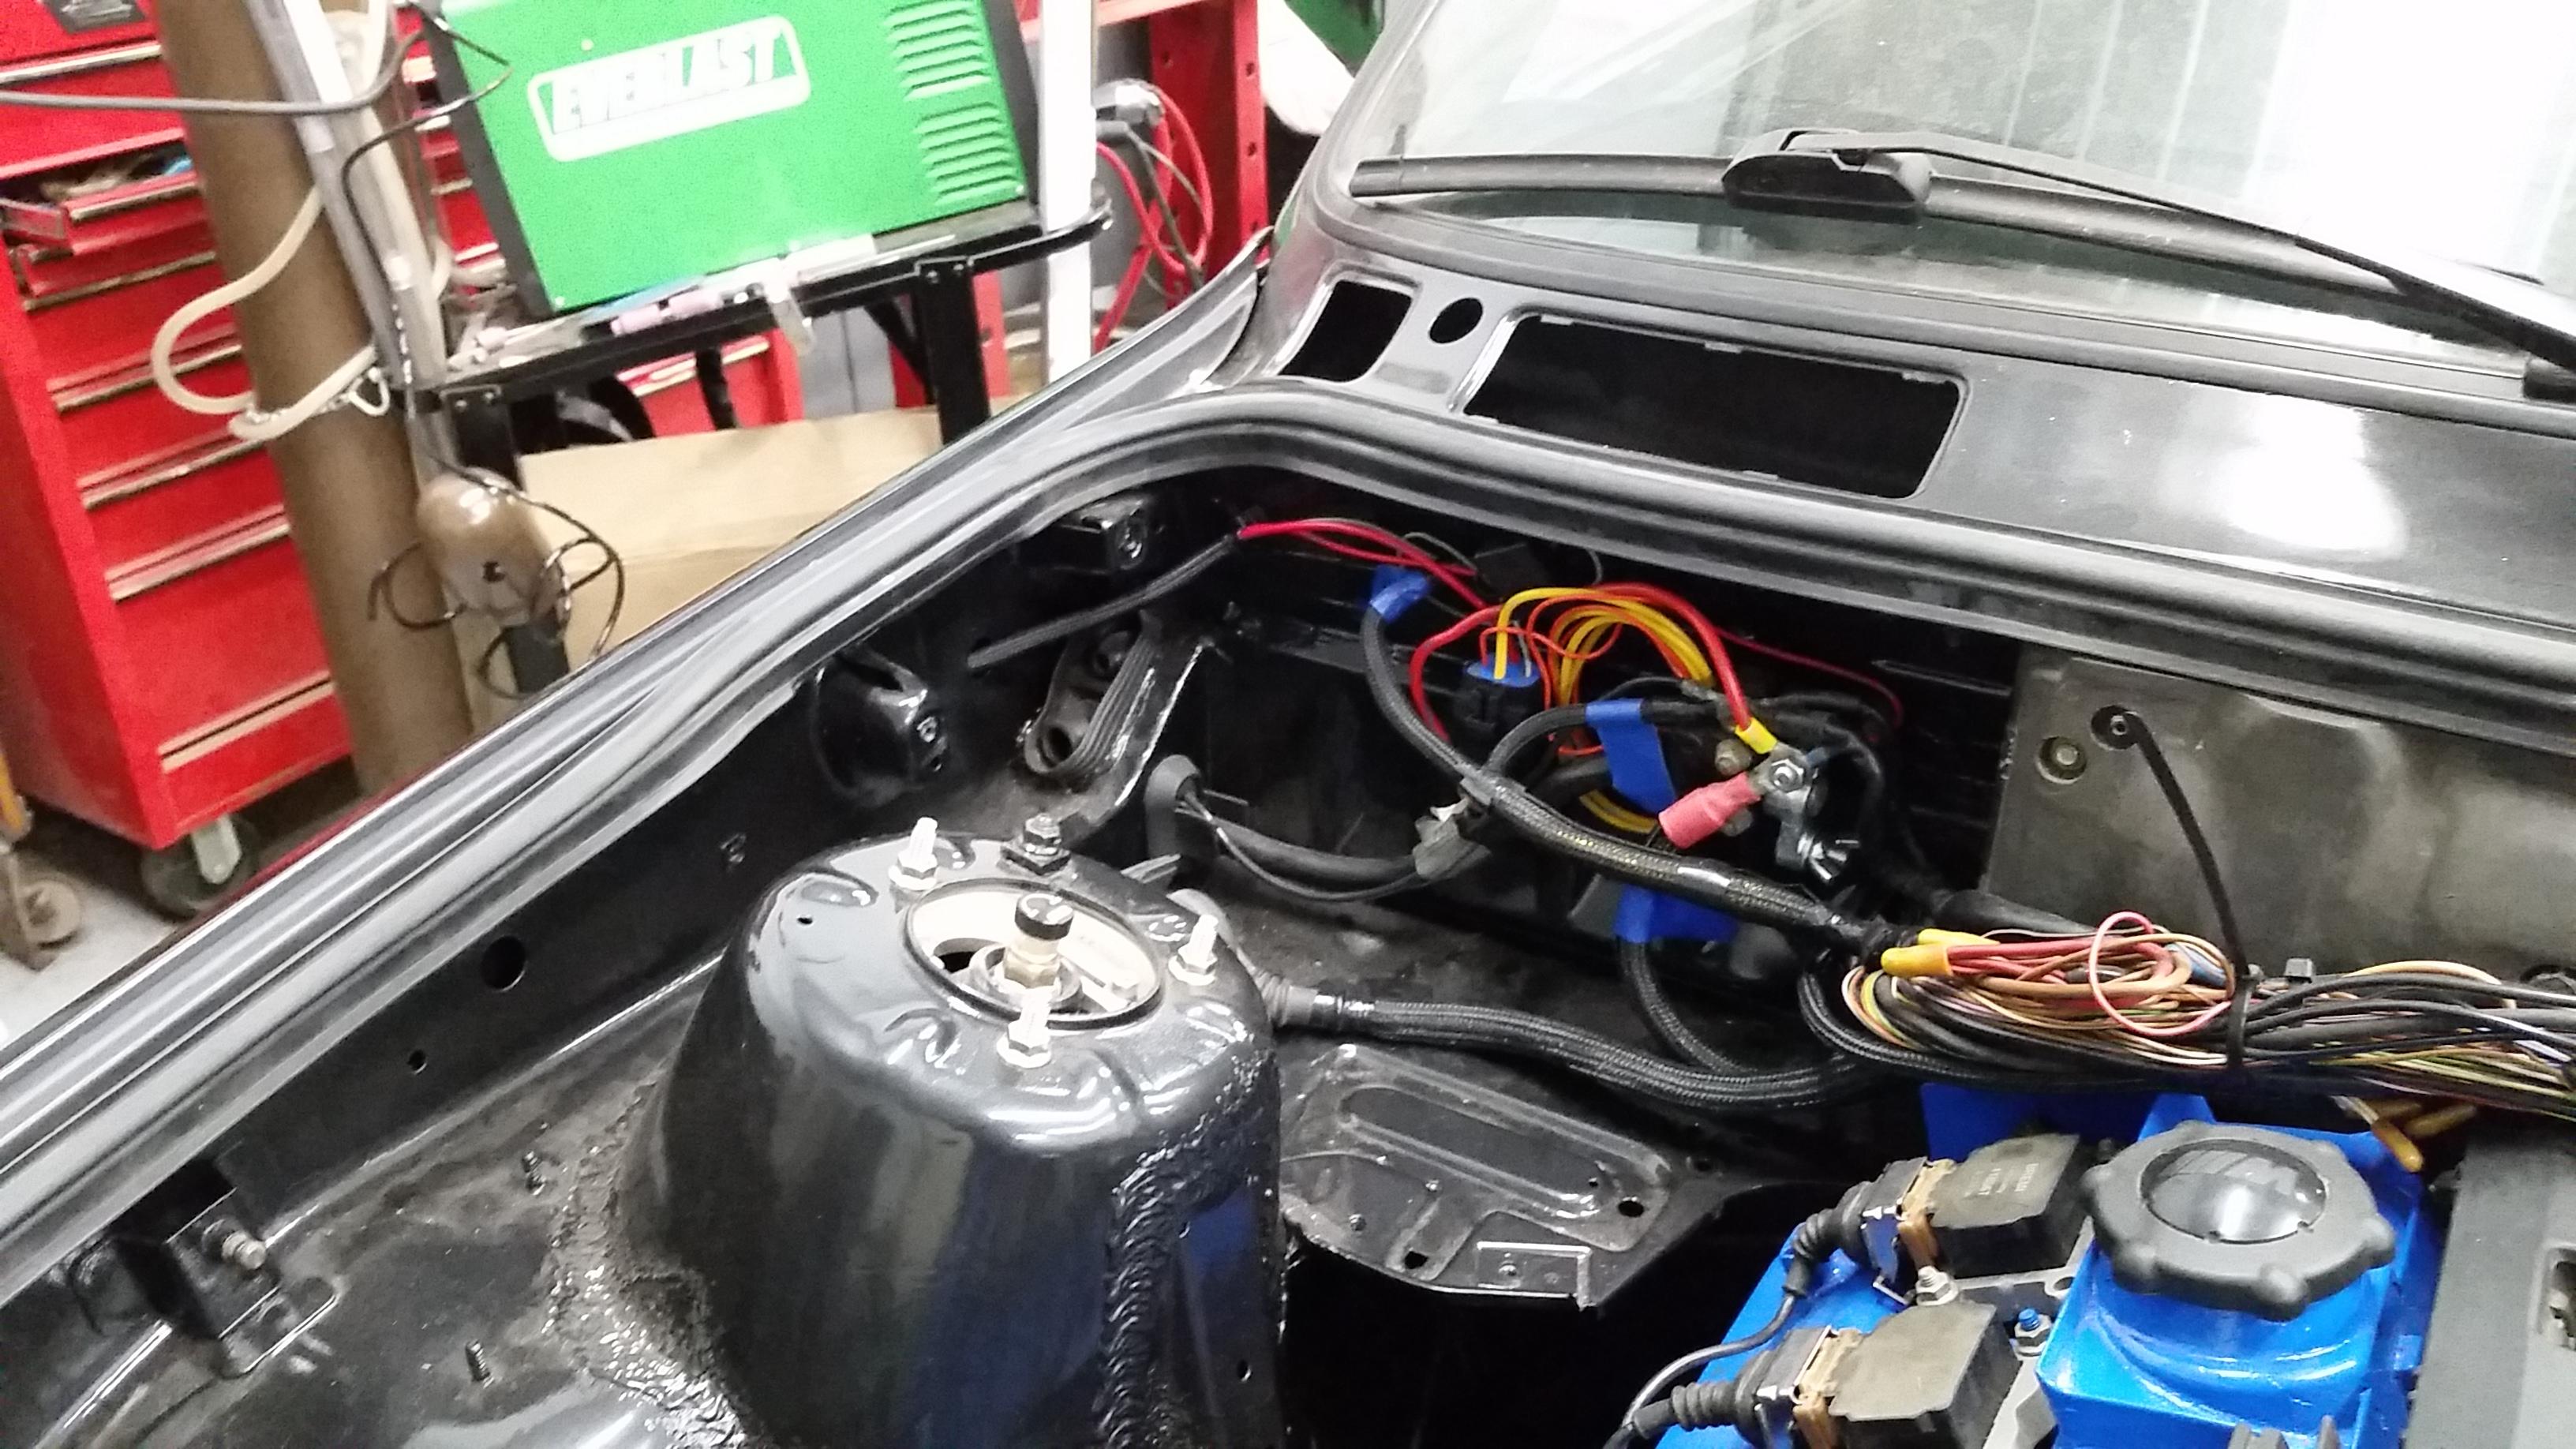
Onto more things, fan relay is wired up.
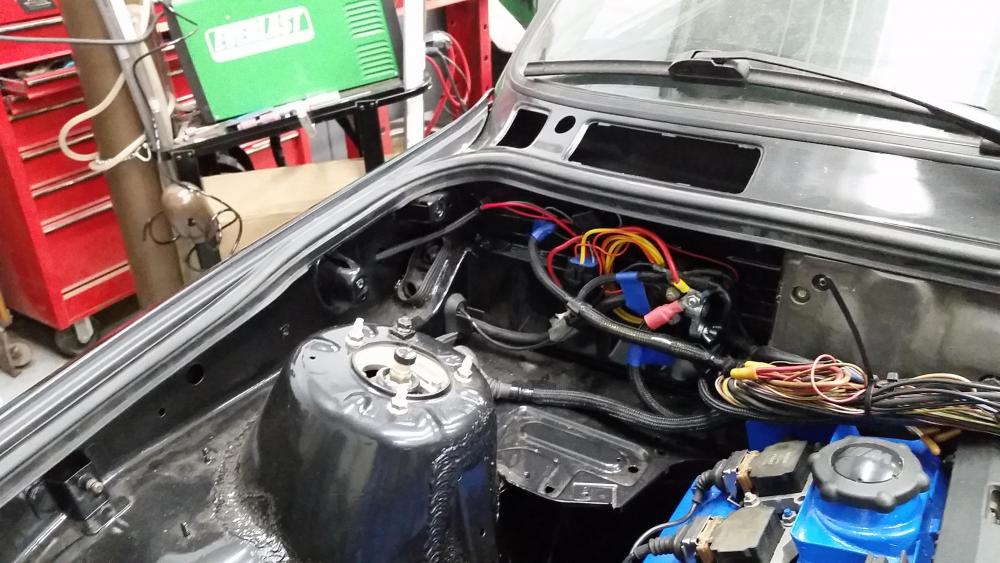
When ahead and mounted it next to the power distribution block. Ran the wires along the tunnel behind the fender. Grinded away some paint on one of the holes beneath the passenger side headlight for a proper grounding point for the fan. Decided to run the relay independent from the car so, (for those of you who are familiar with the spal harness) instead of running the orange wire to ignition I ran it to ground. By doing this I keep the relay on a +12 volts constant and it can run freely whenever needed. I also had to go ahead an order the 2 prong switch as the 3 prong I had originally purchased was not gonna work well with my setup. Hoping to see that show up tomorrow sometime.
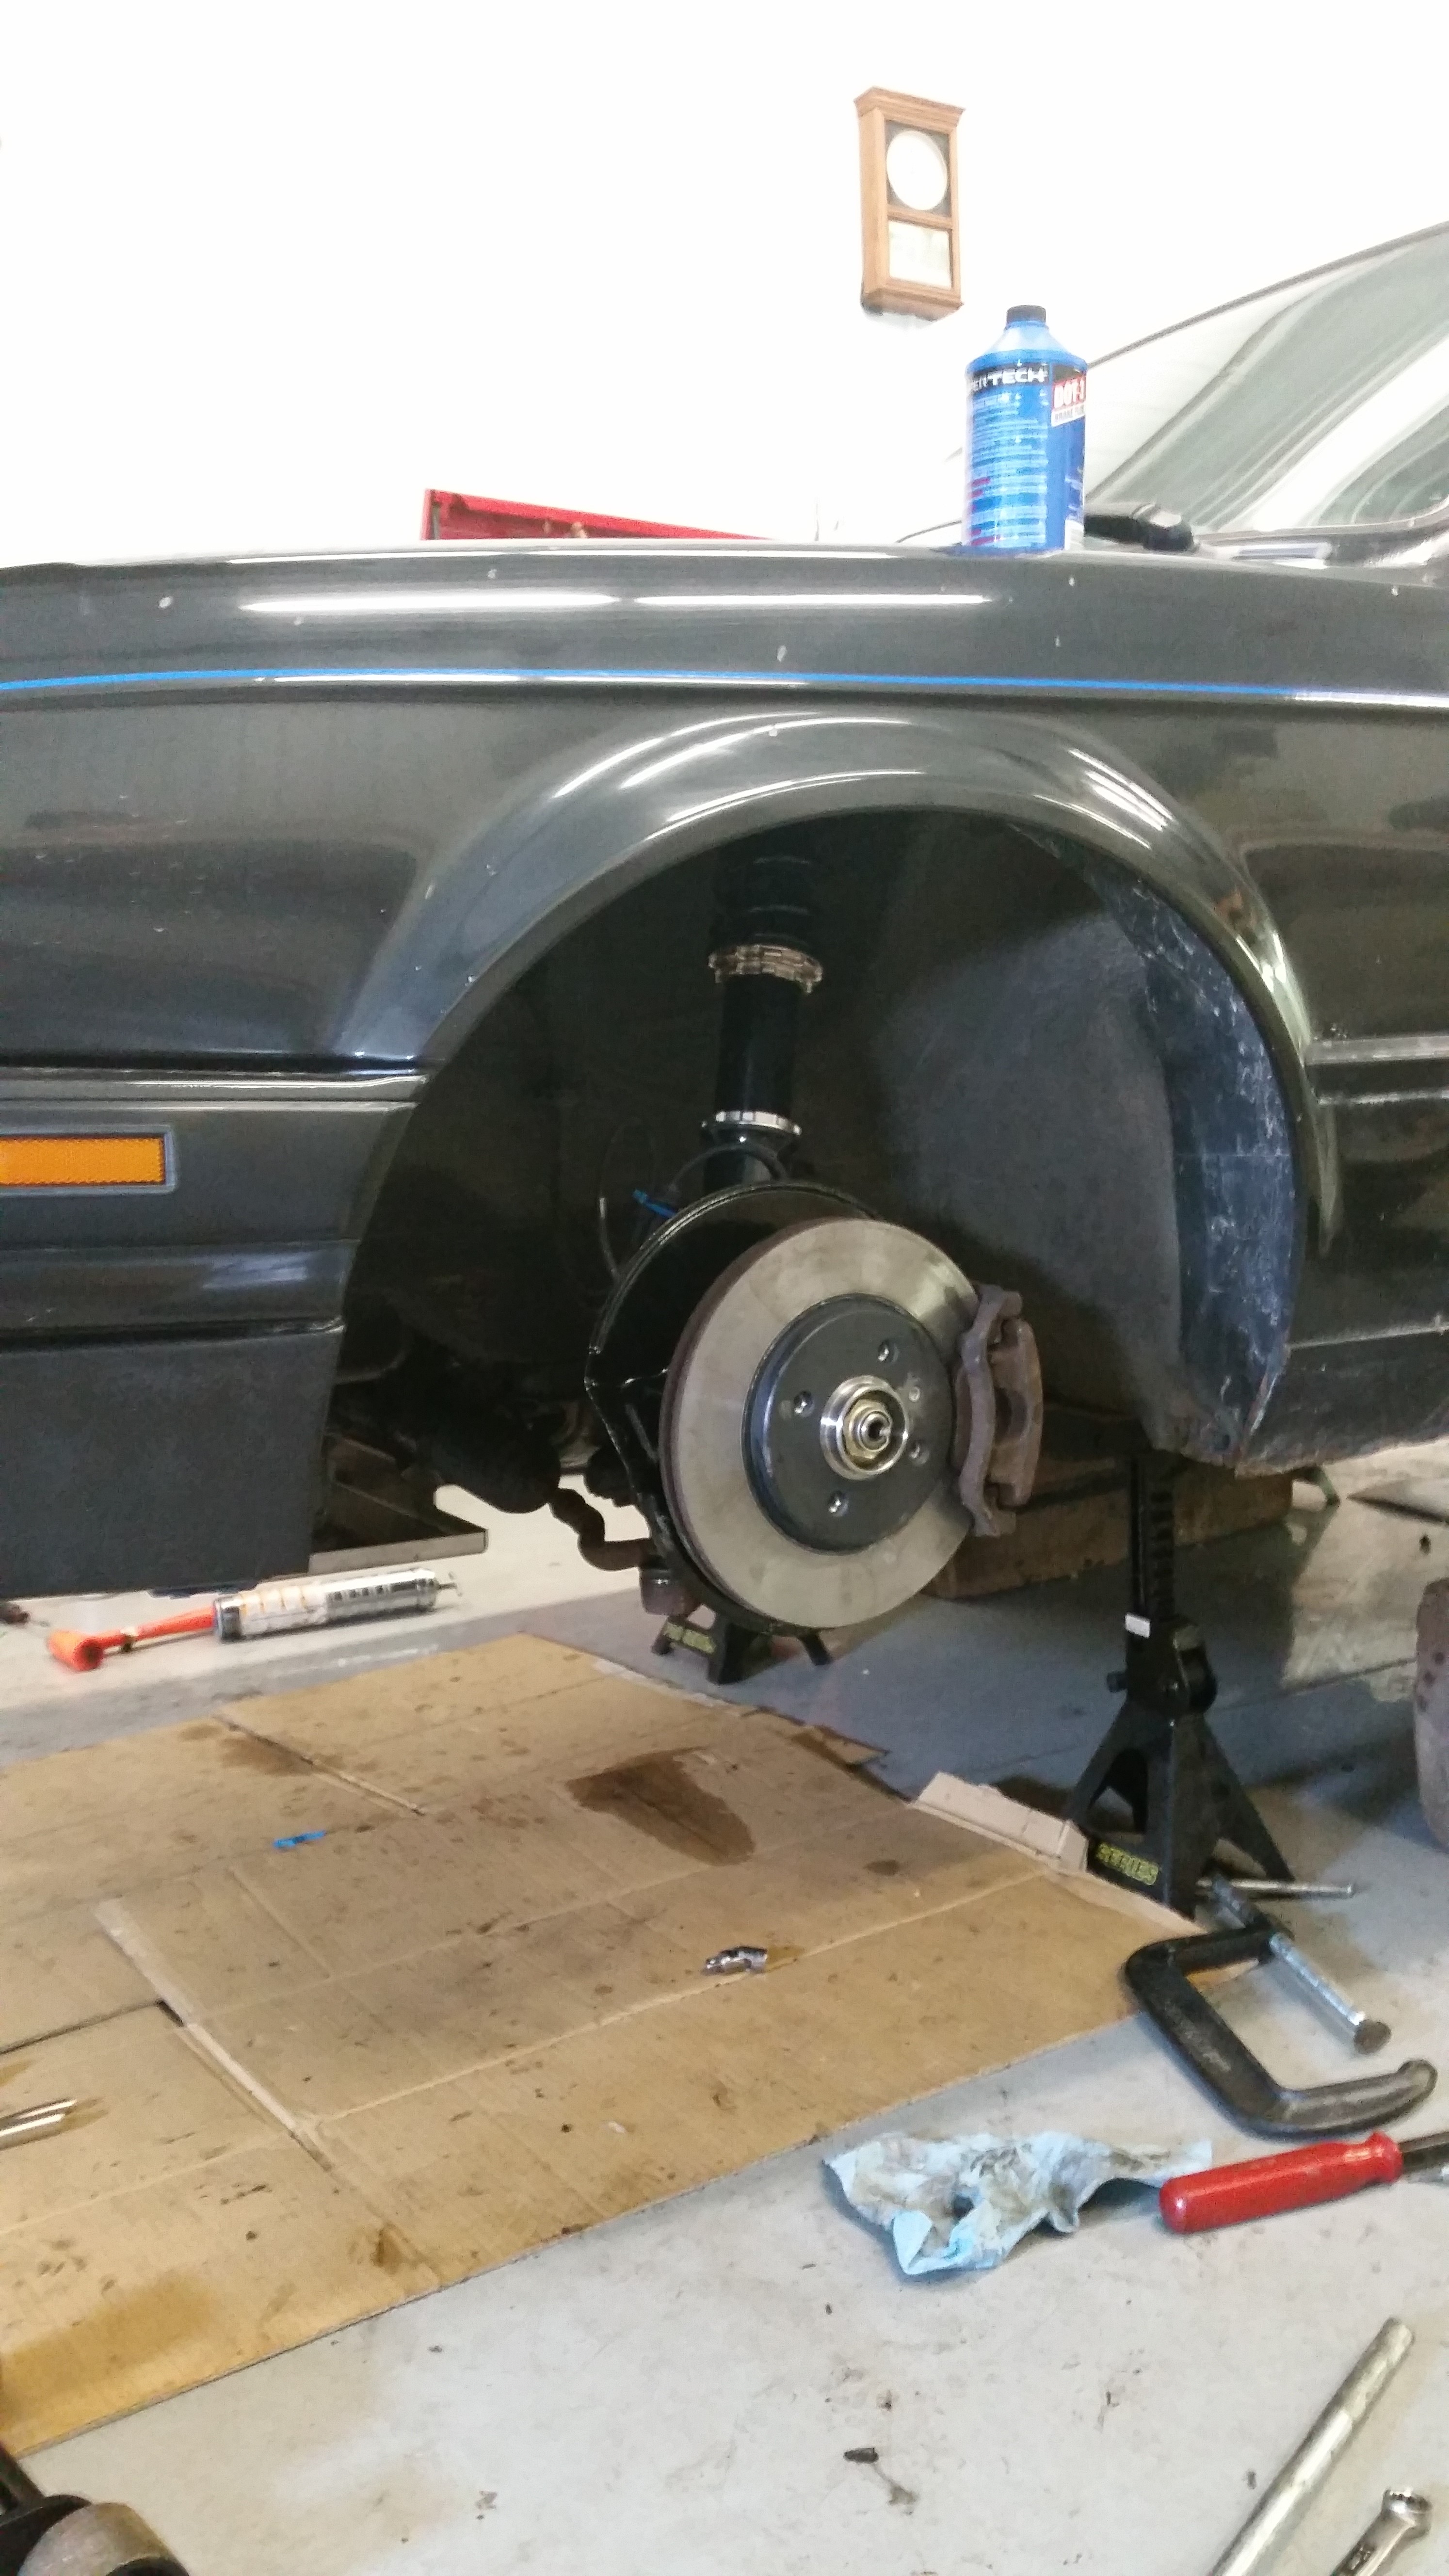
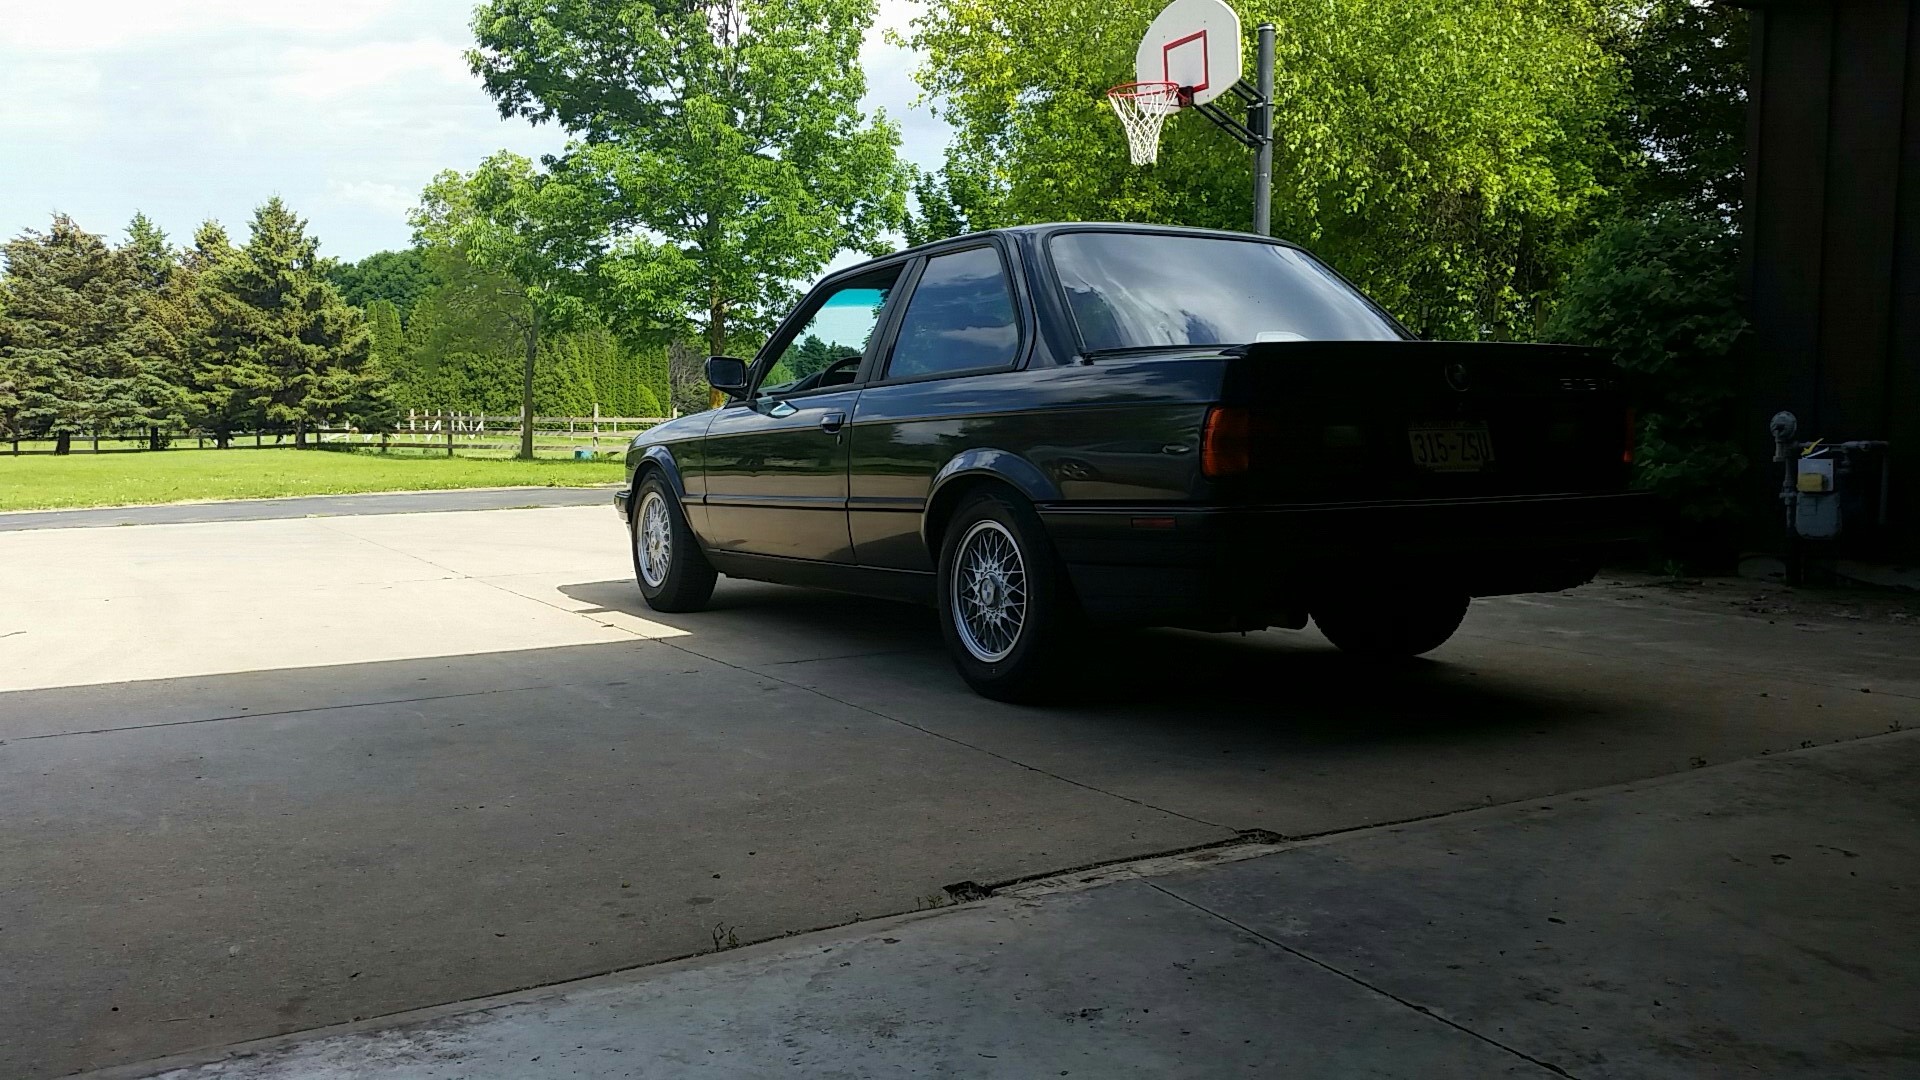
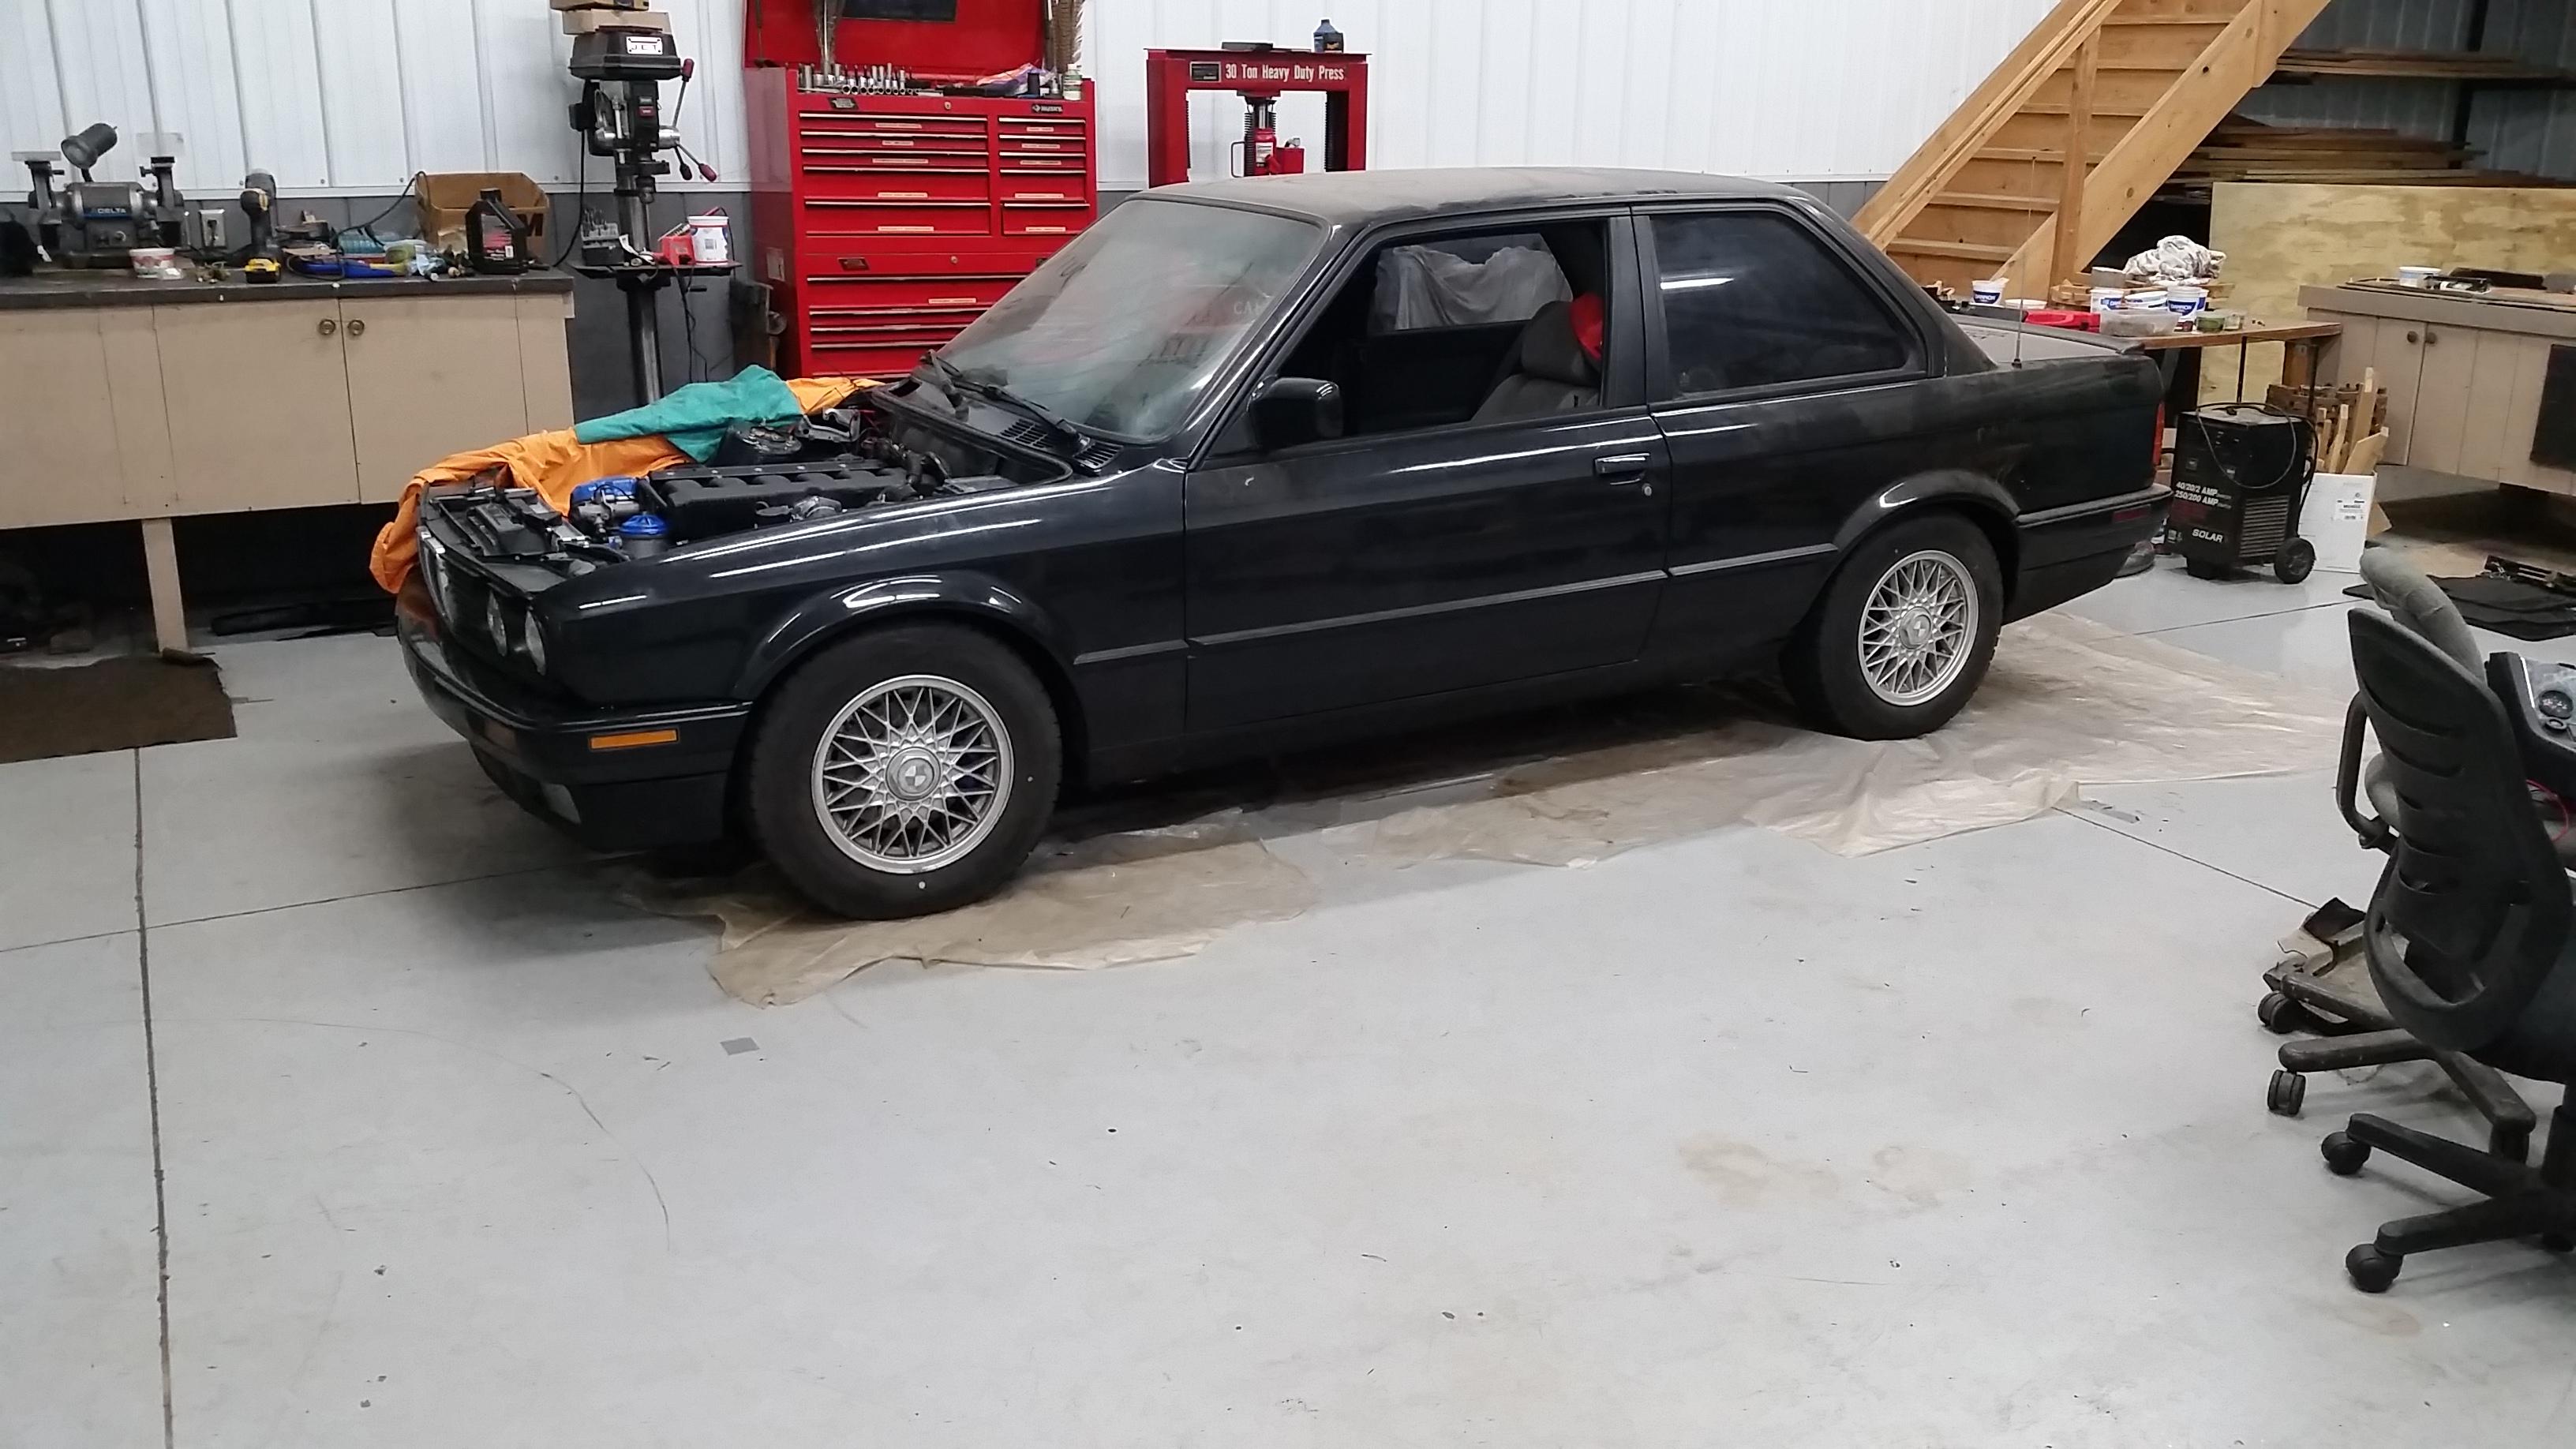
After reinstalling the front end and fenders I went ahead and threw the front wheels back on and layed the car on the ground.
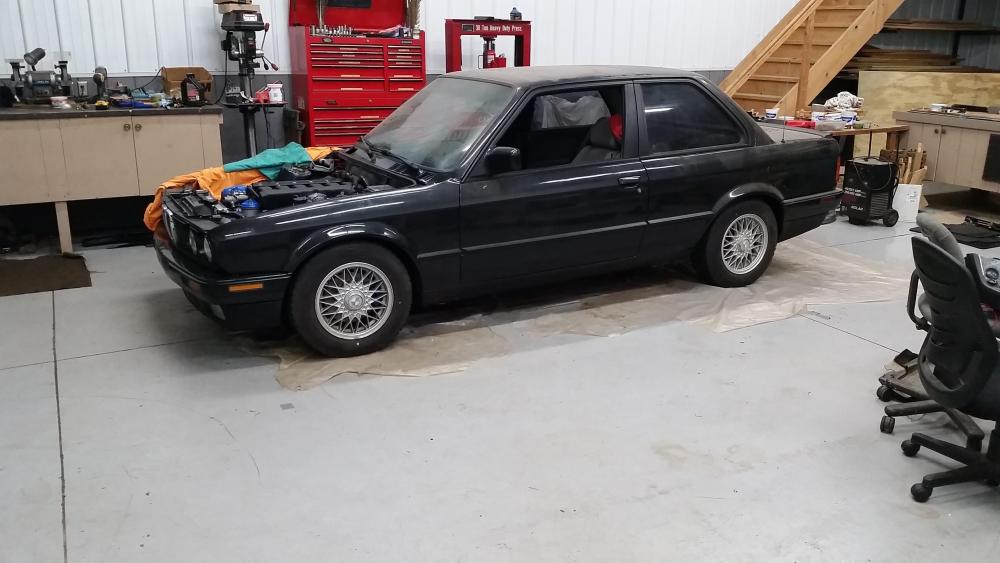
Right away I was completely disoriented by how low the car was. I have been so use to the jack stand height of the car that I had completely forgotten what its ride height was on the ground. The rear end is gonna need some tweaking as it sits forward a bit. Yes I know, definitely gonna need some different wheels.
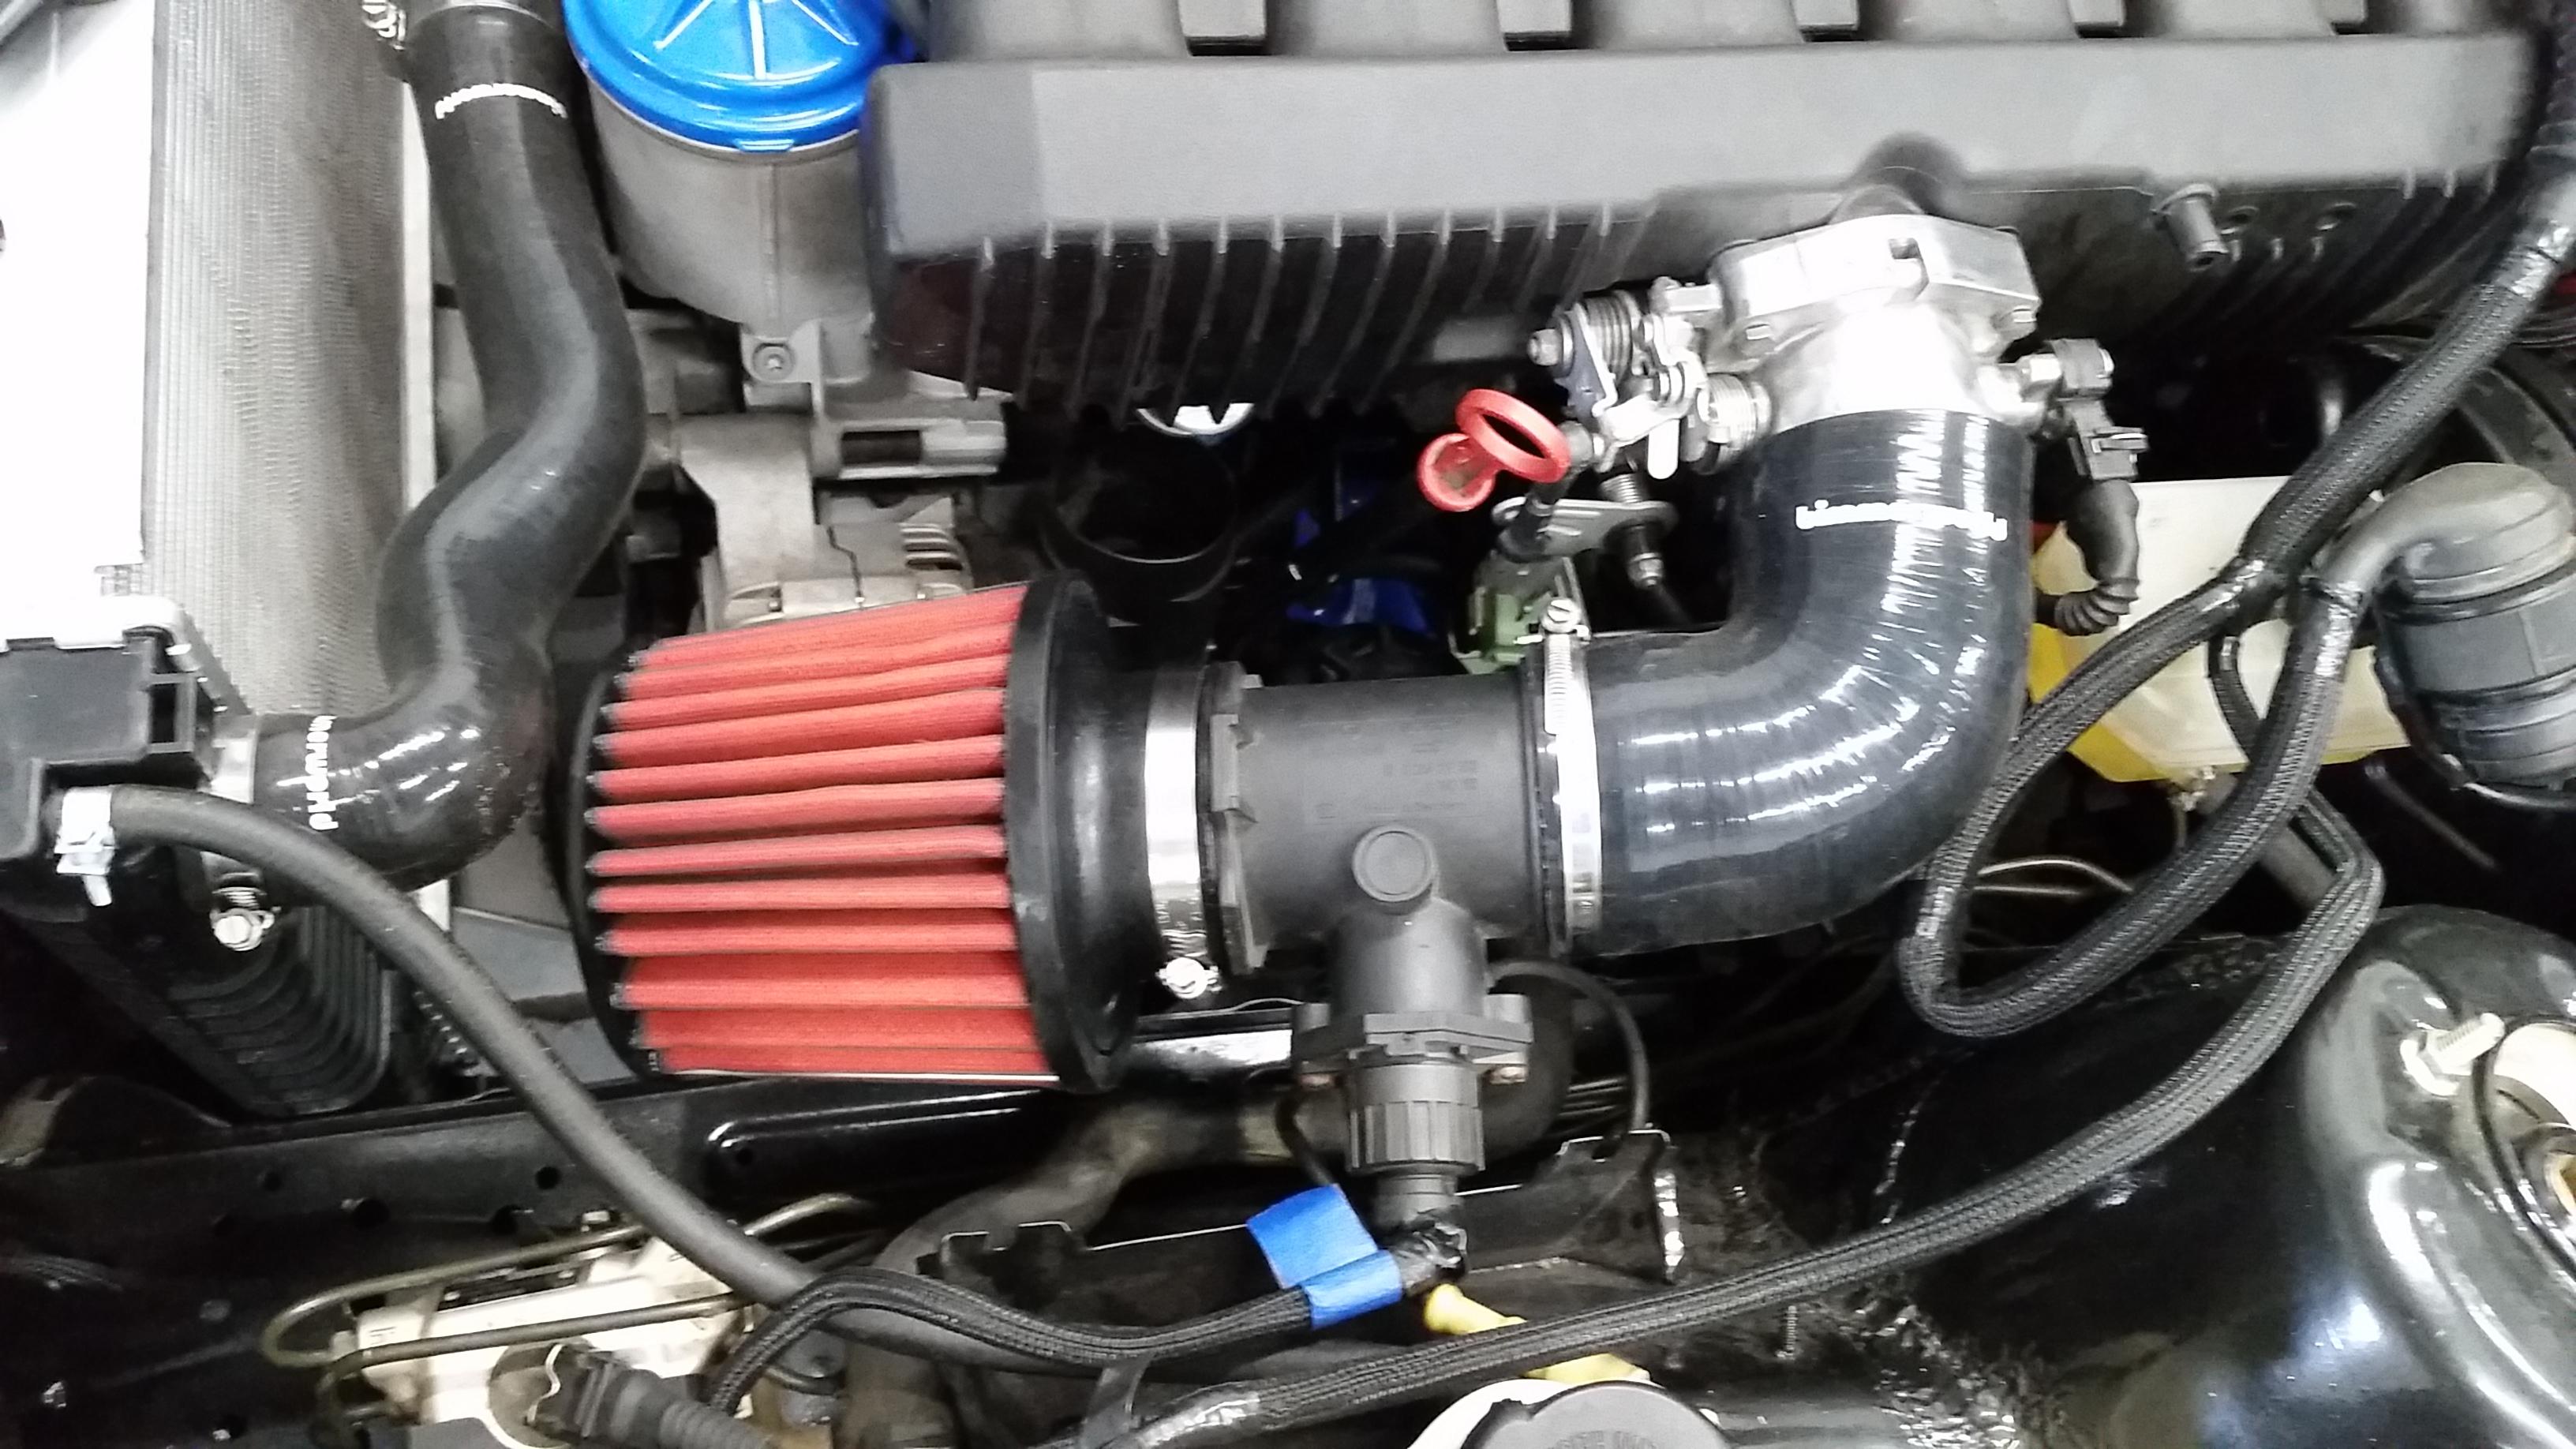
Received a cone air filter from AEM today. Went ahead and installed that but realized I was gonna have to do a little triming to the throttle body silicone elbow from BW in order for it to fit right.
Couldn't get it completely back together as I broke one of the band clamps that hold it to the throttle body. Will pick up another tomorrow to get it fully installed.
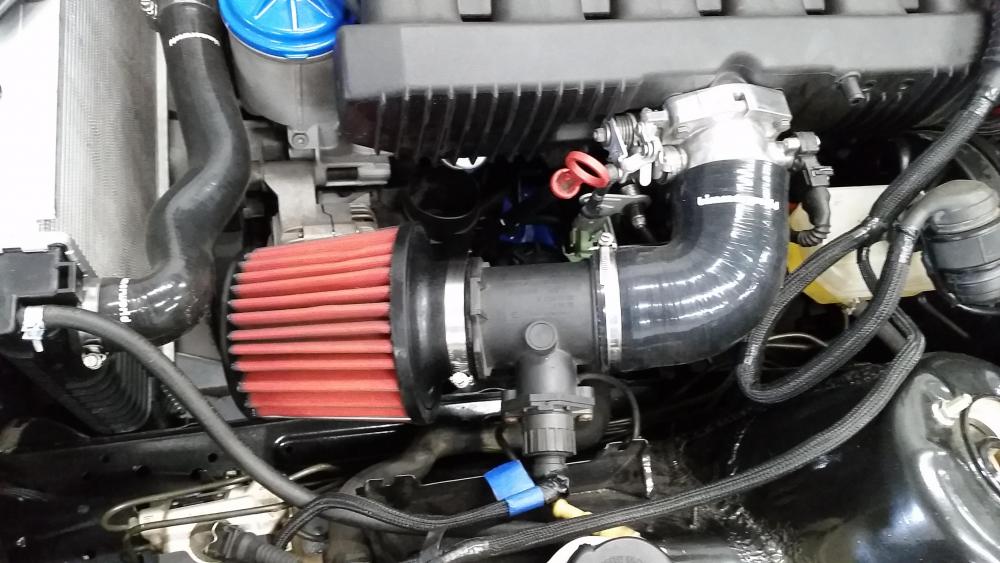
Ideally I'd like to make a custom air box system so I can somehow route in some colder air then the warm engine bay air this will be sucking in. Threw it on the list for a next winter project.
Got the hood bracket blasted up.
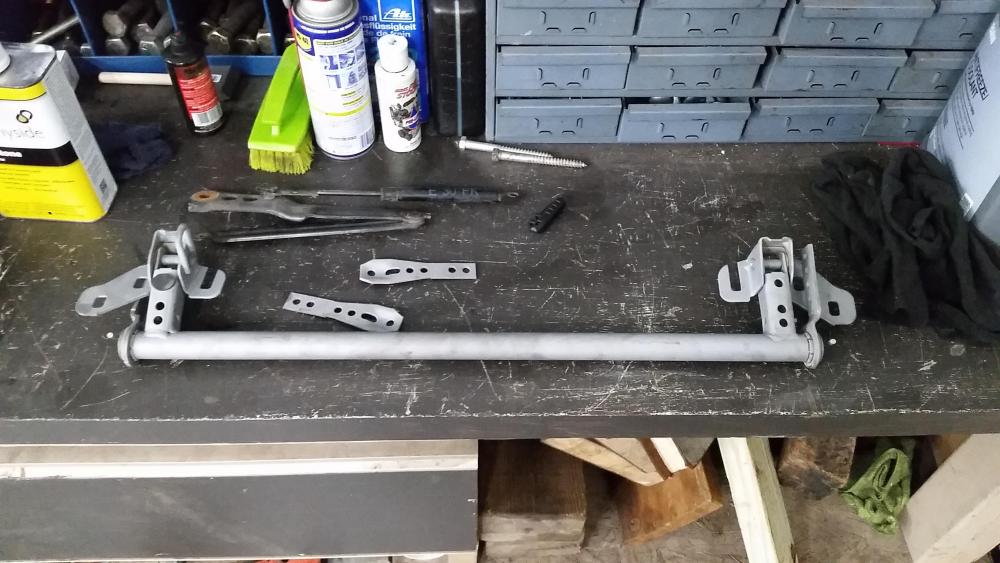
Planning to give that a coat of paint sometime this week, gonna keep the color the same as the engine bay so it doesn't stick out to much.
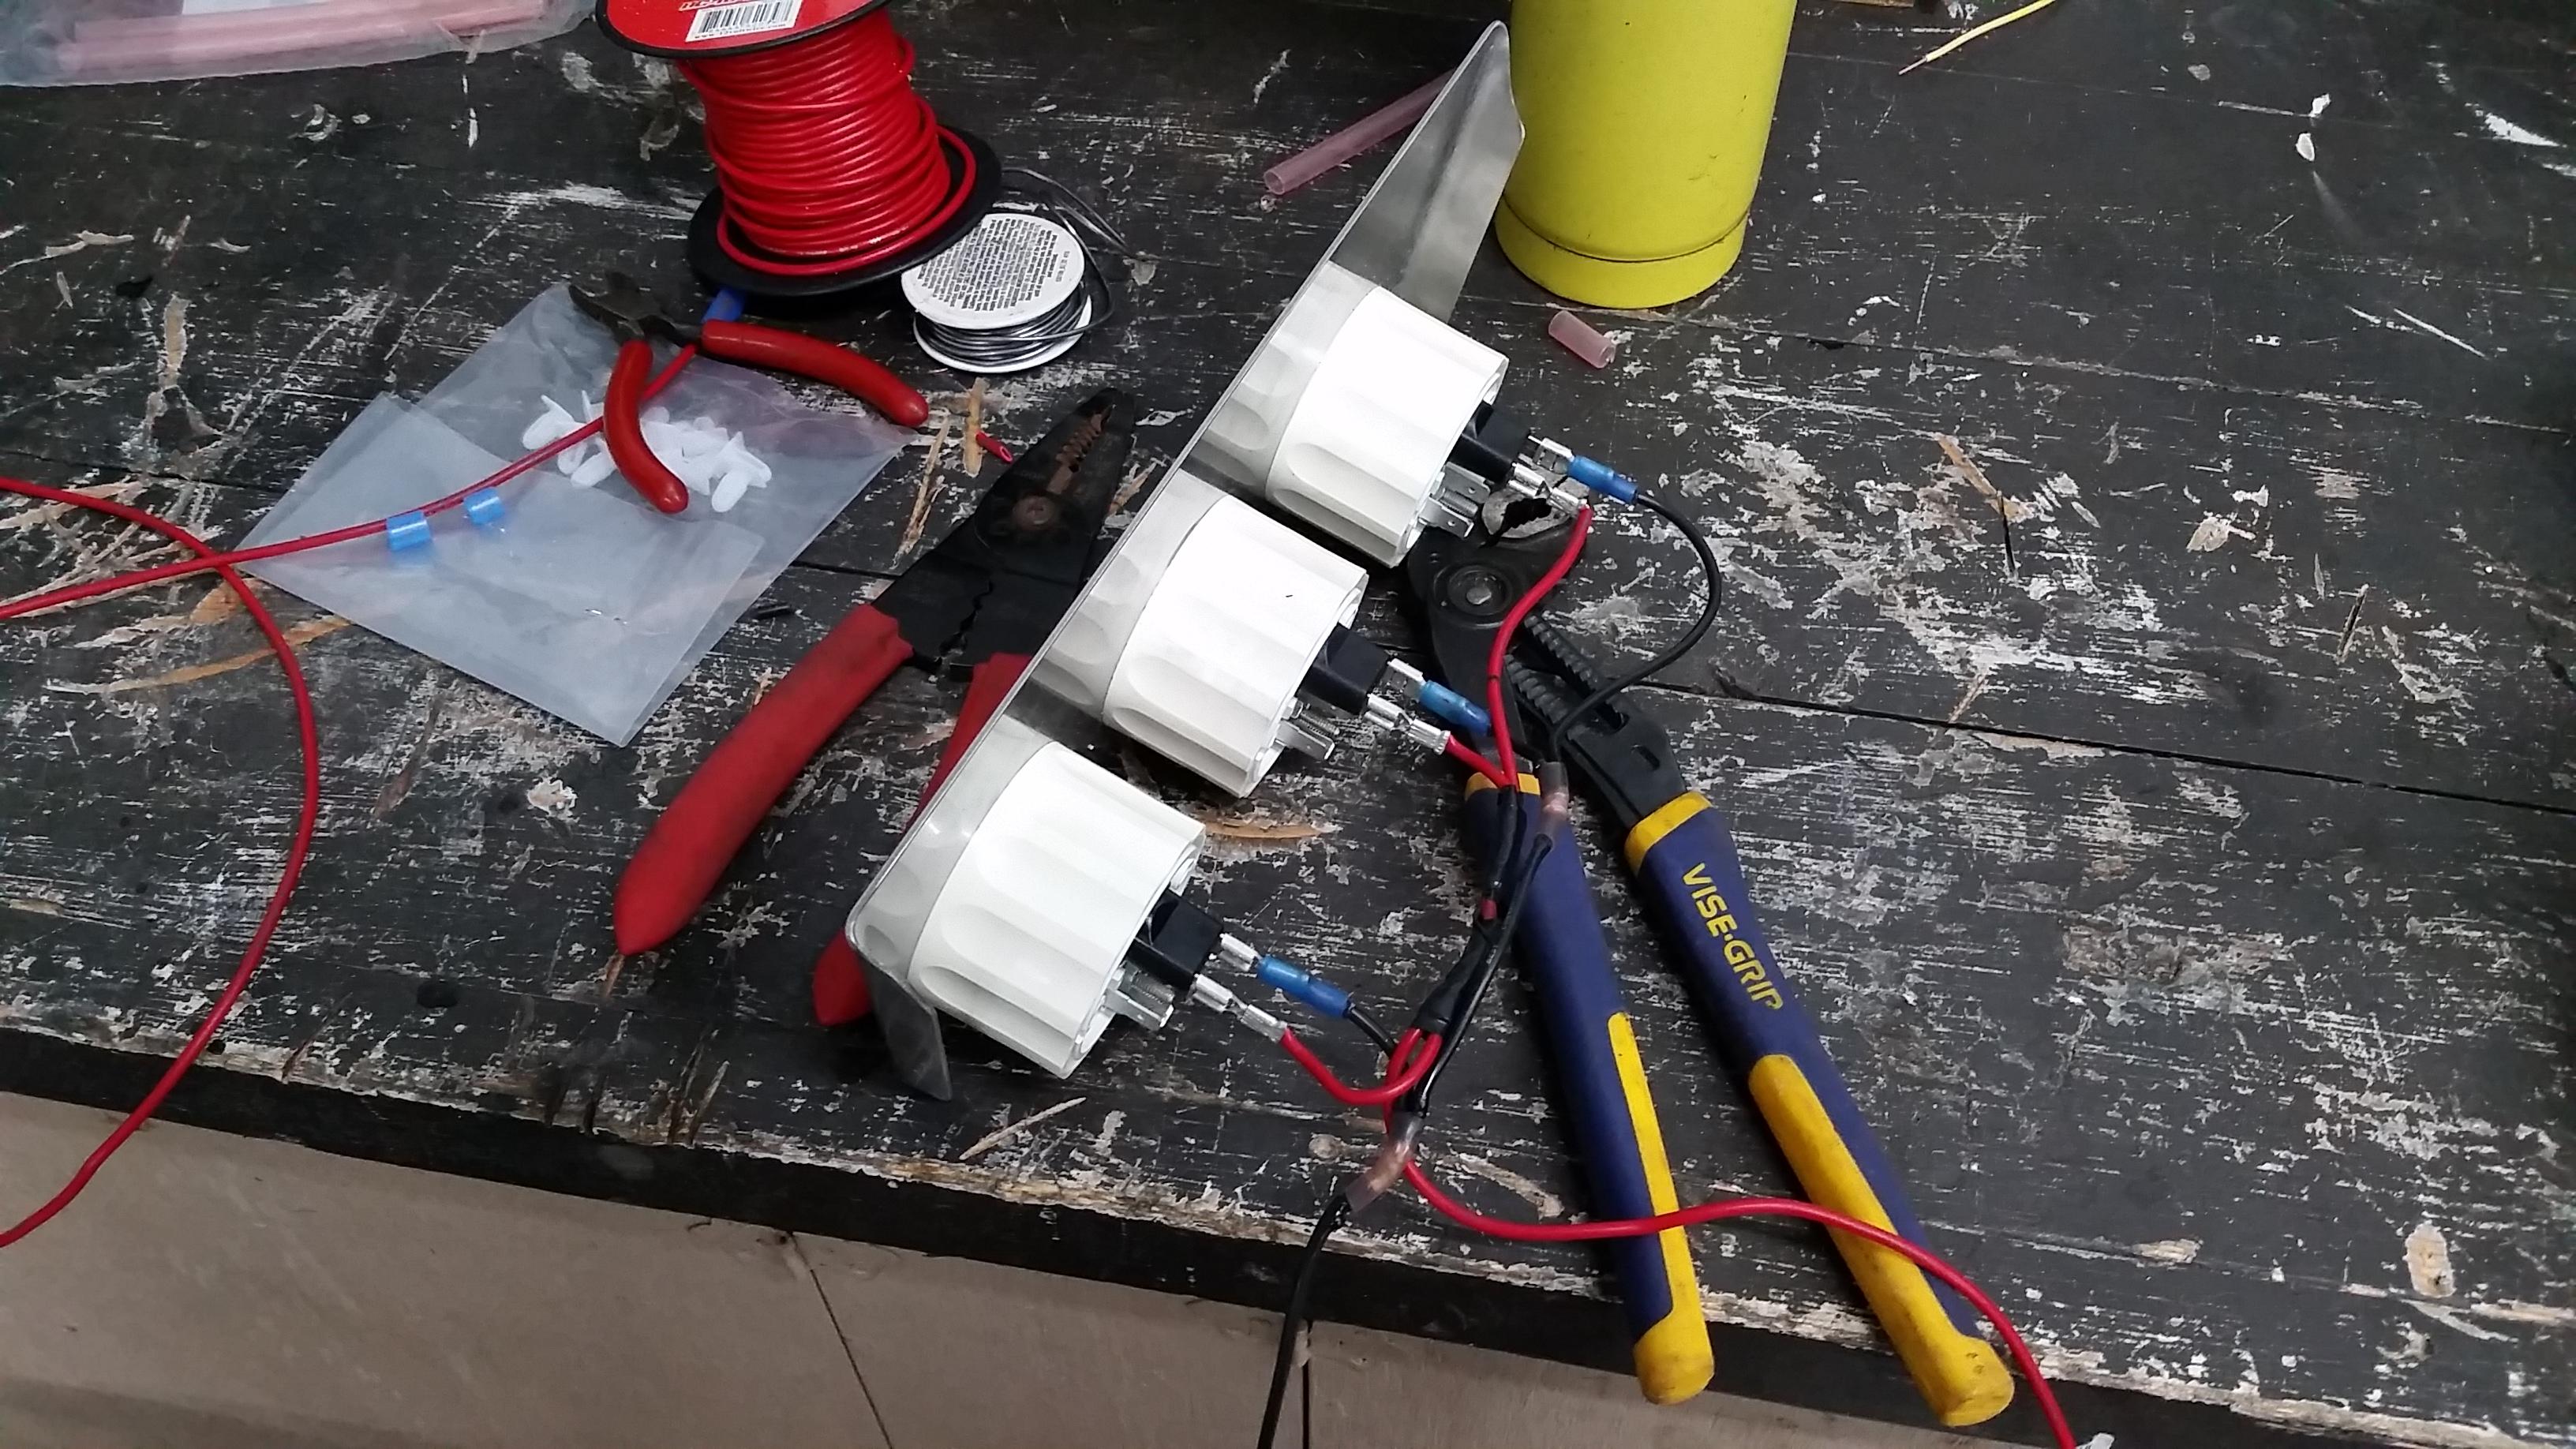
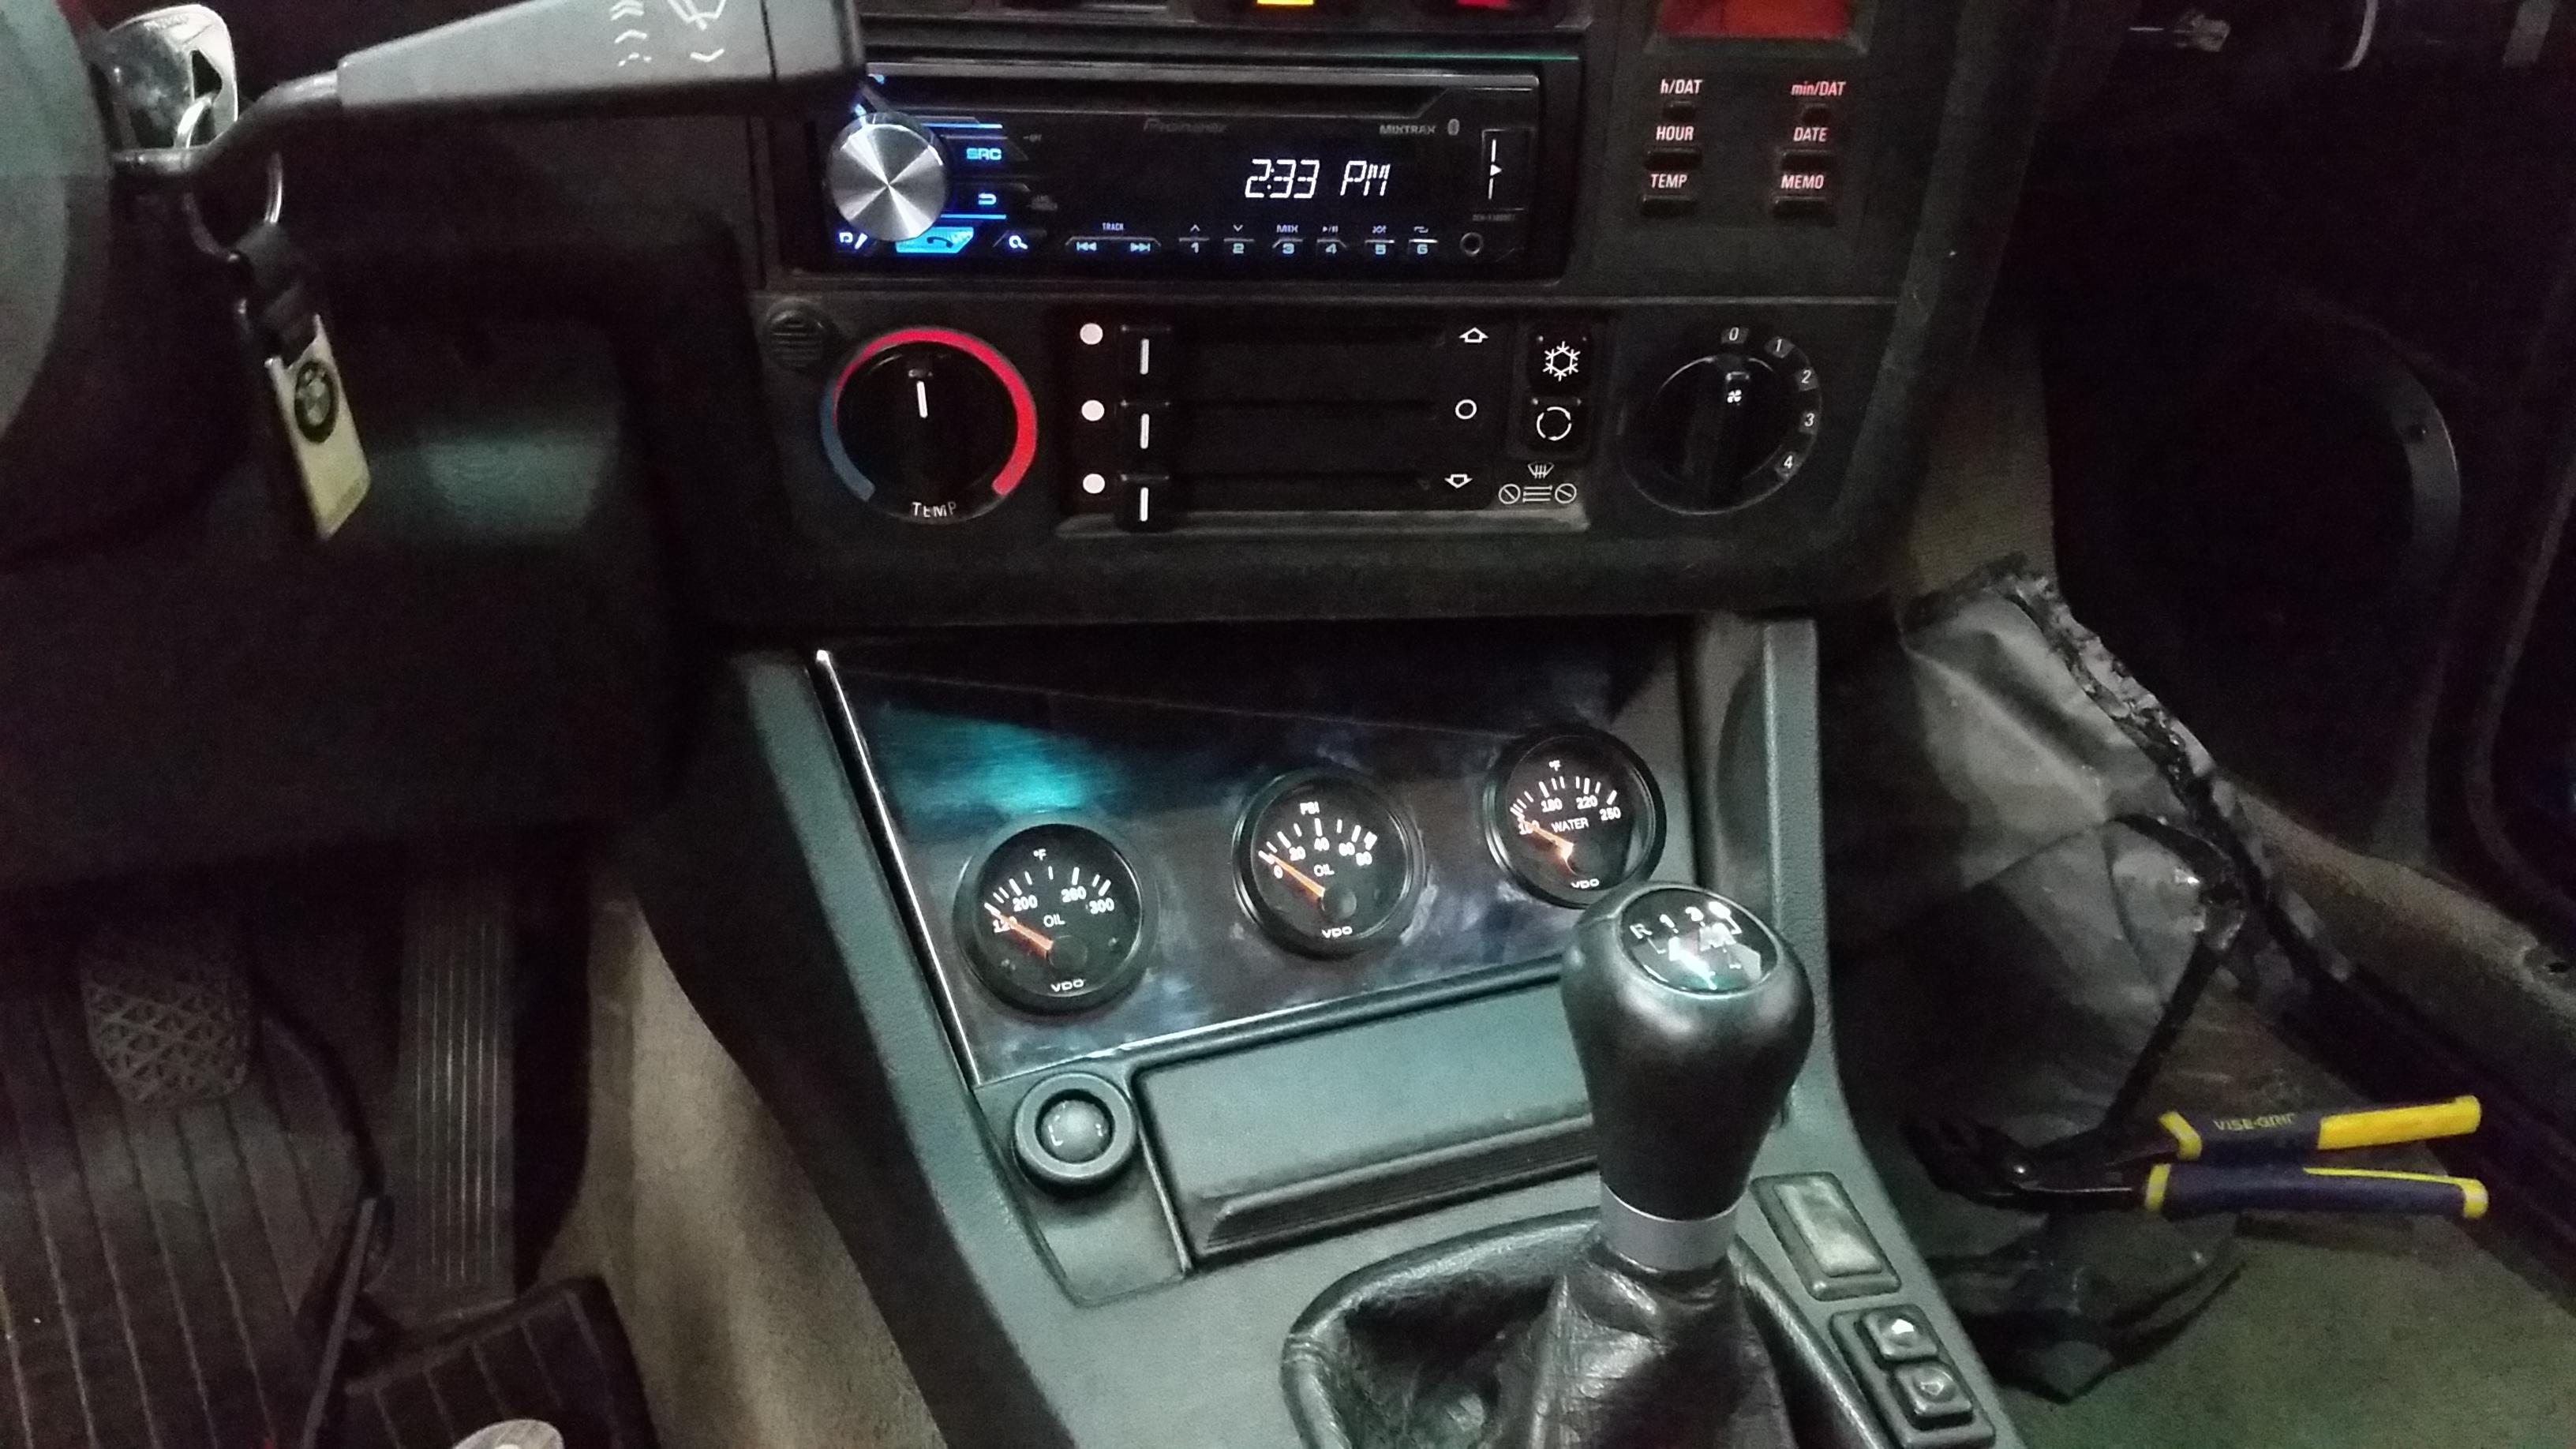
Started working on wiring up the gauges inside the cabin. So far I have the lights for all three done. Plan is to run that power source off the light control switch that runs the rest of the back lighting.
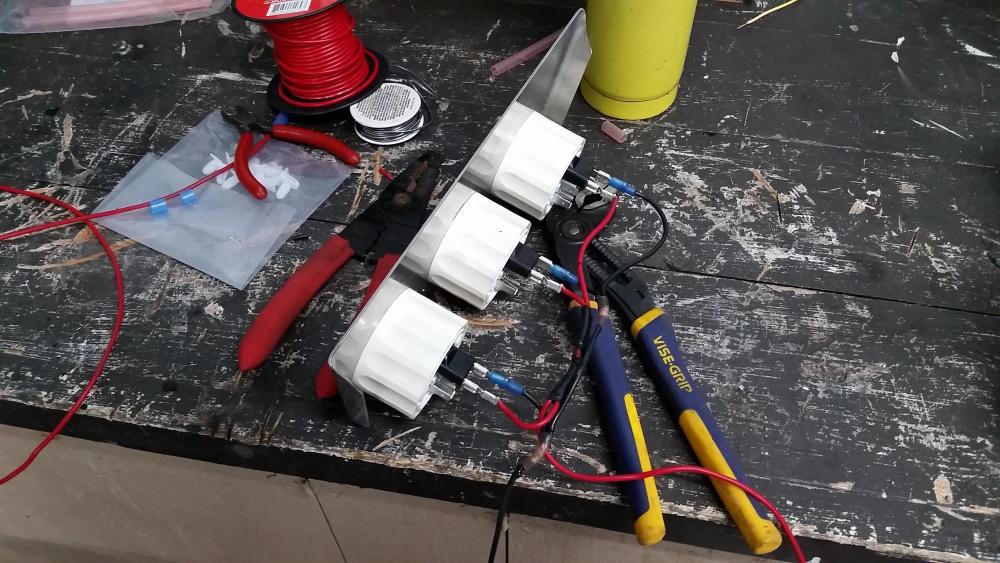
Ran out of the connectors needed for this so I had to take a pause tell tomorrow so I can pick some more up.
Quick question for these as well. Where is the ideal place to splice into for ignition power for the gauges themselves?
Still working on getting the car insured and registered (hobbyist plates) But I'm still hoping to take the car for a short spin down the road and back on Wednesday to make sure everything else is feeling good.
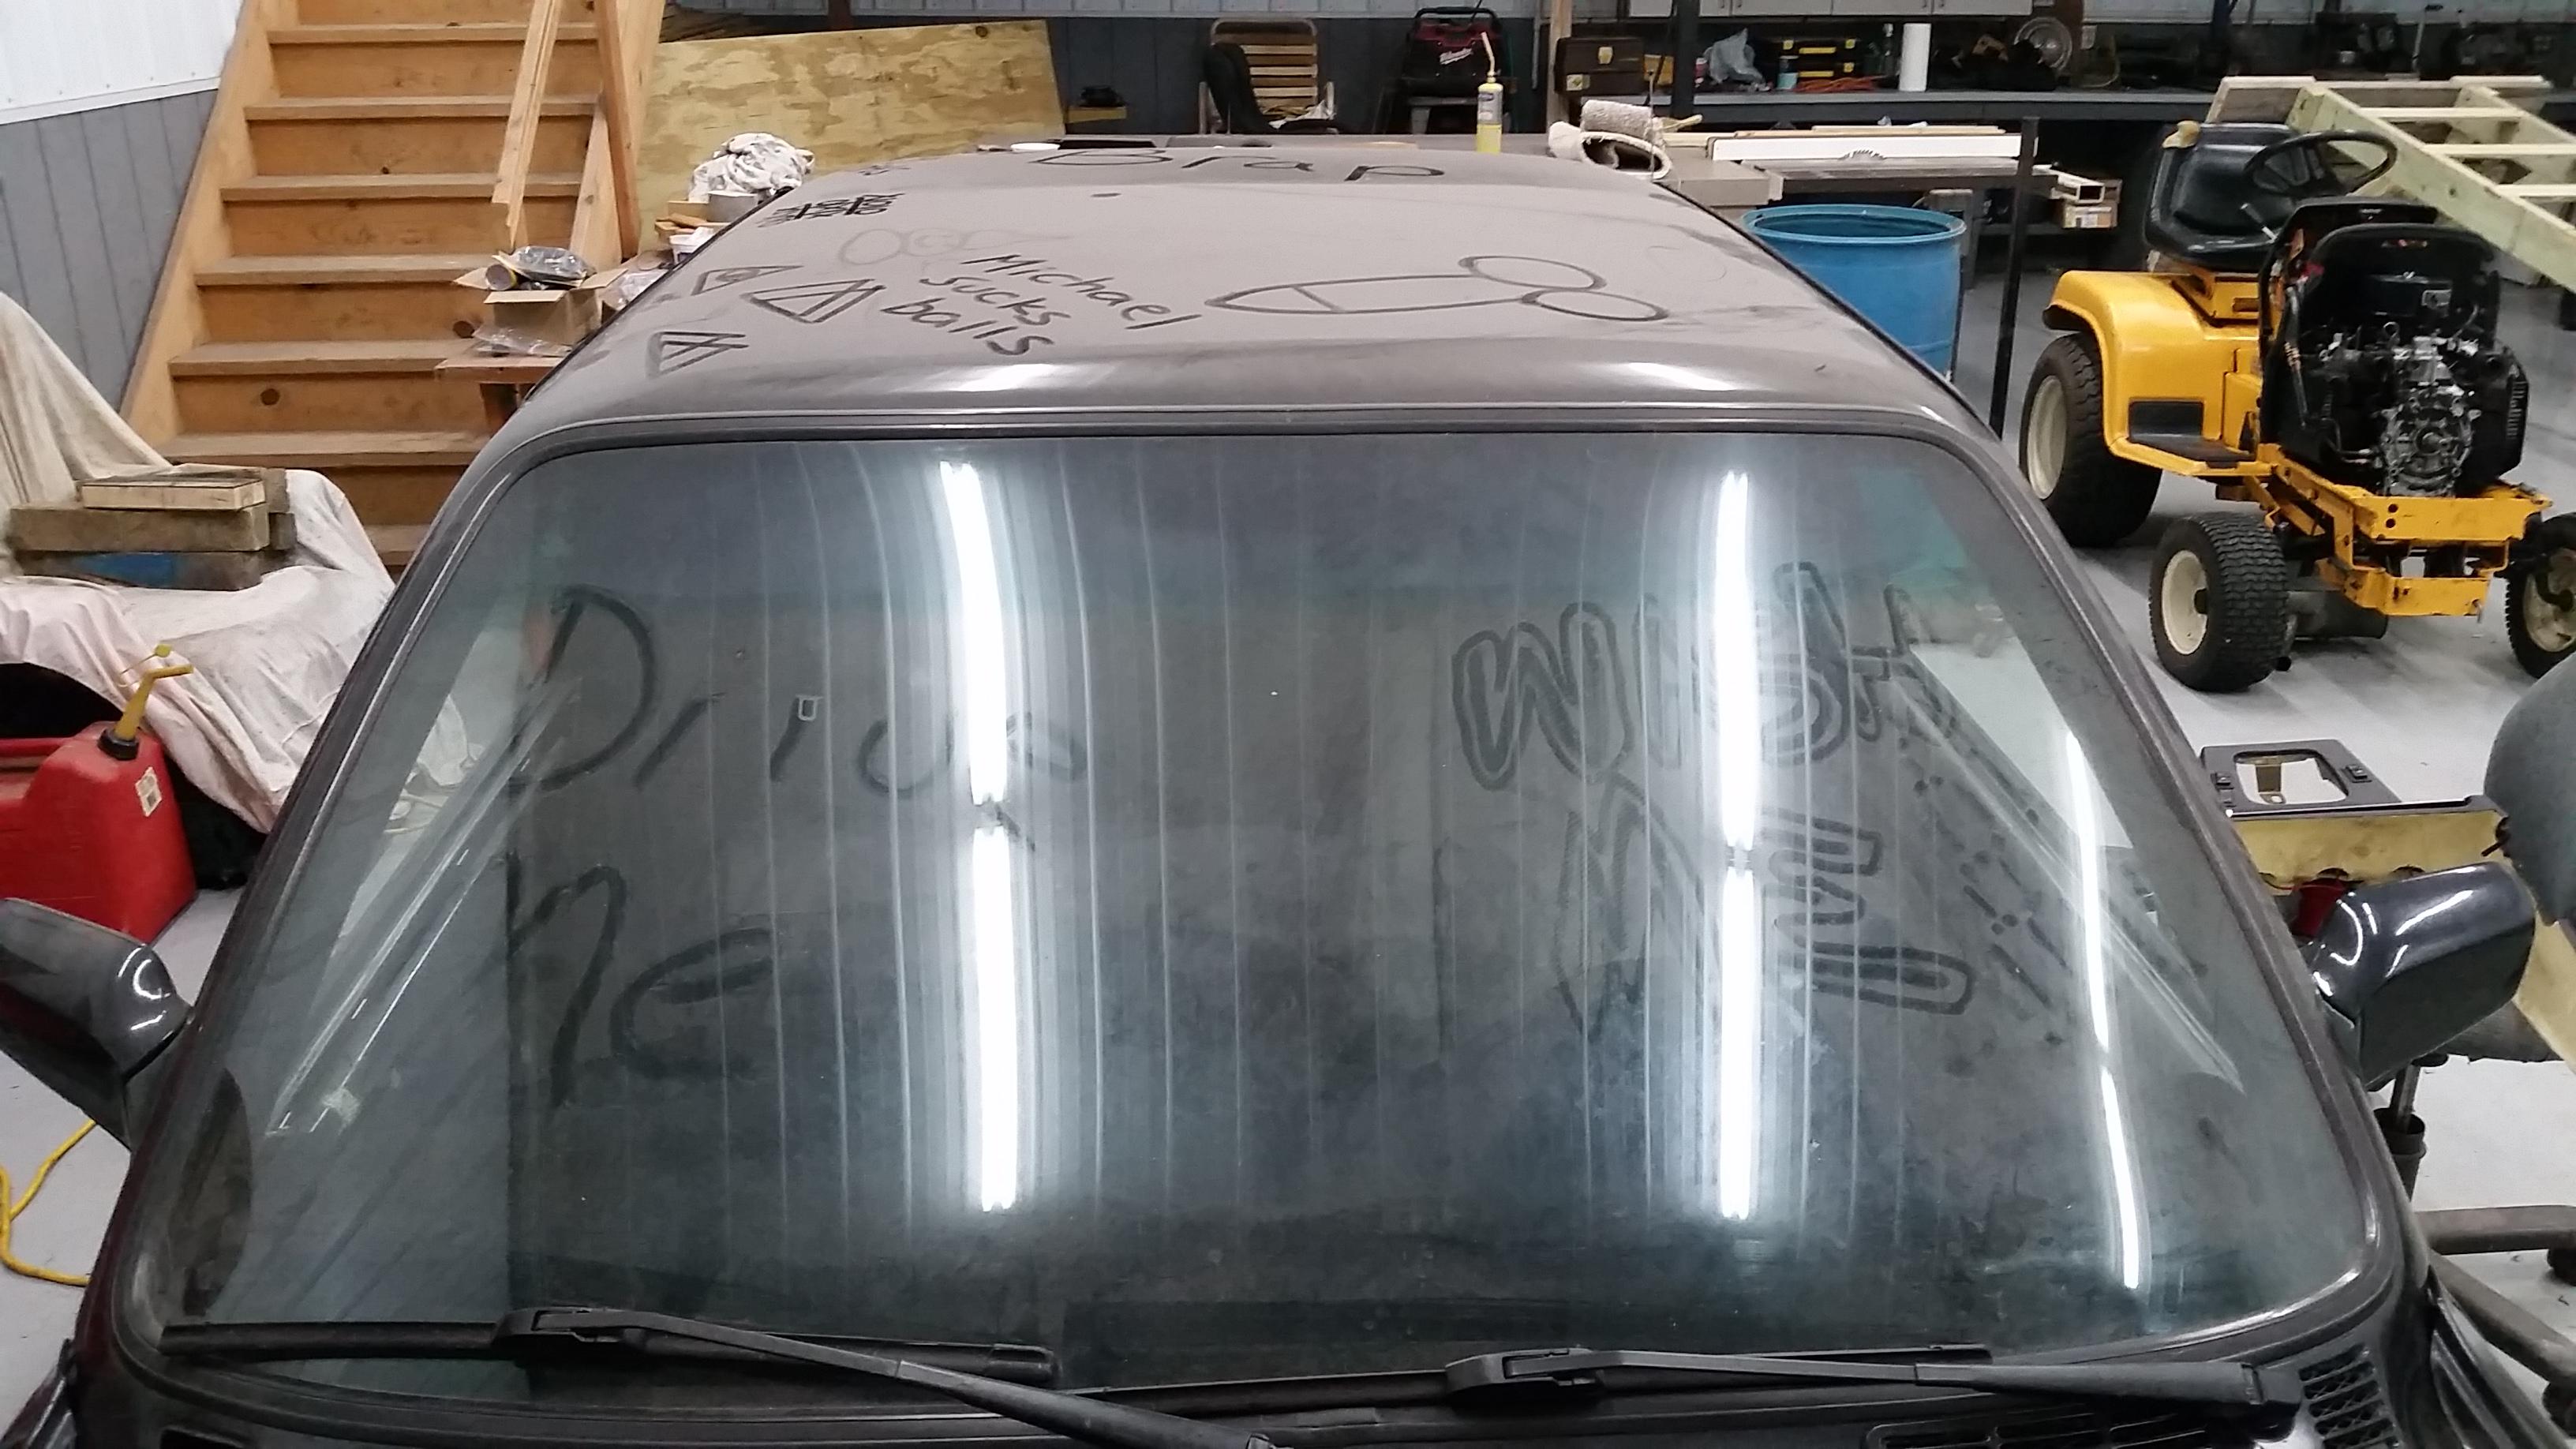
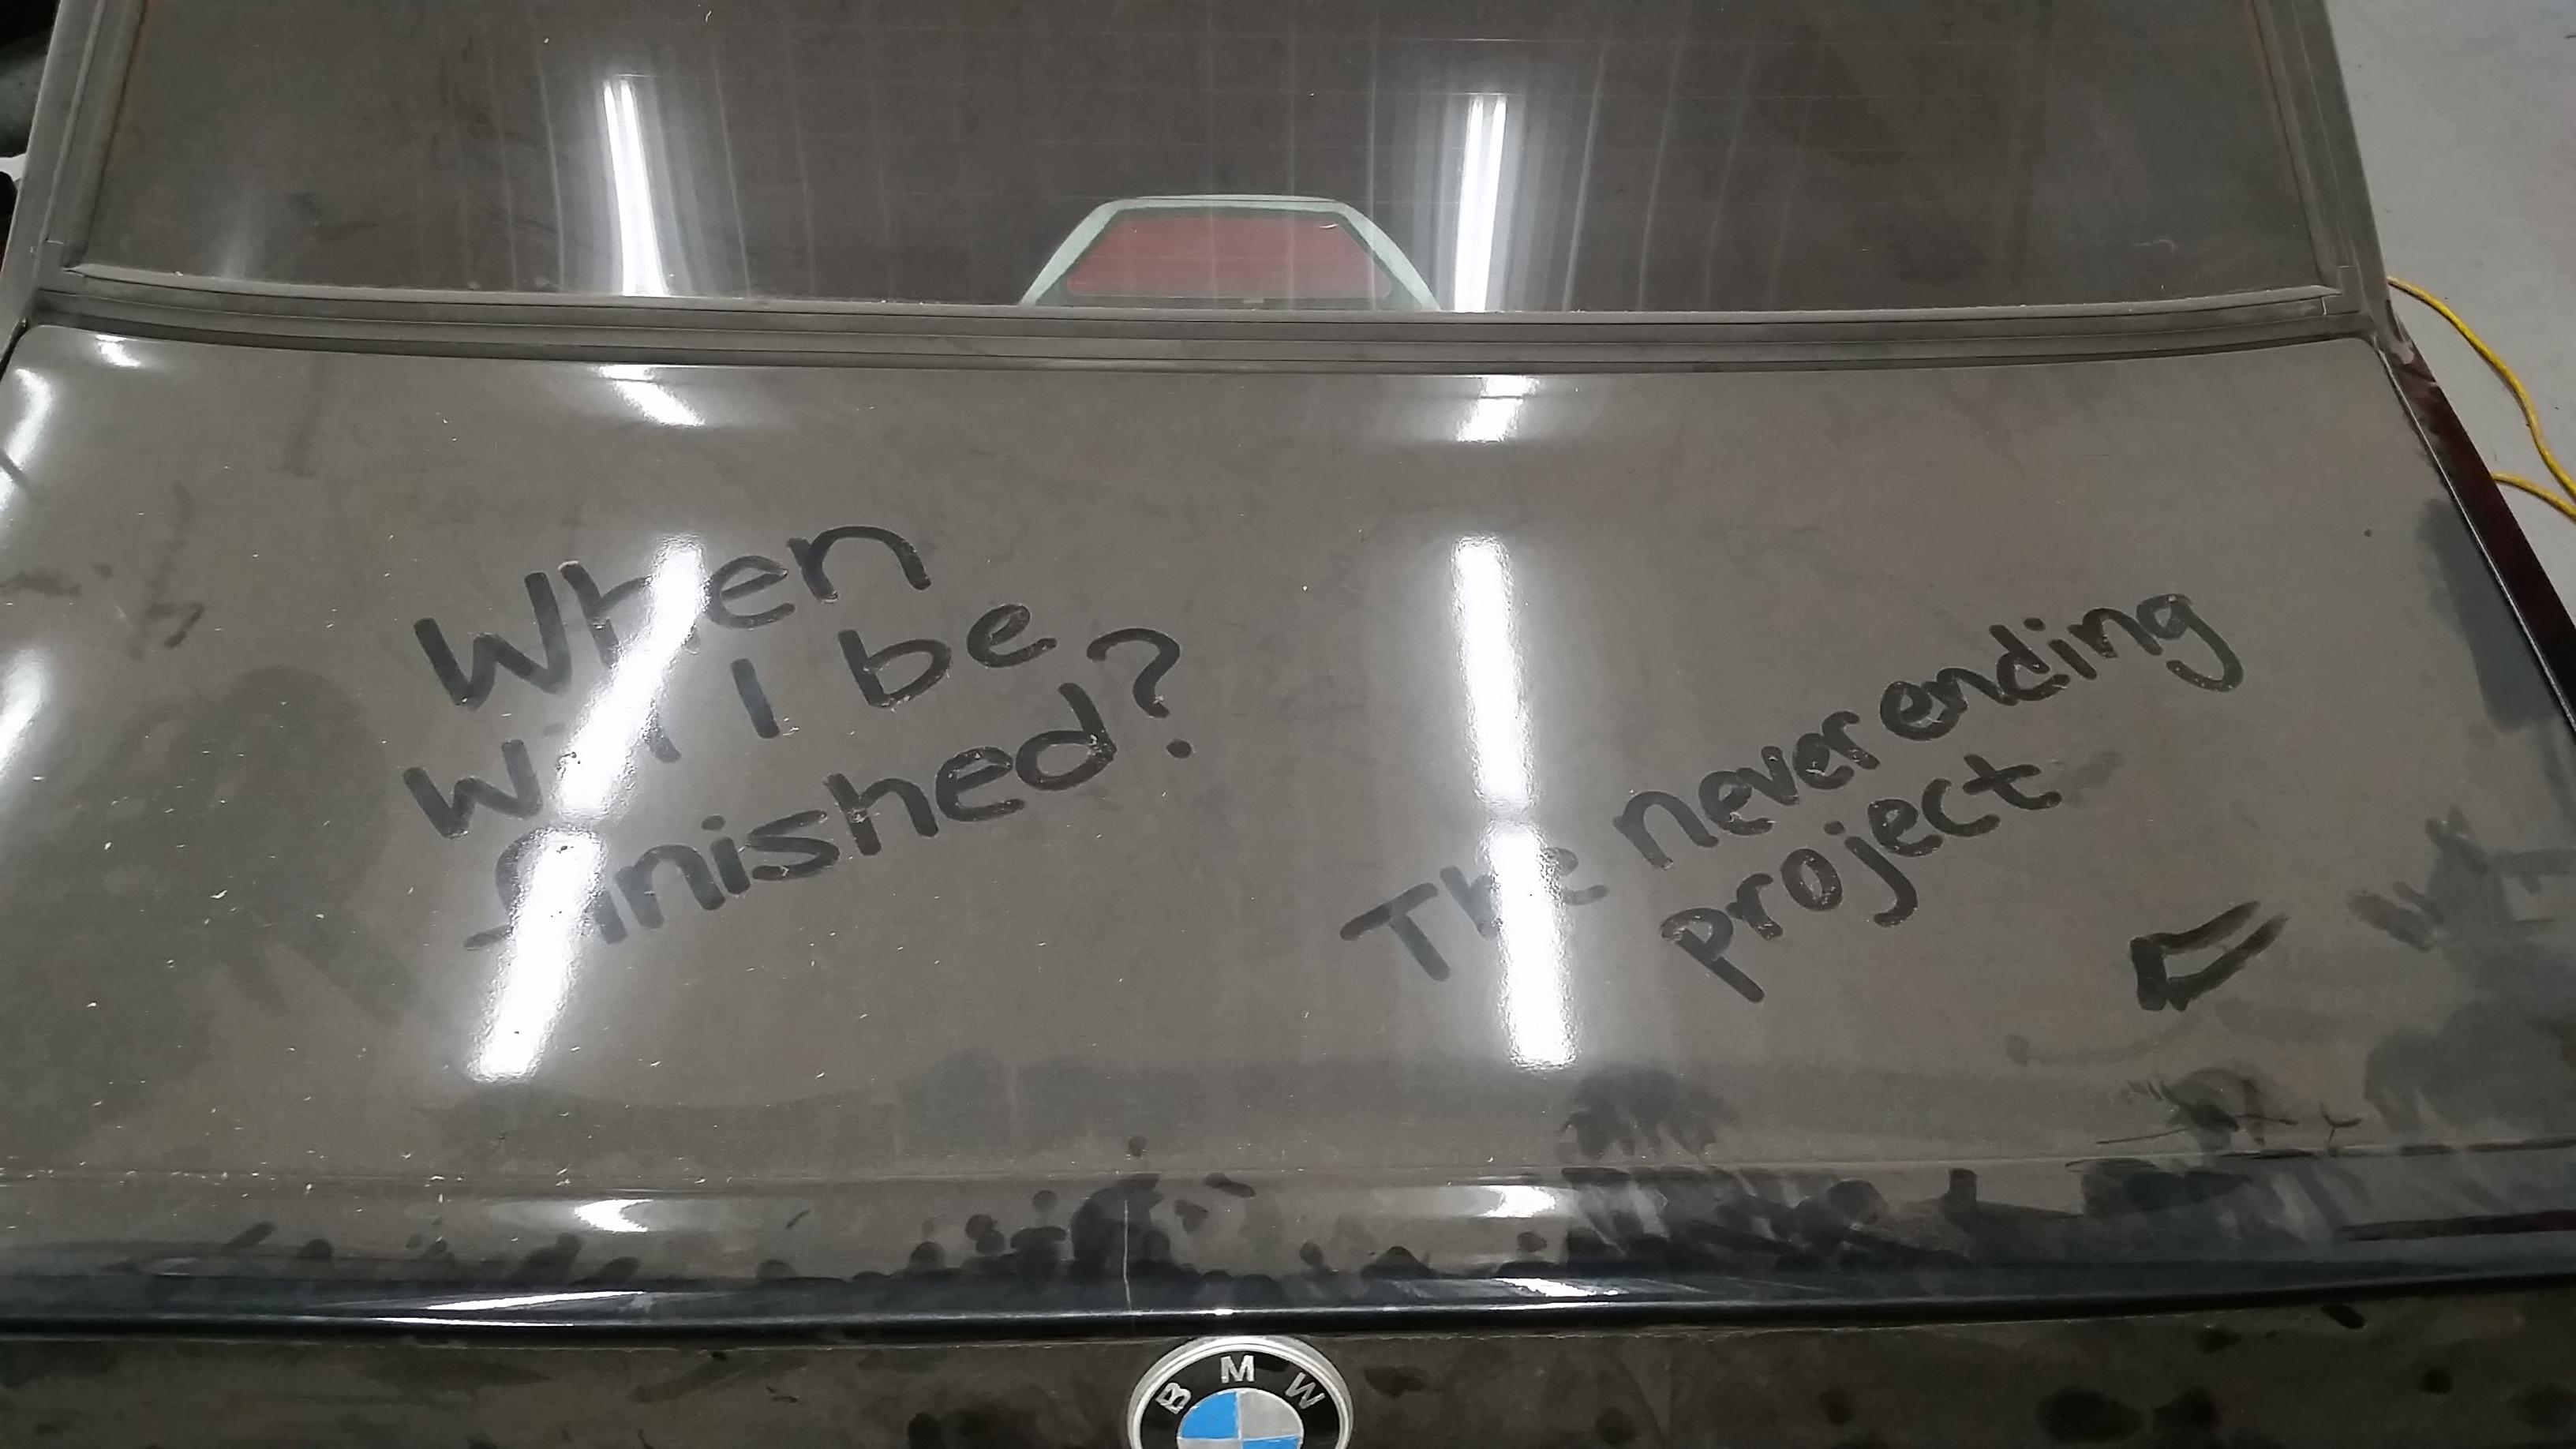
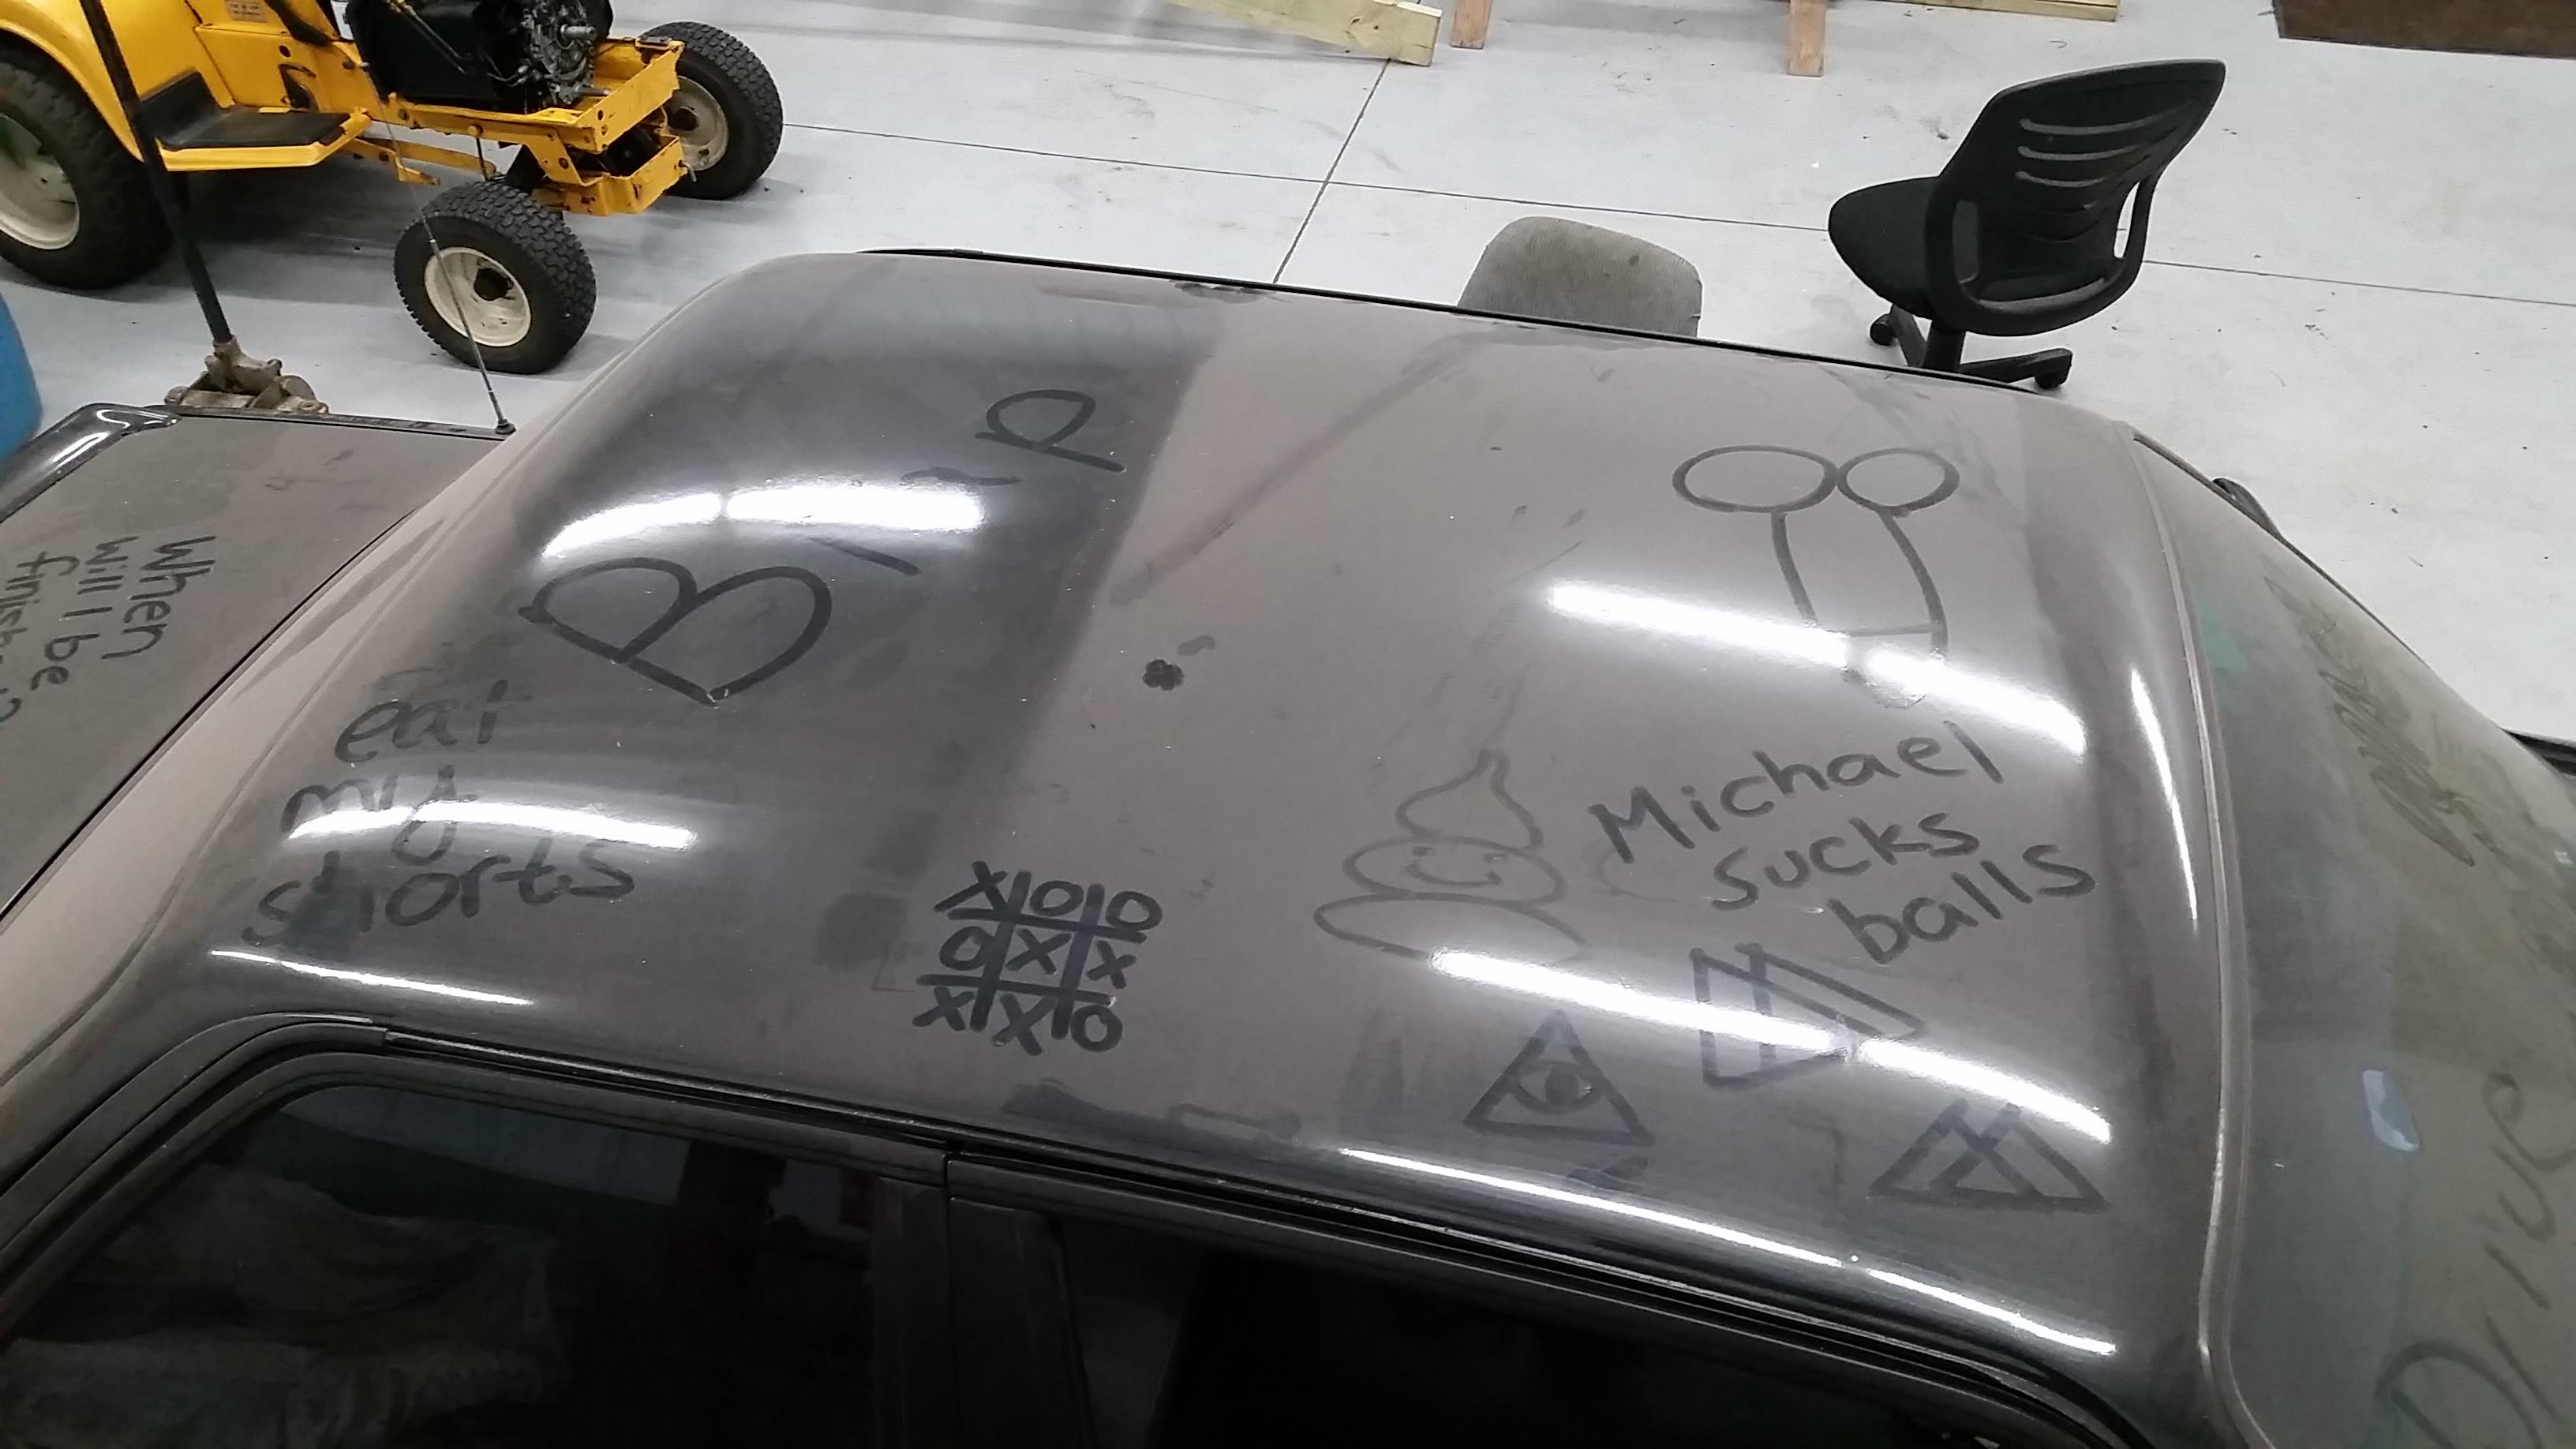
Also, the car badly needs a wash and I have been oh so fortunate of having some great friends who love to write me encouraging notes to keep me motivated.
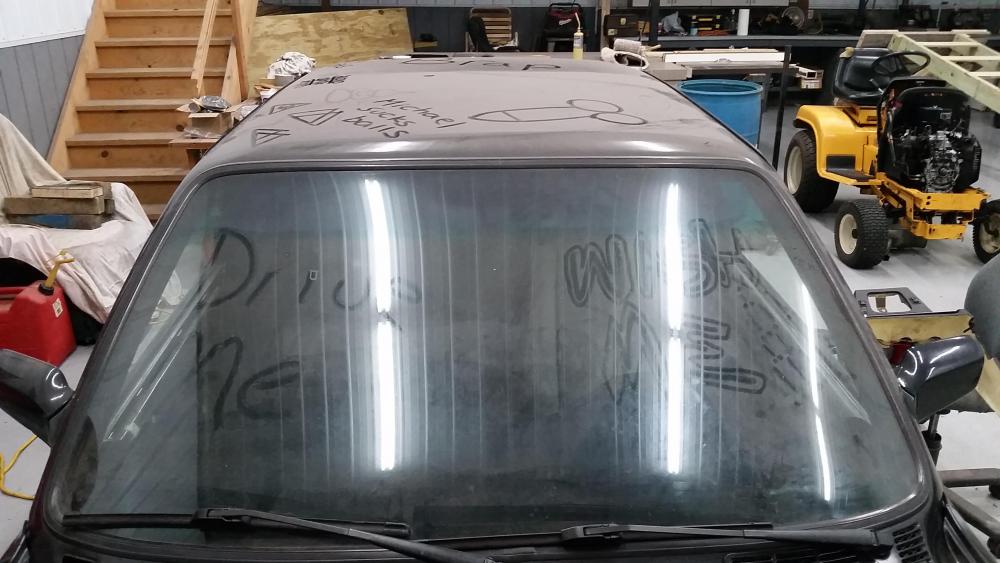
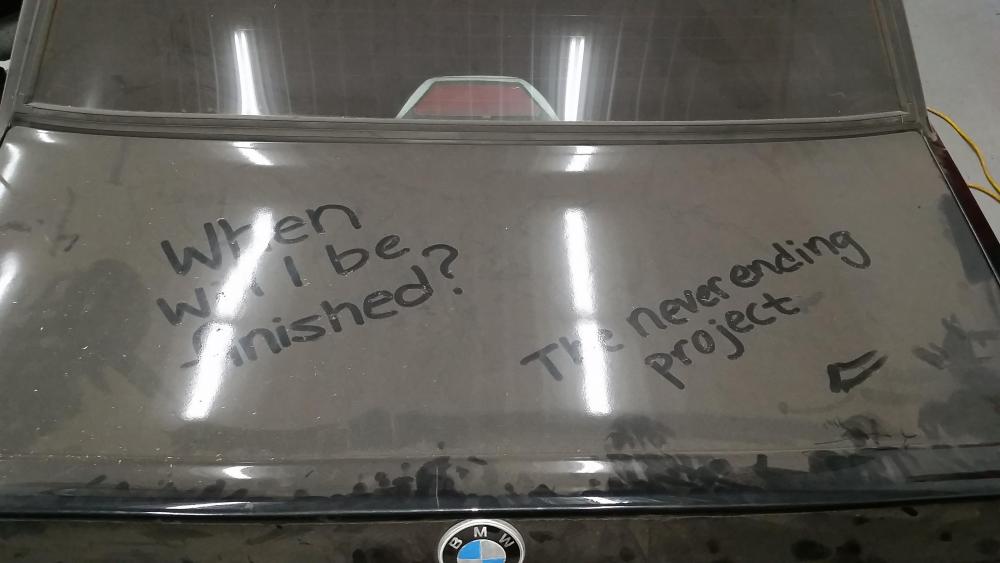
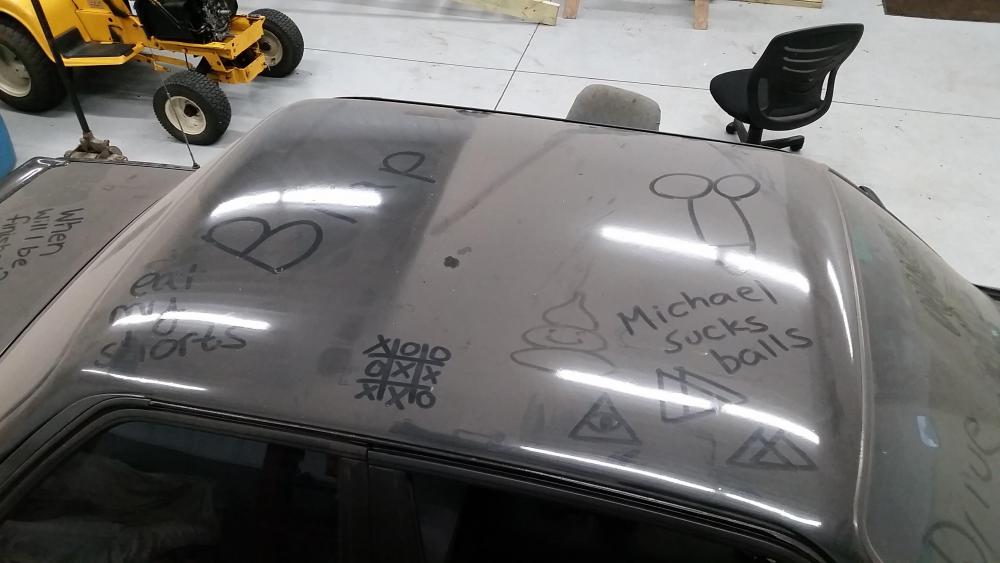
Stay tuned!
-
I see the issue now with the head port confusion for the temp senders. The OBD2 cars only have one M14x1.5 port with a dual function sending unit for ECU and dash gauge. The port you are using was originally for the throttle body heater circuit nipple. OBD1 heads have another M14x1.5 hole between those two, you can see in the casting where it would be. Easiest thing for you is just what you said, buy an M12x1.5 VDO sending unit.
-
Ask @HipMF about how he feels when people write things in dust.
Nothing quite like having 3/4 of a gentleman's sausage etched into your paint that doesn't wash off. -
After washing:

Scrubbing, Prep-All, and Simple Green all failed to take it off. Aggressive clay barring worked.
When the car got painted I was gonna go ahead and do a wet sand and buff a few days after, Buuttt life happened and being that it is quite the tedious job I never got around to do doing it. That's why I didn't really flip shit over it as it is still on the list to do after all is done.
-
@GunMetalGrey graduated from Hand drawn cocks into beautifully crafted wooden cocks
-
Updates have been lacking as usual. A lot has happened in the last couple weeks so it's been tough for me to get enough motivation to finally type out an update and get yall caught up.
Enough with the blah... Yets go back to where we left off.
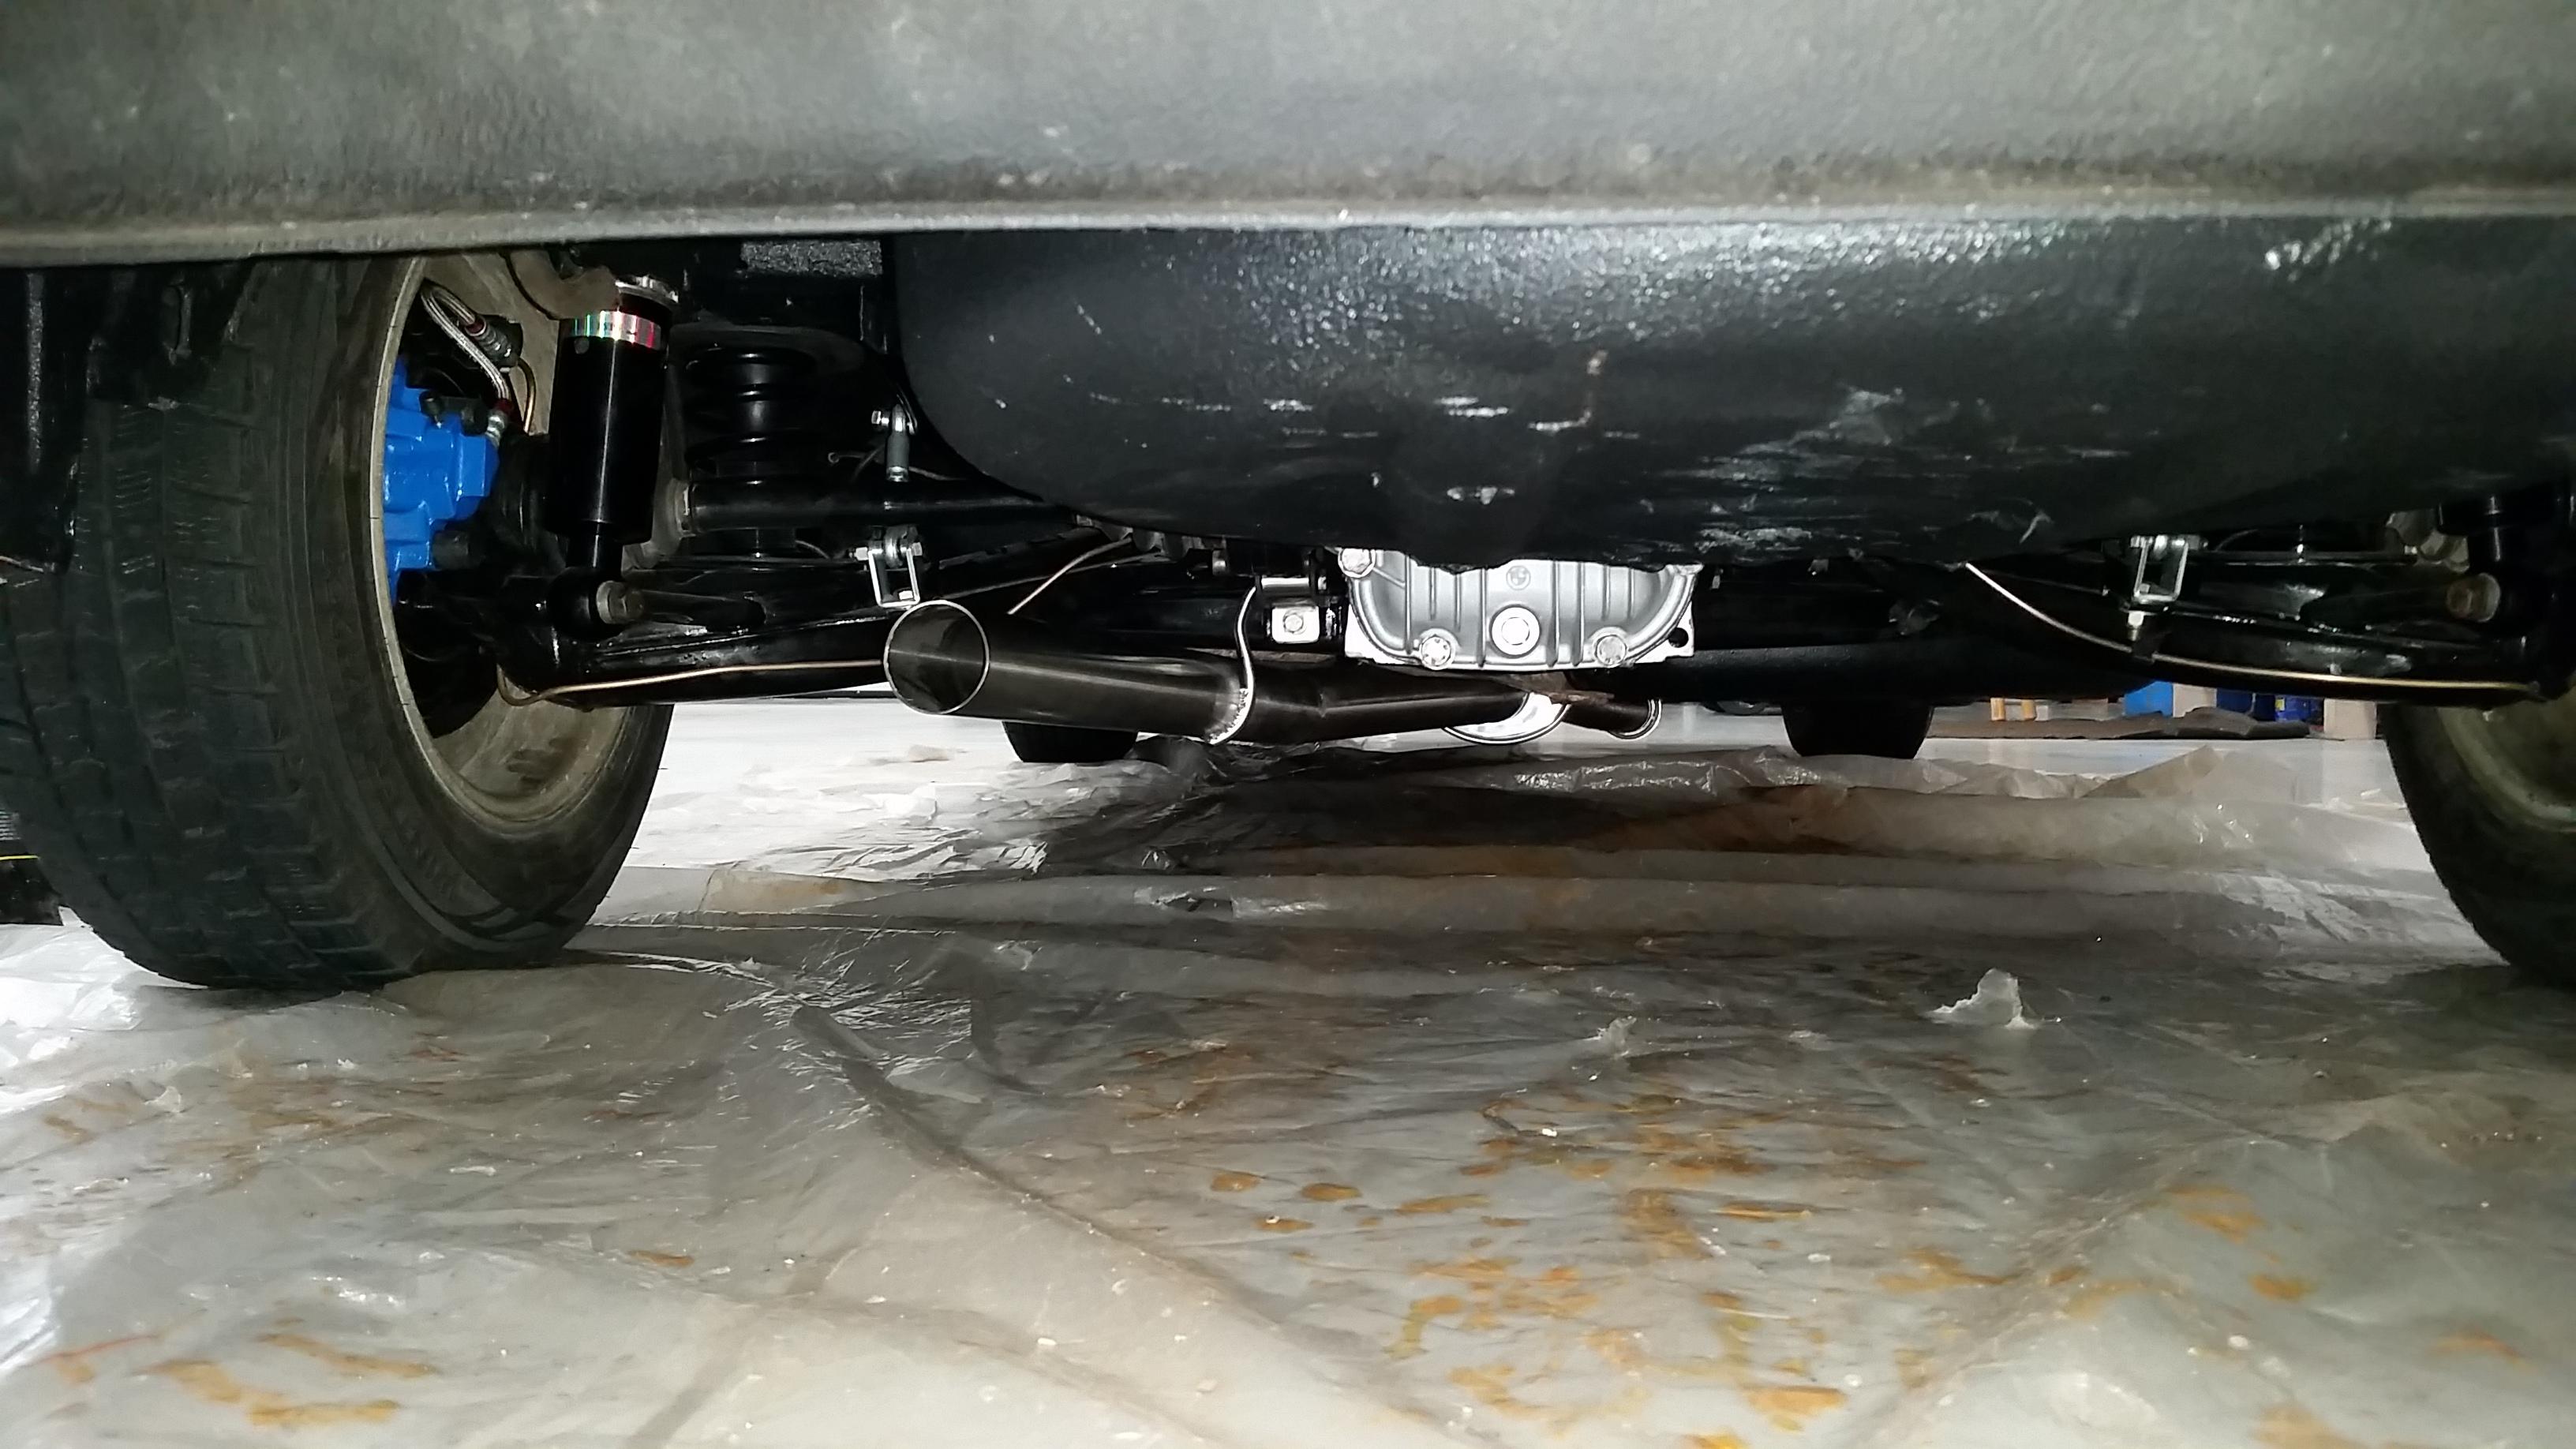
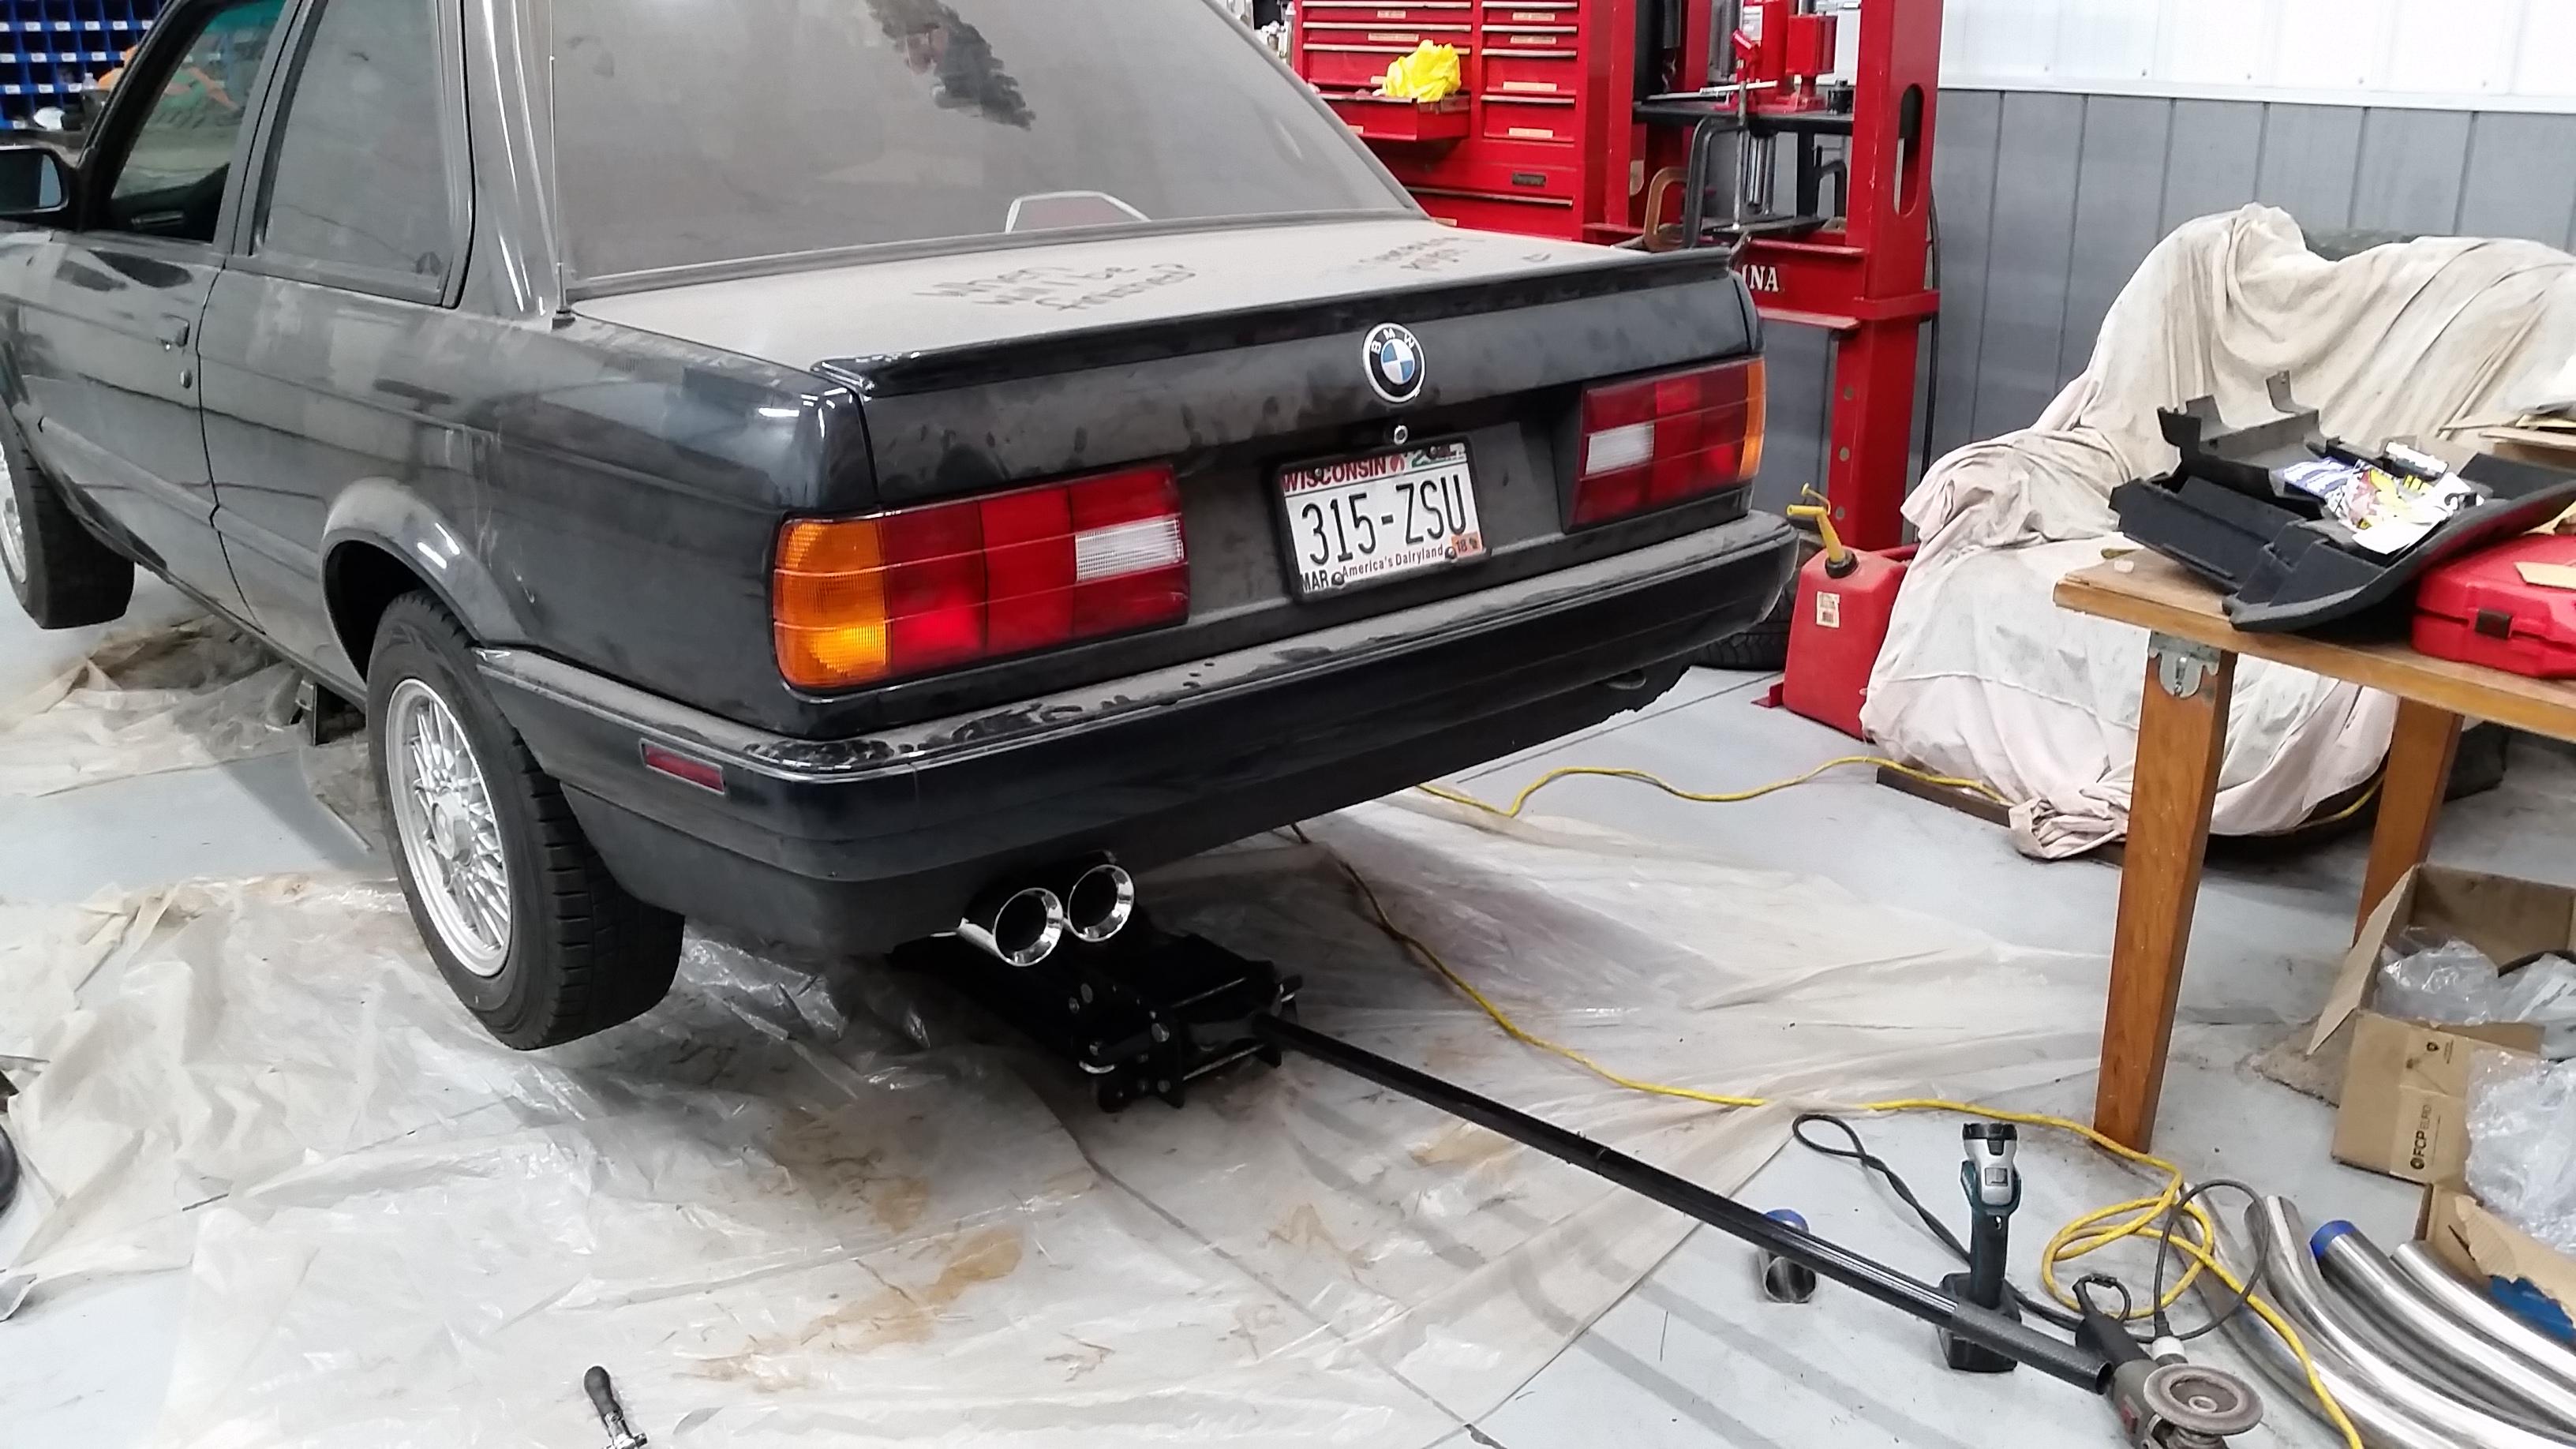
Muffler/exhaust finished up.
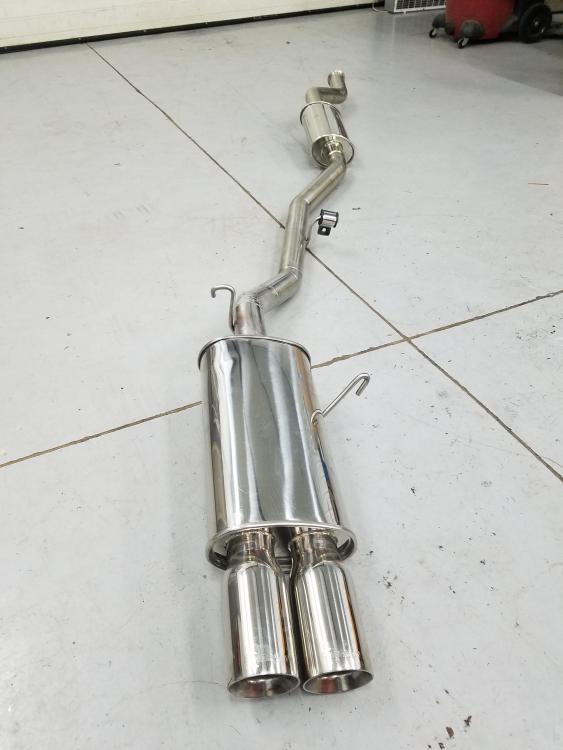
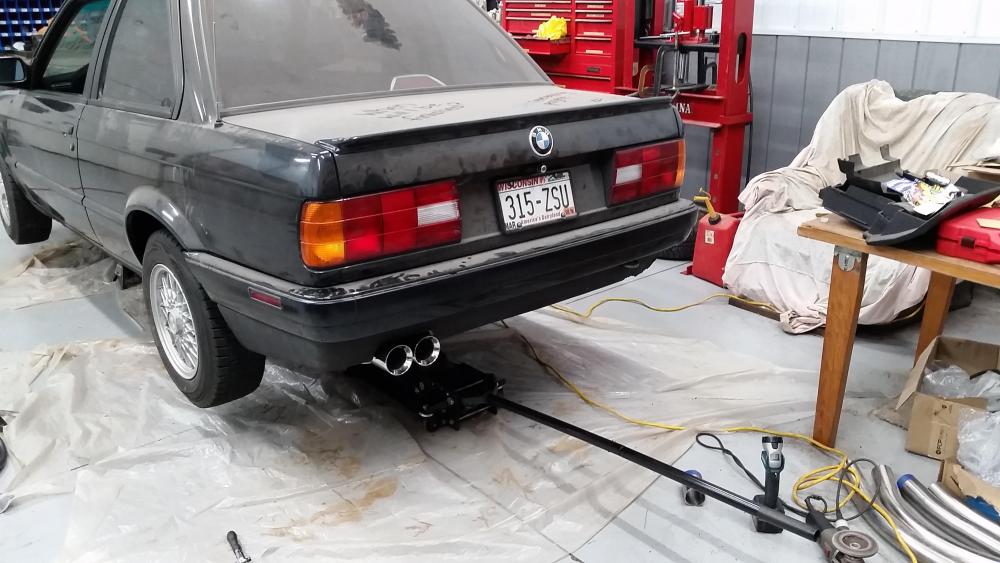
Couldn't be more happy with the final results and the sound is exactly what I wanted. Being that this was a 318, I did have to cut the exhuast hole on the rear valance larger so I could fit the two muffler tips through.
Gauges wired up and installed.
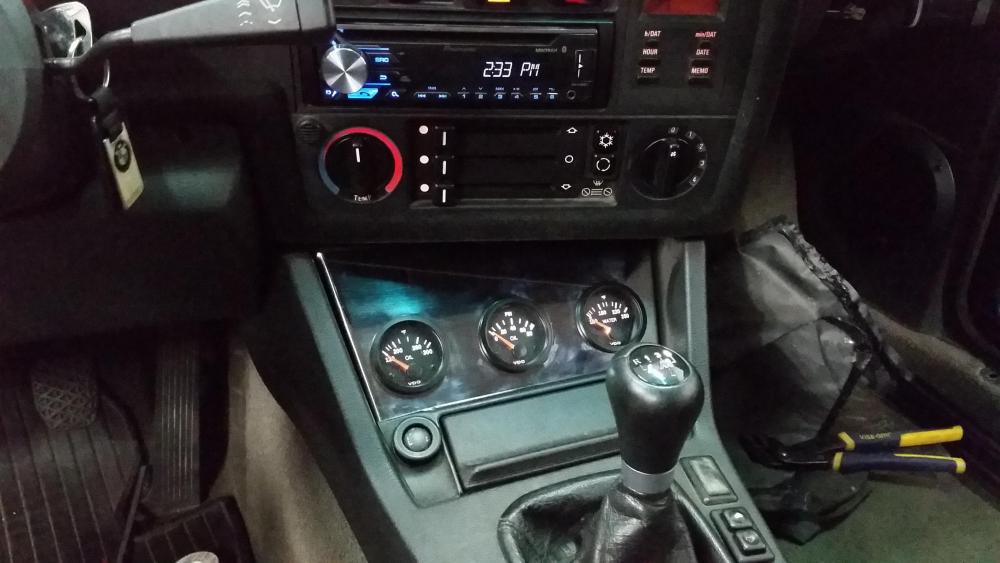
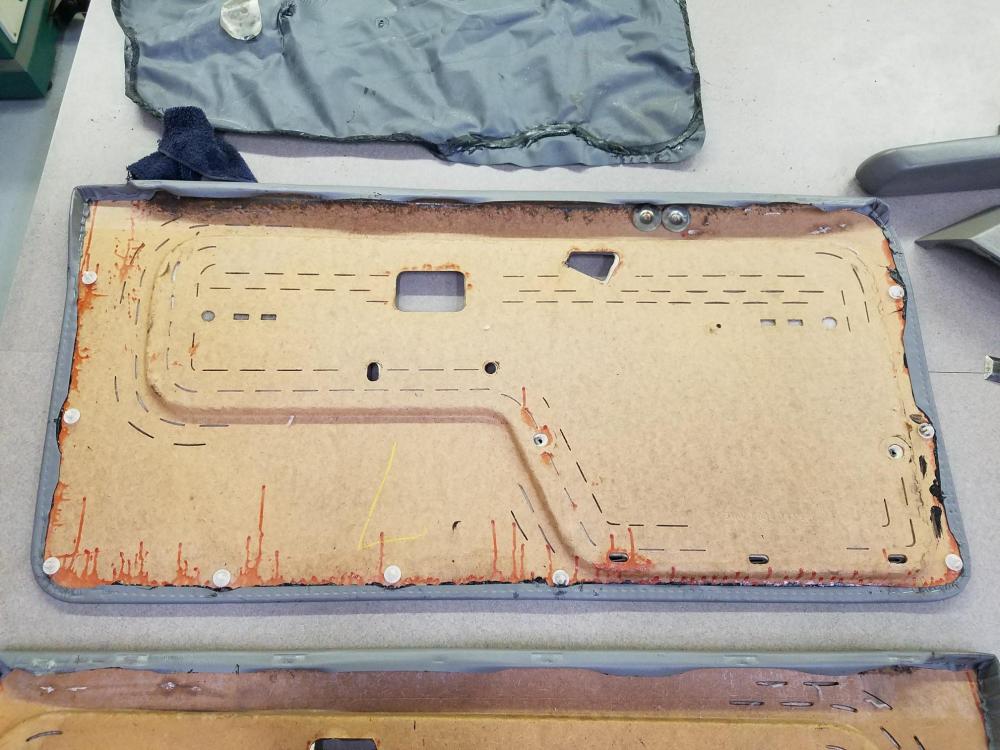
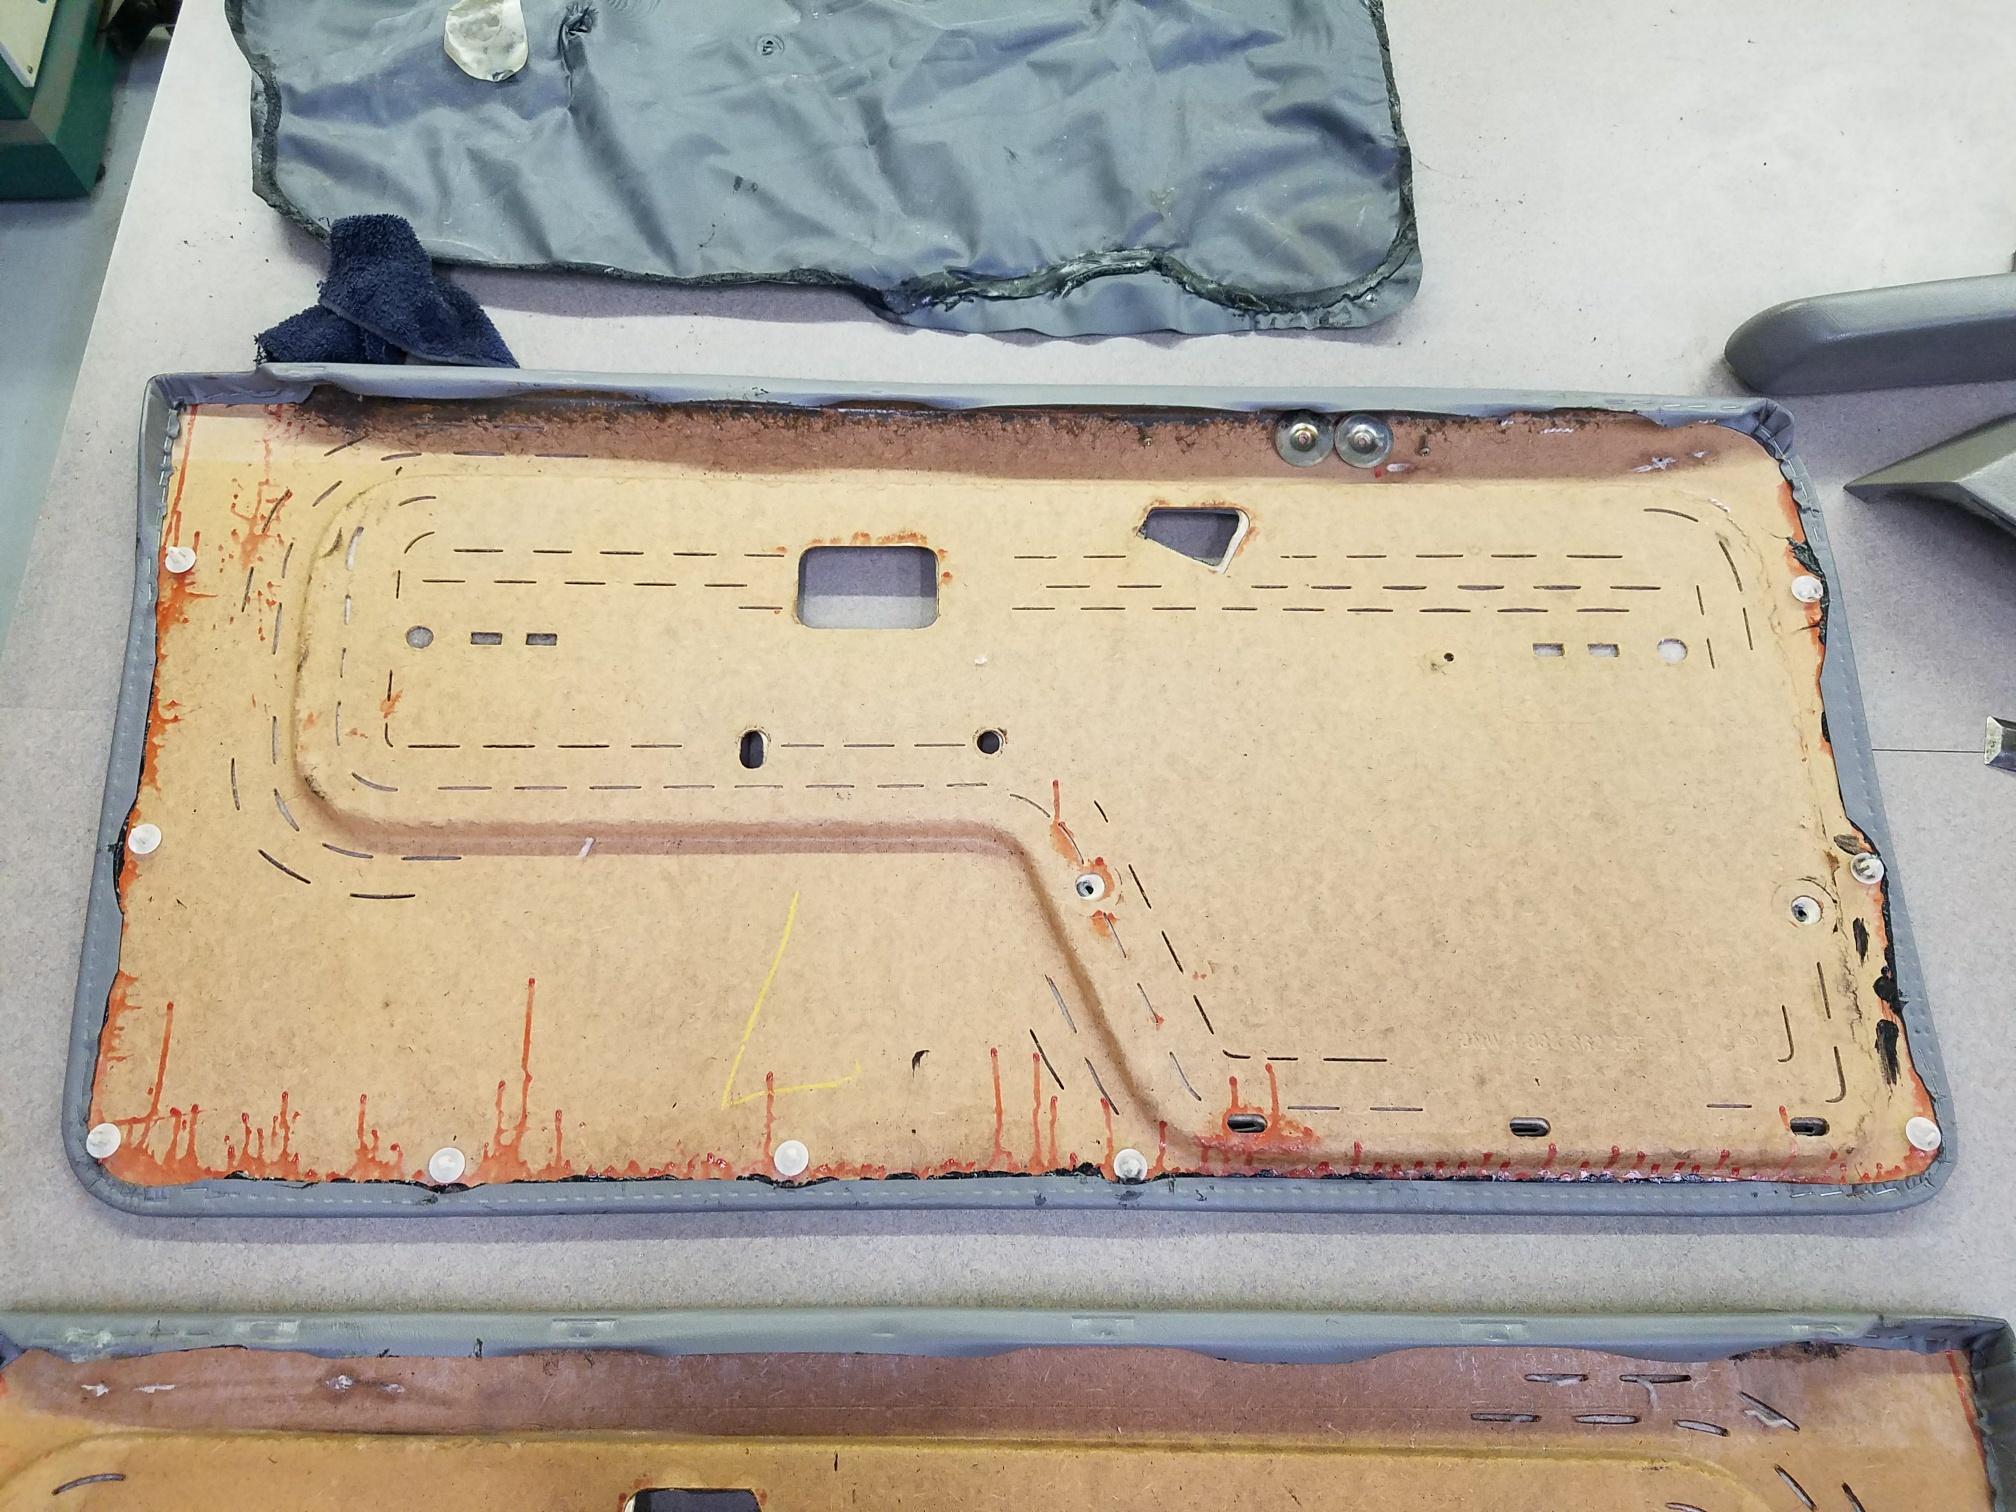
I did end up finding some 3m weatherstripping adhesive at my local auto parts store that I was recommended to try for the vinyl on the door cards and it worked perfect. The stuff is fairly expensive but it was well worth it, I don't see this stuff coming lose ever again now.
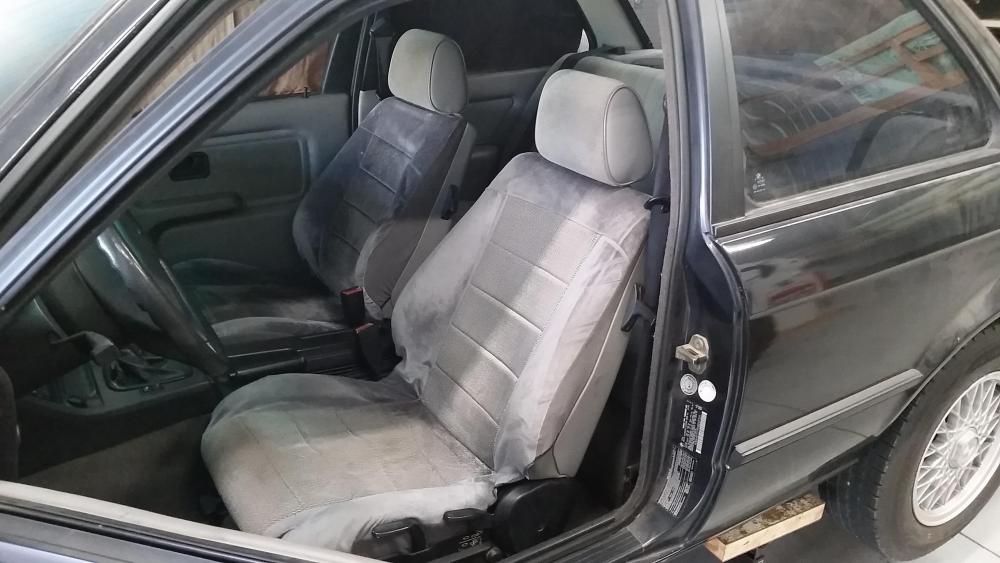
Seats covered and installed. Had to take some of the pieces off the old seats to make these ones fit in and make all the adjustments work properly. Not the best but it will do for now.
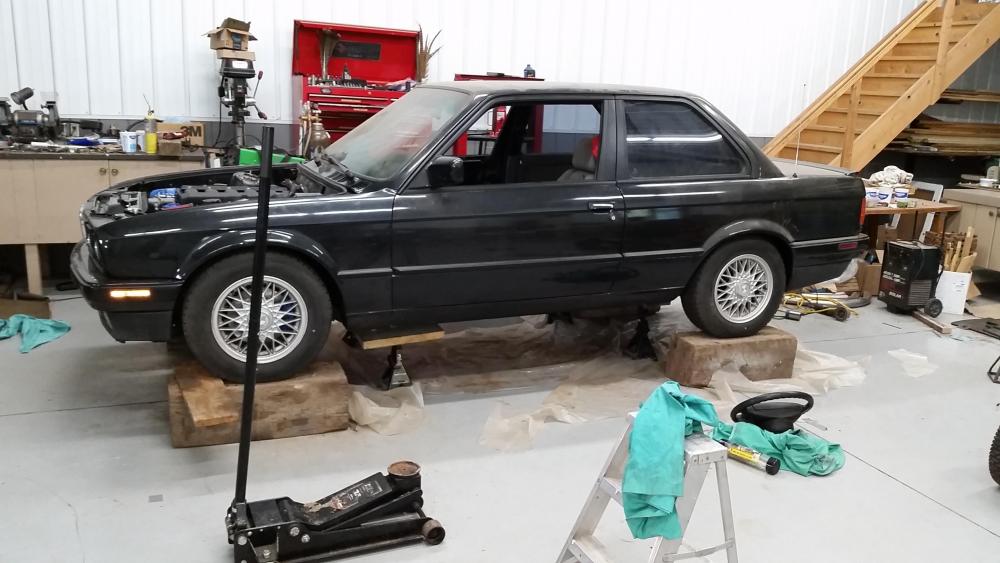
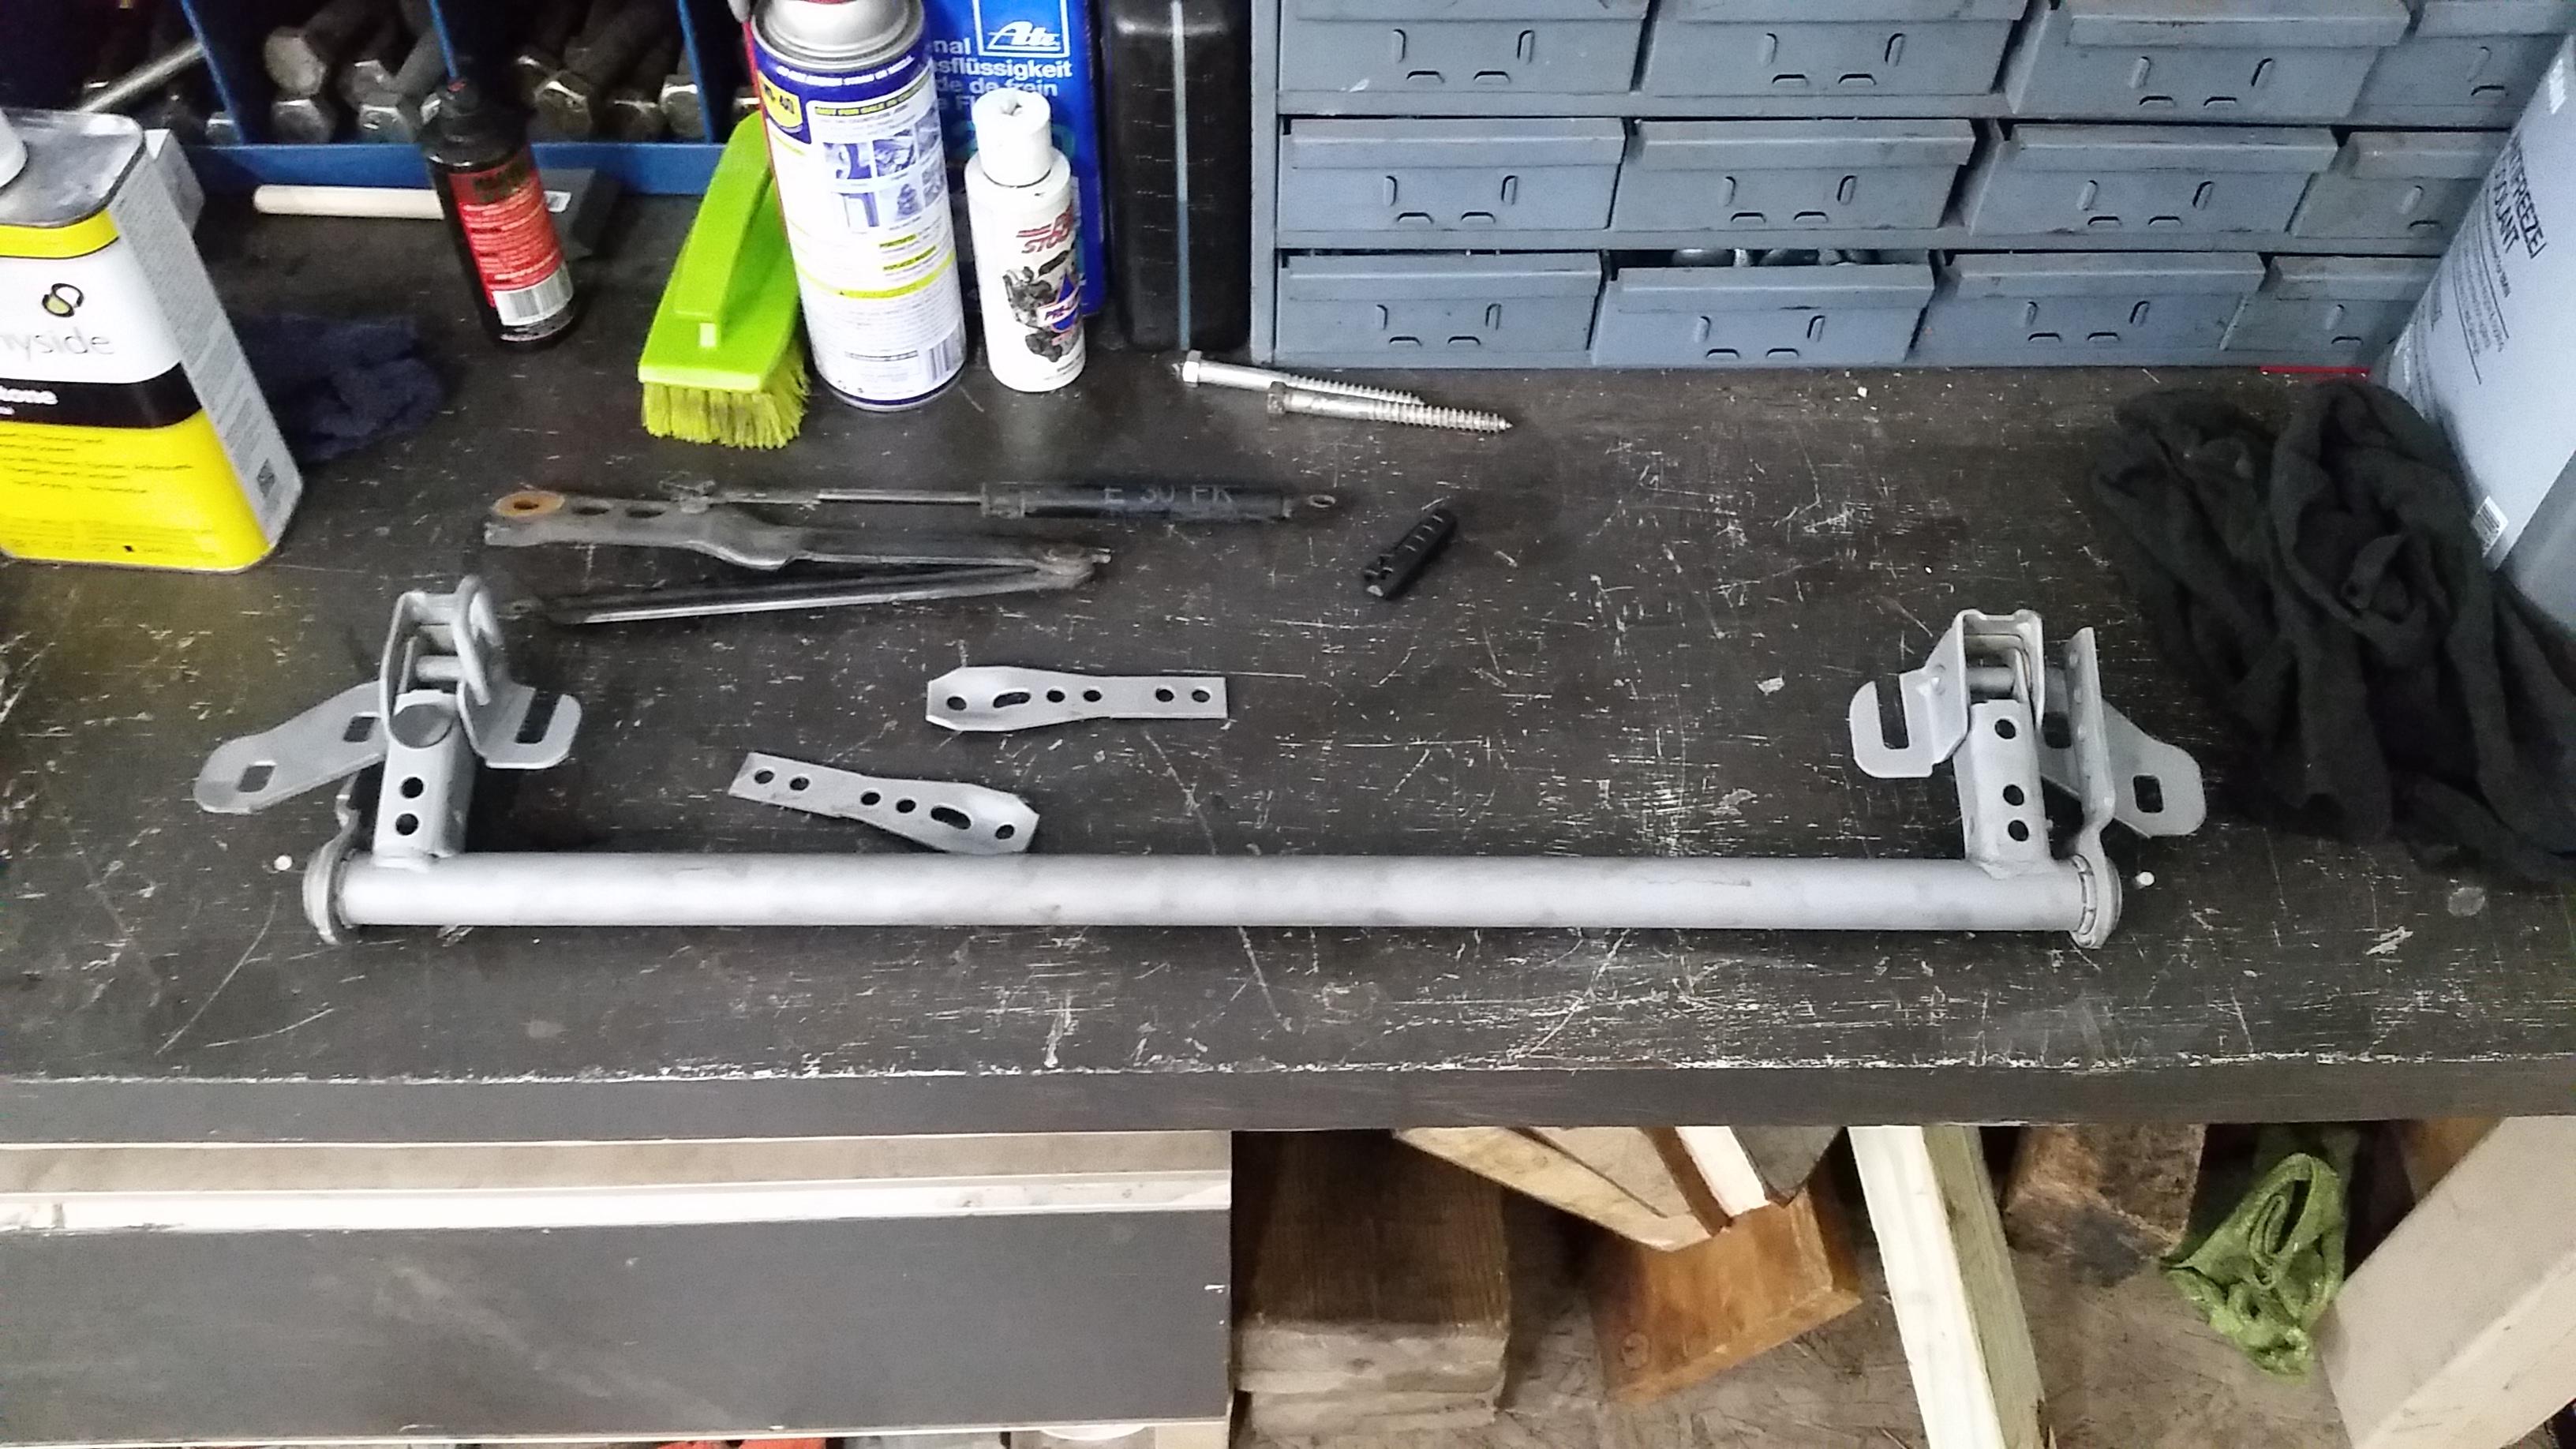
After installing the seats and exhaust I went ahead and placed the car on 4 wood blocks we had laying around the shop and set the pre-load on the swaybars.
After pre-load was set I went ahead and placed it back on the ground and took it out for a little test drive around the block to break the motor in.
I ran it for two 25-30 minute sessions letting the engine cool down completely in between. Engine ran great both times and felt awesome! No I didn't baby it while I was driving it around and in fact did the exact opposite and did several strong pulls in 2nd and 3rd gear letting off the gas and letting the engine slow the car down to help pull the piston rings out and bed in properly. After the second session I gave my head gasket leak a good inspection, still leakin

So, out of frustration I took the following day off work and decided to get the dumb thing whipped out so I can put it behind me and move on to other things.
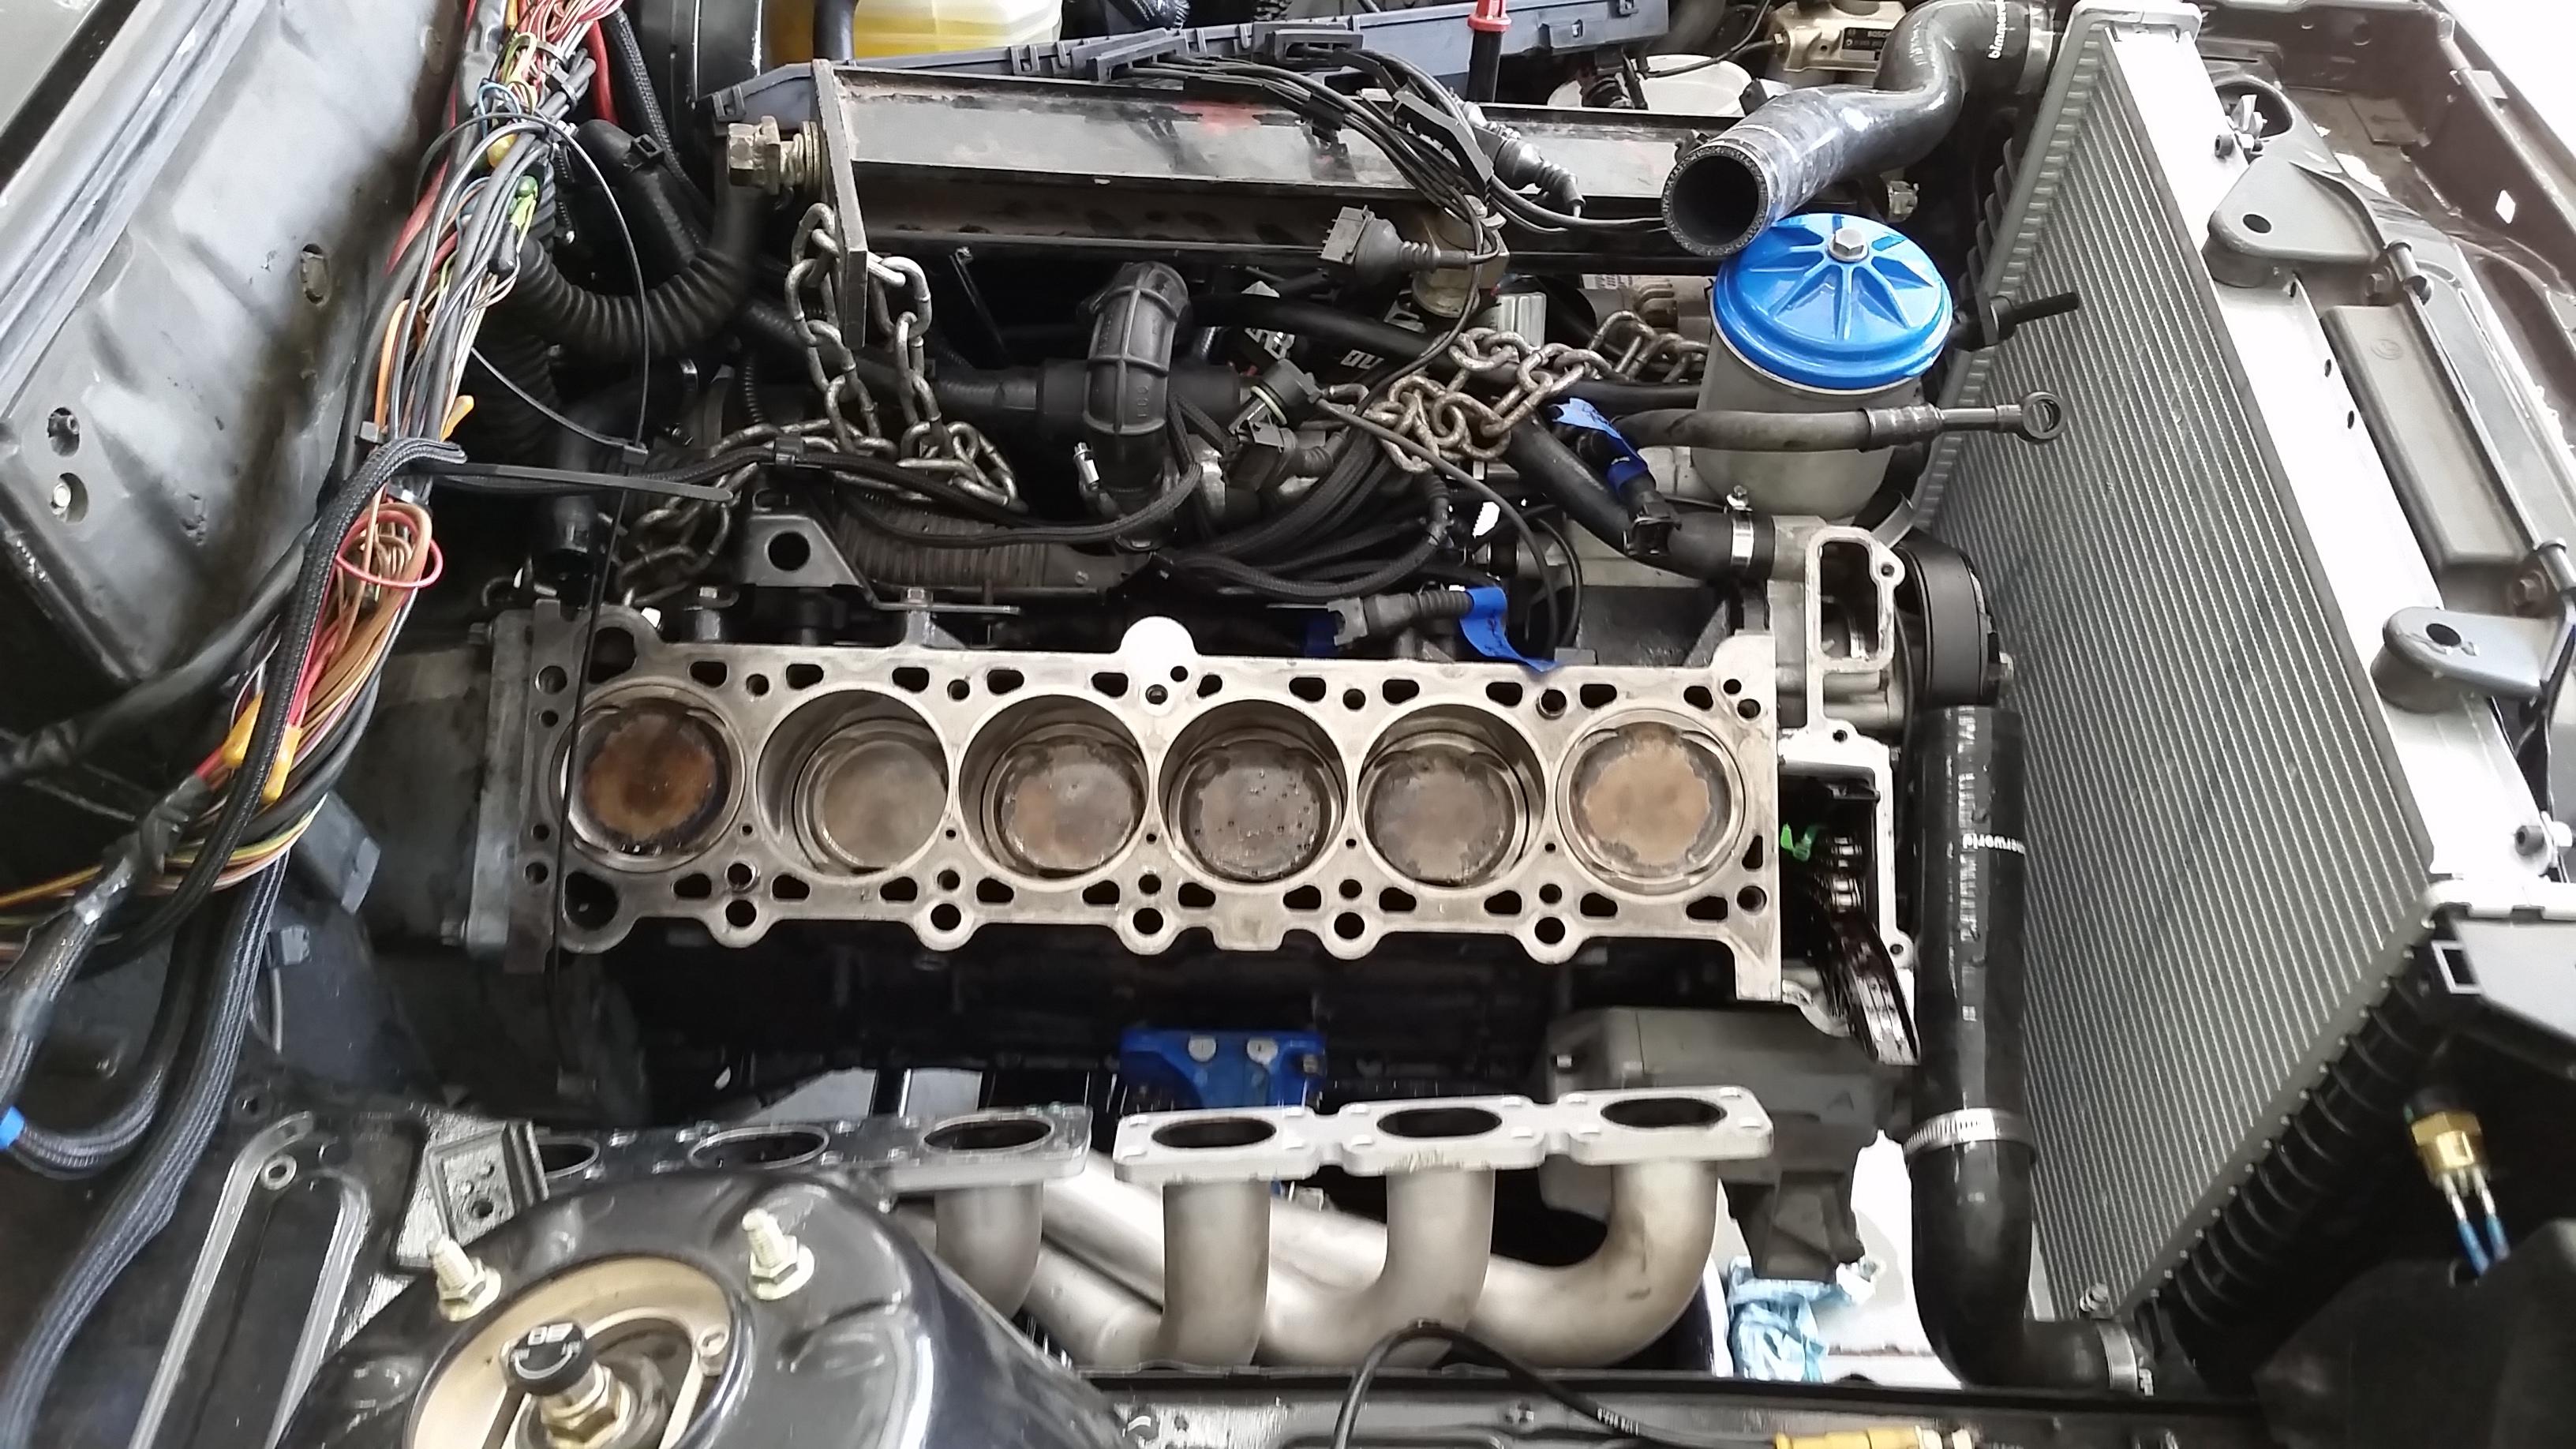
I started bright and early and began dissembling the engine to get ready to pull the head.
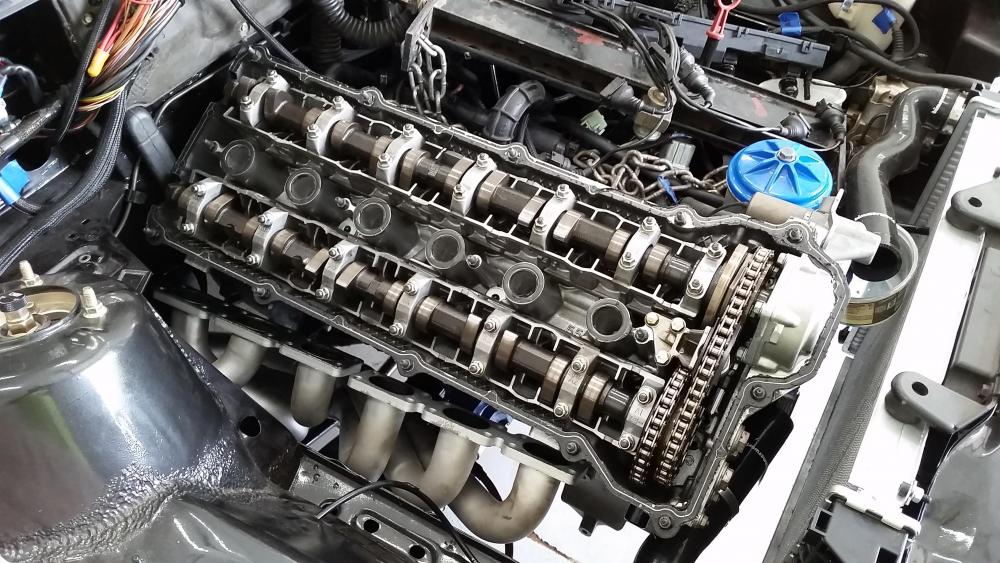
It took me tell about lunch time to get everything dissembled and ready for the head to be pulled off... and done.
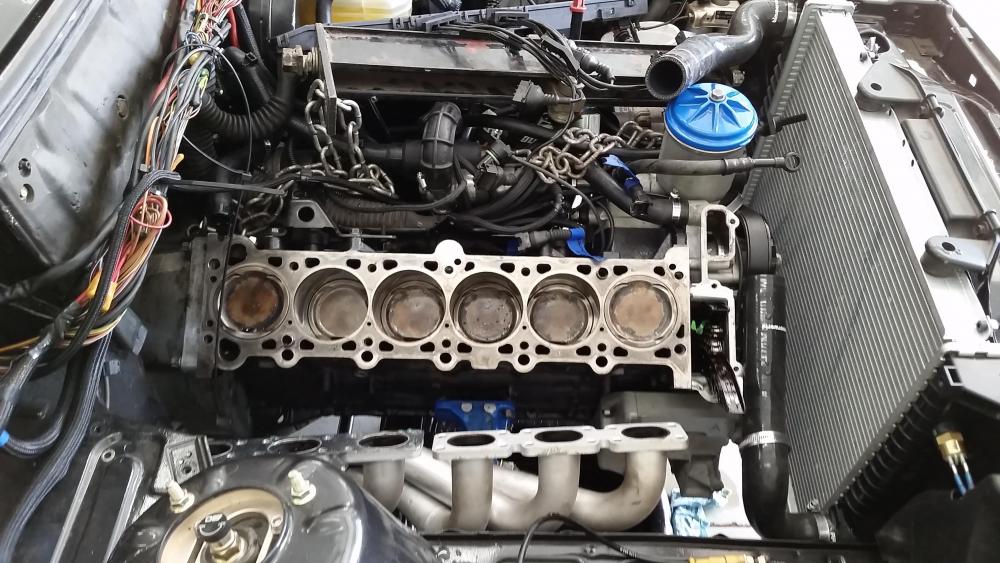
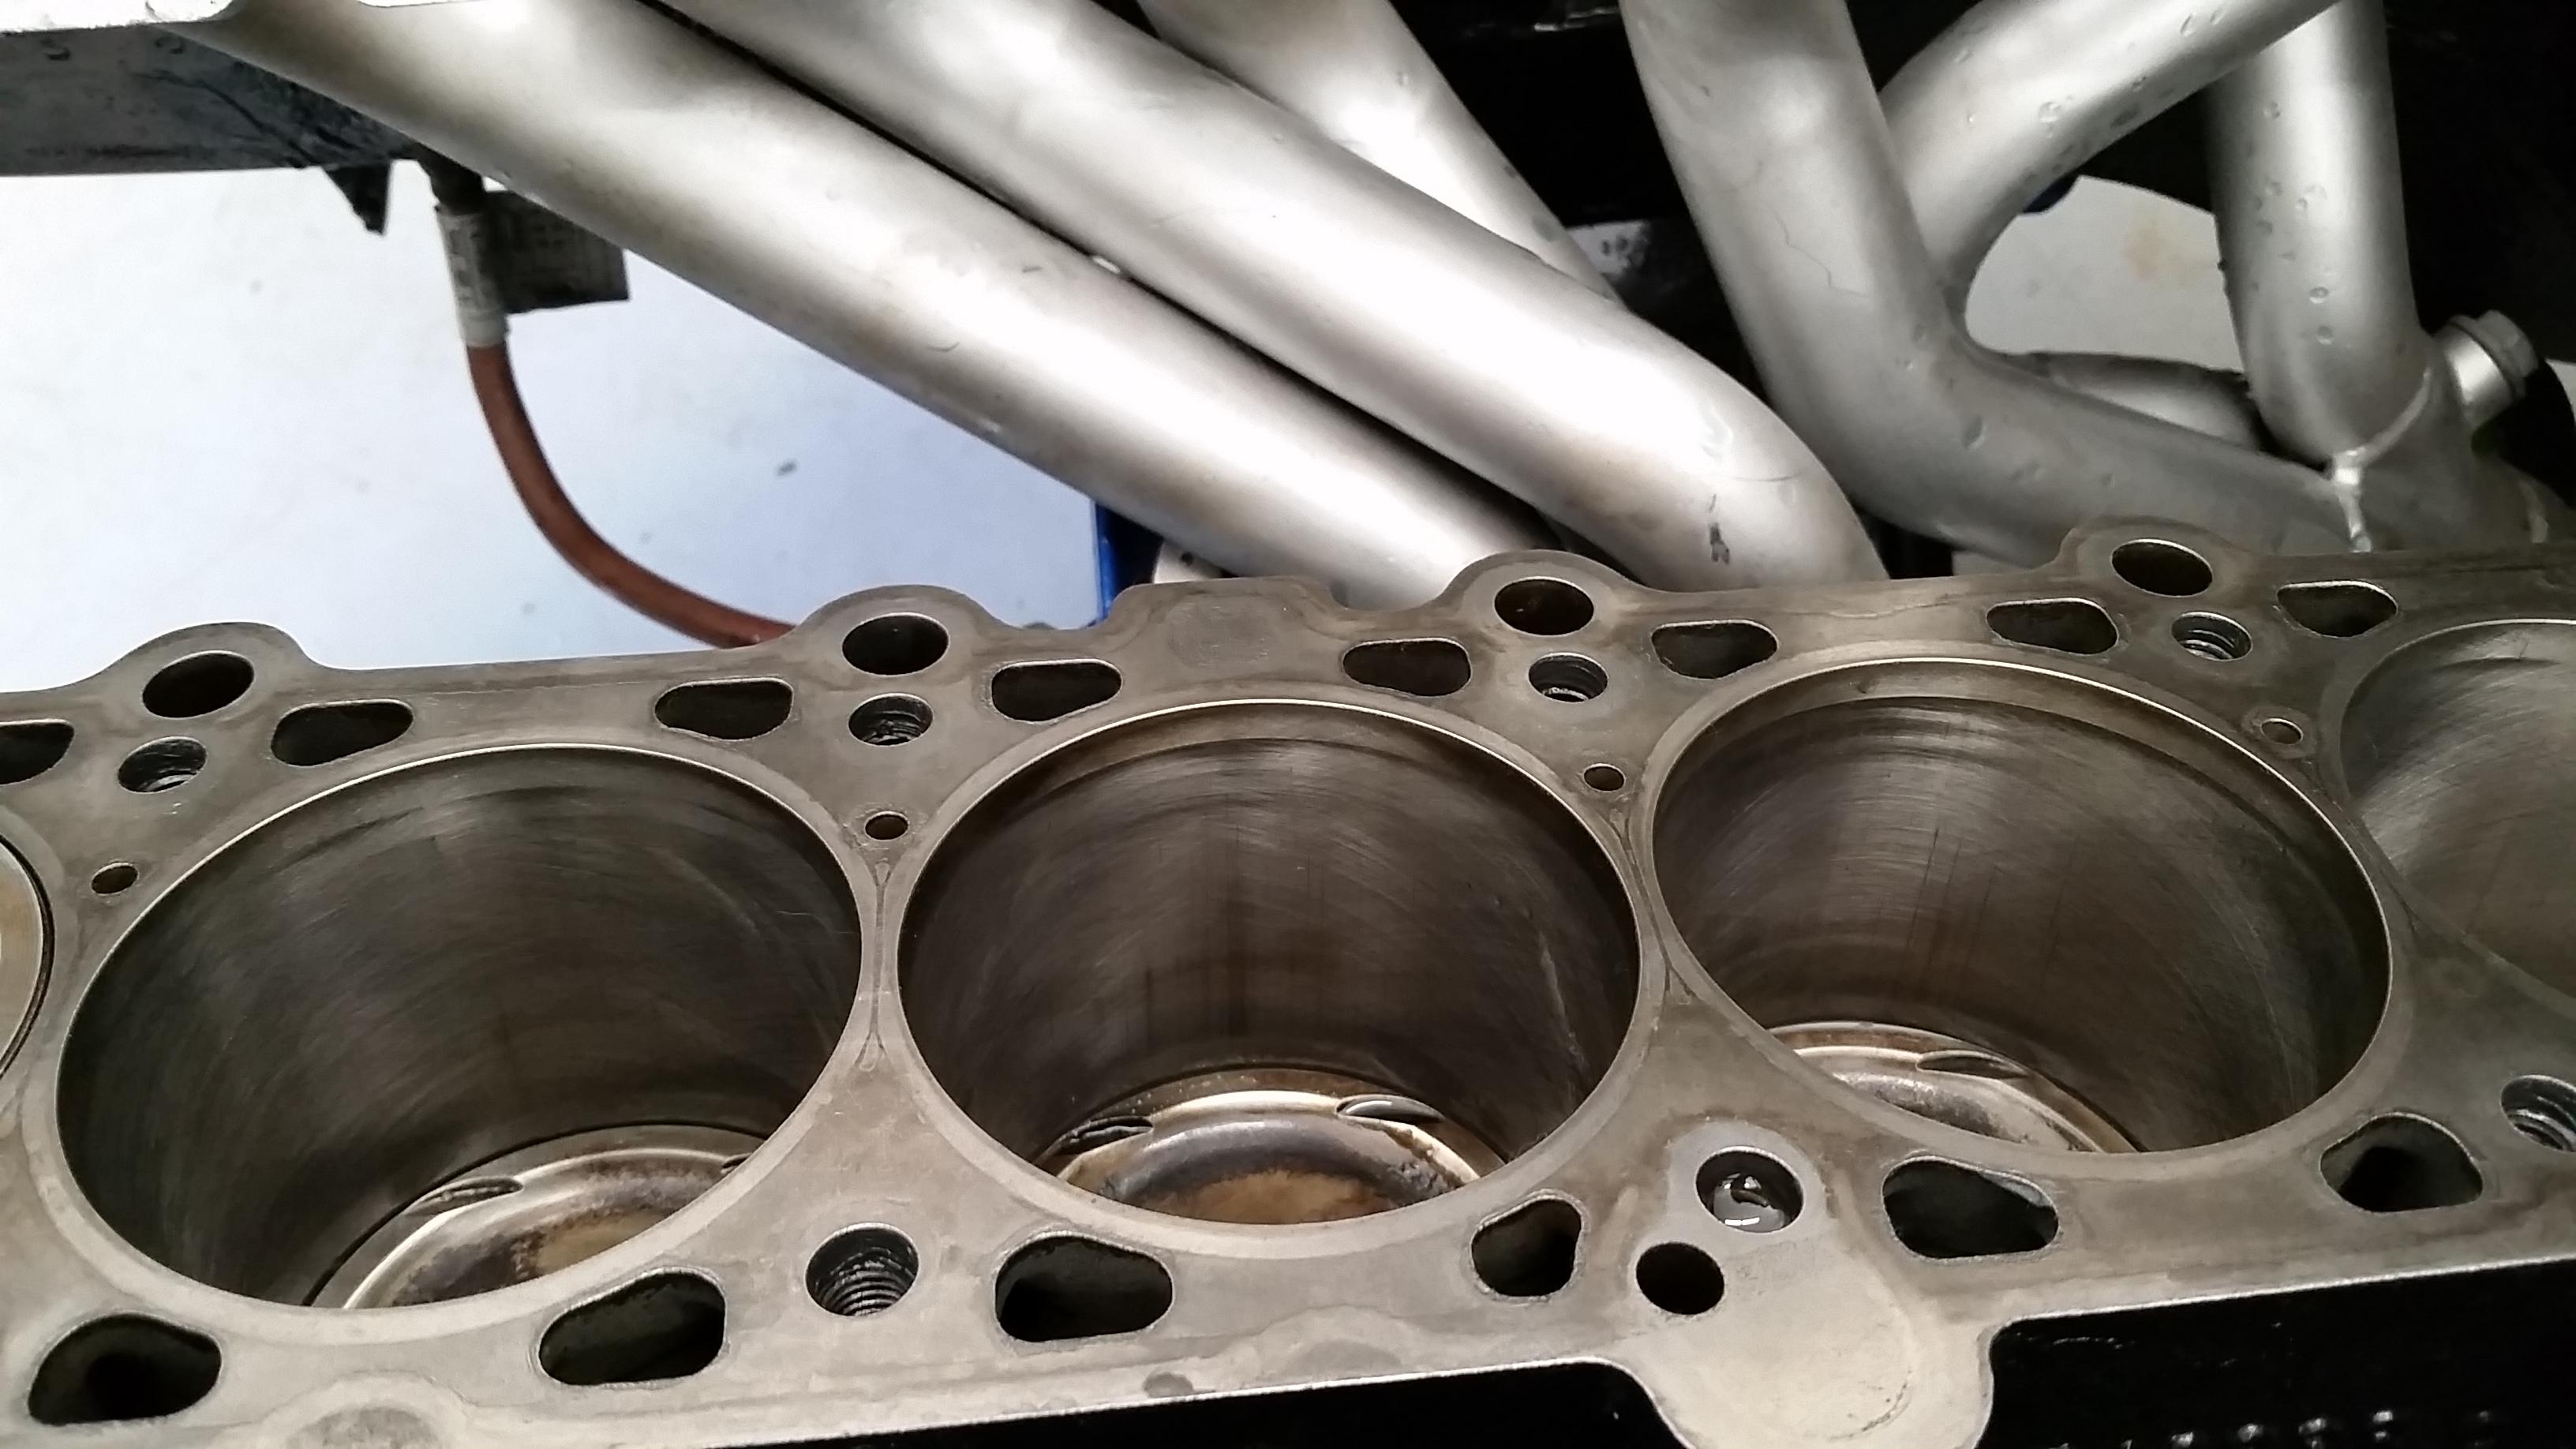
I took time to look over every cylinder and check for any odd stuff going on.
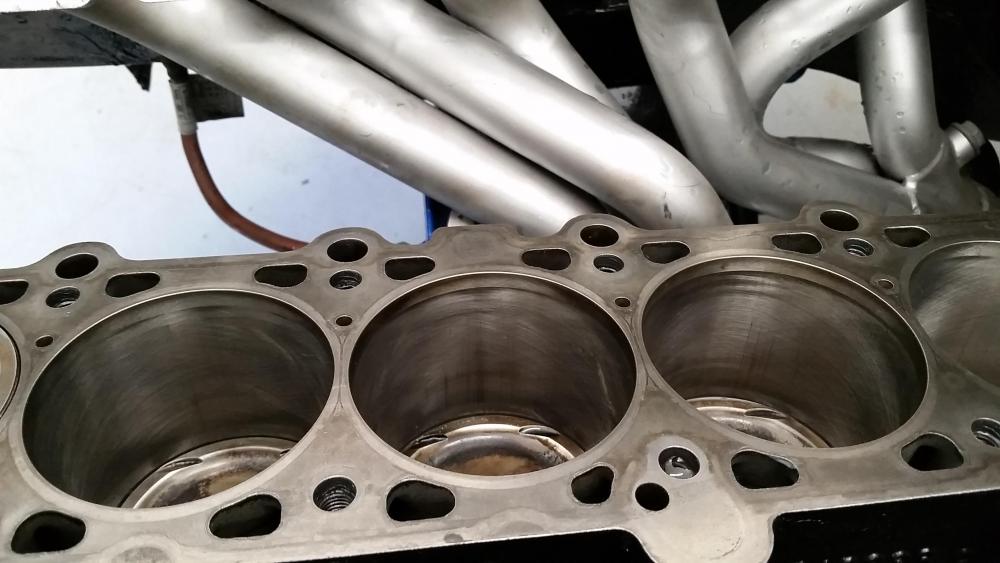
Nothing unusual was found. There was some light vertical scratching on all the walls though, I assume that's just from the rings bedding themselves in.After wiping down both surfaces with acetone, I laid down a fresh new head gasket with some rtv on the timing cover area to seal up that area where it was previously leaking and layed the head back on the block.
After re-torquing it to spec I went to the front to tighten down the front three m6 torque head bolts.
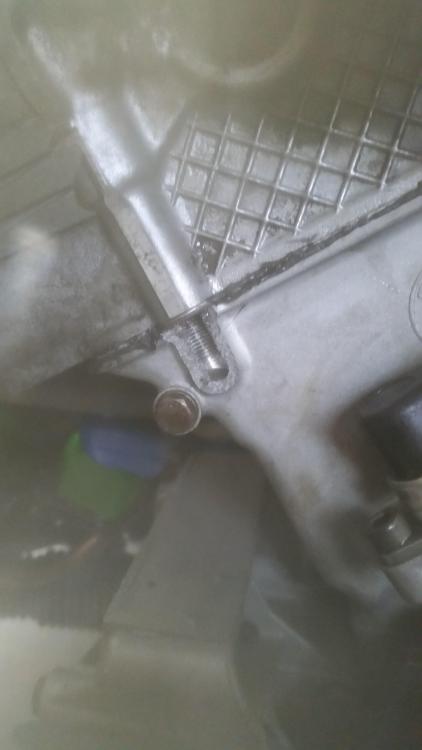
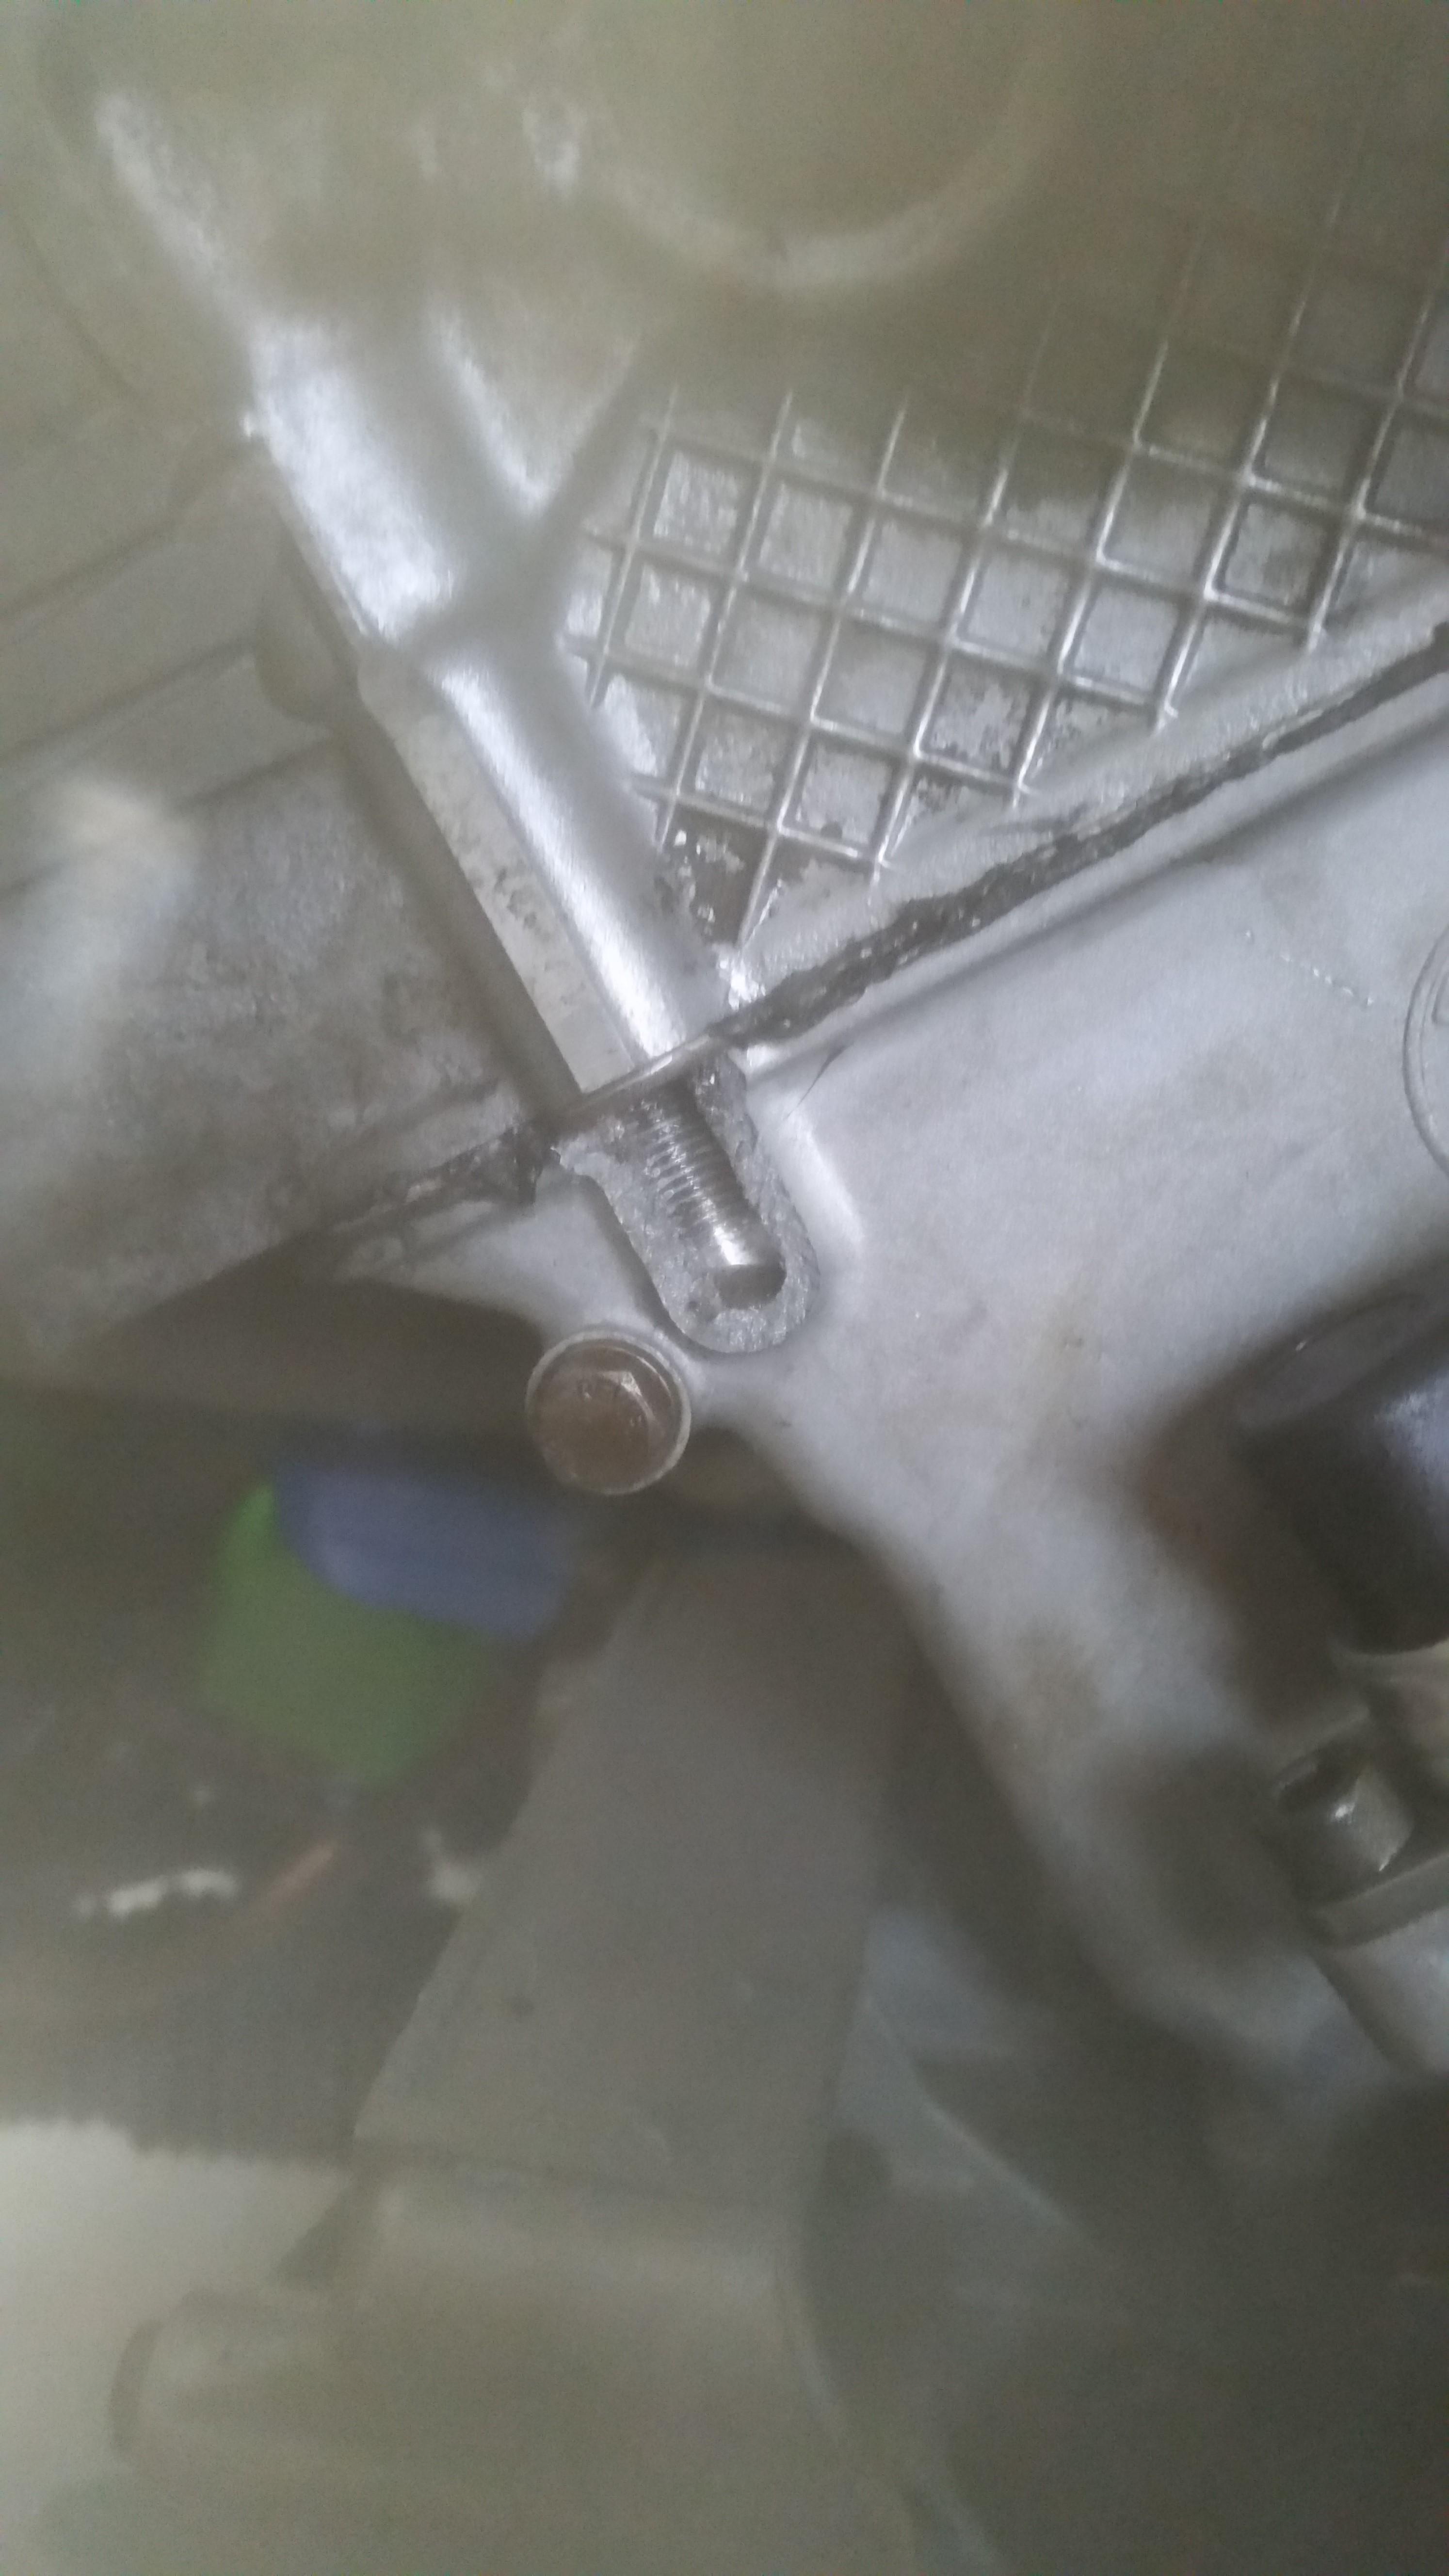
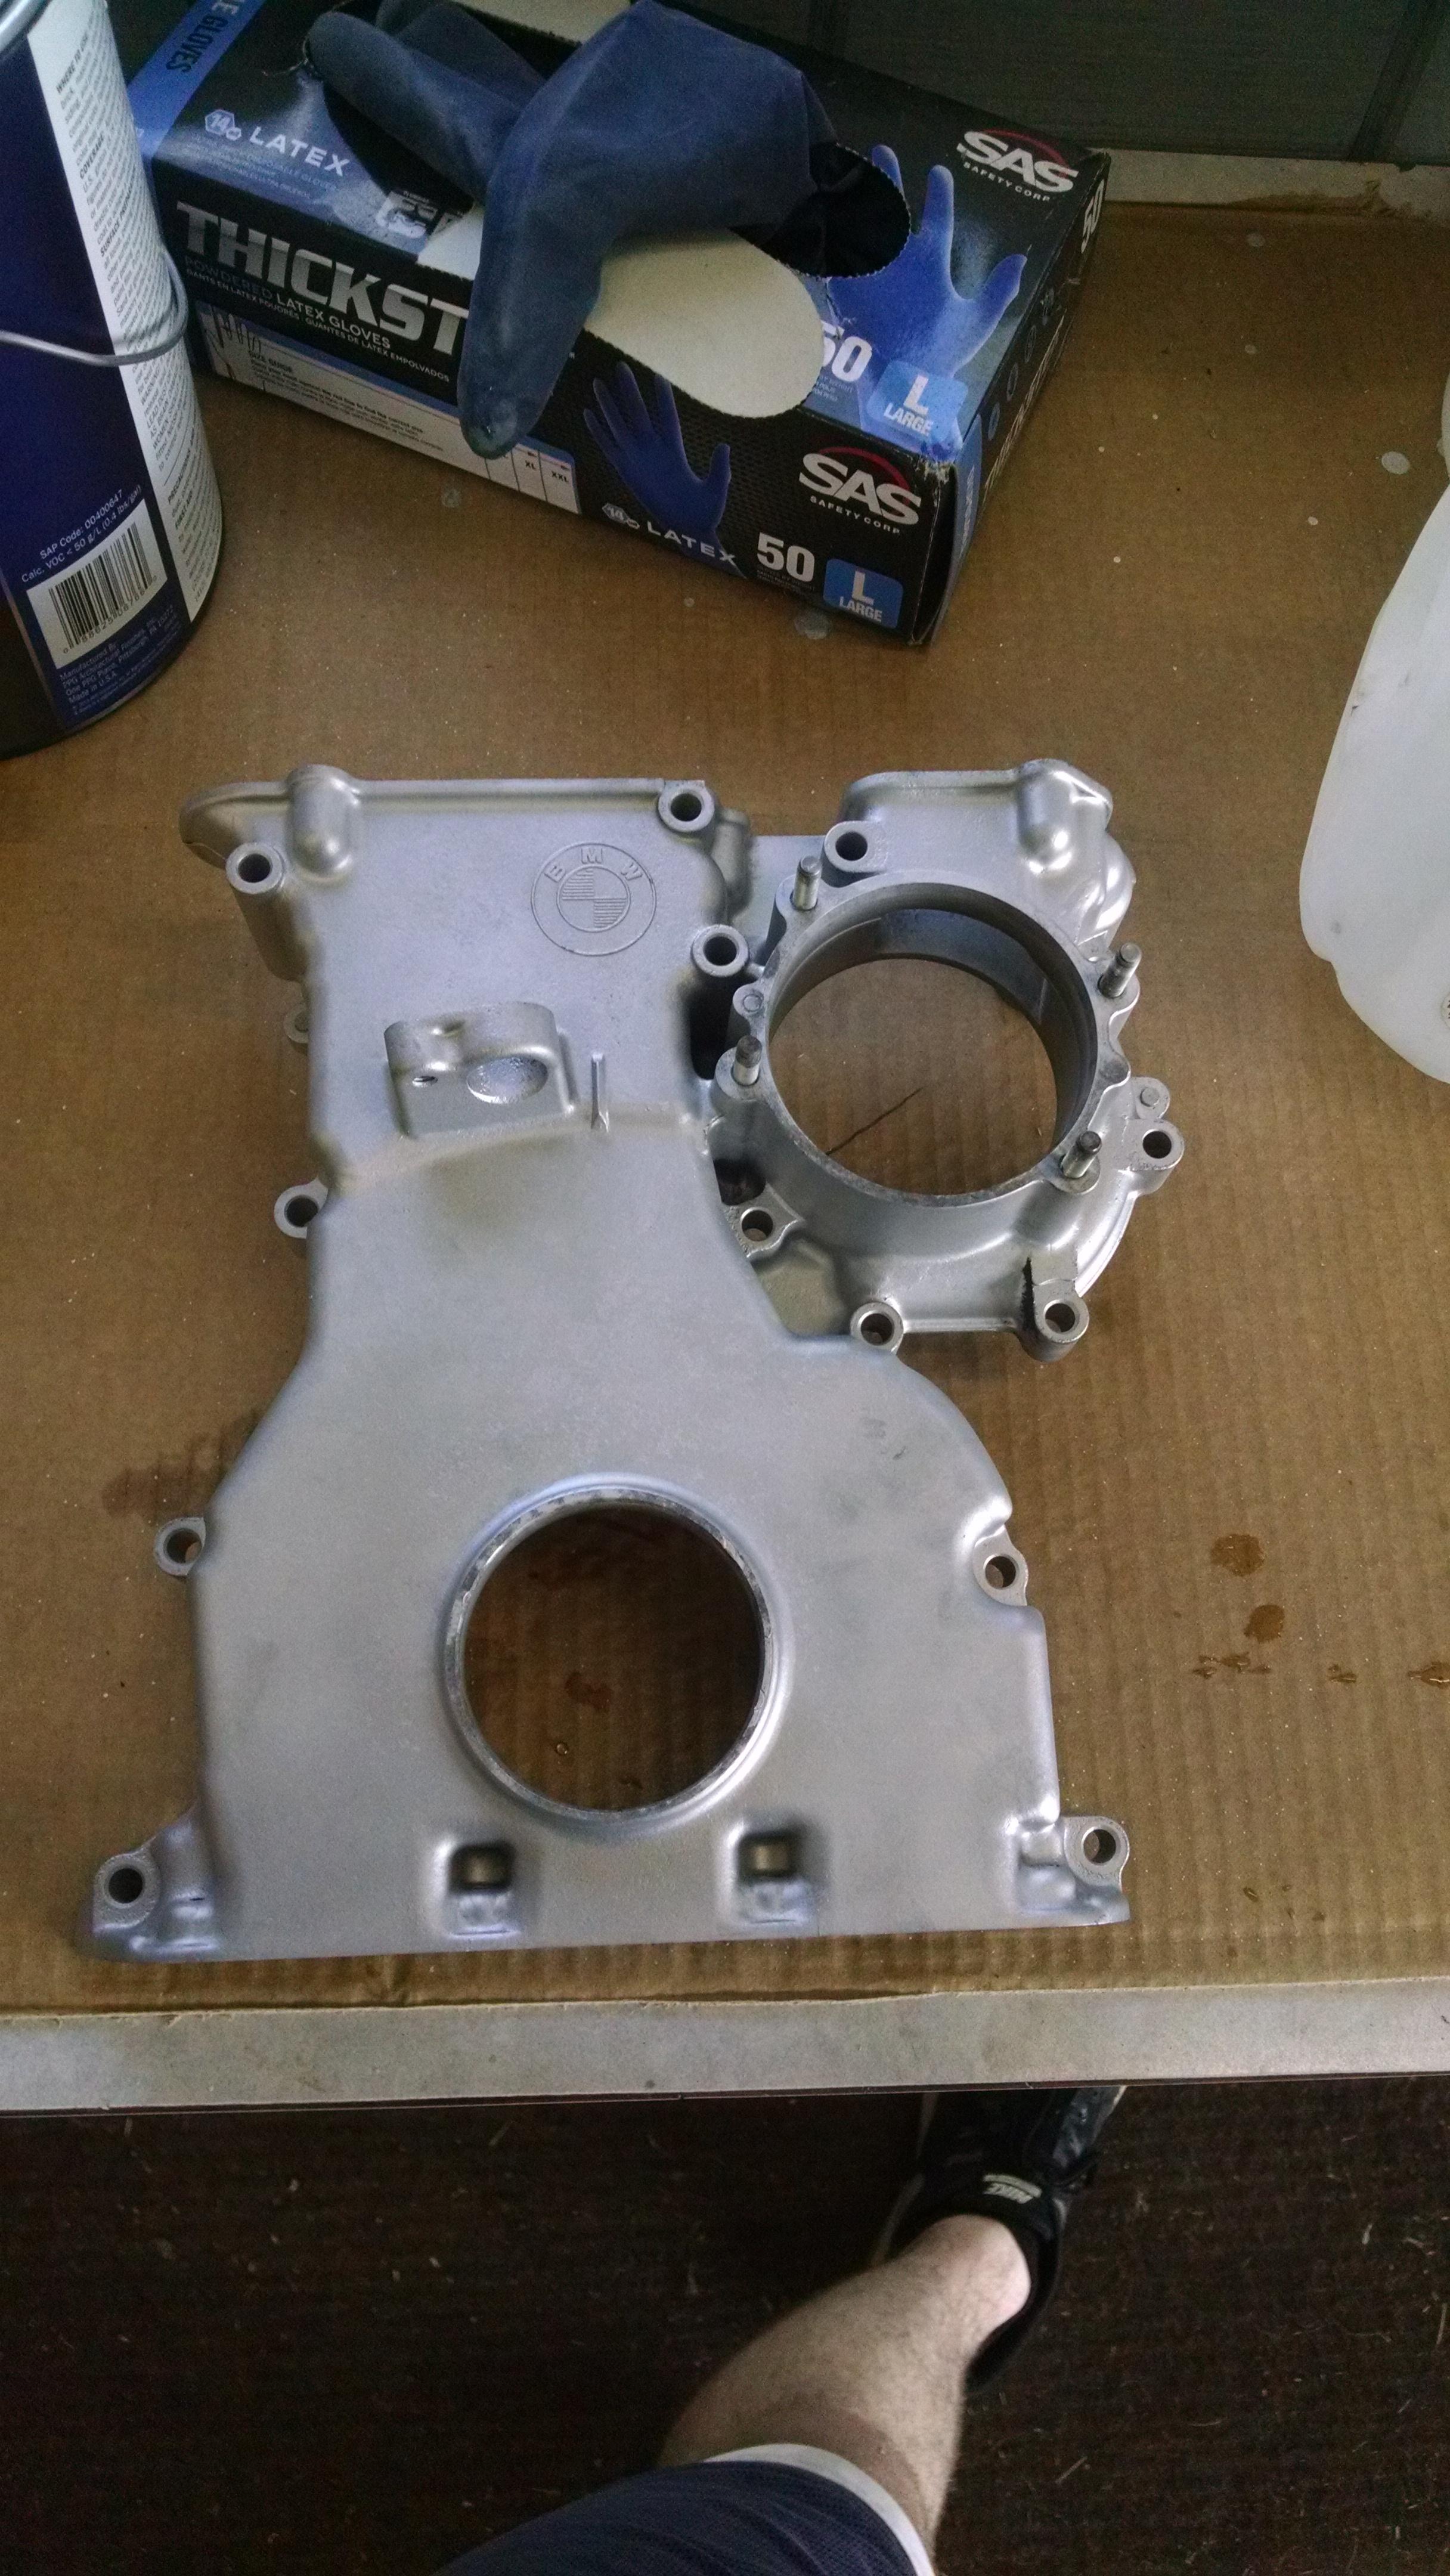
I pretty much just sat there kicking myself thinking of how I could have avoided this. After fighting myself for a while I decided to just take a break and let it sit for the rest of the weekend so I could clear my head. Monday rolled around and after getting out of work I went straight to Gibson's salvage yard and got myself another timing cover out of an M50. After thoroughly degreasing it I dropped the cover off at my buddies house who took it with him into work the following day and bead blasted it. During that time I went ahead and pulled the head back off the block, Removed the timing cover and started cleaning off all the old gasket material. Ordered fresh timing cover gaskets and another head gasket, may not have been totally necessary but its really not worth the risk of the other one potentially leaking after all this work.
Picked up the timing cover the following day.
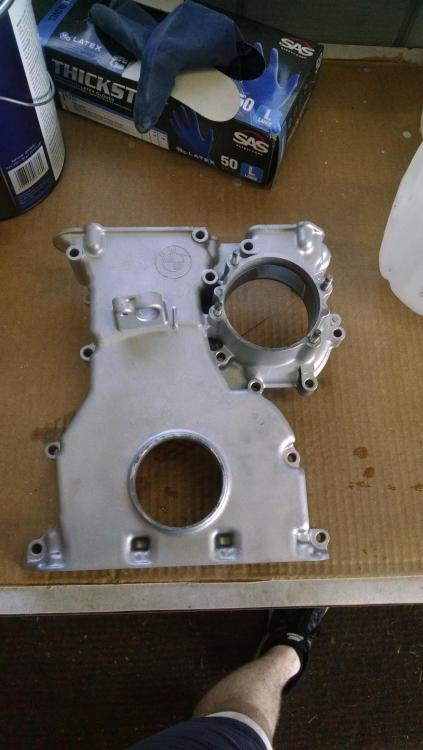
Right away I drilled out the center hole and heli-coiled the threads so I can avoid repeating what I had to deal with when I installed the head for the first time. I ran a tap through the outside holes to make sure the threads are clean, I believe the reason I broke the original timing cover was because some of the rtv I had put along the timing cover had squeezed into the hole and dried so when I went to thread the bolt in it caused resistance along the threads causing the cover to break.
Reinstalled the cover and then the cylinder head. After getting the head bolts halfway through the torque sequence I moved to the front and shined the light down each hole to make sure no gasket seeped down the hole. Each bolt got a dab of blue loctite and torqued to 6.5 ft lbs. After I got every bolt to spec I went ahead and torqued down the rest of the cylinder head. Now that the hard part was behind me I covered the motor up and finished installing the rest of the components the following day.
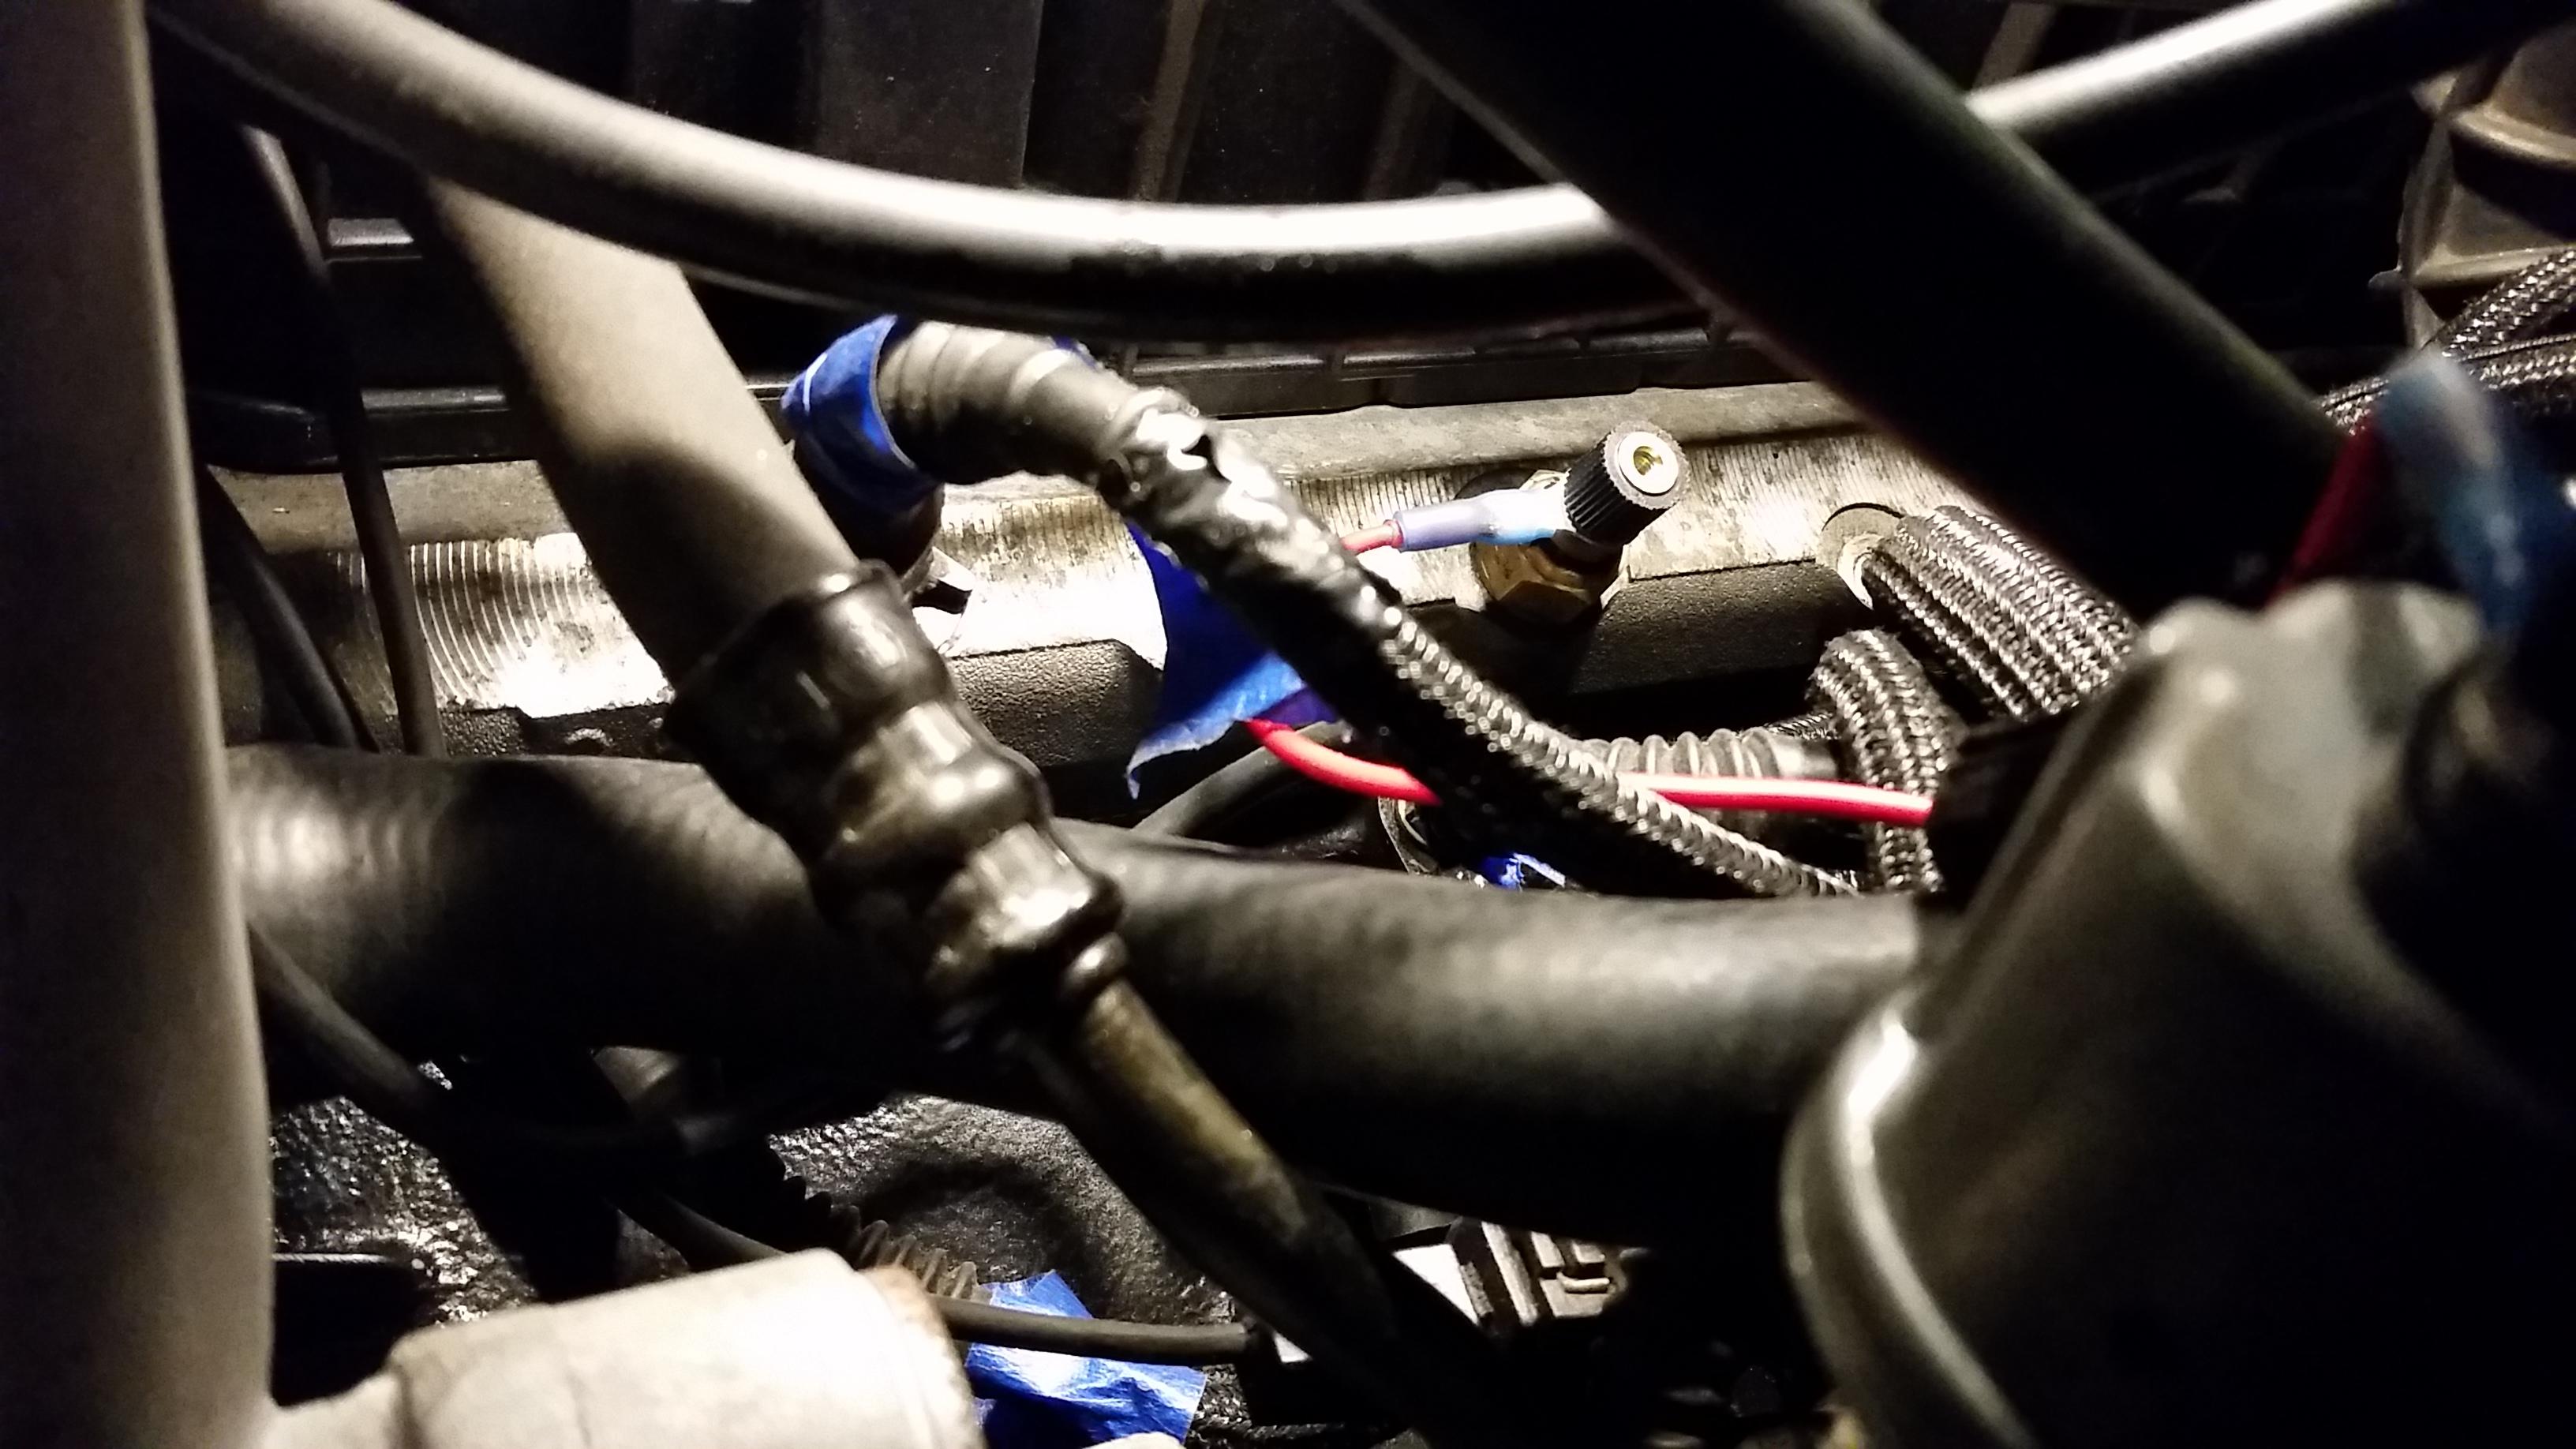
Before reinstalling the intake I swapped out the stock coolant sending unit for the cluster to the vdo unit for the water temp gauge. Much better.
(Ya the intake is already on in this pic, this is an after the fact shot as I forgot to snap a pic of it before)
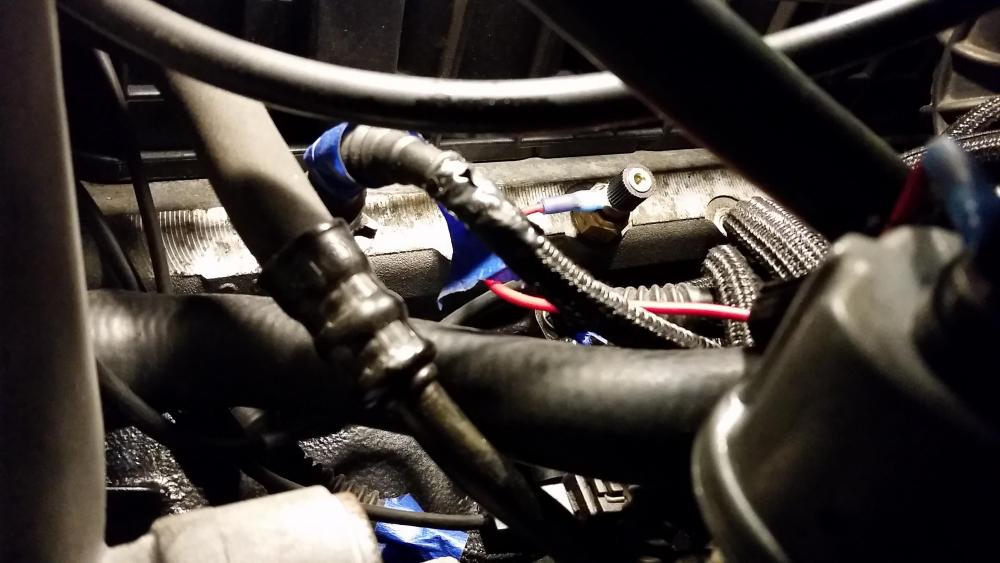
Now that everything was hooked back up I dropped in 7 quarts of 10w-30 Quaker state oil, a bottle of Lucas oil zddp additive and a fresh mahle oil filter. Went ahead and cranked the engine over a few times to prime the oil pump, did the same with the fuel system. Plugged the fuel pump relay back in, hopped in the car, only took a couple cranks and she popped right off once again sounding just as good as before but this time, no leaks

I let the car reach temp keeping an eye on all the gauges which everything was looking perfect so I decided to take the car out for a short spin that night. Everything is working great, Engine was running awesome! I didn't take the car far as it was already late so I parked it back in the shop tell the next day.
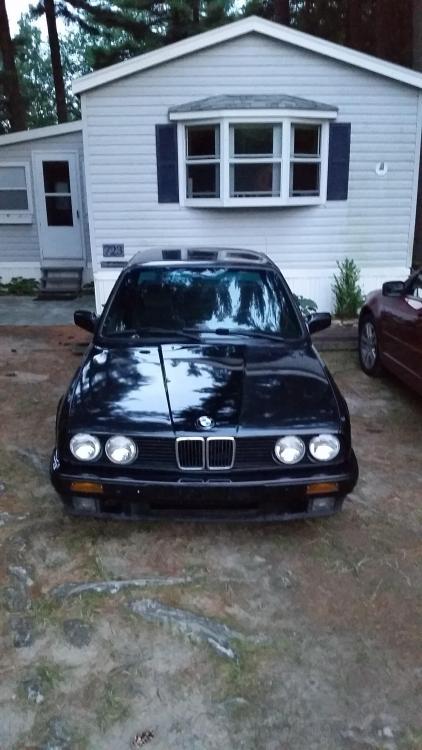
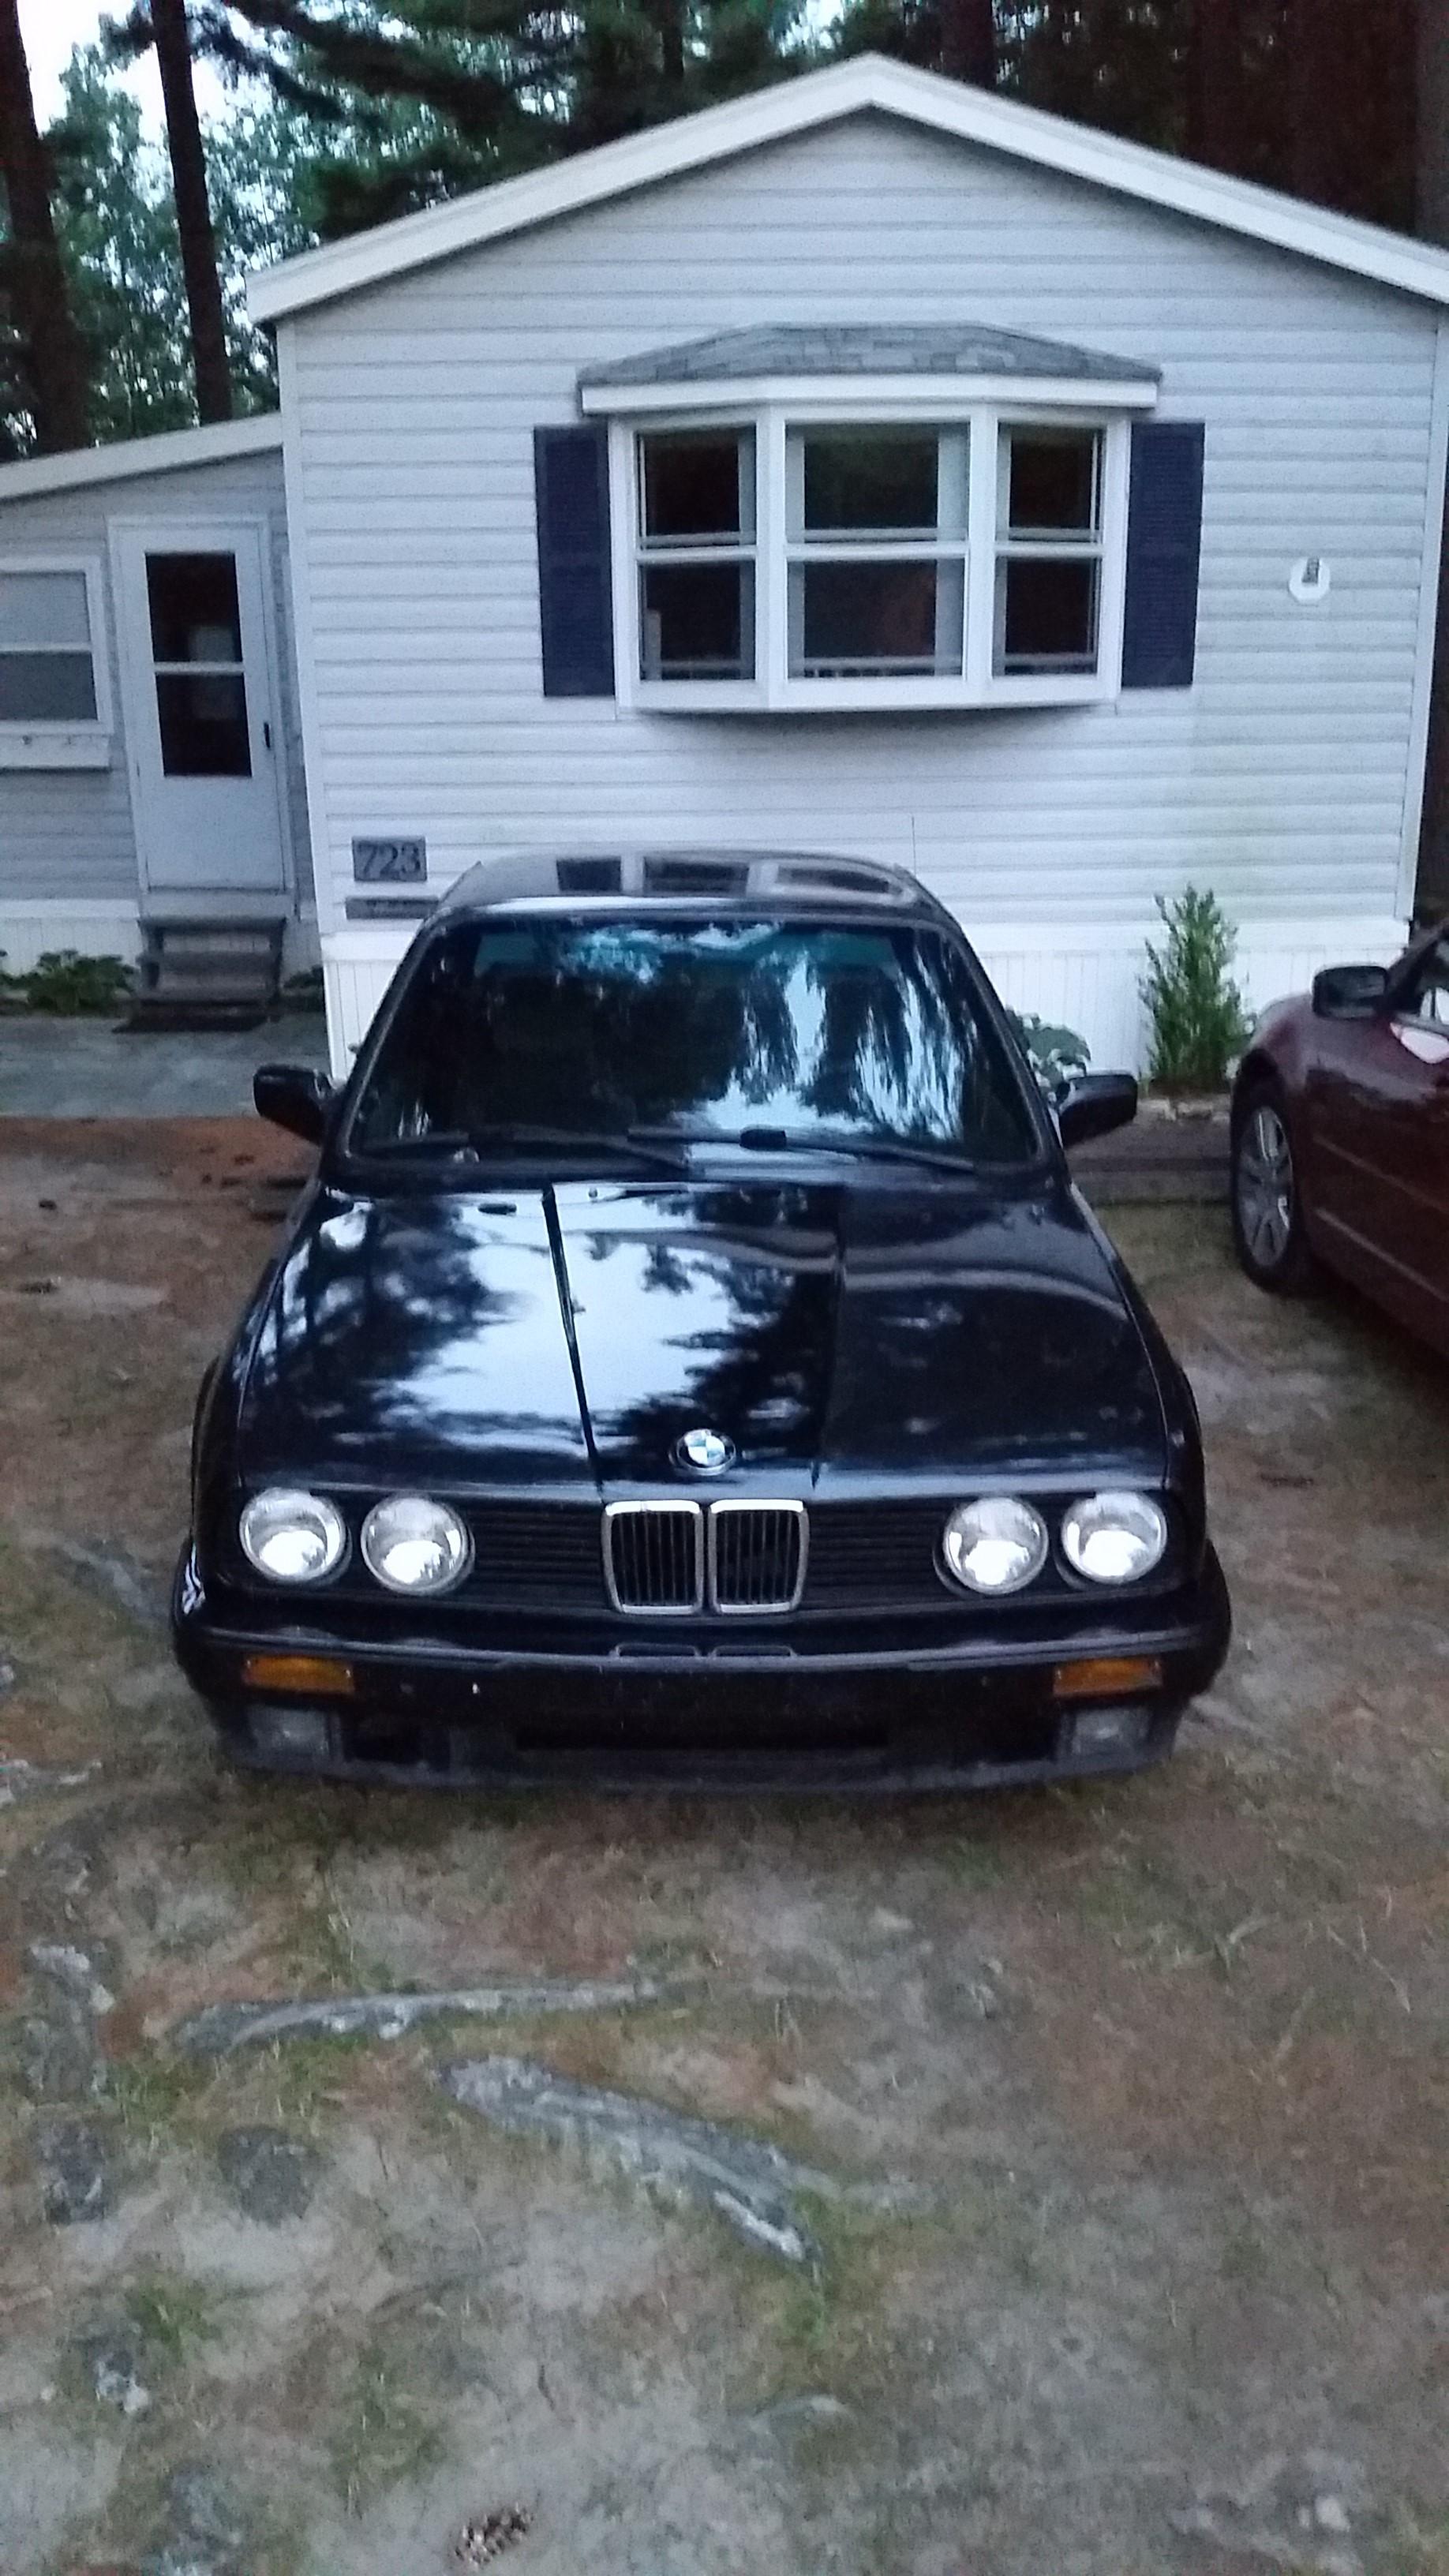
The following day after work I cleaned up the shop and got the hood installed. After thoroughly looking over the whole car and drive line for any unusualness I brought the her home.
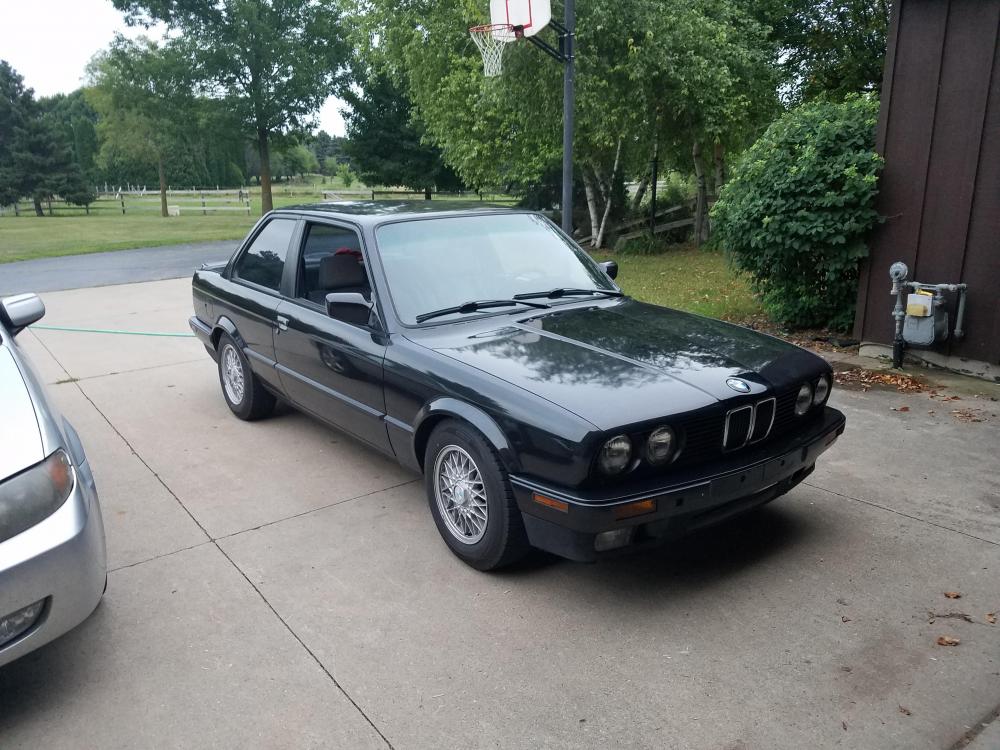
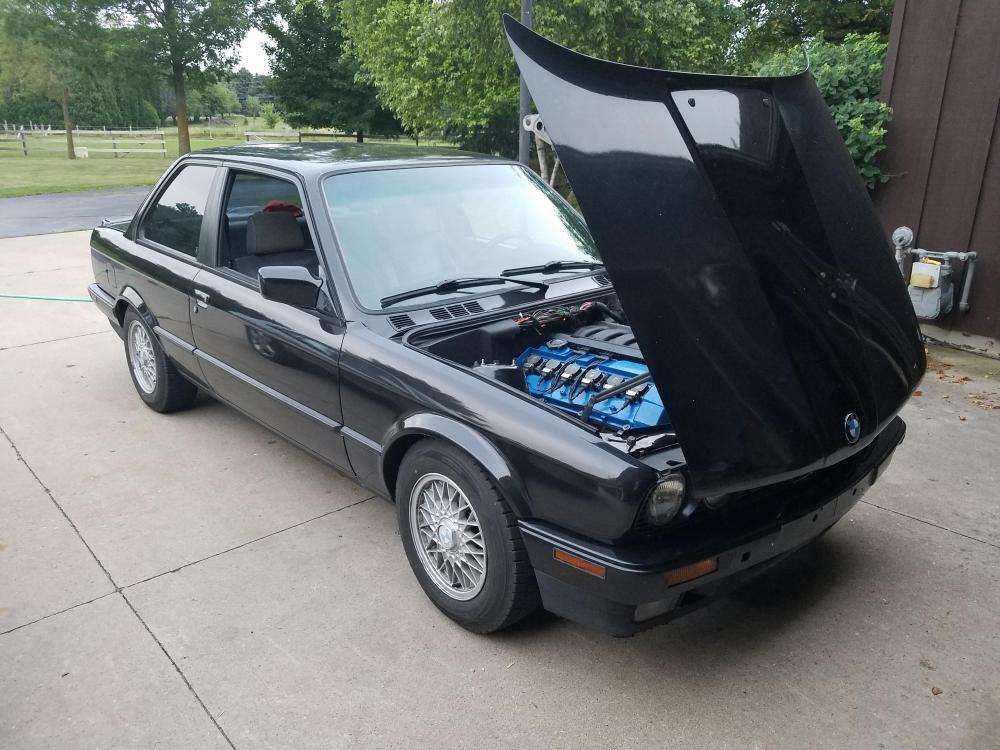
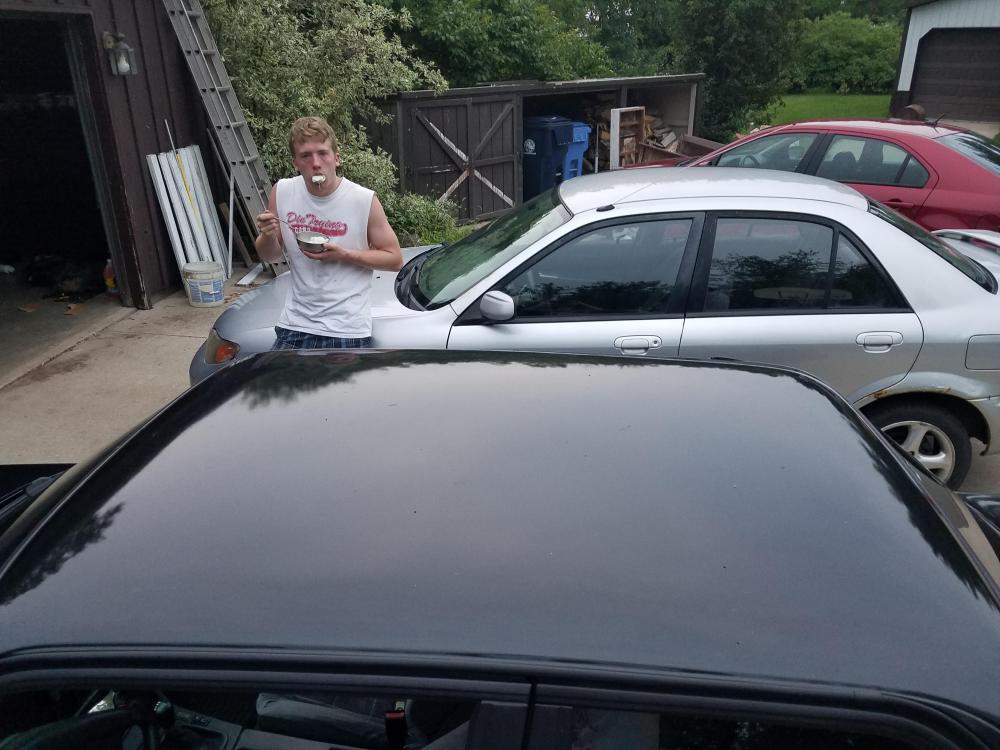
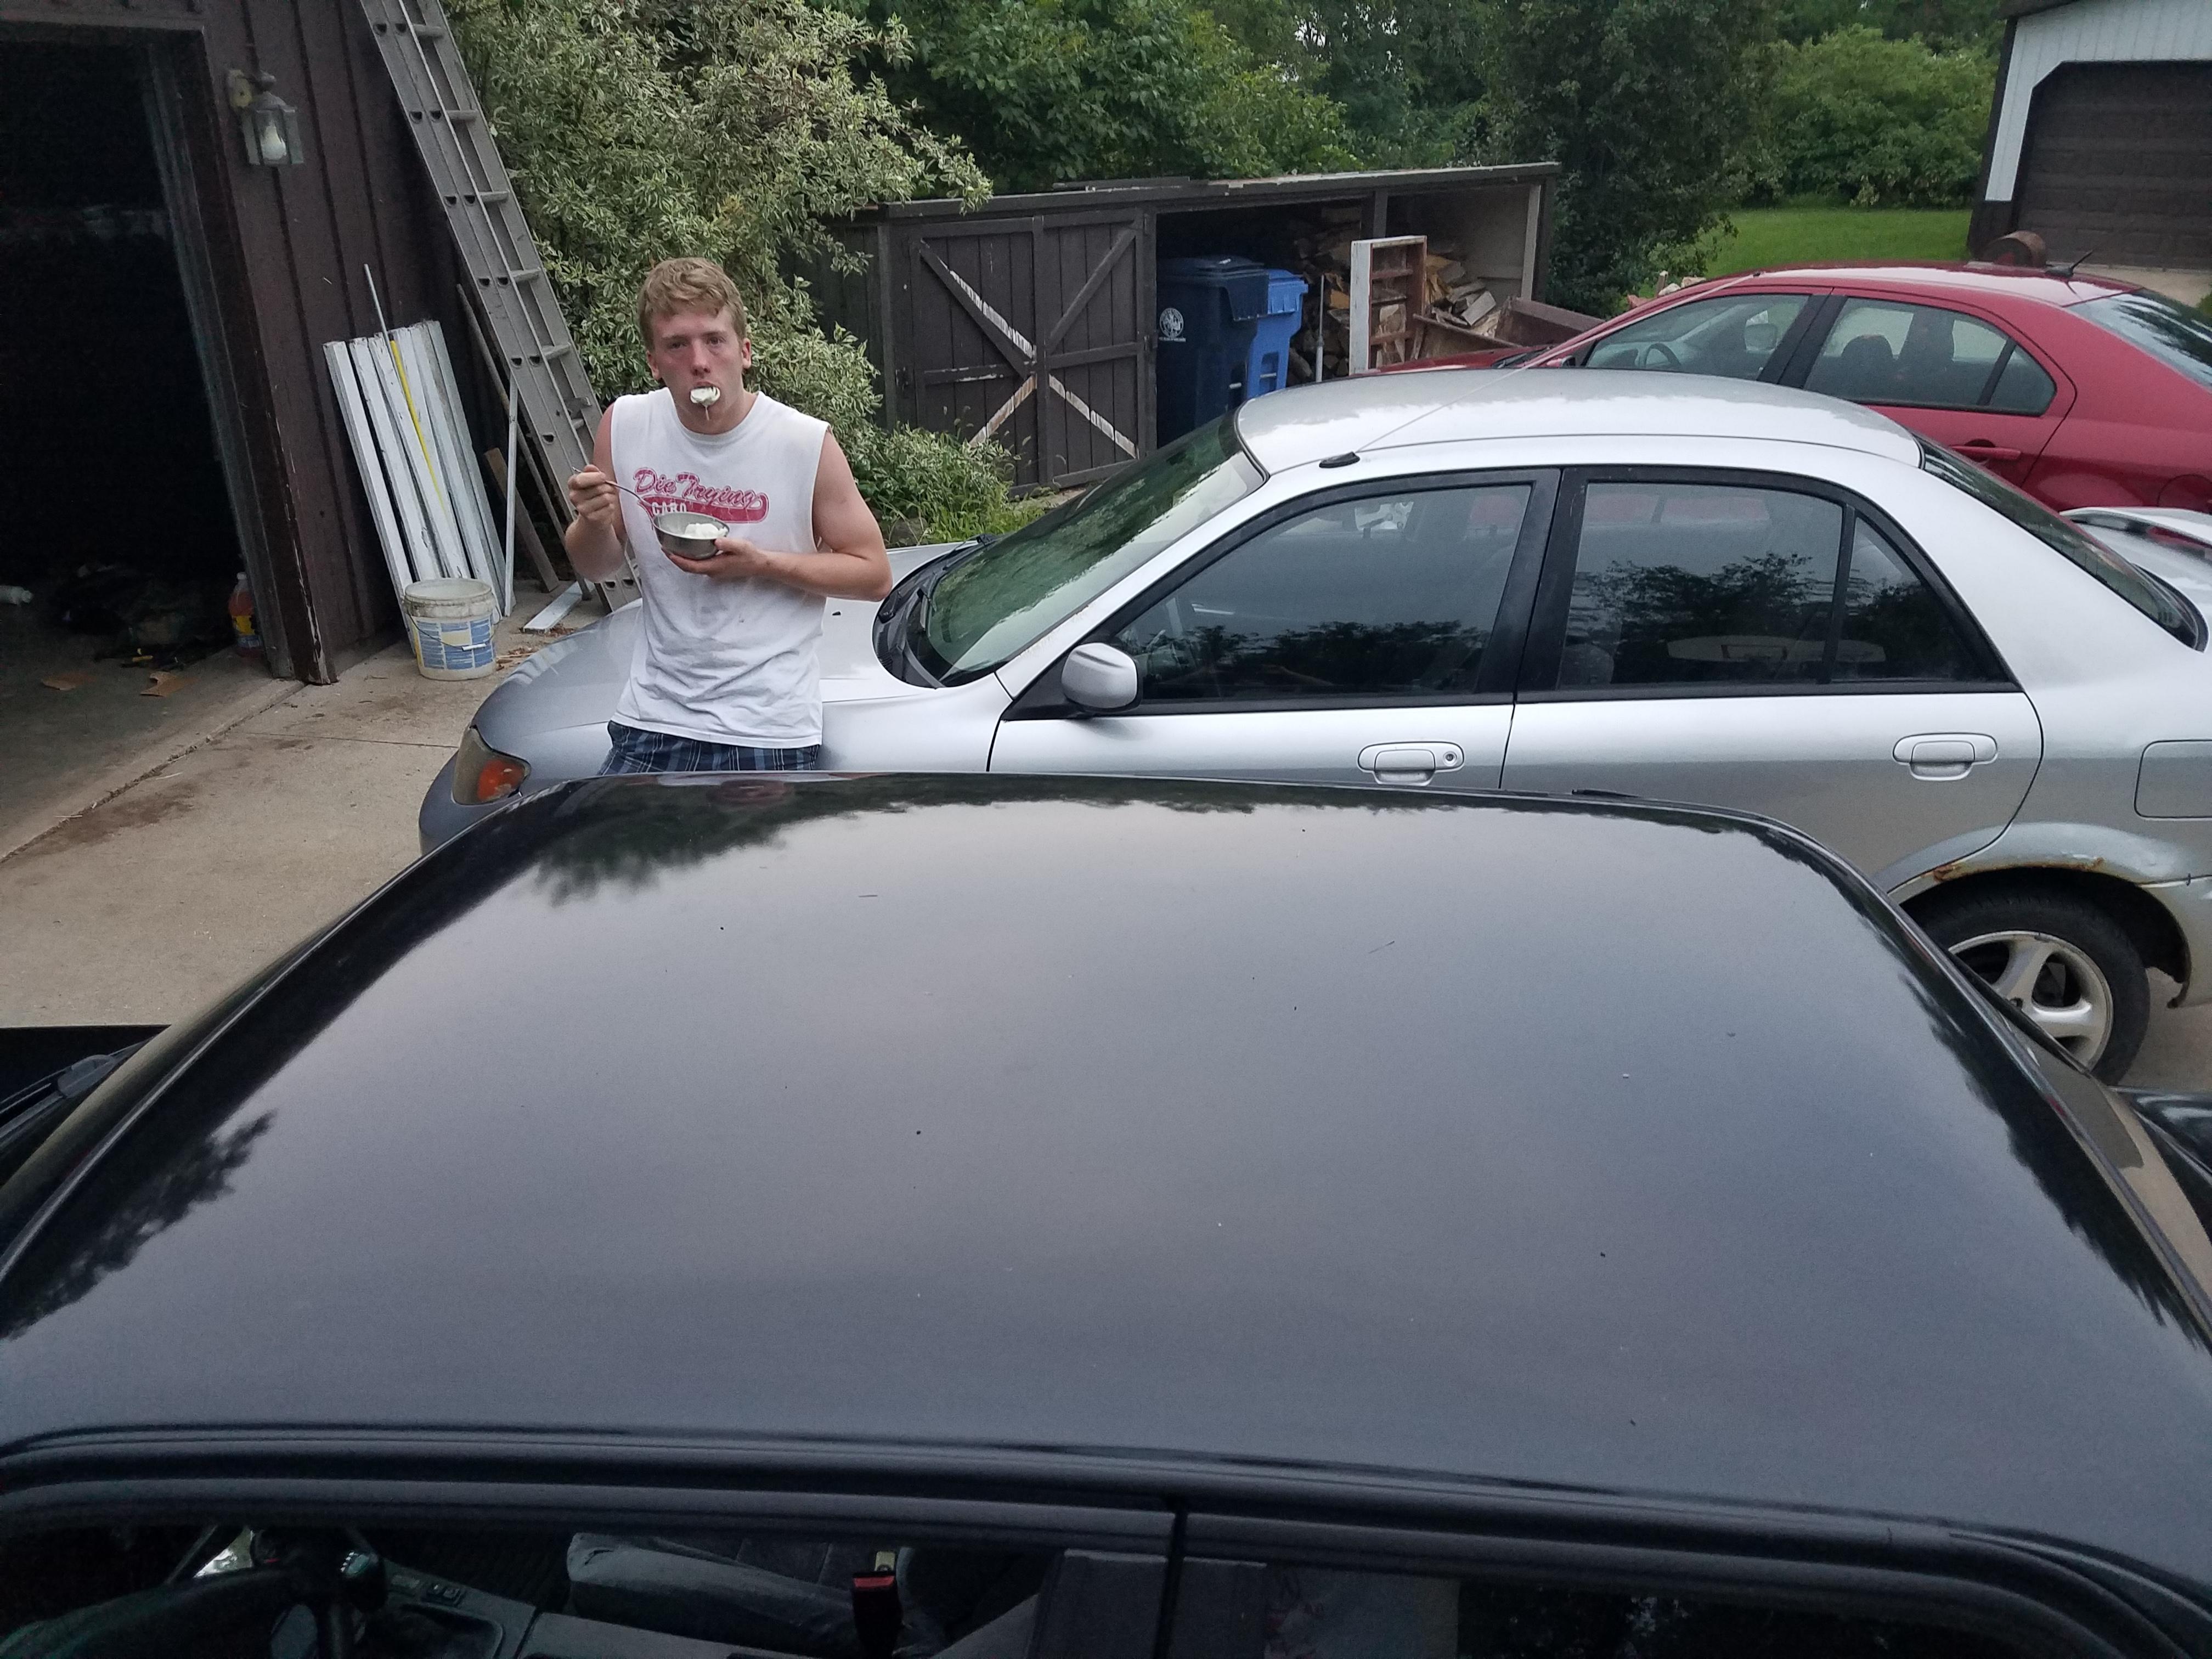
After taking time to enjoy the fact that it was finally home for good I went ahead and gave the car a good scrub down removing all that 8 month old dust. Once rinsed off I noticed that all the drawings and comments were still etched into the paint (as expected). so I grabbed some meguiar's medium cut buffing compound I had laying on the shelf, a polishing rag and some elbow grease and went at it. Took everything off really well and made the paint look quite a bit better.
Pic of the roof where most of the markings were. (Someone likes his creamy cucumbers, lol)
That following Friday I dropped the car off at accurate in Appleton to get a 4 wheel alignment and straighten up that steering wheel. Picked the car up after work the same day.
Saturday rolled around and I had planned to go up to our trailer with a few friends for a nice two days of swimming and cooking out. What better way to enjoy it then bringing the car along with me.
It's about a 50 mile drive there (just about an hour) and the car drove all the way up there and back like a champ. There are a few areas where the roads get twisty and it gave me a great opportunity to test out the z3 rack with fresh suspension and brakes. It was really quite a wonderful thing and gave me all sorts of goosebumps keeping a smile on my face the entire time.
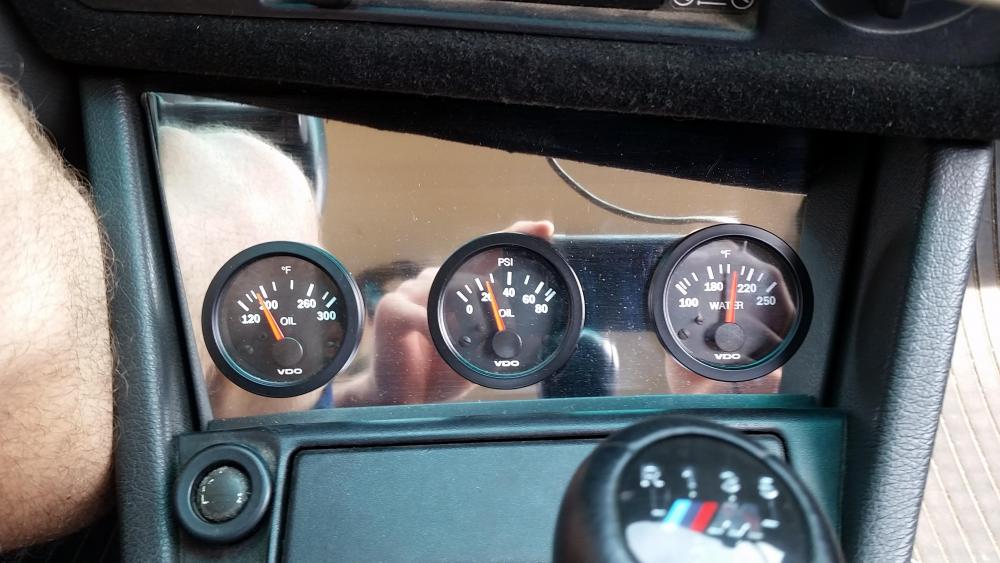
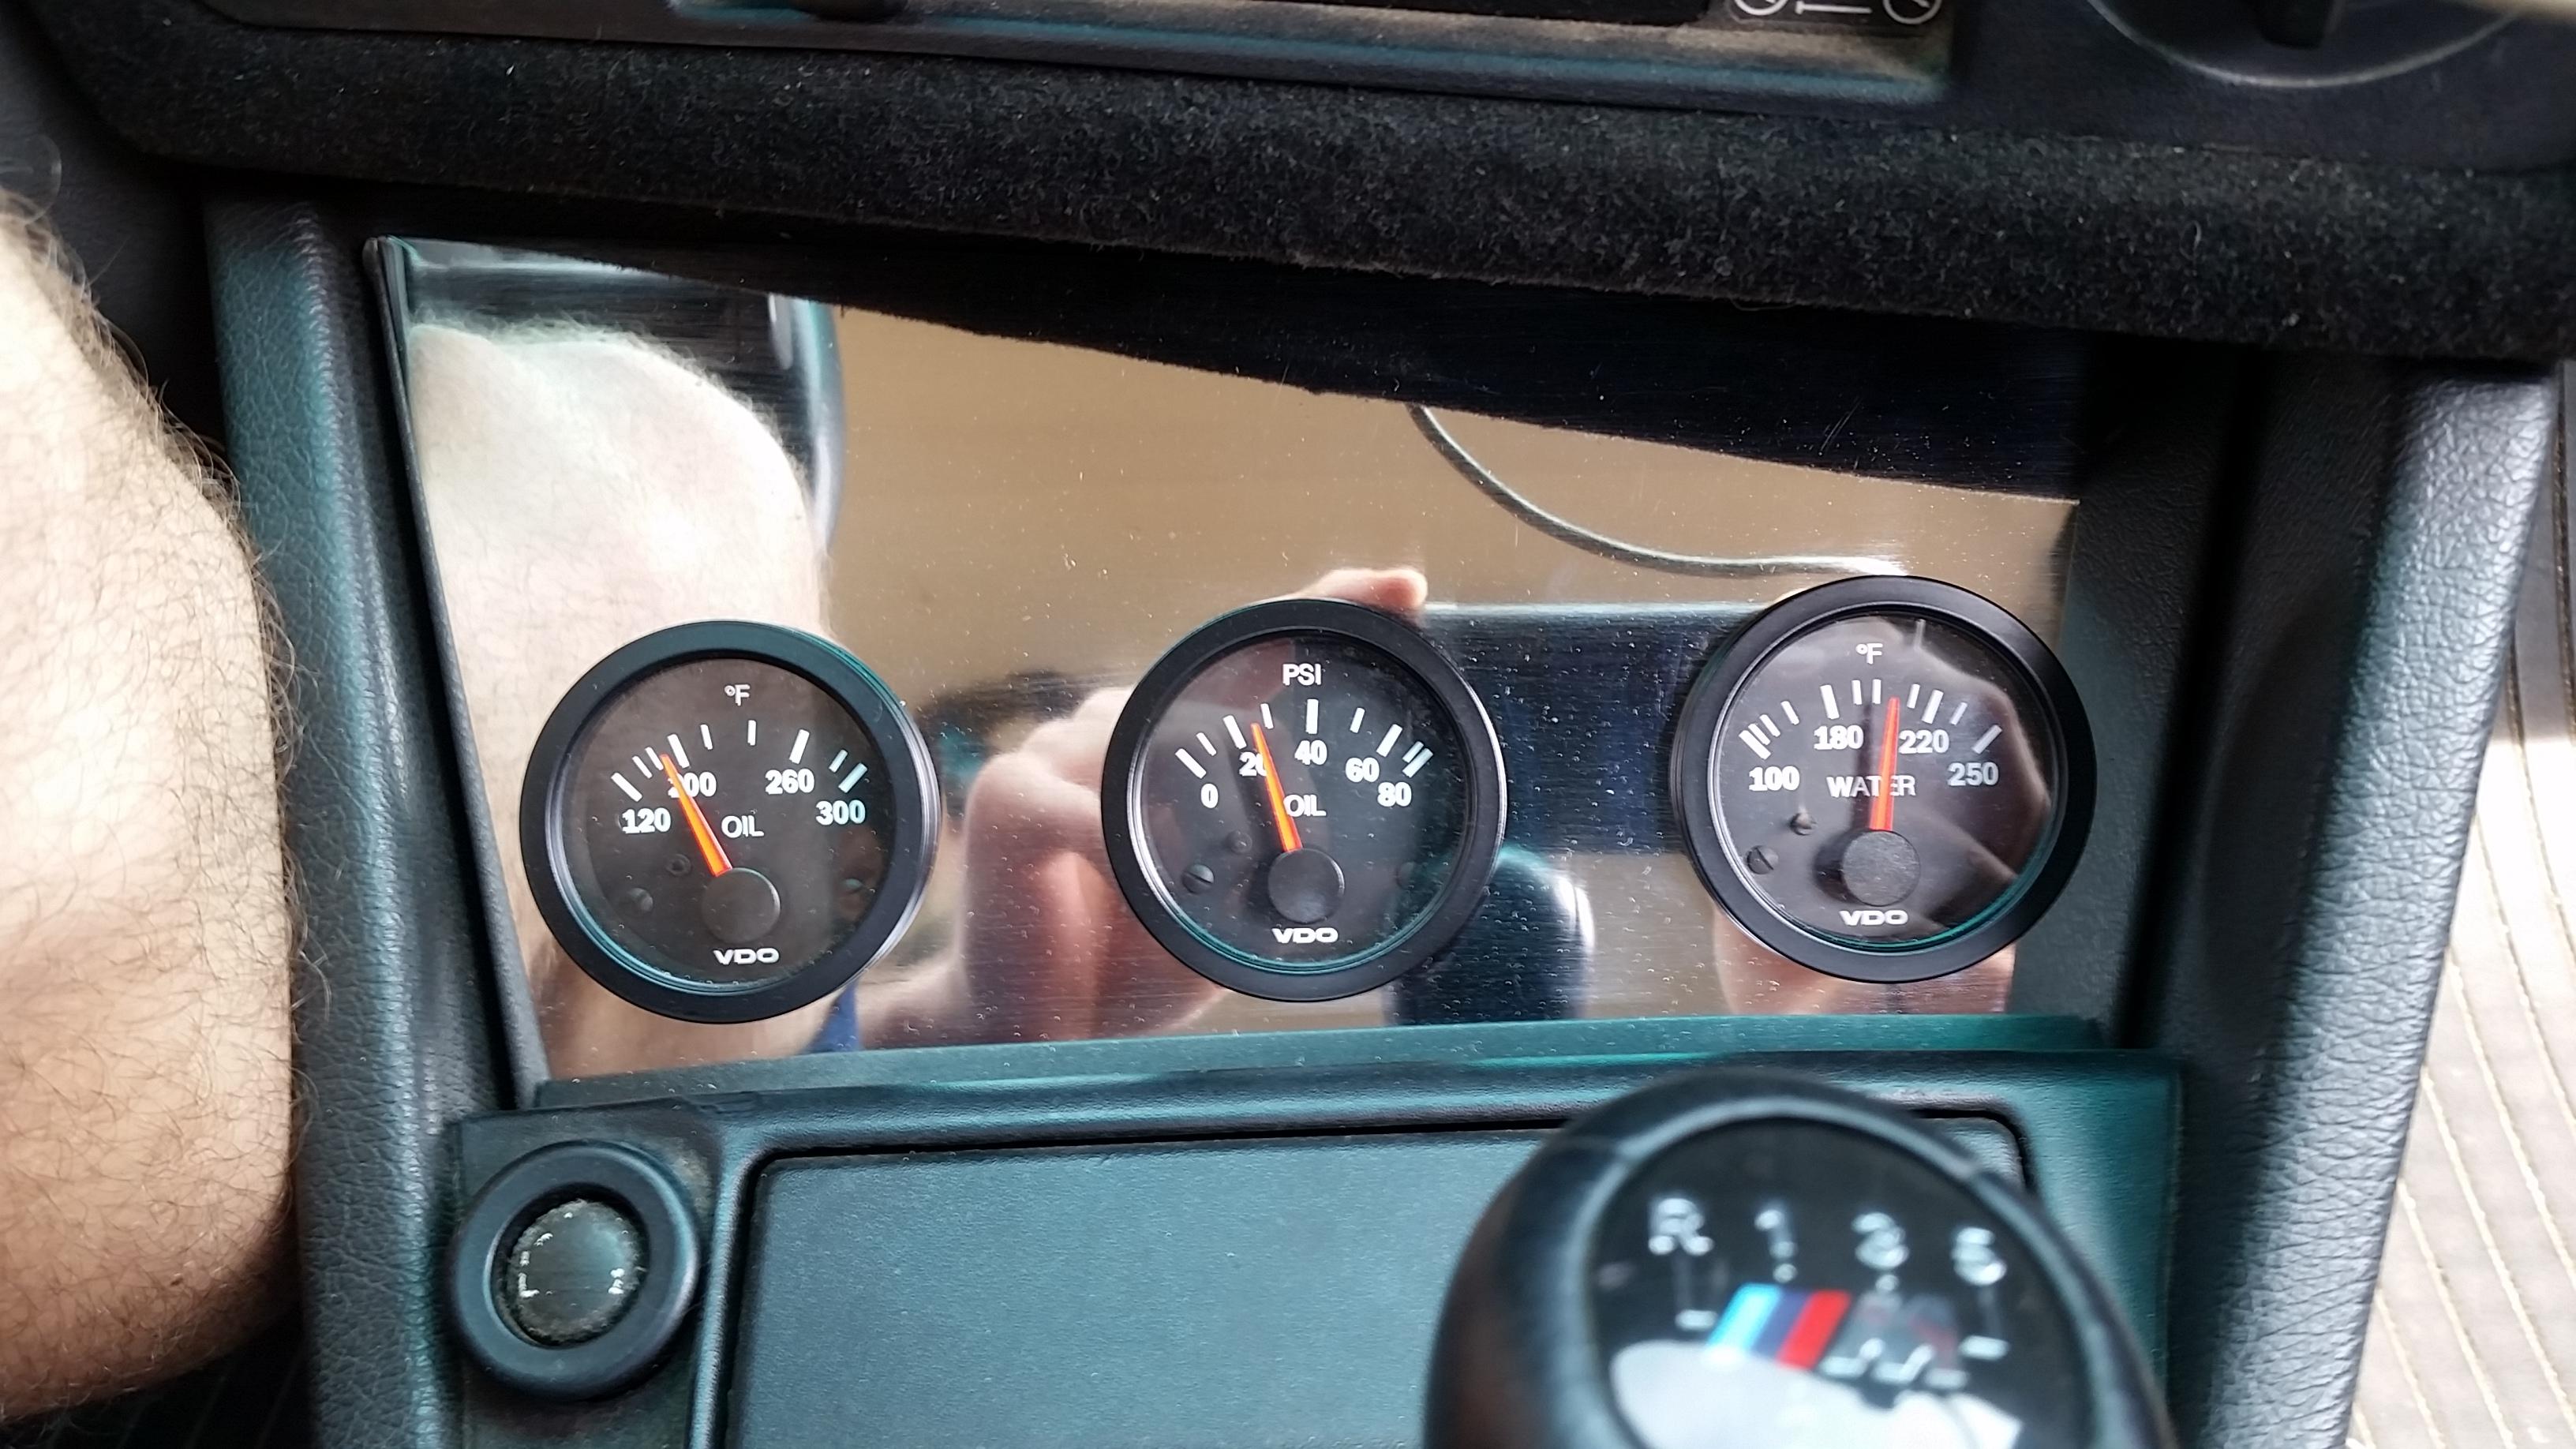
I was able to sneak a pic of the gauges during the trip up there. It seems the engine's happy temp is right around 200 degrees. (This was cruising right around 65 and it was just about 80 degrees out, it stayed right there for water temp when I started going a bit harder on it as well).
As far as I've read online 197 degrees is oem operating temp for the s52 so I assume I am okay. I am running a 88 degree Celsius thermostat though so I am curious if it should be lower then what it's at now.
Now, as for most engine swaps there are always some little things to tweak or fix. For me, I had a few slightly small issues that revealed themselves on the road trip to my trailer and back.
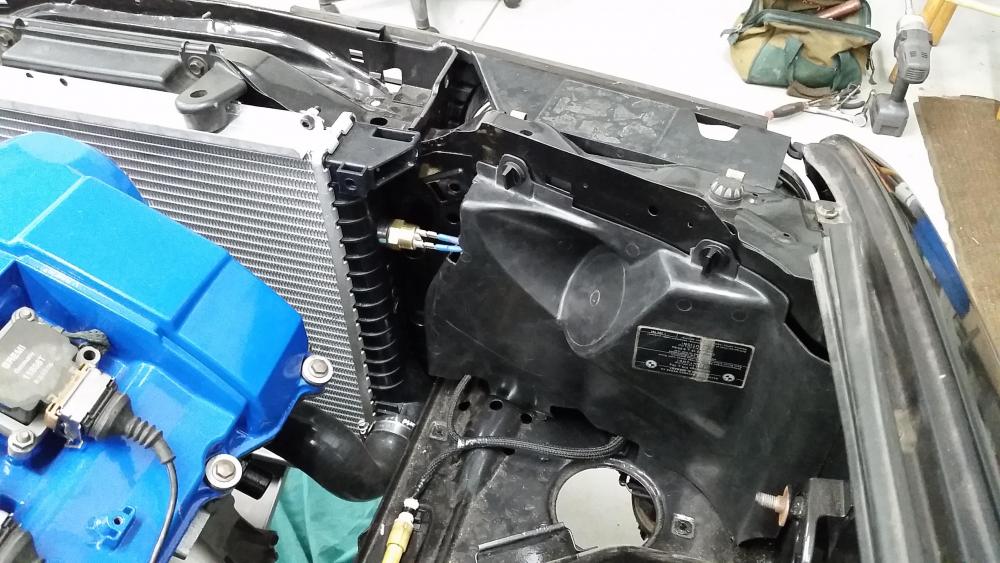
First off, the fan. It hasn't been running.
I know for a fact it's the switch. When I remove the two wires and jump them together the fan kicks on full power, no problem. I purchased the switch off a carpartsdiscount cite which was actually the only place I could find a 82 - 88 degree 2 prong coolant switch. The part number is 61-31-1-364-272-82. My only guess is that the switch is defective and I will have to find a replacement but where? Nobody seems to carry them anymore. Help on what others have done for this would be awesome!
I'm thinking I will probably wire up a toggle switch temporarily to those two wires for me to control tell I can find something else.
Next thing was the transmission. It seems that I have a pretty decent leak coming from the main output shaft seal. I am guessing when I had pulled the flange off originally to remove the dampener I had disturbed the seal. I know as for a preventative maintenance item I should have replaced all the seals on the trans but I had not and now I get to deal with it after the fact, yay. Monday I called the dealership and had them order me the output shaft seal which will be arriving tomorrow. Luckily I had ordered an extra quart of redline mt-90 gear oil way back when I originally put fresh fluid in the trans so I went ahead and checked the current level through the fill plug, level was a bit low as expected.
Lastly, The engine. I should mention that the flywheel gives off quite a bit of chatter at idle and between gears. Of course I new this was going to happen when I ordered it but wasn't quite sure what to expect. At first I sort of was getting annoyed by it but after the trip I had completely forgotten about it and it no longer bothers me. Sense I don't plan to daily this all that much I feel its worth it for the gains being made. Definitely would consider switching back to the stock flywheel though if it were a DD.
Took a little time to get use to the stage 2 clutch as it is quite a bit heavier then I'm used to but after driving it a bit I was already use to it's weight. That UUC shifter though... Sssssssoooooooo gggoooooooodddddd!!! I love every bit of it and feels awesome! I recommend it to anyone who is considering going with a short shifter, well worth the money spent!
Alright so the engine has an odd little quirk I have been noticing every once in a while during idle. The idle would stay steady and then begin to jump around for a few seconds returning back to a steady idle (800-1000 rpms). Not sure if maybe one of the few sensors I had used from the junk yard is on it's way out, maybe the MAF? Like I said its only once in a while and for a few short seconds so I'm fairly certain it wouldn't be any mechanical. I will see if I can get a video of it to post up. Also, every time I came to a stop bringing the trans to neutral and disengaging the clutch the engine would hop in rpms and back down to idle. Separate issues for sure but slightly odd. Any help on why either of these are happening would be greatly appreciated.
There are still a few little things I have to take care of in terms of aesthetics. Big goal right now is to take care of everything major.
Short little clip one of my friends took of me opening it up down a frontage road... Enjoy









Hello! It looks like you're interested in this conversation, but you don't have an account yet.
Getting fed up of having to scroll through the same posts each visit? When you register for an account, you'll always come back to exactly where you were before, and choose to be notified of new replies (either via email, or push notification). You'll also be able to save bookmarks and upvote posts to show your appreciation to other community members.
With your input, this post could be even better 💗
Register Login