
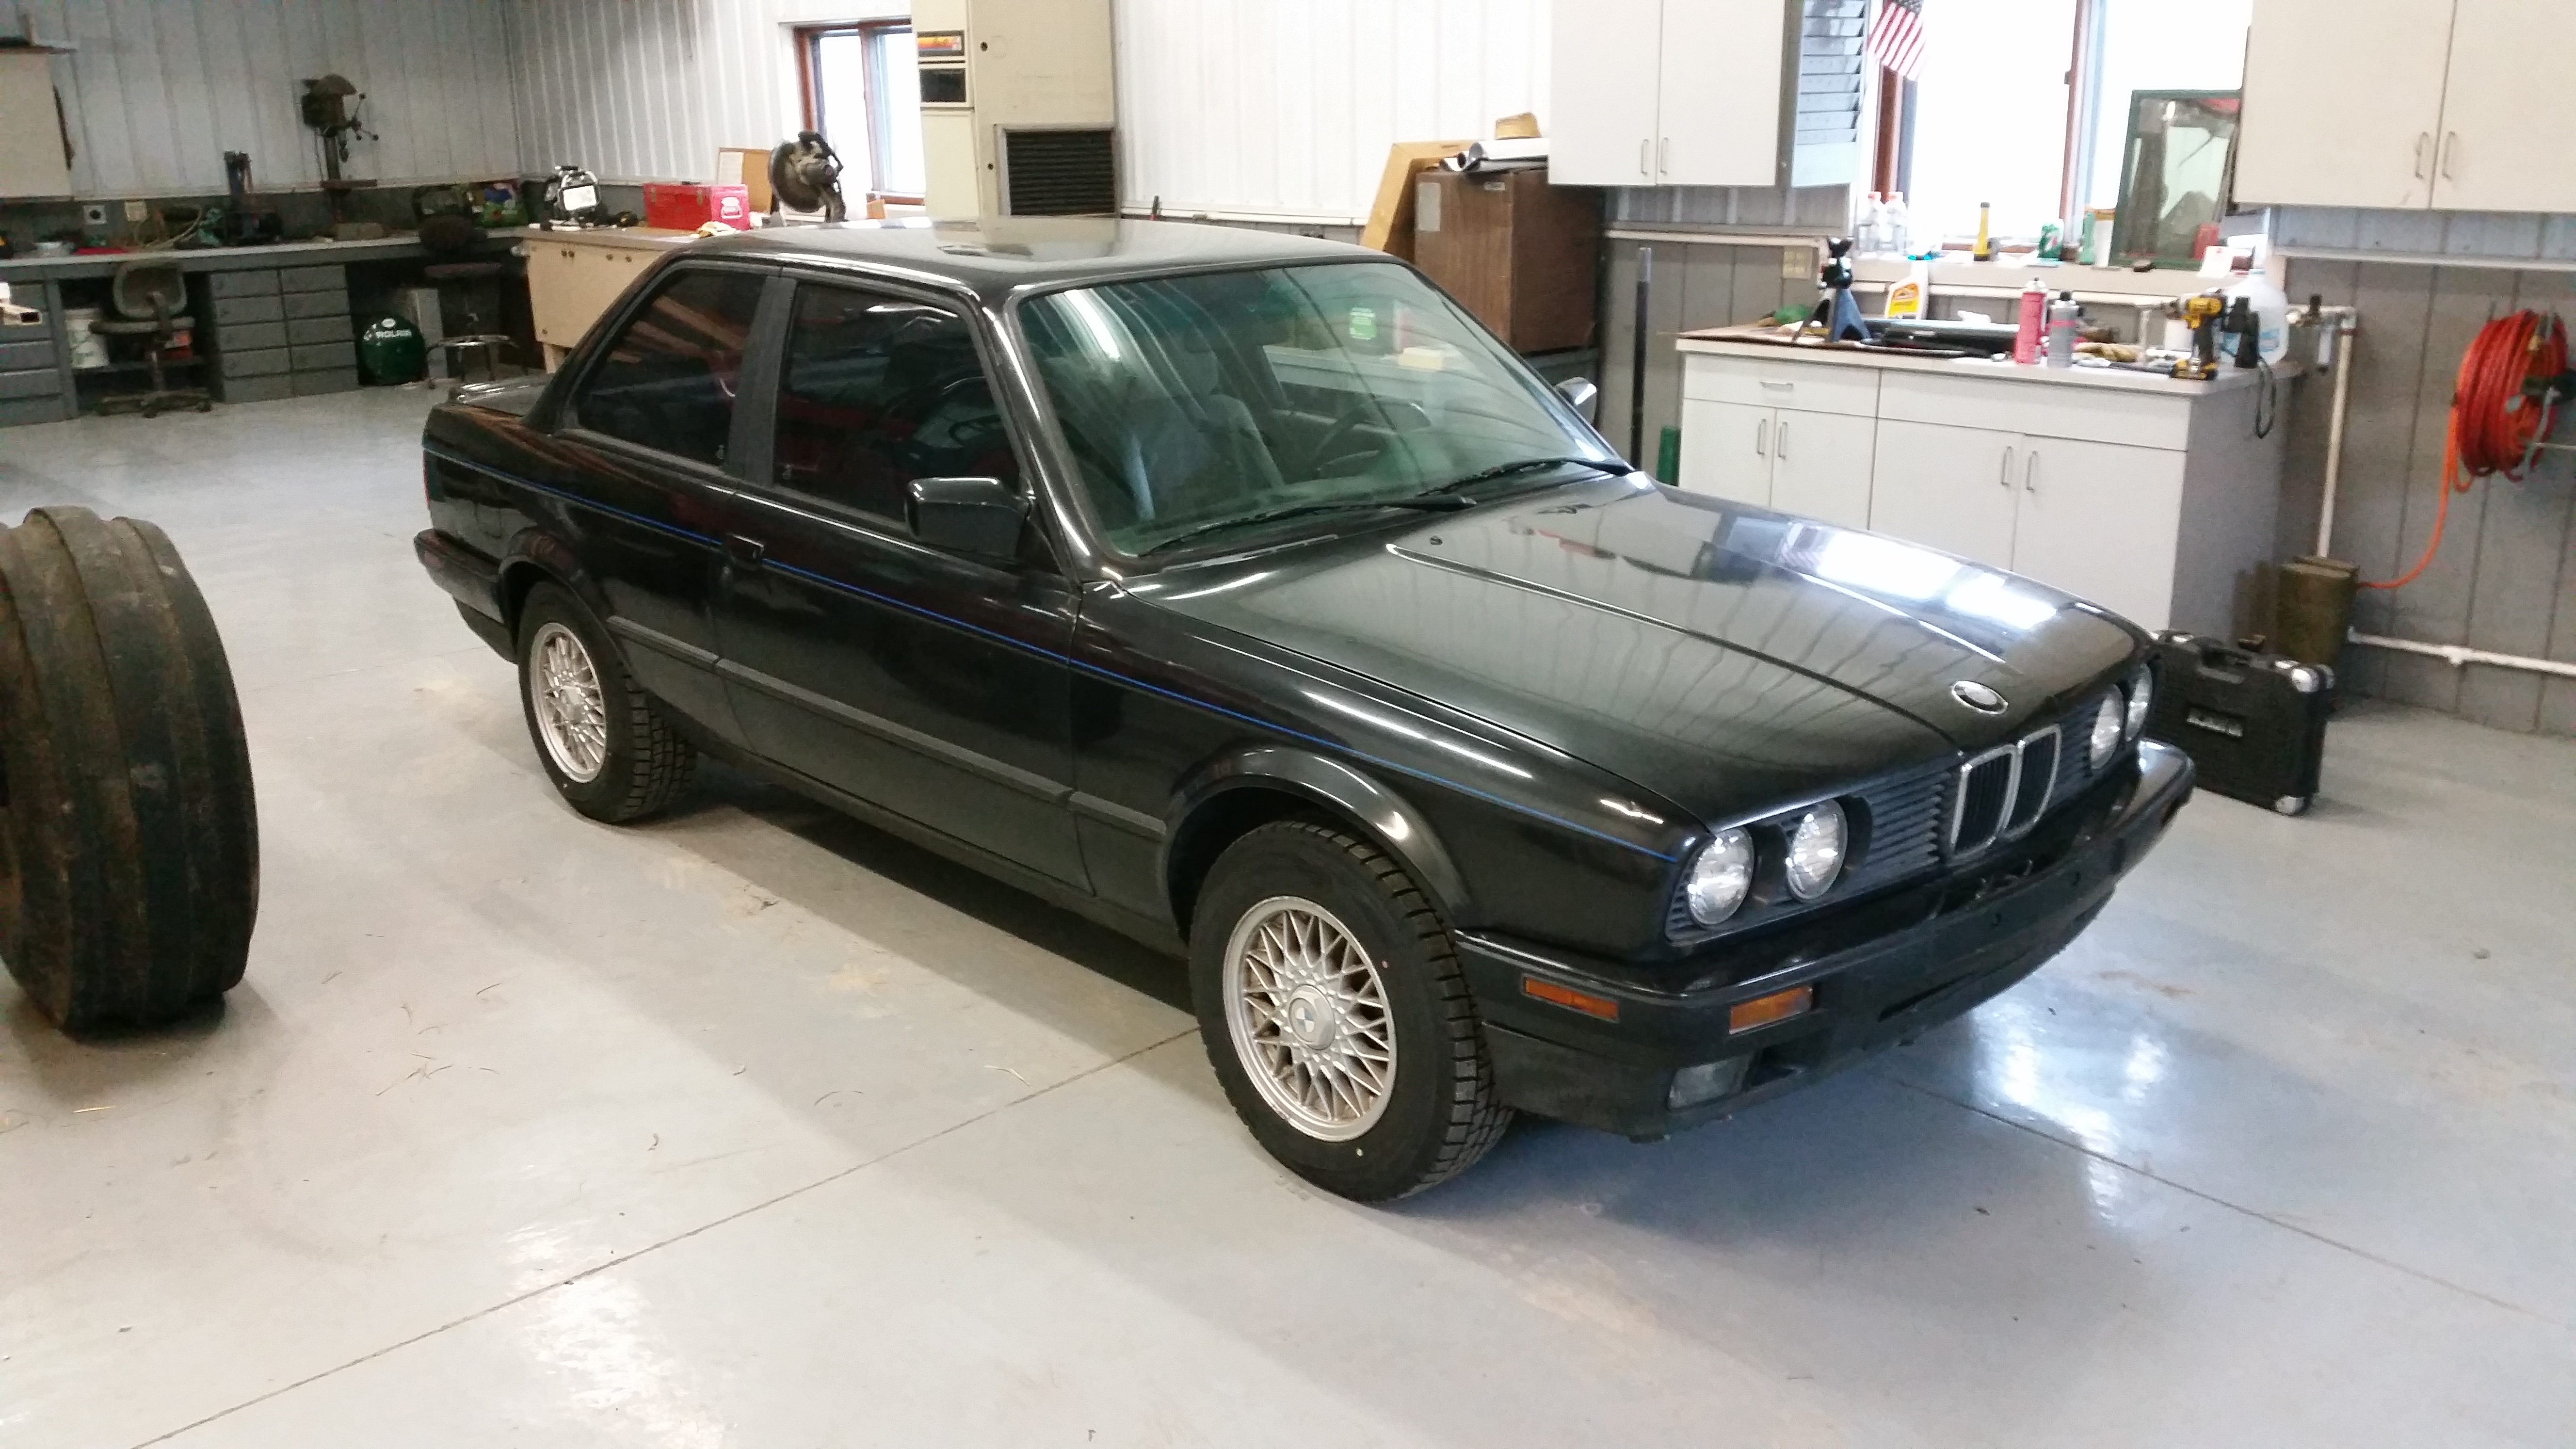
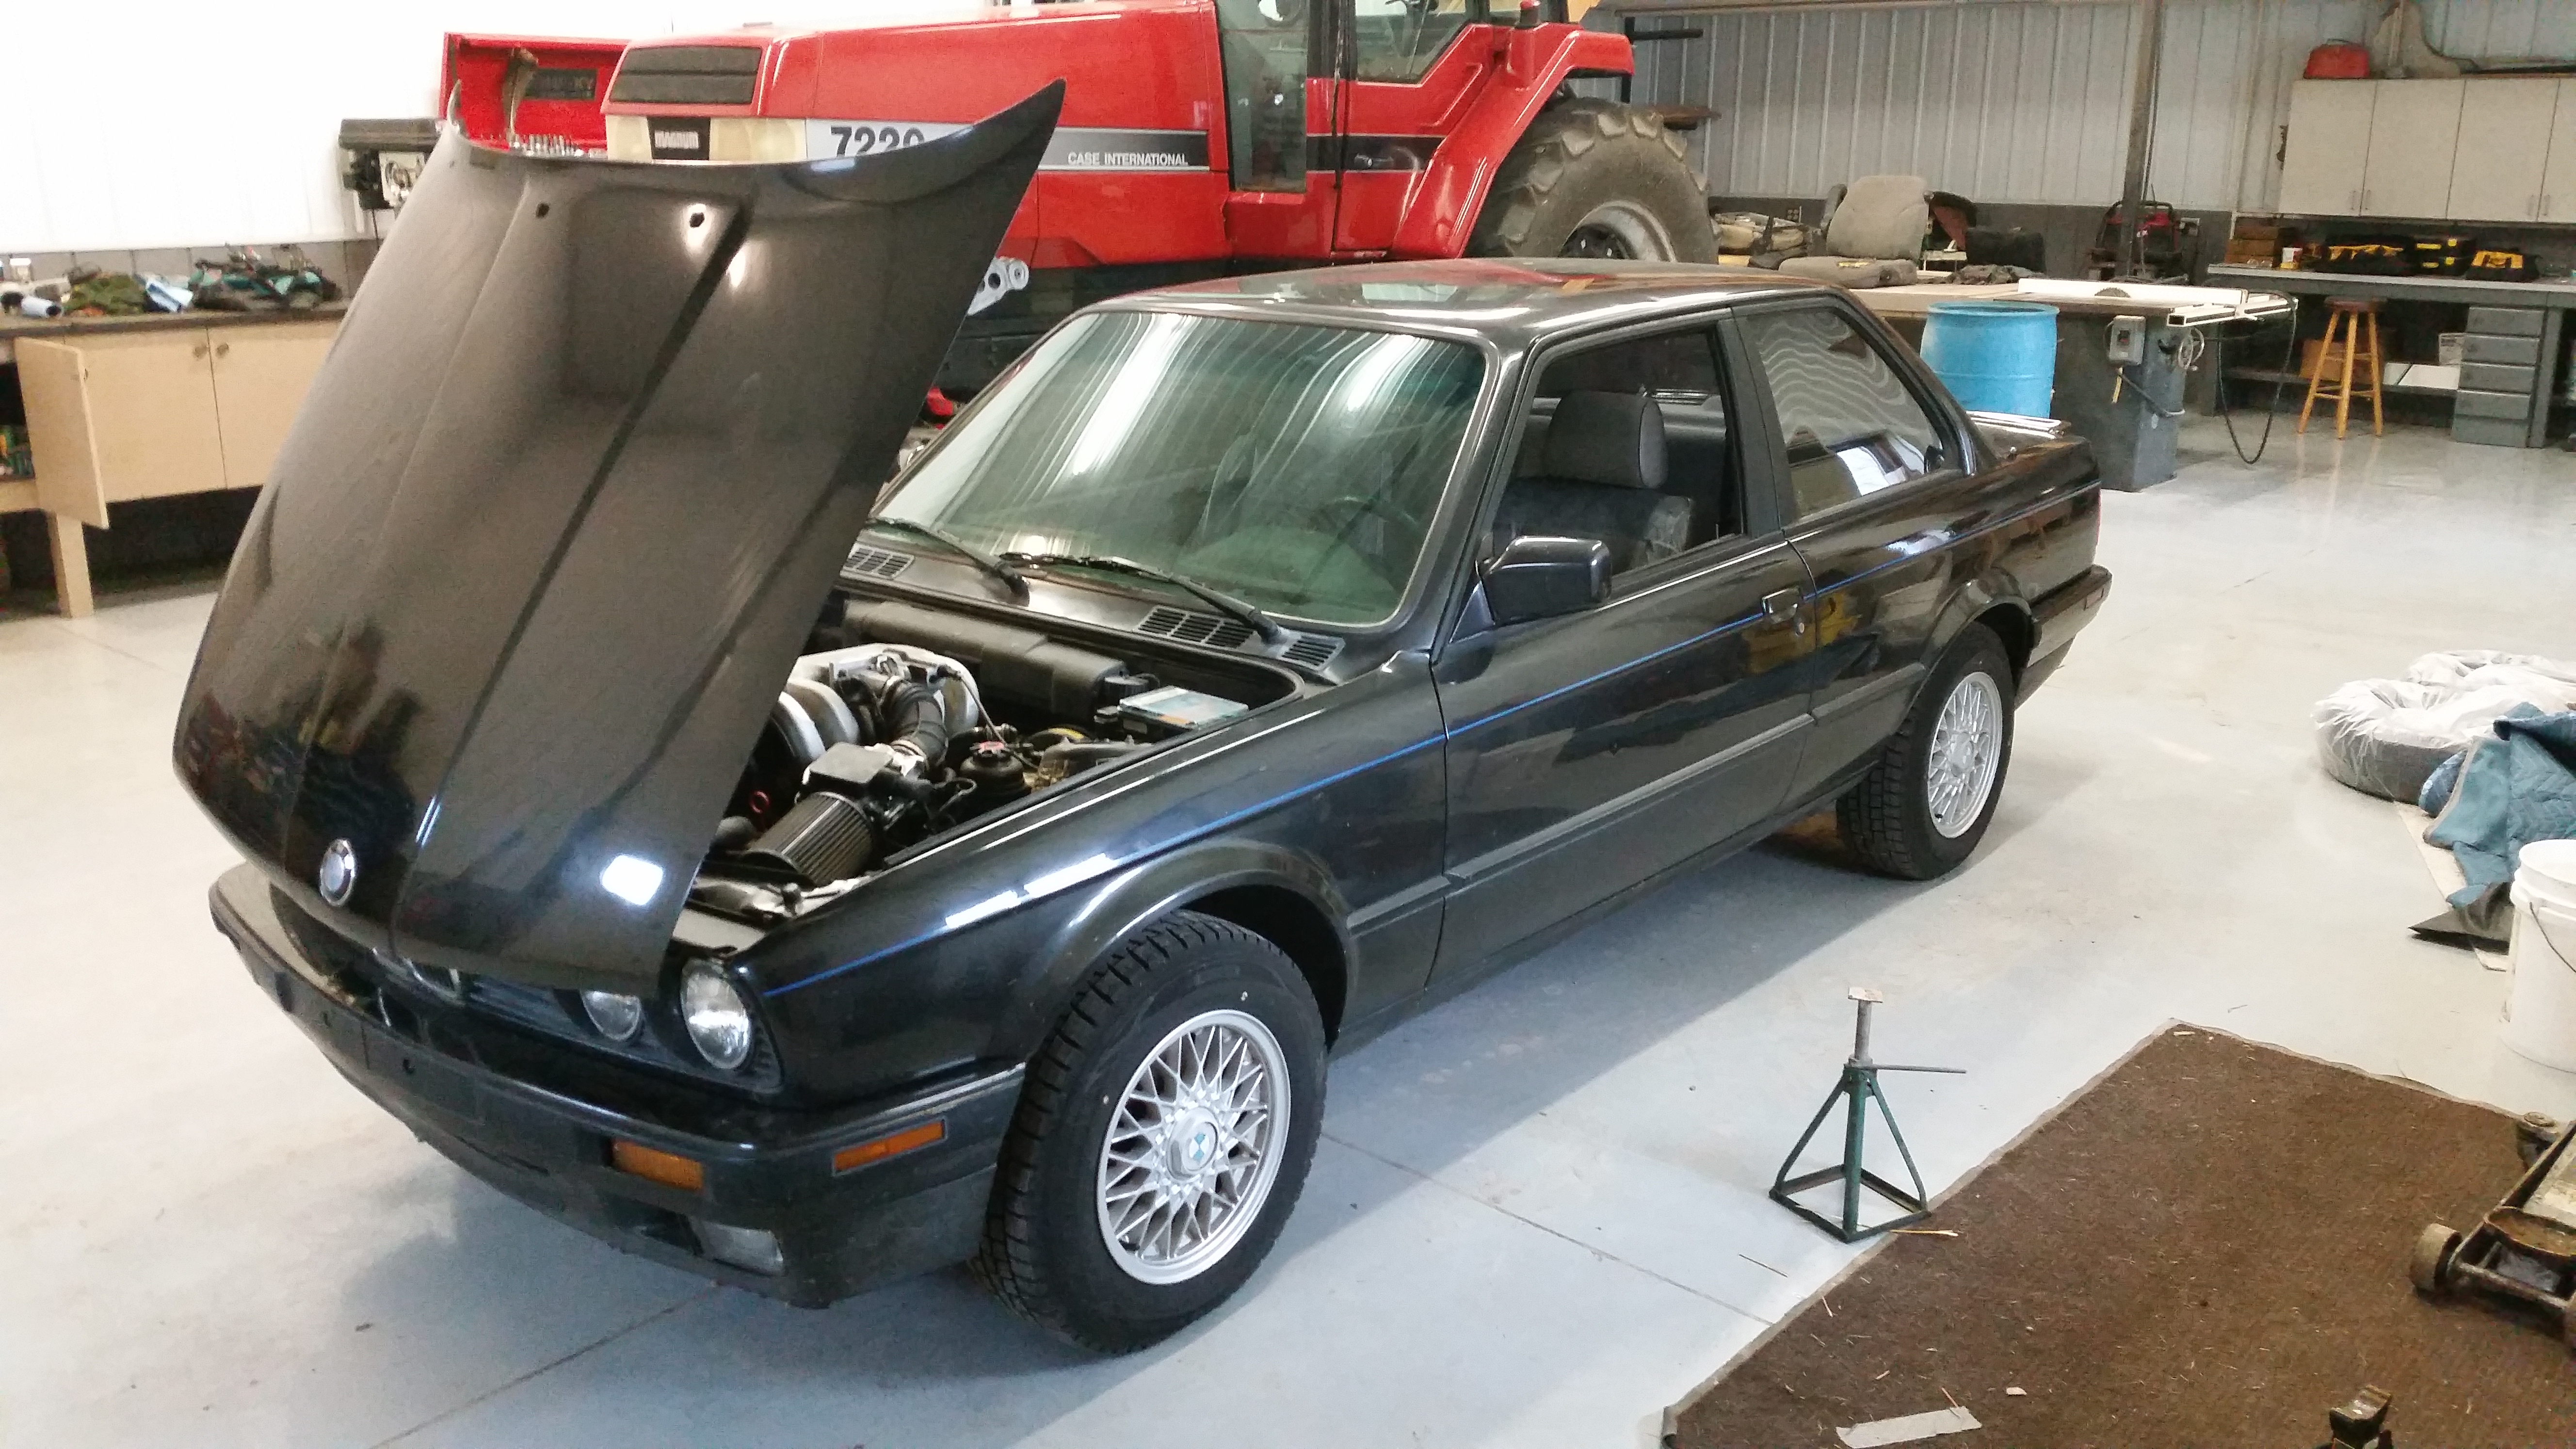
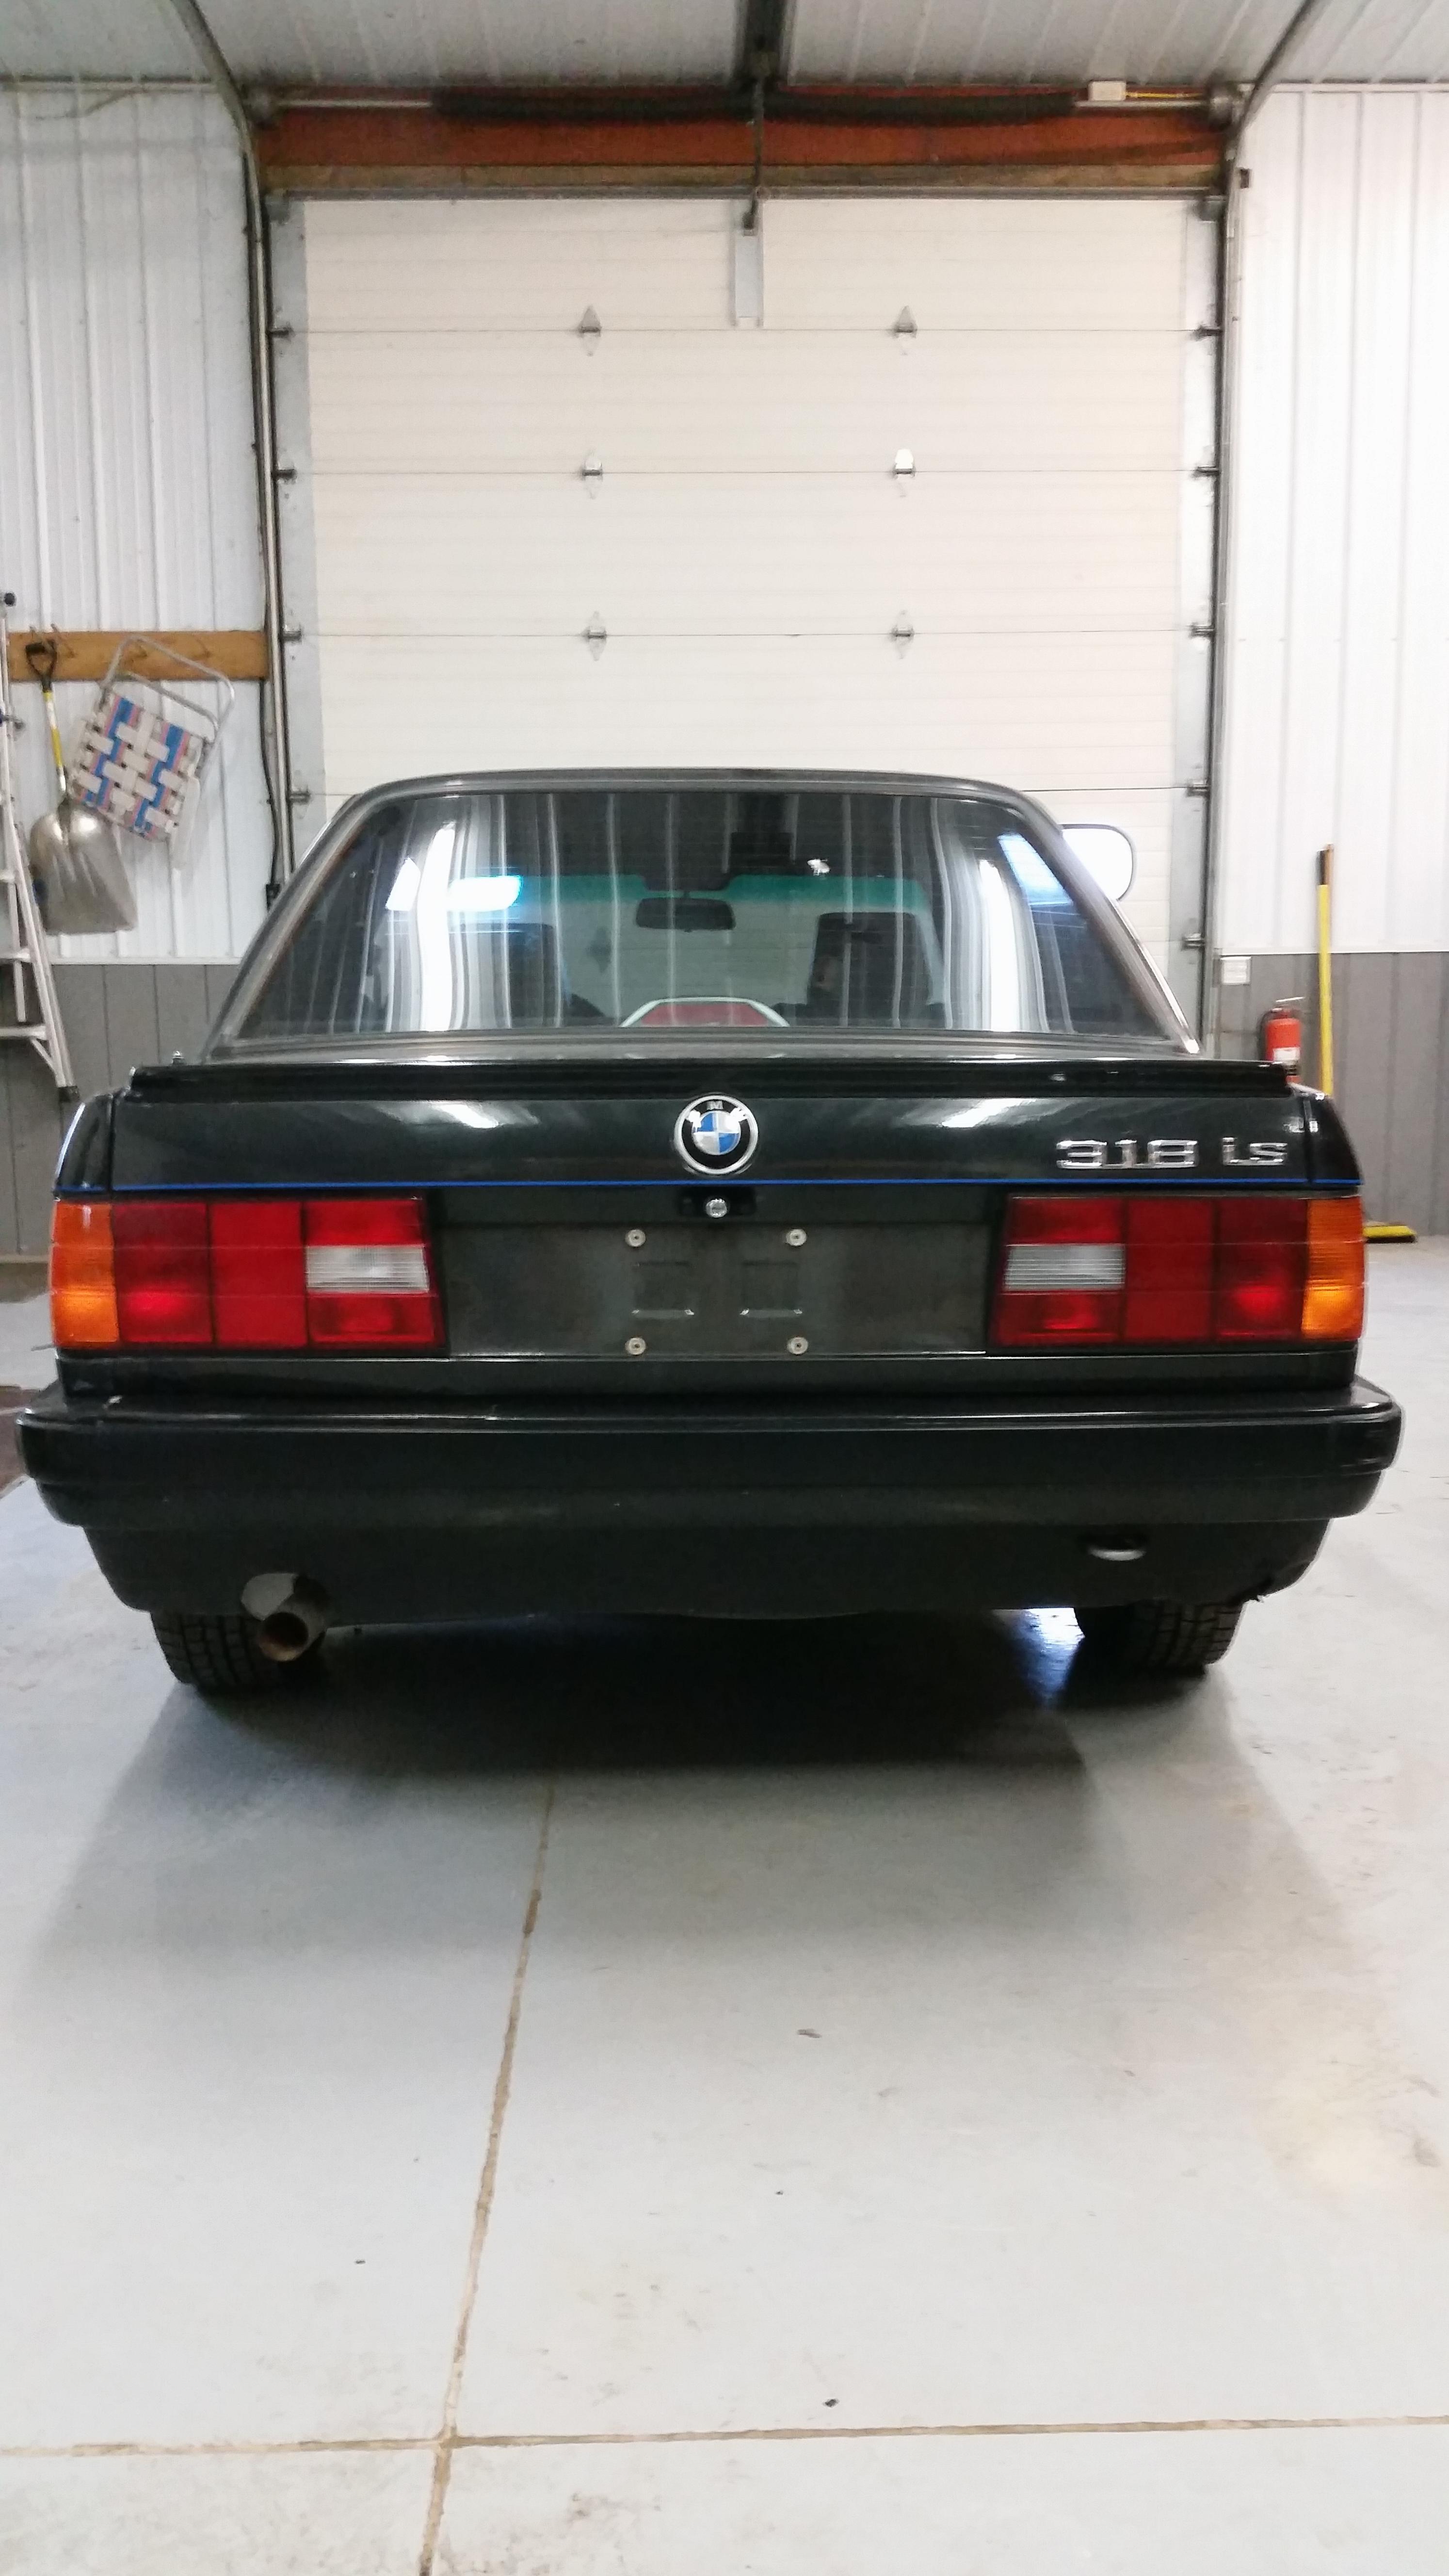
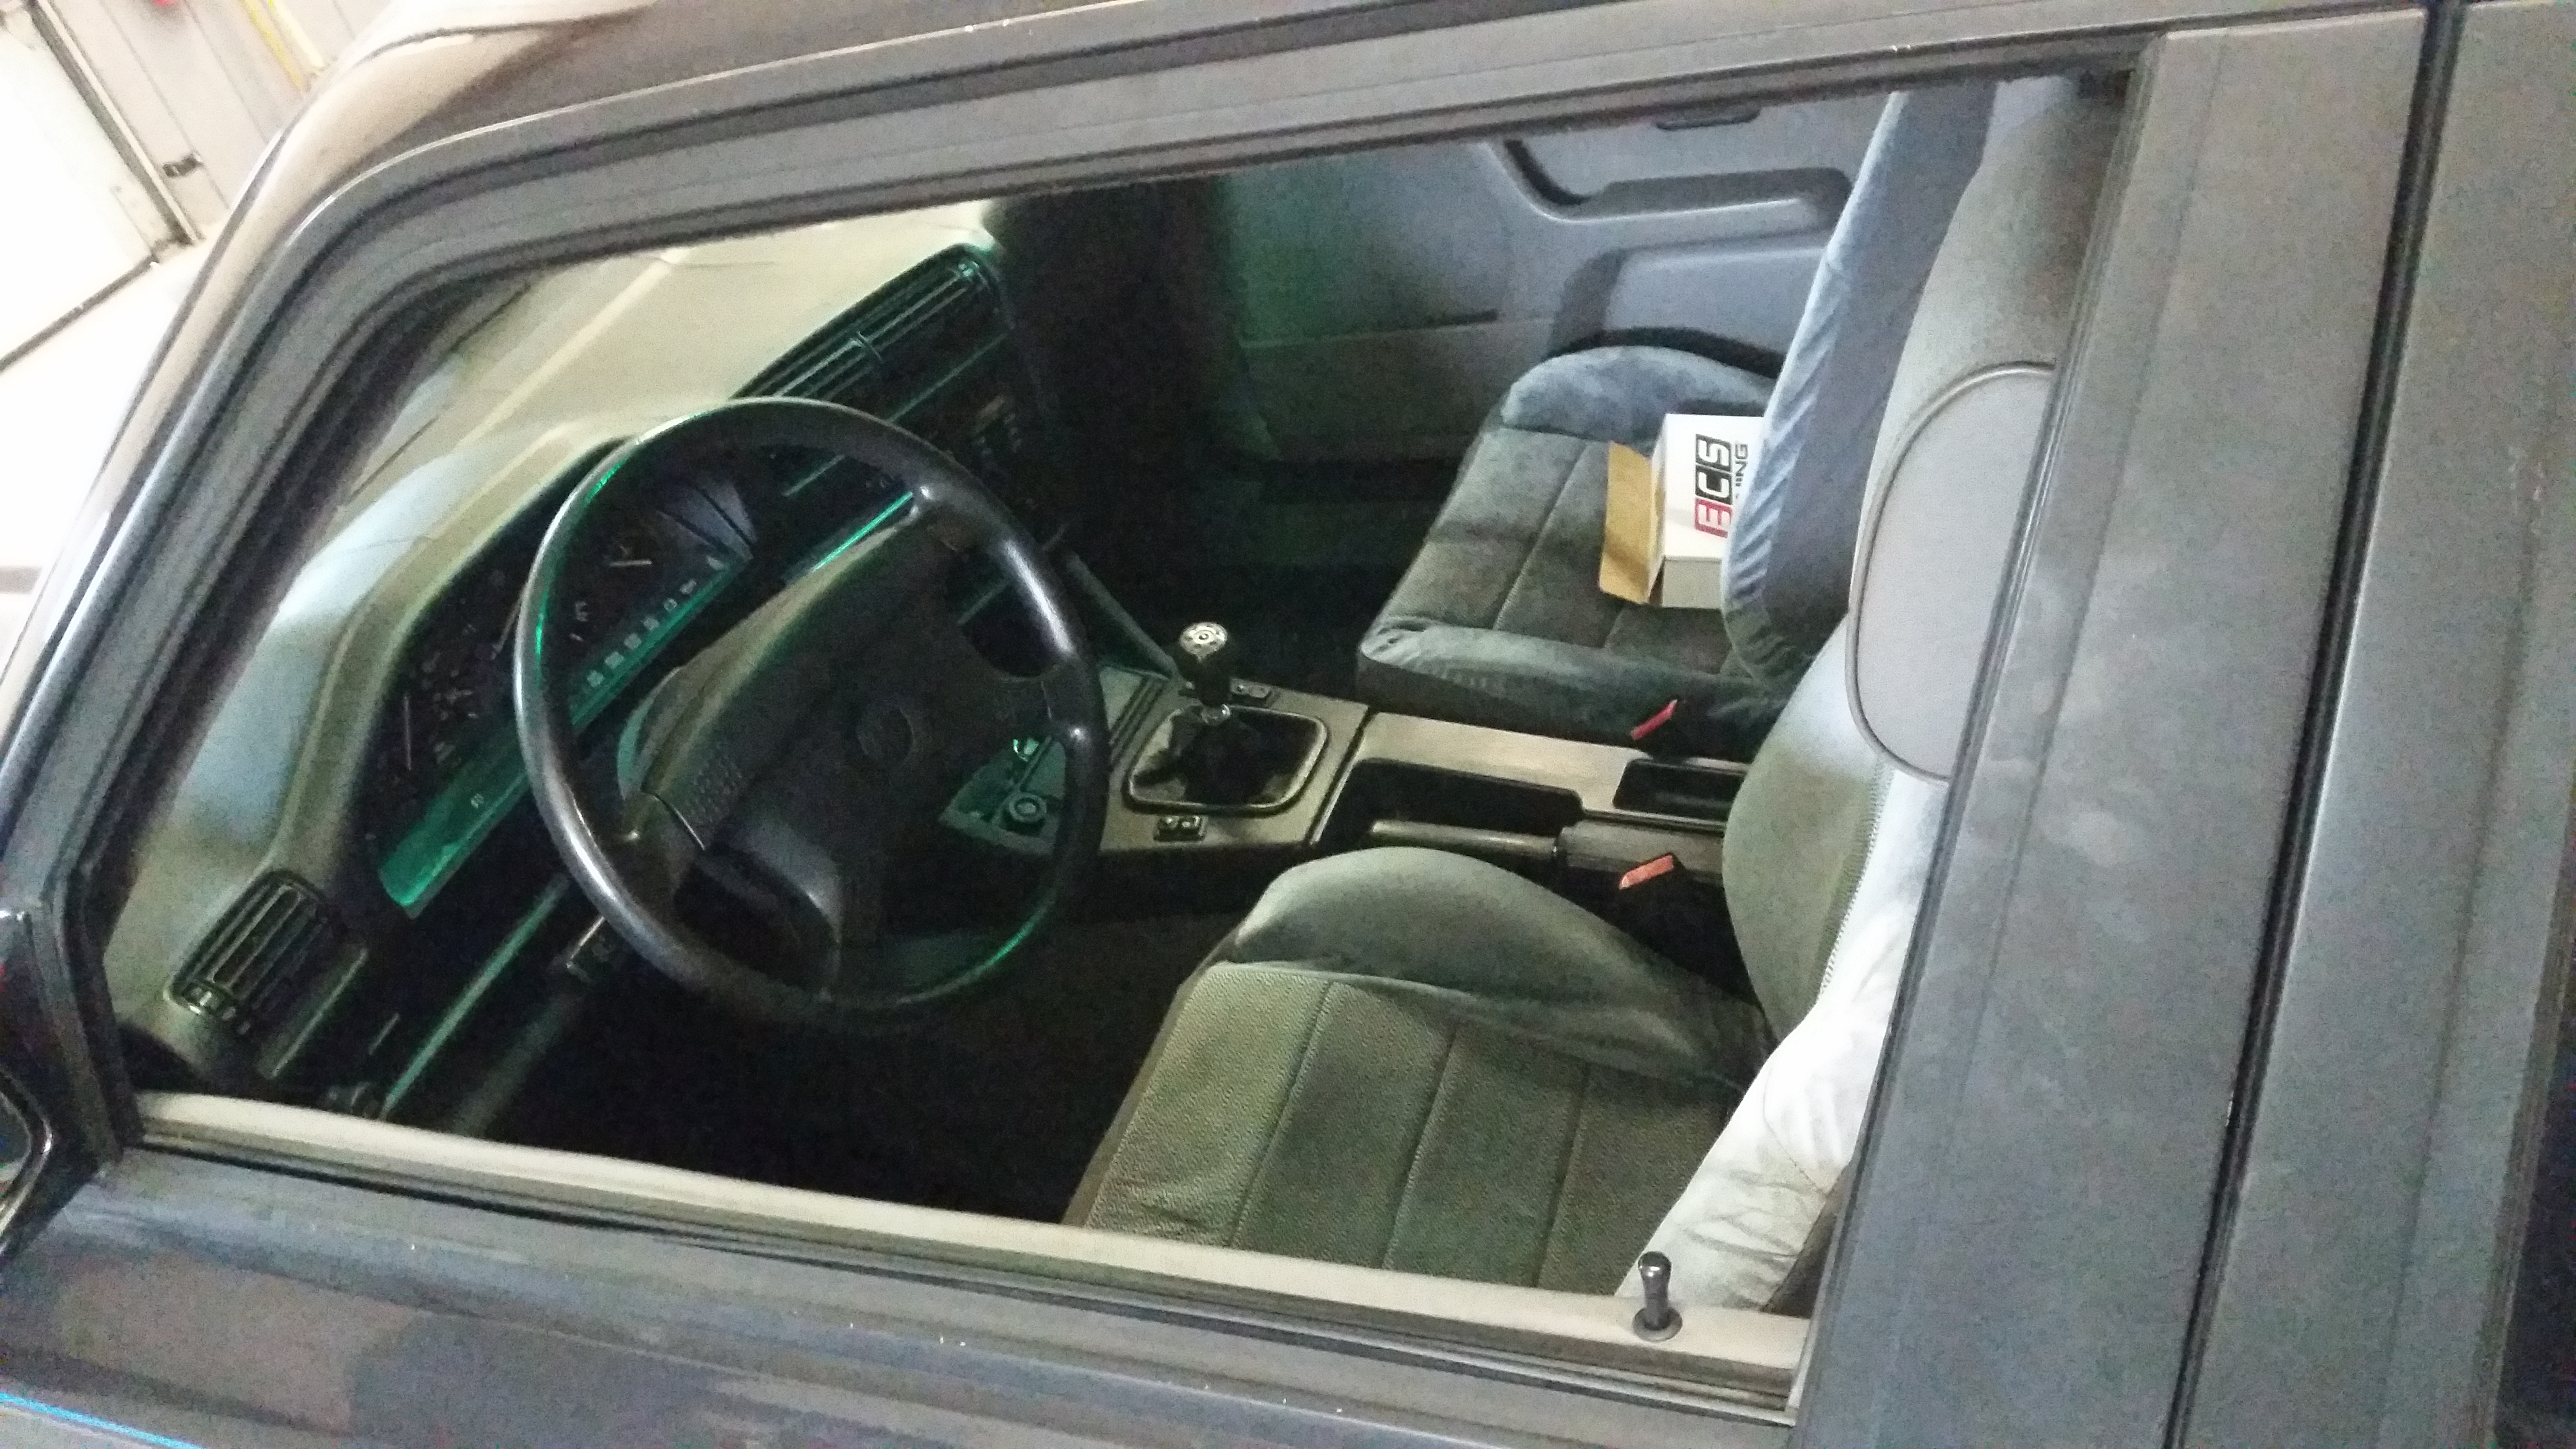
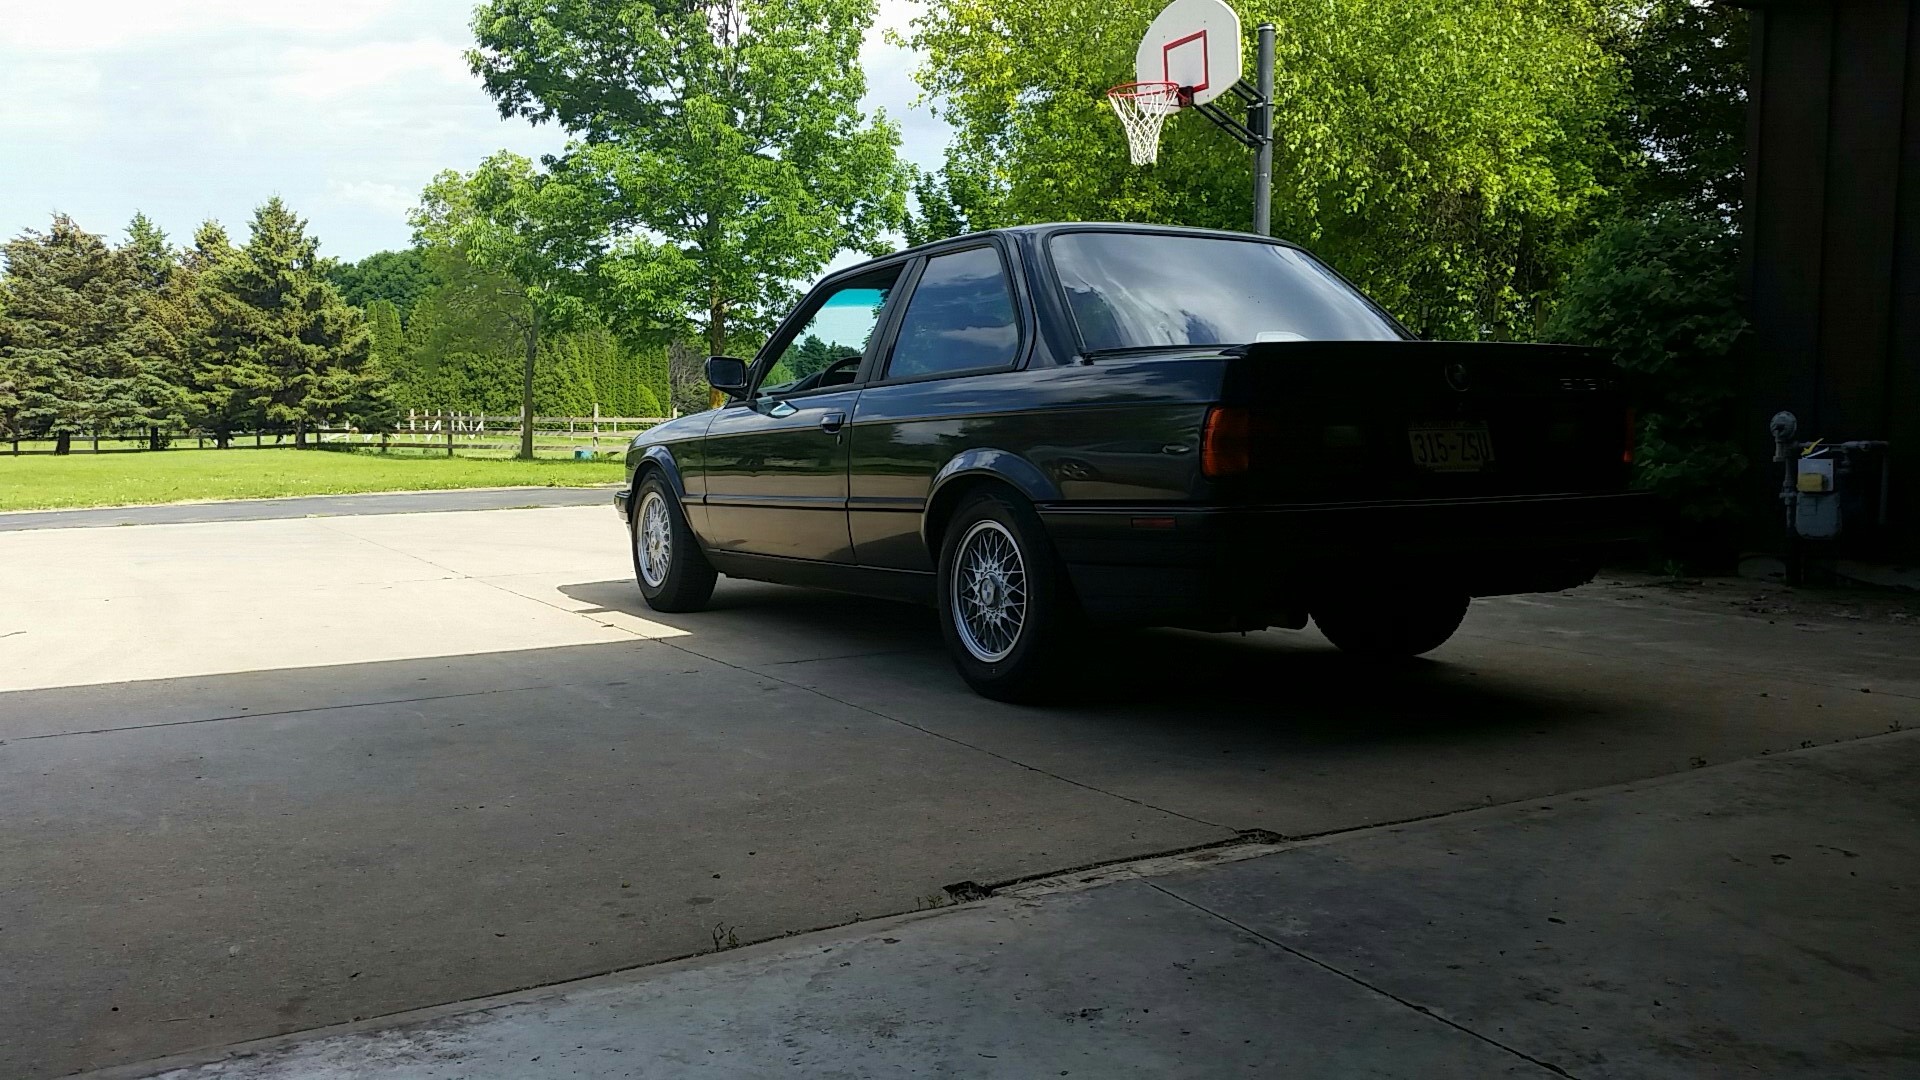
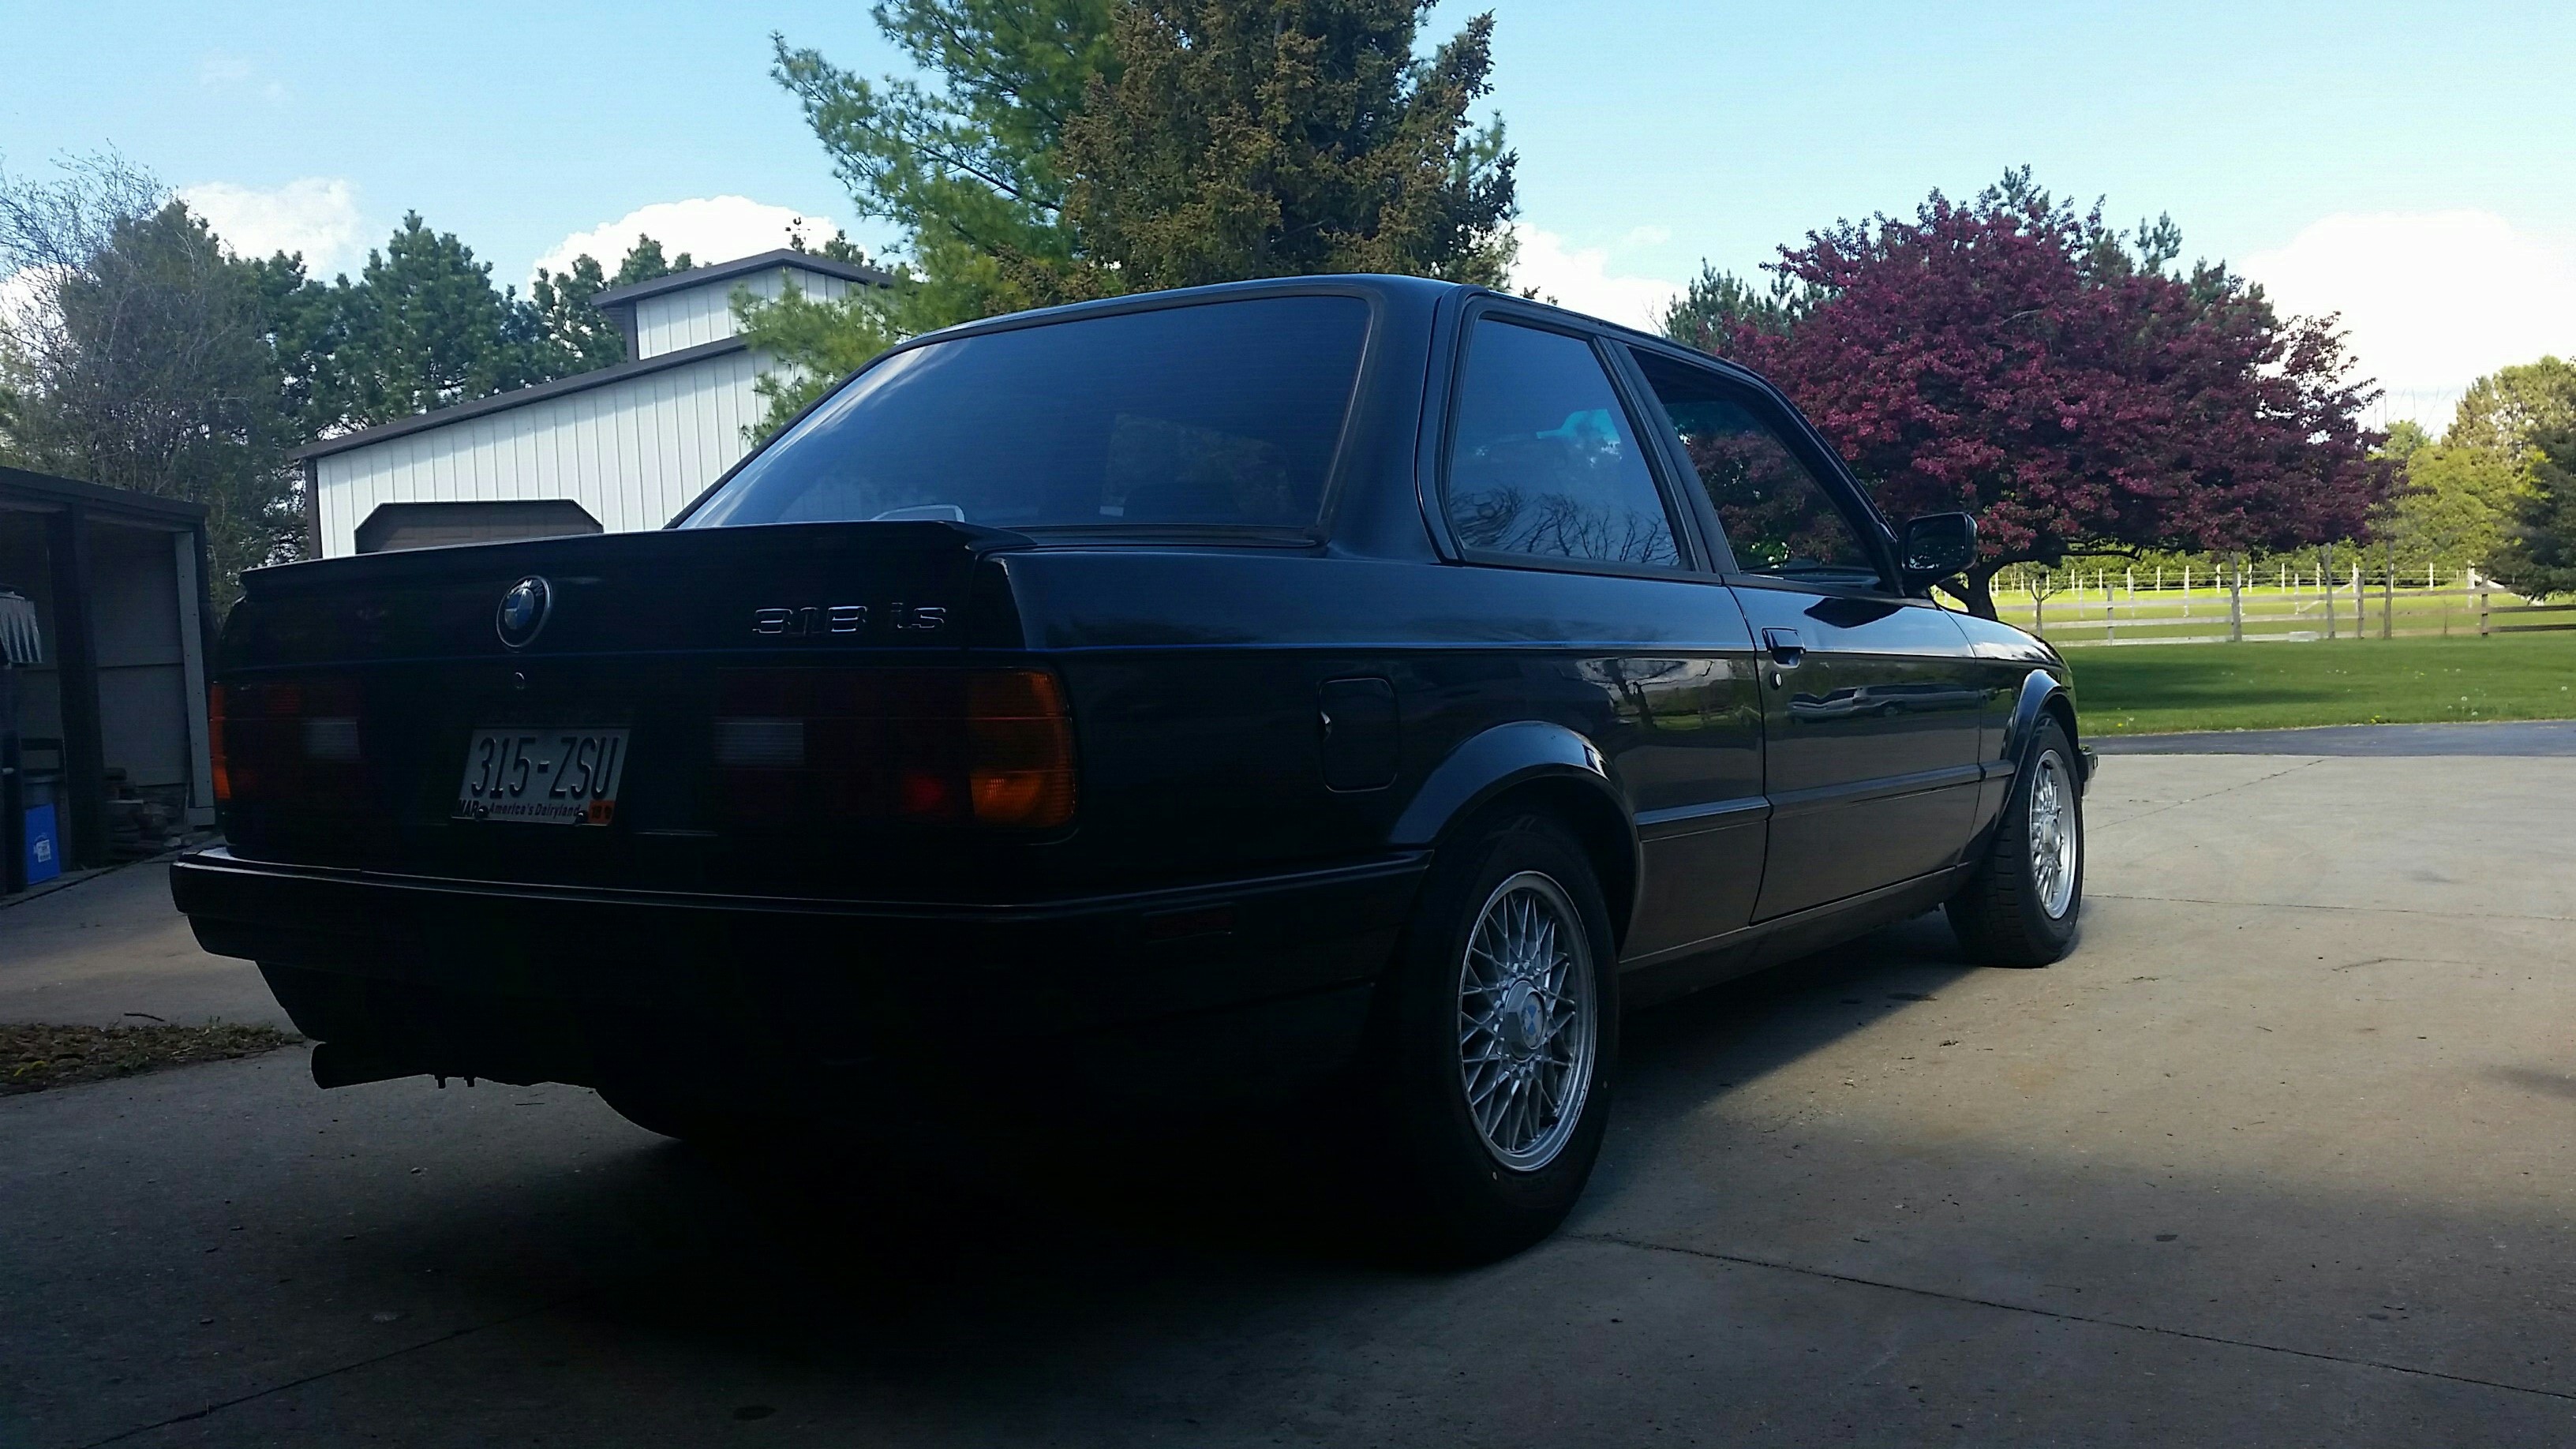
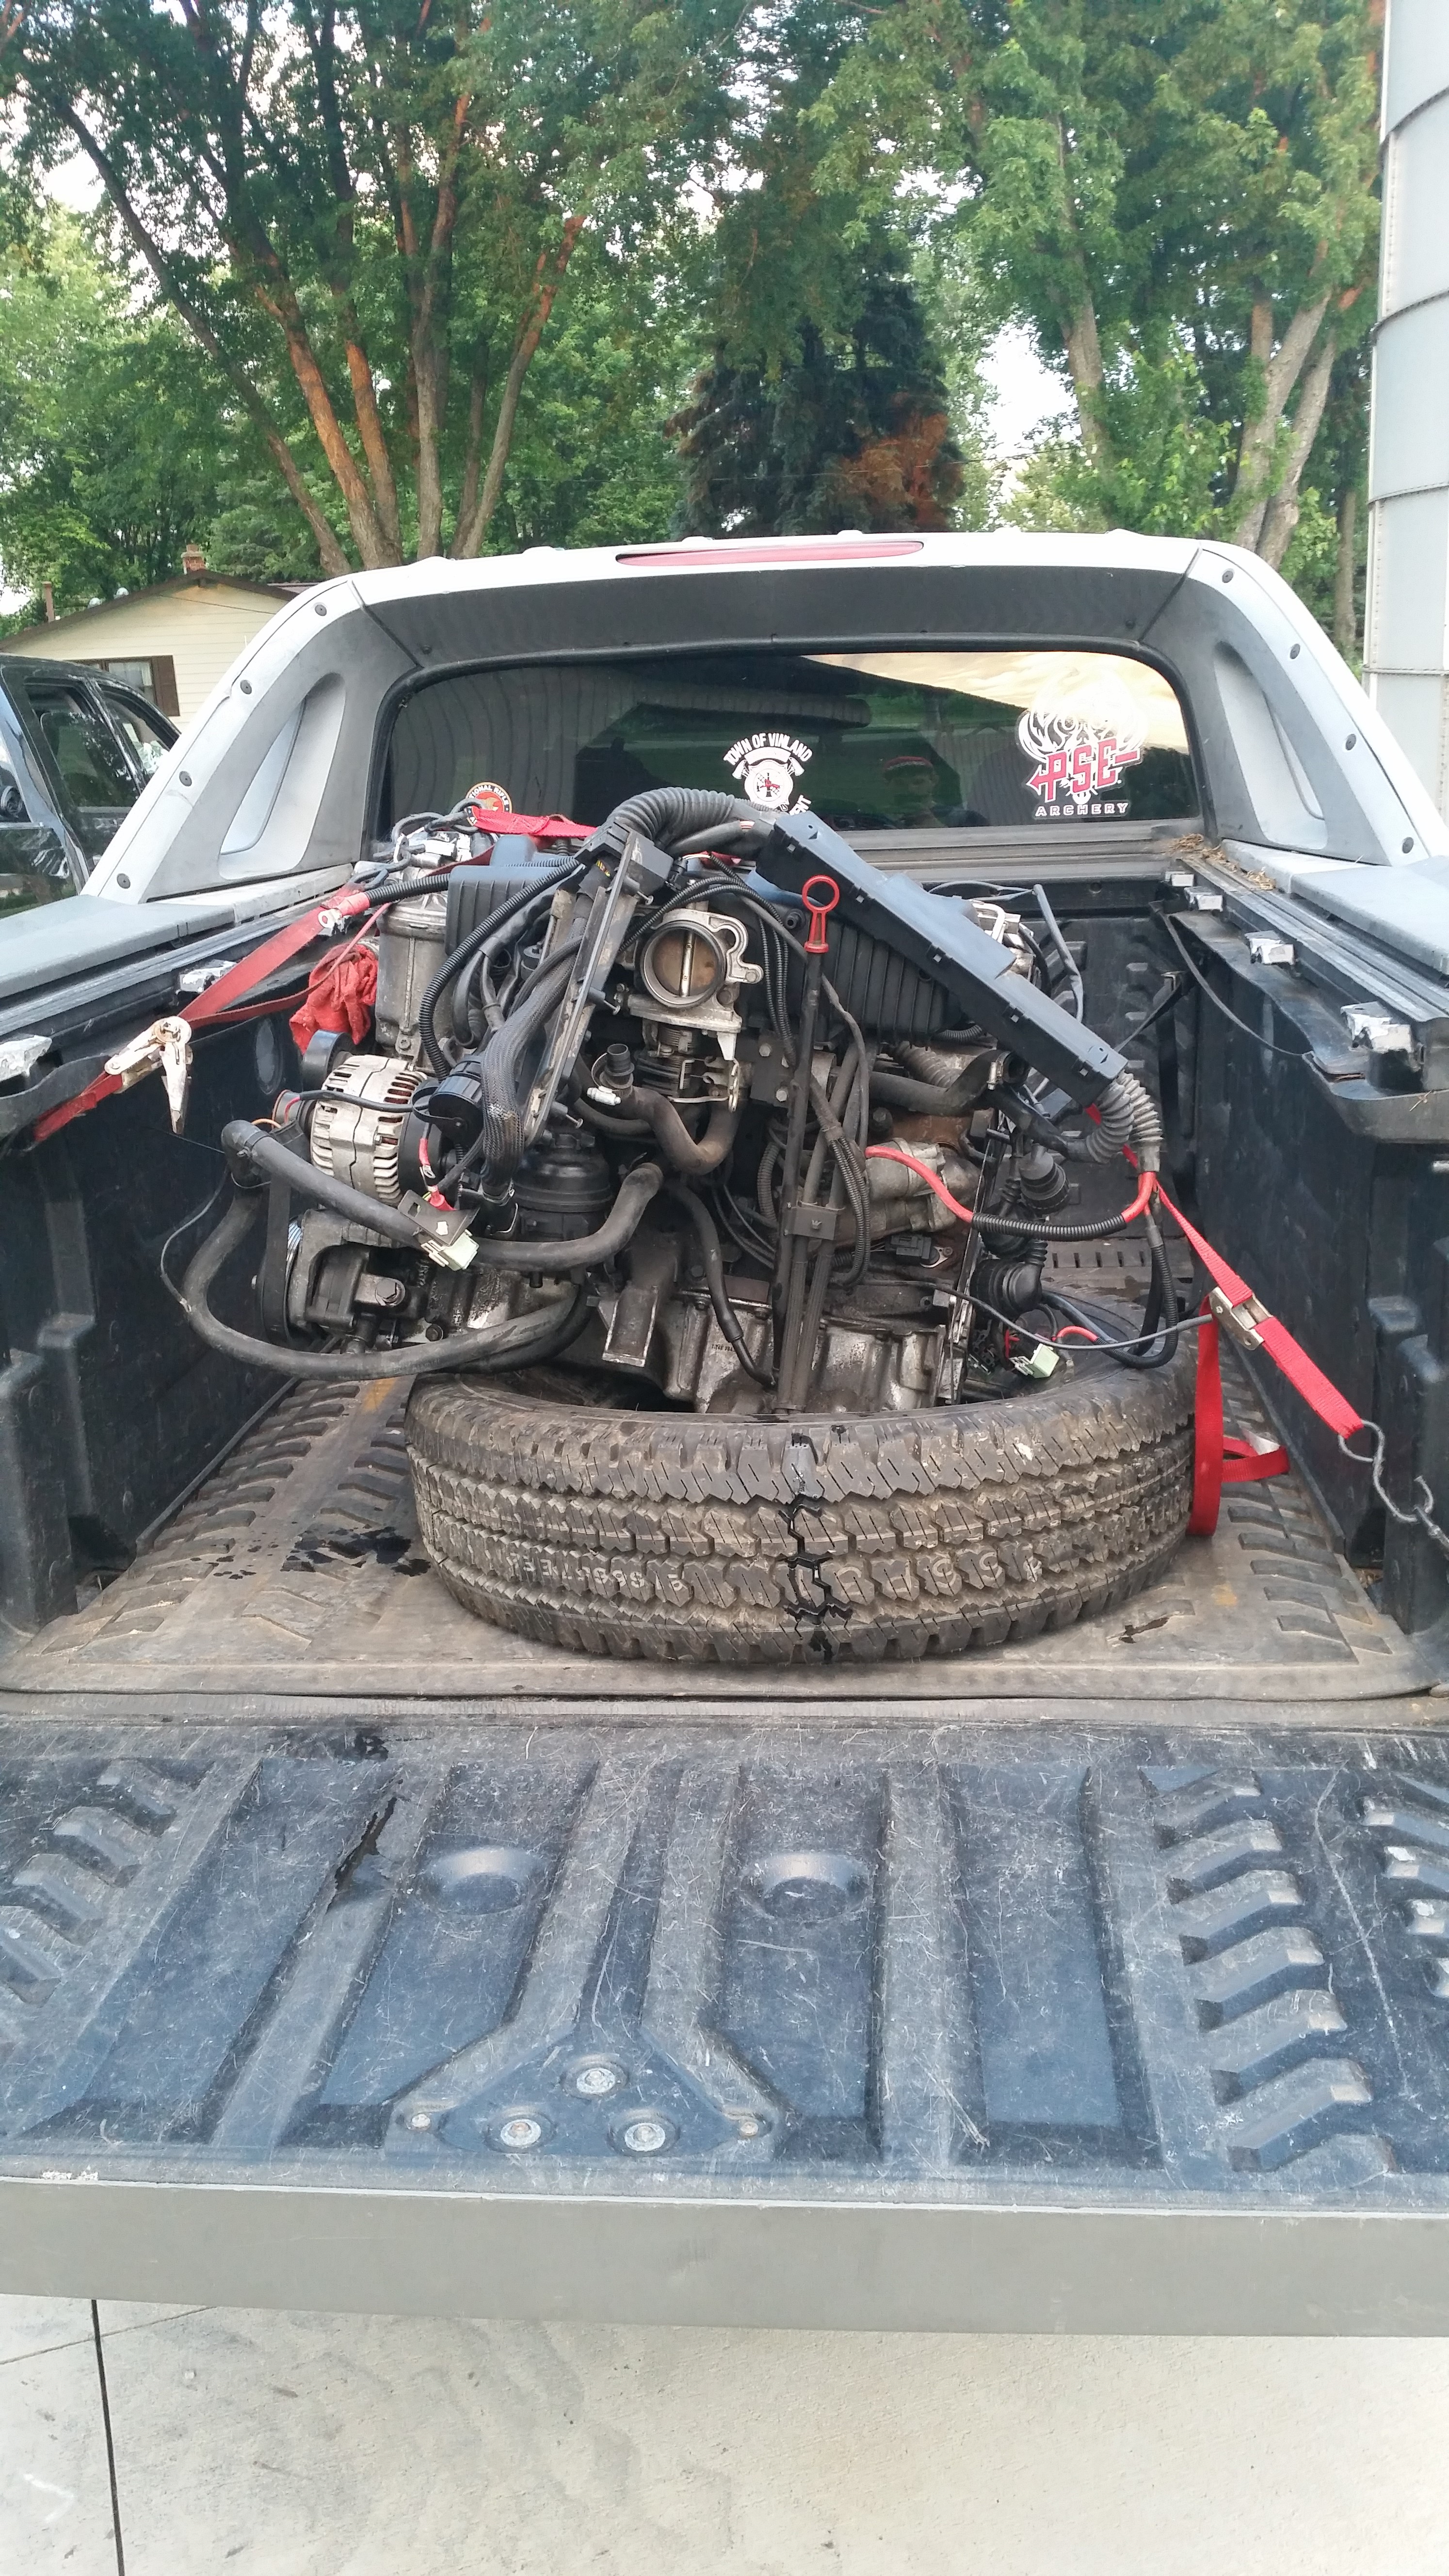
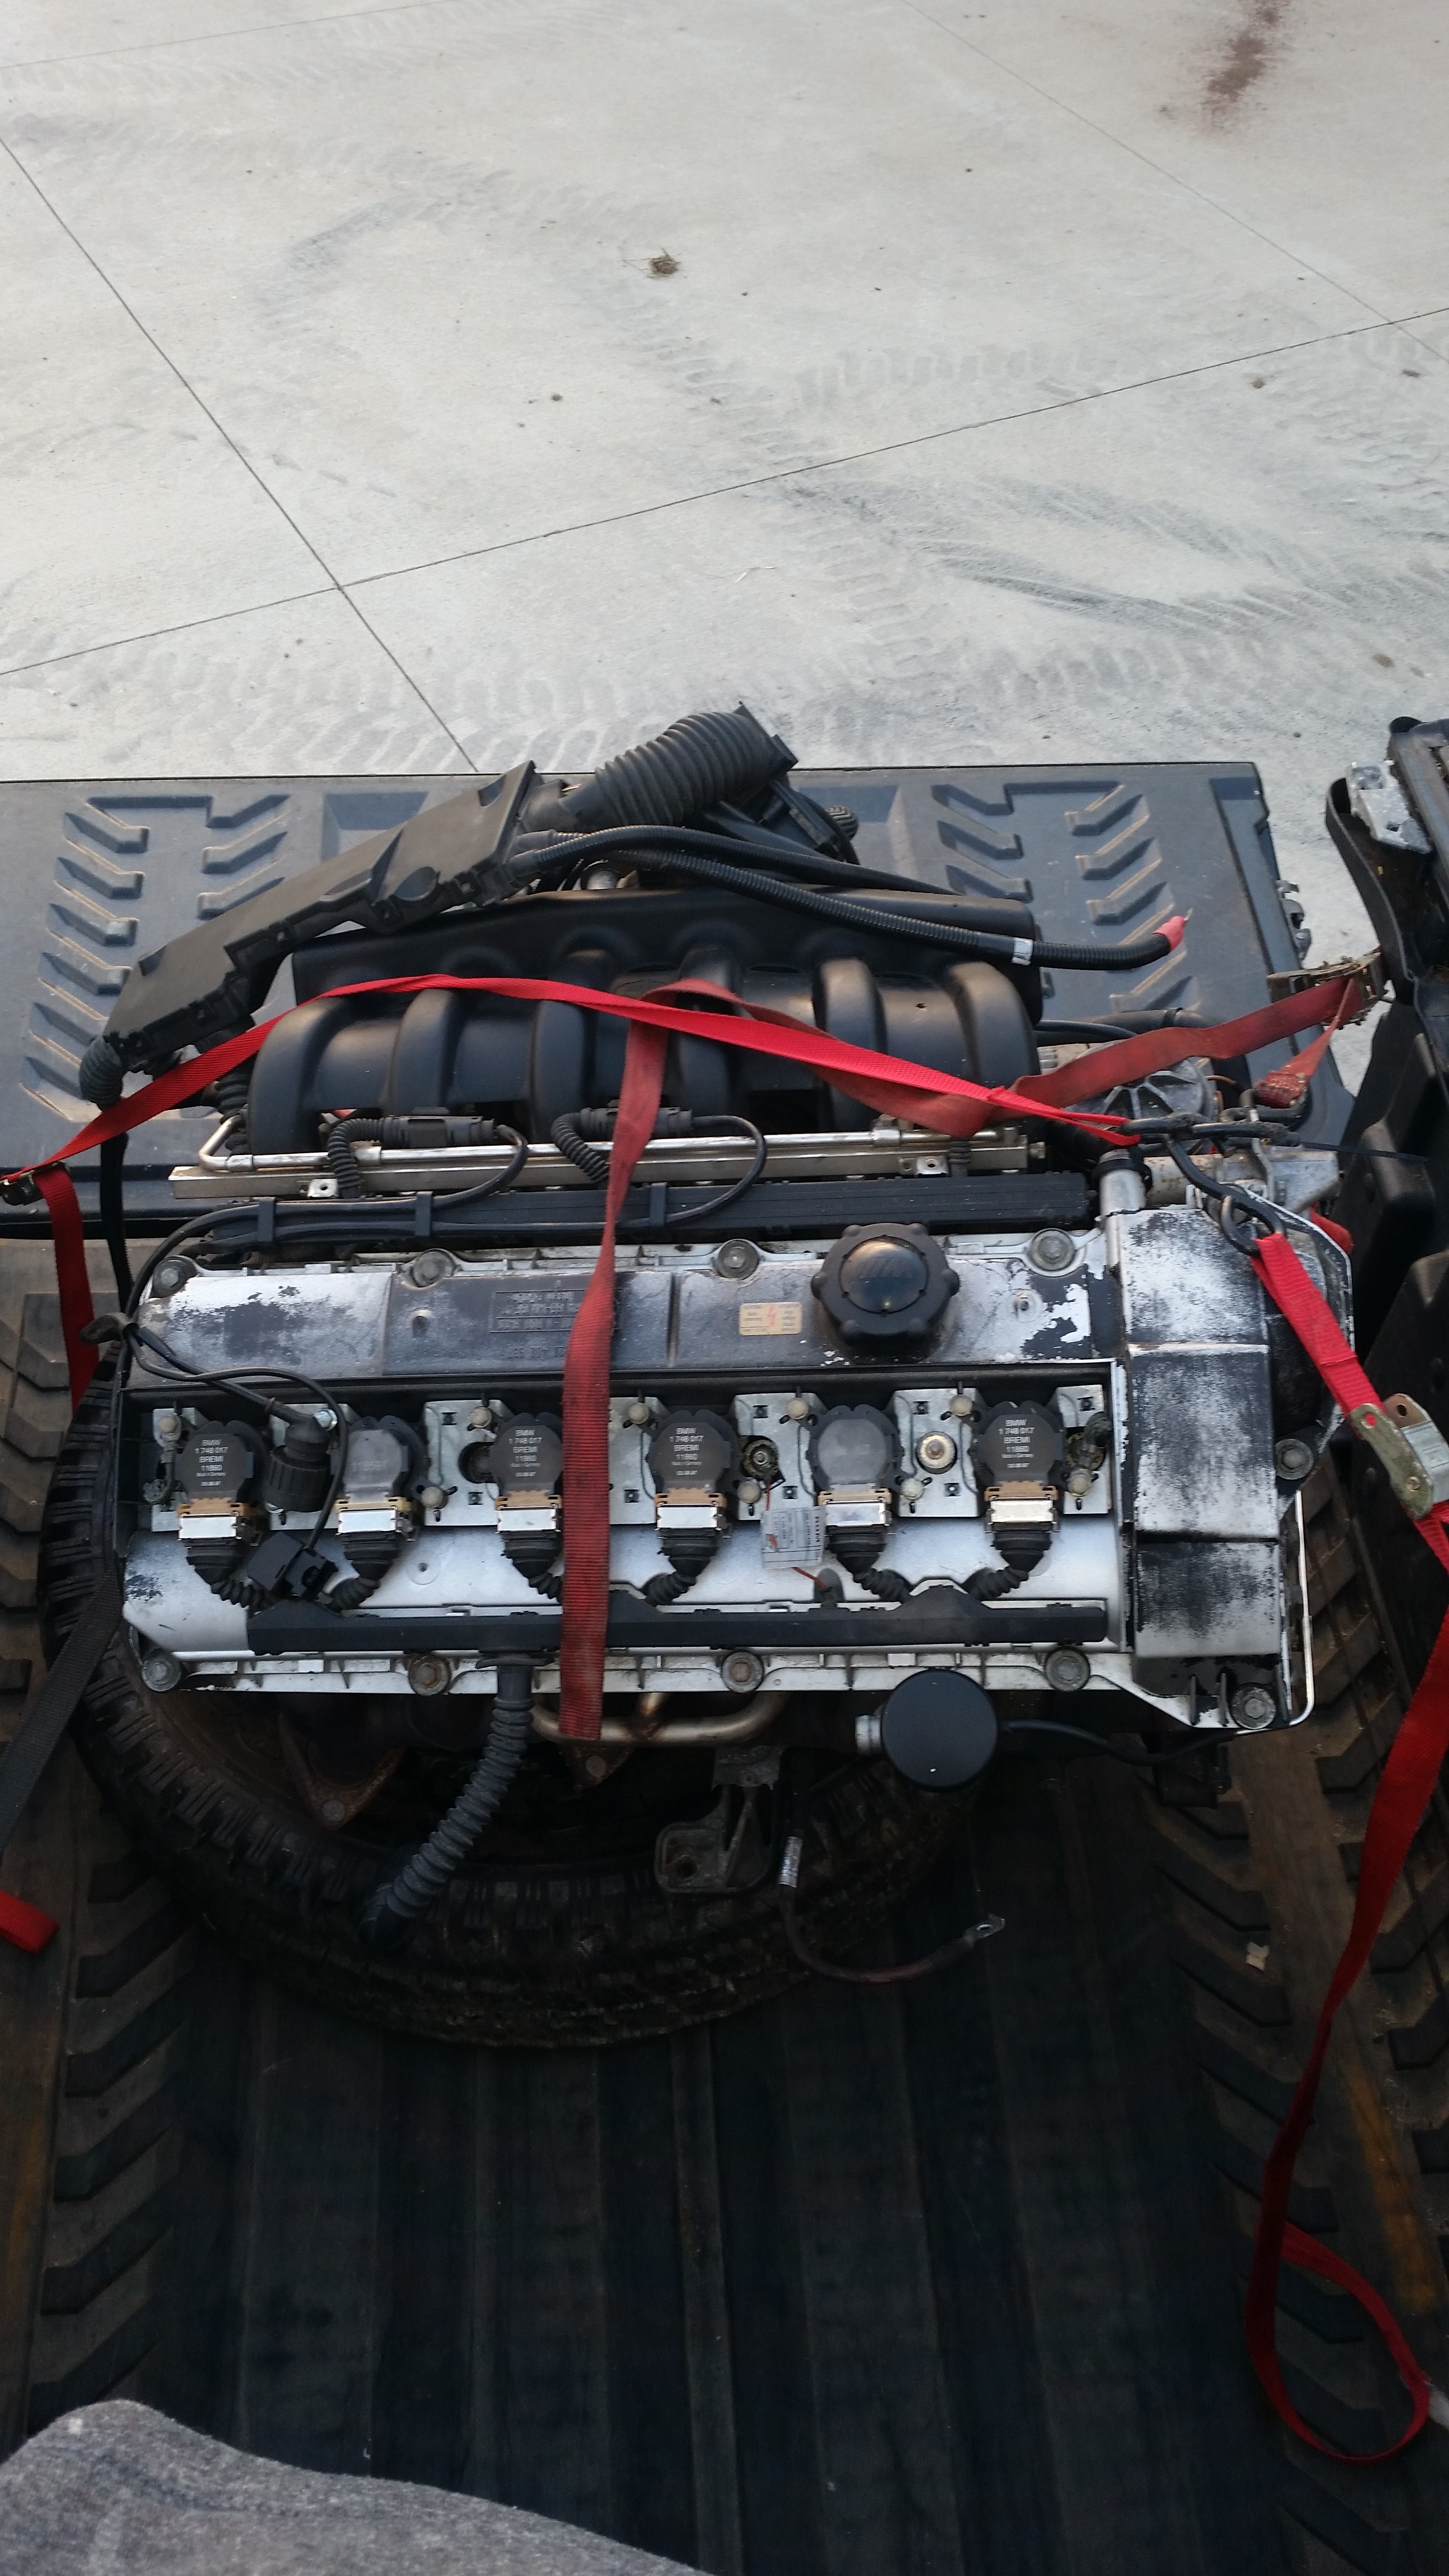
the one and only e30 s52 engine swap
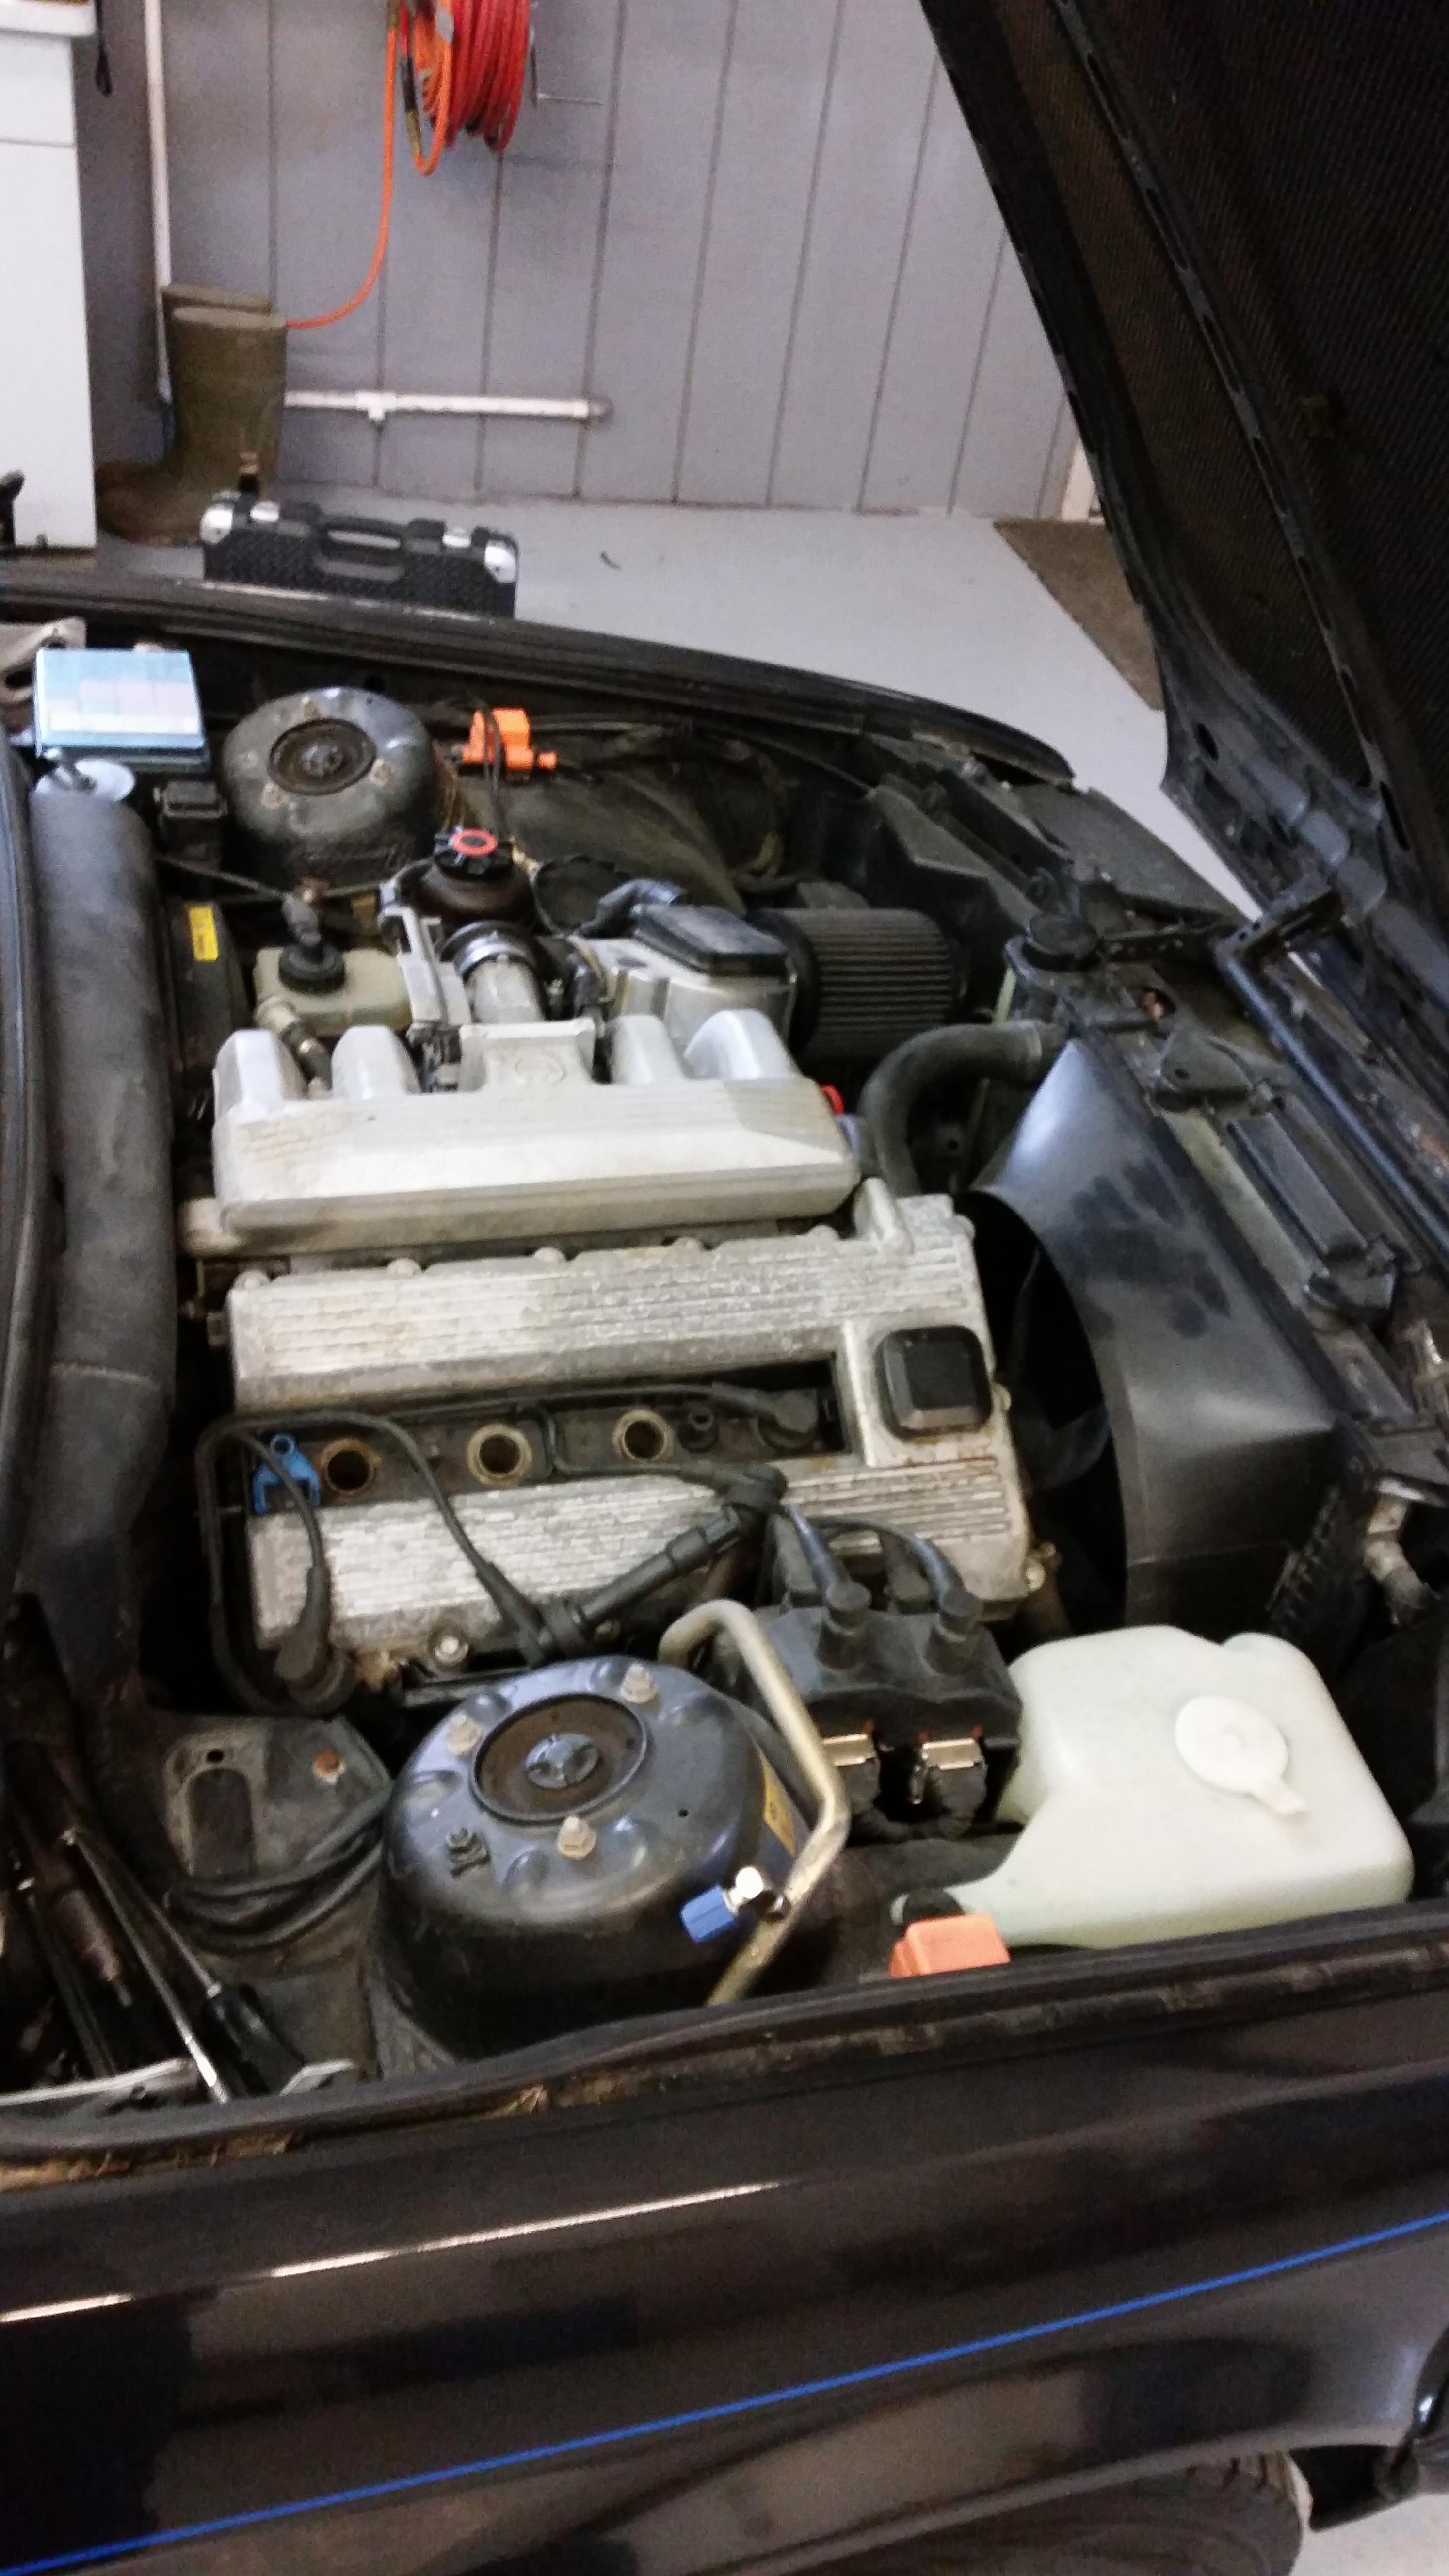
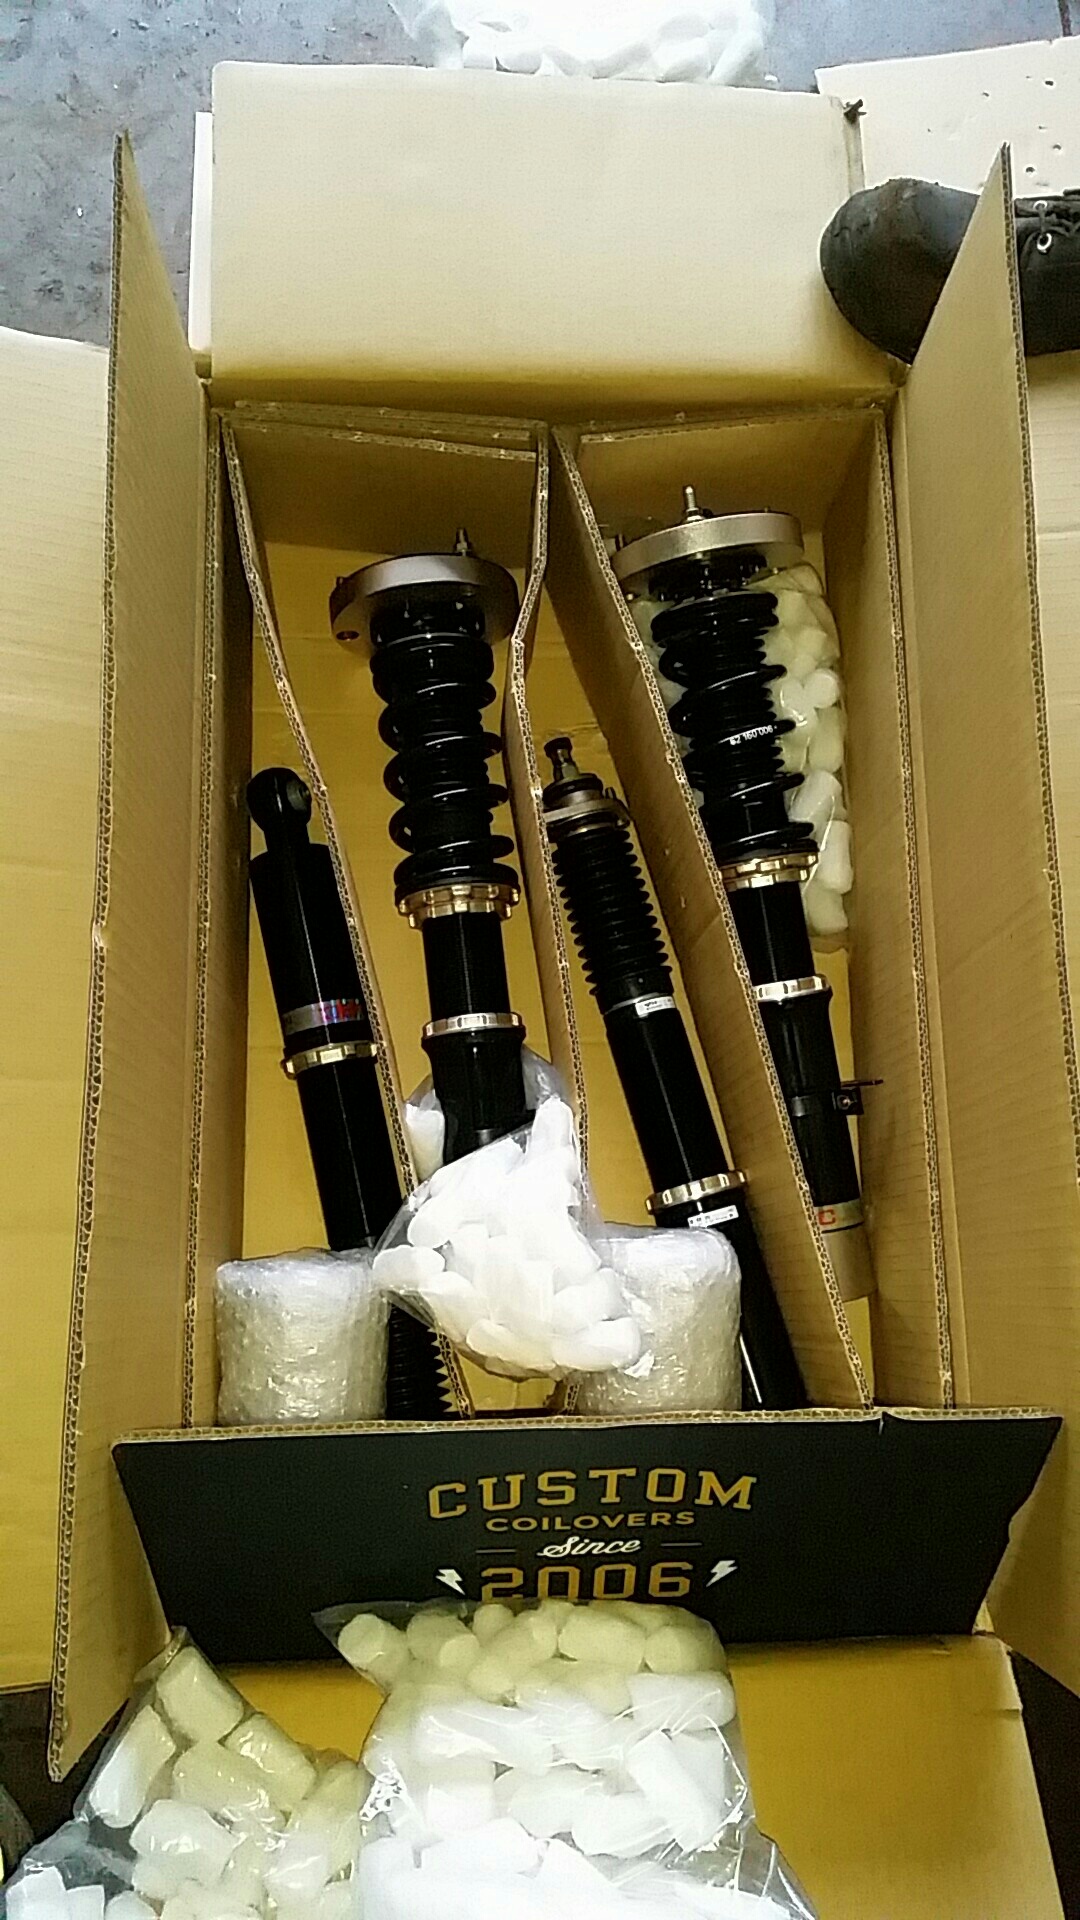
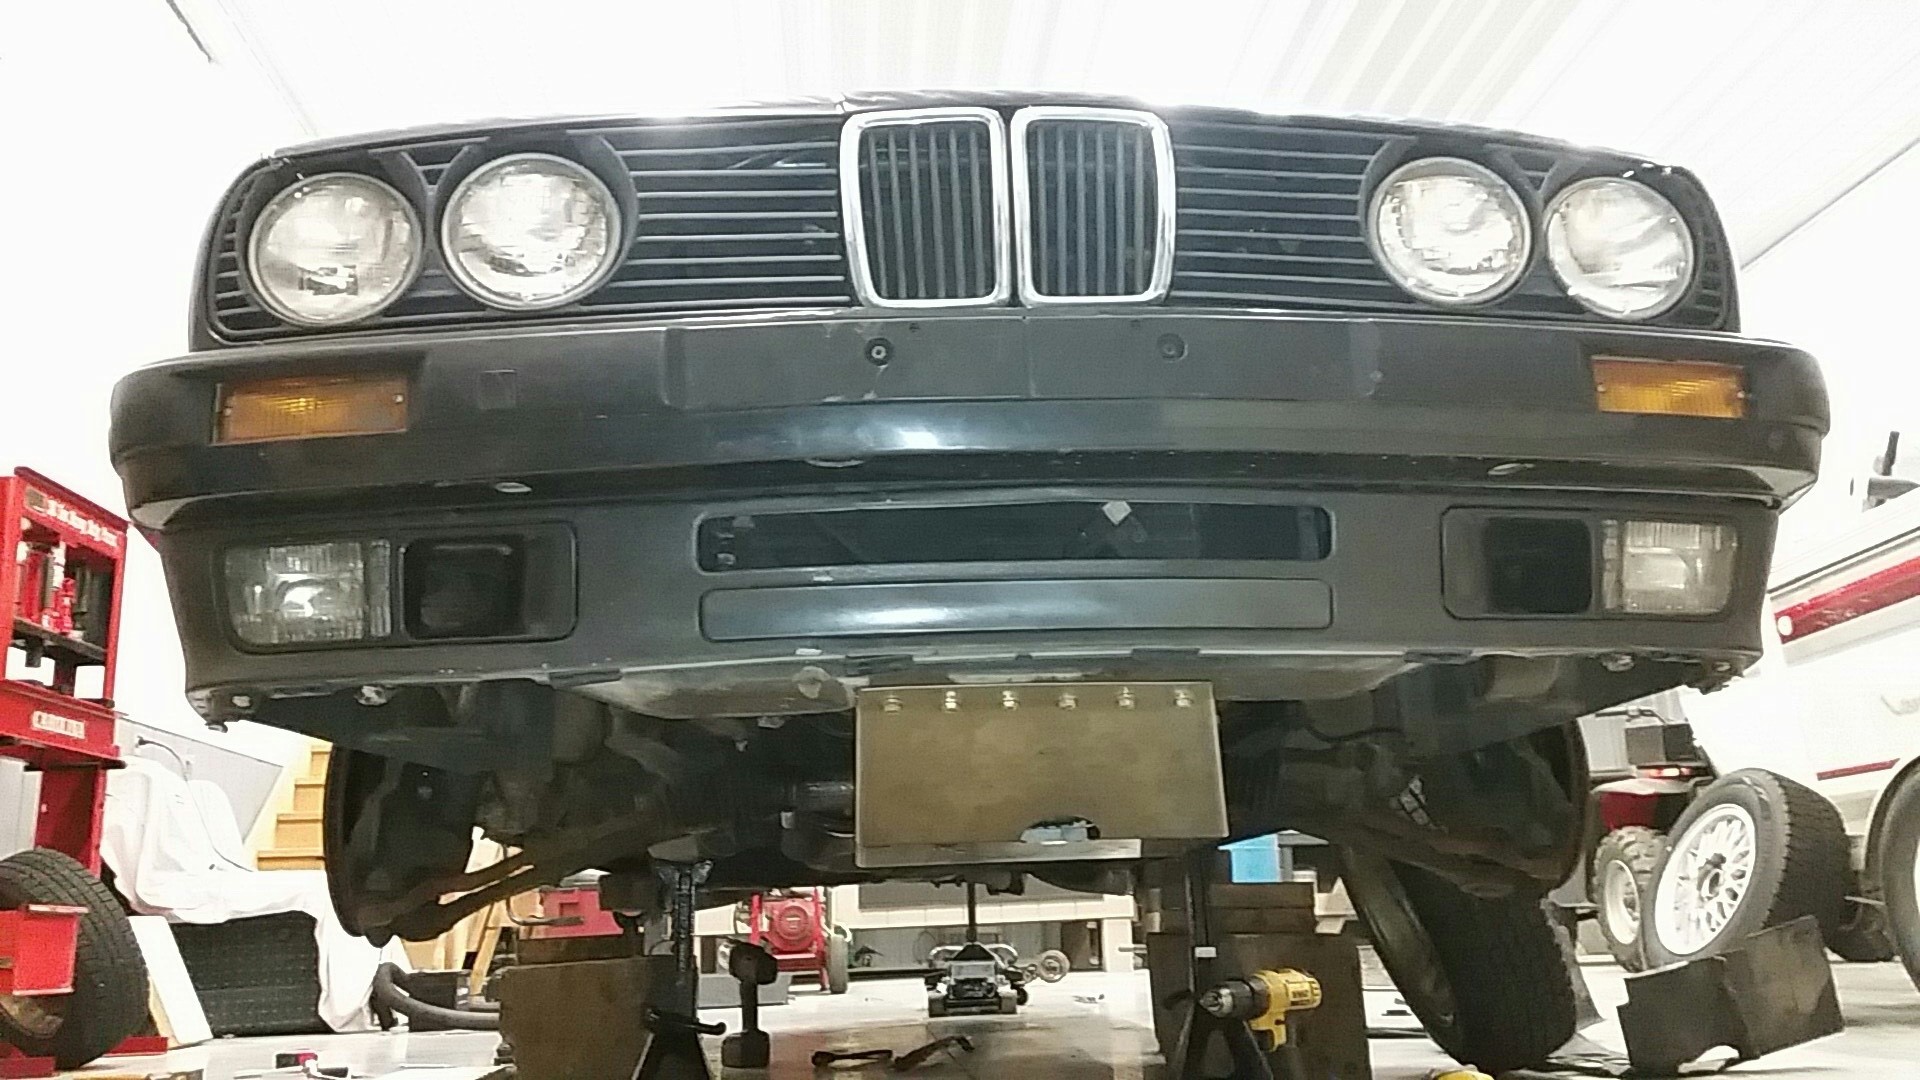
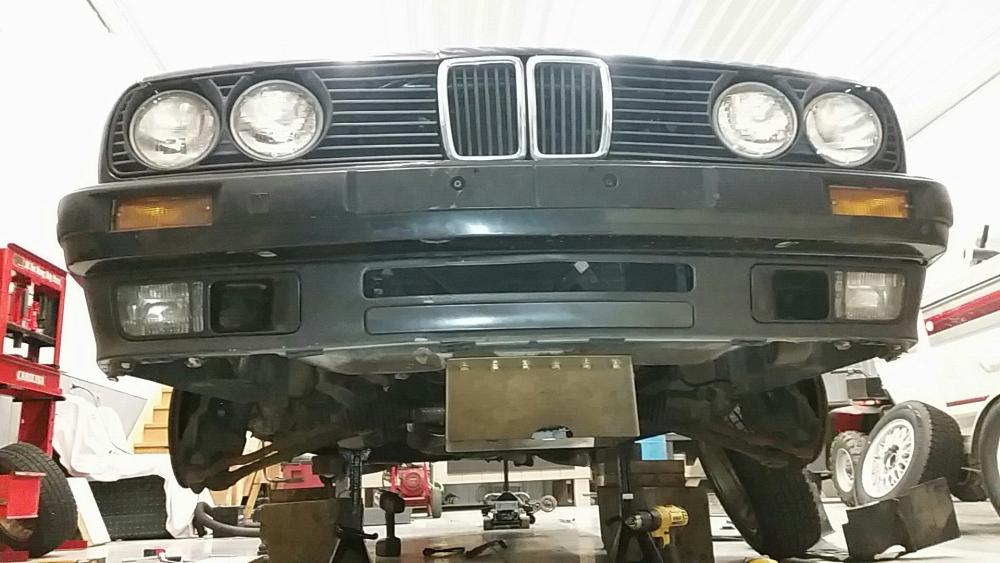
-
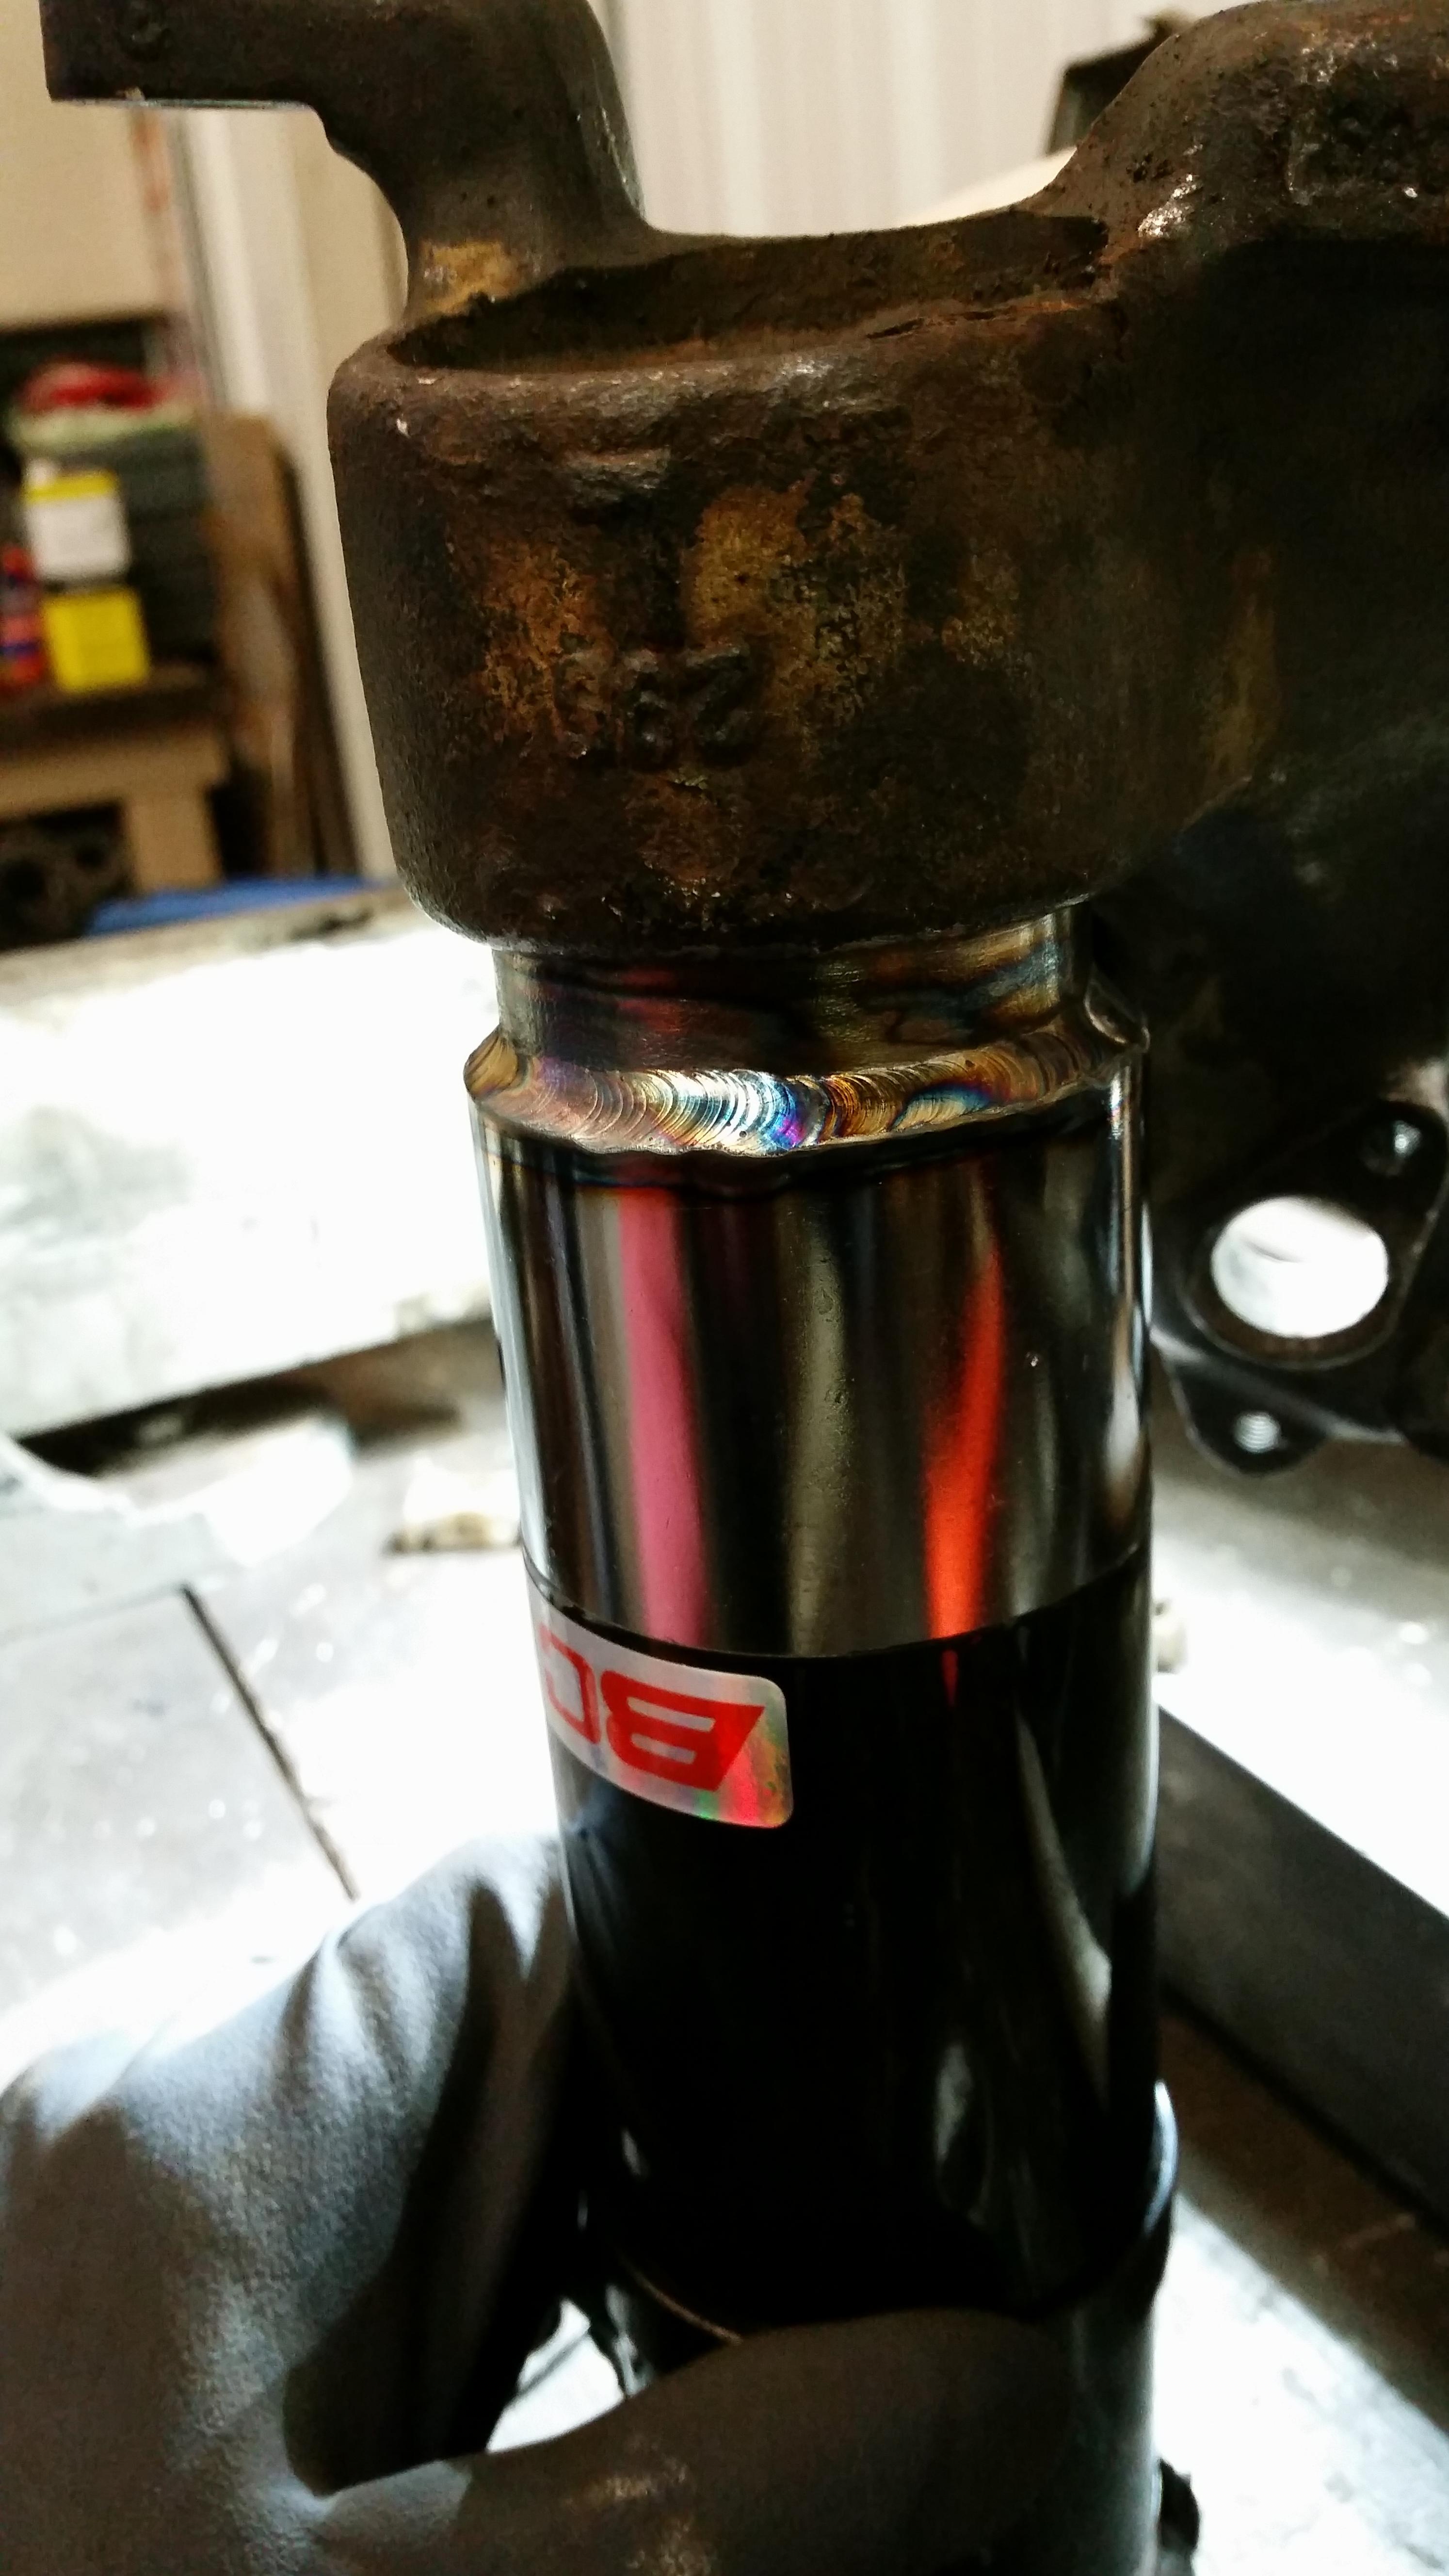
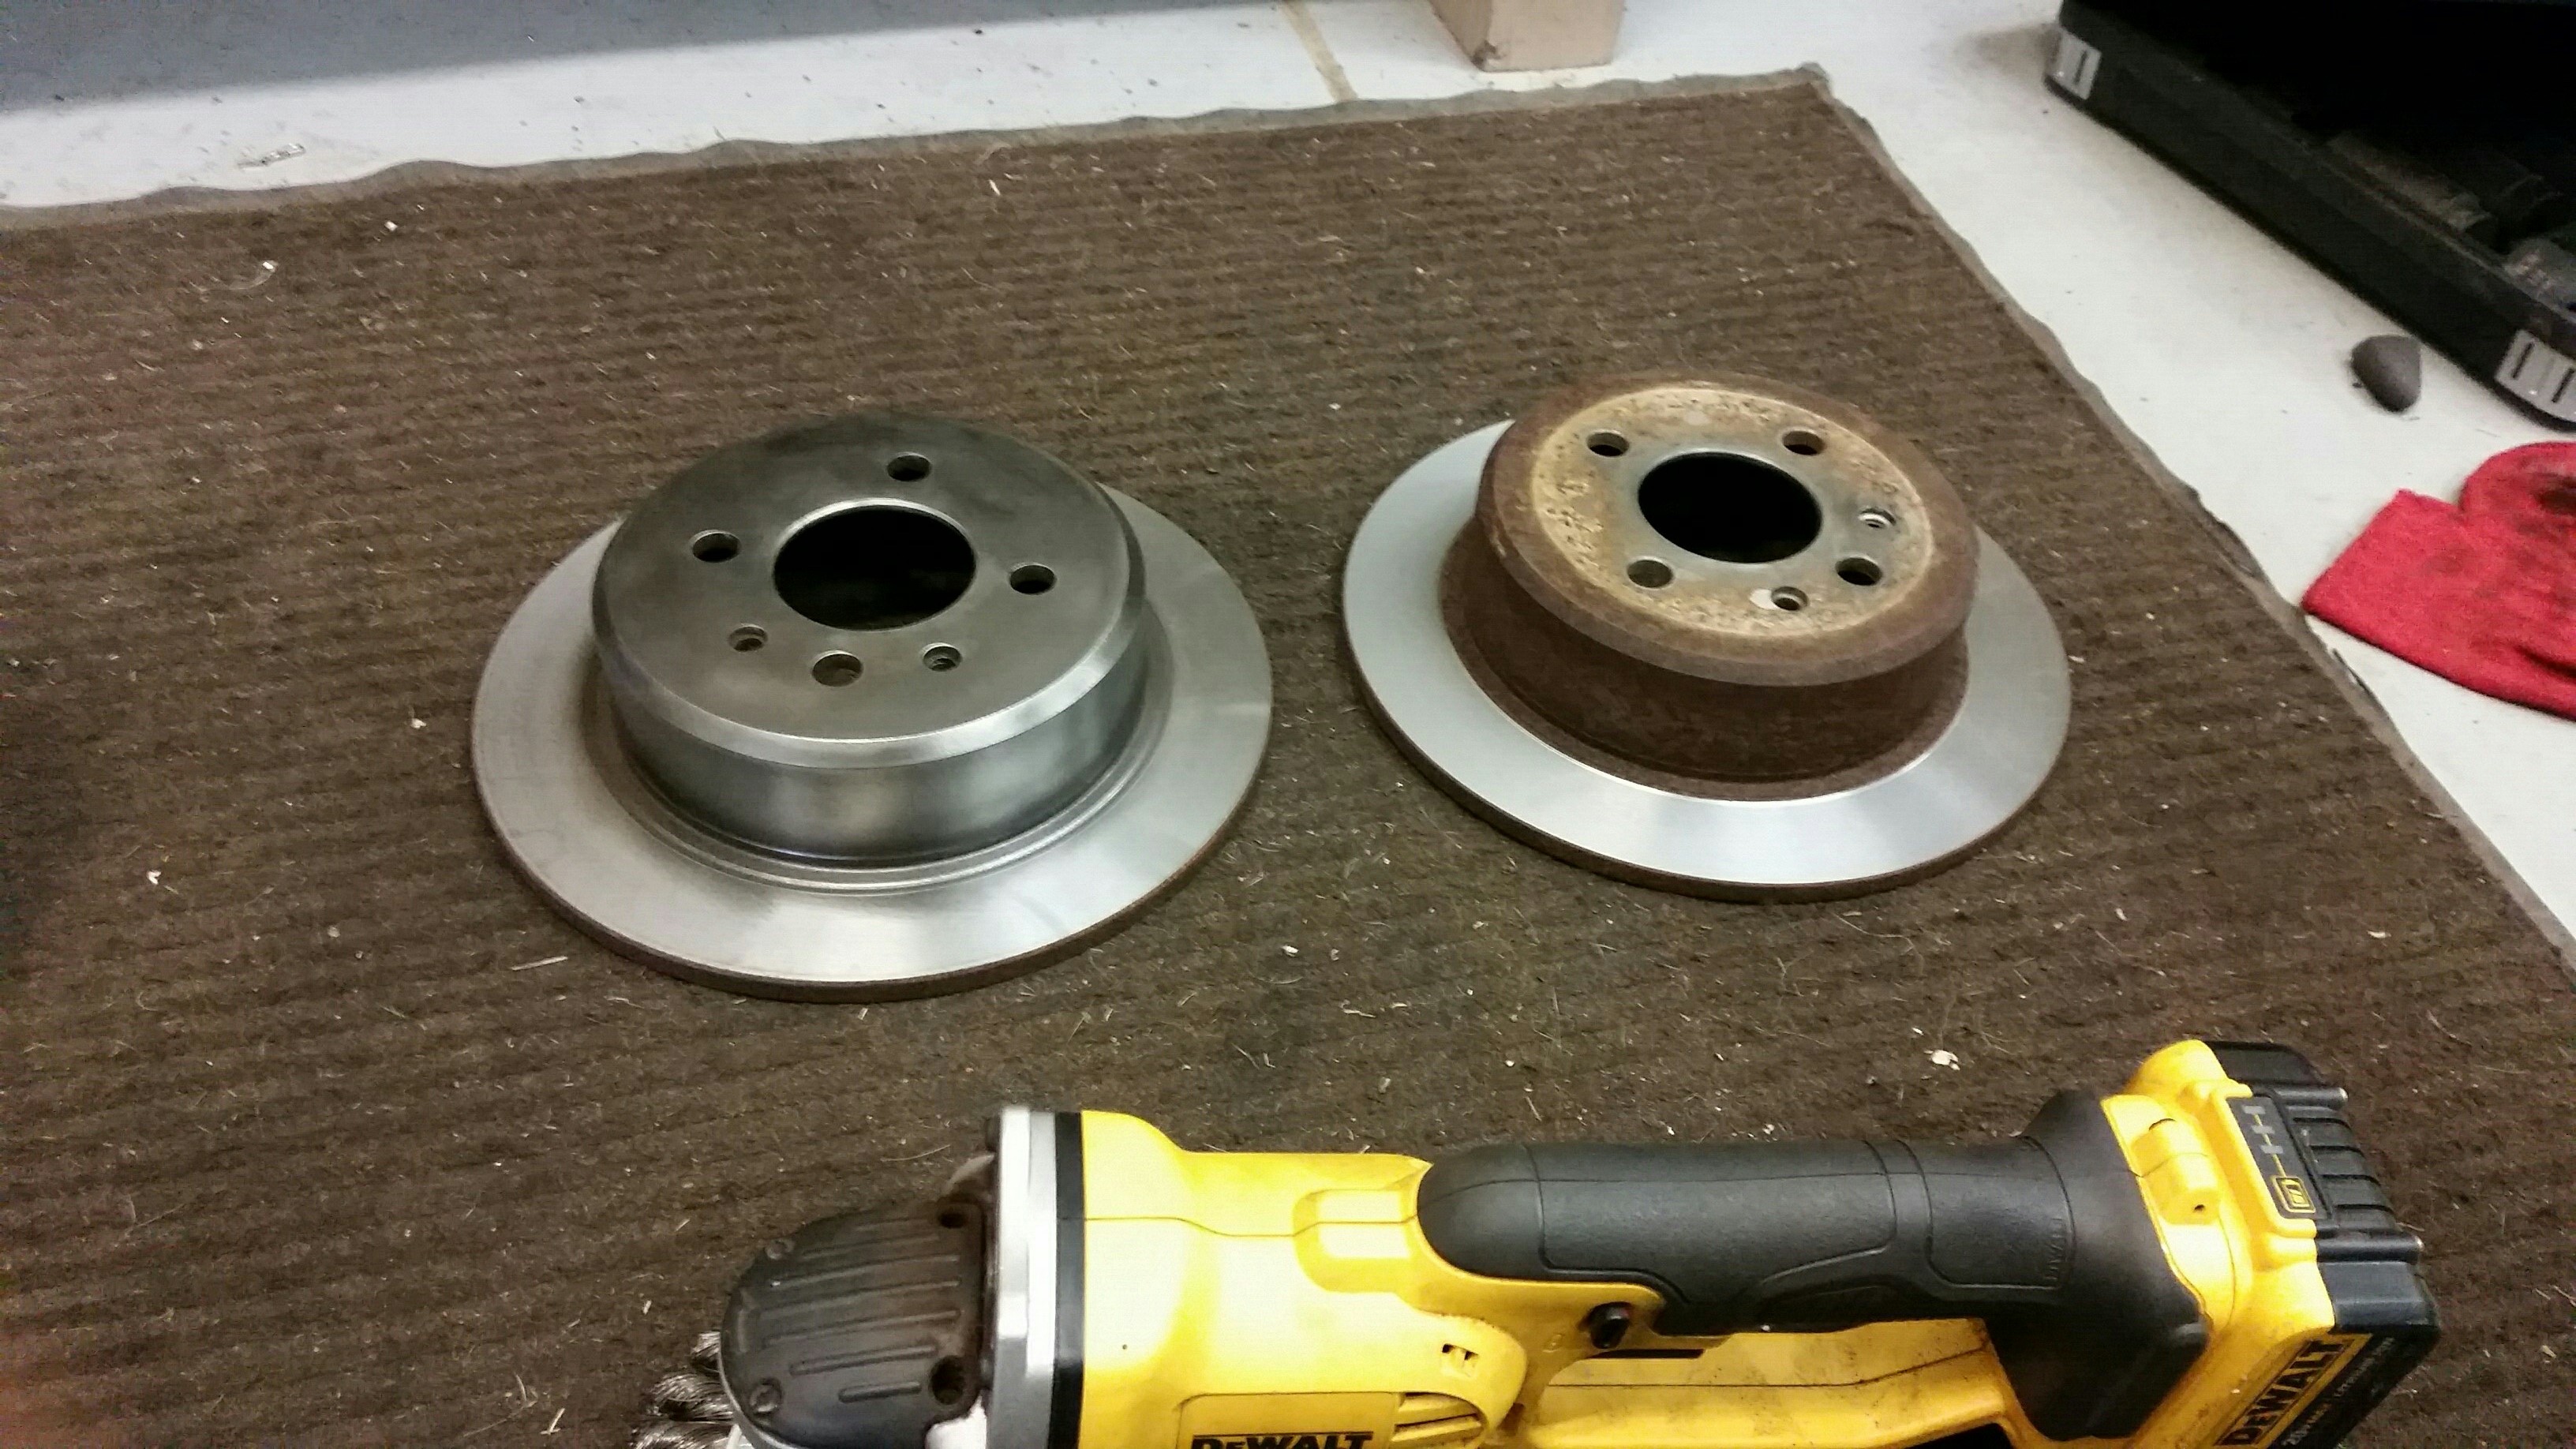
I love the level of OCD involved in this build.
-
Ohhh man. You are digging deep. I love it.

https://www.instagram.com/_jdesigner_/ http://nevertoolow.tumblr.com/
🥳SOLD BMW E24 633CSI - BMW M30B32 🧪SOLD HCH ES9 - 1.3 LDA
👽BMW E30 325IC - Toyota 1JZ-GTE ⏰ HONDA EF9 CIVIC SI - JDM B18C5
☠️BMW E36 318i - Ford 5.0 FE302 🚴♂️ GT-Labomba - 26x2.75 Freeride
🤹♀️SOLD BMW E36/7 Z3 - BMW M54B25 🧓SOLD BMW E10 2002 - BMW M10M05 -
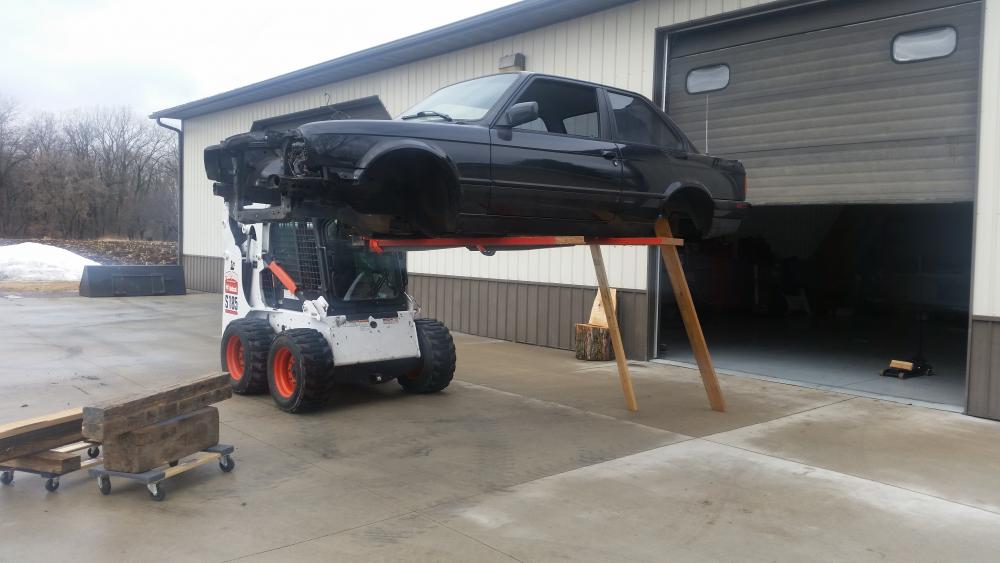
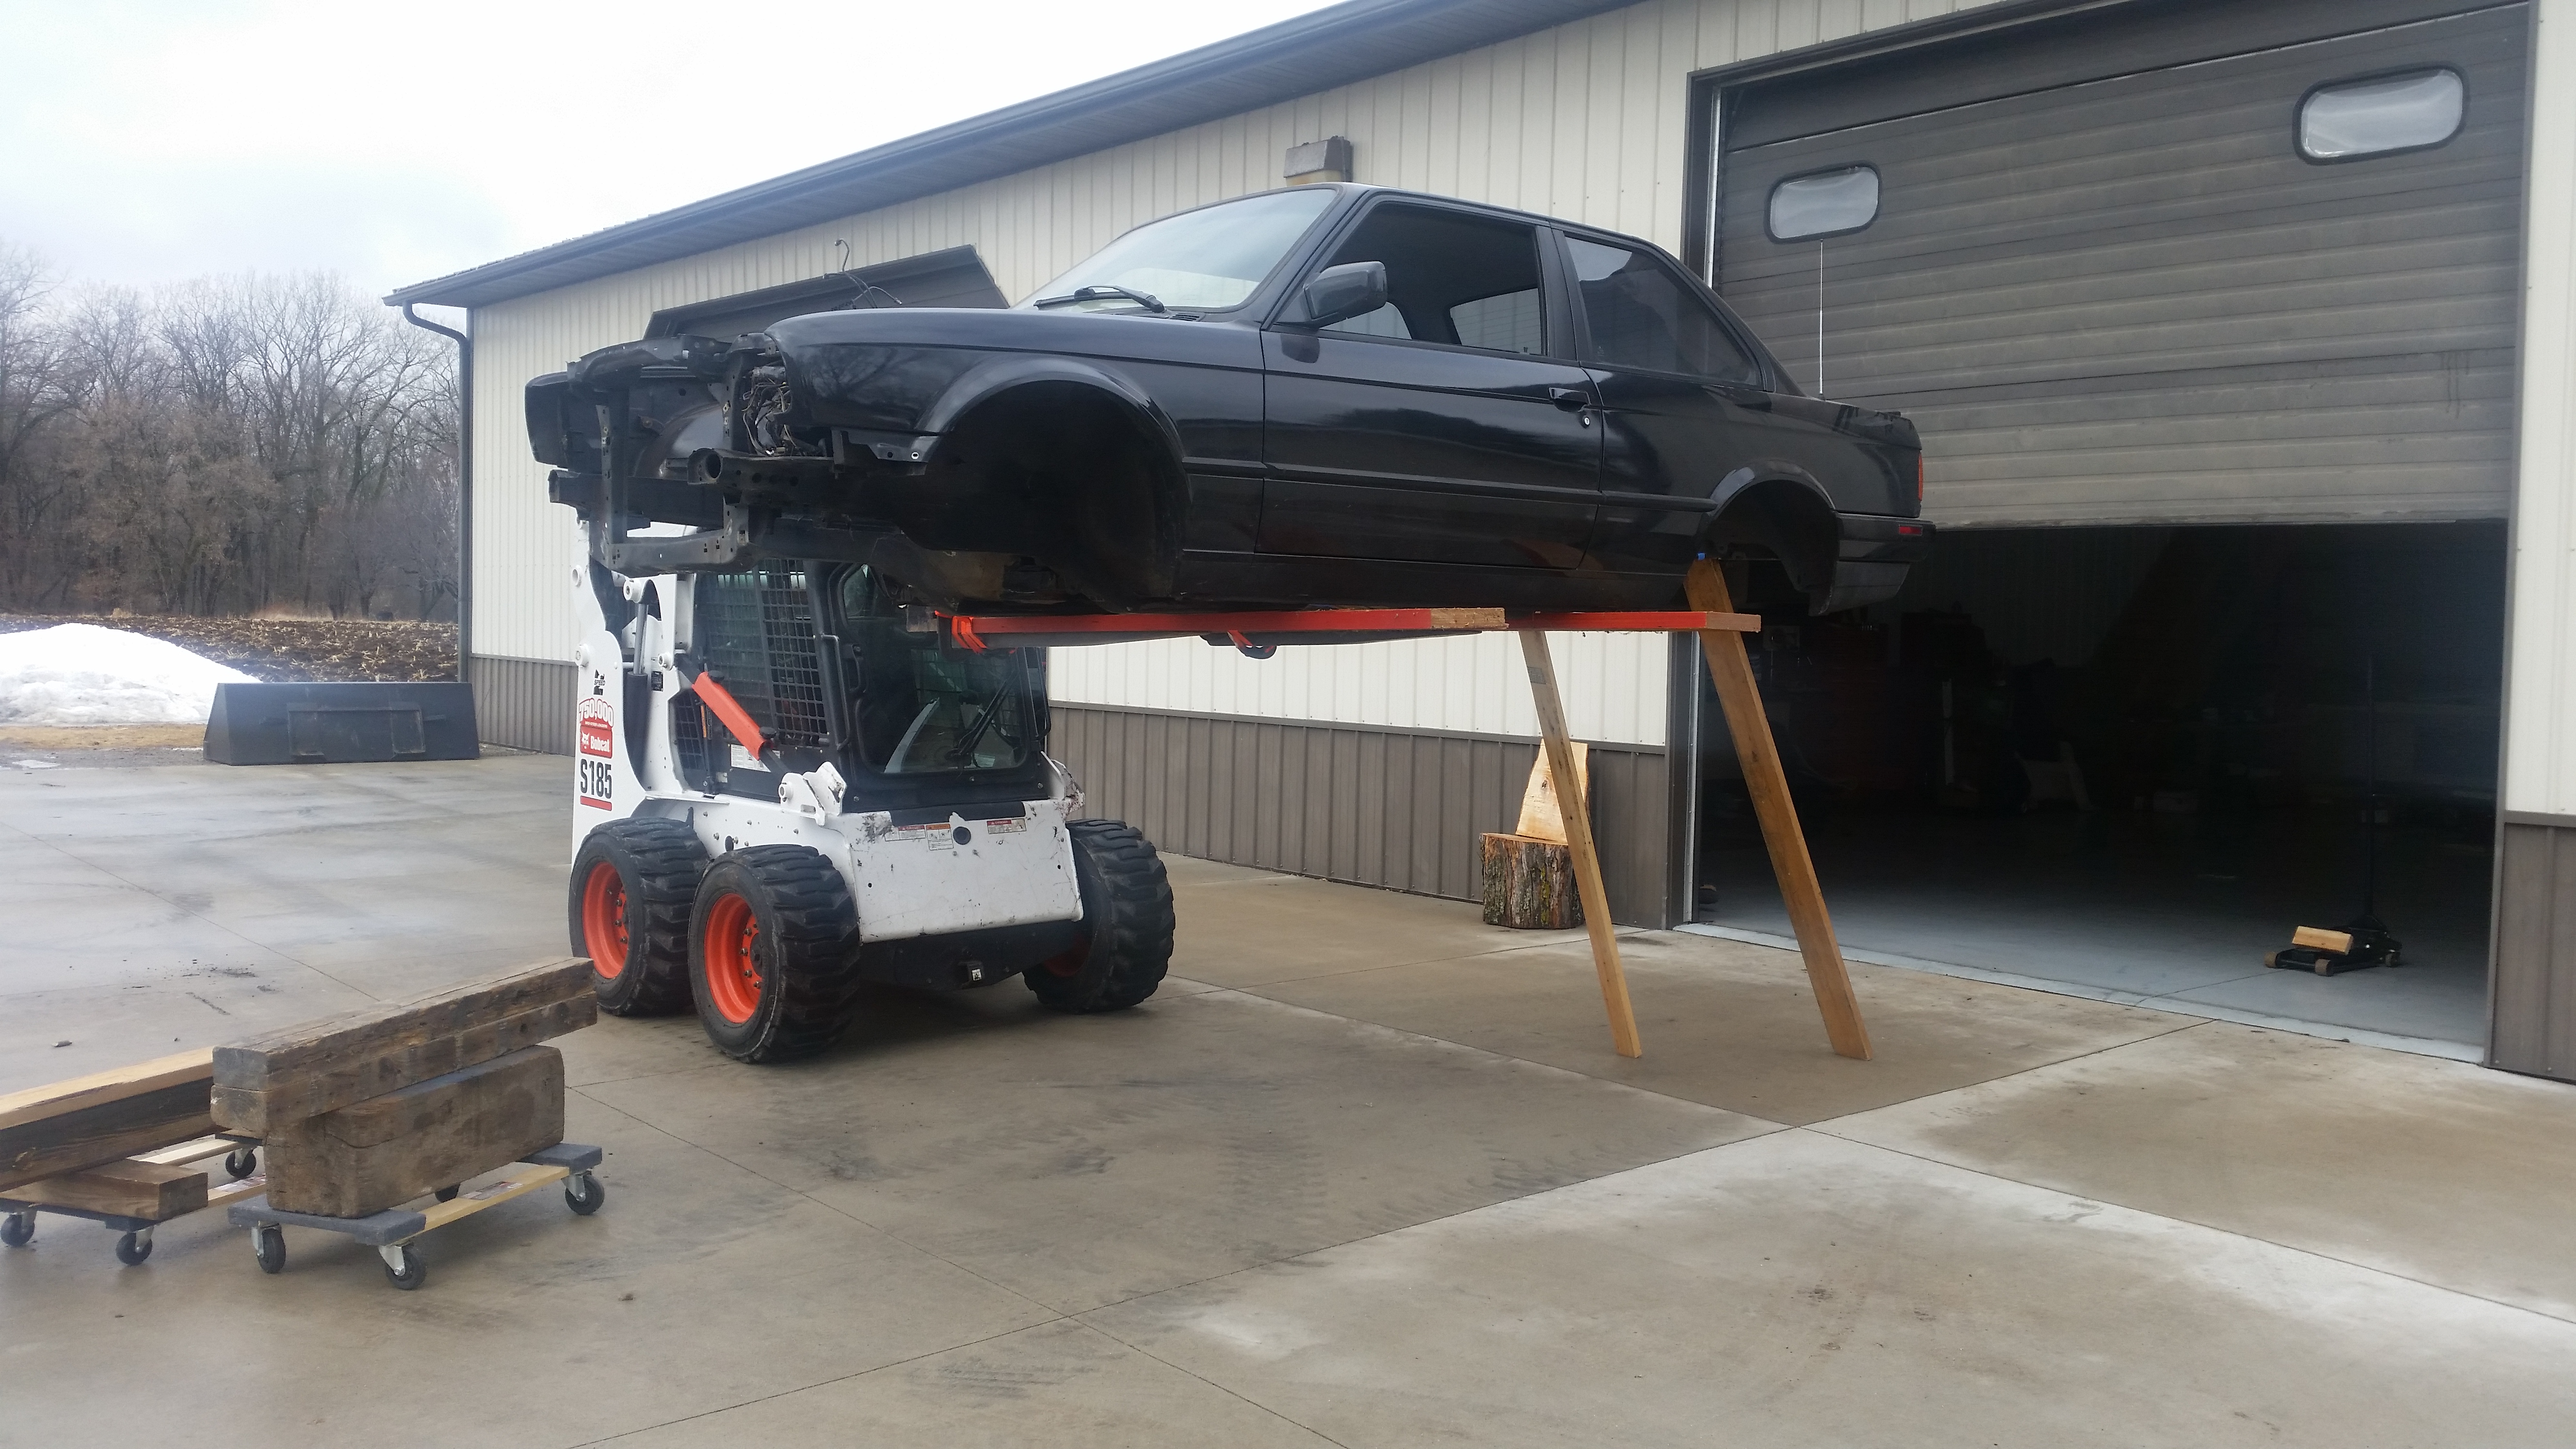
OSHA would like to have a word with you
-
I would like to certify you as a competent shop. Good job!
This is a high level certification that @Ryan... and I rarely ever give out. -
I know a guy.......


https://www.instagram.com/_jdesigner_/ http://nevertoolow.tumblr.com/
🥳SOLD BMW E24 633CSI - BMW M30B32 🧪SOLD HCH ES9 - 1.3 LDA
👽BMW E30 325IC - Toyota 1JZ-GTE ⏰ HONDA EF9 CIVIC SI - JDM B18C5
☠️BMW E36 318i - Ford 5.0 FE302 🚴♂️ GT-Labomba - 26x2.75 Freeride
🤹♀️SOLD BMW E36/7 Z3 - BMW M54B25 🧓SOLD BMW E10 2002 - BMW M10M05 -
I know a guy.......
Oh Chad... That guy actually lives not far from me. I have not sought out meeting him though lol.
-
Obviously not looking for a competent shop worker at your side?
https://www.instagram.com/_jdesigner_/ http://nevertoolow.tumblr.com/
🥳SOLD BMW E24 633CSI - BMW M30B32 🧪SOLD HCH ES9 - 1.3 LDA
👽BMW E30 325IC - Toyota 1JZ-GTE ⏰ HONDA EF9 CIVIC SI - JDM B18C5
☠️BMW E36 318i - Ford 5.0 FE302 🚴♂️ GT-Labomba - 26x2.75 Freeride
🤹♀️SOLD BMW E36/7 Z3 - BMW M54B25 🧓SOLD BMW E10 2002 - BMW M10M05 -
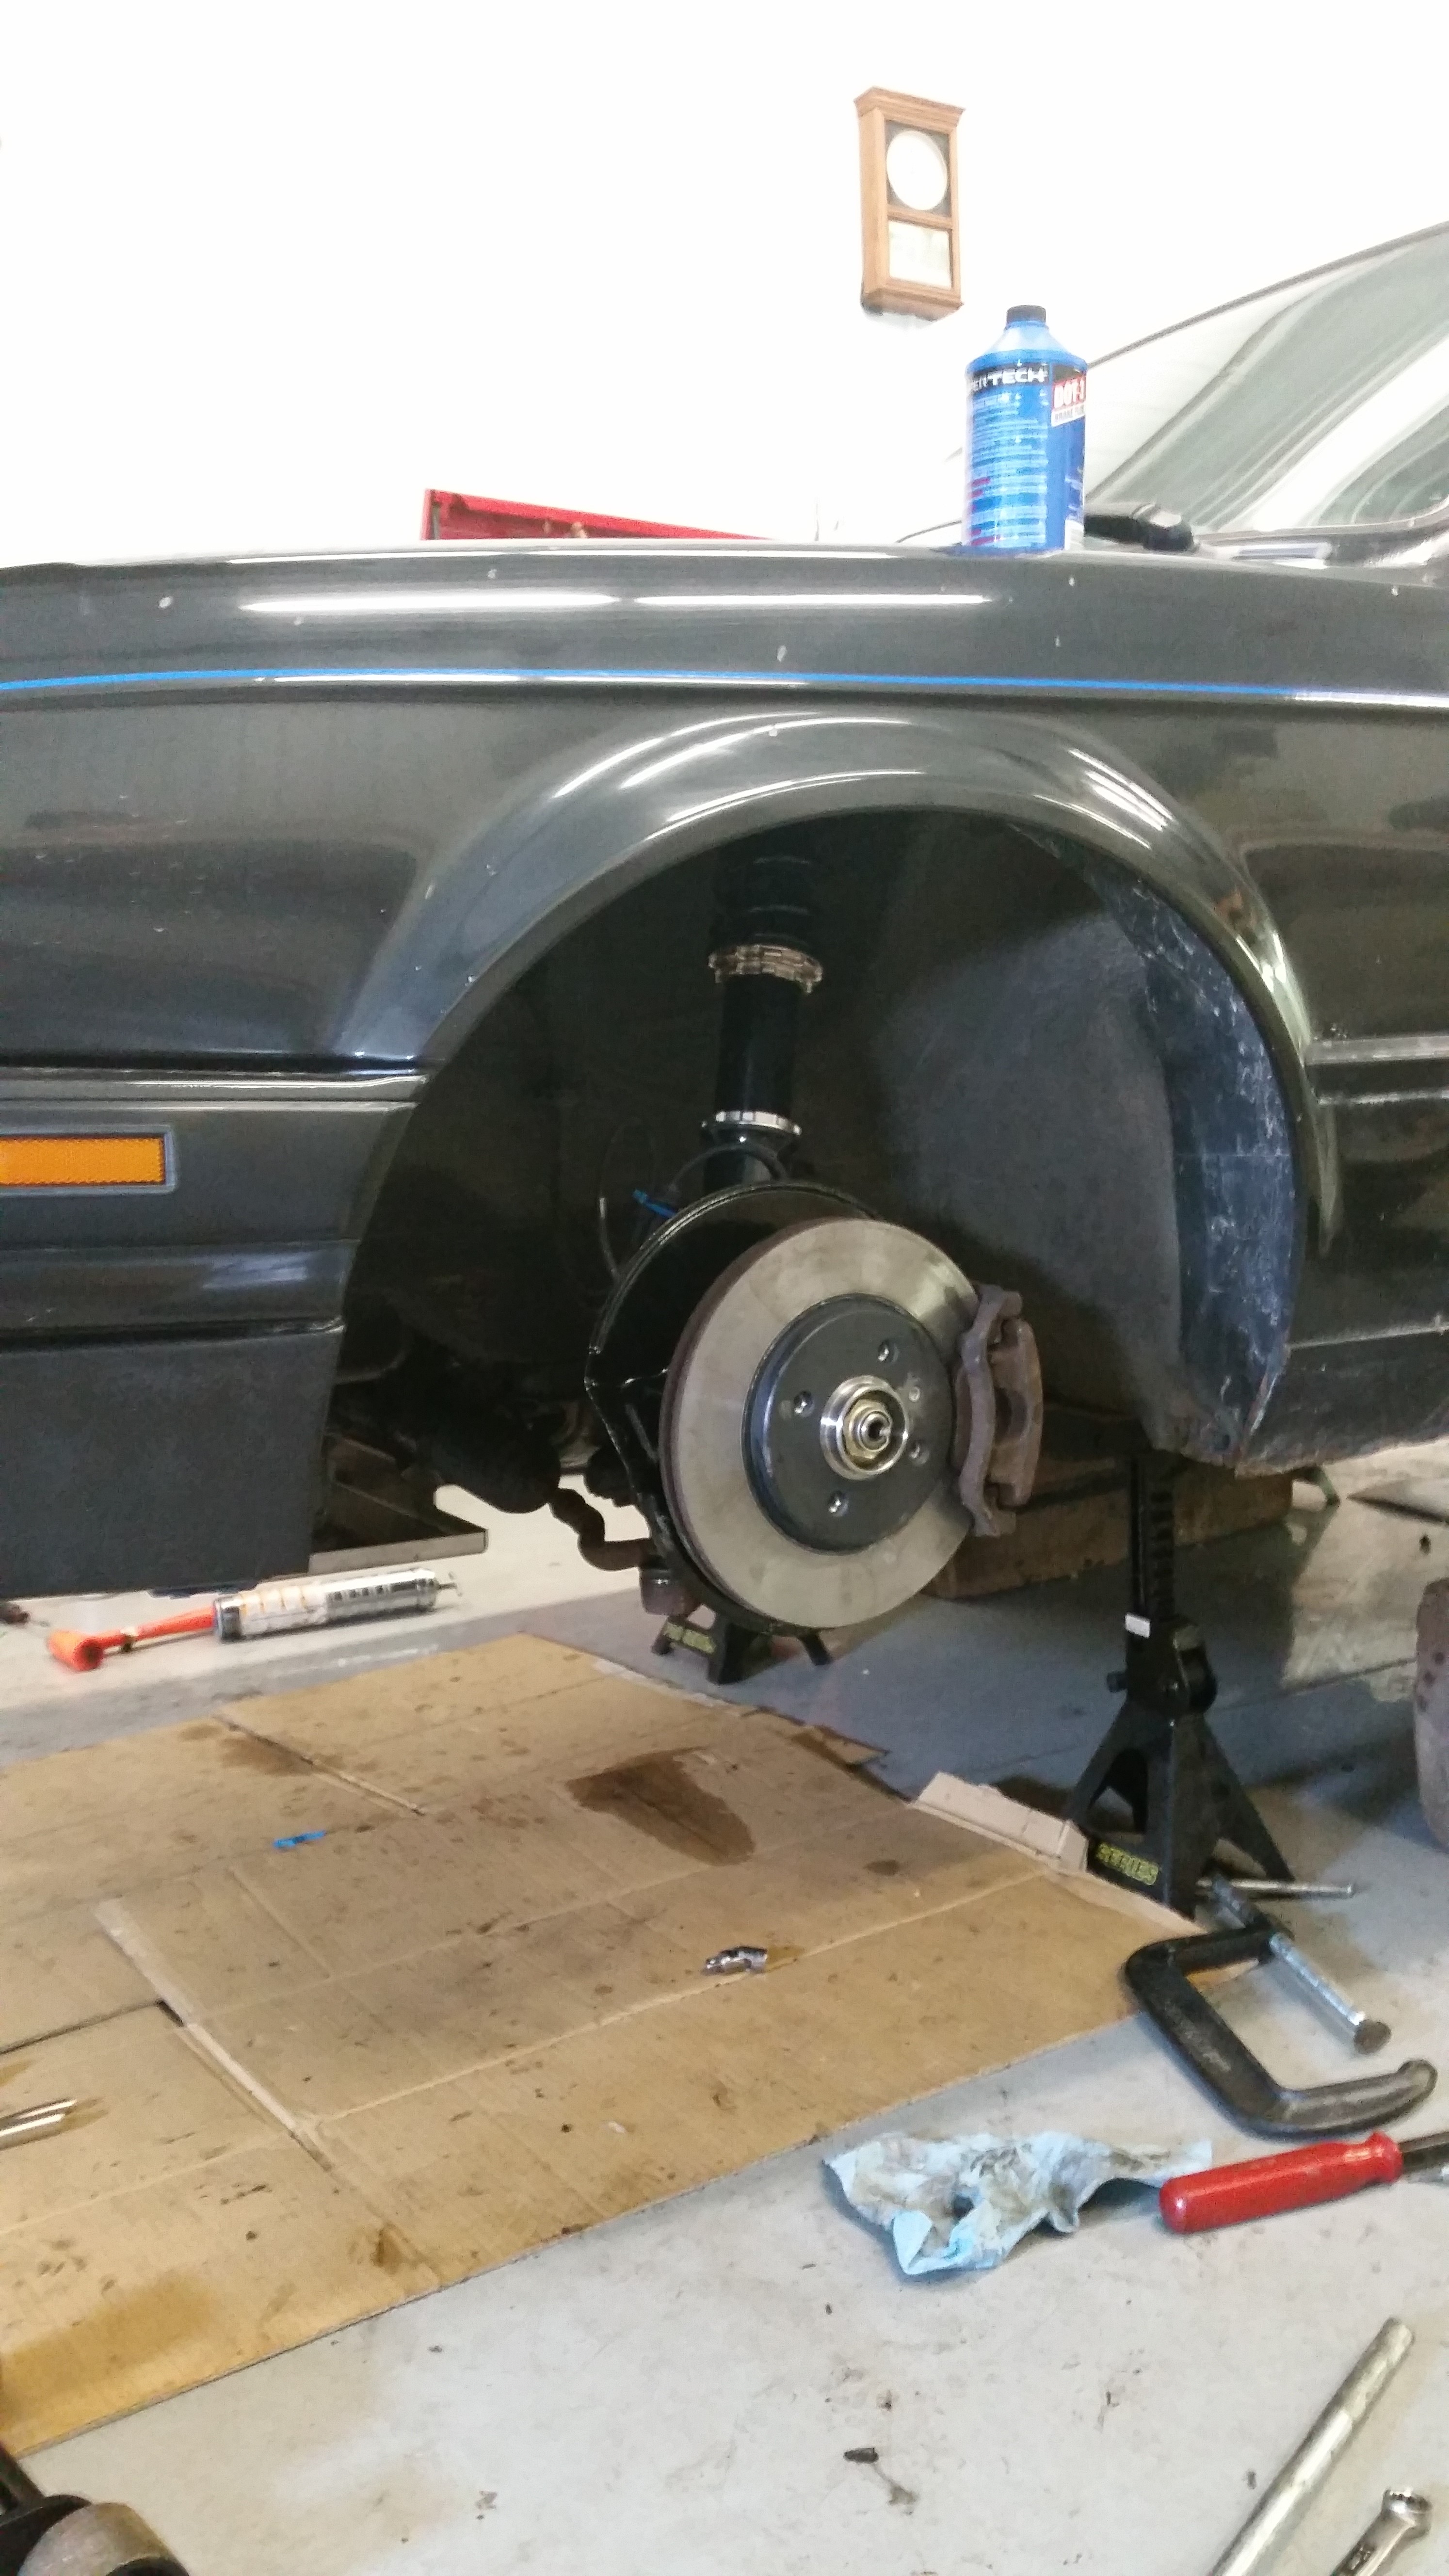
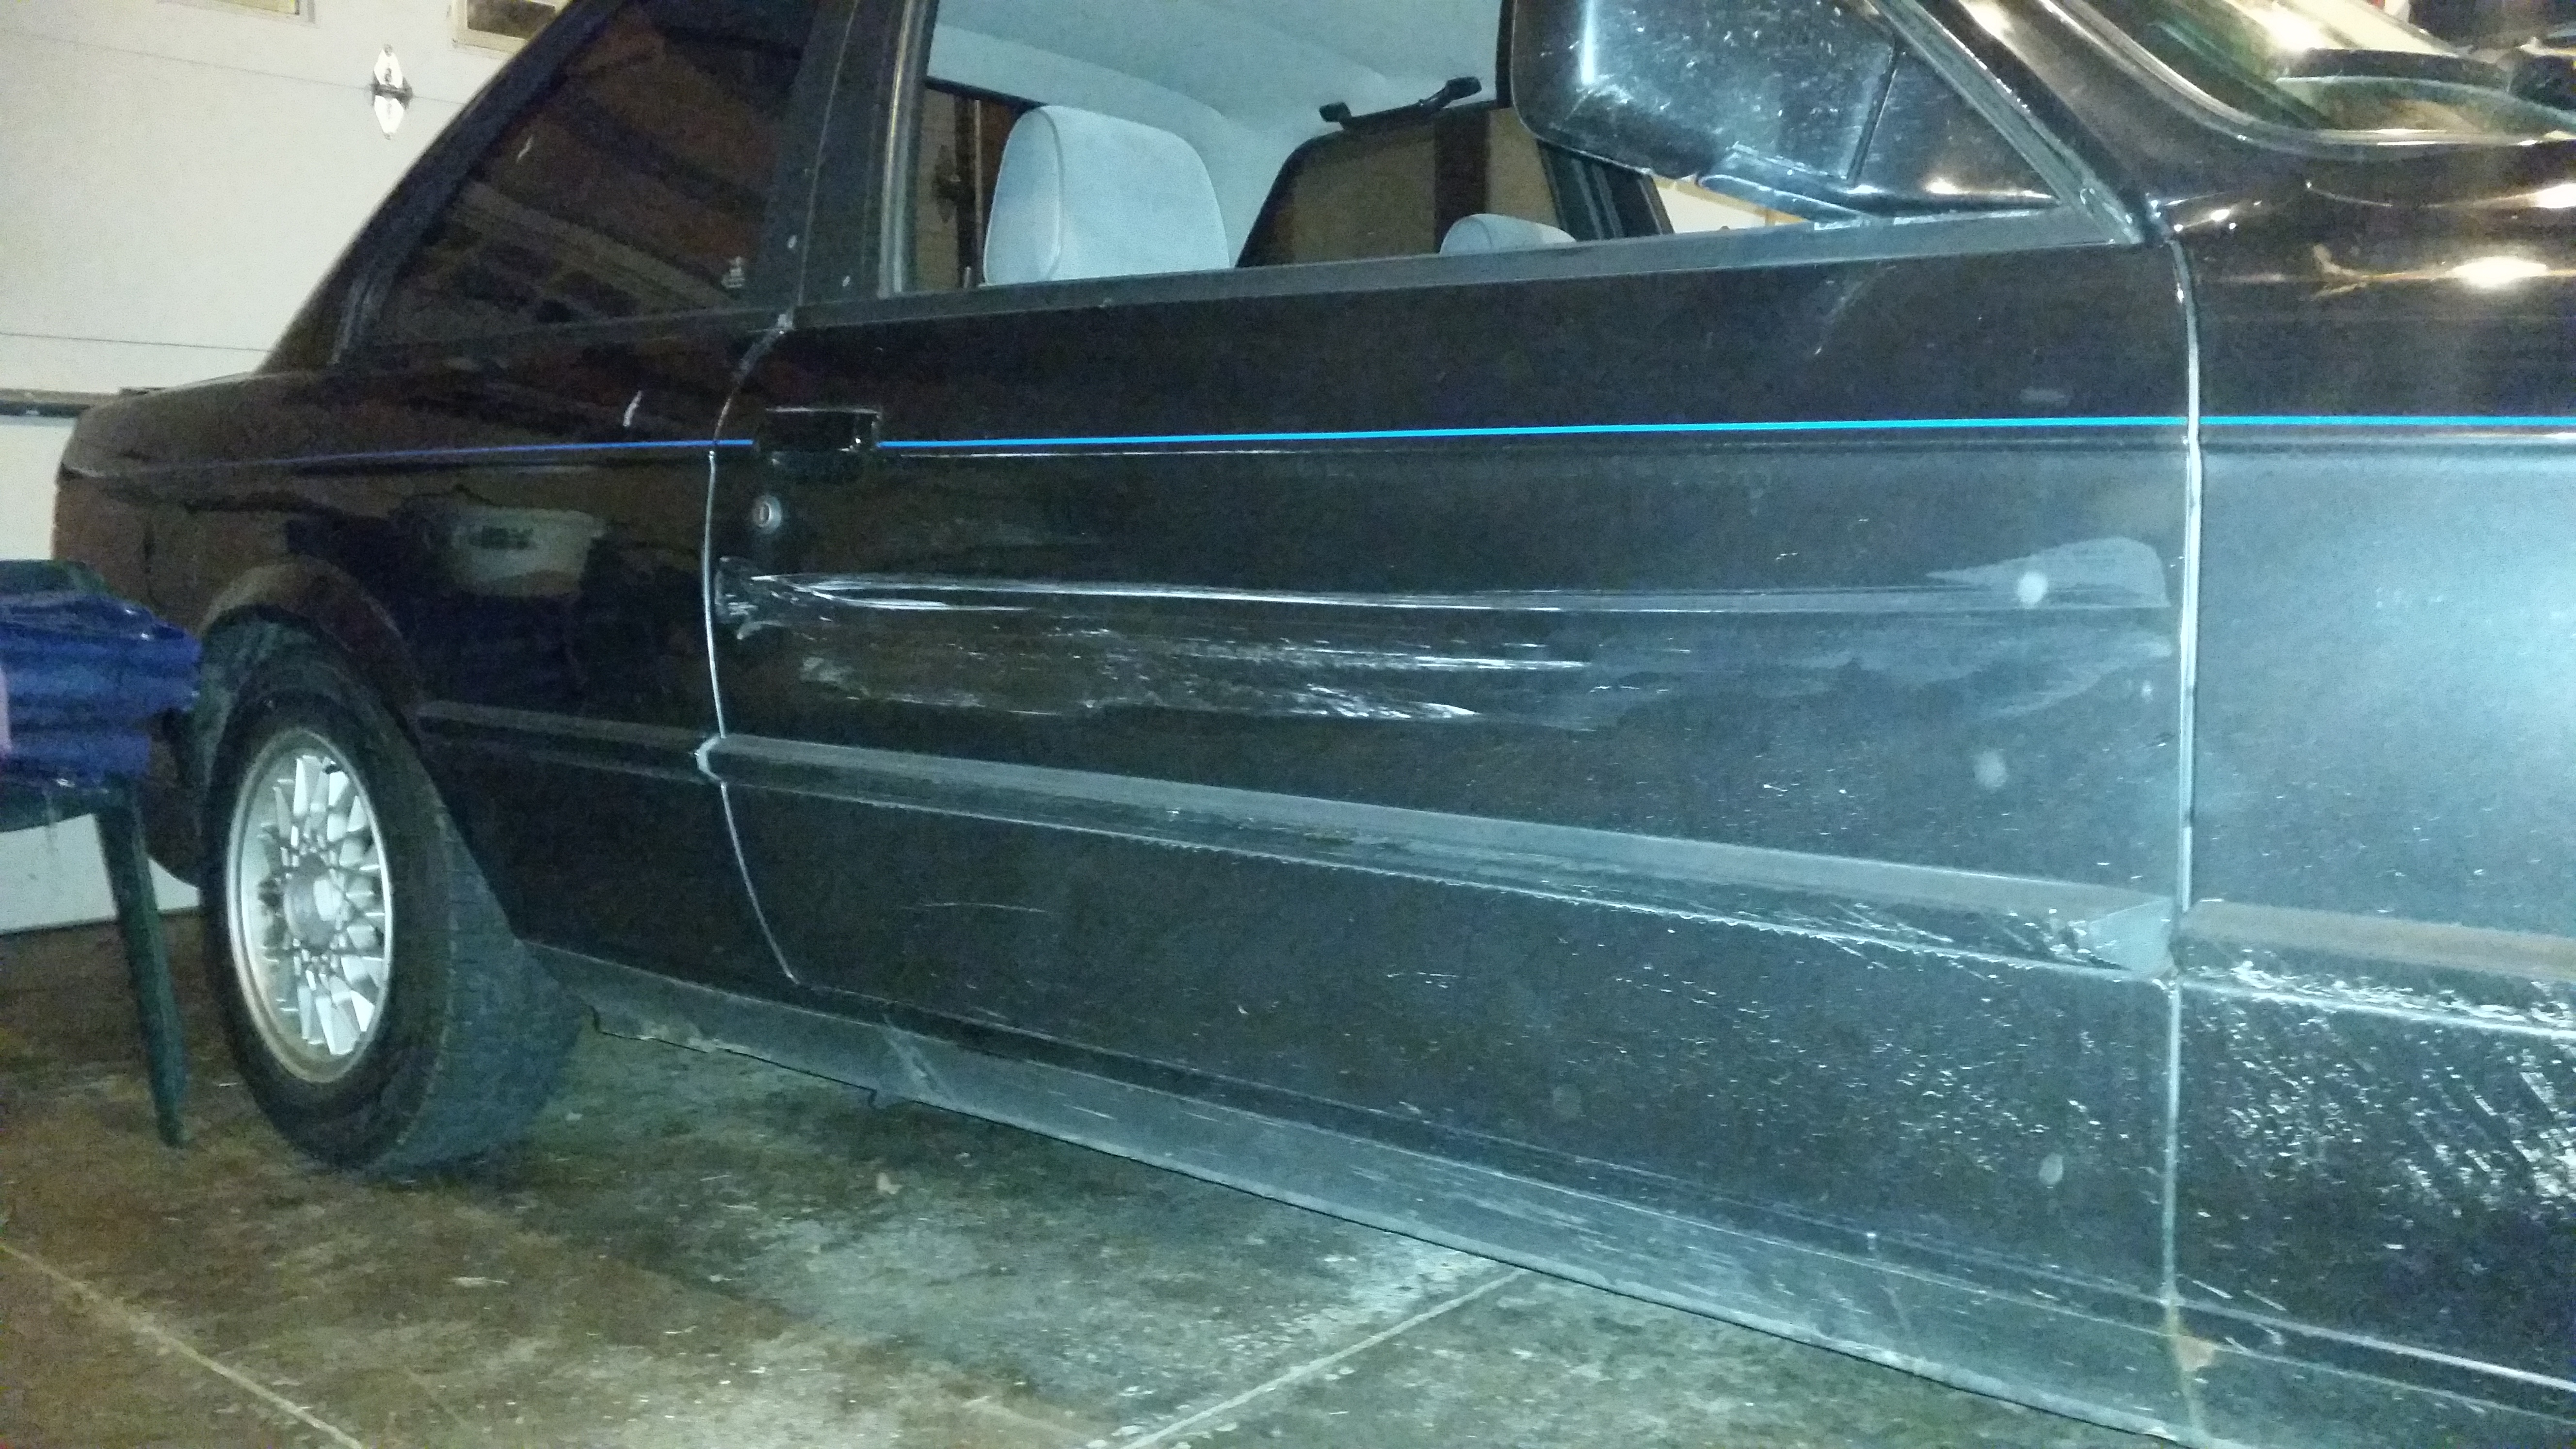
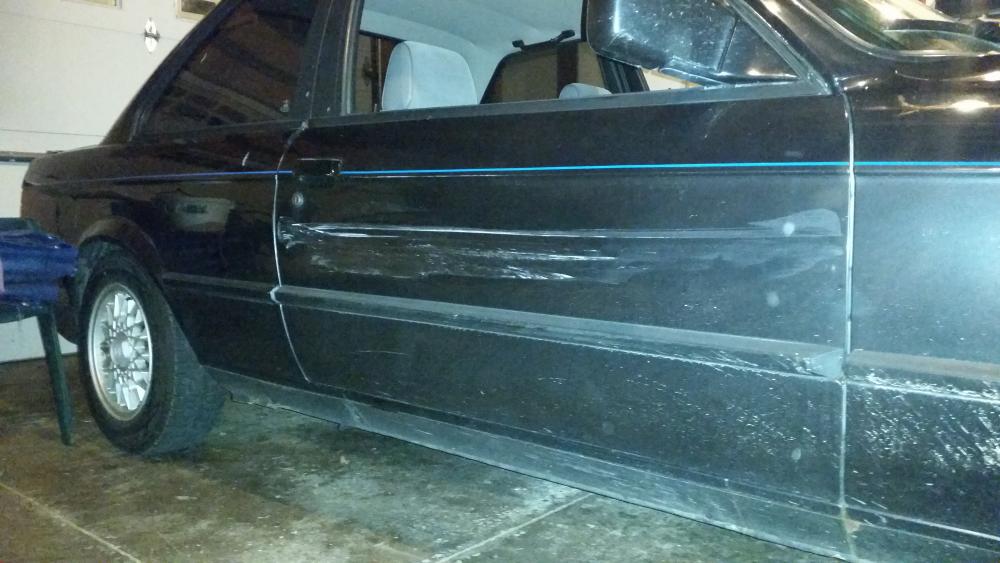
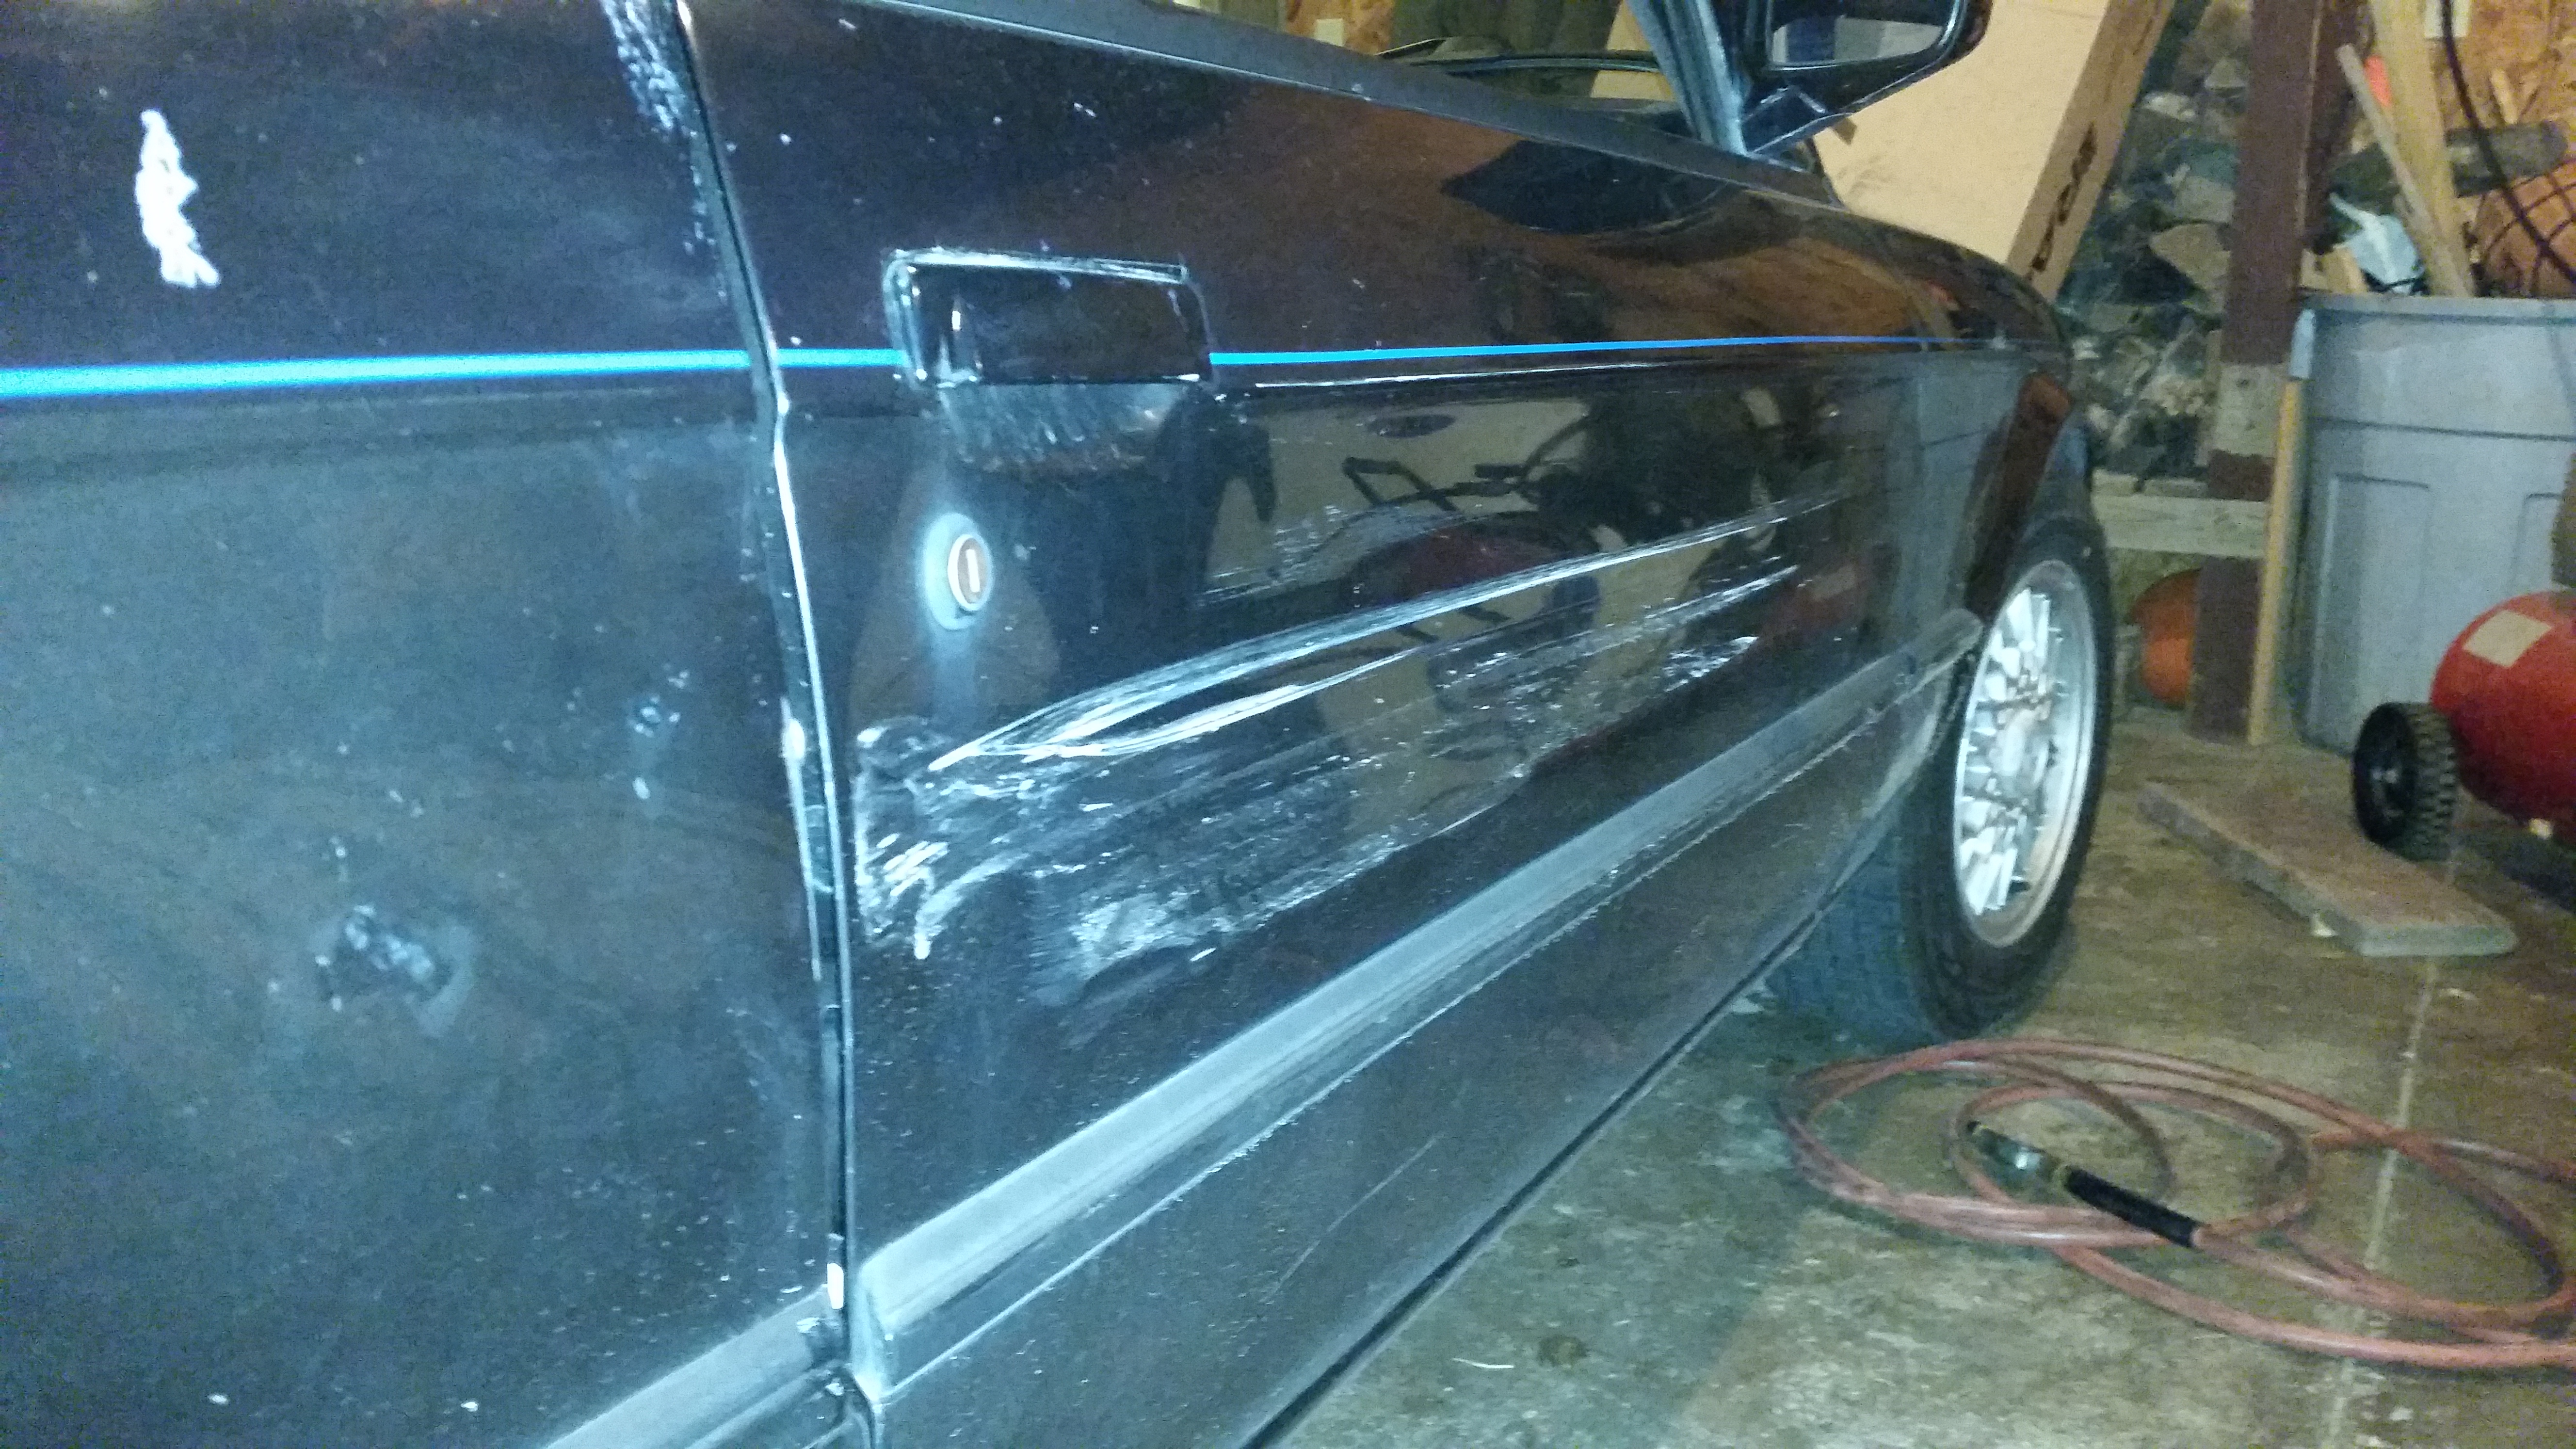
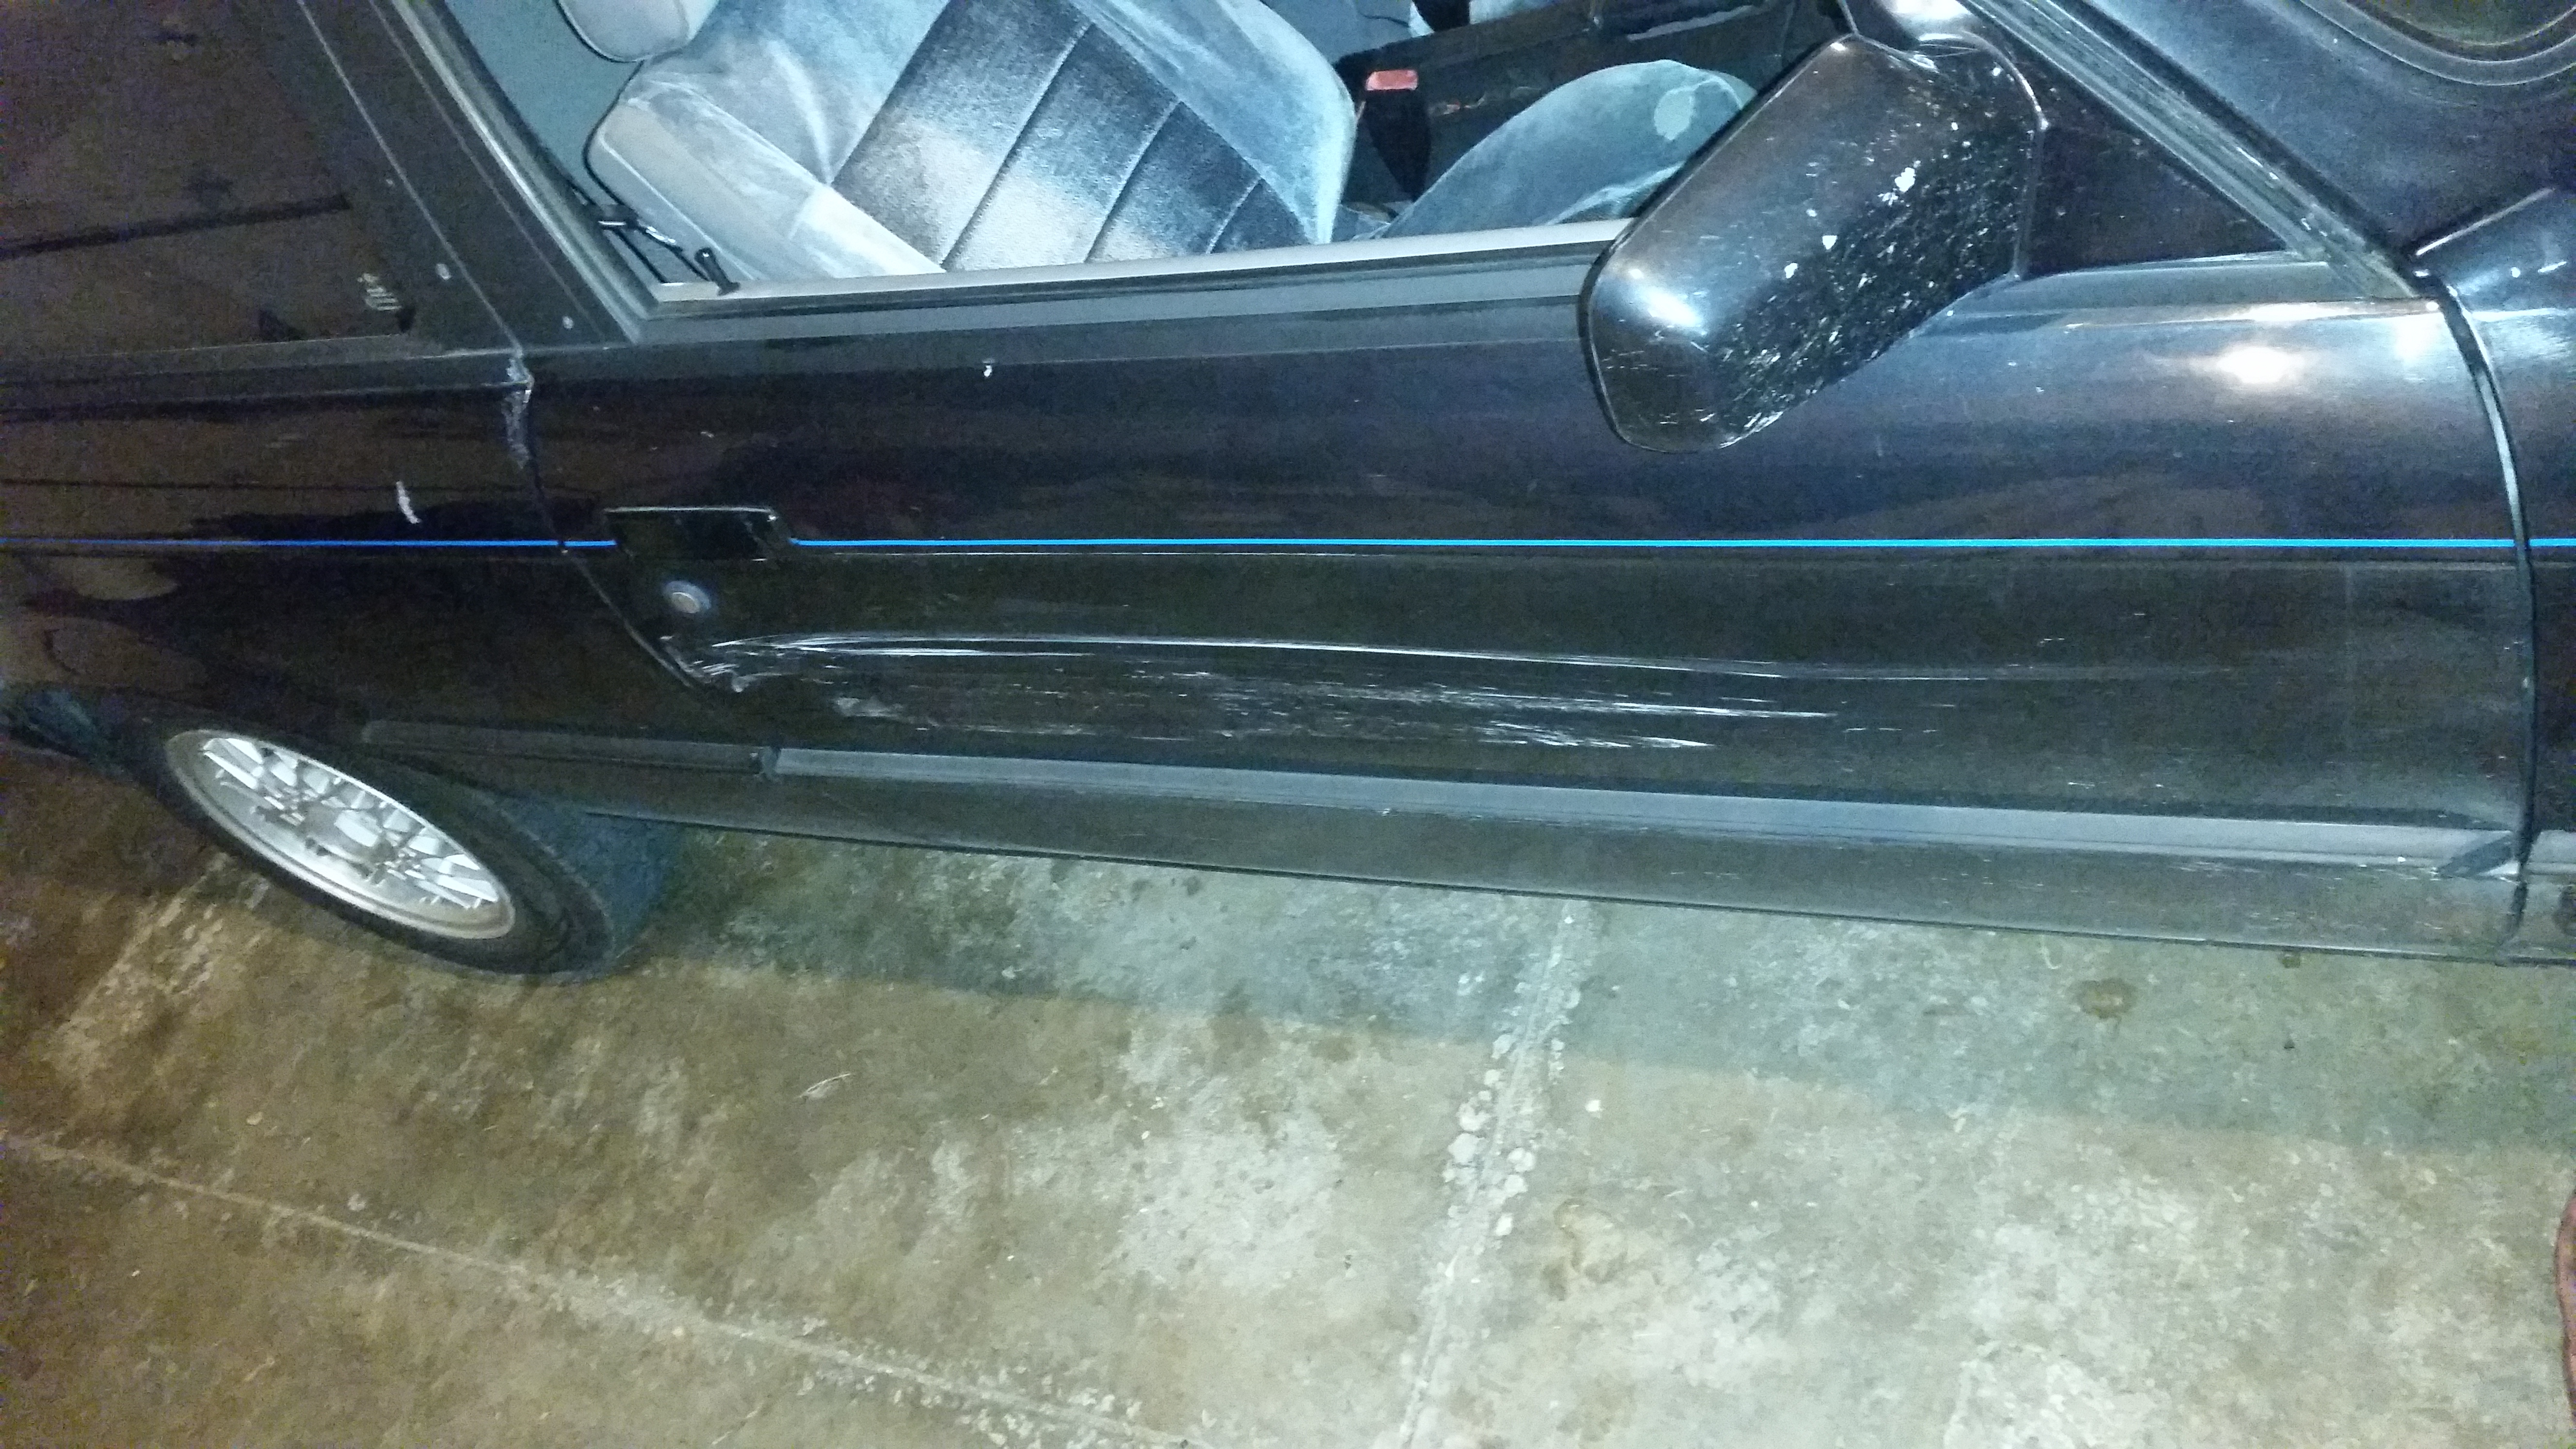
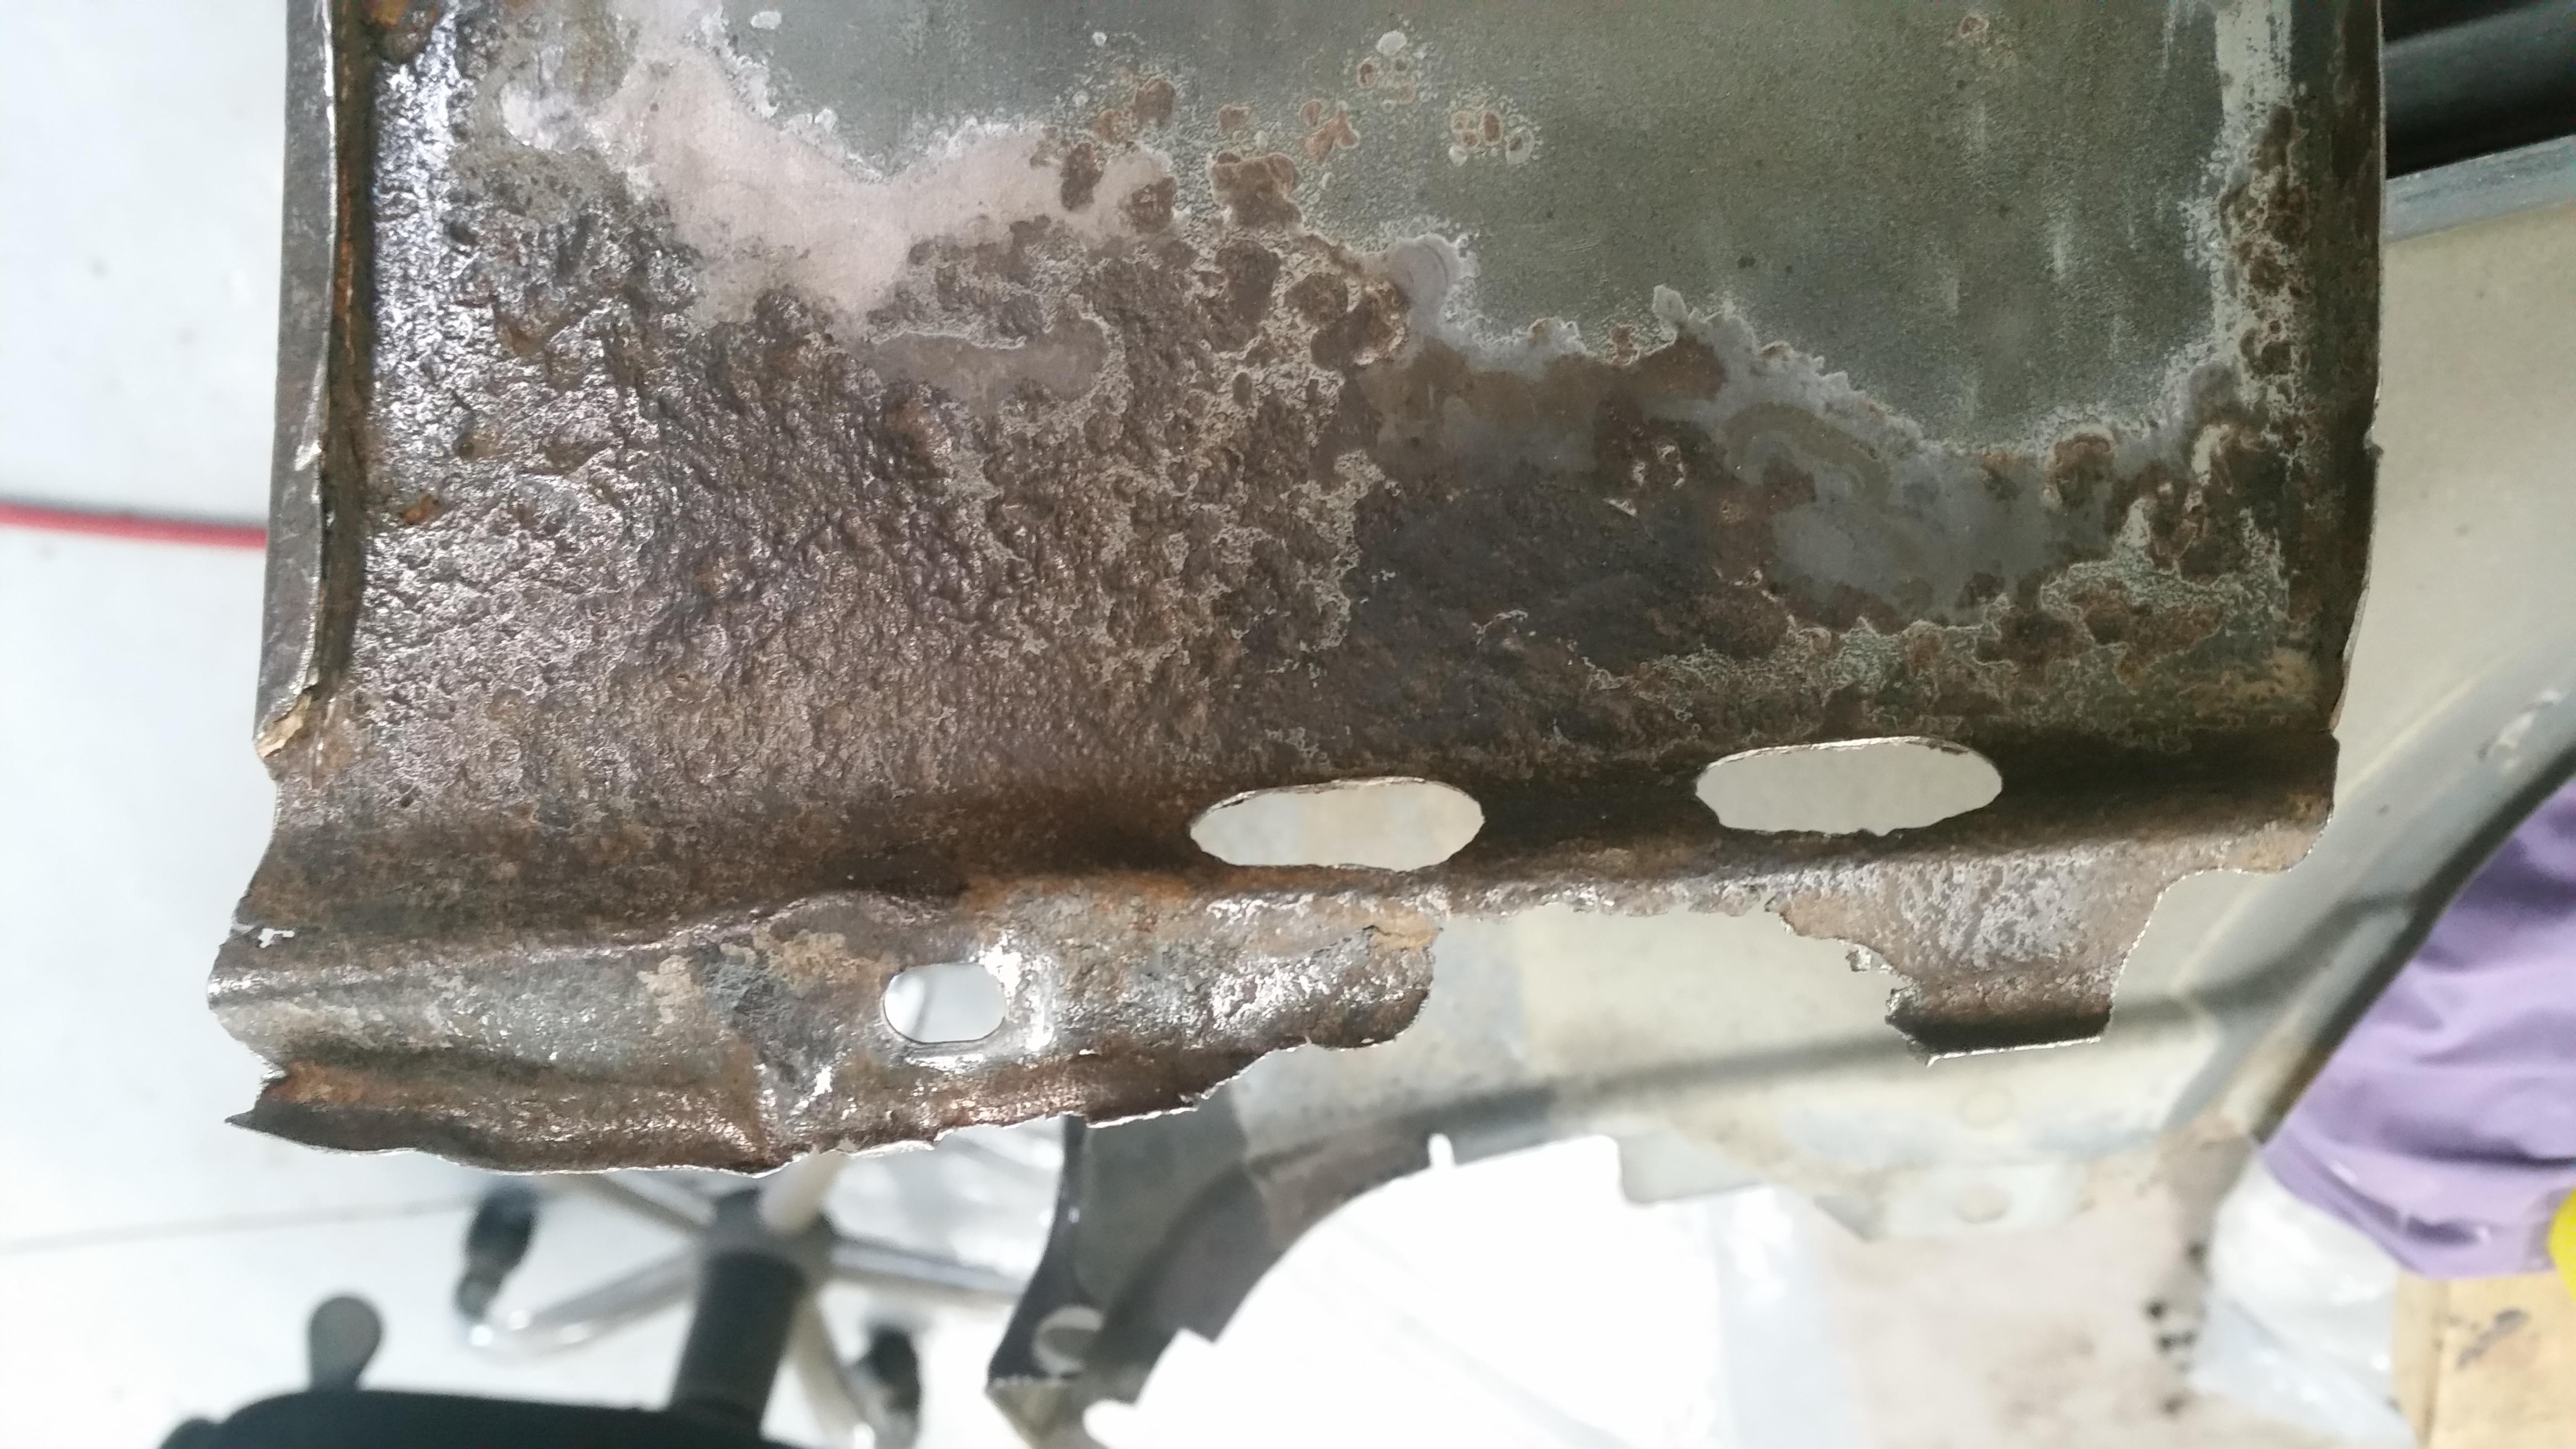
Welp, fenders are shit.
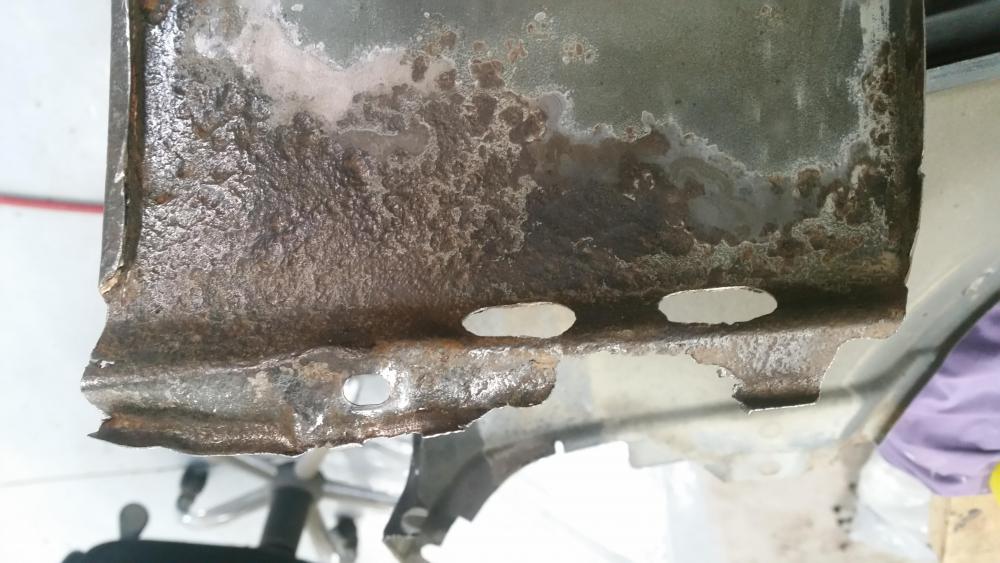
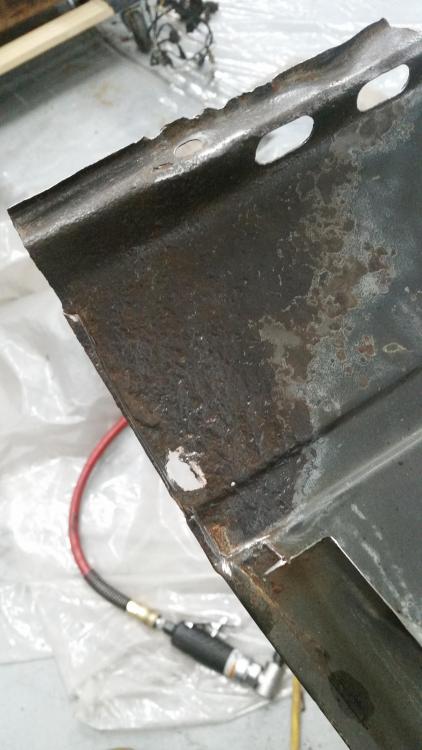
It seems I will now be on the lookout for a decent pair of fenders, so if you got any sitting around in decent shape ur looking to rid urself of, hit me up! I may be interested.
On the other hand I got a few things wacked off the list the last few weeks.
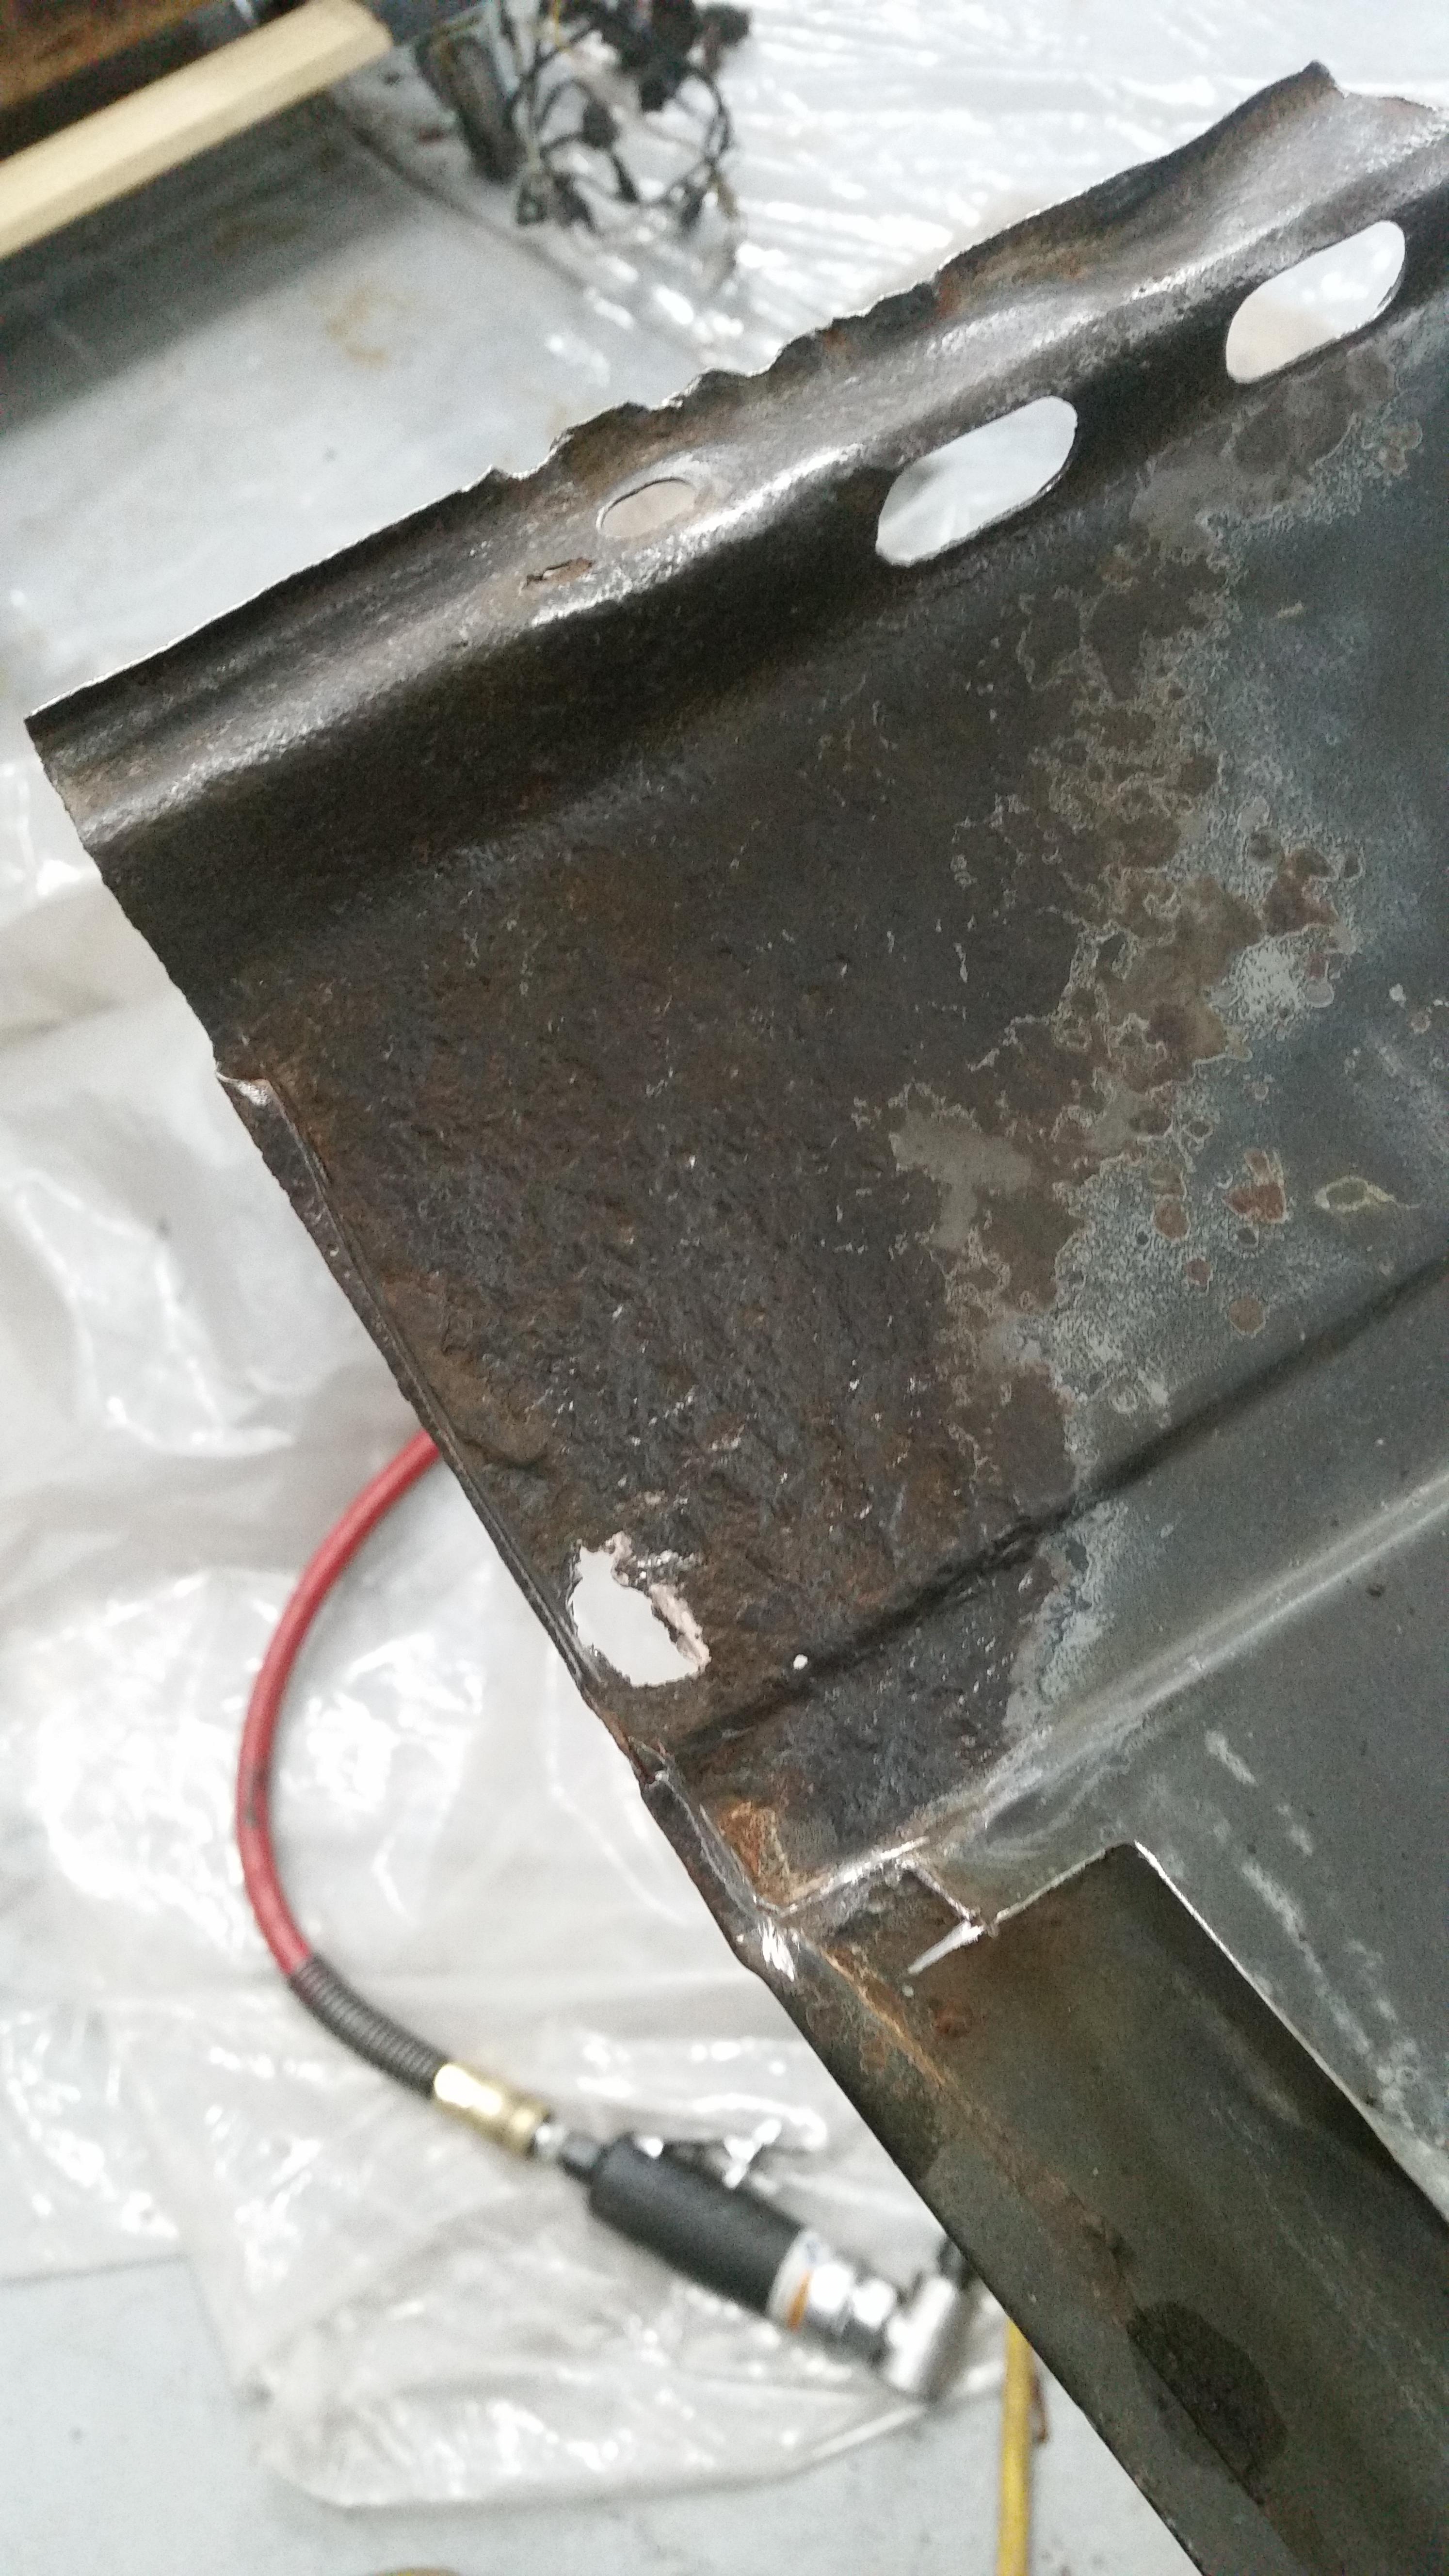
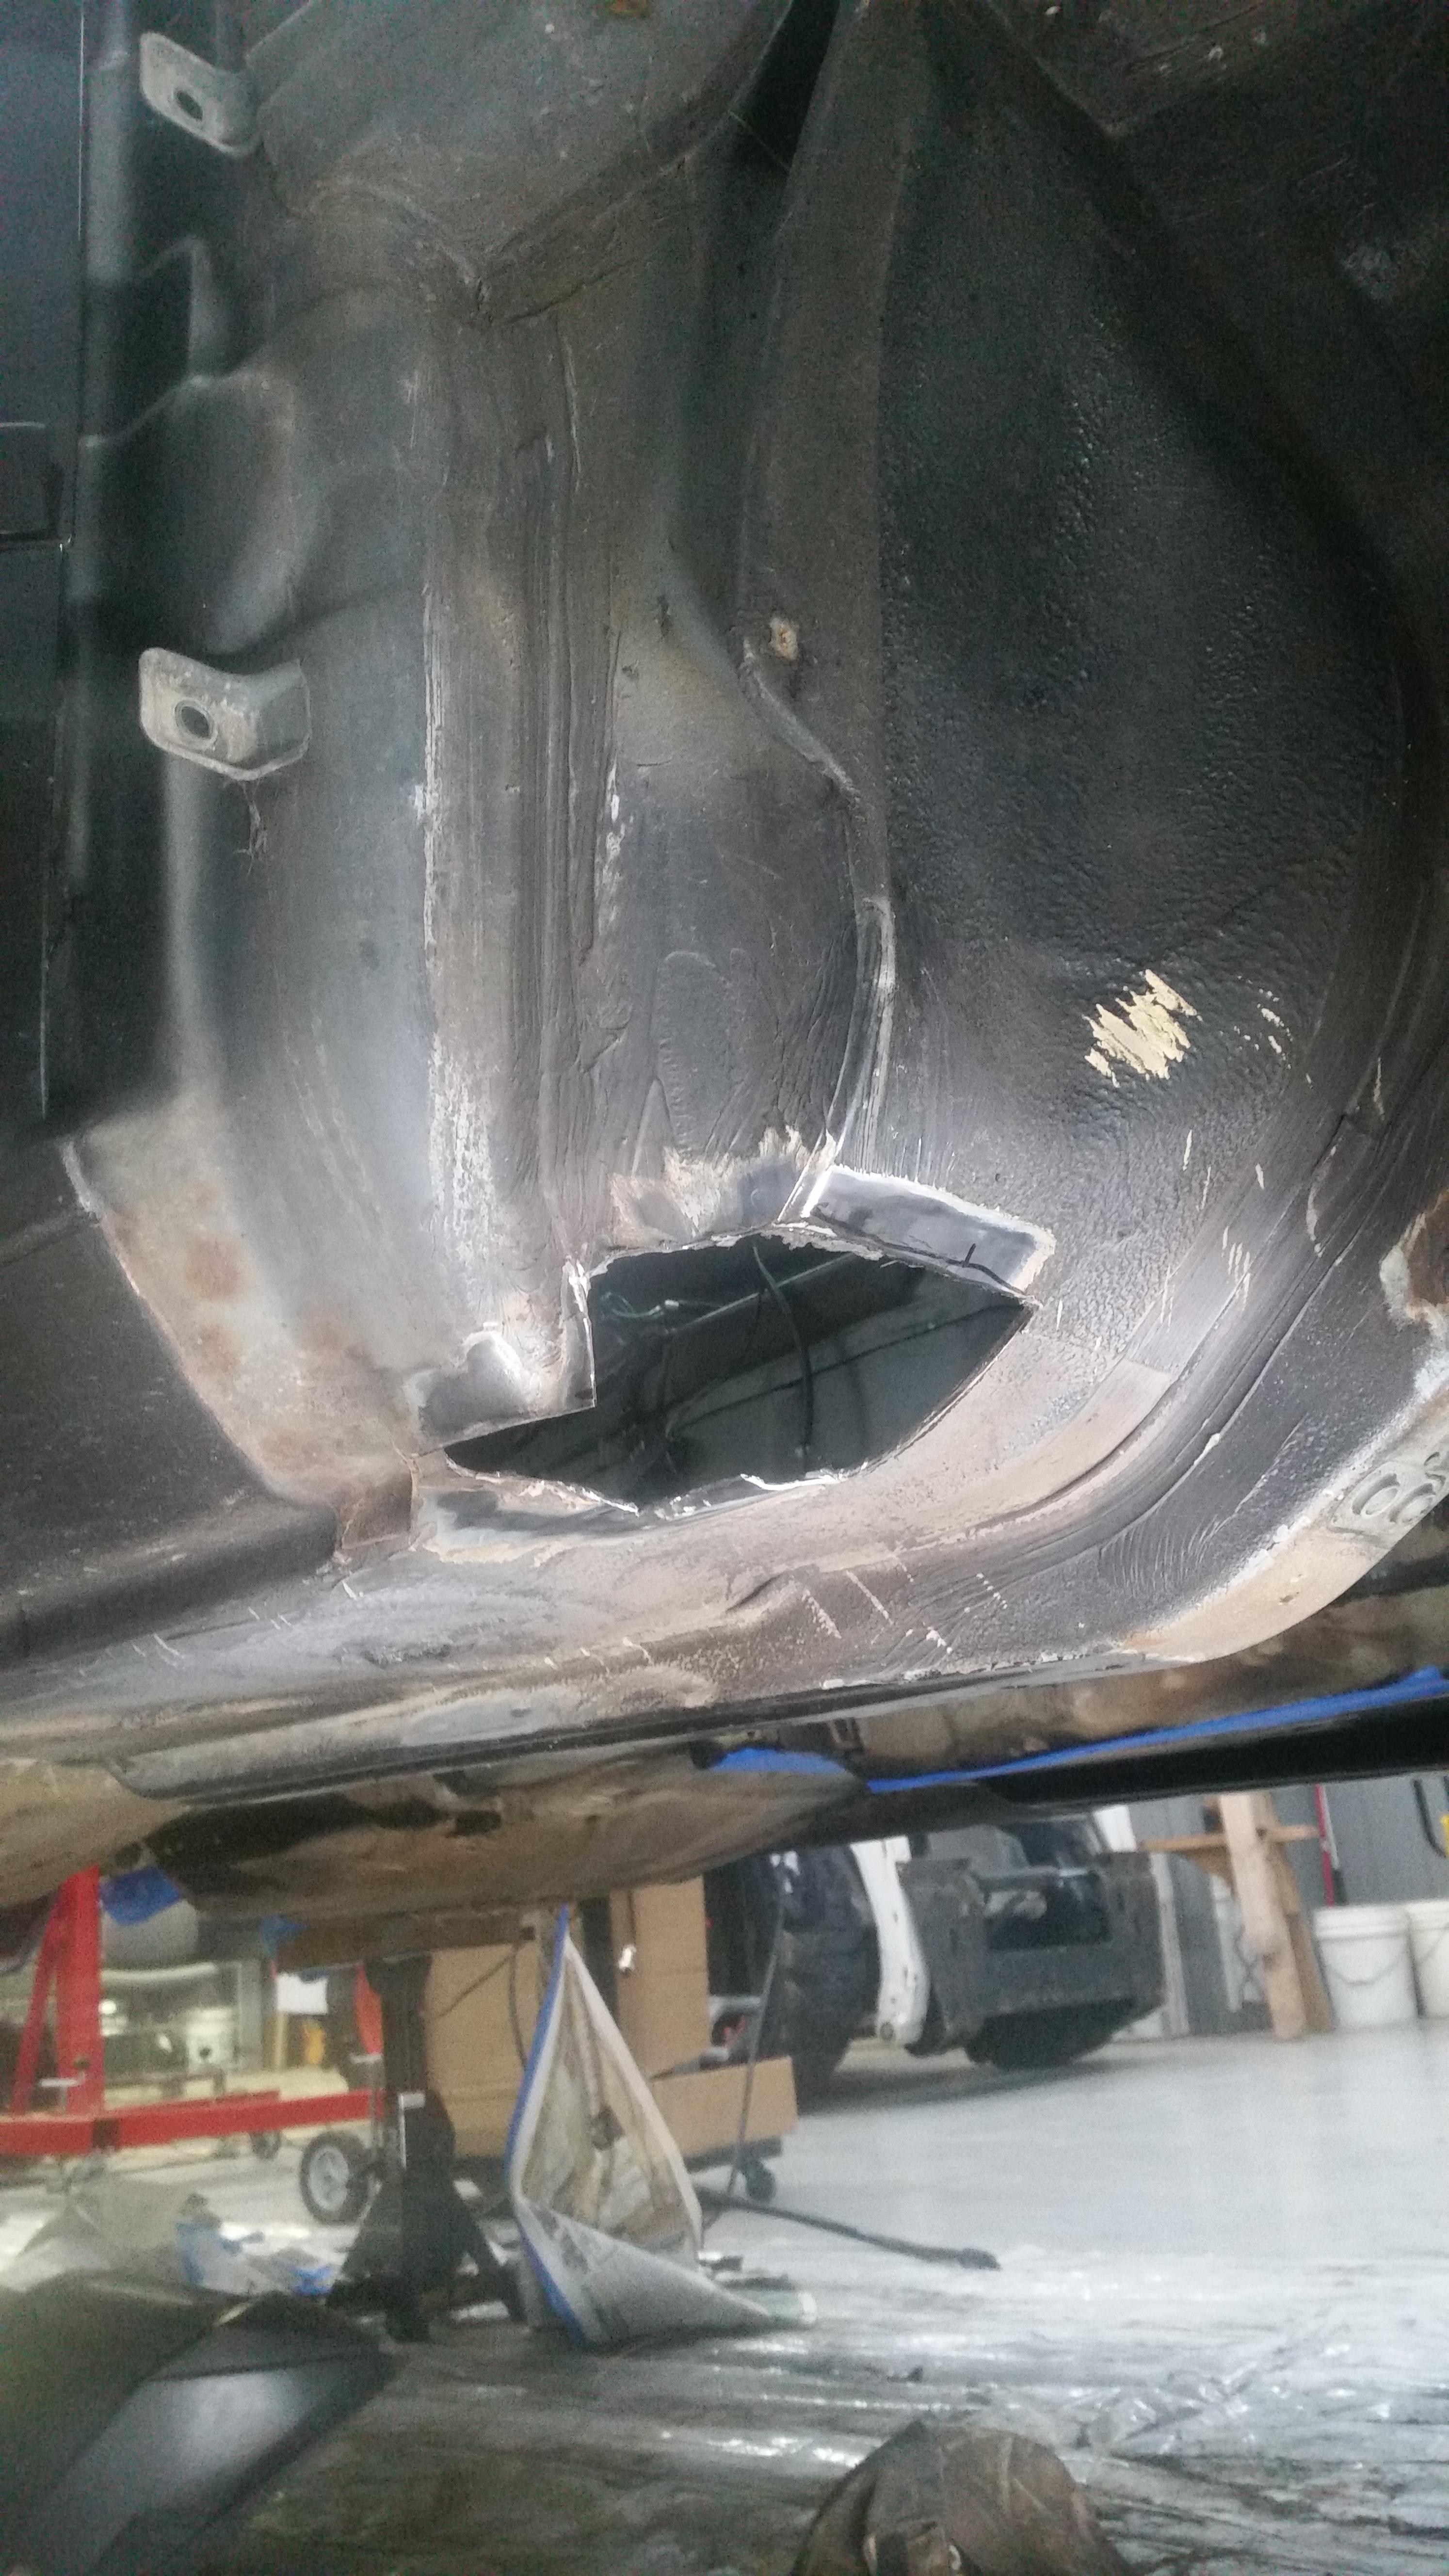
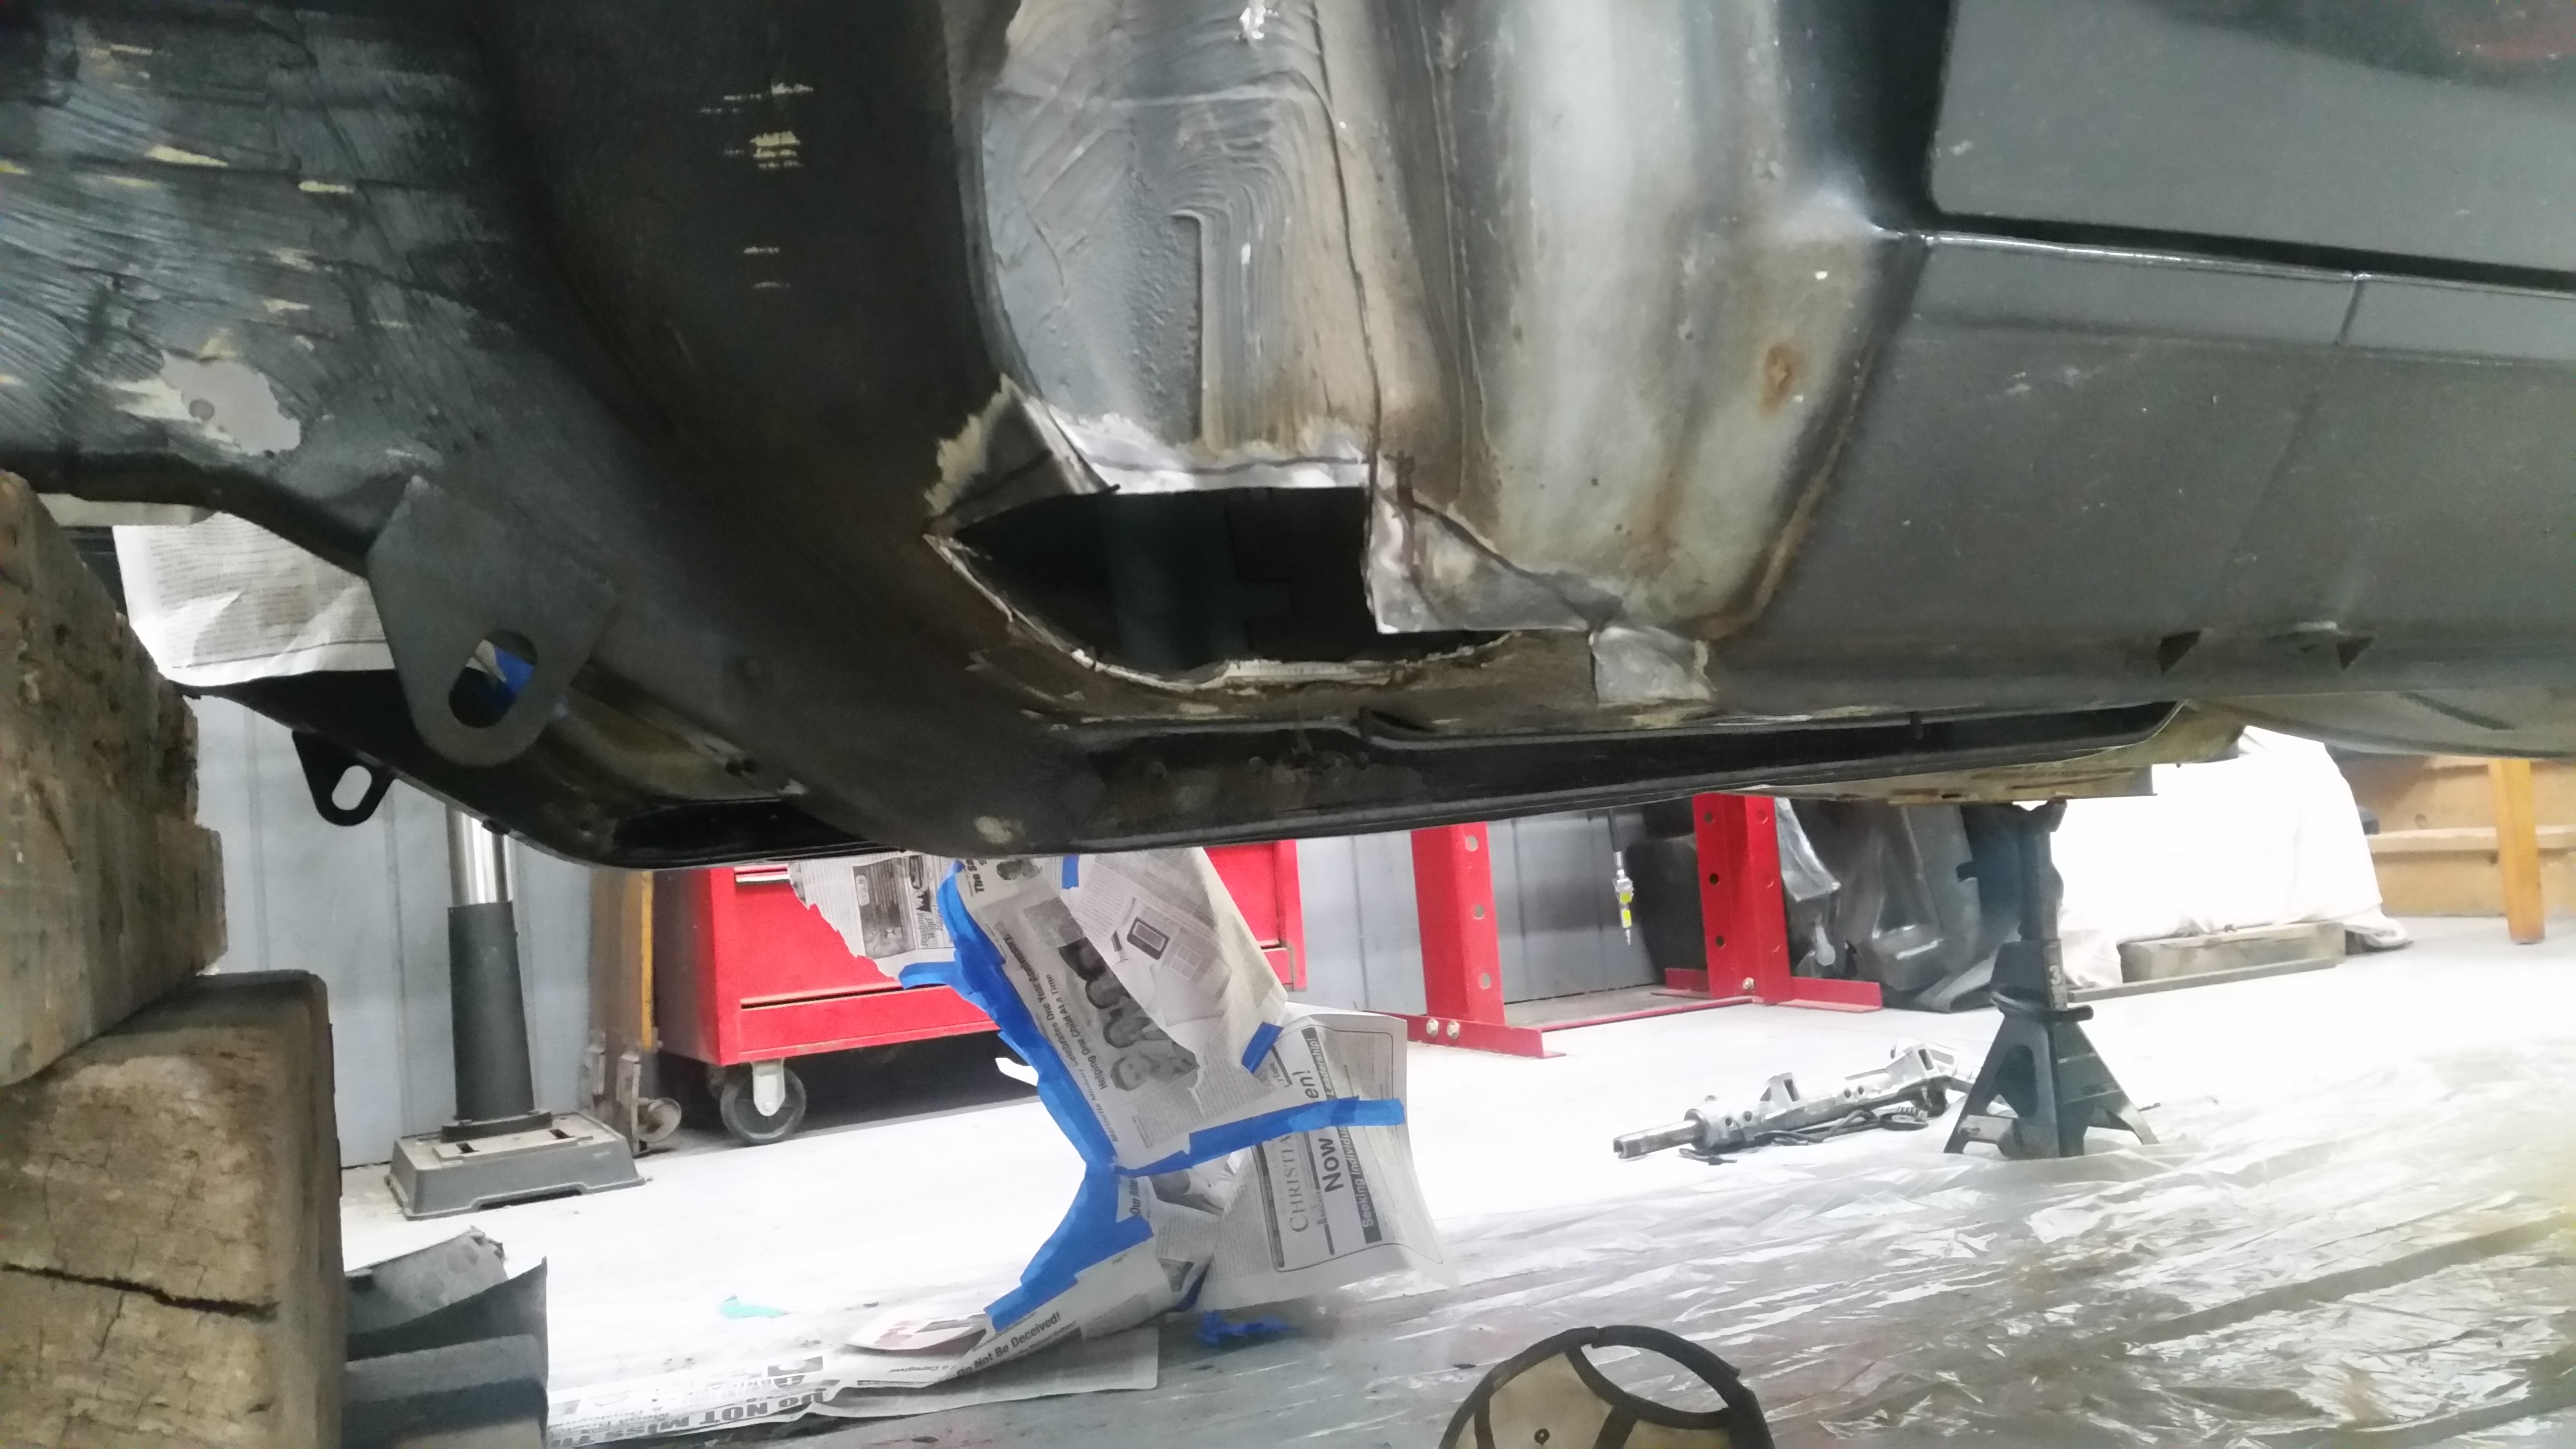
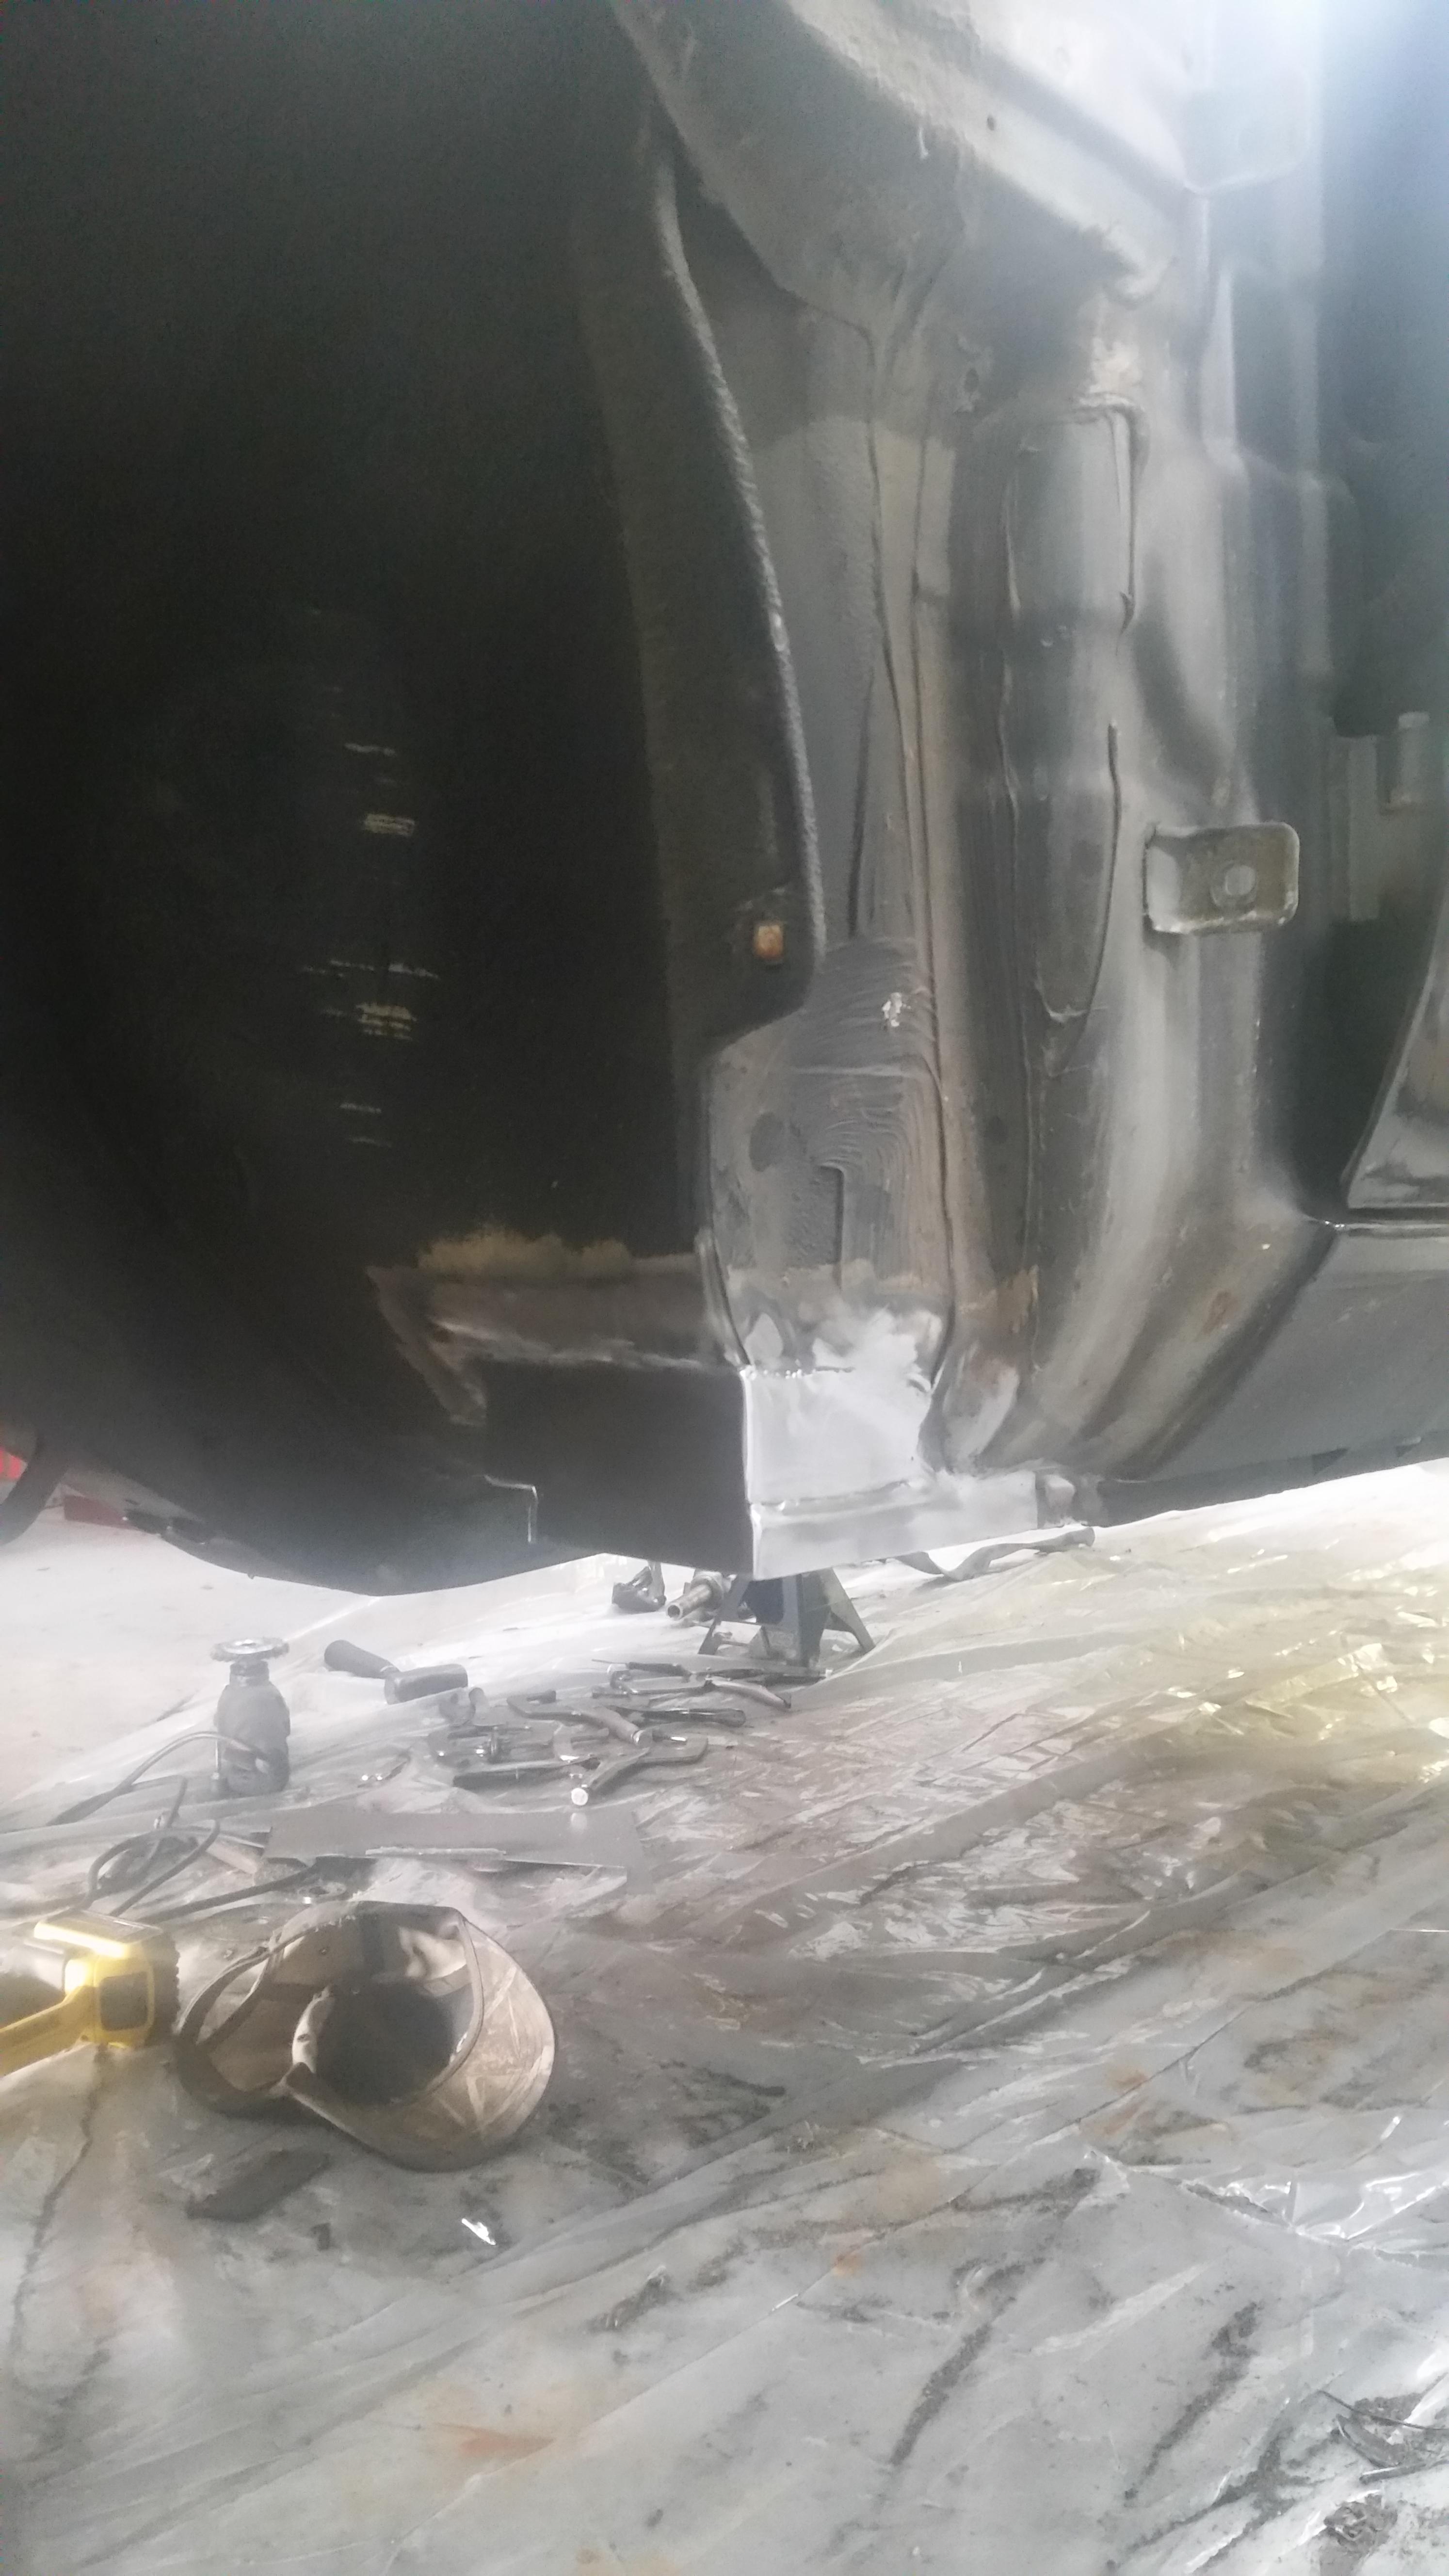
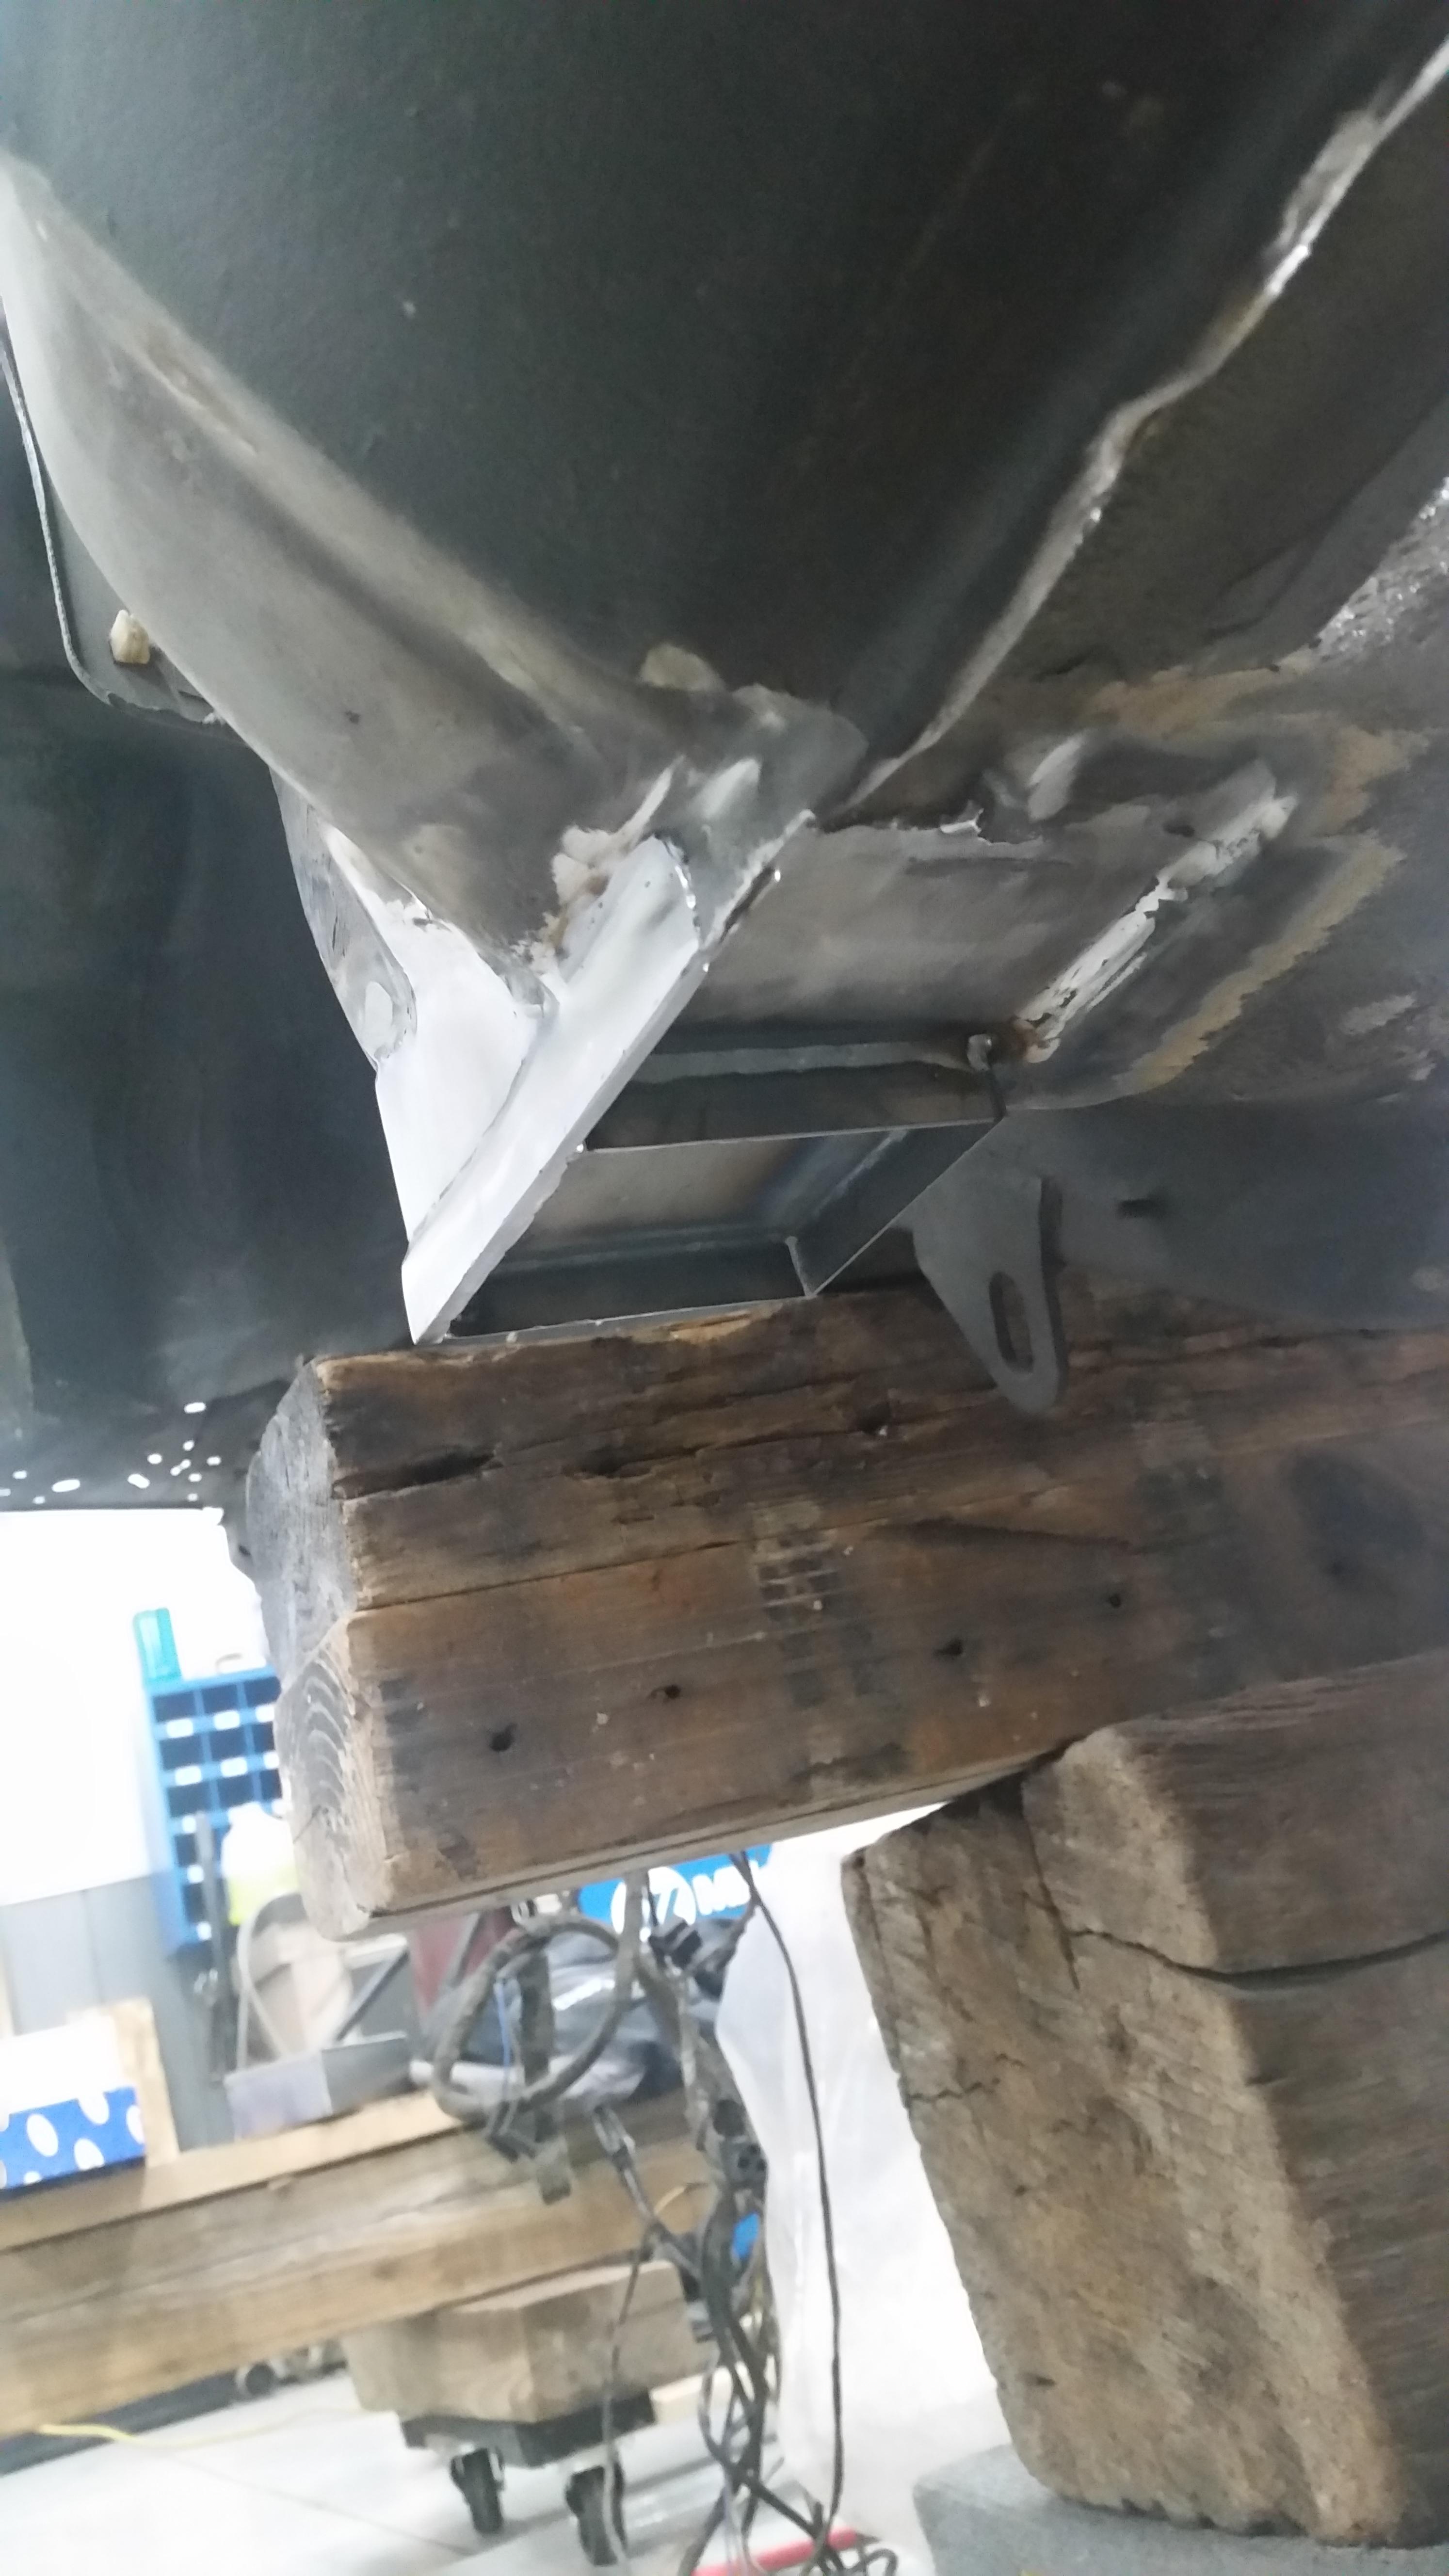
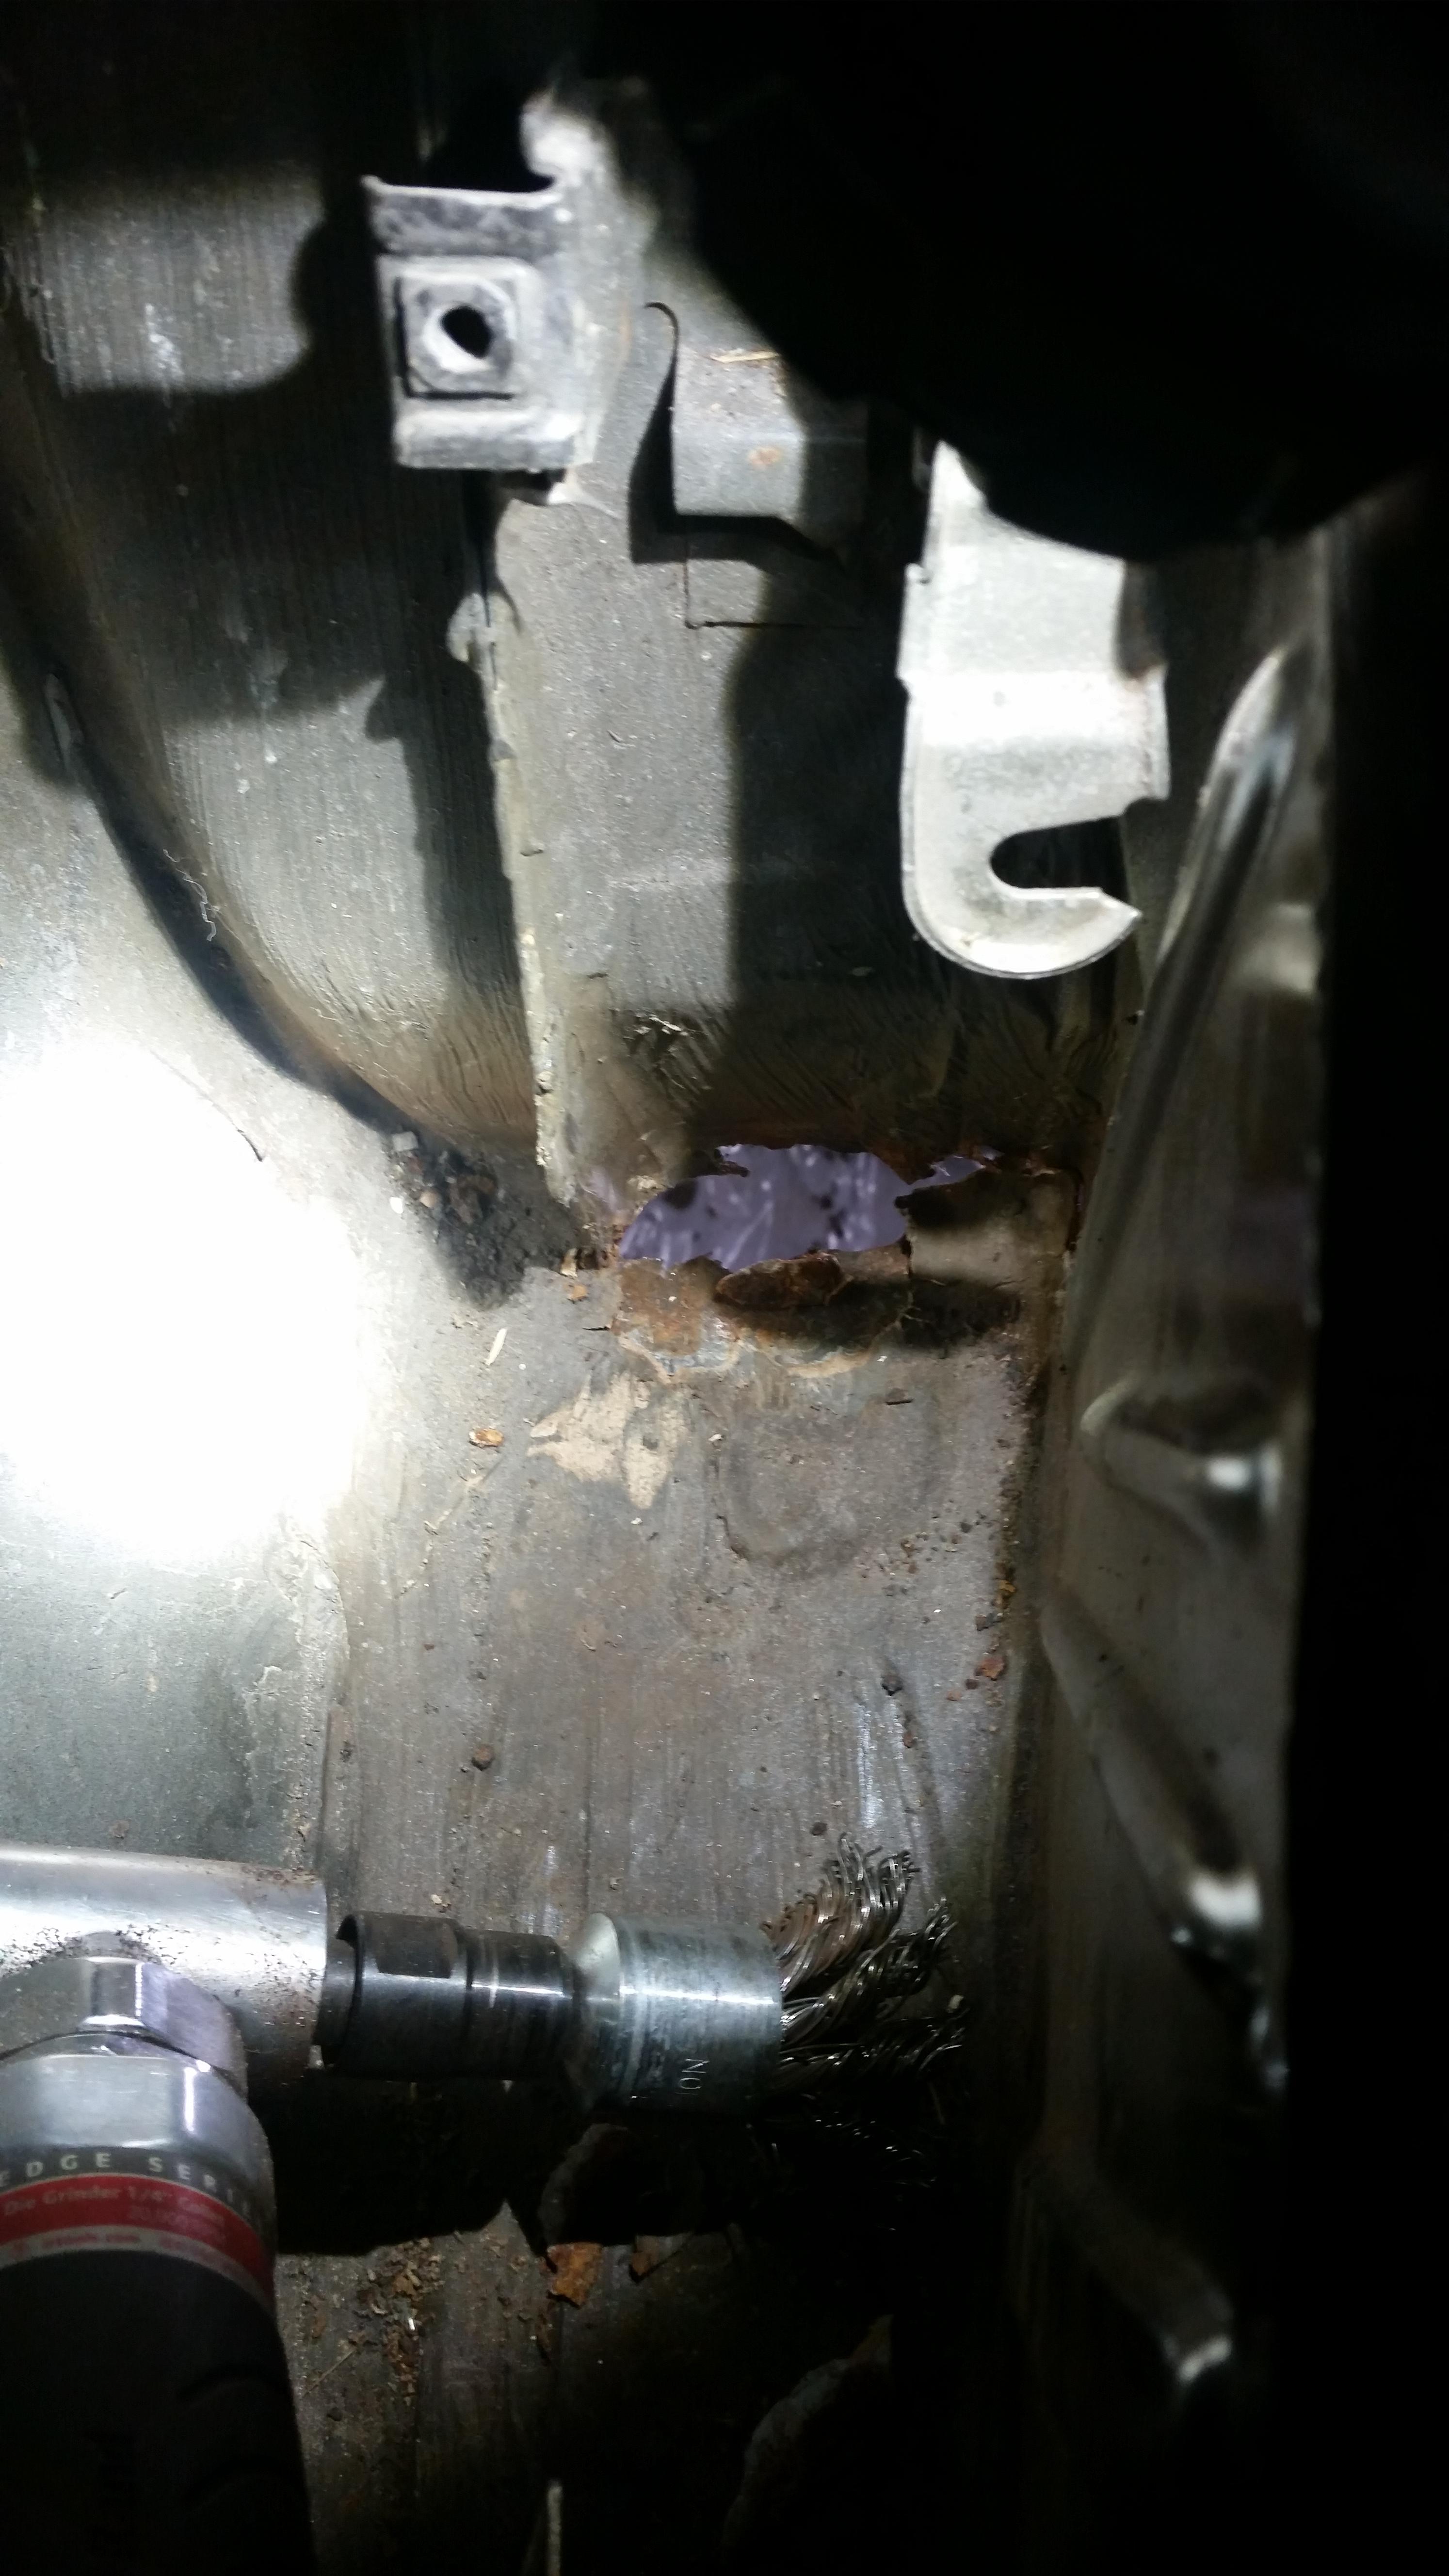
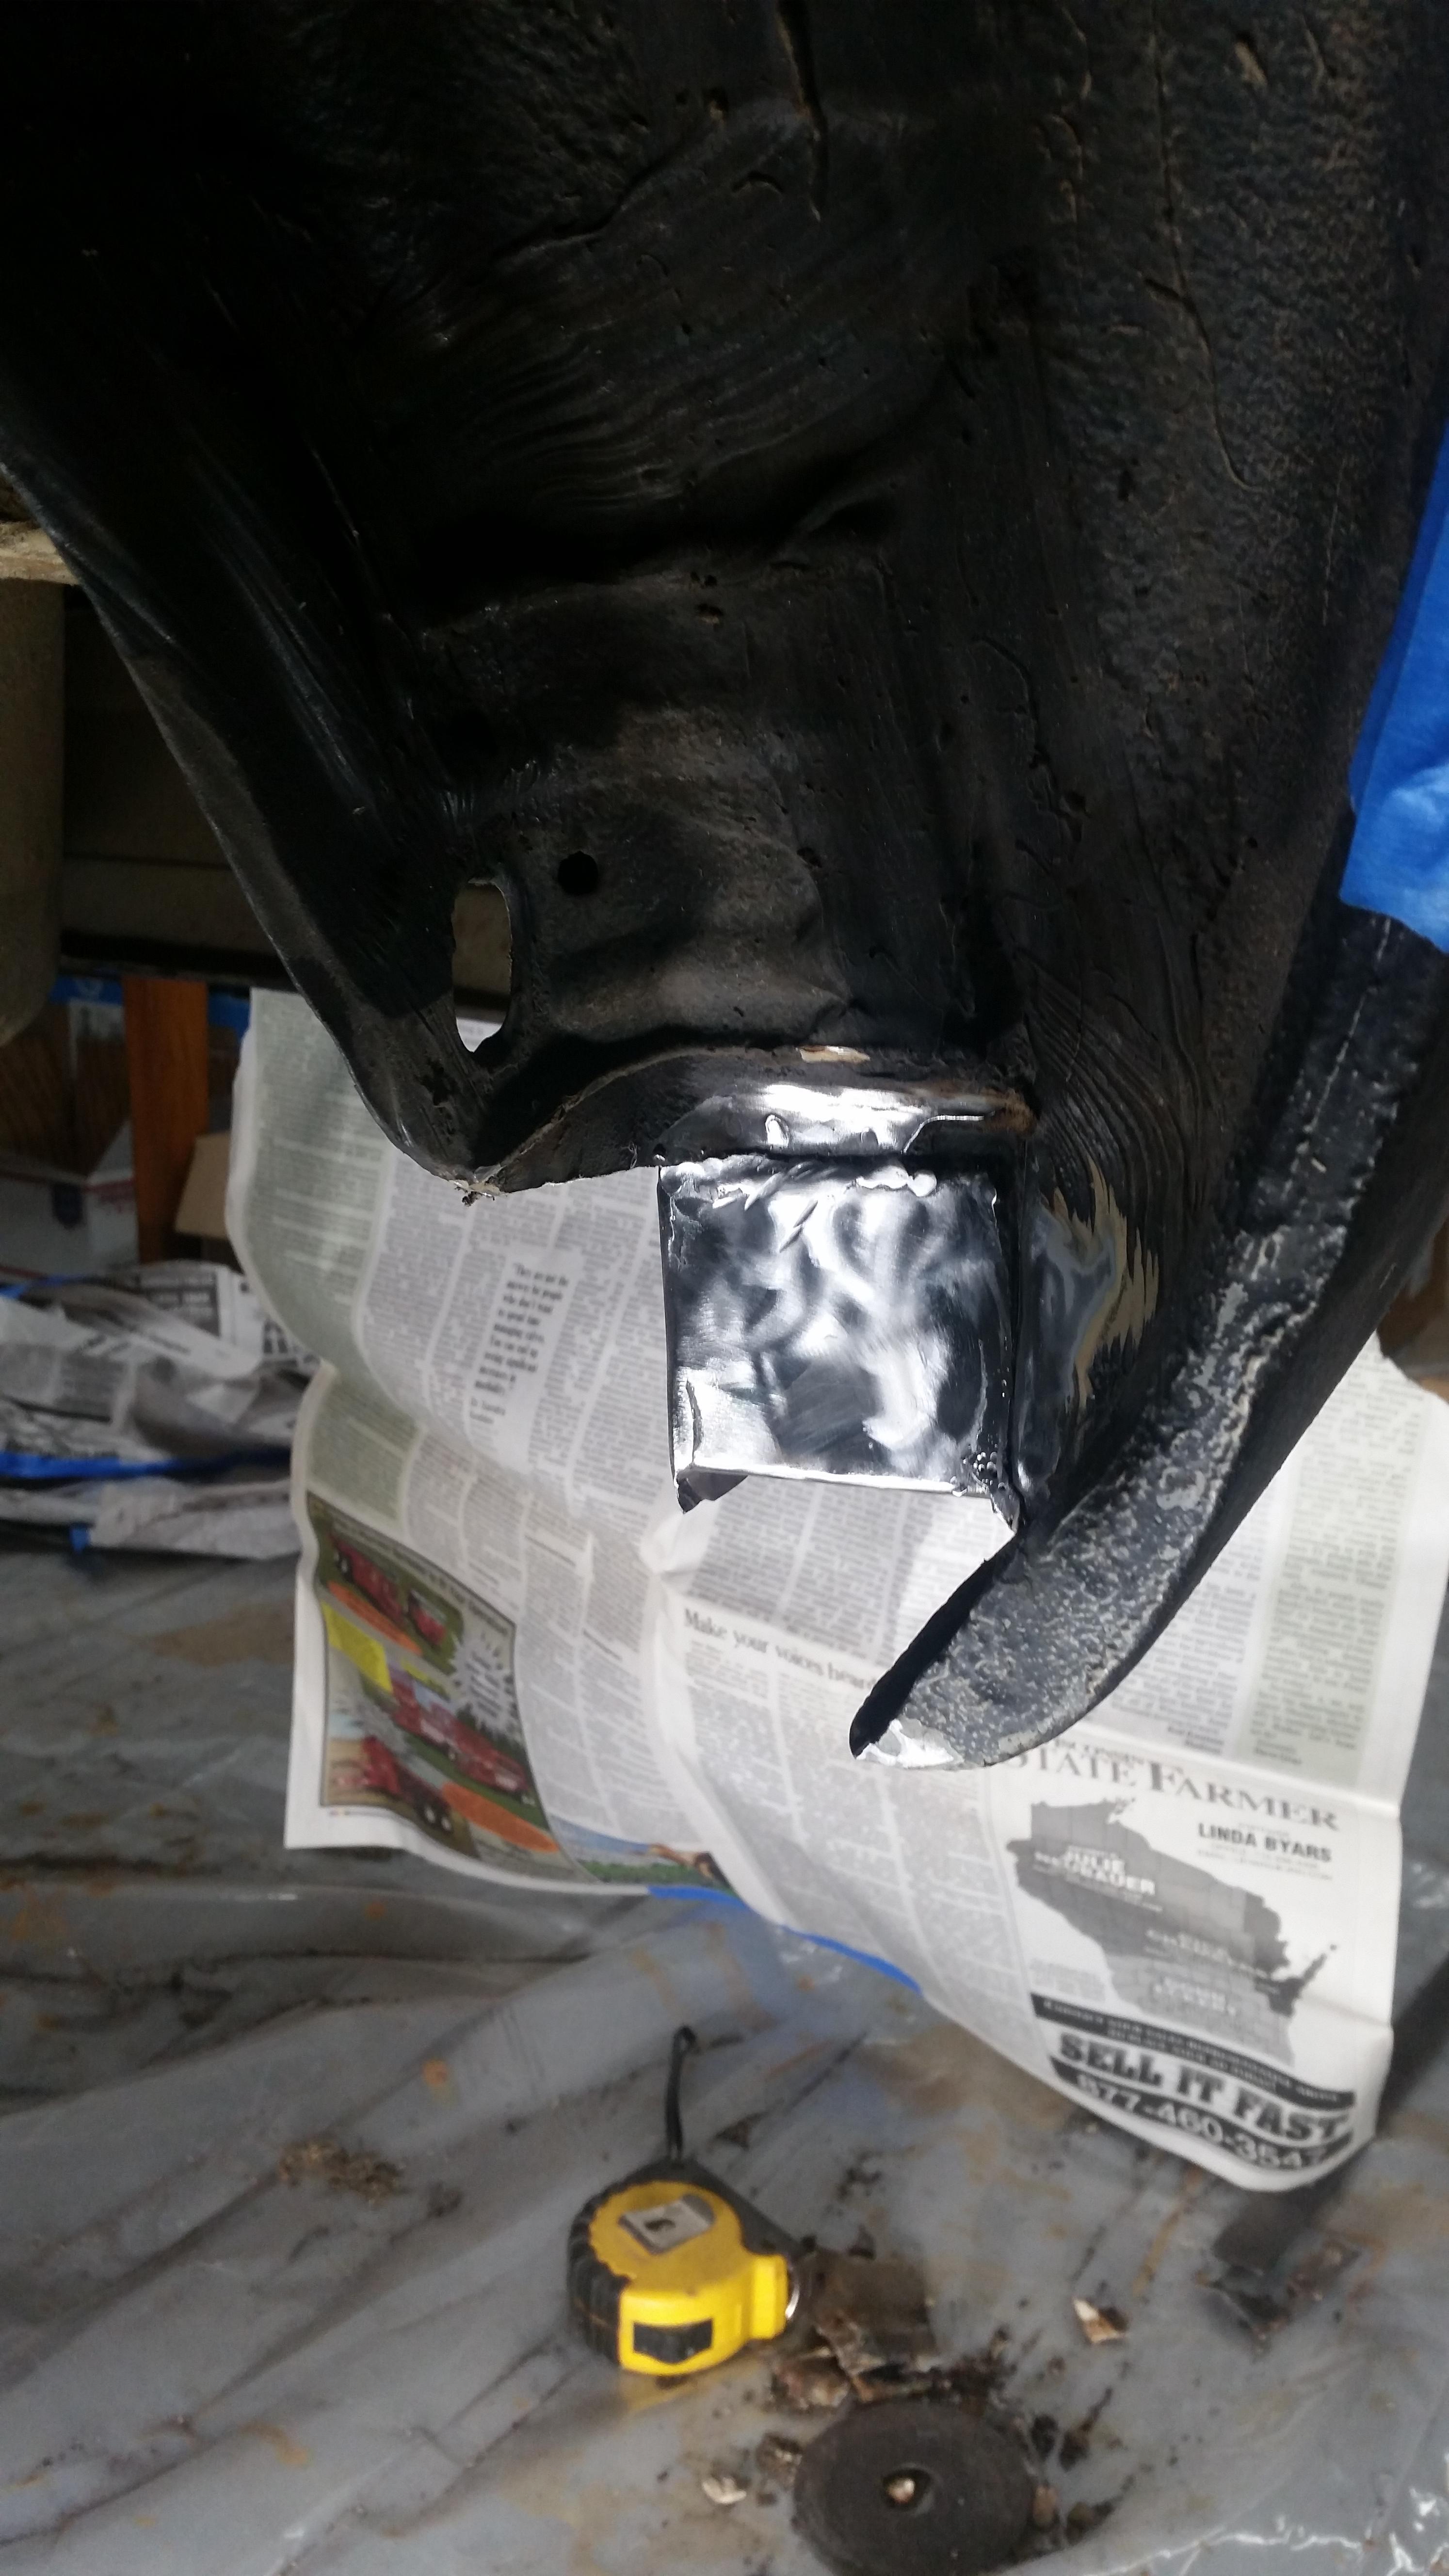
Finished up cutting out all the infection this car has been victim to all these years and replaced it with some fresh stuff.
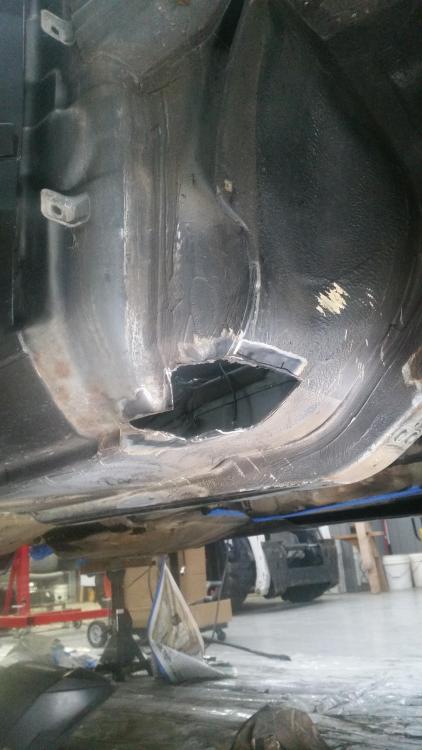
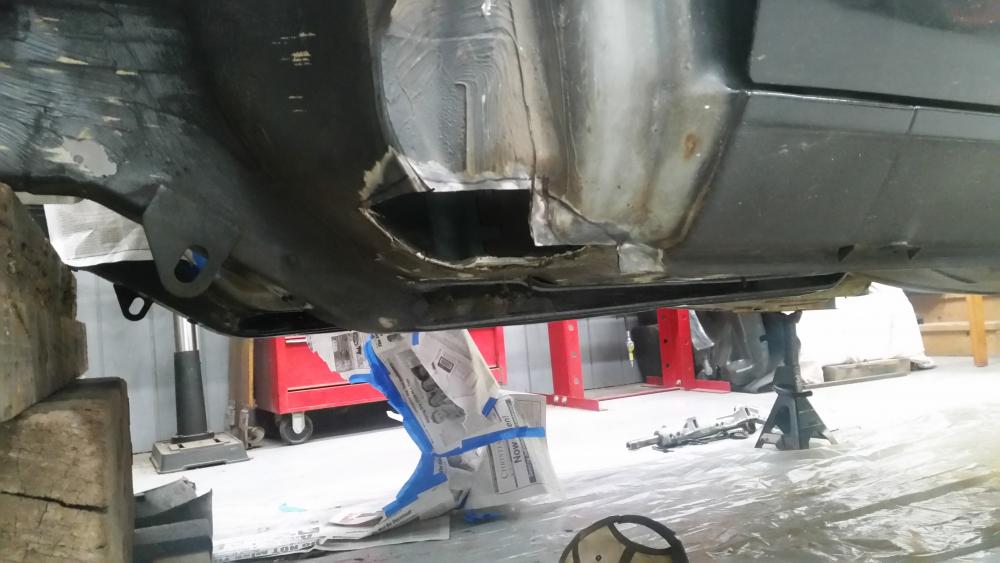
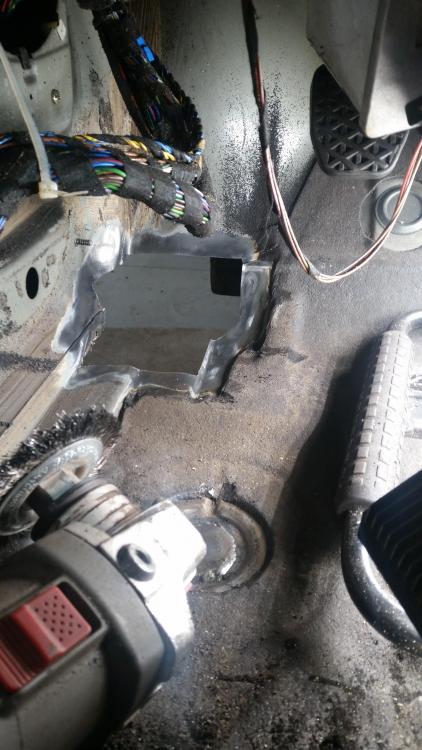
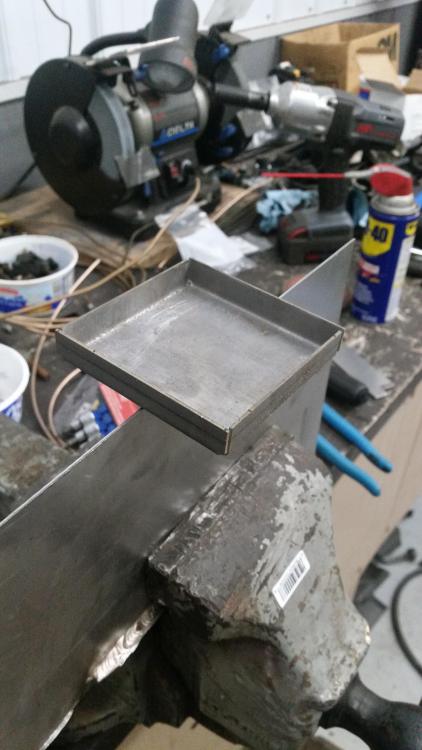
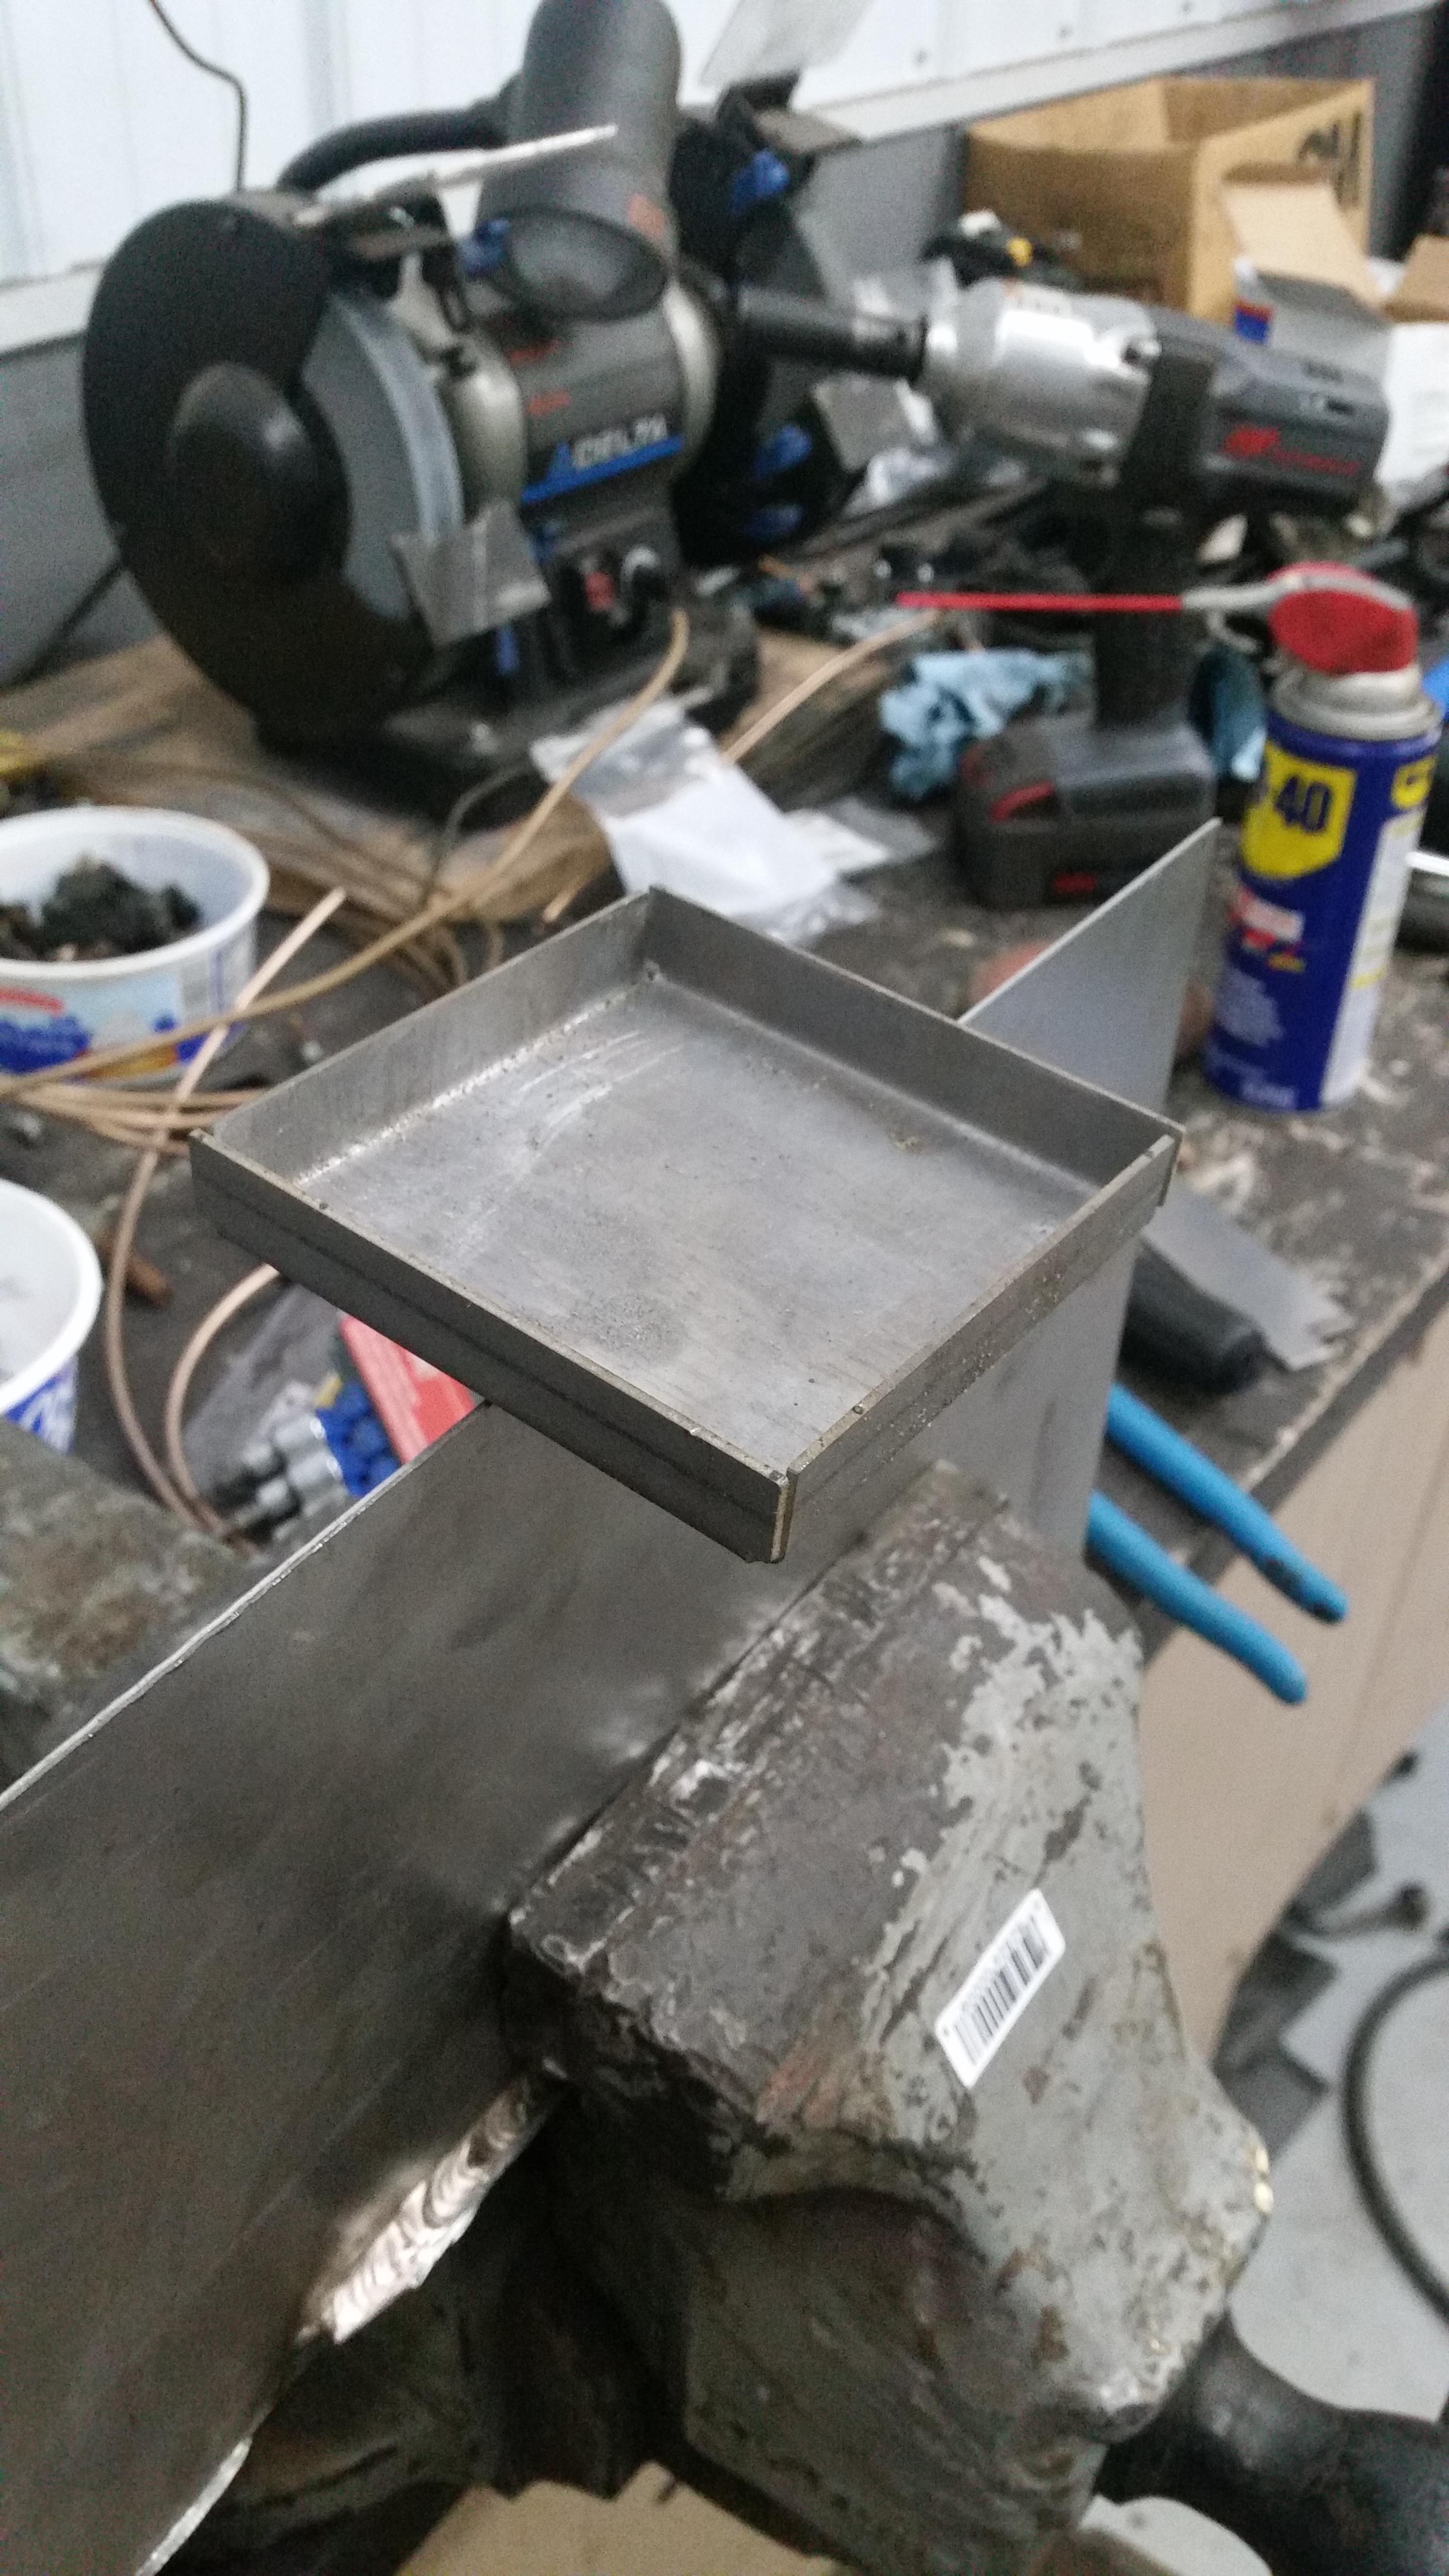
Came up with a different design for these sections. The fact is, it was gonna be tough to remake exactly what was there so instead, I did a single bent up piece cut out to fit the hole and welded on the same size box underneath. Only thing that looks a bit different was the little indent where the box stopped and the shape kept going. Even though the passenger side did however have less rust then the driver side I cut out the same areas identically and replaced with the same shapes so they would be proportional.
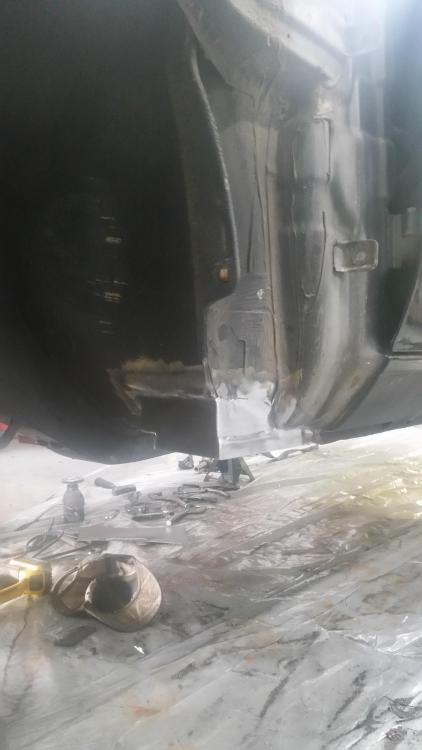
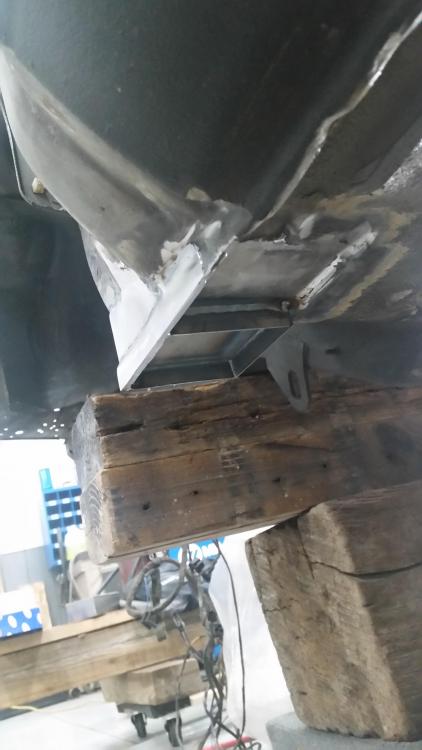
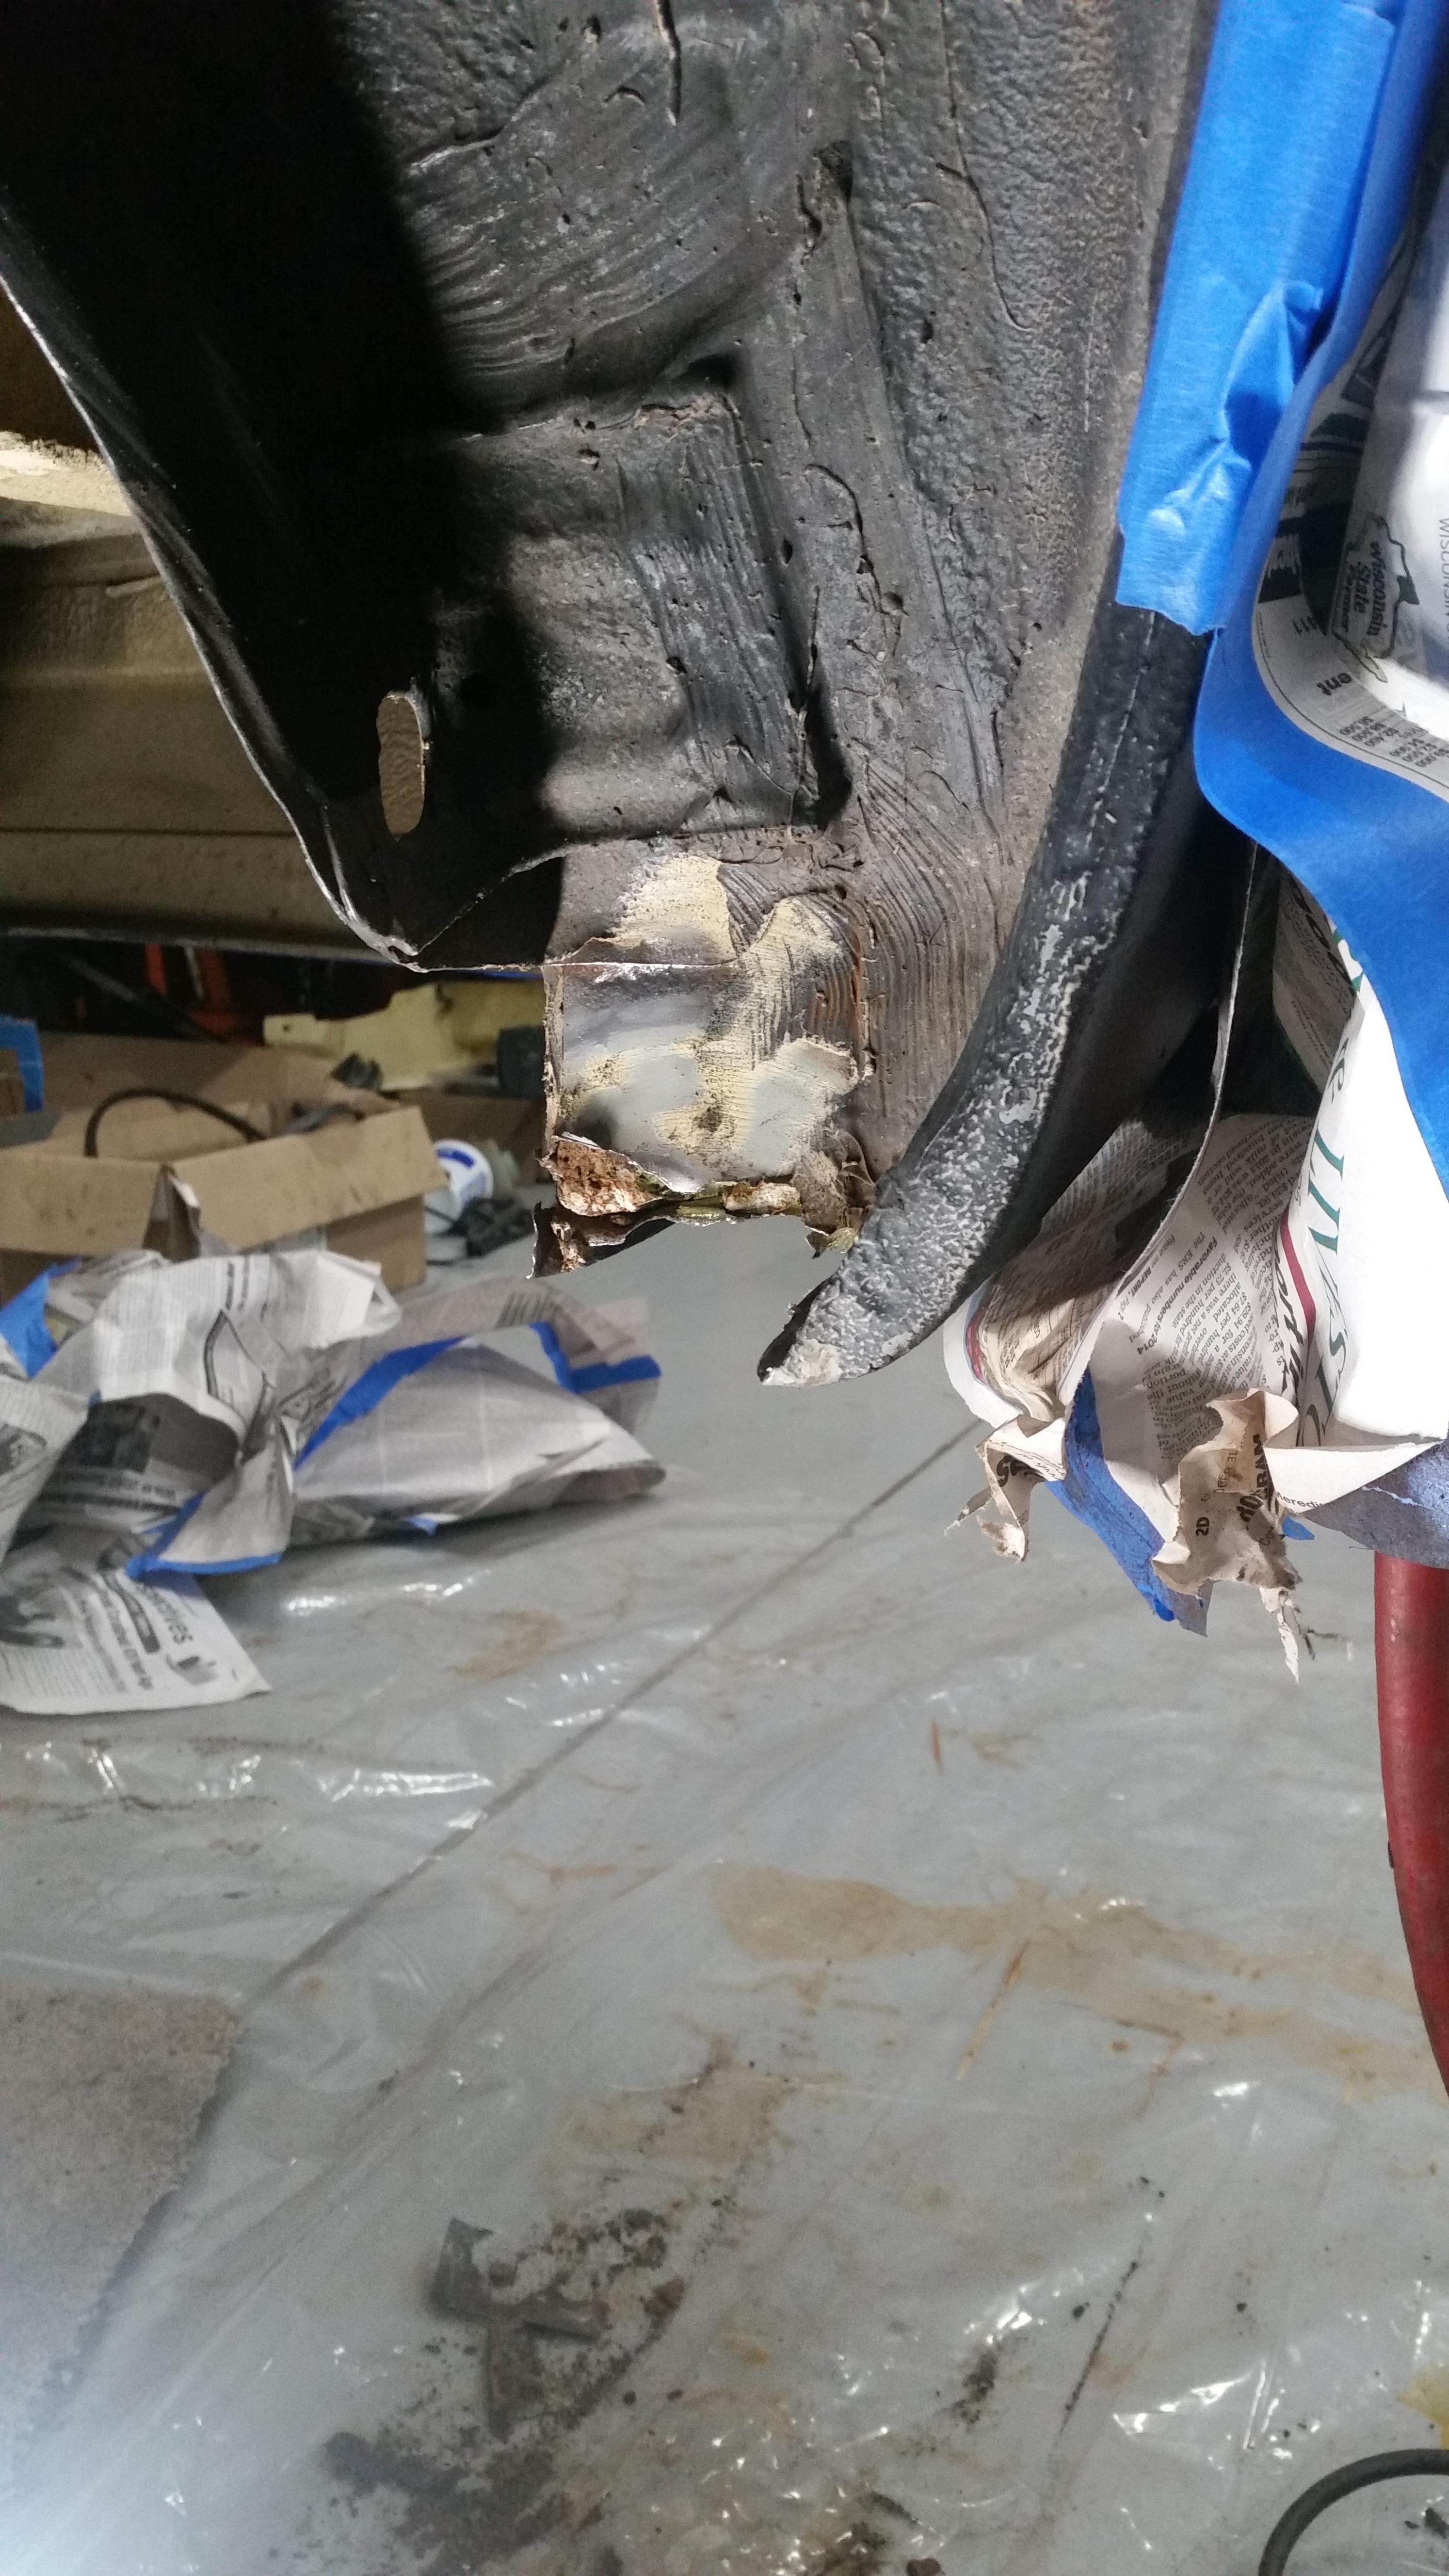
After those areas were completed I found me another surprise on the rear wheel well.
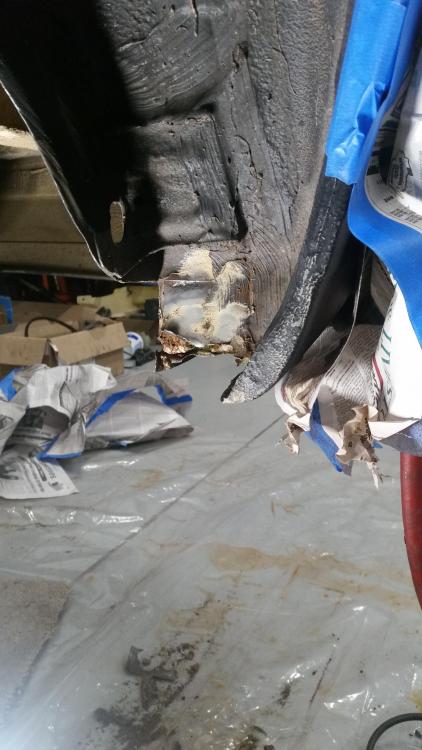
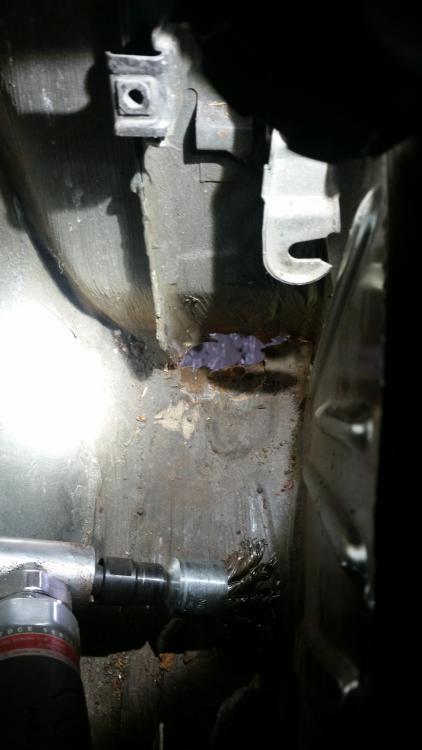
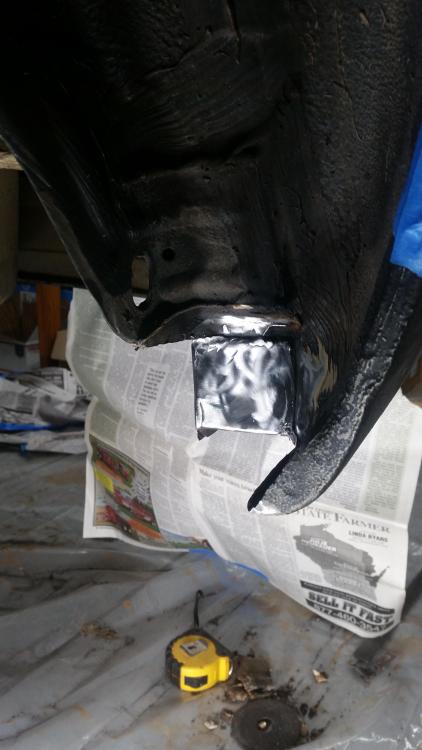
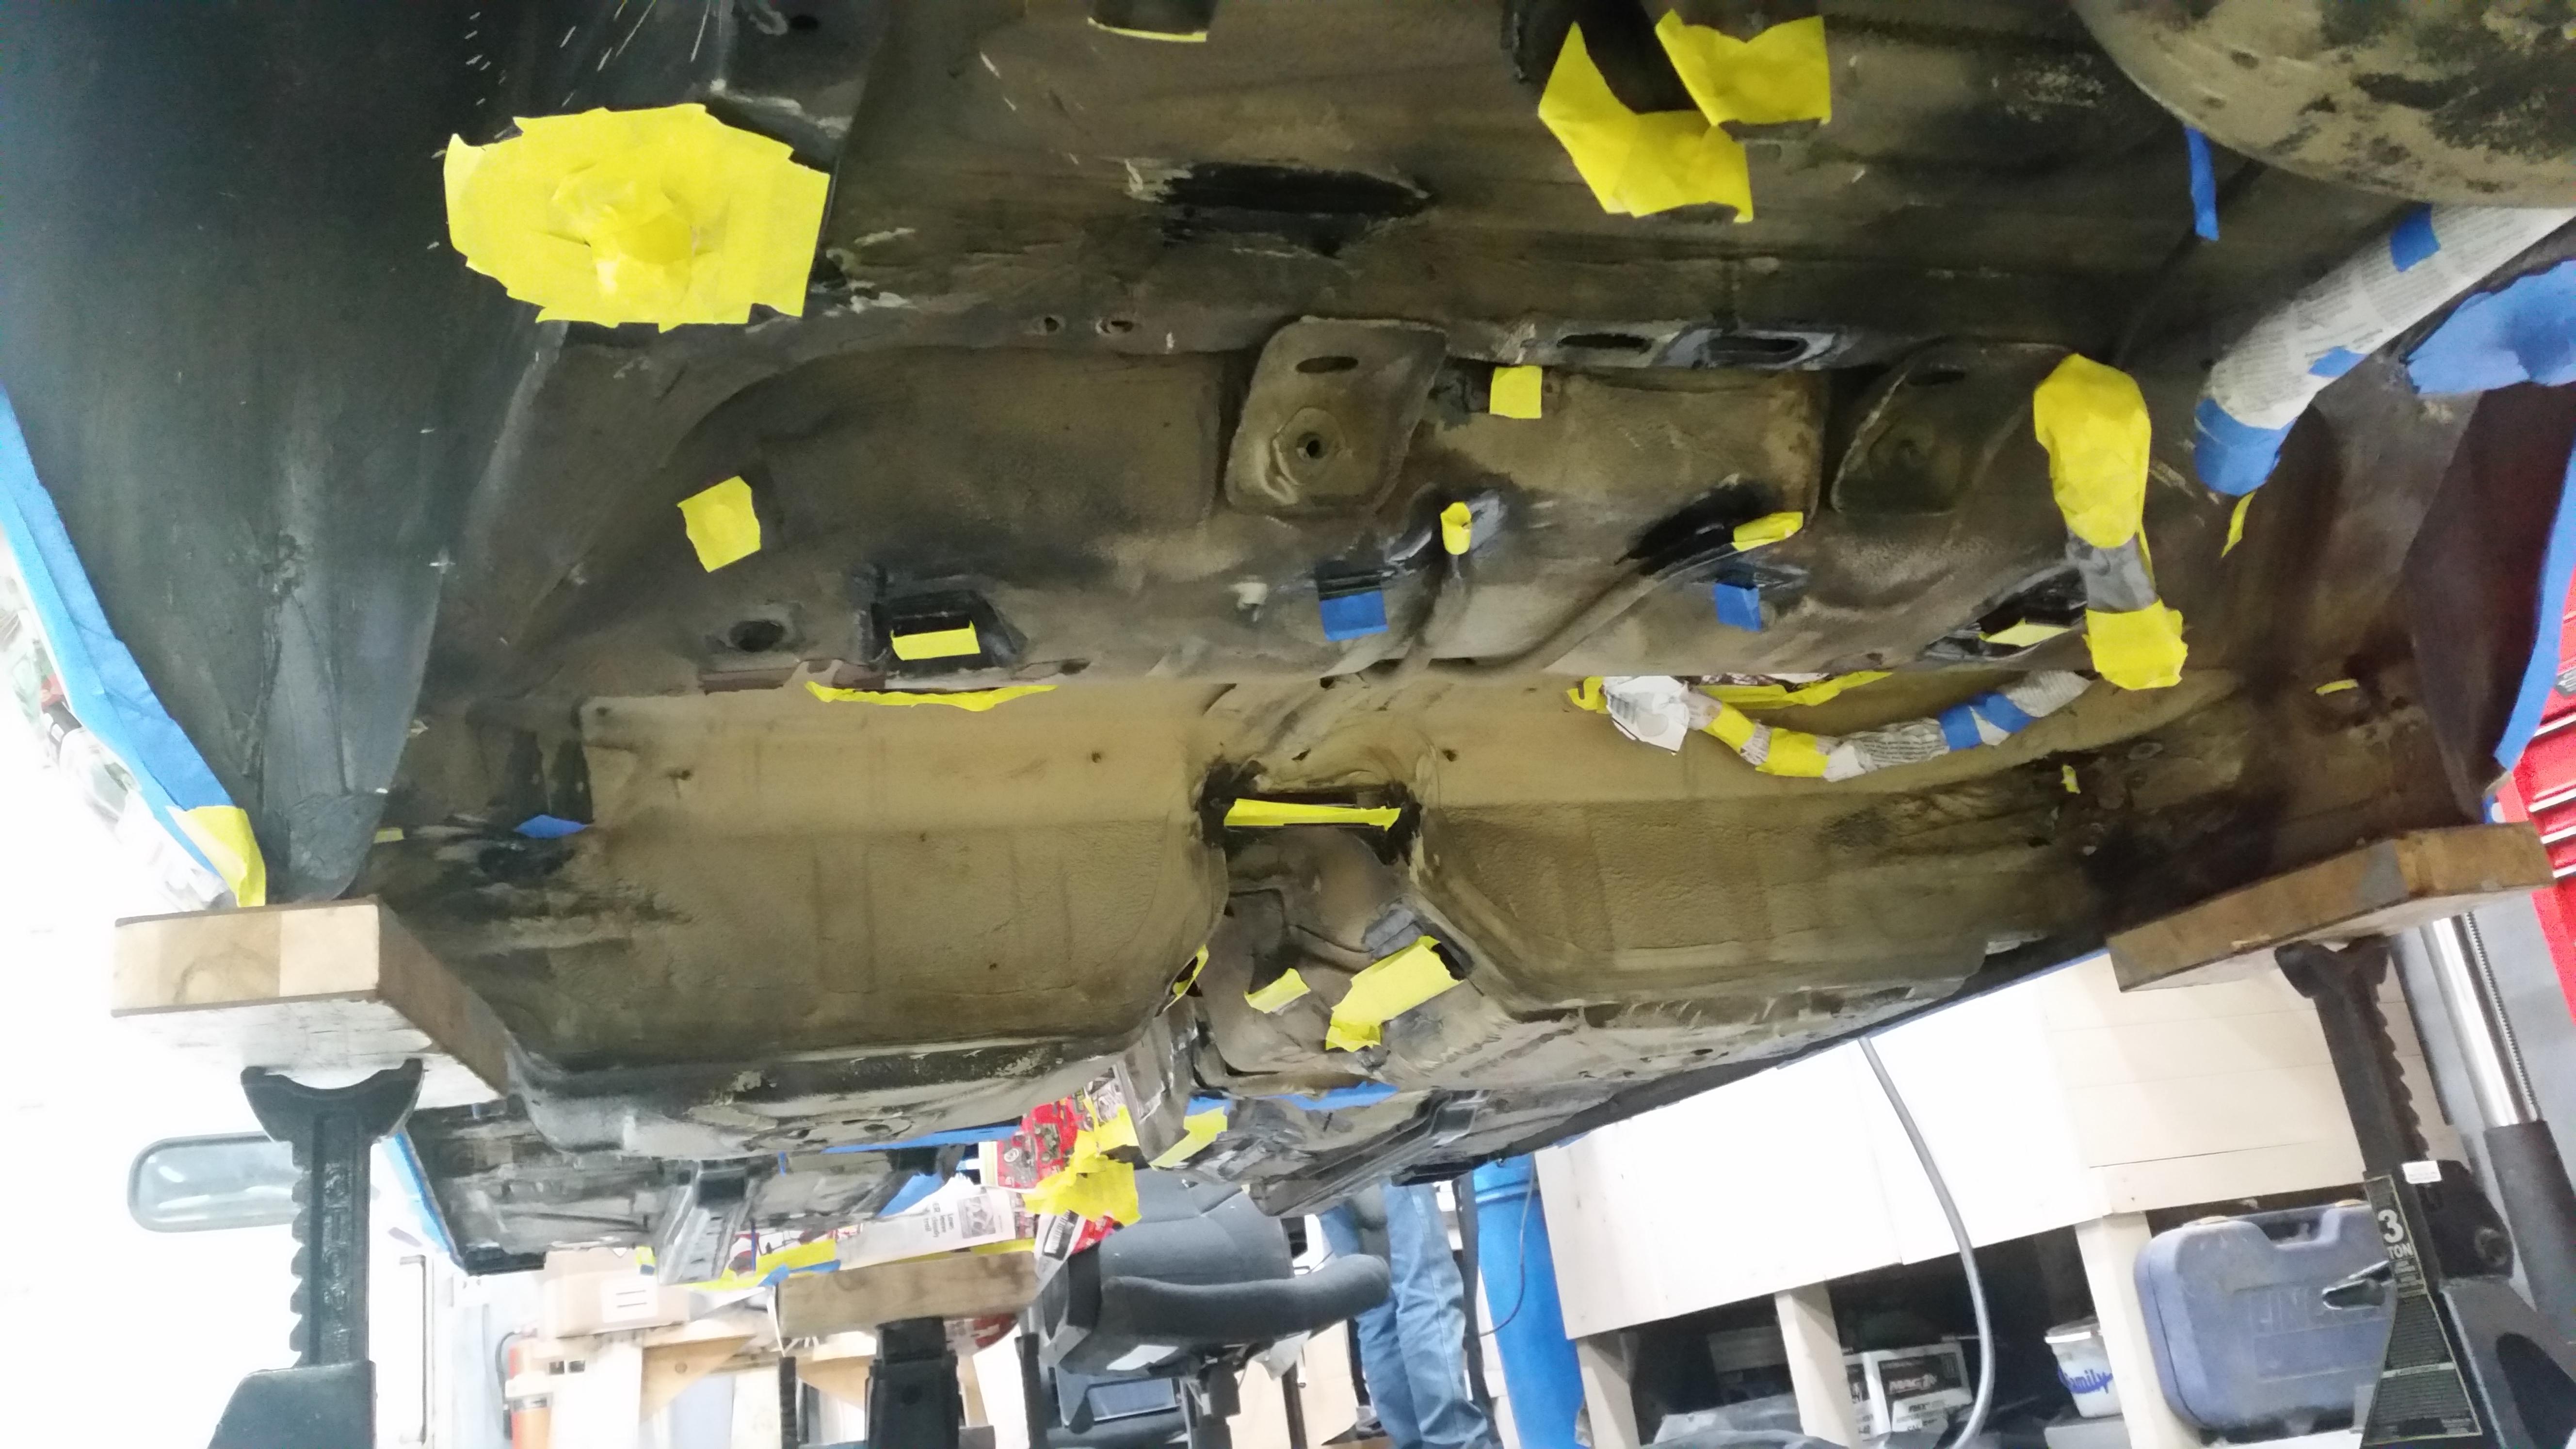
After getting all three sections smoothed out I scuffed them up with some 80 grit and then applied por-15 metal prep to help the por-15 rust preventive coat adhere well. Once that was finished I moved on to masking off the car for the undercoat.
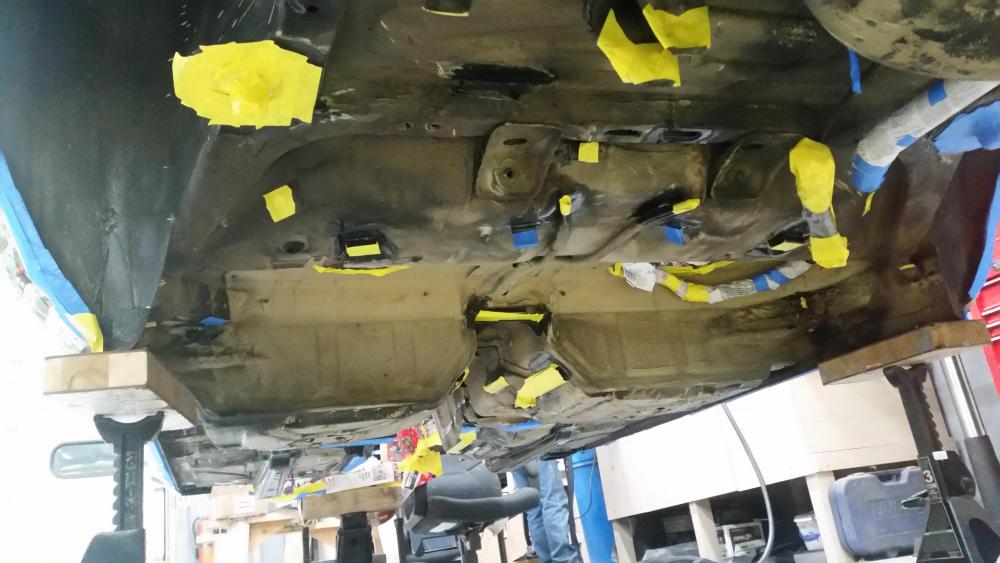
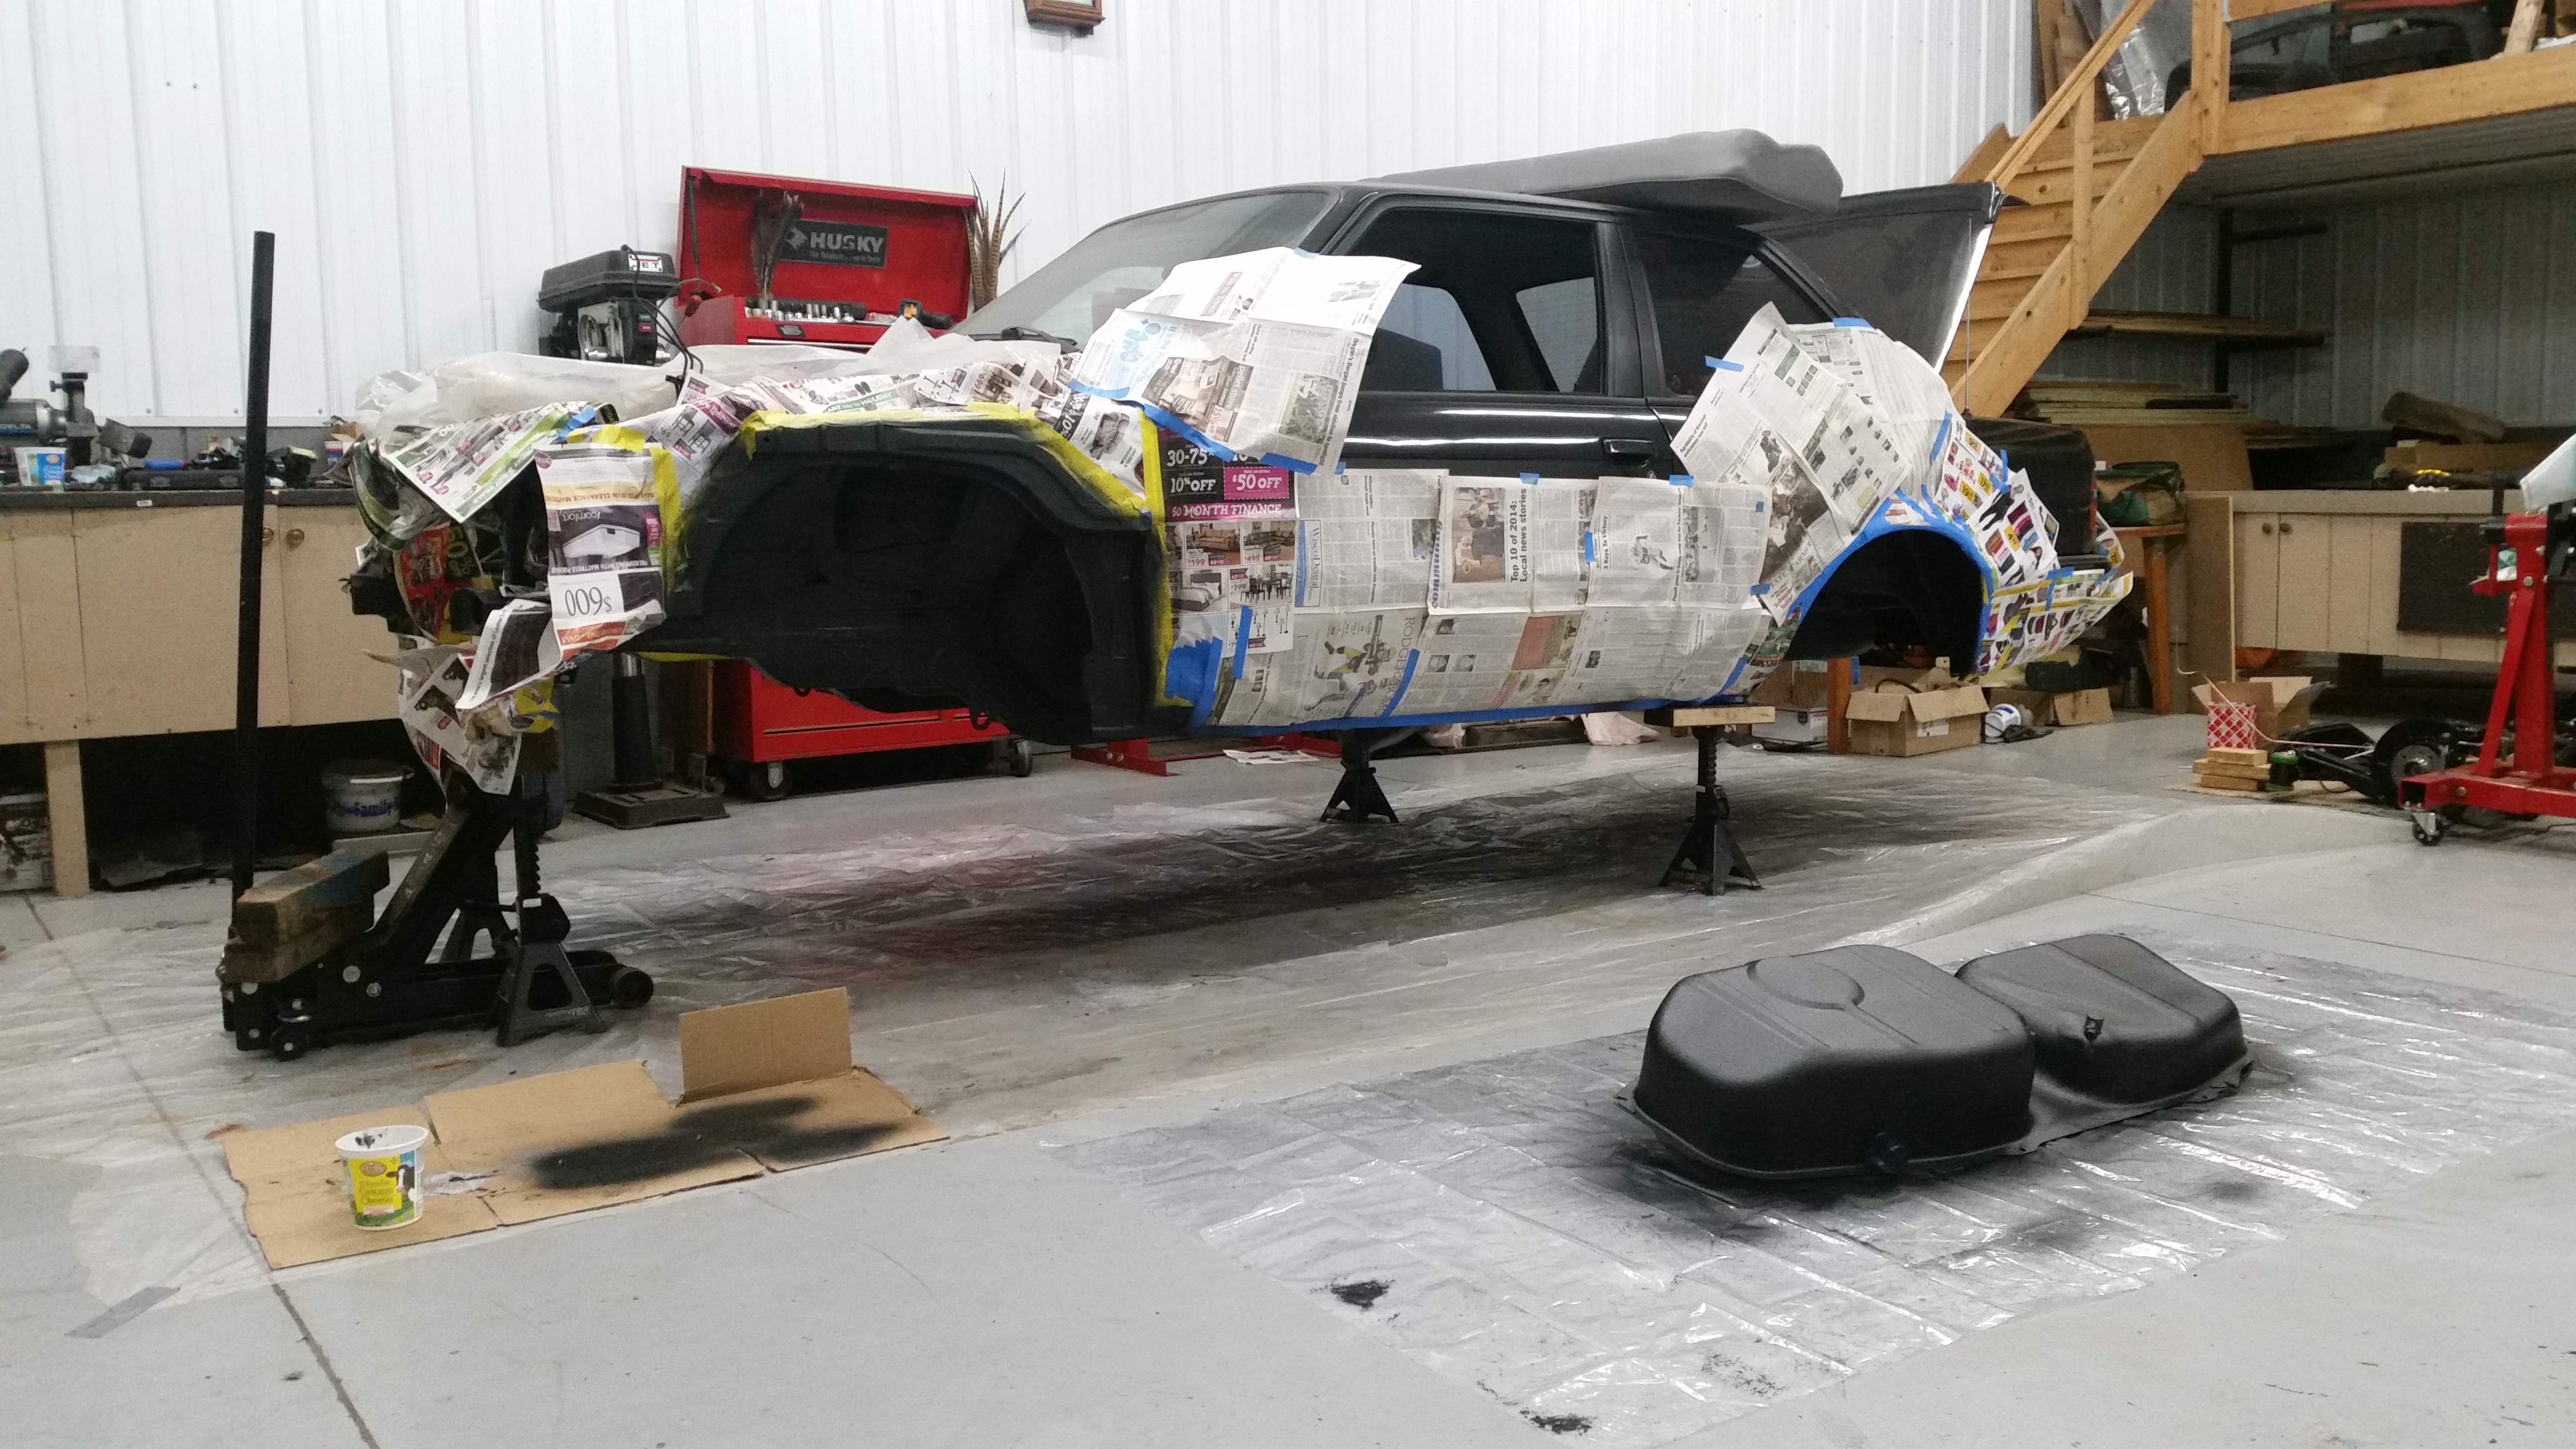
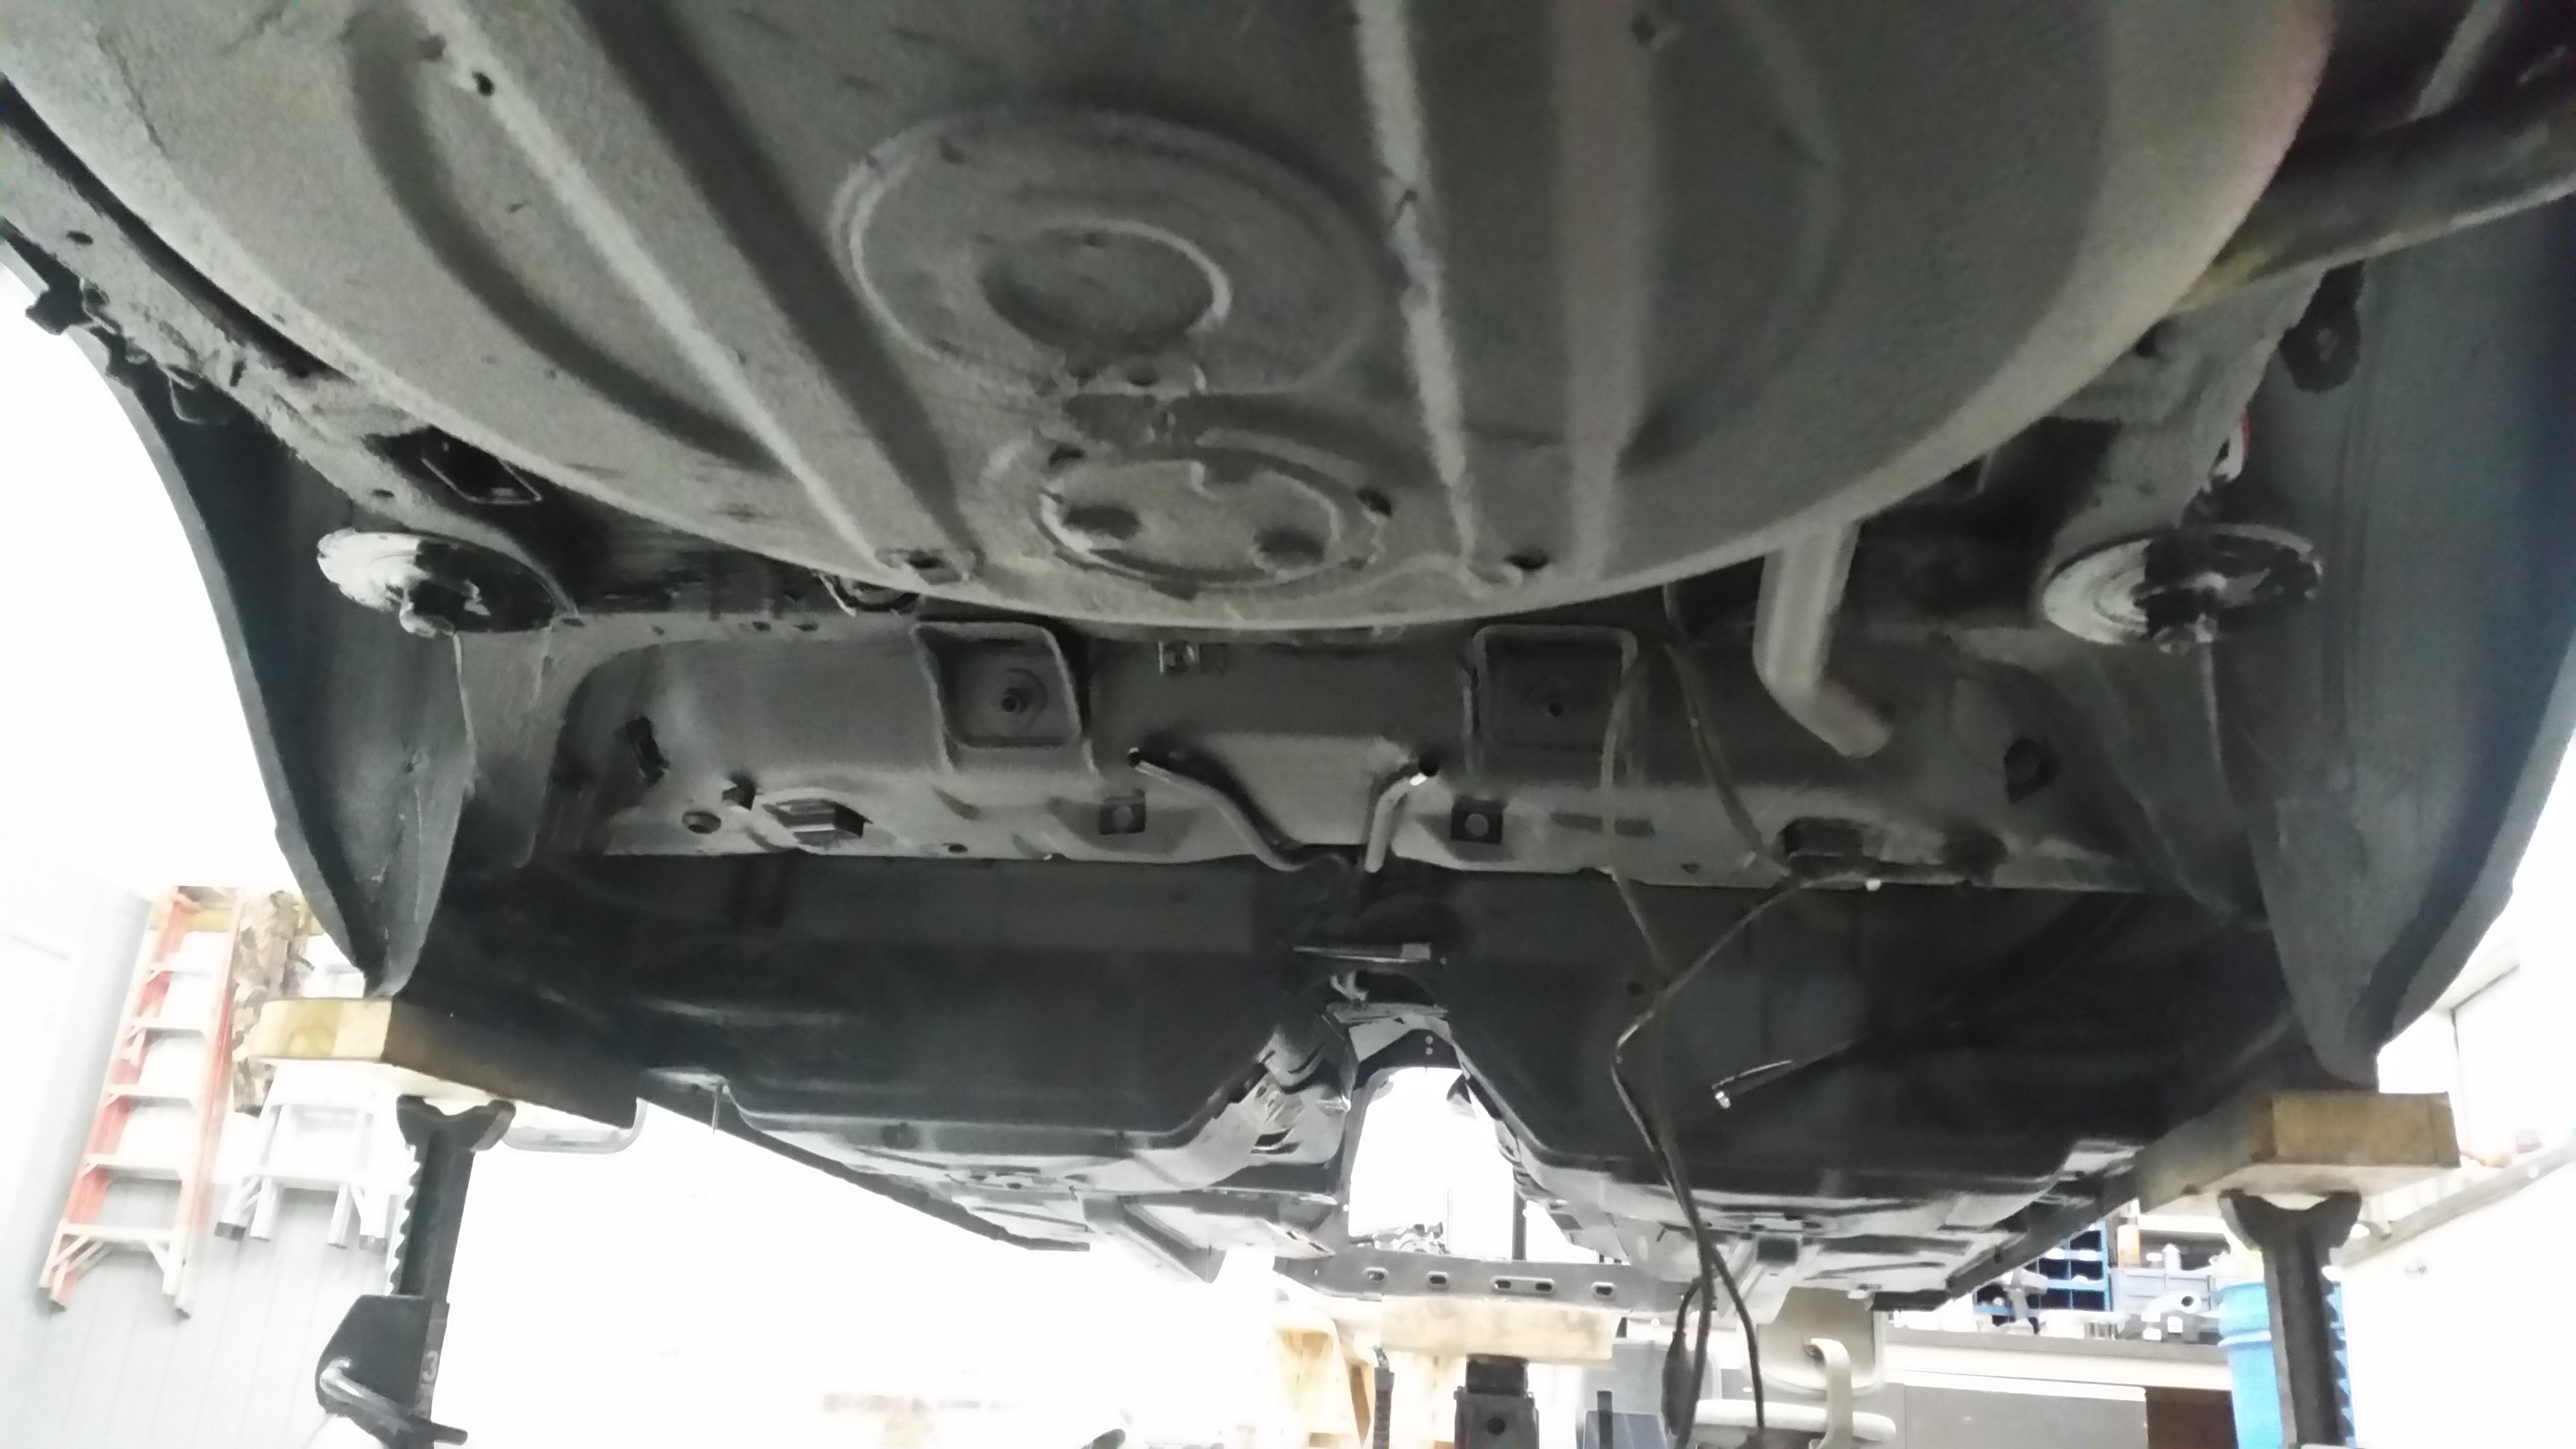
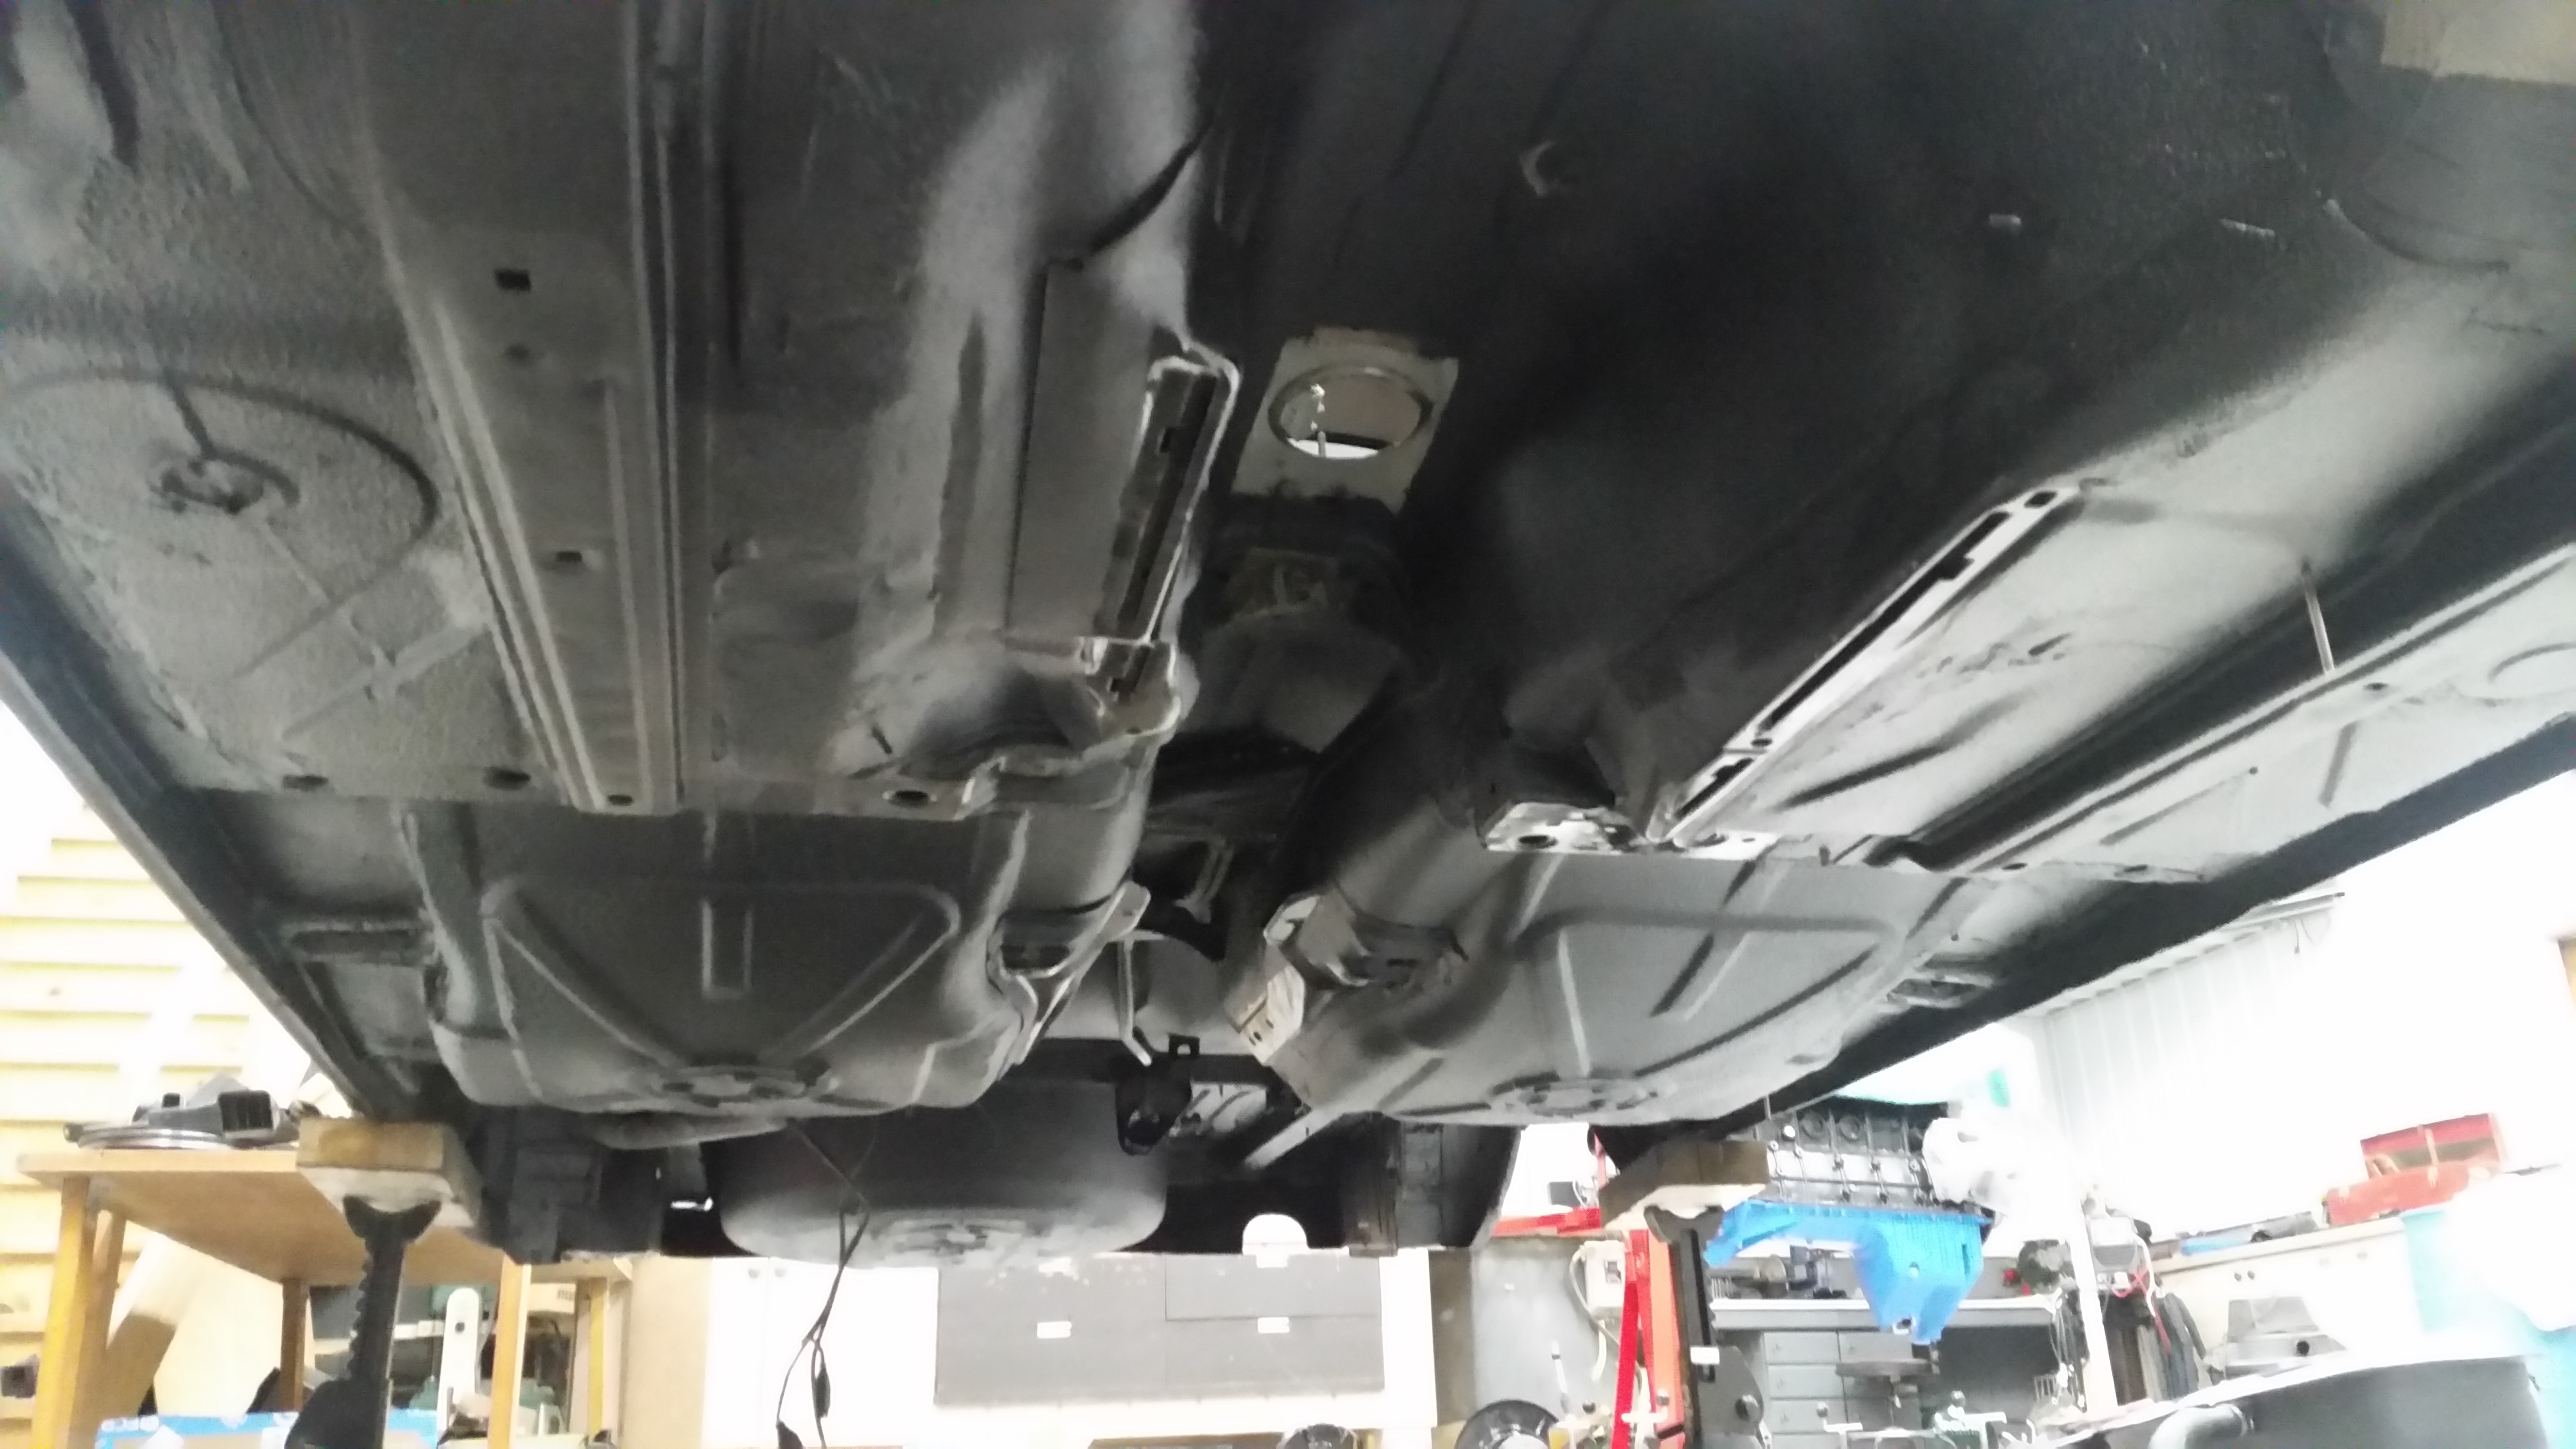
Skip ahead a few days, undercoating is complete!
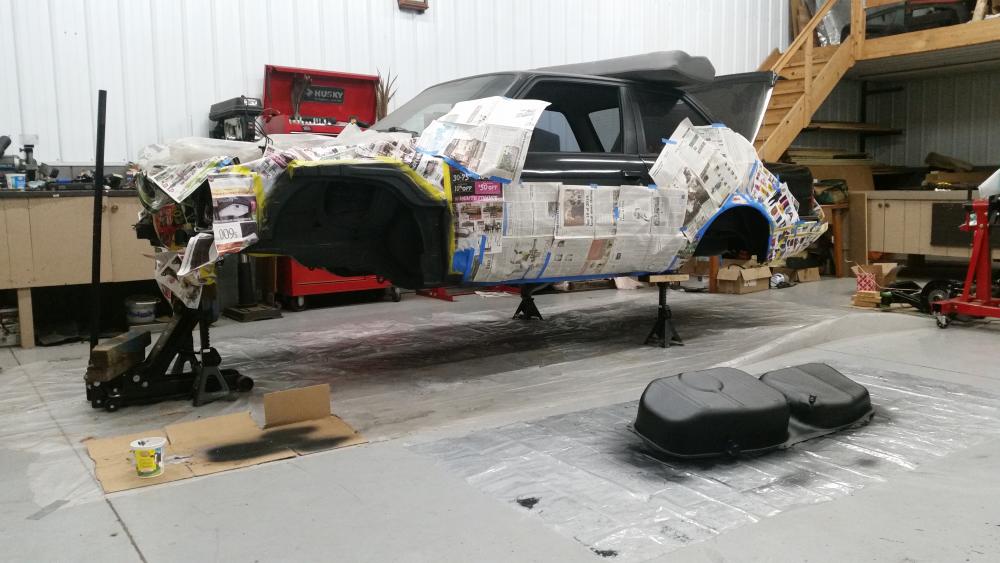
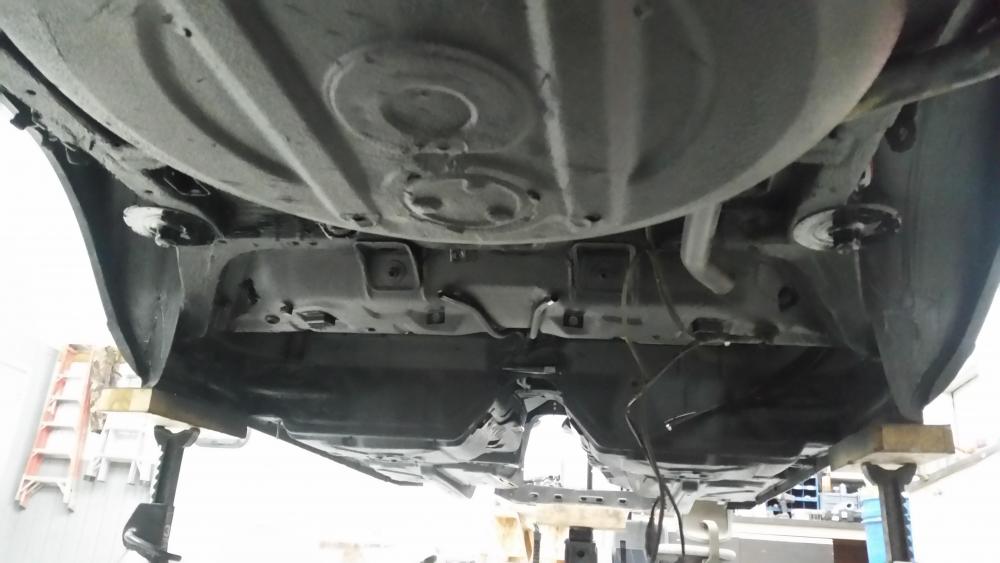
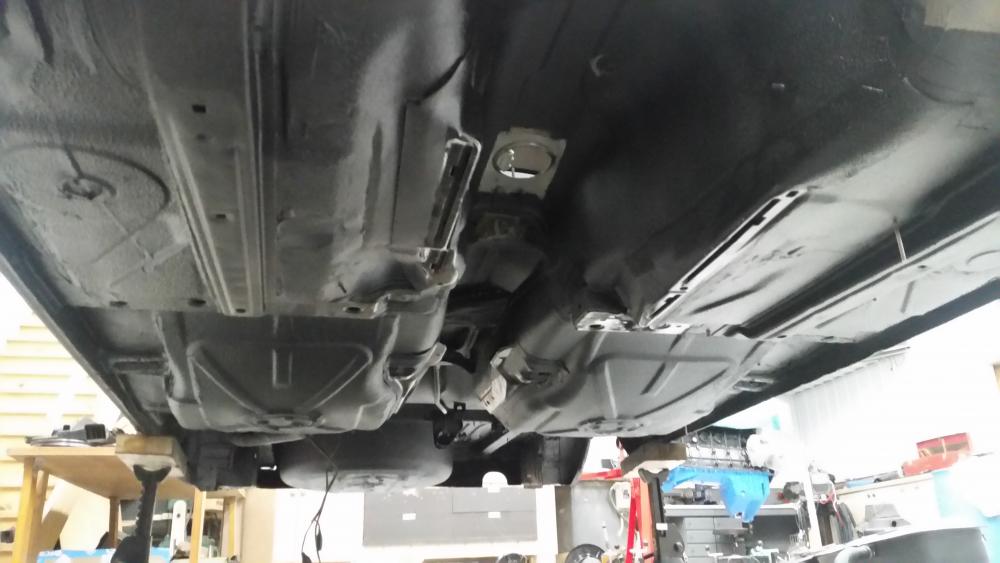
I tried this product off amazon called raptor by U-pol. It's commonly used for truck bed-lining. I found out about the item from a buddy of mine that used it on his truck and had nothing but good things to say about it. Most of the time for a full size truck U will need 4 quarts of this stuff but I was able to get it done with only 2.
I got to admit, the stuff worked really well!
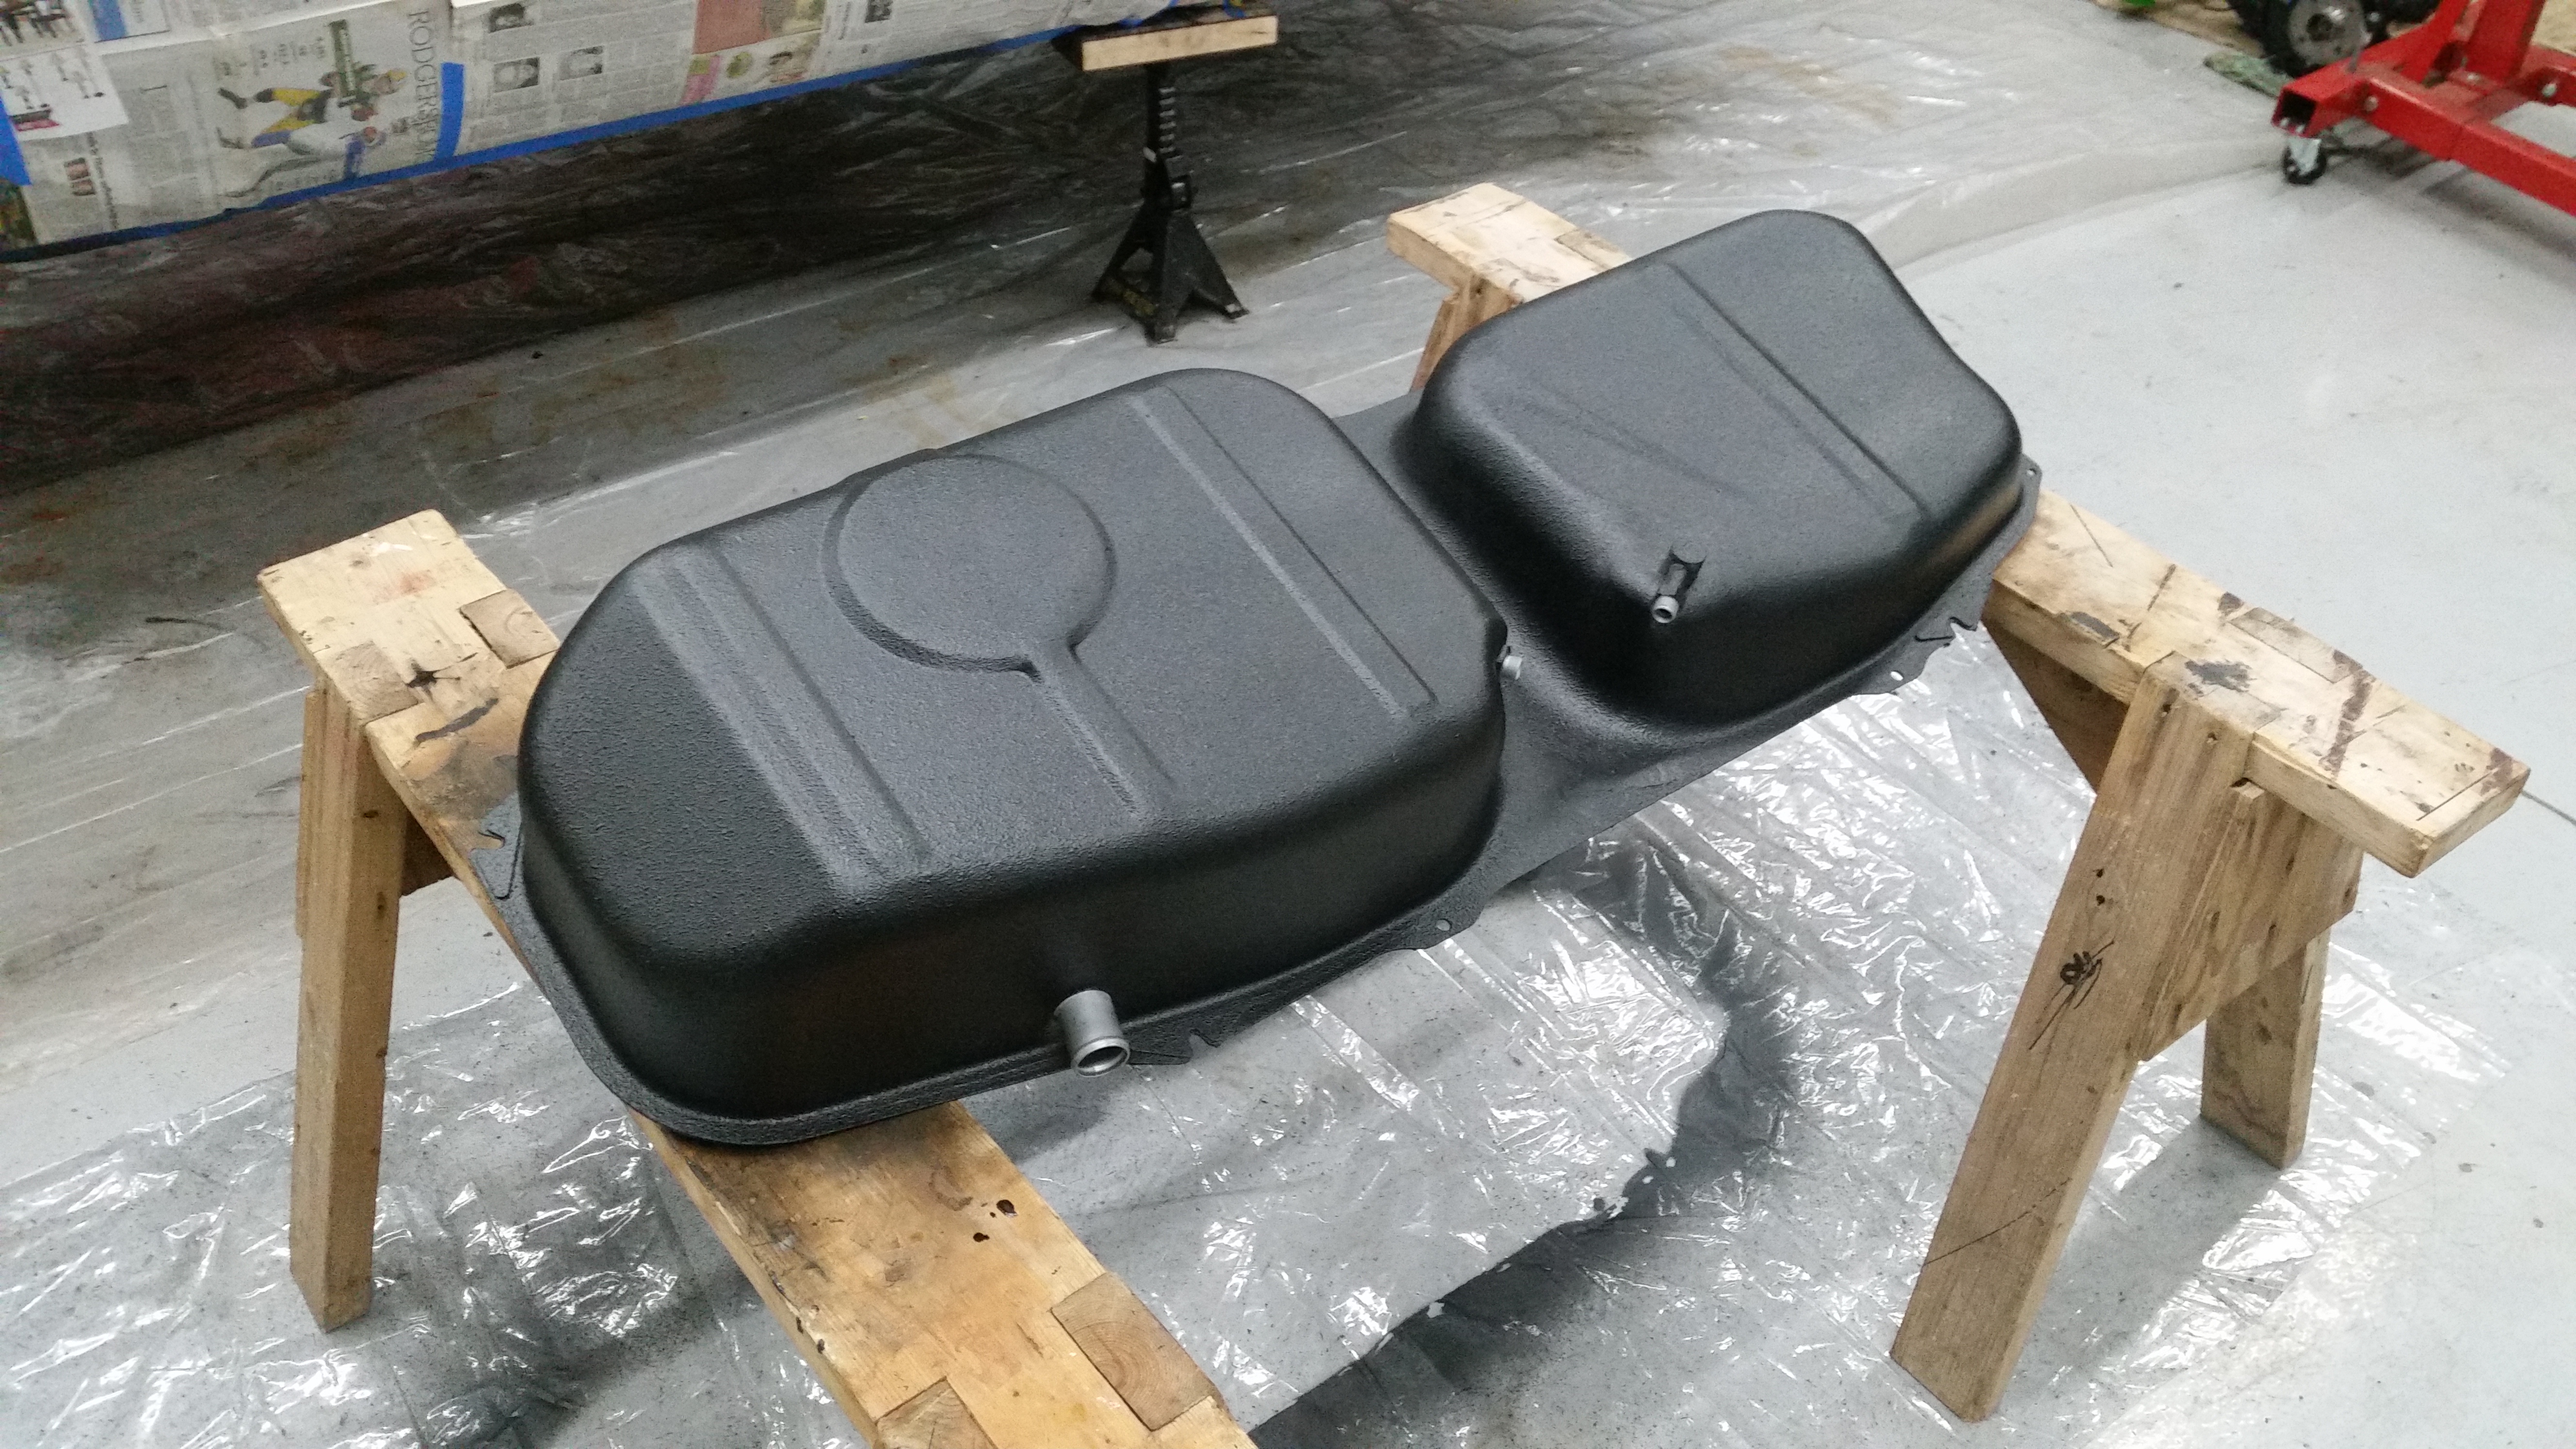
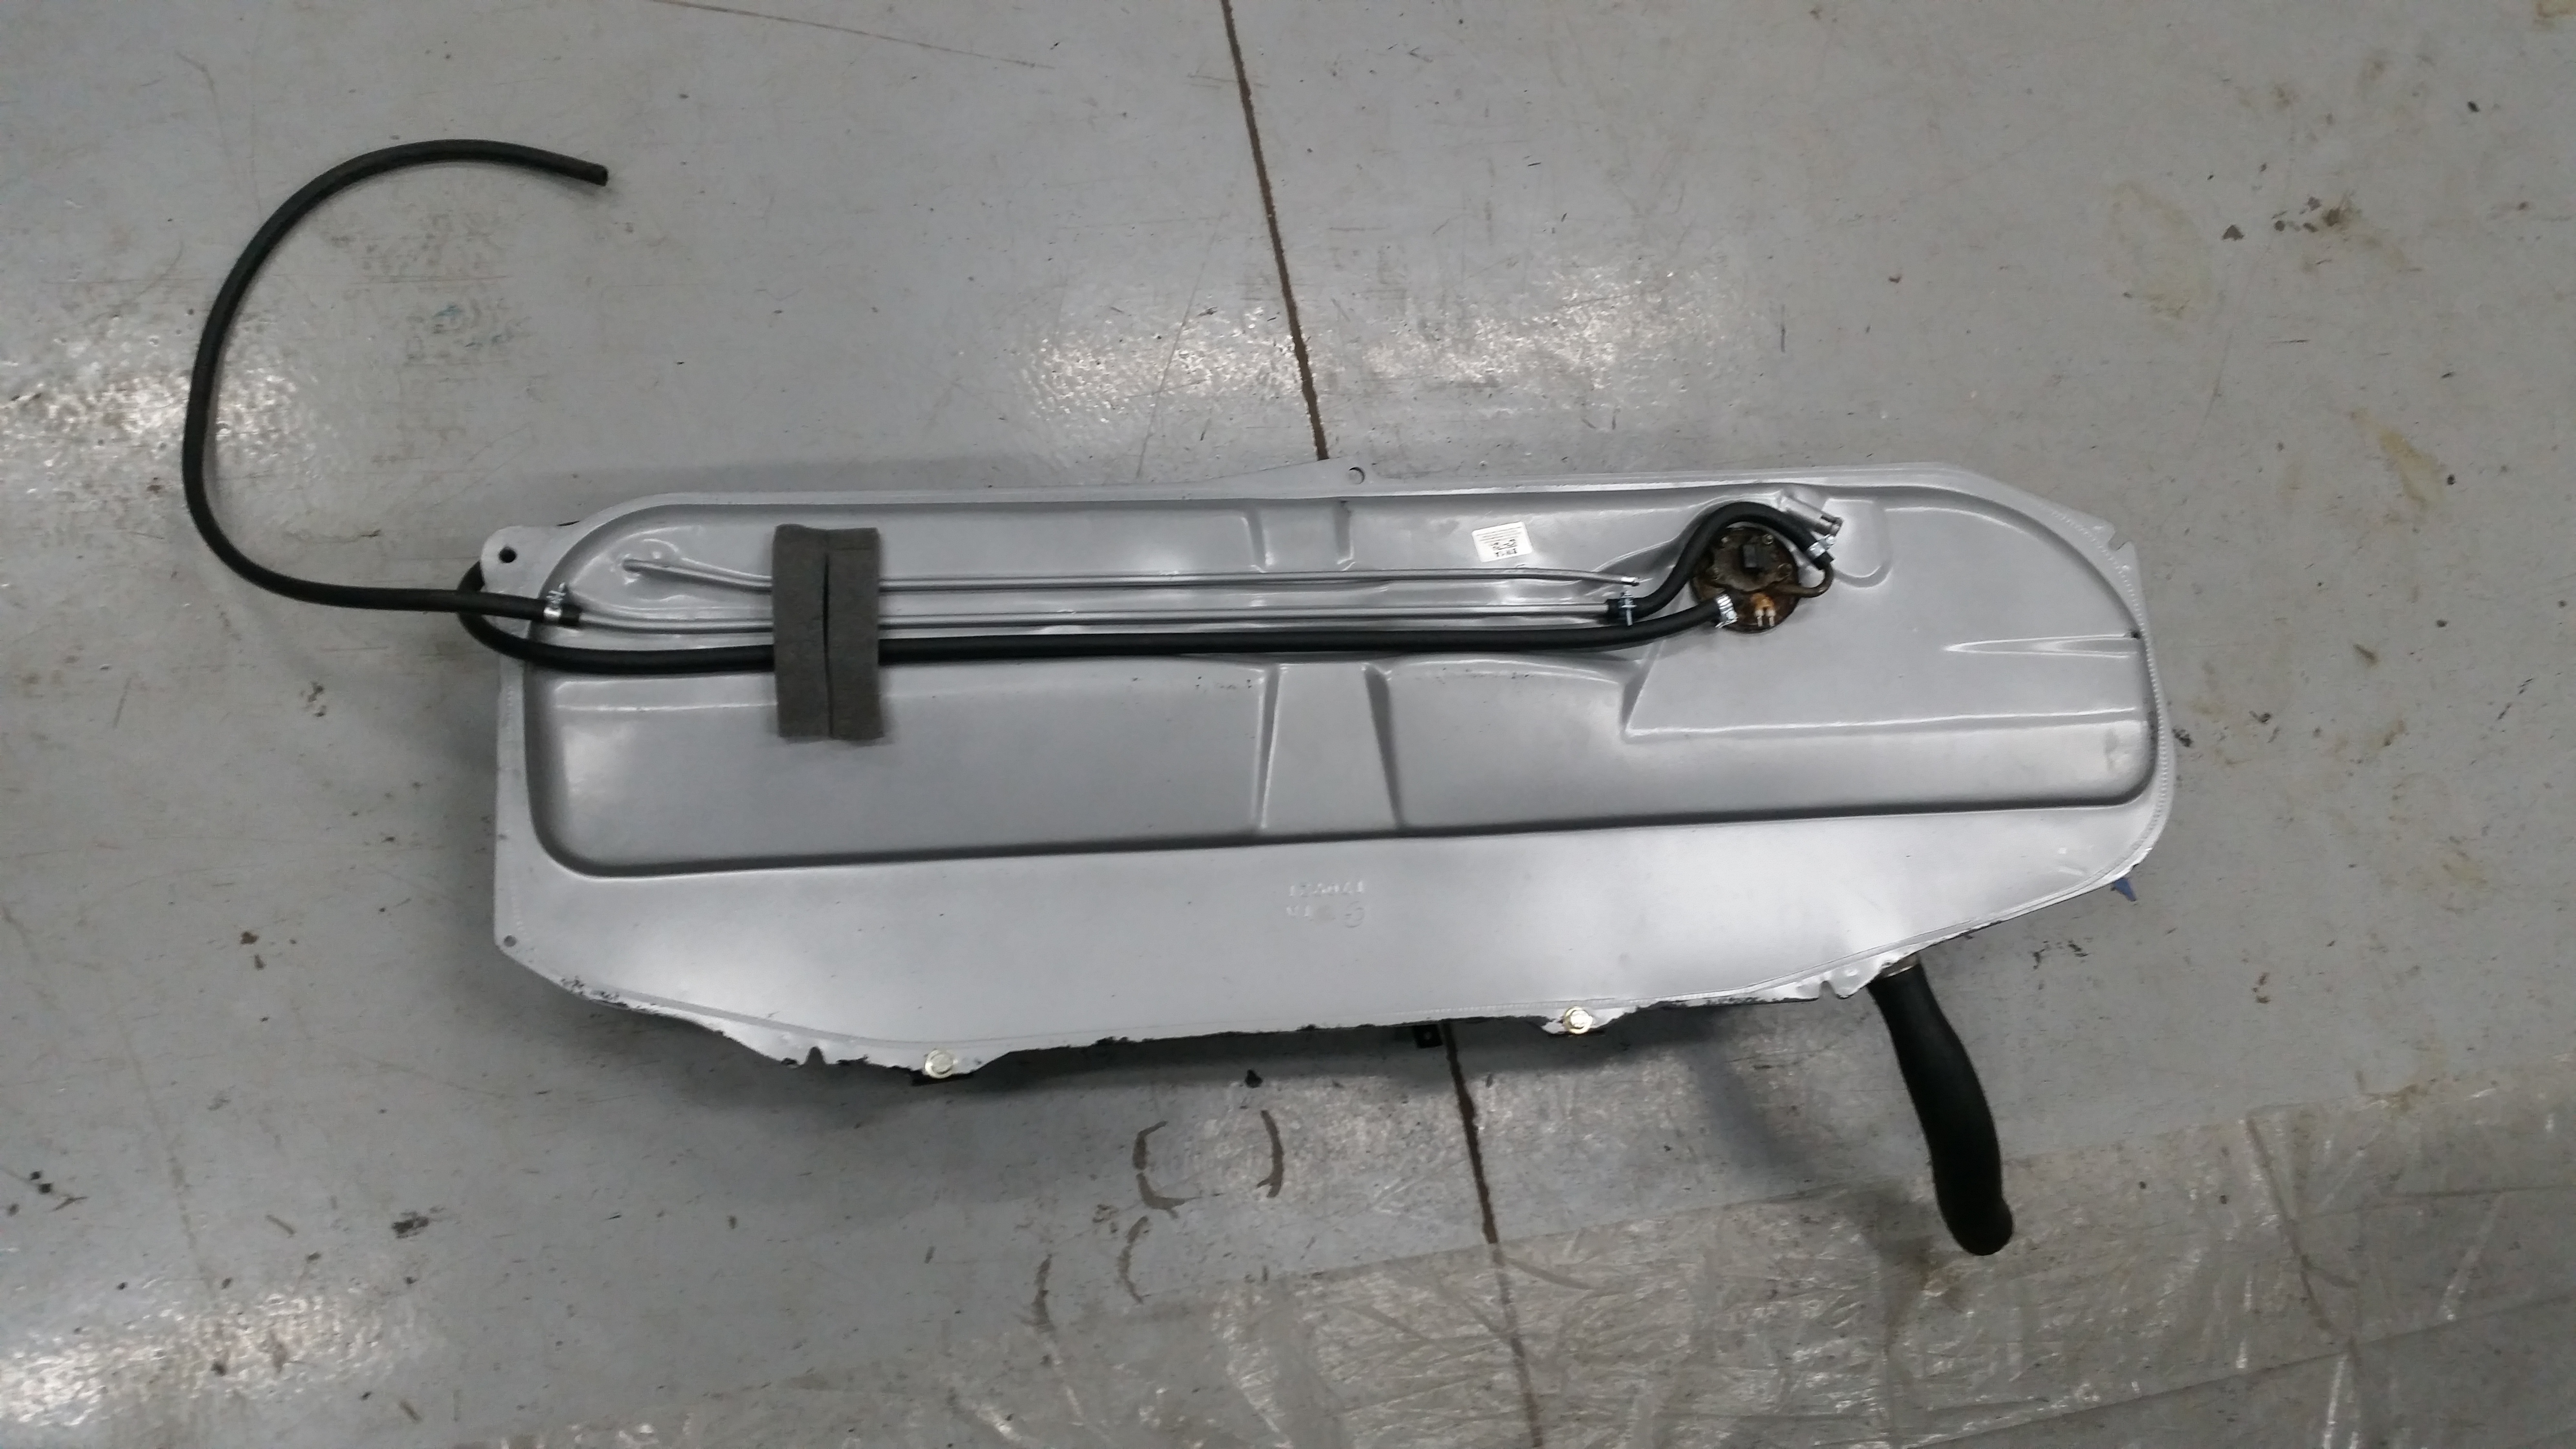
And with what I had left I was able to spray a sturdy coat over the bottom of the gas tank. I did scuff it up before doing so with a scotch brite pad to help with adhesion.
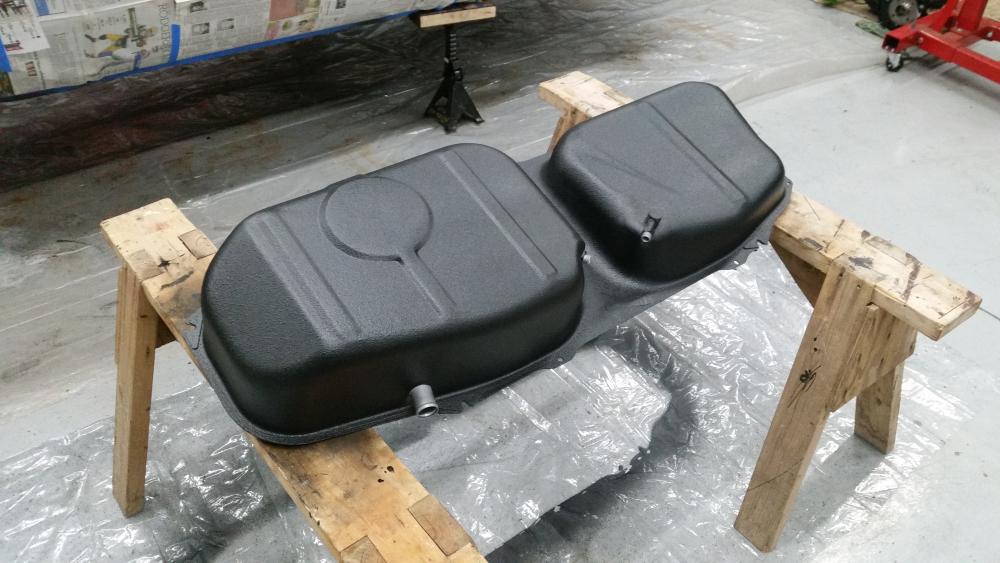
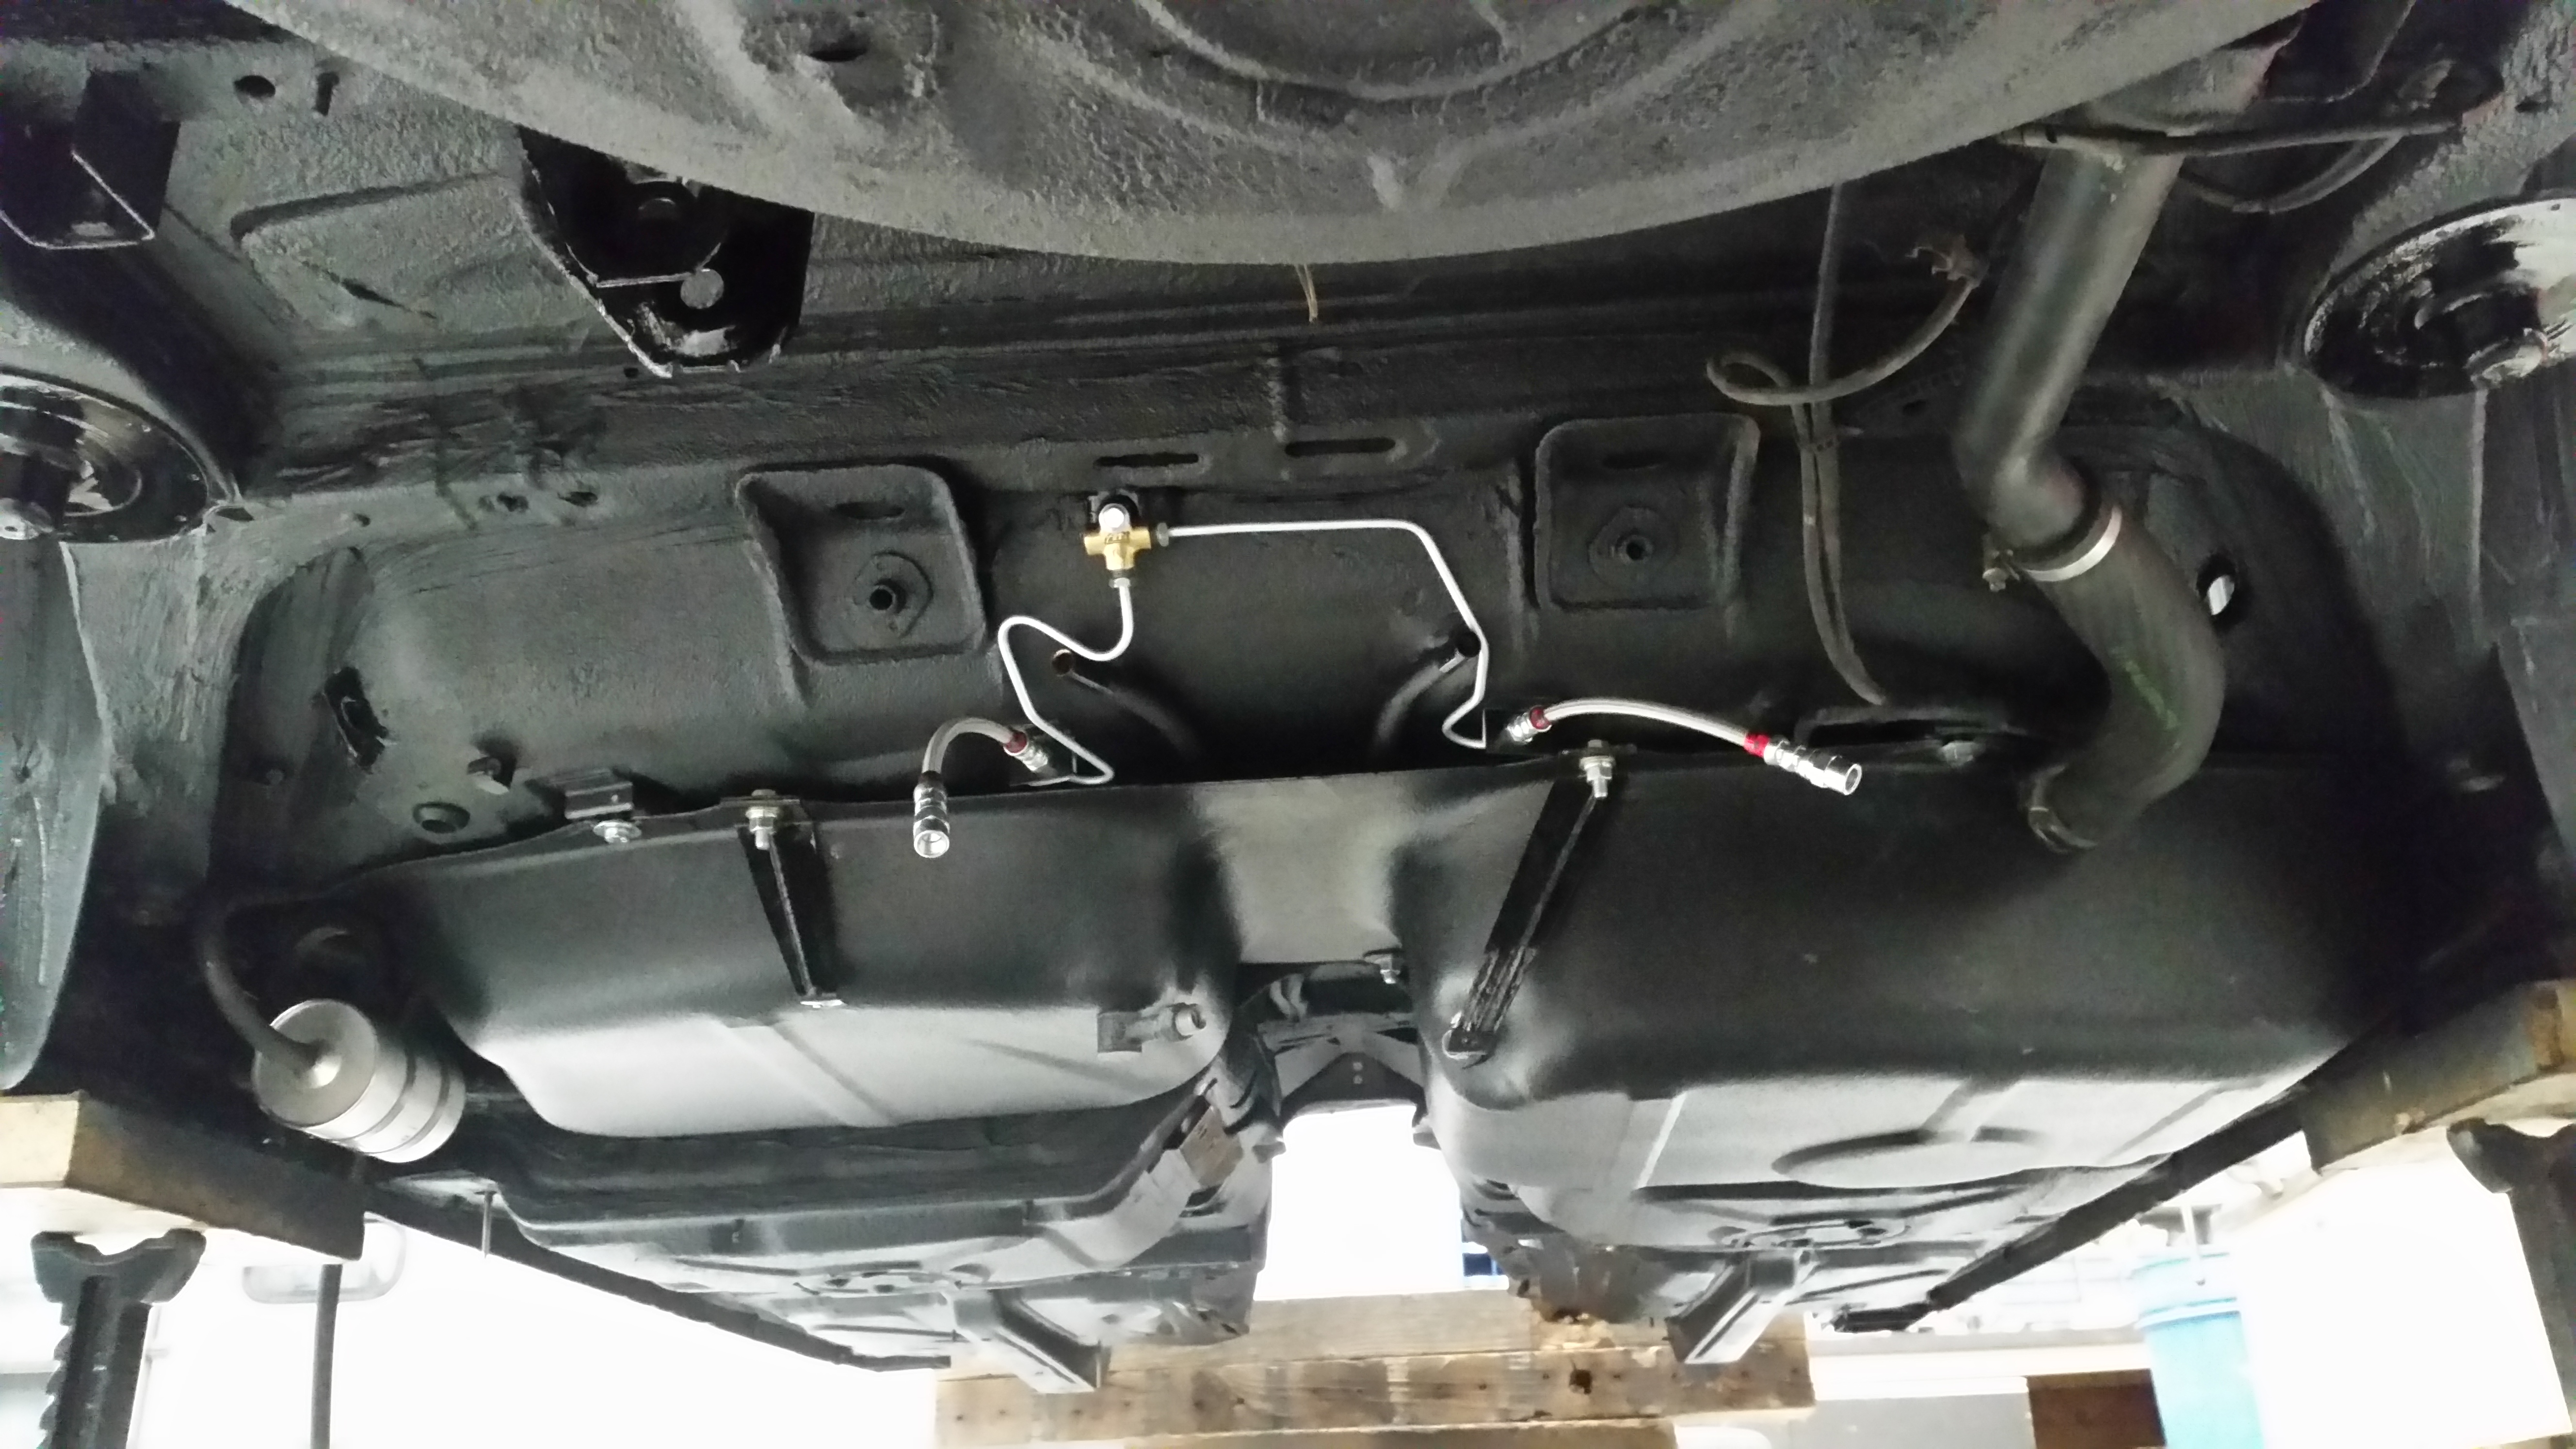
After letting that dry for a few days, was able to throw a few things back on the car.
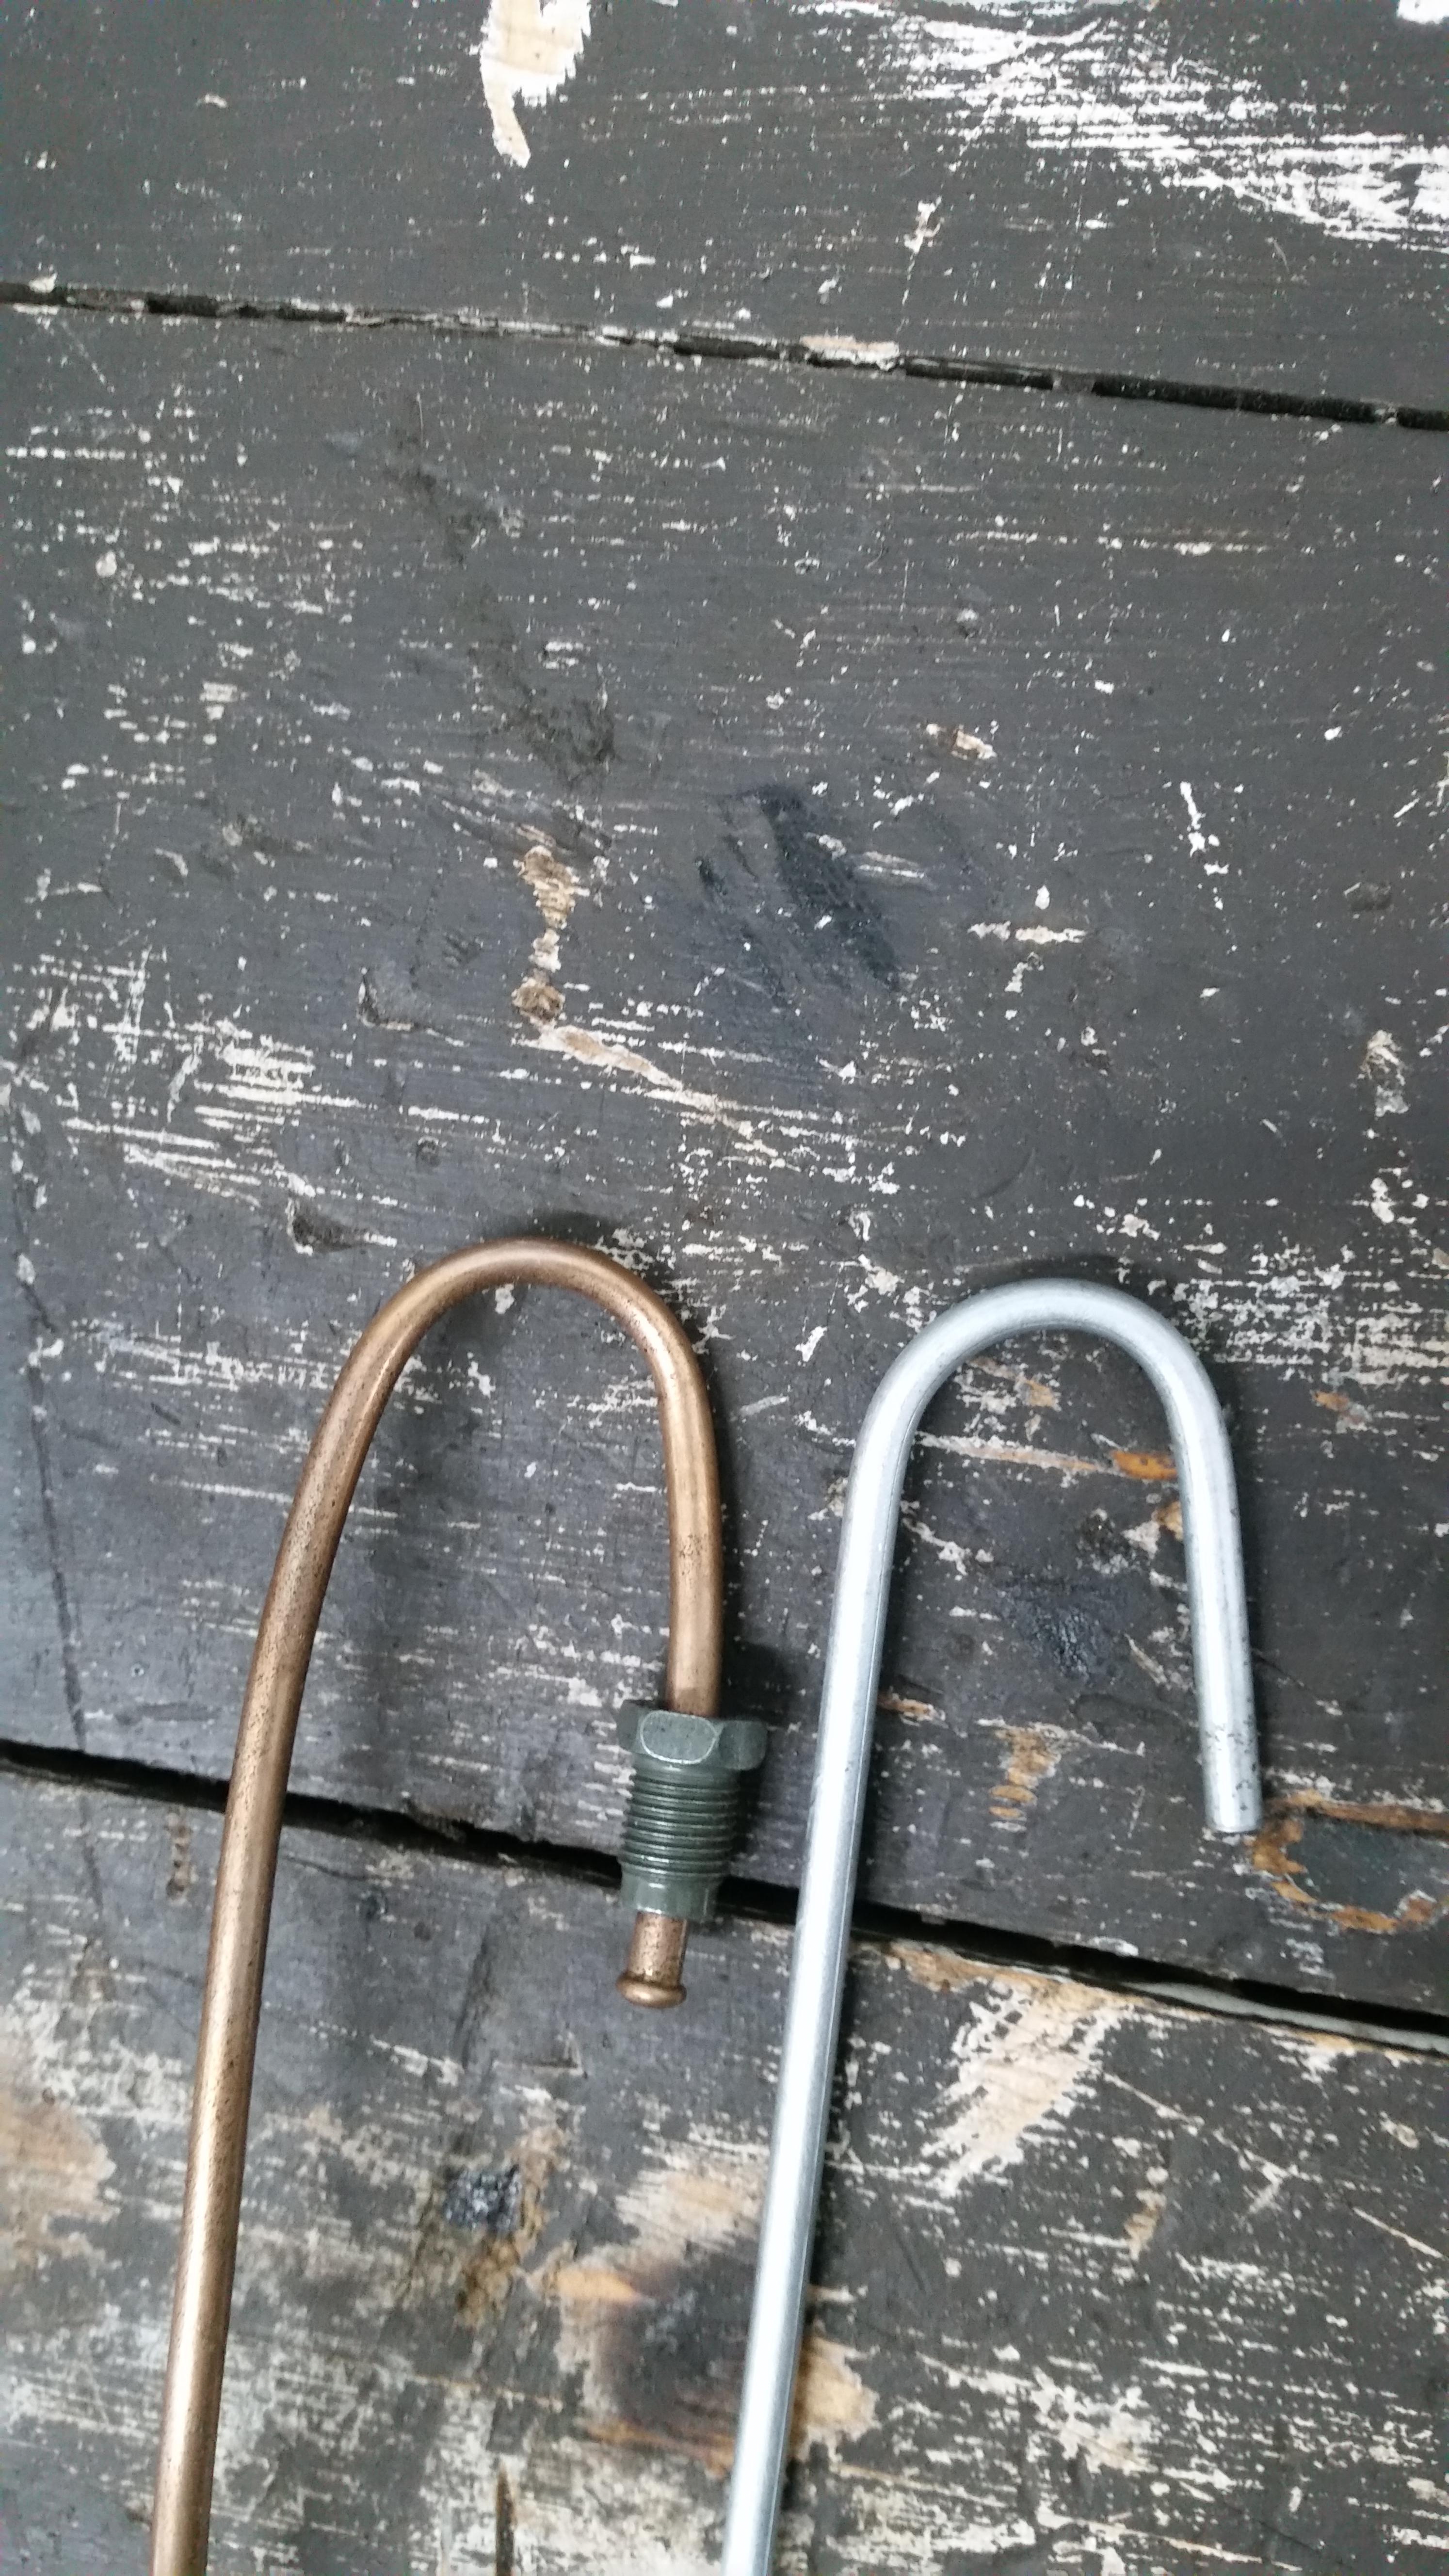
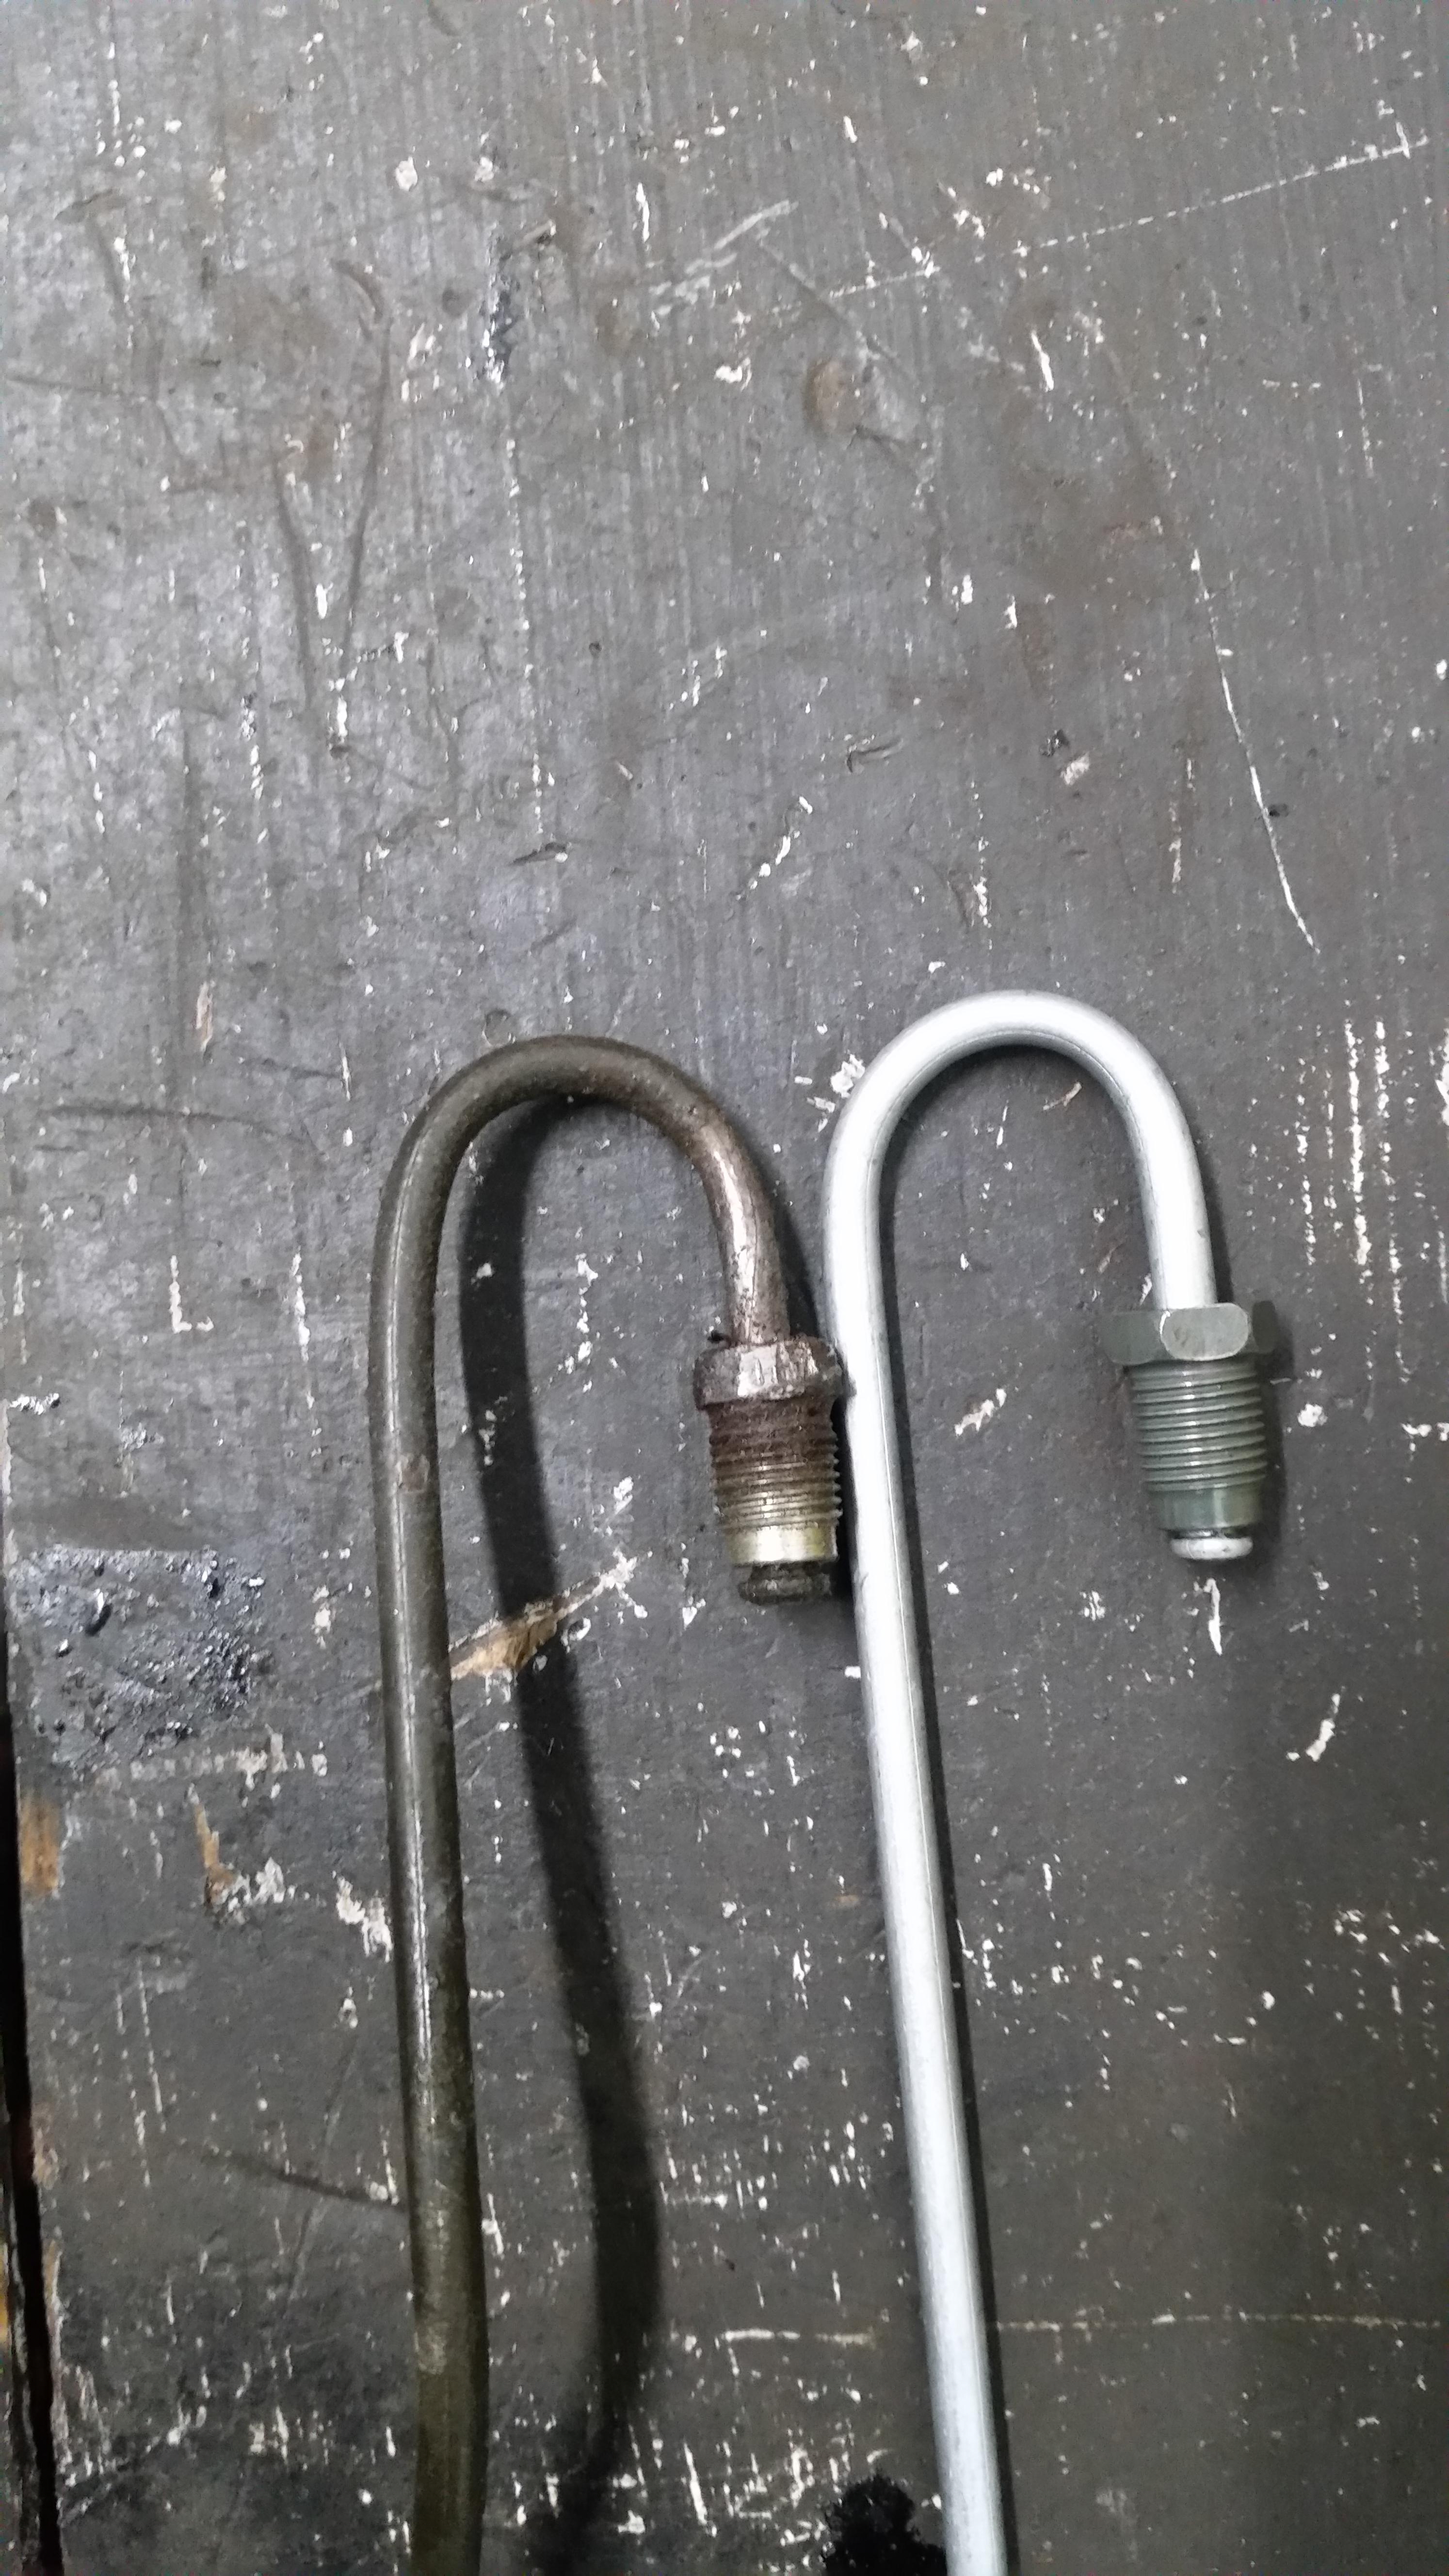
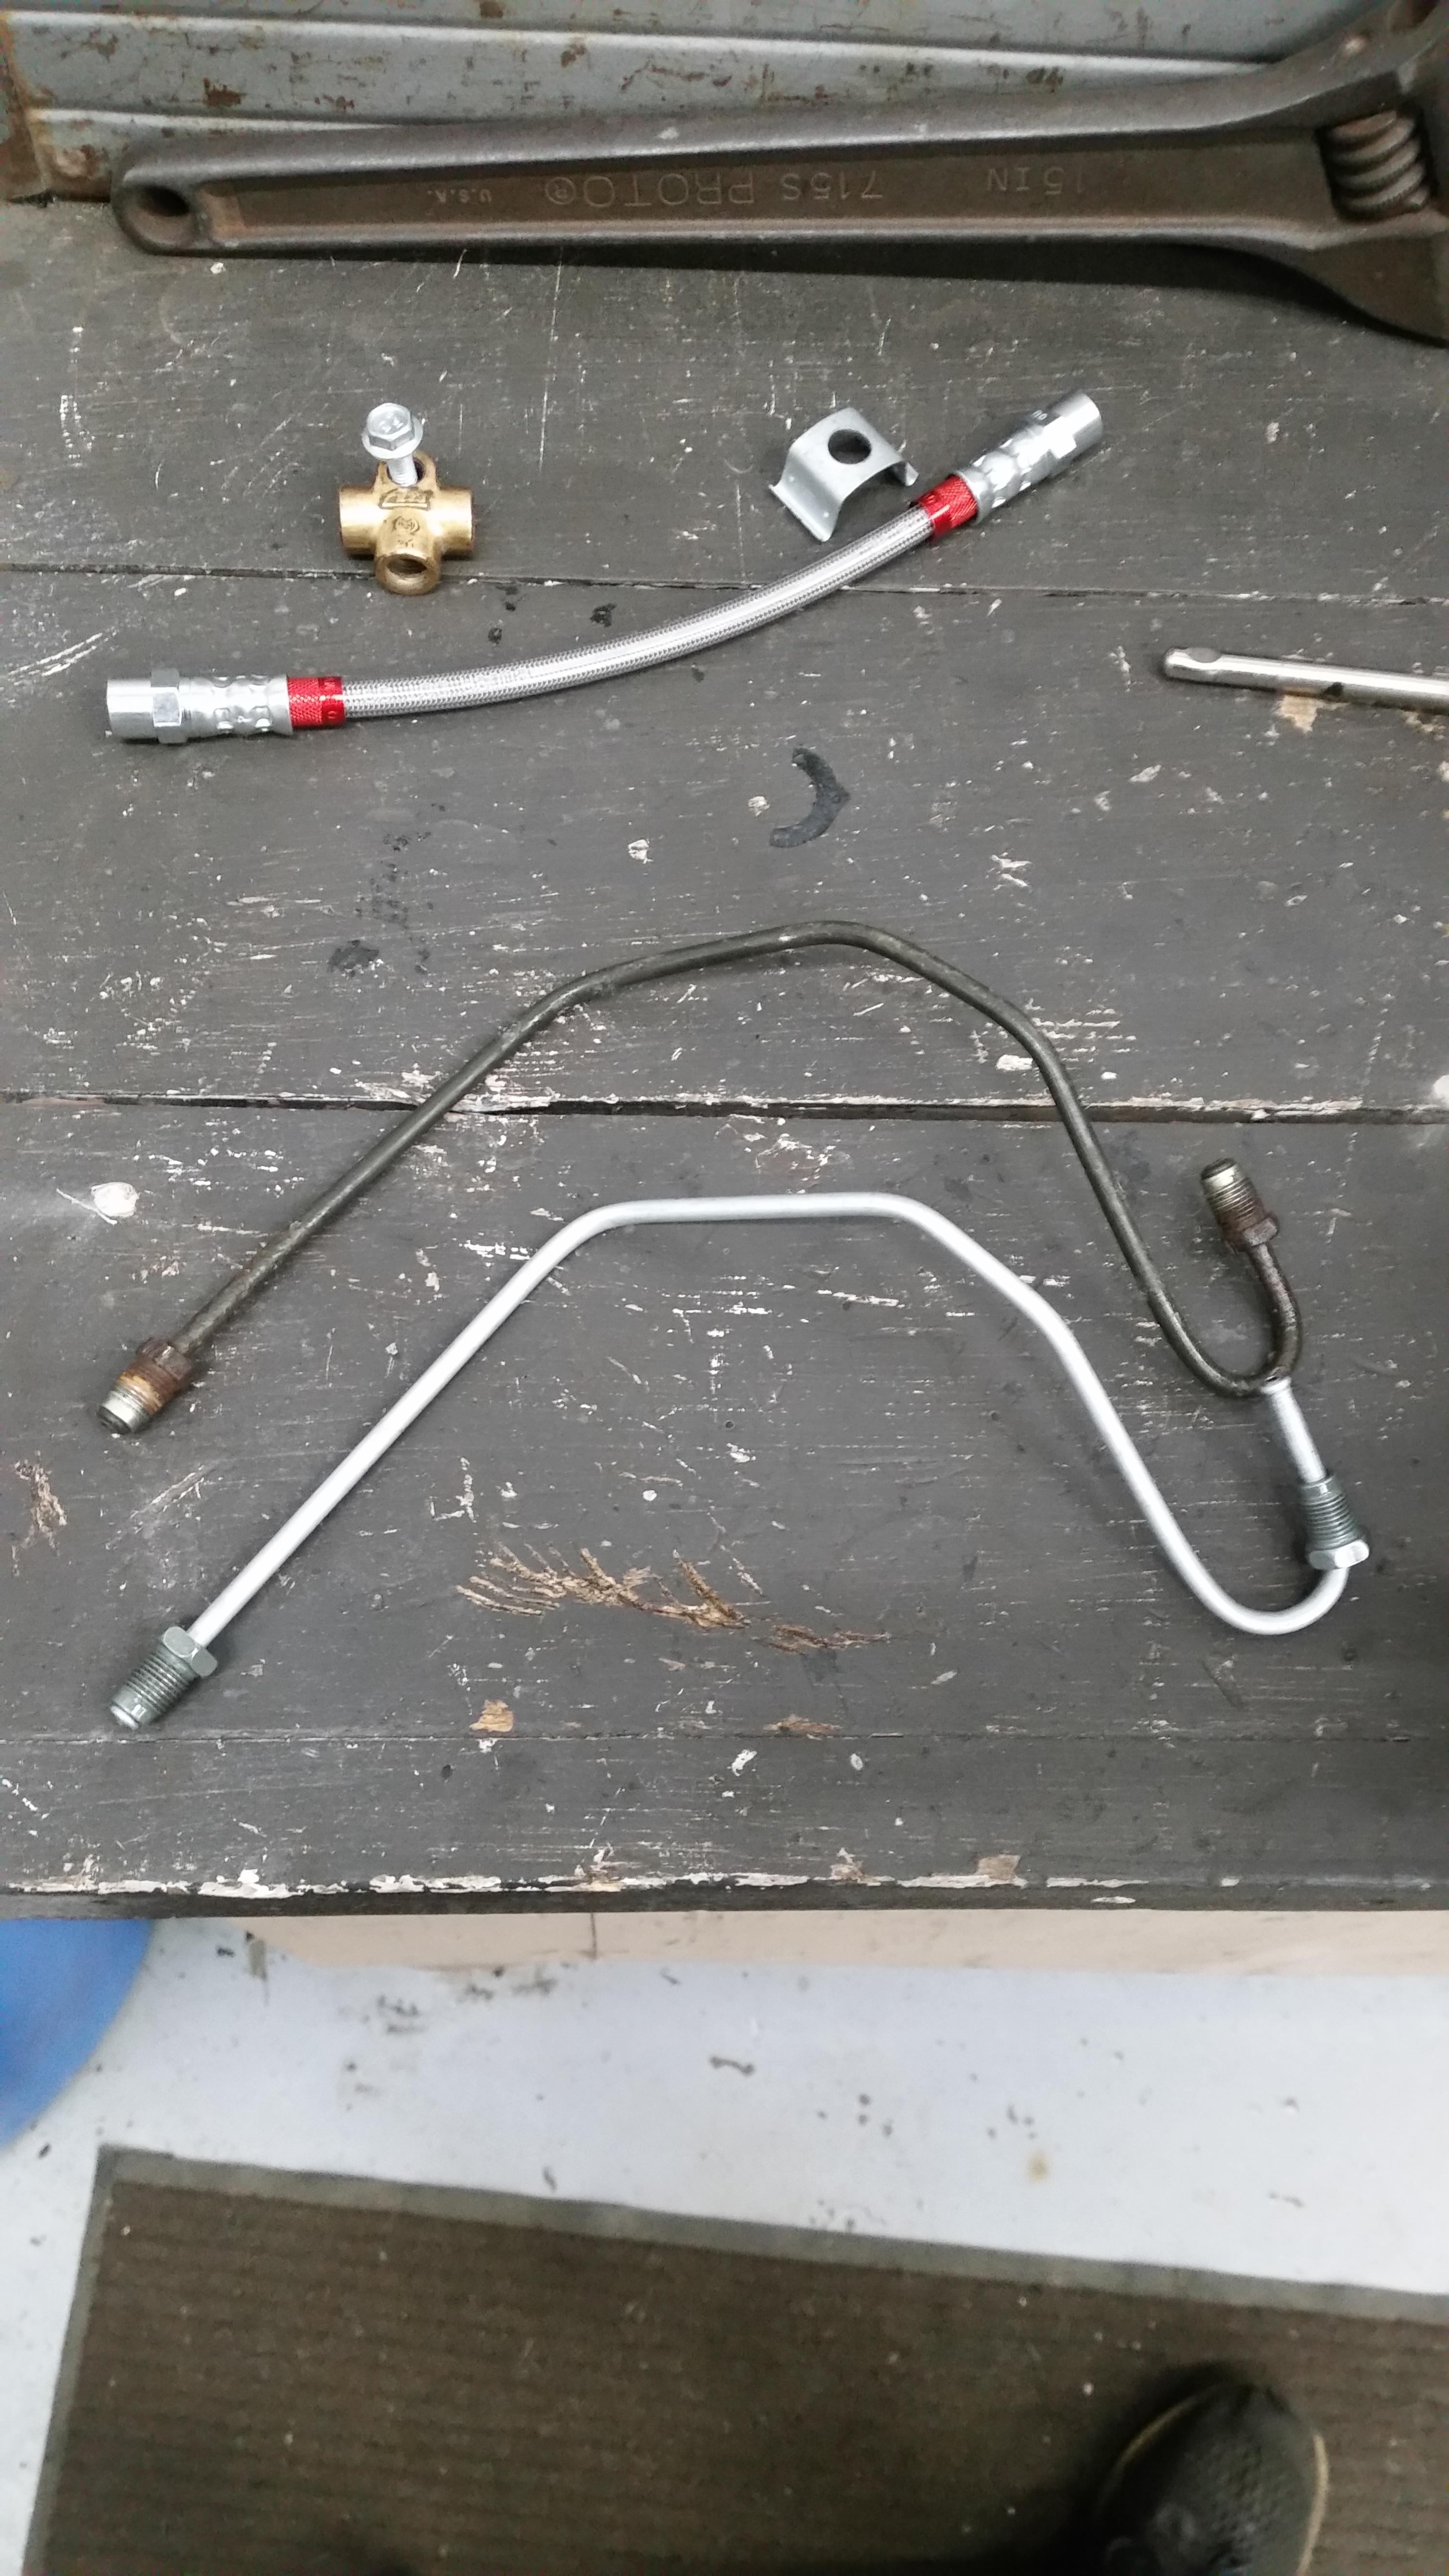
Originally I was gonna use copper nickel for all my brake lines but after many trials and errors I could not get the line to bend a perfect 180 for the small brake lines that hook to the three way adapter under the rear subframe. So I went and purchased a stick of zinc coated steel line to see how it would do sense its harder and all, much better.
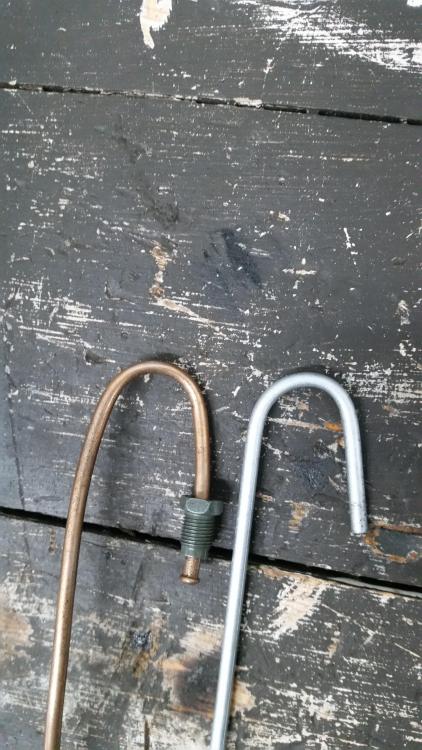
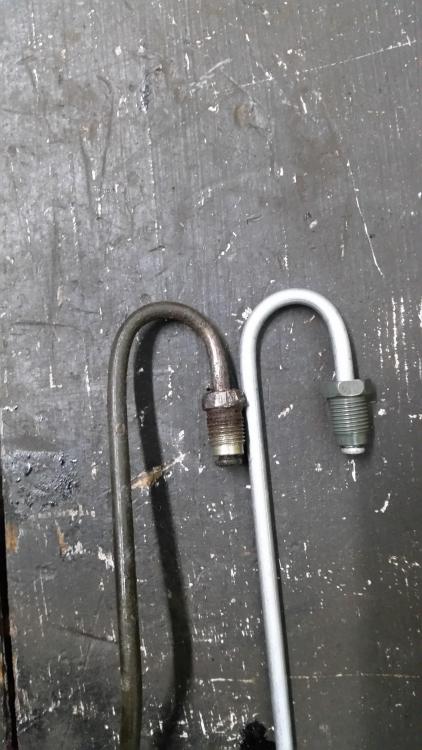
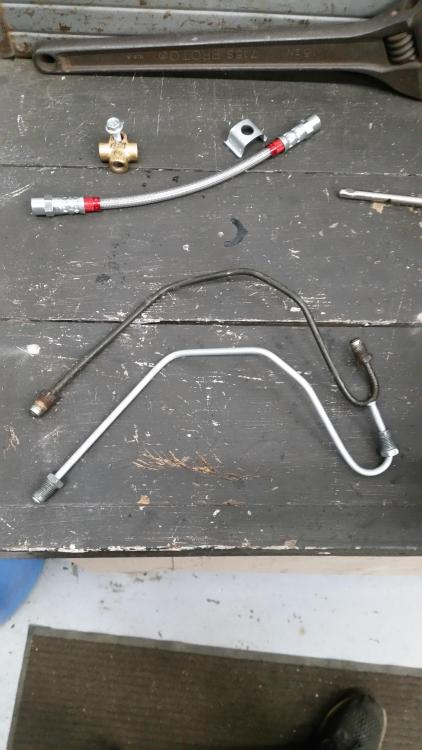
I still plan on using copper nickel everywhere else as I haven't had any issues with it kinking except this area.
Gas tank reinstalled... check
All new 5/16 fuel hose installed with fresh fuel clamps as well as a new fuel fill neck to gas tank hose I picked up from the stealership last week.
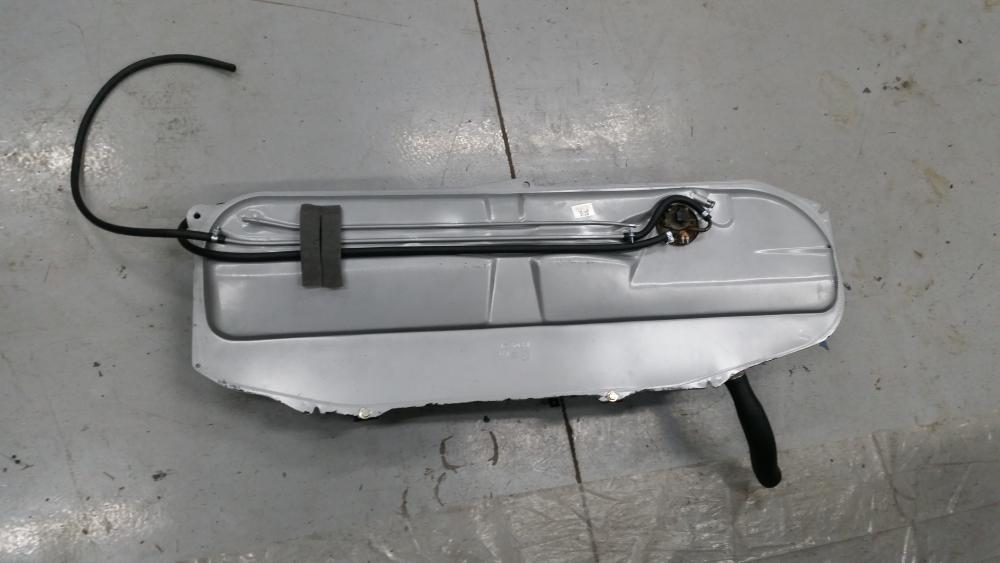
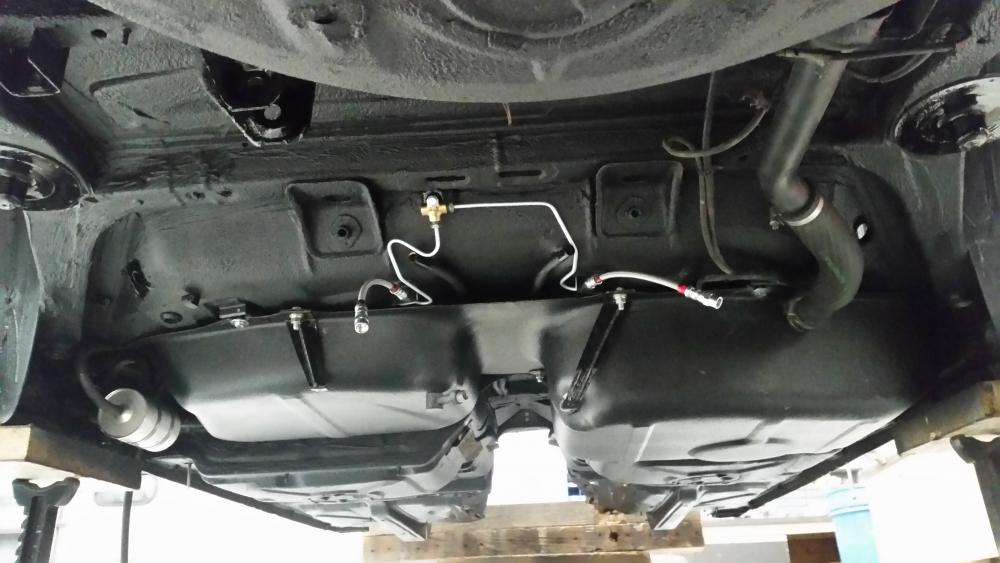
I did reuse the original fuel pump and and assembly as it was in good working condition before. I will probably be seeing myself replacing it down the road but for now it will do fine.
Only one issue I ran into when installing the tank was one of the holes was not lining up quite right. So I took a drill bit and widened the hole just slightly so the bolt would line up with the threads. Other then that it was a good fit. Still working on coming up with an idea for a tube to connect at the center.
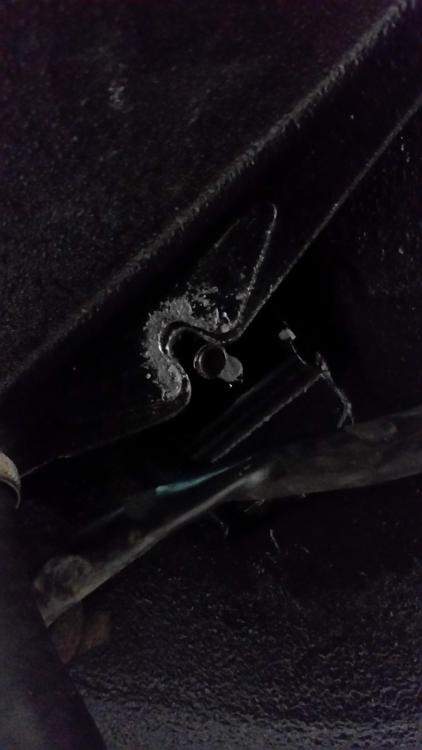
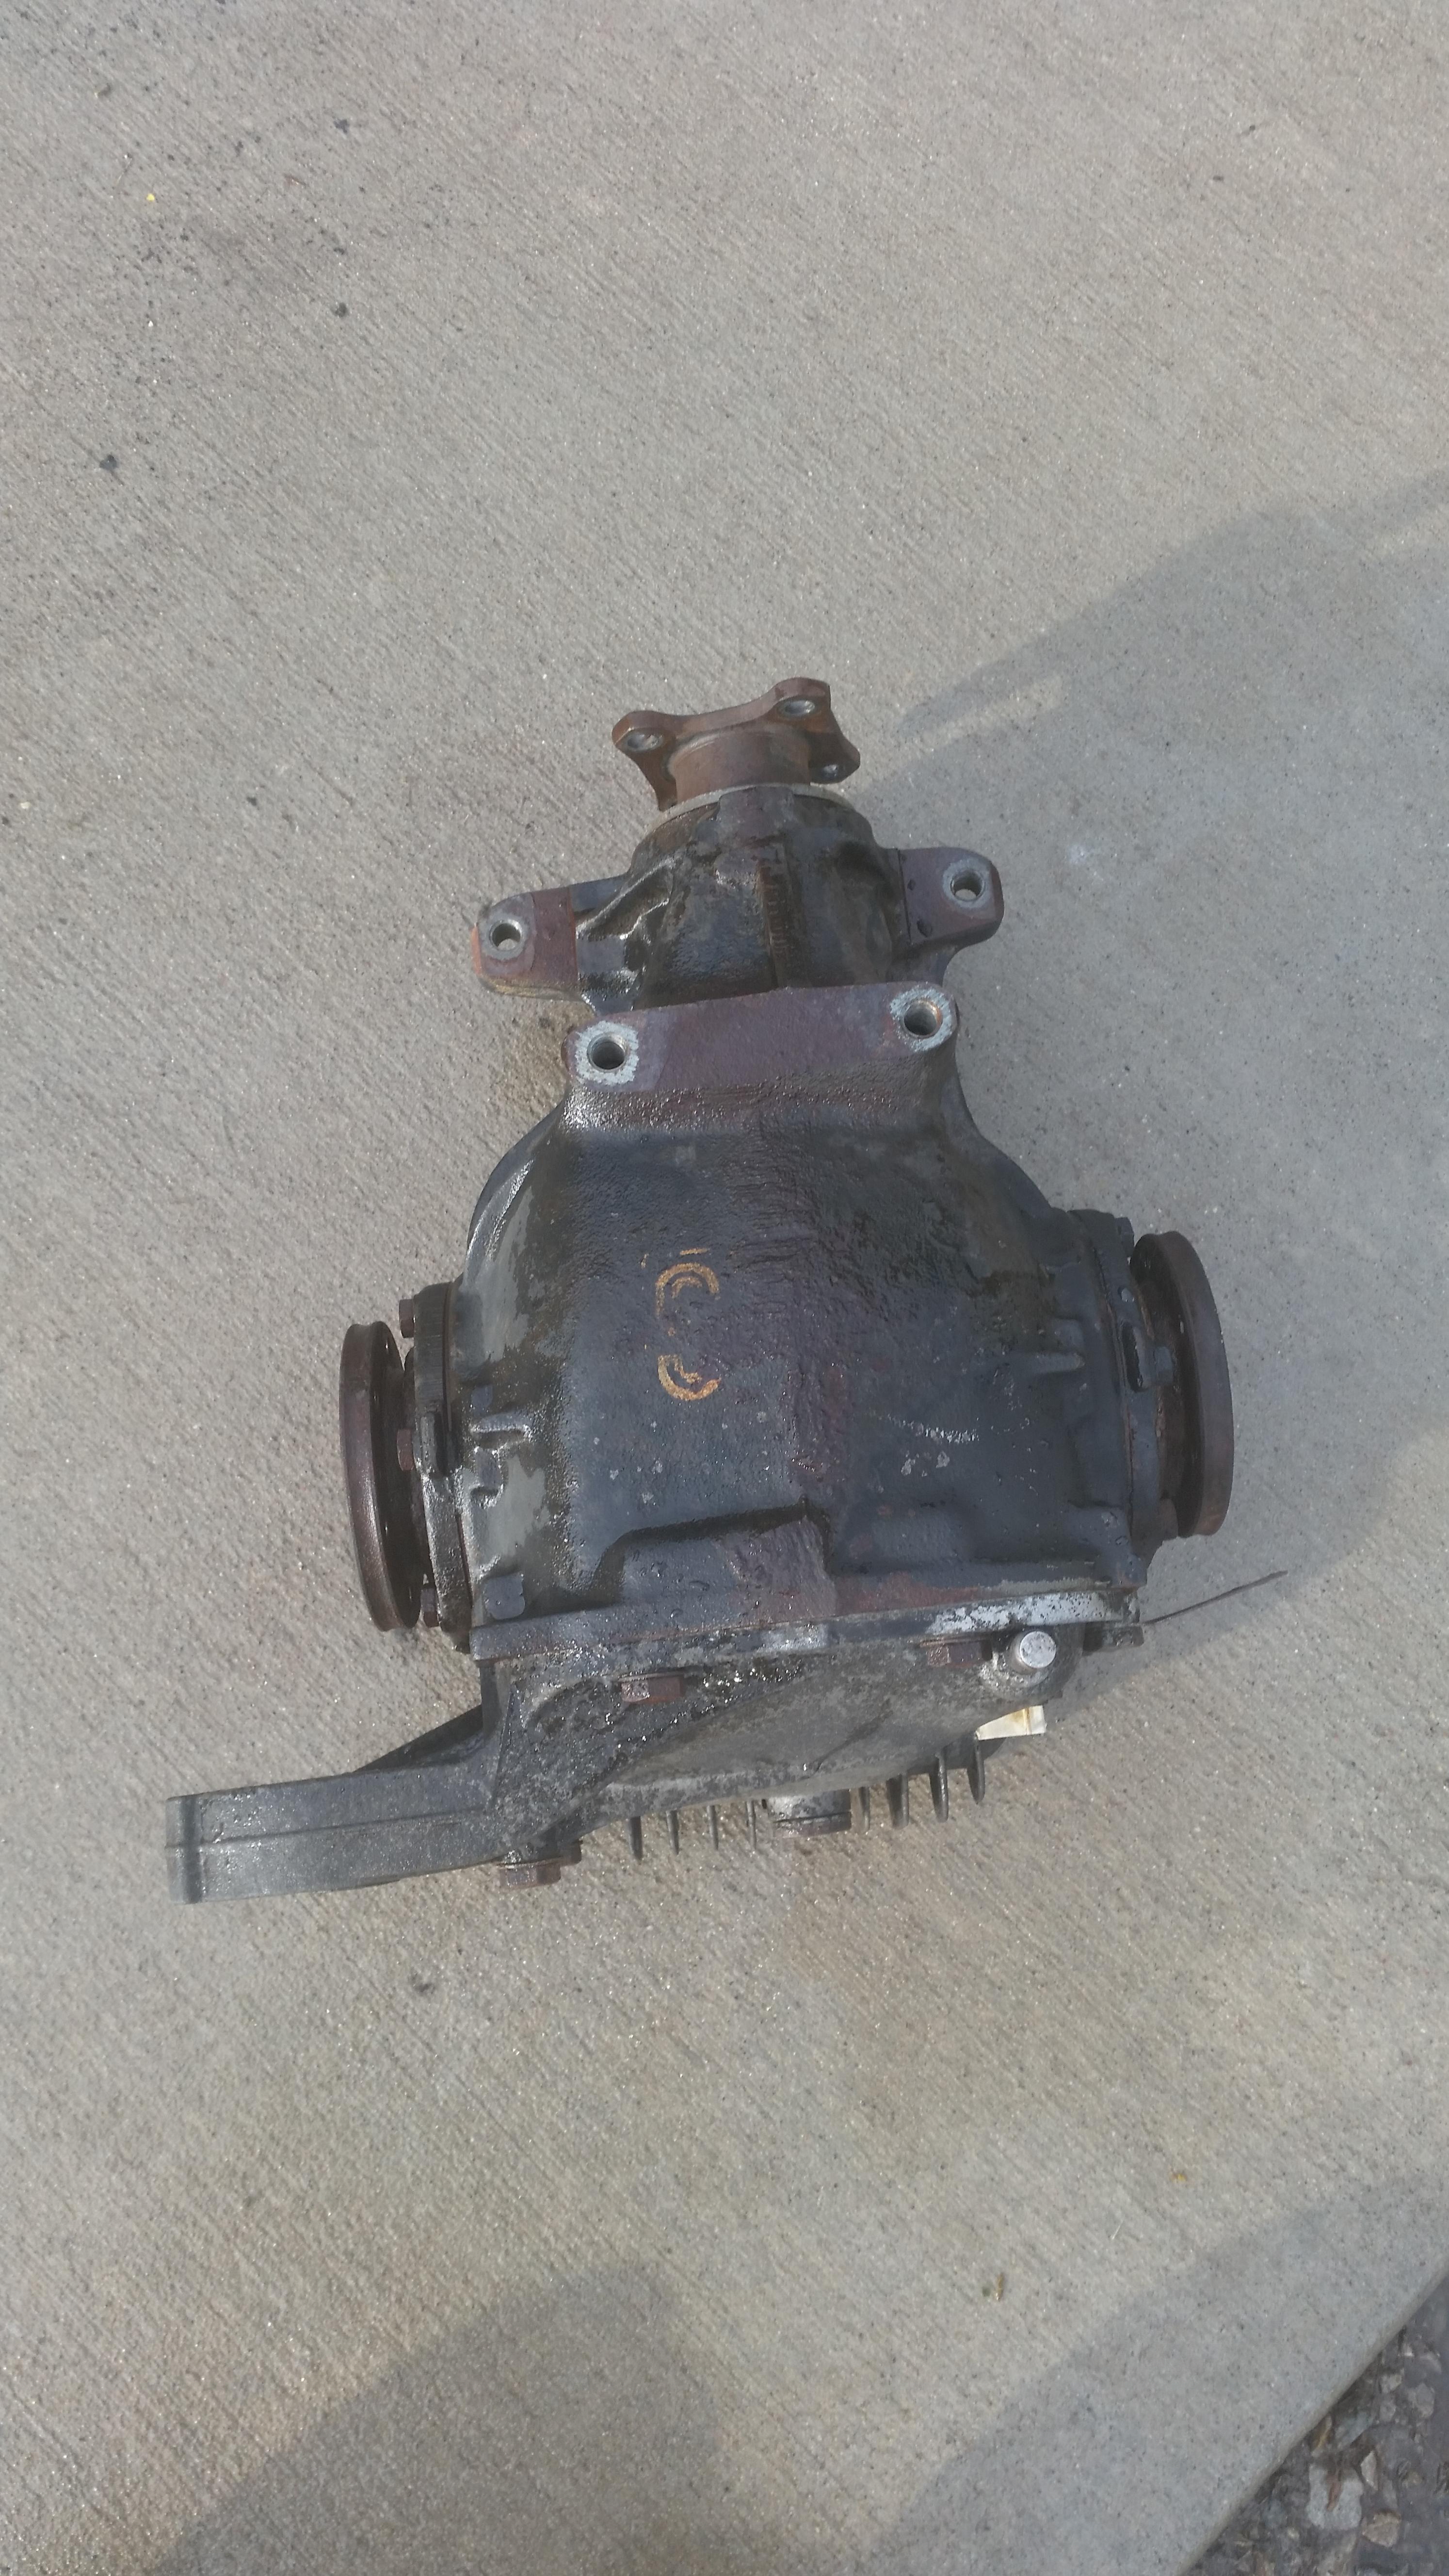
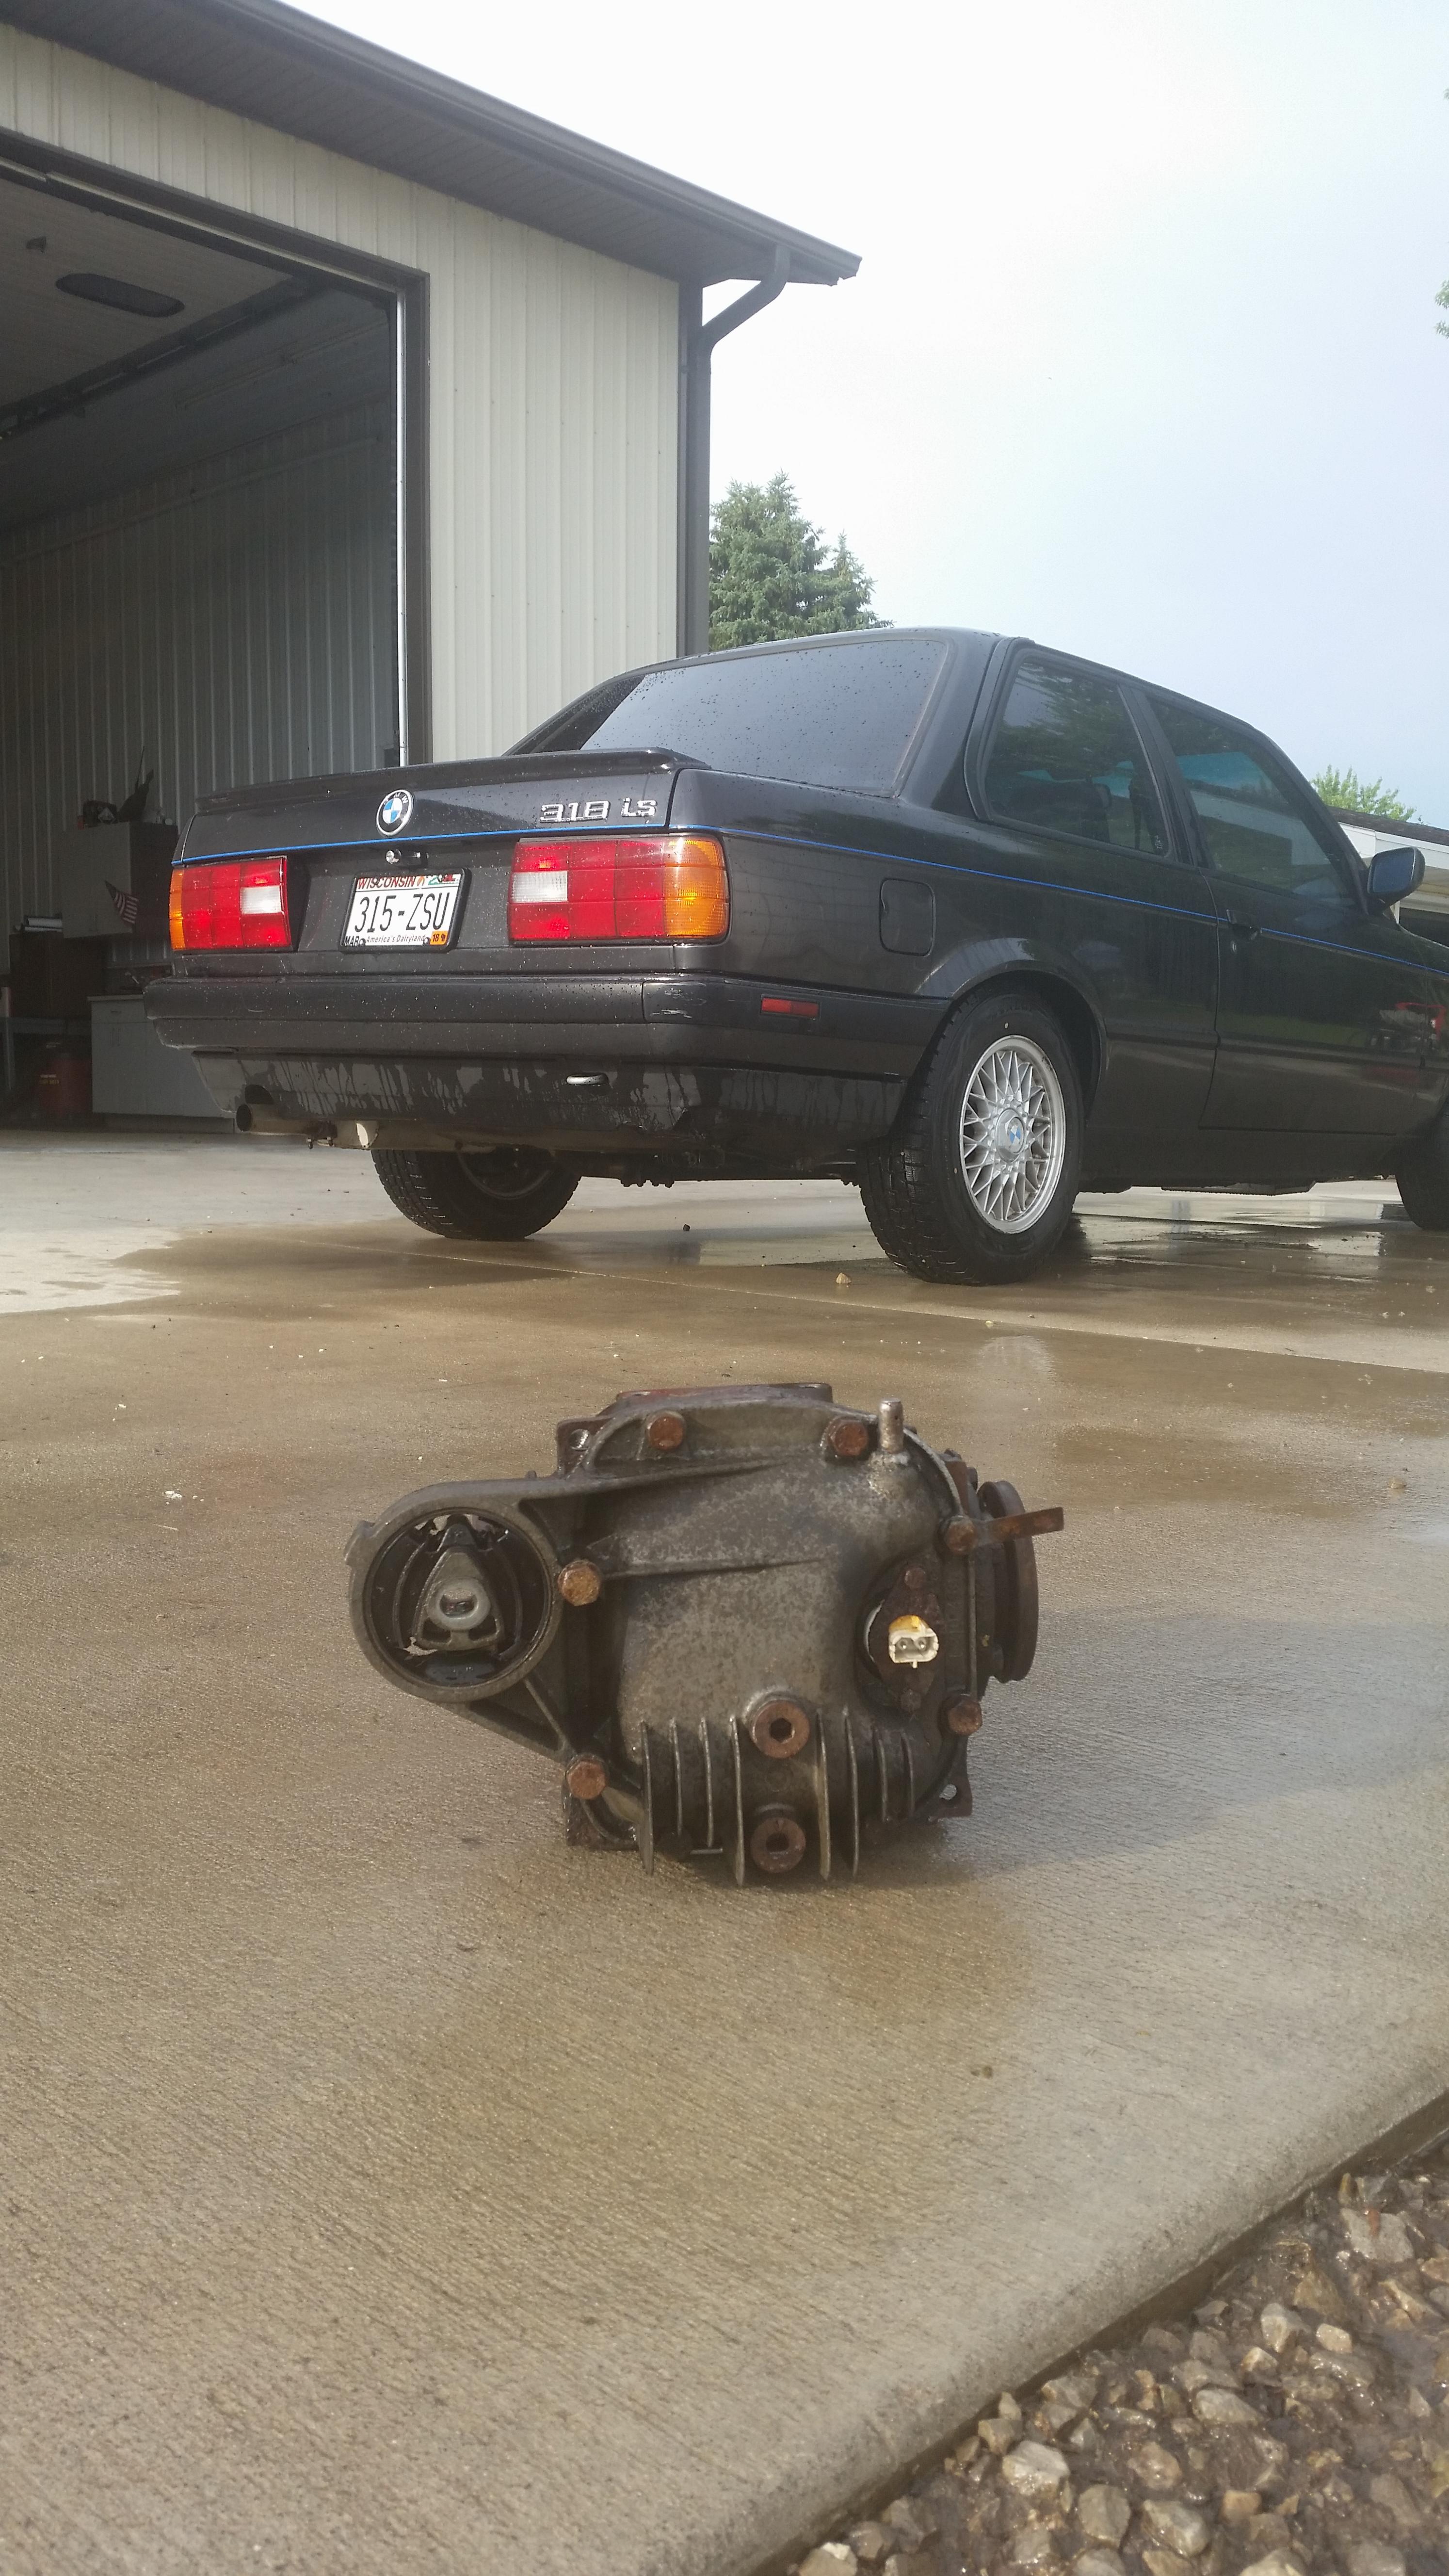
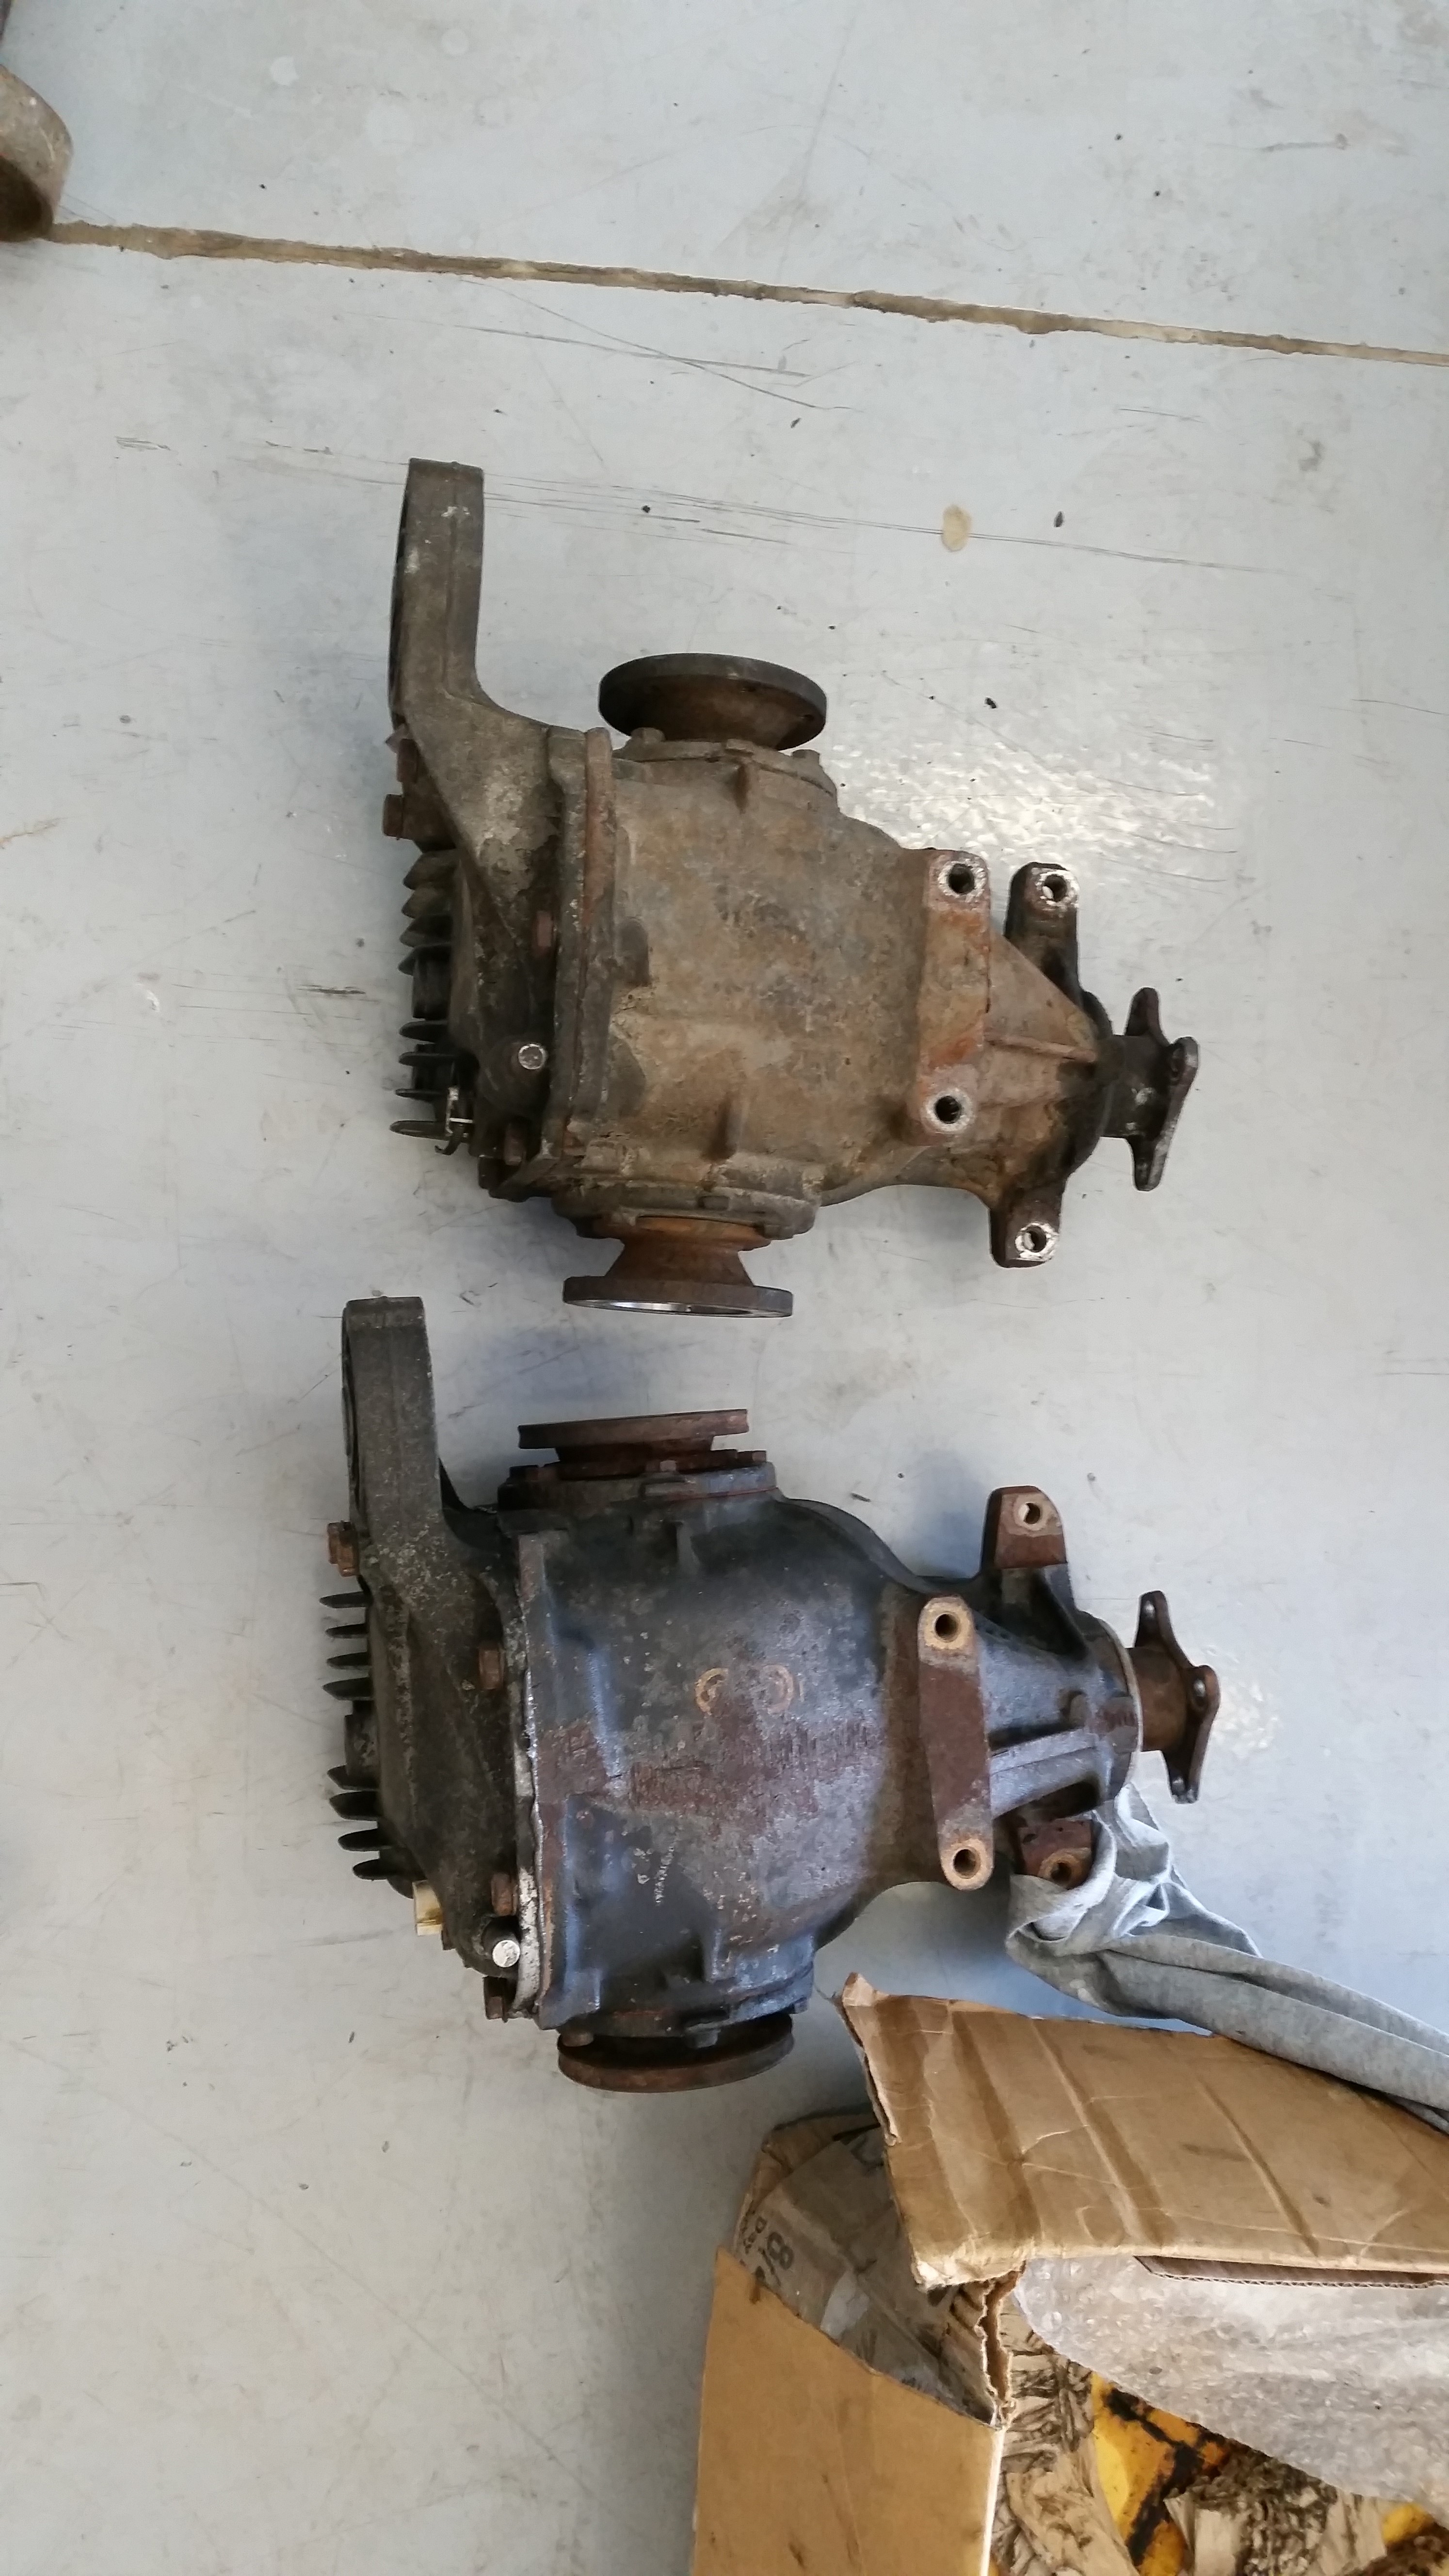
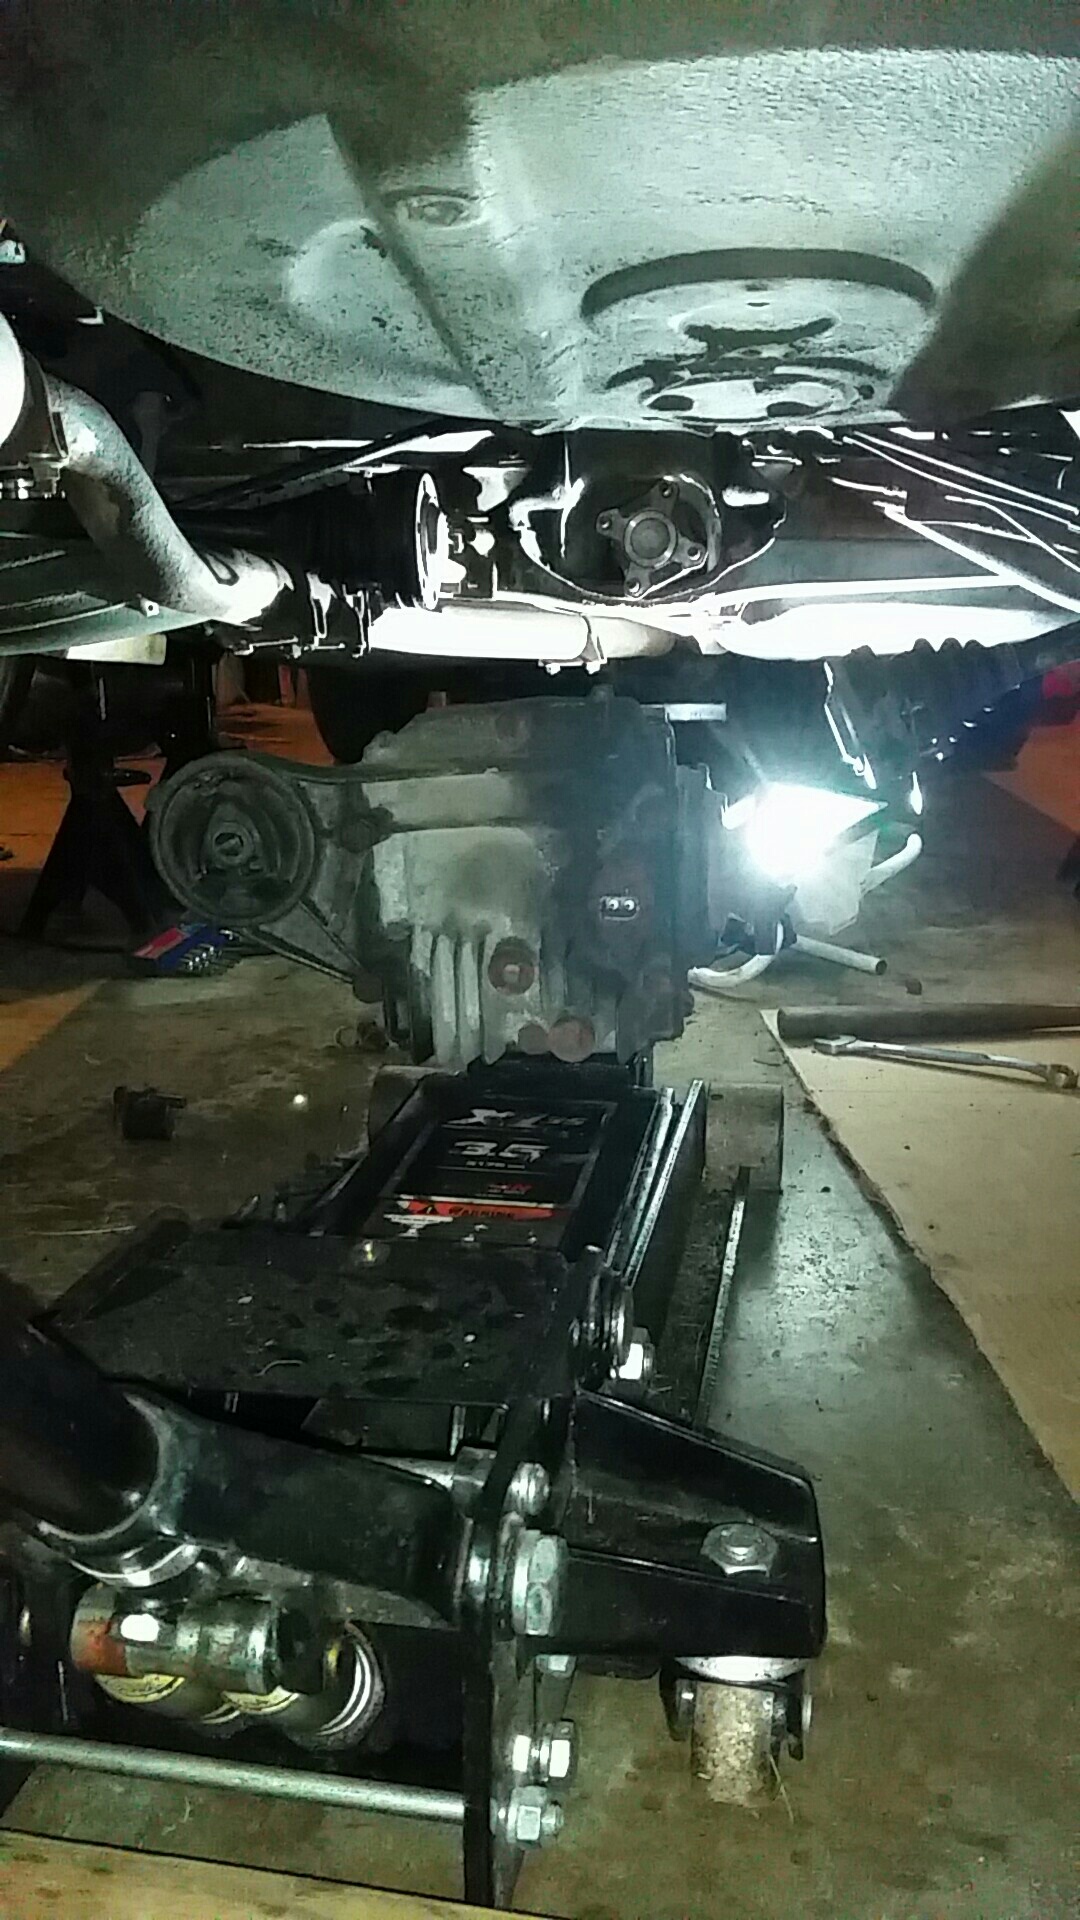
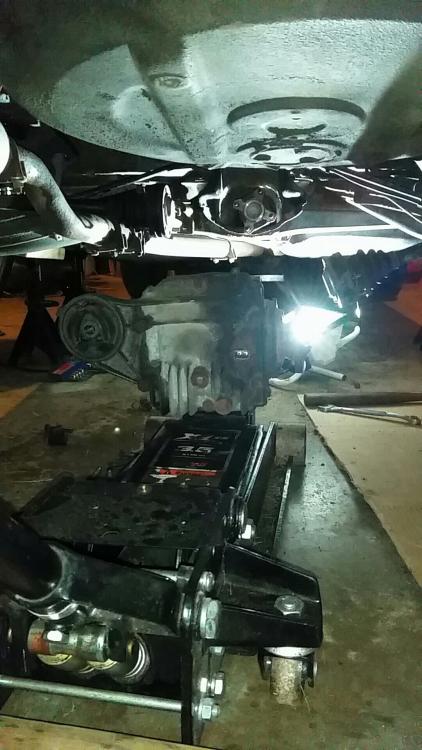
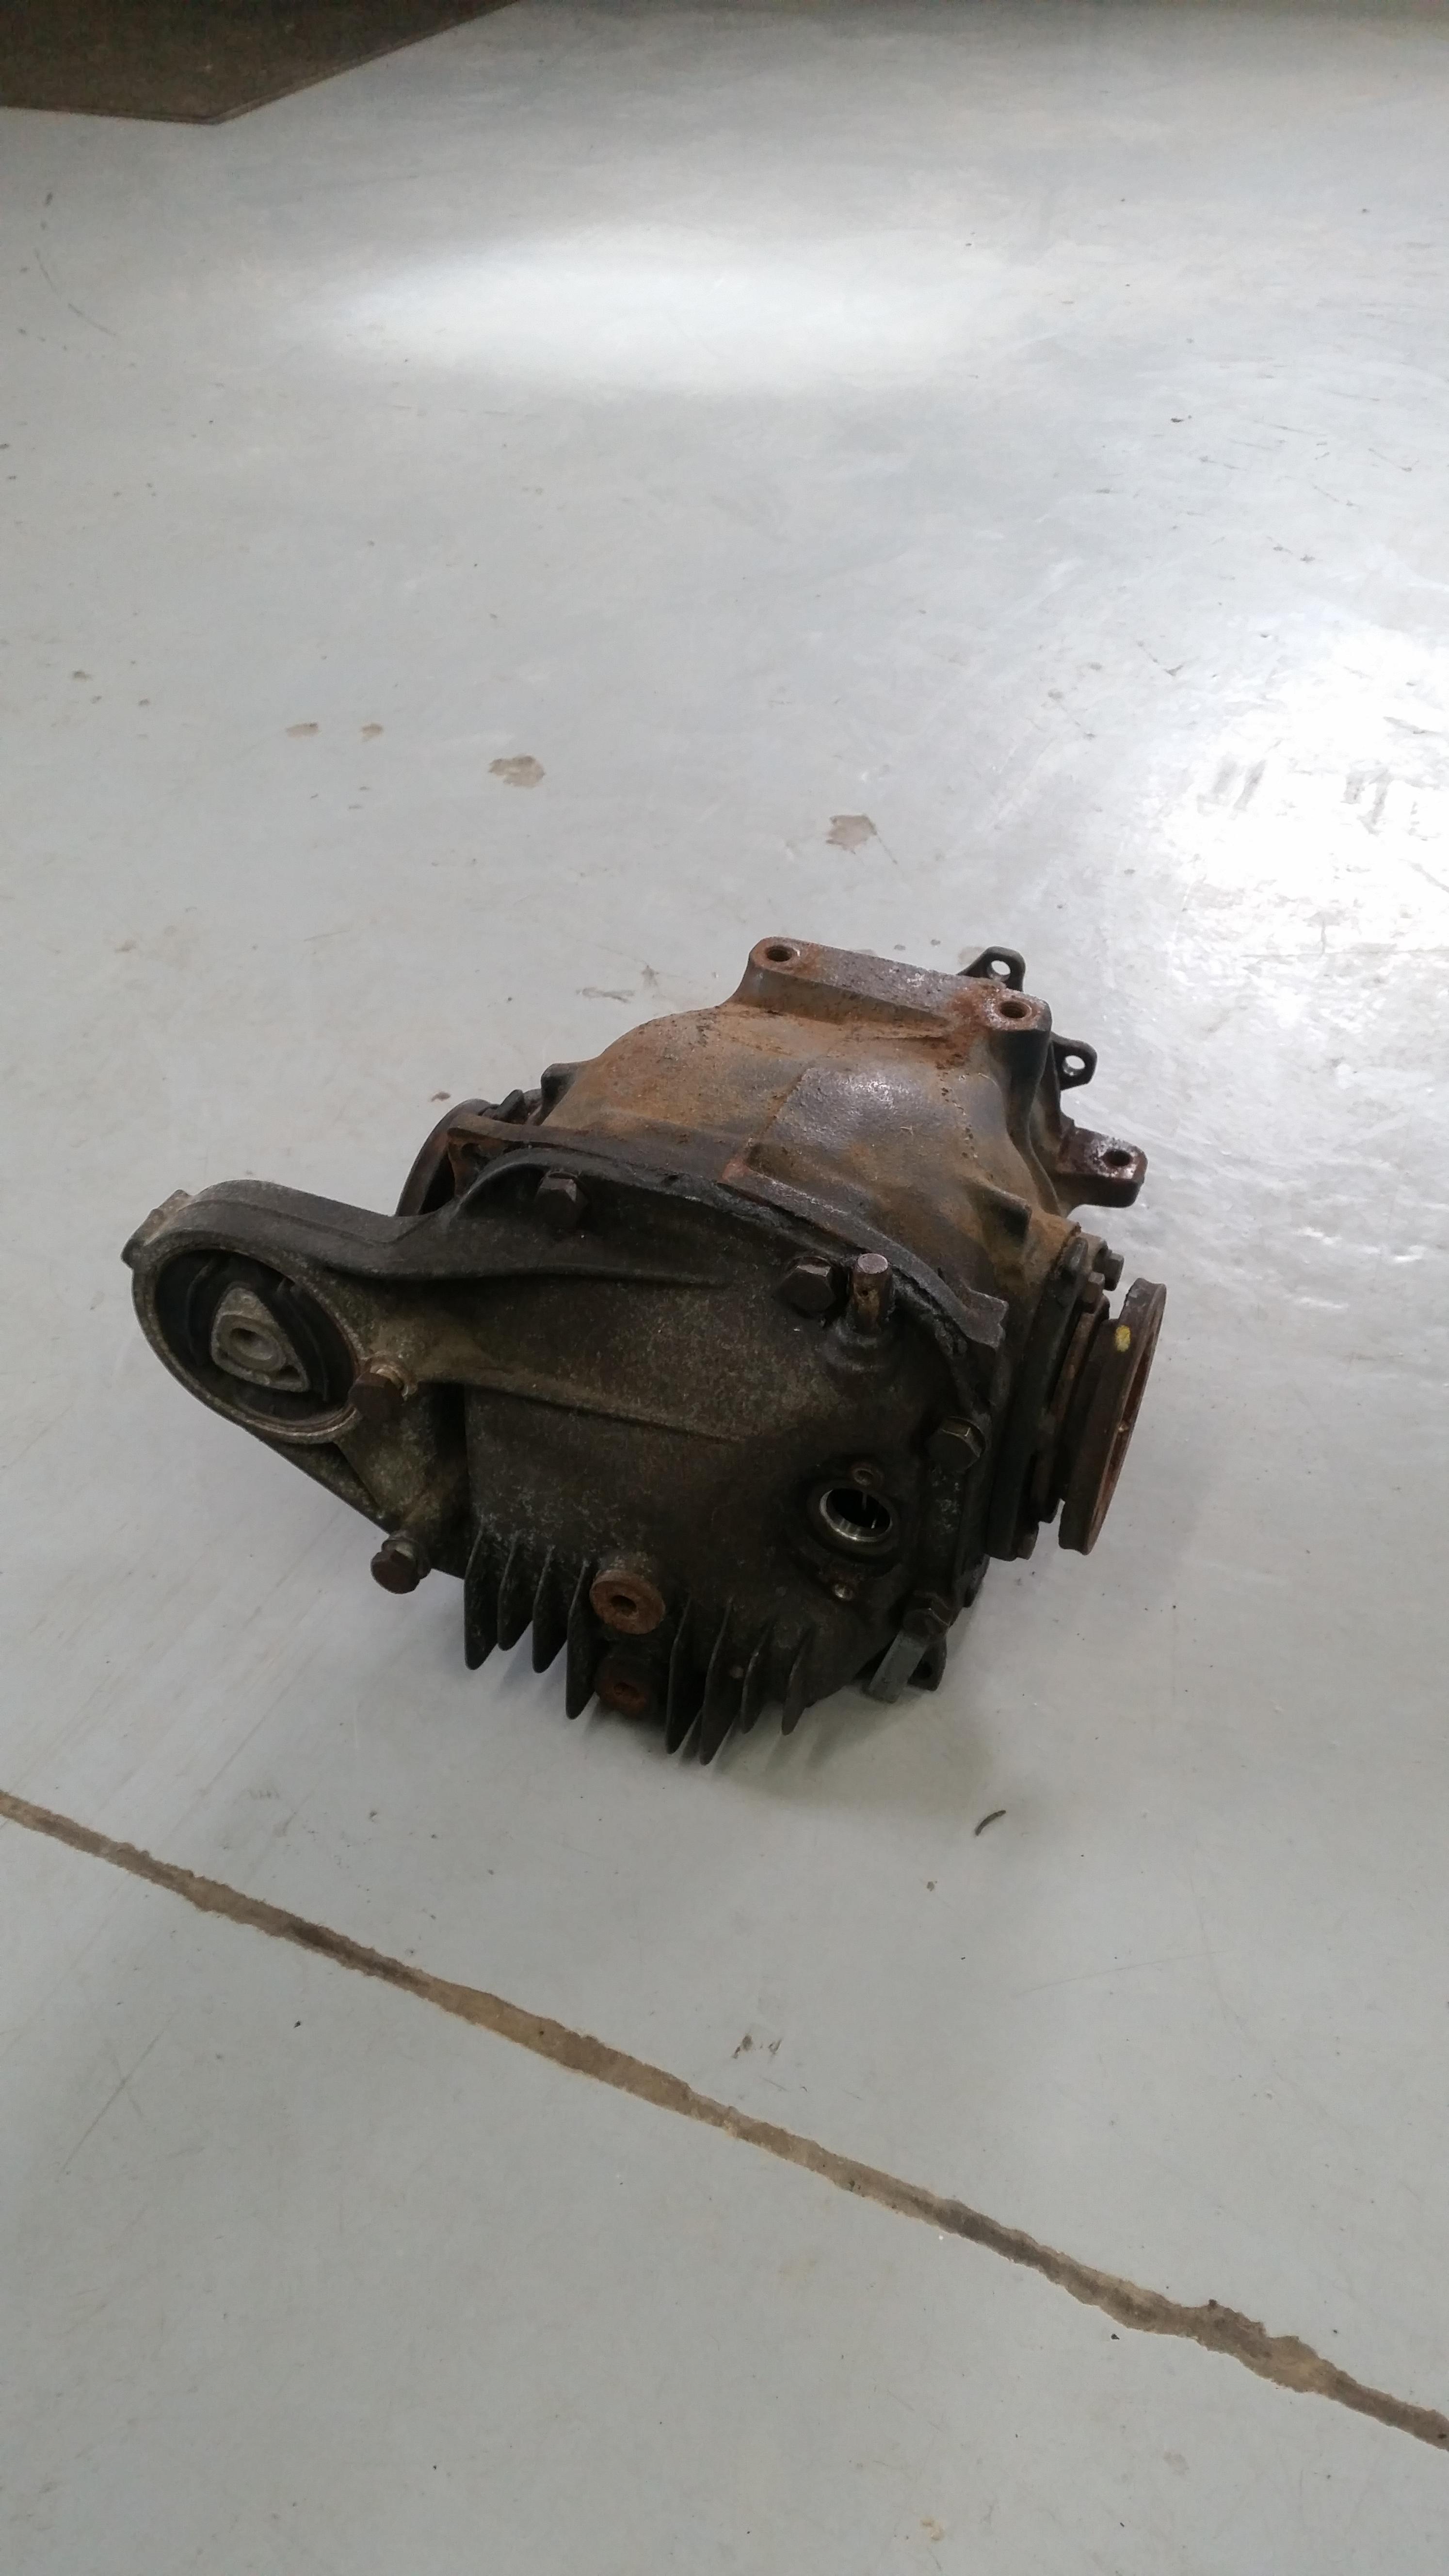
Met up with a fellow WI bimmer member about a week back and I traded my 4.10 for his 3.73. A bit better ratio behind an s52, the future goal is a 3.25 or 3.23 but for now it should do just fine. Thx Merl!
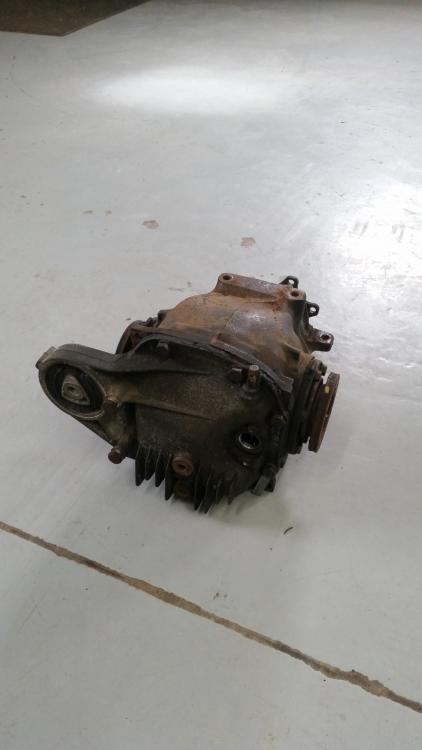
Overall very pleased with the condition of it, clutch plates appear to still be in good shape as well as all the seals. Took a little time to clean her up a bit before bolting it into the subframe.
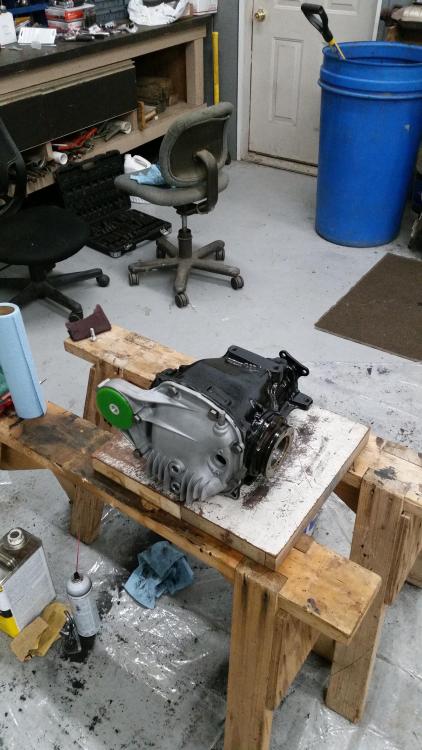
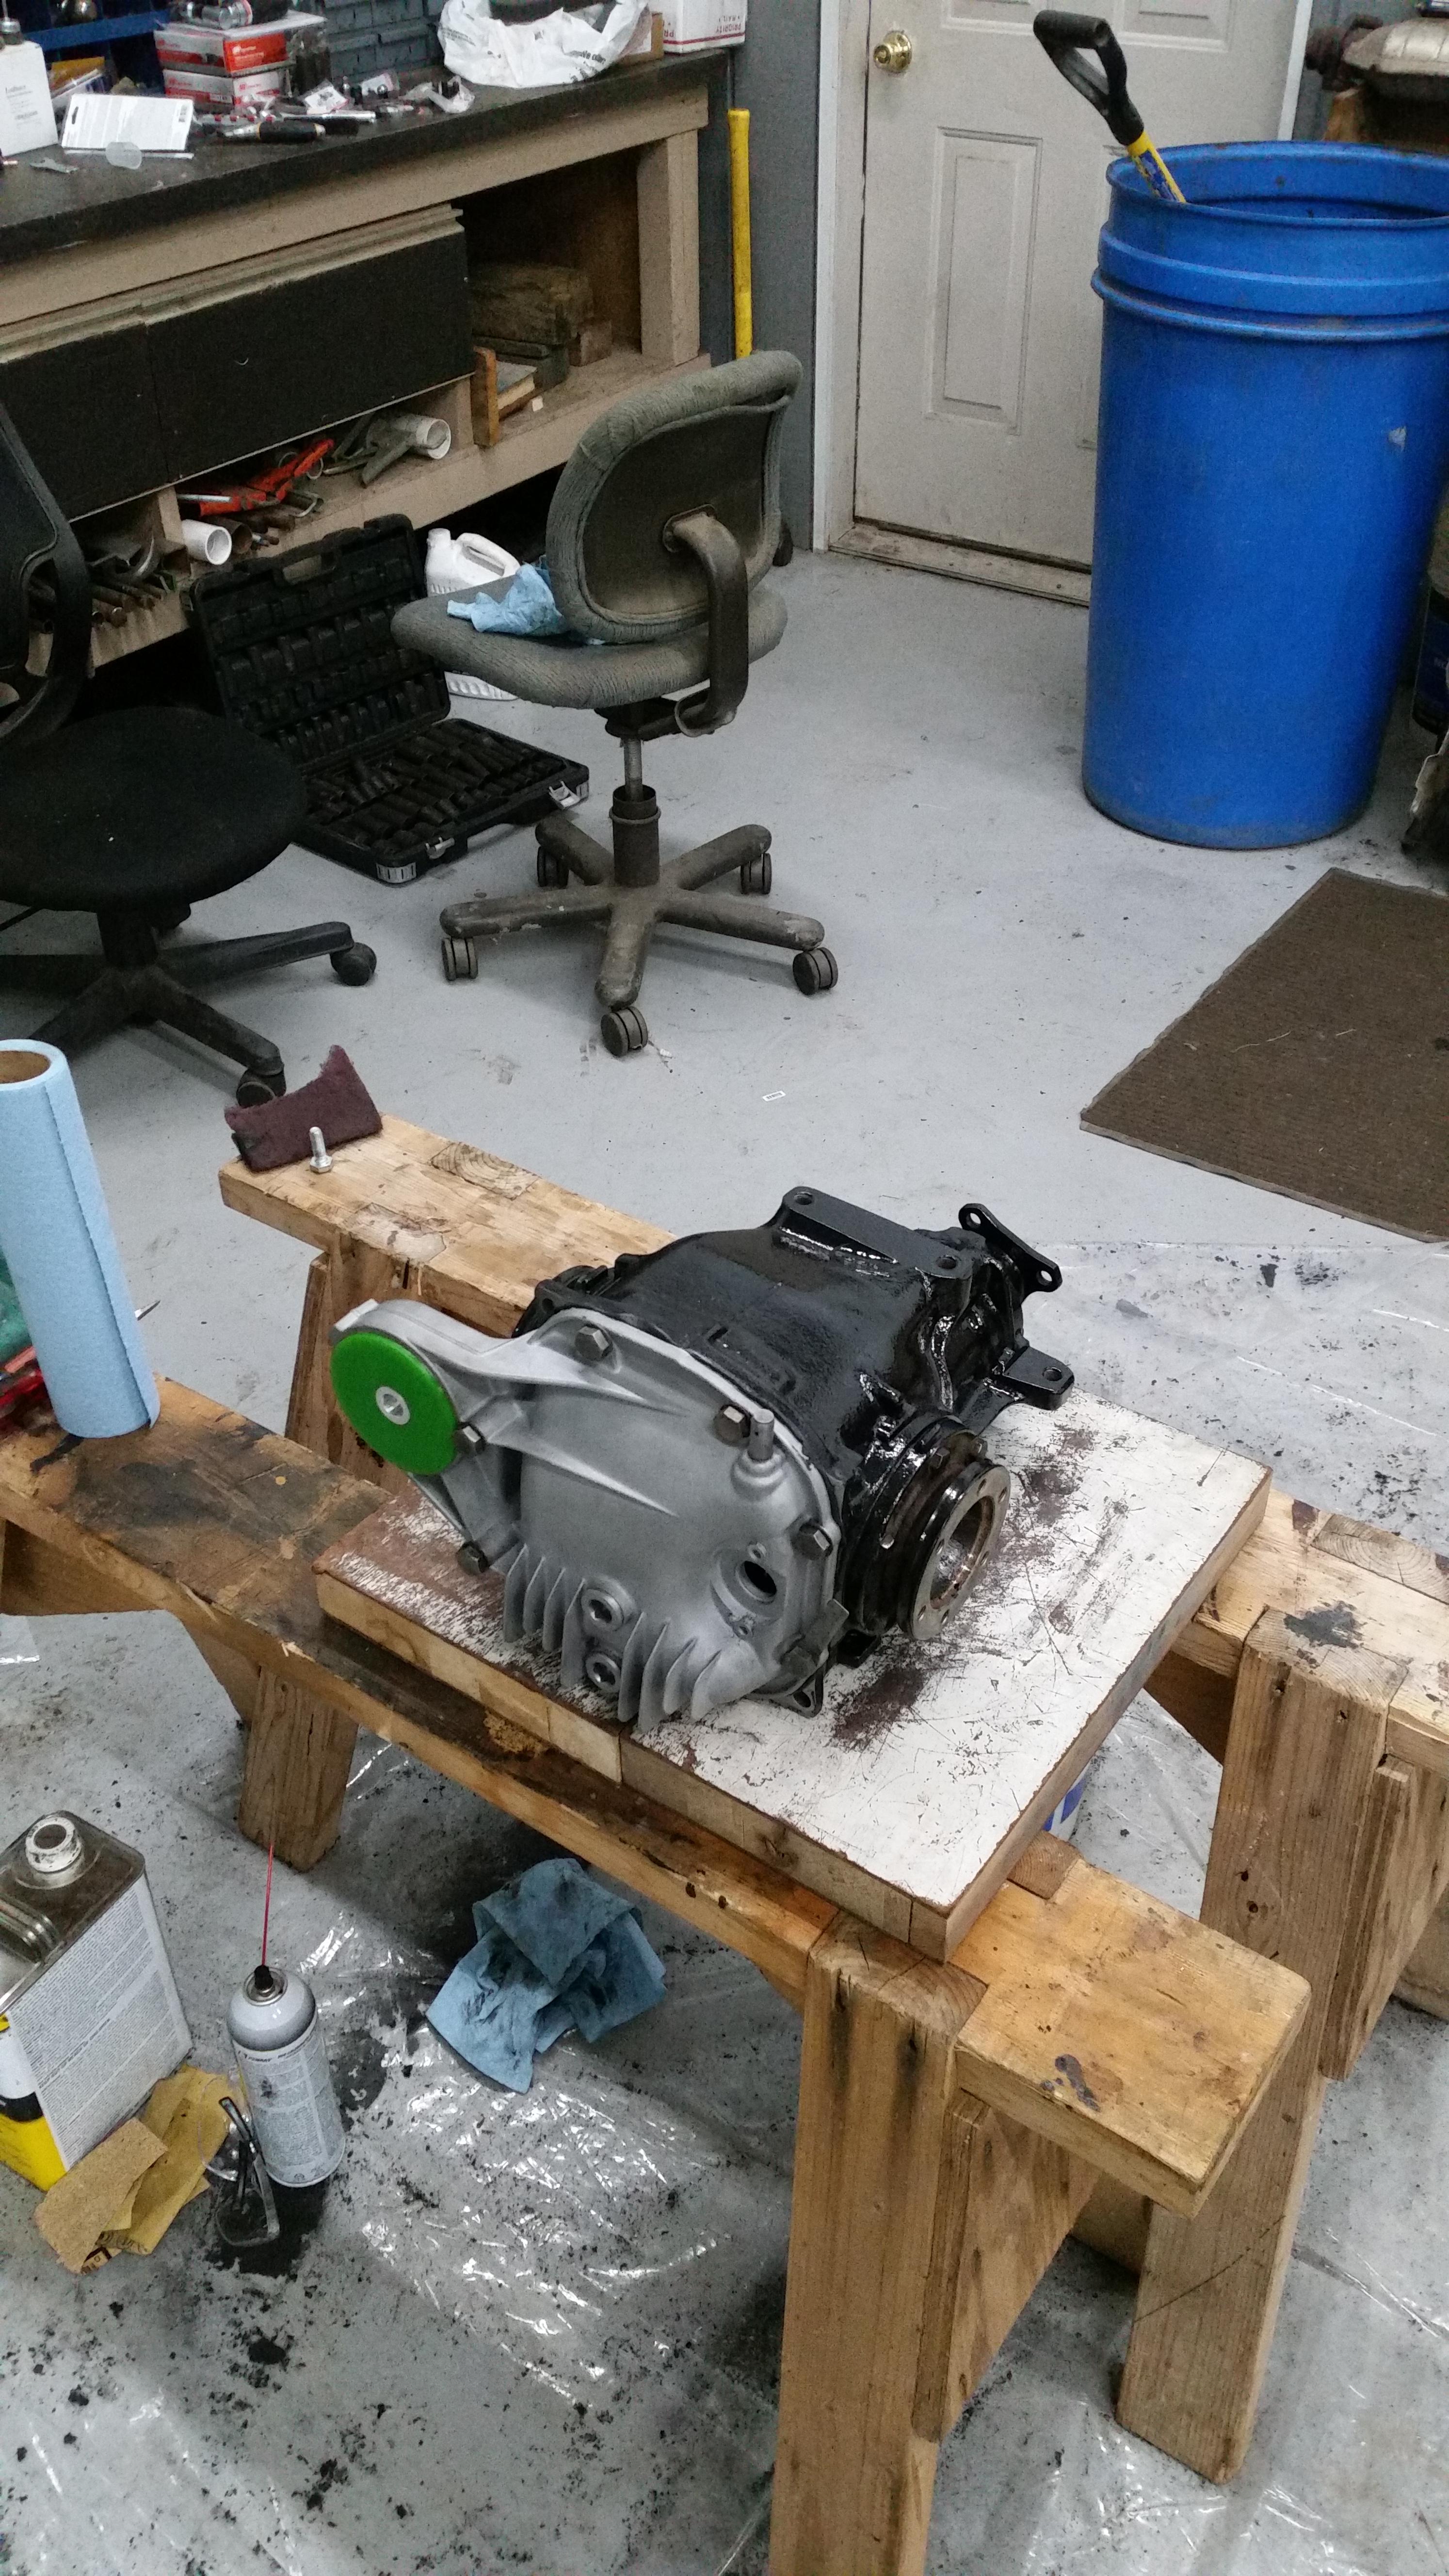
For the casing, I pretty much just cleaned the entire thing really well. Wire wheeled all the rust off and applied 2 coats of por-15.
For the cover, I blasted all the corrosion off it and to keep it from re corroding put two good coats of satin clear coat over the front. Was gonna blast the bracket that held the sensor on but it was too far gone so I got a friend working on cutting another out for me.
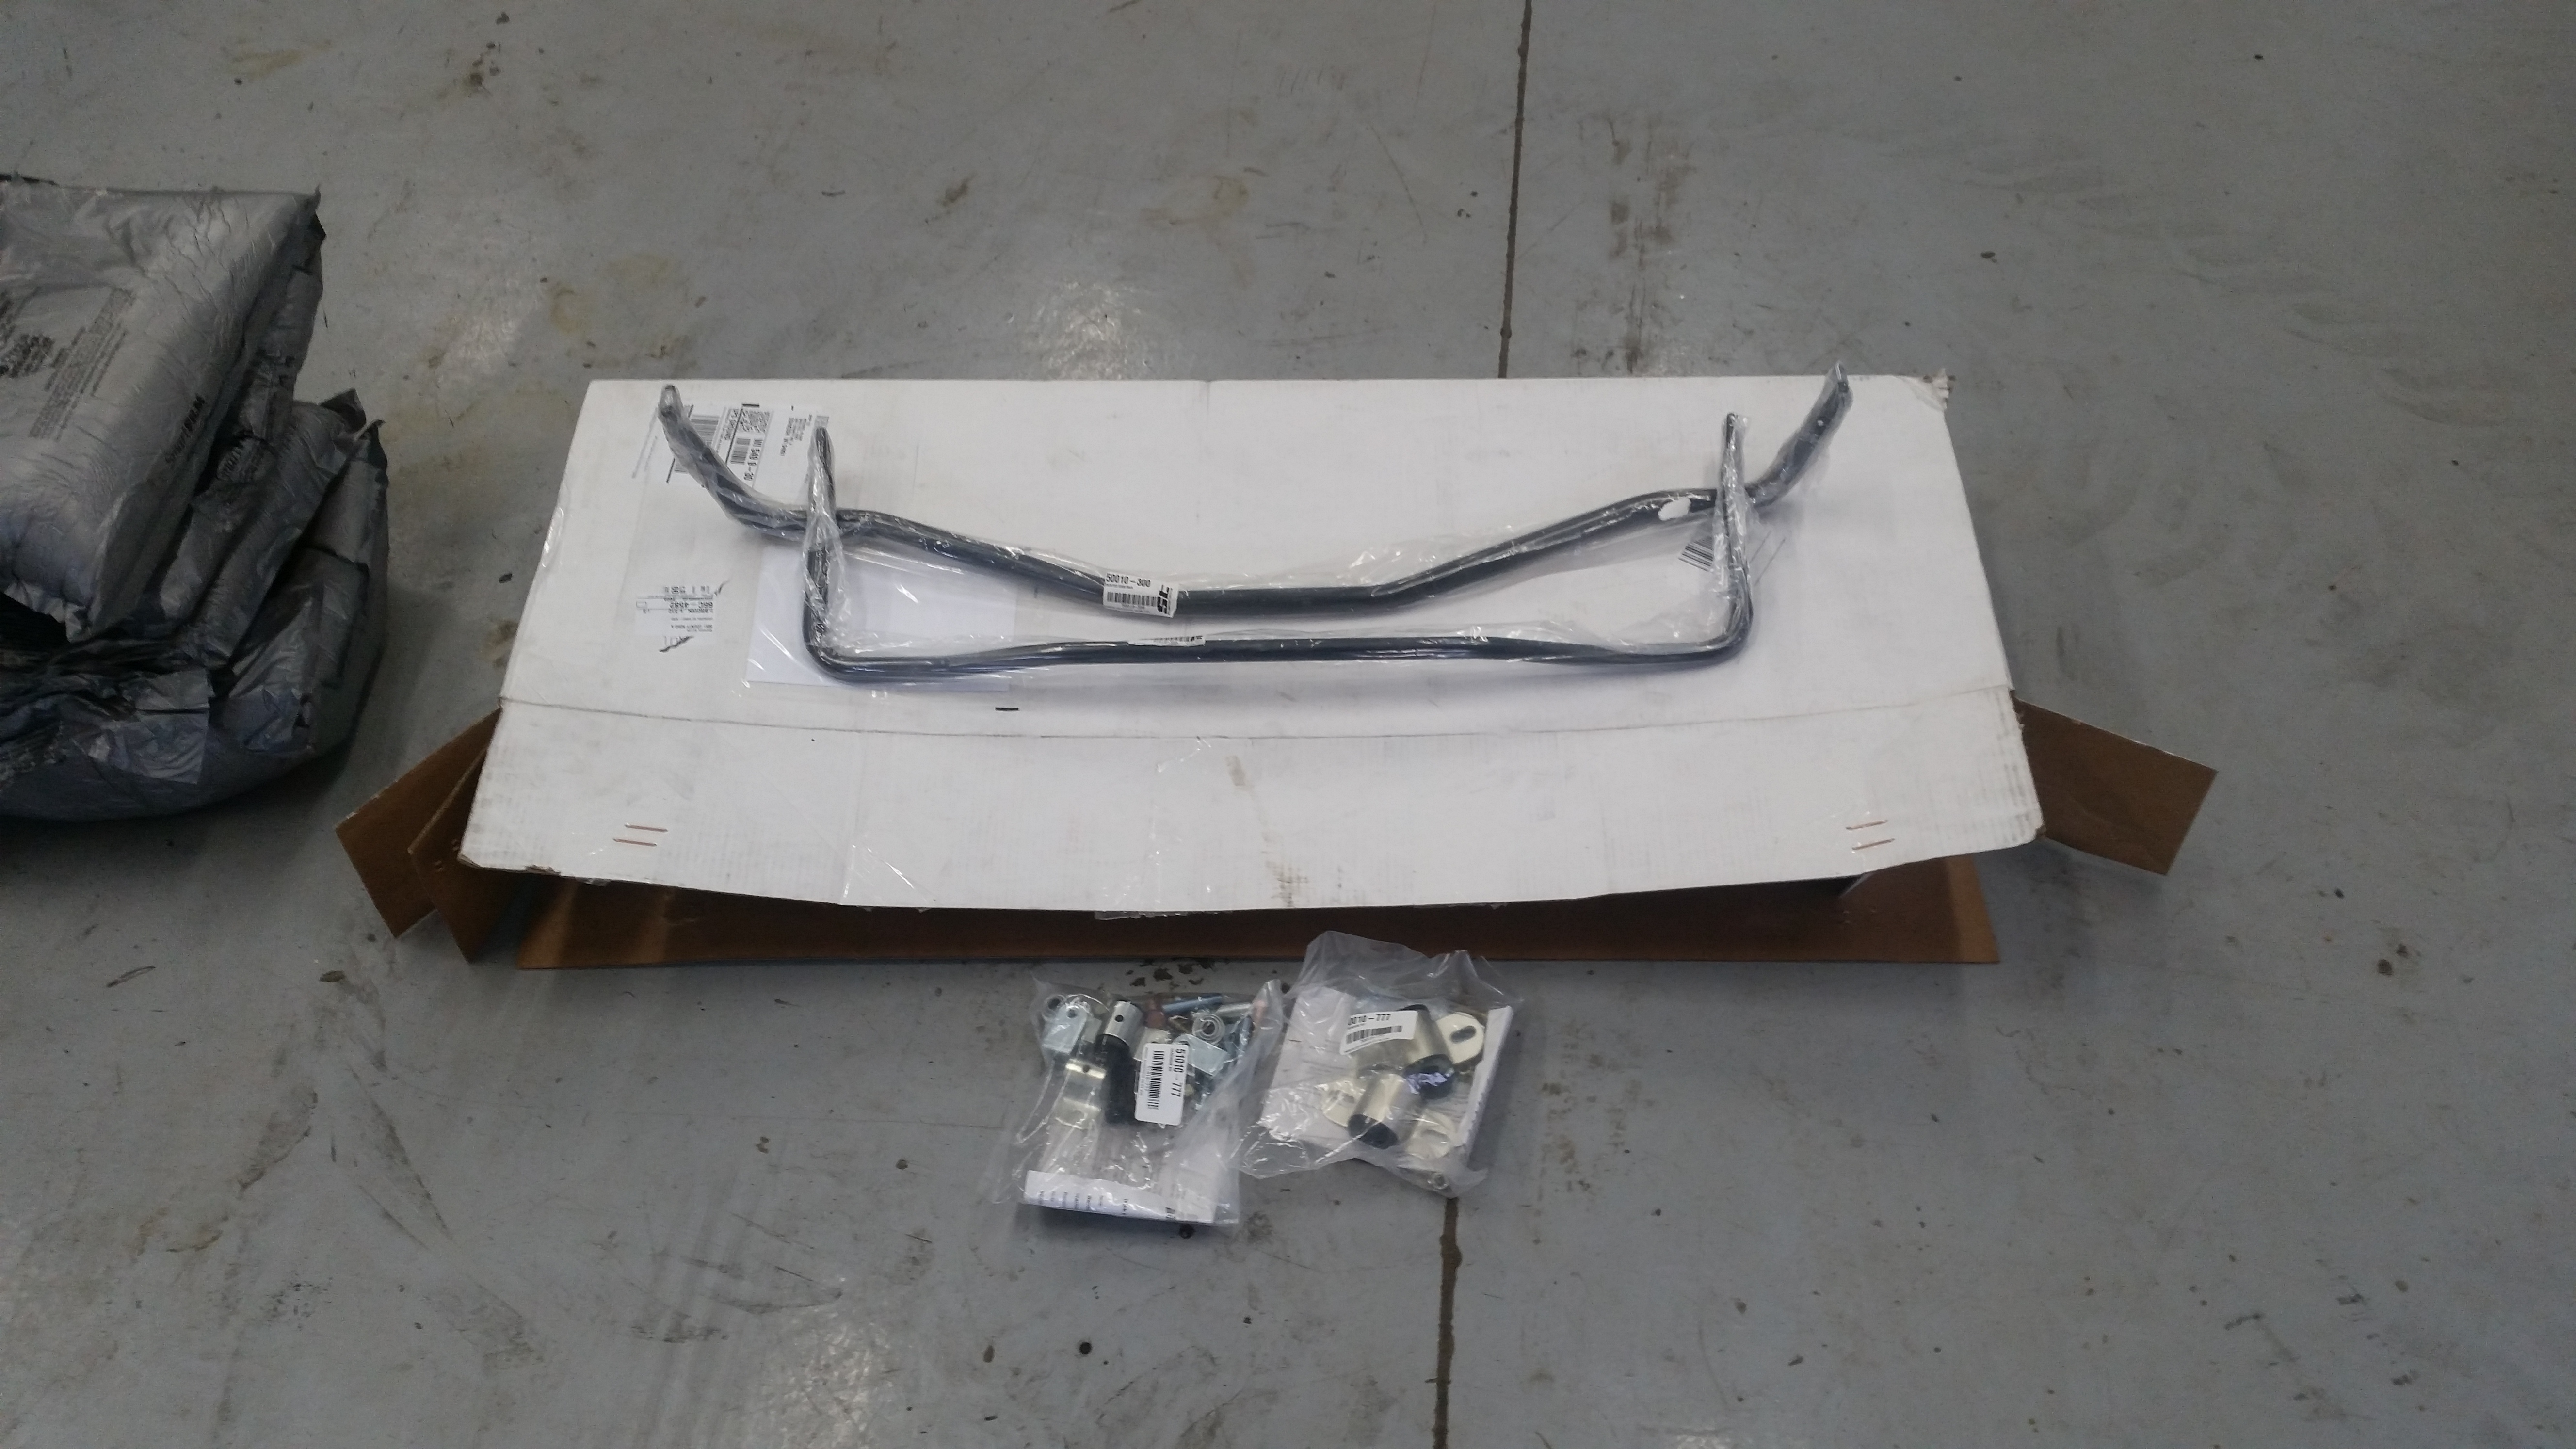
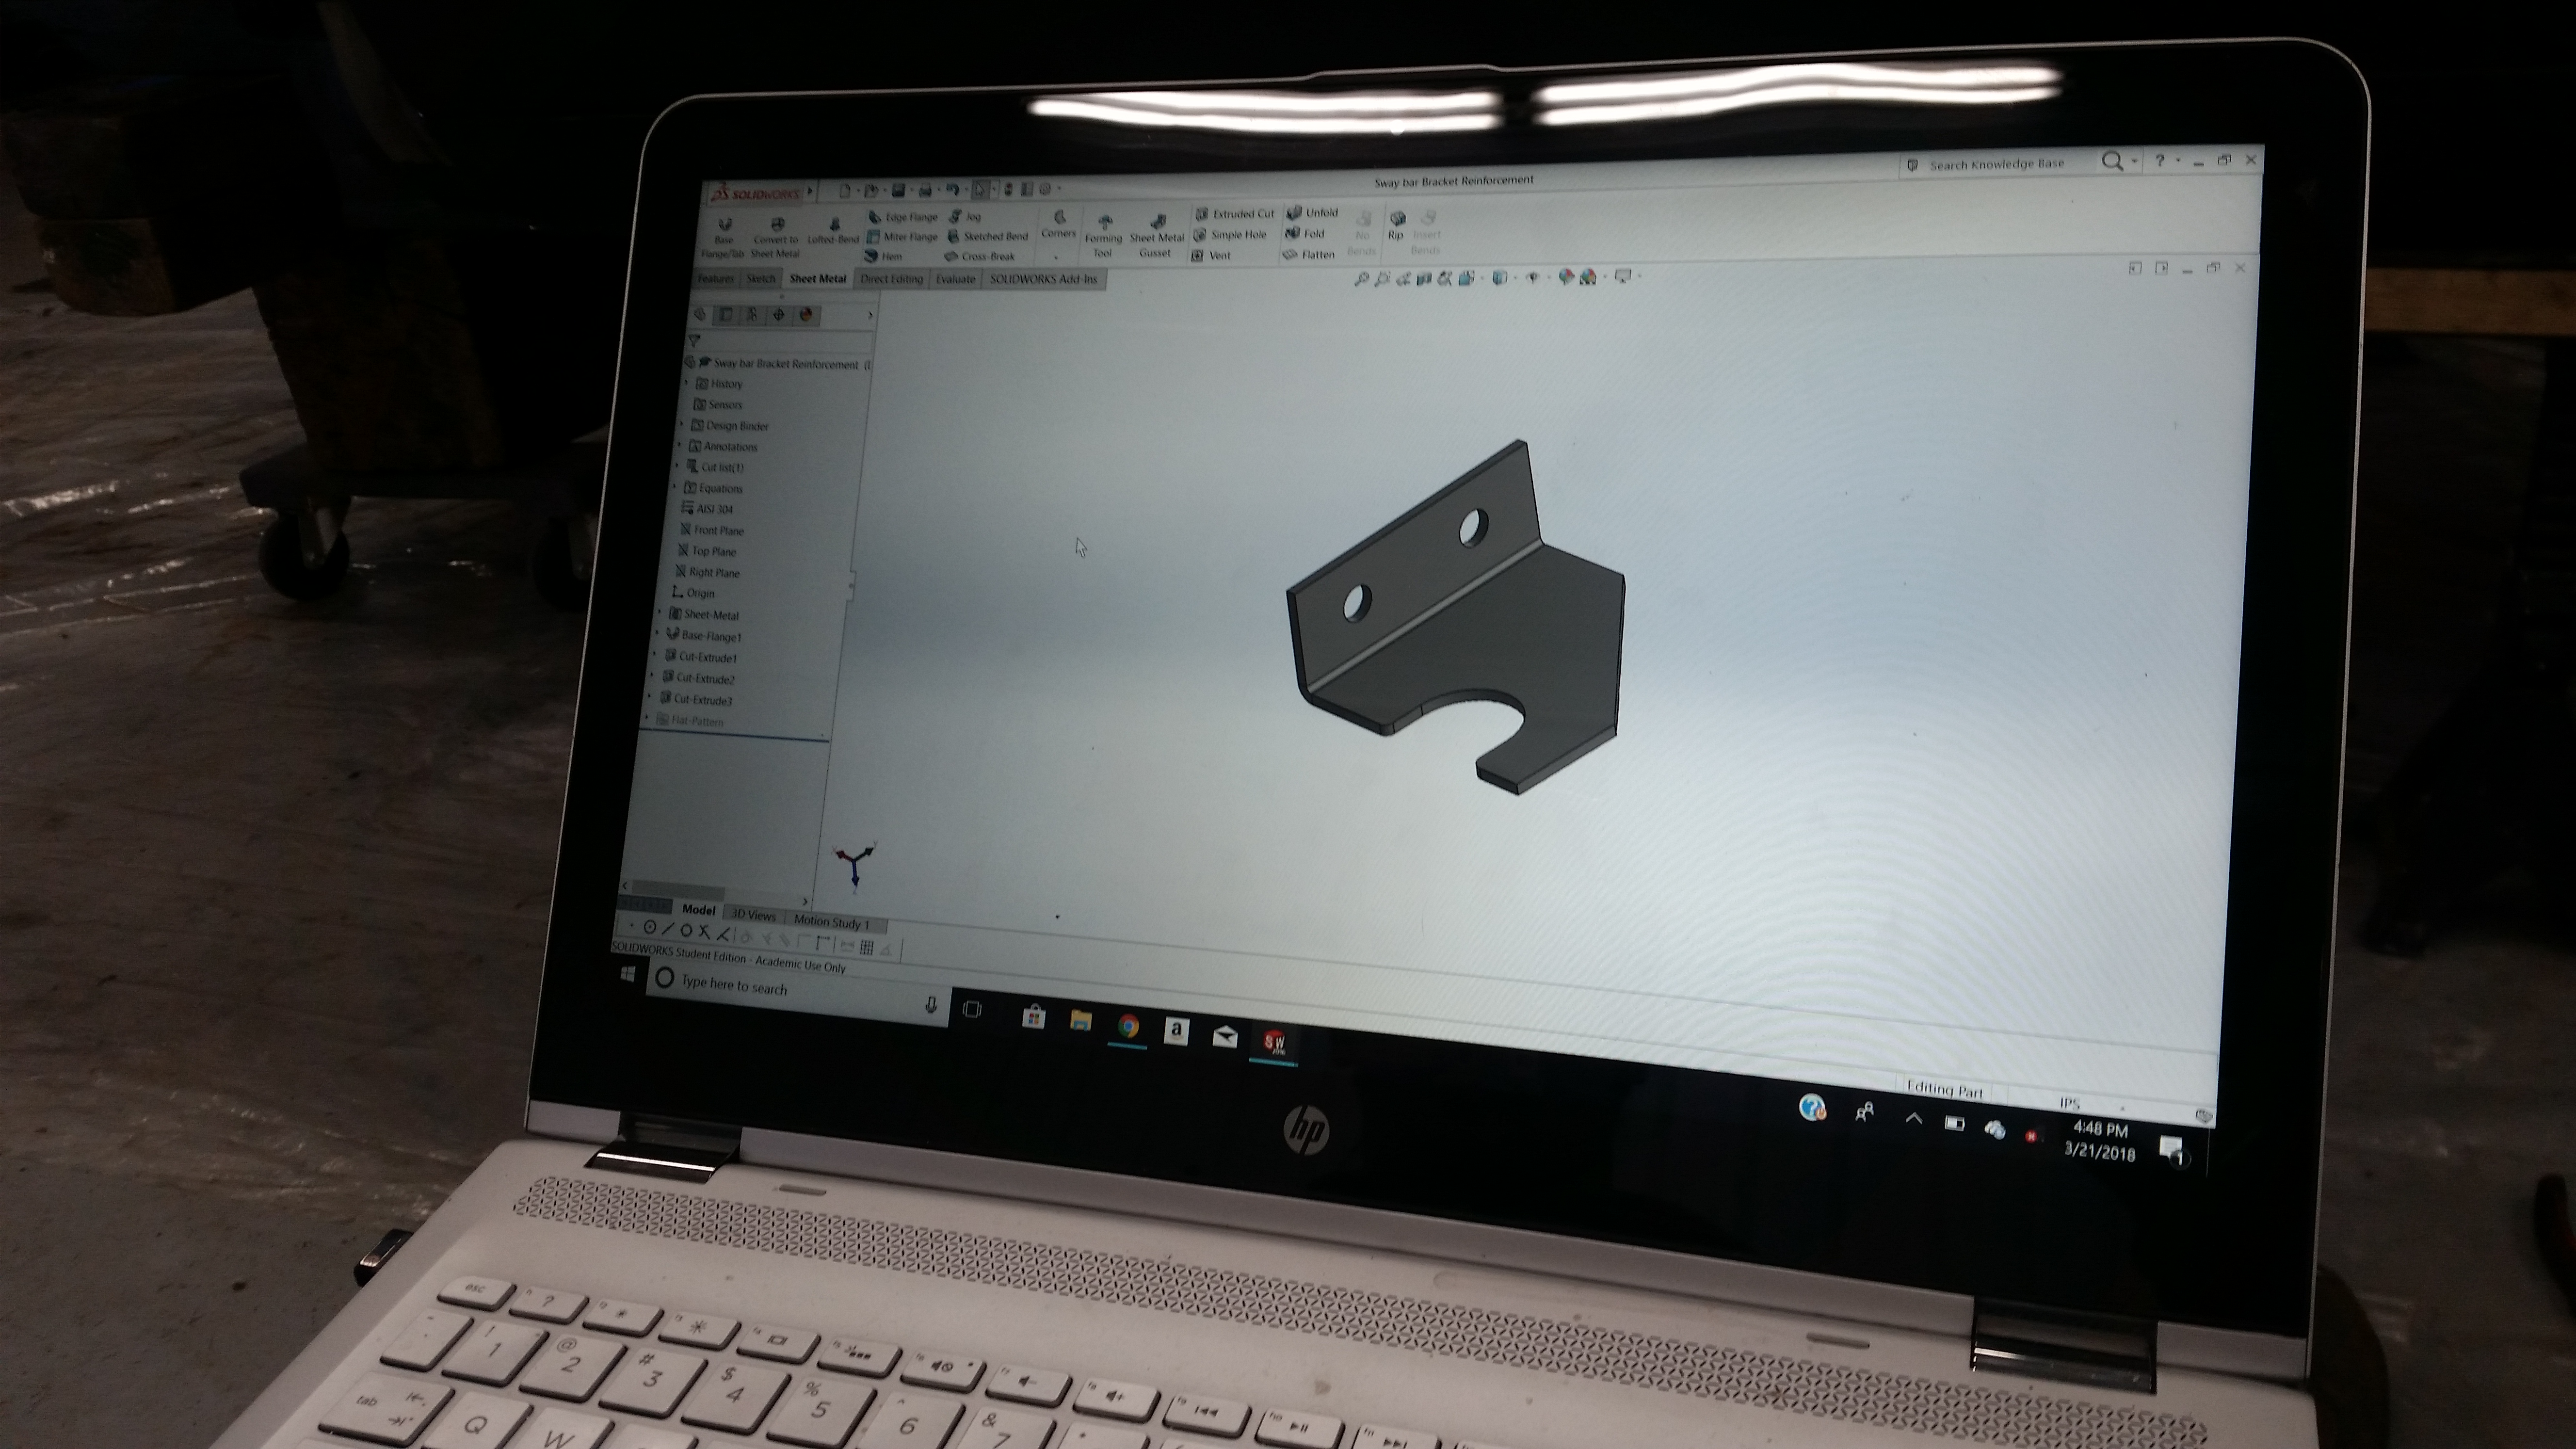
Ordered sway bars last Wednesday, hoping to see them here sometime this week. Working on designing up a reinforcement bracket for the rear sway similar to the one sold by turner. I will keep yall up to date on how that comes out.
Once the rear sway is installed the rear sub frame will be going in as well.
As I wait for that I'm gonna start getting the engine bay ready to go for paint. As I have not this week but the following week off of school my goal is to get the bay repainted during that week off.
Also I should throw out there that I am on the lookout for a z3 steering rack. I gave my best shot at redoing the e36 rack I got for cheap, After many attempts I still can't seem to get the center seal out of the rack and don't really know anyone that has any experience with rebuilding racks. Even if I did find someone willing to do it I don't think it would be worth the money spent in labor to do it anyways so it's time to put it behind me and move on.
-
Holy crap, does that ever look nice. I'm loving how much you hate rust, and how clean everything is looking underneath.
I had the same thing happen to my fenders, they looked alright for the most part but when they were pulled off the bottom edge was just swiss cheese. I also had rust underneath the trim strip.
-
G260 right?
I hope so, zf with a 3.73 will be murder on the highway
-
As always, awesome work man!
This thing is going to be super awesome when it's done! -
hey Oooo!

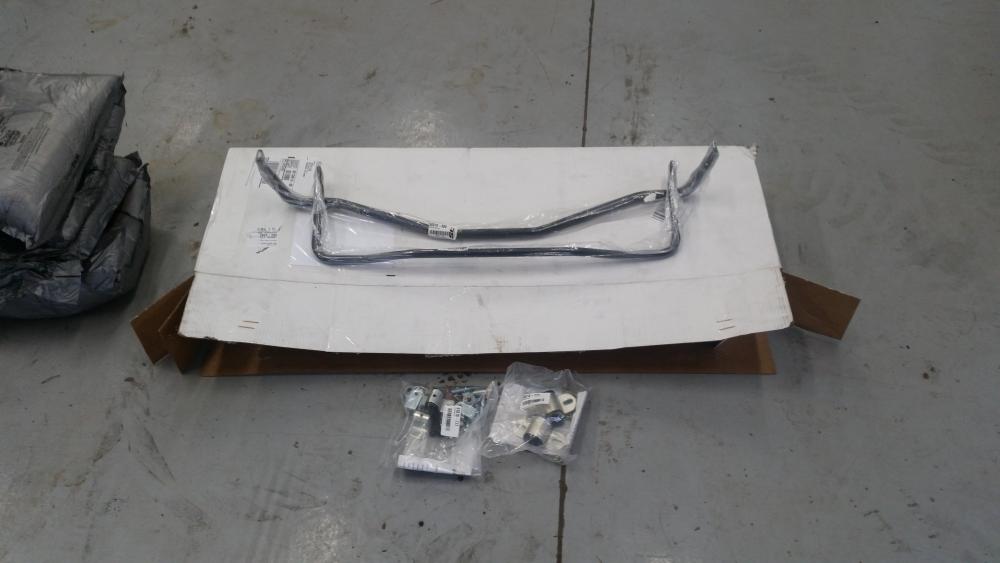
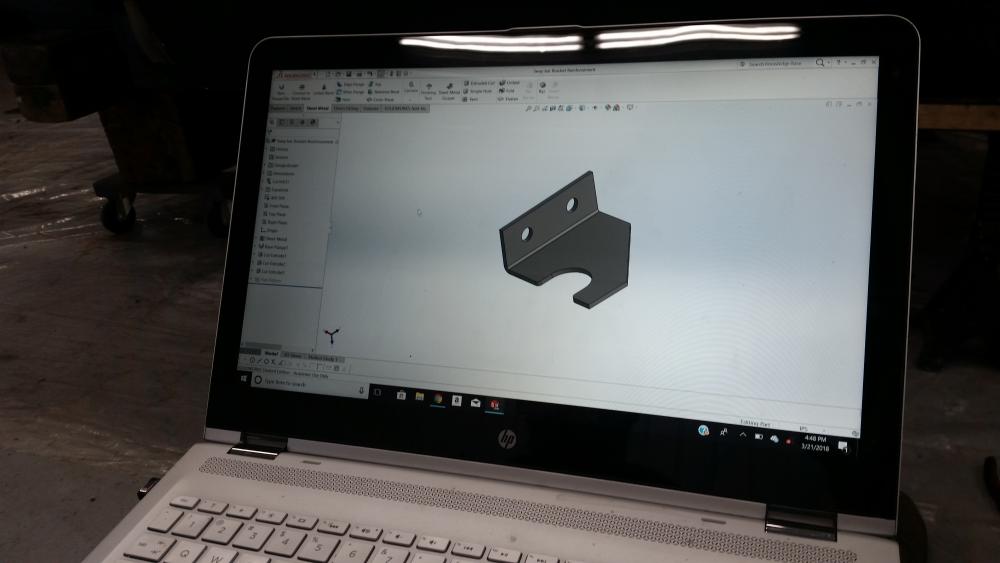
Spent a little time after class today and drew up the reinforcements for the rear sways. Hoping to get them cut out tomorrow.
-
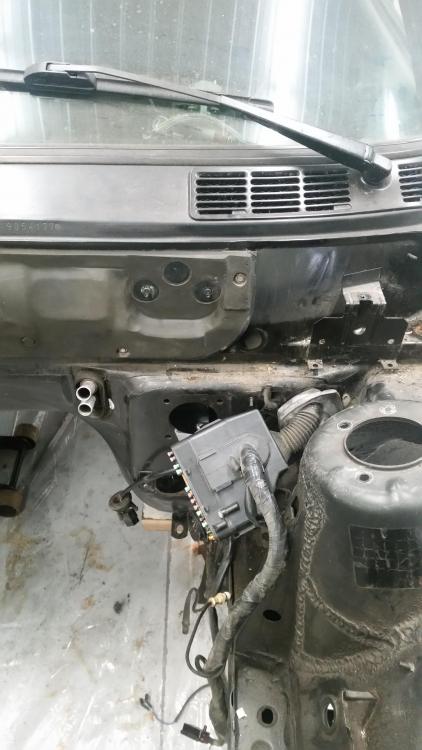
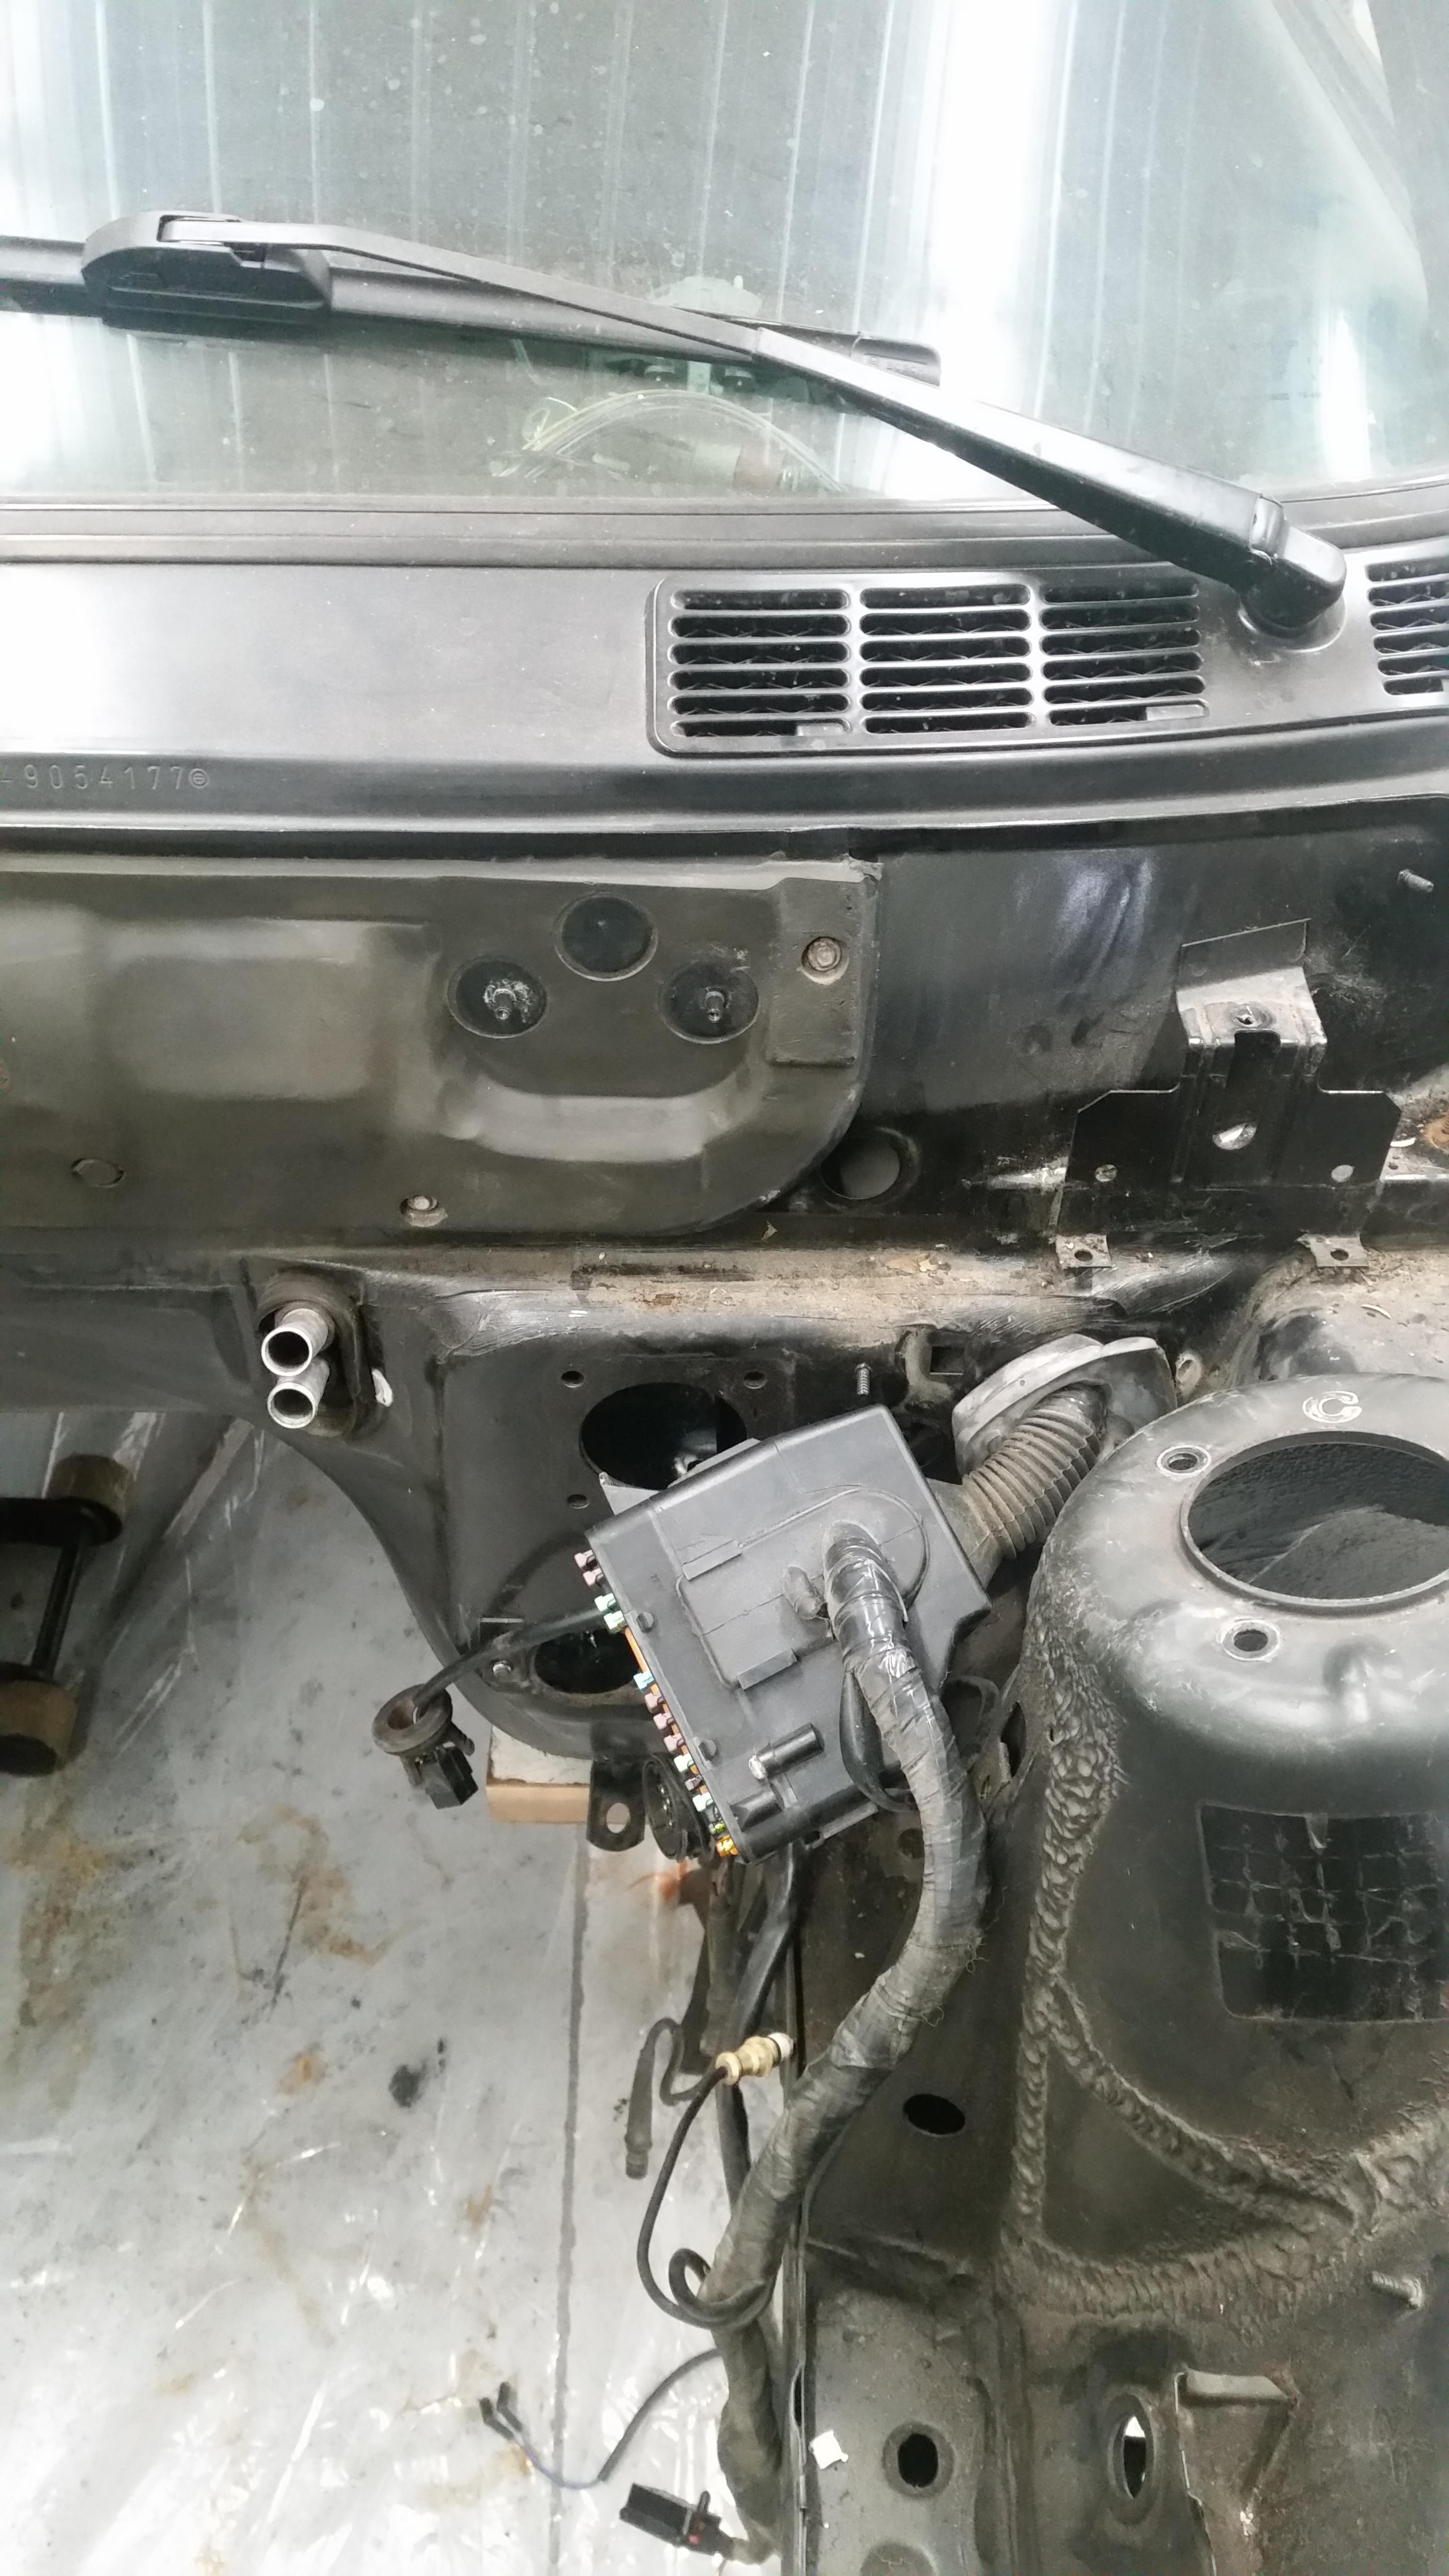
For all those who have painted their engine bays before. What did you do about getting the fuse box out of the way? (please don't say remove it, please don't say remove it, please don't say remove it, please don't say remove it).
-
For all those who have painted their engine bays before. What did you do about getting the fuse box out of the way? (please don't say remove it, please don't say remove it, please don't say remove it, please don't say remove it).
Tape it up and aim well
-
I wrapped mine in a few plastic bags and taped it and just got it as far out of the way as possible.
It's not perfect, but removing it isn't something to even consider doing lol. -
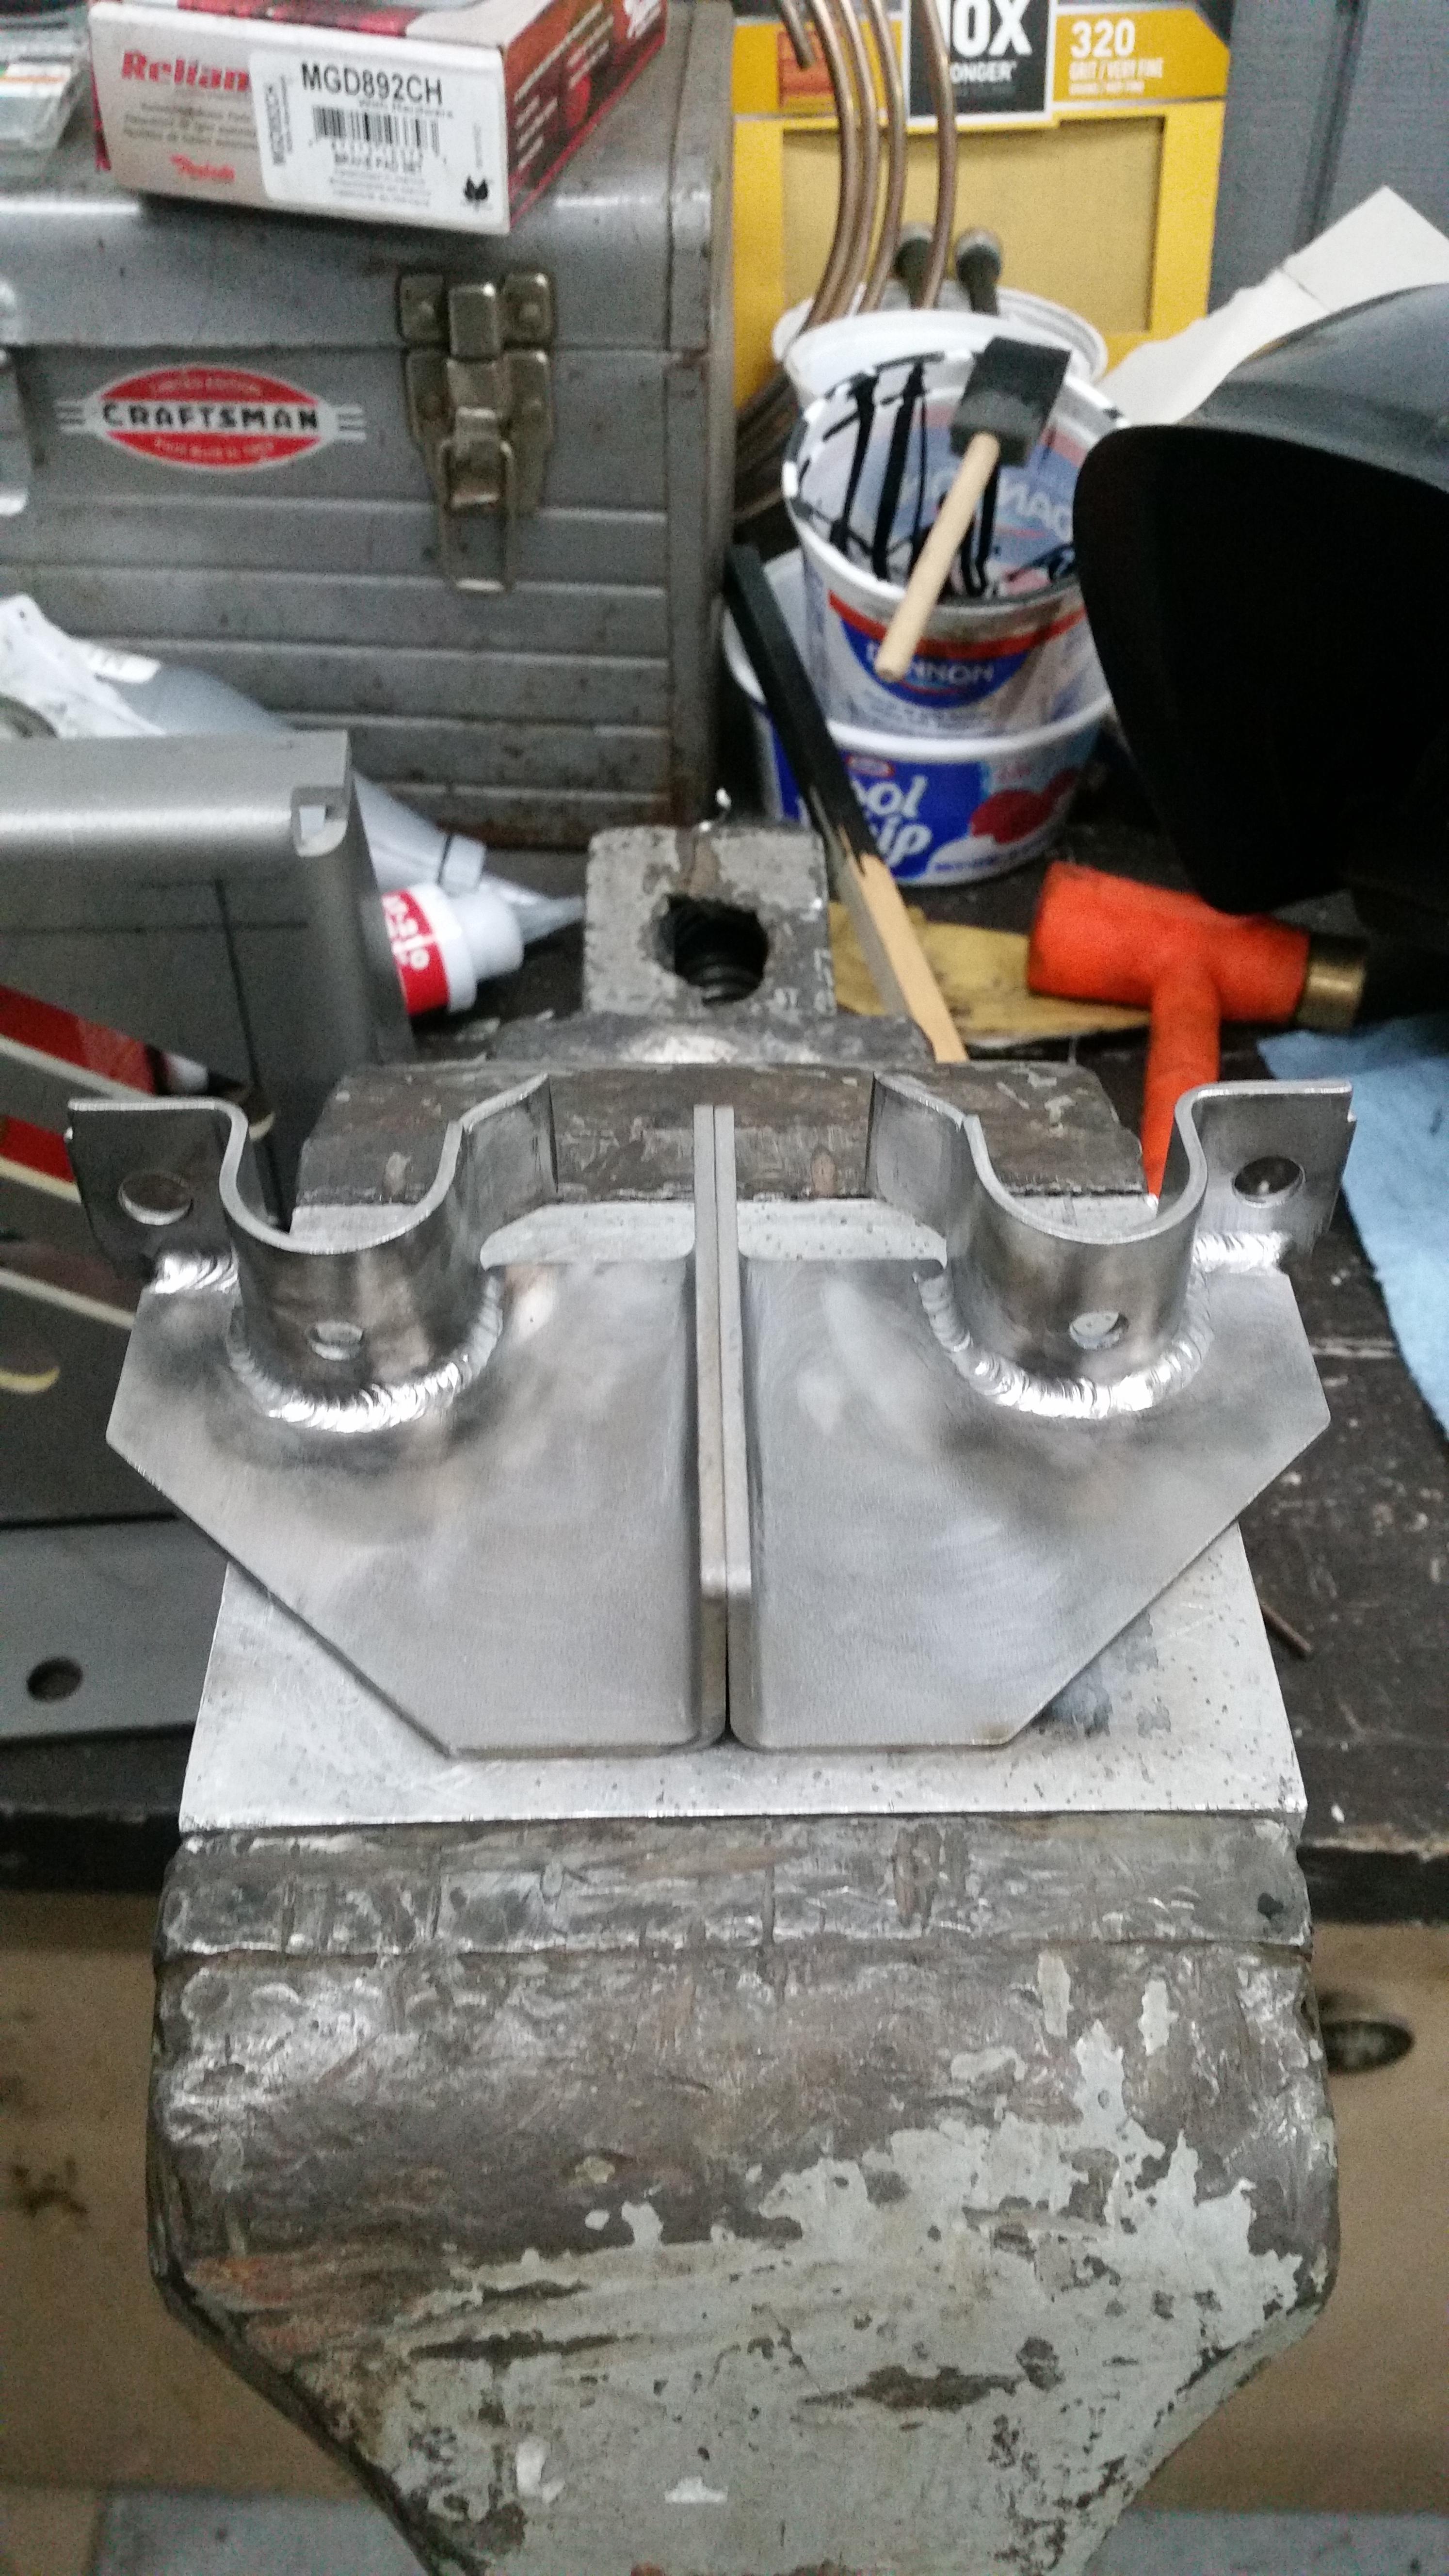
Rear sway bar reinforcements complete...
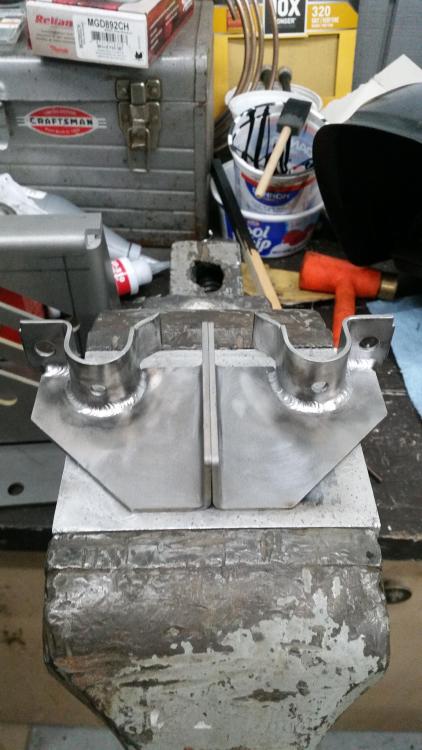
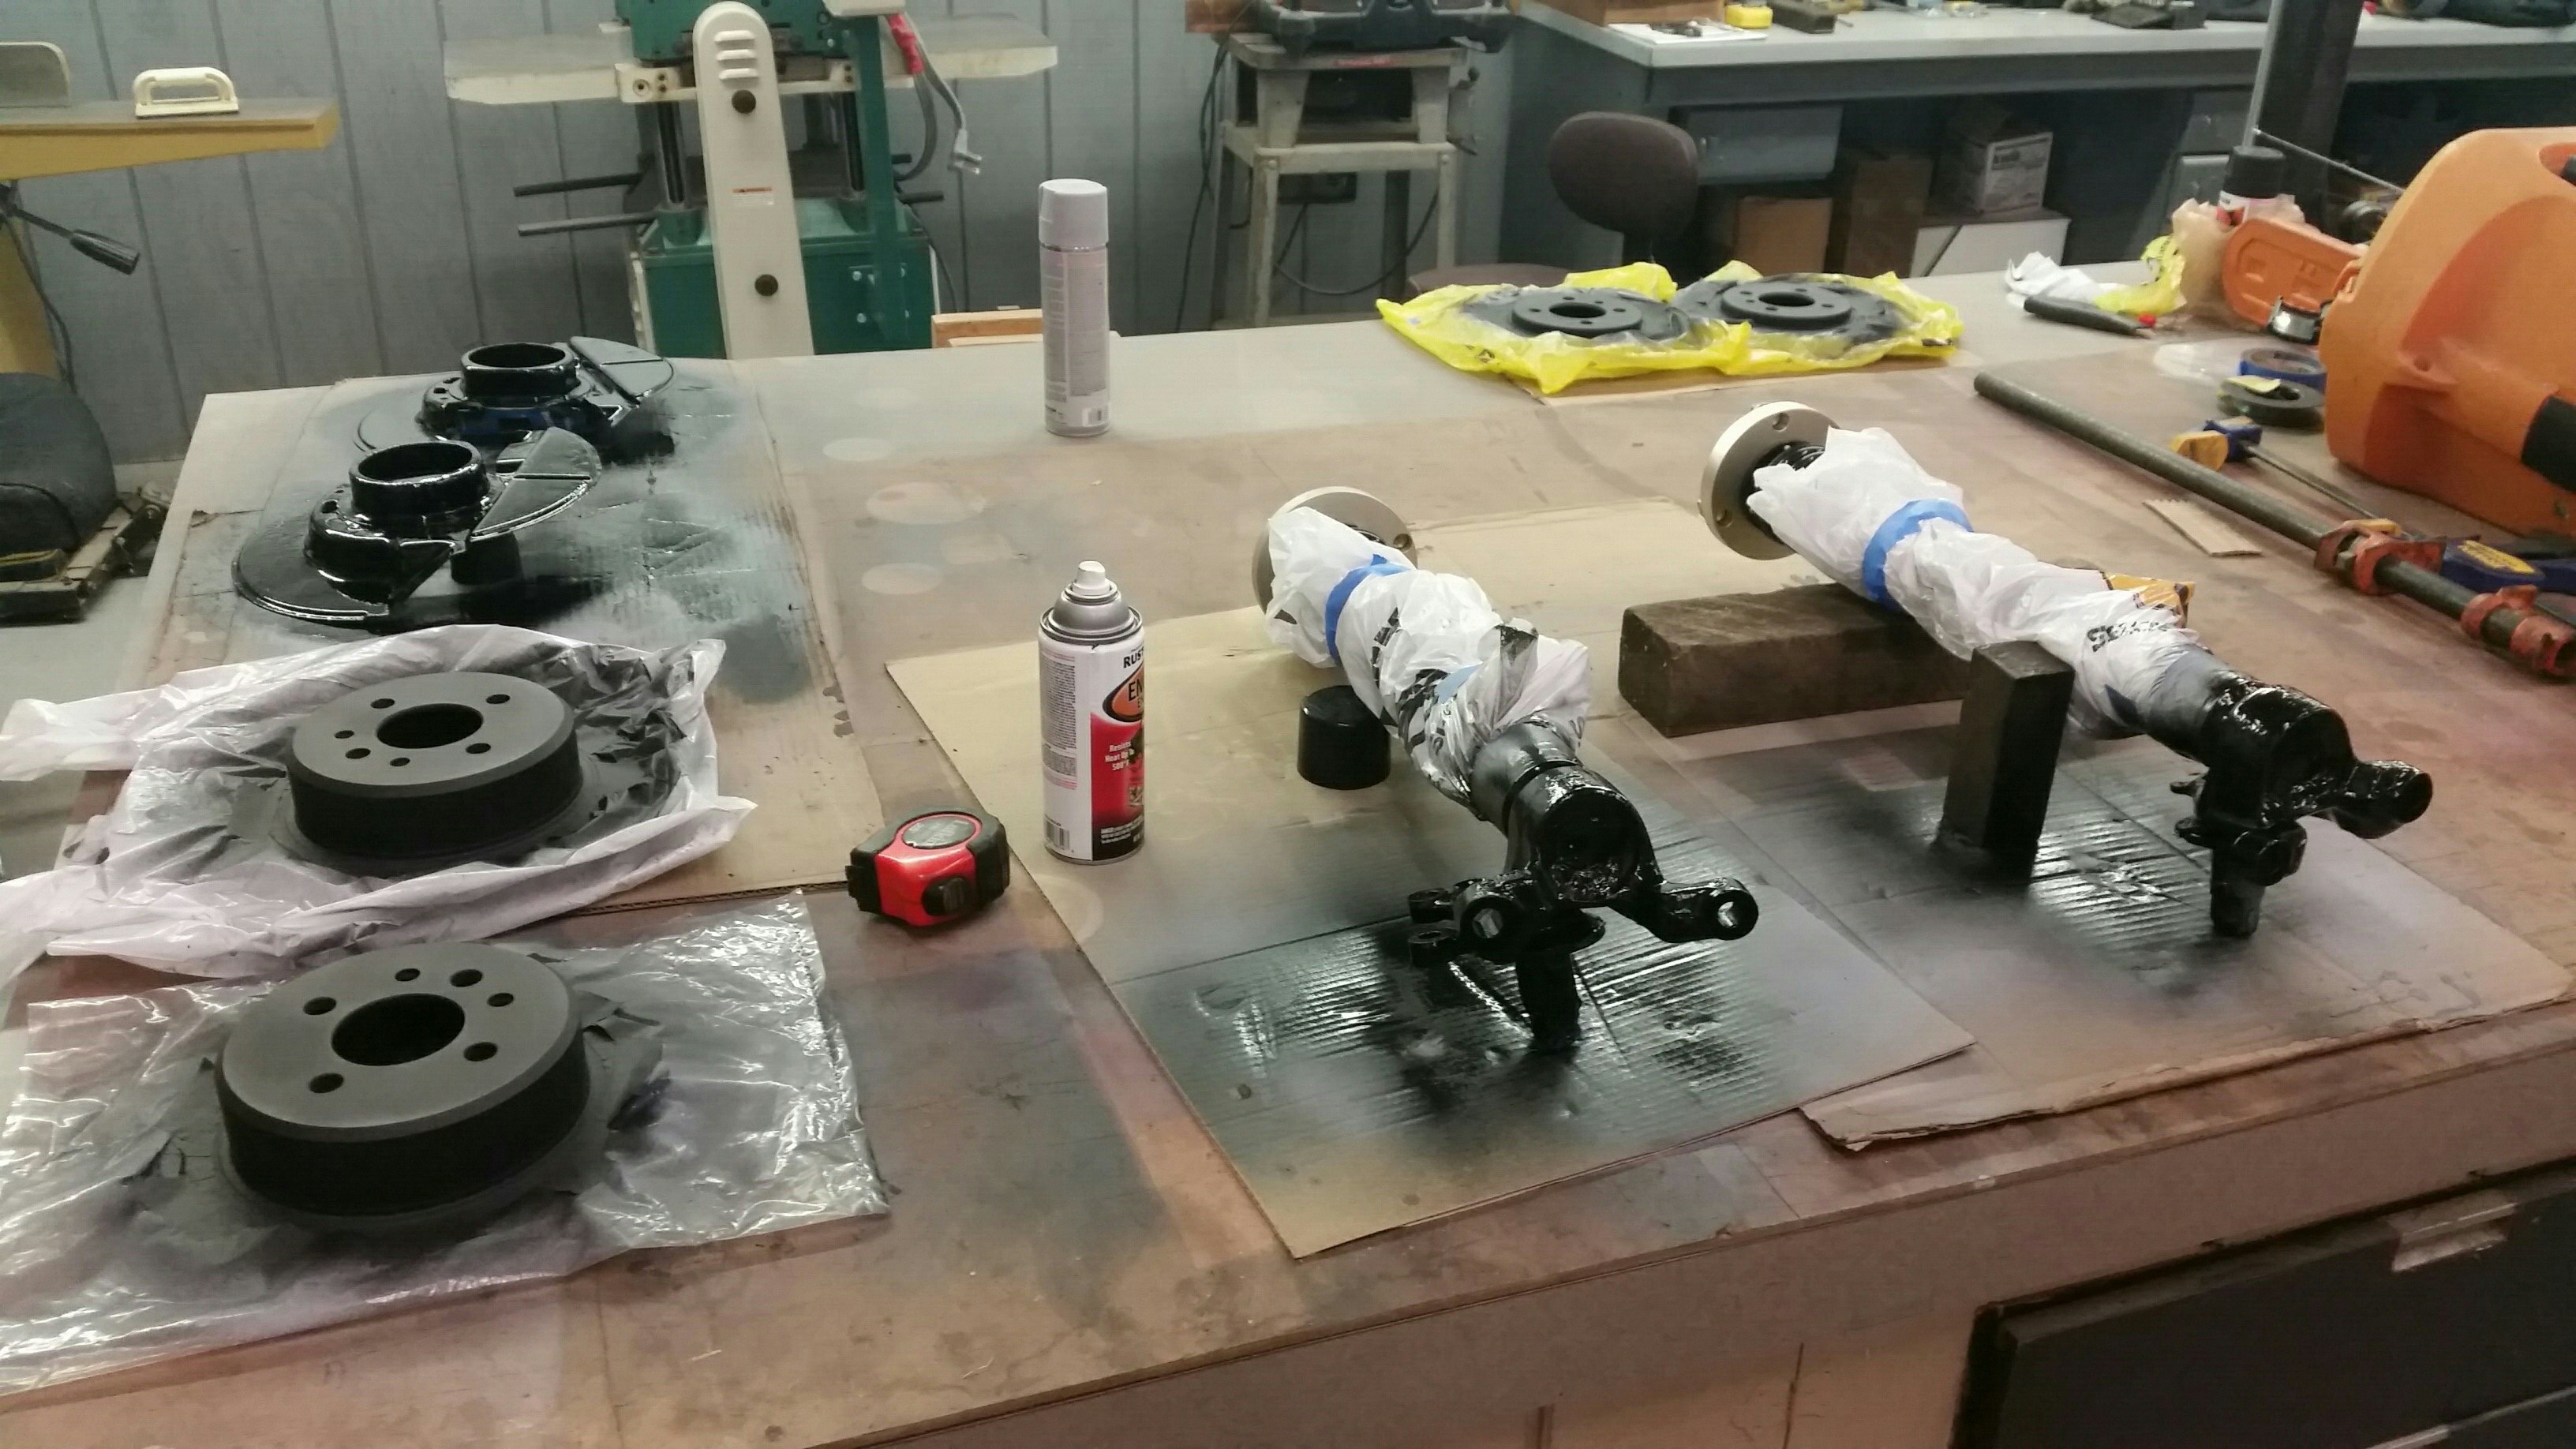
Sent them off to get powder-coated on Monday as well as the brake calipers and a few other things, hoping to see them done early next week. Once they are back I can start reassembling the rear end.
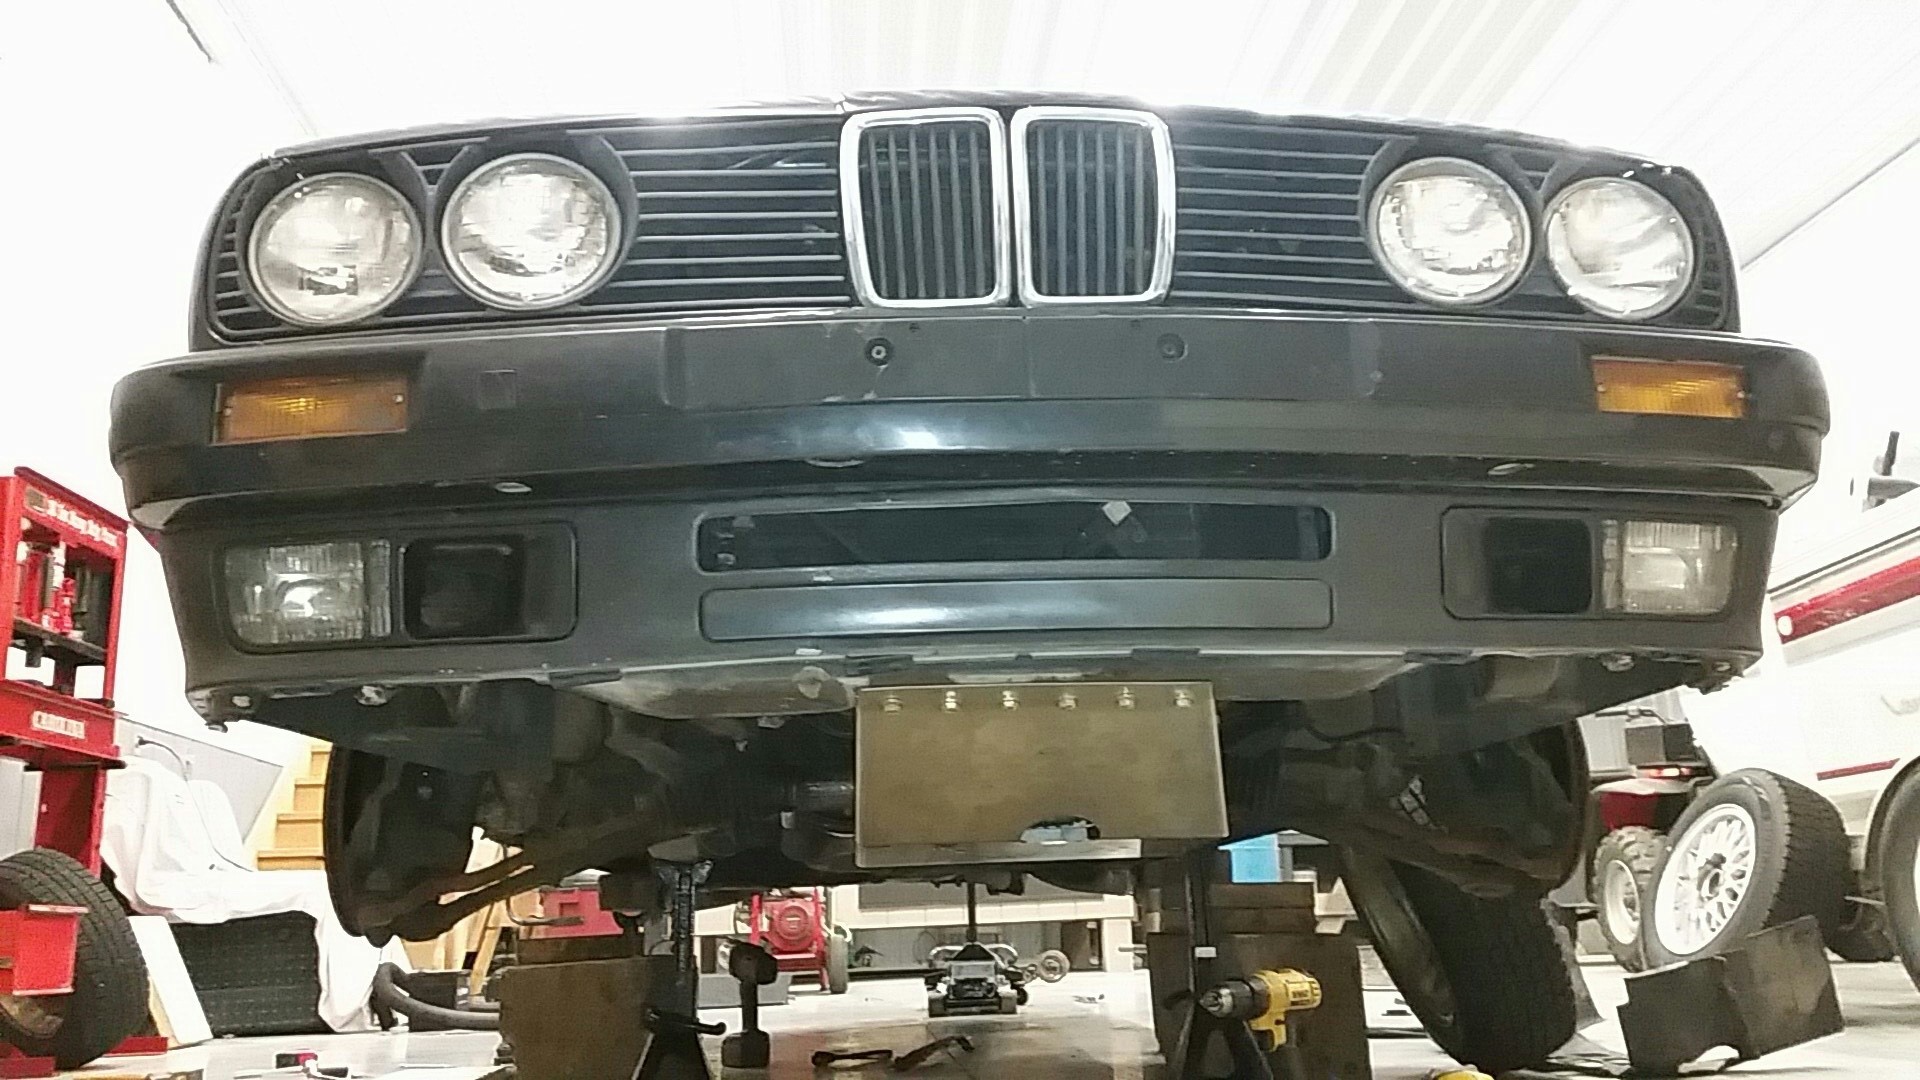
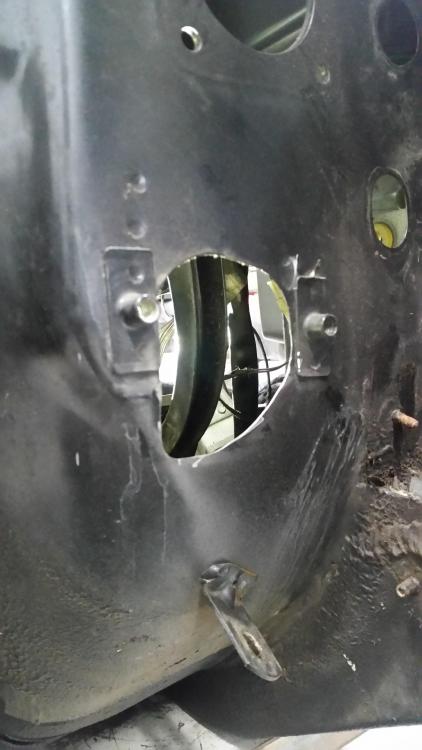
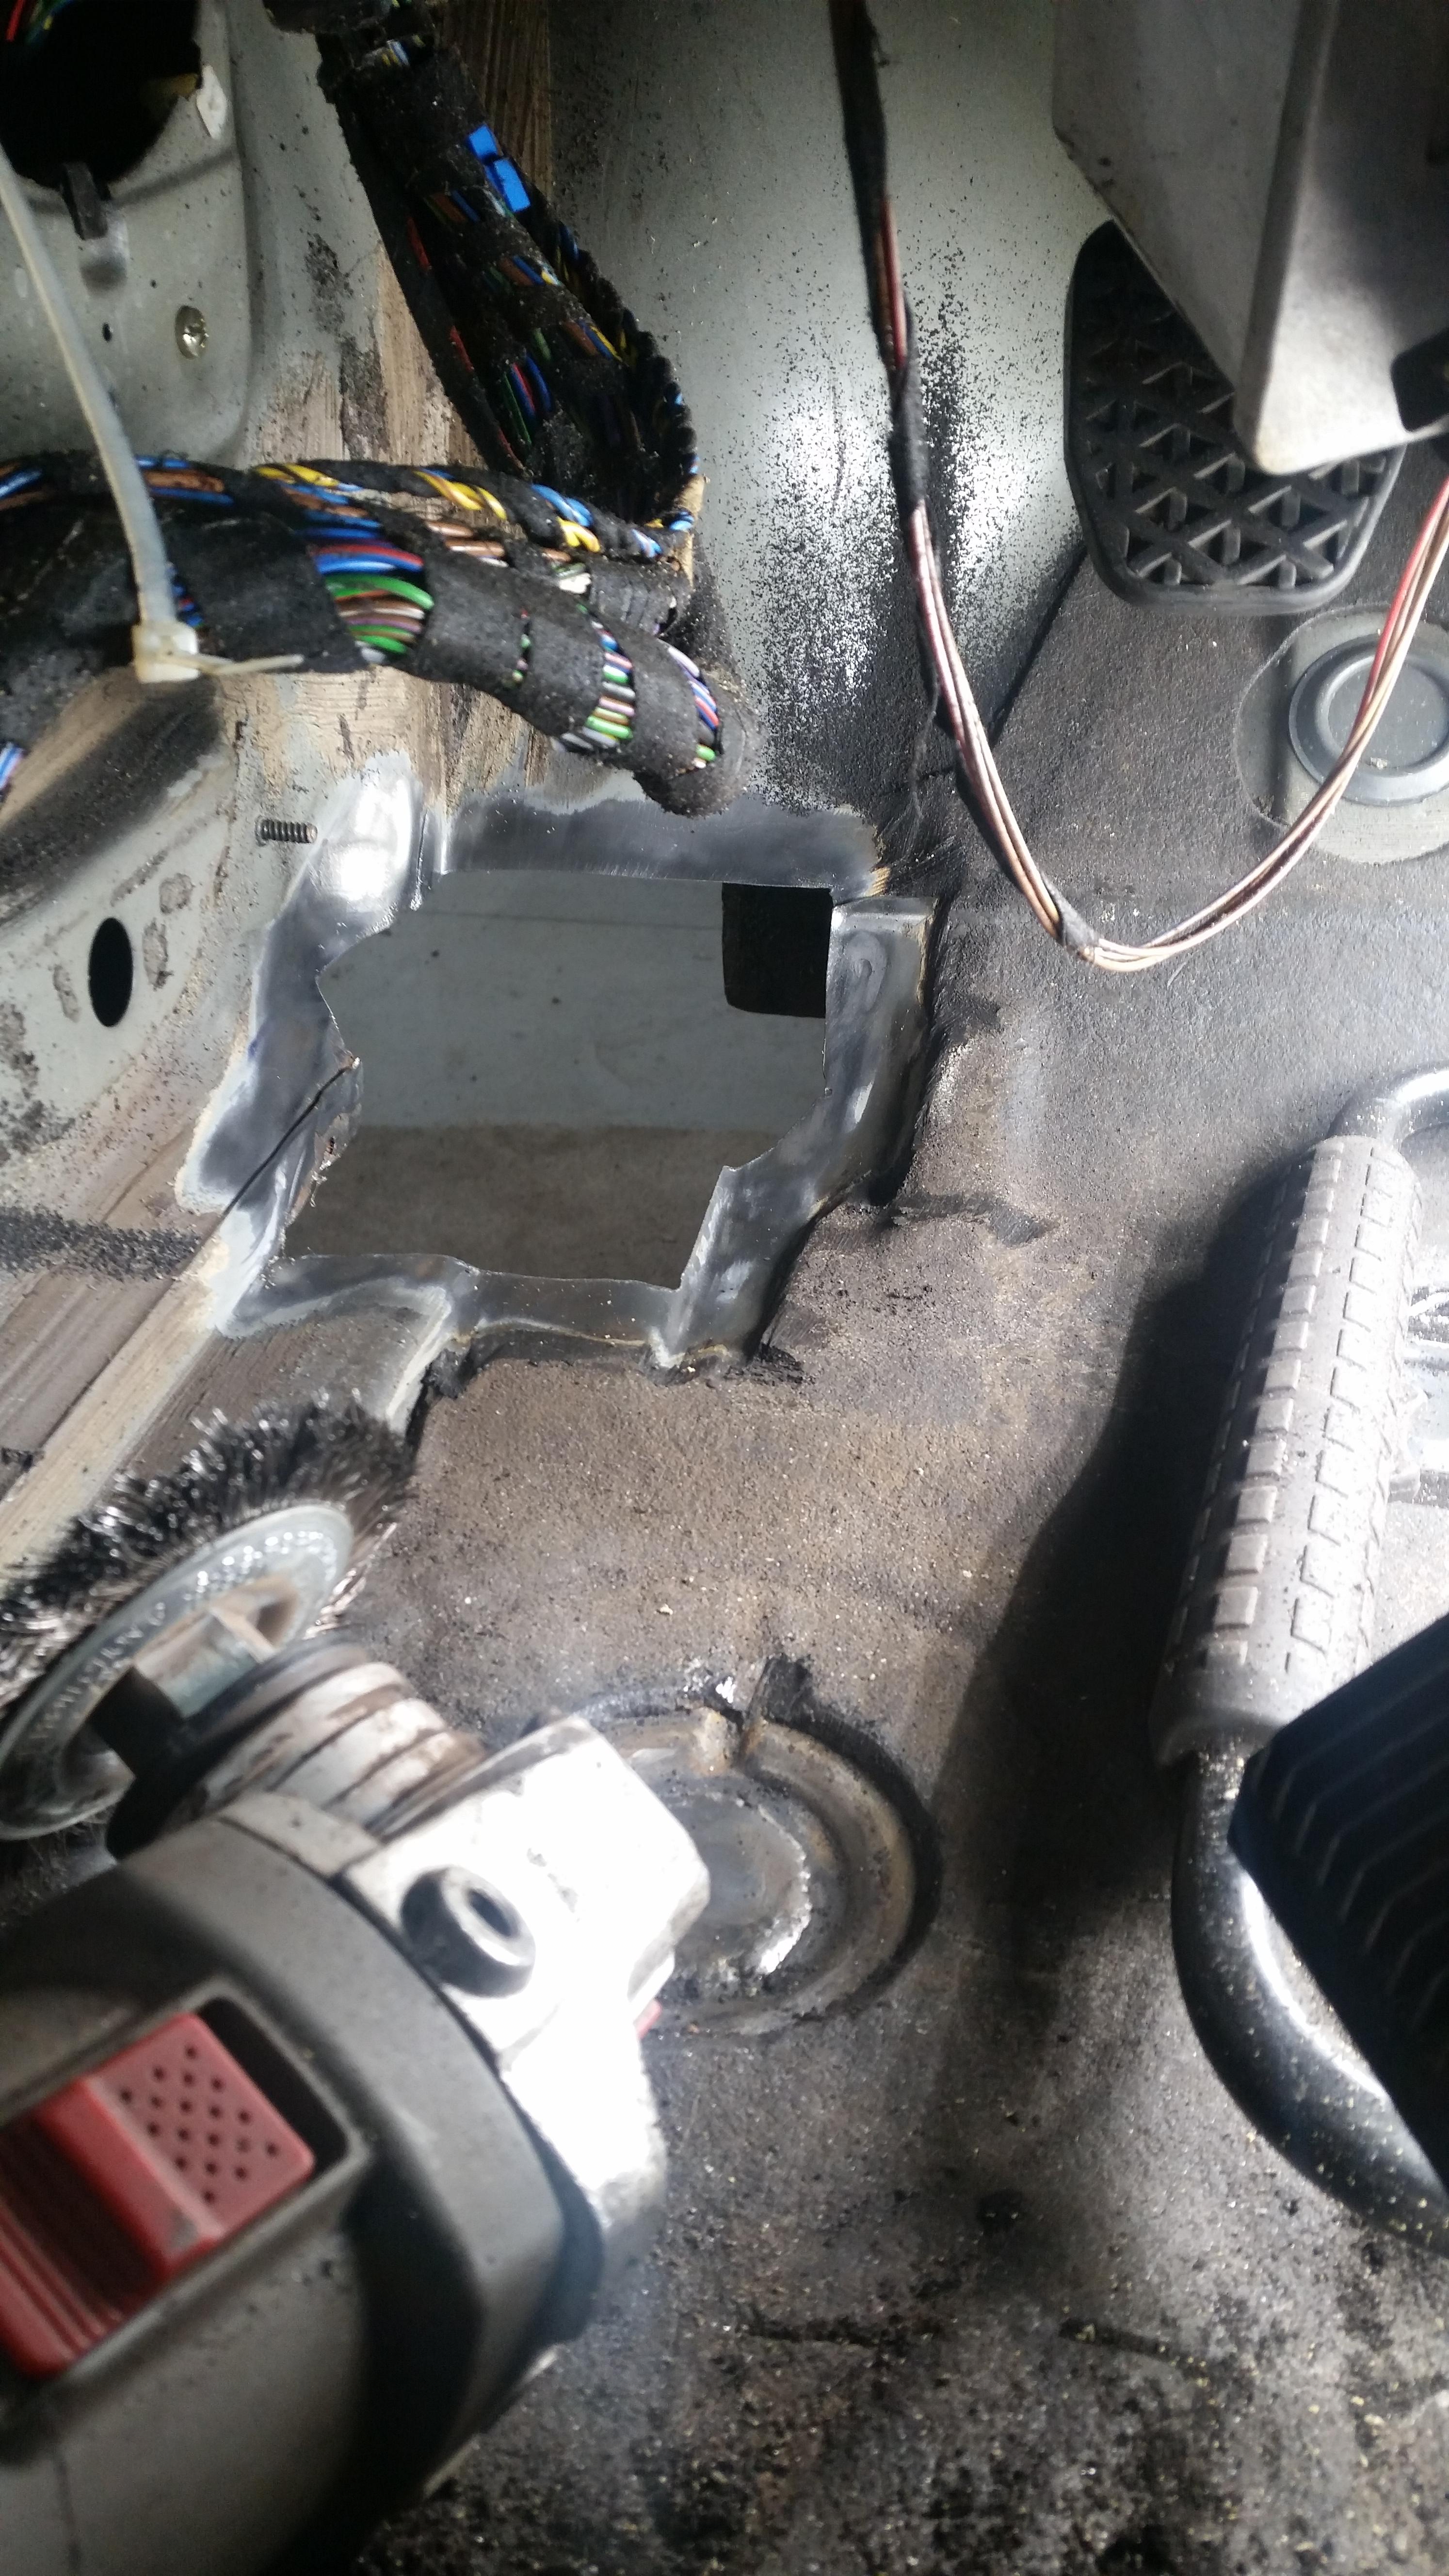
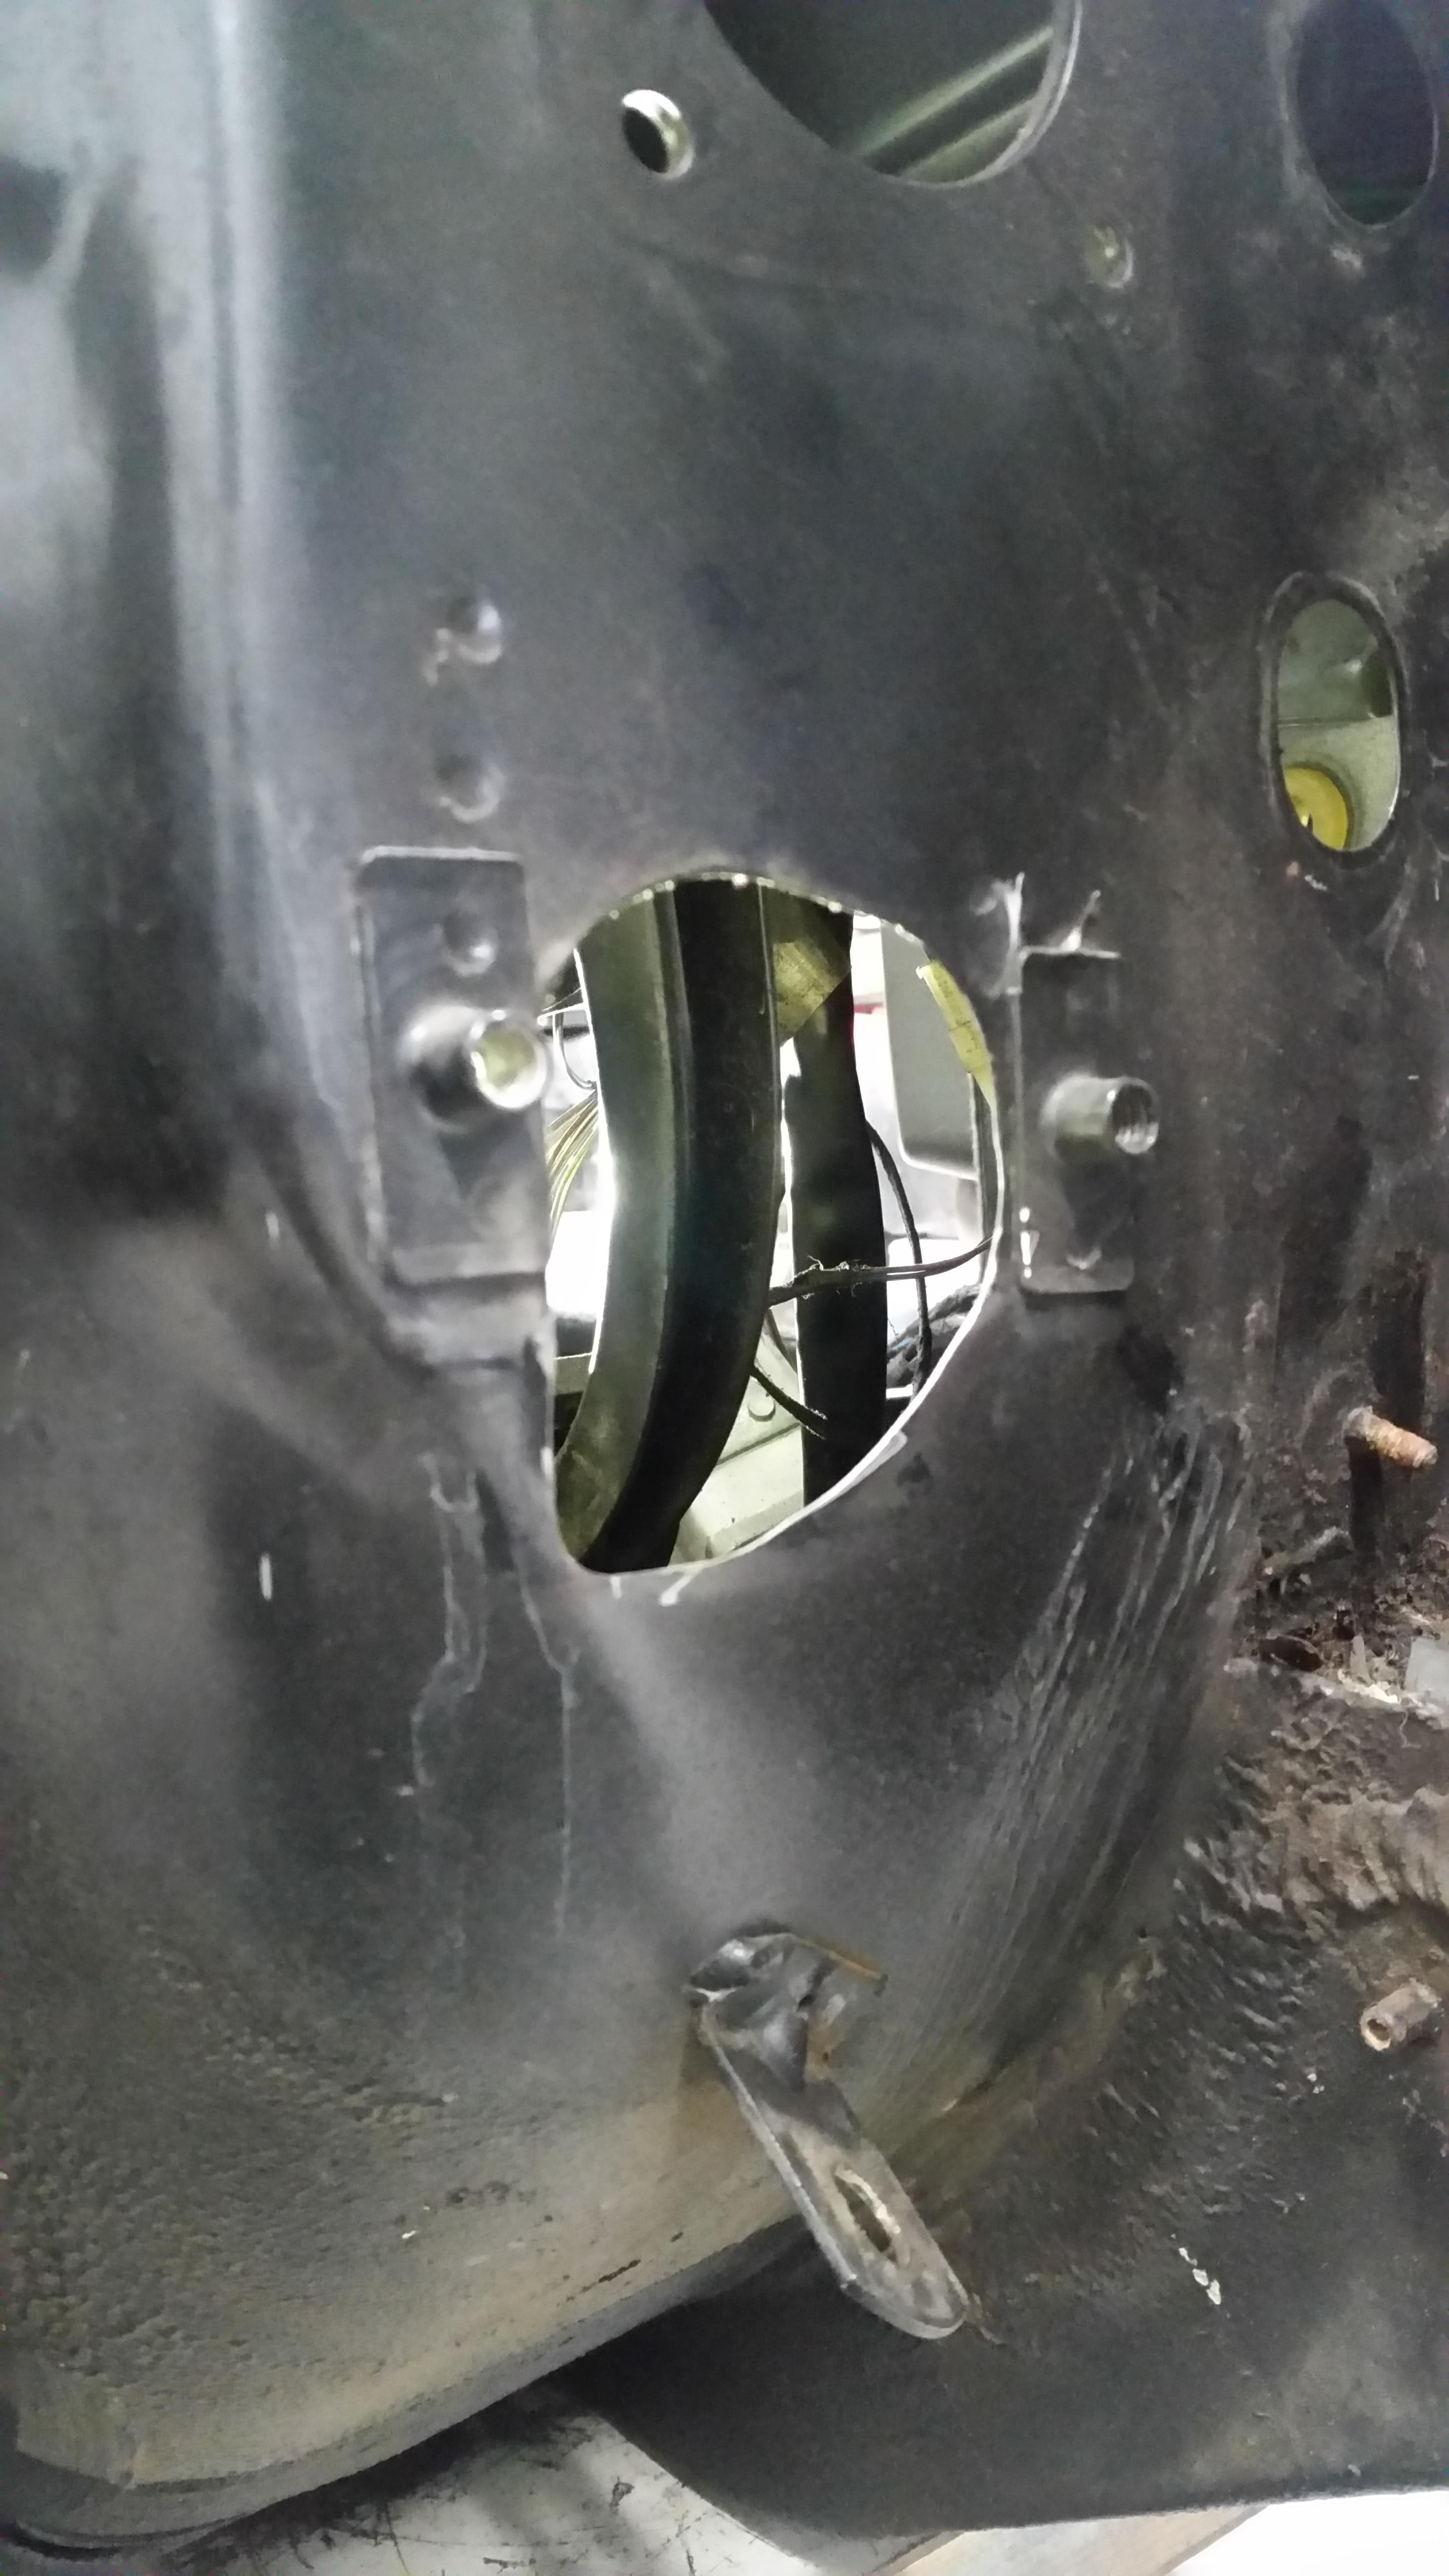
Before painting the bay I went ahead and cut the hole out larger for the e36 rack, crossing my fingers that's low enough for the steering shaft.
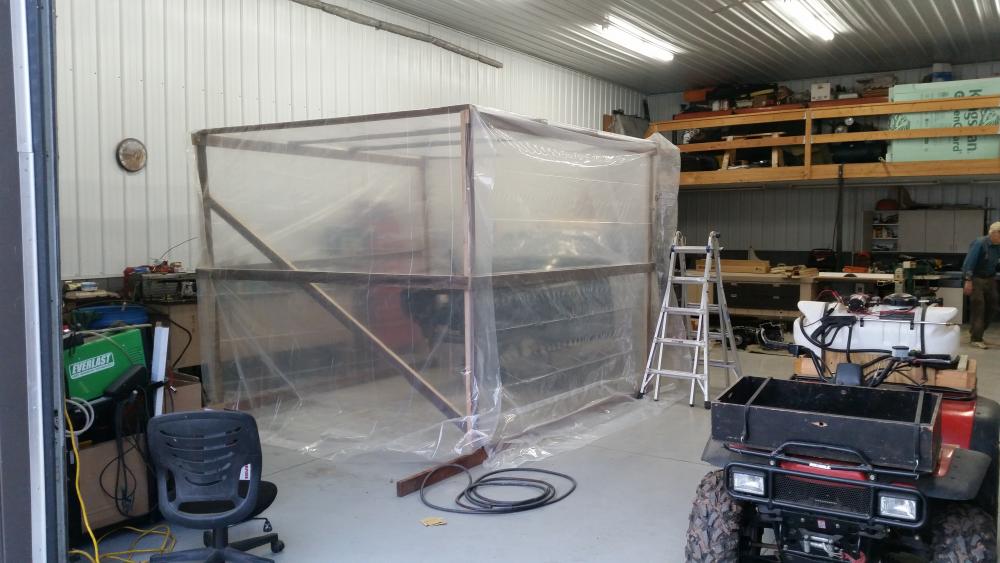
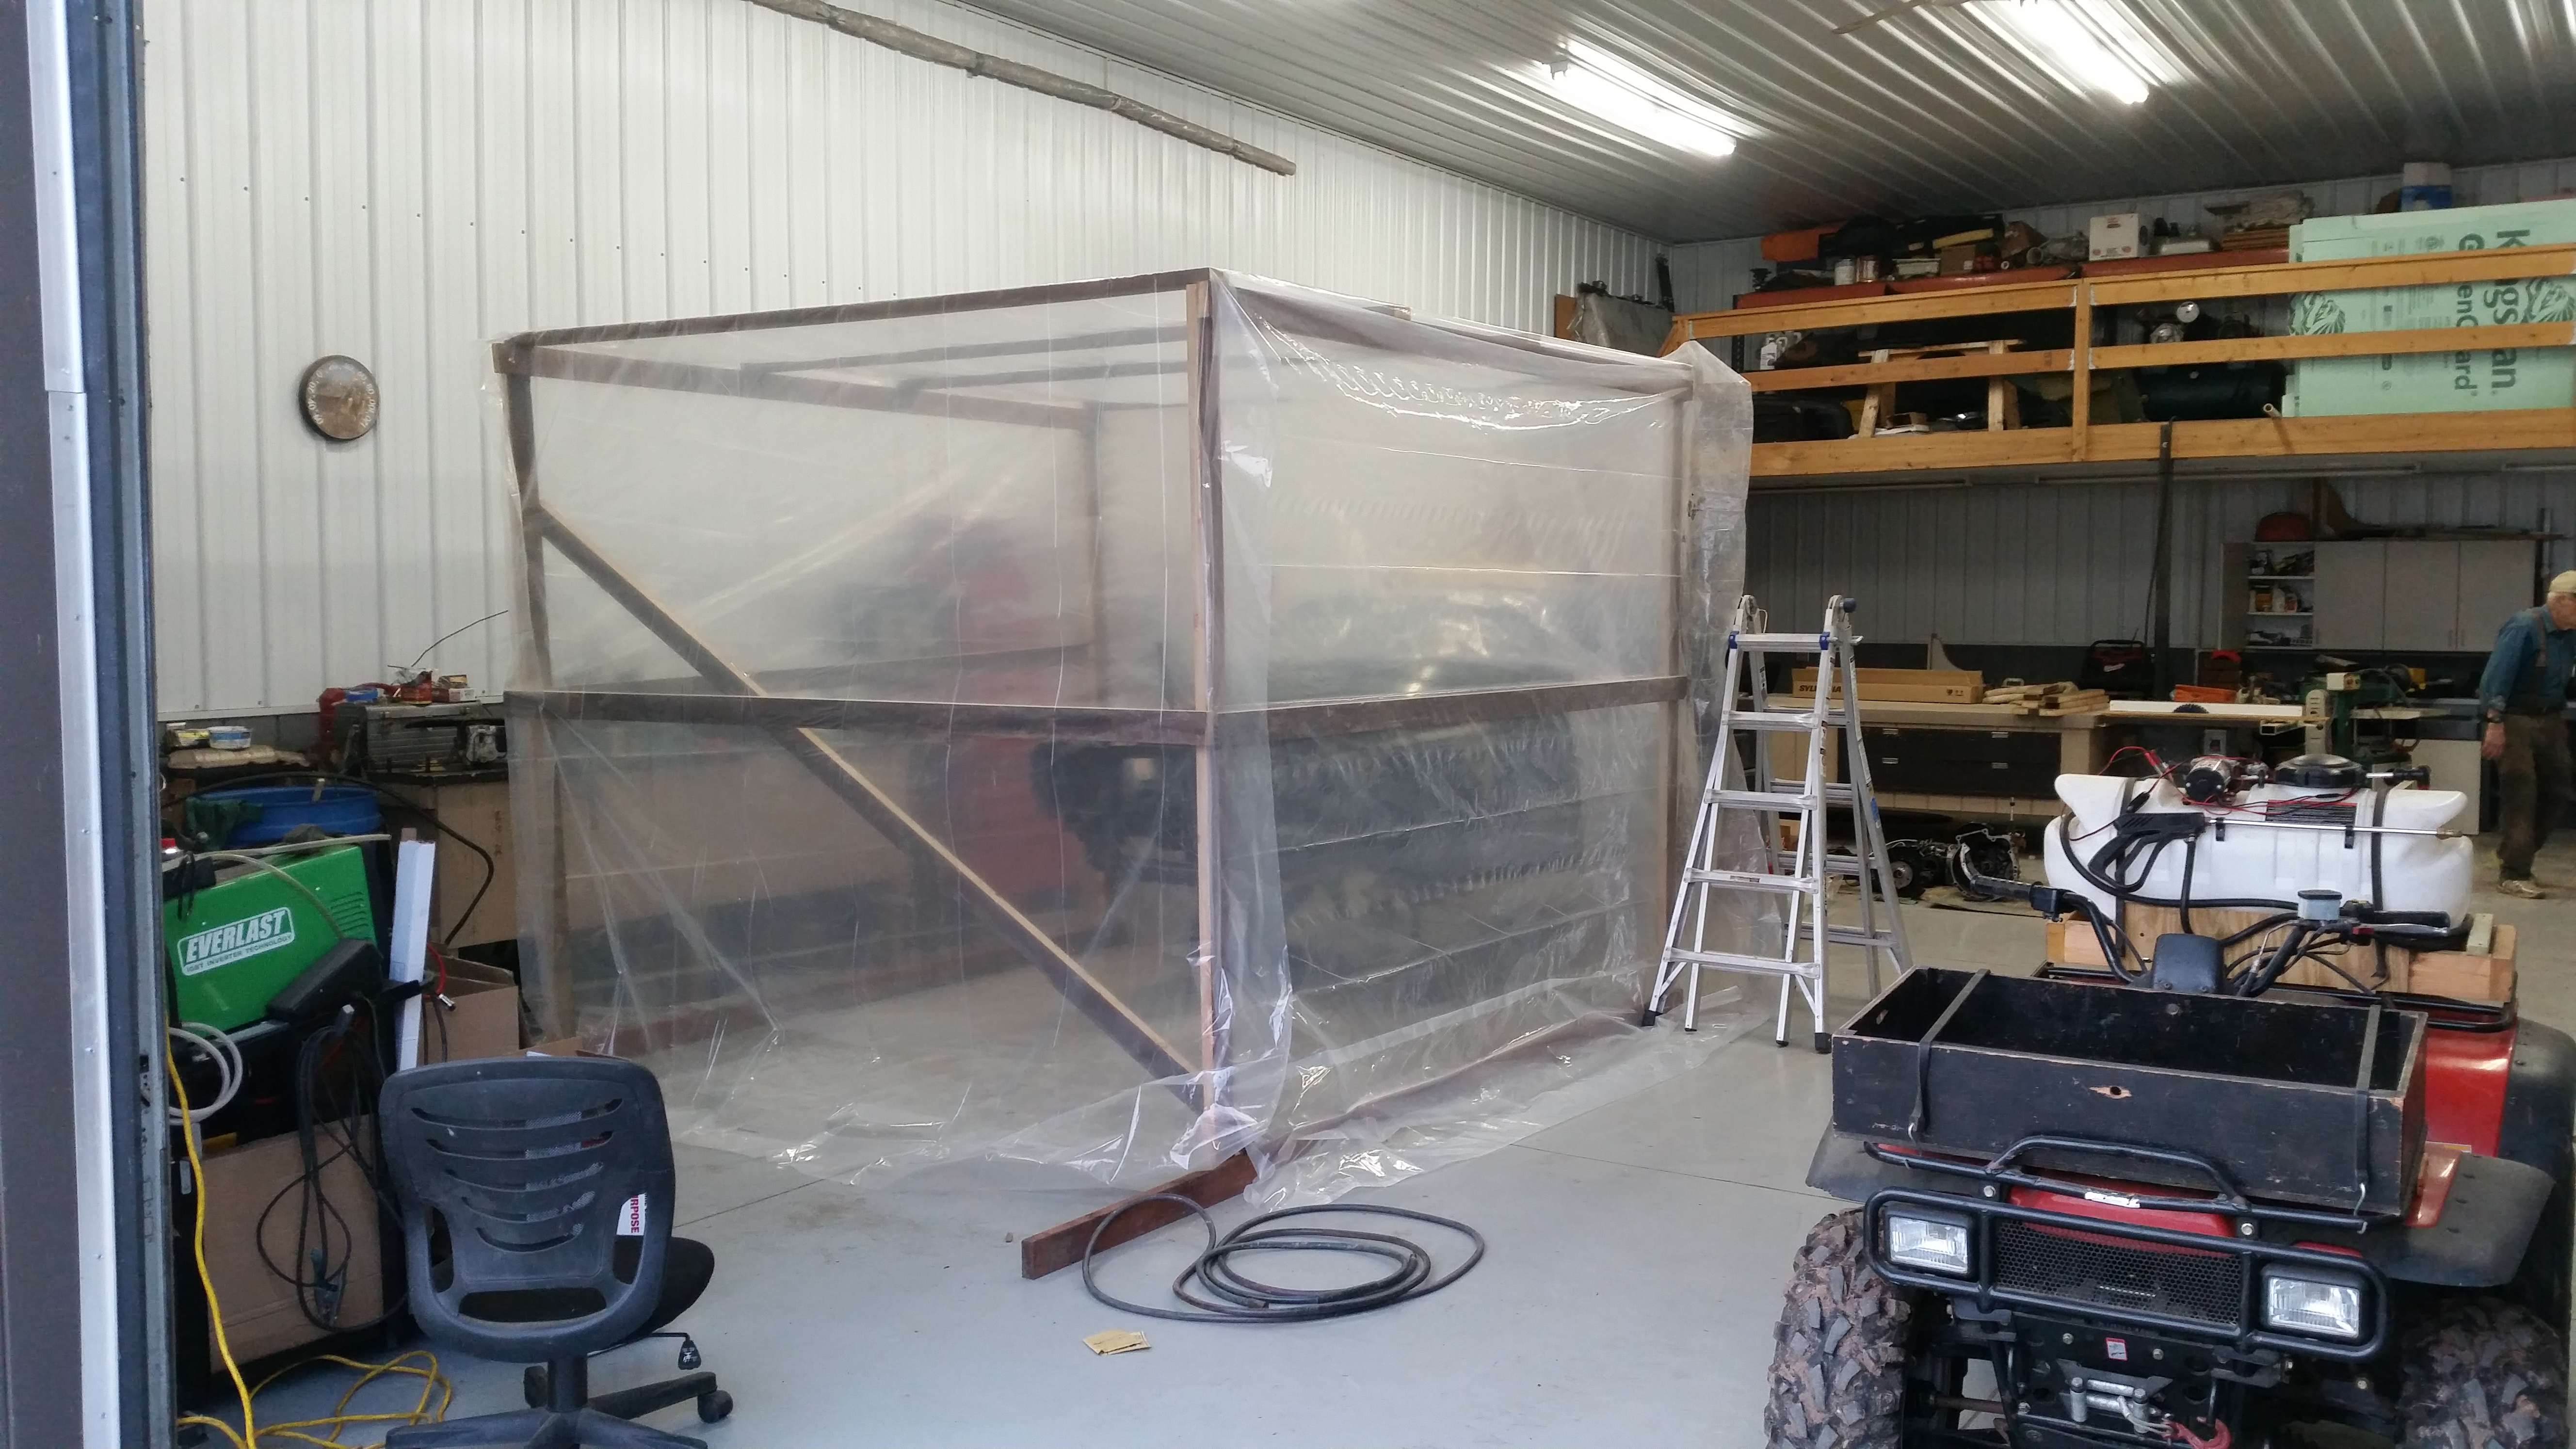
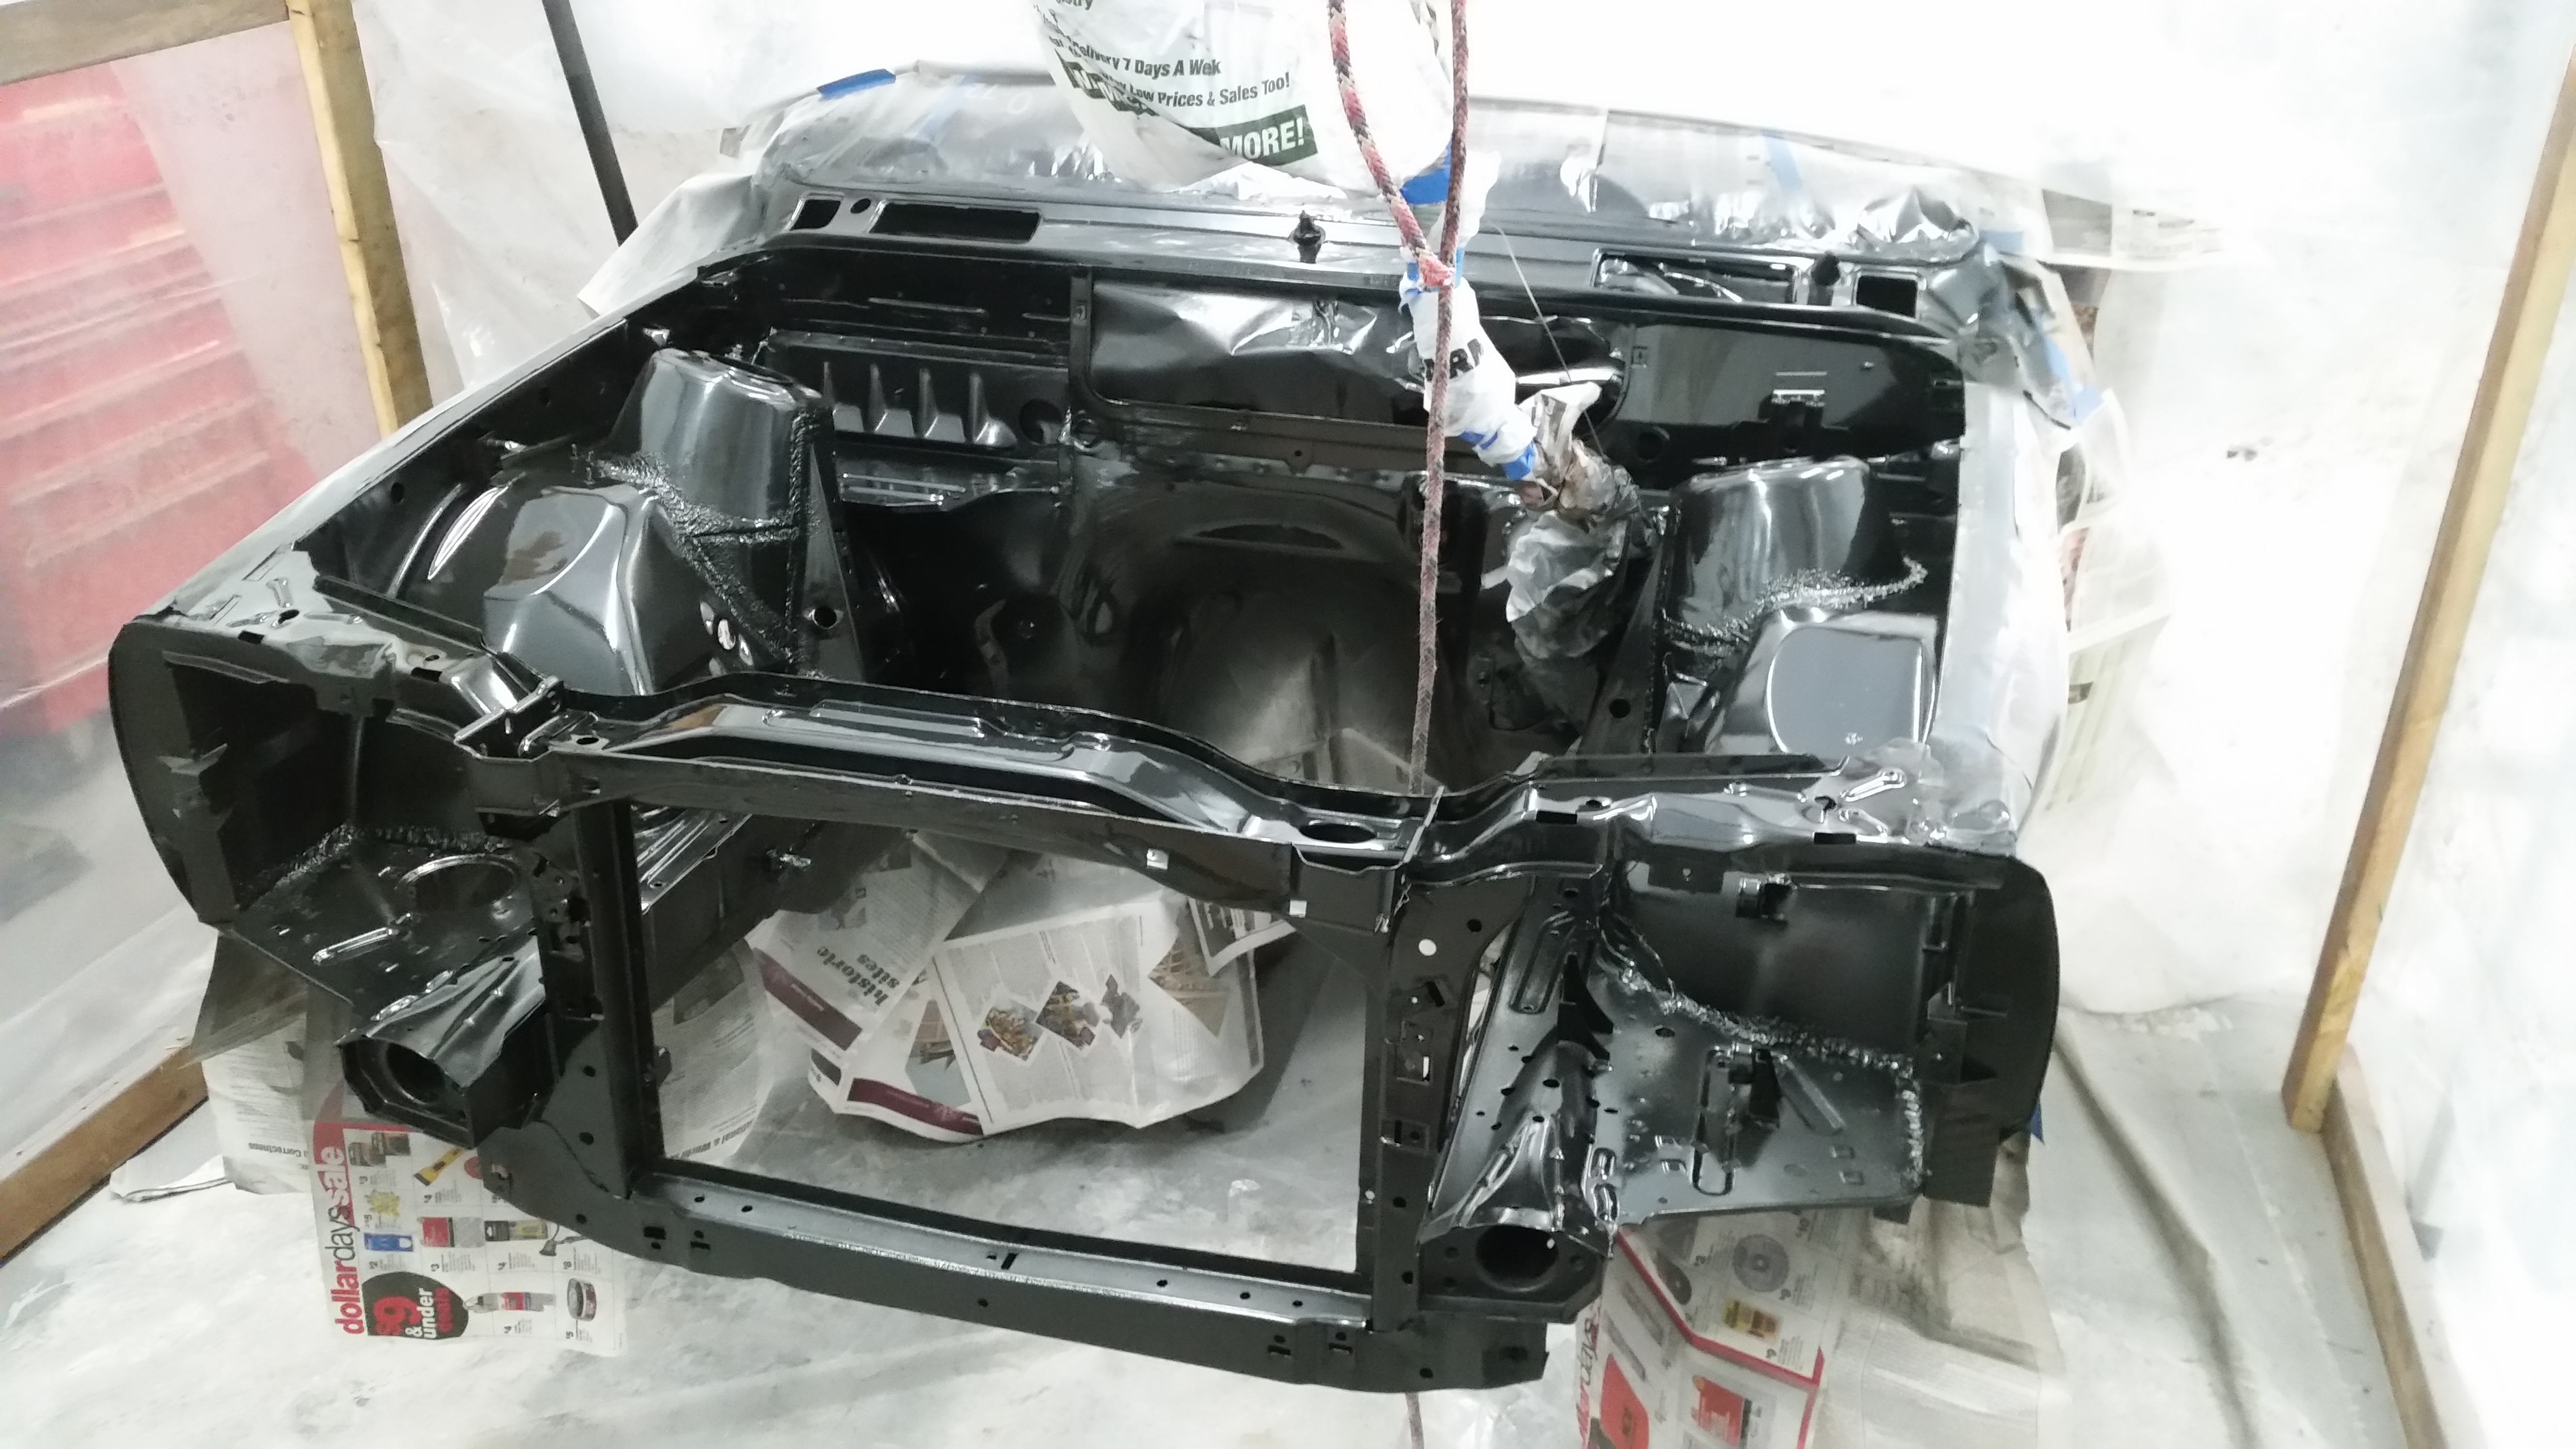
Custom paint booth made by my very own-self. Except for the fact that there was absolutely no ventilation and I probably breathed in more paint fumes then a single person should in a lifetime it worked out pretty well.
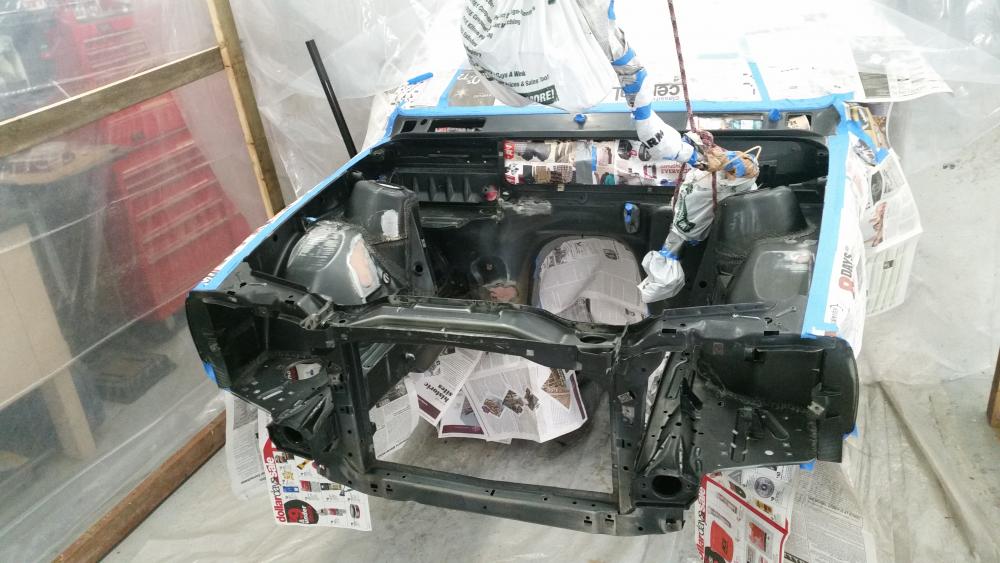
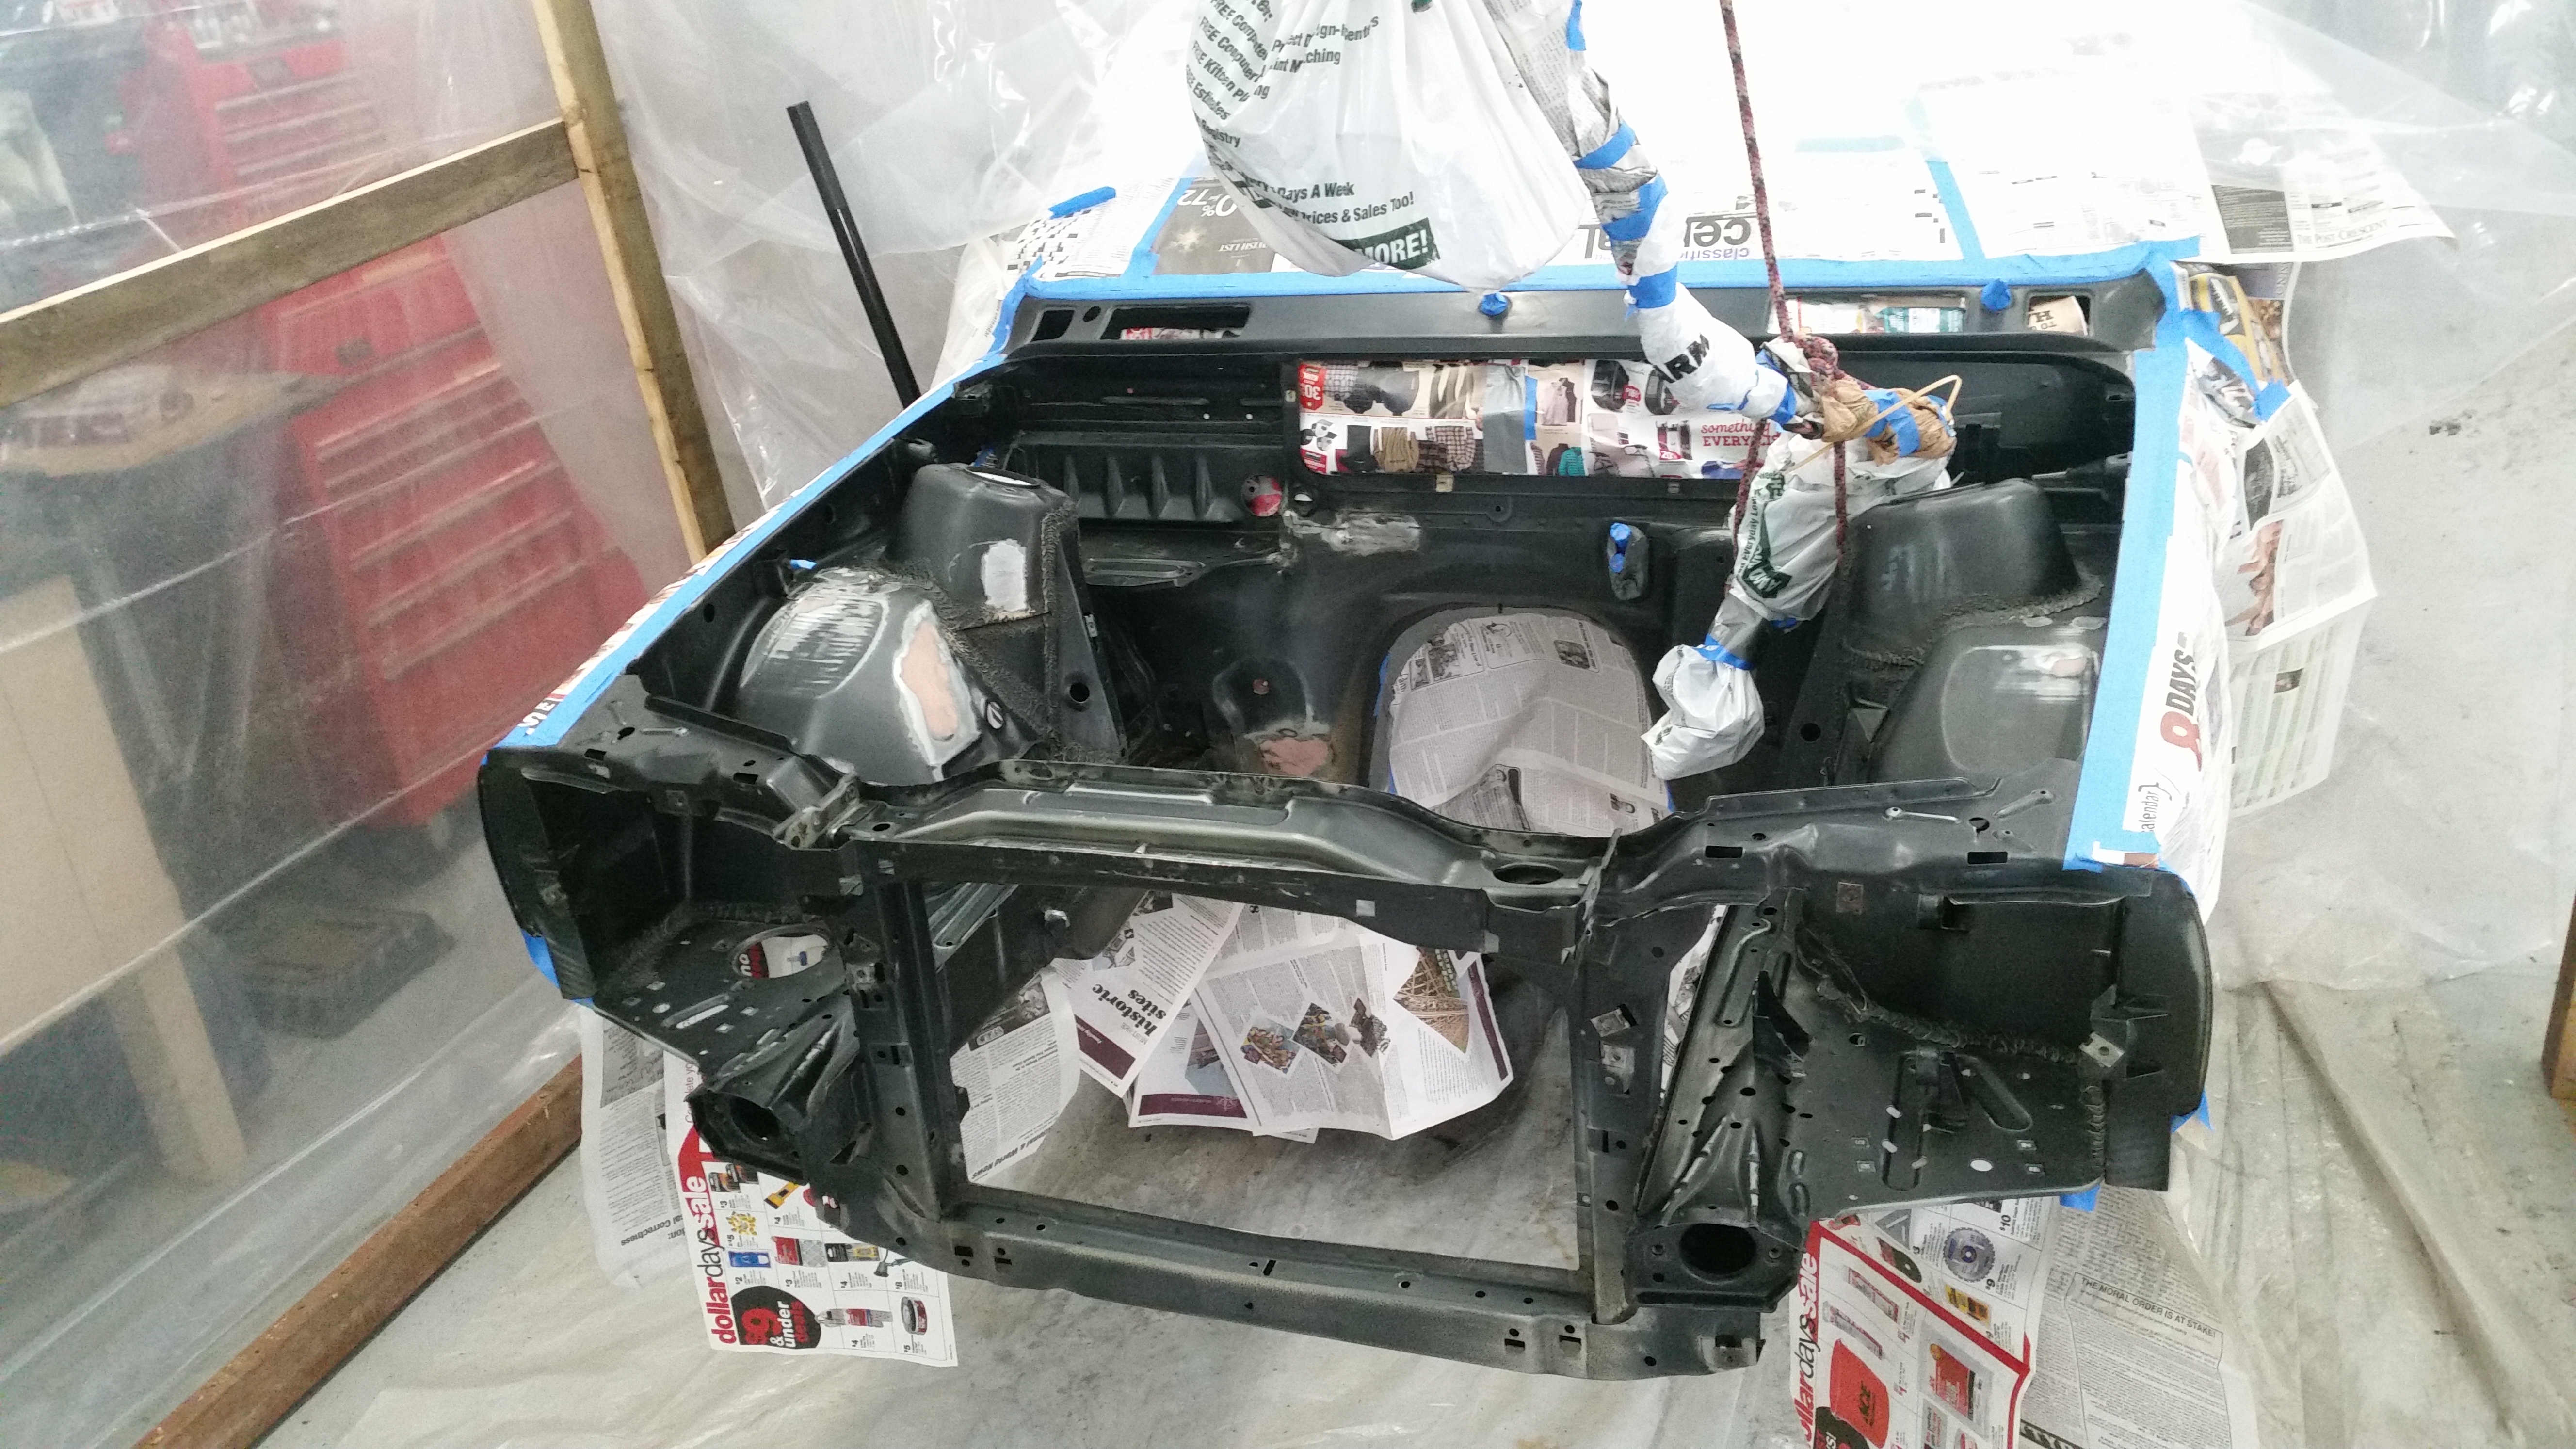
3 rounds of simple green degreasing, a little bondoing of some holes from drilling out some brackets no longer needed, go back over the bay twice with acetone and she's ready to paint.
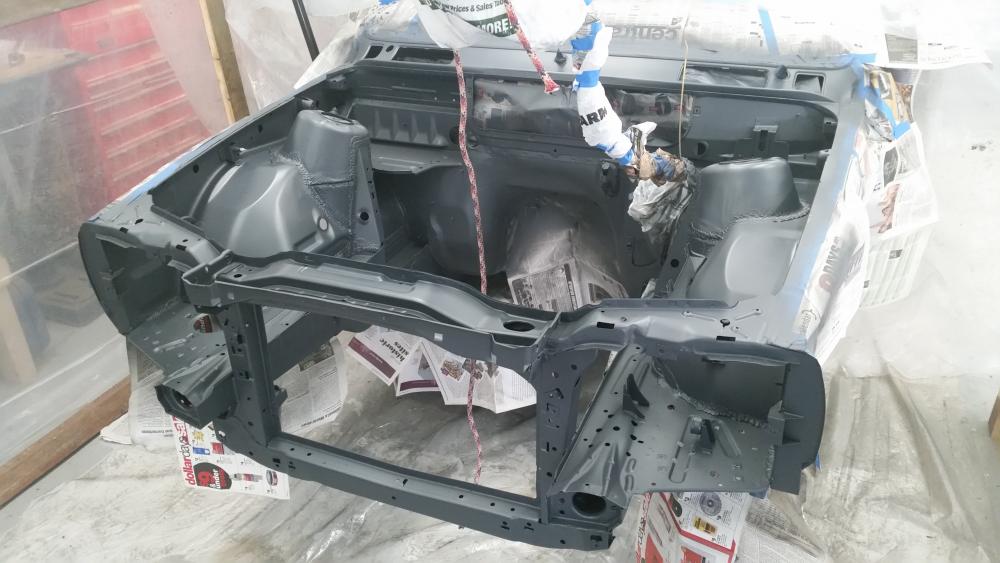
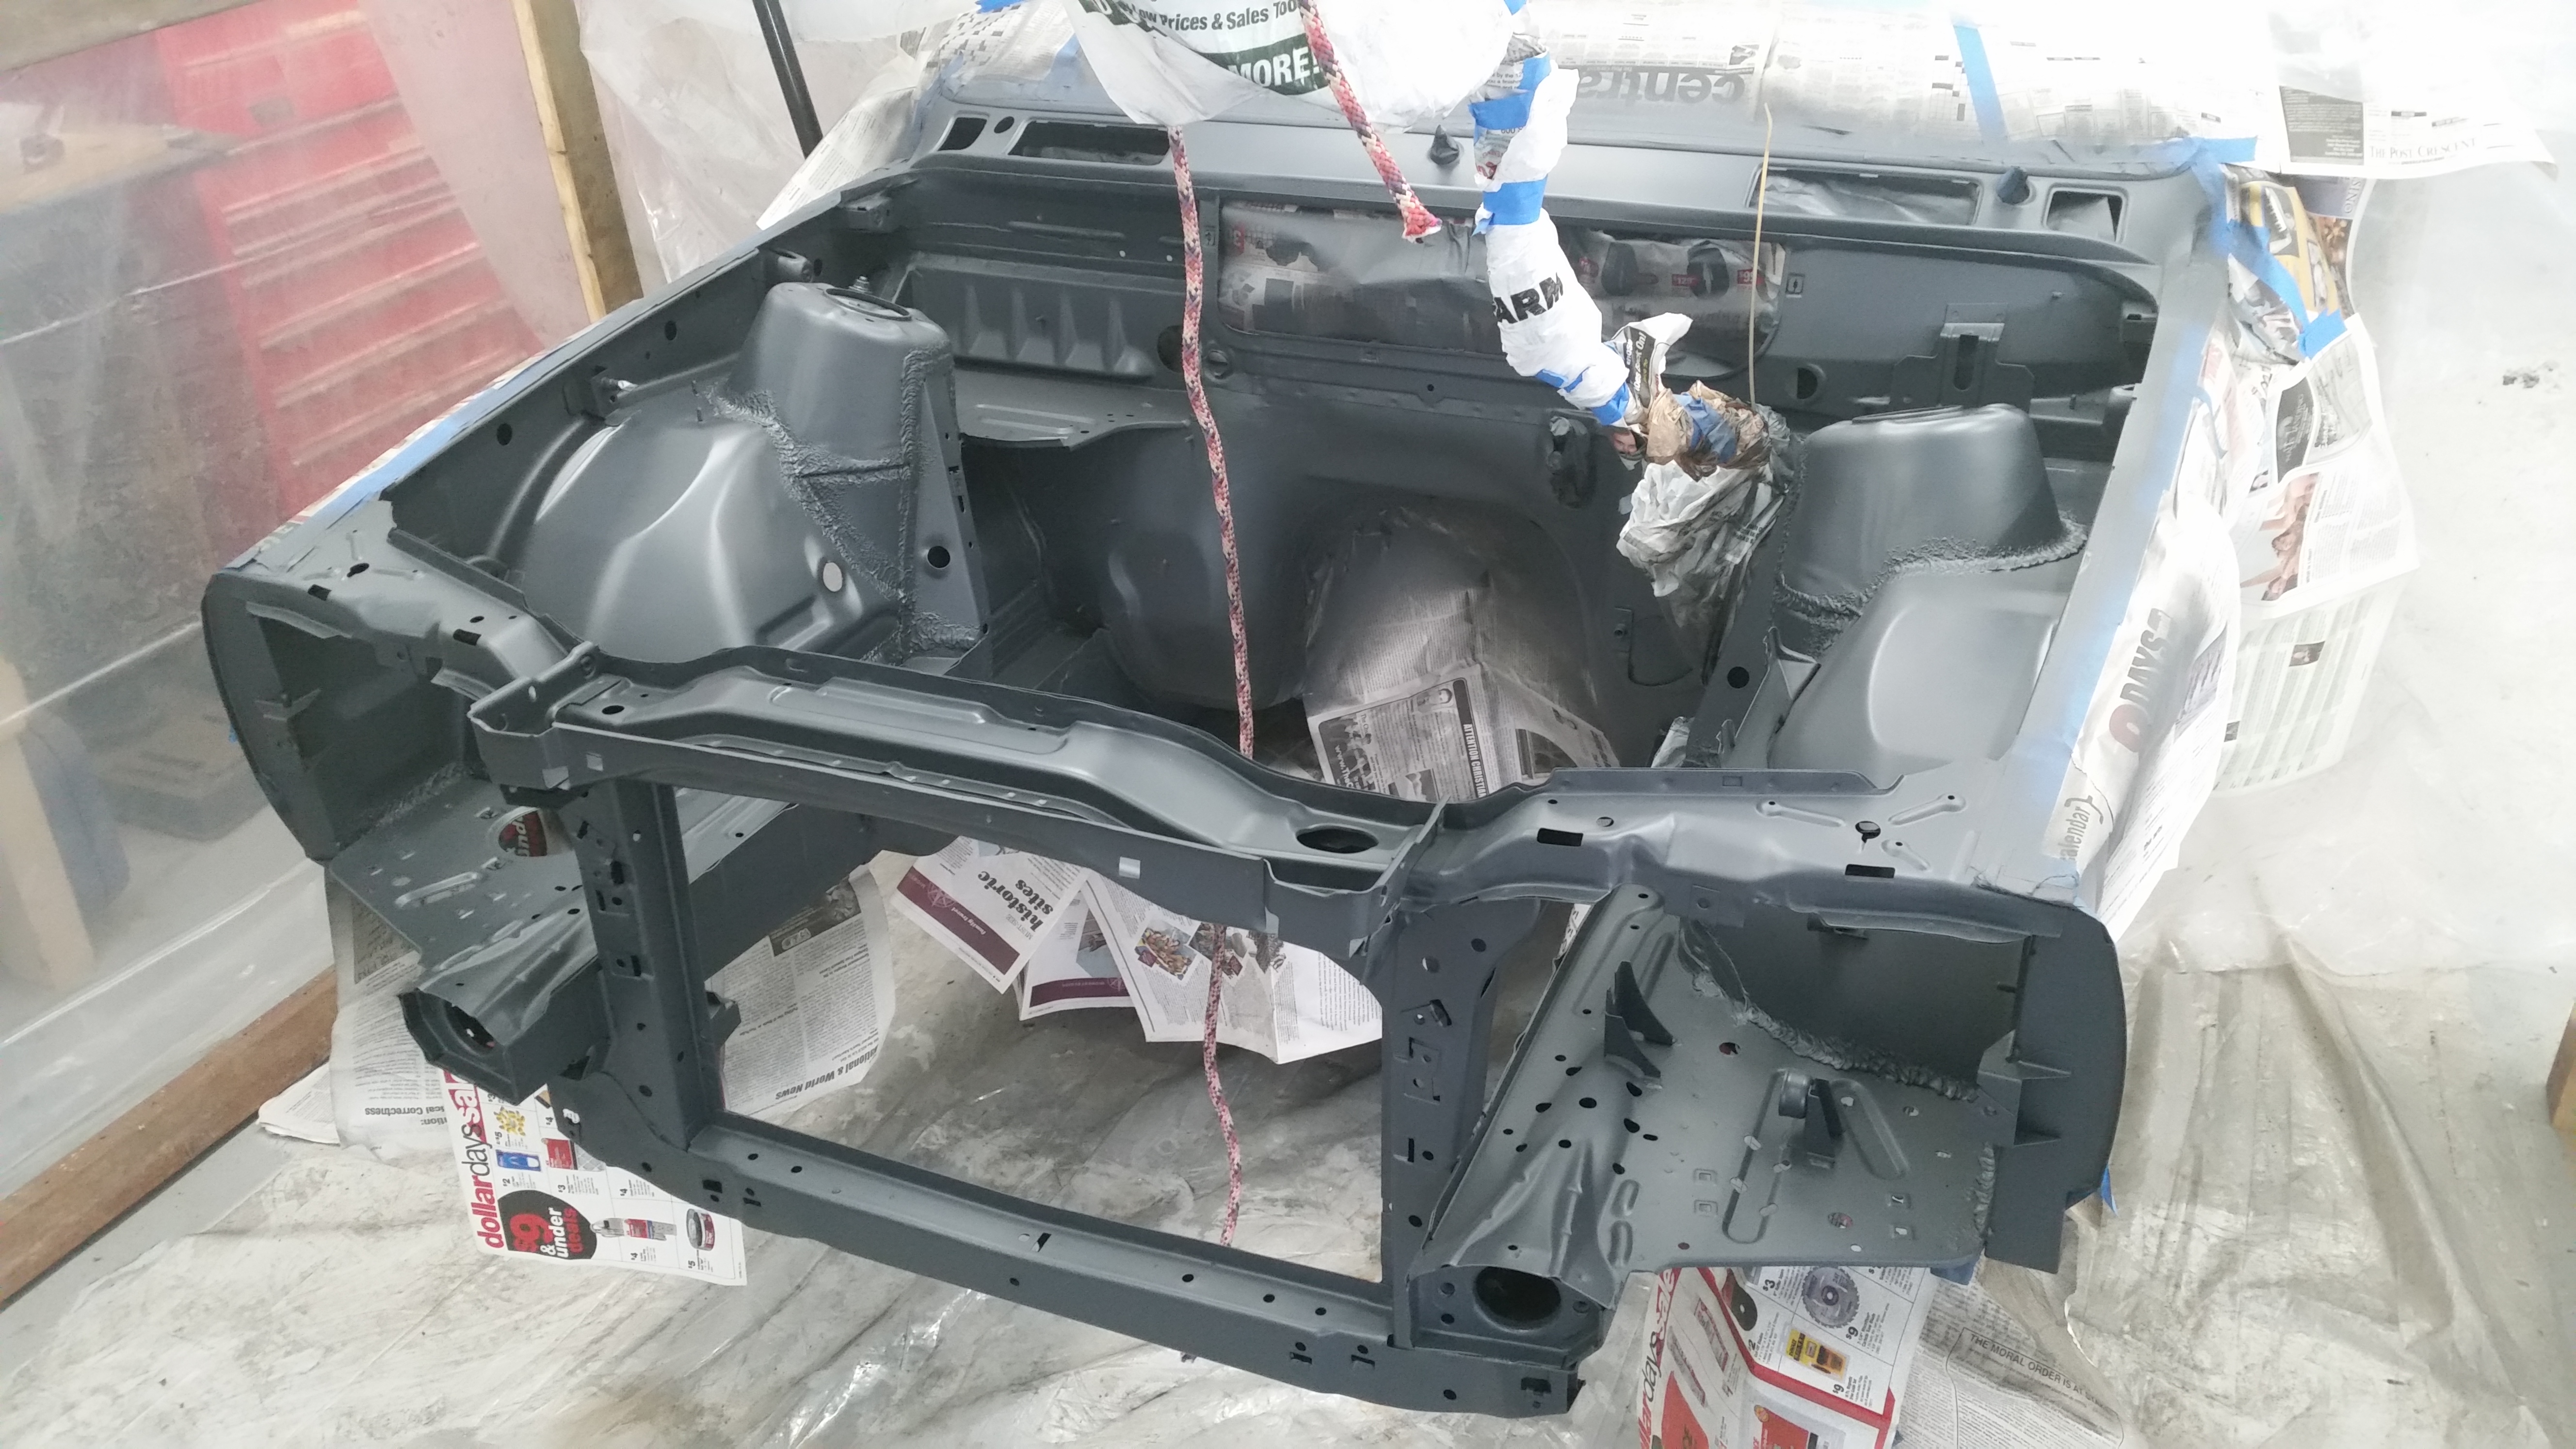
Went ahead and threw down a coat of sealer before the paint to help with adhesion, gave it about 3 hours to set up and its painting time!
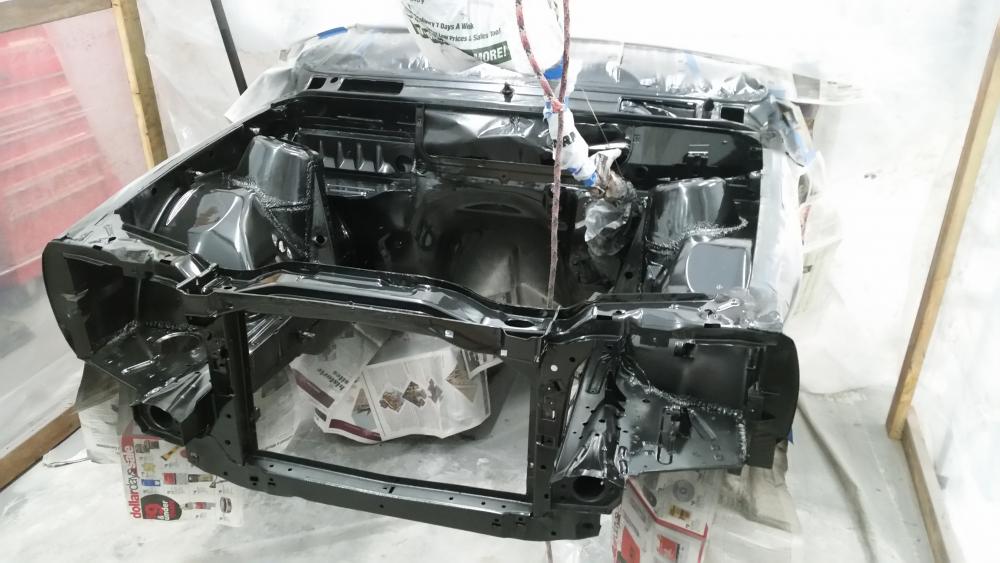
and done. Nothing special but much better then what it was. From this pic it doesn't look too bad but there are some imperfections here and there that I could have avoided with some better prep work but I'm gonna give myself some slack being that this is my first time doing anything like this at this level, all part of the learning experience I suppose.
-
Did the paint adhere well to the seam sealer stuff?






Hello! It looks like you're interested in this conversation, but you don't have an account yet.
Getting fed up of having to scroll through the same posts each visit? When you register for an account, you'll always come back to exactly where you were before, and choose to be notified of new replies (either via email, or push notification). You'll also be able to save bookmarks and upvote posts to show your appreciation to other community members.
With your input, this post could be even better 💗
Register Login