
the one and only e30 s52 engine swap
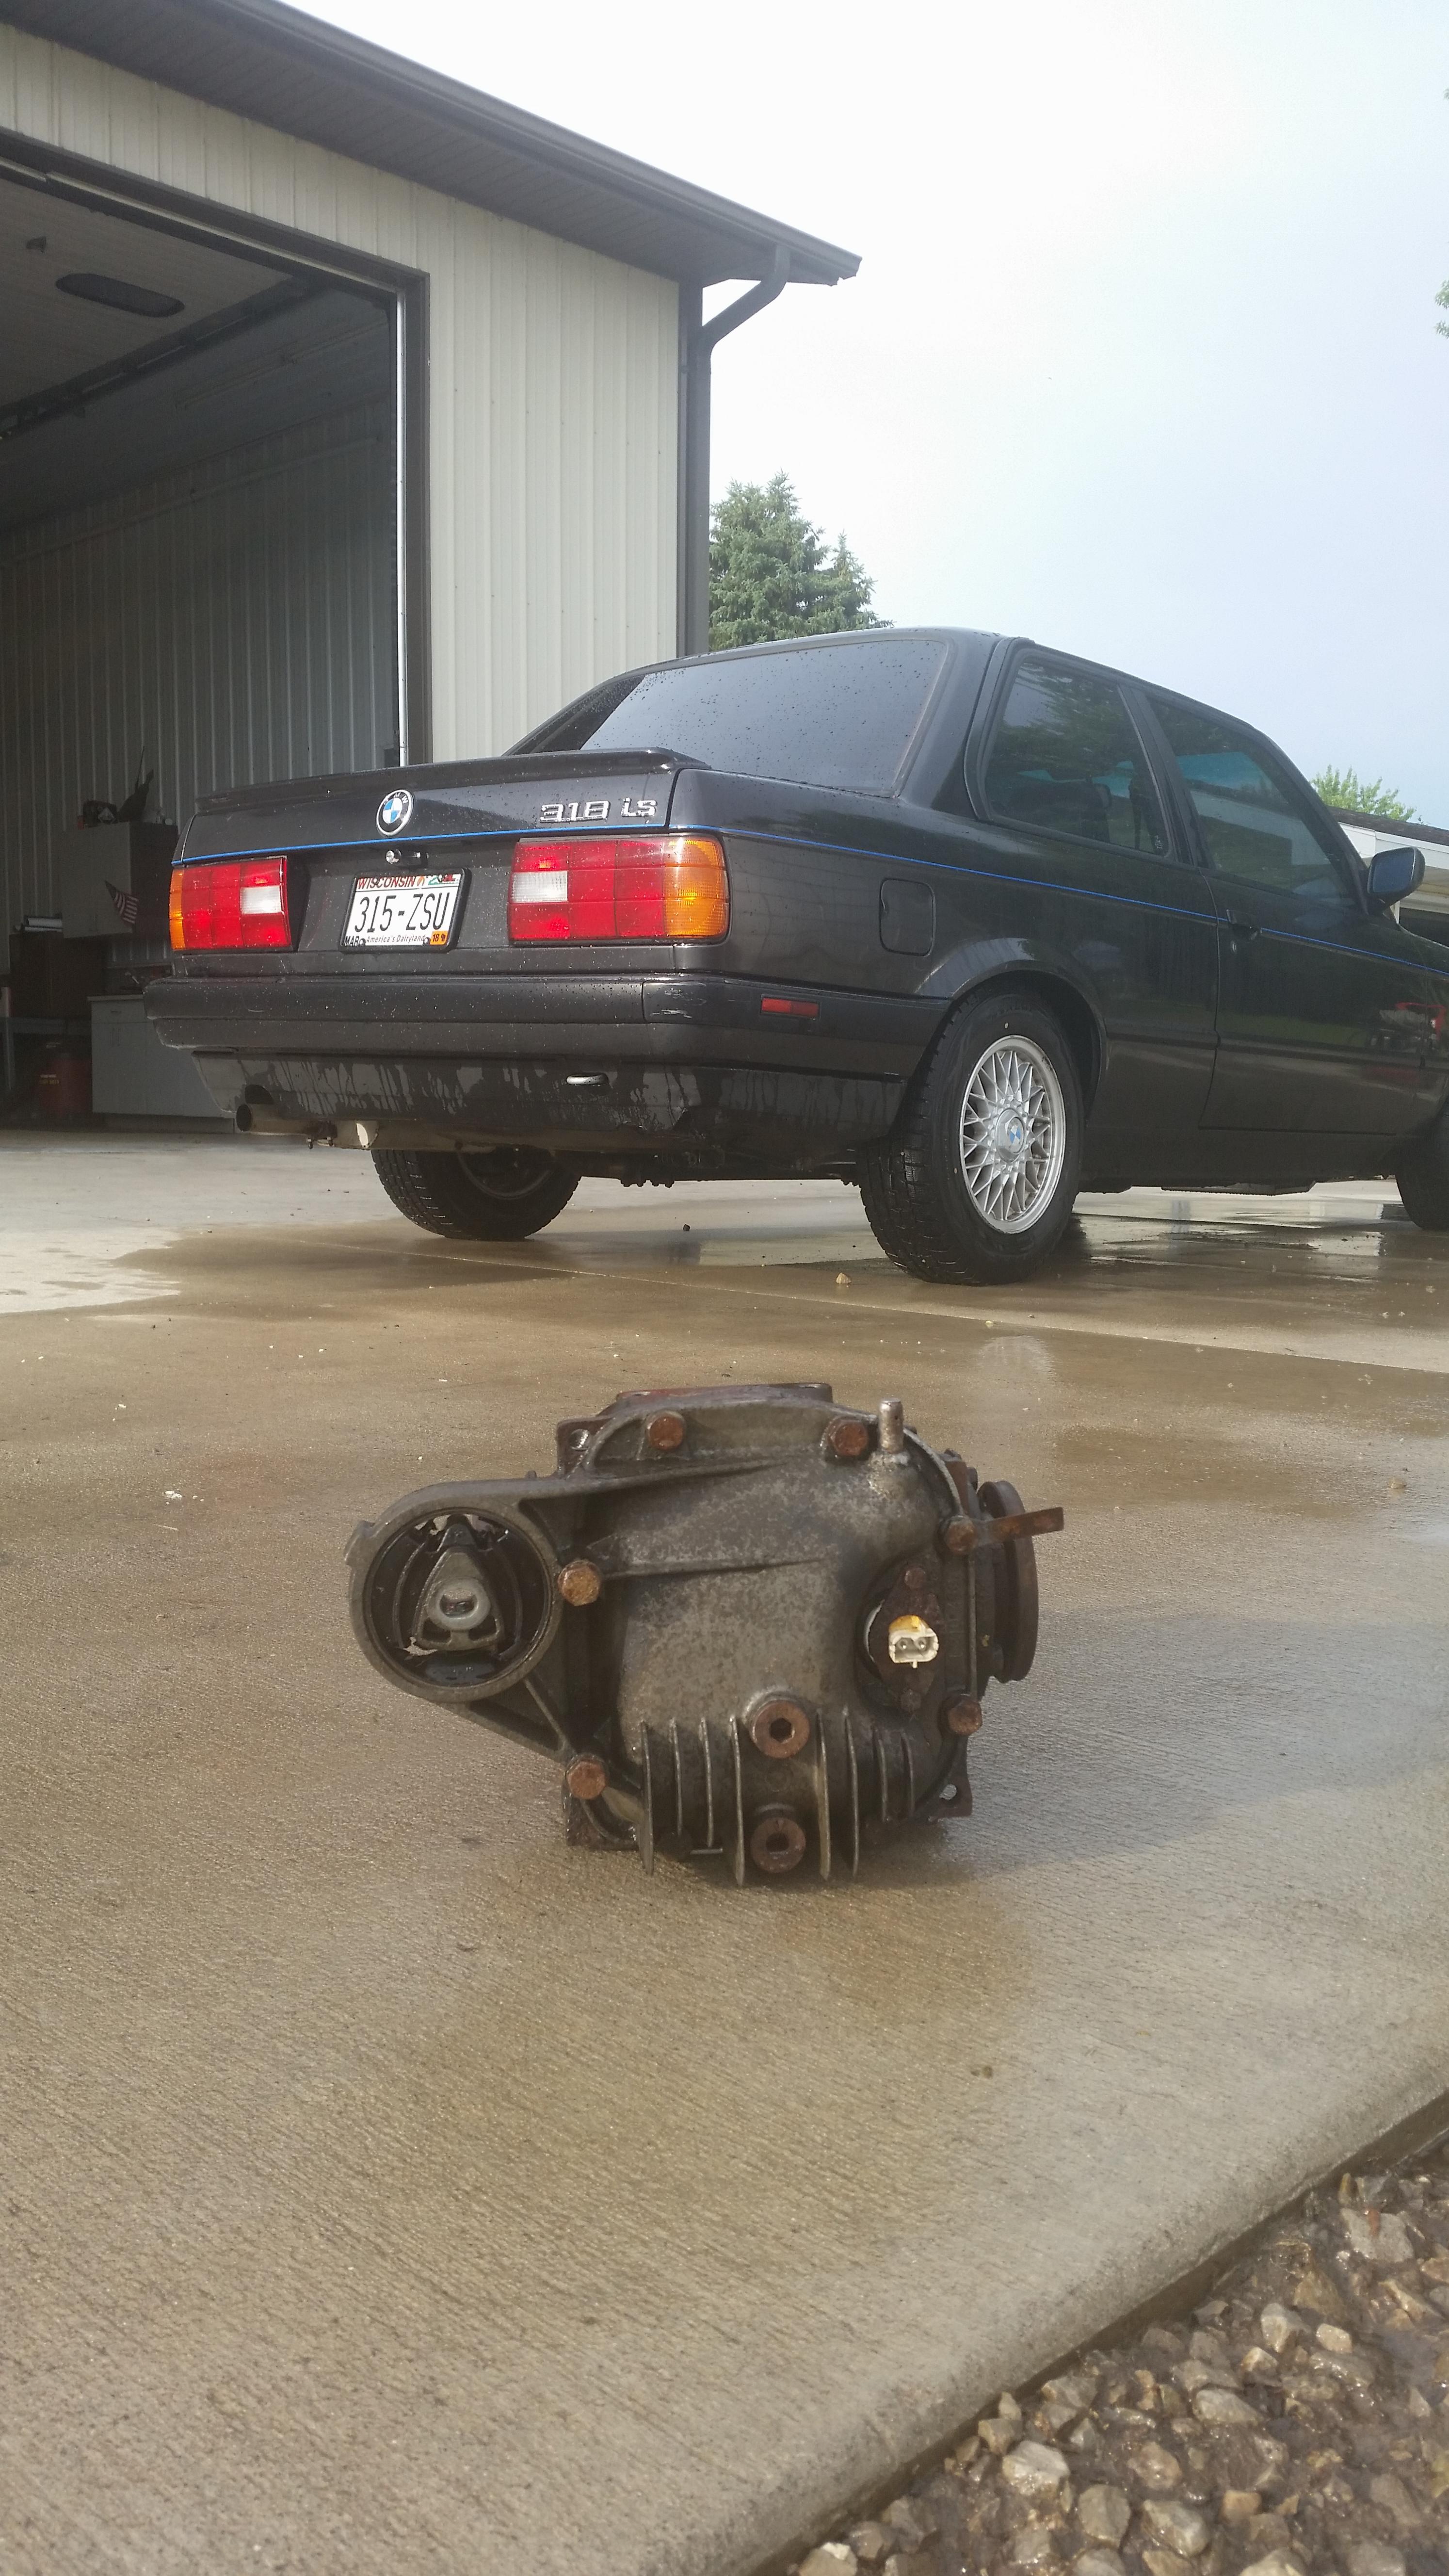
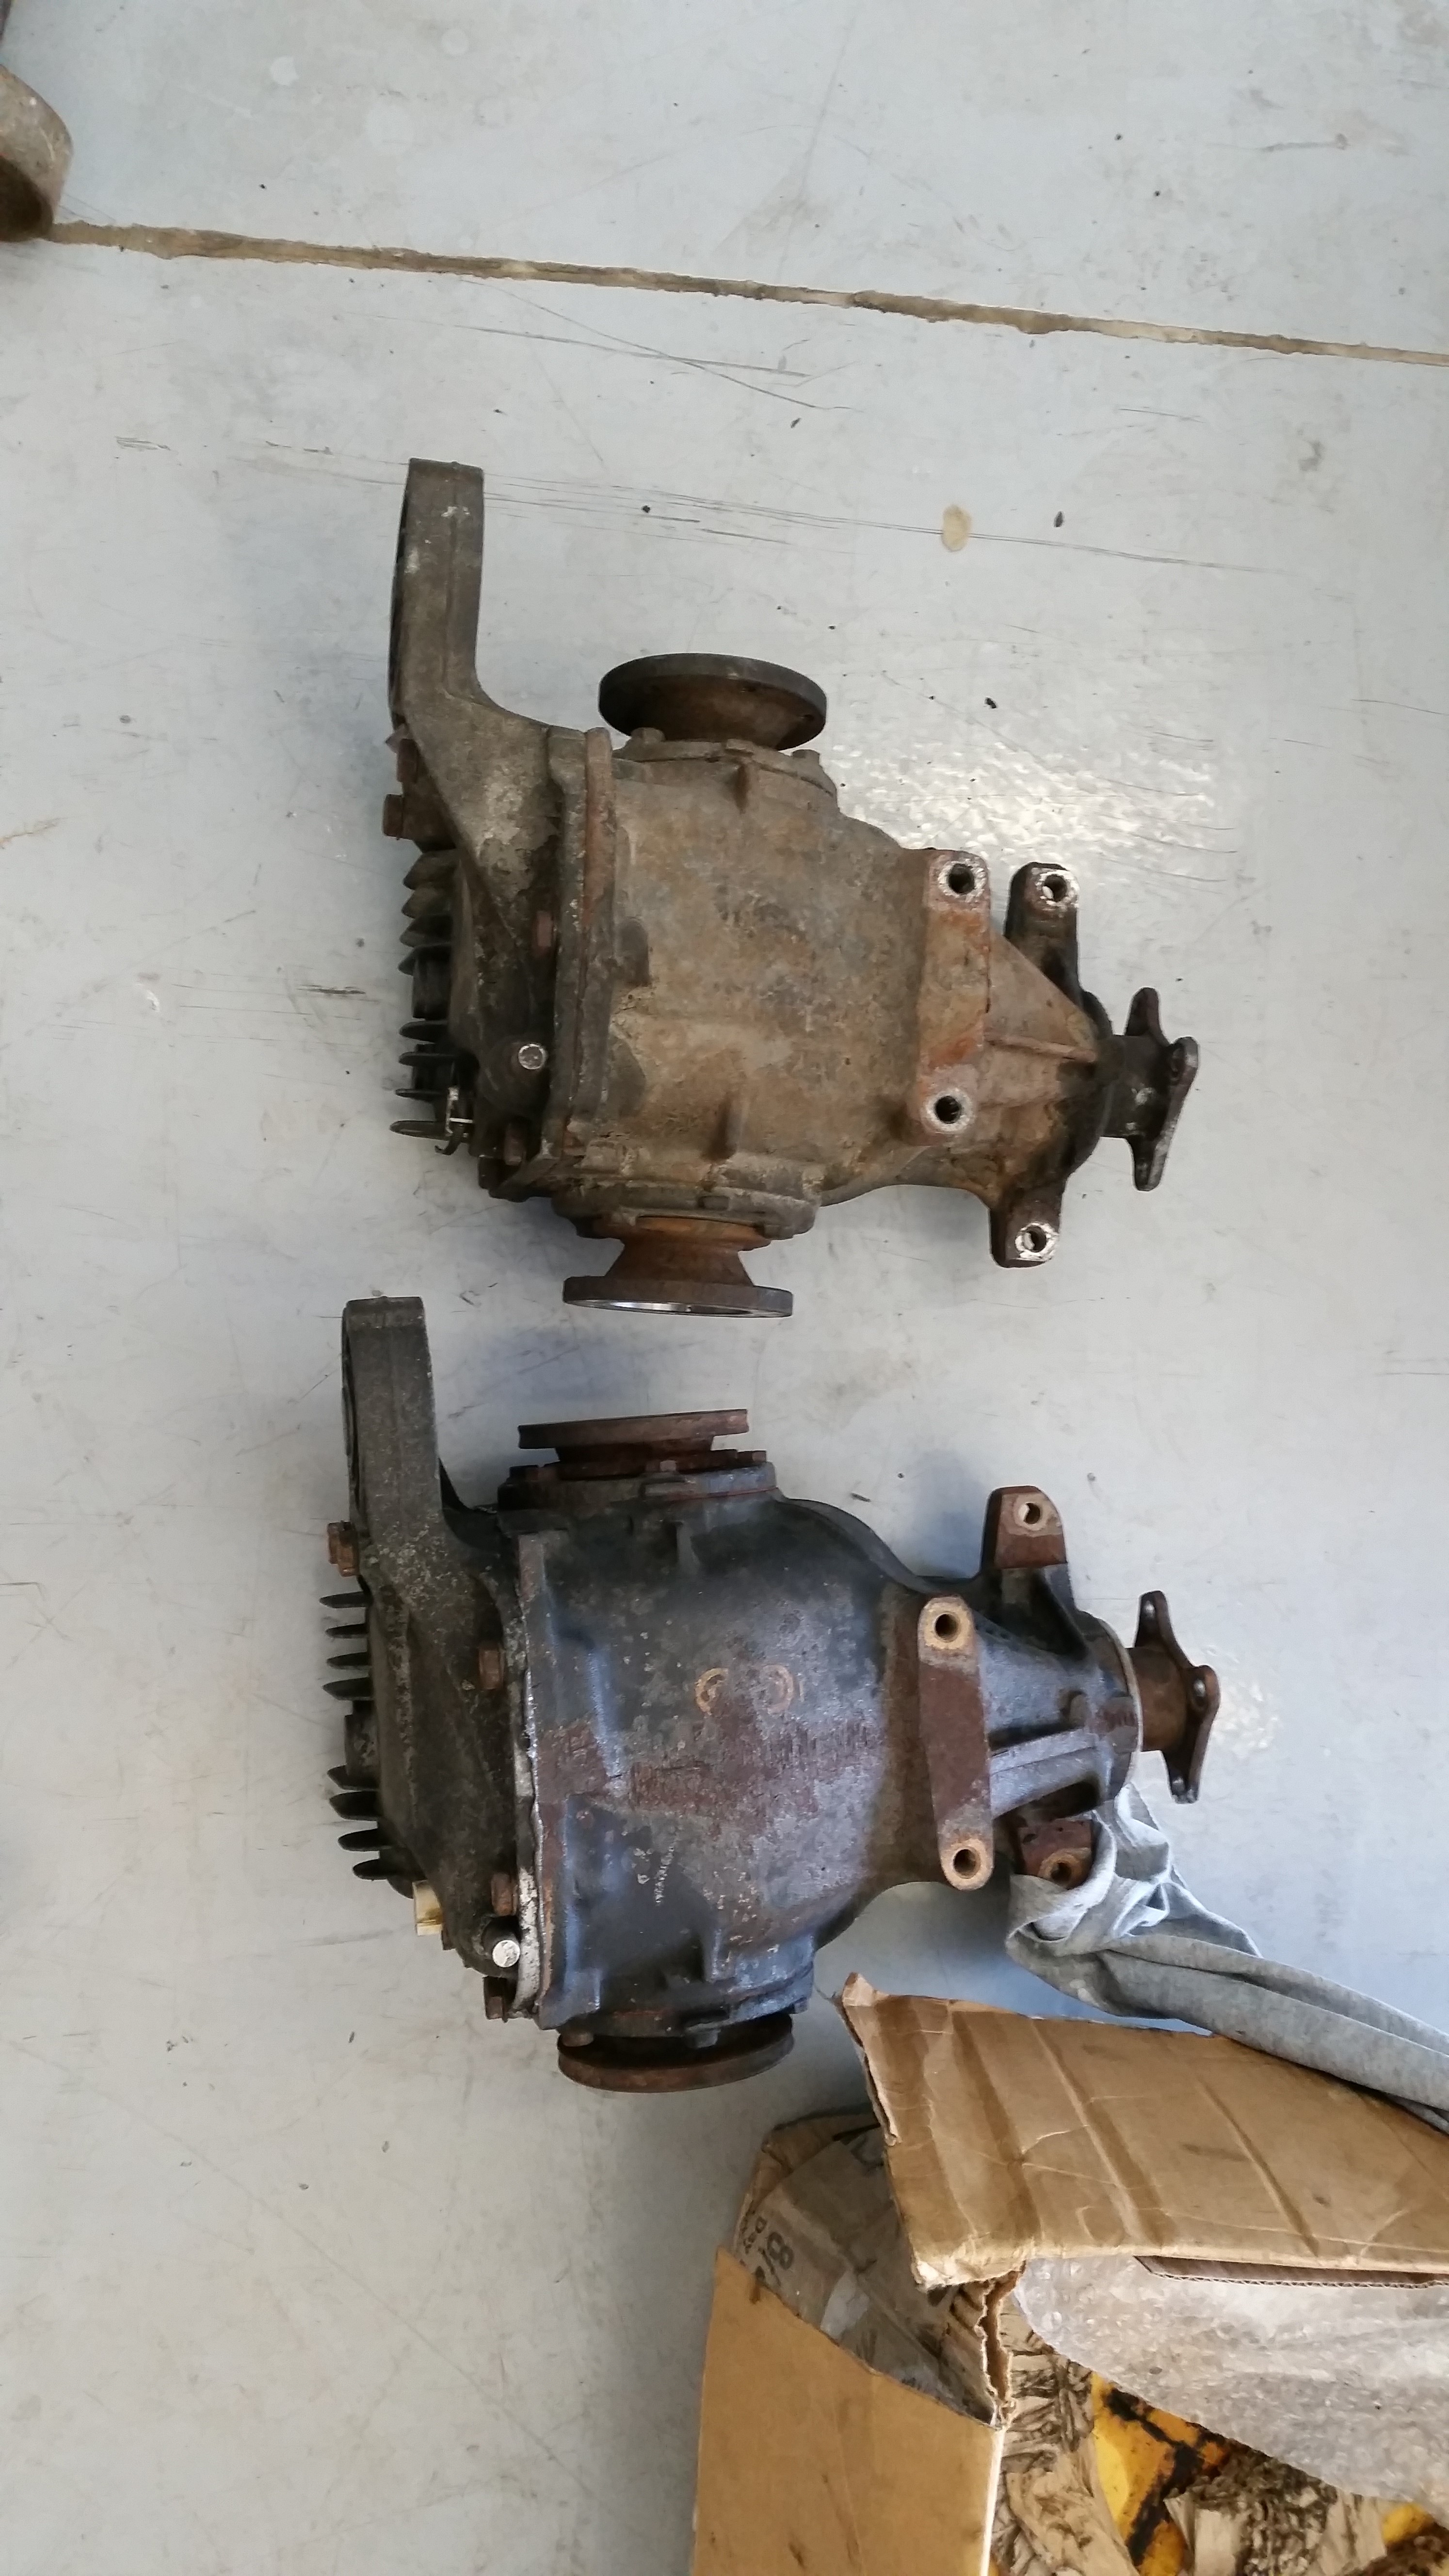
-
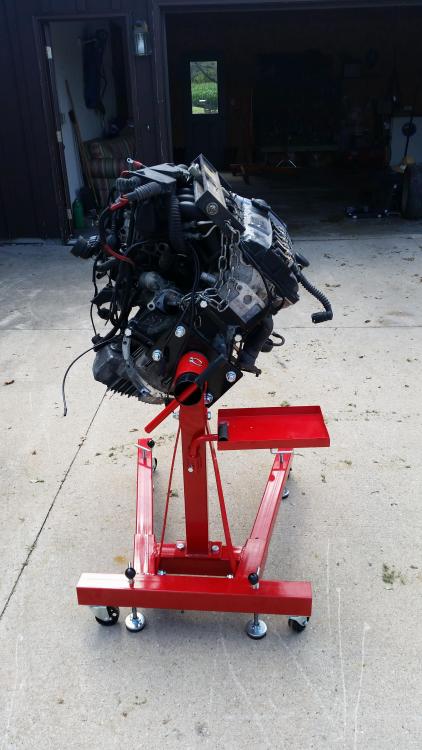
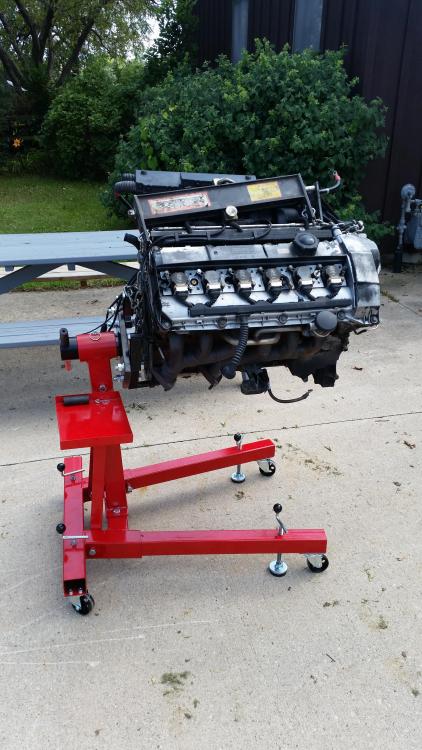
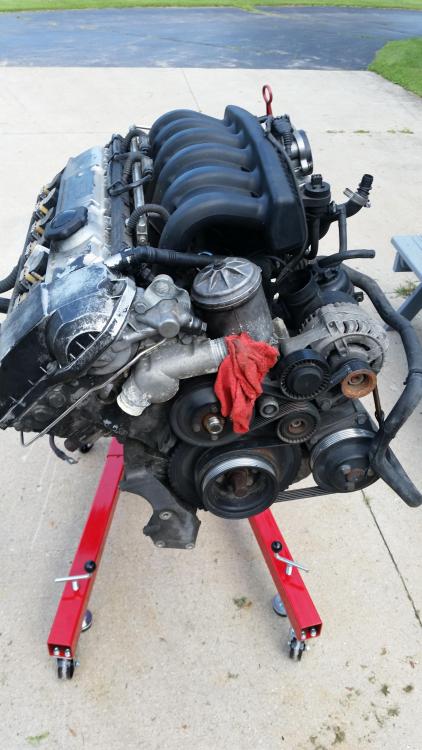
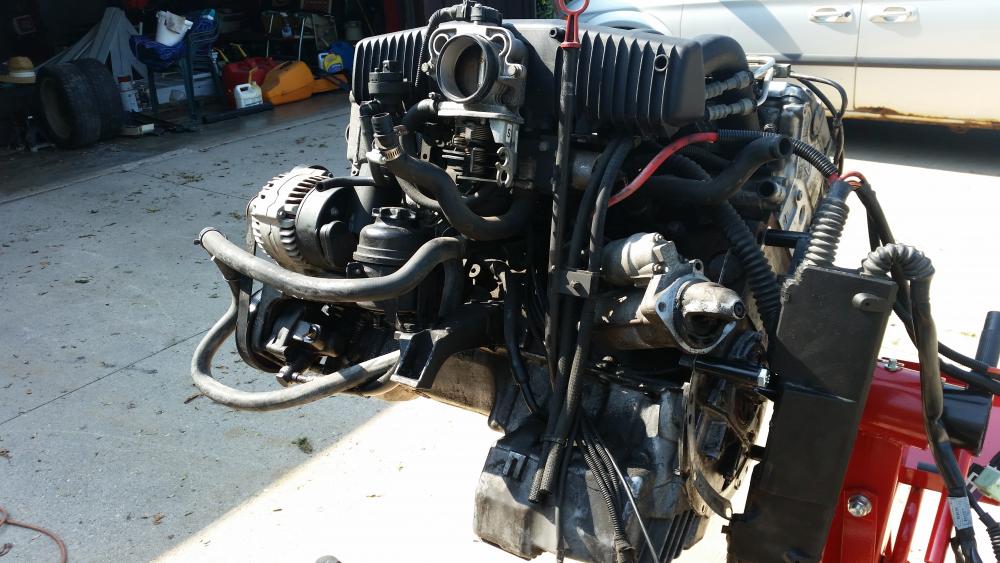
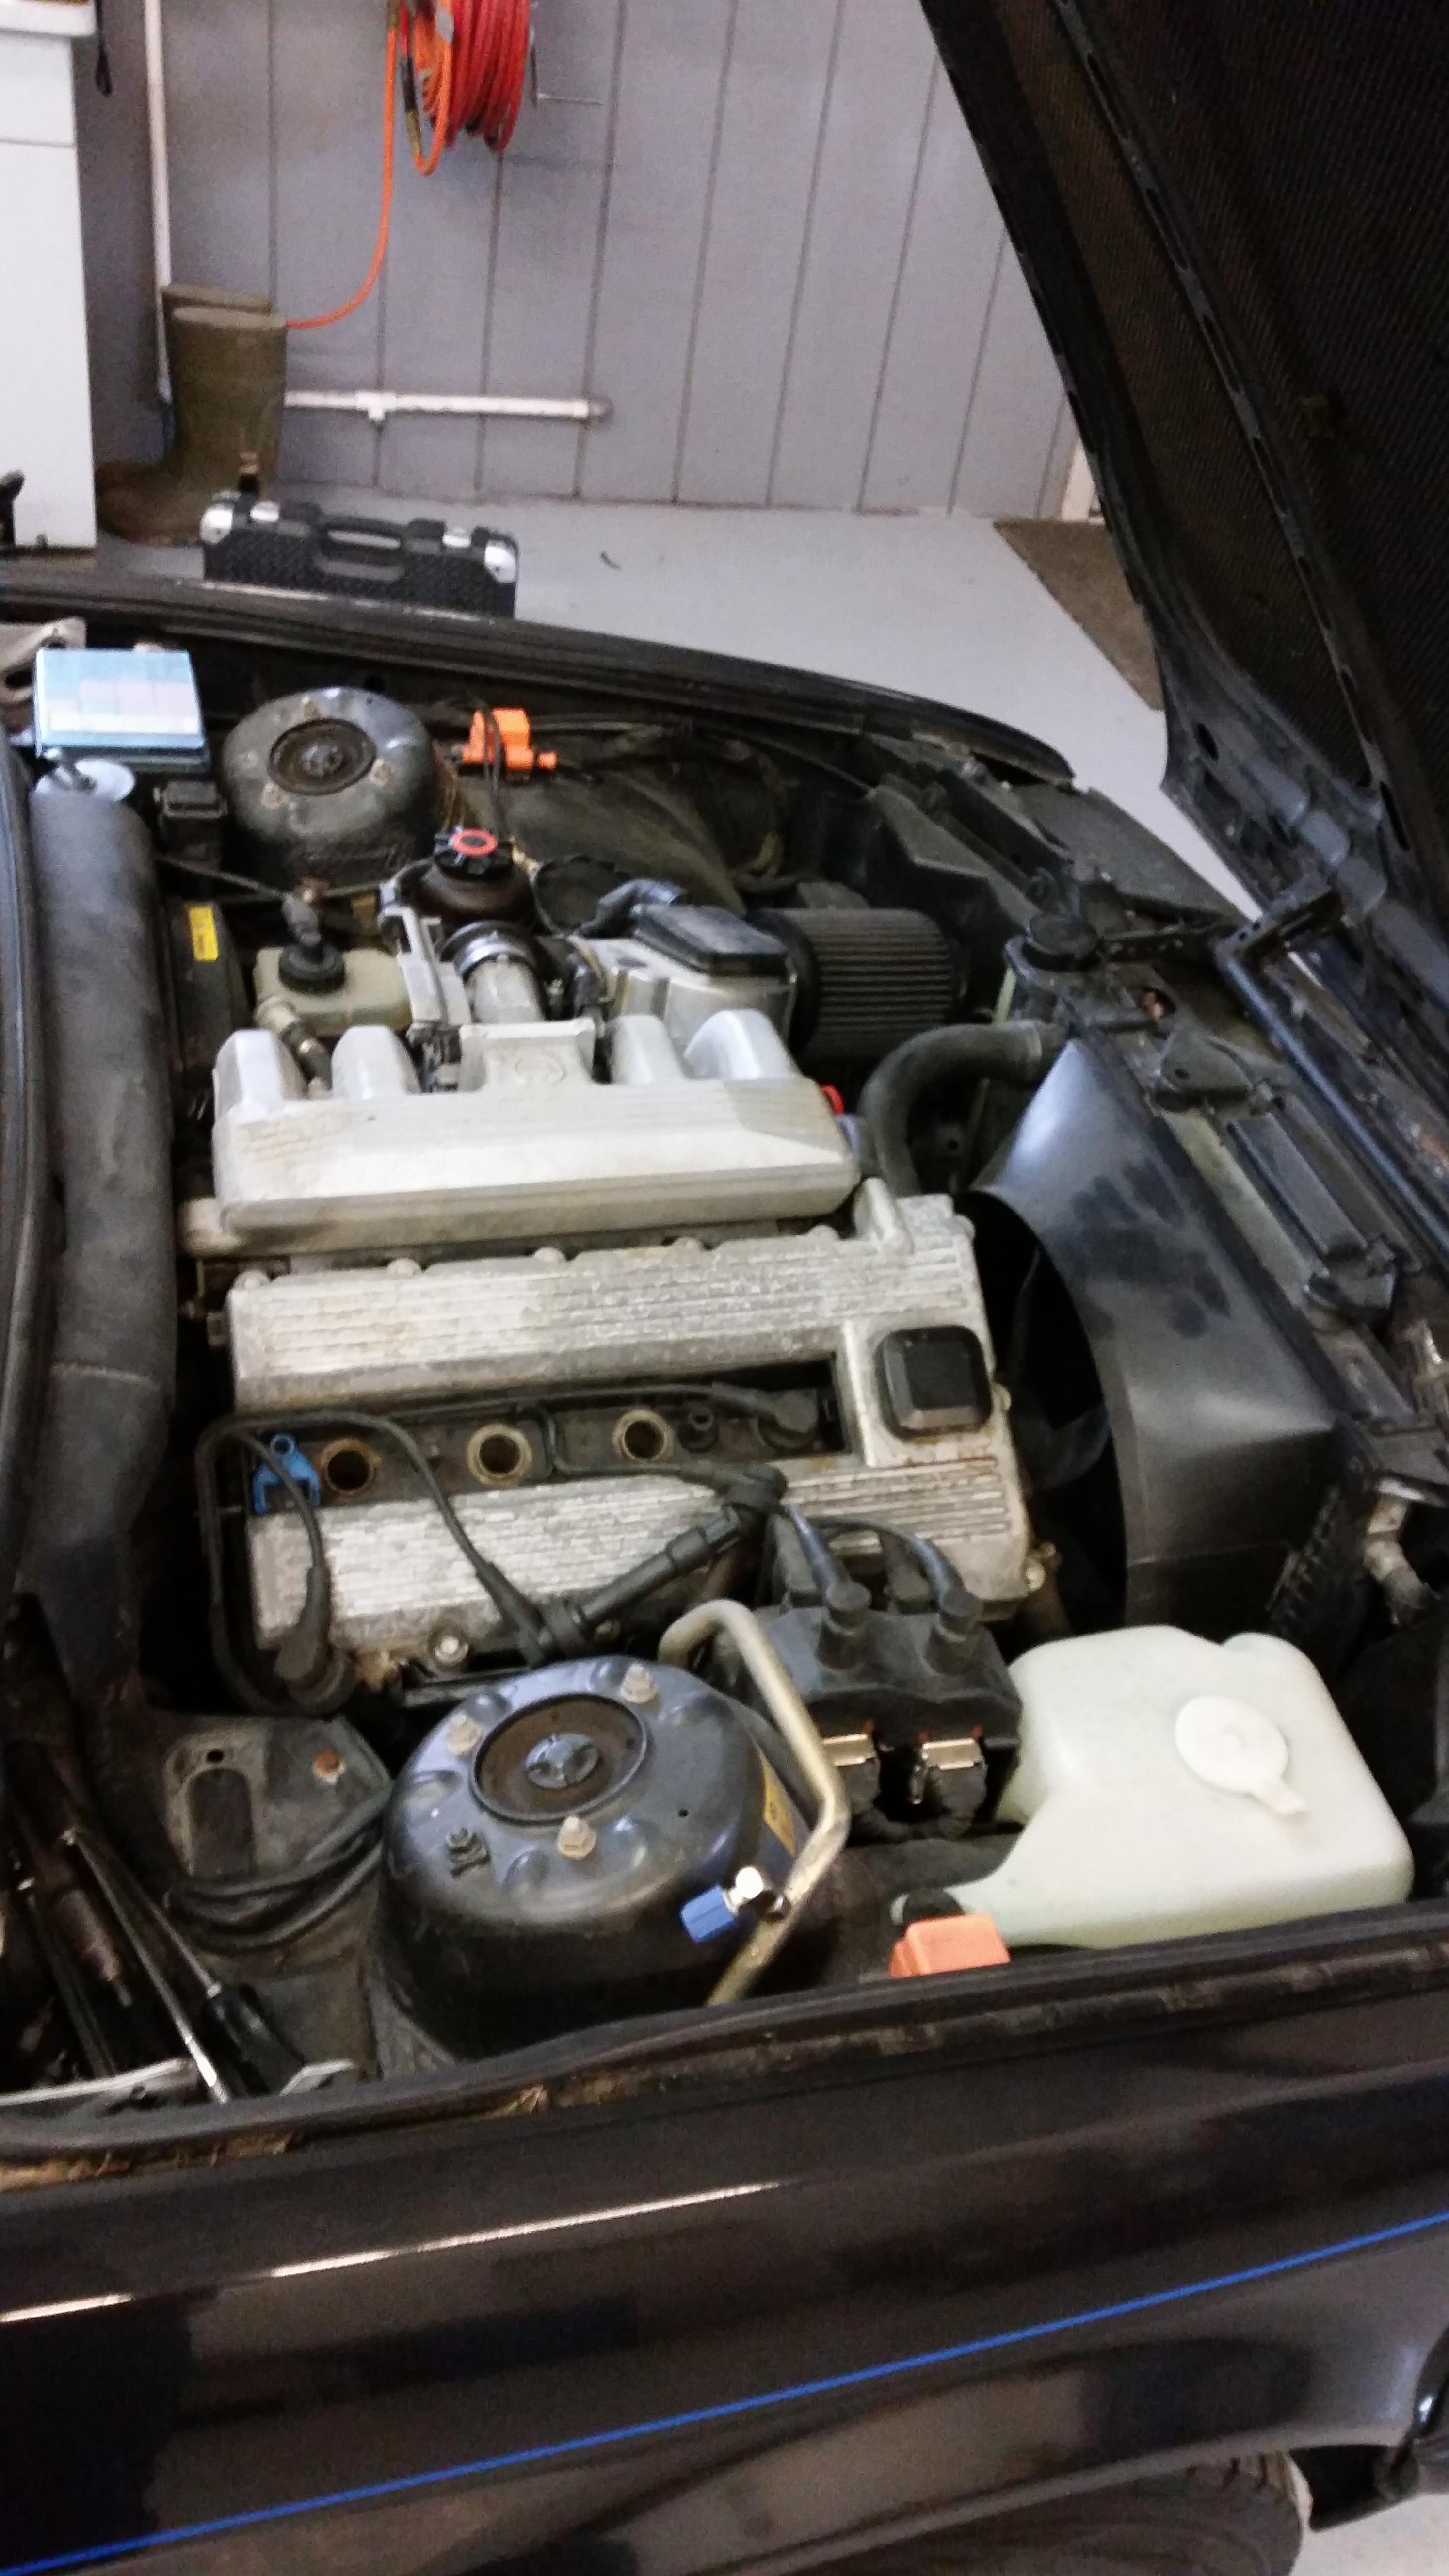
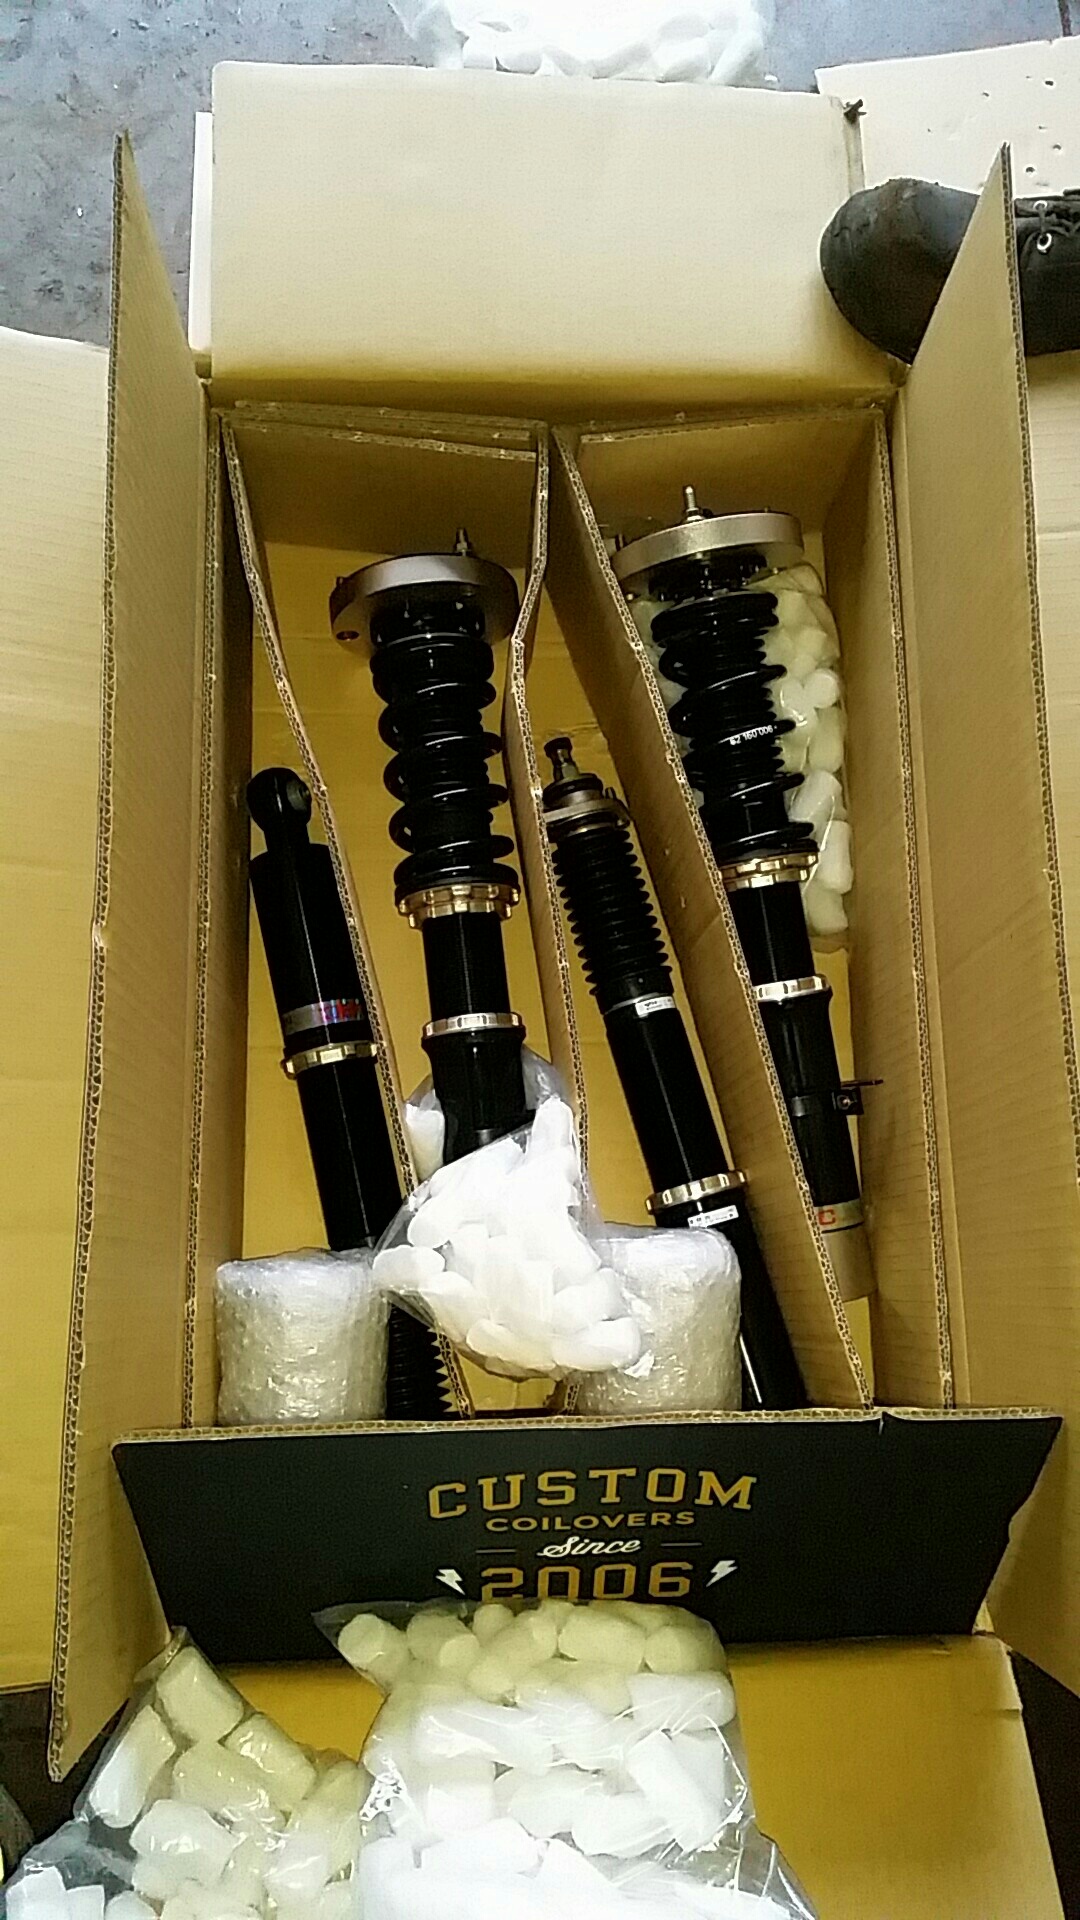
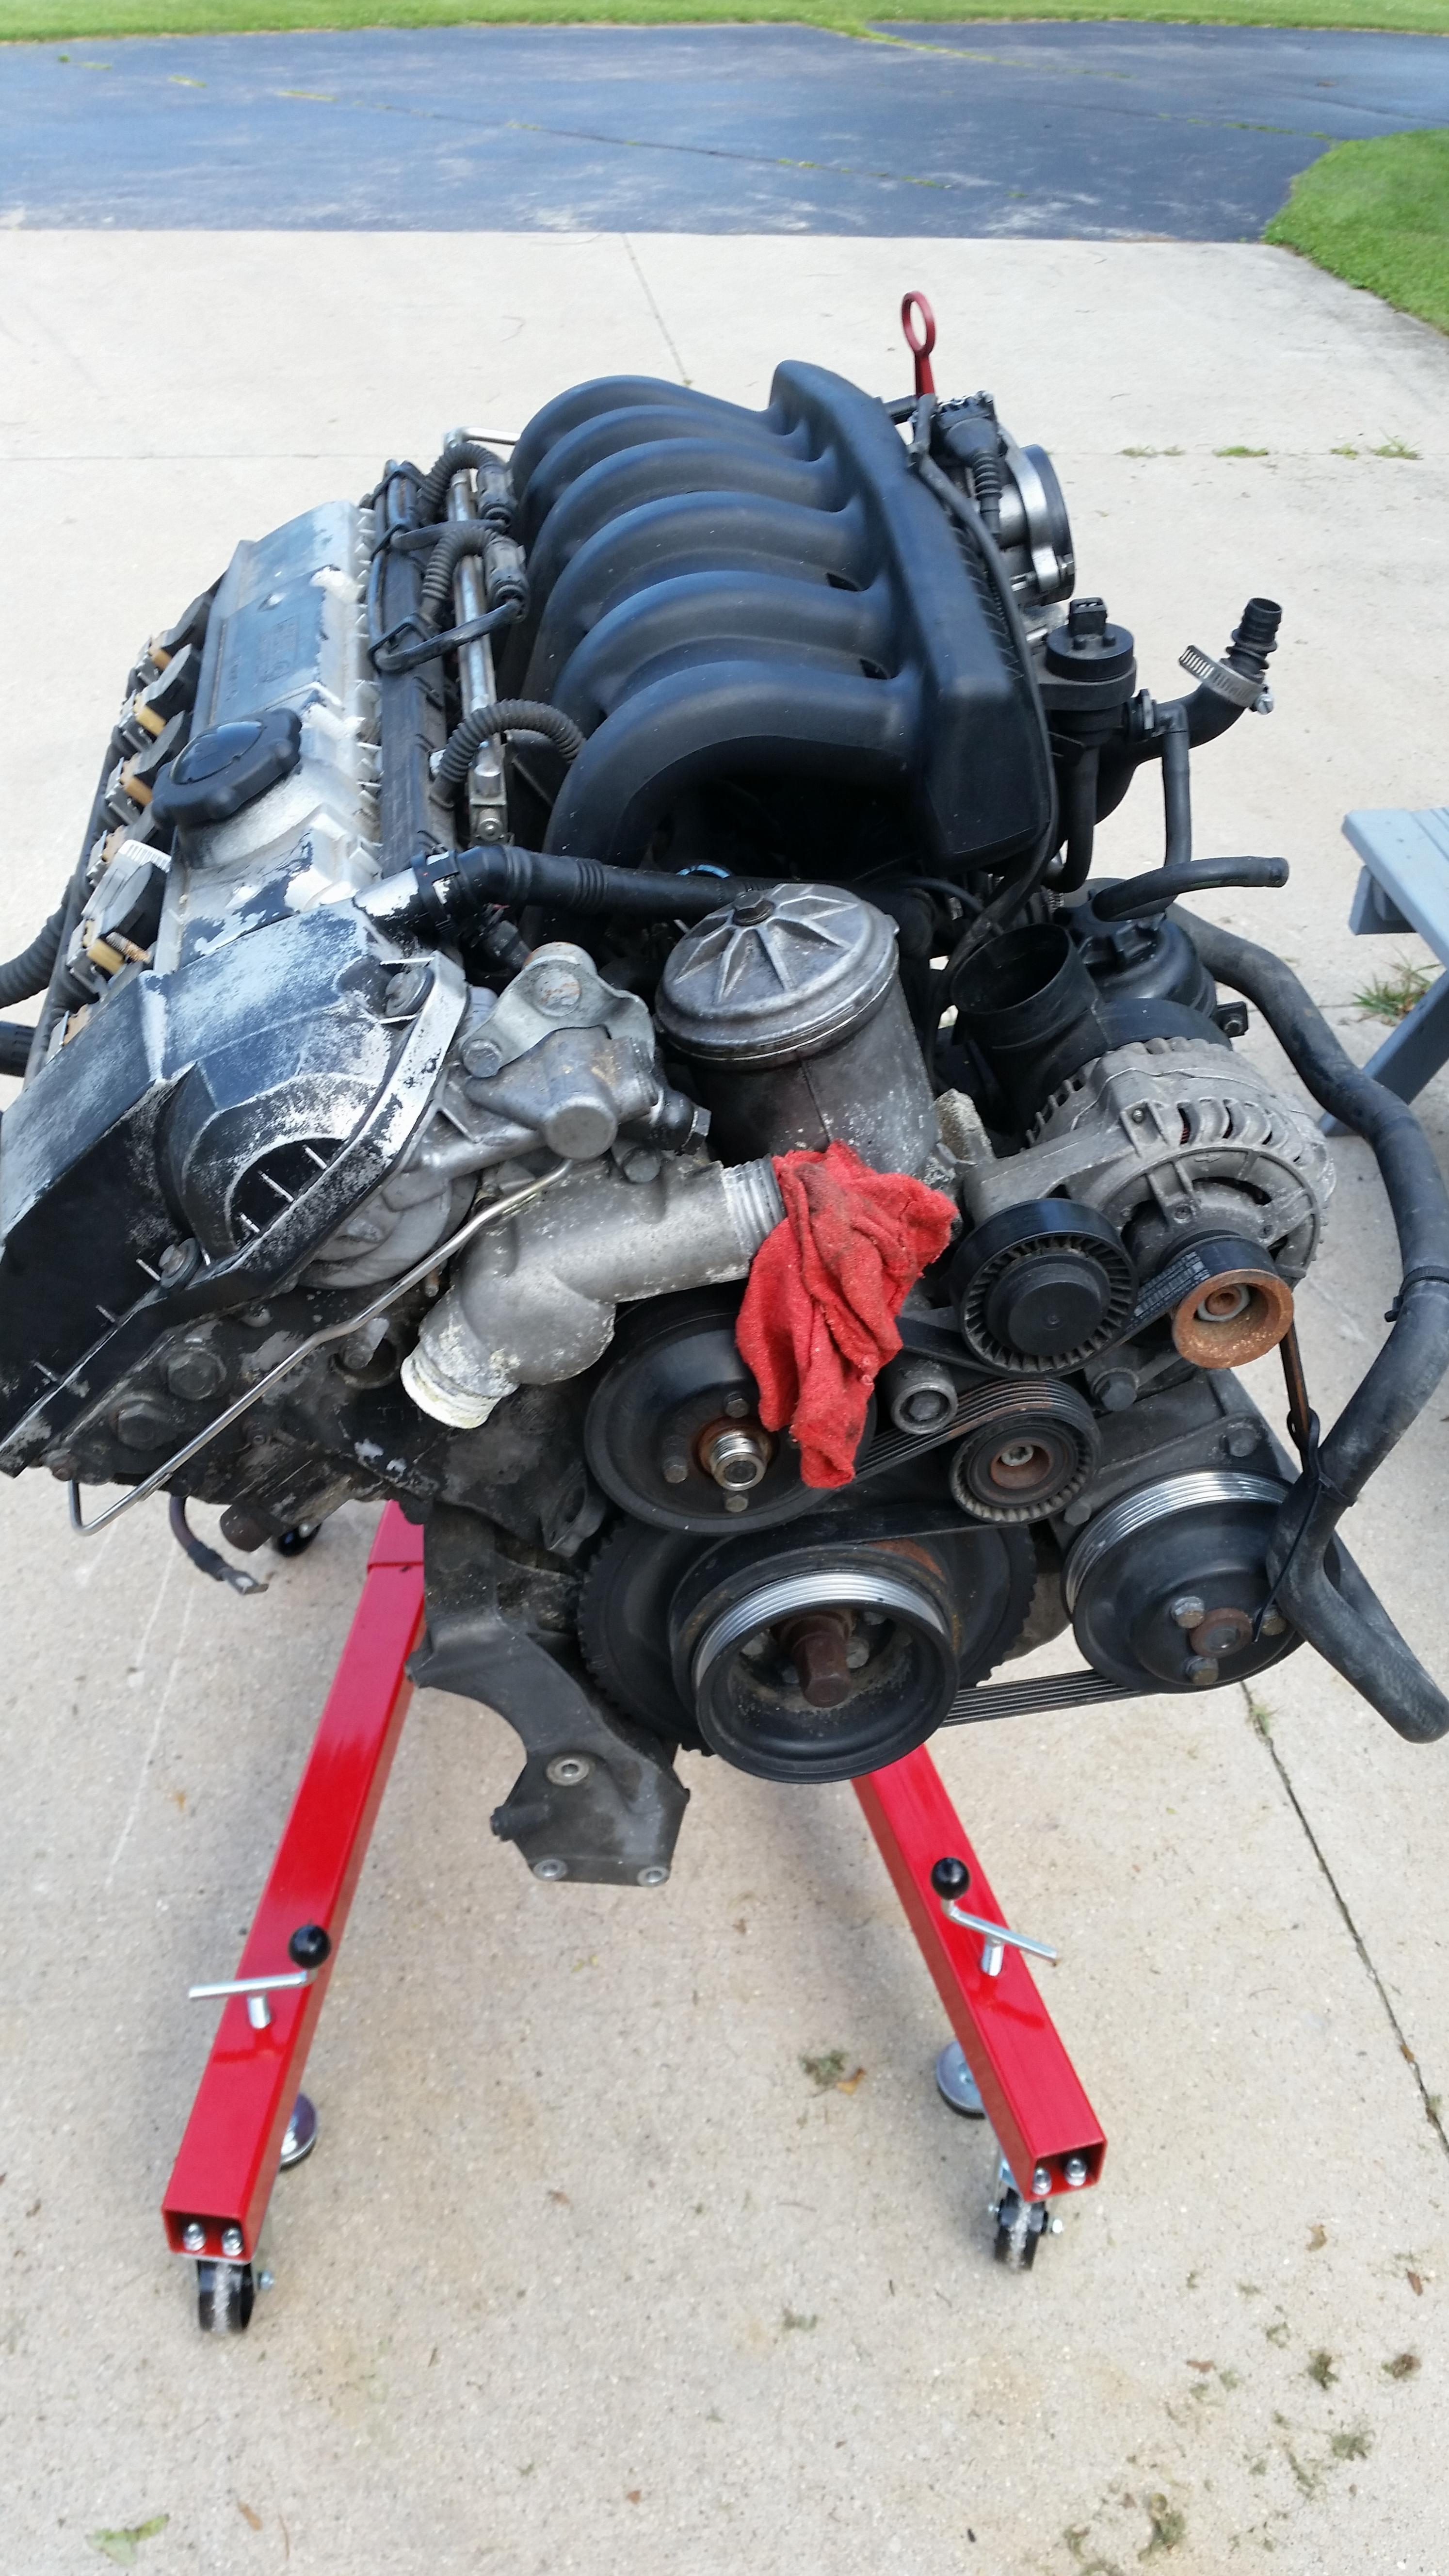
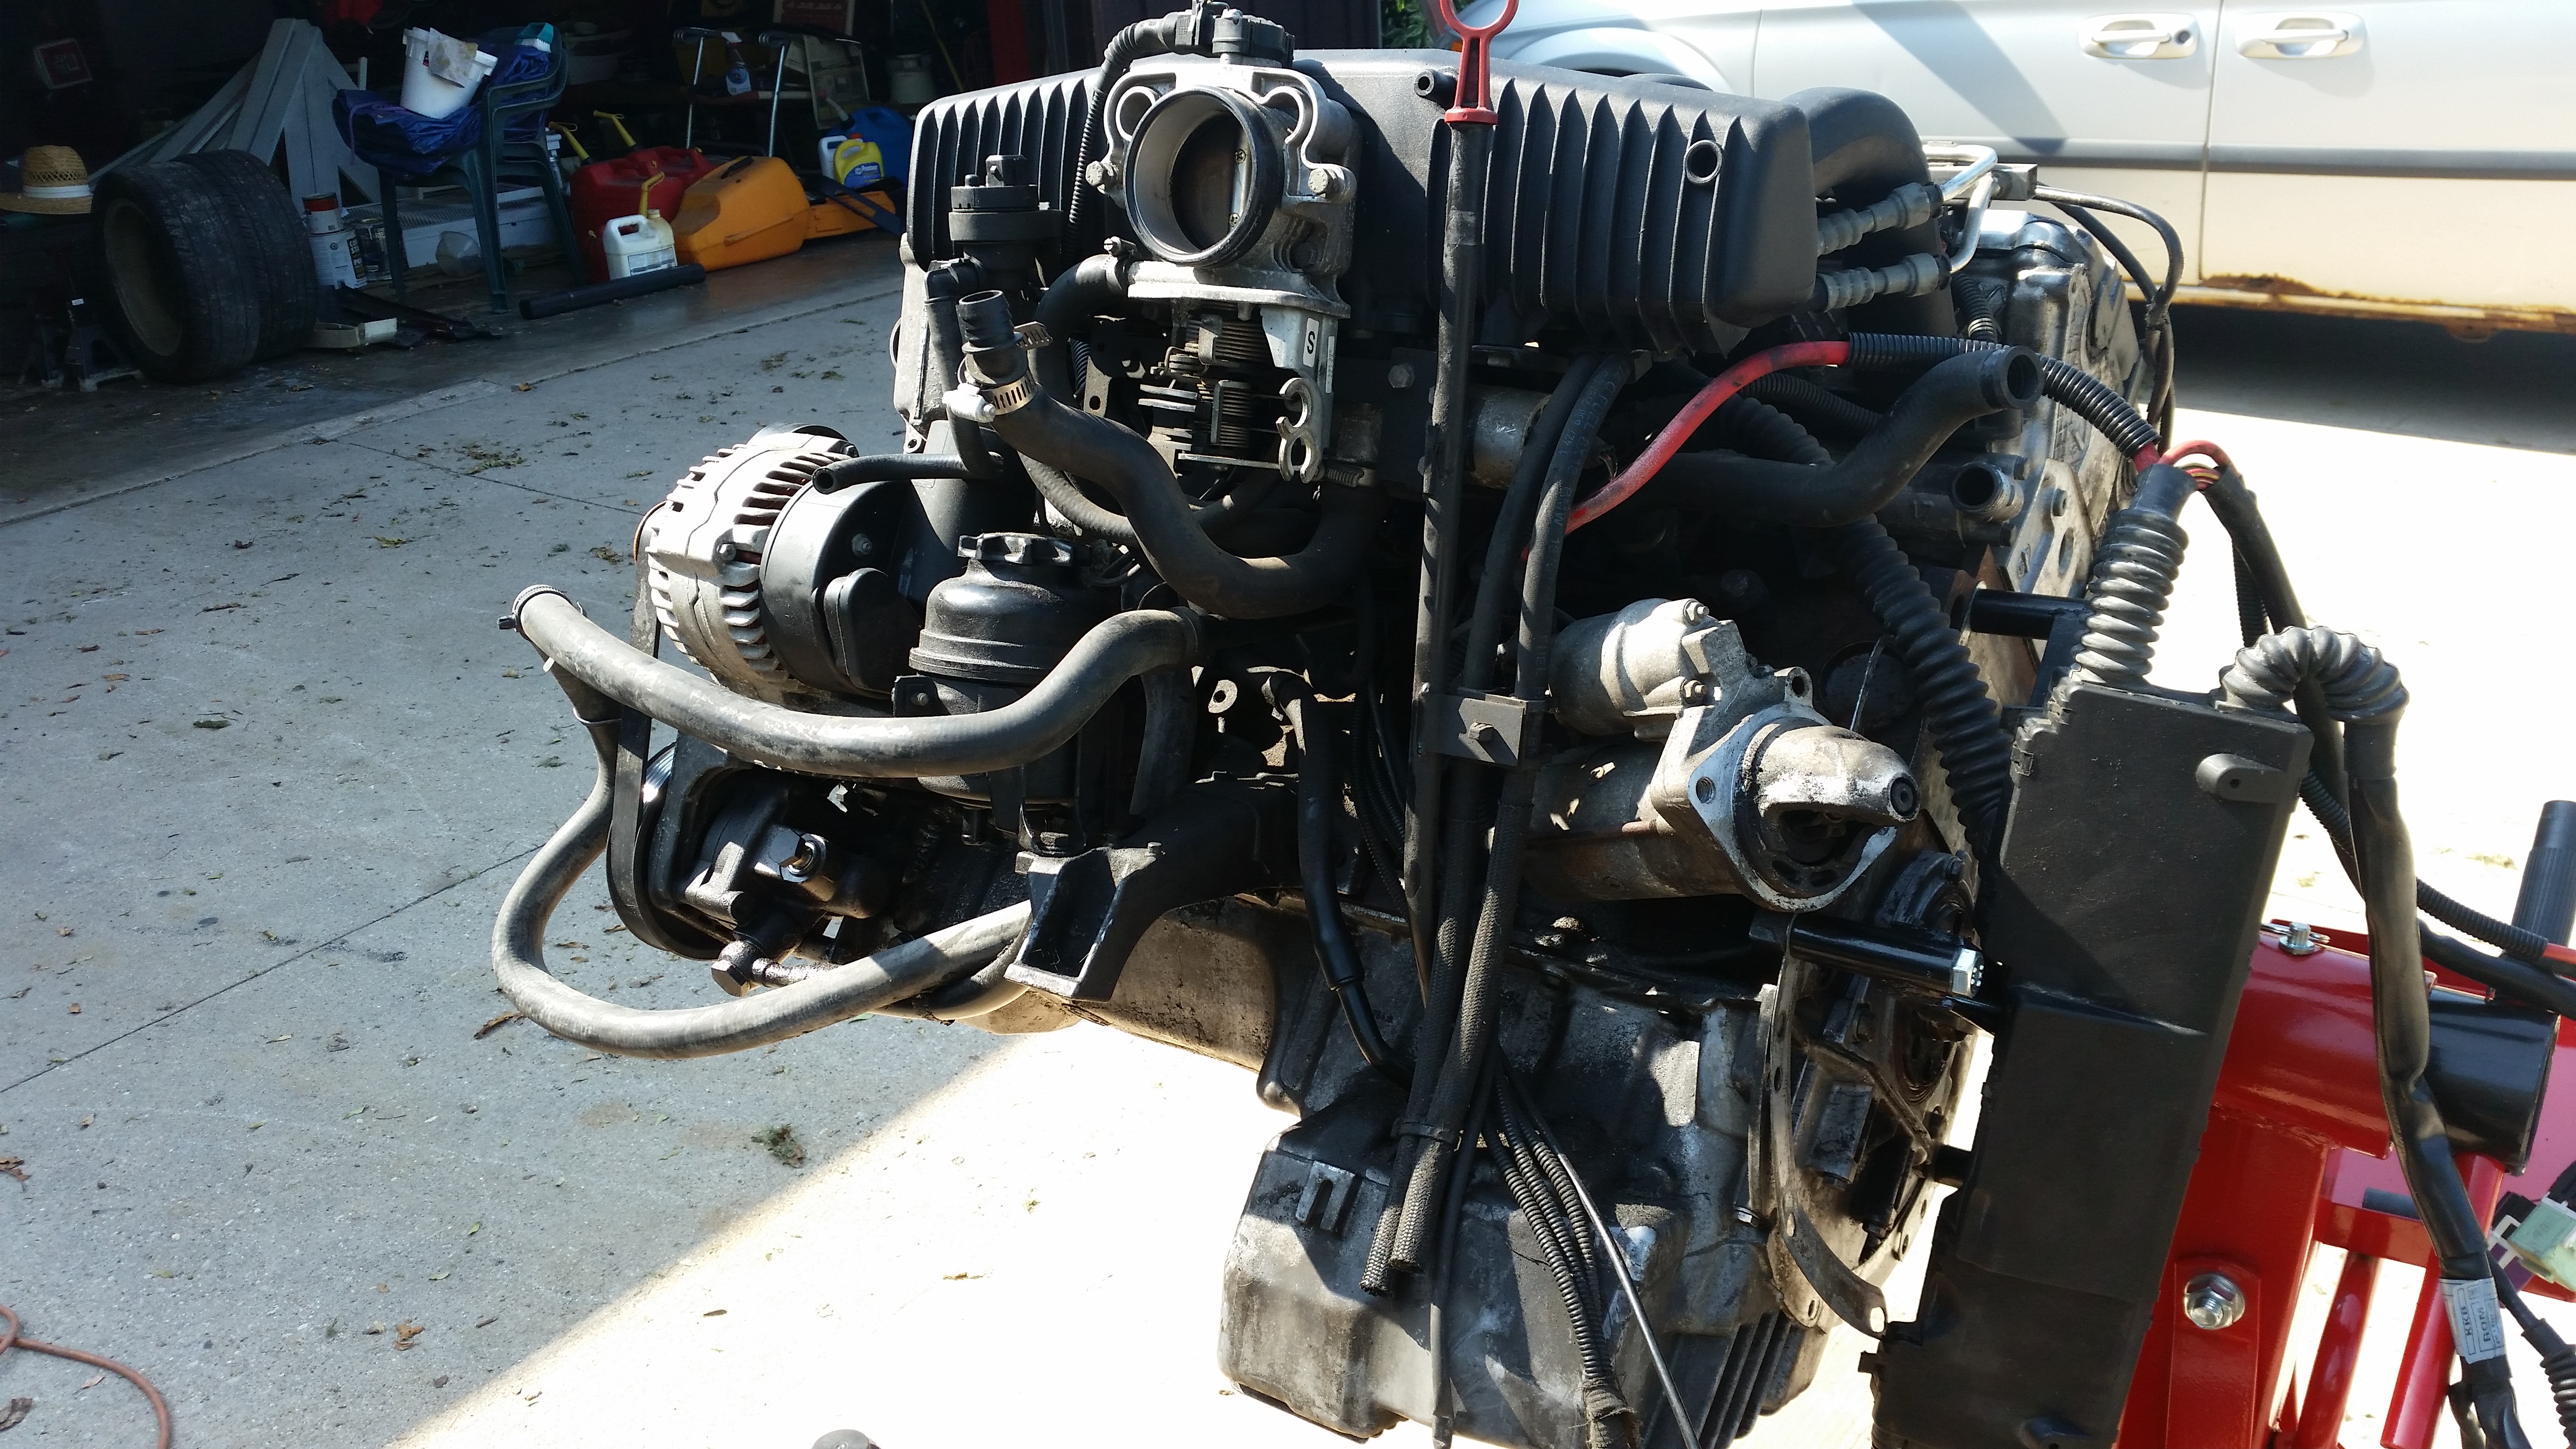
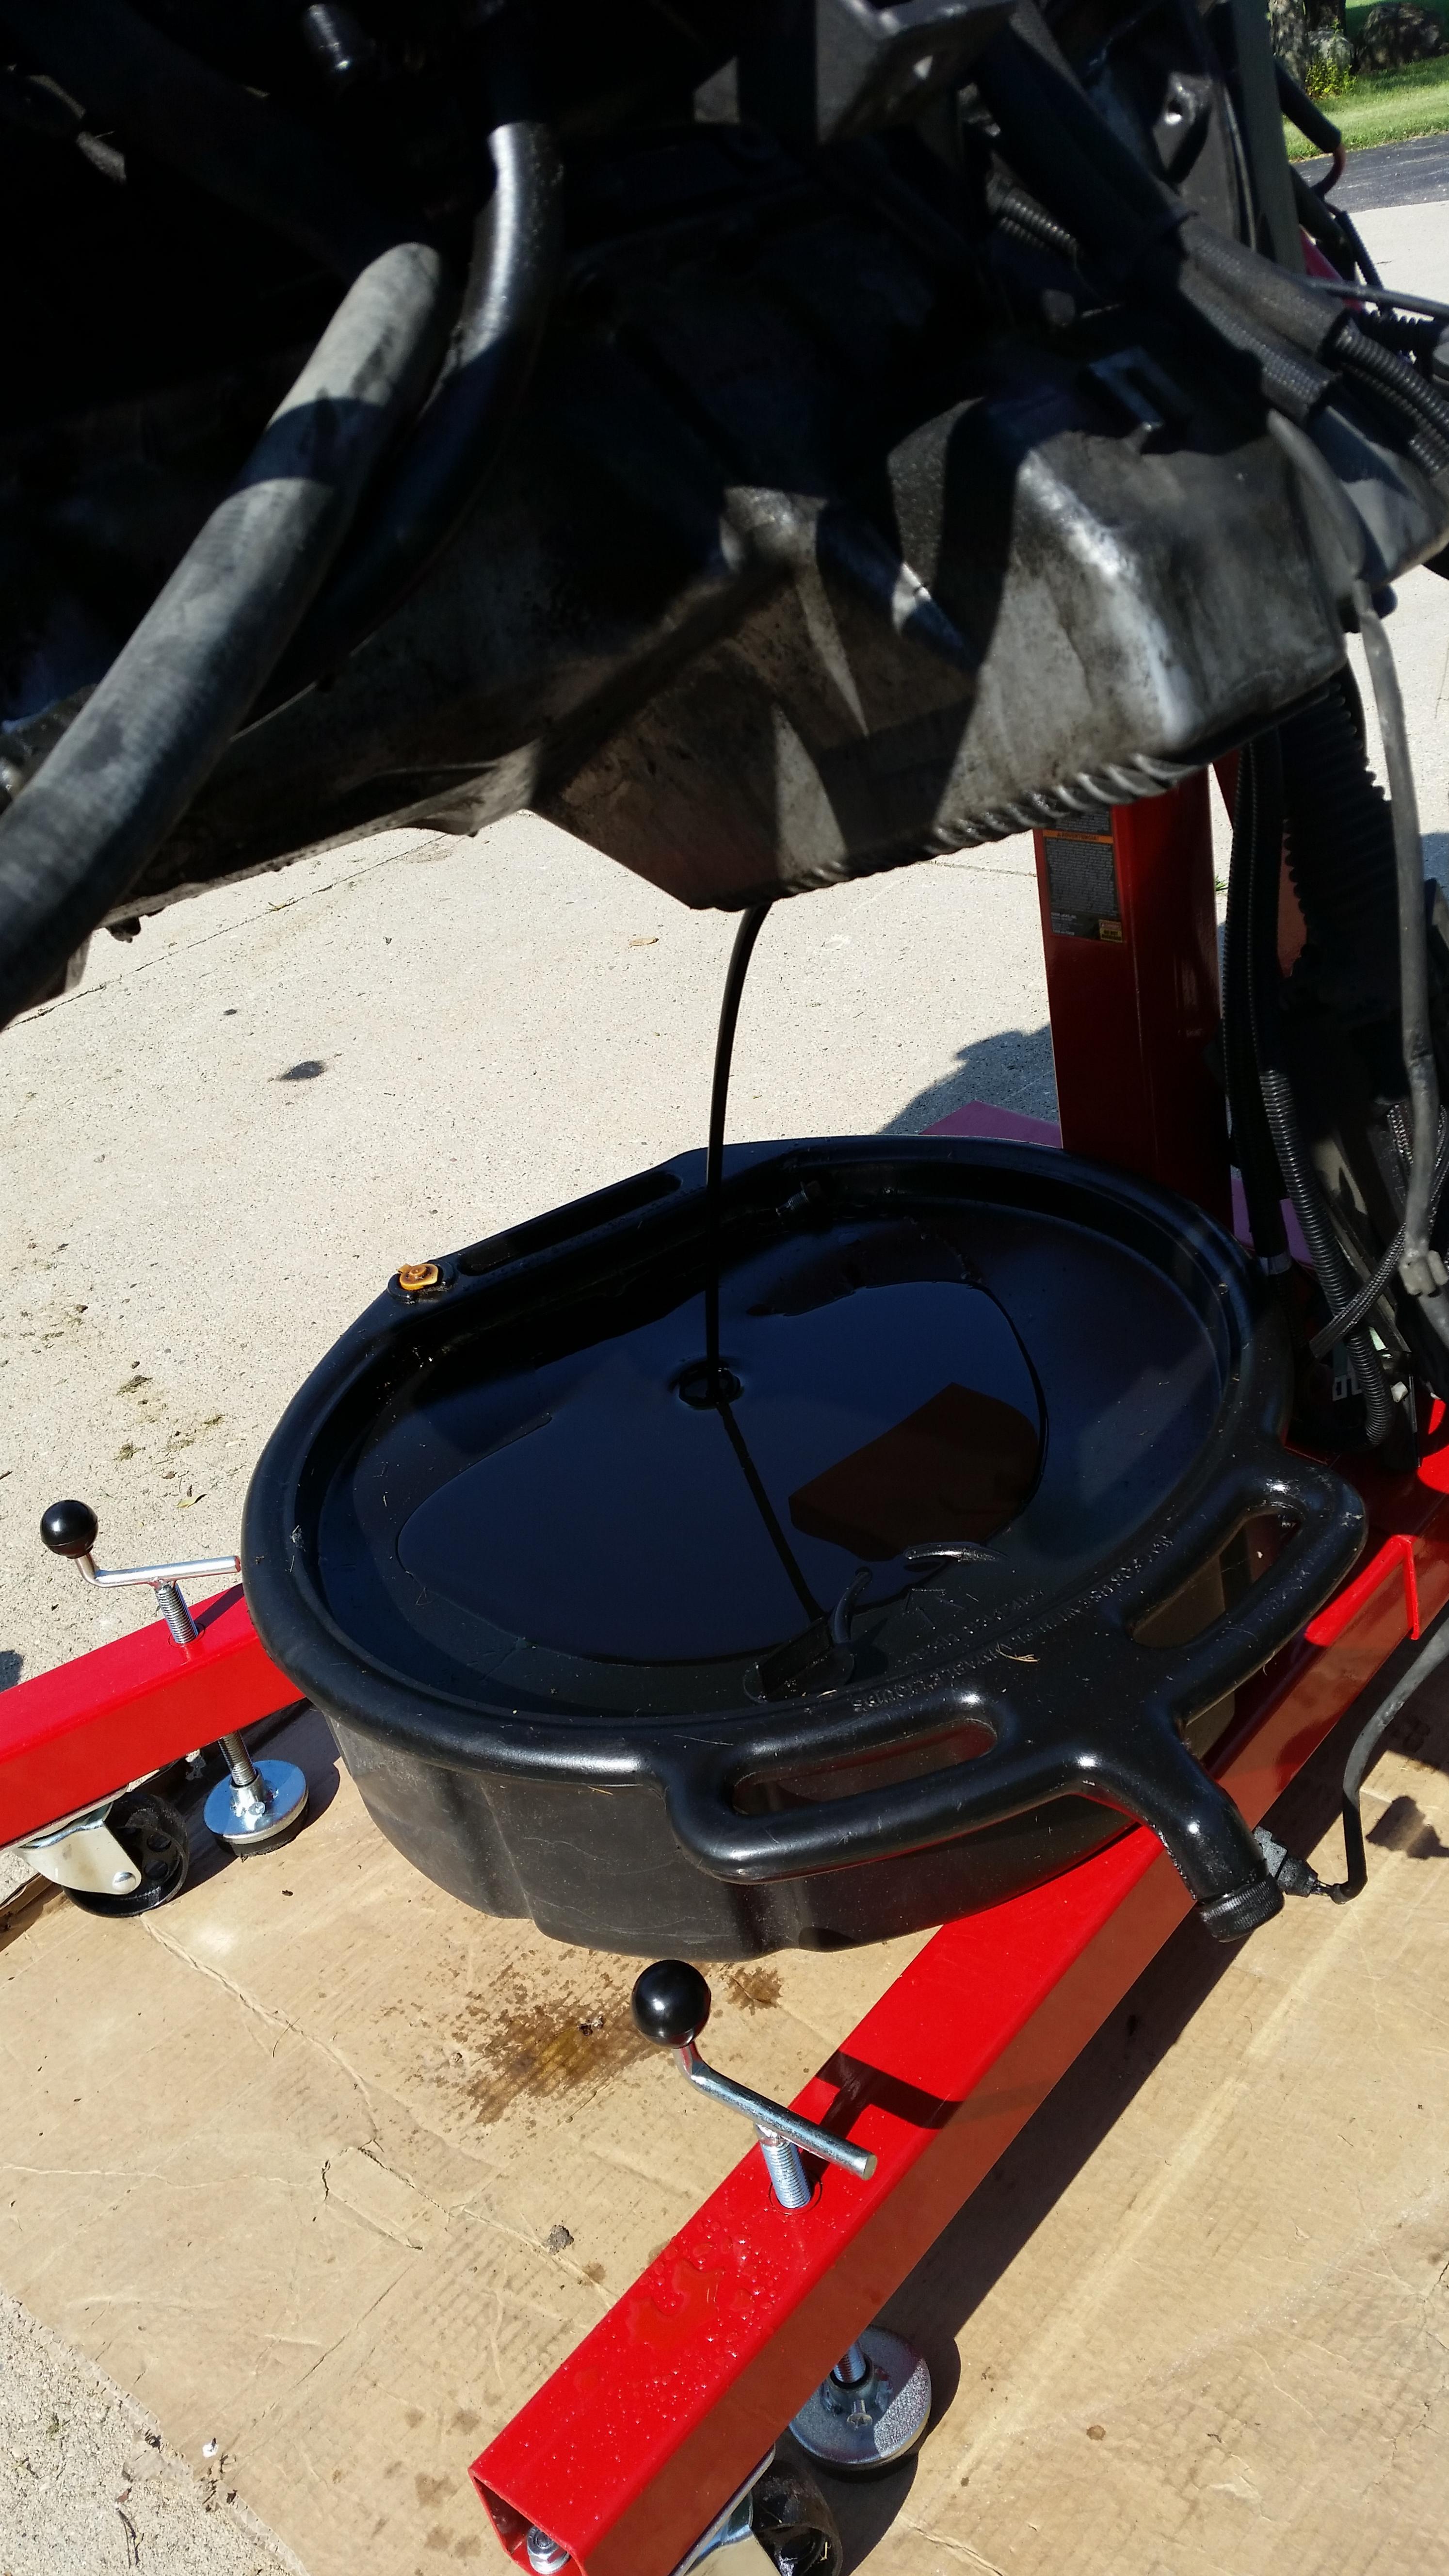
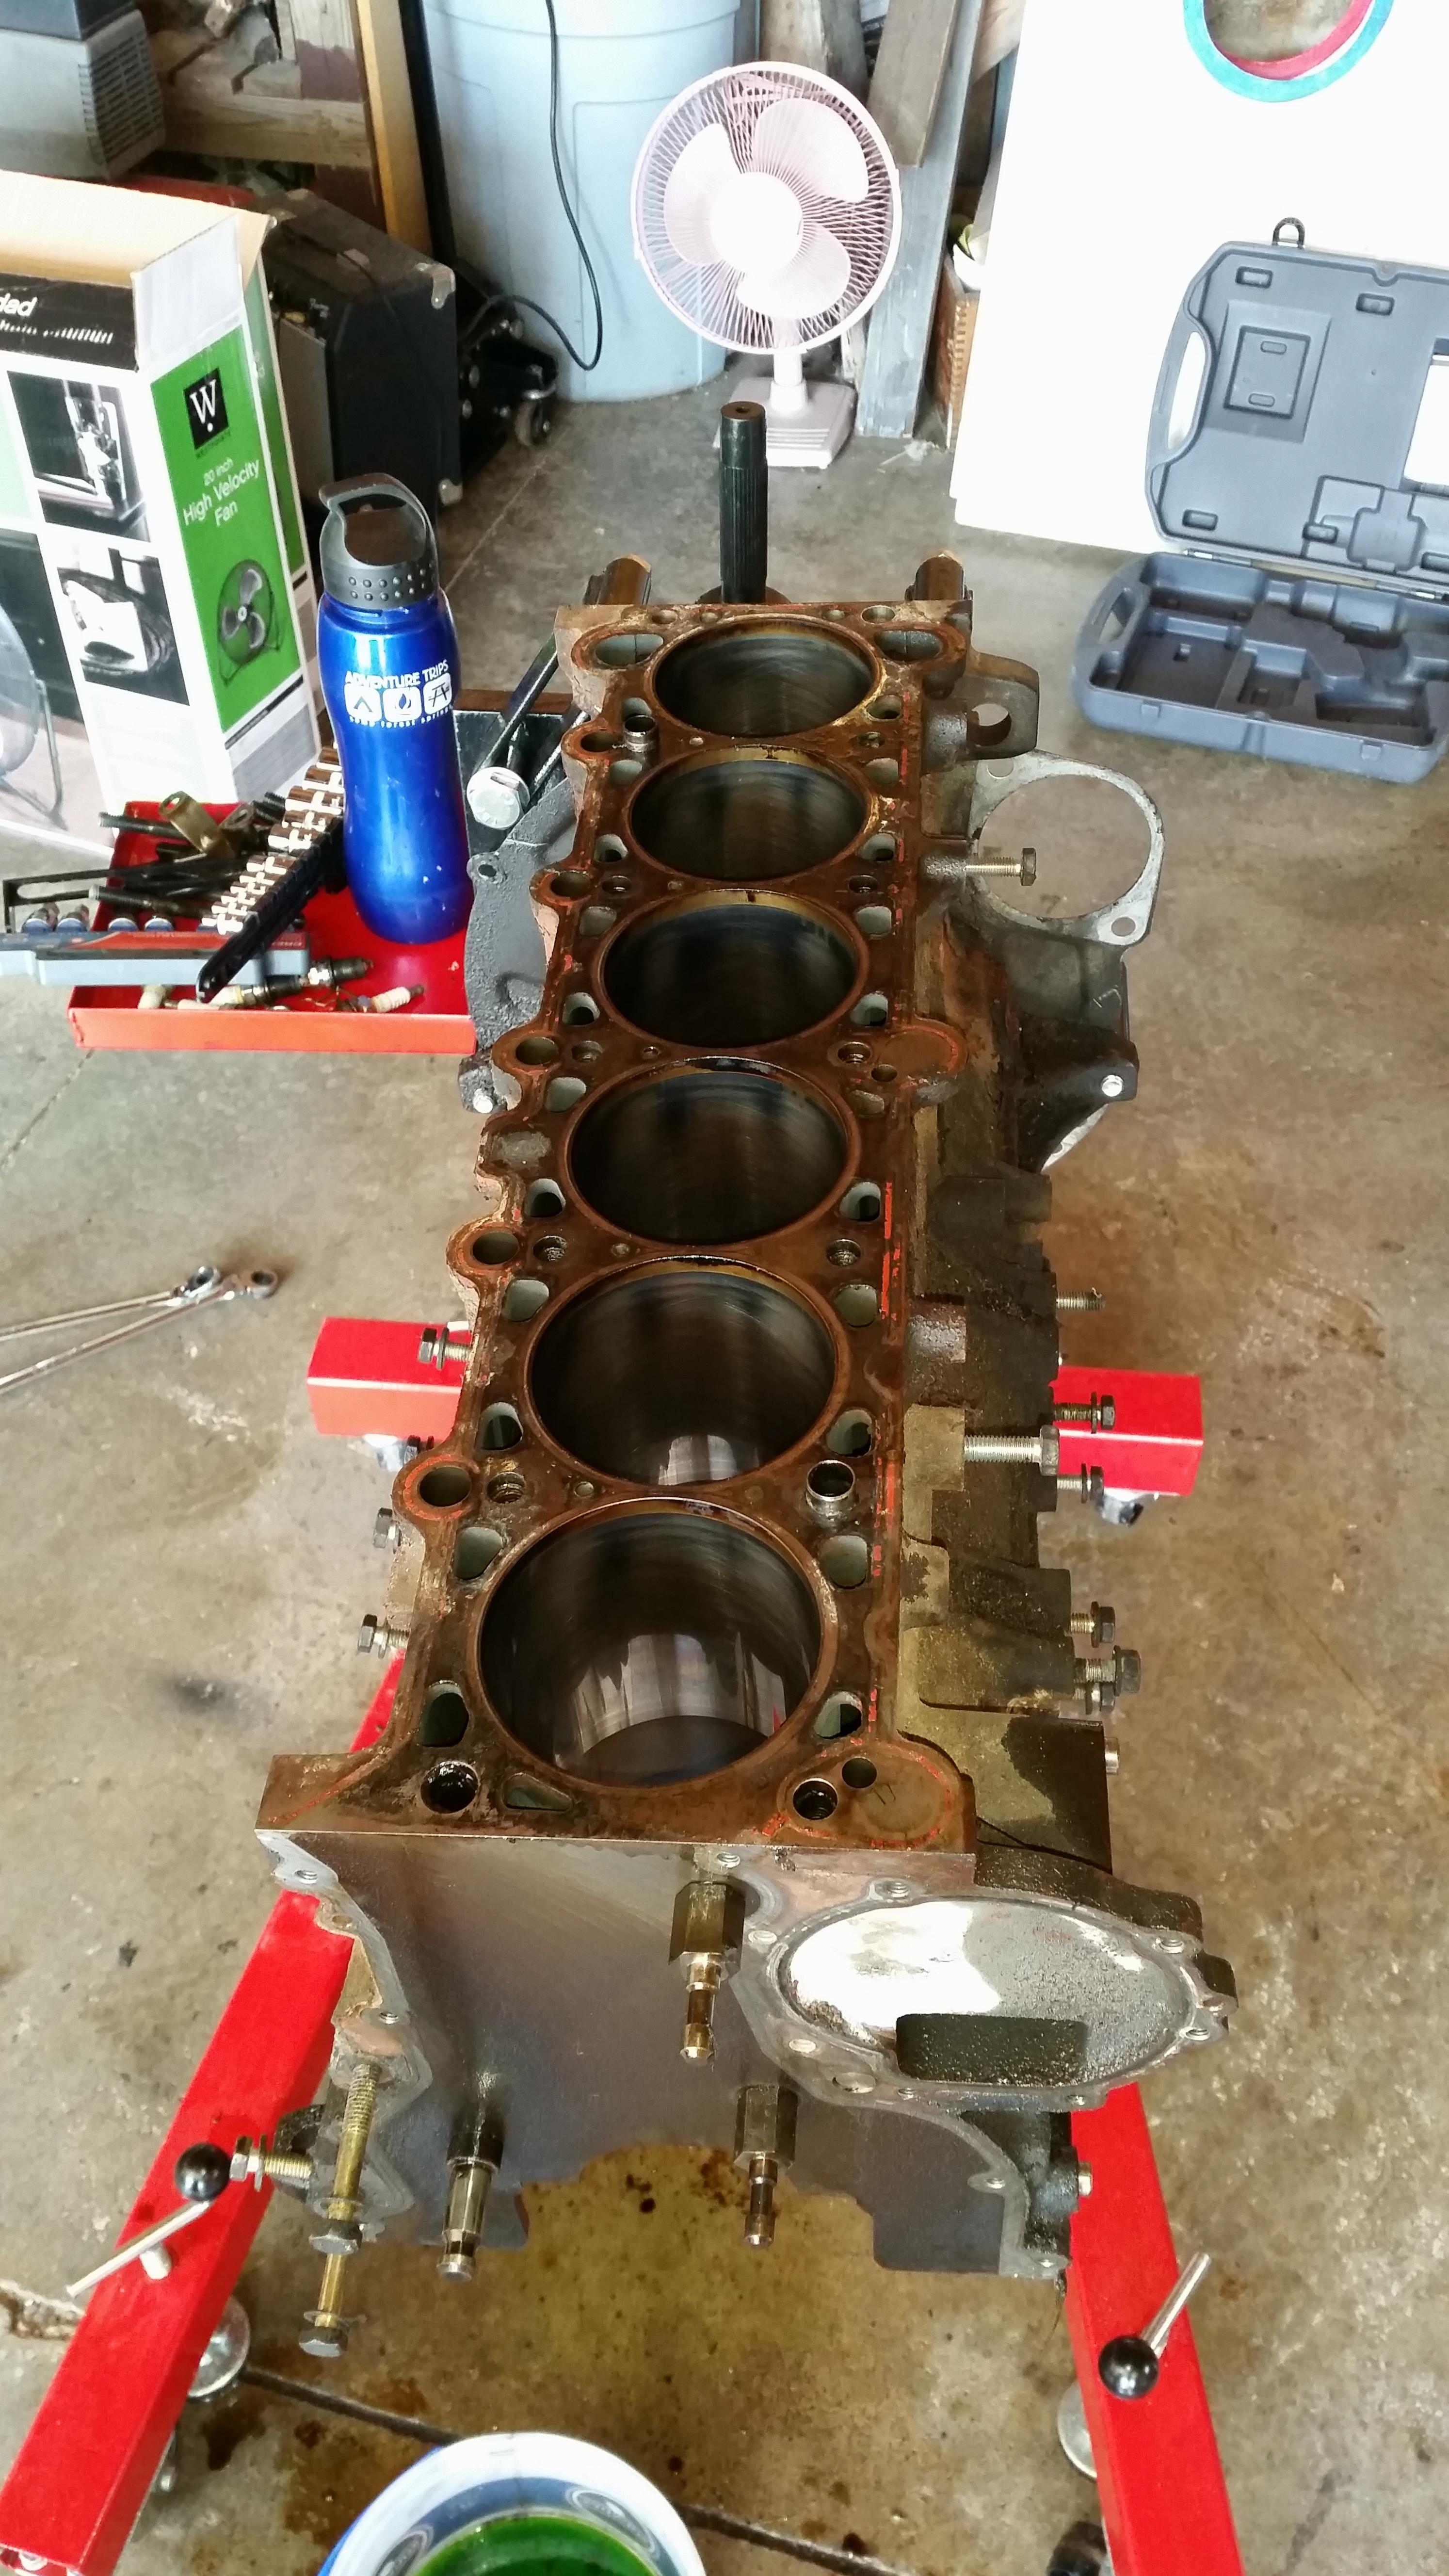
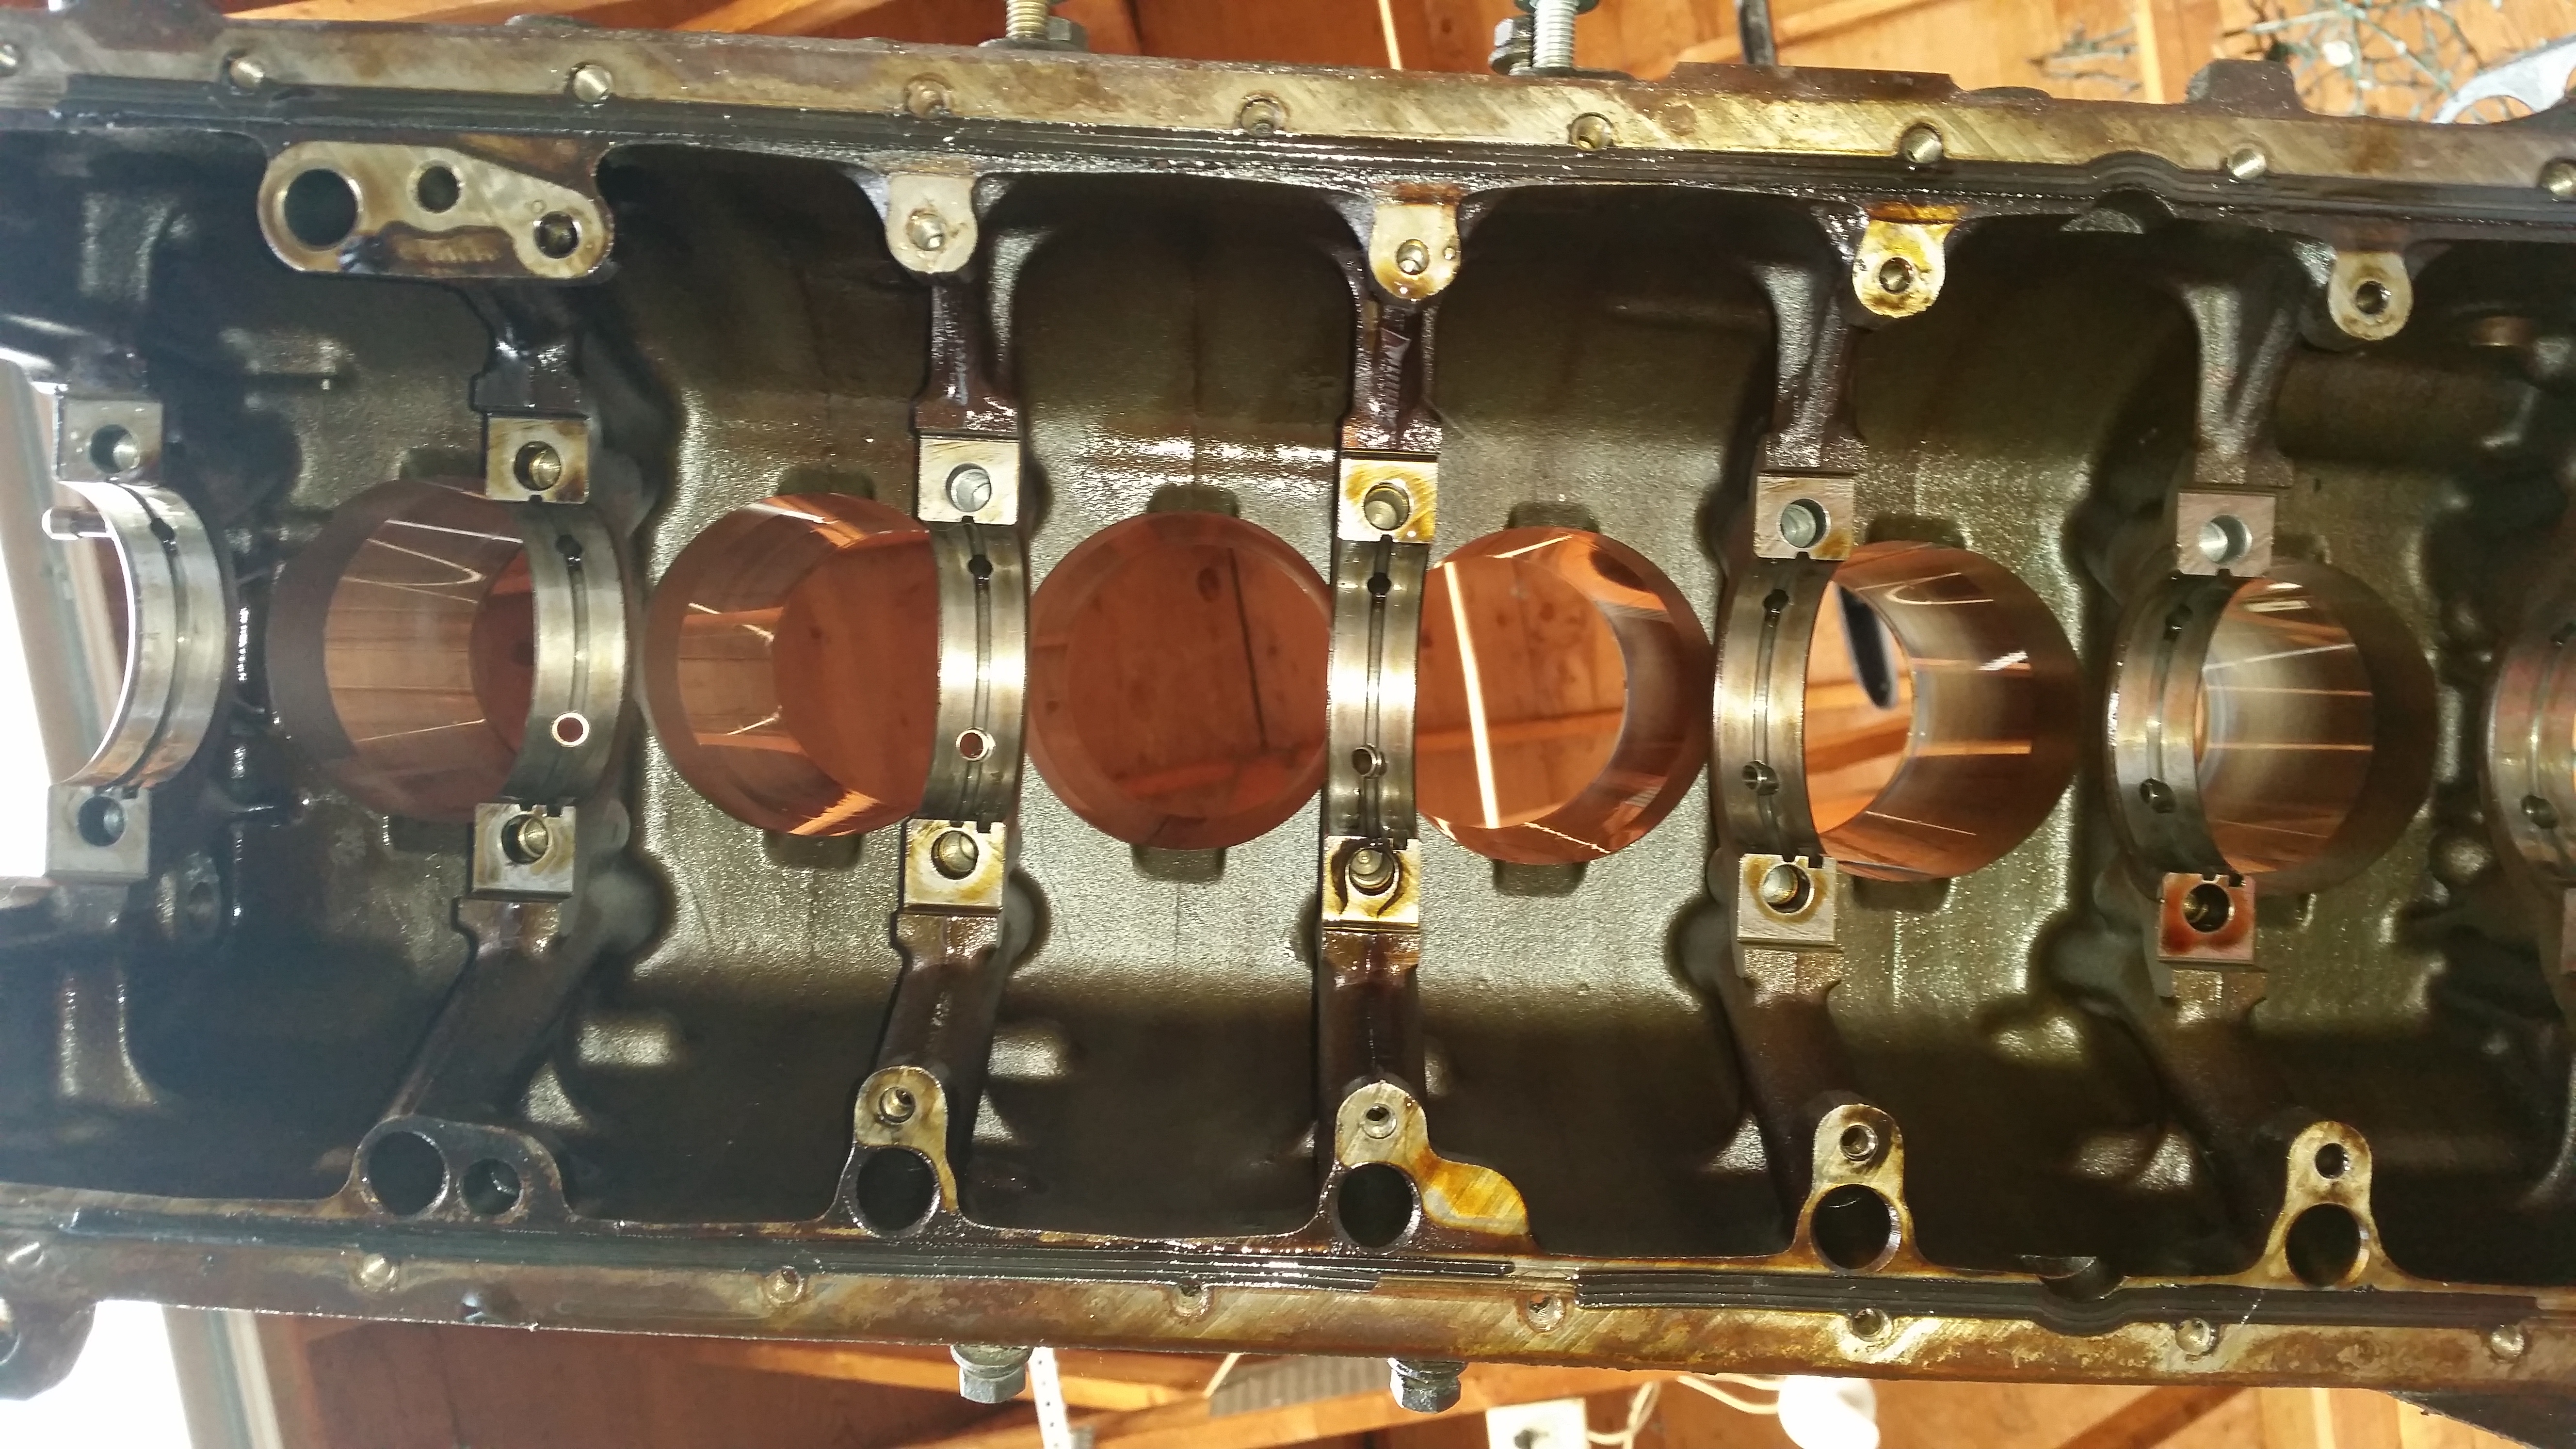
Oil looks good. That's a plus!
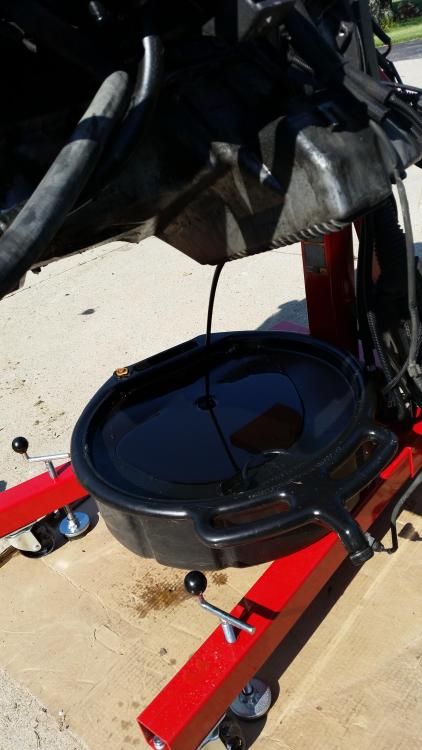
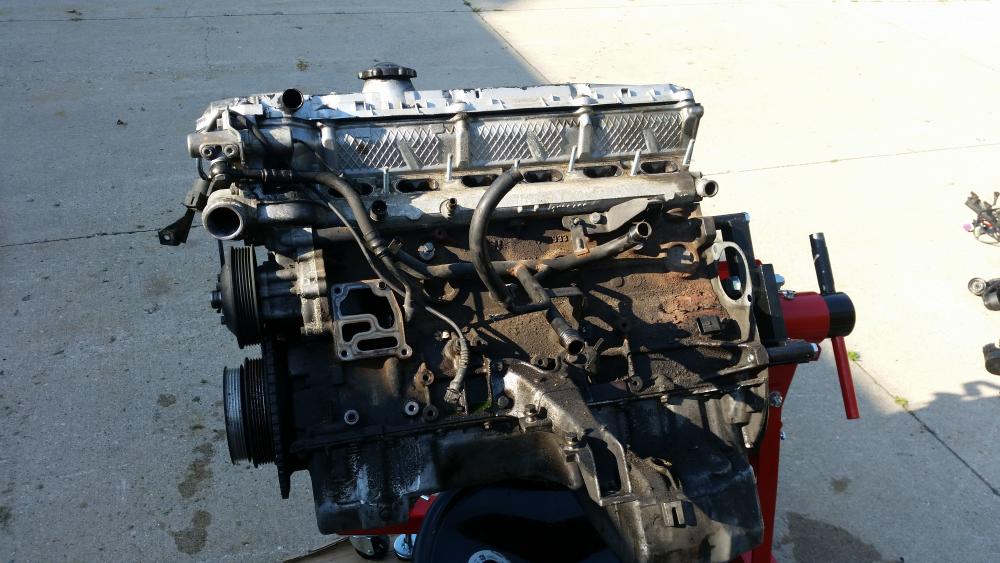
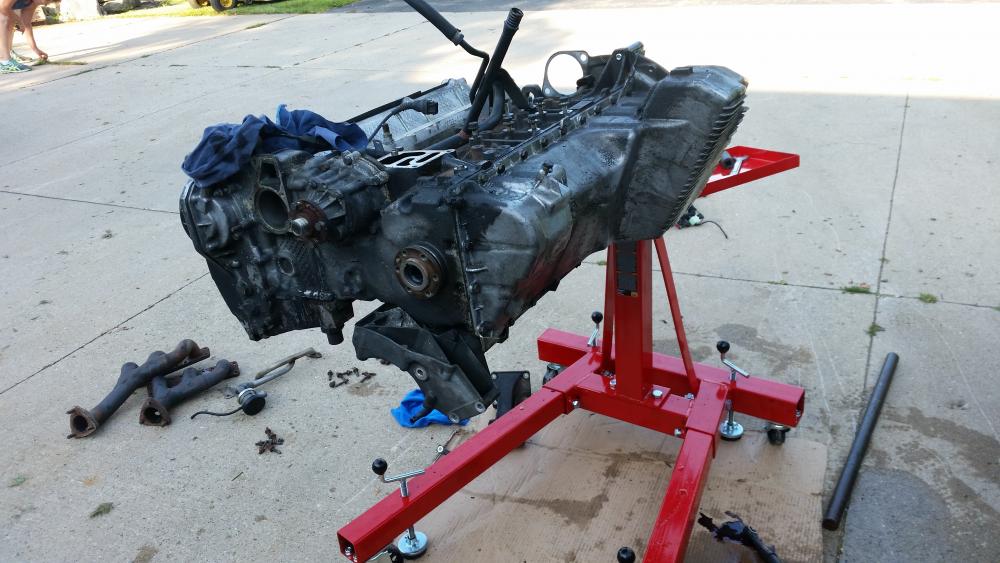
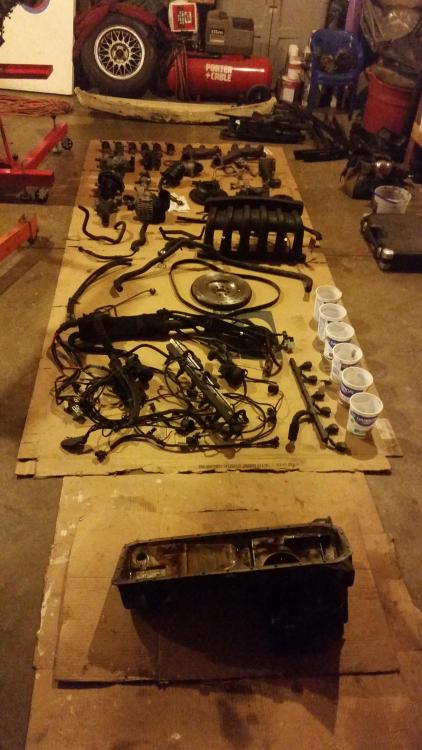
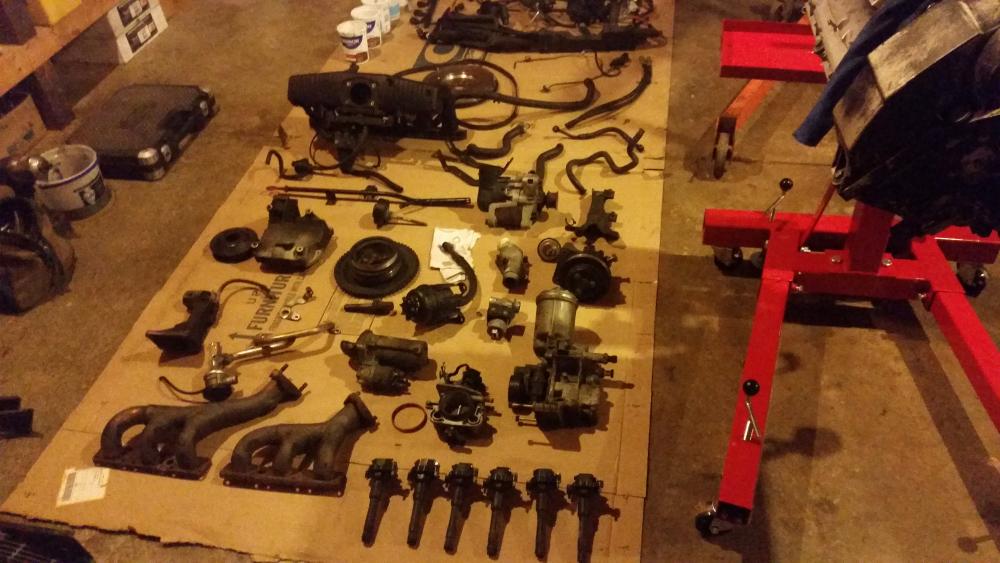
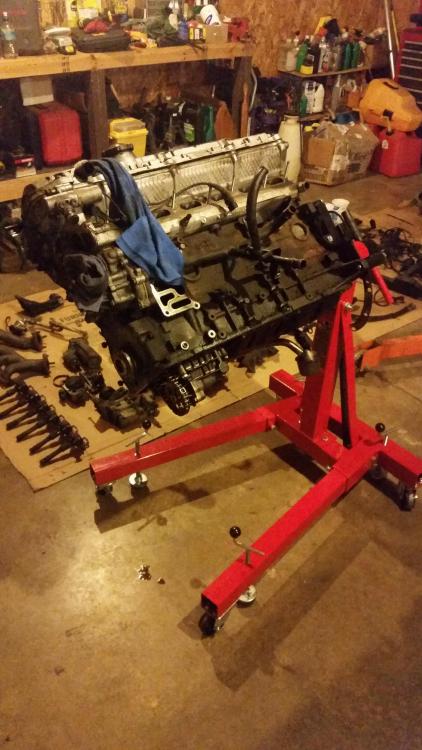
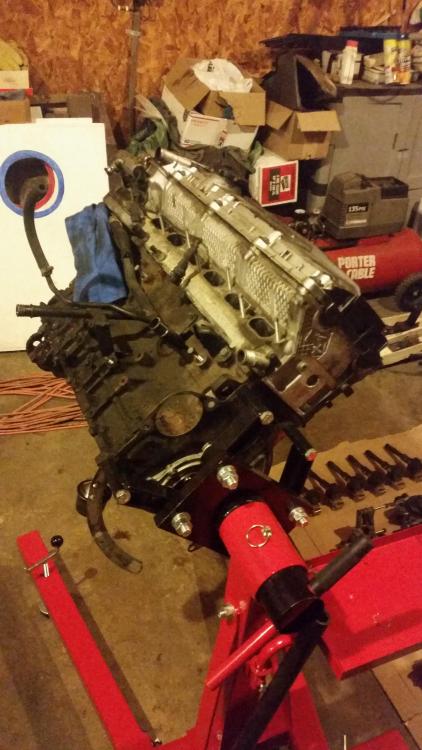
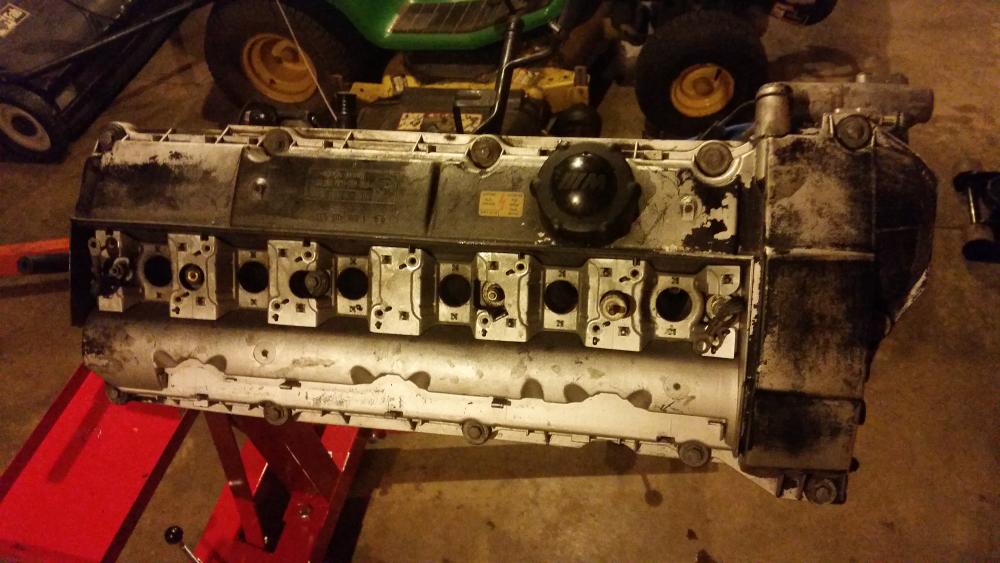
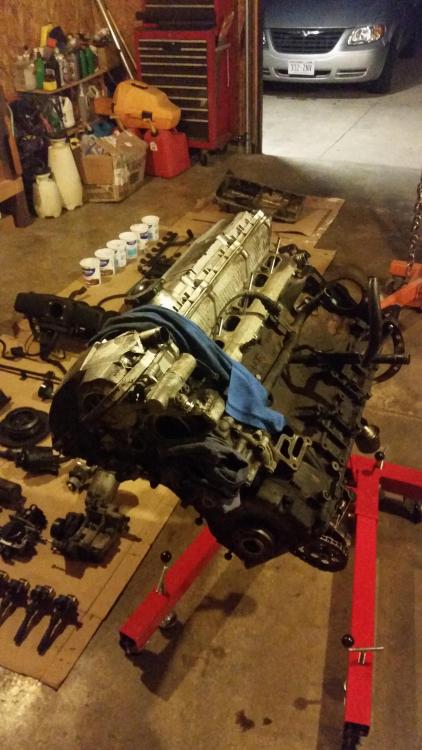
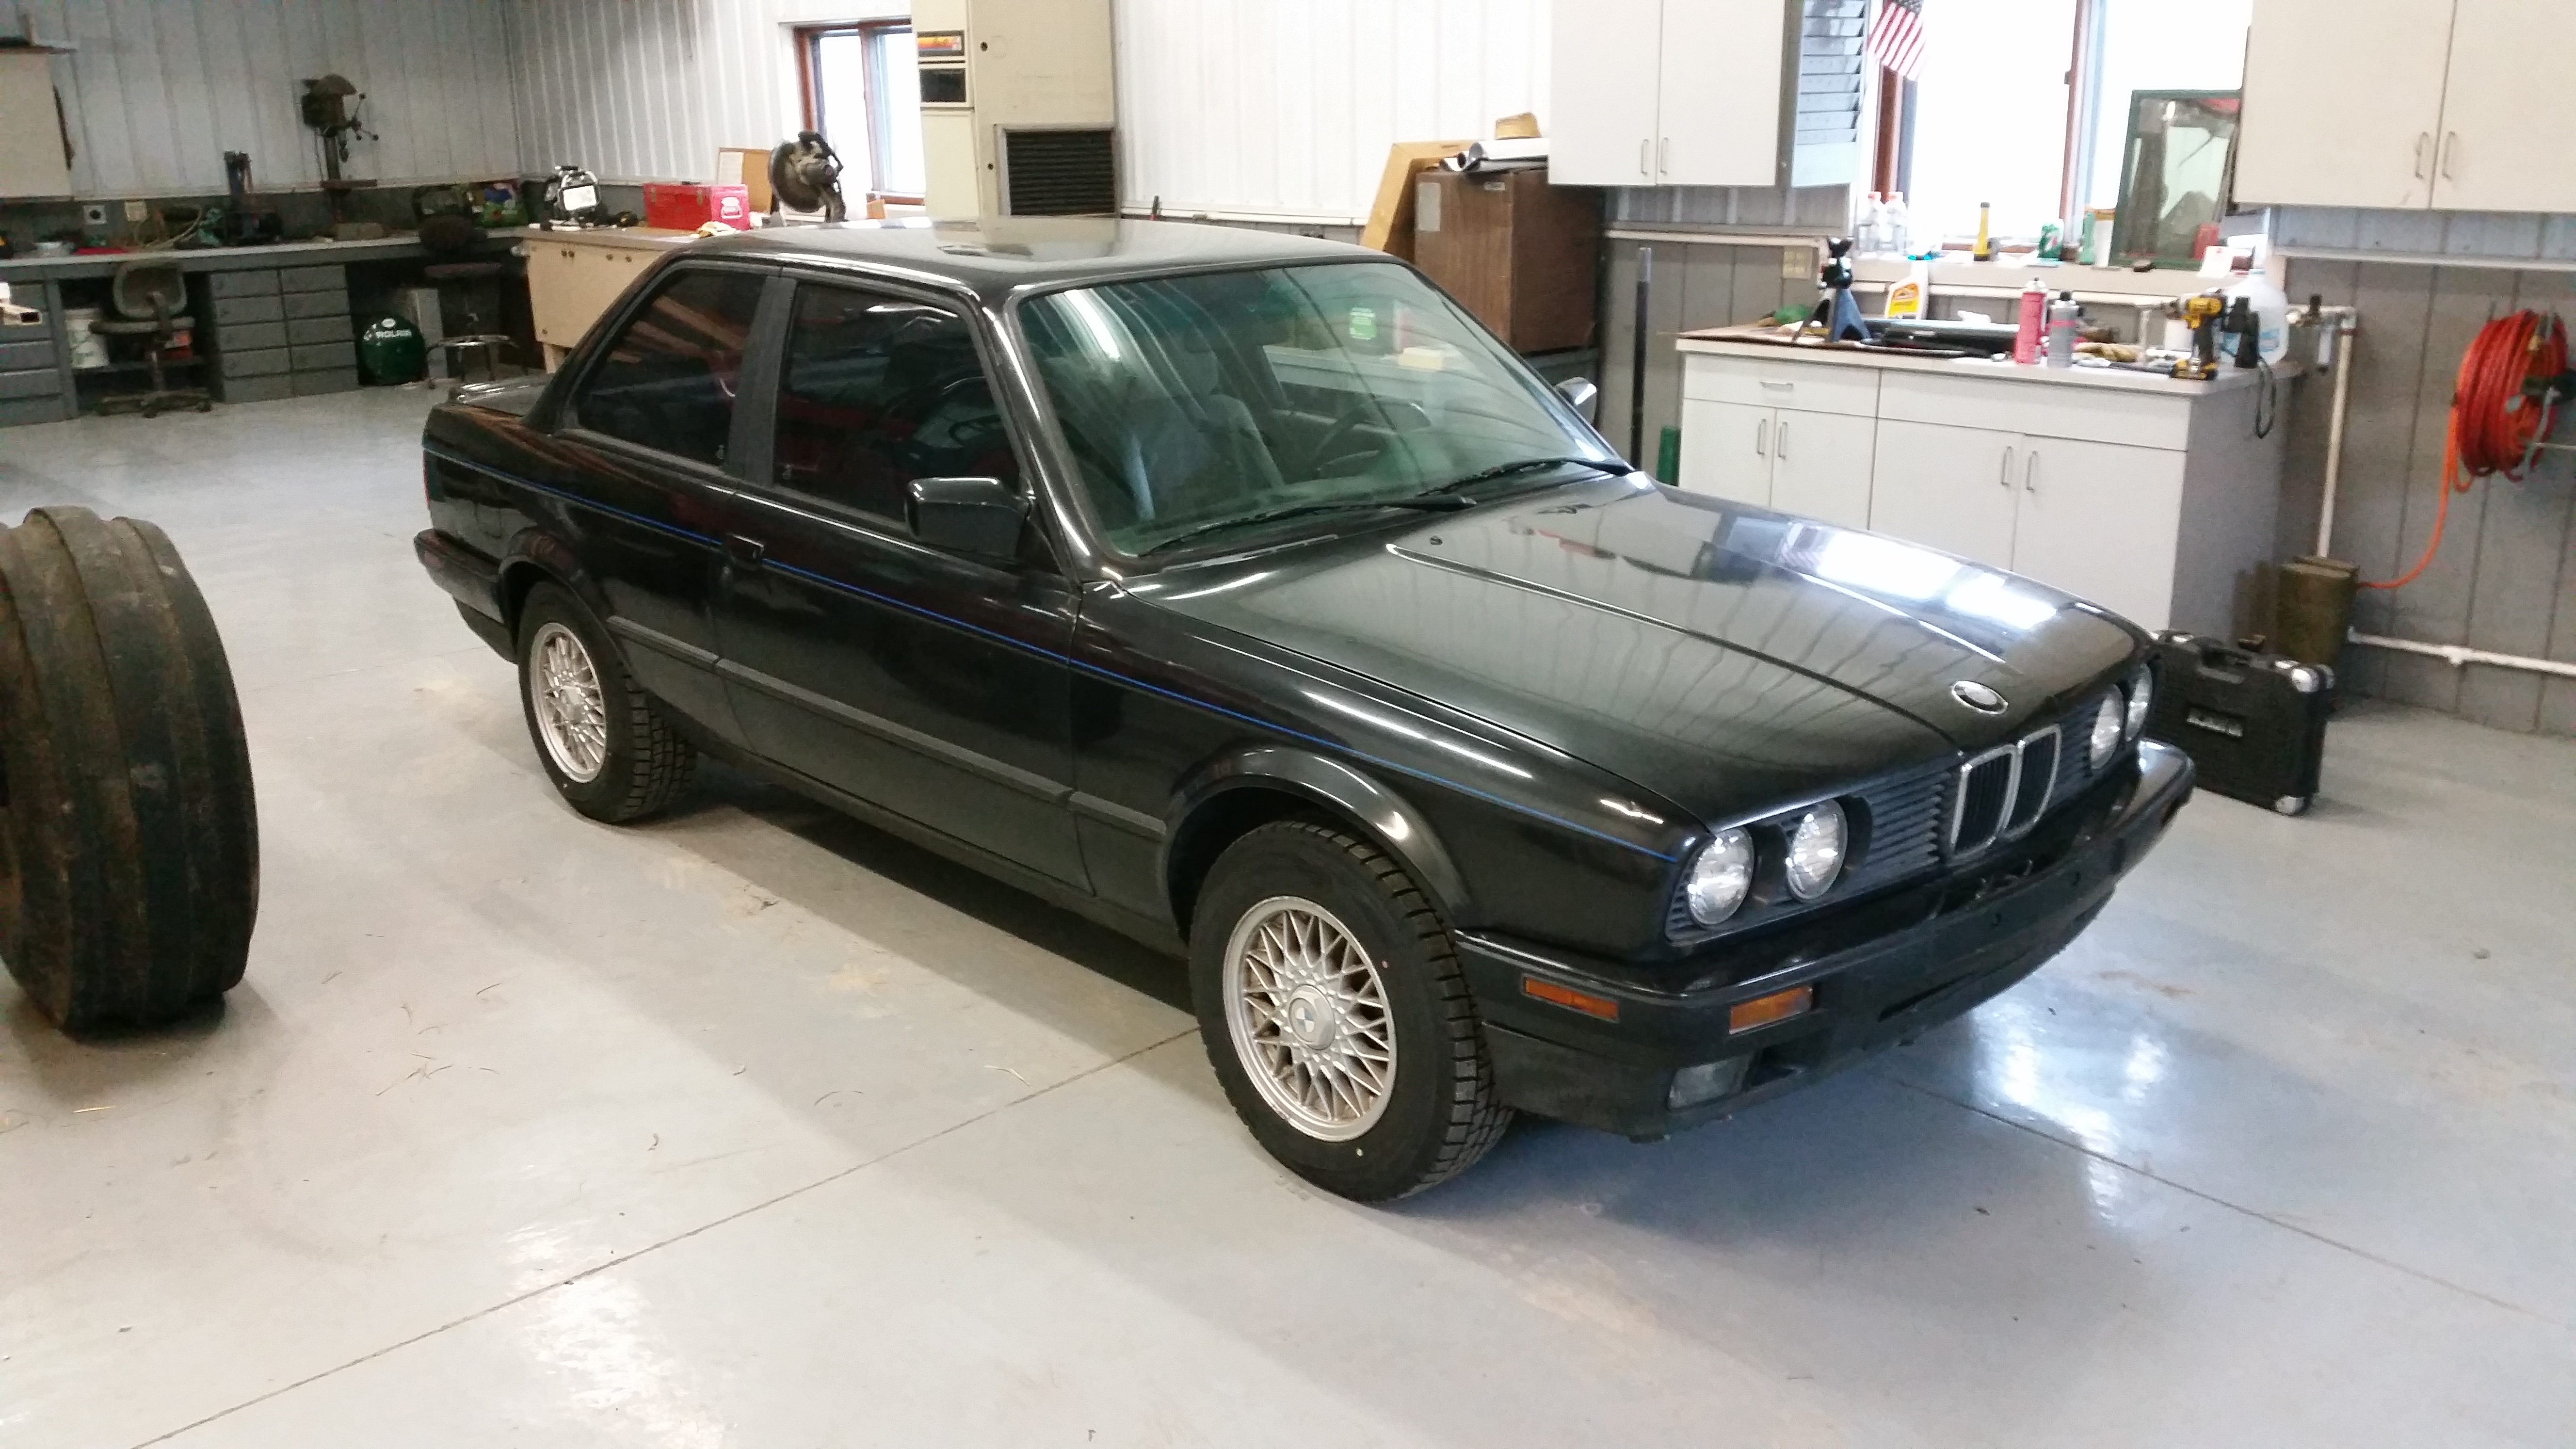
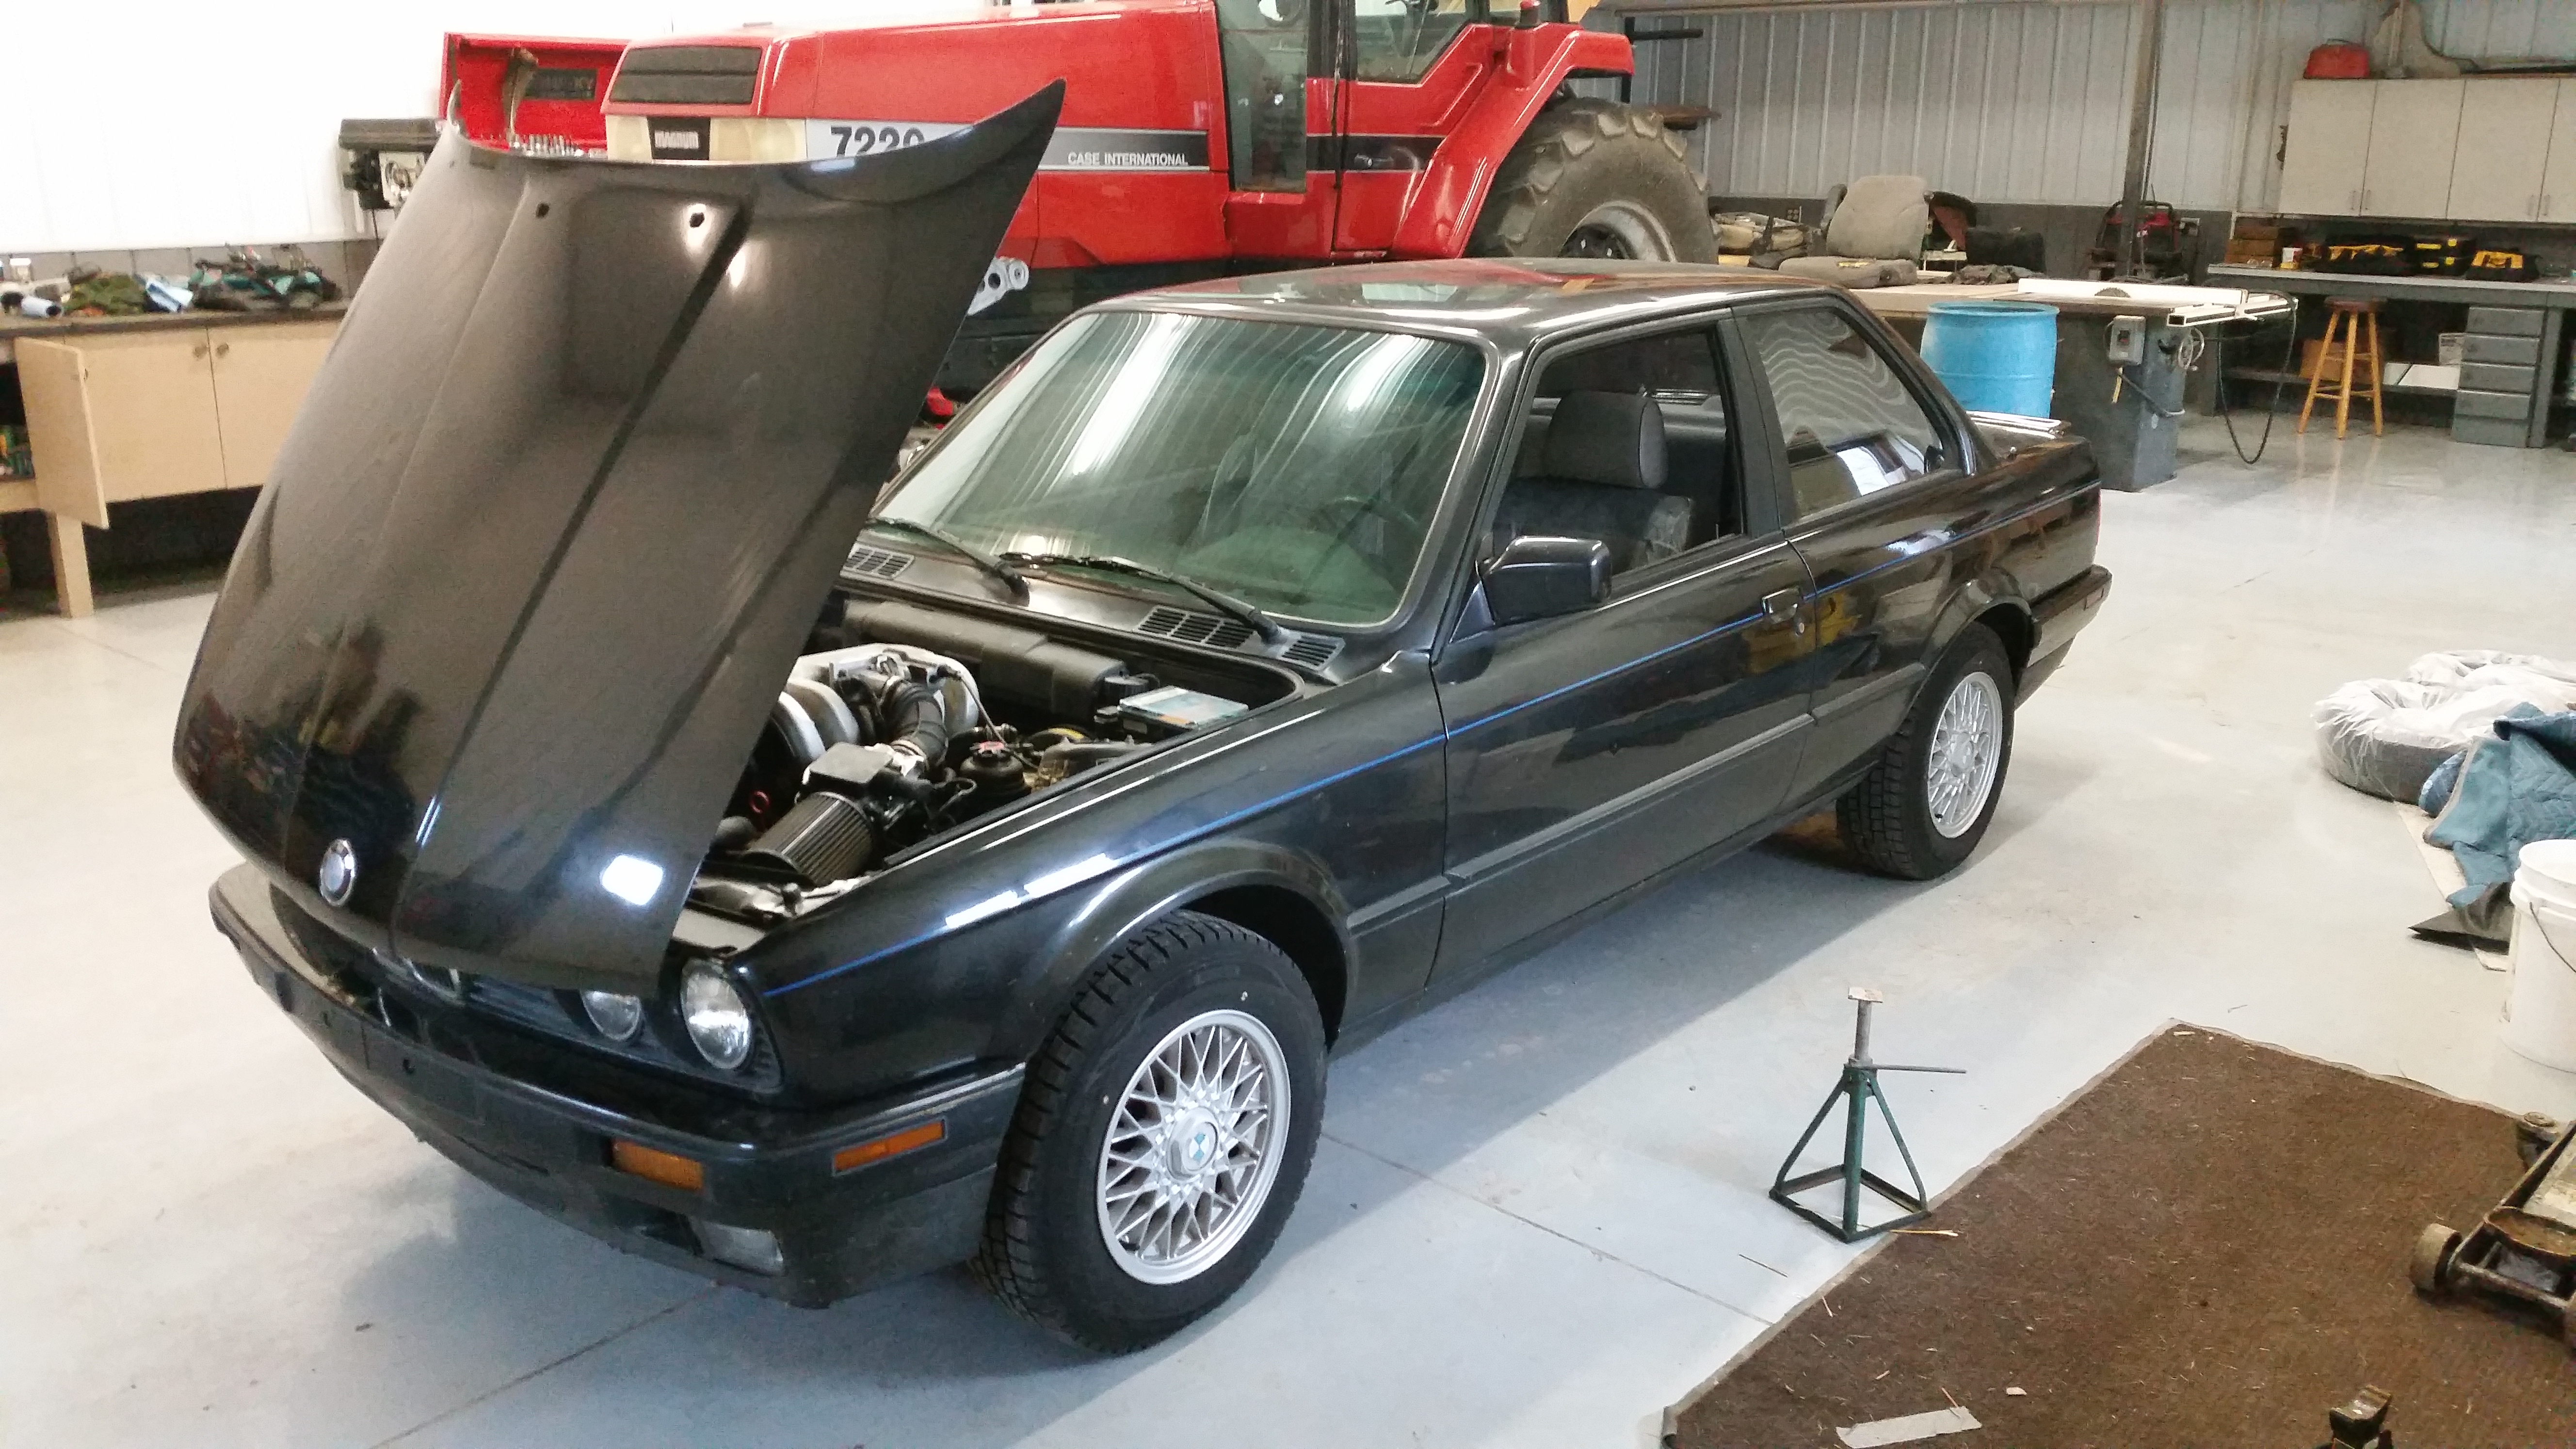
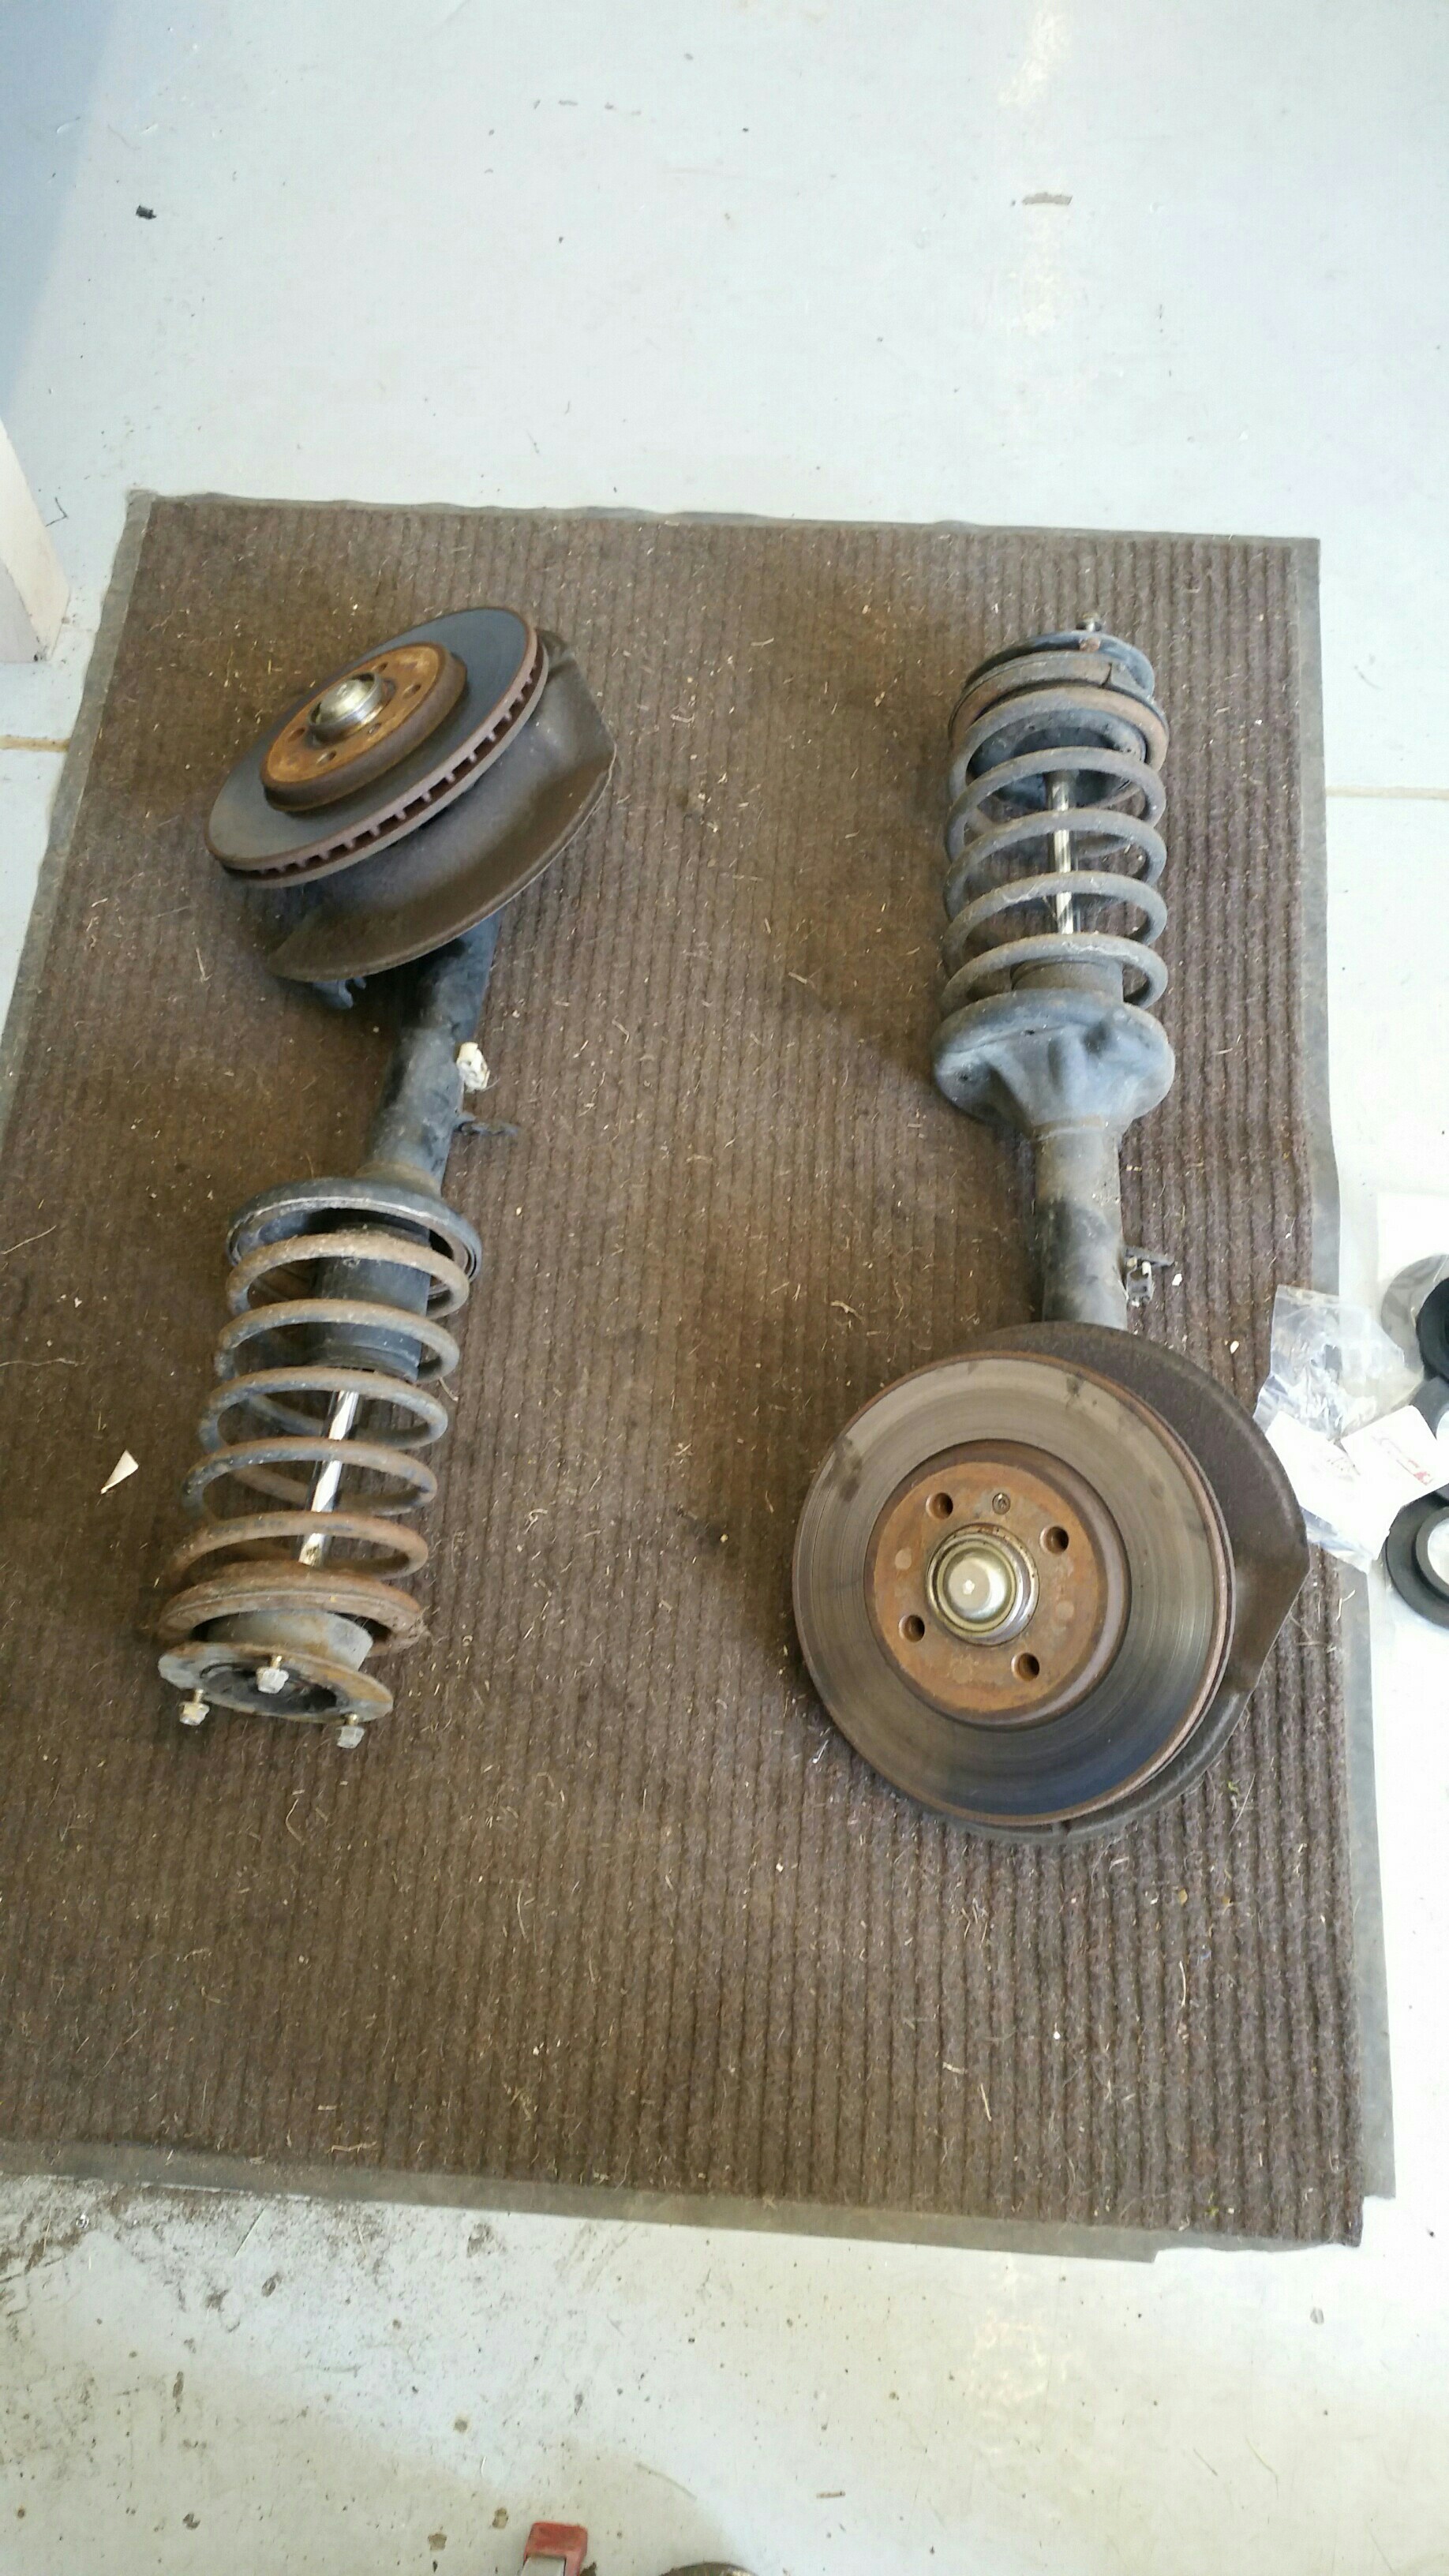
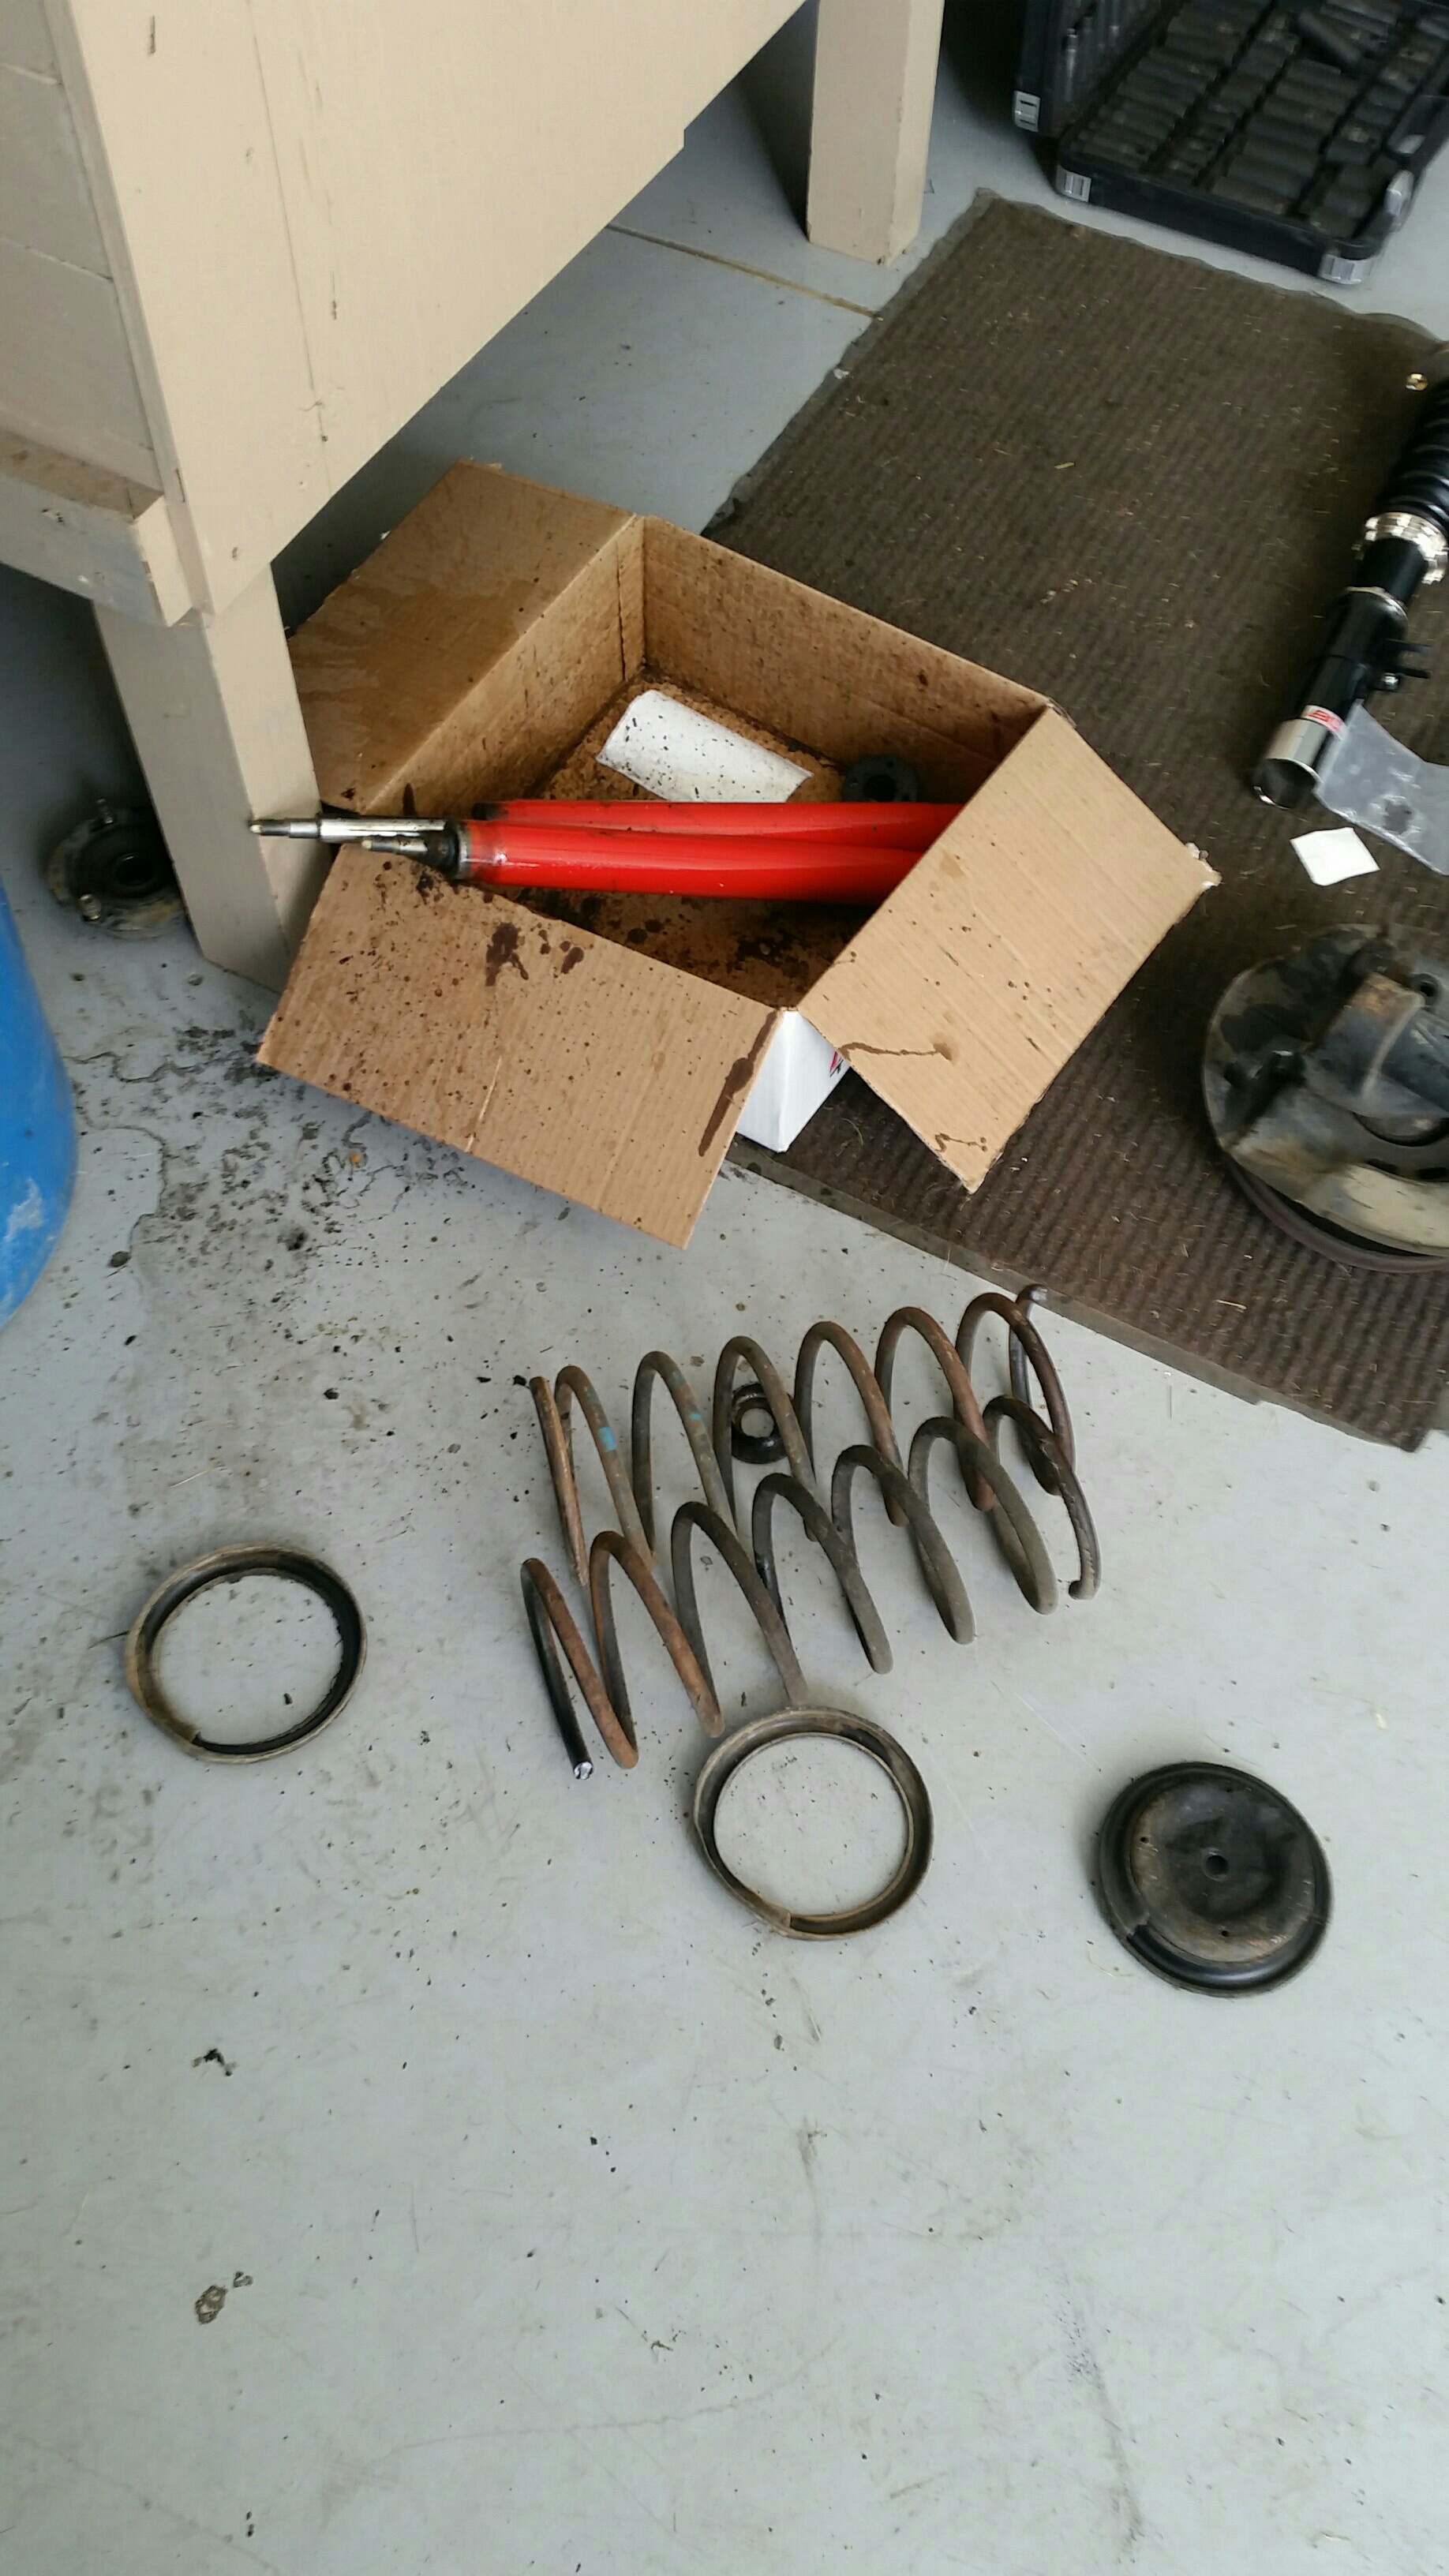
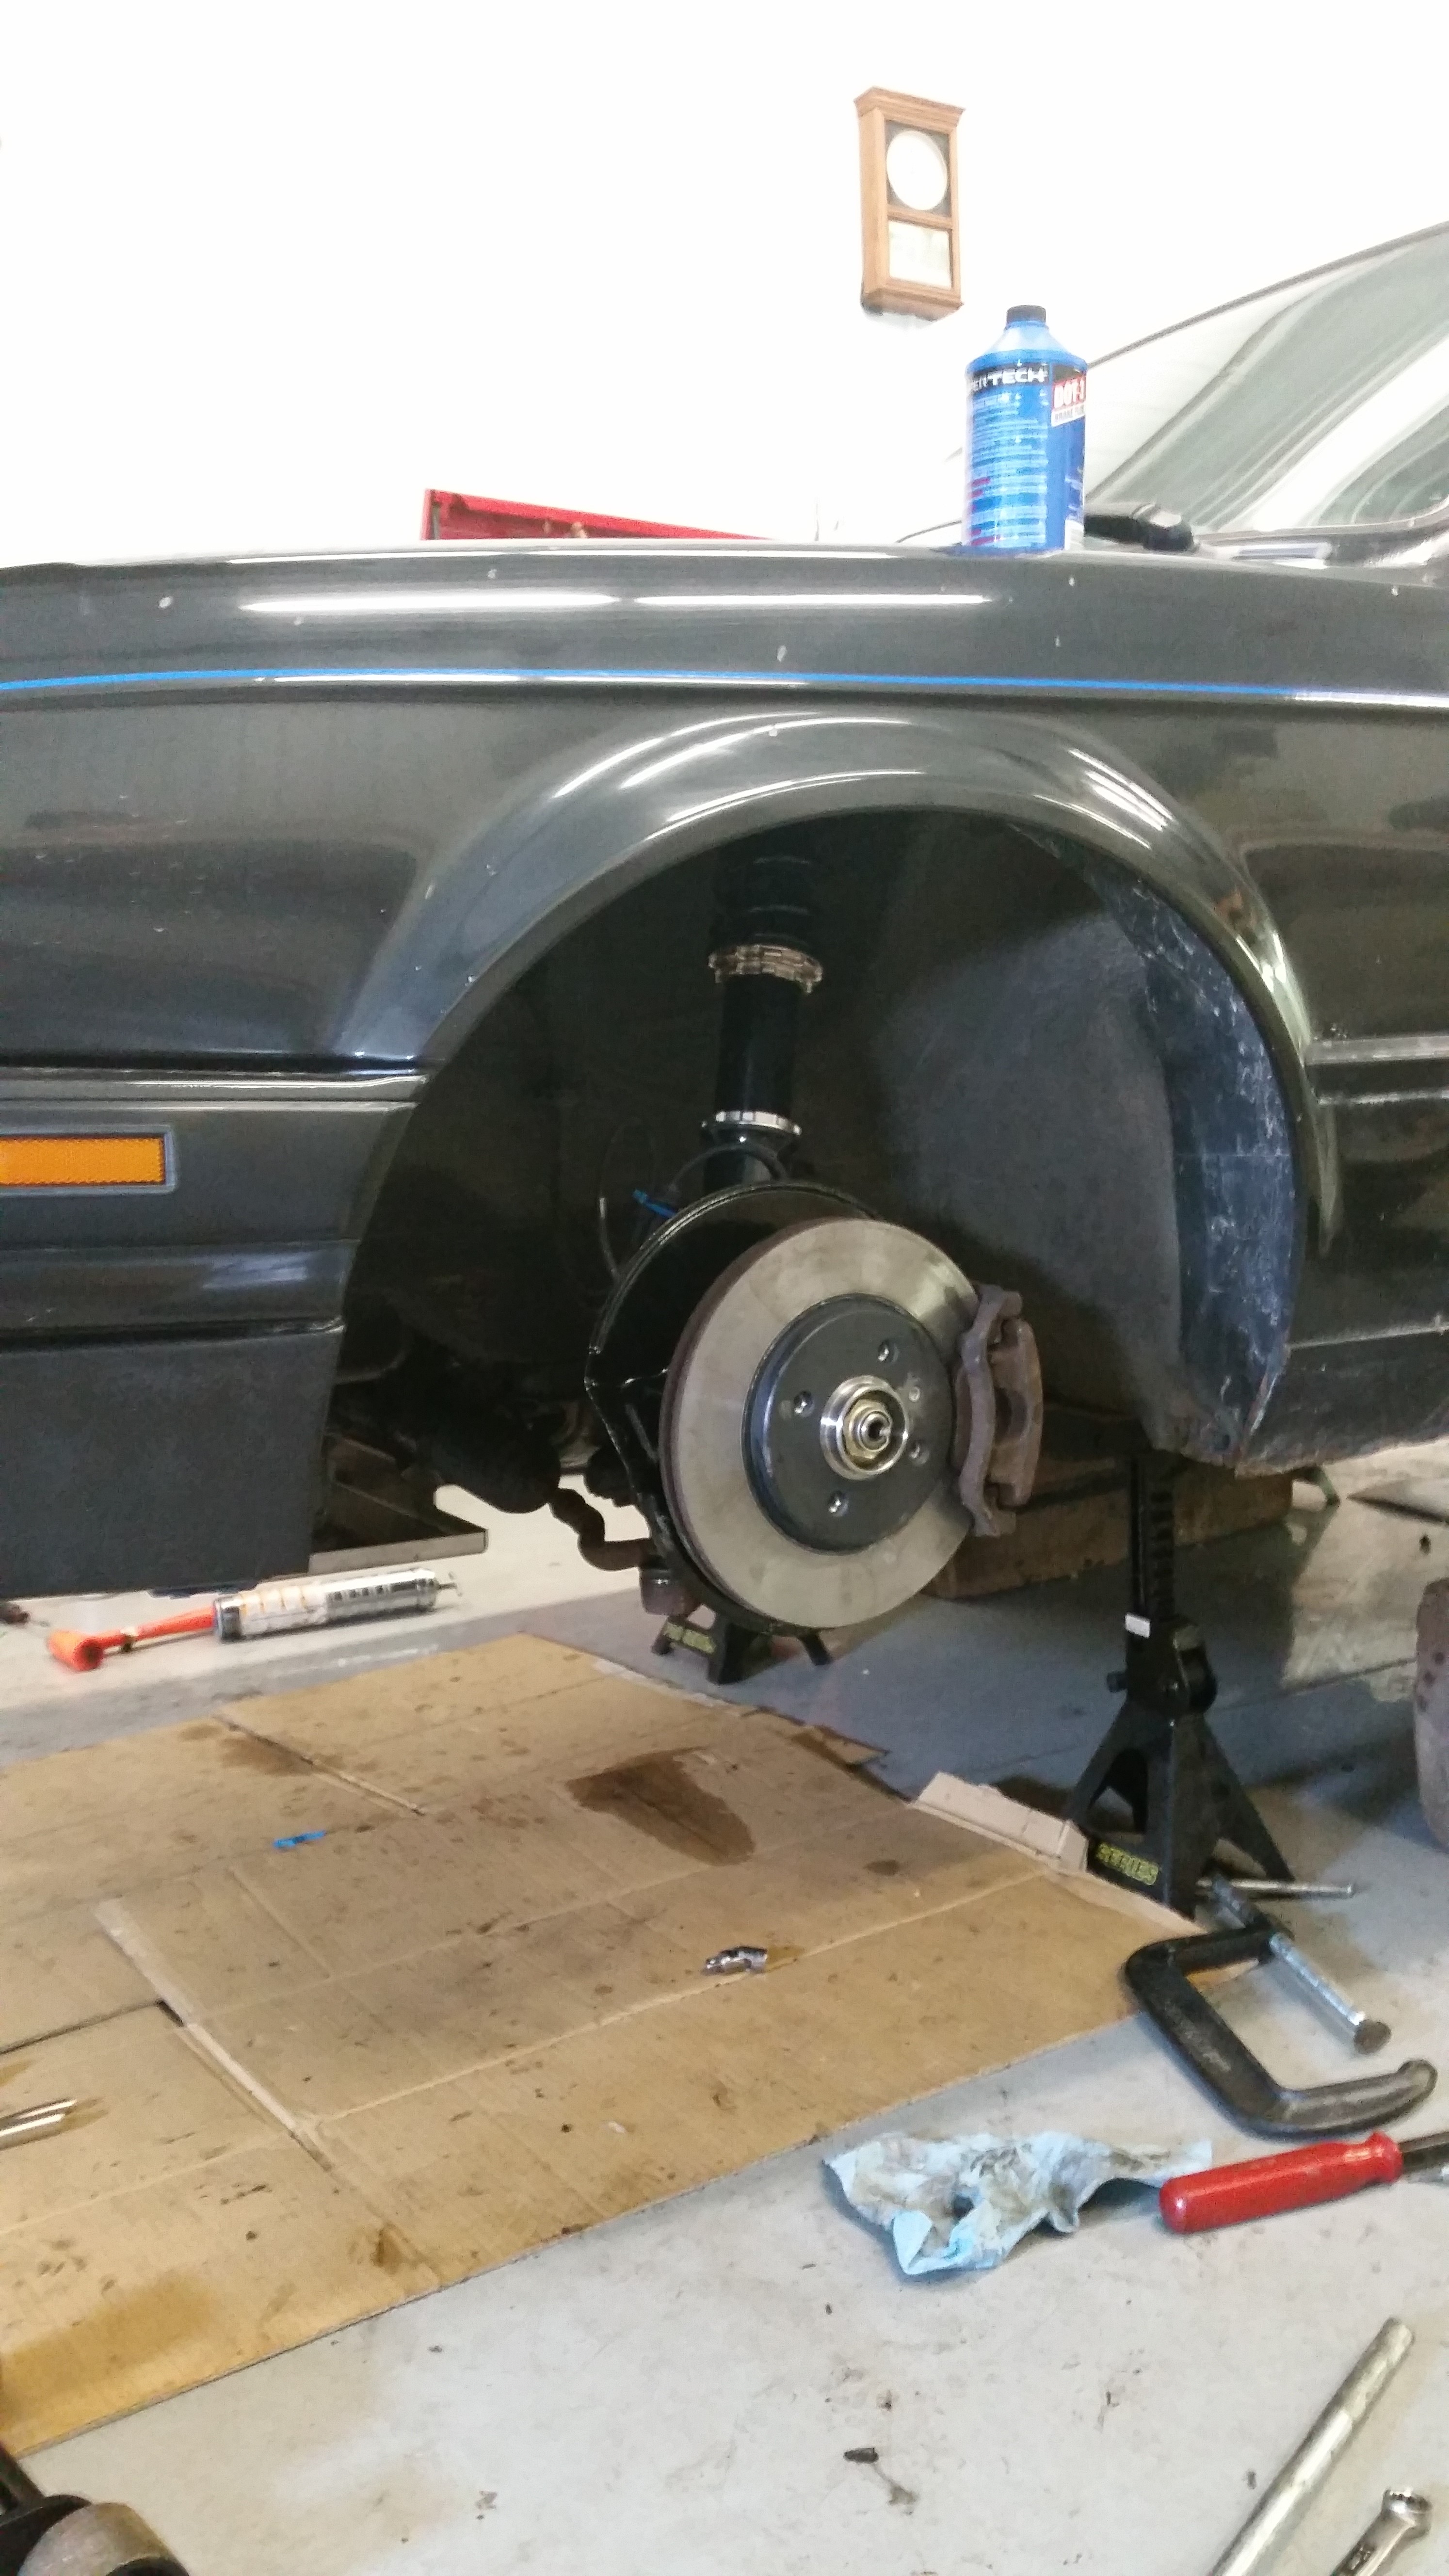
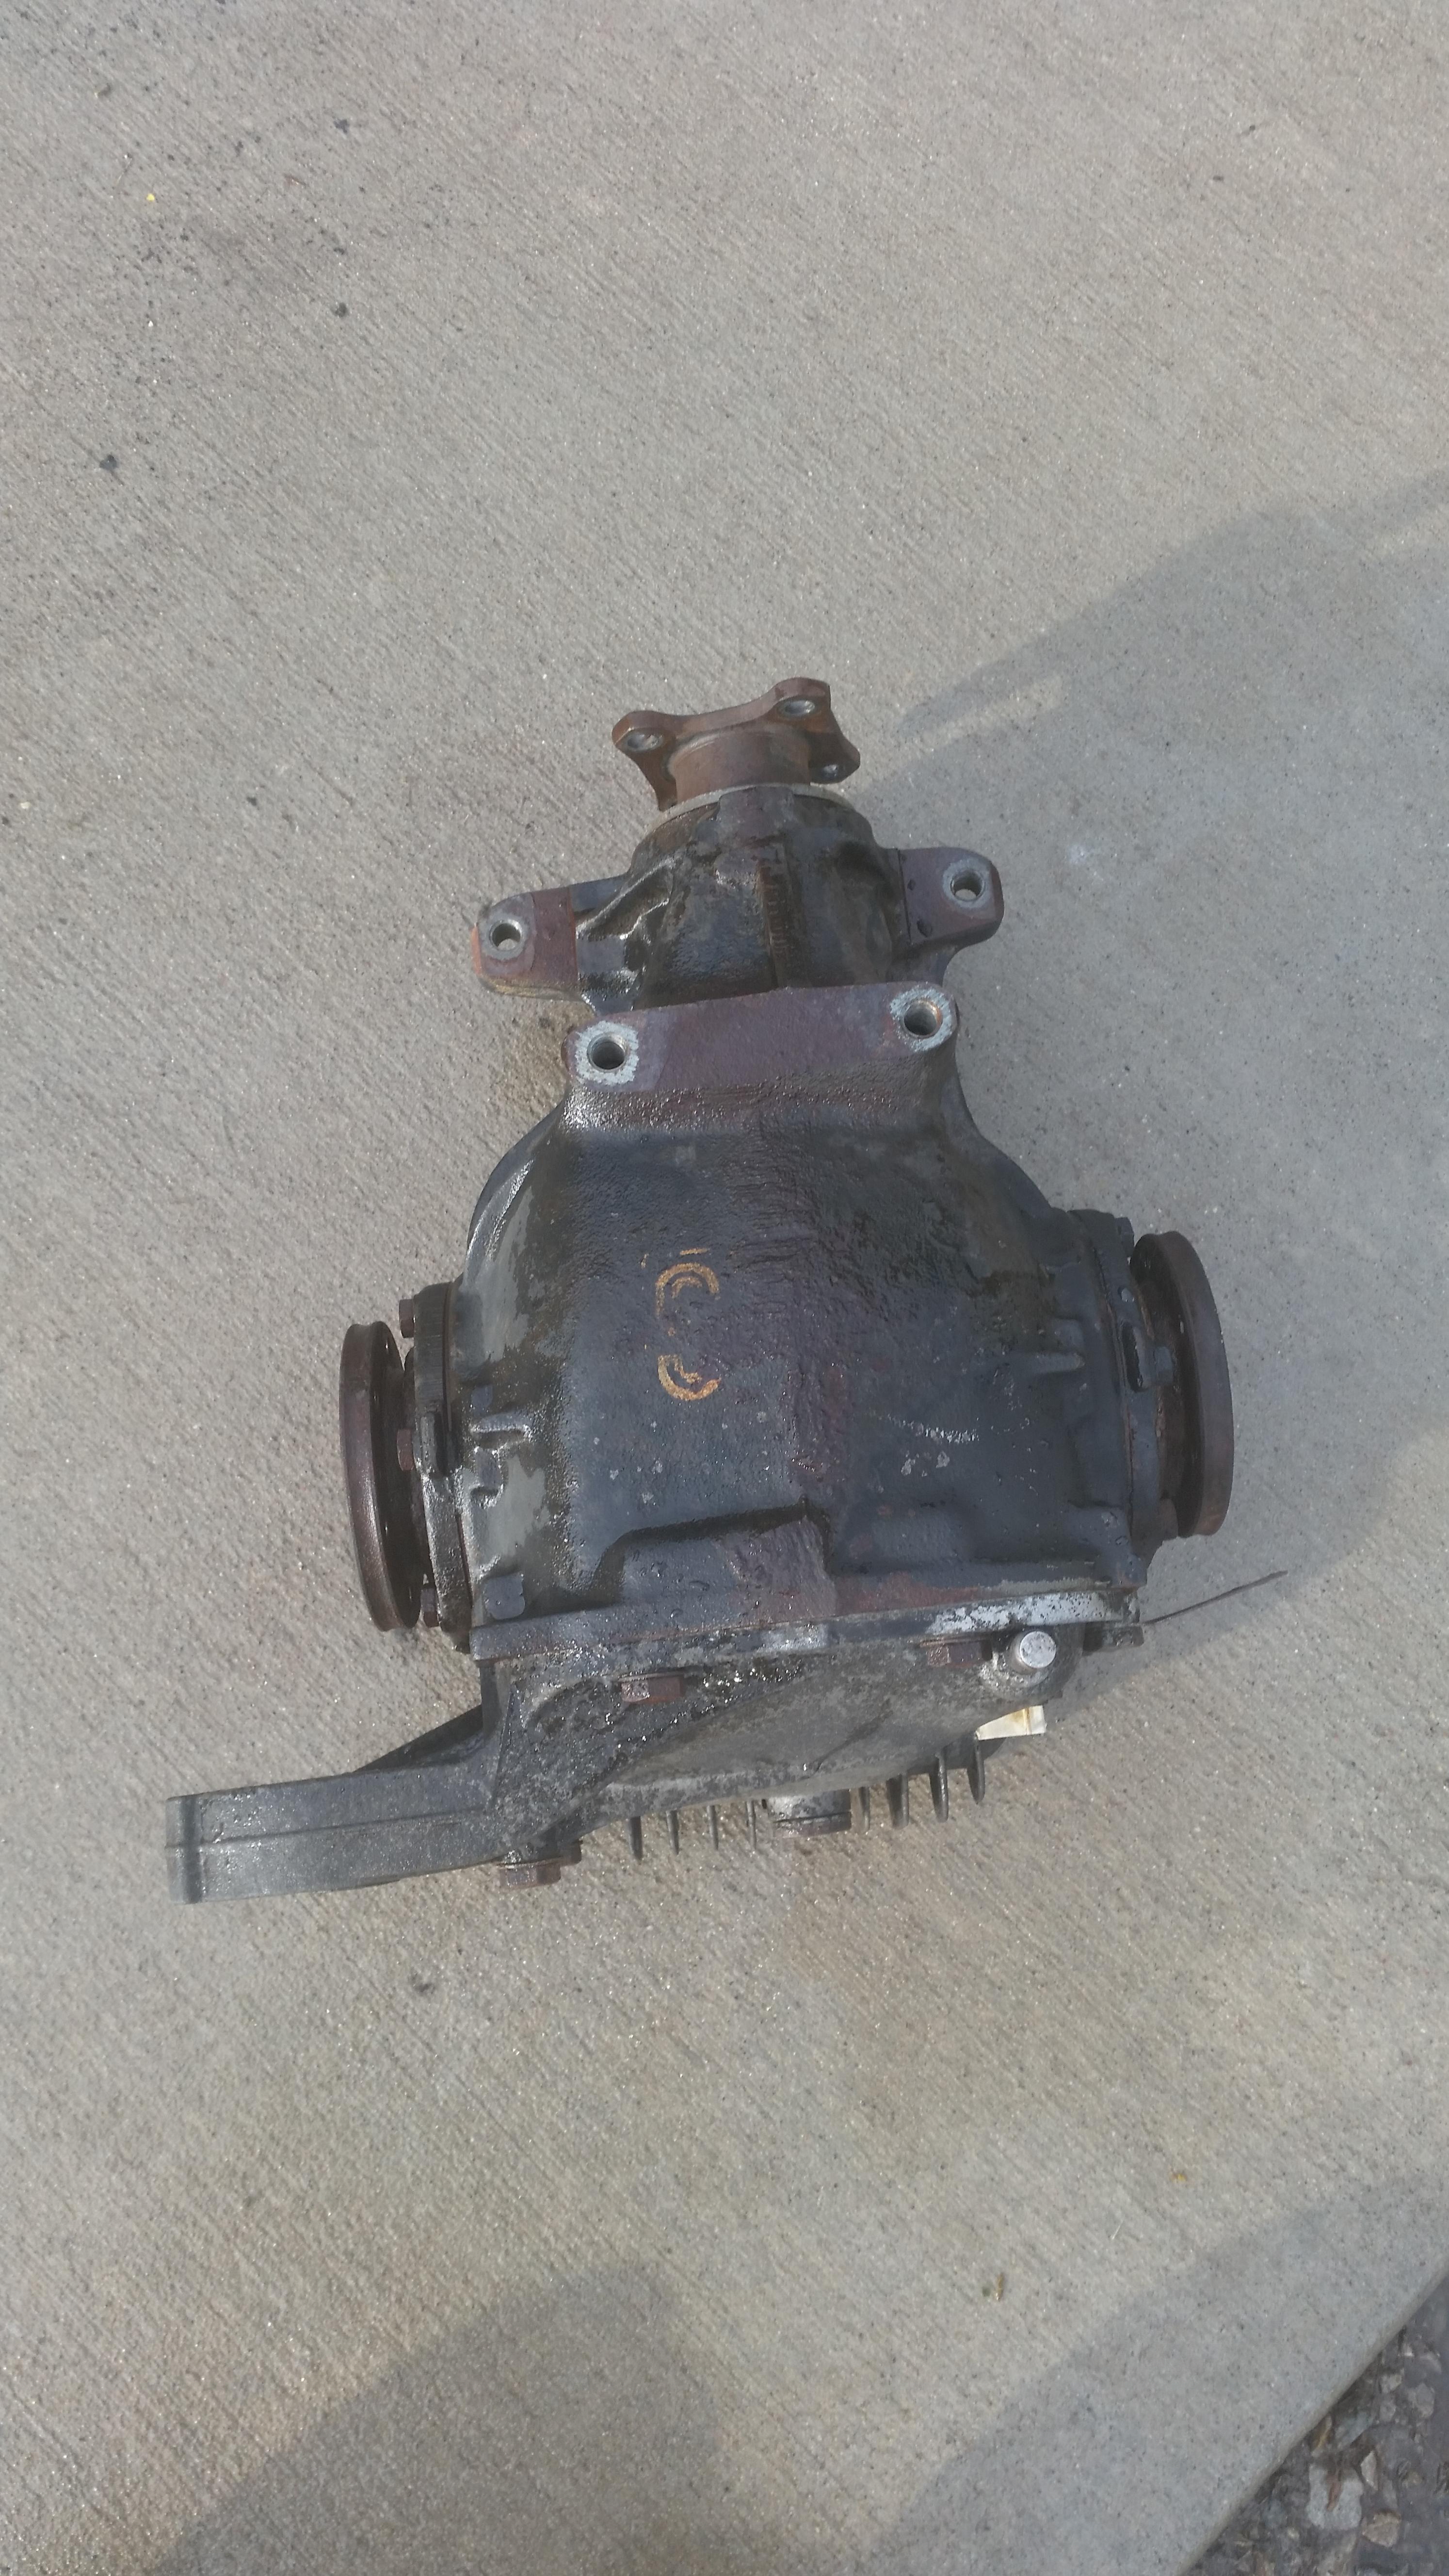
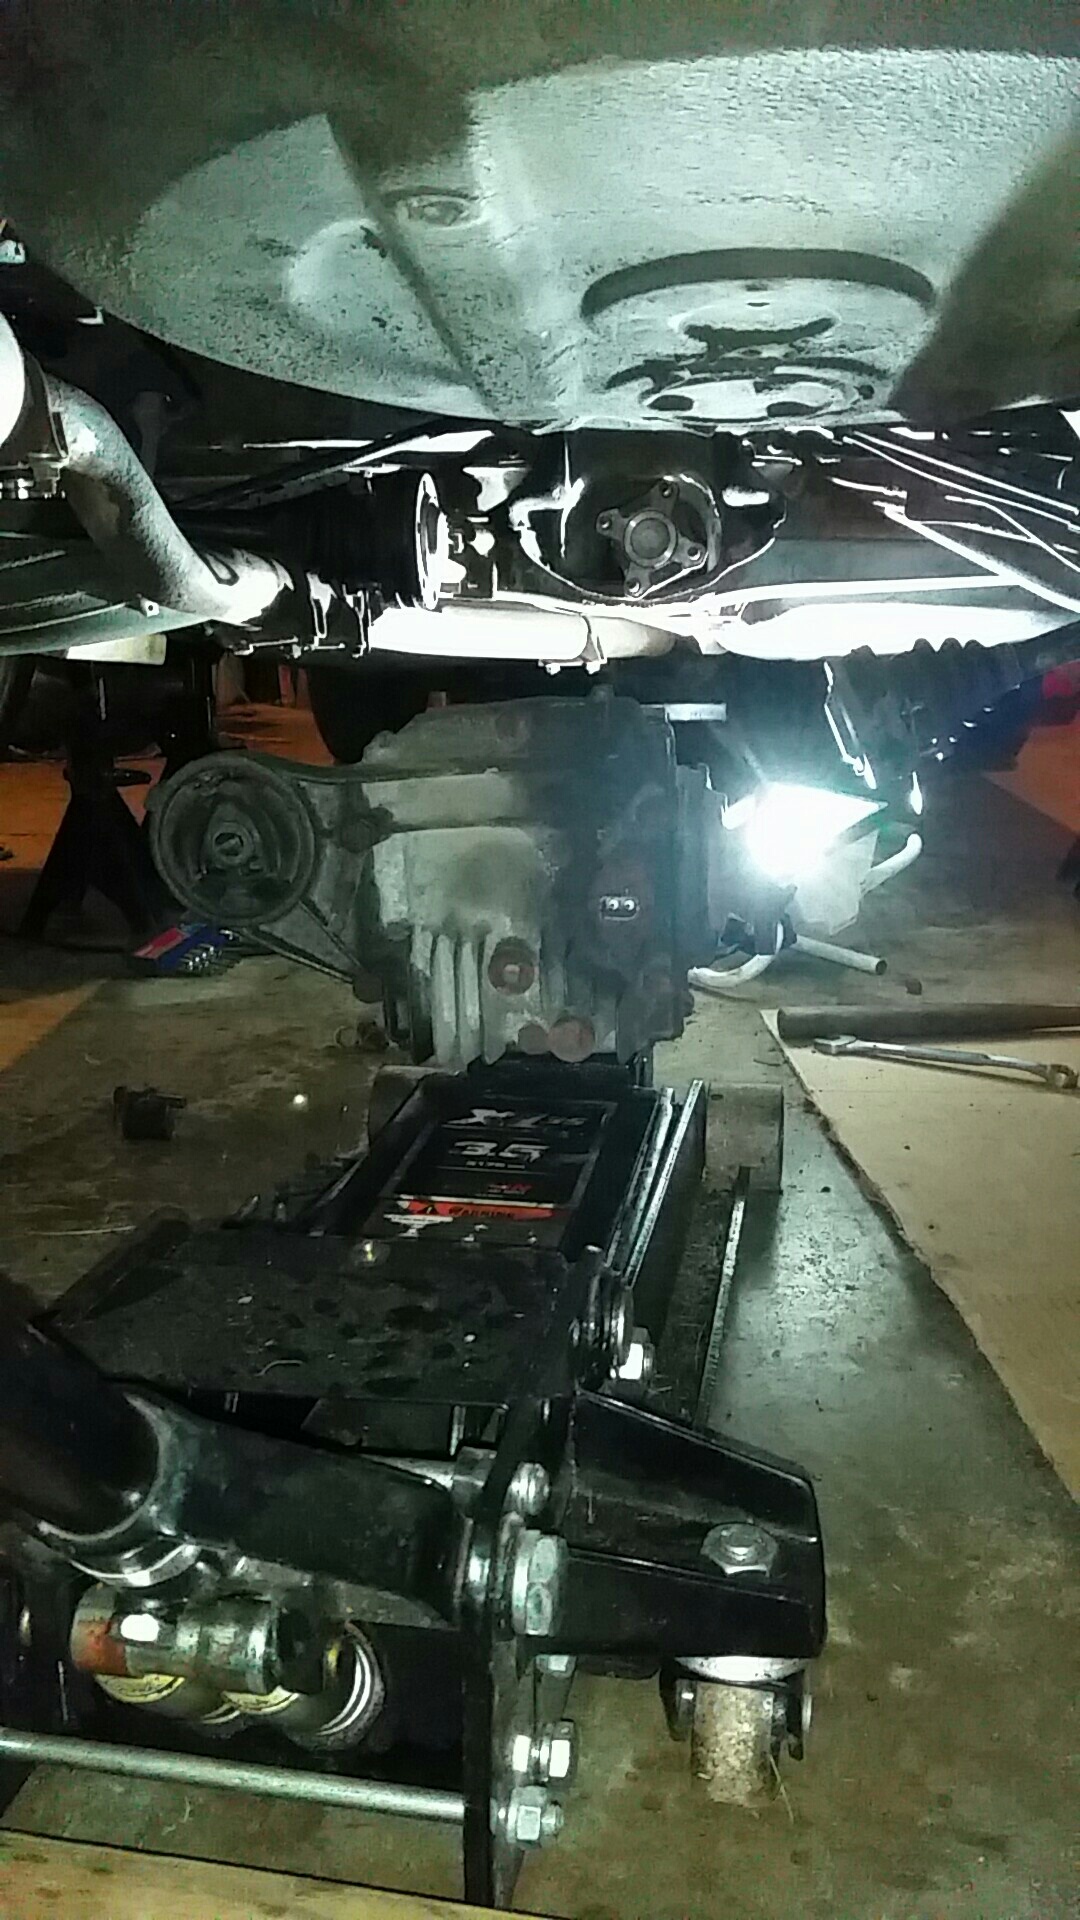
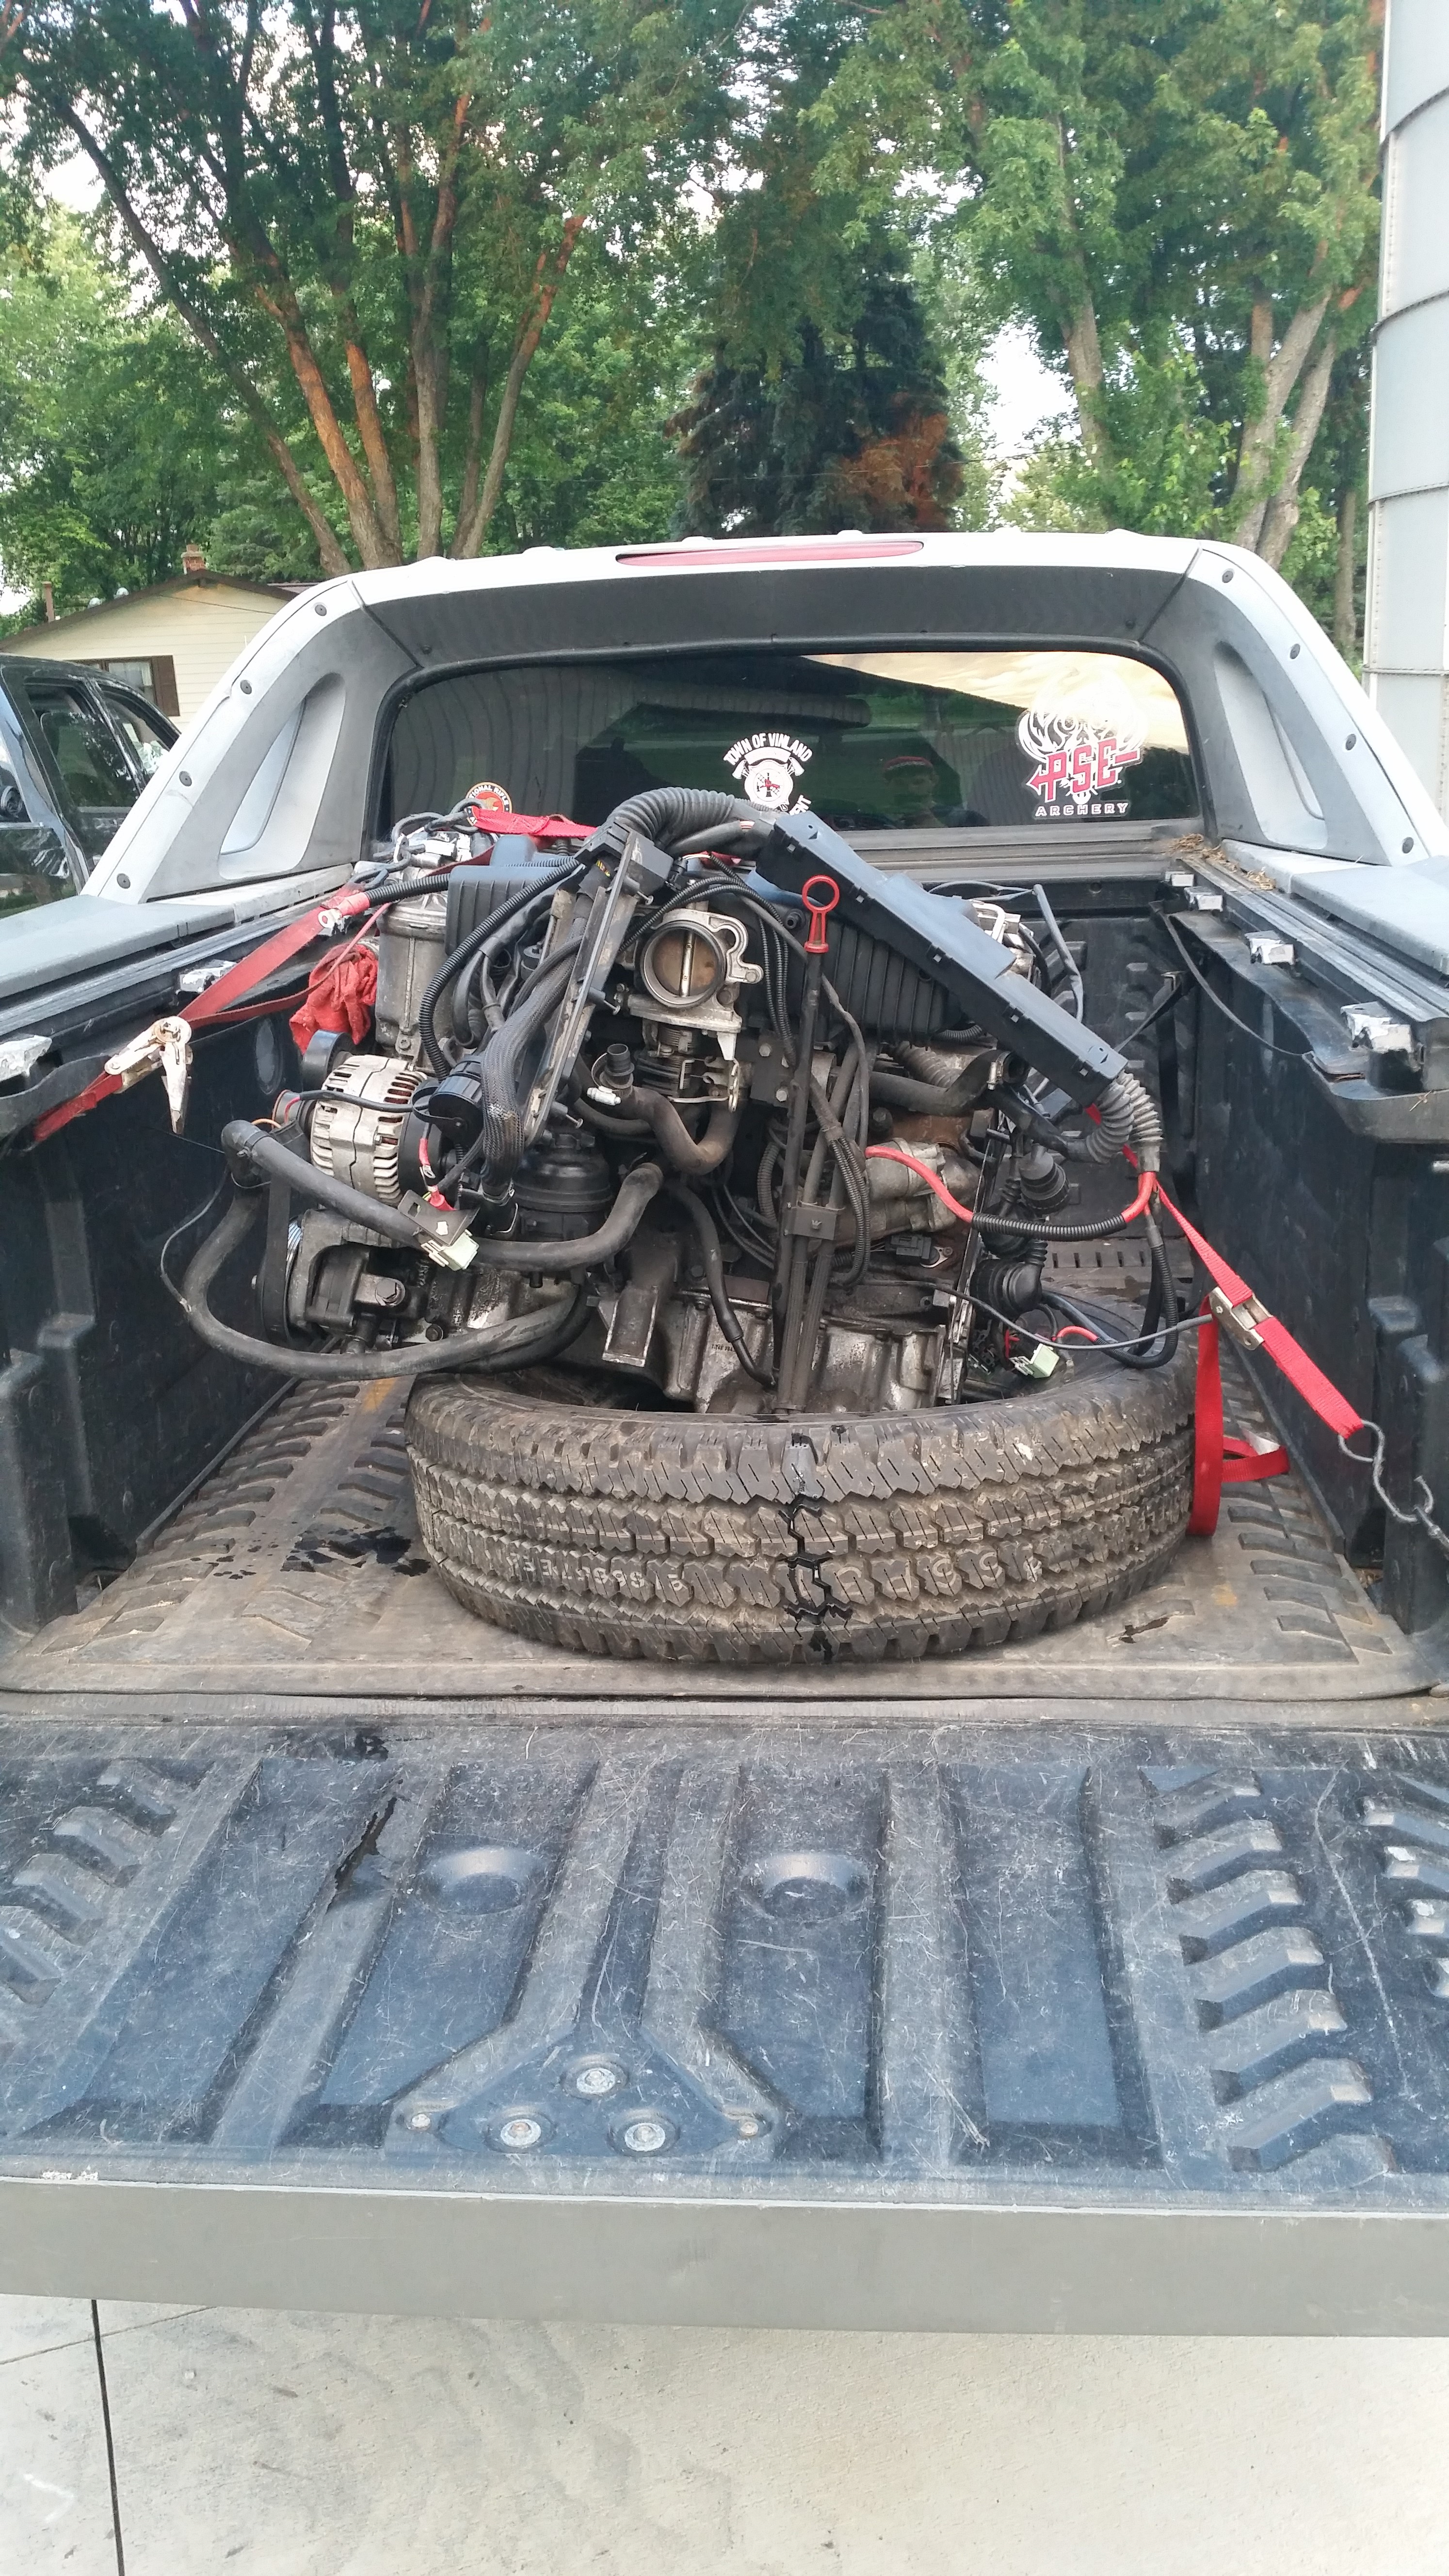
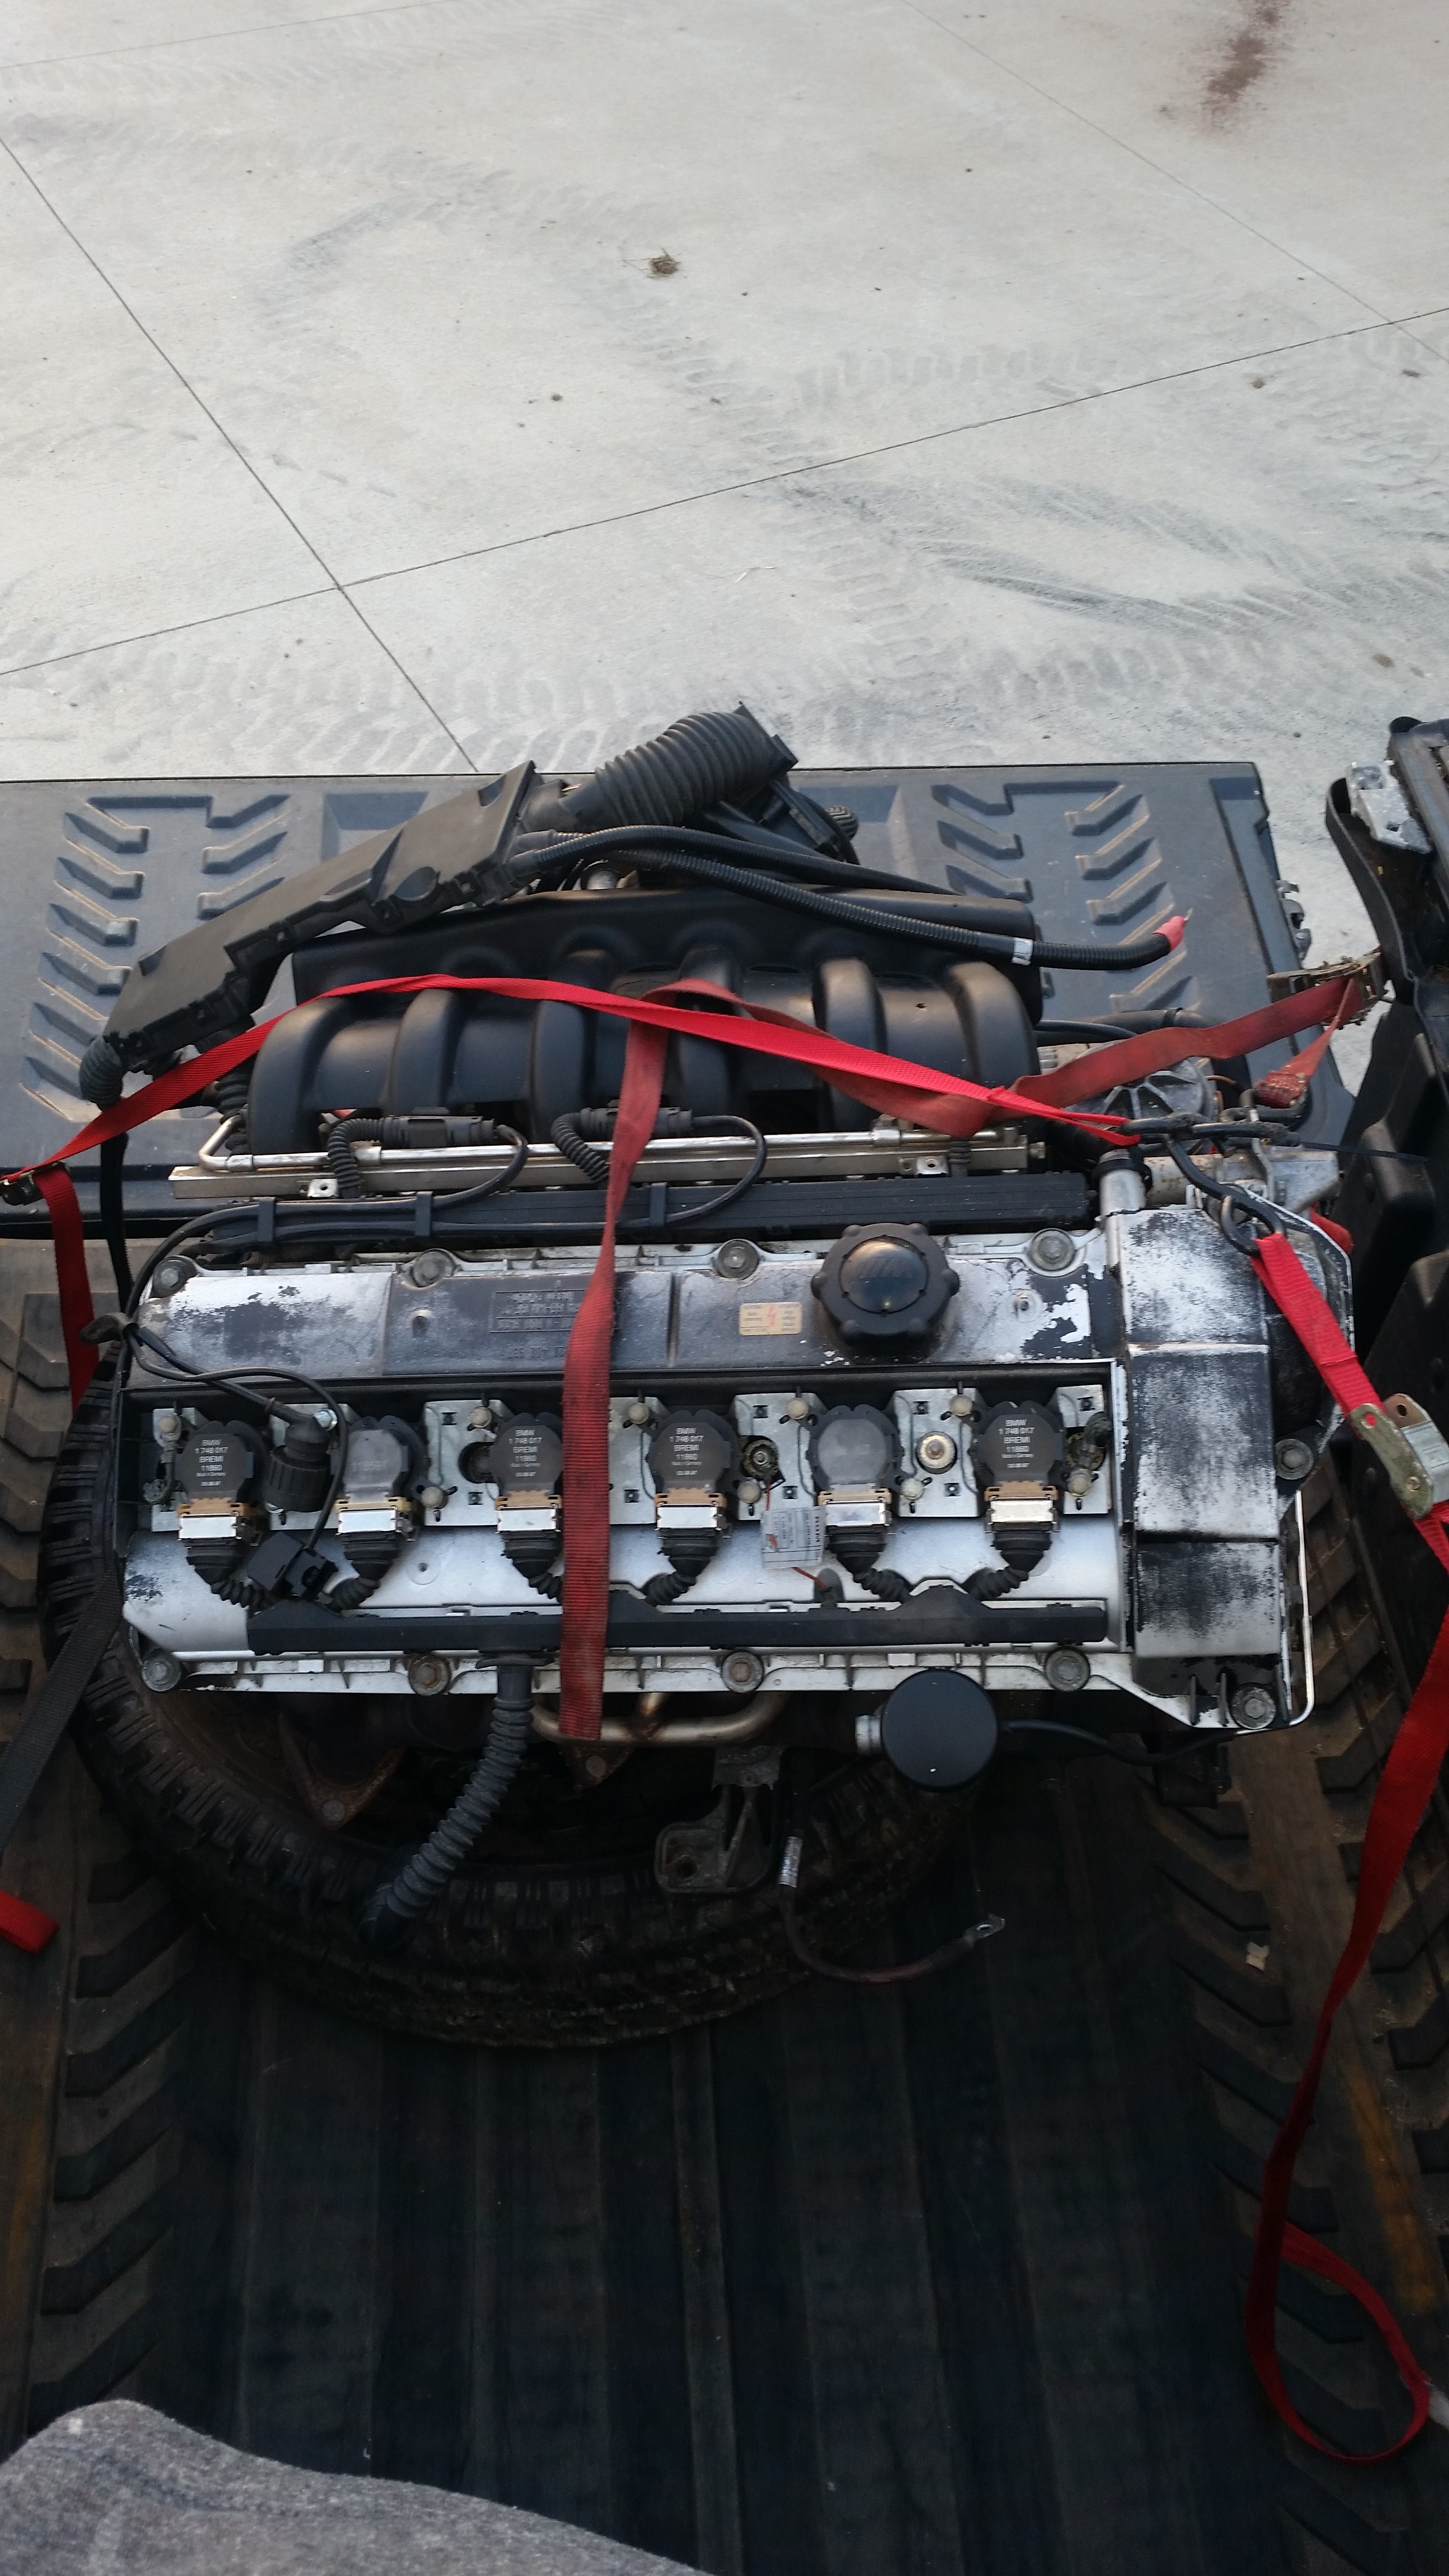
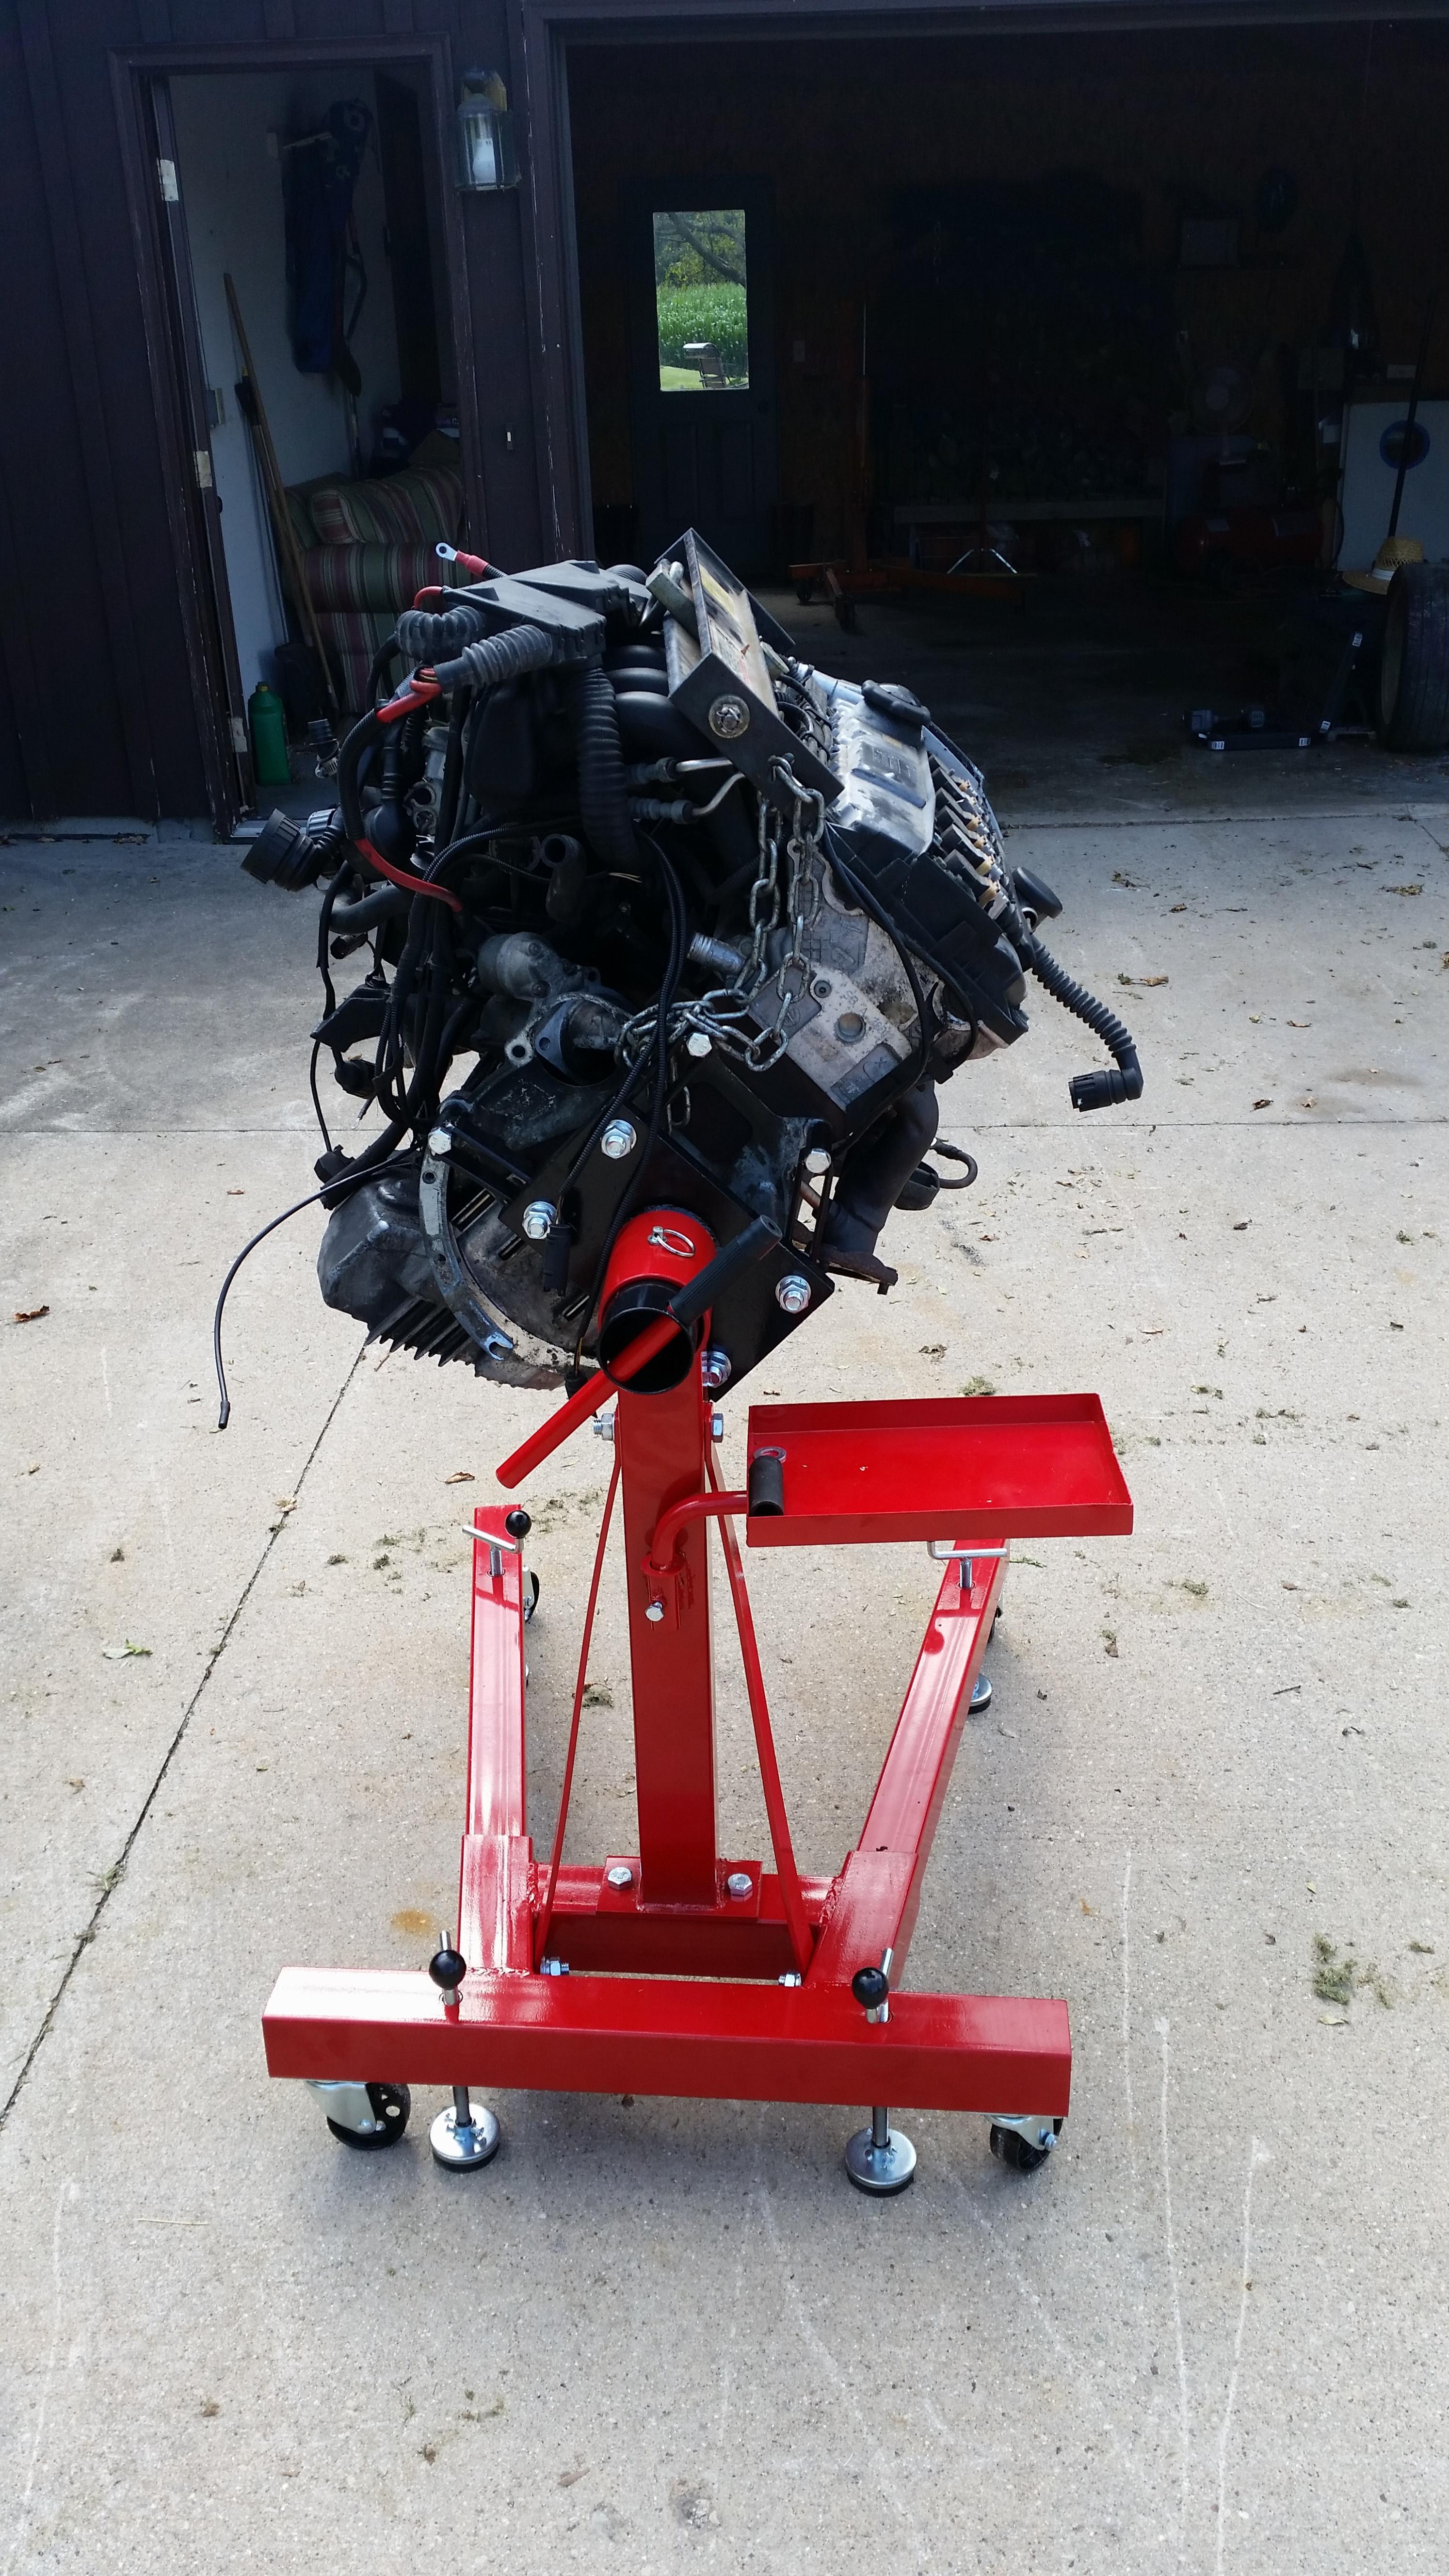
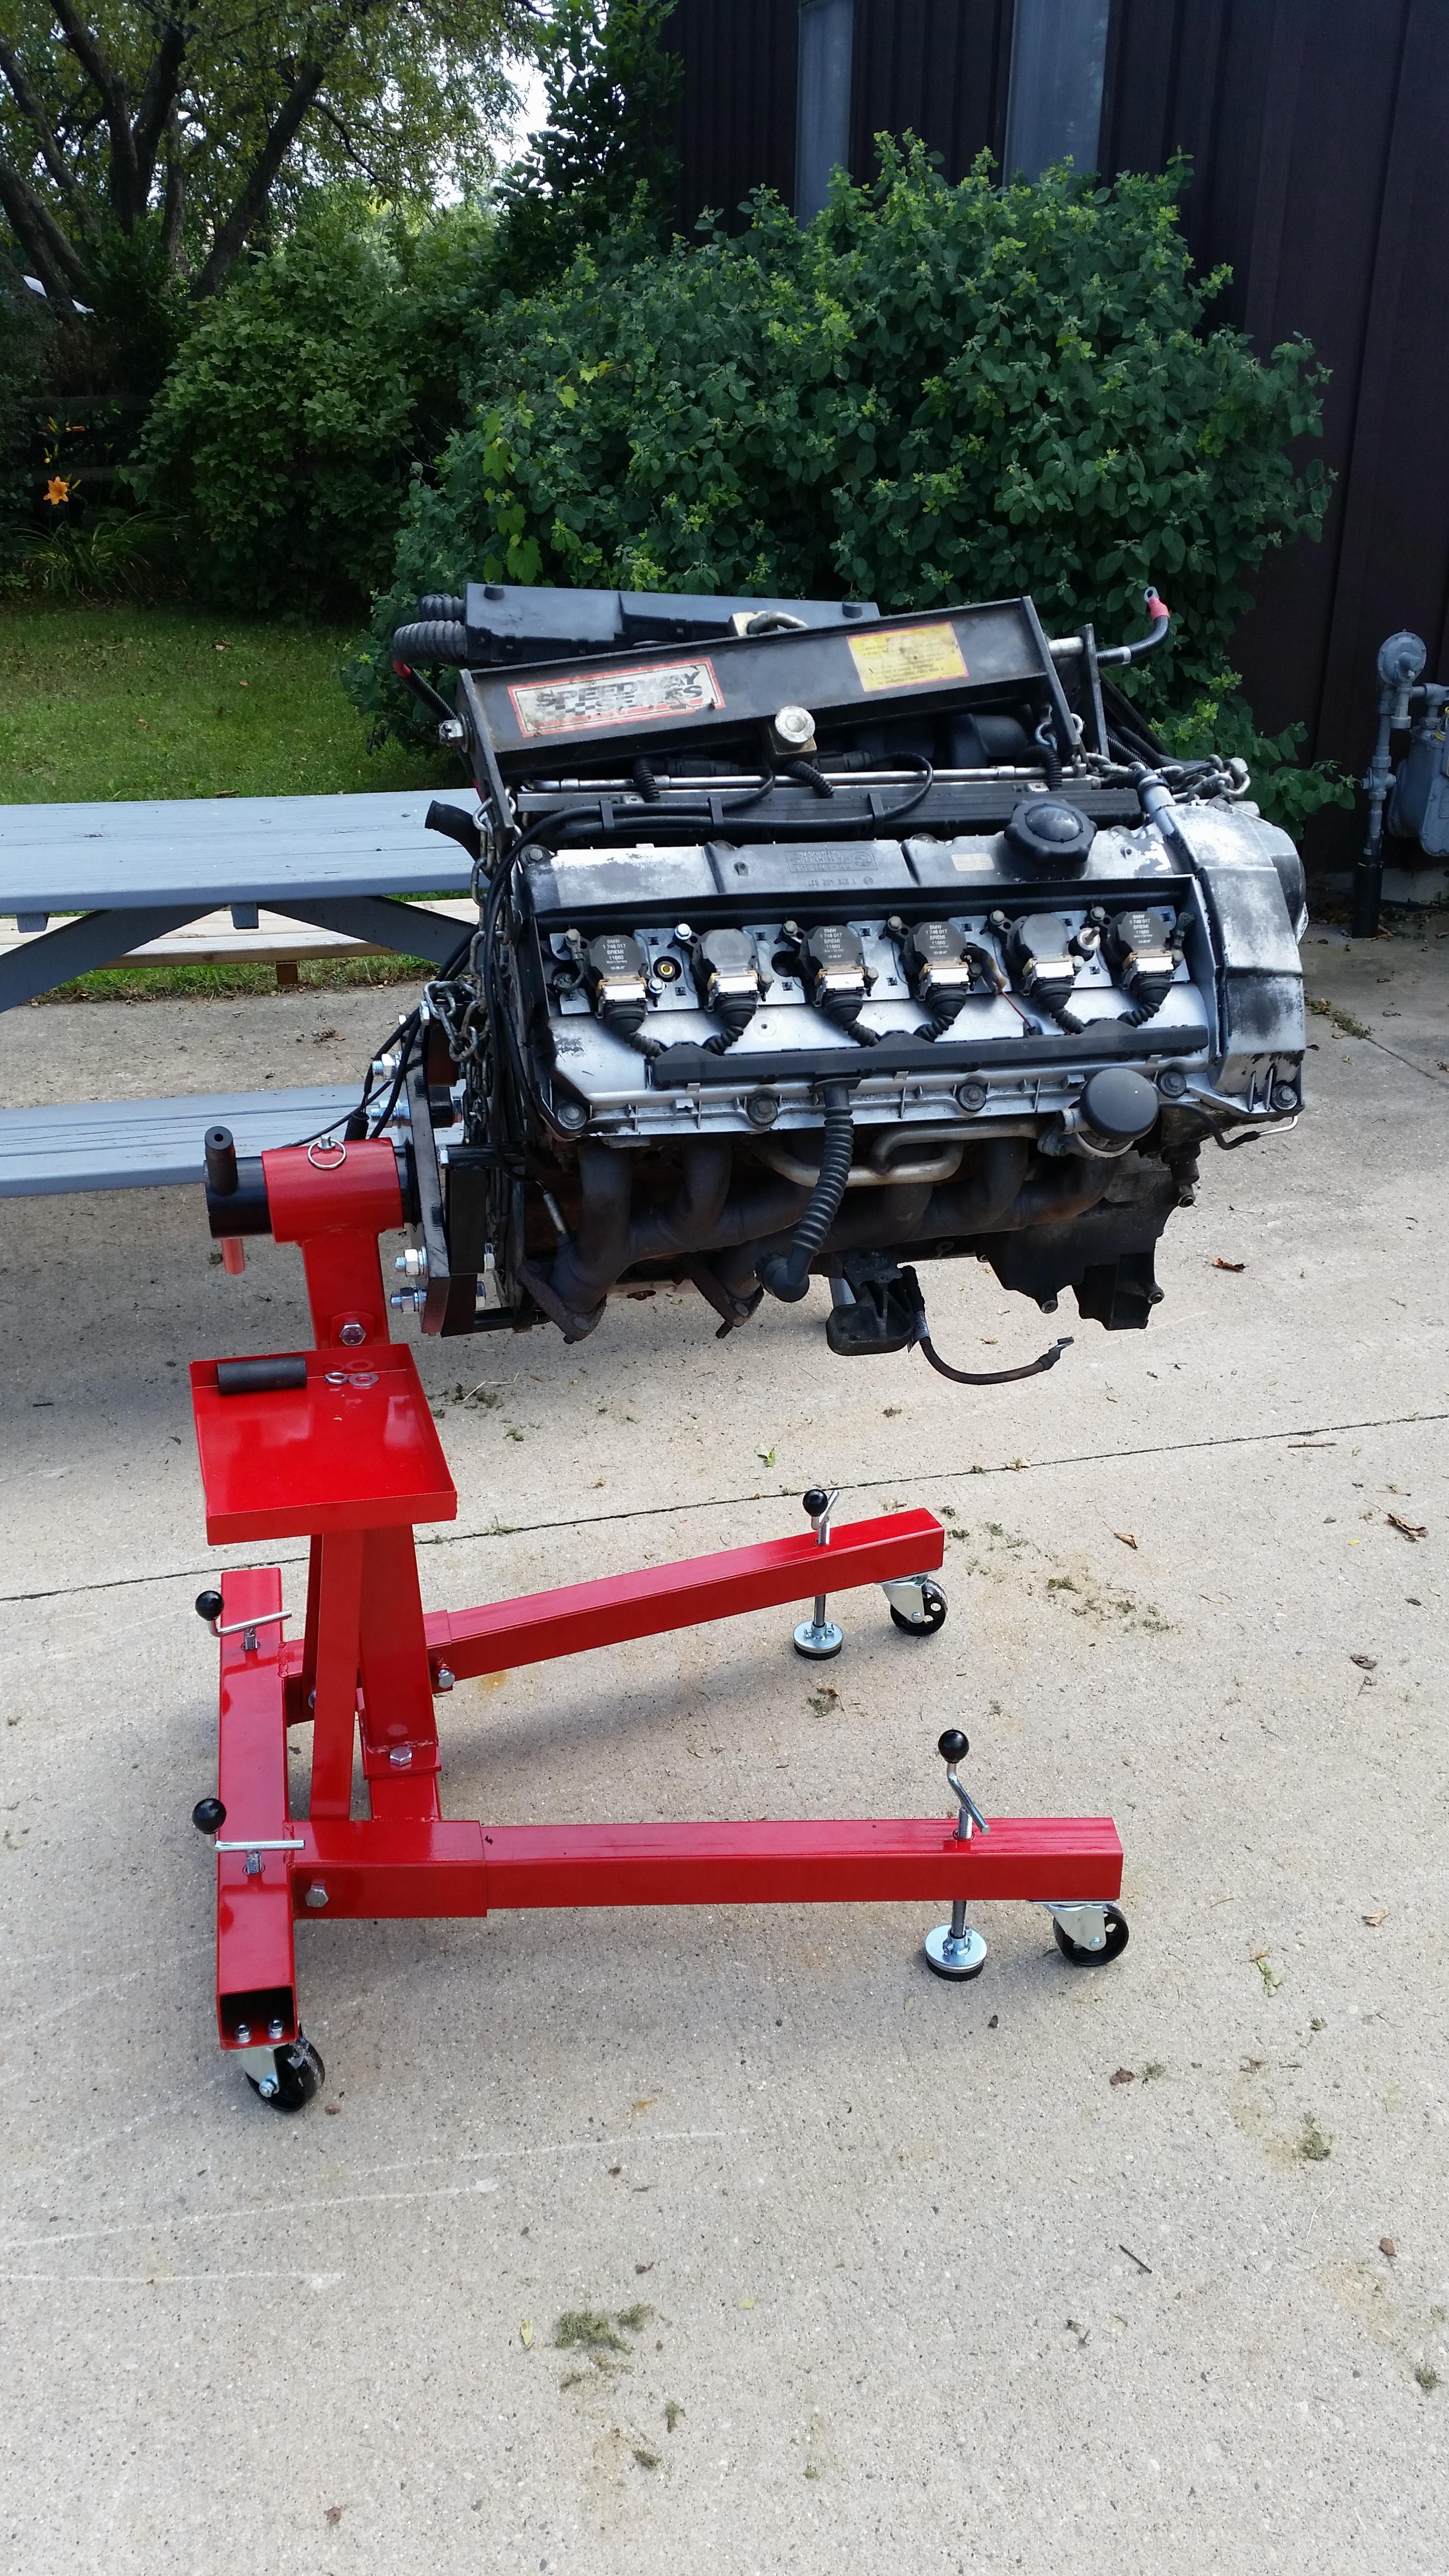
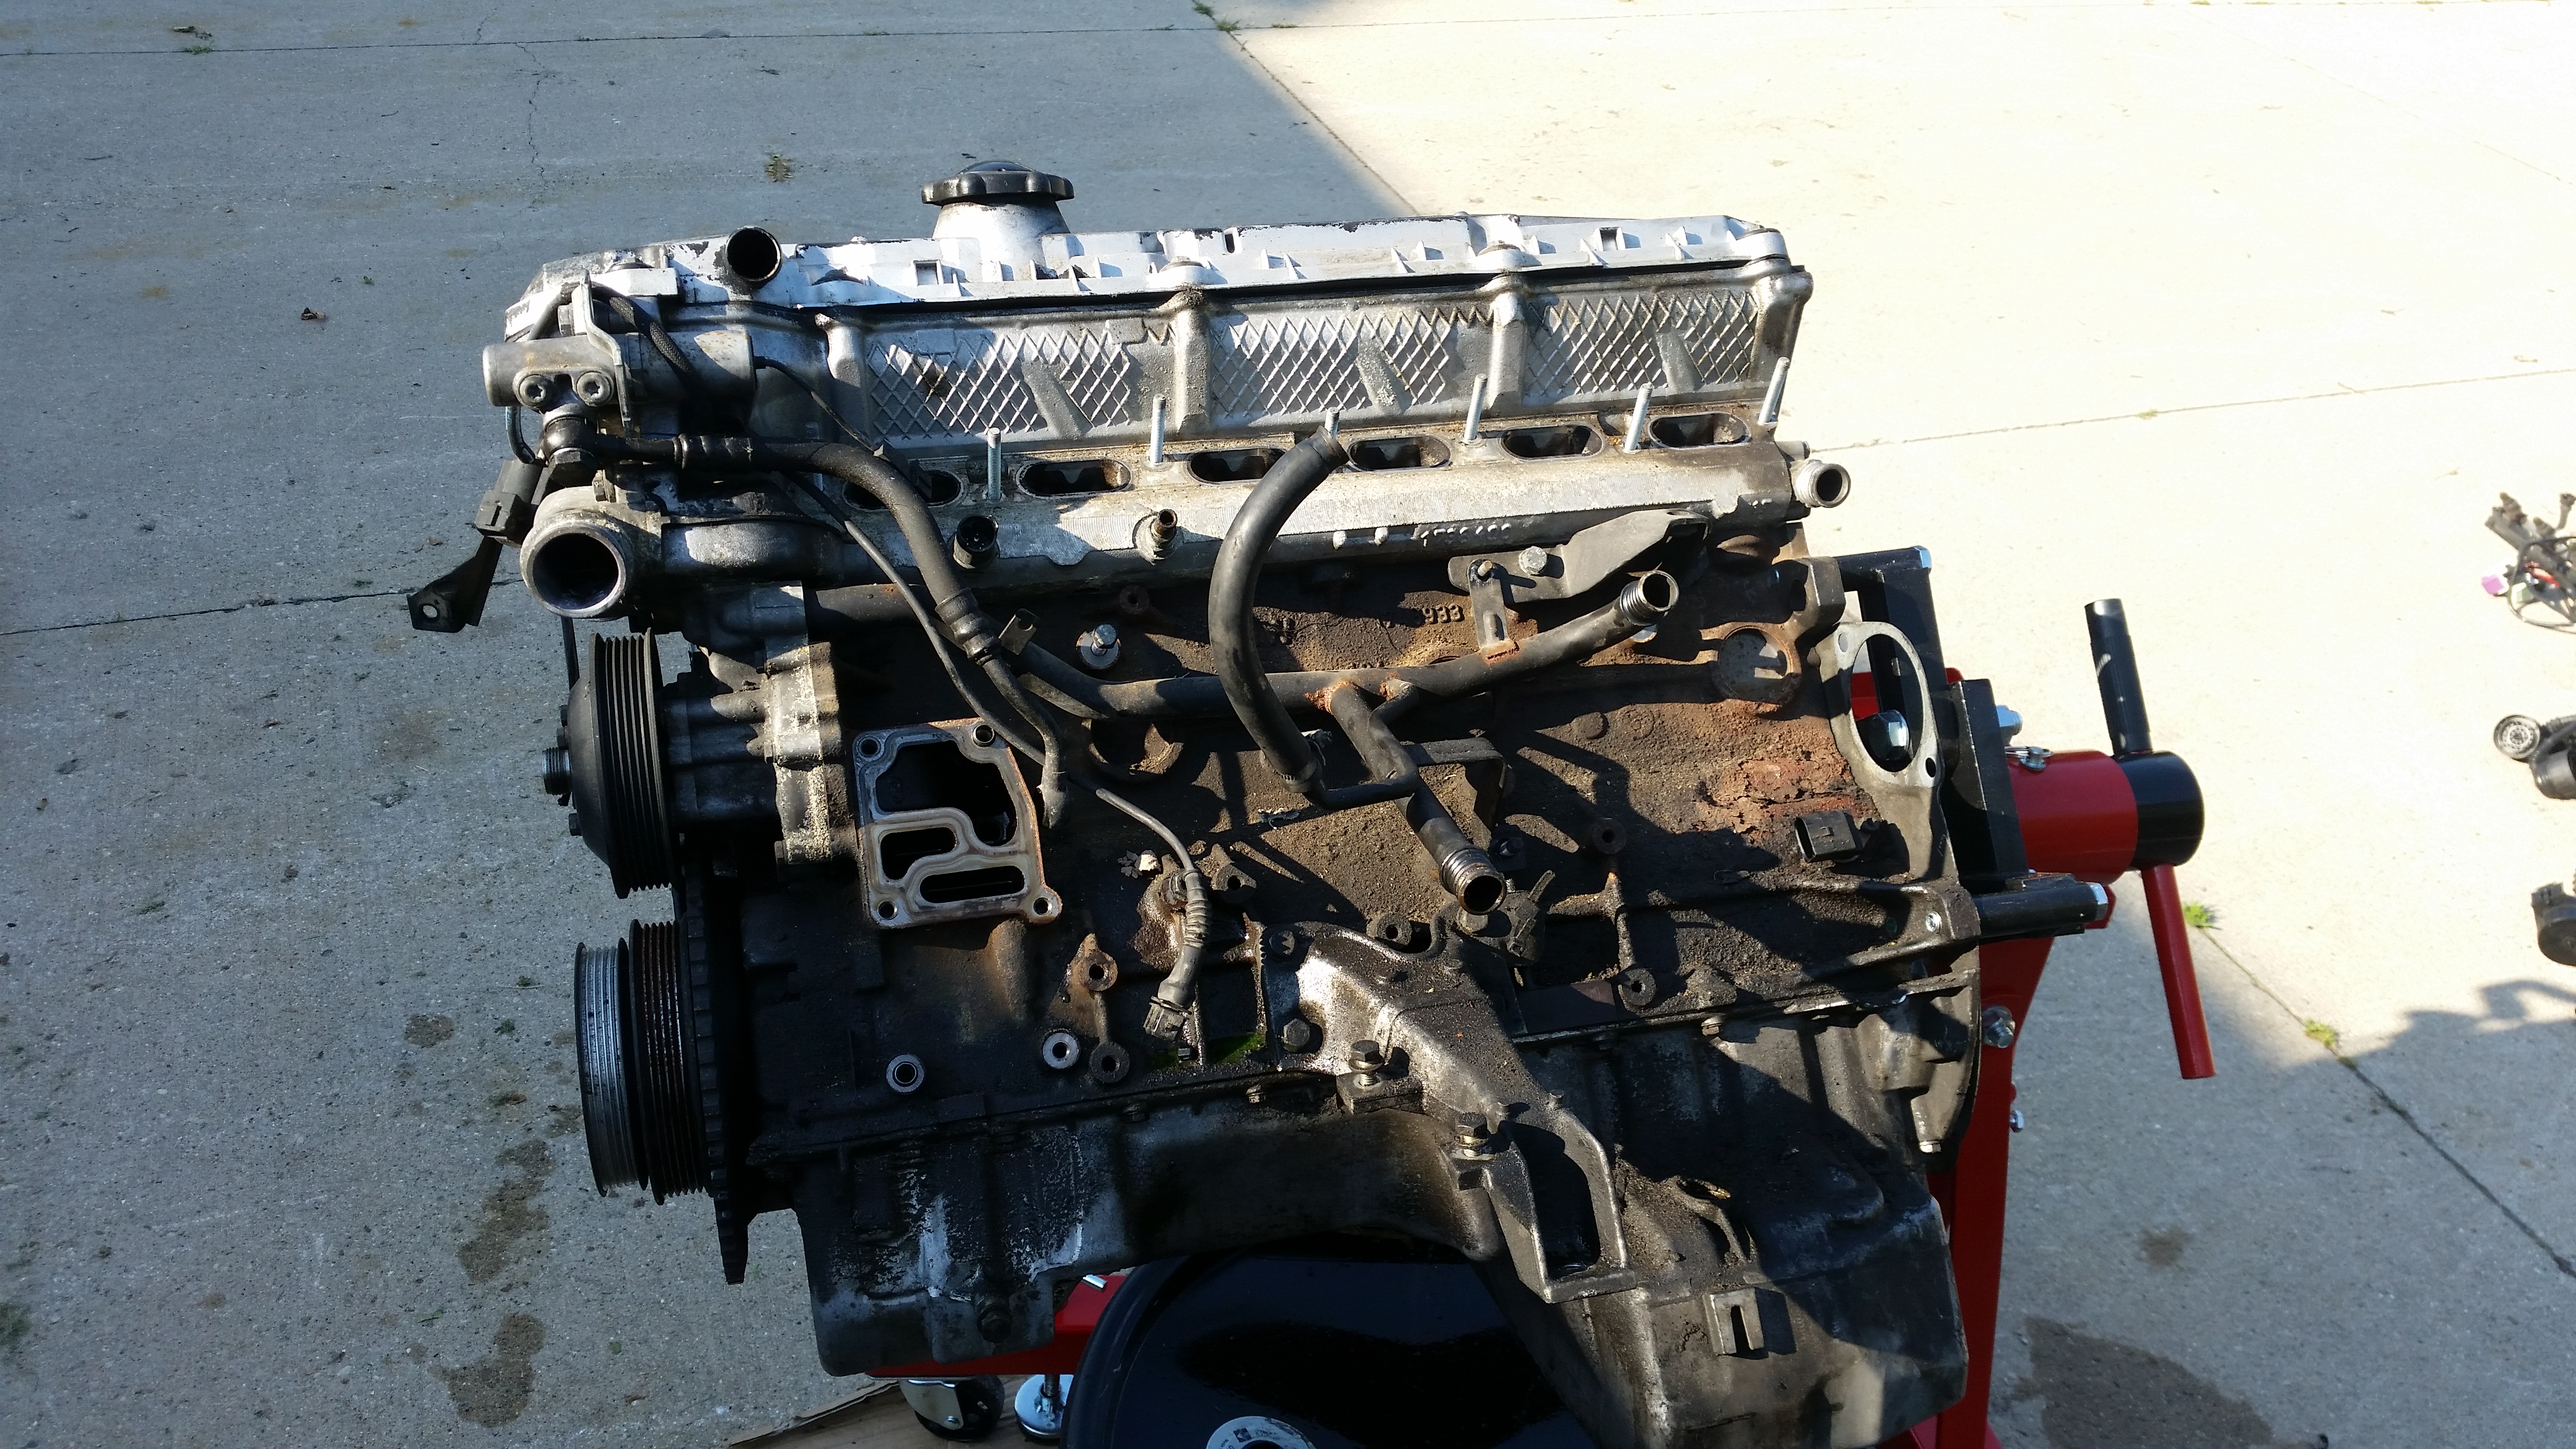
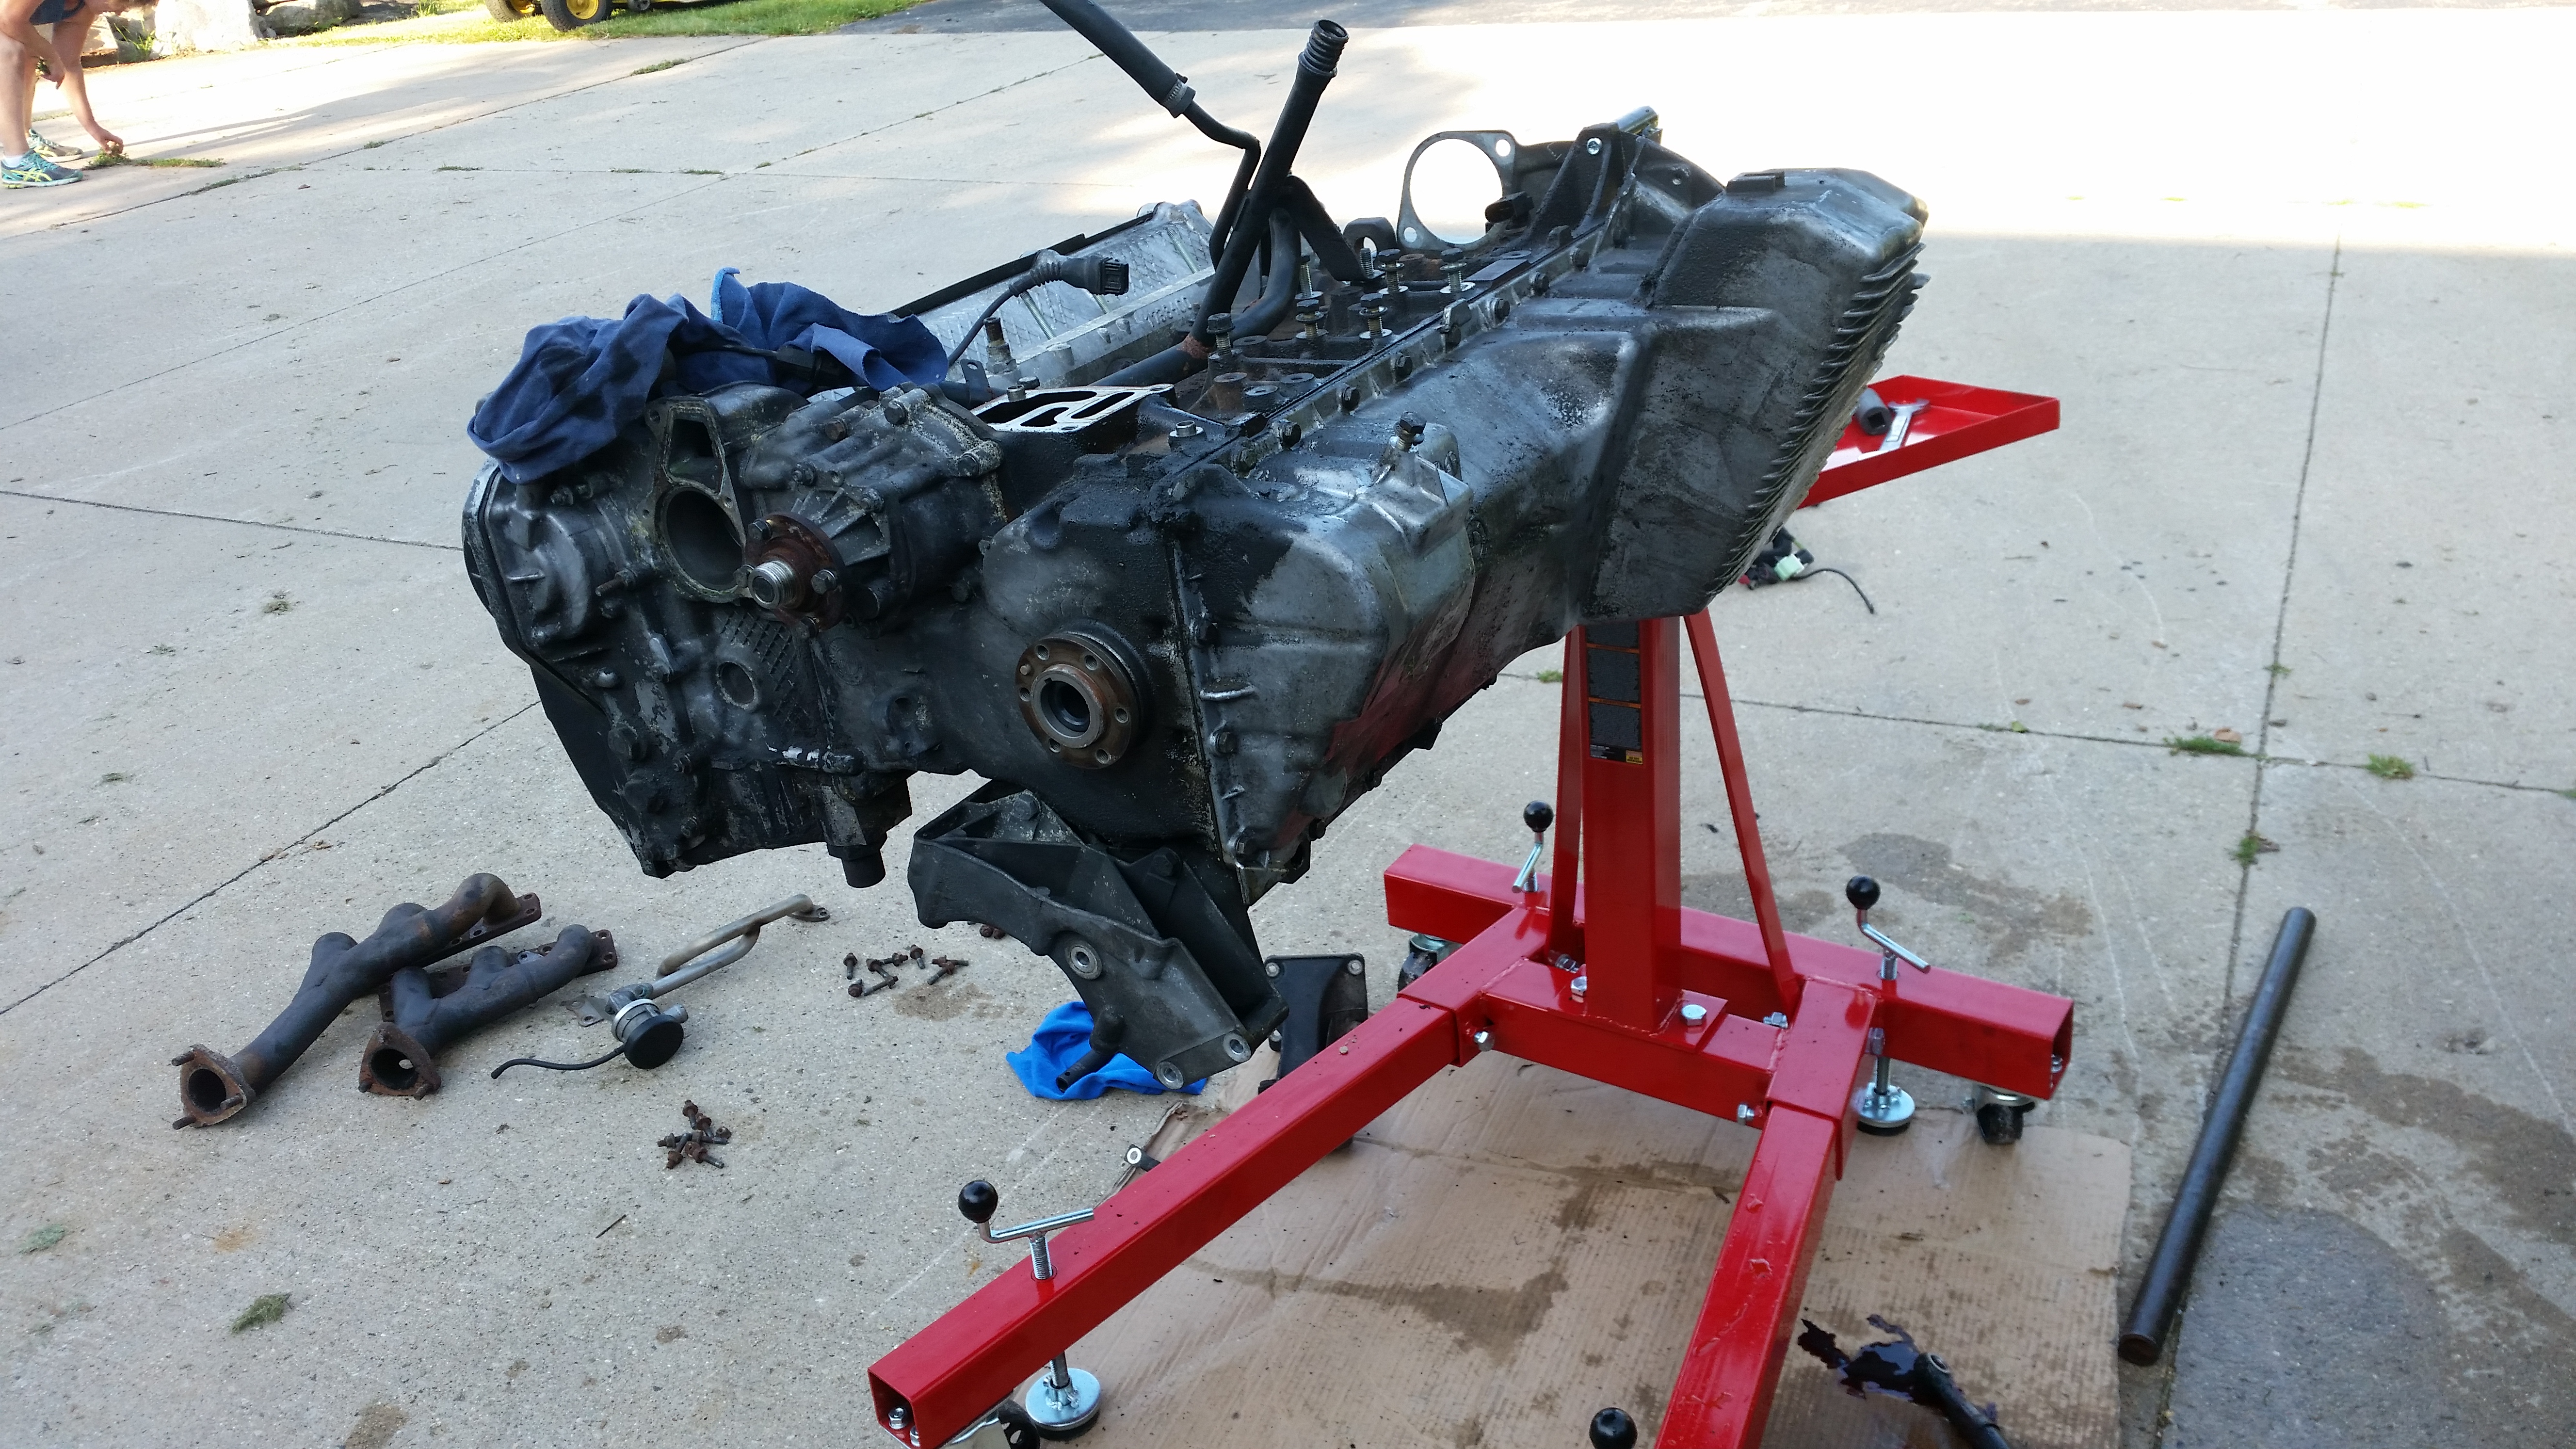
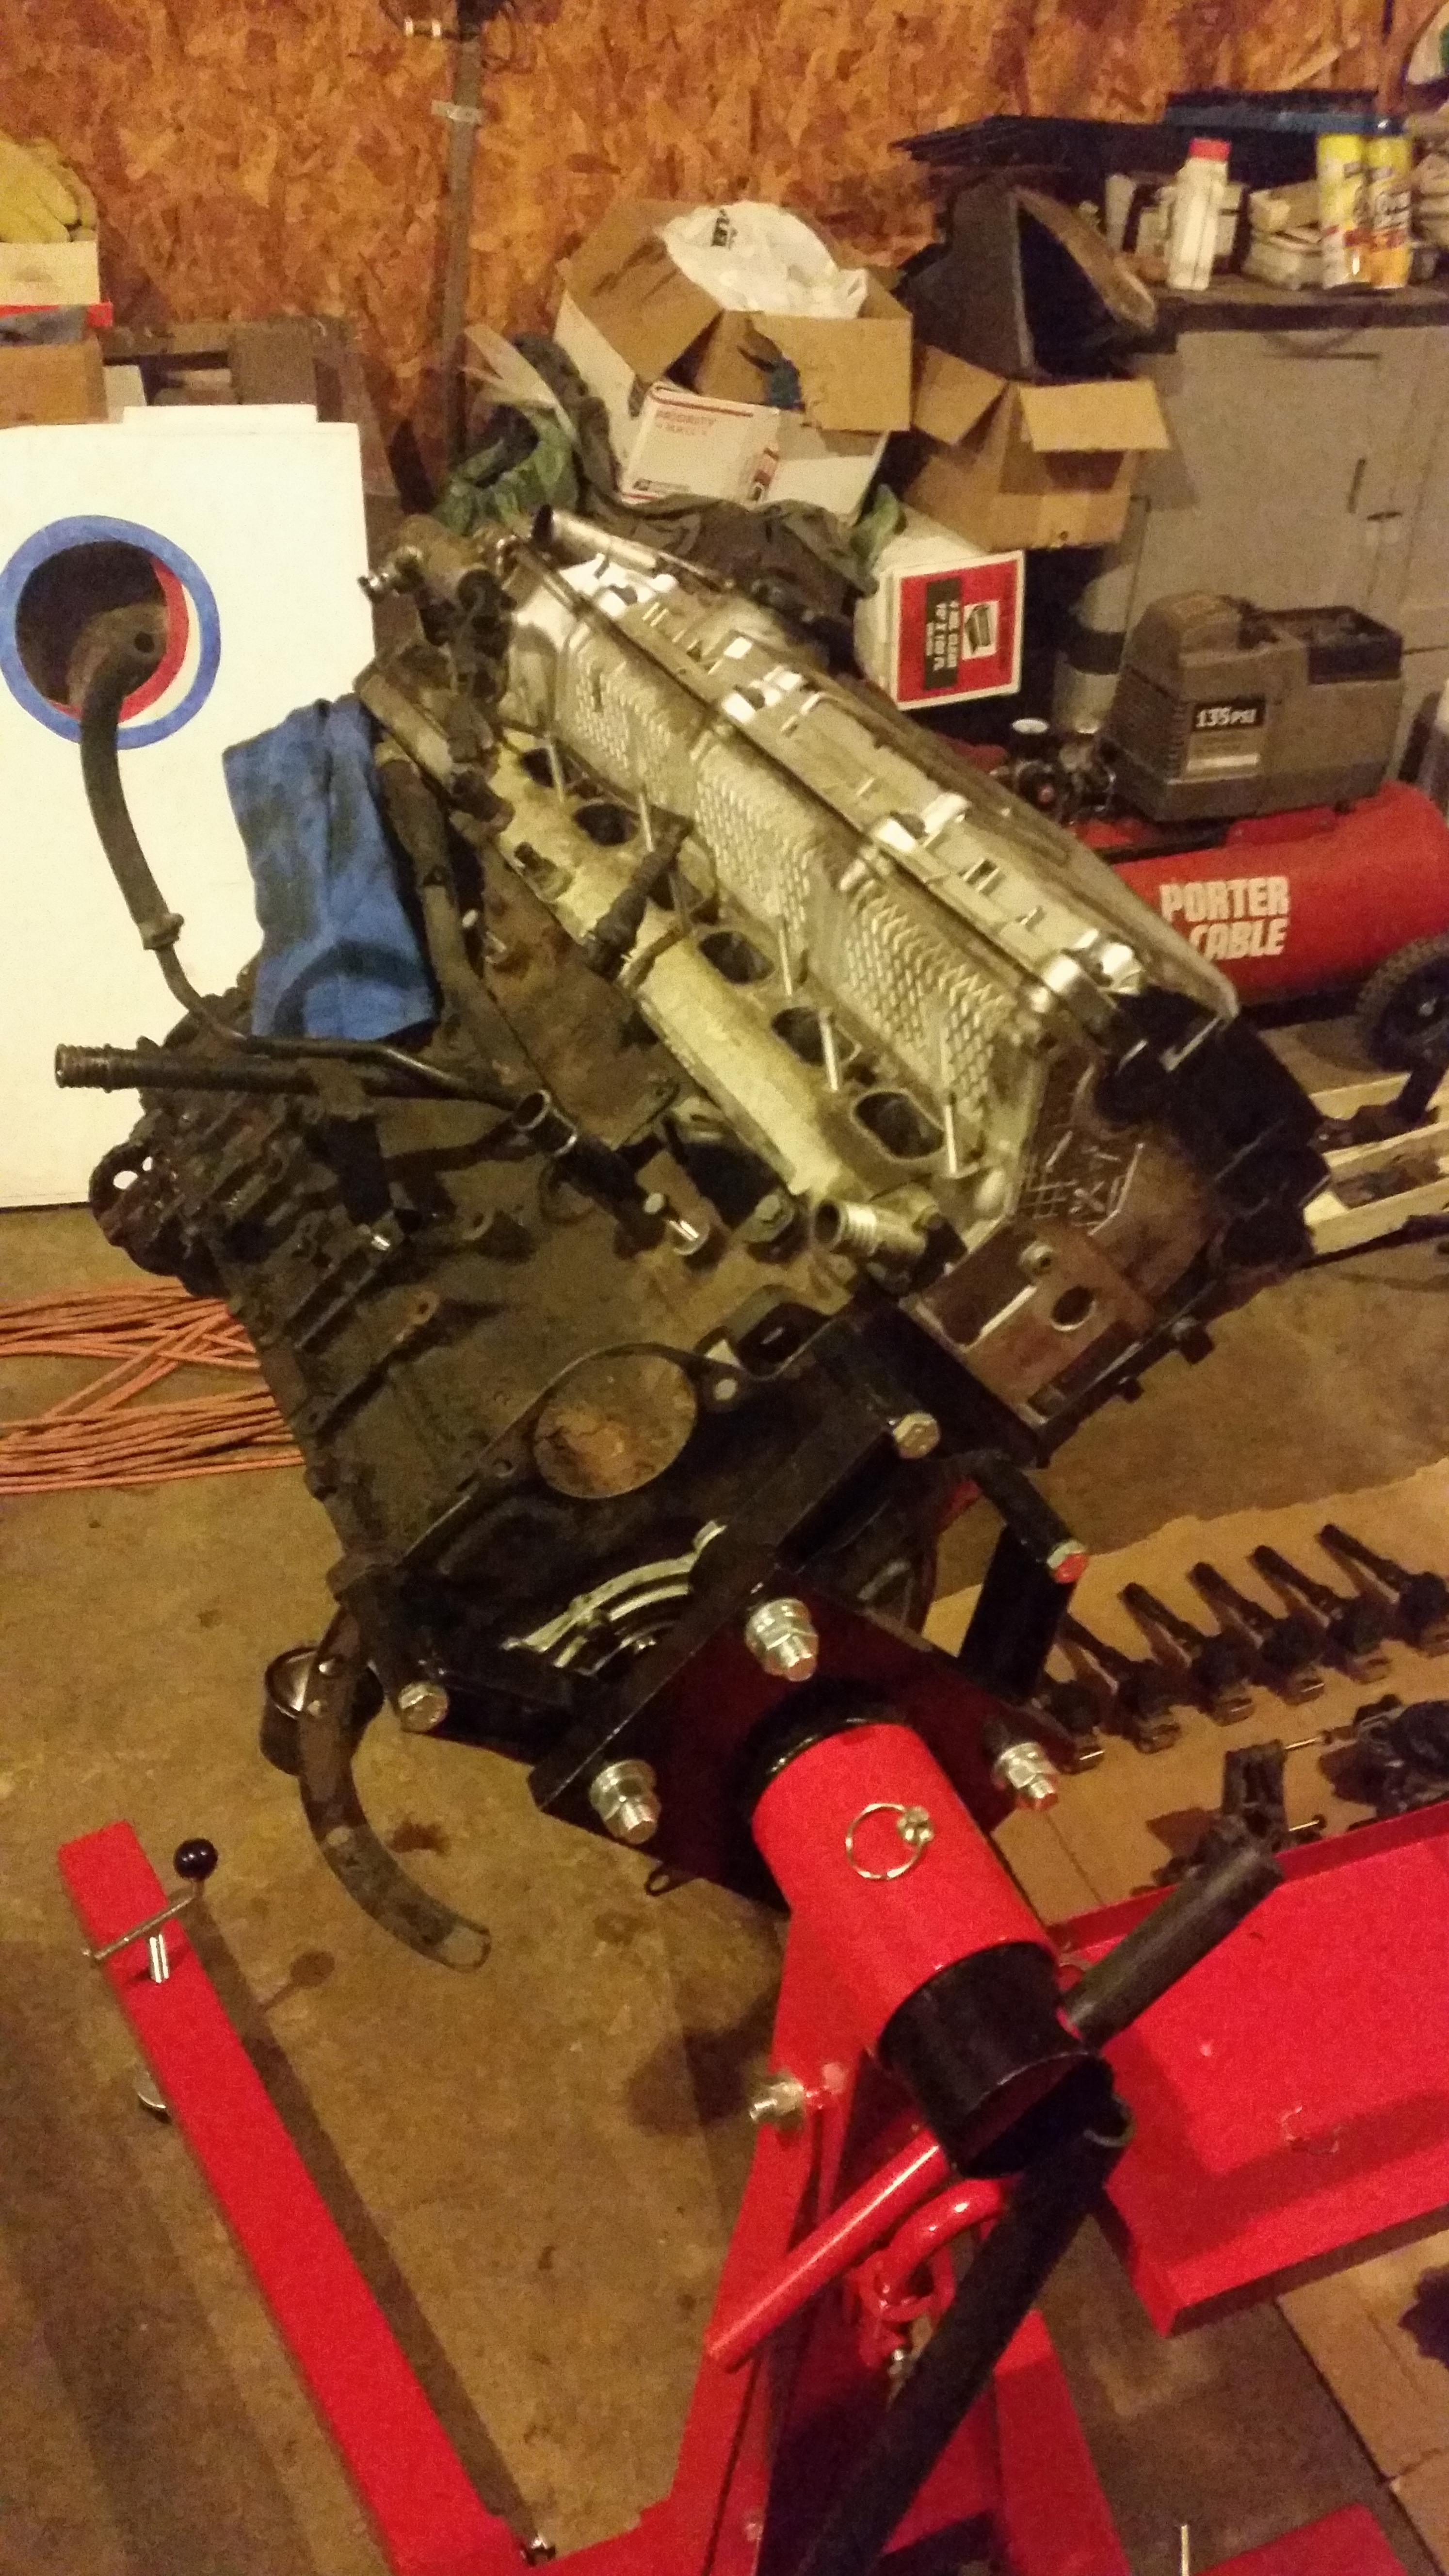
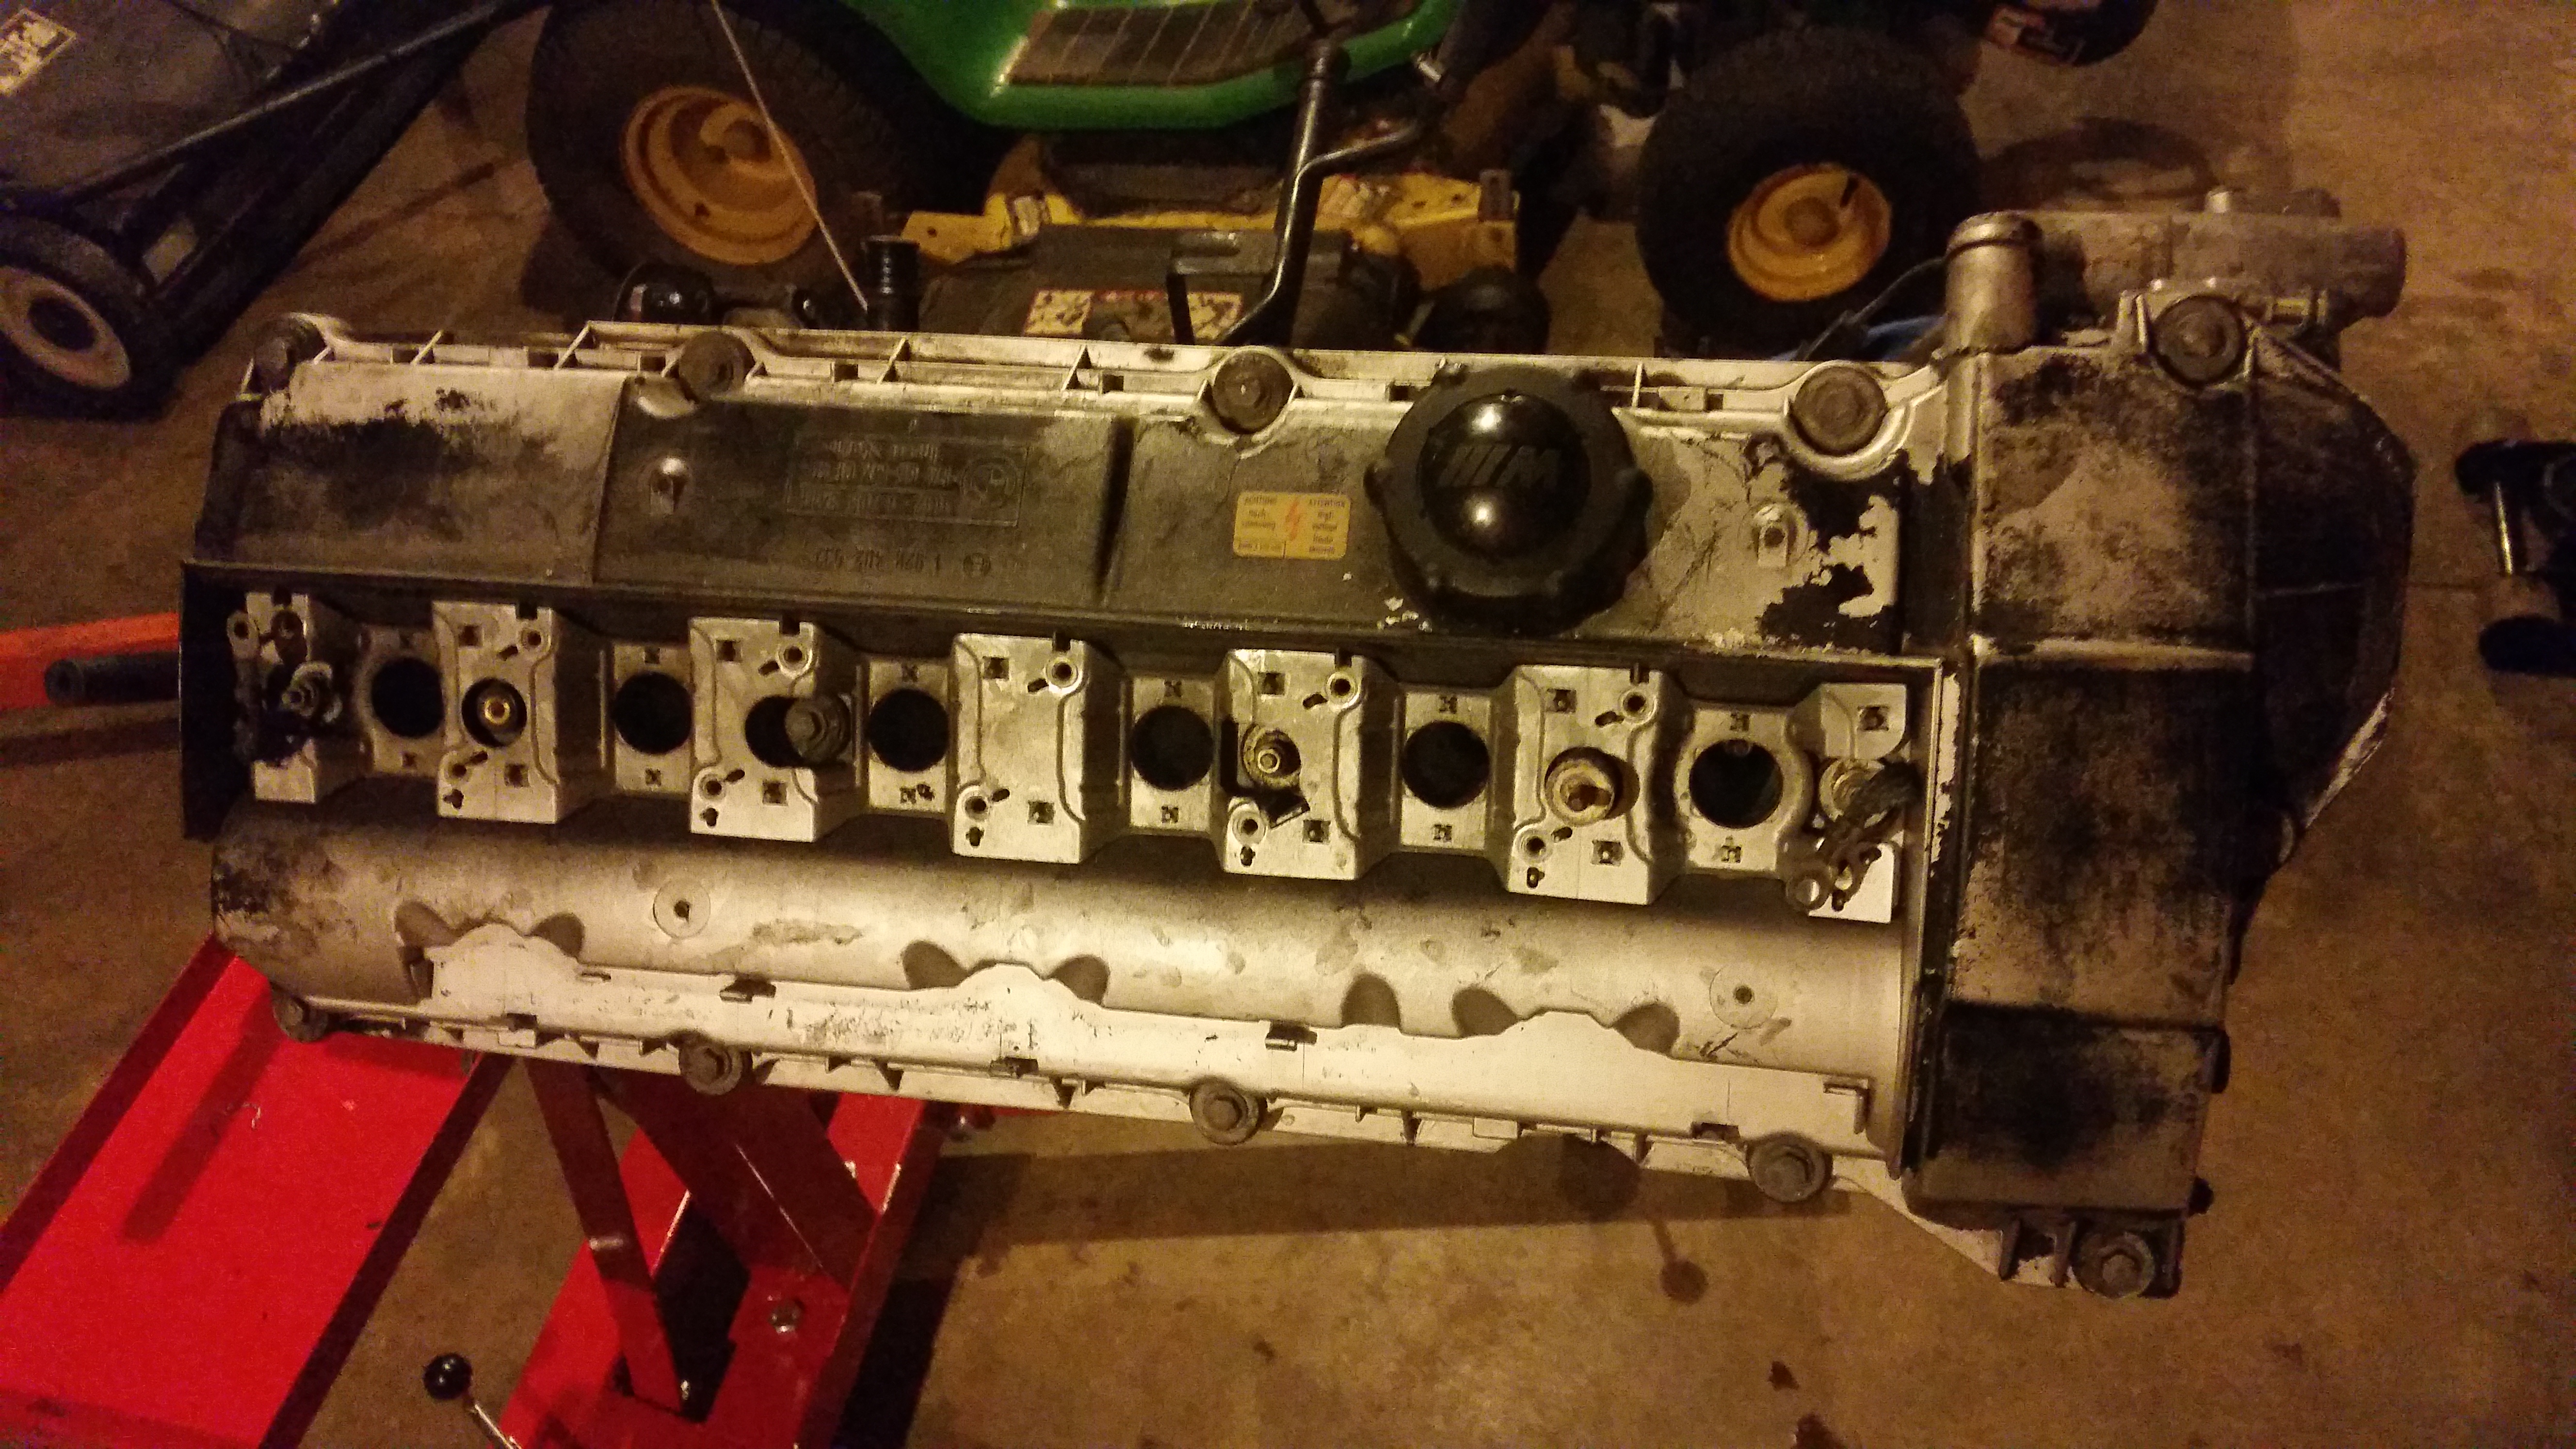
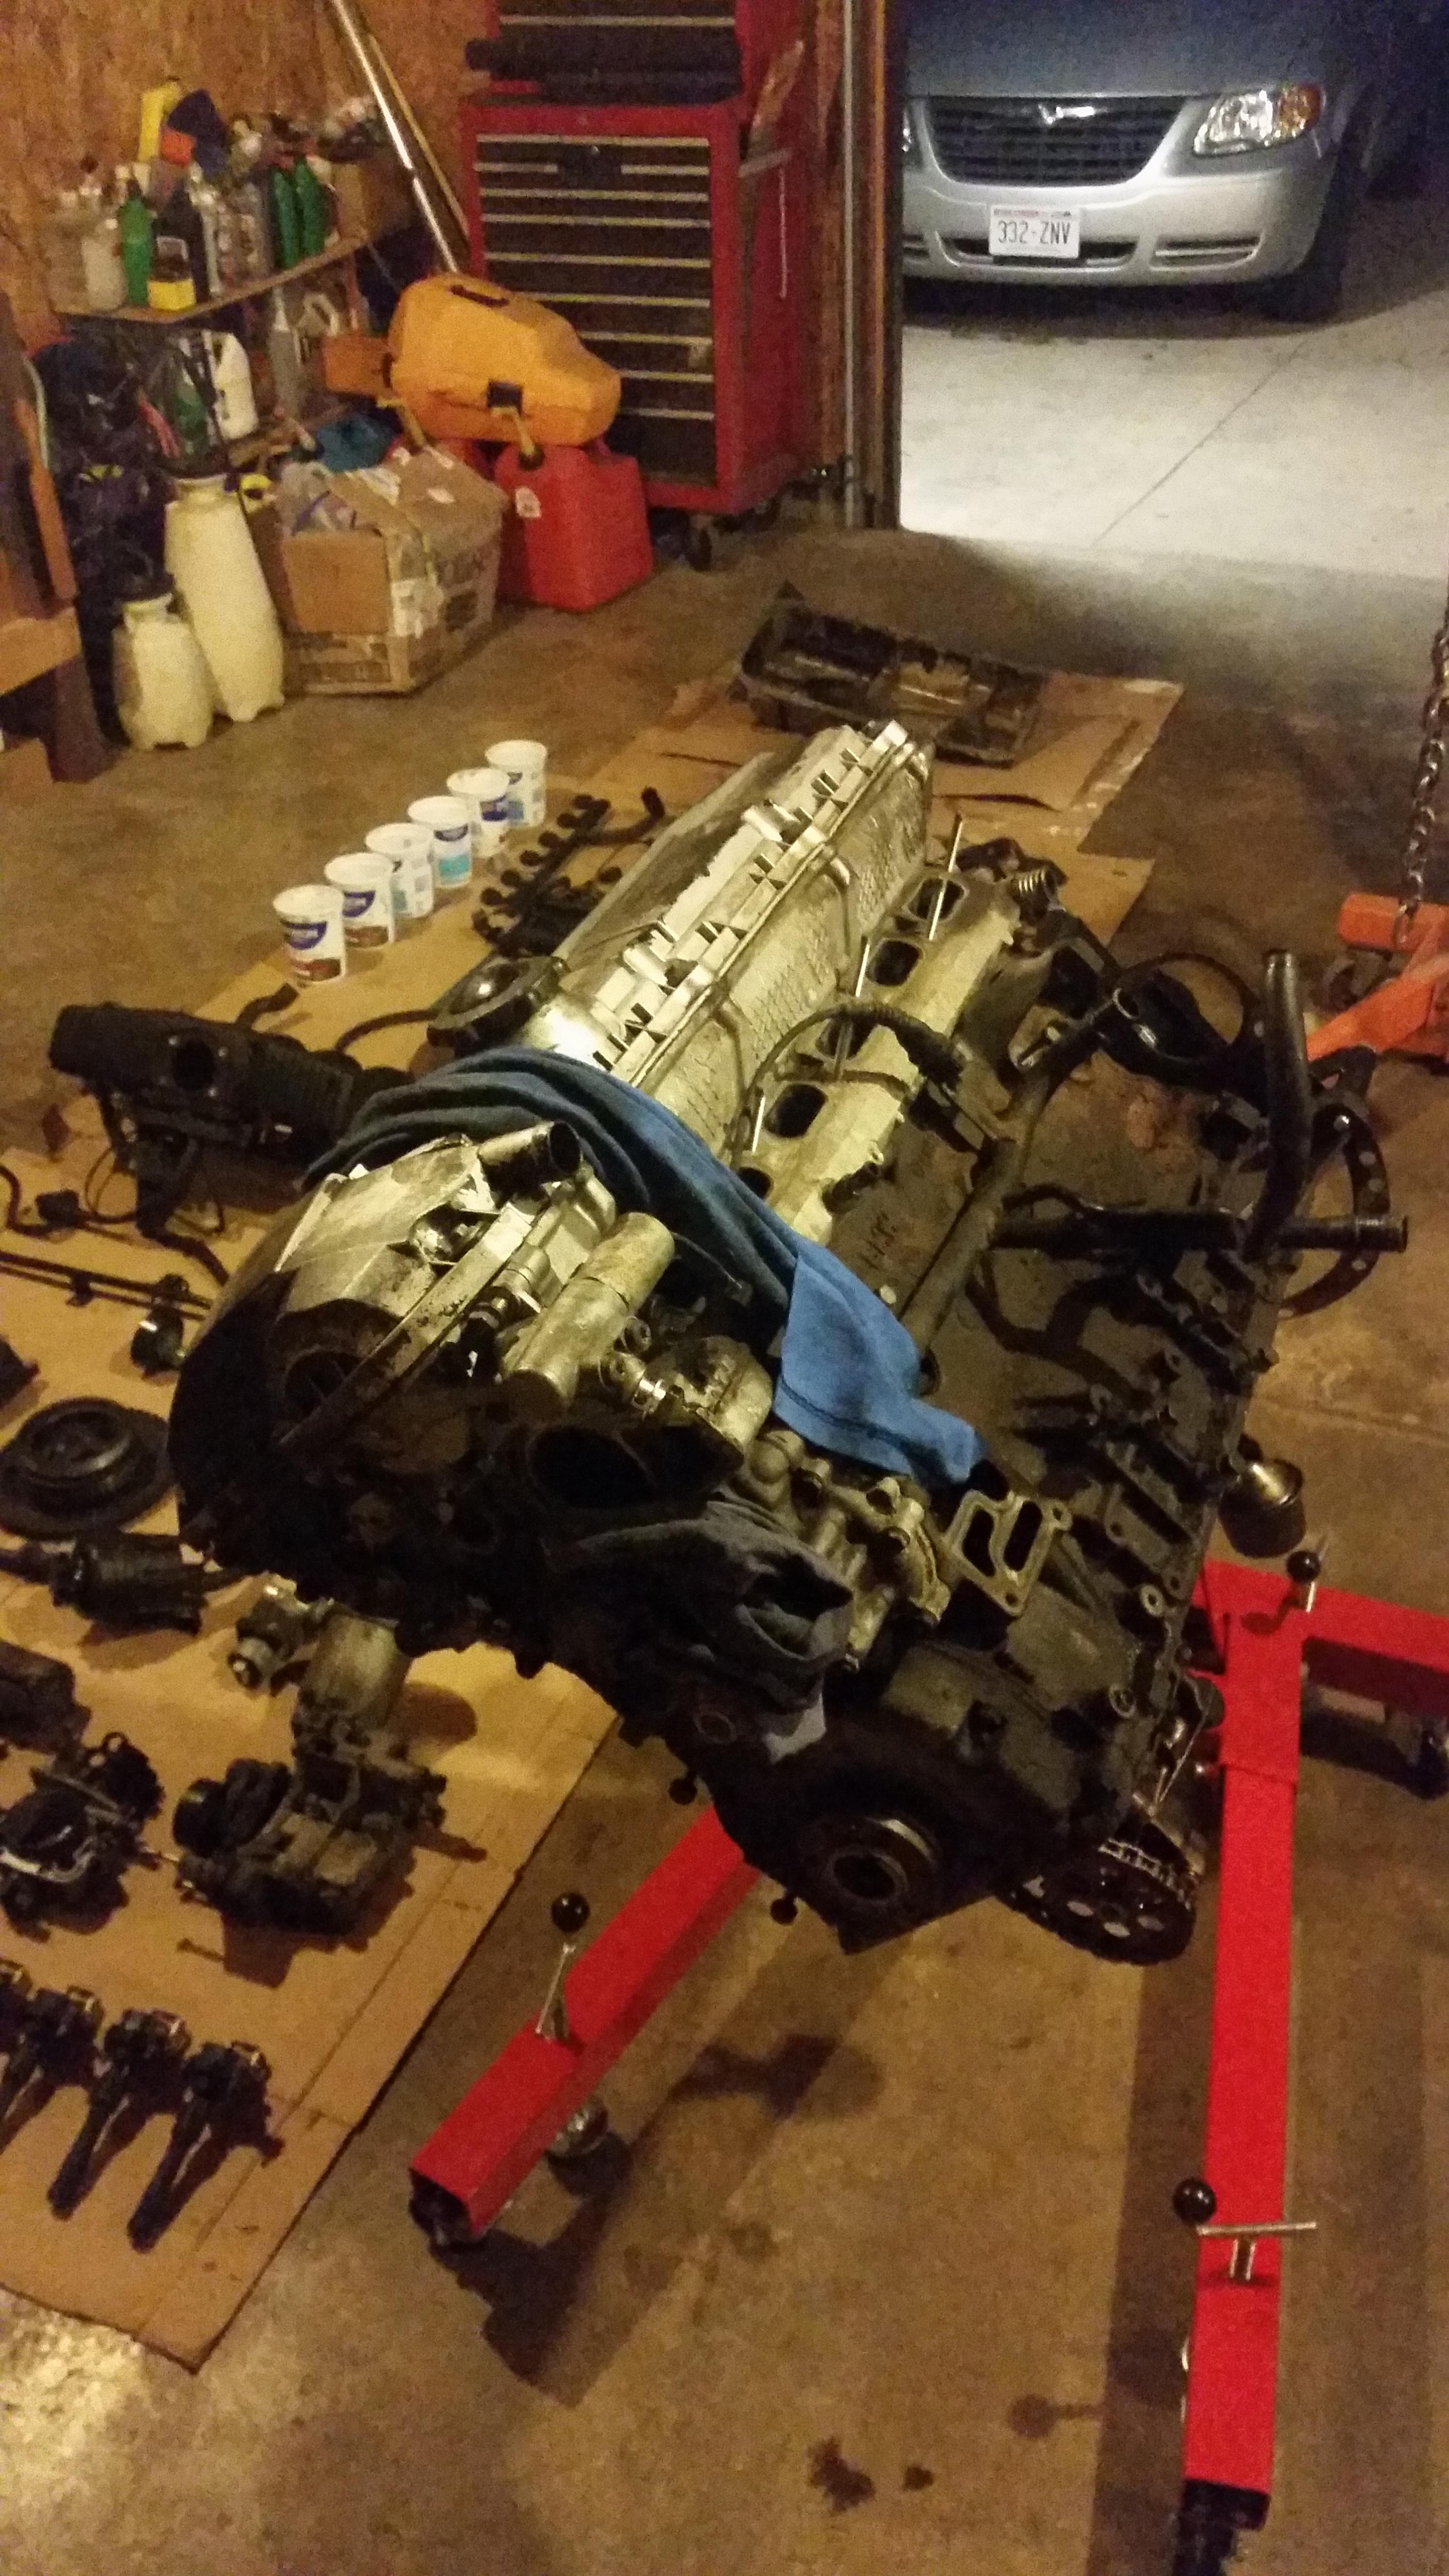
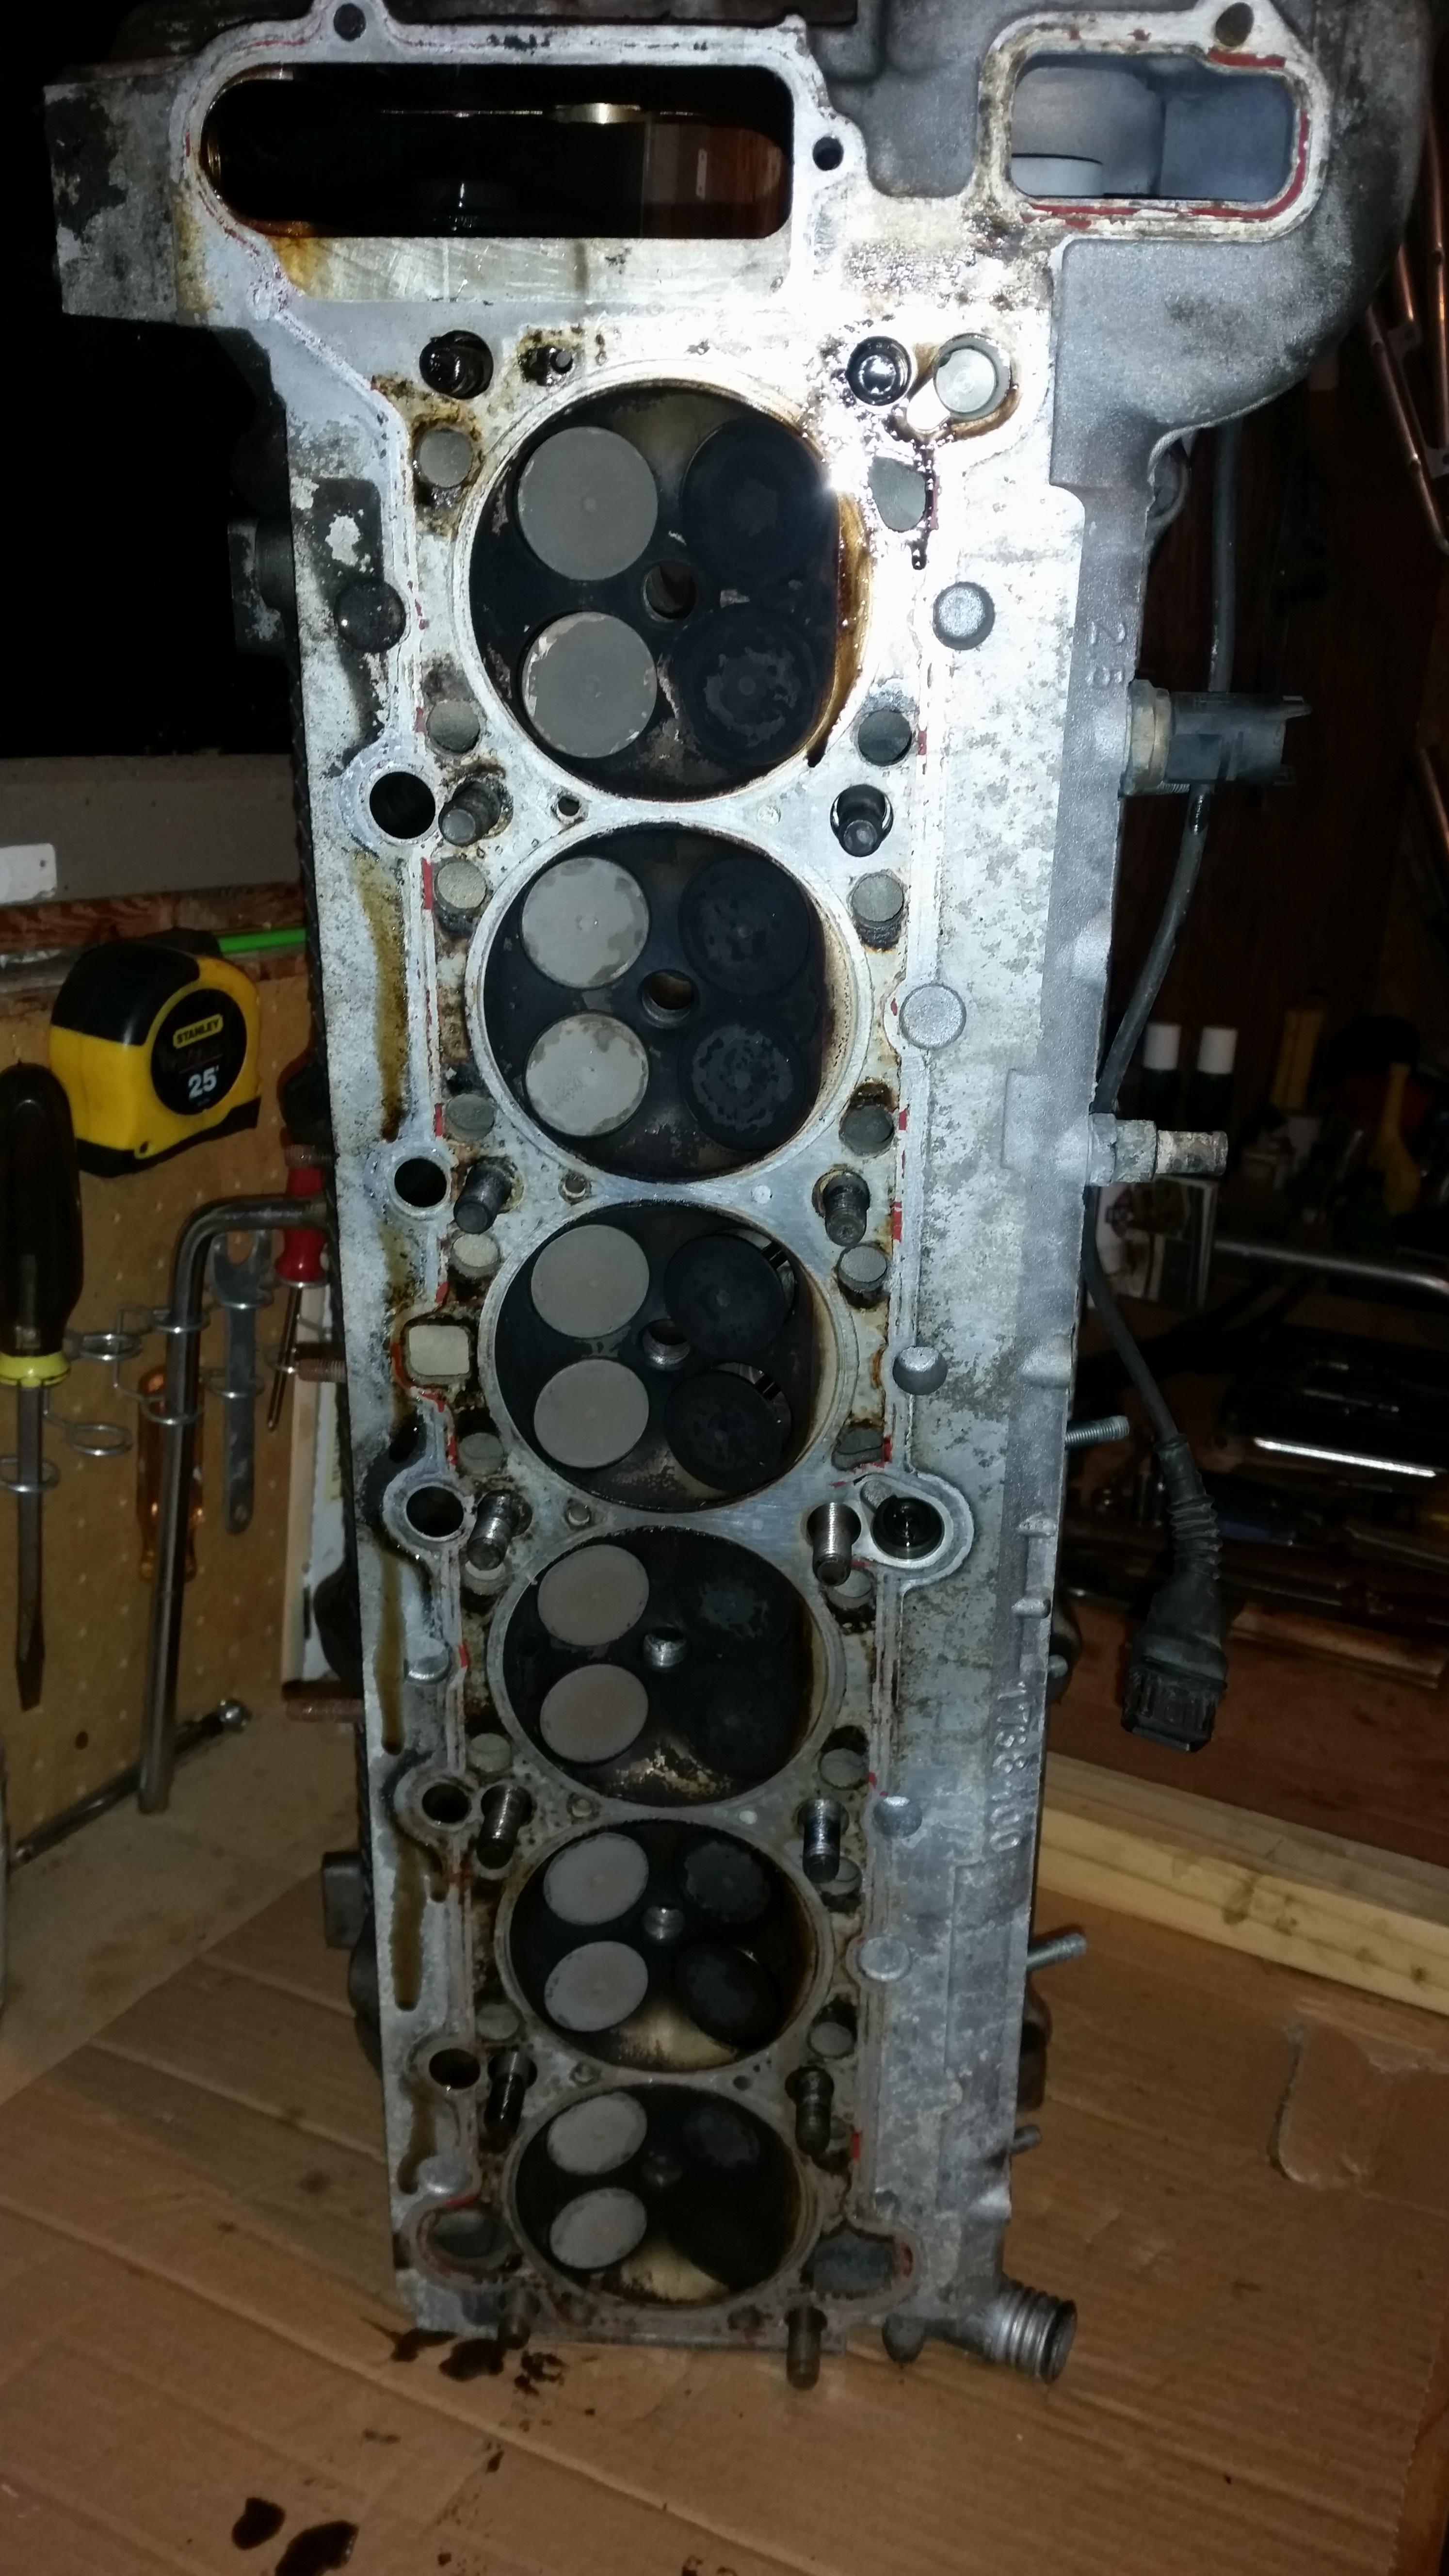
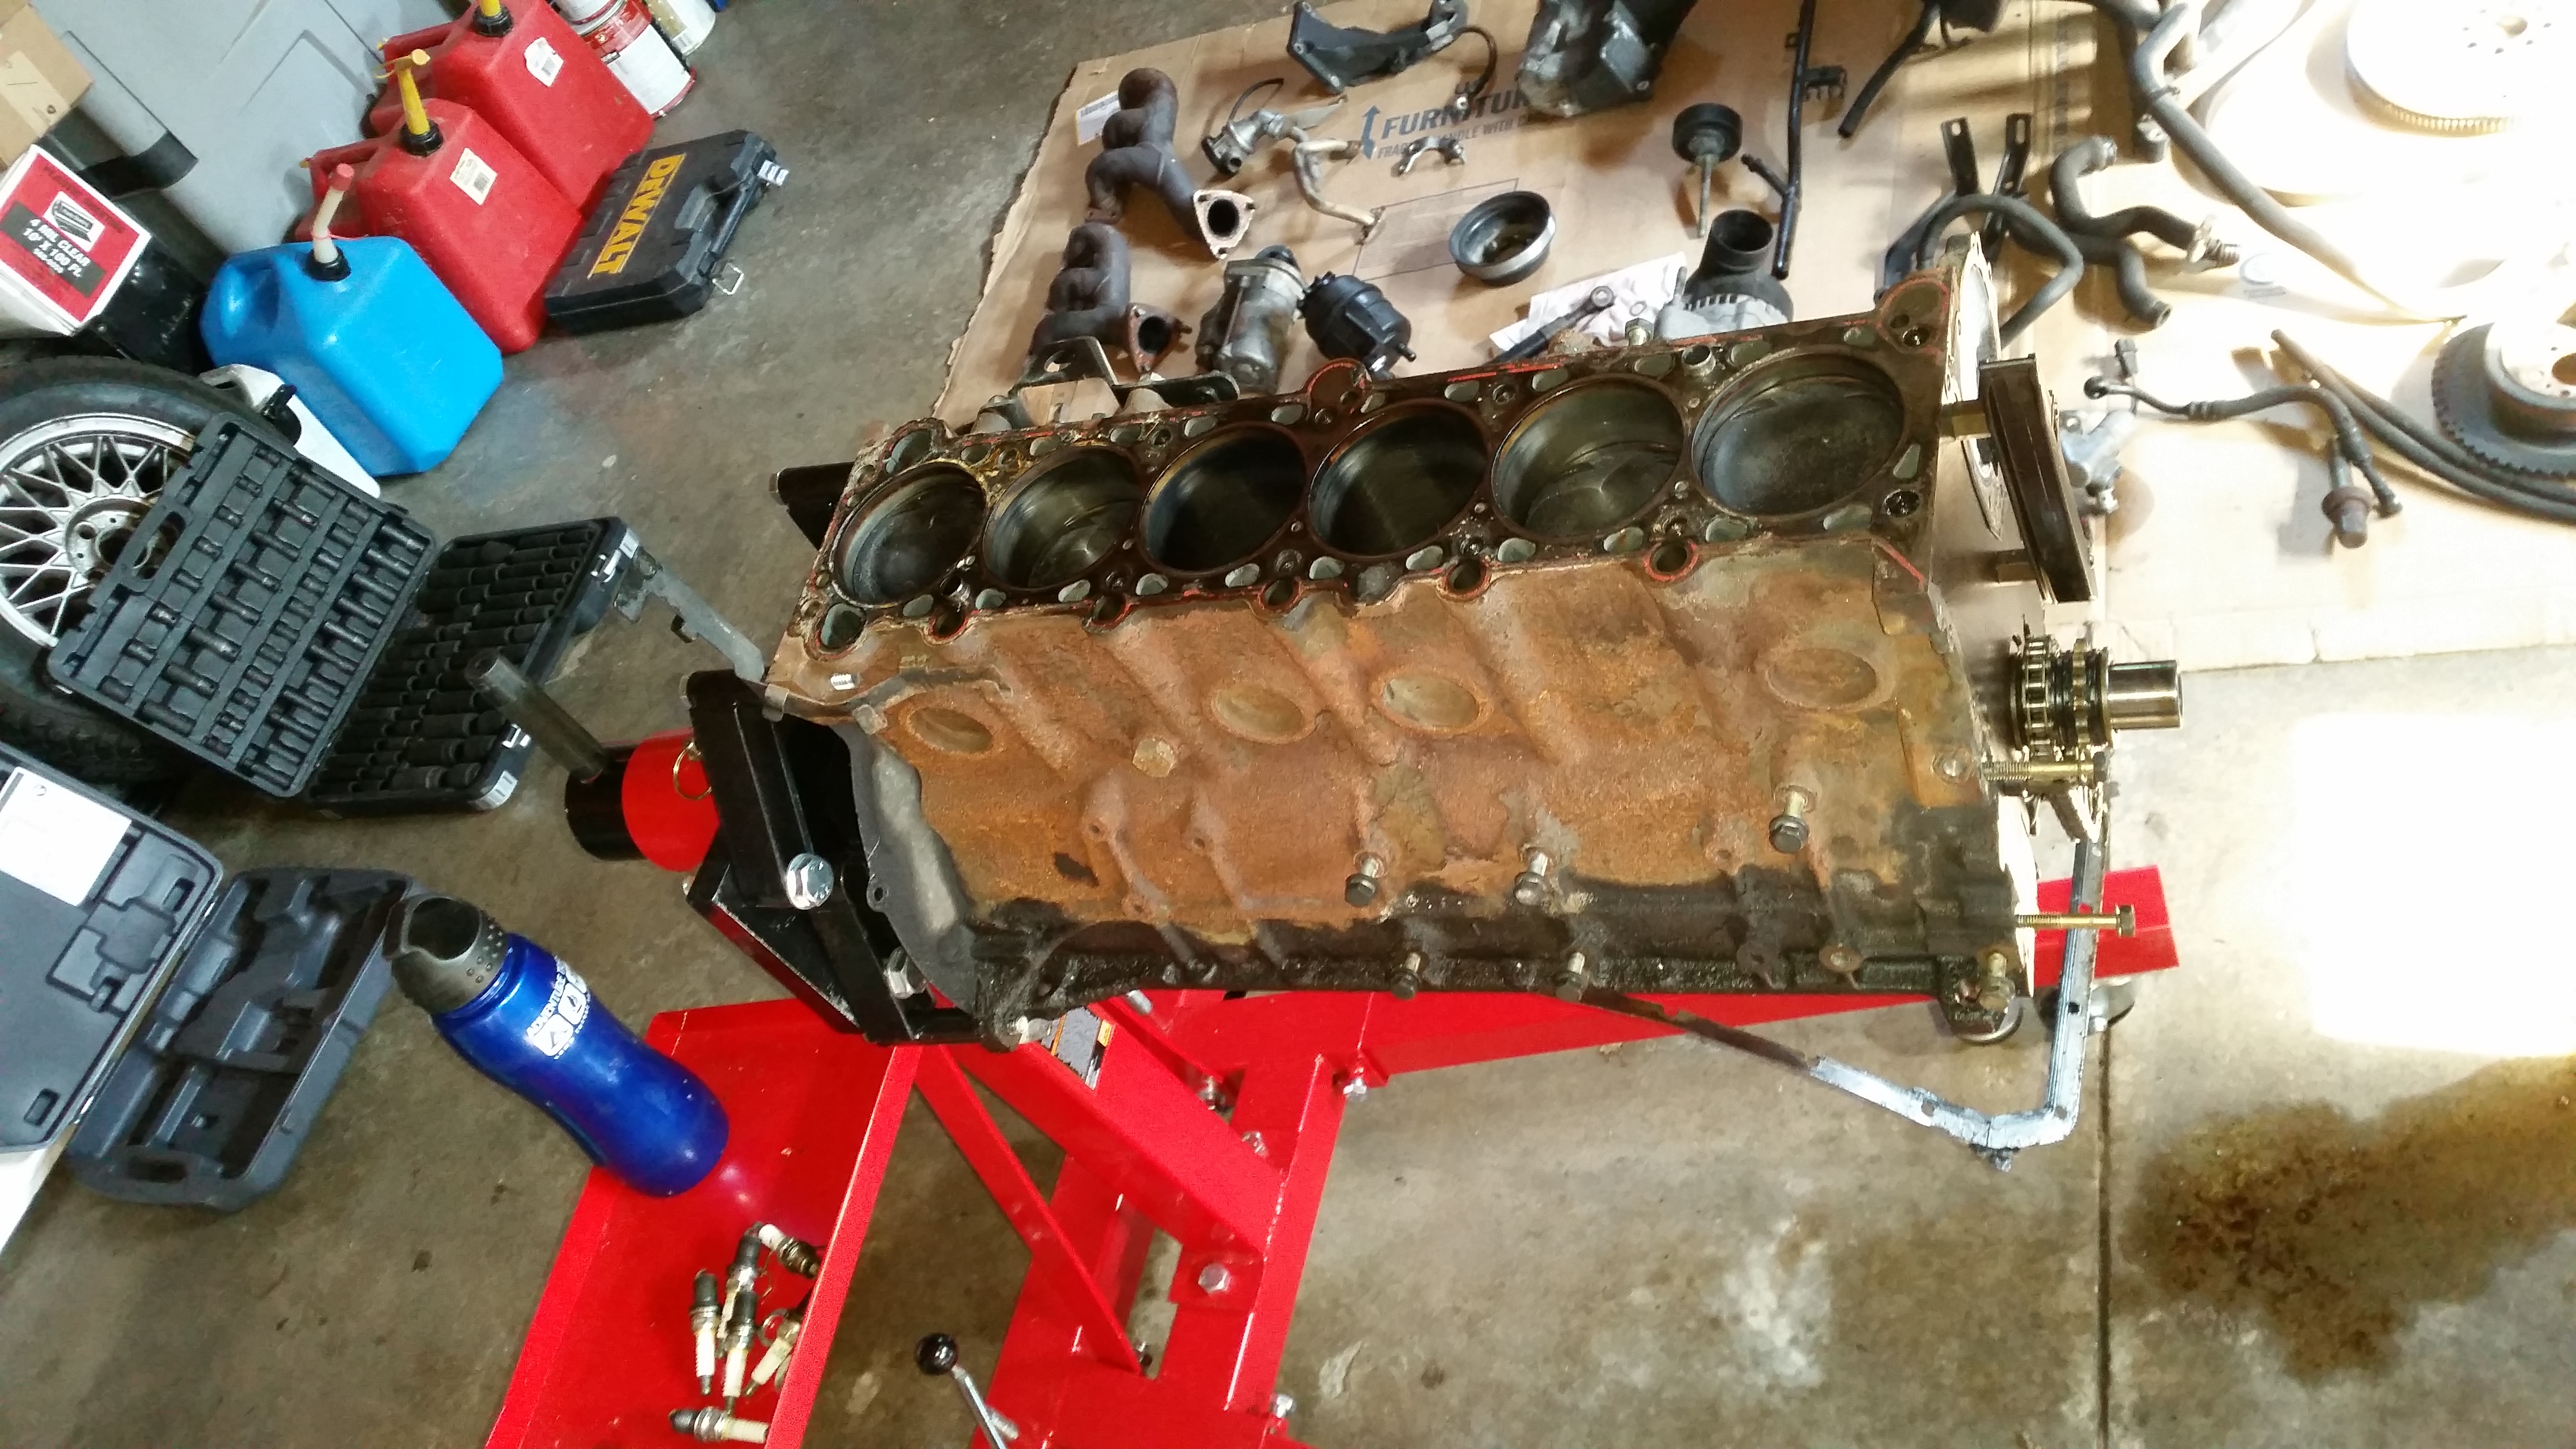
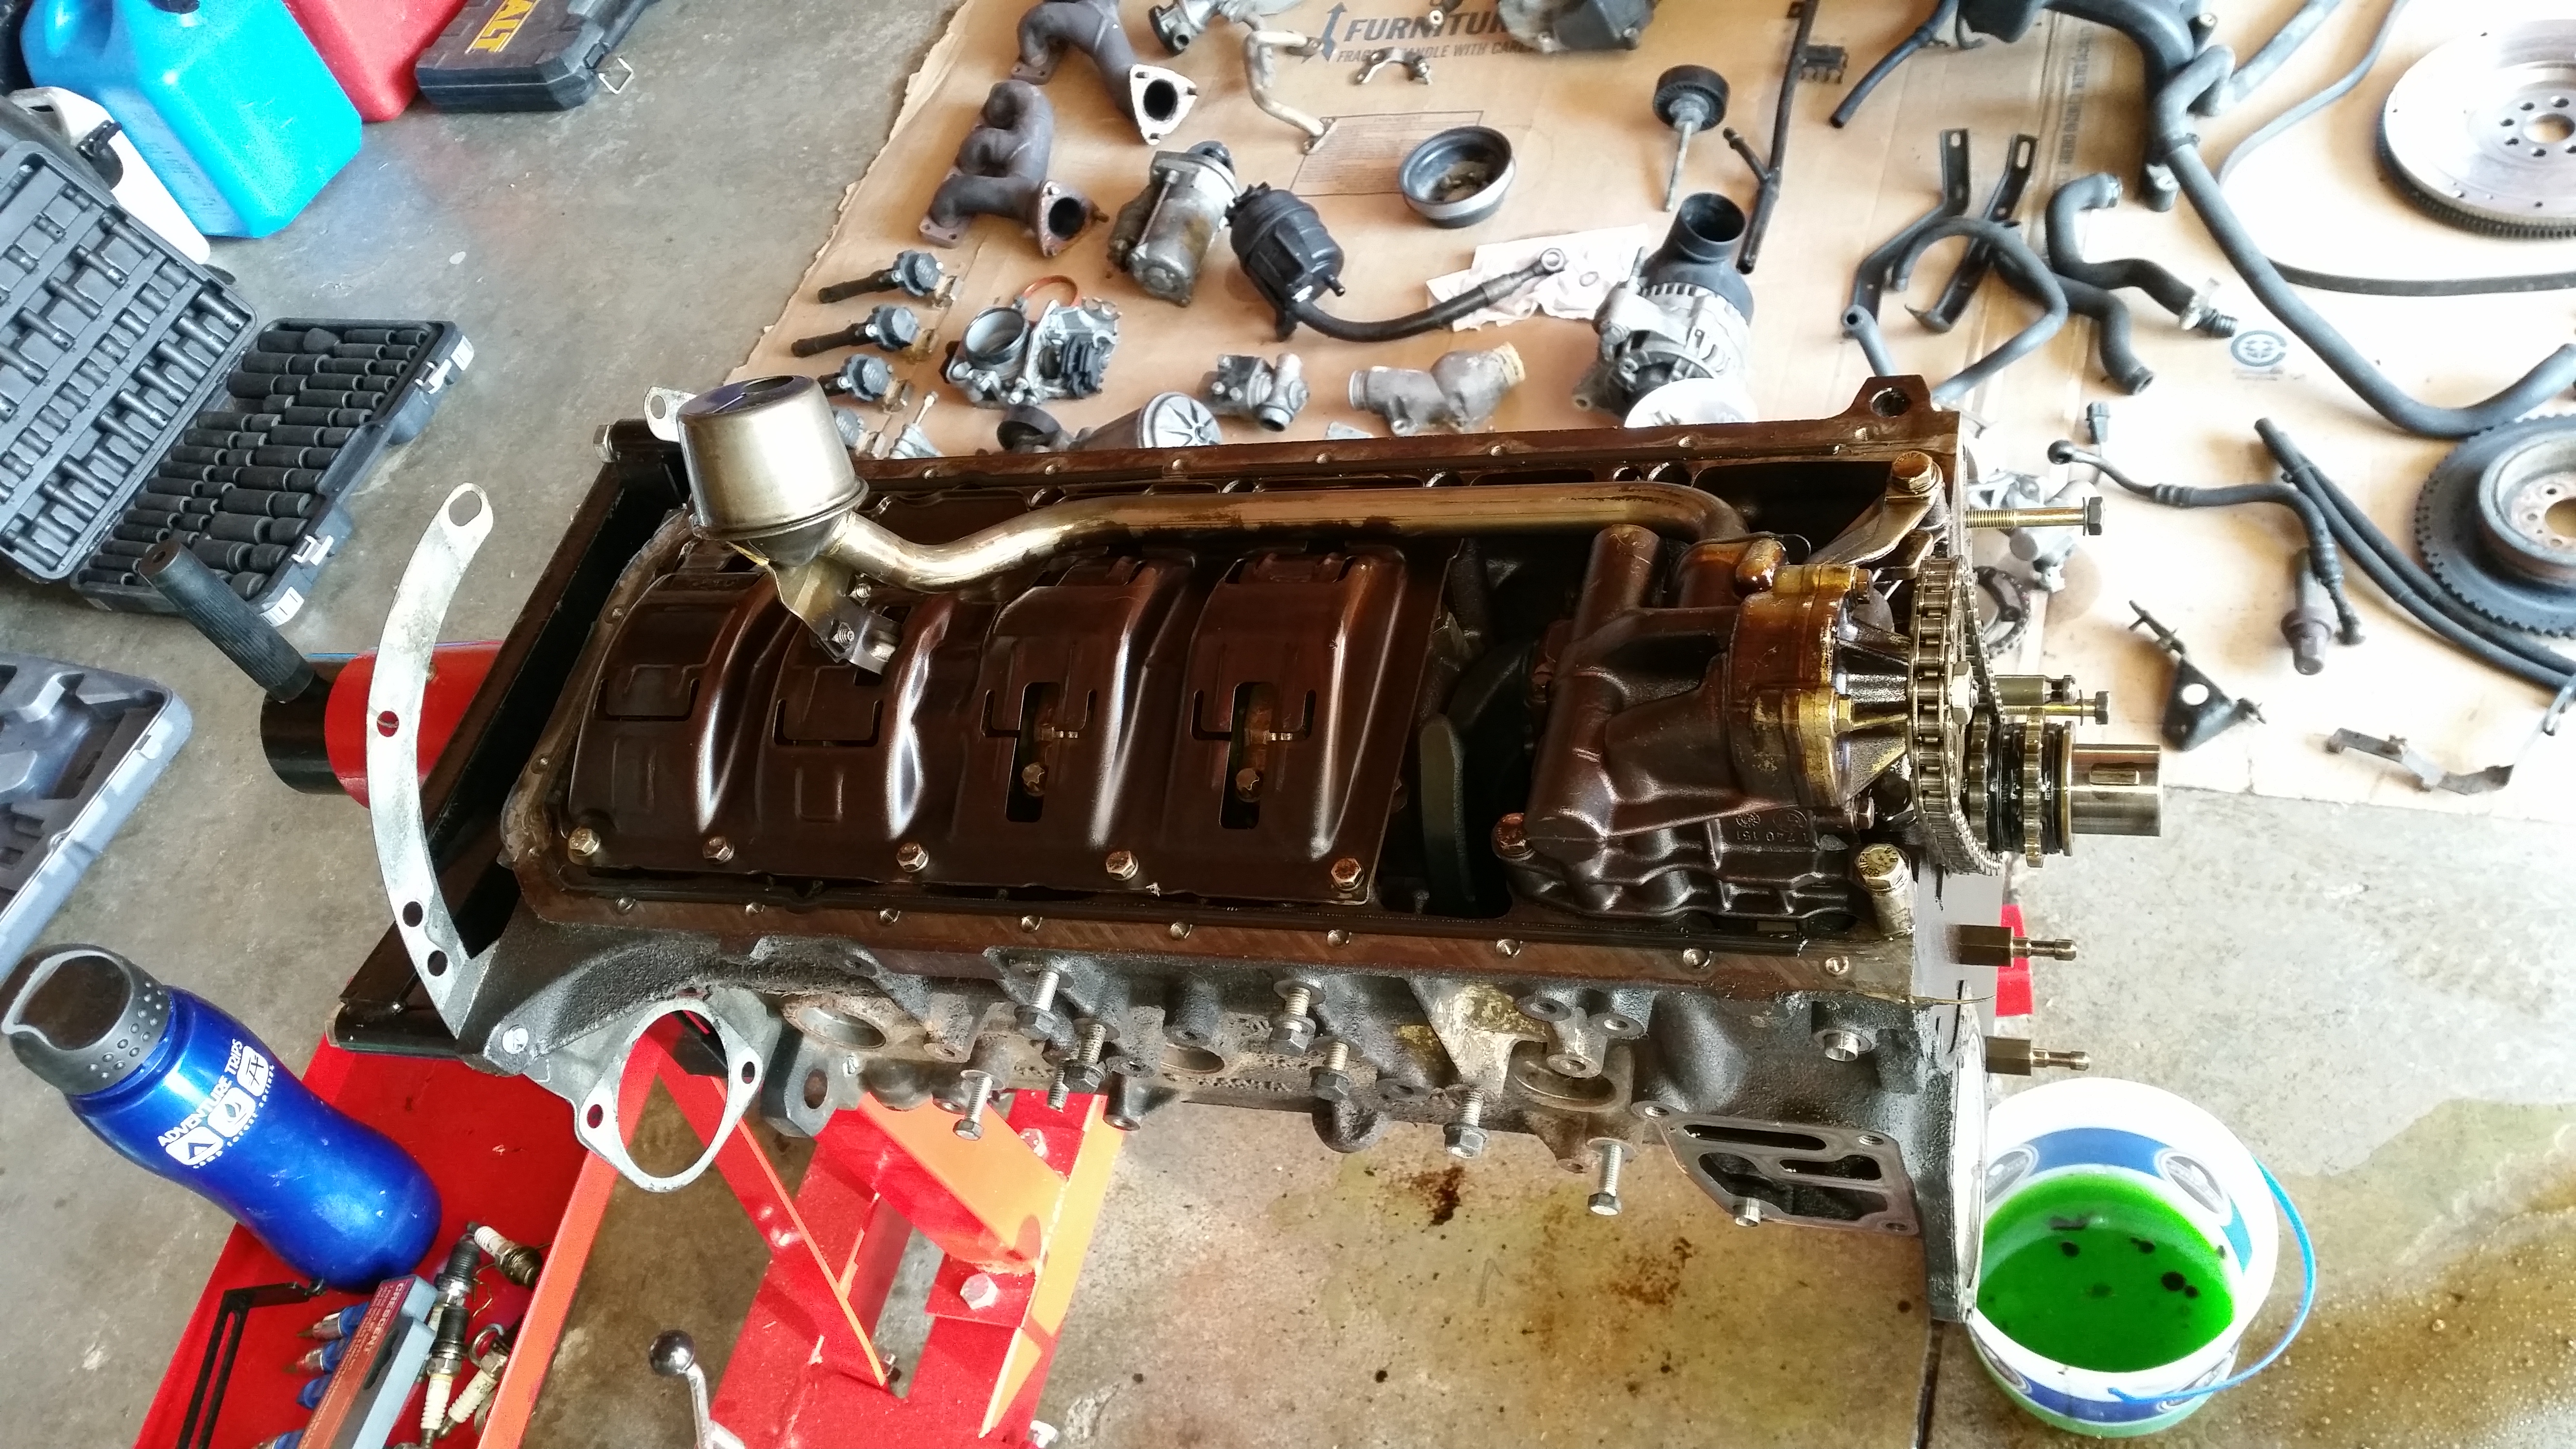
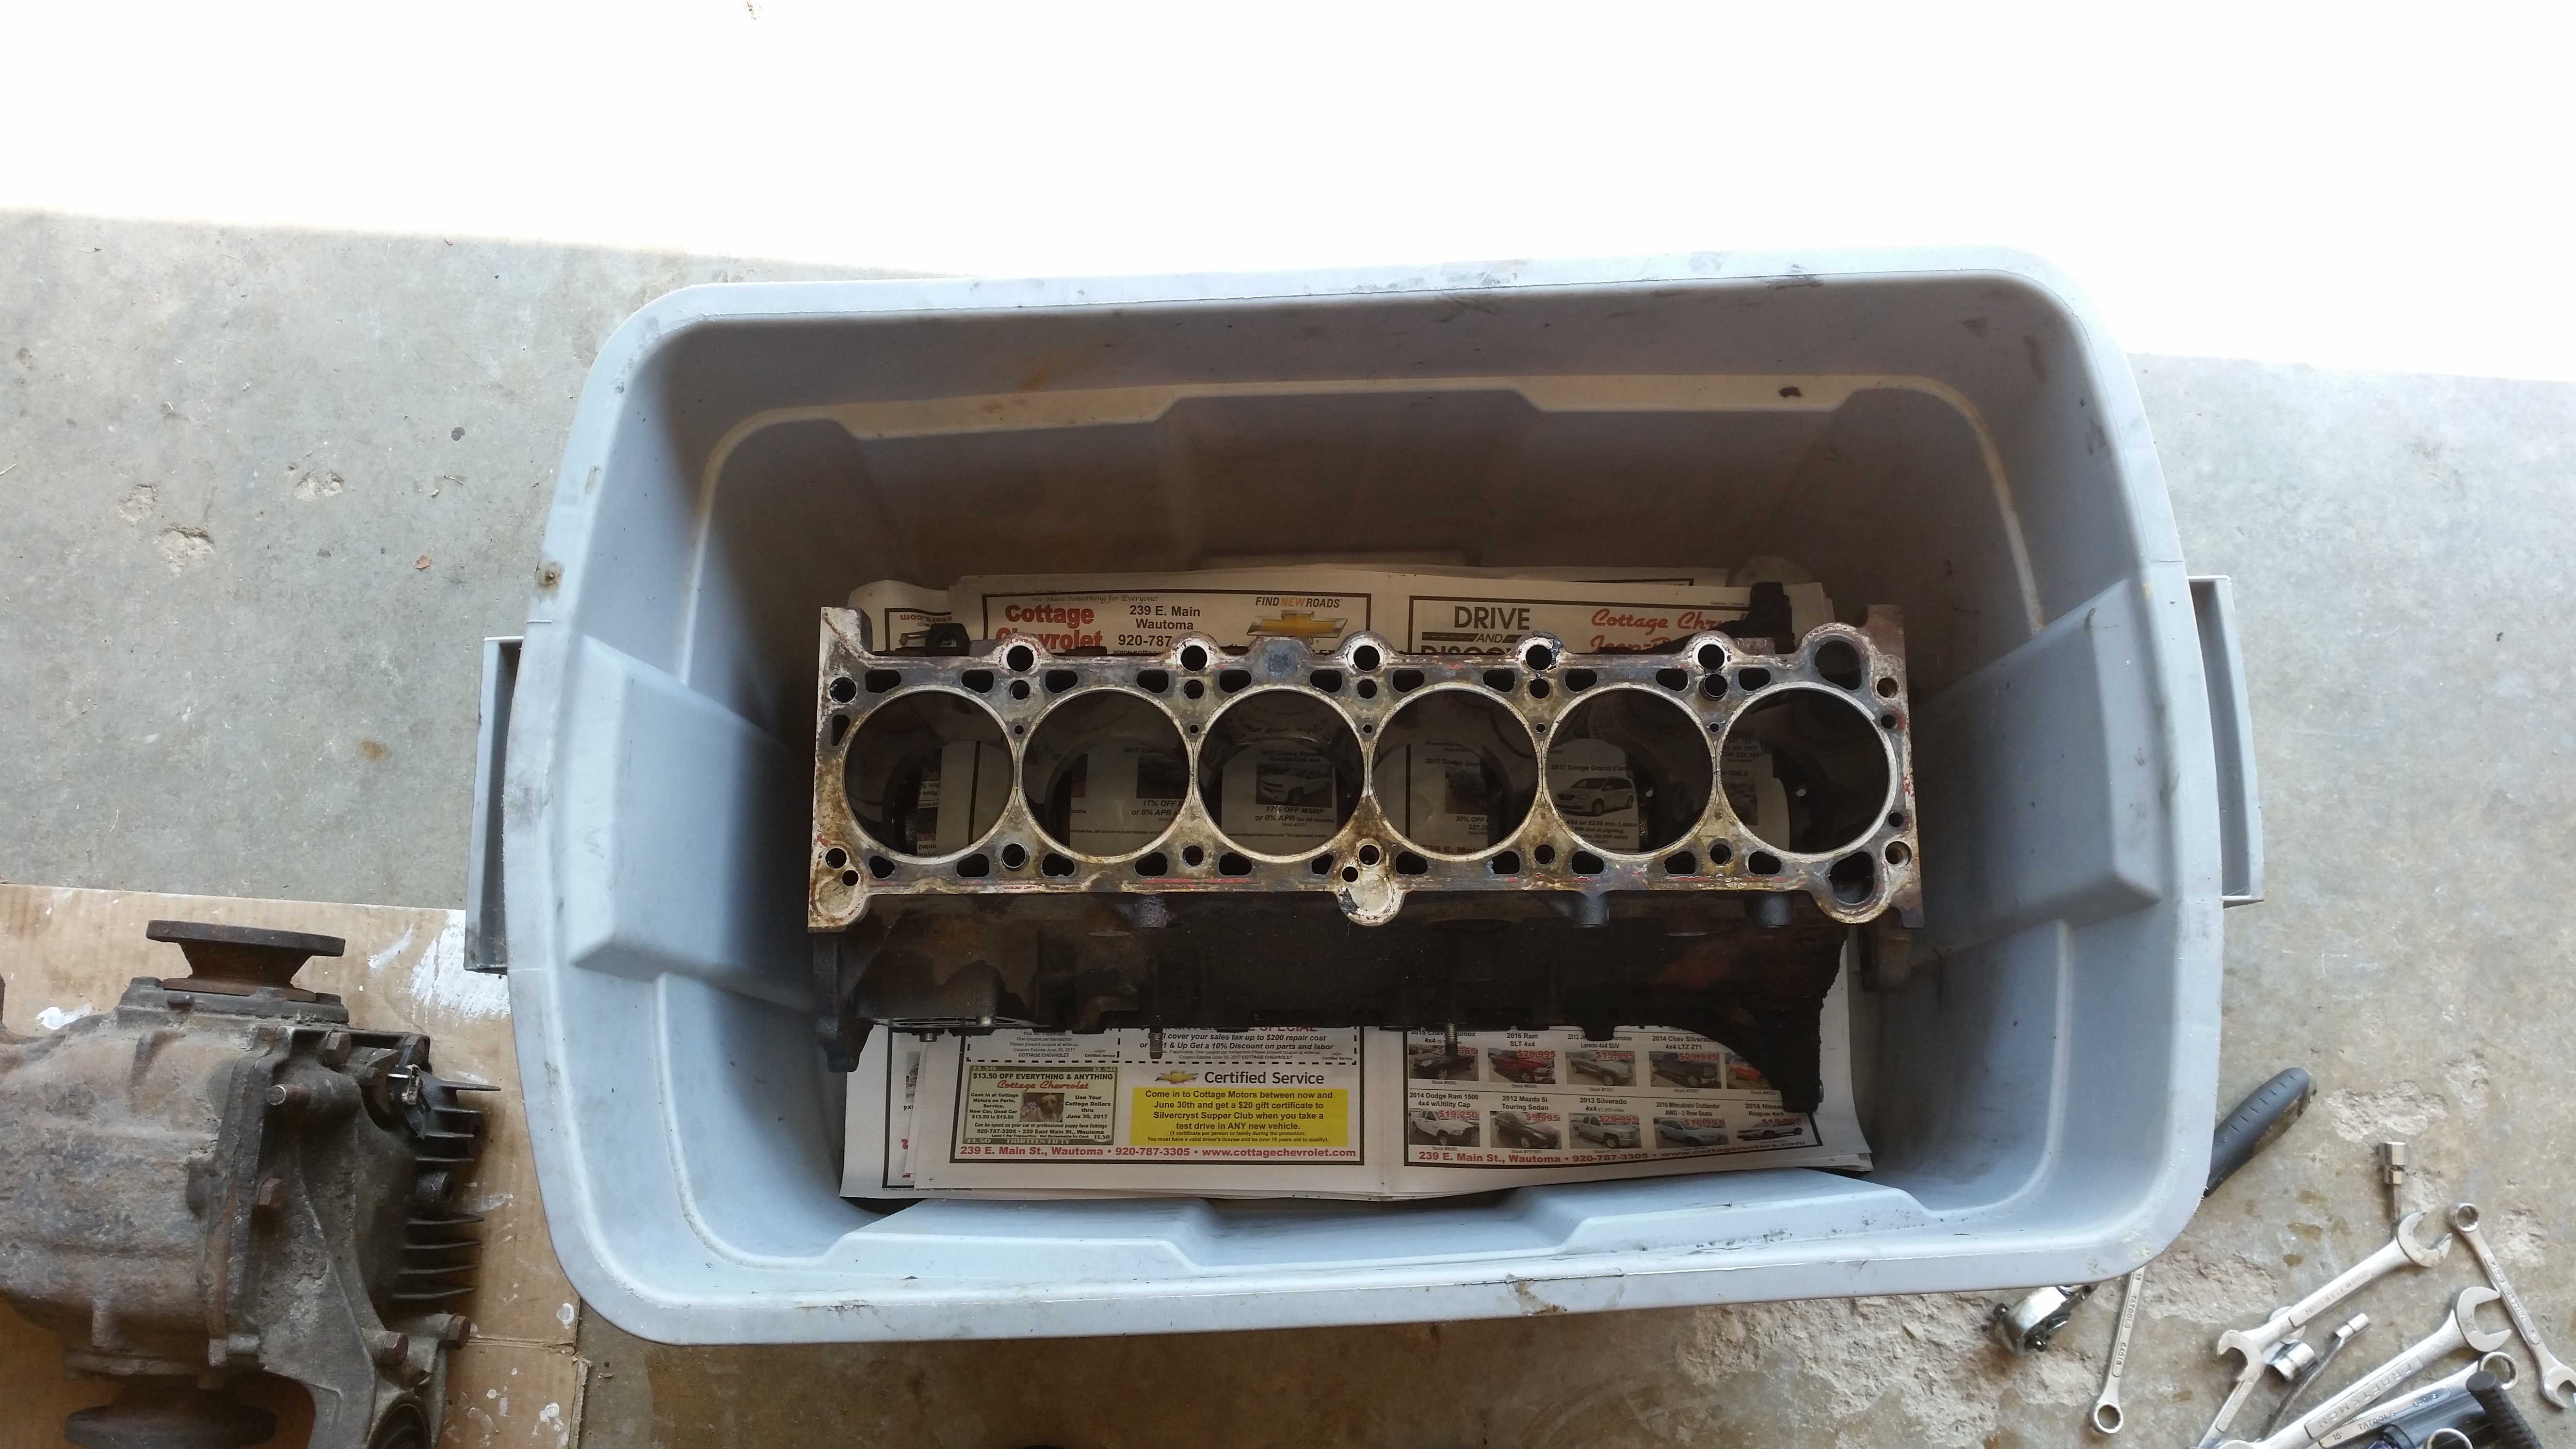
Got a fair share of things done today. Engine is looking good so far! Before even starting I noticed a oil leak coming from the Rear main crankshaft seal. Took a little closer look at it and saw that it was a victor reinz! Not surprised at all.
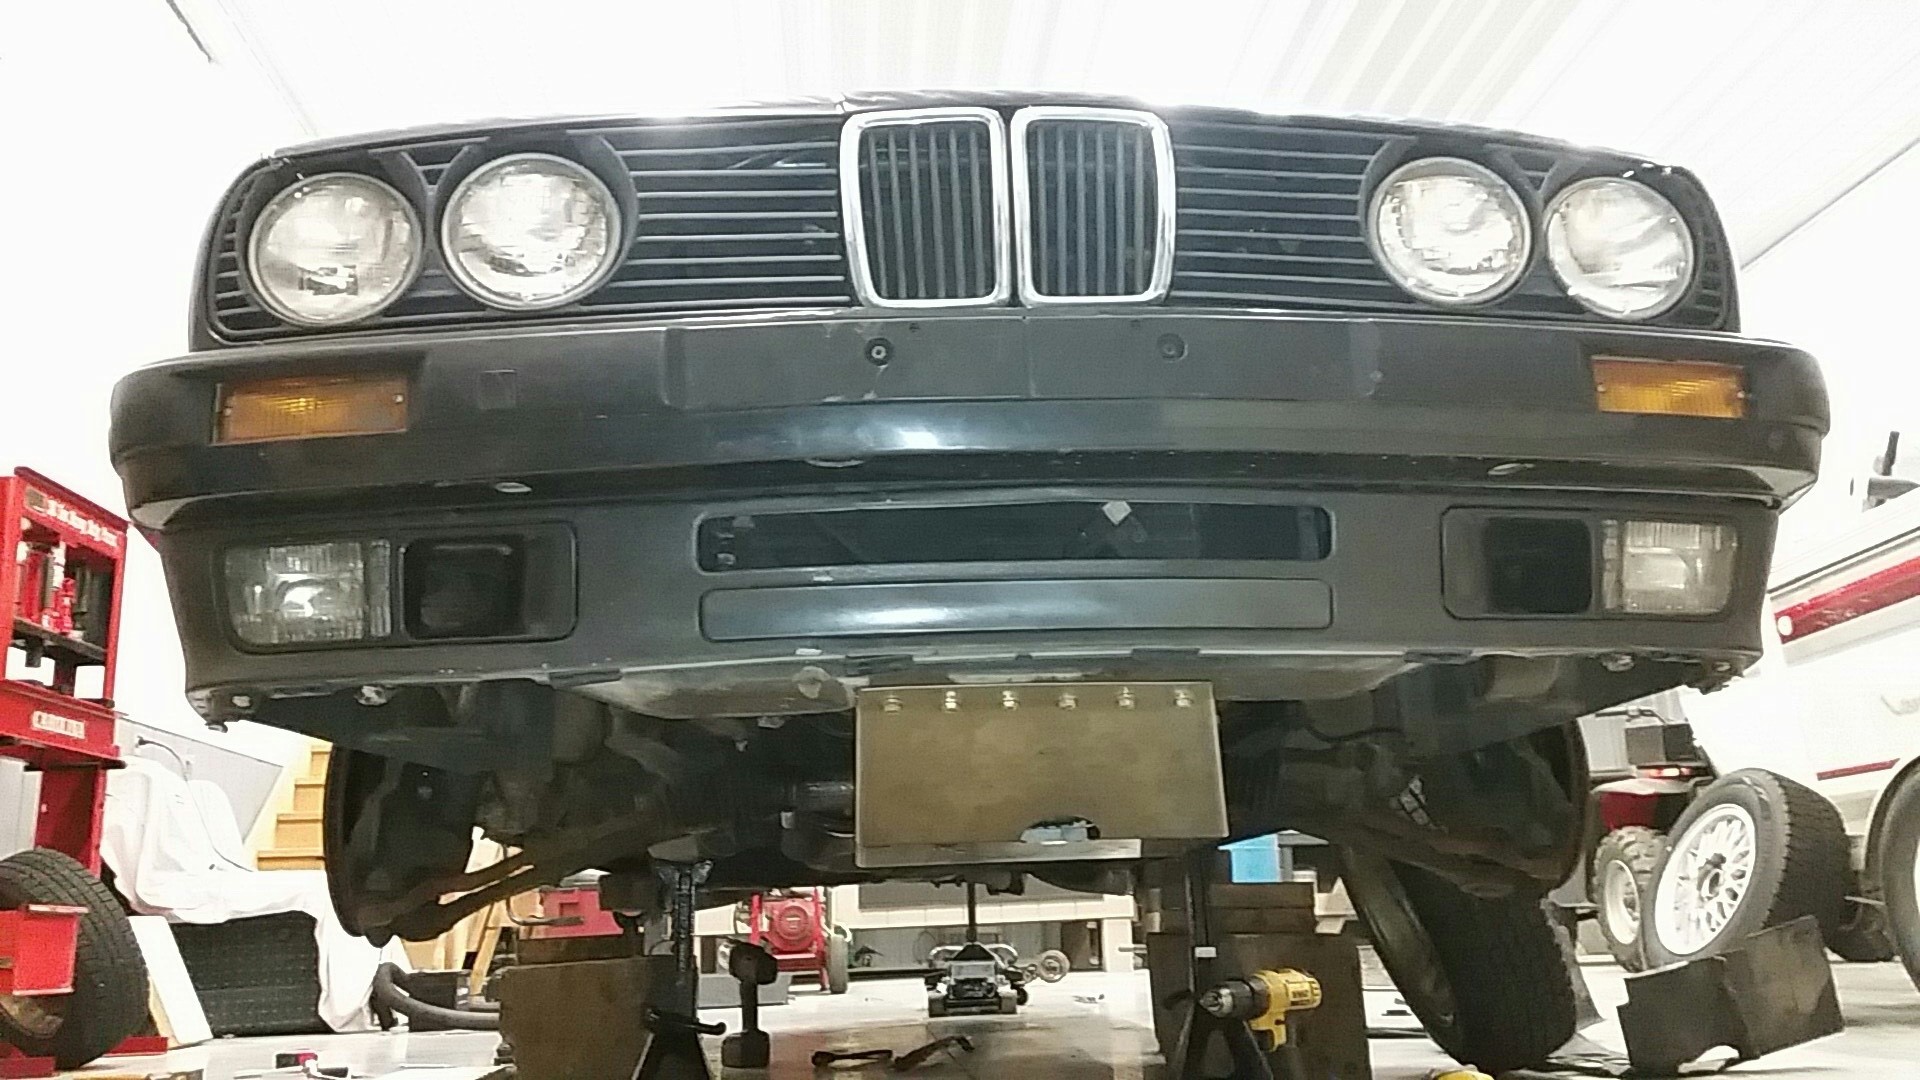
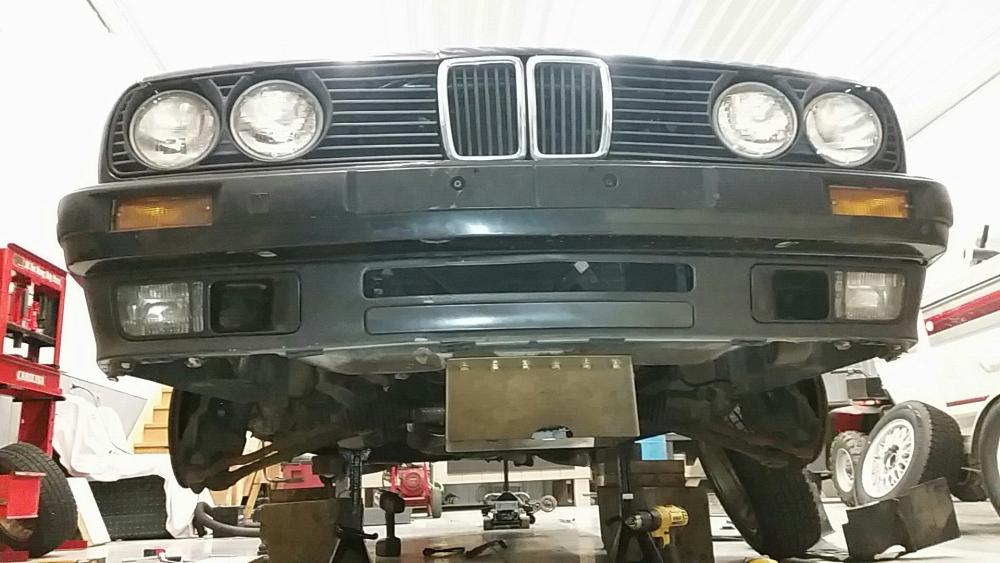
Also, if yall are wondering why I'm not doing this in the nice clean shop that the car was parked in, well that's actually my grandpa's shop who's in the middle of a few projects himself so I plan to do most of the engine tear down and build in my garage. Once I come around to start working on the car the build will shift over into his shop for the winter.
Plans for tomorrow: leak down test and then heads coming off.

-
NICEEEEE. Many pictures are always a plus.

https://www.instagram.com/_jdesigner_/ http://nevertoolow.tumblr.com/
🥳SOLD BMW E24 633CSI - BMW M30B32 🧪SOLD HCH ES9 - 1.3 LDA
👽BMW E30 325IC - Toyota 1JZ-GTE ⏰ HONDA EF9 CIVIC SI - JDM B18C5
☠️BMW E36 318i - Ford 5.0 FE302 🚴♂️ GT-Labomba - 26x2.75 Freeride
🤹♀️SOLD BMW E36/7 Z3 - BMW M54B25 🧓SOLD BMW E10 2002 - BMW M10M05 -
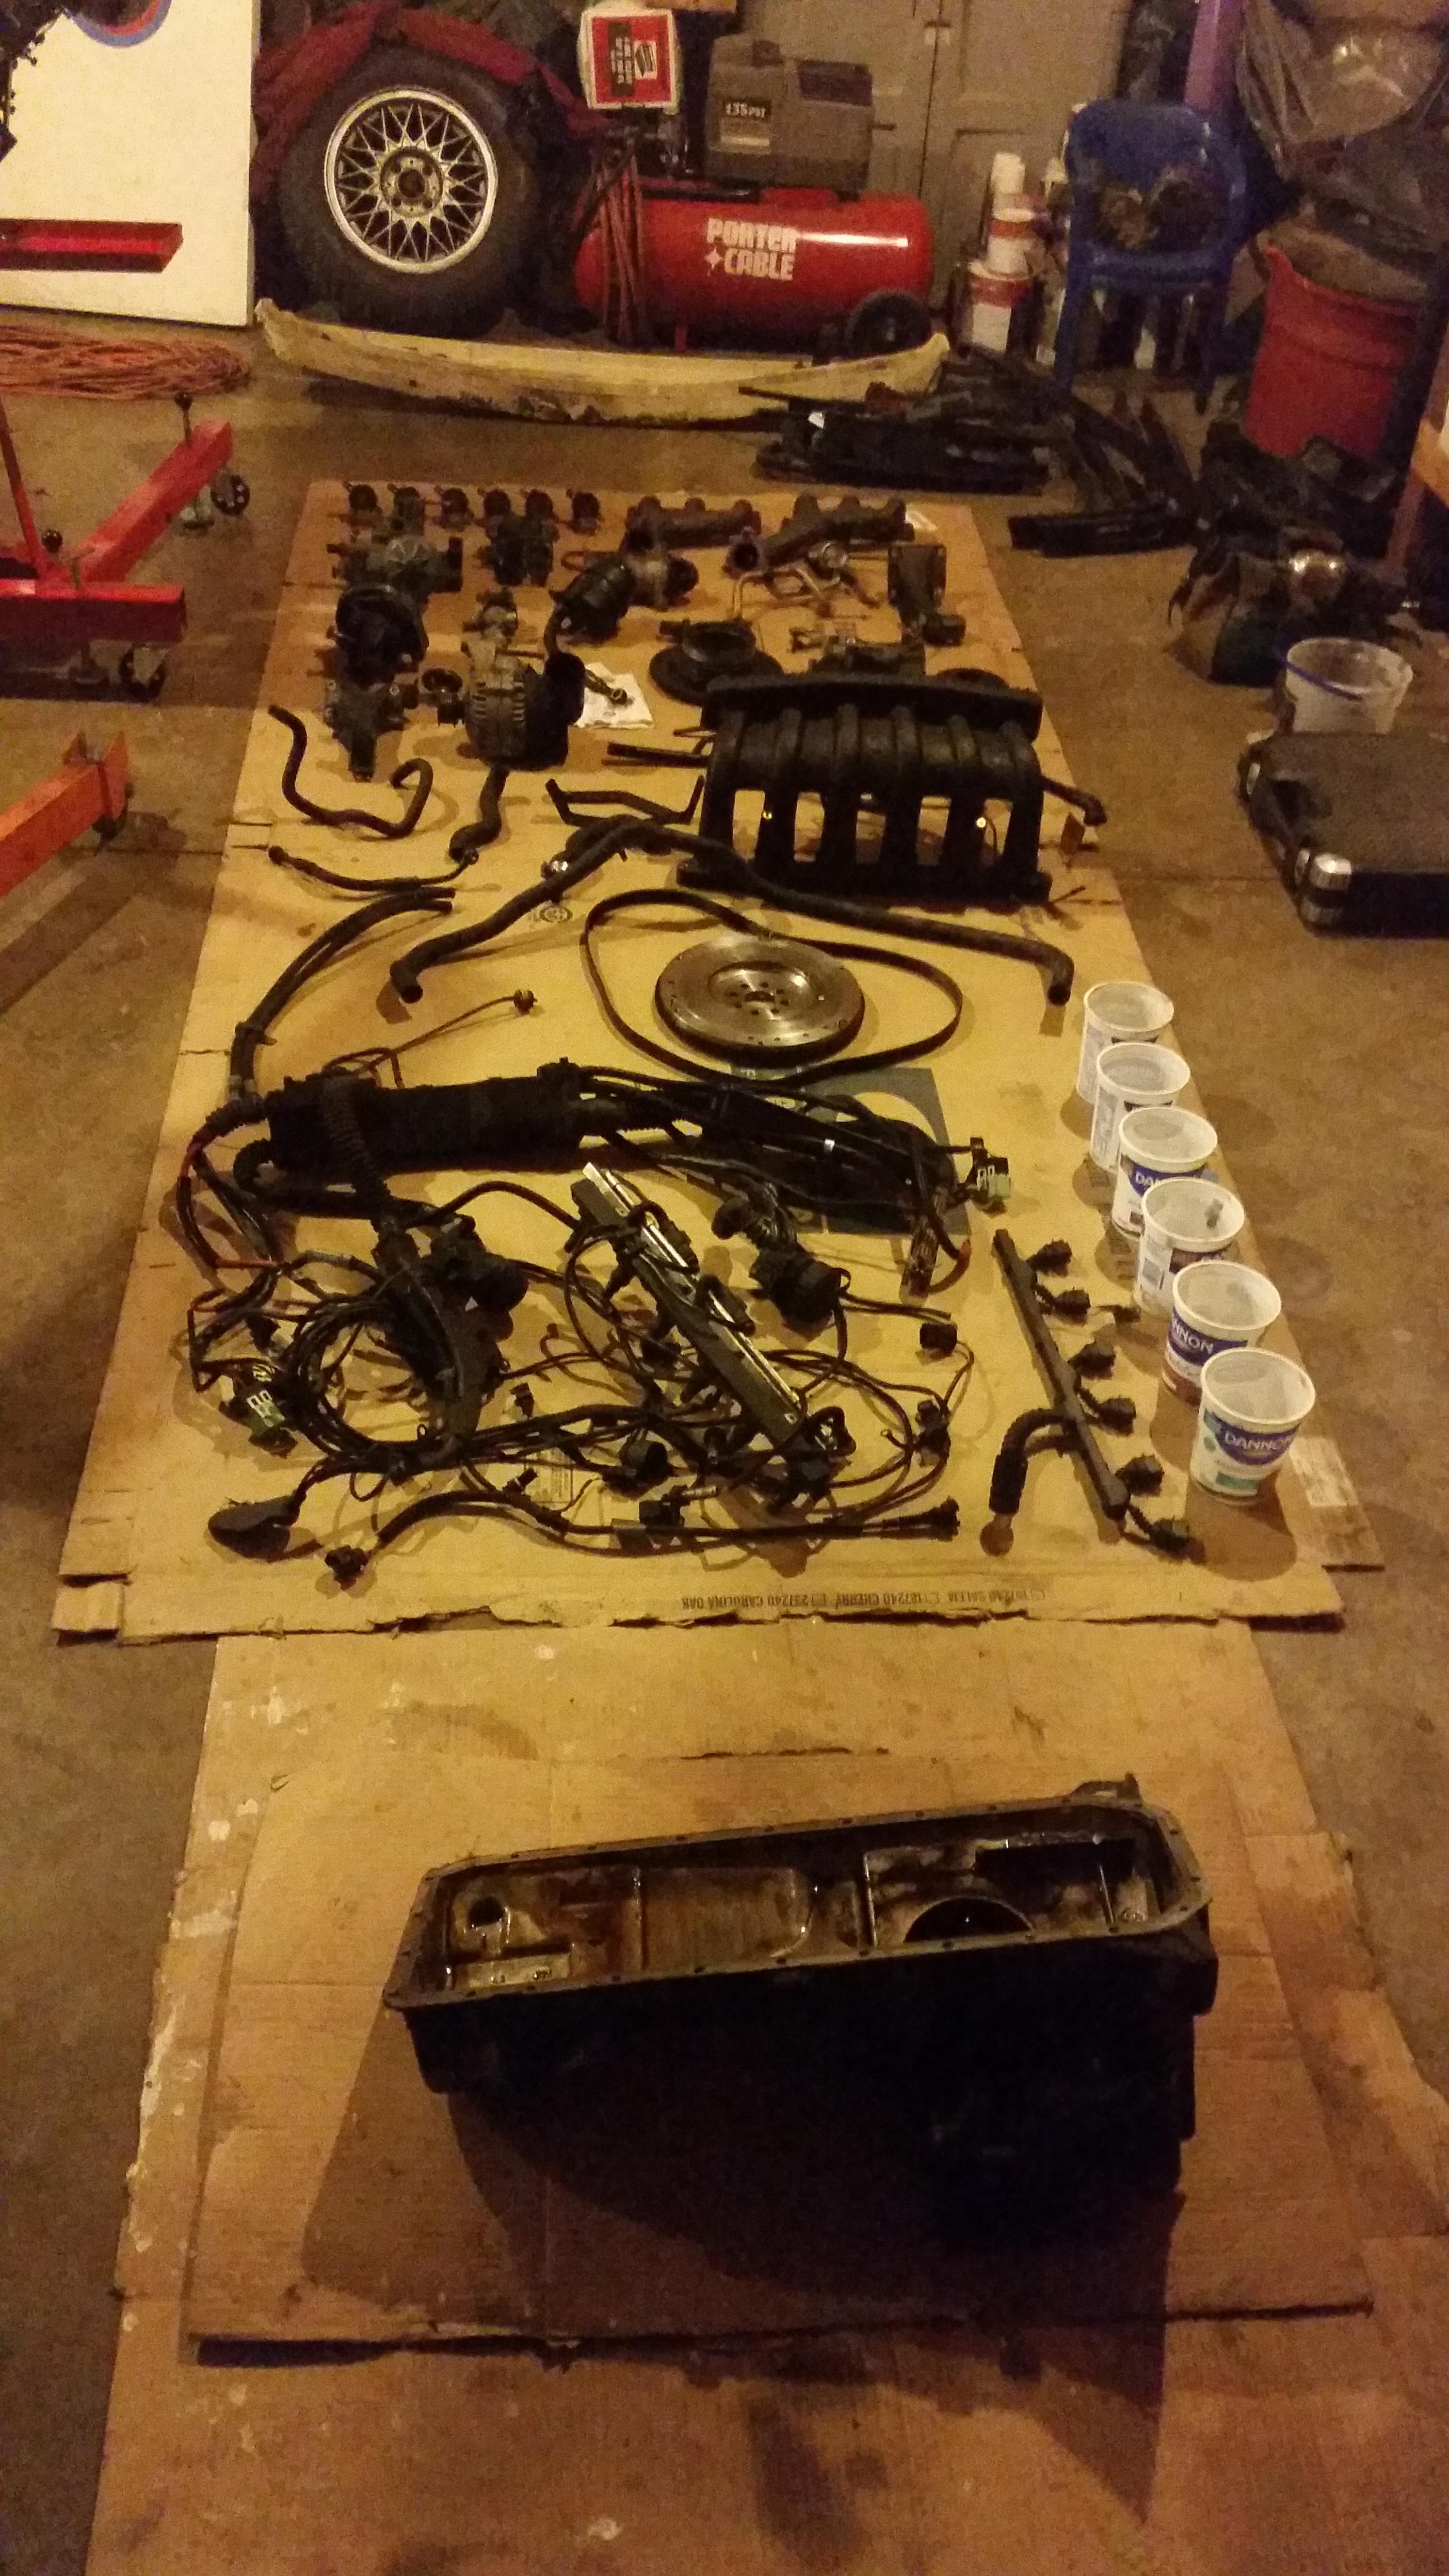
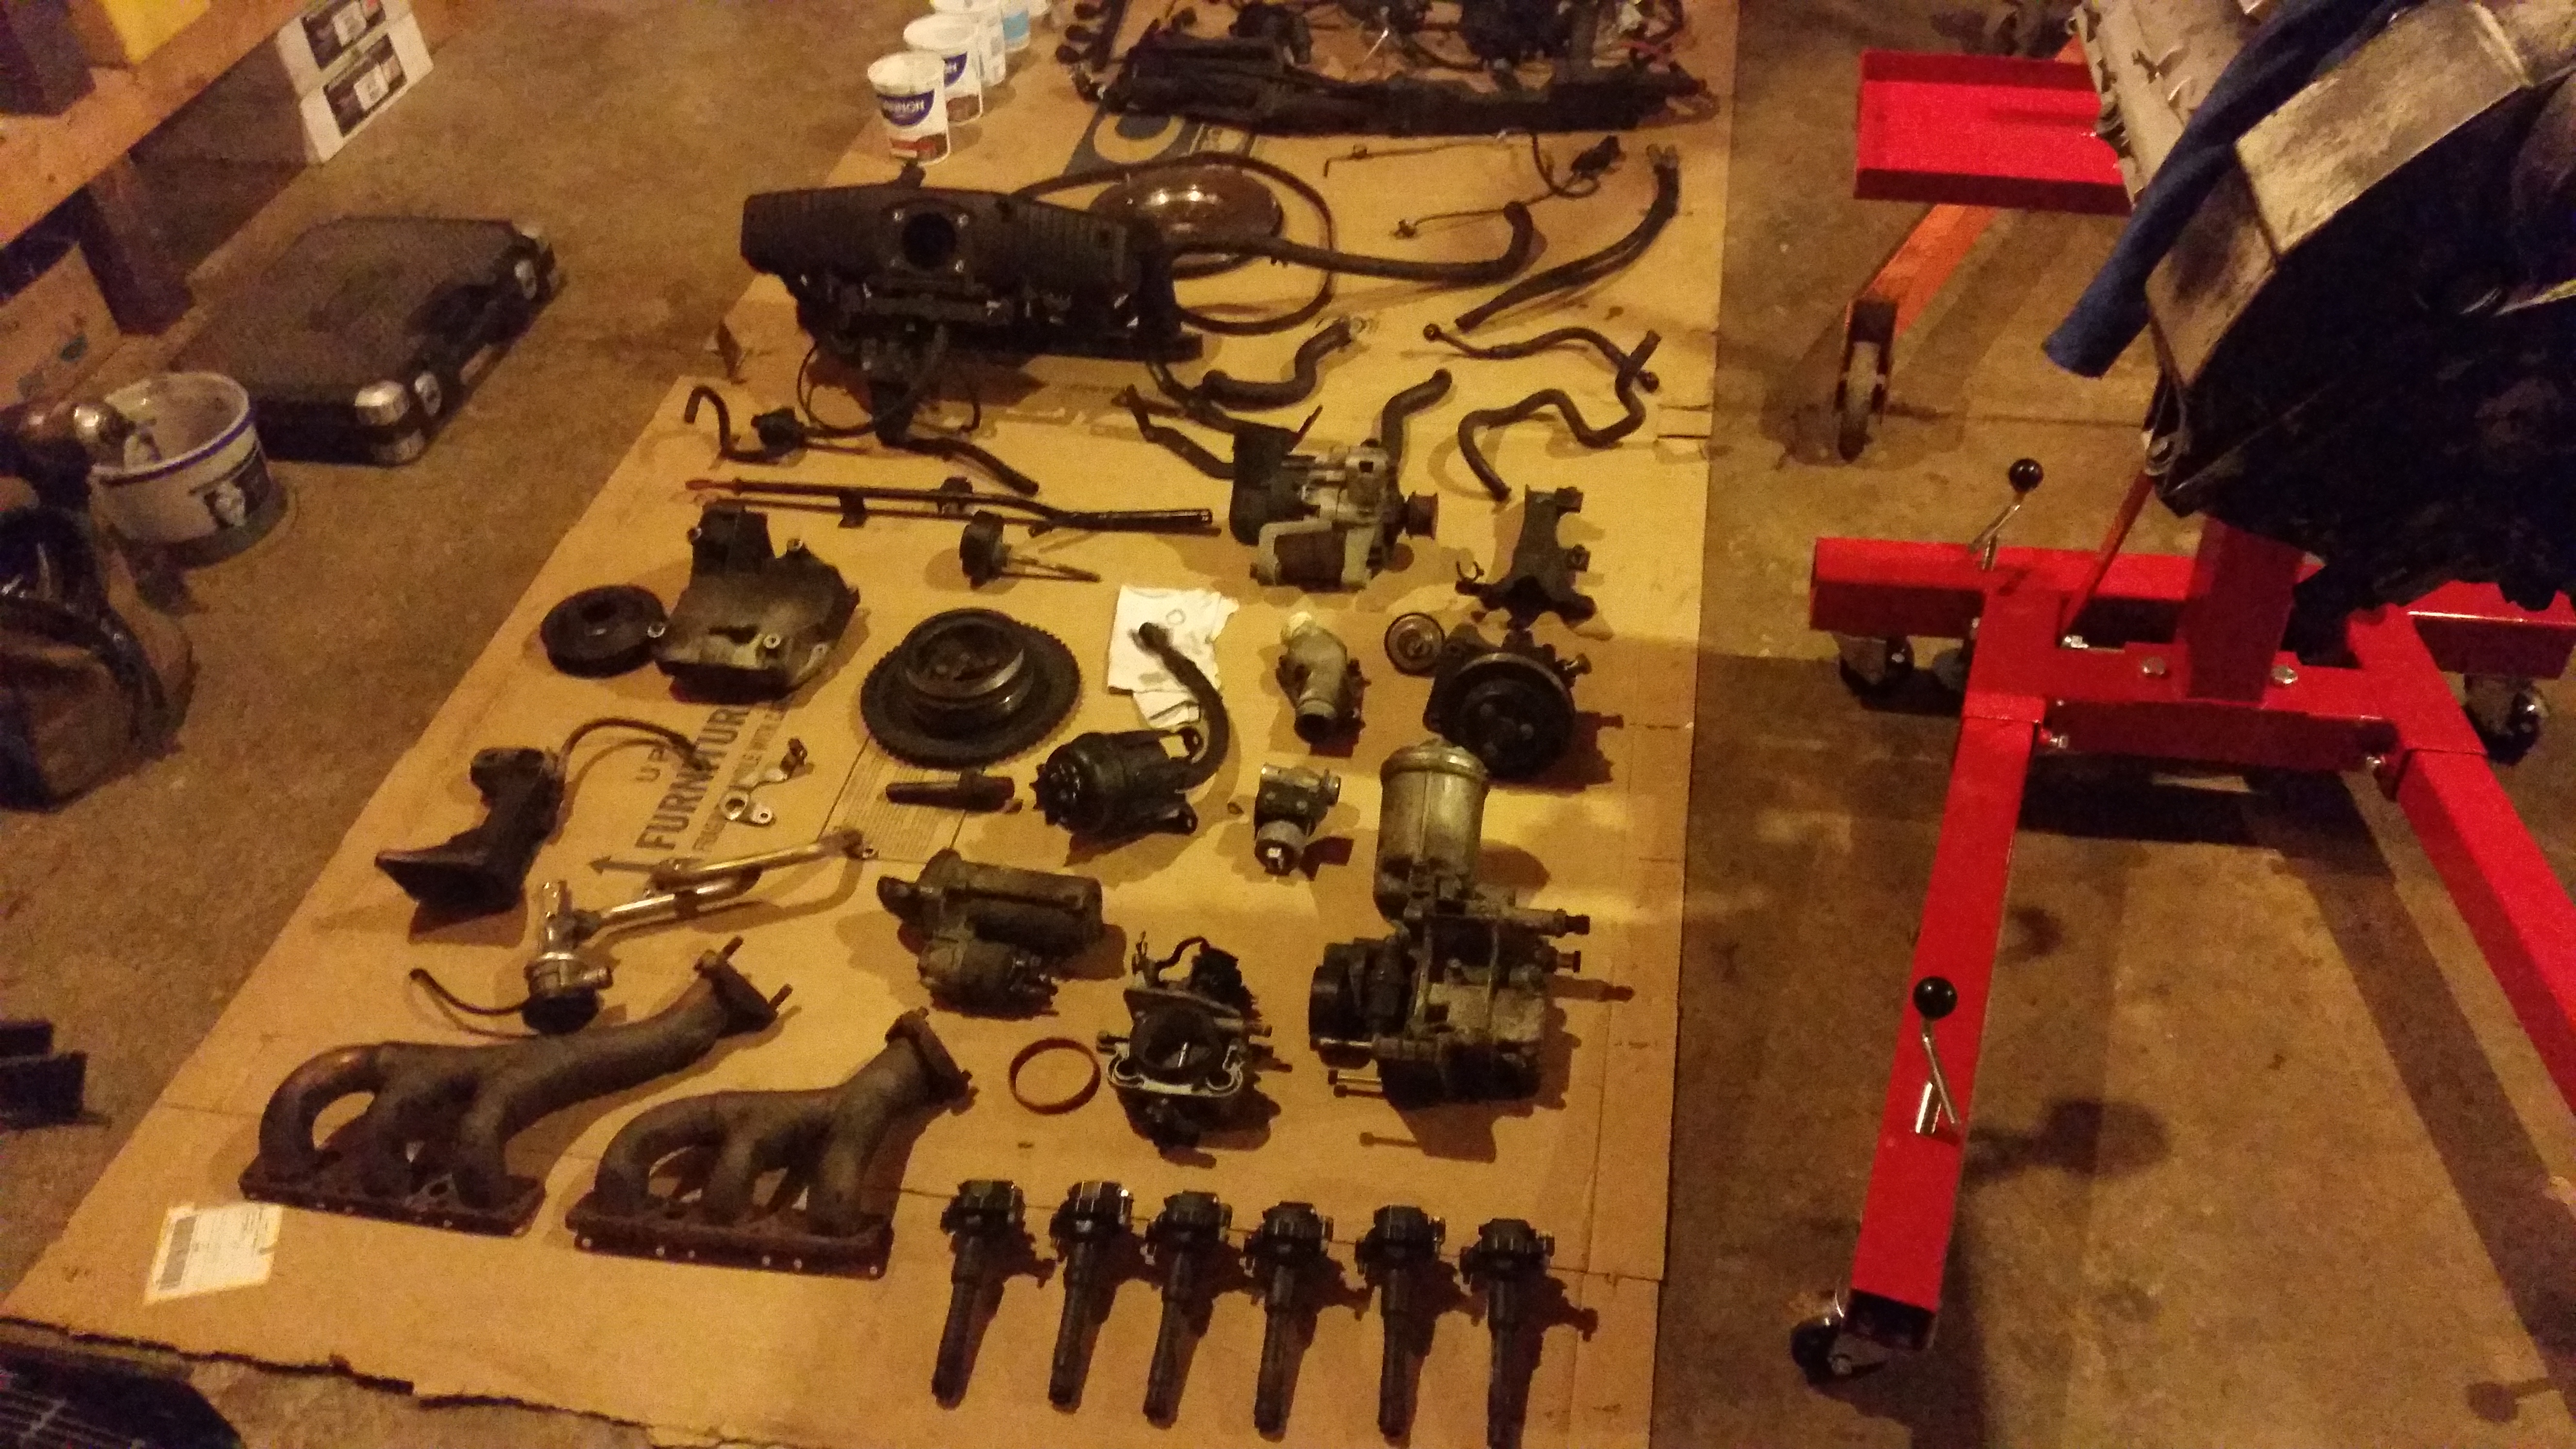
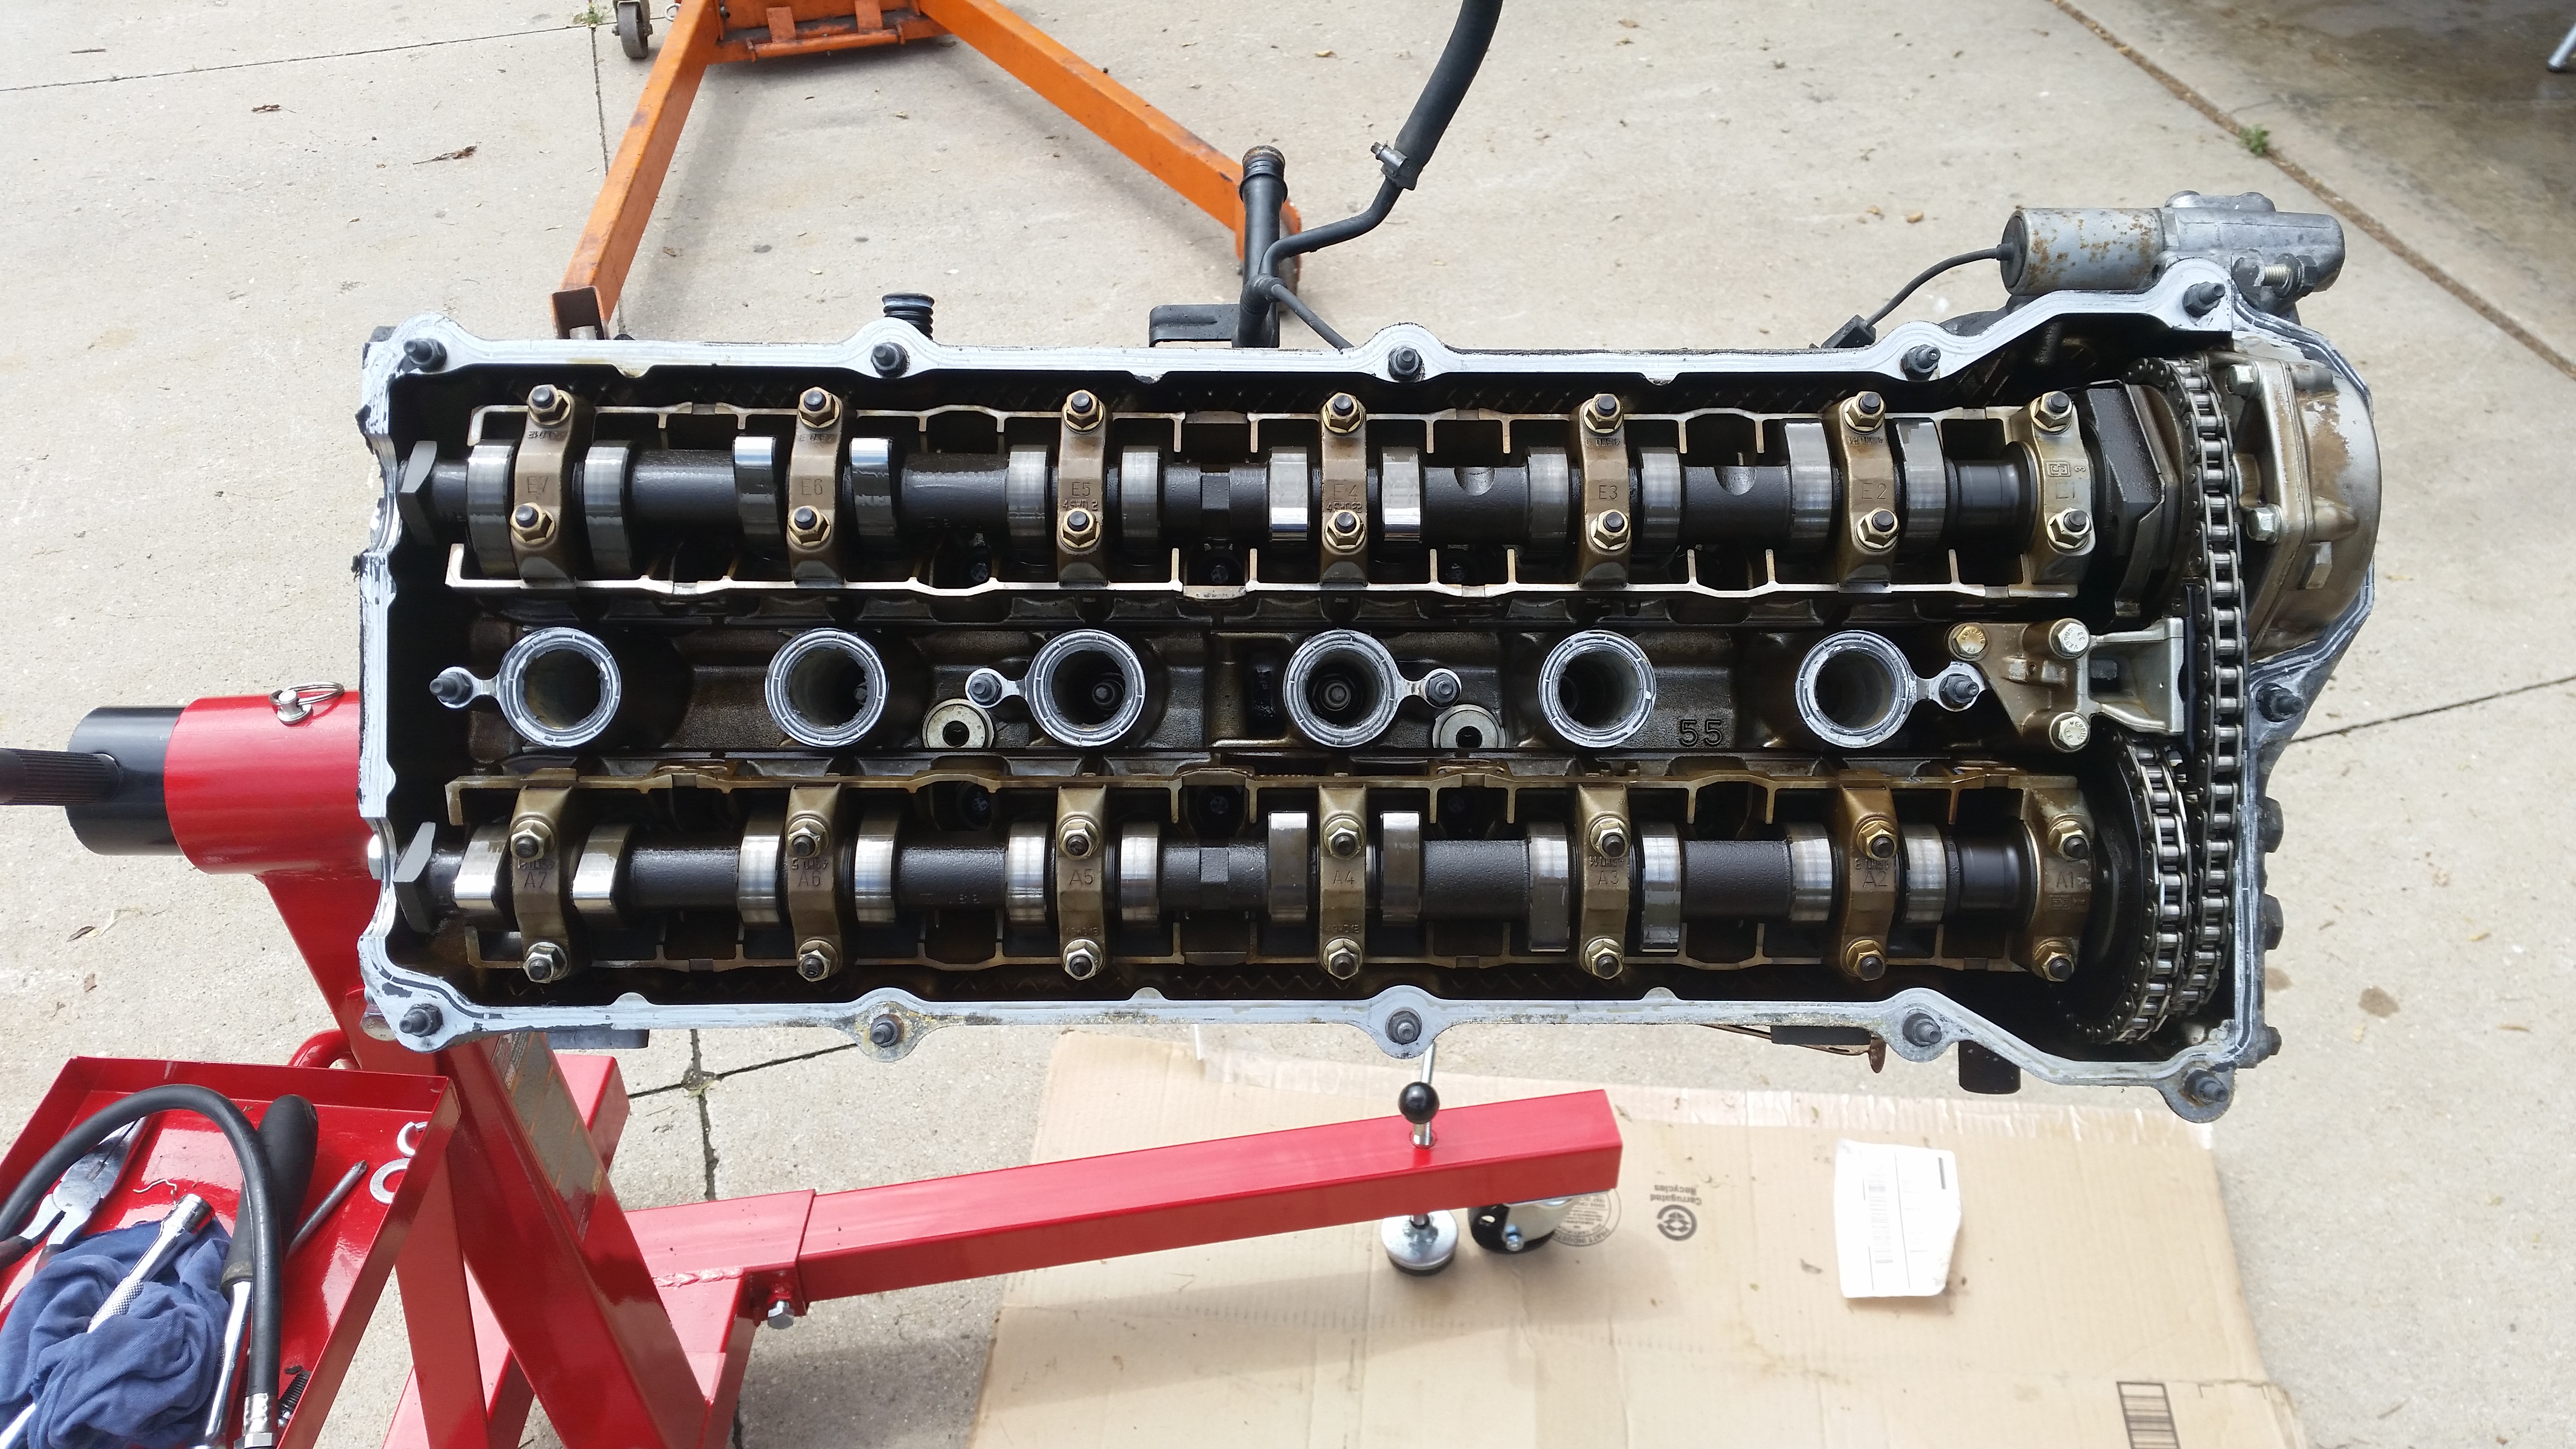
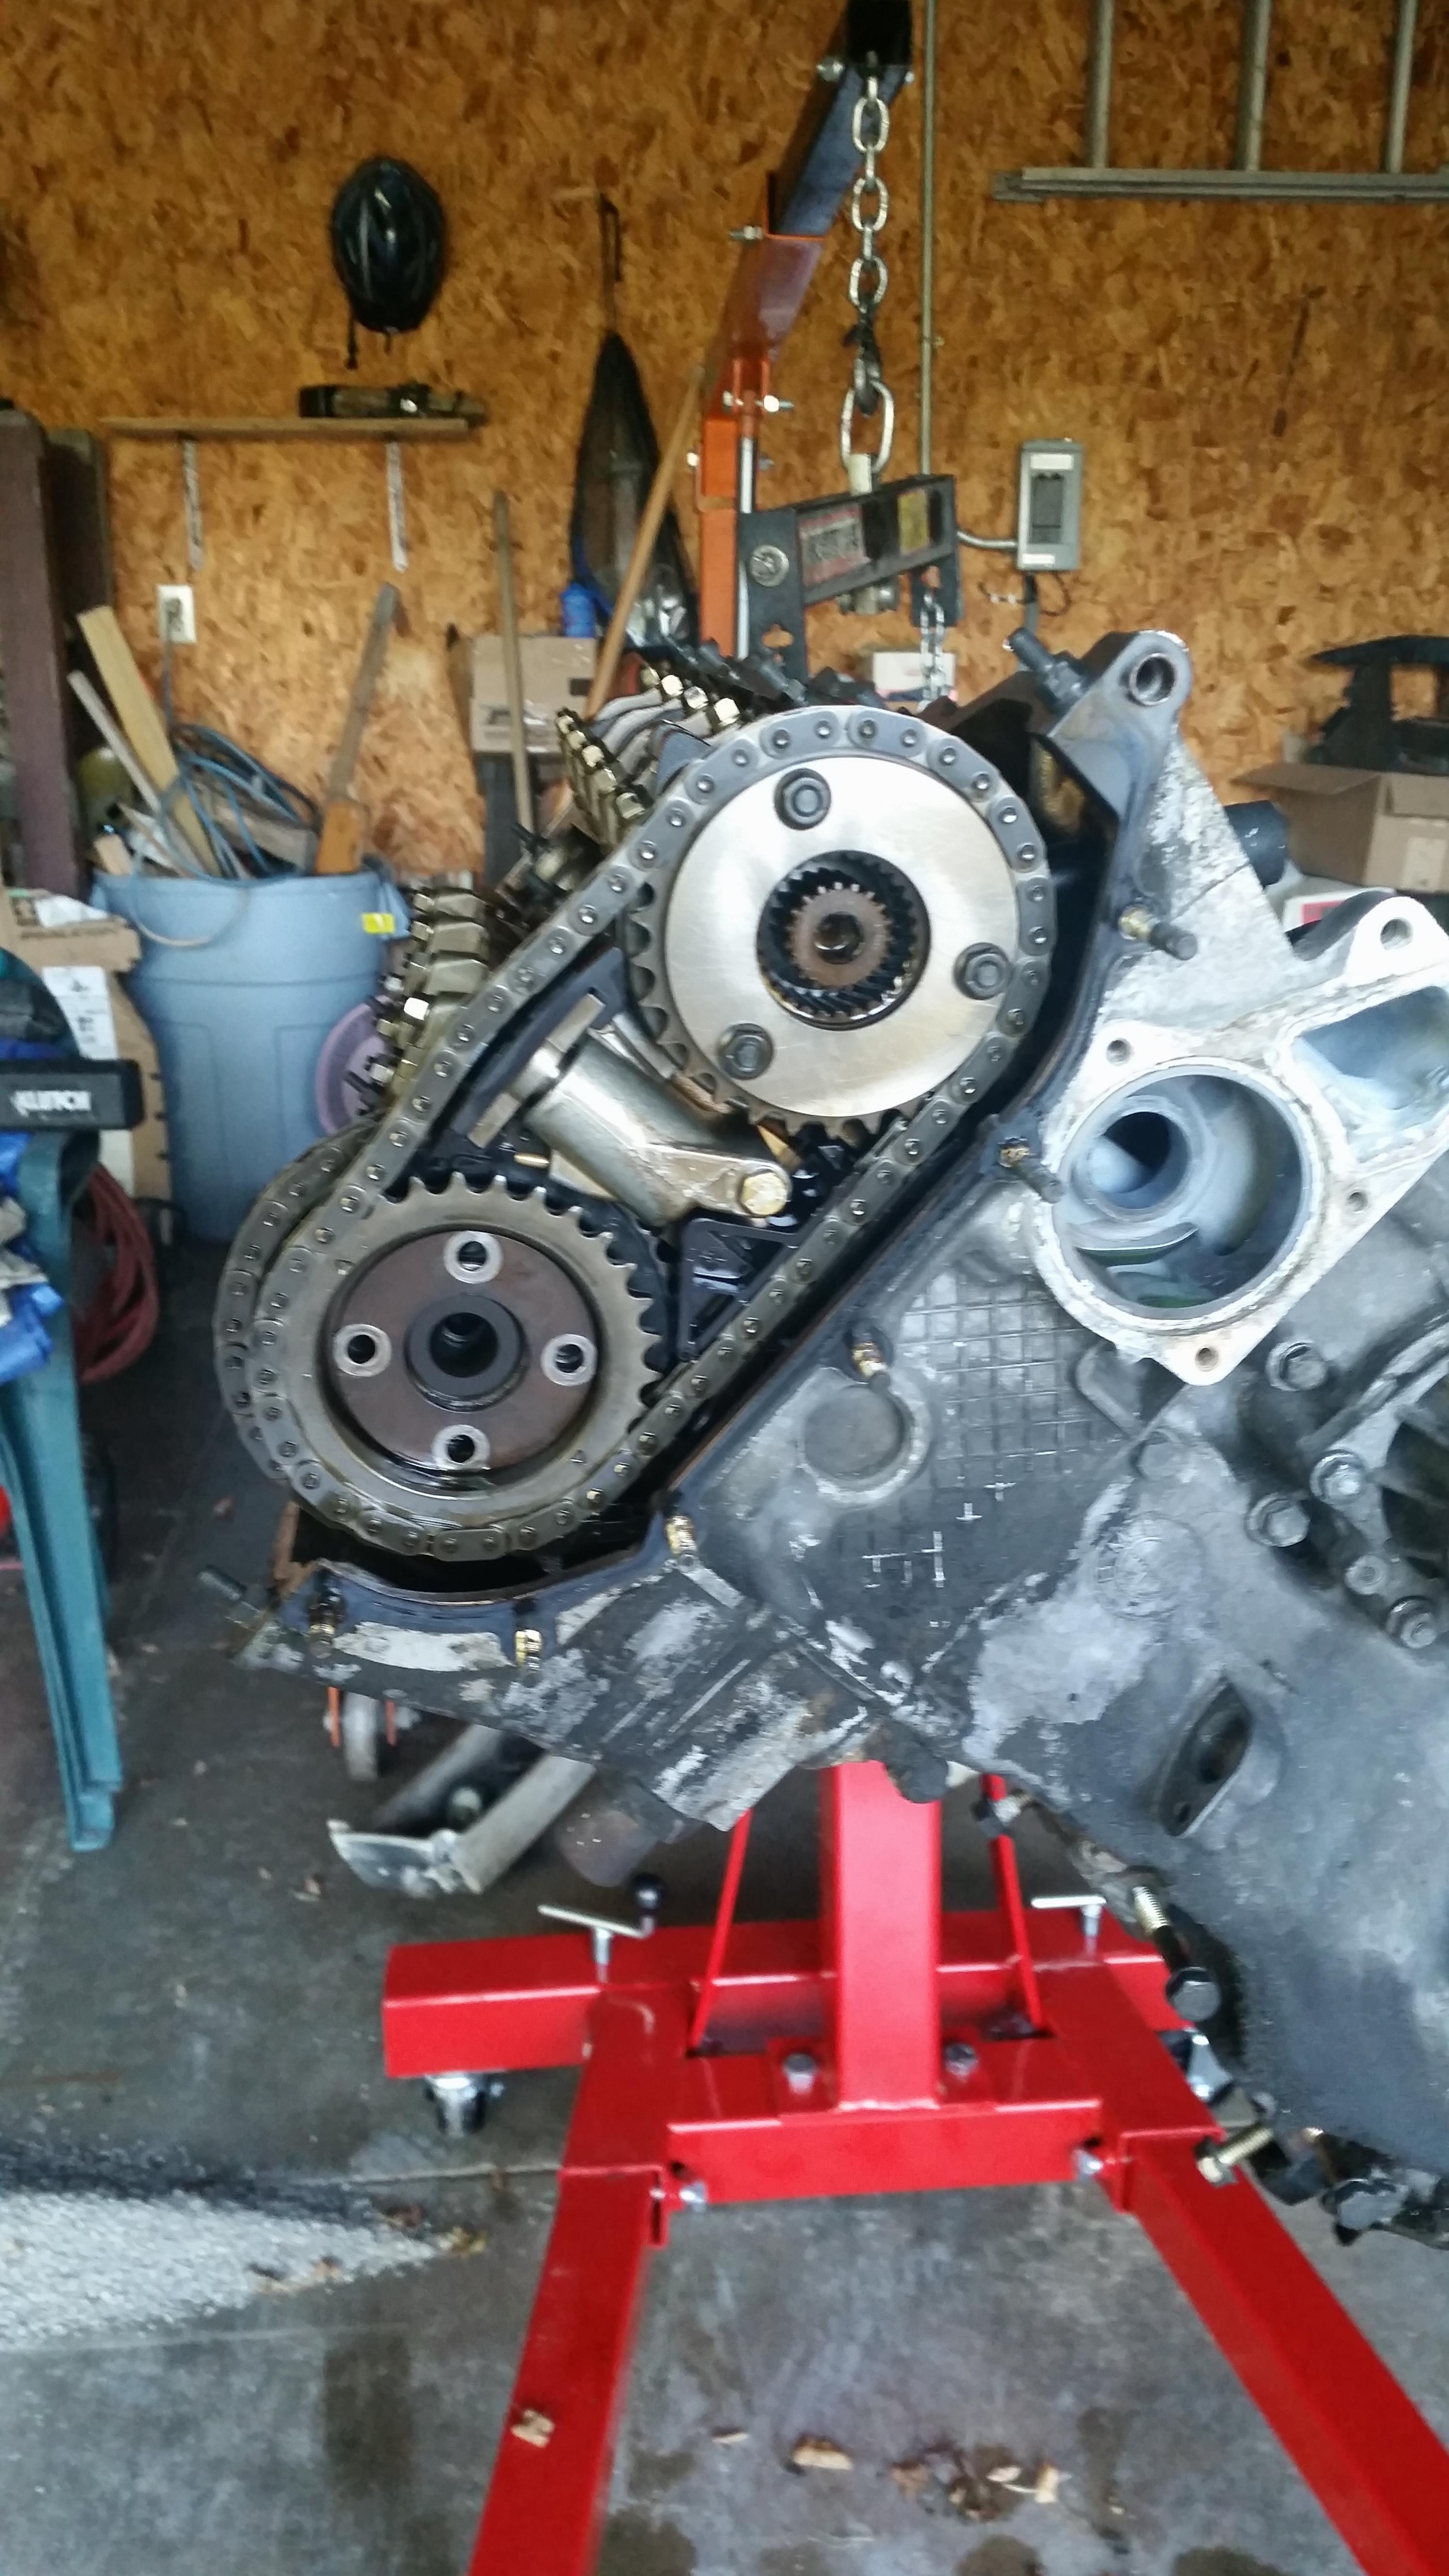
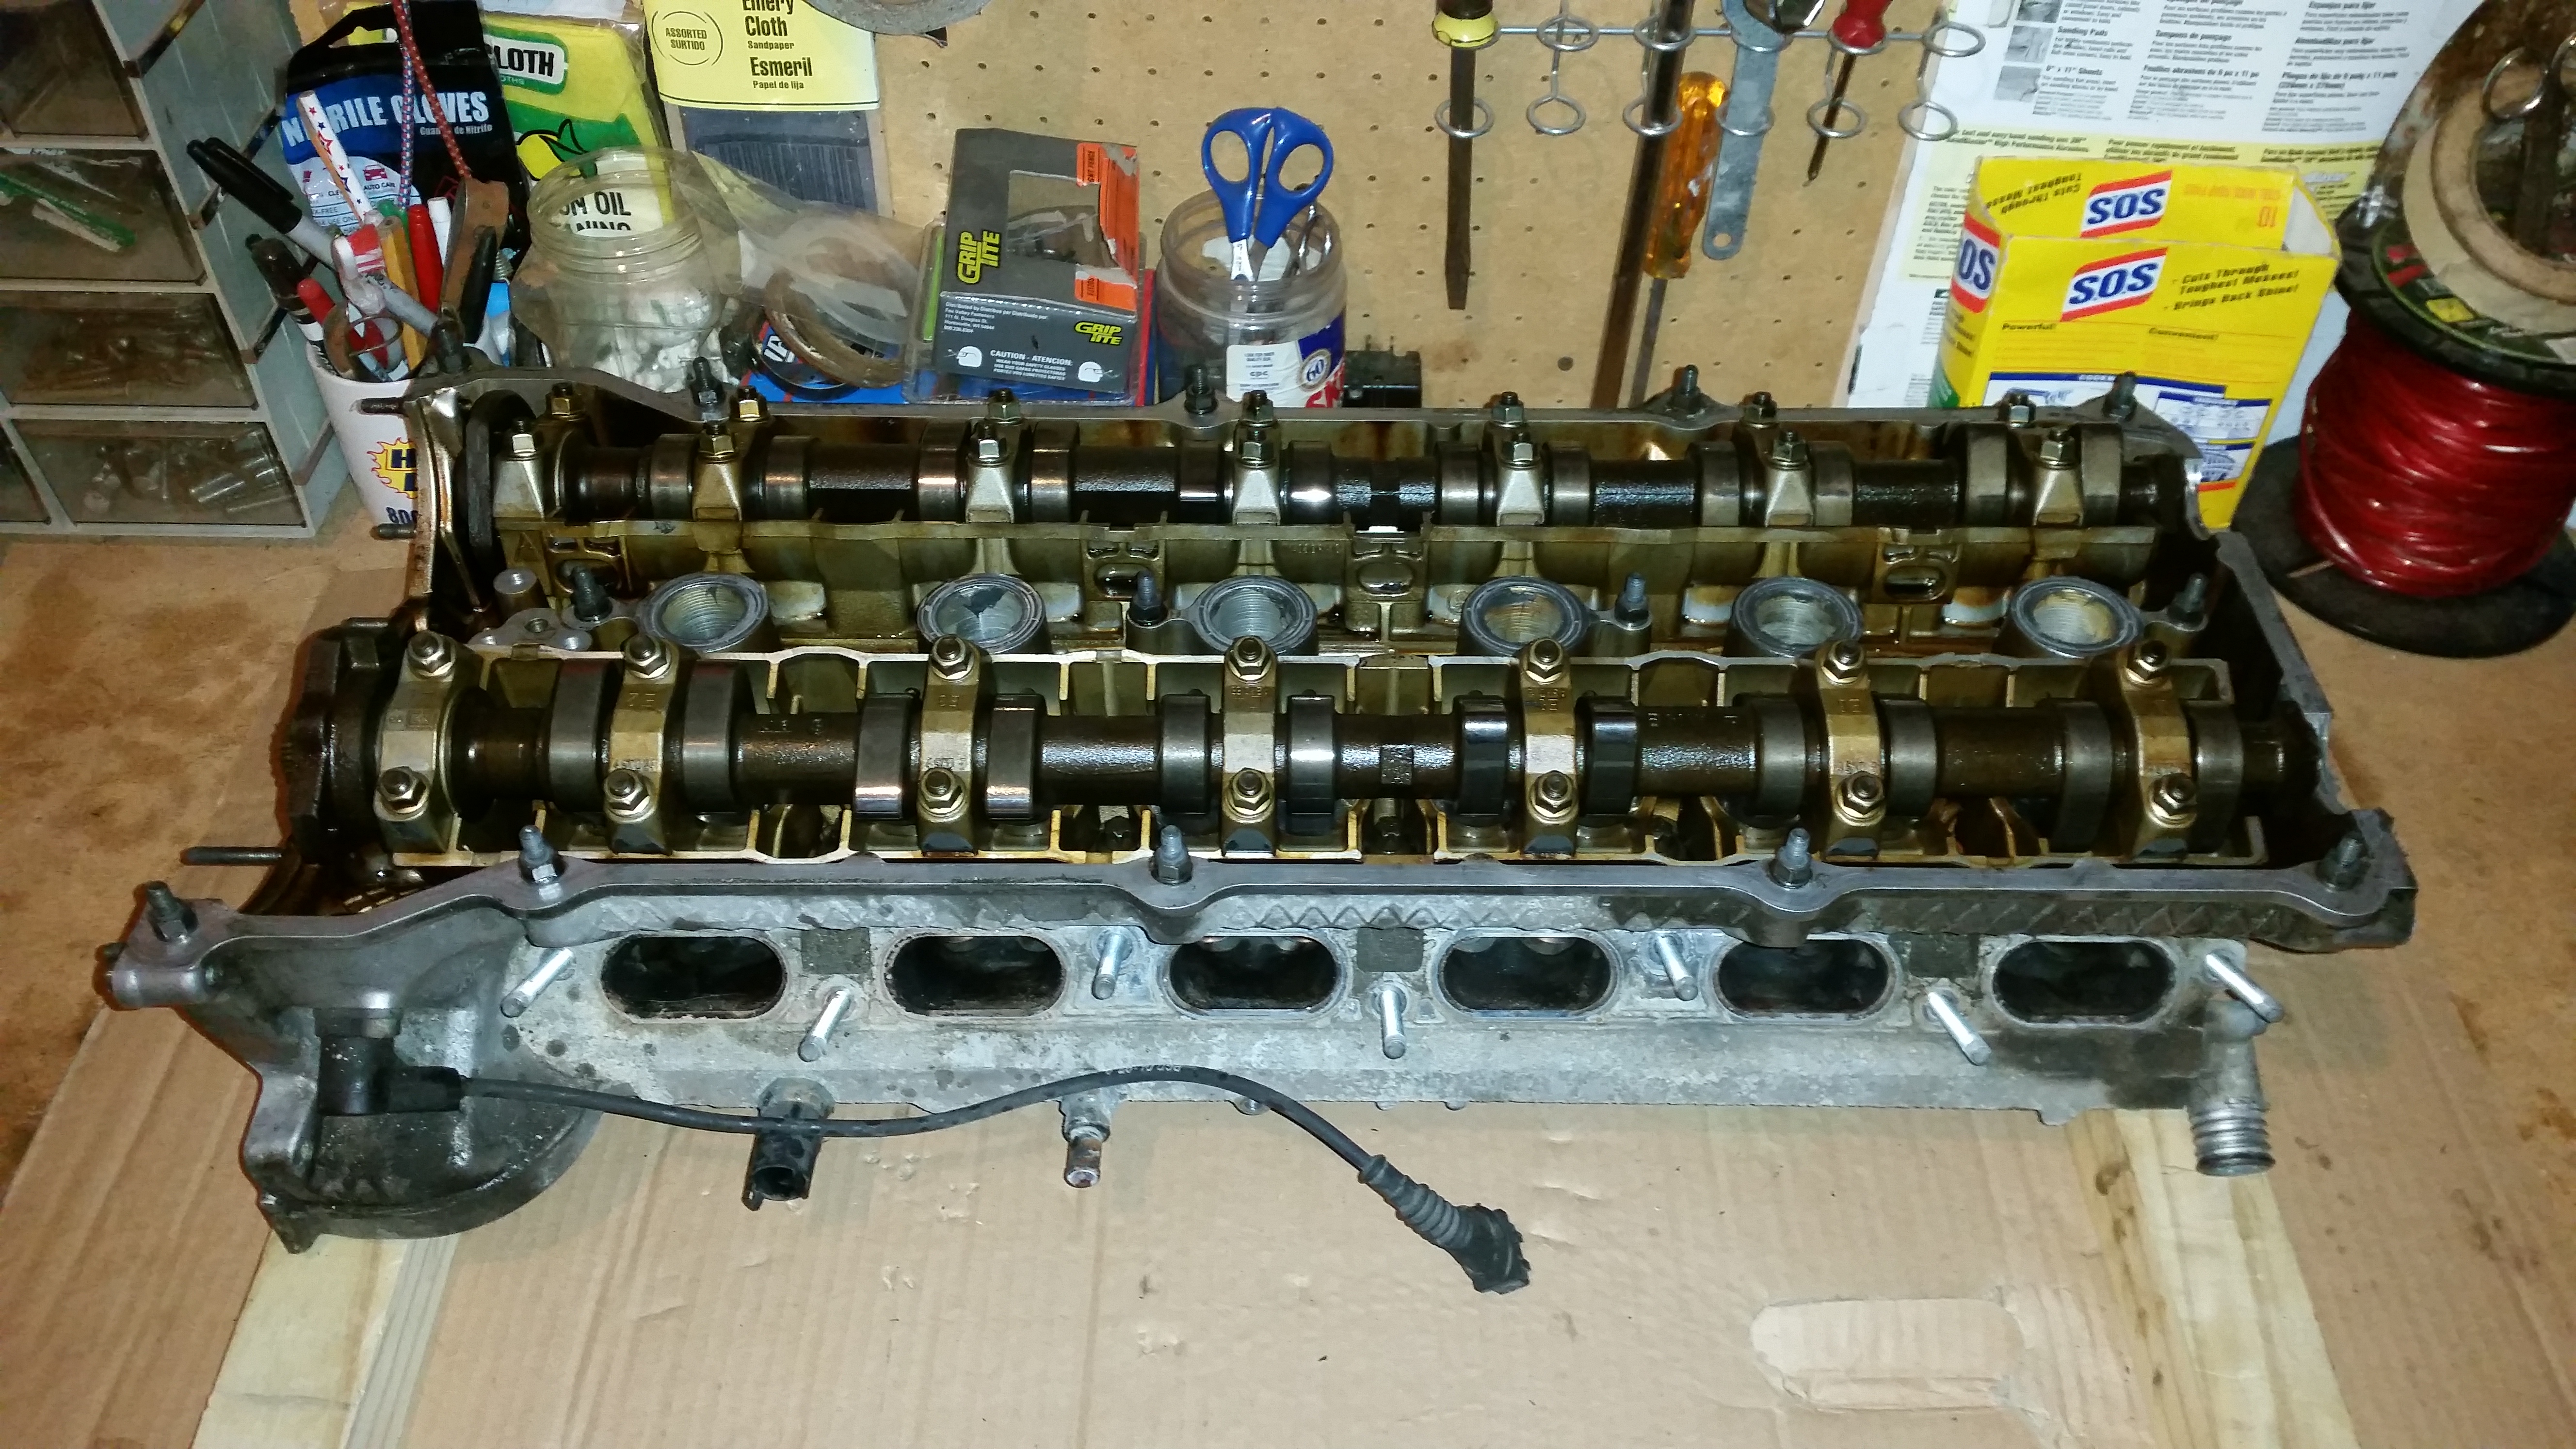
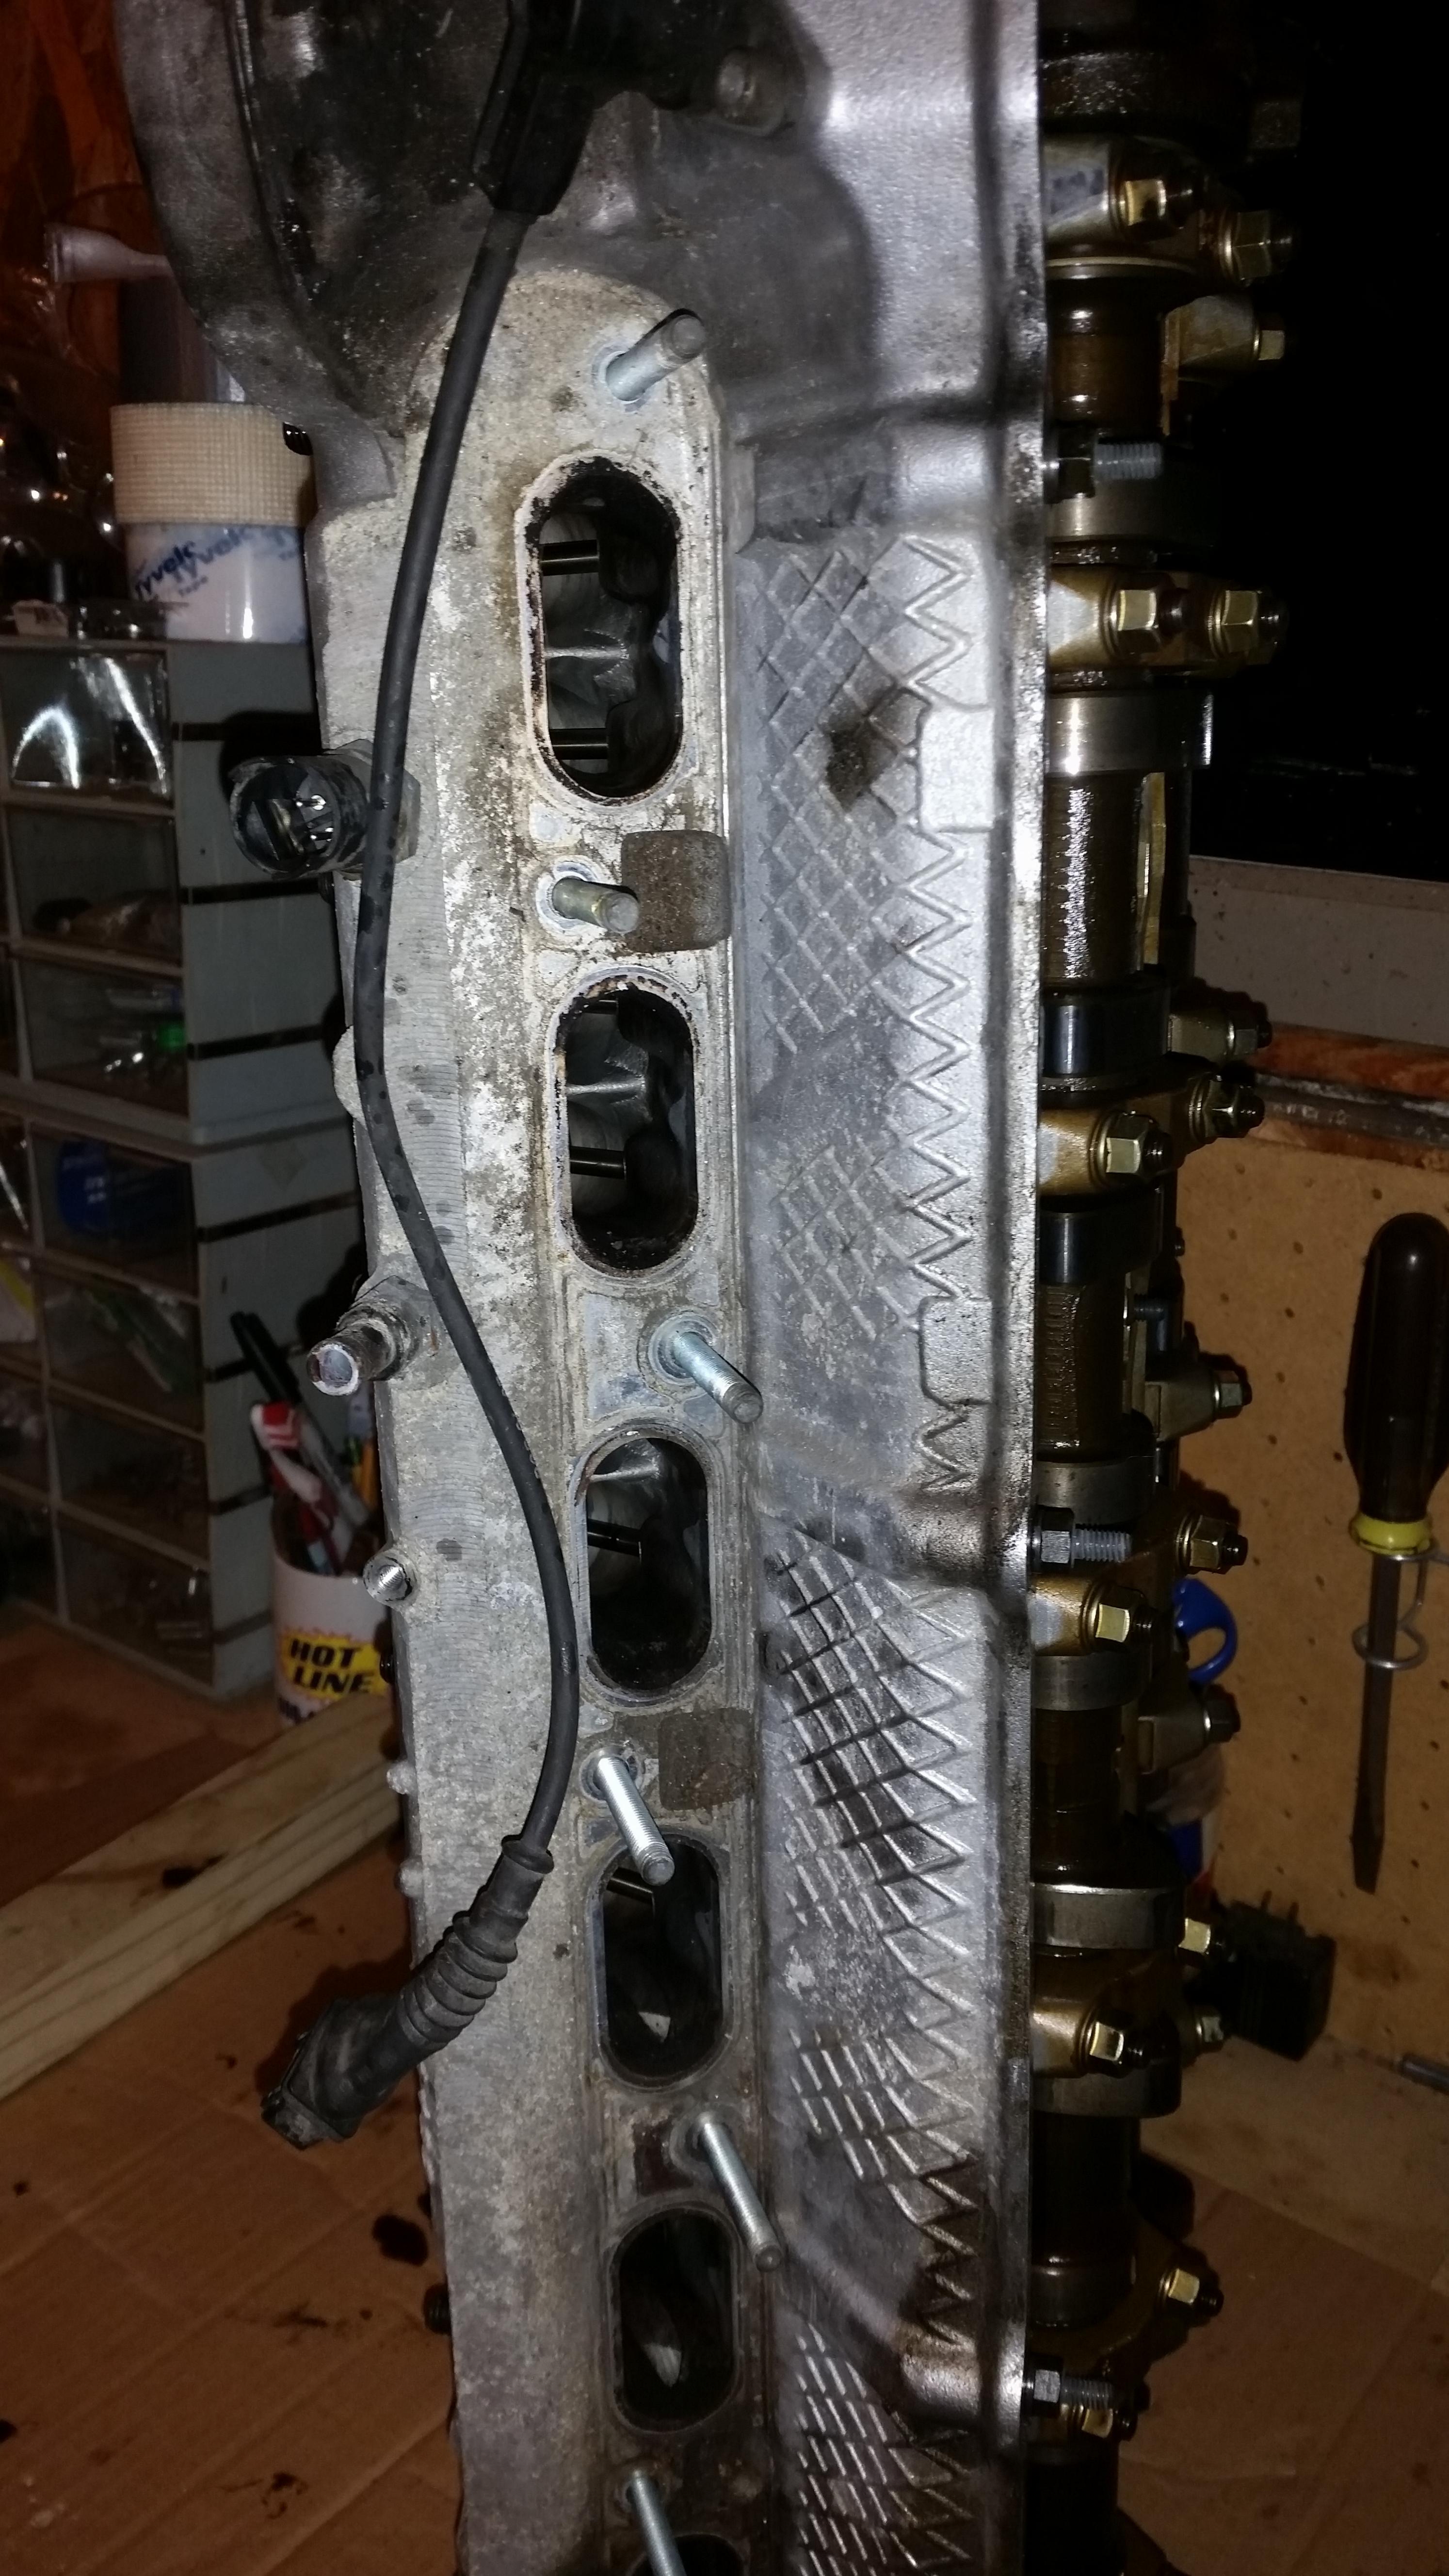
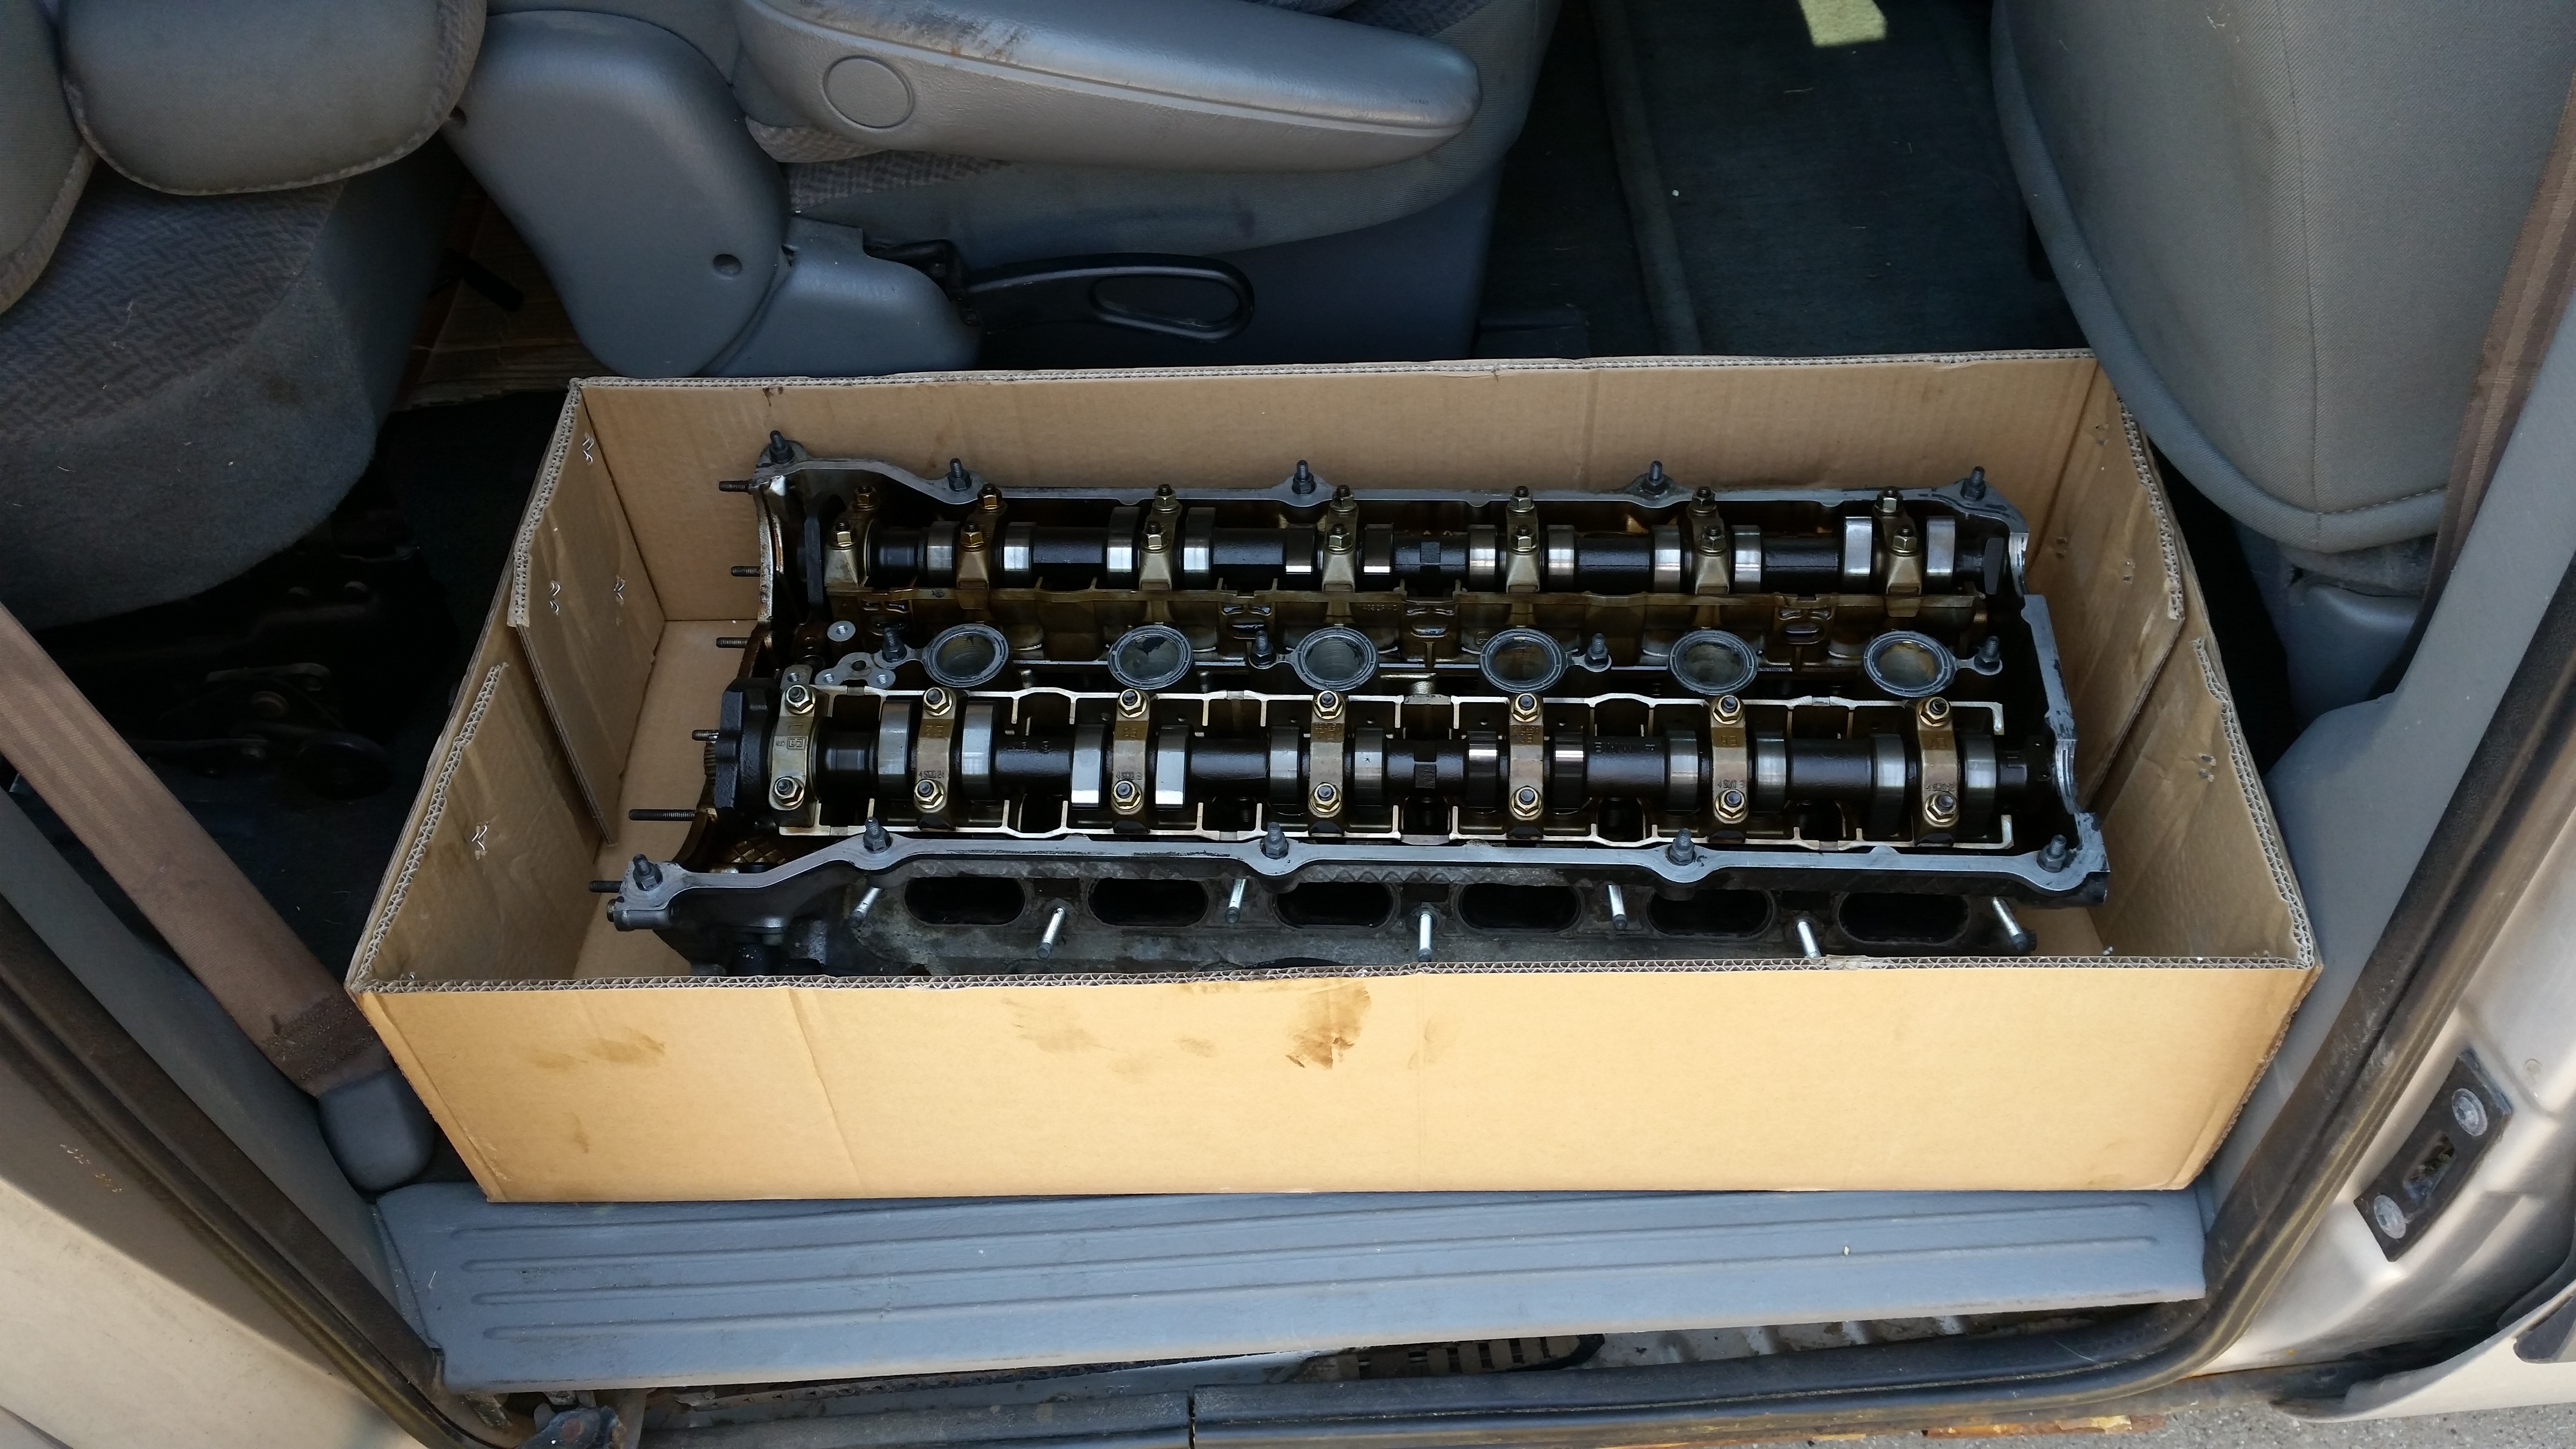
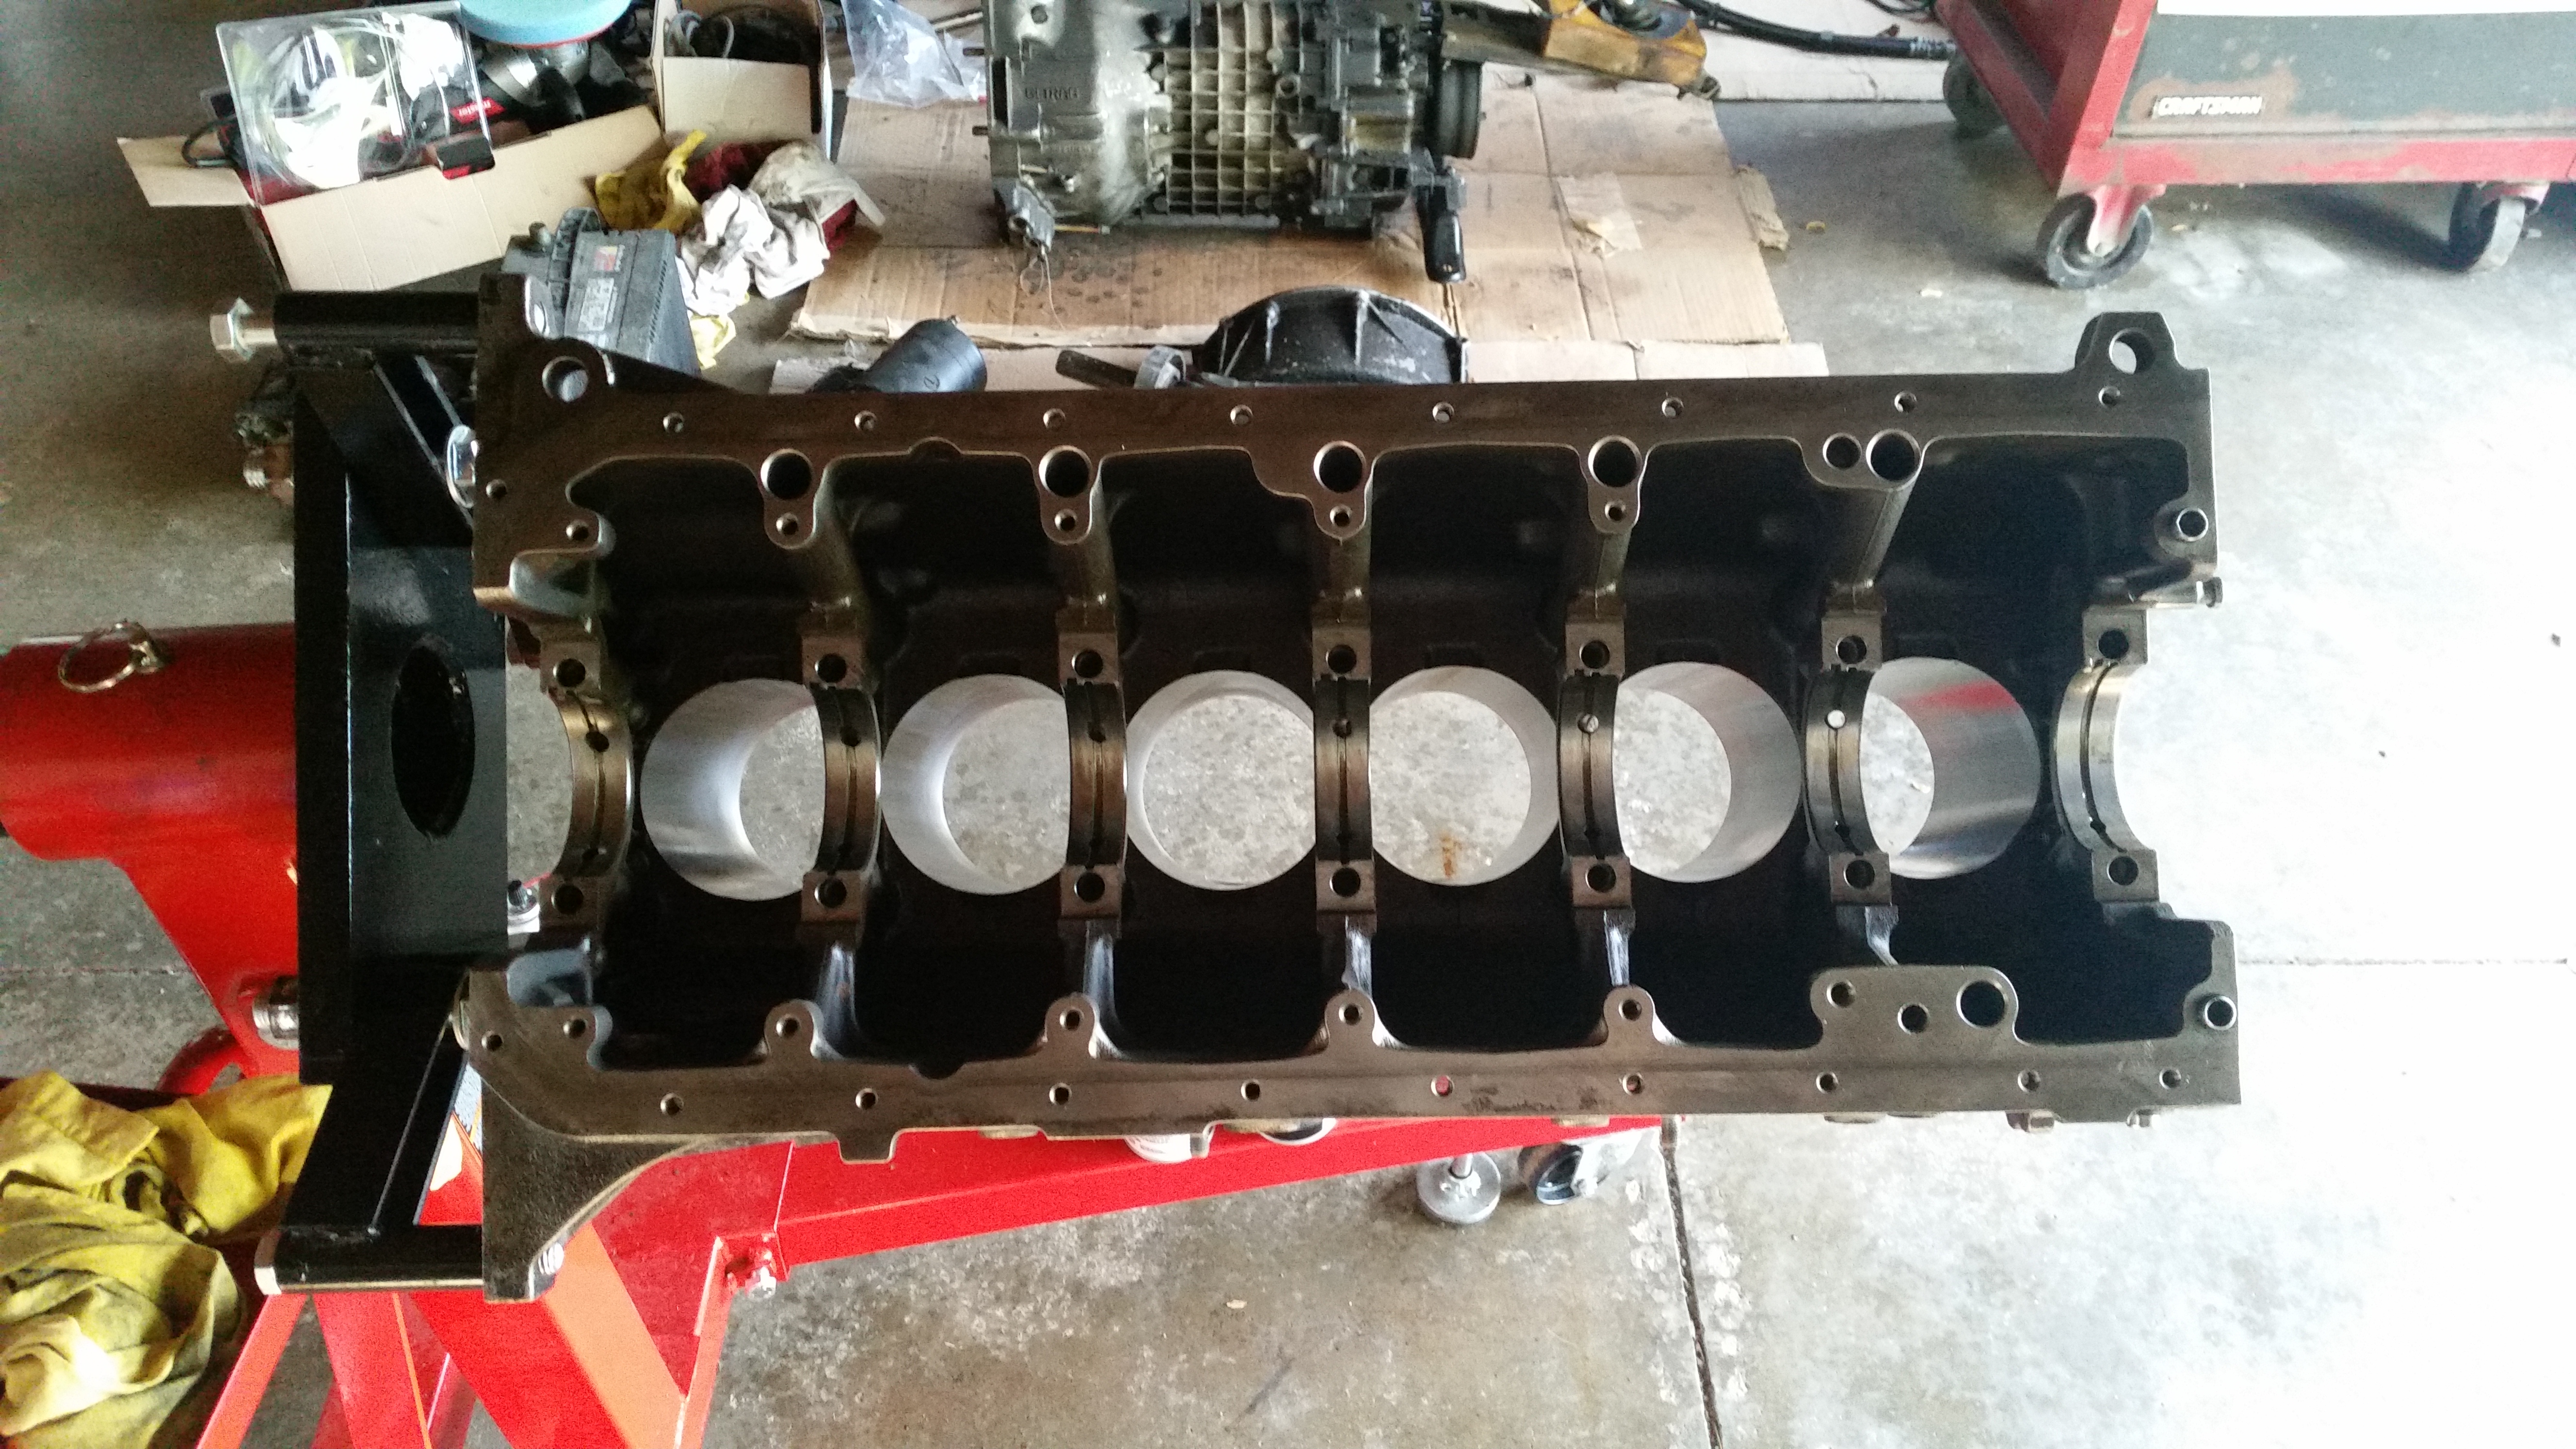
So my updating has been lacking. 3ish weeks ago I got a good chunk of the engine tore down and had planned to get the rest of the engine stripped down completely that weekend but ran into a problem, I didn't have the cam gear vanos tool that I some how forgot I needed. That same day I ordered the tool on amazon, but that pretty much put me at a stand still until Wednesday when the tool was suppose to arrive. Well, it didn't take long before Wednesday rolled around and the tool came, the same day vanos was removed as well as the head.
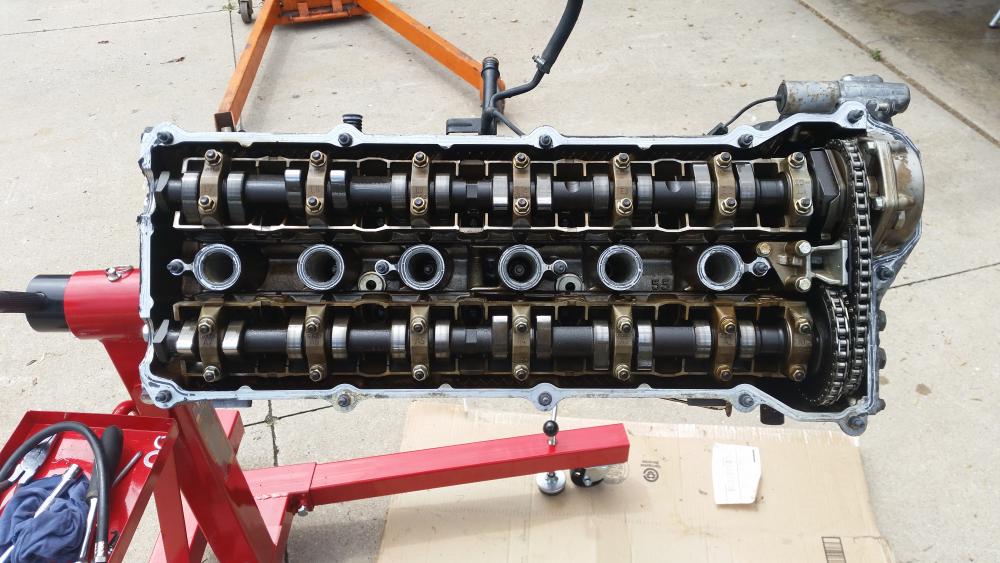
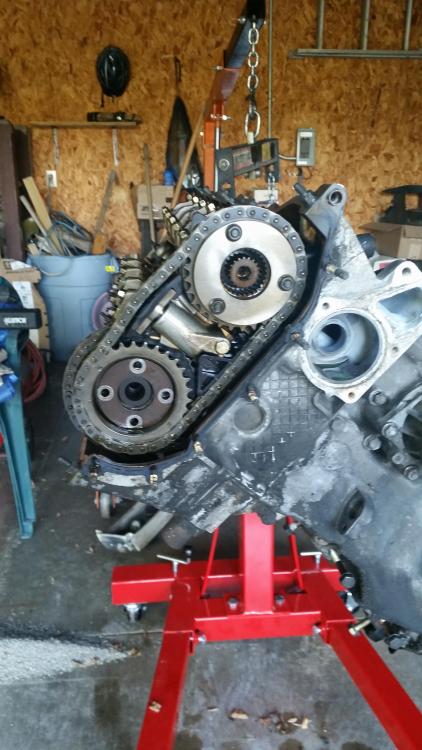
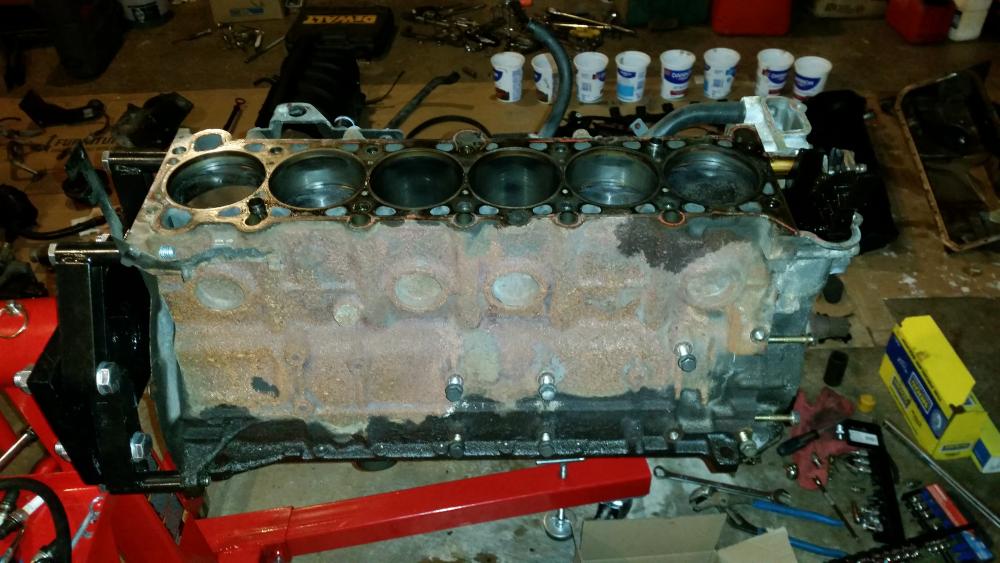
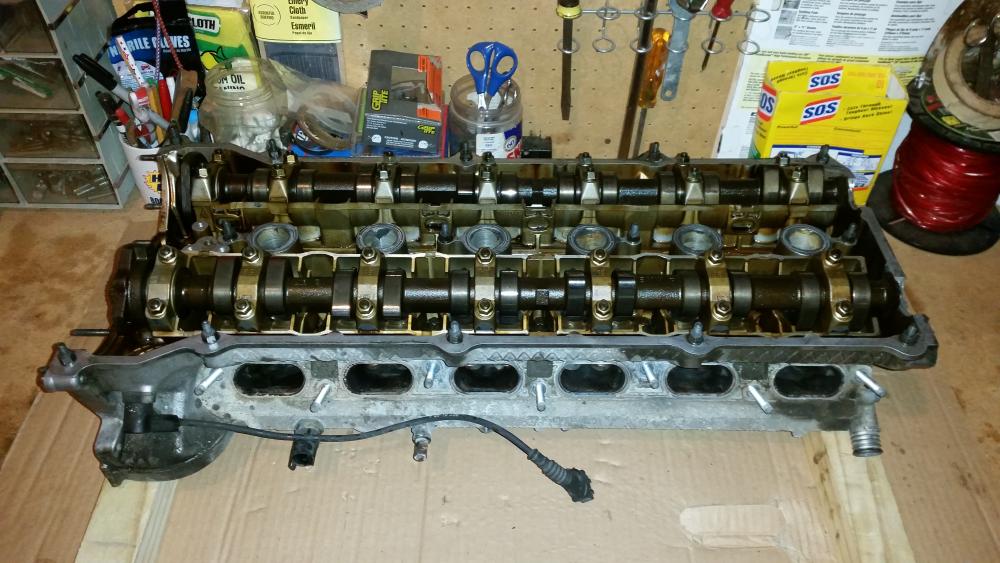
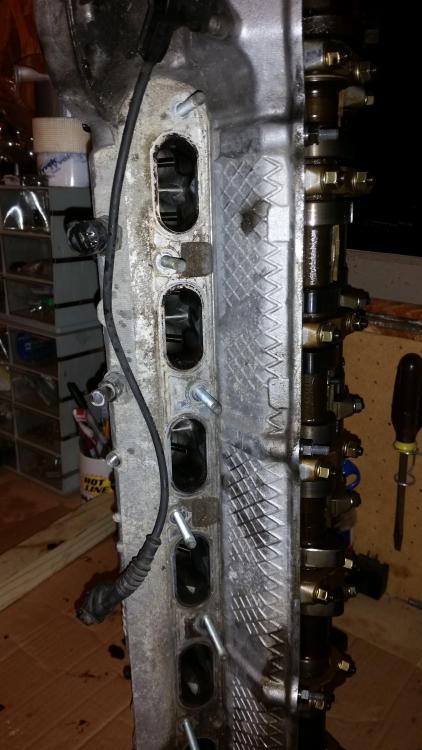
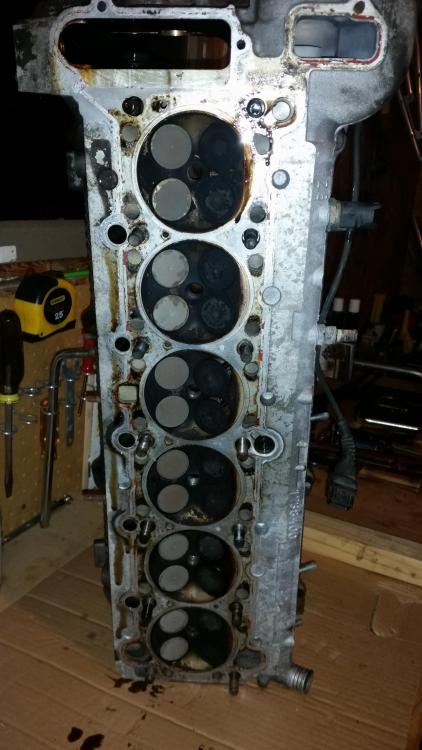
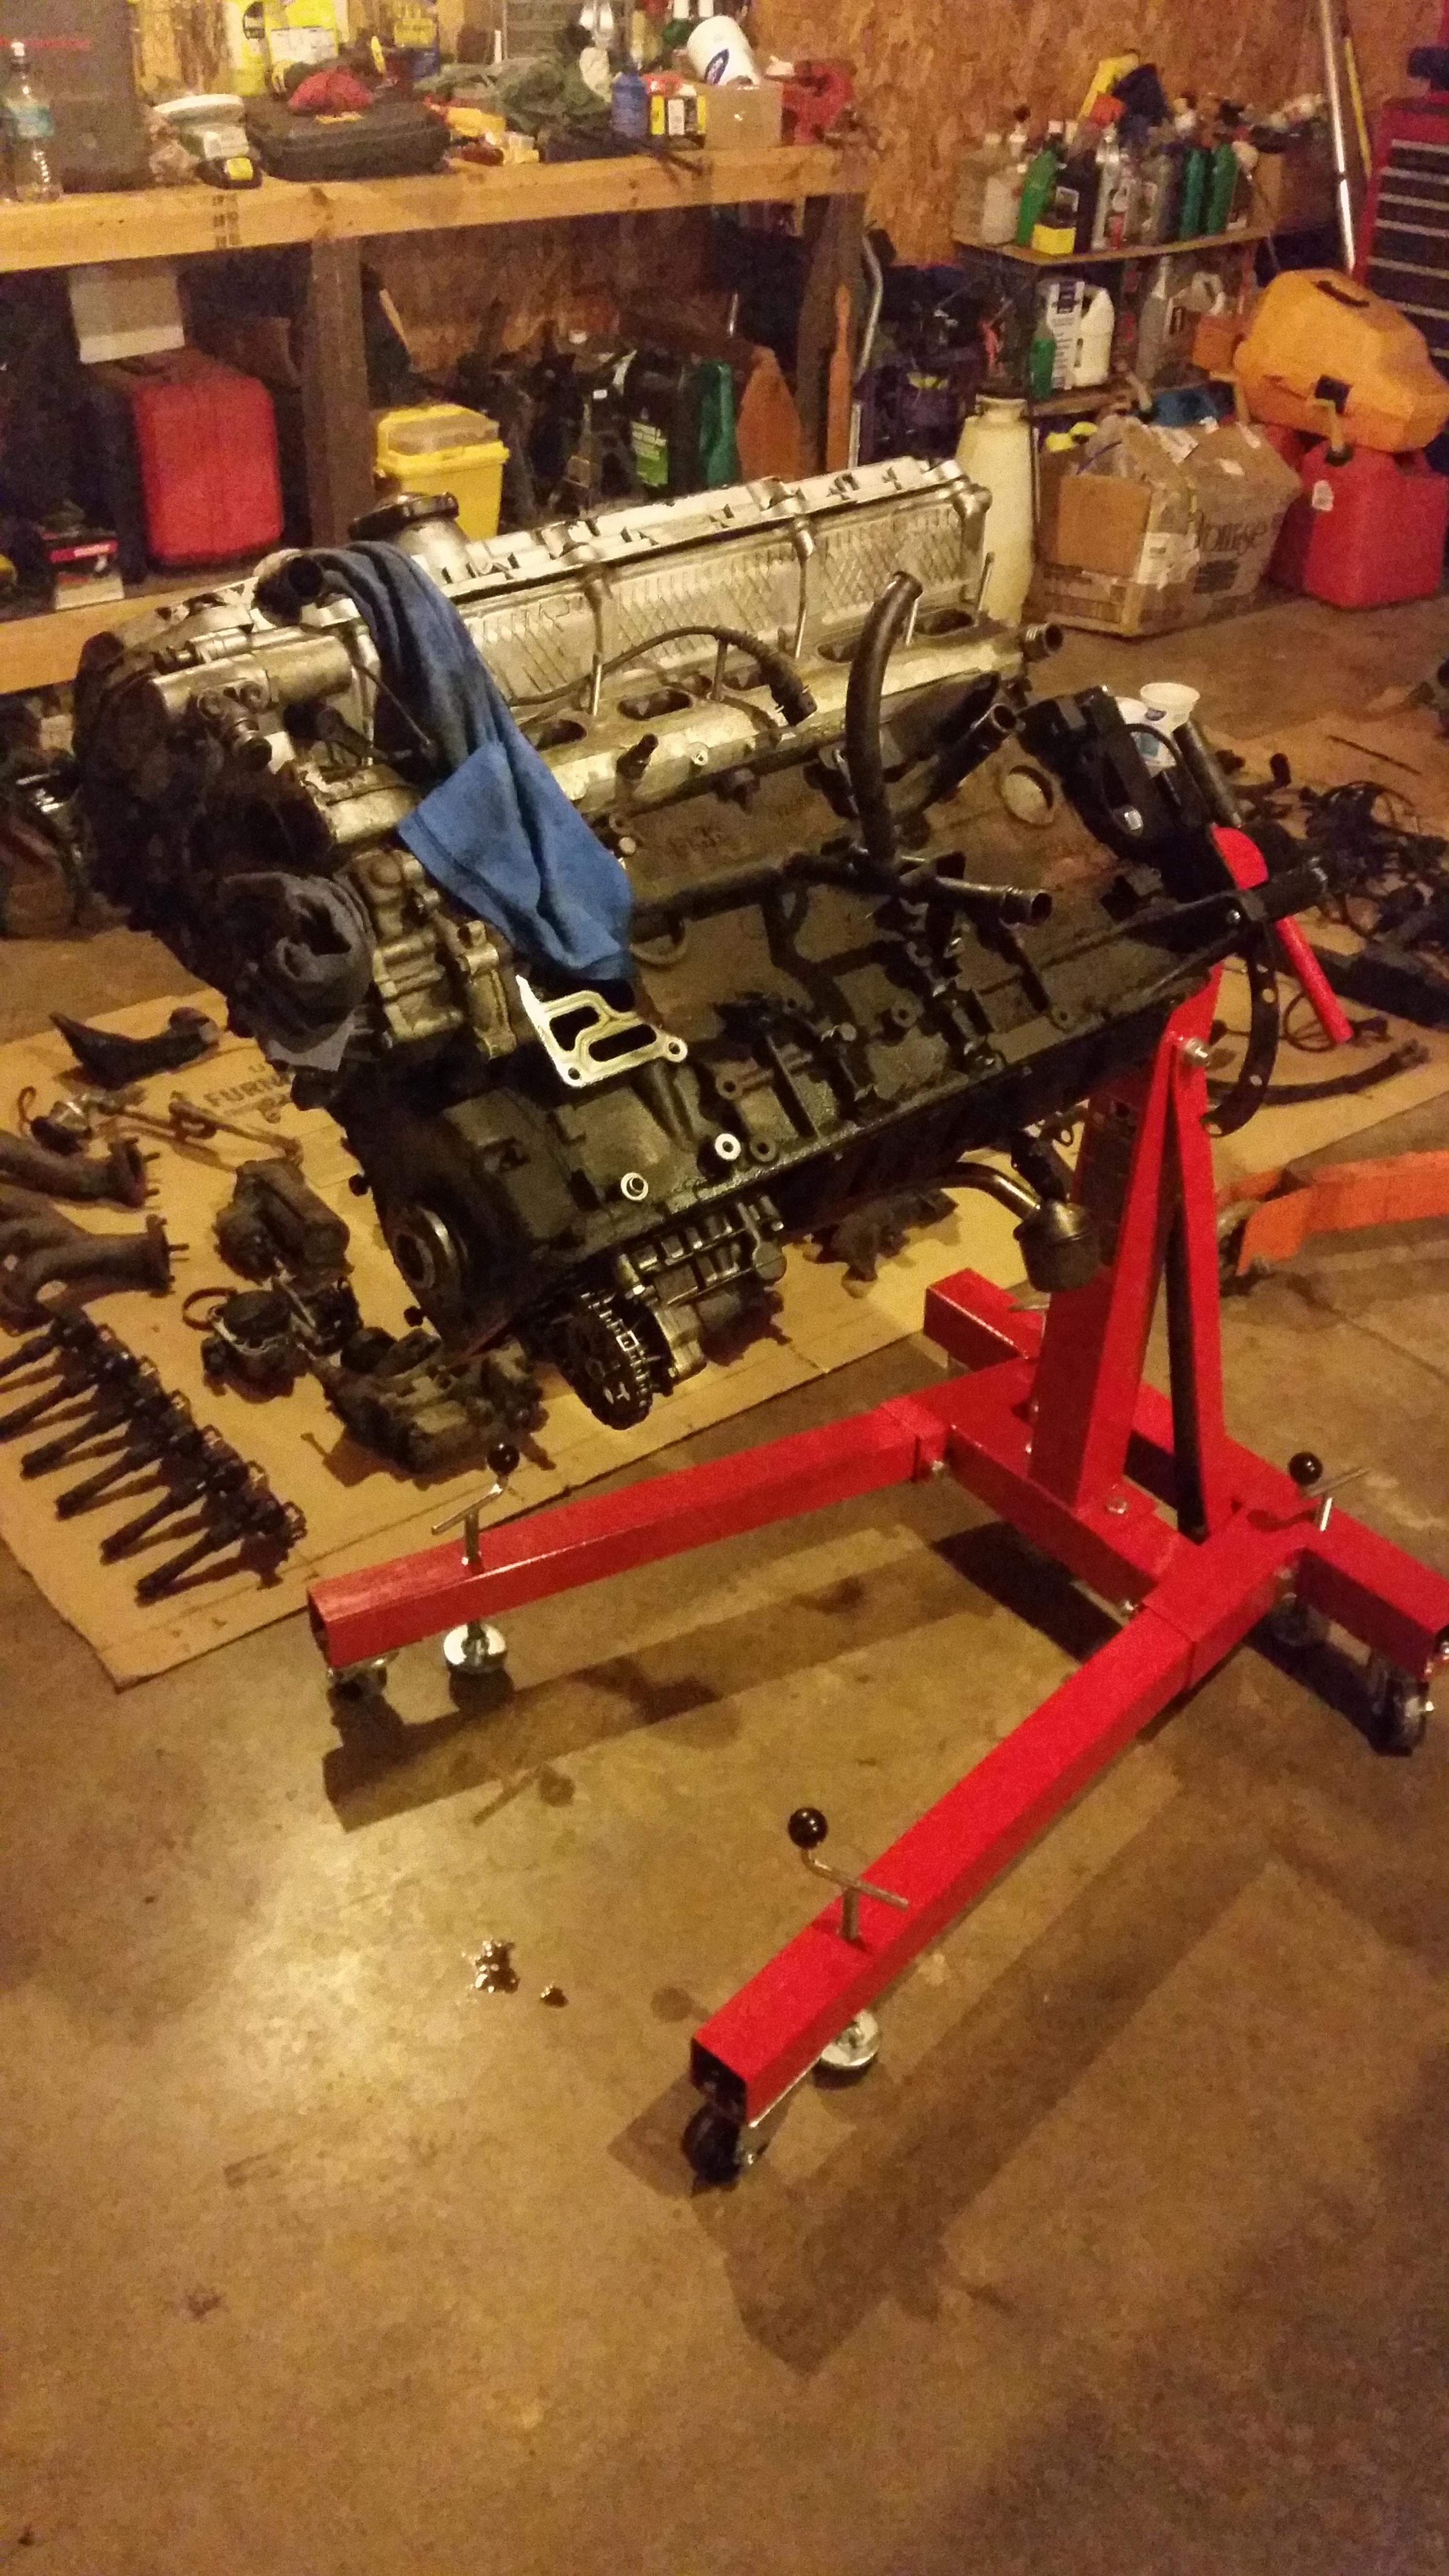
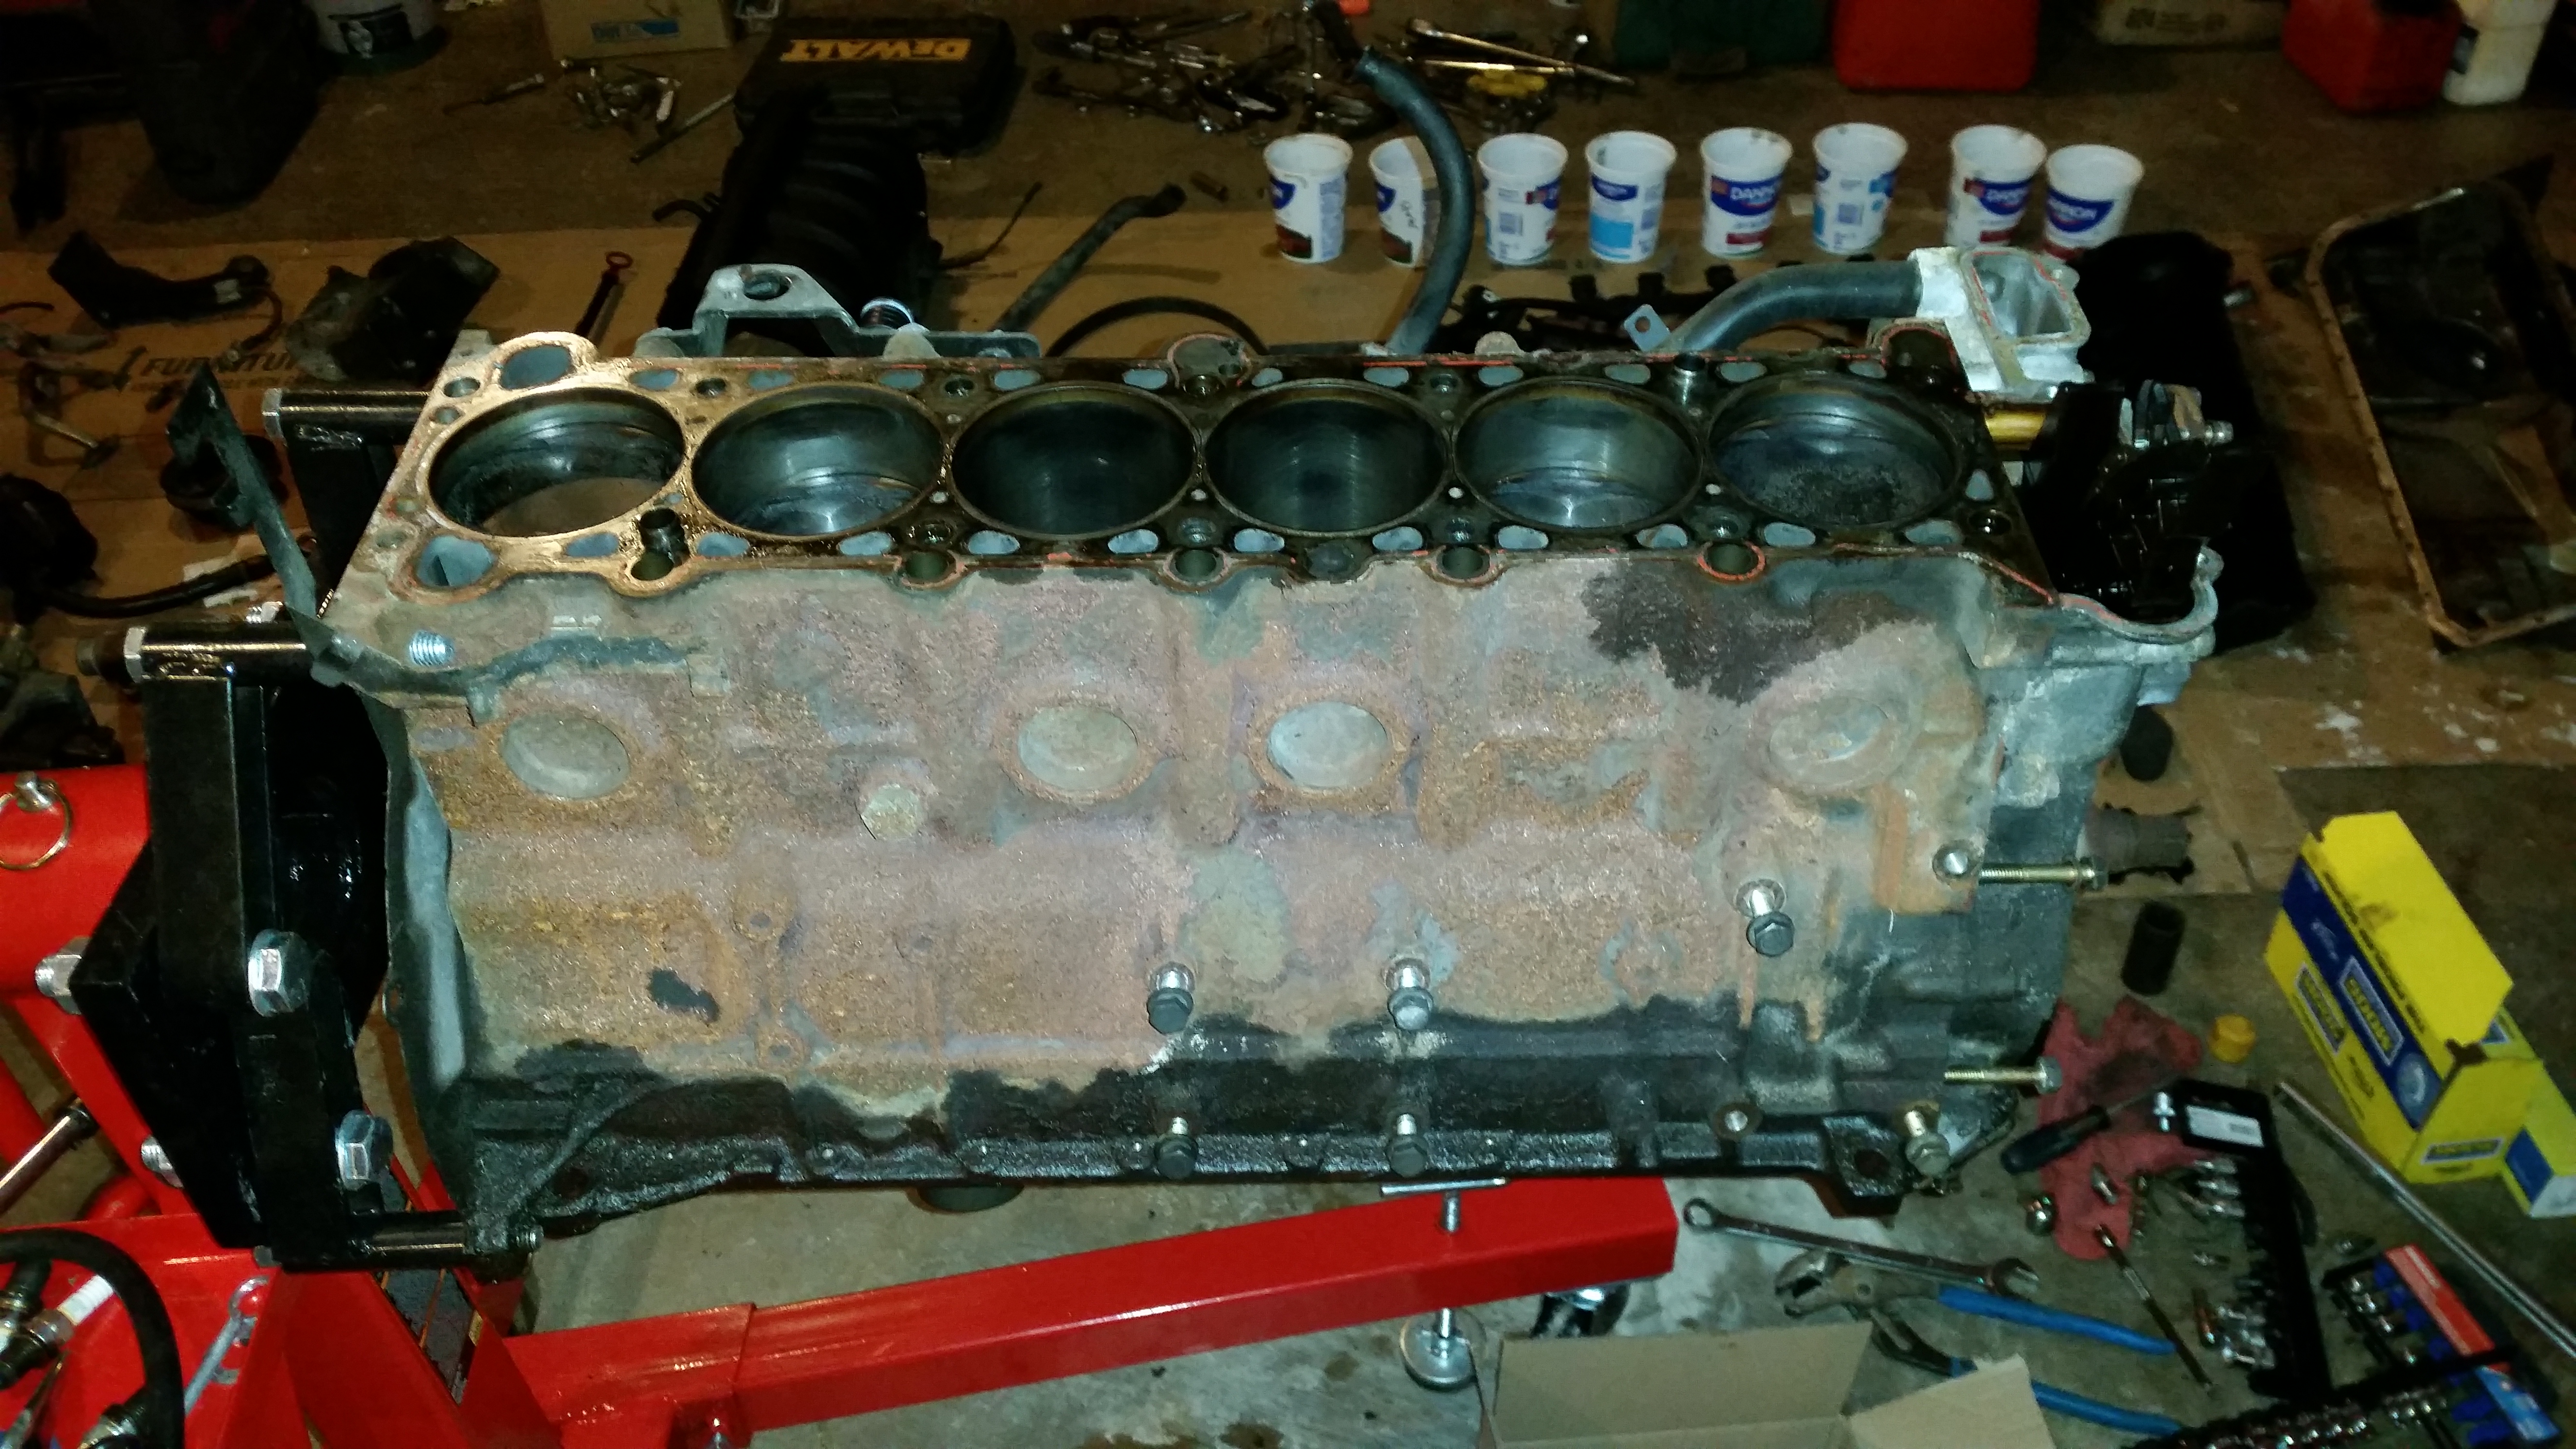
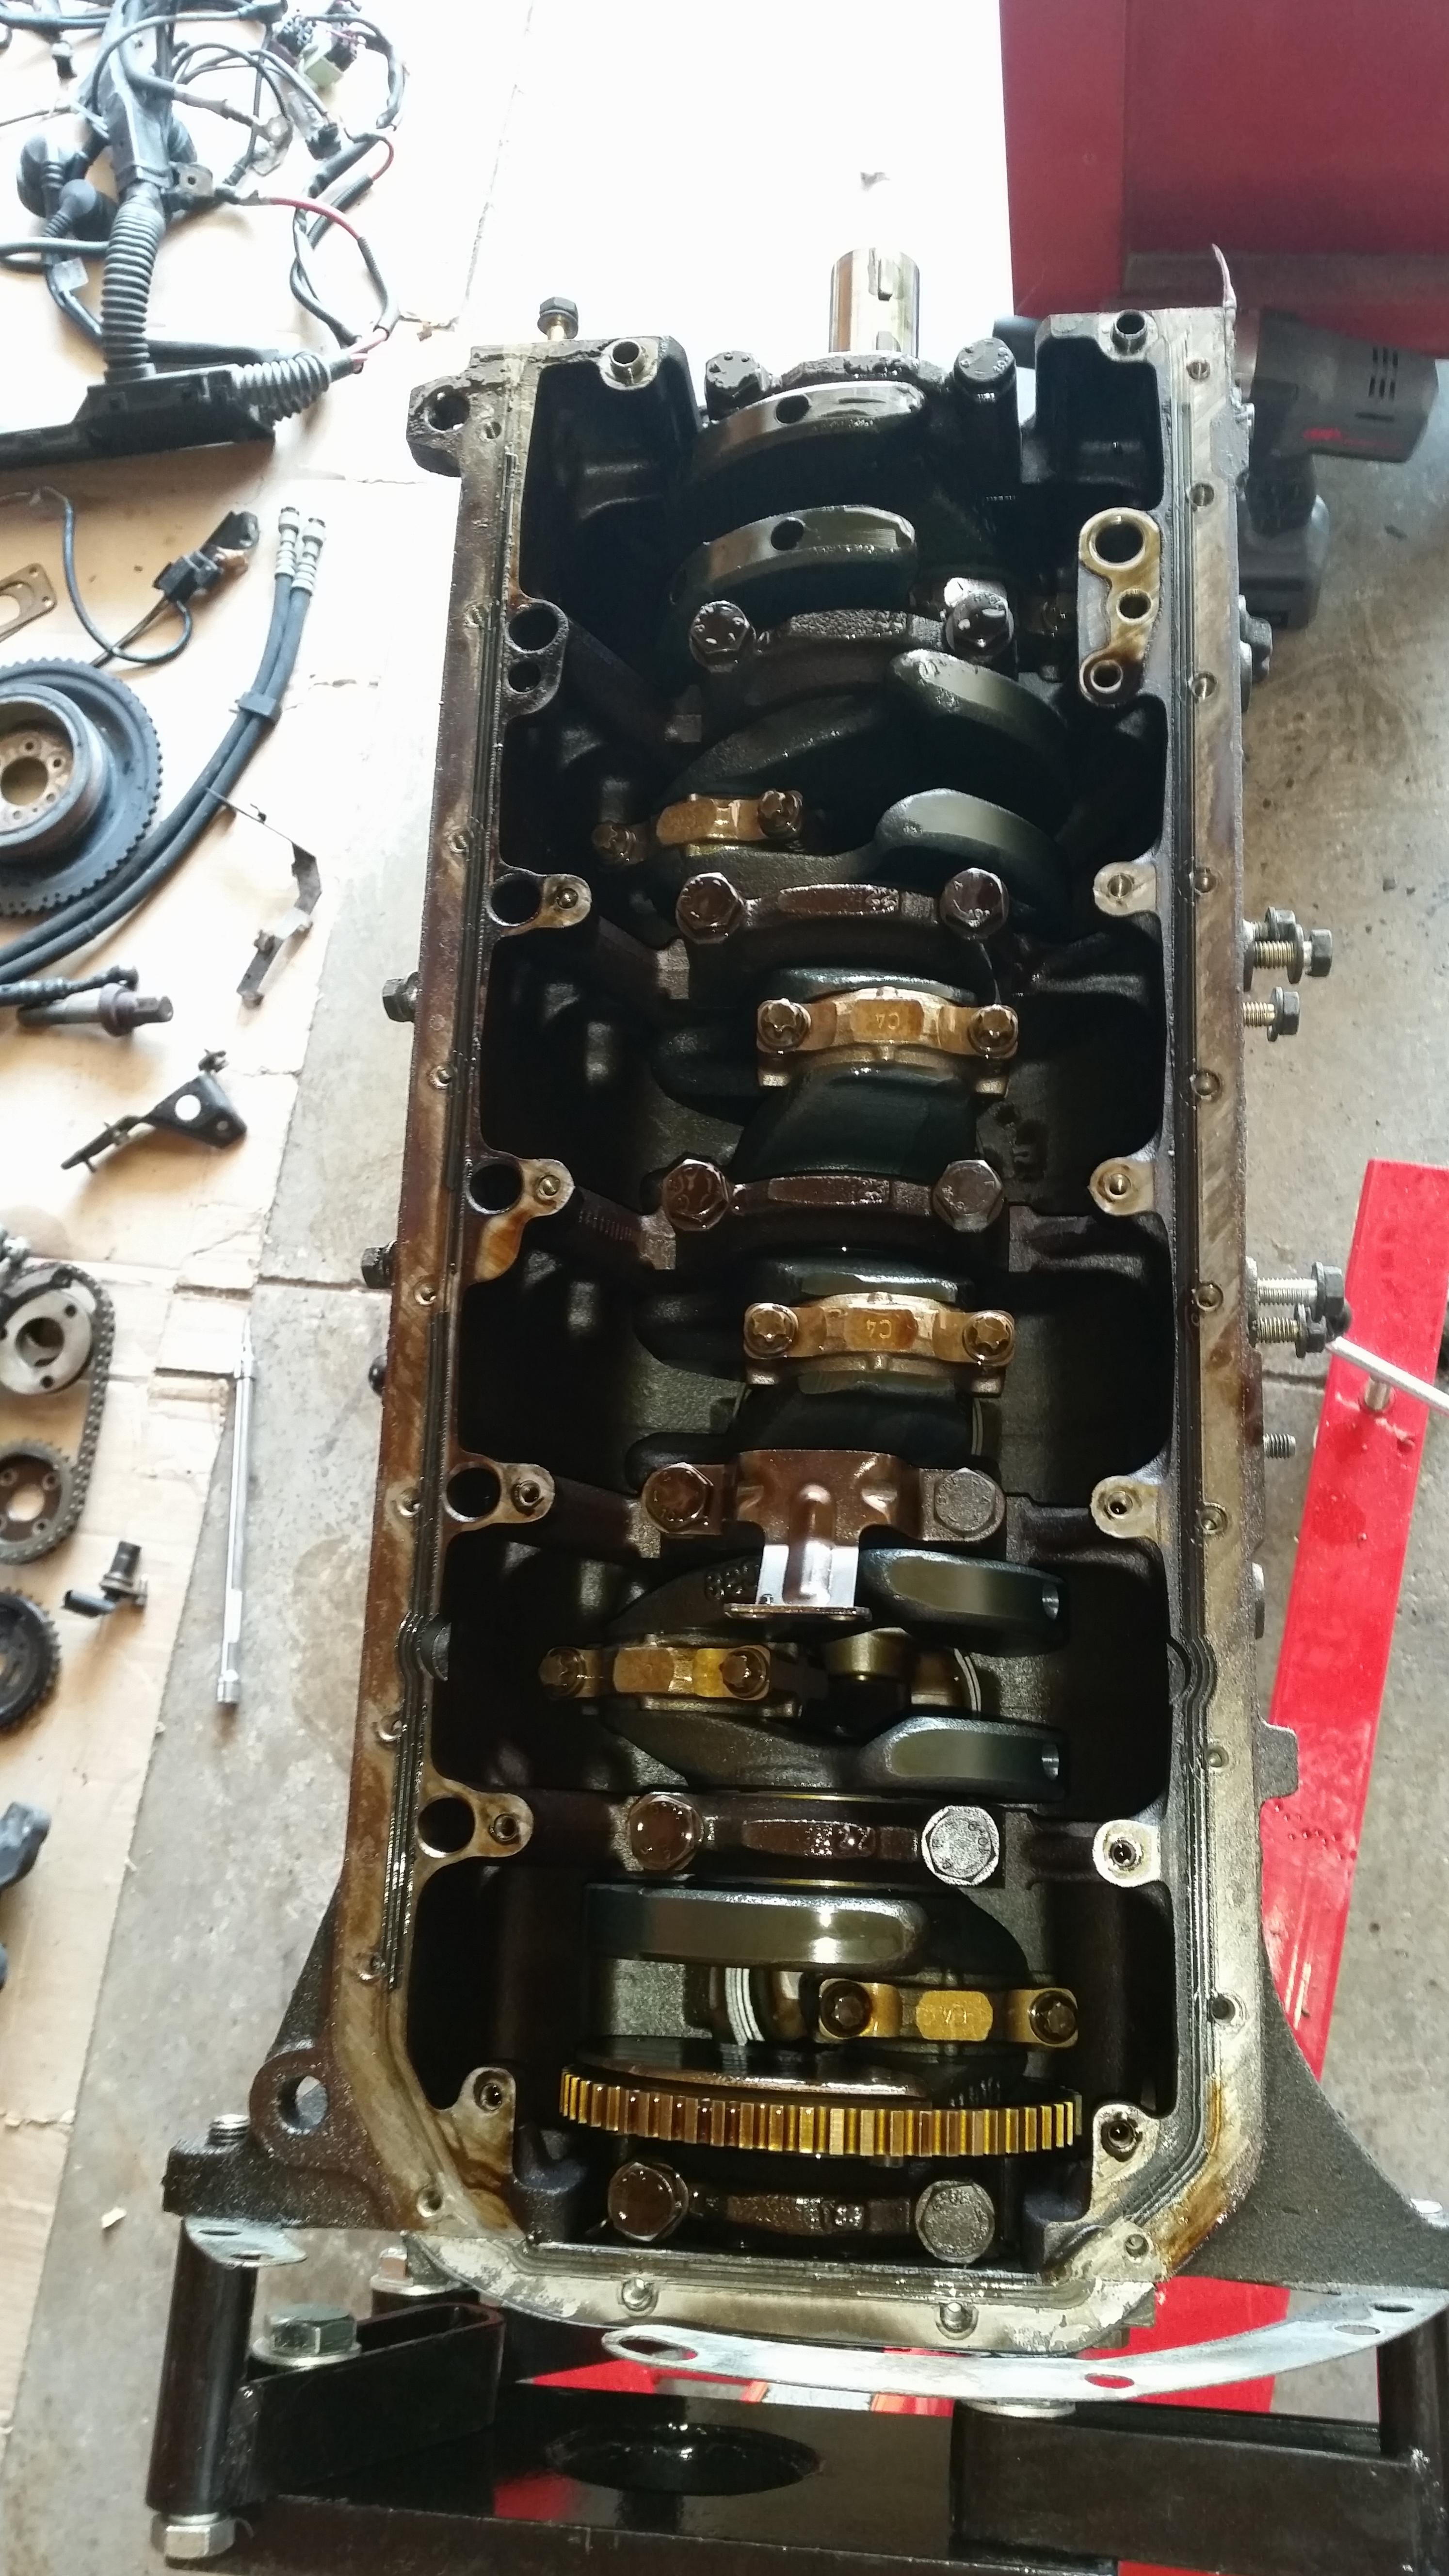
After that was done It was a whole week tell I got a chance at making any more progress on the motor. Finally, the following week I did get a day to myself and got the rest of the parts and components removed from the block.
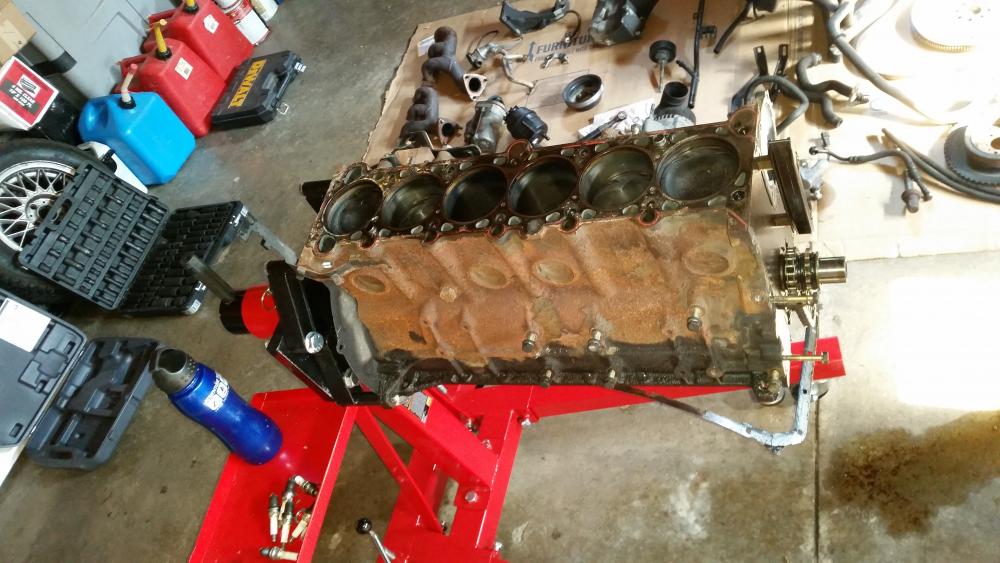
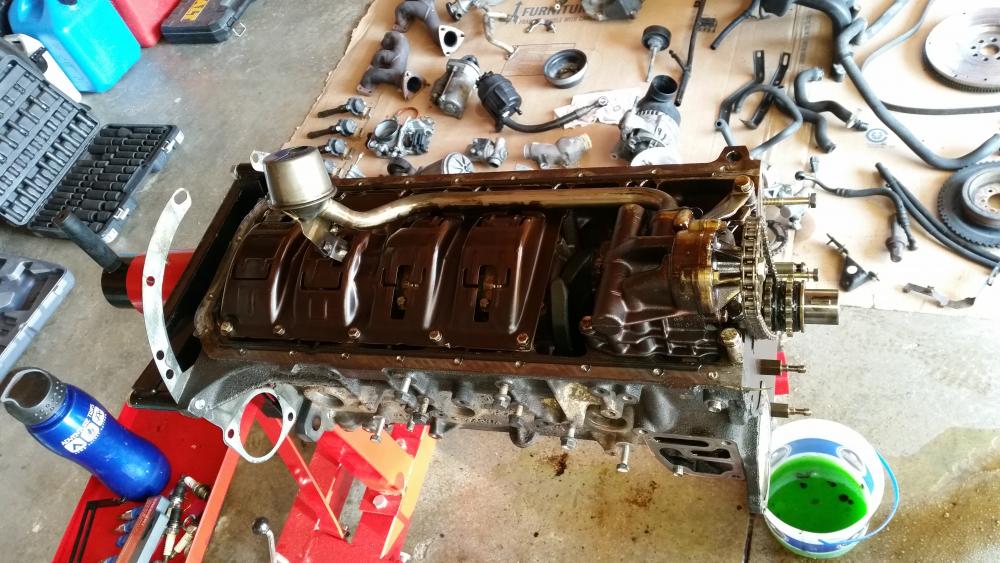
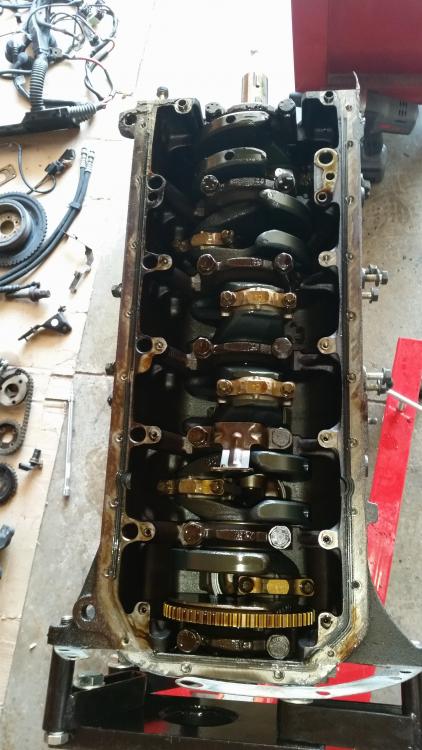
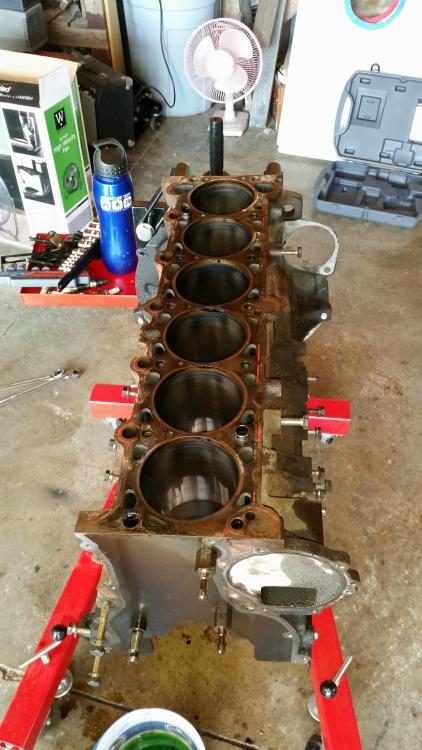
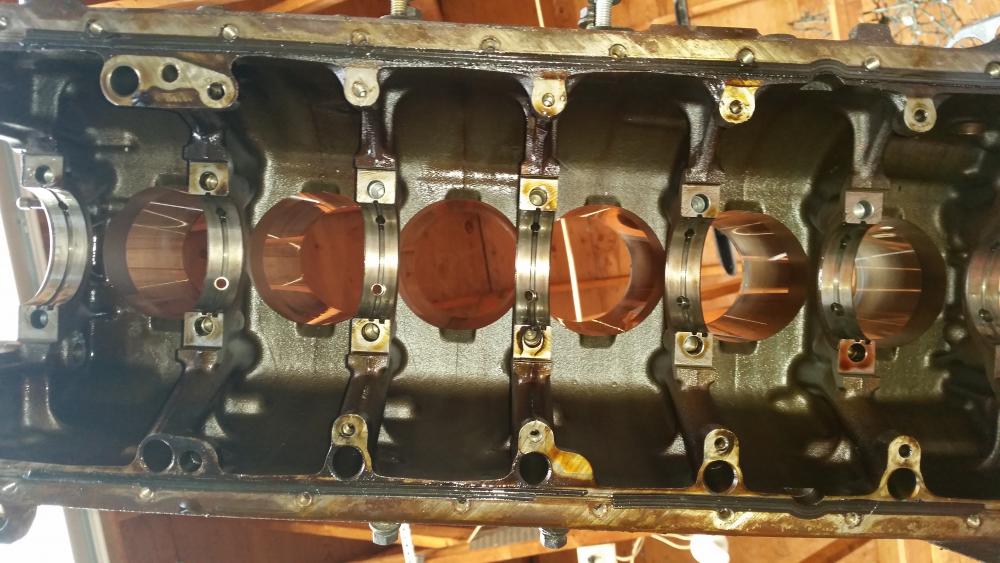
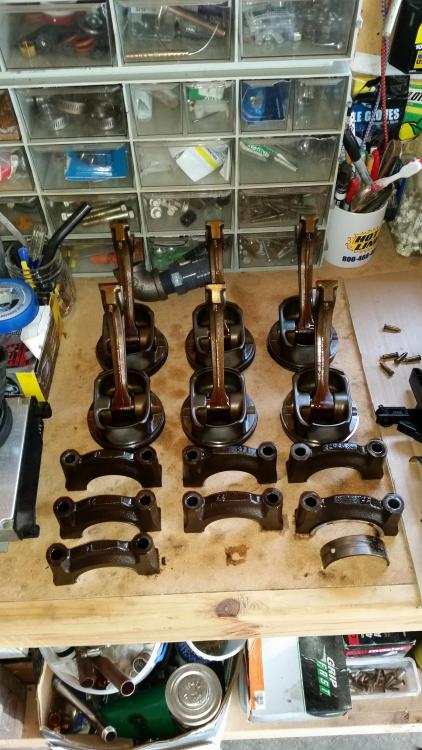
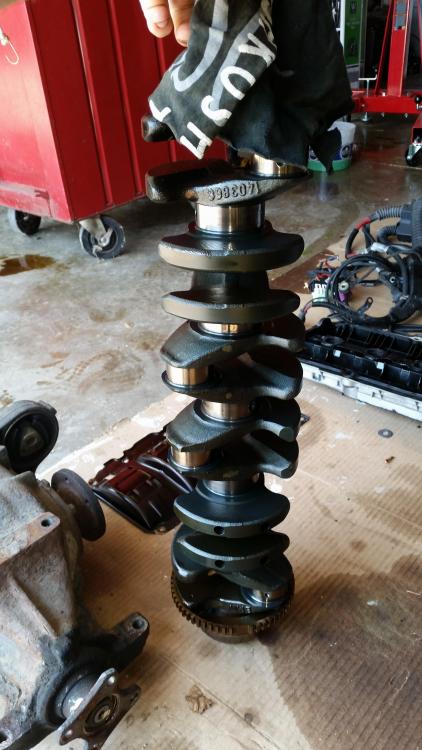
This last week Wednesday I got the day off and was able to get a little garage cleaning and organizing done. That same night I took the block, head, crank, and flywheel out to the machine shop where they will be for the next few weeks.
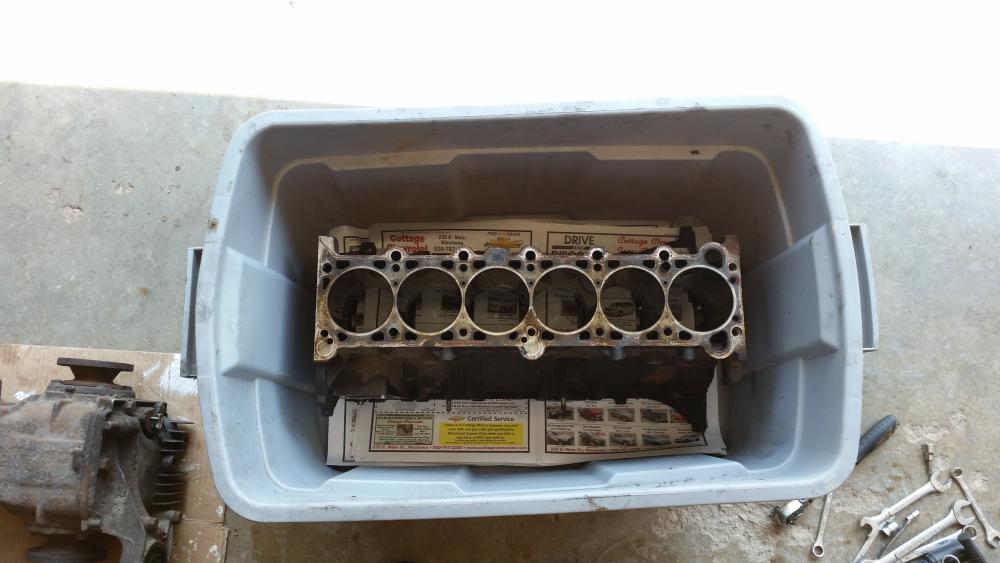
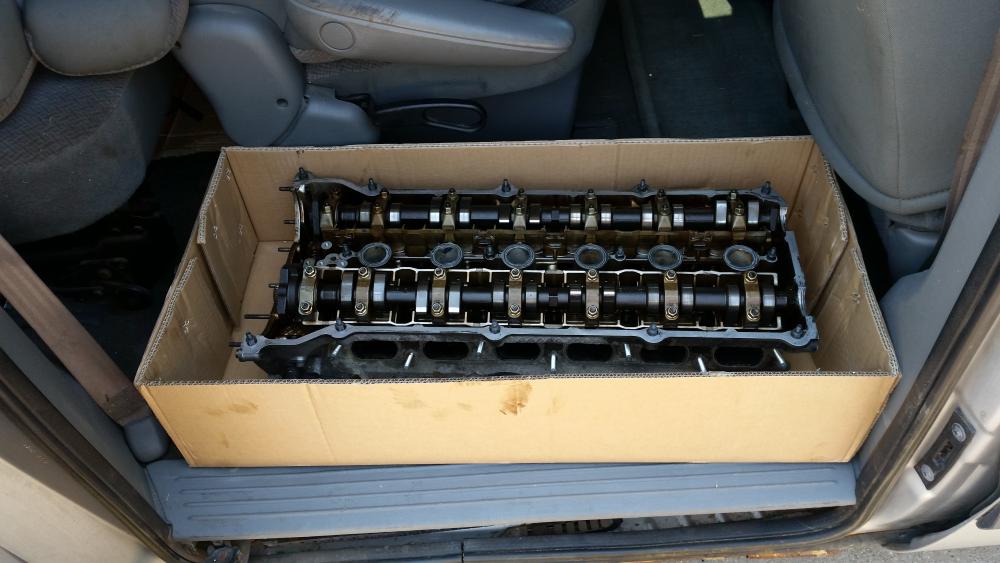
Things getting done...
- Block honed and resurfaced
- Complete head job including pressure test as well as resurfacing
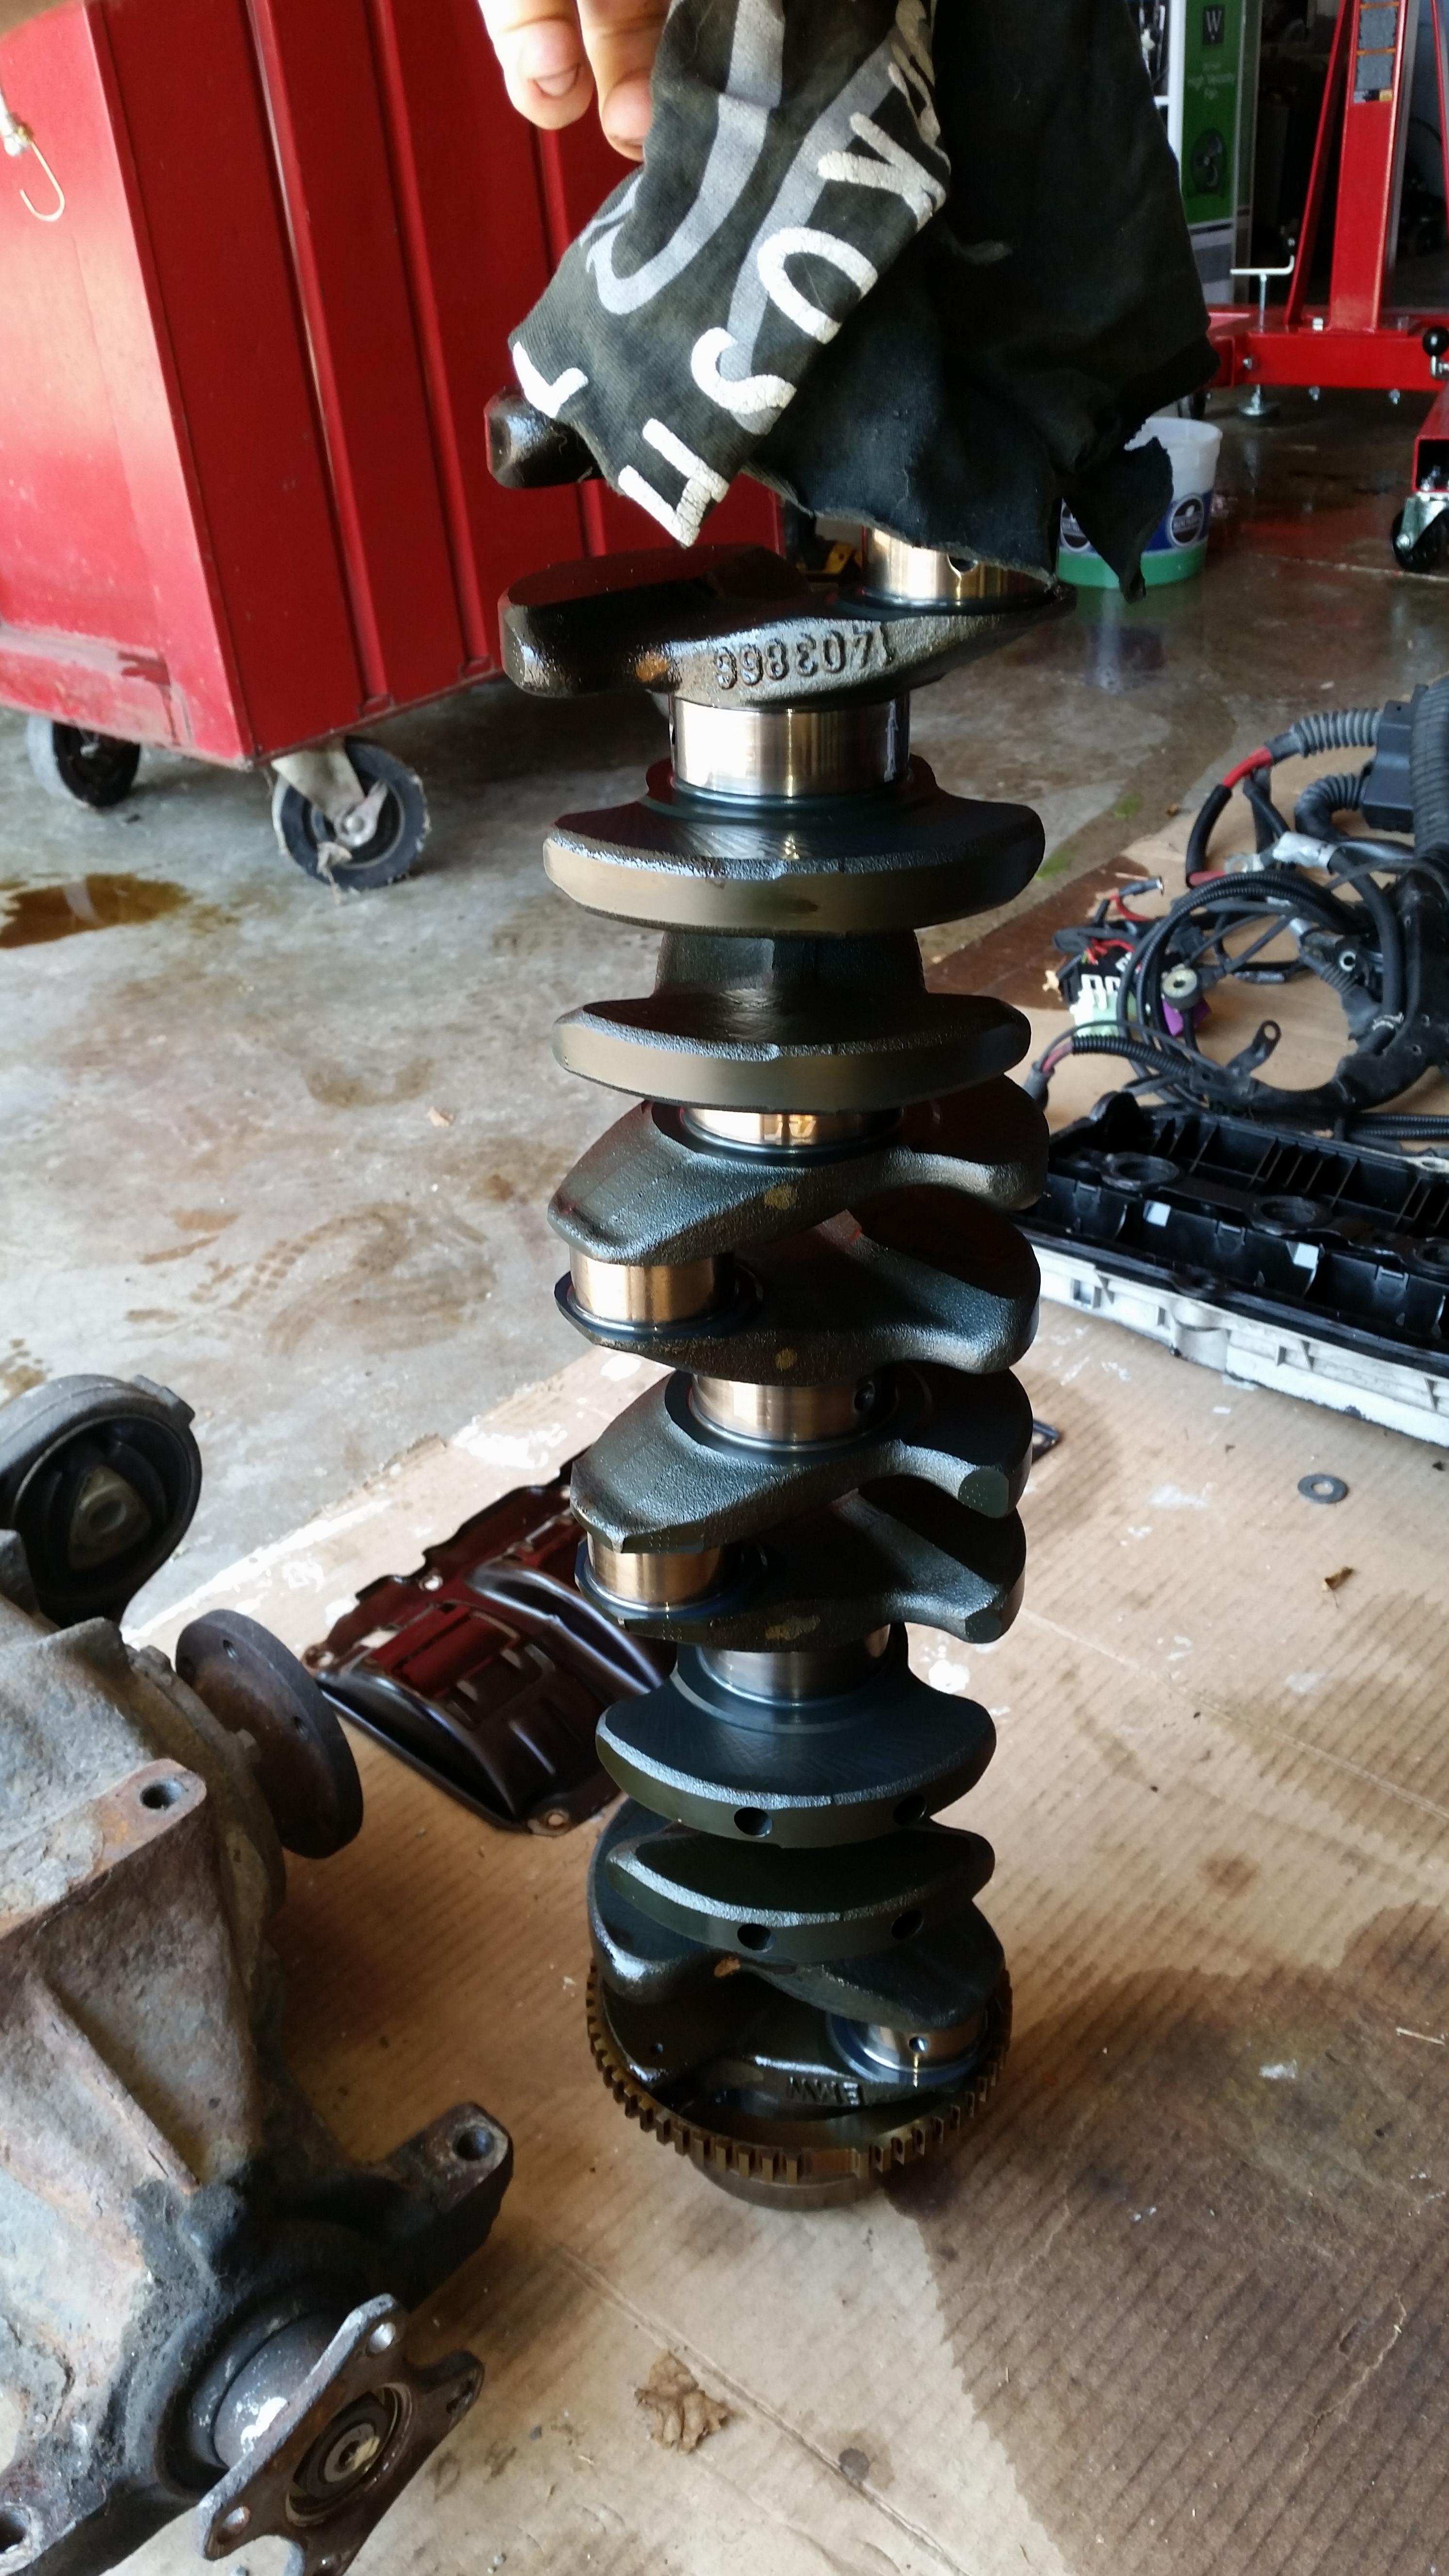
- Crank balanced and polished
- M20 Flywheel shaved down and polished for e34 oil pan clearance (which I have yet to find
 )
) - Hot tank block and head
Things that will be getting ordered for when the block is done.
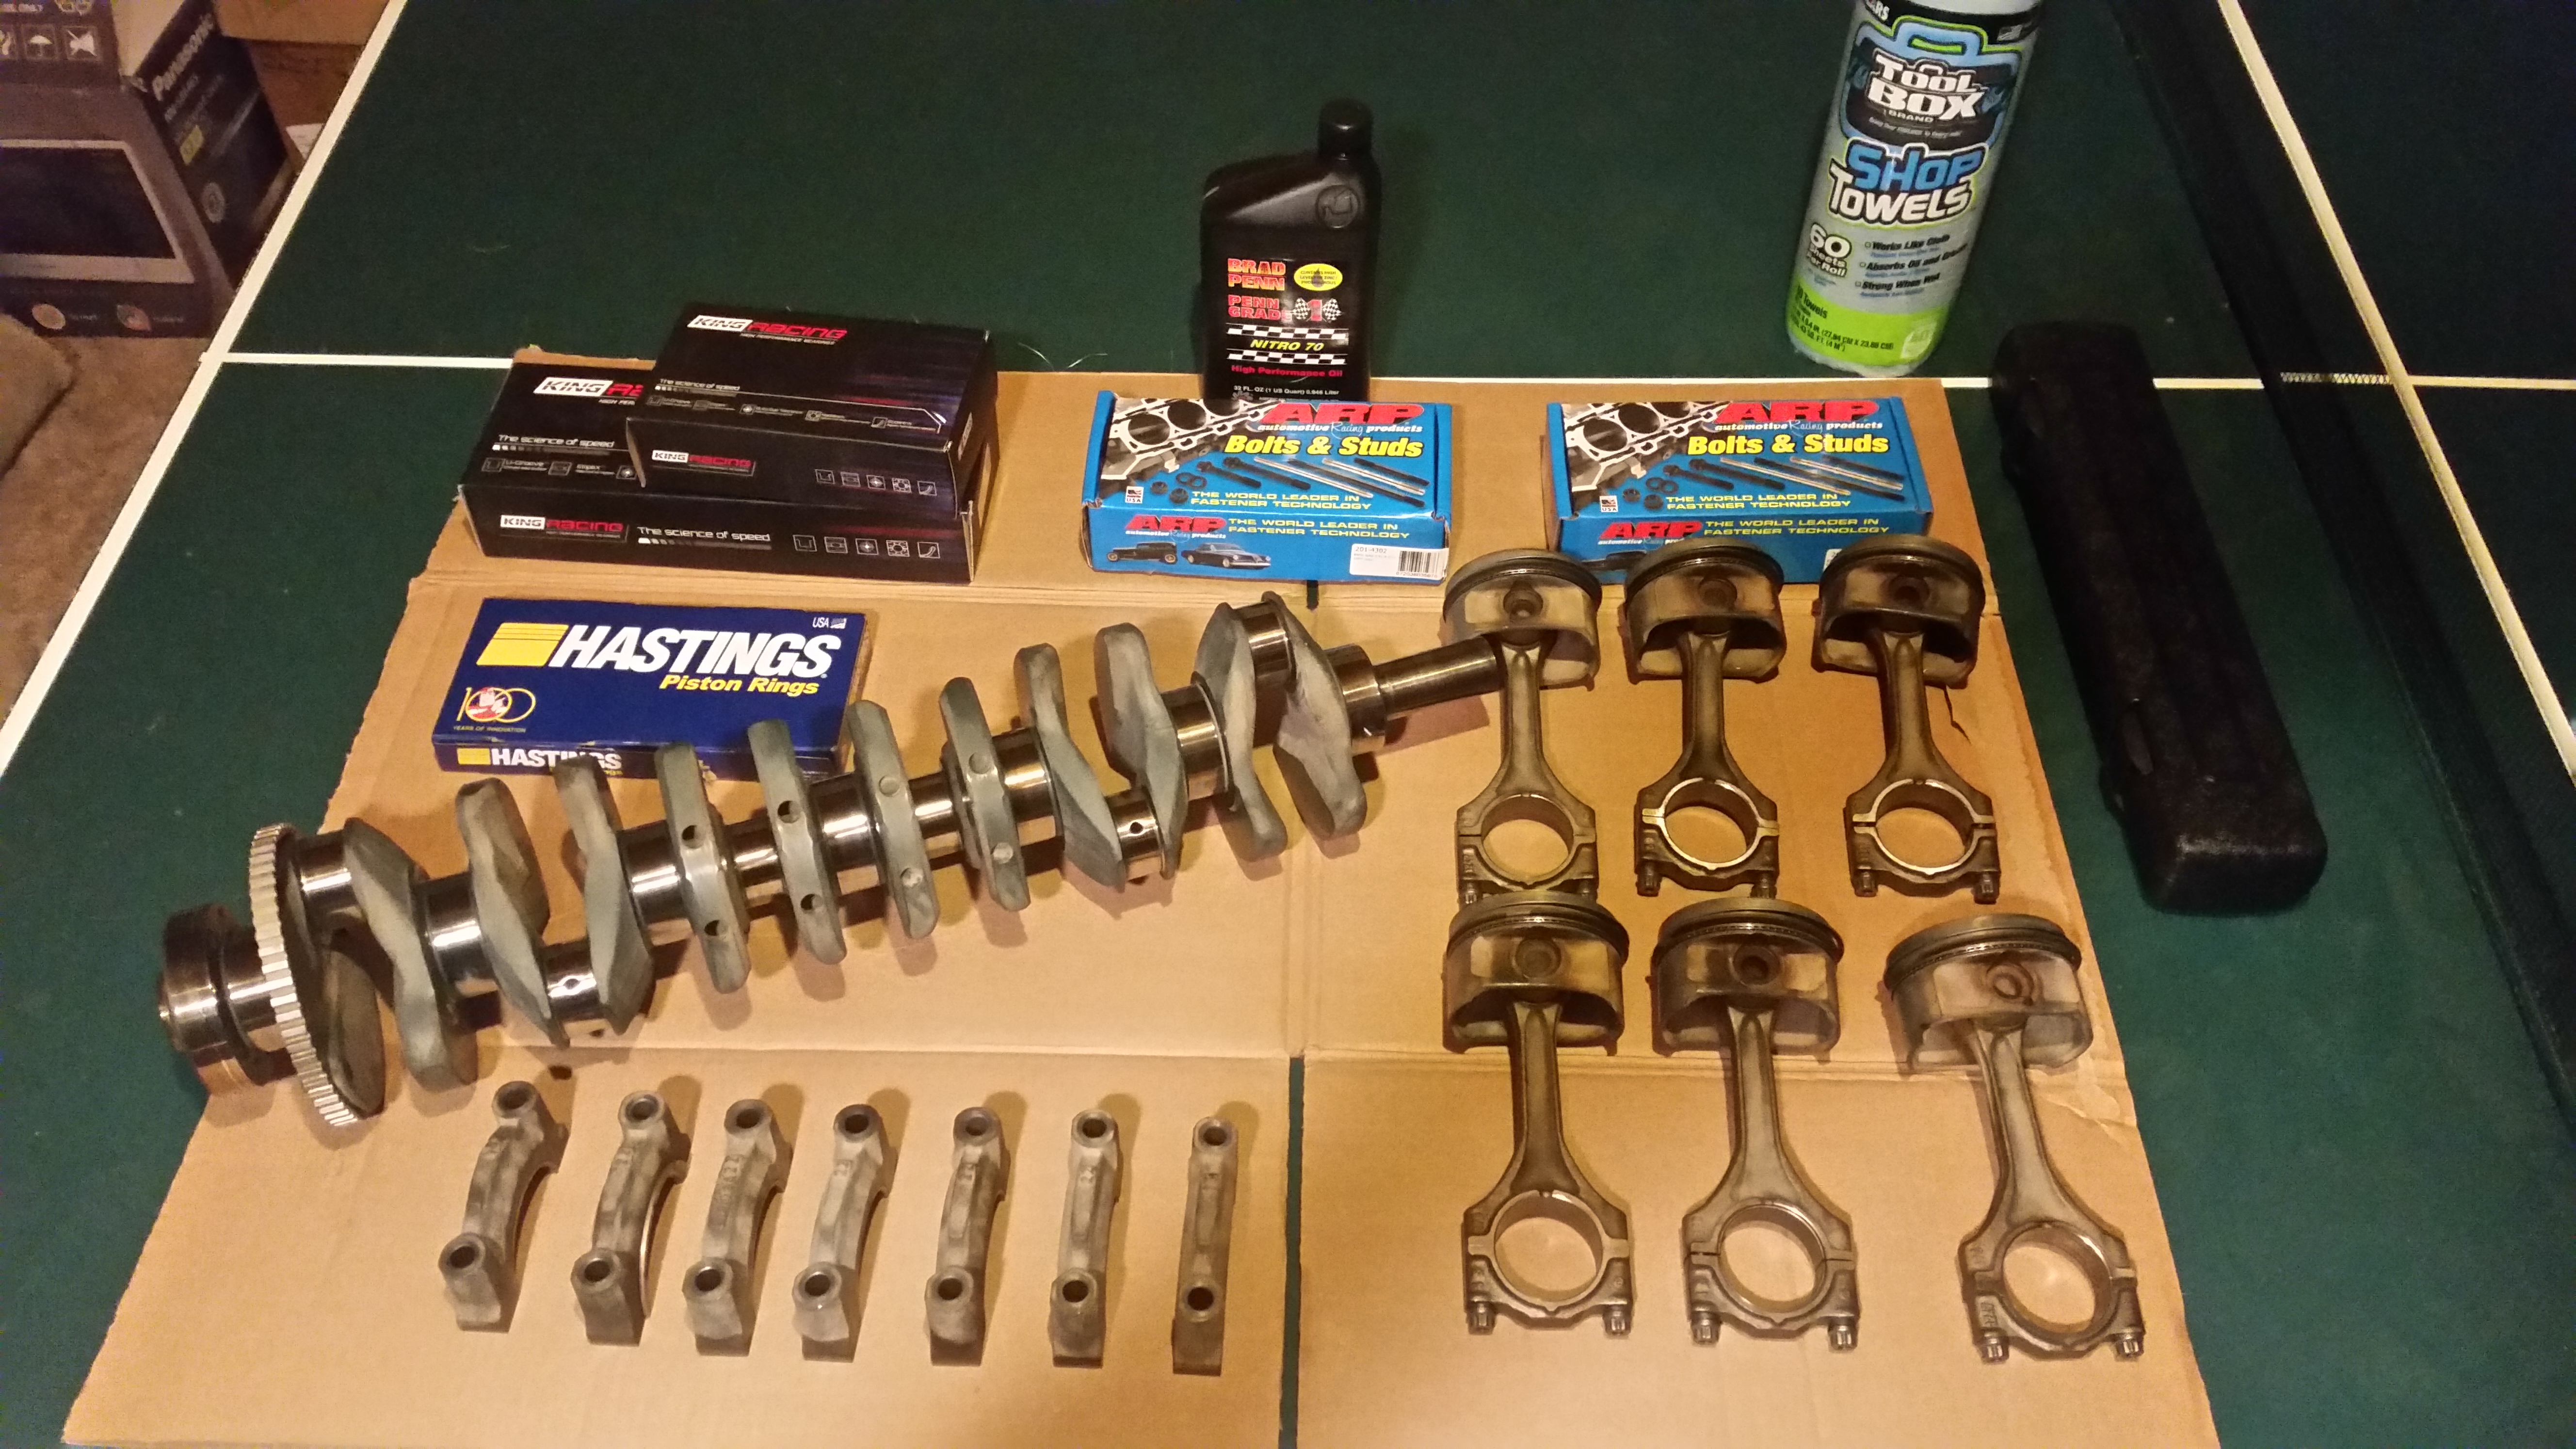
- ARP head bolt
- ARP engine main studs
- ARP connecting rod bolts
- New piston rings
- King bearing main bearings
- King bearing rod bearings
- MLA or cut-ring head gasket....Recommendations?
So after talking with the machinist, he said the cylinder walls don't seem to bad and he is gonna see if a light hone will be fine so that I can reuse the original pistons with new rings. But, If the block does require more honing I will have to order larger pistons, I'm hoping I don't have to though as I will force myself to go forged which will set me back over $1000 that wasn't in the budget.
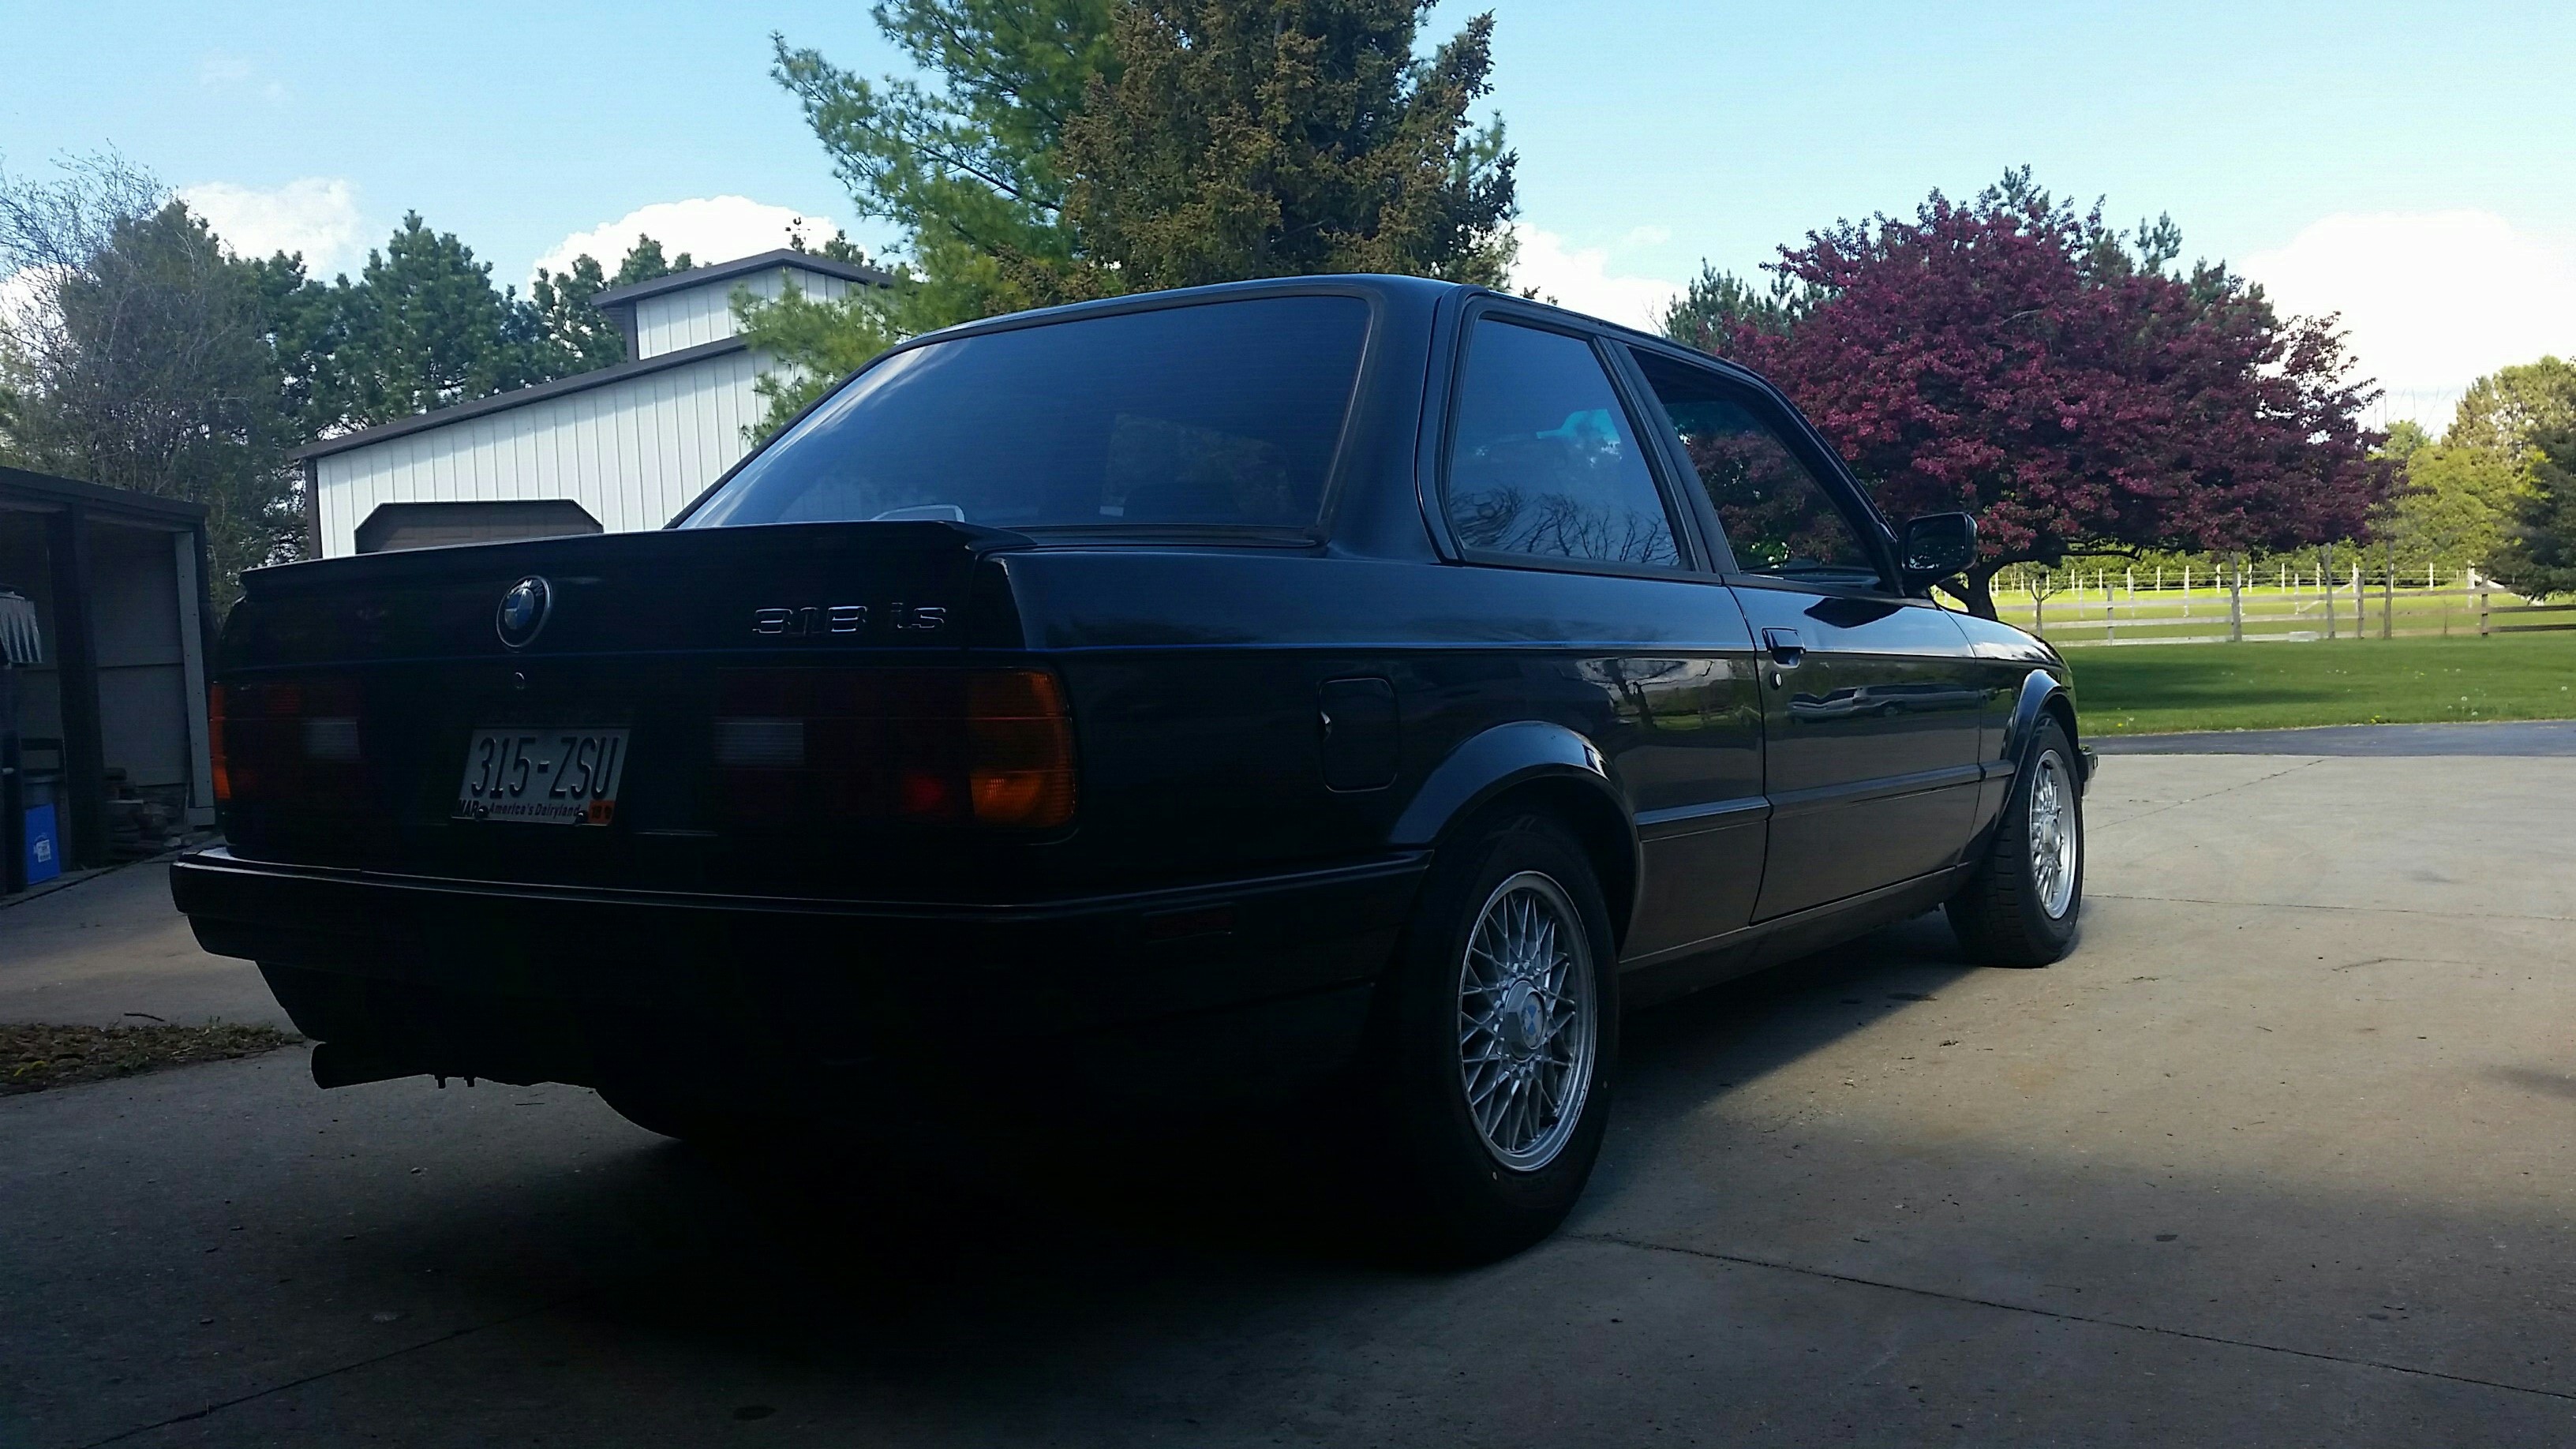
So three weeks ago the car went in to the body shop for entire new paint job. Well I still have yet to get the car back as they ran into some issues with the paint reacting with the old paint on the car, but they did get it figured out and I should be hopefully getting it back this Wednesday.
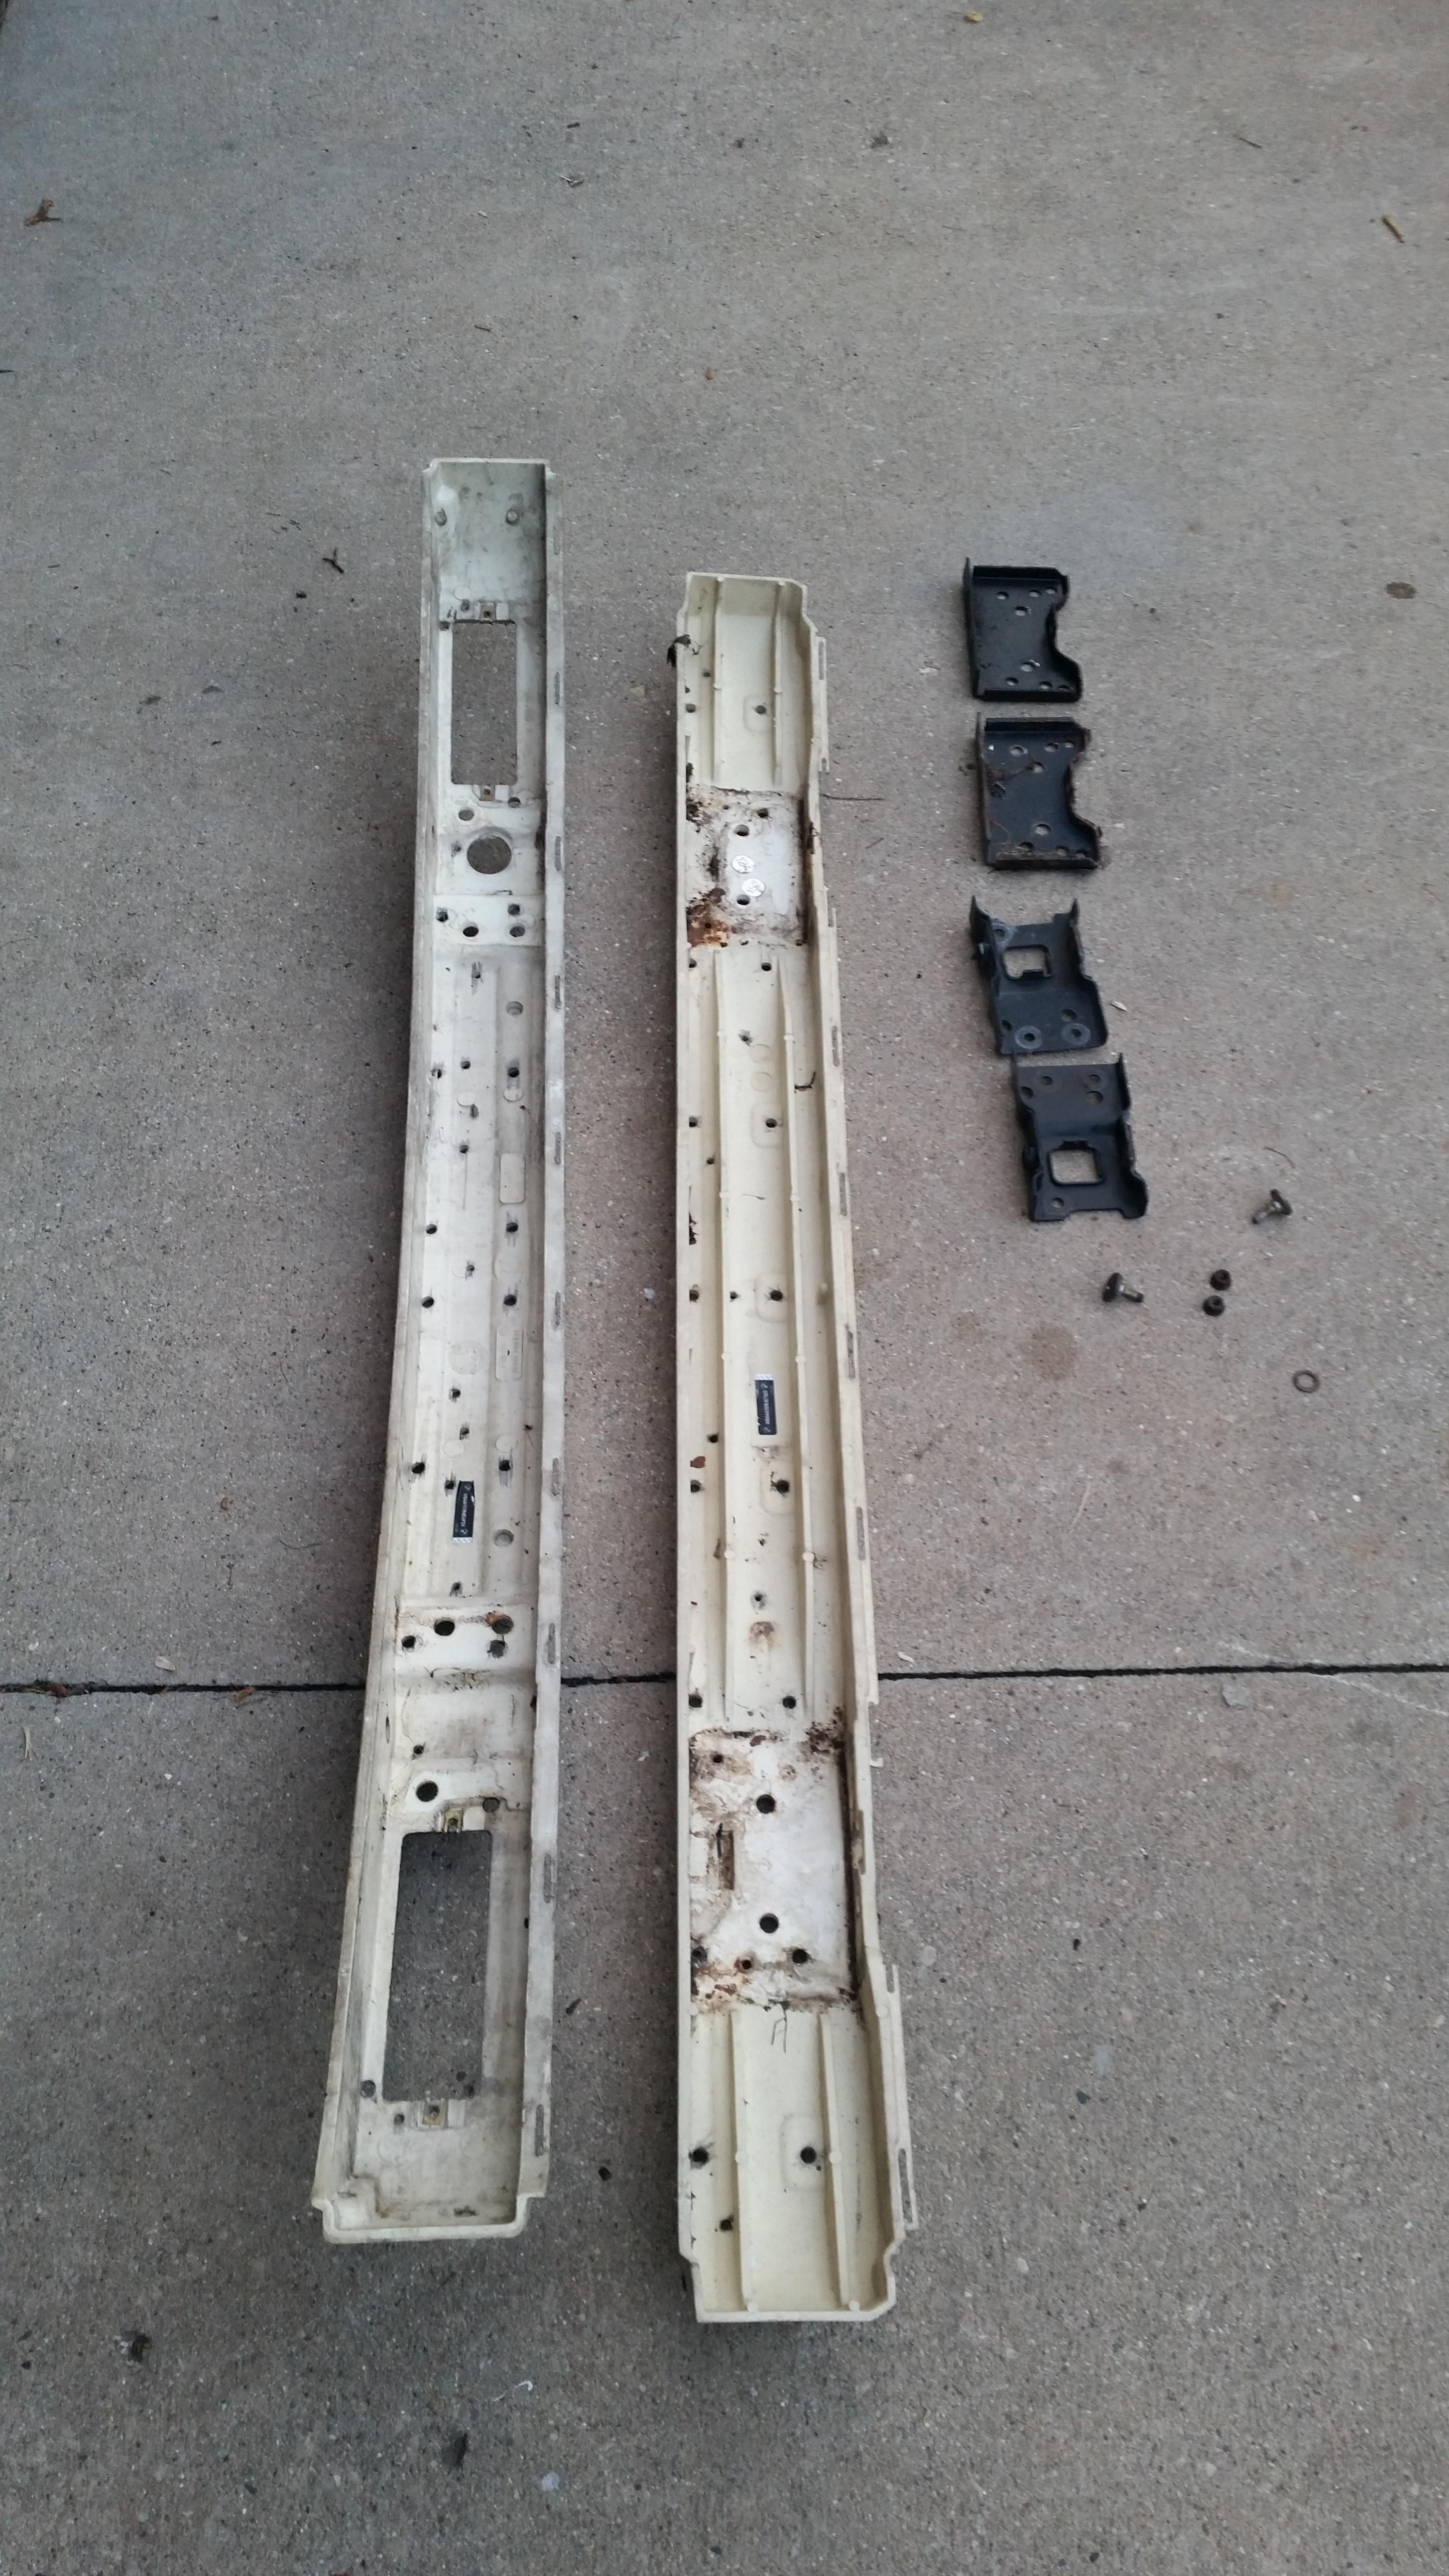
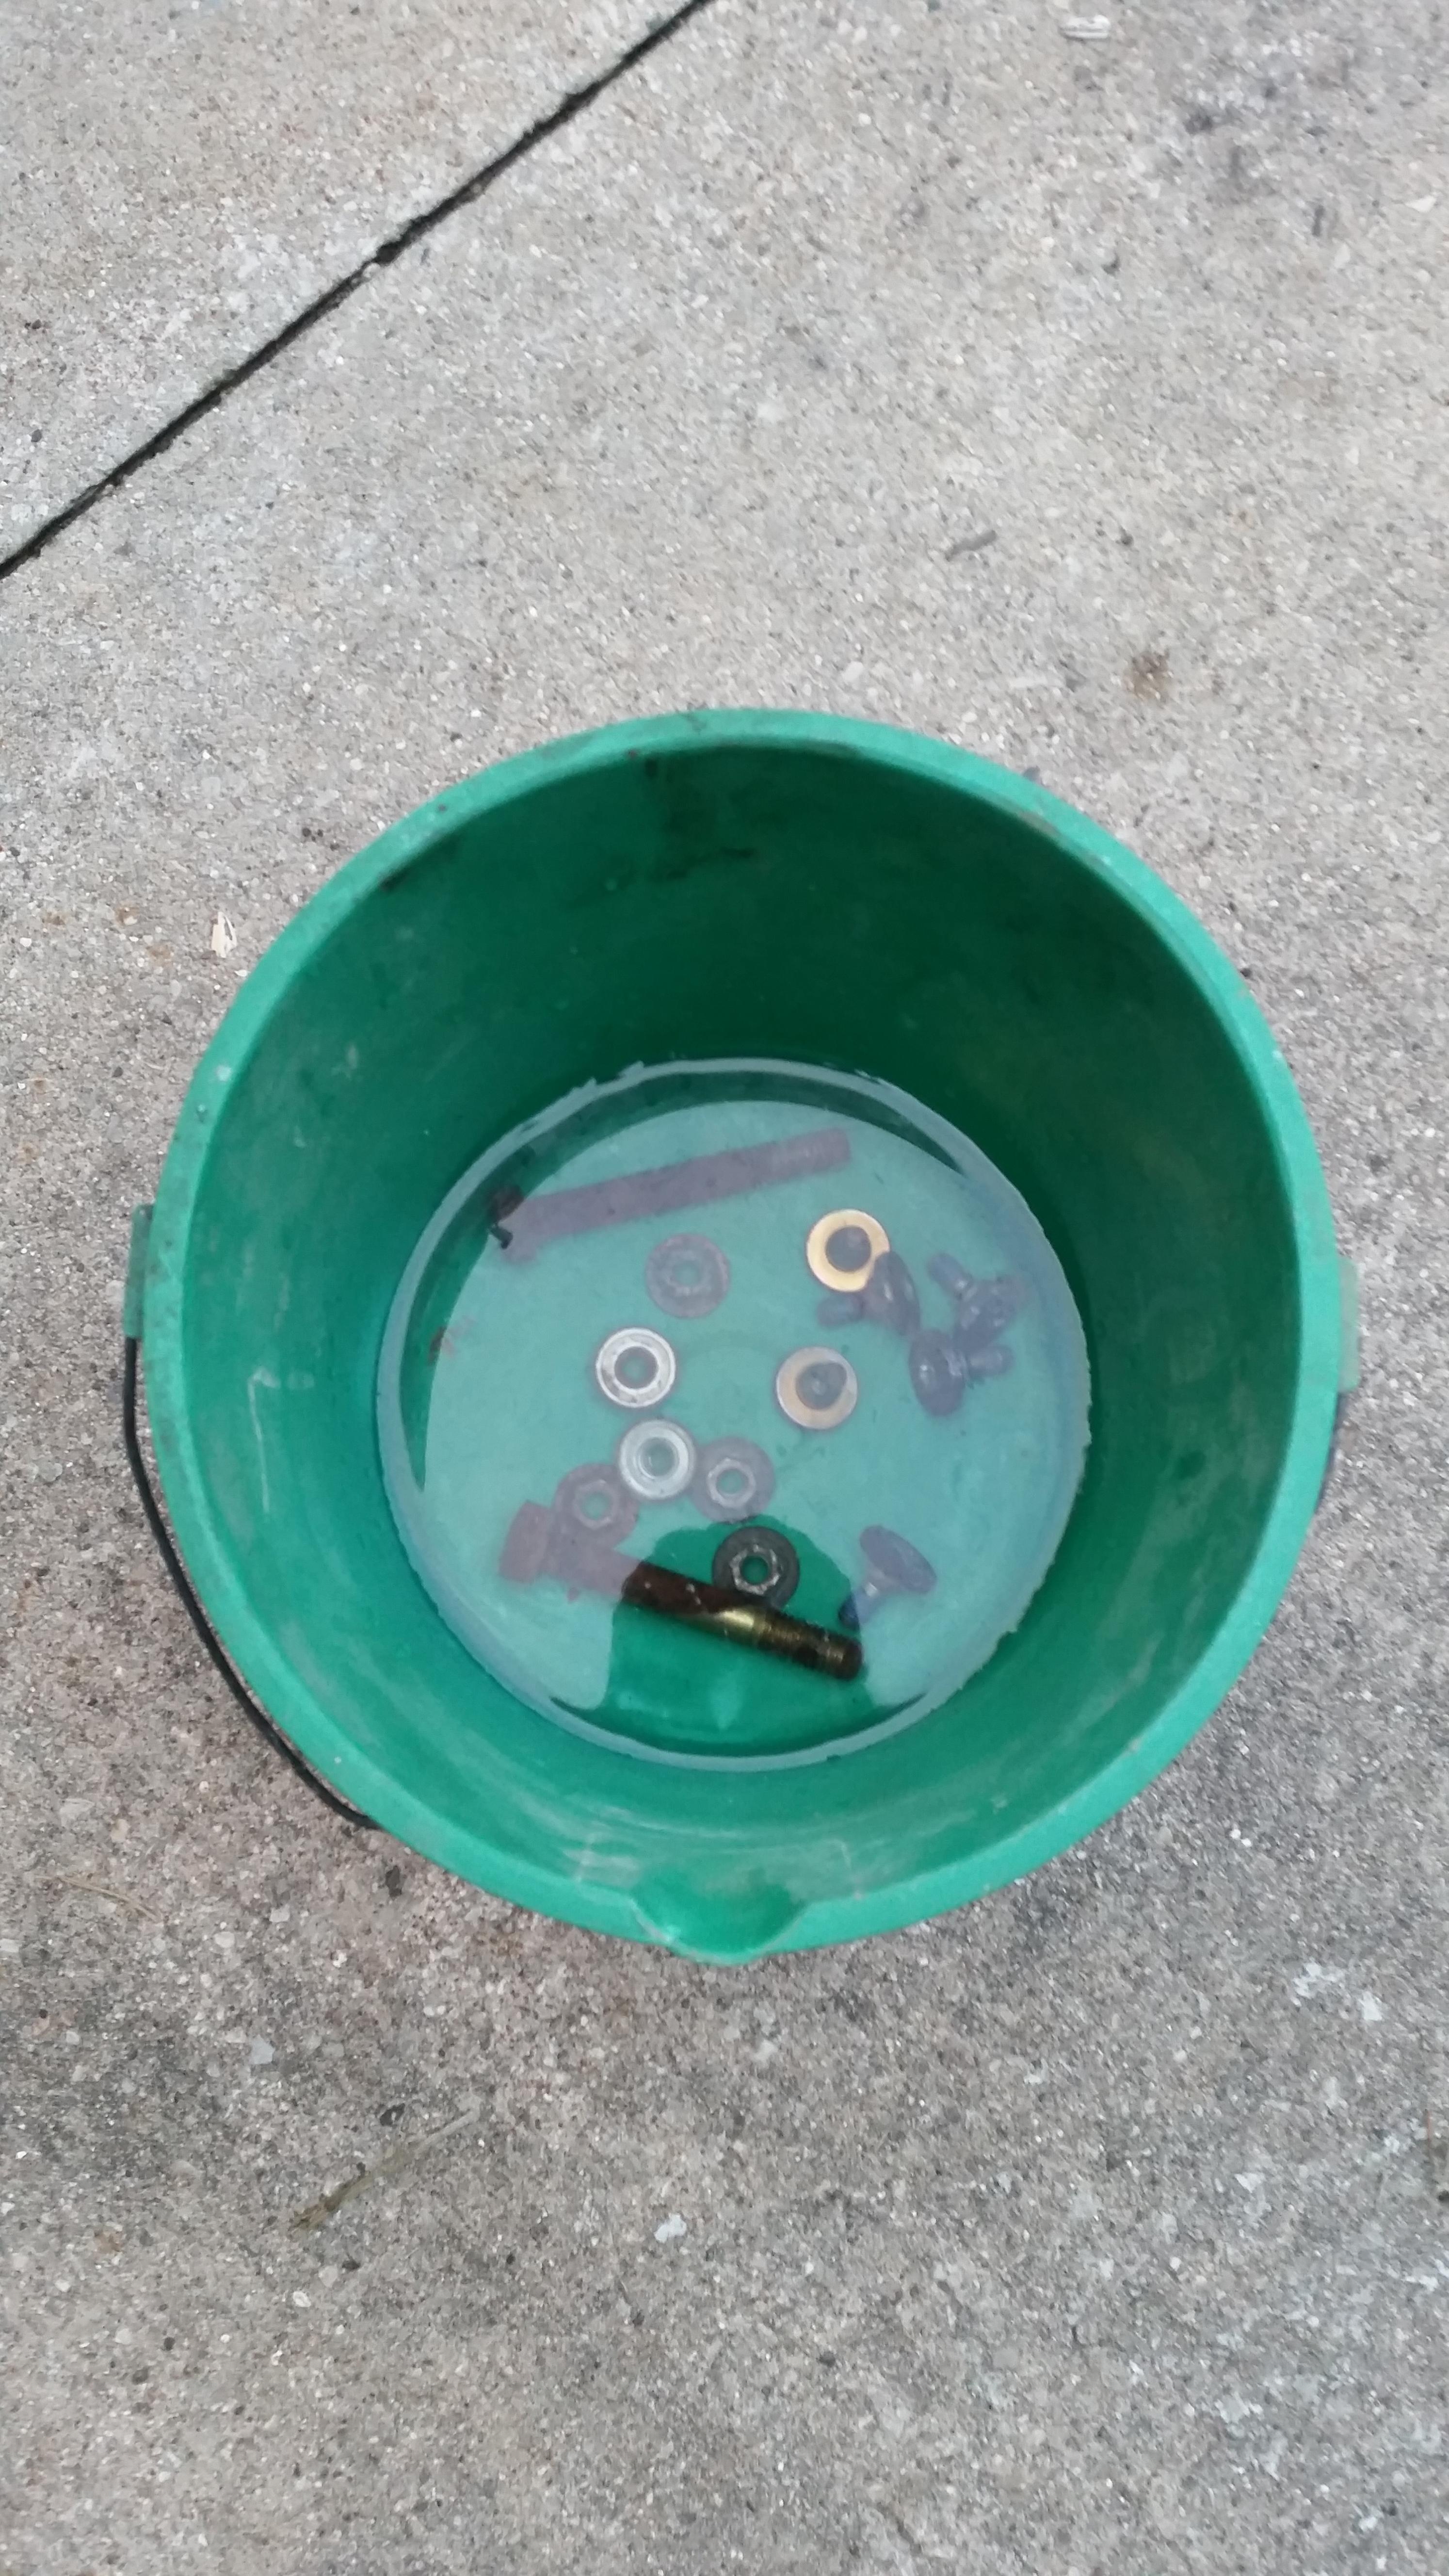
looking forward to seeing what she looks like when its all done.As I wait for the engine to be finished as well as the car, I started on the long tedious job of cleaning parts and hardware and getting things ready for re-installation. Today I took a break from the engine and took apart the bumper carriers and brackets. I collected all the hardware and bolts and put them in a bucket of vinegar to sit for a few days, supposedly that's the trick for removing all the rust and making them look brand new.
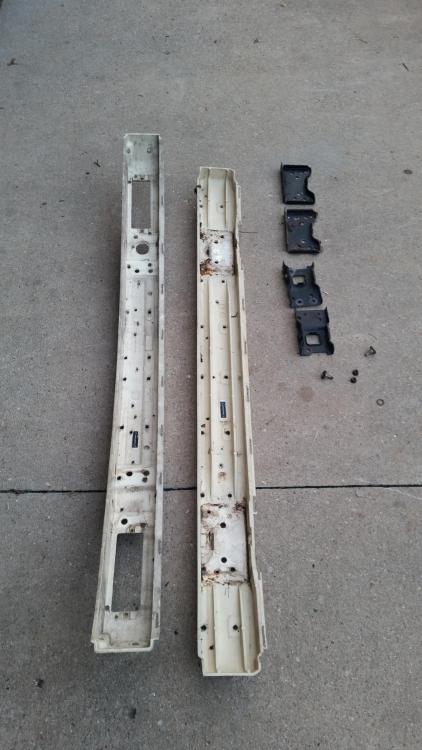
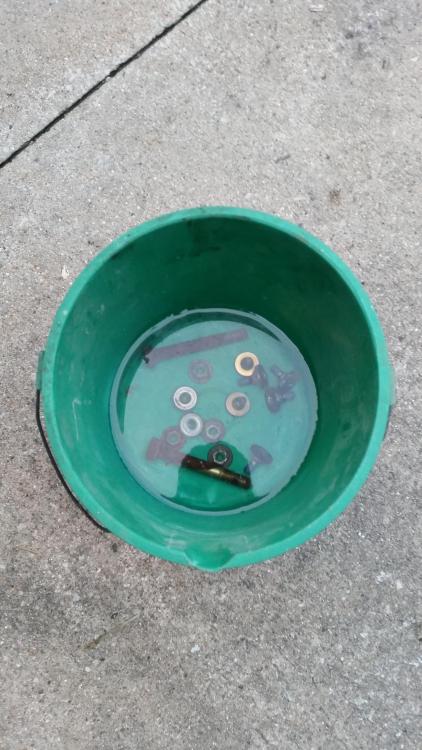
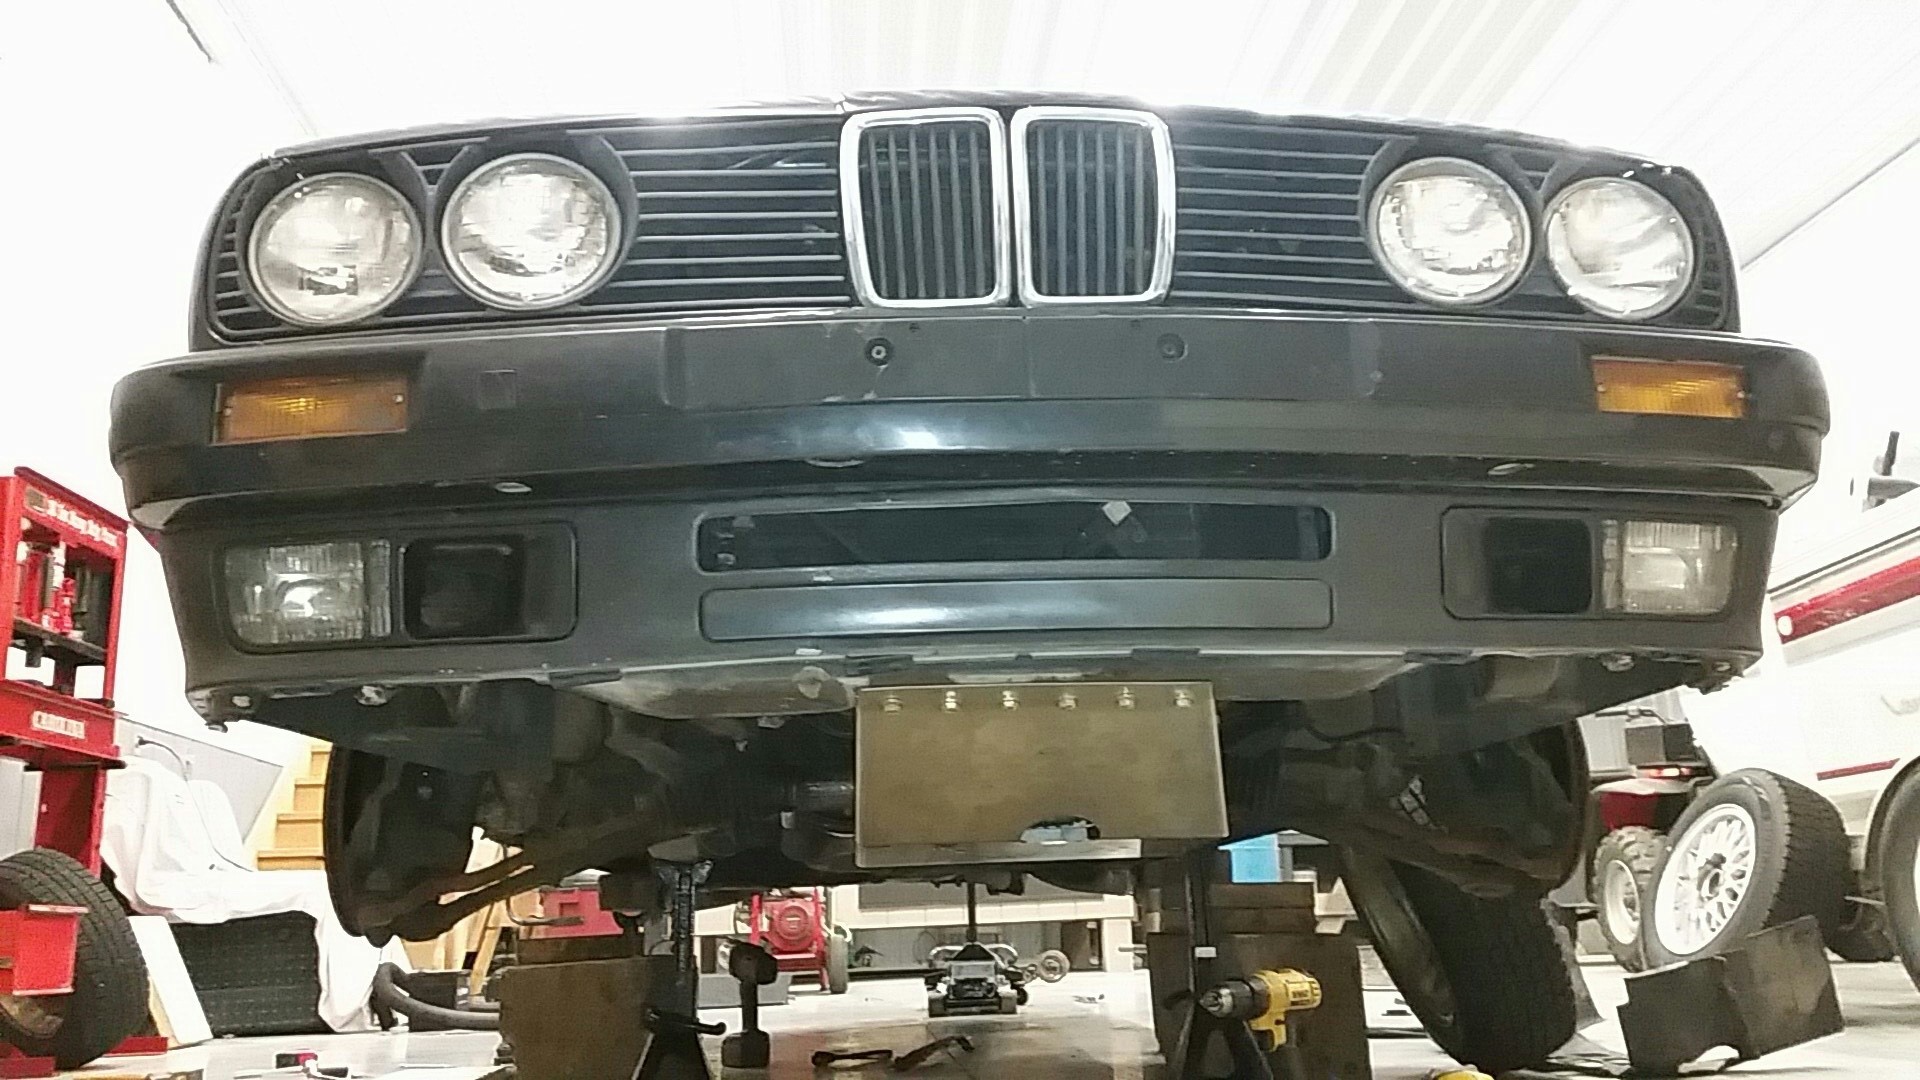
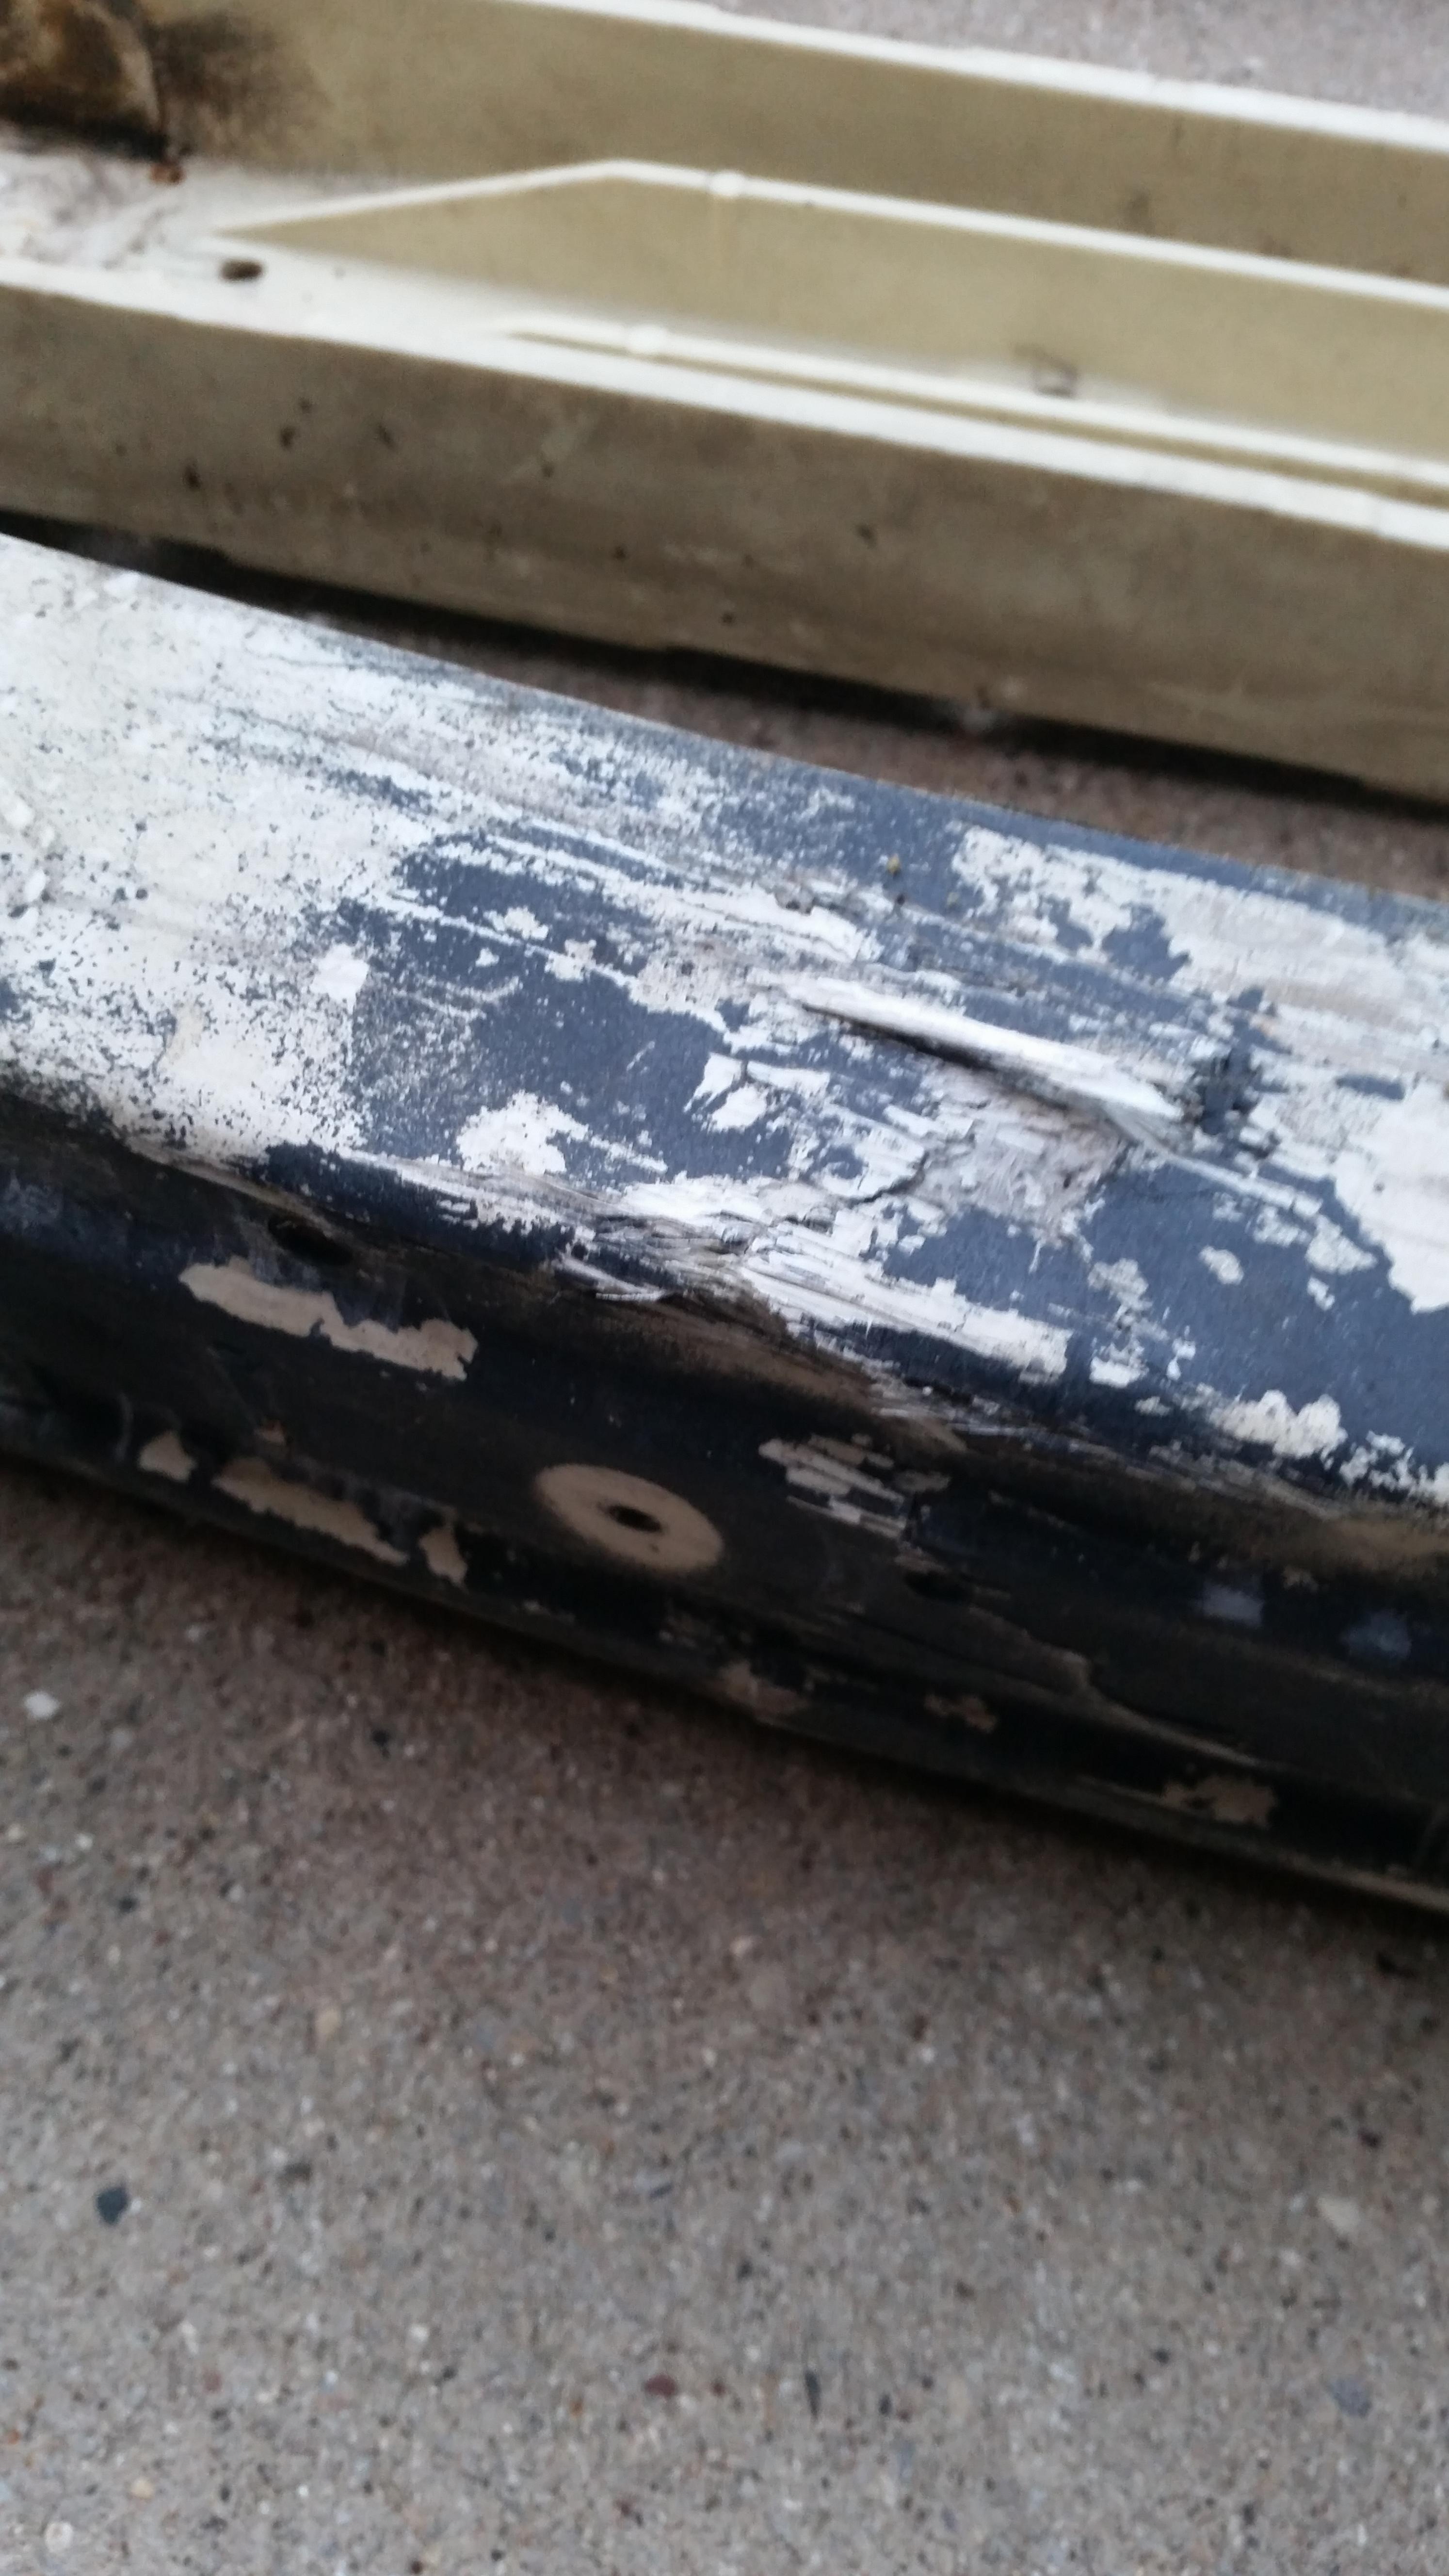
Ran into a little issue I noticed when I removed the front bumper carrier.
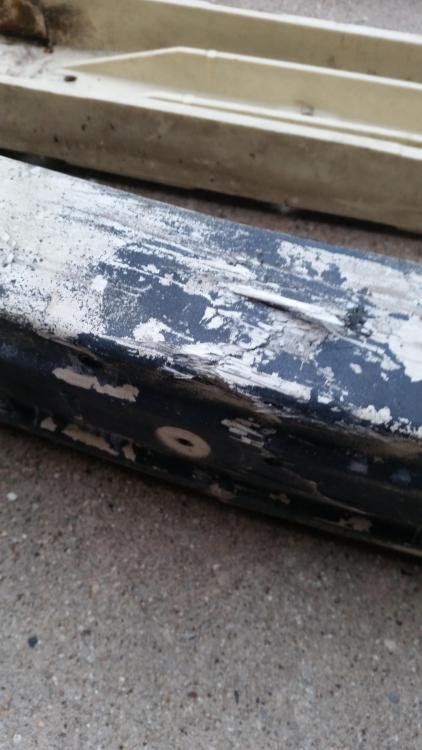
It is hard to tell in this pic but there is a large crack that goes down the center of it and it worries me as to how that got there. Looking into finding another one for a fair price. (pm'd a member on r3v who's parting out his e30, still waiting on a response and a price.)
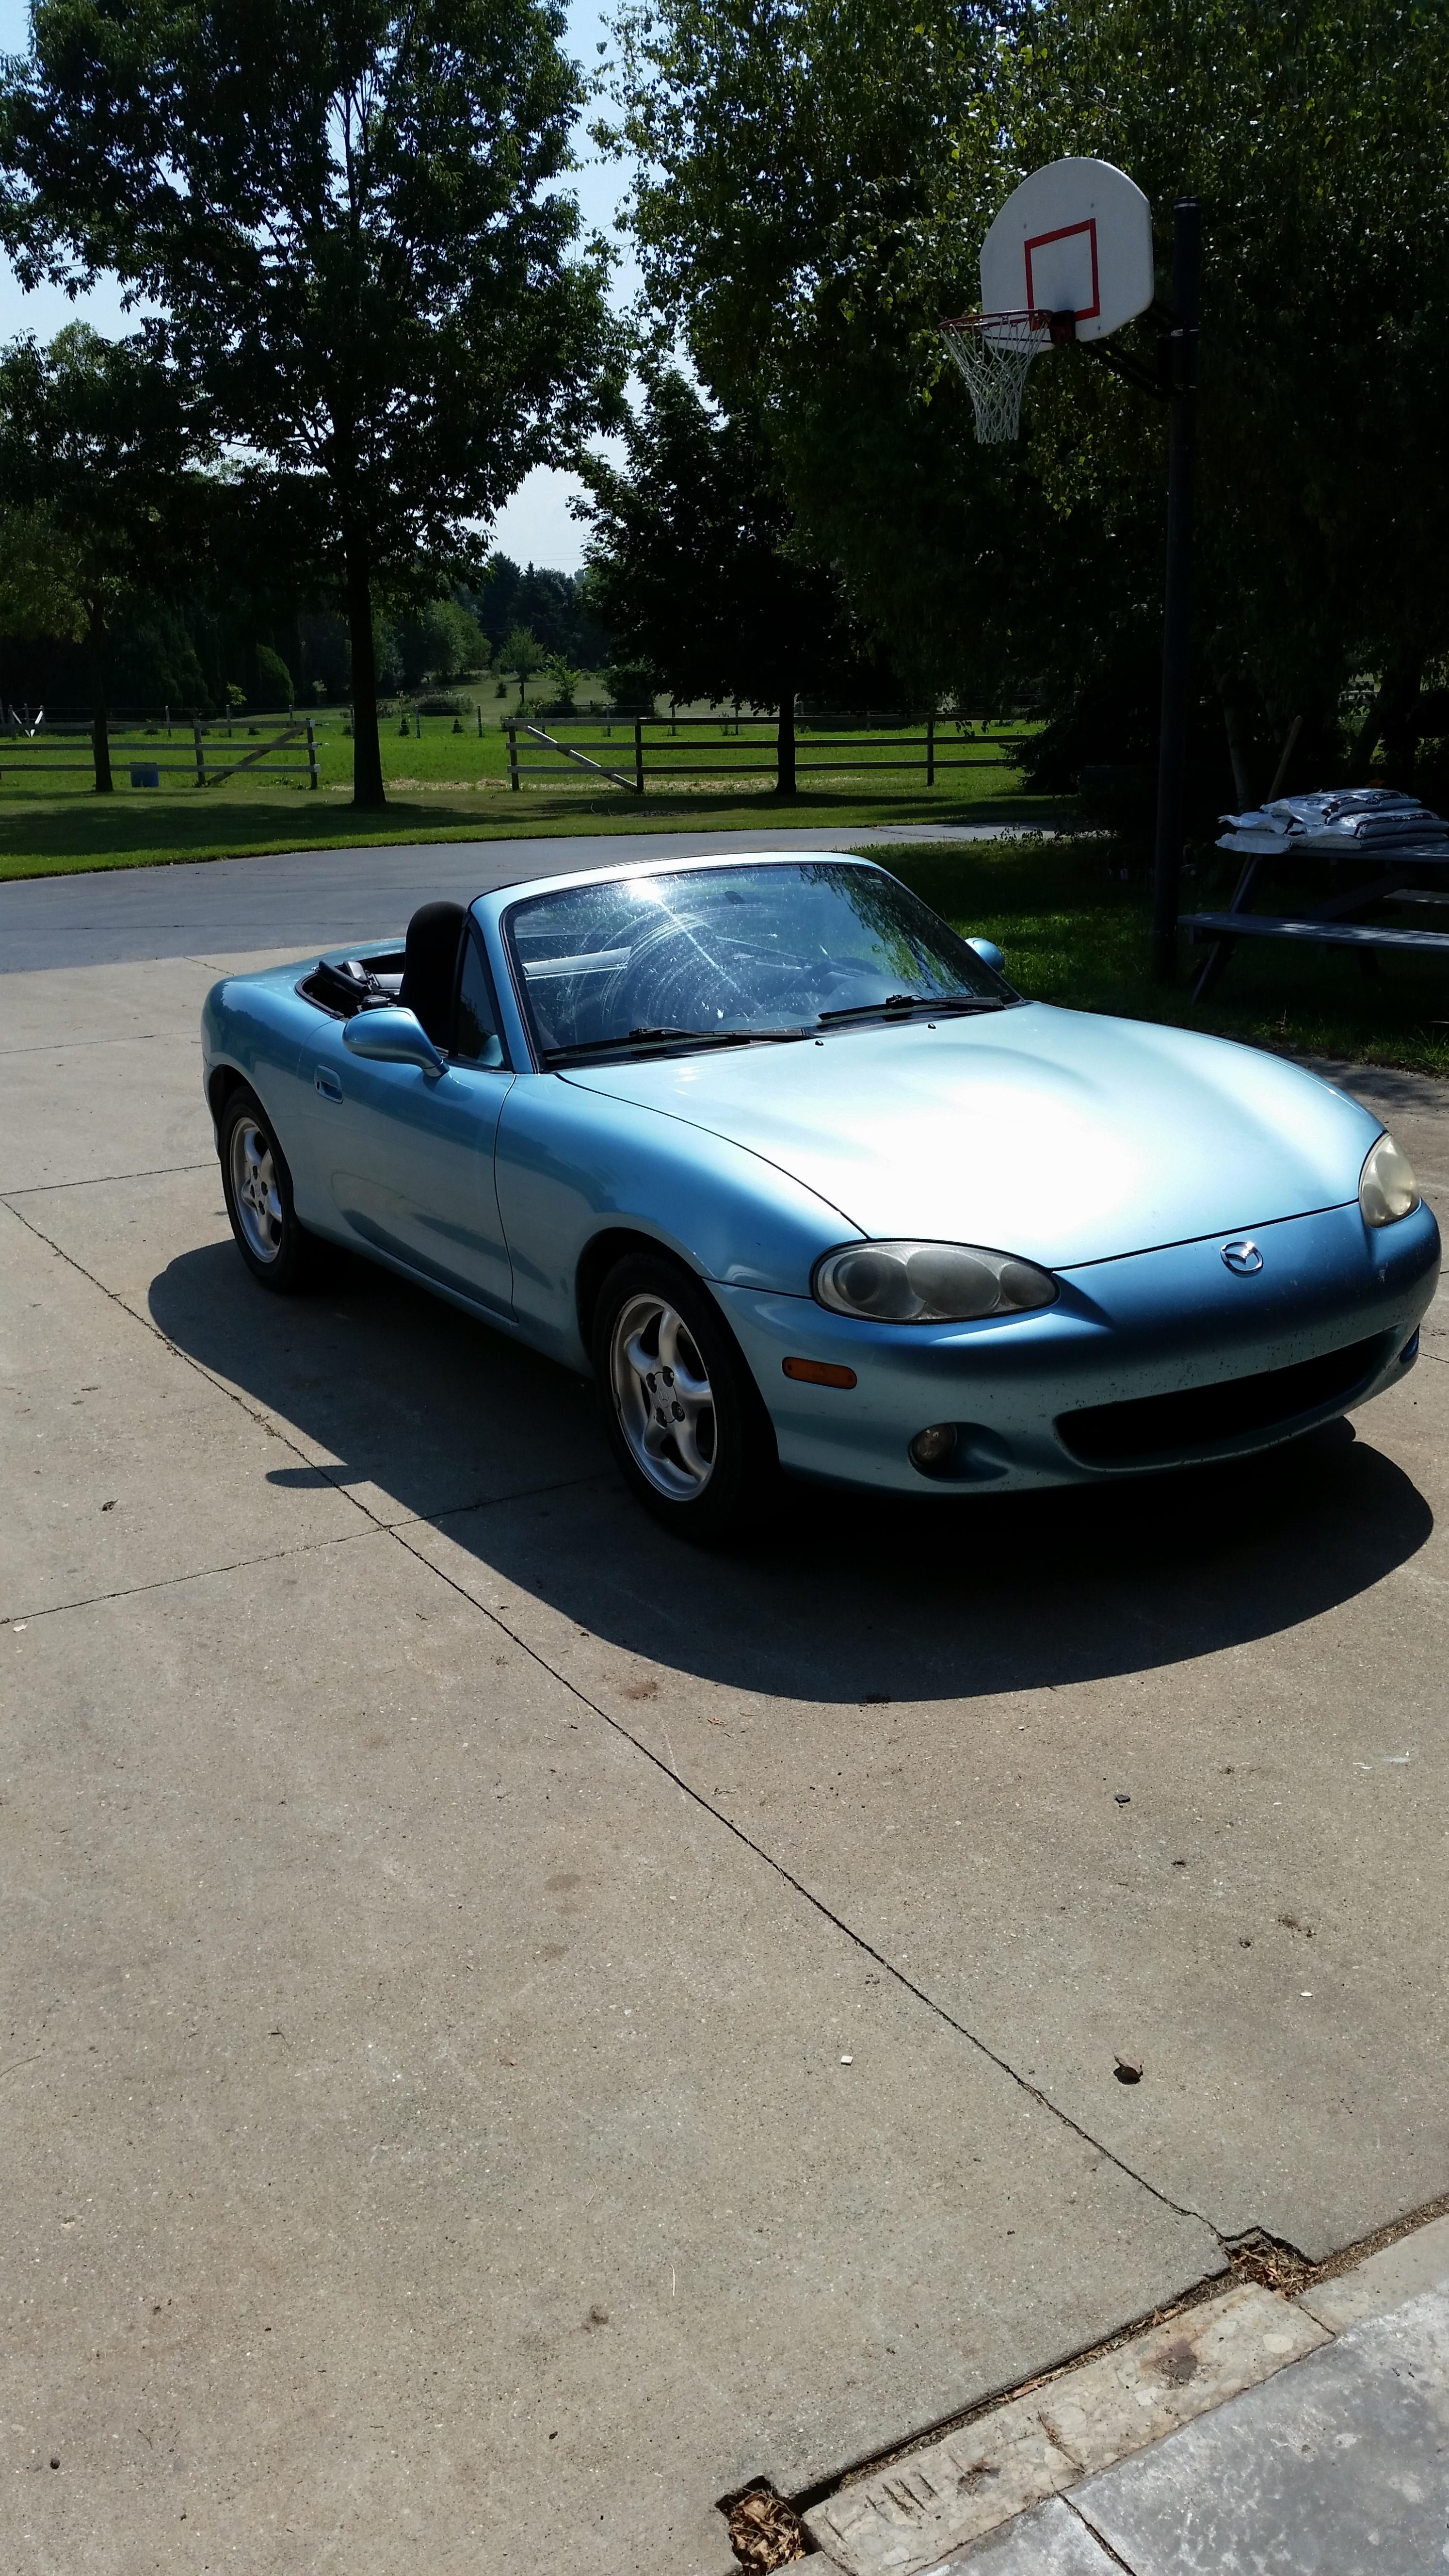
So as my BMW was my daily sense my sister still has mine I was out of a car and sense originally I only planned for a week tell I got the BMW back I made it work getting rides and carpooling. Well after I got the news that it was gonna be a while longer I needed something...
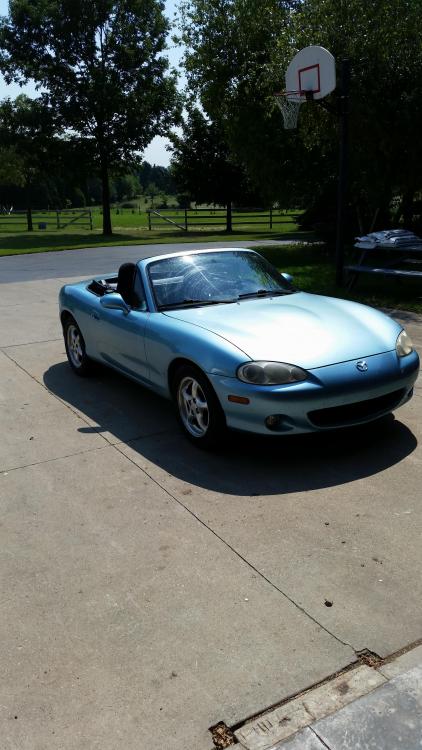
Yup, one of my mothers friends borrowed me her Miata. She had it stored in her garage as she had another car she was driving. I gotta say, I can't complain, It's the first time I've ever drivin a Miata and it definitely has its perks, I'd never trade an e30 for one but they are fun little cars to tool around in, especially with the top down.

-
You are kicking my trash with all this progress! [emoji1319]
Are you planning on bewst or revving over 7500? If not then I kindly disagree with the ARP rod and main bolts and cut ring gasket.
All bmw oem stuff is my suggestion
Well I am just gonna stay N A and mostly stock motor for now but I wrestle around with the idea knowing that down the road I'm gonna probably want more power. I thought if I build it all to handle it now, then that would be that much less I would have to do if I did decide to throw in a turbo or supercharger. Or am I better of just building it oem and if I decided to build it for force induction down the road, just worry about it then?
Sent from my SM-G900V using Tapatalk
-
Snap said:
You are kicking my trash with all this progress! [emoji1319]Are you planning on bewst or revving over 7500? If not then I kindly disagree with the ARP rod and main bolts and cut ring gasket.
All bmw oem stuff is my suggestion
Well I am just gonna stay N A and mostly stock motor for now but I wrestle around with the idea knowing that down the road I'm gonna probably want more power. I thought if I build it all to handle it now, then that would be that much less I would have to do if I did decide to throw in a turbo or supercharger. Or am I better of just building it oem and if I decided to build it for force induction down the road, just worry about it then? Sent from my SM-G900V using Tapatalk
It will be way easier doing it now when it's all apart.
Also it's nice to get things sorted NA, then make sure it's rock solid for boost.
I went cut ring/ARP for my SC setup. Pretty overkill for 7psi but as you said, down the road I'll probably want more power
-
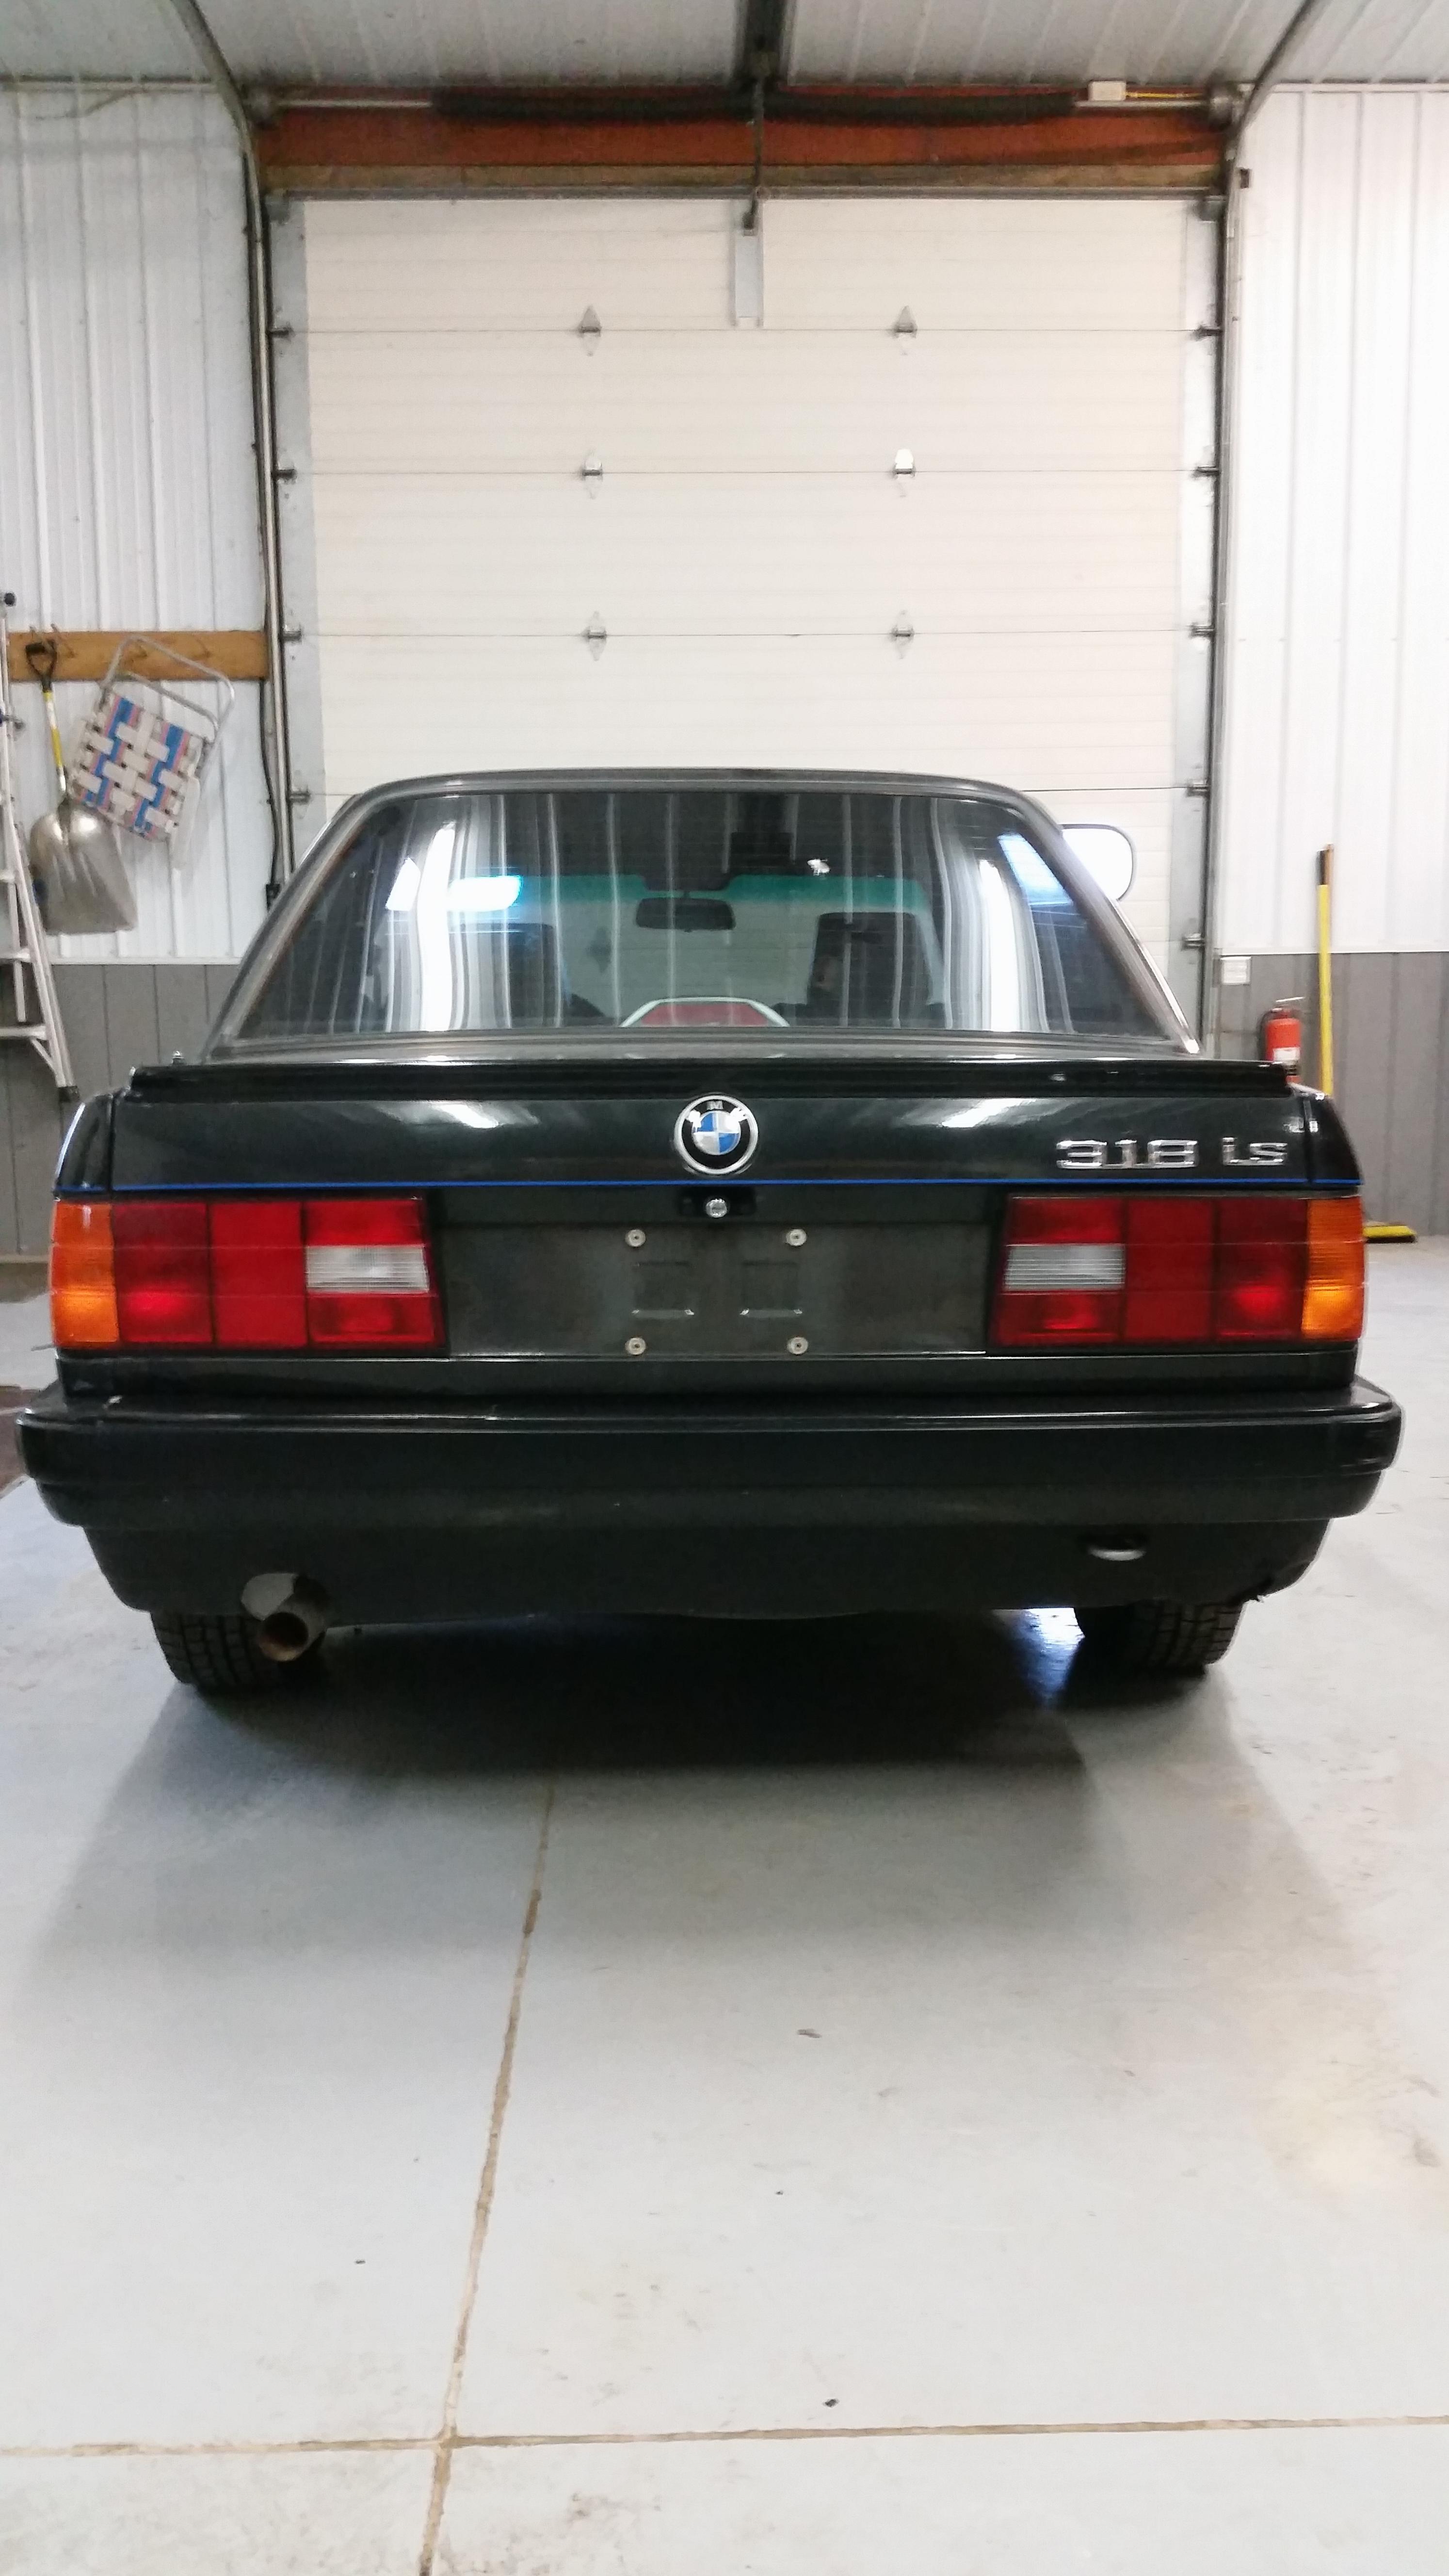
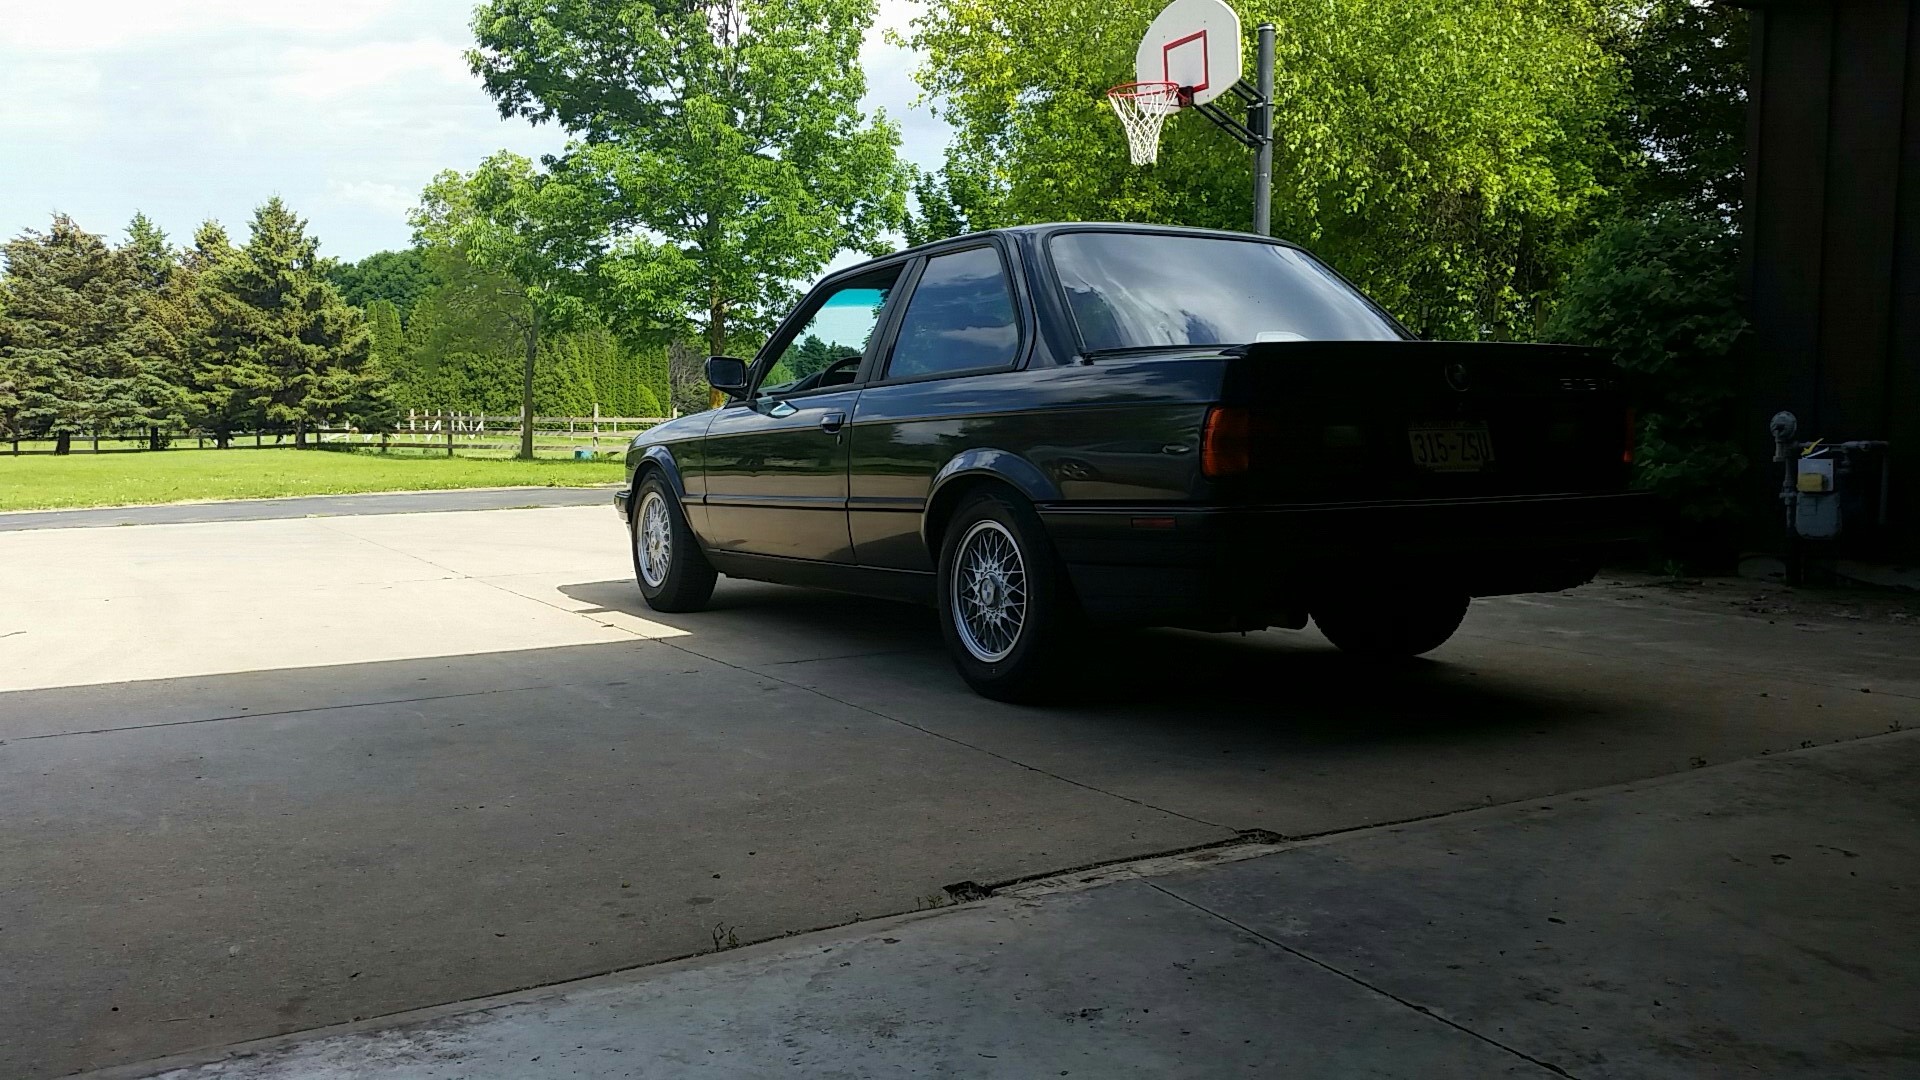
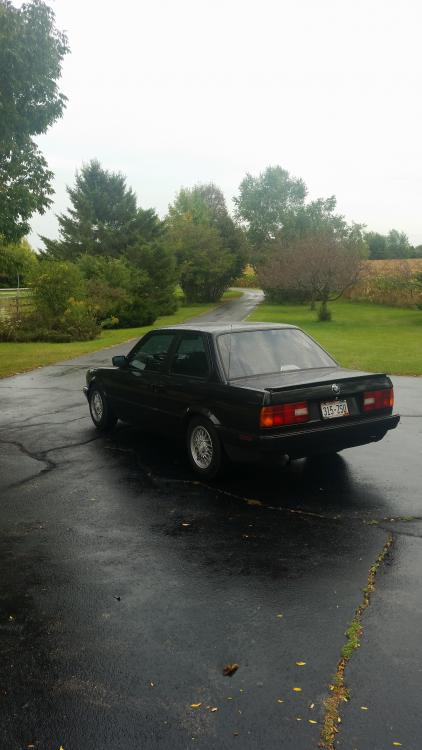
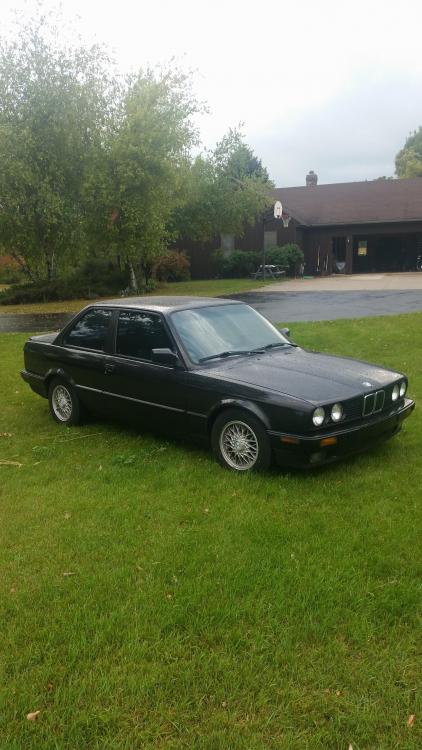
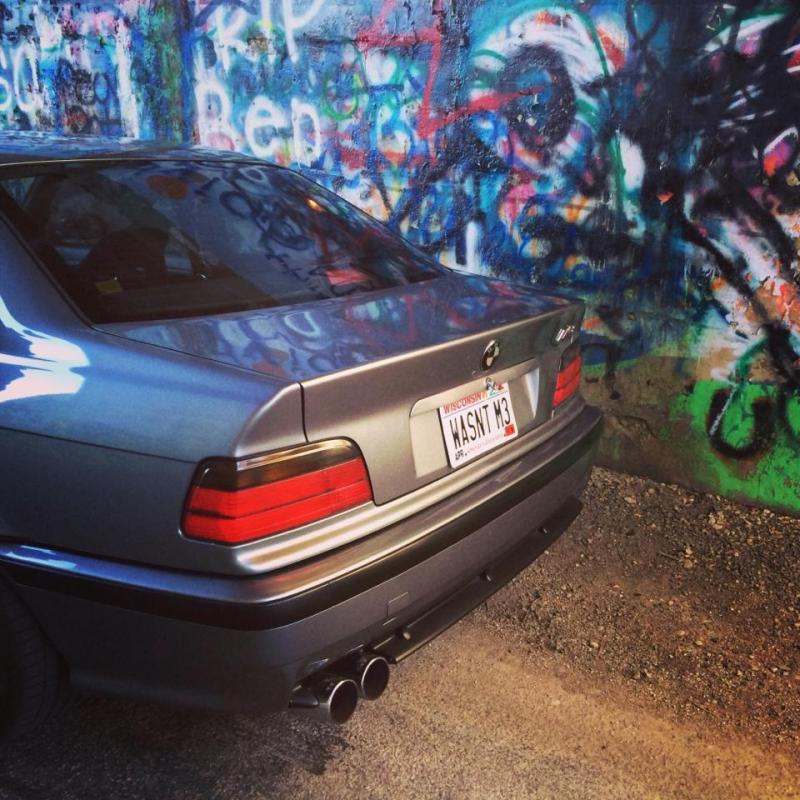
Got my car back Wednesday, new paint job looks spectacular! I didn't truly know how bad the paint was on that car until I got to see it with the new paint. The body shop guy showed me some videos of him taking an air gun and literally blowing the paint off the car. He said whoever painted this car before had not a clue what they were doing and pretty much halfass'd. It feels really good having new paint on the car and knowing that its gonna hold up much better now that it was professionally done. What I didn't have him paint was the rockers, front or rear valance, door trim/moldings or the bumper impact strips, so I got a little painting/work to do myself before the car is done, will be posting up some pics of the car as soon as I am finished.
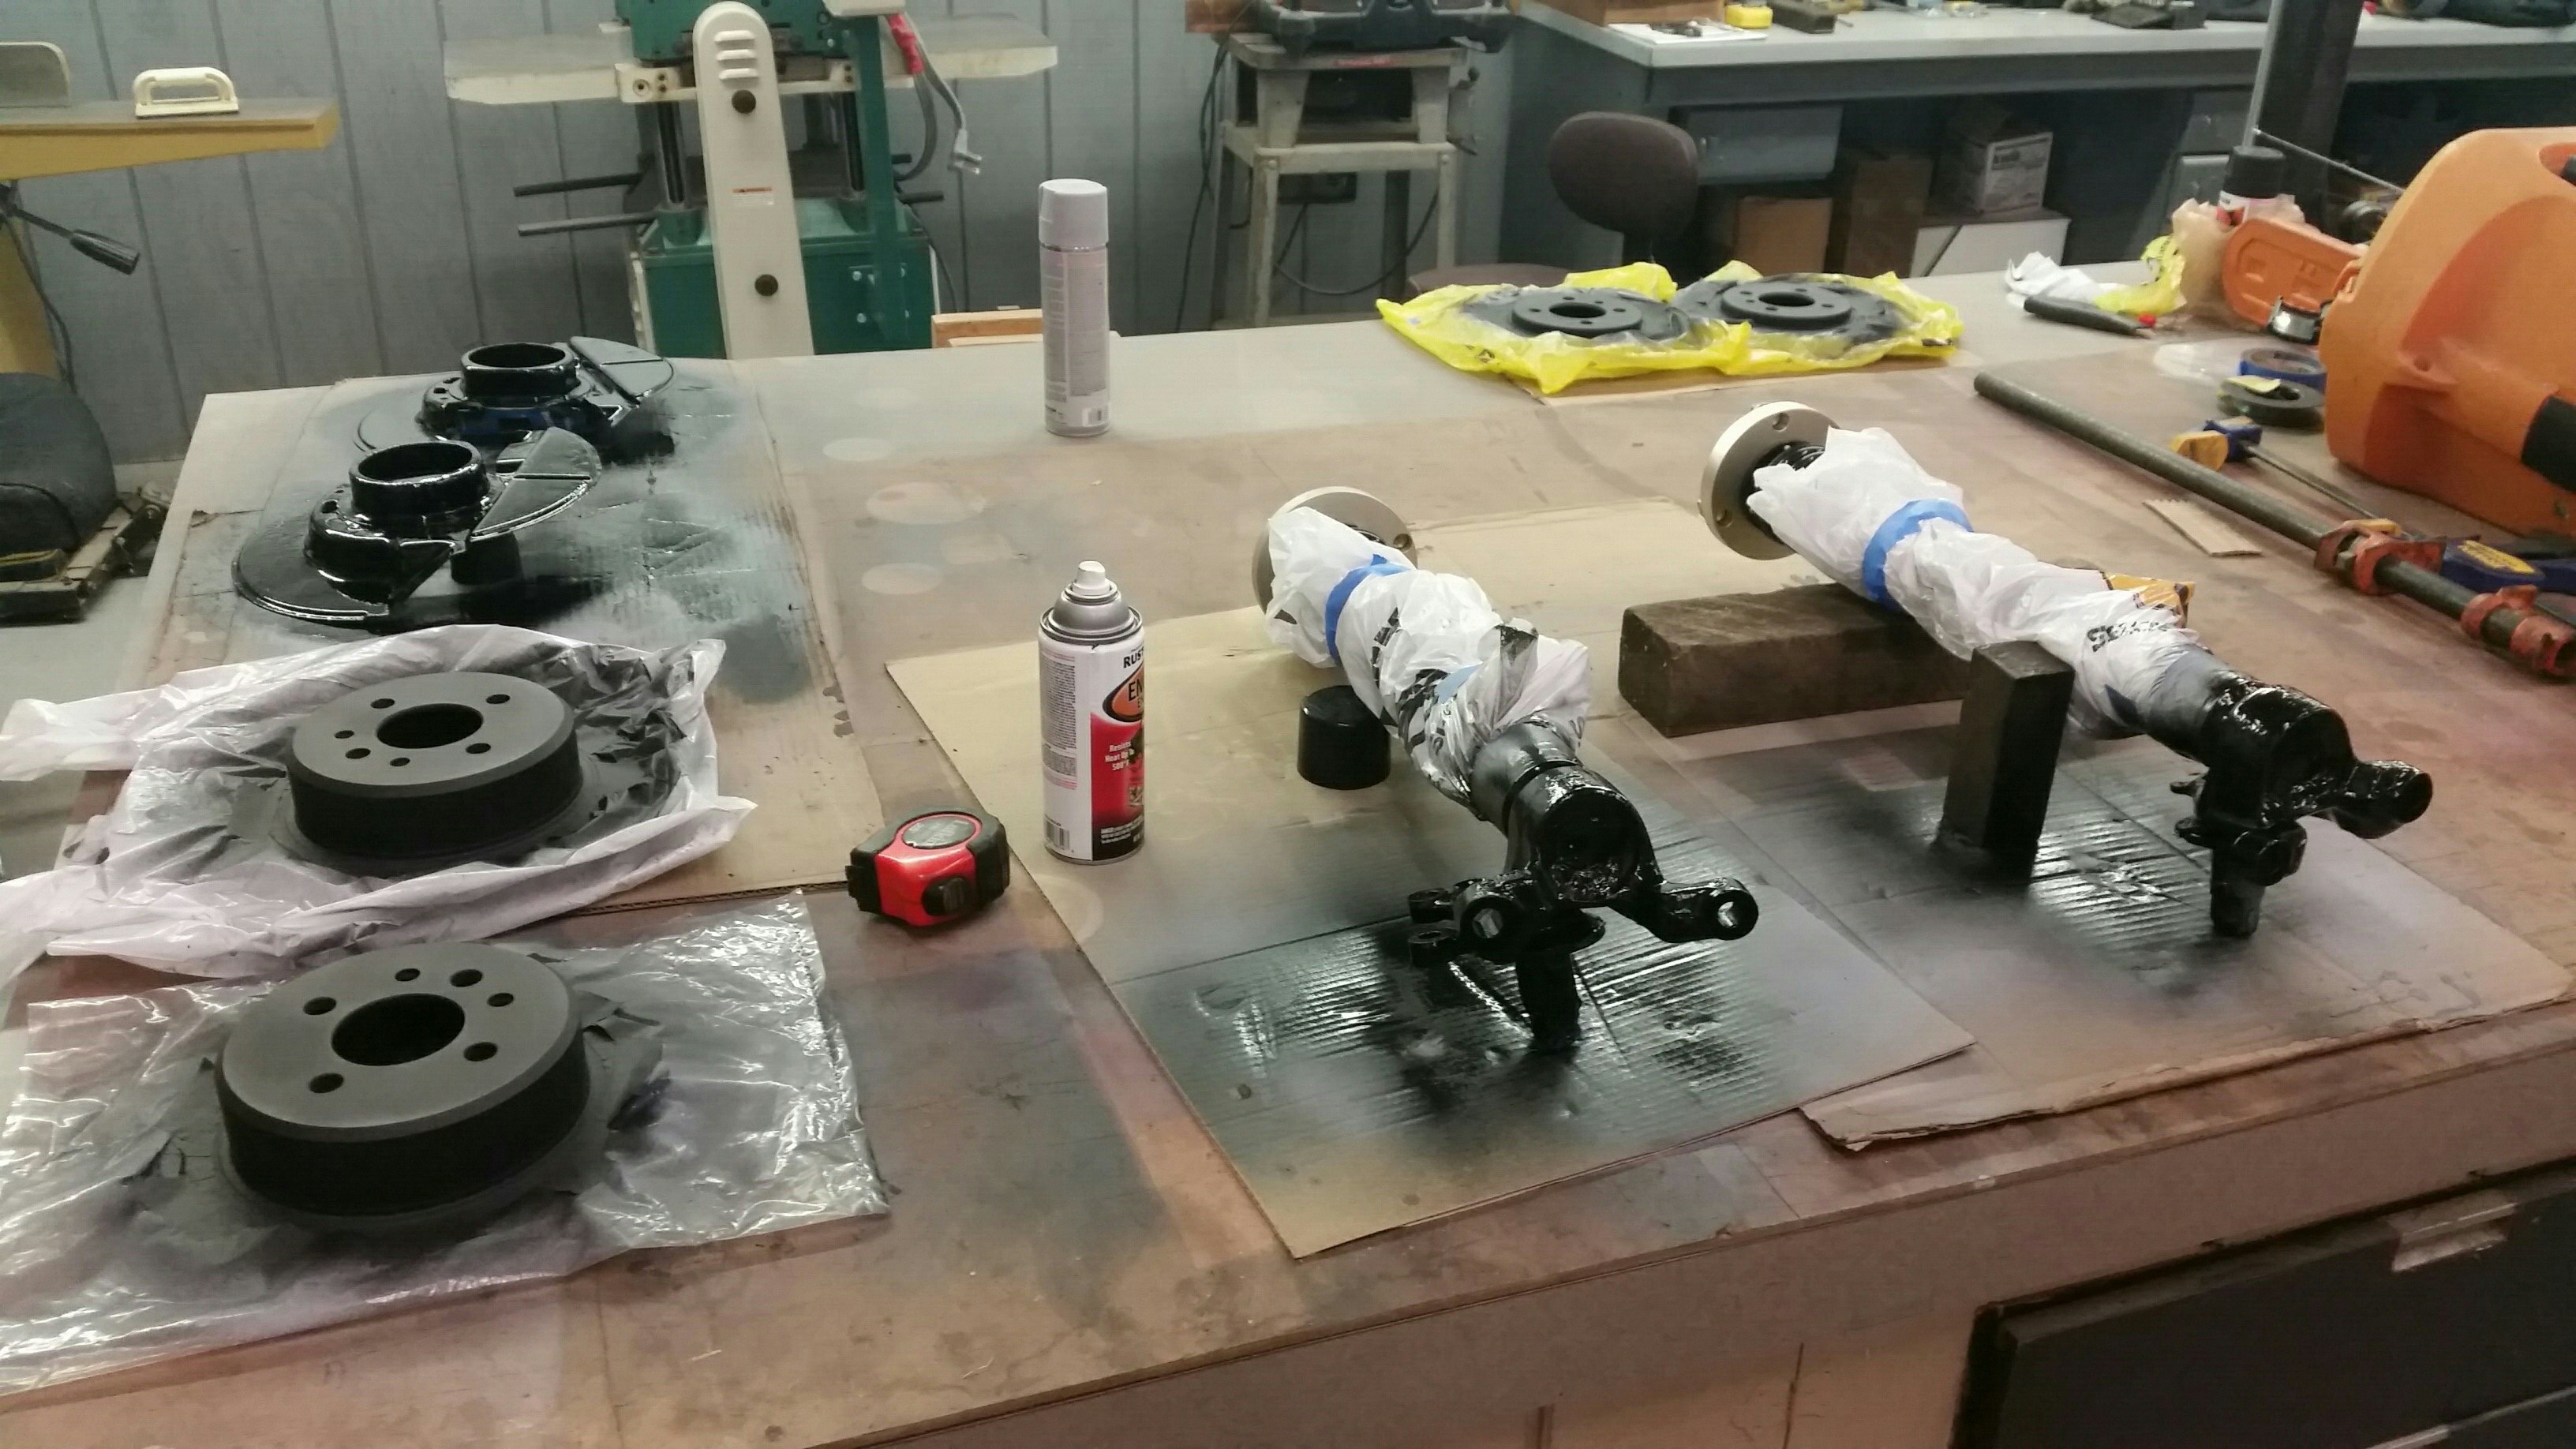
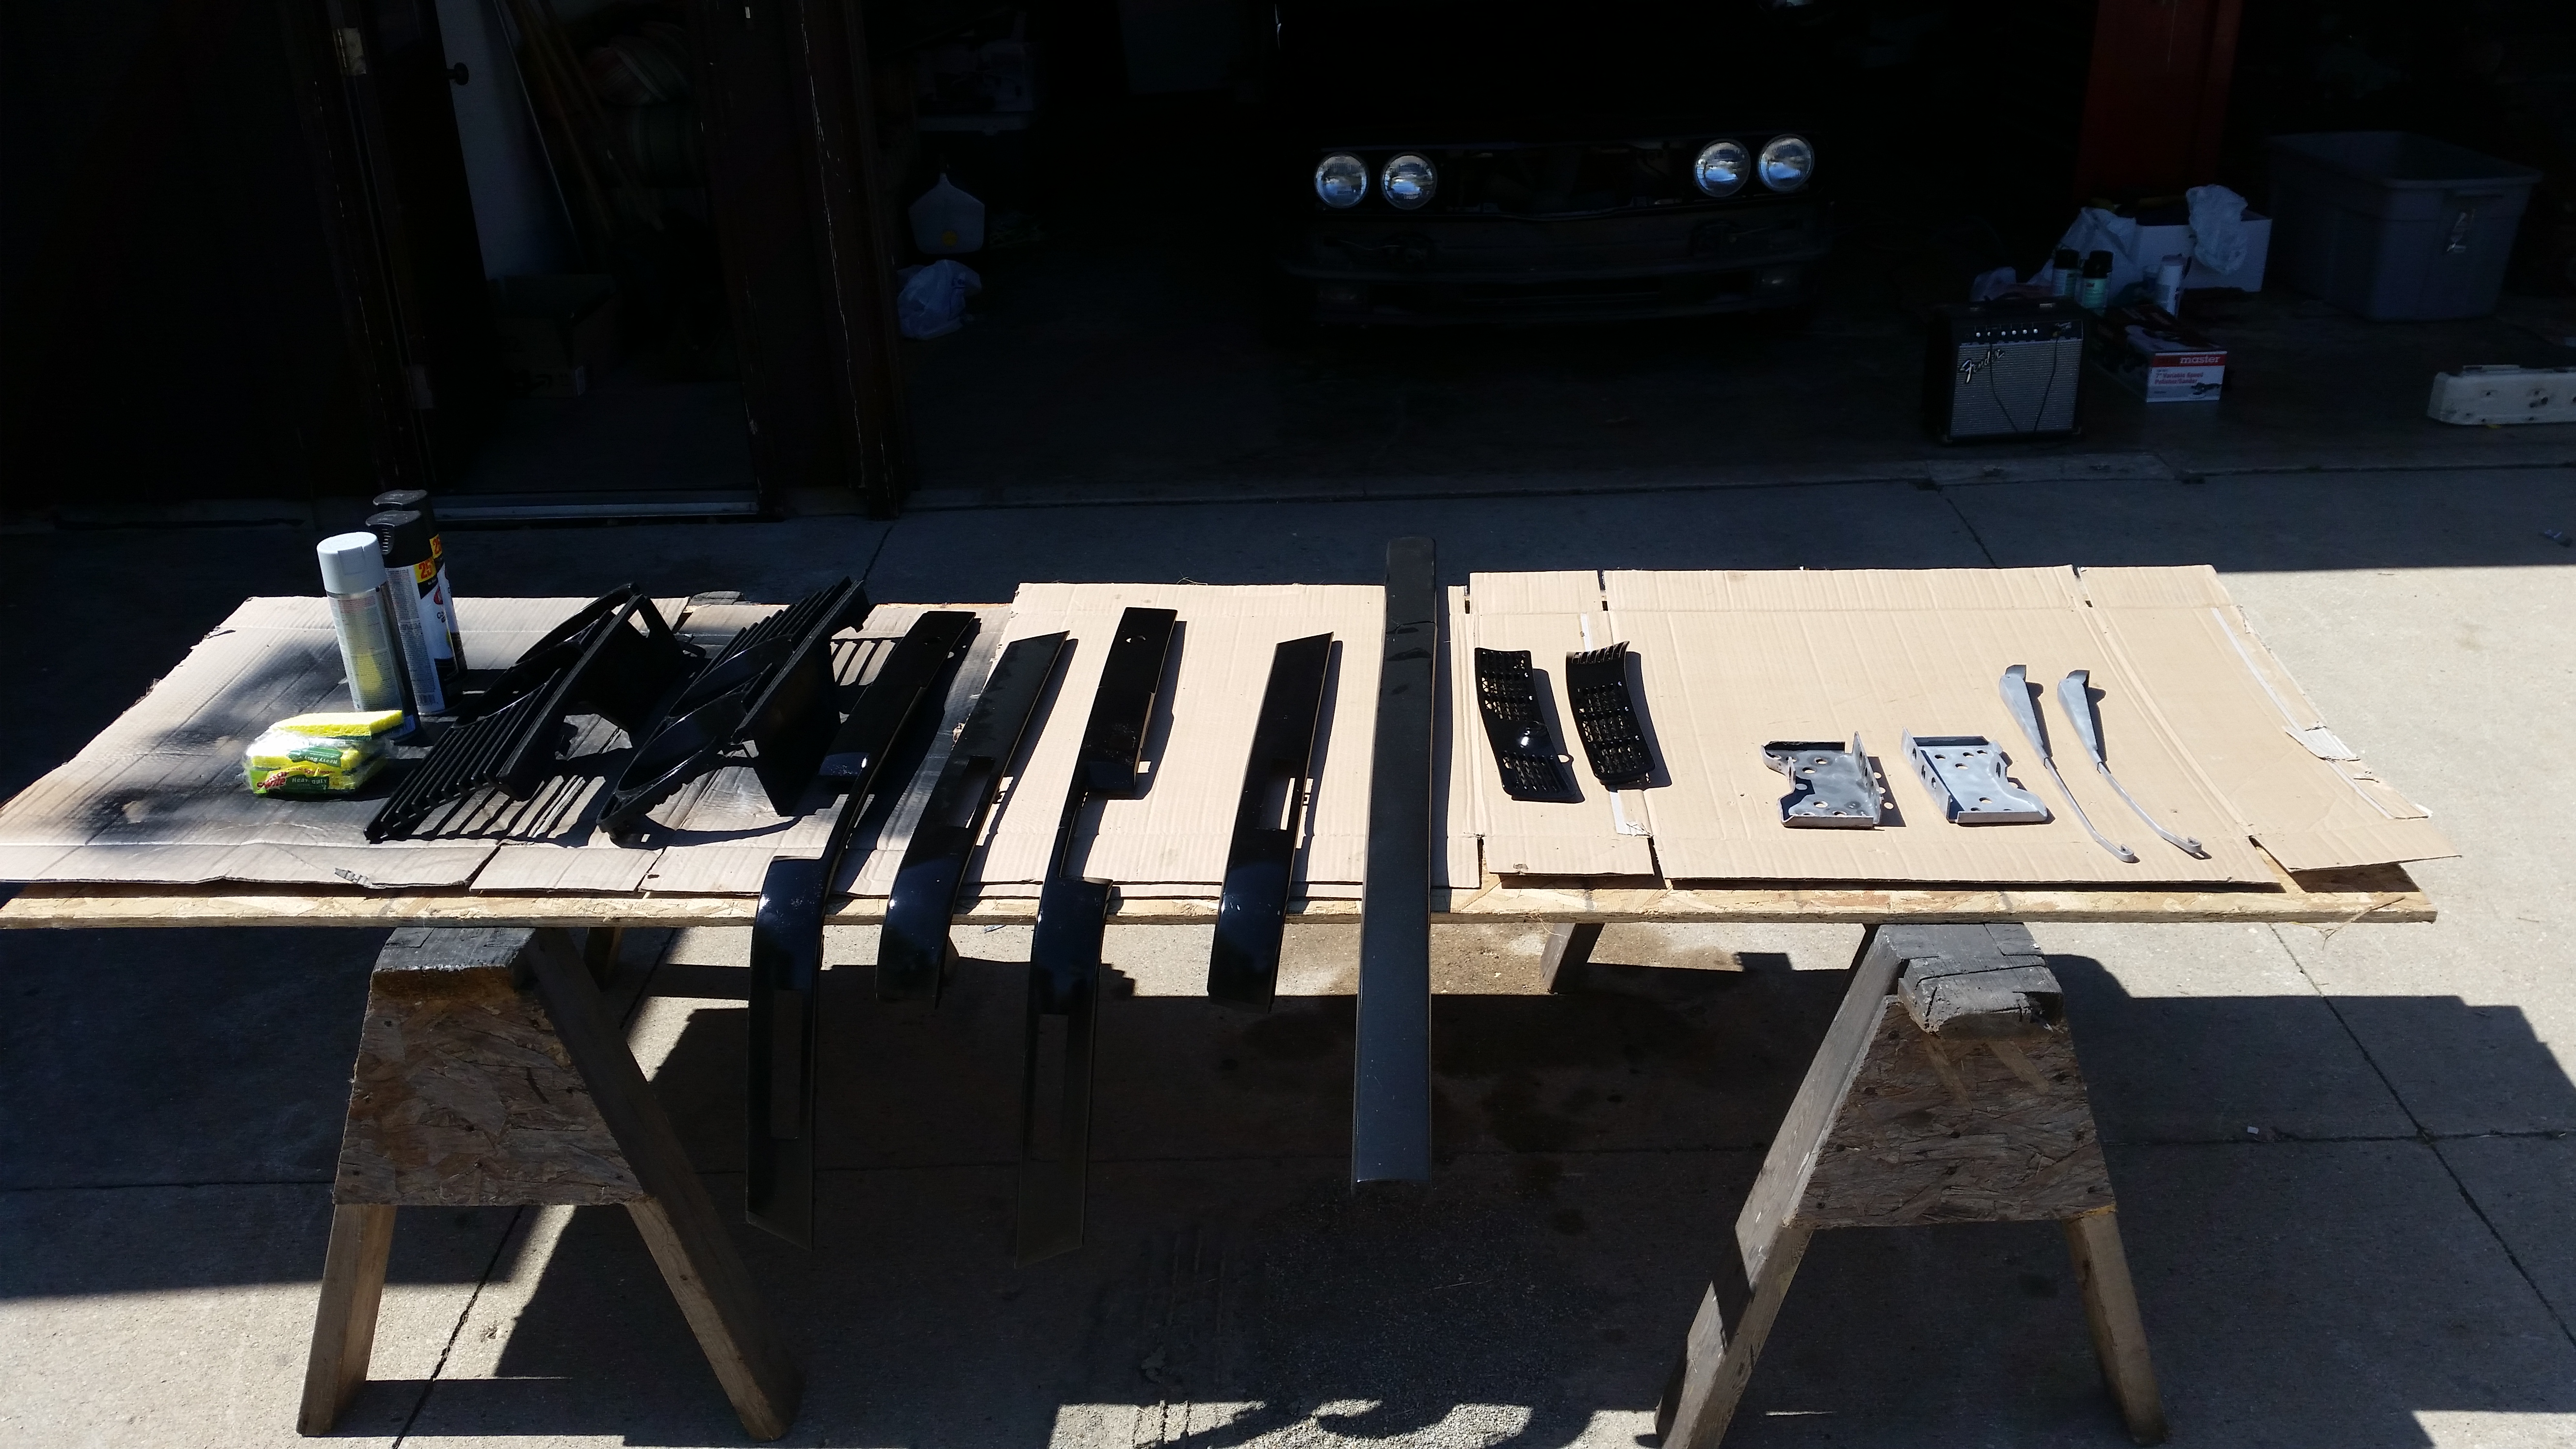
Got all the bumper impact strips painted today! plus primed the rear bumper brackets and wiper arms.
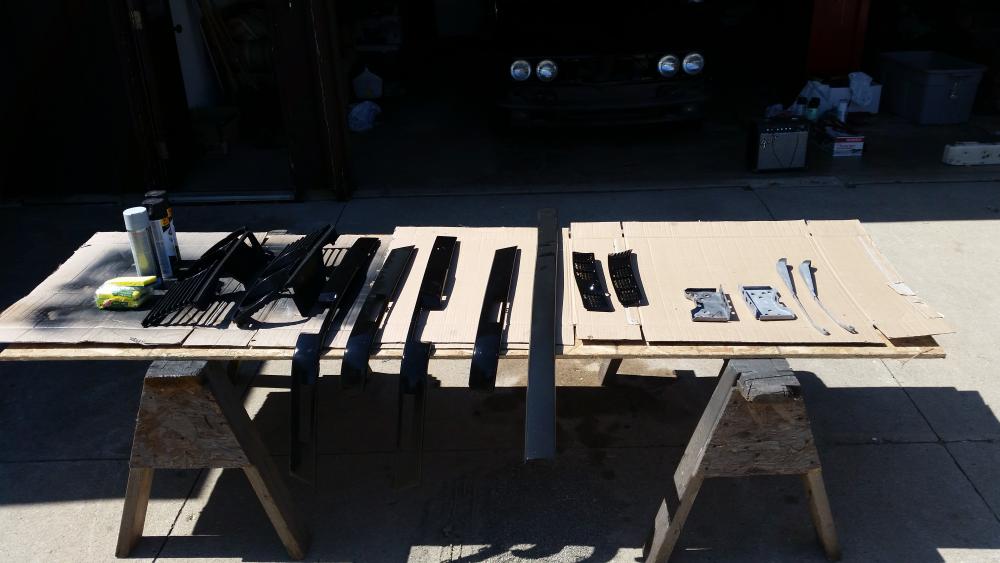
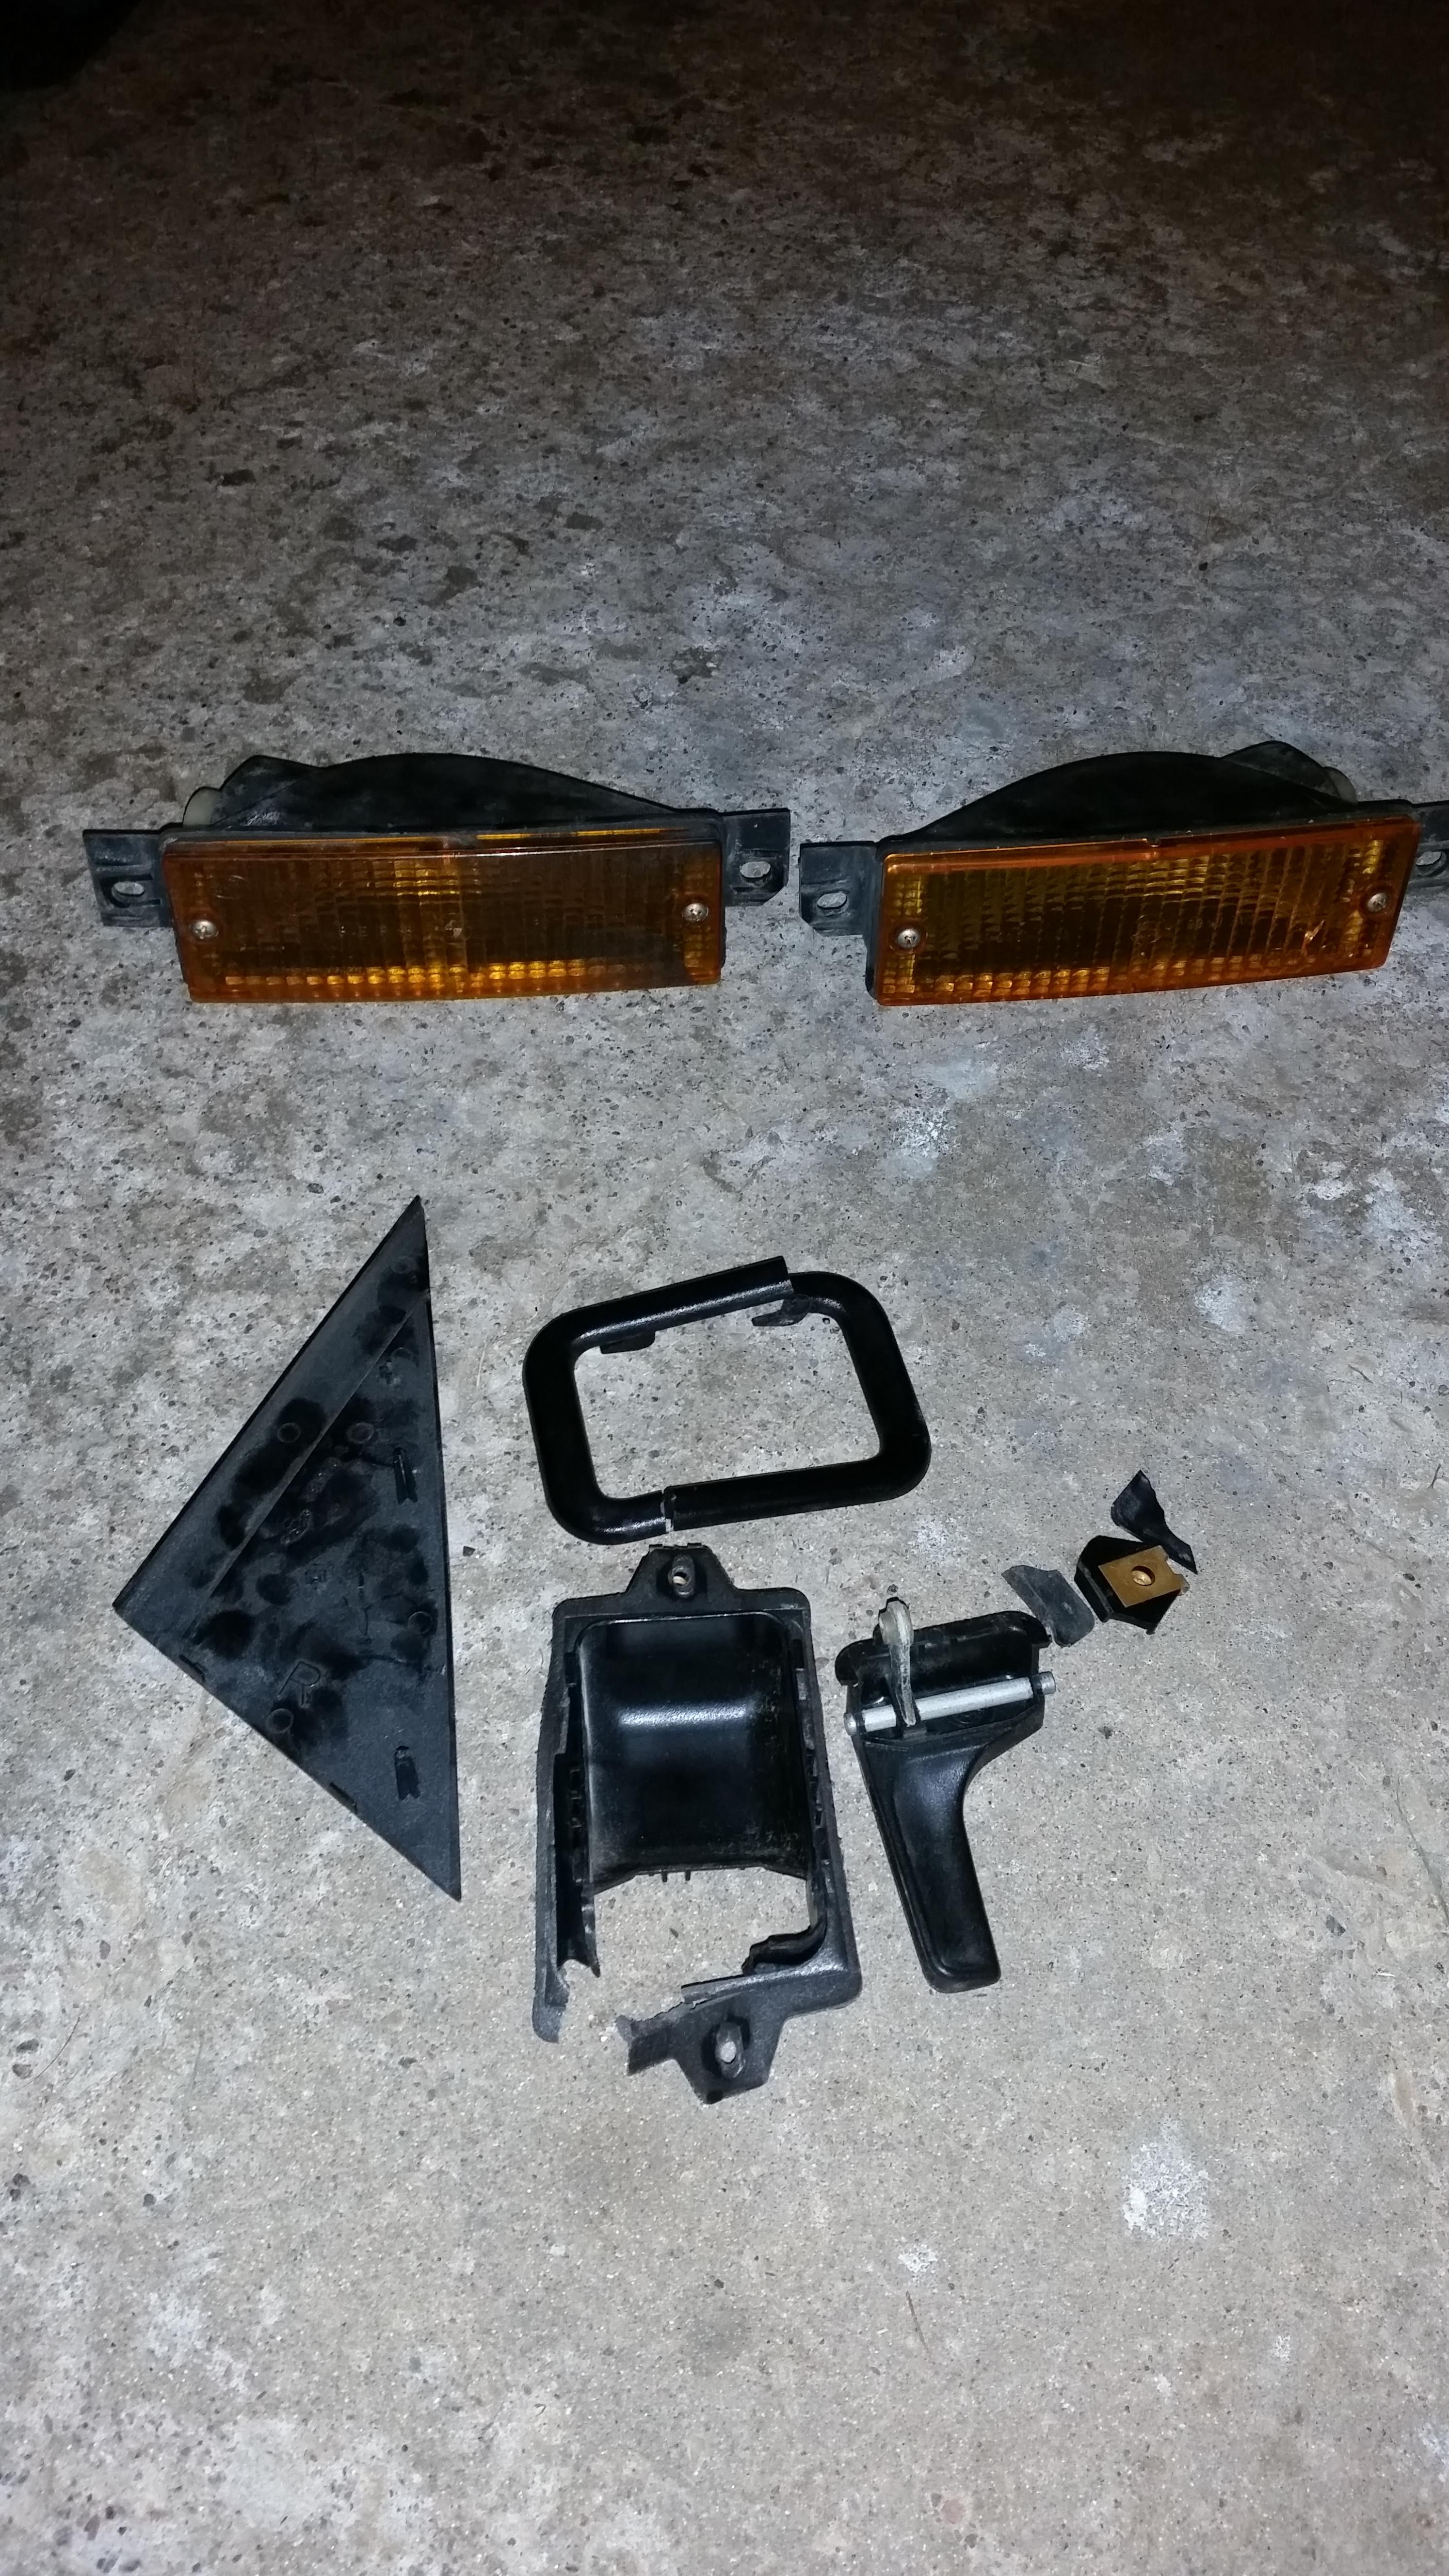
Little broken cosmetic things that I will have to order replacements for...
just gotta get new bulbs for the front blinker lights, was thinking of maybe getting clear lenses and trashing those orange ones. Same with the orange and red side markers, maybe go to either smoked ones or clear.
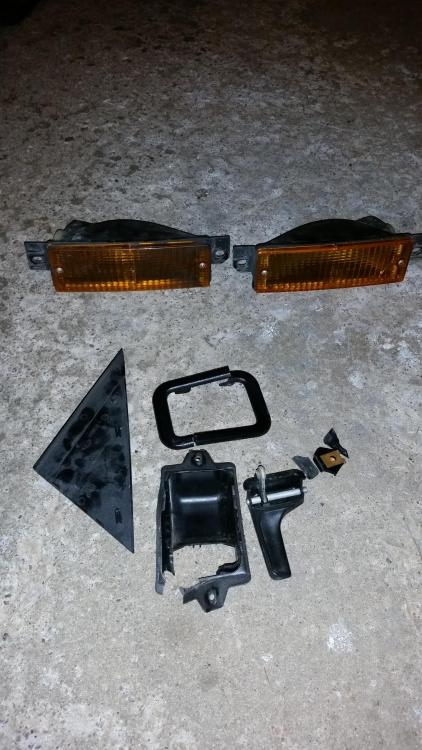
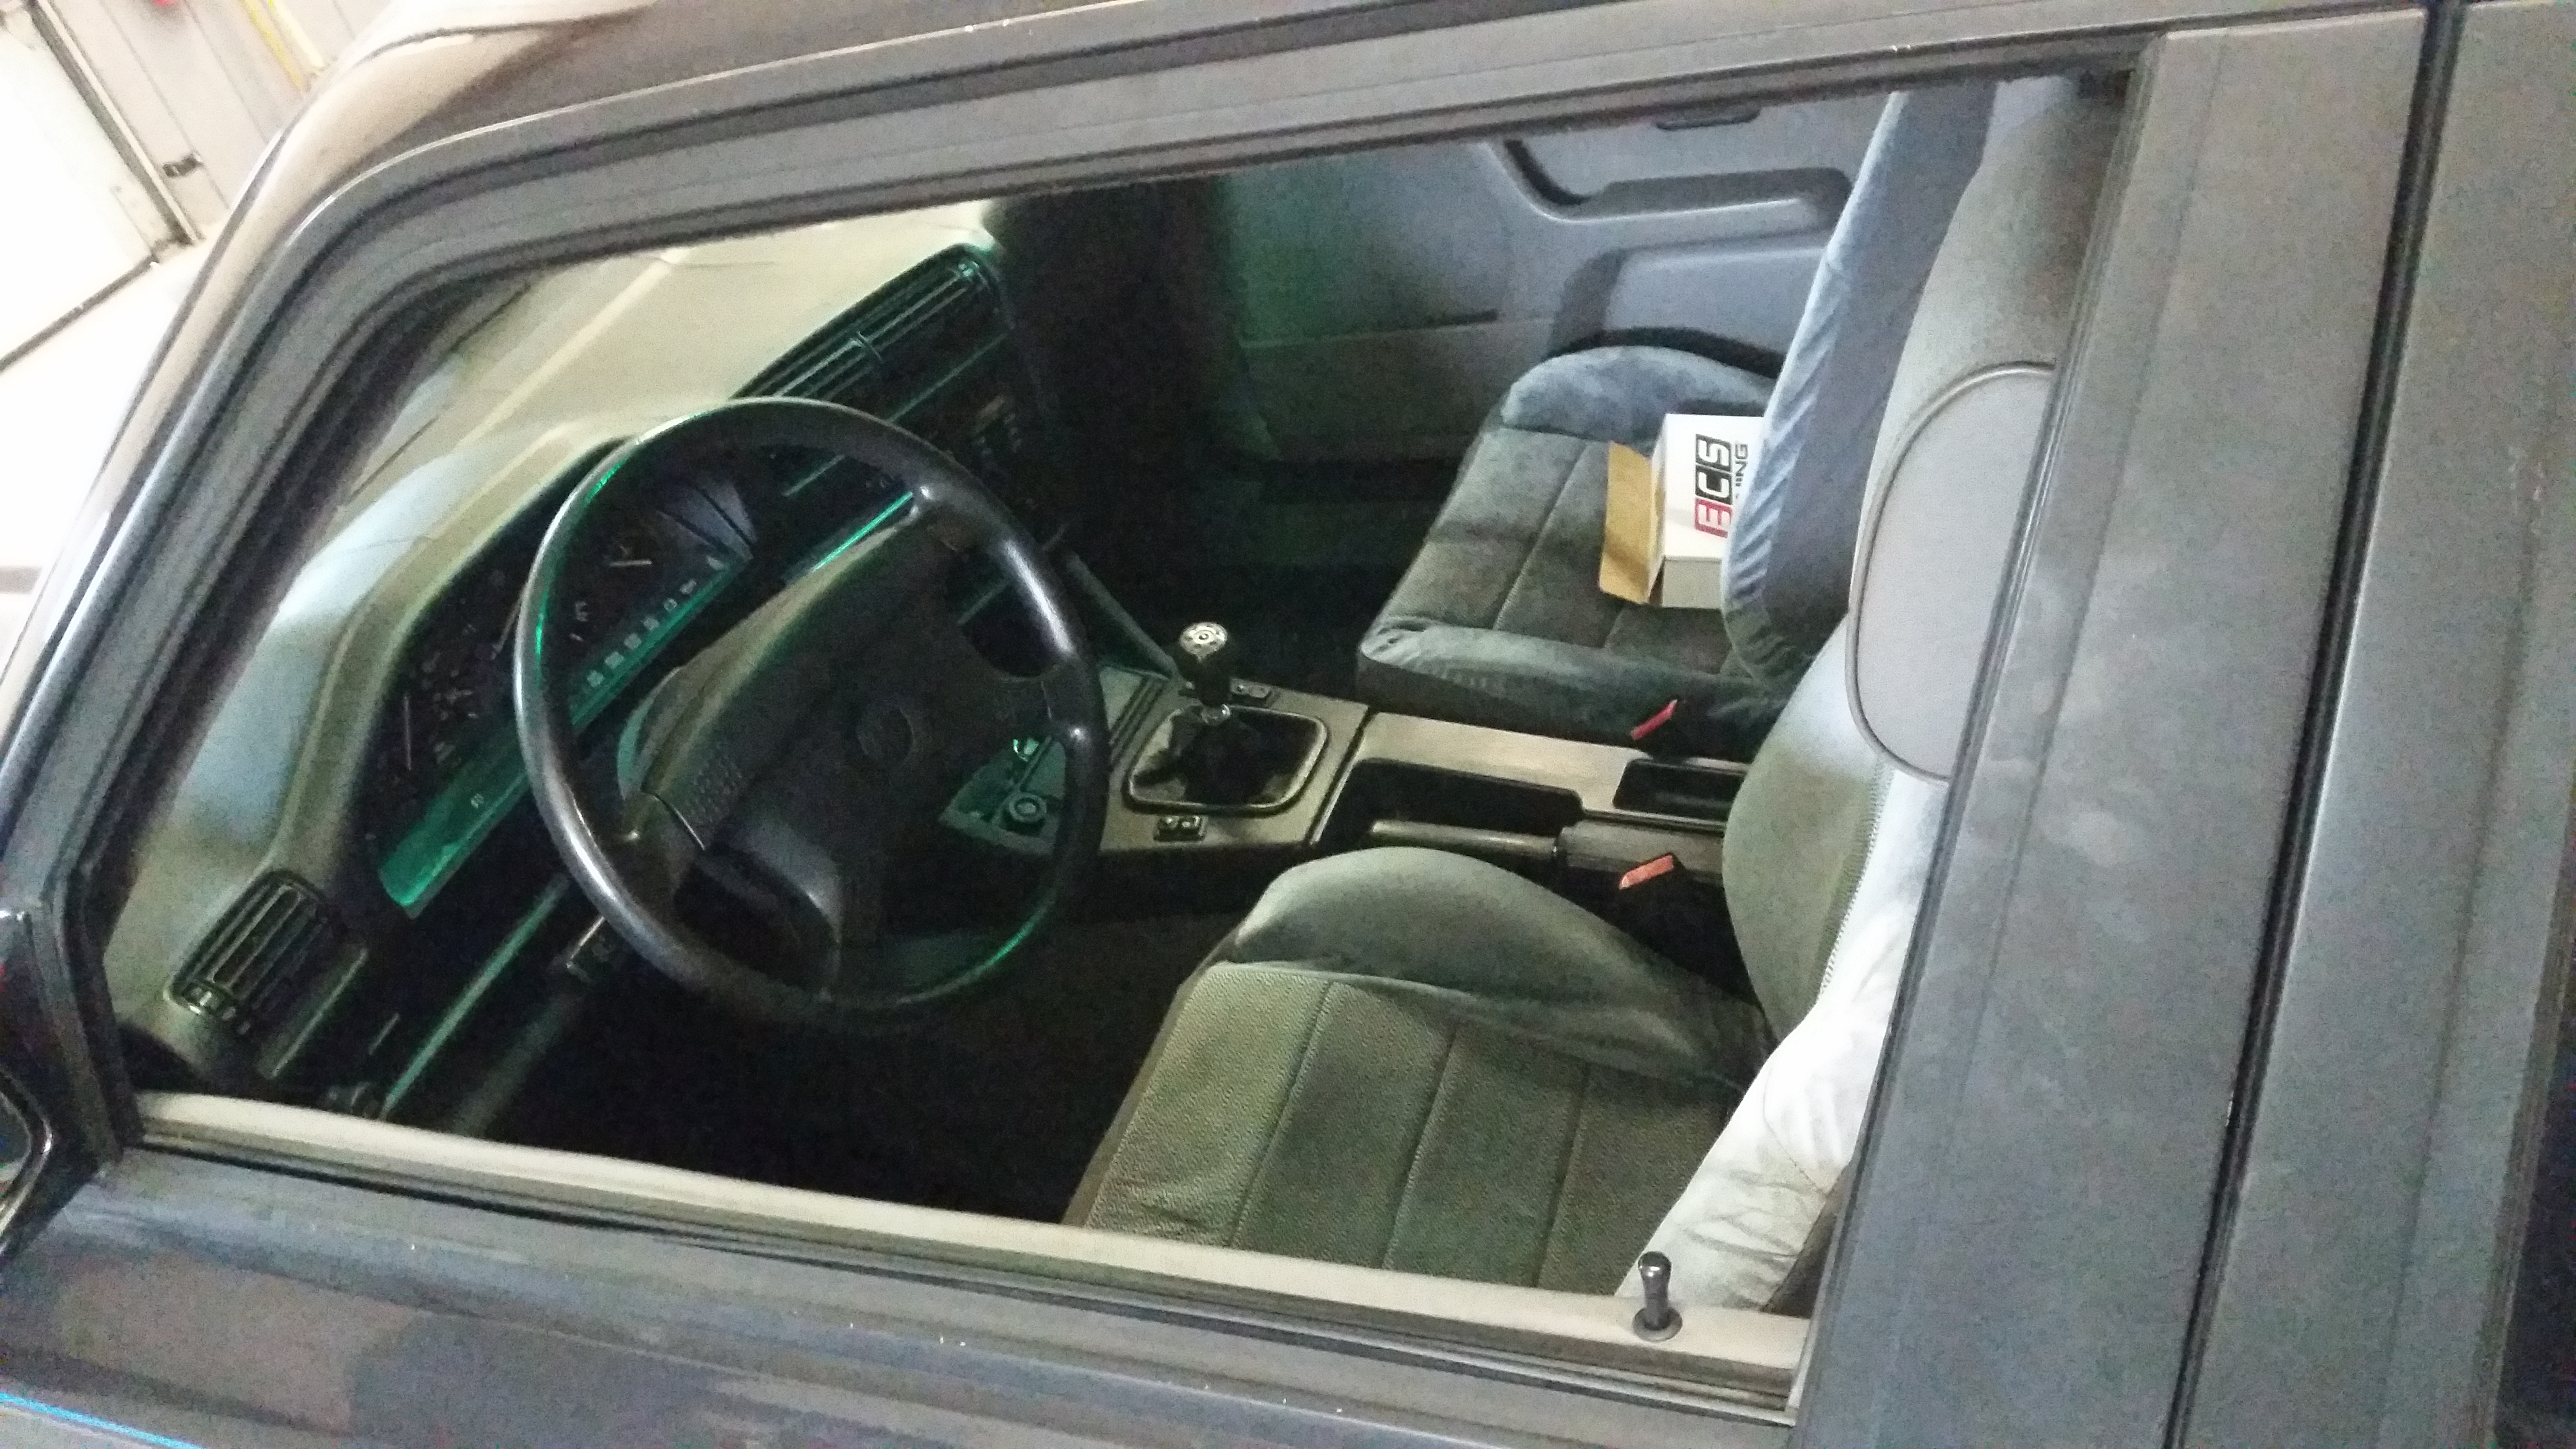
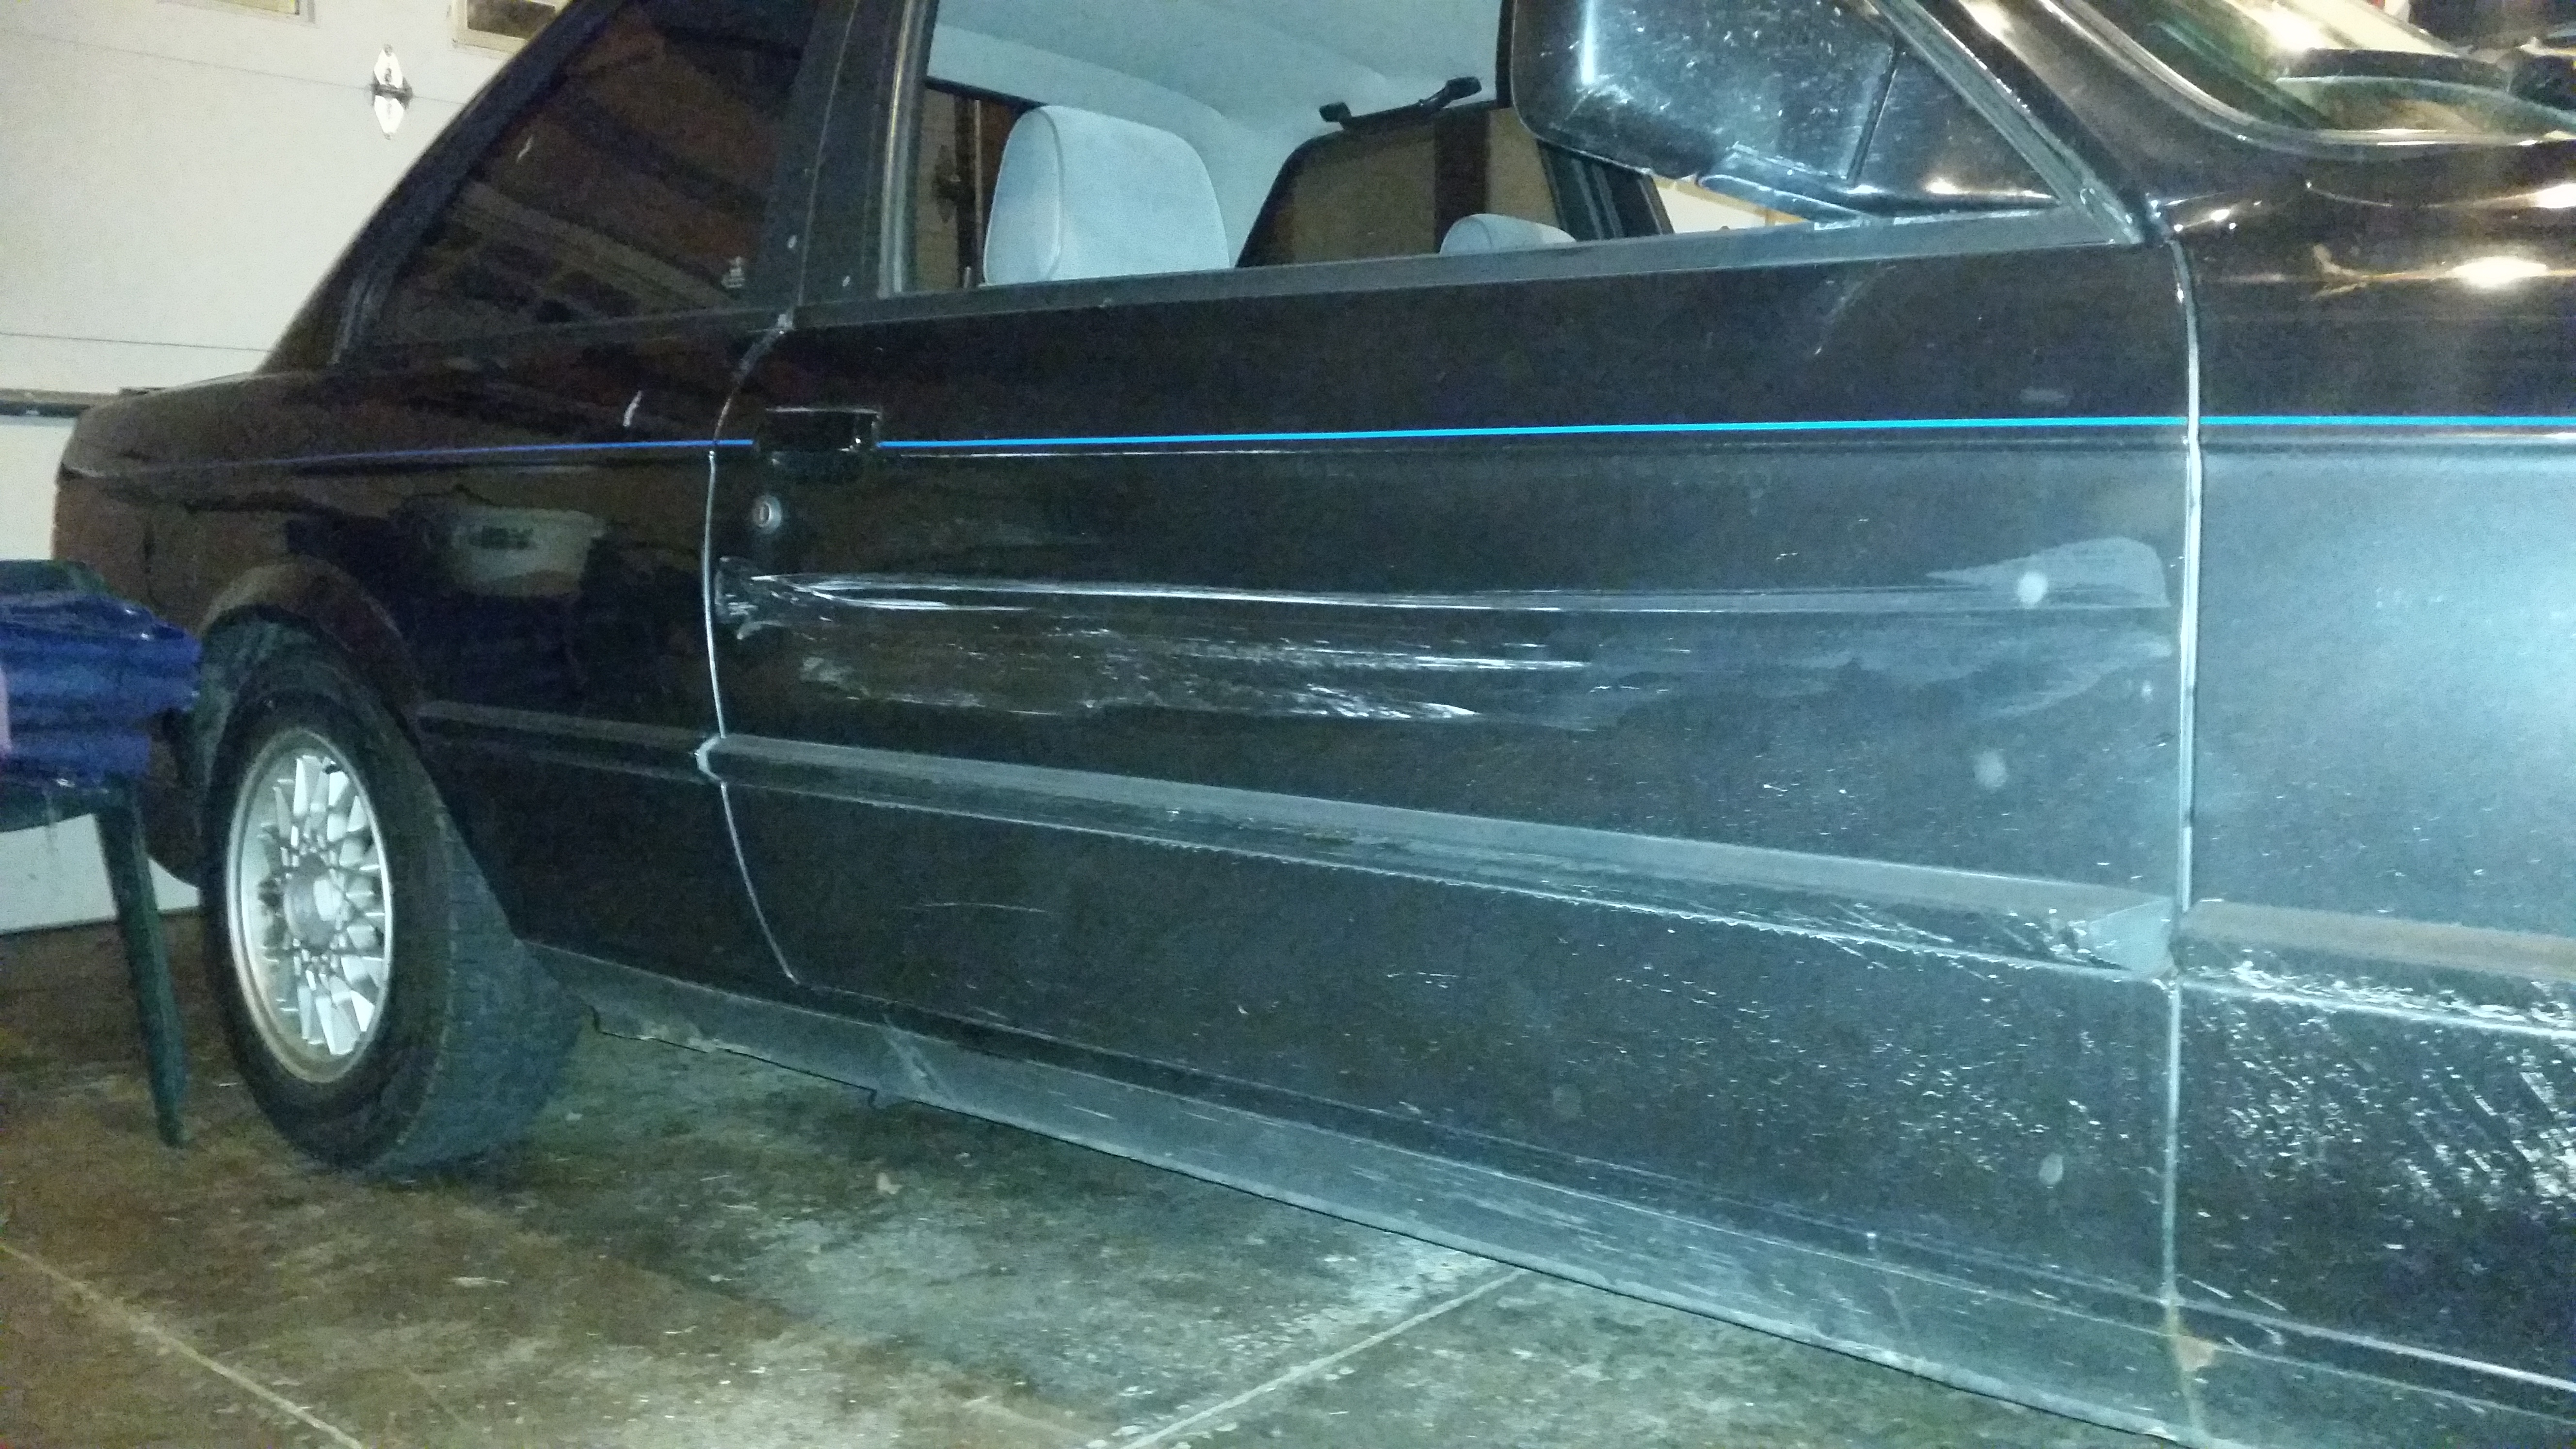
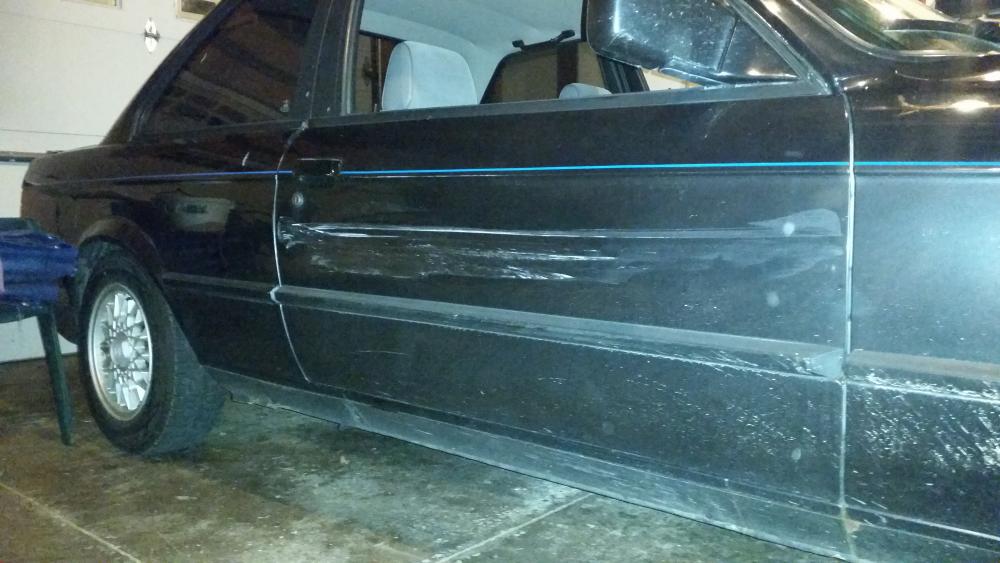
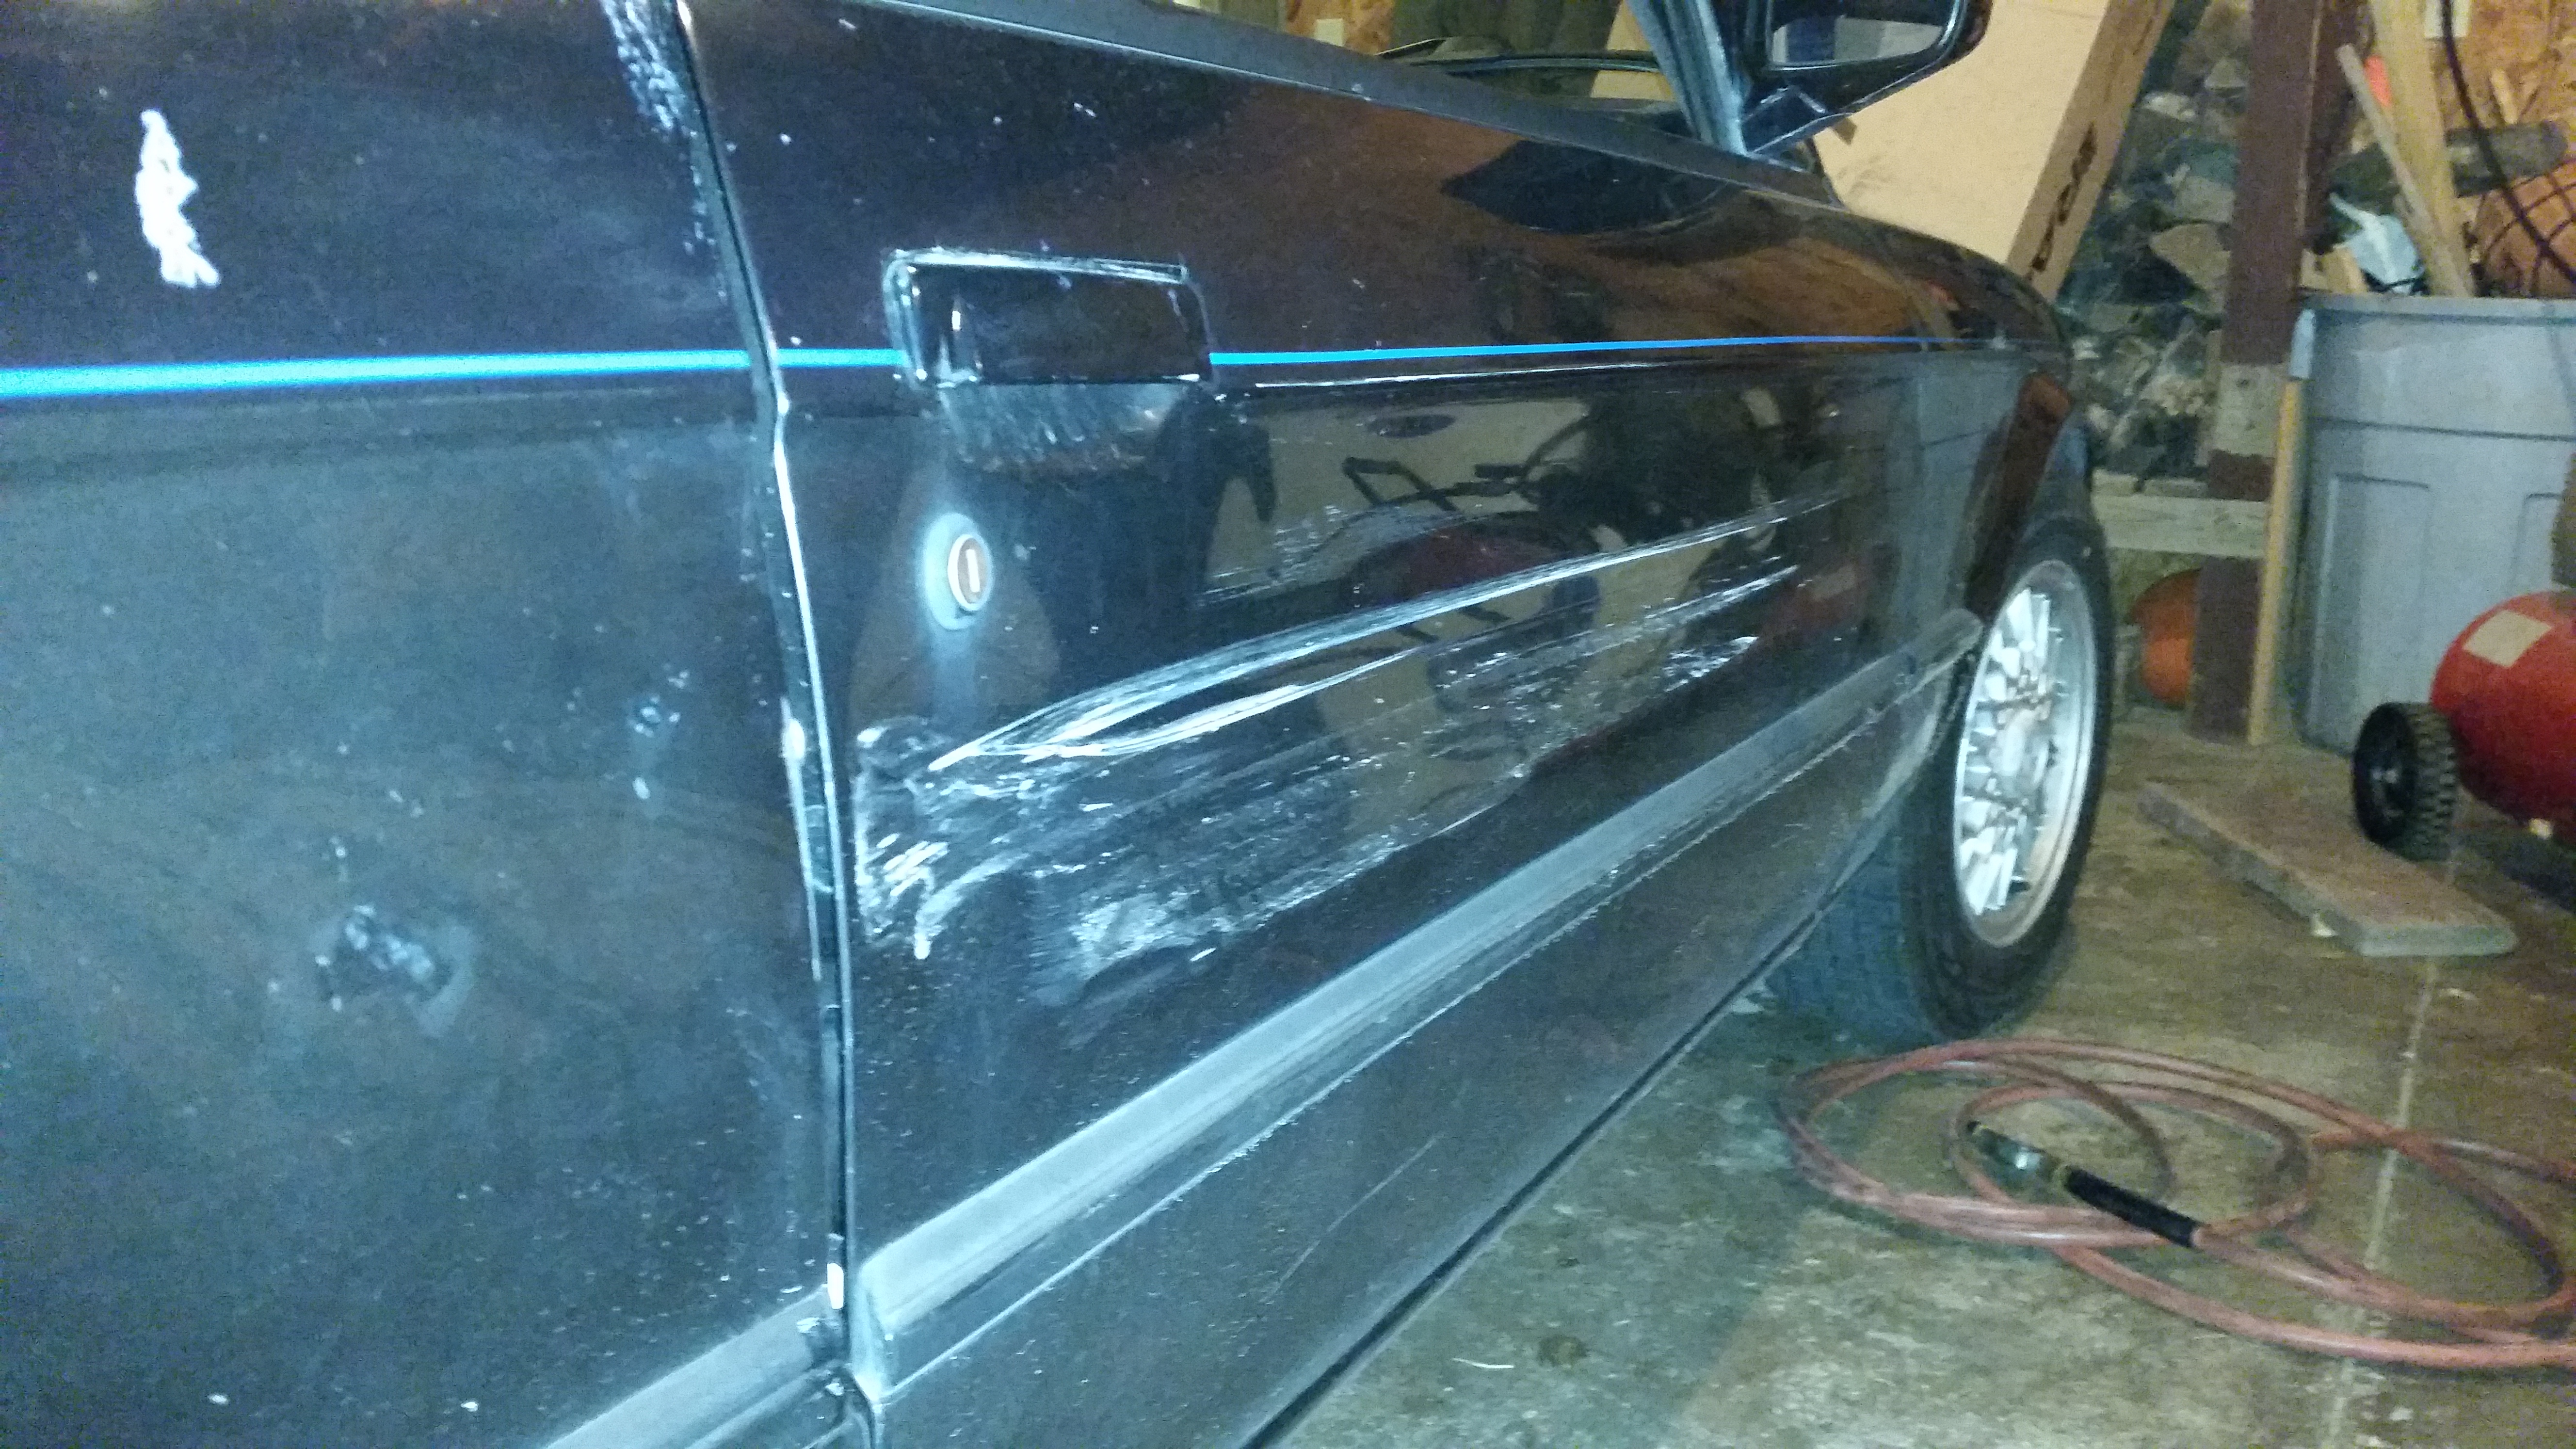
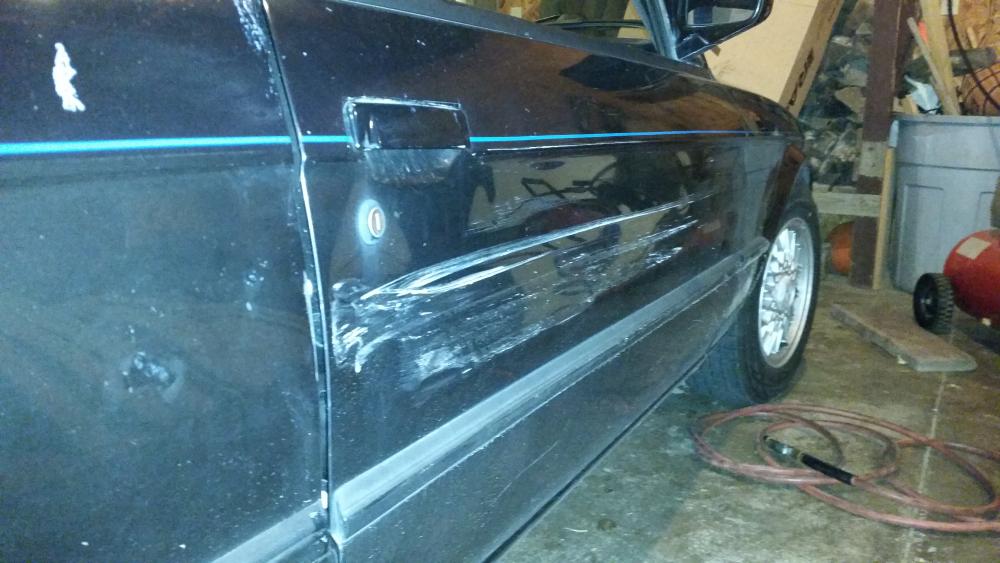
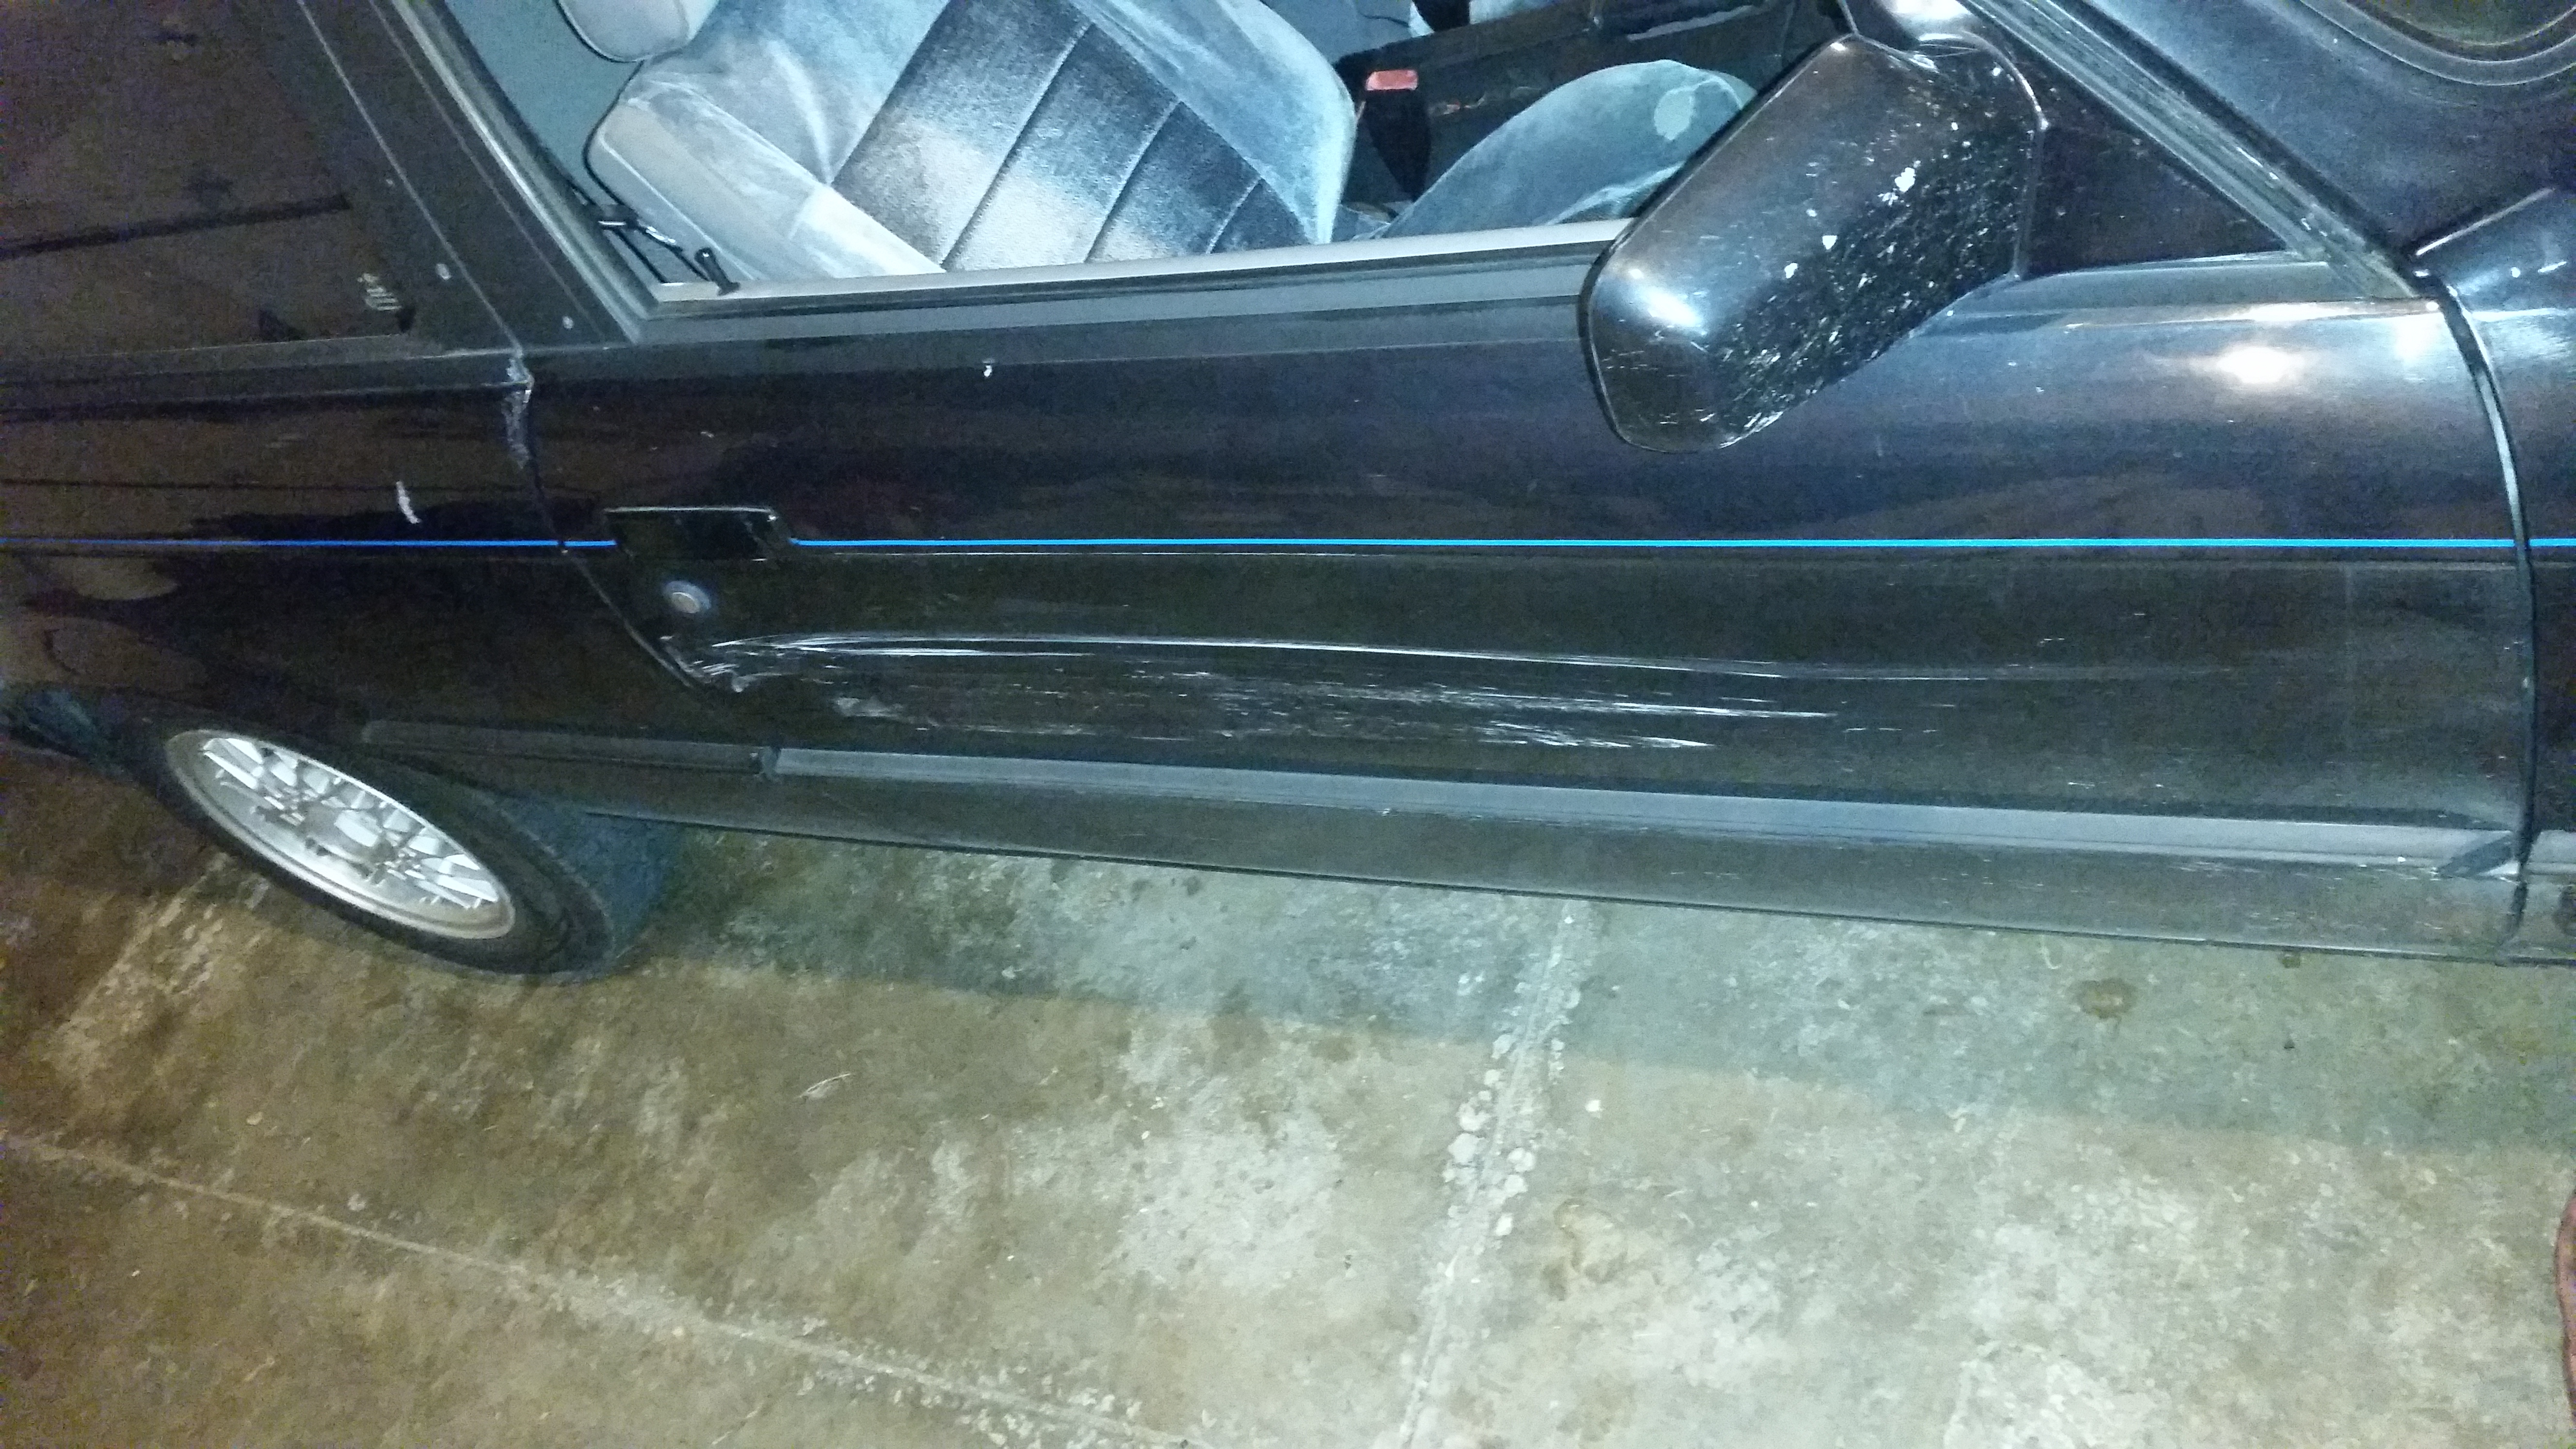
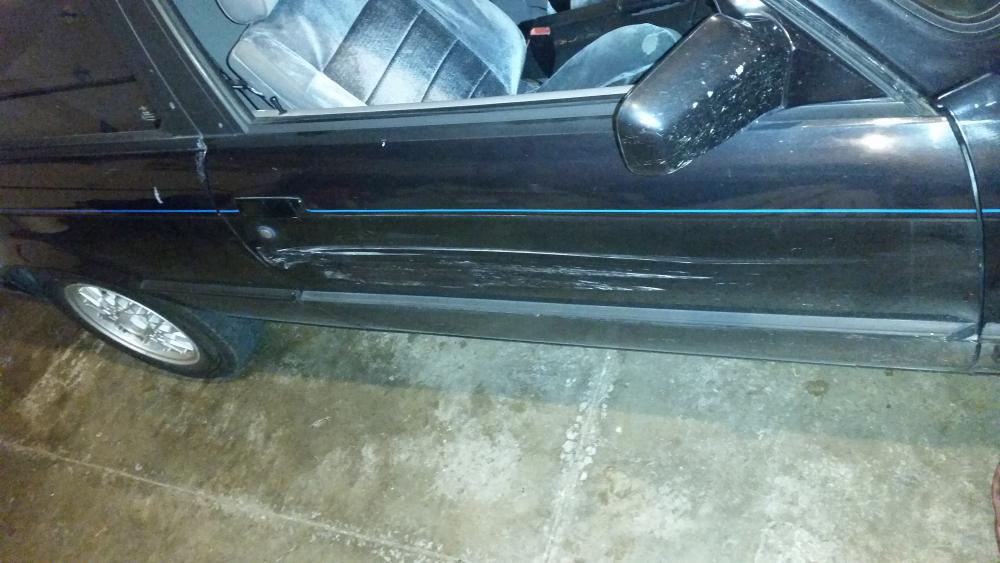
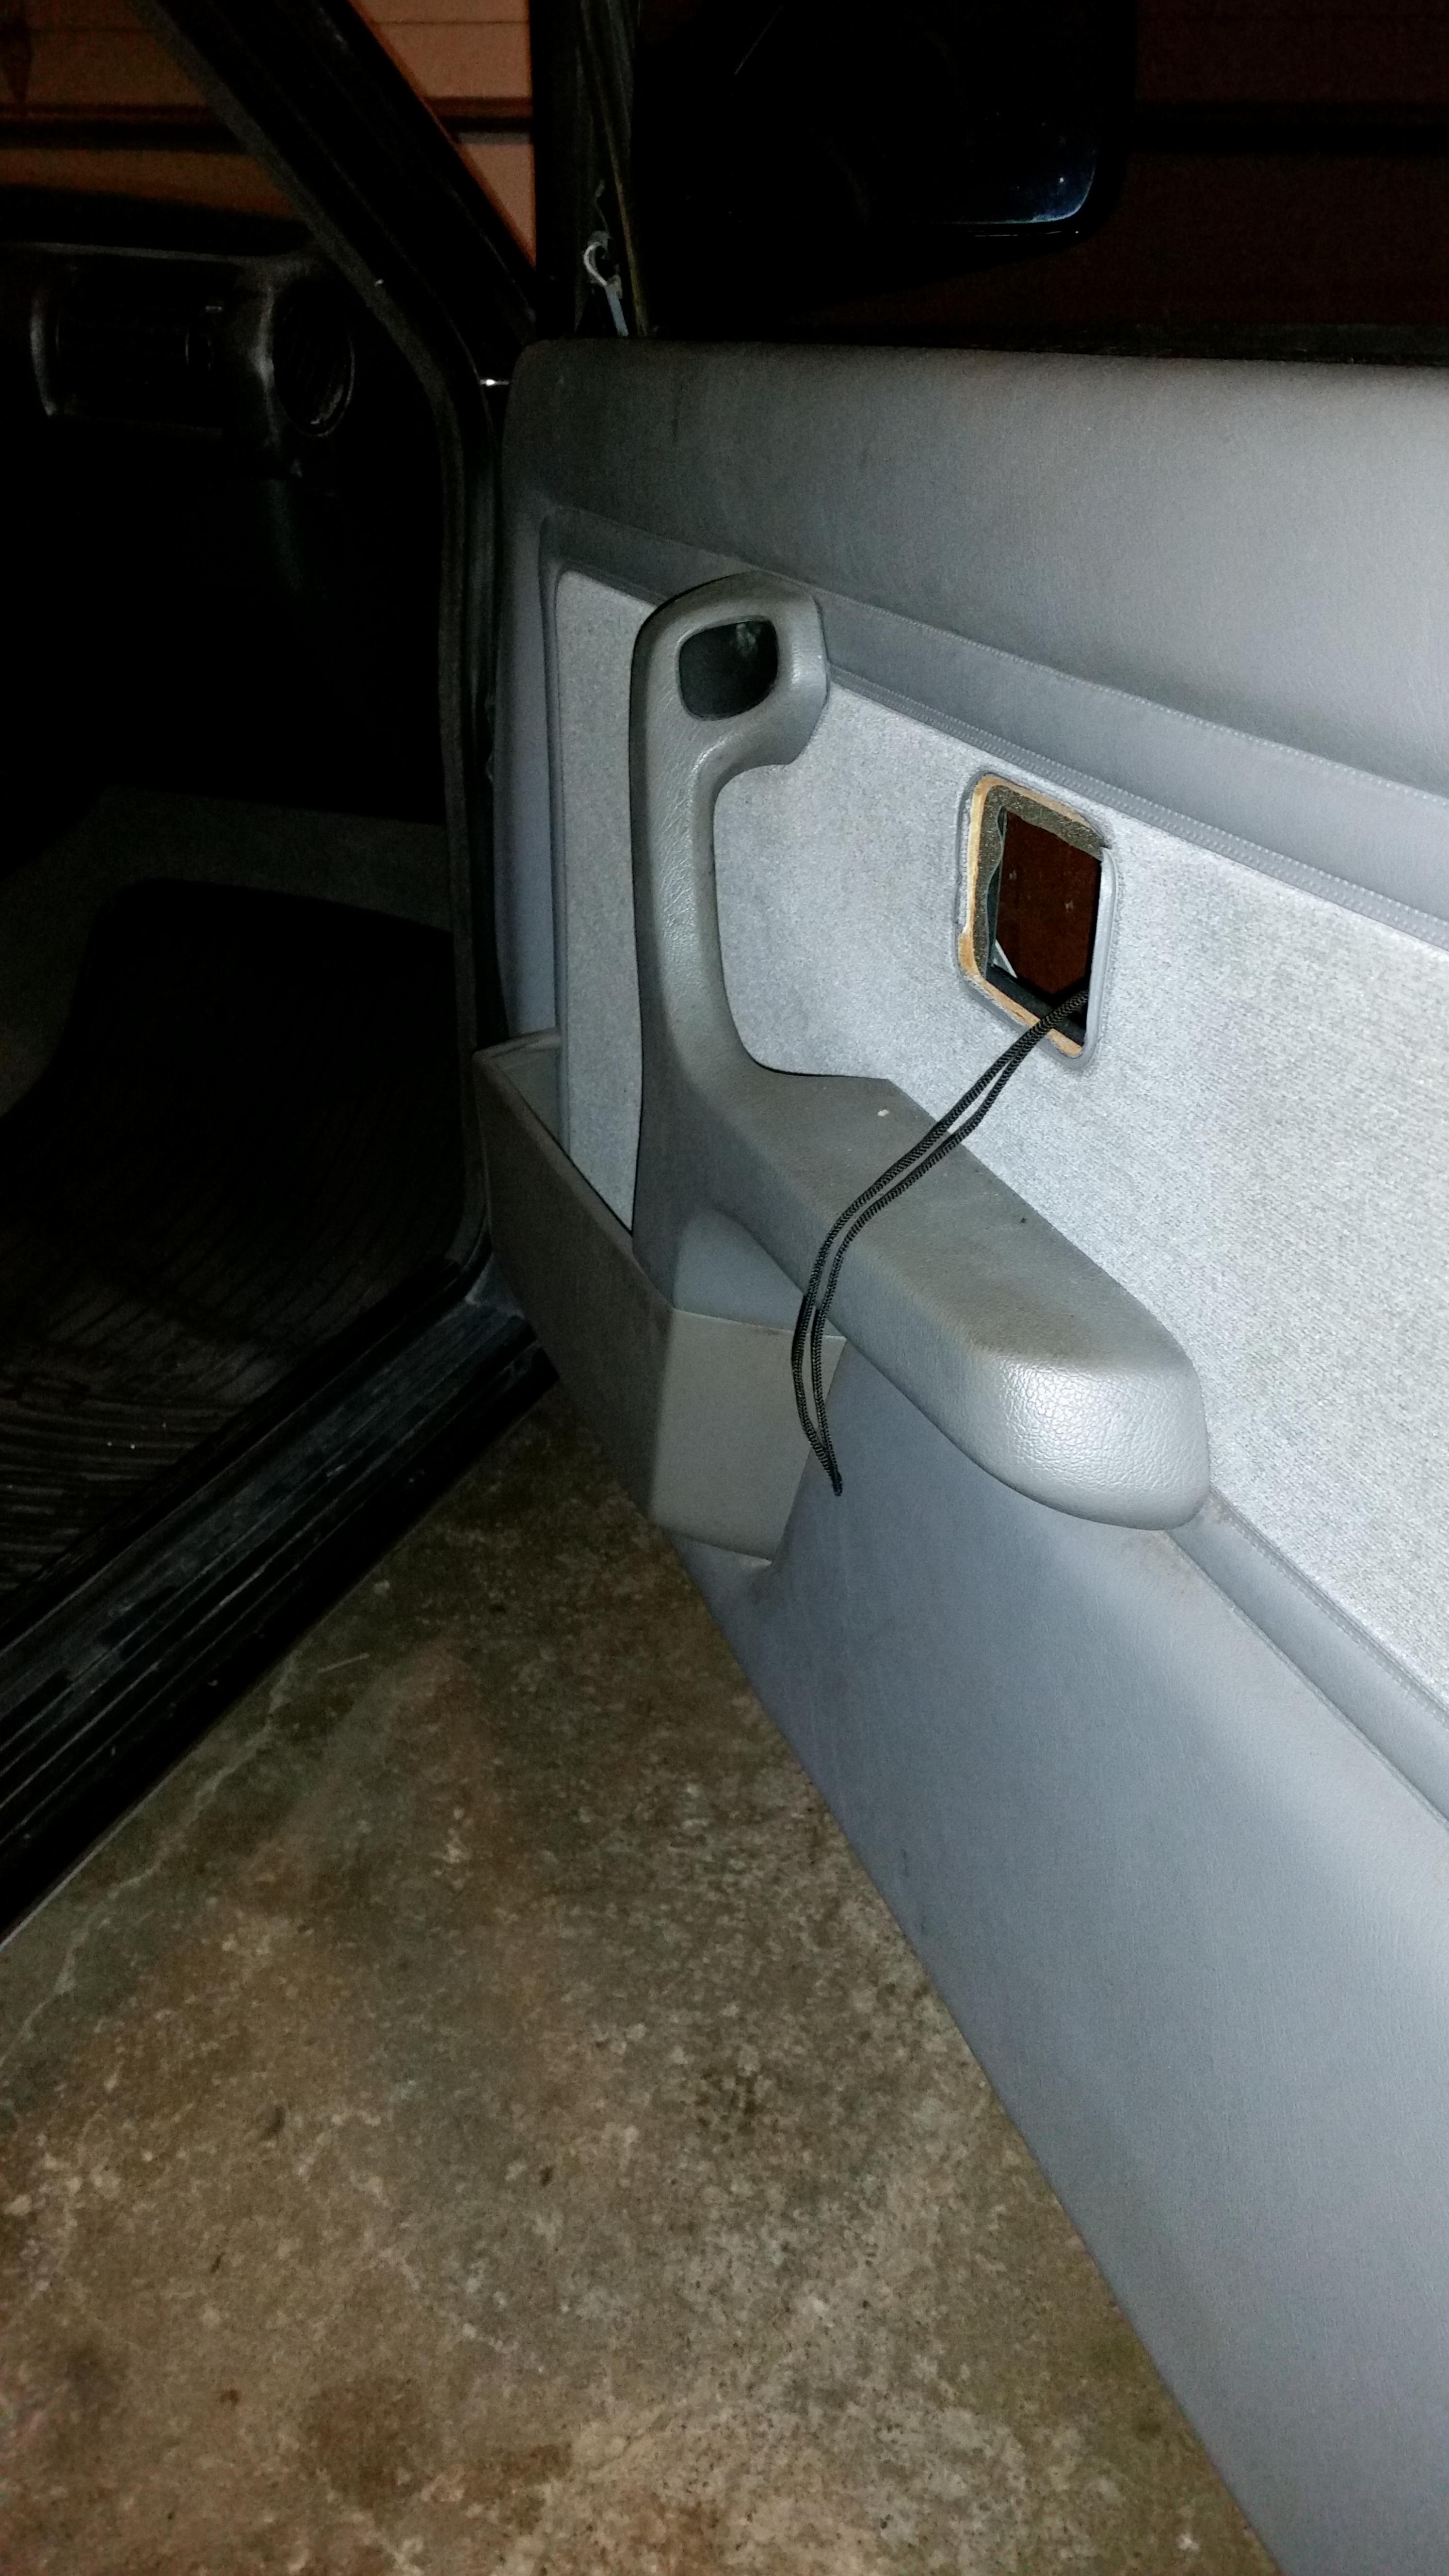
Somehow the inside door handle was completely damaged from the door being dented in so until I get another one a rope is gonna have to do....
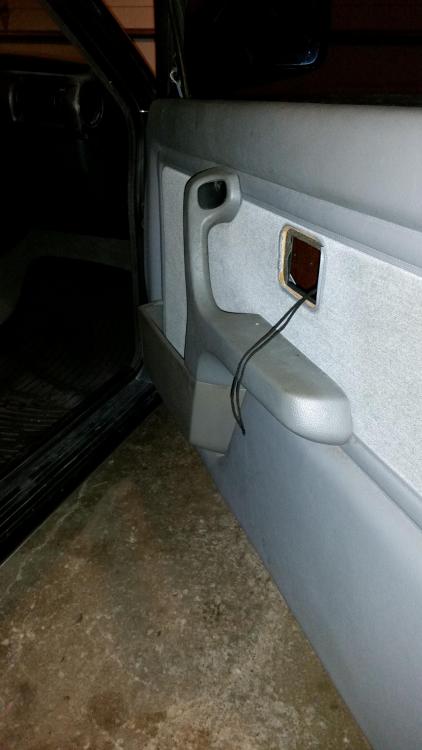
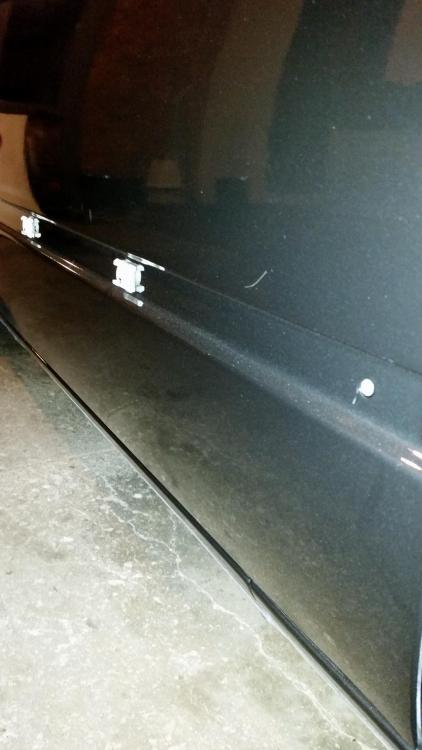
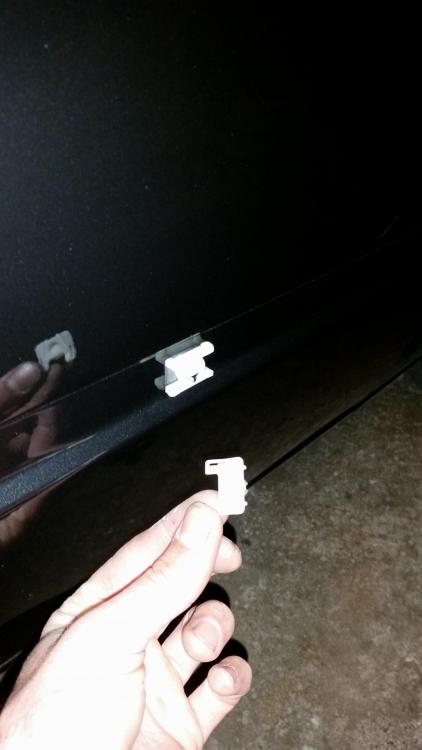
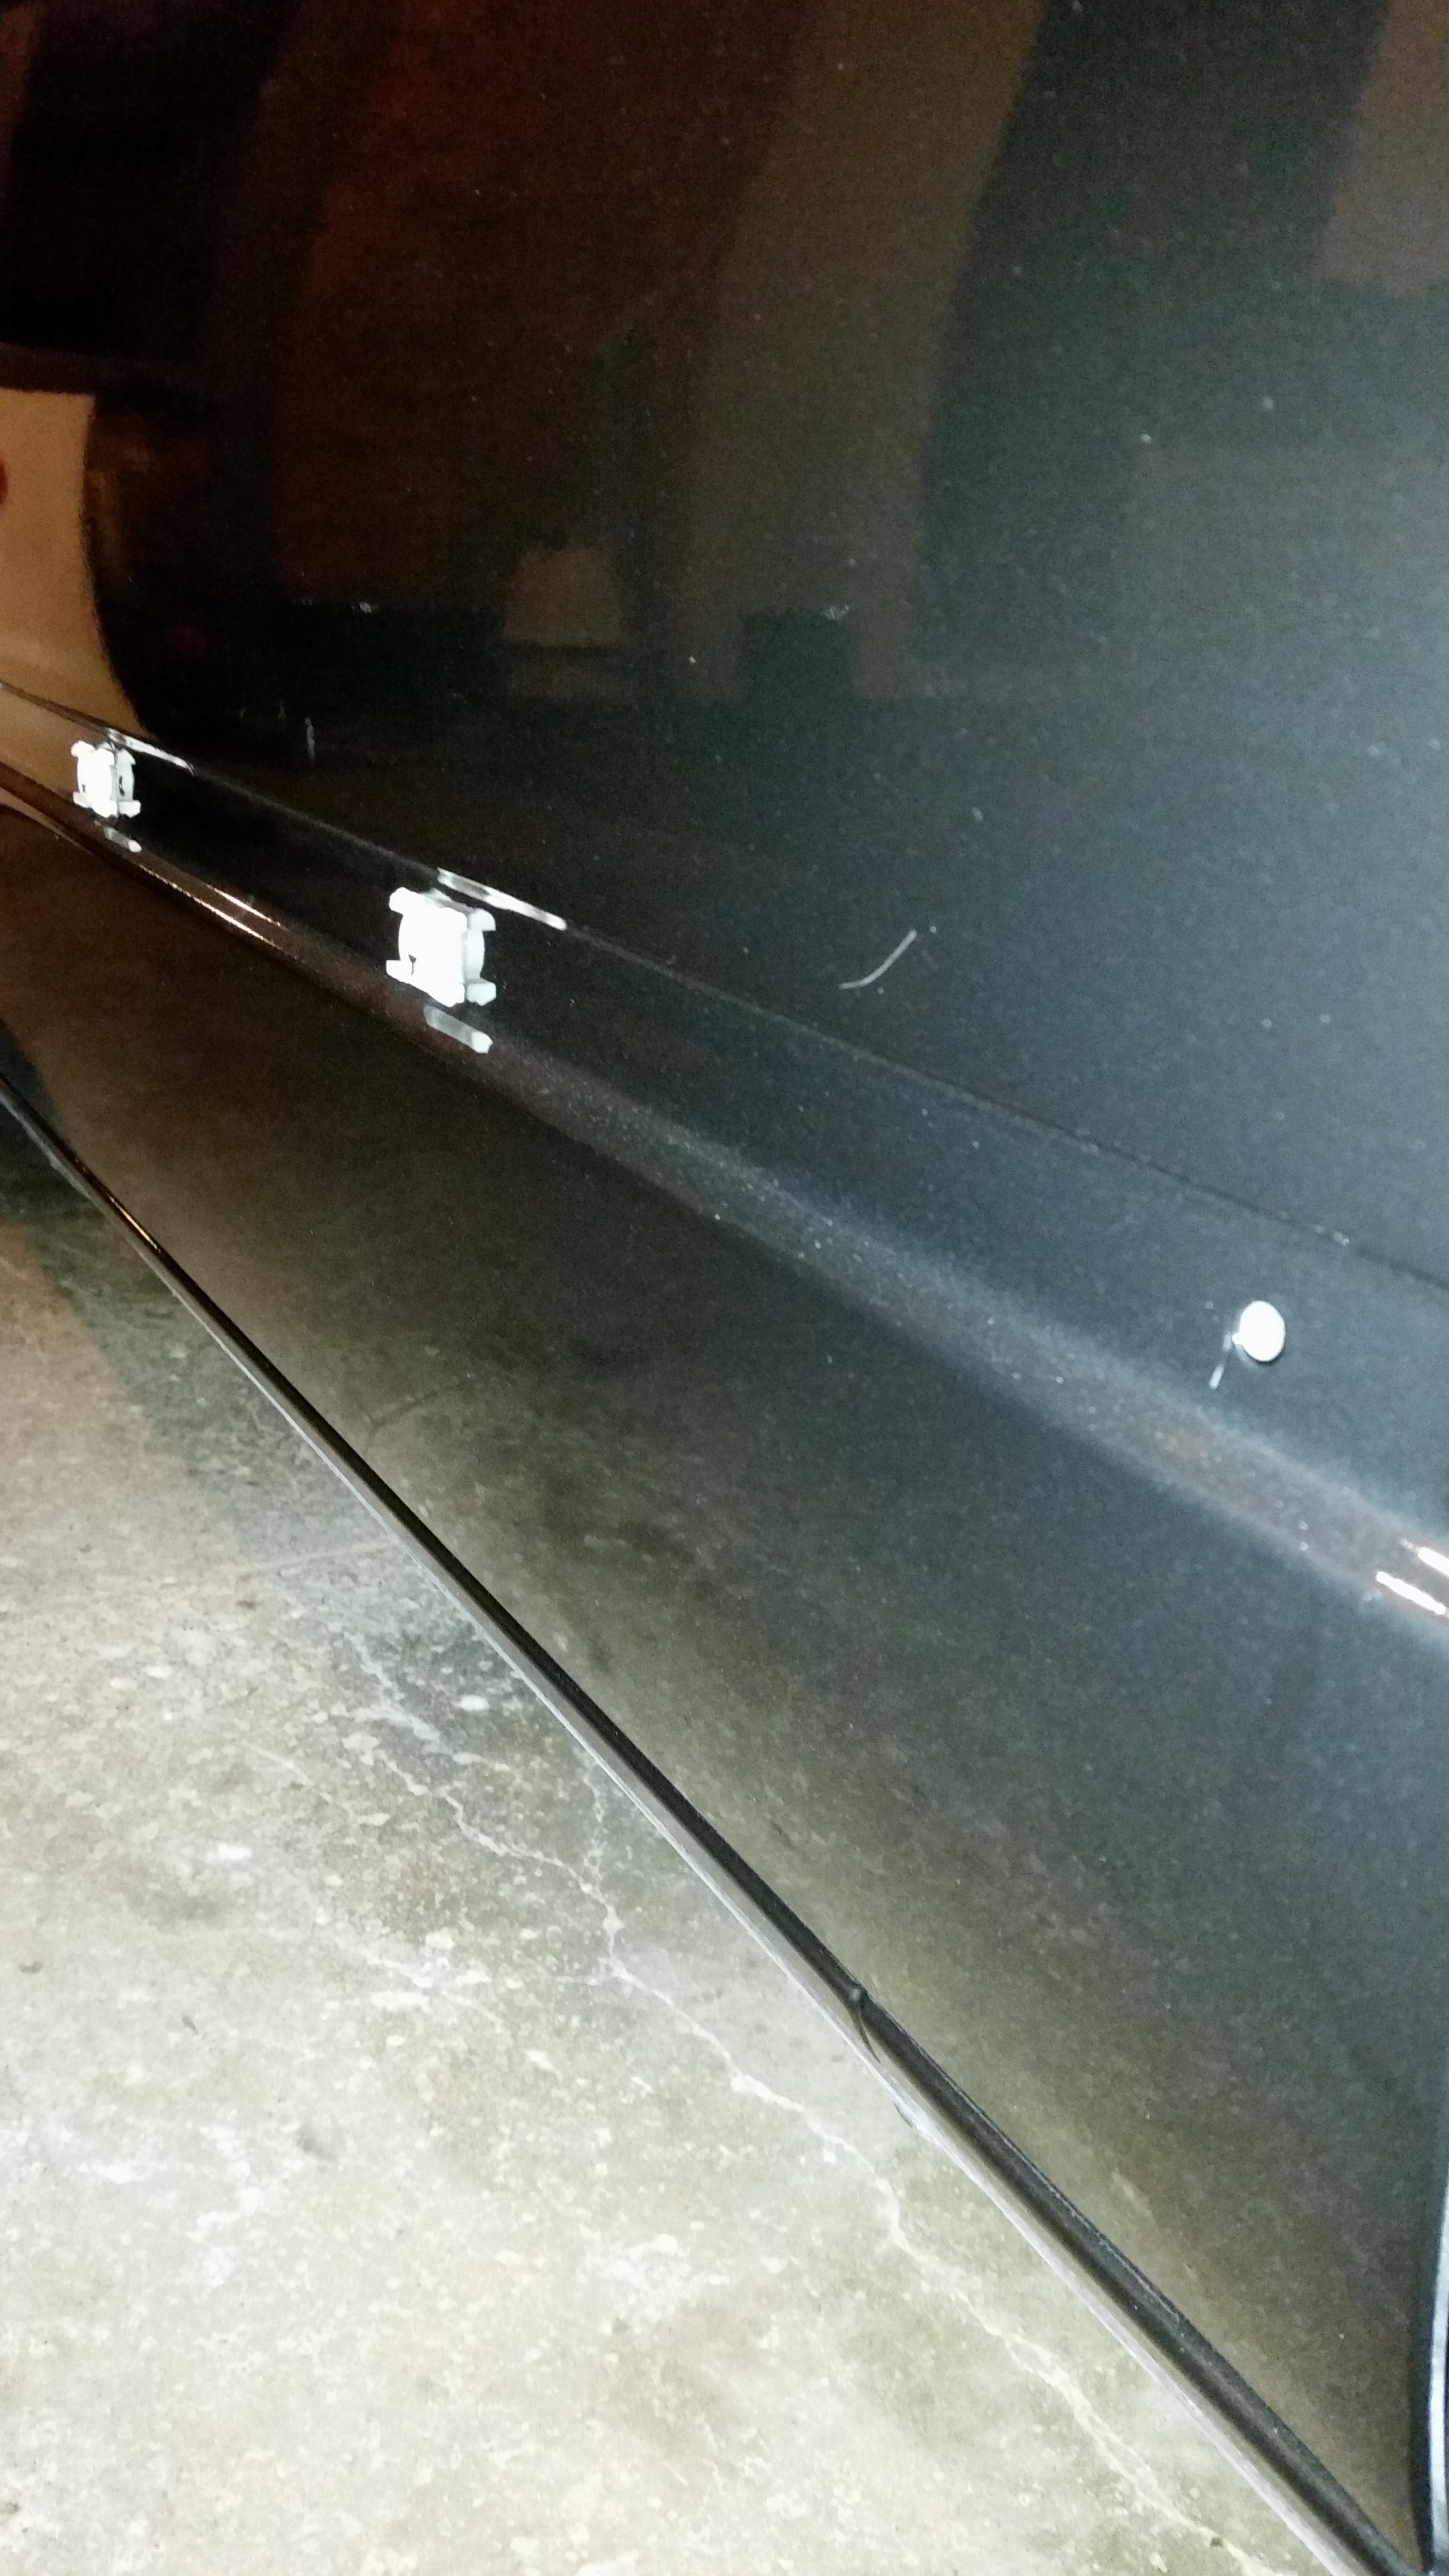
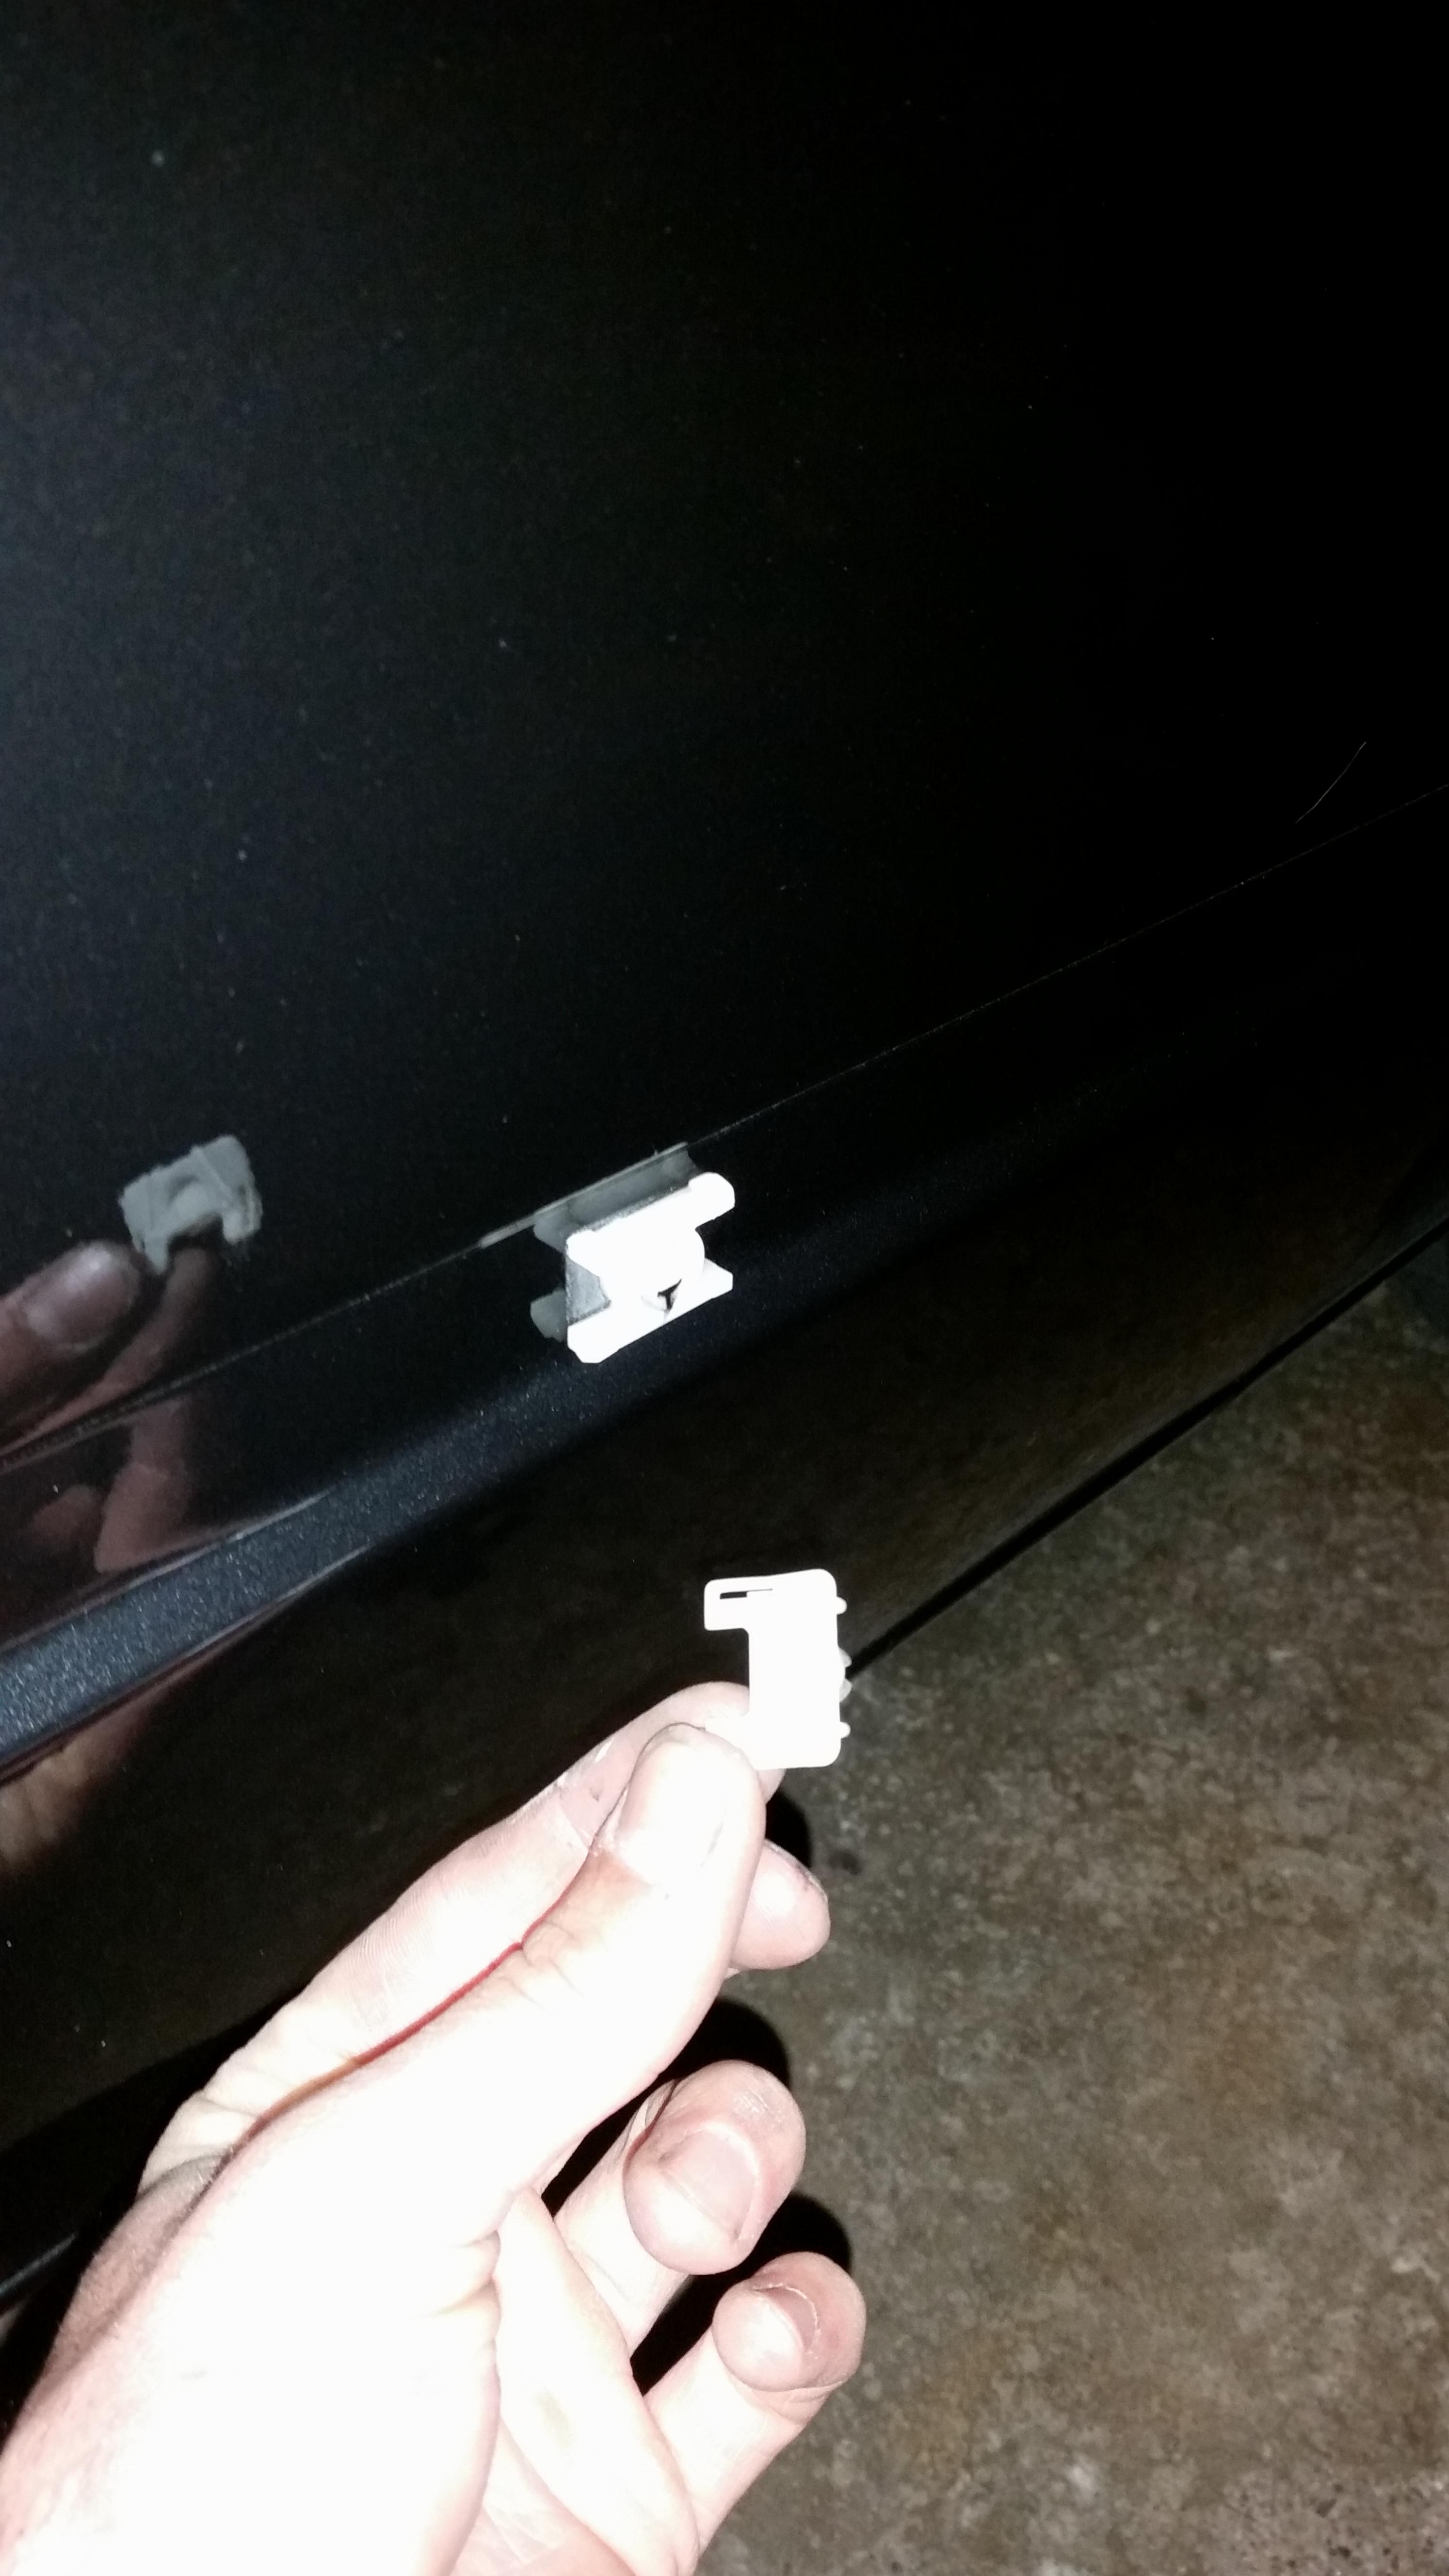
body guy broke one of the clips for the door molding on the passenger door when fixing the dent. Ordered two (one extra just in case) more at the dealership, gonna pick them up tomorrow then i can reinstall the strip.
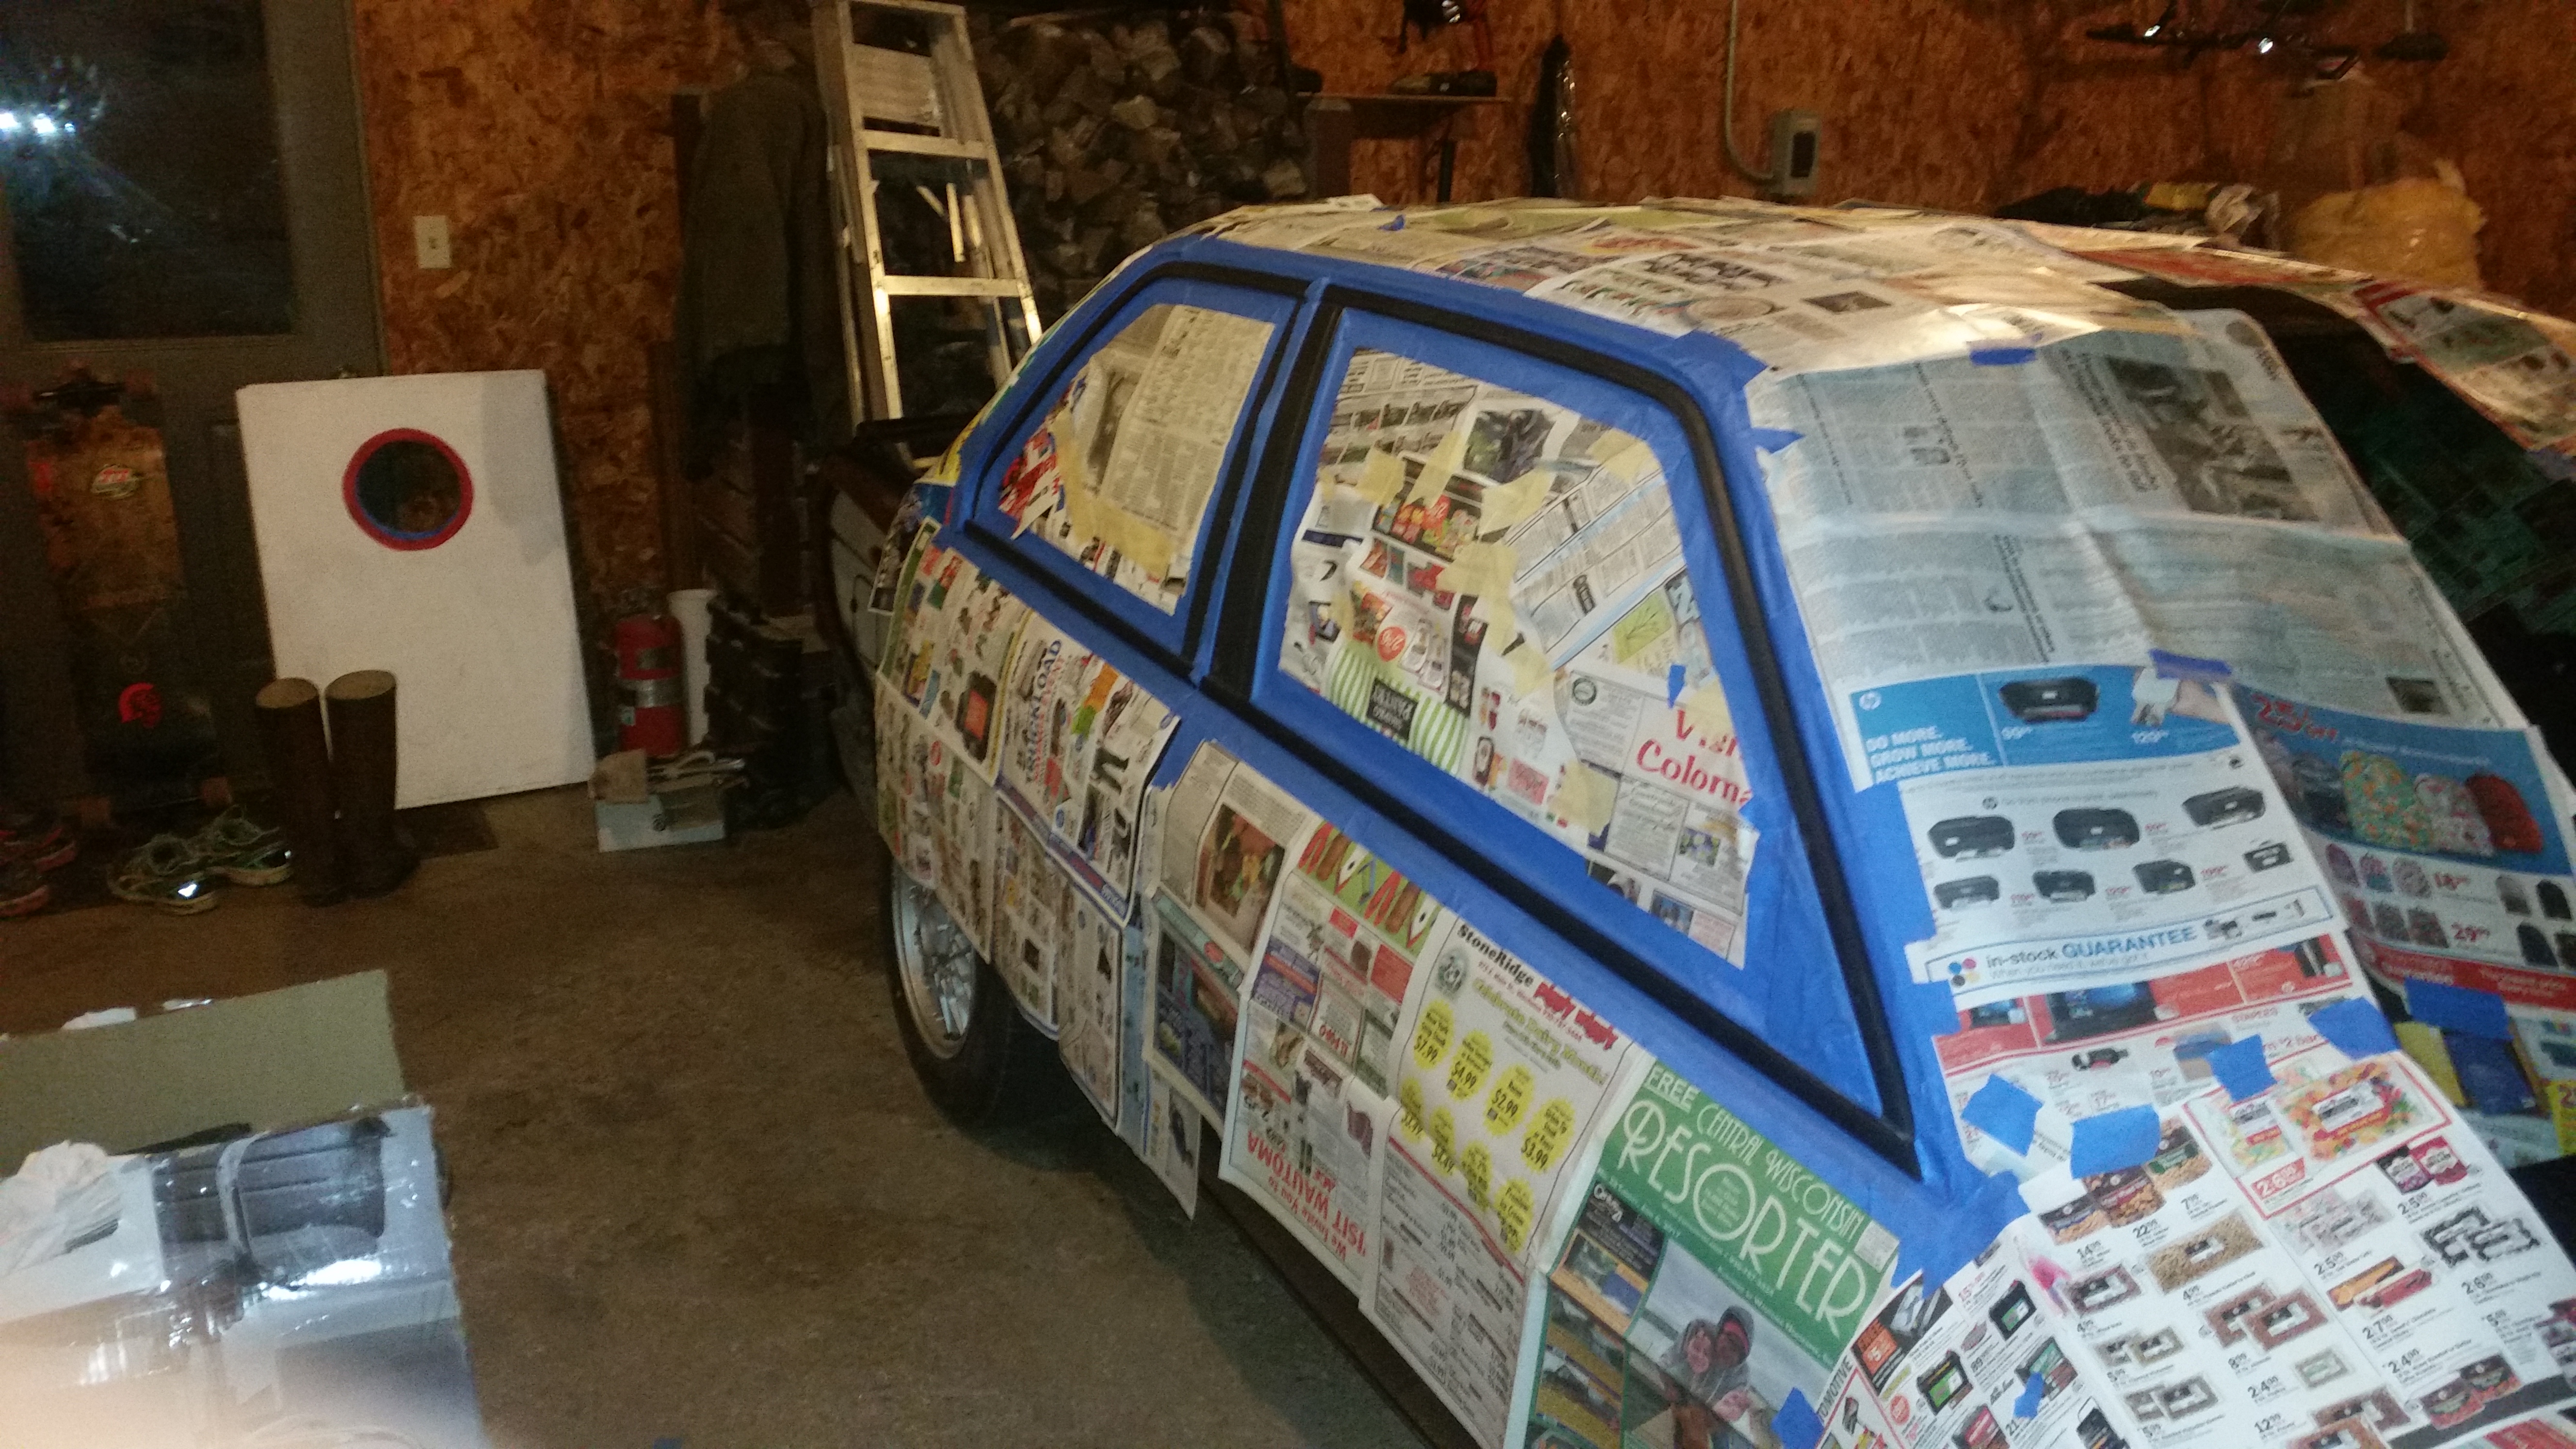
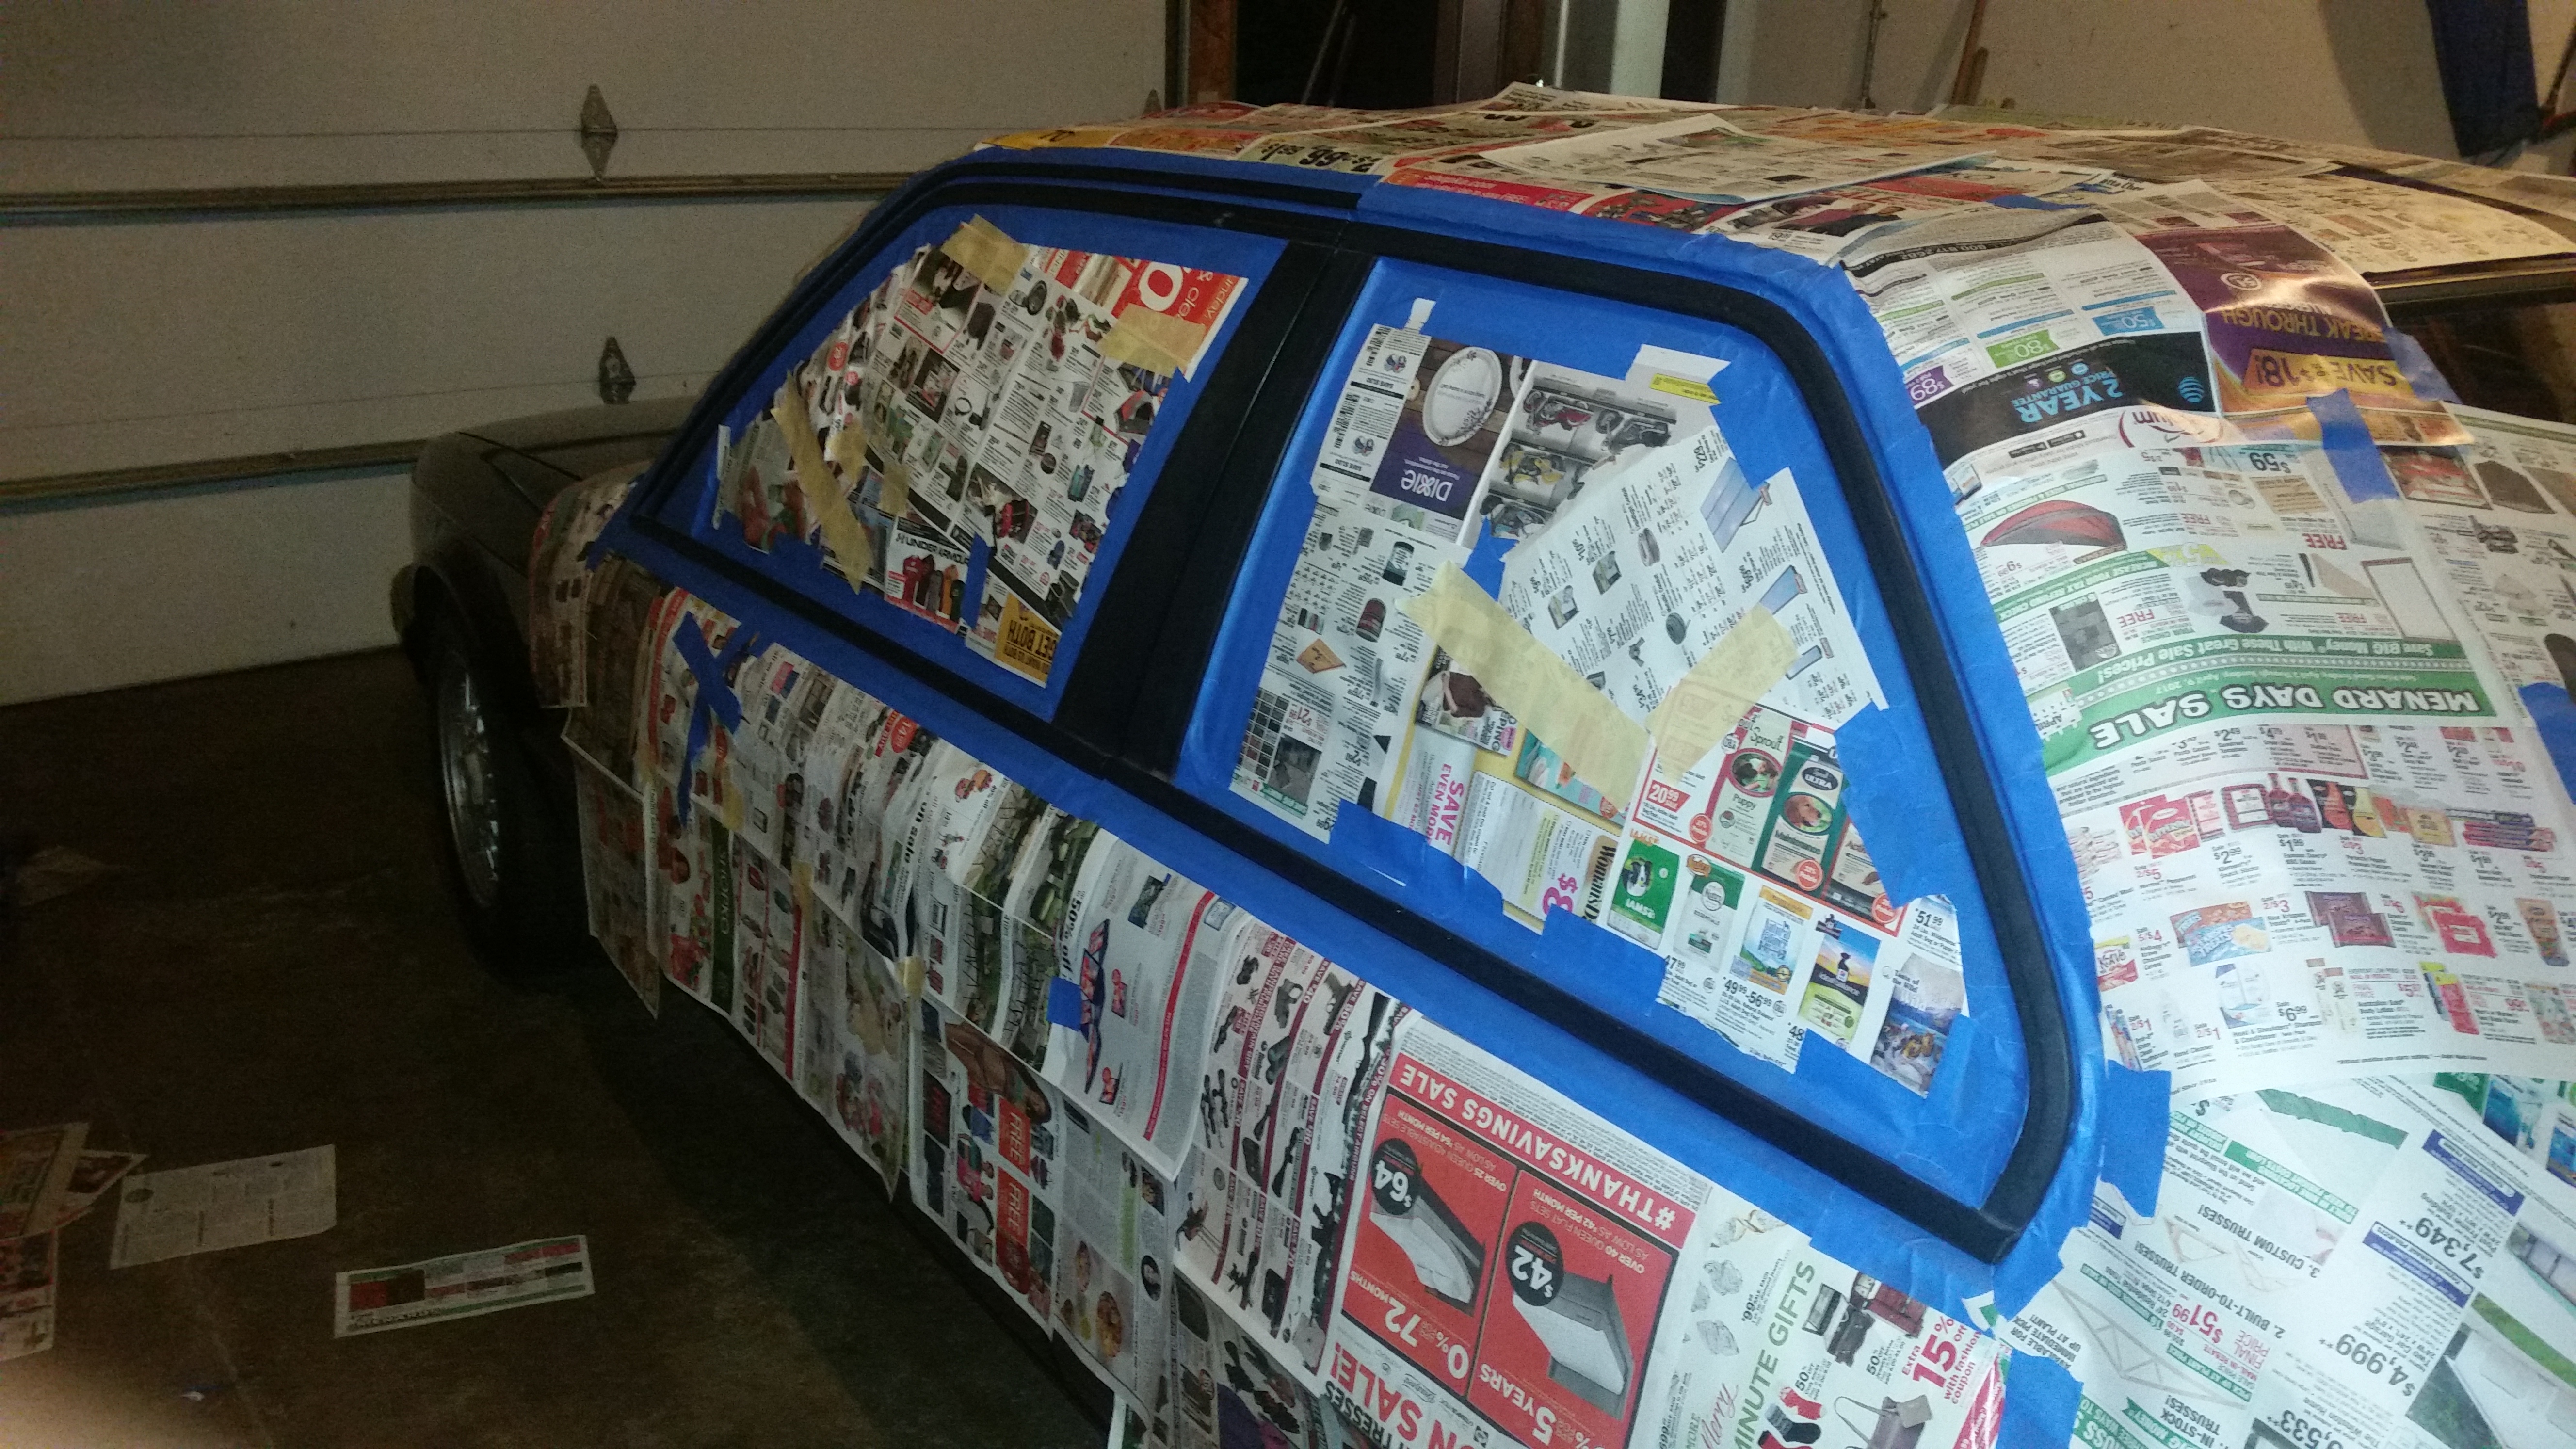
Sunday I will probably begin masking off and prepping the door moldings and rockers/valances for paint.

Motor rebuild progress has been sublime. Looks like the block checked out great and minimal honing was needed to be done so reusing the original pistons should not be a problem, that was a relief. Also, the guy machining my block works at competition parts so he was able to order all my bearings, rings, and studs for me. Planning on this Monday coming over to his shop and starting the assembly of the bottom end. He'll probably start working on the head this following week.
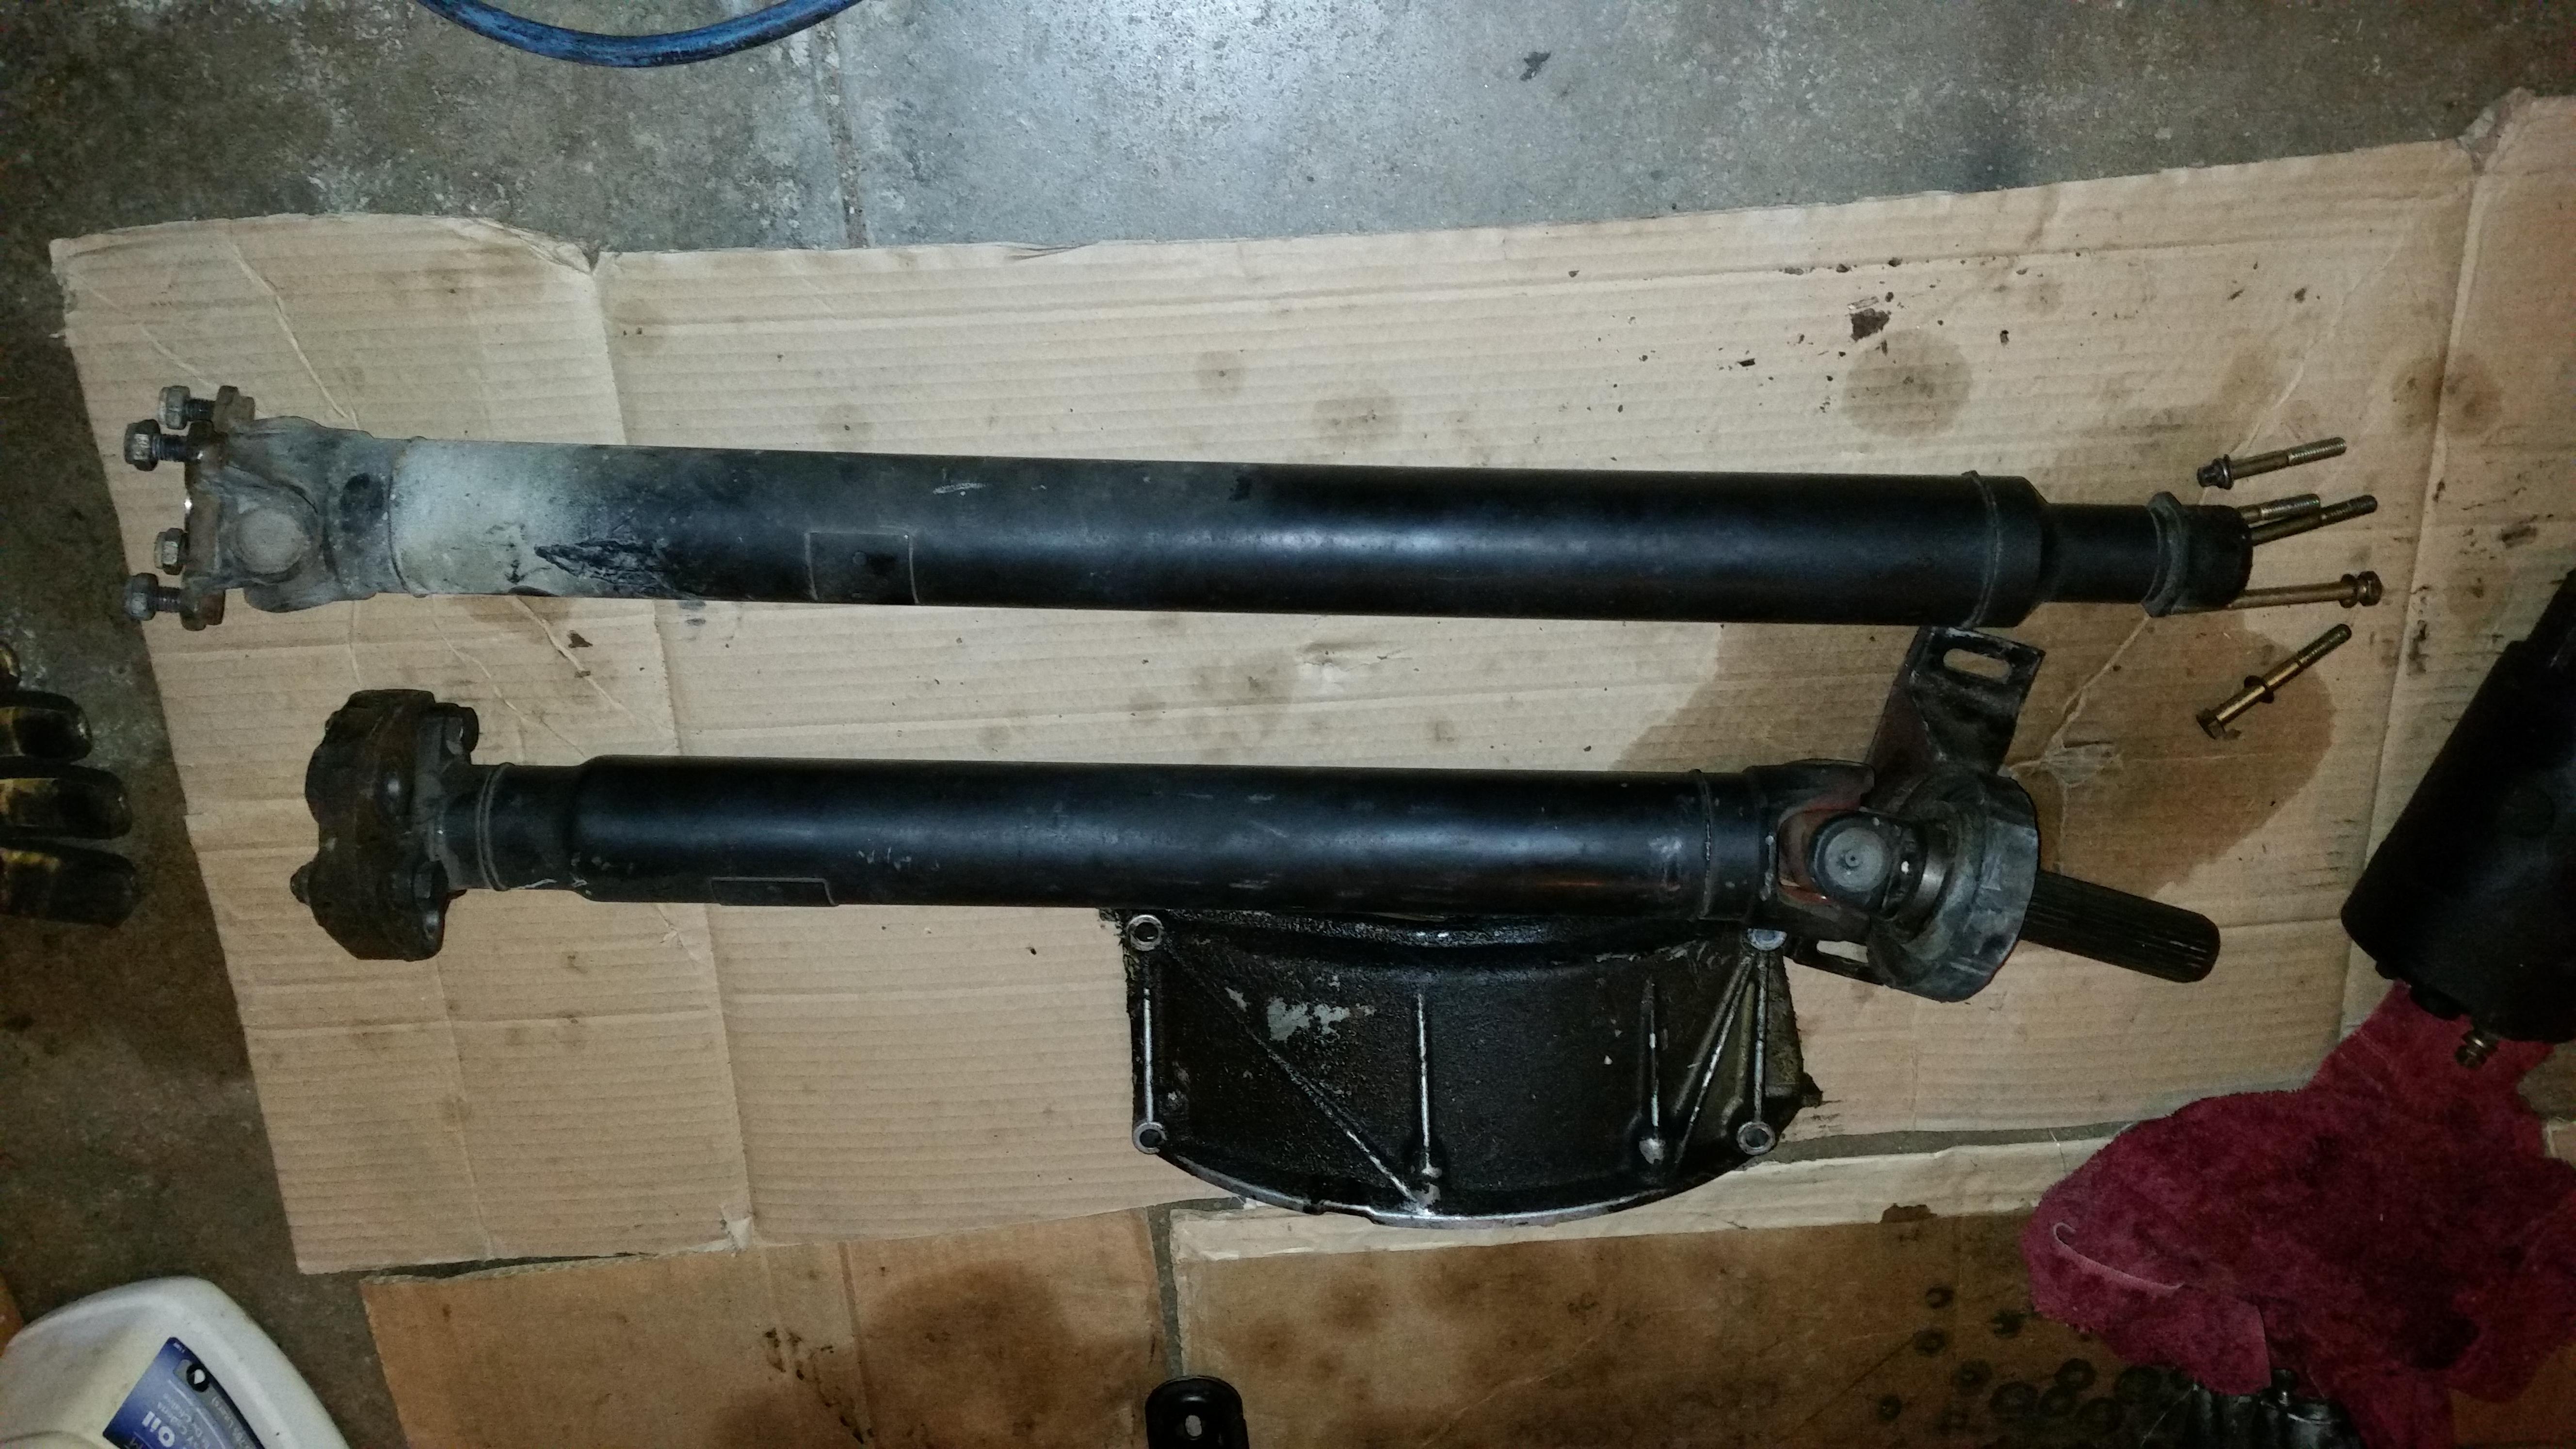
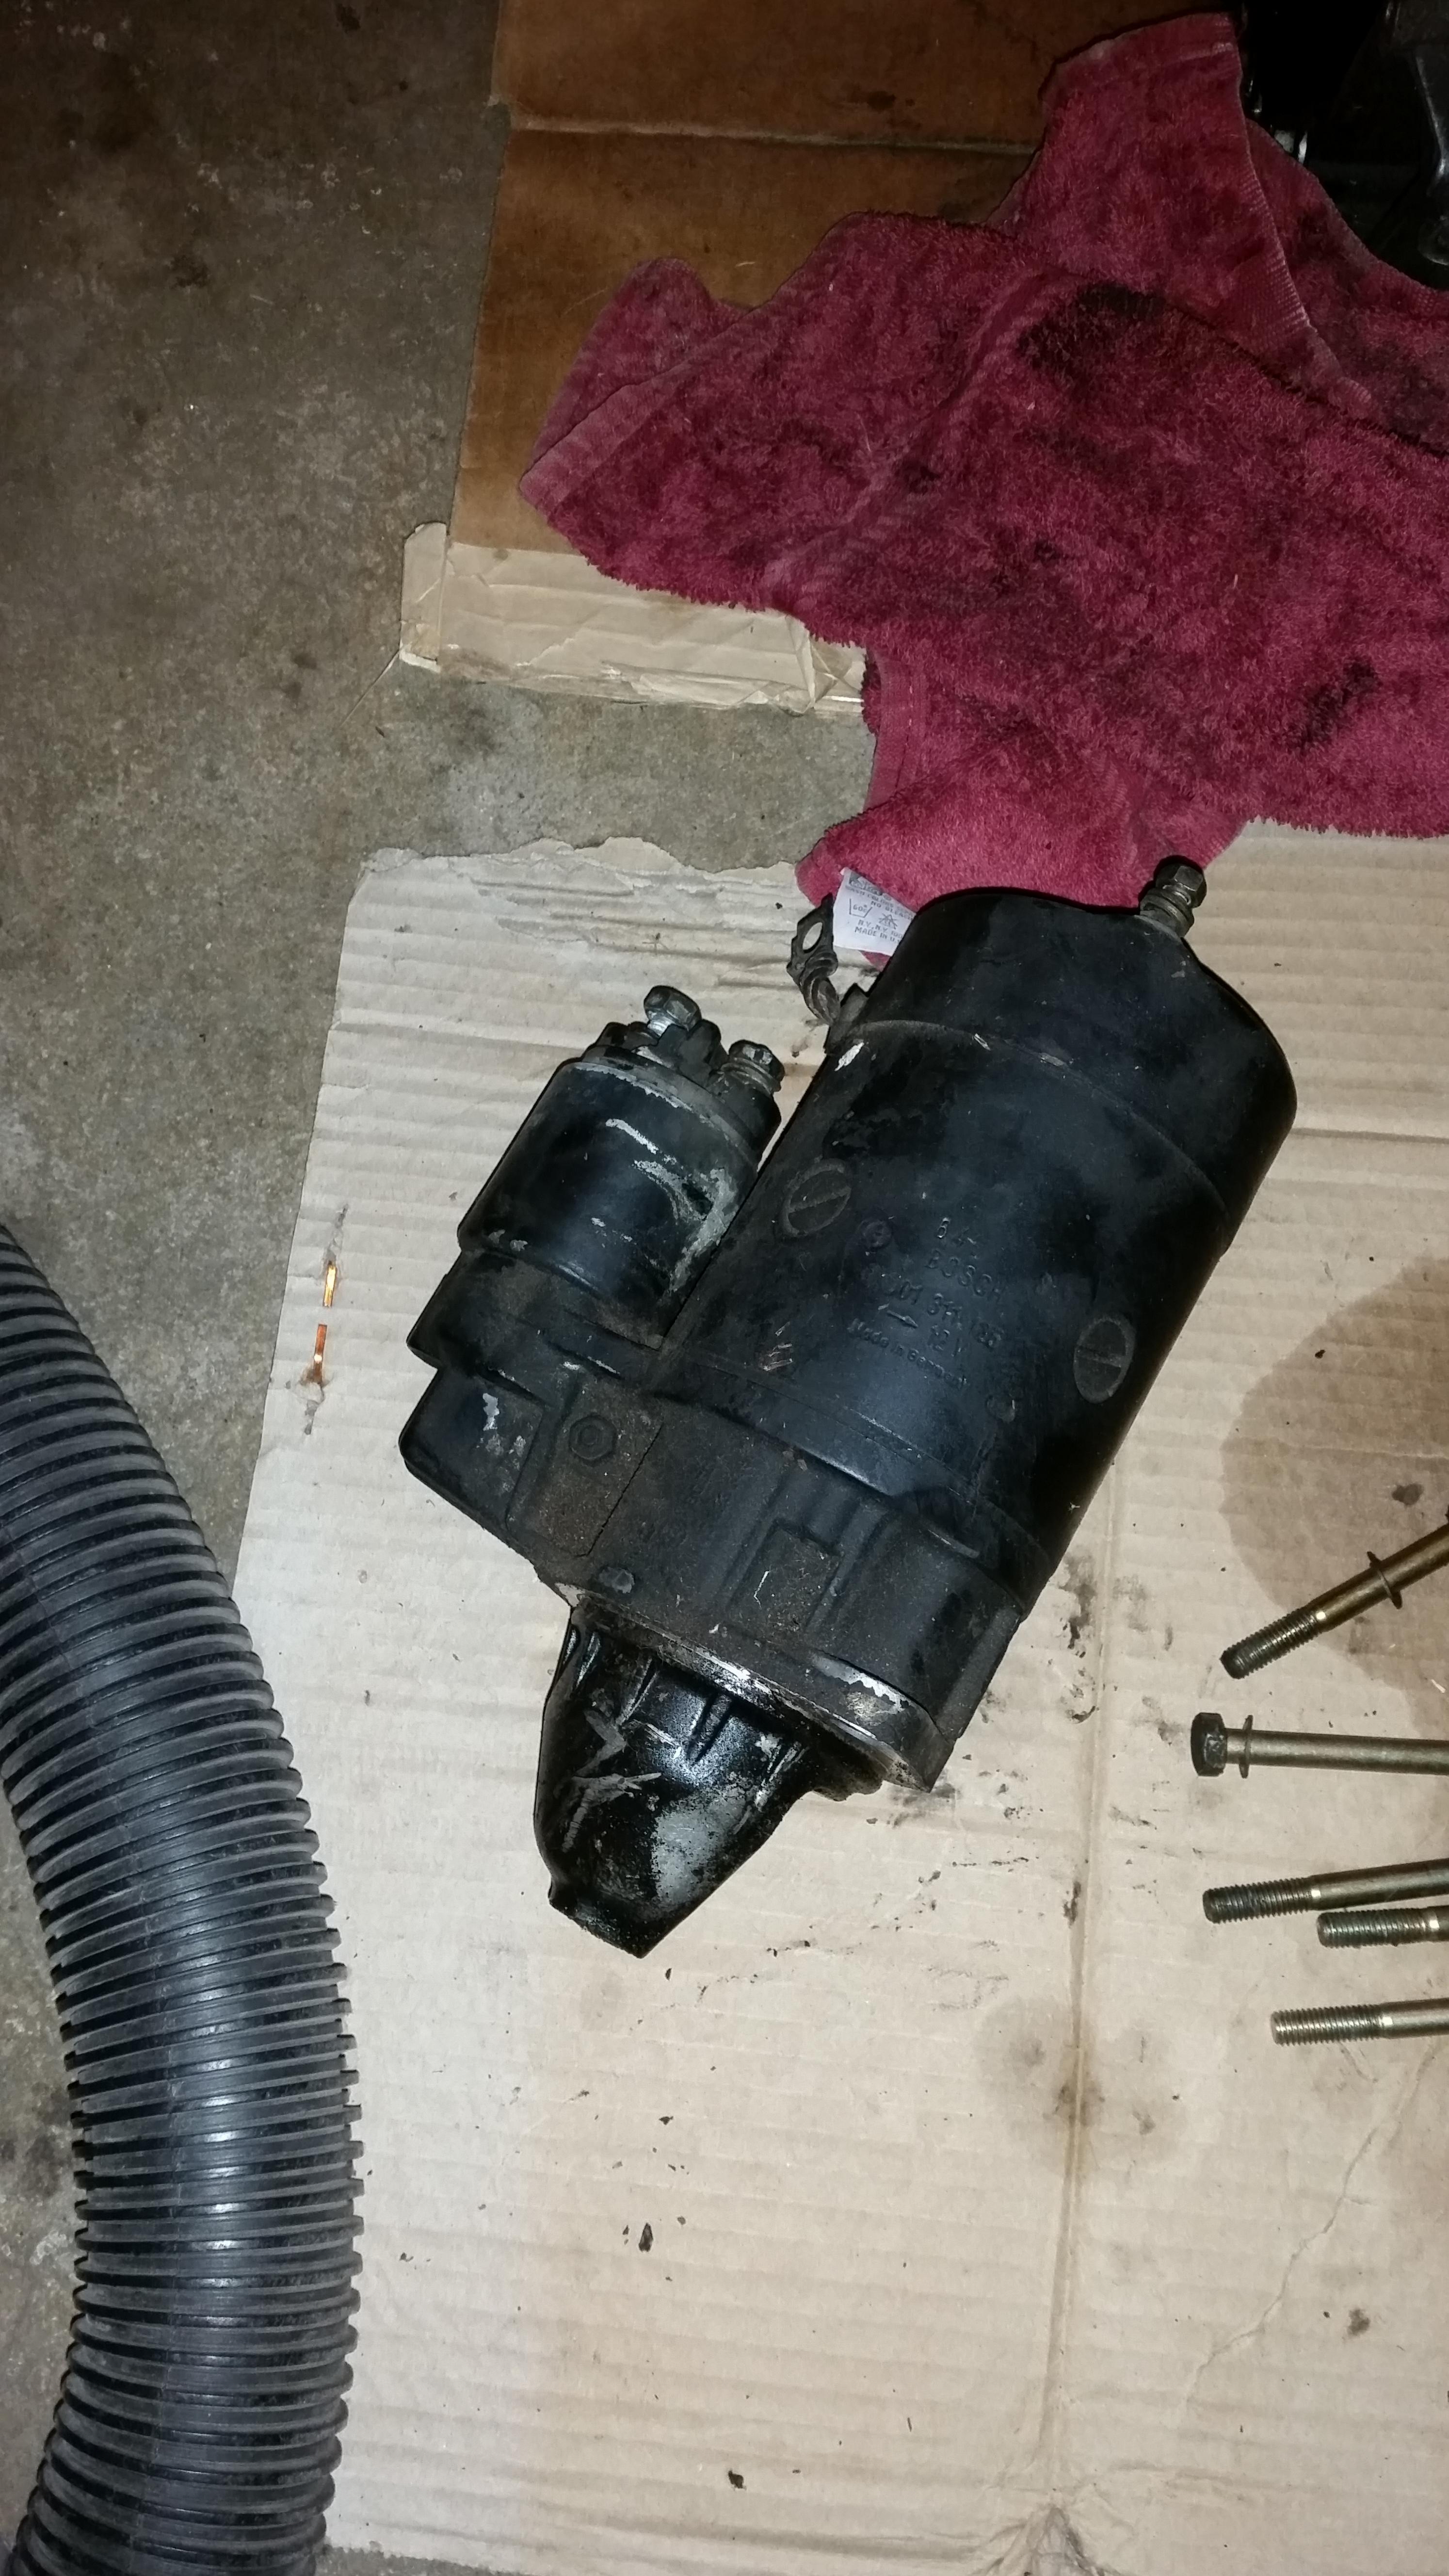
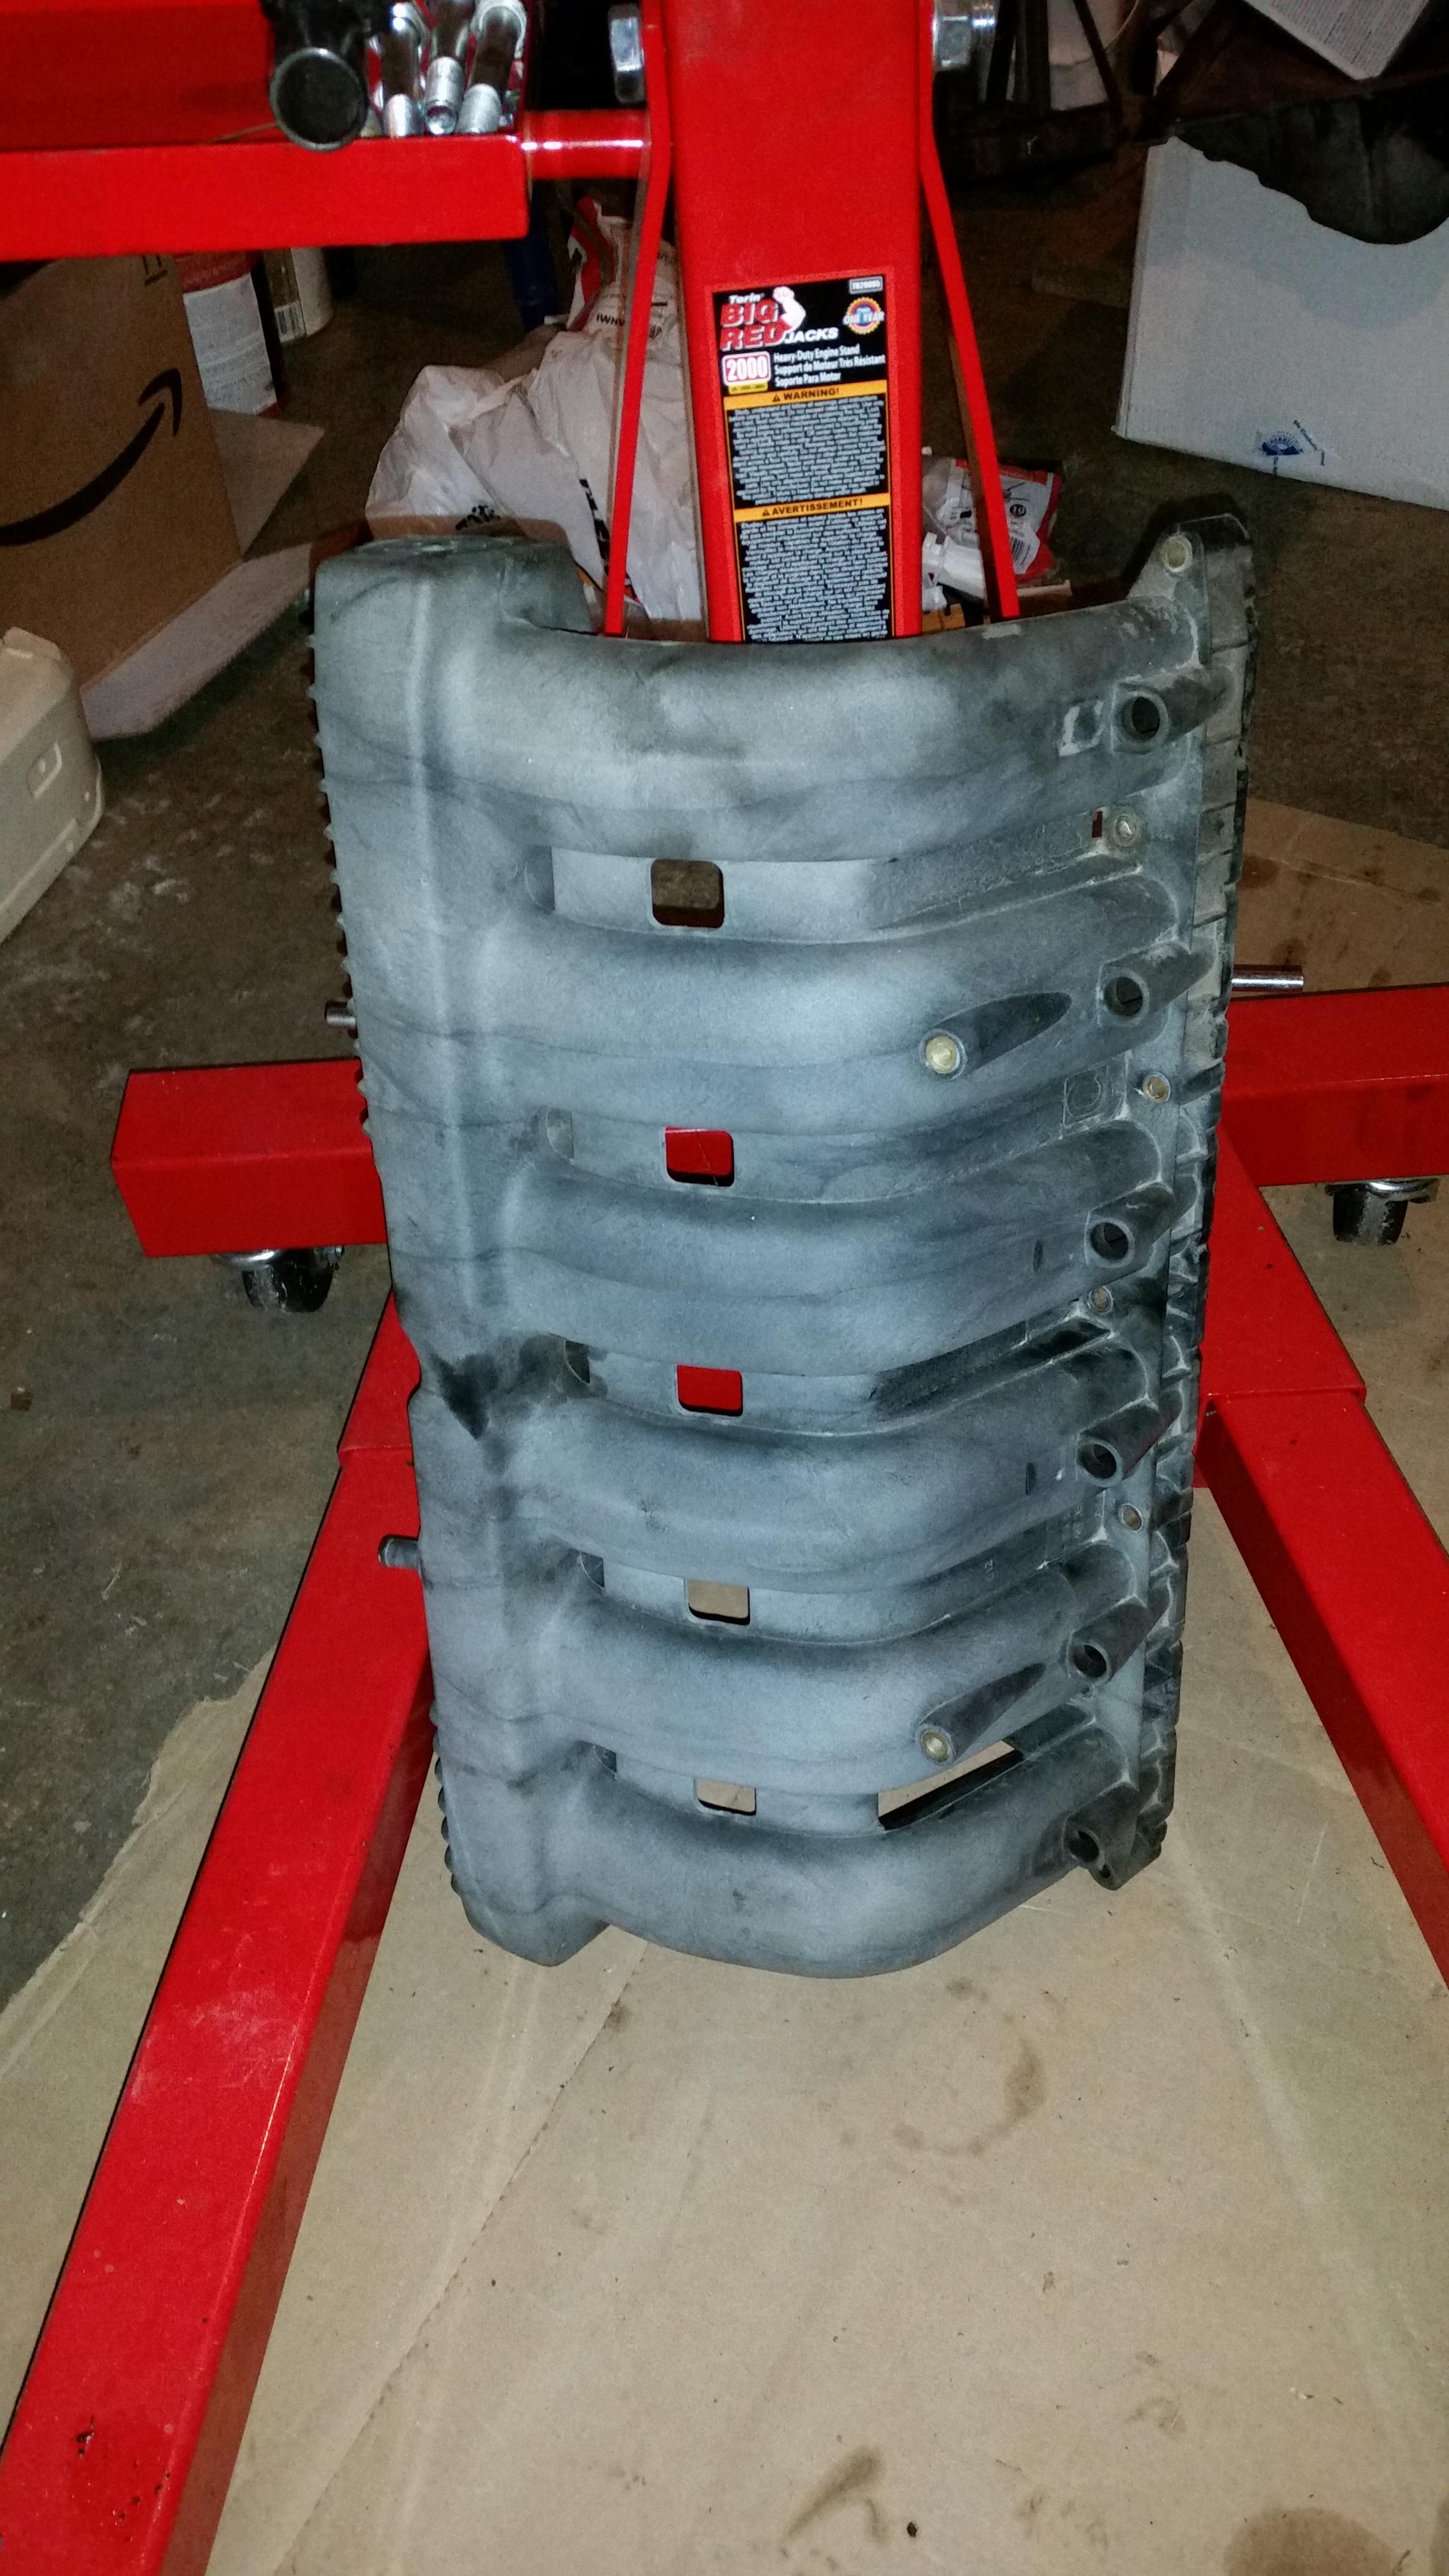
In the mean while, came across a few a things that will come in handy down the road...
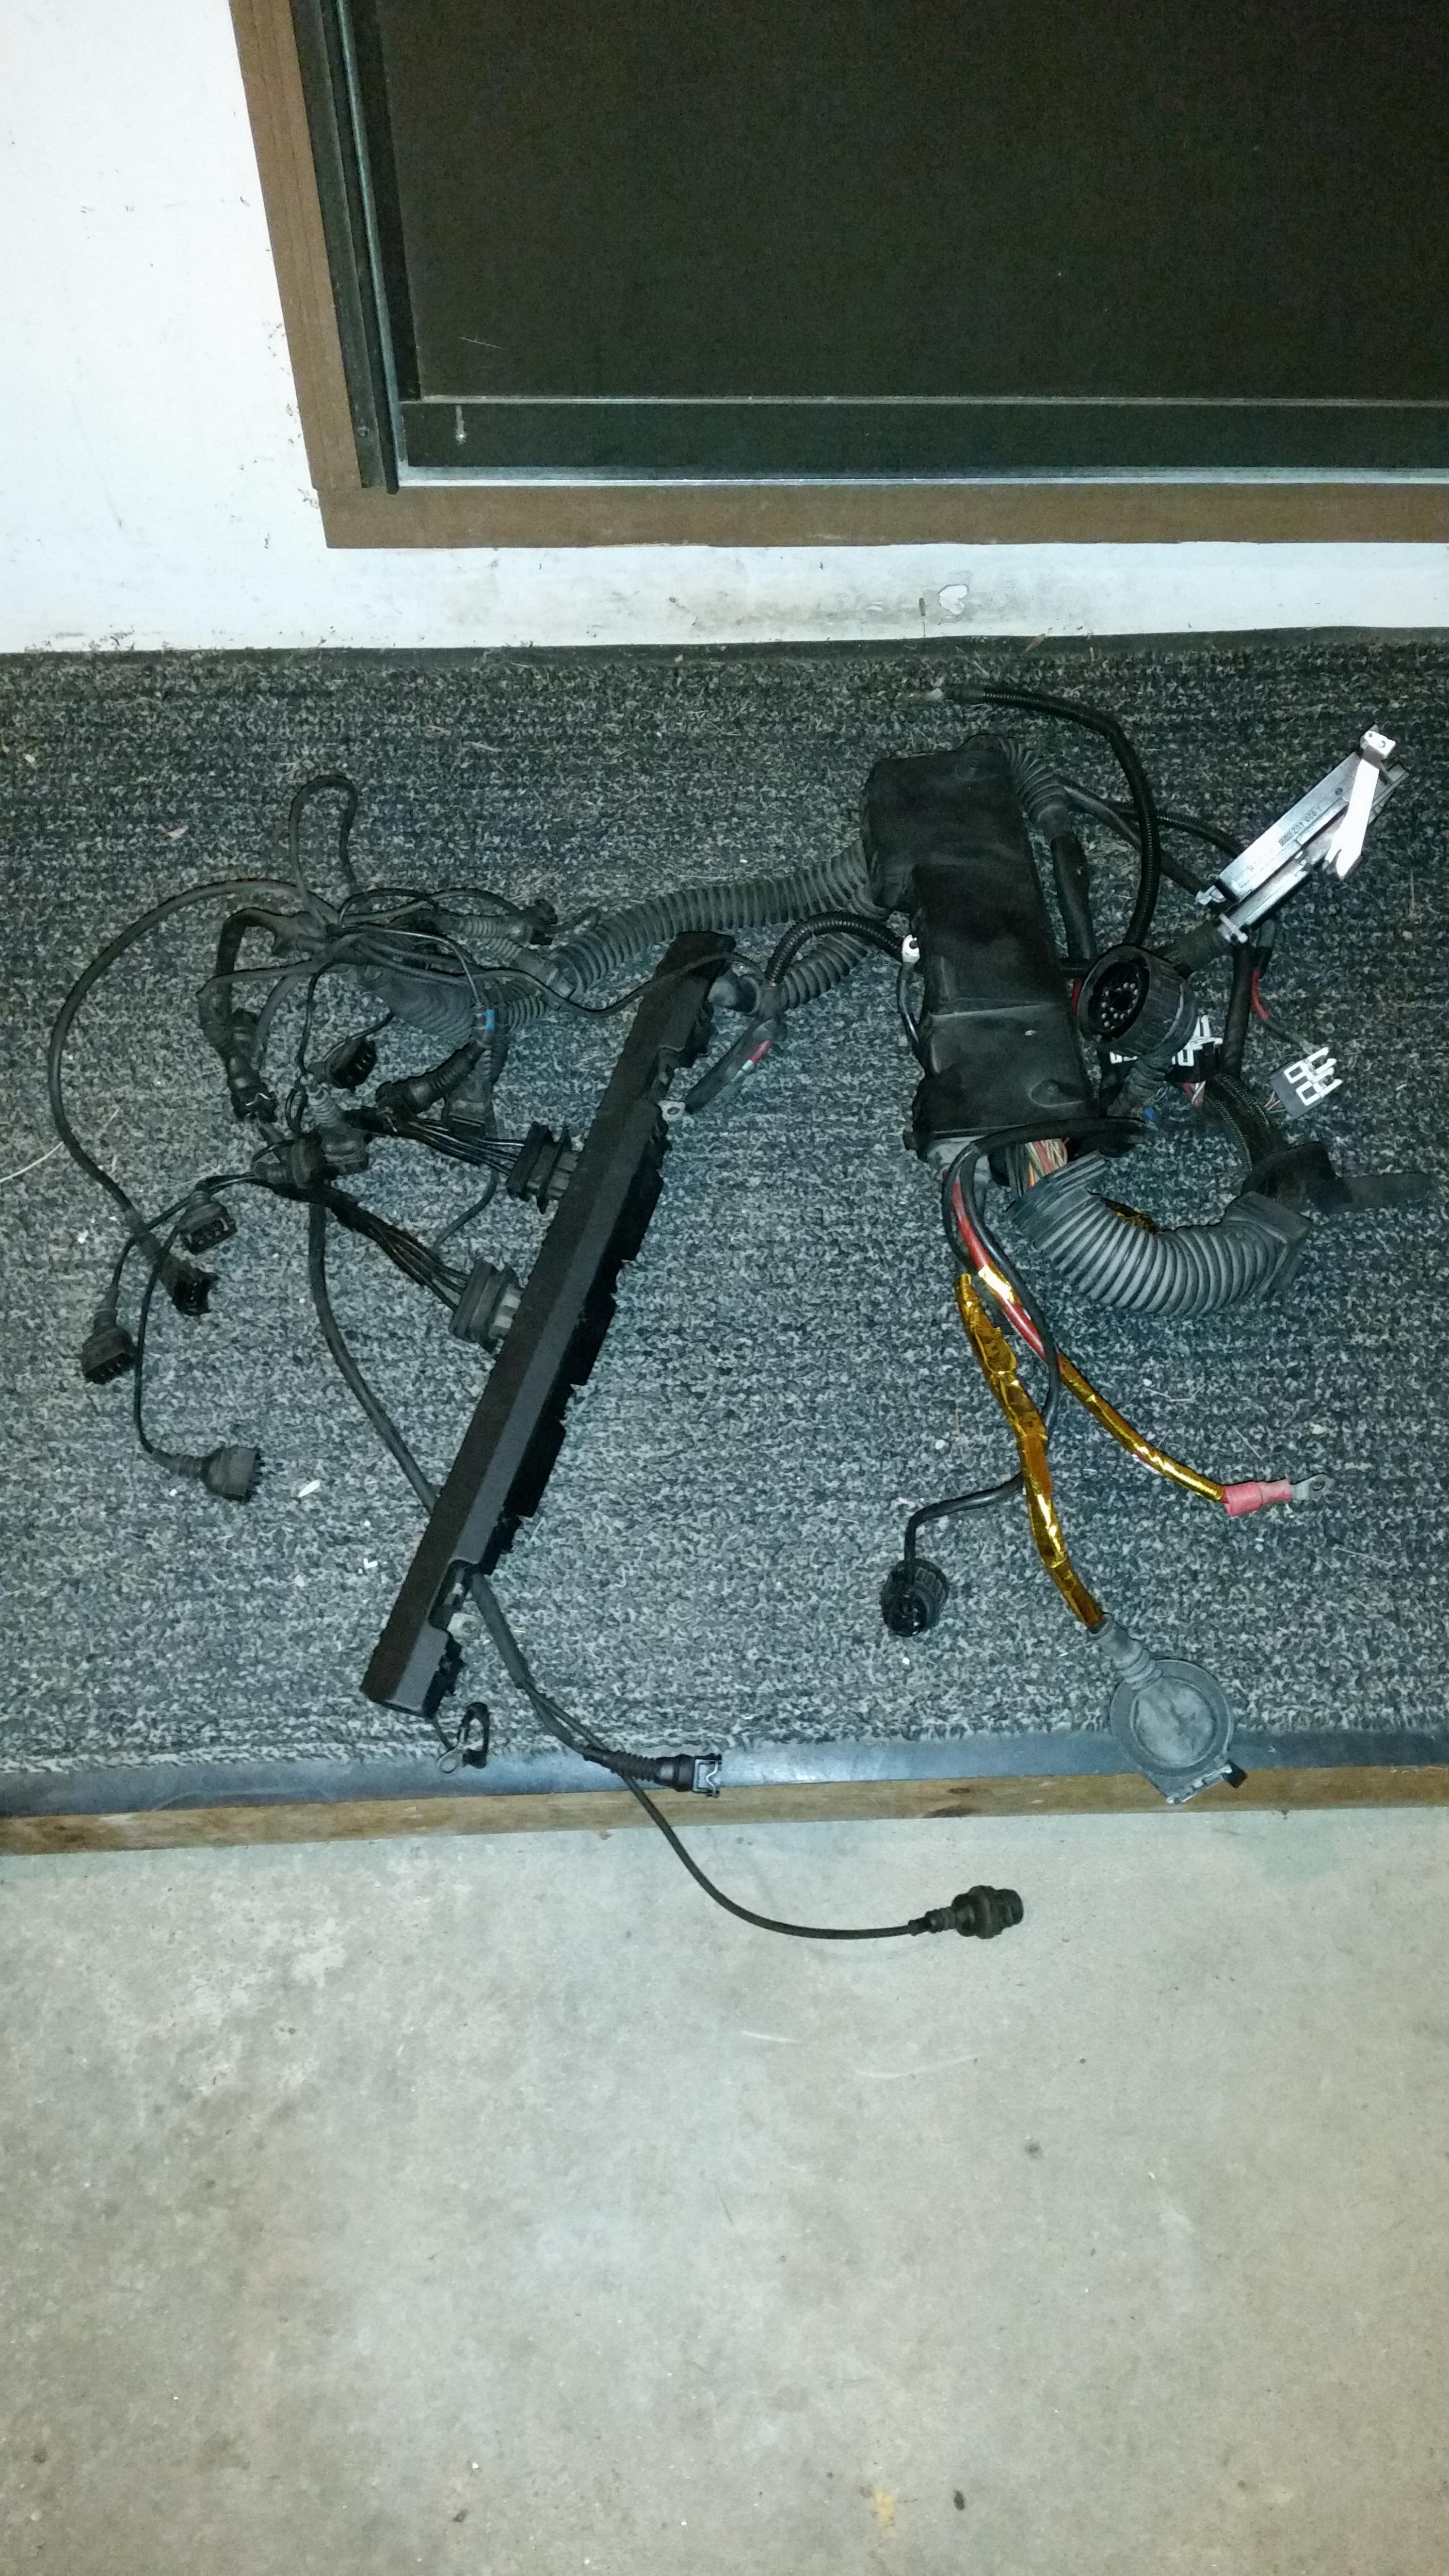
s50 obd1 wiring harness
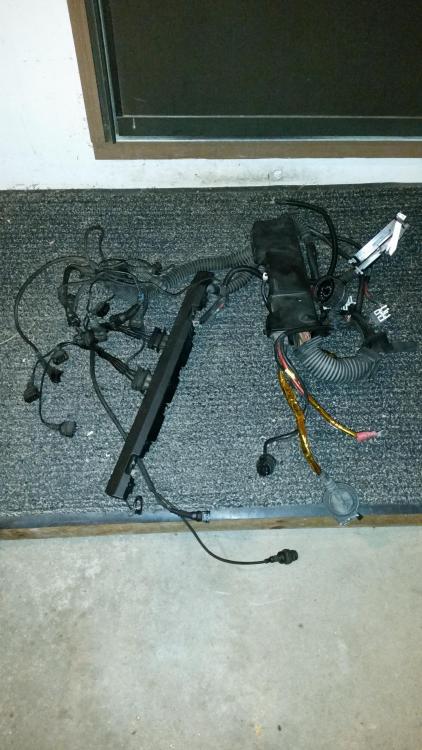
325 driveshaft
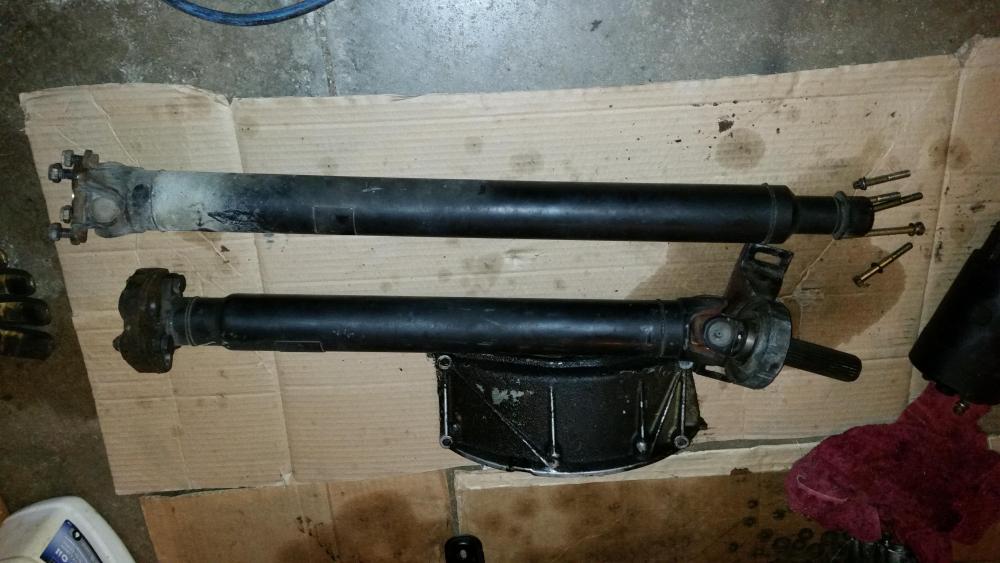
m20 starter
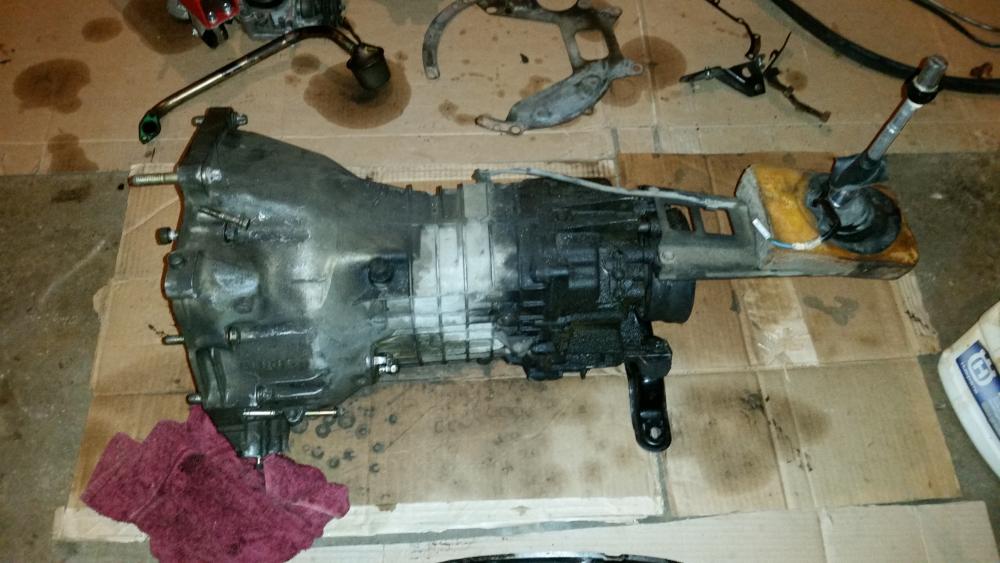
Getrag 260, needs a good cleaning but overall seems to shift pretty smooth, came out of a running car.
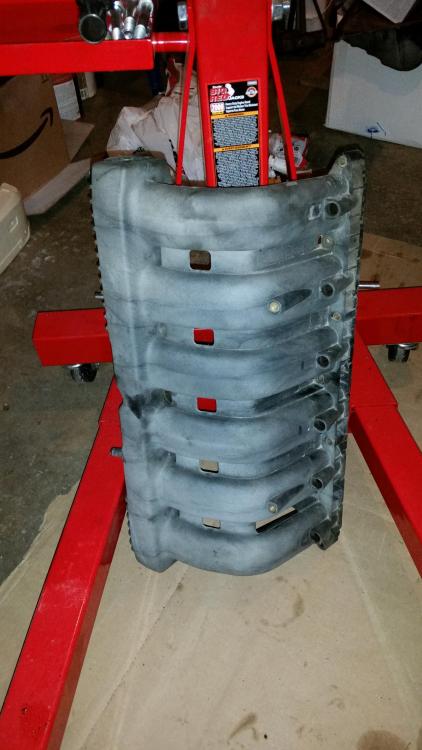
m50 manifold, picked this one up at Gibson's junk yard for cheap. most of the plastic is faded but besides that I checked it over like 5 times and didn't find any cracks or defects so I thought maybe I'd be able to give it some fresh paint to look good as new. If anyone has repainted one, what kind of black did you use? high heat?
-
The texture probably won't hold paint well. It's molded plastic....something like back to black will bring it back to life
Sent from my SM-G930R4 using Tapatalk
-
Masking = many hours of tedious bull@#$%@
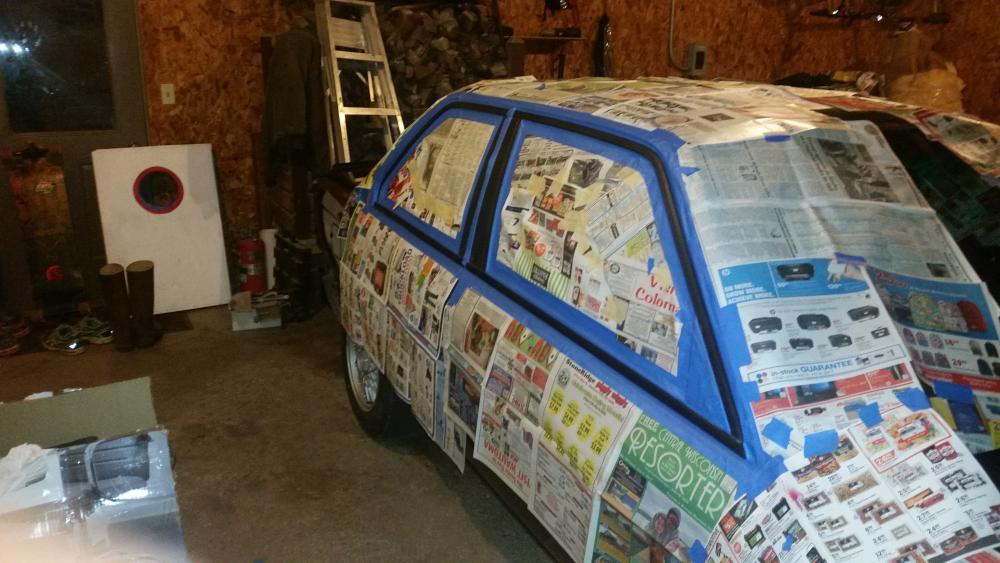
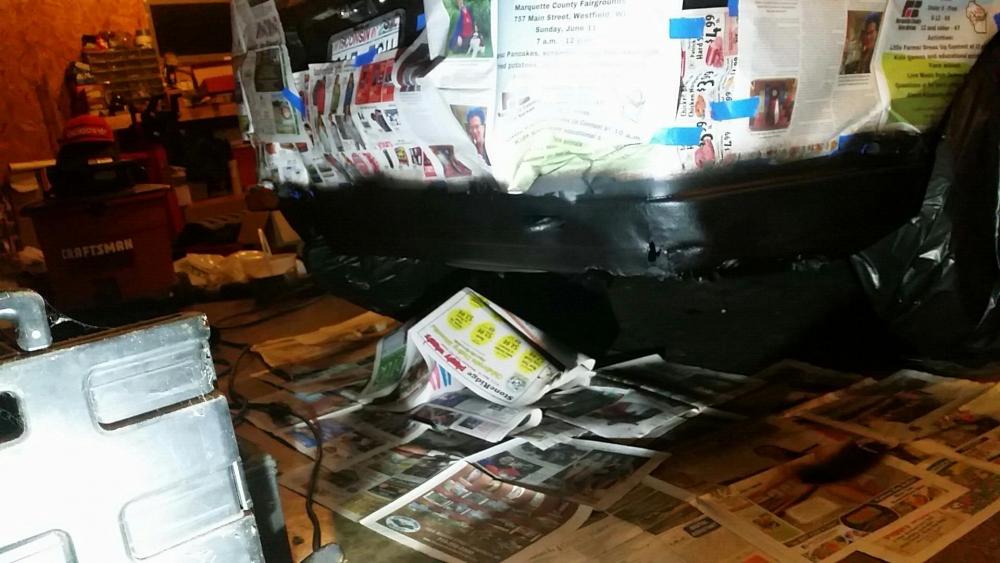
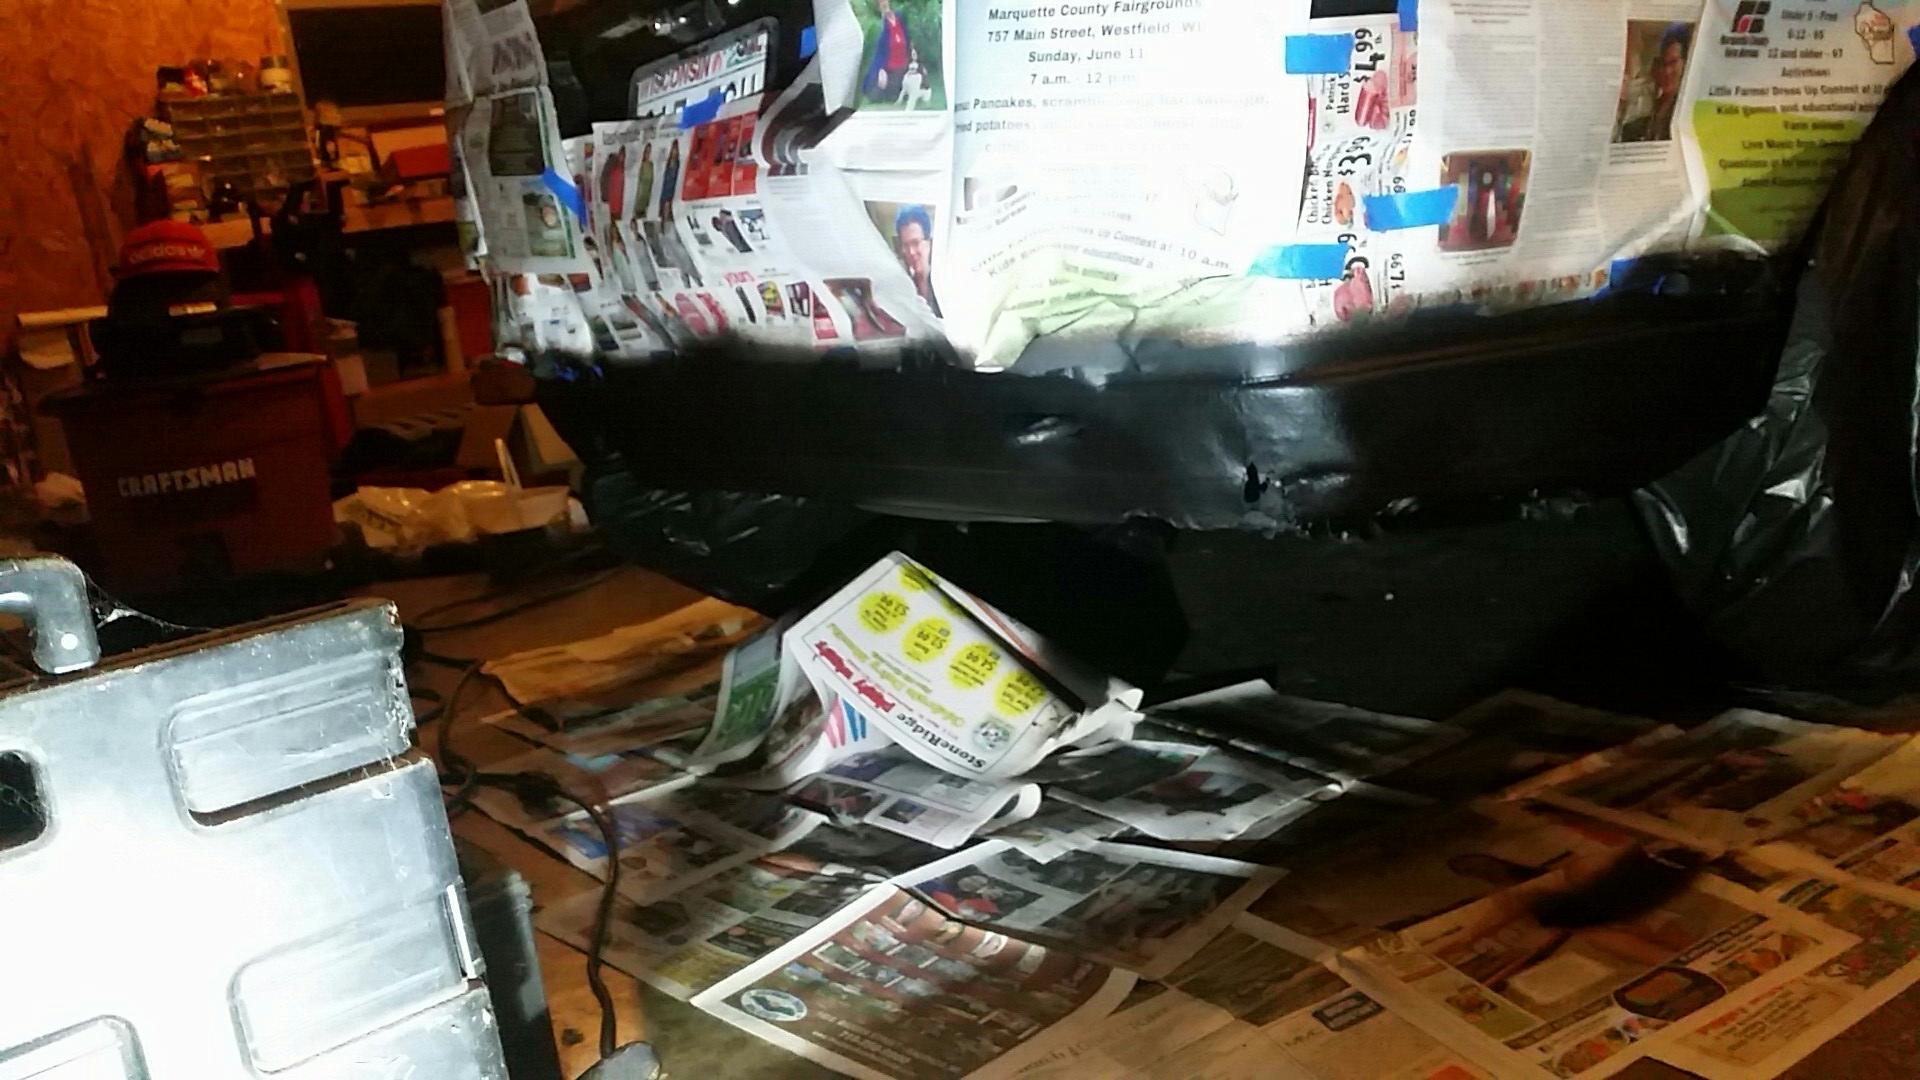
Gonna try to get around to painting door trim tomorrow but time will tell. Was able to clean and undercoat rear valance tonight though...
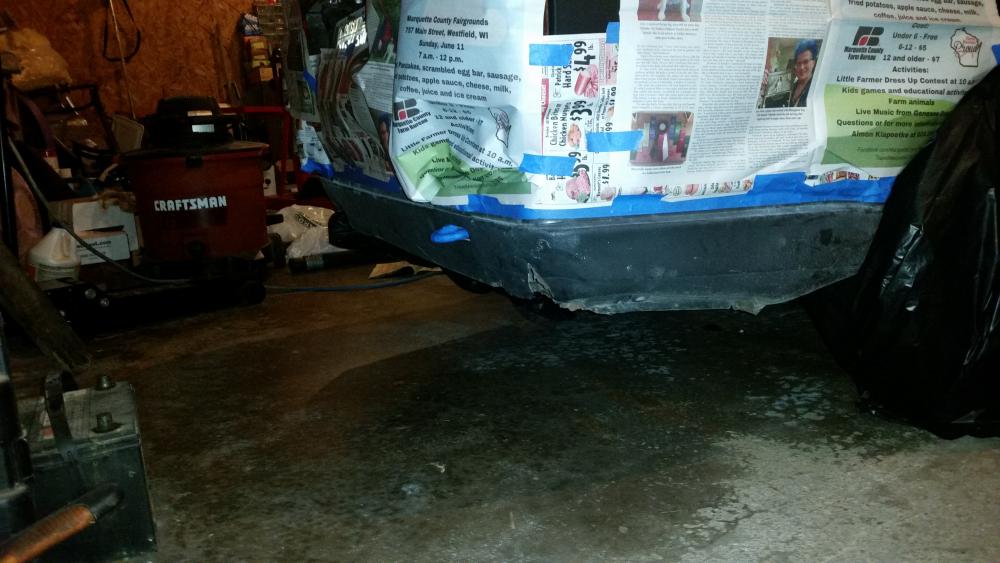
After.....Fixing that nasty battery compartment rust hole/dent is definitely on the list of to do's, but for now it'll gonna have to do as is.
-
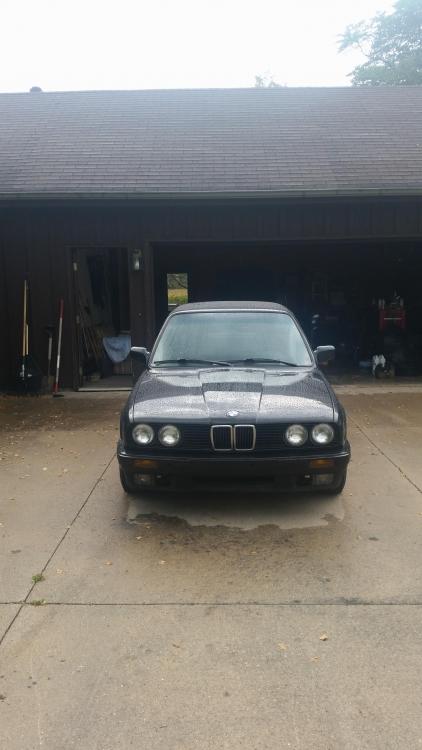
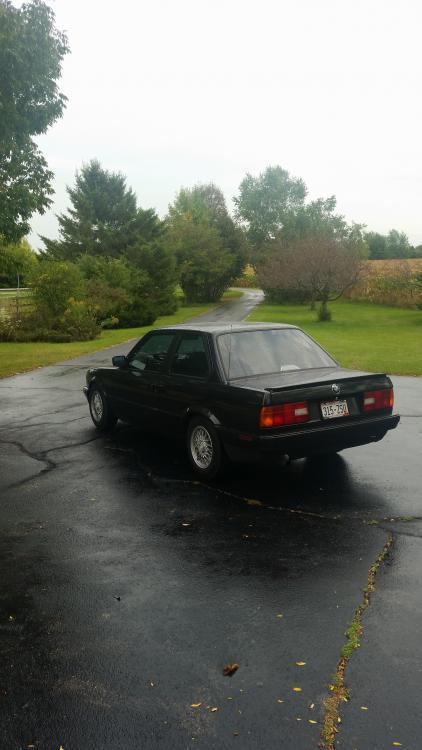
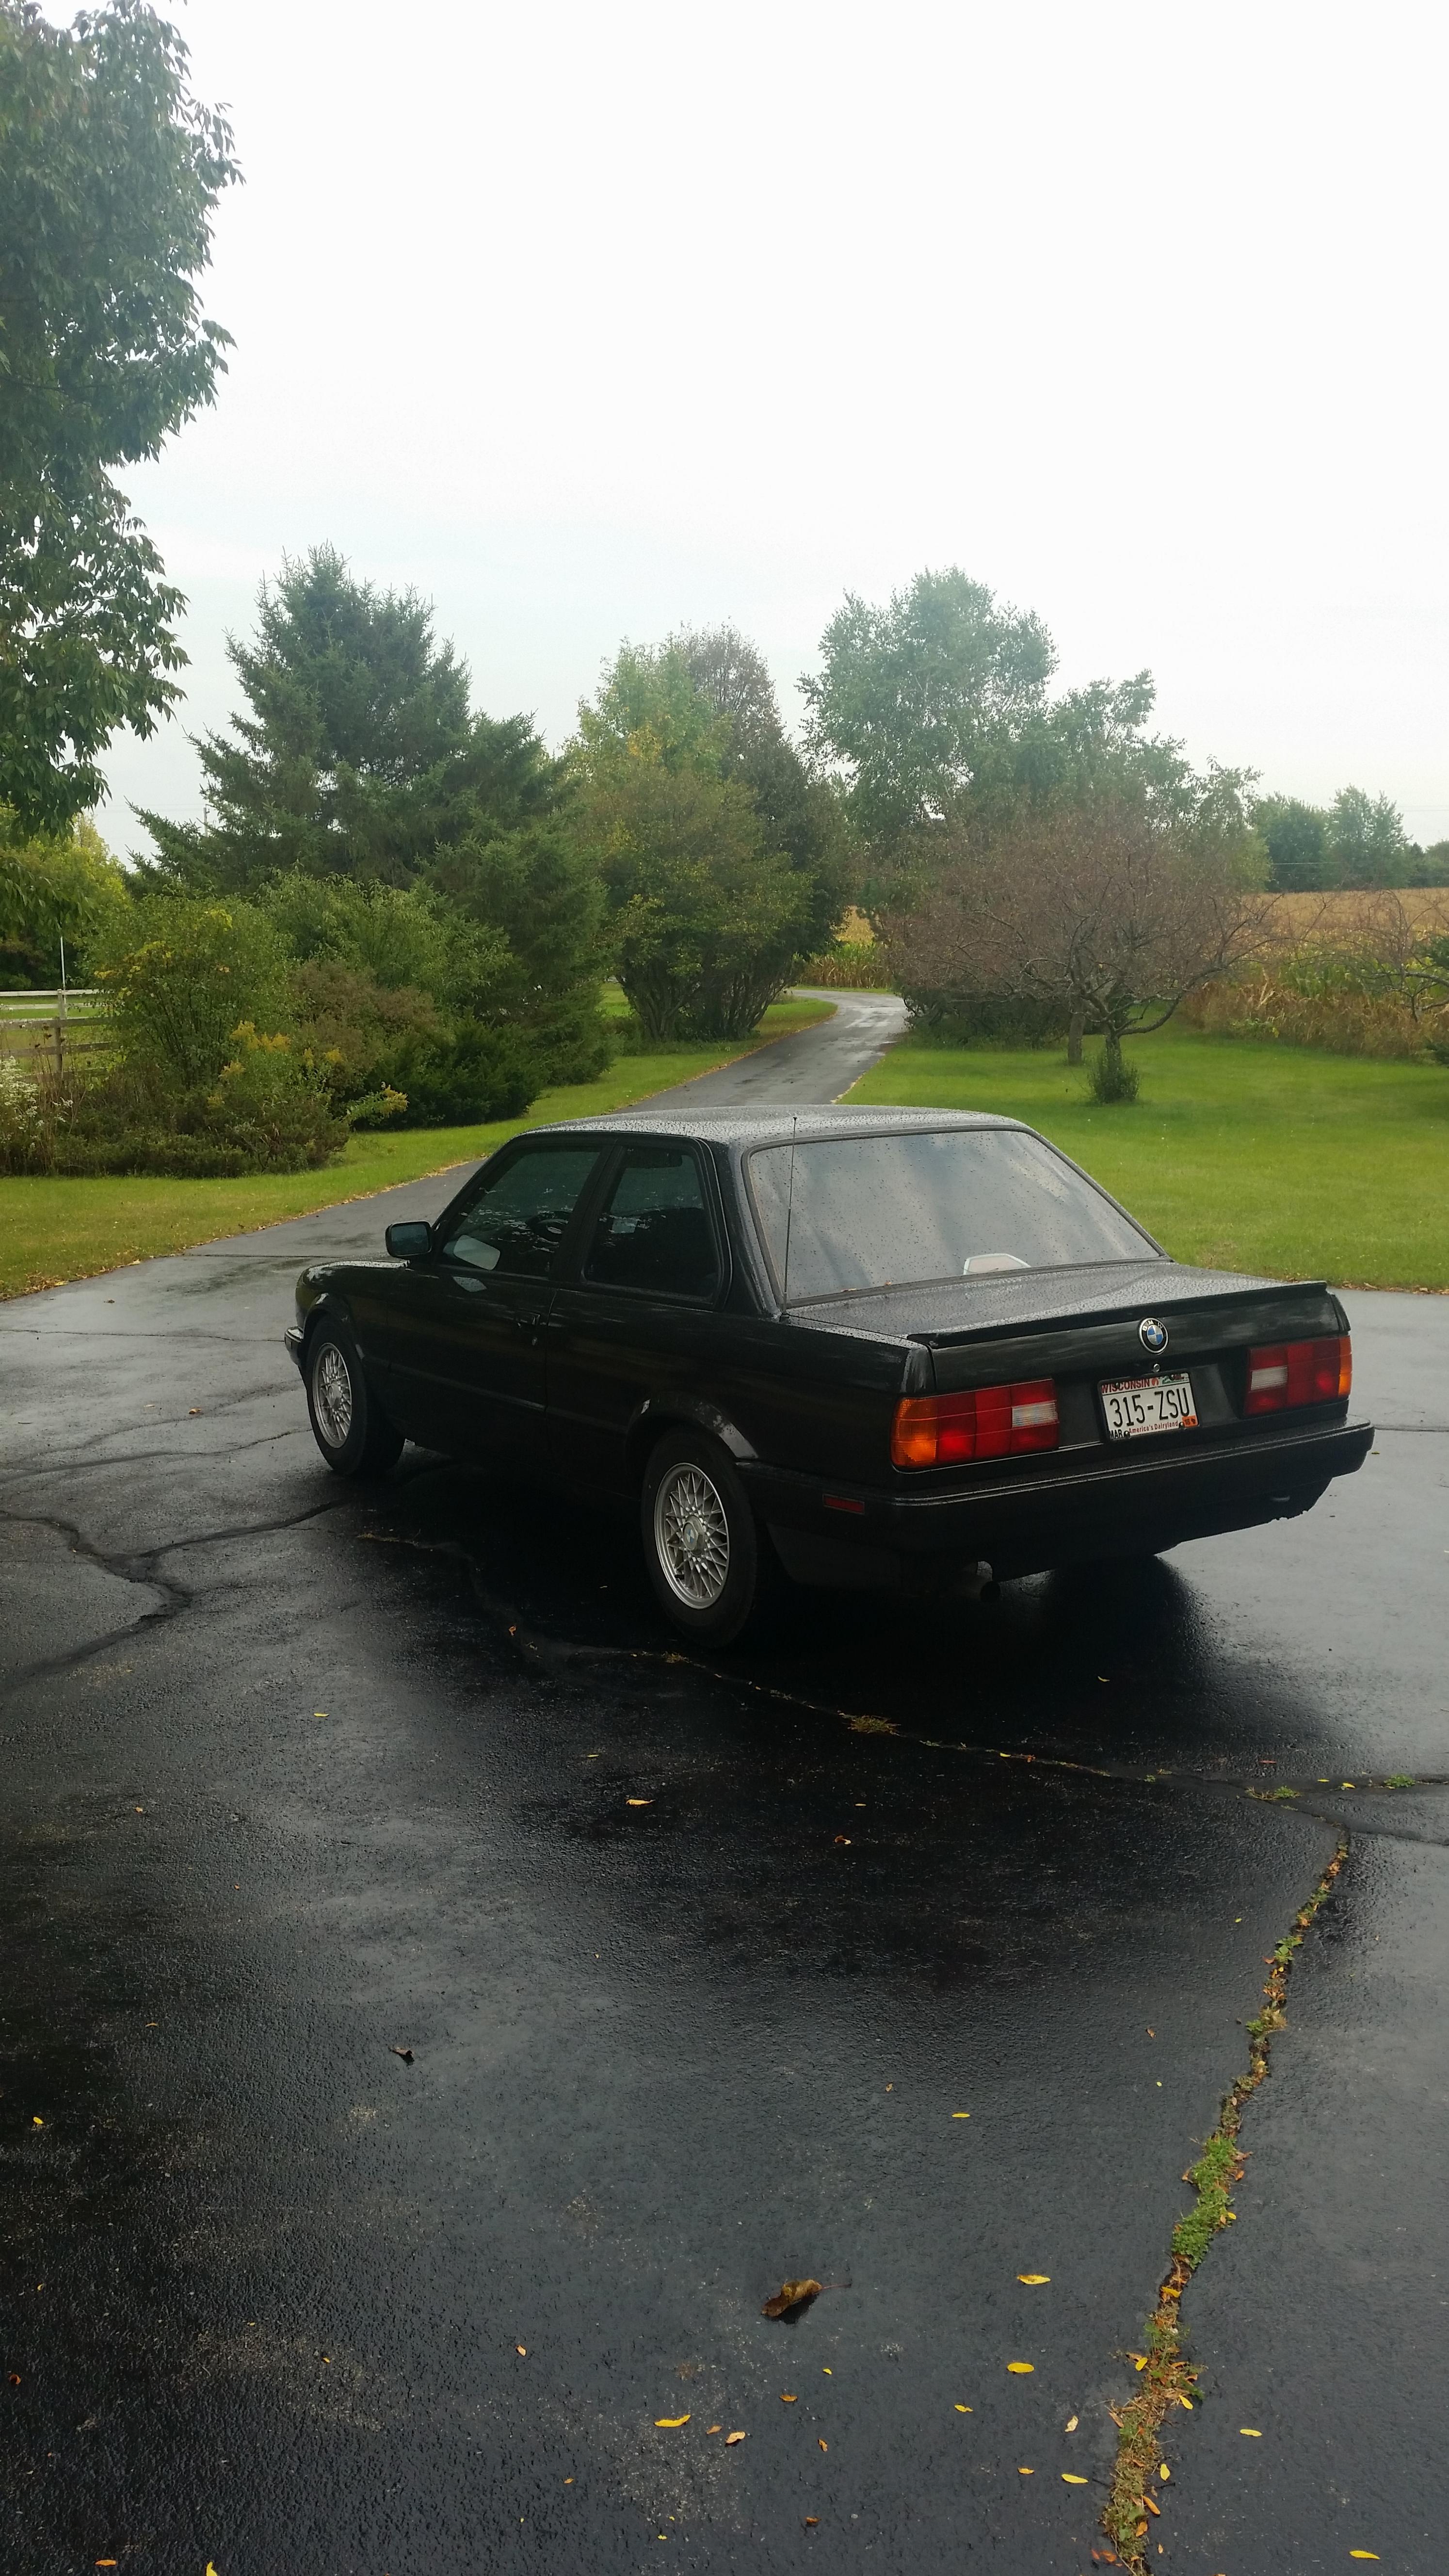
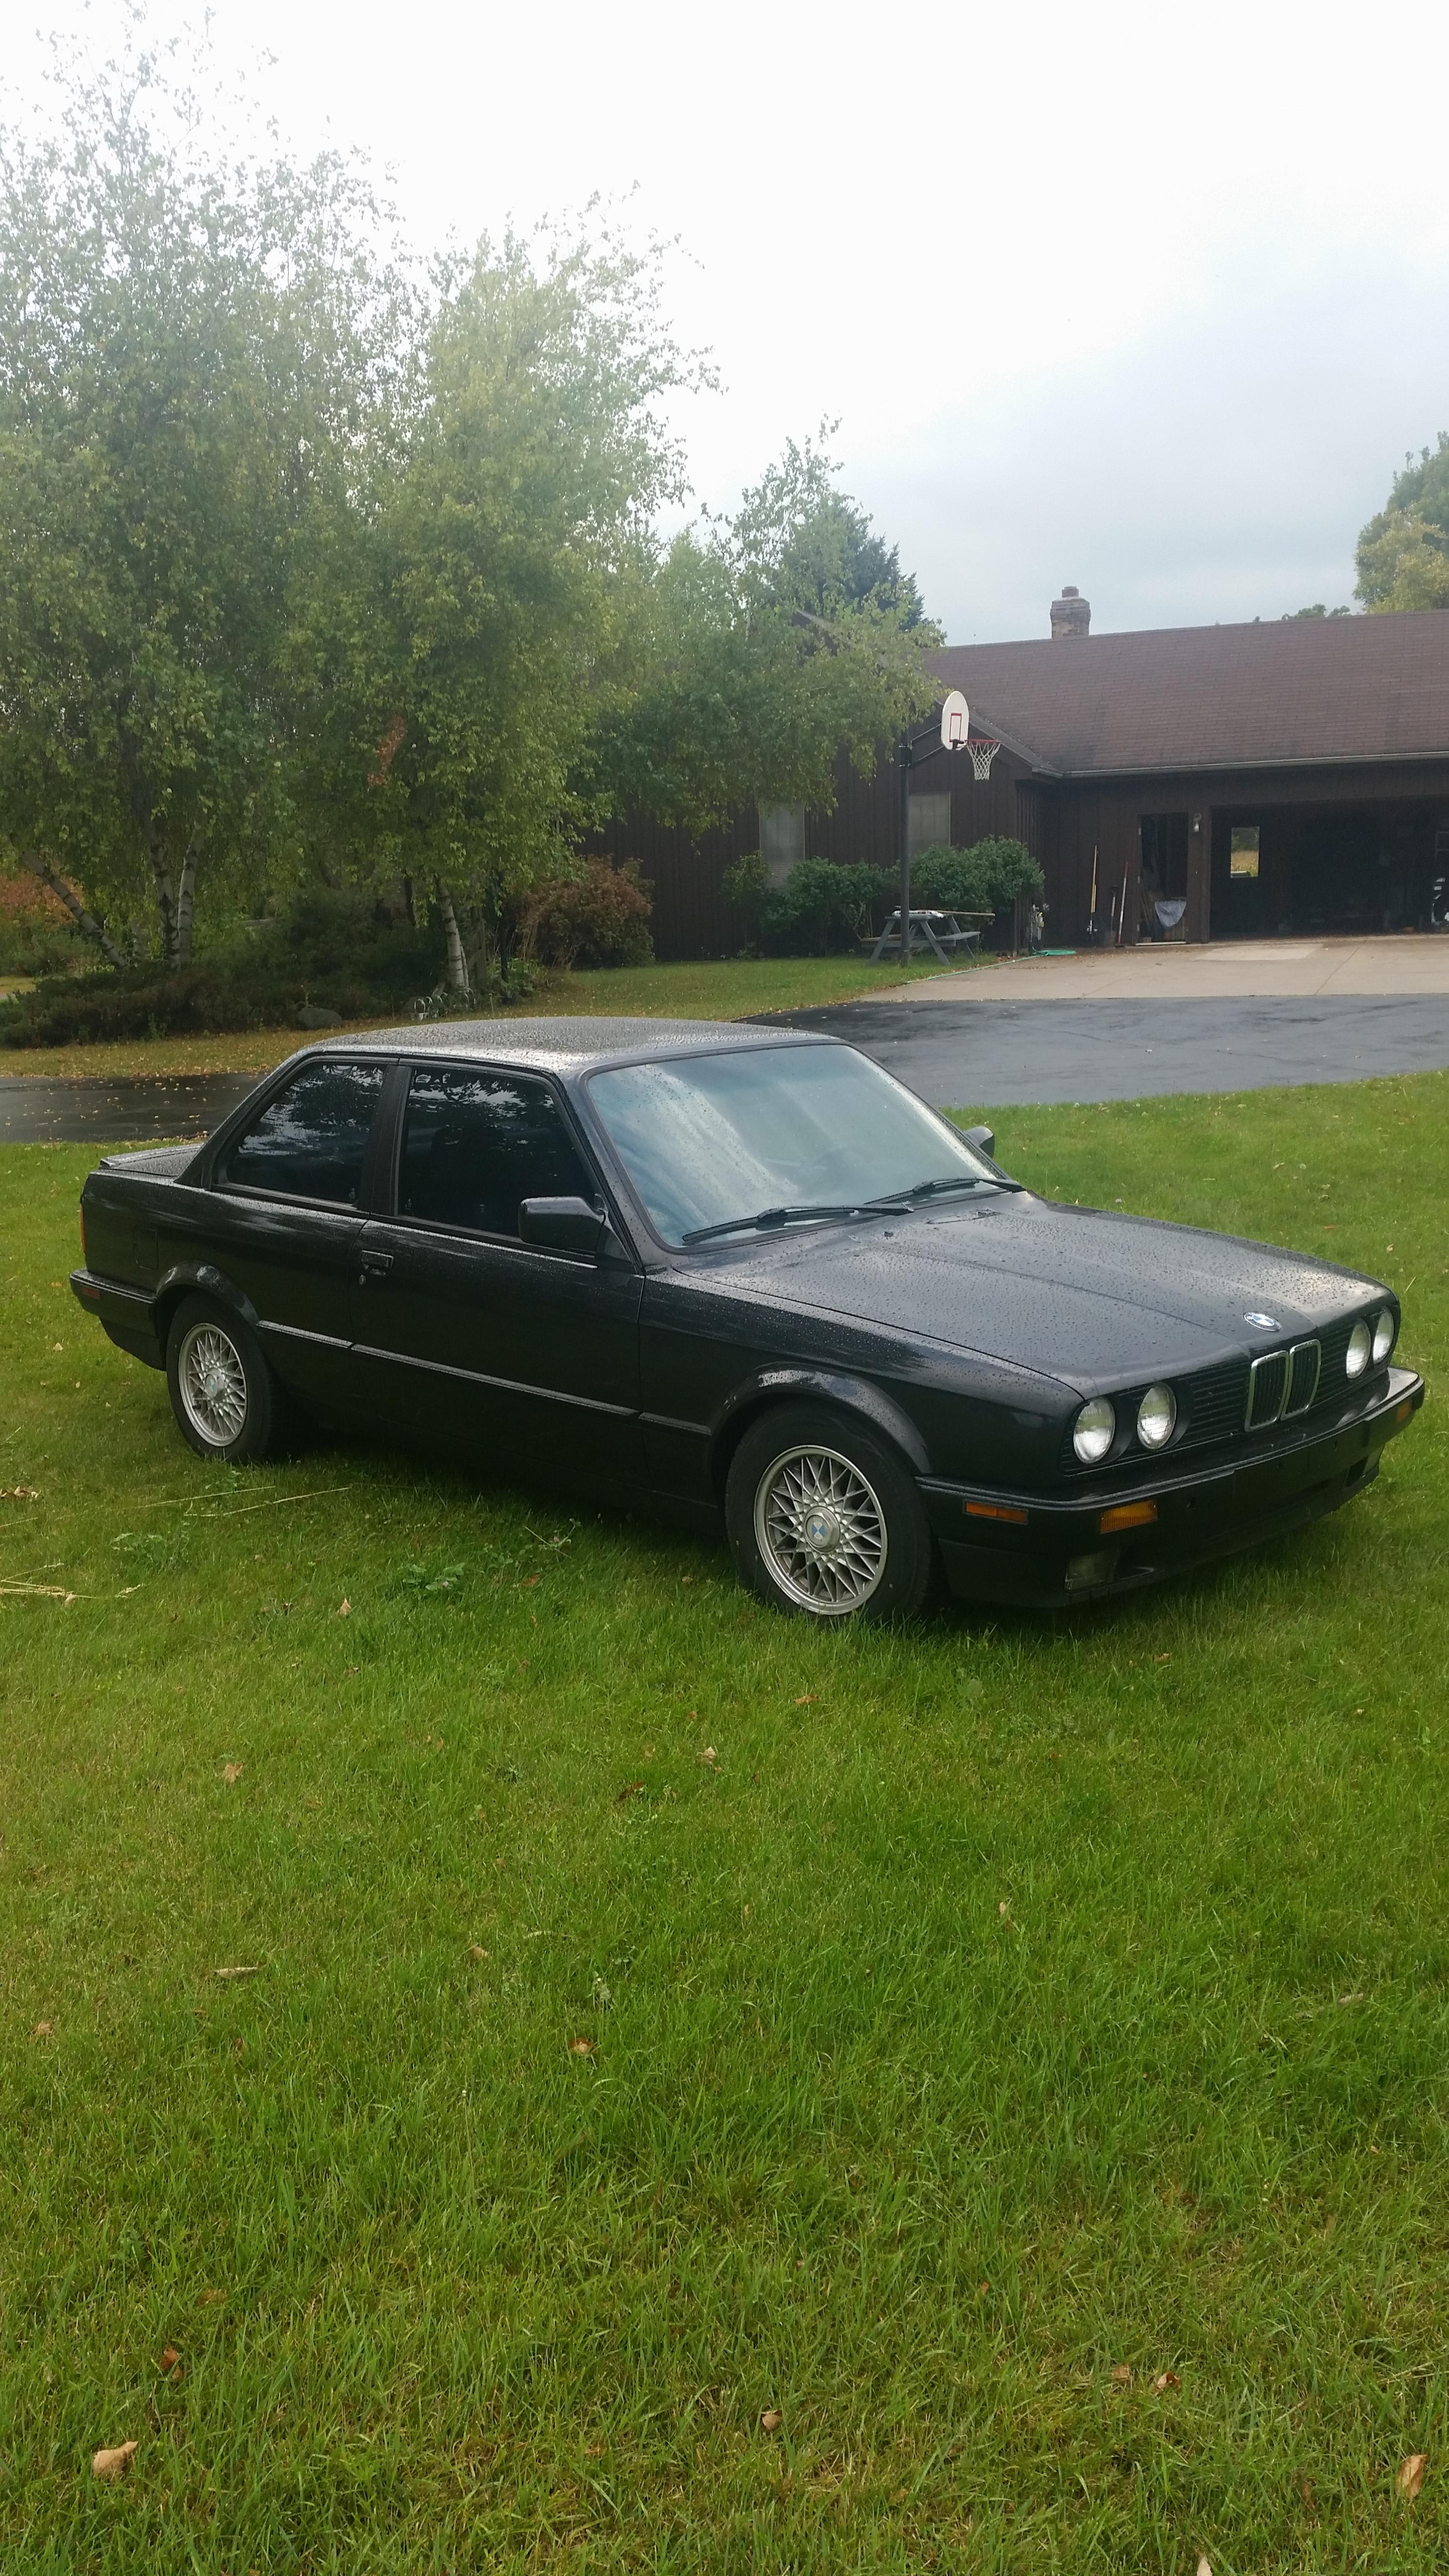
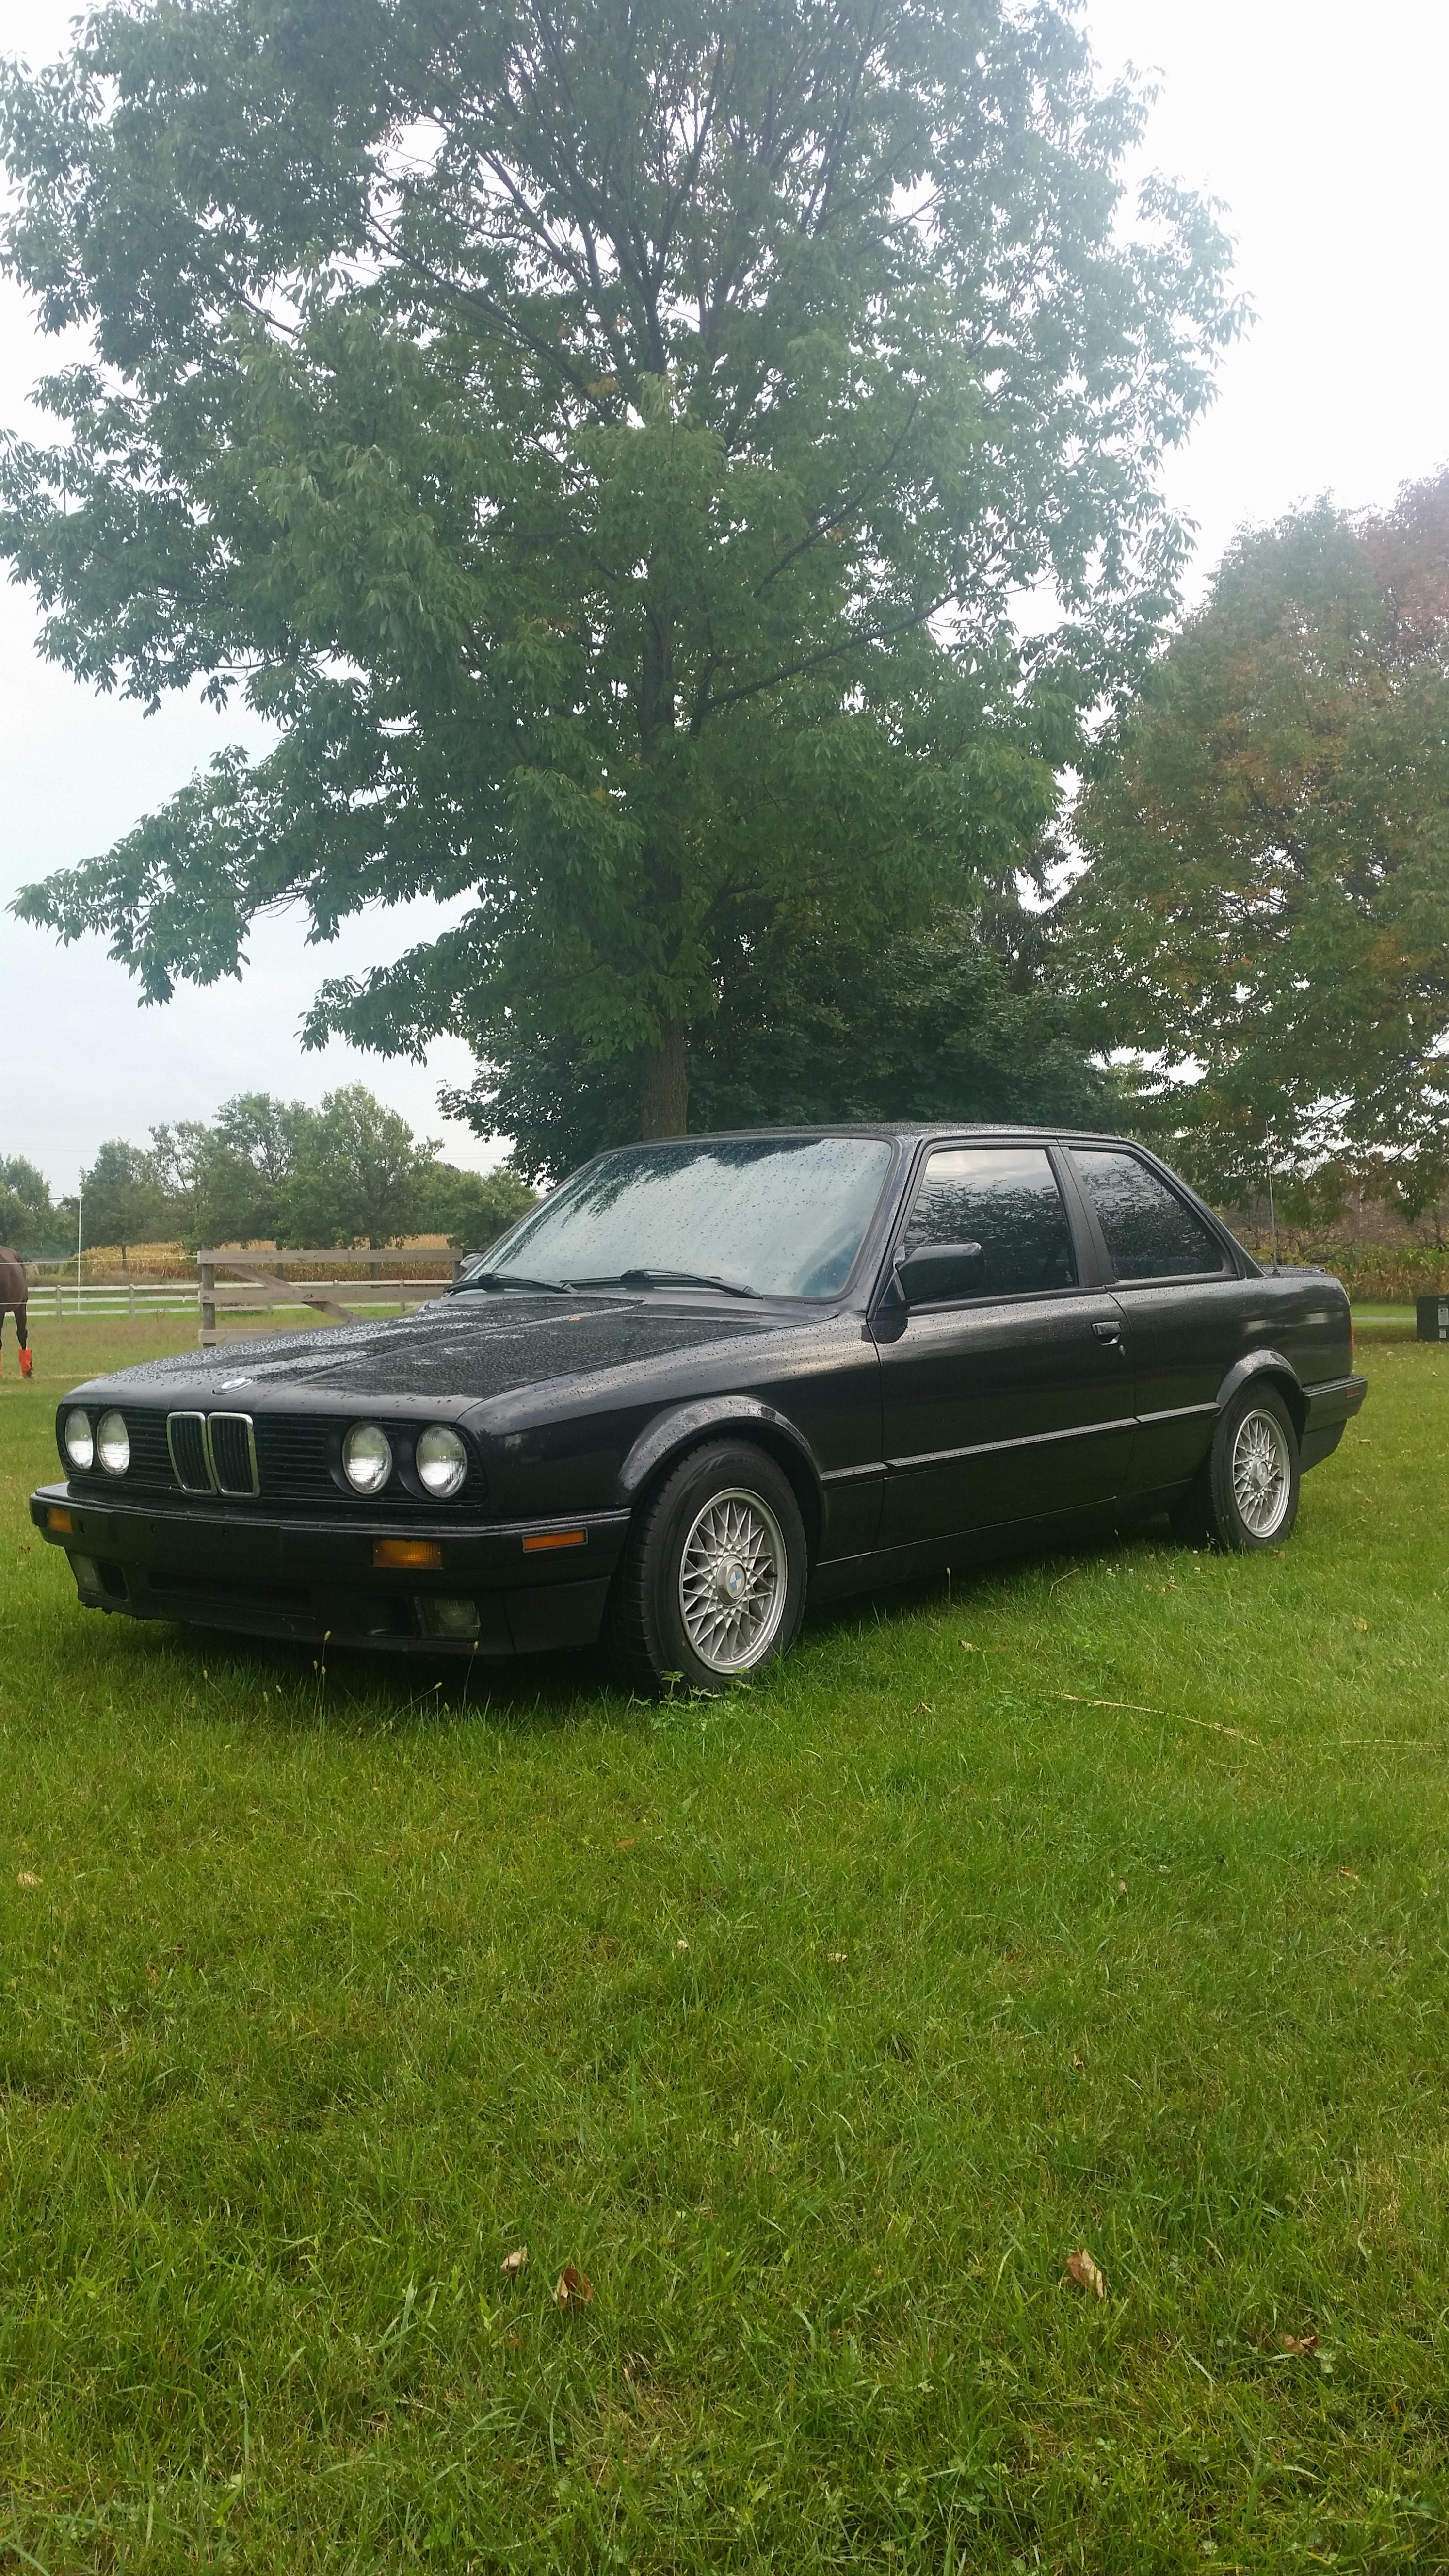
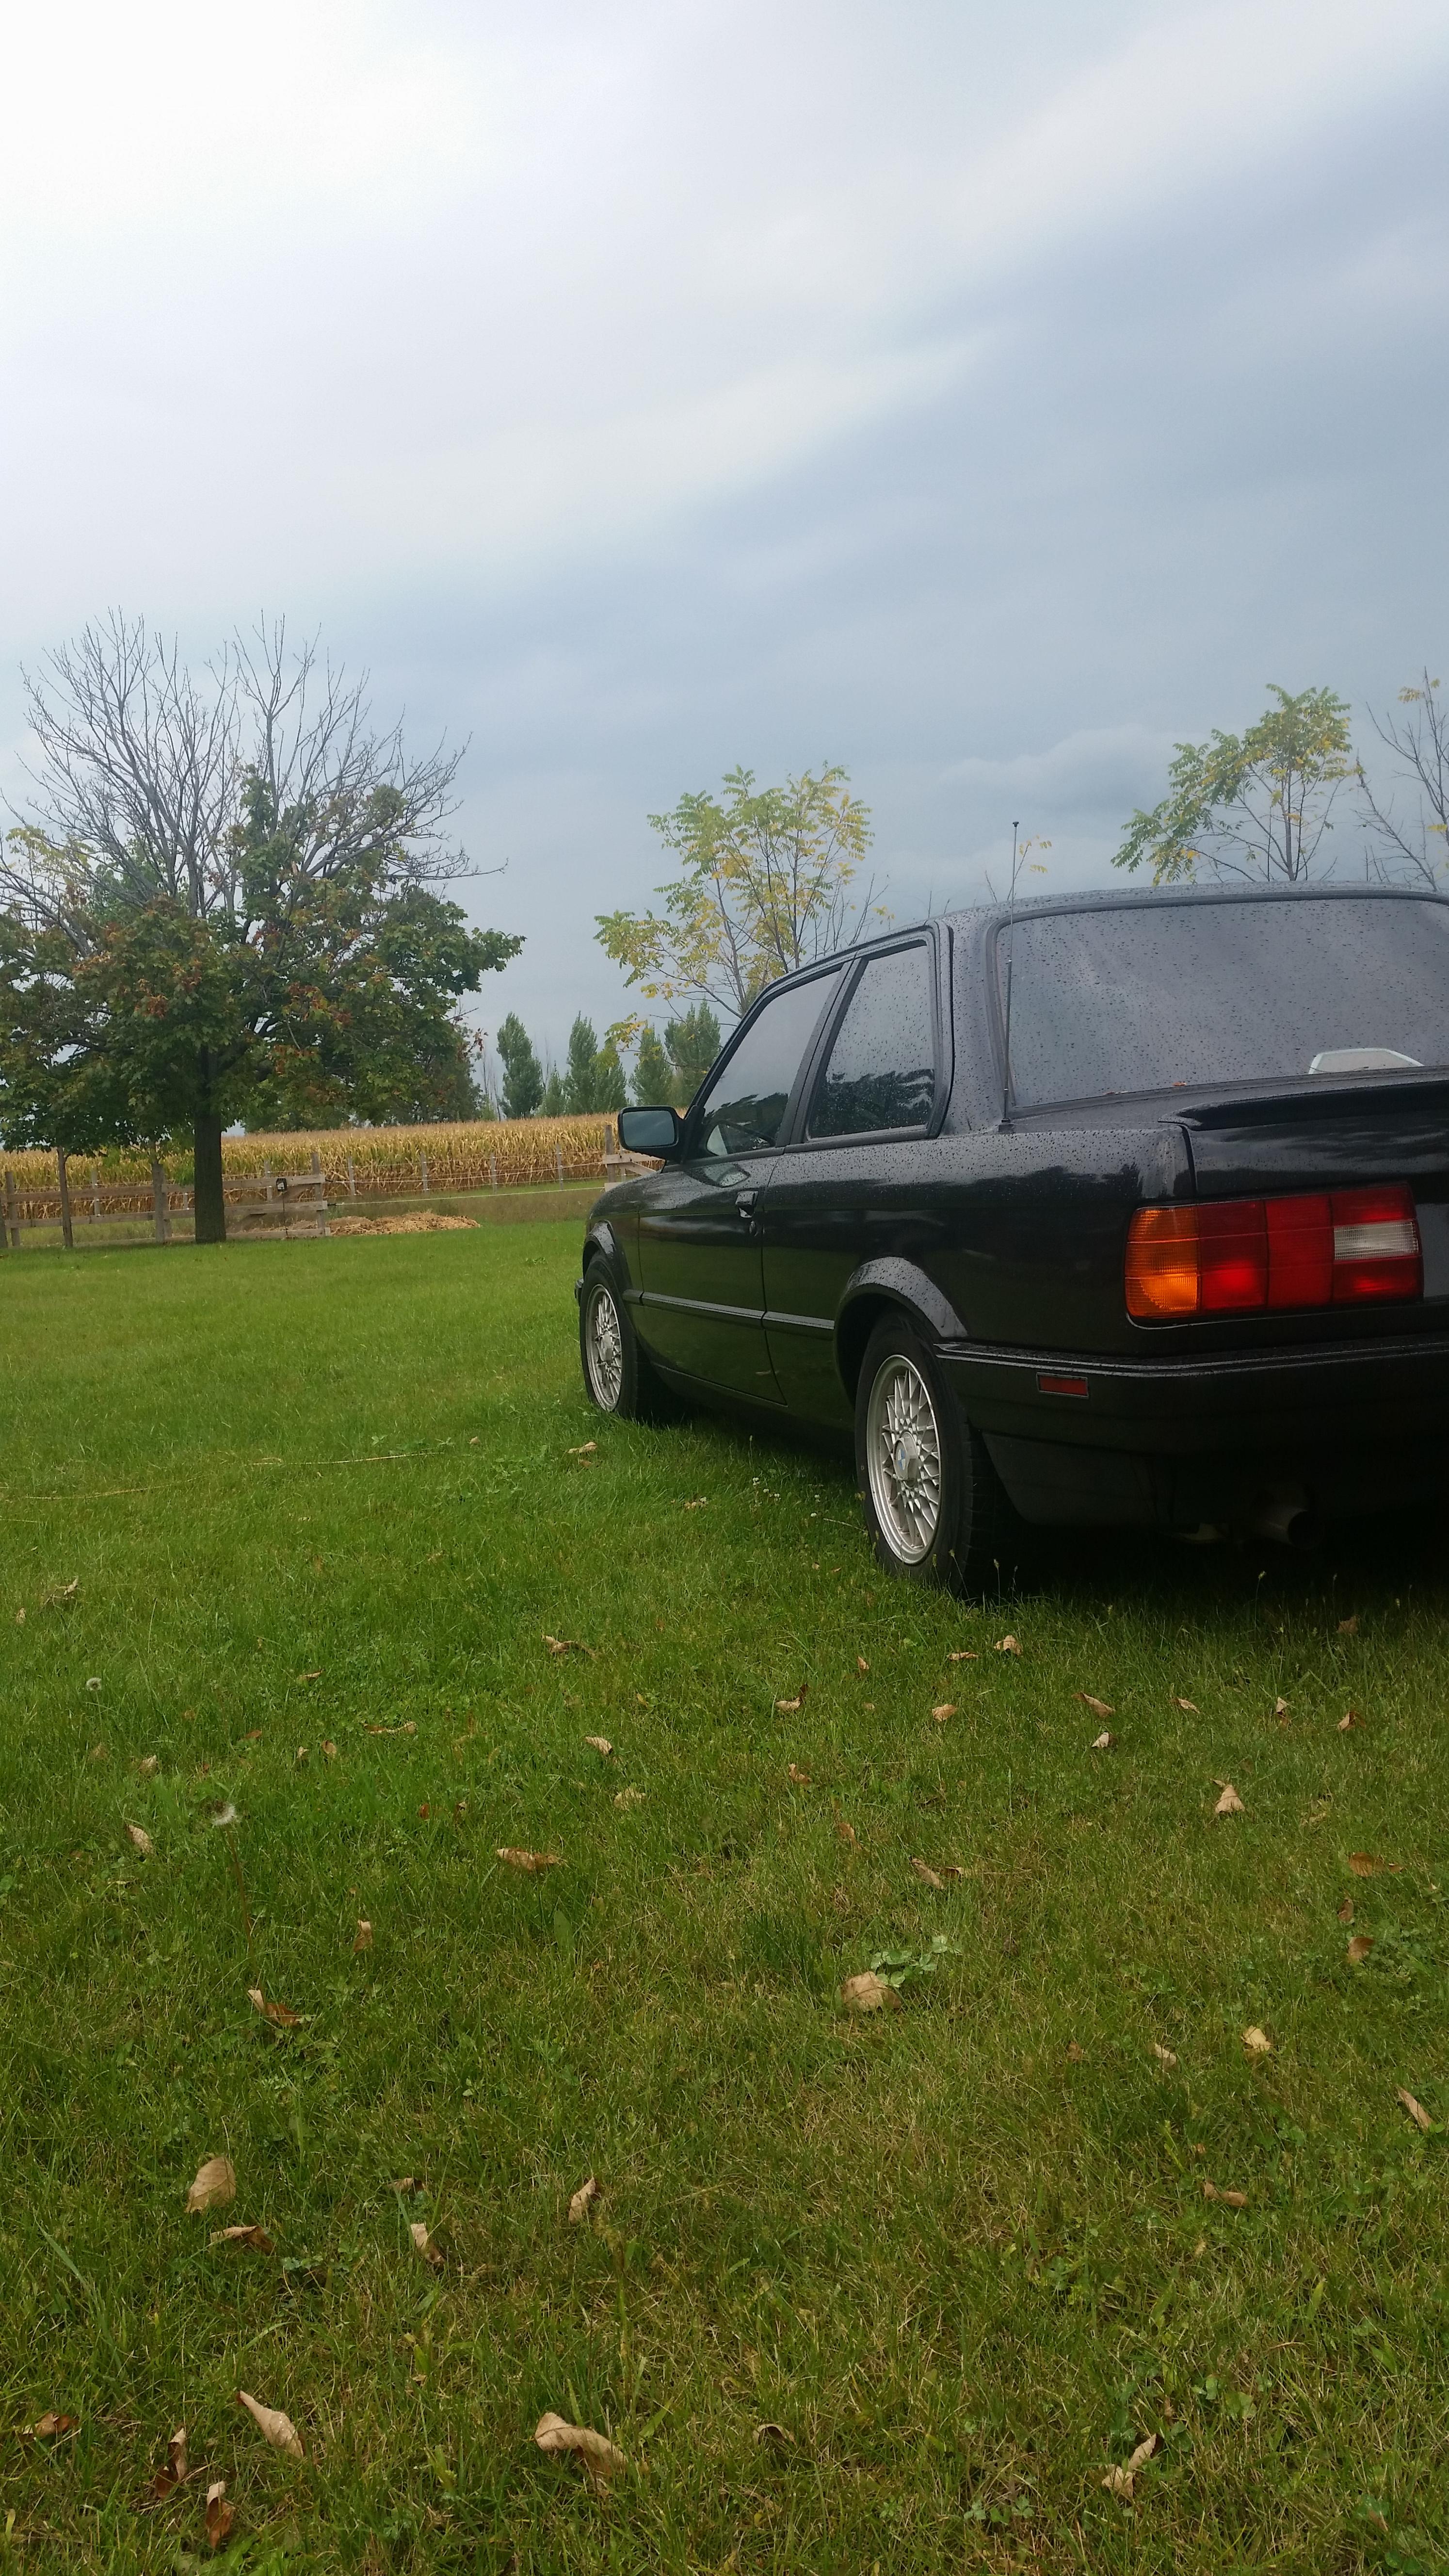
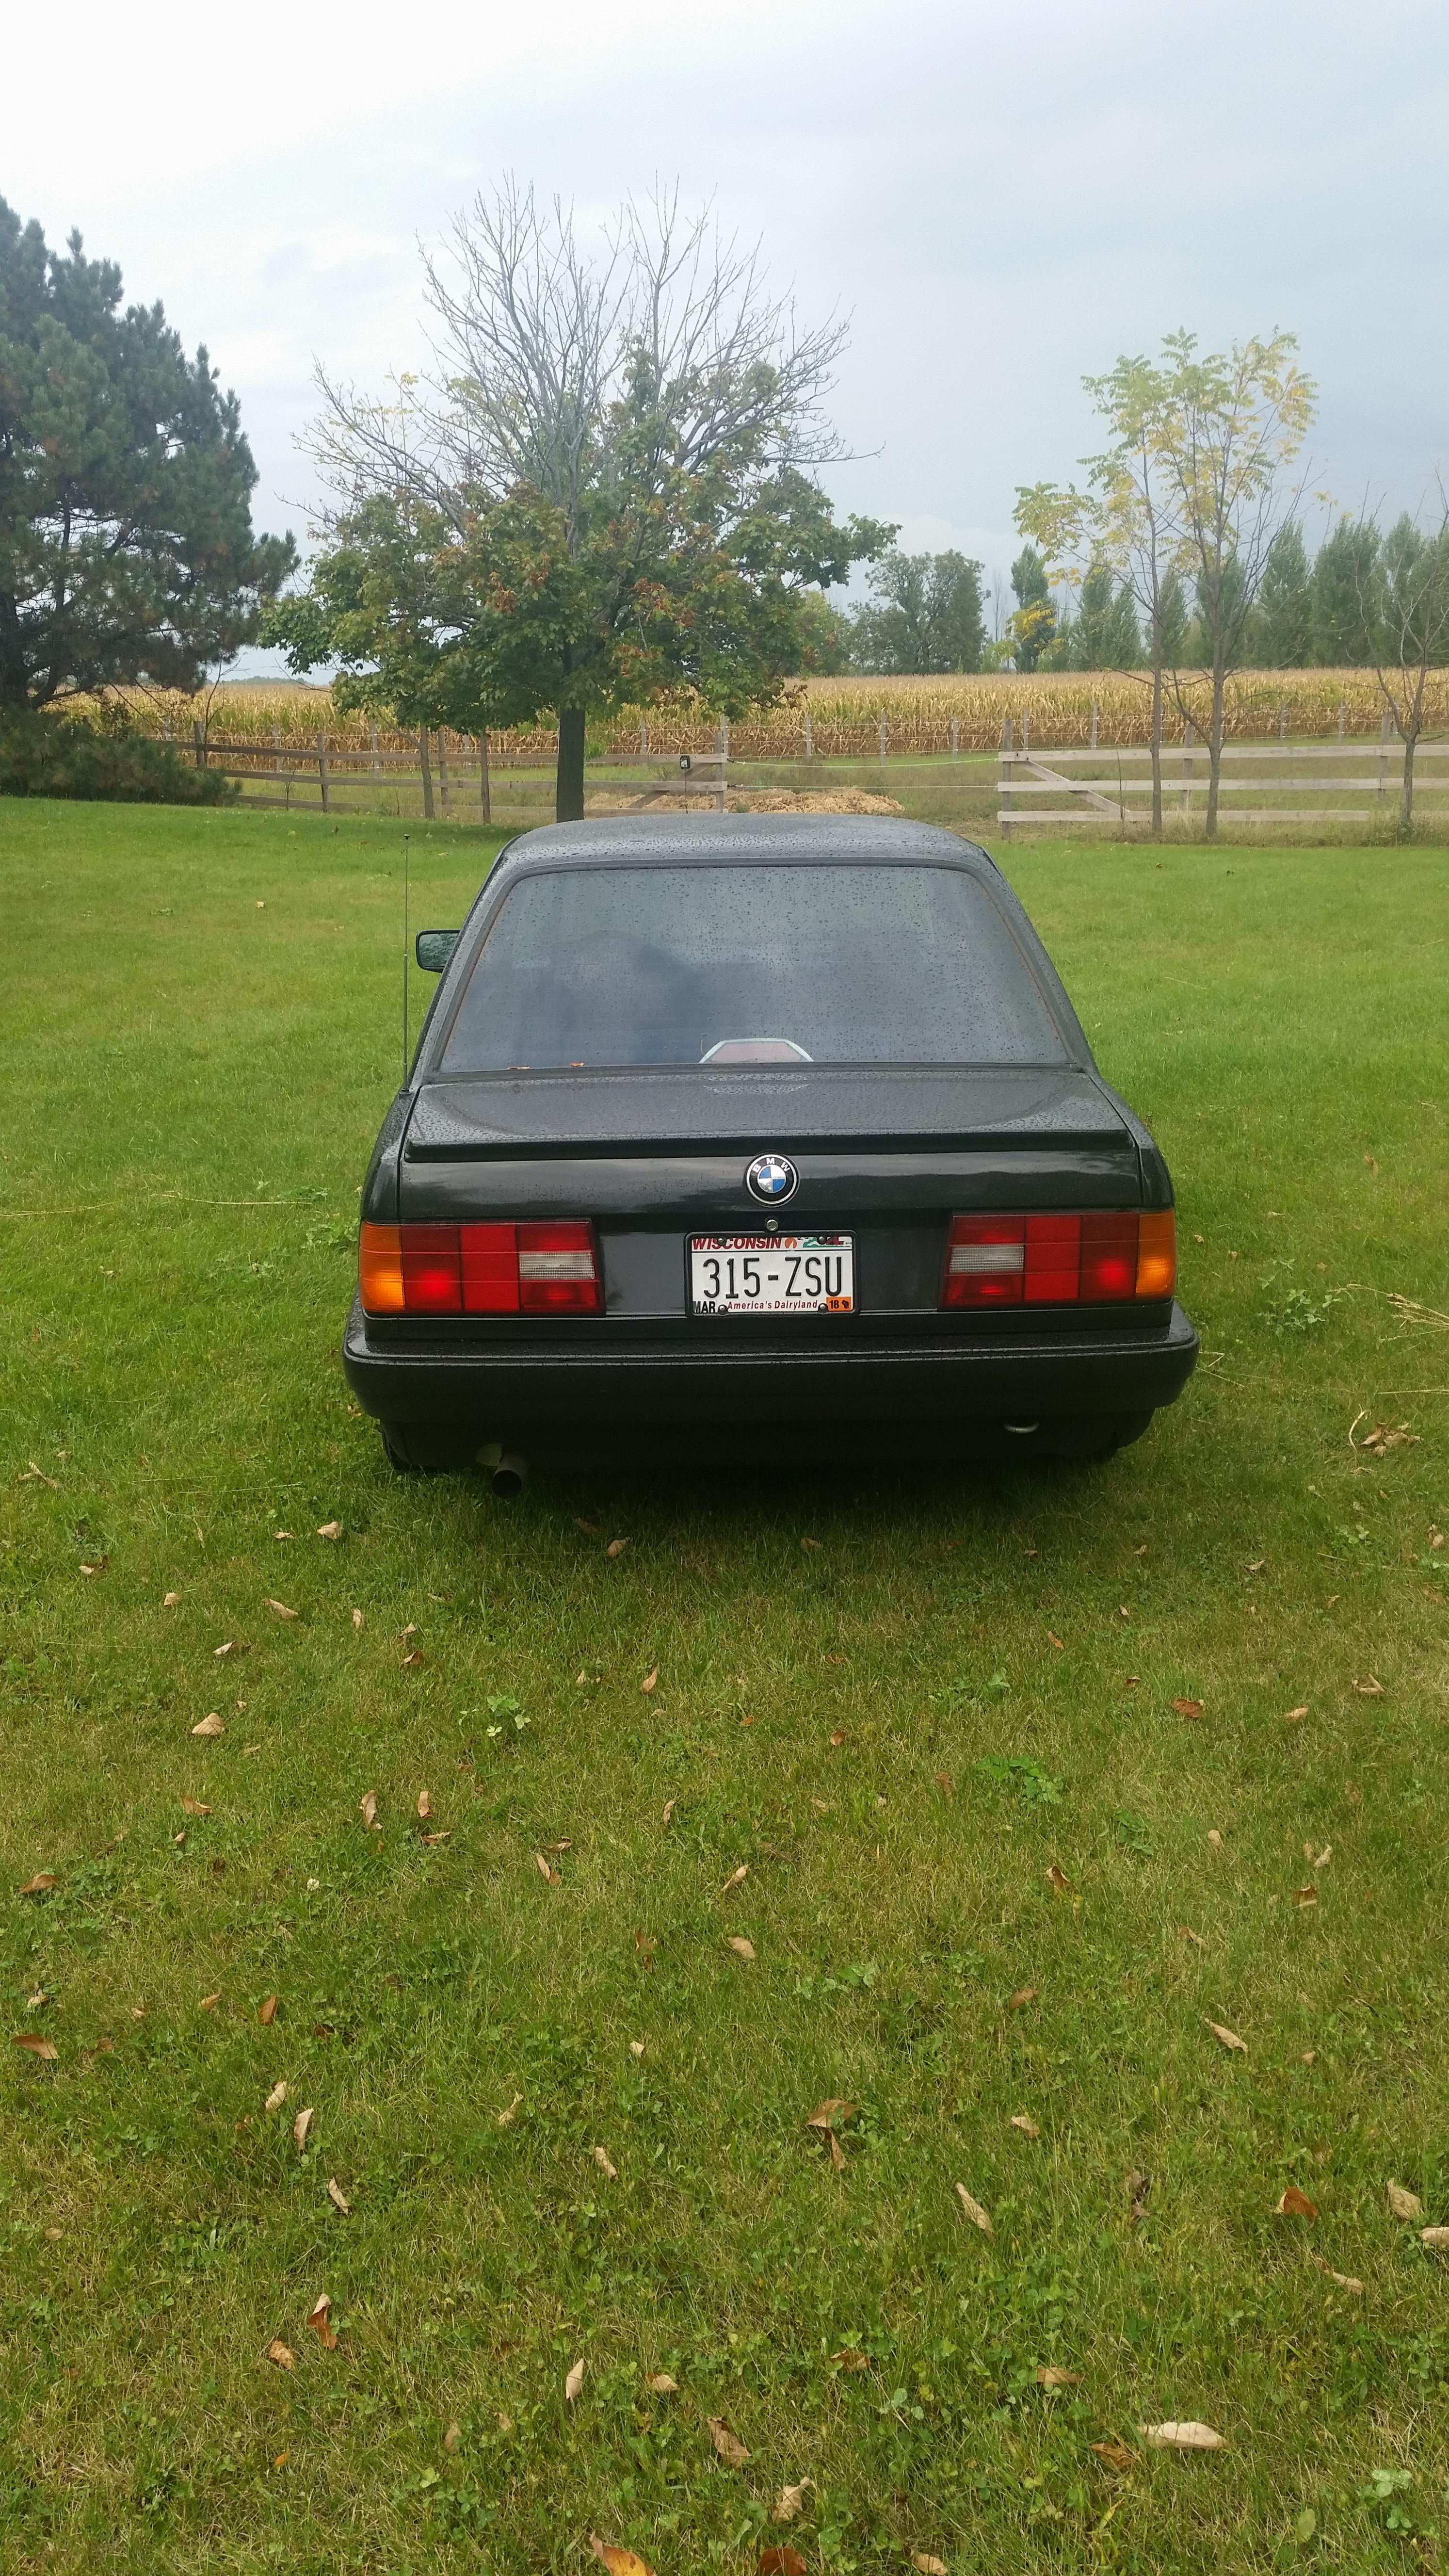
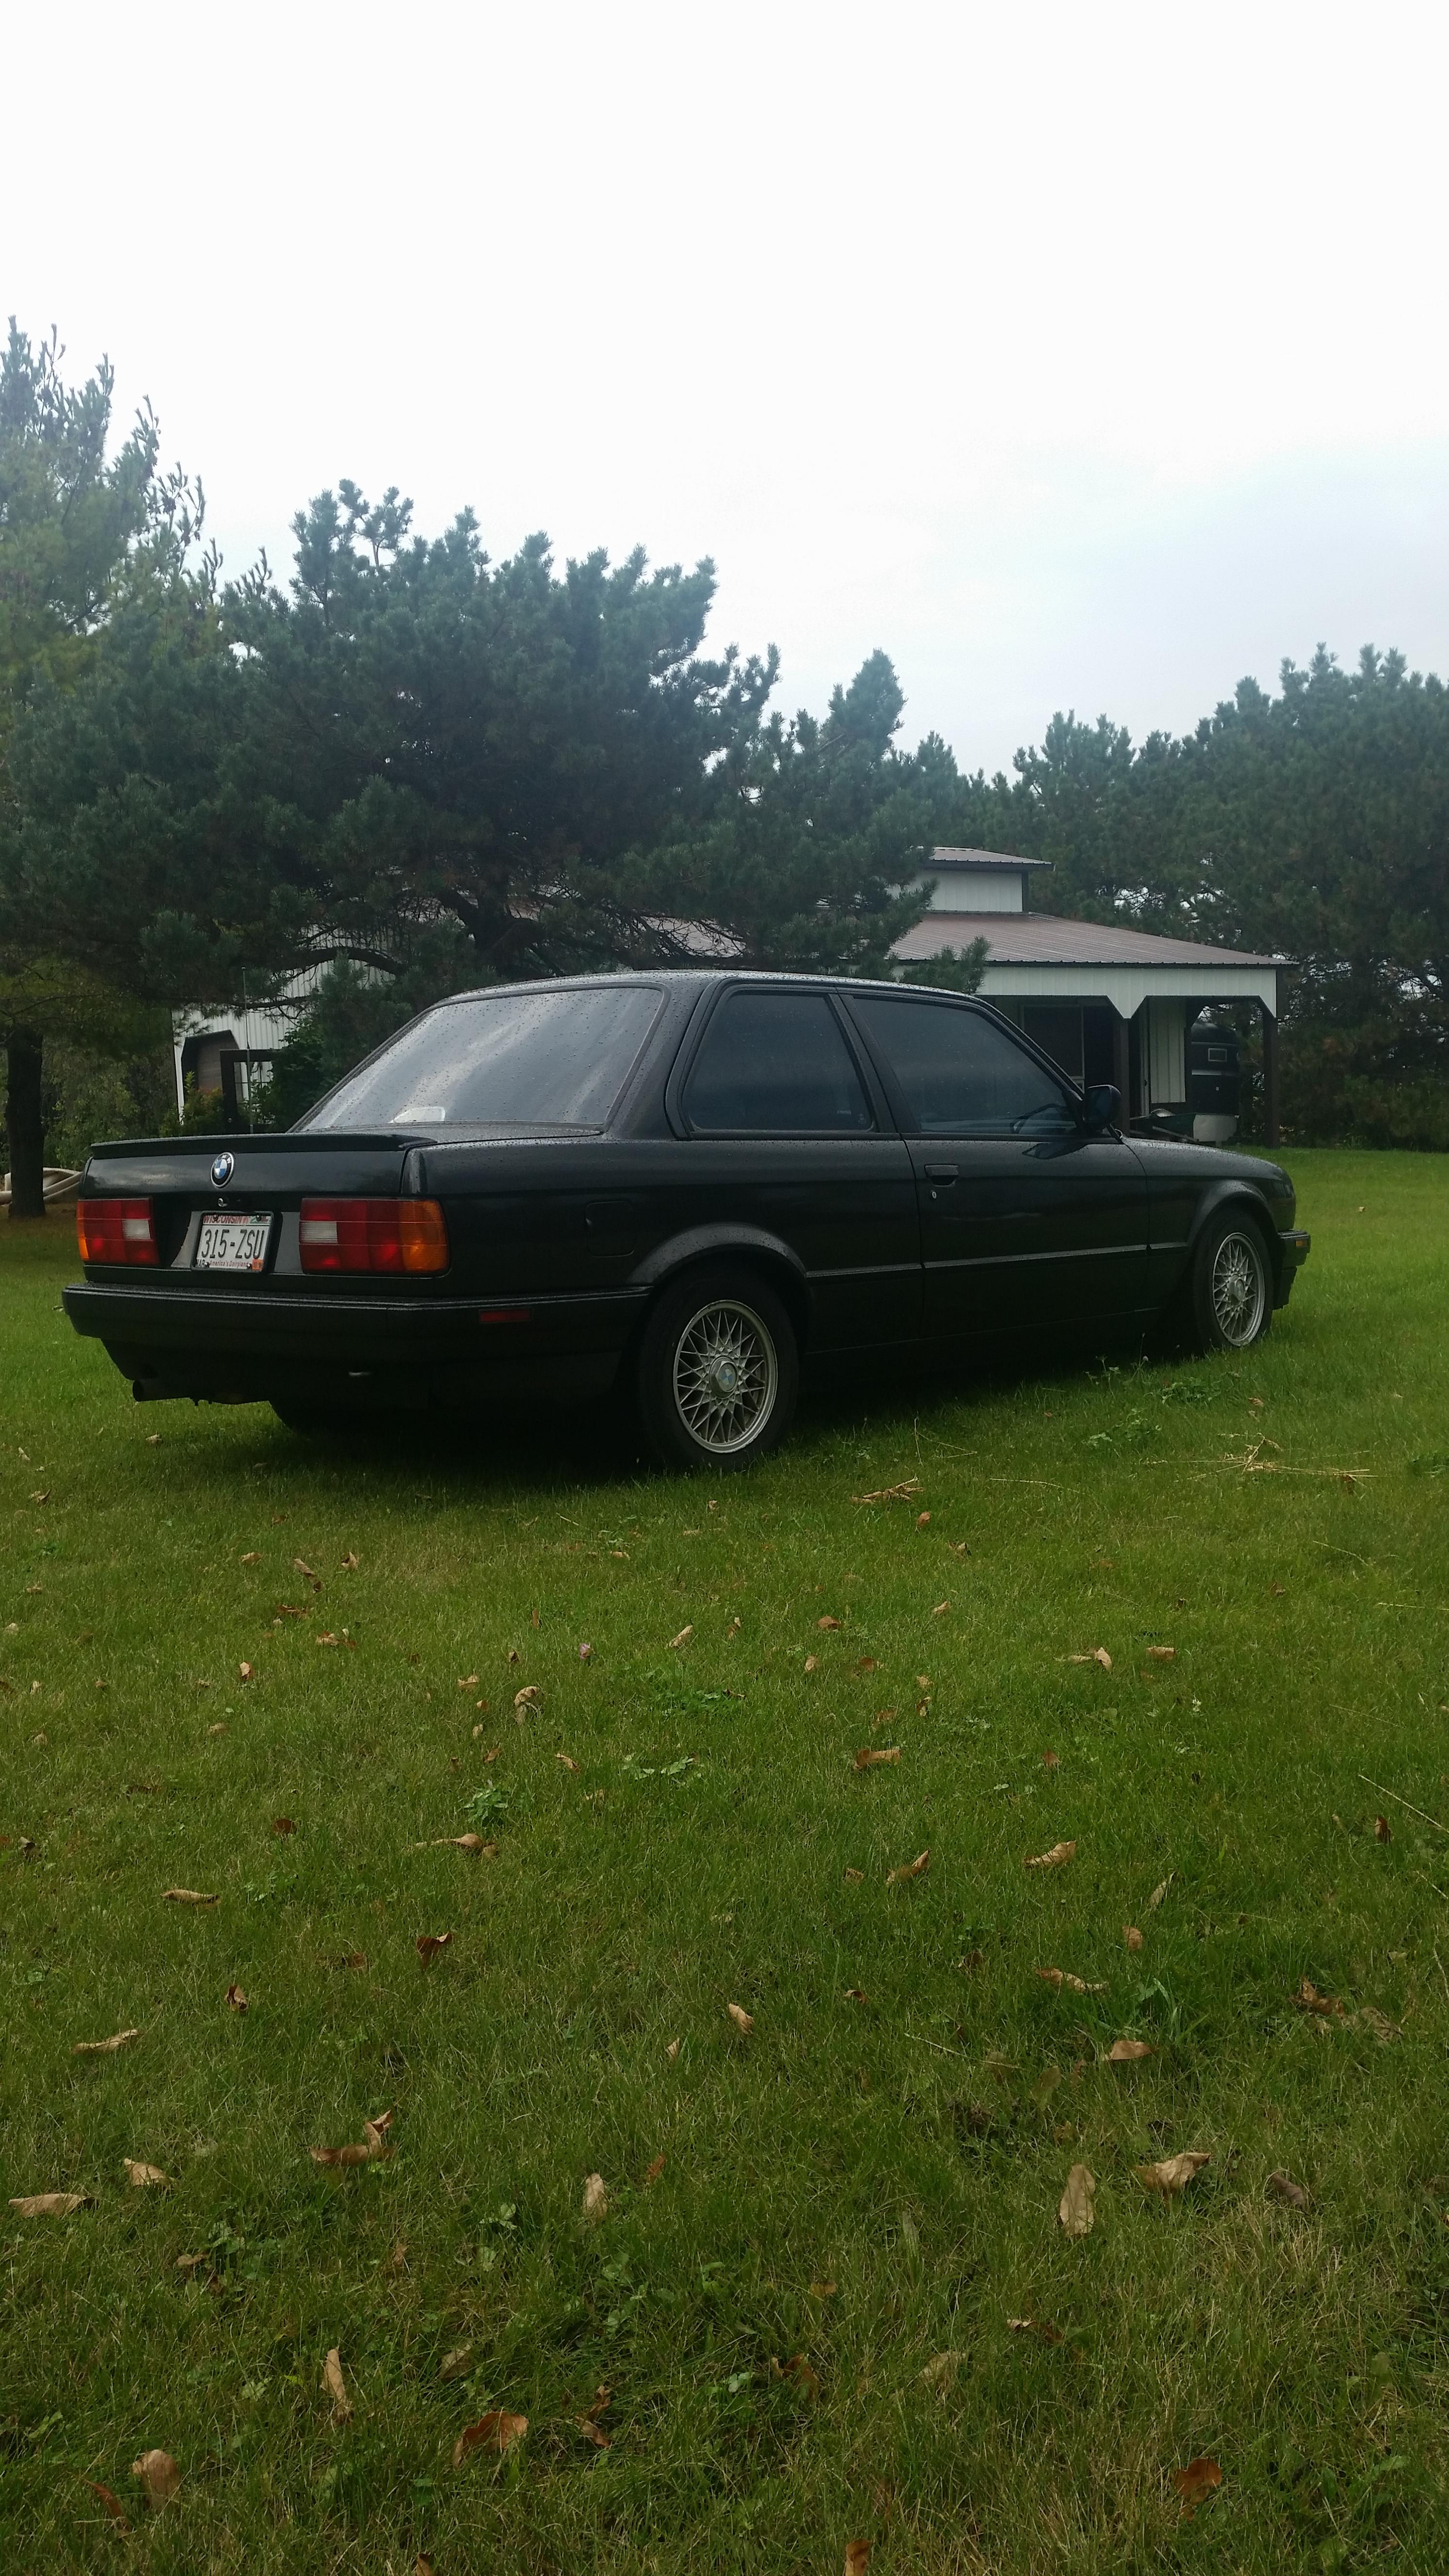
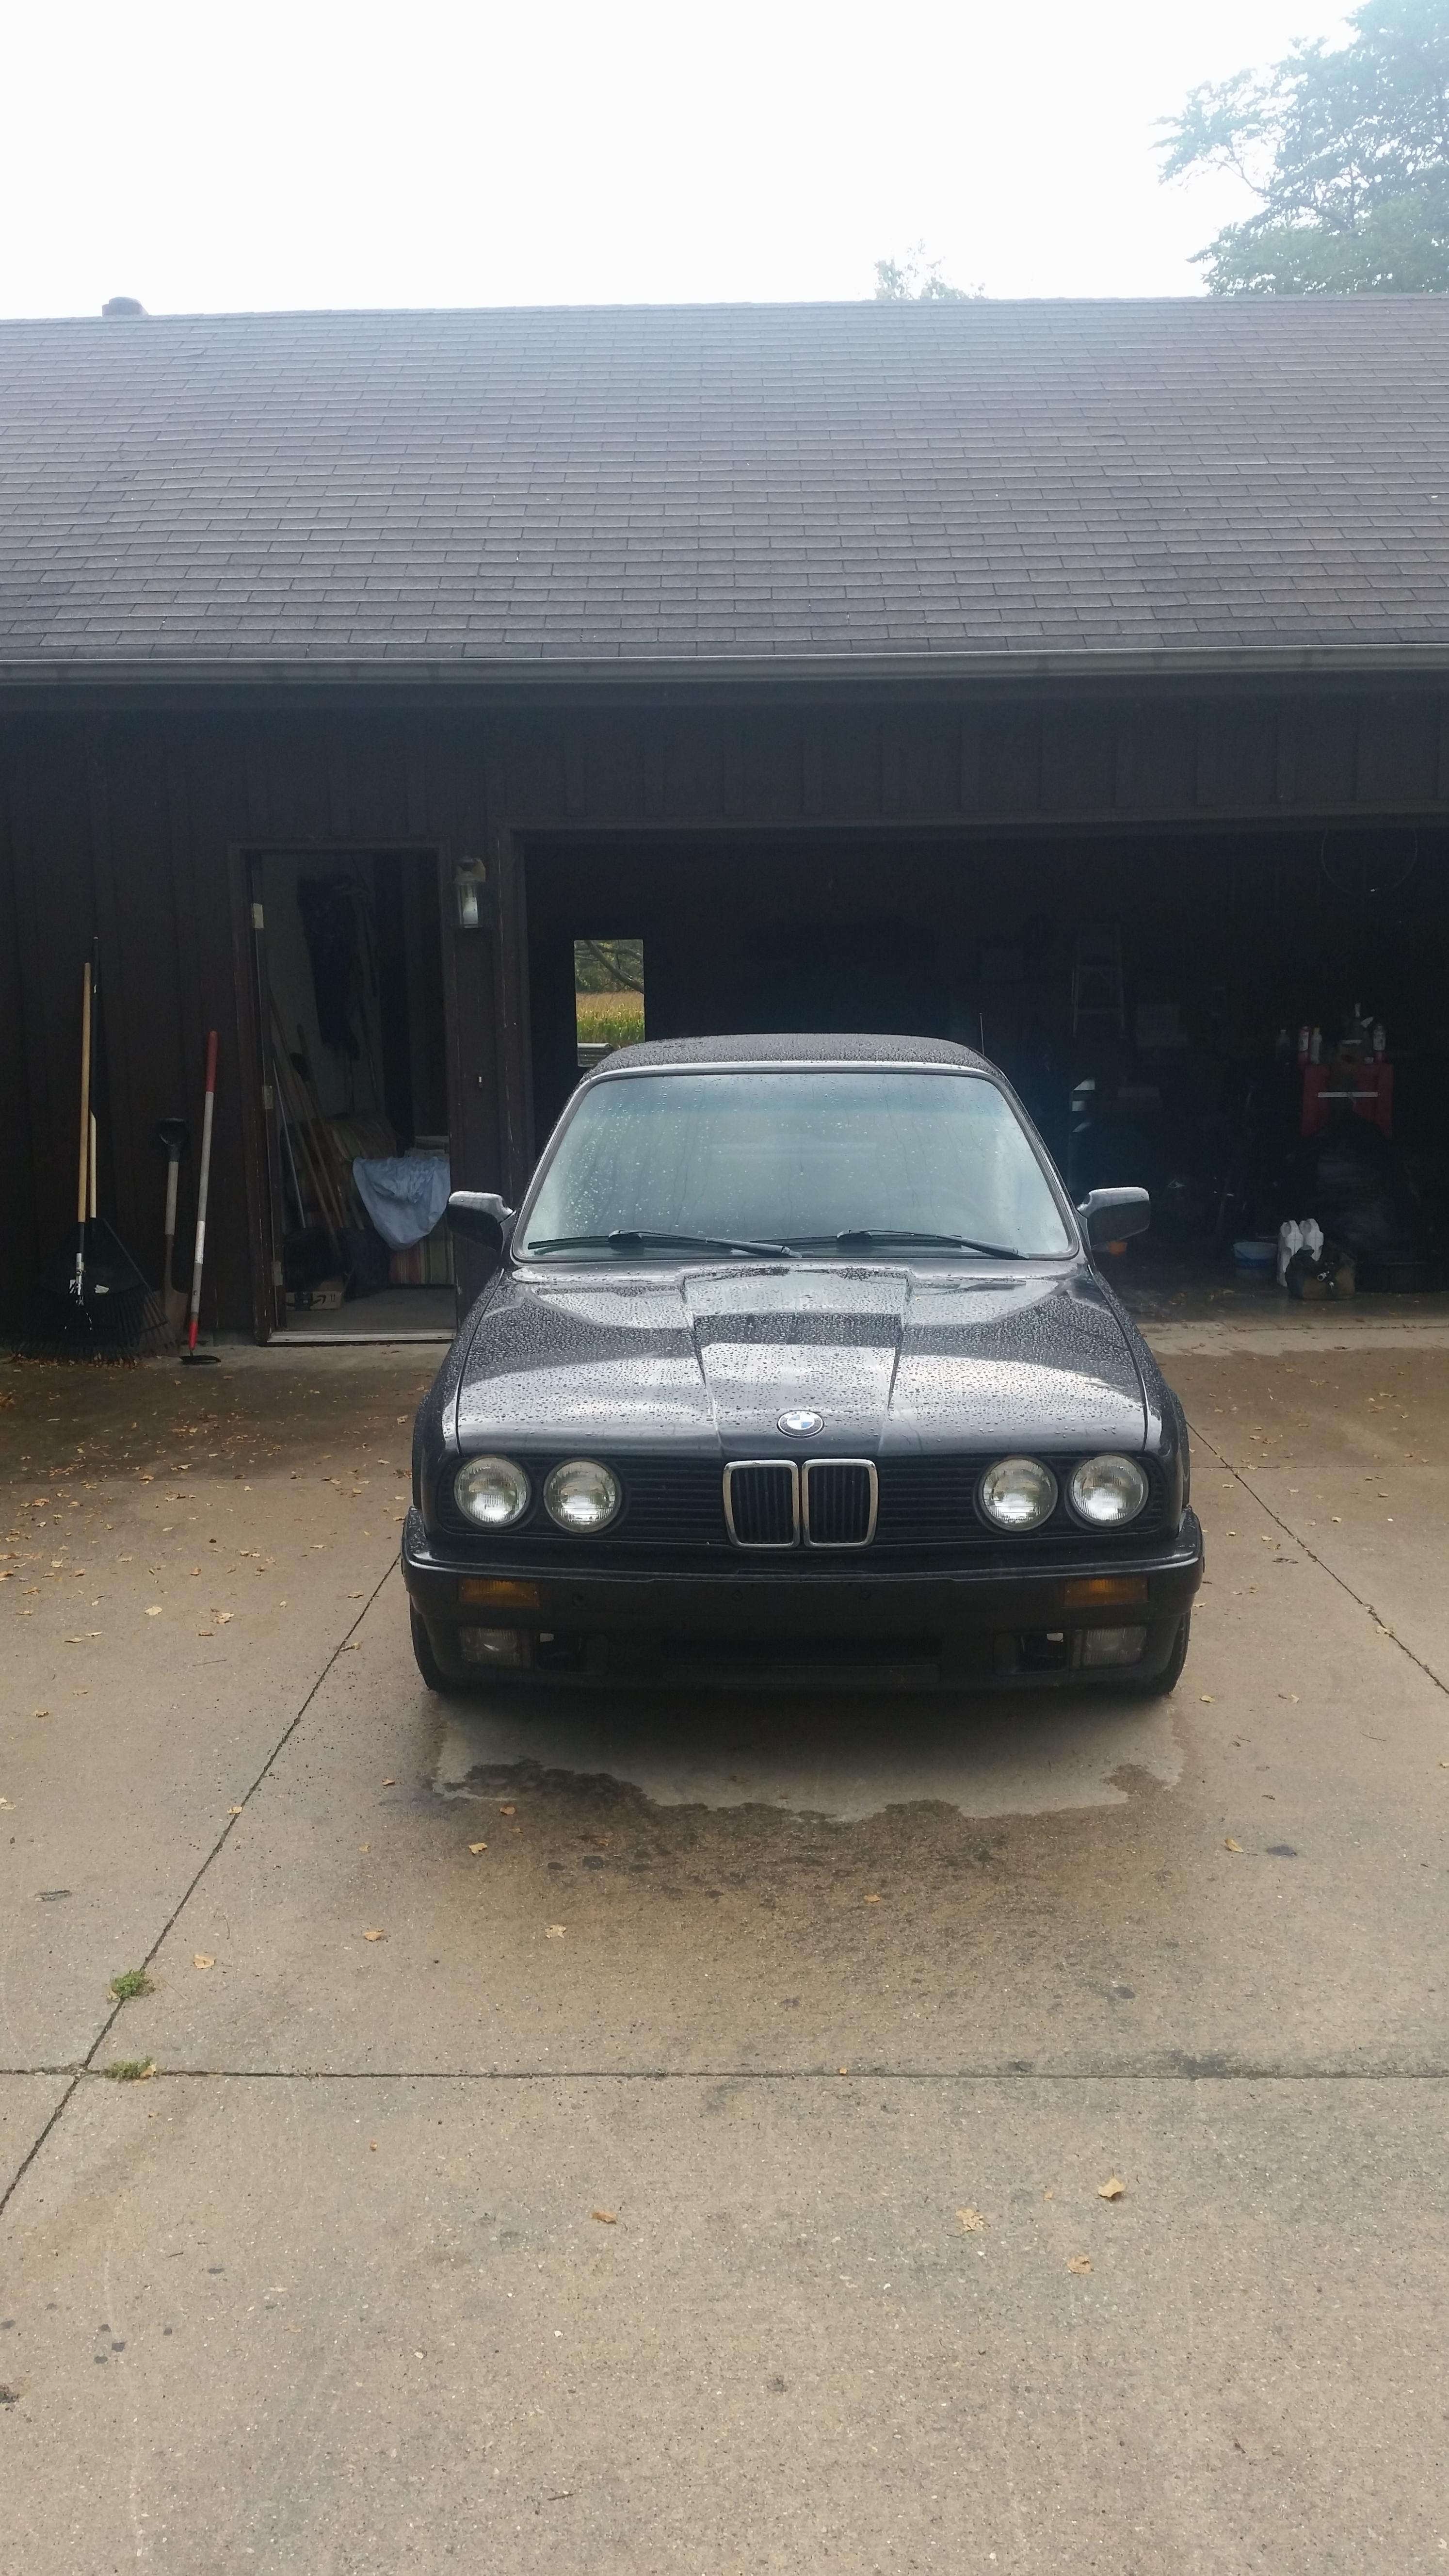
Was gonna get these pictures up and posted about 2 weeks ago but life happened and I ended up being out of town for a week. Pictures were taken on my phone and it had just rain so the car was a bit wet, oh well.....
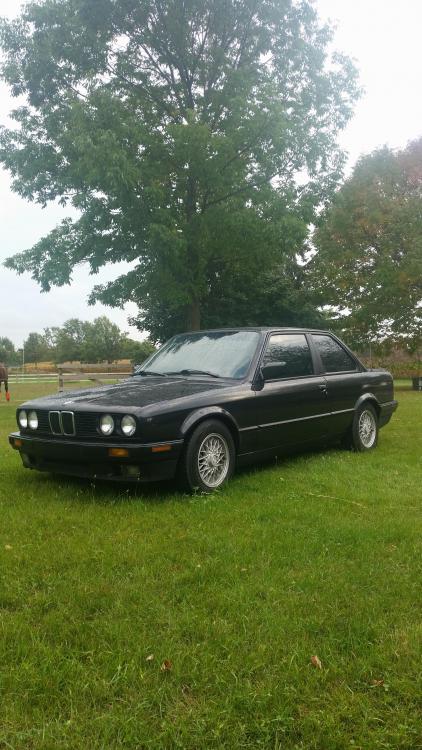
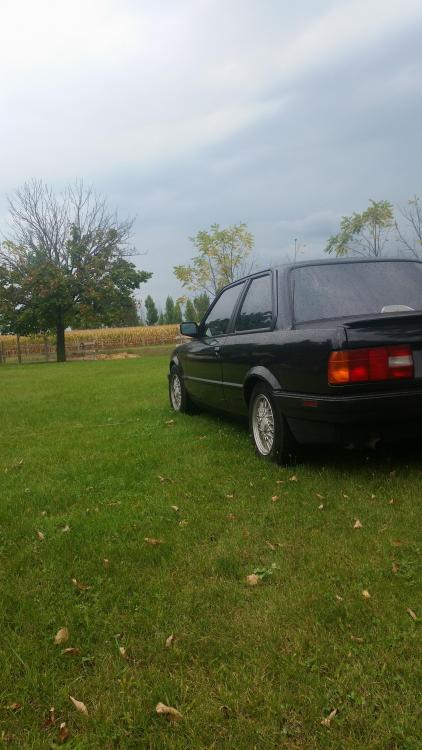
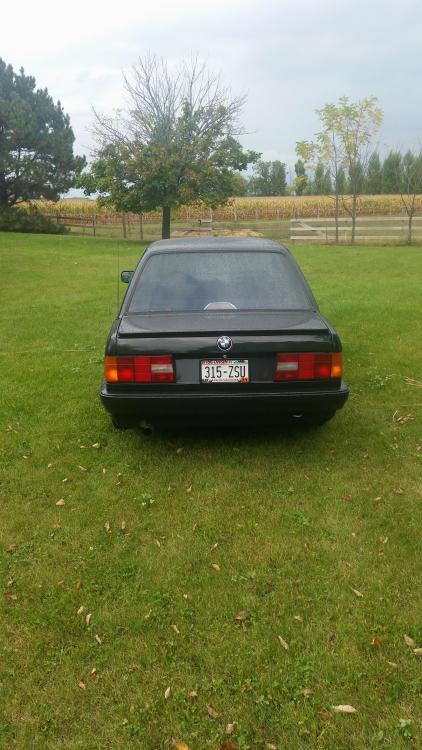
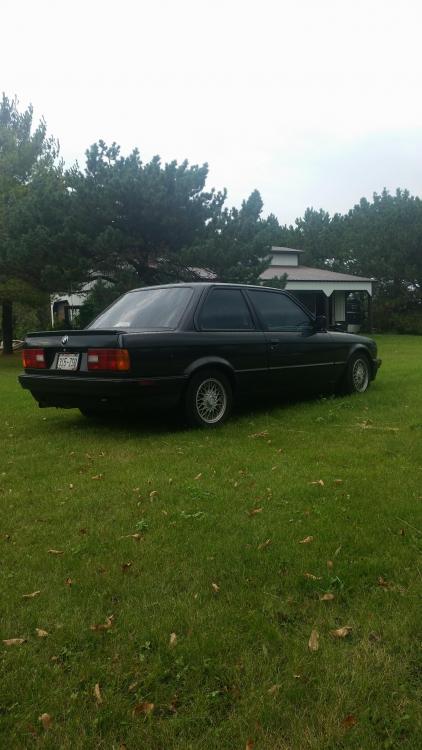
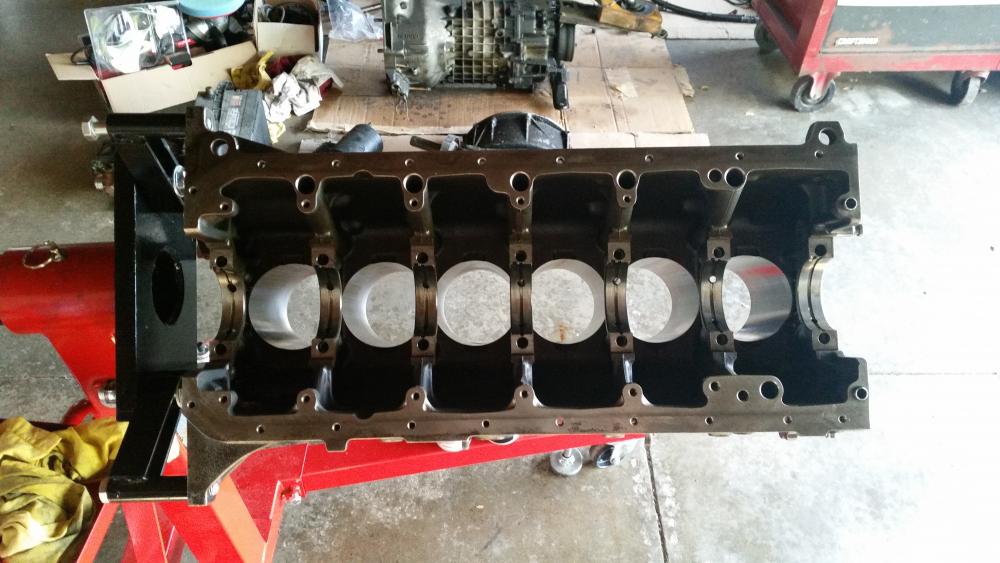
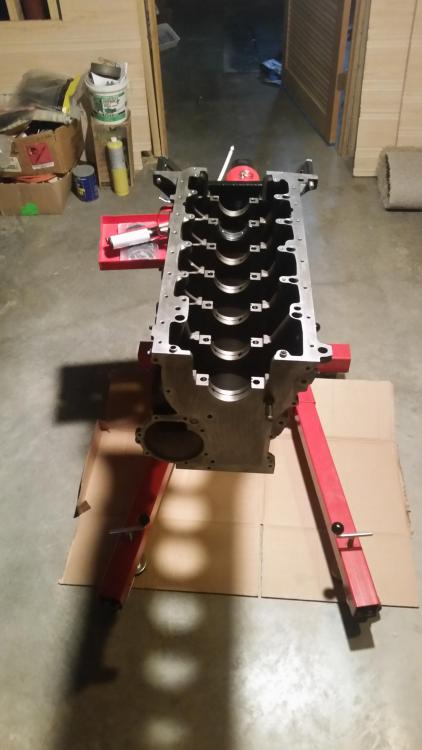
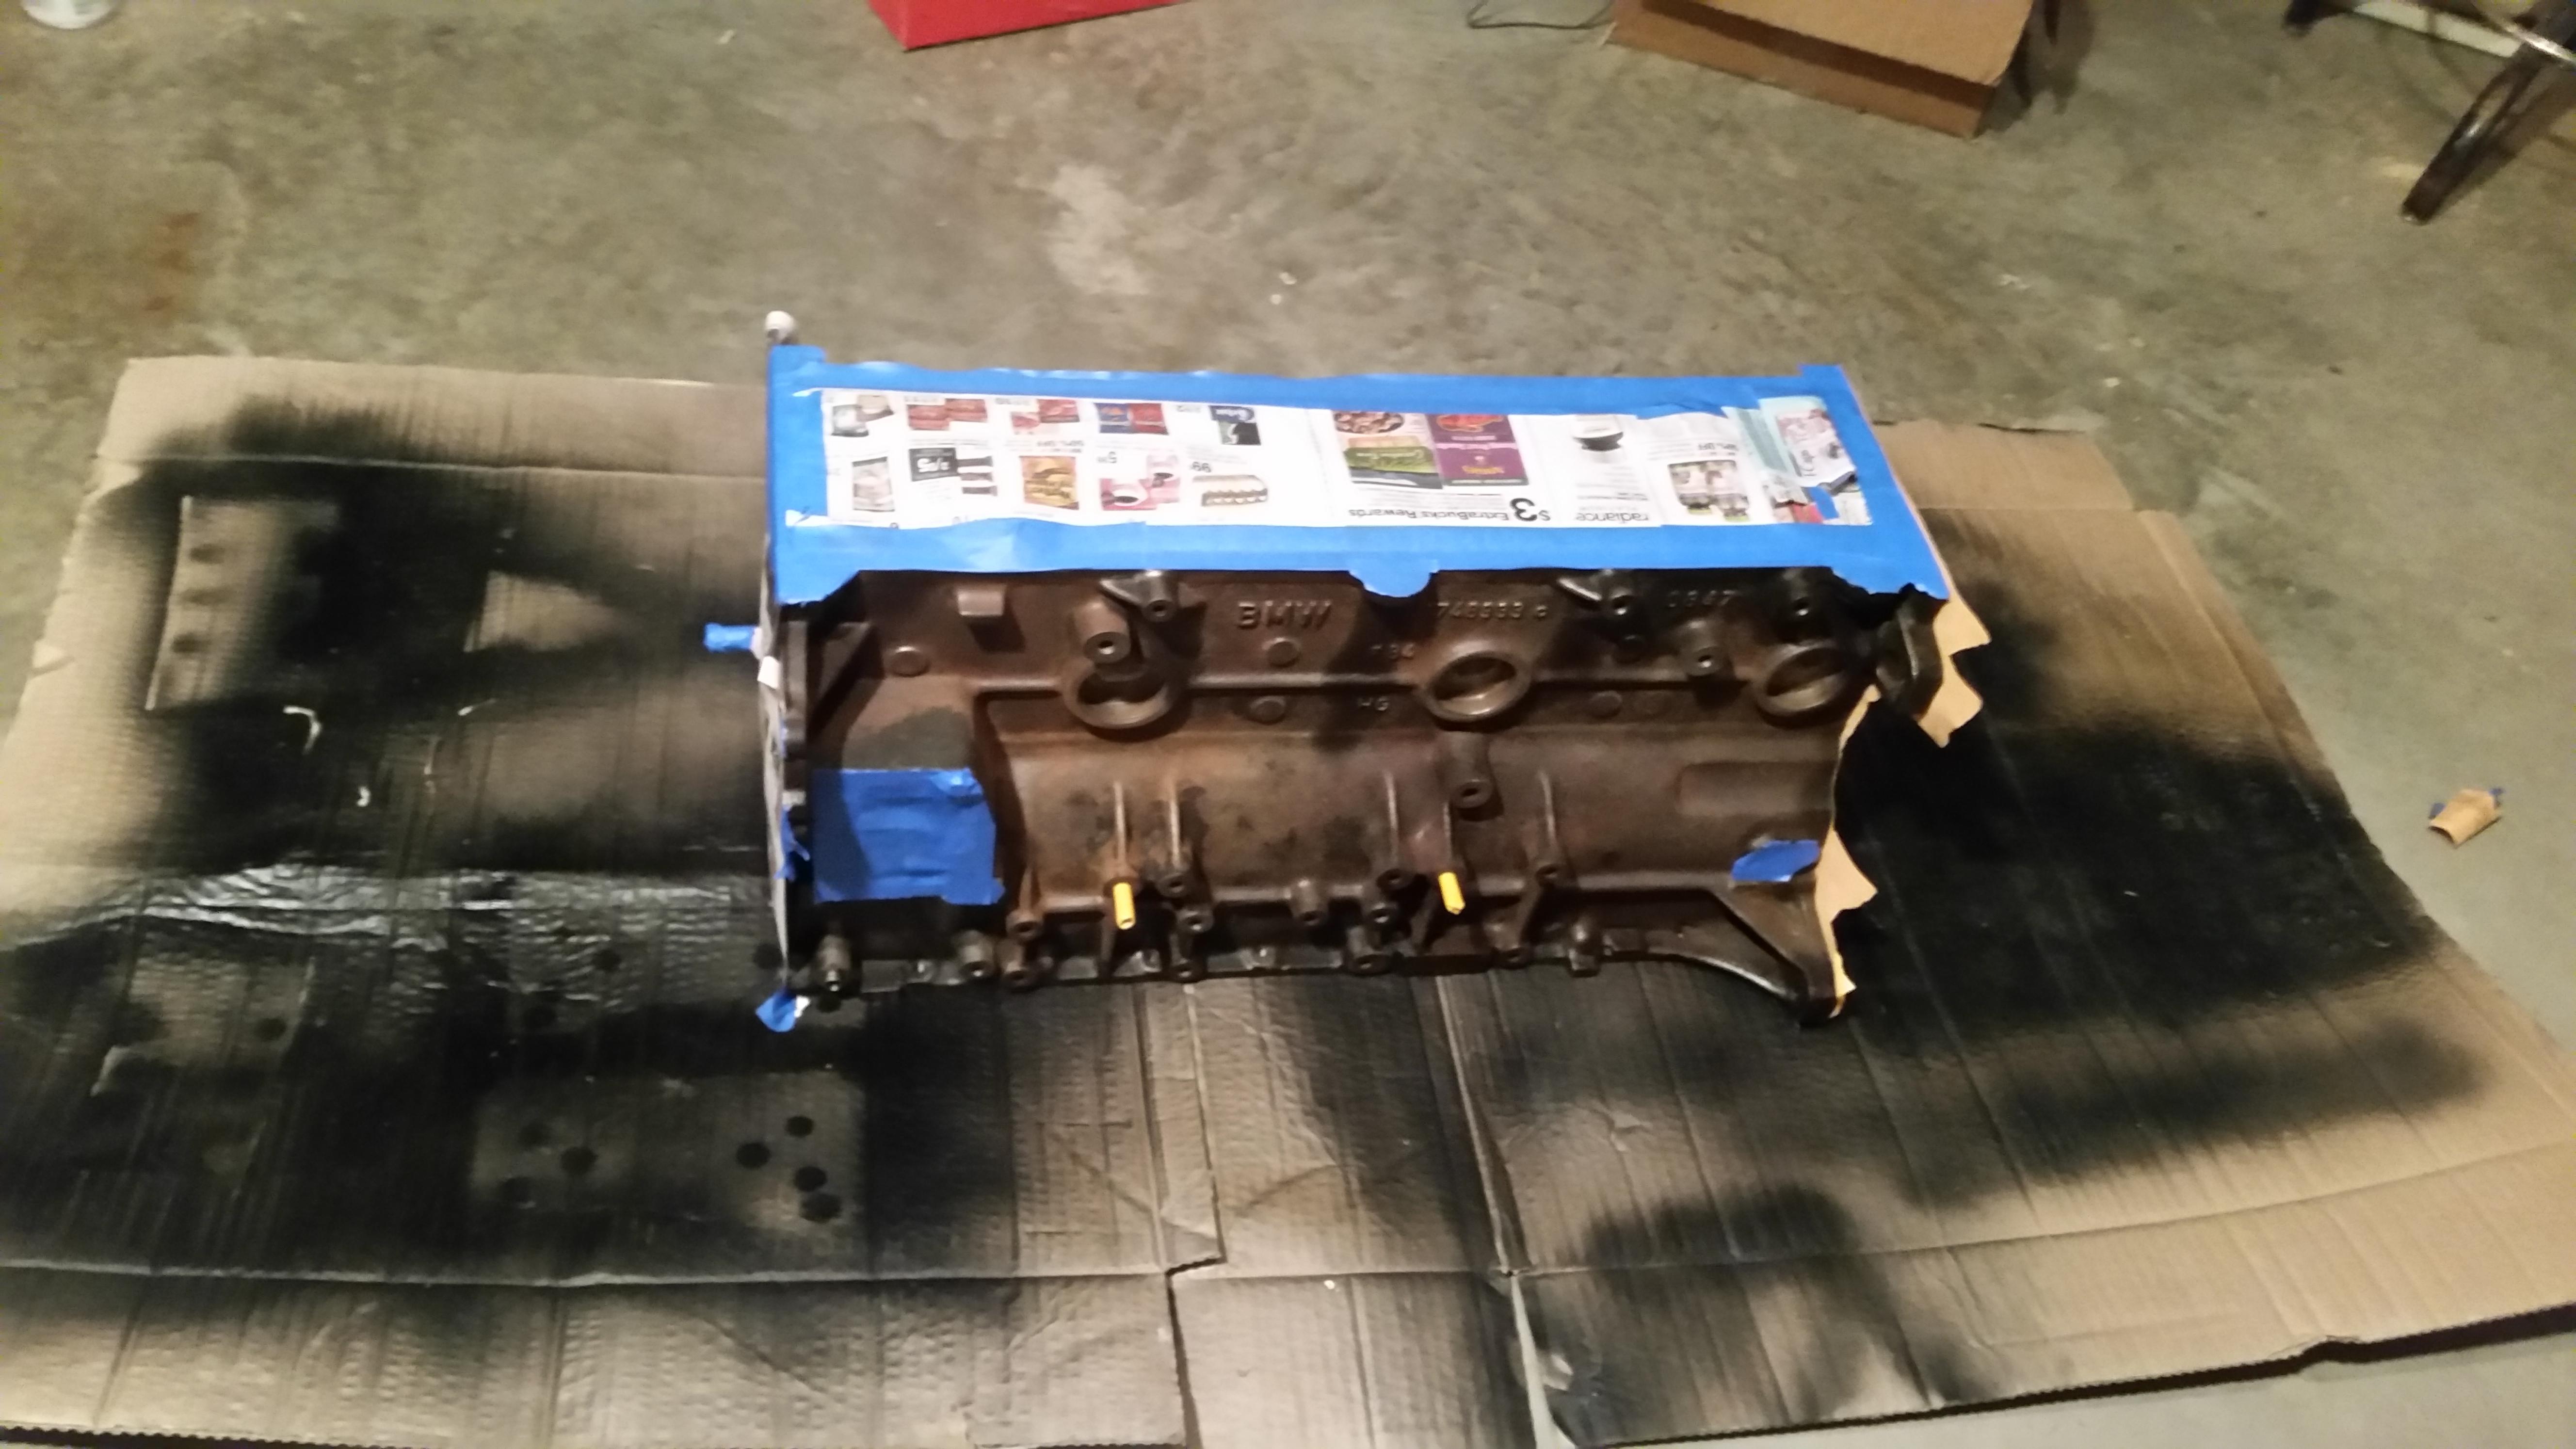
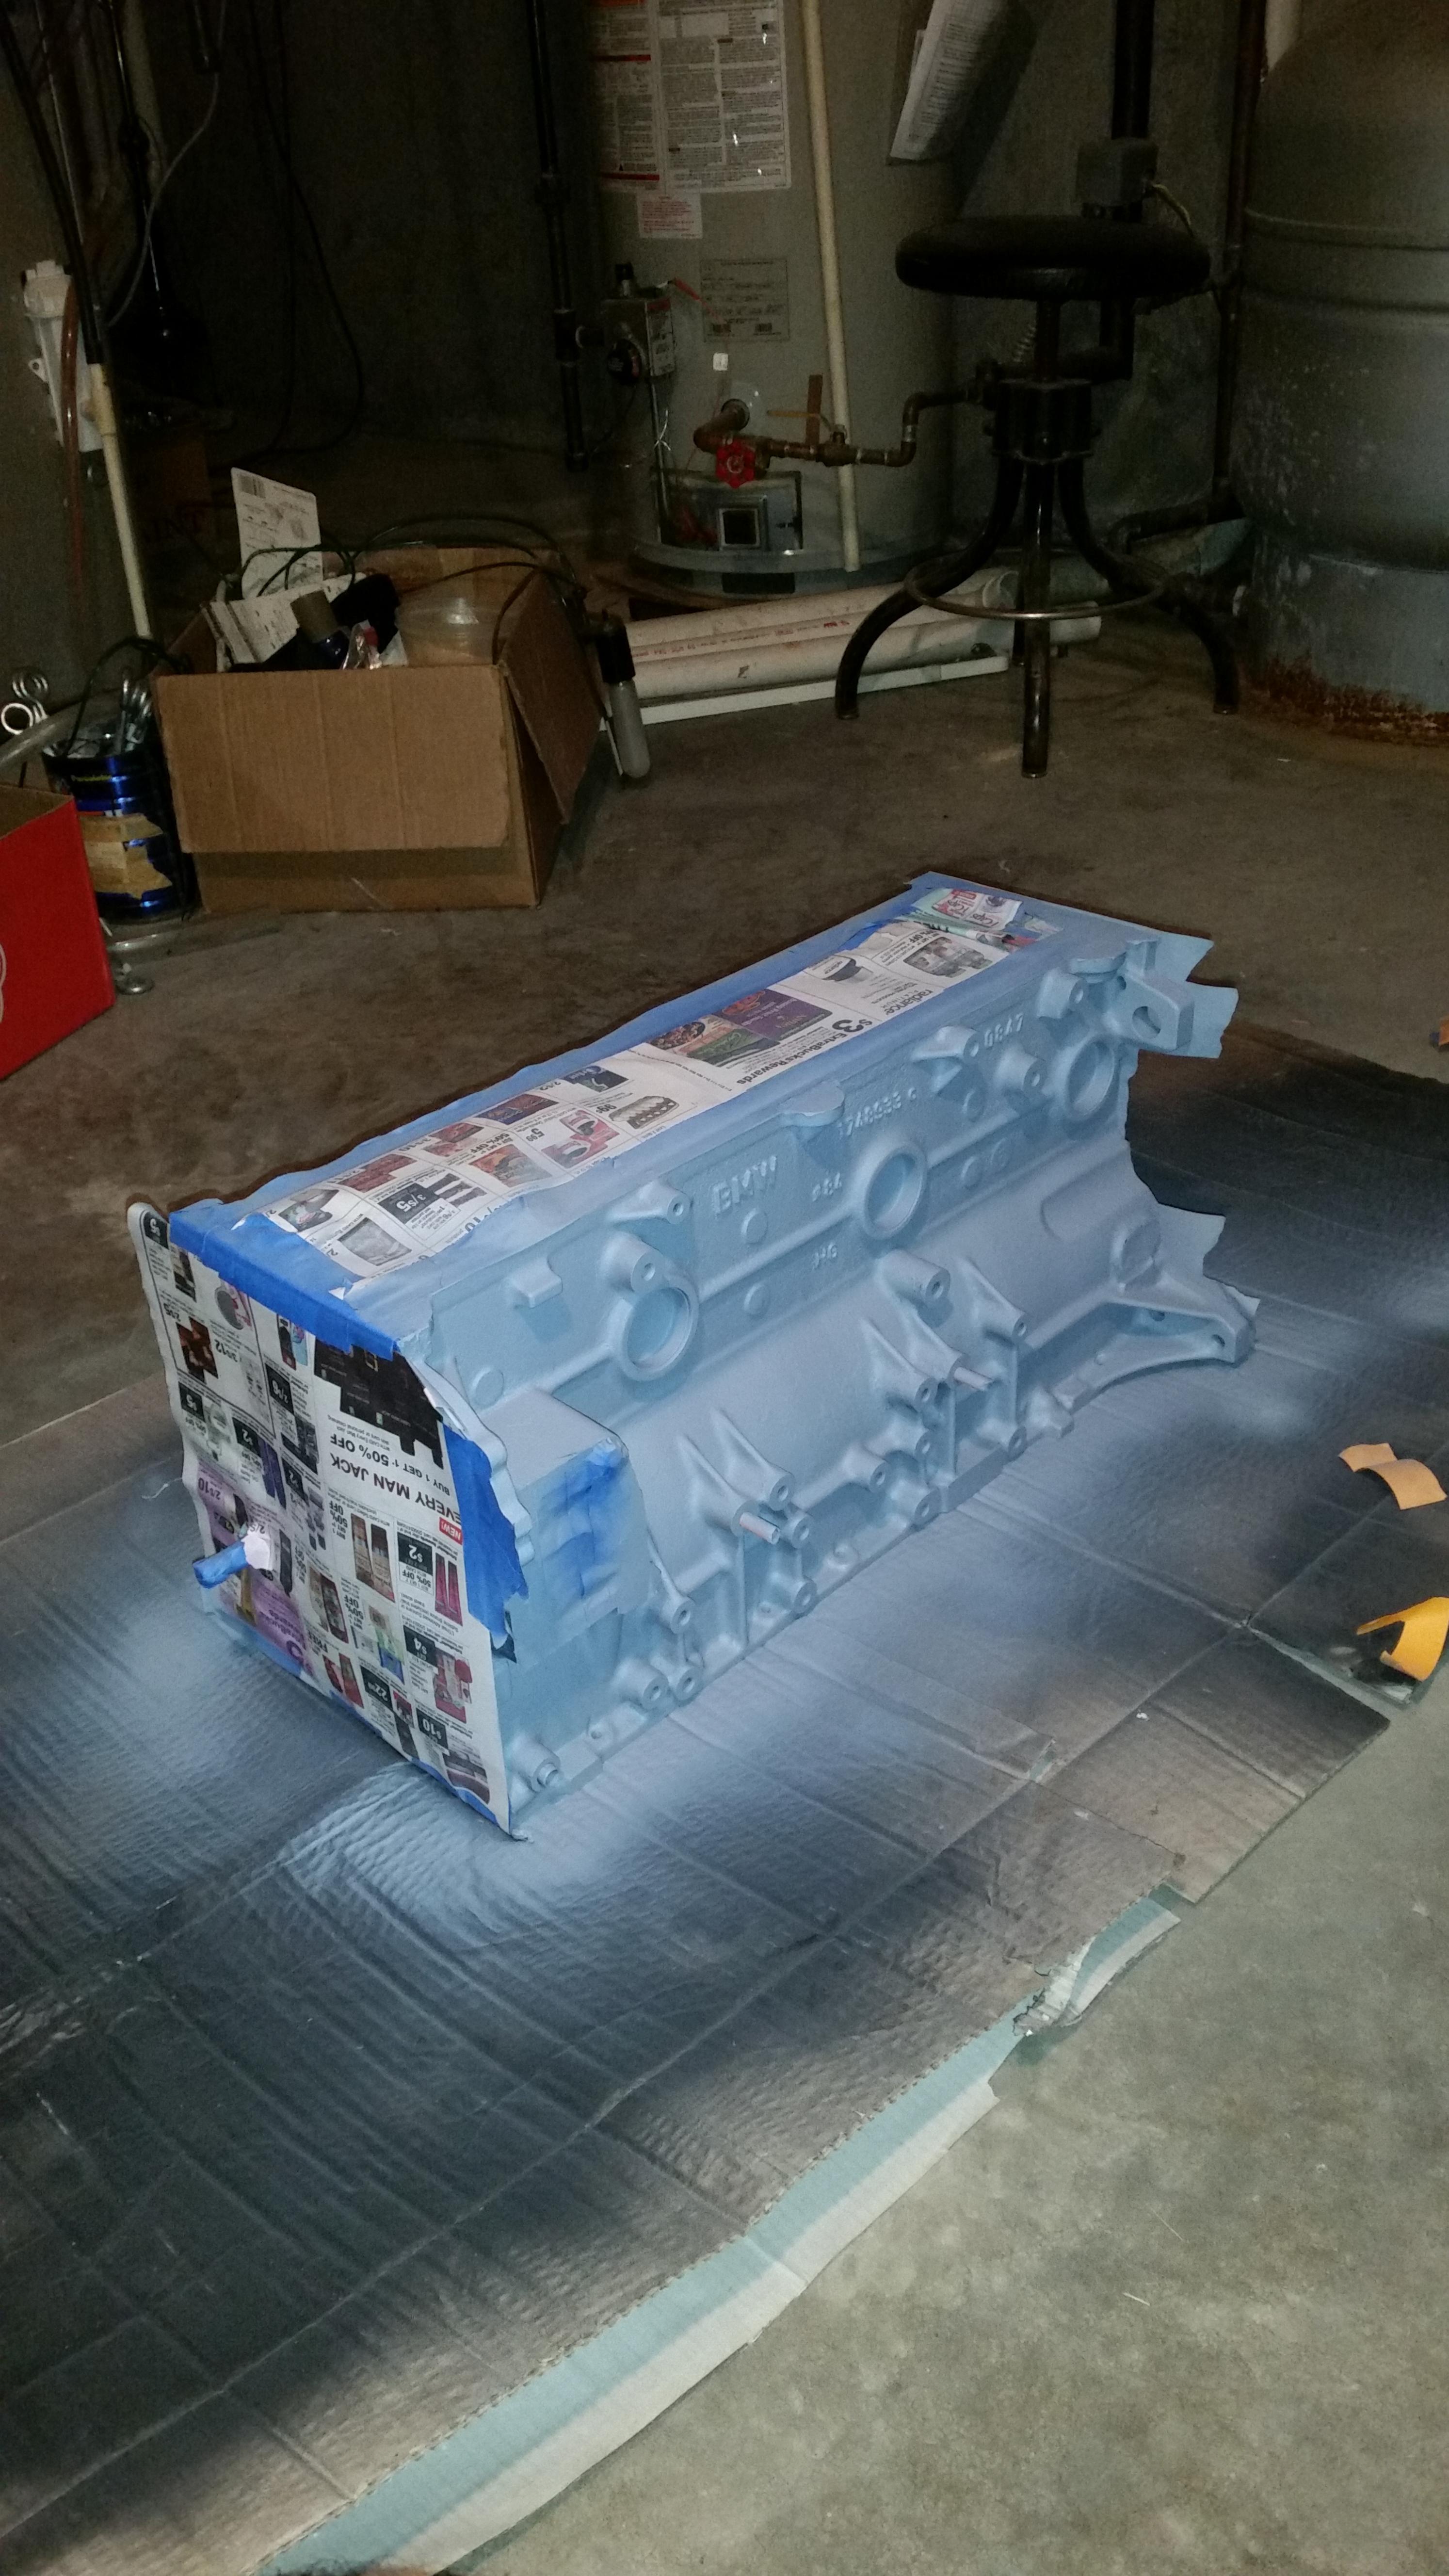
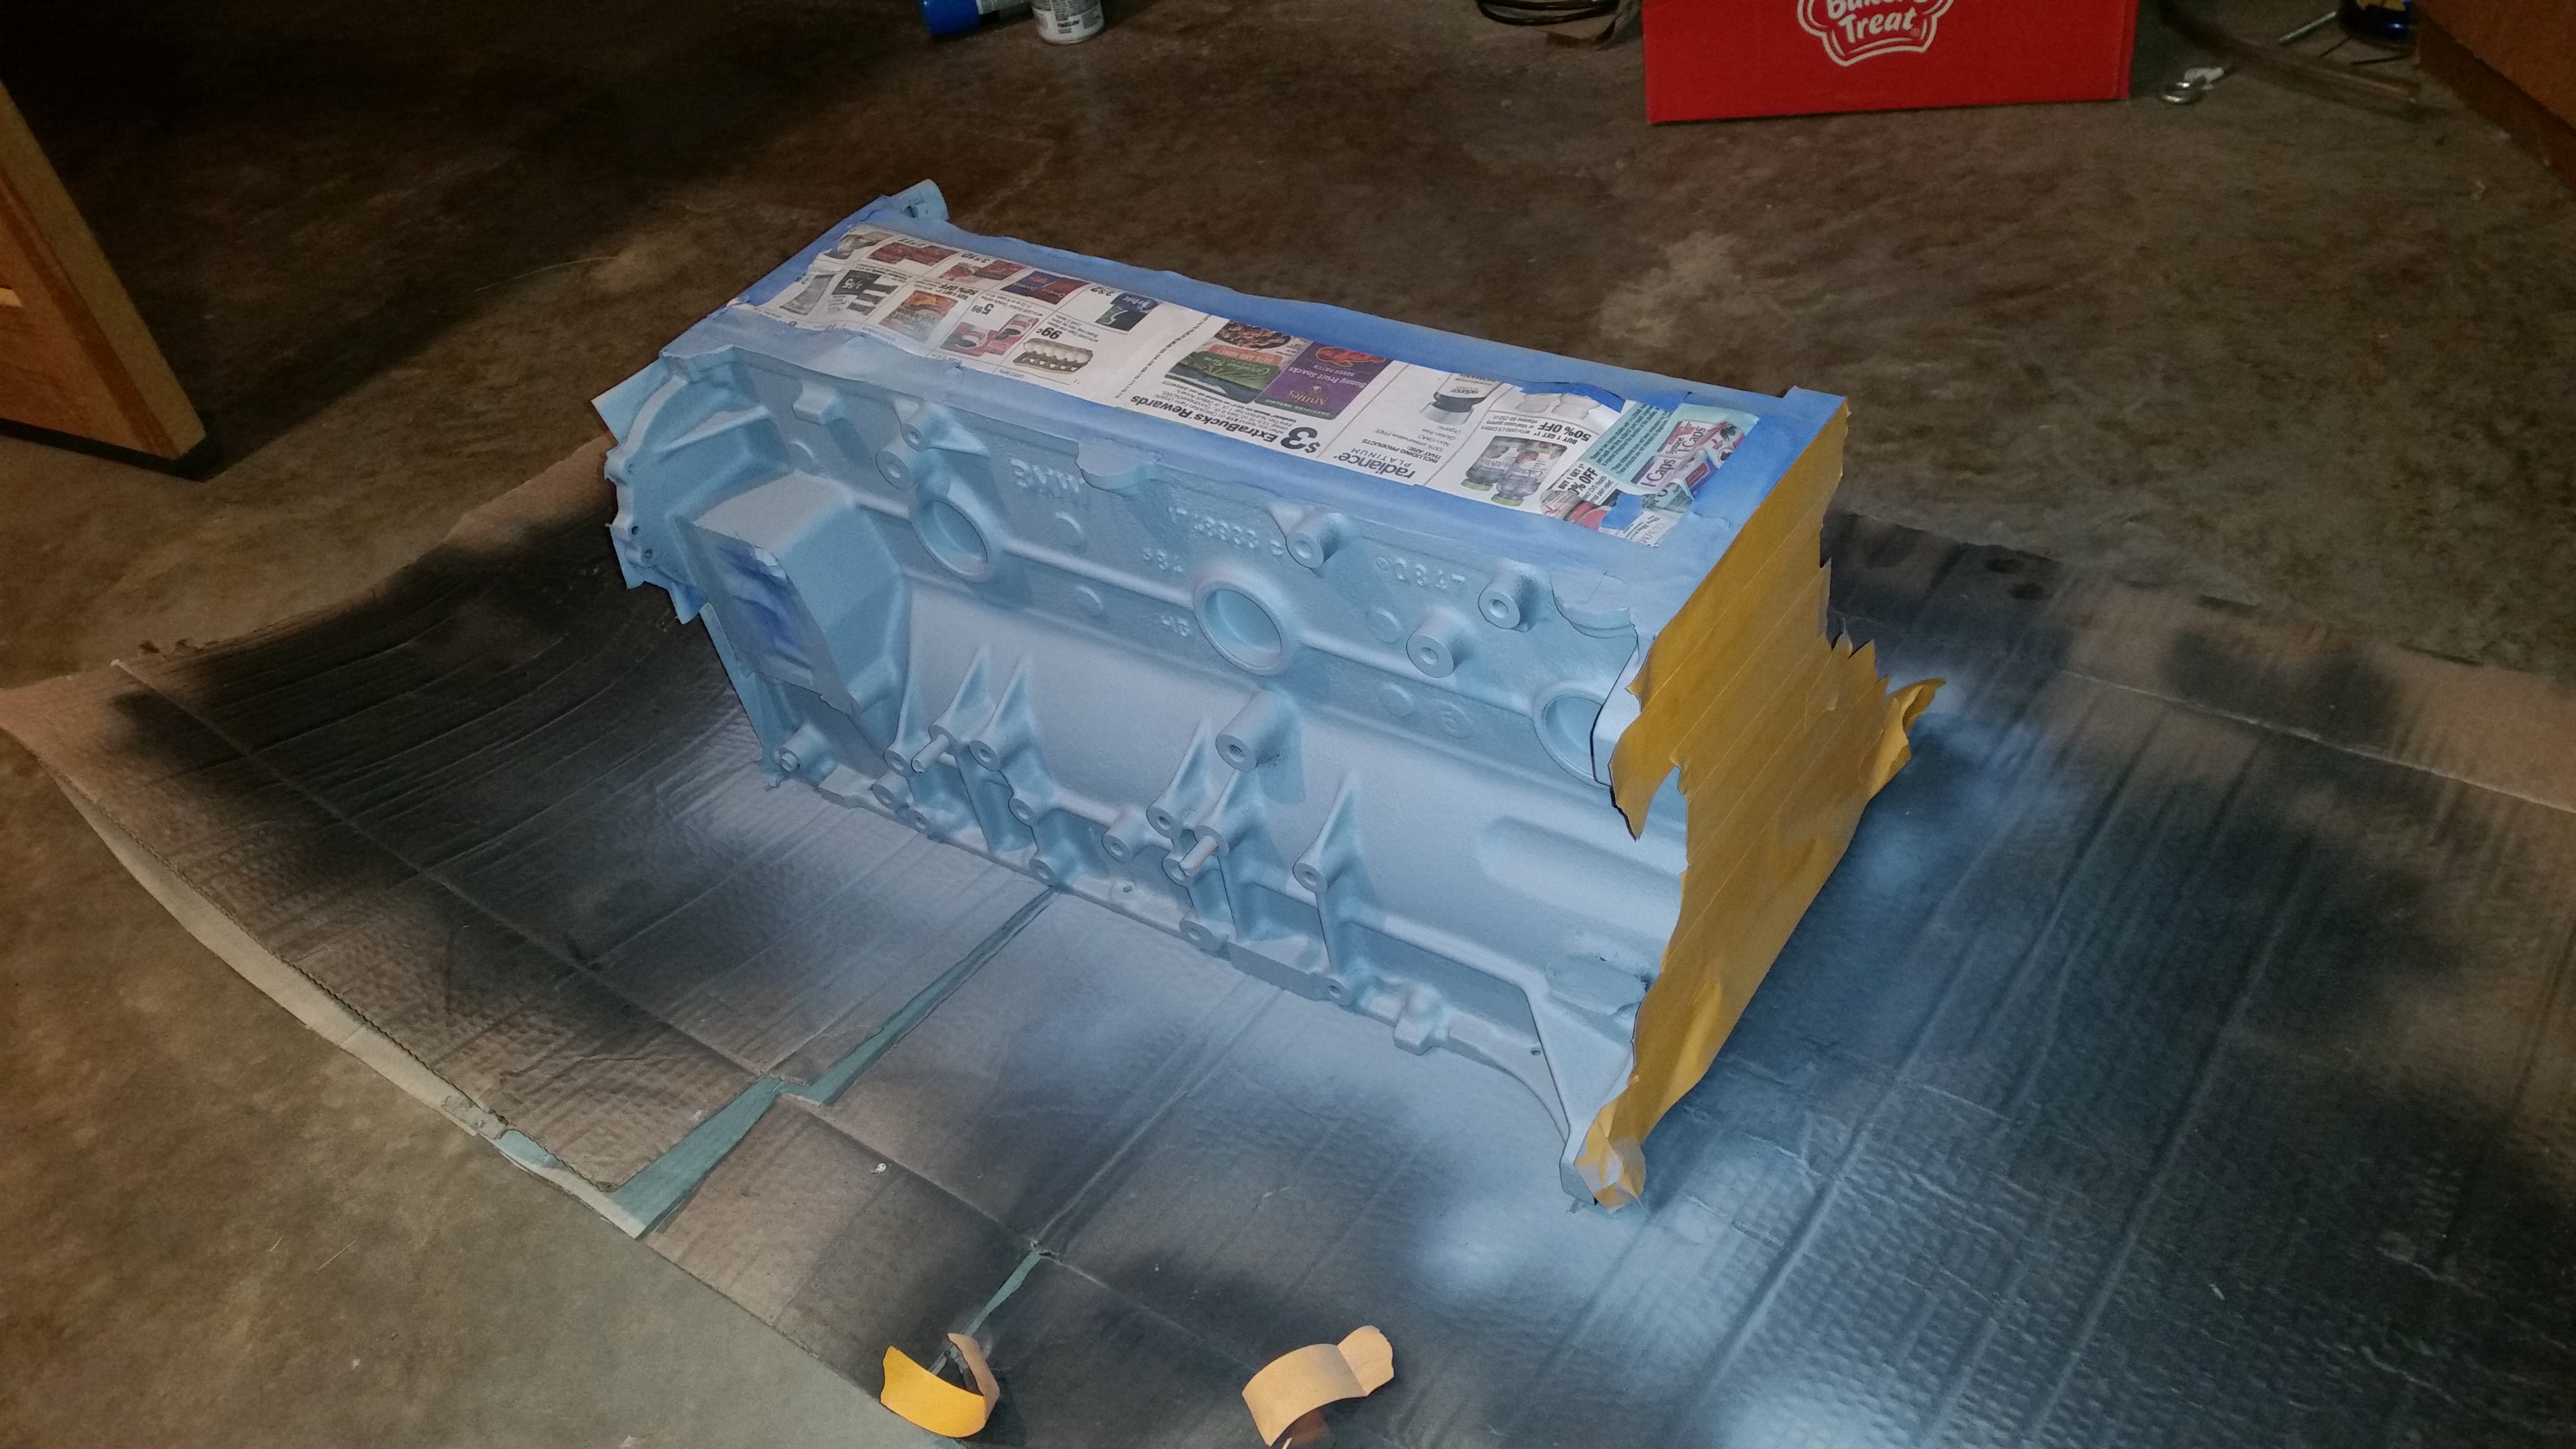
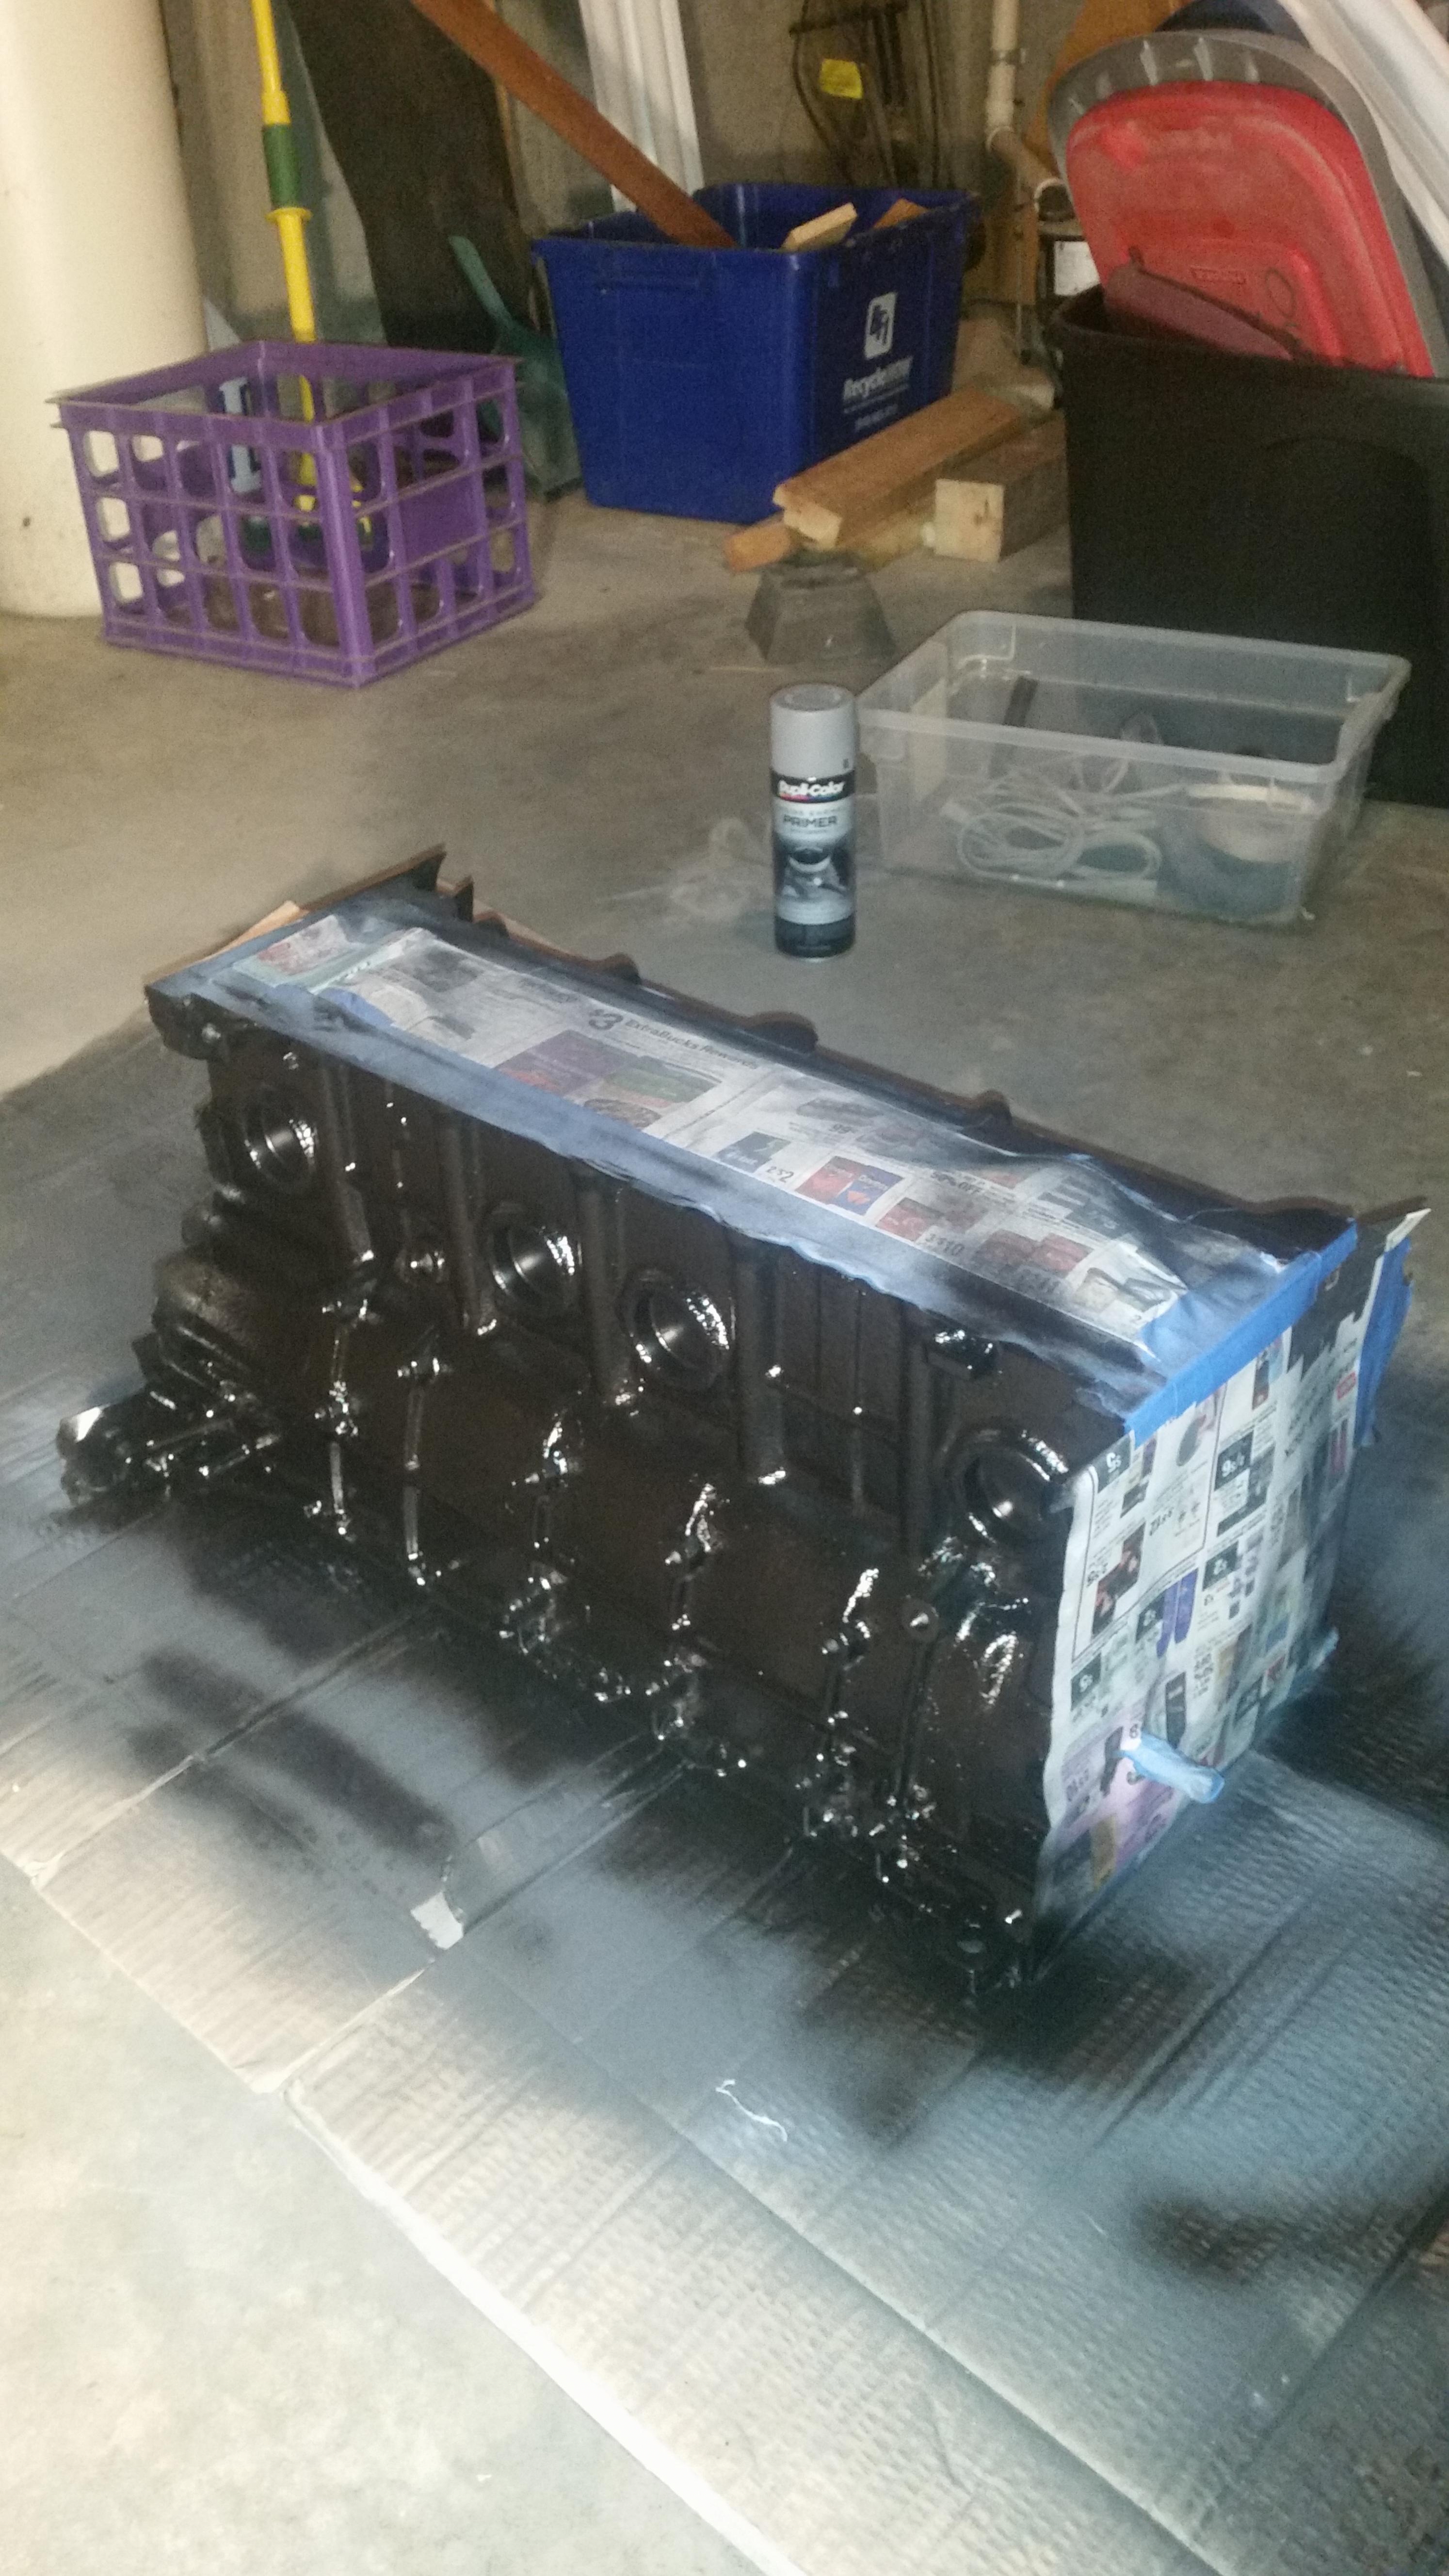
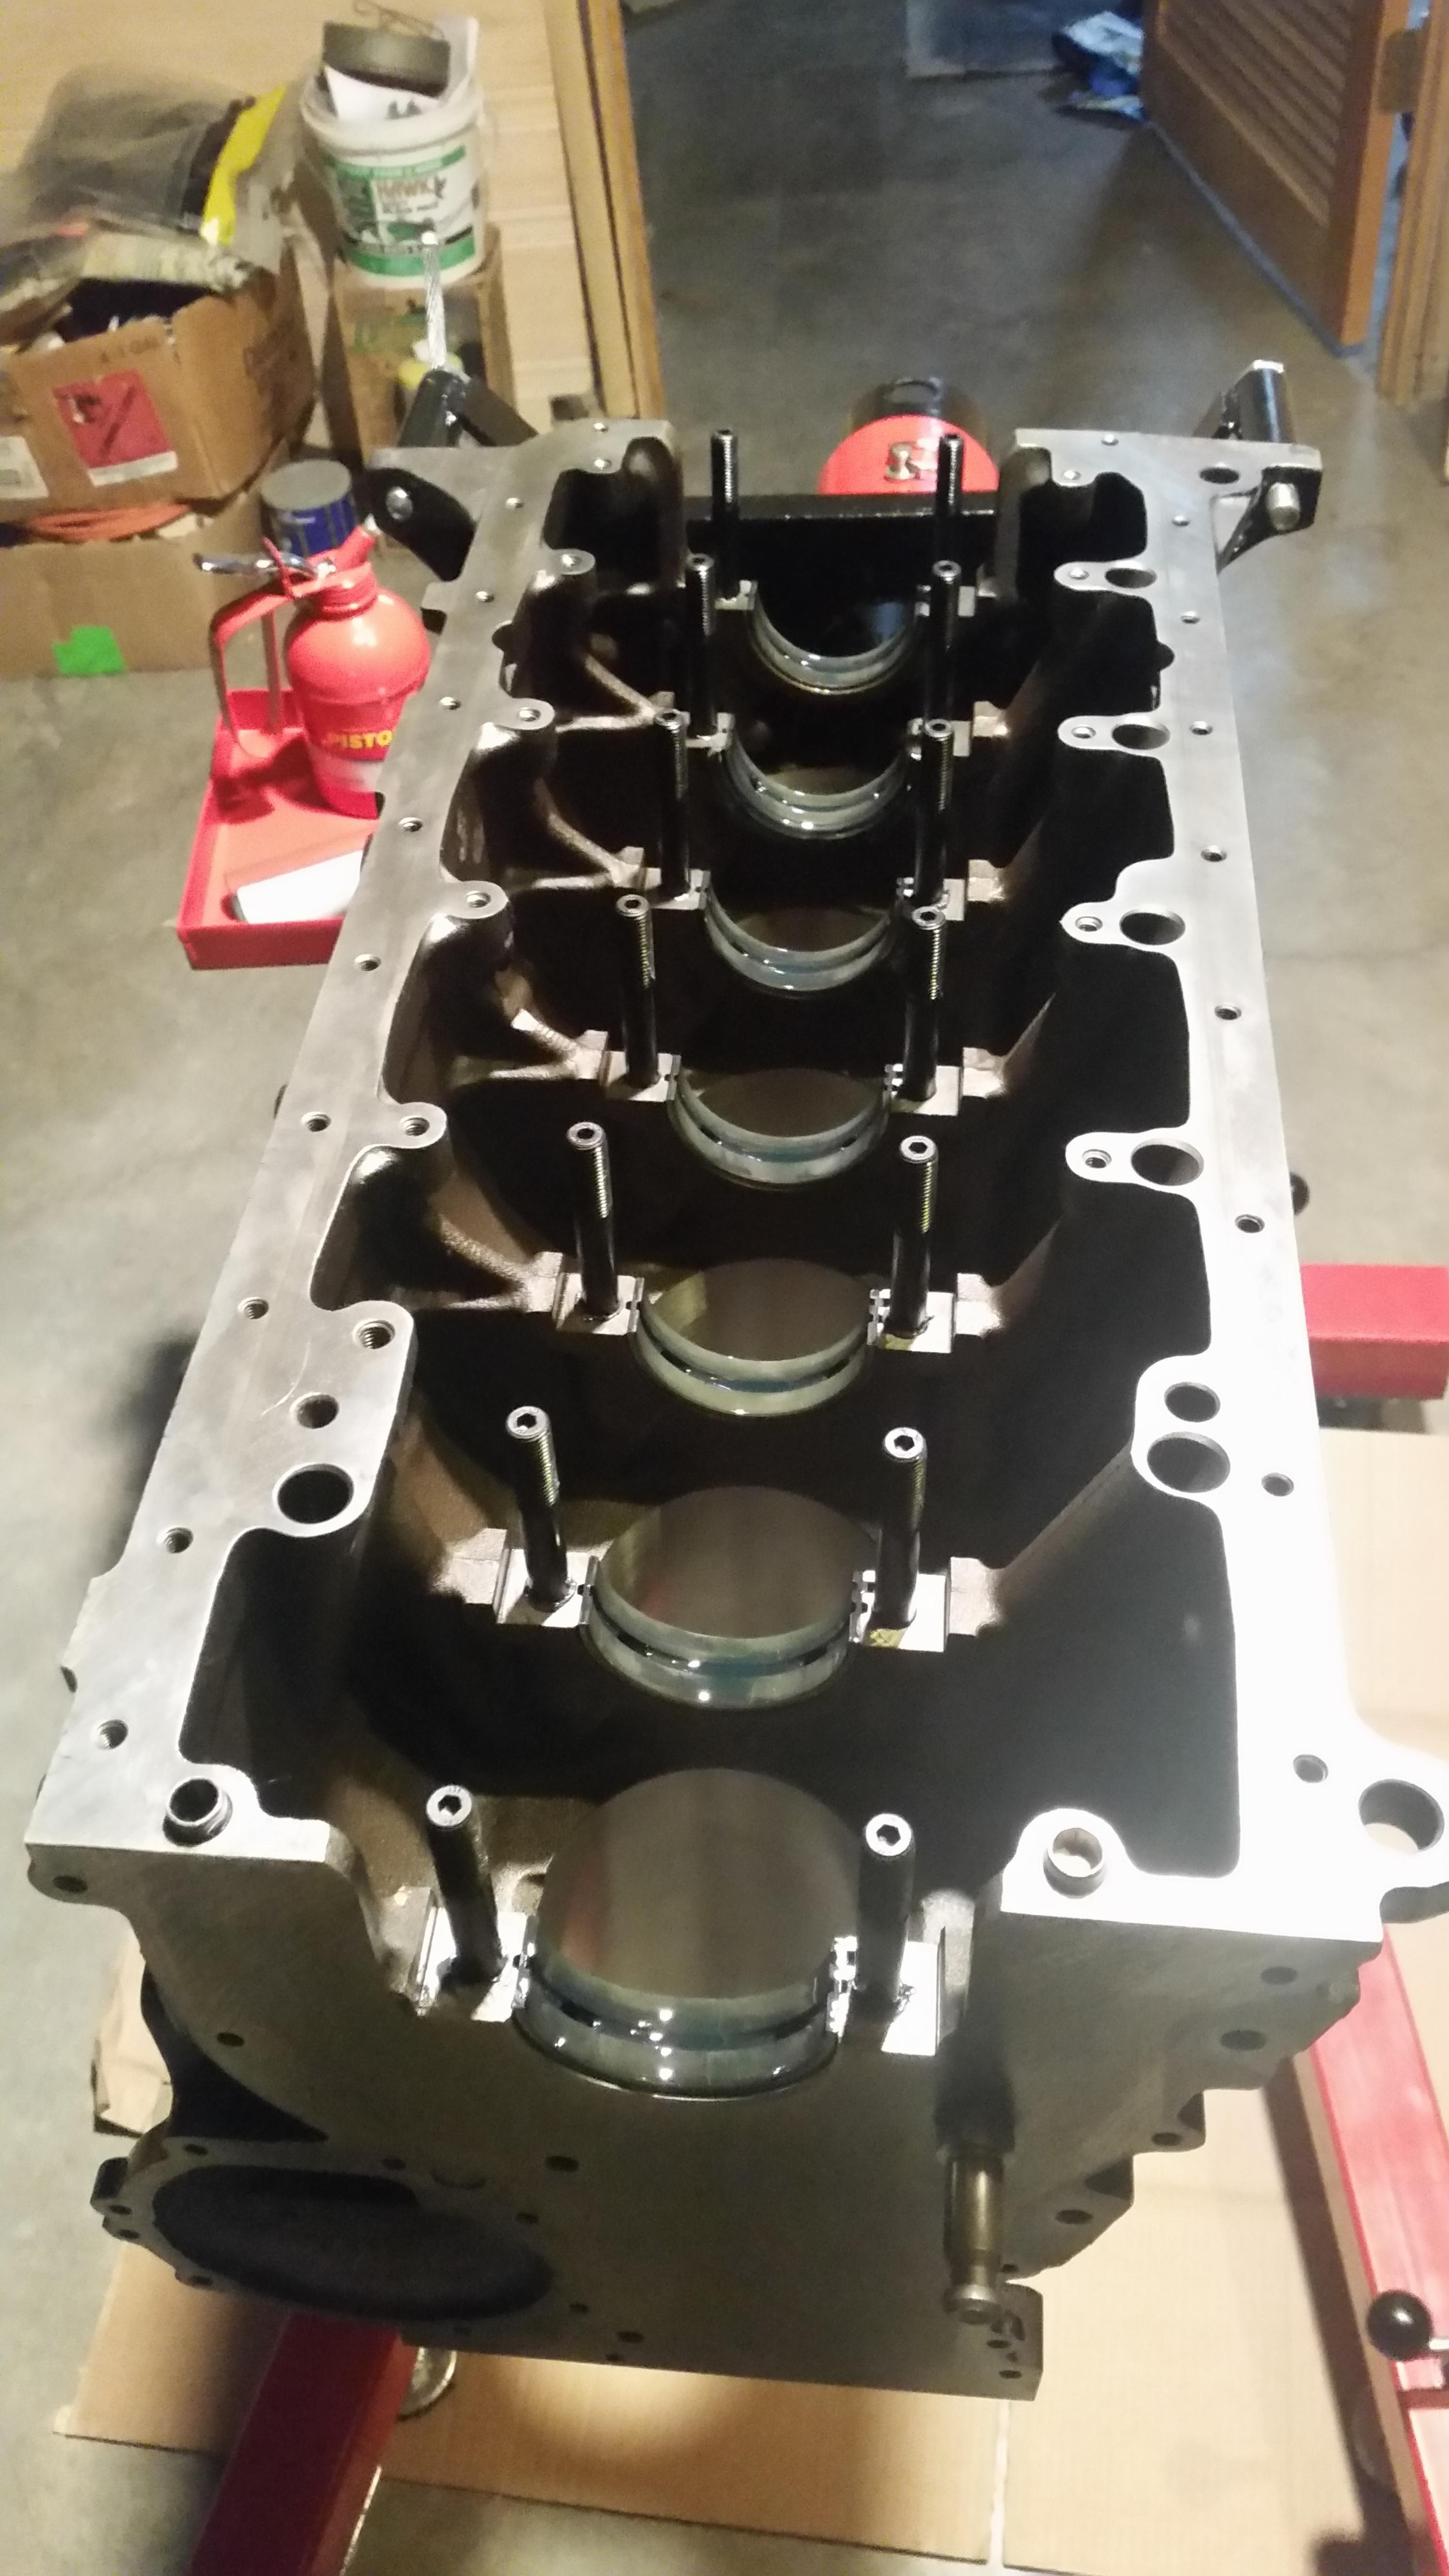
So I also received the engine block back as well as the pistons and crank and all the parts to get the bottom end put back together. But, before I get ahead of myself the block deserves some ceramic primer and a nice coat of high heat ceramic black paint...
Was planning on painting it outside but the humidity took its tole and I was dying to get the thing painted so i can start reassembling. So I painted the block in my basement where it was cooler. Also decided I would keep the motor in the basement for the entire reassembly because the temperature was much more steady and the humidity was always low.
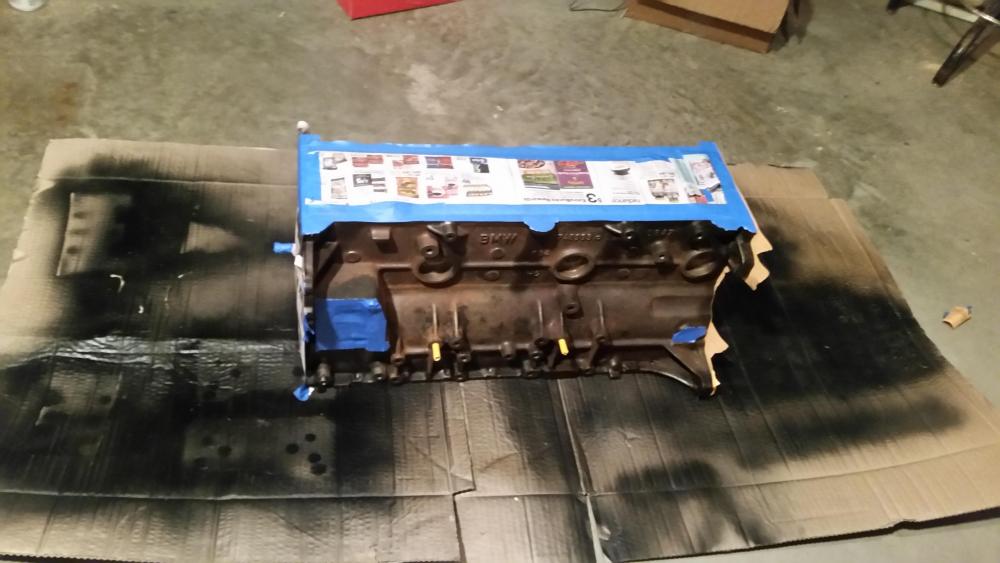
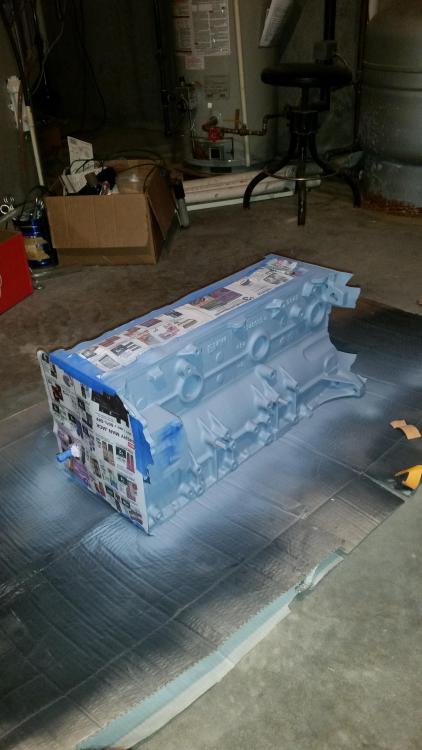
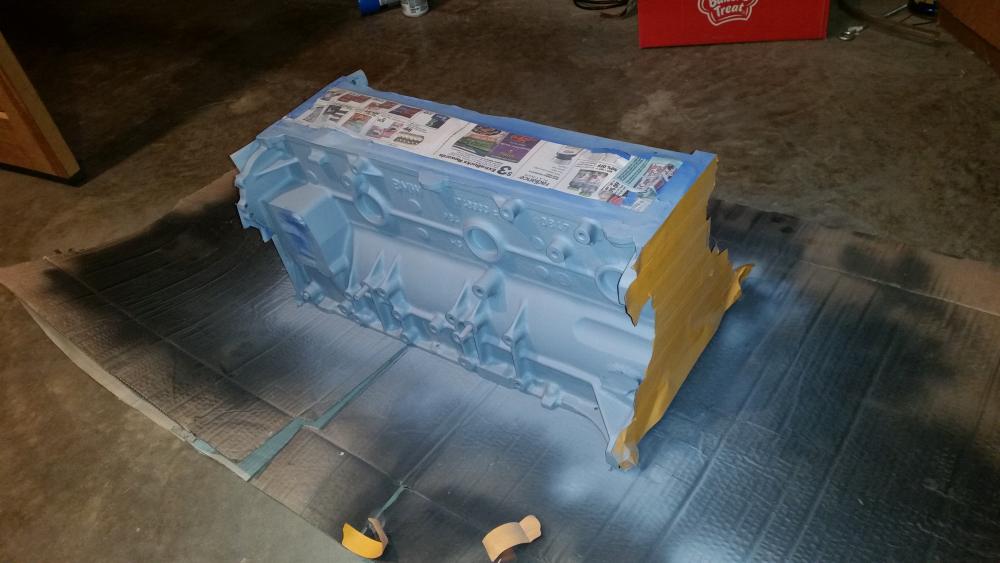
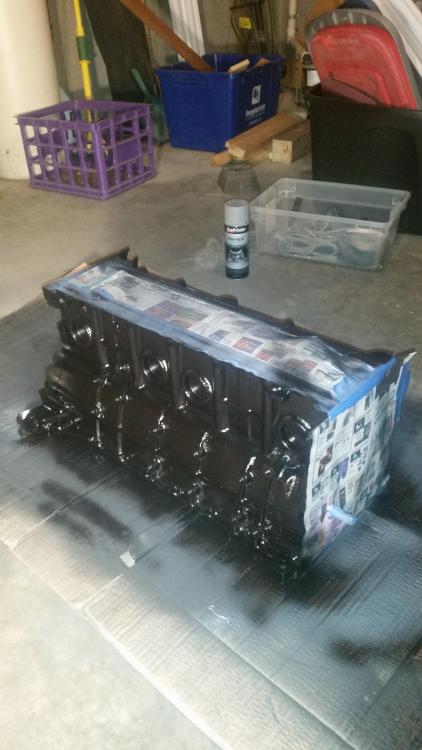
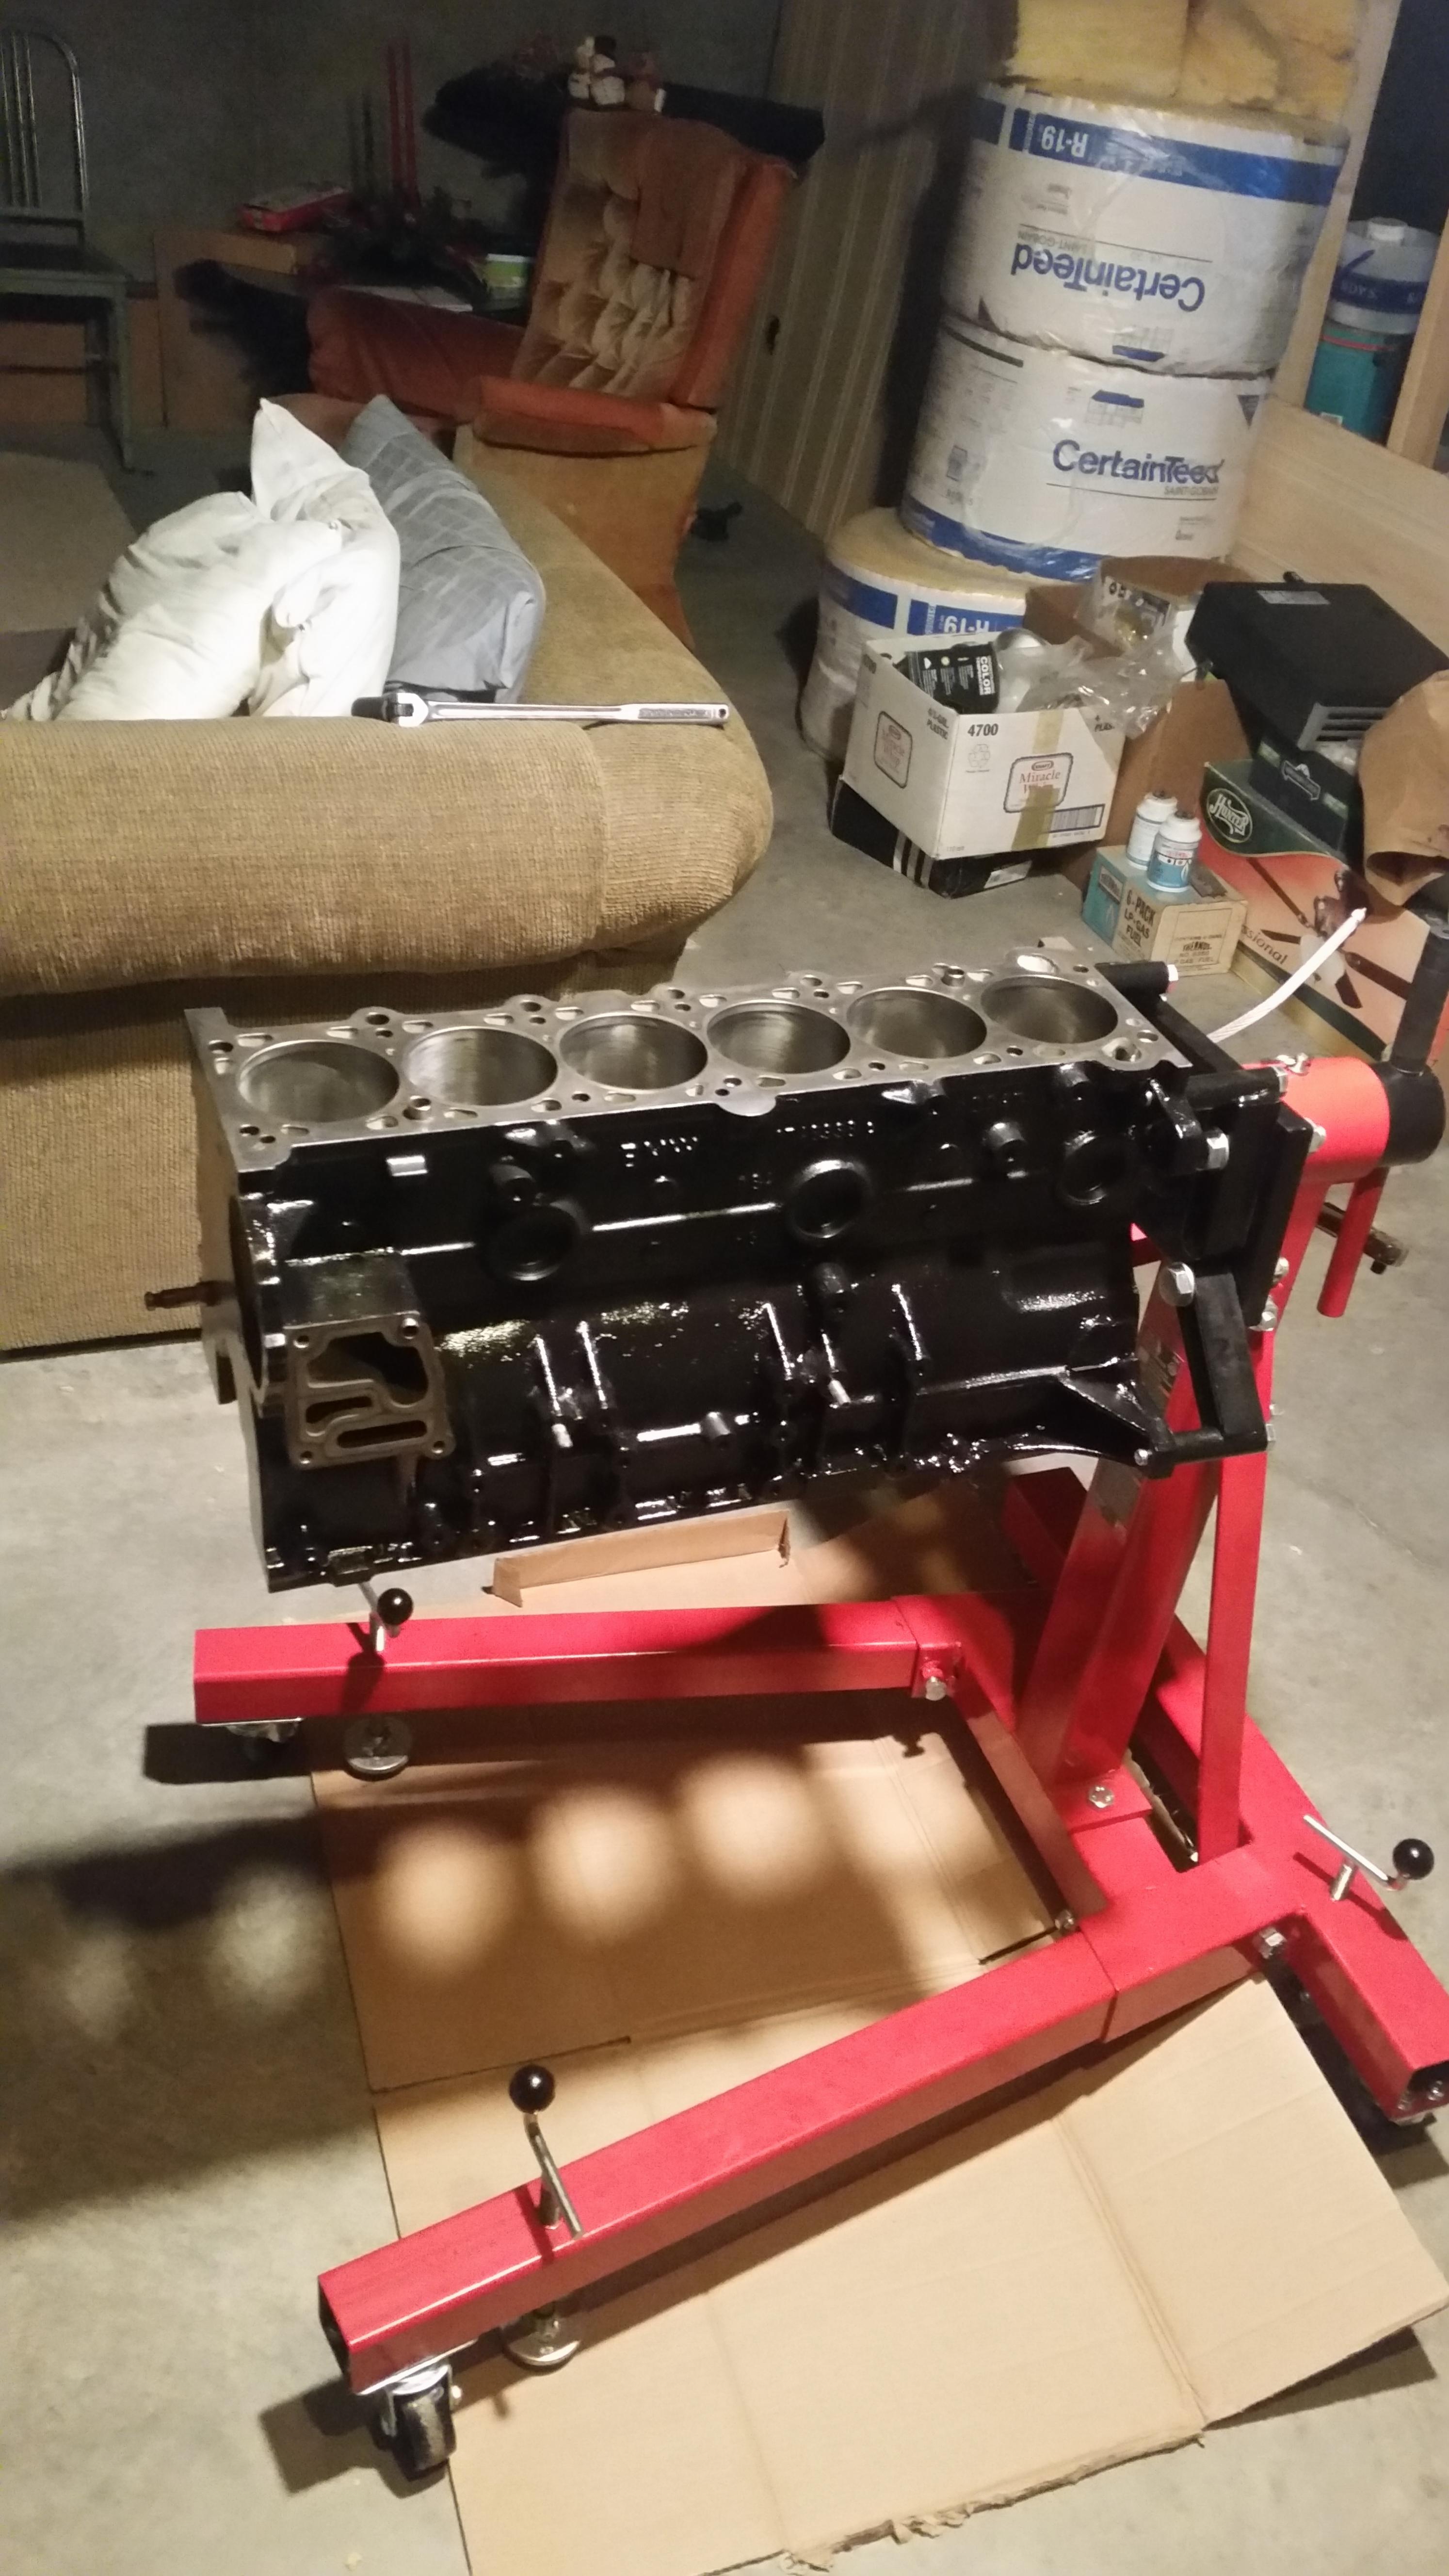
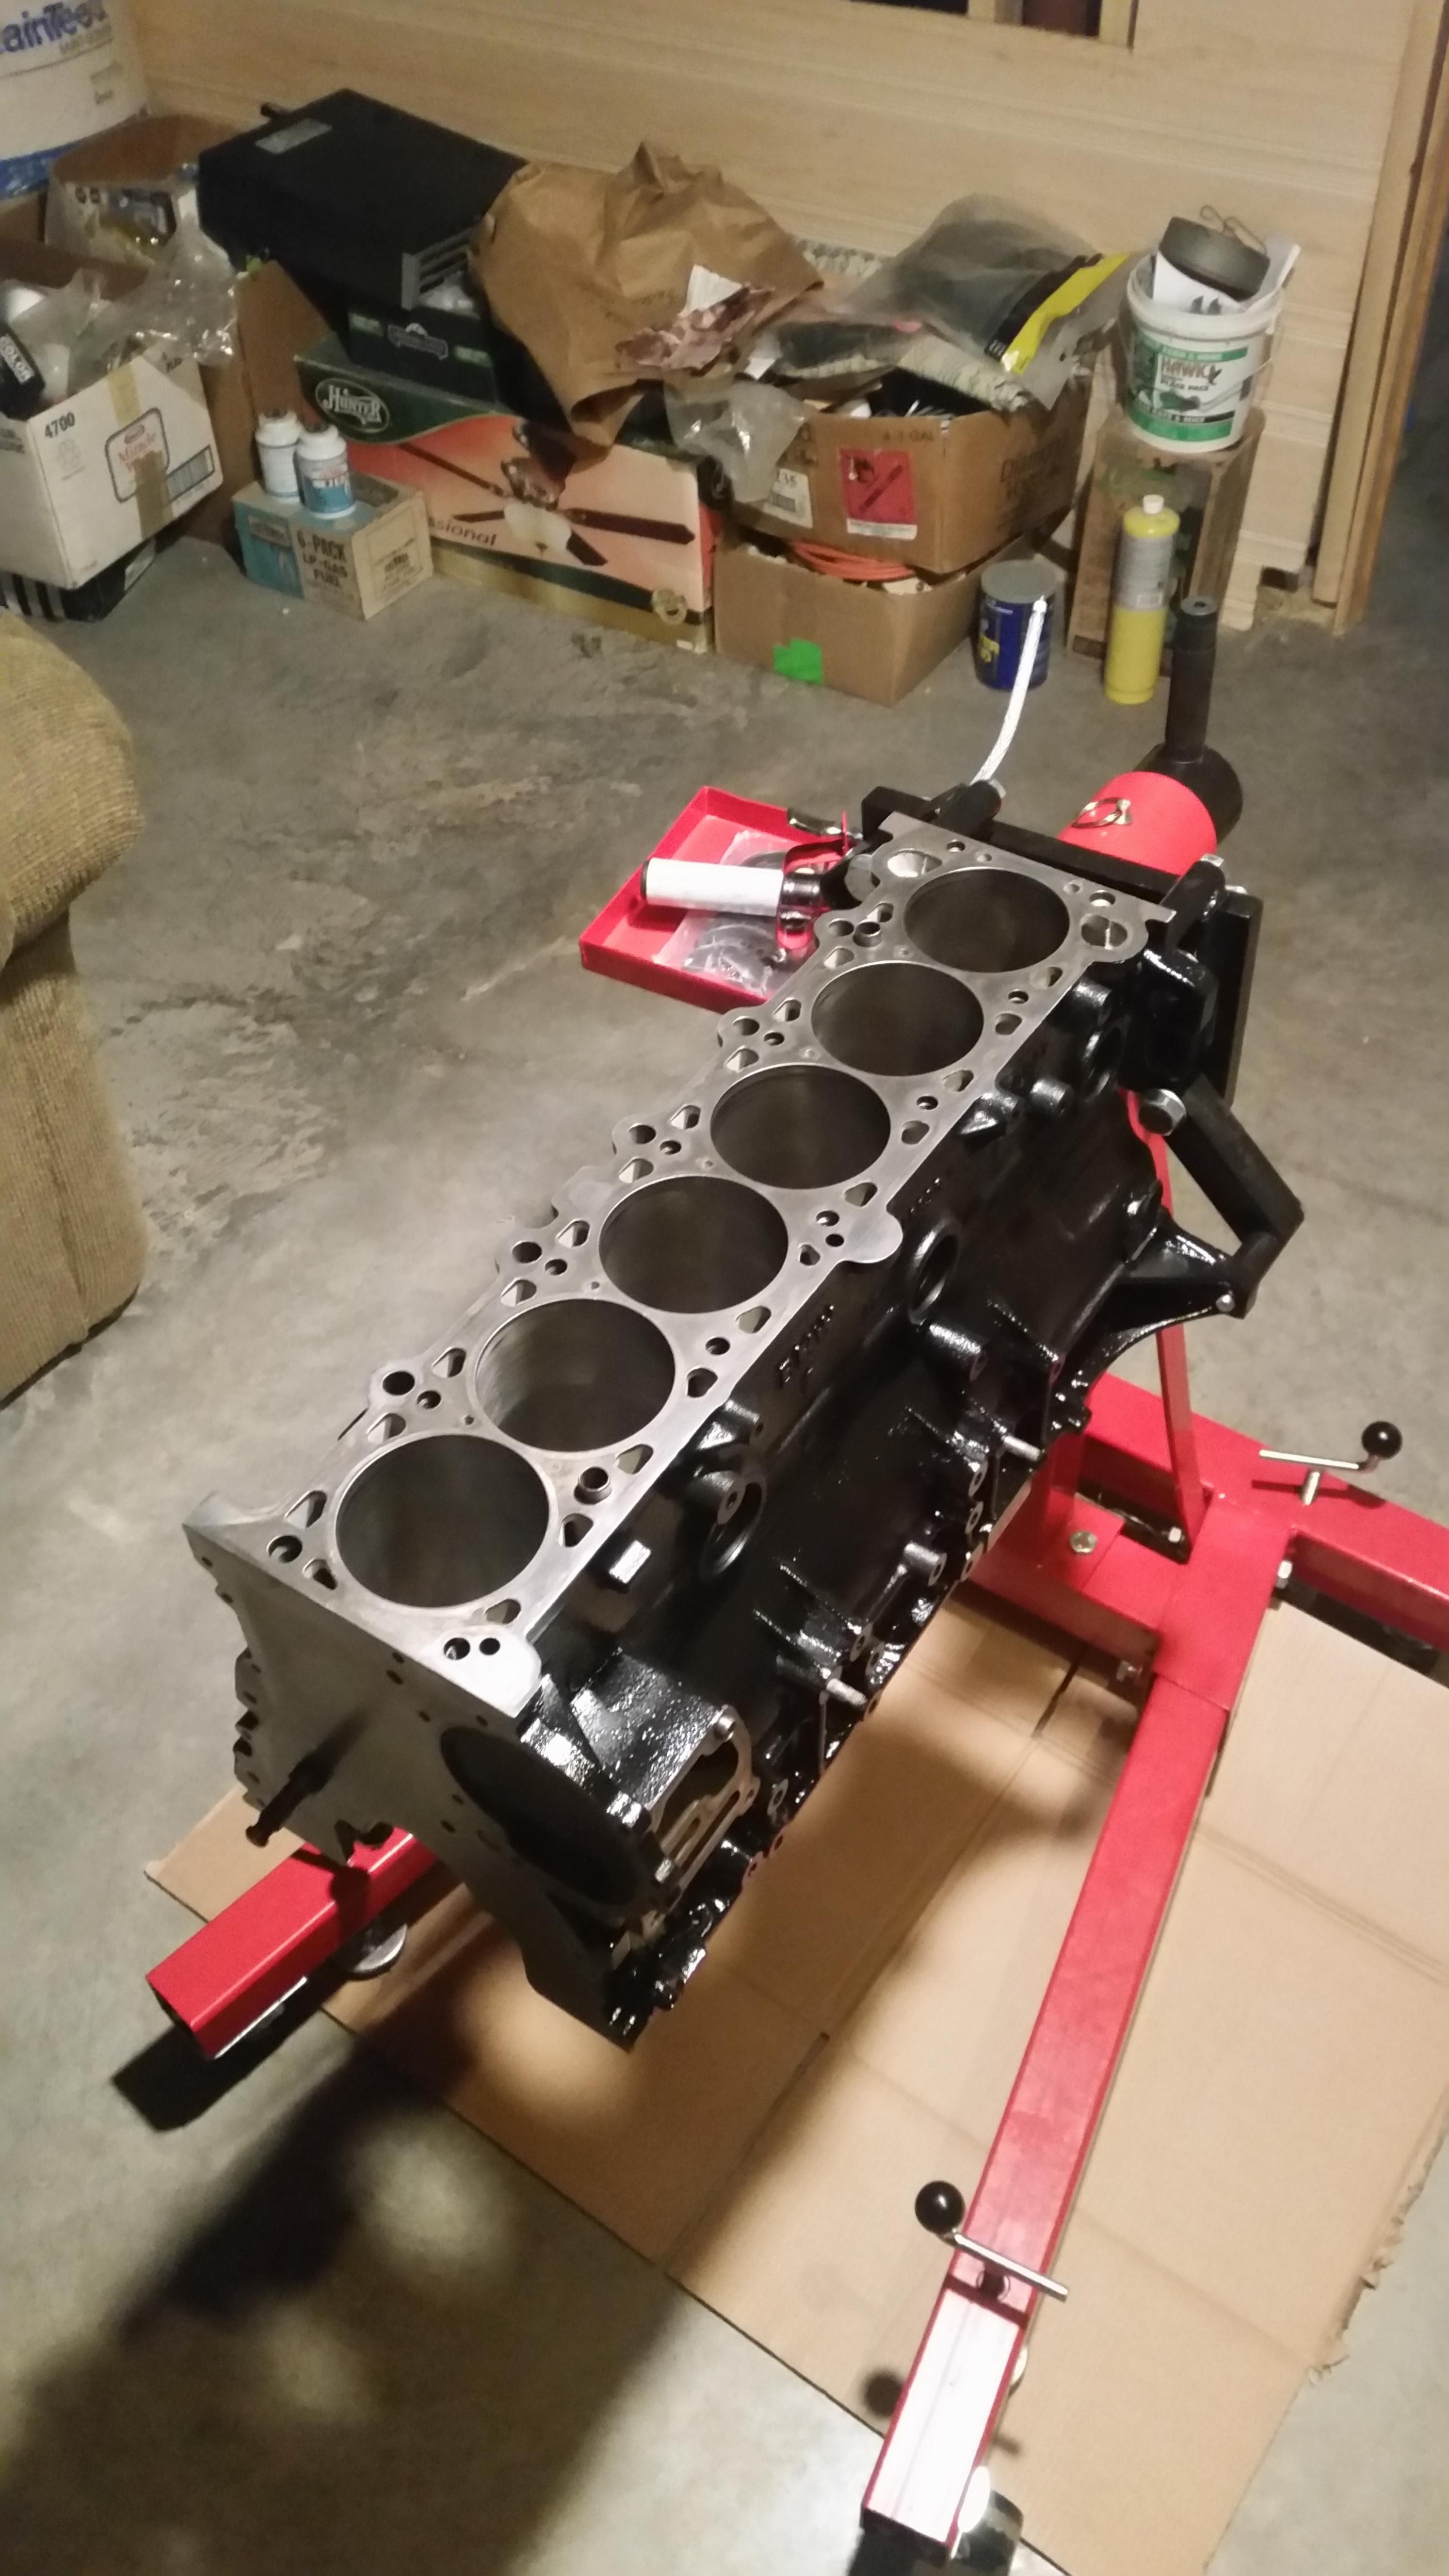
Paint is finished and the masking has been ripped off, overall I was very pleased with how it turned out, time for the fun part...:)
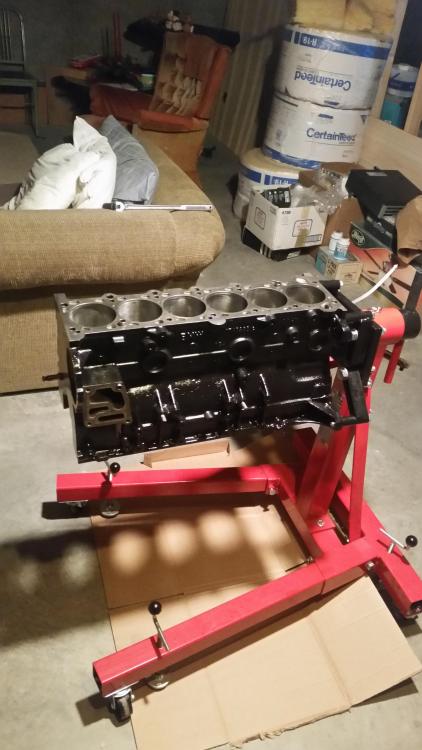
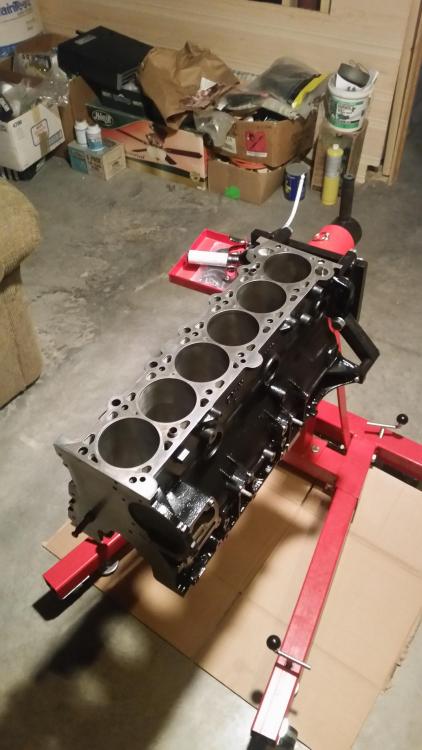
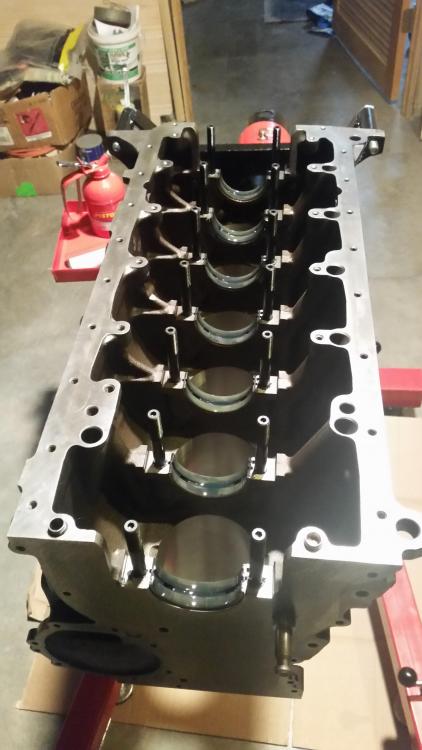
All the parts came in on time as well which is always a plus+...
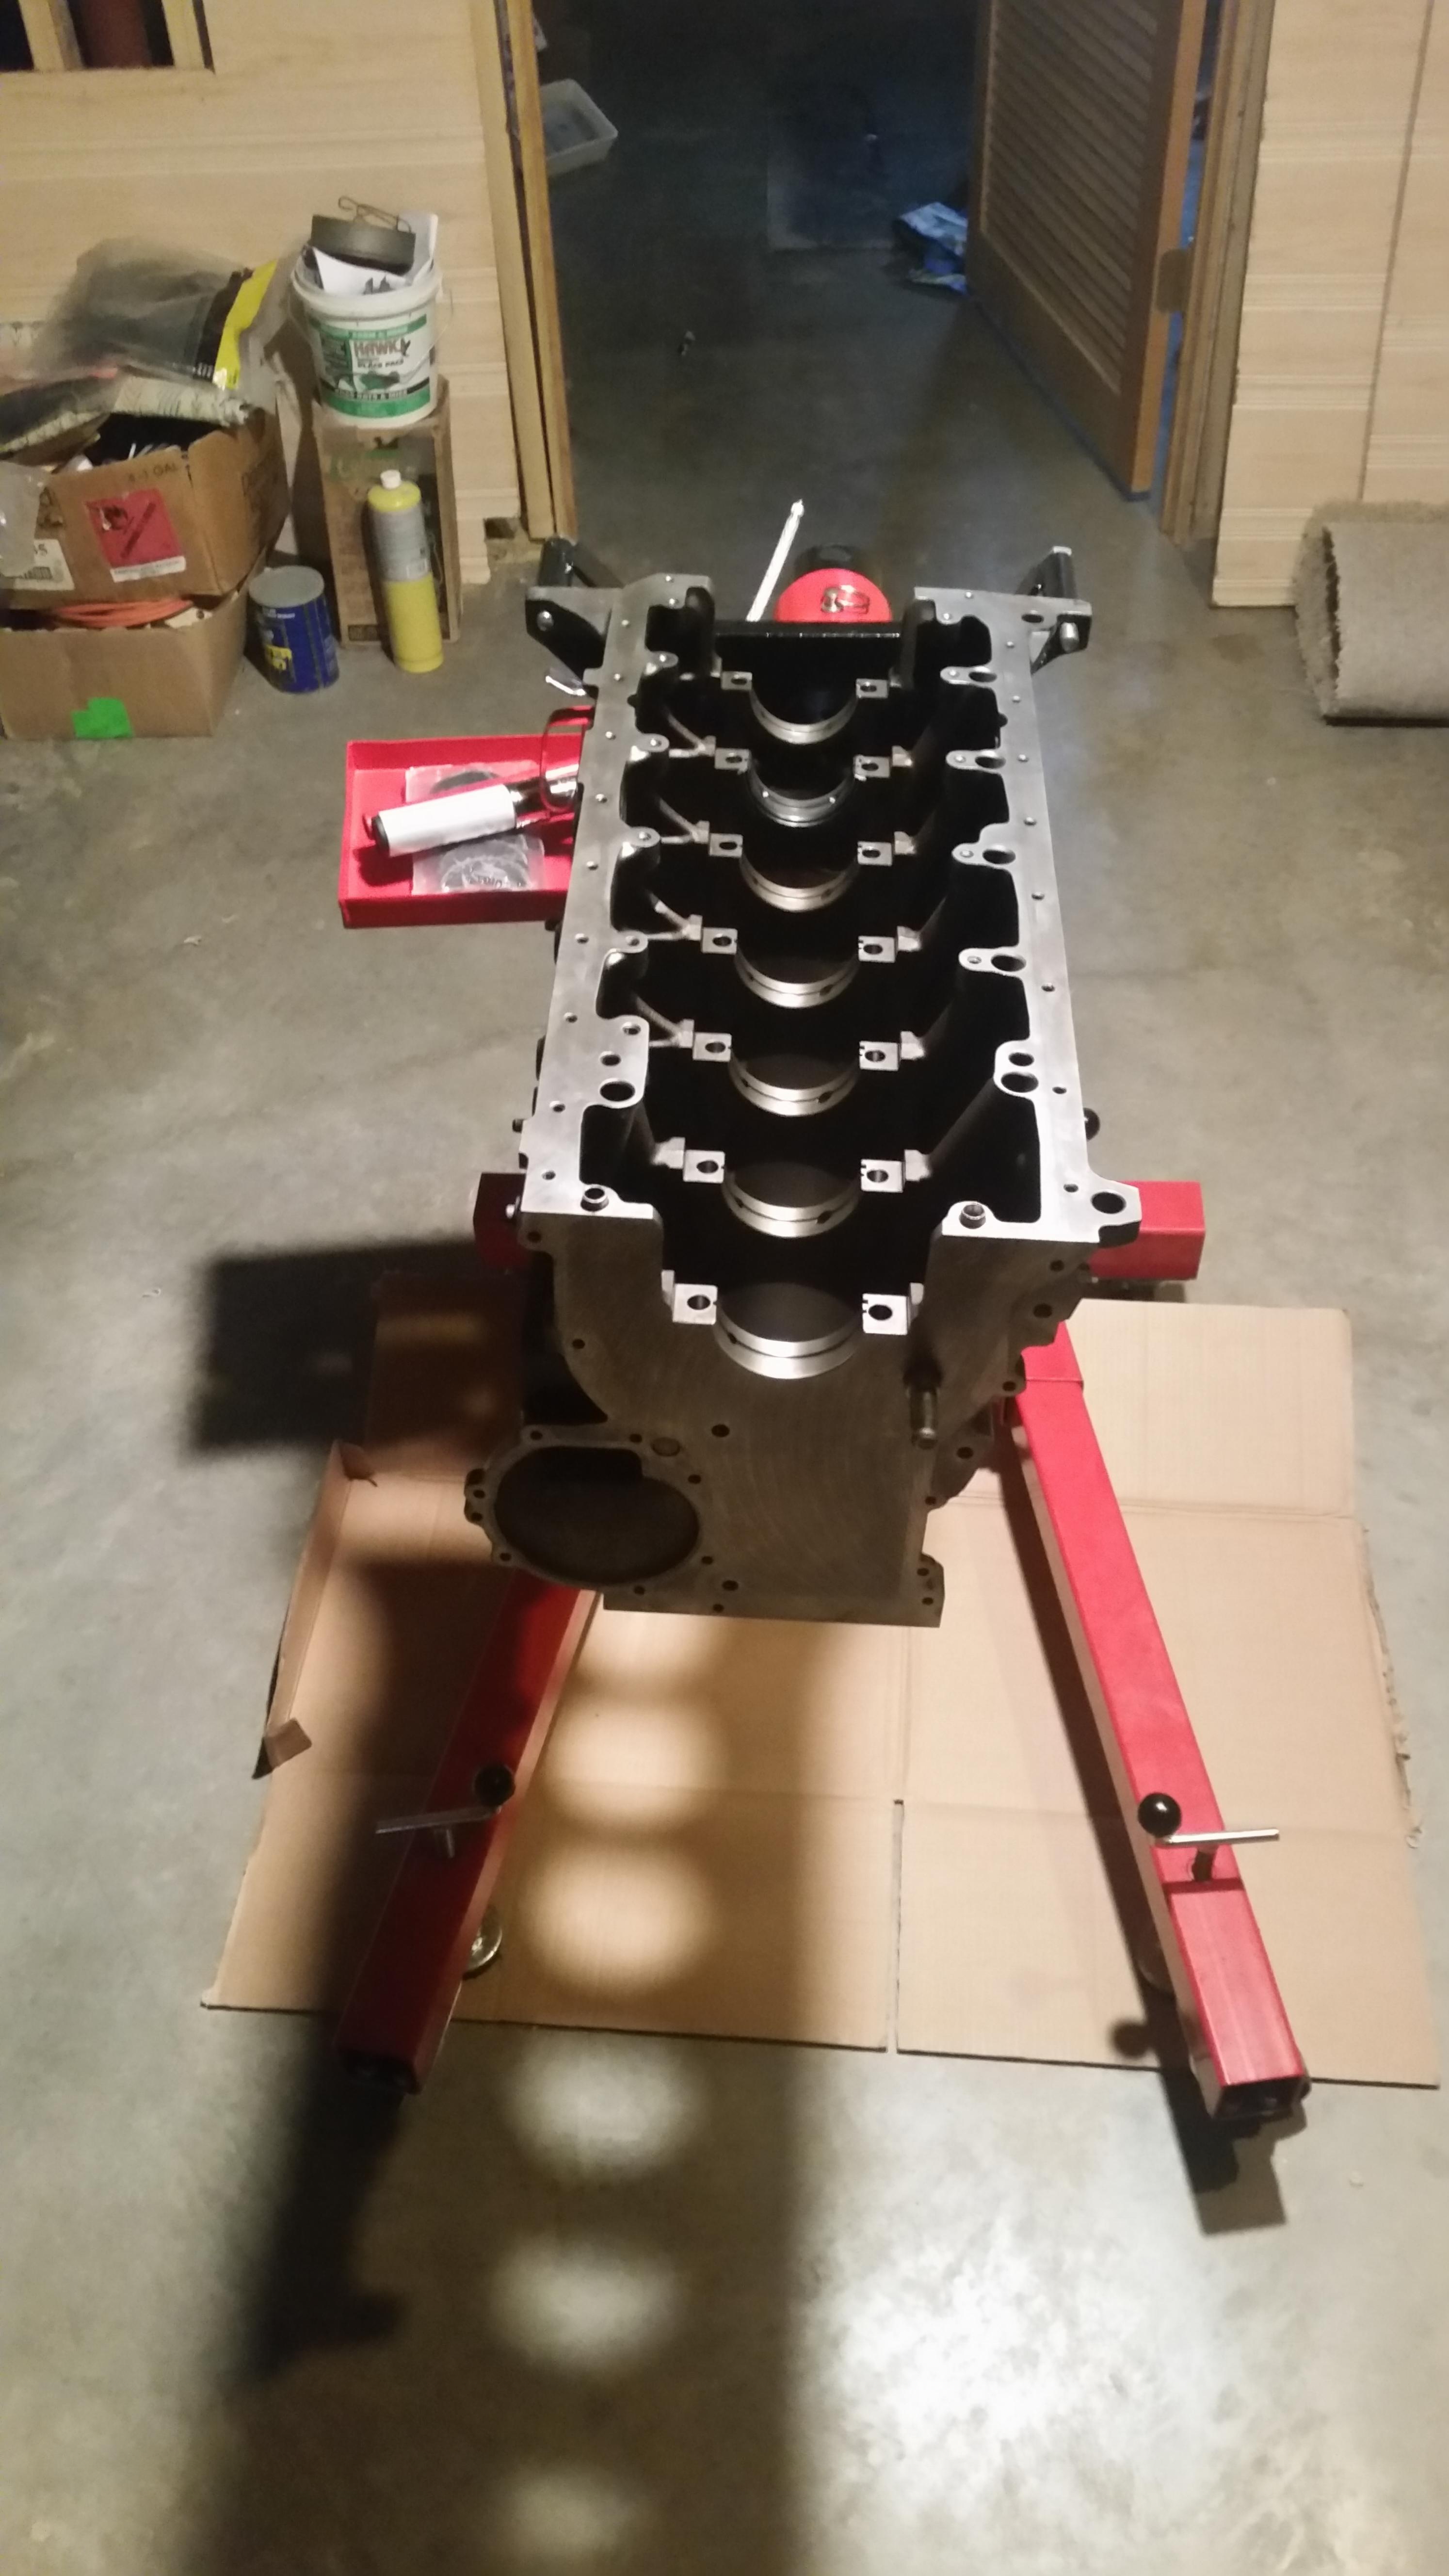
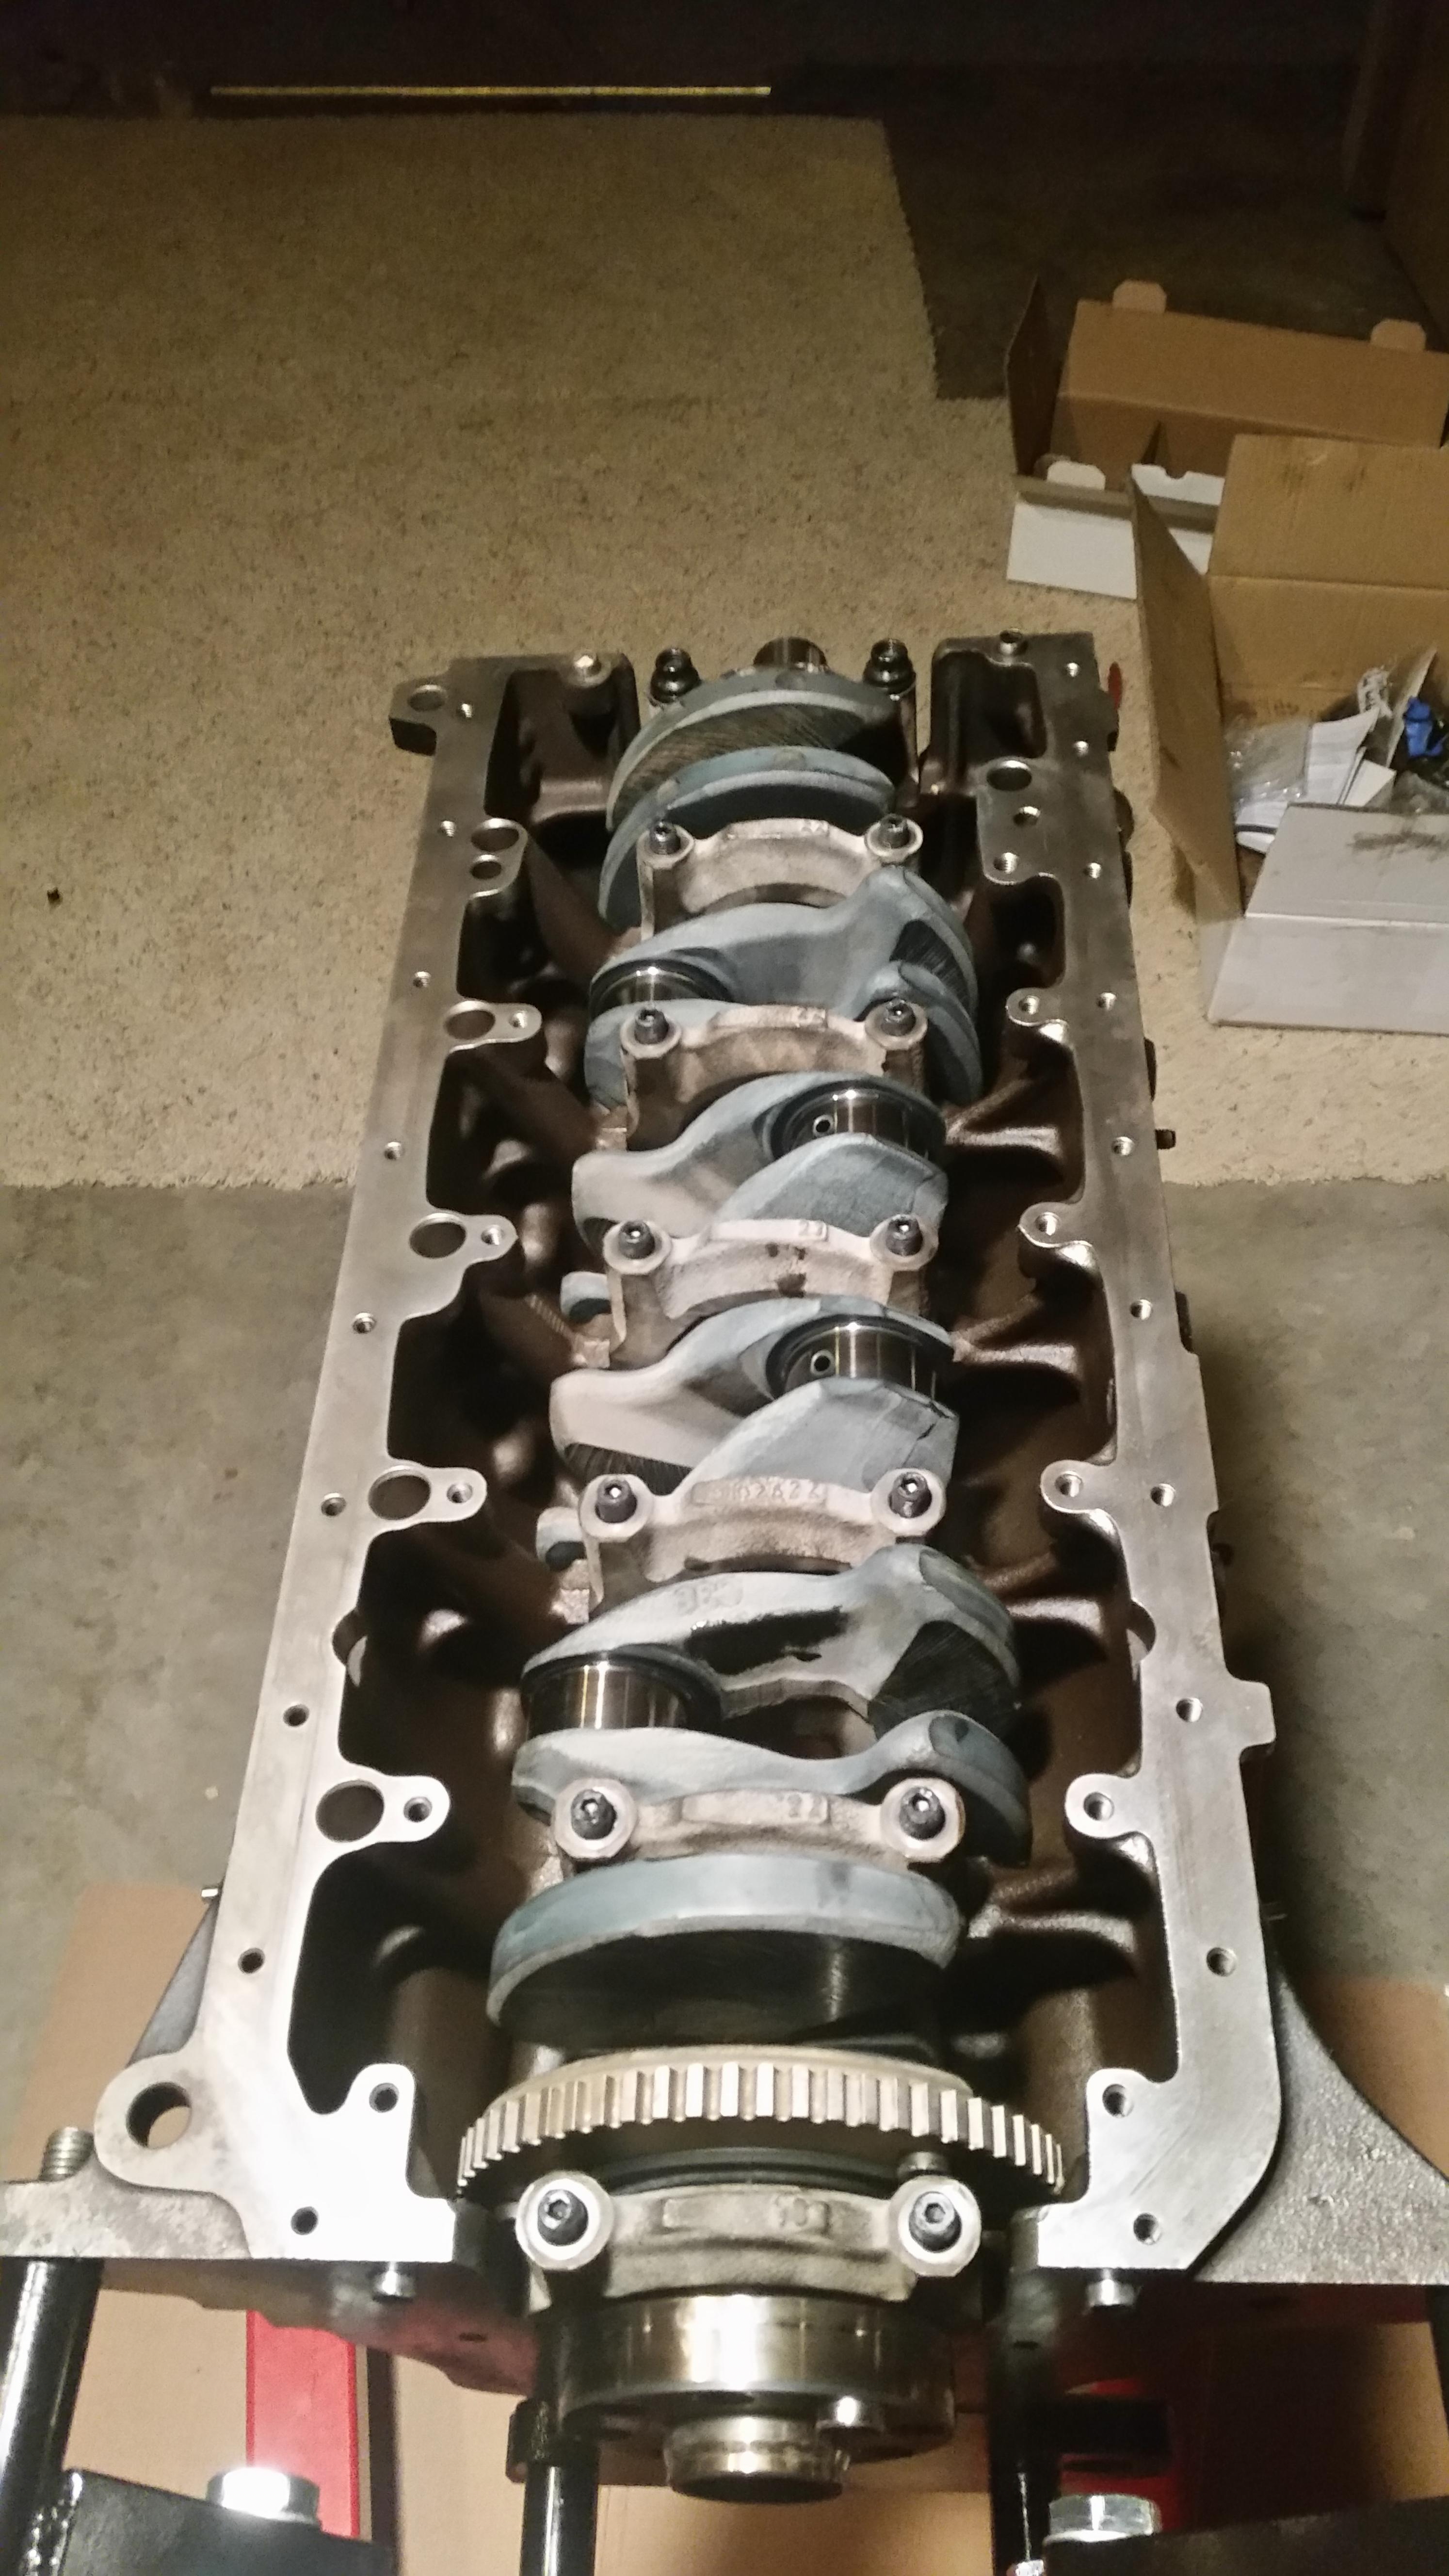
Arp Studs are hand tight, king main bearings installed and assembly lube is on.
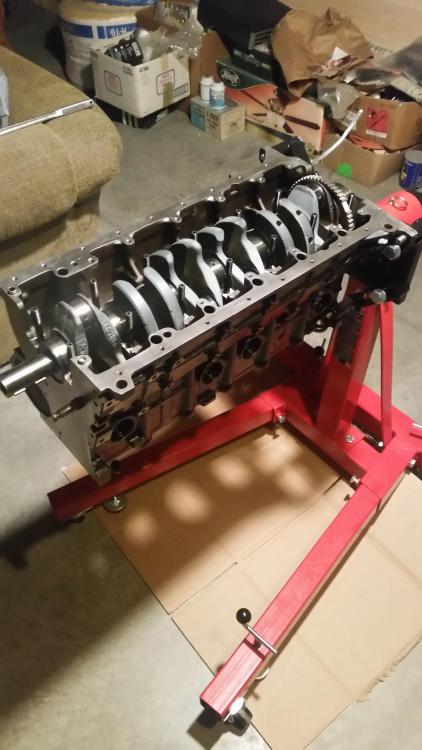
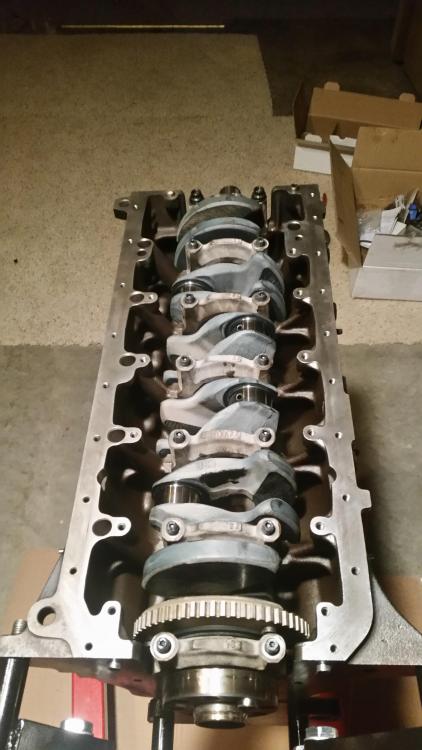
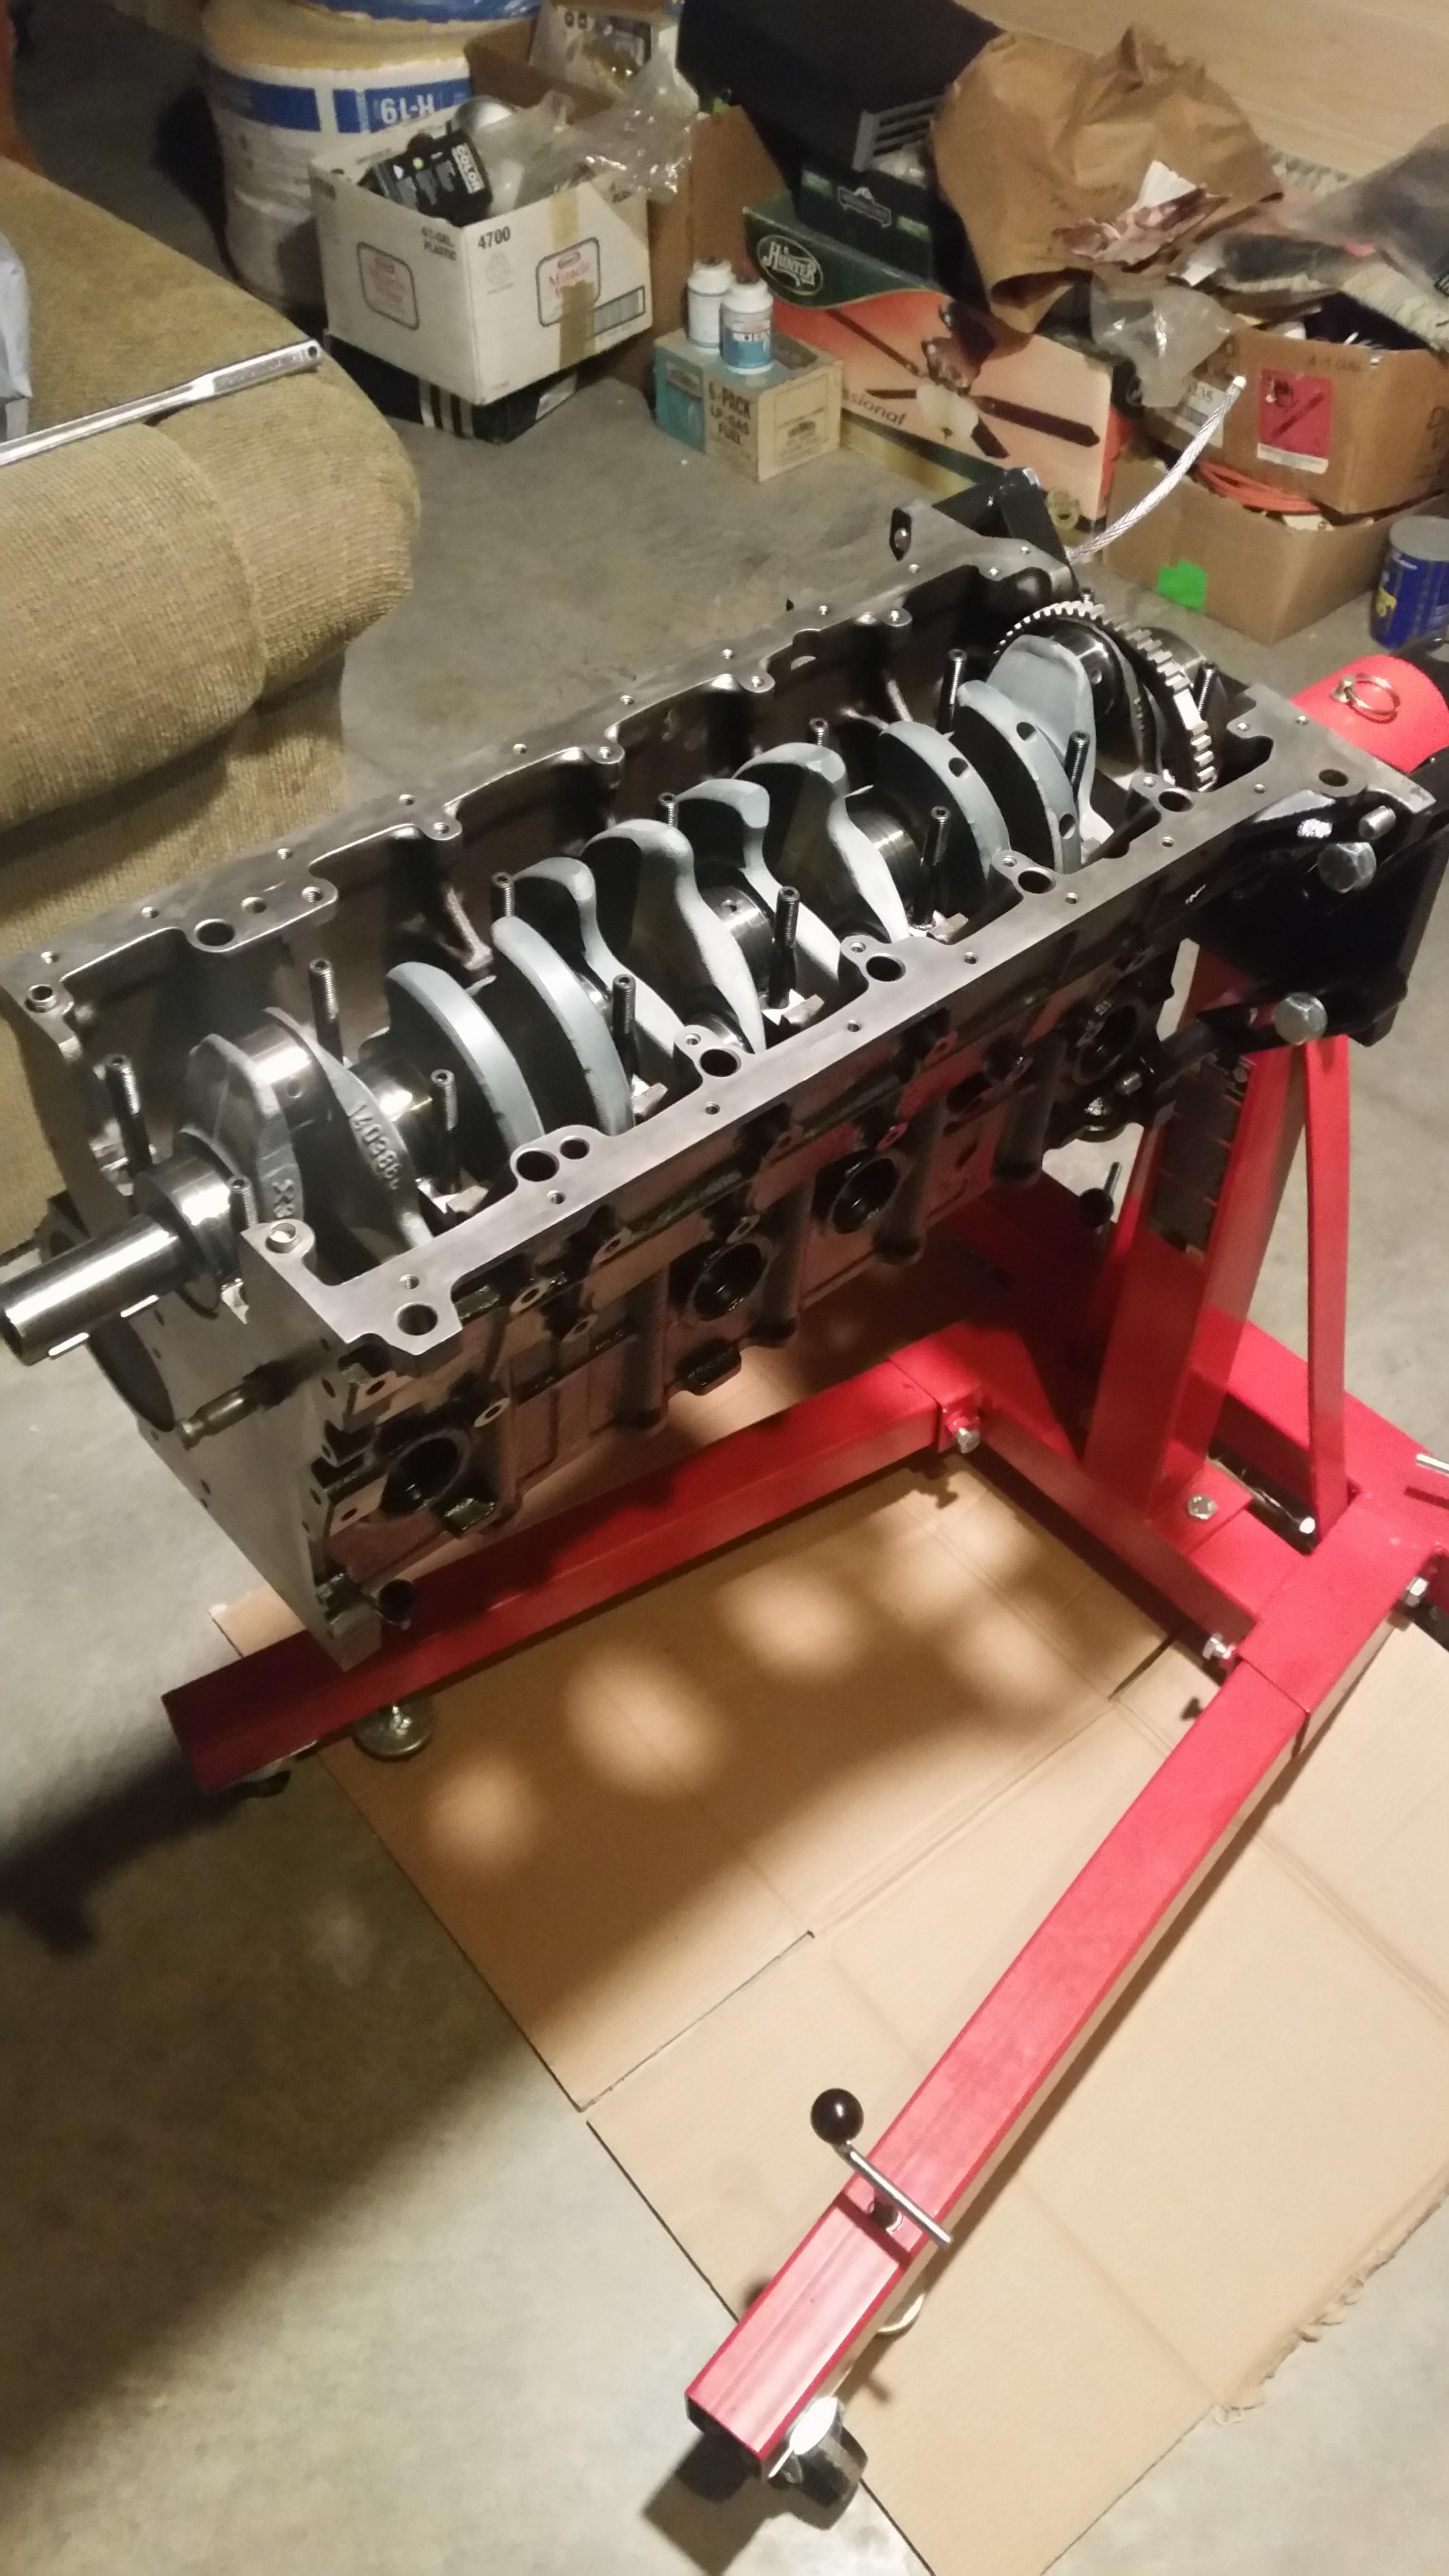
time for a crankshaft...
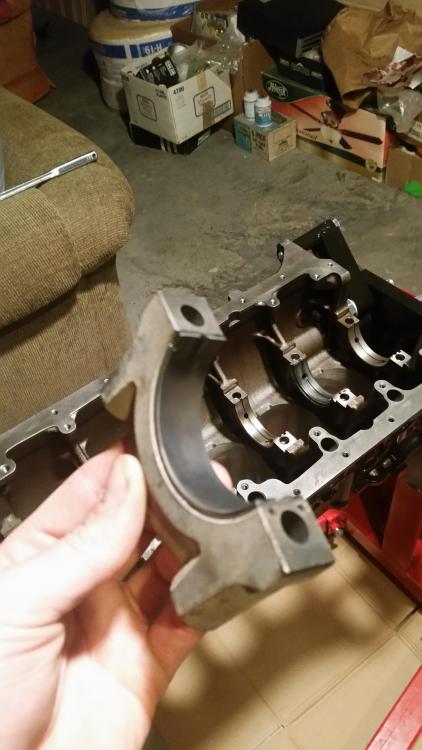
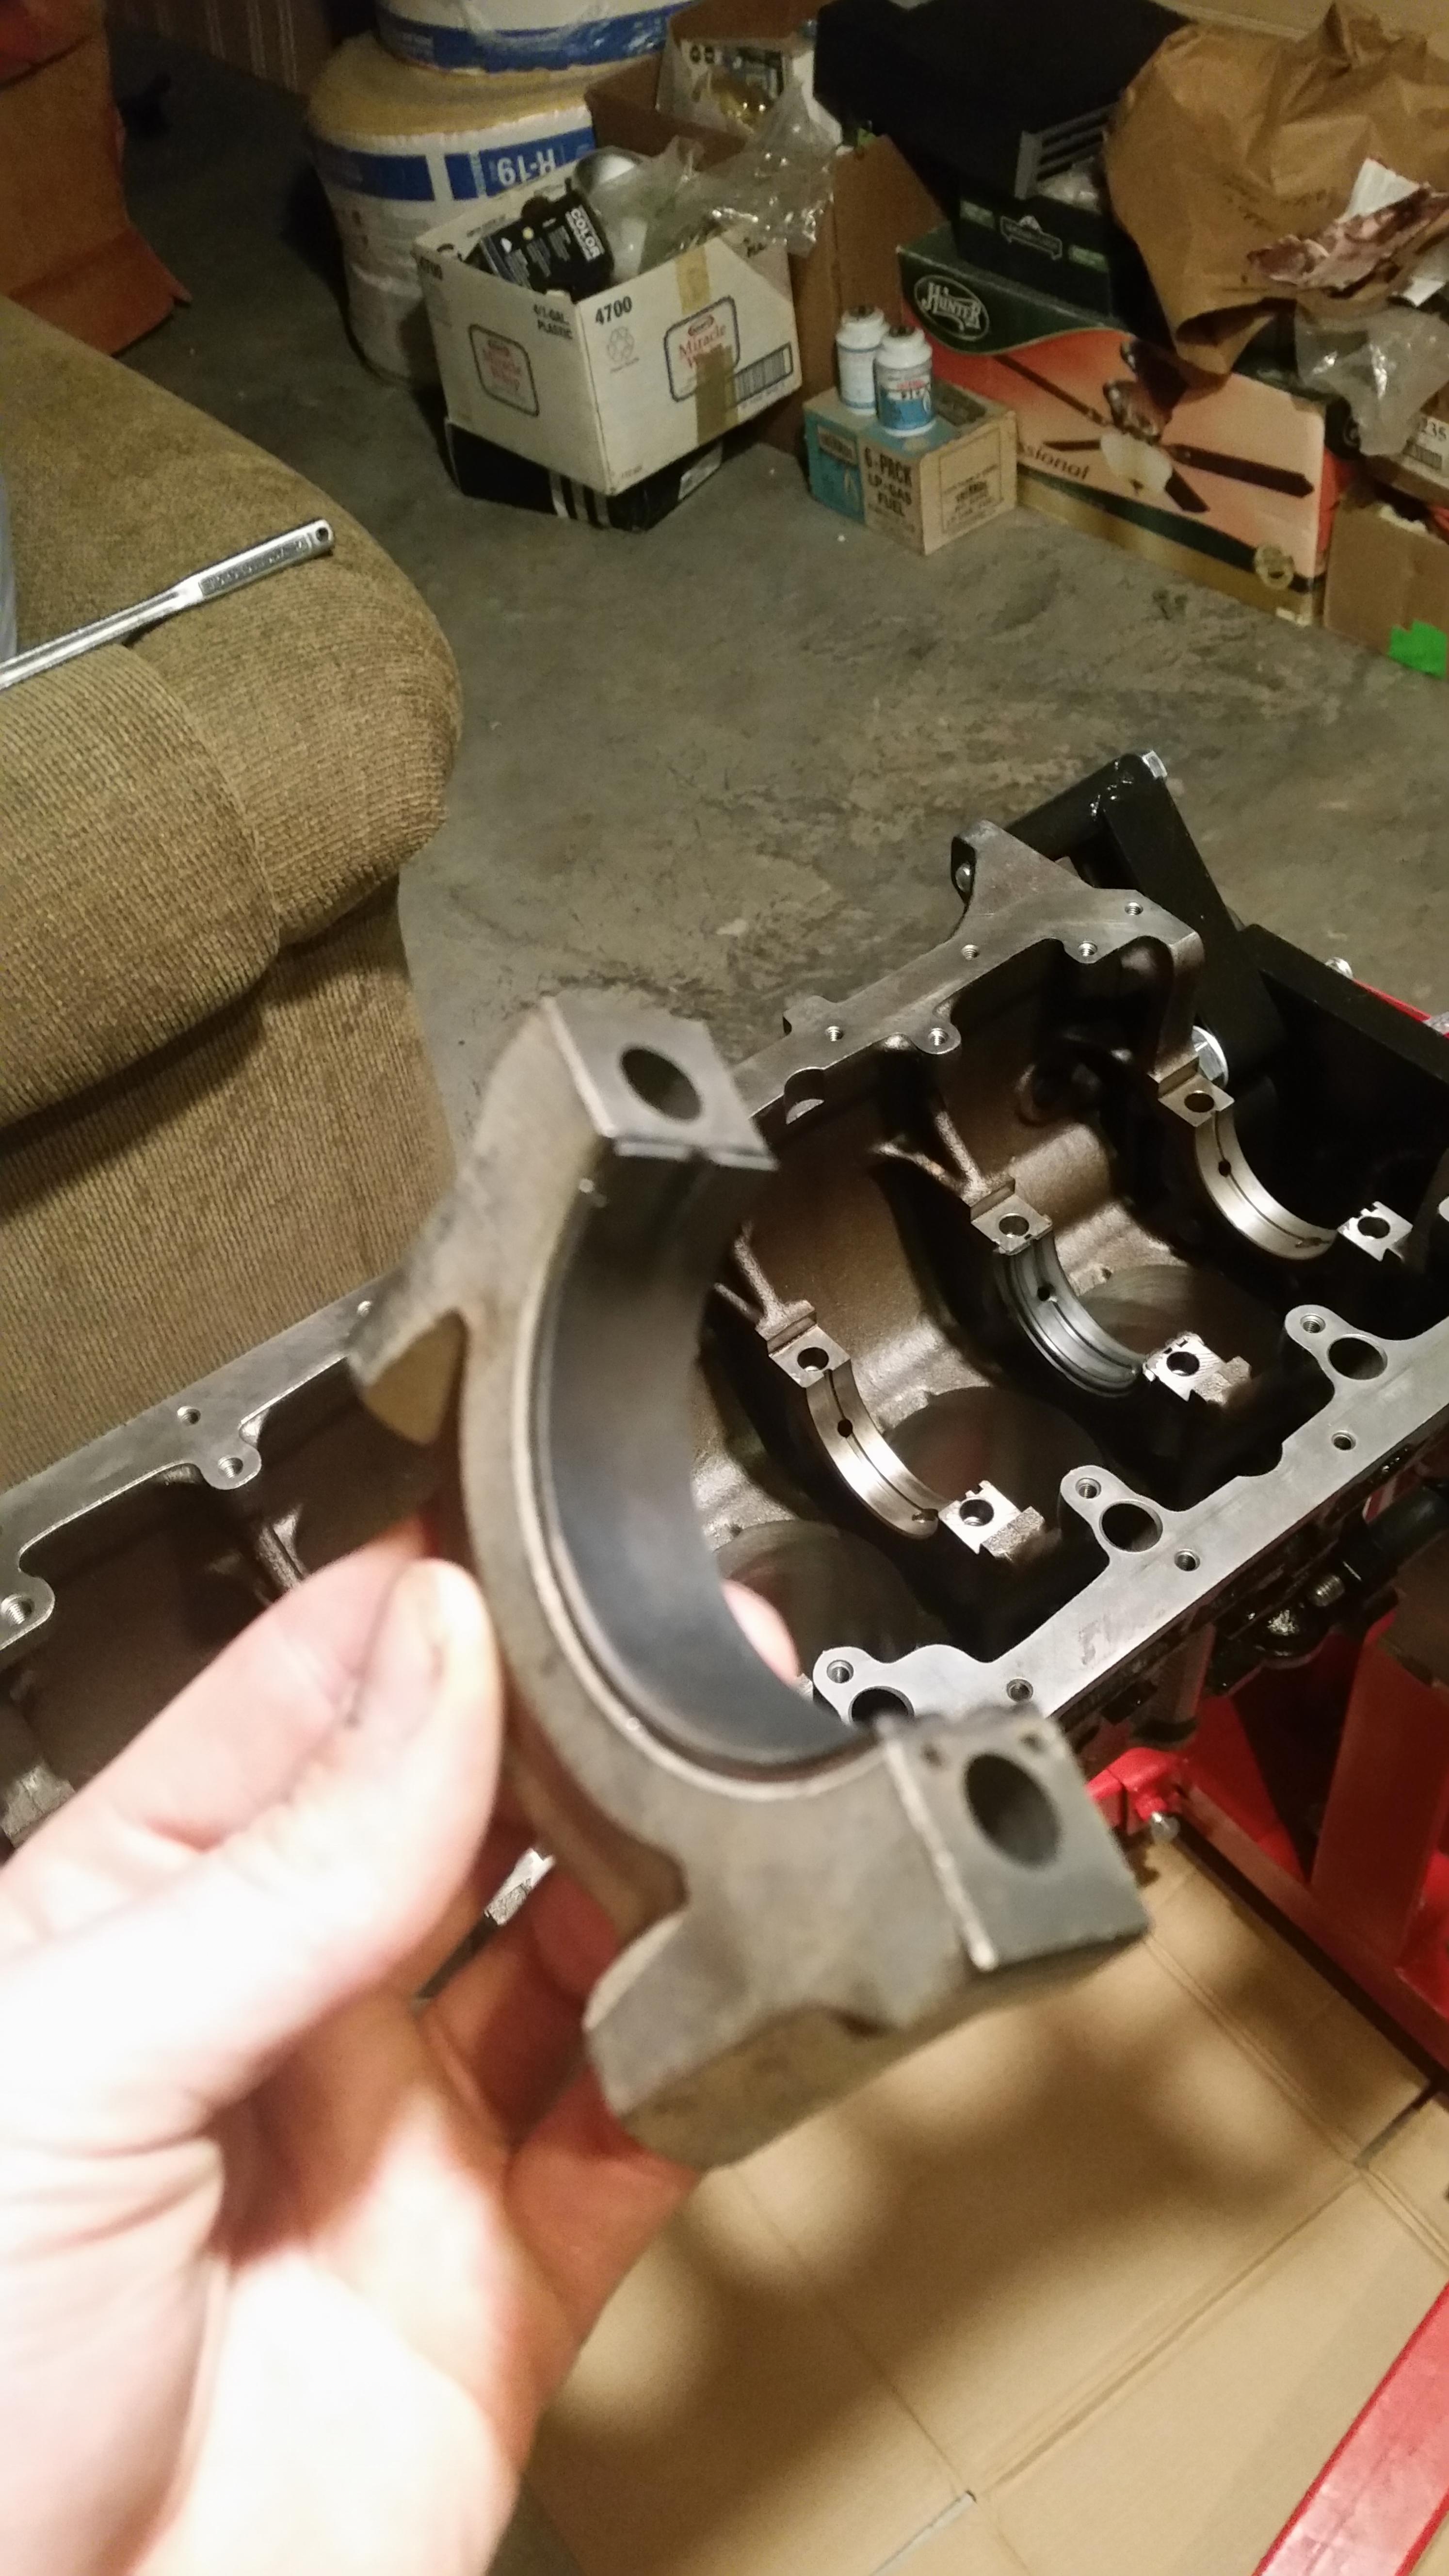
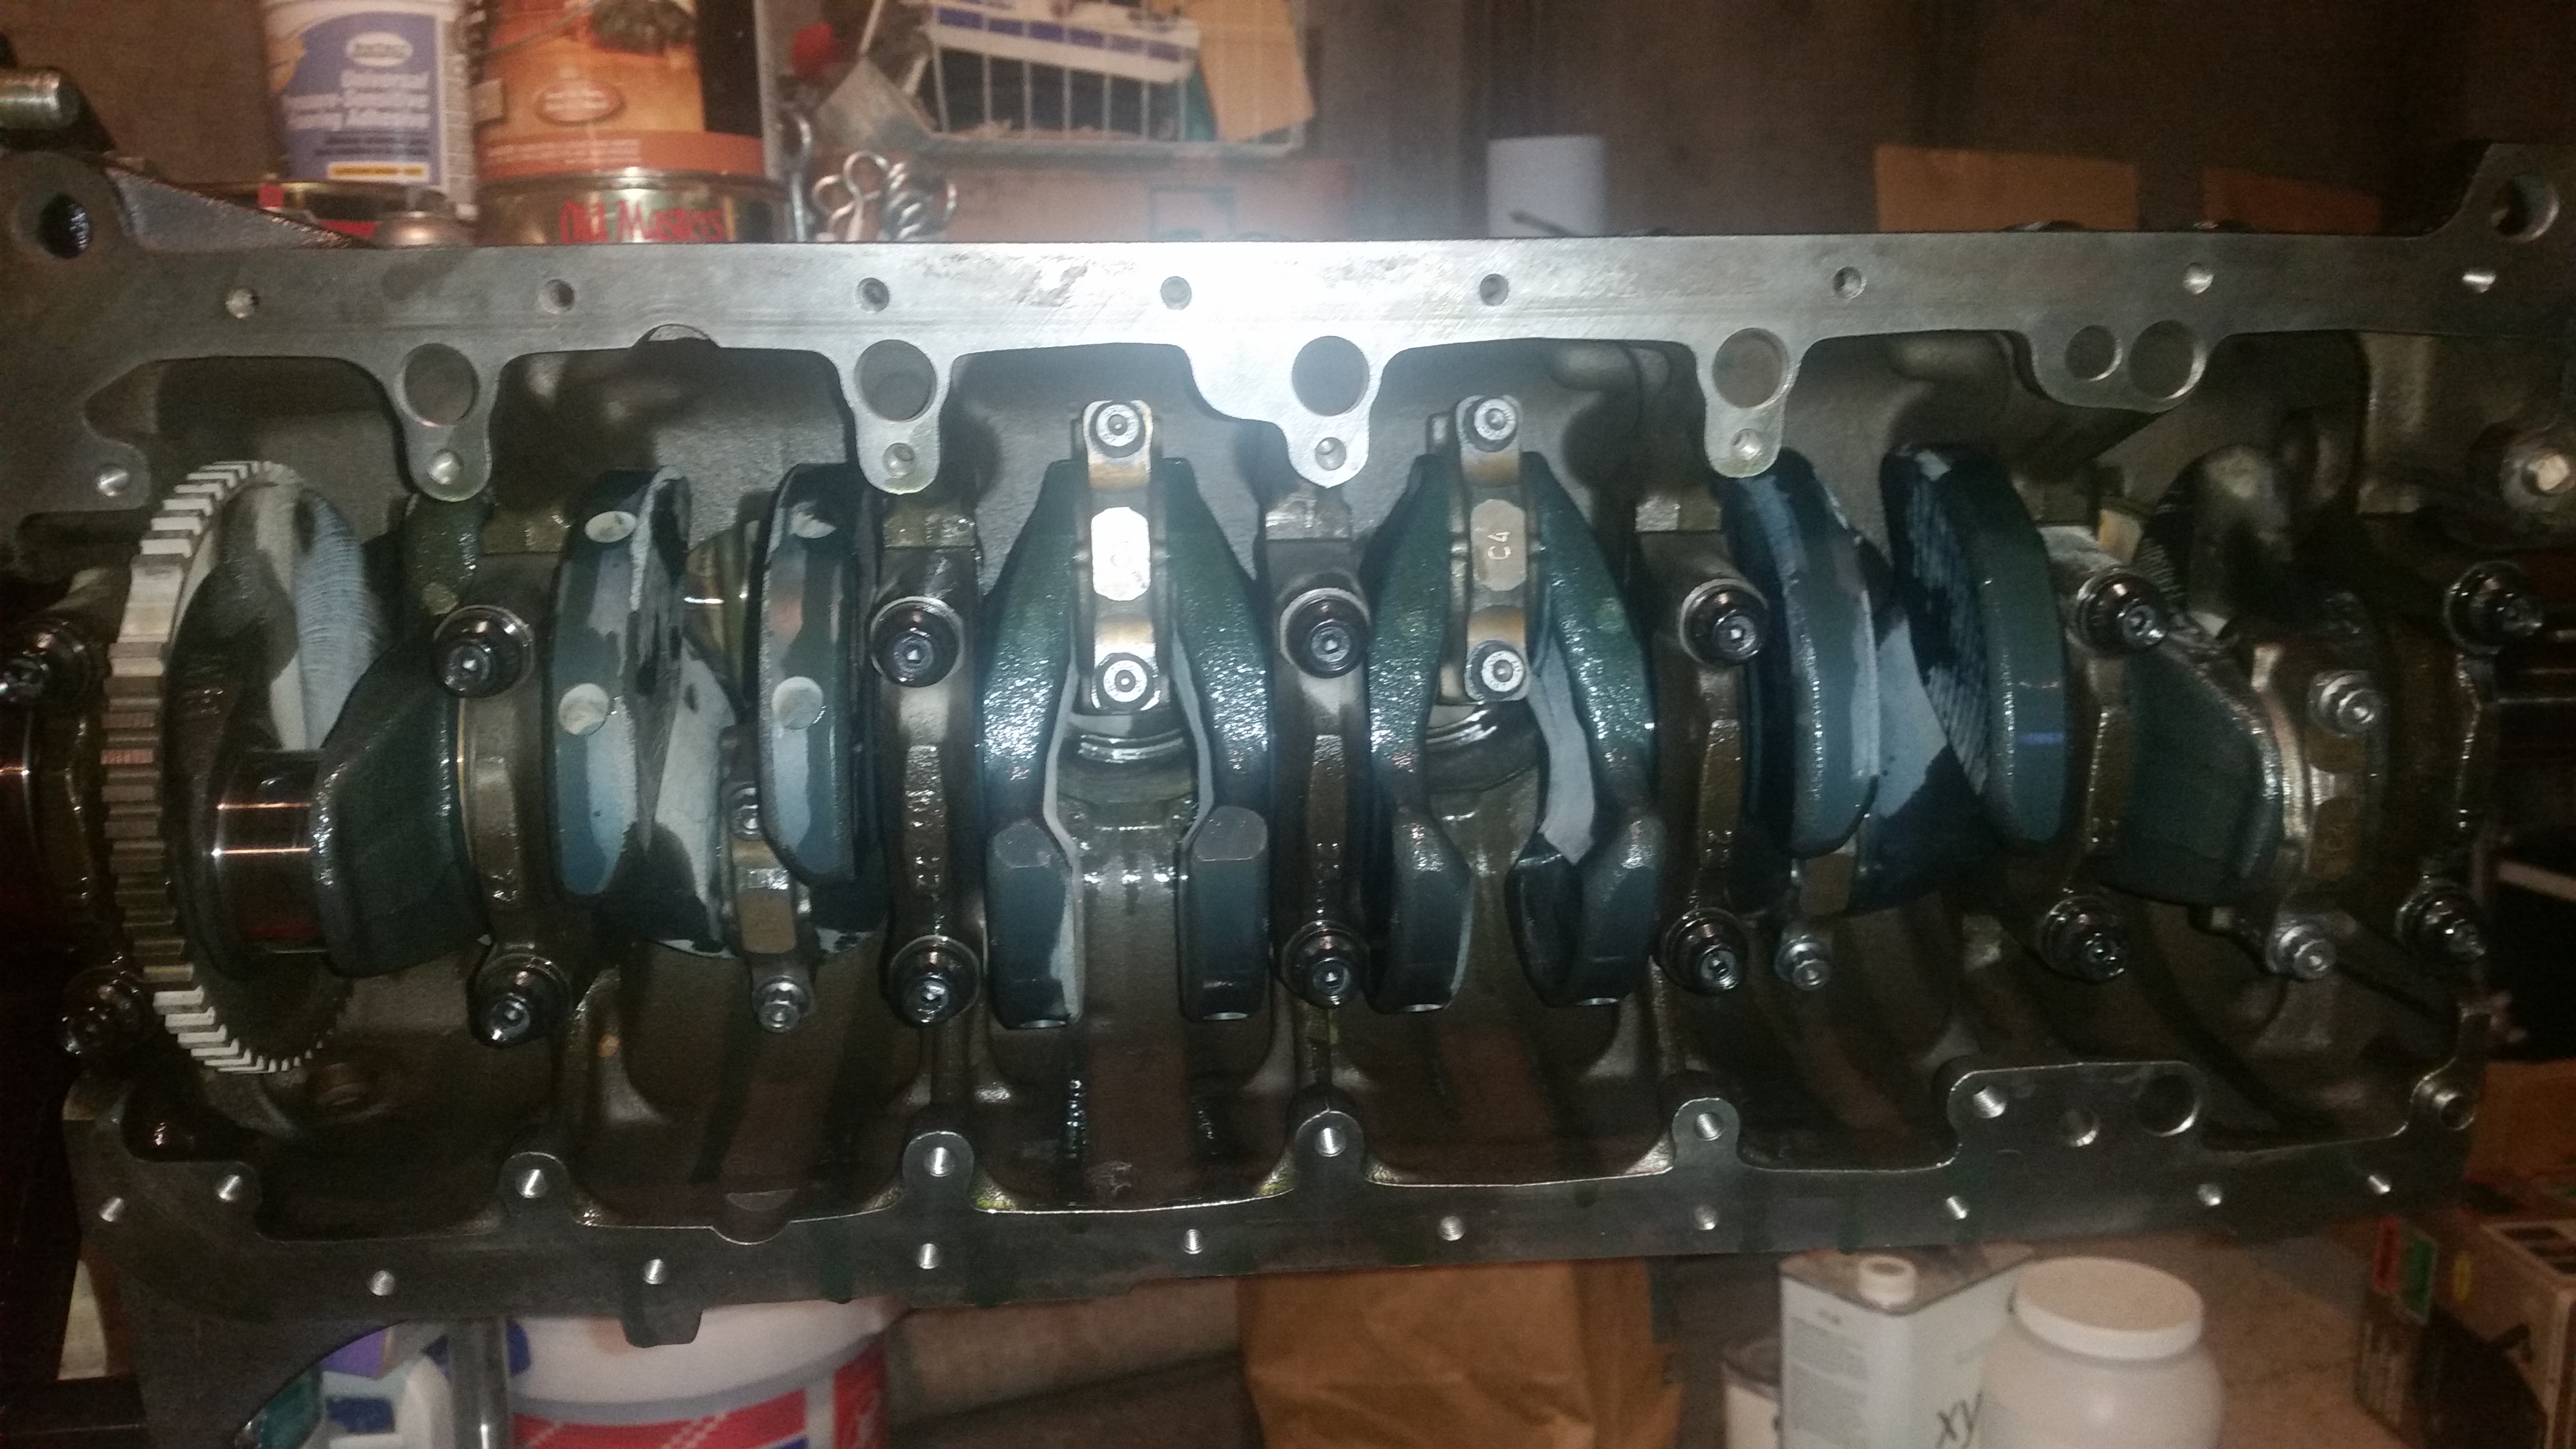
Was happy to see that each main bearing cap had a number indicating what order it needs to be in, thank you bmw.
Rings gaped, installed, and clocked
As of now the crankshaft is torqued and secured, Pistons are ready to go and will begin installing them possibly tomorrow.
-
Looking good!
I get the work in the basement logic (though maybe not spray painting next to a water heater) but thinking of my own basement and its steep staircase I'm curious as to how the completed engine gets out of the basement to garage? Open door access to outside, you bench press/dead lift engine blocks on a regular basis, draft friends to help carry, or you have one of those little elevator seats you ride up the stairs?
-
Looking good!
I get the work in the basement logic (though maybe not spray painting next to a water heater) but thinking of my own basement and its steep staircase I'm curious as to how the completed engine gets out of the basement to garage? Open door access to outside, you bench press/dead lift engine blocks on a regular basis, draft friends to help carry, or you have one of those little elevator seats you ride up the stairs?
Well I was able to carry the engine block down the stairs myself with little issue, my thought was all together when its complete me and a friend could probably handle the task no sweat.
Put the engine on an upside-down Slinky at the bottom of the stairs and let nature take its course.
If plan A fails I'll make that plan B. If it does end up working, The car is yours when its done.
-
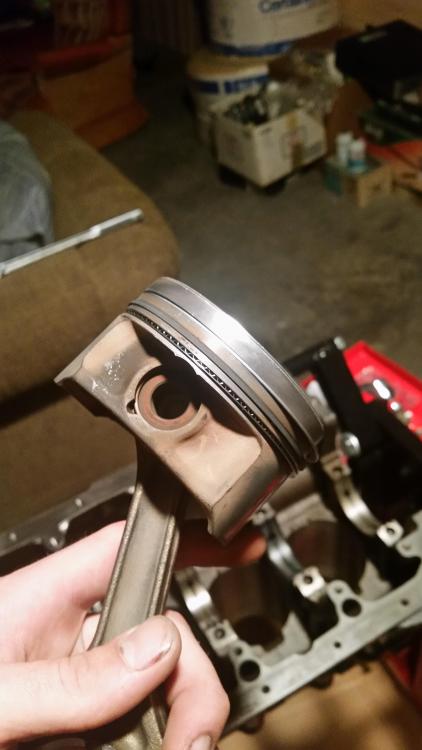
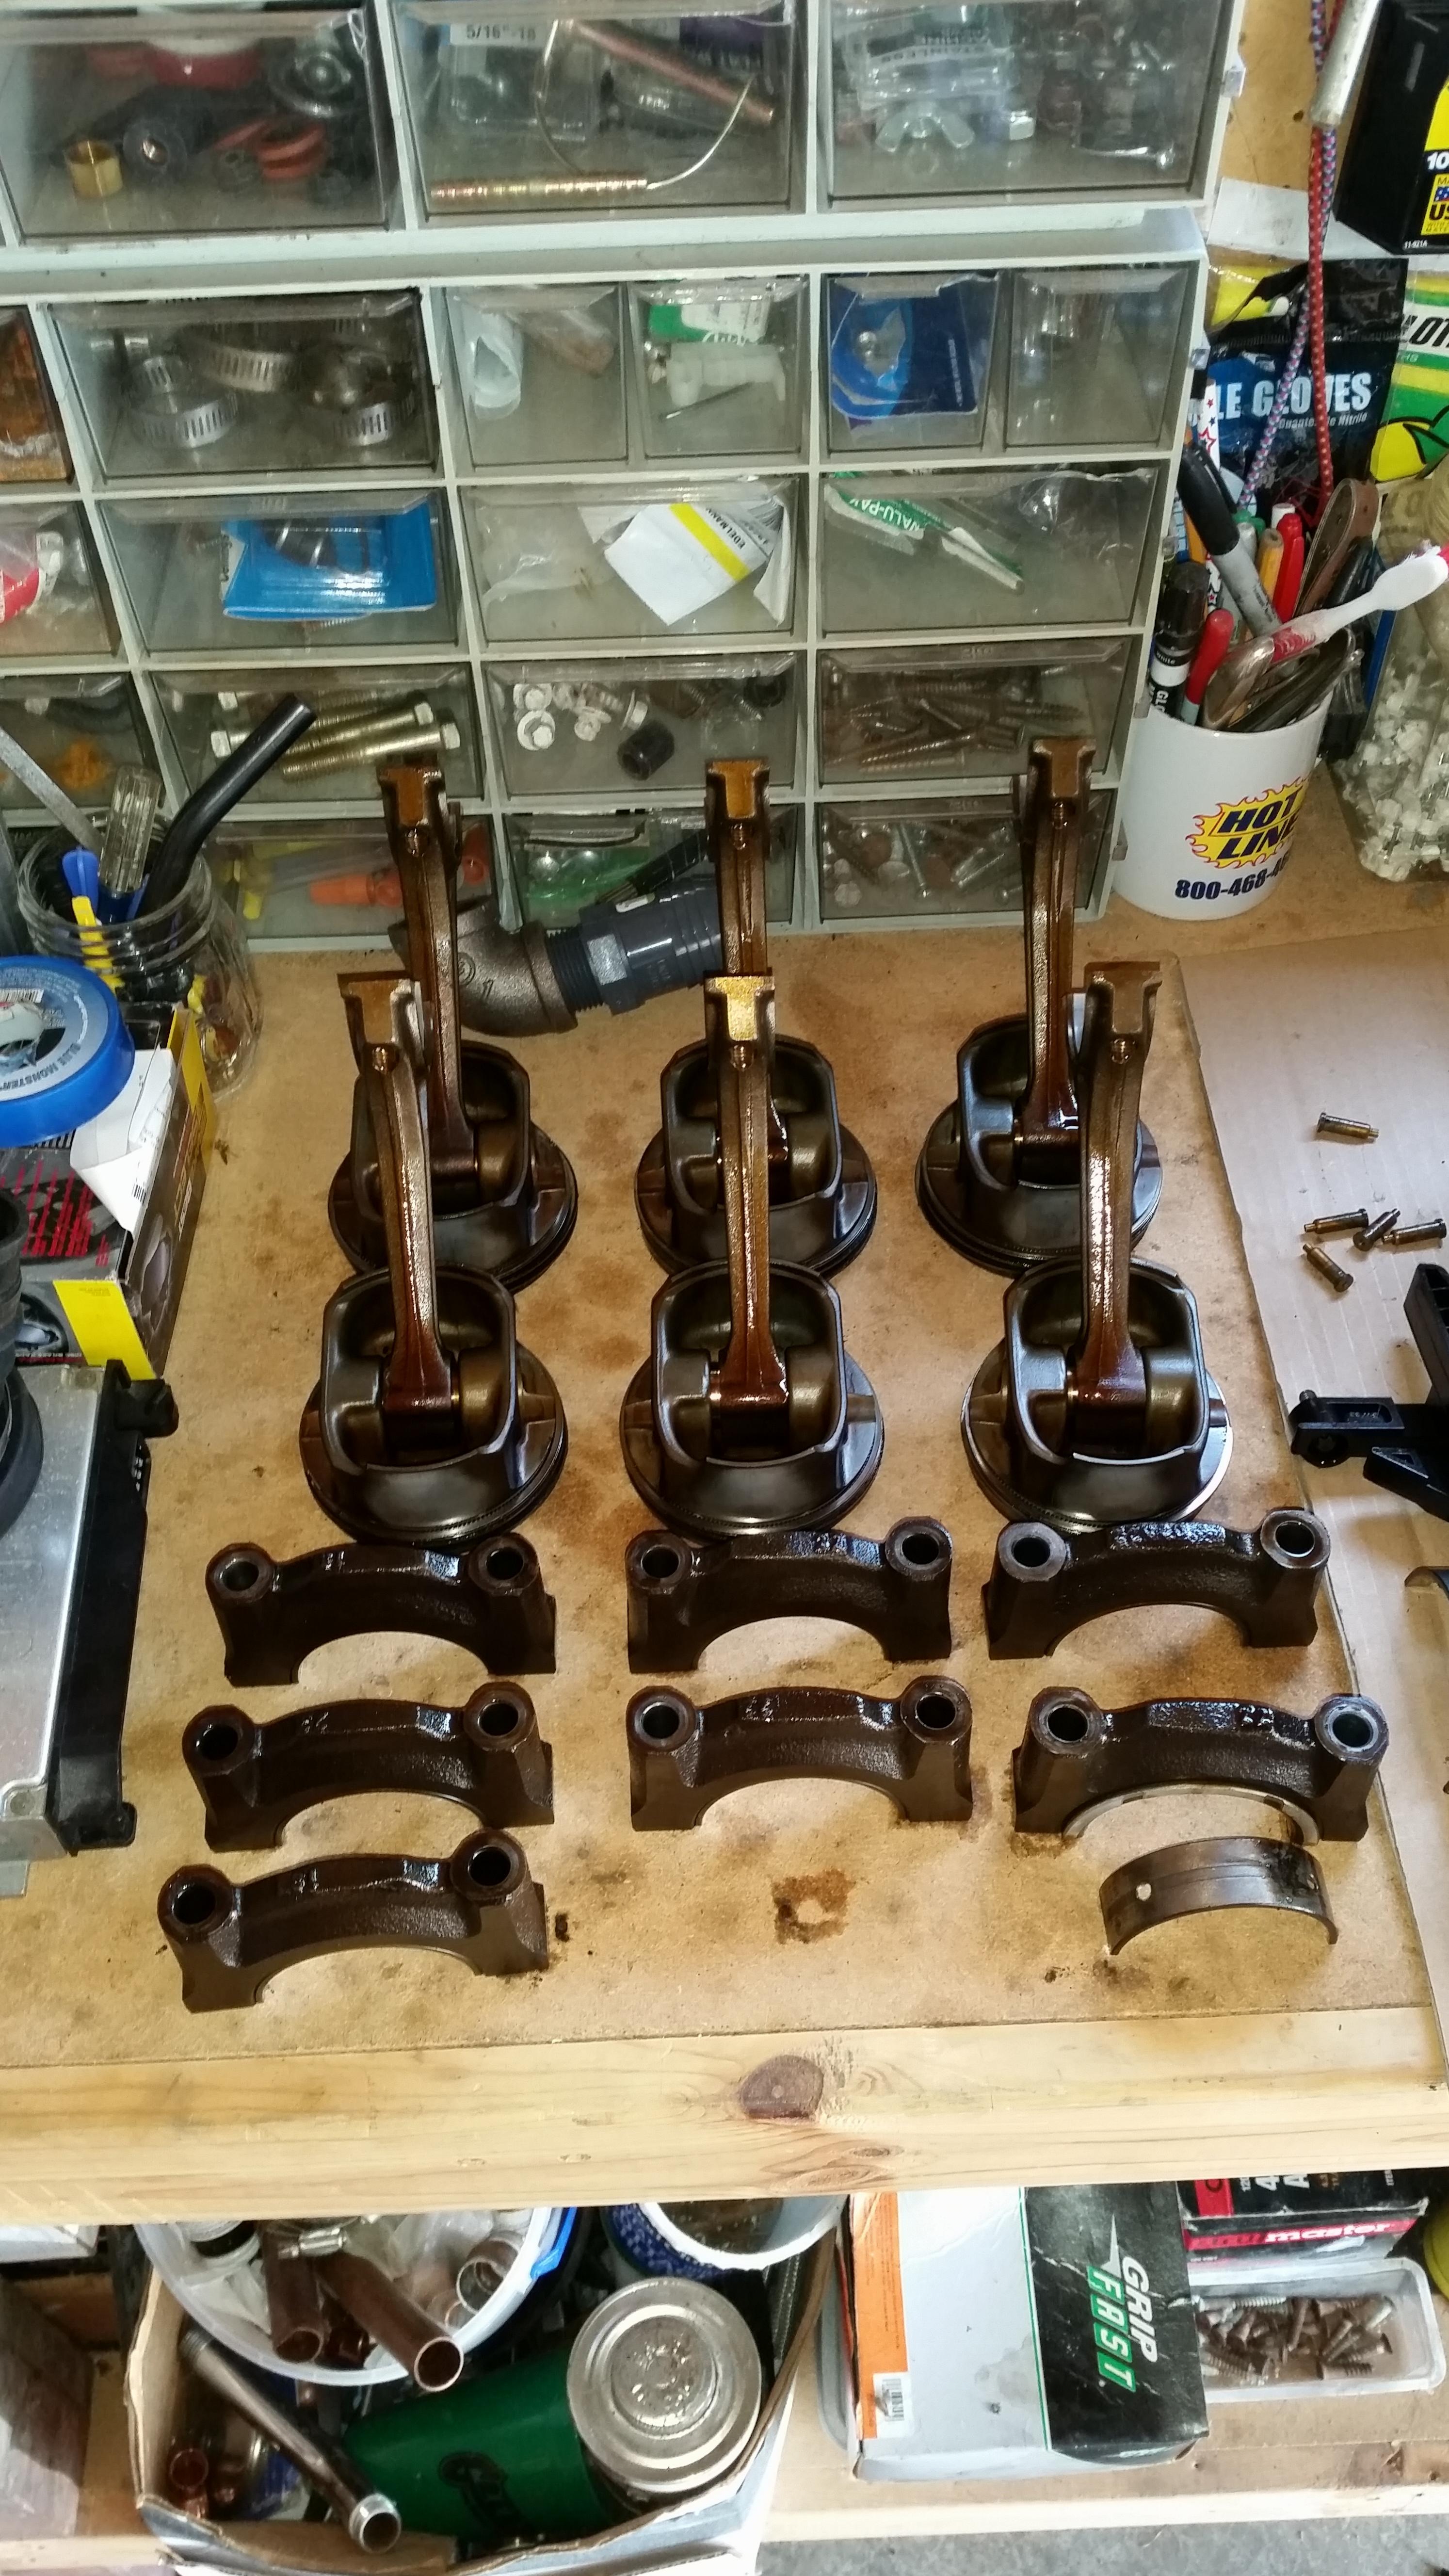
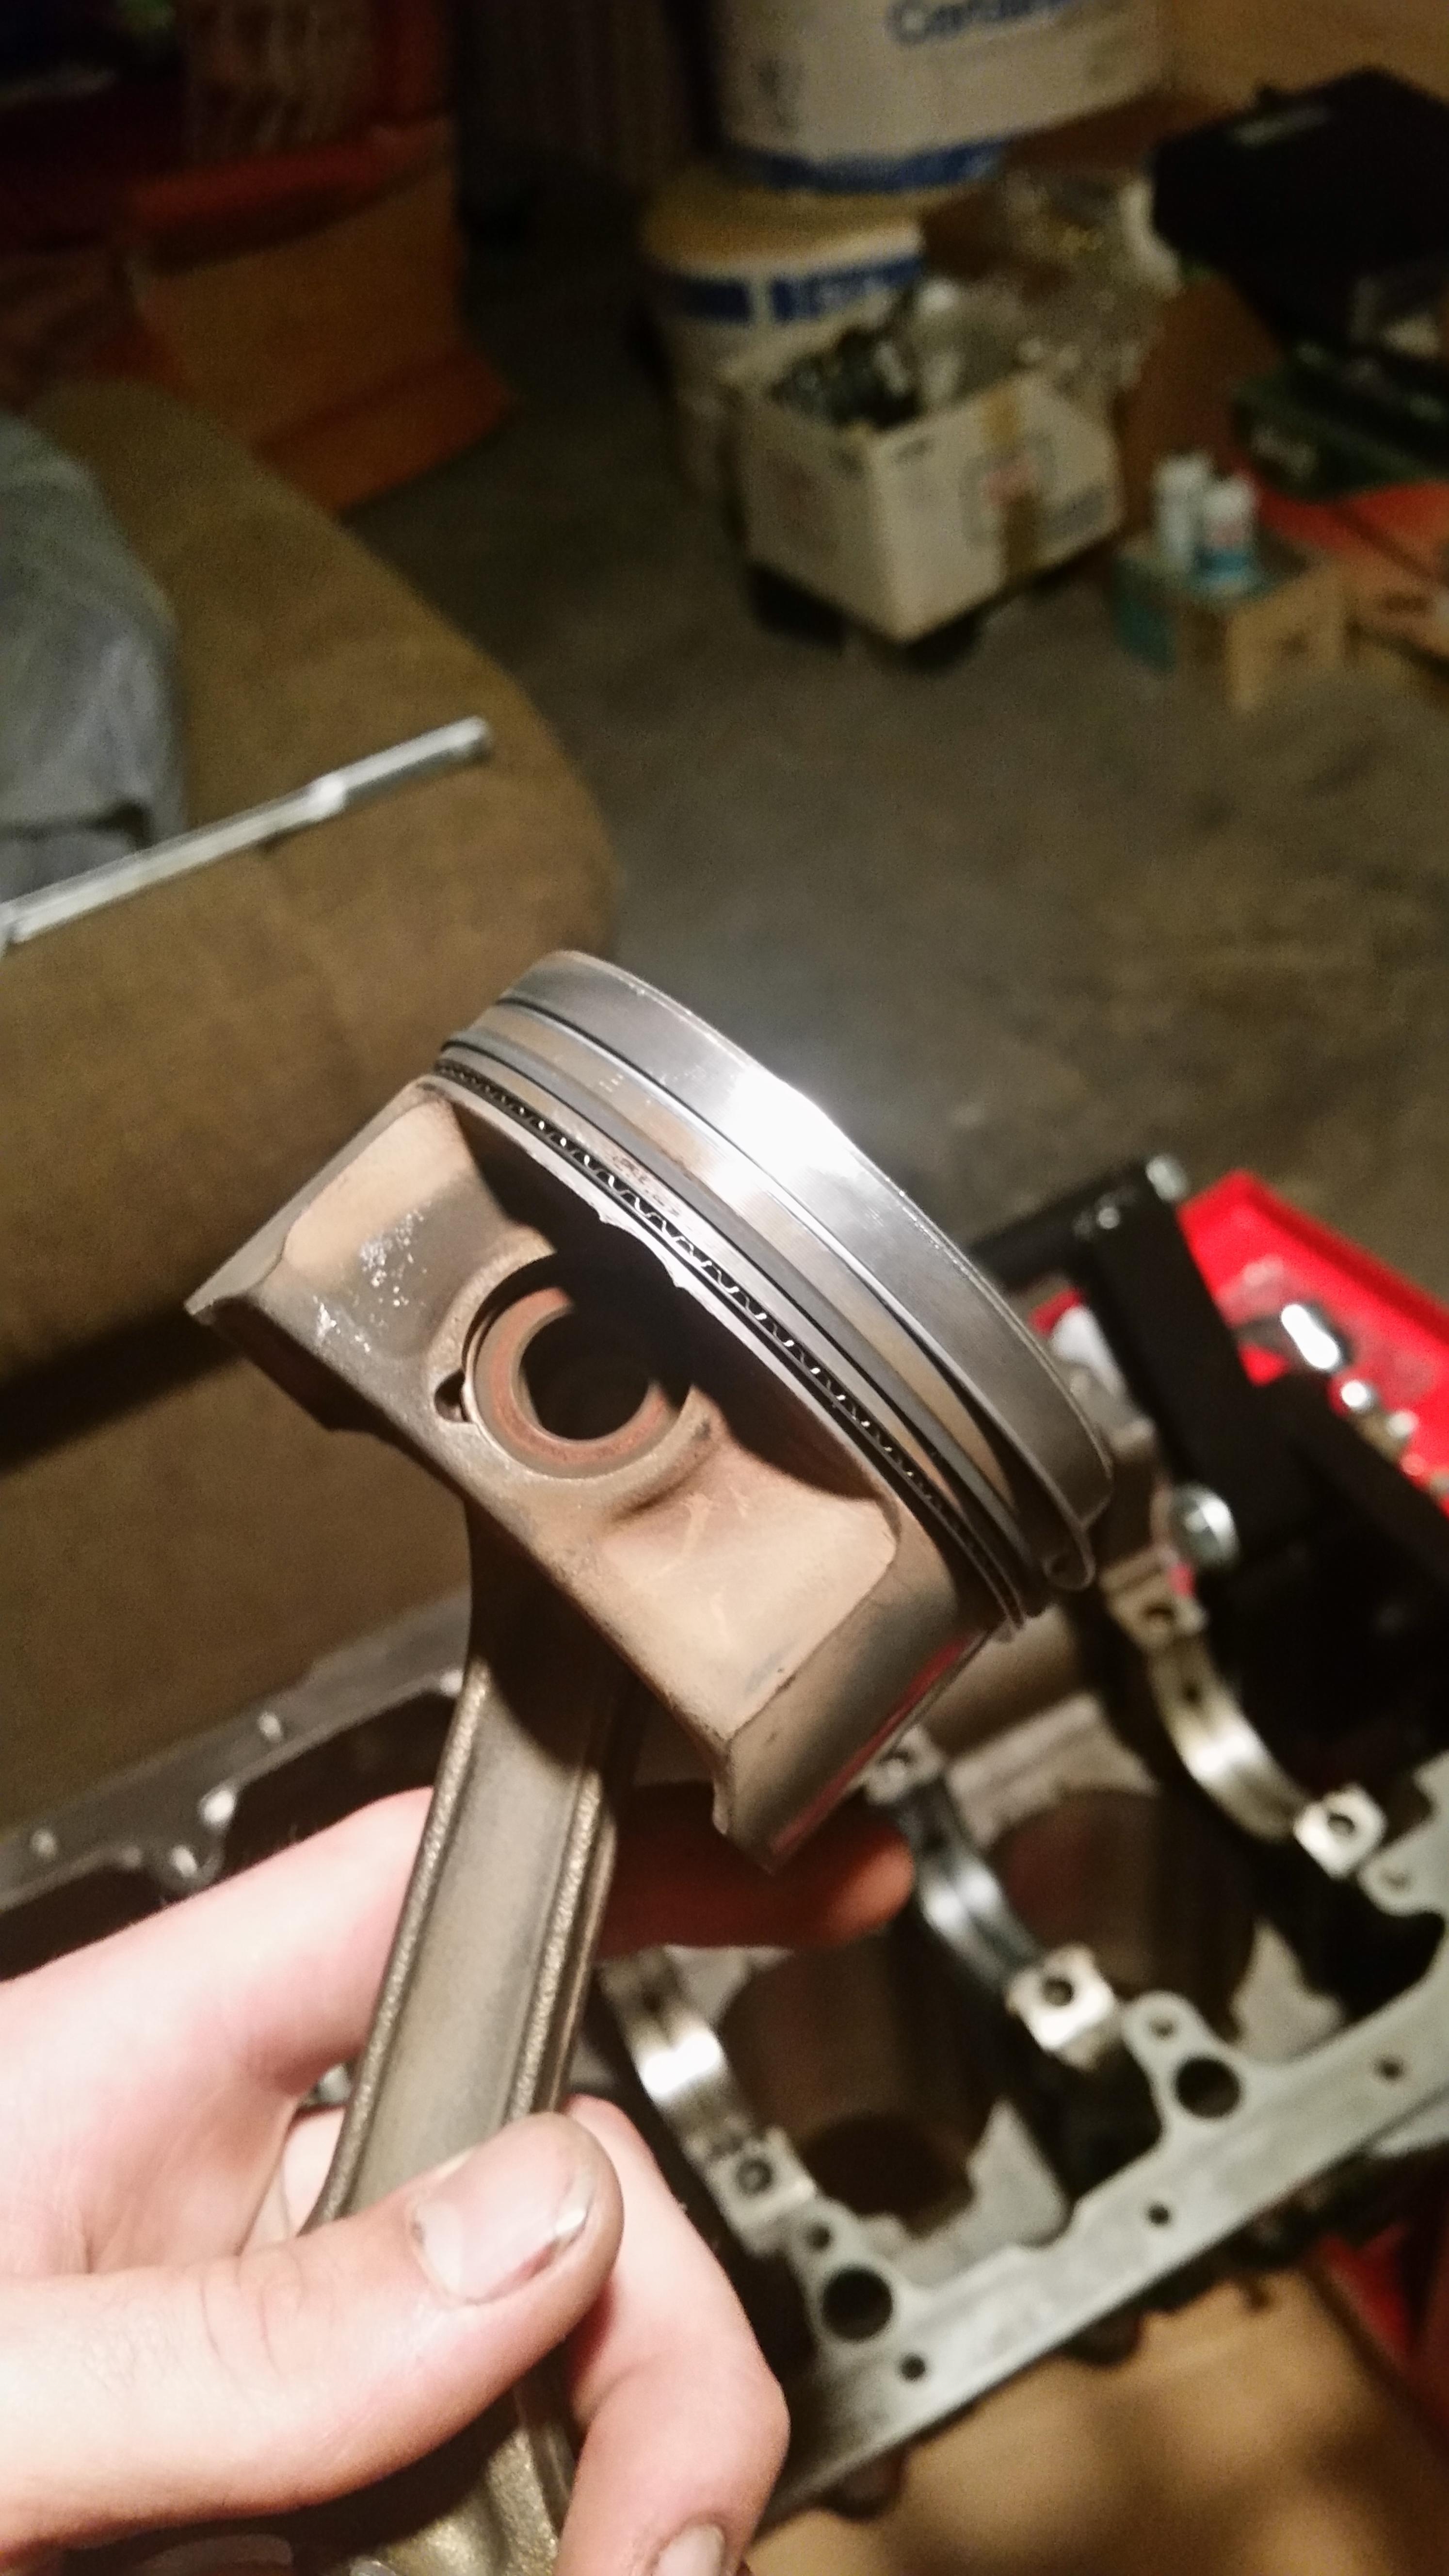
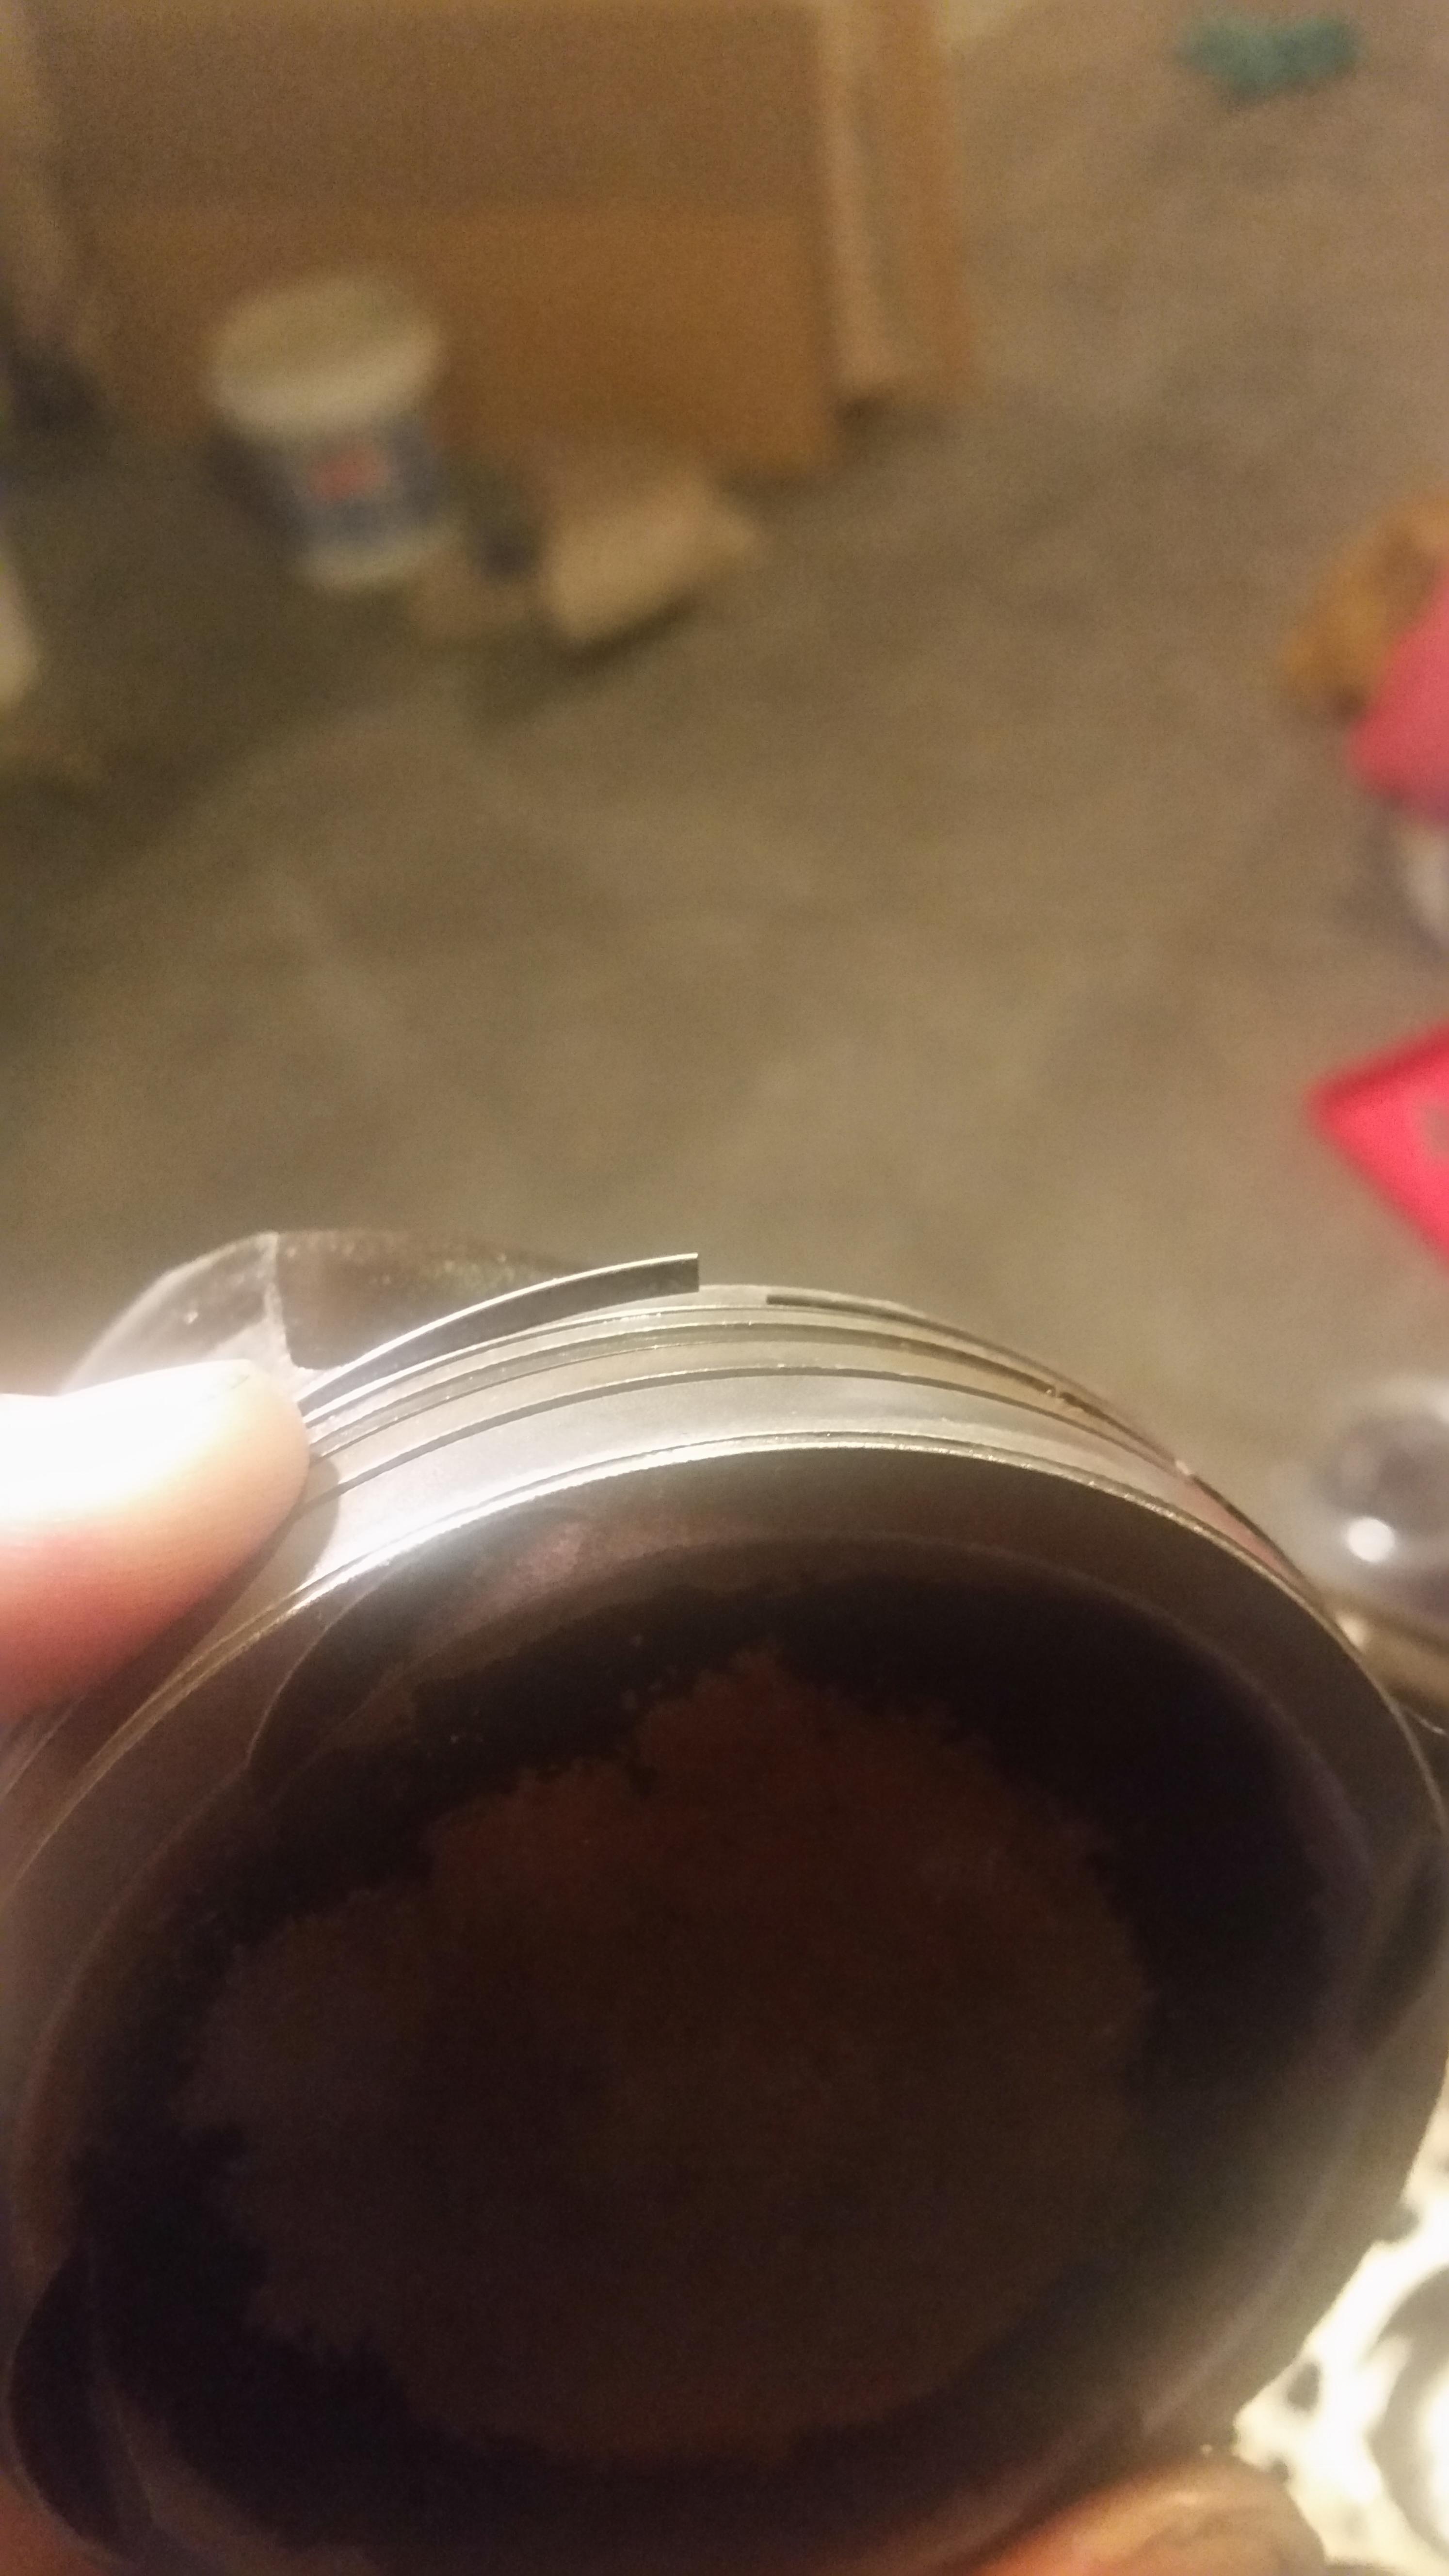
Was working on my first piston, had everything prelubed ready to go. Had all my piston rings compressed down (or so I thought) and I took one swift hit and the piston went in. Boom bada bing one down 5 to go. Nope...
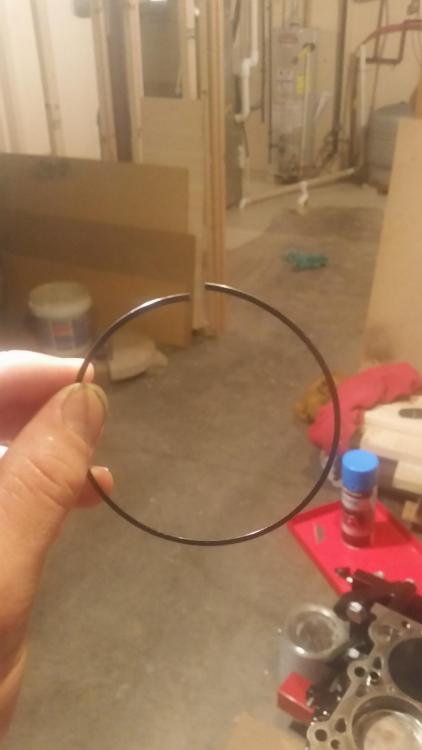
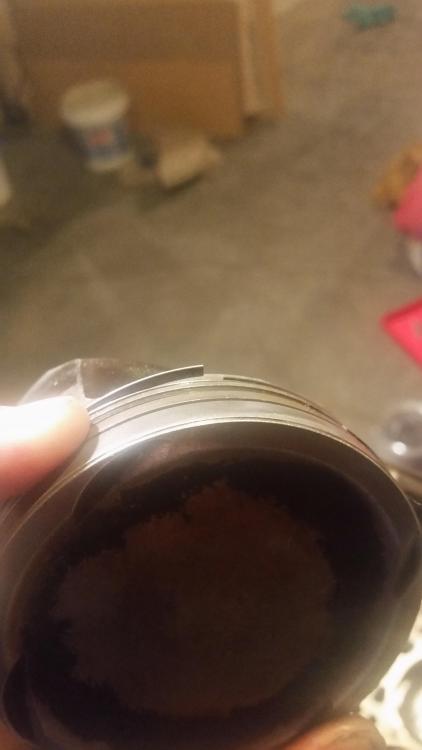
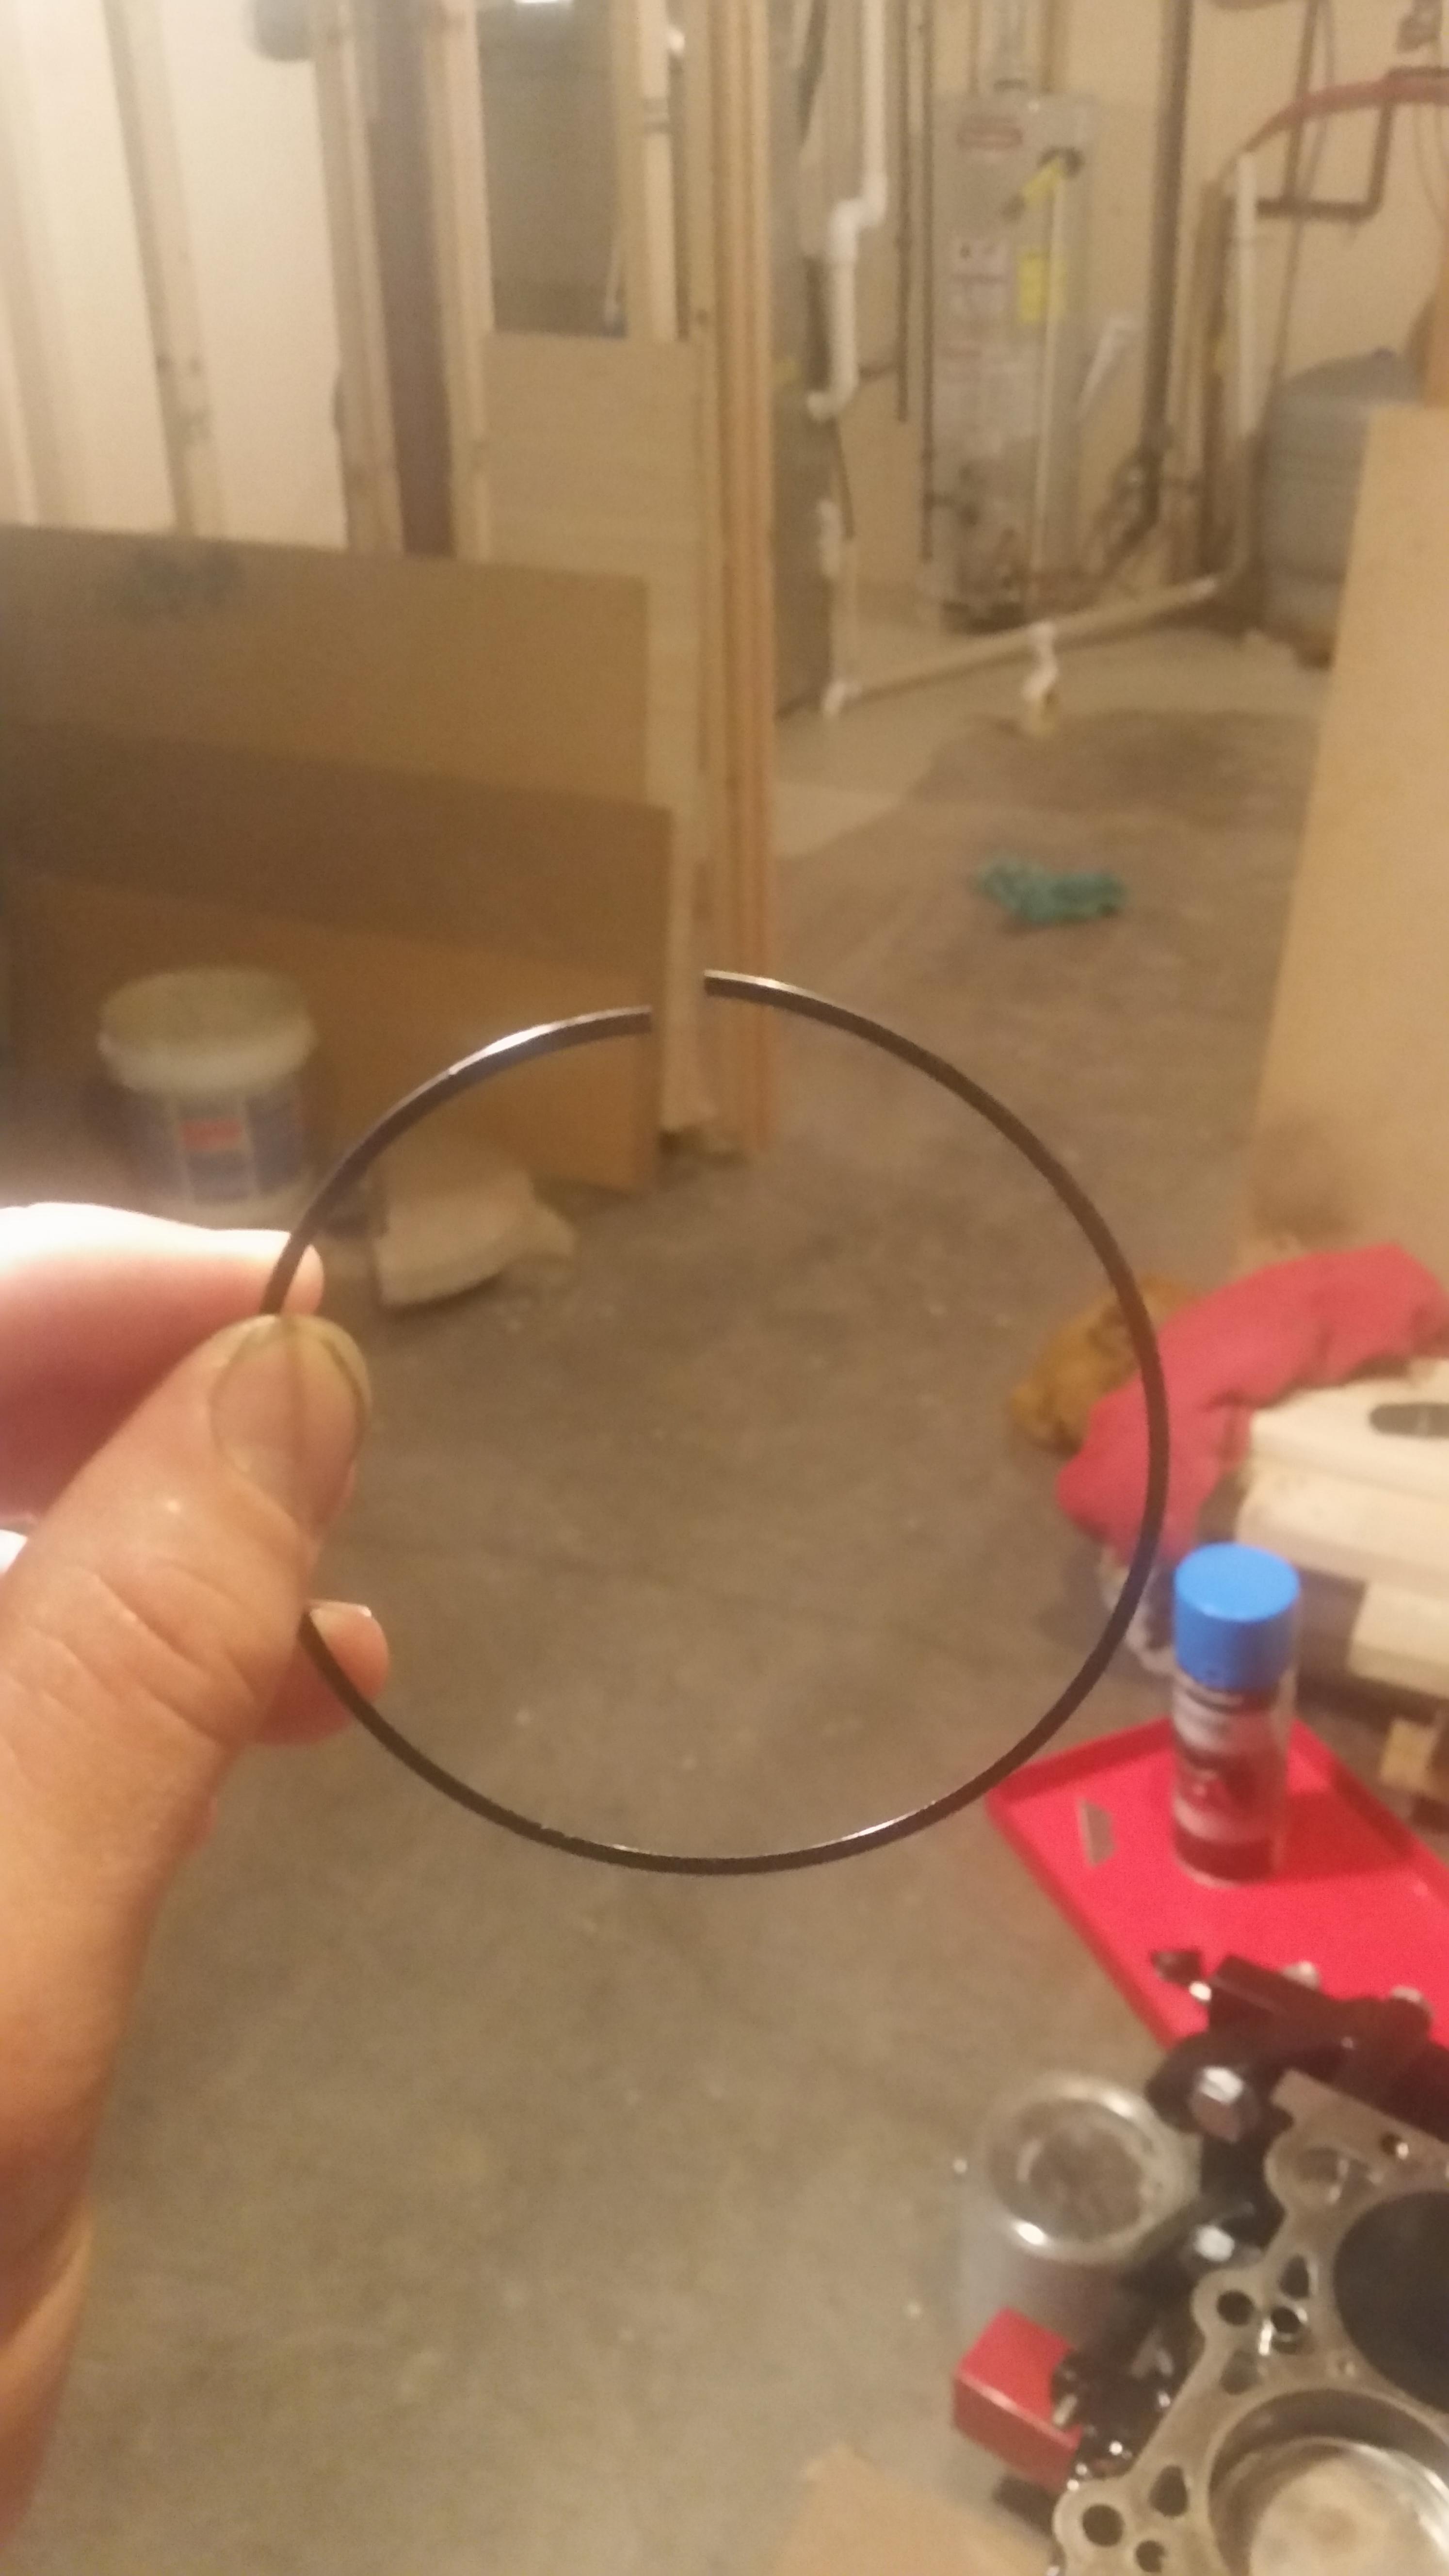
The very bottom oil ring ended up not clamping down all the way and when I pounded down it ended up bending and getting pinched between the piston and the cylinder wall.
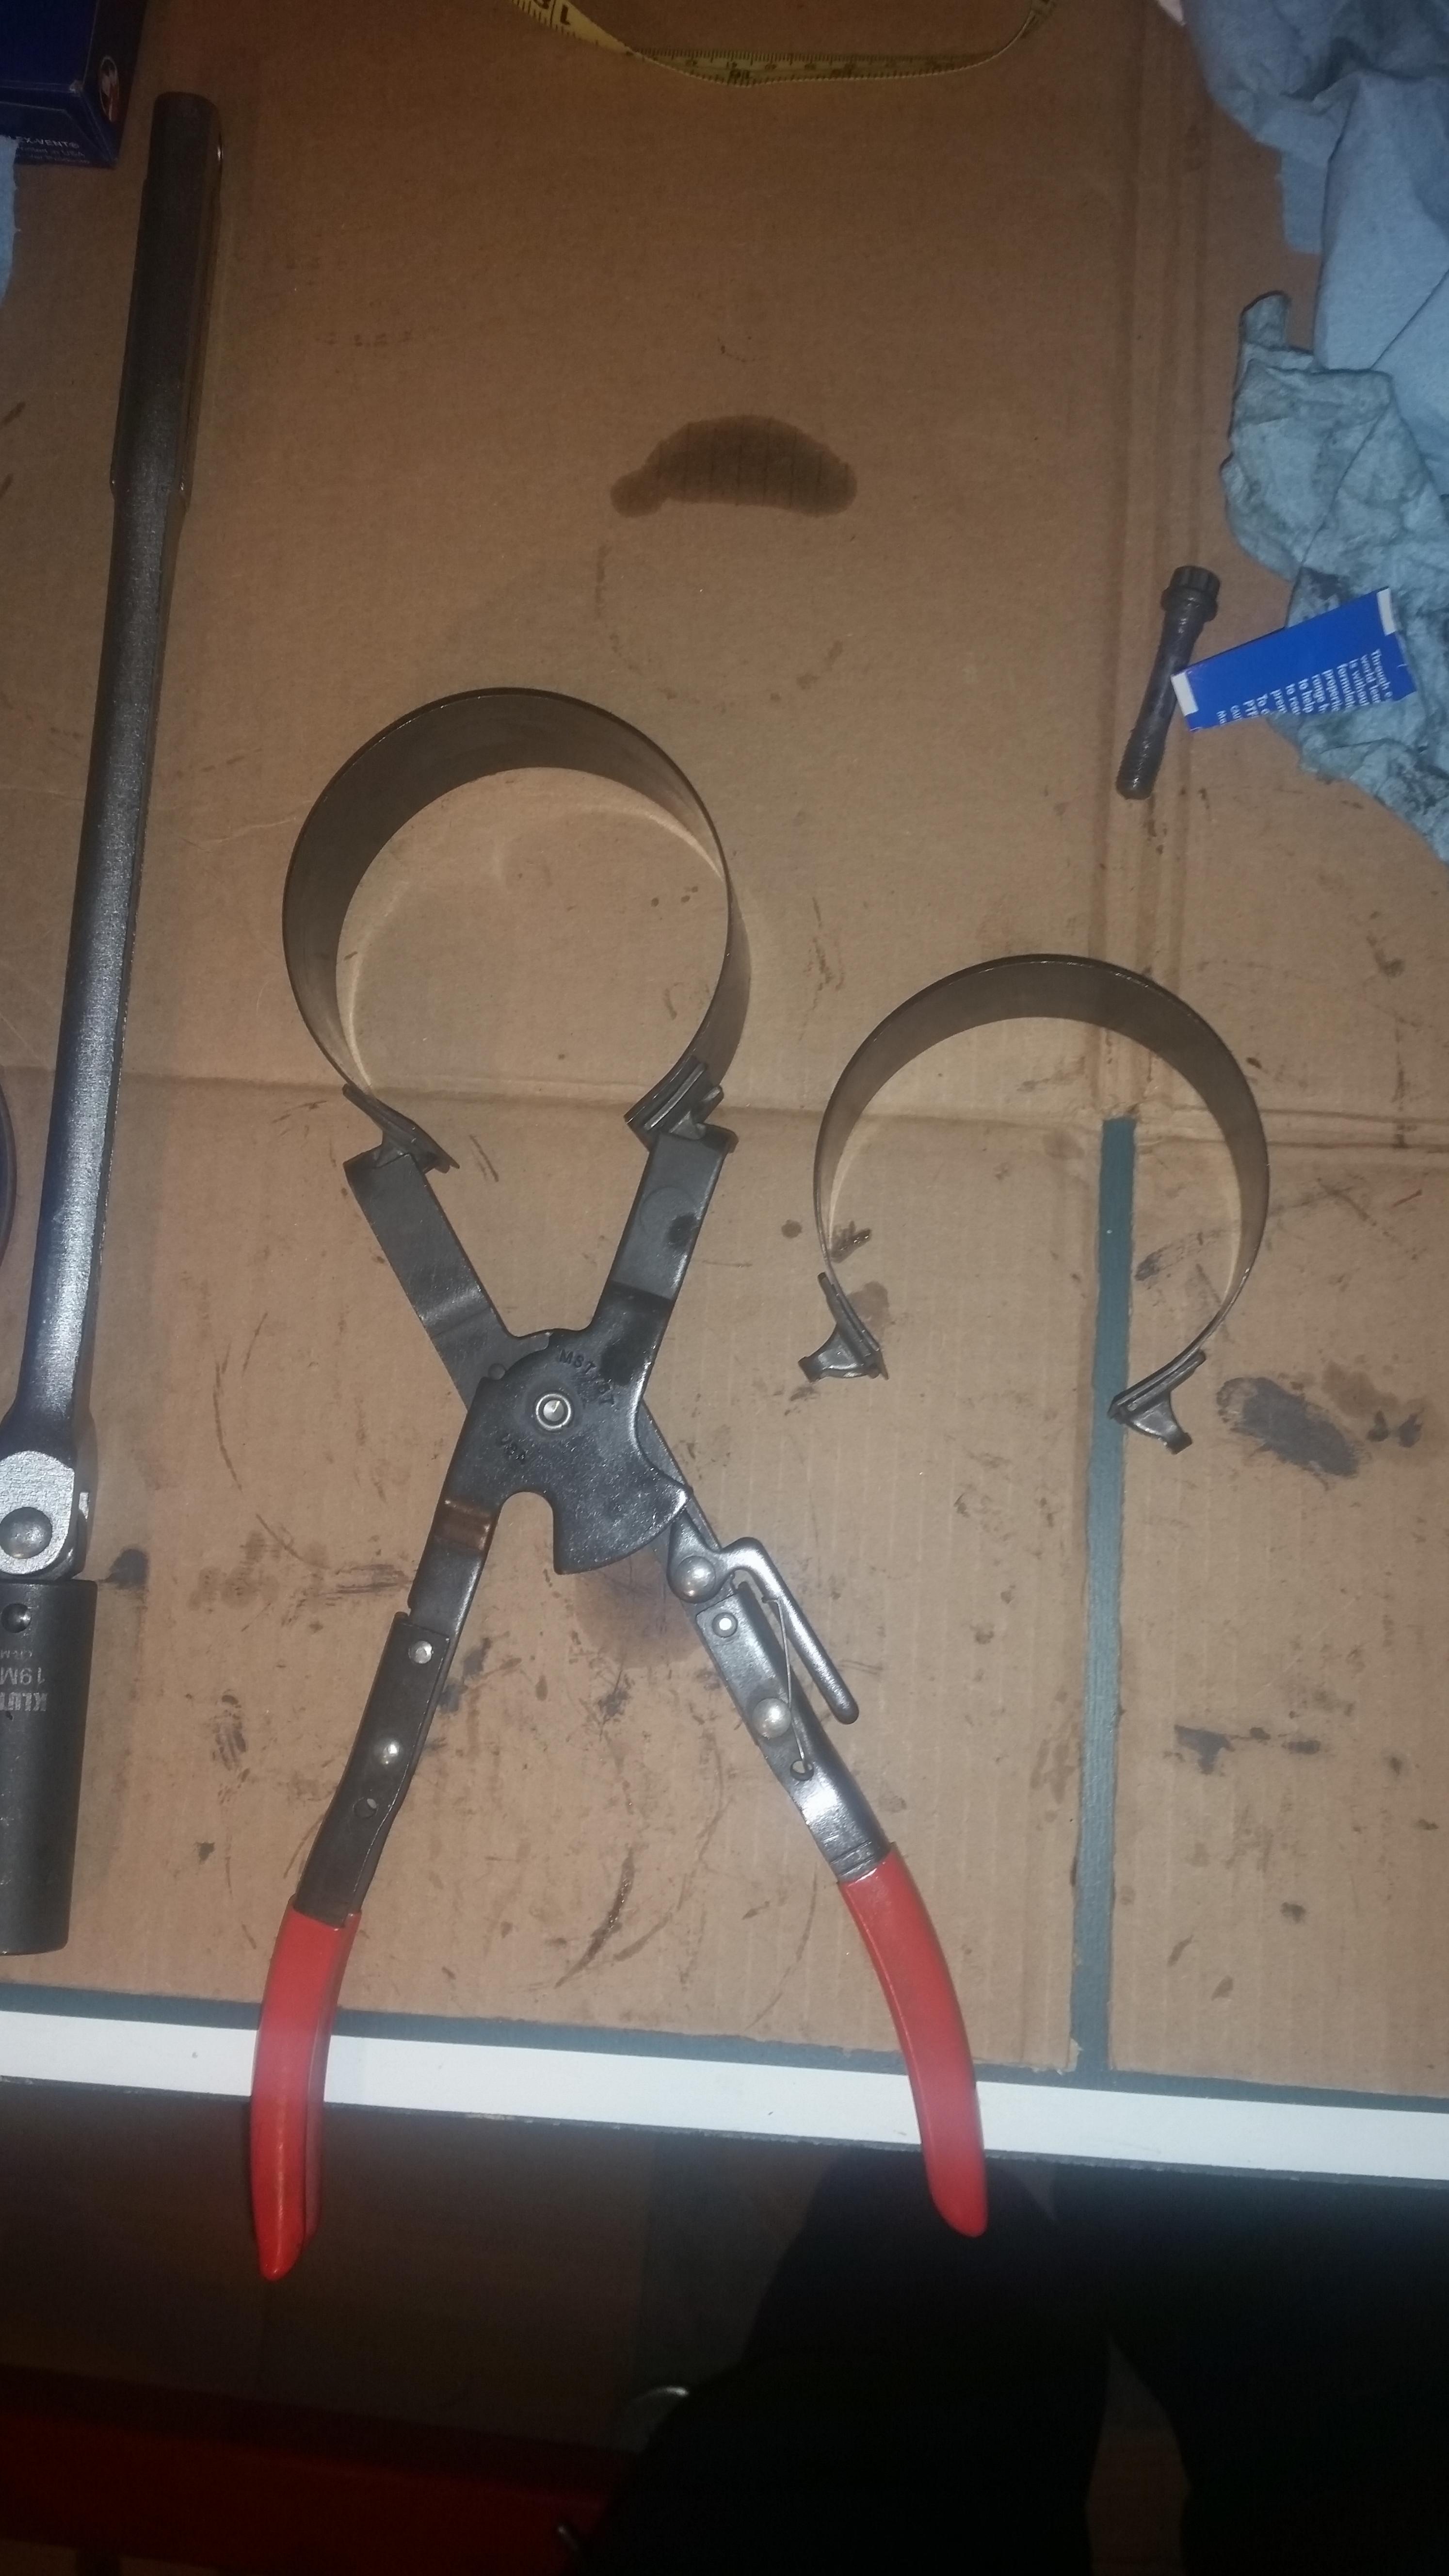
Right here was my problem, never again......junk junk junk!!!
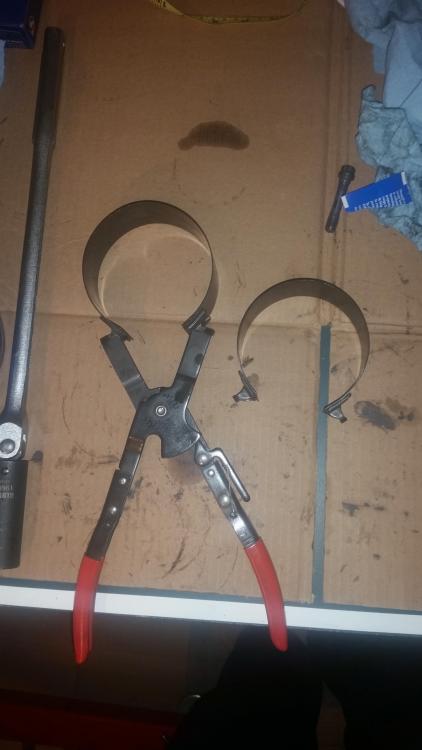
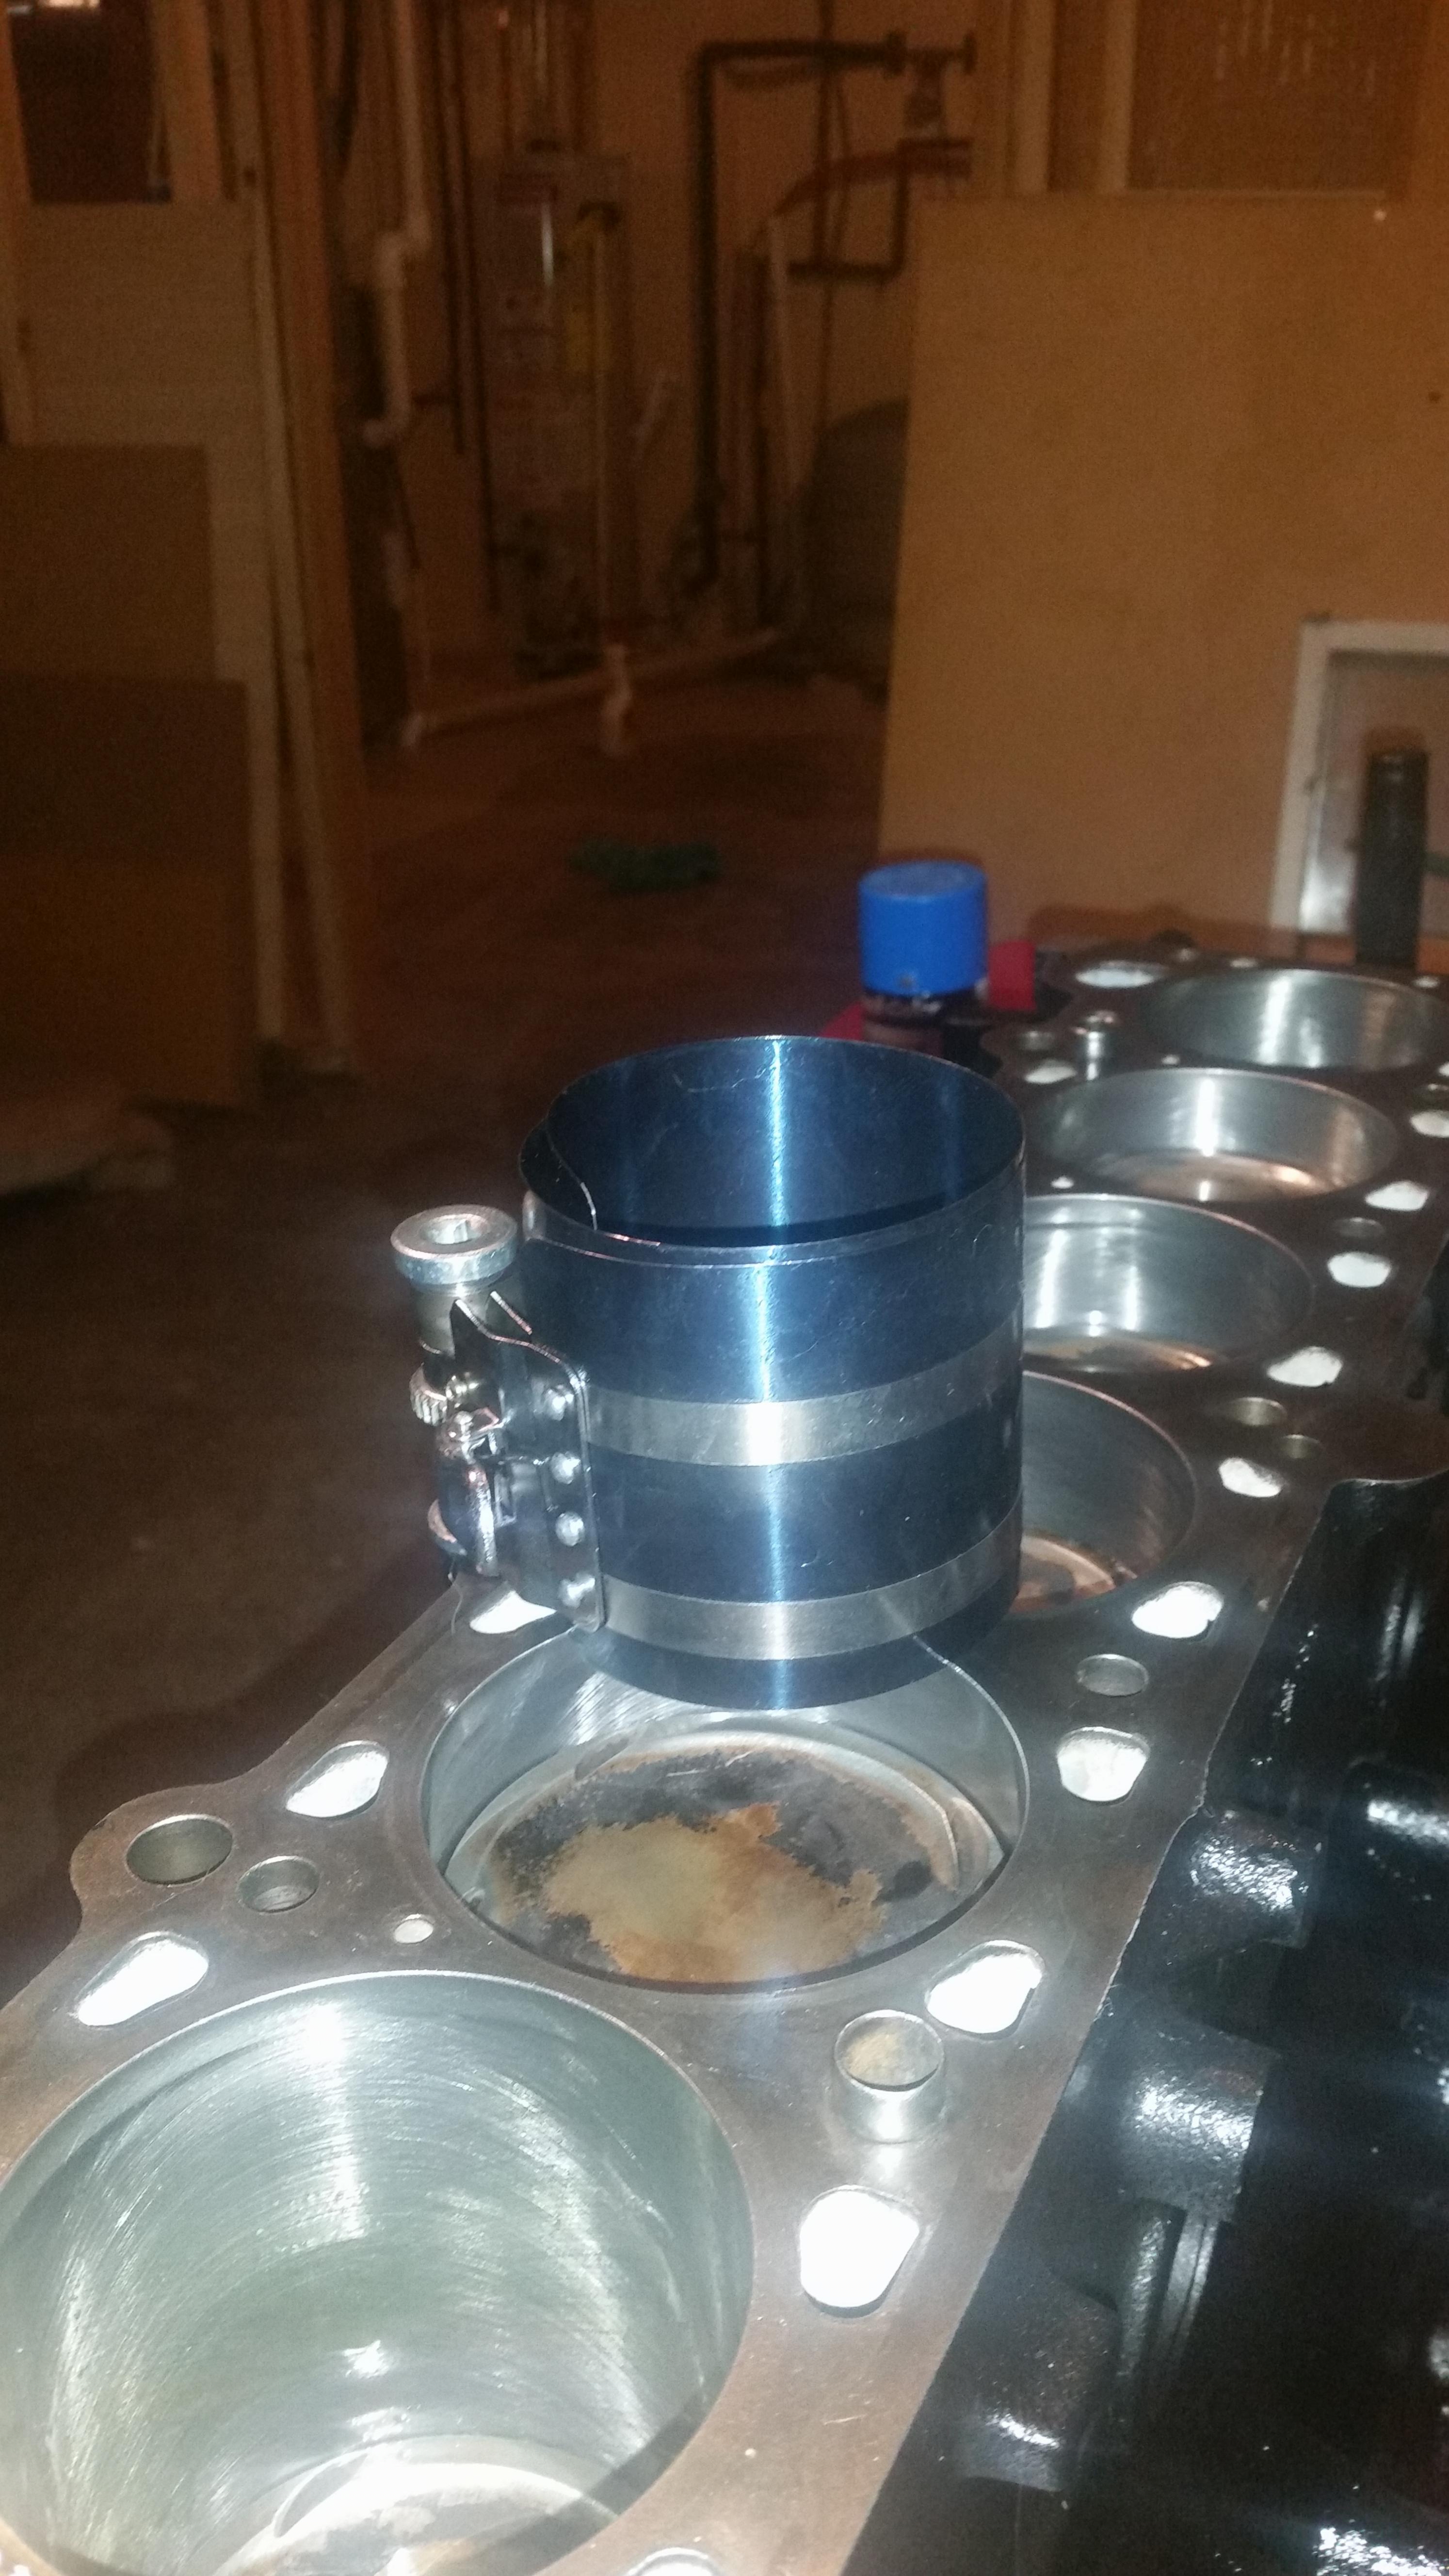
So I went and found something that I should have used in the first place.
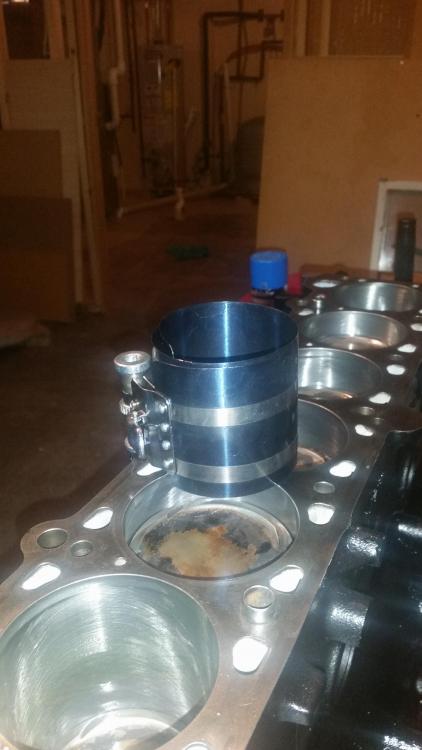
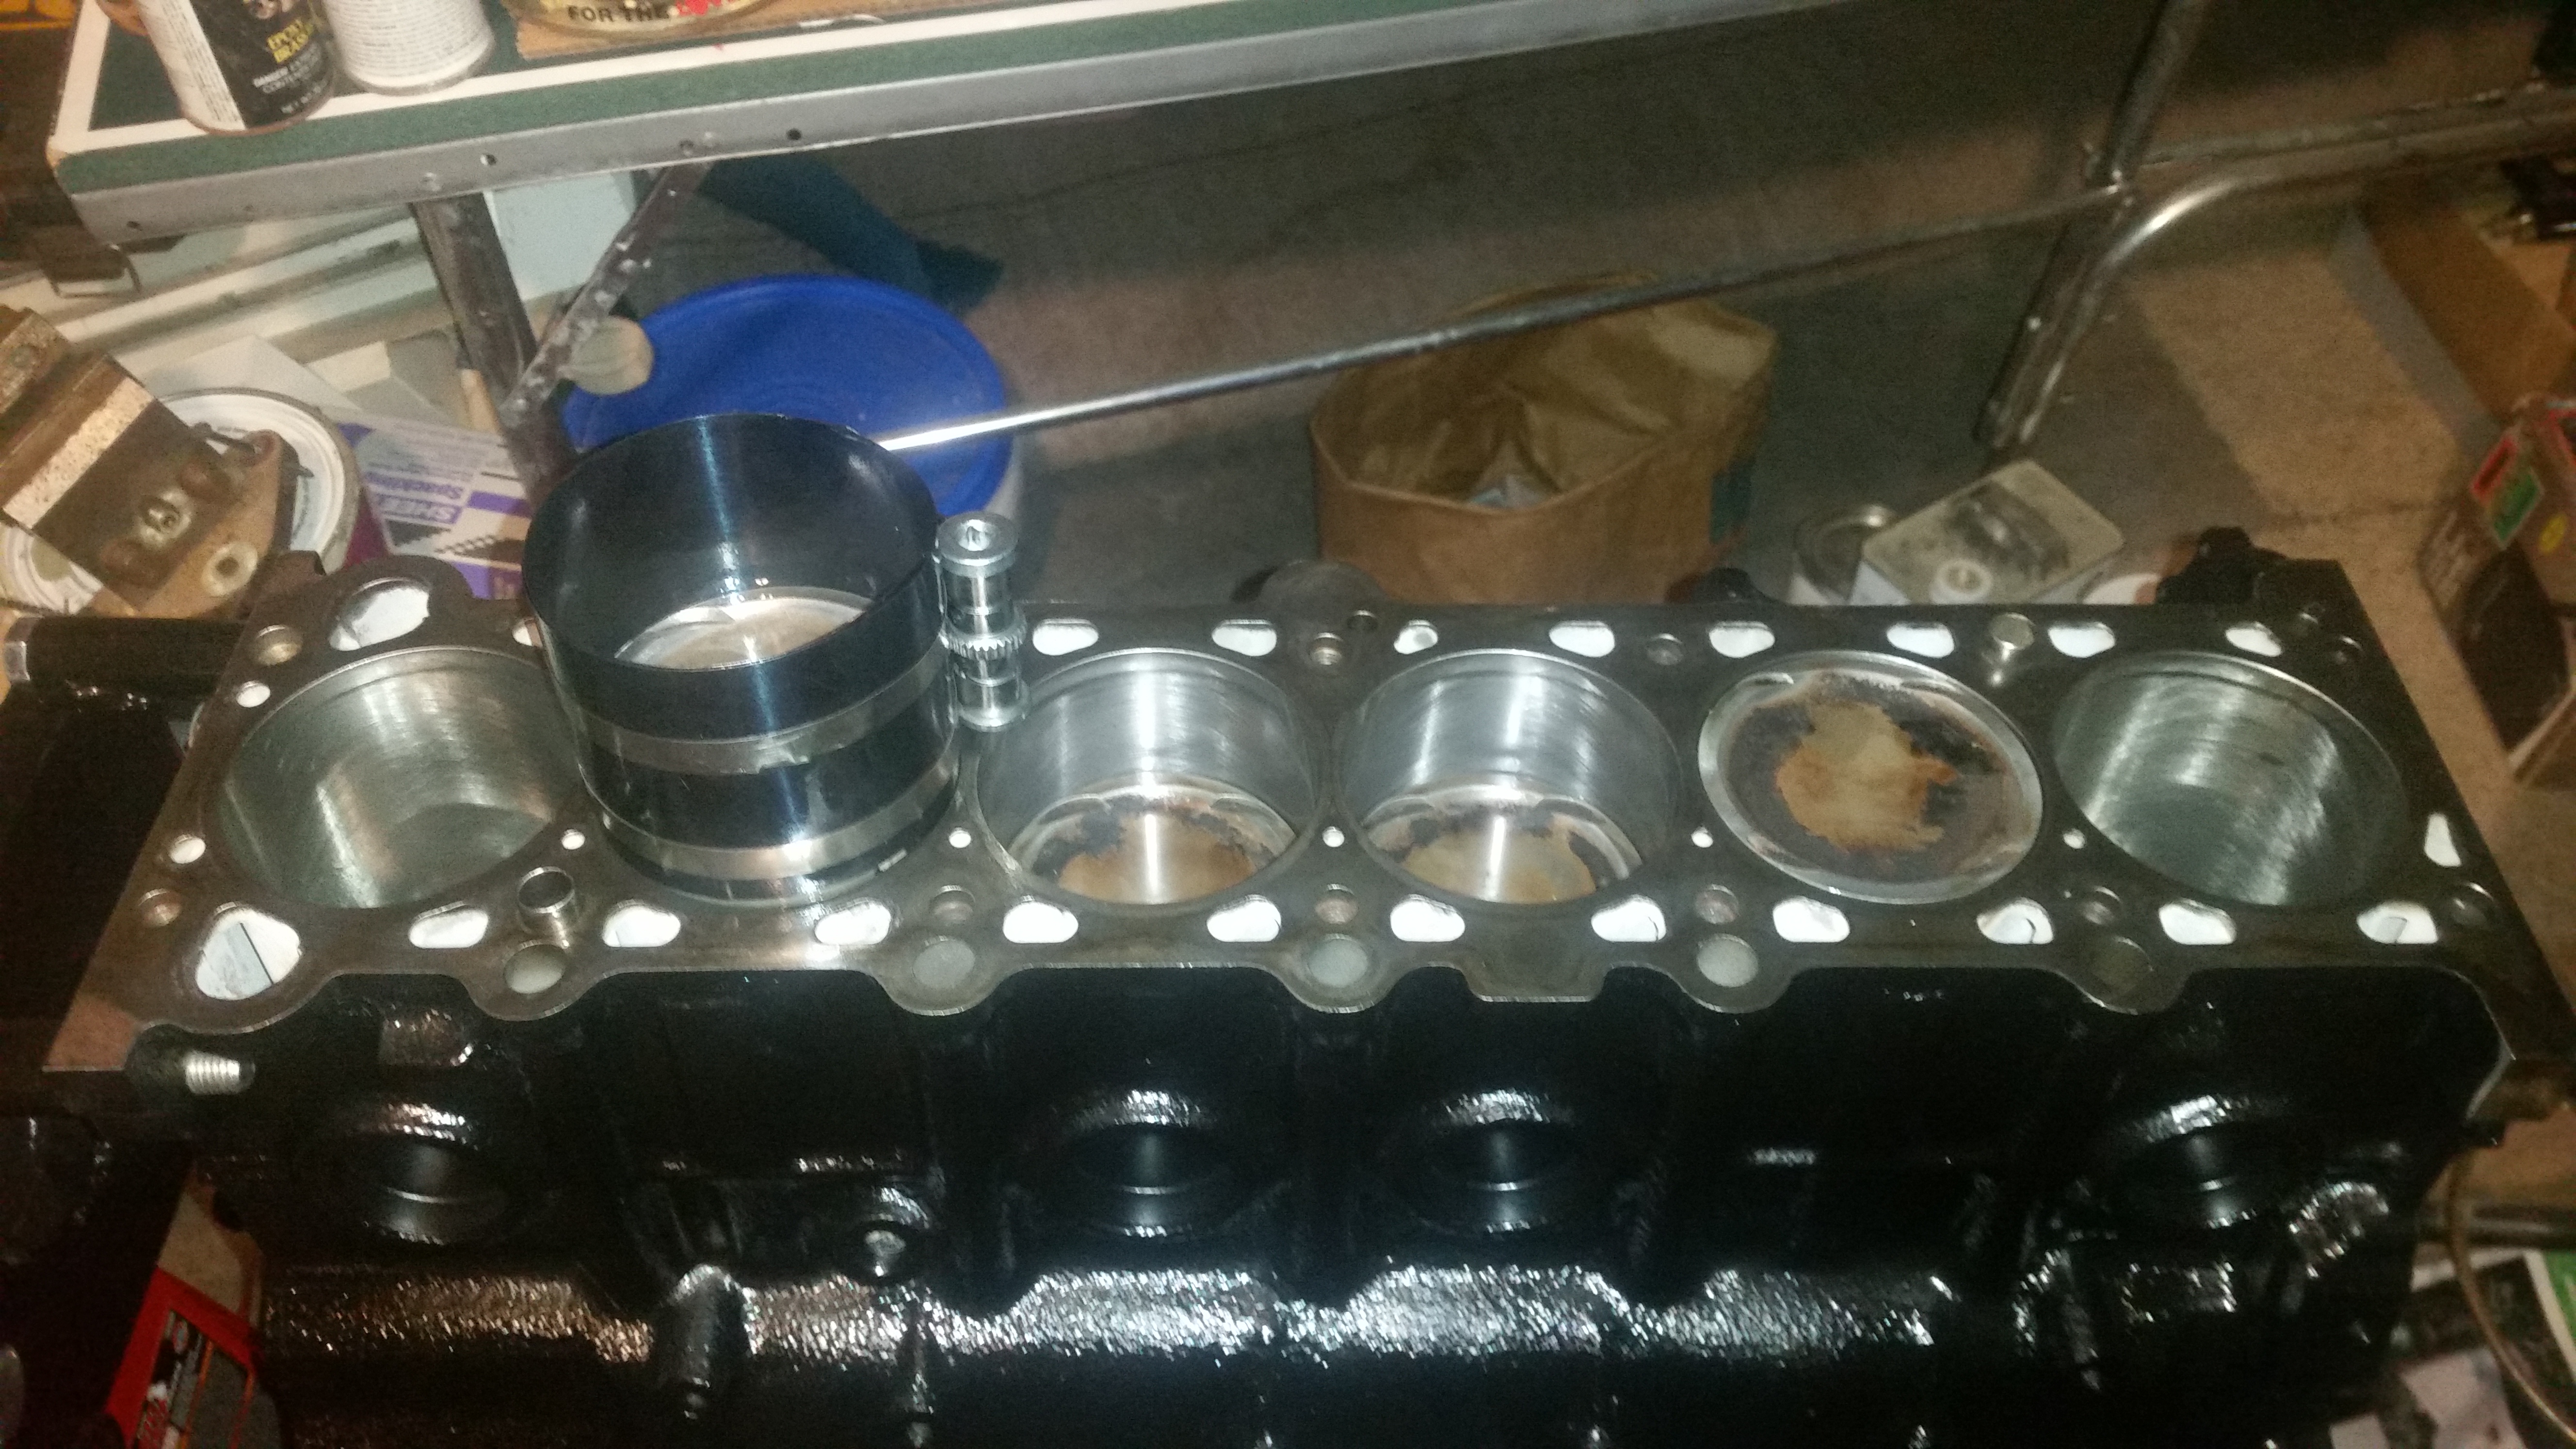
After I switched over, the rest of the pistons went in no problem and are torqued to spec.
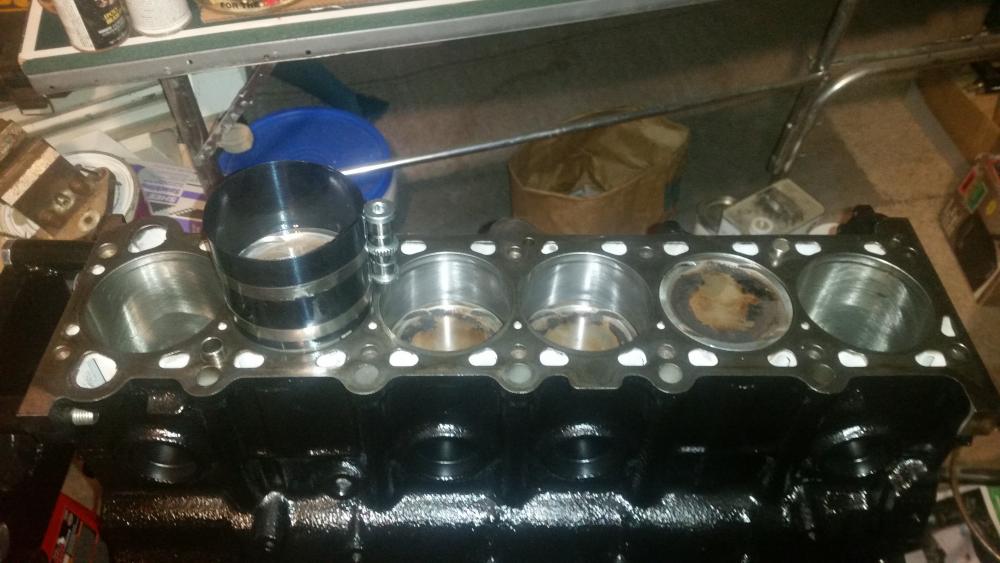
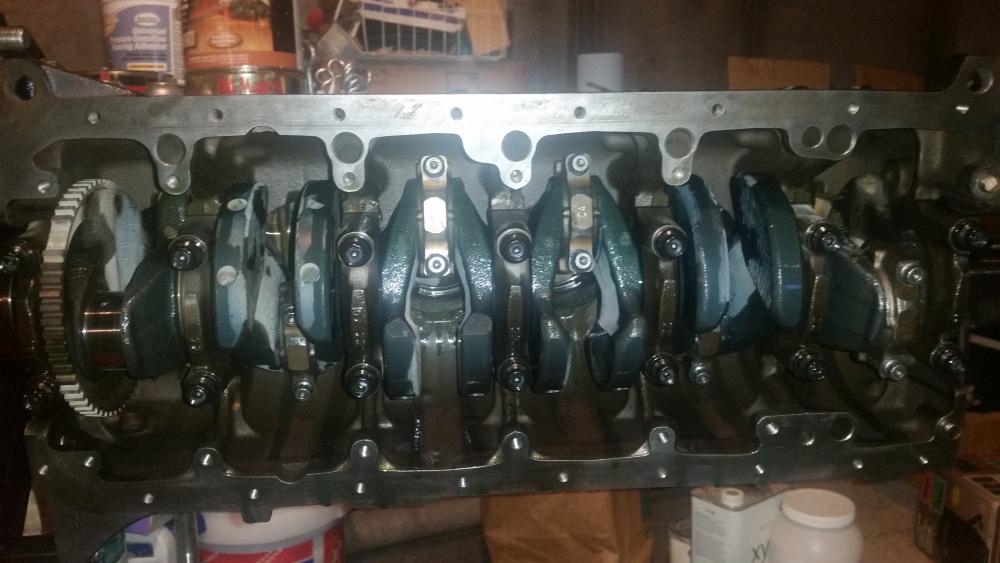
So here's my question, How much of a risk am I taking reusing that ring? Should I not even consider it and straight up get a new set for one piston (if I even can)? All the other rings are fine.
Another question...
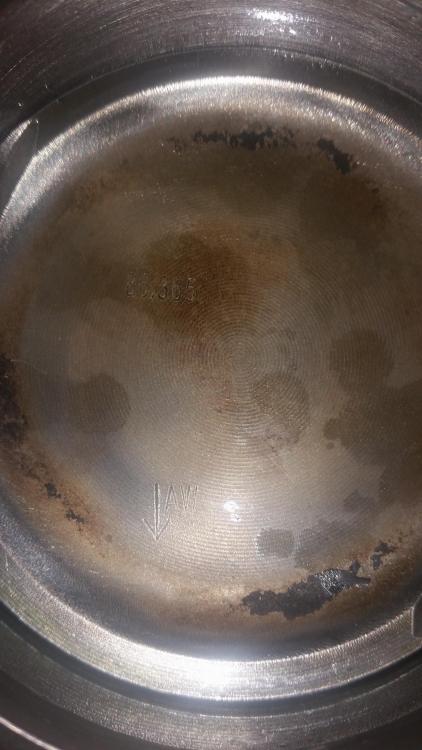
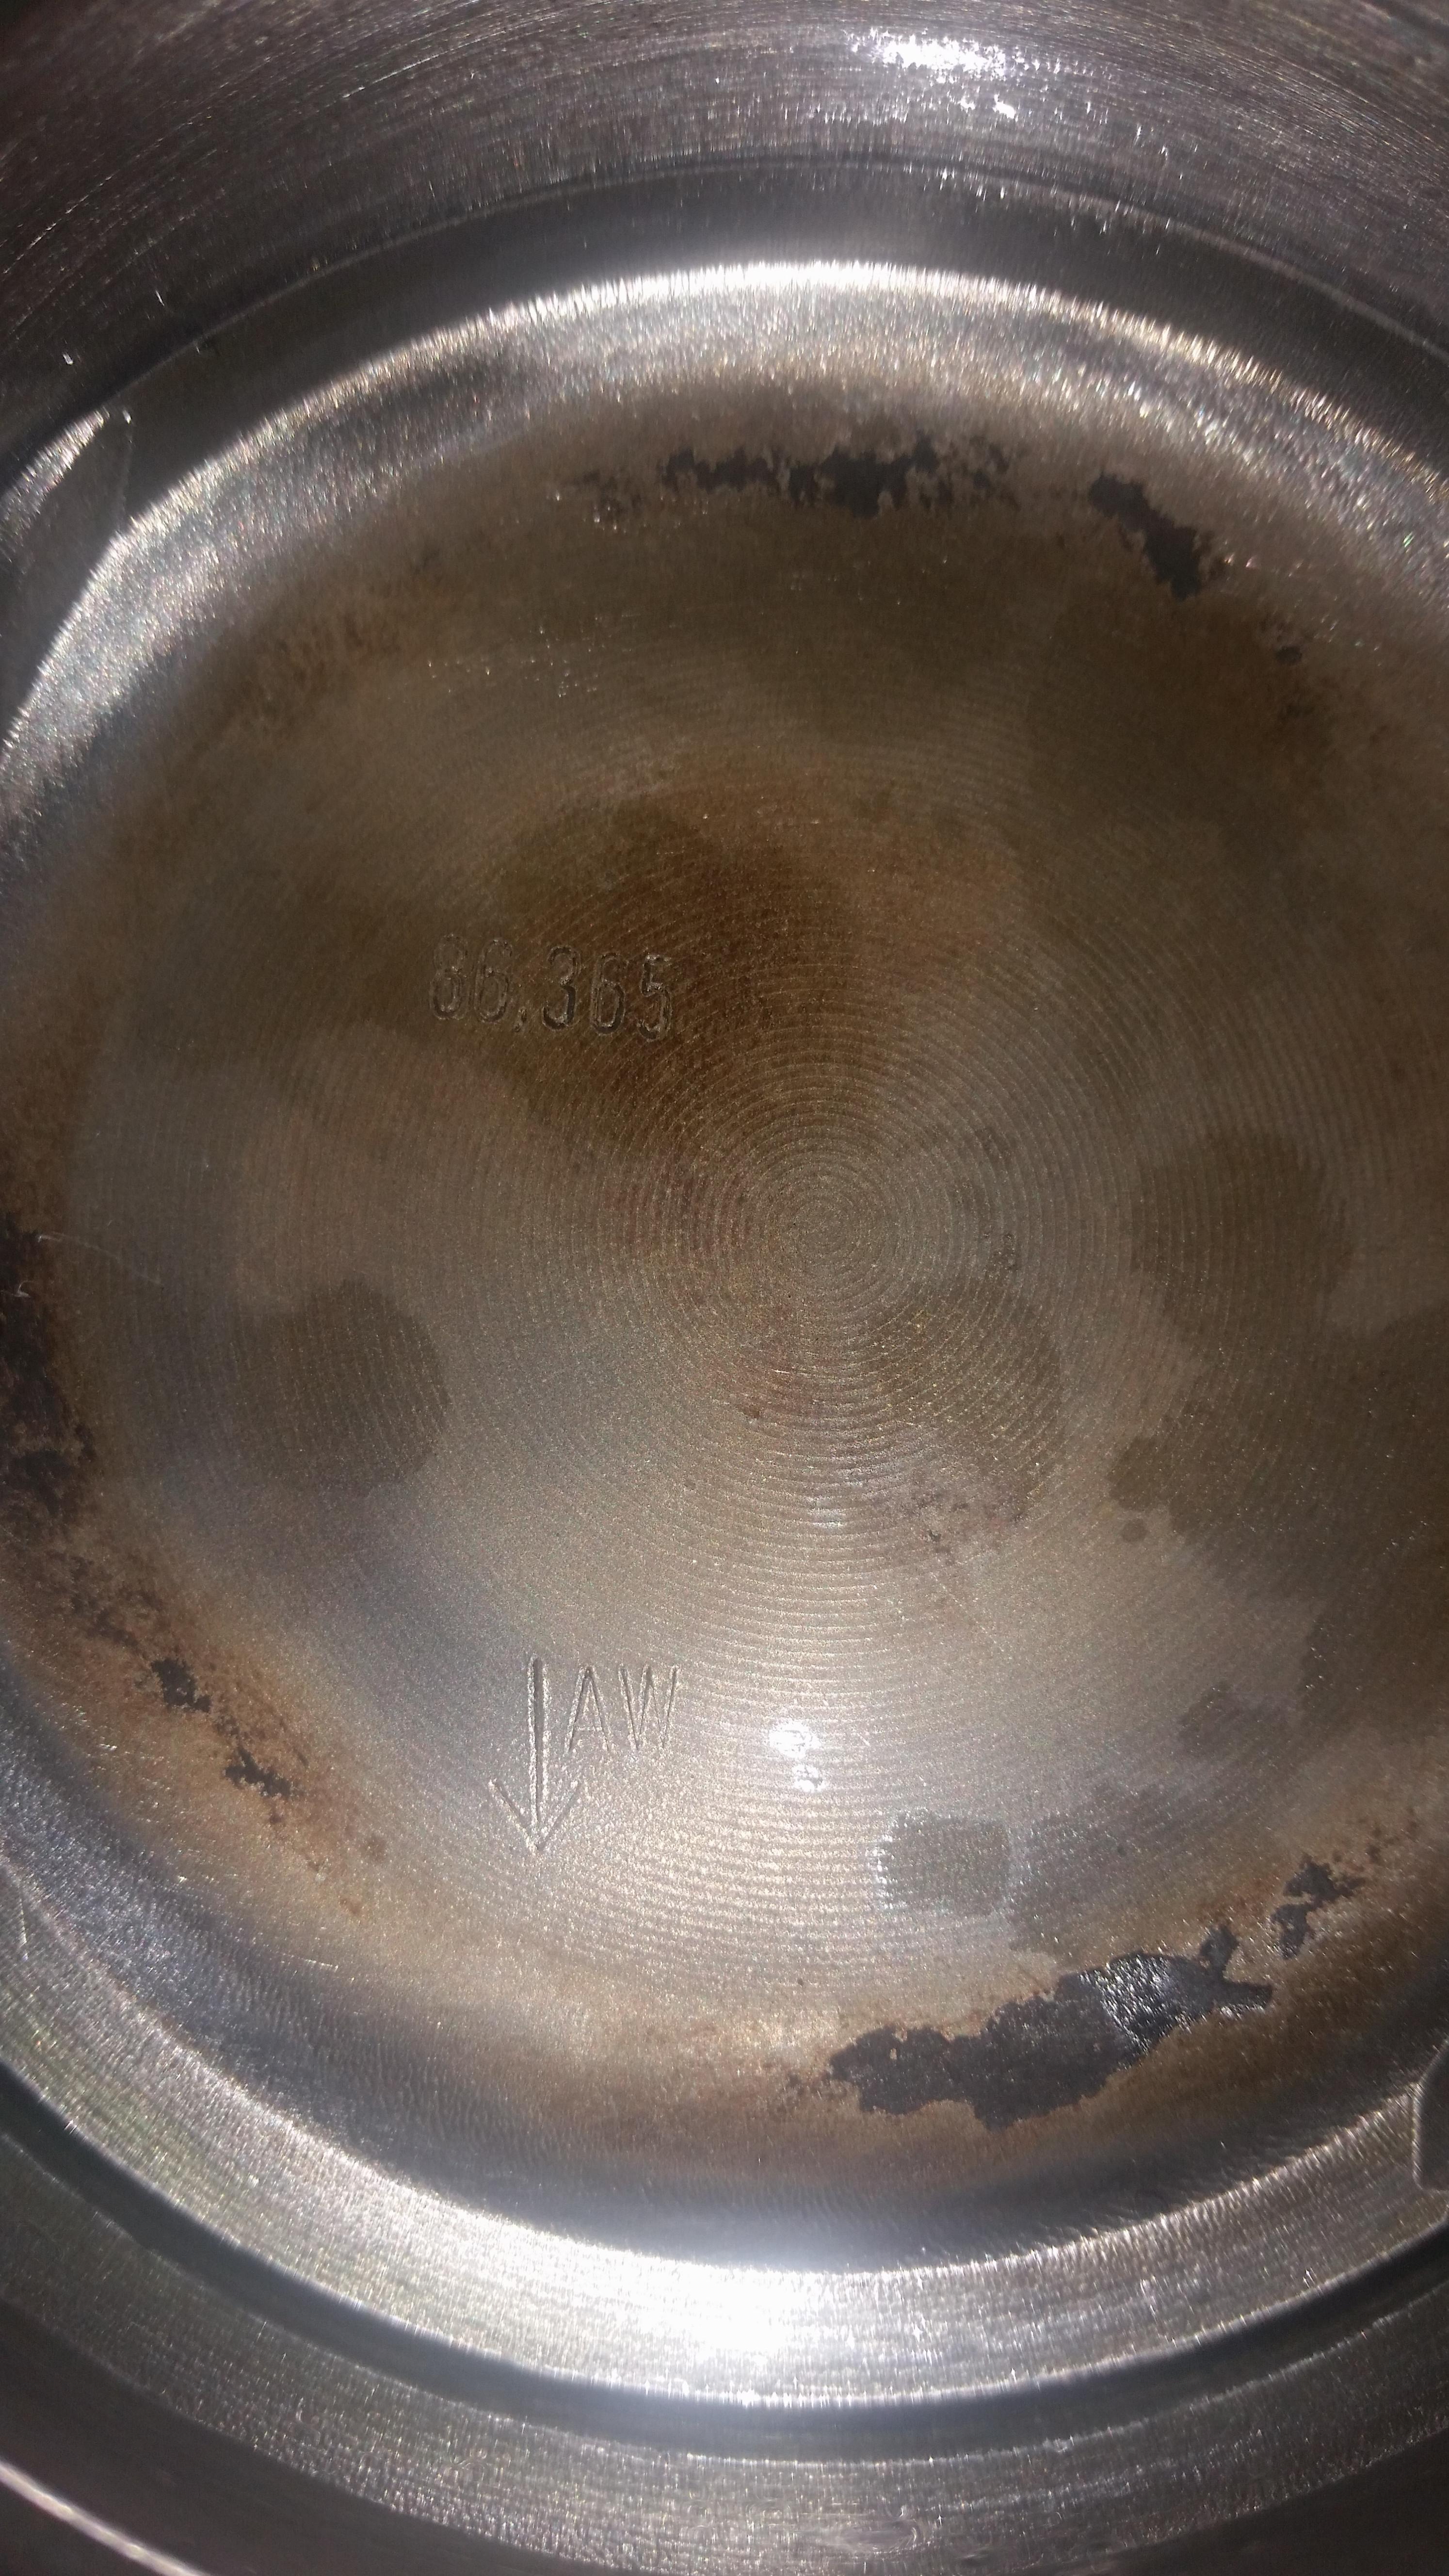
The arrow and the Letters AW next to it, anybody know what the AW stand for? After researching and coming up empty, I guessed and installed the pistons with all the arrows facing toward the front of the engine. Did I do it wrong? or does it matter?


 ö
ö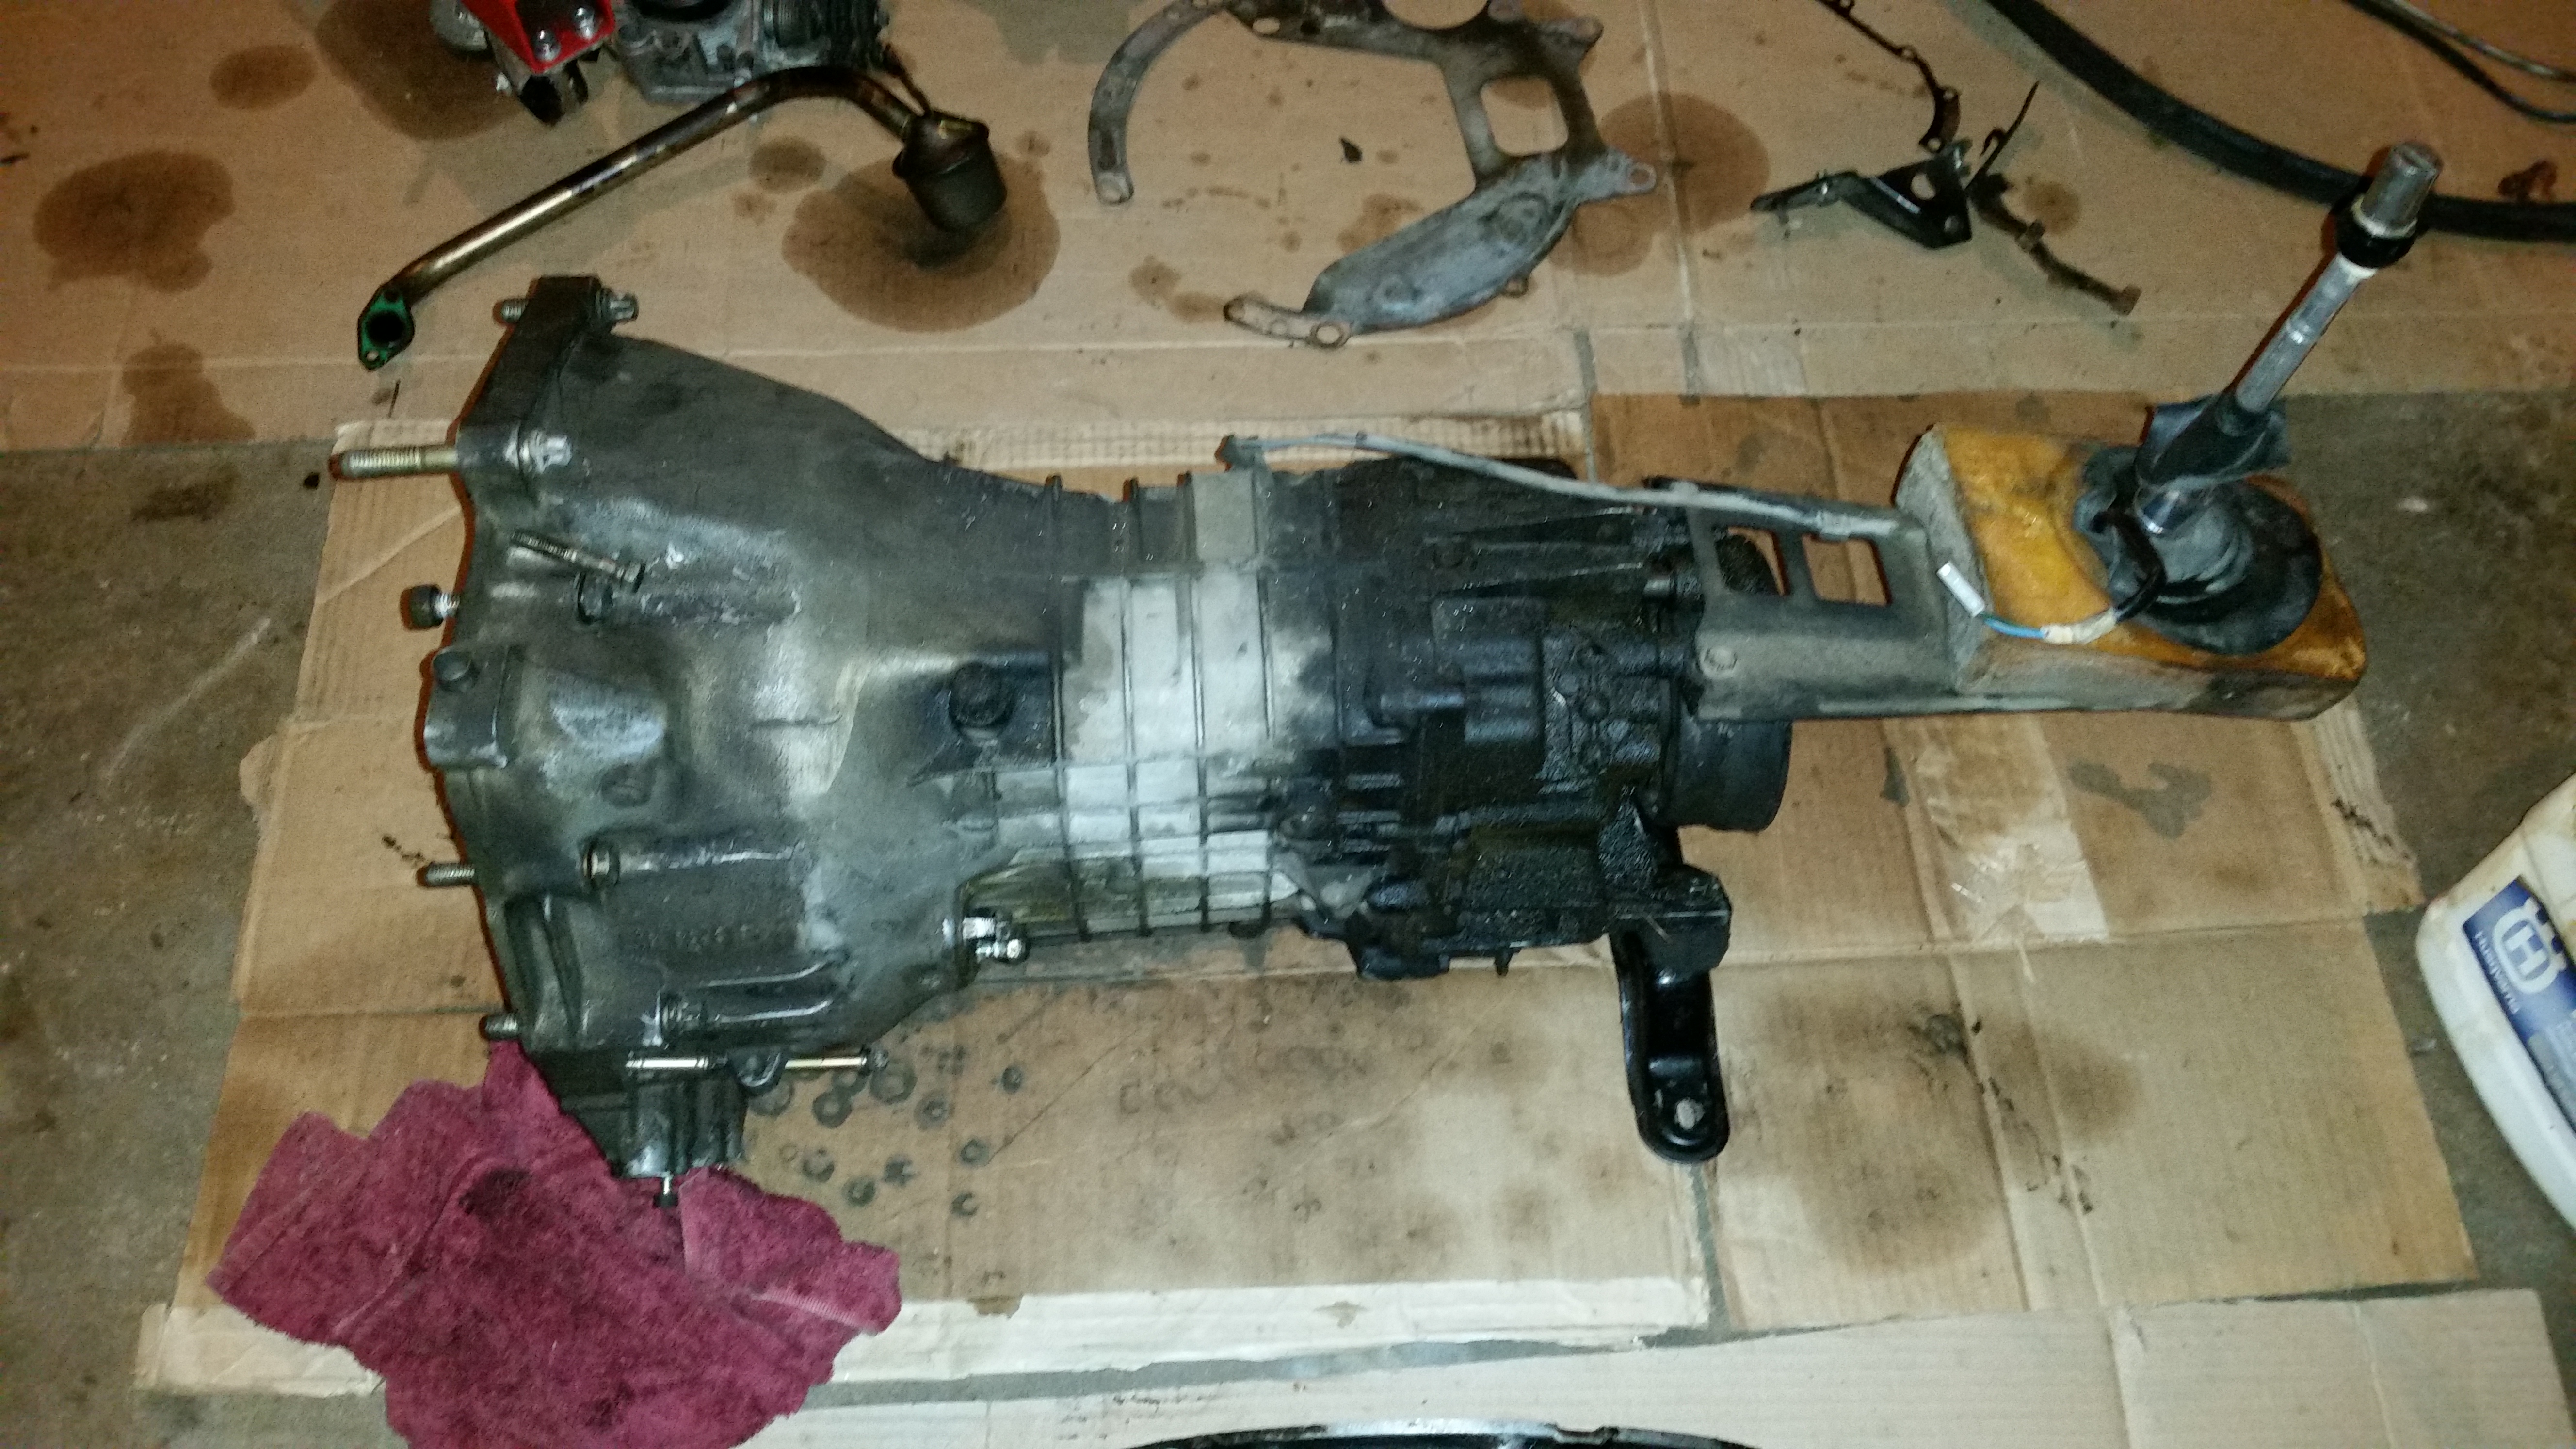
 i
i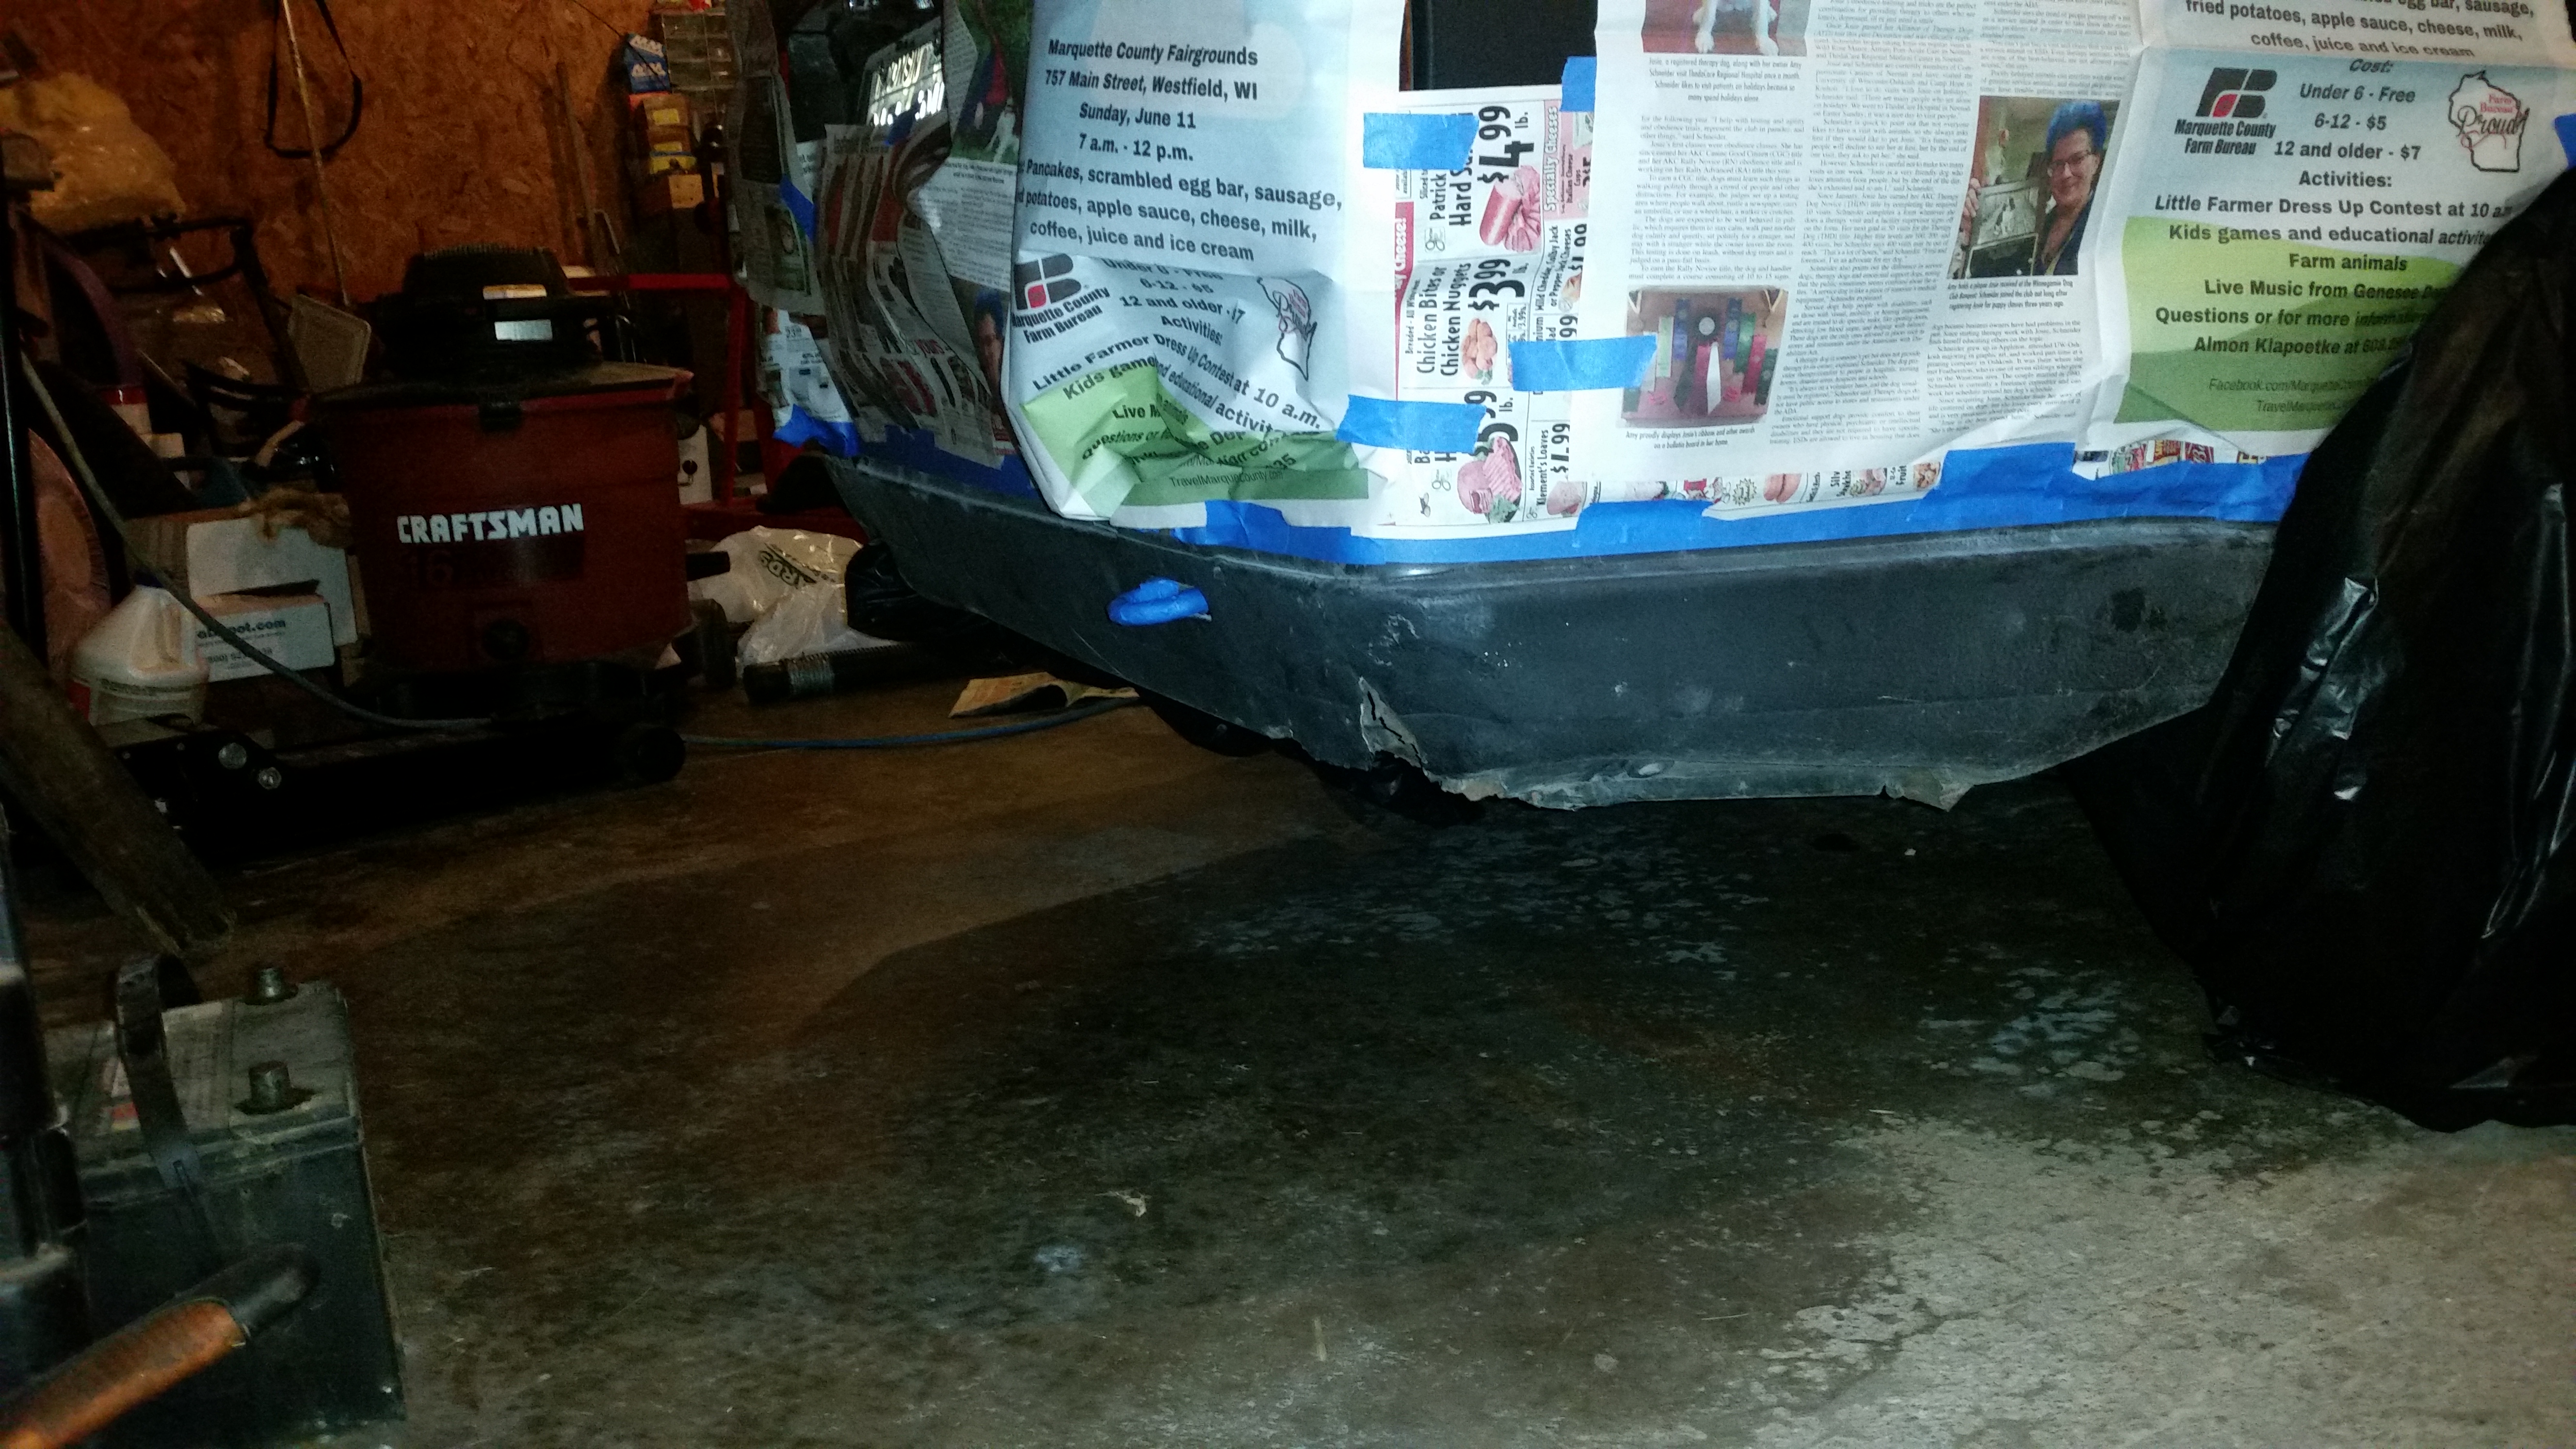
 \
\




Hello! It looks like you're interested in this conversation, but you don't have an account yet.
Getting fed up of having to scroll through the same posts each visit? When you register for an account, you'll always come back to exactly where you were before, and choose to be notified of new replies (either via email, or push notification). You'll also be able to save bookmarks and upvote posts to show your appreciation to other community members.
With your input, this post could be even better 💗
Register Login