
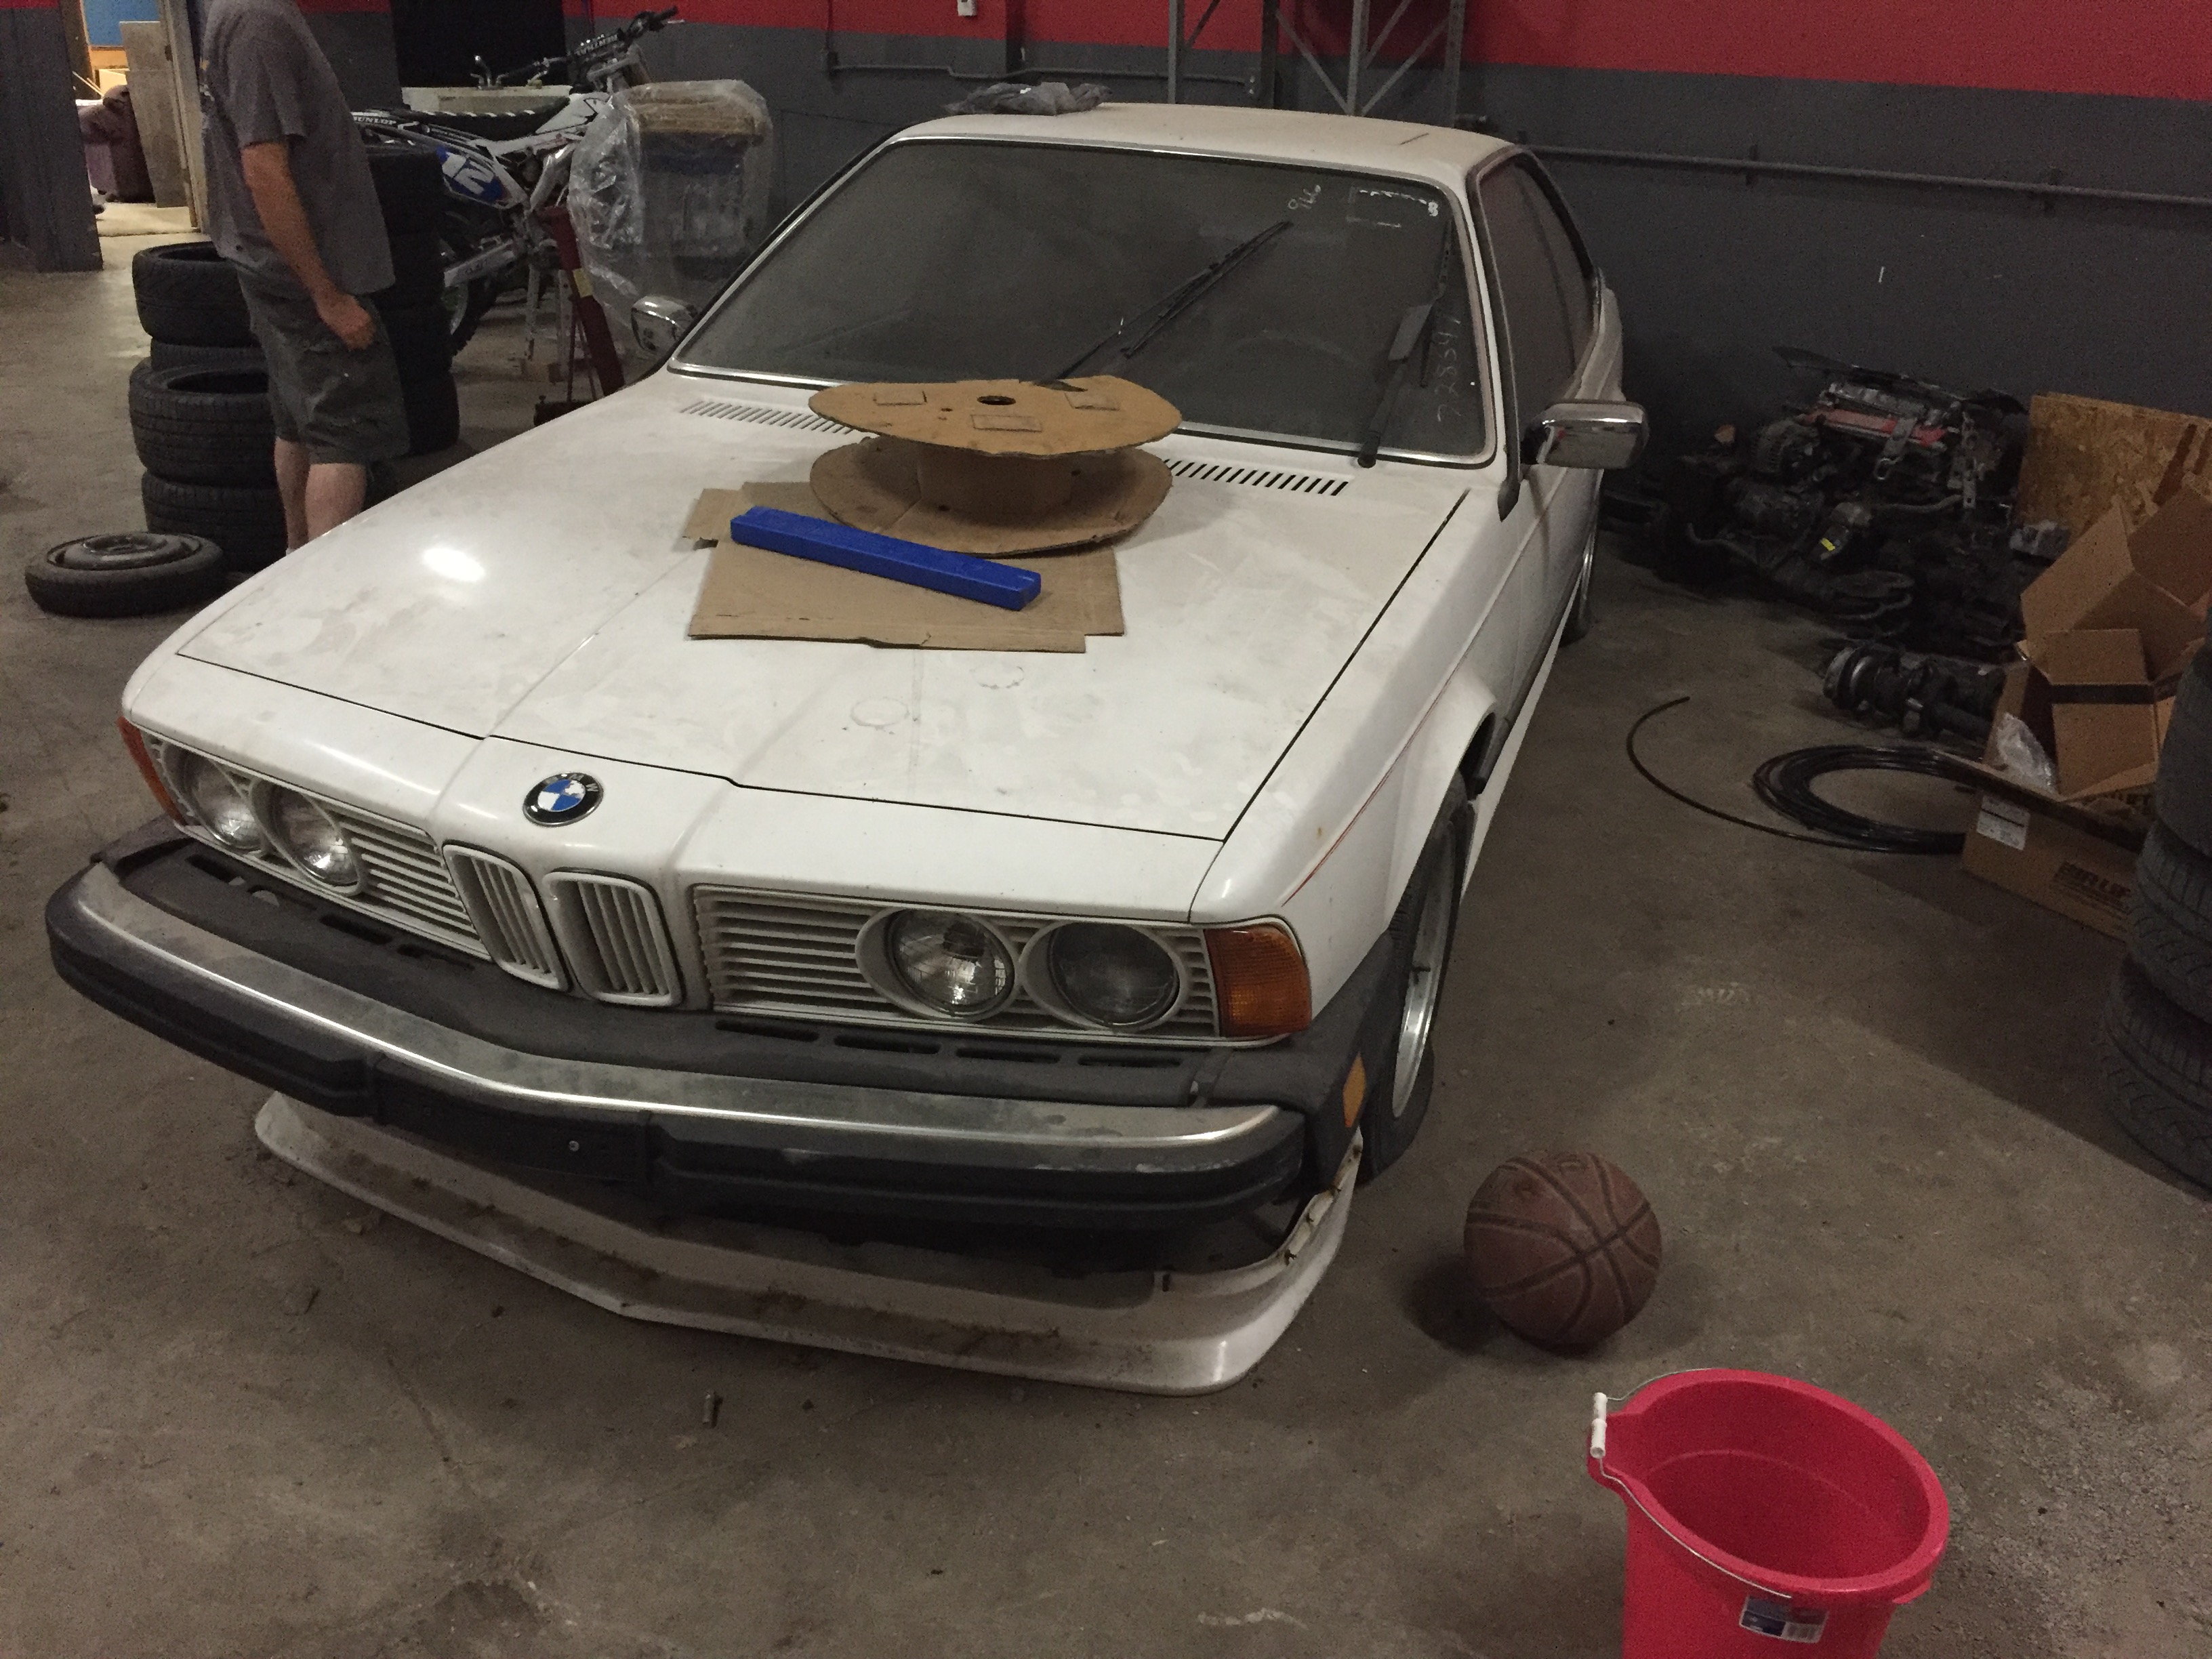
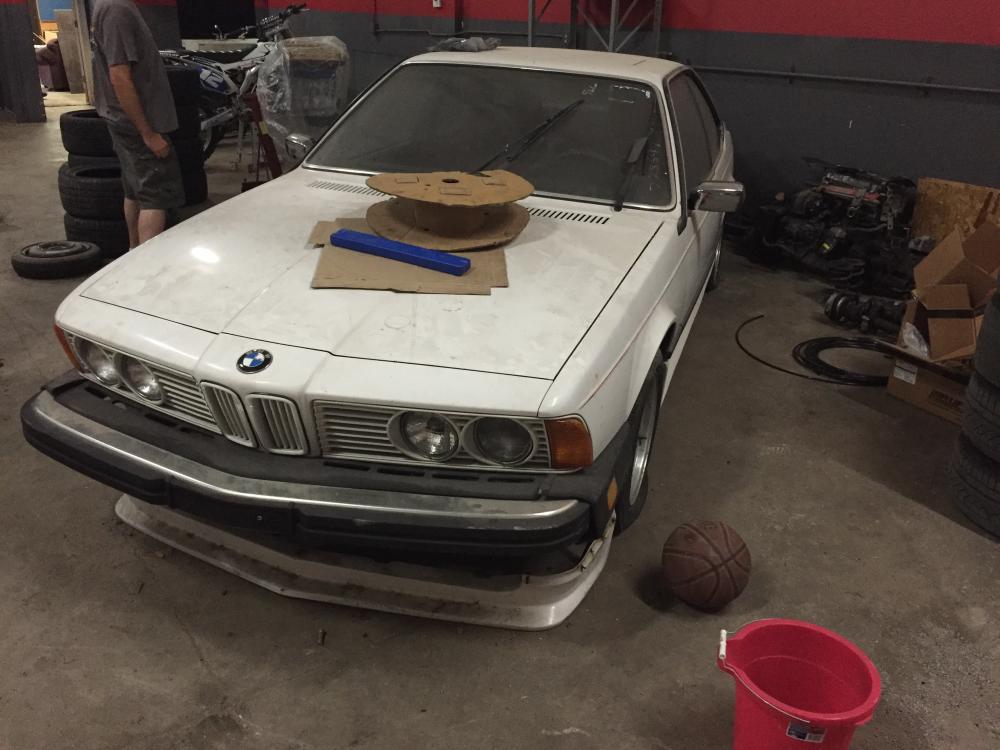
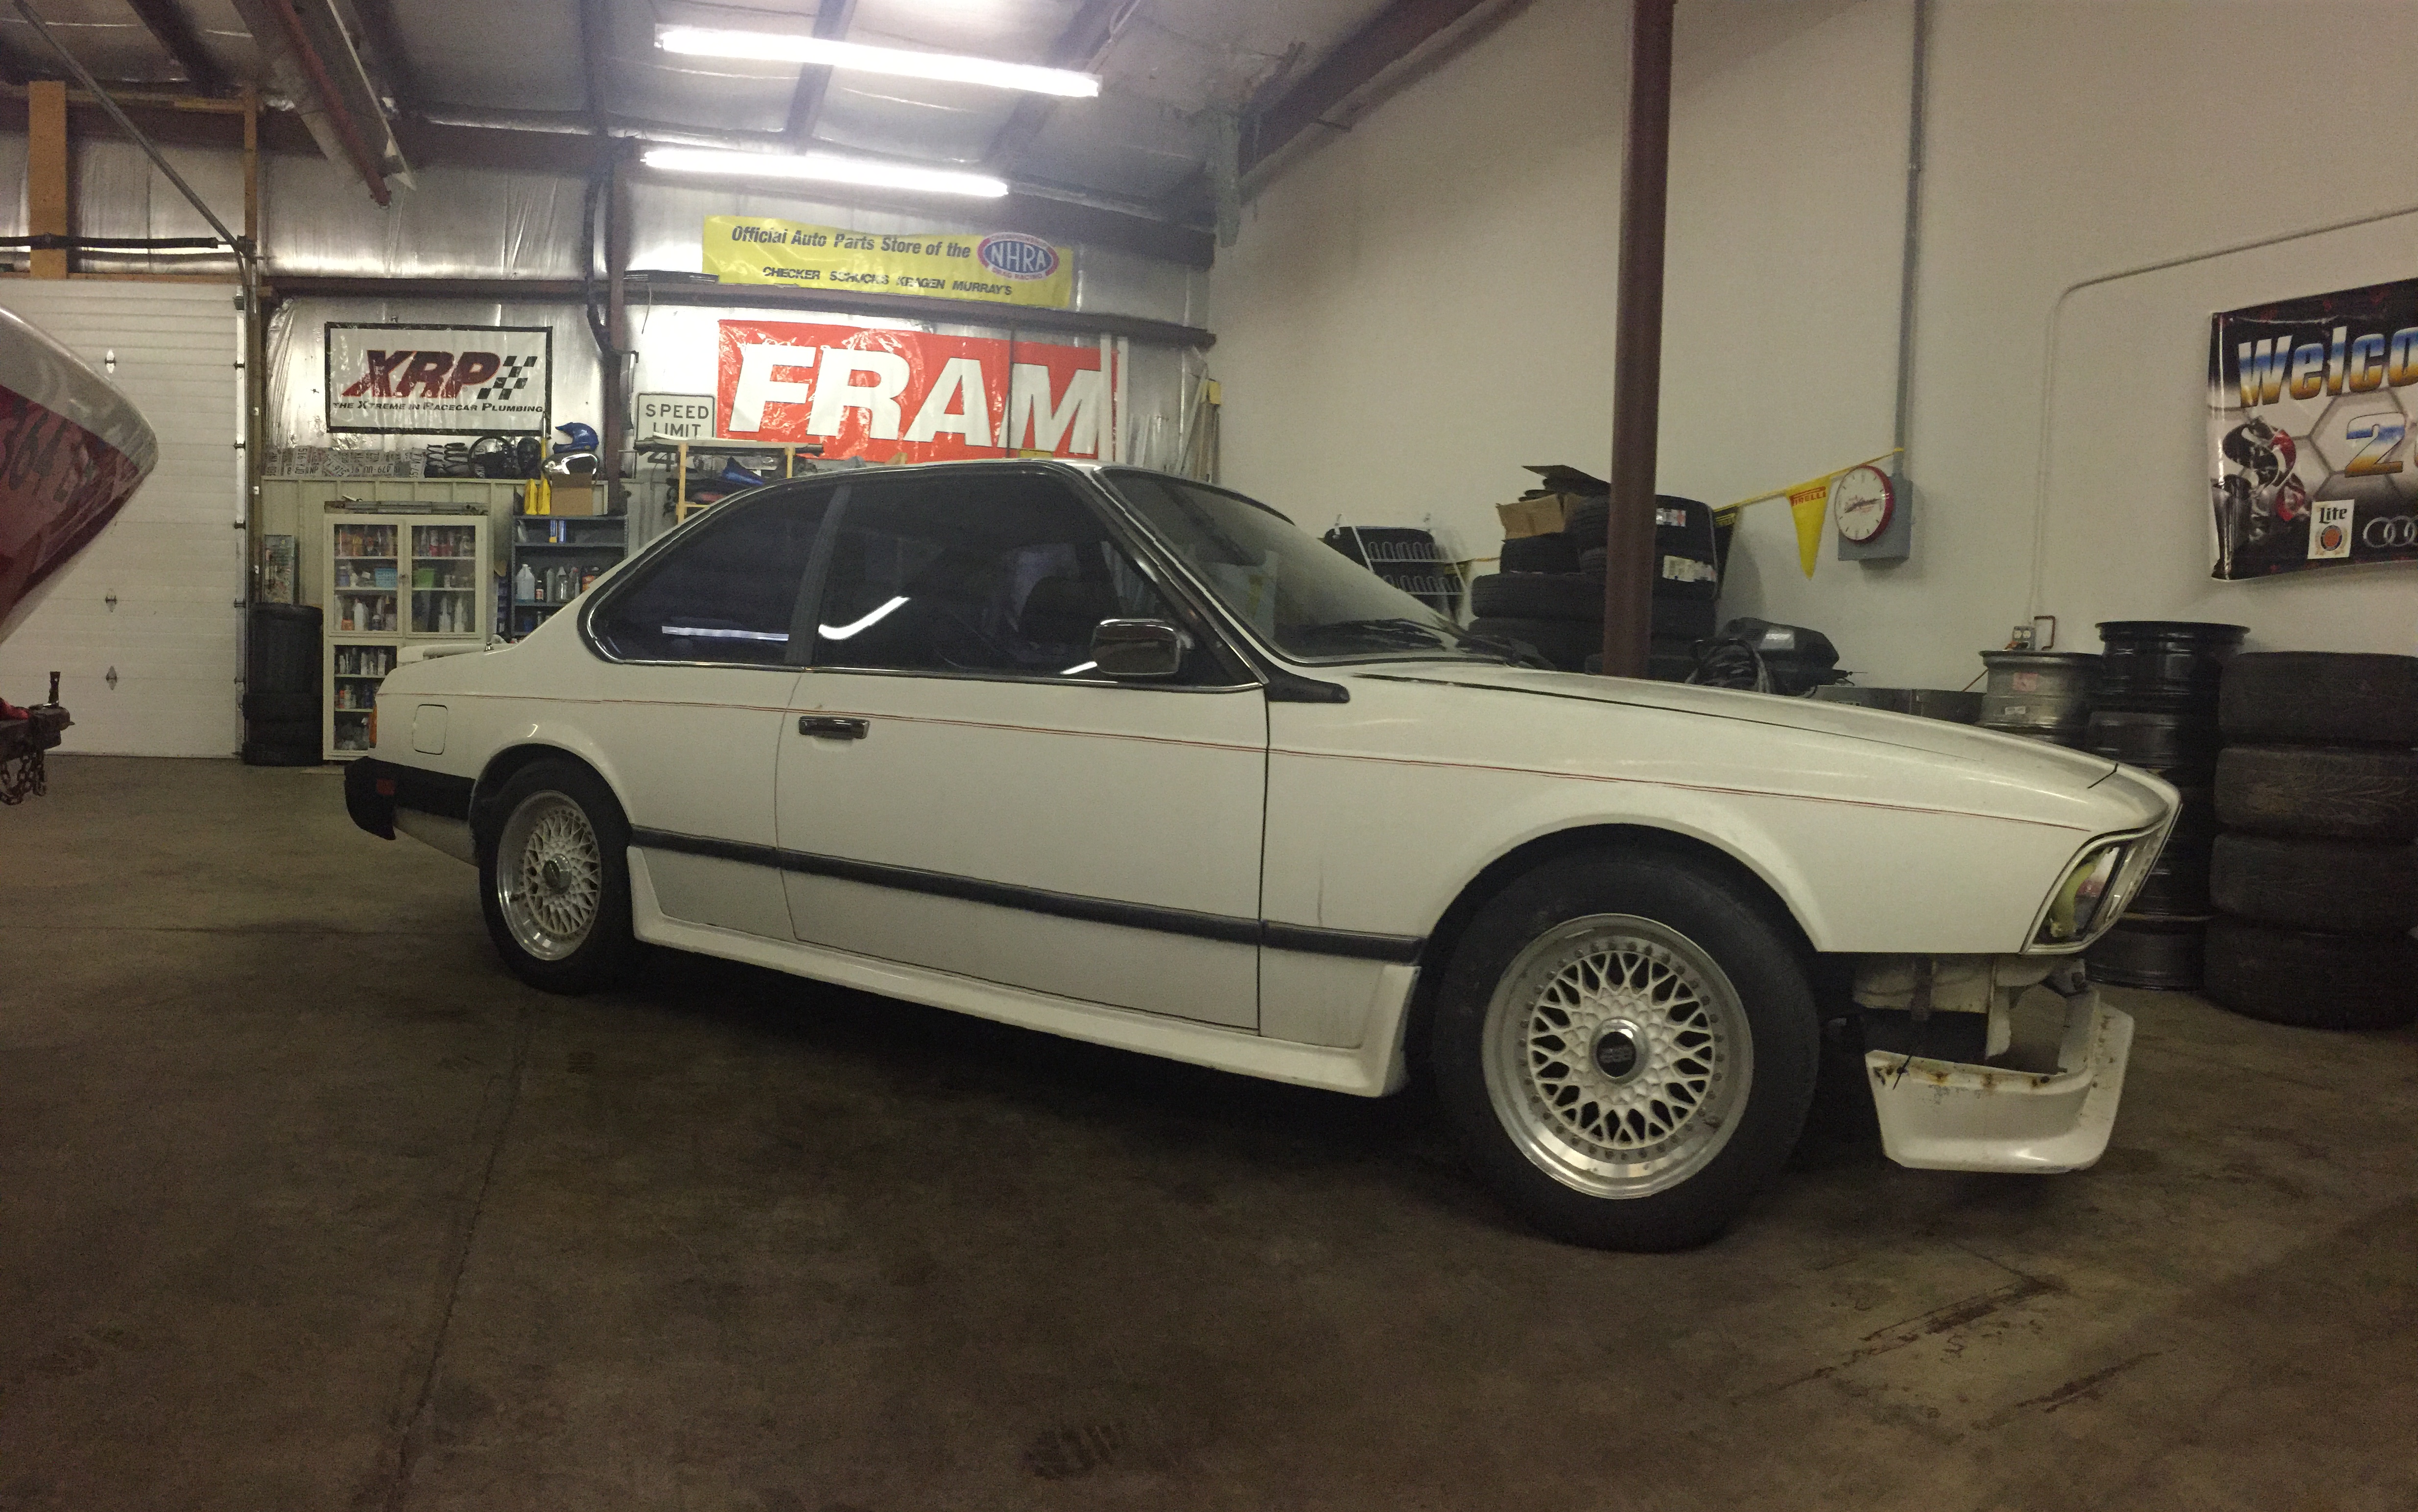
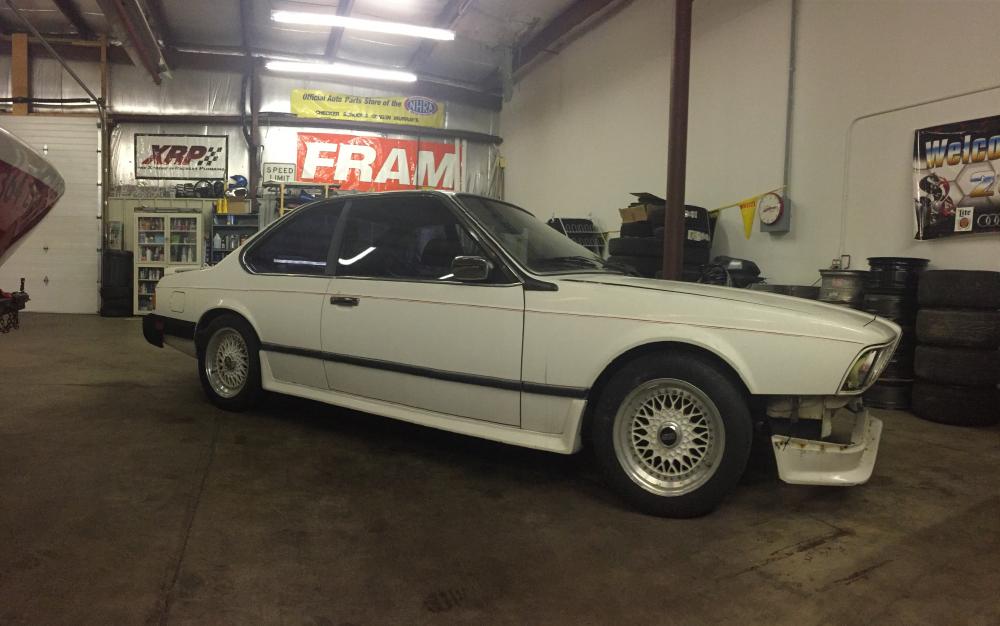
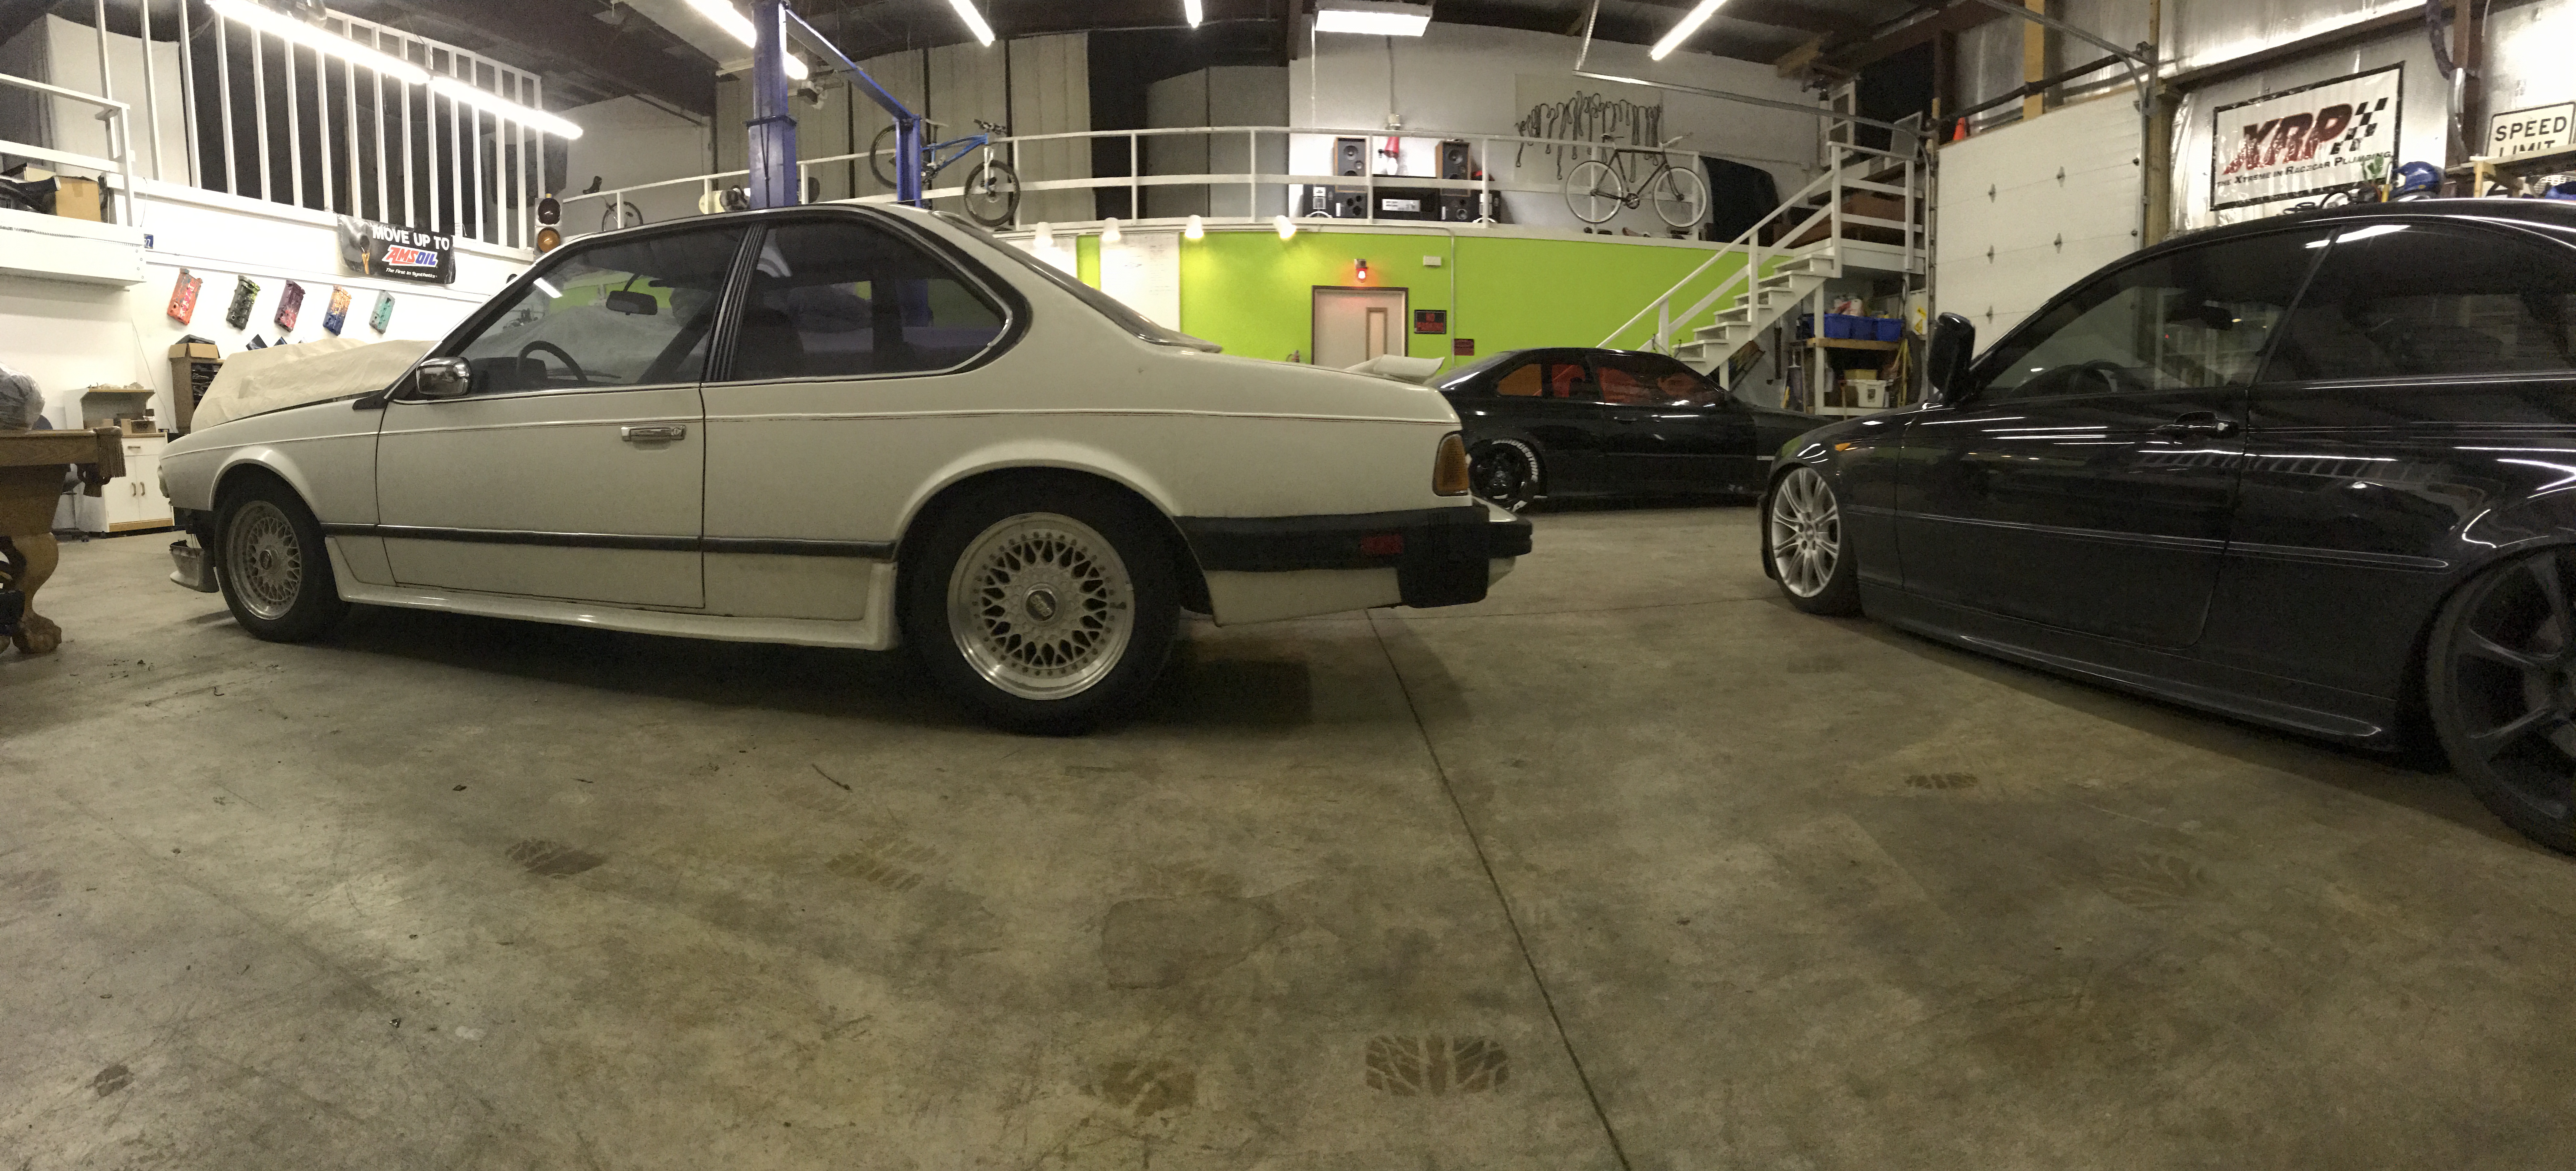
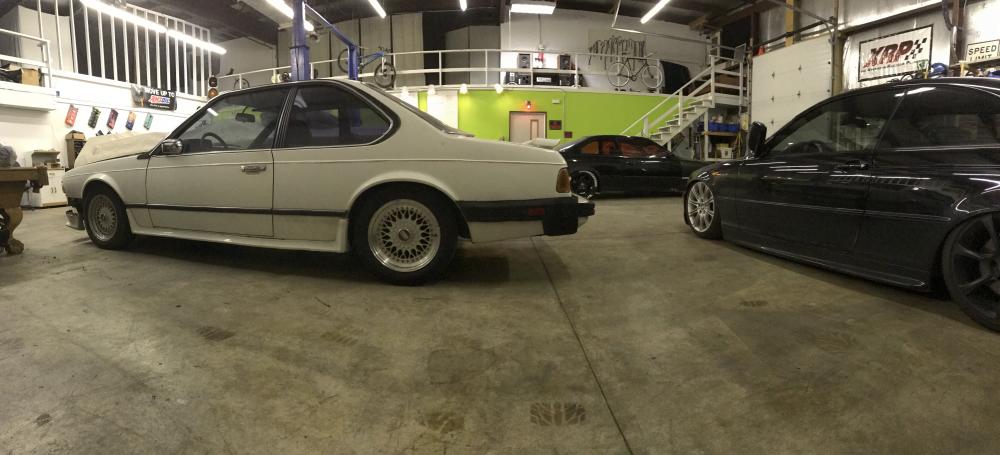
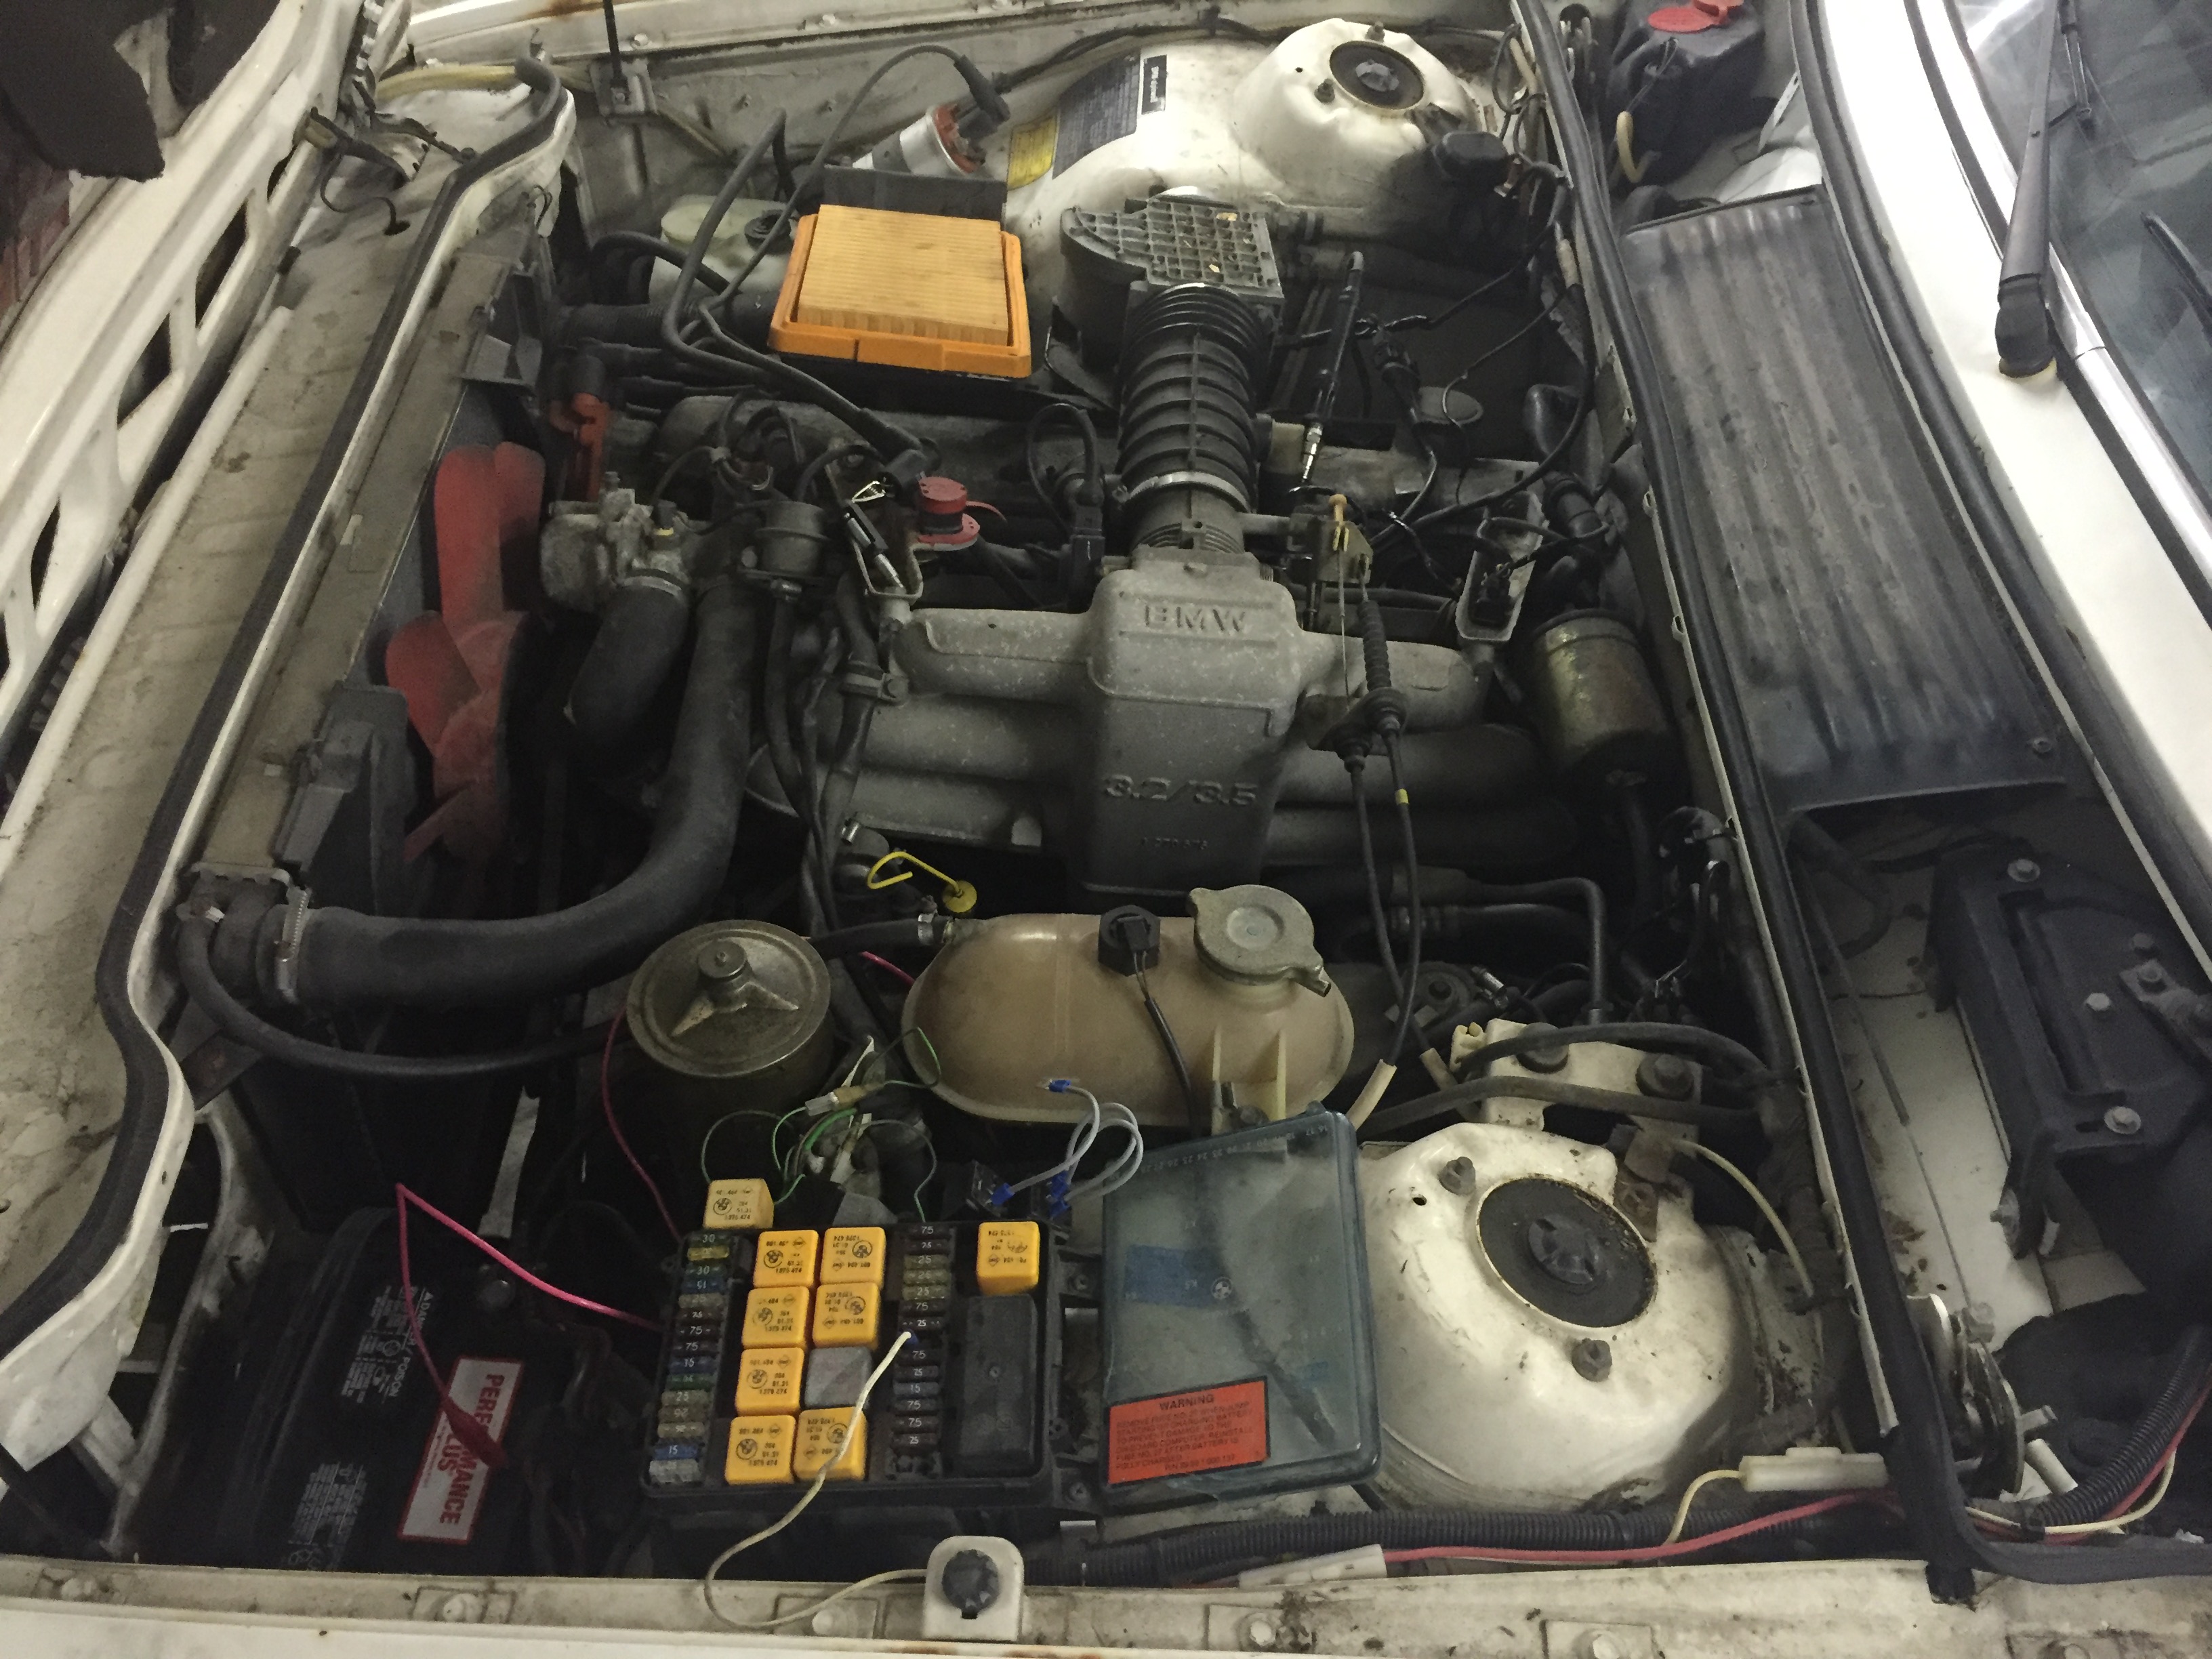
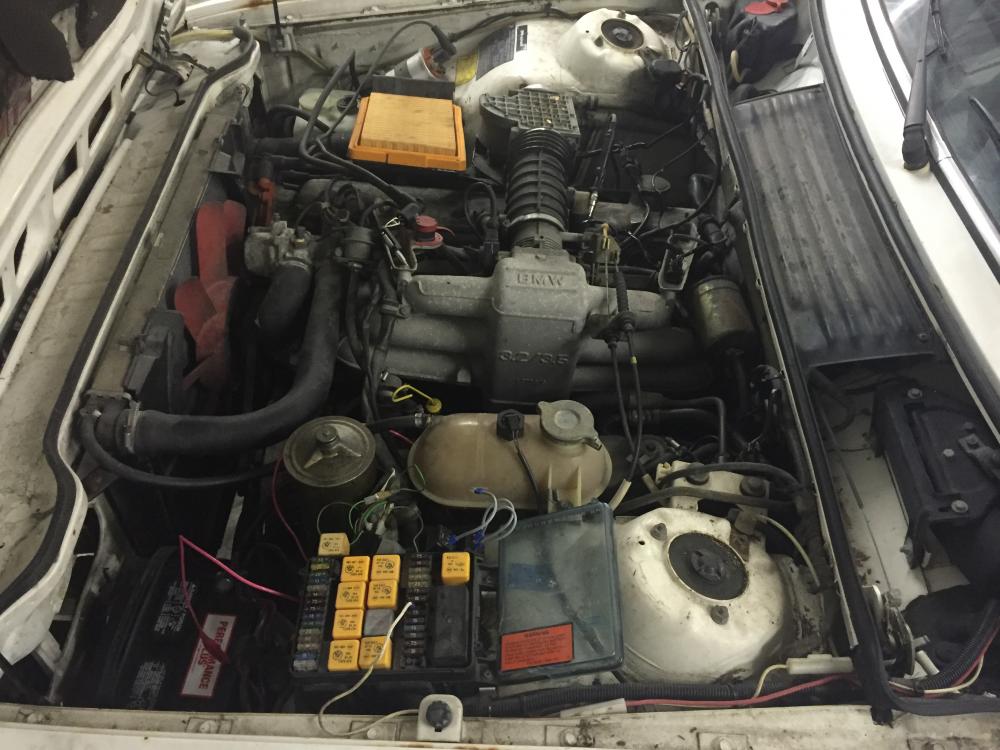
Alpine White Zender Kit E24 633CSI
-
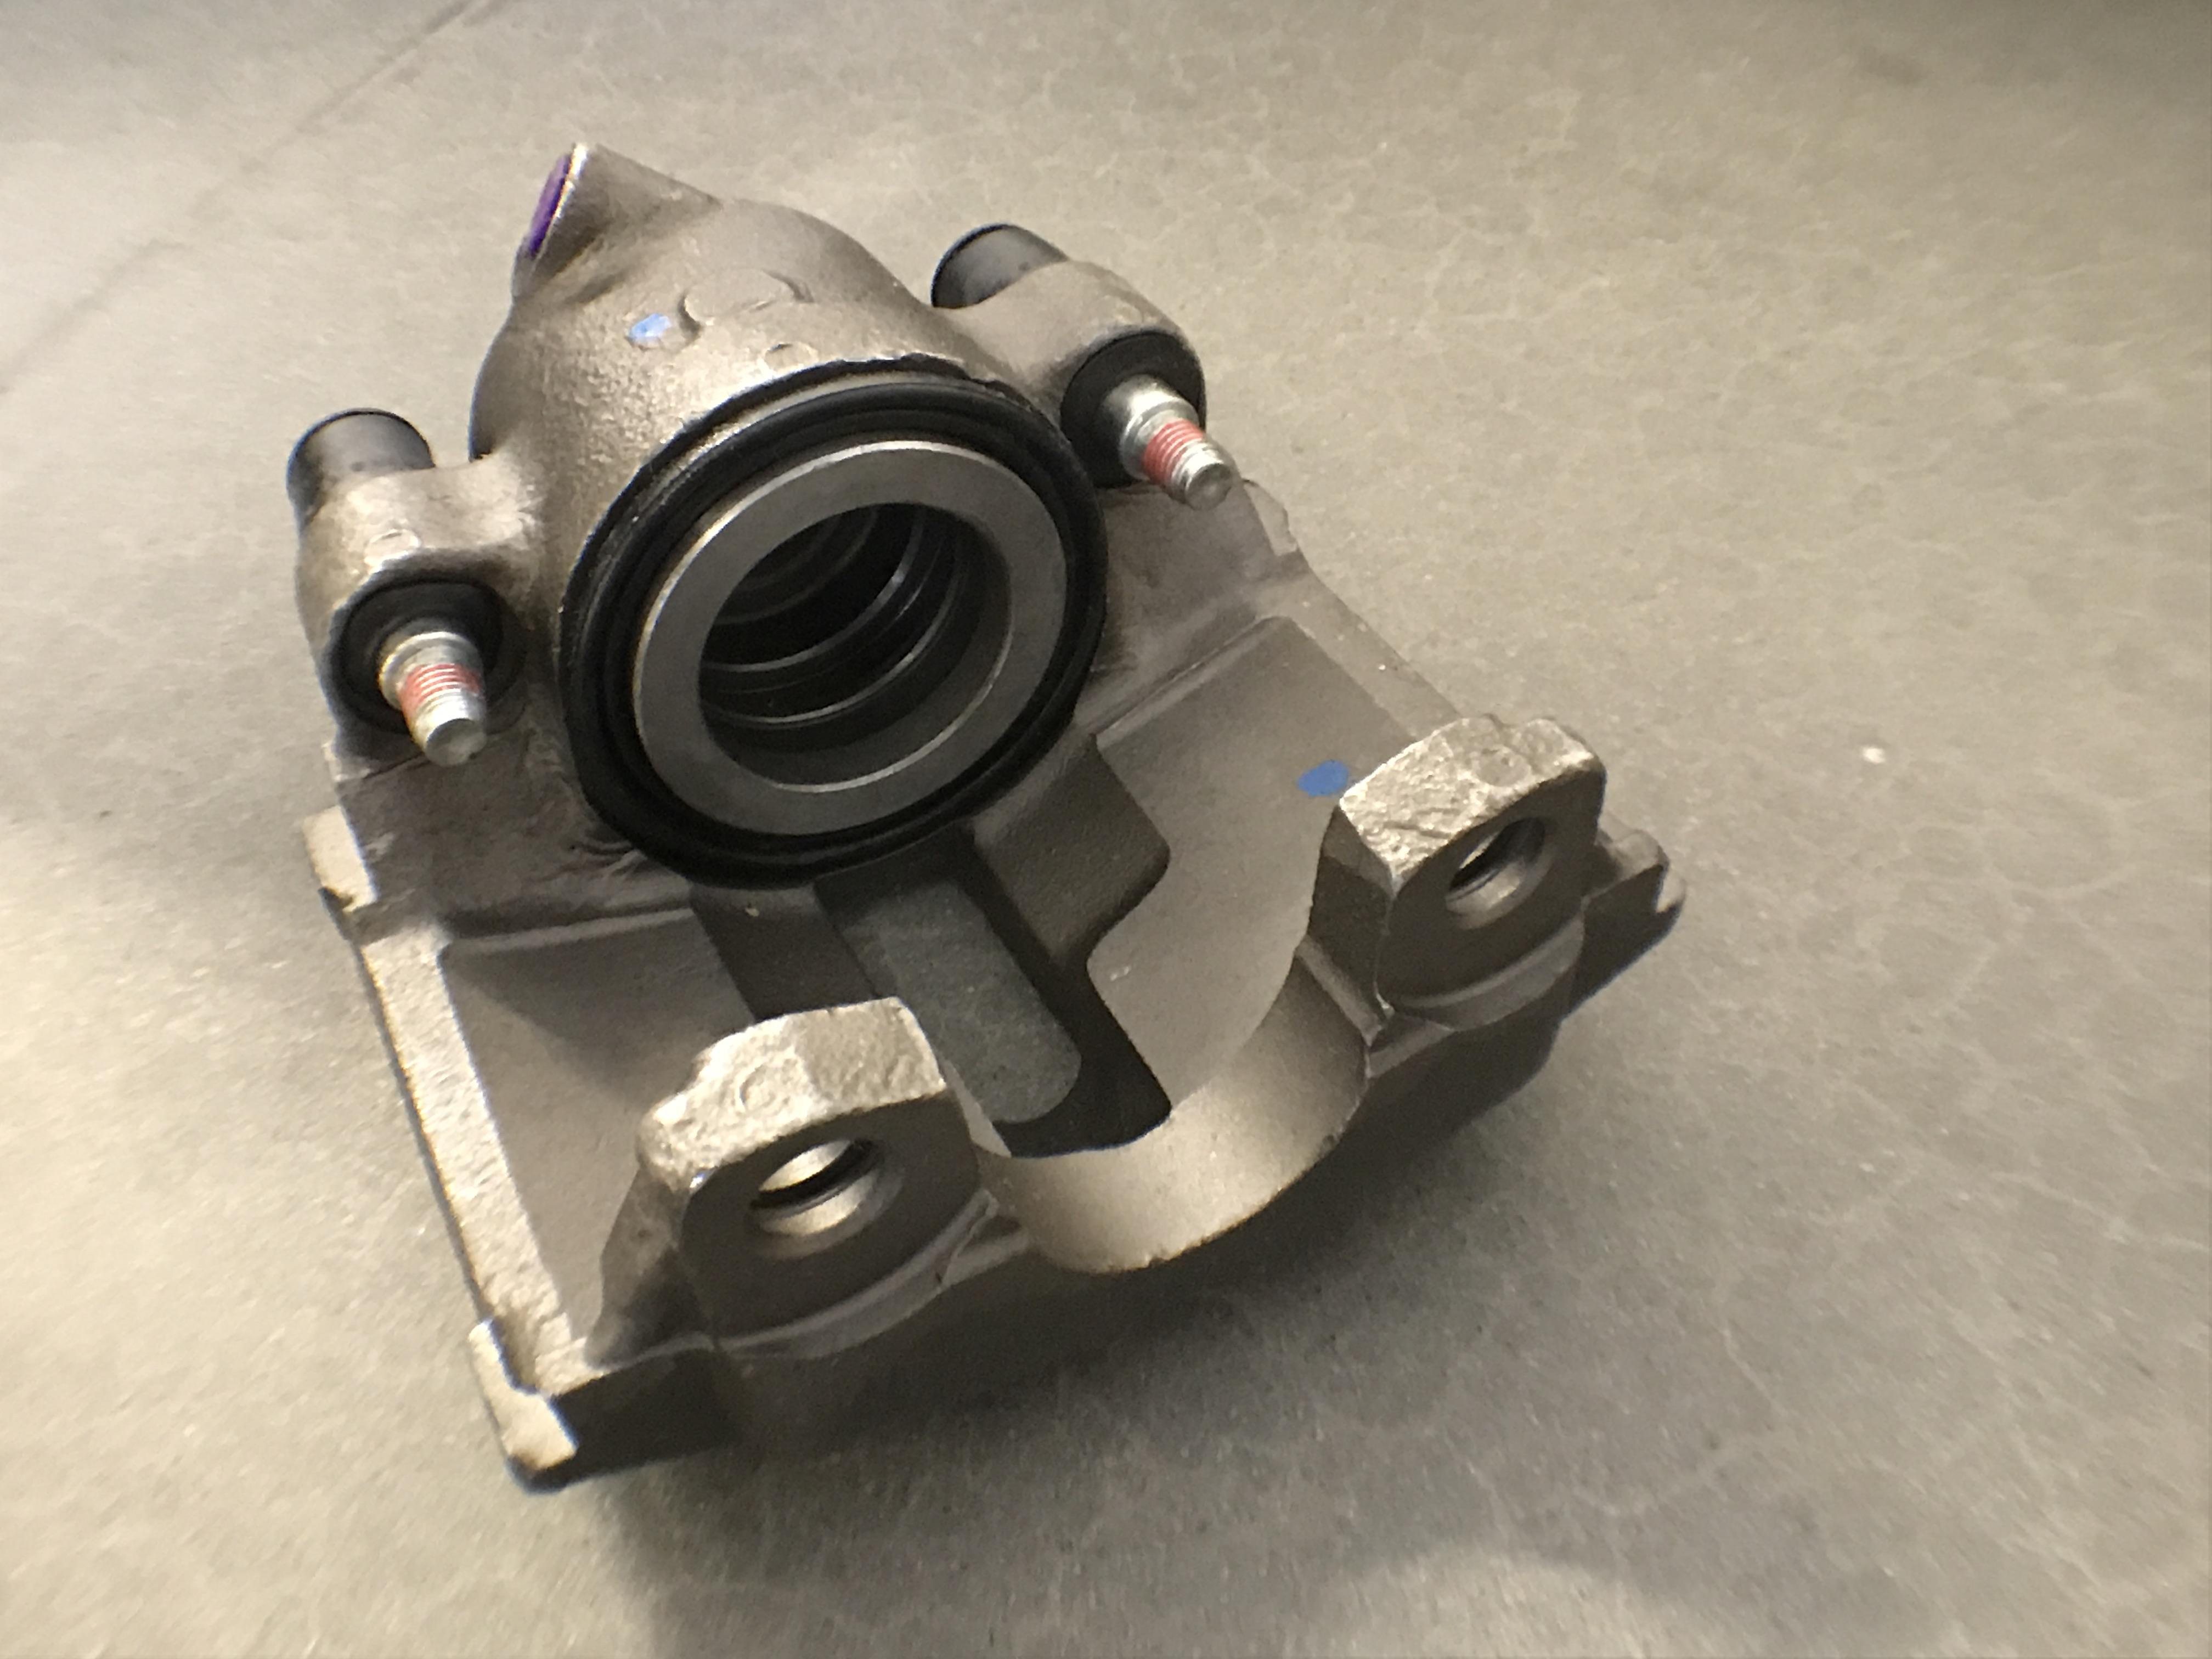
Well, I hope this is the right caliper. I looked at all the images and there are a few casting lines that vary, but all the mounting locations are the same....

Crazy thing is that I was struggling to find a reman caliper for under $100. I stumble onto this one and its $53.91 and there are like 40 of them on eBay. I buy it, and went to look that the listing today, the price jumped up to $122. LOL Maybe it was a mistake and they thought it was a rear?
Also realized I was sent the wrong rear brake pads. So I am ordering a different set today. I was reimbursed for the wrong ones and was told to keep them. I don't even know what they are for.
**EDIT** I googled it and they are pads for an E12 based car: BMW E3 E9 E12 E24 528i 530i 2800 Rear Disc Brake Pad

More pics to come as I get everything back together!

https://www.instagram.com/_jdesigner_/ http://nevertoolow.tumblr.com/
🥳SOLD BMW E24 633CSI - BMW M30B32 🧪SOLD HCH ES9 - 1.3 LDA
👽BMW E30 325IC - Toyota 1JZ-GTE ⏰ HONDA EF9 CIVIC SI - JDM B18C5
☠️BMW E36 318i - Ford 5.0 FE302 🚴♂️ GT-Labomba - 26x2.75 Freeride
🤹♀️SOLD BMW E36/7 Z3 - BMW M54B25 🧓SOLD BMW E10 2002 - BMW M10M05 -
Because they are now NLA? IDK but I also learned that E24's came with about 4 styles of front calipers depending on the cars year and model. They also have the same rears as E30's (I thought those looked familiar).
I also didnt know that 4 piston was a standard. 🤯
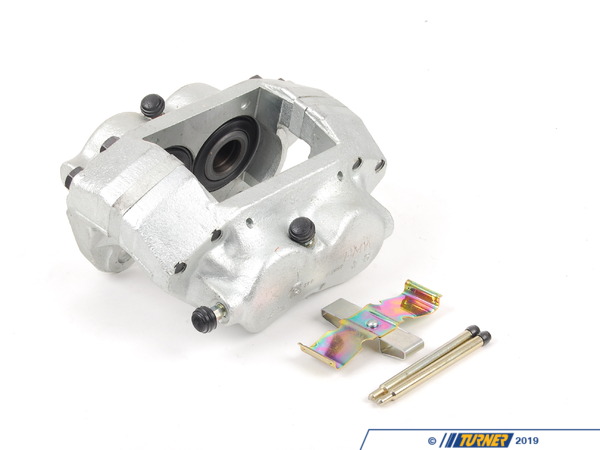
Via Bigcoupe.com:
_A big point to note is that BMW is a big fan of part sharing so many other models share the same parts and parts can be interchanged. Consequently brakes can be fitted to an E24 that also fit and E28, E31, E32, E34. There are however some considerations that have to be made.
Let?s look at the standard brakes for comparison?_
1.Early E12 > 1982 based sixes have a dual system with two master cylinders and four pot calipers at the front. These were the same fitted to the M535I e12 M car and are considered a good system. There is even a brake balance controller in there.2.E24 1982 ? 1986 cars had a single master cylinder mounted on the passenger side connected to the brake pedals via a bar that runs across the bulk head. The system also has a brake accumulator or brake bomb that pressurizes the system giving massive power. The calipers are single piston units with 282x25mm discs.
_3.E24 1987 ? 1989 cars had the master cylinder on the same side on the driver?s side and does away with the brake bar. Consequently the brakes have a much firmer feel. The calipers and discs are the same size.
4.E24 M635csi 1984 - 1989 had the same basic system as above depending on year, but had four piston calipers at the front and 300x30mm discs. These were significantly more powerful then the standard system.
All post 1982 sixes shared the same rear discs and calipers which are 284x10mm and the calipers are also found on the E30 325i.
BMW E24 Braking options
Front
Model Disc Size Piston Size Wheel size required
E24 / E28 628, 635csi 282x25mm 1x57mm 14?
E24 / E28 M5,M635csi 300x30mm 4x40mm 15?
E34 525,530,535 302x22mm 1x60mm 15?
E34 540 / E32 735, 740, 750 302x28mm 1x60mm 15?
E34 M5 3.6 315x28mm 1x60mm 16?
E31 850 pre 1993 324x30mm 1x60mm 16?
E31 840 post 1993 324x30mm 4x42mm
E31 850csi / M5 3.8 345x32mm 4x?_https://www.instagram.com/_jdesigner_/ http://nevertoolow.tumblr.com/
🥳SOLD BMW E24 633CSI - BMW M30B32 🧪SOLD HCH ES9 - 1.3 LDA
👽BMW E30 325IC - Toyota 1JZ-GTE ⏰ HONDA EF9 CIVIC SI - JDM B18C5
☠️BMW E36 318i - Ford 5.0 FE302 🚴♂️ GT-Labomba - 26x2.75 Freeride
🤹♀️SOLD BMW E36/7 Z3 - BMW M54B25 🧓SOLD BMW E10 2002 - BMW M10M05 -
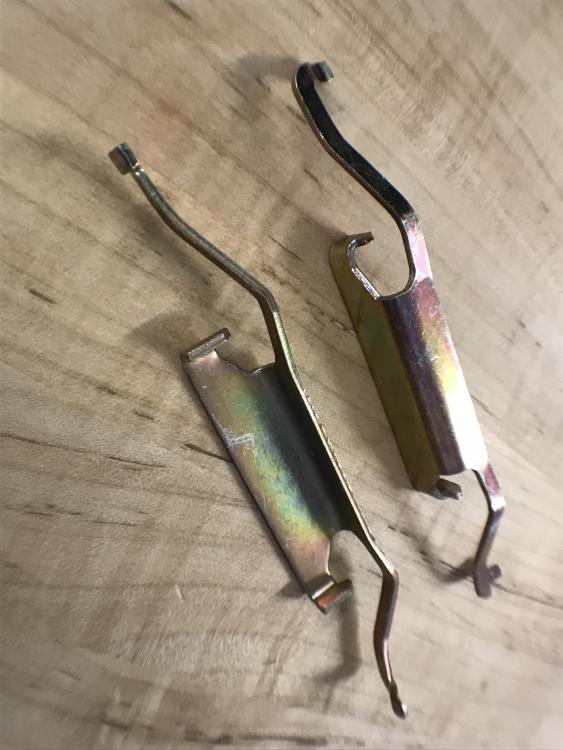
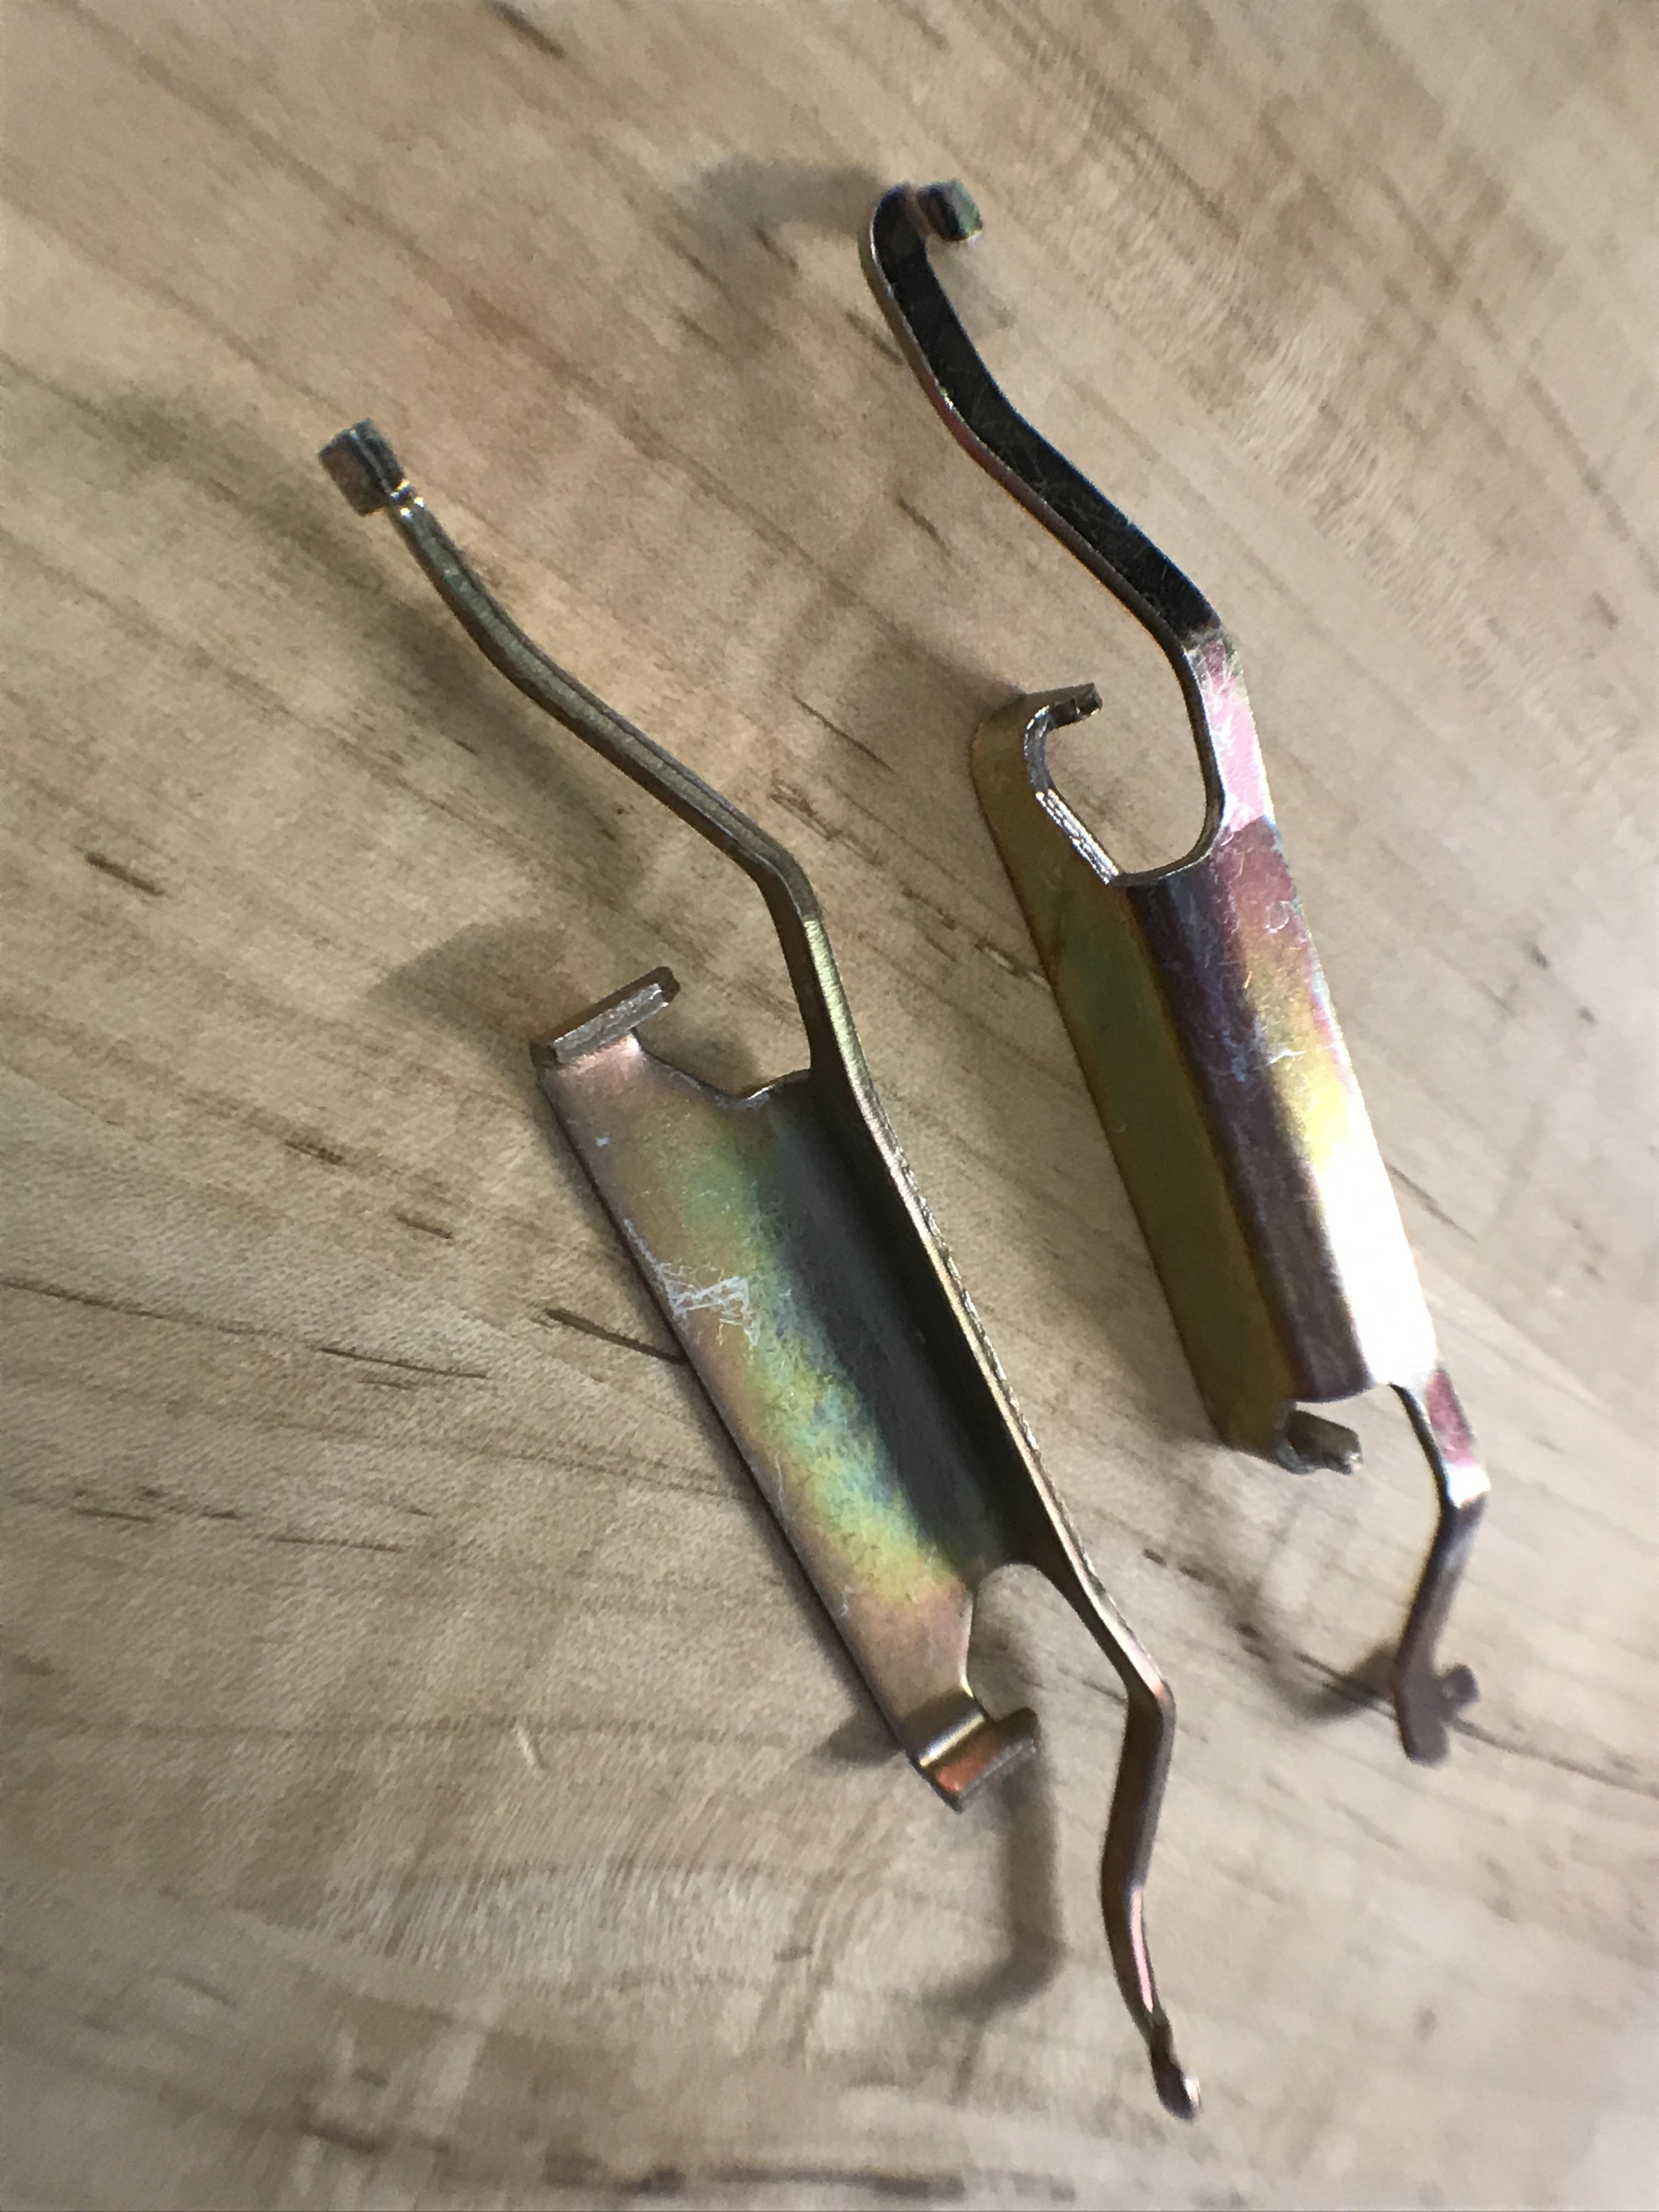
Rear end is all buttoned up. I am waiting on the front caliper still and the front spring clips which should arrive today.
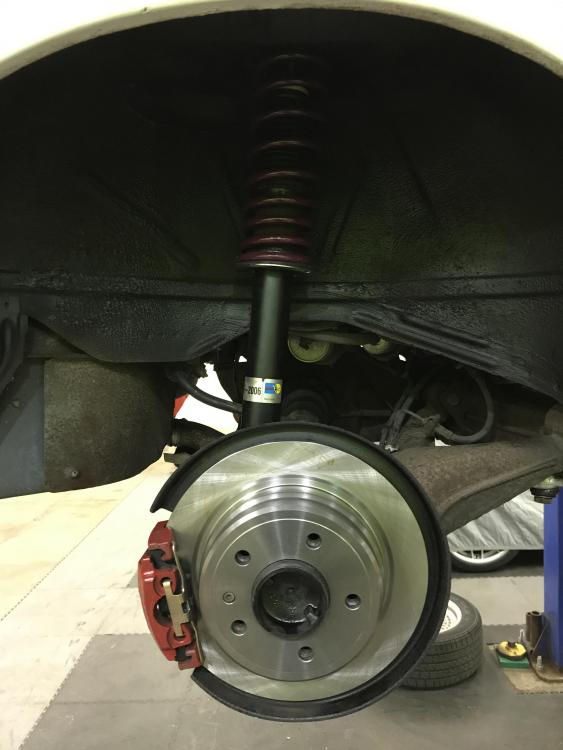
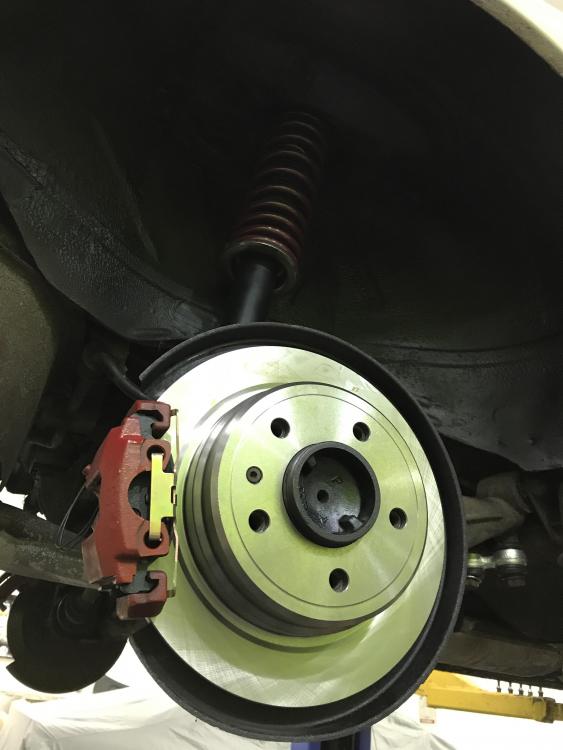
I also test fit the wheels and realized I will need a spacer in the front for the center cap to clear the hub cover. This is fine because I needed to make a hub centric ring for them anyways. Tonight I will mount the tires and hopefully get it on the ground!
https://www.instagram.com/_jdesigner_/ http://nevertoolow.tumblr.com/
🥳SOLD BMW E24 633CSI - BMW M30B32 🧪SOLD HCH ES9 - 1.3 LDA
👽BMW E30 325IC - Toyota 1JZ-GTE ⏰ HONDA EF9 CIVIC SI - JDM B18C5
☠️BMW E36 318i - Ford 5.0 FE302 🚴♂️ GT-Labomba - 26x2.75 Freeride
🤹♀️SOLD BMW E36/7 Z3 - BMW M54B25 🧓SOLD BMW E10 2002 - BMW M10M05 -
And.... Items have arrived. I cant wait to install them tonight and finish up all the suspension and brakes!
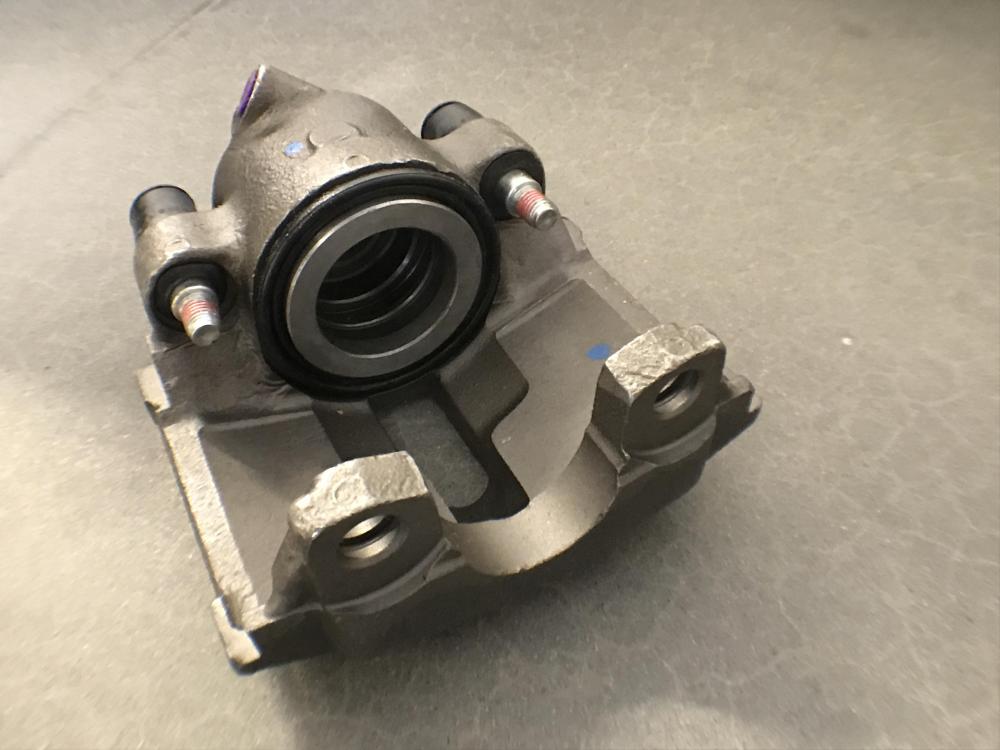
https://www.instagram.com/_jdesigner_/ http://nevertoolow.tumblr.com/
🥳SOLD BMW E24 633CSI - BMW M30B32 🧪SOLD HCH ES9 - 1.3 LDA
👽BMW E30 325IC - Toyota 1JZ-GTE ⏰ HONDA EF9 CIVIC SI - JDM B18C5
☠️BMW E36 318i - Ford 5.0 FE302 🚴♂️ GT-Labomba - 26x2.75 Freeride
🤹♀️SOLD BMW E36/7 Z3 - BMW M54B25 🧓SOLD BMW E10 2002 - BMW M10M05 -
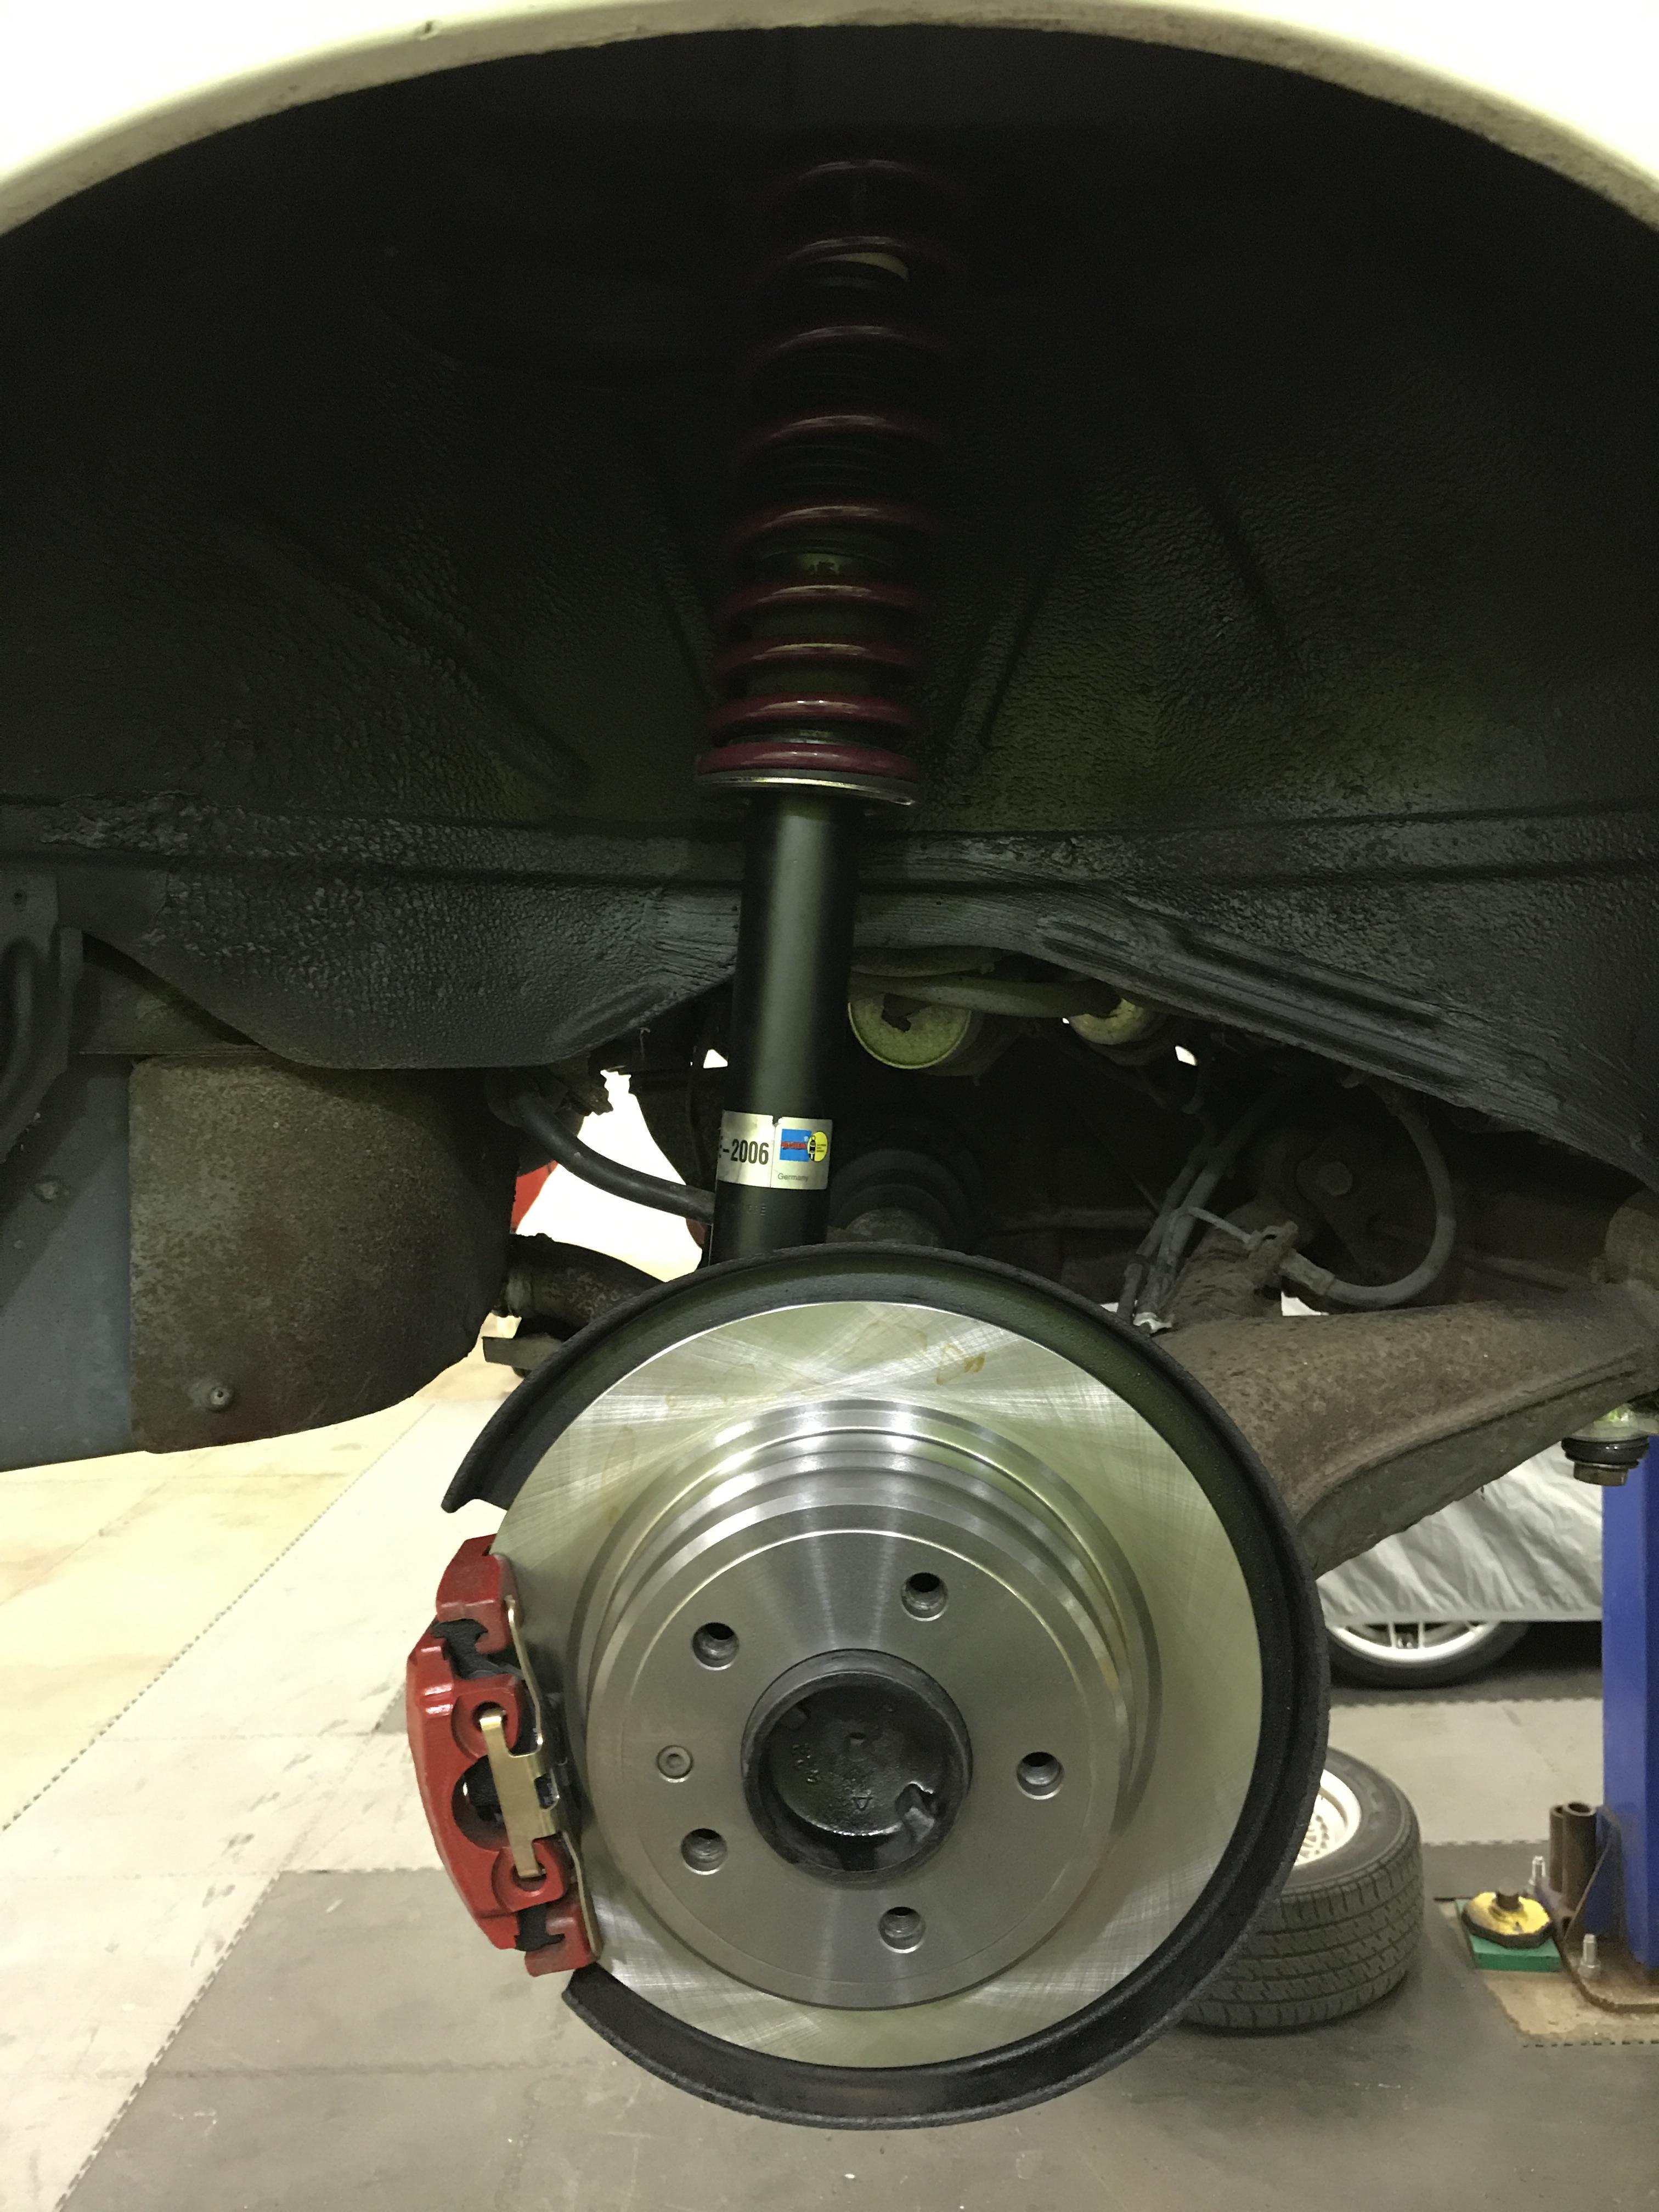
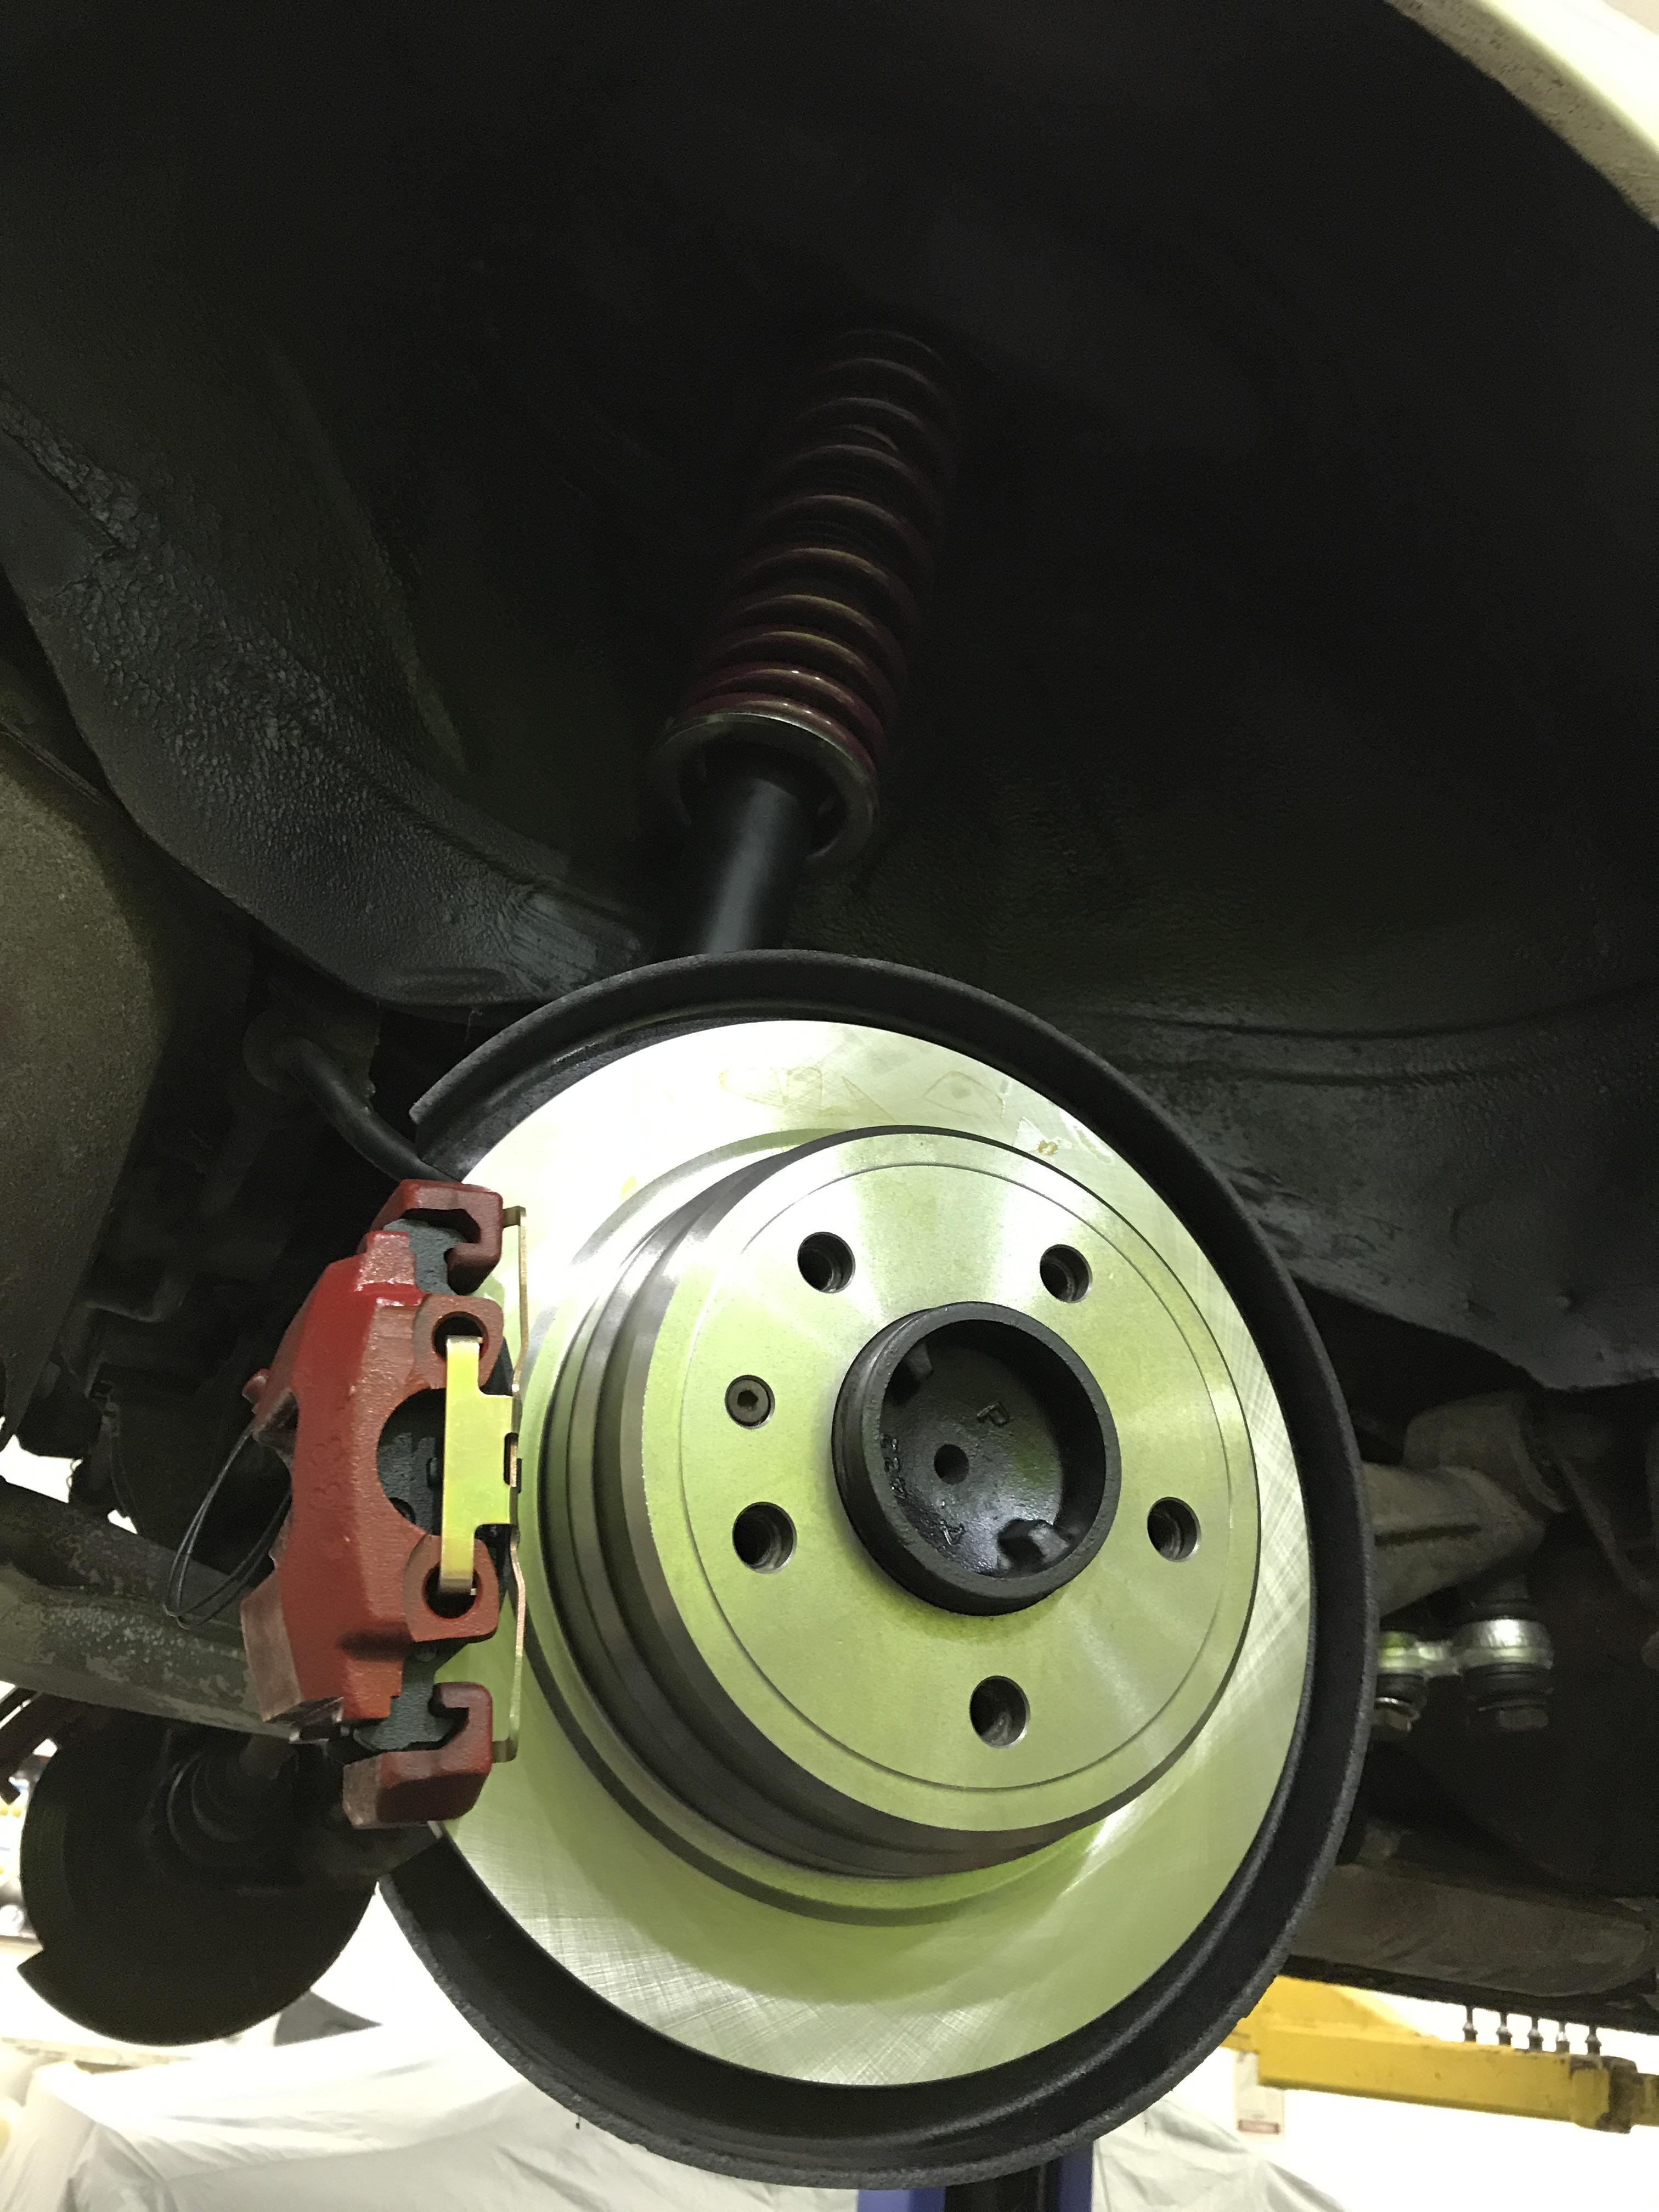
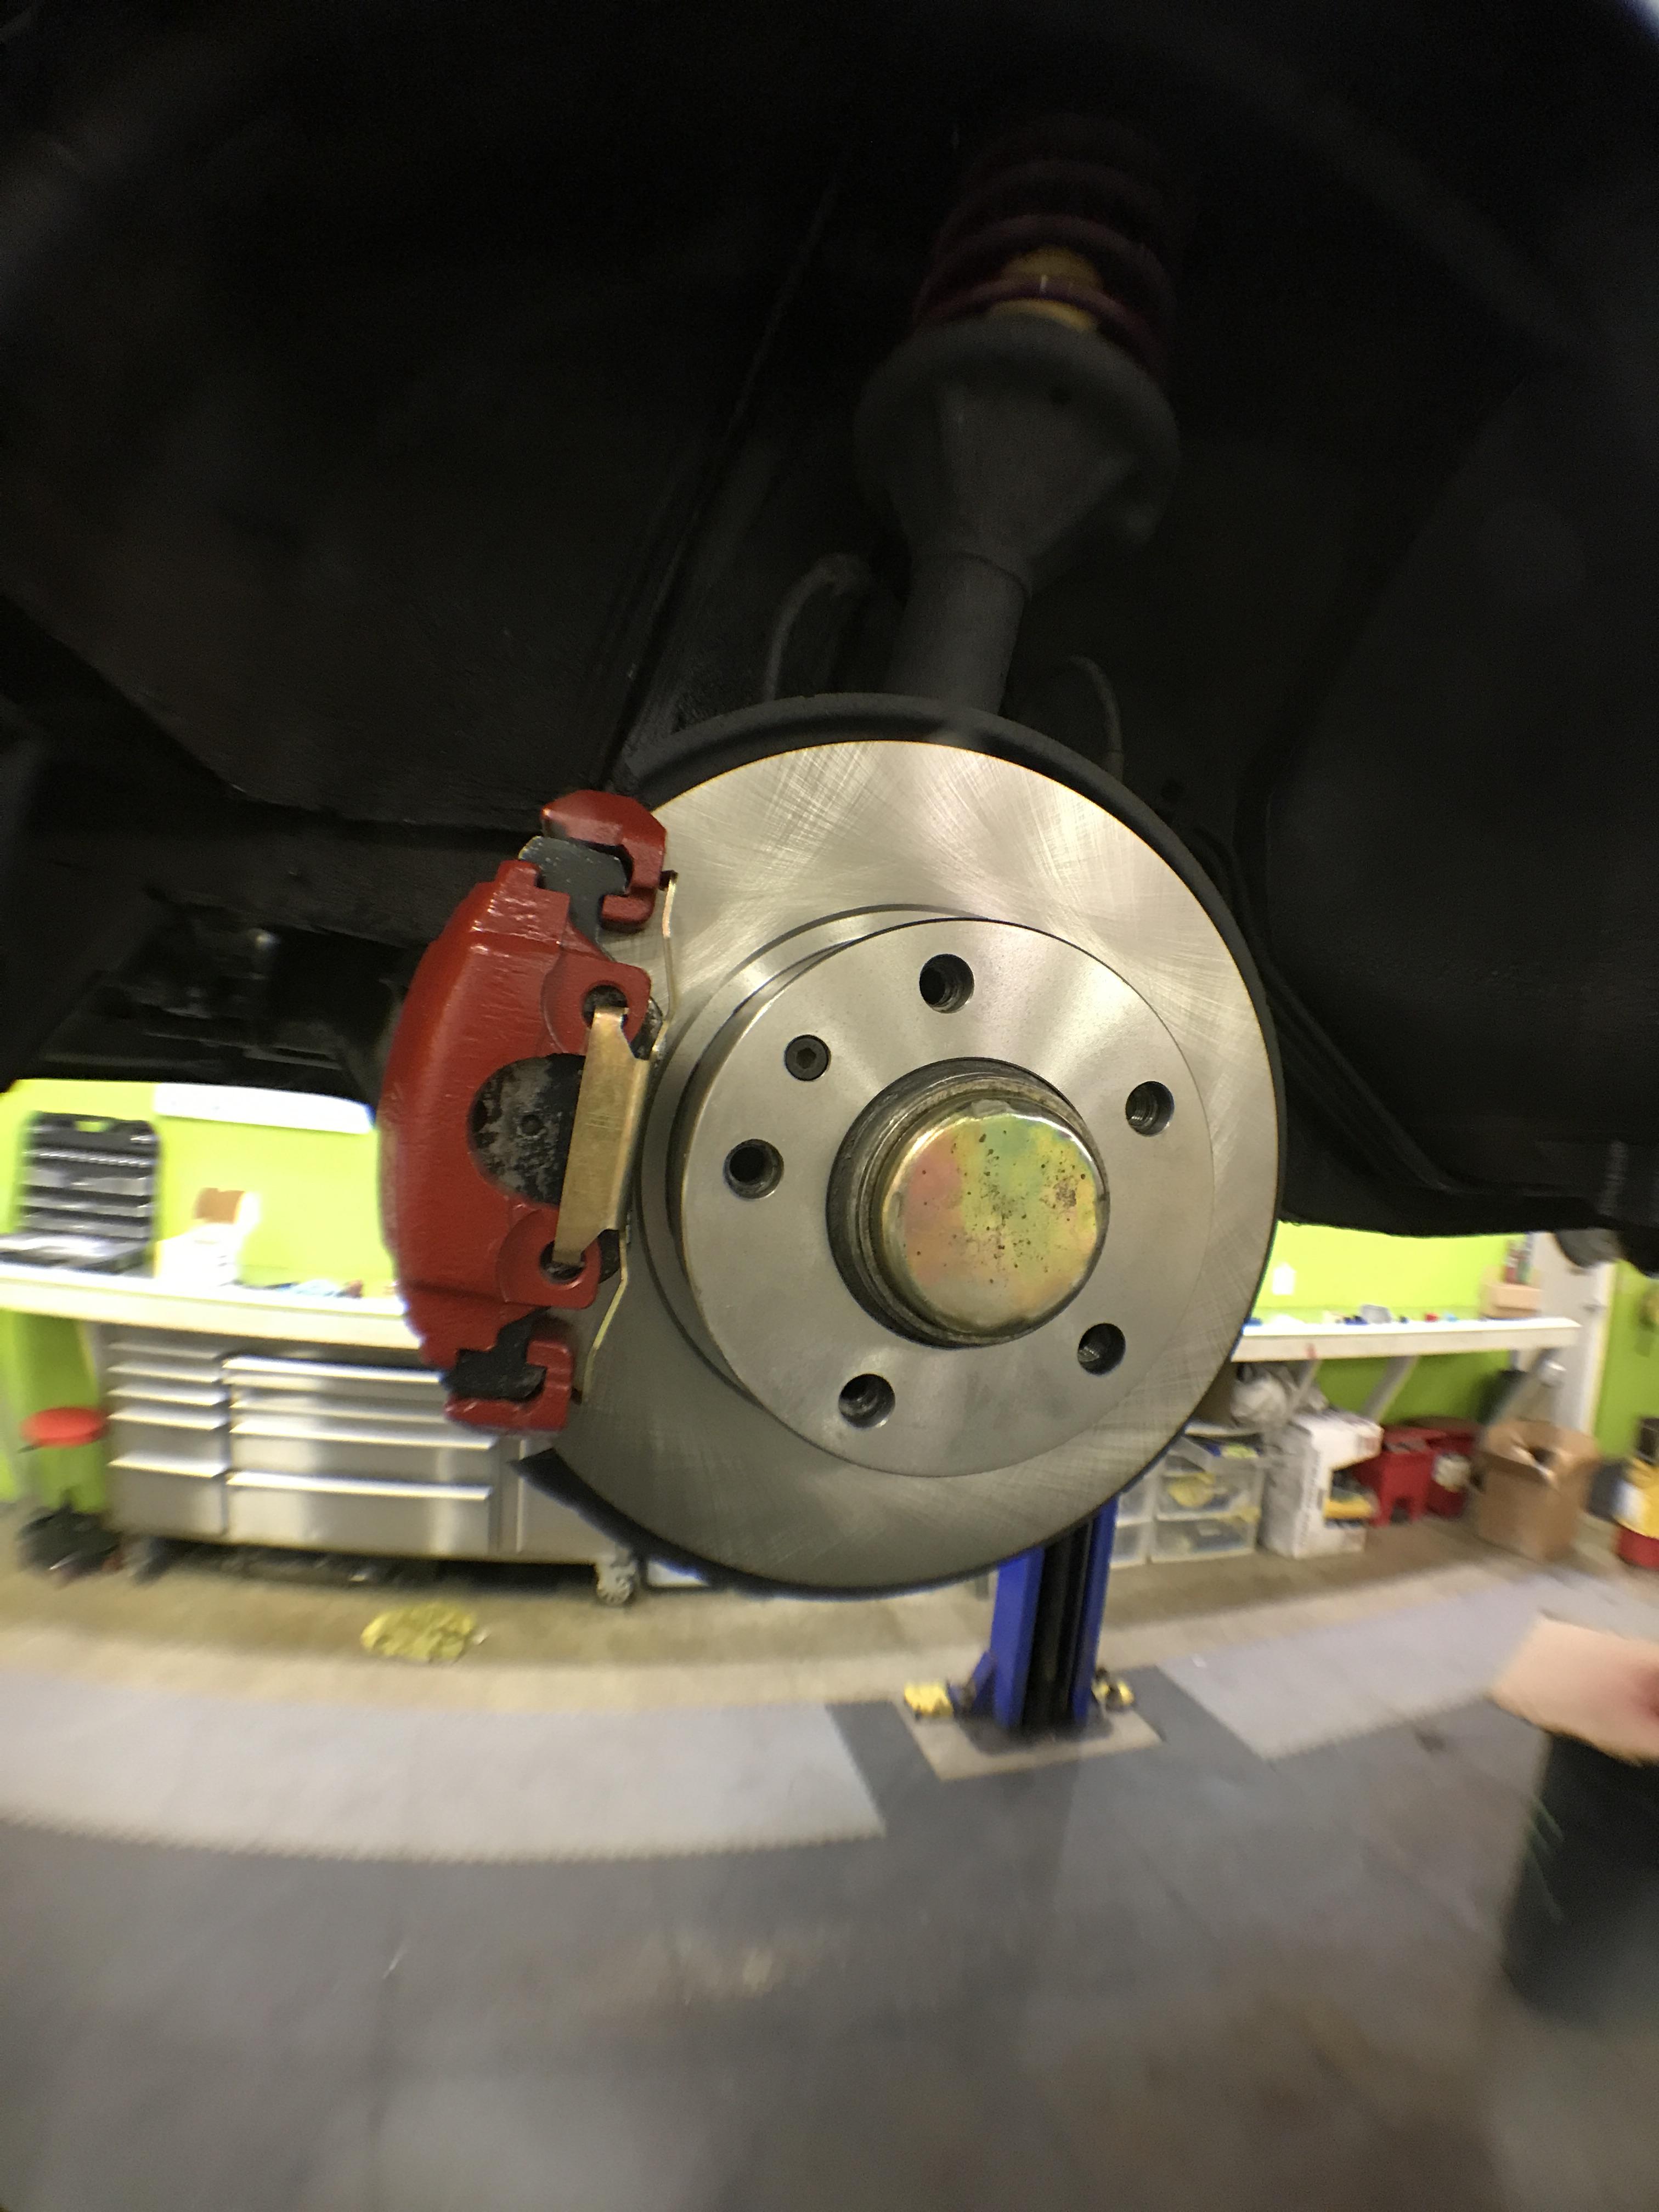
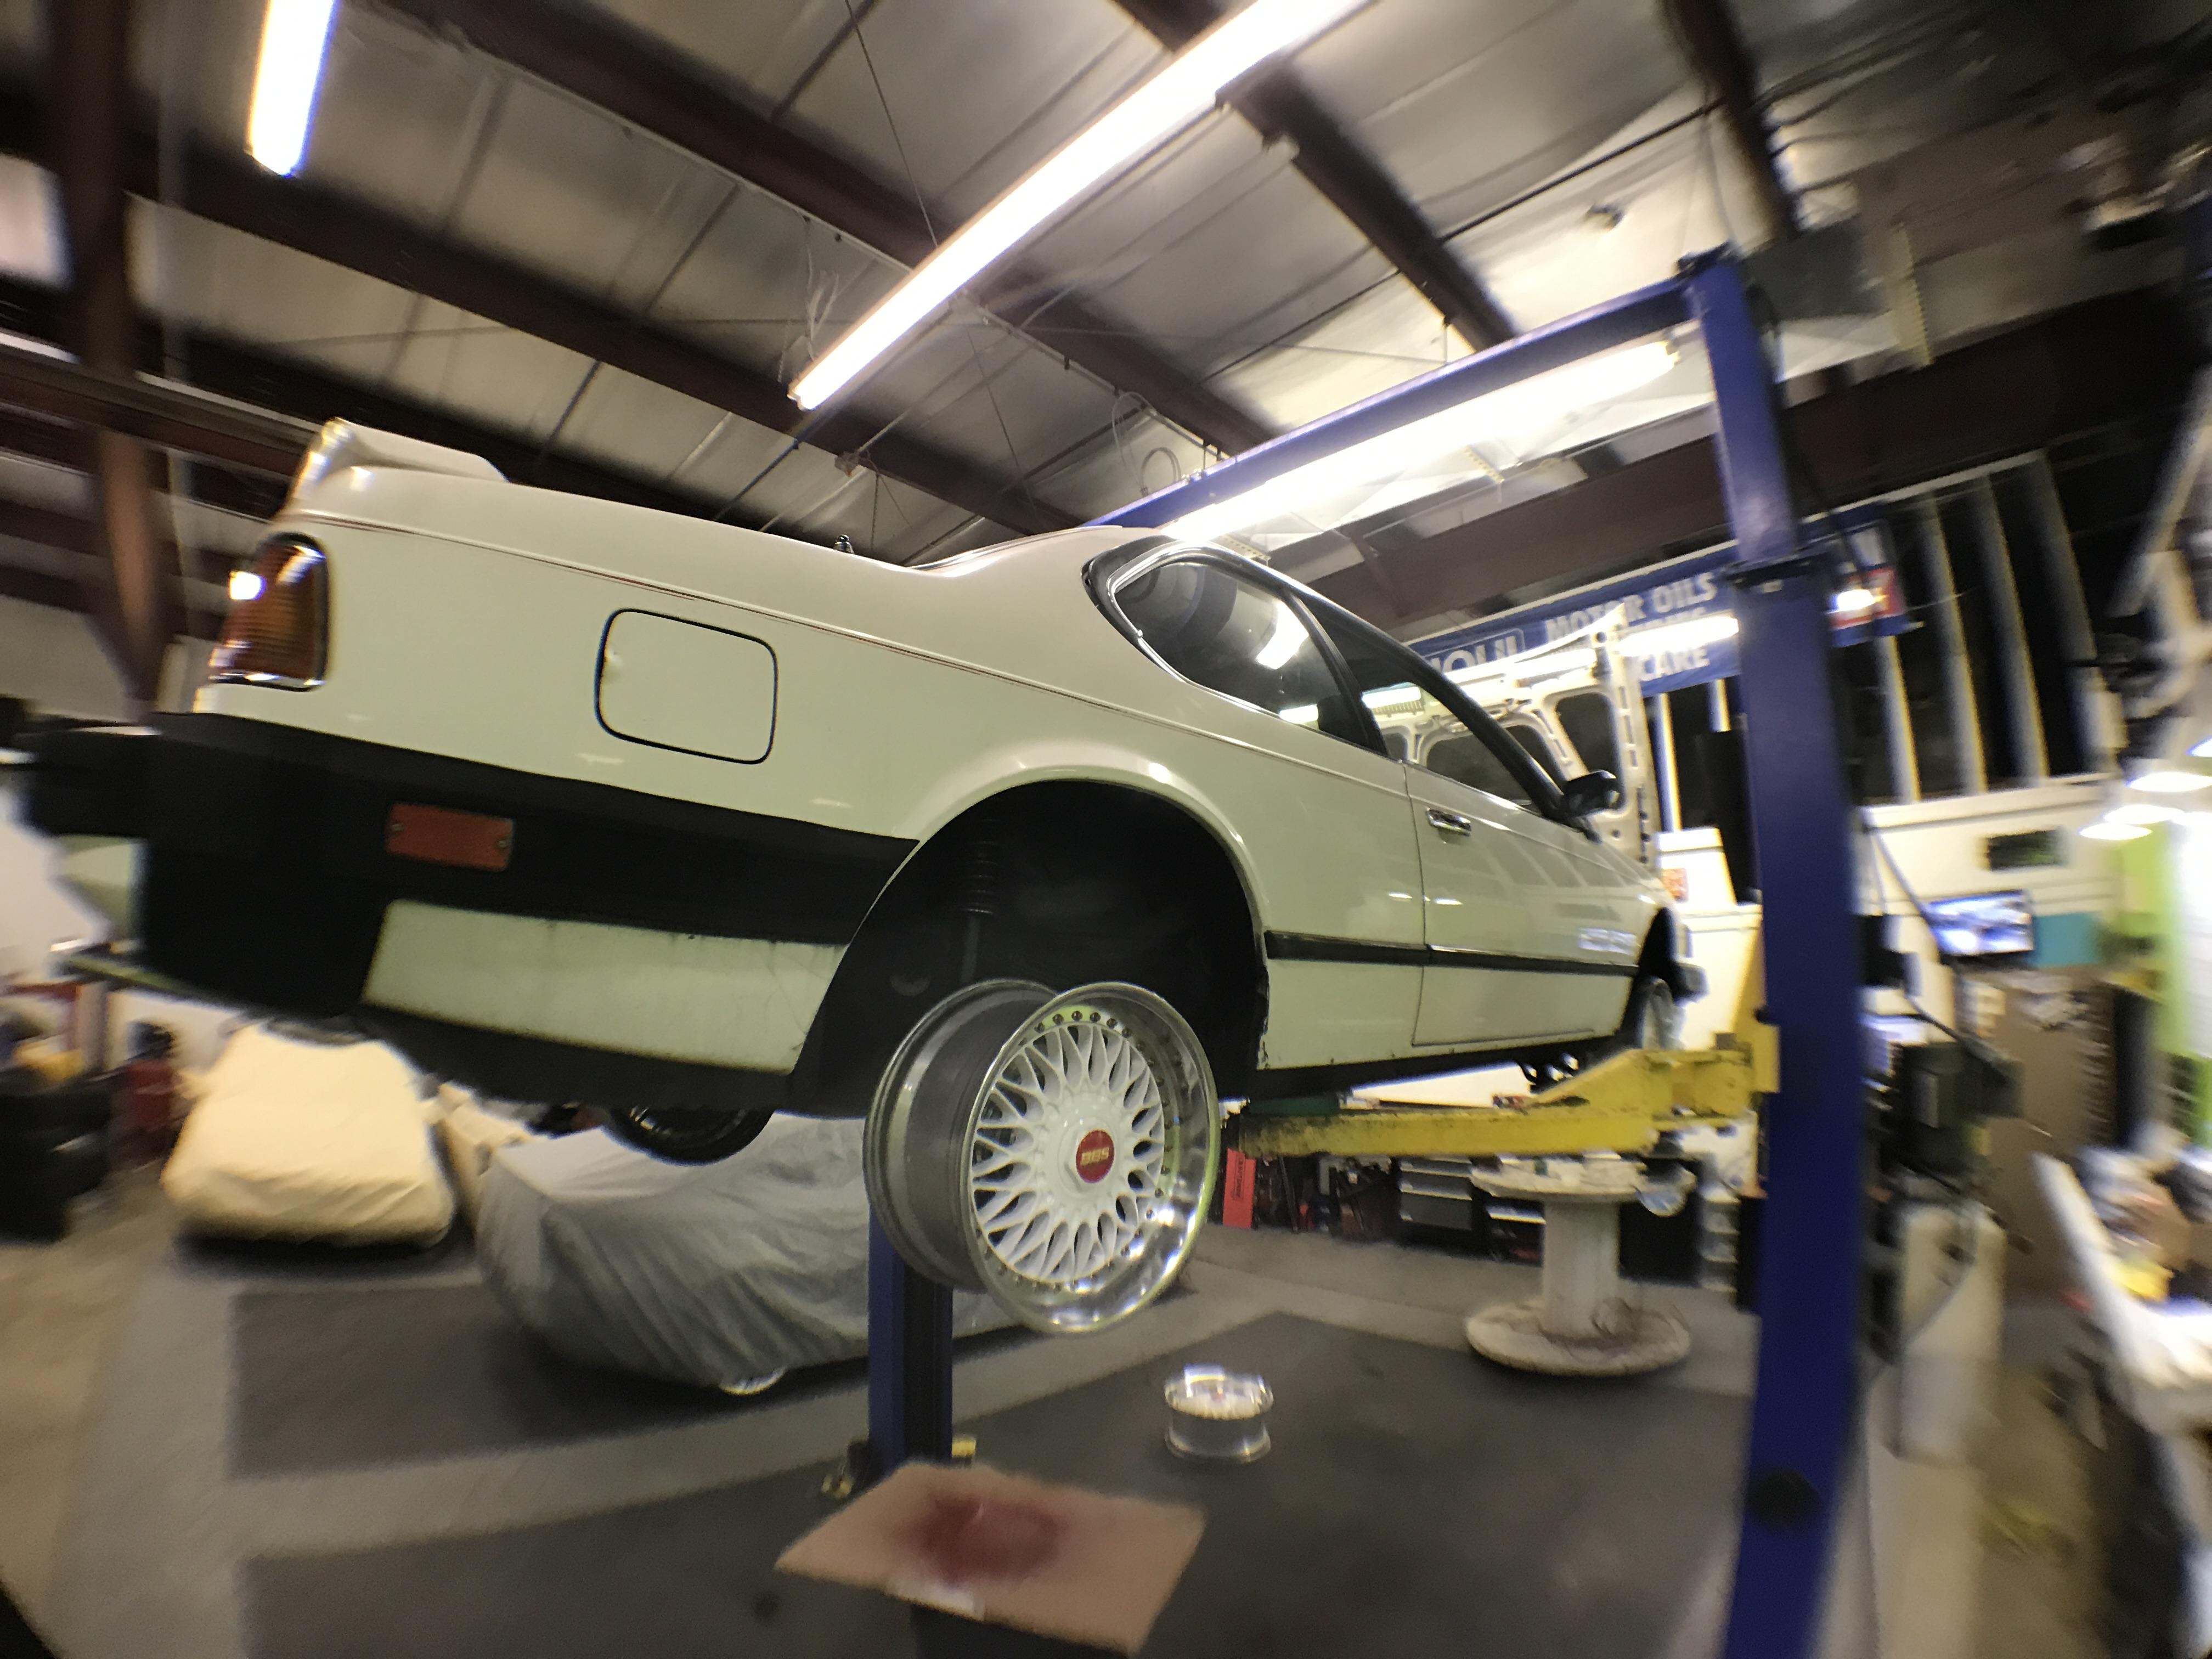
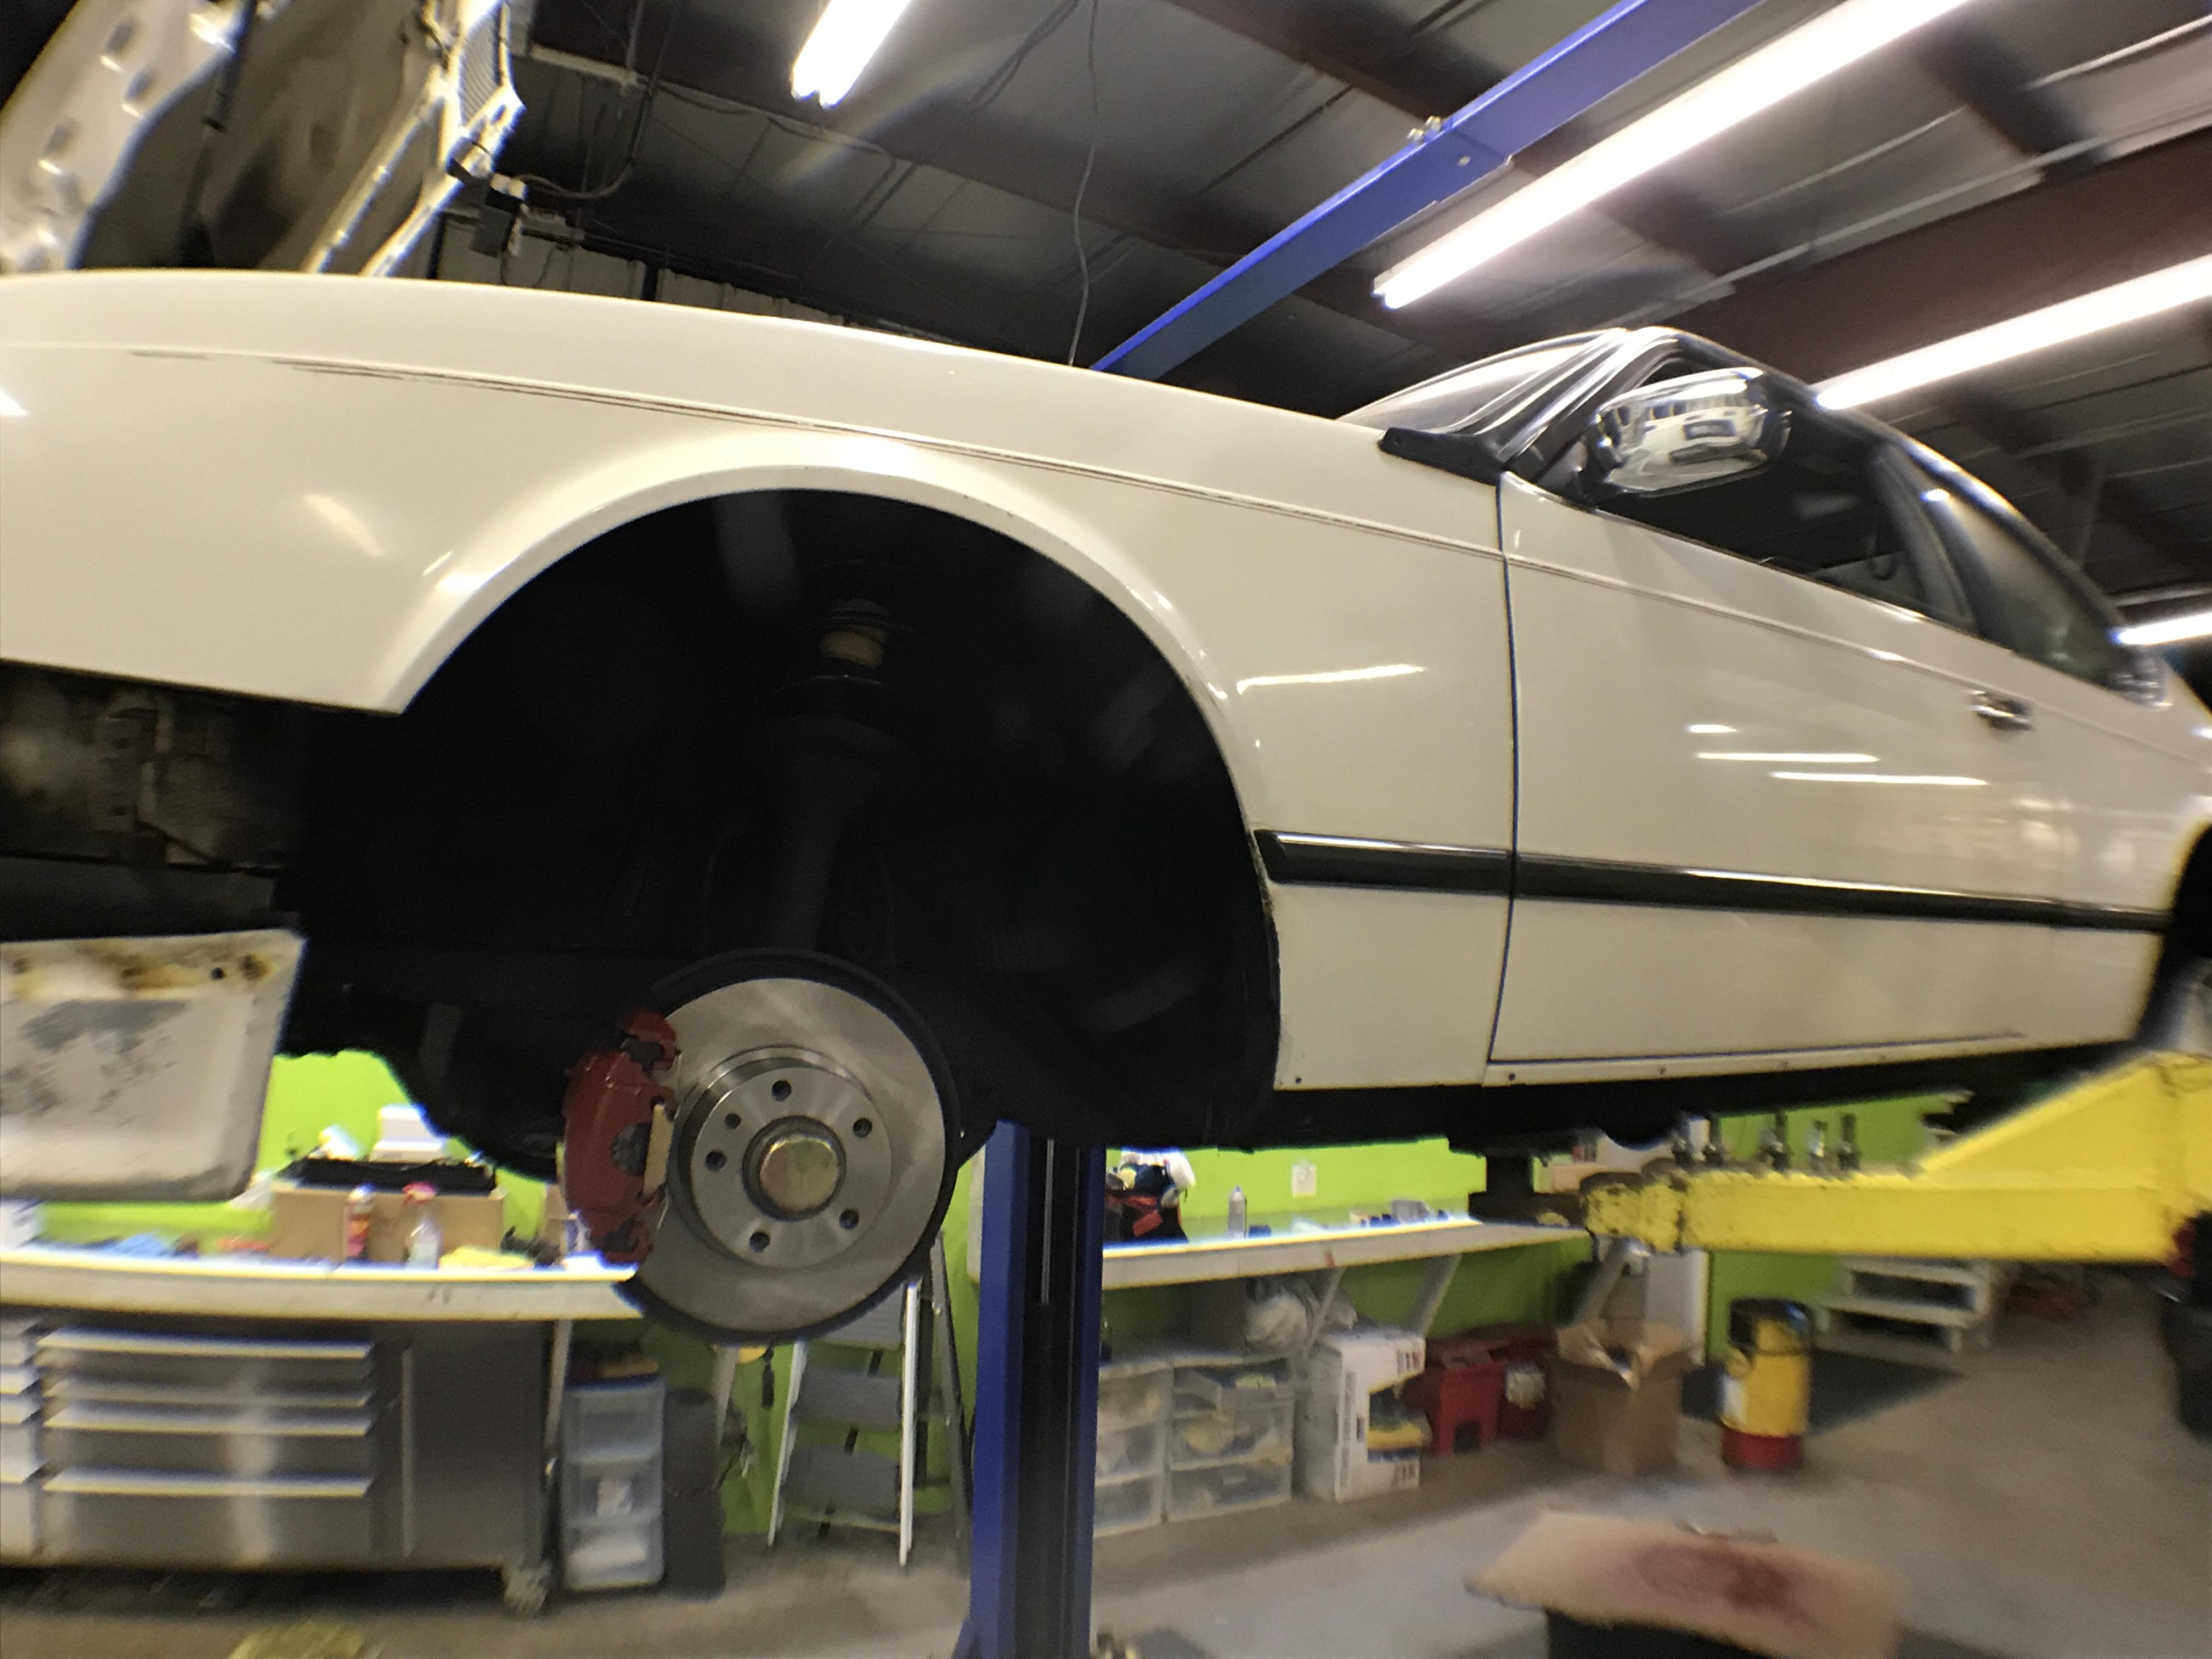
Items have been installed.
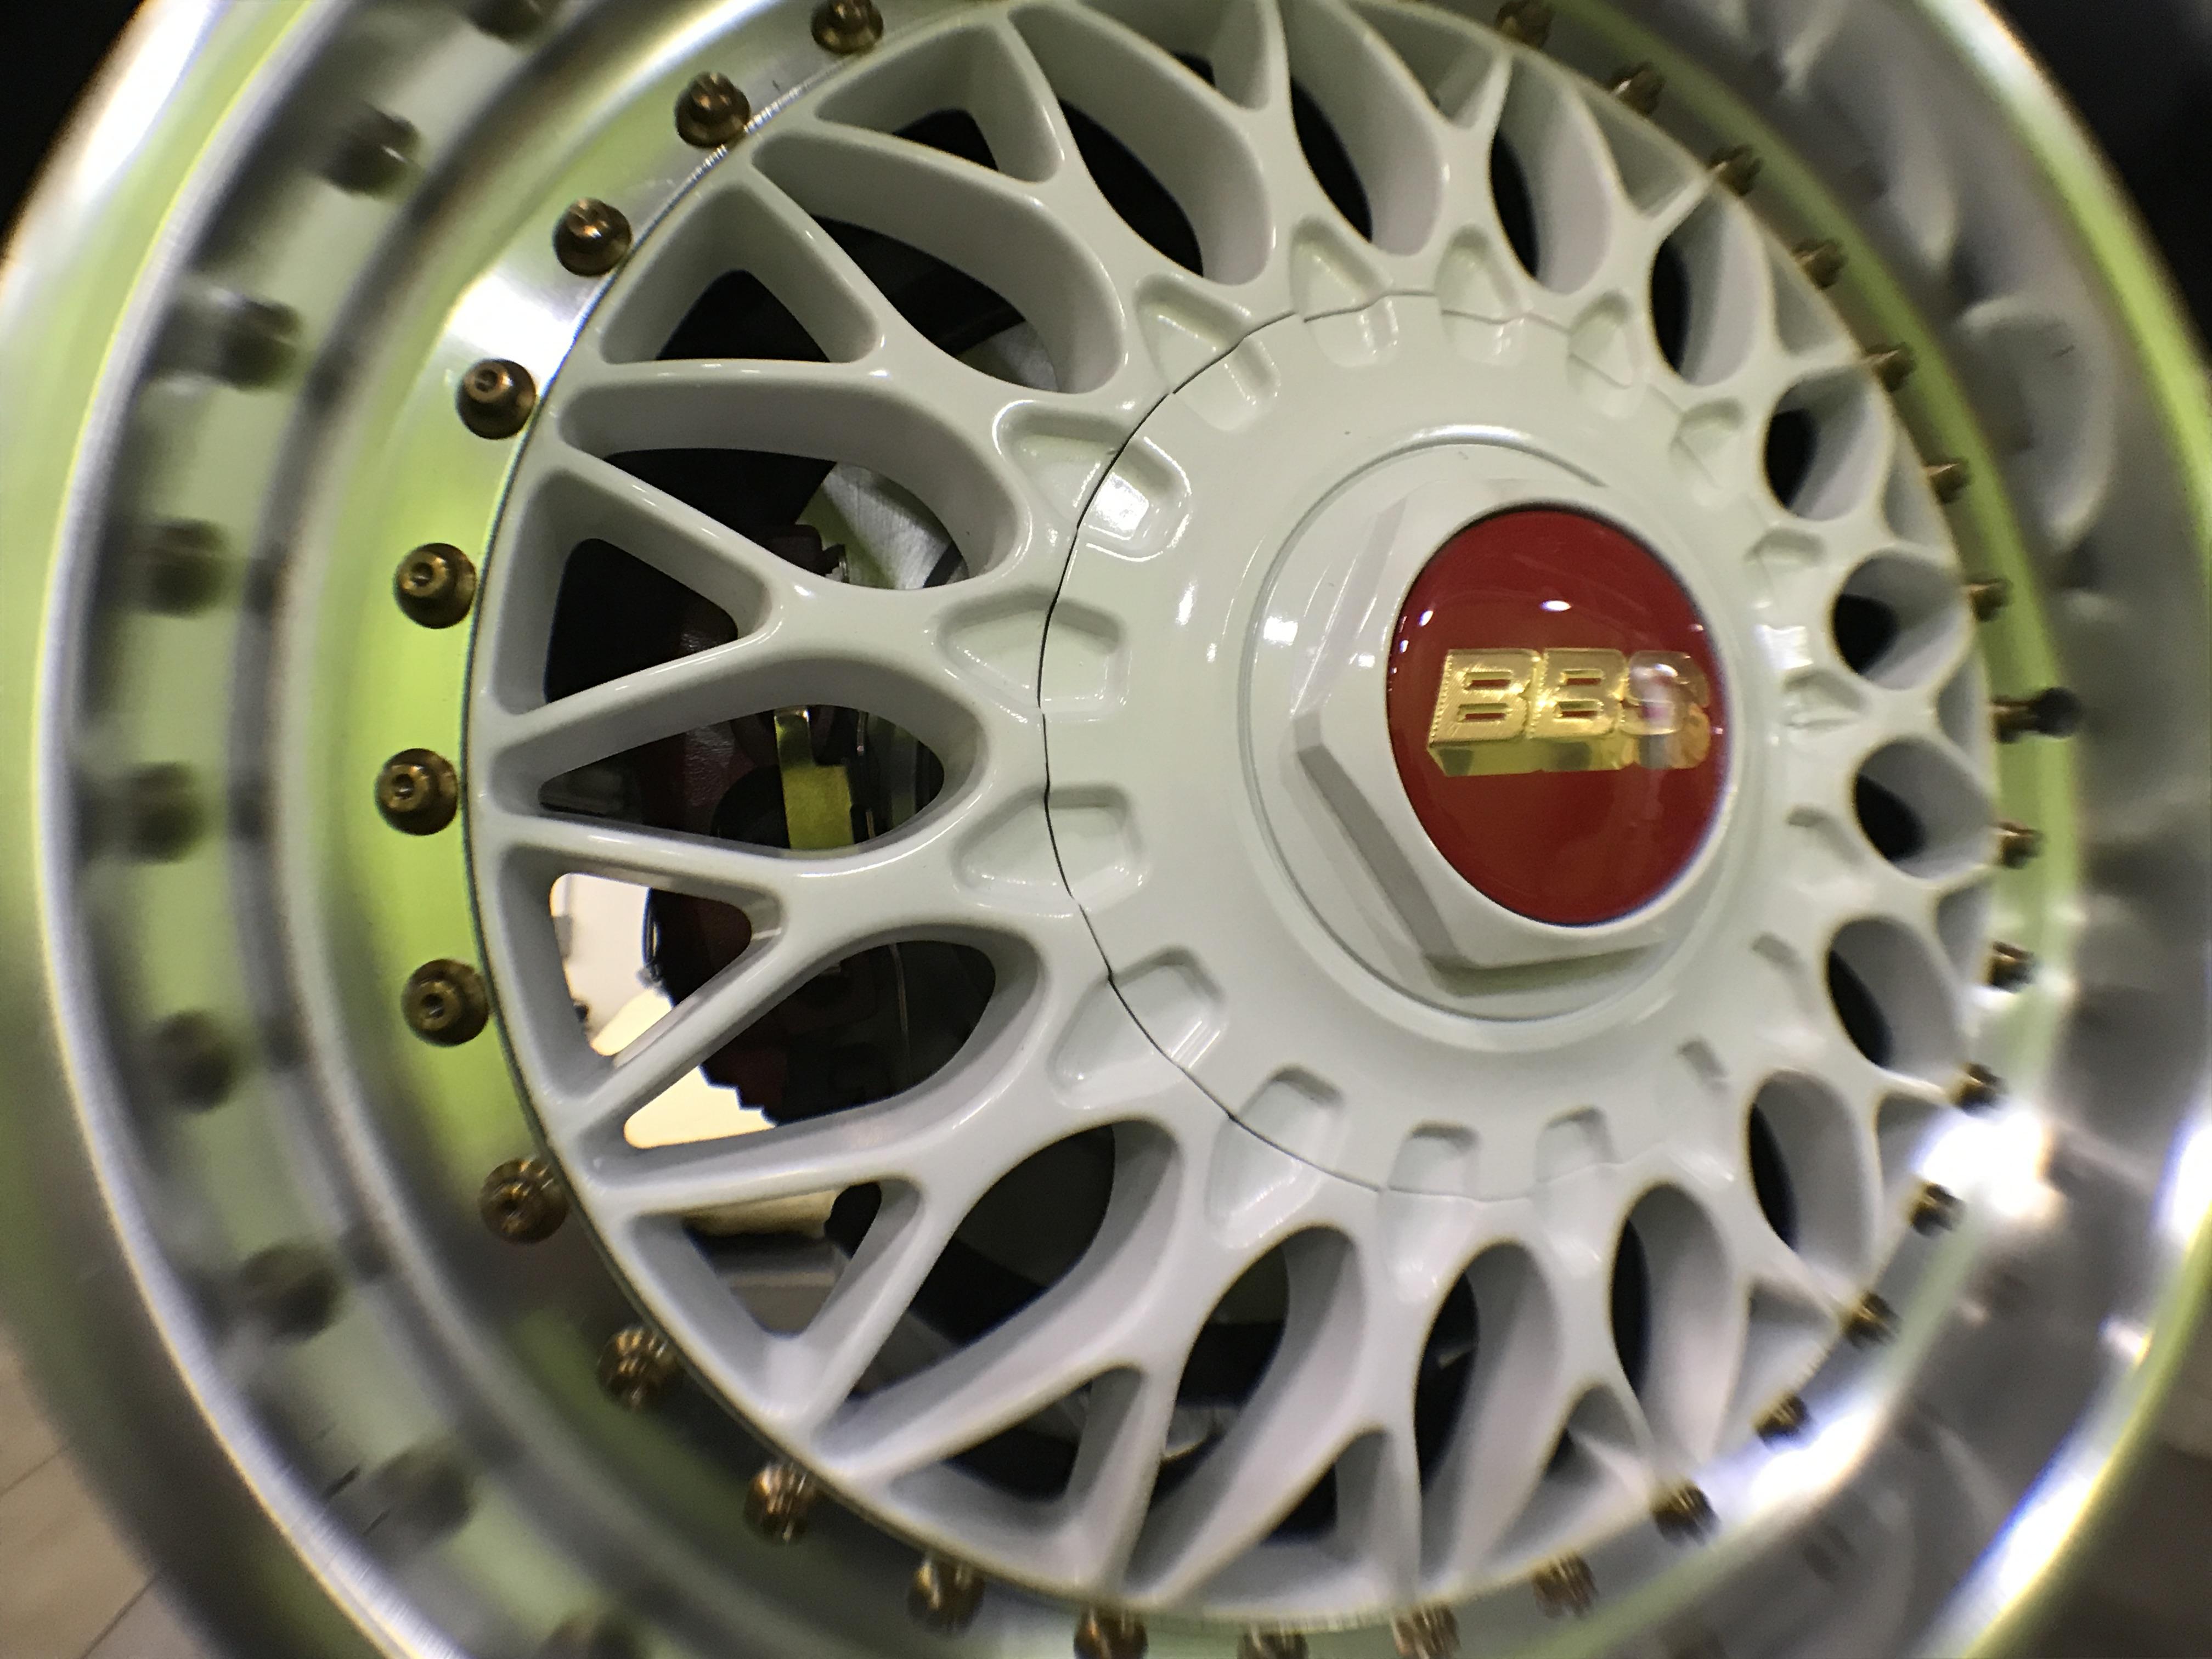
Sorry for the shitty pics. I got an adapter lens for my phone and was messing with it.
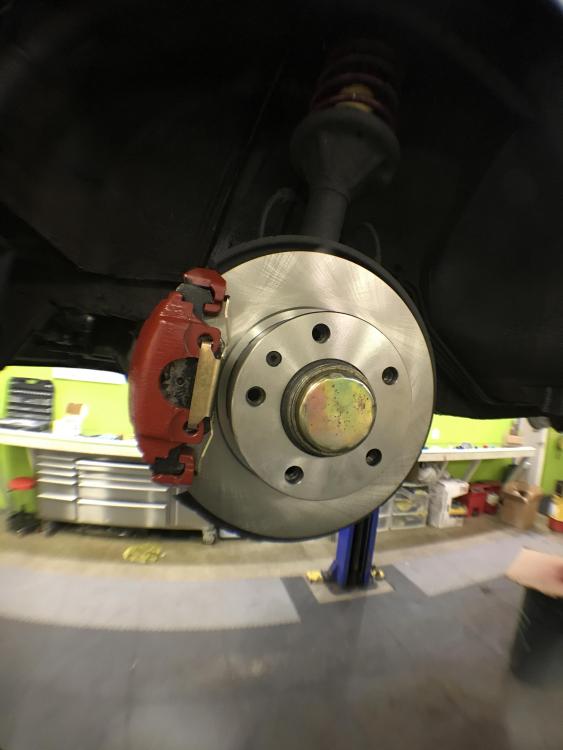
I love how you can see the zinc clips through the wheels with the red calipers. It matches so perfectly.
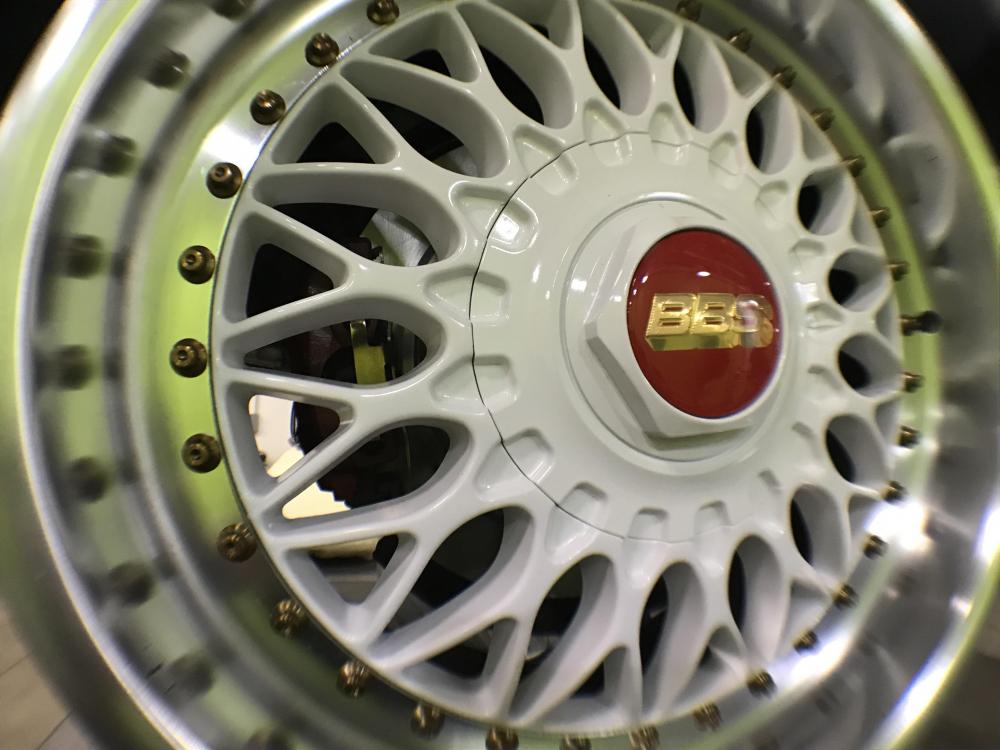
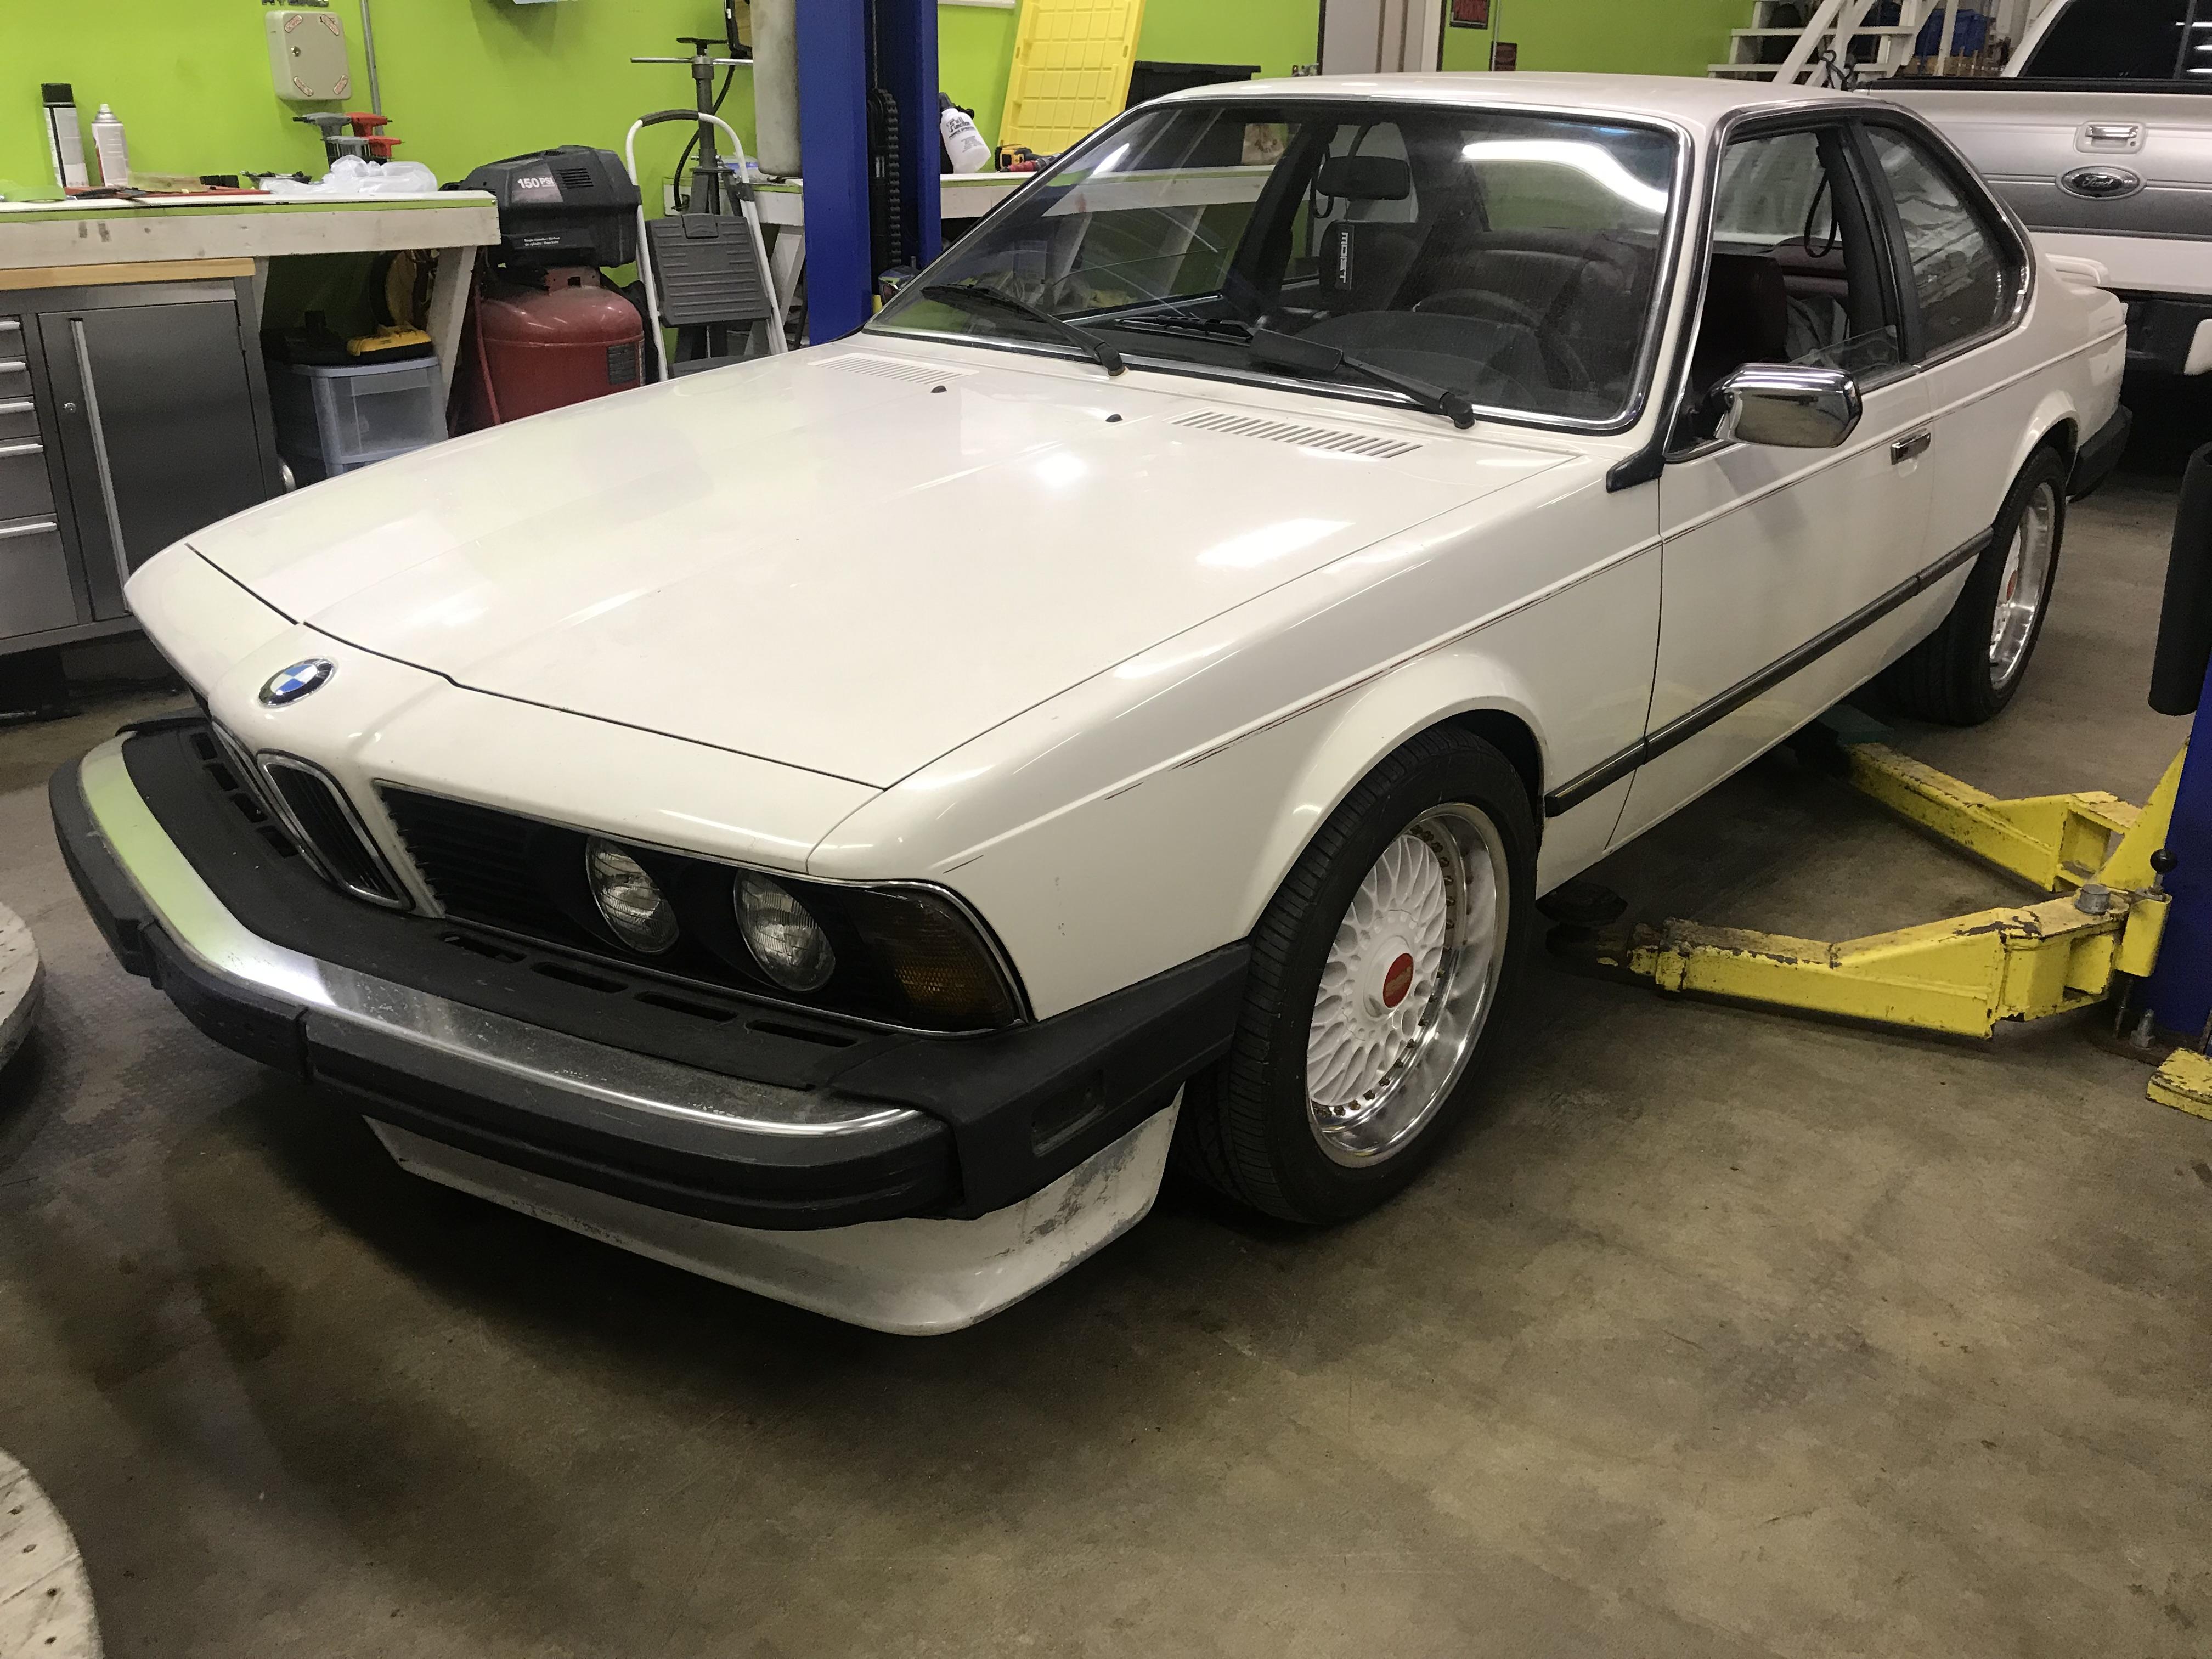
Also a picture of the test fit without tires.
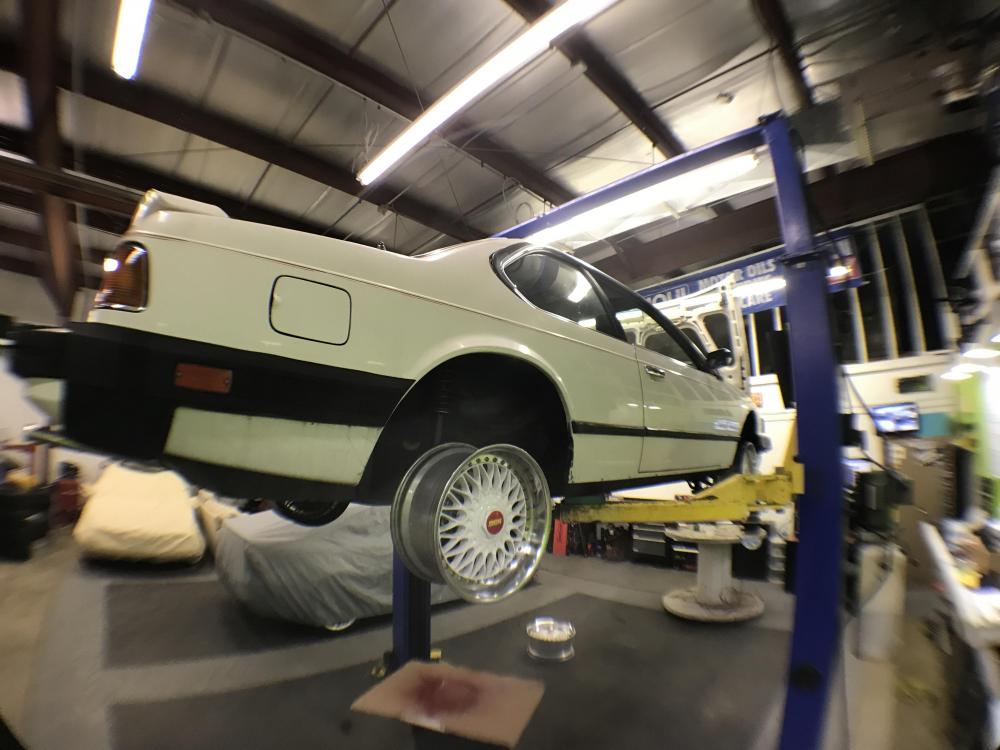
I had my friend Connor come last night and take a look at the paint. He runs his own detailing business and does really high end cars (Ferrari's and such). I was curious as to getting the pin stripe off, getting the car resprayed, wet sanding it, or having him detail it. I was looking for a professional opinion.
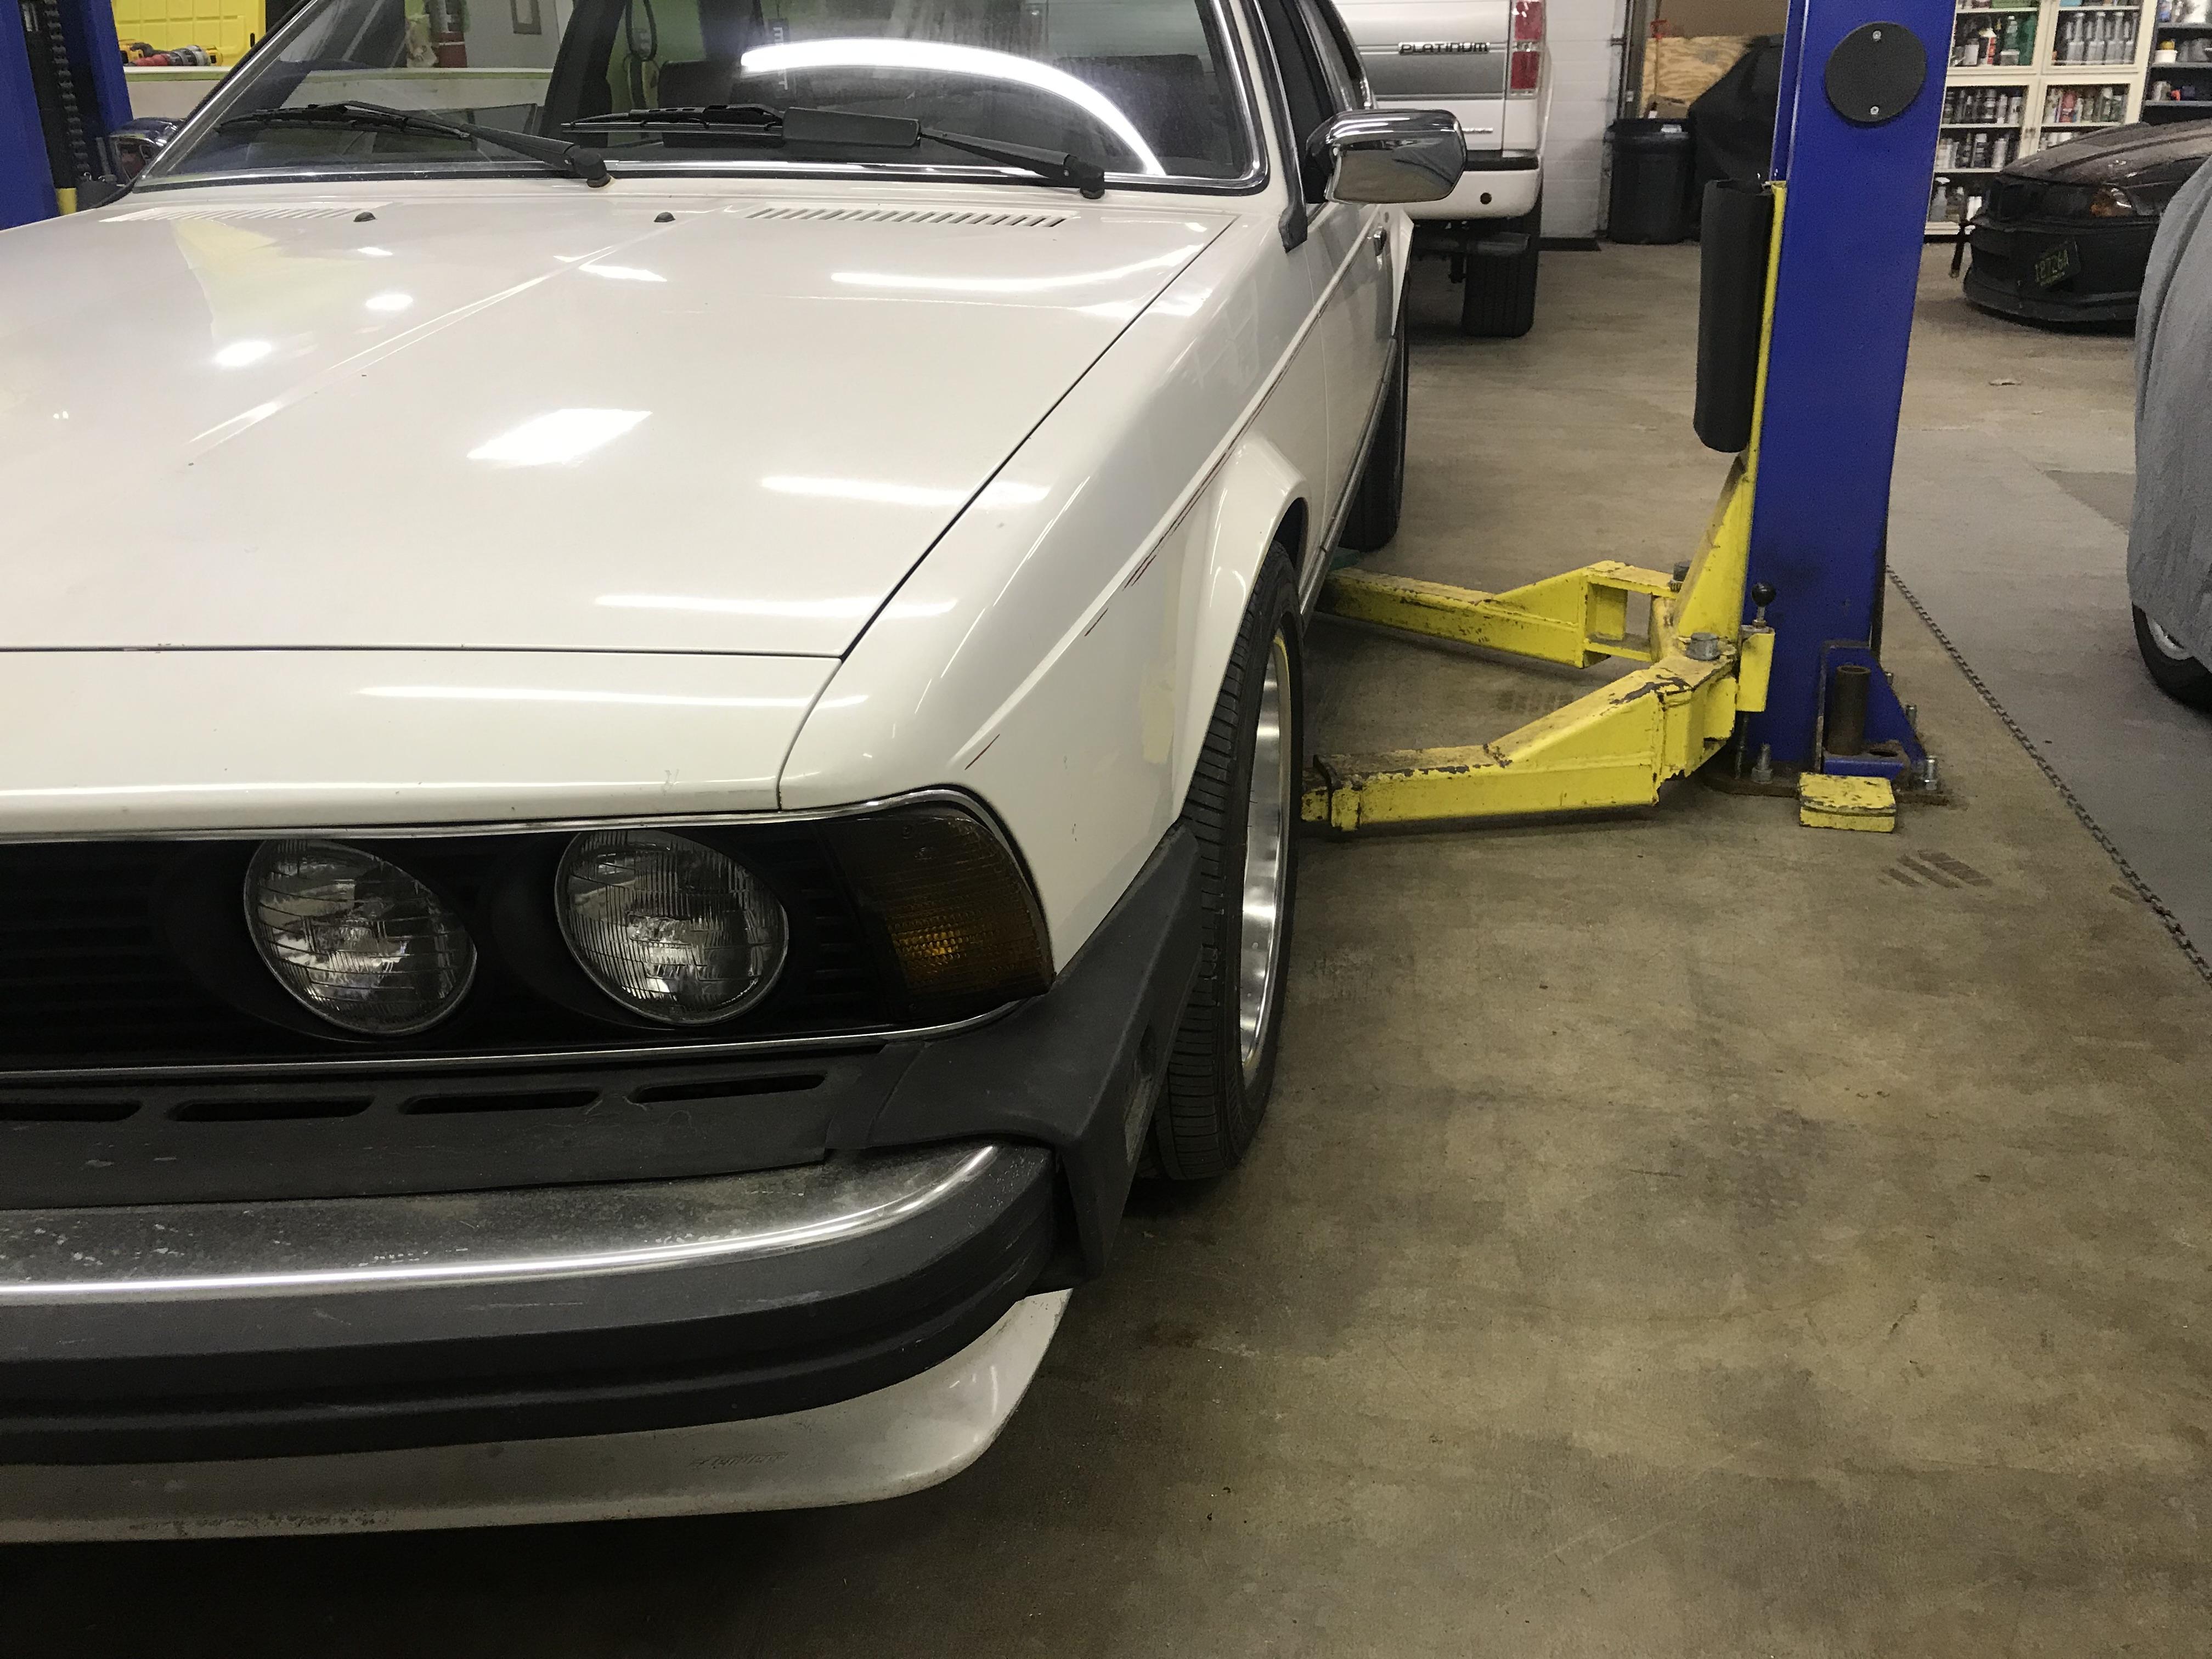
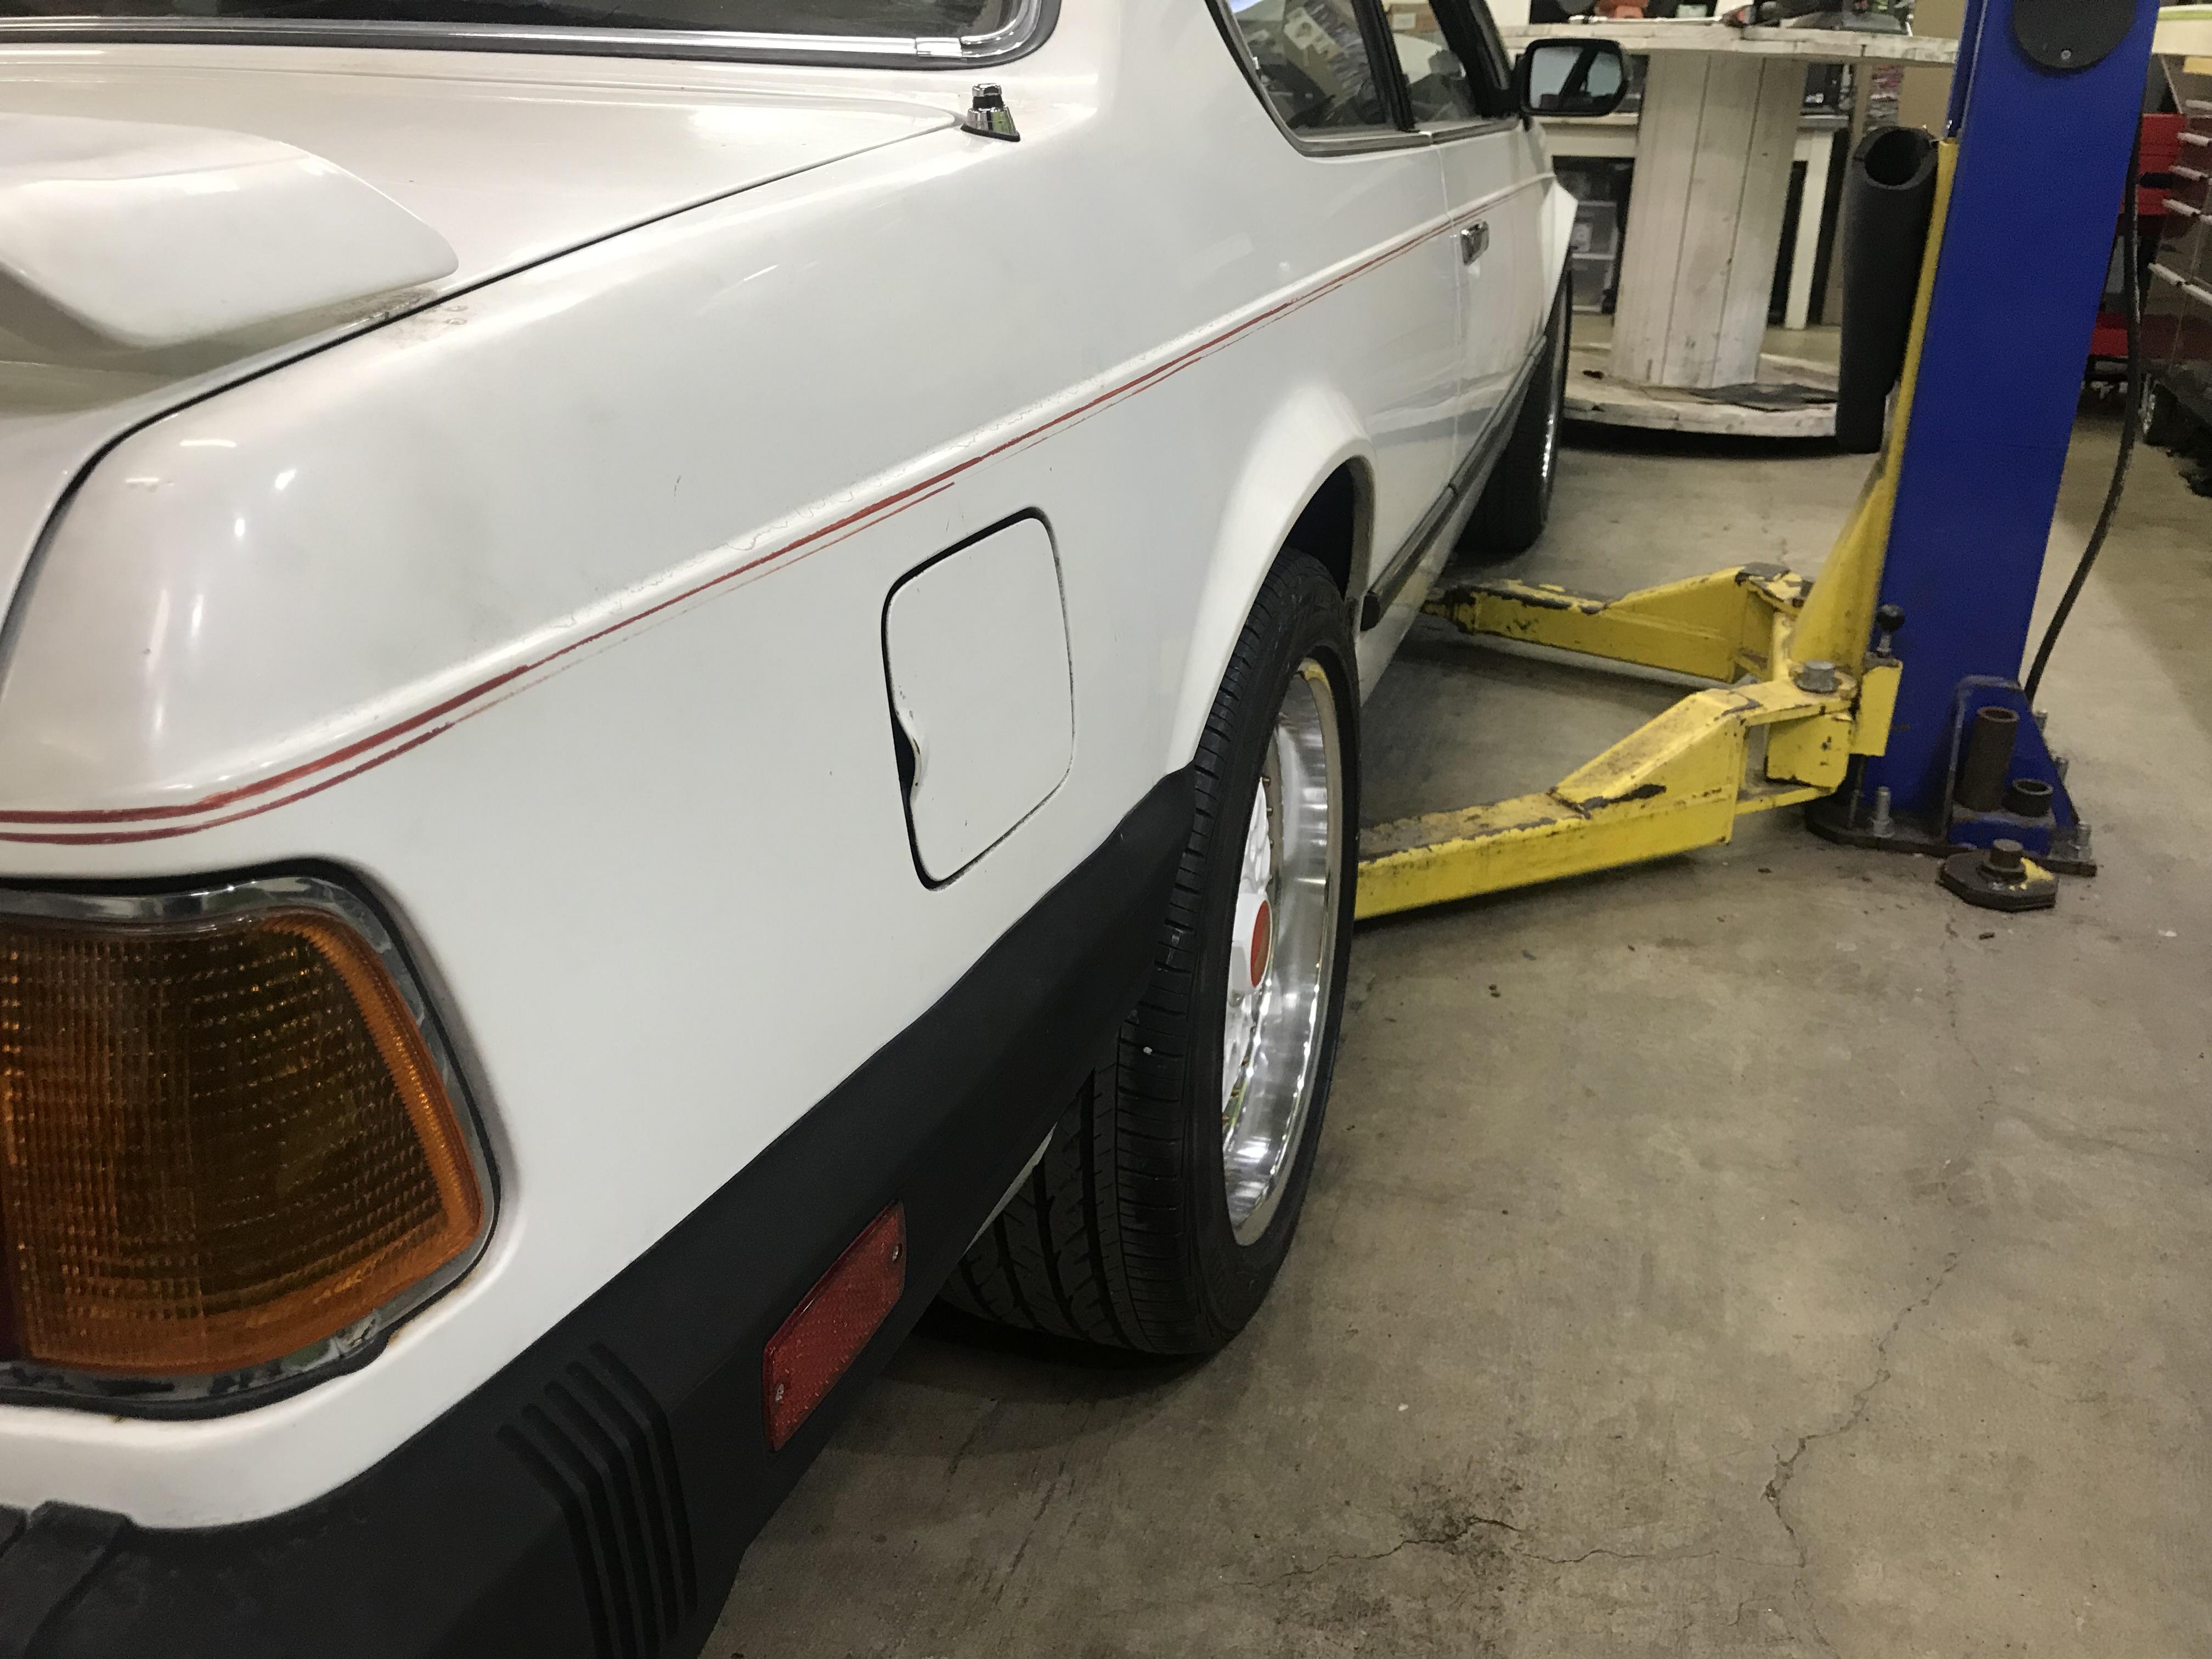
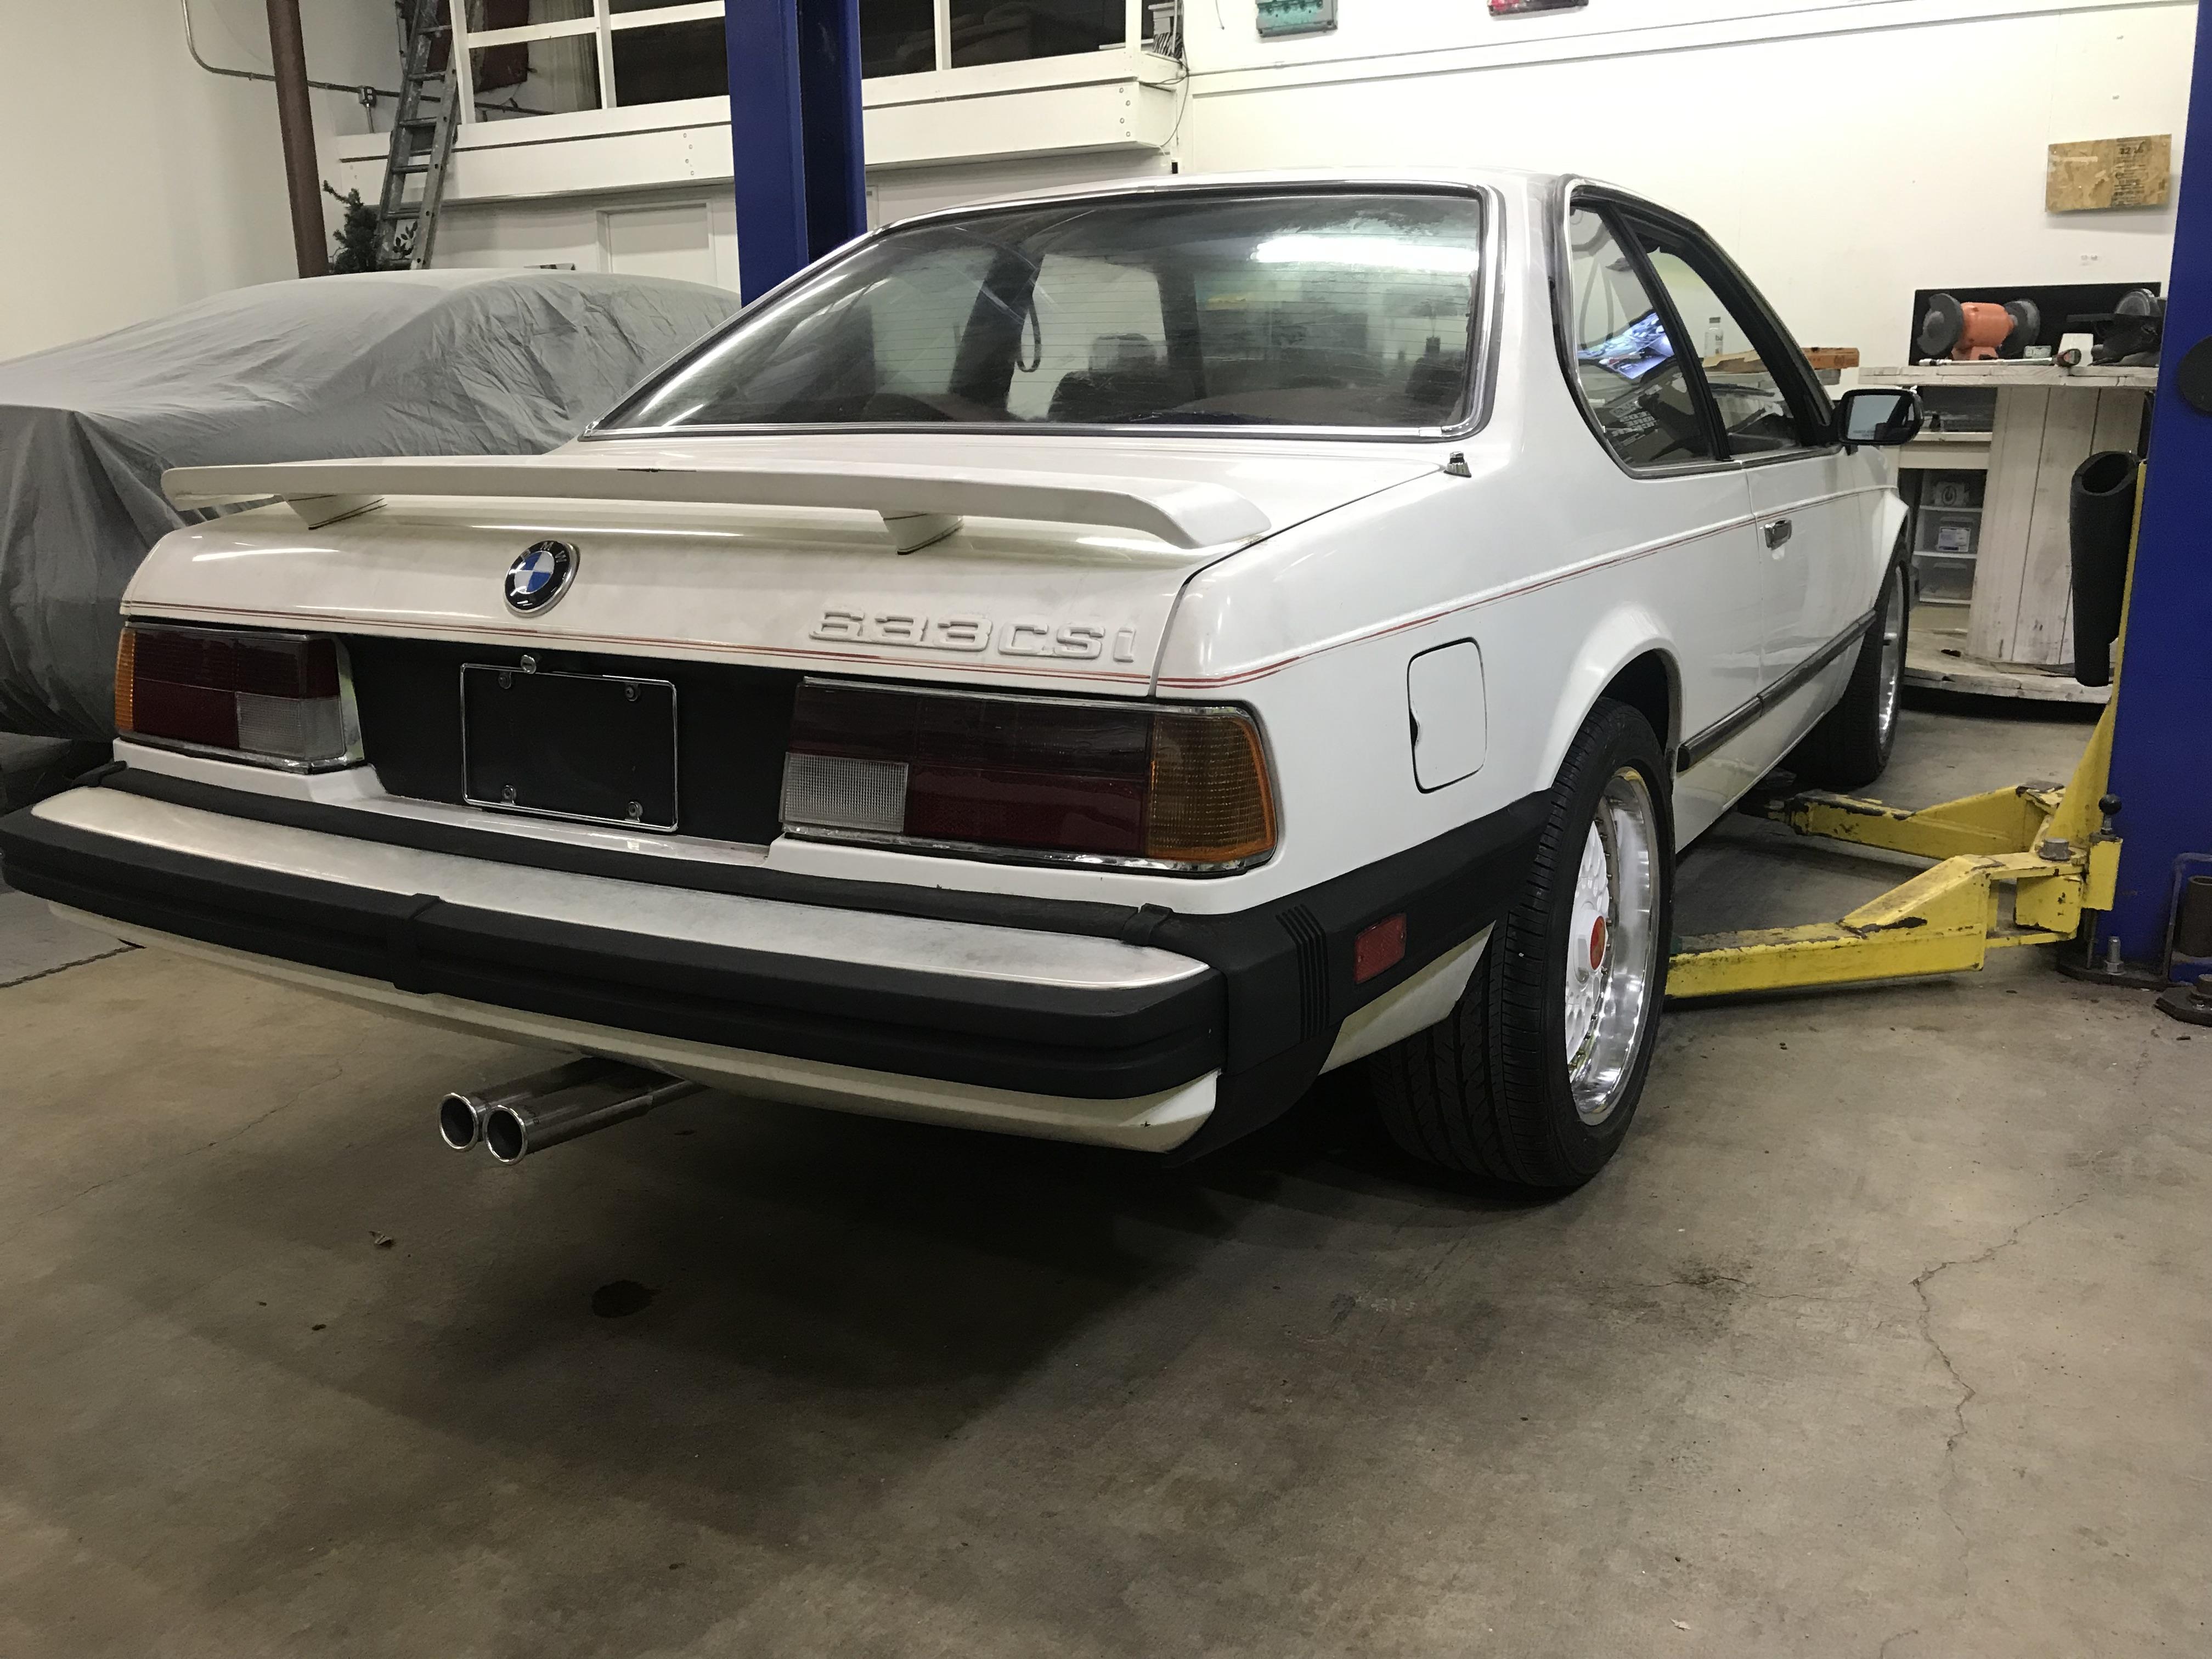
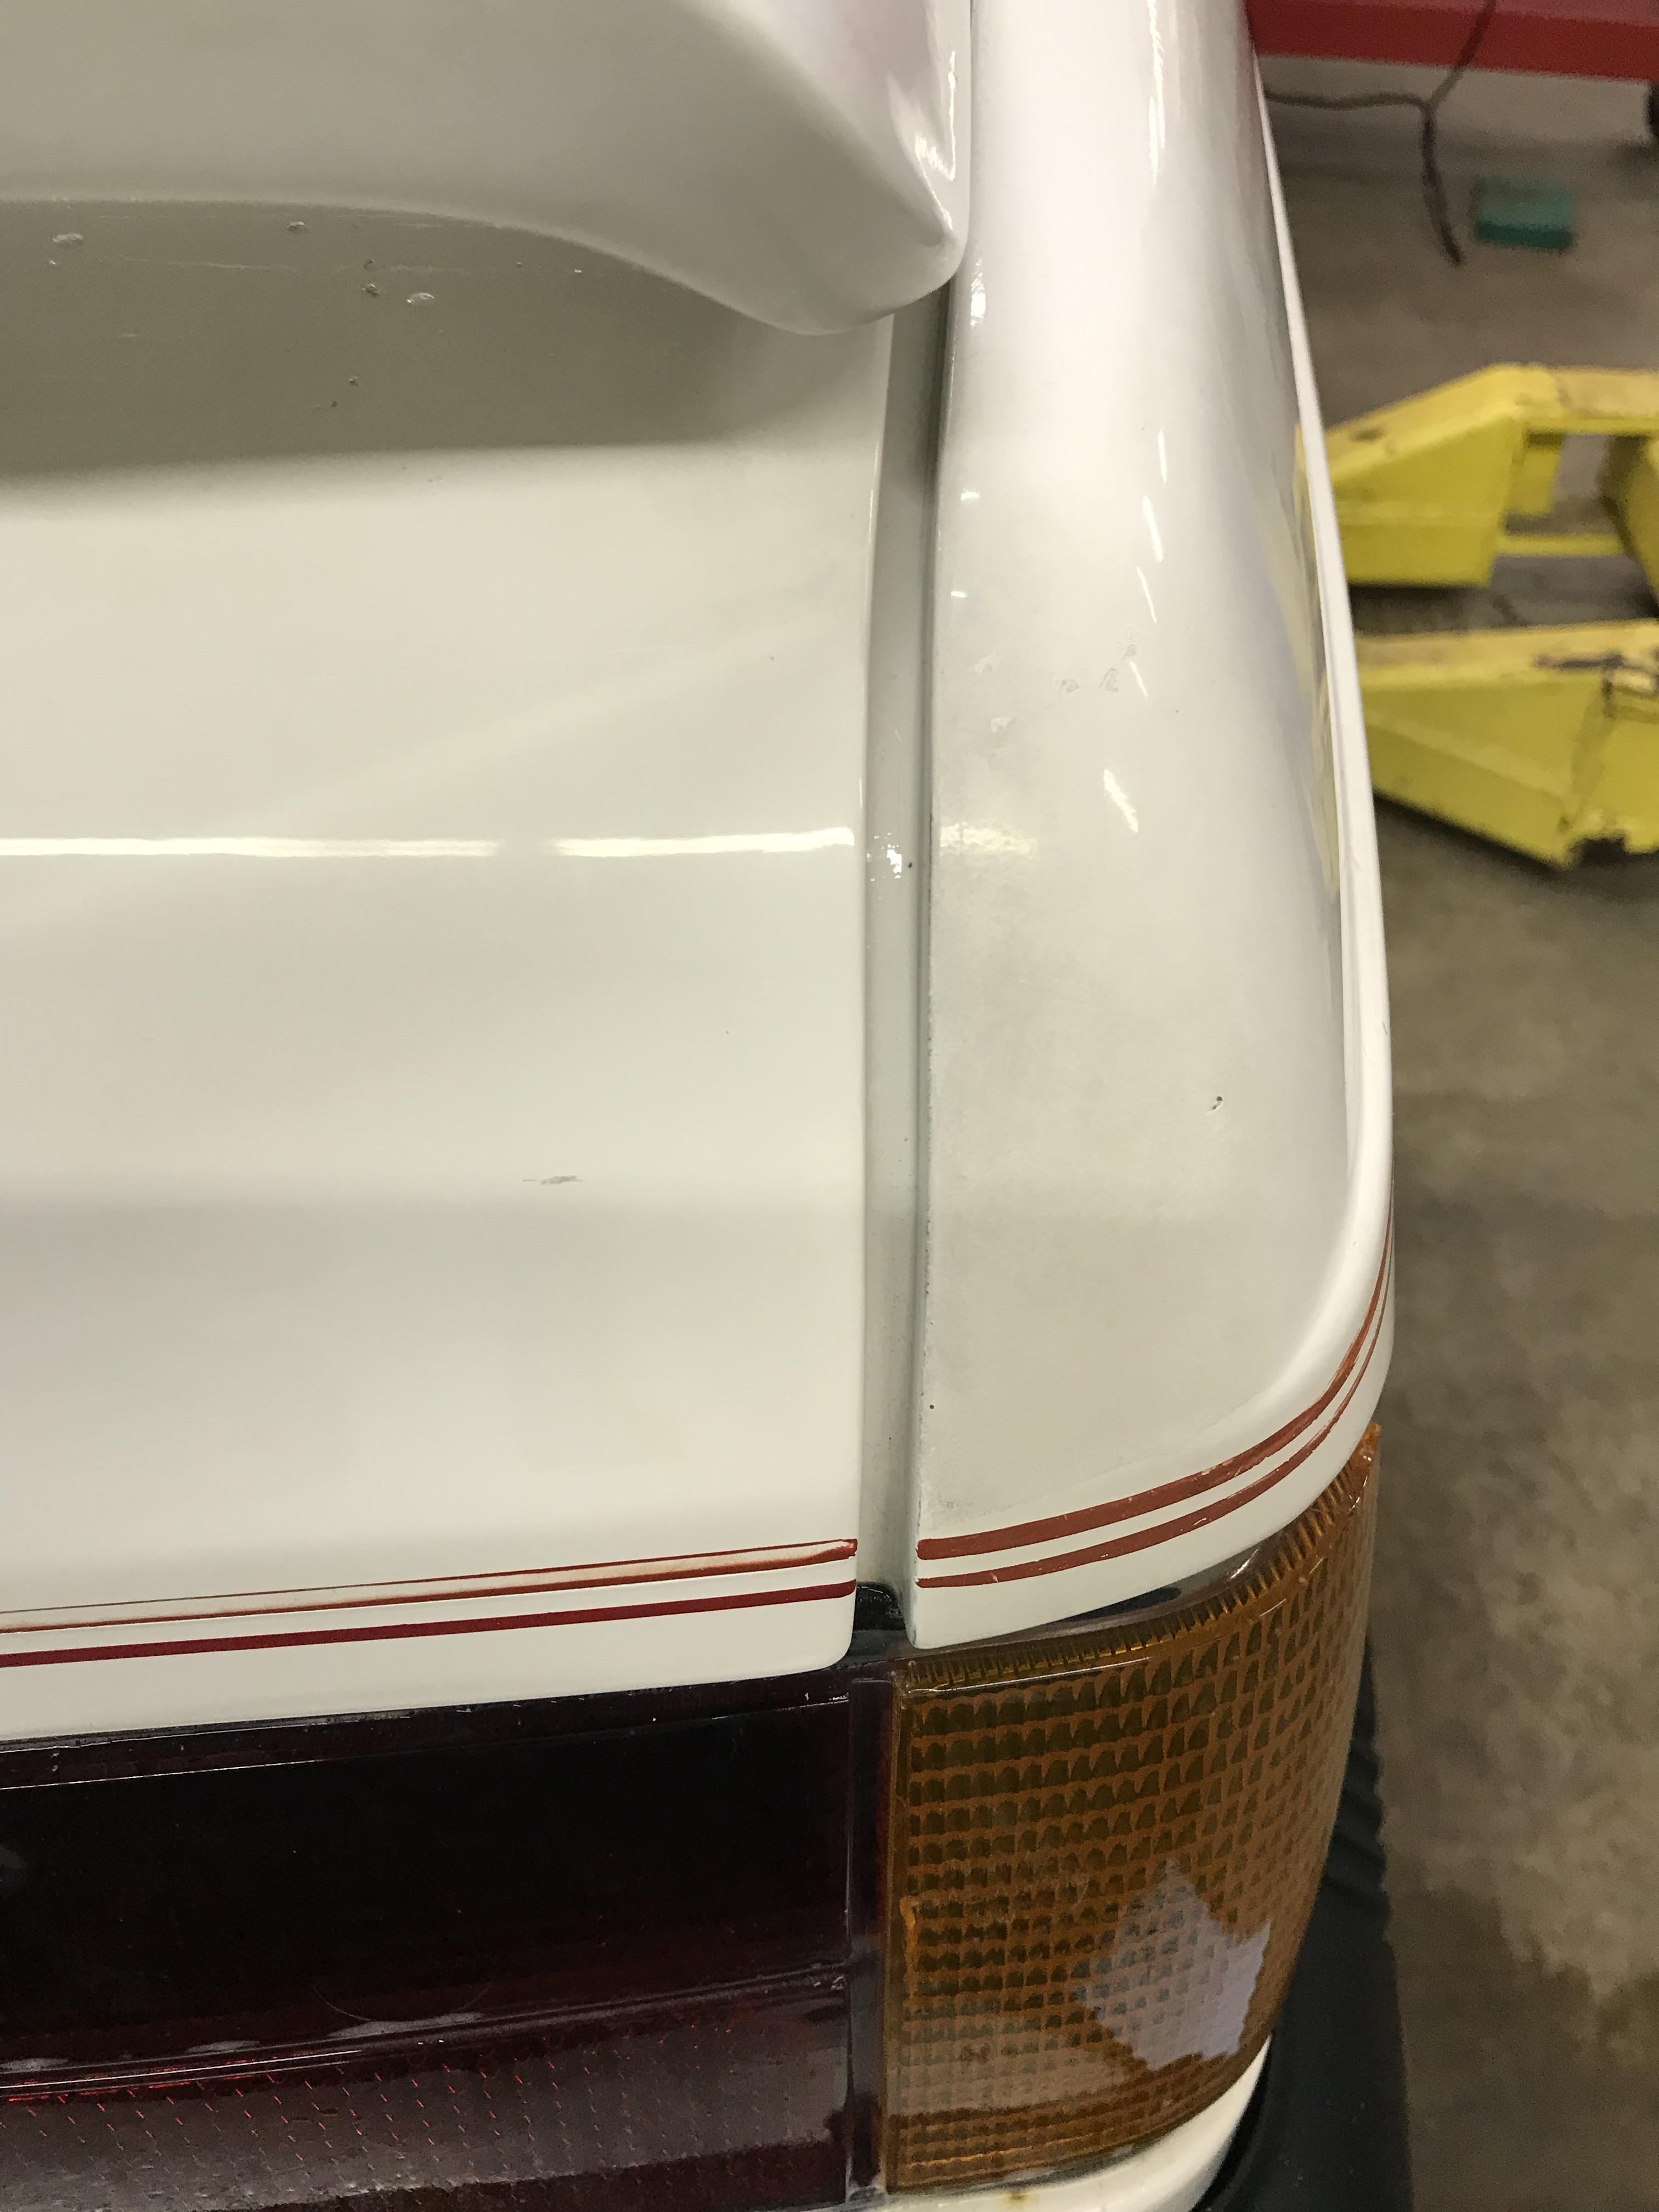
Upon inspection, as I have already noticed, the car was resprayed at one point, and they just went over the factory color. So there is a thin layer of white on the outside, then the OEM alpine under that. Its hard to determine if its actually the correct Alpine but as you can see, the wheels were matched to the paint code, yet they are MUCH brighter than the car. Why it was completely resprayed is unknown, but when it was painted, the pin stripe was done immediately after too, so when its removed, you can see the red pigment from the stripe has leached into the white. So it will need to have a pin stripe or a respray no matter what. In the end, we decided that I will personally continue to polish the paint out, but he is going to set me up with some supplies that will make my life easier. He told me what I was using was basically garbage lol.
https://www.instagram.com/_jdesigner_/ http://nevertoolow.tumblr.com/
🥳SOLD BMW E24 633CSI - BMW M30B32 🧪SOLD HCH ES9 - 1.3 LDA
👽BMW E30 325IC - Toyota 1JZ-GTE ⏰ HONDA EF9 CIVIC SI - JDM B18C5
☠️BMW E36 318i - Ford 5.0 FE302 🚴♂️ GT-Labomba - 26x2.75 Freeride
🤹♀️SOLD BMW E36/7 Z3 - BMW M54B25 🧓SOLD BMW E10 2002 - BMW M10M05 -
35 y.o. sun faded paint tends to be slightly different than new paint. however, the first gen alpinweiss paints were not very "bright" white, are you sure the color match on that wheel was done correctly? the car looks alpinweiss I to me.
when I had my front valance painted, i had the shop match a side mirror instead of relying on the code.
Dan

-
35 y.o. sun faded paint tends to be slightly different than new paint. however, the first gen alpinweiss paints were not very "bright" white, are you sure the color match on that wheel was done correctly? the car looks alpinweiss I to me.
when I had my front valance painted, i had the shop match a side mirror instead of relying on the code.
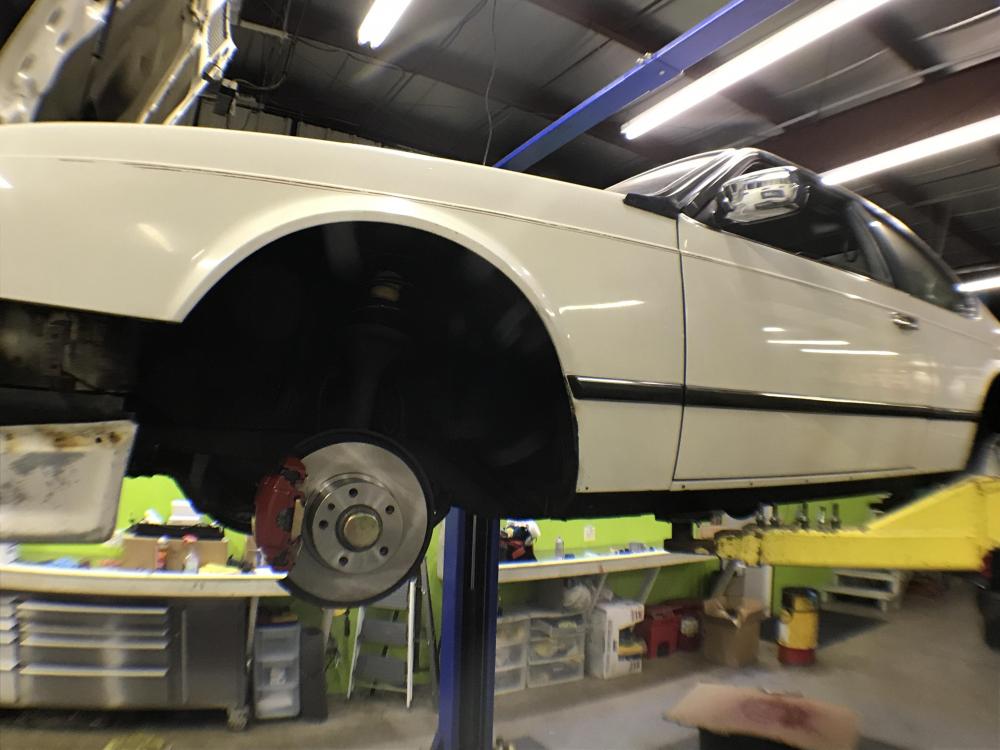
Yes. I took the code from the label on the strut tower. I wiped a section of the hood clean when we were looking at it yesterday. The paint is a lot brighter when its not covered in years of grime and dirt. There is a section in the cowl that hasn't been exposed, and looks to be a perfect match. The other thing I am worried about is the front valance needs a respray, and if I use the same code with will be obvious that its not the same if I cant get the car to come back to the correct shade because its so close to the wheels and its a large part of the body. you can see teh edge of it here, as it is very stained and has paint missing.
https://www.instagram.com/_jdesigner_/ http://nevertoolow.tumblr.com/
🥳SOLD BMW E24 633CSI - BMW M30B32 🧪SOLD HCH ES9 - 1.3 LDA
👽BMW E30 325IC - Toyota 1JZ-GTE ⏰ HONDA EF9 CIVIC SI - JDM B18C5
☠️BMW E36 318i - Ford 5.0 FE302 🚴♂️ GT-Labomba - 26x2.75 Freeride
🤹♀️SOLD BMW E36/7 Z3 - BMW M54B25 🧓SOLD BMW E10 2002 - BMW M10M05 -
Extra excited.
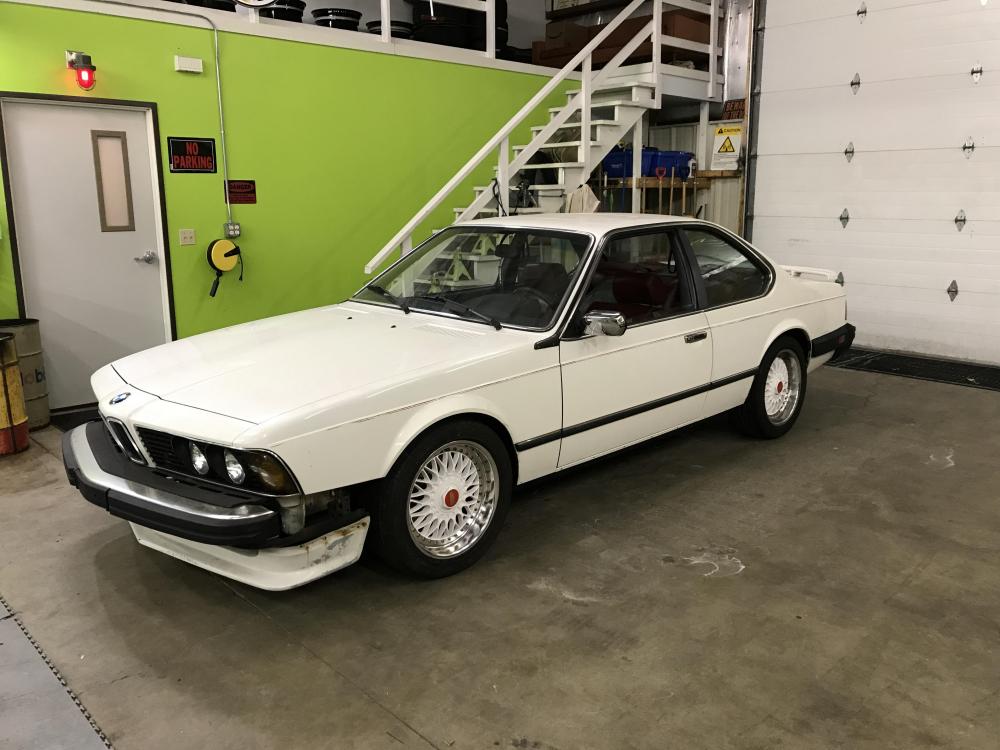
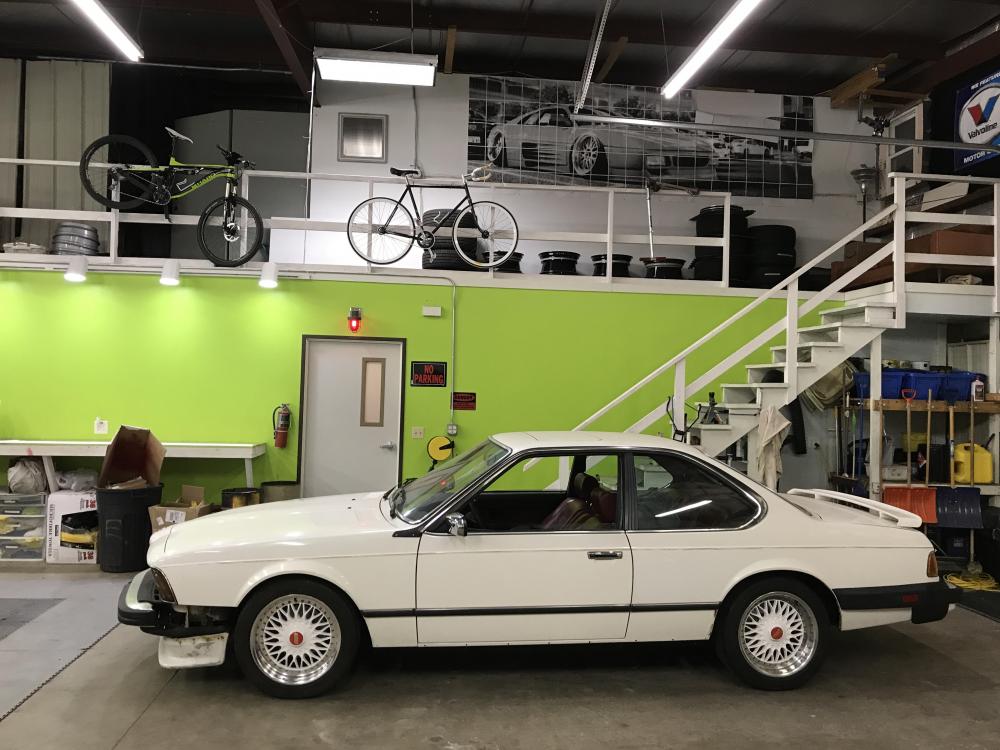
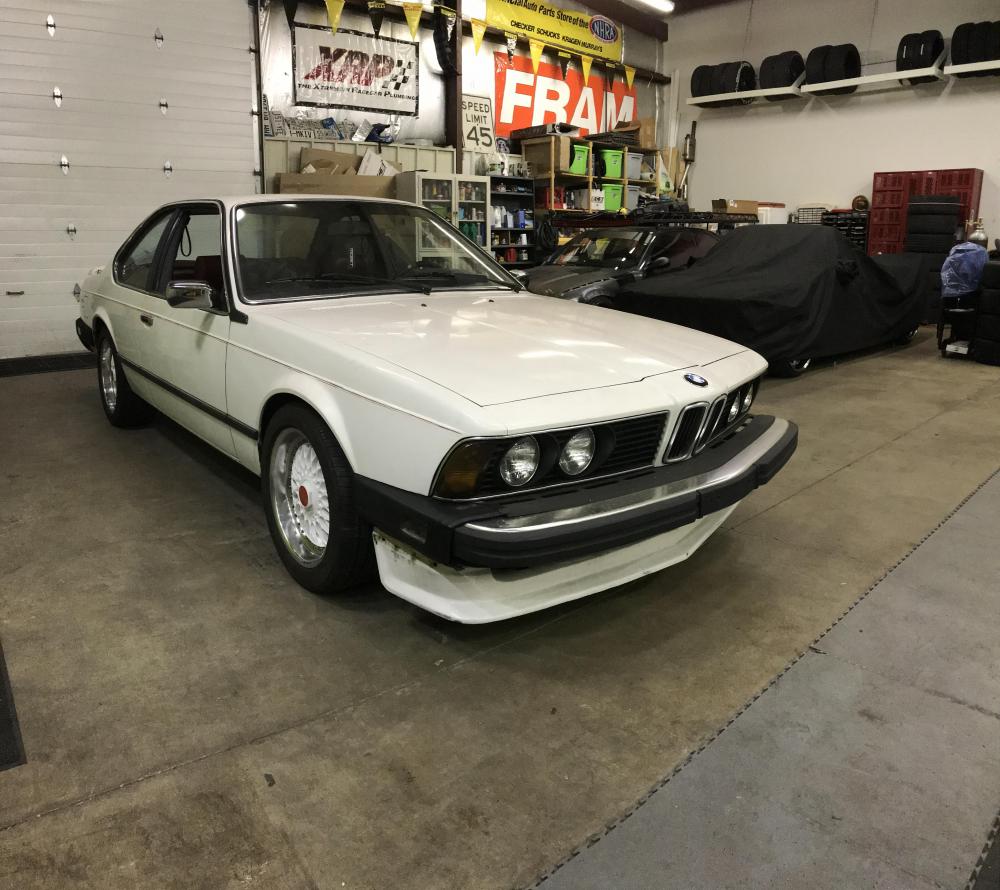
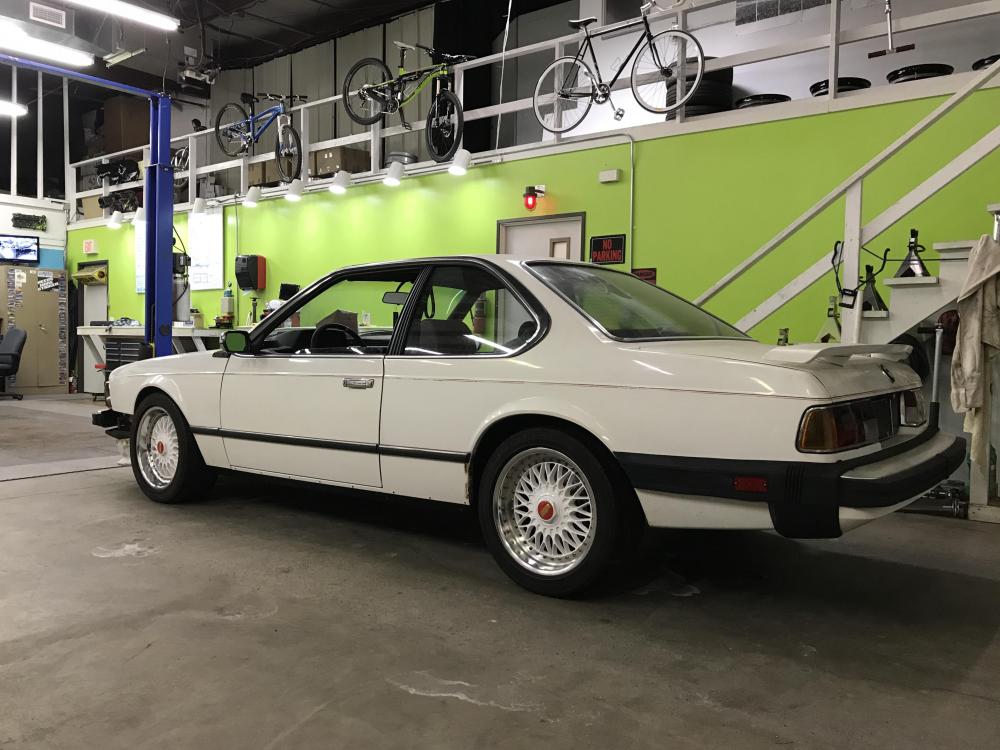
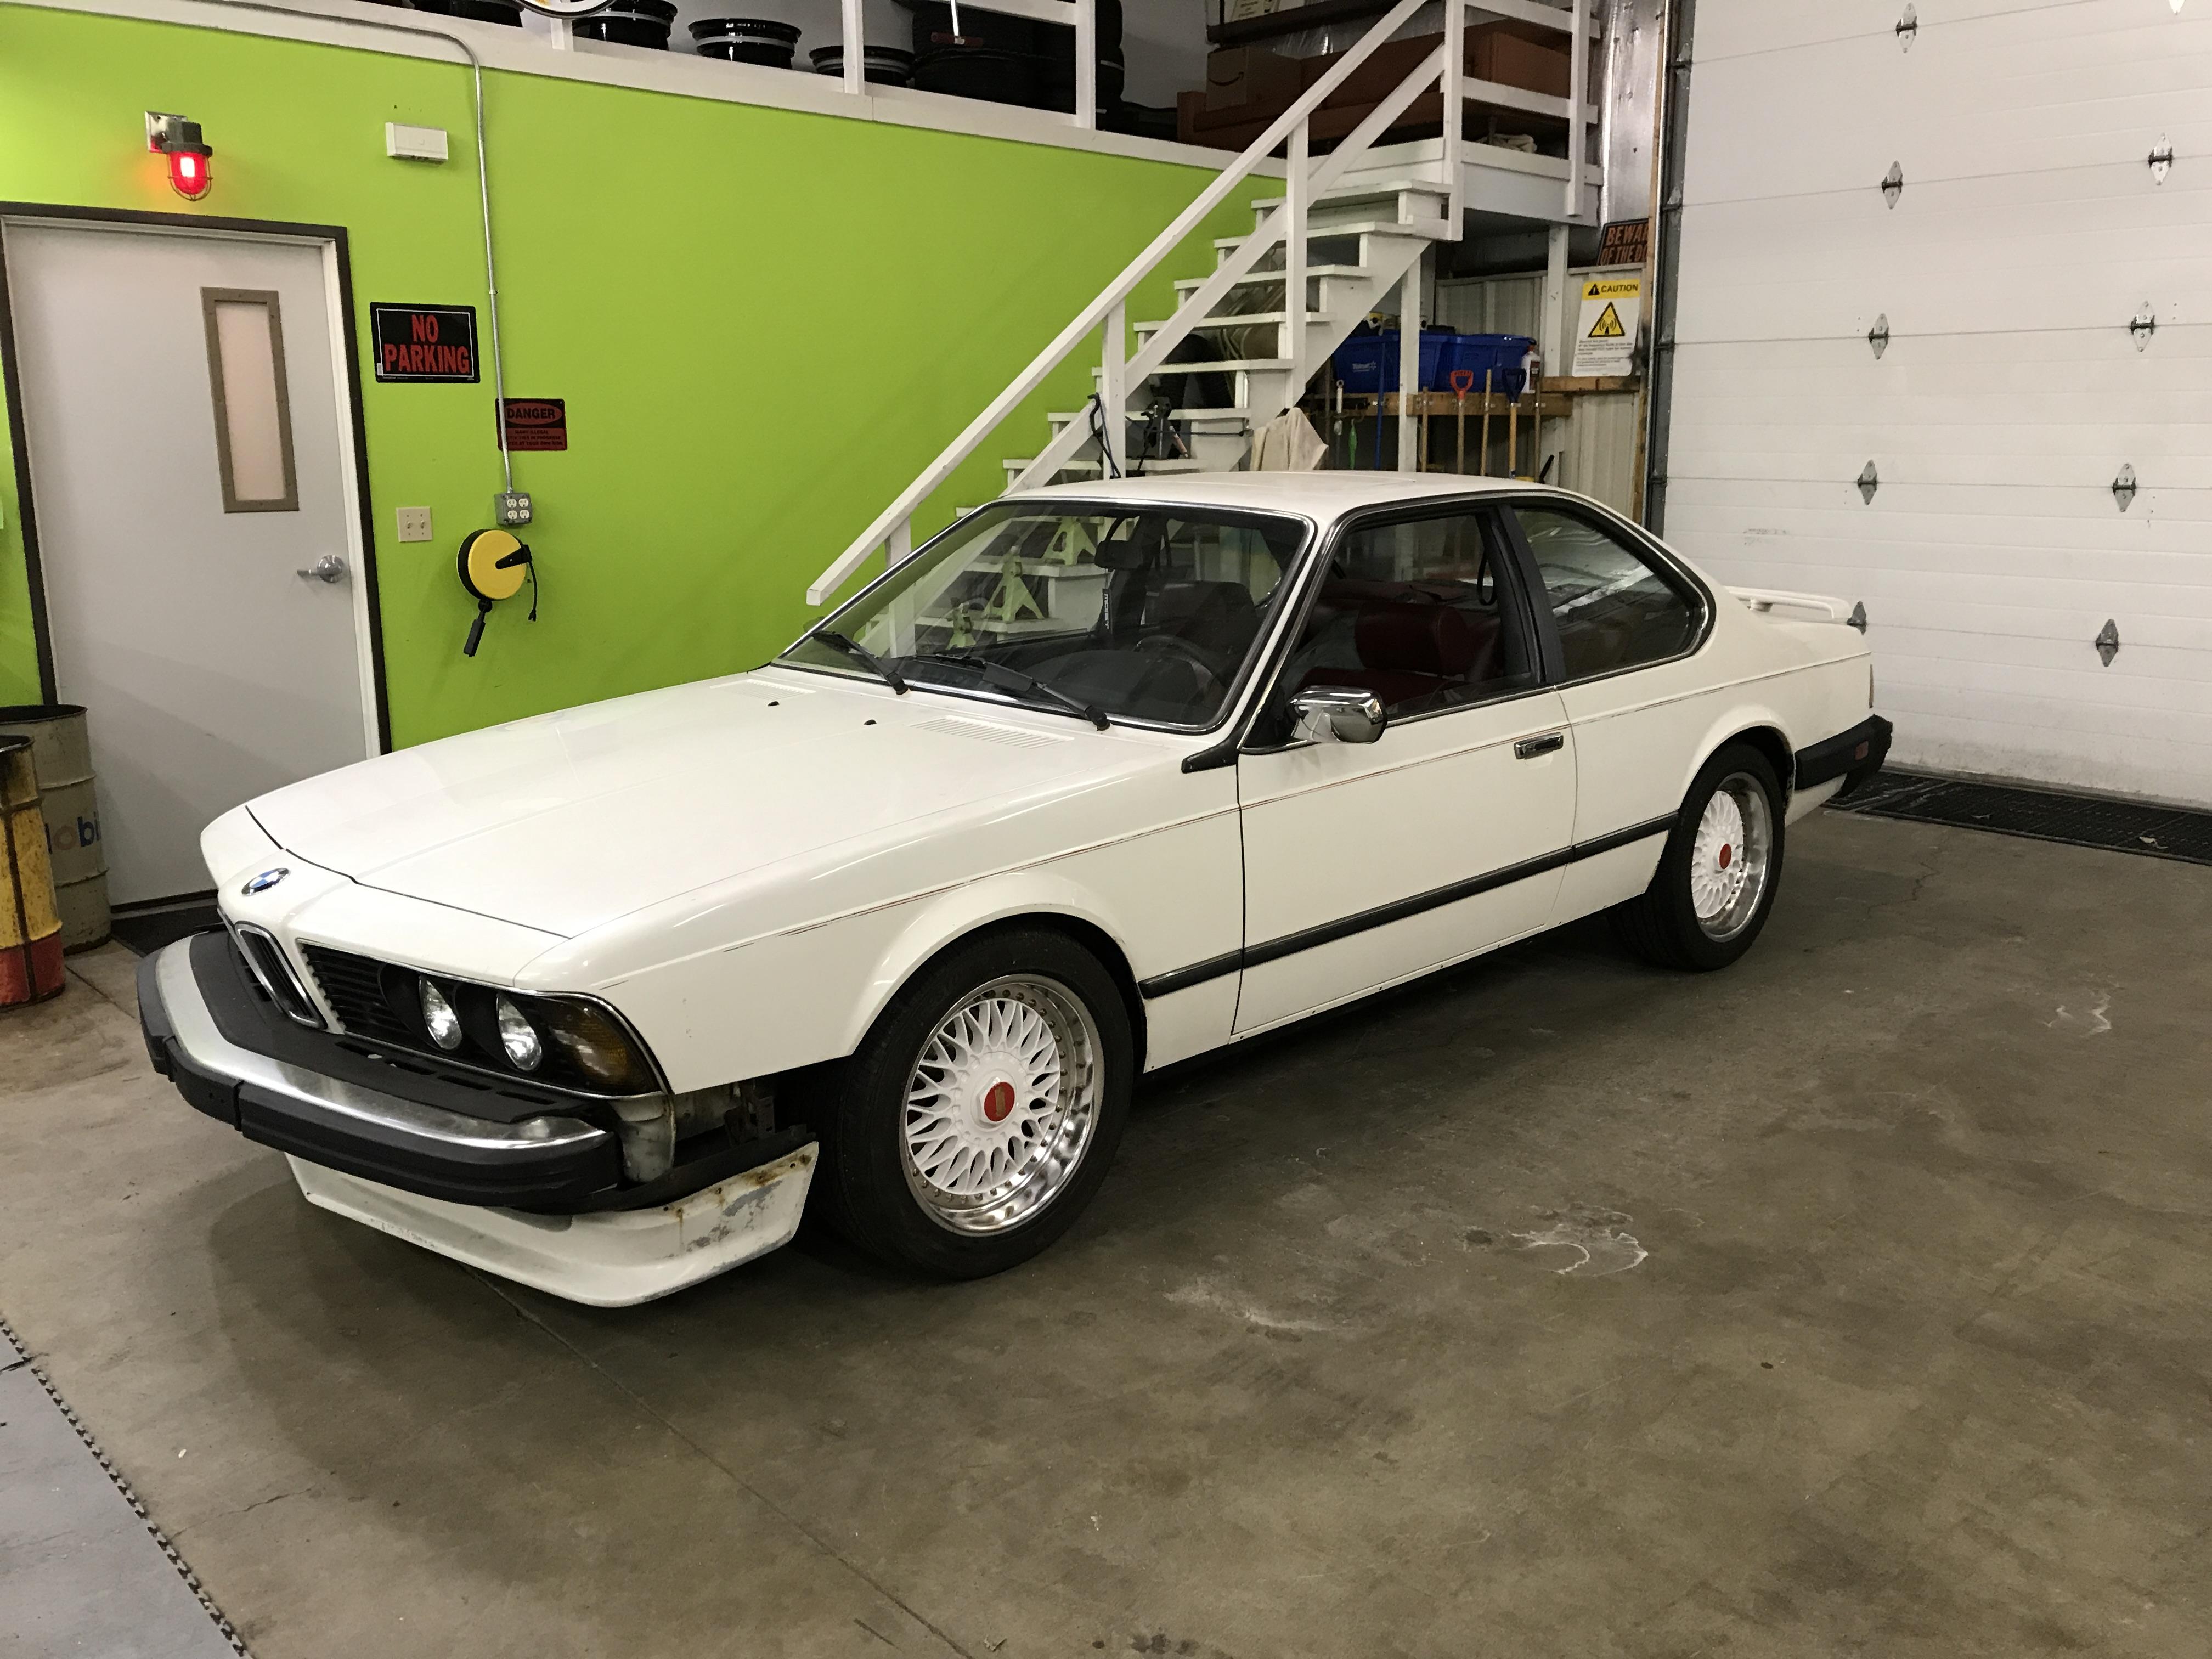
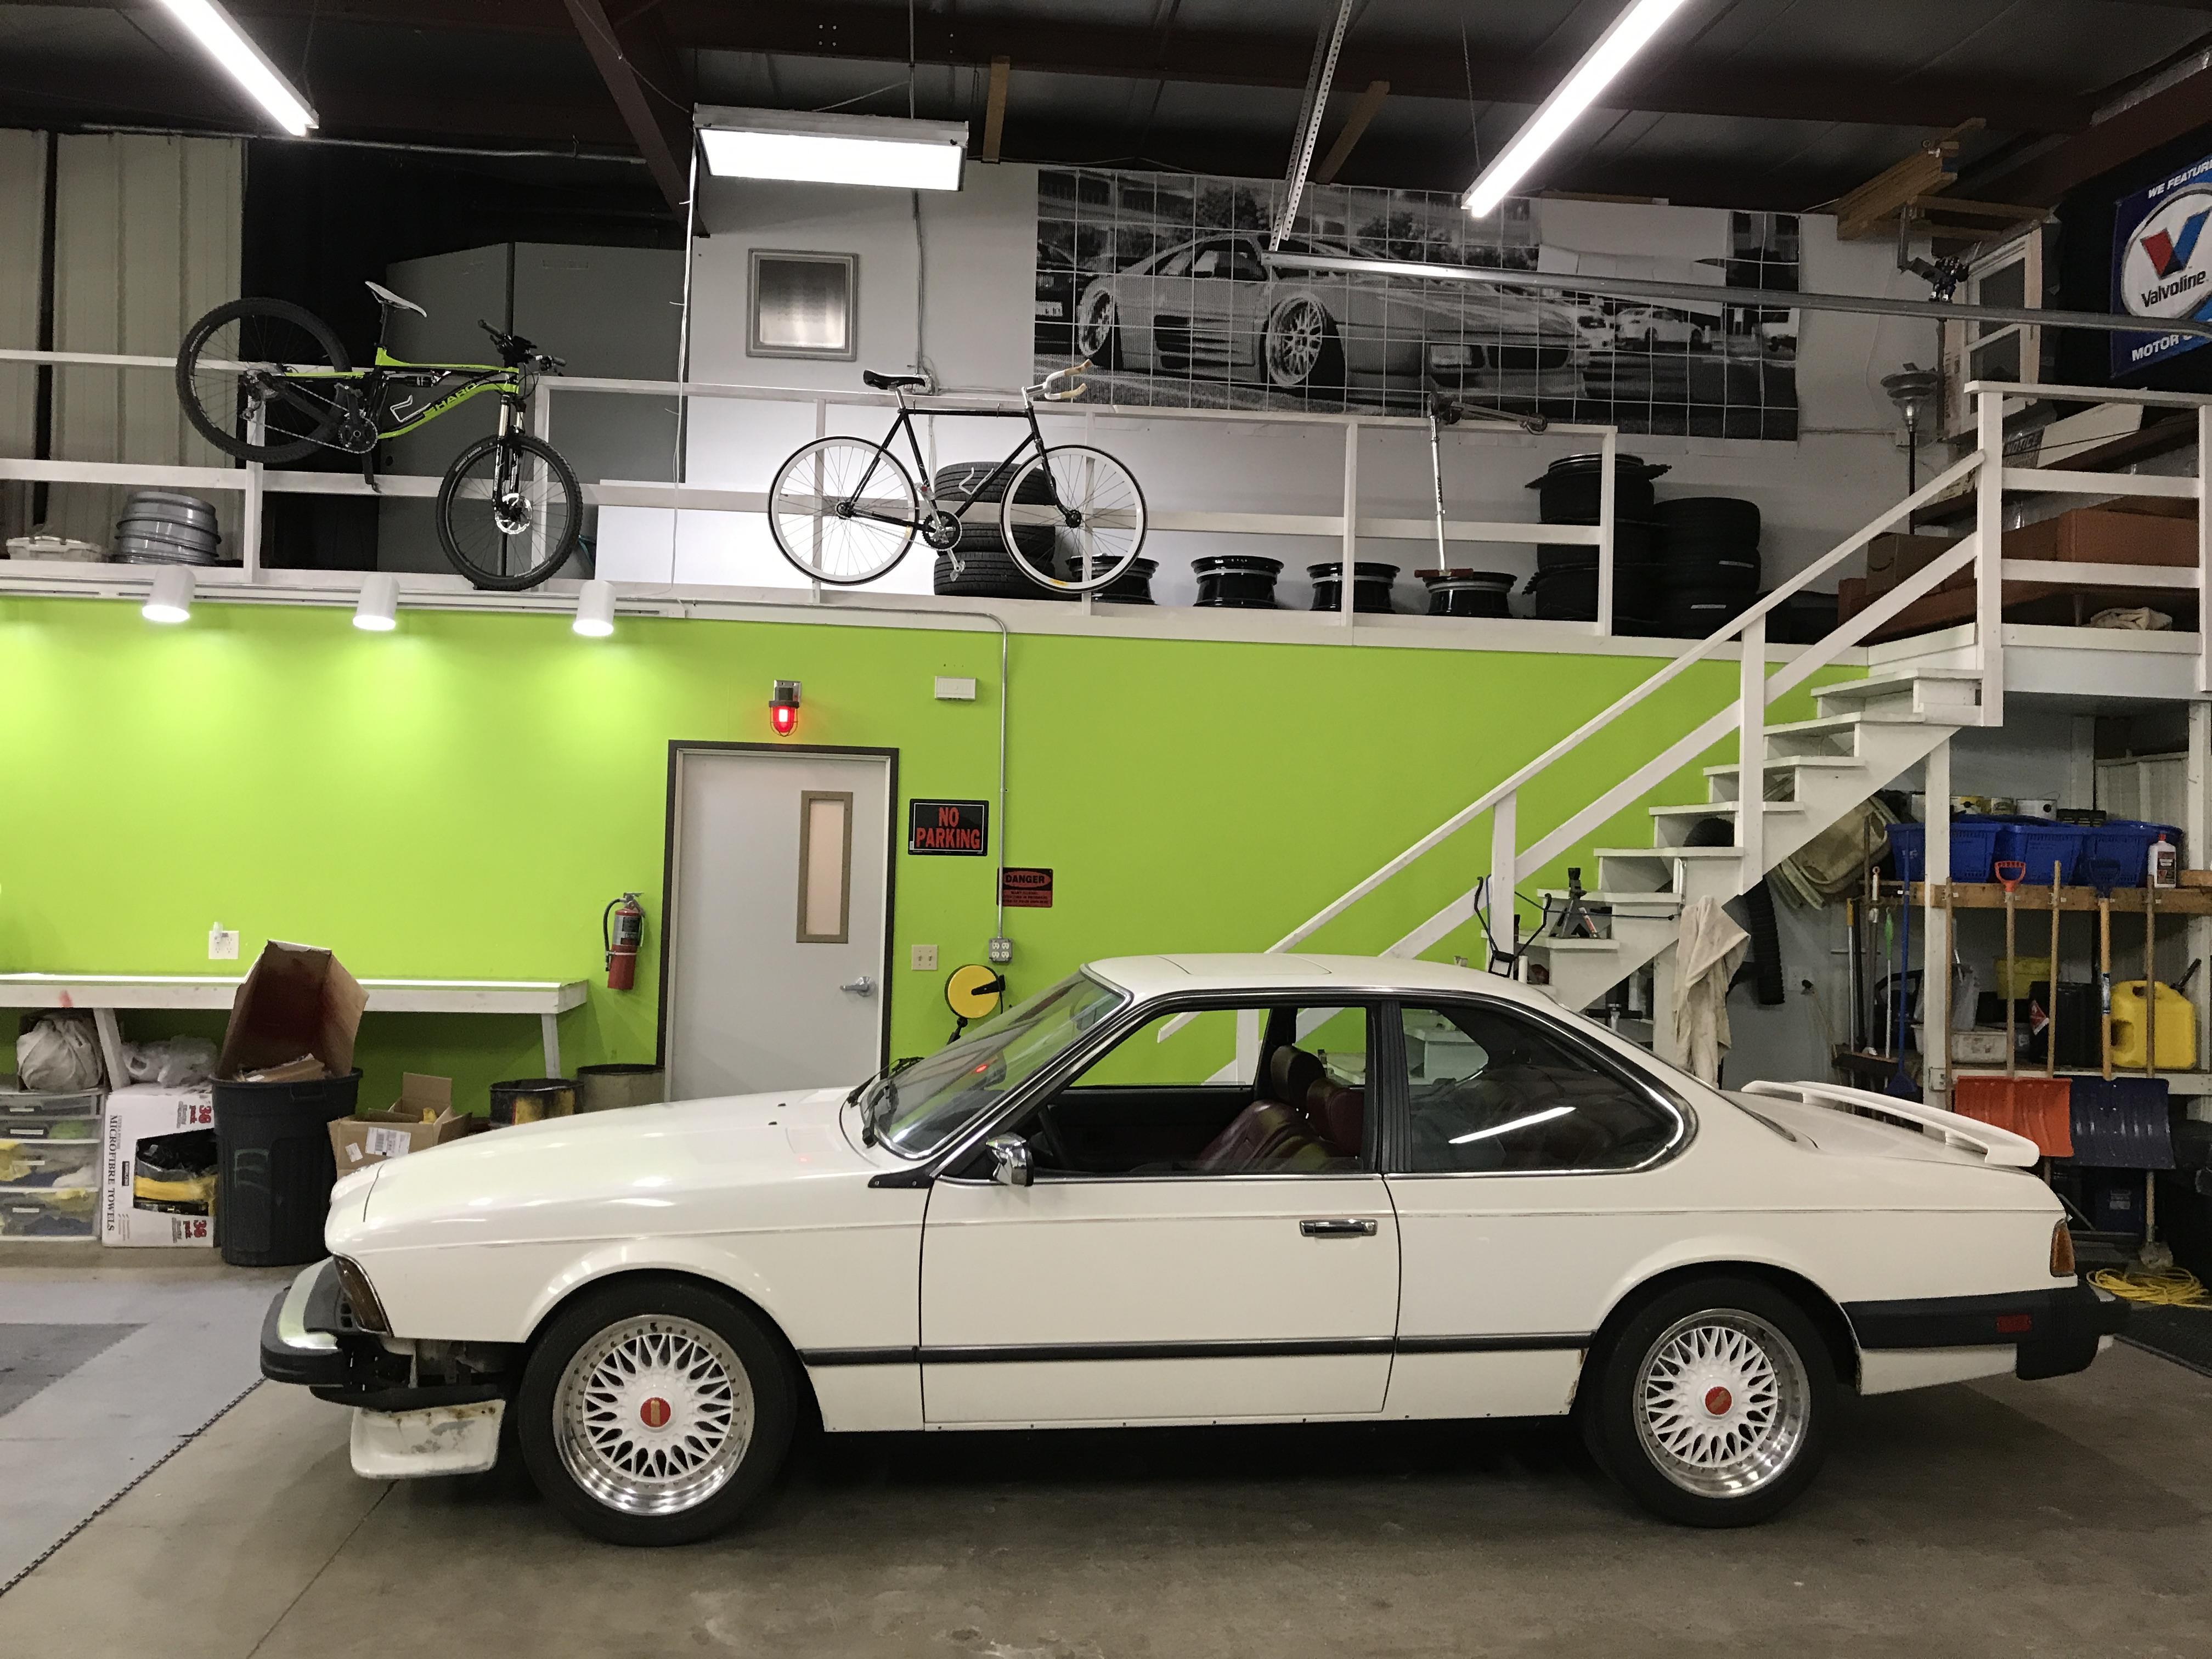
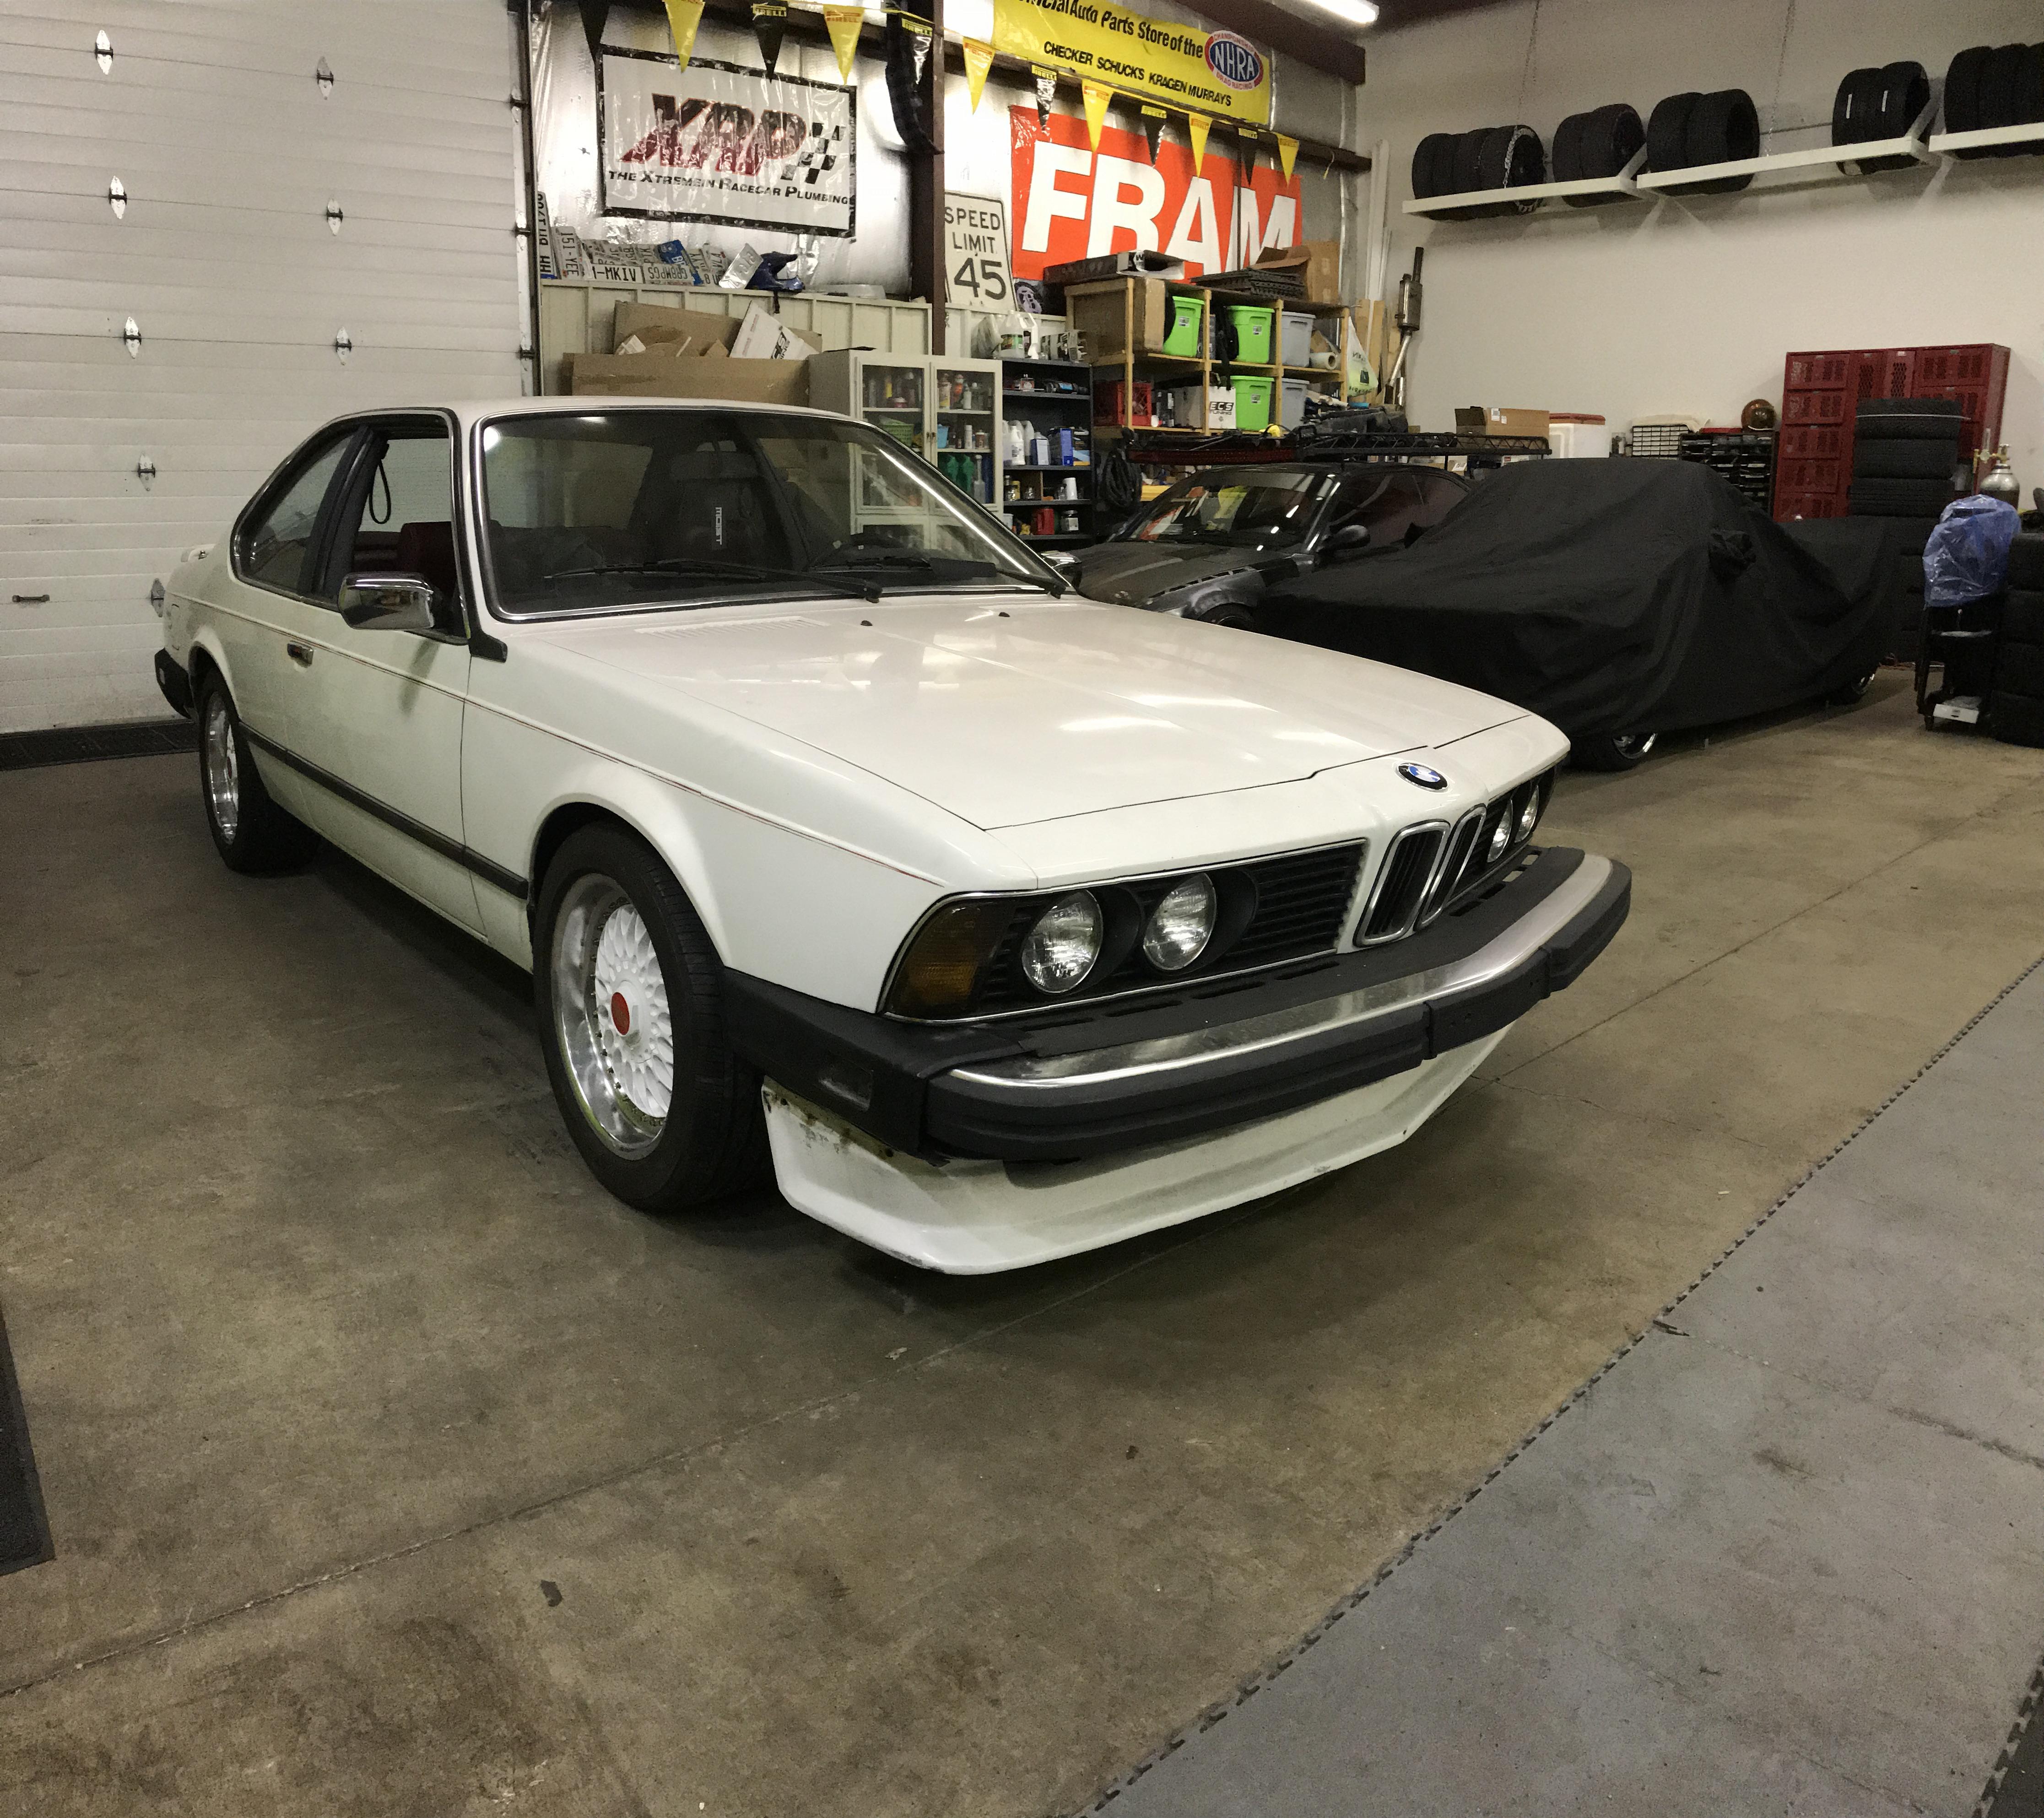
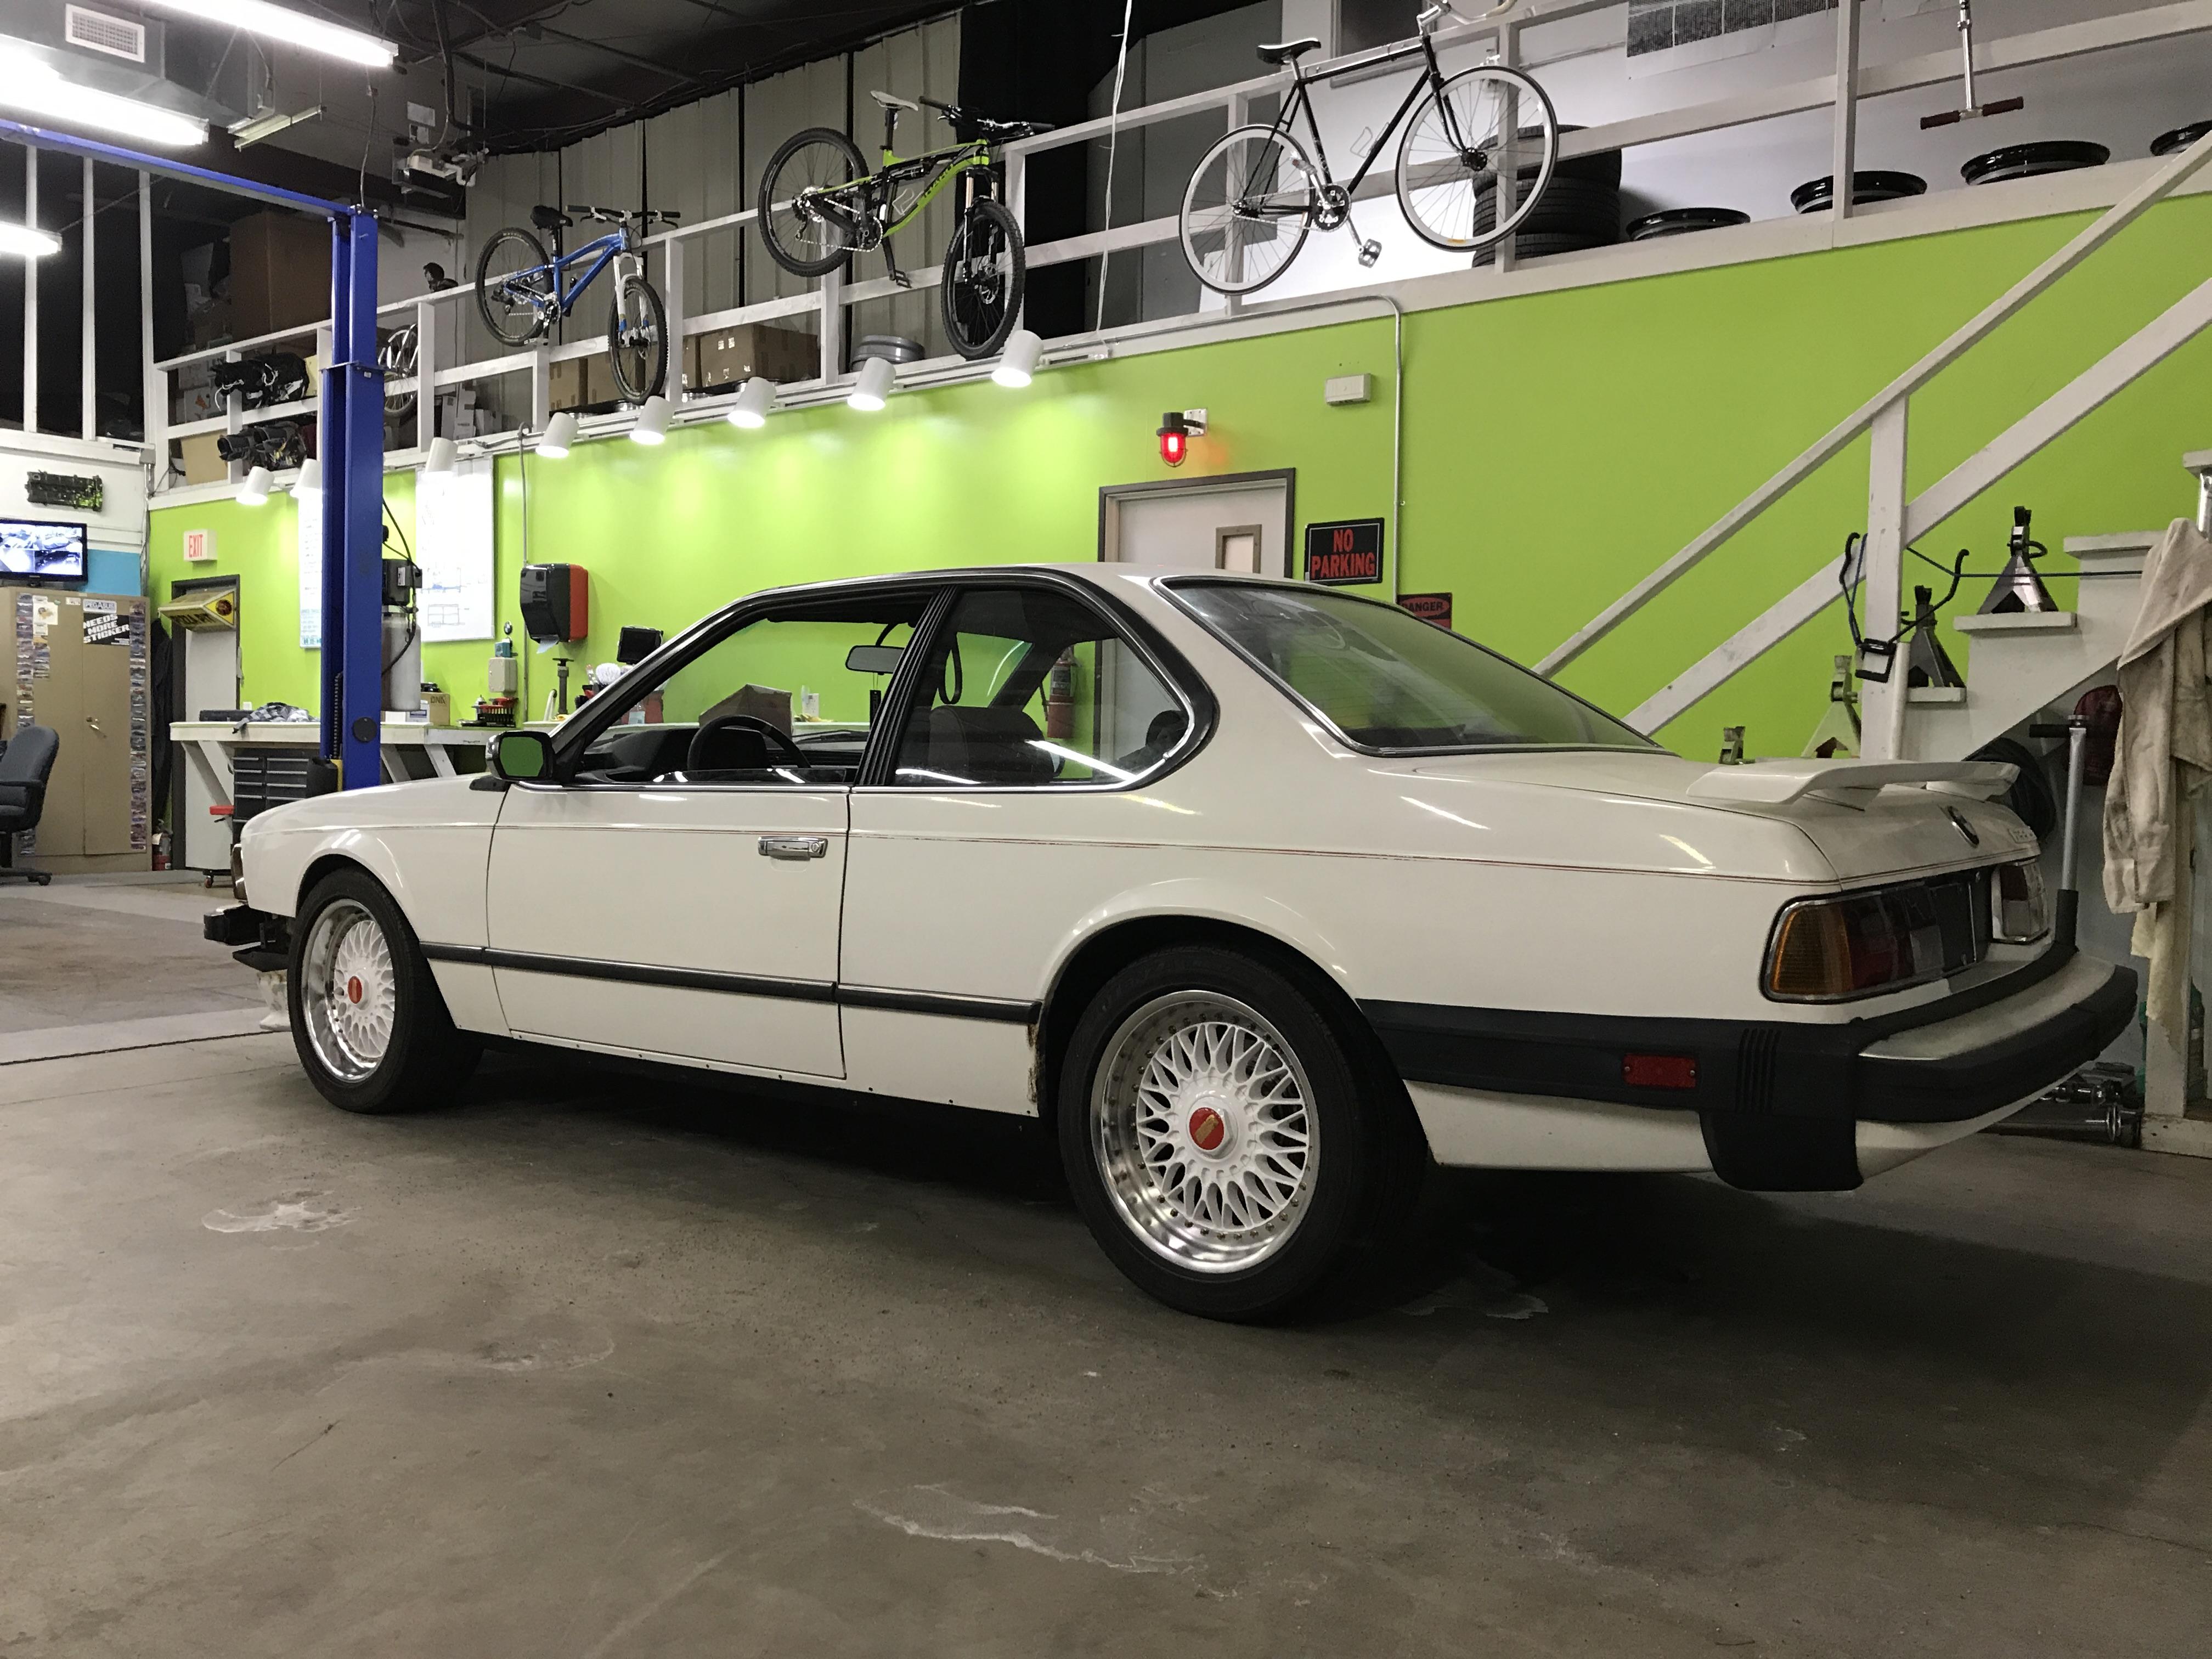
I mounted the tires to the style 5's last night and got the car back on the ground. I must say, even though the suspension is still unsettled, I am very happy with how it sits. I will likely add a good 10mm spacer to the rears, as they are not as flush as the fronts.
Parts to order / find
- Speakers (4 minimum)
- door switch?
Labor
- Paint and properly Install the lip
- Install the bumper side covers (I need to post how I repaired them)
- Figure out the Parasitic power drain
- Finish buffing the entire car
- Finish removing the rear window tint
- Fix the rear seat pod covers again, as they are pealing back again
- Refinish the pin stripe
- Installed the side skirts with stainless hardware and plug the OEM trim holes
- Alignment
So it looks like I have MOSTLY a lot of cleaning to do, install some speakers, hunt down the power gremlin (likely a door switch) and get an alignment!
Its getting closer!
https://www.instagram.com/_jdesigner_/ http://nevertoolow.tumblr.com/
🥳SOLD BMW E24 633CSI - BMW M30B32 🧪SOLD HCH ES9 - 1.3 LDA
👽BMW E30 325IC - Toyota 1JZ-GTE ⏰ HONDA EF9 CIVIC SI - JDM B18C5
☠️BMW E36 318i - Ford 5.0 FE302 🚴♂️ GT-Labomba - 26x2.75 Freeride
🤹♀️SOLD BMW E36/7 Z3 - BMW M54B25 🧓SOLD BMW E10 2002 - BMW M10M05 -
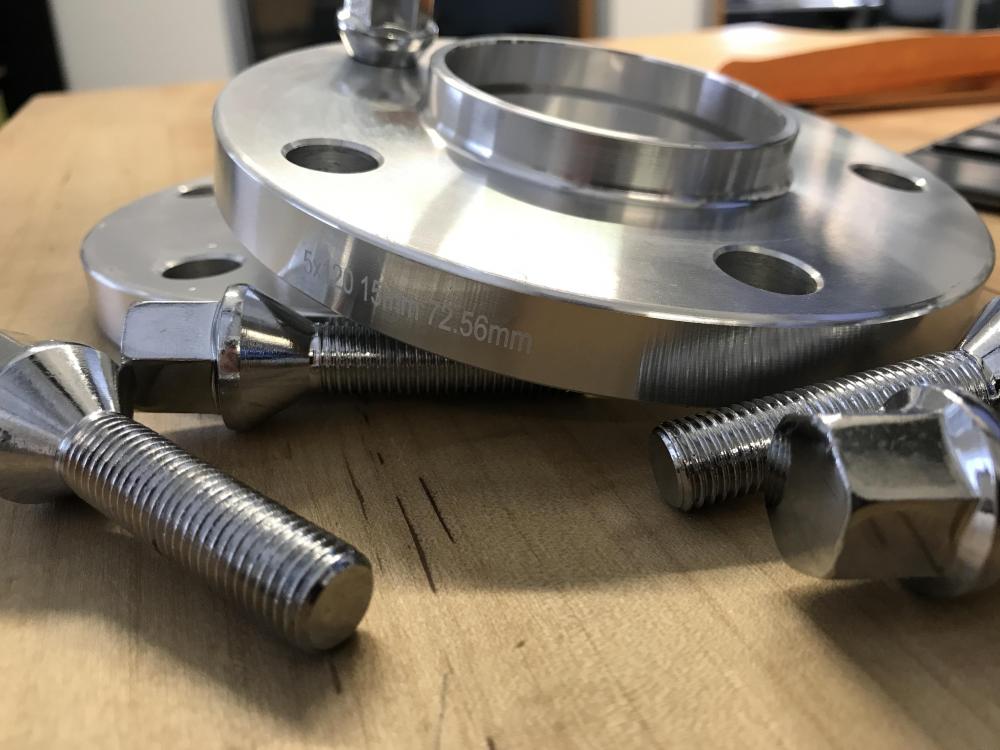
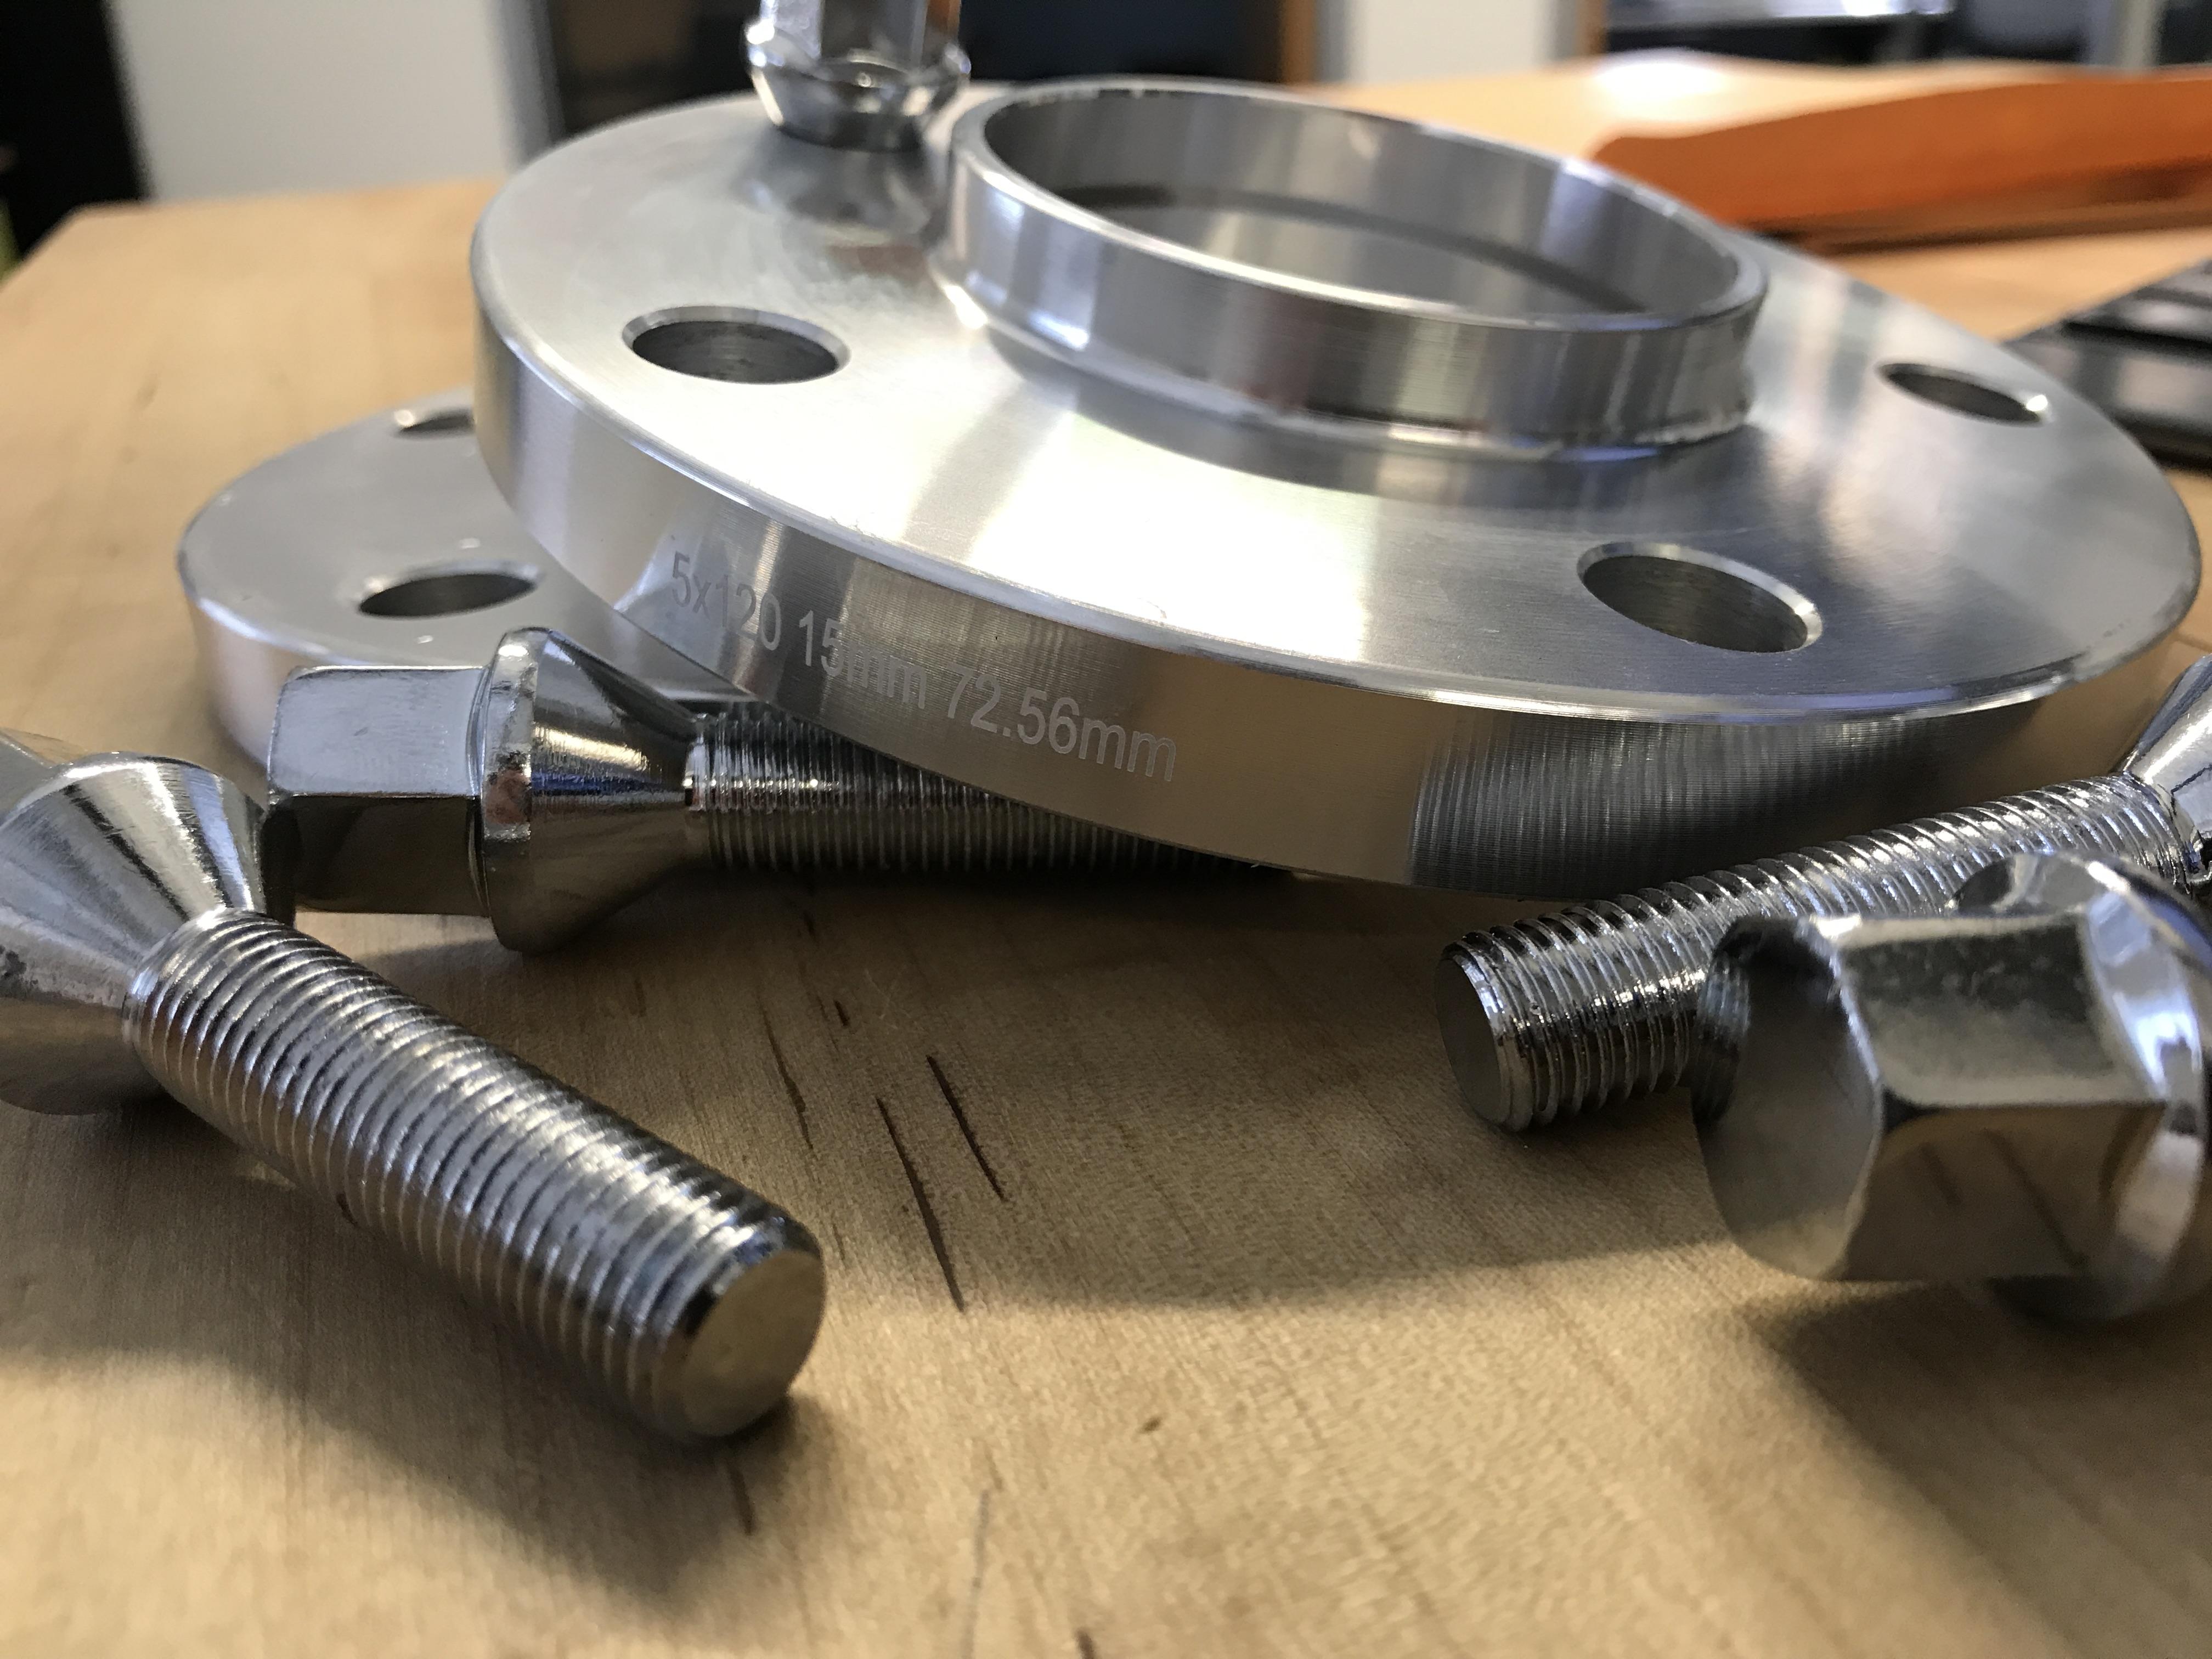
Spacers and new lugs came in; 15MM and 20MM. Nothing fancy, but it will help with the fitment slightly and I will have a full set of matching lugs LOL. Since the OEM BBS locking lugs are really annoying to use.
https://www.instagram.com/_jdesigner_/ http://nevertoolow.tumblr.com/
🥳SOLD BMW E24 633CSI - BMW M30B32 🧪SOLD HCH ES9 - 1.3 LDA
👽BMW E30 325IC - Toyota 1JZ-GTE ⏰ HONDA EF9 CIVIC SI - JDM B18C5
☠️BMW E36 318i - Ford 5.0 FE302 🚴♂️ GT-Labomba - 26x2.75 Freeride
🤹♀️SOLD BMW E36/7 Z3 - BMW M54B25 🧓SOLD BMW E10 2002 - BMW M10M05 -
Got the spacers and wheels mounted. I must say, the fitment is highly improved and it sits perfect now. Sorry, I don't have pictures.
I was going to drive it this weekend, but I still haven't balanced the wheels. Besides that I want to get the valance, bumper moldings, and side skirts installed as they are only temporarily mounted on the car (zipties and tape). I had to order a new M6 rivnut tool as the kit I have doesn't have an M6 spindle.
https://www.instagram.com/_jdesigner_/ http://nevertoolow.tumblr.com/
🥳SOLD BMW E24 633CSI - BMW M30B32 🧪SOLD HCH ES9 - 1.3 LDA
👽BMW E30 325IC - Toyota 1JZ-GTE ⏰ HONDA EF9 CIVIC SI - JDM B18C5
☠️BMW E36 318i - Ford 5.0 FE302 🚴♂️ GT-Labomba - 26x2.75 Freeride
🤹♀️SOLD BMW E36/7 Z3 - BMW M54B25 🧓SOLD BMW E10 2002 - BMW M10M05 -
those look fantastic. curious to see them with the spacers.
Dan
-
Spacers installed with pics.
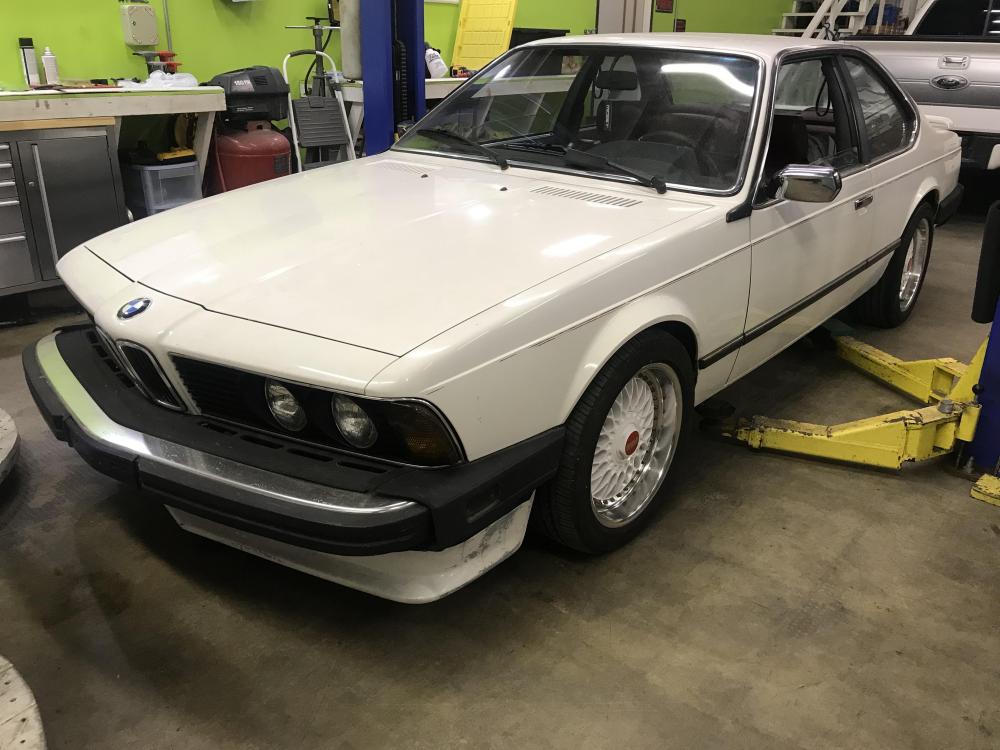
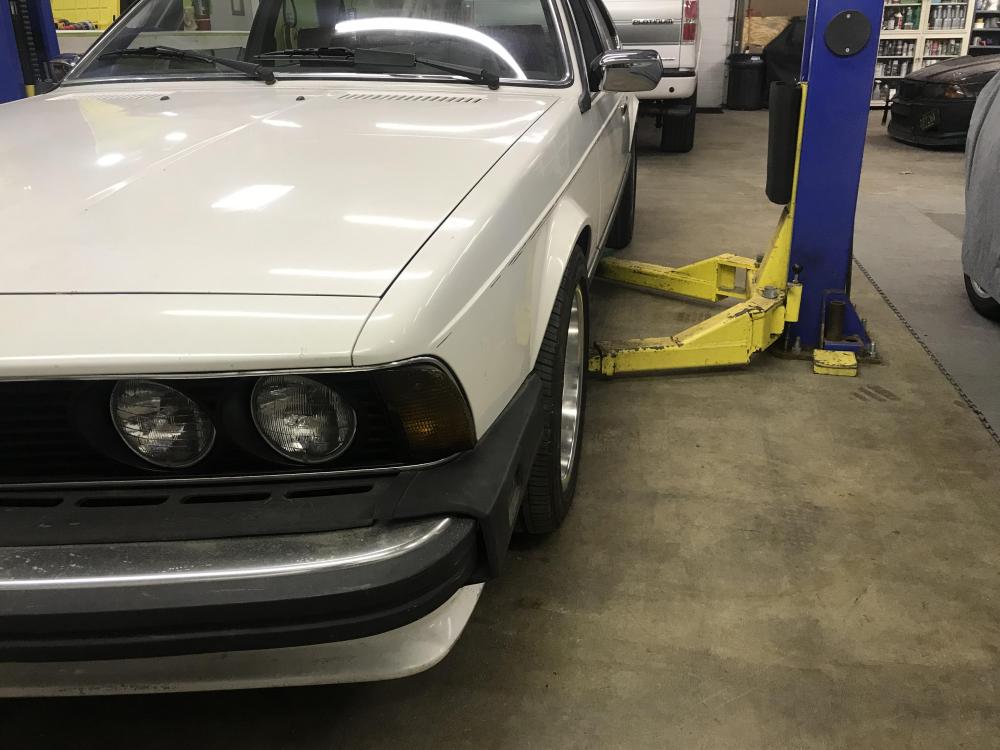
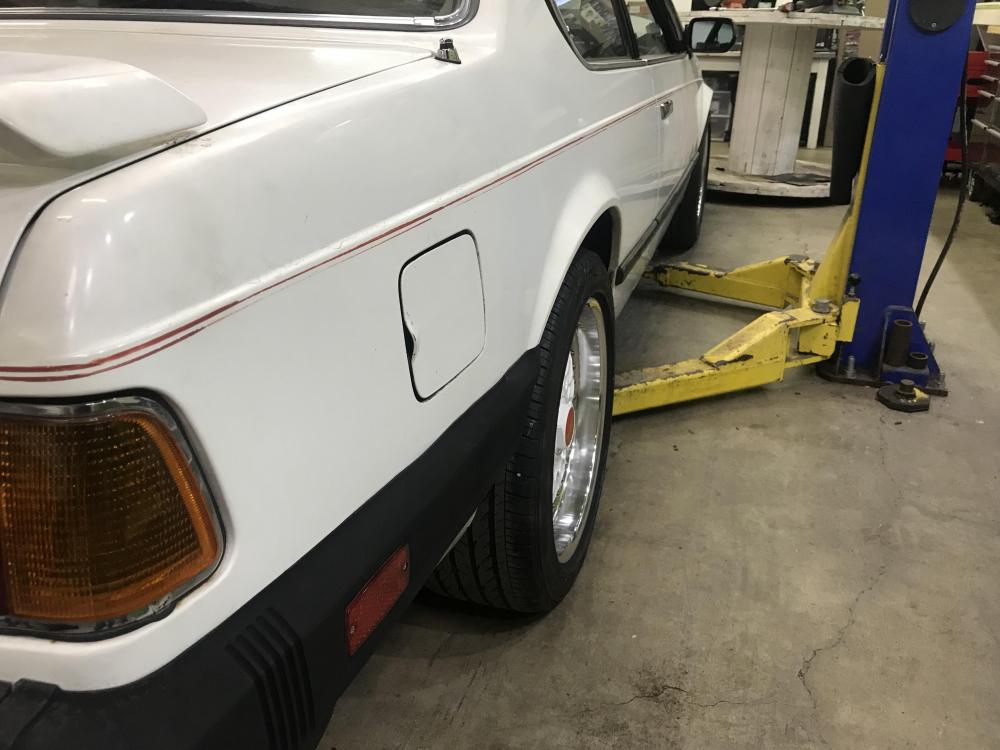
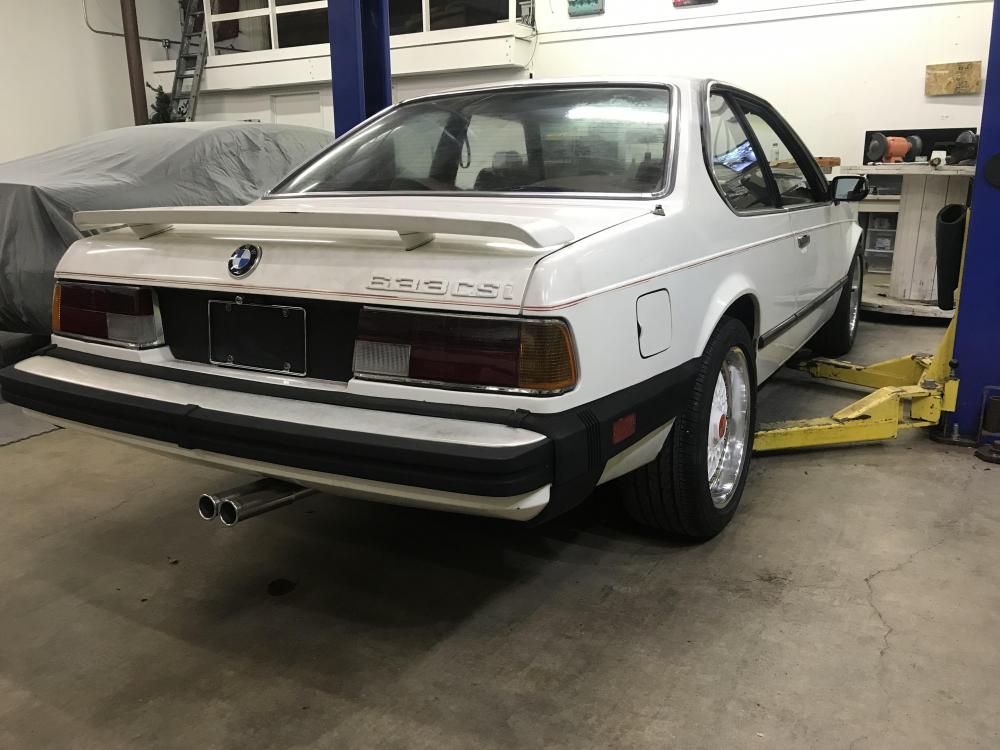
The front valance also needs paint yet, I know.
I also decided to fix a section of the rocker panel that was rusted from someone installing the side skirts with non-stainless fasteners. I cut out the old metal and am welding in new material. One side is done, the other is in process. The new hardware consists of metric rivnuts and stainless socket heads.
Labor
- Paint and properly Install the lip
- Install the bumper side covers (I need to post how I repaired them)
- Figure out the Parasitic power drain
- Finish buffing the entire car
- Finish removing the rear window tint
- Fix the rear seat pod covers again, as they are pealing back again
- Refinish the pin stripe
- Installed the side skirts with stainless hardware and plug the OEM trim holes
- Install speakers
- Alignment
https://www.instagram.com/_jdesigner_/ http://nevertoolow.tumblr.com/
🥳SOLD BMW E24 633CSI - BMW M30B32 🧪SOLD HCH ES9 - 1.3 LDA
👽BMW E30 325IC - Toyota 1JZ-GTE ⏰ HONDA EF9 CIVIC SI - JDM B18C5
☠️BMW E36 318i - Ford 5.0 FE302 🚴♂️ GT-Labomba - 26x2.75 Freeride
🤹♀️SOLD BMW E36/7 Z3 - BMW M54B25 🧓SOLD BMW E10 2002 - BMW M10M05 -
looks meaty, very nice! i like it without the skirts too!
Dan
-
looks meaty, very nice! i like it without the skirts too!
Thank you, I think the skirts are just a little addition that make it a touch better. I wish I had a rear valance for it.
https://www.instagram.com/_jdesigner_/ http://nevertoolow.tumblr.com/
🥳SOLD BMW E24 633CSI - BMW M30B32 🧪SOLD HCH ES9 - 1.3 LDA
👽BMW E30 325IC - Toyota 1JZ-GTE ⏰ HONDA EF9 CIVIC SI - JDM B18C5
☠️BMW E36 318i - Ford 5.0 FE302 🚴♂️ GT-Labomba - 26x2.75 Freeride
🤹♀️SOLD BMW E36/7 Z3 - BMW M54B25 🧓SOLD BMW E10 2002 - BMW M10M05 -
So.. I drove this to work yesterday. I would like to think of as a maiden voyage as I have not driven the car since last year, and since then it has all new suspension, steering arms, balljoints, wheels, tires, brakes, bleh bleh bleh. You get the point.
The Good:
- It handles sooo much better with the new springs, shocks and struts
- Ride quality just cruising is greatly improved and not harsh
- Braking is worlds better, I can actually feel the pedal that the cars stops like it should
- The exhaust sounds great, I never drove it far after the muffler delete, and I was concerned it would be loud and droning, but its not
The Bad:
- The turn signals are staying on and not flashing again. I assume the switch or corner lights are the culprits again
- The radio antenna signal failed about 20 mins into my drive. I think the plug on the back of the radio is loose. Easy fix.
- I lost a center cap. This bums me out, and to make matters worse, I can't find a replacement that won't take at least a 1 month to ship here. Either way I ordered a set.

Overall Im happy that I can drive it and iron out some of the kinks. After addressing some of the minor things, I really need to start polishing and stop procrastinating.
https://www.instagram.com/_jdesigner_/ http://nevertoolow.tumblr.com/
🥳SOLD BMW E24 633CSI - BMW M30B32 🧪SOLD HCH ES9 - 1.3 LDA
👽BMW E30 325IC - Toyota 1JZ-GTE ⏰ HONDA EF9 CIVIC SI - JDM B18C5
☠️BMW E36 318i - Ford 5.0 FE302 🚴♂️ GT-Labomba - 26x2.75 Freeride
🤹♀️SOLD BMW E36/7 Z3 - BMW M54B25 🧓SOLD BMW E10 2002 - BMW M10M05 -
Congrats on achieving a significant milestone in your project!
Thanks! I see the light at the end of the tunnel!
https://www.instagram.com/_jdesigner_/ http://nevertoolow.tumblr.com/
🥳SOLD BMW E24 633CSI - BMW M30B32 🧪SOLD HCH ES9 - 1.3 LDA
👽BMW E30 325IC - Toyota 1JZ-GTE ⏰ HONDA EF9 CIVIC SI - JDM B18C5
☠️BMW E36 318i - Ford 5.0 FE302 🚴♂️ GT-Labomba - 26x2.75 Freeride
🤹♀️SOLD BMW E36/7 Z3 - BMW M54B25 🧓SOLD BMW E10 2002 - BMW M10M05 -
I plan on driving this to Georgia in two weeks with a few friends for Alpine Vag Fair.
Mechanically, I feel like I have very little left besides flushing the coolant, flushing the diff fluid, and recharging the AC.
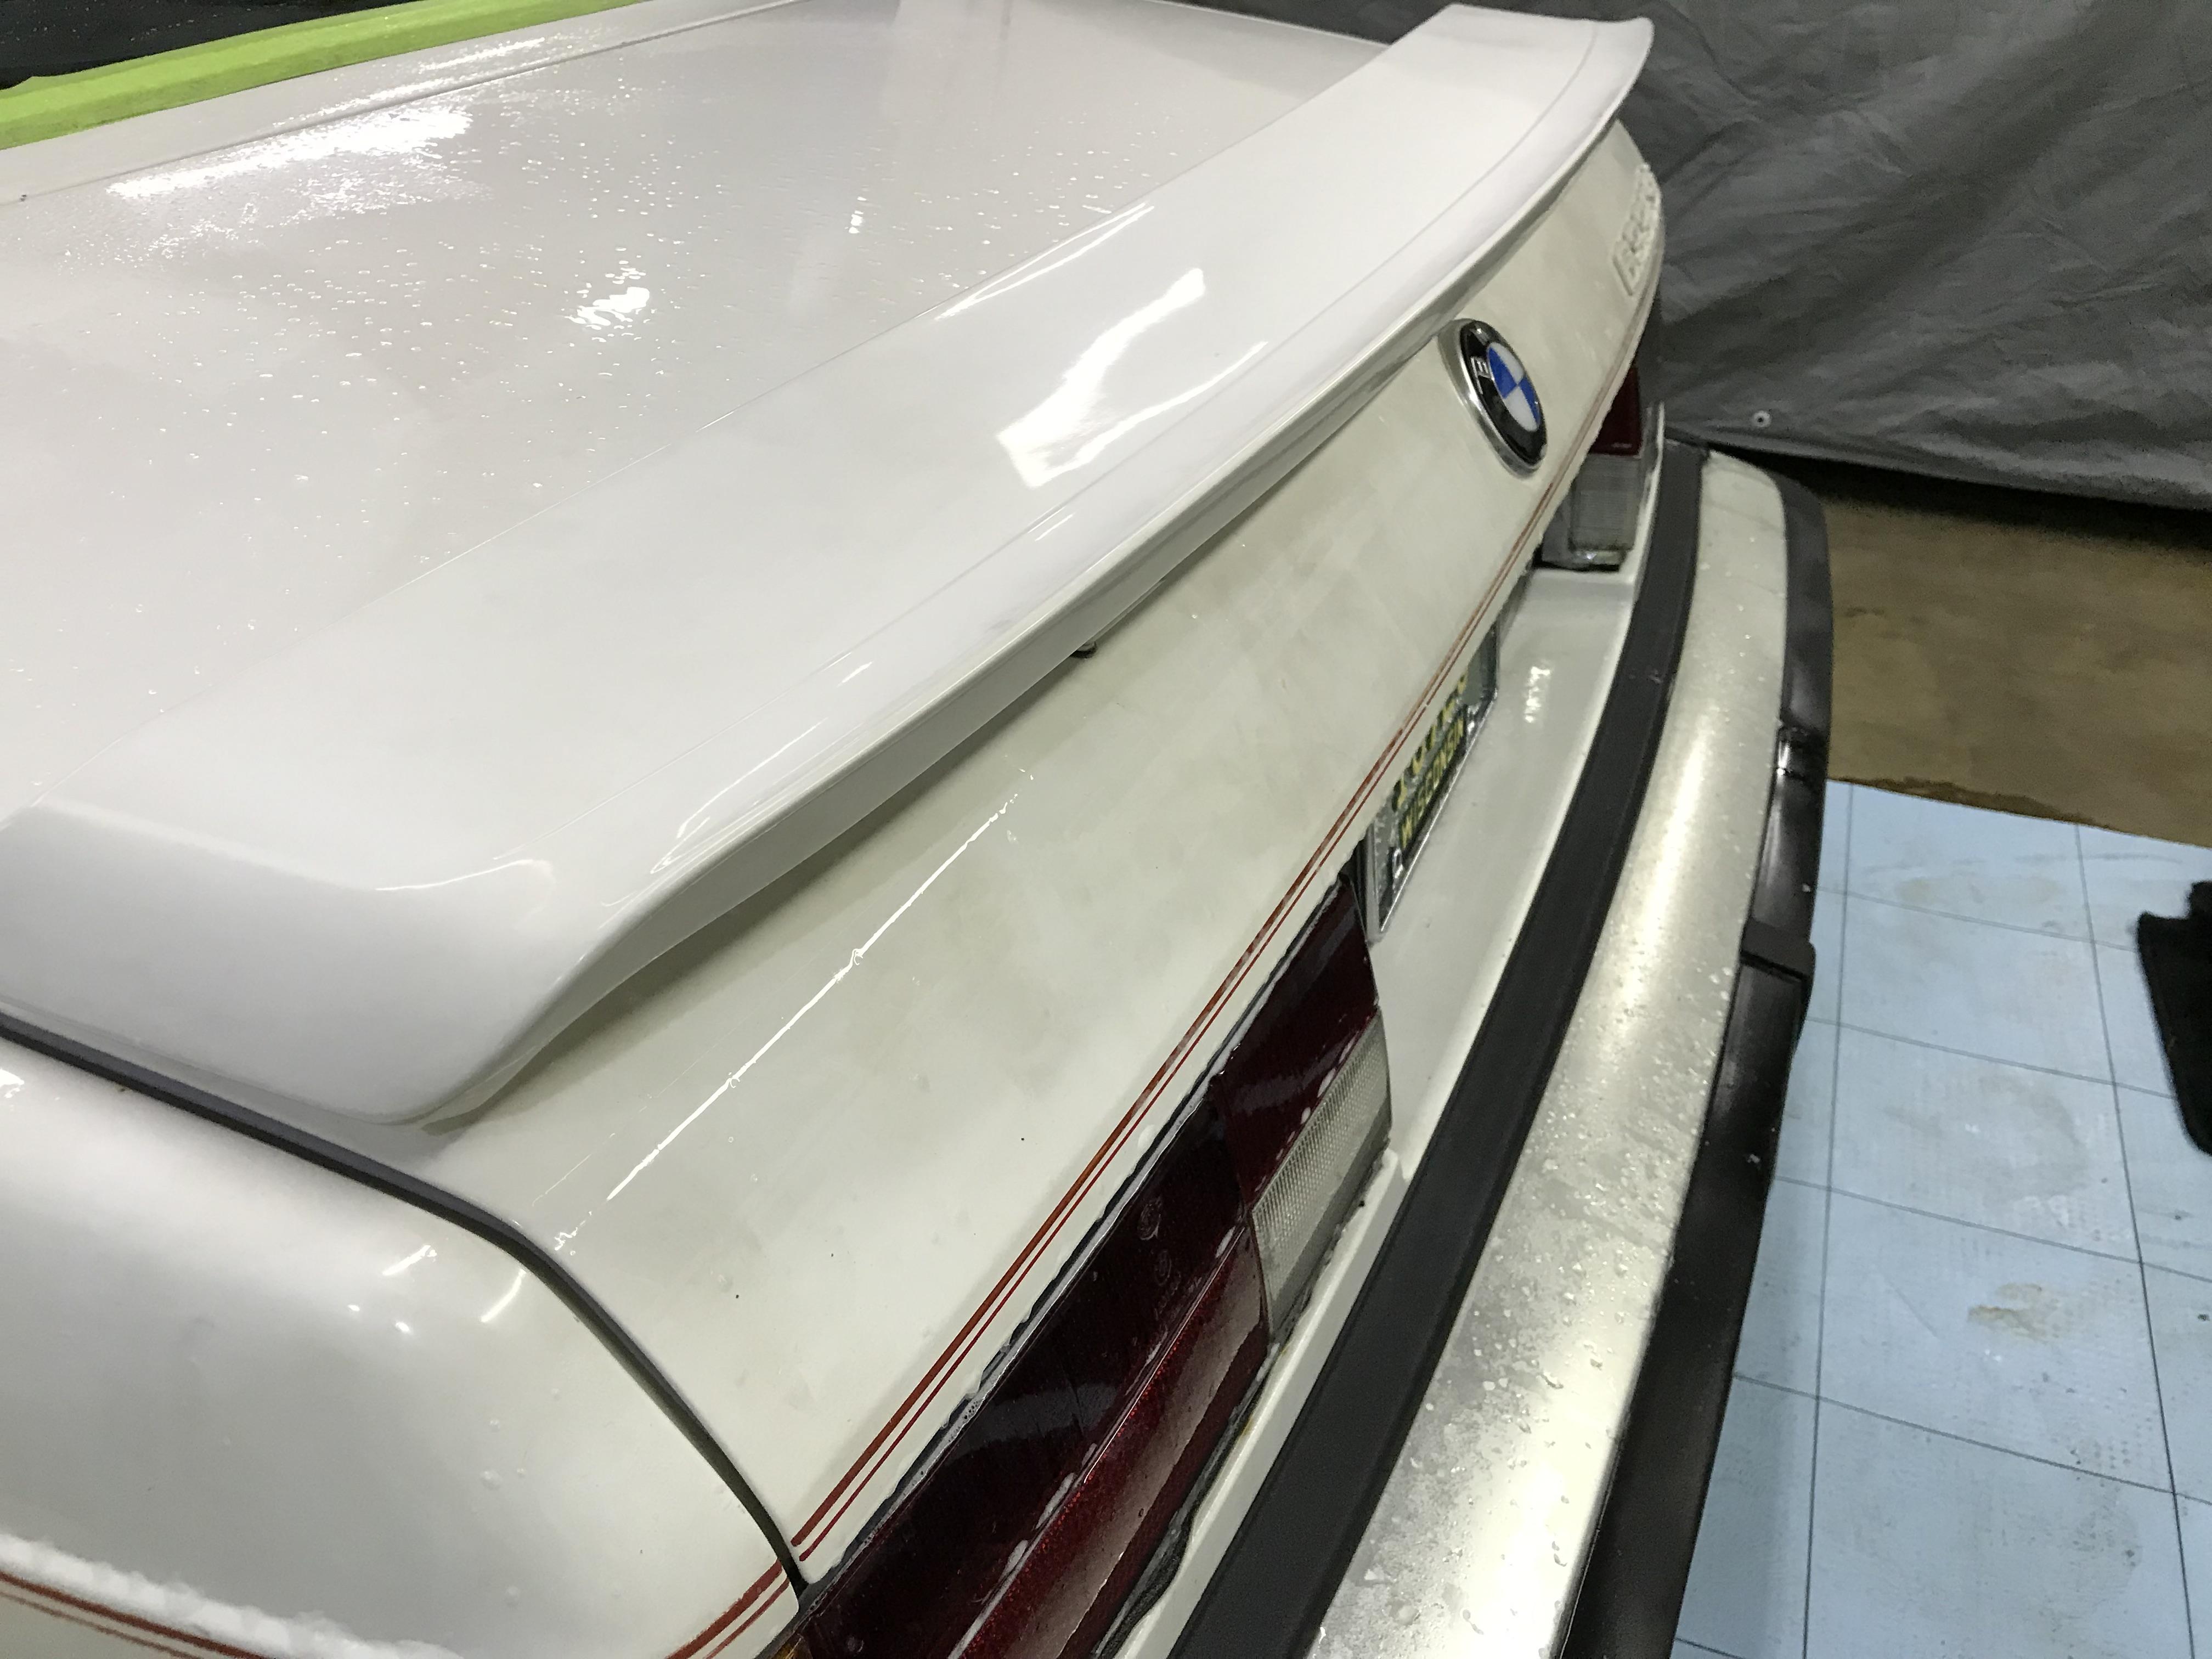
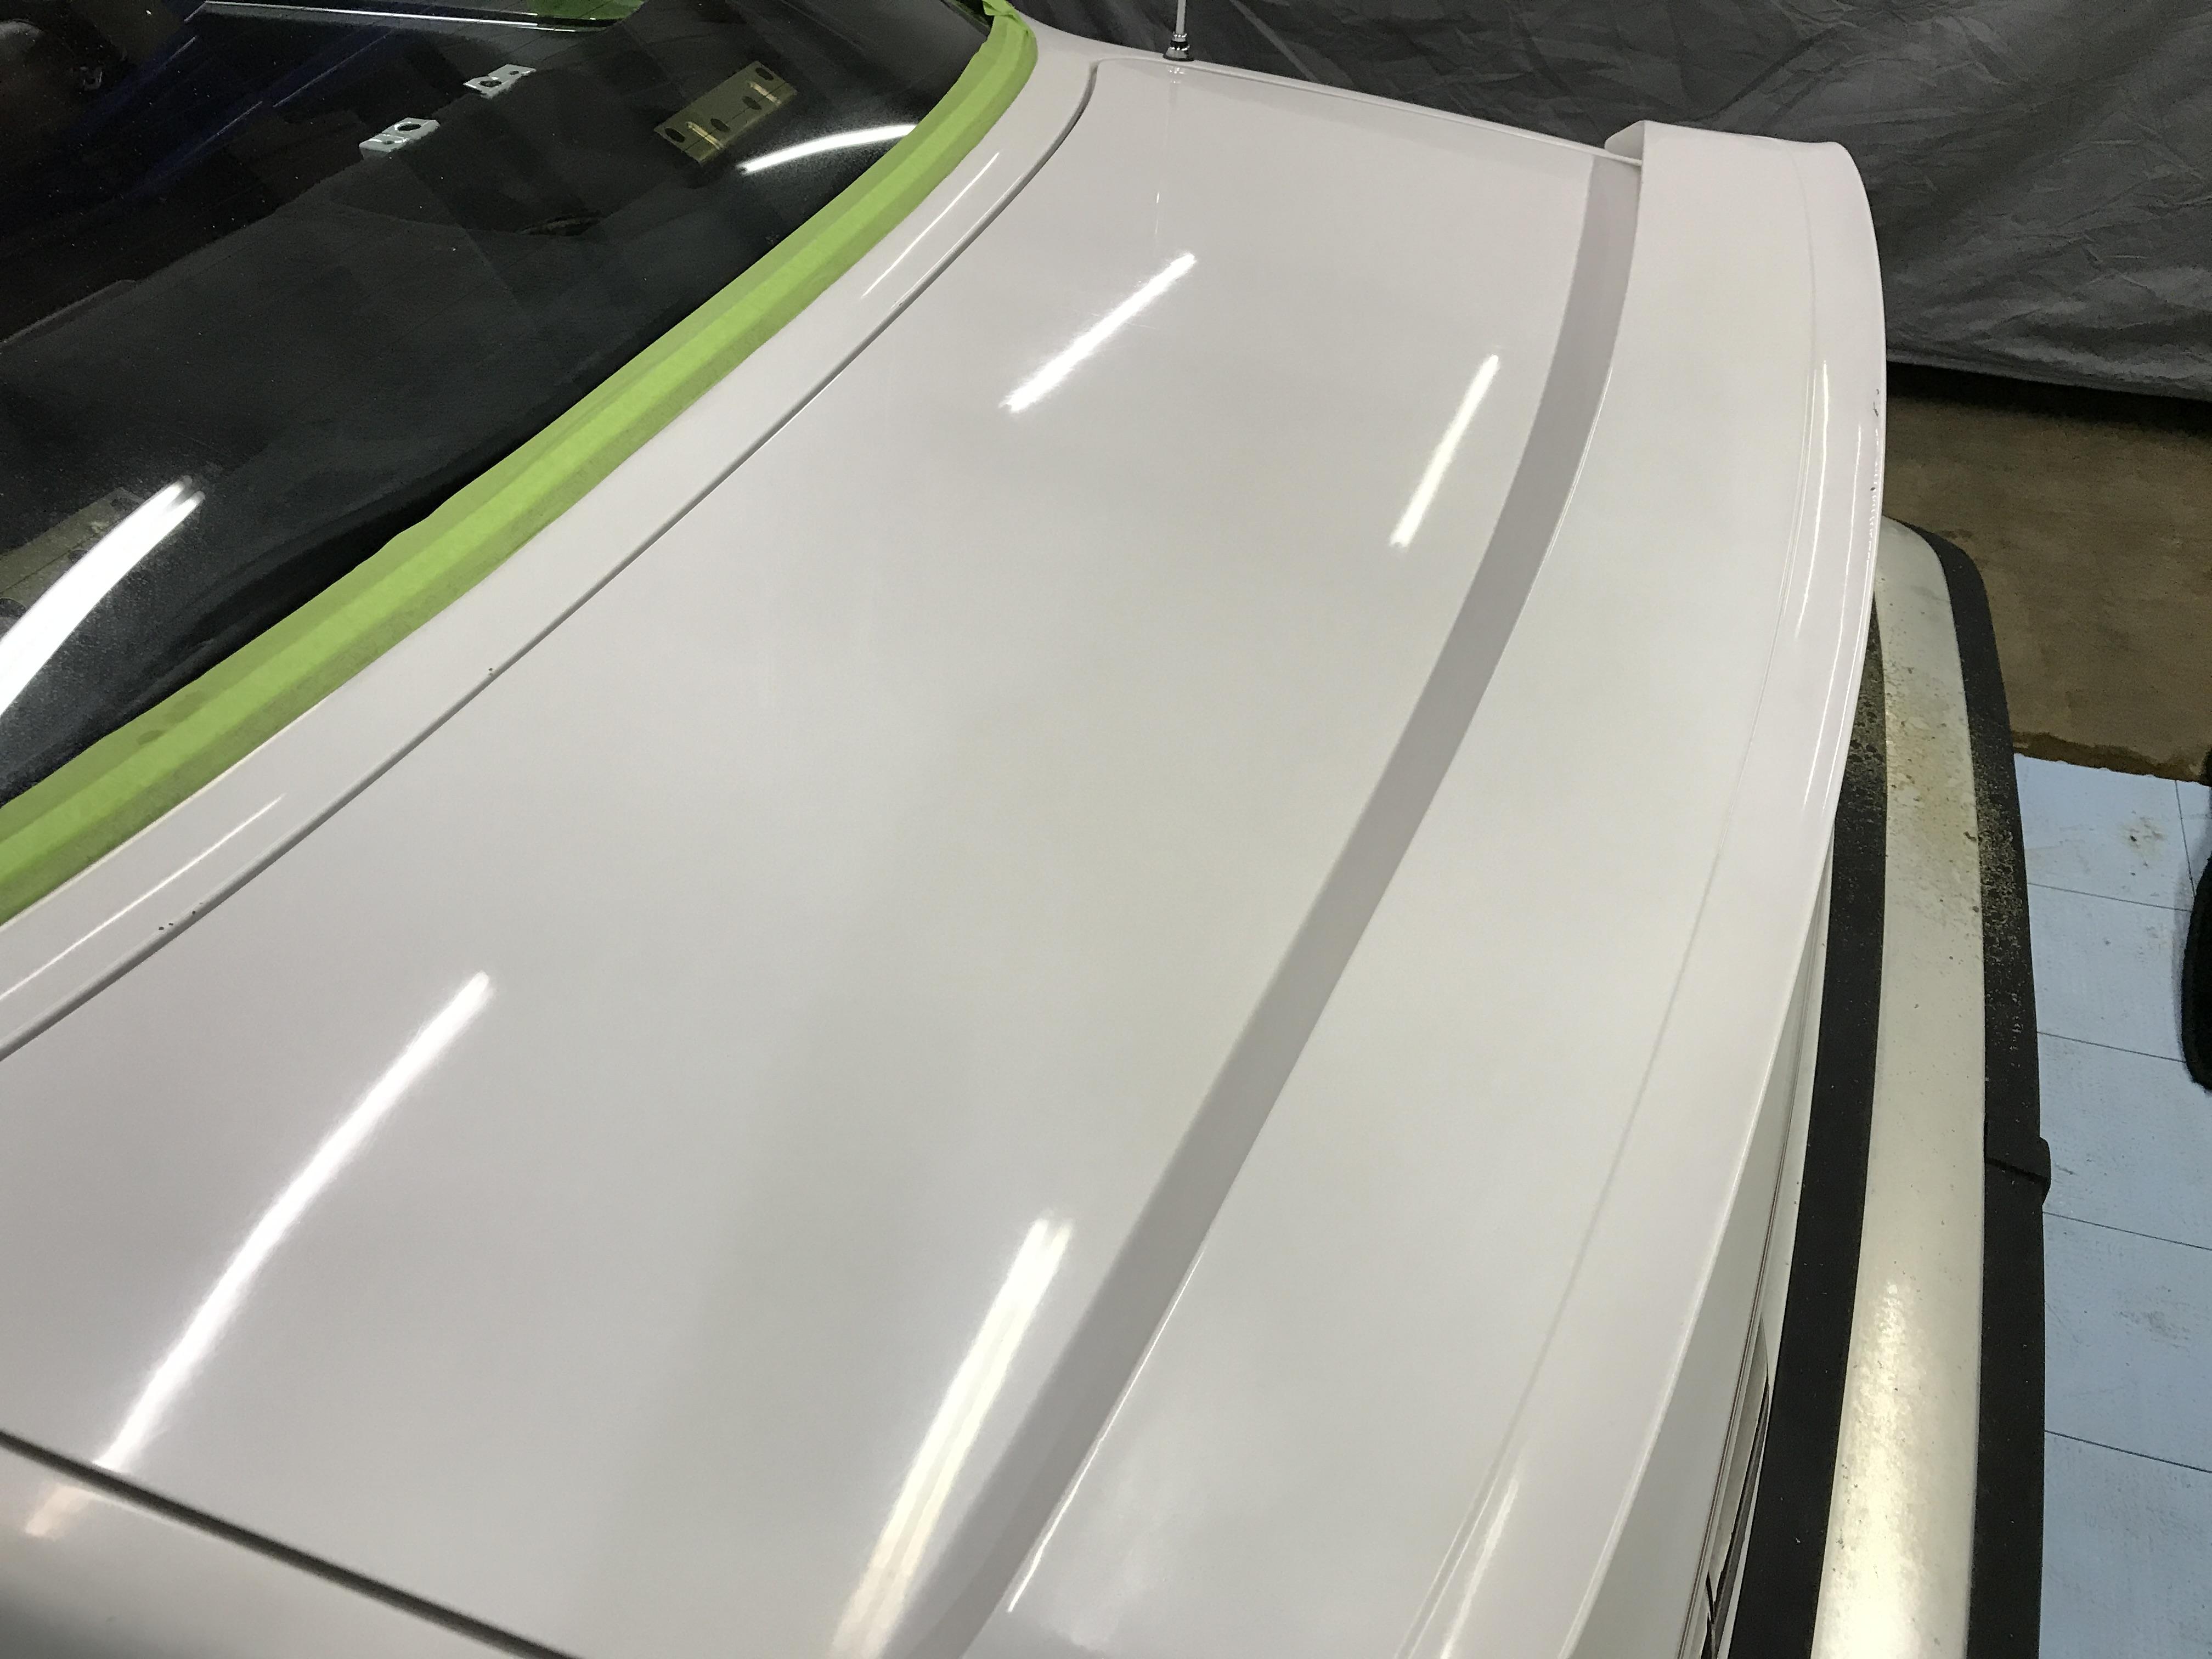
I have started to Clay, Buff, polish the entire car. It took two full days to just do the roof, trunk, and hood. It is an astounding amount of work.
Before that I also attacked the interior, installing new speakers and amplifier and finally removing the remaining tint glue from the rear window. While I was doing this, my girlfriend shampooed all of the carpets, interior panels, trunk, and cleaned and moisturised all of the leather which was in dire need.
A little compare and contrast to the clean and dirty body panels.
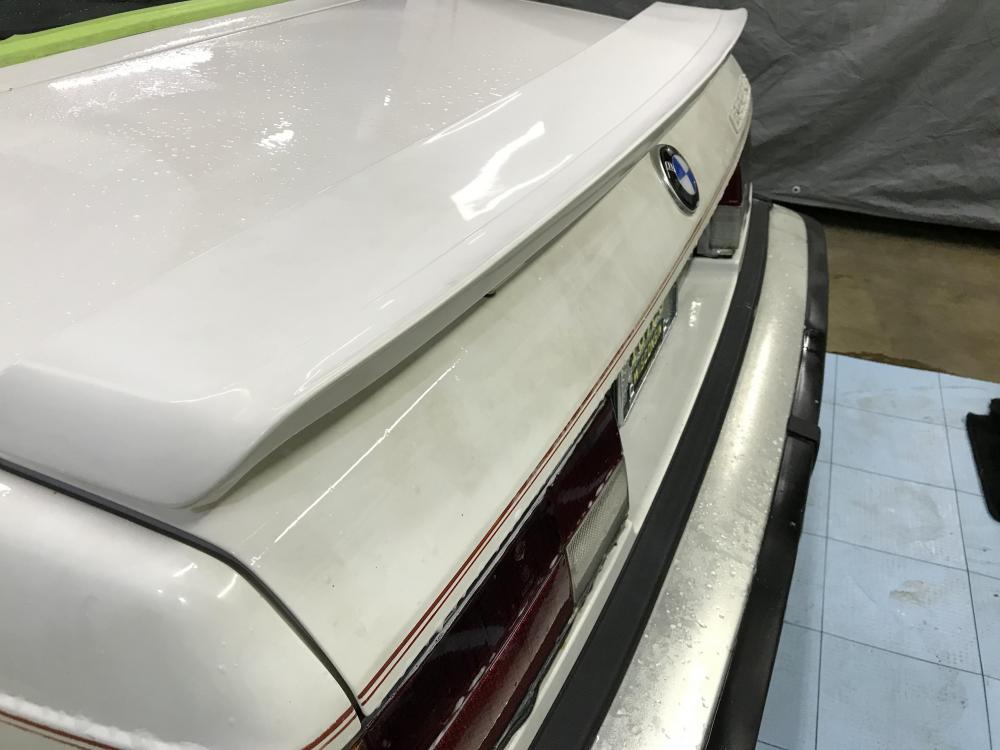
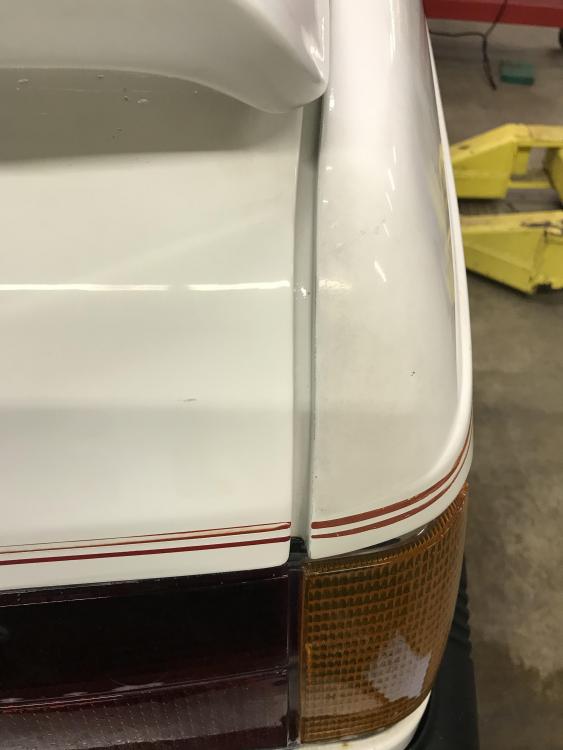
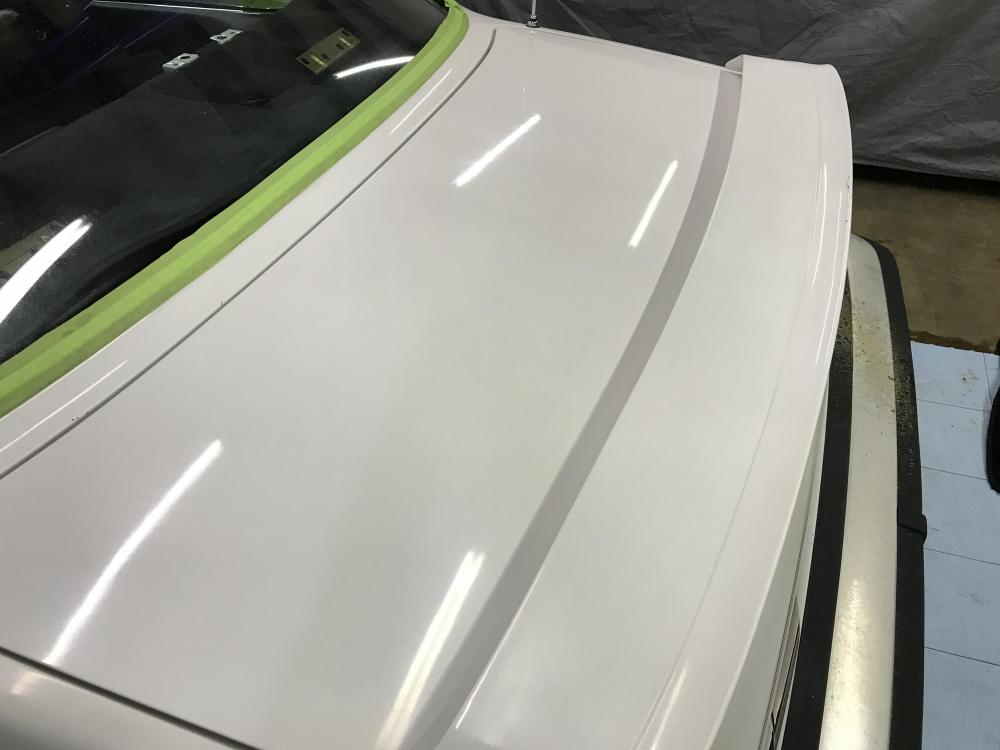
I assume the wheels will match after all...

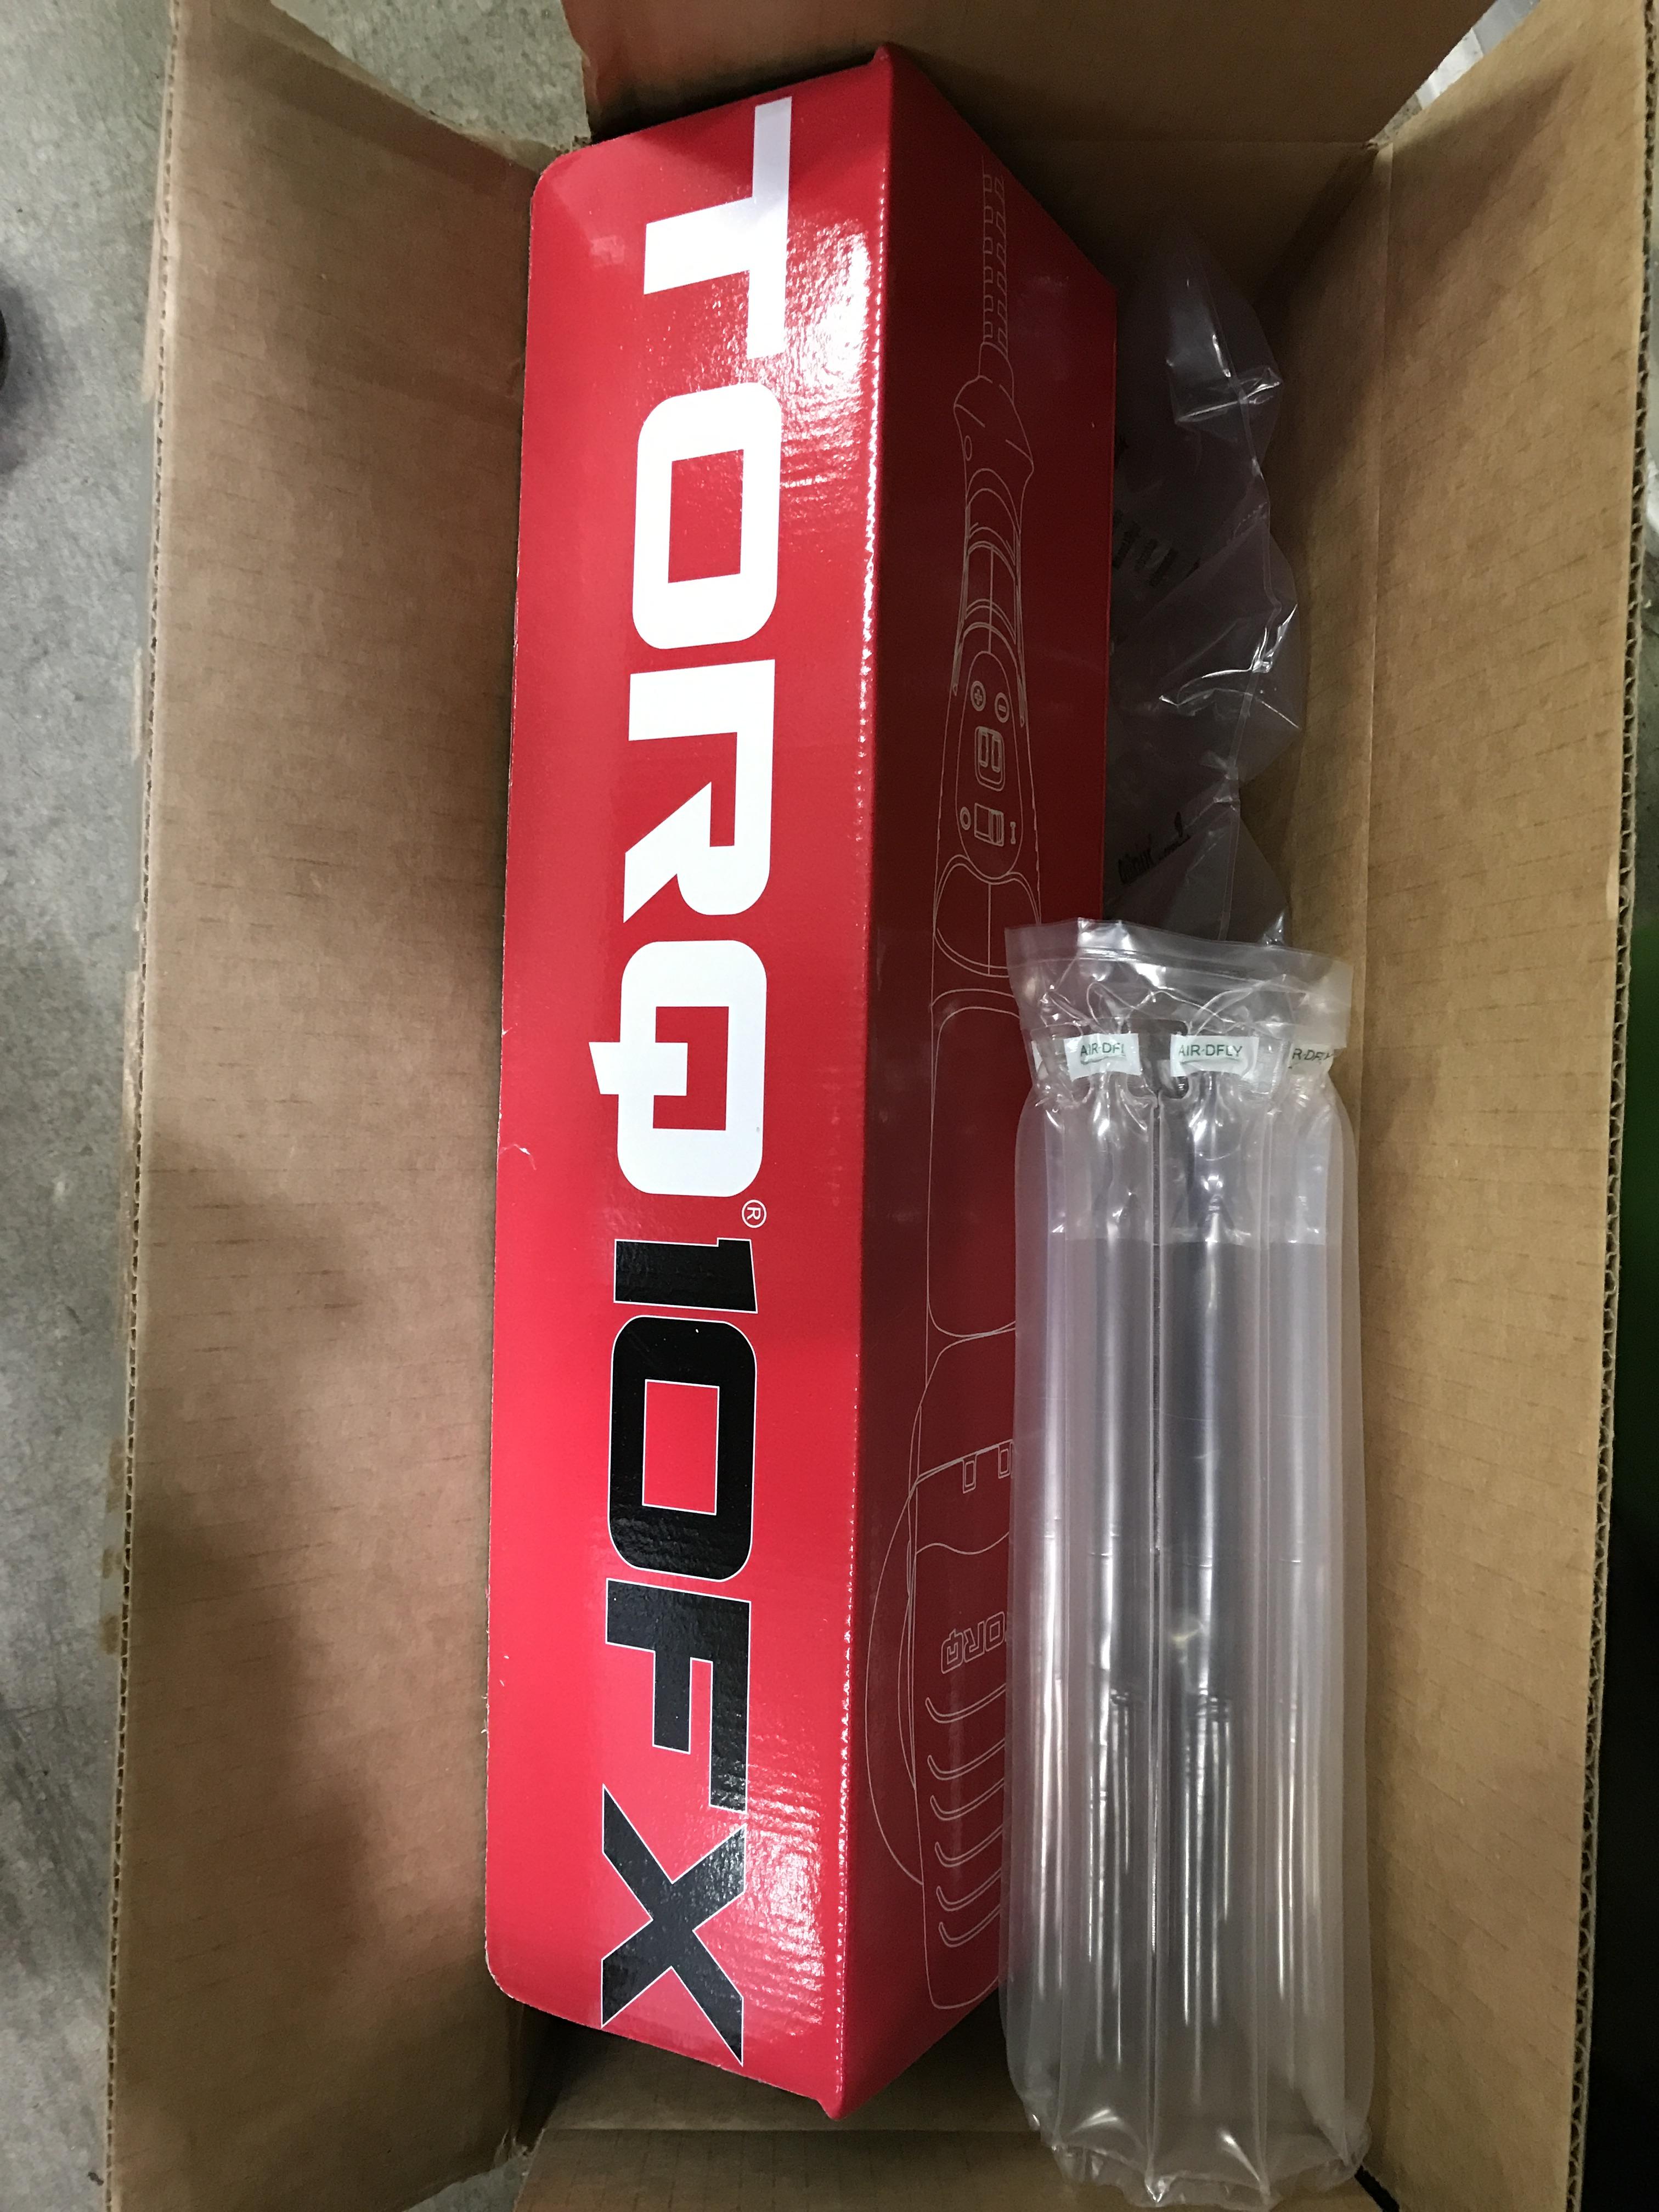
I have this buffer to thank for the beautiful work. This thing is amazing.
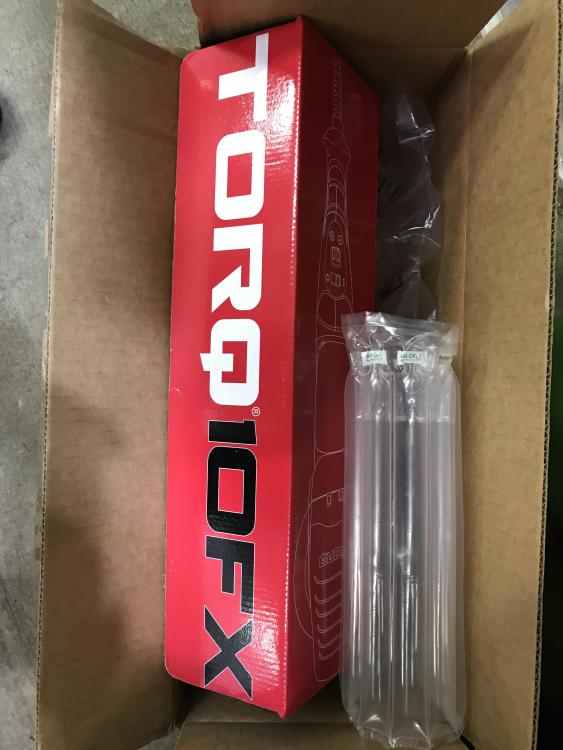
Some videos to get some reflections. Sorry for the snapchat words on the videos.
https://www.instagram.com/_jdesigner_/ http://nevertoolow.tumblr.com/
🥳SOLD BMW E24 633CSI - BMW M30B32 🧪SOLD HCH ES9 - 1.3 LDA
👽BMW E30 325IC - Toyota 1JZ-GTE ⏰ HONDA EF9 CIVIC SI - JDM B18C5
☠️BMW E36 318i - Ford 5.0 FE302 🚴♂️ GT-Labomba - 26x2.75 Freeride
🤹♀️SOLD BMW E36/7 Z3 - BMW M54B25 🧓SOLD BMW E10 2002 - BMW M10M05



Hello! It looks like you're interested in this conversation, but you don't have an account yet.
Getting fed up of having to scroll through the same posts each visit? When you register for an account, you'll always come back to exactly where you were before, and choose to be notified of new replies (either via email, or push notification). You'll also be able to save bookmarks and upvote posts to show your appreciation to other community members.
With your input, this post could be even better 💗
Register Login