
My name is Earl, and I have a Stainless Steel bolt fetish =)
-
My rear fenders finally got worked over yesterday=)
Saturday was spent moving my stuff around yet again at the shop. I am thinking about relocating to a different shop that a friend of mine is moving into. I would have more space, running water, a toilet, and a small office.
Yesterday I smoothed out the welds for the holes in the bay.
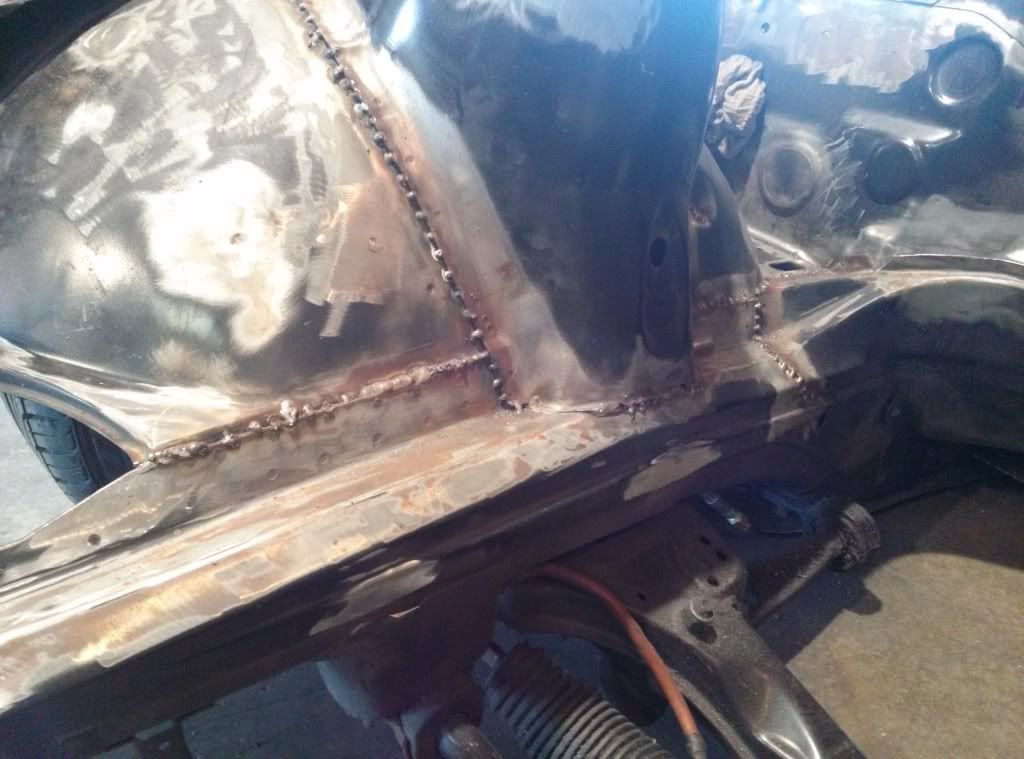
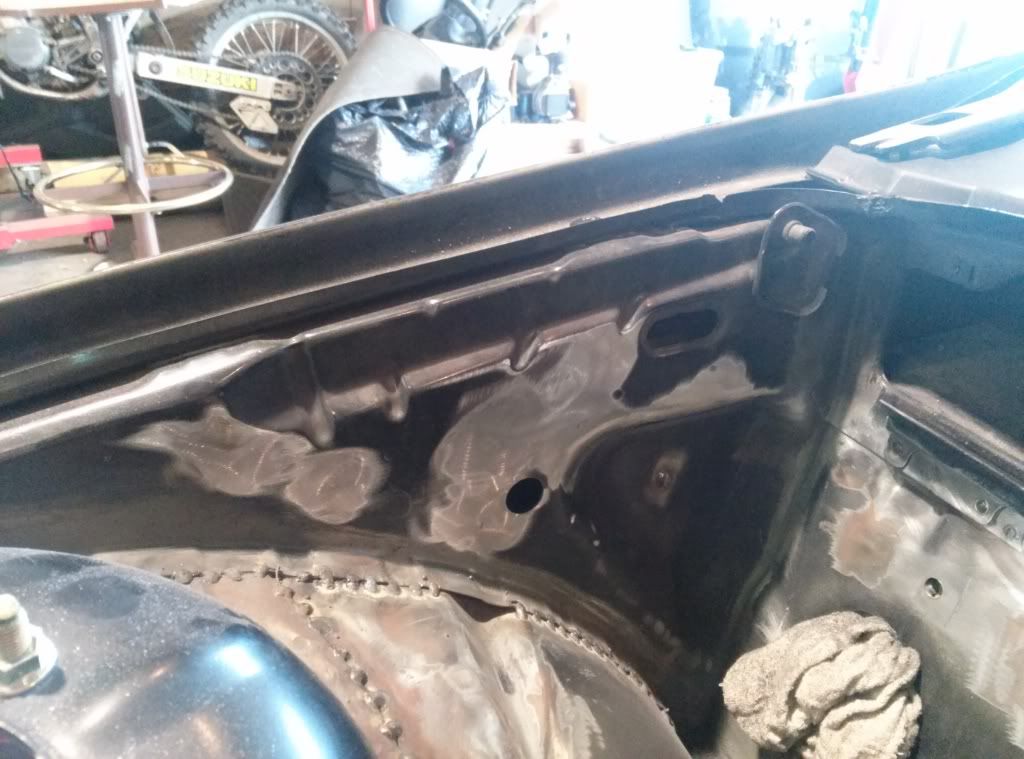
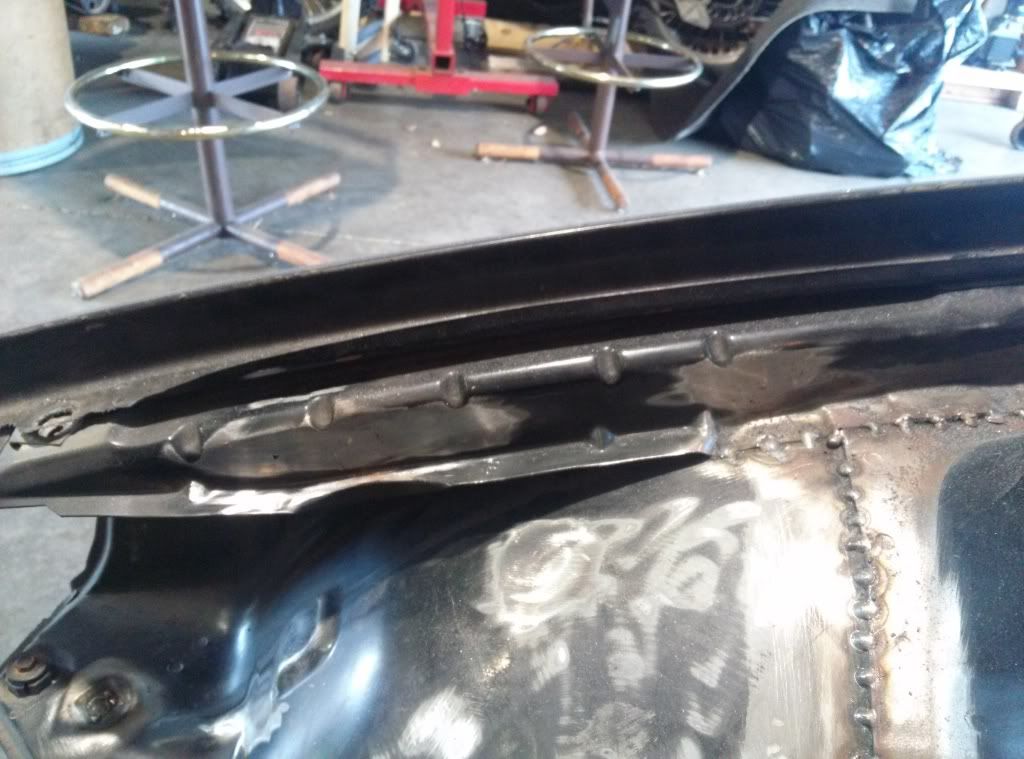
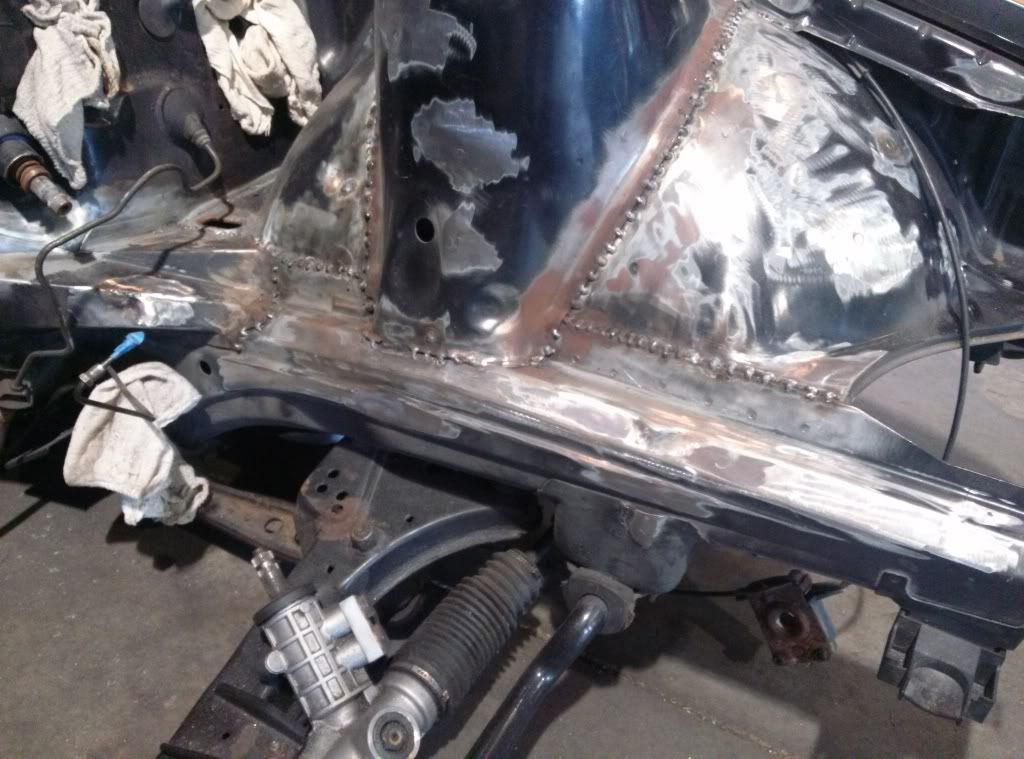
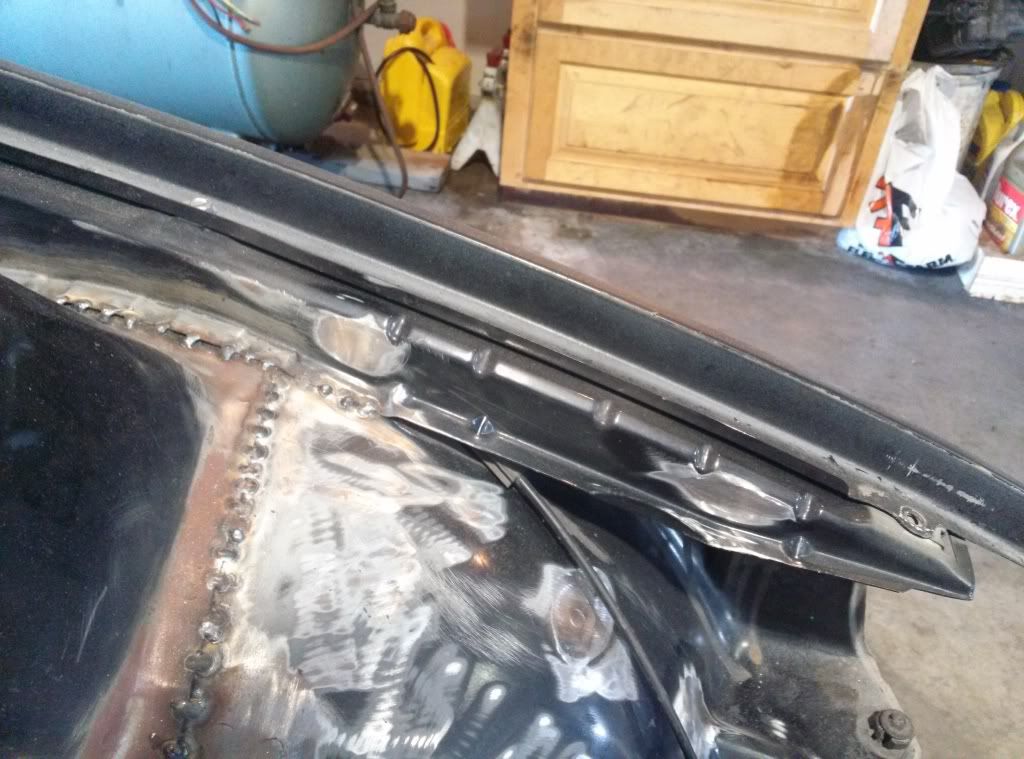
A friend of mine was going over my welded seems and advised me to go a little different direction. Everything he said made total sense to me now and made me feel like a total idiot. According to him, all of these cold tacks have the opportunity to pop when force is applied. This would cause the filler to crack in that location. He also said that once I get it all cleaned back up, I should use a ball peen hammer to tighten the seems up. I don't know how that skipped my mind but now I know=)
Onto the fenders.
The drivers side went really smooth and just needs minimal bodywork. The passenger side is the one that had surface rust and that caused issues. The metal cracked at each end of the arch and once in the middle. This broke up the smoothness, but it will be an easy fix with a little massaging with a hammer and some sanding.
I am very surprised that the arches pulled this far. They are on the verge of as far as they can be pulled without cutting the inner fender. I need to do some slight trimming, heating, and bending of the rear bumper to get it to fit up just right, but that shouldn't be too big of an issue.
Alright, onto pictures.
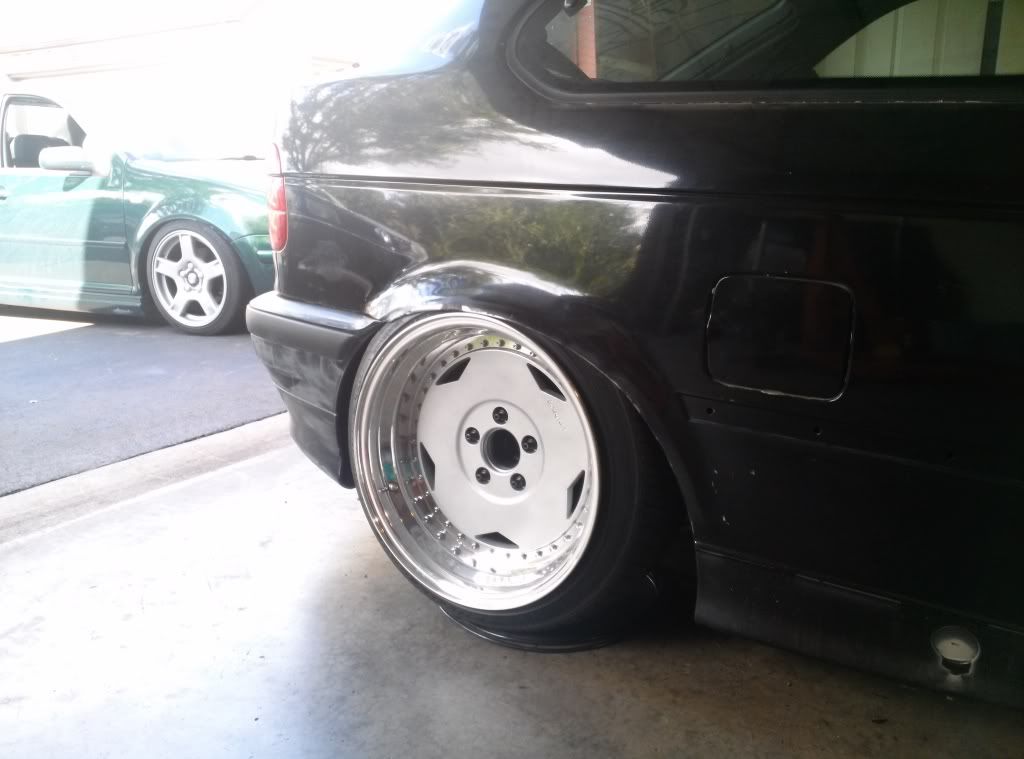
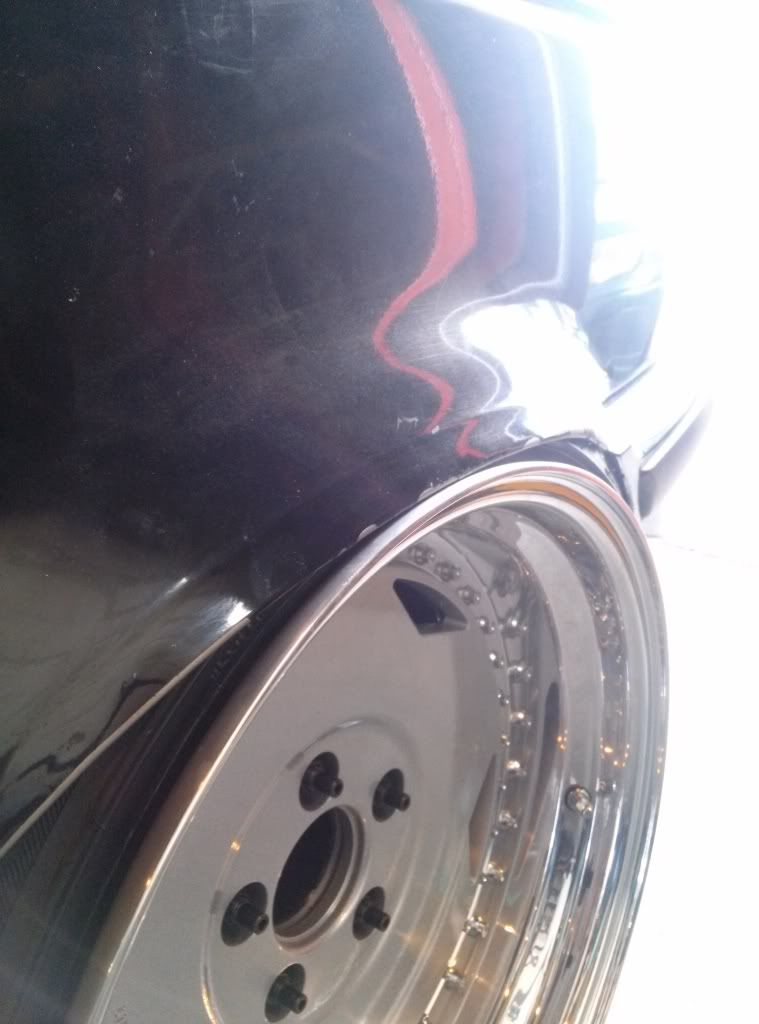
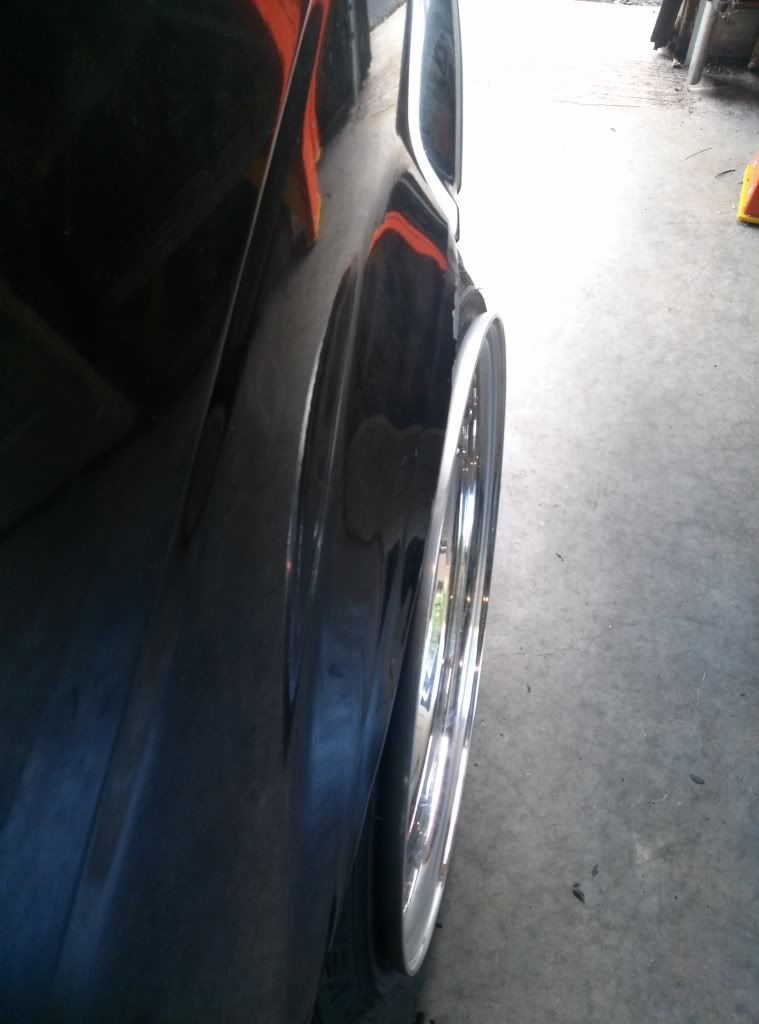
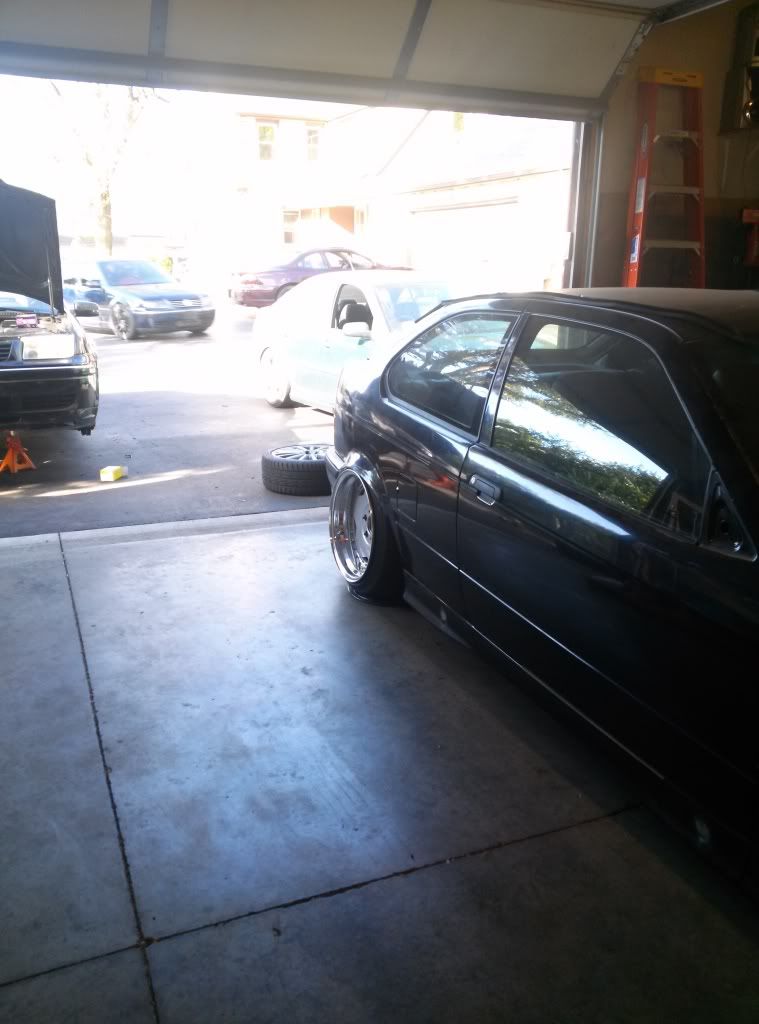
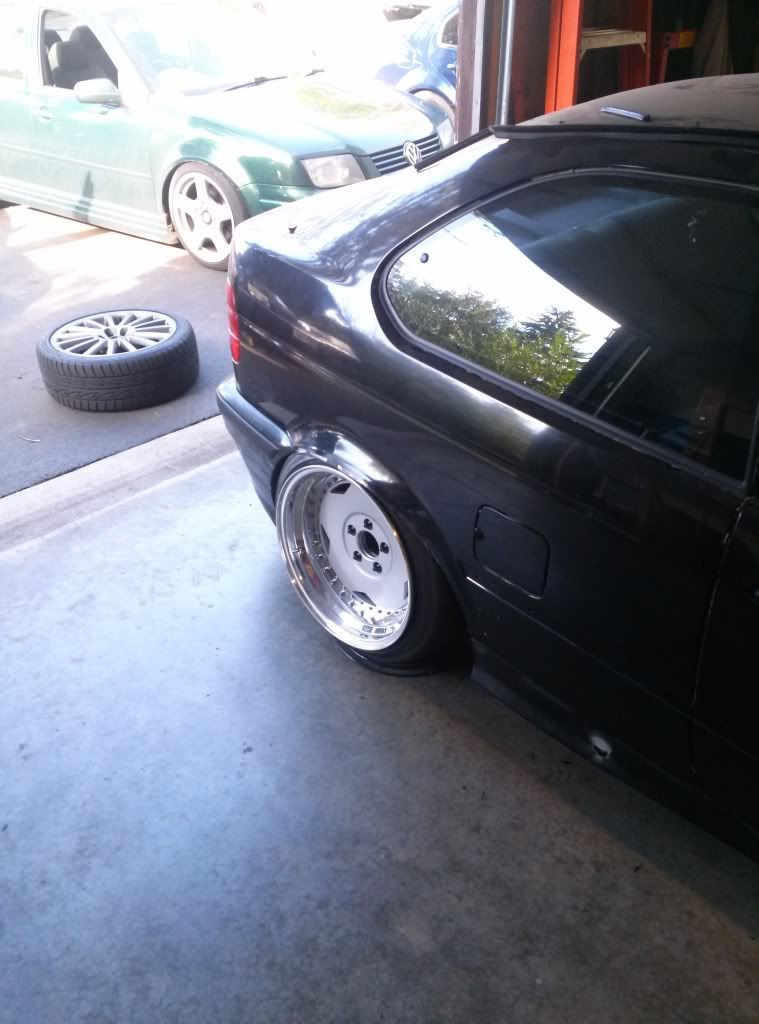
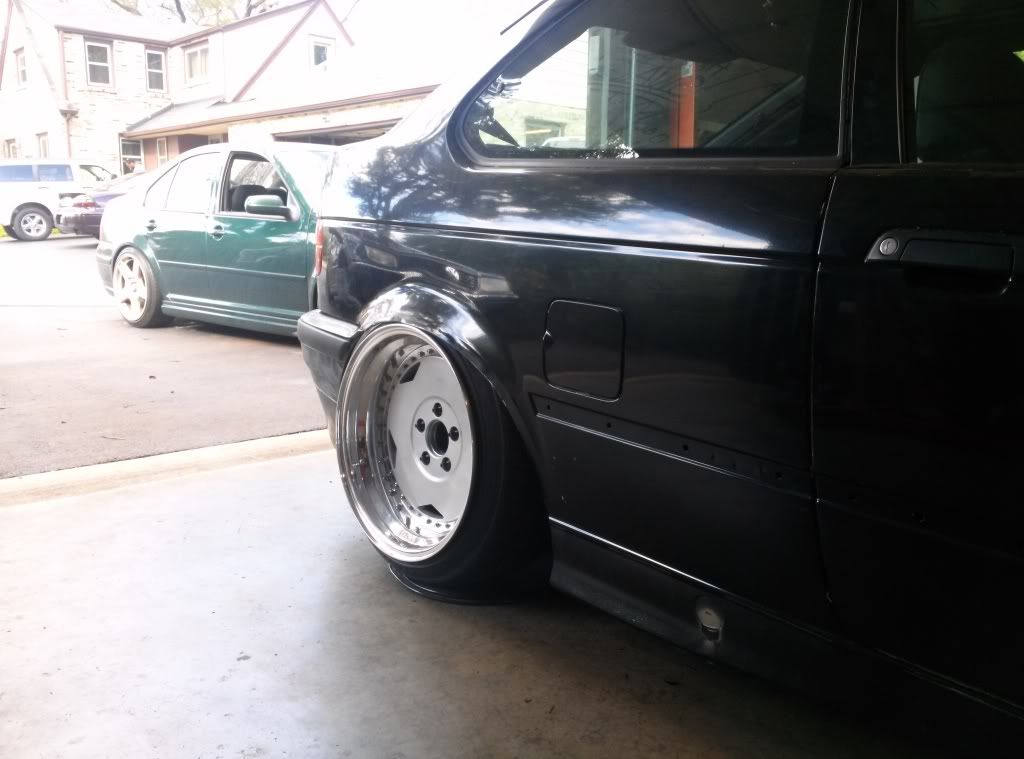
The hard thing to try and fade out with the roller was the body line and it is still pretty visible. When the car goes for paint that will be smoothed out and transitioned cleanly. This is just a crude pull/roll to get the fender where it needs to be and to give it the general shape=)
I am still working on the engine hardware and am really shooting to get that wrapped up later this week, early next week. Now that the fenders are roughed out I should be able to get the fronts sitting right to match. I also need to solidify my air line routing and get my trunk setup mocked up.
Motivation is at an all time high finally.
-
Needs more toe-in.... I see about an inch of space between your side skirts and the ground so im going to have to say that it also needs more low
The toe in when you lower e30 rear suspension gets insane. I may be biting the bullet on having a set of adjustable trailing arms made by Dominant Engineering. That will calm things down a bit=P
-
damn.
nice work.

do a burnout?
-
i like the after picture earl. very good job. i must come out there to see what you've done so far.
-
I attempted to be a little productive on Saturday=)
The first thing I did was work on my intake manifold.
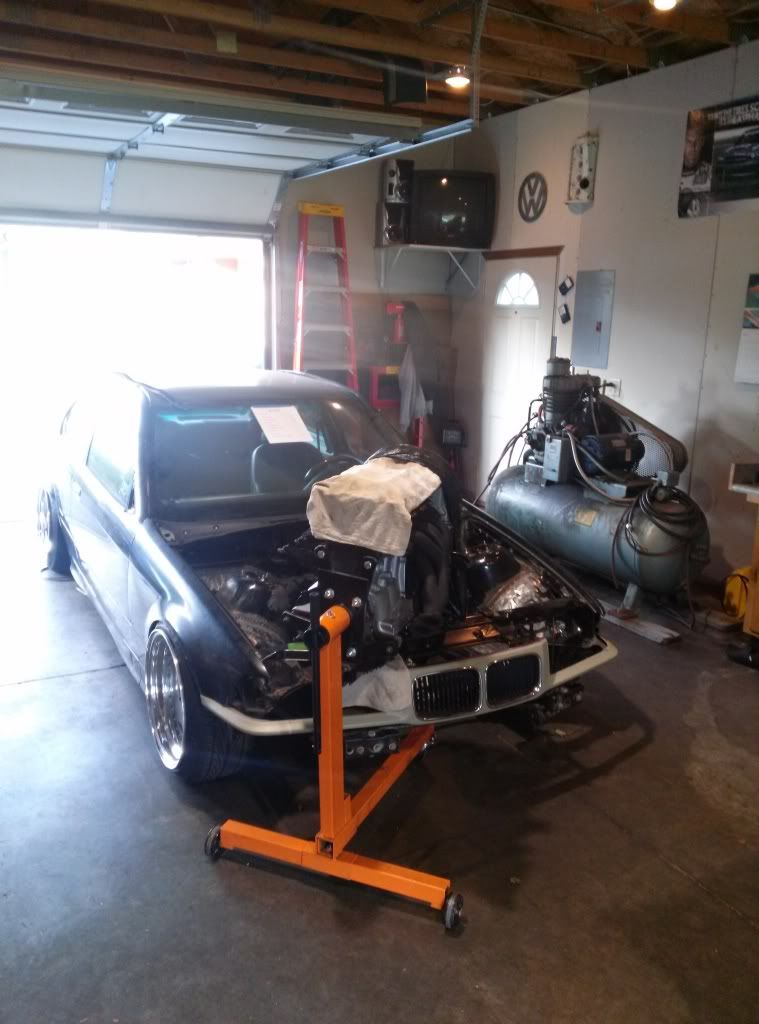
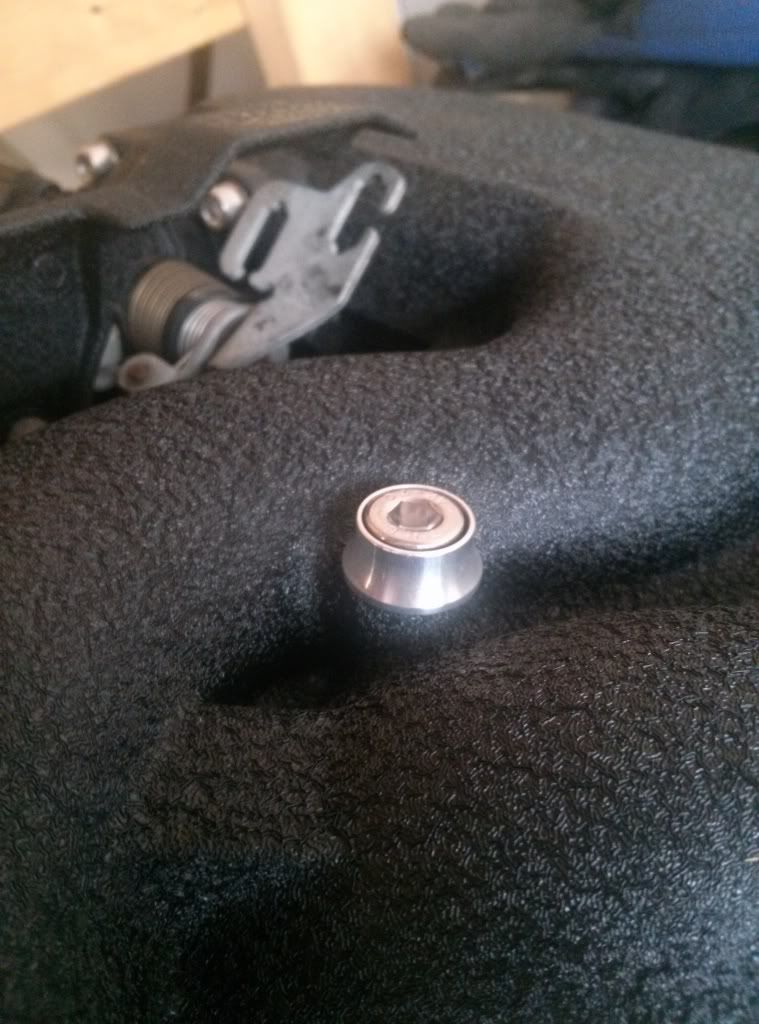
There are three bolts that hold the upper half of the manifold to the lower manifold. Two of them are M7x55 and the other is M7x100. When I placed my order with Downstar, Frank notified me that M7 hardware is very uncommon and that he could not source any. I could have just opted to order OEM replacement bolts, but they would just be zinc coated steel head head bolt. That was unacceptable since they wouldn't match the rest of my hardware. I then had the thought to ask if M8 hardware was easier to get. Frank told me that he could easily get me M8 hardware in the sizes I need. Saturday I ended up drilling out the holes in the upper manifold to fit M8 bolts through. I then drilled and tapped the lower manifold to accept the new hardware. I forgot to get pictures, but it looks exactly how it sounds. All for the sake of looking good=DAfter that ordeal I decided to fit up the front end so I could adjust the front fenders properly before pulling them a bit more.
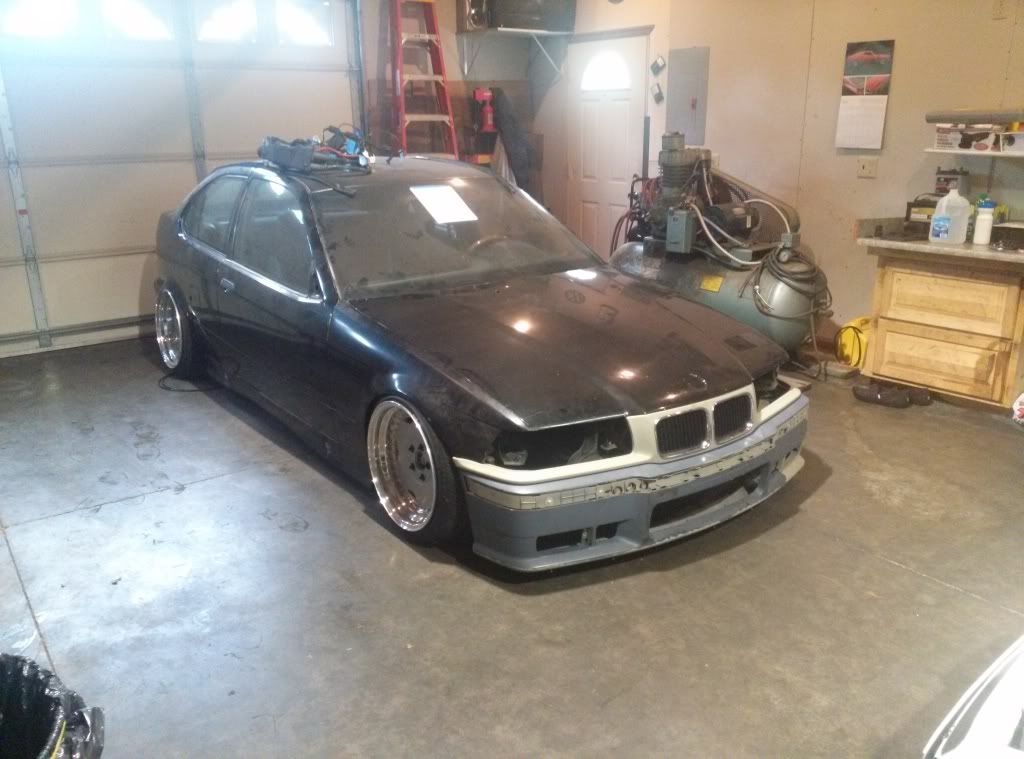
It is nice to see a face on her after being apart since December. You can see how the front fenders sit way too high compared to the rears. You can also see that I have a little bit more plastidip to peel......fun
John and I tried to do the old magazine fender pull trick but we couldn't get it to pull as far as I would like. Time to borrow a roller again.
I also snagged another shot of the rear fenders that need to be tweaked a bit more for my liking.
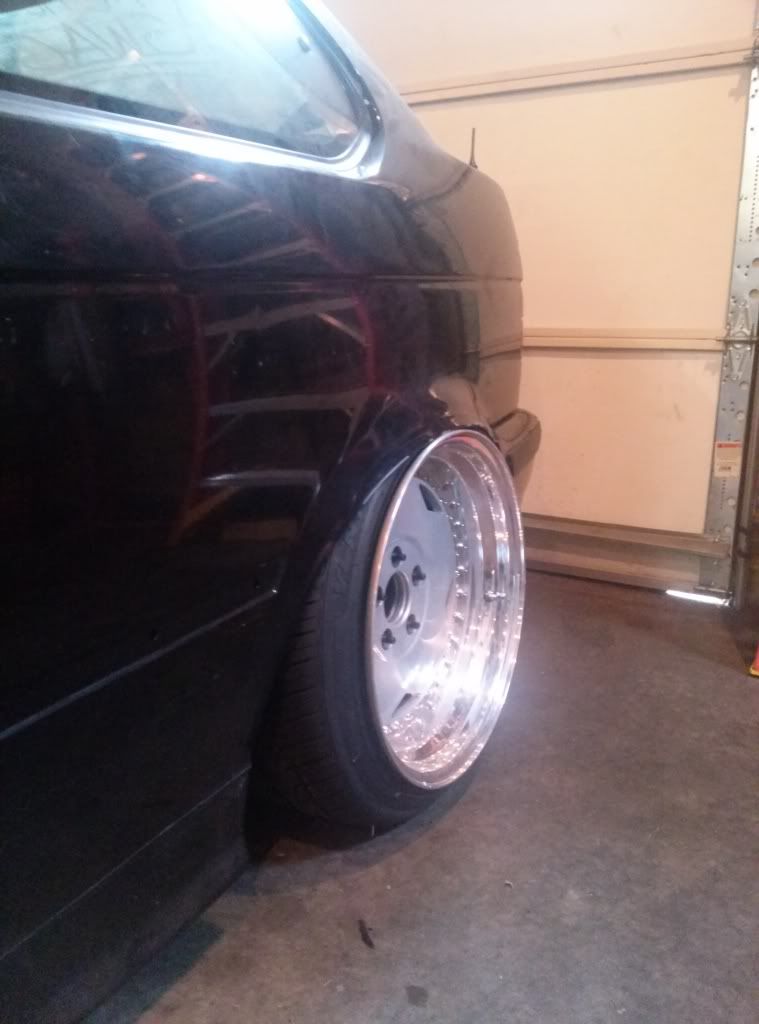
I am hoping my hardware shows up early in the week so that I can start getting the motor back together again=)
-
09/09/2023
Made me LOL

https://www.instagram.com/_jdesigner_/ http://nevertoolow.tumblr.com/
🥳SOLD BMW E24 633CSI - BMW M30B32 🧪SOLD HCH ES9 - 1.3 LDA
👽BMW E30 325IC - Toyota 1JZ-GTE ⏰ HONDA EF9 CIVIC SI - JDM B18C5
☠️BMW E36 318i - Ford 5.0 FE302 🚴♂️ GT-Labomba - 26x2.75 Freeride
🤹♀️SOLD BMW E36/7 Z3 - BMW M54B25 🧓SOLD BMW E10 2002 - BMW M10M05 -
Did a handful of things at the shop yesterday.
I started by clearing out my hatch so that I can start installing the management and figuring out my trunk setup.
I had my side moulding back there so I put them back on the car to keep them from molding out of shape or getting damaged. To do this I started rubbing off a ton of plastidip left all over the car. I may just need to take a day and get the rest of that off of this car. Anyways, I got them on and was happy to see they still look great=)
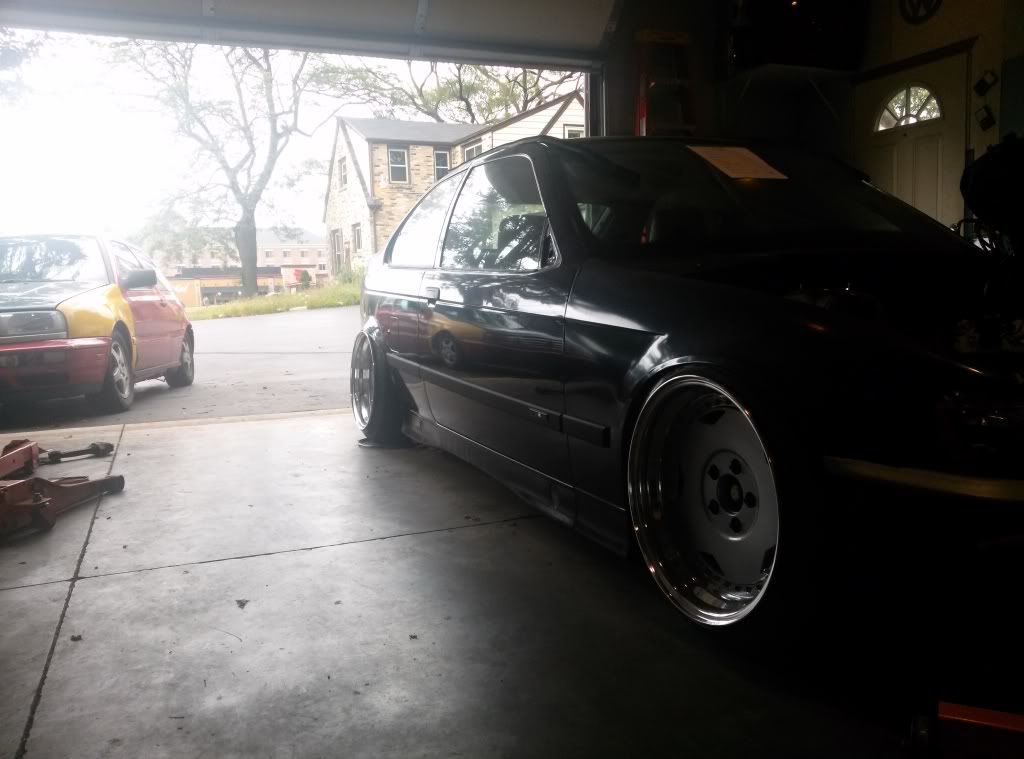
Rear quarter with trim
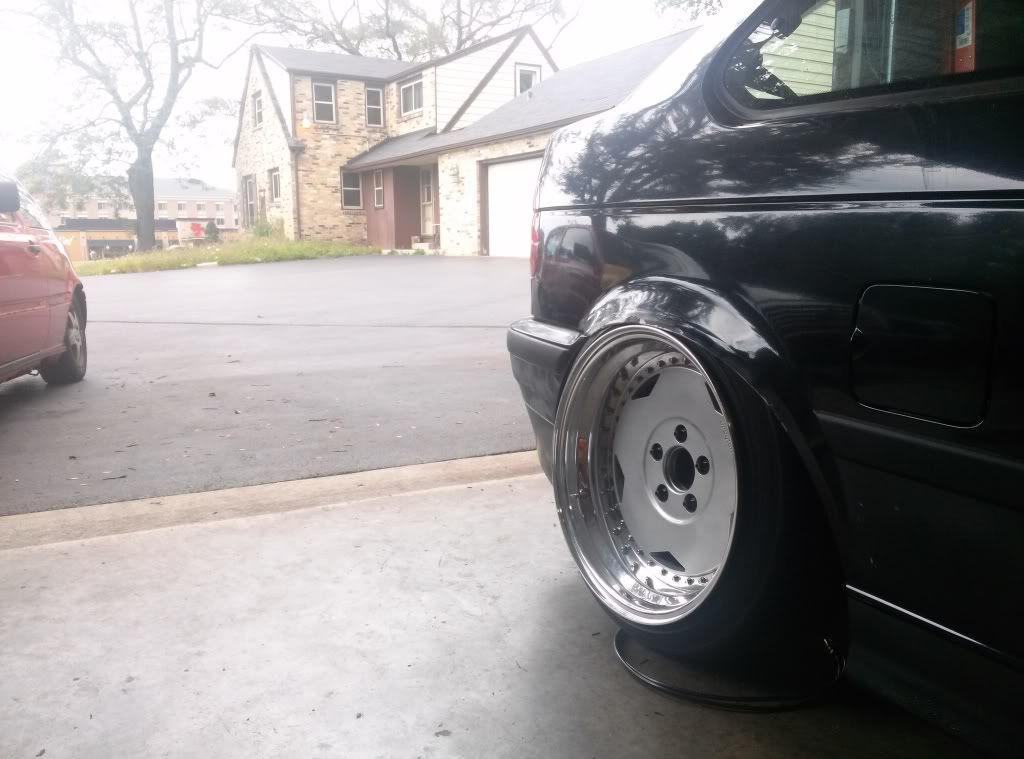
I also had to get some booty shots=D
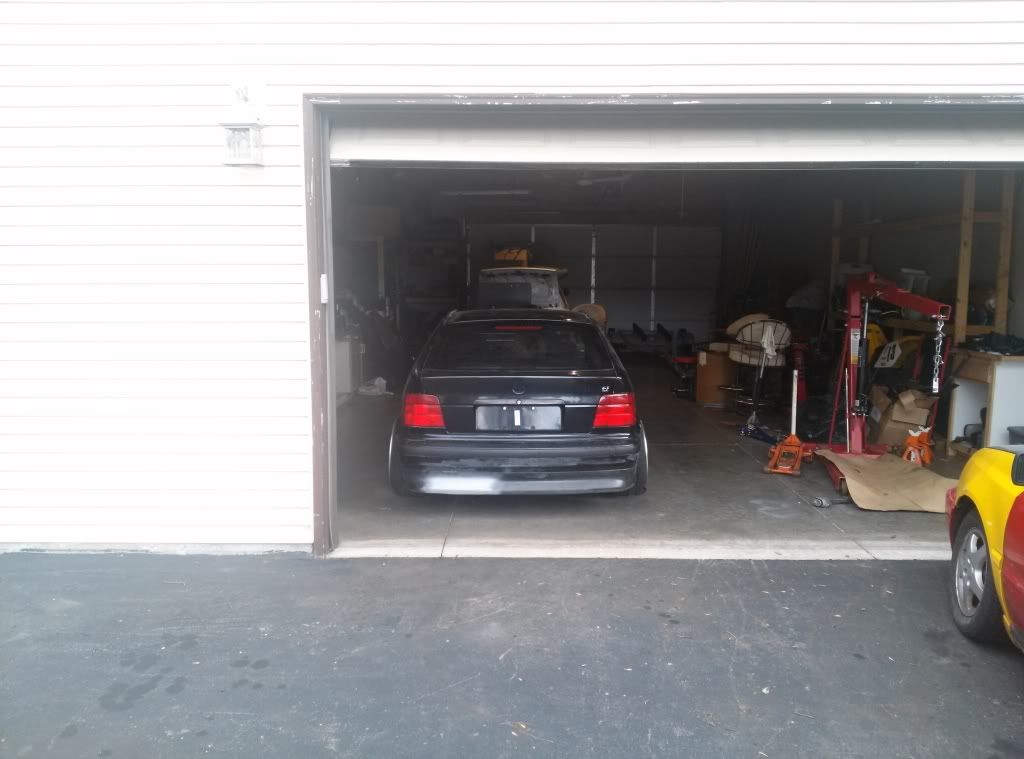
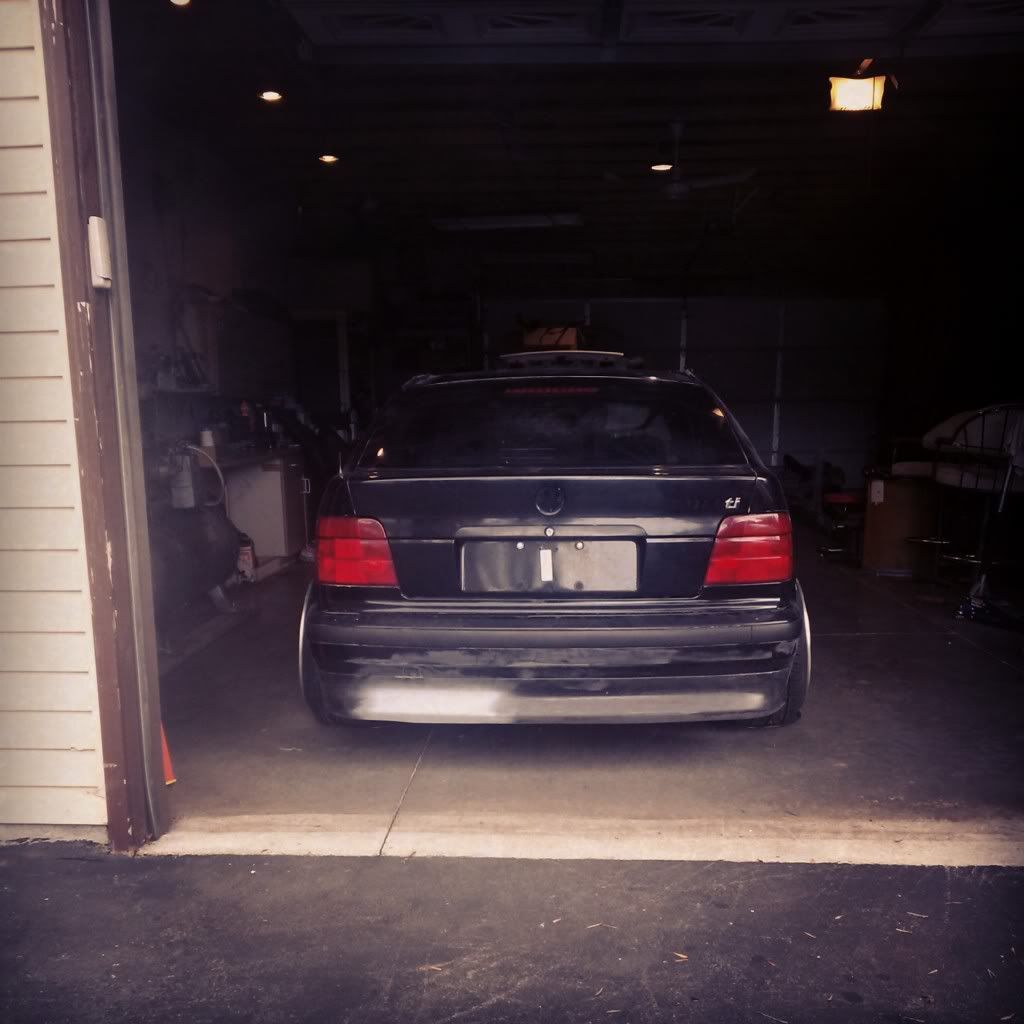
I still need to finish shaping the bumper where it was notched. I am happy with how good it looks being shaved though.
I climbed up a ladder and grabbed a box out of my stash. Opened it up:
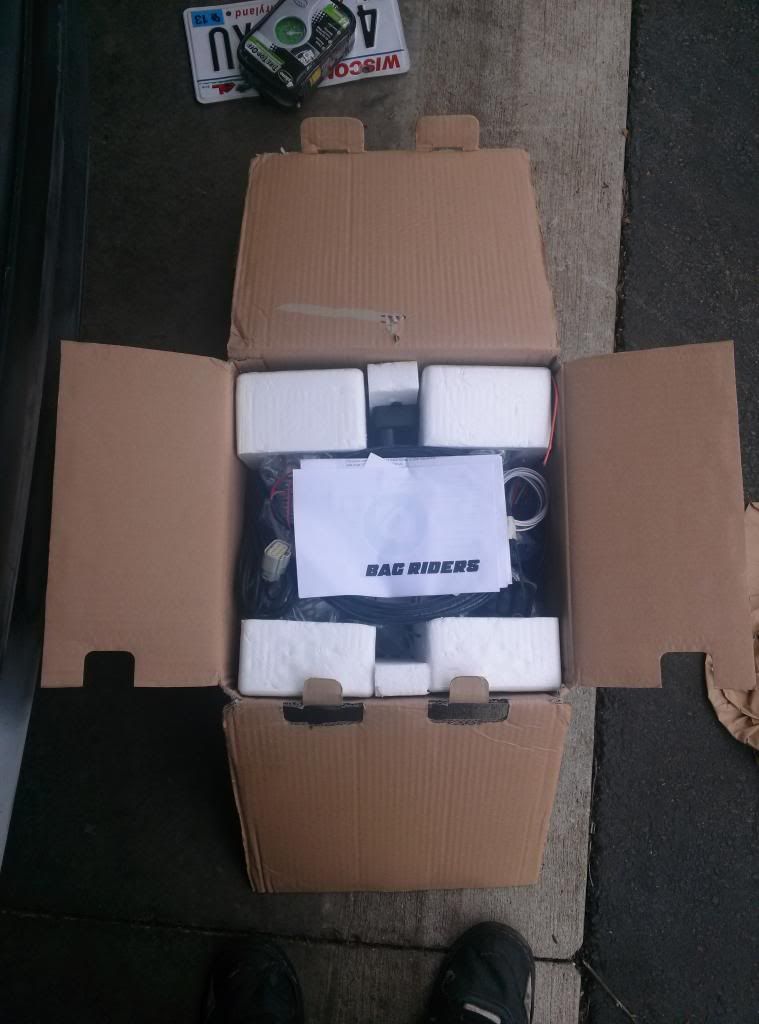
It was just my management, compressors, and gauges=)
I pulled up my trunk mat to see how much room I have to work with.
I need to fit at least my dual 444c compressors, VU4 manifold, and a secondary battery. I tossed the compressors and manifold in to get an idea of how much wiggle room I have.
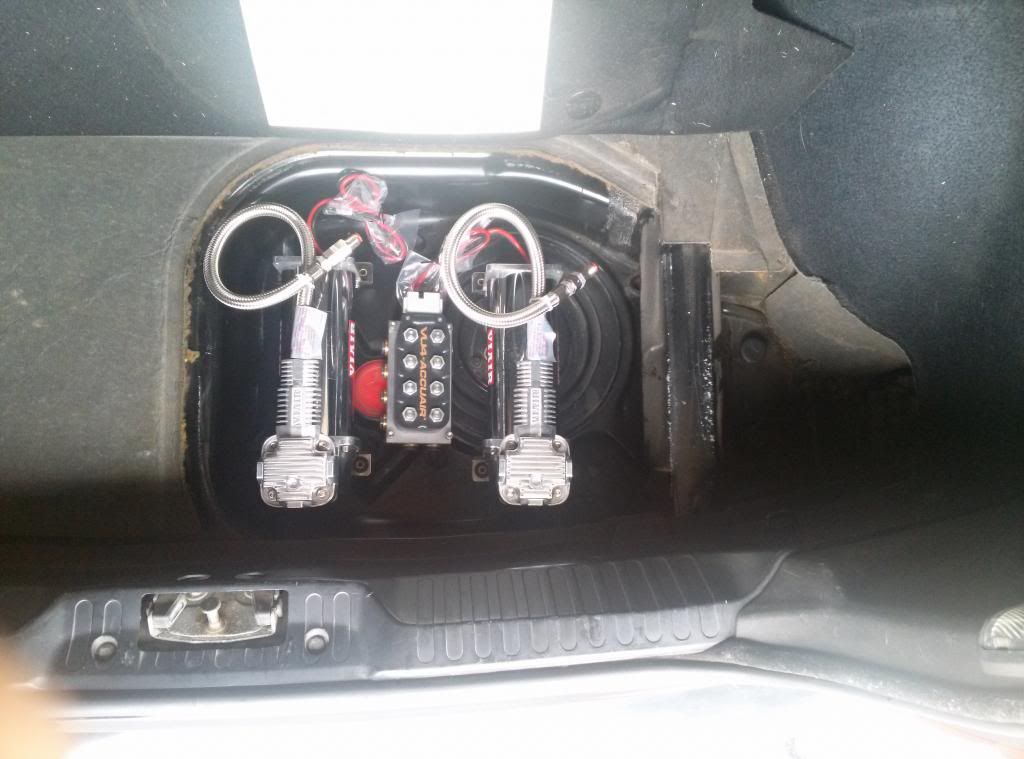
The secondary battery is a very small Braille. I think I will put both compressors to the left, mount the VU4 manifold horizontally in the right side, and then mount the battery right below that. My primary battery will go in that pocket on the right. It will probably be a similar Braille or maybe an Odyssey of the same size.
I found a roller to borrow for Saturday and I will also be grabbing a digital protractor from work so that I can make sure the camber of my fronts are exactly the same. I am hoping I can get a little work in the trunk done, as well as securely mounting the air lines under the car instead of having them just connected to the bags.
Time will tell what I end up motivated to do. Hoping my next update is a good one
-
Well I only got one thing done Saturday and that was getting the front wheels situated.
I started by pulling the passenger fender to clear the tire. I sat the car back down and the car still wasn't any lower. I then maxxed the camber out on both sides to see how that would work out. The car still didn't sit any lower, but the fitment seemed a little better. This made me realize that I pulled the passenger fender too much. I beat it back down to match the other side using a hammer and block of wood. I then spun the strut bodies shorter 8 turns each side. I dropped it down and still no change......After leaving for lunch and doing all of this over a 3 hour span, my friend decided to peak under the car and found what the issue was. I am sitting on the frame=P We decided to pull the car out of the garage to see if the driveway changed the fitment.
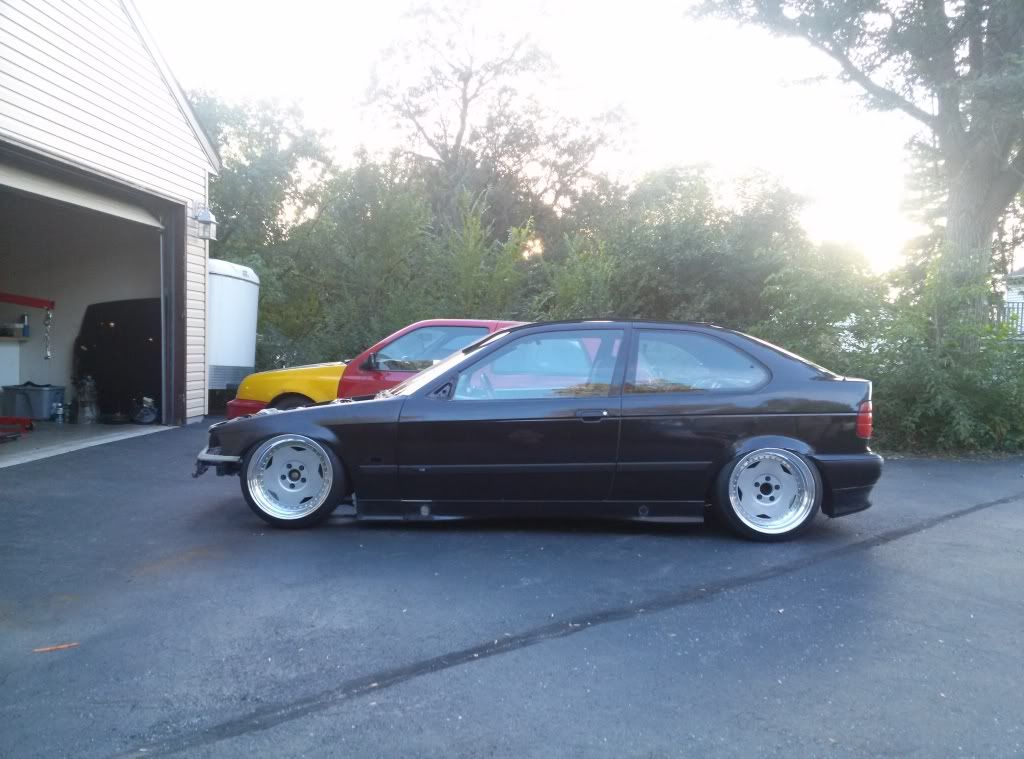
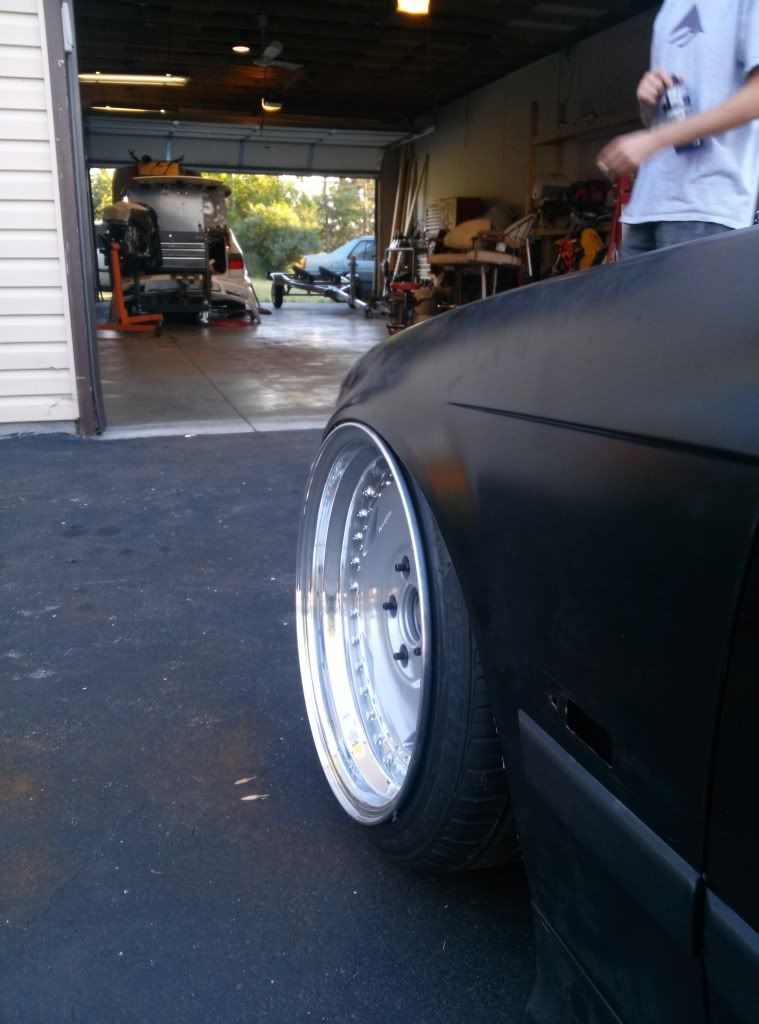
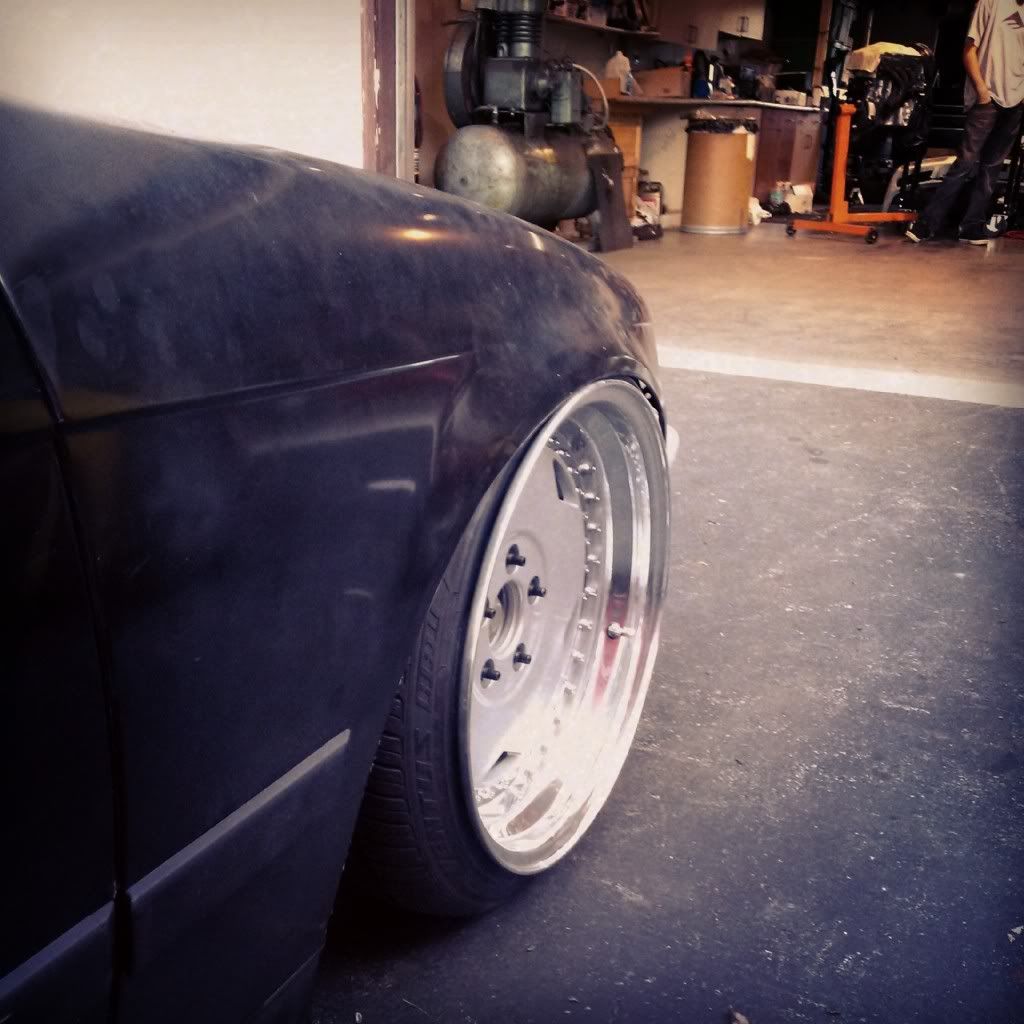
I then threw the front end together and bolted it down securely for the sake of seeing how it will look. I am still not sure why I tightened it all down snug. haha
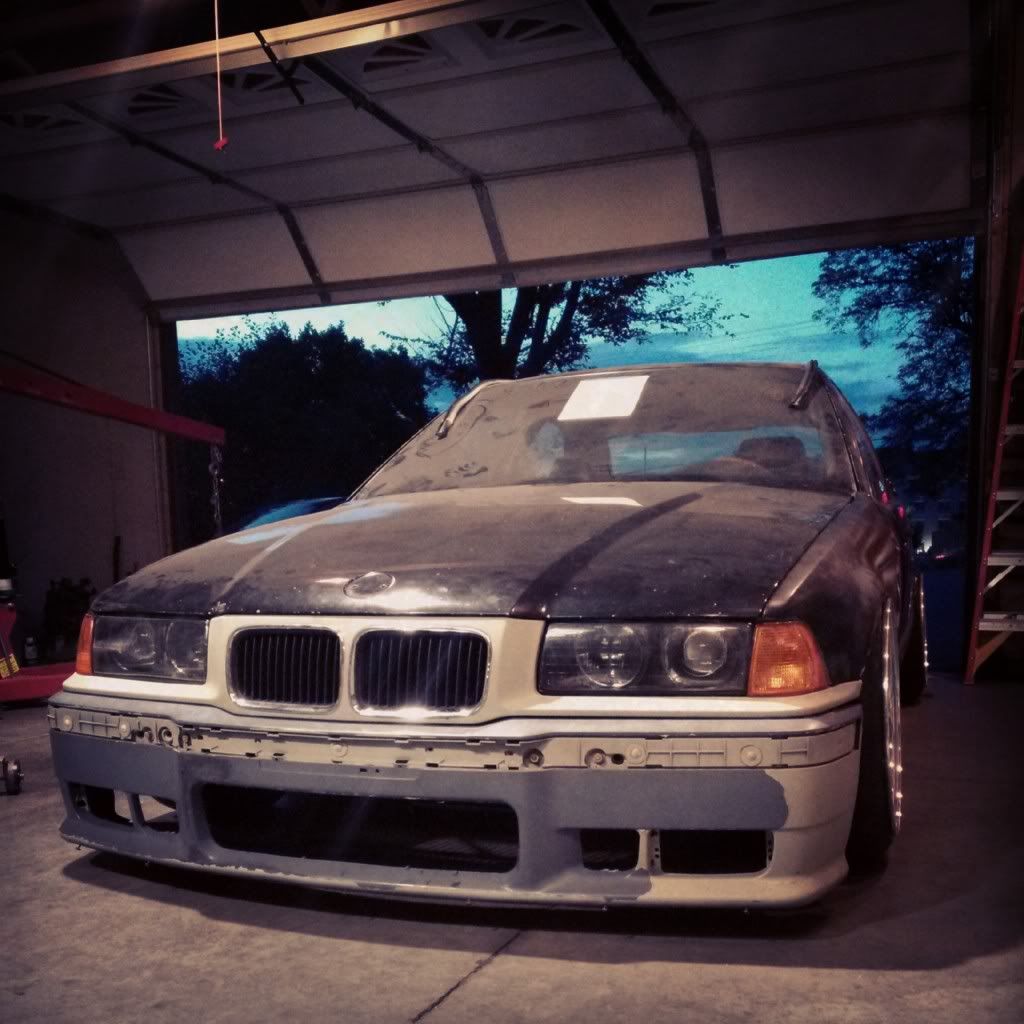
I am not sure if the crosshair in the high beams looks too aggressive for the clean and classy look I am going for. If I don't like them when the car is painted, it is easy to get another set of DJ Autos=)
After this we decided to finish peeling the plastidip on the header panel and bumper. I then put the mouldings on the bumper and didn't take any pictures of that. haha I will have to snap one on Wednesday before taking it all back apart.
I didn't get a chance to do anything is the trunk because I was being far too lazy and my buddy who was going to assist me had a family party to go to. I will take measurements on Wednesday to see how much wood I will need and how I will go about getting it to fit right.
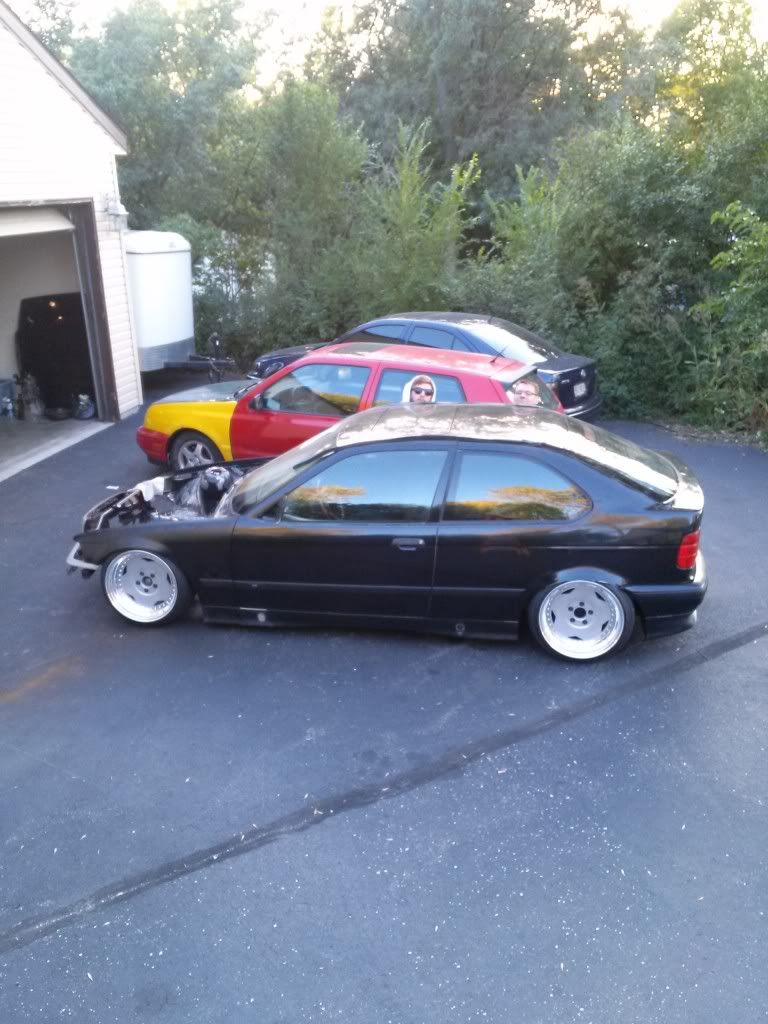
One more picture from when the car was outside.
Jake and John photobombing me=P
-
this needs to be moving under its own power before the snow flies!!!!!
-
Tiny bits of work yesterday.
I was going to remove the front end, but I want Alex to see it before I take it apart. He will be swinging by Sunday before we go to the get together=)
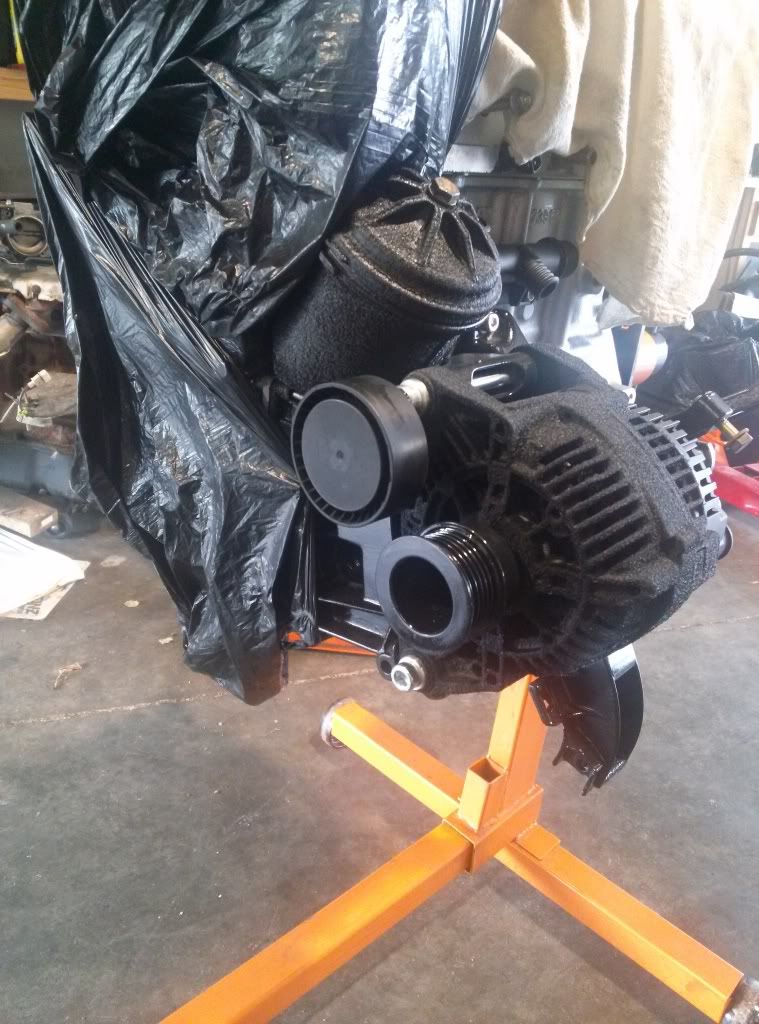
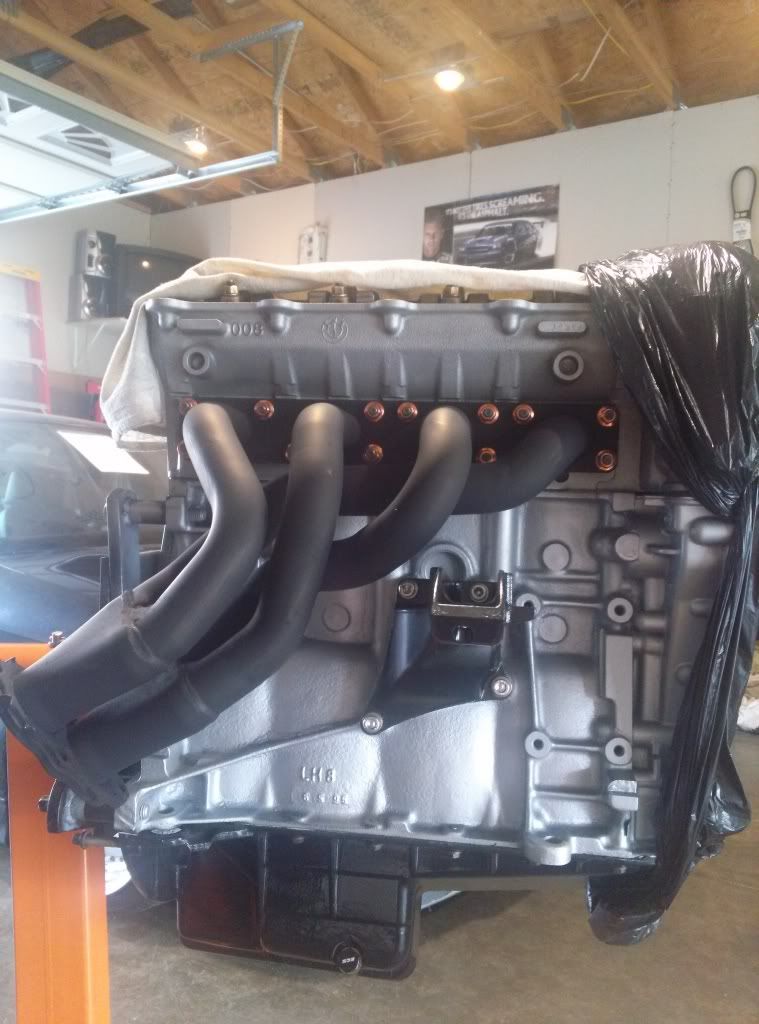
Most of the time at the shop was spent installing some of the new hardware and talking to the landlord. I am very happy with how the hardware looks so far.
Alternator bolts with beauty washers
Motor mount arm
Intake manifold
I need to figure out how to clean up the throttle linkage a bit since it now looks like crap with everything else looking new.
Throttle body
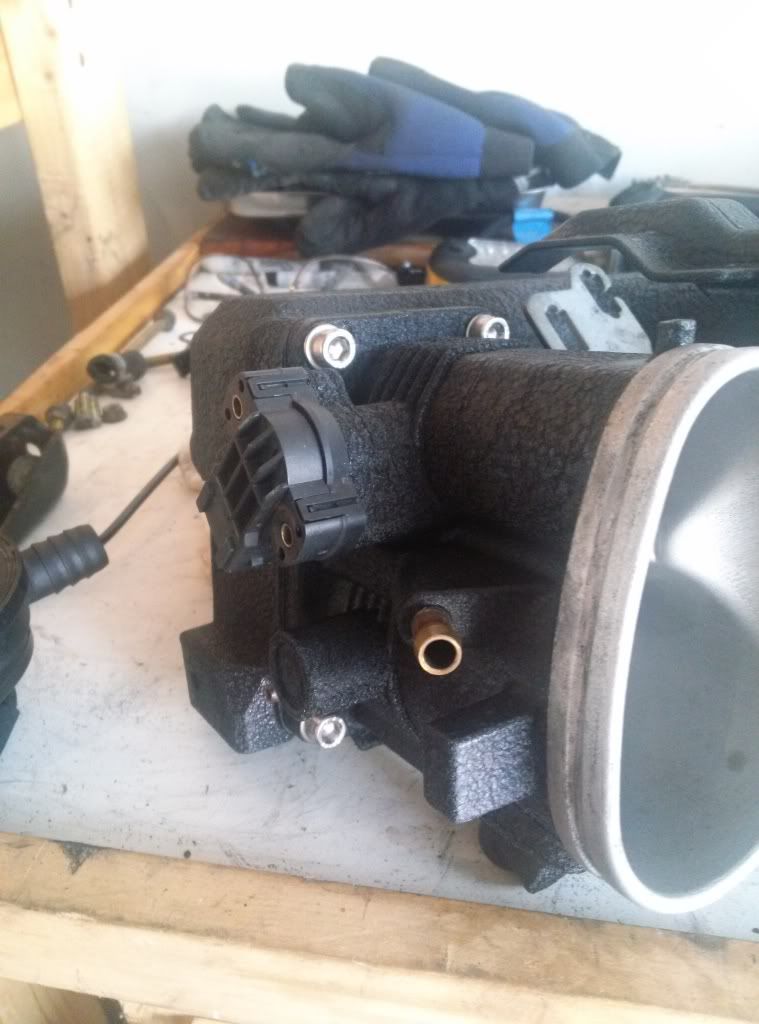
After getting those in I noticed I made a mistake on the length of two bolts. Look what I did wrong
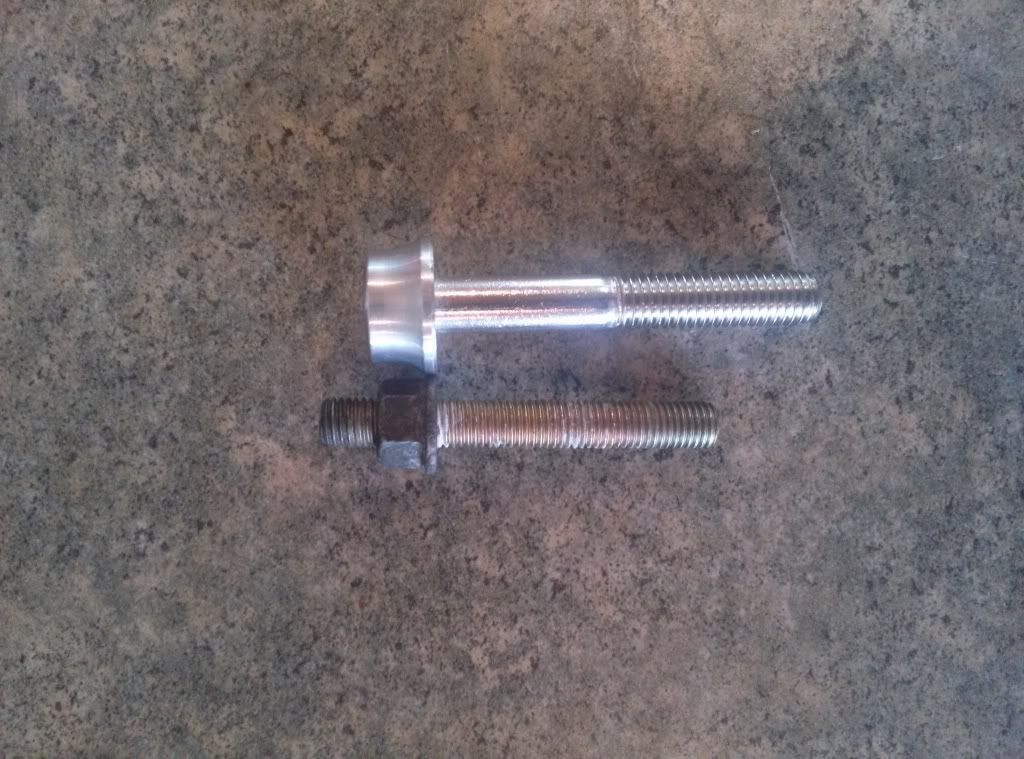
I ordered them the length of the studs without thinking how far the nut threaded down onto the studs=( I just need to cut them down at work and run a die on the threads to clean them up. No biggie
I peeled the plastidip off of my lux slats and then took some pictures of the front of the car with its Calypso goodness=)
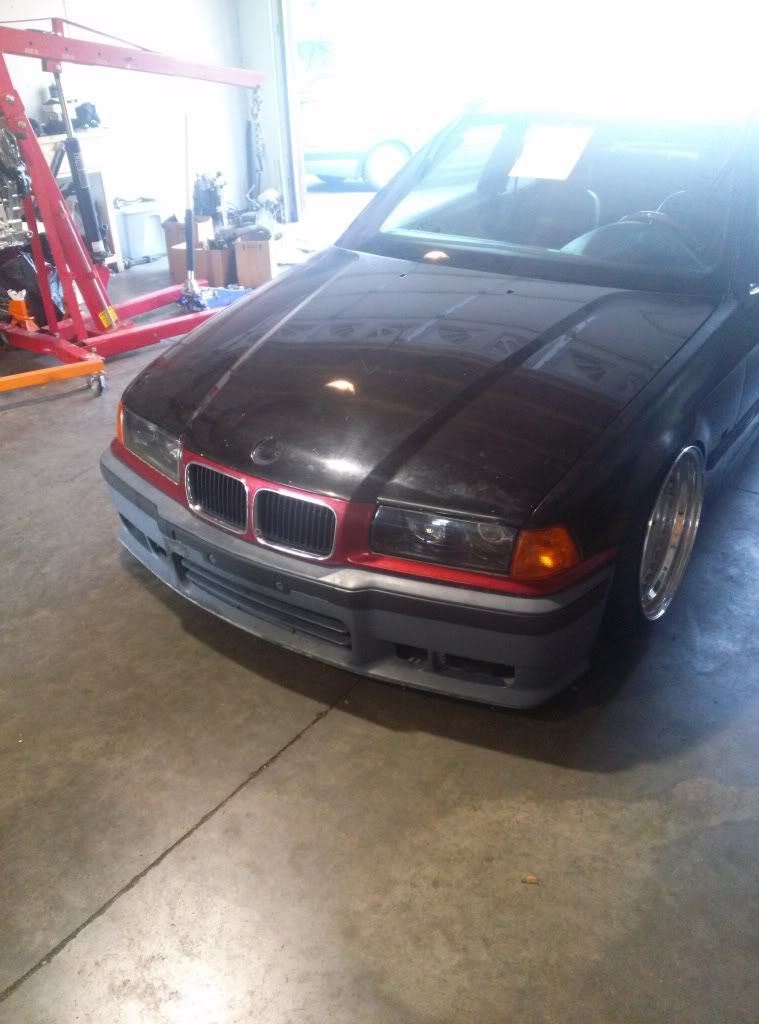
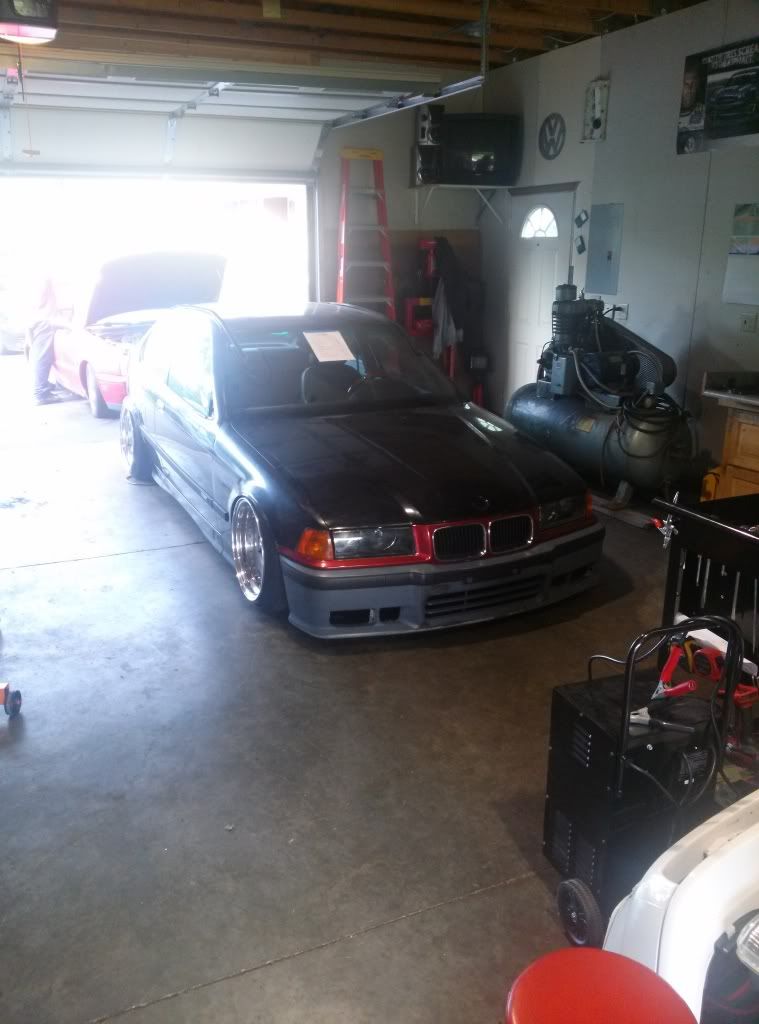
If I wasn't so dead set on keeping the car black it would either be sprayed Calypso of Diamond Schwartz. Black will keep with the classy, subtle look I am shooting for.














Hello! It looks like you're interested in this conversation, but you don't have an account yet.
Getting fed up of having to scroll through the same posts each visit? When you register for an account, you'll always come back to exactly where you were before, and choose to be notified of new replies (either via email, or push notification). You'll also be able to save bookmarks and upvote posts to show your appreciation to other community members.
With your input, this post could be even better 💗
Register Login