
My name is Earl, and I have a Stainless Steel bolt fetish =)
-
Snap Understeer said:
Very nice progress!
What was your method for removing the diff mount.
Did you mark the front half of the driveshaft in relation to the rear before separating them so that it will still be balanced when reassembling it?
I did not......hopefully I'll be okay.
I just pushed the bushing out by hand. lol It seperated from the metal sleeve. You can still see the steel sleeve in there. I tried hammering it out with a chisel with no luck=(
Edit: I just remembered that PO replaced the guibo. He would have had to remove the front half to do so. Hopefully his marks are still there. I never had any vibration issues. How much does it cost to get rebalanced?
-
Earl said:
I did not......hopefully I'll be okay.
I just pushed the bushing out by hand. lol It seperated from the metal sleeve. You can still see the steel sleeve in there. I tried hammering it out with a chisel with no luck=(
Id recommend finding the balancing alignment marks (painted dots, sometimes a sticker with arrows on a reman. shaft) sooner than later. There may be grease, scrapes, or some other clue that will help you line them back up/make your own balancing marks now before the driveshaft gets moved around/wiped down etc. just in case the factory balancing marks are gone.
-
I removed the front Sunday I believe. Put it on the ground, picked it up, and set it over by my transmission. I did the same thing with the rear yesterday. So I know I didn't wipe it off if it is there=) I will look. I reckon getting it rebalanced is costly ?
Edit: I felt so proud of myself removing all of this all alone. Now you make me feel stupid=P By the way, do you like being called Snap, or by your name? Your name is Brian (sp) right?
-
Earl said:
I removed the front Sunday I believe. Put it on the ground, picked it up, and set it over by my transmission. I did the same thing with the rear yesterday. So I know I didn't wipe it off if it is there=) I will look. I reckon getting it rebalanced is costly ?
Edit: I felt so proud of myself removing all of this all alone. Now you make me feel stupid=P By the way, do you like being called Snap, or by your name? Your name is Brian (sp) right?
Not sure about the cost of rebalancing. I bought my reman driveshaft from a company in IL that is known for doing BMW driveshafts properly (Wholesale Import Parts or something like that). For ~350 IIRC. If you cant see any alignment marks or clues of how it goes back together then, as annoying as it would be, you could keep re-installing until its right

Call me whatever... Brian, whiteboy, snap, lurp, T-Bone (Seinfeld reference)
-
drive axles mount up any which way. I even swapped sides (left side is now on the right side) to help even out any wear the ball+cage has had from shock loading in the one direction (weird paranoid engineer overthinking type logic). The inverted hex bolts used for the axles like to get greasy threads so make sure they (the threads) are very clean before re-installing them and use blue threadlocker to prevent them from backing themselves out. It happens more than youd think after someone removes/replaces an axle.
-
You're talking about the e-torx bolts right? I was thinking of switching the axles to the opposite sides too=) I will definitely be rebending all new brake lines for the subframe though. There are lots of bubbles at every bend=/ I now need to go through underneath and see if any others need to be done. All of the lines in the bay are being re-ran to put them out of sight=)
-
Jake and I got the subframe bushing out today. They were in there insanely bad. I pressed the rubber out with a two jaw puller, and then pounded the sleeve out with an air chisel:) We then tried to air chisel the sleeve out if the diff cover. That didn't work very well. Jake ended up trying to cut it in half with a torch. It worked, but he just barely melted a tiny bit if the cover. It's okay. It was in a thick part:P I also got the trailing arm bushings out thanks to Brian (Snap). Not much else got done. There aren't many things I can do besides the bay as I want for the POR-15 to arrive. We will see what Wednesday brings:)
-
I picked up some brake cleaner and a rust/paint stripper wheel Tuesday, so that I can prep the arms, subframe, and block for paint=)
Yesterday I worked on something that I have been putting off for weeks. Removing the lower half of the fusebox was where I stopped the relocation process. Yesterday I decided to do something about that.
I started by removing all of the relays from the lid:

I was then about to remove all of the wires for the fuses, but noticed something. Each section of fuses is clipped into the box. They were pressed in there really good, but I managed to get them out.


I'm not sure if anyone has noticed this before, since I see people just stuffing the whole lid under the dash. That looks half assed to me. I will be making a mount for just the fuses and relays to sit on. The rest of the wires will be neatly bound up and set aside.
A friend luckily stopped by and gave me a hand stuffing the wires into the footwell. I was tugging on them lightly before he arrived, but it wasn't working well at all. With his help, we had the wires all pulled in within about 10 minutes. Here is how it sits now:
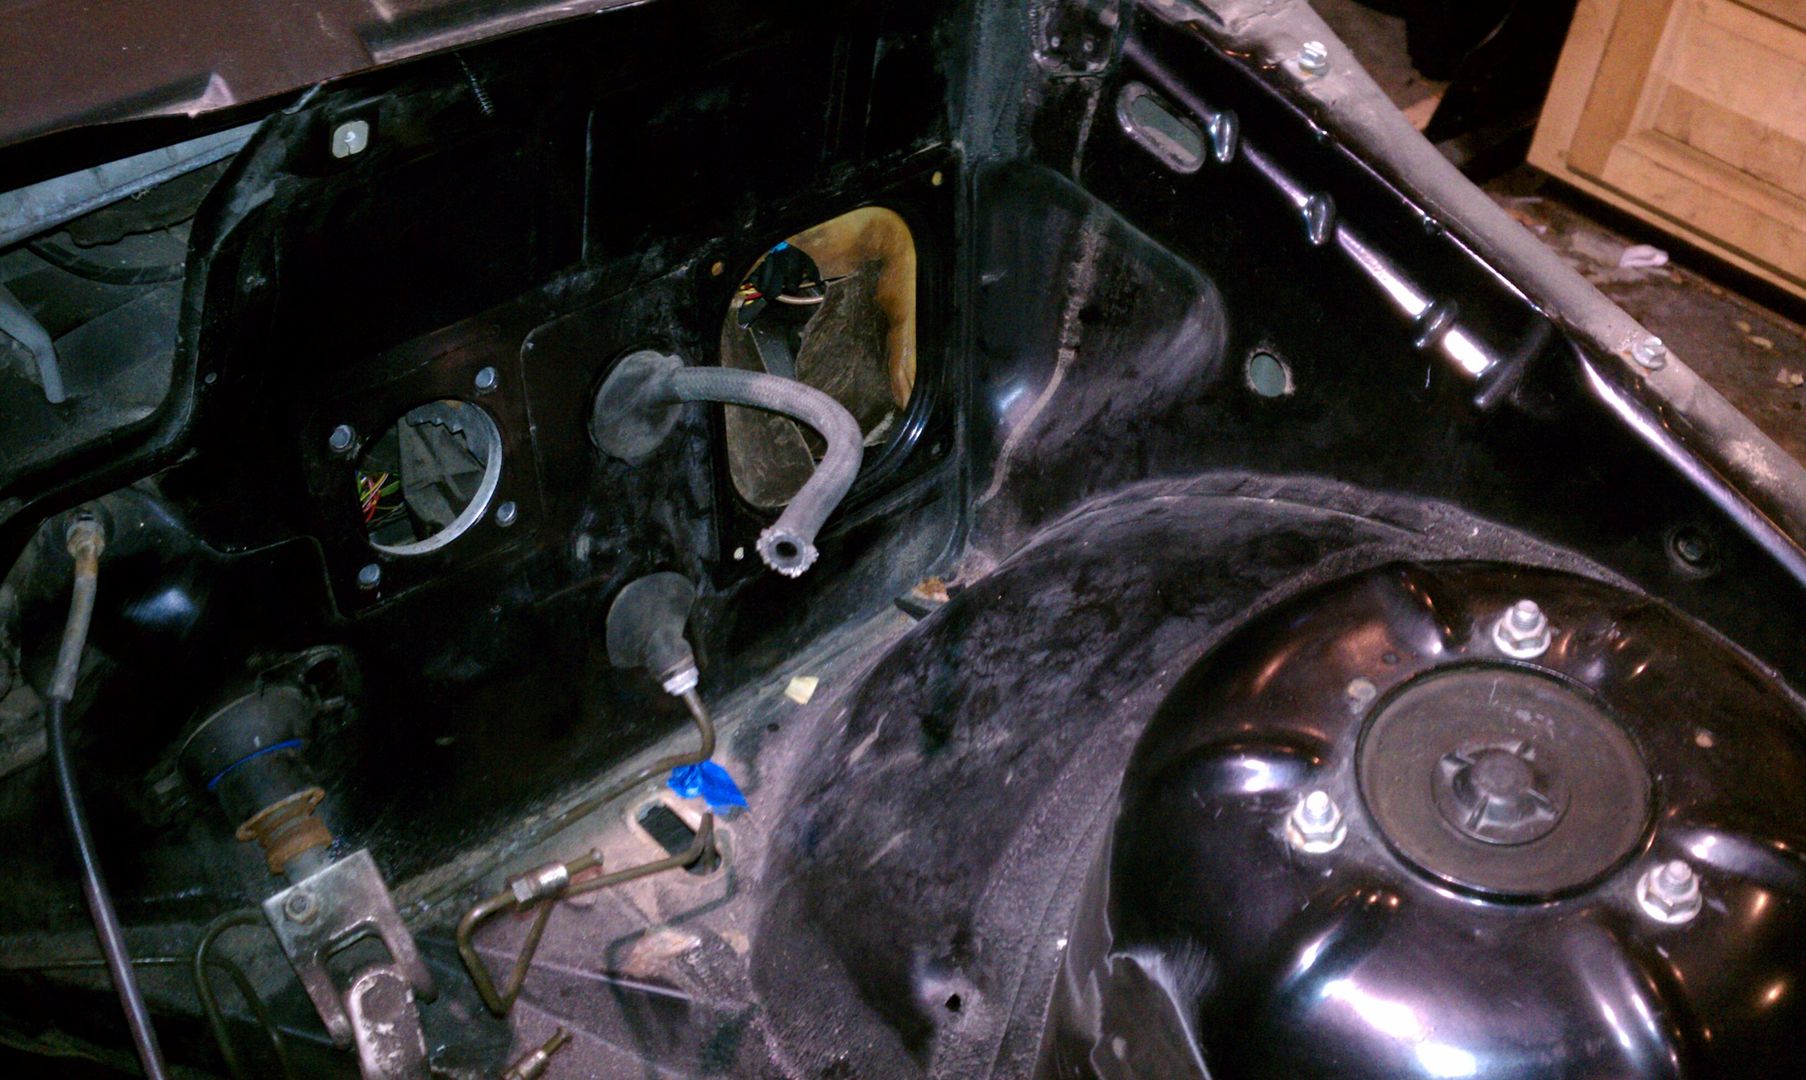
And the mess I have to sort out:

Saturday will be filled with grinding, scuffing, sorting, and all sorts of adjectives. I'm hoping to get the wires organized, and the parts prepped for paint. I may possibly even get primer down=) We will see.
Tah Tah for now
-
I got out both days this weekend, but not for long at all=/
Saturday I was seperating my fusebox wiring. I put the fuses together in a bundle; relays together in another bundle; grounds into two seperate bundles; and I have a few other stray wires to sort out. I couldn't get any pictures due to the lighting. I need a real camera=( I then ran out of propane and left the shop. My feet were frozen and I decided to go out on a lake in the MK3 for a few hours. If my friend gets any video up soon, I will try to post it.
After all of those shenanigans, I returned Sunday afternoon after a nice lunch/breakfast. I had to get home before my girlfriend, so I only had an hour to
get anything done. I decided I would tackle at least one side of the block to prep for paint. I took pictures of both sides and then completed cleaning up the exhaust side.

Before:

After:


Wednesday I will be tackling the other side, as well as modifying my control arms/ cleaning them up for paint.
I'll throw this picture in just for fun. I'm trying to figure out if I want to just make a plastic panel to cover the fuse box hole, or if I actually want to weld a panel over it.

Any thoughts?
-
I got a little bit done yesterday.
I started off by cleaning the other side of the block up with what was left of my drill mounted wire cup.

I need to get a wire wheel for the grinder and it should get the last bits of stubborn rust dust off.
I then put a cutting wheel on the grinder and slipped working on the trailing arms=P


Whoops. Well since I "wrecked" one of them, I figured I would do the other.

I then got the idea, why not wreck the spring seats on the body too? So I did.


More updates Saturday....or will it be sooner? =D








Hello! It looks like you're interested in this conversation, but you don't have an account yet.
Getting fed up of having to scroll through the same posts each visit? When you register for an account, you'll always come back to exactly where you were before, and choose to be notified of new replies (either via email, or push notification). You'll also be able to save bookmarks and upvote posts to show your appreciation to other community members.
With your input, this post could be even better 💗
Register Login