
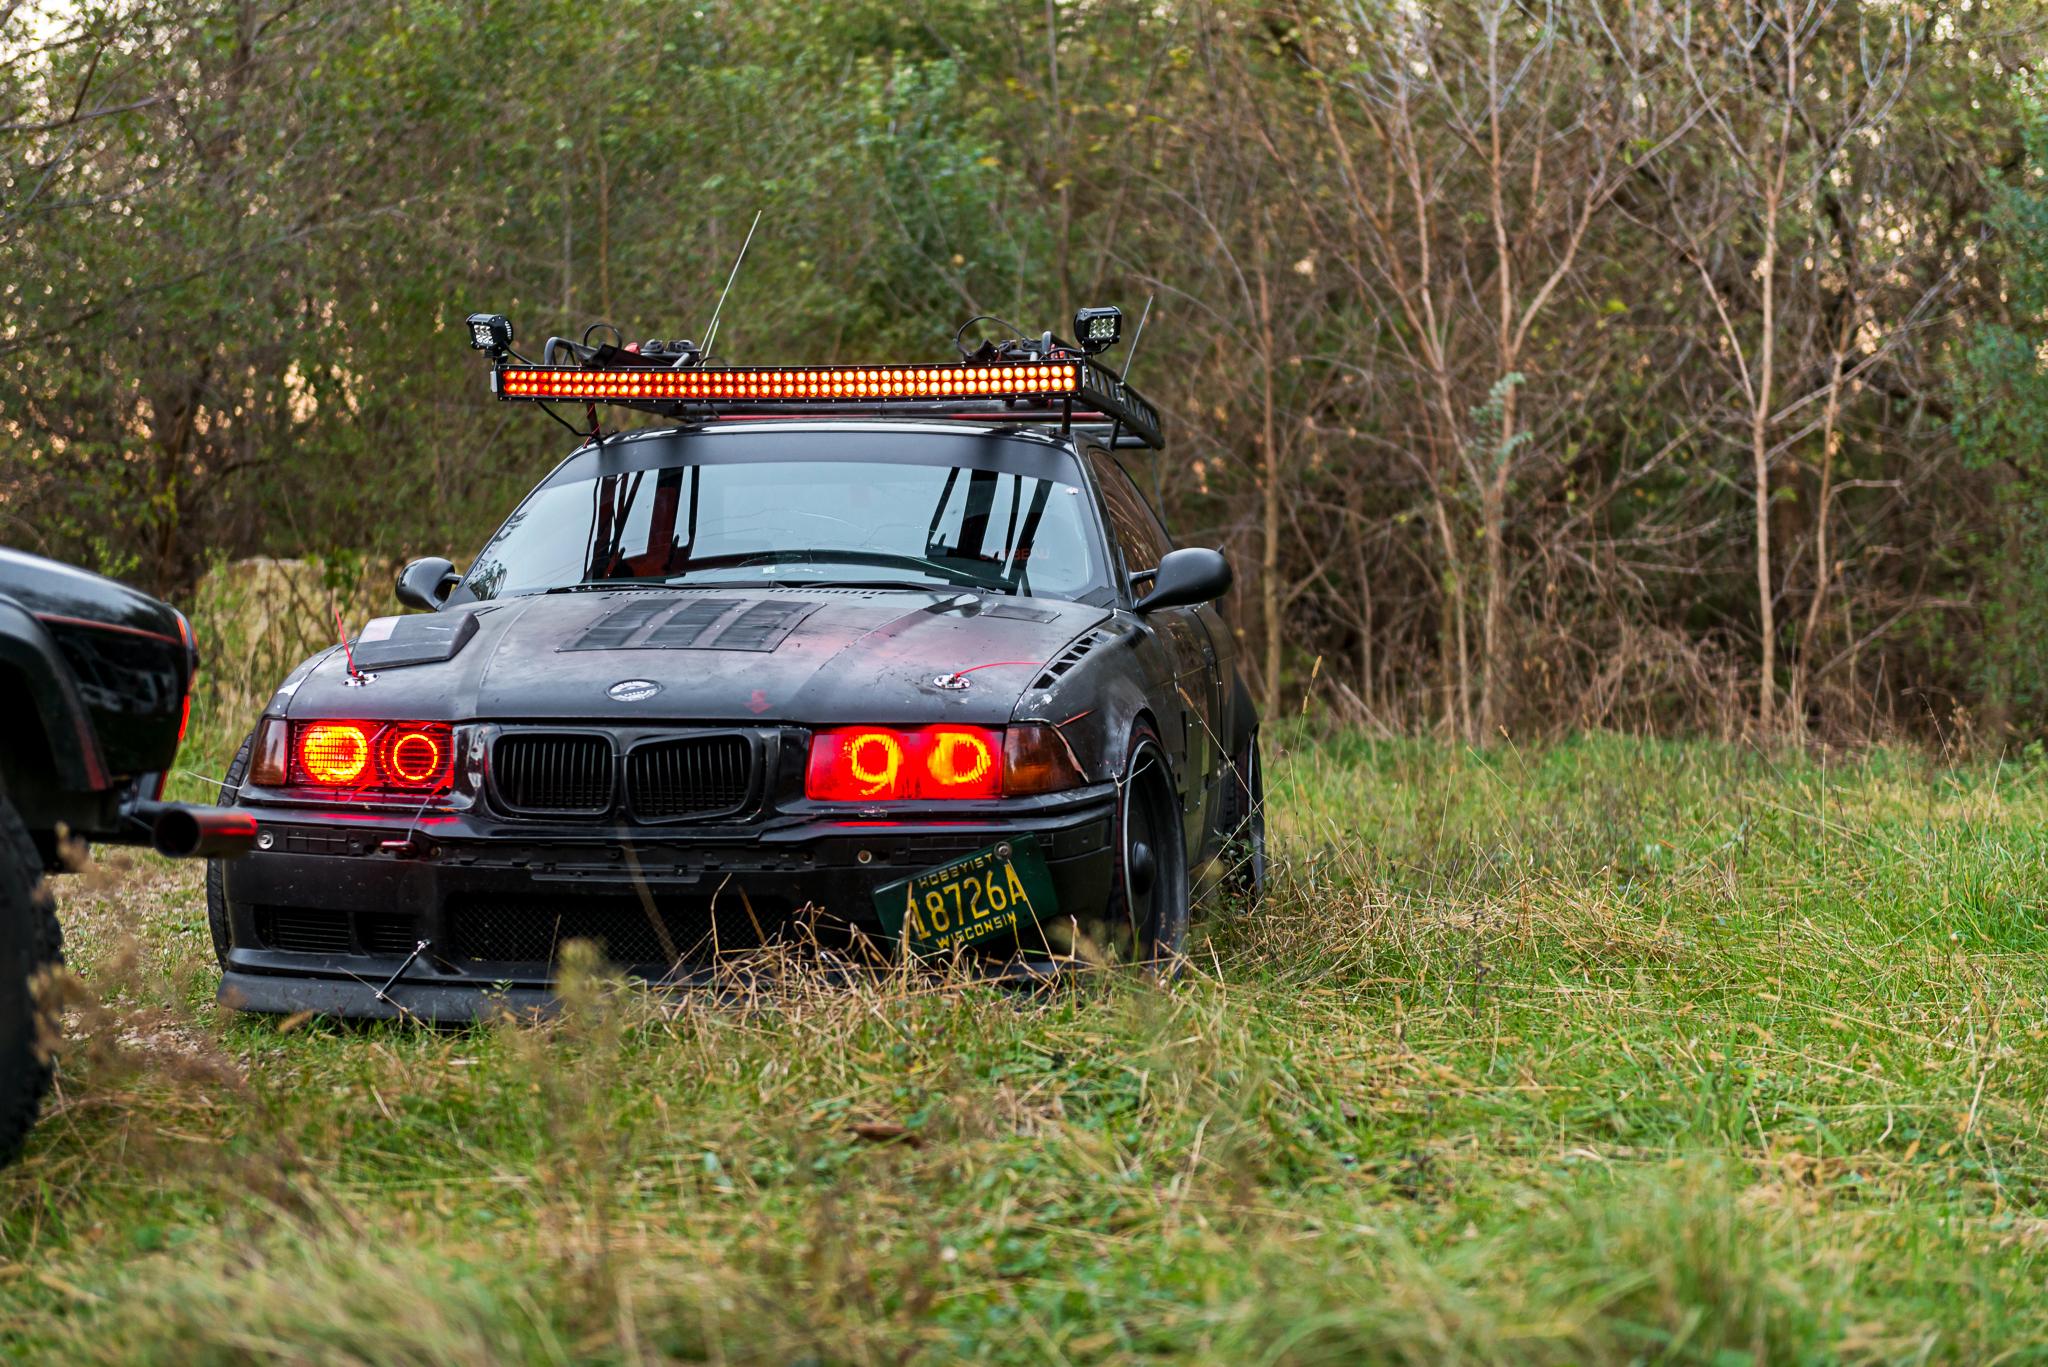
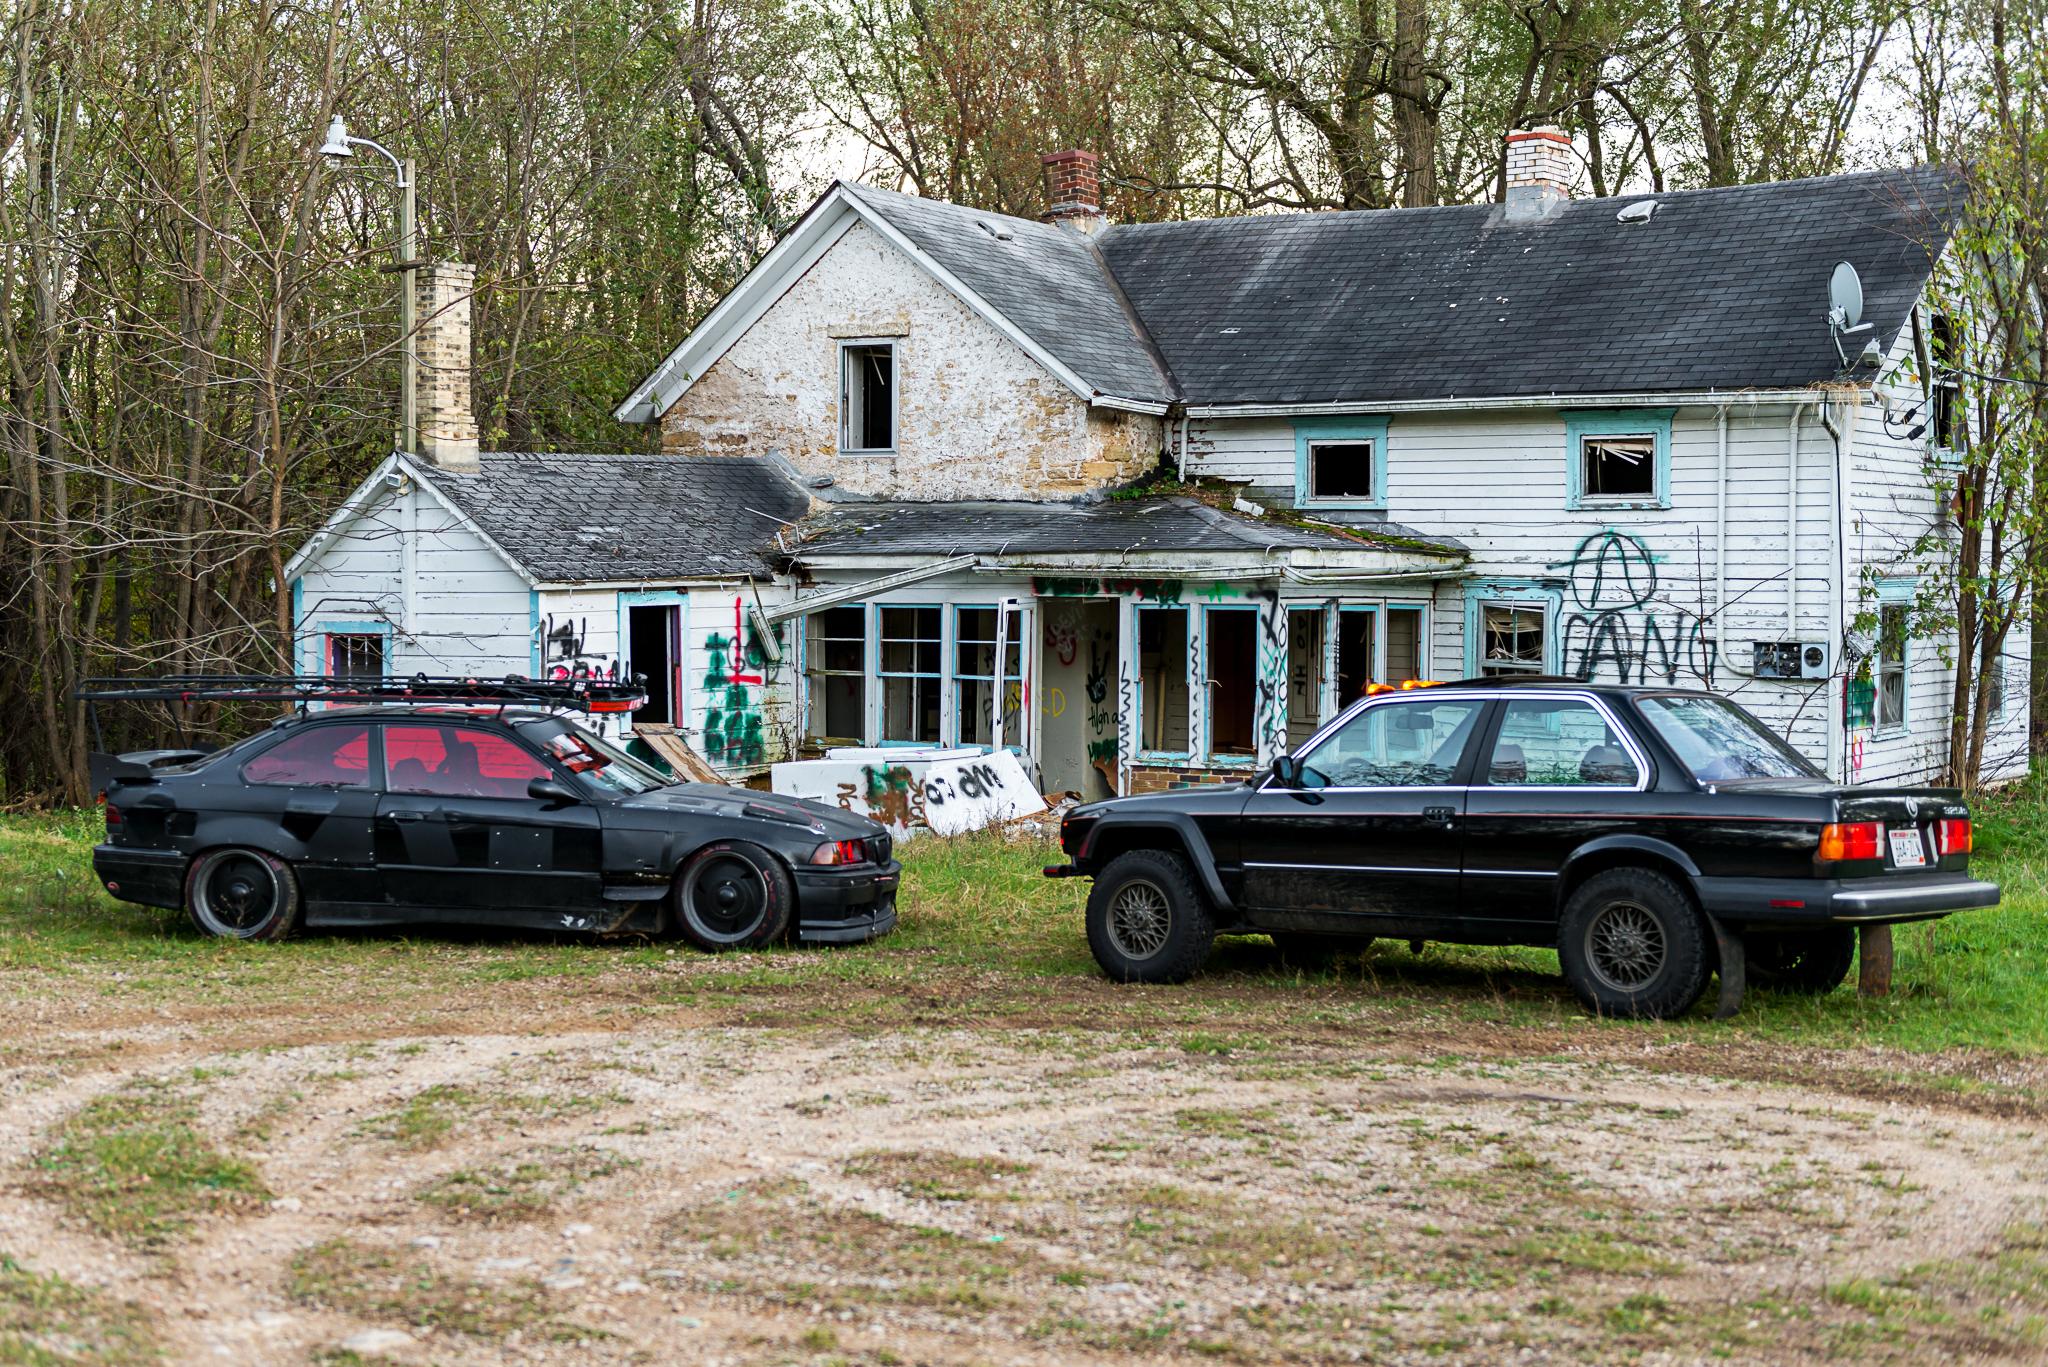
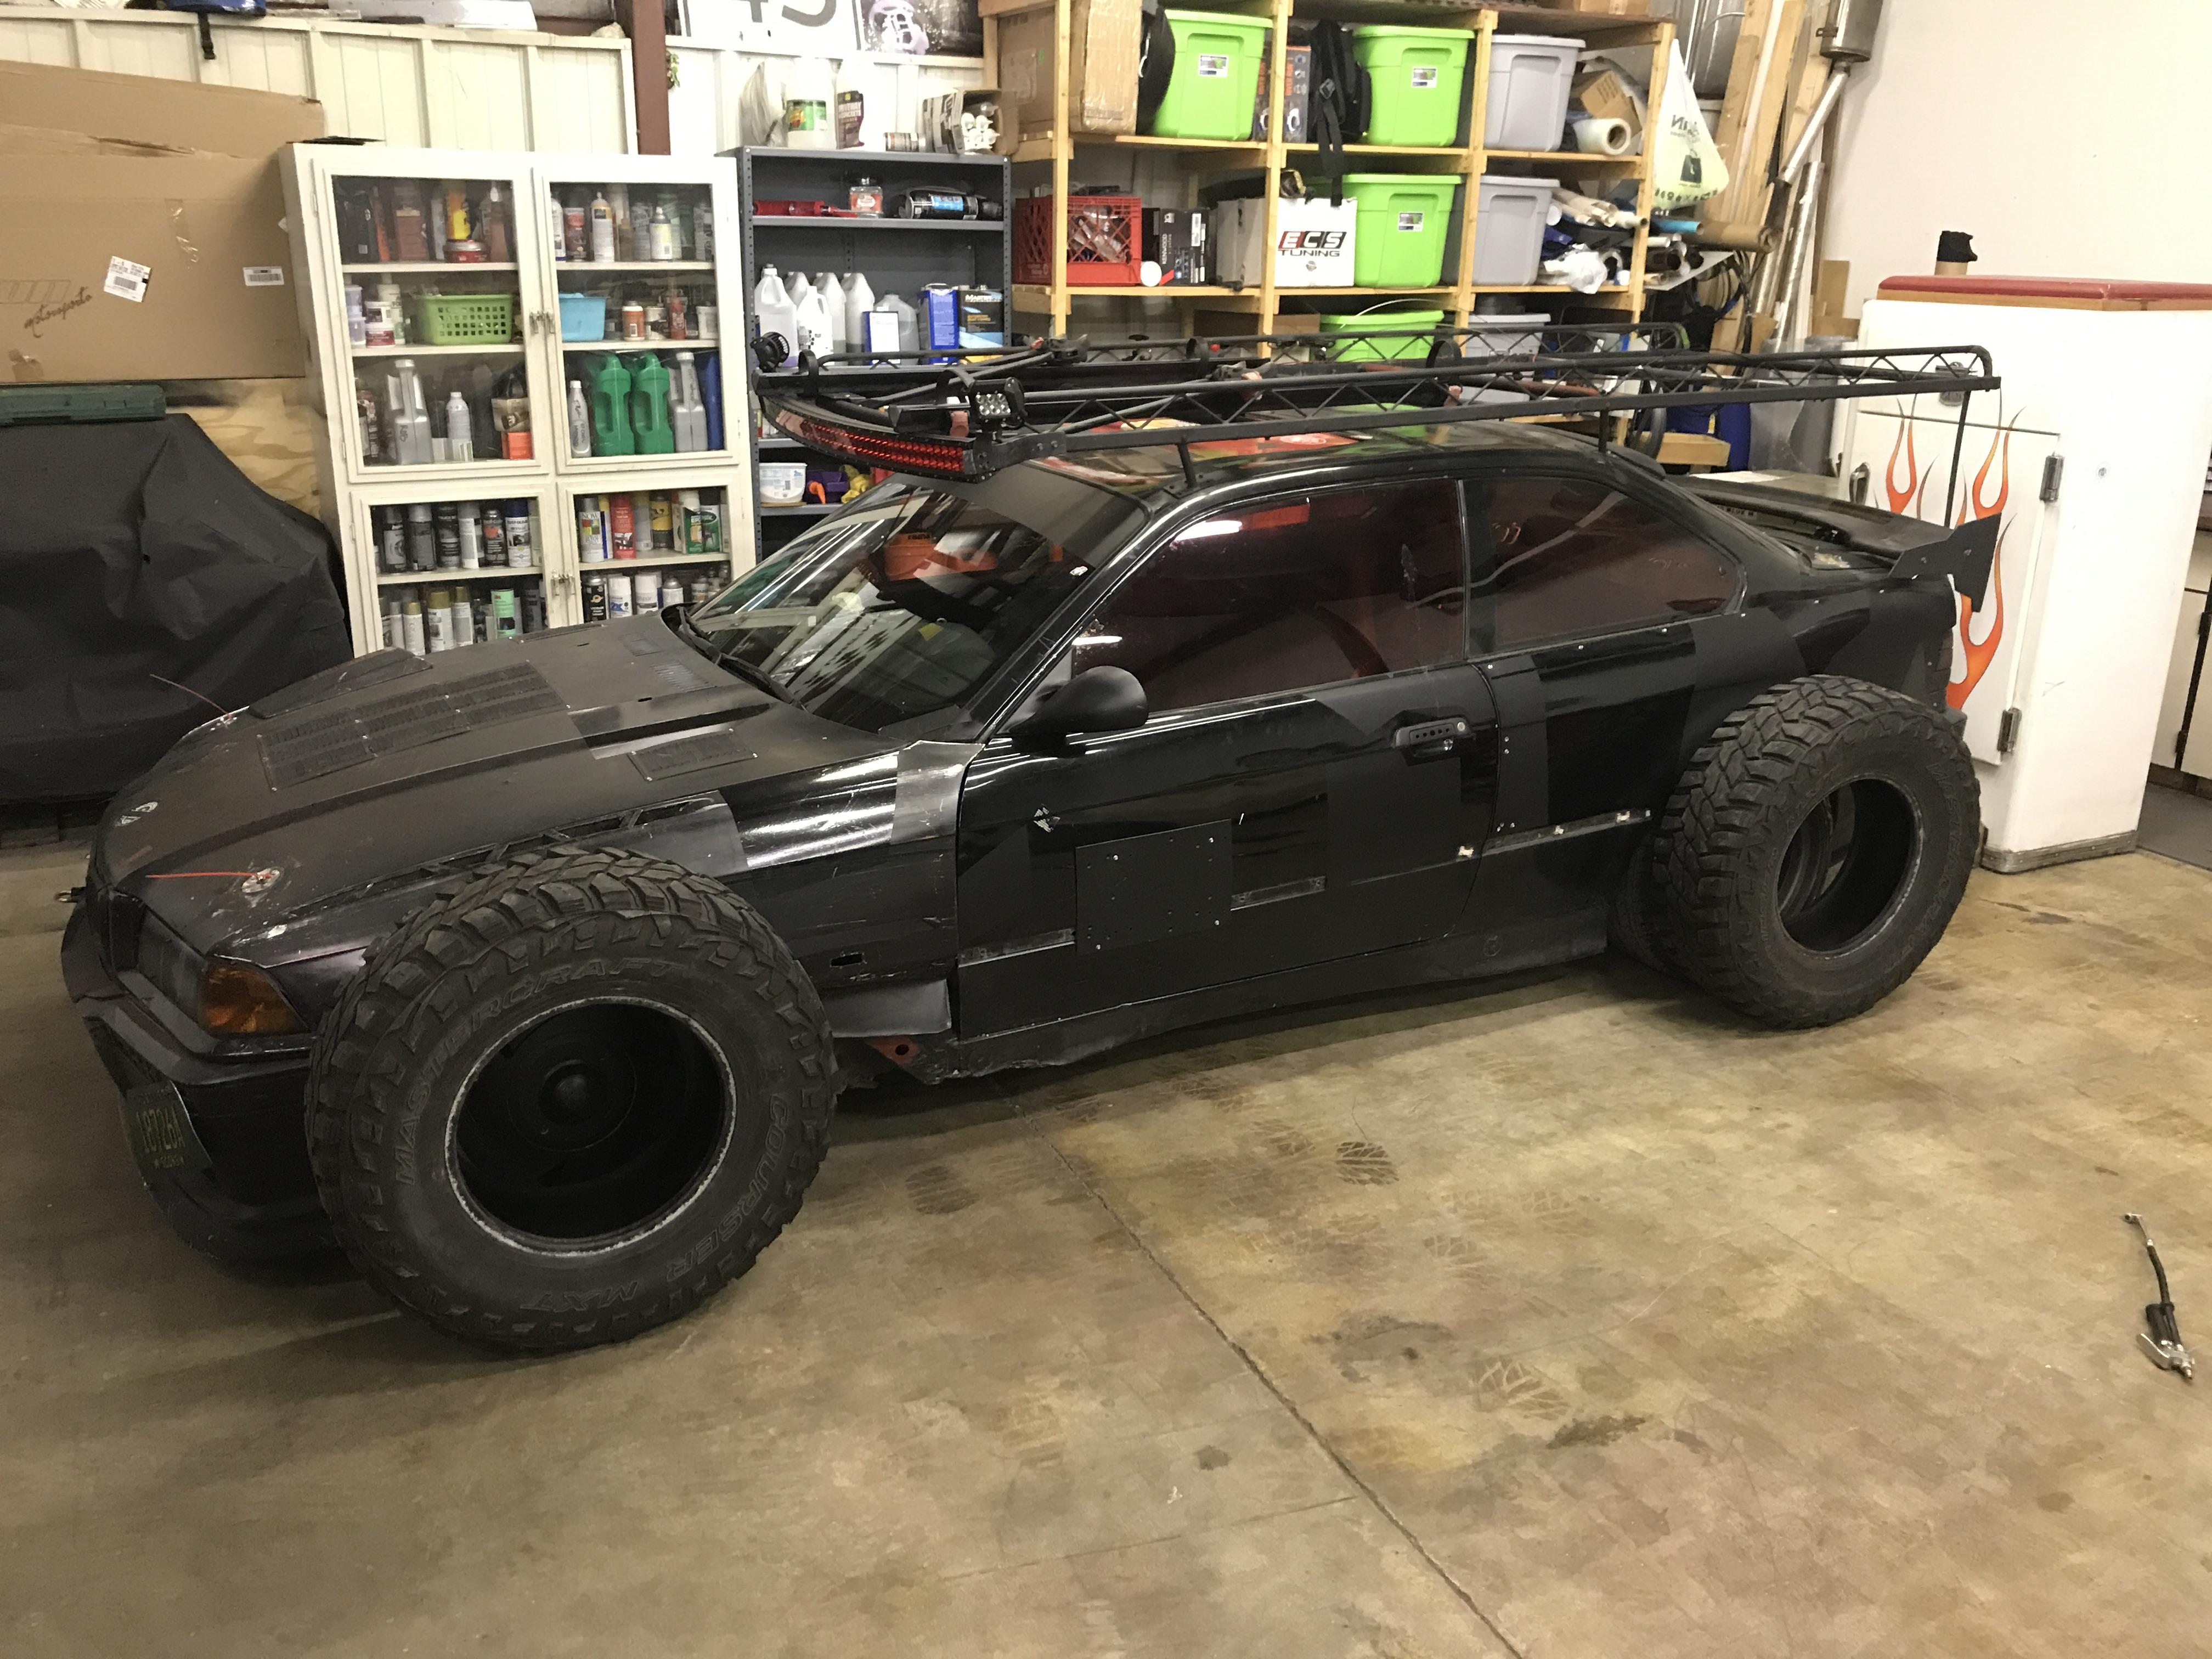
FuturisticConcept Art BMW E36 with a V8 on a bottom dollar budget
-

https://www.instagram.com/_jdesigner_/ http://nevertoolow.tumblr.com/
🥳SOLD BMW E24 633CSI - BMW M30B32 🧪SOLD HCH ES9 - 1.3 LDA
👽BMW E30 325IC - Toyota 1JZ-GTE ⏰ HONDA EF9 CIVIC SI - JDM B18C5
☠️BMW E36 318i - Ford 5.0 FE302 🚴♂️ GT-Labomba - 26x2.75 Freeride
🤹♀️SOLD BMW E36/7 Z3 - BMW M54B25 🧓SOLD BMW E10 2002 - BMW M10M05 -
Its called....

Madison
Madison really is like a fever dream I think we’ve all been living in simultaneously.
That being said, see you there Friday
-
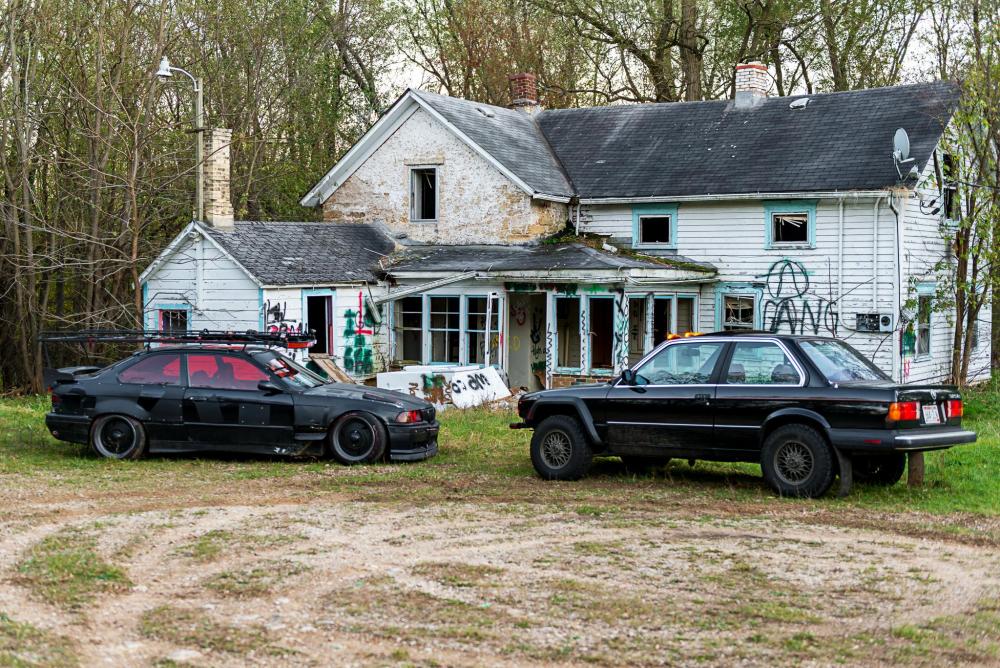
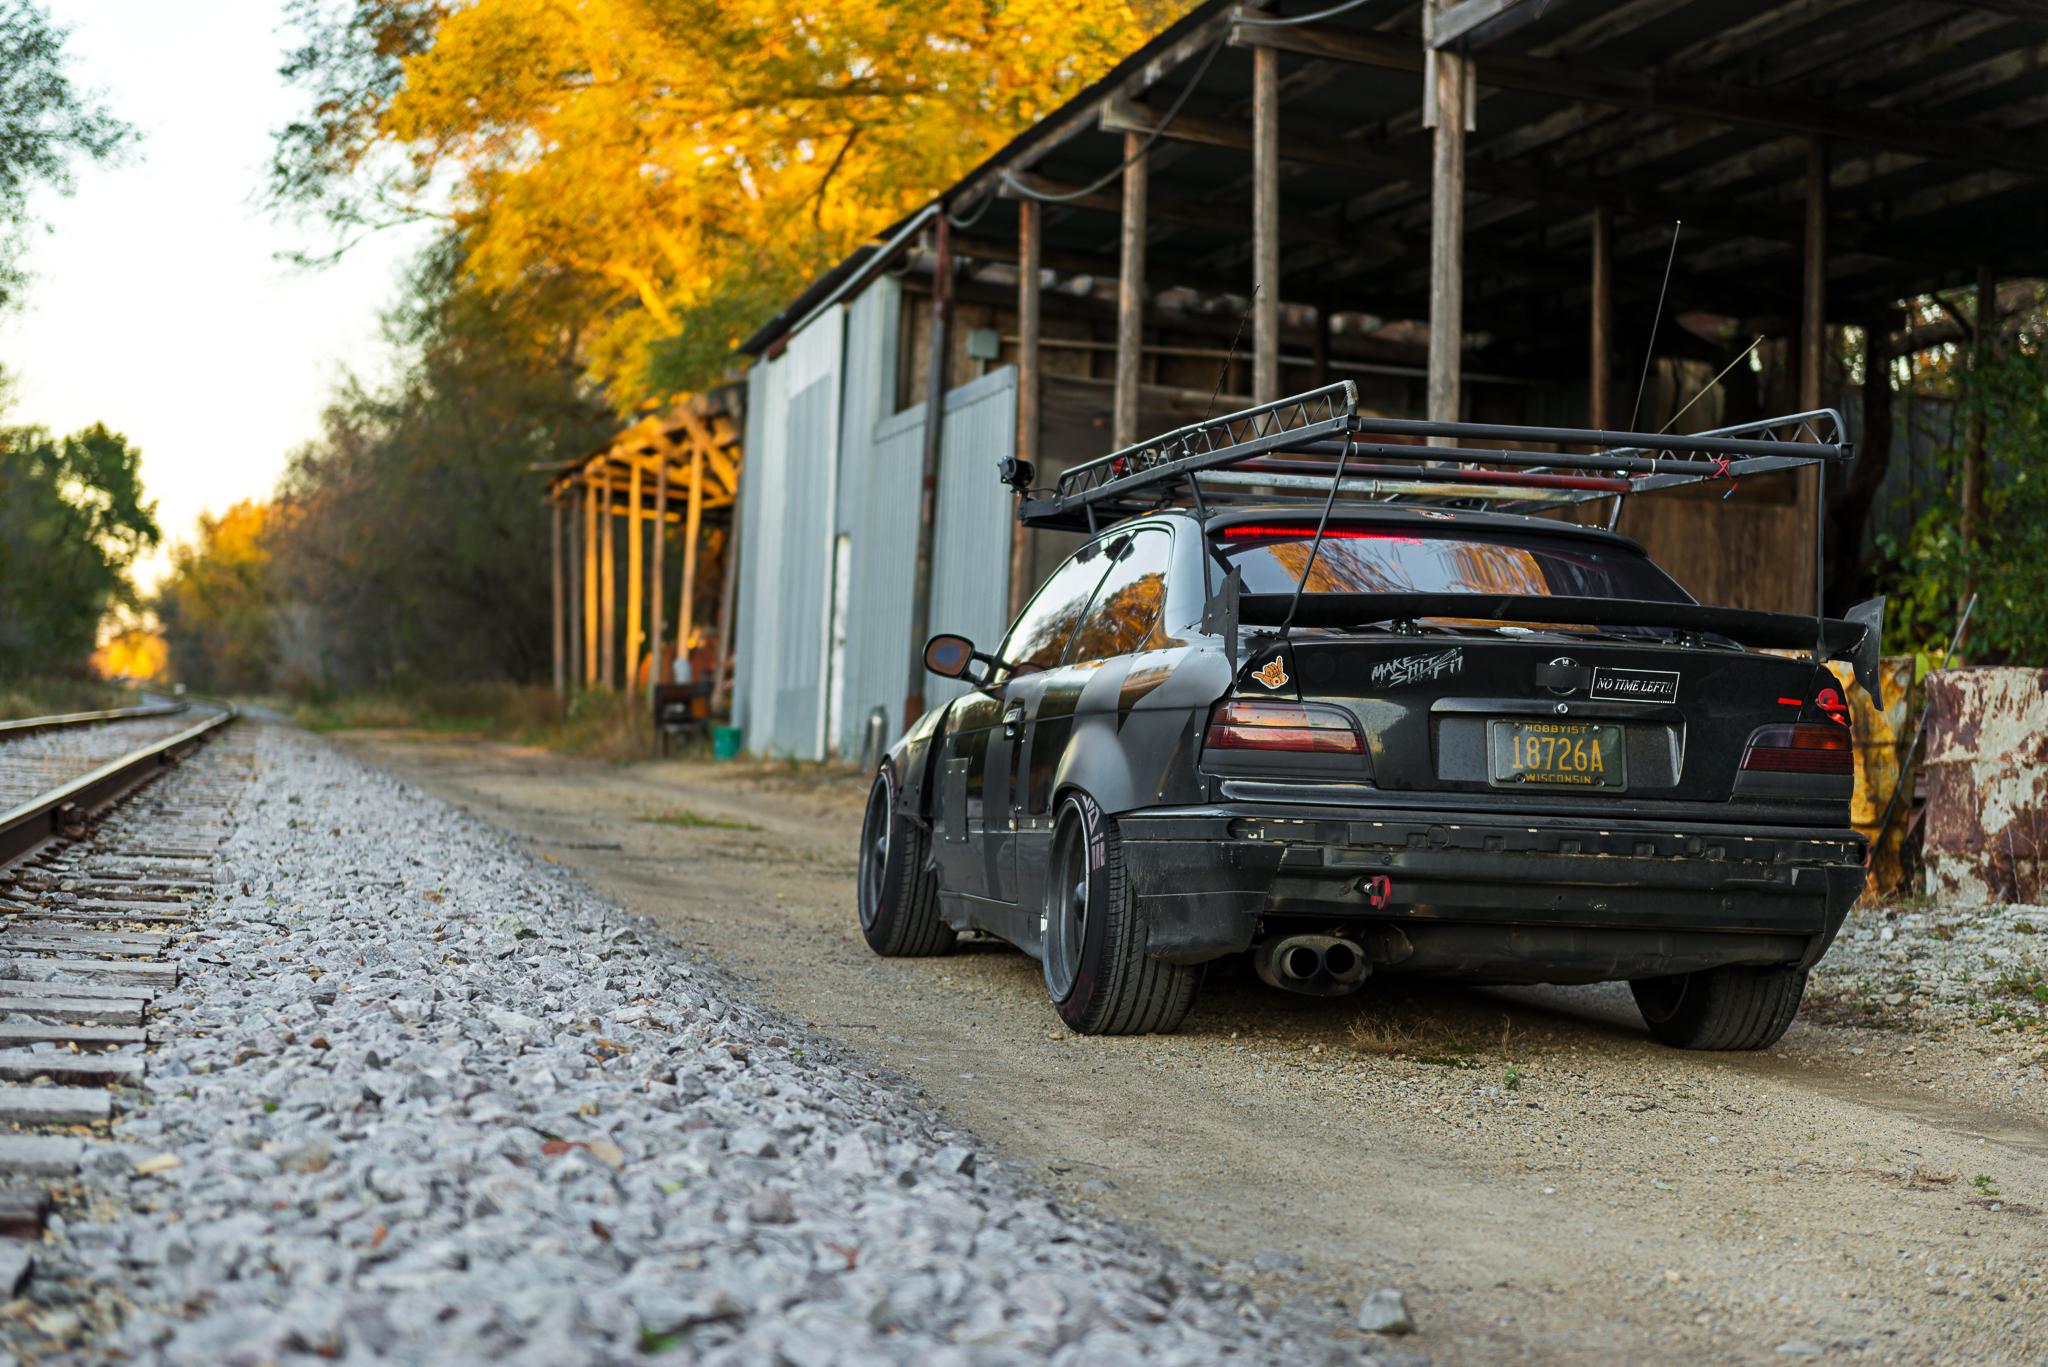
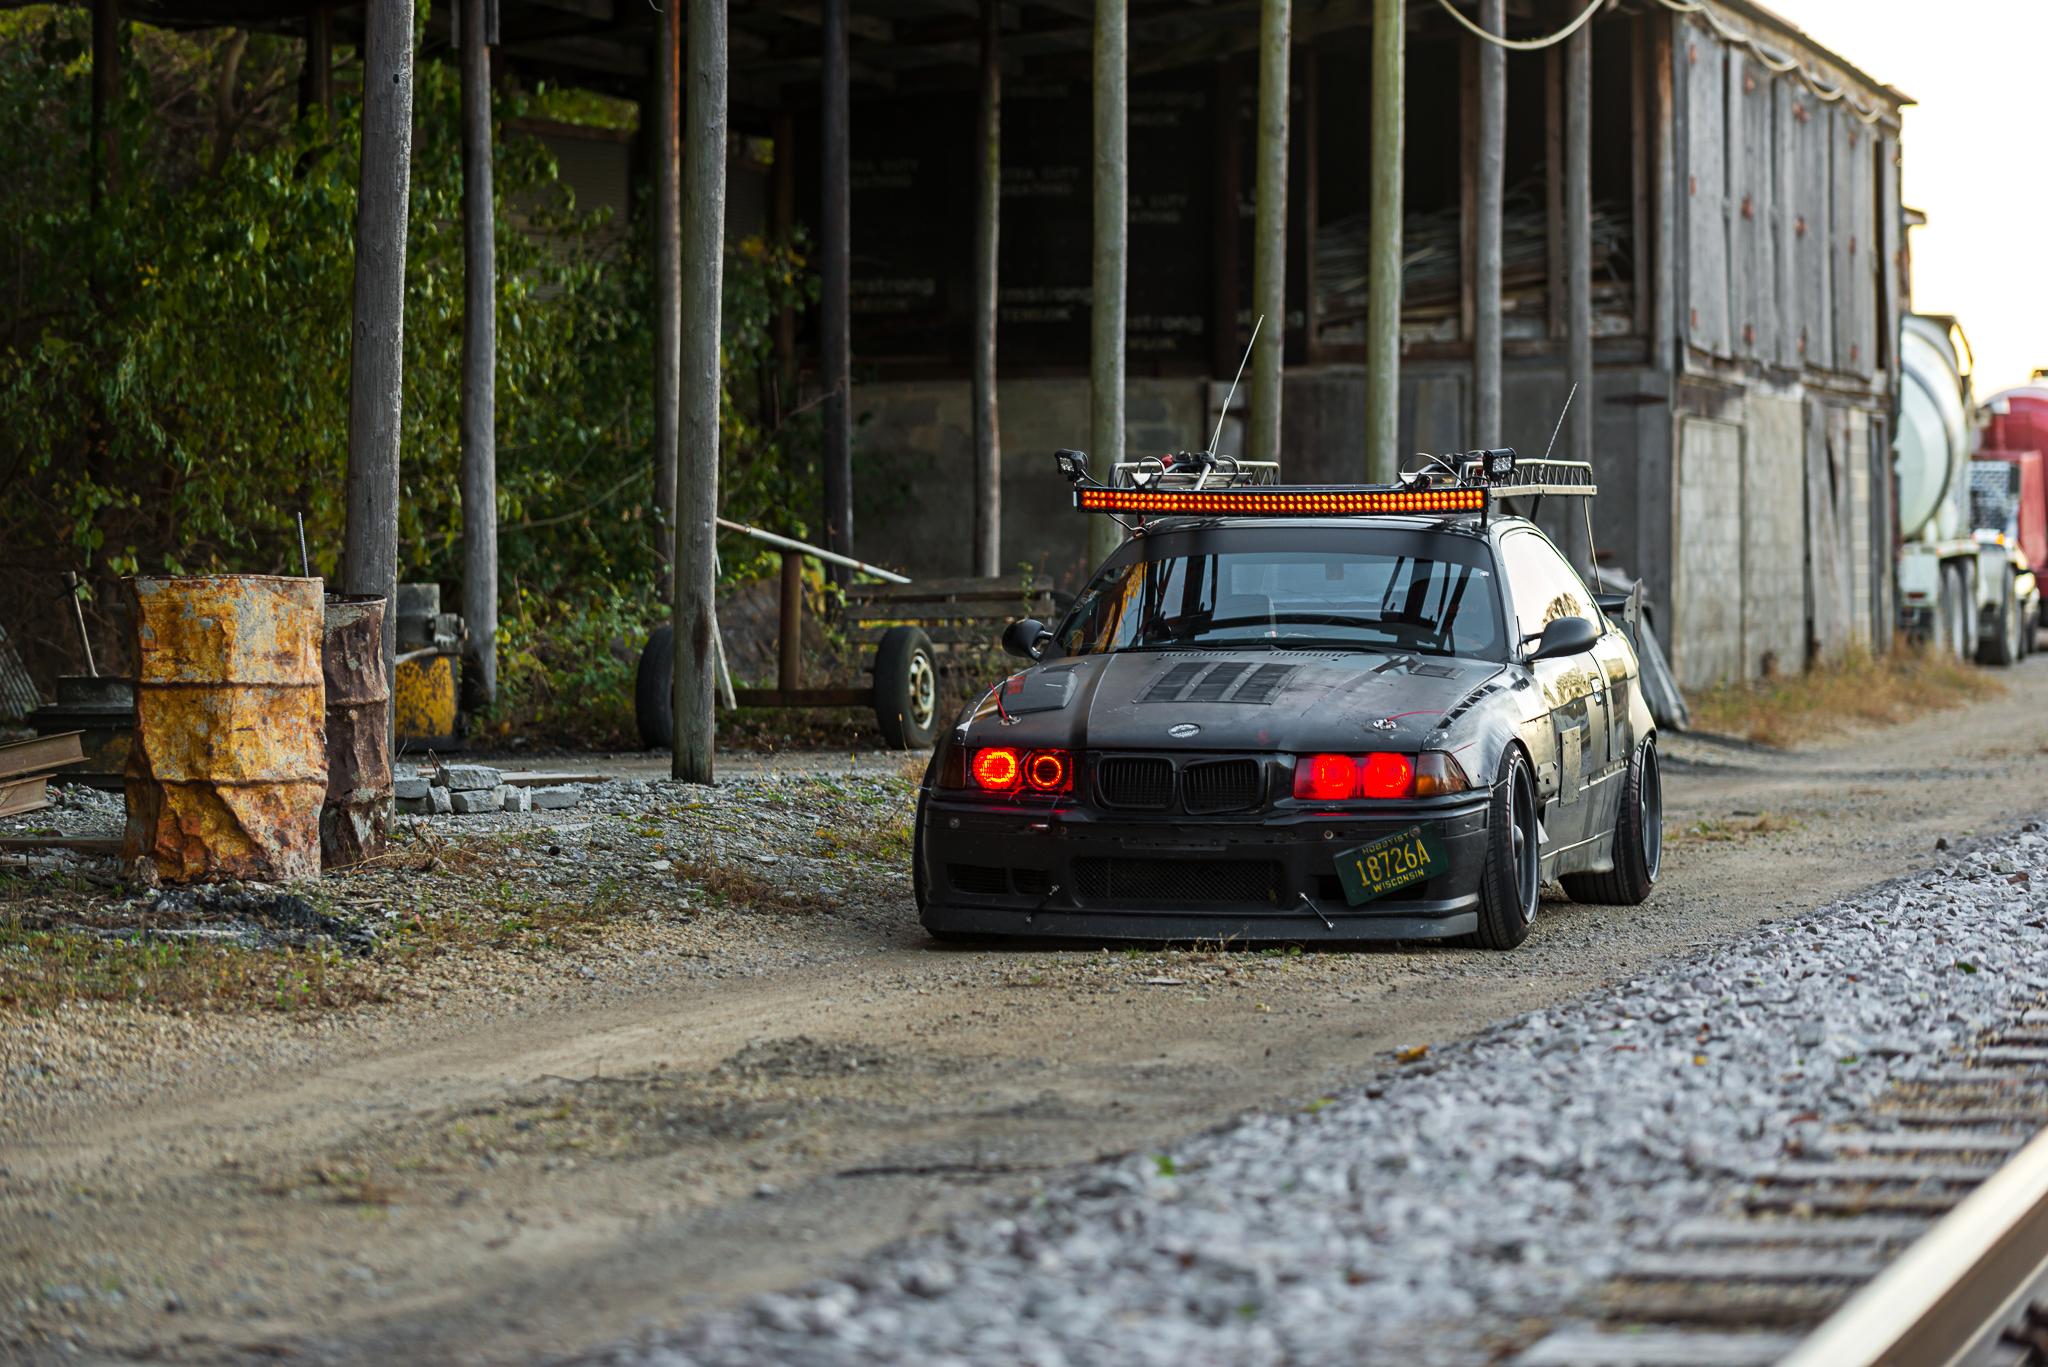
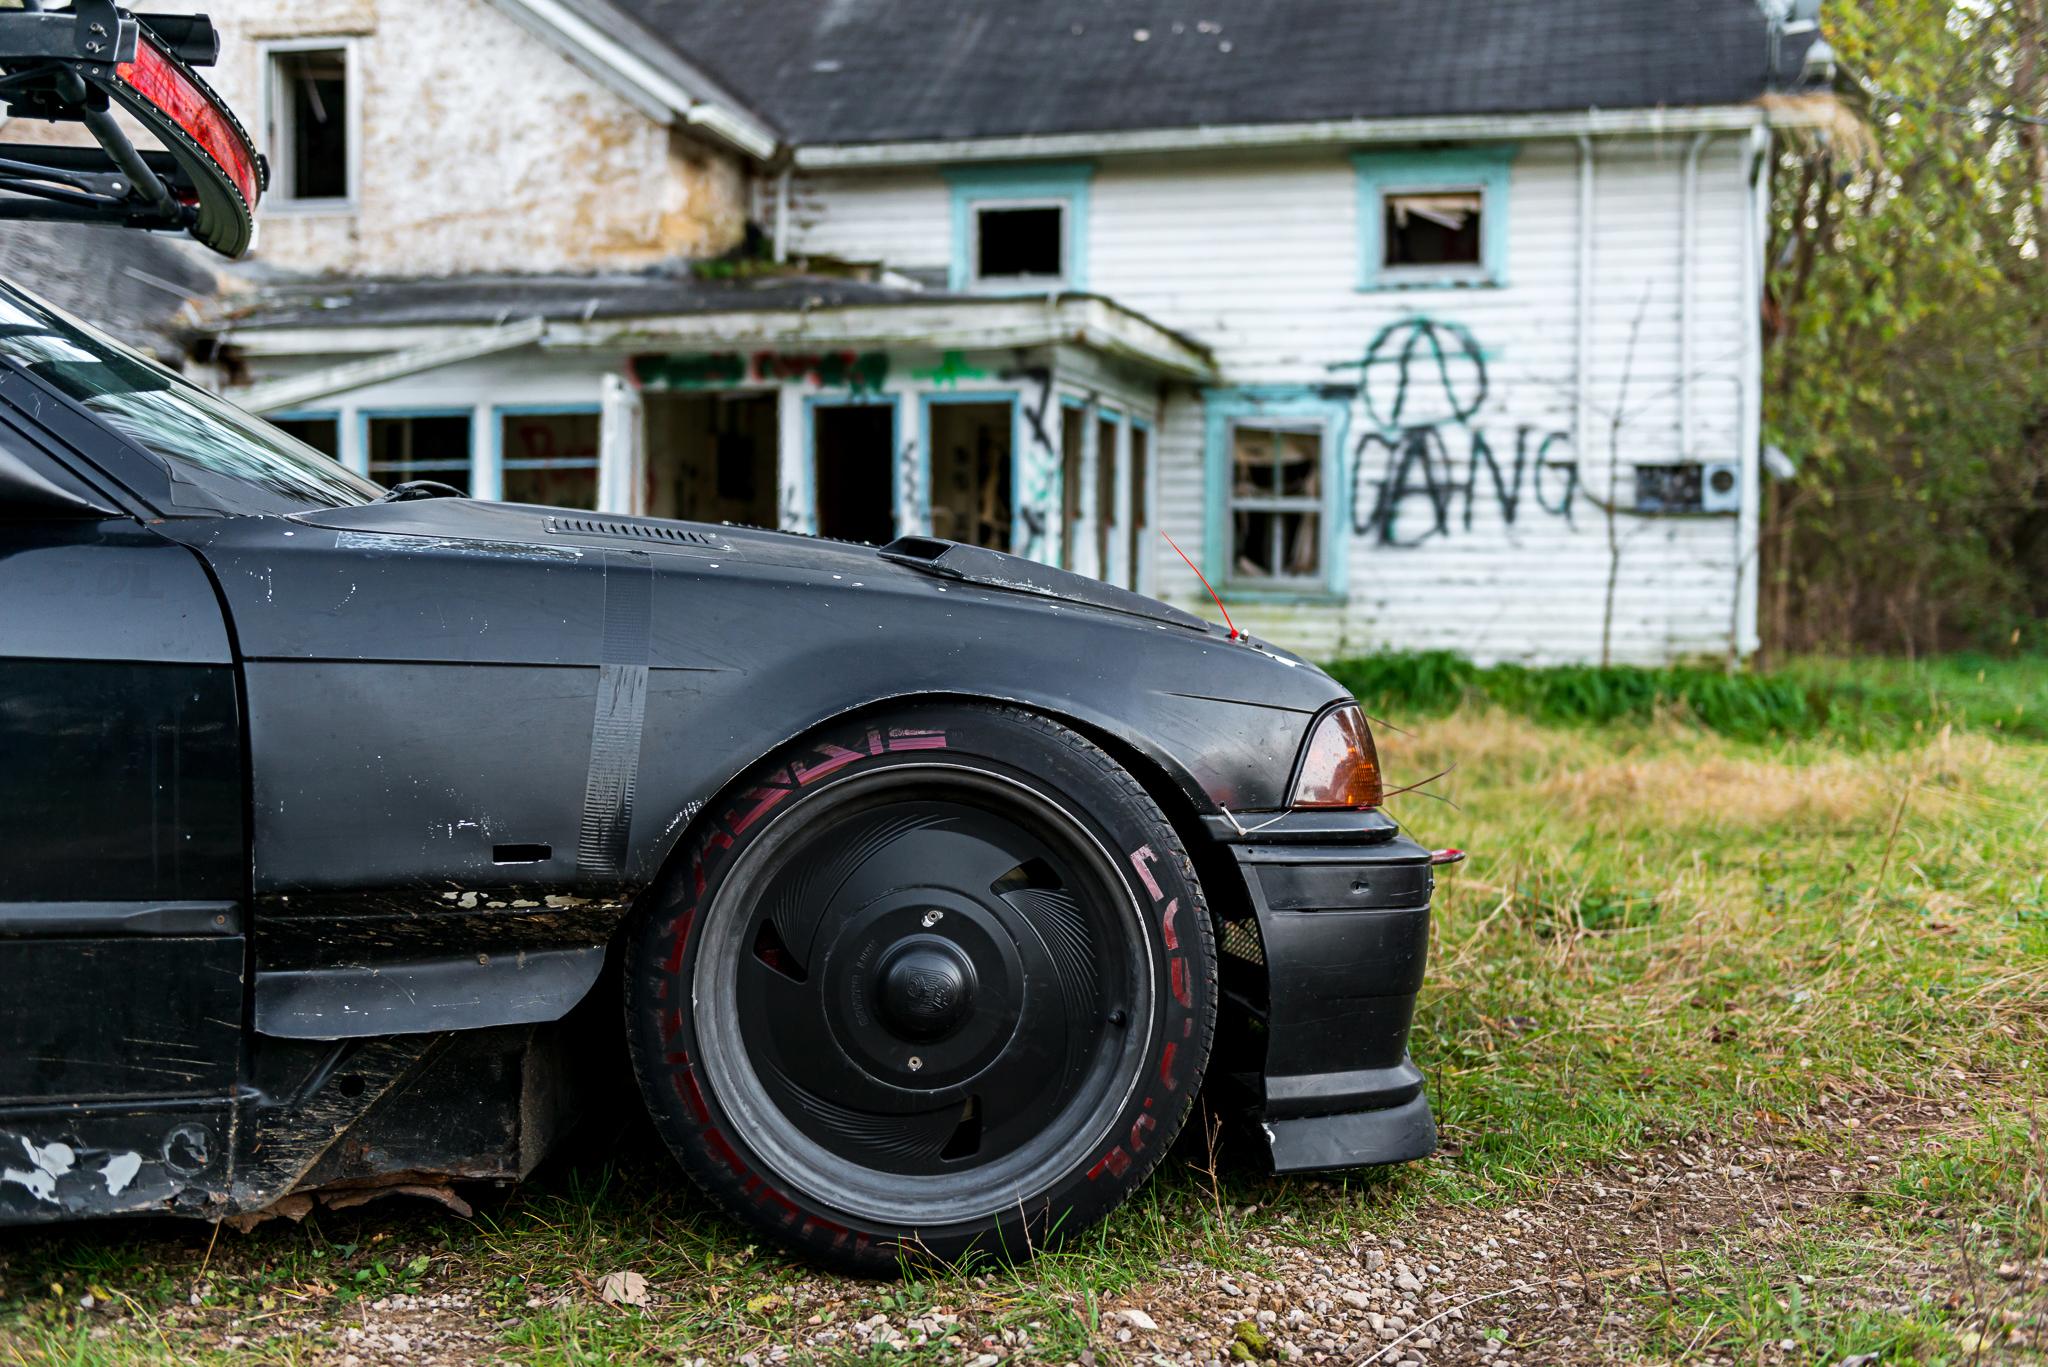
Finally got the rest of the images from http://noggsphotography.com/
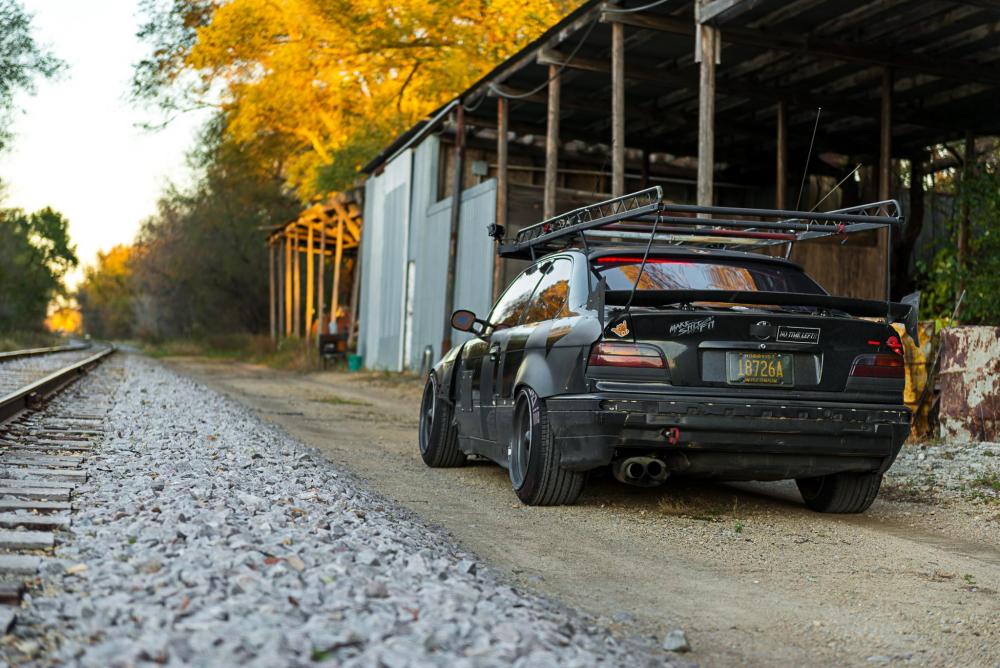
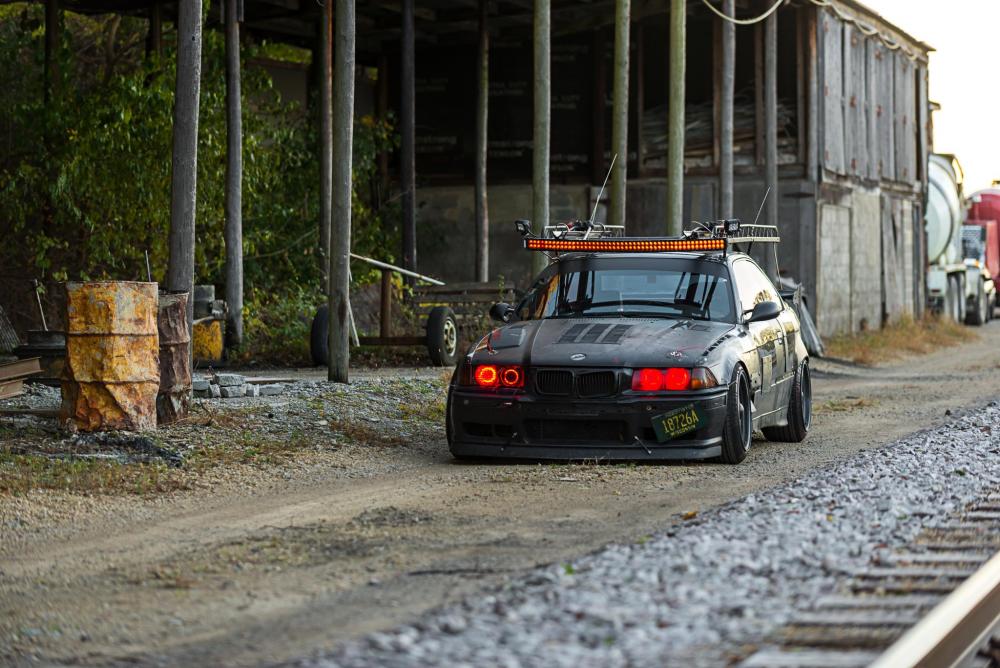
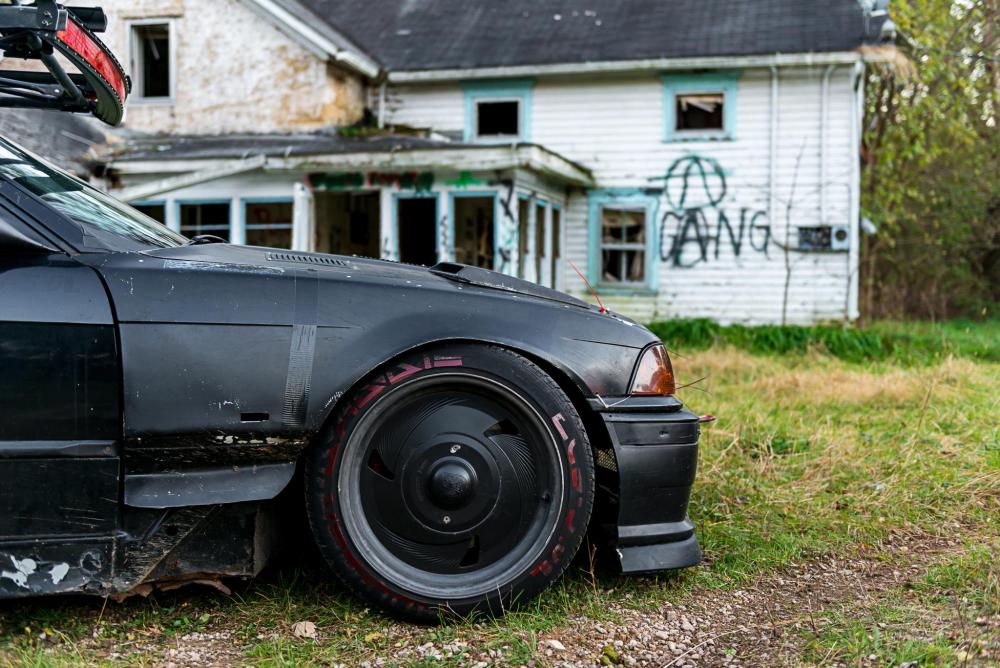
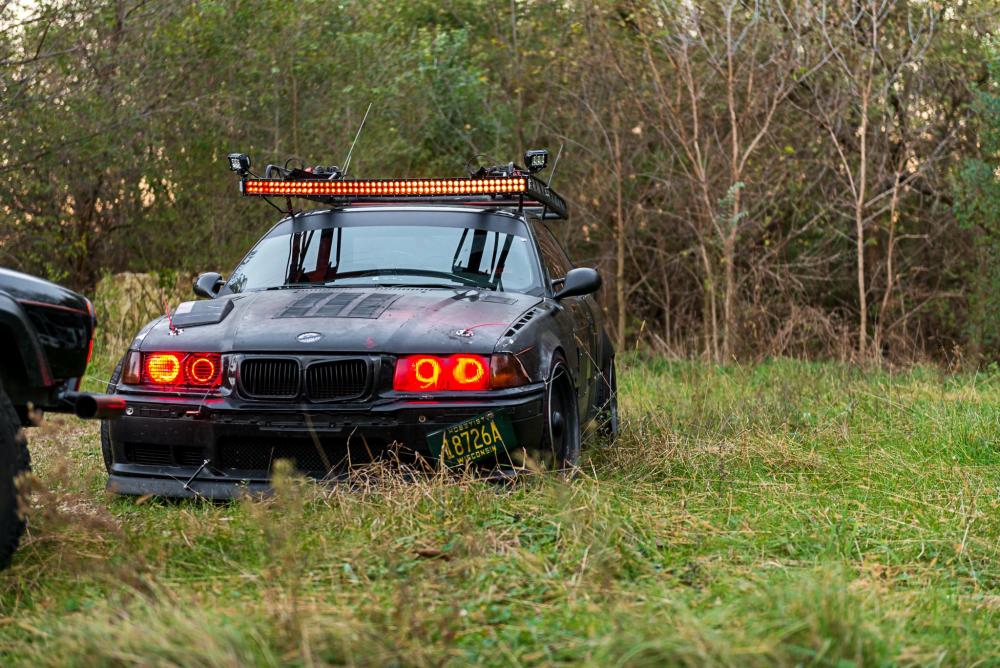
https://www.instagram.com/_jdesigner_/ http://nevertoolow.tumblr.com/
🥳SOLD BMW E24 633CSI - BMW M30B32 🧪SOLD HCH ES9 - 1.3 LDA
👽BMW E30 325IC - Toyota 1JZ-GTE ⏰ HONDA EF9 CIVIC SI - JDM B18C5
☠️BMW E36 318i - Ford 5.0 FE302 🚴♂️ GT-Labomba - 26x2.75 Freeride
🤹♀️SOLD BMW E36/7 Z3 - BMW M54B25 🧓SOLD BMW E10 2002 - BMW M10M05 -
Rear end on this thing is super loose.
Ordering the following:
- Sub frame bushings
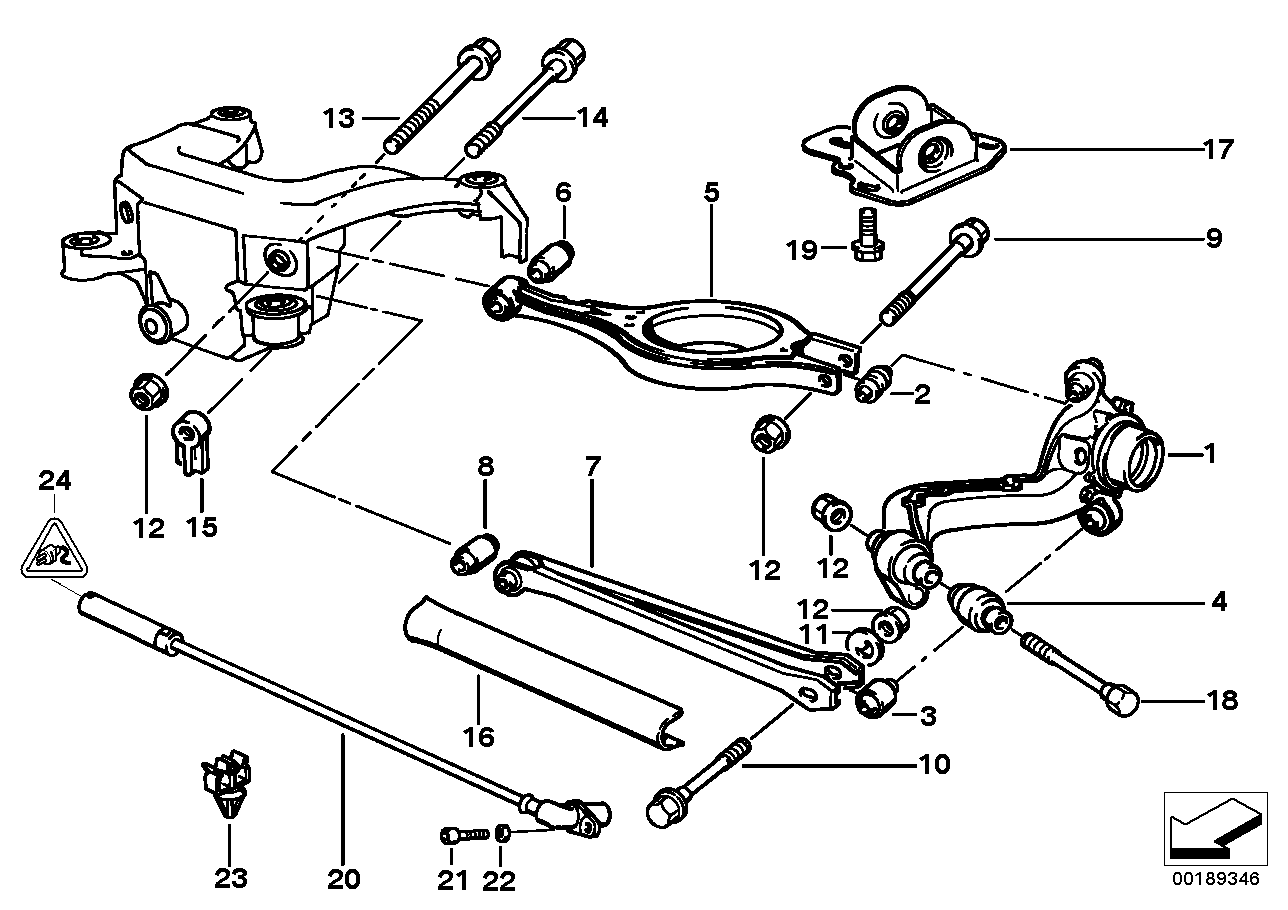
- swing arm bushings (#4/#12)
- Axles
- Wheel bearings (#1)
- Upper control arm bushings? (#2/#6)
Does anyone make, sell, or use aftermarket upper control arm bushings? Thoughts on this?
#2 and #6 on this diagram:
https://www.instagram.com/_jdesigner_/ http://nevertoolow.tumblr.com/
🥳SOLD BMW E24 633CSI - BMW M30B32 🧪SOLD HCH ES9 - 1.3 LDA
👽BMW E30 325IC - Toyota 1JZ-GTE ⏰ HONDA EF9 CIVIC SI - JDM B18C5
☠️BMW E36 318i - Ford 5.0 FE302 🚴♂️ GT-Labomba - 26x2.75 Freeride
🤹♀️SOLD BMW E36/7 Z3 - BMW M54B25 🧓SOLD BMW E10 2002 - BMW M10M05 -
2 and 3 can both be replaced by using part 3 in both places. It is a spherical ball joint. I just did that recently, M cars came like that.
6 and 8 have so little rubber that they are likely just fine, no need to replace.
Also there are some places that make a RTAB replacement that appears to use #3 or a similar ball joint as an insert. That seems like an excellent option because the RTAB has multiple axis of deflection, although I have used UUC poly RTAB bushings for a long time and they are great as long as you grease them when installing to prevent squeaking.
-
2 and 3 can both be replaced by using part 3 in both places. It is a spherical ball joint. I just did that recently, M cars came like that.
6 and 8 have so little rubber that they are likely just fine, no need to replace.
Also there are some places that make a RTAB replacement that appears to use #3 or a similar ball joint as an insert. That seems like an excellent option because the RTAB has multiple axis of deflection, although I have used UUC poly RTAB bushings for a long time and they are great as long as you grease them when installing to prevent squeaking.
Awesome. Thats helpful.
Luckily I have aftermarket lowers so 3,7, and 8 are new.
The RTAB is my main concern as I can feel and see it flex in multiple directions under minimal load. I will likely just use a Poly bushing here. I want the rear of the car as solid as possible, yet its not worth buying a nice spherical joint for this contraption.
https://www.instagram.com/_jdesigner_/ http://nevertoolow.tumblr.com/
🥳SOLD BMW E24 633CSI - BMW M30B32 🧪SOLD HCH ES9 - 1.3 LDA
👽BMW E30 325IC - Toyota 1JZ-GTE ⏰ HONDA EF9 CIVIC SI - JDM B18C5
☠️BMW E36 318i - Ford 5.0 FE302 🚴♂️ GT-Labomba - 26x2.75 Freeride
🤹♀️SOLD BMW E36/7 Z3 - BMW M54B25 🧓SOLD BMW E10 2002 - BMW M10M05 -
Awesome. Thats helpful.
Luckily I have aftermarket lowers so 3,7, and 8 are new.
The RTAB is my main concern as I can feel and see it flex in multiple directions under minimal load. I will likely just use a Poly bushing here. I want the rear of the car as solid as possible, yet its not worth buying a nice spherical joint for this contraption.
Did you replace 3 when you did the lowers? It is not part of the control arm, it's pressed into the trailing arm. If you did then replacing the upper is exactly the same, I turned some cups to press them out/in with a bolt and impact wrench. Pretty easy with the right tools, probably a nightmare without.
-
Did you replace 3 when you did the lowers? It is not part of the control arm, it's pressed into the trailing arm. If you did then replacing the upper is exactly the same, I turned some cups to press them out/in with a bolt and impact wrench. Pretty easy with the right tools, probably a nightmare without.
Yes I did. I cut my own bushings out of Delrin and pressed them into the trailing arm. I assume using the ball joint design on the upper it the best option though.
https://www.instagram.com/_jdesigner_/ http://nevertoolow.tumblr.com/
🥳SOLD BMW E24 633CSI - BMW M30B32 🧪SOLD HCH ES9 - 1.3 LDA
👽BMW E30 325IC - Toyota 1JZ-GTE ⏰ HONDA EF9 CIVIC SI - JDM B18C5
☠️BMW E36 318i - Ford 5.0 FE302 🚴♂️ GT-Labomba - 26x2.75 Freeride
🤹♀️SOLD BMW E36/7 Z3 - BMW M54B25 🧓SOLD BMW E10 2002 - BMW M10M05 -
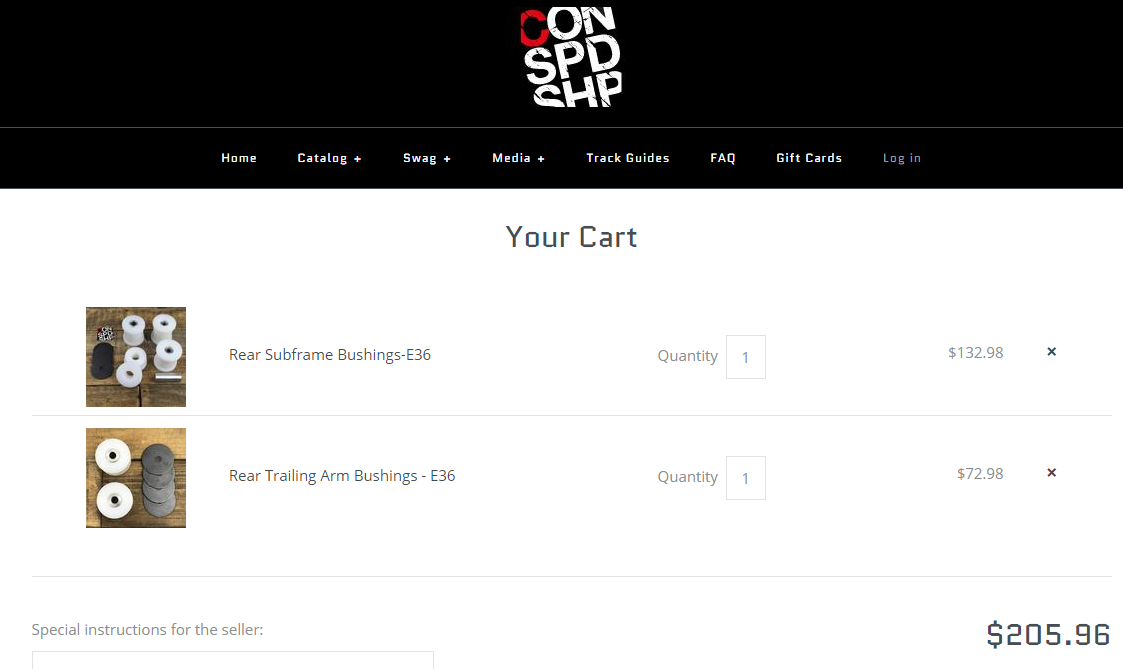
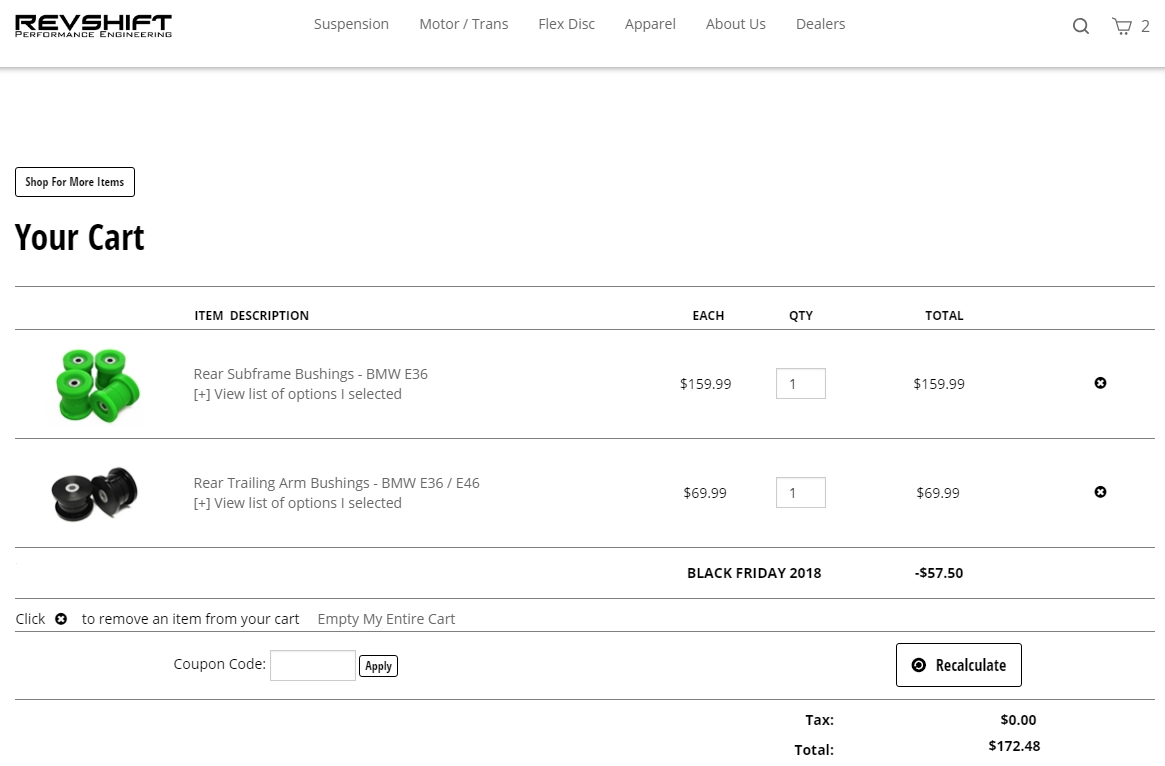
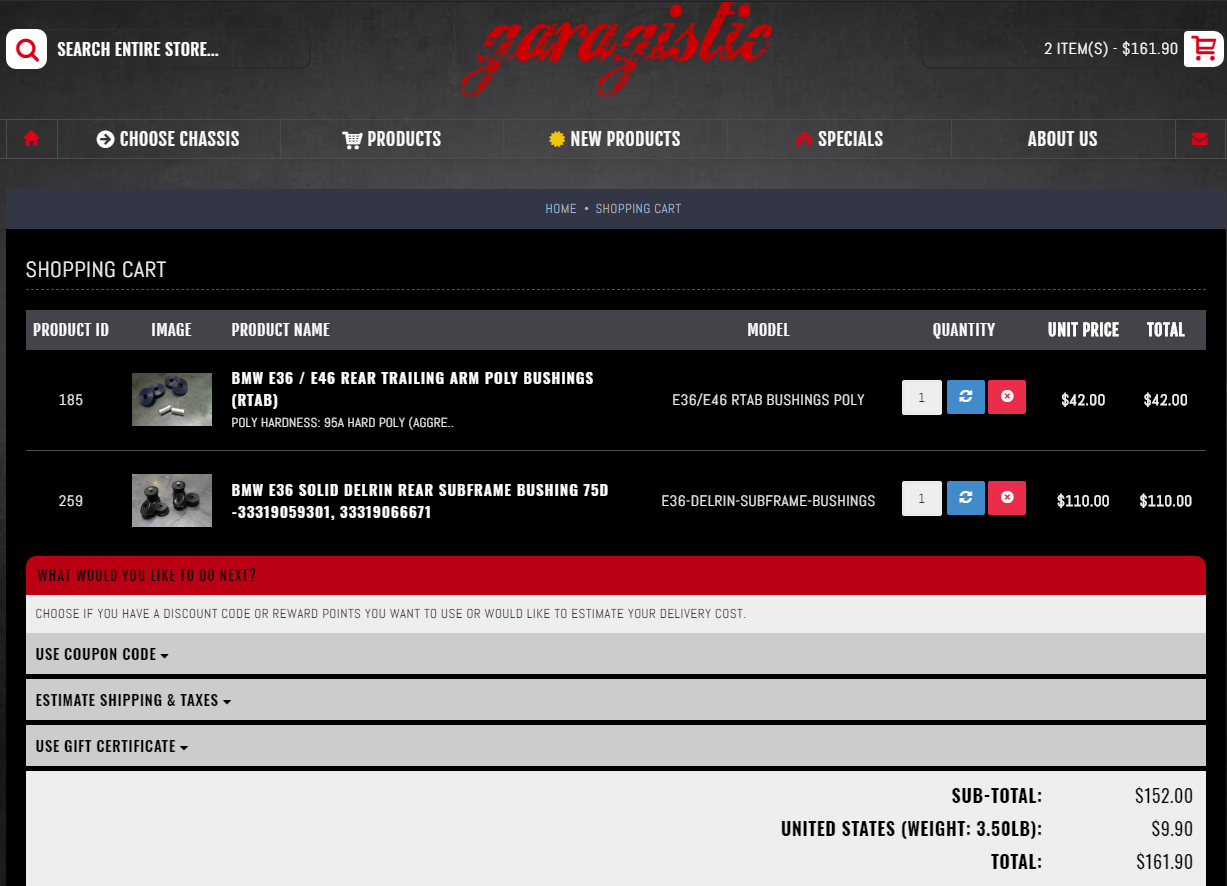
So, can anyone provide me feedback on the following besides price?
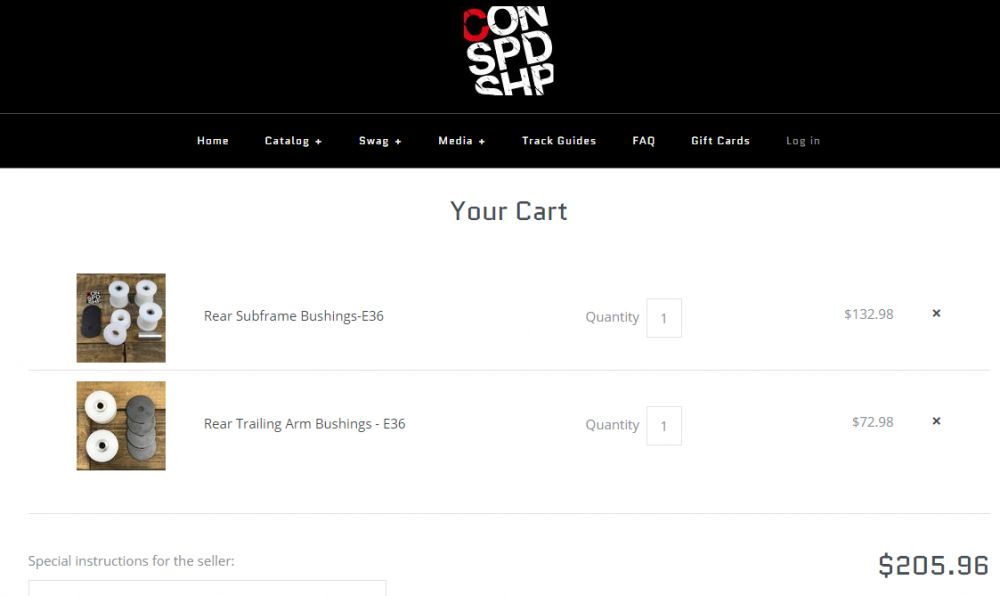
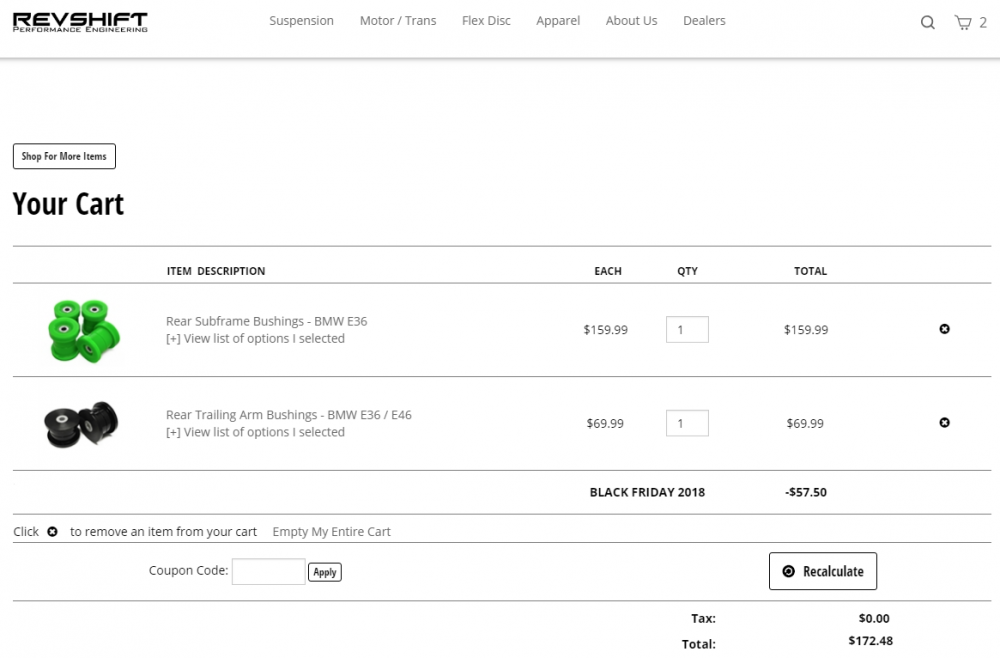
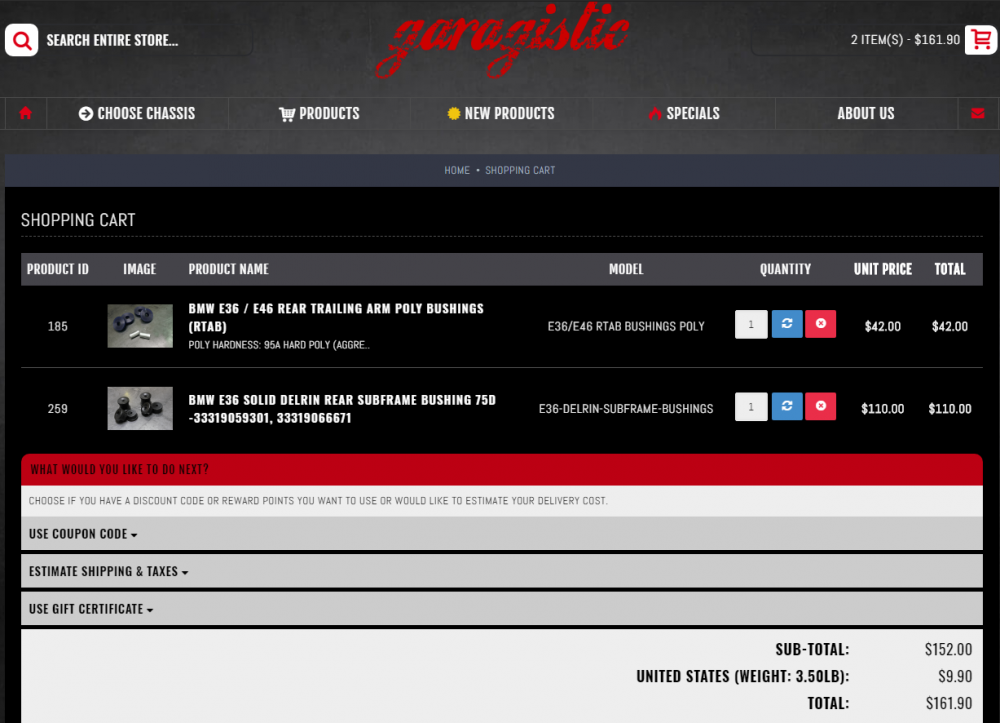
I know everyone says that Garagistic sucks on quality control, but could they really manage to fail at making some bushings? I am looking to probably order them because I dont really give a shit about this car, and I dont care to machine my own bushings from delrin again.
https://www.instagram.com/_jdesigner_/ http://nevertoolow.tumblr.com/
🥳SOLD BMW E24 633CSI - BMW M30B32 🧪SOLD HCH ES9 - 1.3 LDA
👽BMW E30 325IC - Toyota 1JZ-GTE ⏰ HONDA EF9 CIVIC SI - JDM B18C5
☠️BMW E36 318i - Ford 5.0 FE302 🚴♂️ GT-Labomba - 26x2.75 Freeride
🤹♀️SOLD BMW E36/7 Z3 - BMW M54B25 🧓SOLD BMW E10 2002 - BMW M10M05 -
I "THINK" I fixed the heat.
I did a quick google search of BMW E36 with "weak interior heat" and found a video of a guy explaining that its a common issue. Turns out the fix was a new cabin filter.... DUH.
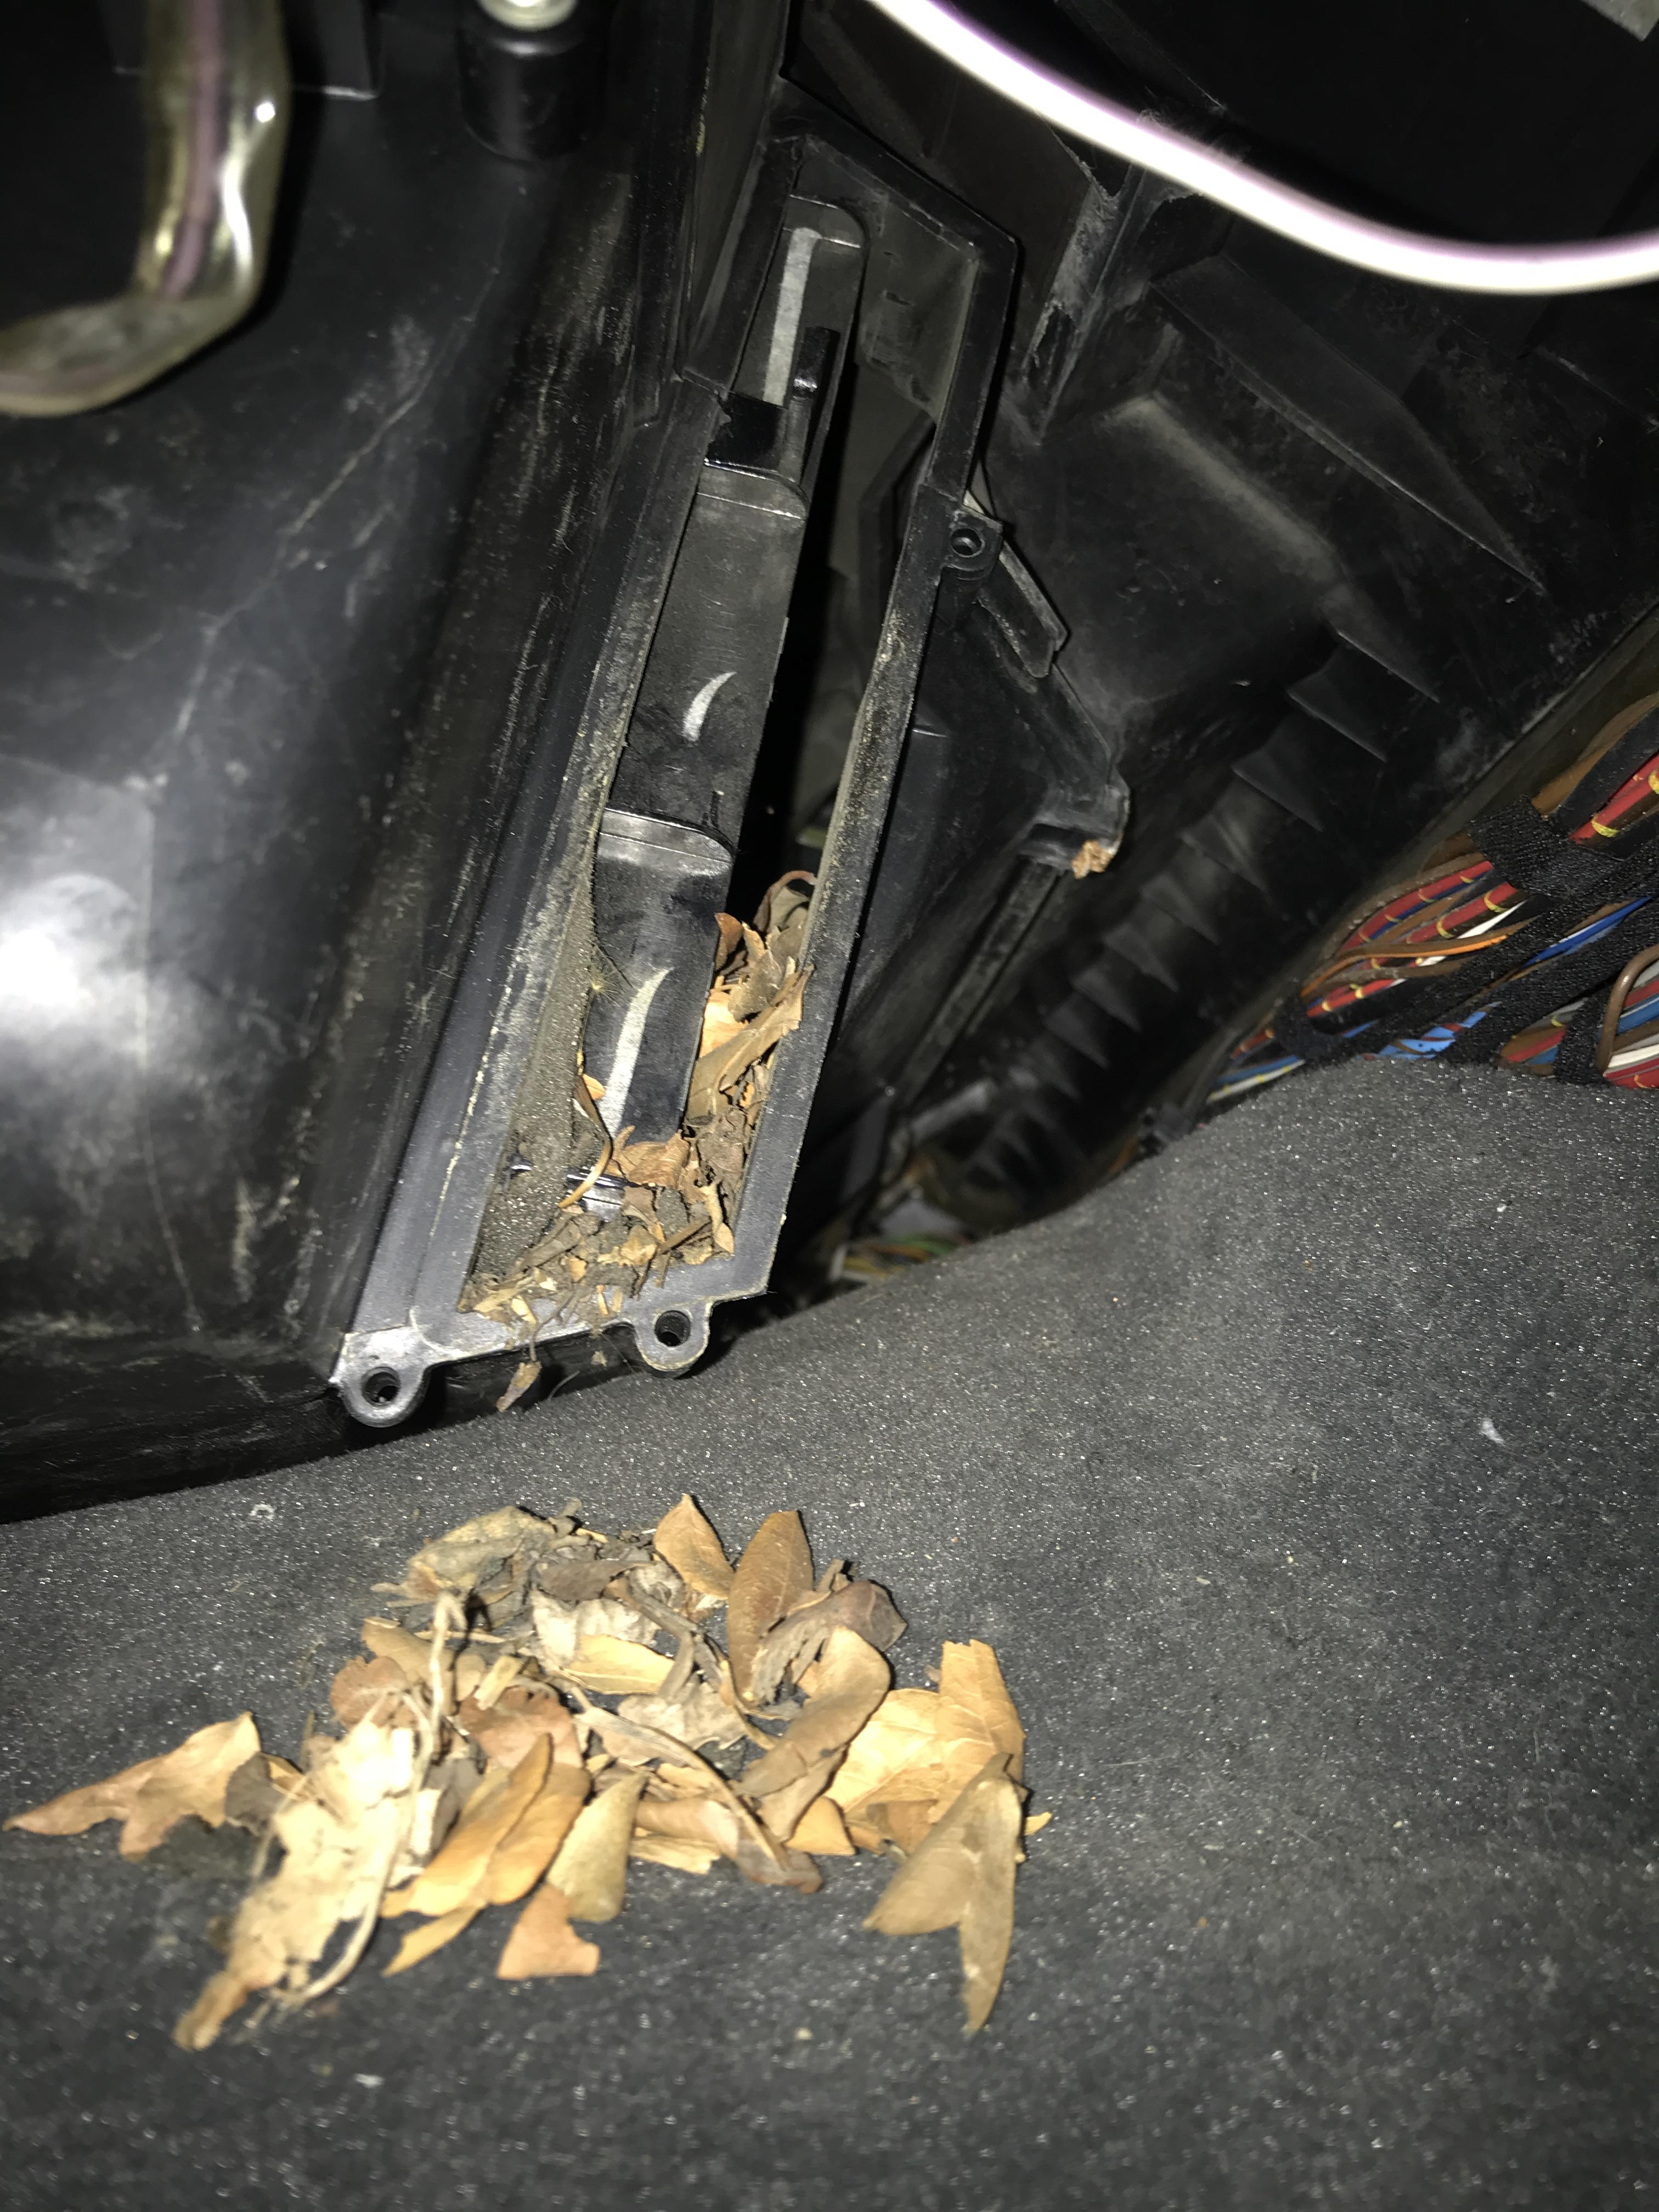
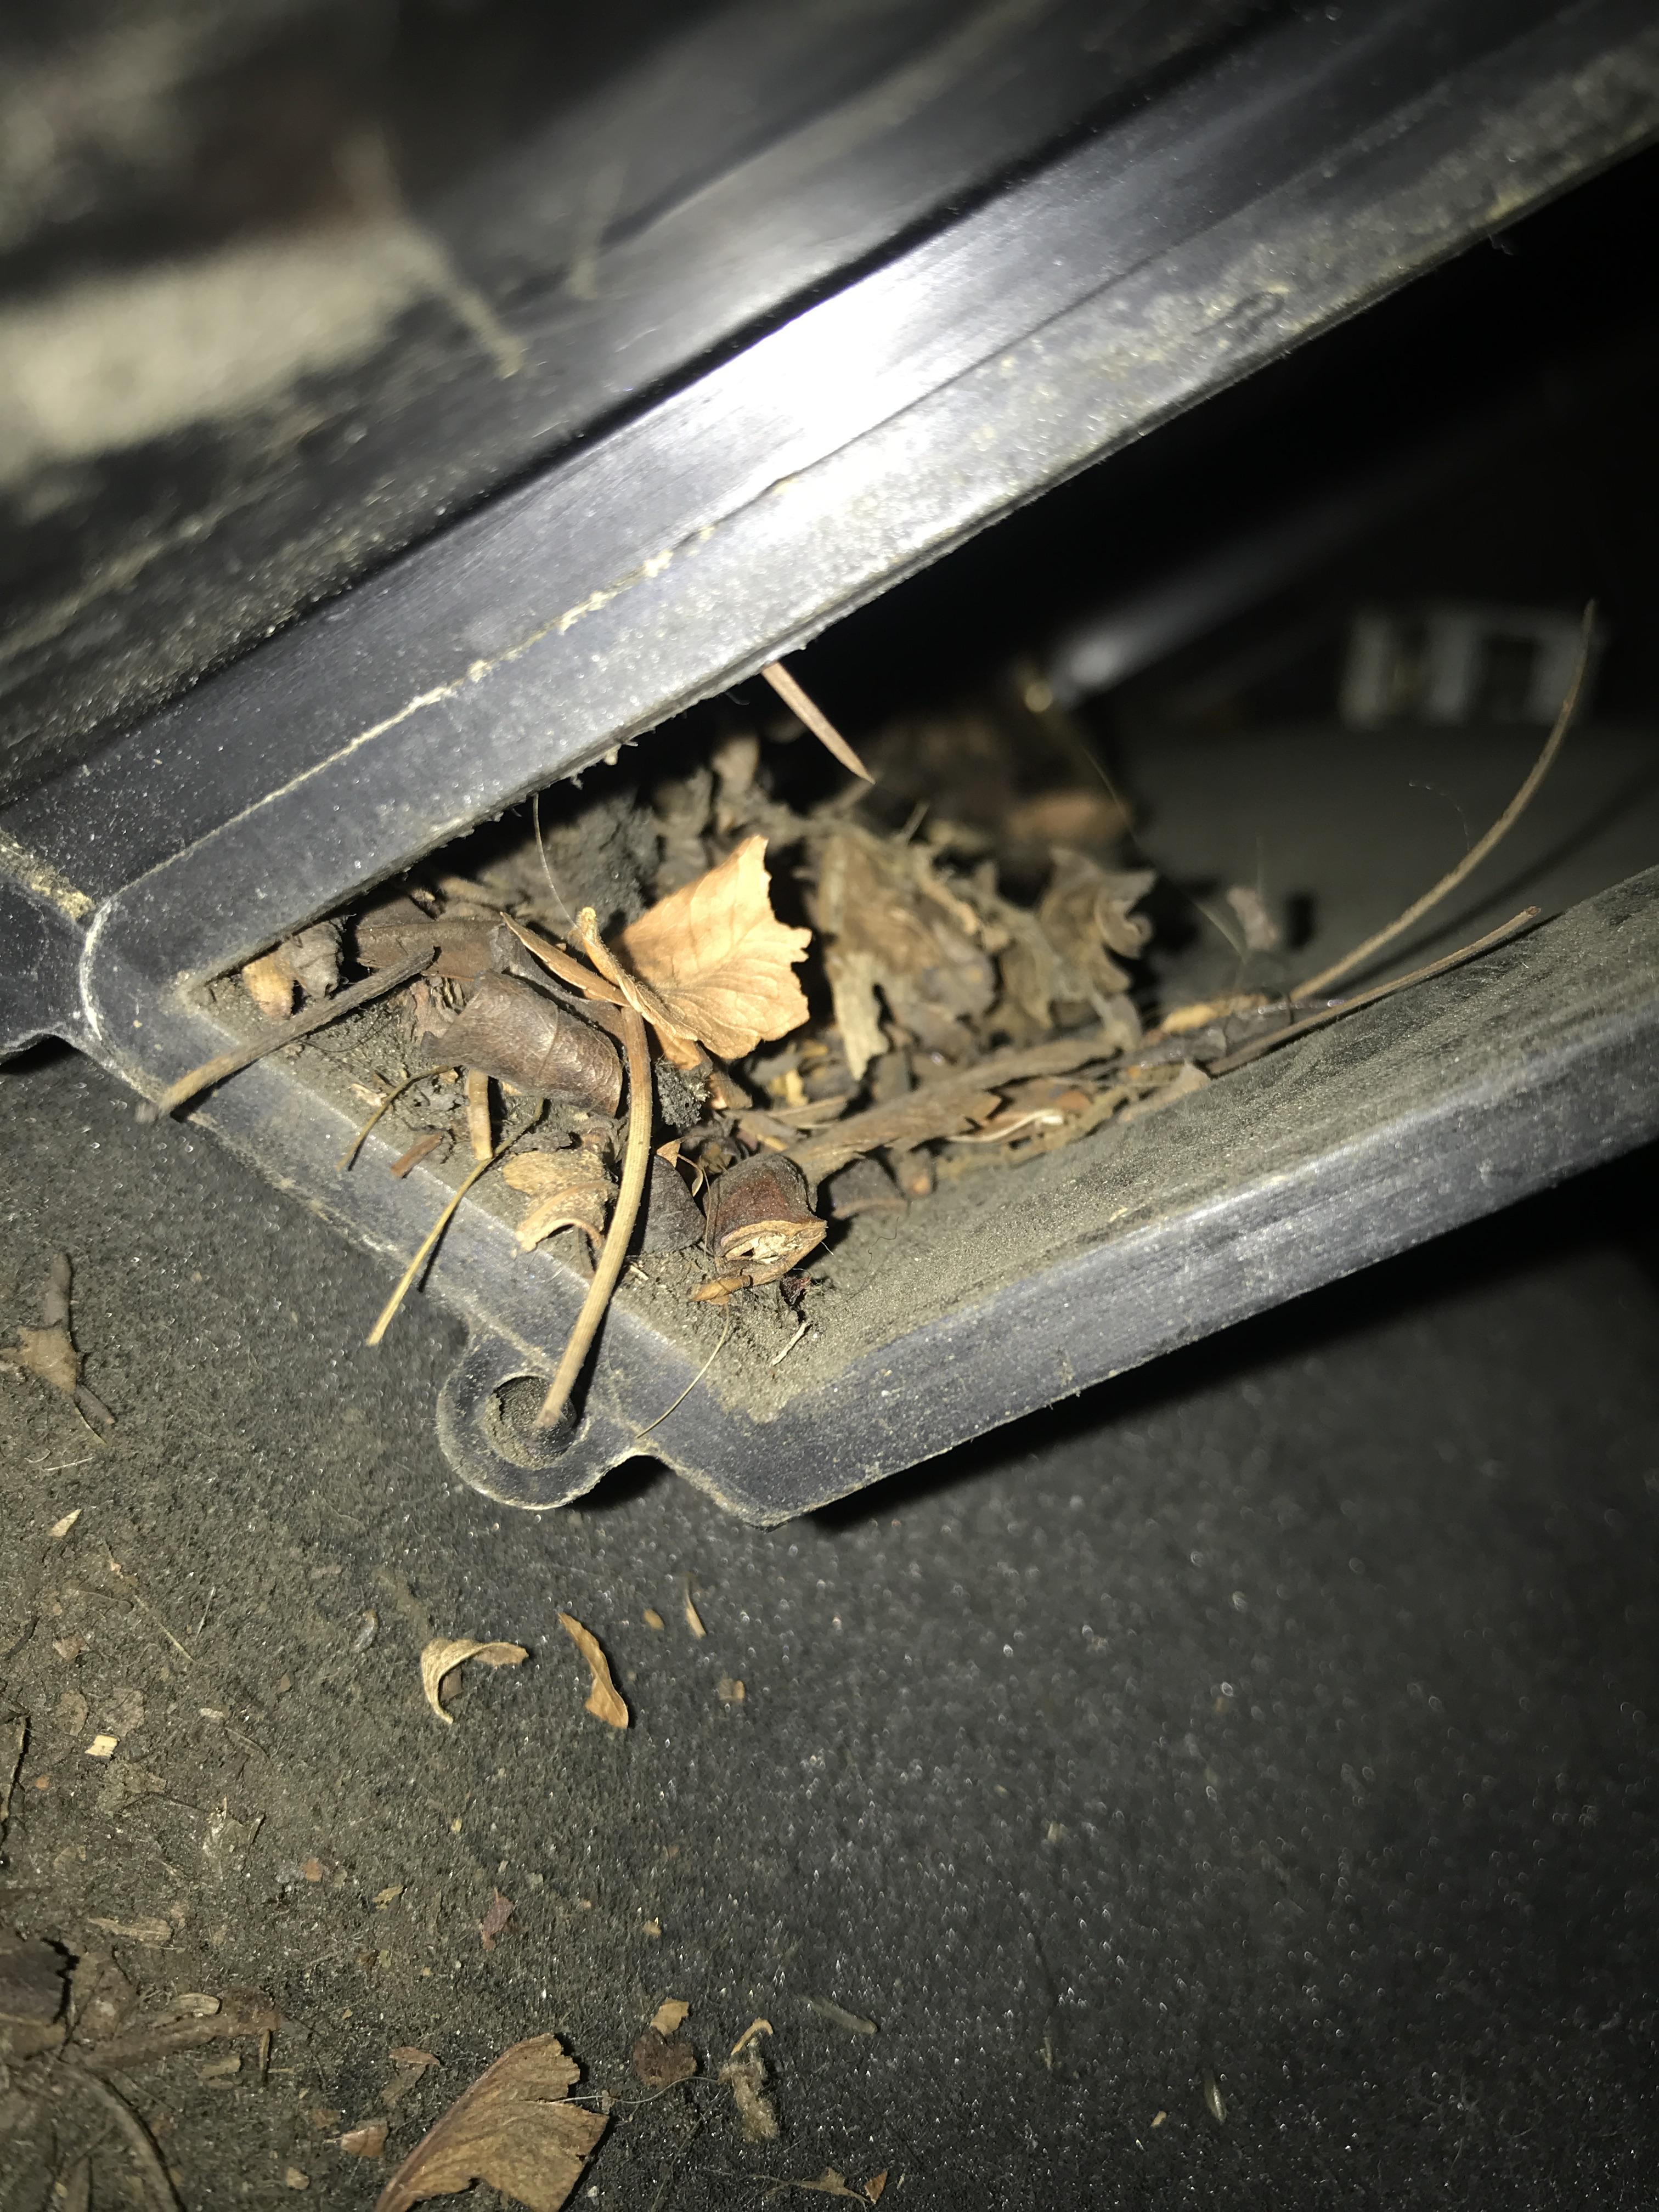
So I pulled the glove box and half the dash apart to find this:
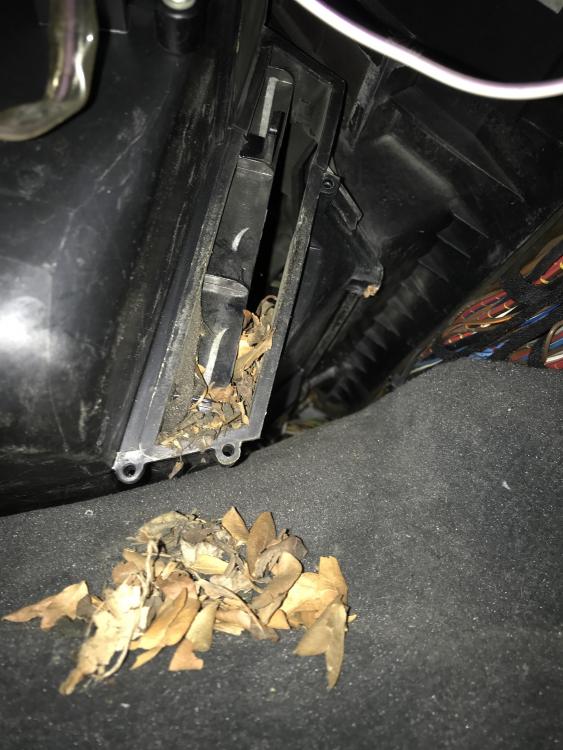
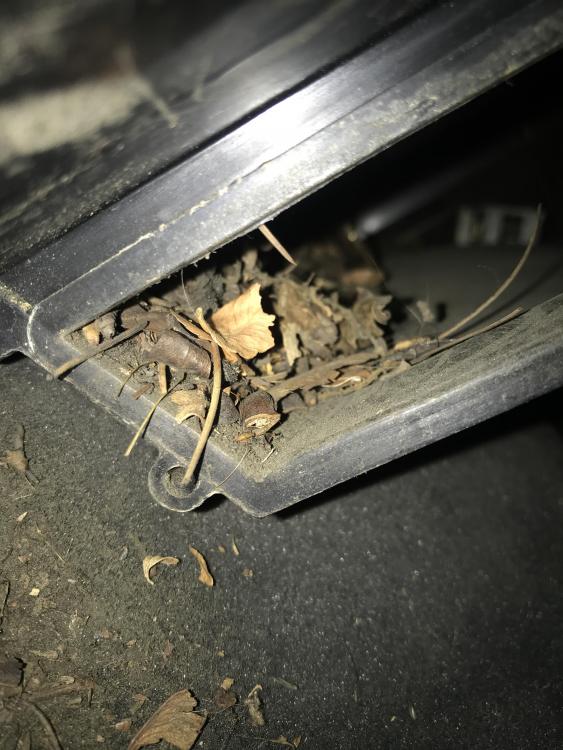
Yeah thats about 10 lbs of leaves, dirt, nuts, and whatever else debris made its way in there.
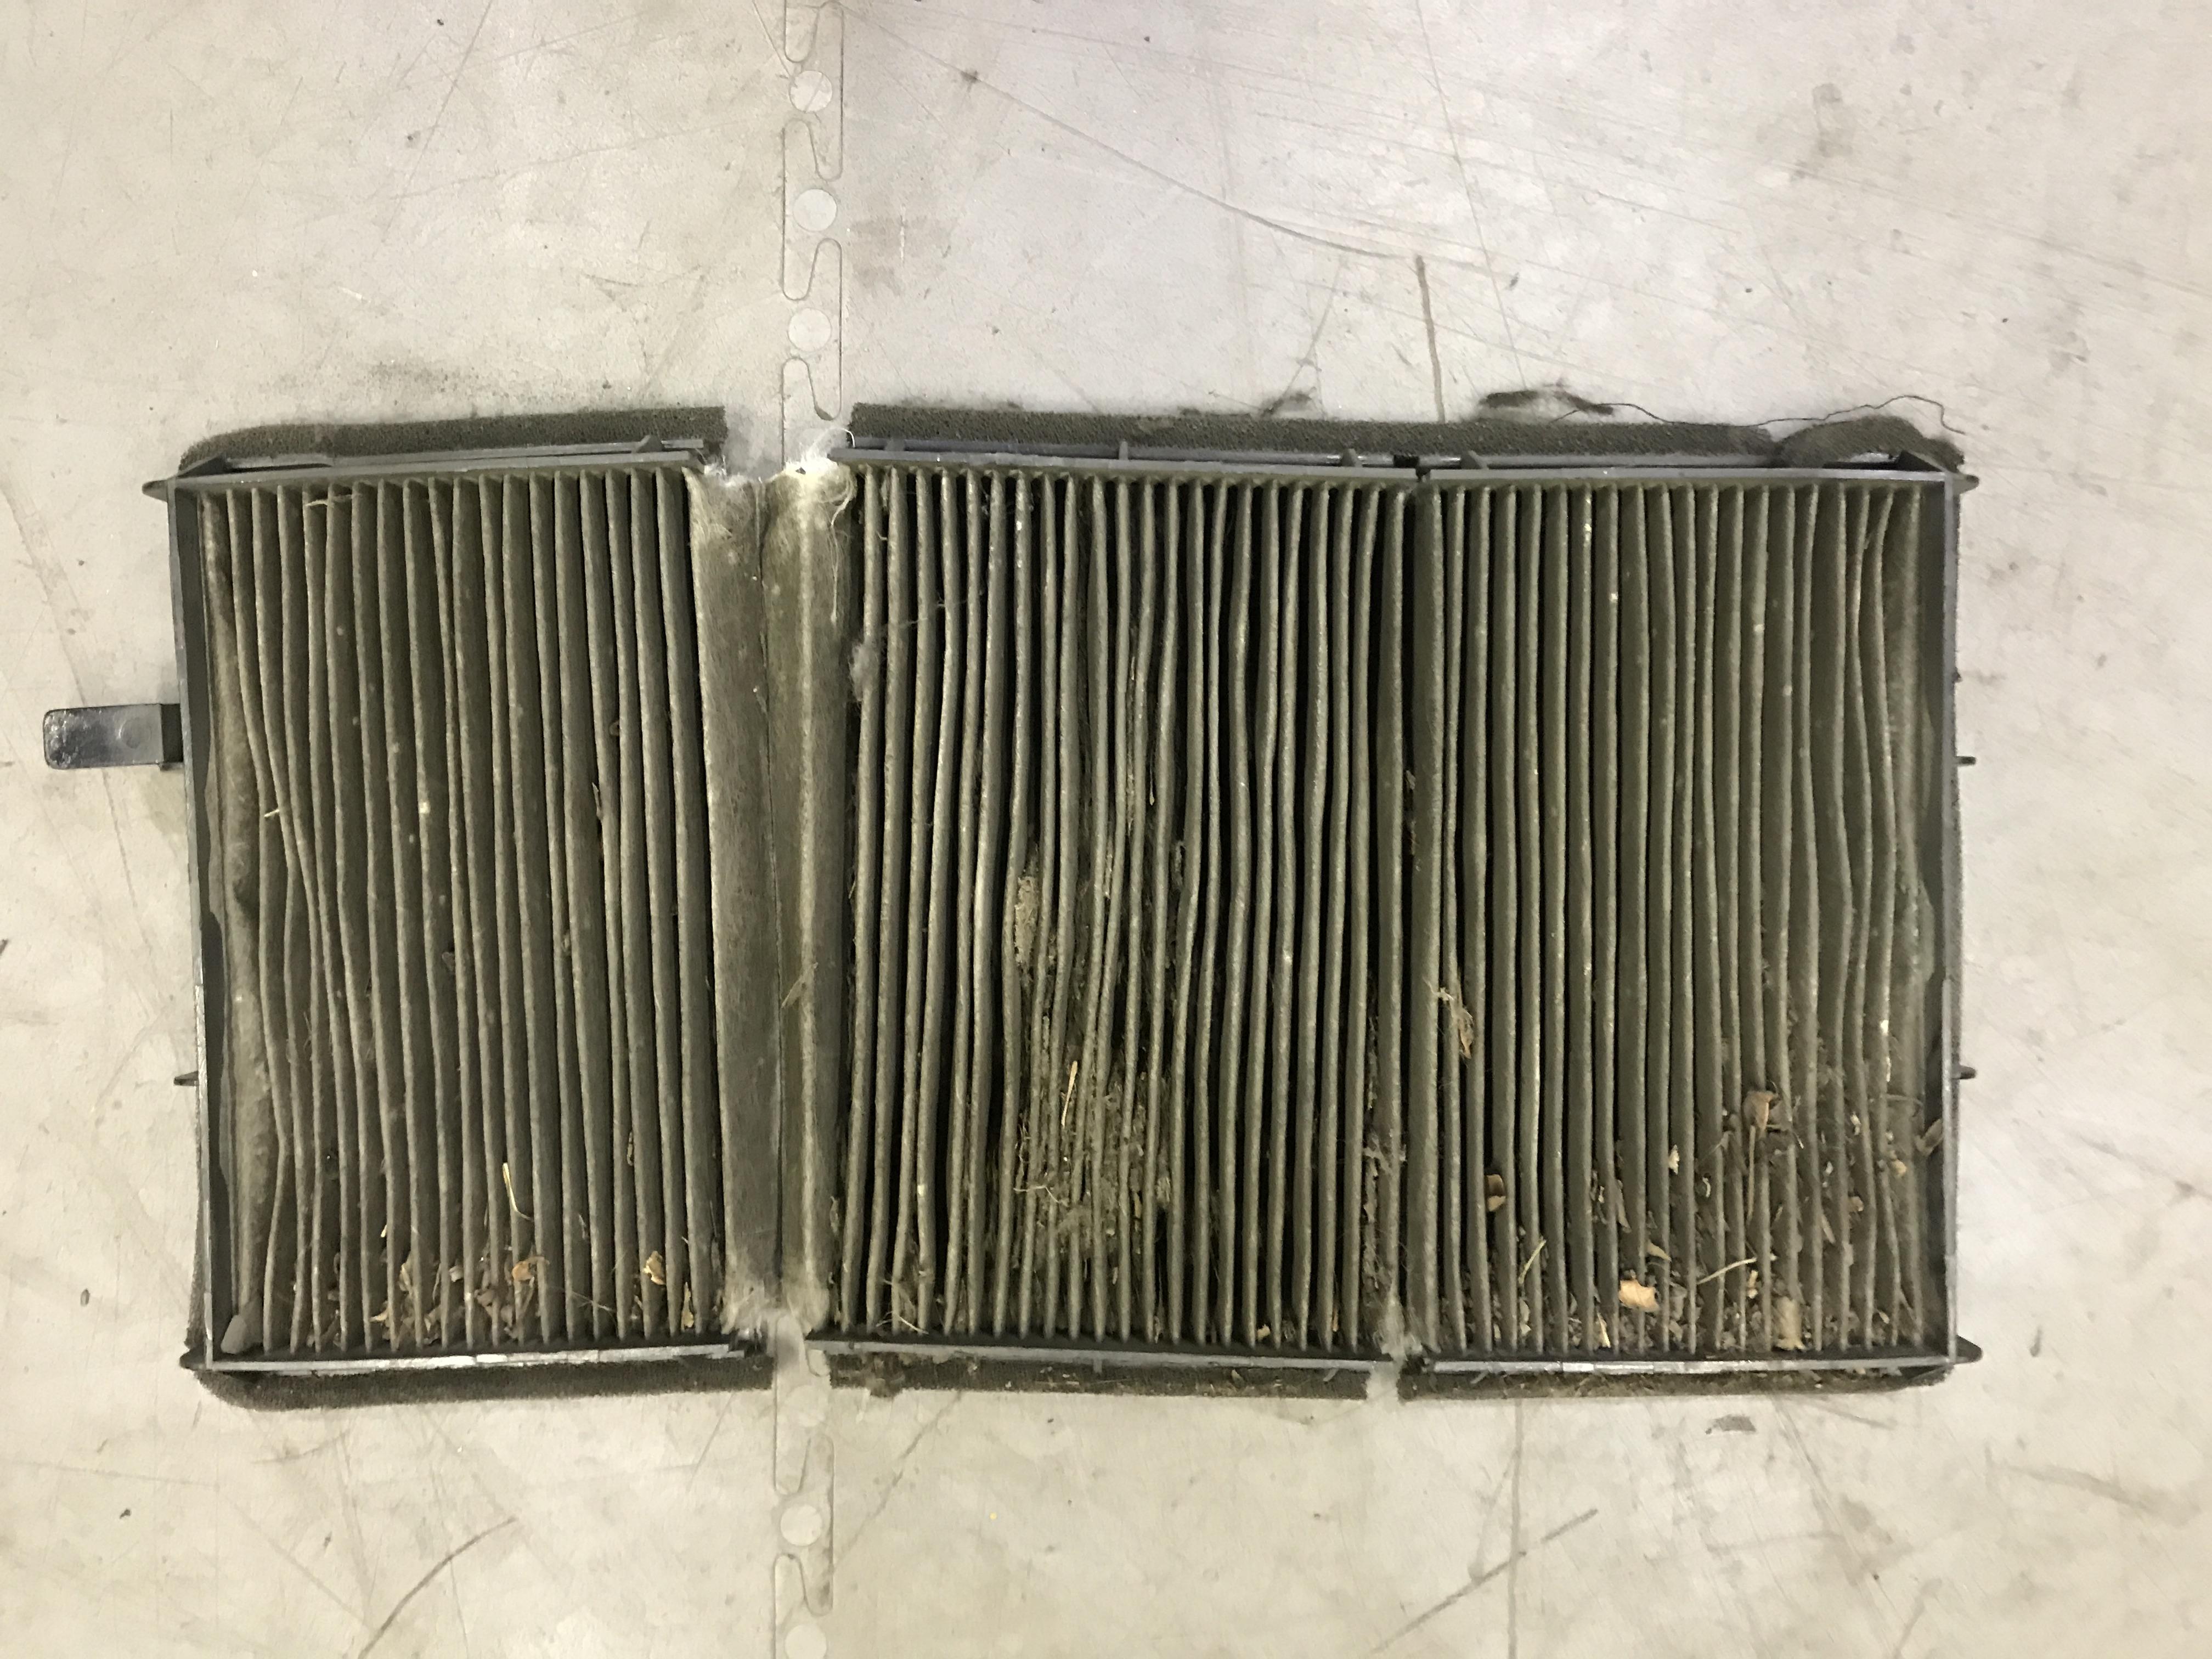
I reminisced that when I got this car it didnt have the cowl cover and the guy had this car sitting under a tree for over a year with the windows open. I needed to get a vacuum in there and suck out as much as I could before I even was able to remove the old filter. It was wedged tight with material and it wouldnt even move.
When I got it out, this is what it looked like:
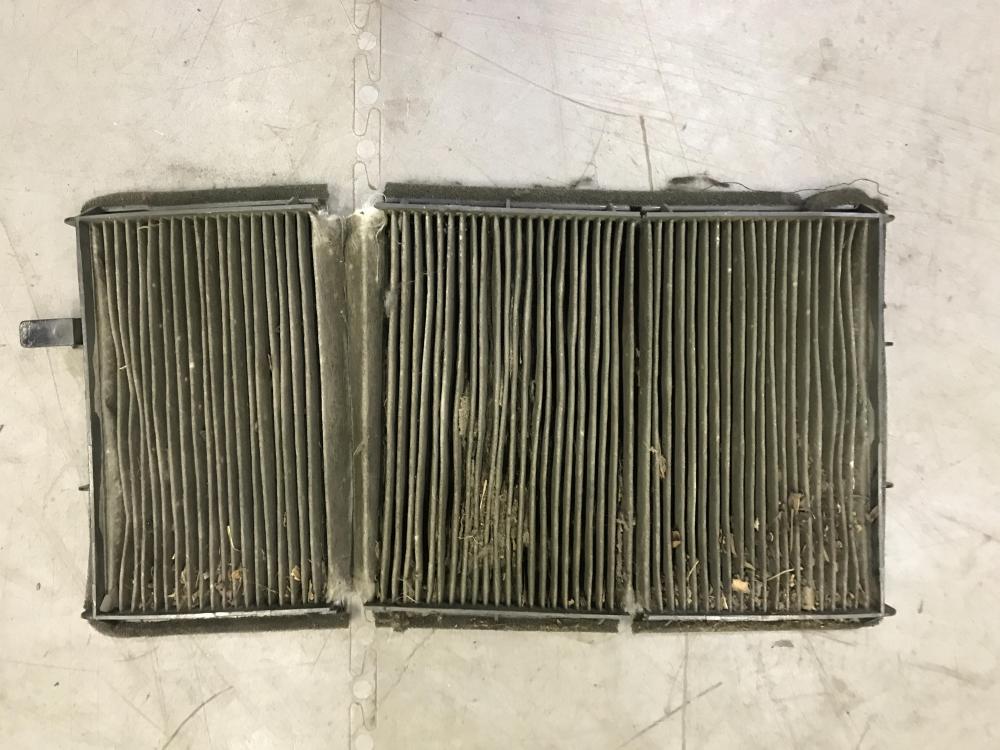
$15 across the street and Oriely had me back in business.
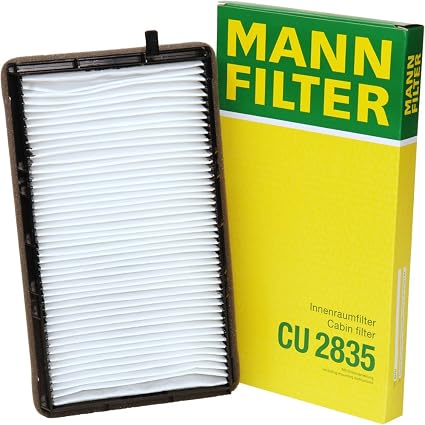
I have yet to drive the car aroudn and see if it makes a difference. BUT I will say just turnung the blower motor on, there is a DRASTIC improvement of the force of the air coming out of the vents. I want to add a simple patch panel to the floor and improve the hacked up trans tunnel to keep the cold air out before I start driving this more often in the cold weather.
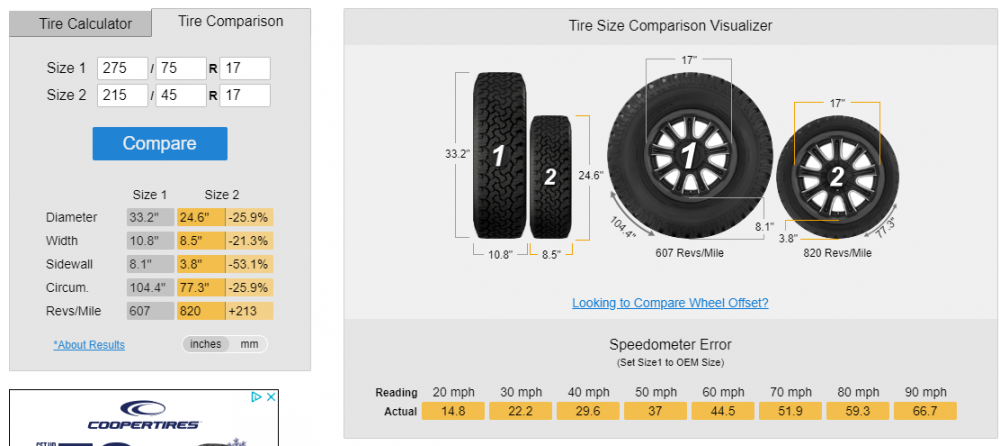
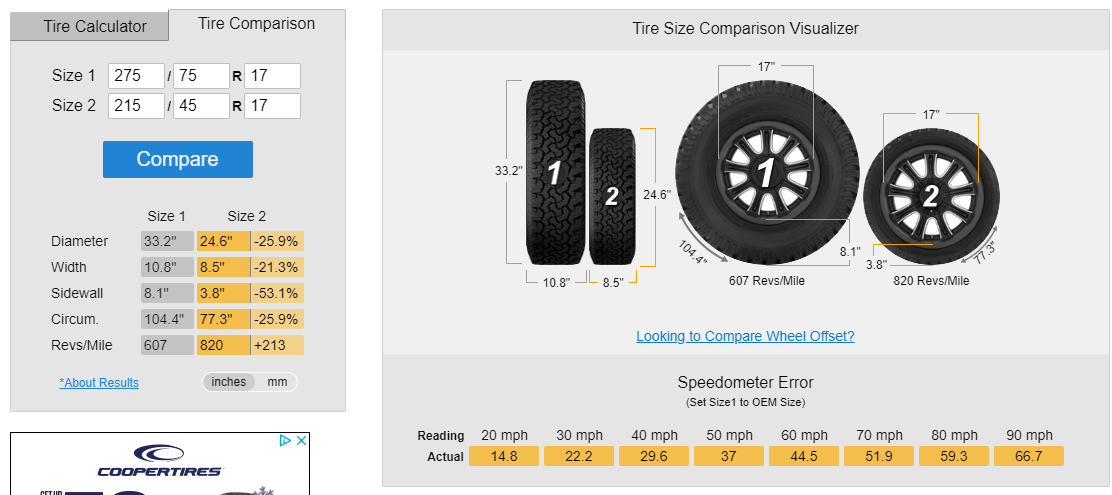
Also, does anyone know if 275/75R17's will fit an E36?
https://www.instagram.com/_jdesigner_/ http://nevertoolow.tumblr.com/
🥳SOLD BMW E24 633CSI - BMW M30B32 🧪SOLD HCH ES9 - 1.3 LDA
👽BMW E30 325IC - Toyota 1JZ-GTE ⏰ HONDA EF9 CIVIC SI - JDM B18C5
☠️BMW E36 318i - Ford 5.0 FE302 🚴♂️ GT-Labomba - 26x2.75 Freeride
🤹♀️SOLD BMW E36/7 Z3 - BMW M54B25 🧓SOLD BMW E10 2002 - BMW M10M05 -
Tire fitment unlikely without saw/grinder action. That is a big tire.
Good call to replace the cabin filter. Probably 4 times the airflow now. I did that and flushed coolant and my heat is now very hot in my e36.
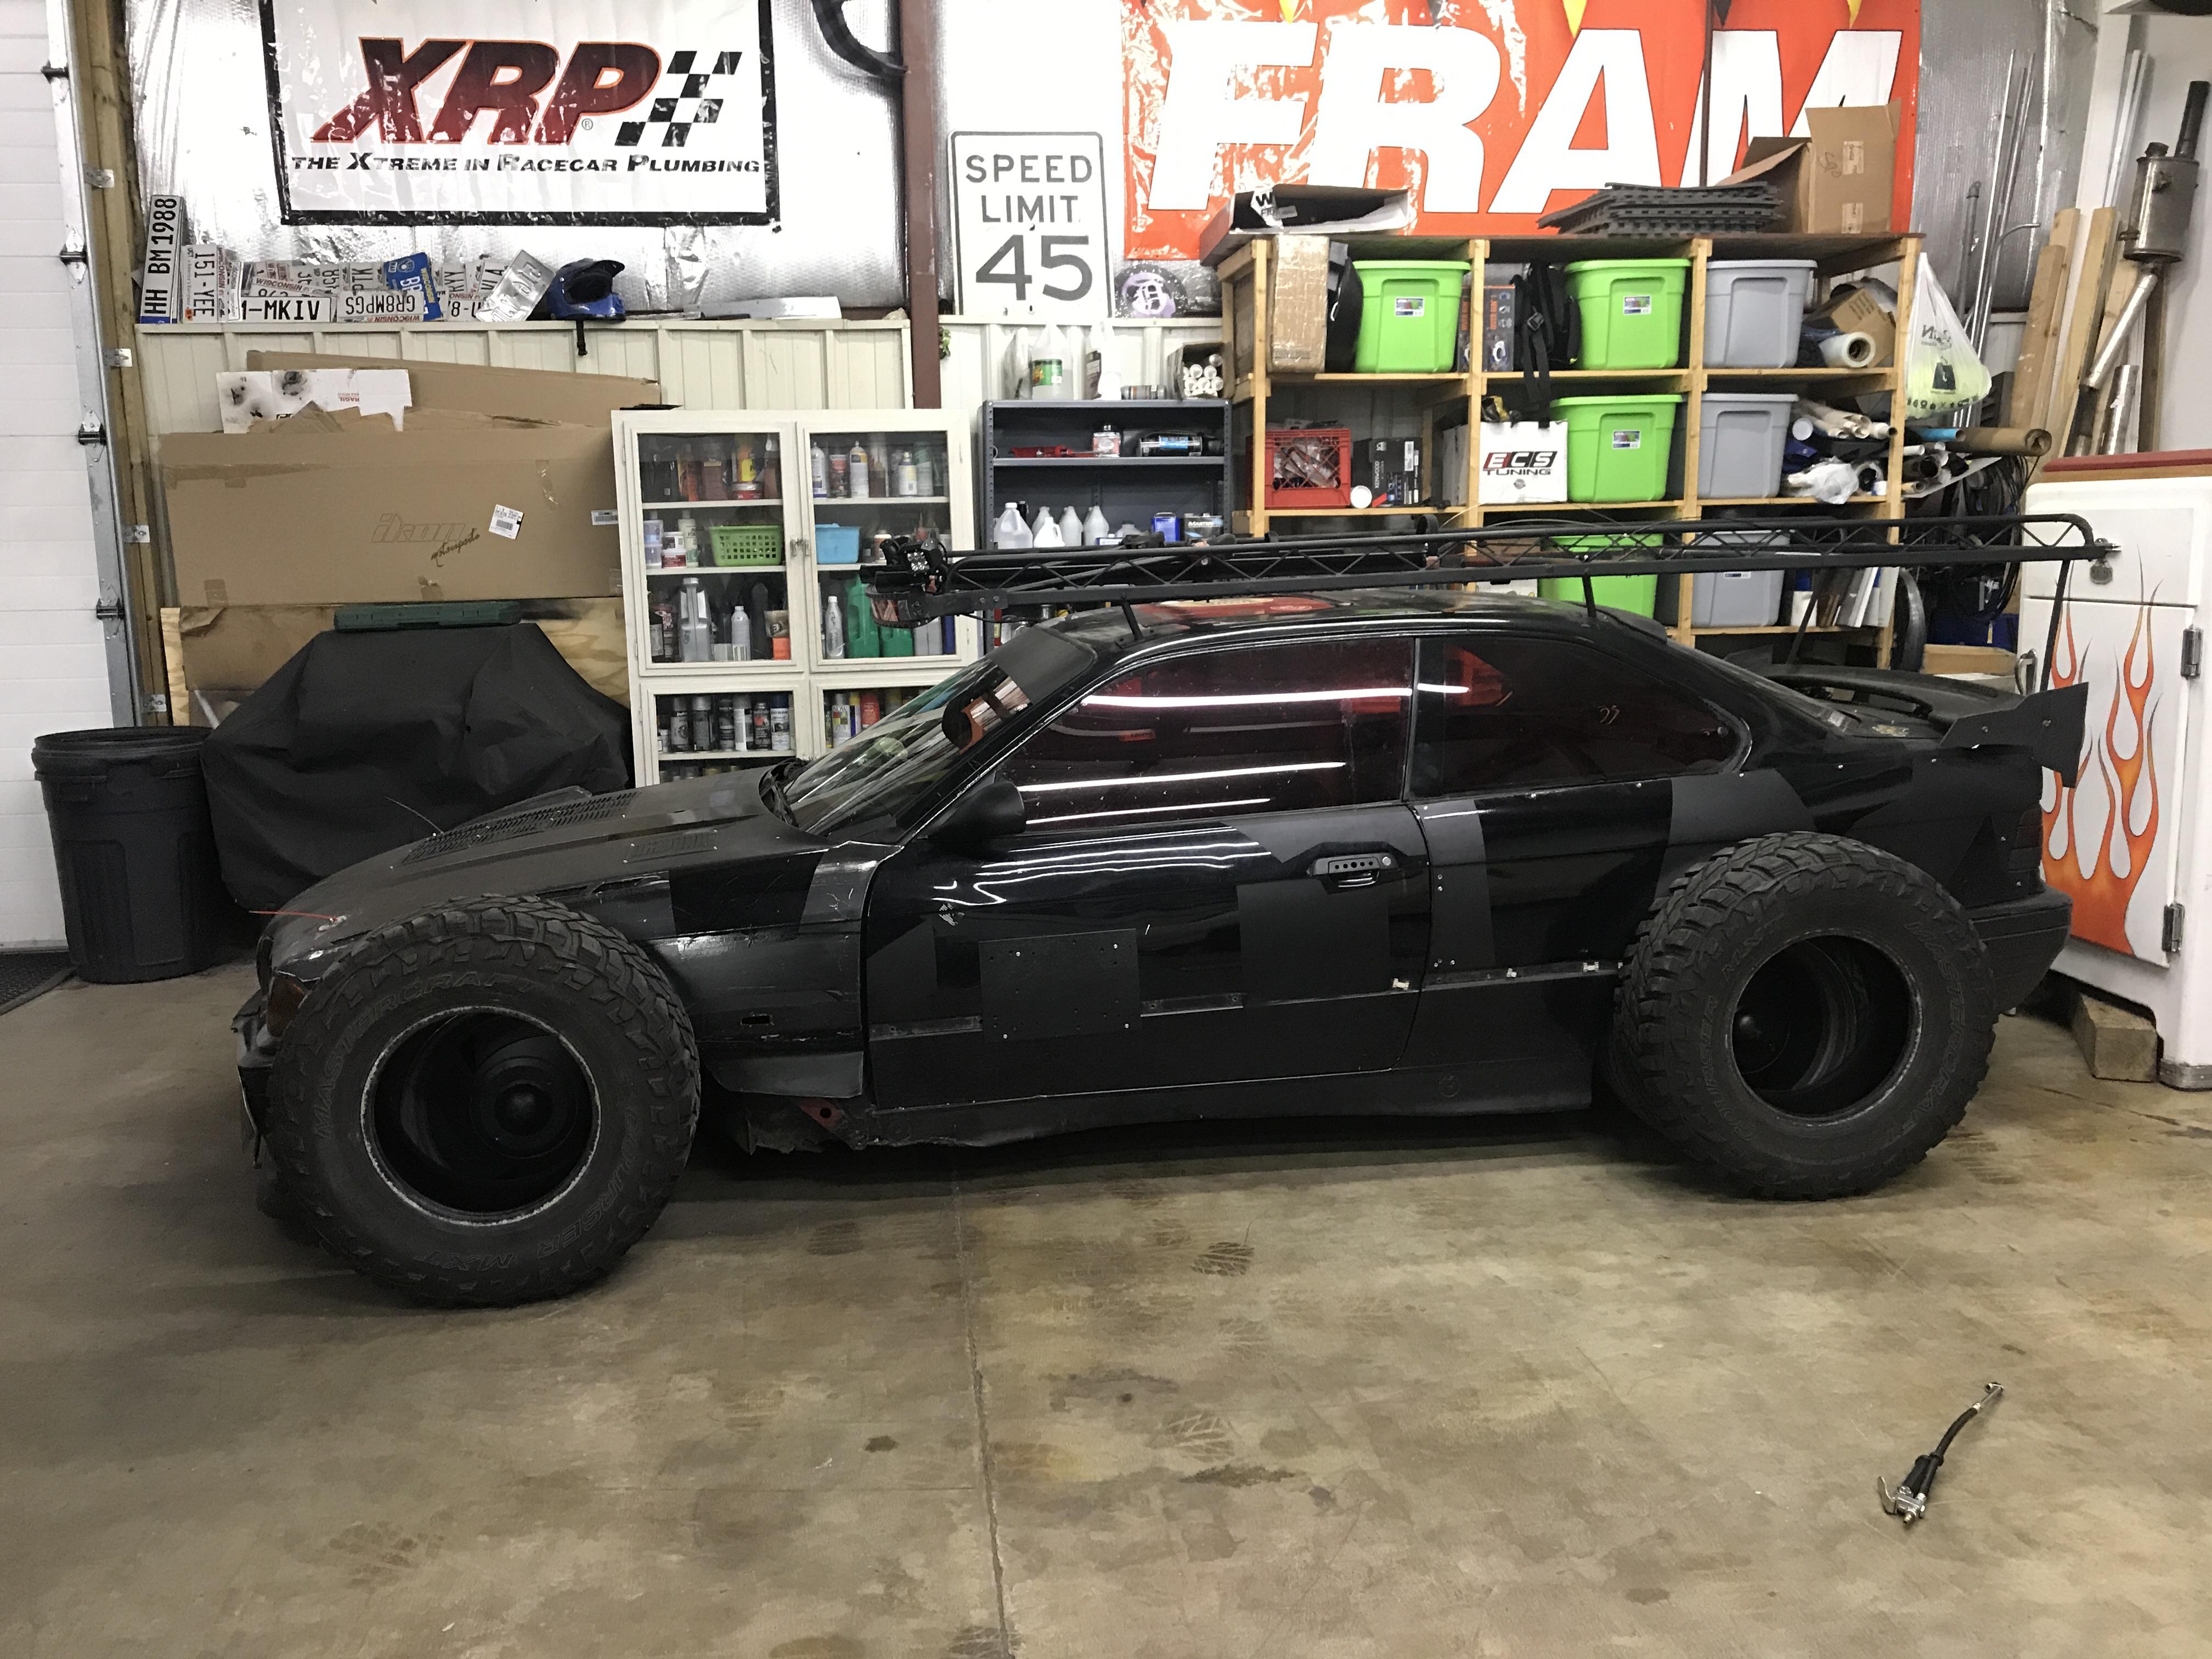
No front fenders, the rear quarters are cut all to hell under the overfenders.
I would flush the collant, but I just did that this spring. I think it should be okay minus the giant holes in the floor.
https://www.instagram.com/_jdesigner_/ http://nevertoolow.tumblr.com/
🥳SOLD BMW E24 633CSI - BMW M30B32 🧪SOLD HCH ES9 - 1.3 LDA
👽BMW E30 325IC - Toyota 1JZ-GTE ⏰ HONDA EF9 CIVIC SI - JDM B18C5
☠️BMW E36 318i - Ford 5.0 FE302 🚴♂️ GT-Labomba - 26x2.75 Freeride
🤹♀️SOLD BMW E36/7 Z3 - BMW M54B25 🧓SOLD BMW E10 2002 - BMW M10M05 -
Slow progress is progress. I have been stupid busy lately but I have managed to button up some small things in the process.
Back about a month or two ago, I was bored and drove this around on a Sunday afternoon. Doing so I went down some gravel roads (at speed
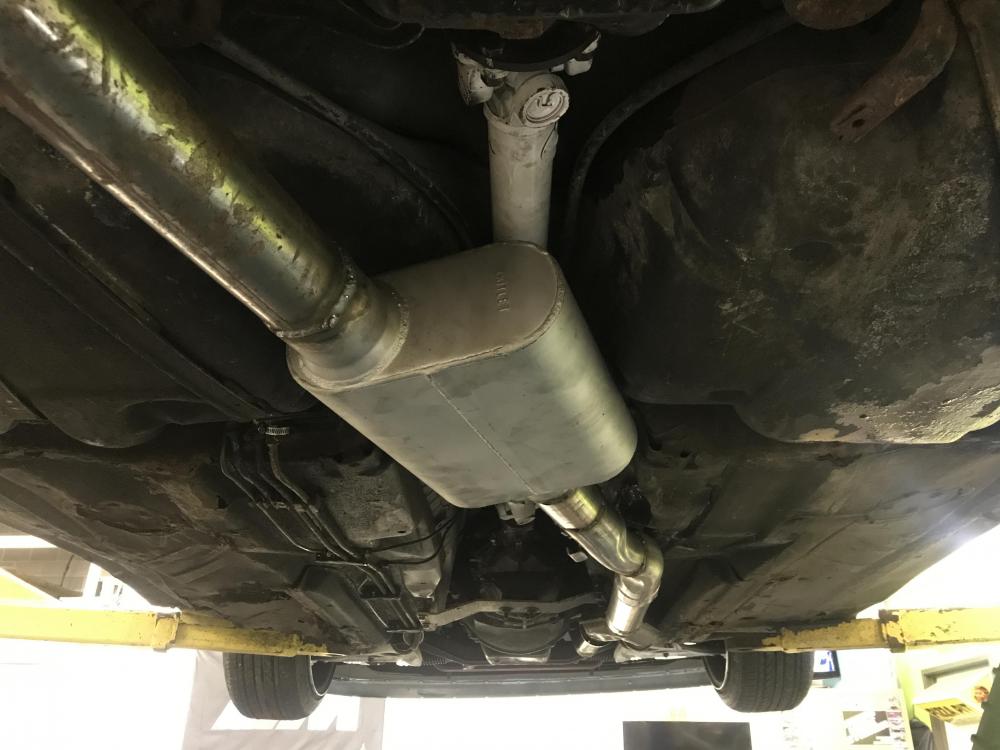
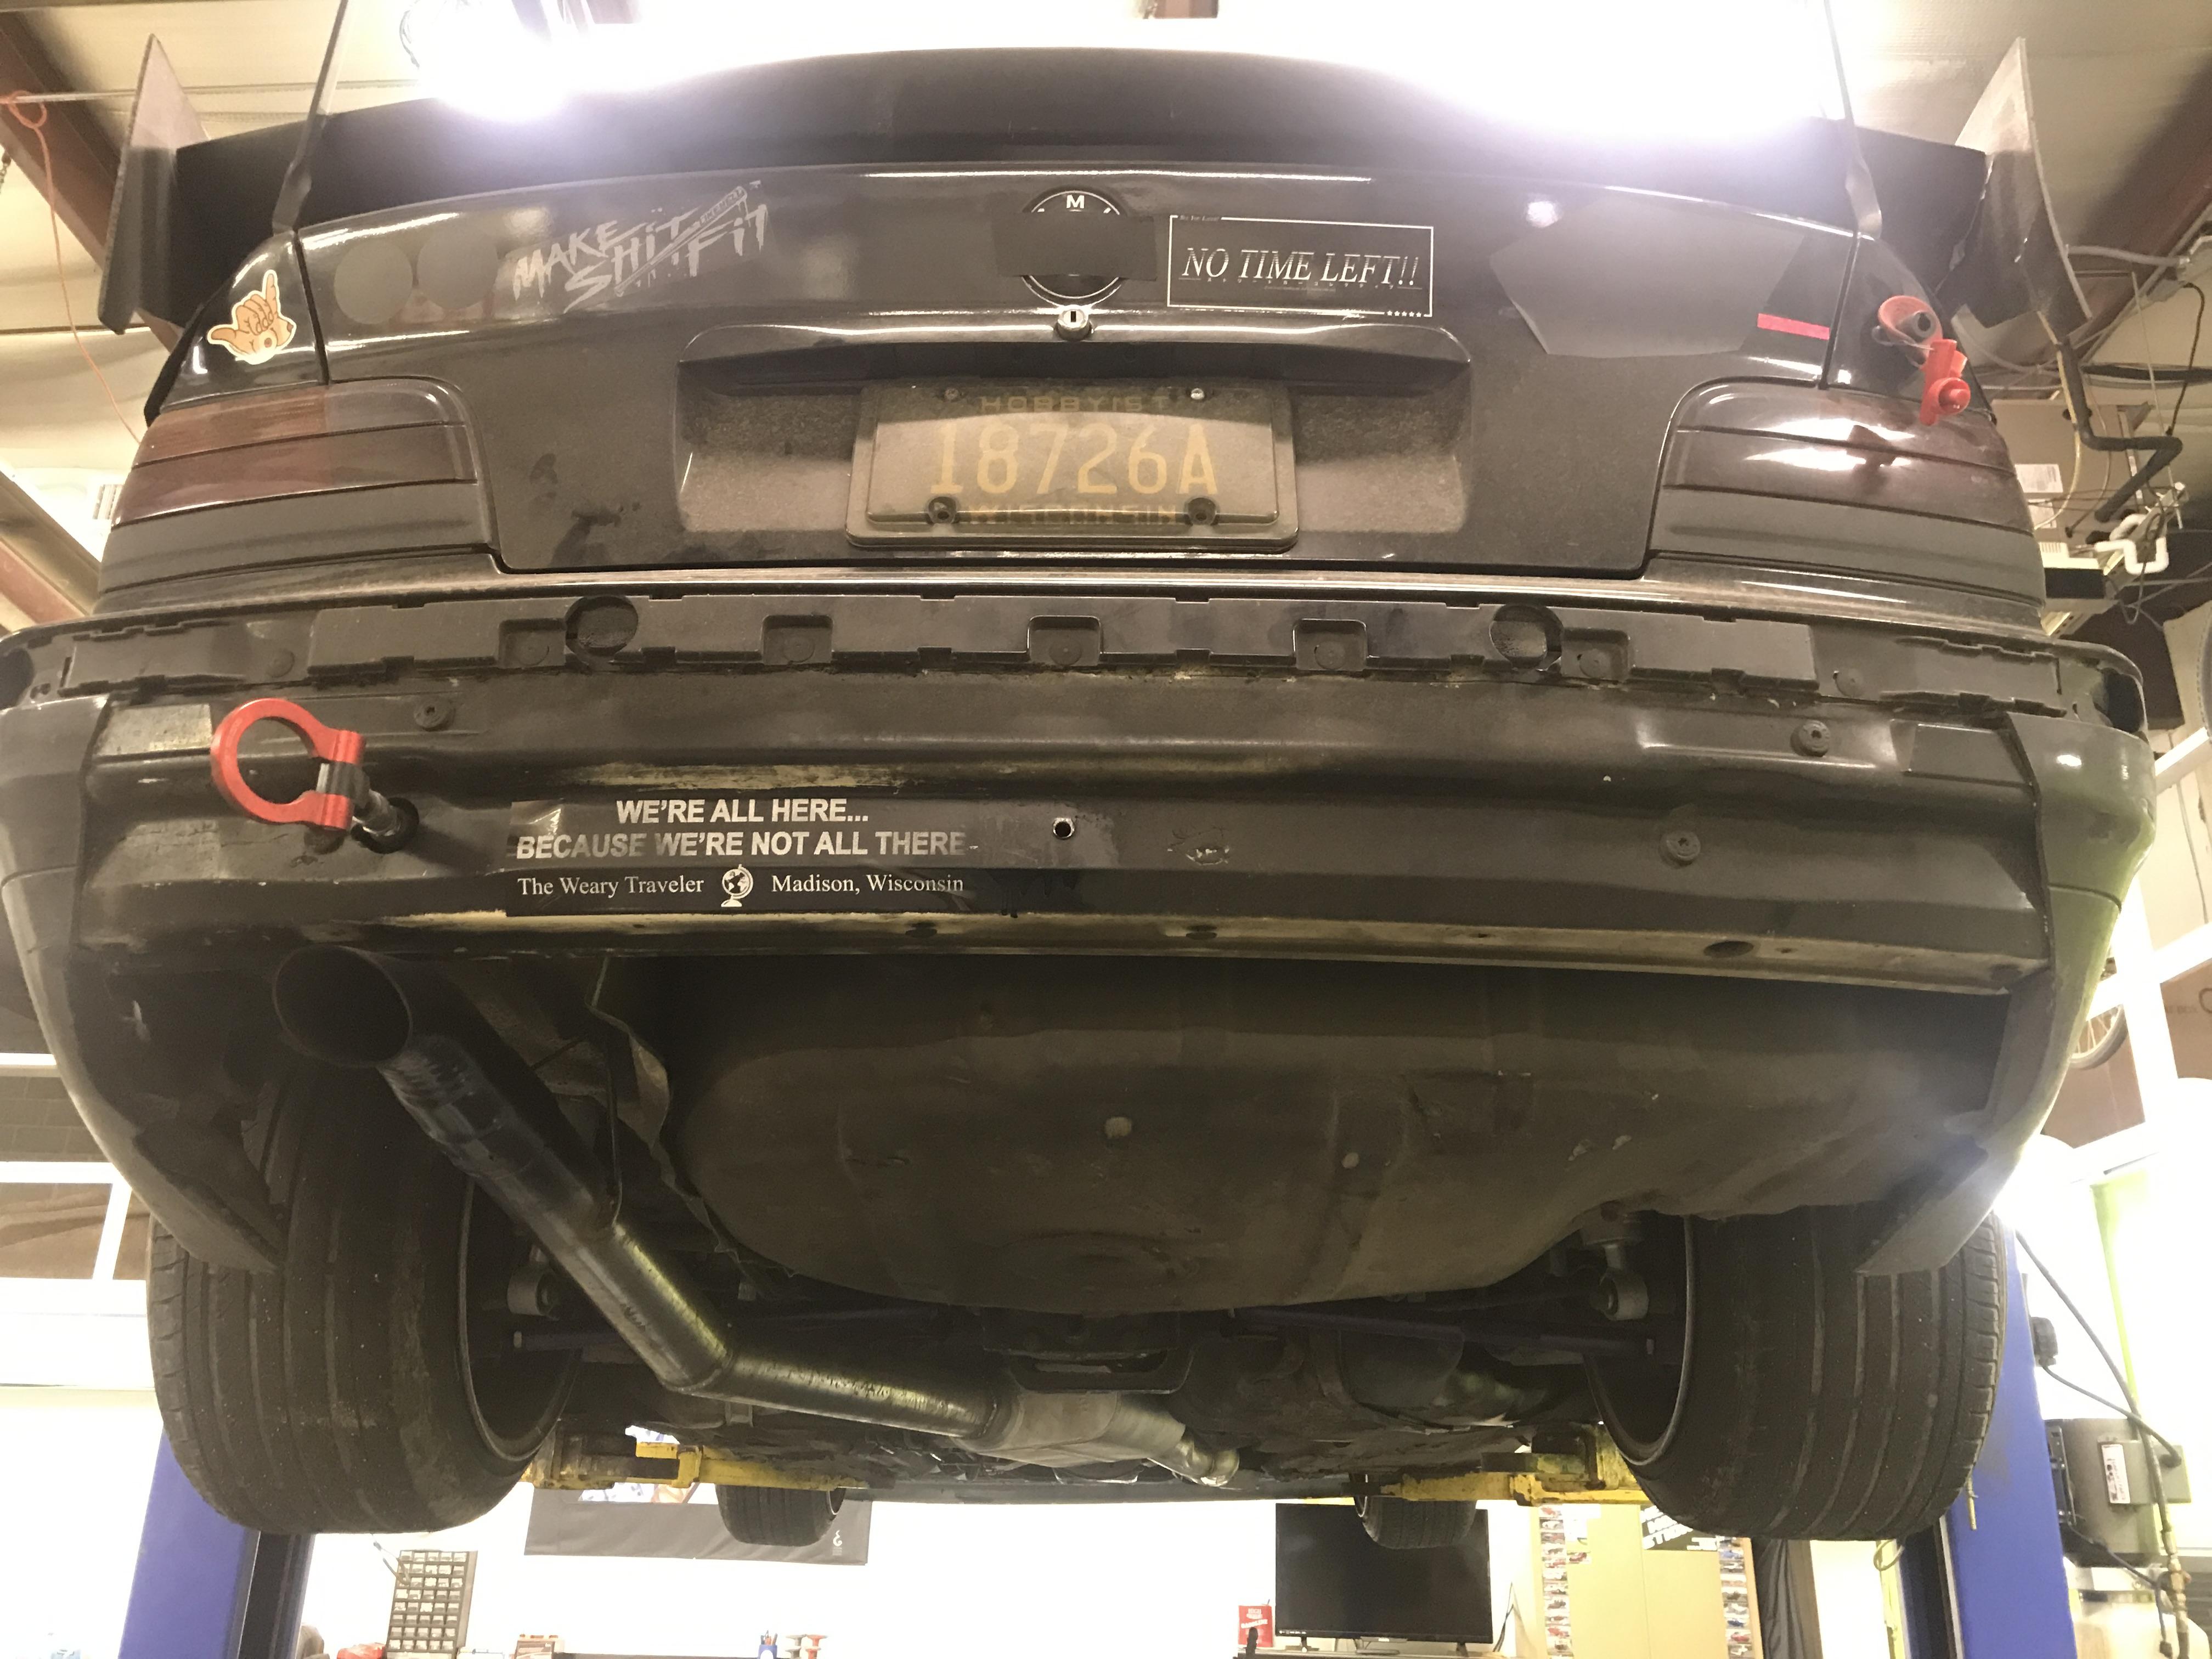
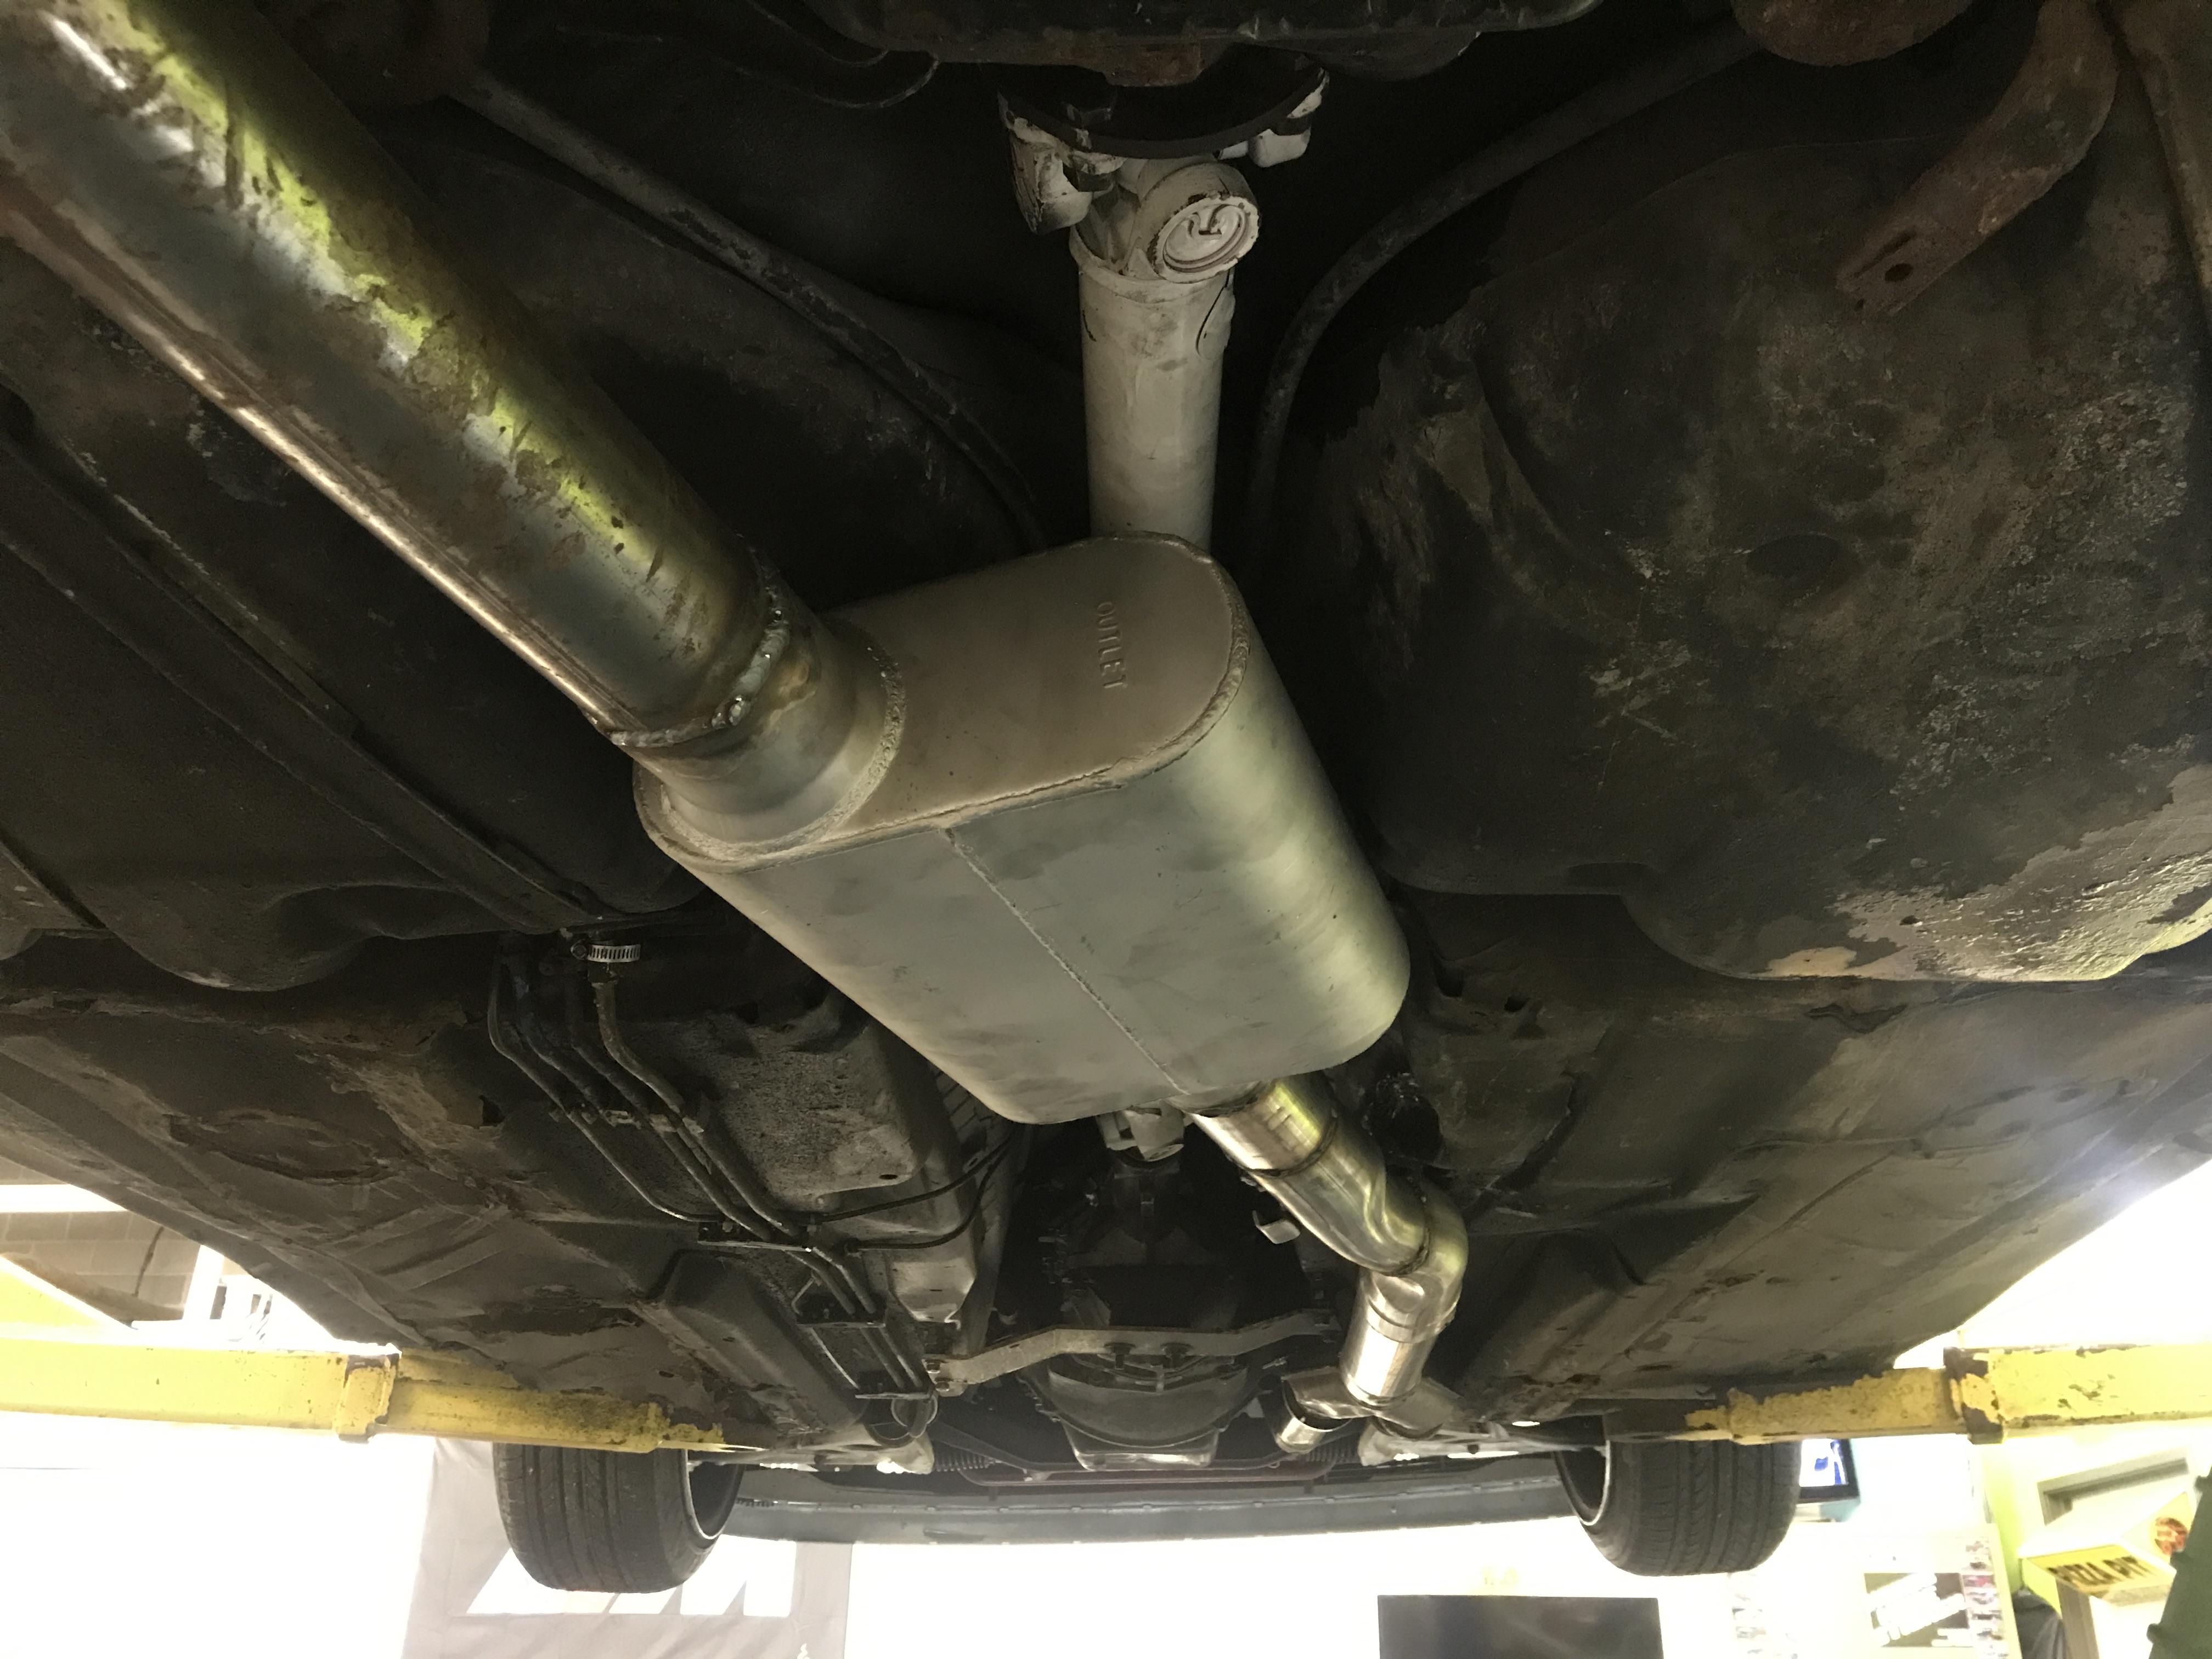
 ) I manage to rip the exhaust clean off from the manifolds back. The old exhaust was pretty hacked up and it was only a matter of time before it finally let go. $50 later on 3" piping and a thrust muffler, I had a few ideas I bounced around with Chubs on what to do. Considering I might add some PSI in the future, we decided it was best to keep the routing very similar but move the V-bands higher and relocate the muffler further forward. With that I also had the ability to drop the drive shaft and fix (what I thought) was the the final leak; the trans output seal.
My biggest concern was ground clearance. I want to be able to lower this car more, but also raise it and drive over stuff without it getting caught. The result was perfect, and it sounds so much better than I anticipated. (sorry, videos to follow soon)
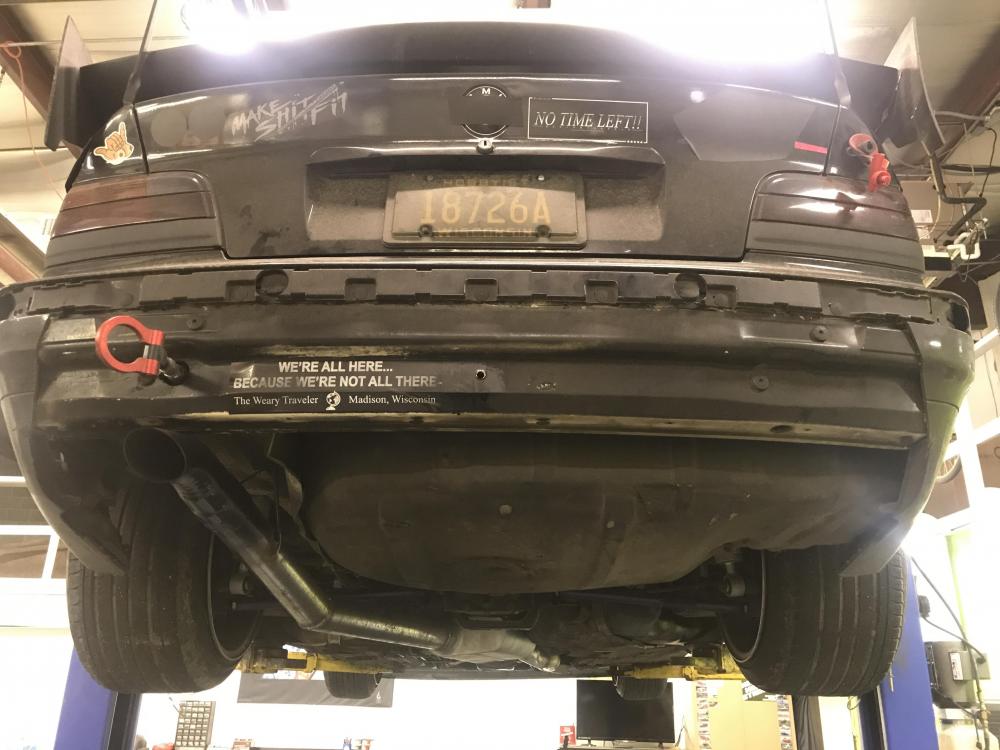
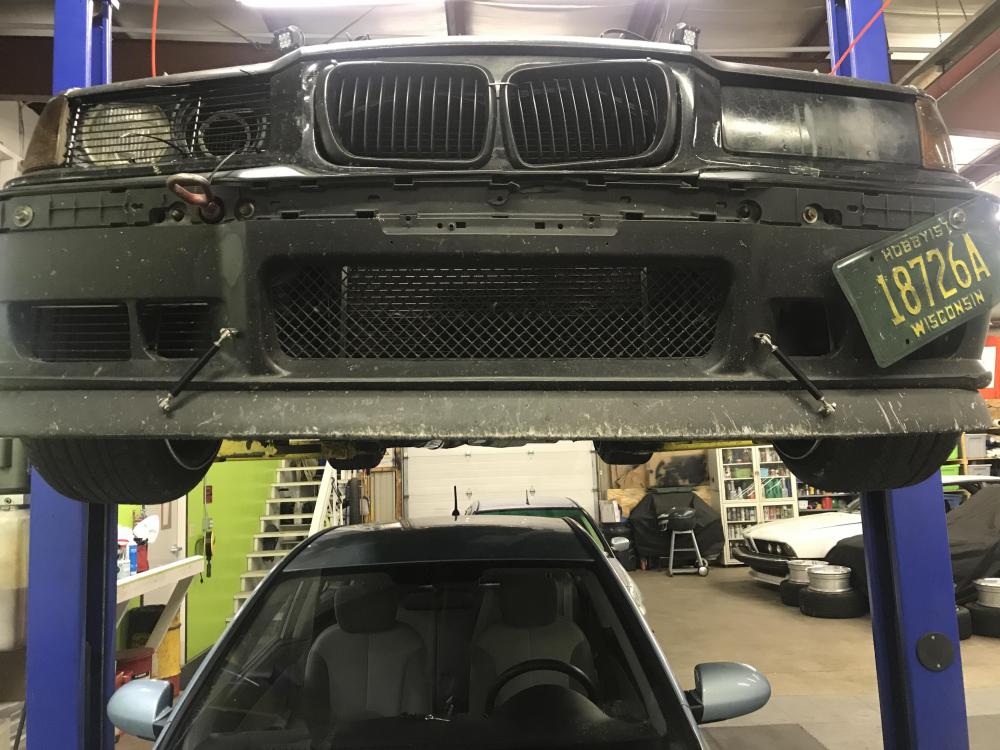
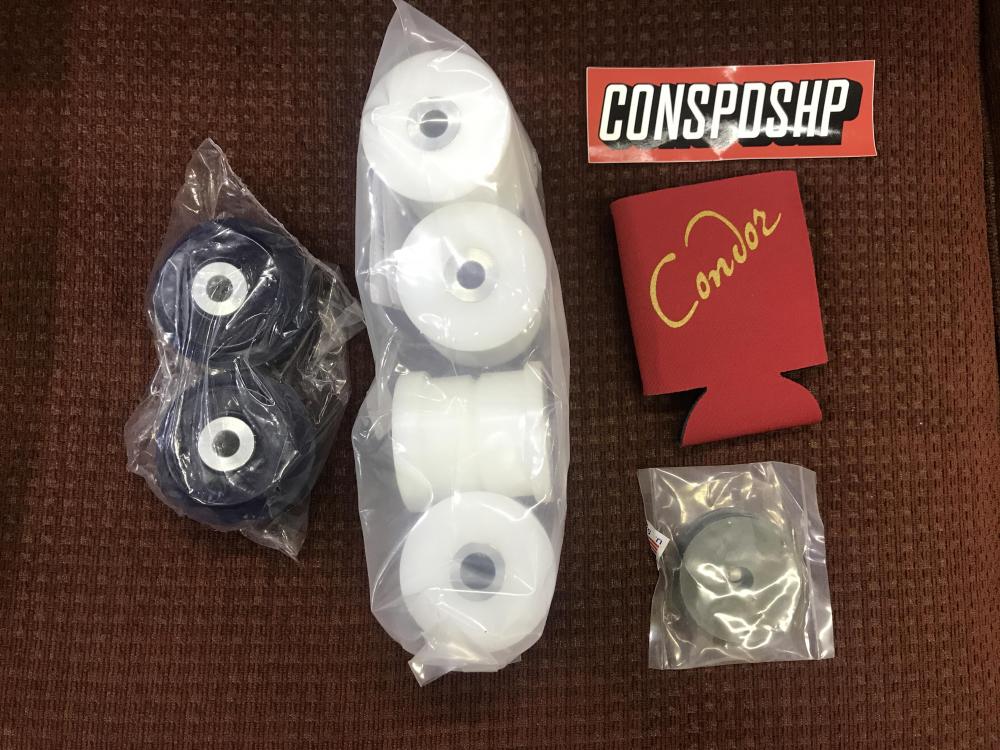
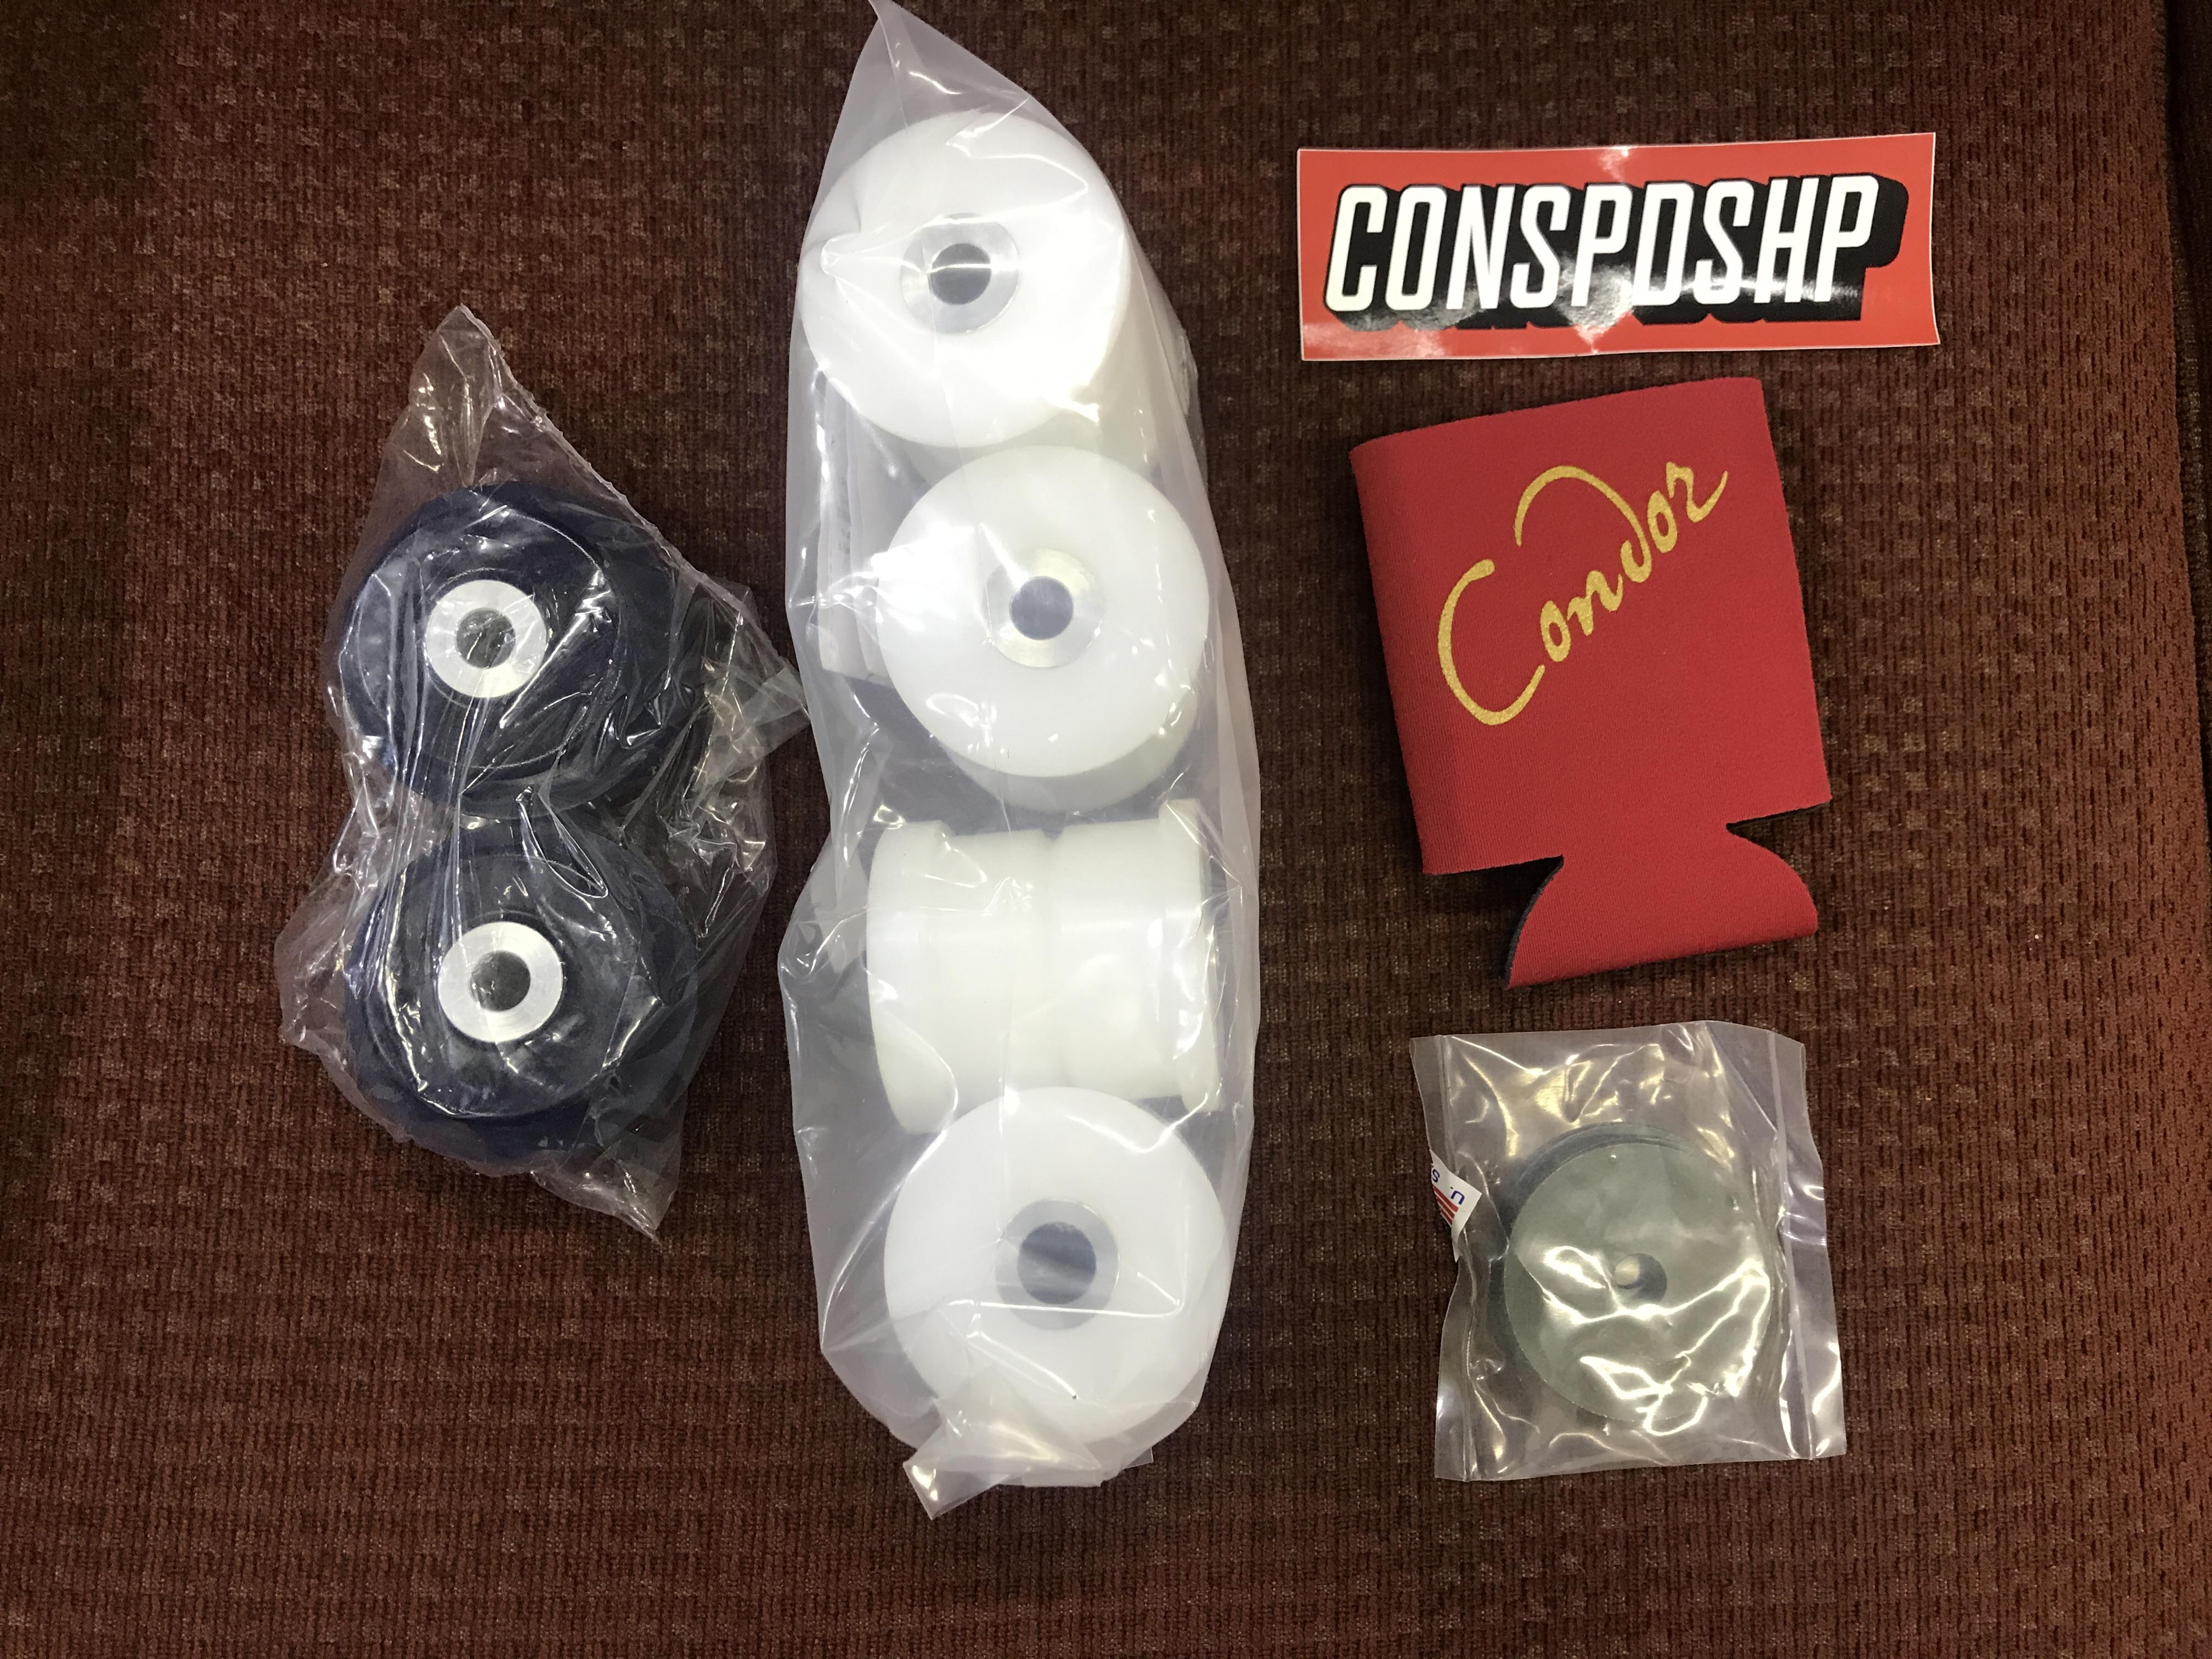
I also finally ordered solid sub frame bushings, and upgraded RTABs. I plan on swinging by Tj's as soon as I have time to grab the rear sub frame and axles of a parts car from him.
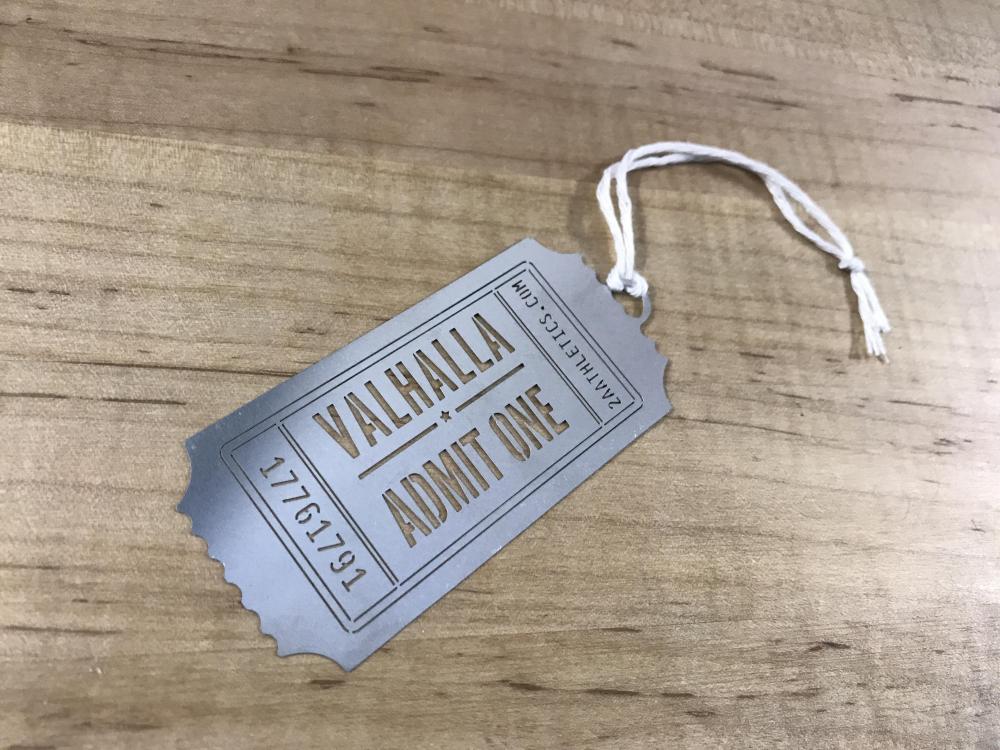
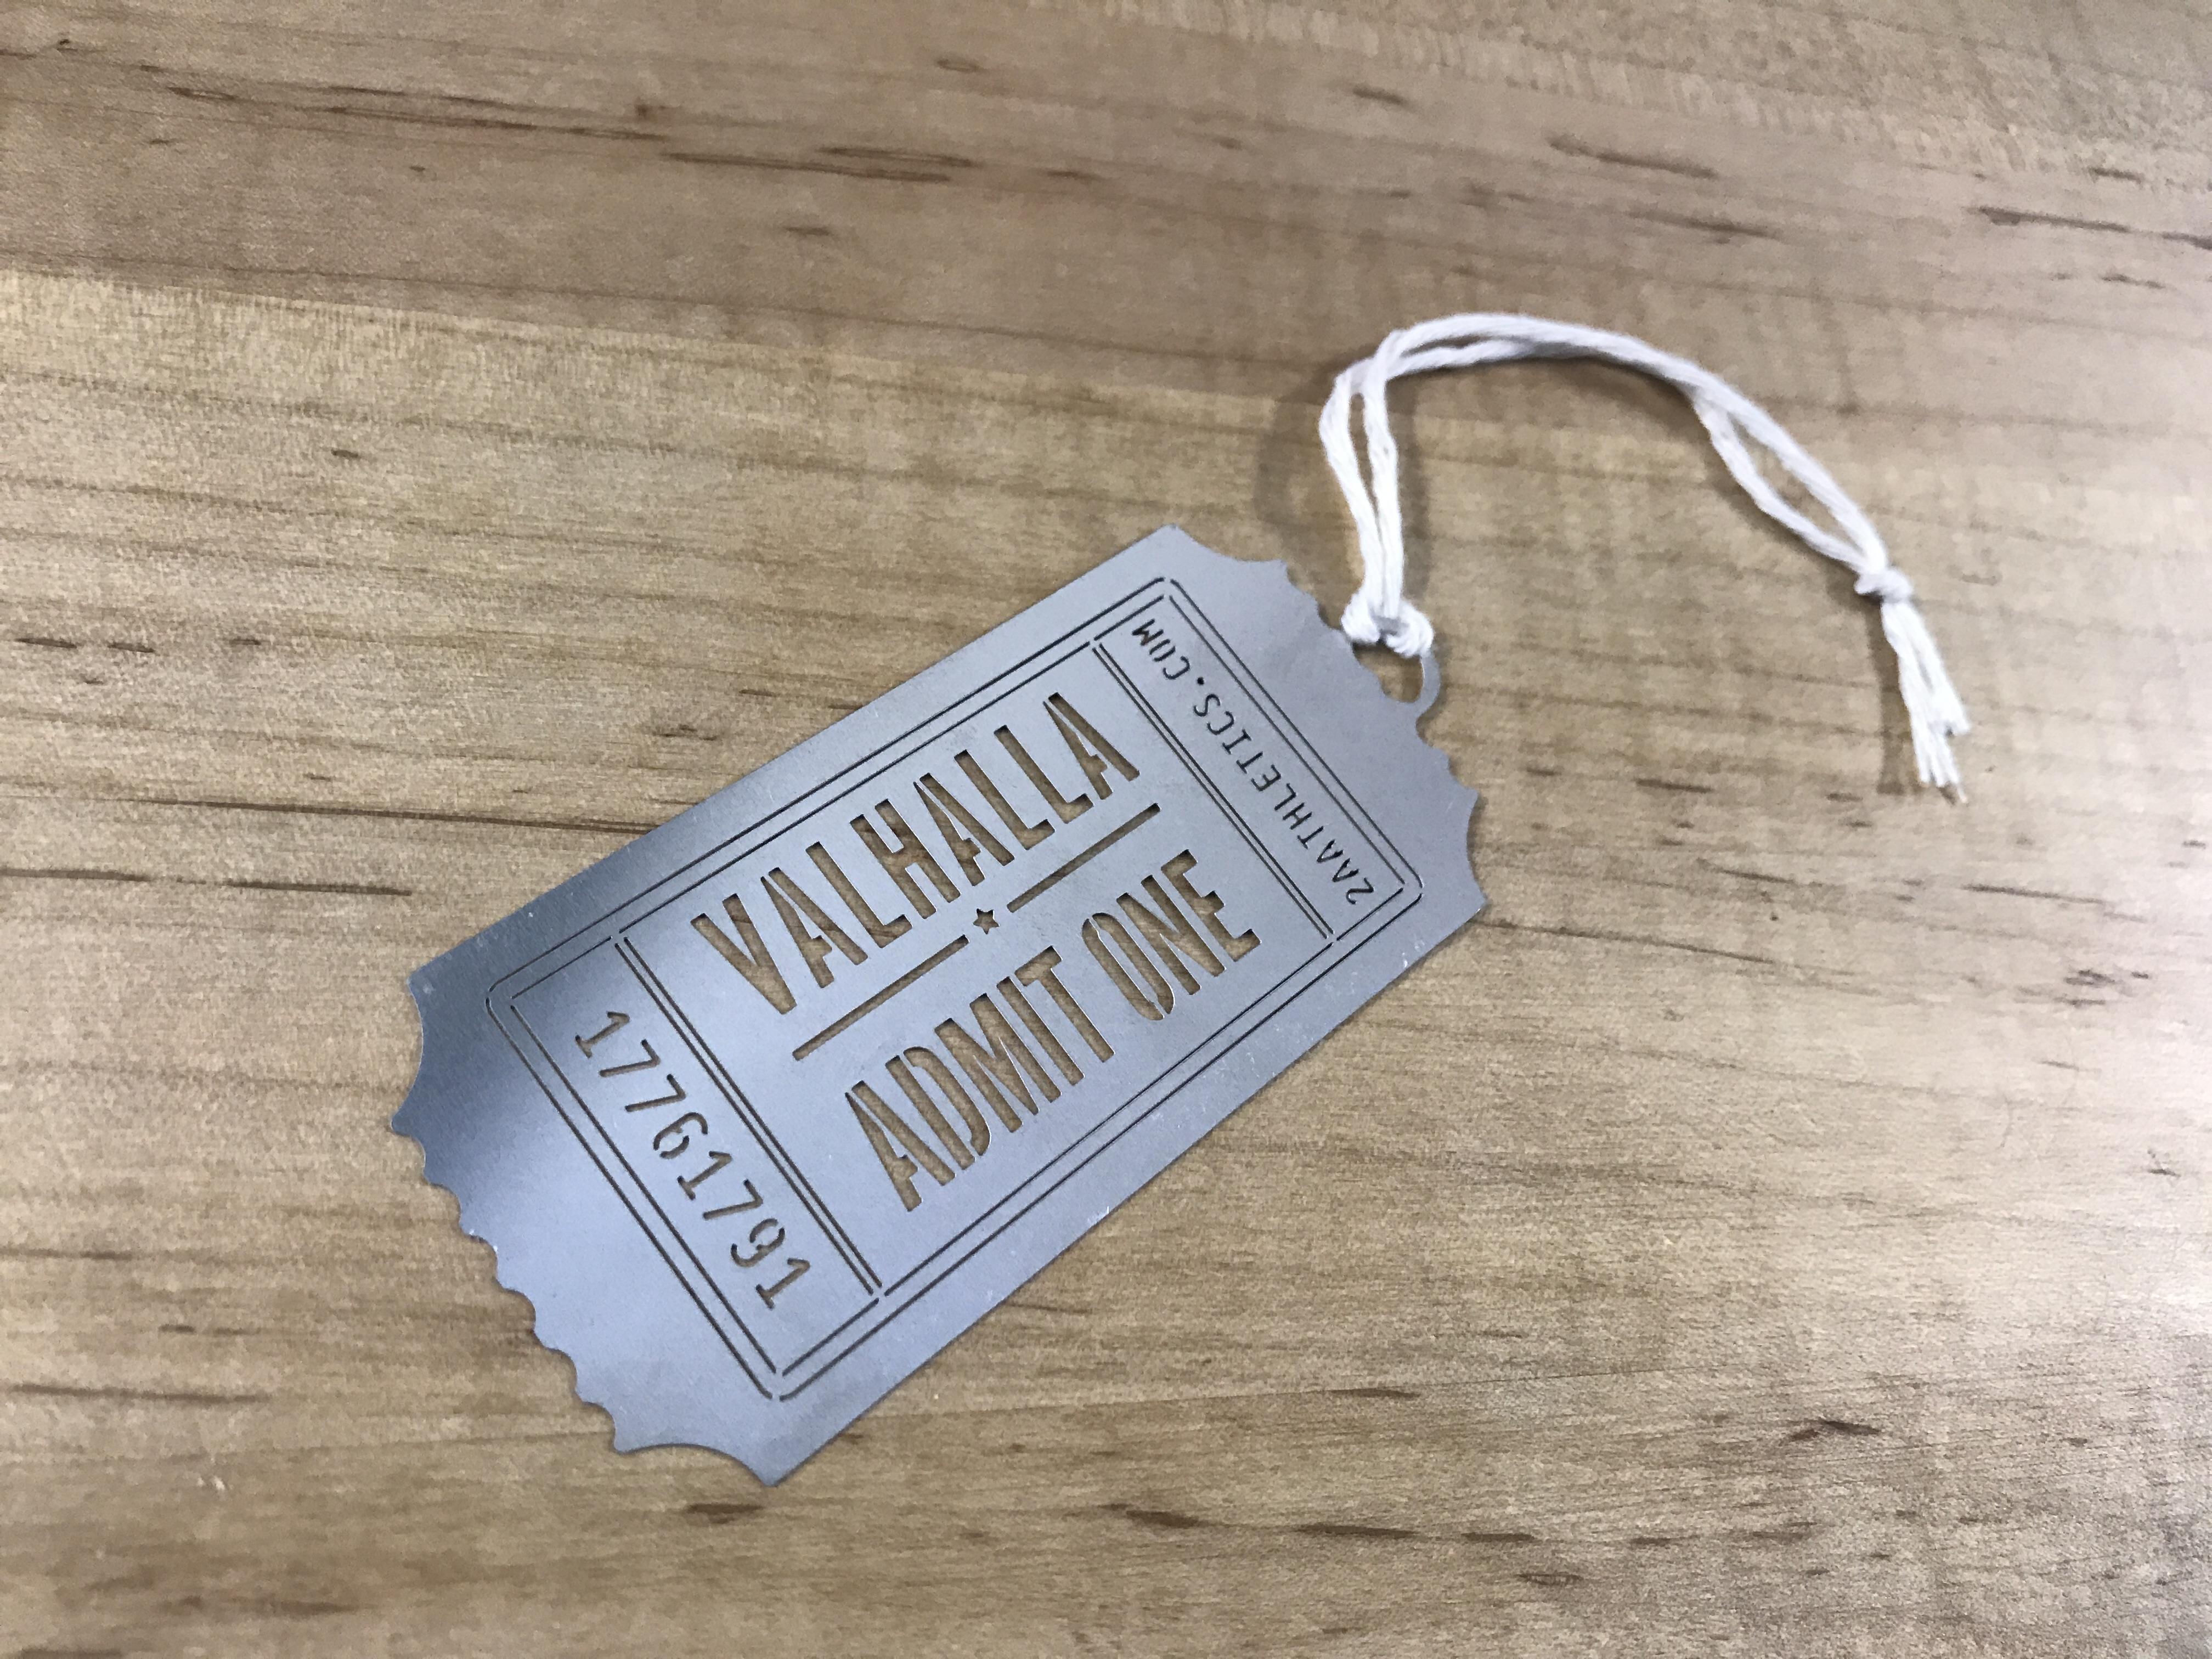
I also found this tag online, and thought it would be a funny addition to hang somewhere.
After the car was fixed I drove it a few times and parked it. A few days ago I went over and discovered a new puddle under the car. Not oil, not Brake fluid, not trans fluid, and not coolant. Fuel.
DAMNIT. The plastic gas tank is pressing into the floor pan and rubbed itself a thin spot to leak from. So do I get a fuel cell, or do I repair the factory tank when I drop the sub frame?
Thoughts on this from the community?
https://www.instagram.com/_jdesigner_/ http://nevertoolow.tumblr.com/
🥳SOLD BMW E24 633CSI - BMW M30B32 🧪SOLD HCH ES9 - 1.3 LDA
👽BMW E30 325IC - Toyota 1JZ-GTE ⏰ HONDA EF9 CIVIC SI - JDM B18C5
☠️BMW E36 318i - Ford 5.0 FE302 🚴♂️ GT-Labomba - 26x2.75 Freeride
🤹♀️SOLD BMW E36/7 Z3 - BMW M54B25 🧓SOLD BMW E10 2002 - BMW M10M05 -
After the car was fixed I drove it a few times and parked it. A few days ago I went over and discovered a new puddle under the car. Not oil, not Brake fluid, not trans fluid, and not coolant. Fuel.
DAMNIT. The plastic gas tank is pressing into the floor pan and rubbed itself a thin spot to leak from. So do I get a fuel cell, or do I repair the factory tank when I drop the sub frame?
Thoughts on this from the community?
Mount a fuel cell to the roof.
-
Looks like I have an answer. Tj also has a spare tank in his parts car that I am going to grab when i get the sub frame. As much as I wanted to mount a tank on the roof, I value that space for parts that fall off, extra wheels, and eventually a couch for @Earl to sit on while I do a burnout.
https://www.instagram.com/_jdesigner_/ http://nevertoolow.tumblr.com/
🥳SOLD BMW E24 633CSI - BMW M30B32 🧪SOLD HCH ES9 - 1.3 LDA
👽BMW E30 325IC - Toyota 1JZ-GTE ⏰ HONDA EF9 CIVIC SI - JDM B18C5
☠️BMW E36 318i - Ford 5.0 FE302 🚴♂️ GT-Labomba - 26x2.75 Freeride
🤹♀️SOLD BMW E36/7 Z3 - BMW M54B25 🧓SOLD BMW E10 2002 - BMW M10M05 -
Tj delivered.
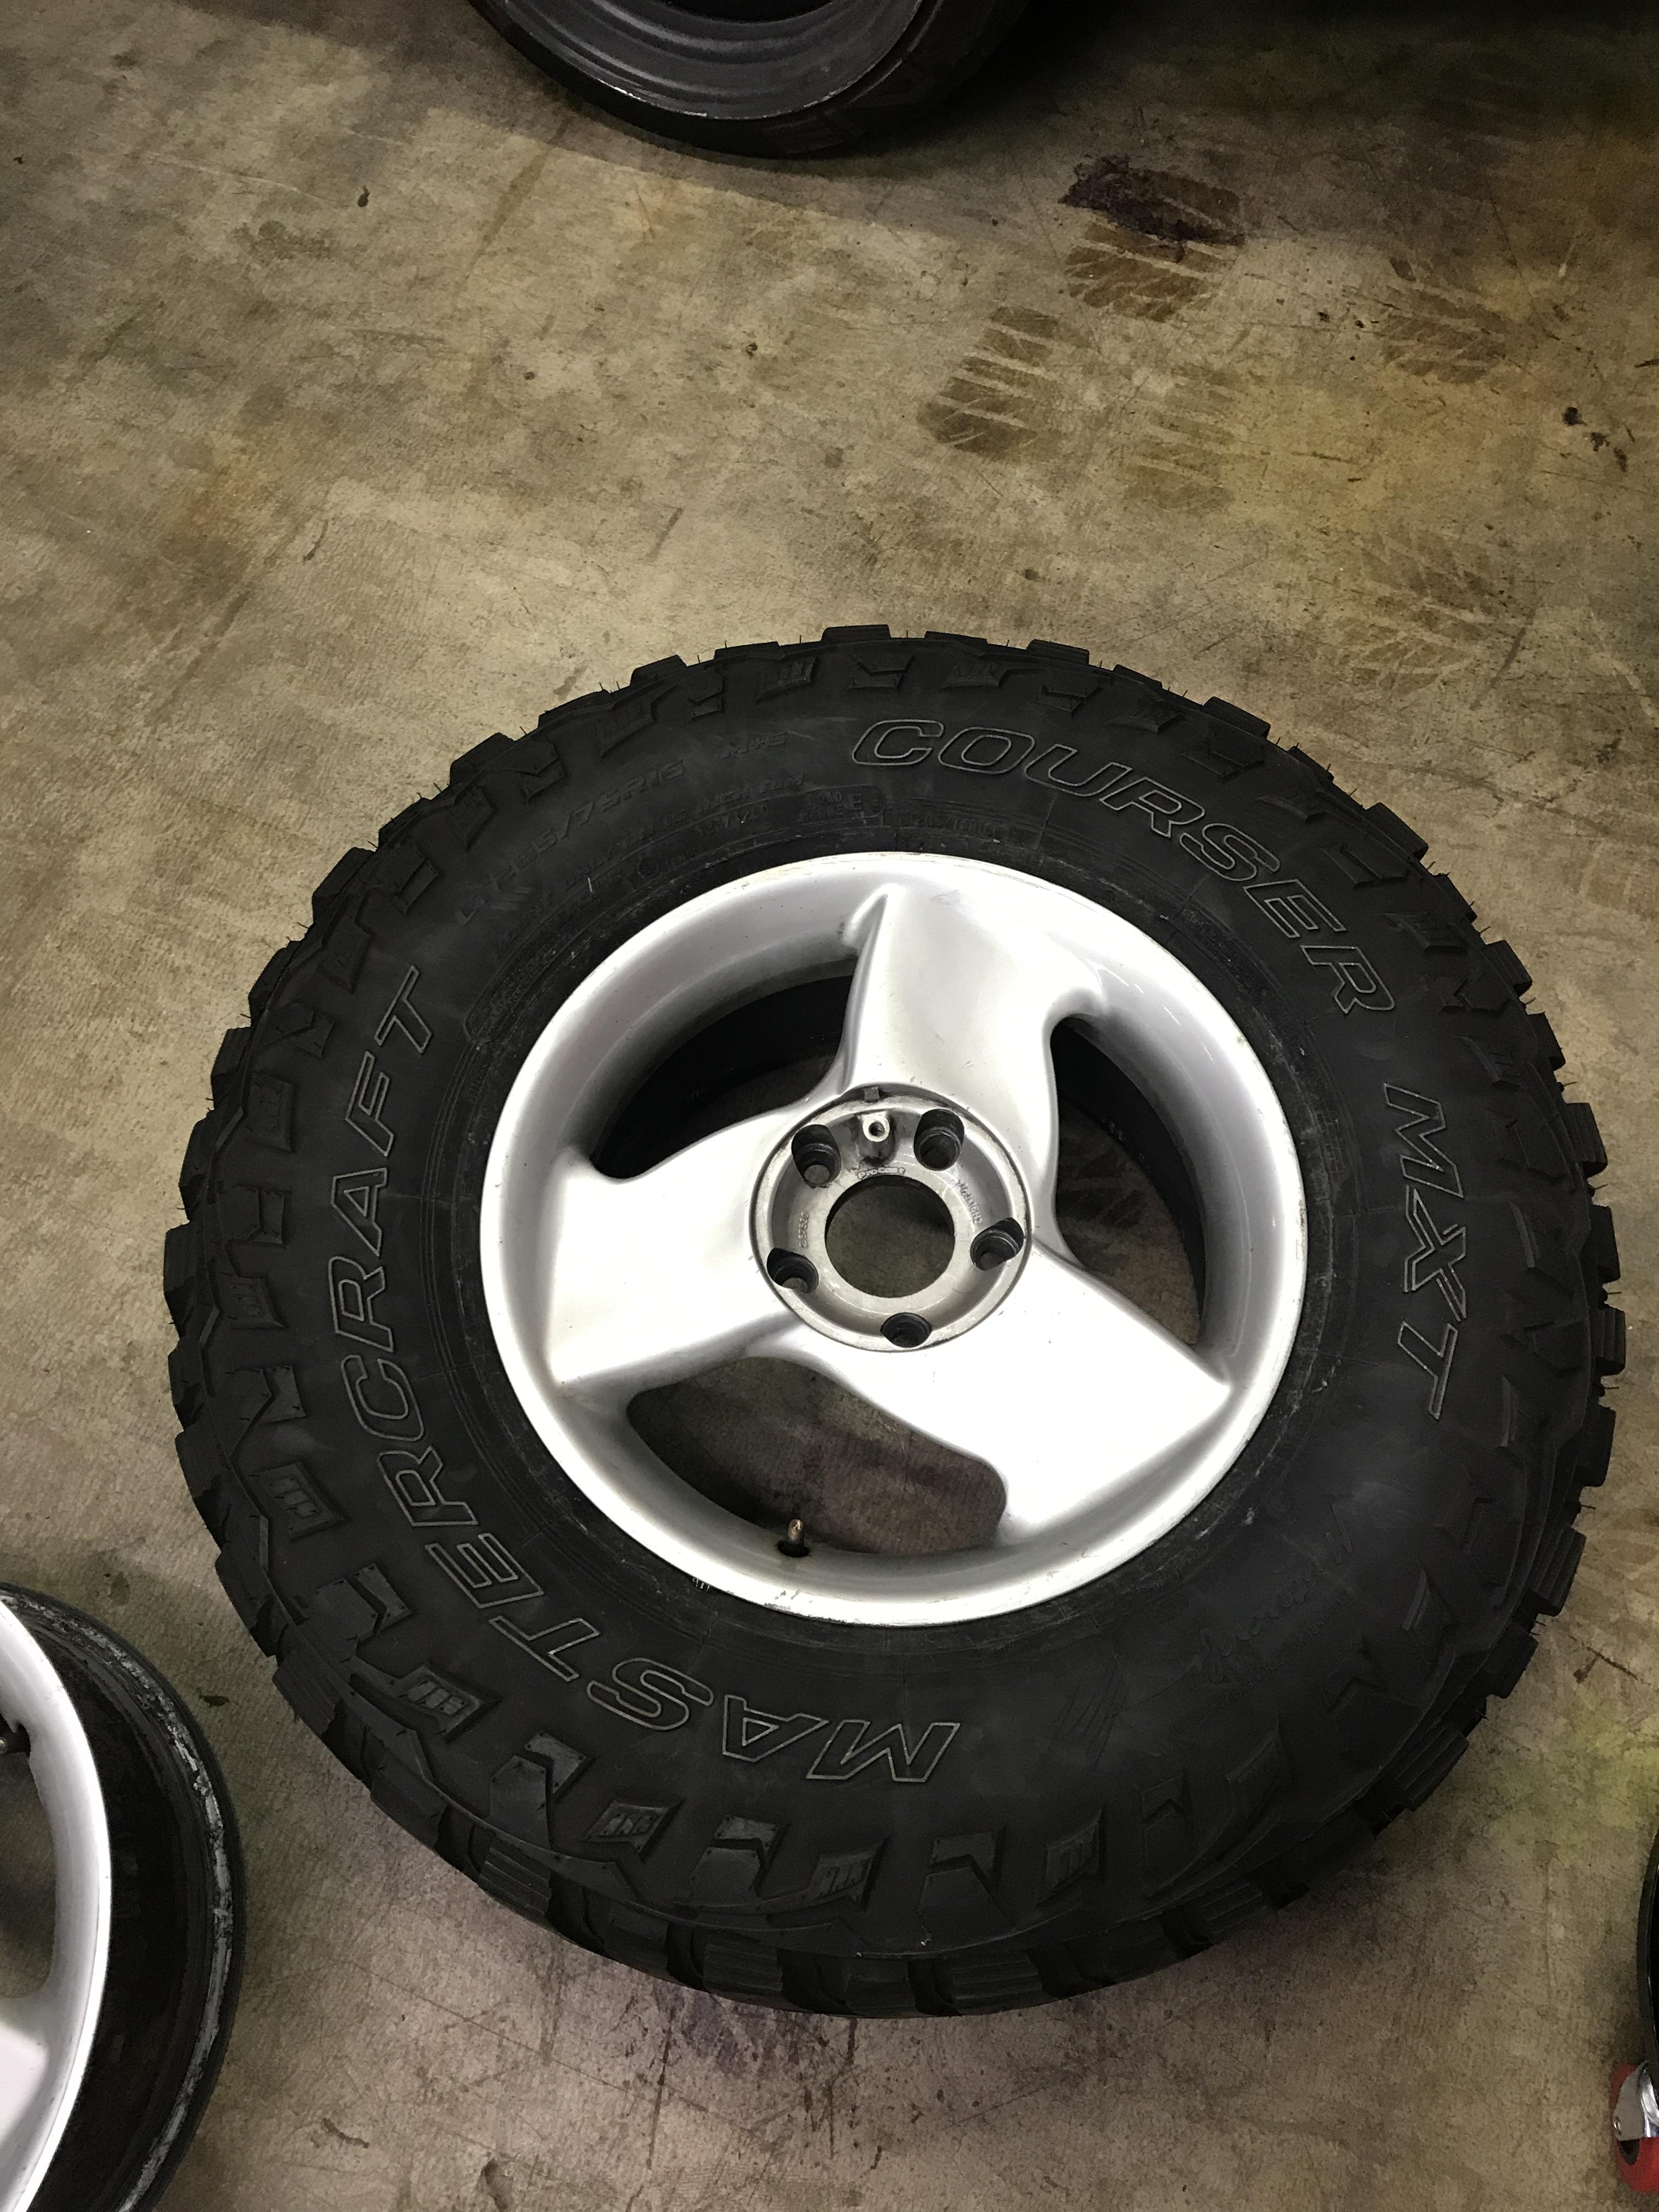
I was able to scoop a tank, rear subframe, brakes, axles, andddd...............Some nice sized tires 255/75R16
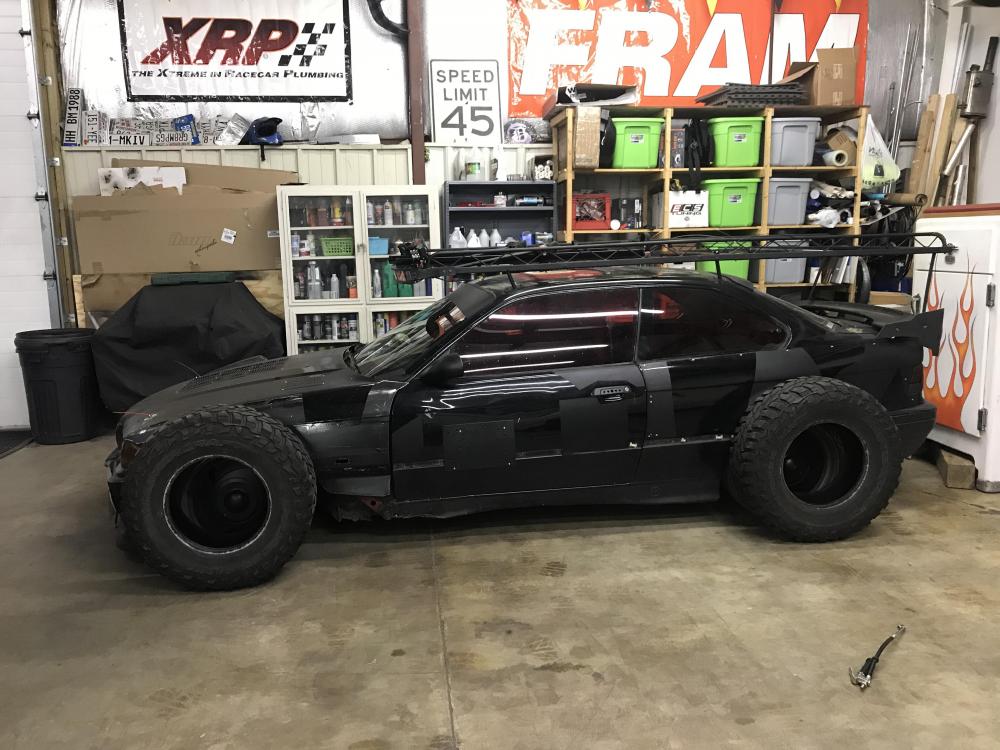
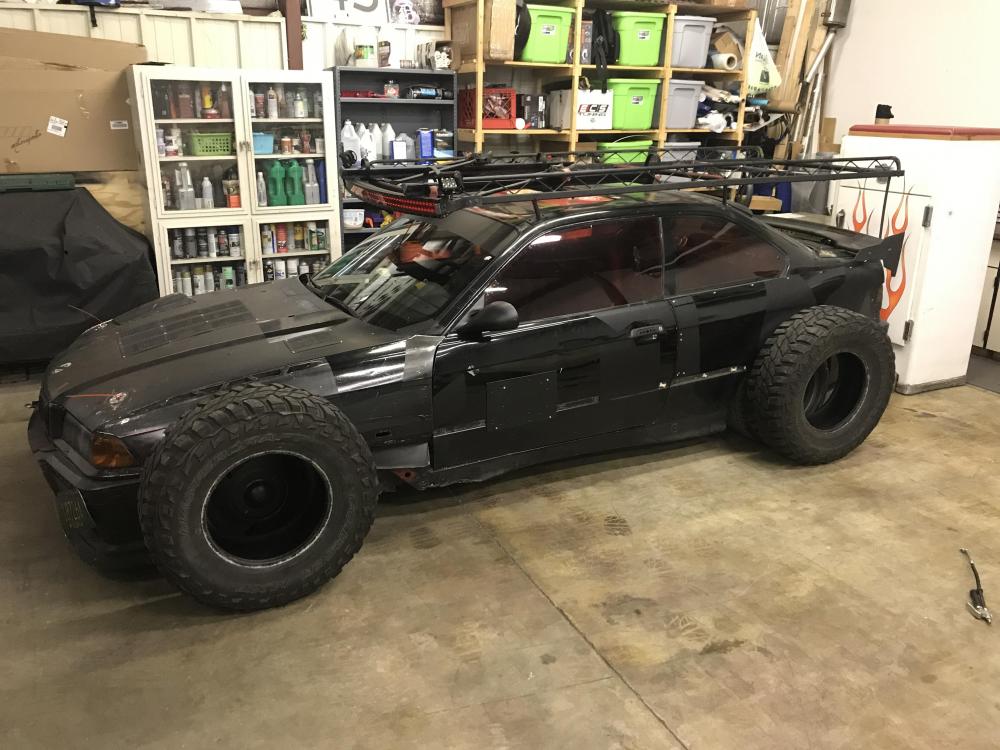
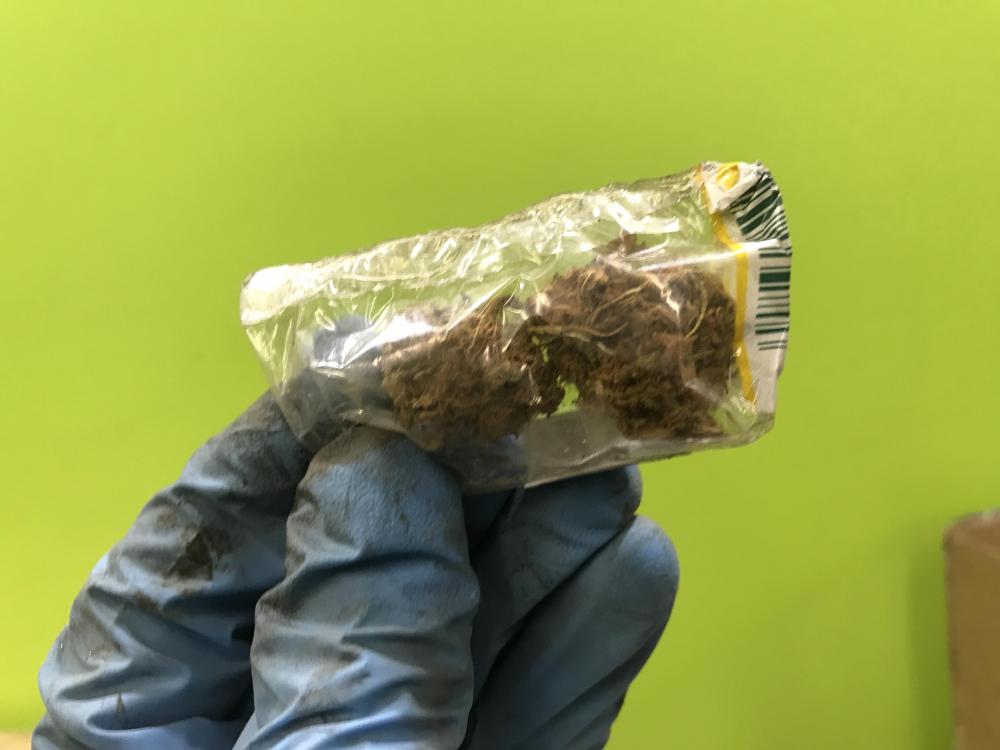
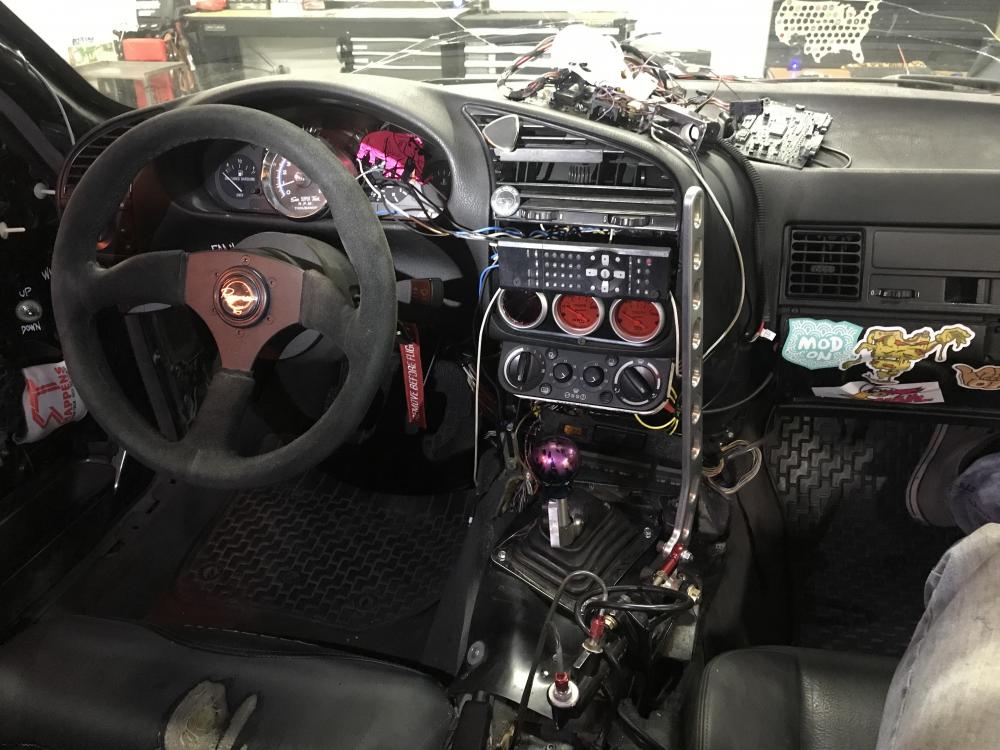
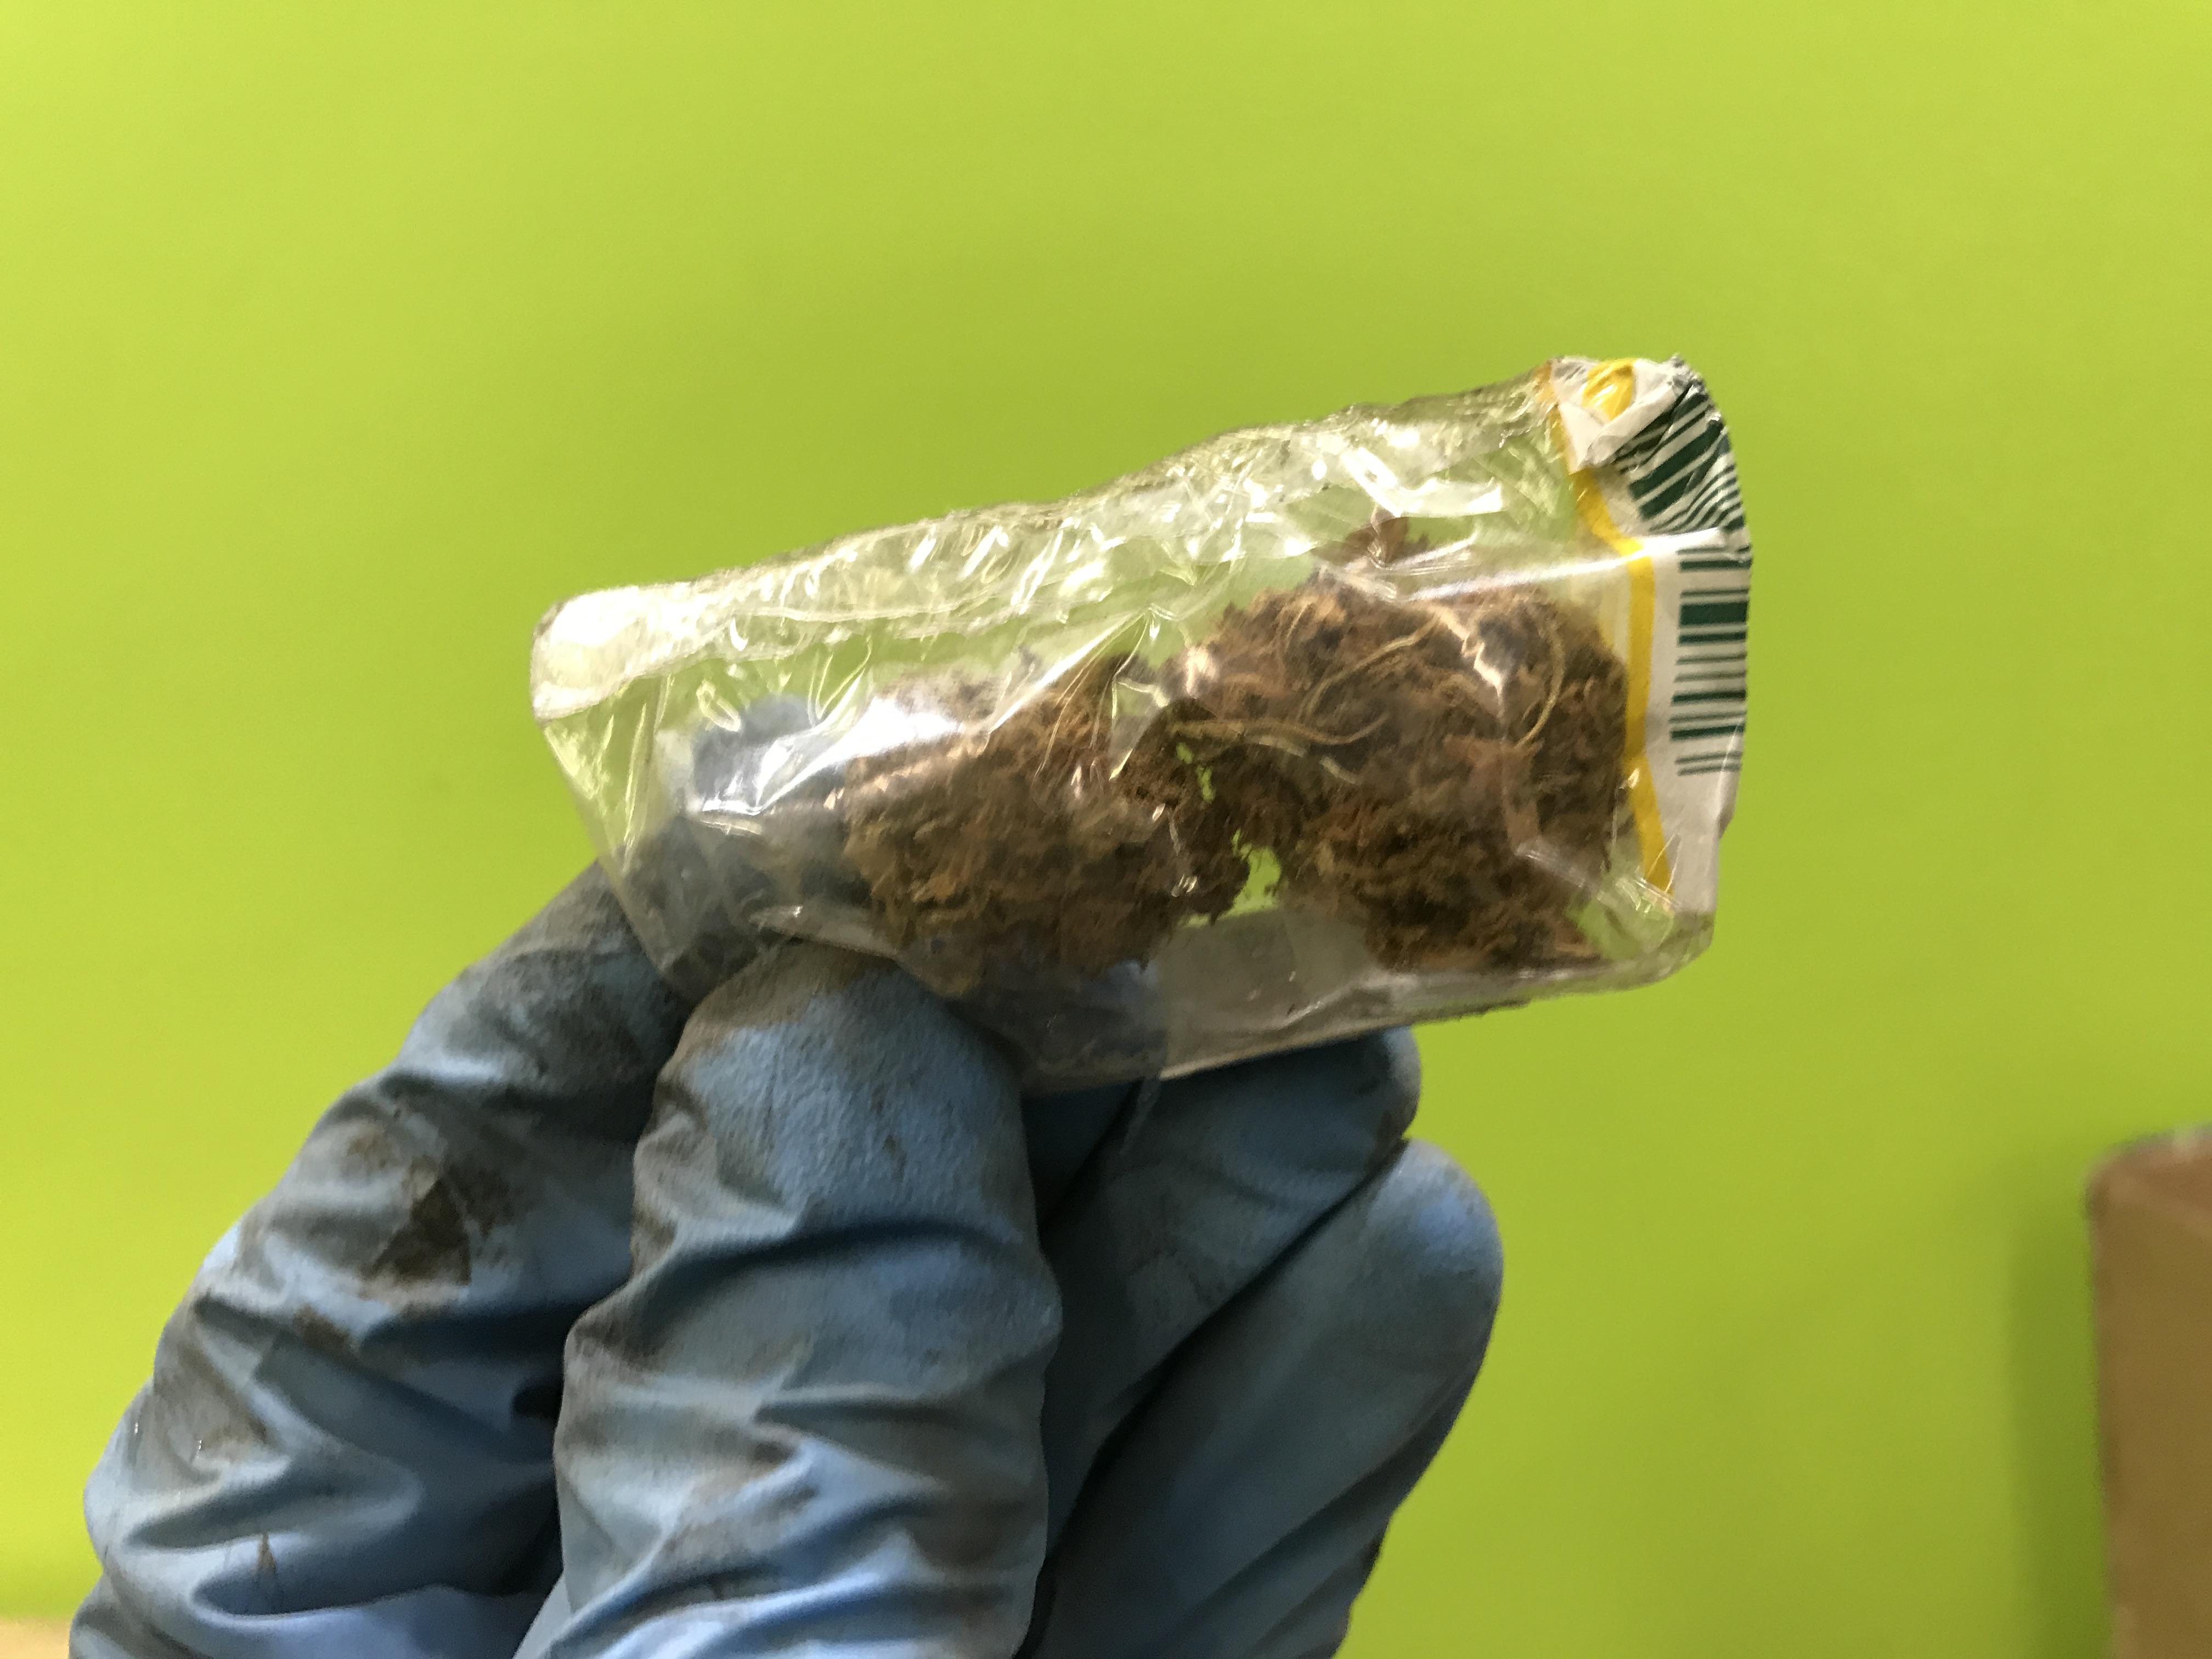
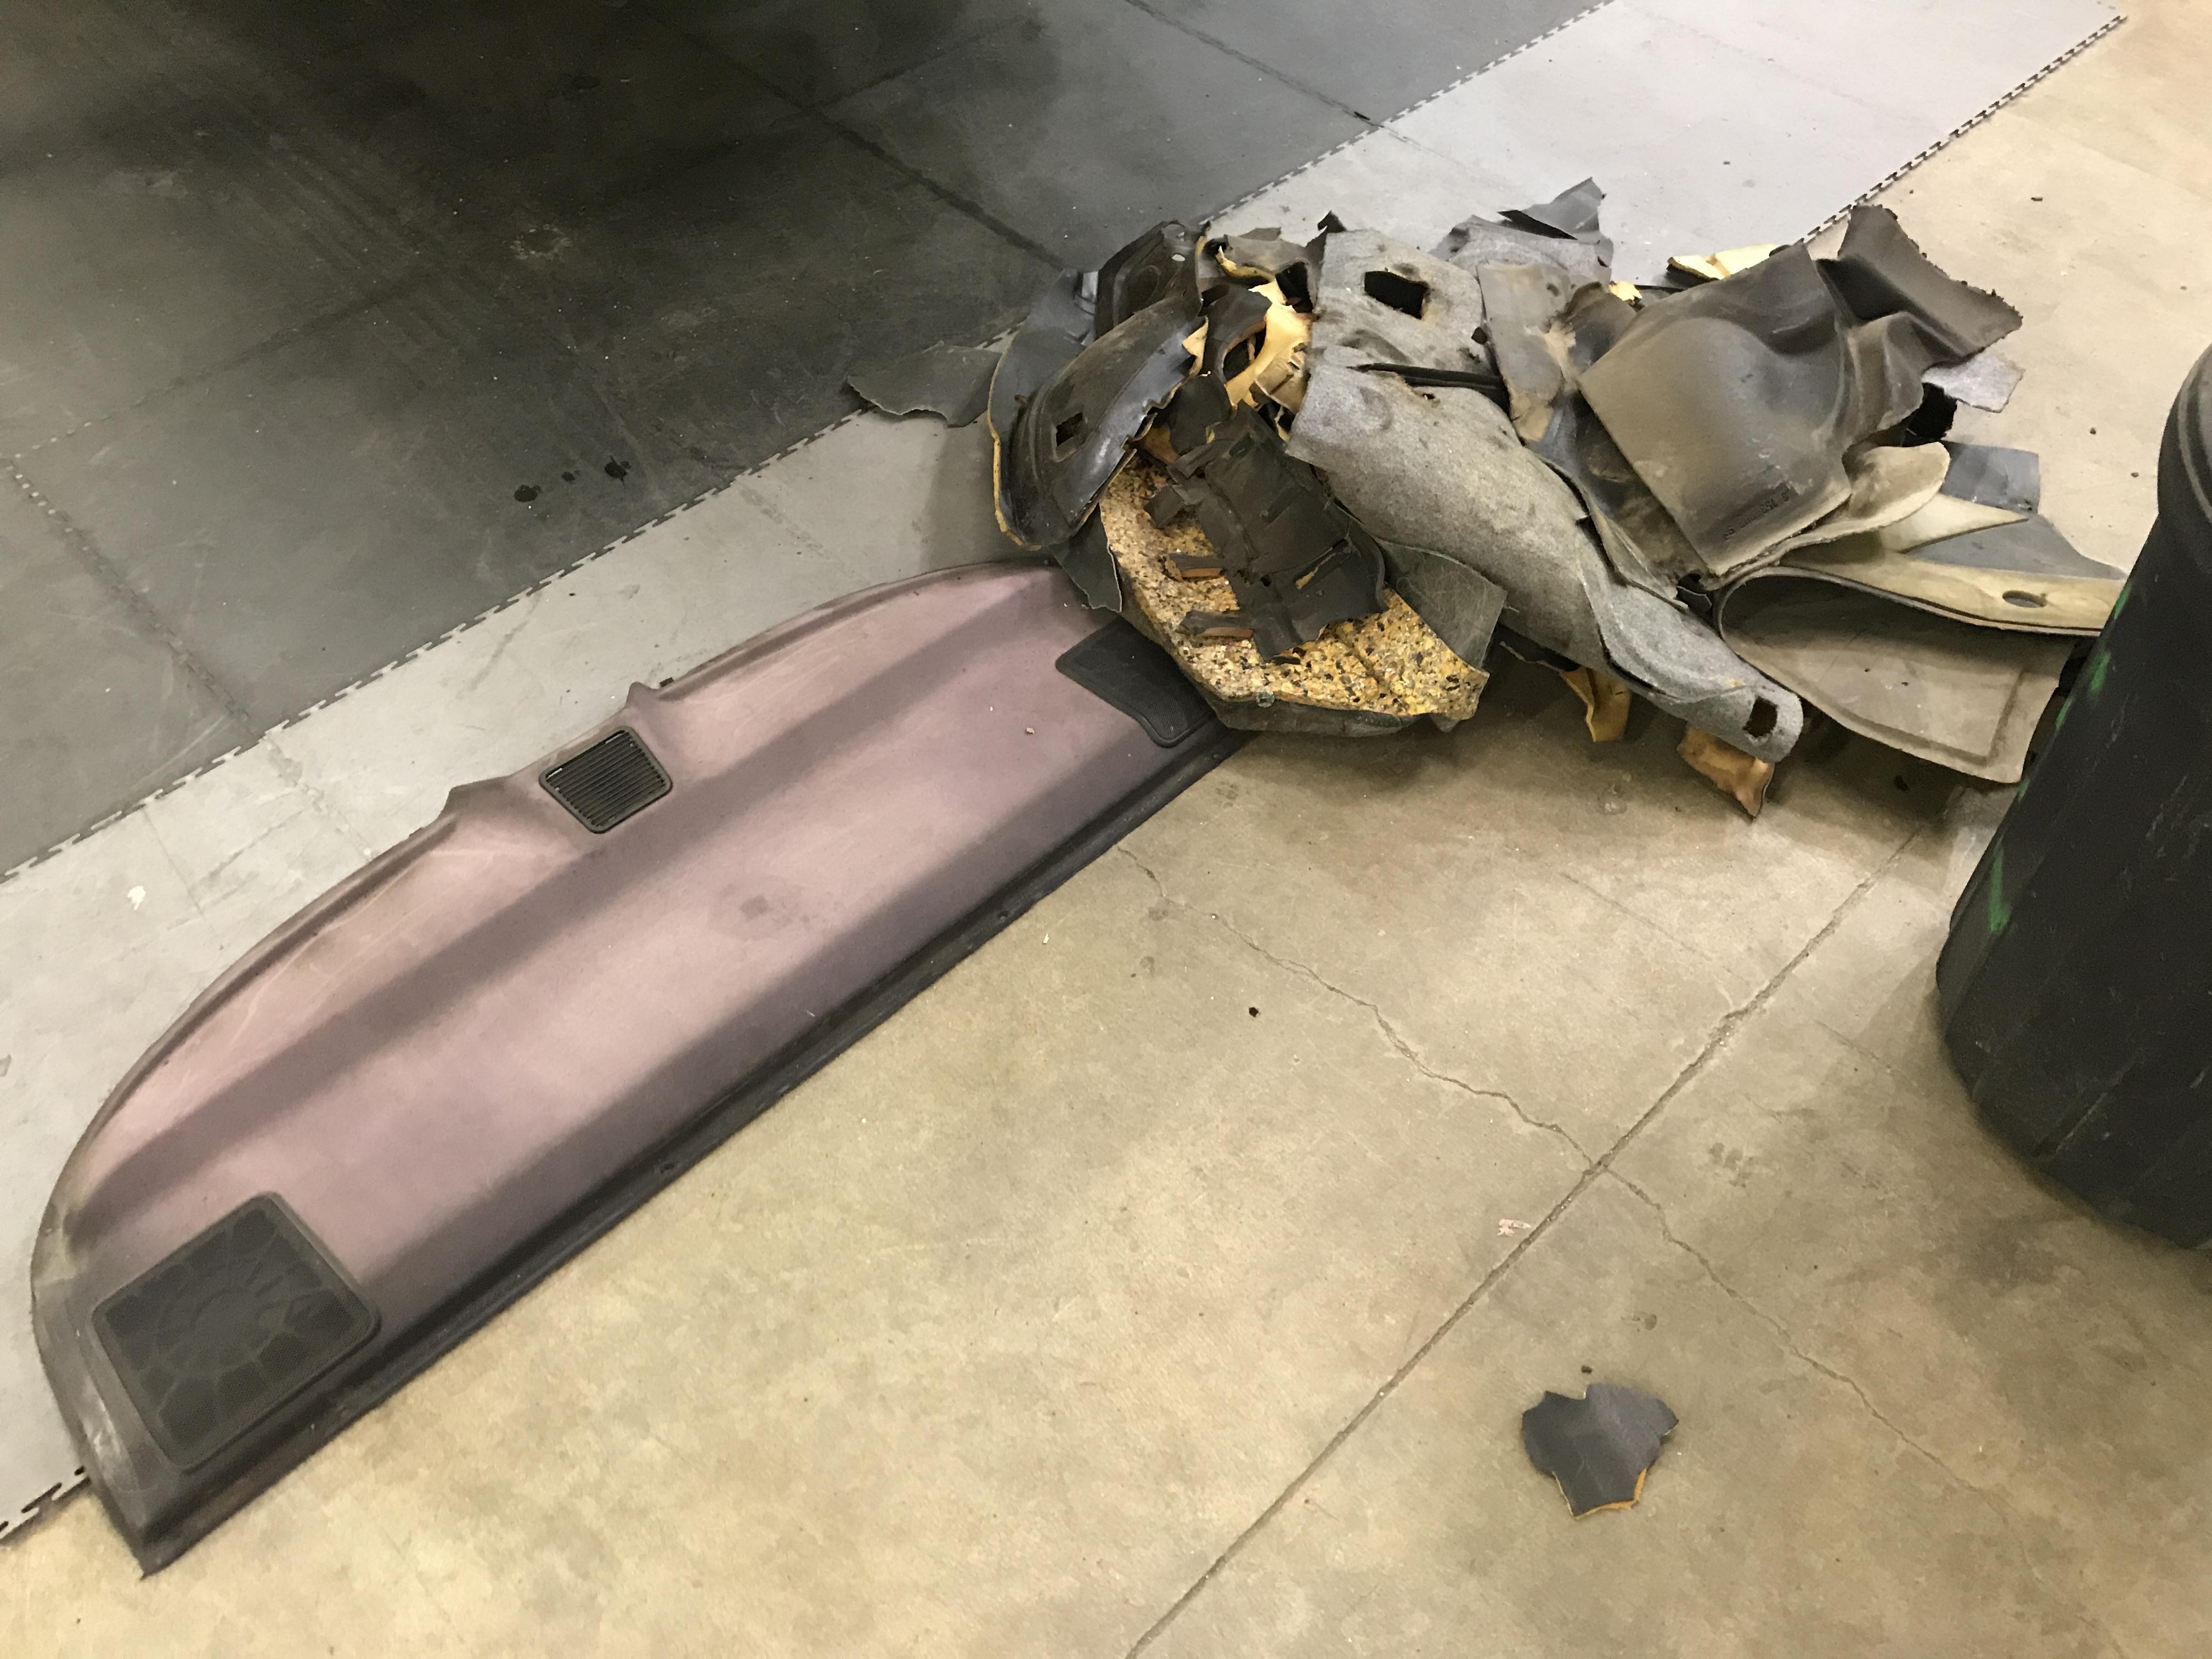
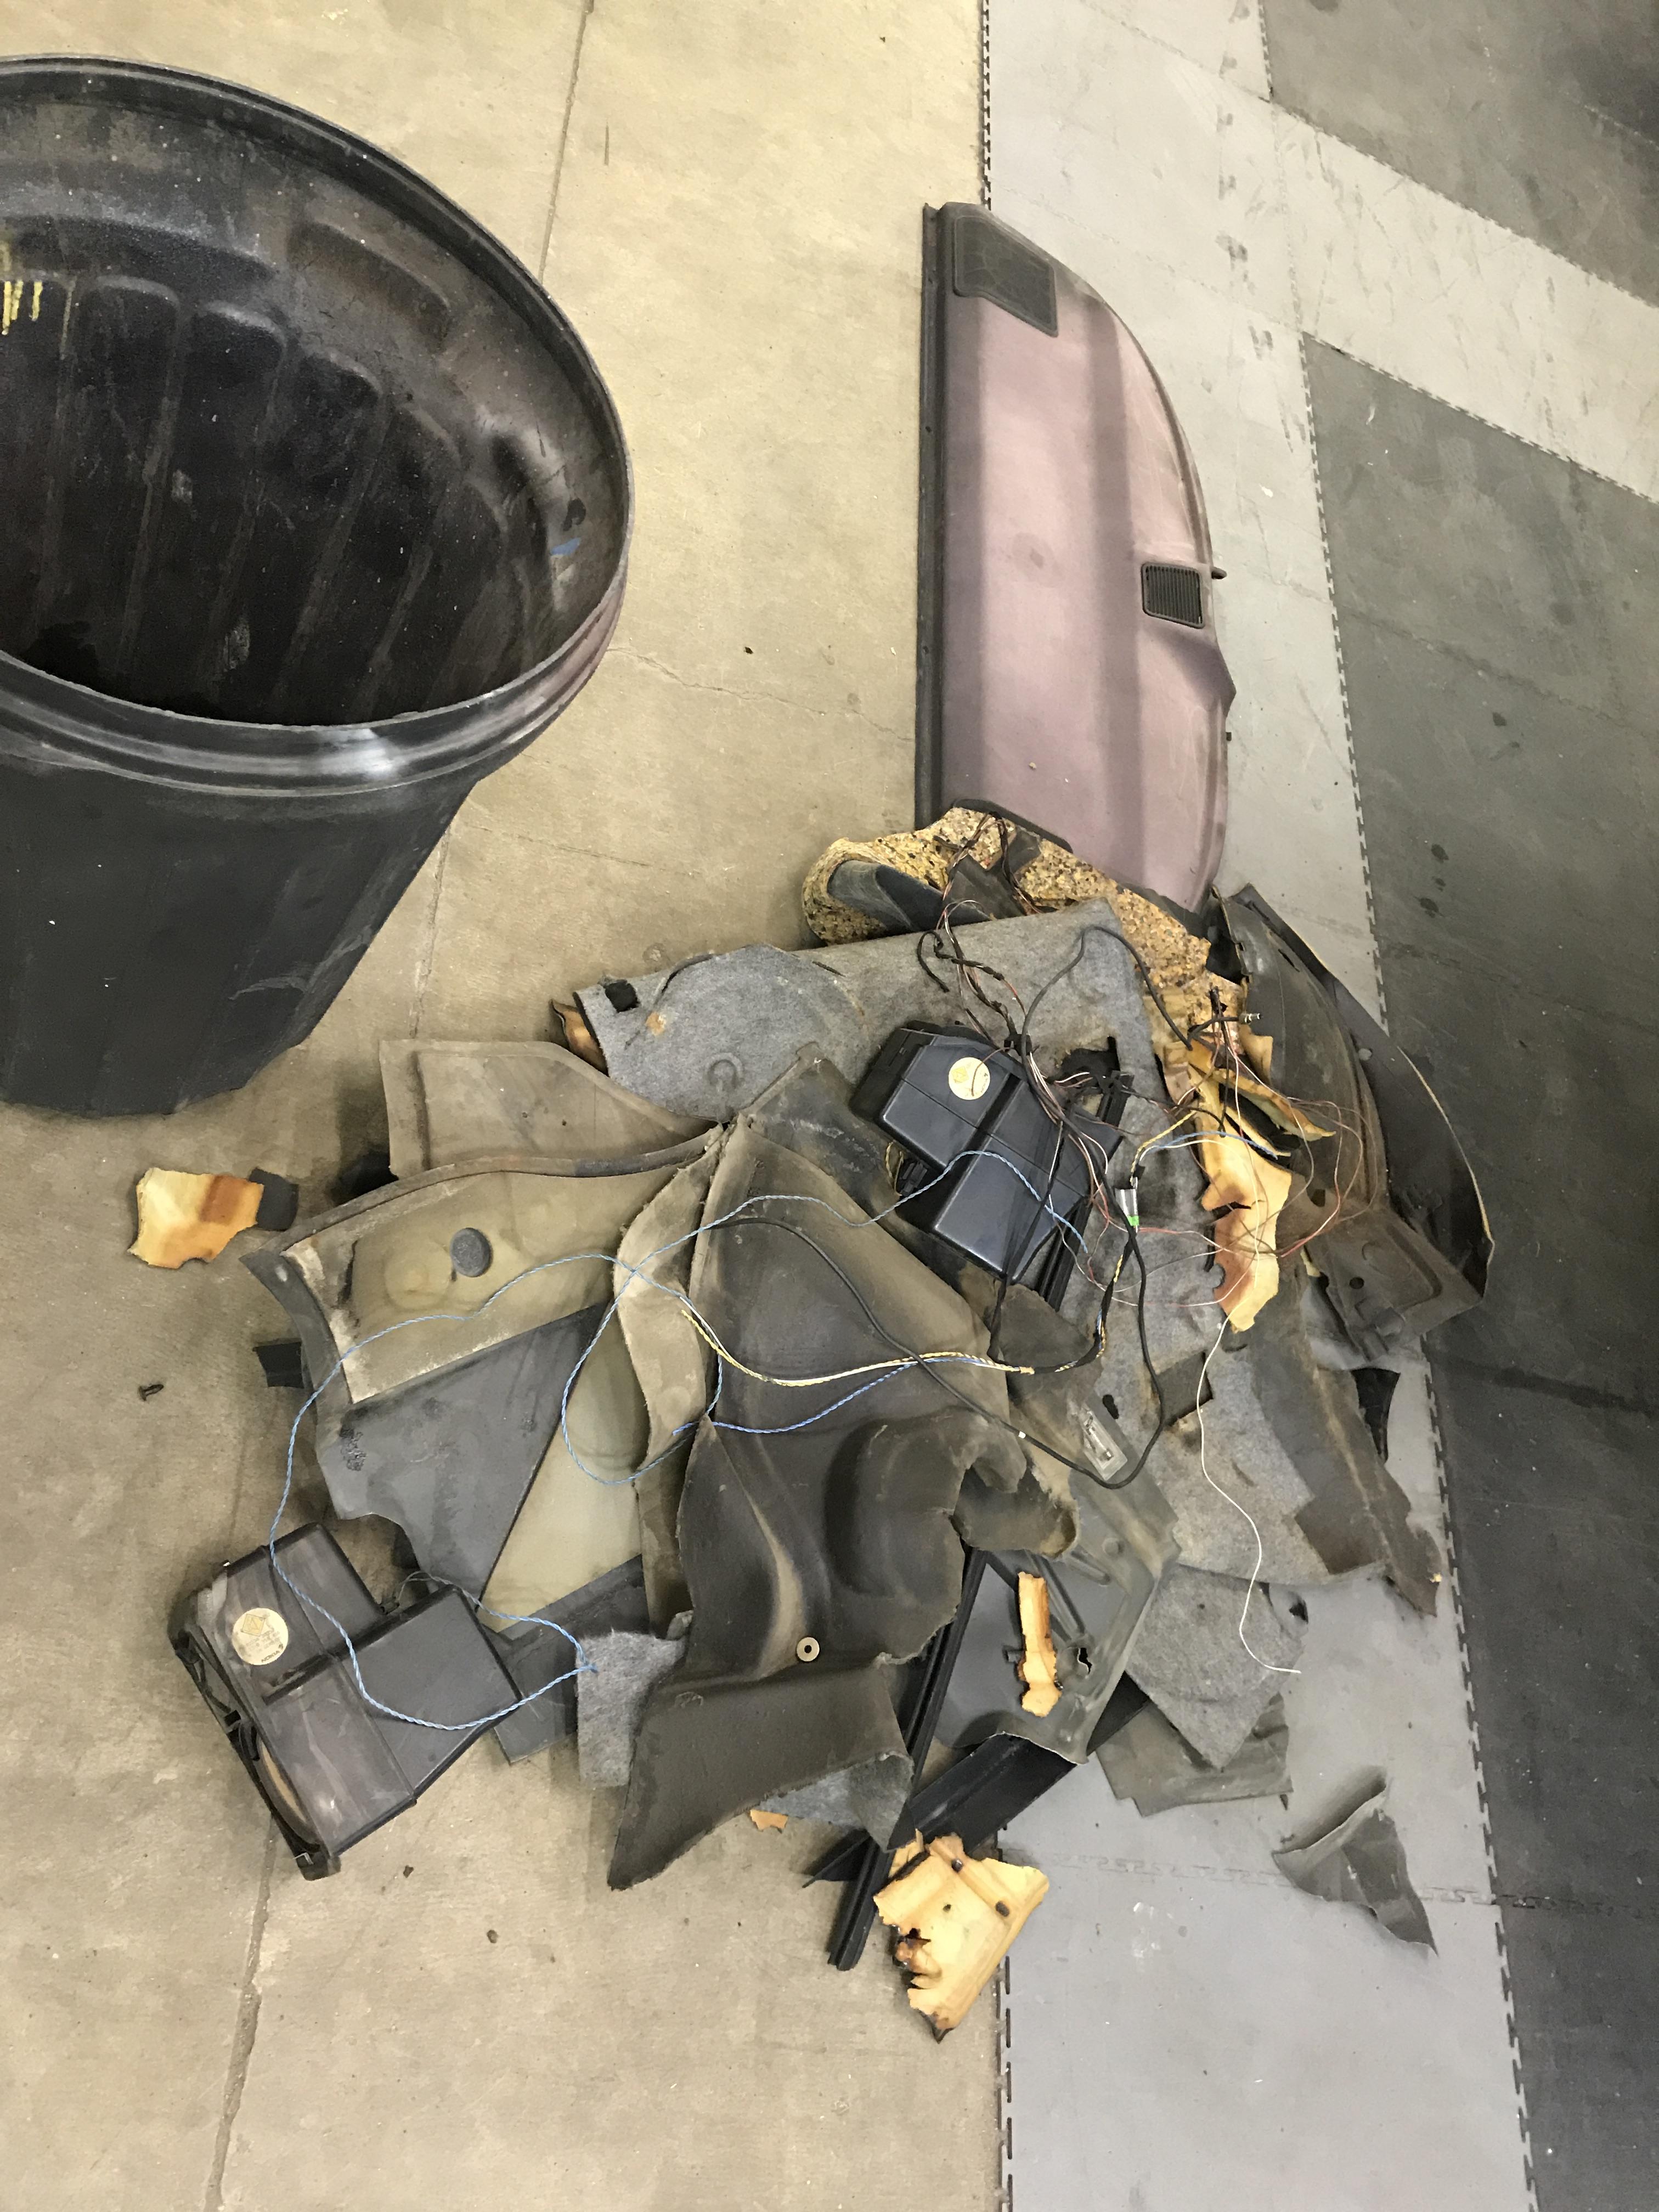
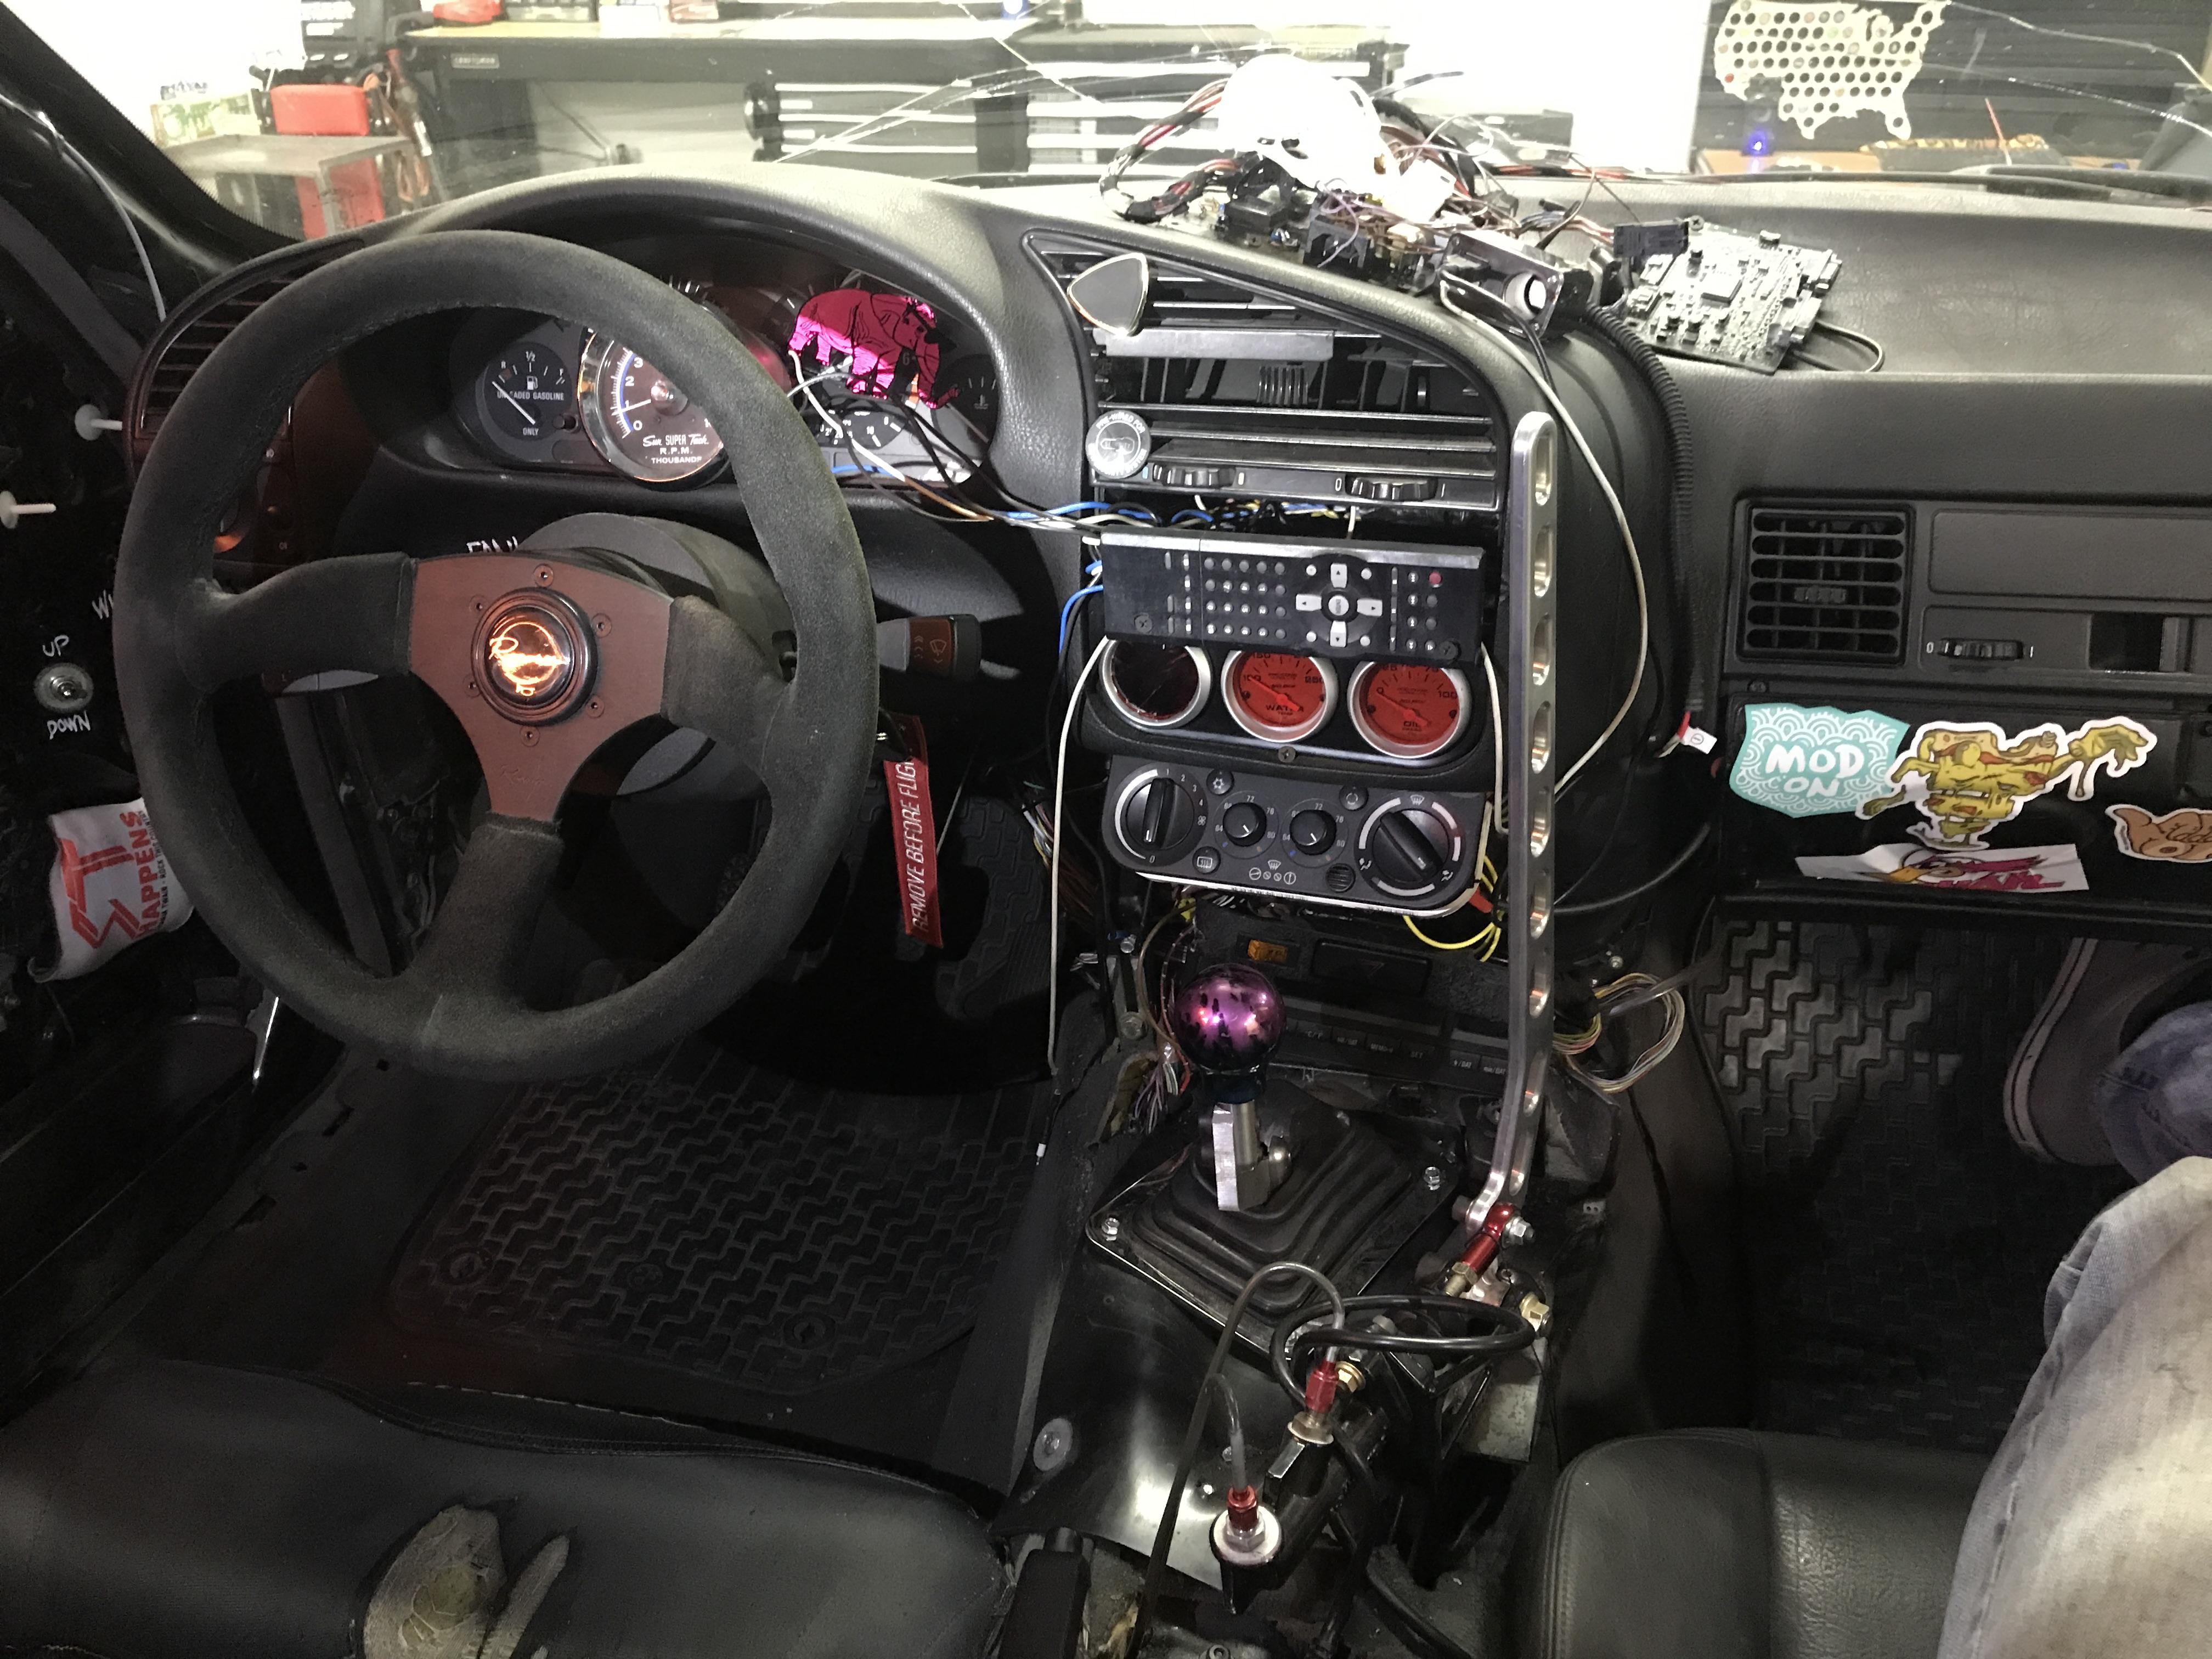
I forgot to take pics last time, but I cleaned up the interior, tinted the bright gauges with some left over red, and added a USB charger. I also removed all of the remaining sound deadening and covers in the back half of the car trying to find the fuel leak. Doing so I found a long lost bag of weed. LOL
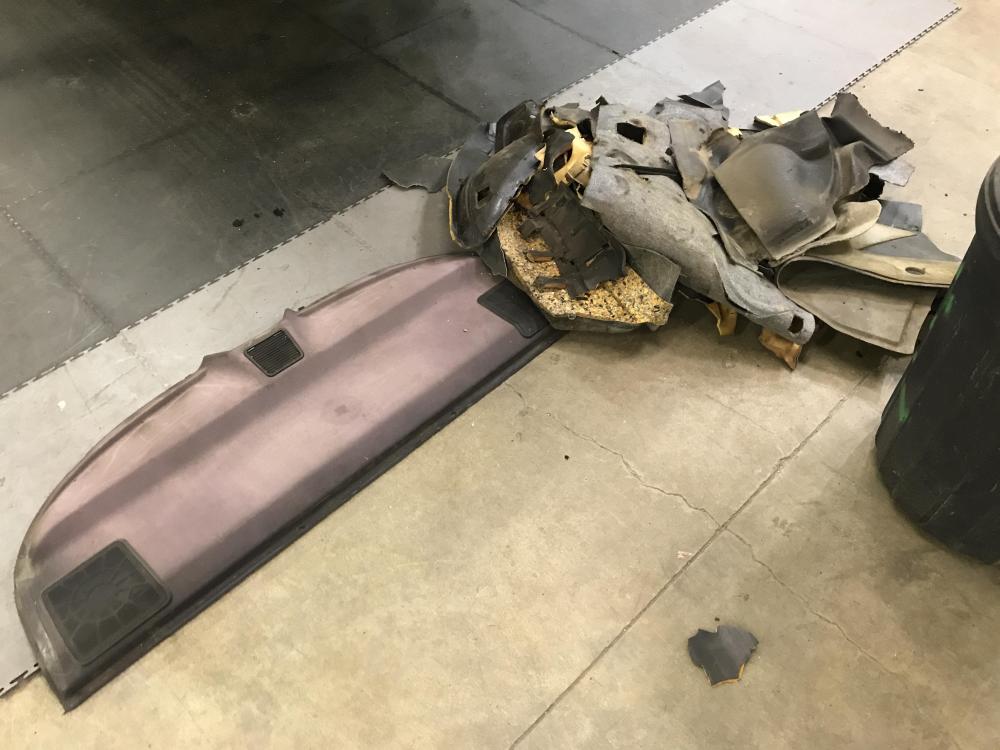
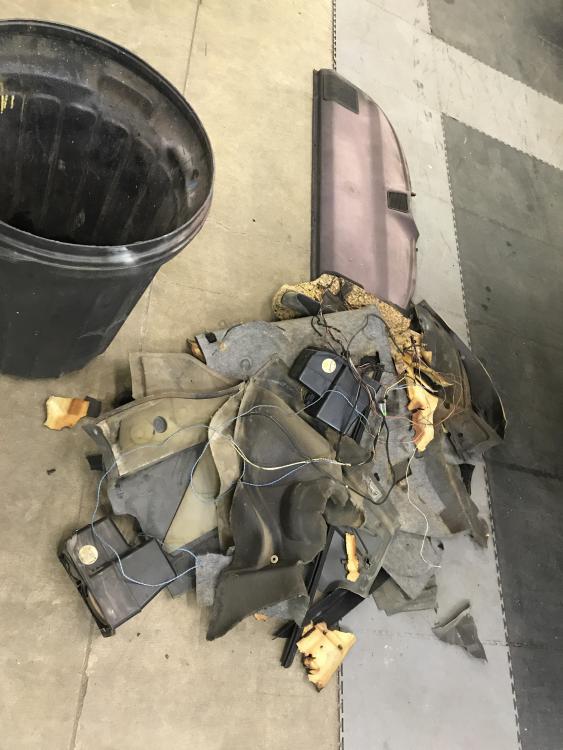
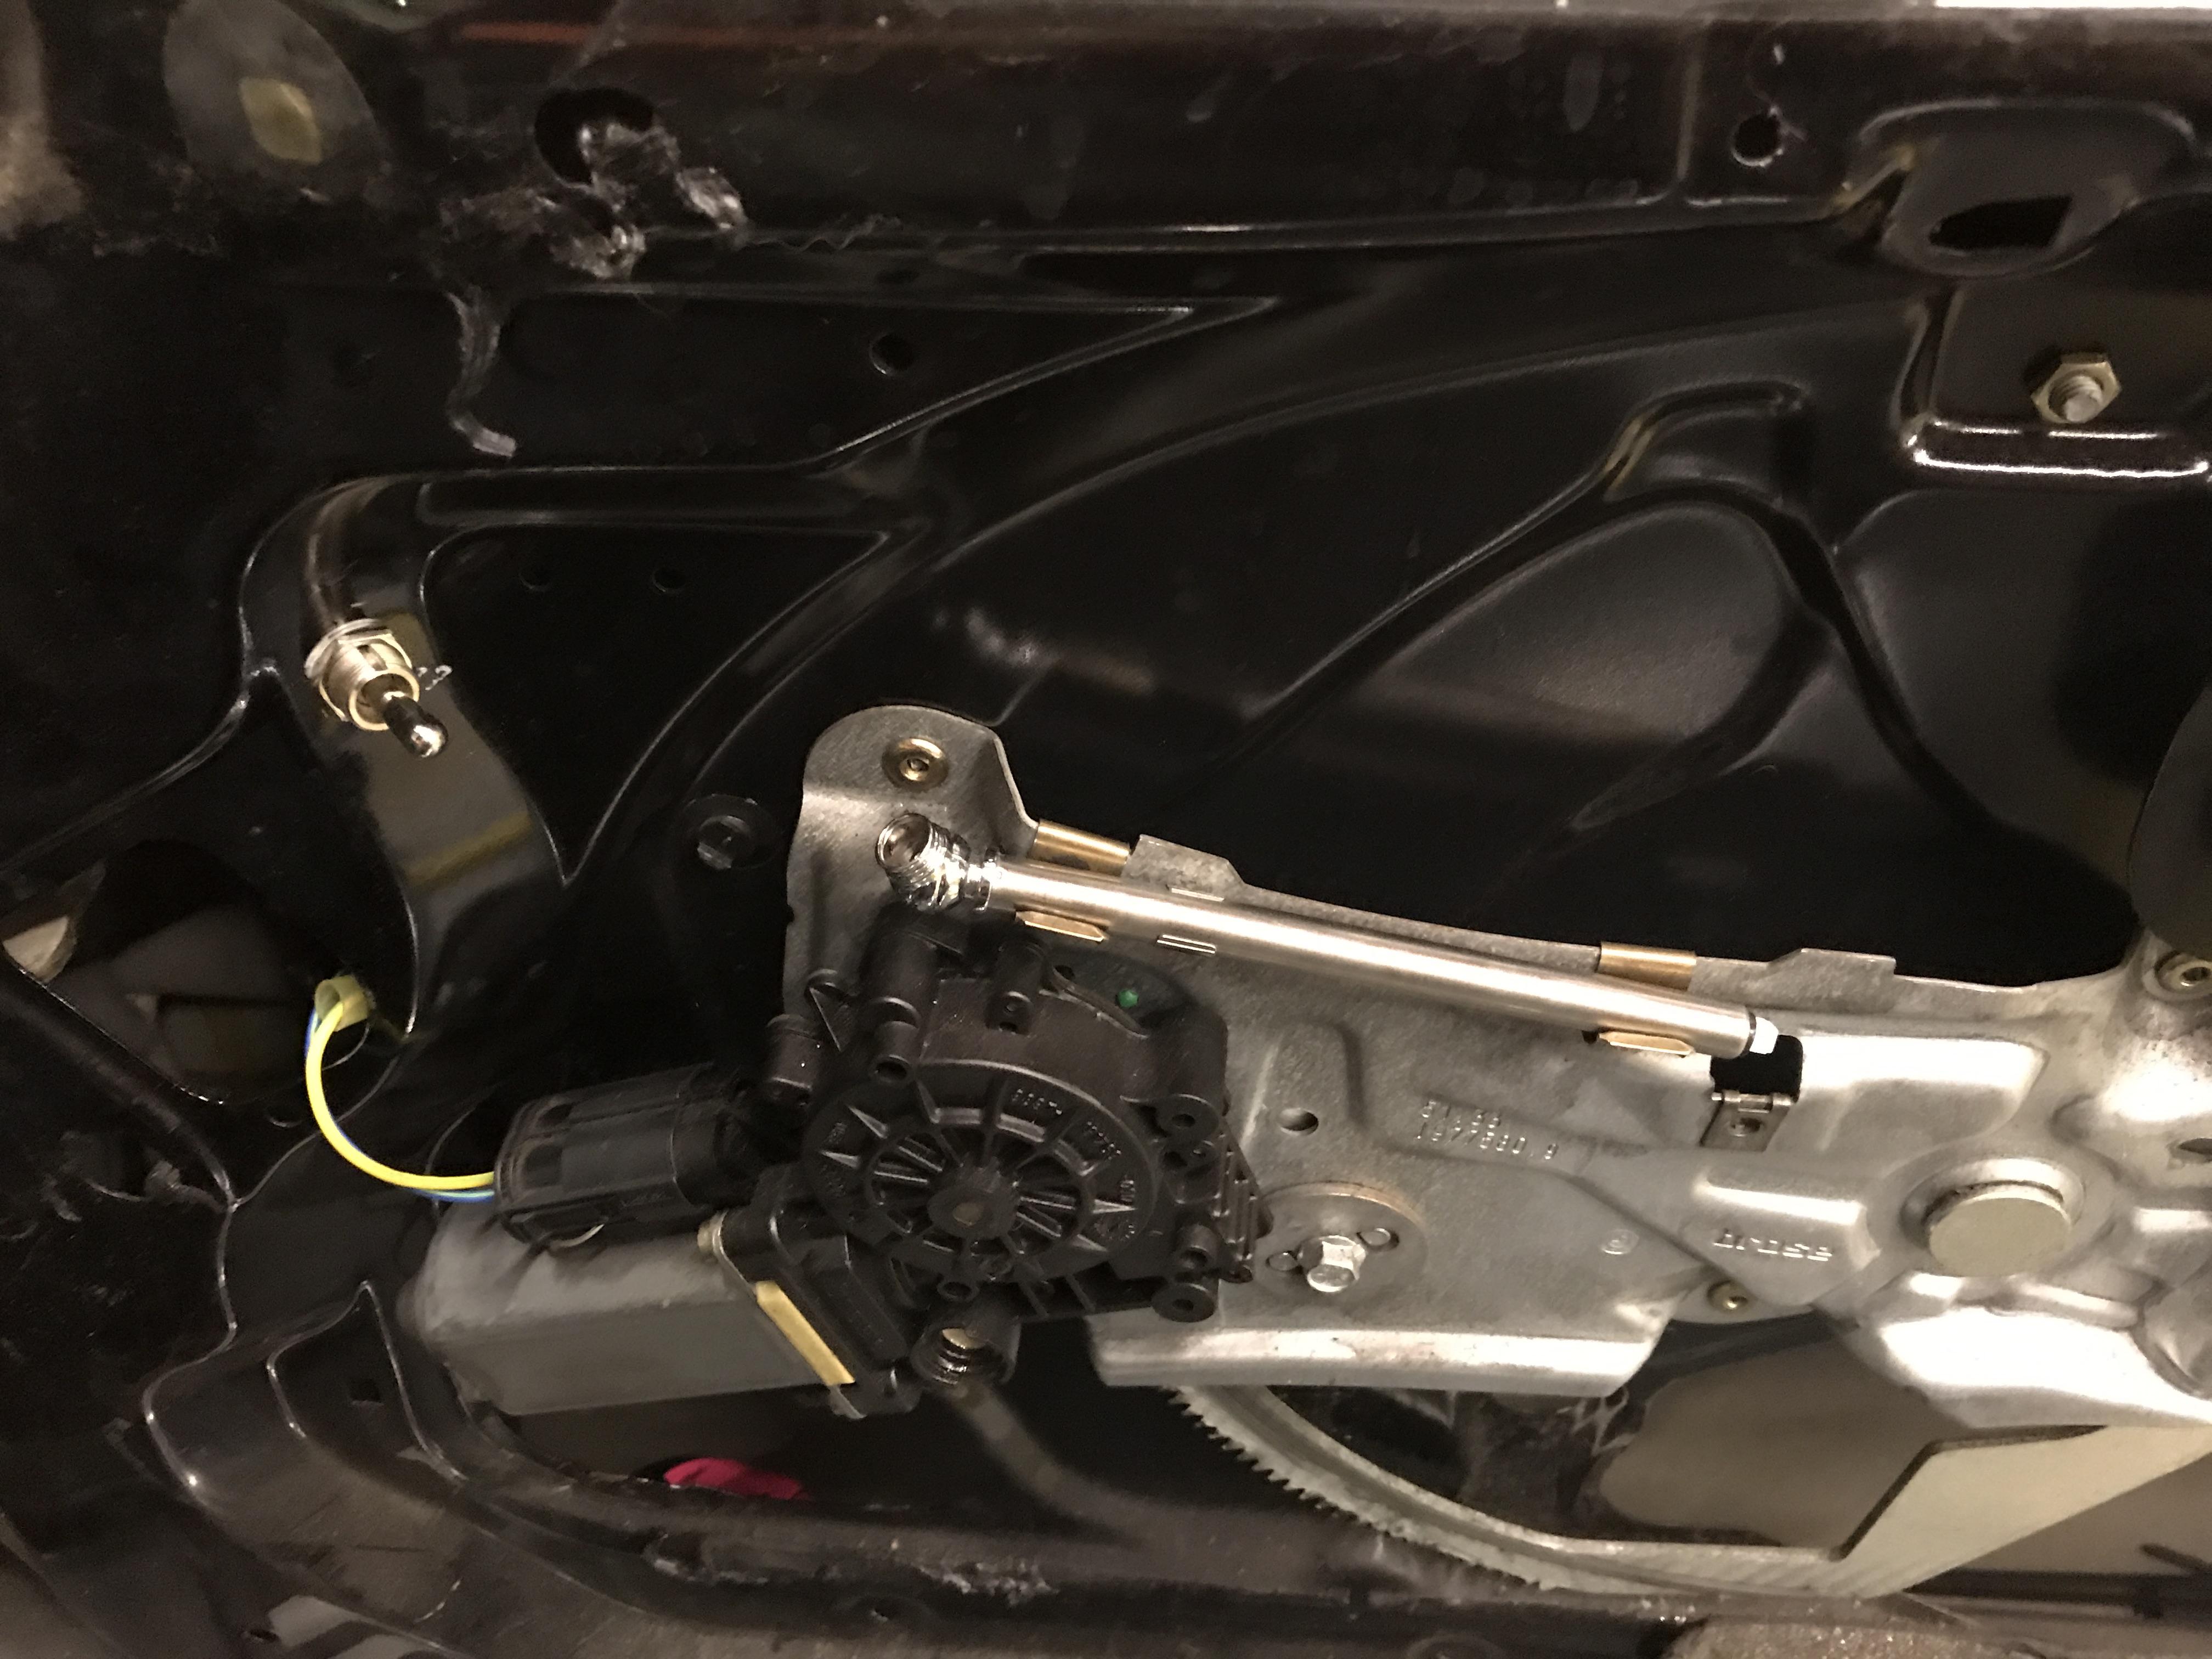
I also noticed that the door has a built in tire gauge holder! How convenient
https://www.instagram.com/_jdesigner_/ http://nevertoolow.tumblr.com/
🥳SOLD BMW E24 633CSI - BMW M30B32 🧪SOLD HCH ES9 - 1.3 LDA
👽BMW E30 325IC - Toyota 1JZ-GTE ⏰ HONDA EF9 CIVIC SI - JDM B18C5
☠️BMW E36 318i - Ford 5.0 FE302 🚴♂️ GT-Labomba - 26x2.75 Freeride
🤹♀️SOLD BMW E36/7 Z3 - BMW M54B25 🧓SOLD BMW E10 2002 - BMW M10M05 -
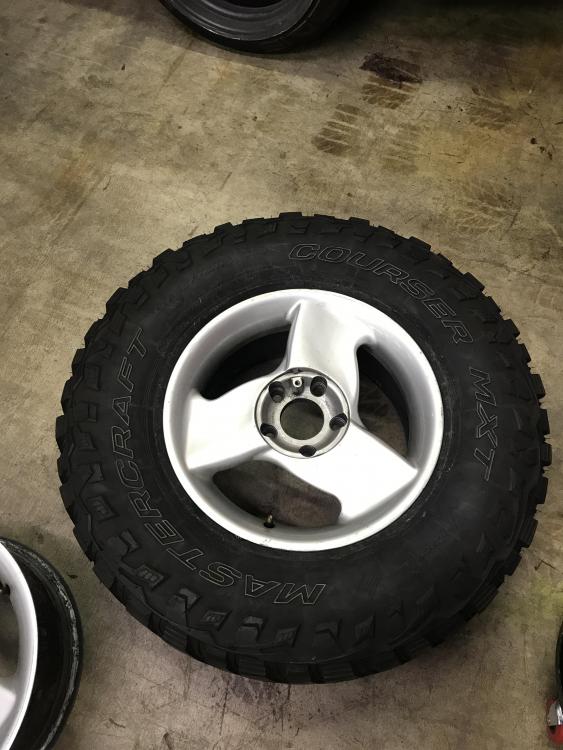
Still haven't lifted this, I did in fact dismount the slicks from the Procast wheels and mounted one tire. Sadly, I think I will need to find different tires or wheels with a much much lower offset. I would need to run a 3" spacer just to make these work.
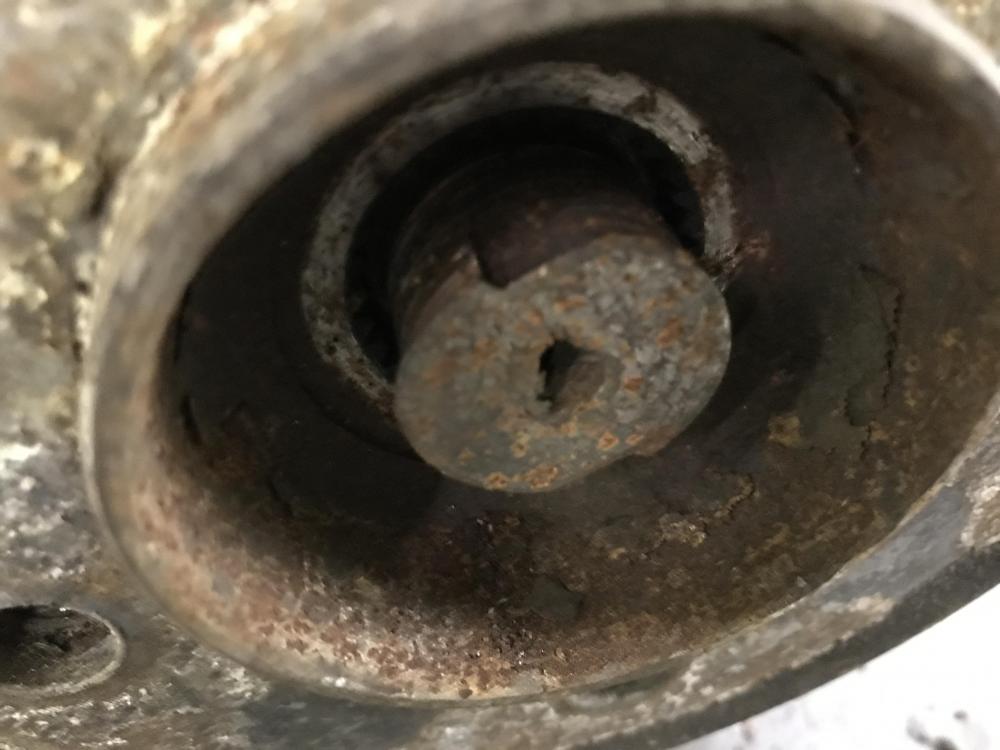
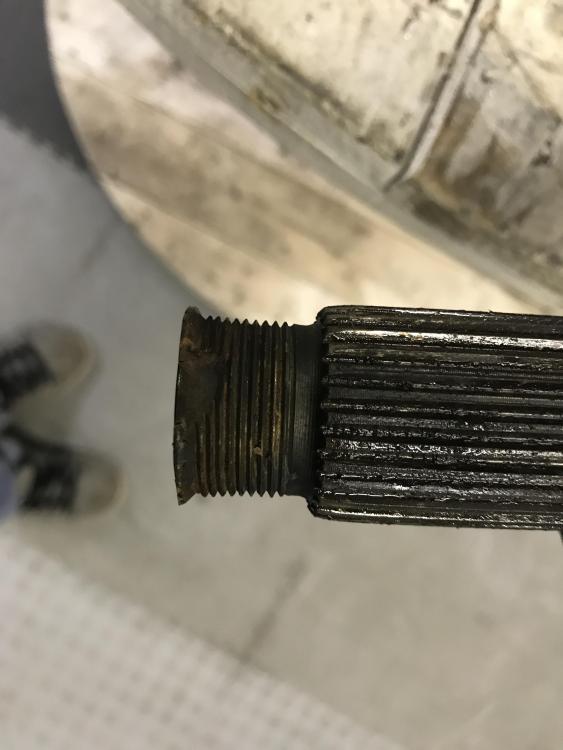
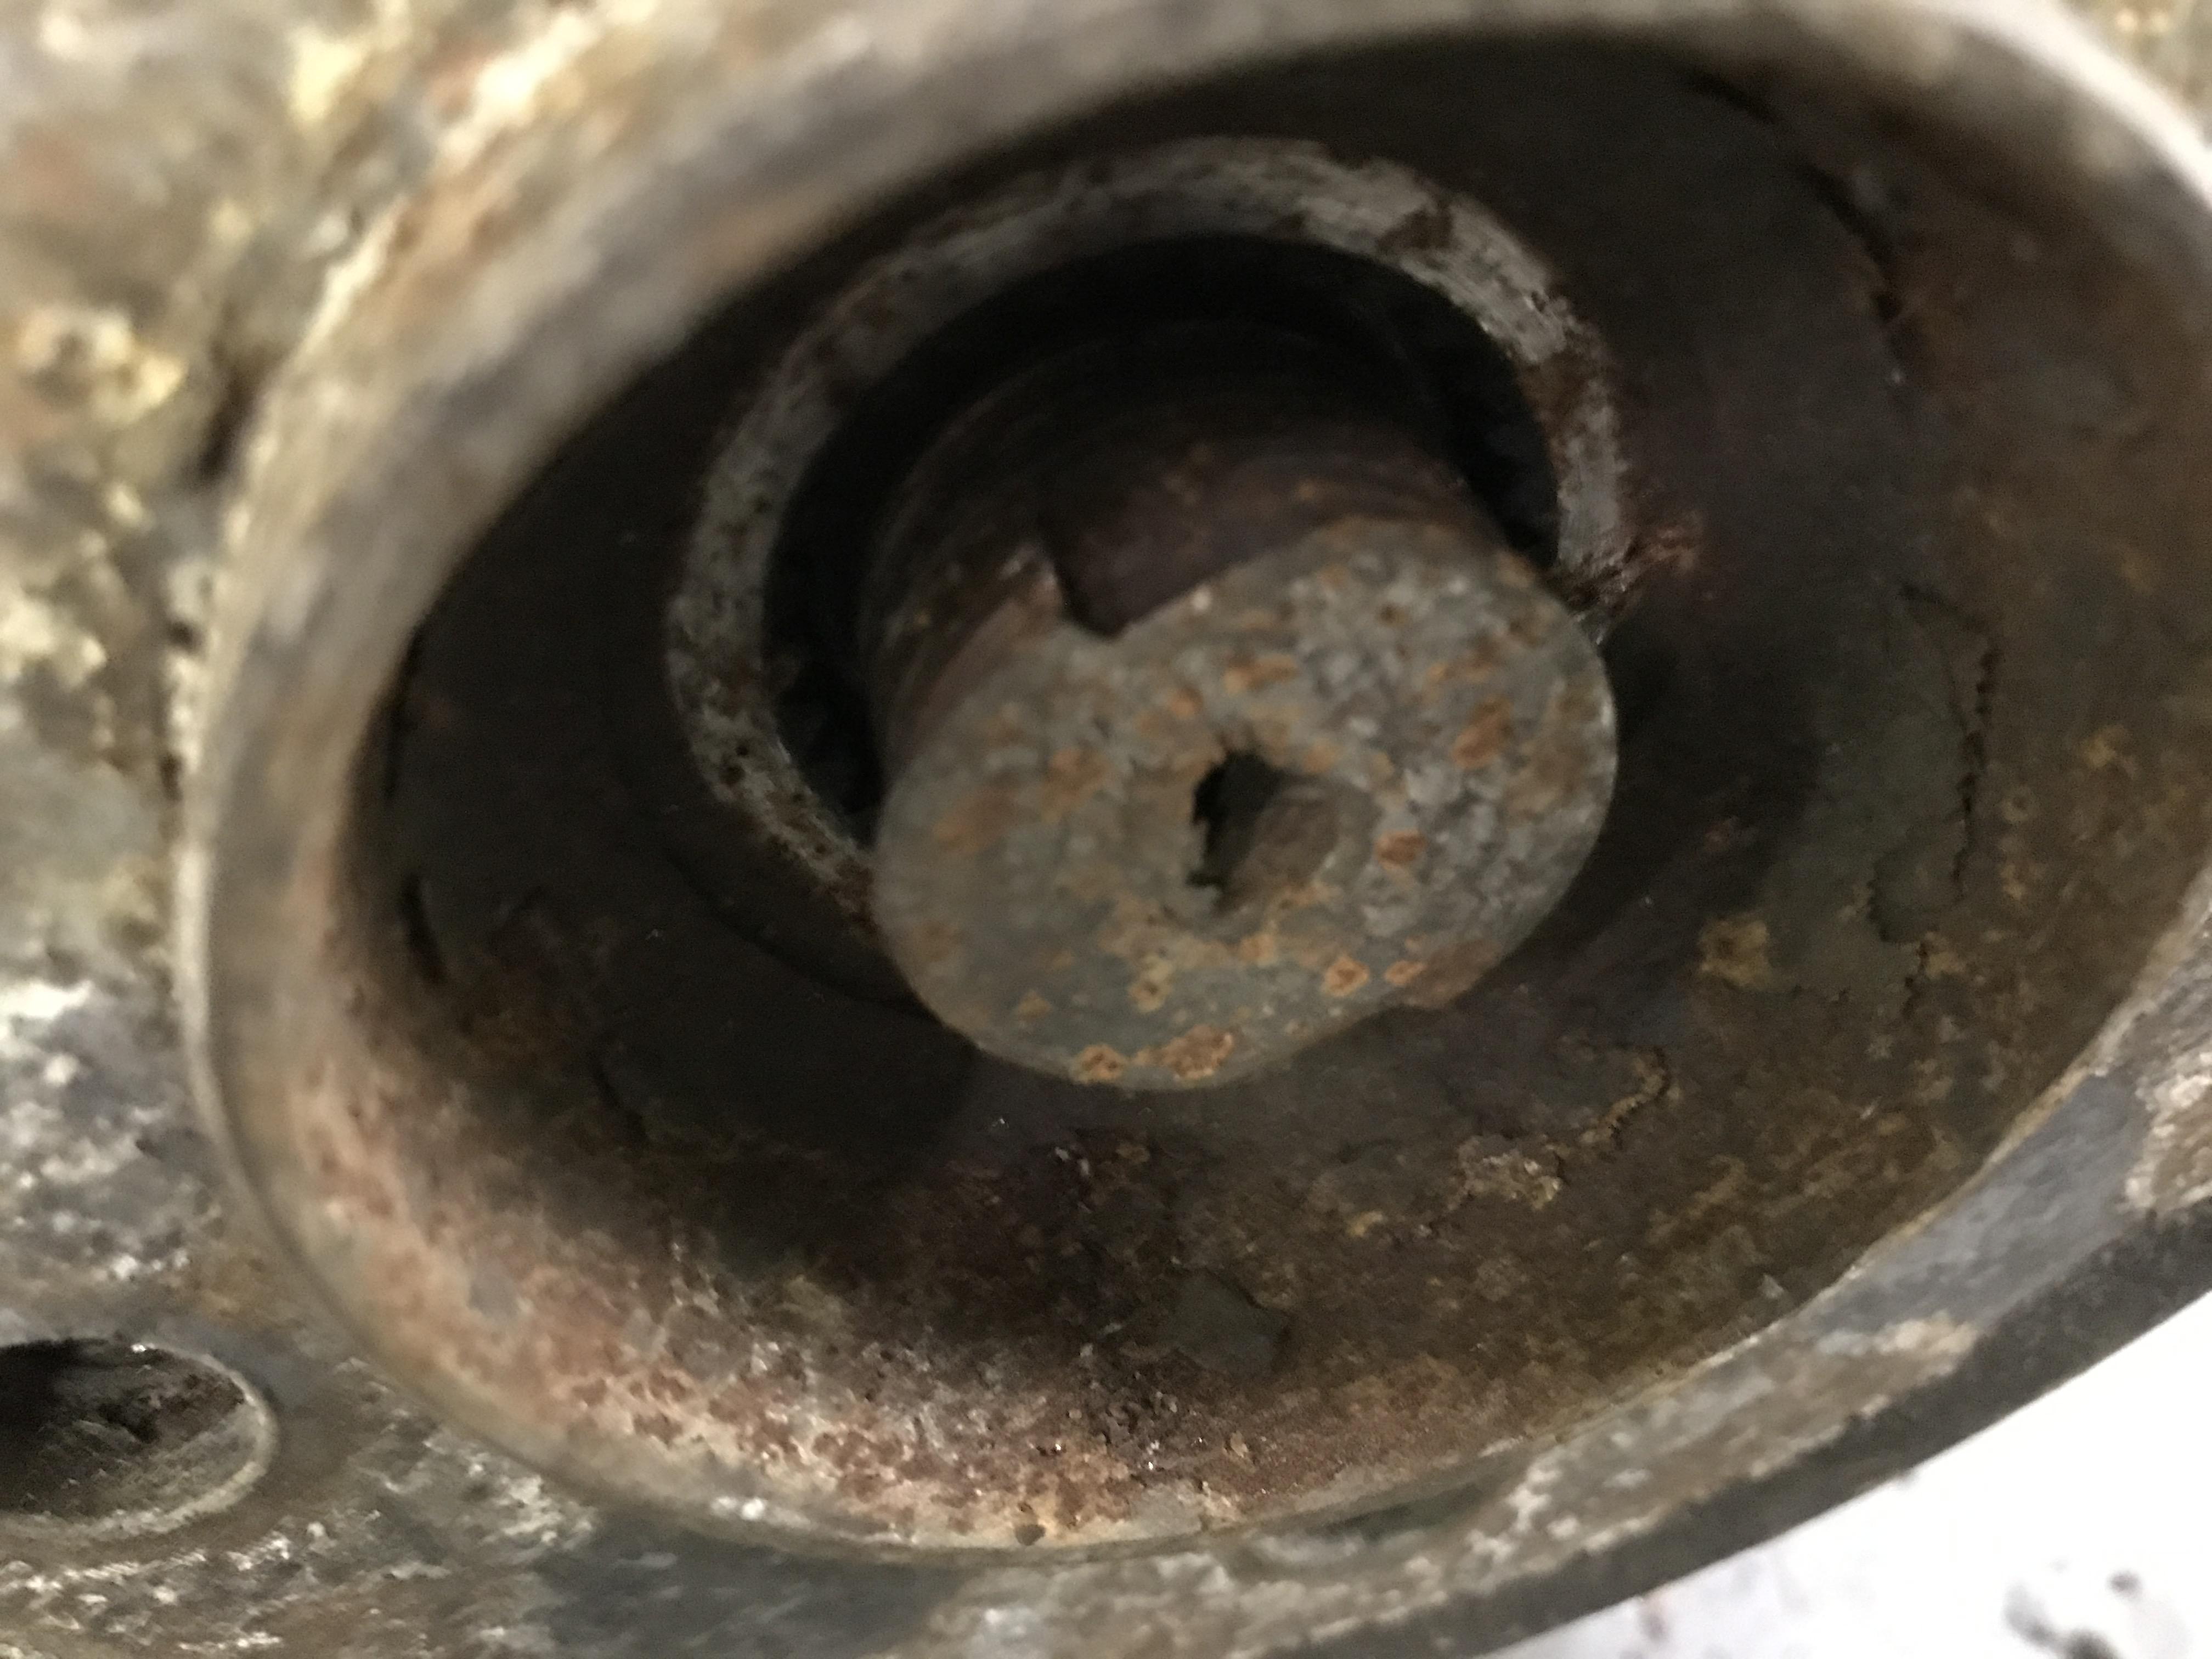
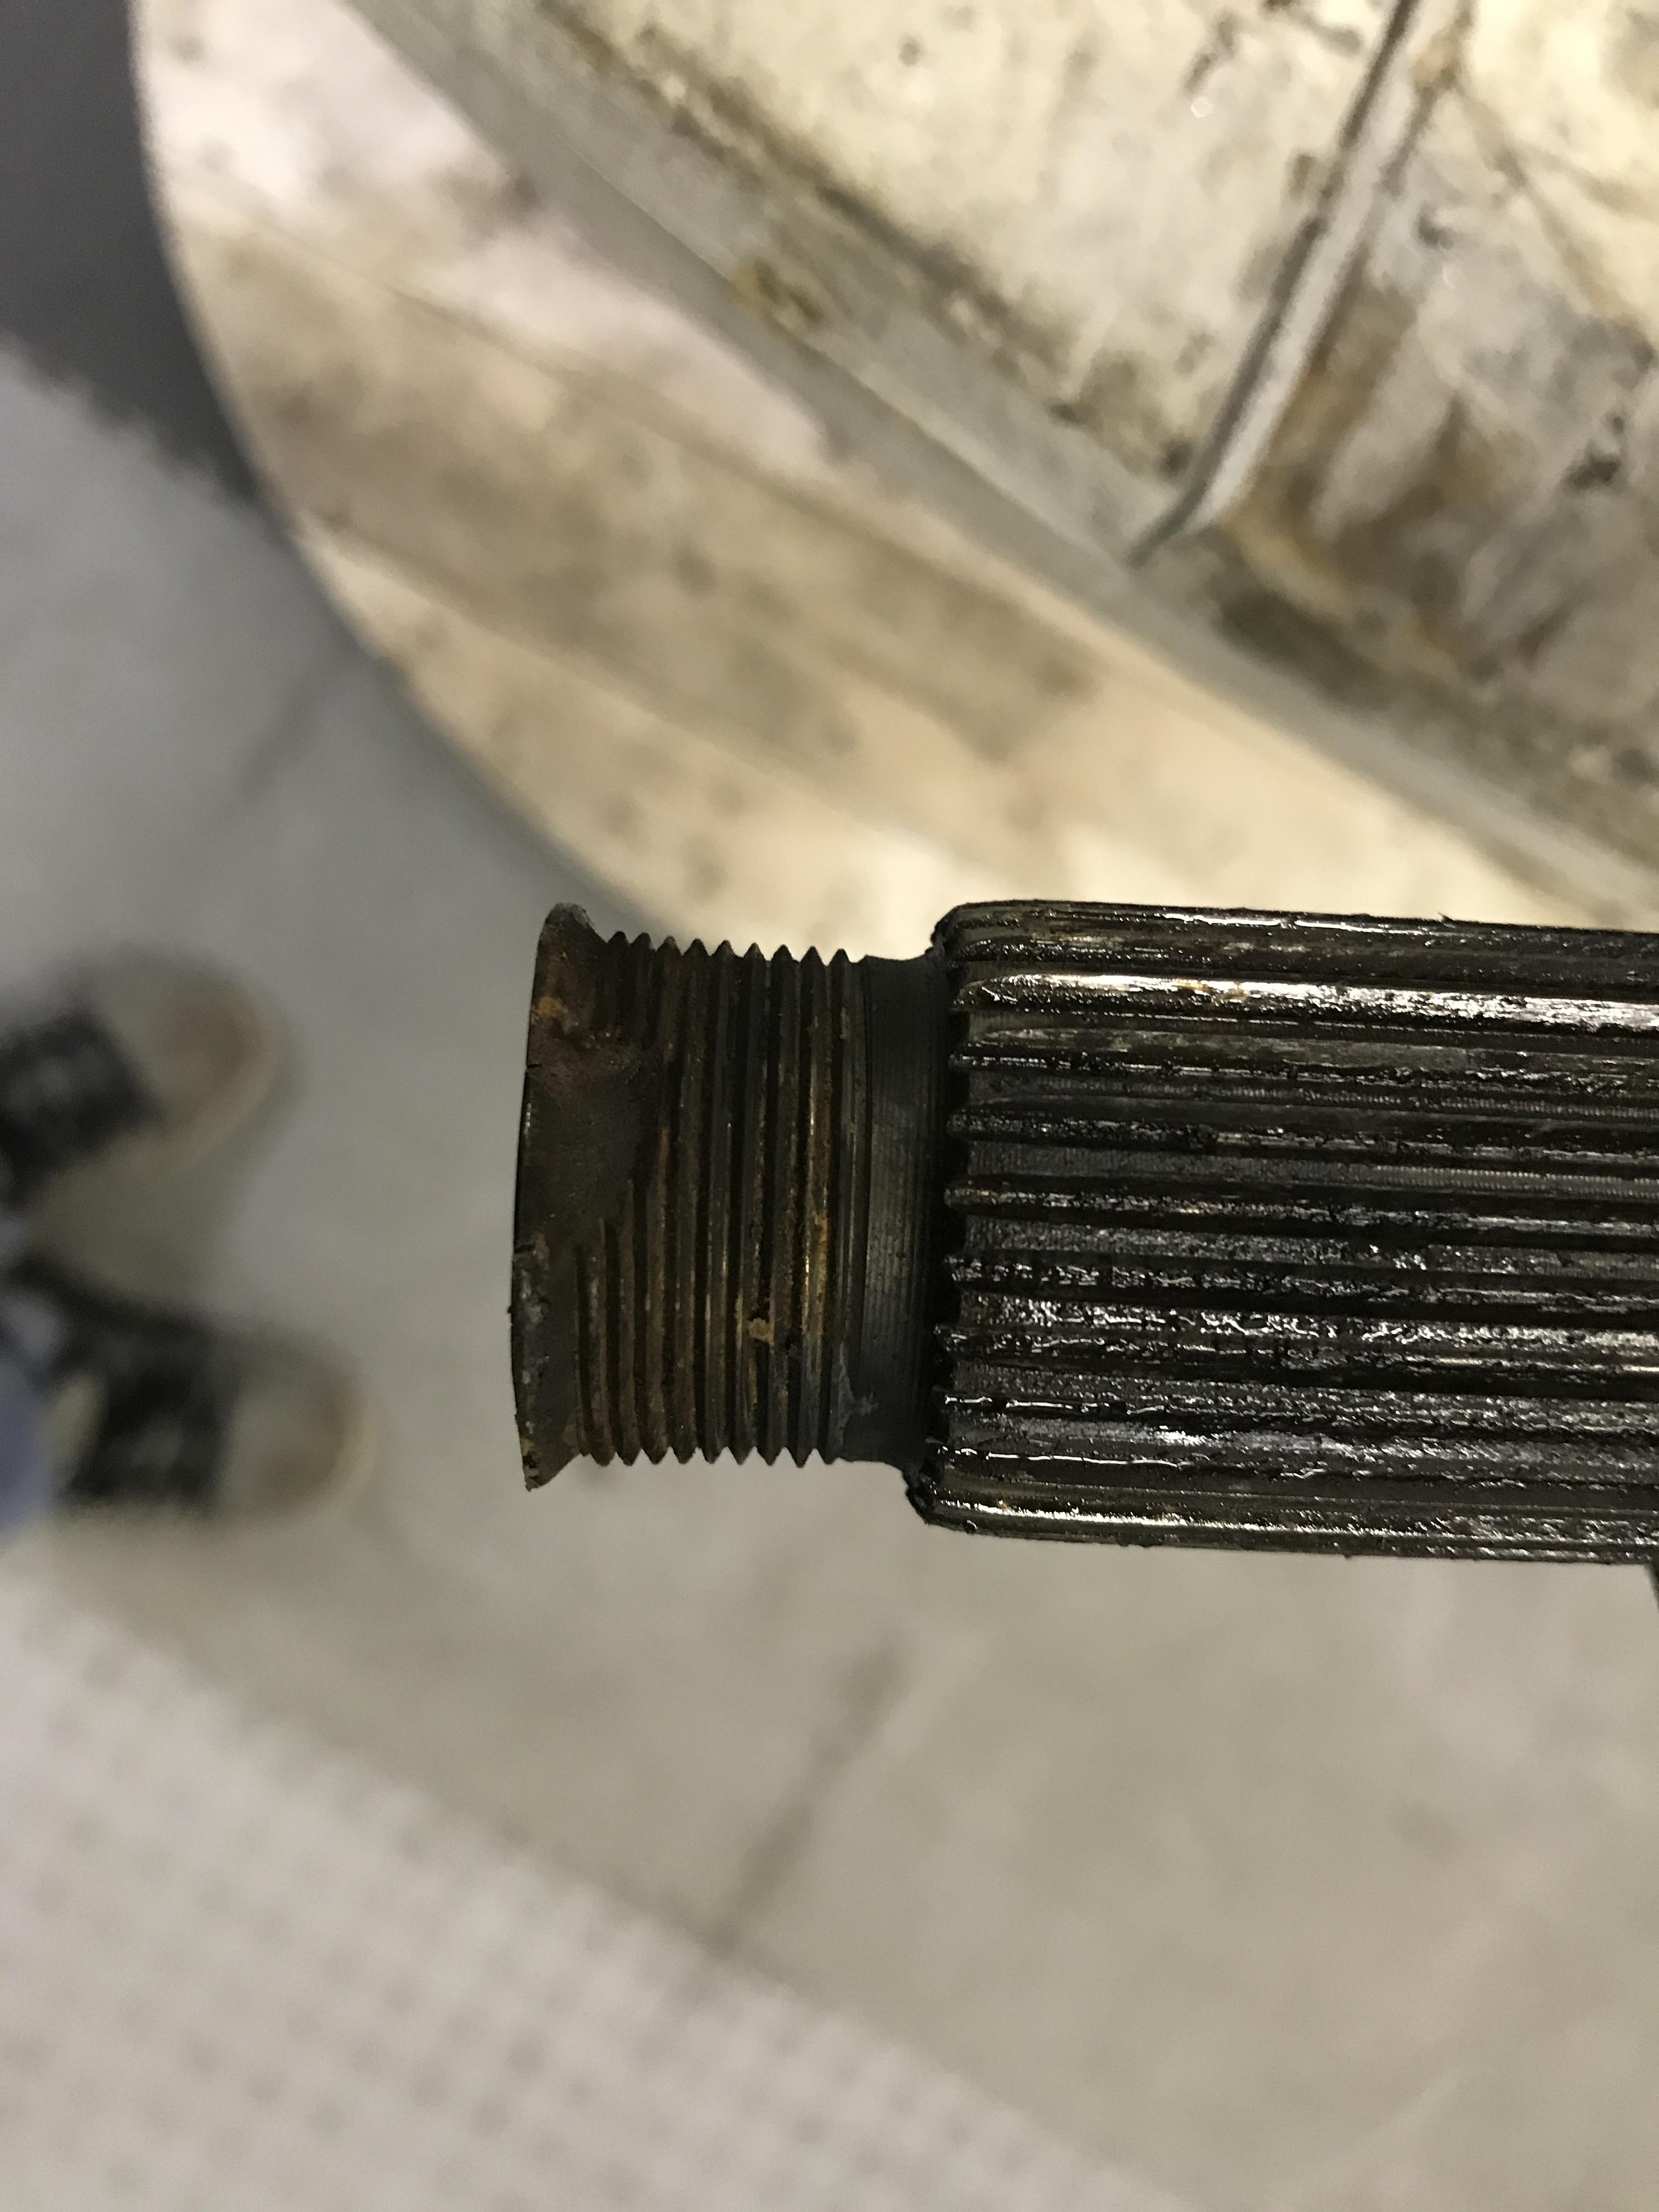
I also picked up that M3 rear Subframe, trailing arms, and axles from Tj.I striped the entire assembly down and plan on blasting it, painting it, and installing all the new bushings I bought. Sadly taking it apart I found that out that someone previously tried really, REALLY hard to remove one of the axles and smashed it into an unusable state. I am on the hurt for an M3 axle..

OHHH wait!
One last thing I almost forgot I bought.......

Also on the look out for a nice stage 2 or 3 cam.
https://www.instagram.com/_jdesigner_/ http://nevertoolow.tumblr.com/
🥳SOLD BMW E24 633CSI - BMW M30B32 🧪SOLD HCH ES9 - 1.3 LDA
👽BMW E30 325IC - Toyota 1JZ-GTE ⏰ HONDA EF9 CIVIC SI - JDM B18C5
☠️BMW E36 318i - Ford 5.0 FE302 🚴♂️ GT-Labomba - 26x2.75 Freeride
🤹♀️SOLD BMW E36/7 Z3 - BMW M54B25 🧓SOLD BMW E10 2002 - BMW M10M05





Hello! It looks like you're interested in this conversation, but you don't have an account yet.
Getting fed up of having to scroll through the same posts each visit? When you register for an account, you'll always come back to exactly where you were before, and choose to be notified of new replies (either via email, or push notification). You'll also be able to save bookmarks and upvote posts to show your appreciation to other community members.
With your input, this post could be even better 💗
Register Login