
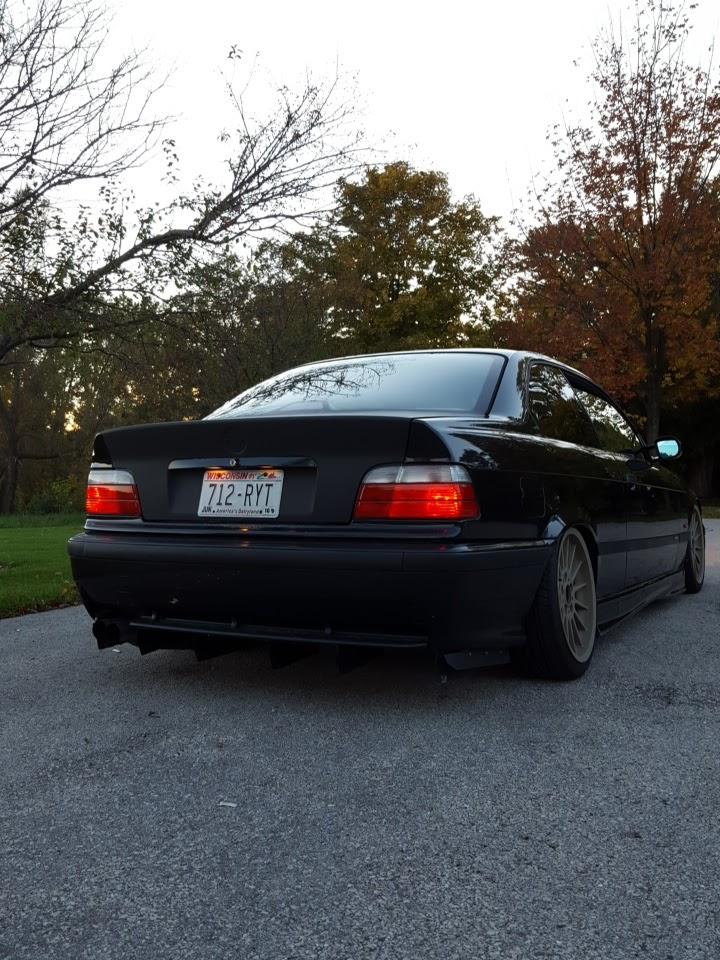
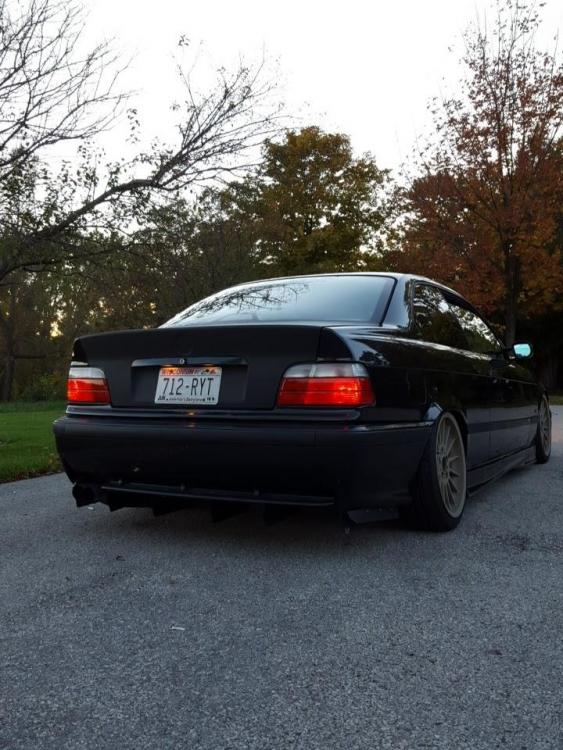
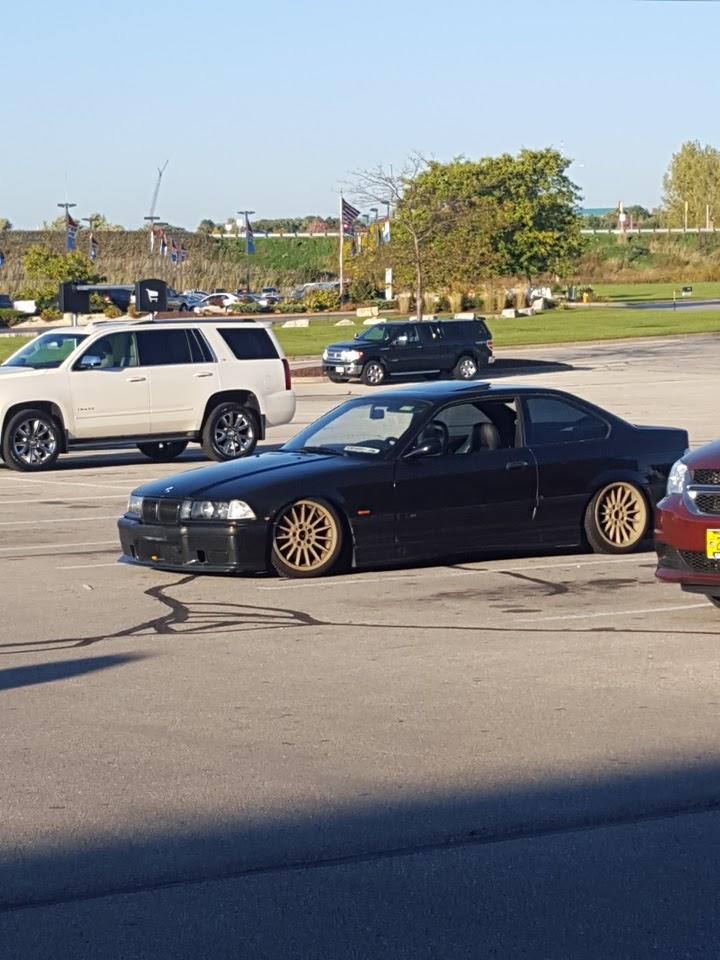
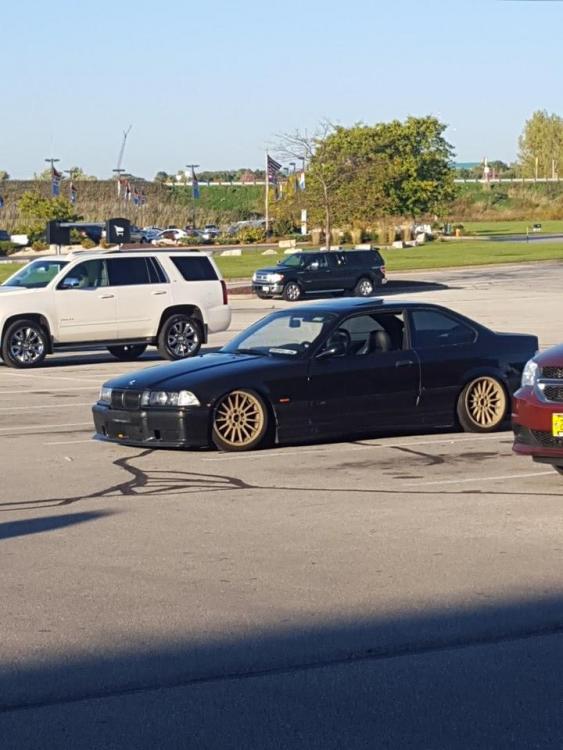
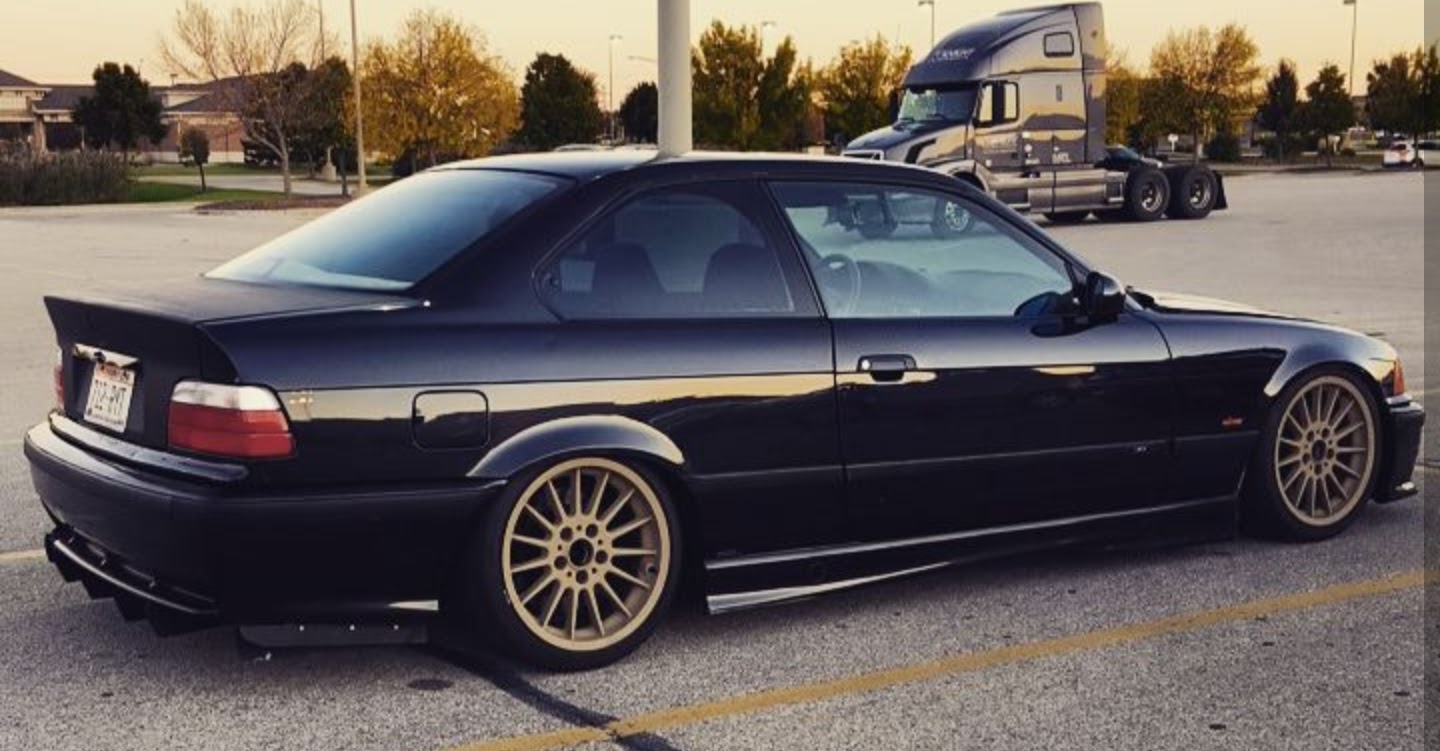
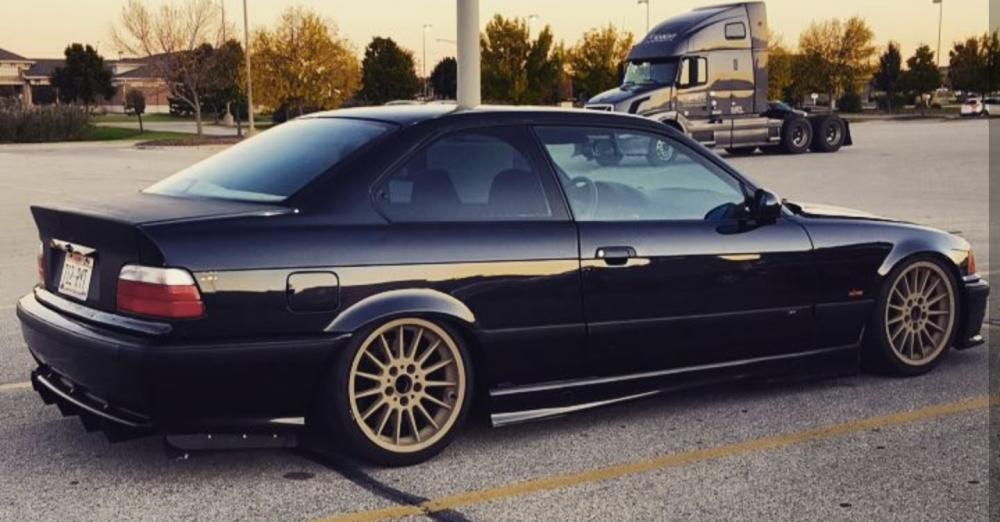
My 1997 M3 (That I'm not going to part out anymore)
-
I'm glad this had a happy ending!
-
I'm glad this had a happy ending!
I get to use my BC's and all the parts you ordered me!
-
Quick little update
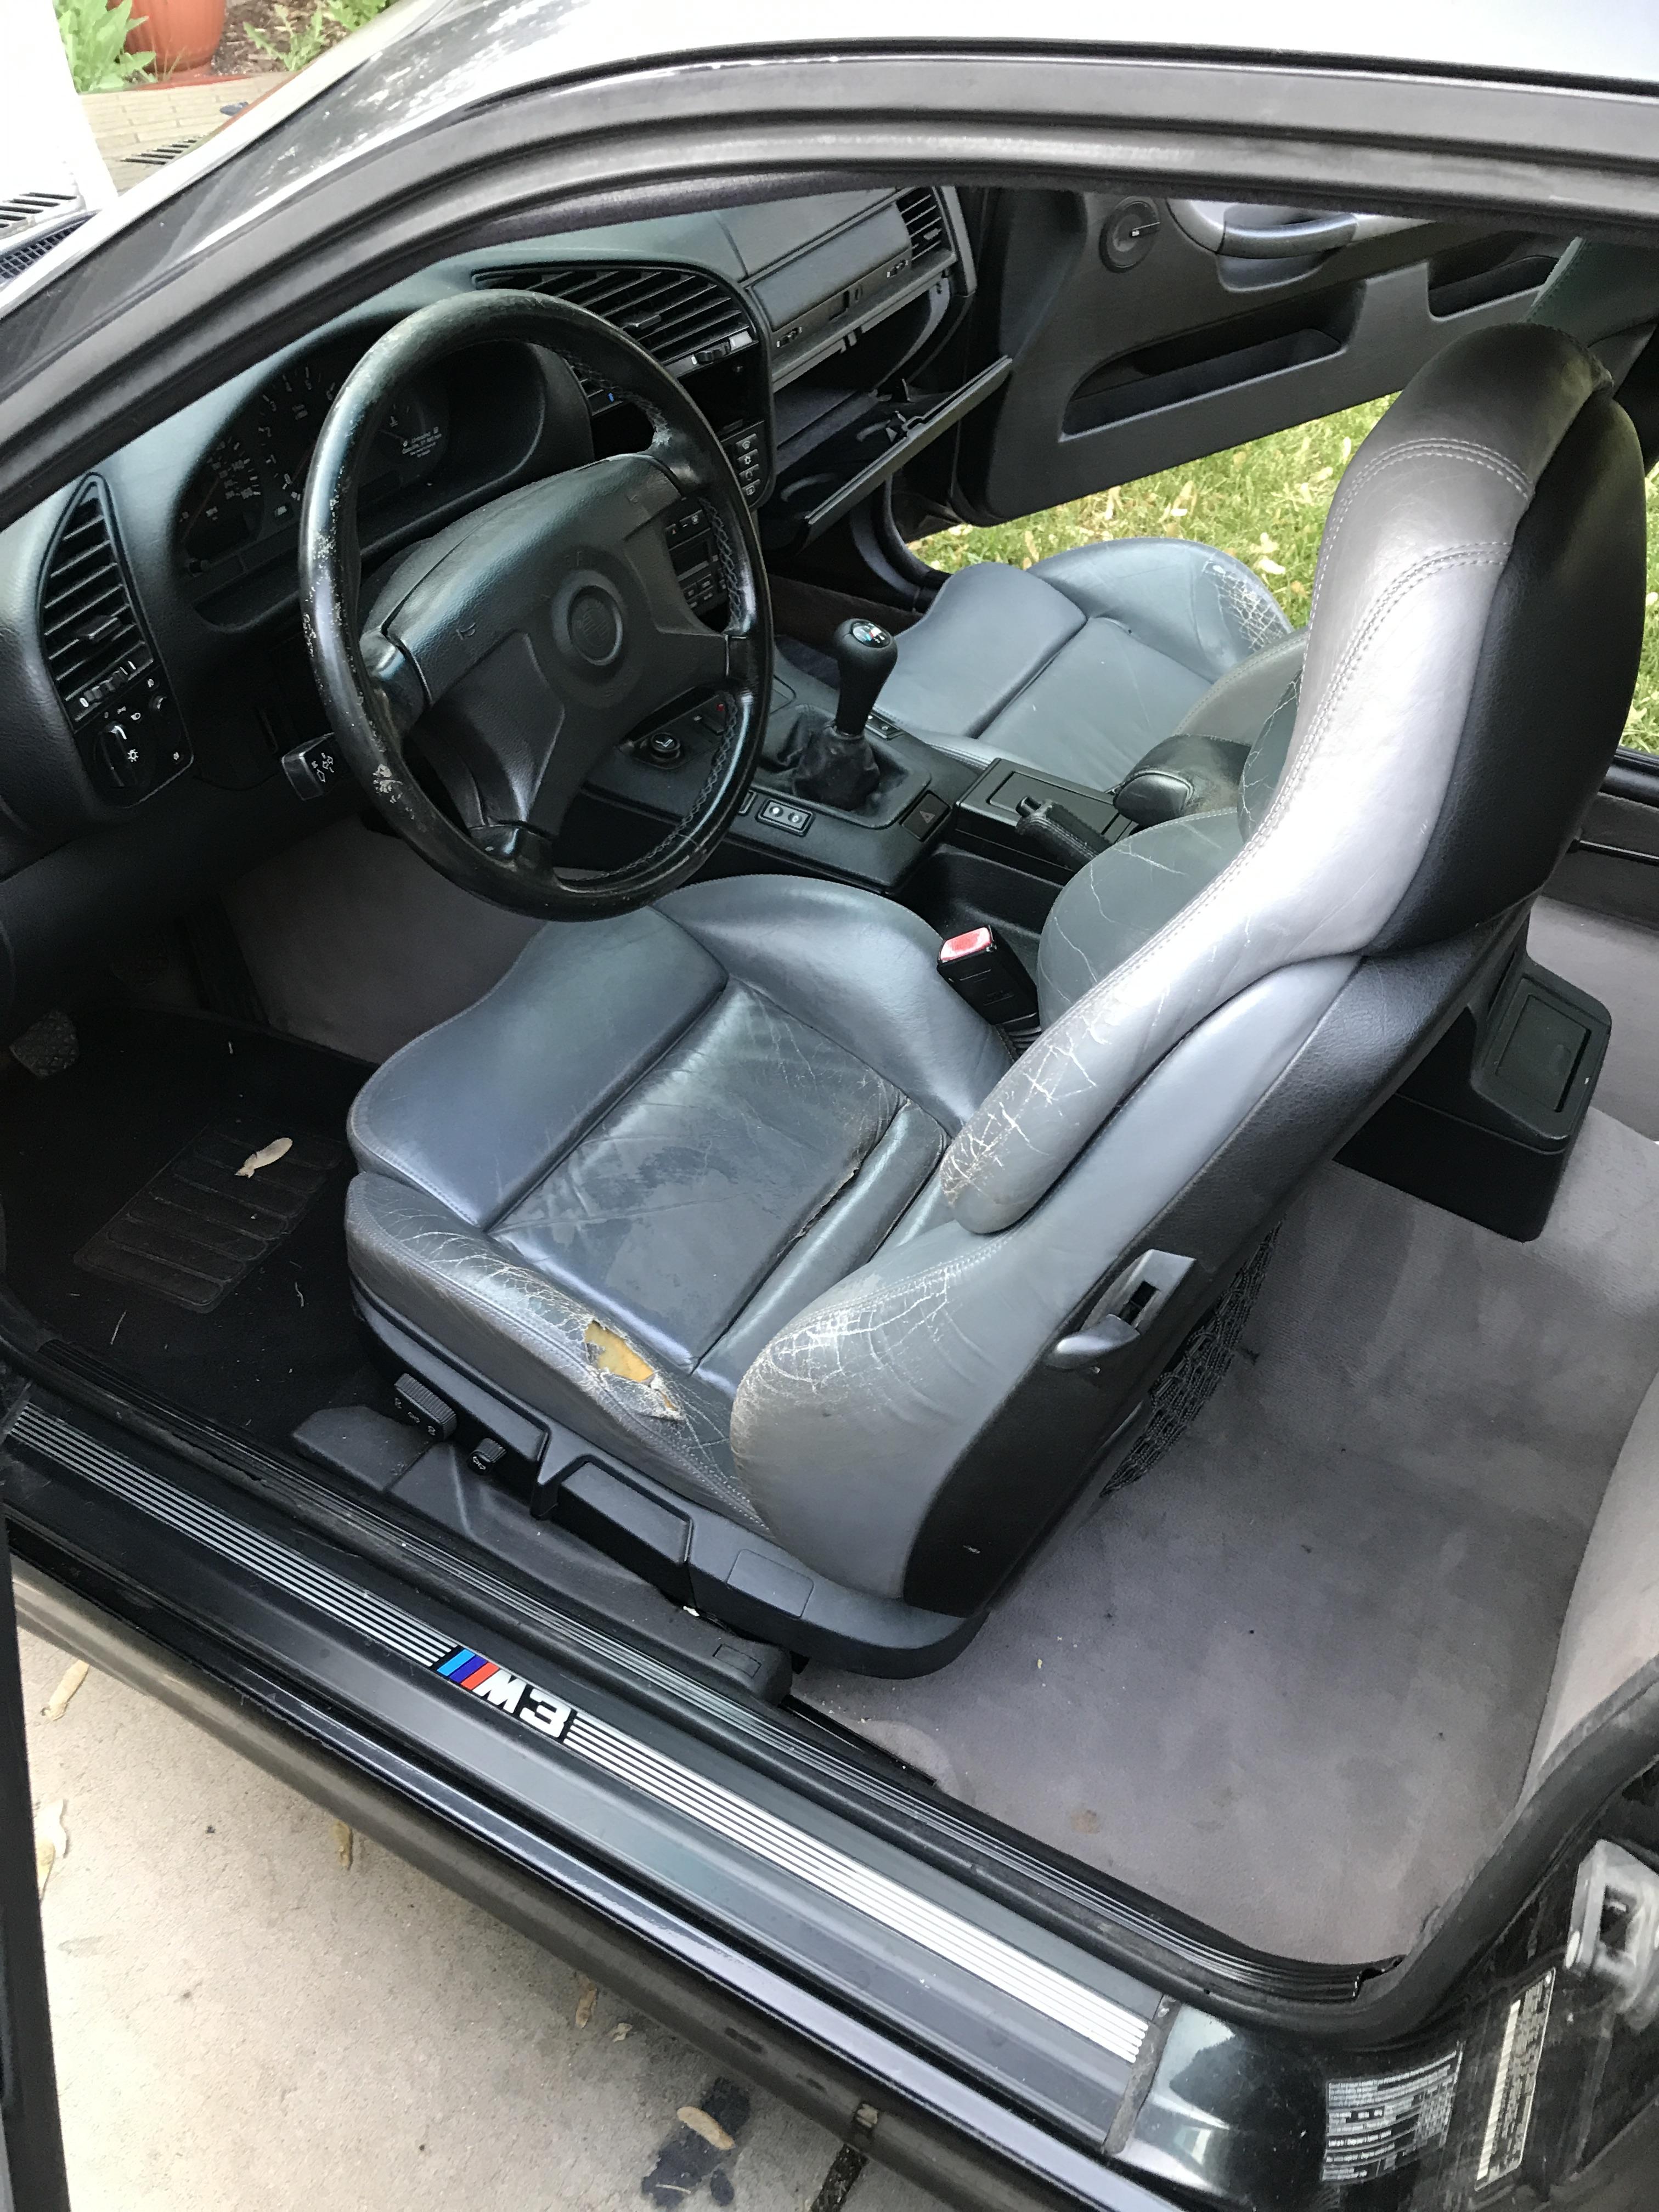
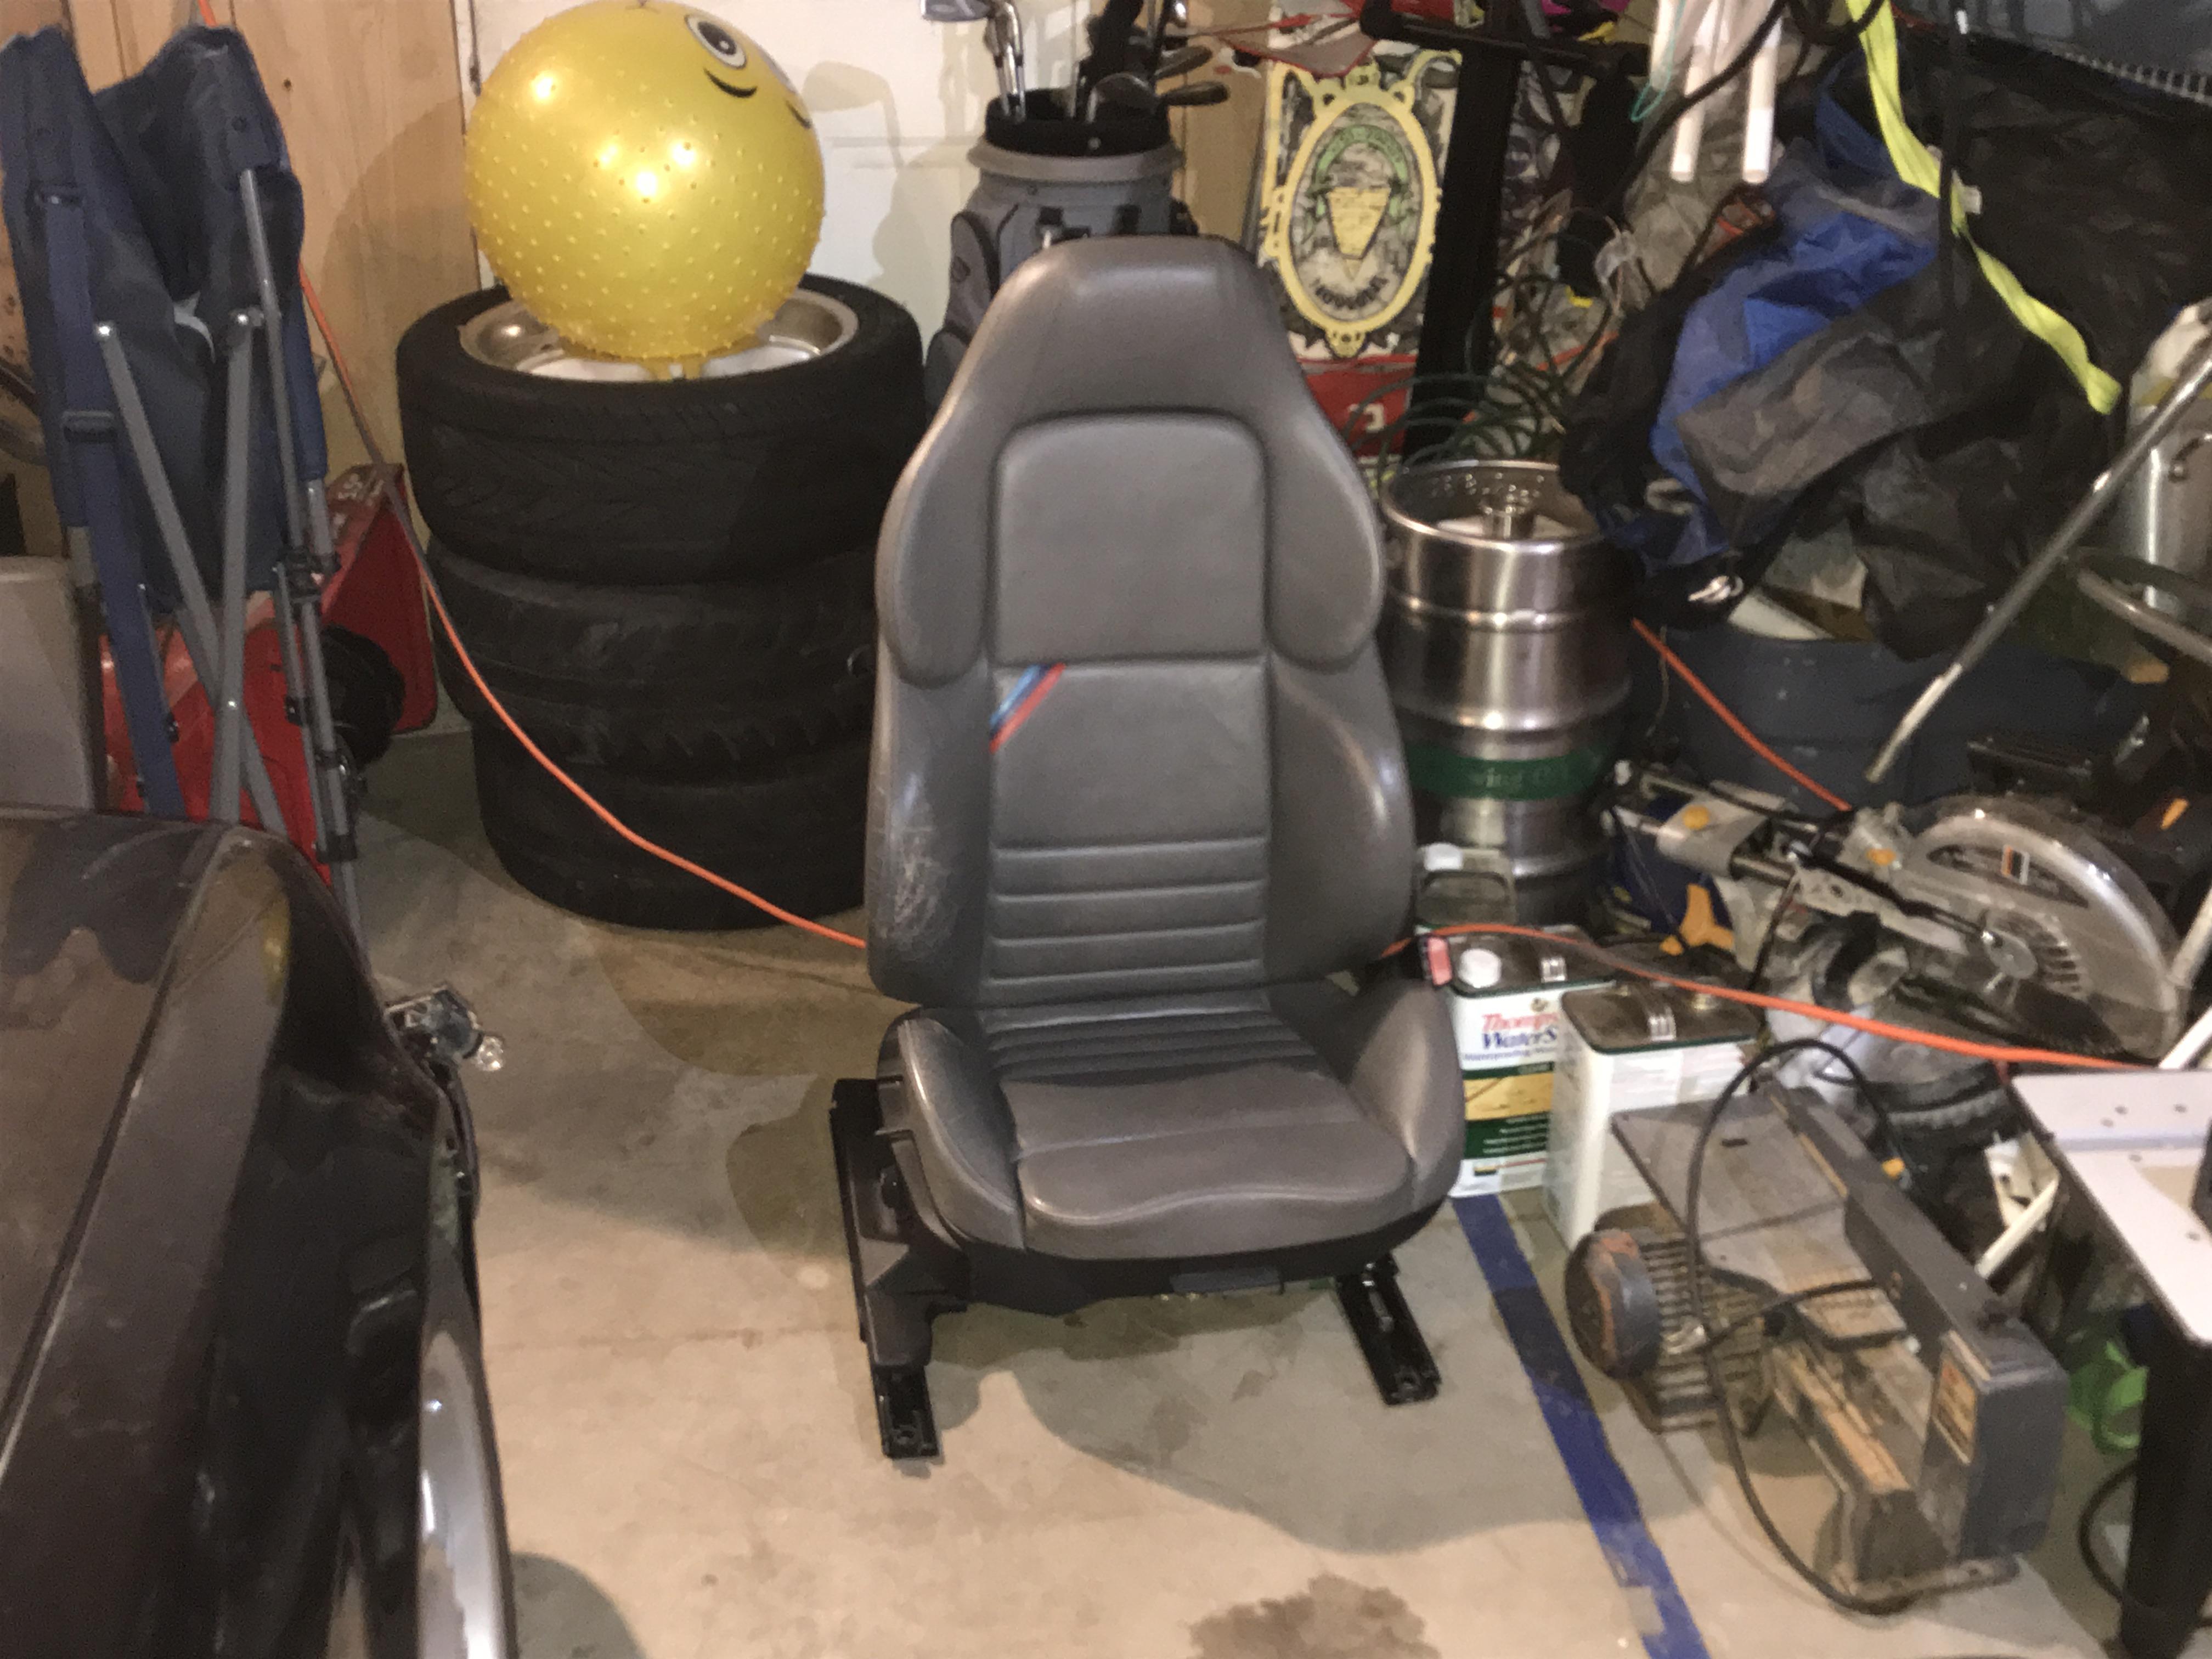
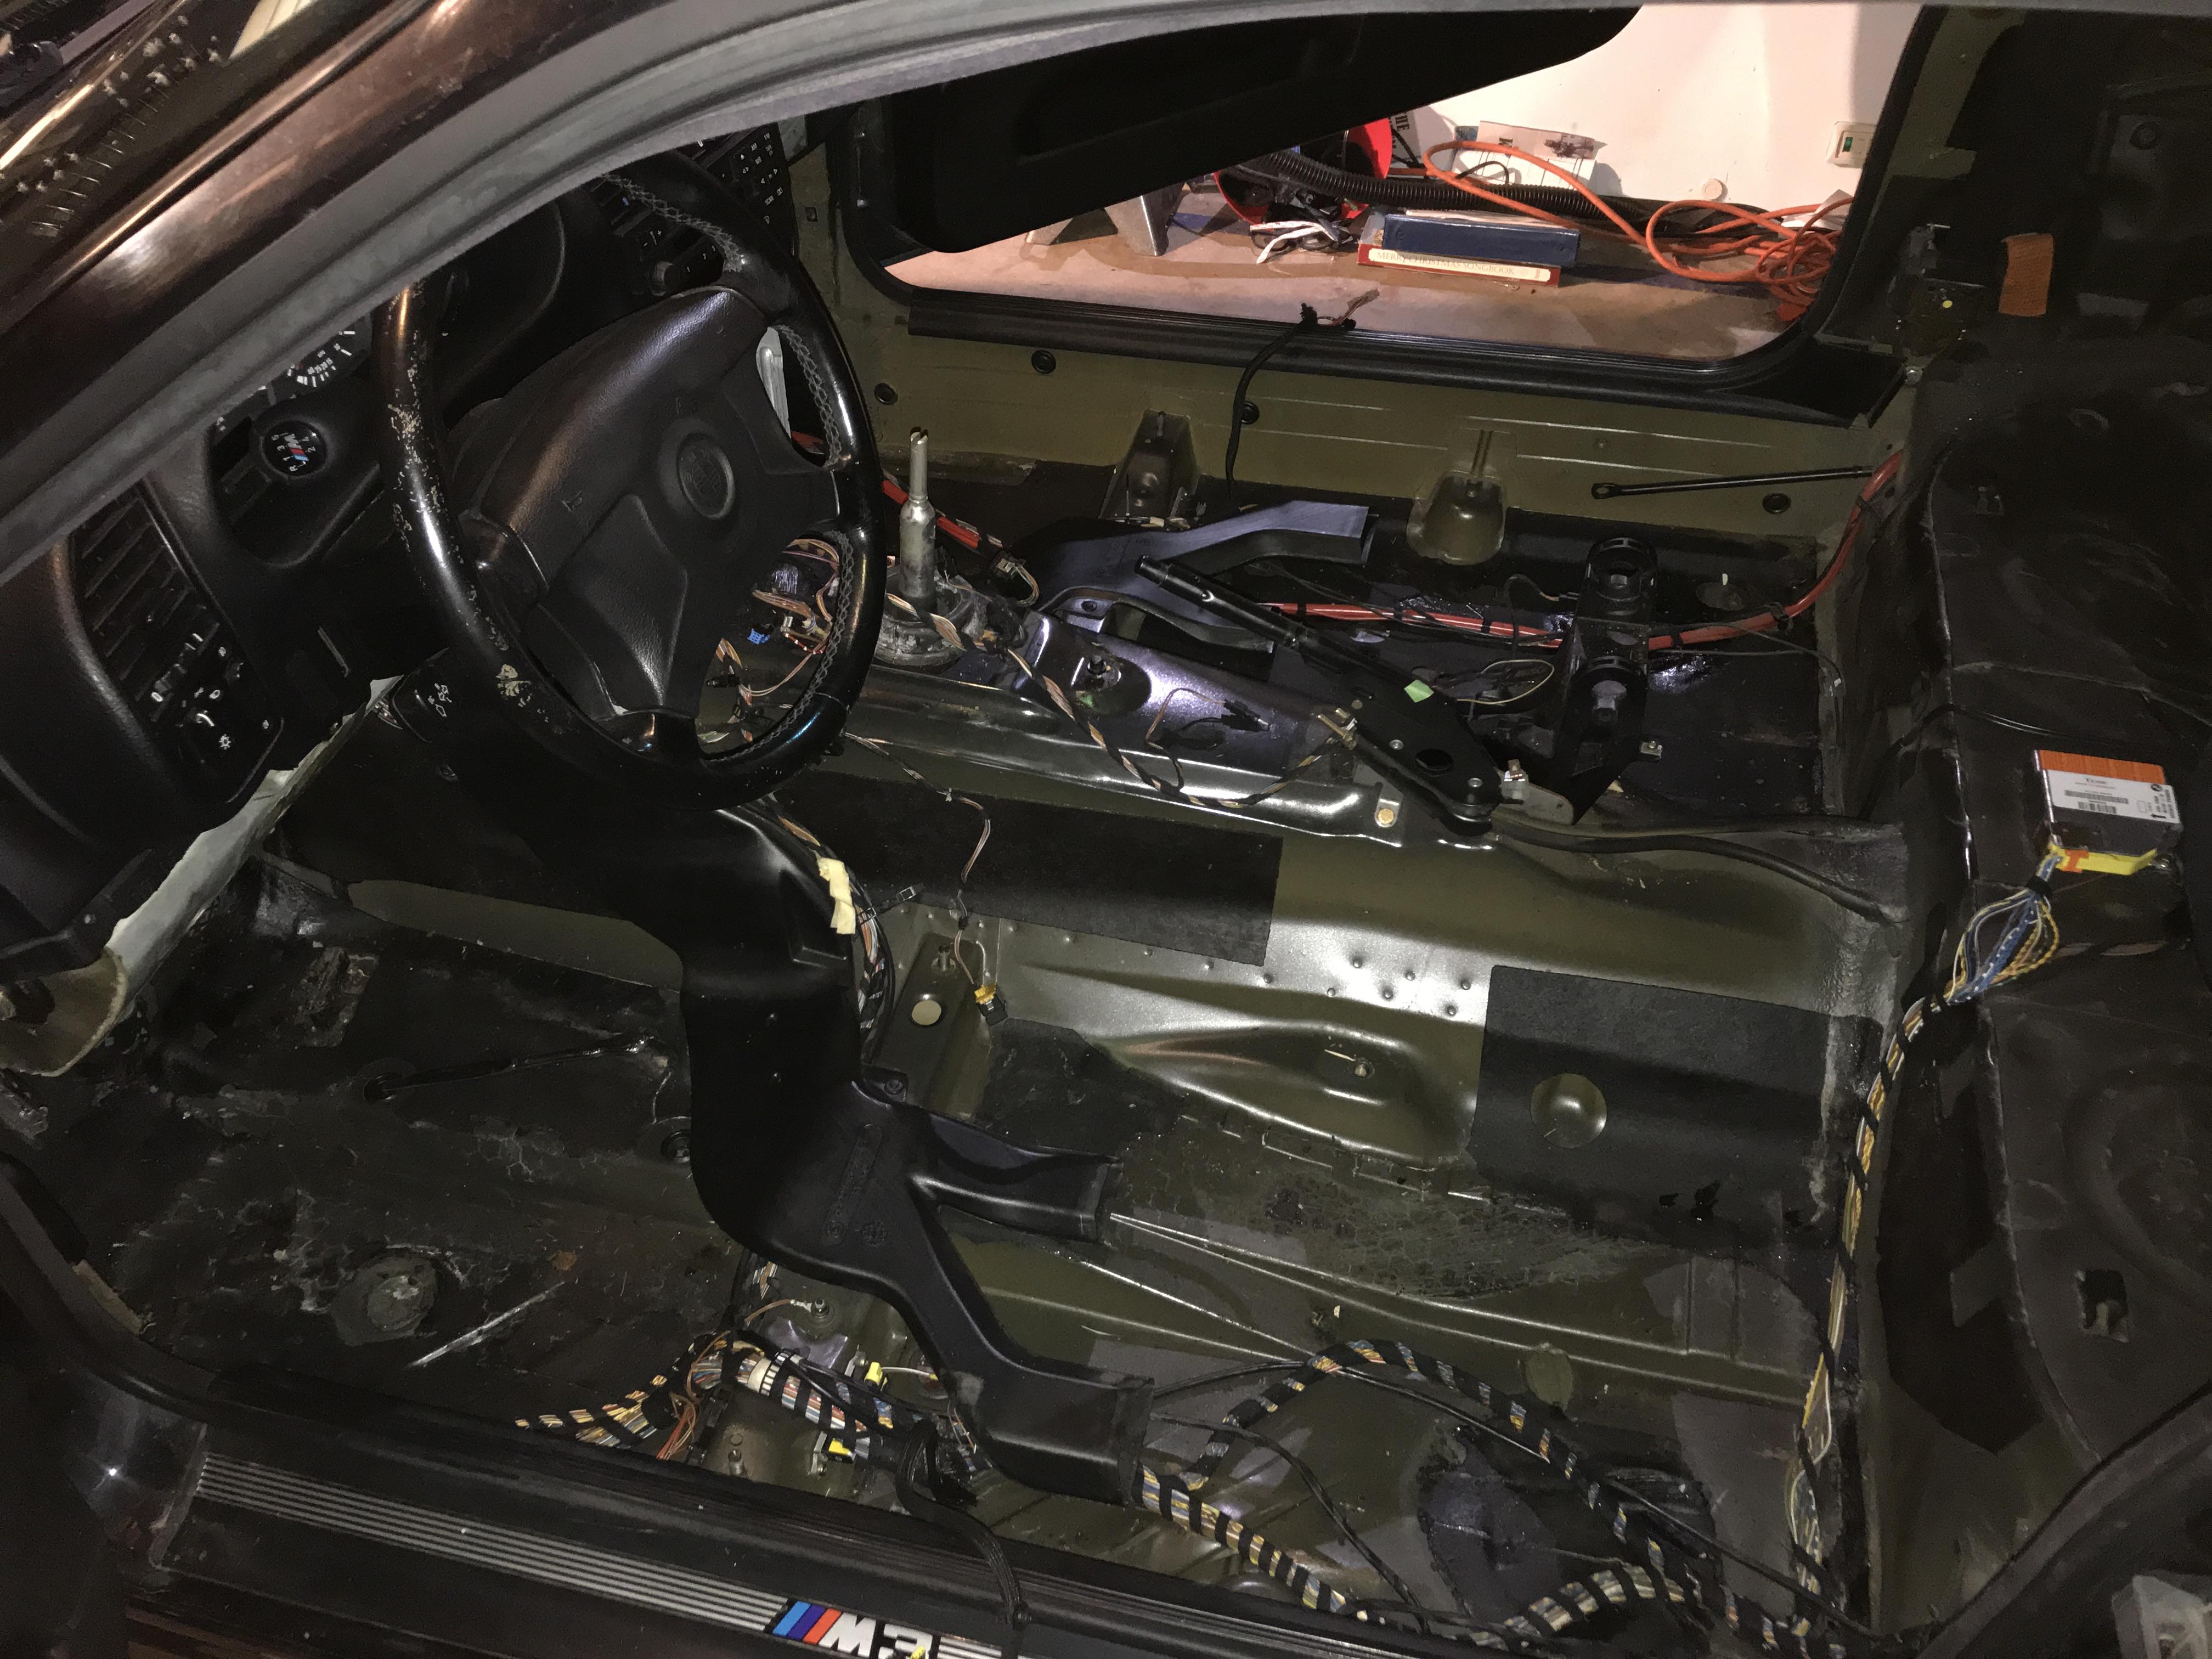
The Mulberry interior in the car was disgusting to me both physically and mentally so it had to go. I have a full black interior, the LTW seats and a 99 wheel to go in. Lots of random stuff was broken in the interior of this car, and It's nice because I can replace it immediately with stuff from my old M3.
e36 interiors are super easy to pull and put in
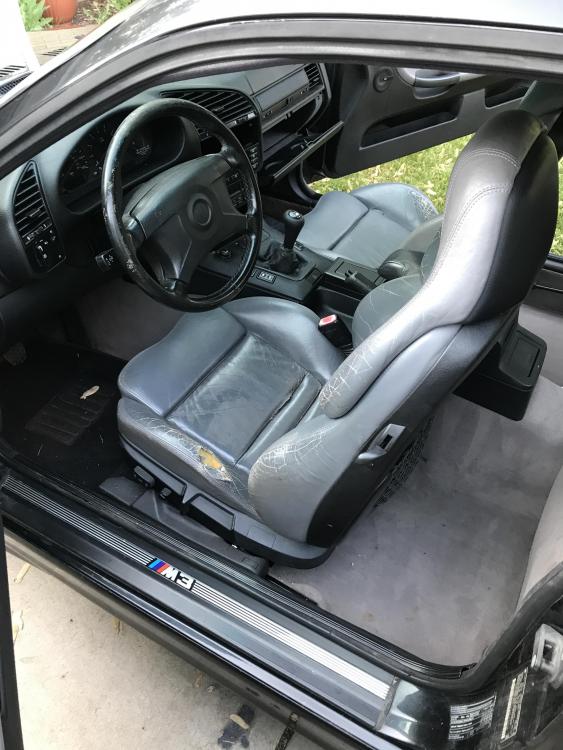
Doesn't look to bad here, but it was. The power vaders sit much higher then normal vaders even at the lowest setting I'm pretty sure, they felt really weird. I like sitting close to the floor.
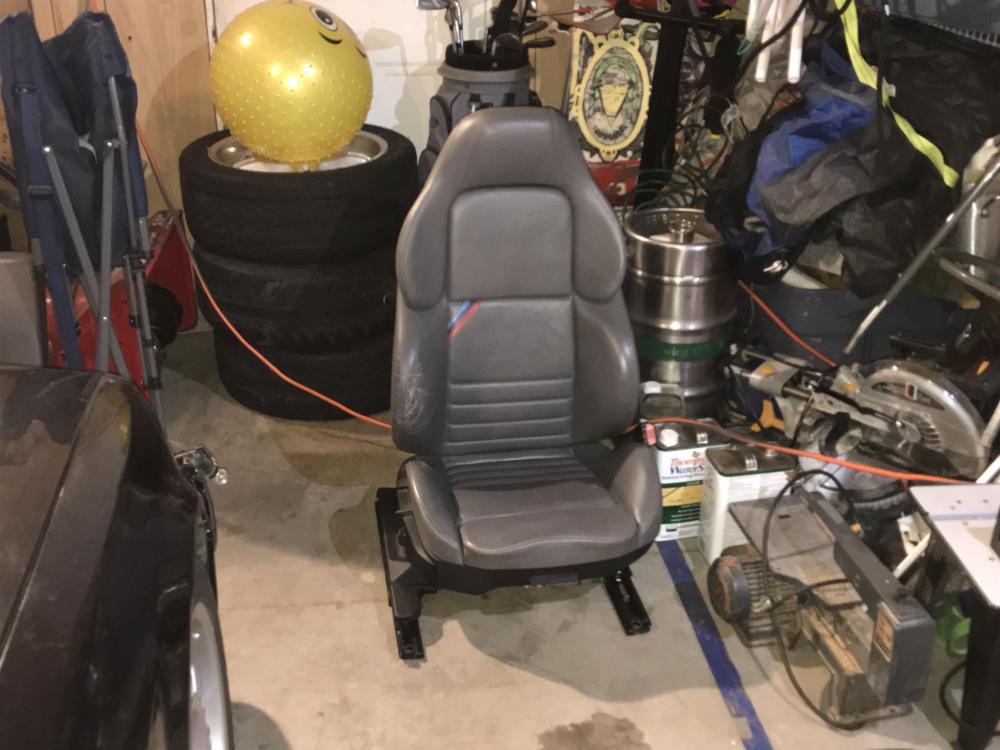
They weigh probably 80lbs and I'm really happy I can get them out of the car right away. I think I will be shaving off an easy 100lbs between swapping the seats out, removing the spare and removing the sound deadening.
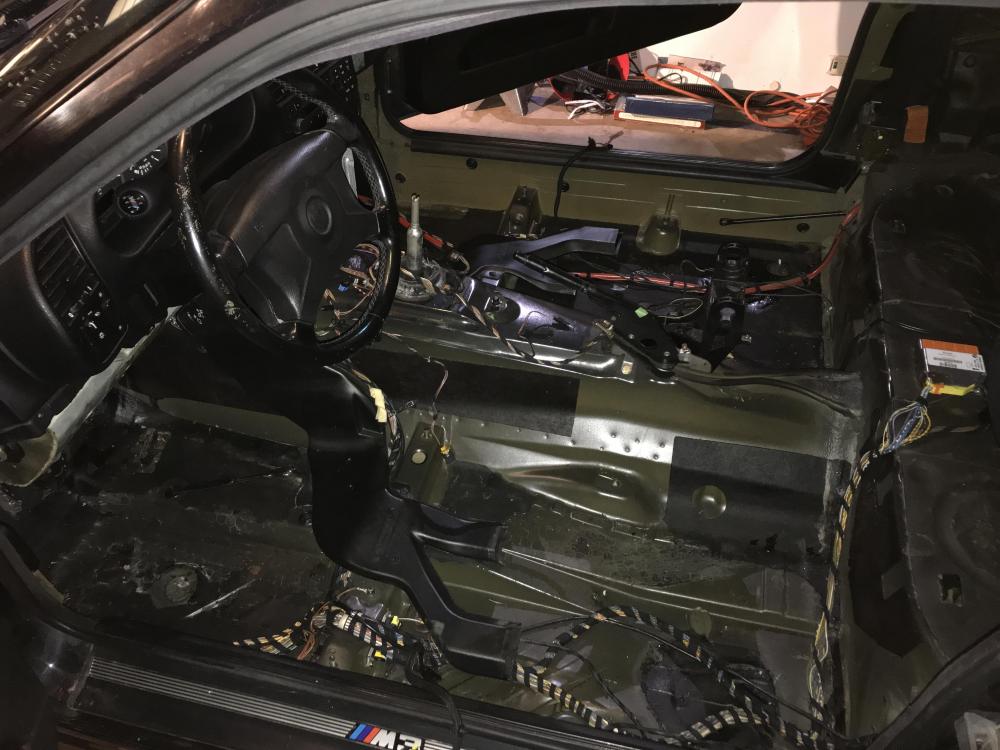
I wasn't planning on removing the sound deadening, but I noticed that the drivers side floor pan was wet. Most of the sound deadening just came right up because moisture was underneath it. I wasn't going to mess around water and my floor pans so I decided to pull almost all of the sound deadening out. Thankfully there is still absolutely no rust, but I have to find where the water was getting in. I'm saving that for tomorrow, doesn't look like or smell like coolant. New interior wont go in until I'm certain it's not leaking anymore
-
Update
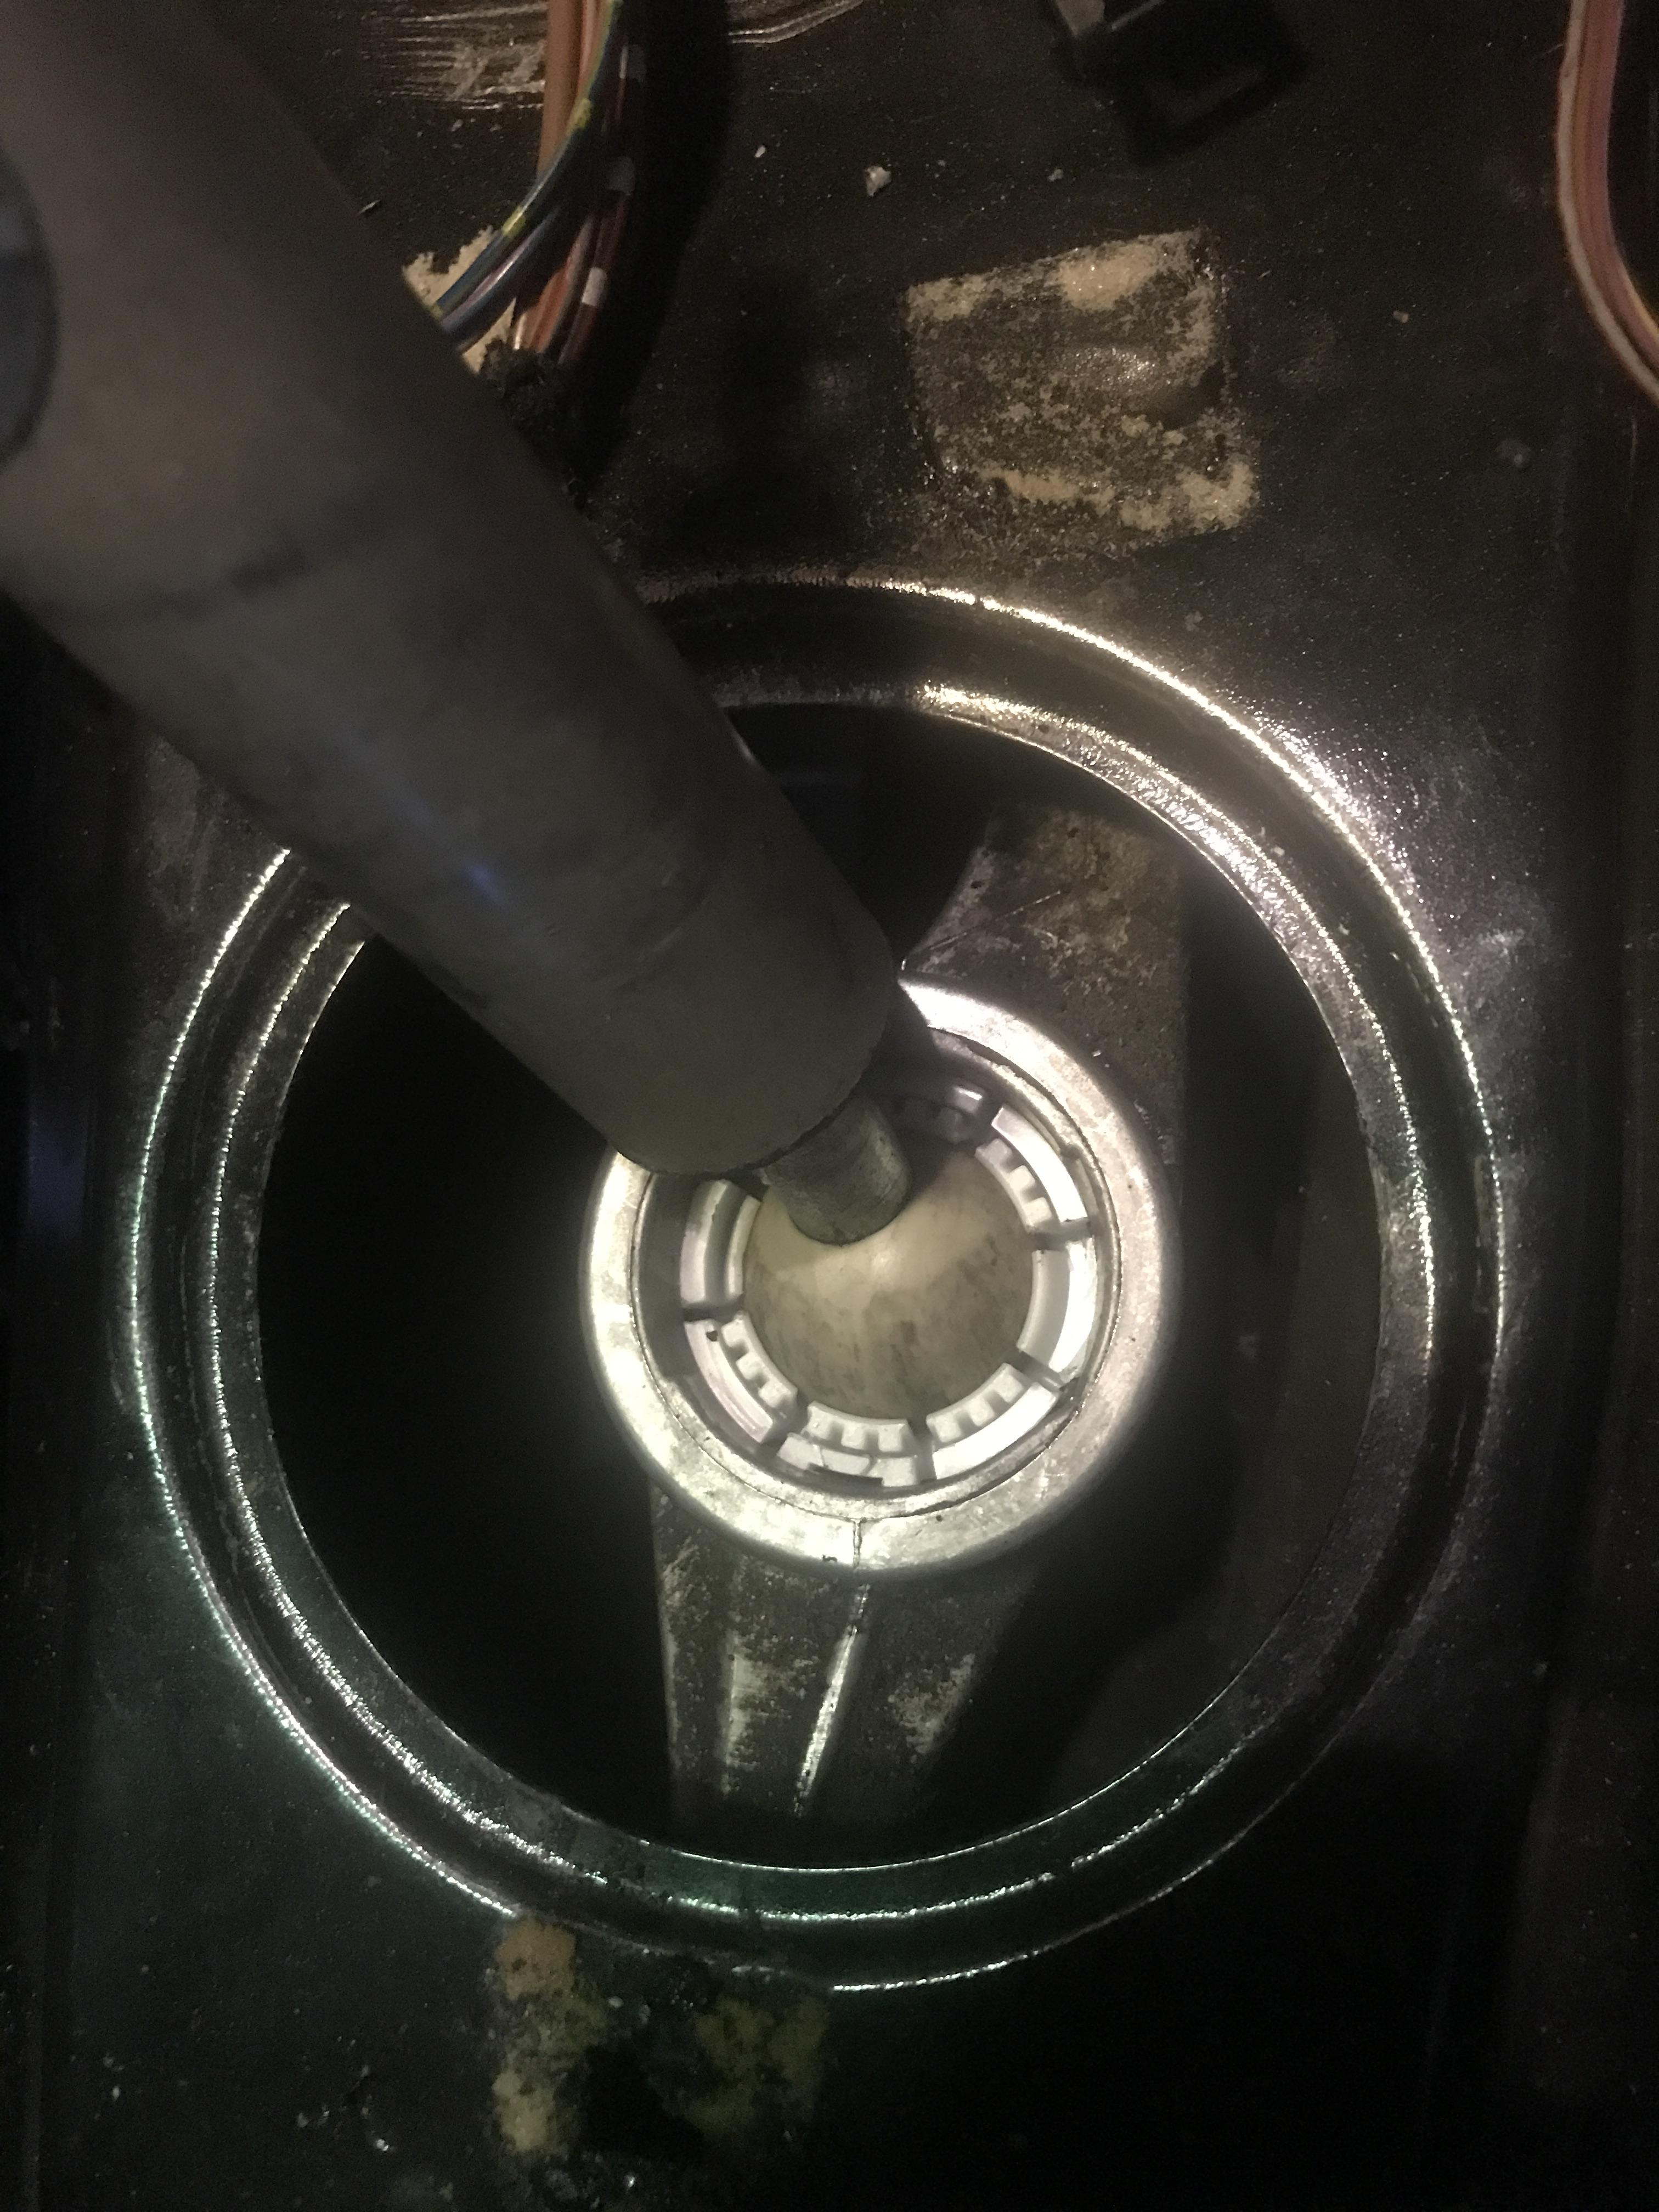
Did a few things the past week, I found out where my interior water leak is coming in. I first cleaned my cowl and cowl drains in the firewall, and unfortunately the water is coming in where the AC/Heat unit goes through the firewall. There is a gasket that goes between the firewall and the unit and mine has failed apparently. When water goes into the cowl under the windshield, most drains out like it should but a good portion leaks past the gasket into the cabin. This is a stupid big job, and now I have to get my AC released and drain my coolant as well as remove my whole dash and dash bars to remove the unit

Also the foam gasket I had to order was $44...
Anyway, for now I have to wait over 10 days for my gasket to come from Germany. Most places wouldn't ship it until late June.
I'm still going to move forward with the car and just keep it out of the rain until my gasket comes.
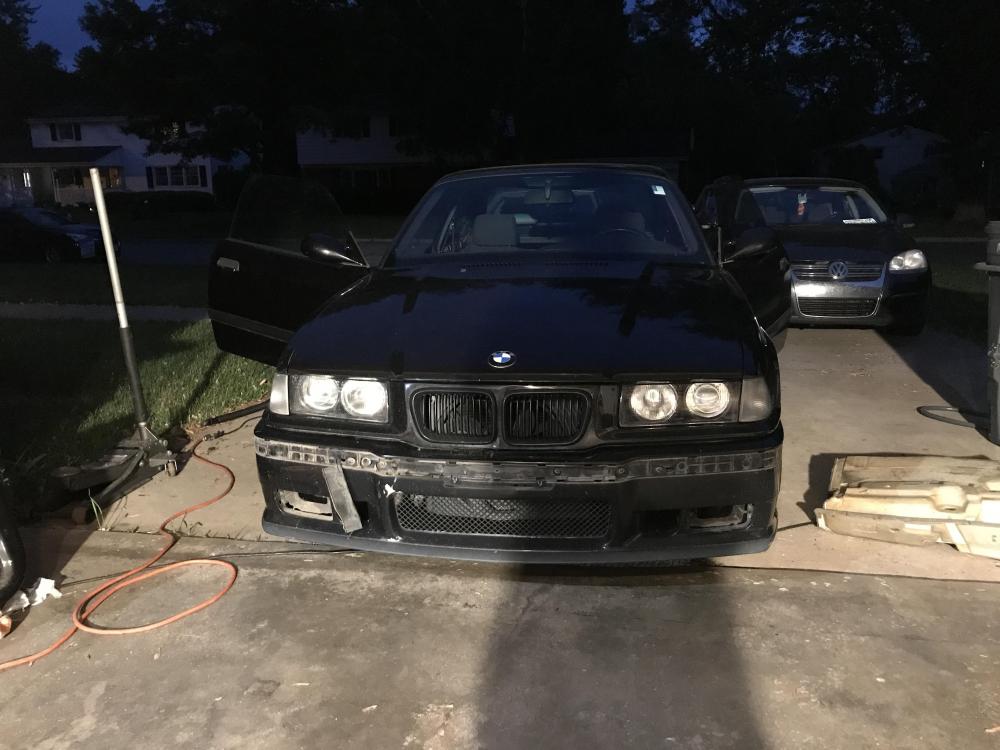
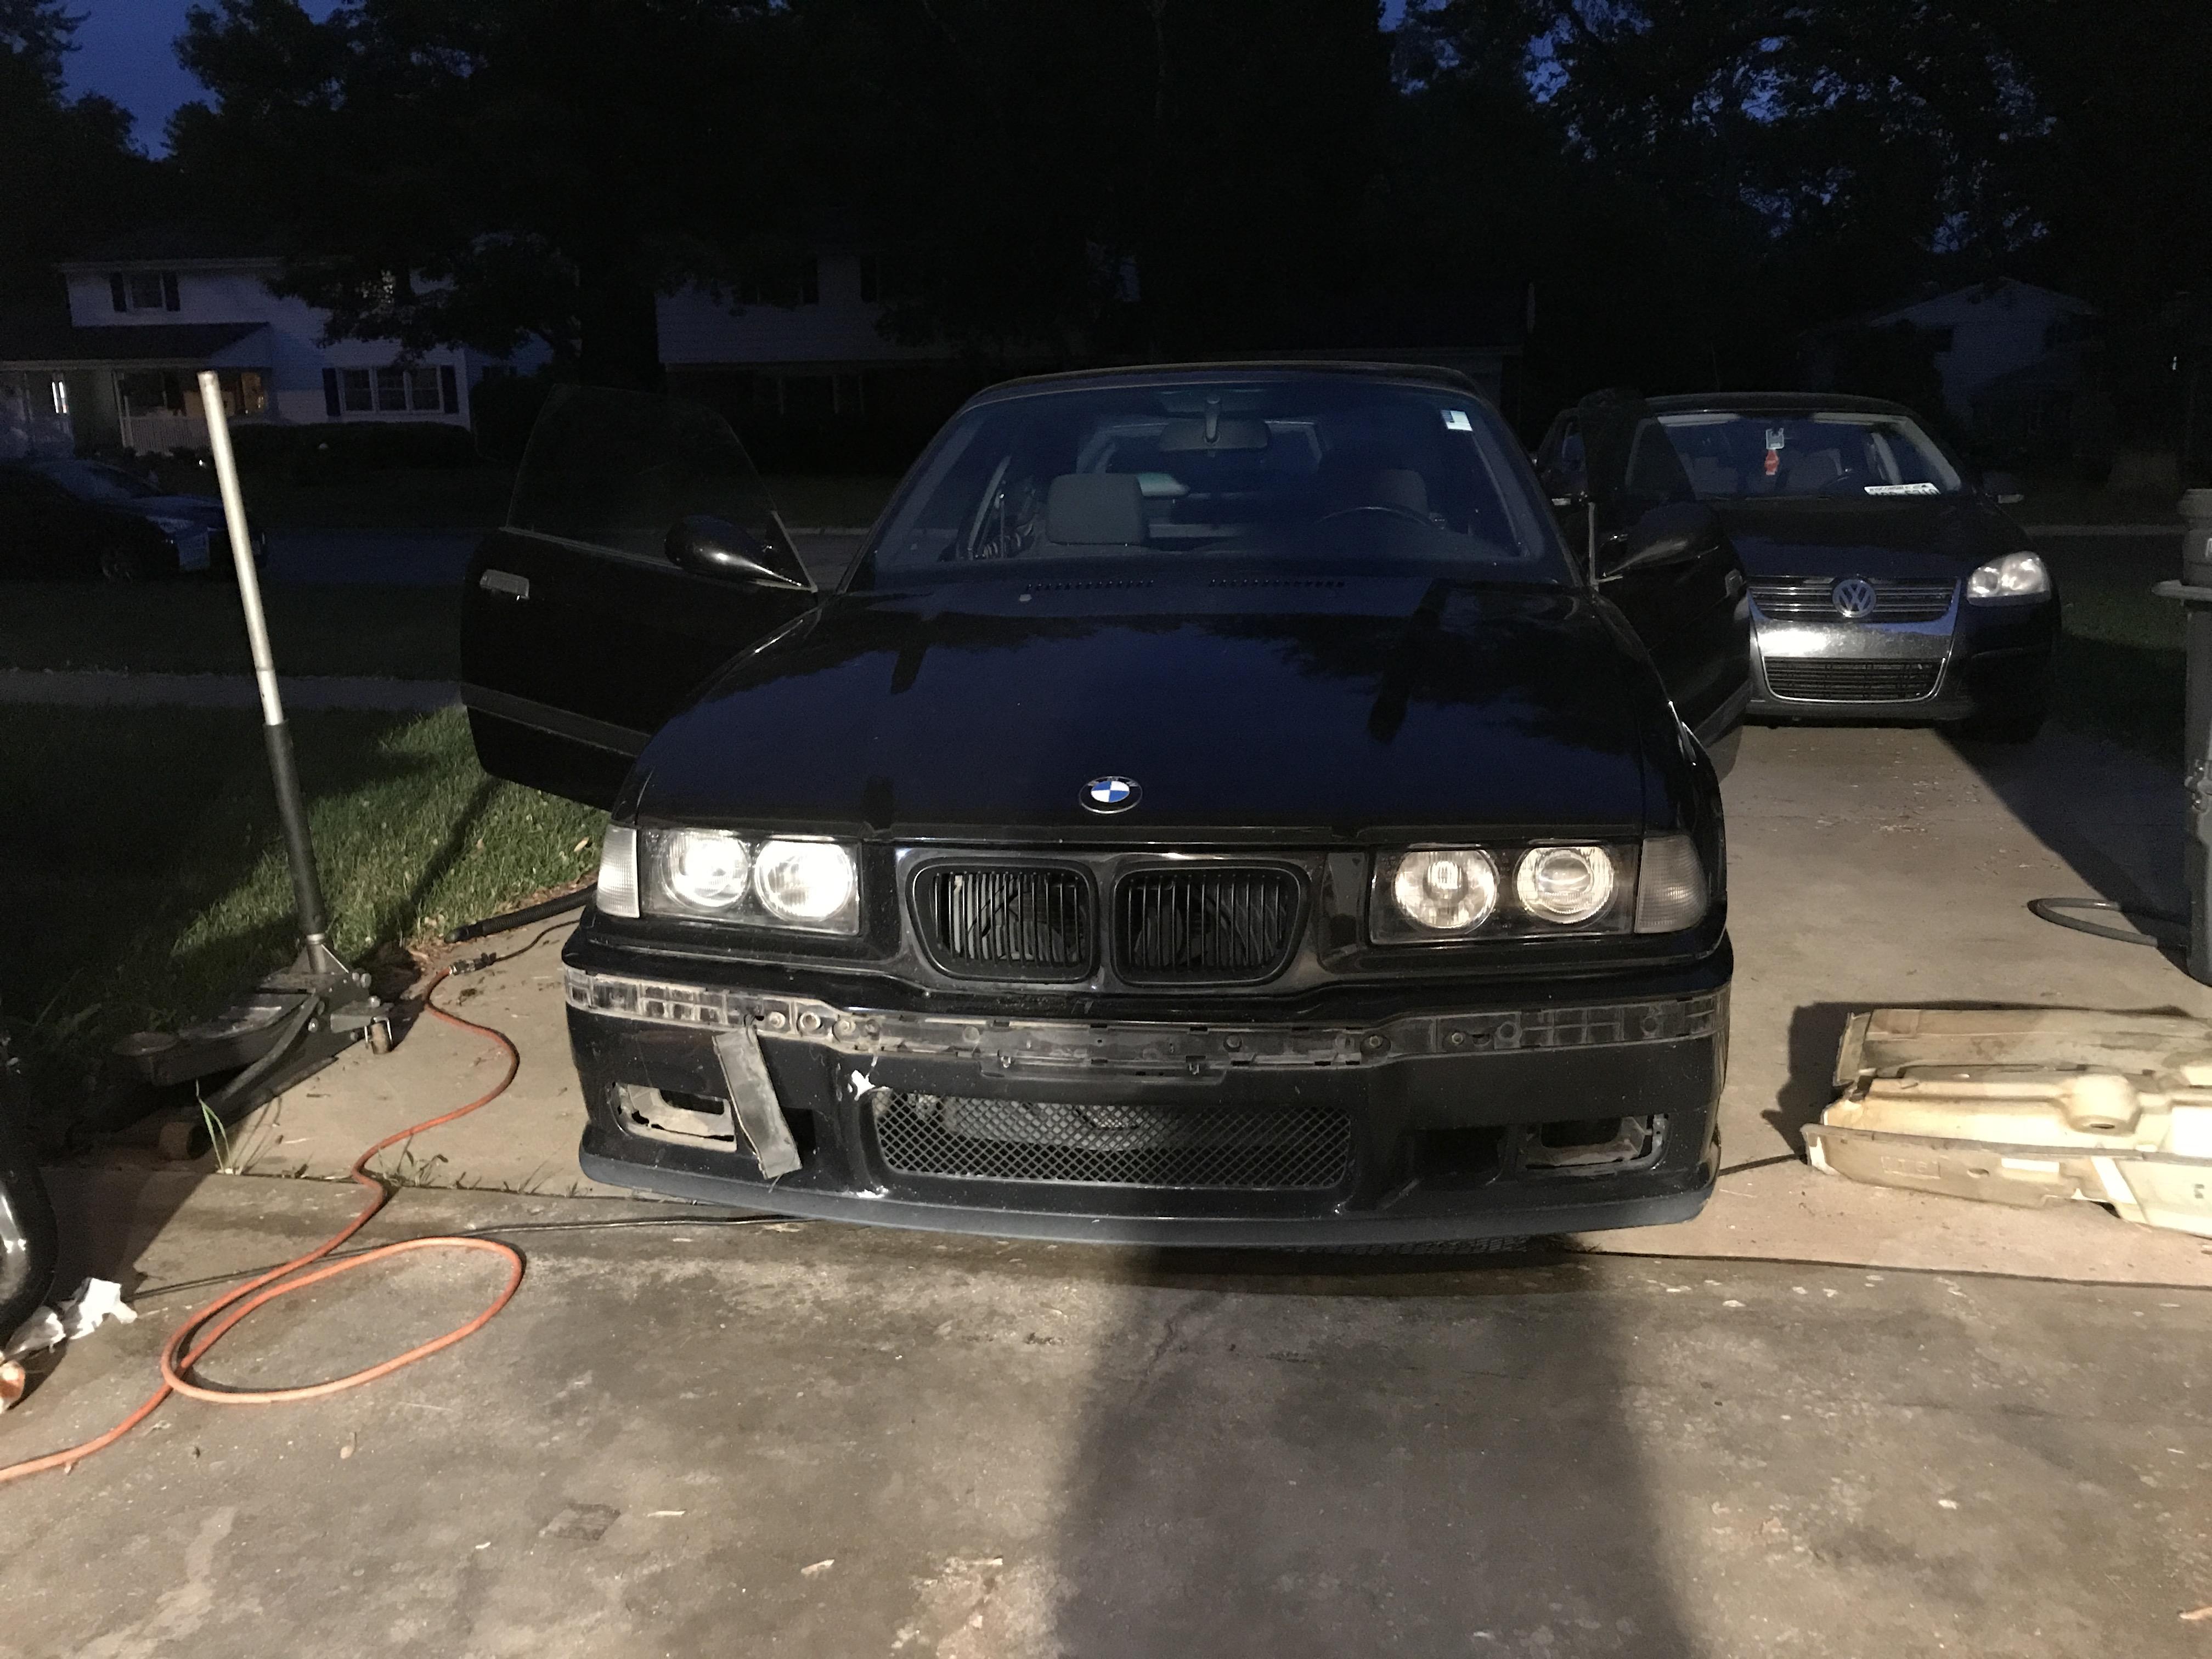
I put my glass headlights in and aligned my front end up the other day
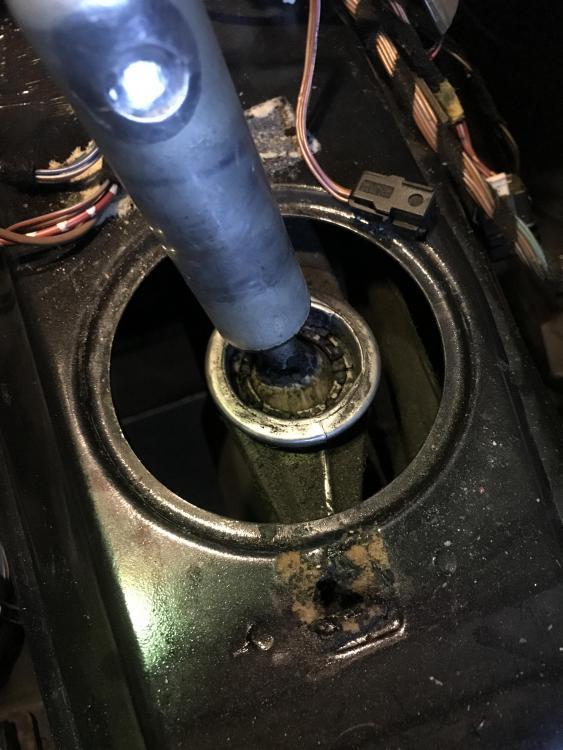
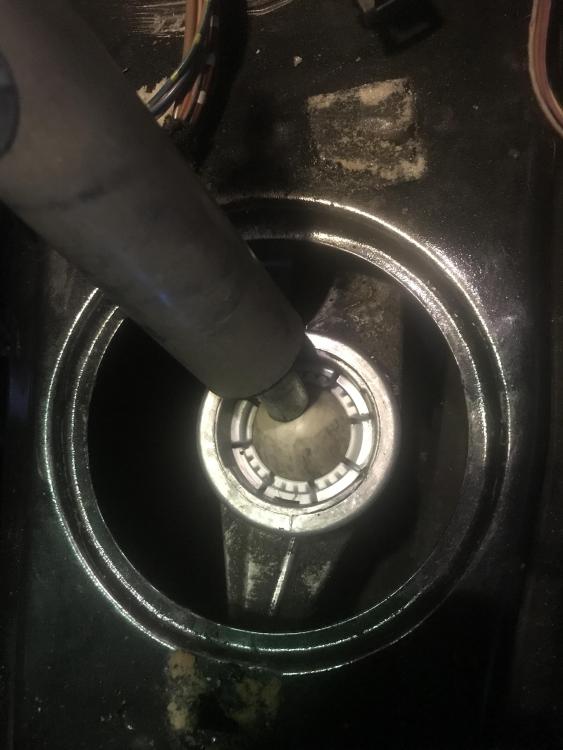
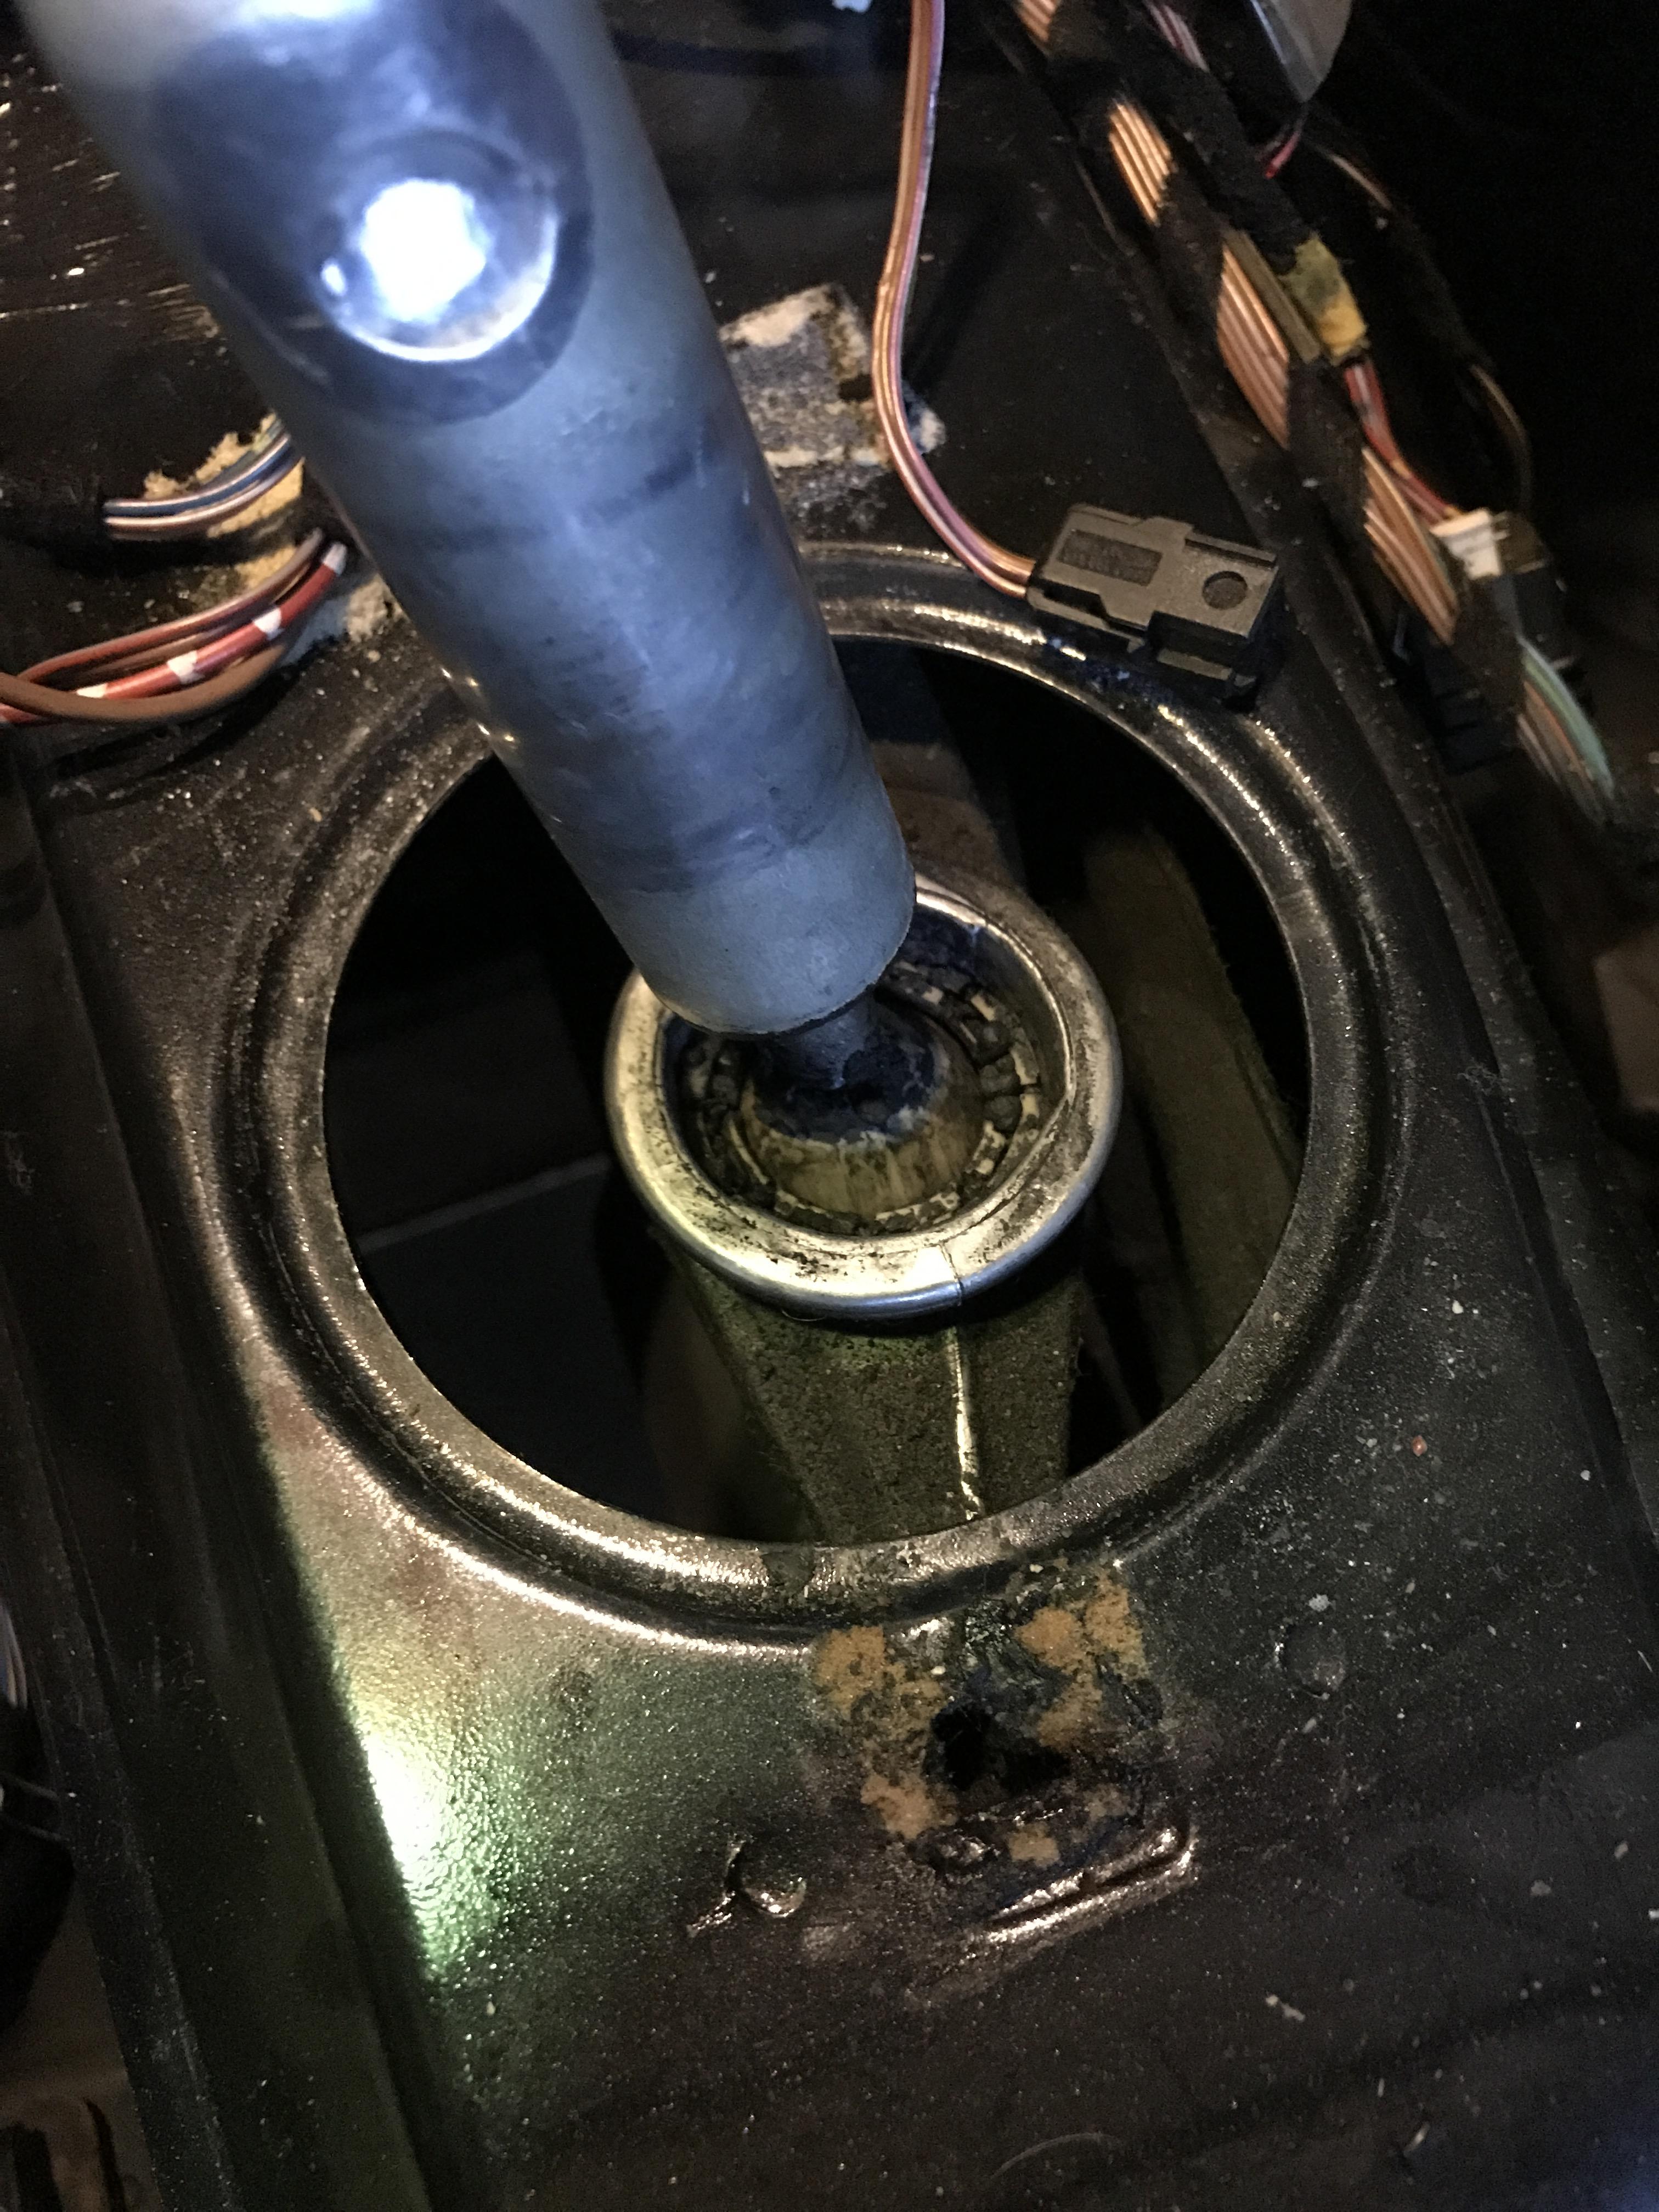
My shifter was supperrr sloppy and hard to find gears, I found out that it's possible to replace the shift lever bushing from the top so that was a good start. Feels much better and is tight, but 3rd gear is pretty hard to distinguish from 5th. The shift linkage will need further work, my previous M3 shifter felt much better I want that feeling again
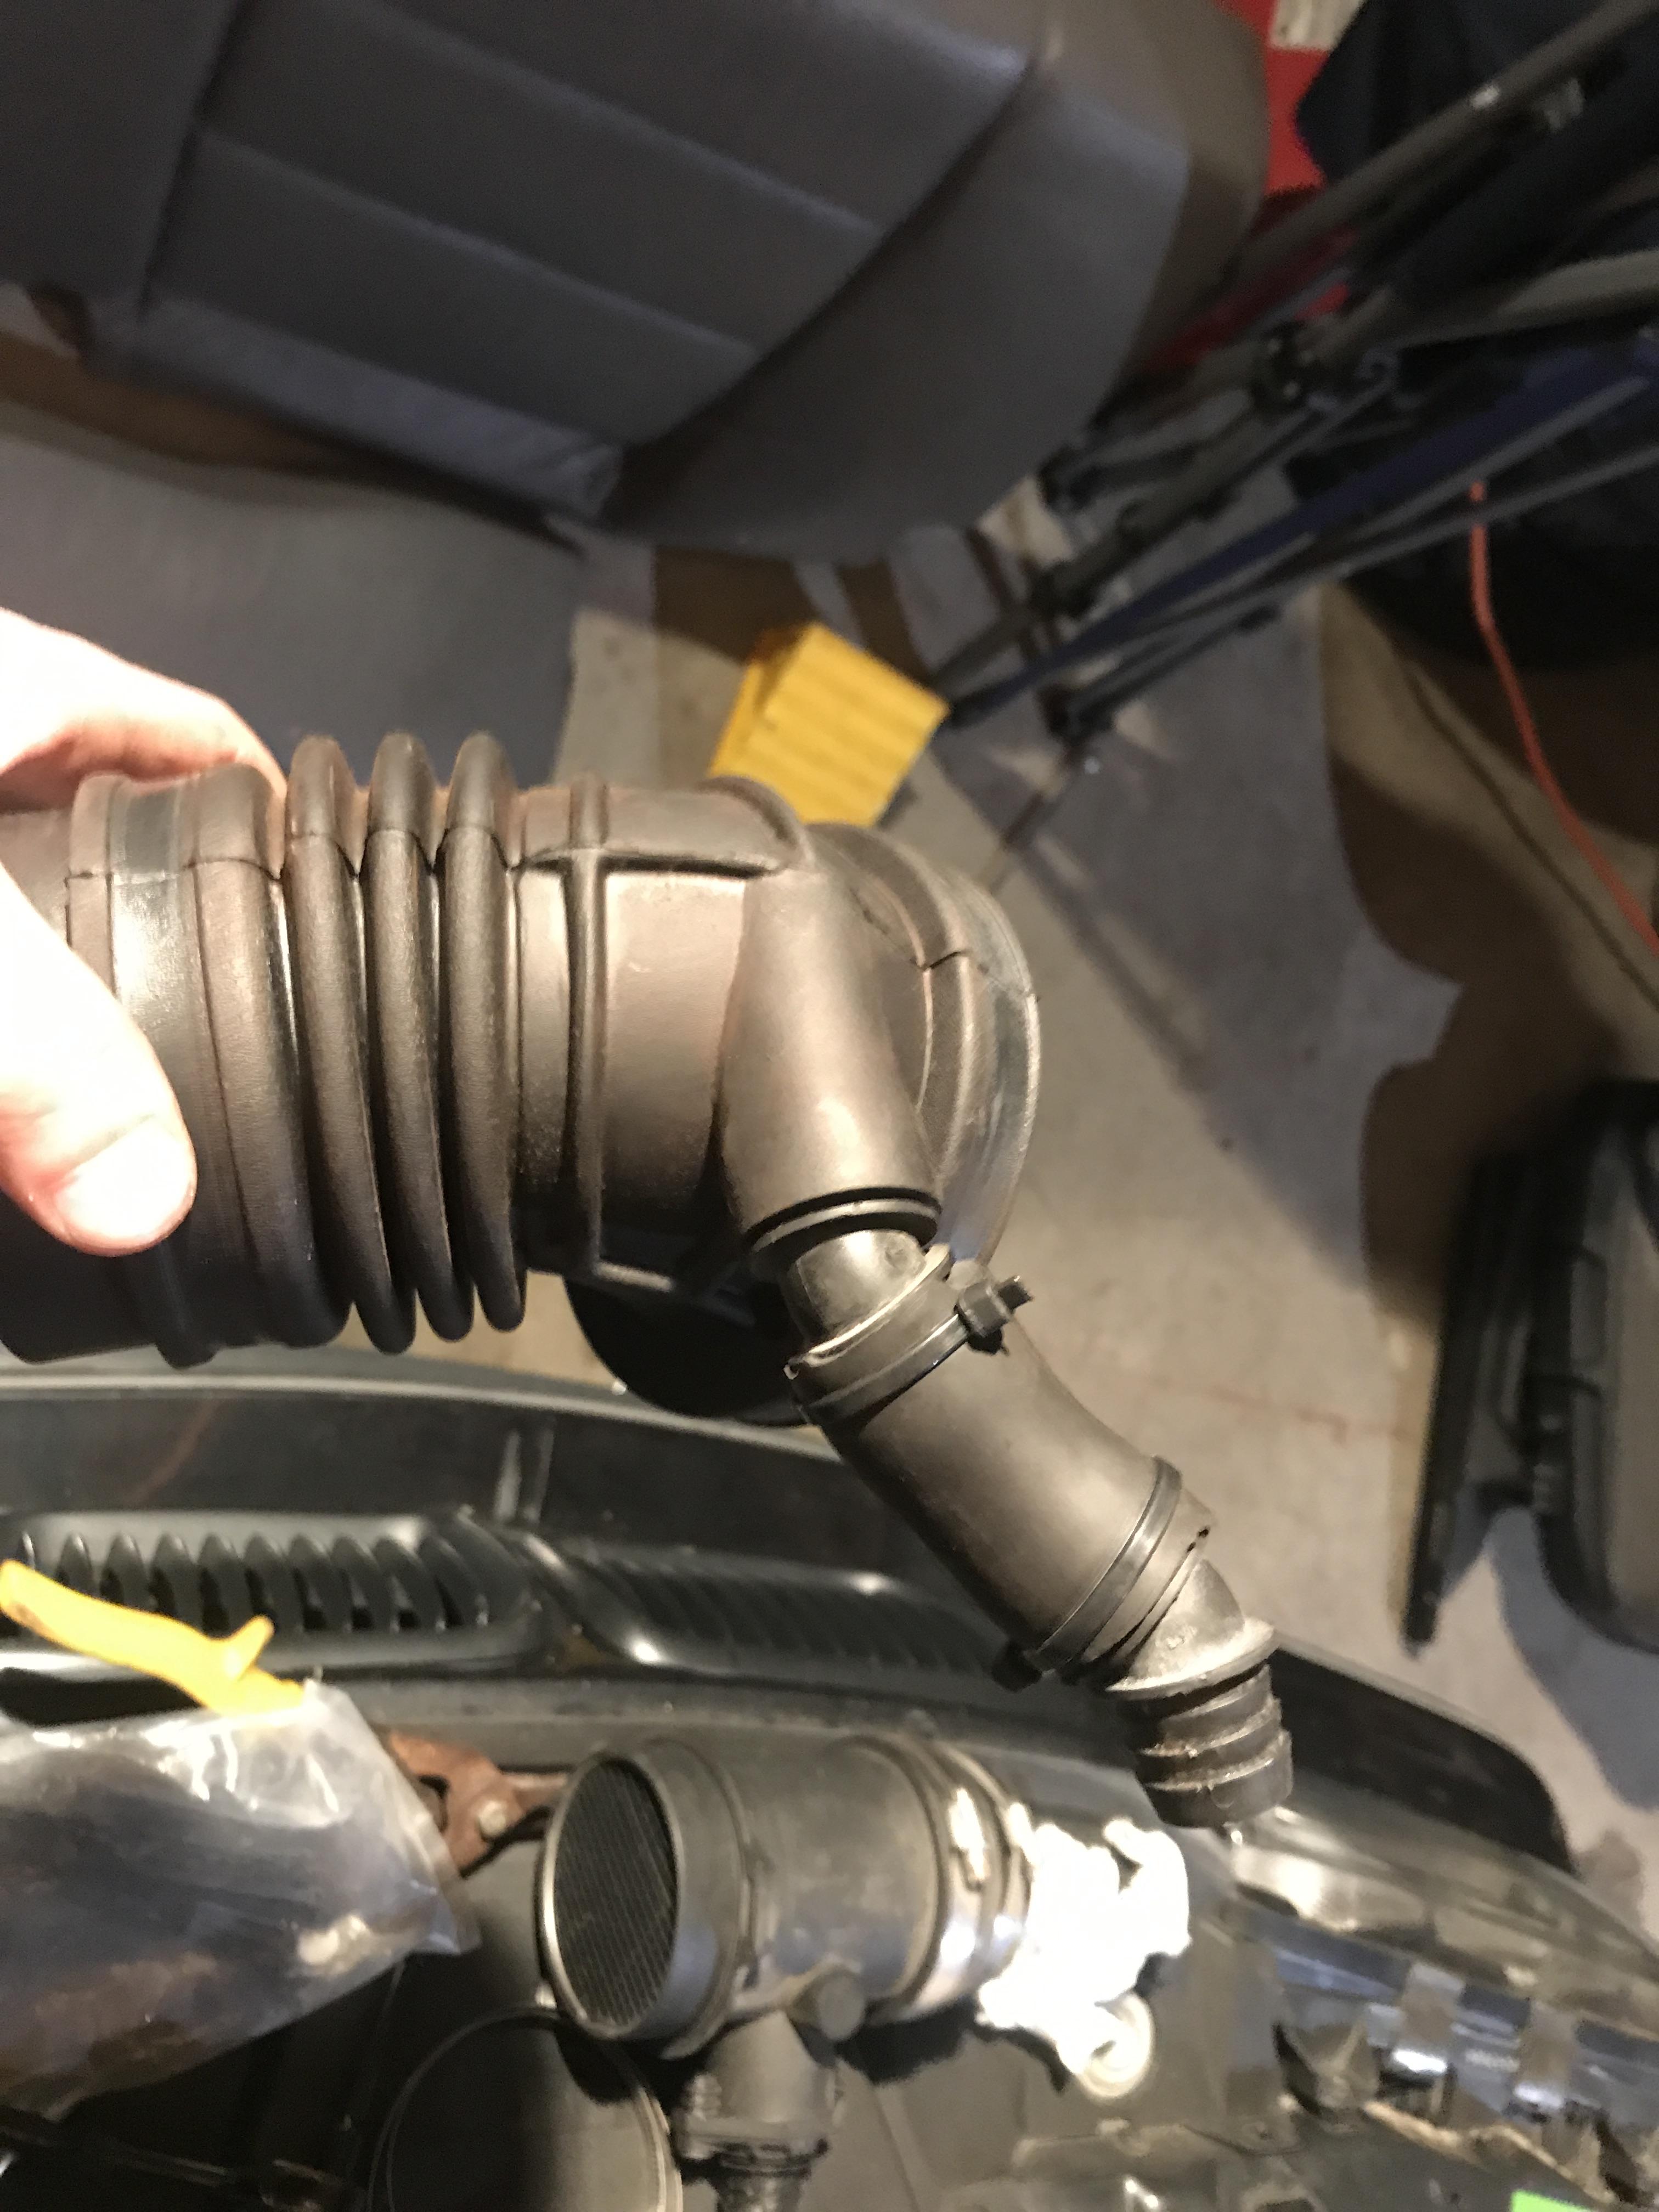
After I picked up the car from Chicago, the car started Idling like shit pretty much right after I got home. I found that the ICV hose had cracked in 4 places where it connected to the intake. While I was at the junkyard I cut a chunk of ICV hose from a e36 and cut off the cracked part of mine and made this. This seems to work great, and I made sure it doesn't hit my throttle cable. I wasn't about to pull my intake manifold...
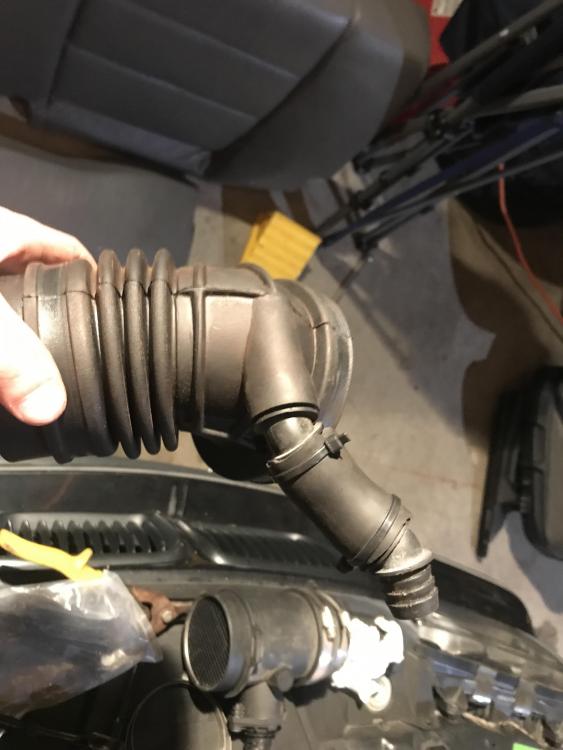
3.5in maf came on this car for absolutely no reason also
No pics, but my LTW seats wouldn't just plug into my new M3 because the seatbelt plugs are different on a 98.5+, so yesterday night I swapped pyro seatbelt tensioners from my vaders onto my LTW seats that had mechanical tensioners. It was absolutely horrible and involved me having to constantly remove and replace my 700lb electric vaders in the car so I could adjust them to swap bolts around from the seat frames. It took forever, but if you take the time to swap everything over the seat frames are the same. Managed to stay airbag light free
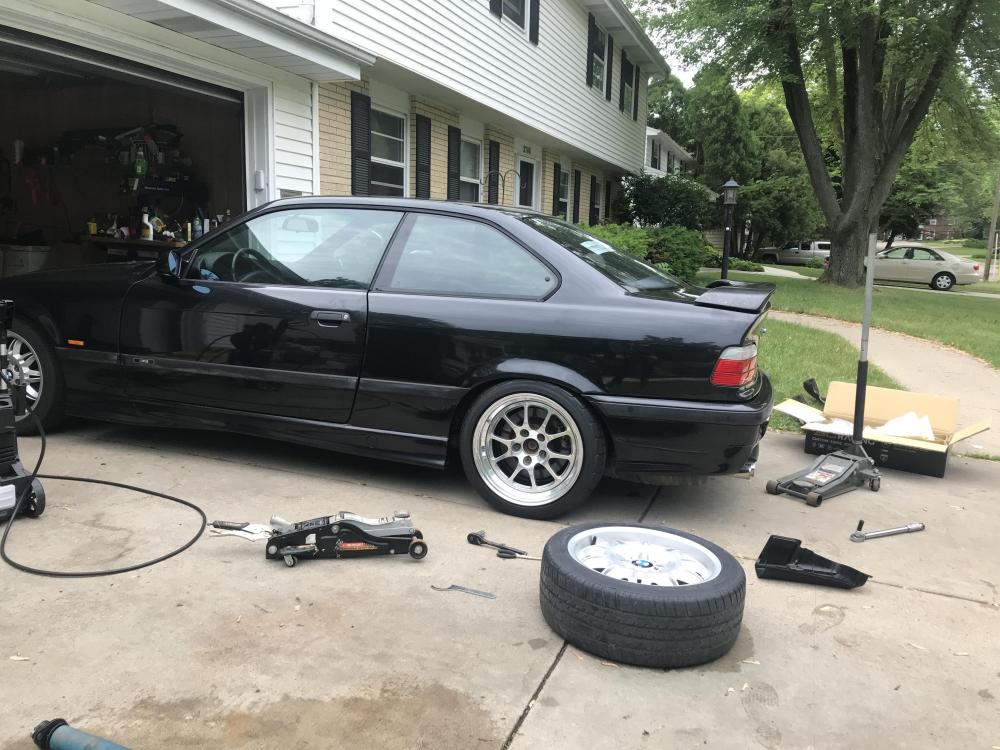
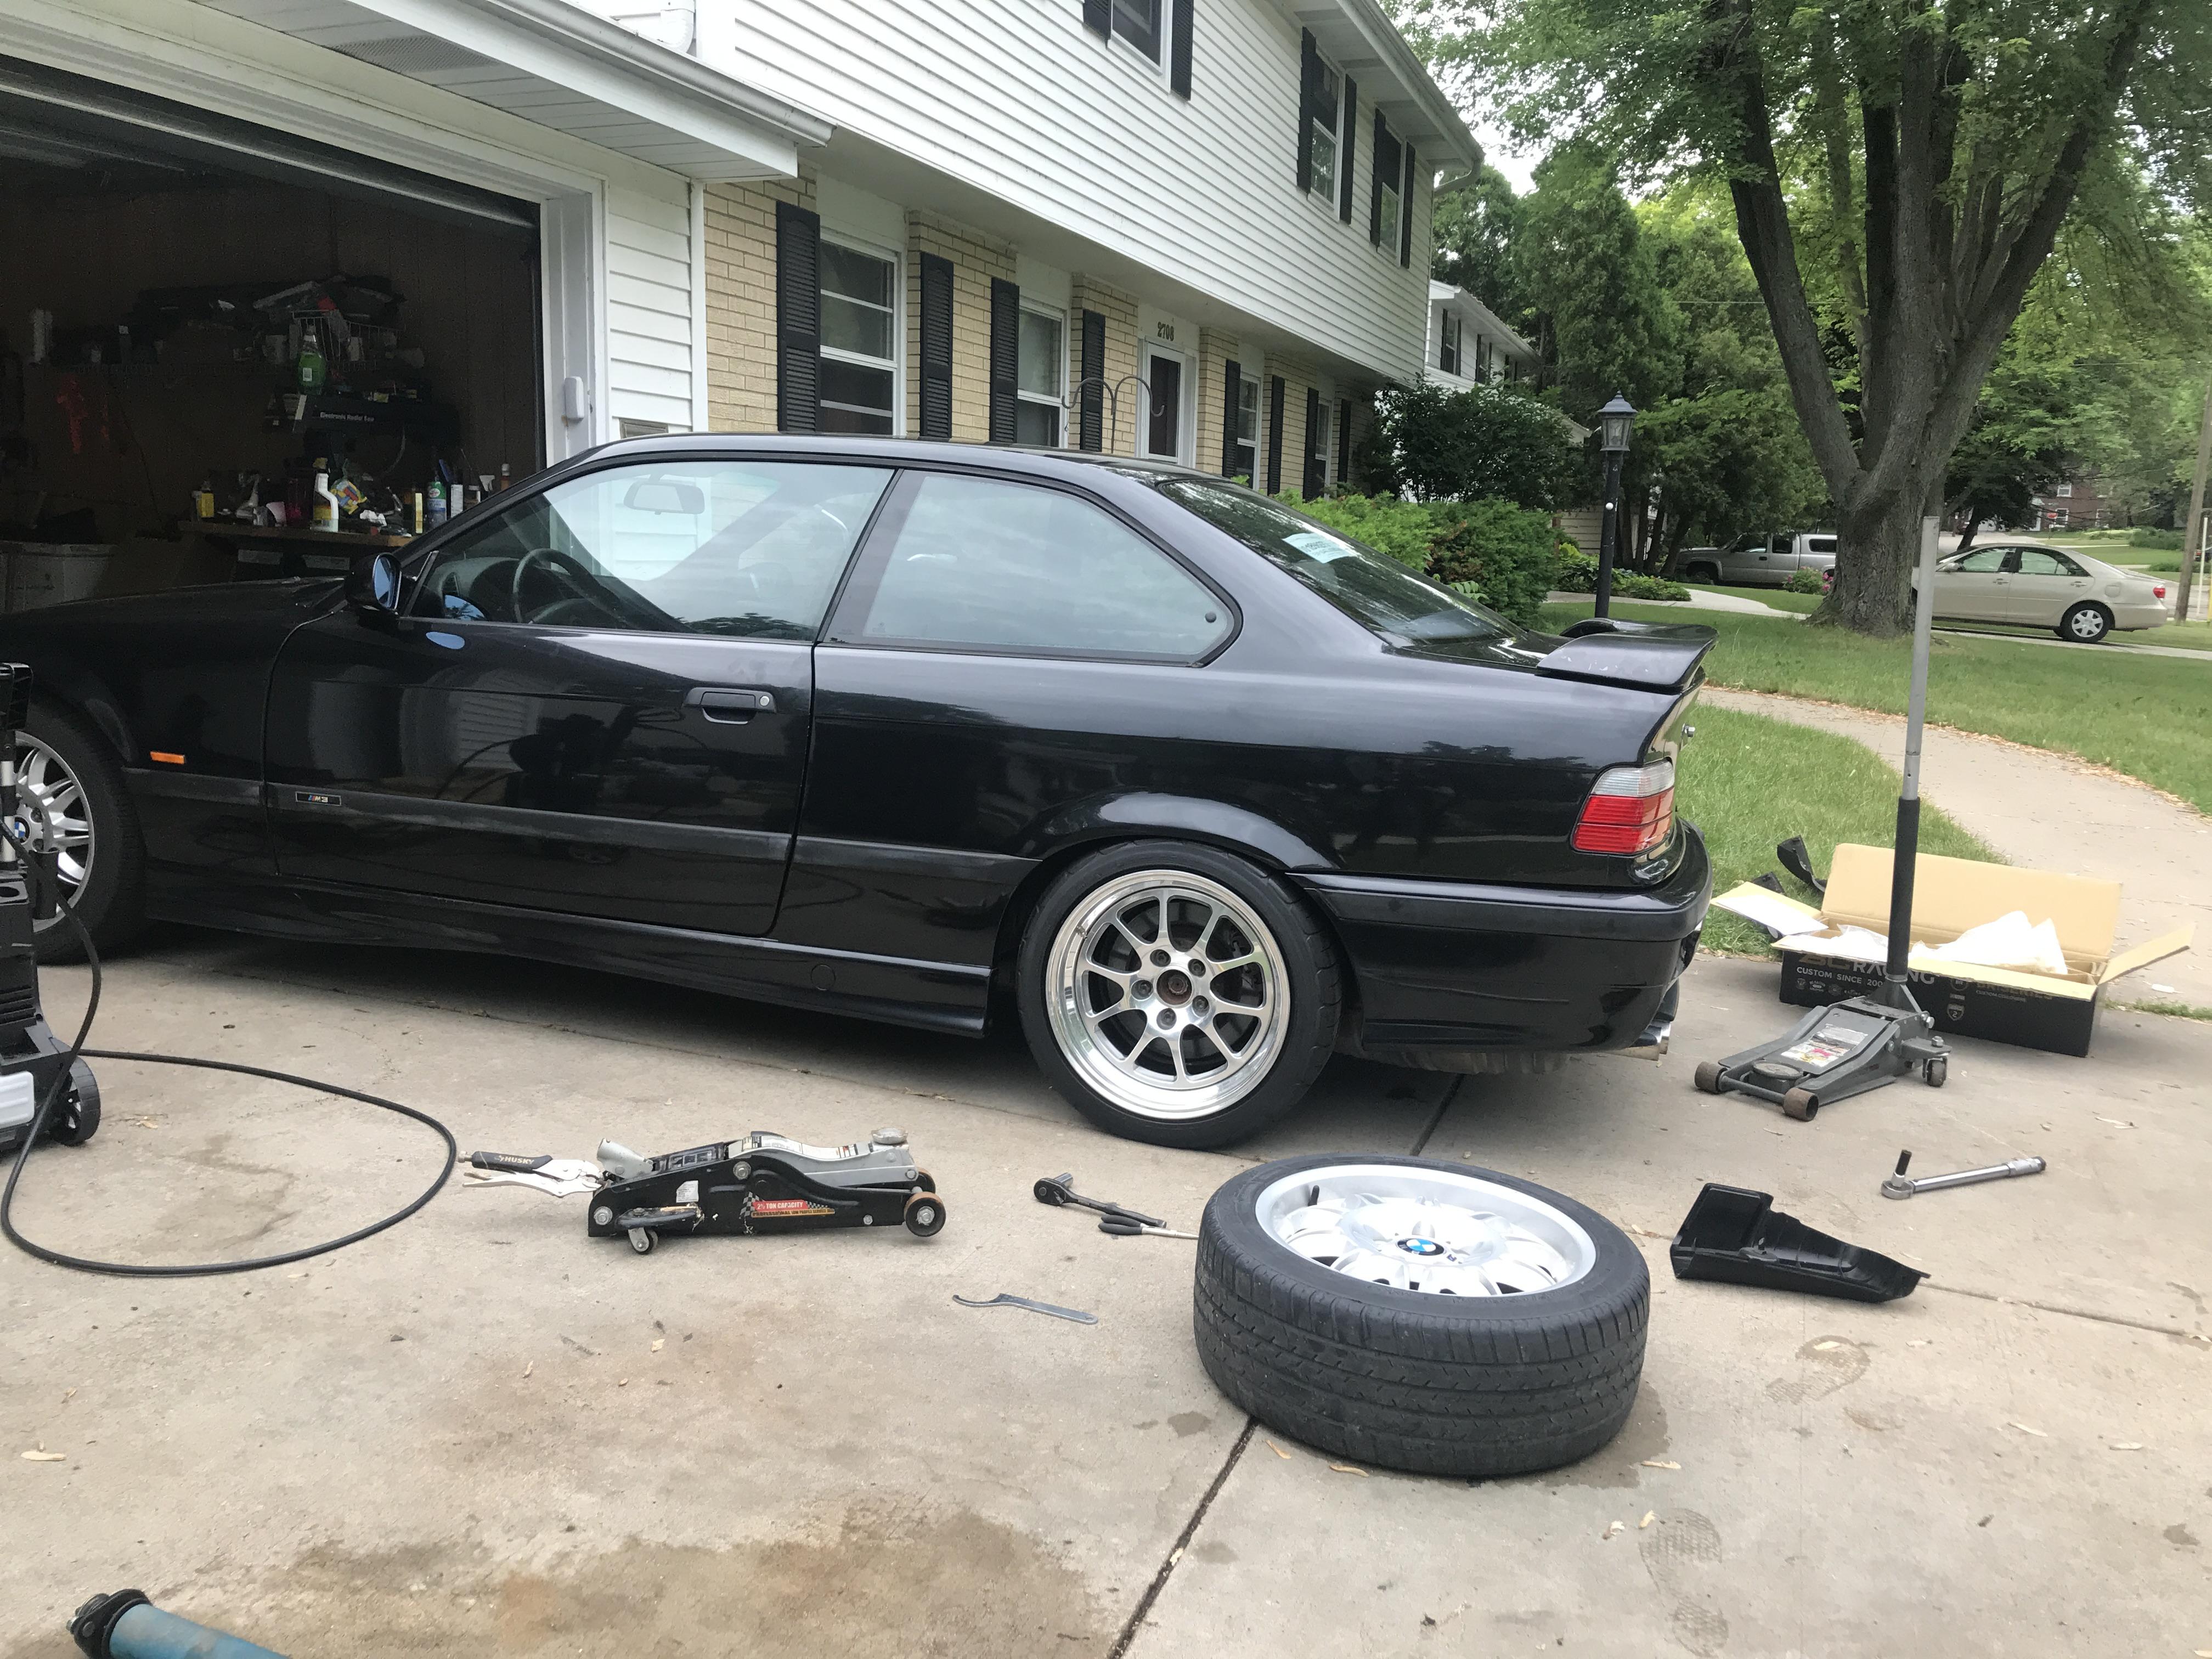
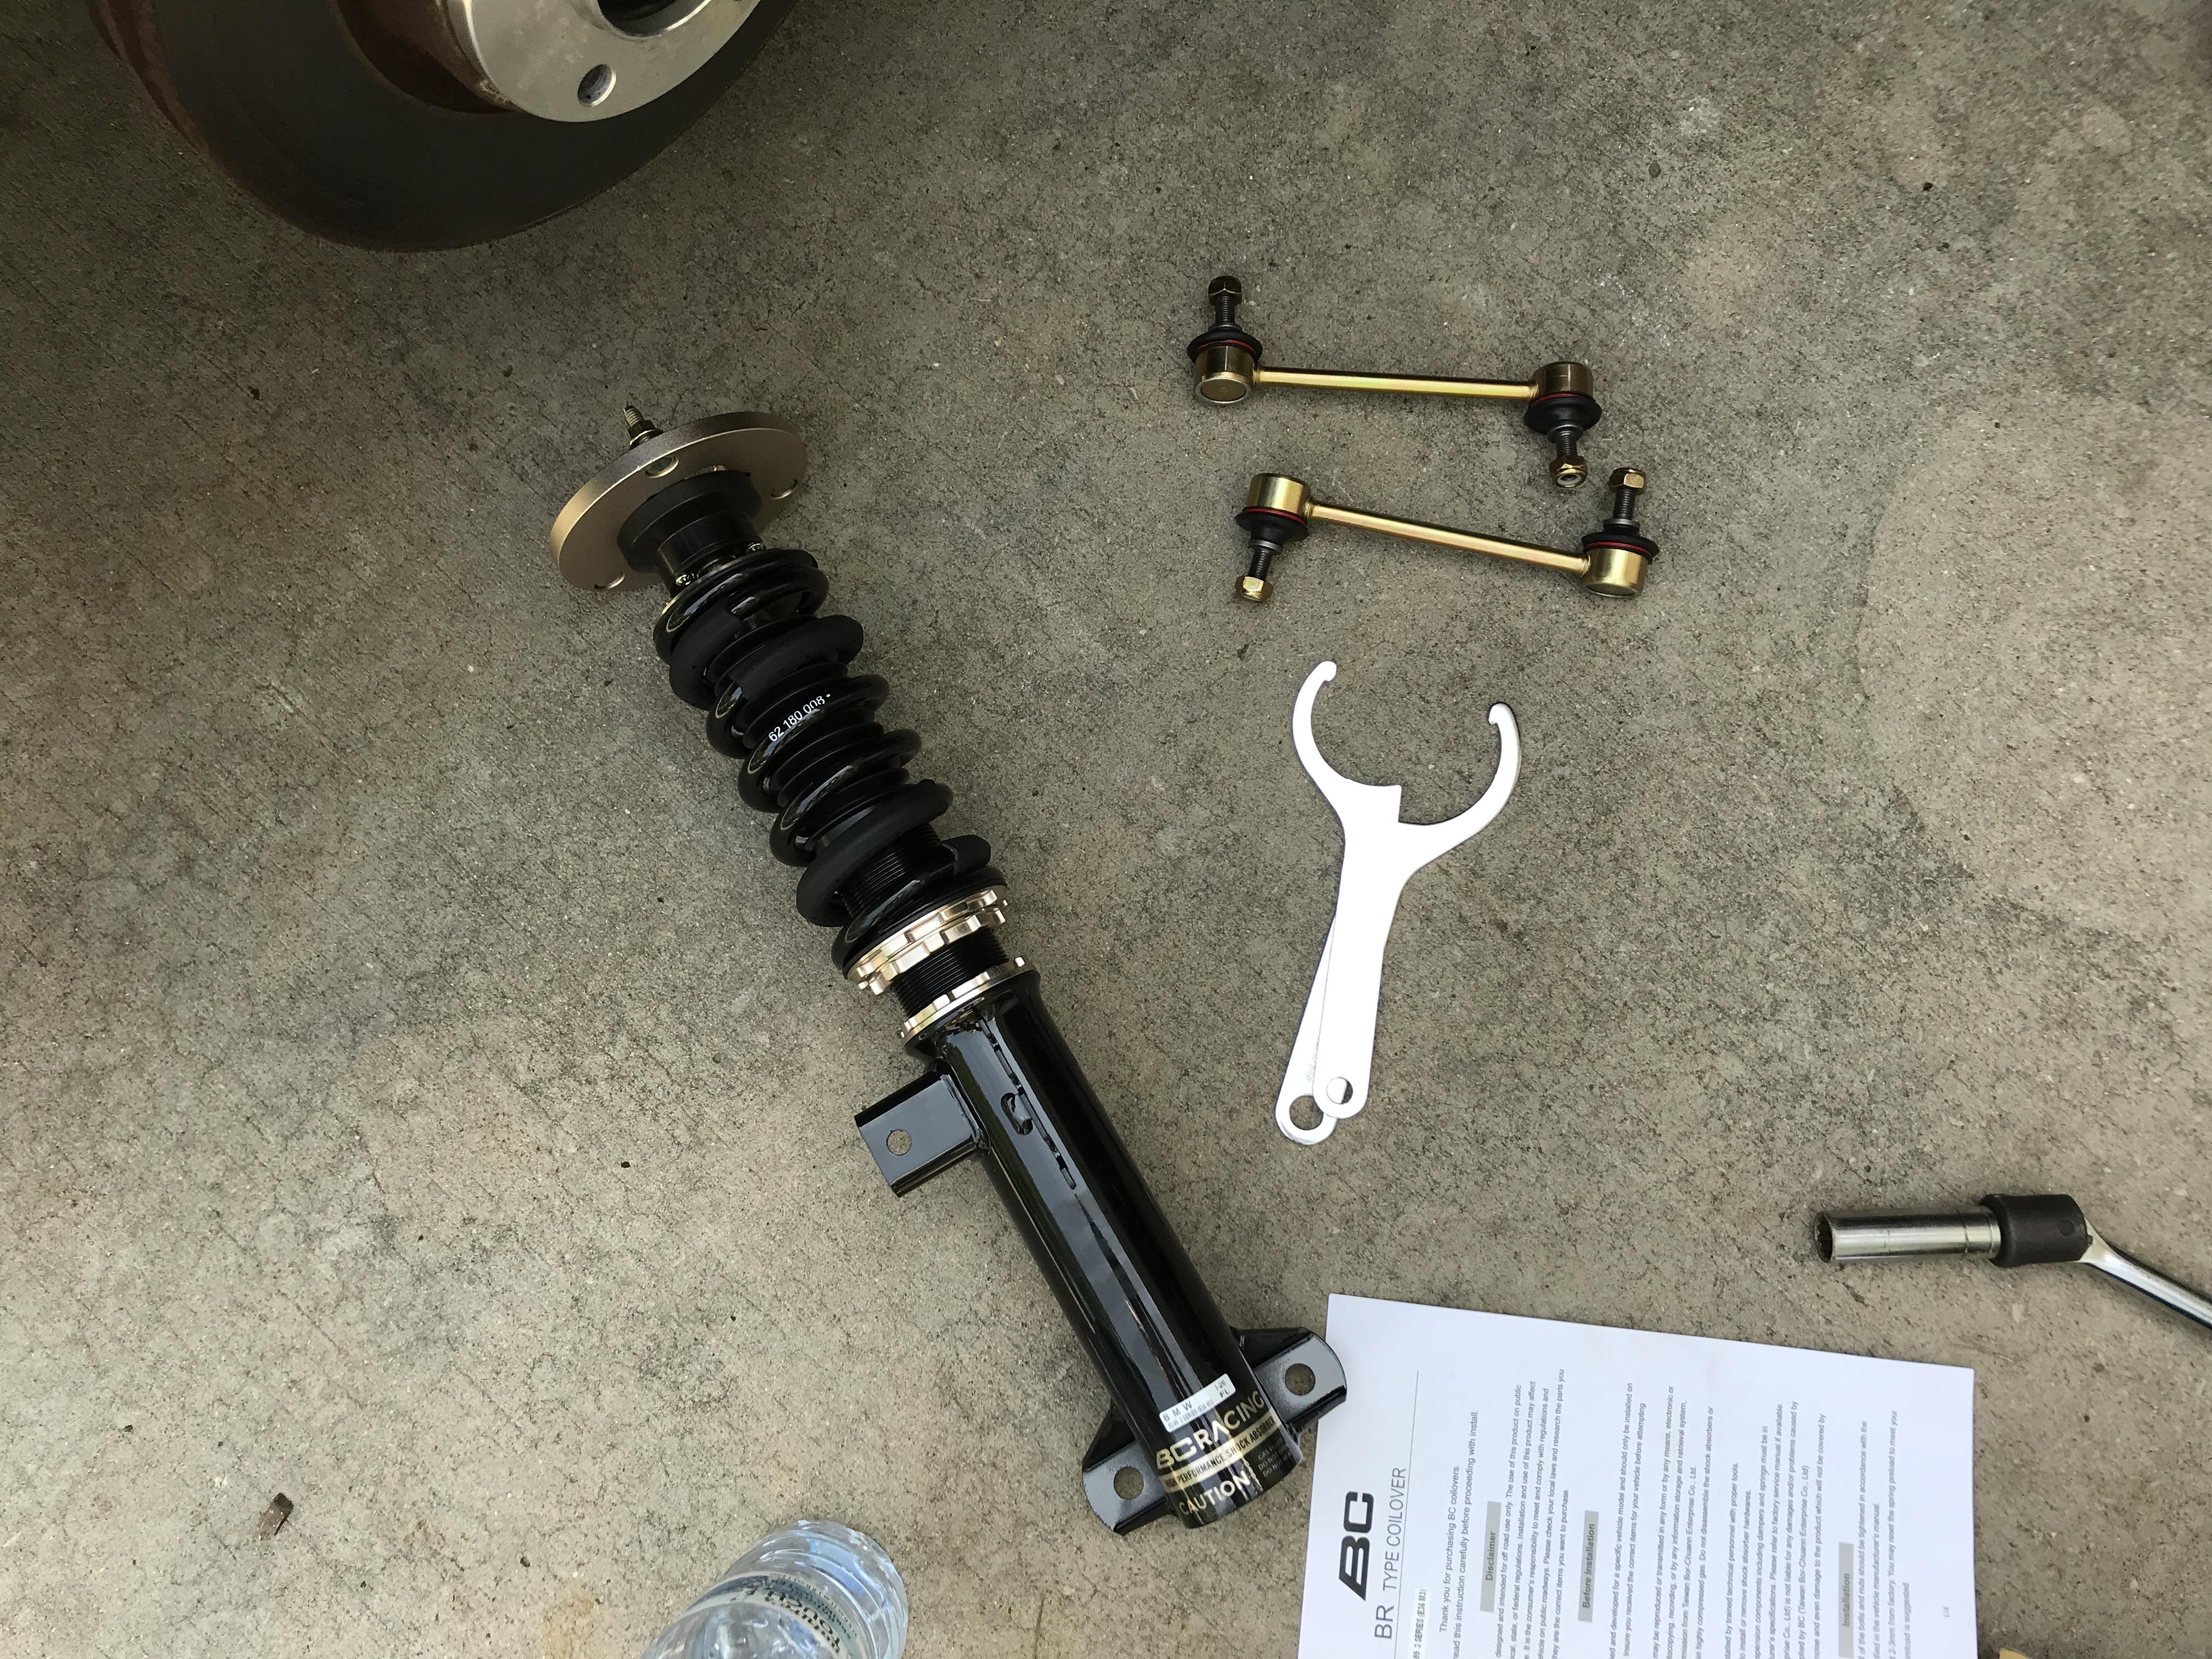
Finally, today I threw in my rear BC coilovers and leaned how to set preload on the springs and adjust the shocks. Never had nice suspension before, so that was fun.
Deja vu, basically looks like were I was at with my old car lmao
Final rear ride height, digging the wing.
-
Did a few things this past week, hopefully I can offer more technical updates soon haha
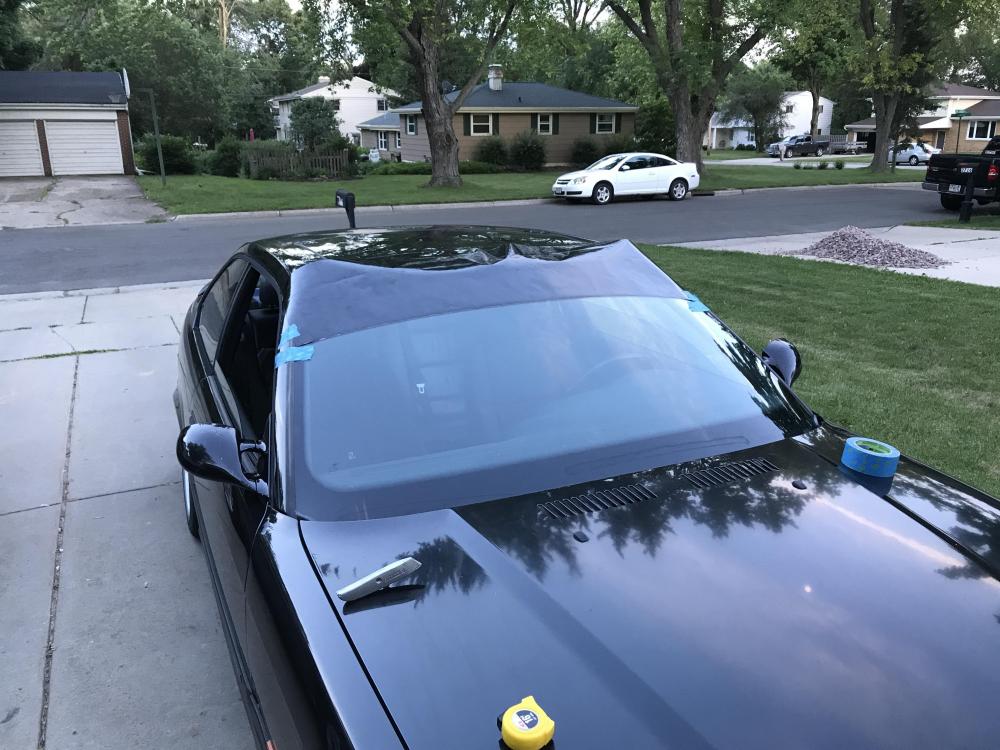
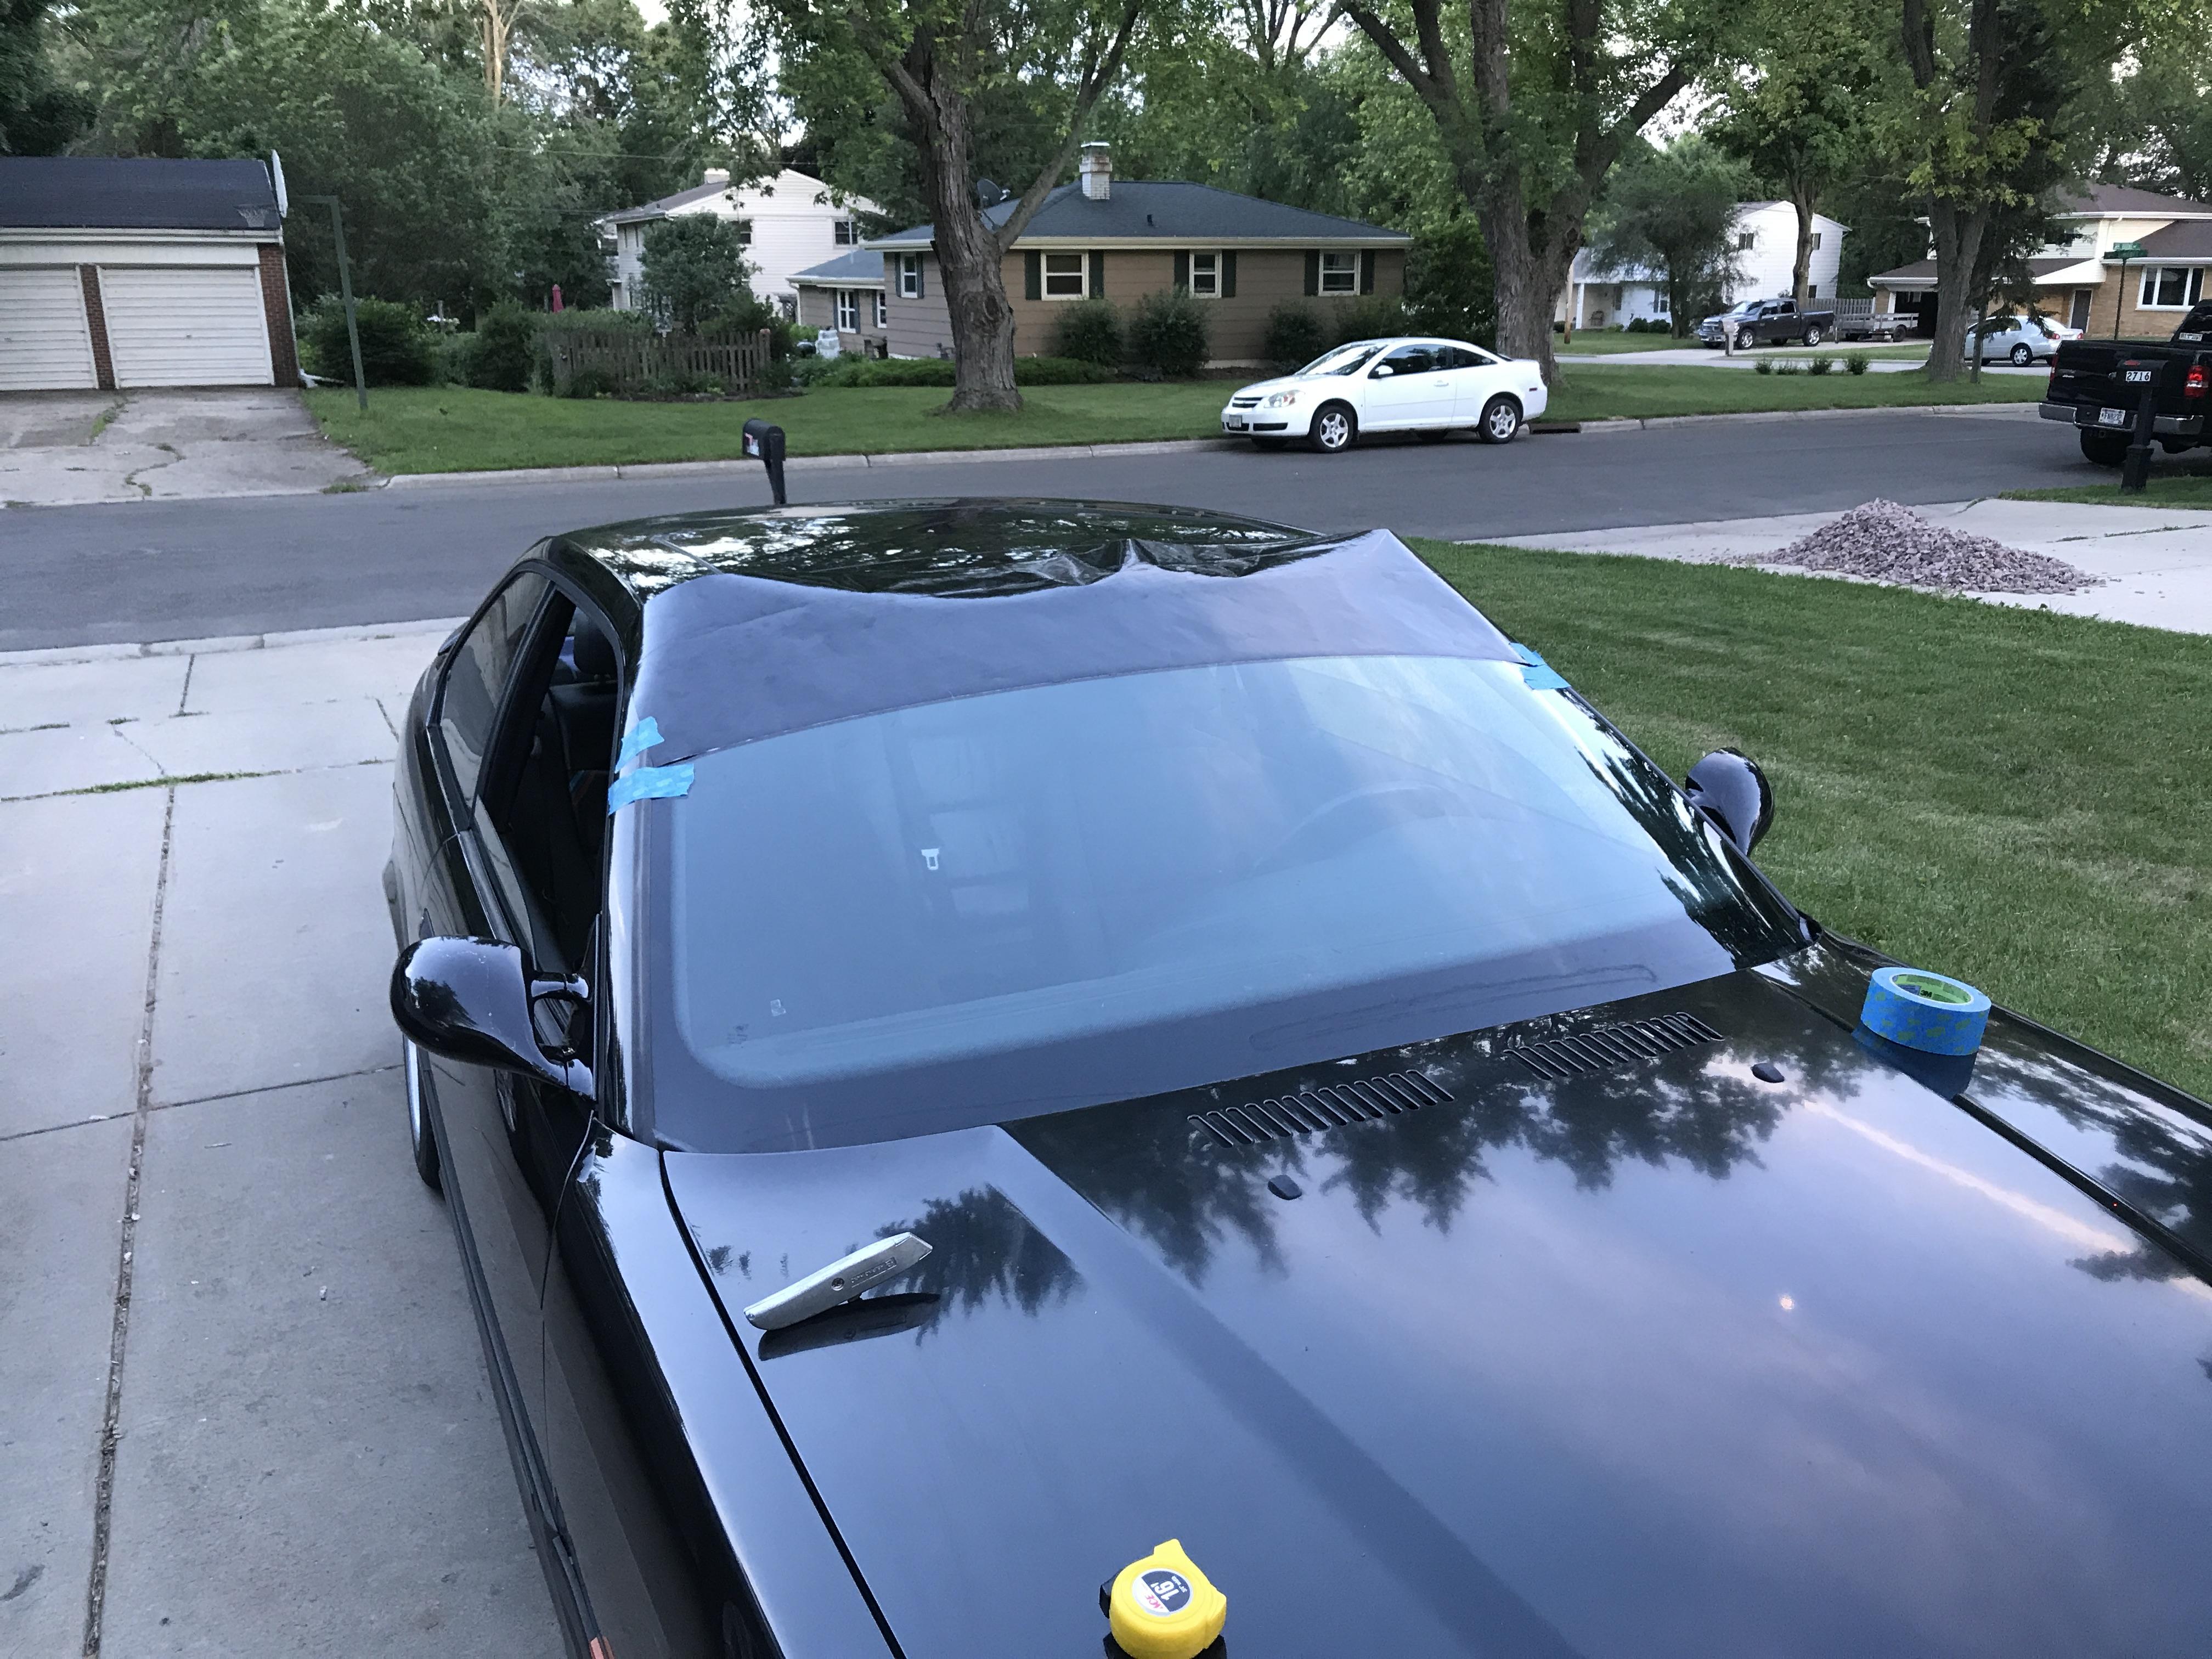
I'm a huge fan of vinyl windshield banners, DTM or Supertouring style
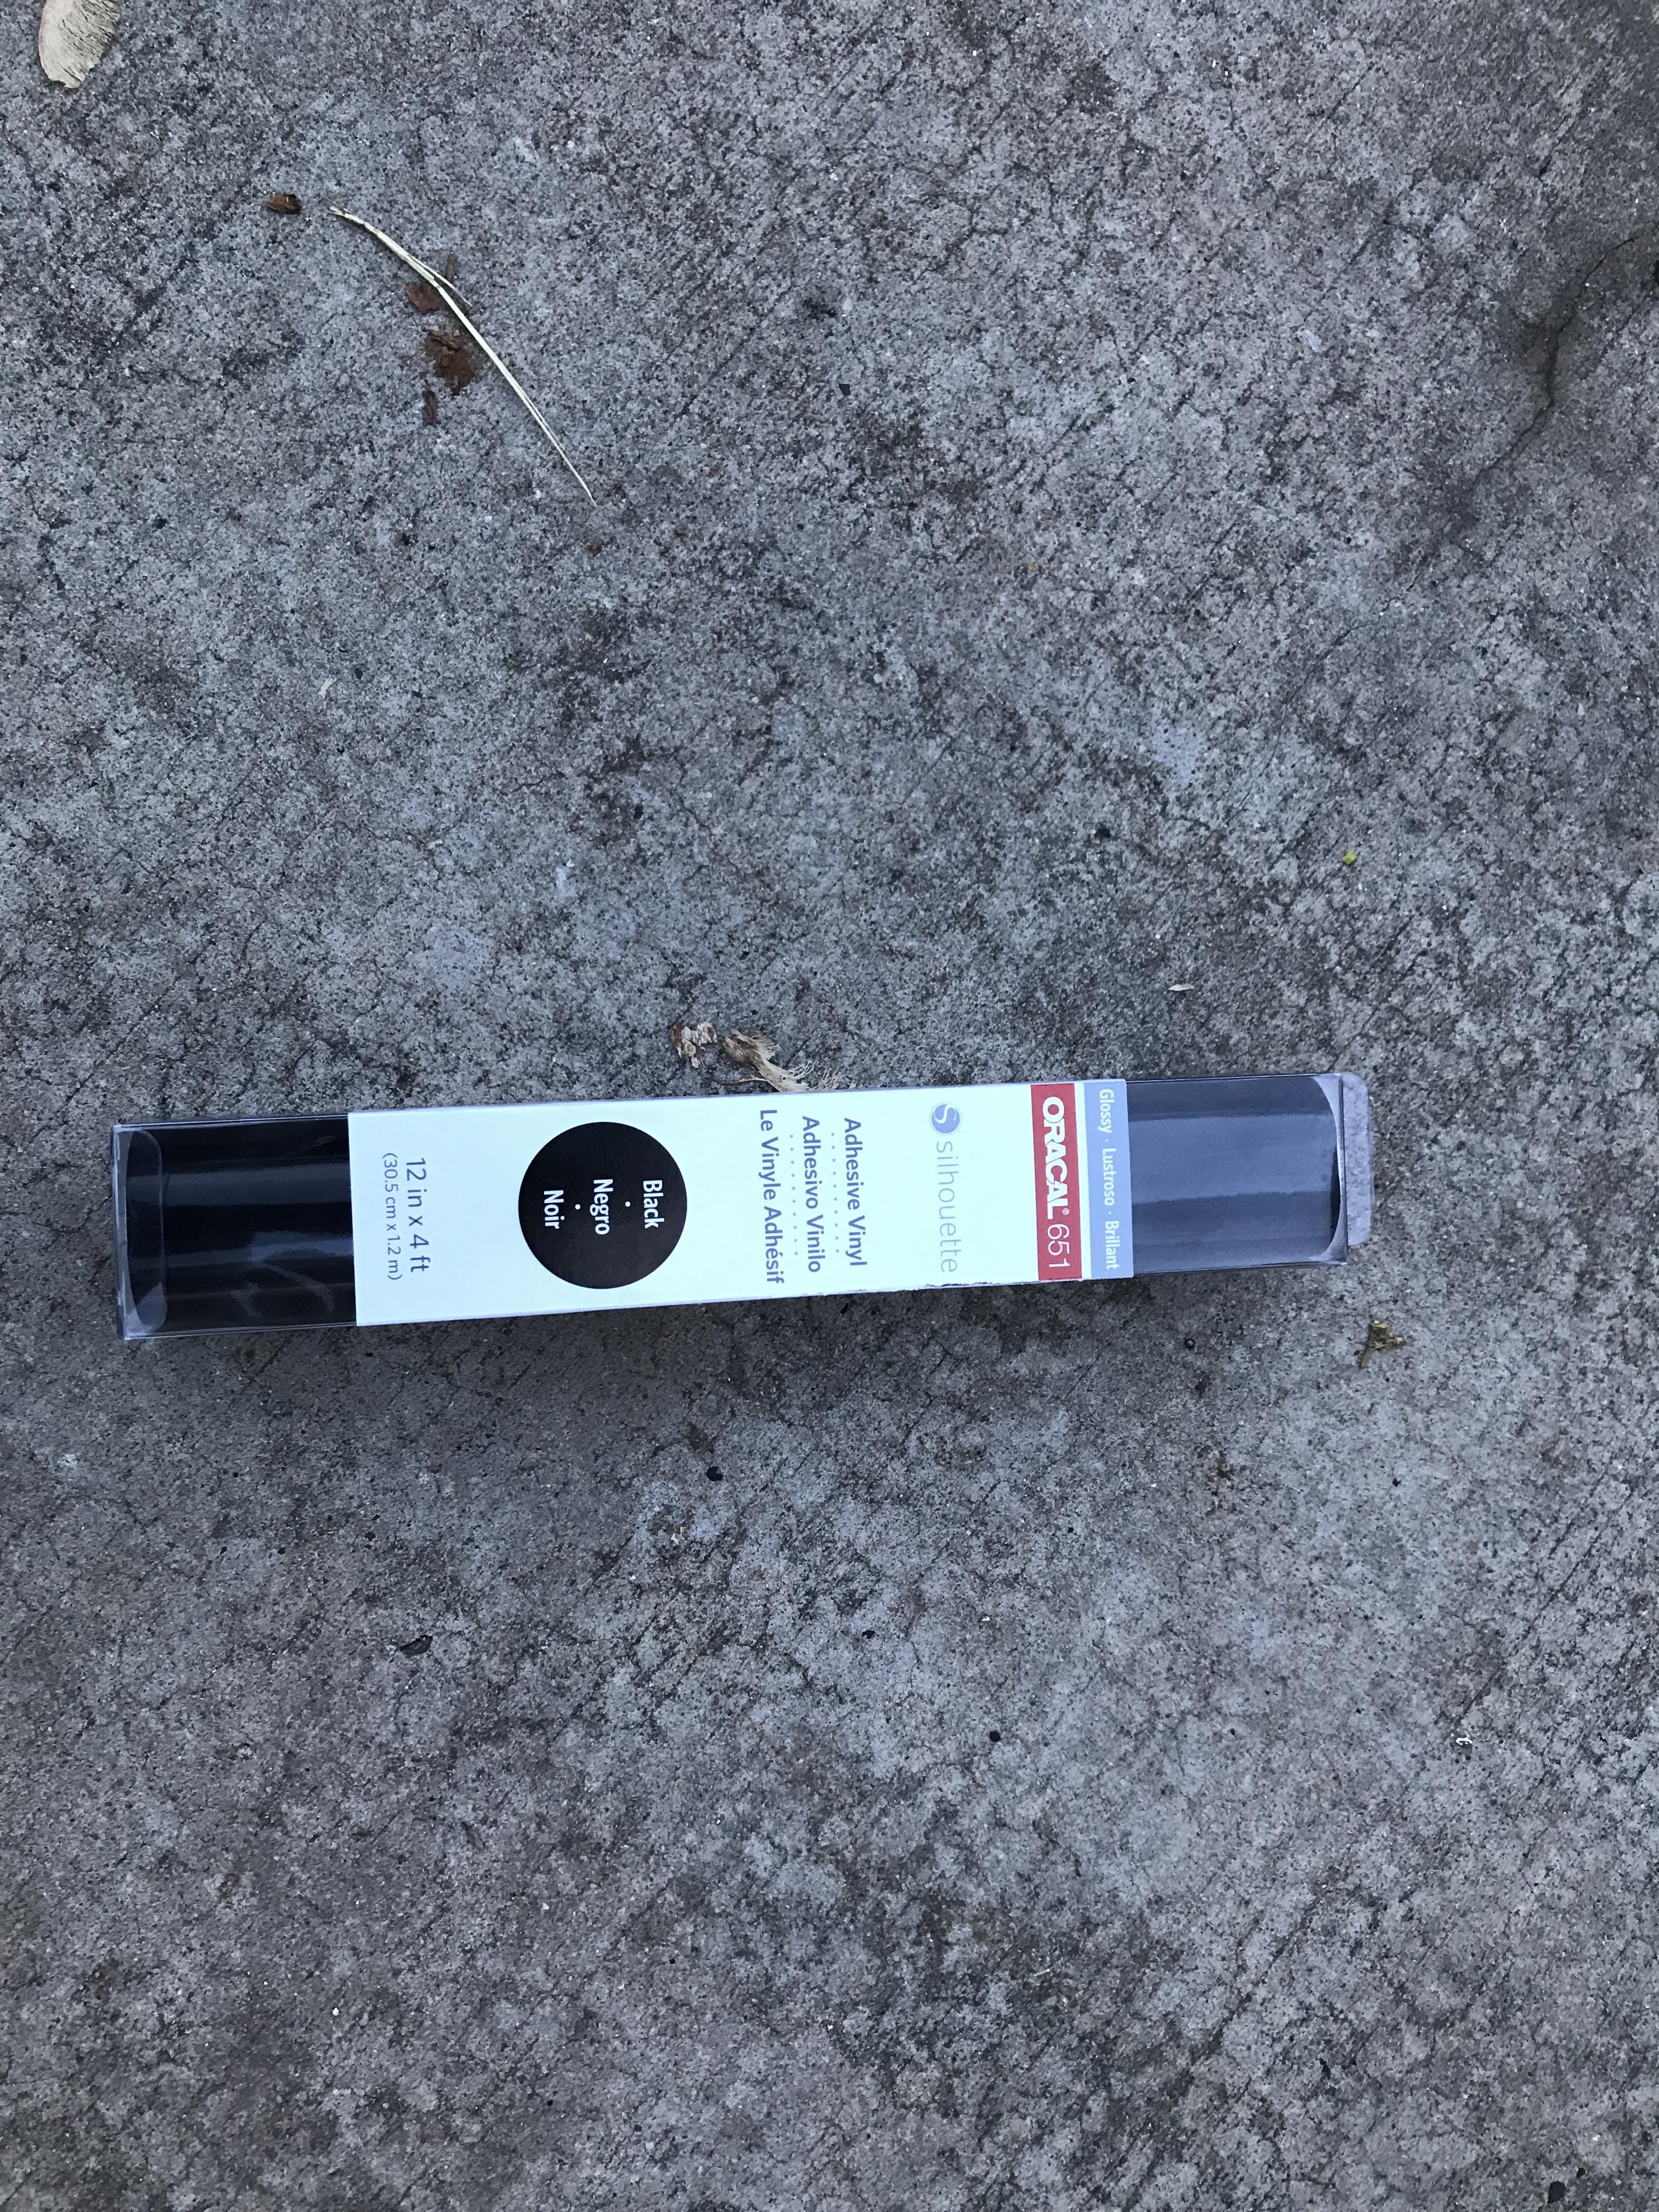
I went to the craft store looking for vinyl that was the length of a windshield, it just so happens that Joanne Fabric sell 4ft by 12in strips of vinyl in every color for those Cricket cake and vinyl machines, $9.99
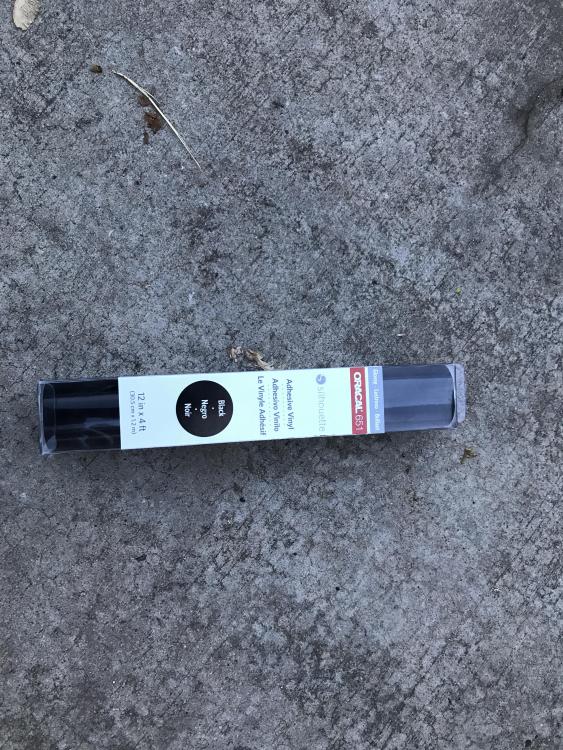
Wide enough to have up to 8in of reduced visibility
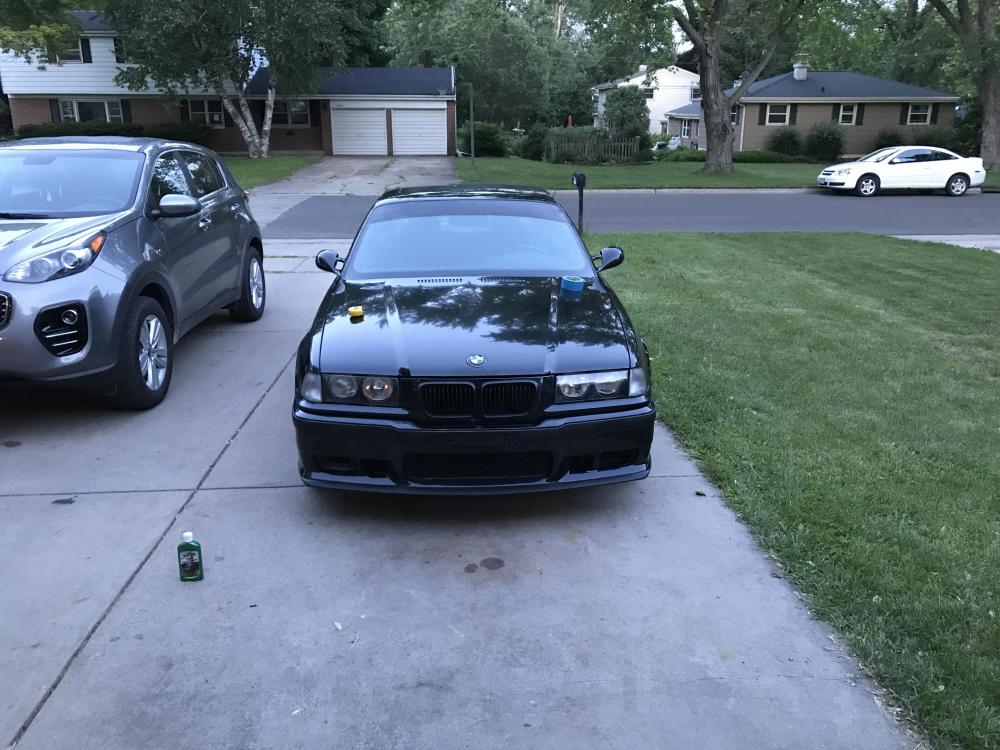
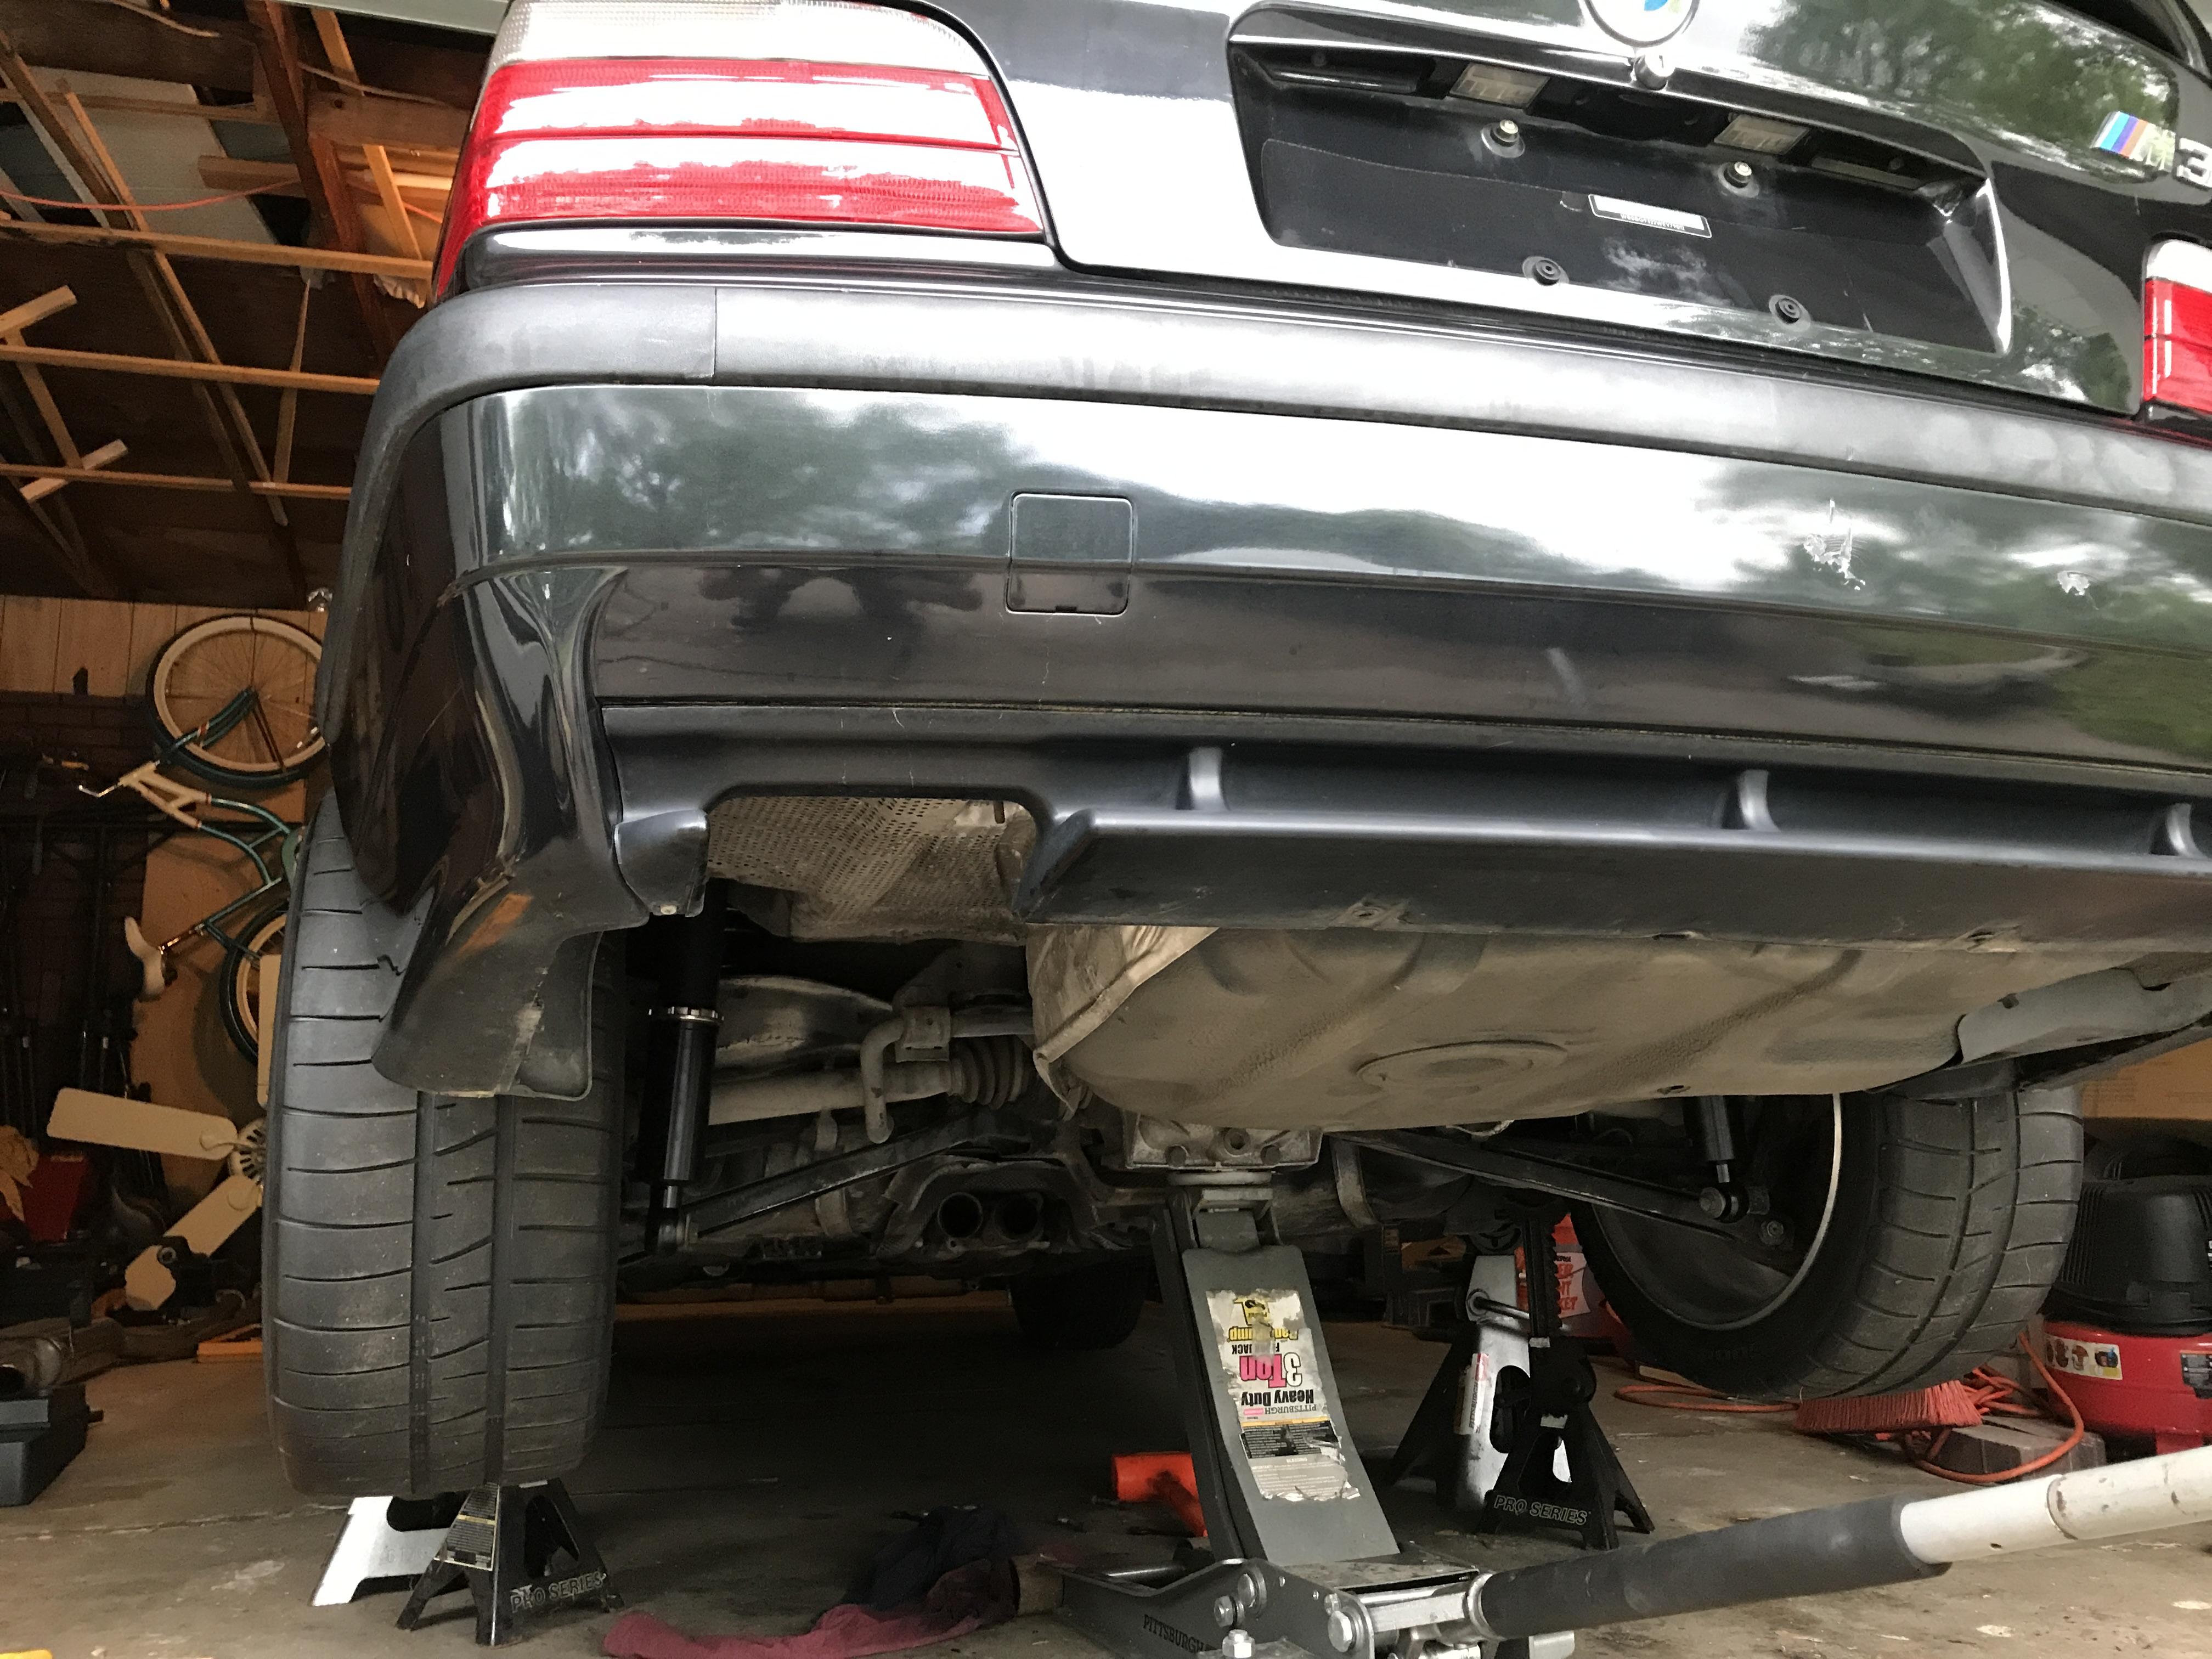
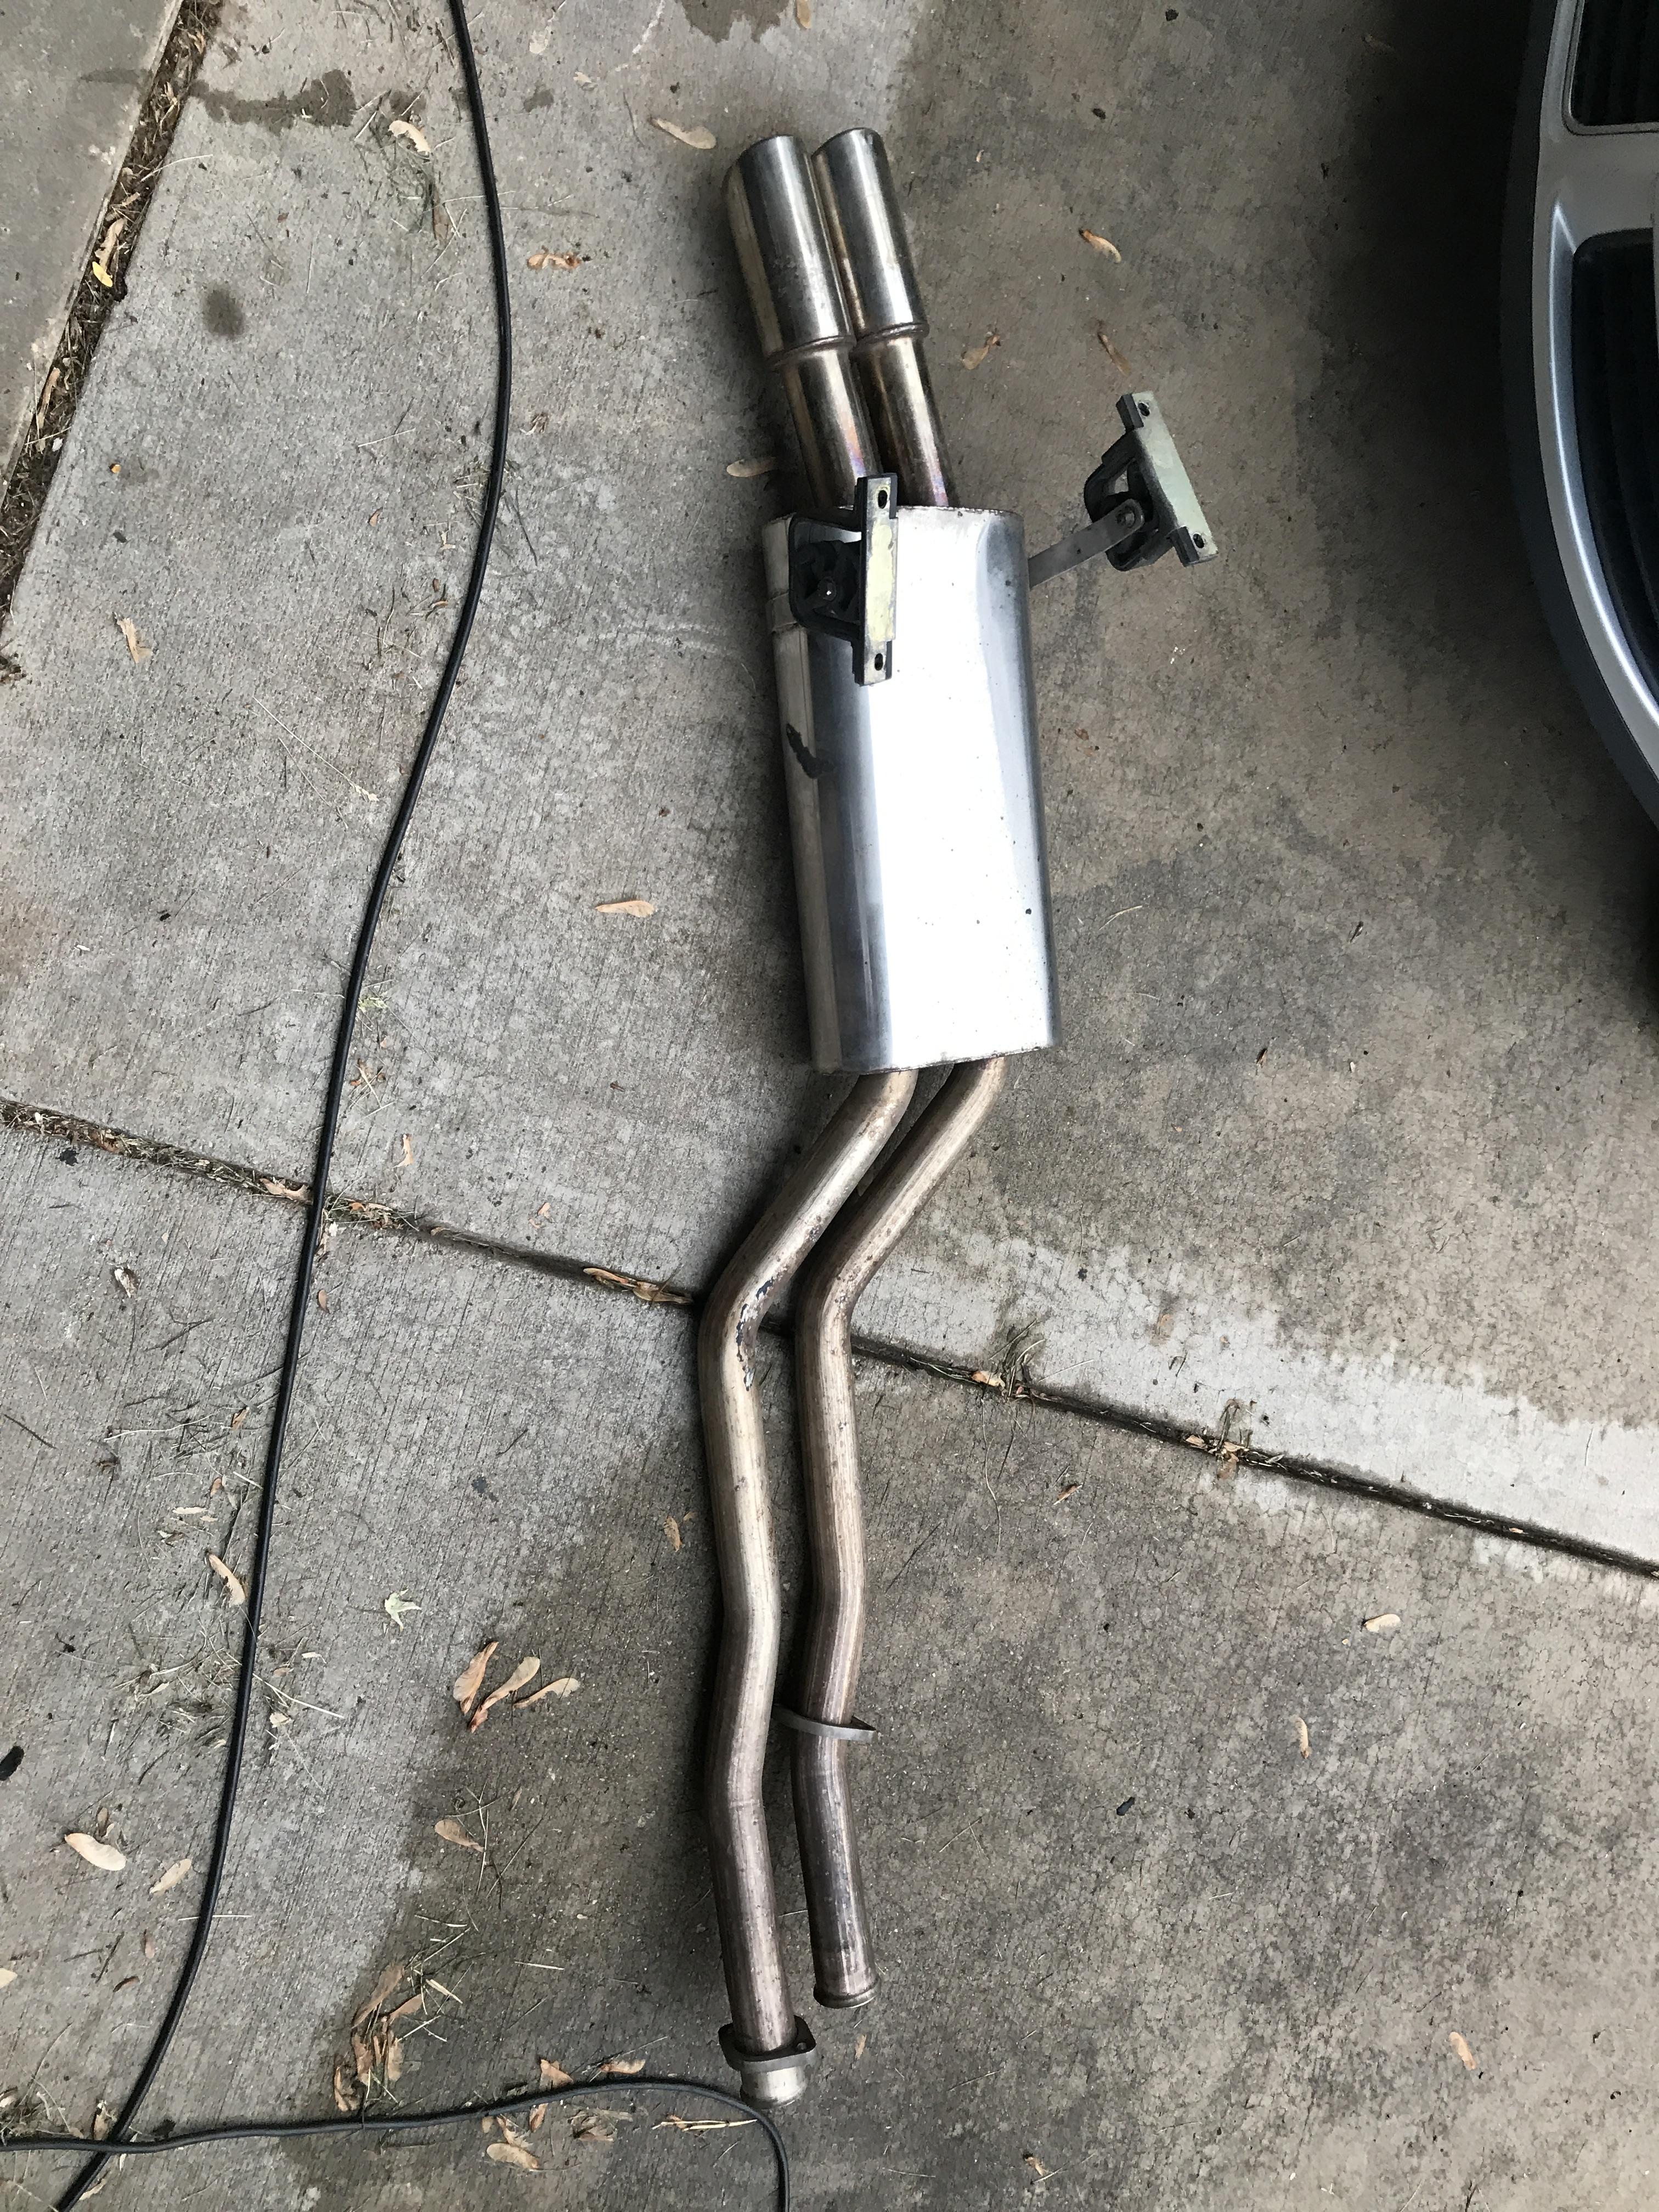
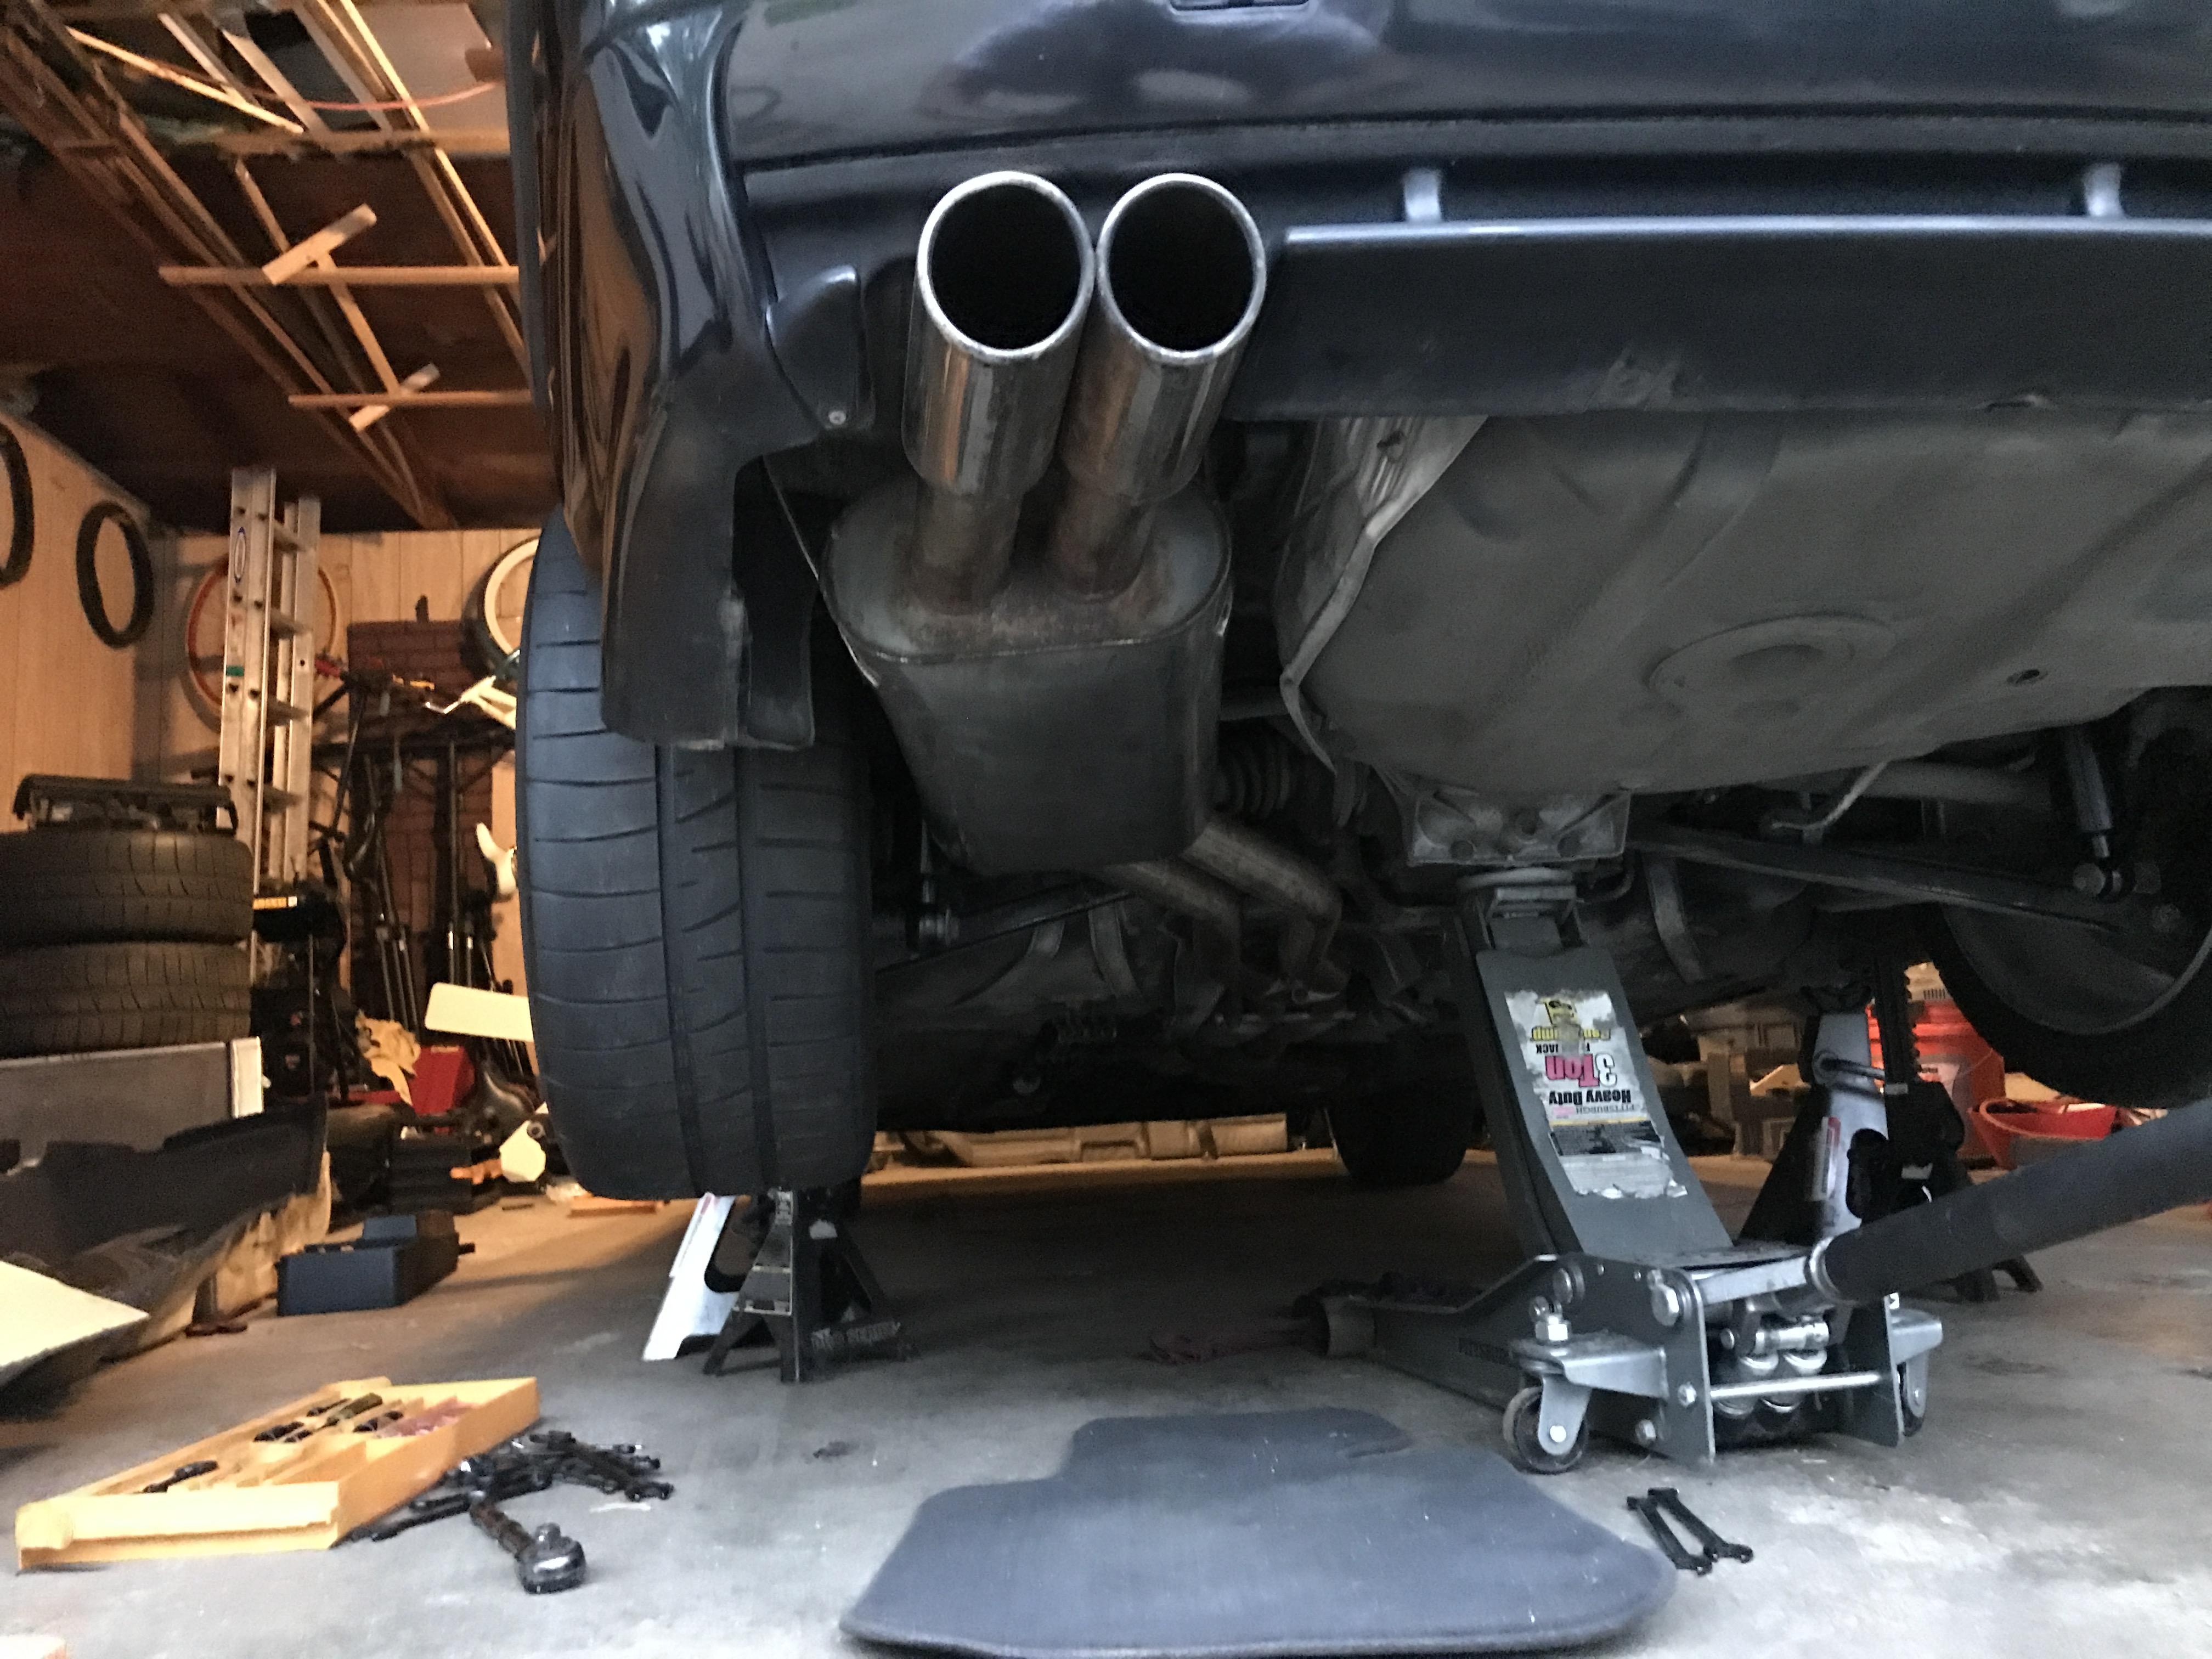
After my exhaust gaskets came, I threw on my Billy Boat catback that I picked up from @Rekpoint
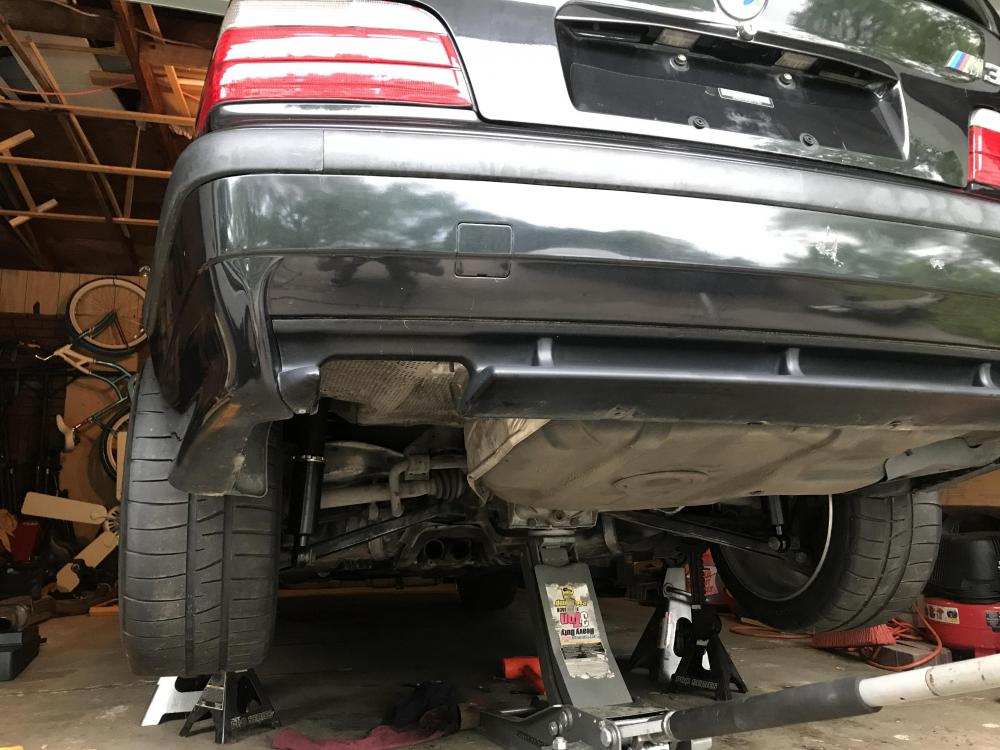
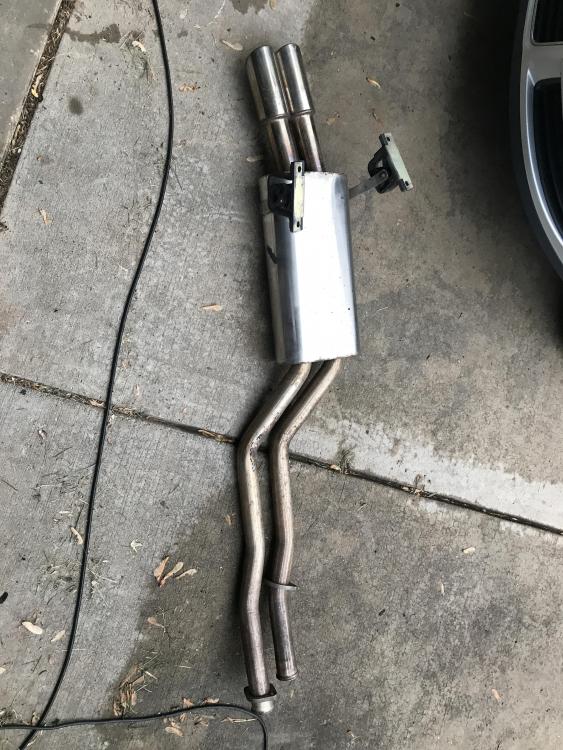
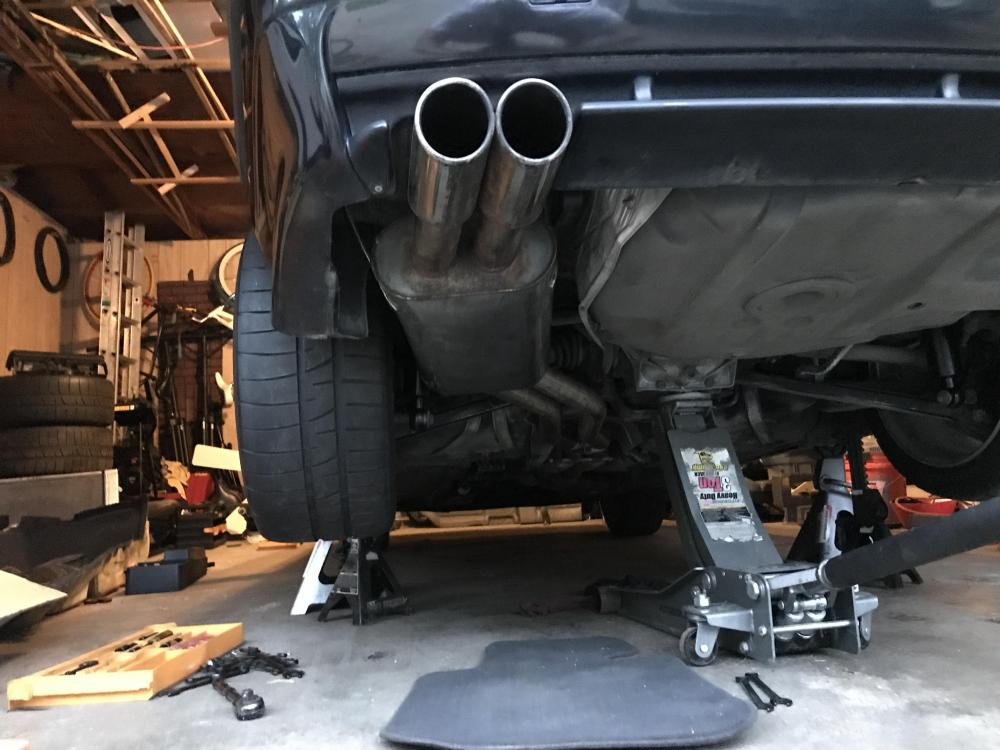
It was actually pretty hard getting that right pipe to slide off of the midpipe, I didn't know they slide into eachother.
yea, thats a jack and 4 jackstands to support just the rear of the car.

 ️
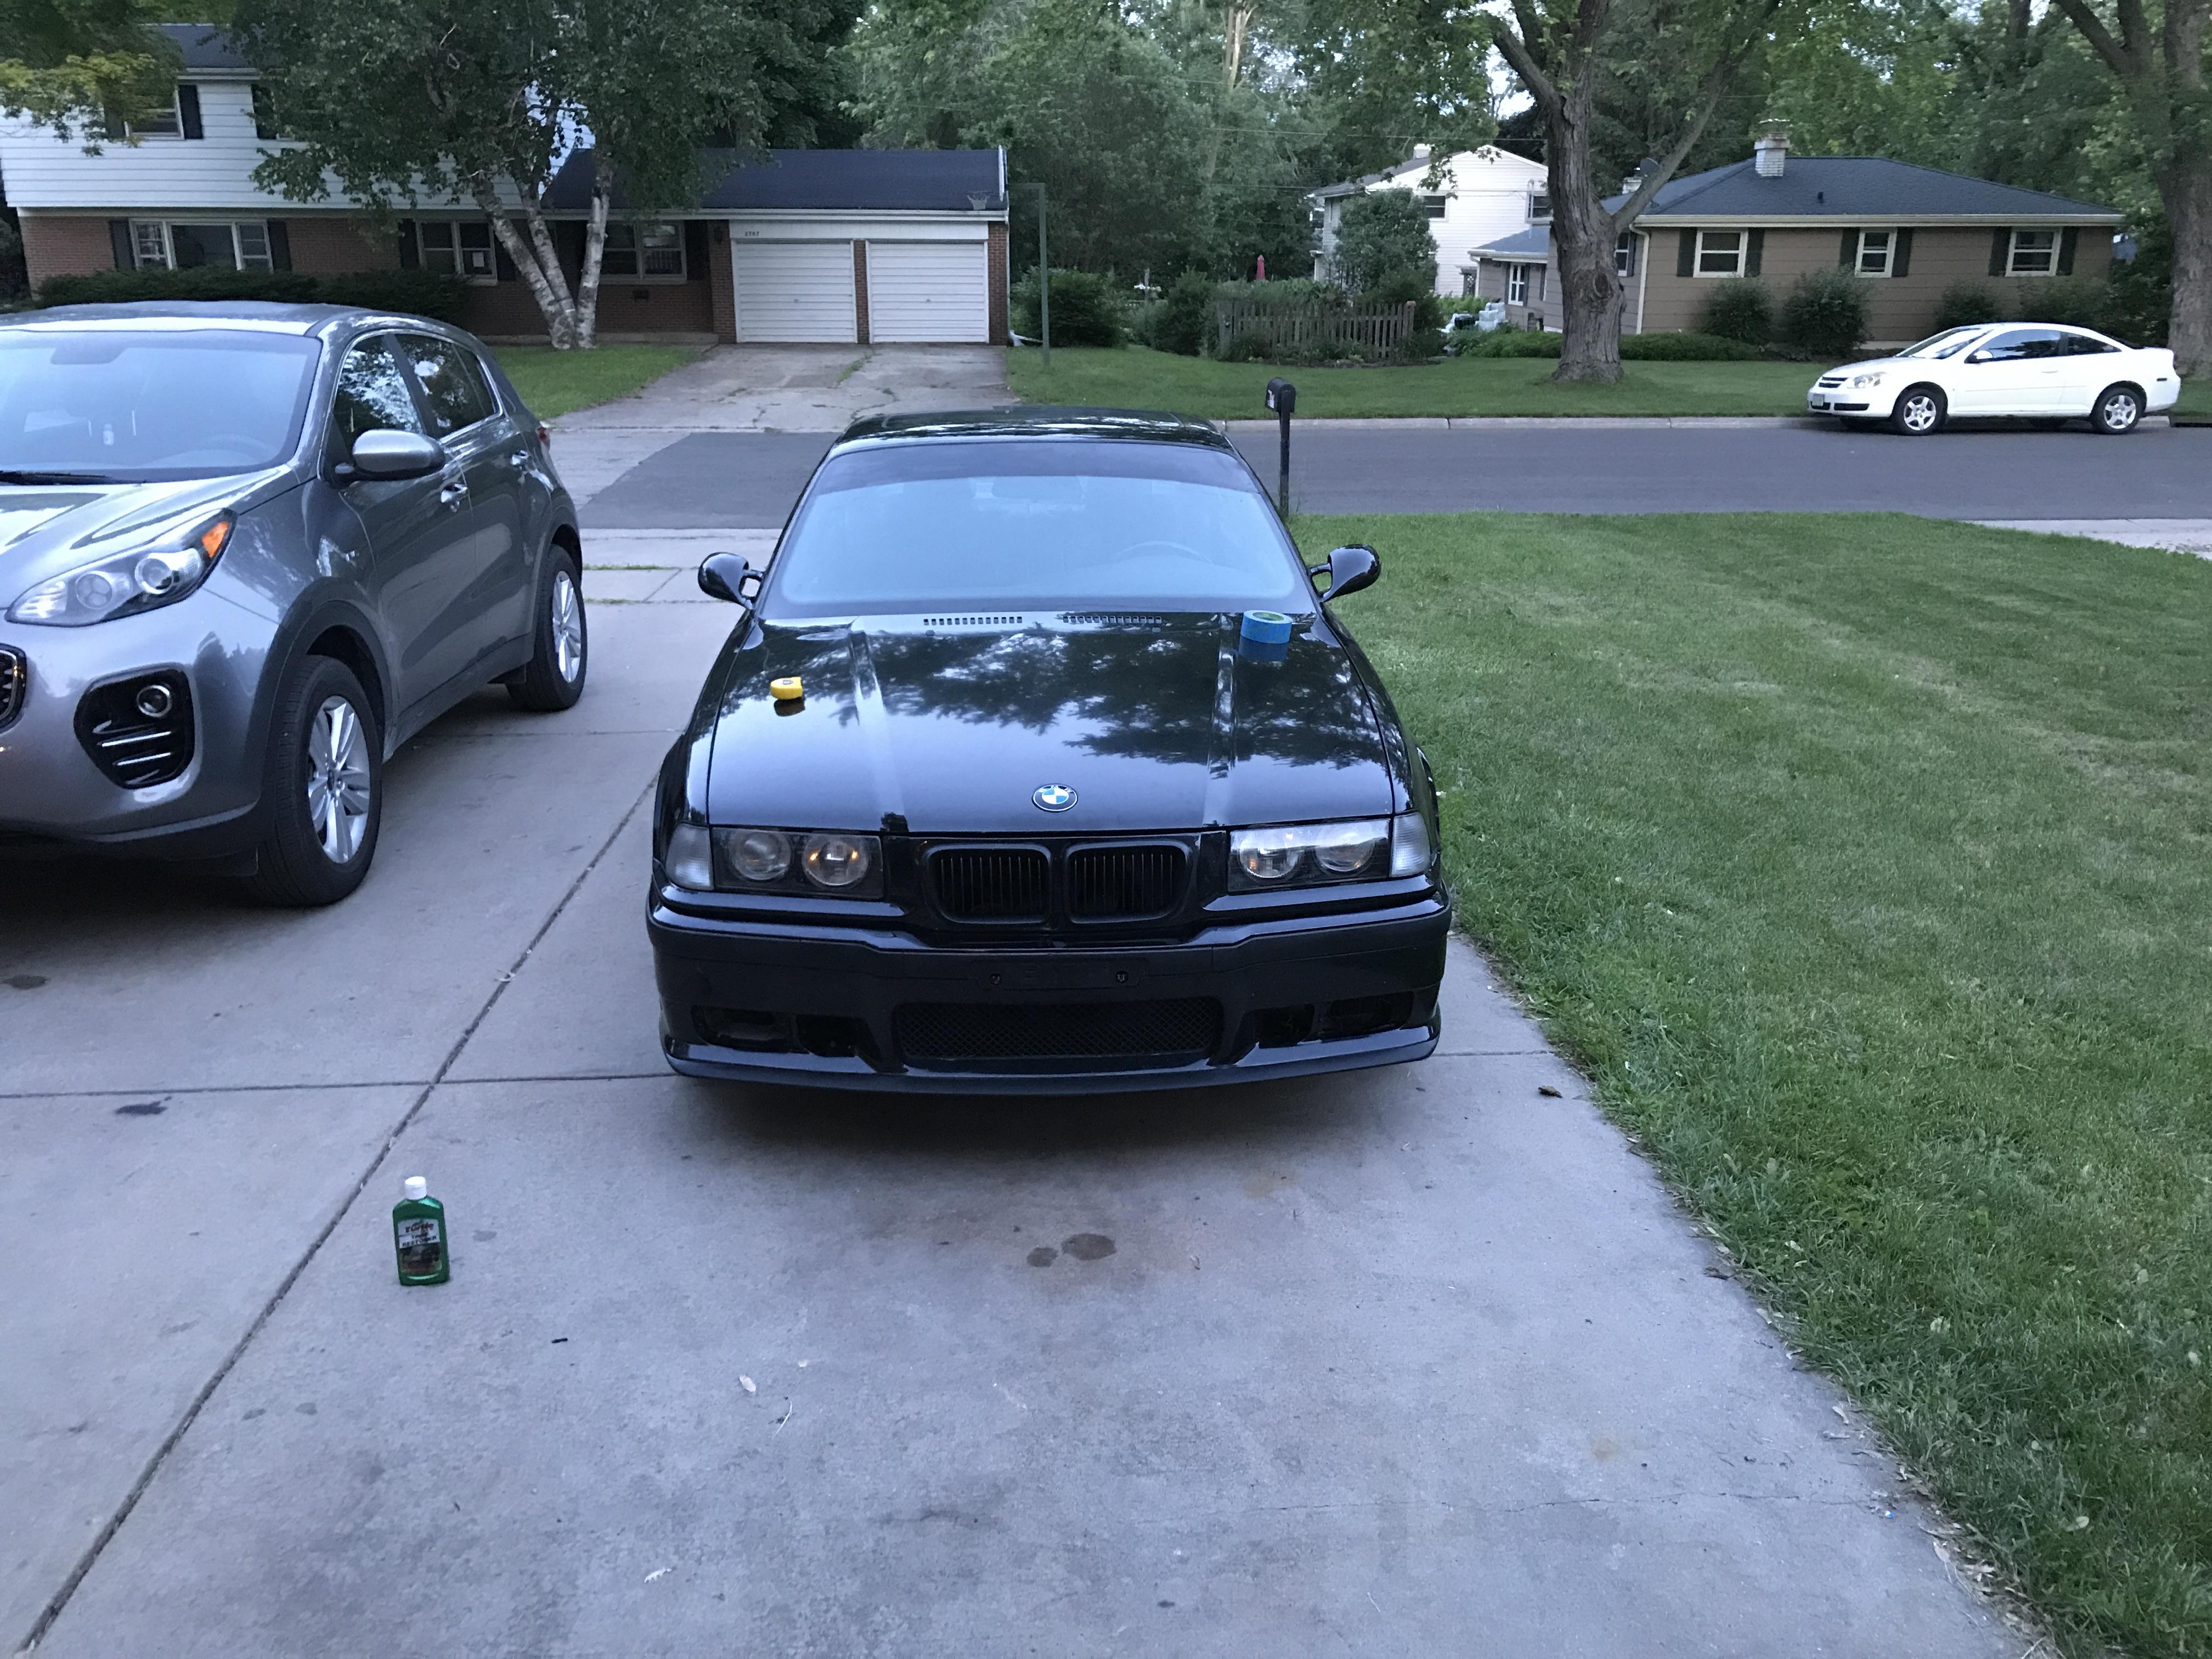
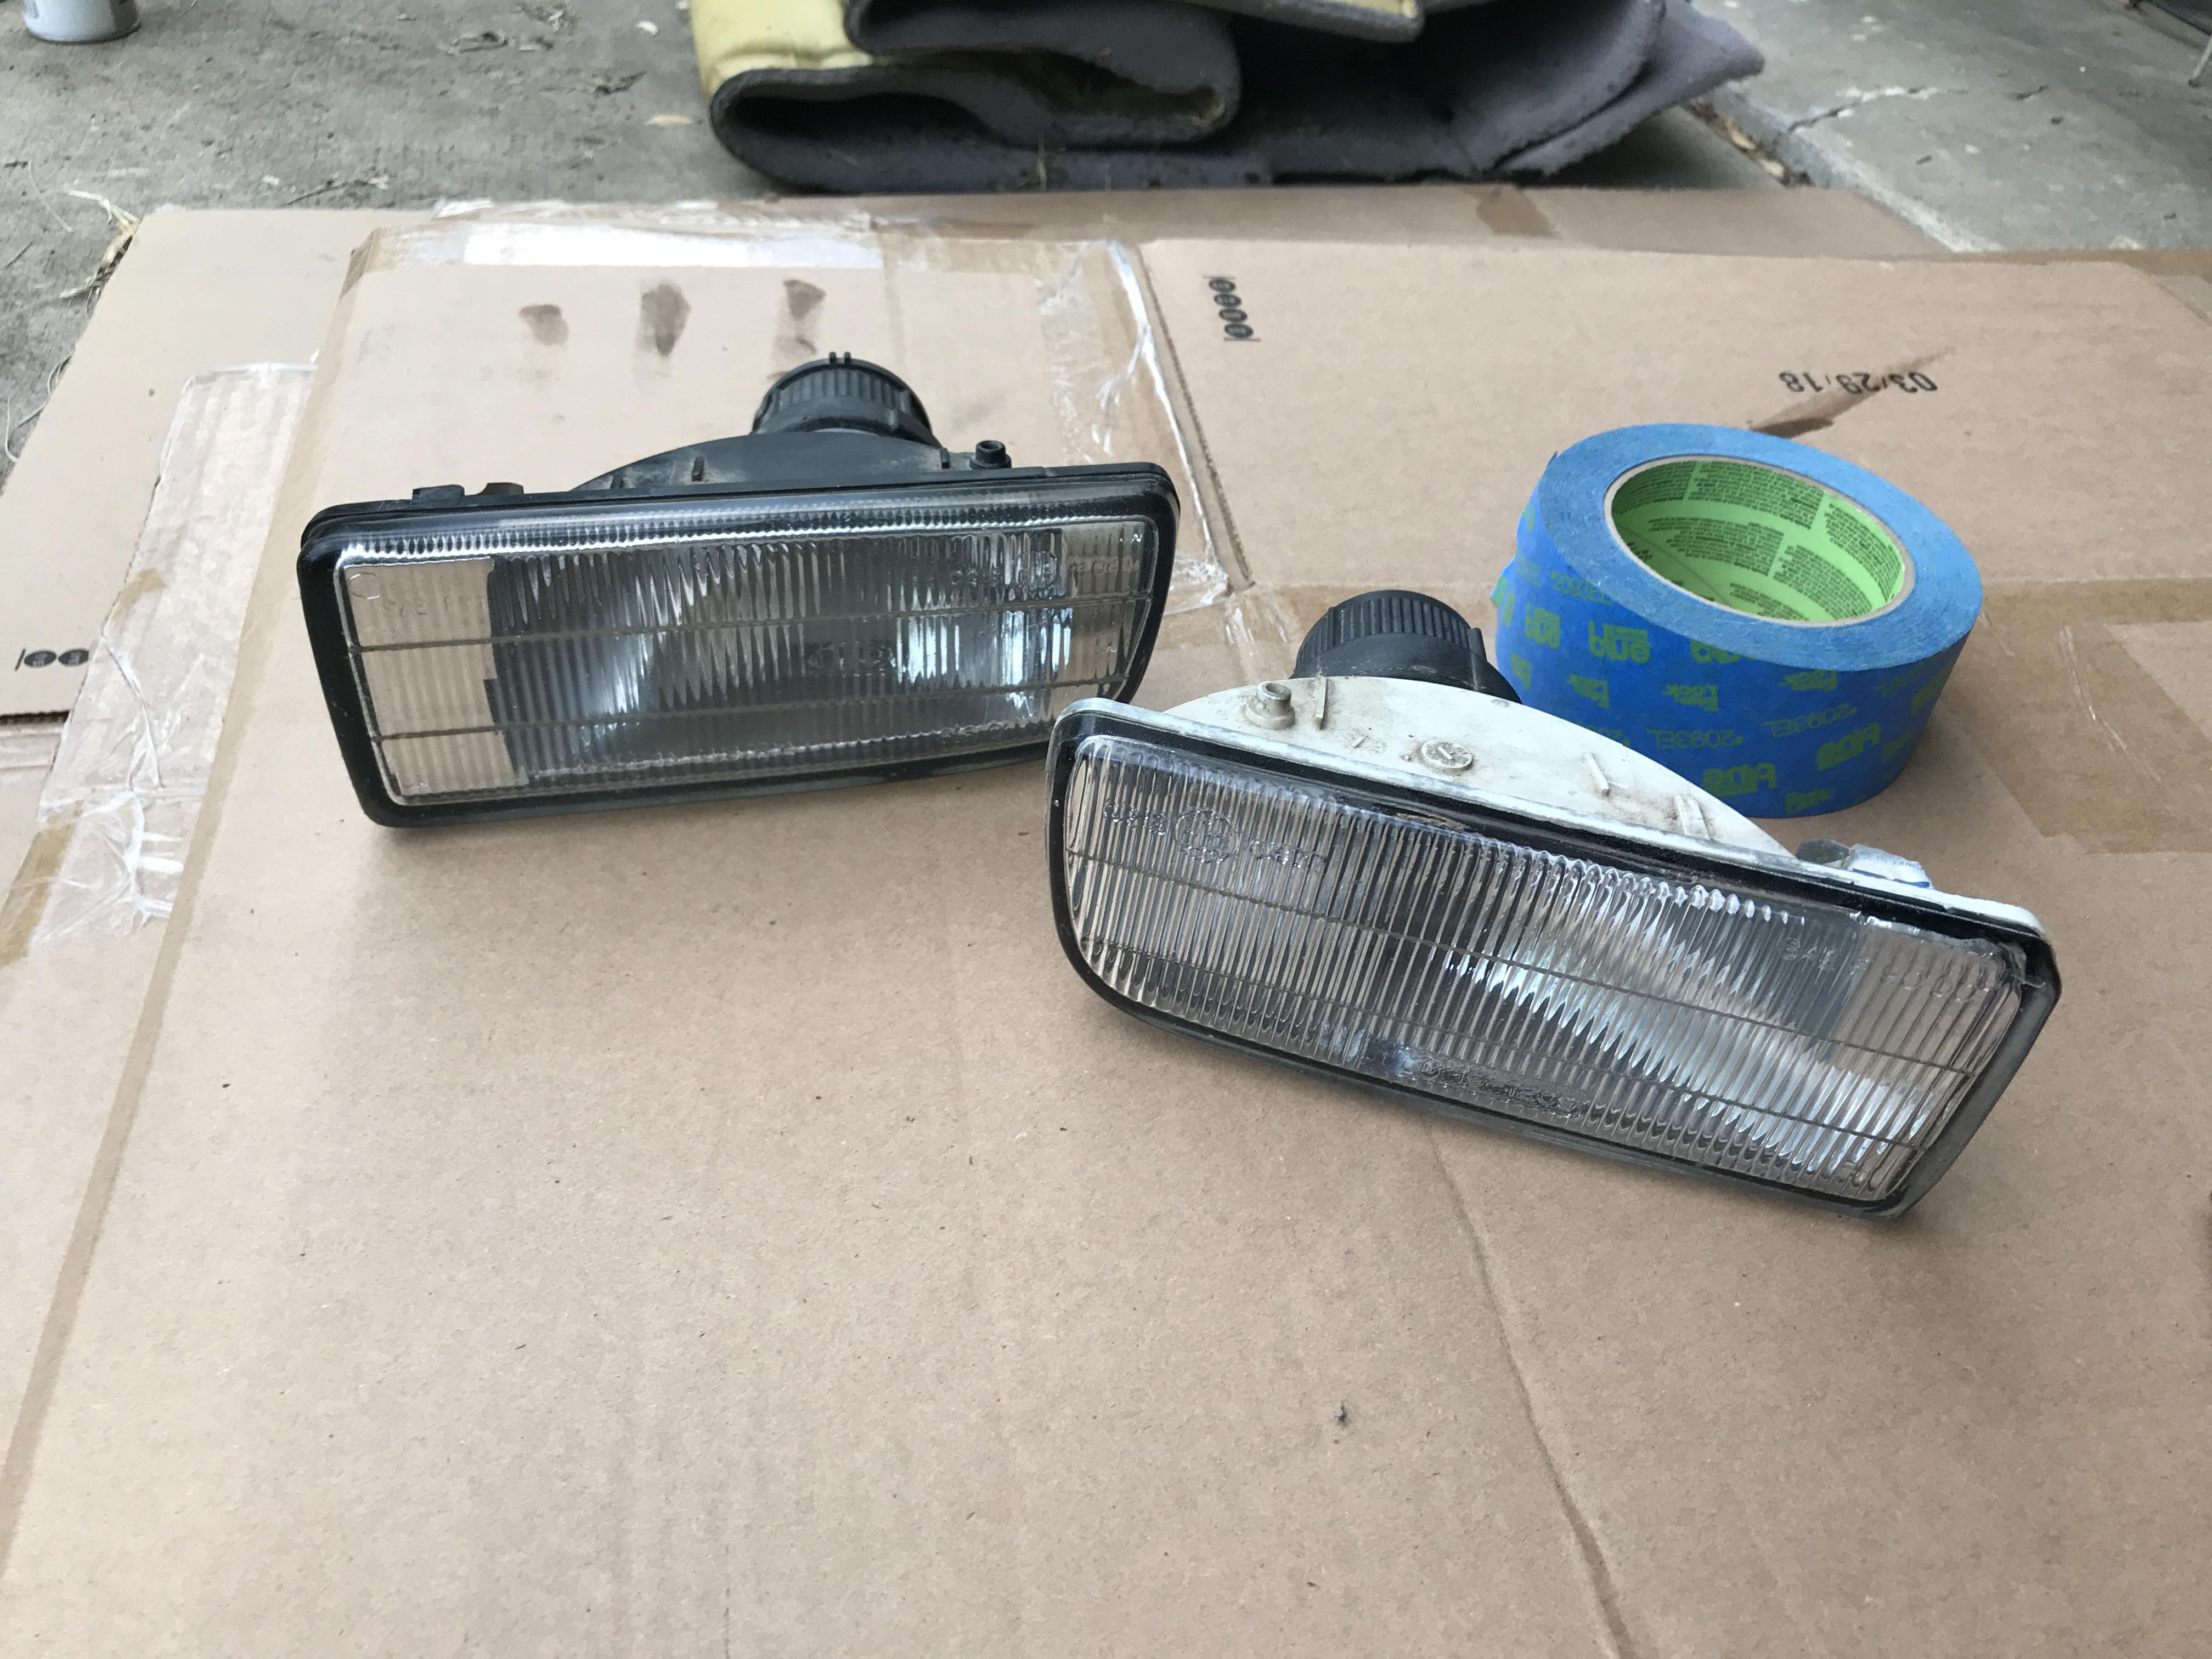
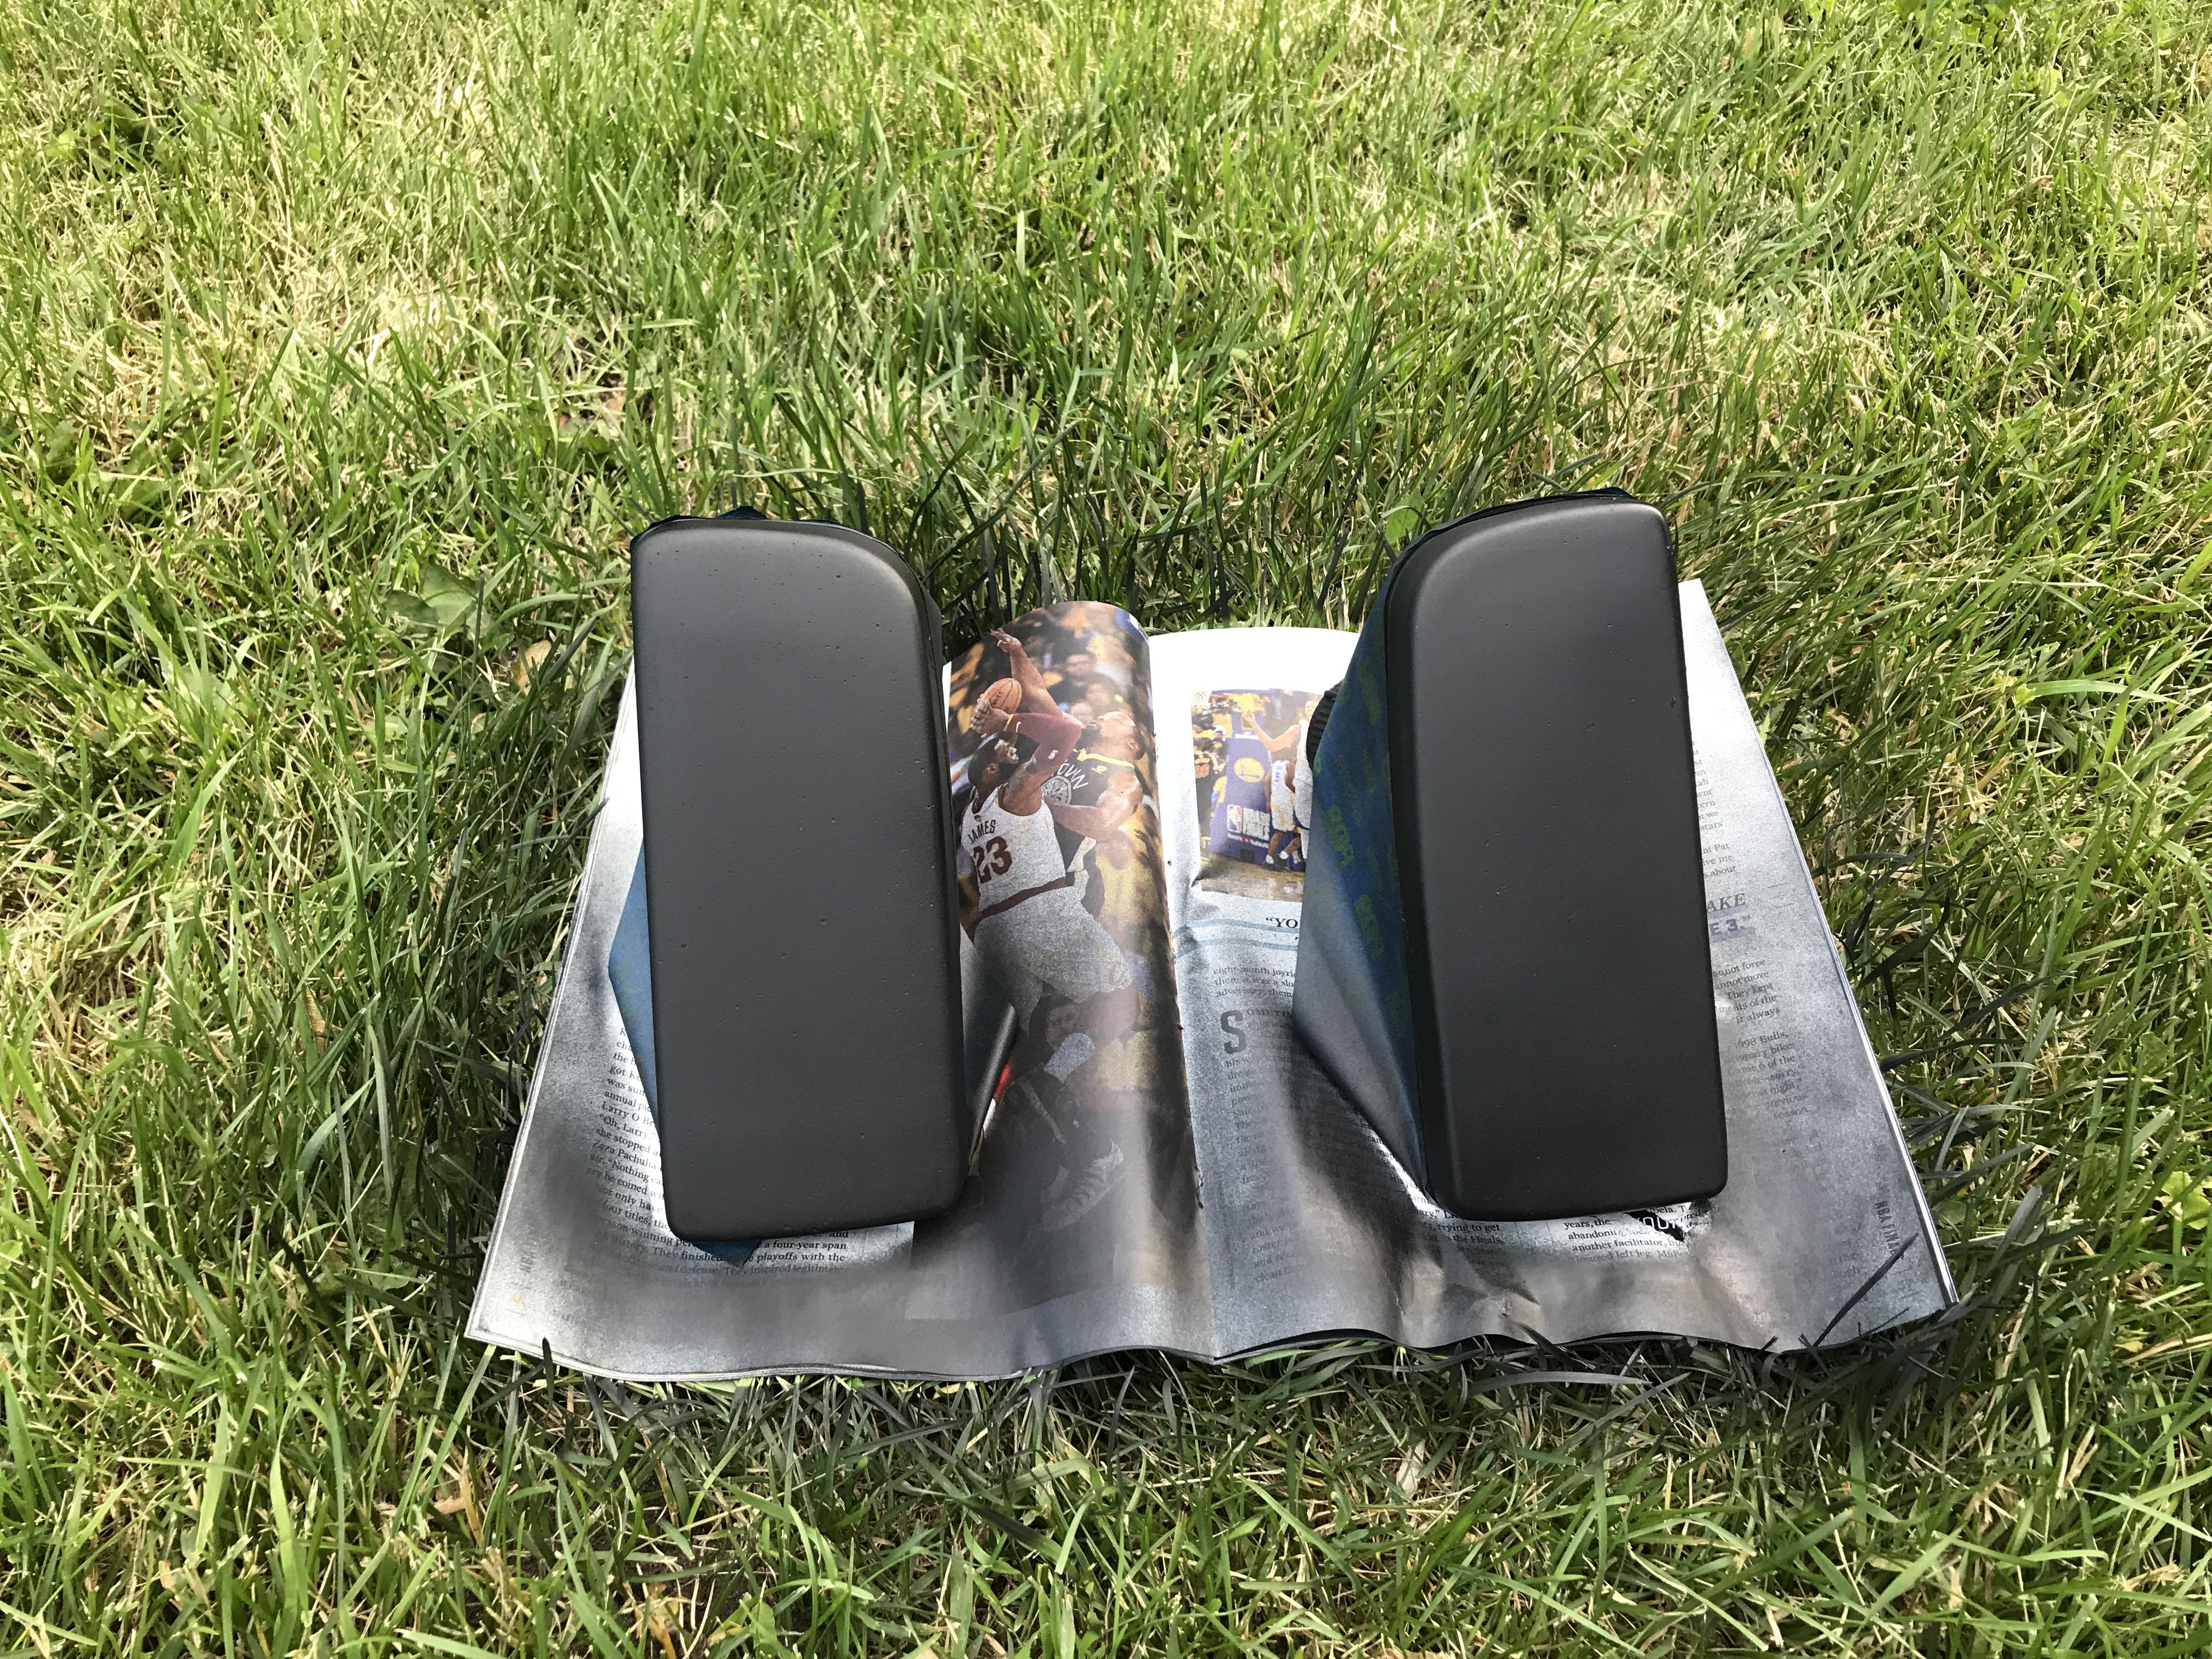
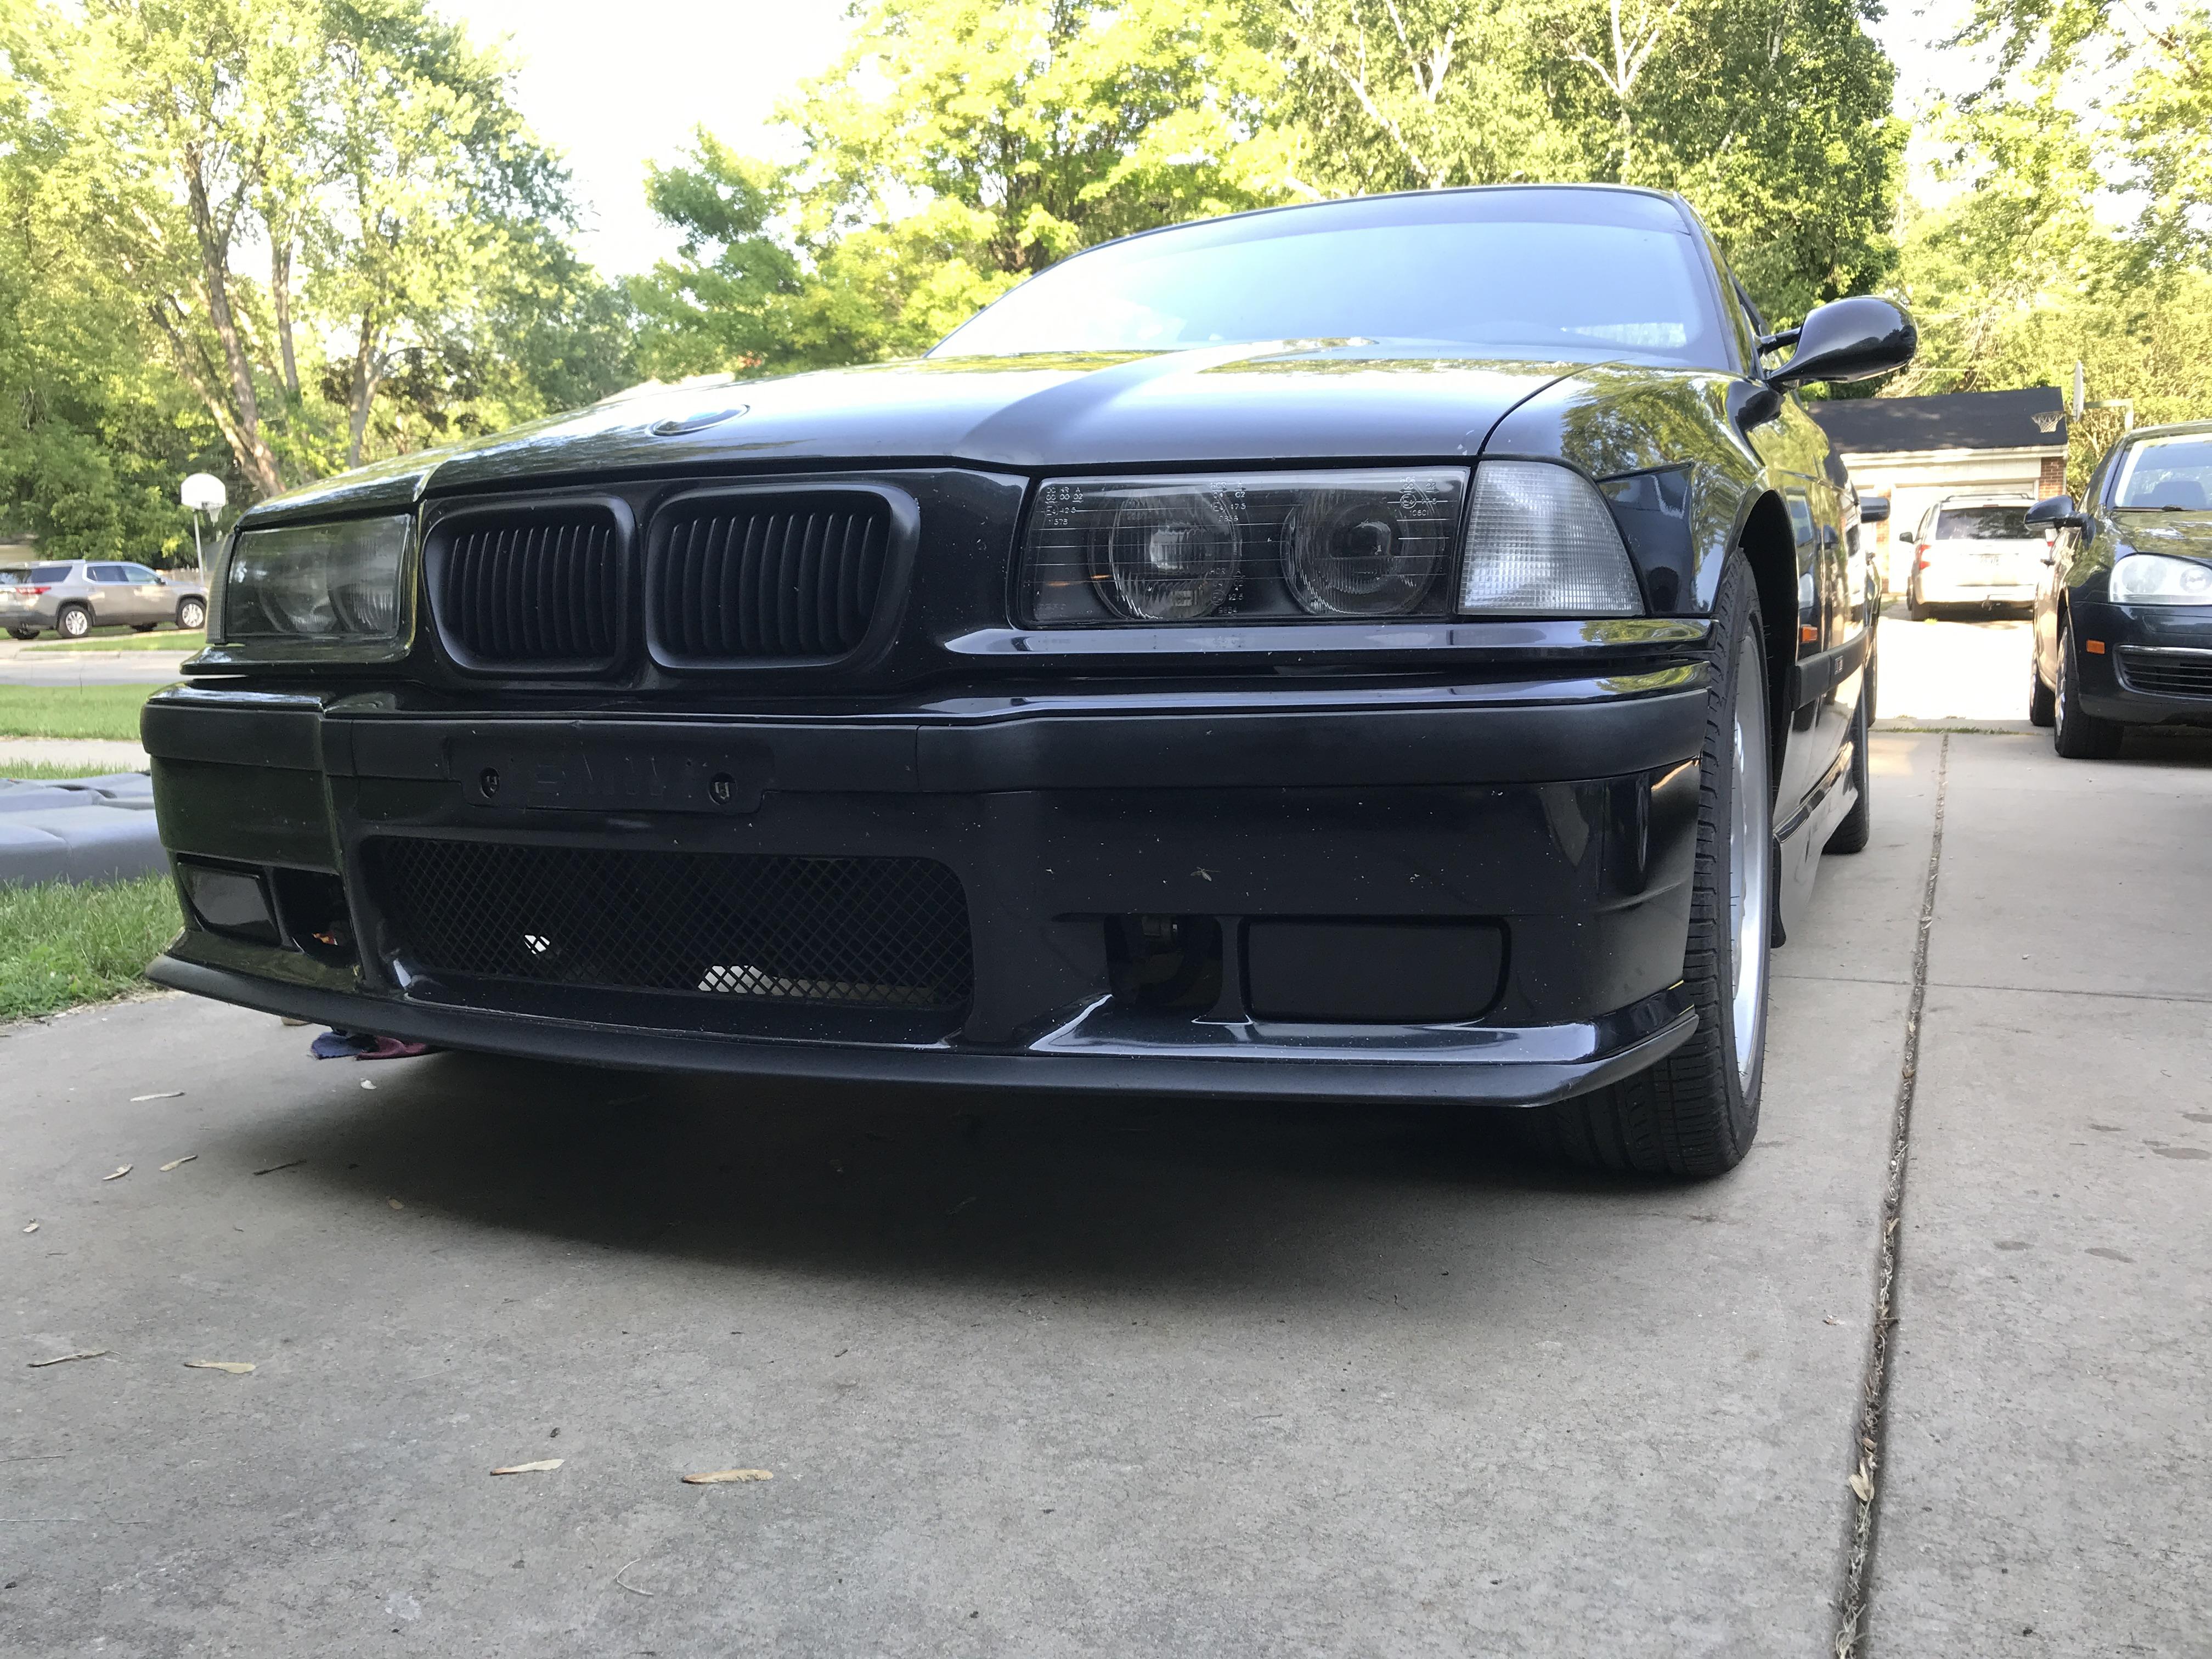
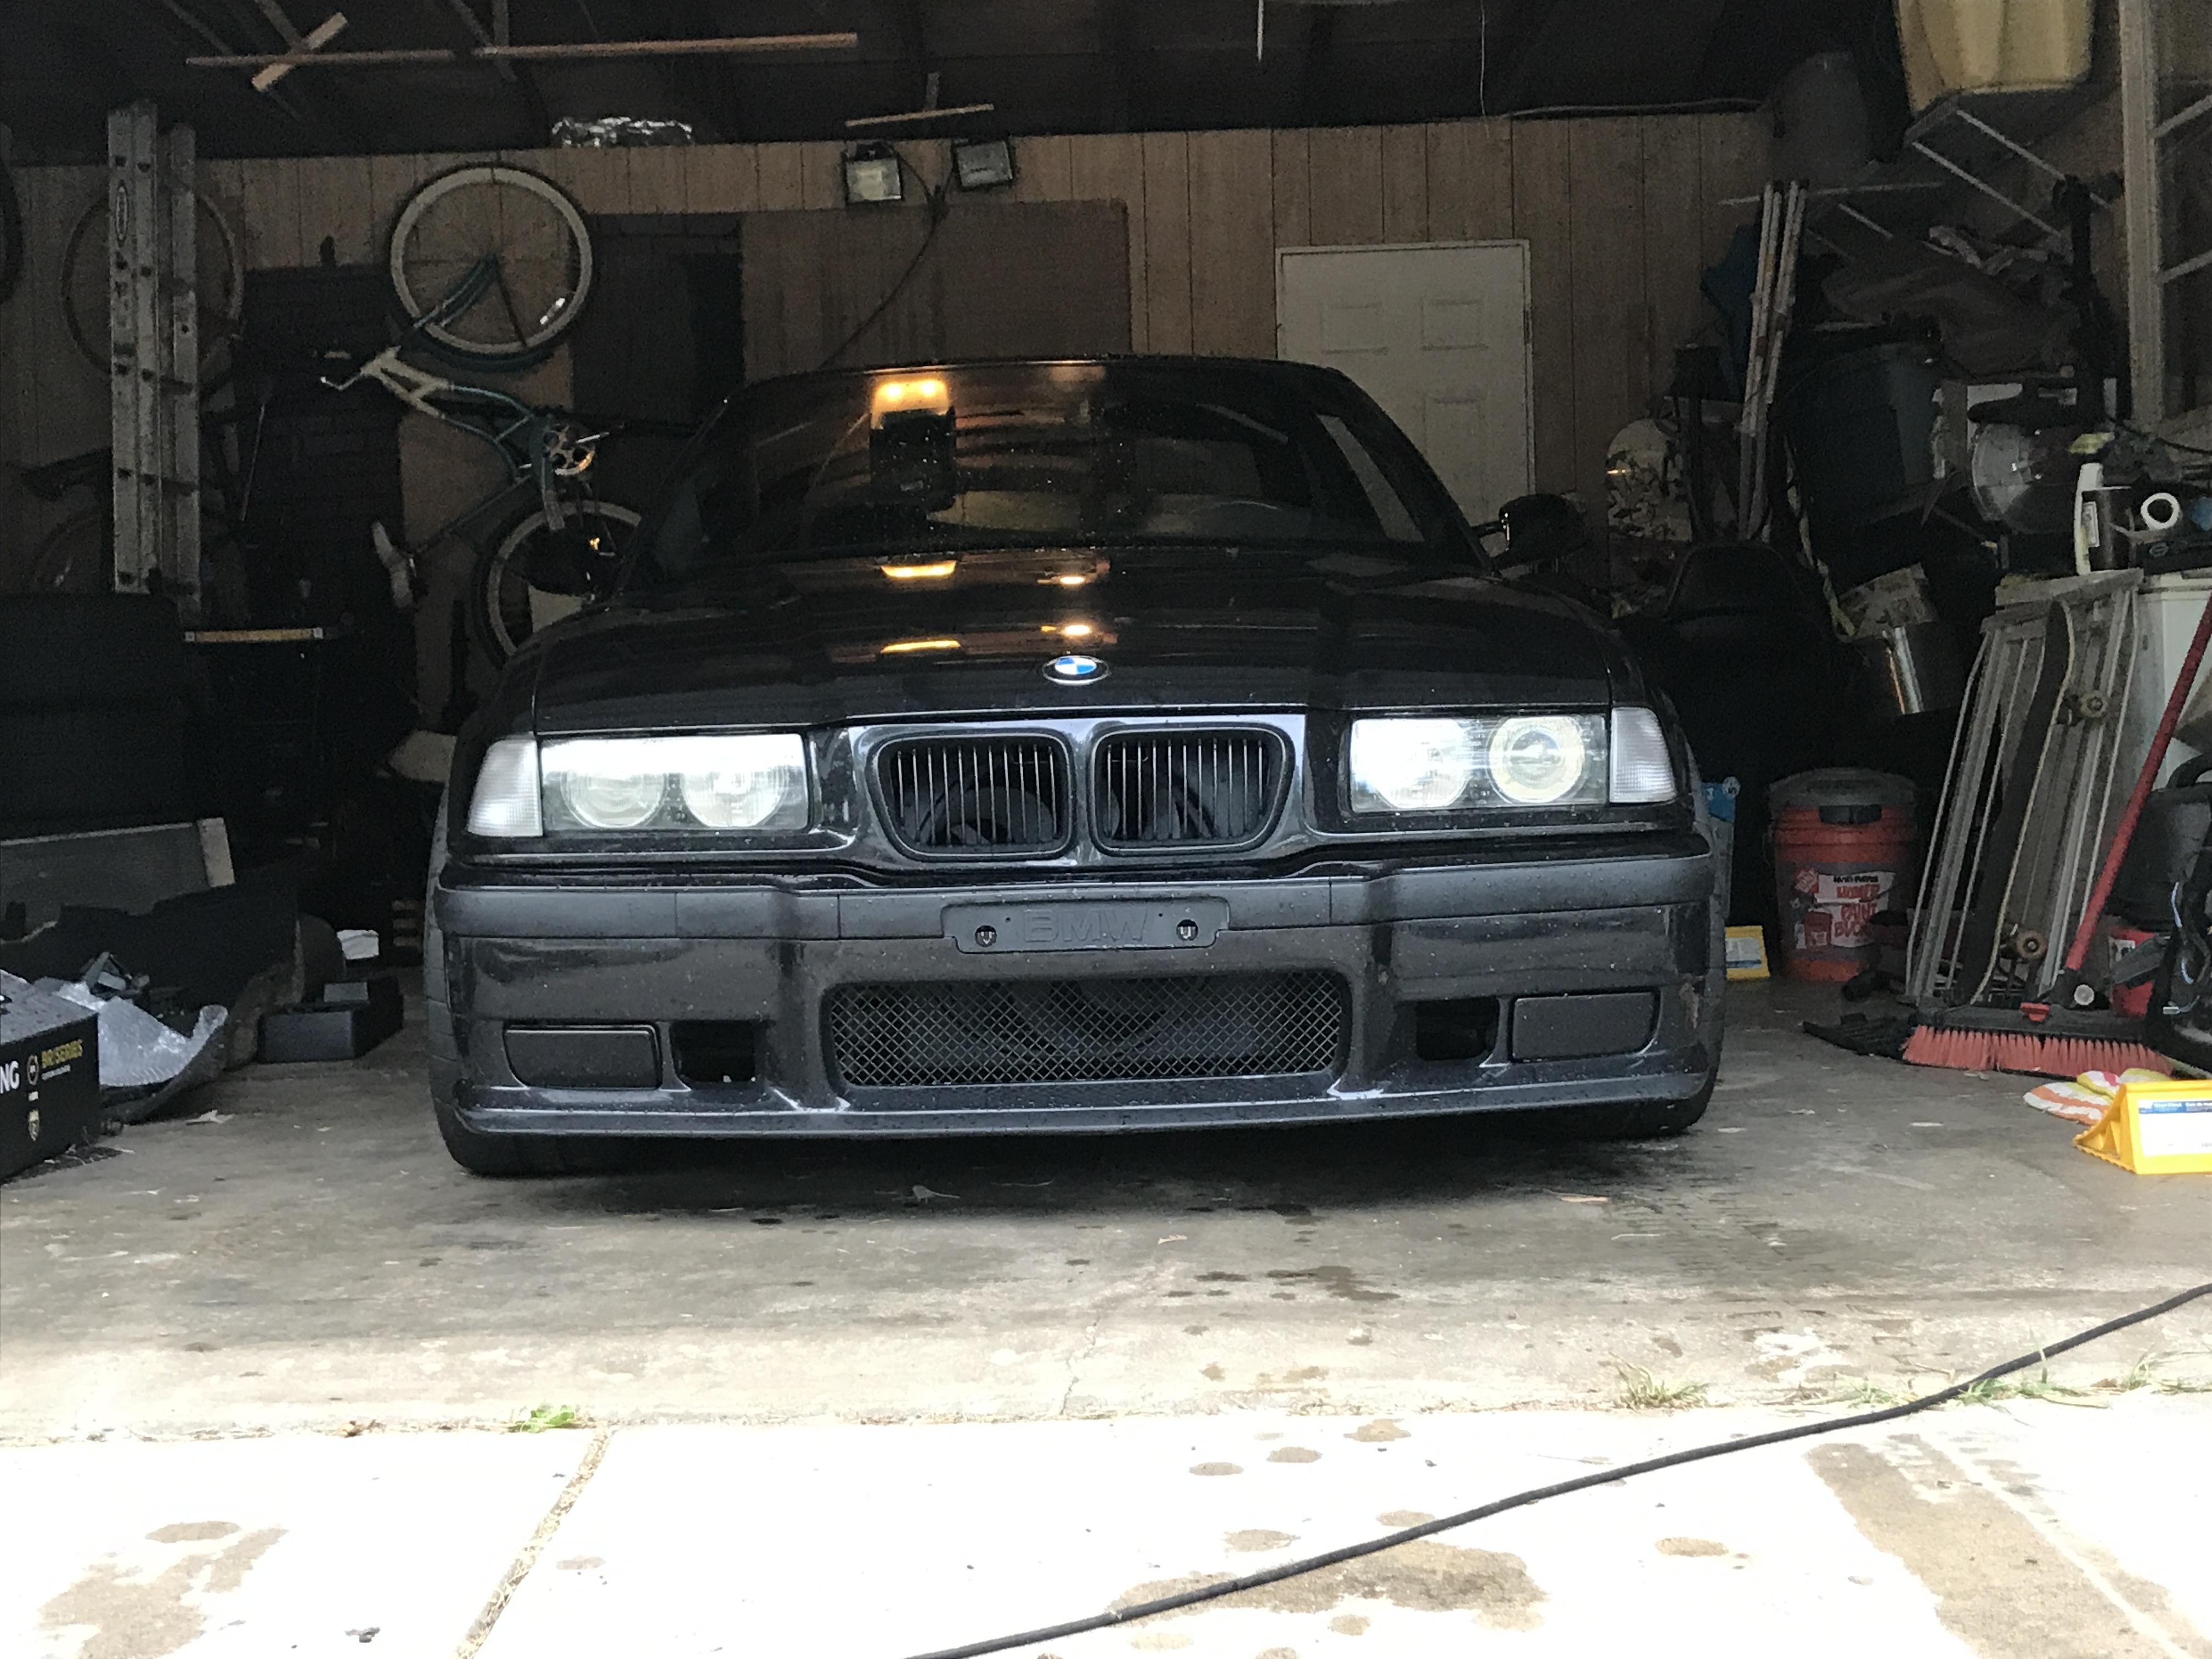
️I want to not cut corners with this car, but here I am cutting corners. Instead of buying fog light deletes, I just prepped and painted my fog lights because I had some color matched paint laying around. I did this because my fog lights aren't OEM, and it was free basically. If I wanna go back I'll buy nice ones. I also removed the bulbs so I don't accidentally turn the lights on.
No hanging plugs too
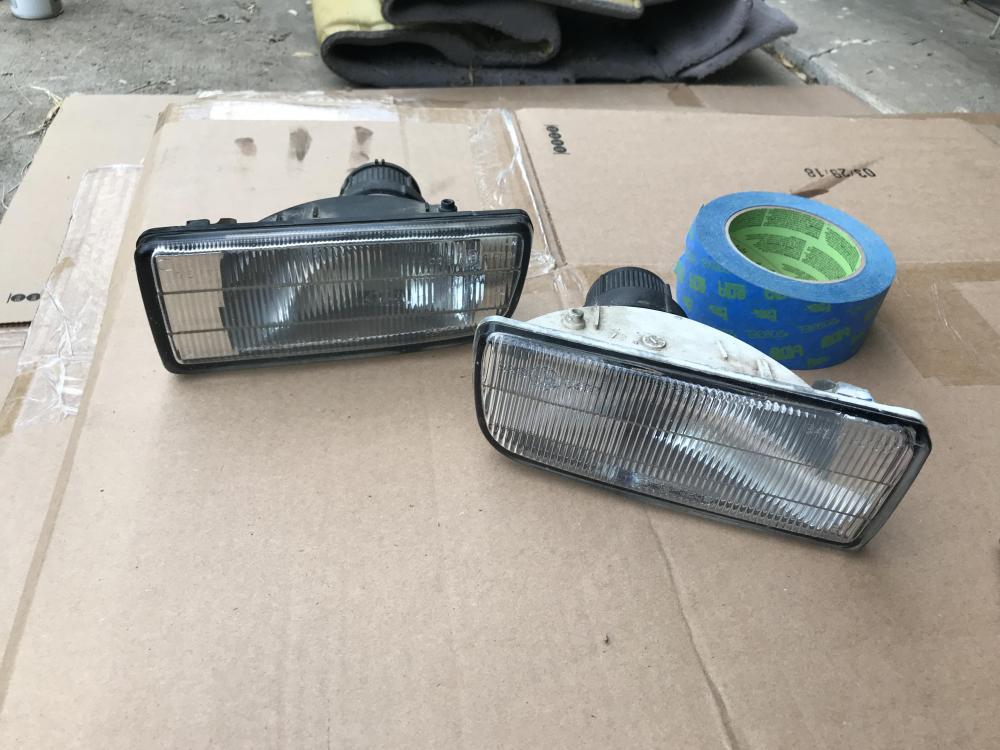
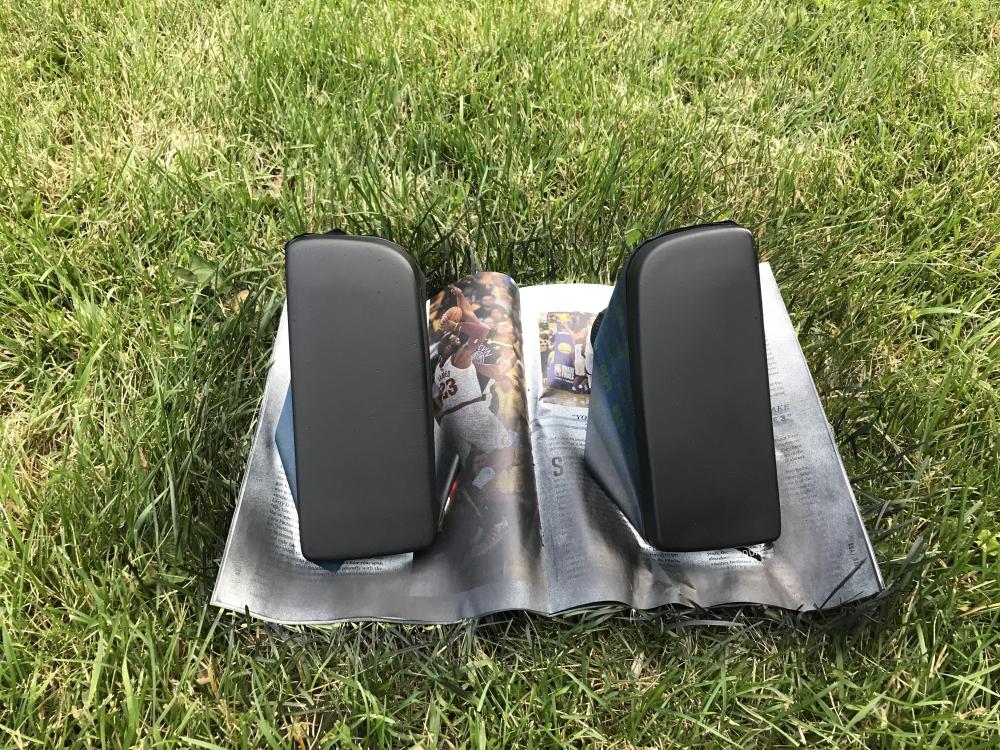
After wet sanding and installed, they need to be adjusted along with the bumper still.
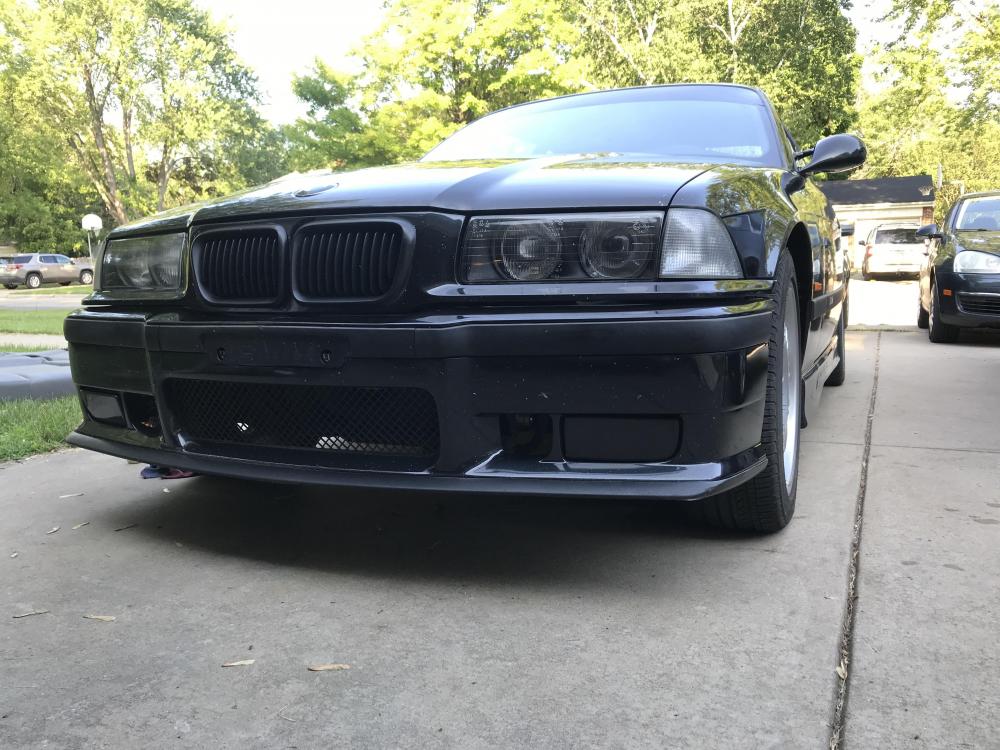
-
keep in mind that I make custom vinyl decals for cheap, including windshield banners. Check out my facebook page ... Rage Drift Designs ... for some pics of previous work I have done. I give a WIBIMMERS discount too.

-
keep in mind that I make custom vinyl decals for cheap, including windshield banners. Check out my facebook page ... Rage Drift Designs ... for some pics of previous work I have done. I give a WIBIMMERS discount too.
+1, you do great work!
Dan

-
I know it seems like I keep posting pretty much the same thing over and over, but soon I should be able to change it up.
Something fun will be here on Monday, and I should be getting something from @Bassboy3313 soon too

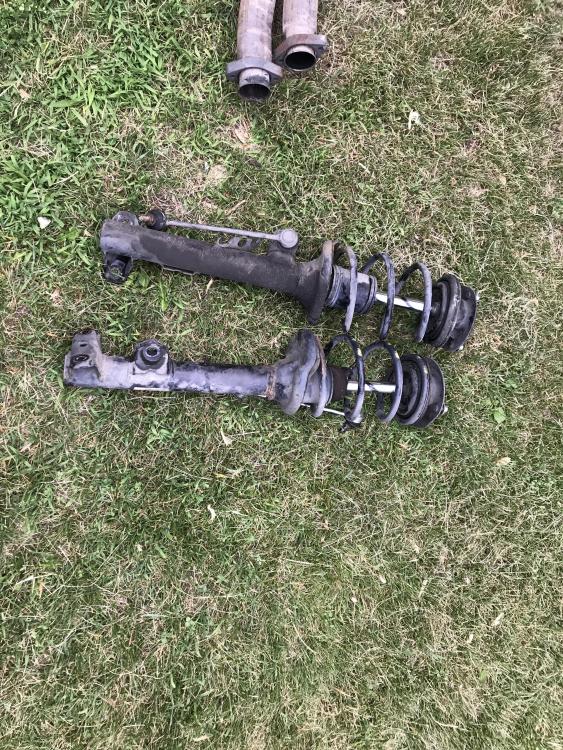
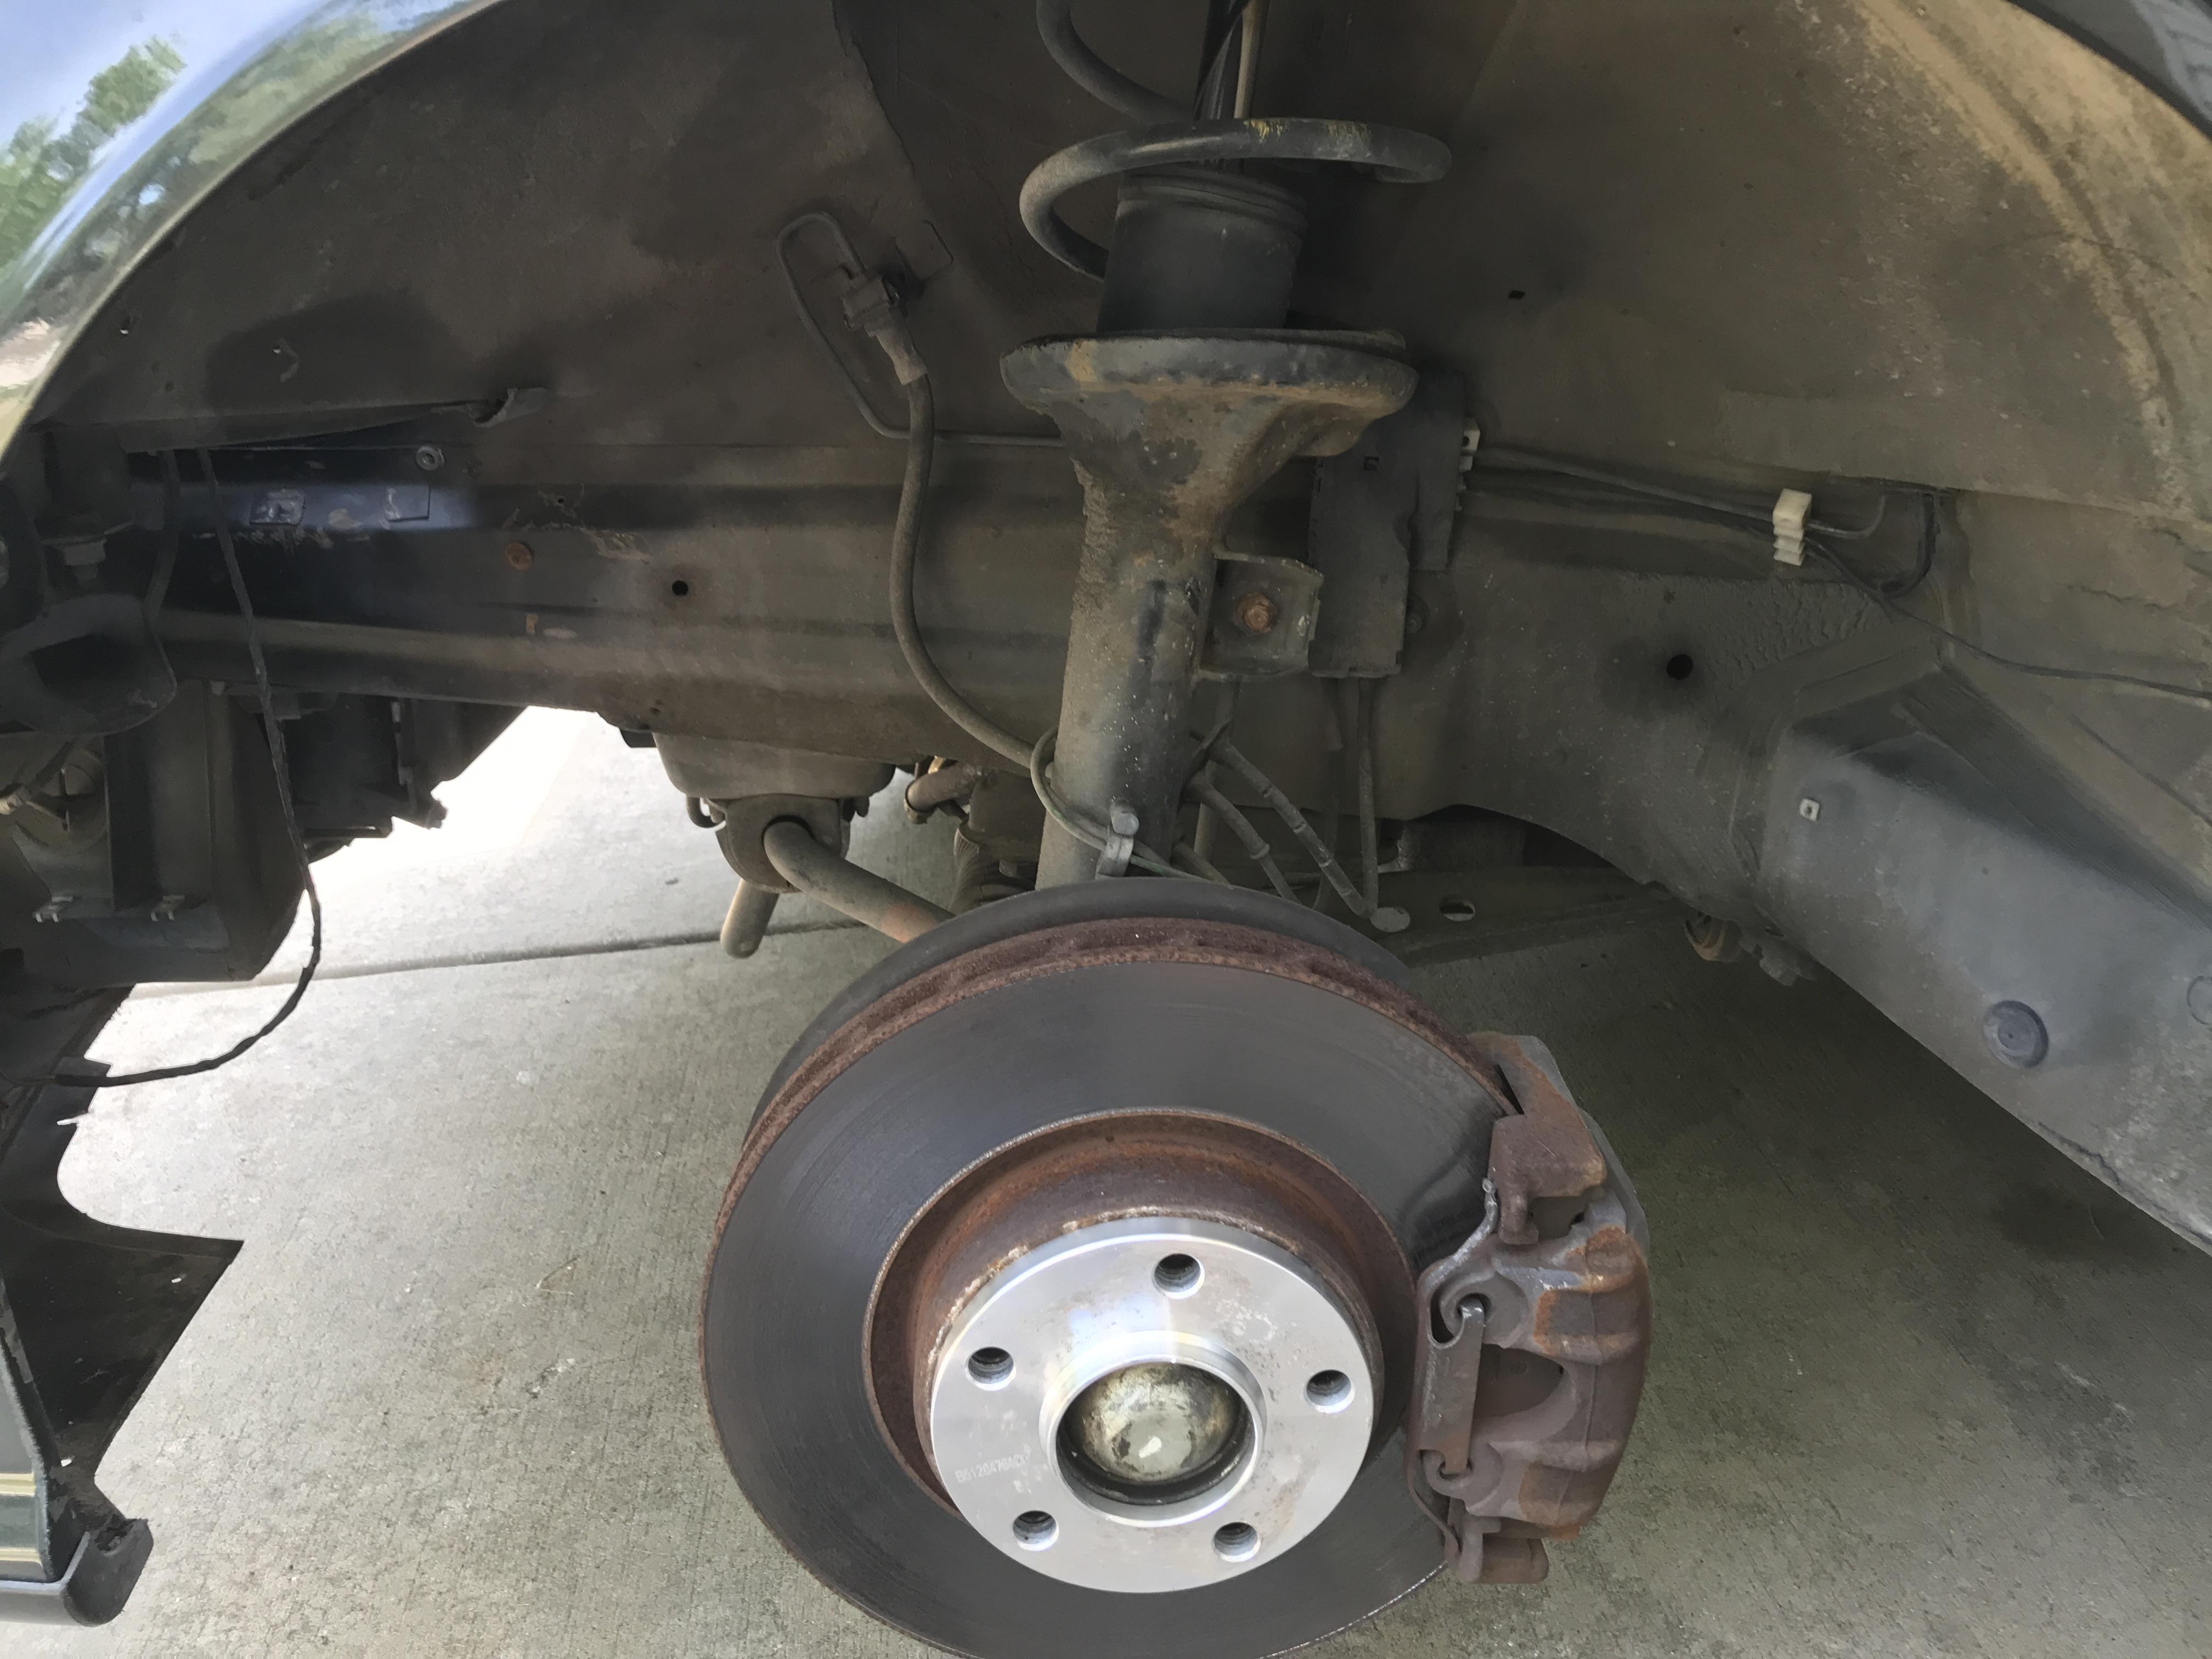
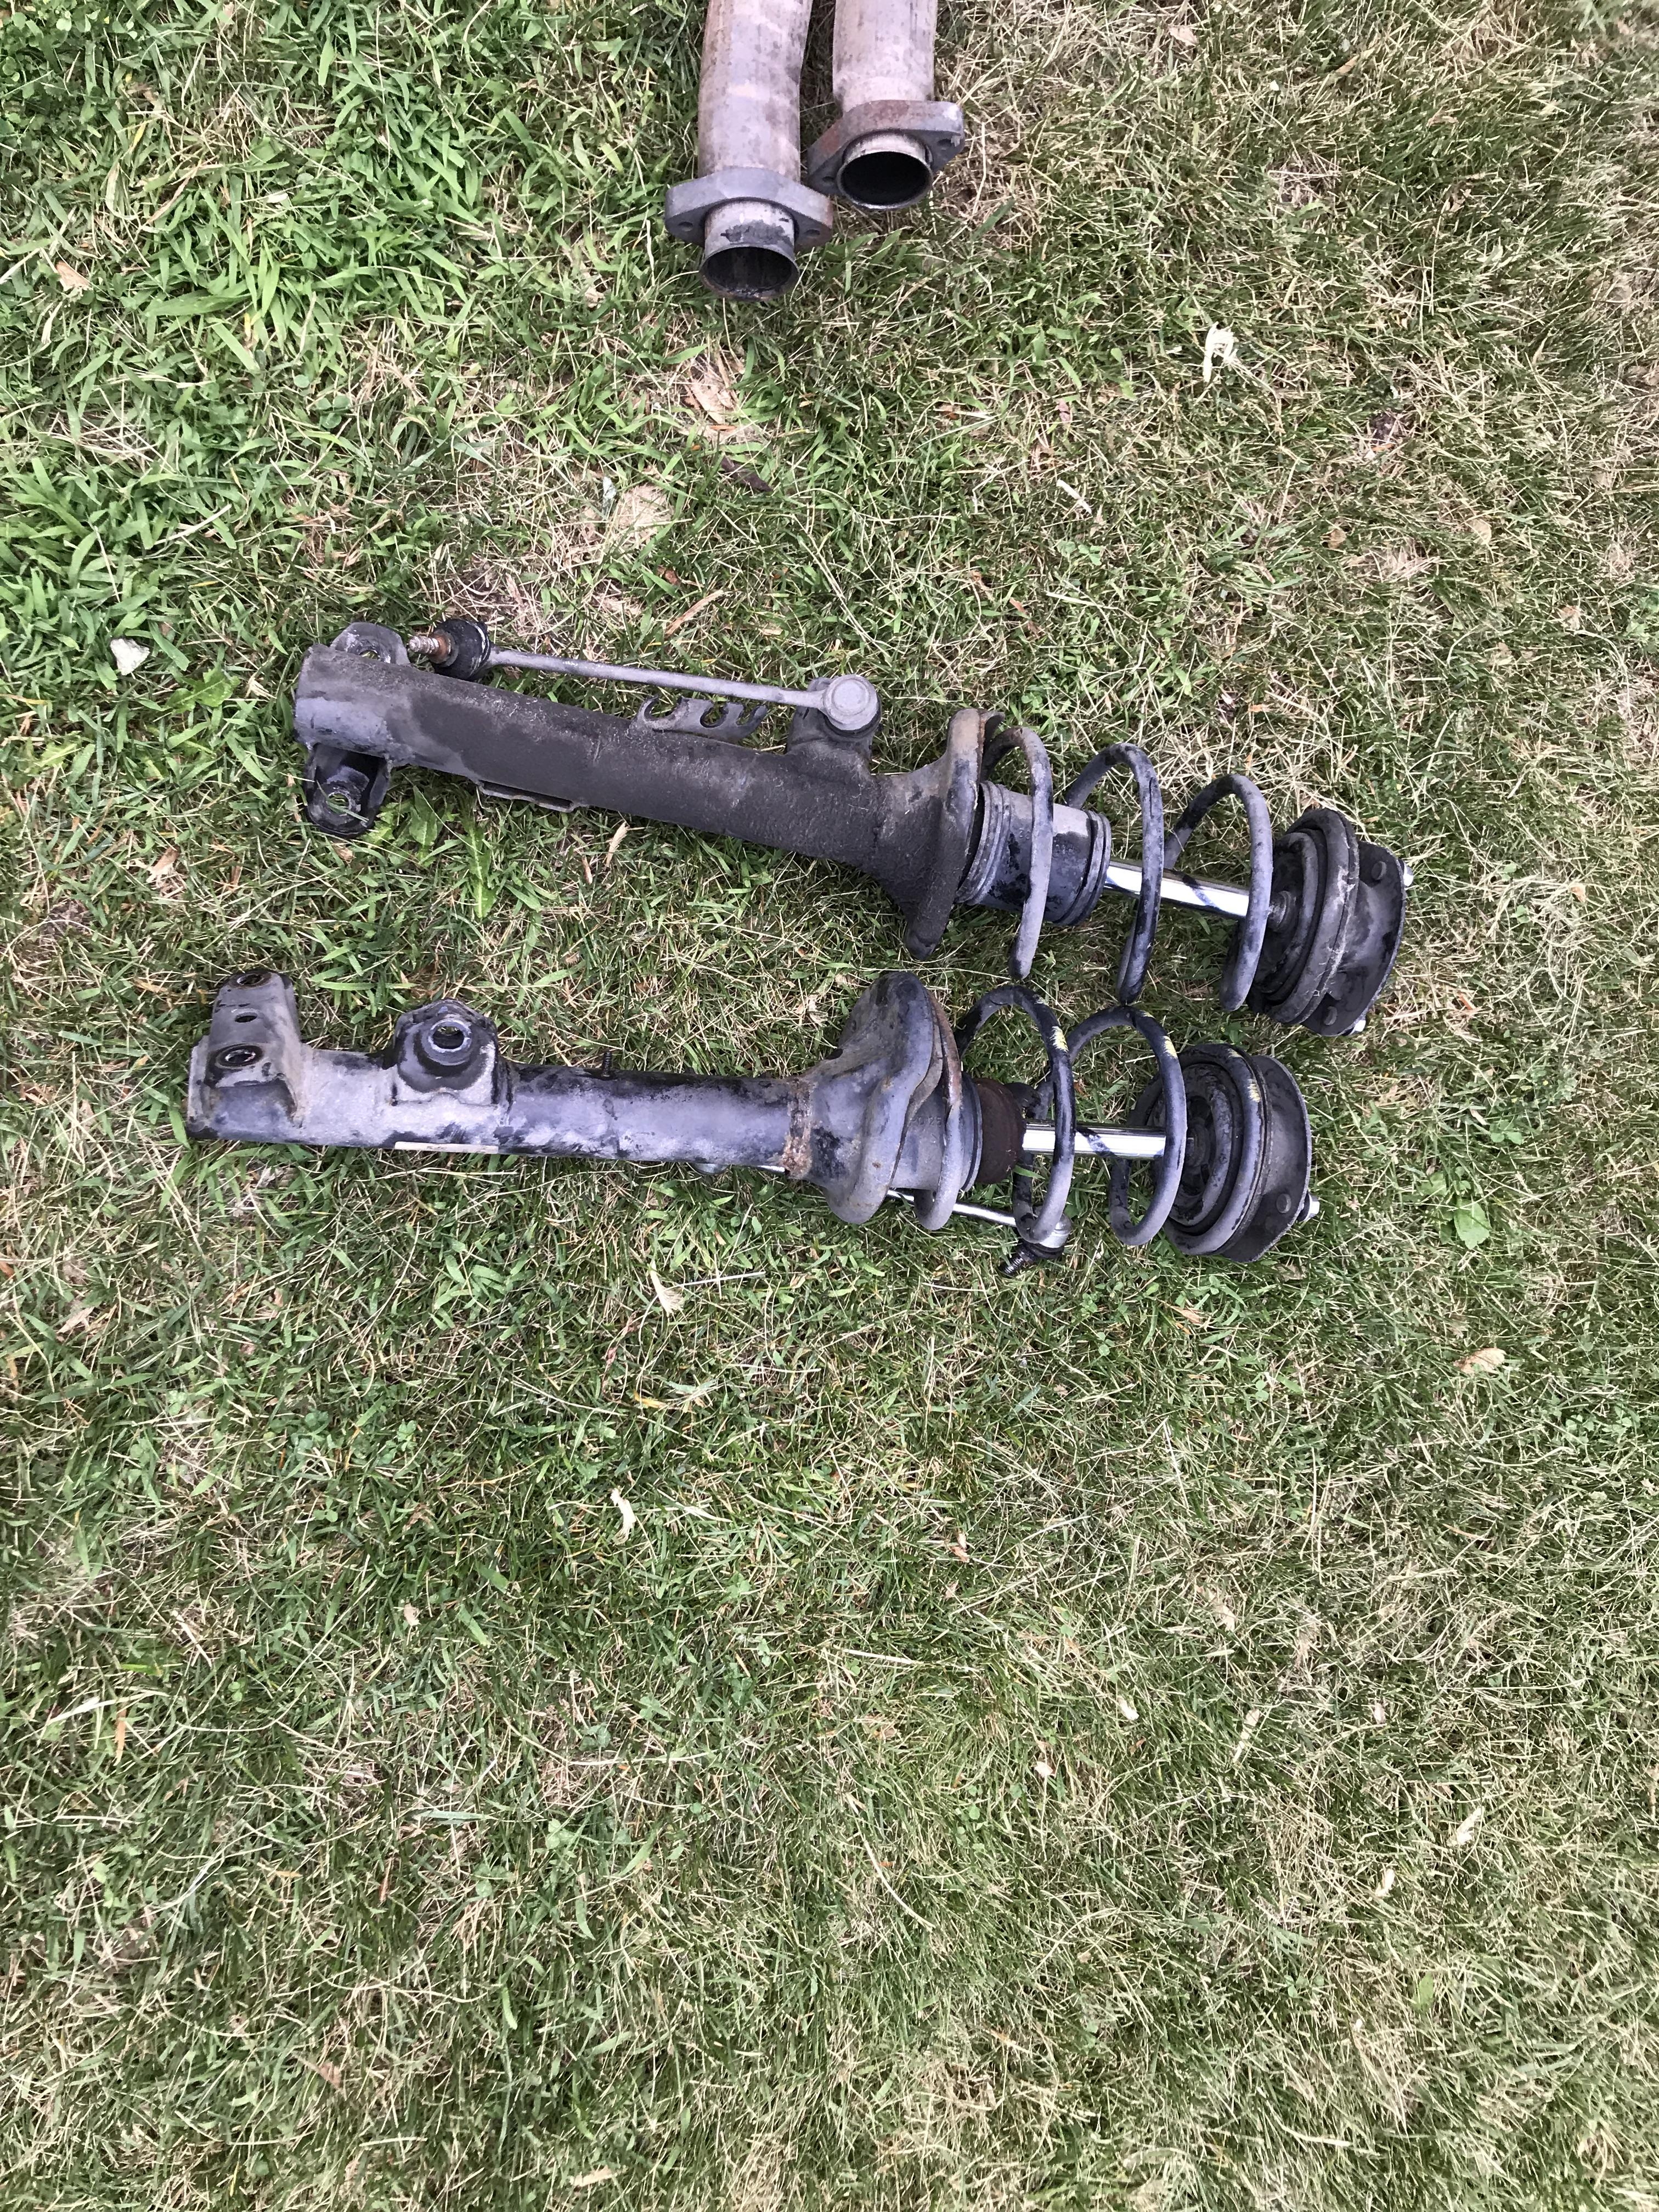
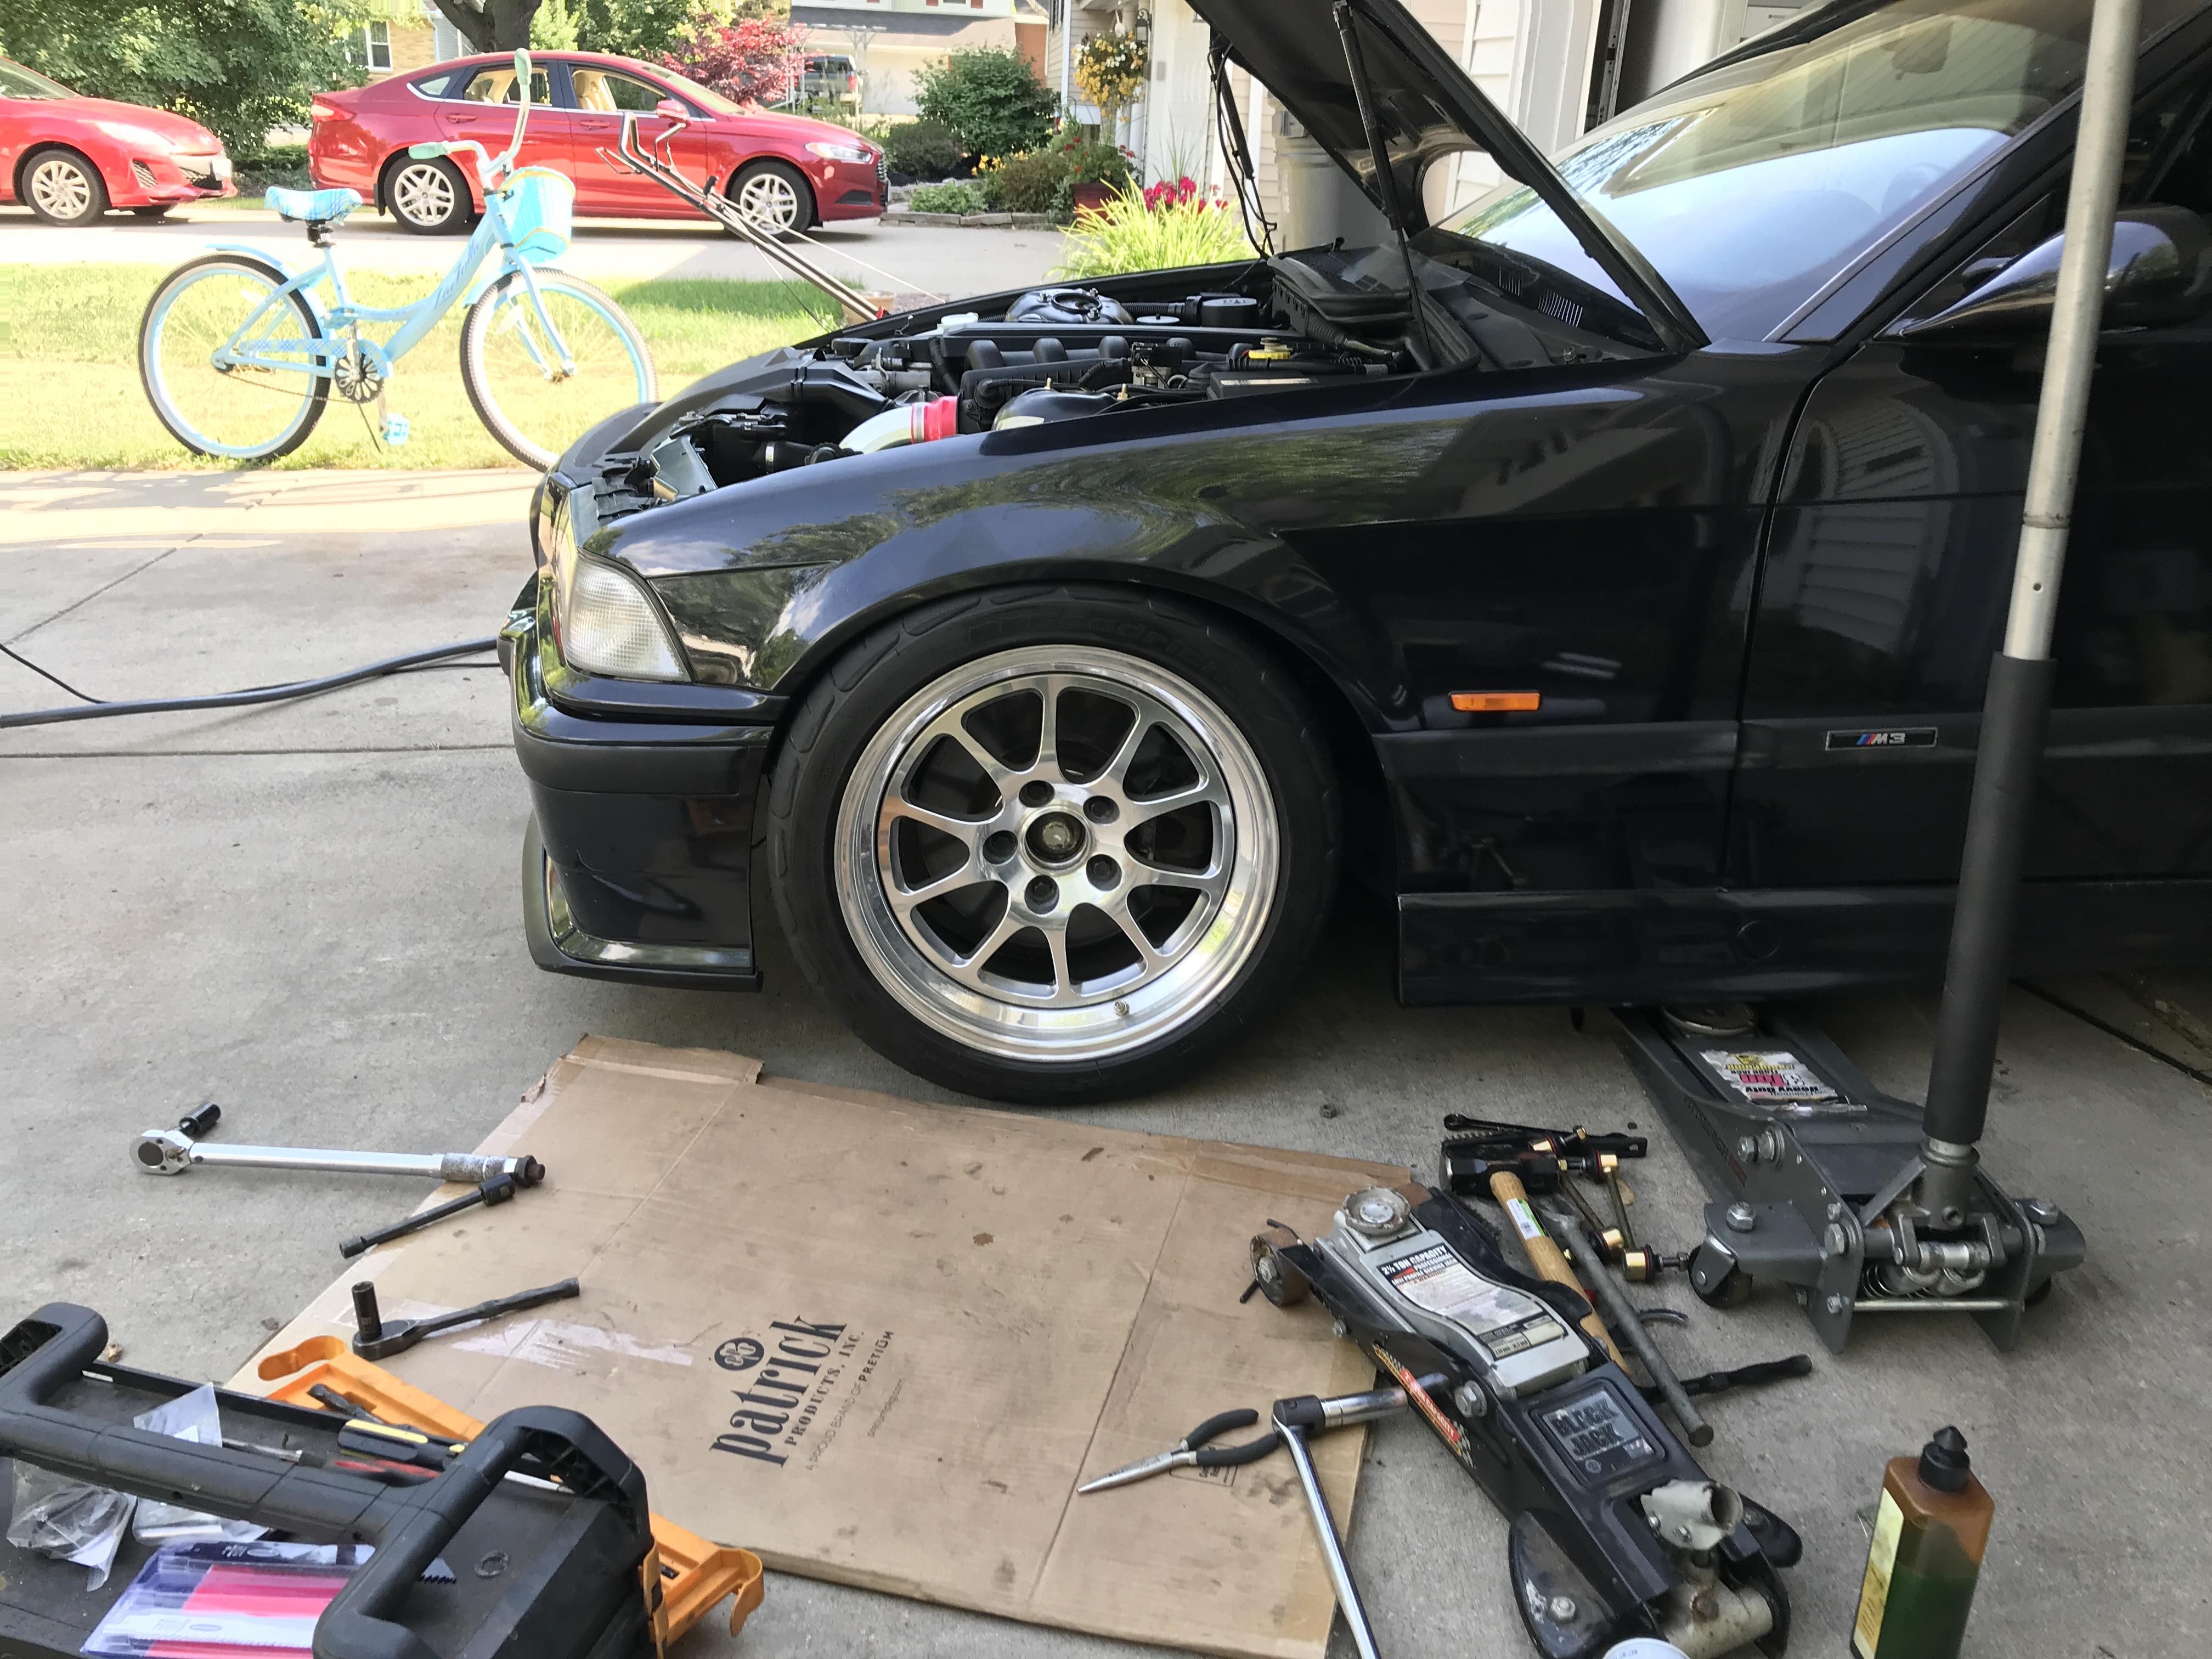
Cleaned the inside of my front arches today and installed and adjusted my front BC coilovers
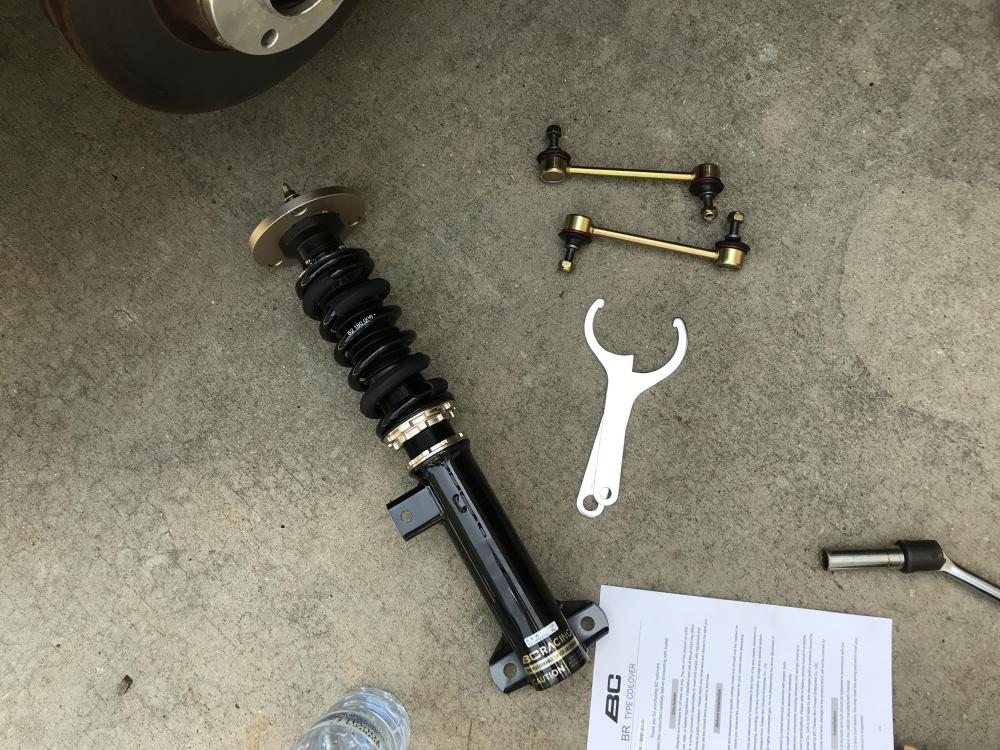
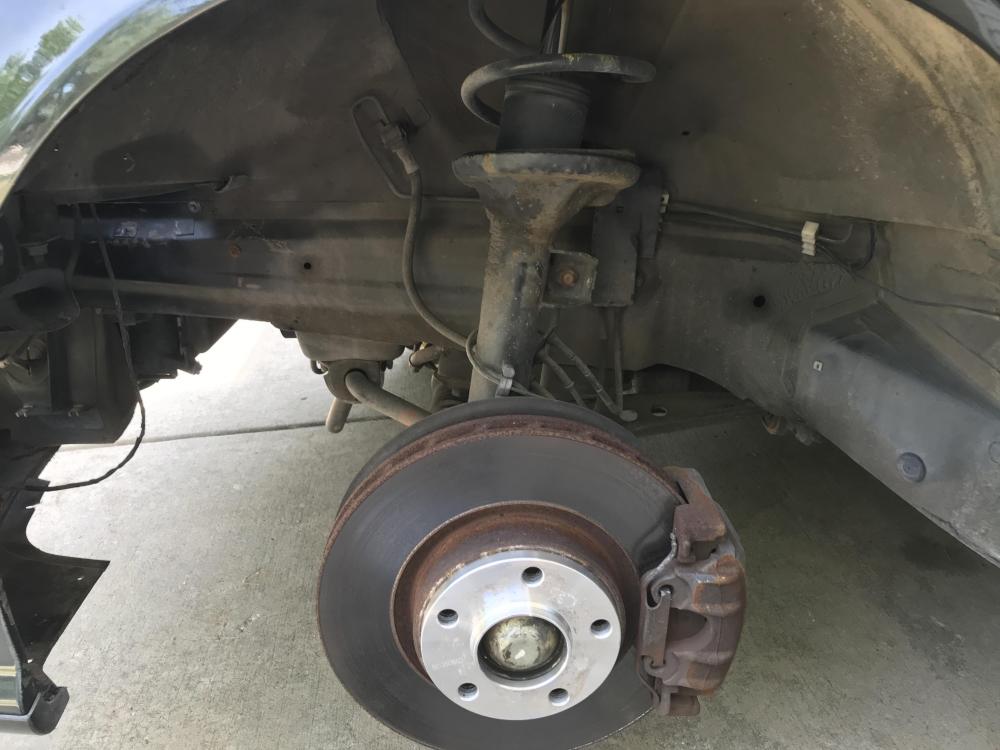
Although I forgot to take a pic of the arches cleaned and coilovers installed

 ️
️
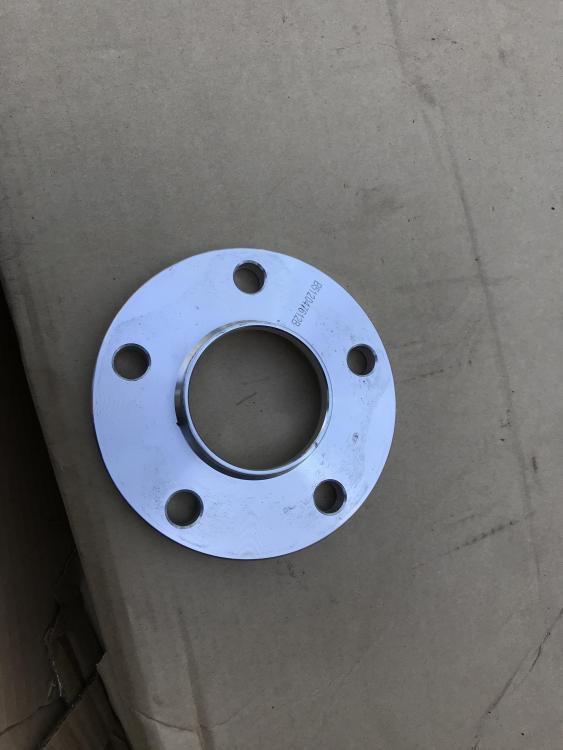
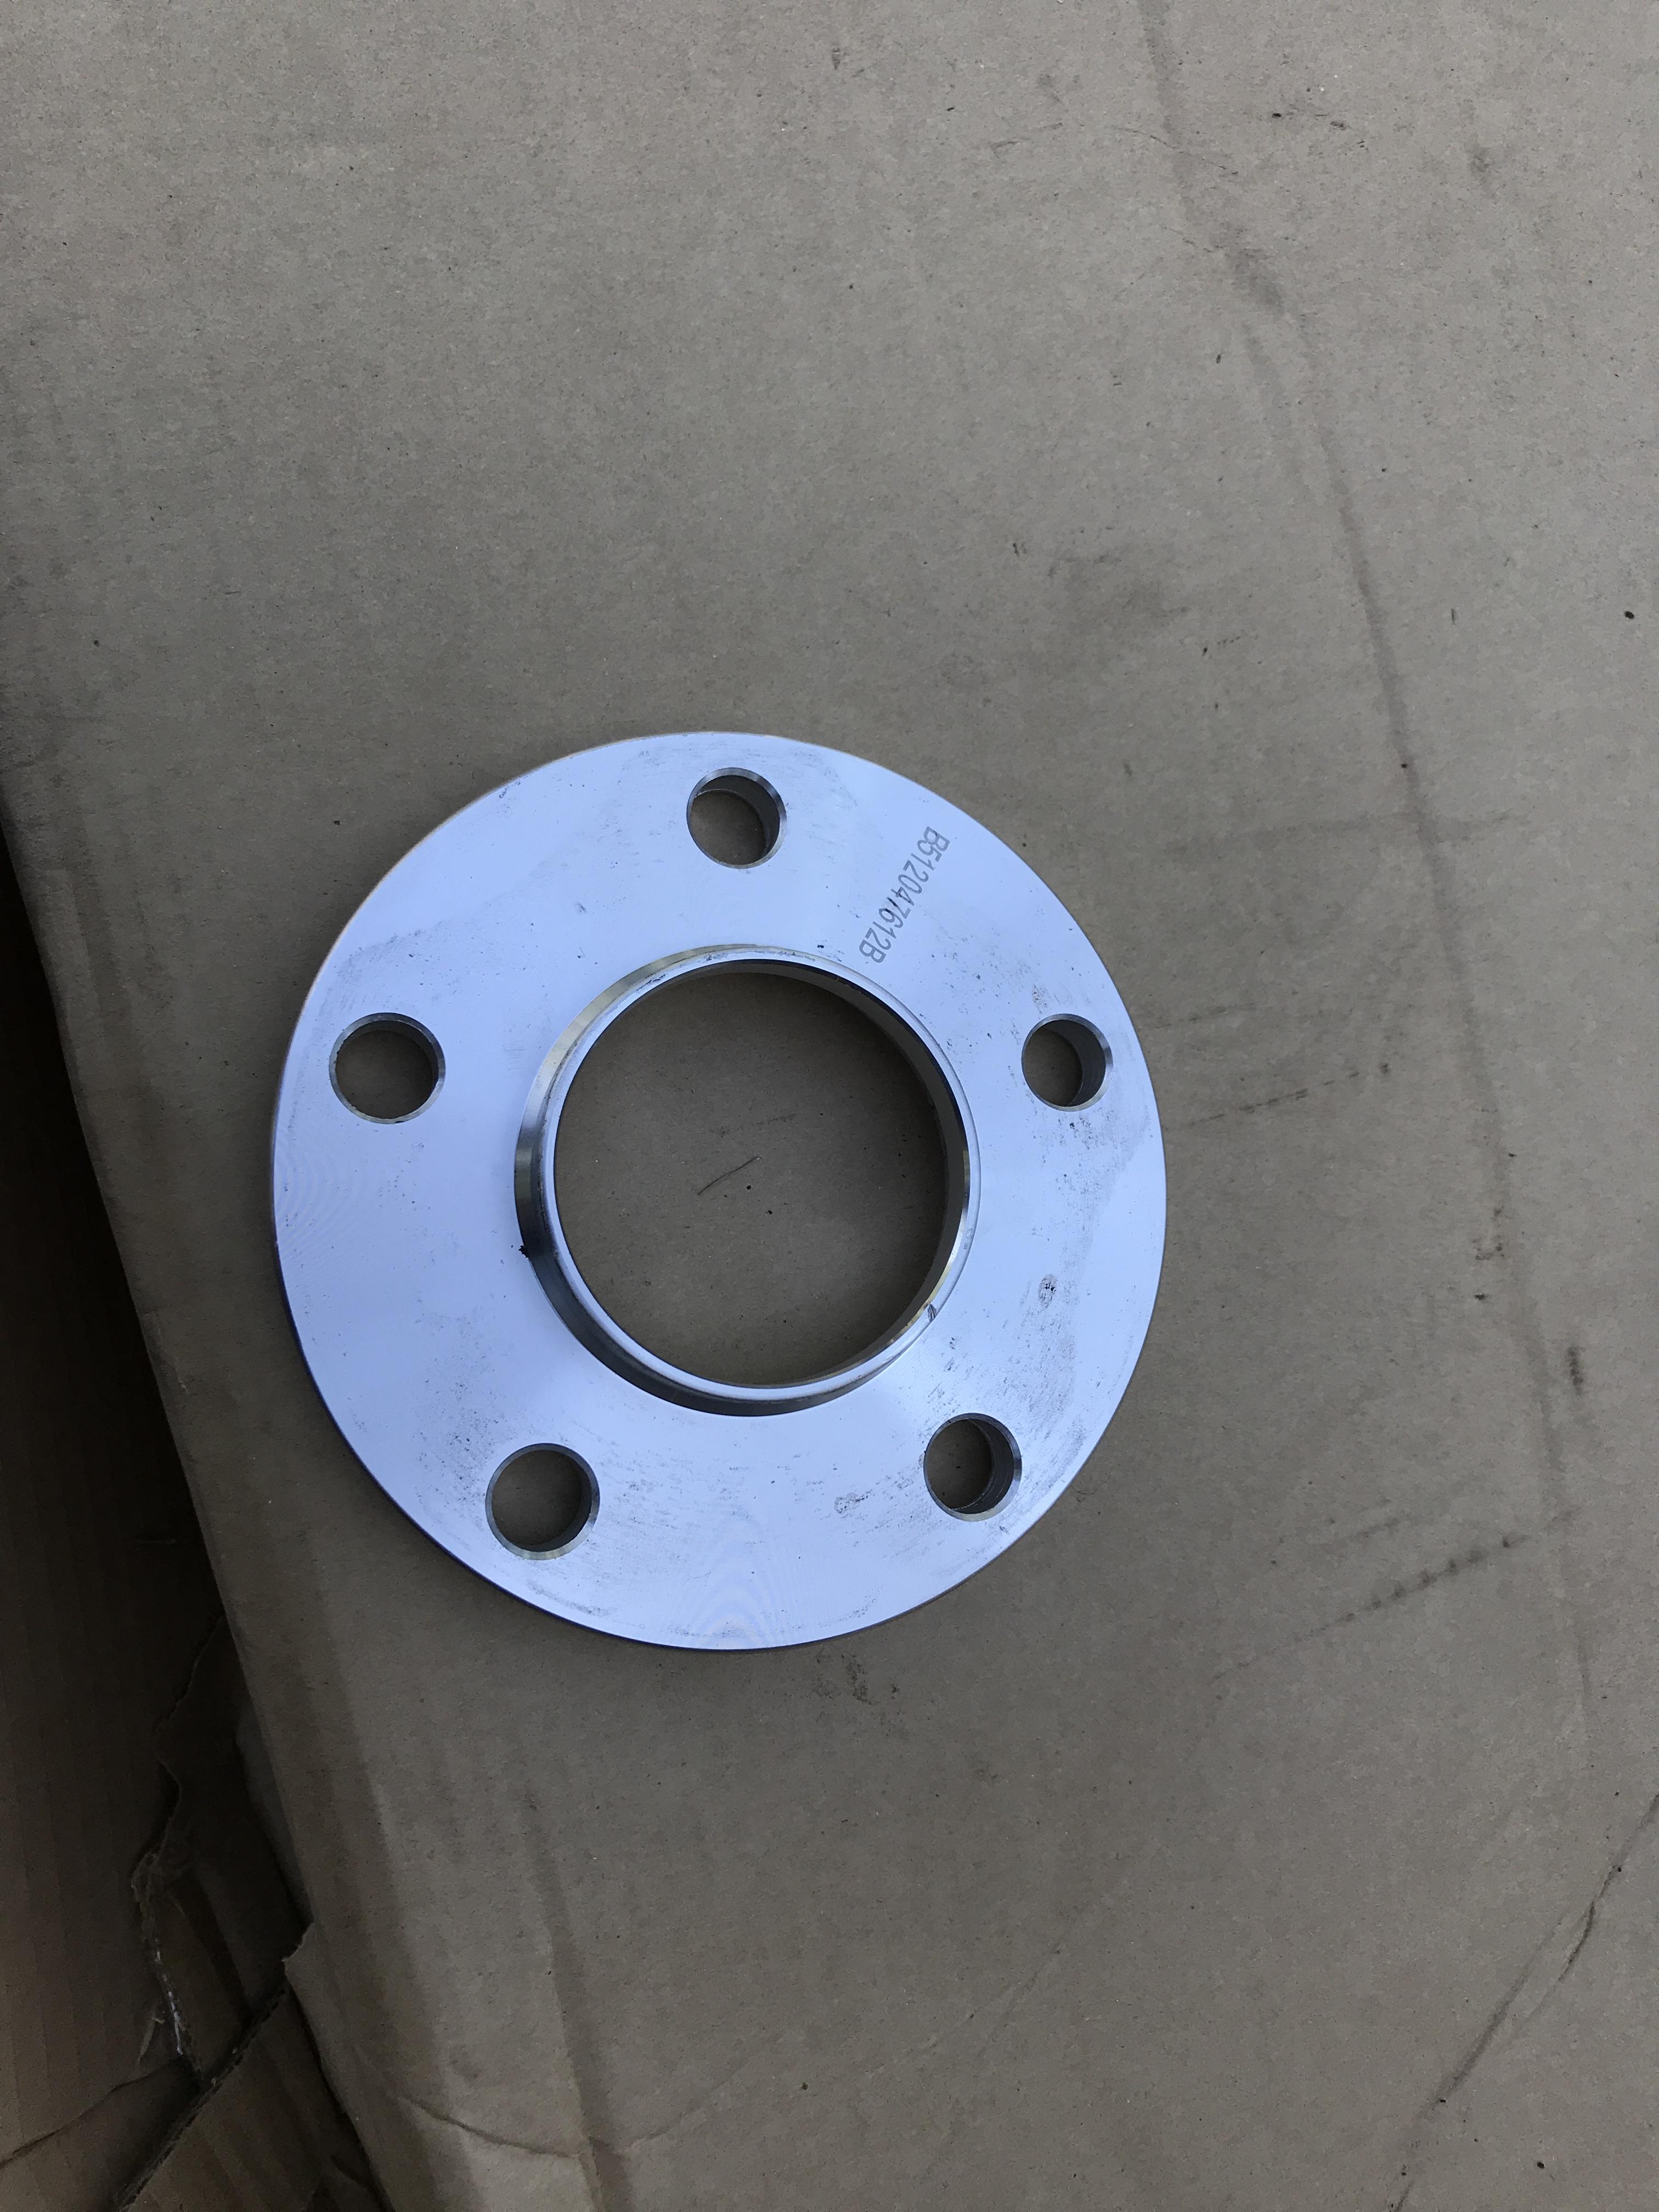
Went with 12mm spacers
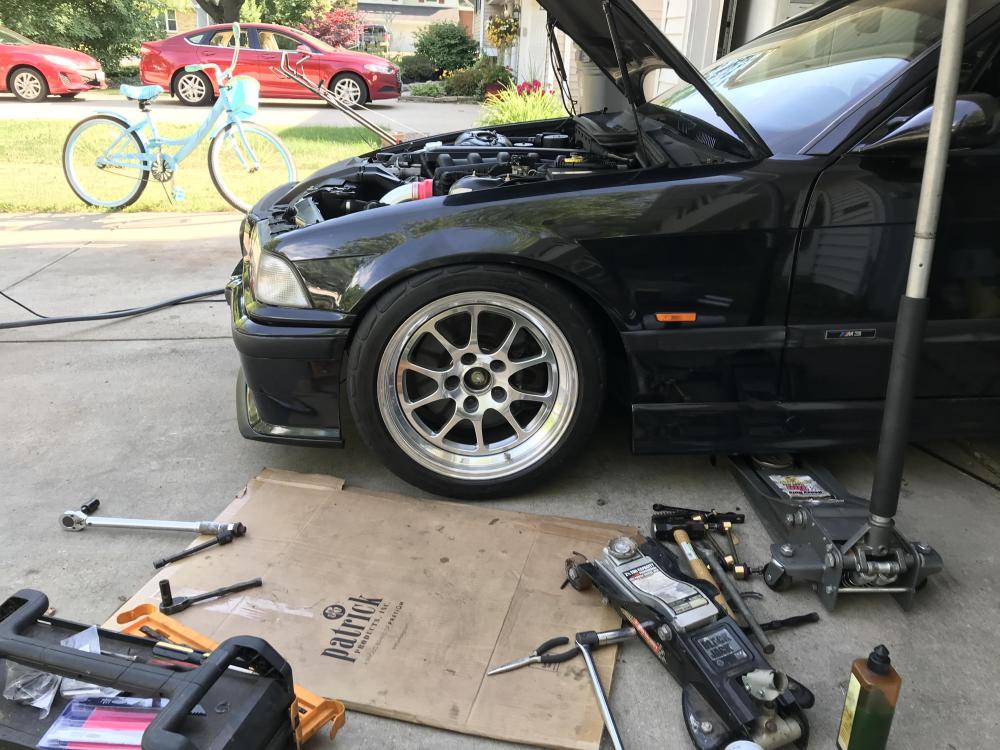
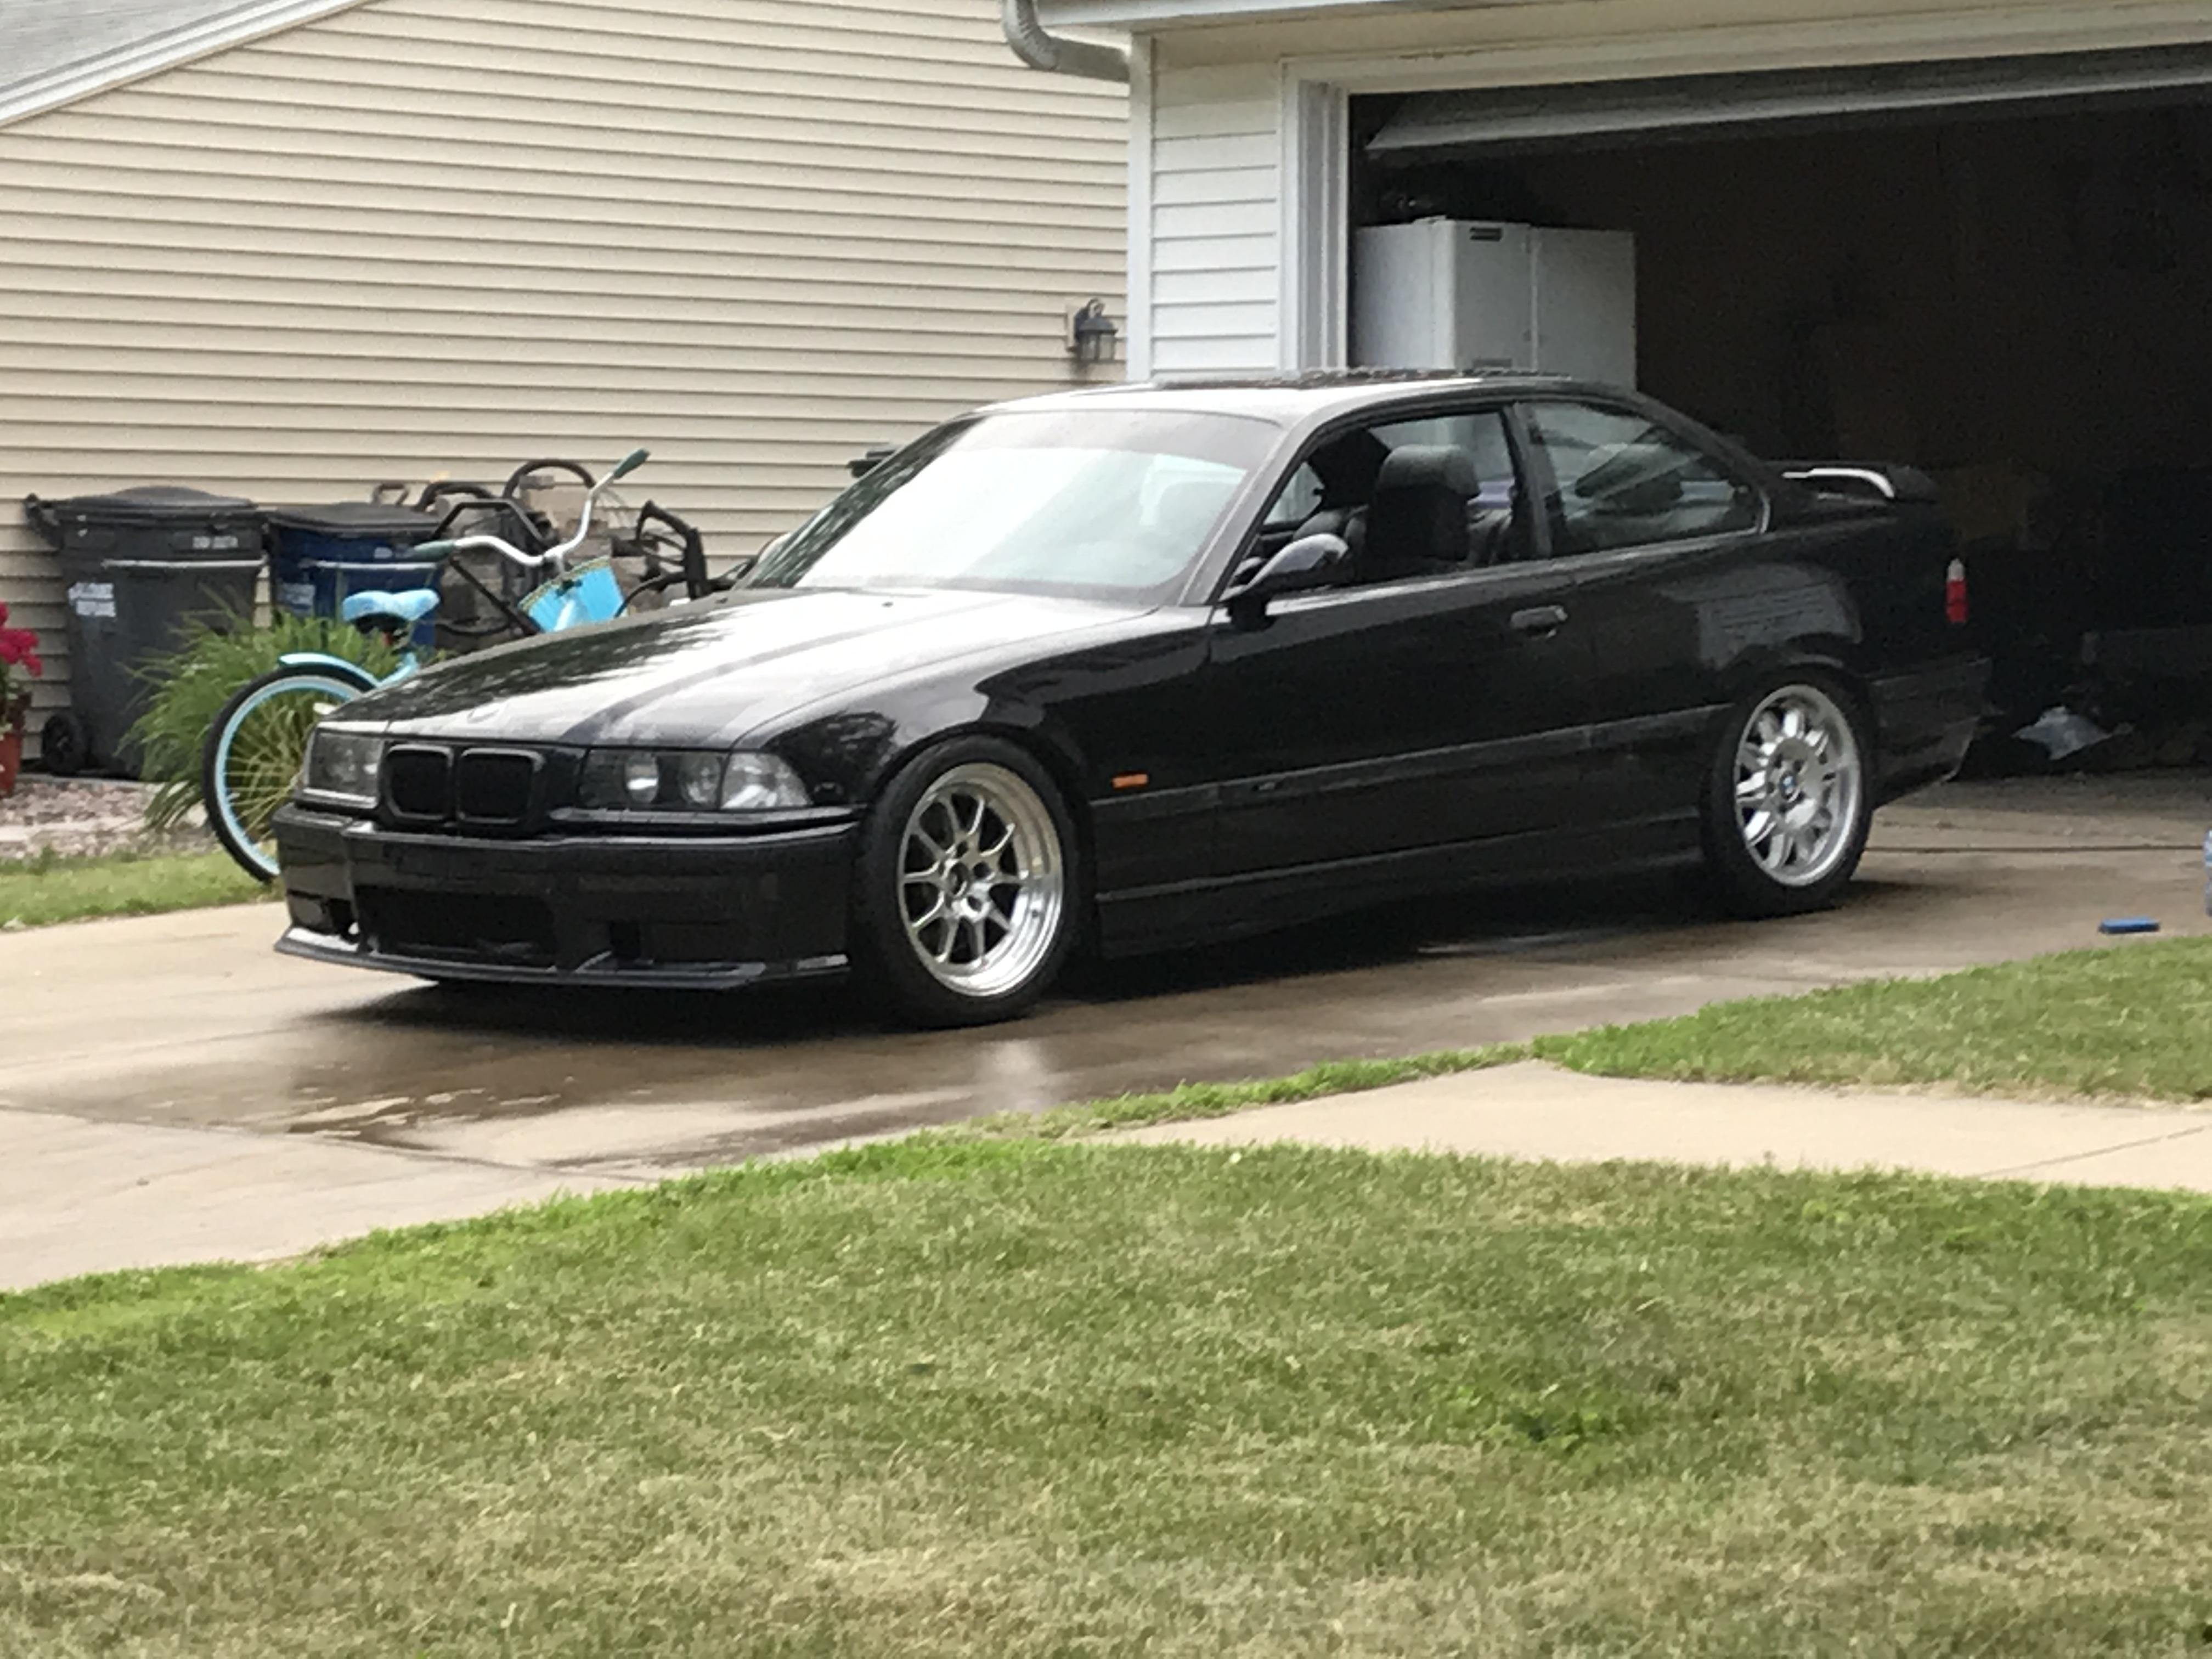
Everything installed, close to how I want it to sit
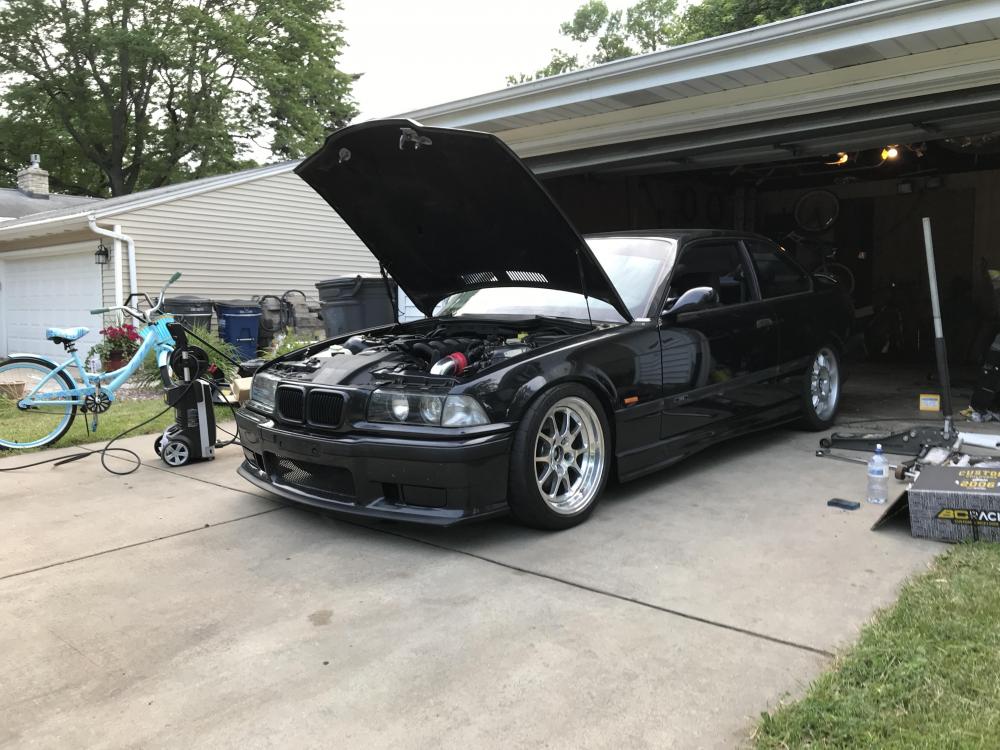
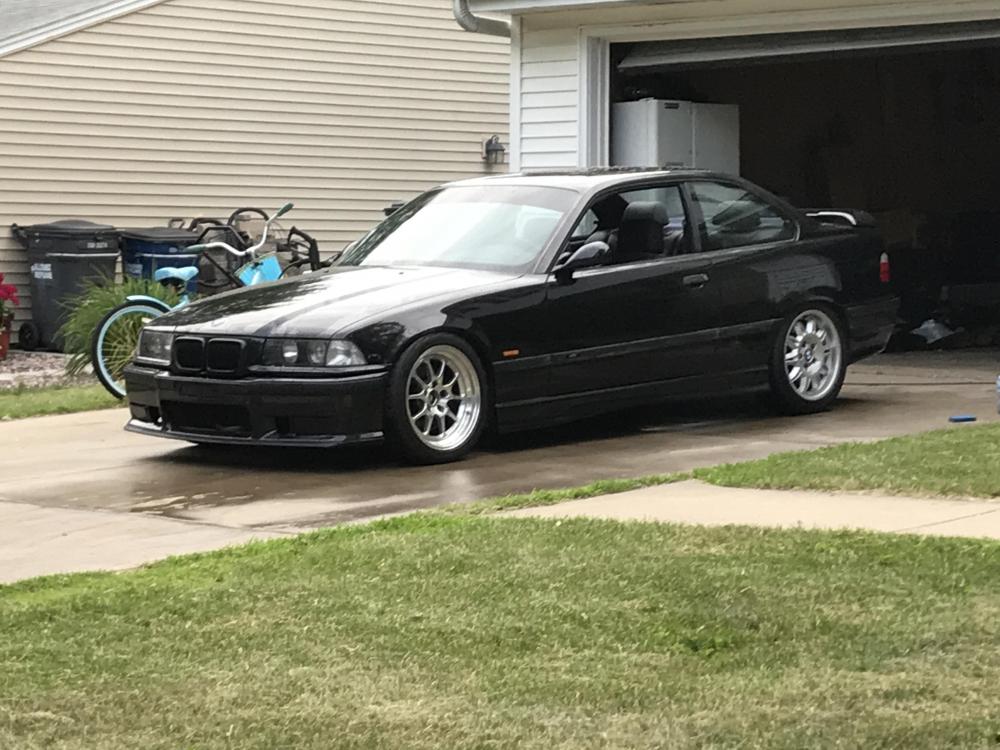
The rears aren't on anymore because the rear springs settled and the tires started to rub when I rolled it in my garage. Gonna adjust them tomorrow and throw the rear wheels on
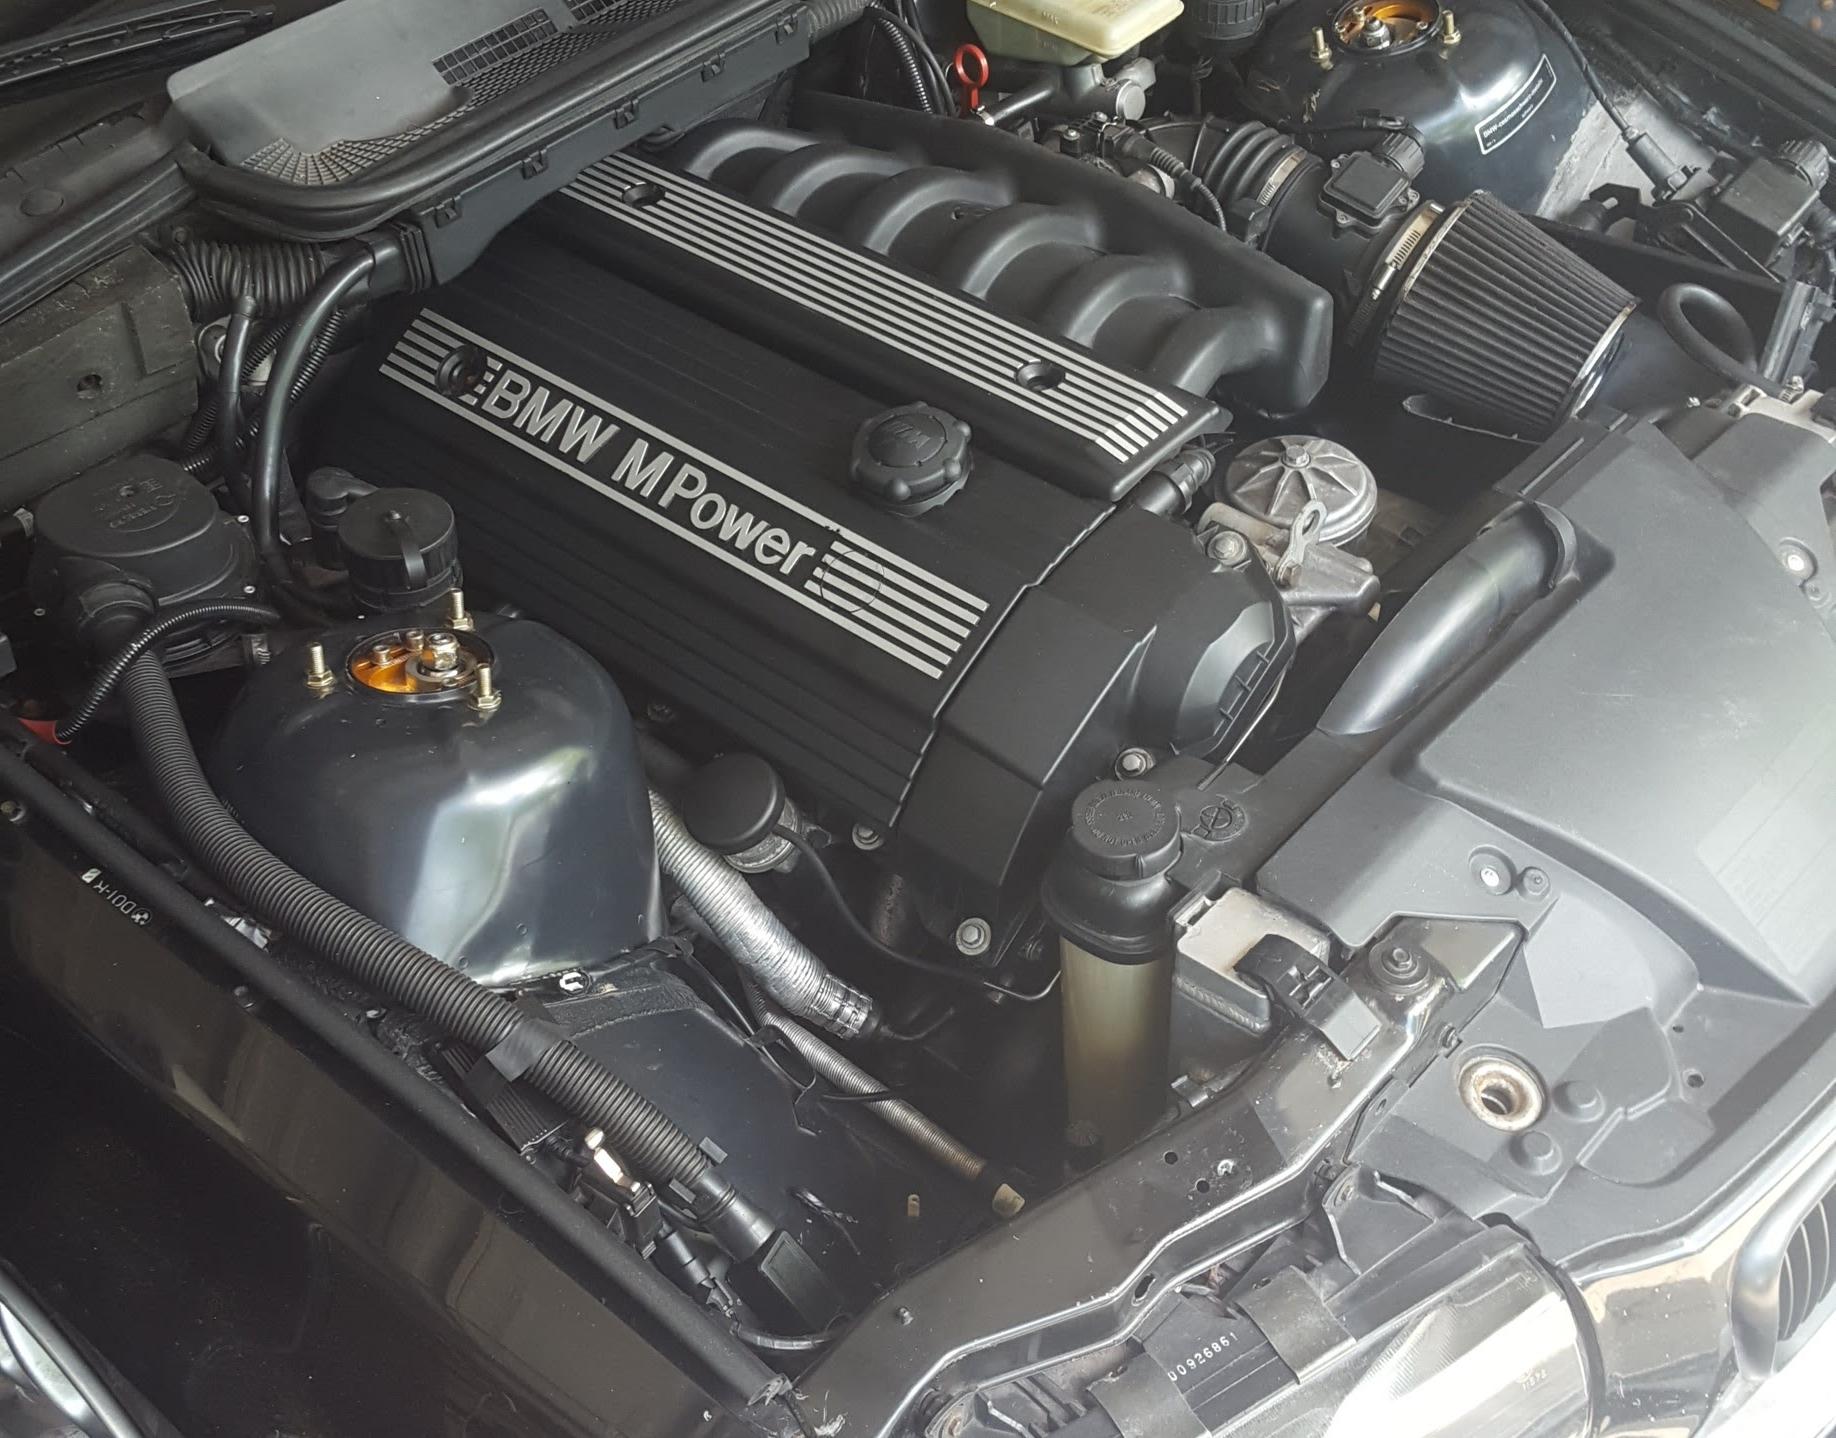
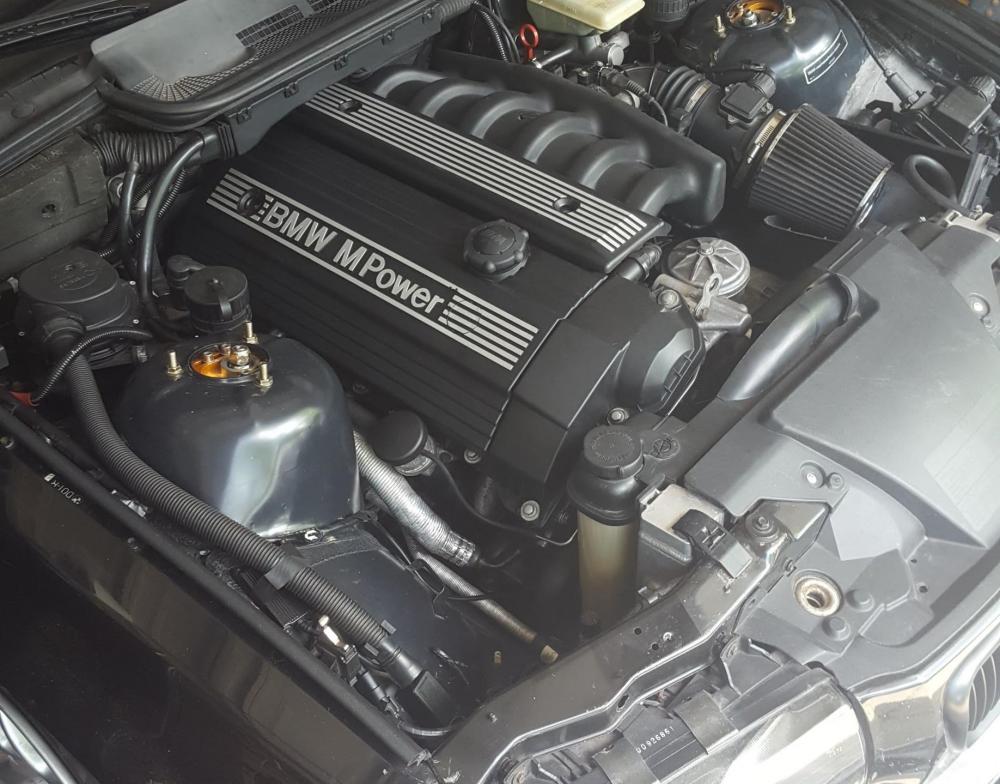
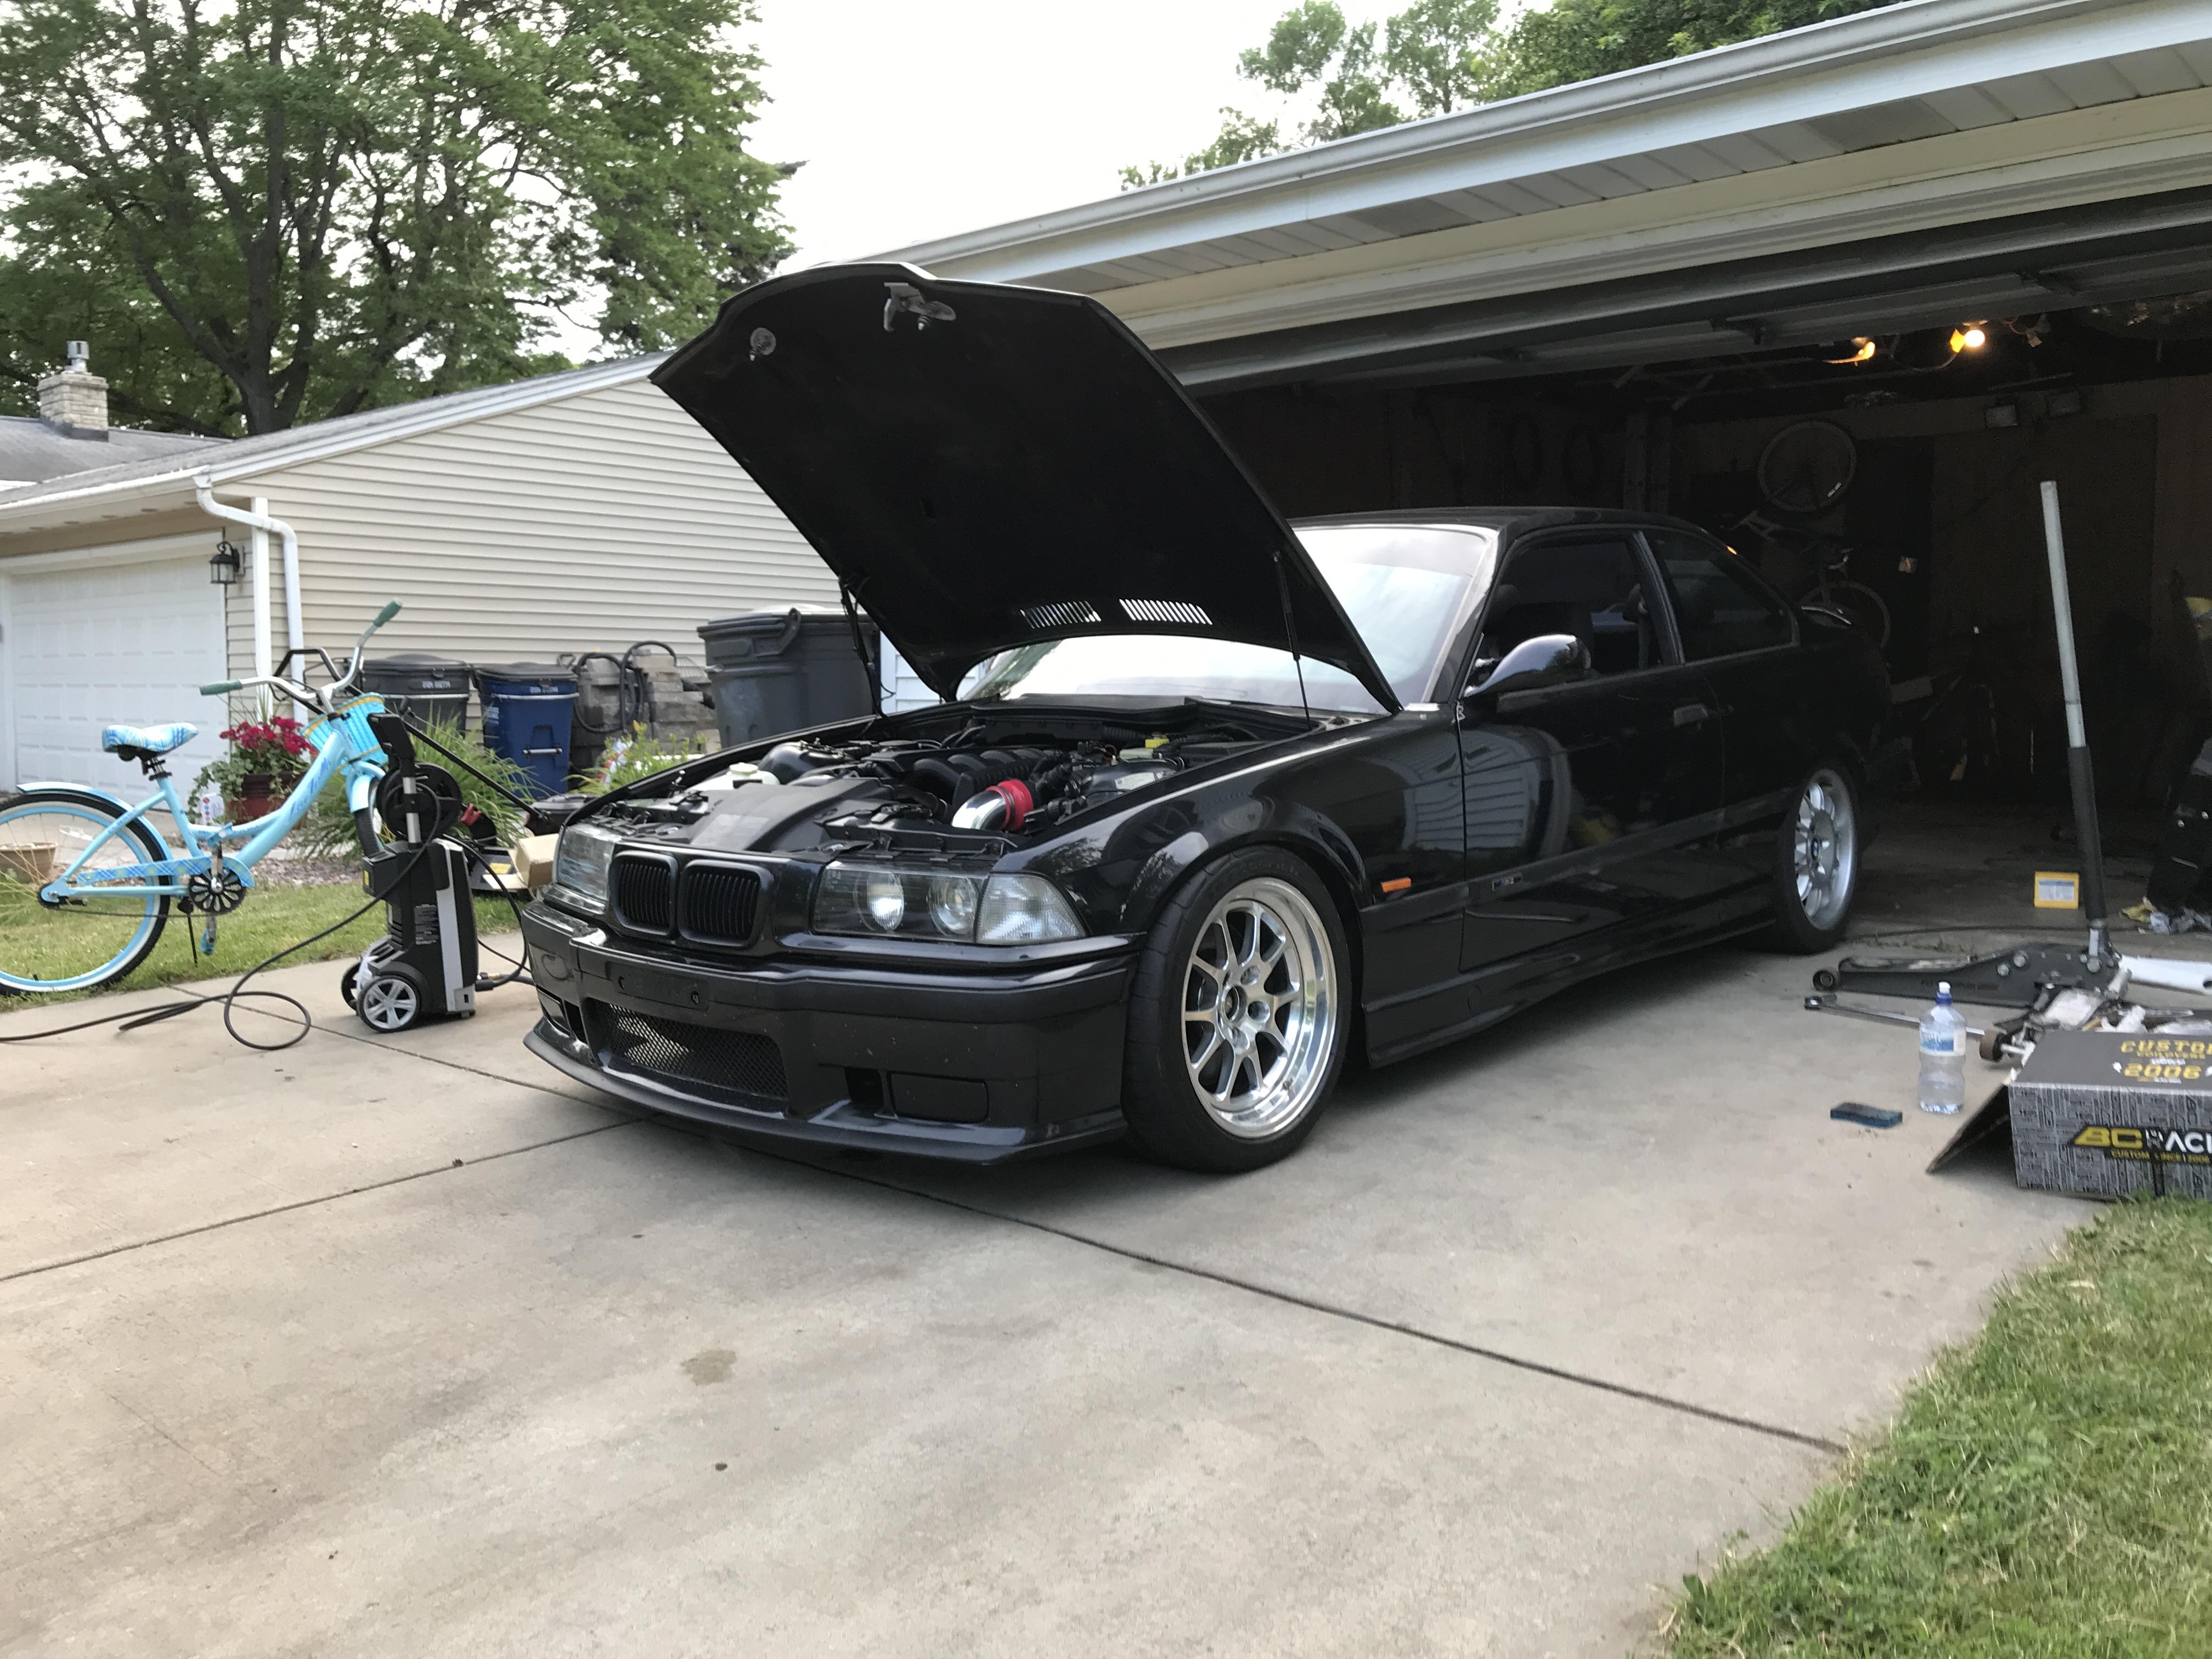
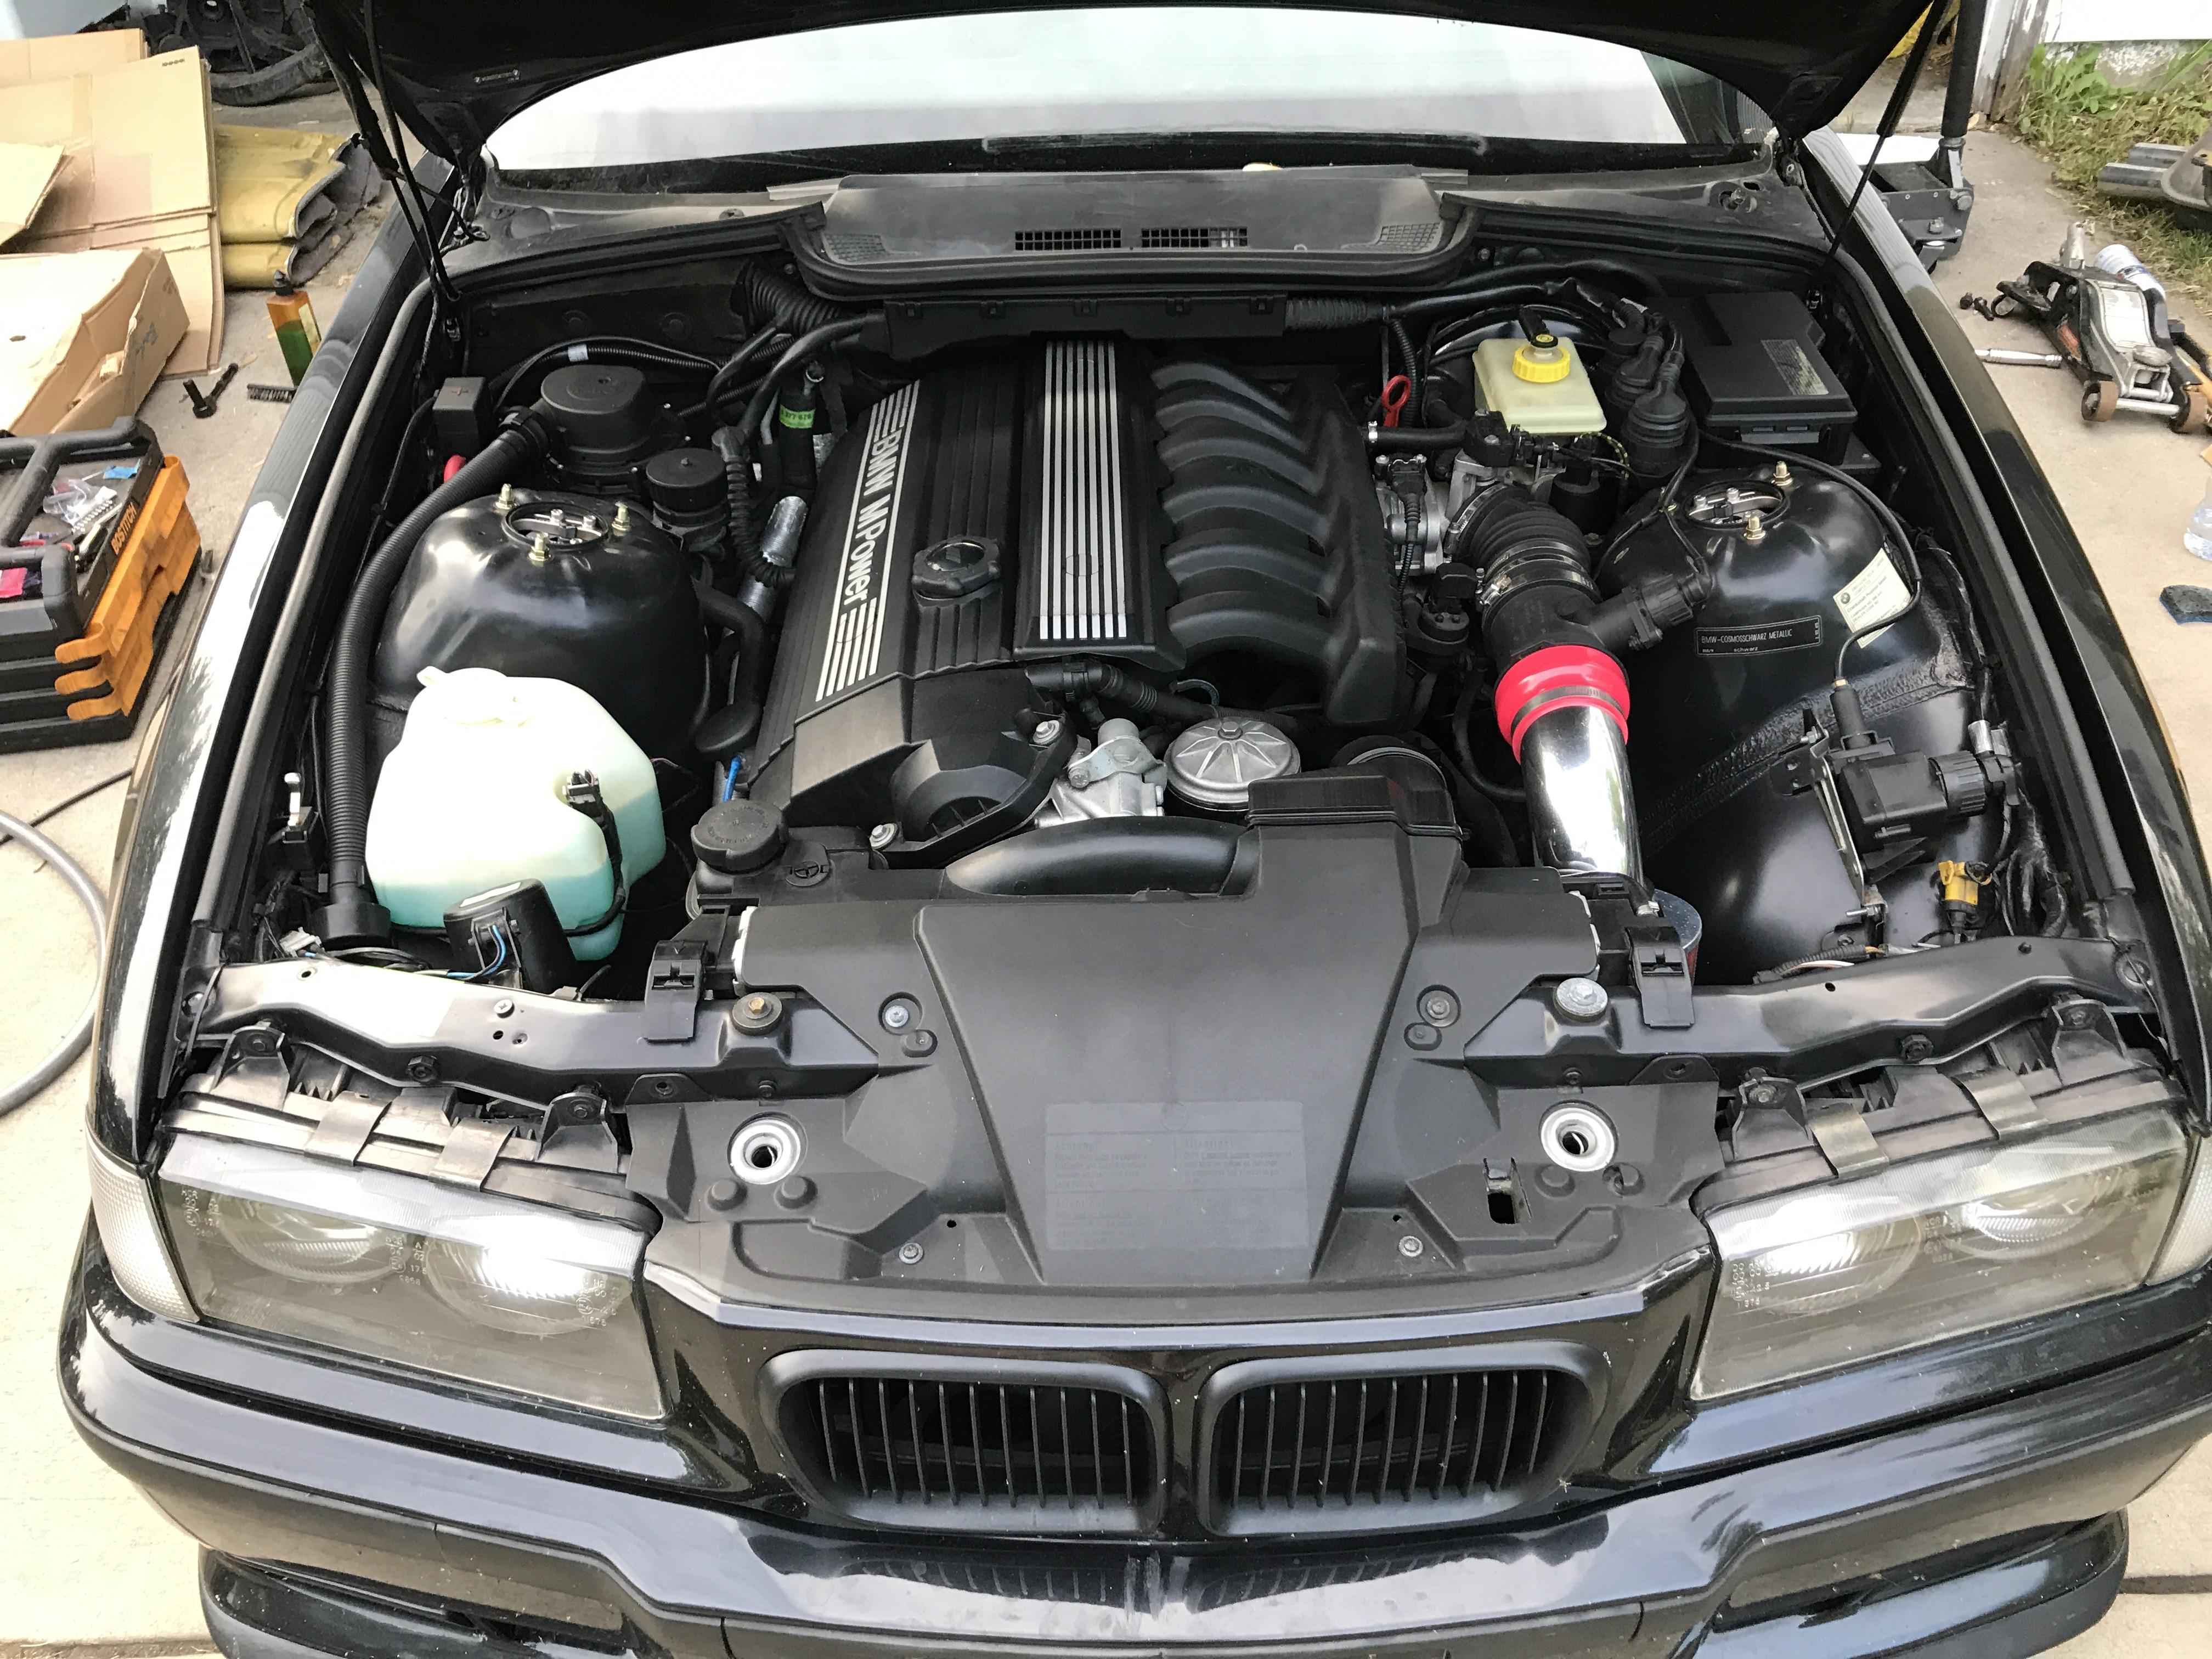
Bonus pics, cleaned my engine bay up a bit
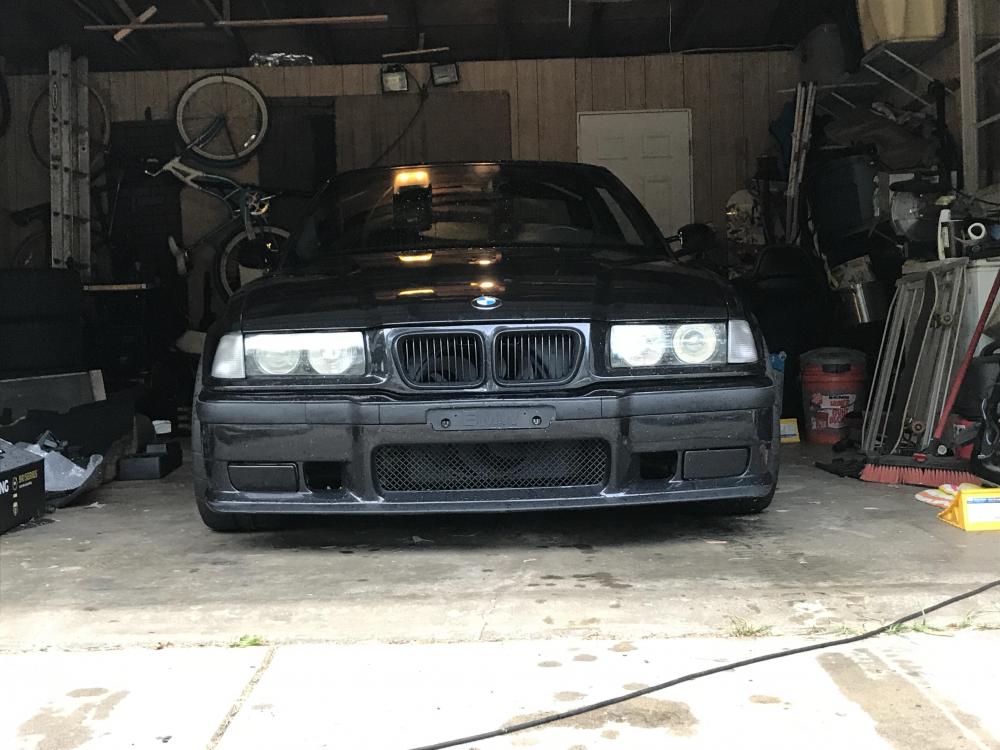
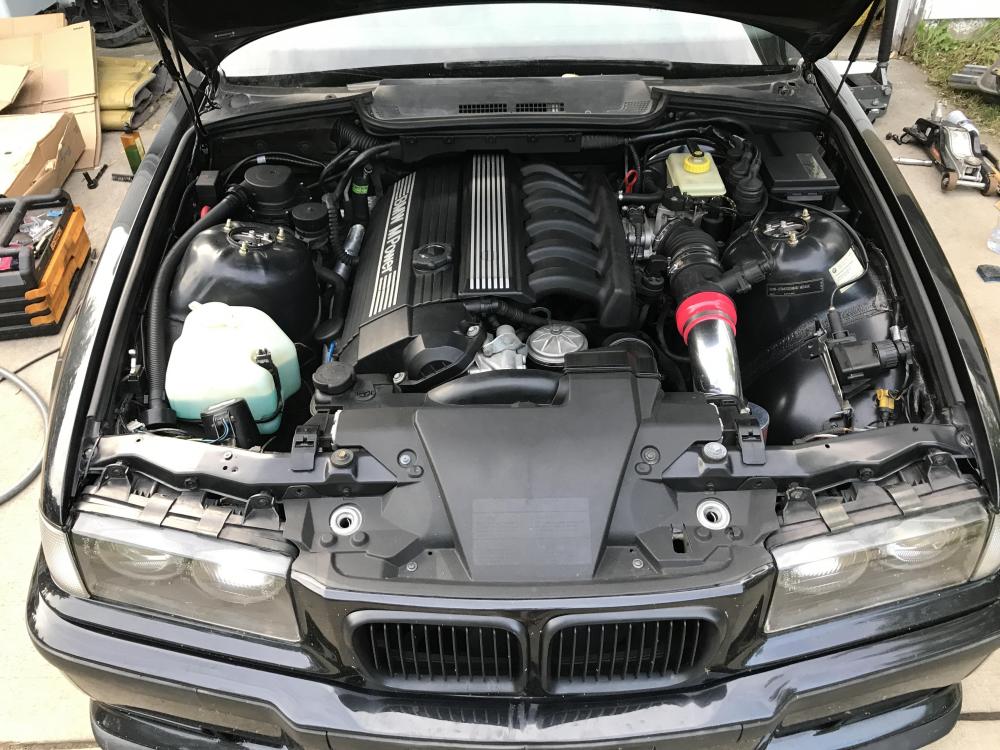
Missing a hose clamp on the intake still, I'm not sure why the PO went though all the hassle to put a 3.5in MAF in without any other mods. Kinda don't like seeing 5 hose clams in a row and all the extra couplers. Also this intake flops around and Isn't attached to anything
-
Engine bay looks nice, don't touch your washer reservoir with dirty hands mine is permanently ruined.
Well that 3.5 inch maf works wonders when you have a 3 inch pipe feeding it and then it going into a 2.5 inch throttle body.
Yep, any and all gains come from the tune required to run the MAF
-
Yep, any and all gains come from the tune required to run the MAF
I figured that, injectors are still pink and rev limit is still 7k so I doubt I have any sort of performance software flashed on the DME. Just thought it was strange how out of there way someone went to put this MAF in.









Hello! It looks like you're interested in this conversation, but you don't have an account yet.
Getting fed up of having to scroll through the same posts each visit? When you register for an account, you'll always come back to exactly where you were before, and choose to be notified of new replies (either via email, or push notification). You'll also be able to save bookmarks and upvote posts to show your appreciation to other community members.
With your input, this post could be even better 💗
Register Login