
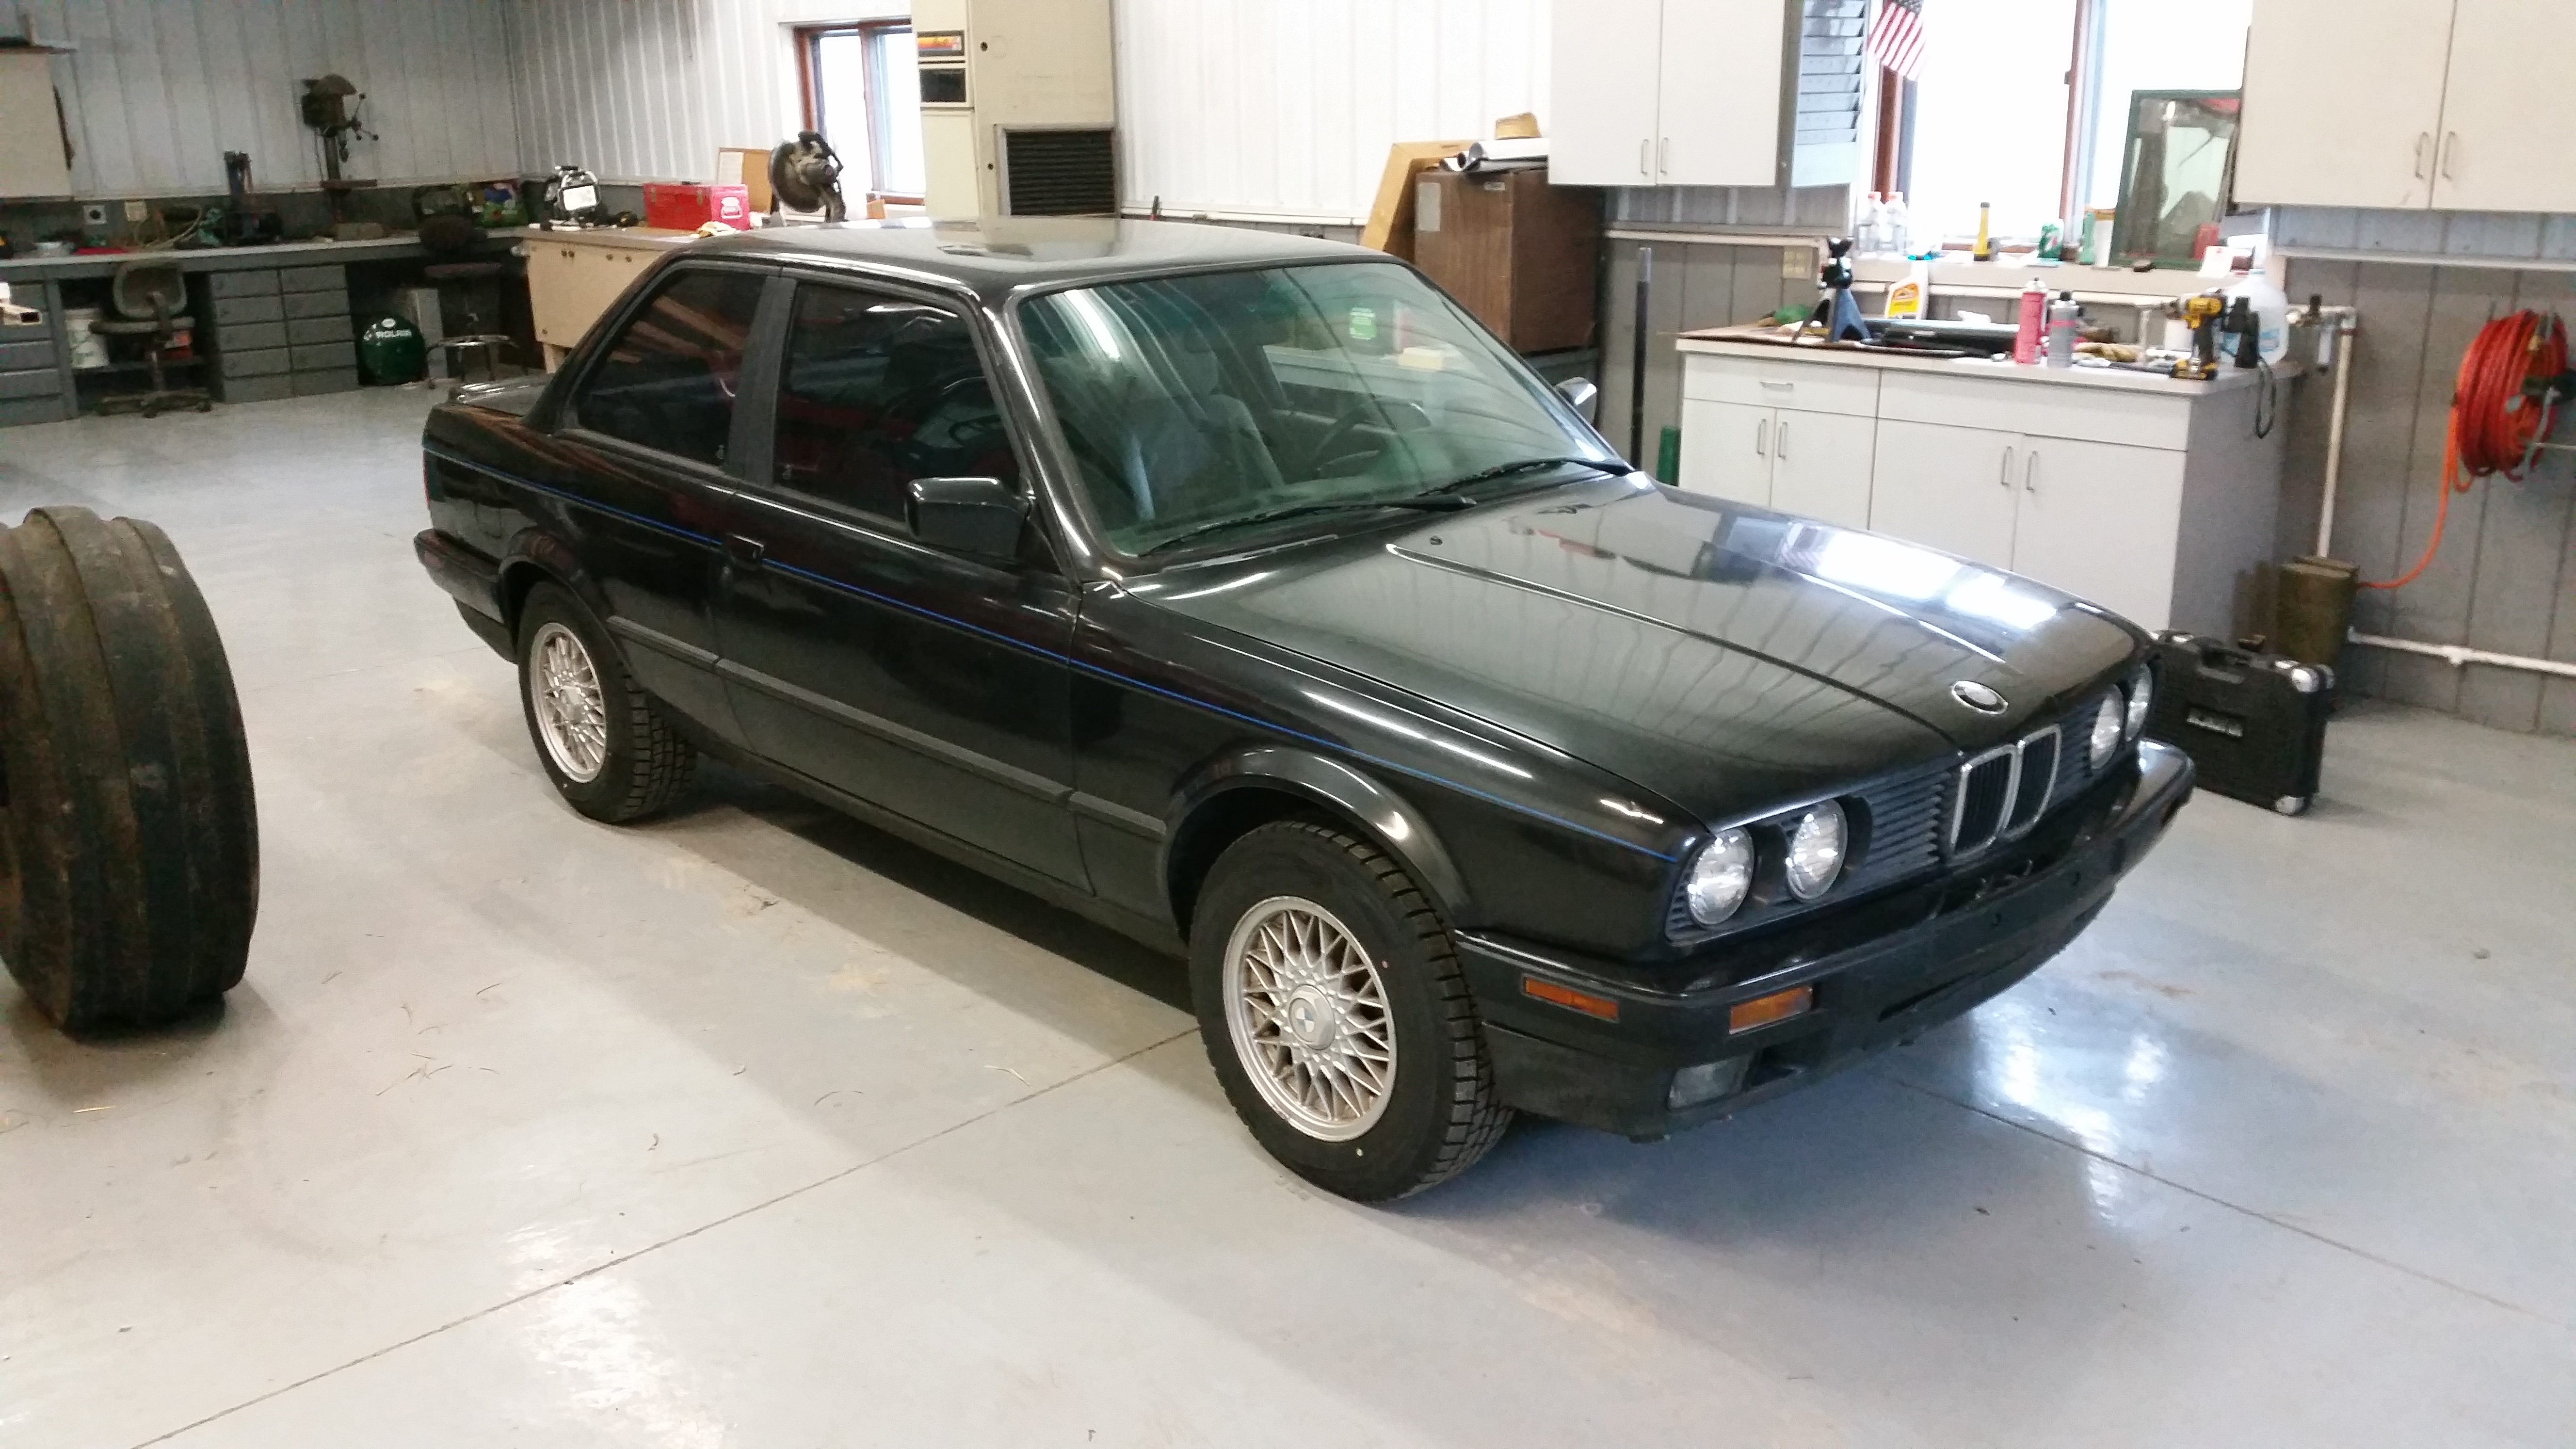
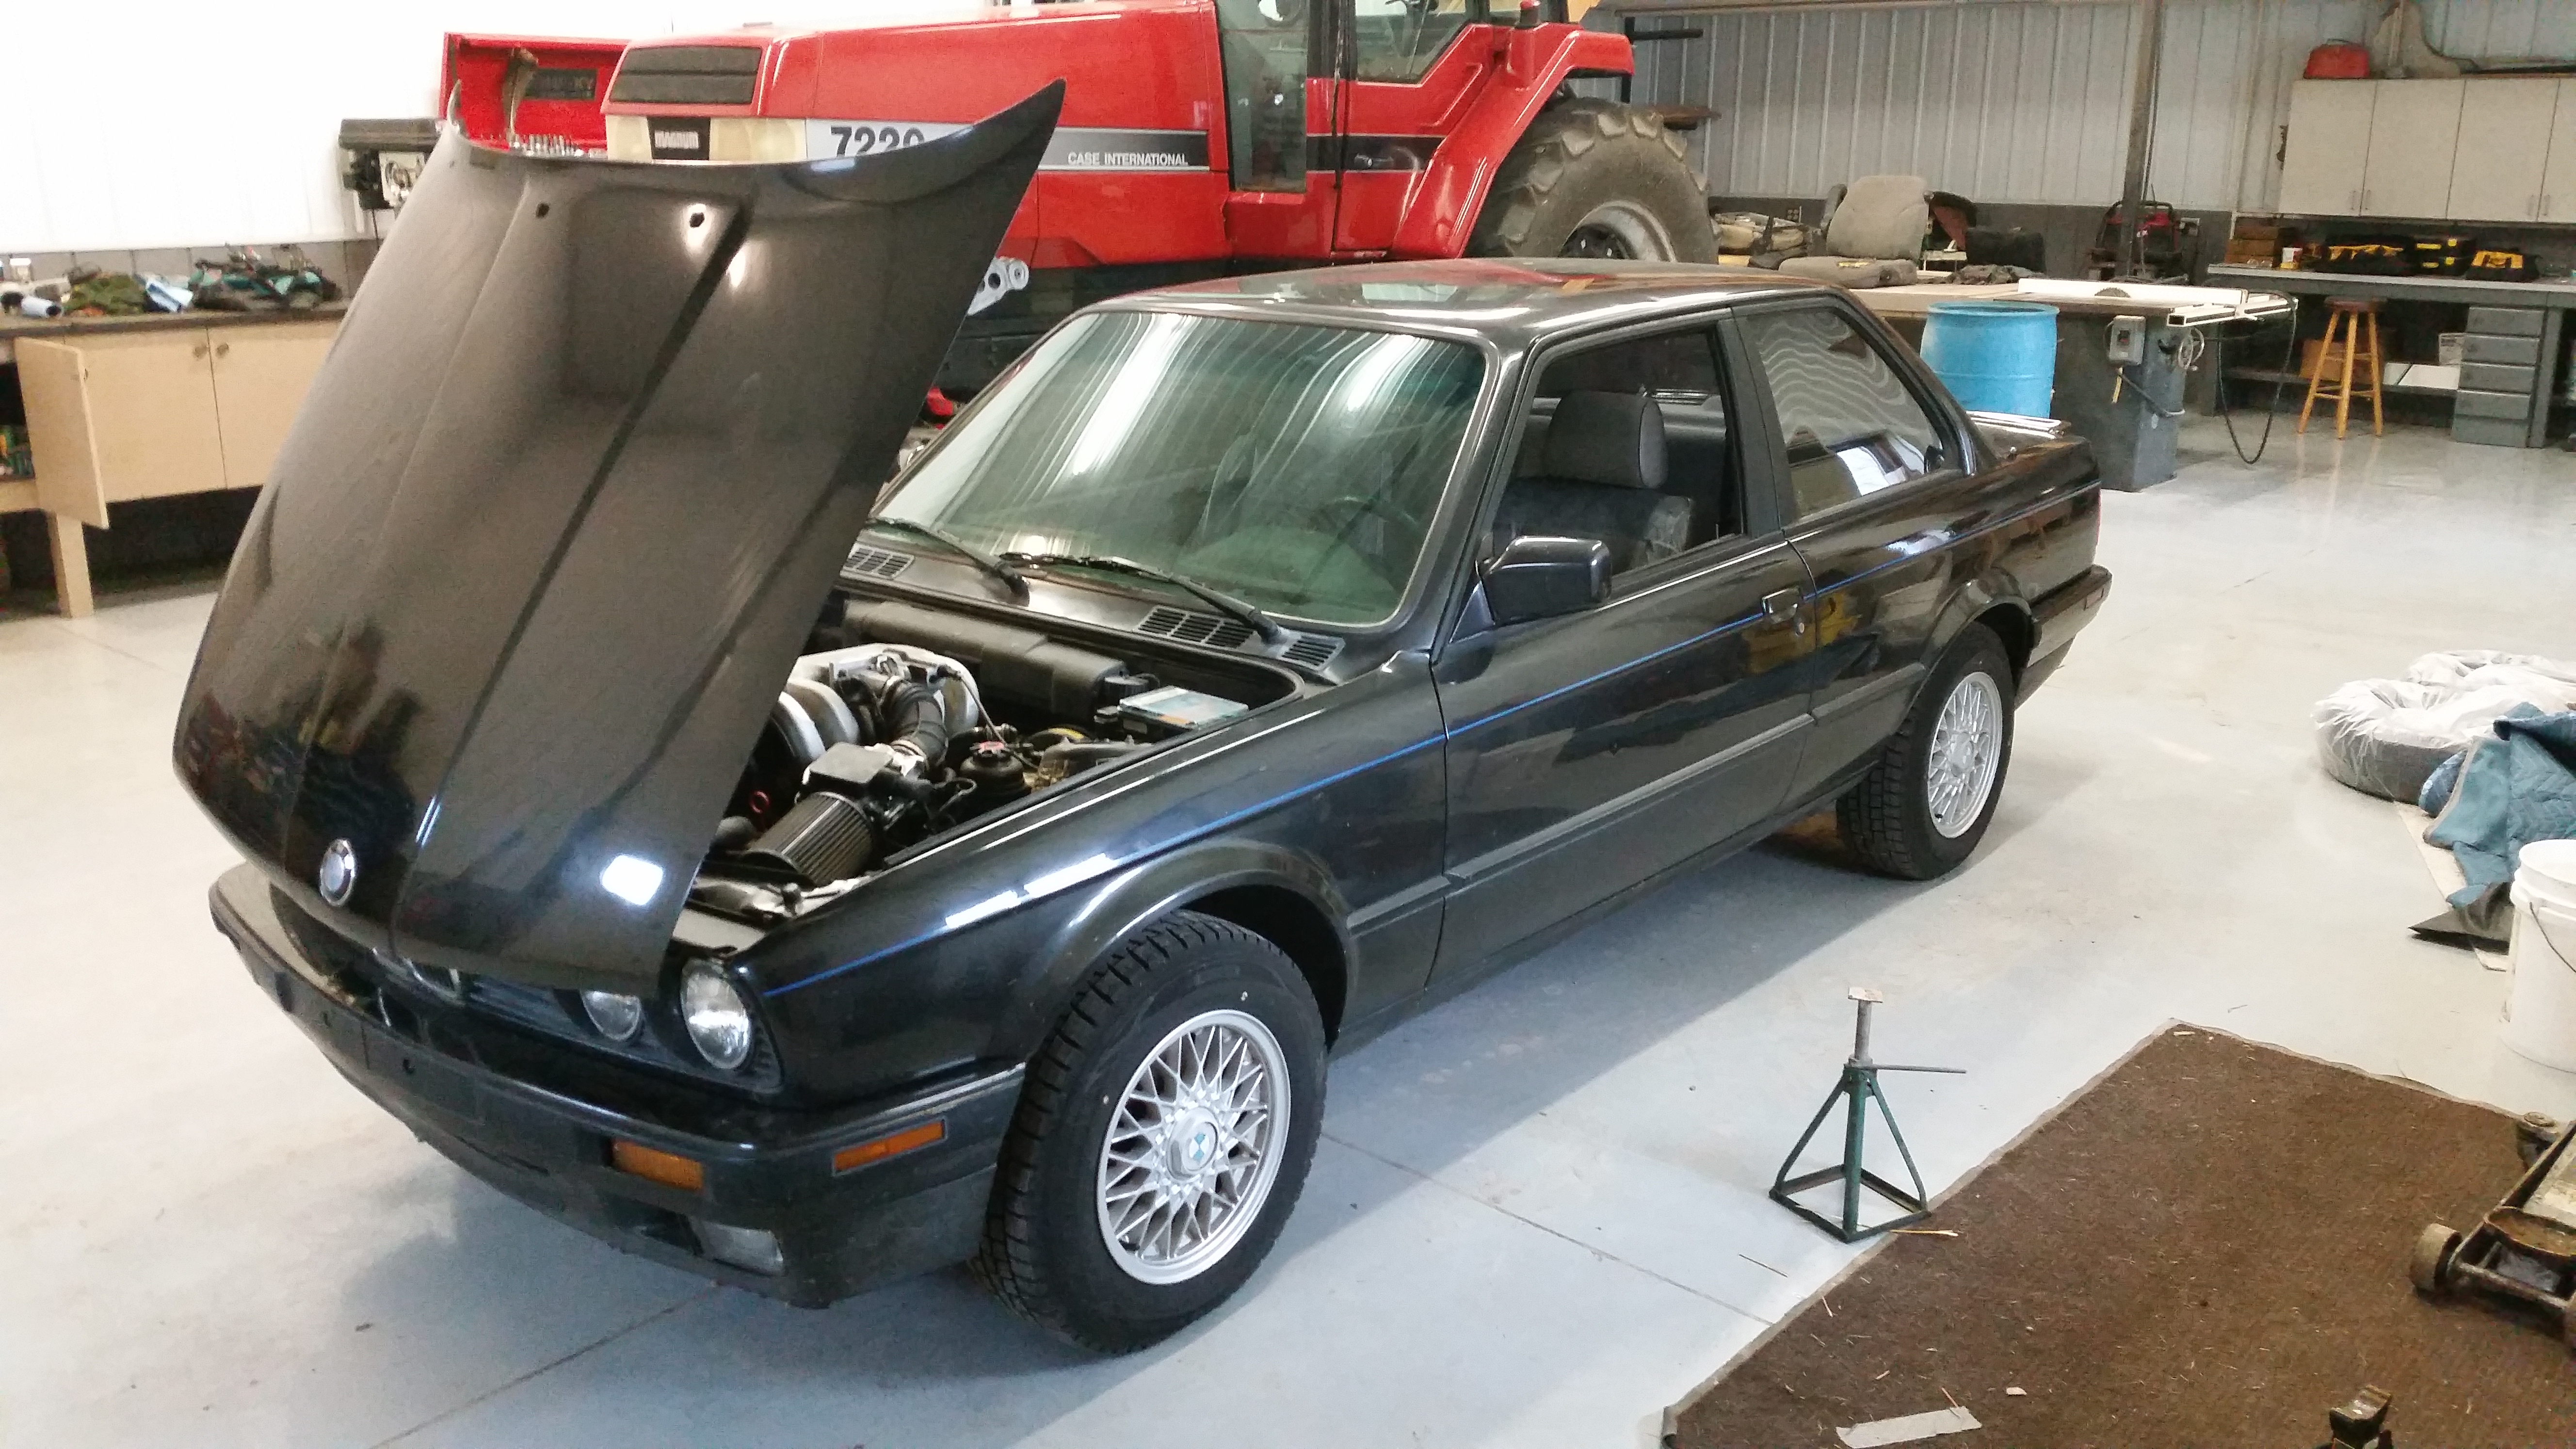
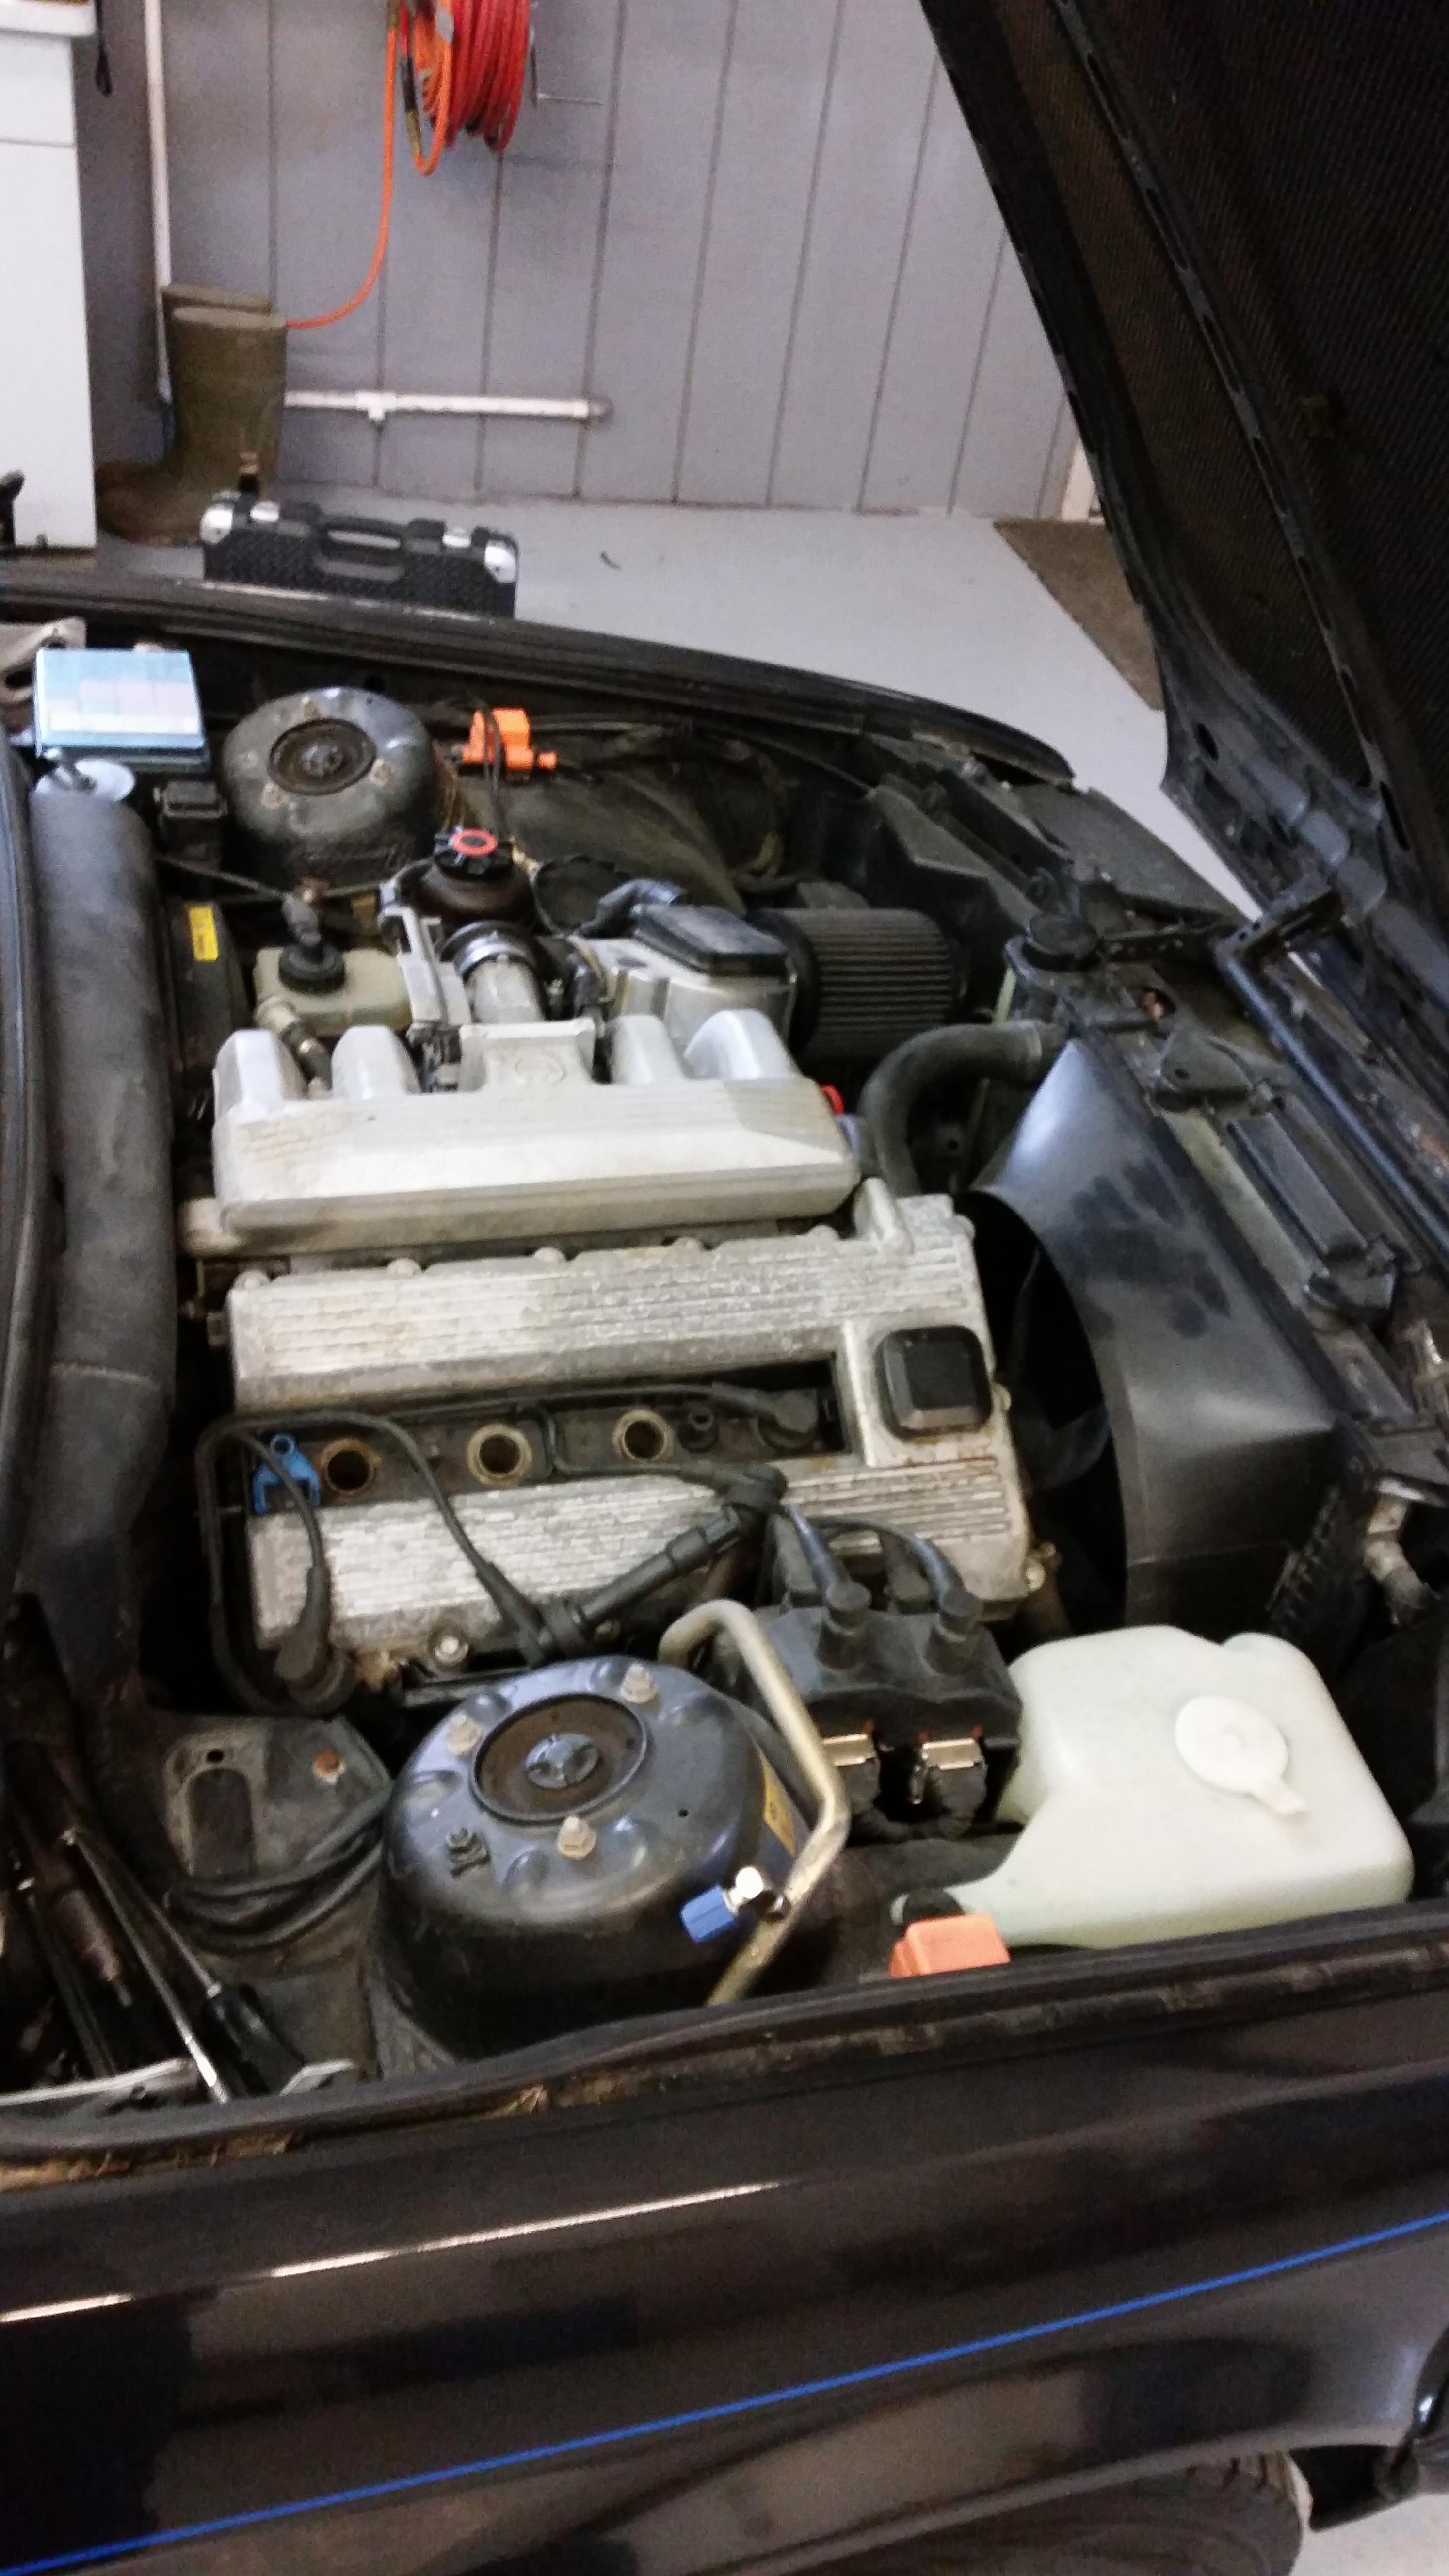
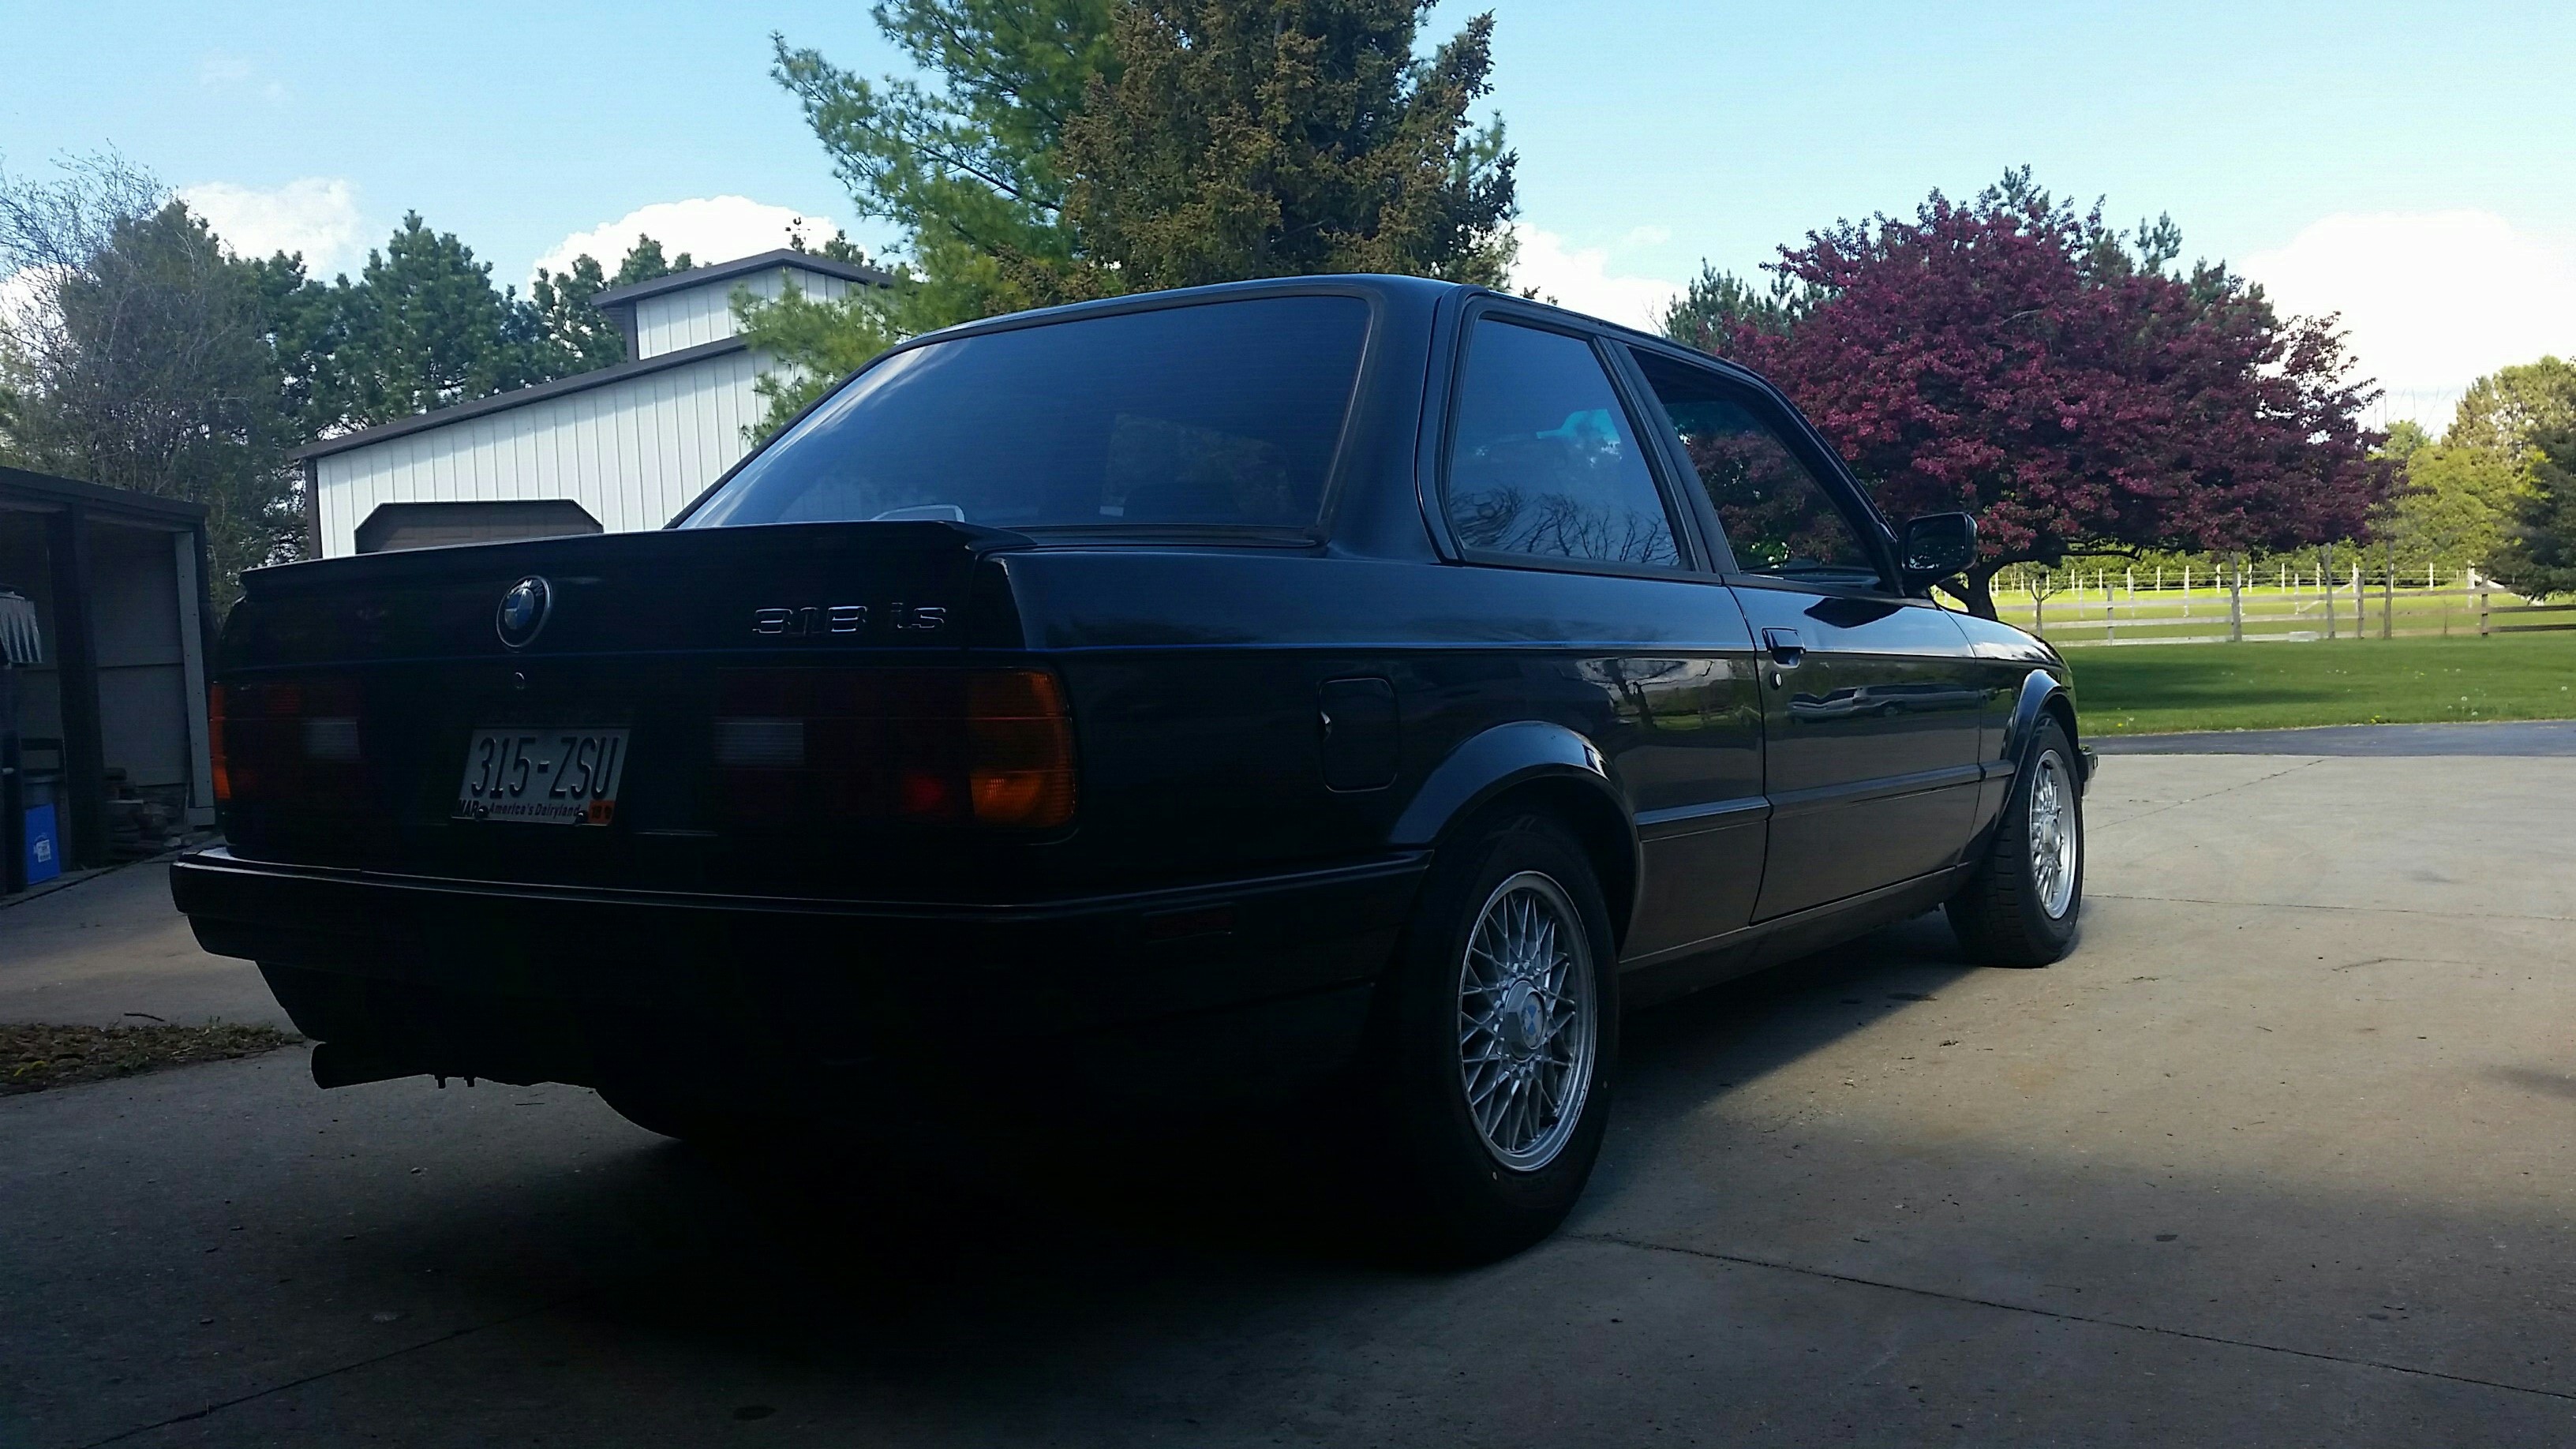
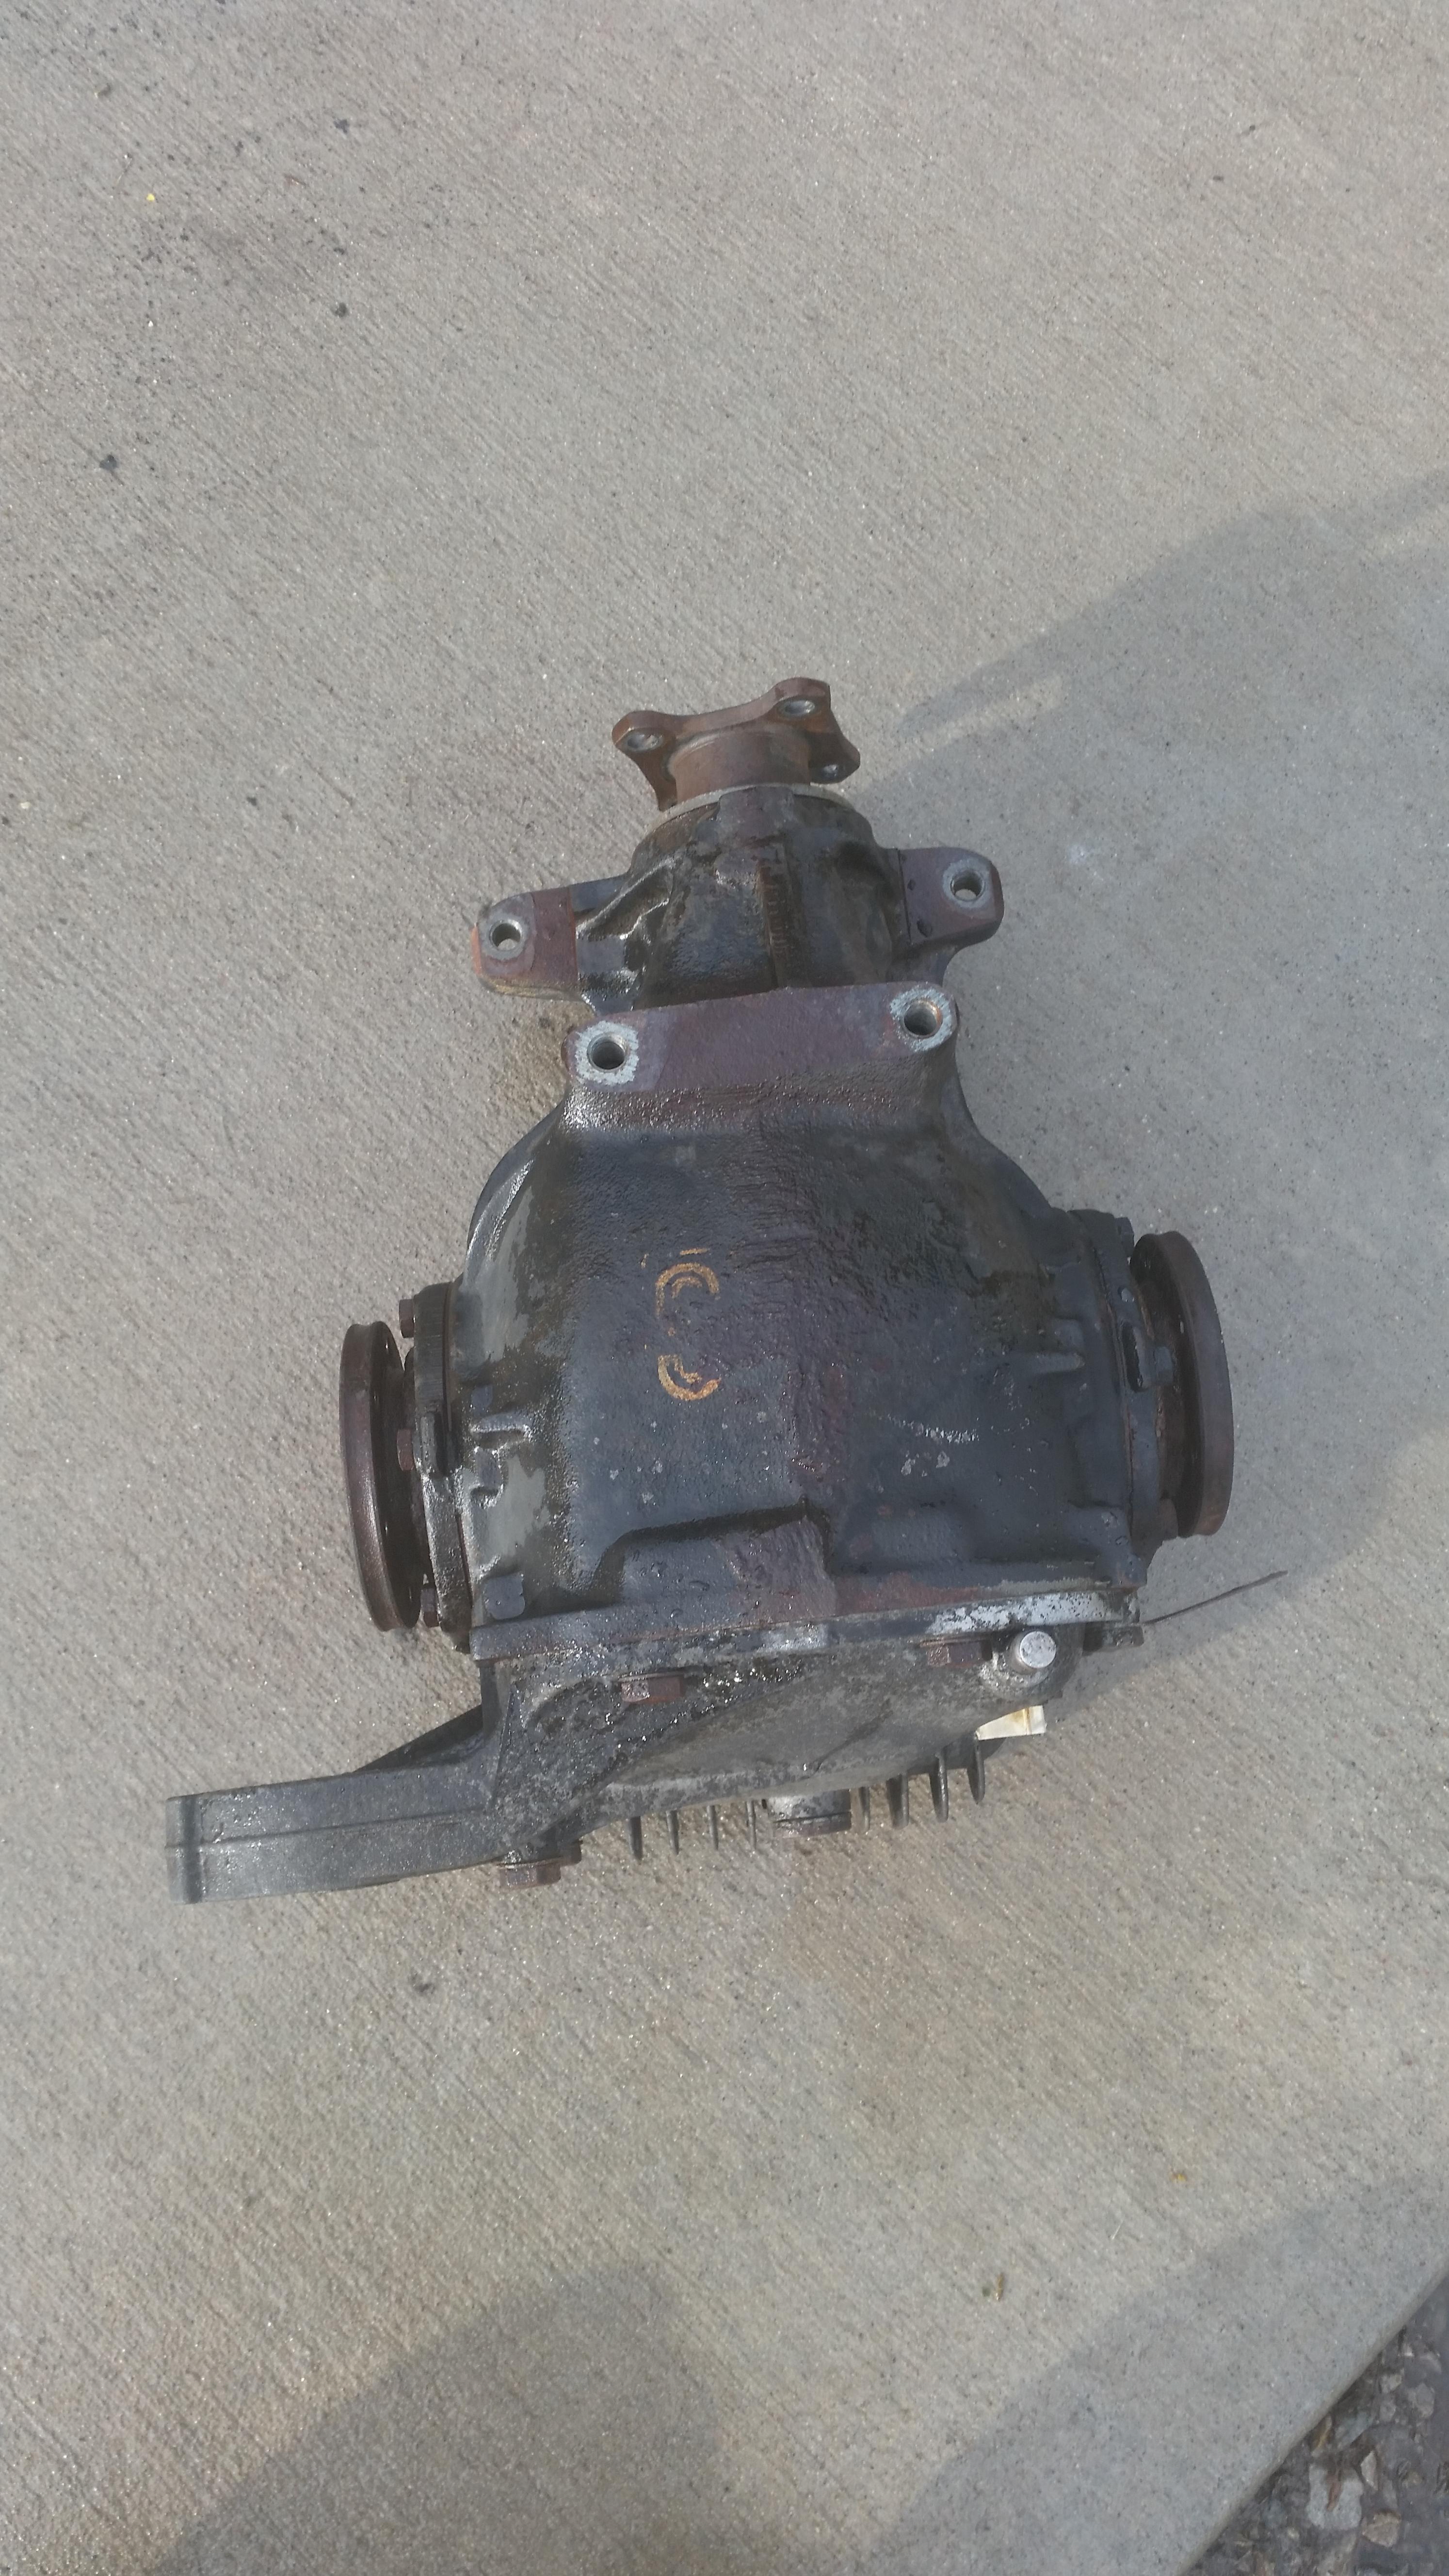
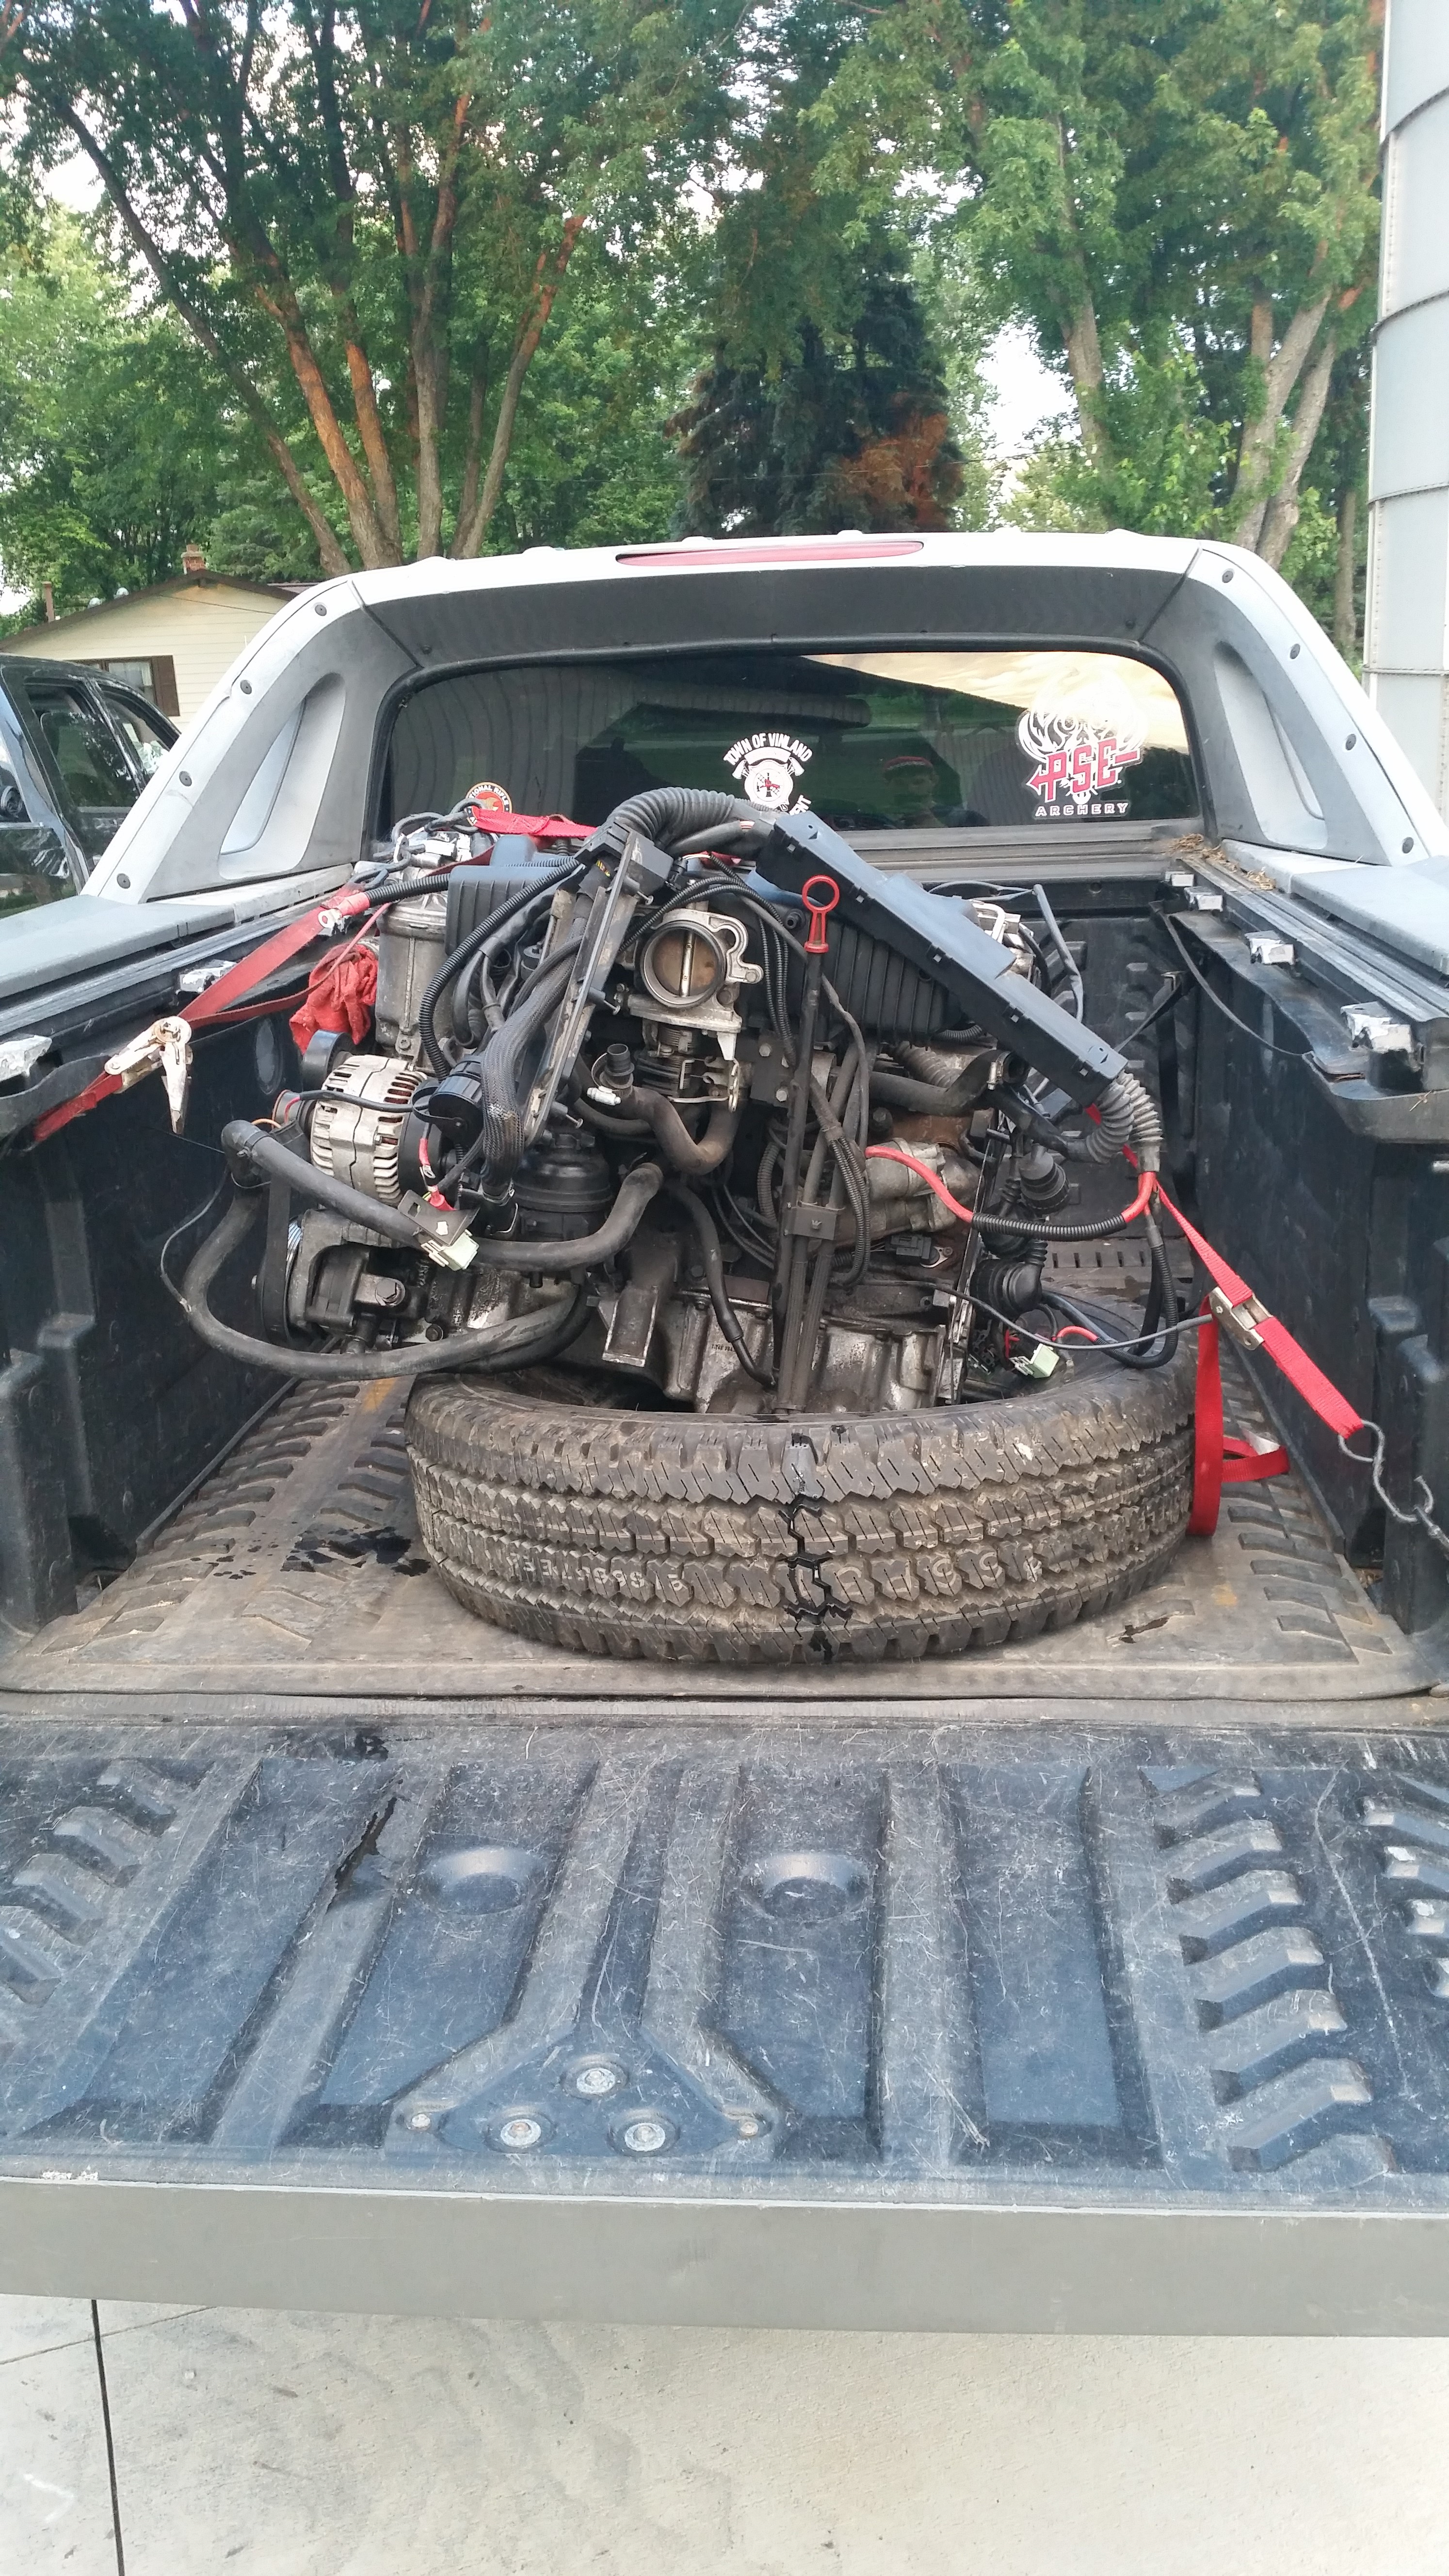
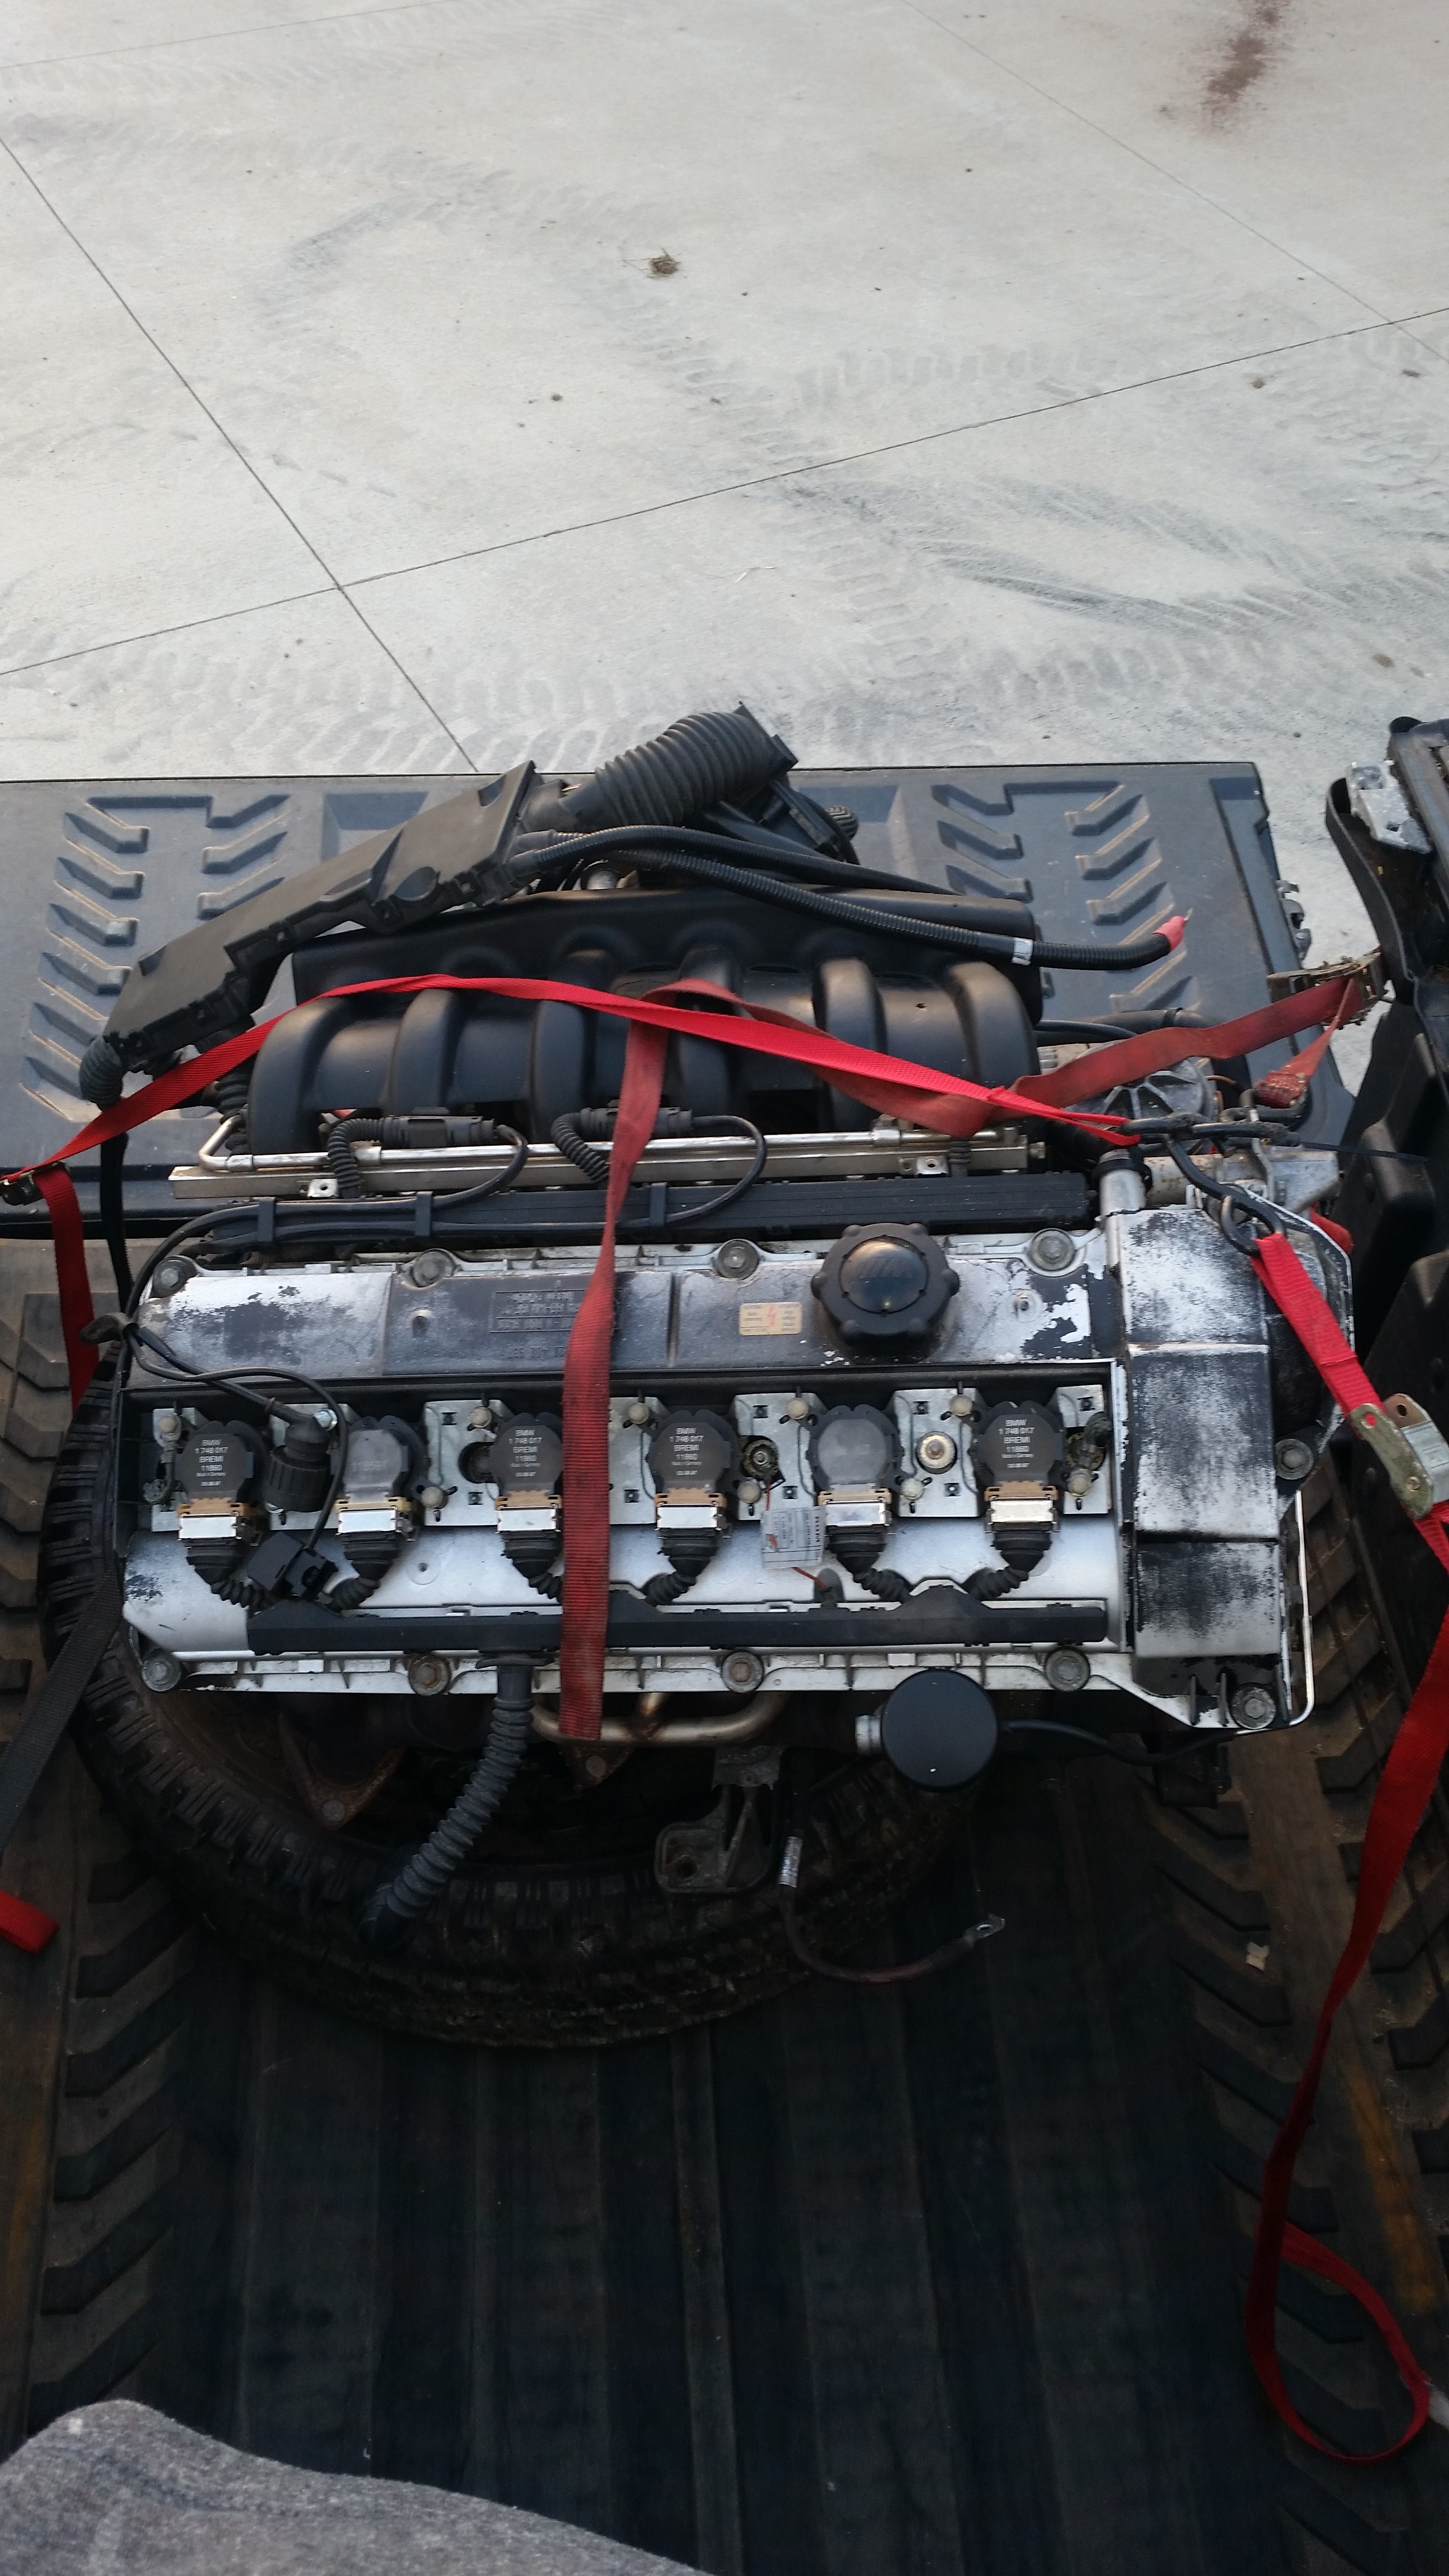
the one and only e30 s52 engine swap
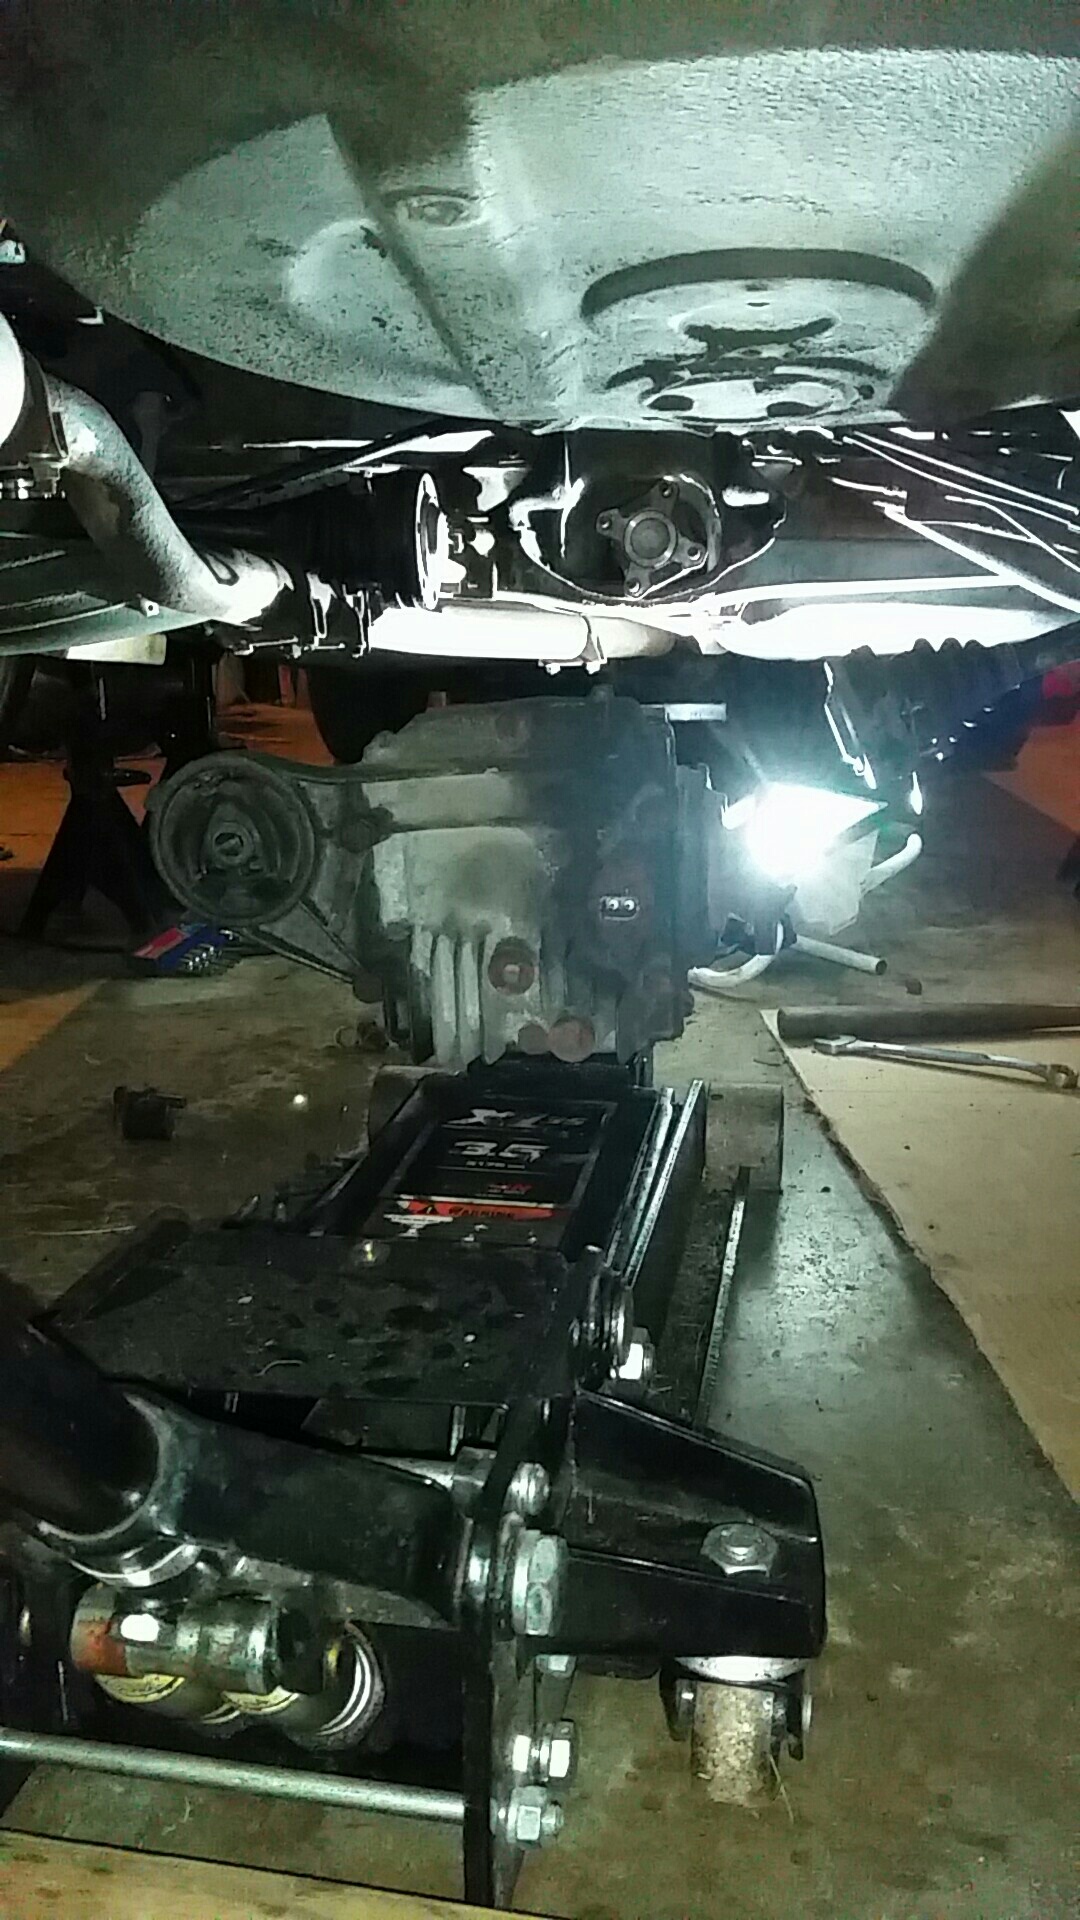
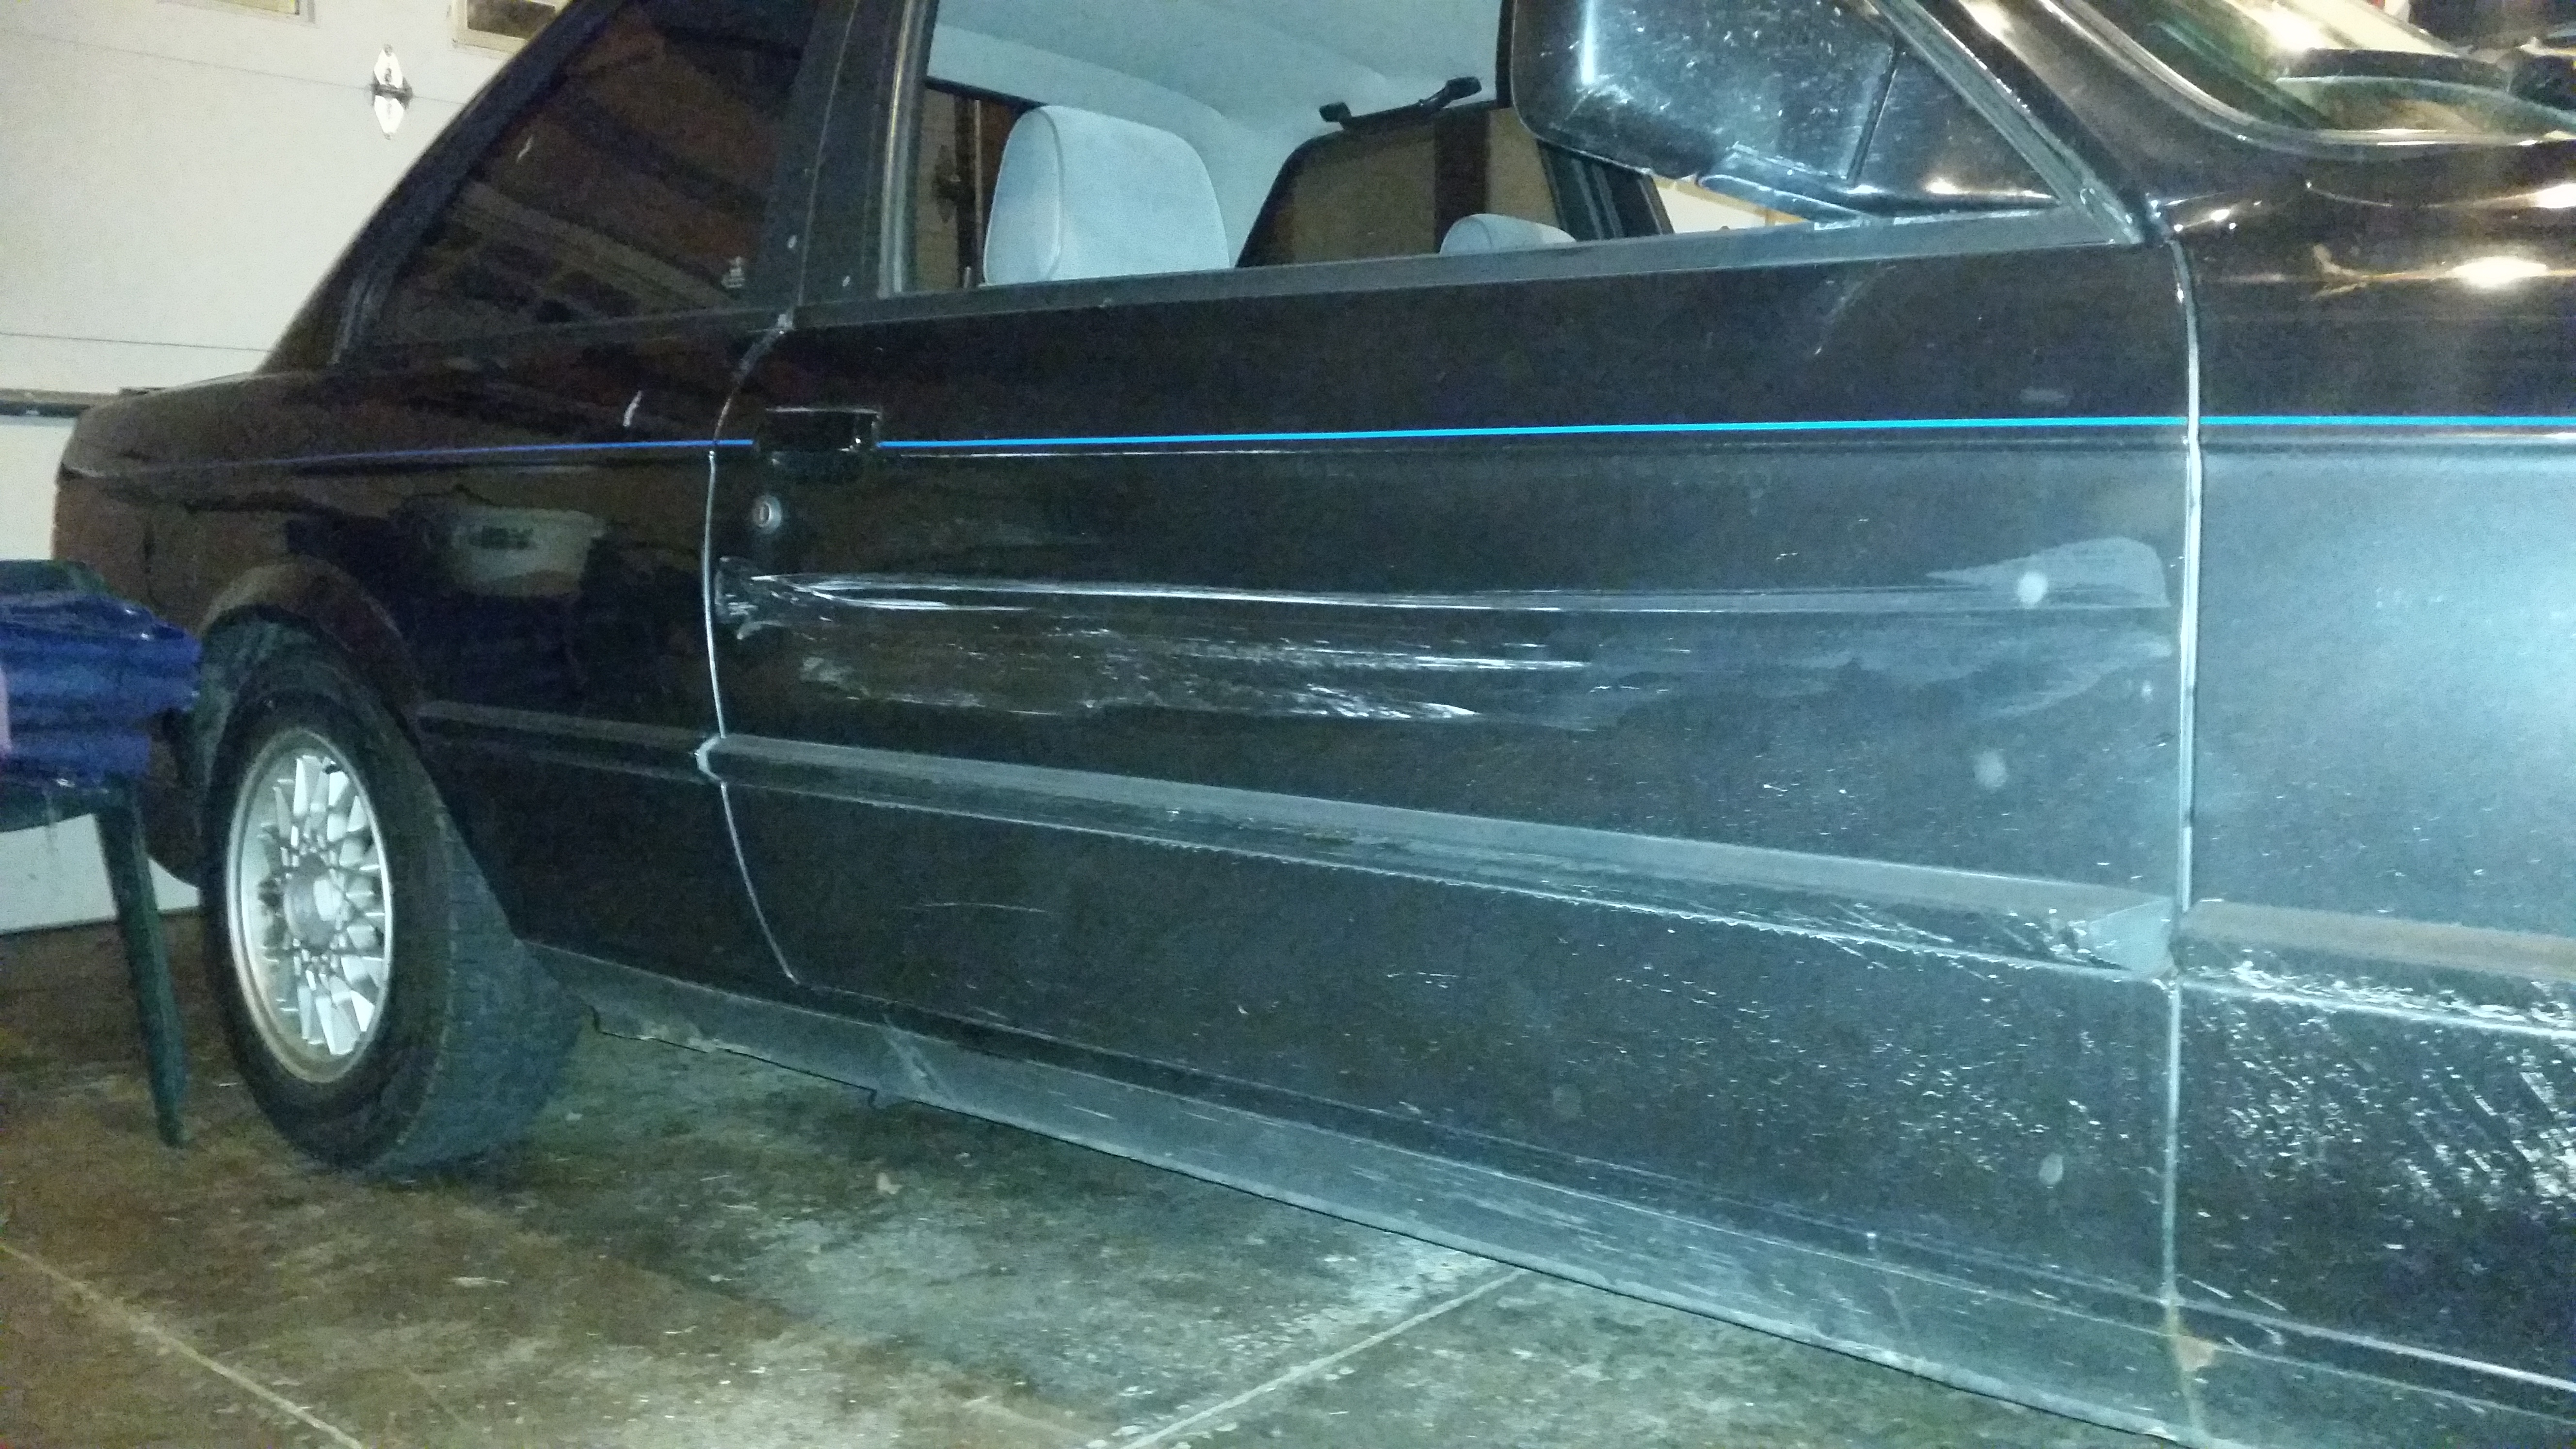
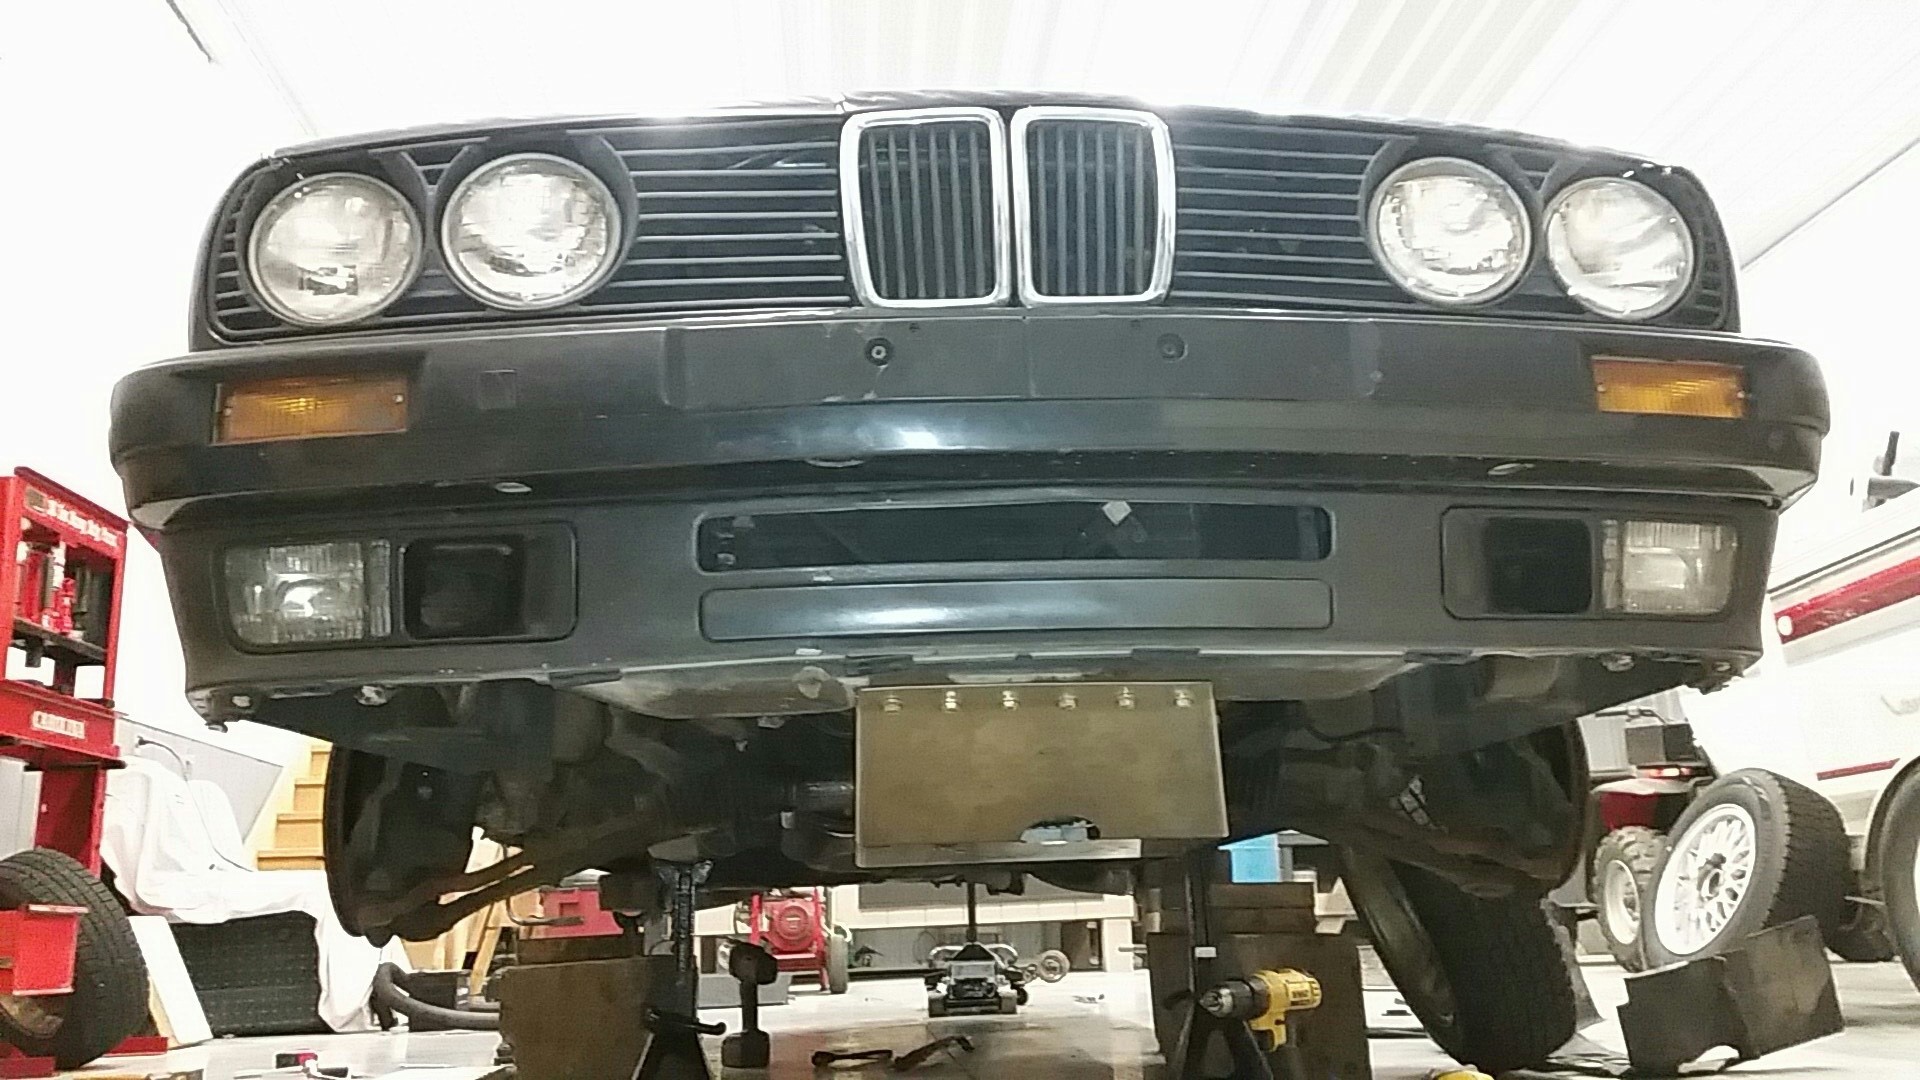
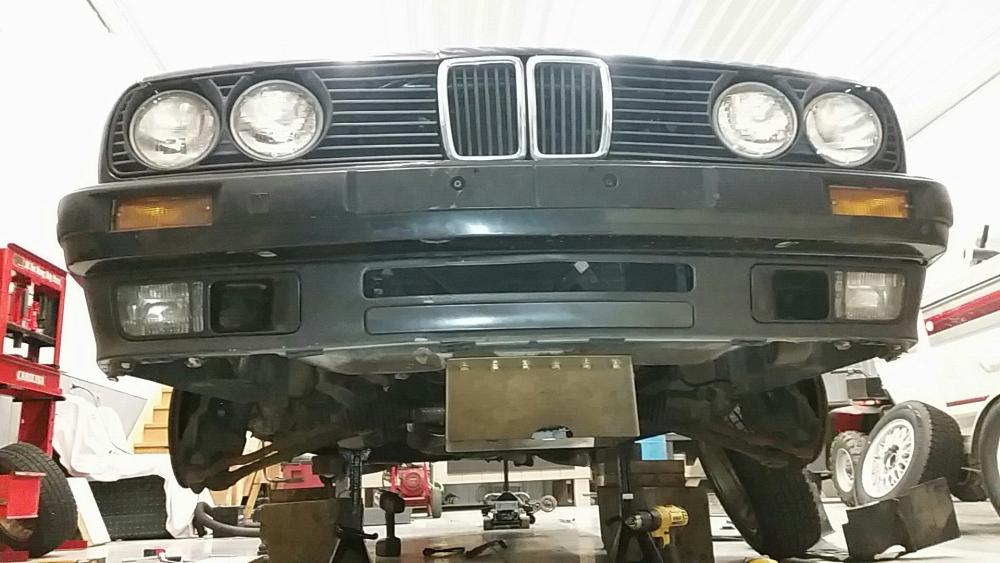
-
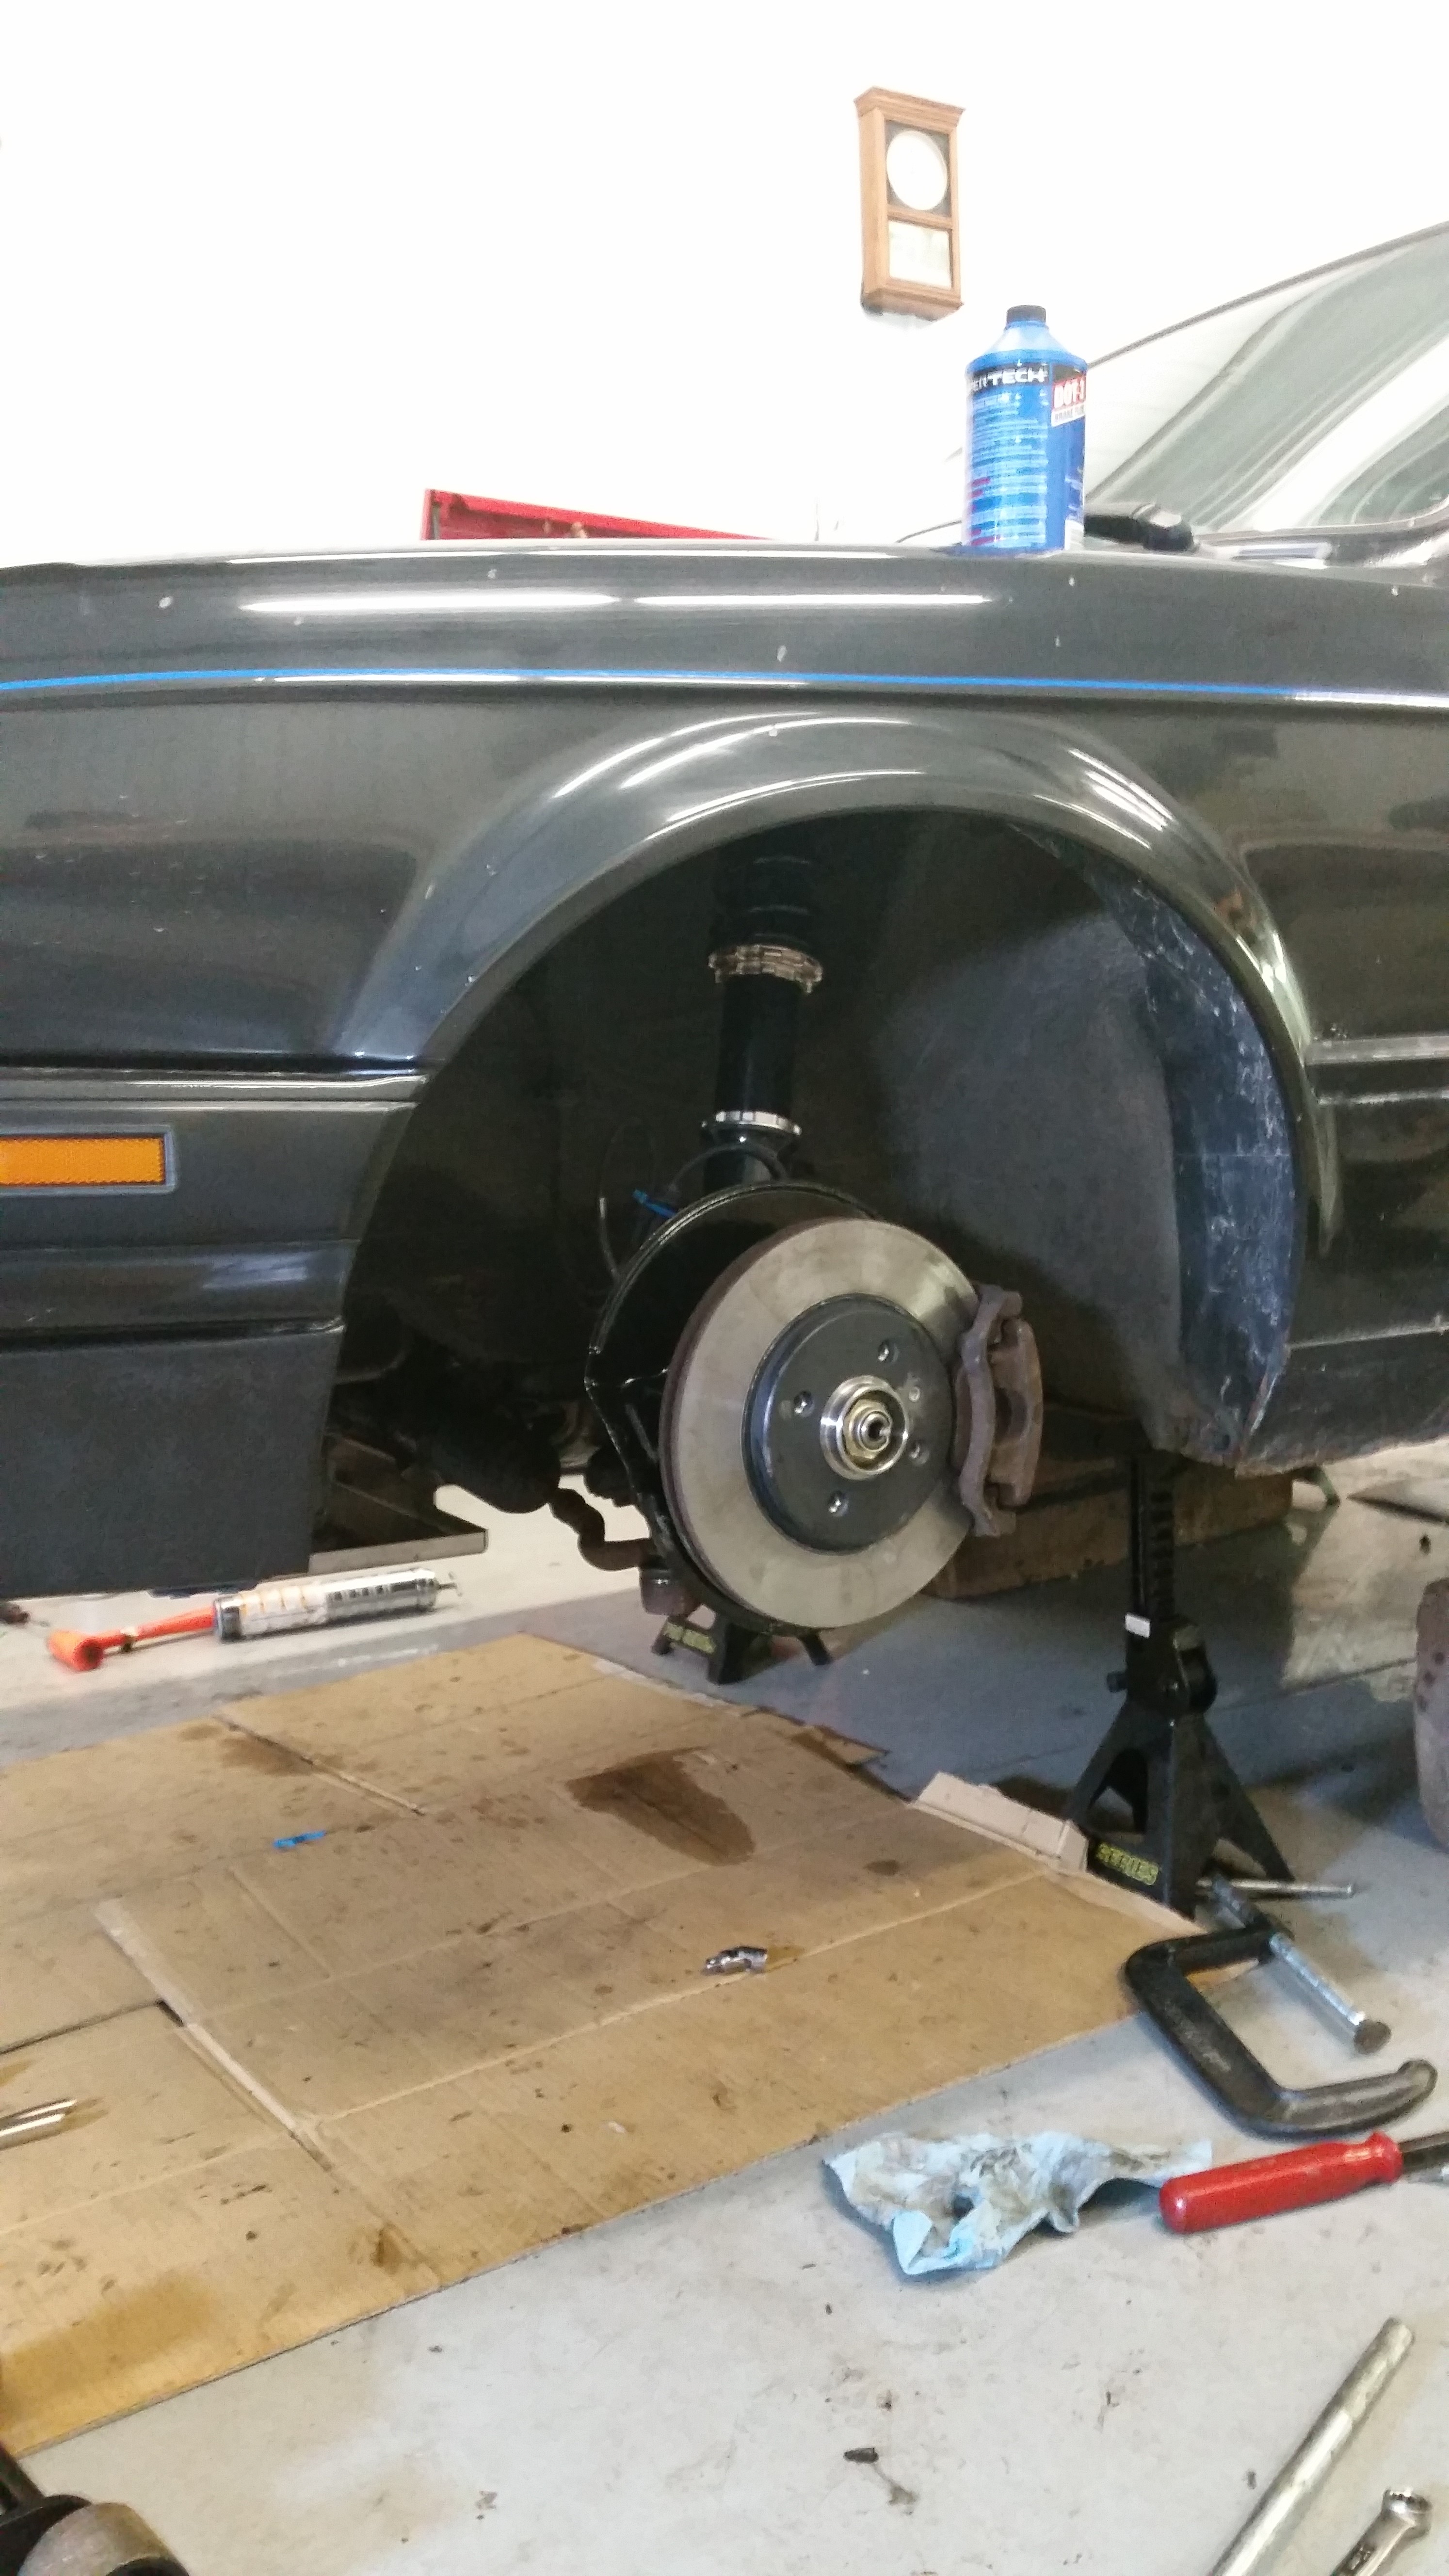
Did you have the deck machined? If so, the timing cover needs to be machined the same amount. What sort of rtv did you use on the gasket? Black RTV all the things!!!!
I second this comment!

https://www.instagram.com/_jdesigner_/ http://nevertoolow.tumblr.com/
🥳SOLD BMW E24 633CSI - BMW M30B32 🧪SOLD HCH ES9 - 1.3 LDA
👽BMW E30 325IC - Toyota 1JZ-GTE ⏰ HONDA EF9 CIVIC SI - JDM B18C5
☠️BMW E36 318i - Ford 5.0 FE302 🚴♂️ GT-Labomba - 26x2.75 Freeride
🤹♀️SOLD BMW E36/7 Z3 - BMW M54B25 🧓SOLD BMW E10 2002 - BMW M10M05 -
Did you have the deck machined? If so, the timing cover needs to be machined the same amount. What sort of rtv did you use on the gasket? Black RTV all the things!!!!
See this is where I went wrong, I never had the engine deck machined. I only found out after the fact that in order for a MLS or cut ring headgasket to seal correctly it is important to have the engine deck machined. Although, my machinist said that the deck was checked with a straight edge and had no warpage and I have yet to see any leaks other then this small area.
Every gasket on the motor was installed with a layer of "The right stuff" black gasket maker.
-
you sure you got RTV between the front cover and the head? I see RTV seepage between the cover and the block, but not around the top.
Dan

-
you sure you got RTV between the front cover and the head? I see RTV seepage between the cover and the block, but not around the top.
No I did not put any rtv between the head gasket and timing cover, damn it.
-
No I did not put any rtv between the head gasket and timing cover, damn it.
I guess that solves that mystery wetness

https://www.instagram.com/_jdesigner_/ http://nevertoolow.tumblr.com/
🥳SOLD BMW E24 633CSI - BMW M30B32 🧪SOLD HCH ES9 - 1.3 LDA
👽BMW E30 325IC - Toyota 1JZ-GTE ⏰ HONDA EF9 CIVIC SI - JDM B18C5
☠️BMW E36 318i - Ford 5.0 FE302 🚴♂️ GT-Labomba - 26x2.75 Freeride
🤹♀️SOLD BMW E36/7 Z3 - BMW M54B25 🧓SOLD BMW E10 2002 - BMW M10M05 -
Now, whats the chances of that sealing up after a heat cycle or two and a re-torque of the headbolts?
-
No I did not put any rtv between the head gasket and timing cover, damn it.
You don't need to. That's the headgasket's job to seal it. I would clean the area off with brake clean and verify it's still leaking from there in the picture it just looks like residual oil from the tensioner
-
I put rtv on the head gasket portion of the timing cover since its not under the same clamp pressure that the head gasket is between the head and block. The head gaskets sometimes have a silicone bead in them which does a good job of sealing but the stamped steel profile gasket, not so much
-
I put rtv on the head gasket portion of the timing cover since its not under the same clamp pressure that the head gasket is between the head and block. The head gaskets sometimes have a silicone bead in them which does a good job of sealing but the stamped steel profile gasket, not so much
Interesting, never done it before.
-
I guess it all depends on the brand of the gasket
https://www.instagram.com/_jdesigner_/ http://nevertoolow.tumblr.com/
🥳SOLD BMW E24 633CSI - BMW M30B32 🧪SOLD HCH ES9 - 1.3 LDA
👽BMW E30 325IC - Toyota 1JZ-GTE ⏰ HONDA EF9 CIVIC SI - JDM B18C5
☠️BMW E36 318i - Ford 5.0 FE302 🚴♂️ GT-Labomba - 26x2.75 Freeride
🤹♀️SOLD BMW E36/7 Z3 - BMW M54B25 🧓SOLD BMW E10 2002 - BMW M10M05 -
More updates...
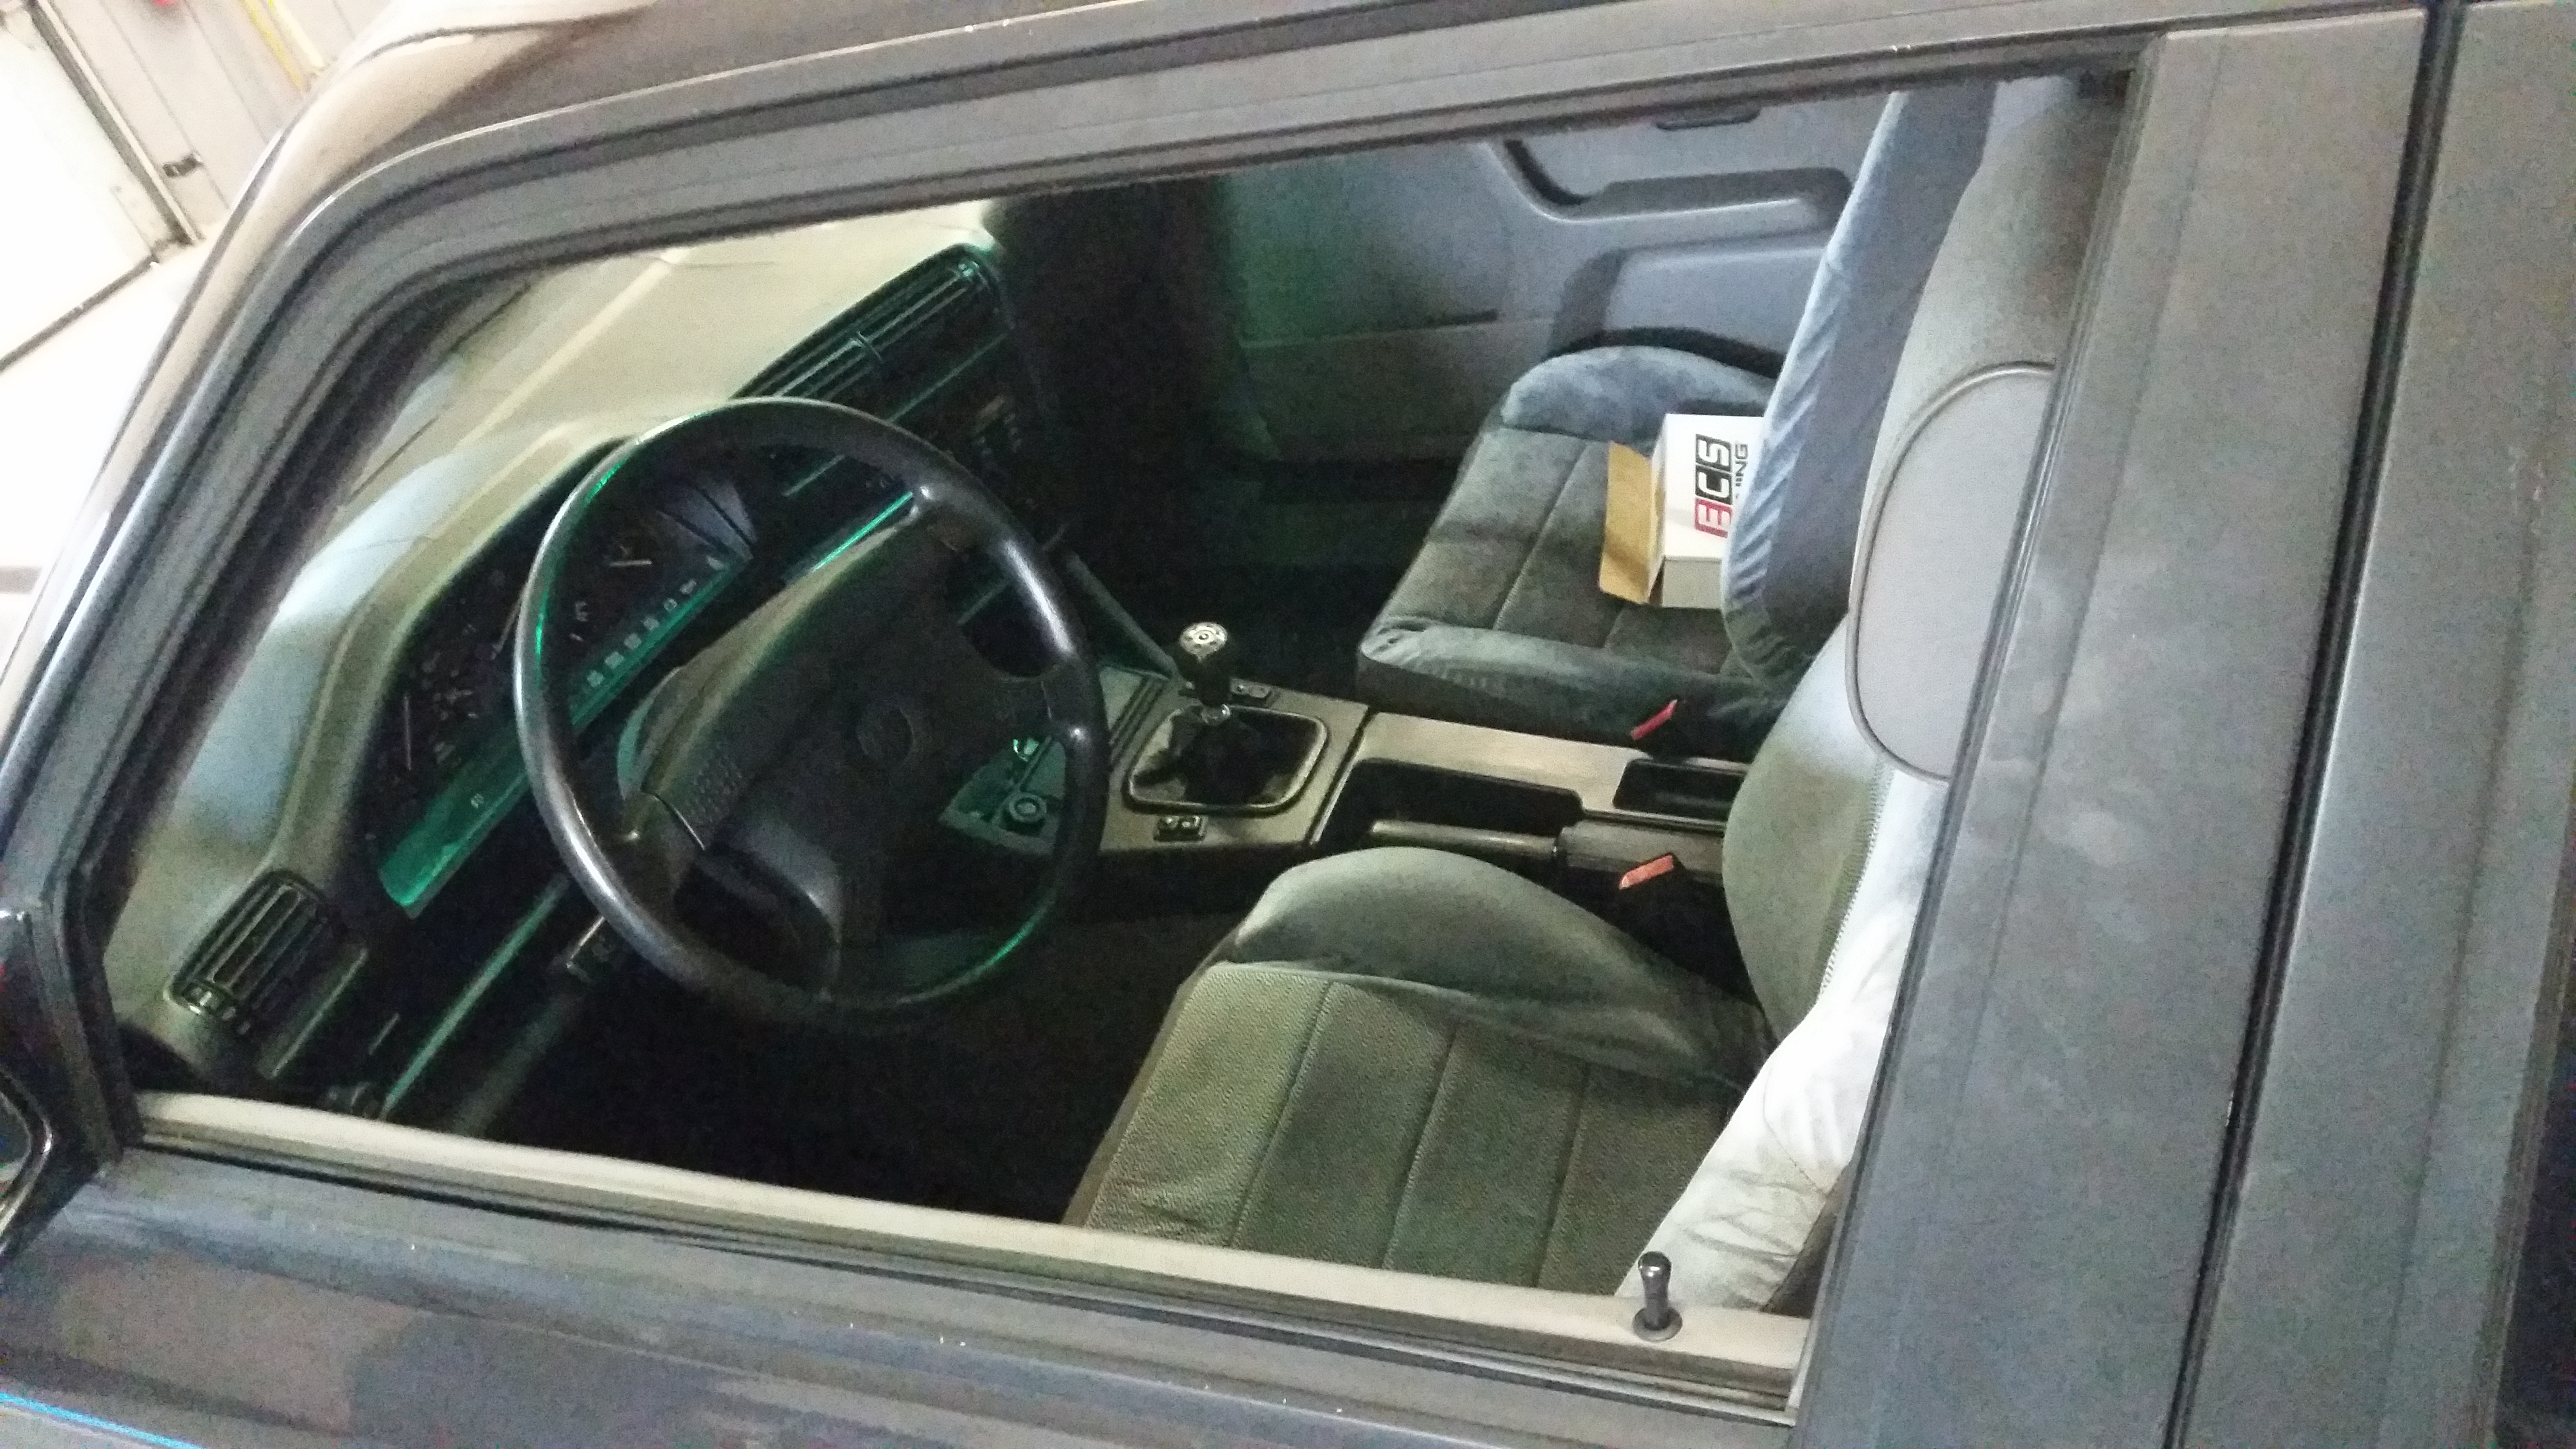
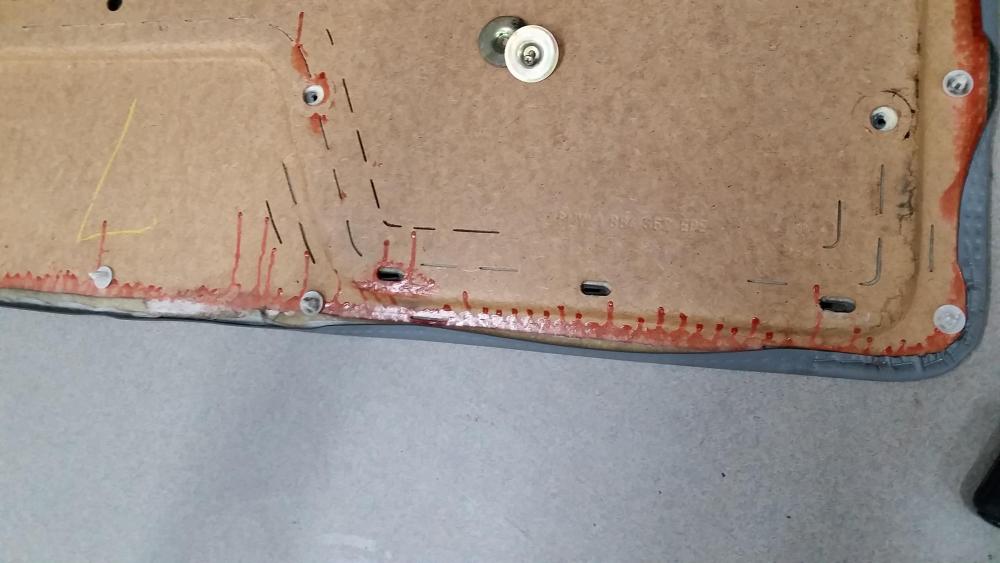
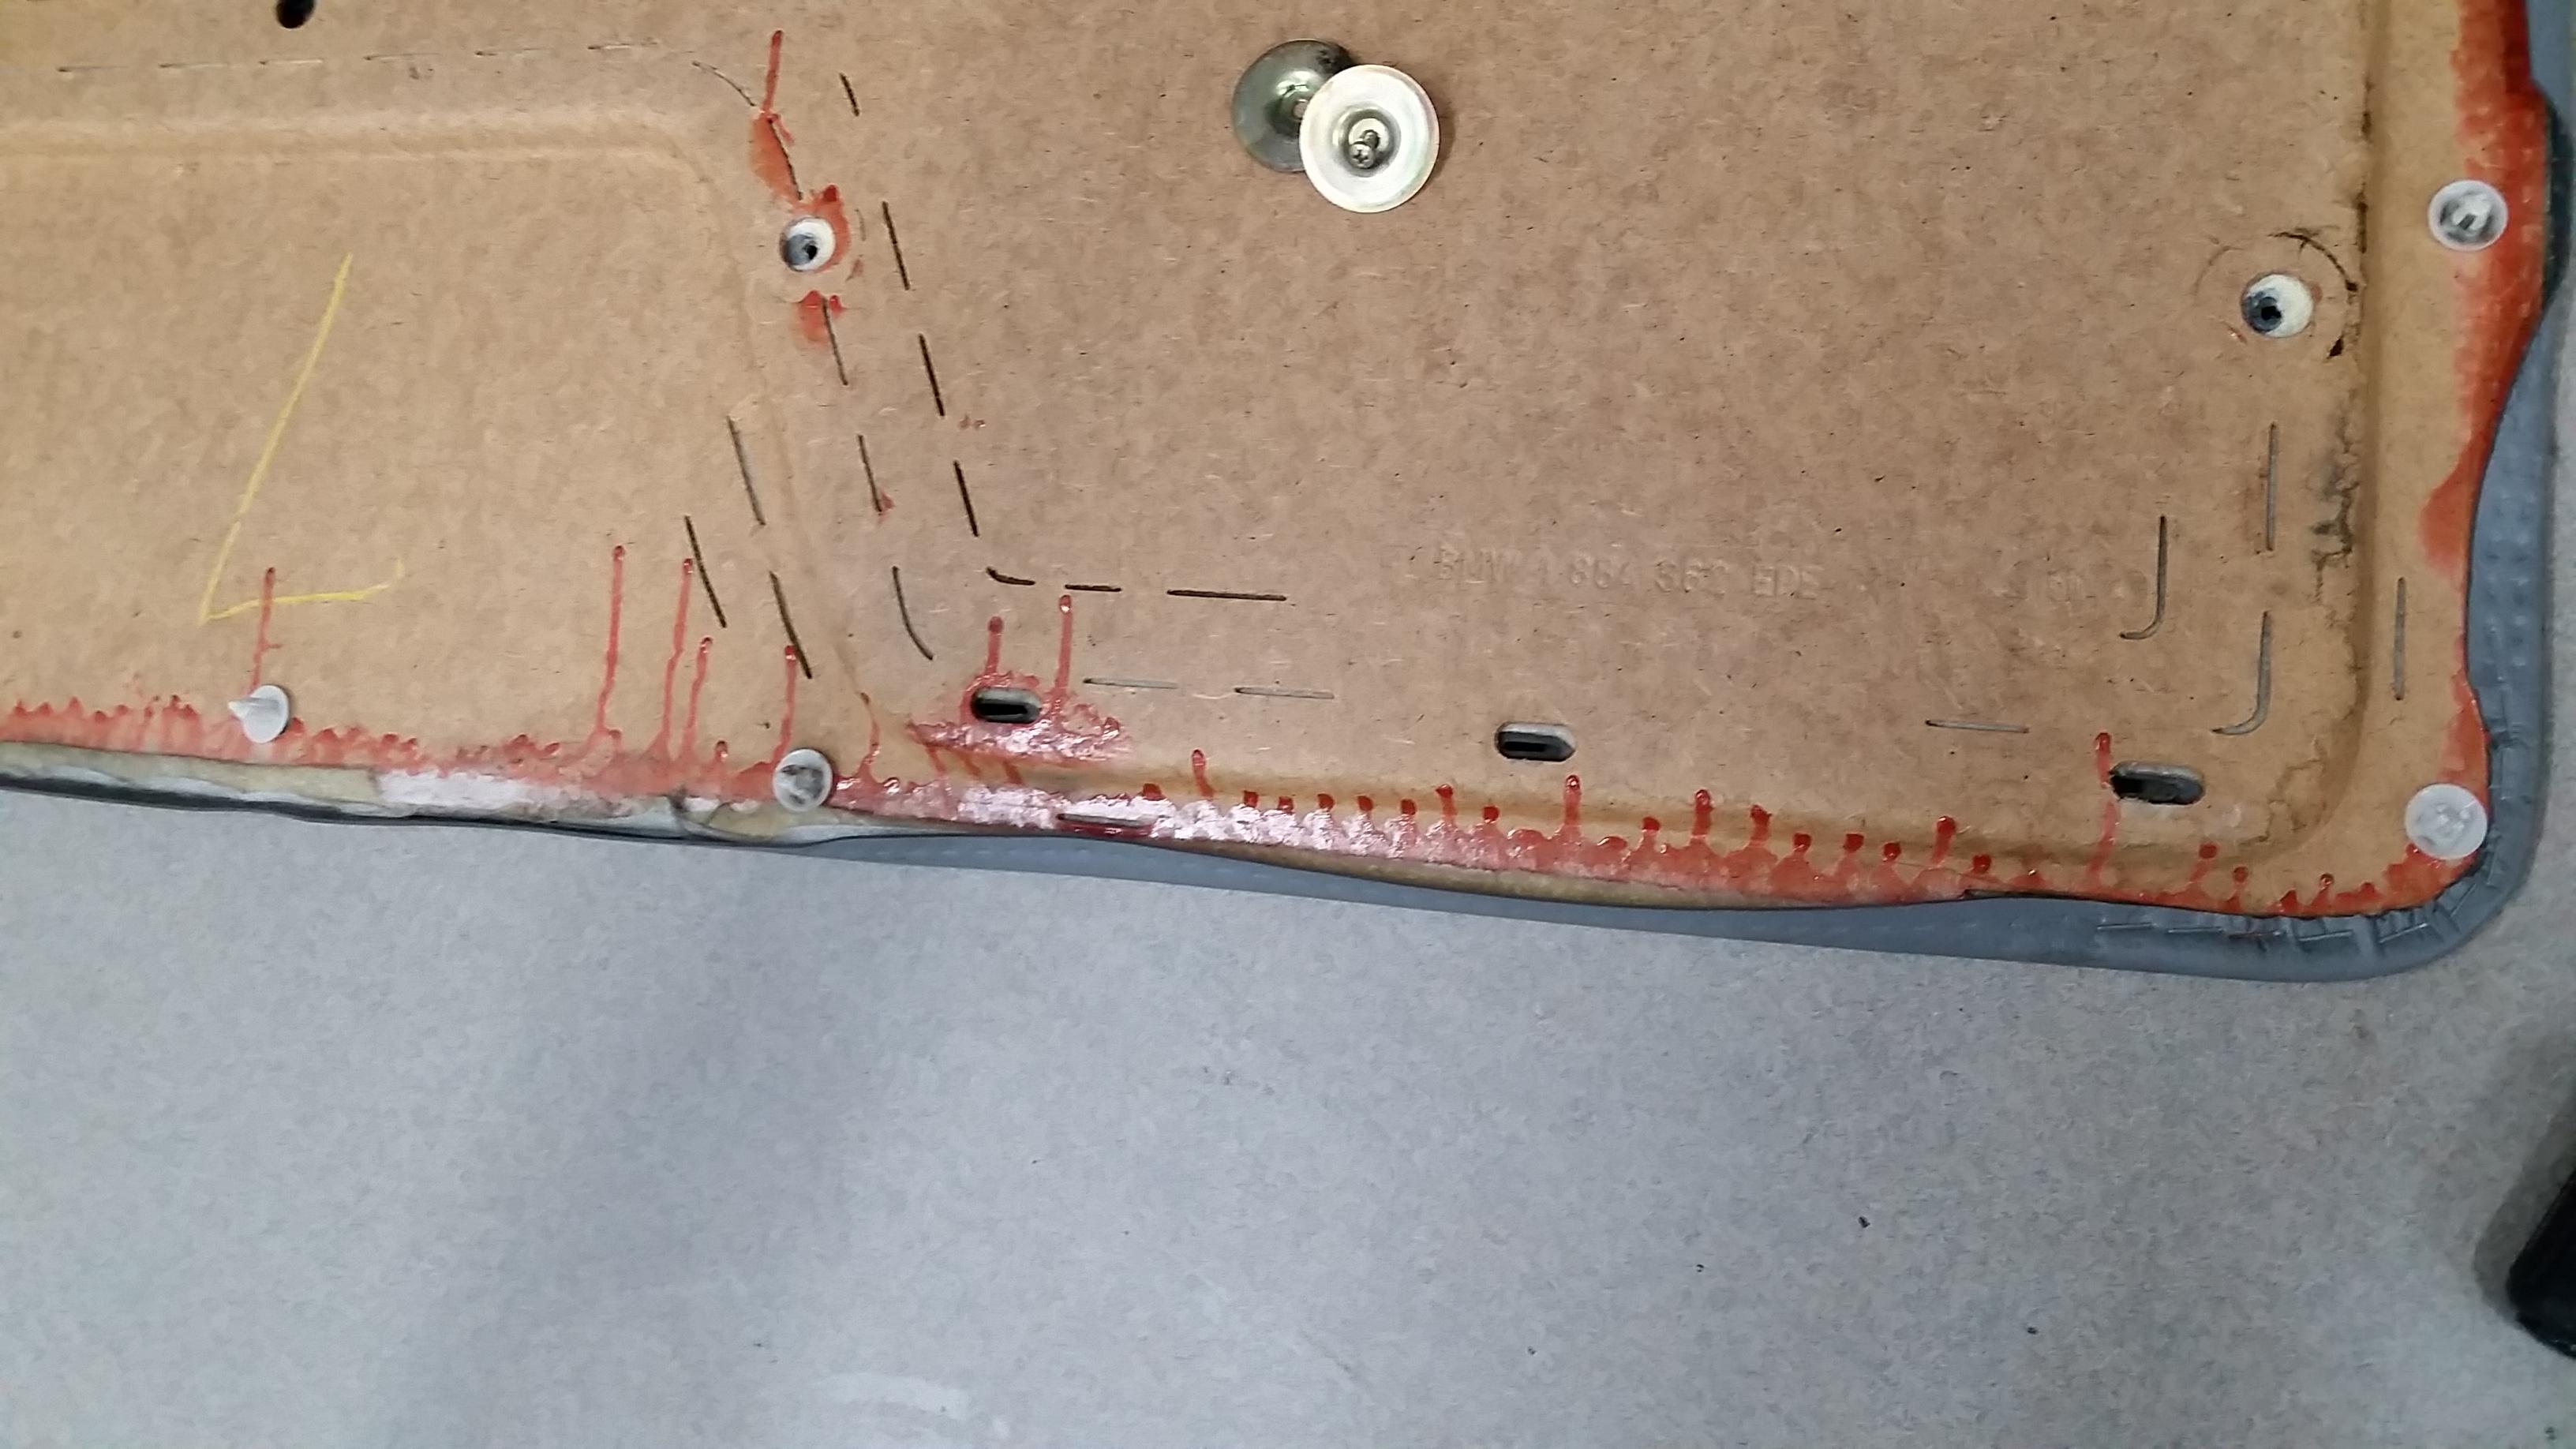
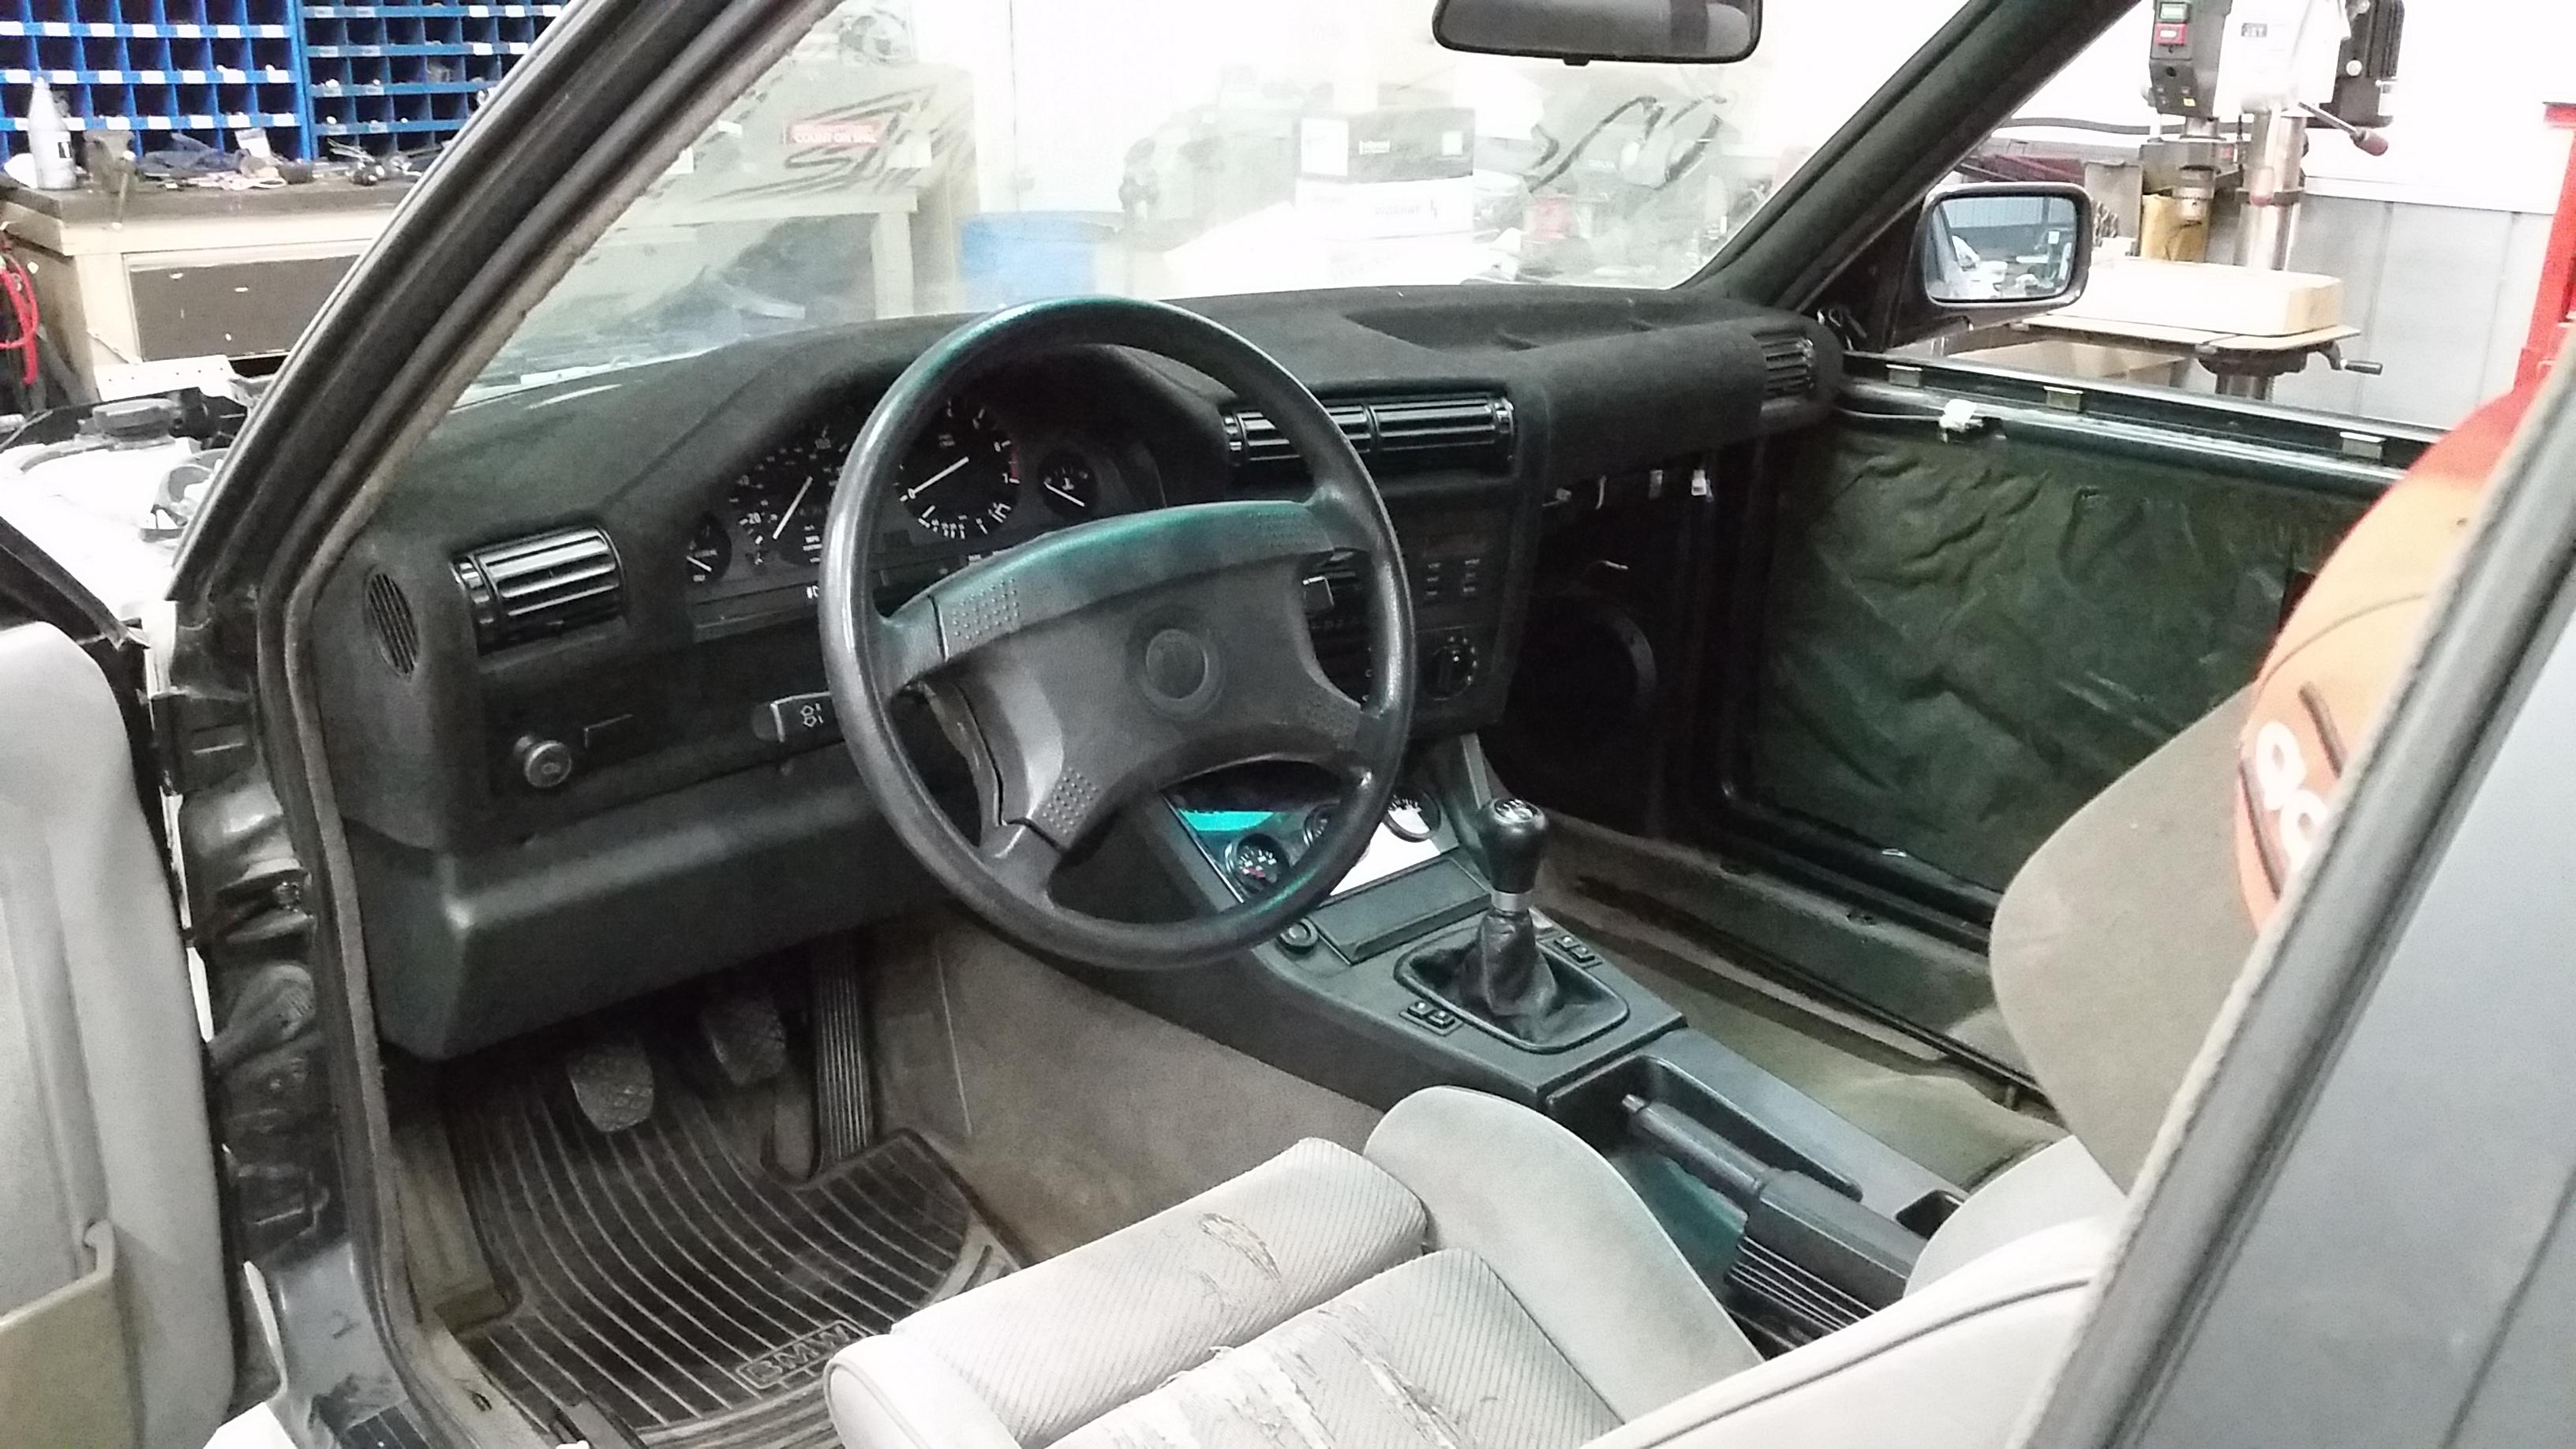
Interior is just about done. Unfortunately the vinyl on both the driver and passenger side door cards is peeling away. Working on fixing them at the moment as the vinyl at the bottom has unglued itself from the molding pretty much along the entire bottom.
Thinking of trying some epoxy or gorilla glue, we'll see what happens.
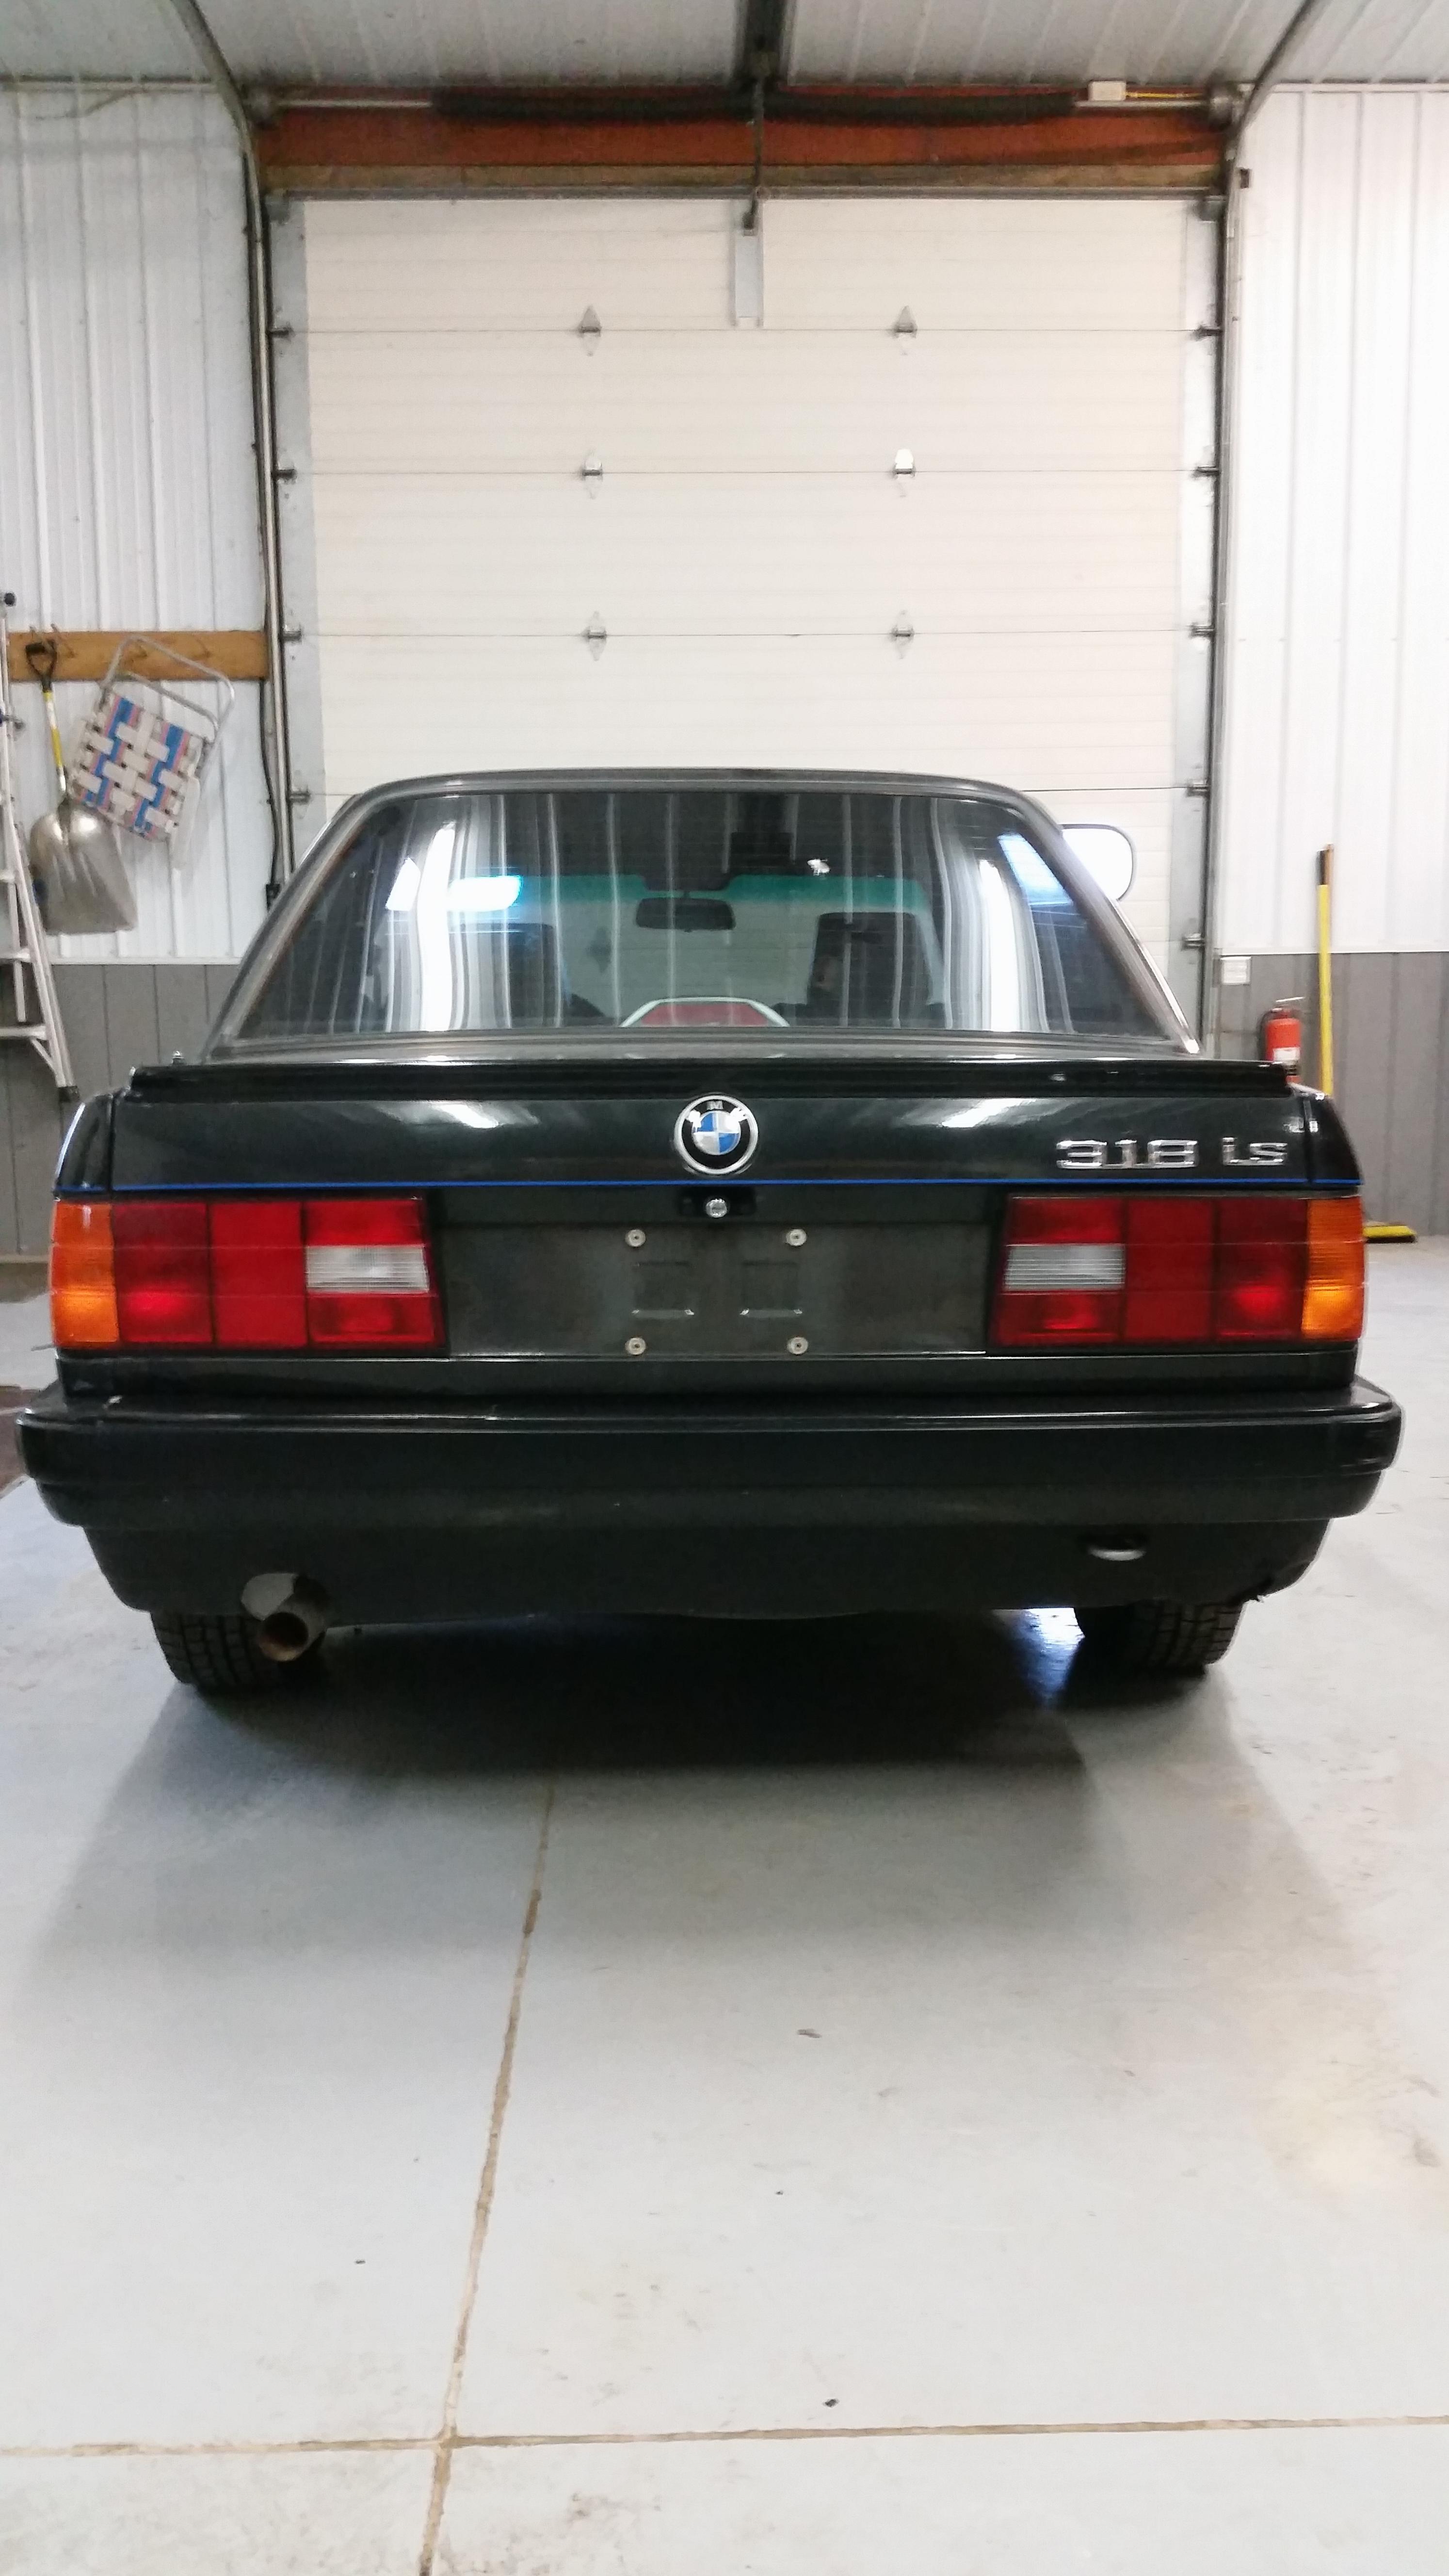
For the rest of the interior, I am pretty much finished up. Still working on finding a glove box. So far I'm loving the way the dash looks in the car. Was thinking I would eventually flock the rest of the pieces but now I'm not really sure it's necessary, let me know what you guys think. The steering wheel I was planning on ordering is currently sold out and won't be available again tell August so for now I will be rocking the stock steering wheel. I should also throw in that before, I was having trouble figuring out how to straighten up the shifter and carrier but after installing the shifter boot and knob It looks nice and straight and shifts into every gear very well!
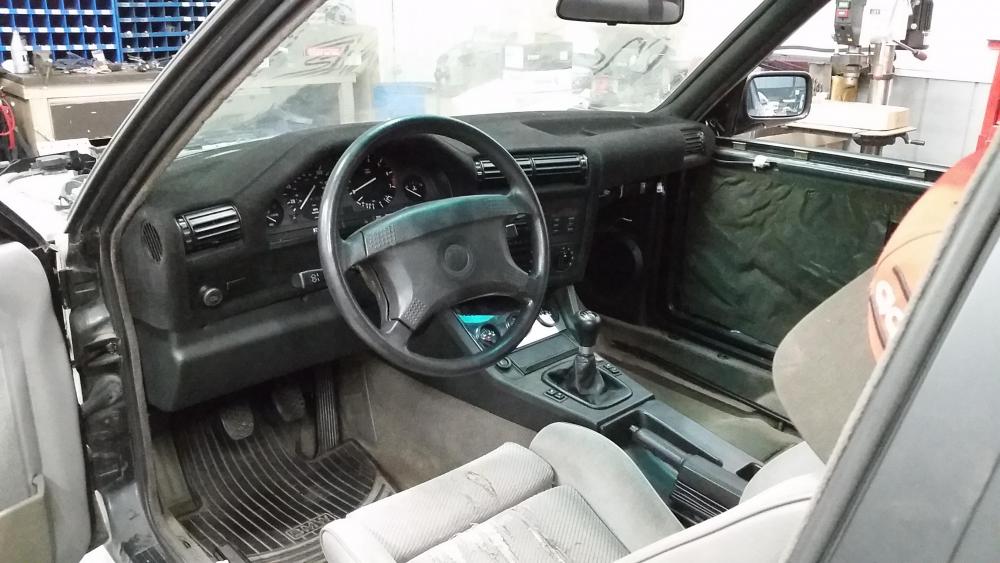
As for the seats, I did find another set of sport seats for the car. Unfortunately they are being shipped from Florida and will probably not be here for a couple weeks. So, for the time being I installed the passenger seat on the driver side. I do understand the seat belt buckle will now be on the wrong side so I am not driving the car far (down the road and back), just to get the engine up to temp and further assess my timing cover head gasket issues and hope that with some kind of miracle it seals up (I know I know, not a chance. Shutup and let me dream!)
On to other things...
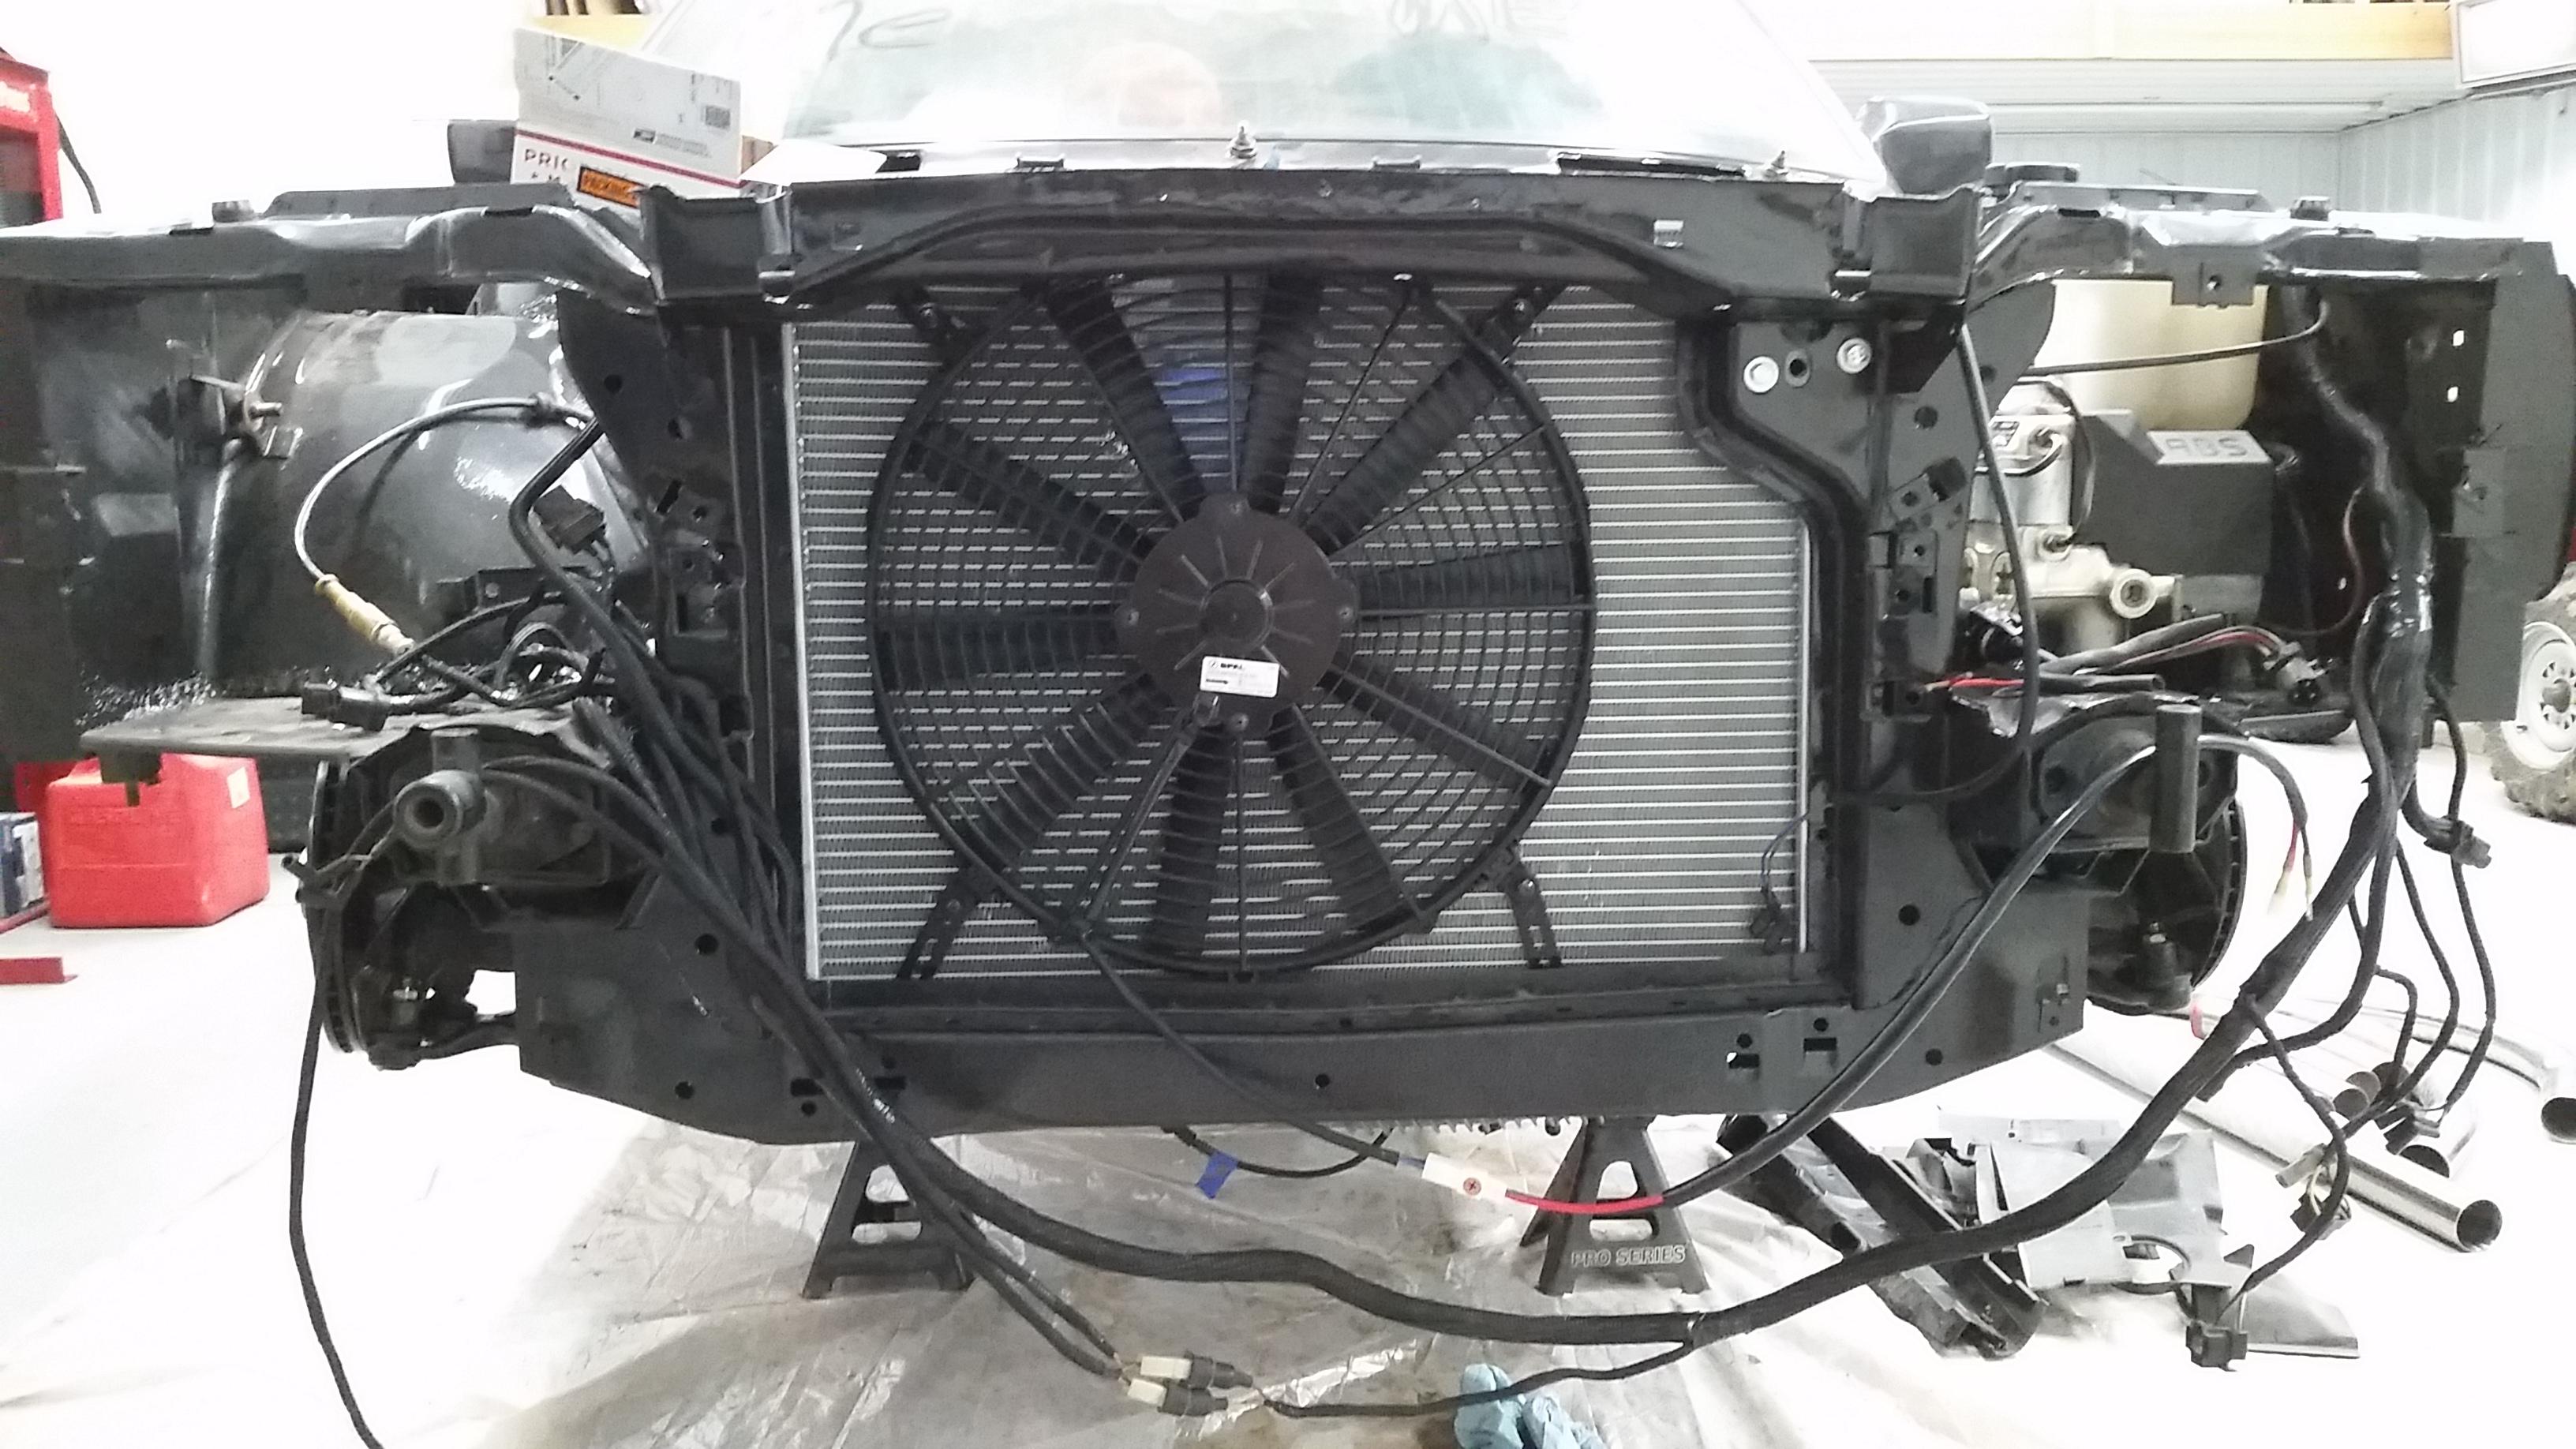
Fan
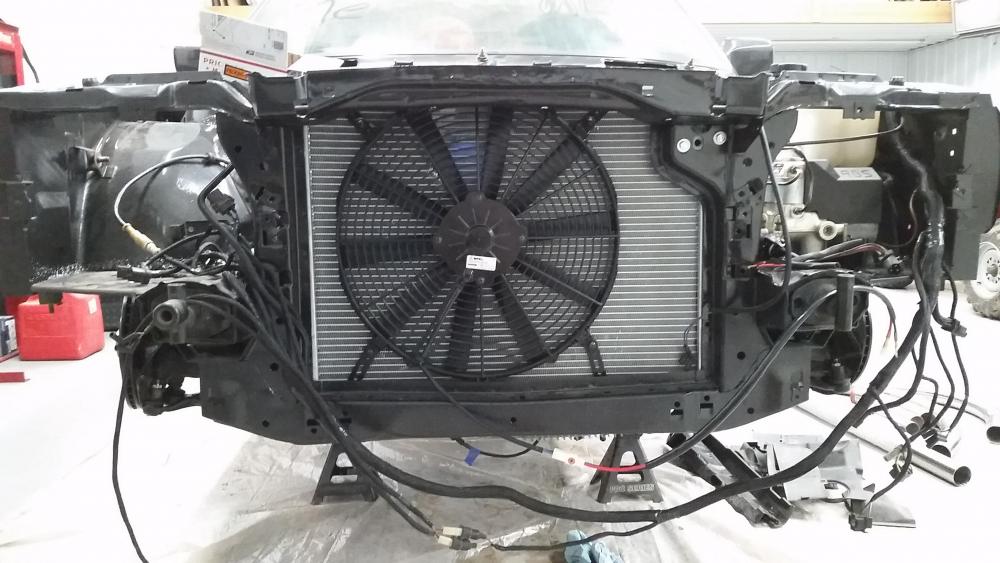
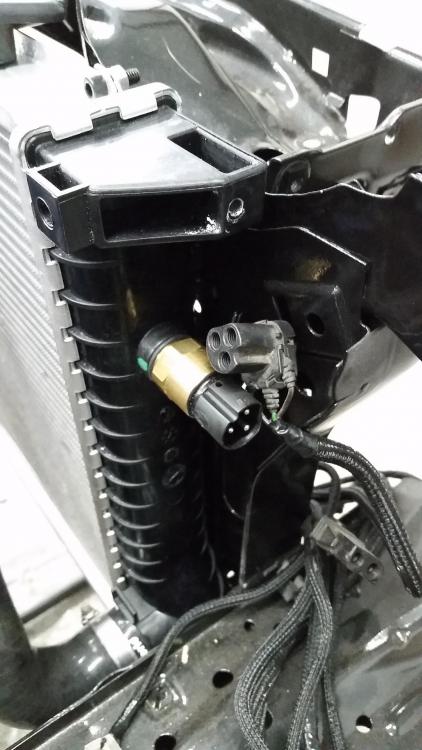
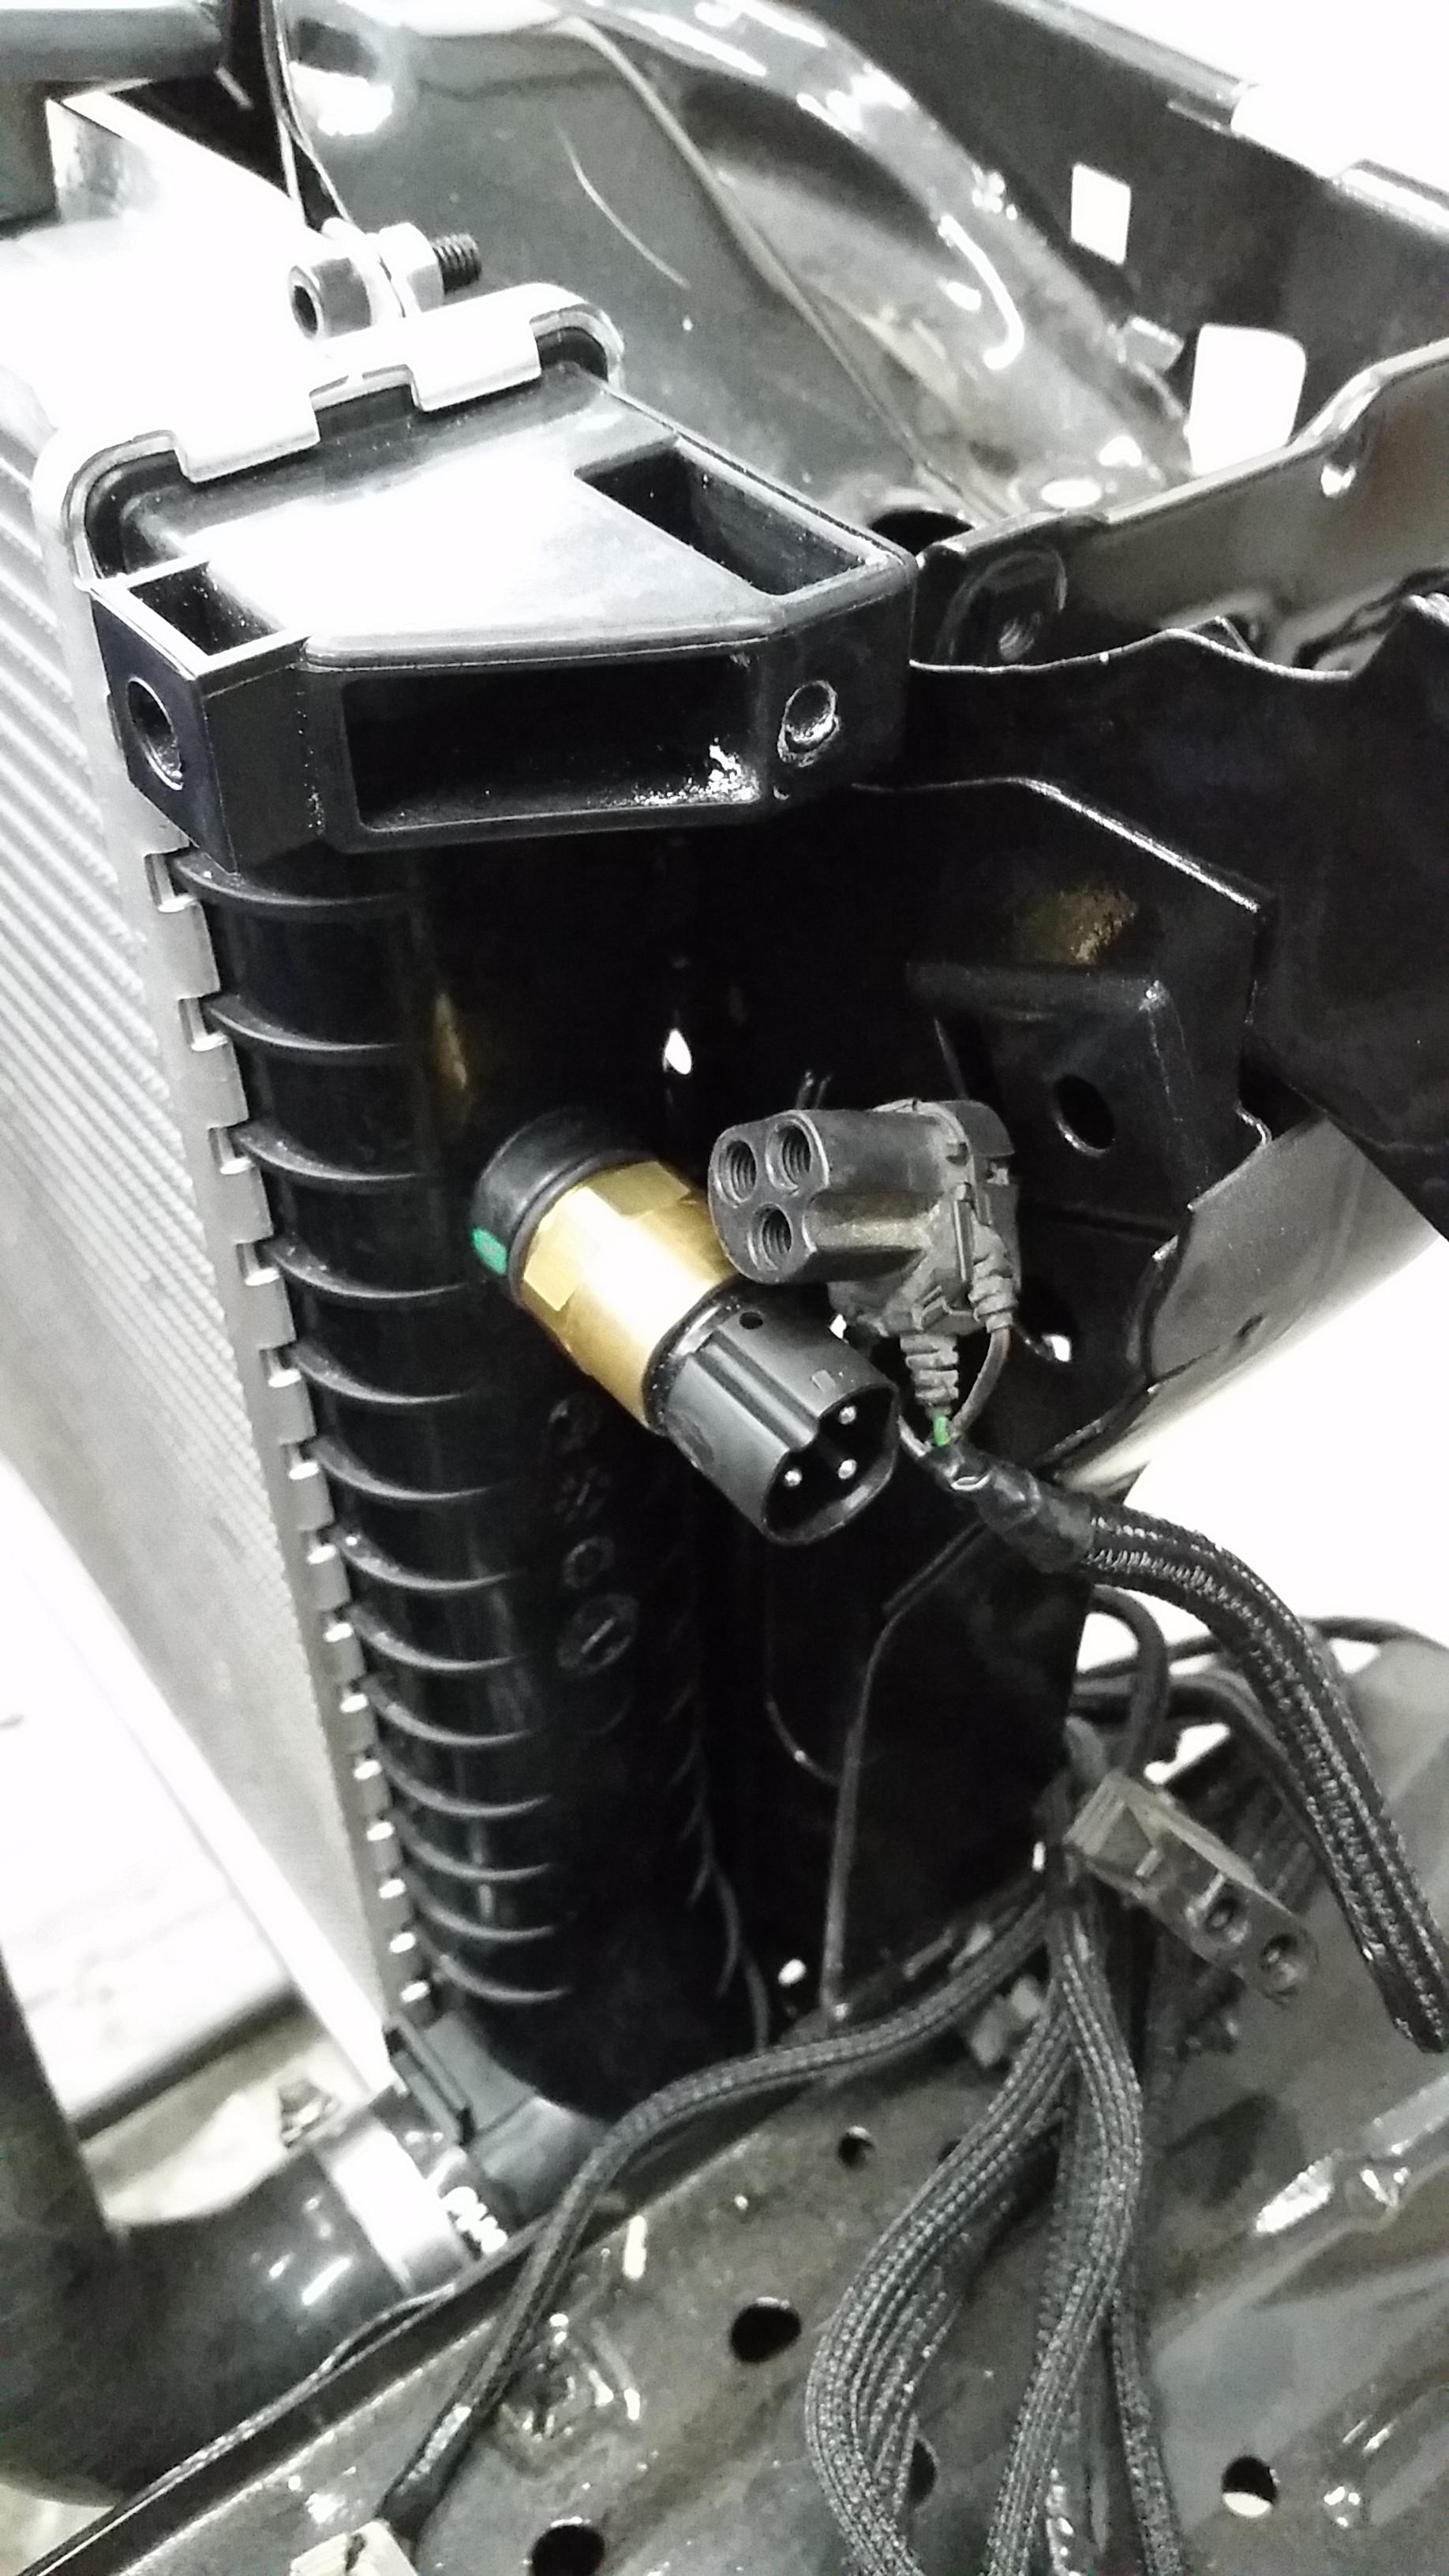
There is one quick question I have about the fan sensor setup. Sense this car had a auxiliary cooling fan for the AC I just wanted to run the wiring through the stock relay's. Now I understand how to wire this up for the most part, problem I have is that I mistakenly purchased the wrong radiator coolant temp sensor.
It is a 80 - 88 degree Celsius sensor I bought from bimmerworld. Is there a way I can make this one work or is the only way to perform this setup is with the 2 prong 82 degree sensor ( 61-31-1-364-272-82 )? I'm guessing it won't as the goal is to illuminate the low speed relay and run only the high speed when it hits the target temps and you do that by removing that third wire I think, idk maybe not, just thought I'd ask.
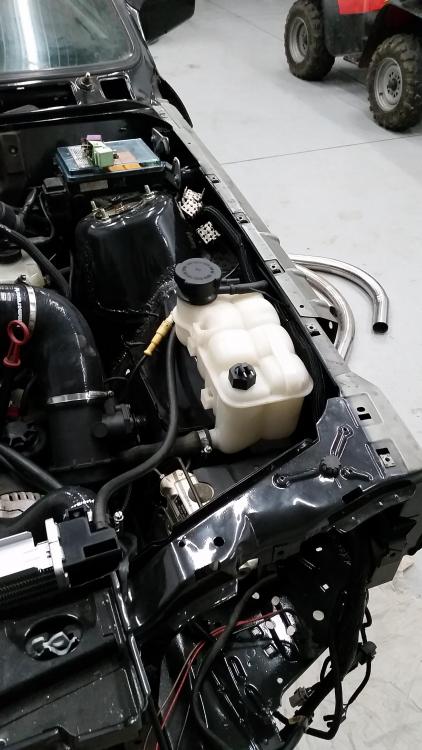
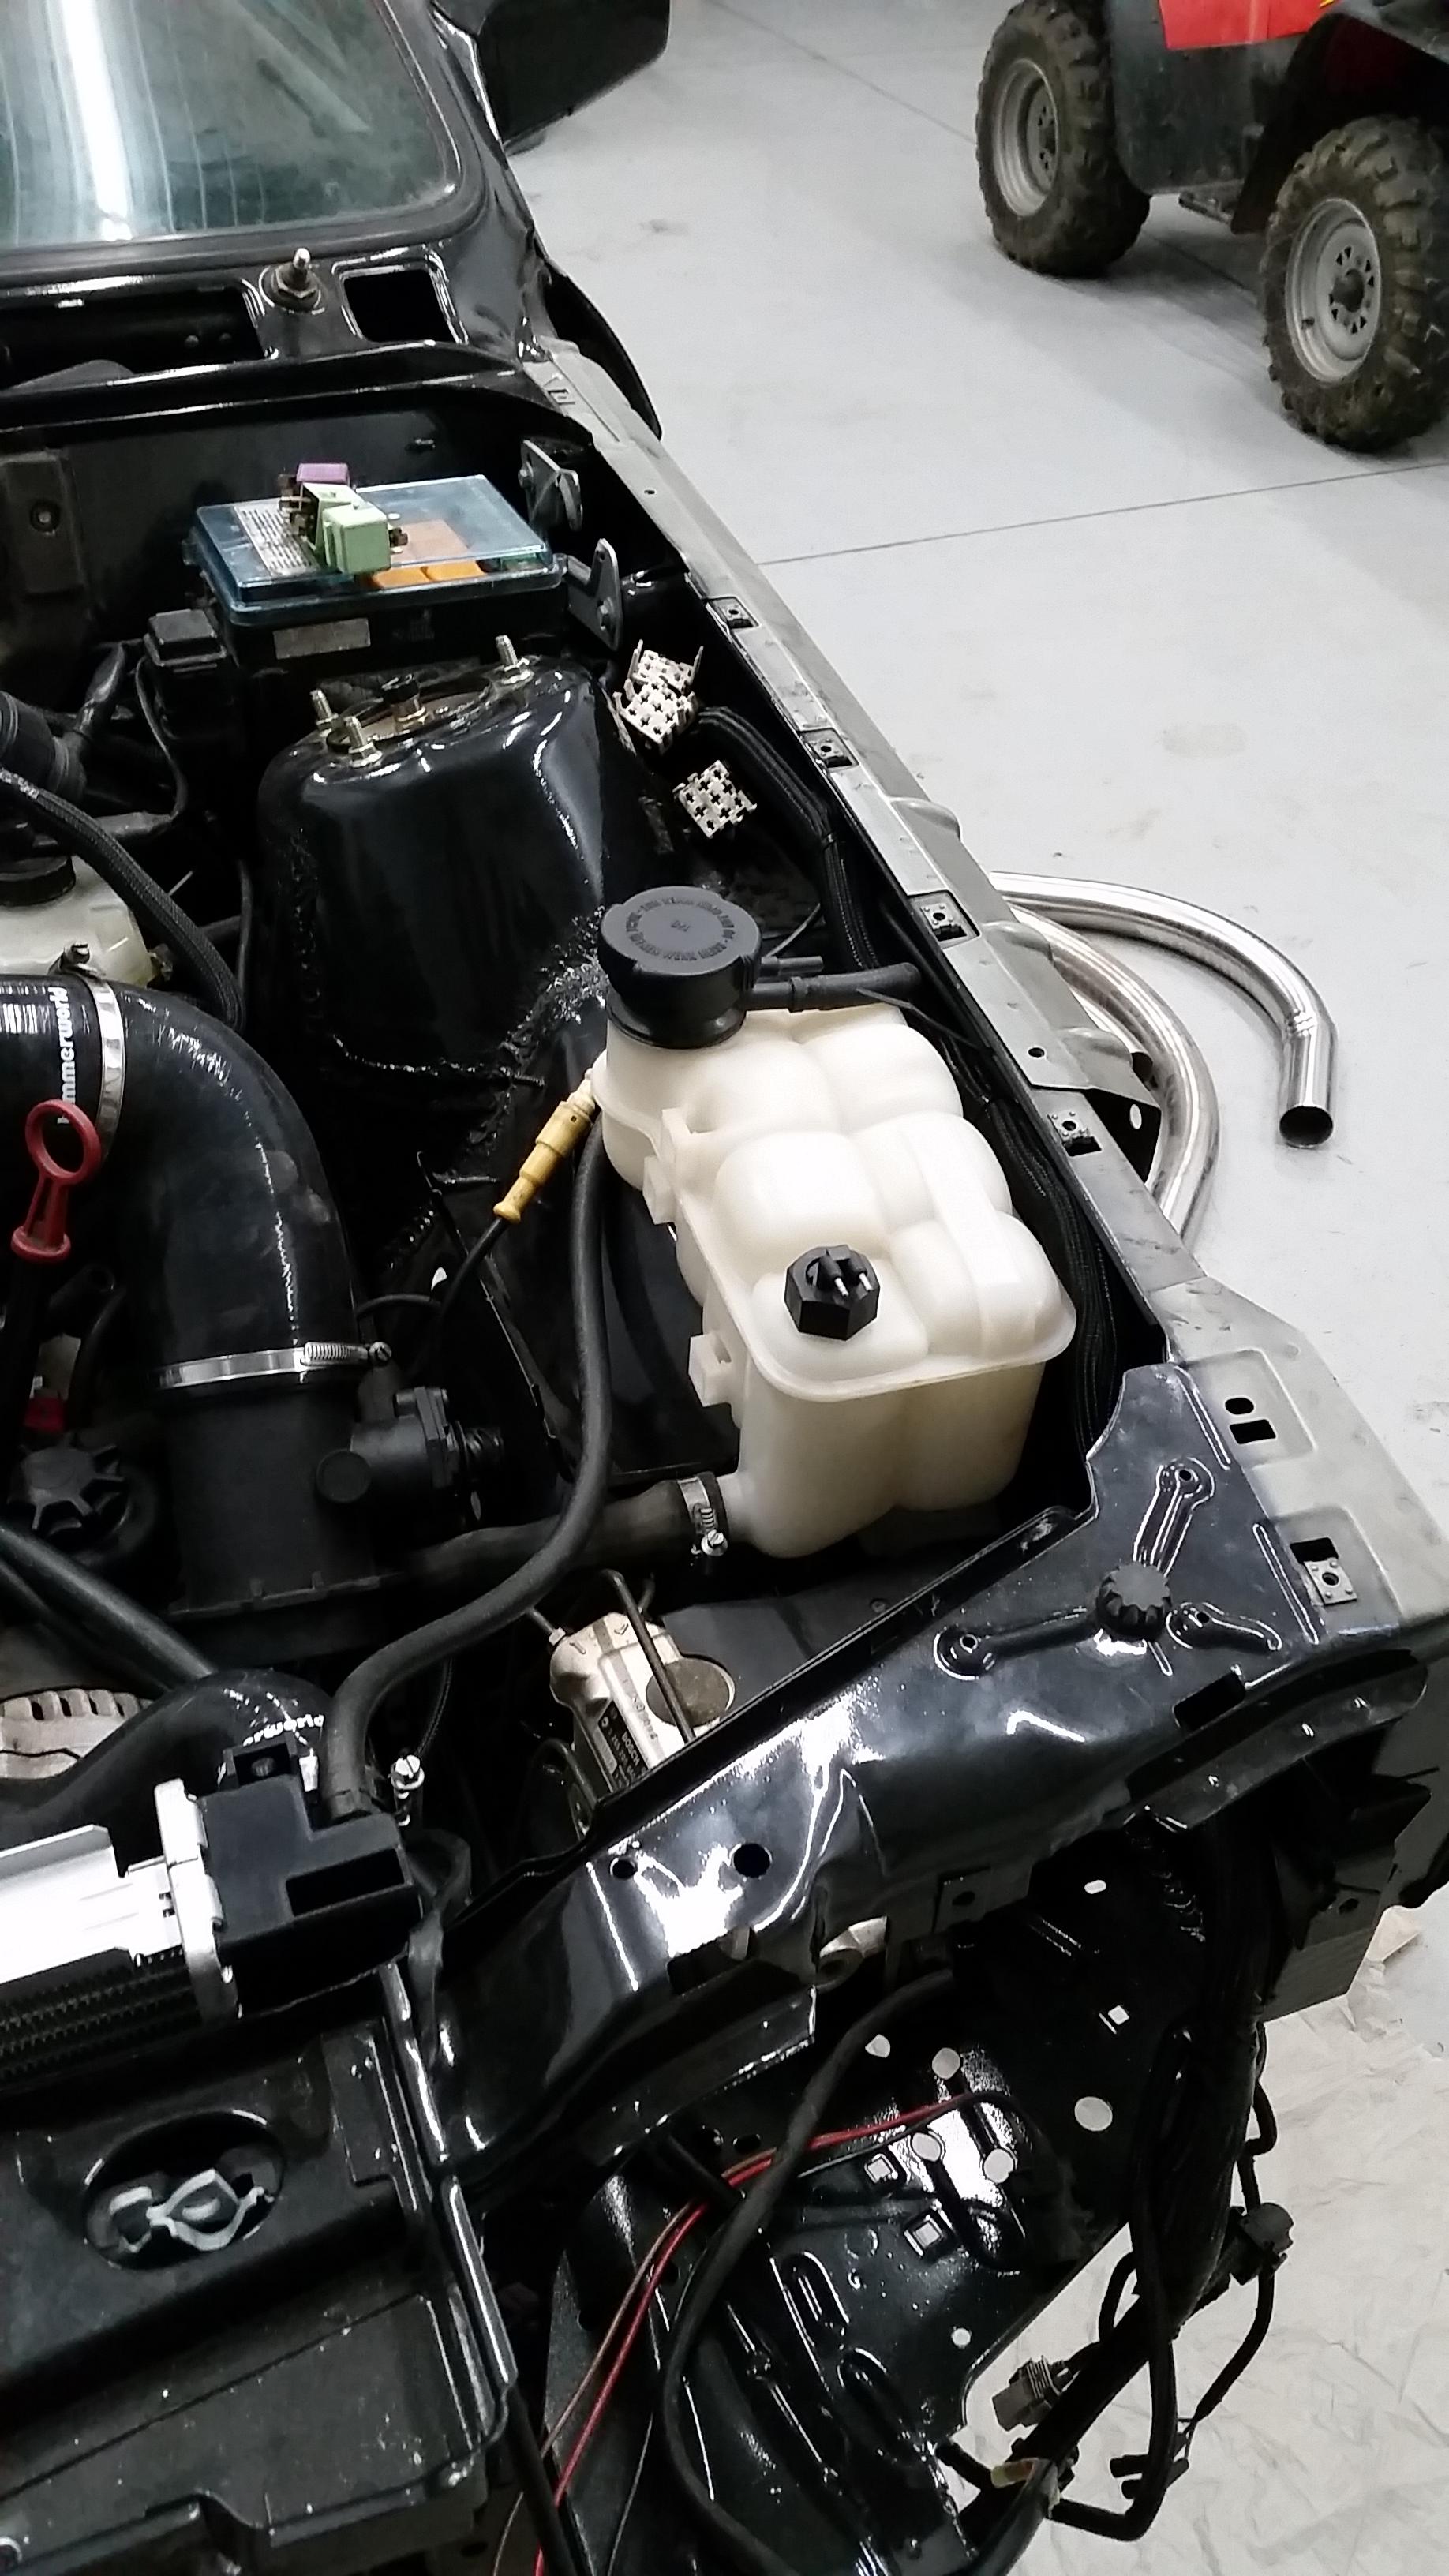
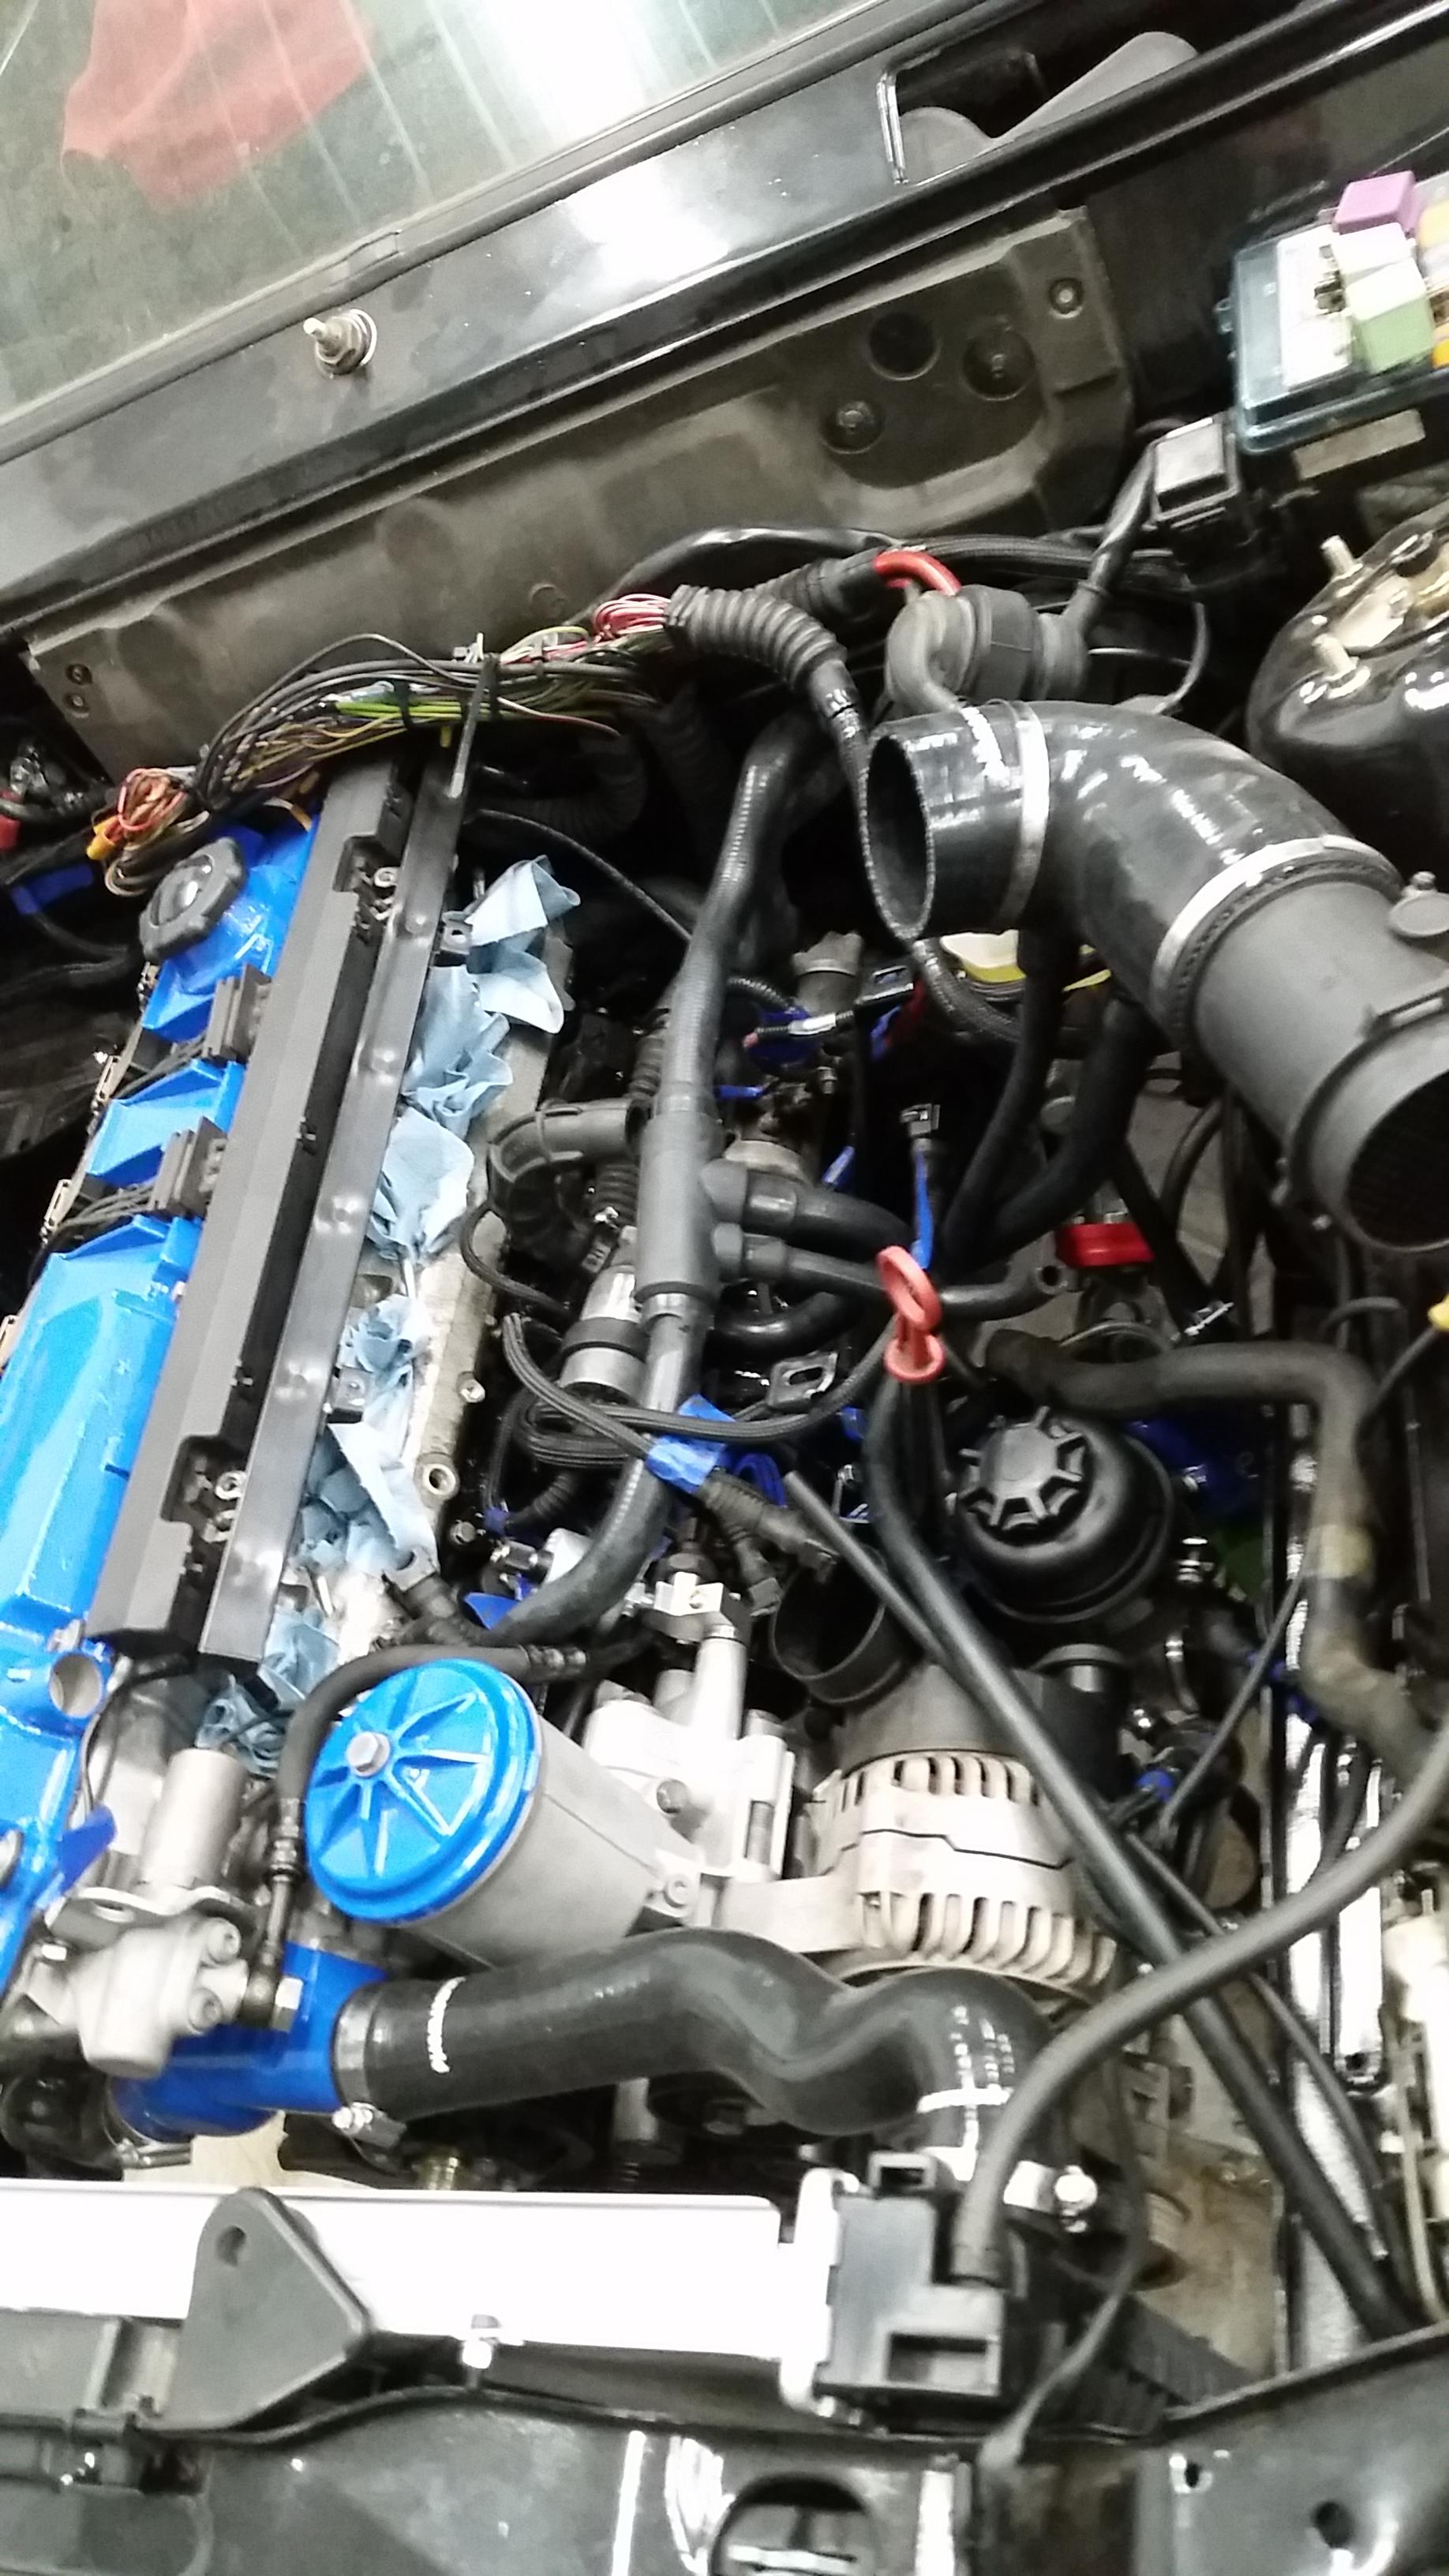
coolant expansion reservoir mounted
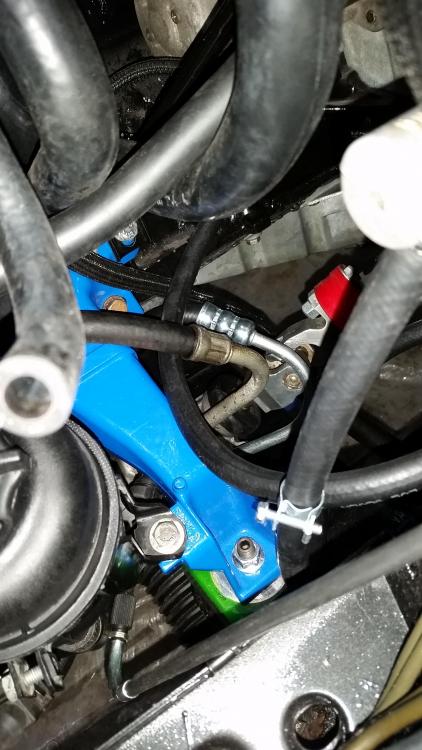
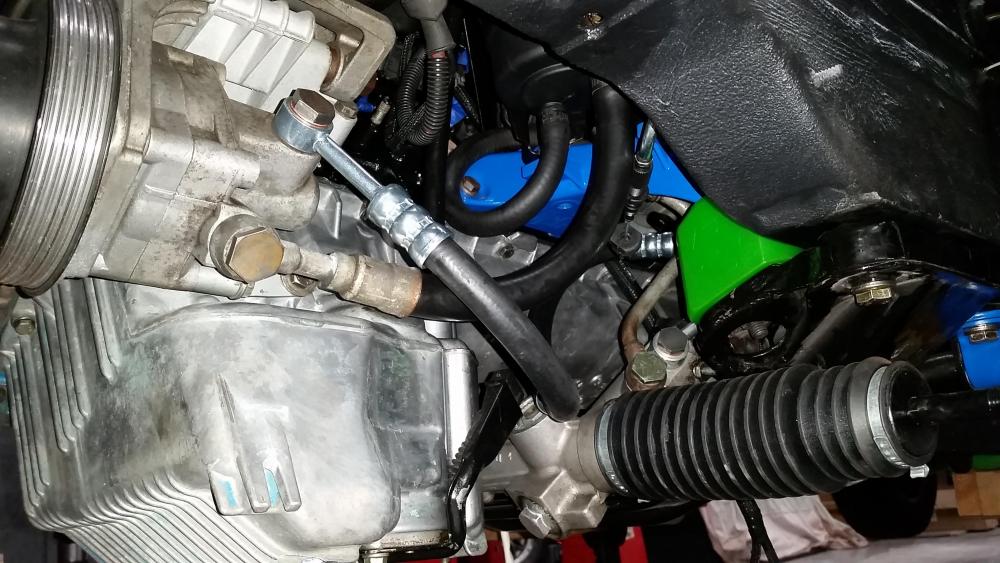
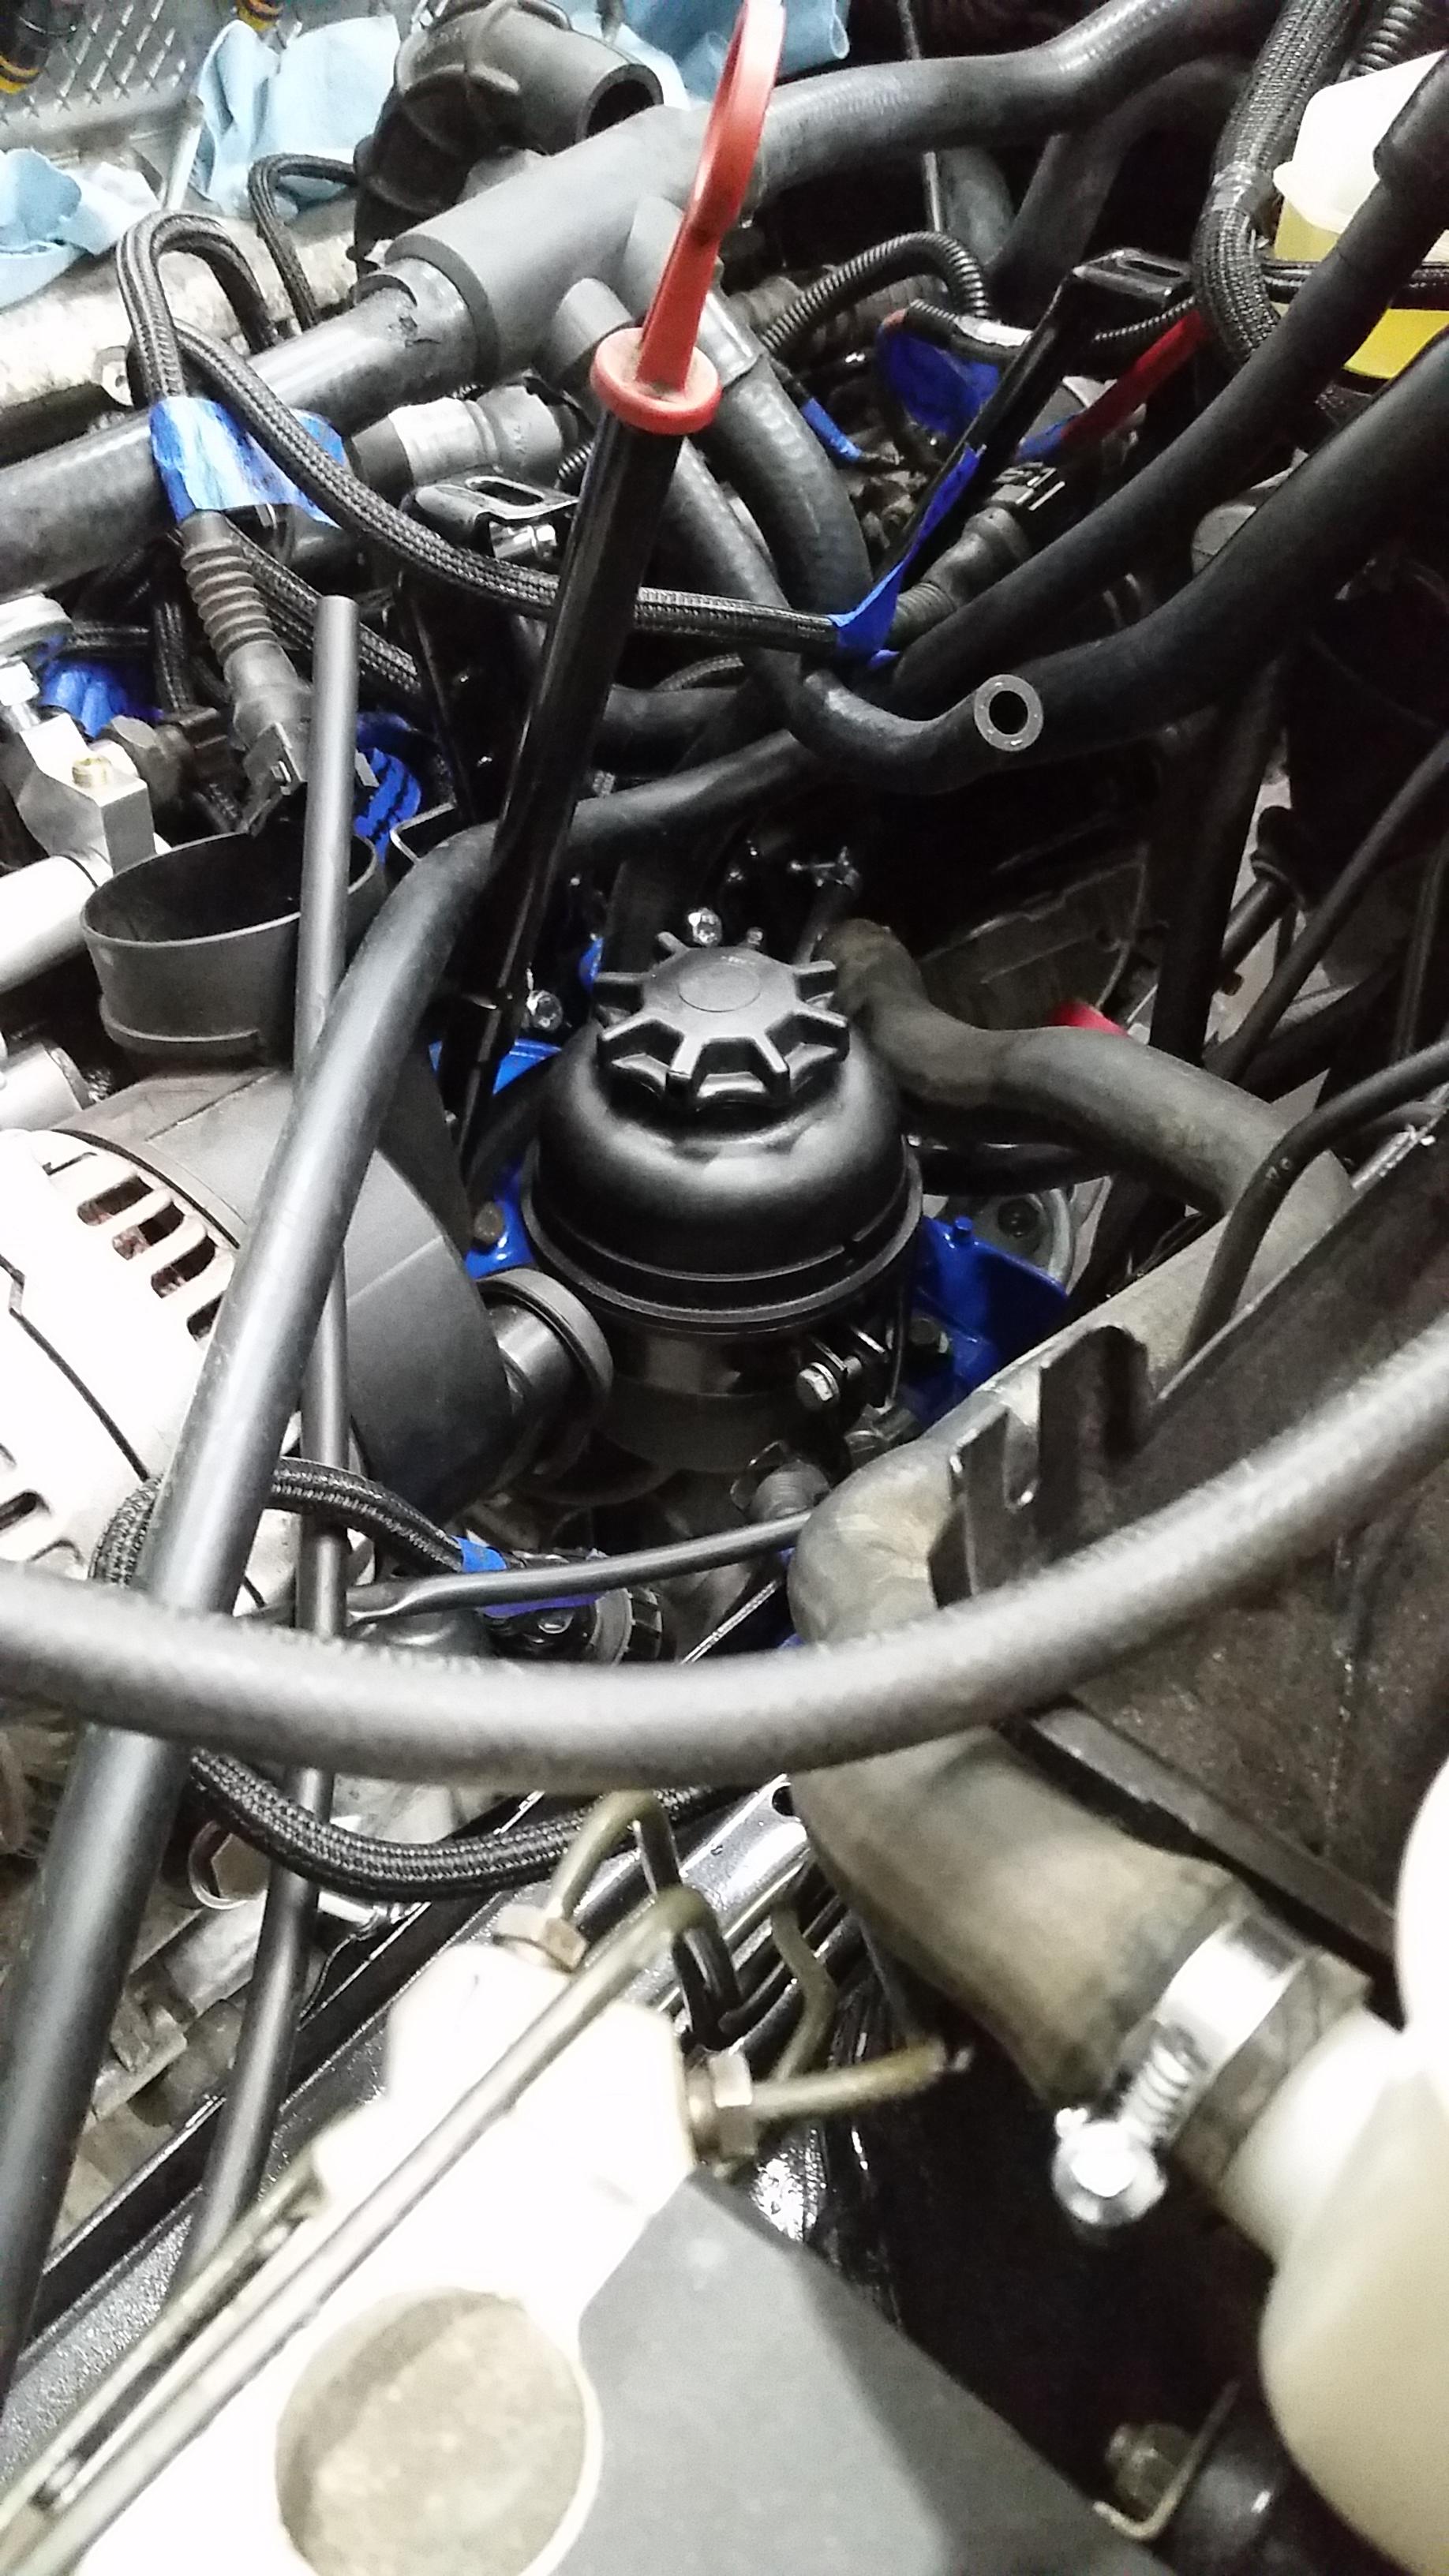
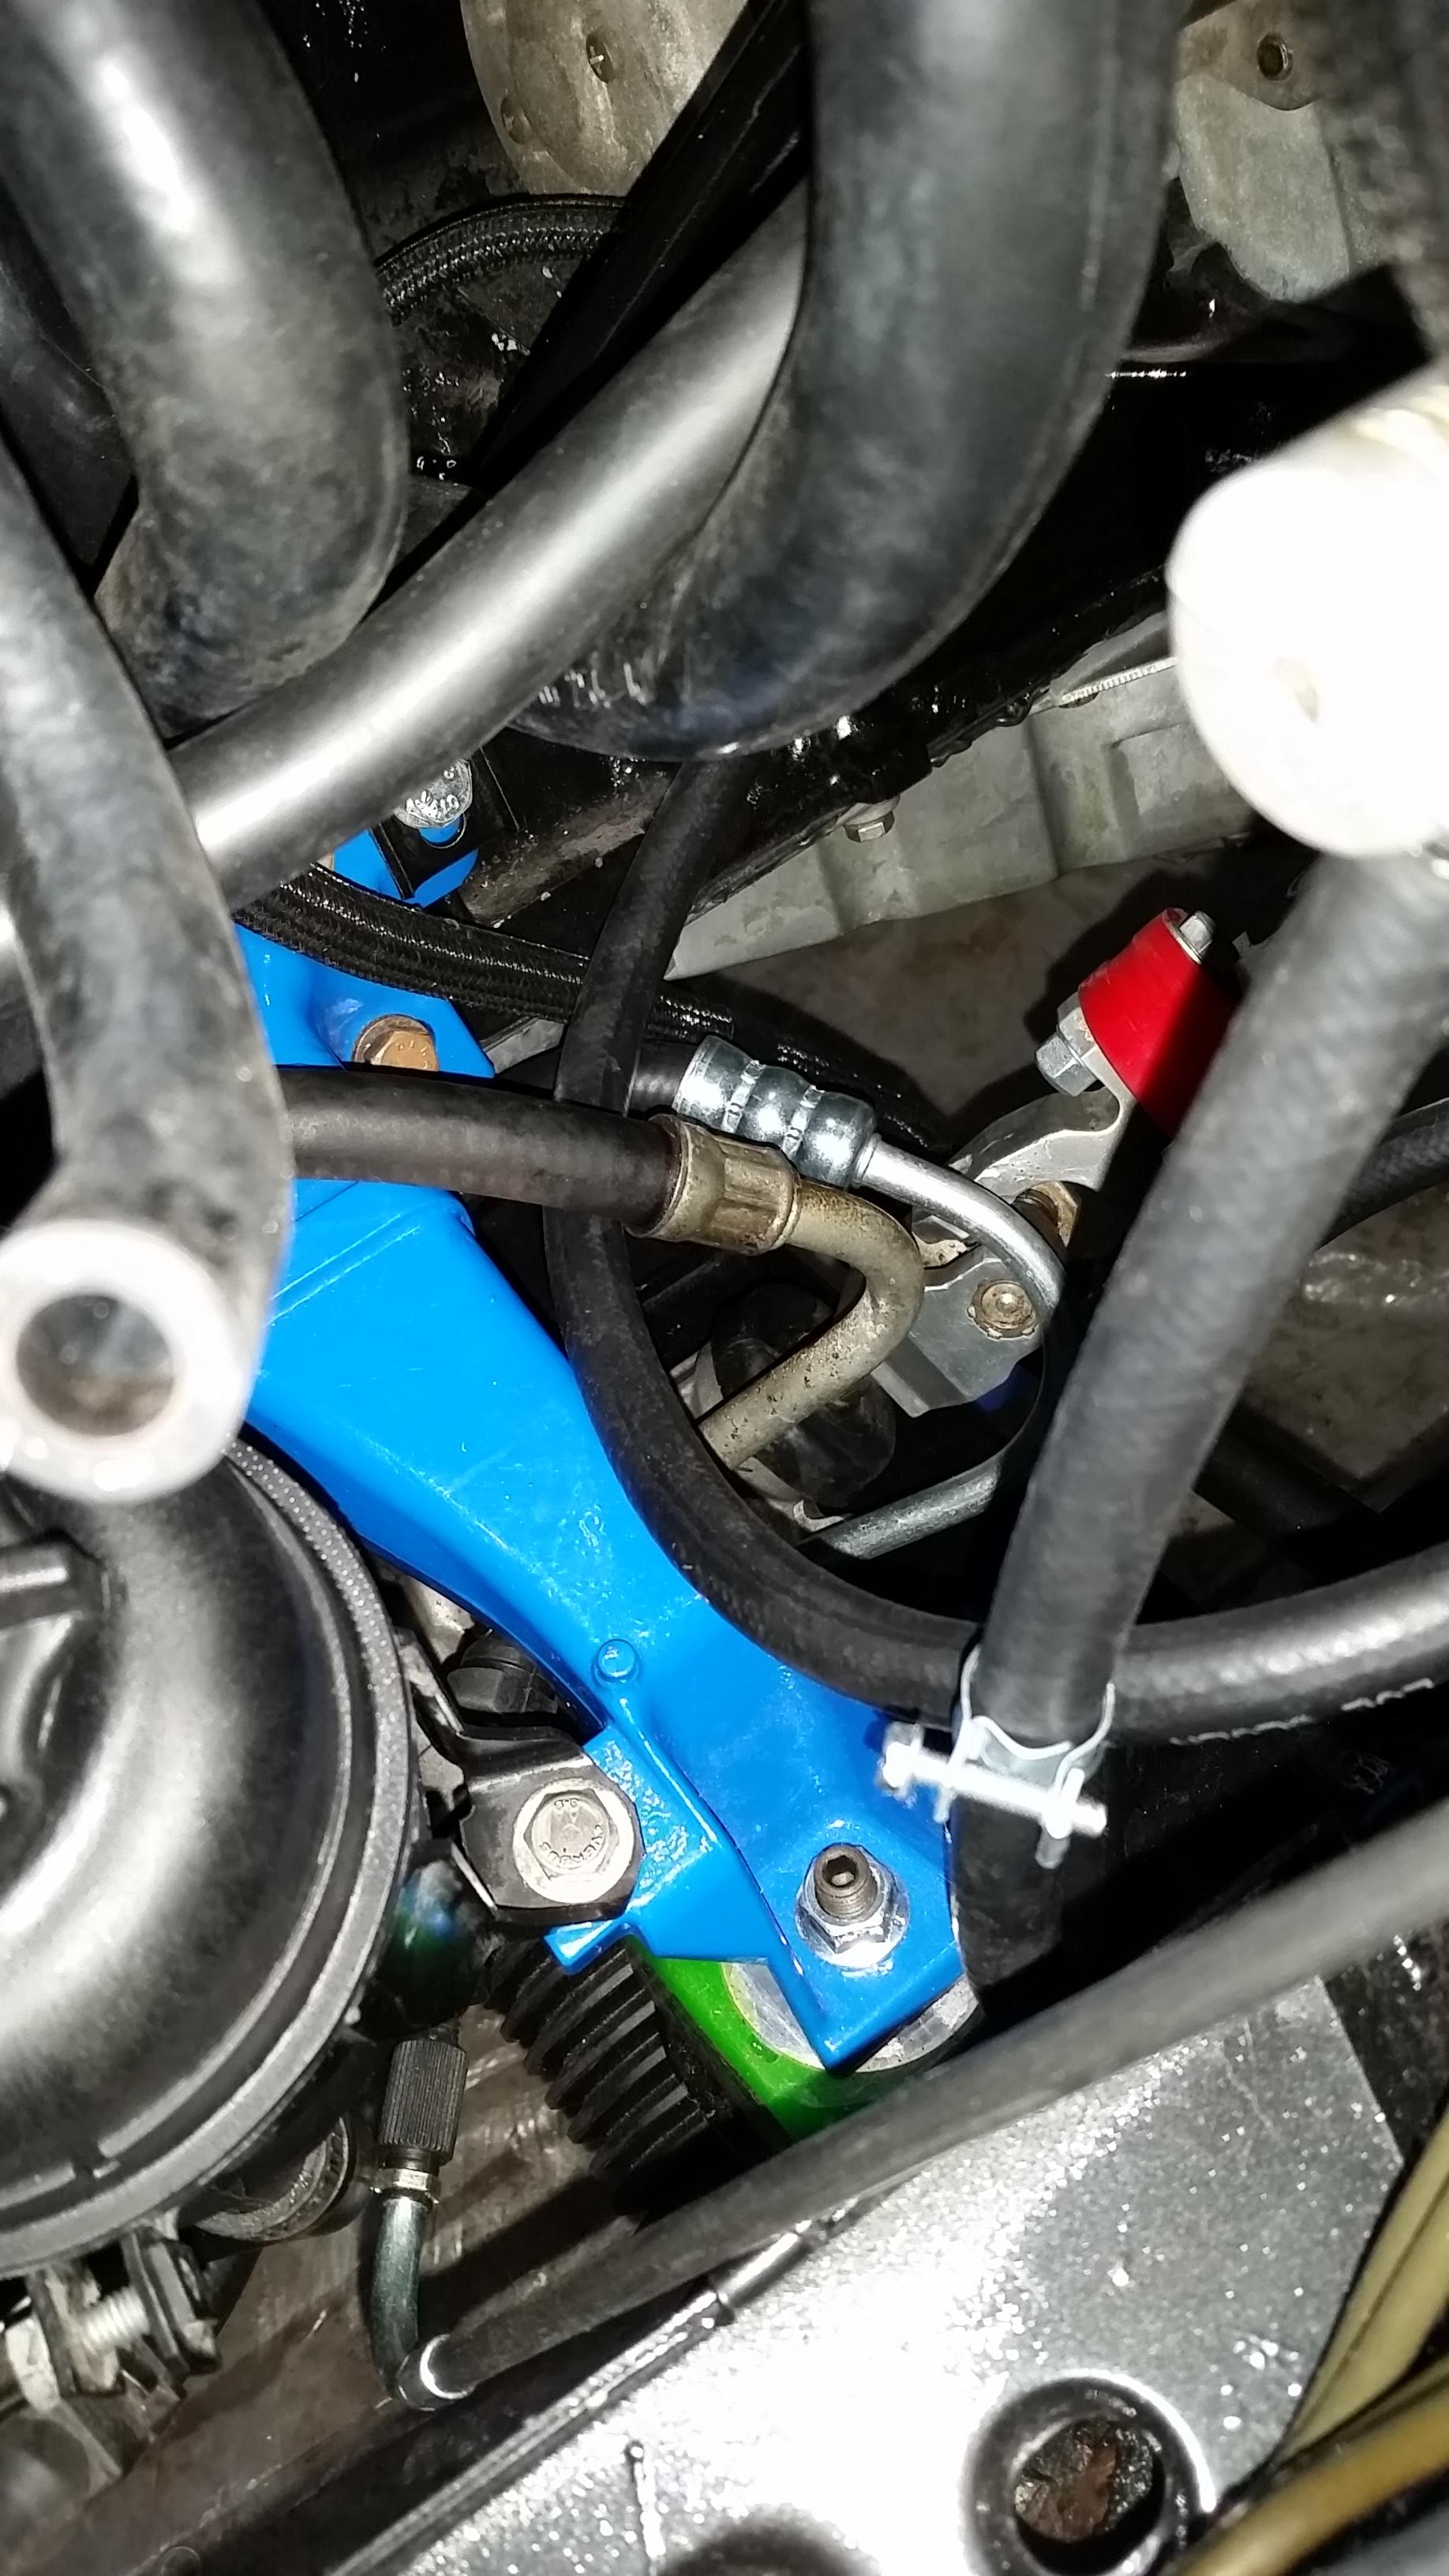
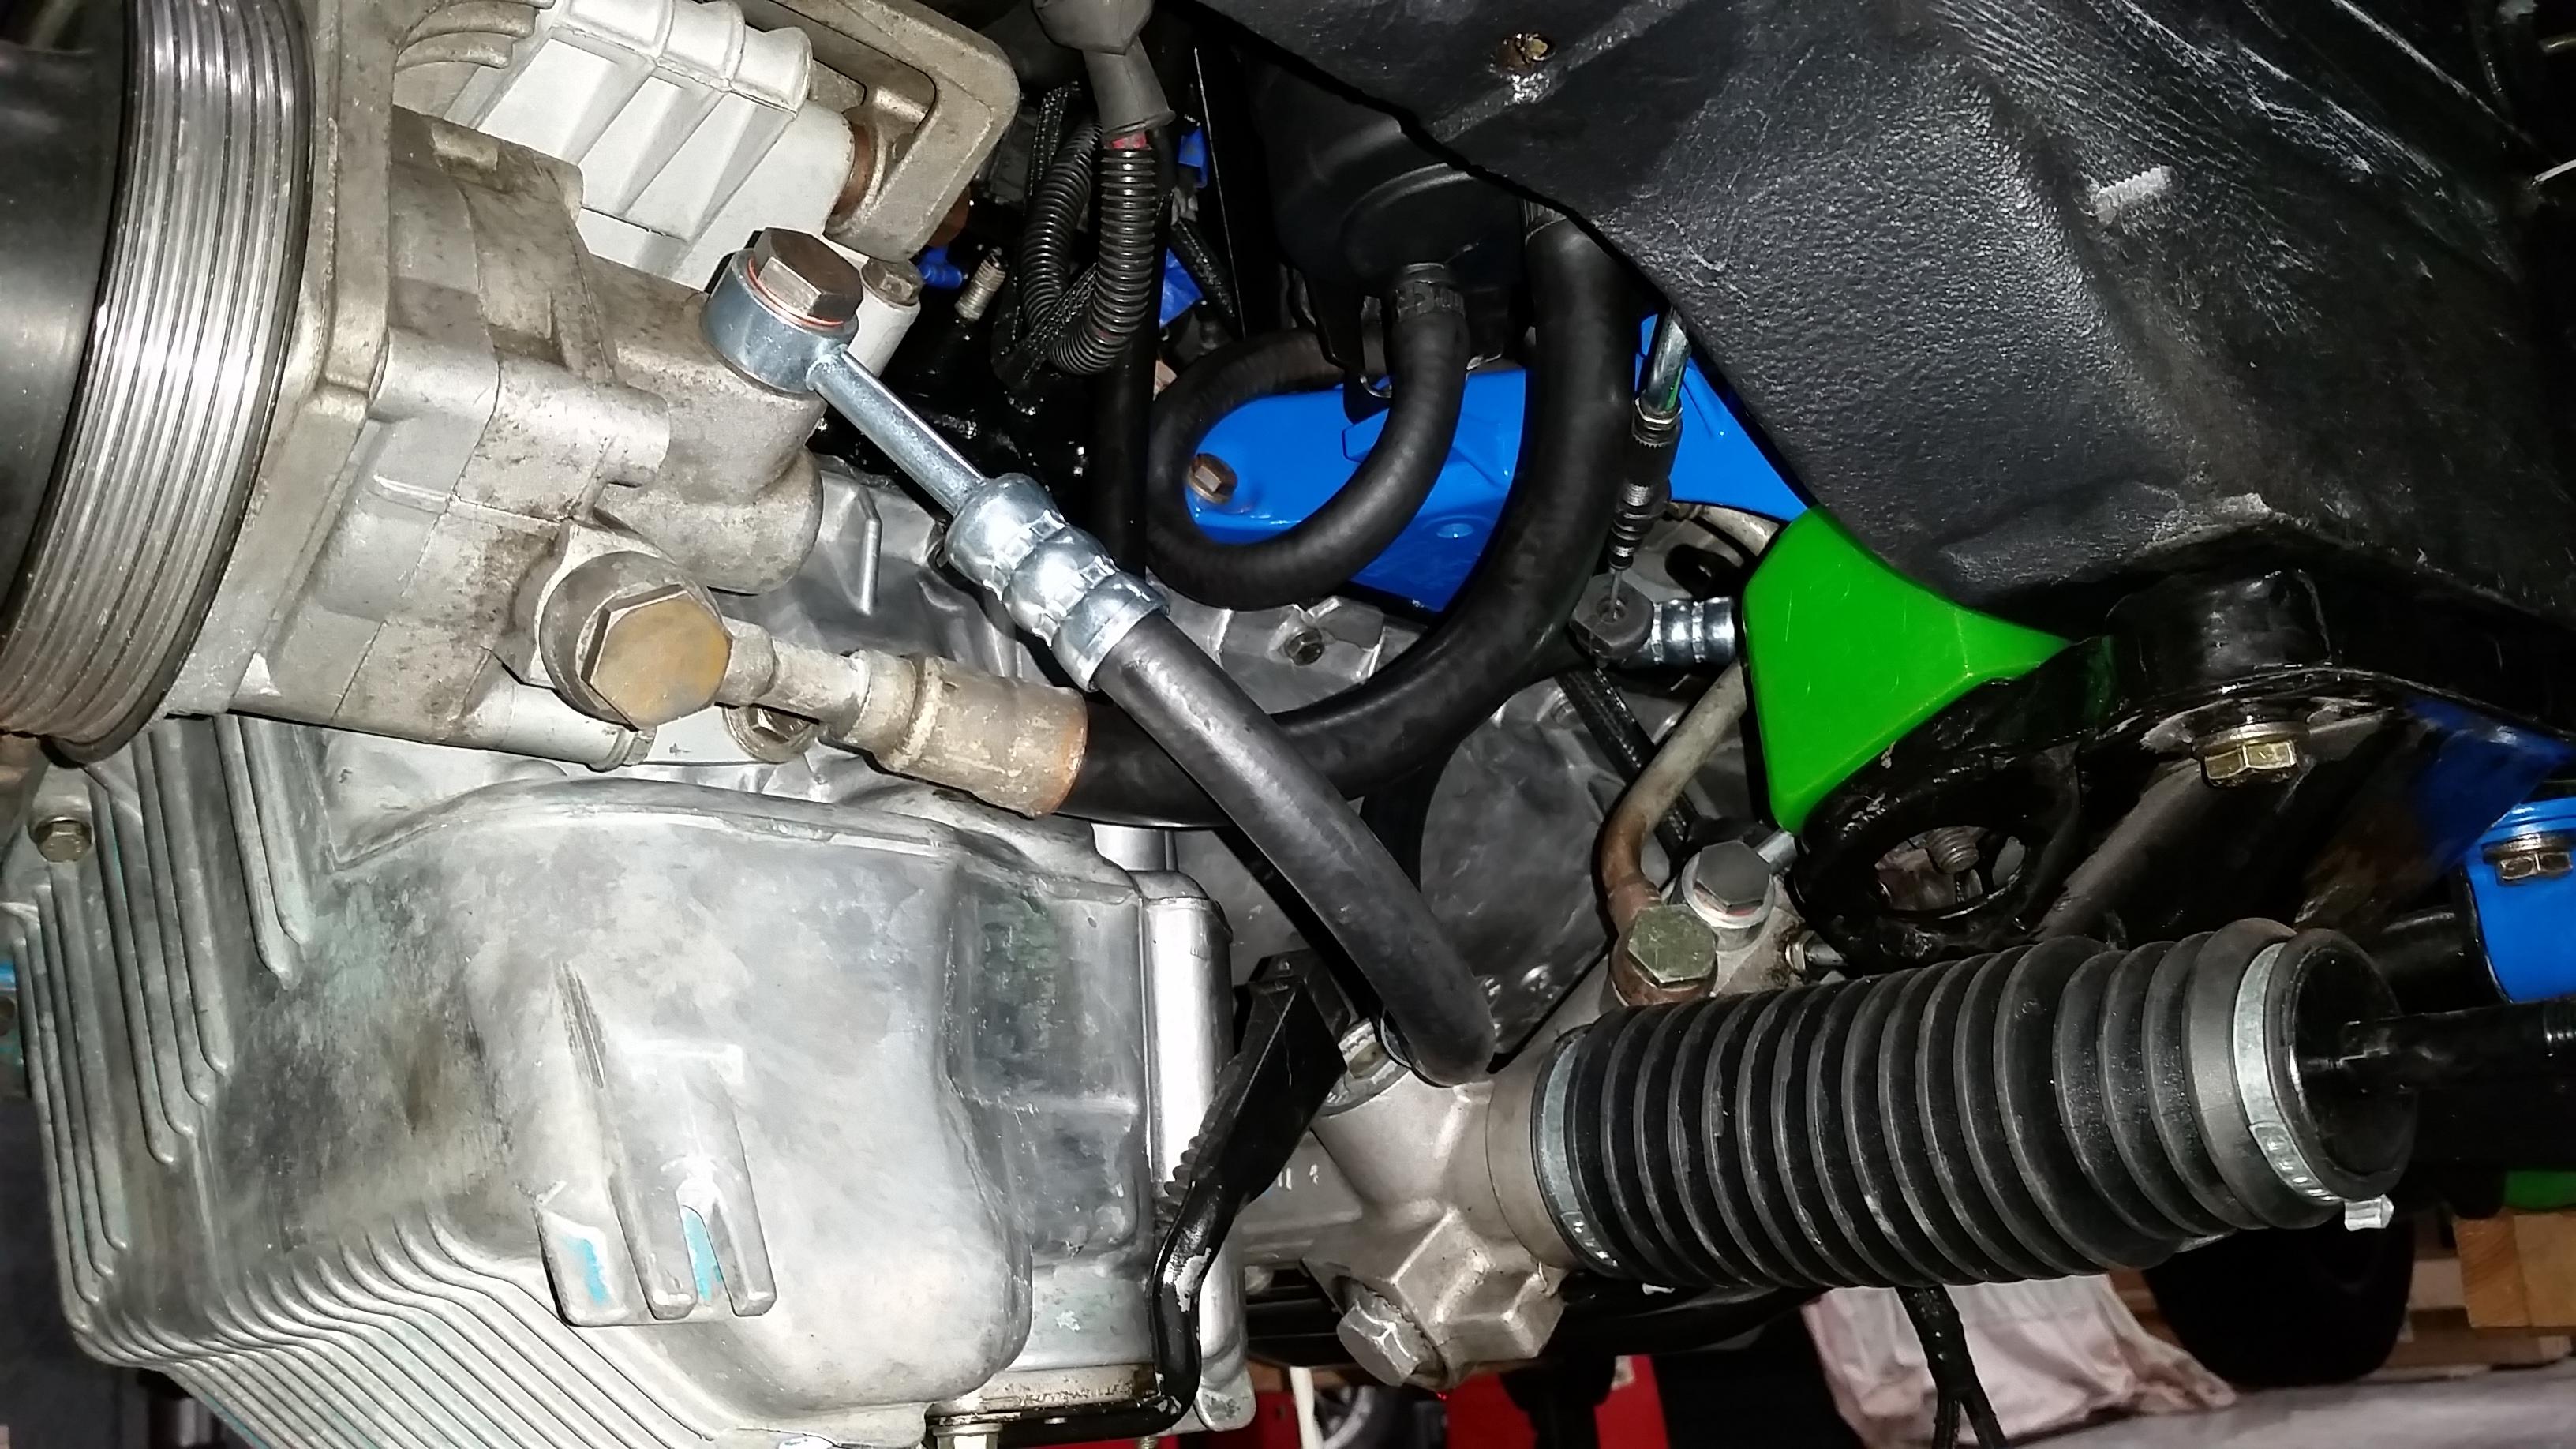
Power steering reservoir mounted and lines ran
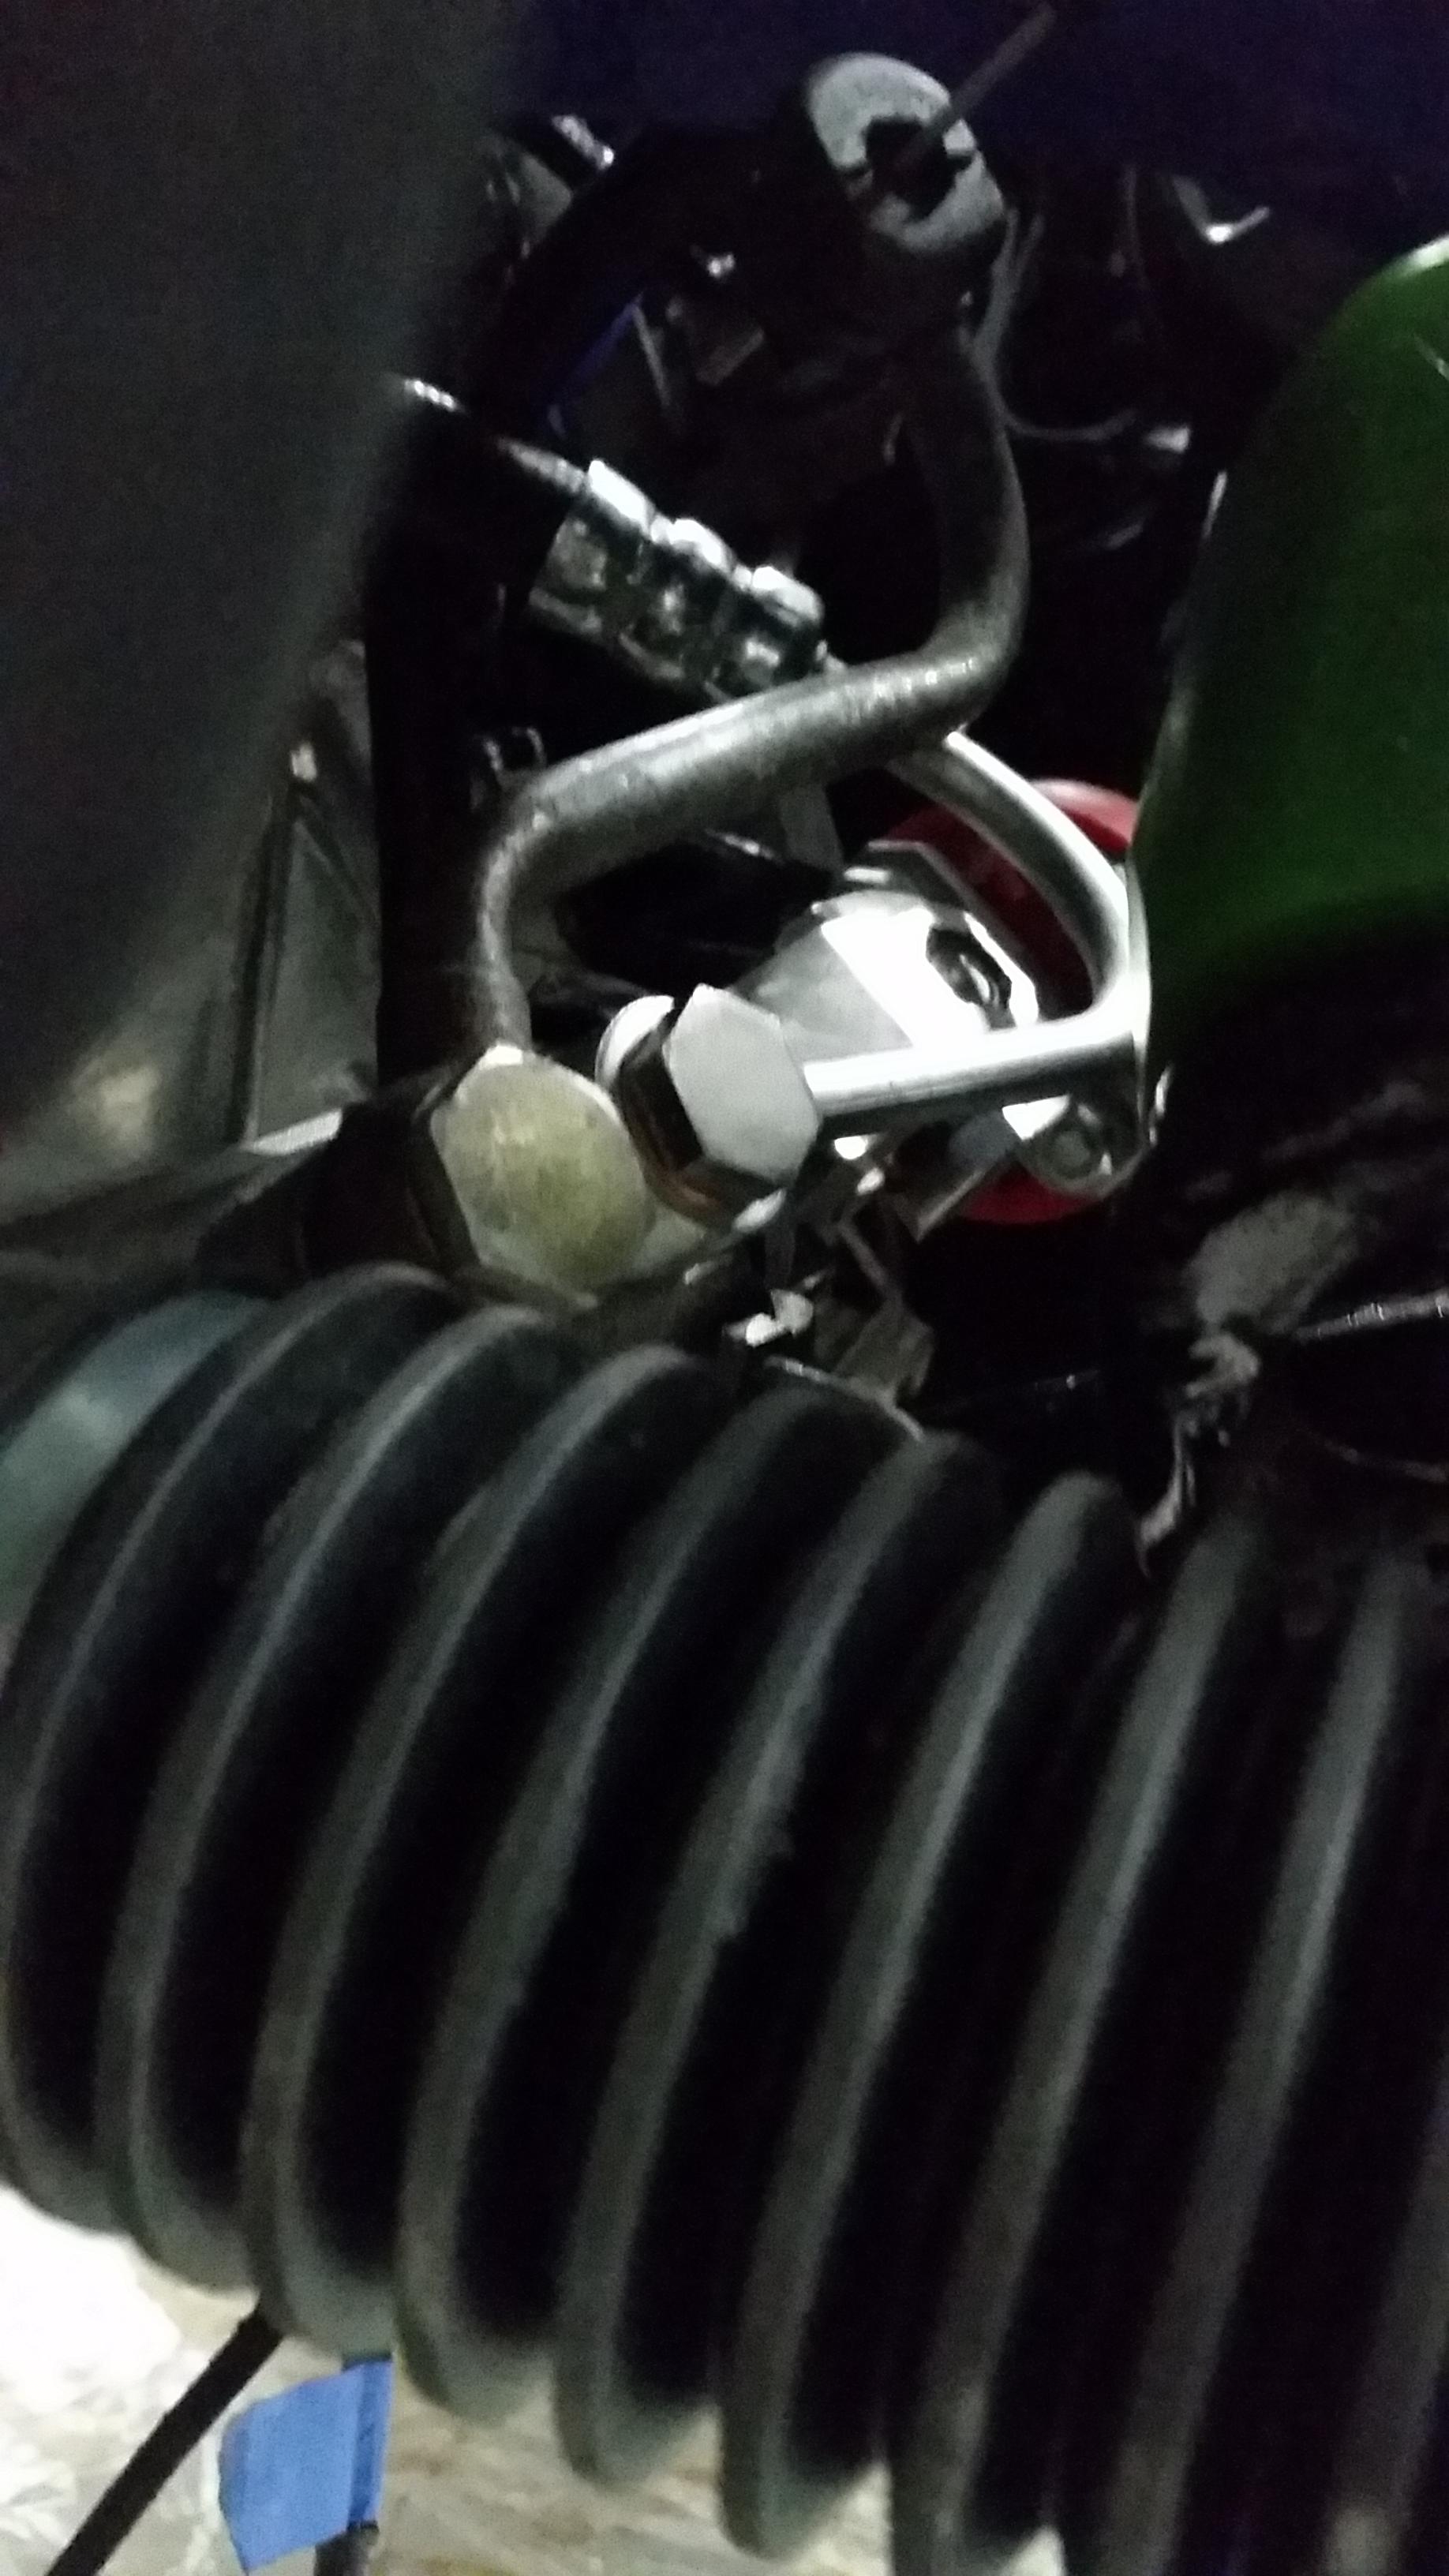
Quick question for the return line running from the rack back to the reservoir, the only way for me to hook it up was to route it over the motor mount, is there anything wrong with doing it this way? It fits up fairly nicely just wondering if there is possible problems with running the line over the mount instead of under, unless I'm just being dumb and that's the way it goes, It is the stock e30 line. For the high pressure line, I went over to my local car-quest and picked up a high pressure line for something like 35 bucks ( much better compared to a bmw oem line which is closer to 200). The line is a very nice quality piece and fit up very nicely , It is shaped slightly differently and does get slightly close to the steering shaft u-joint but after testing it installed they clear just fine.
Off to other things.
Intake is back off
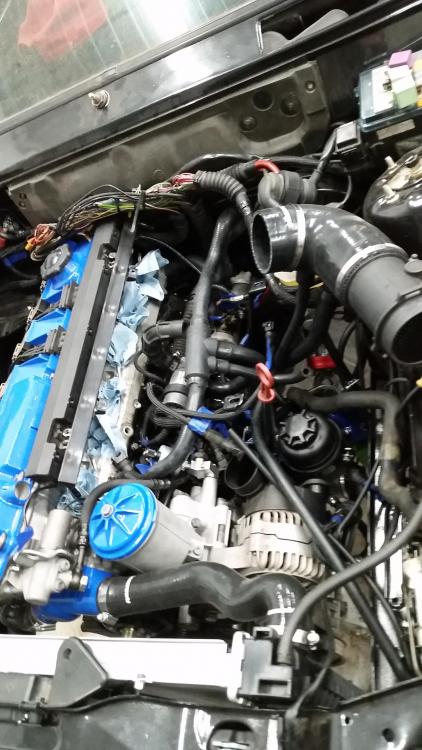
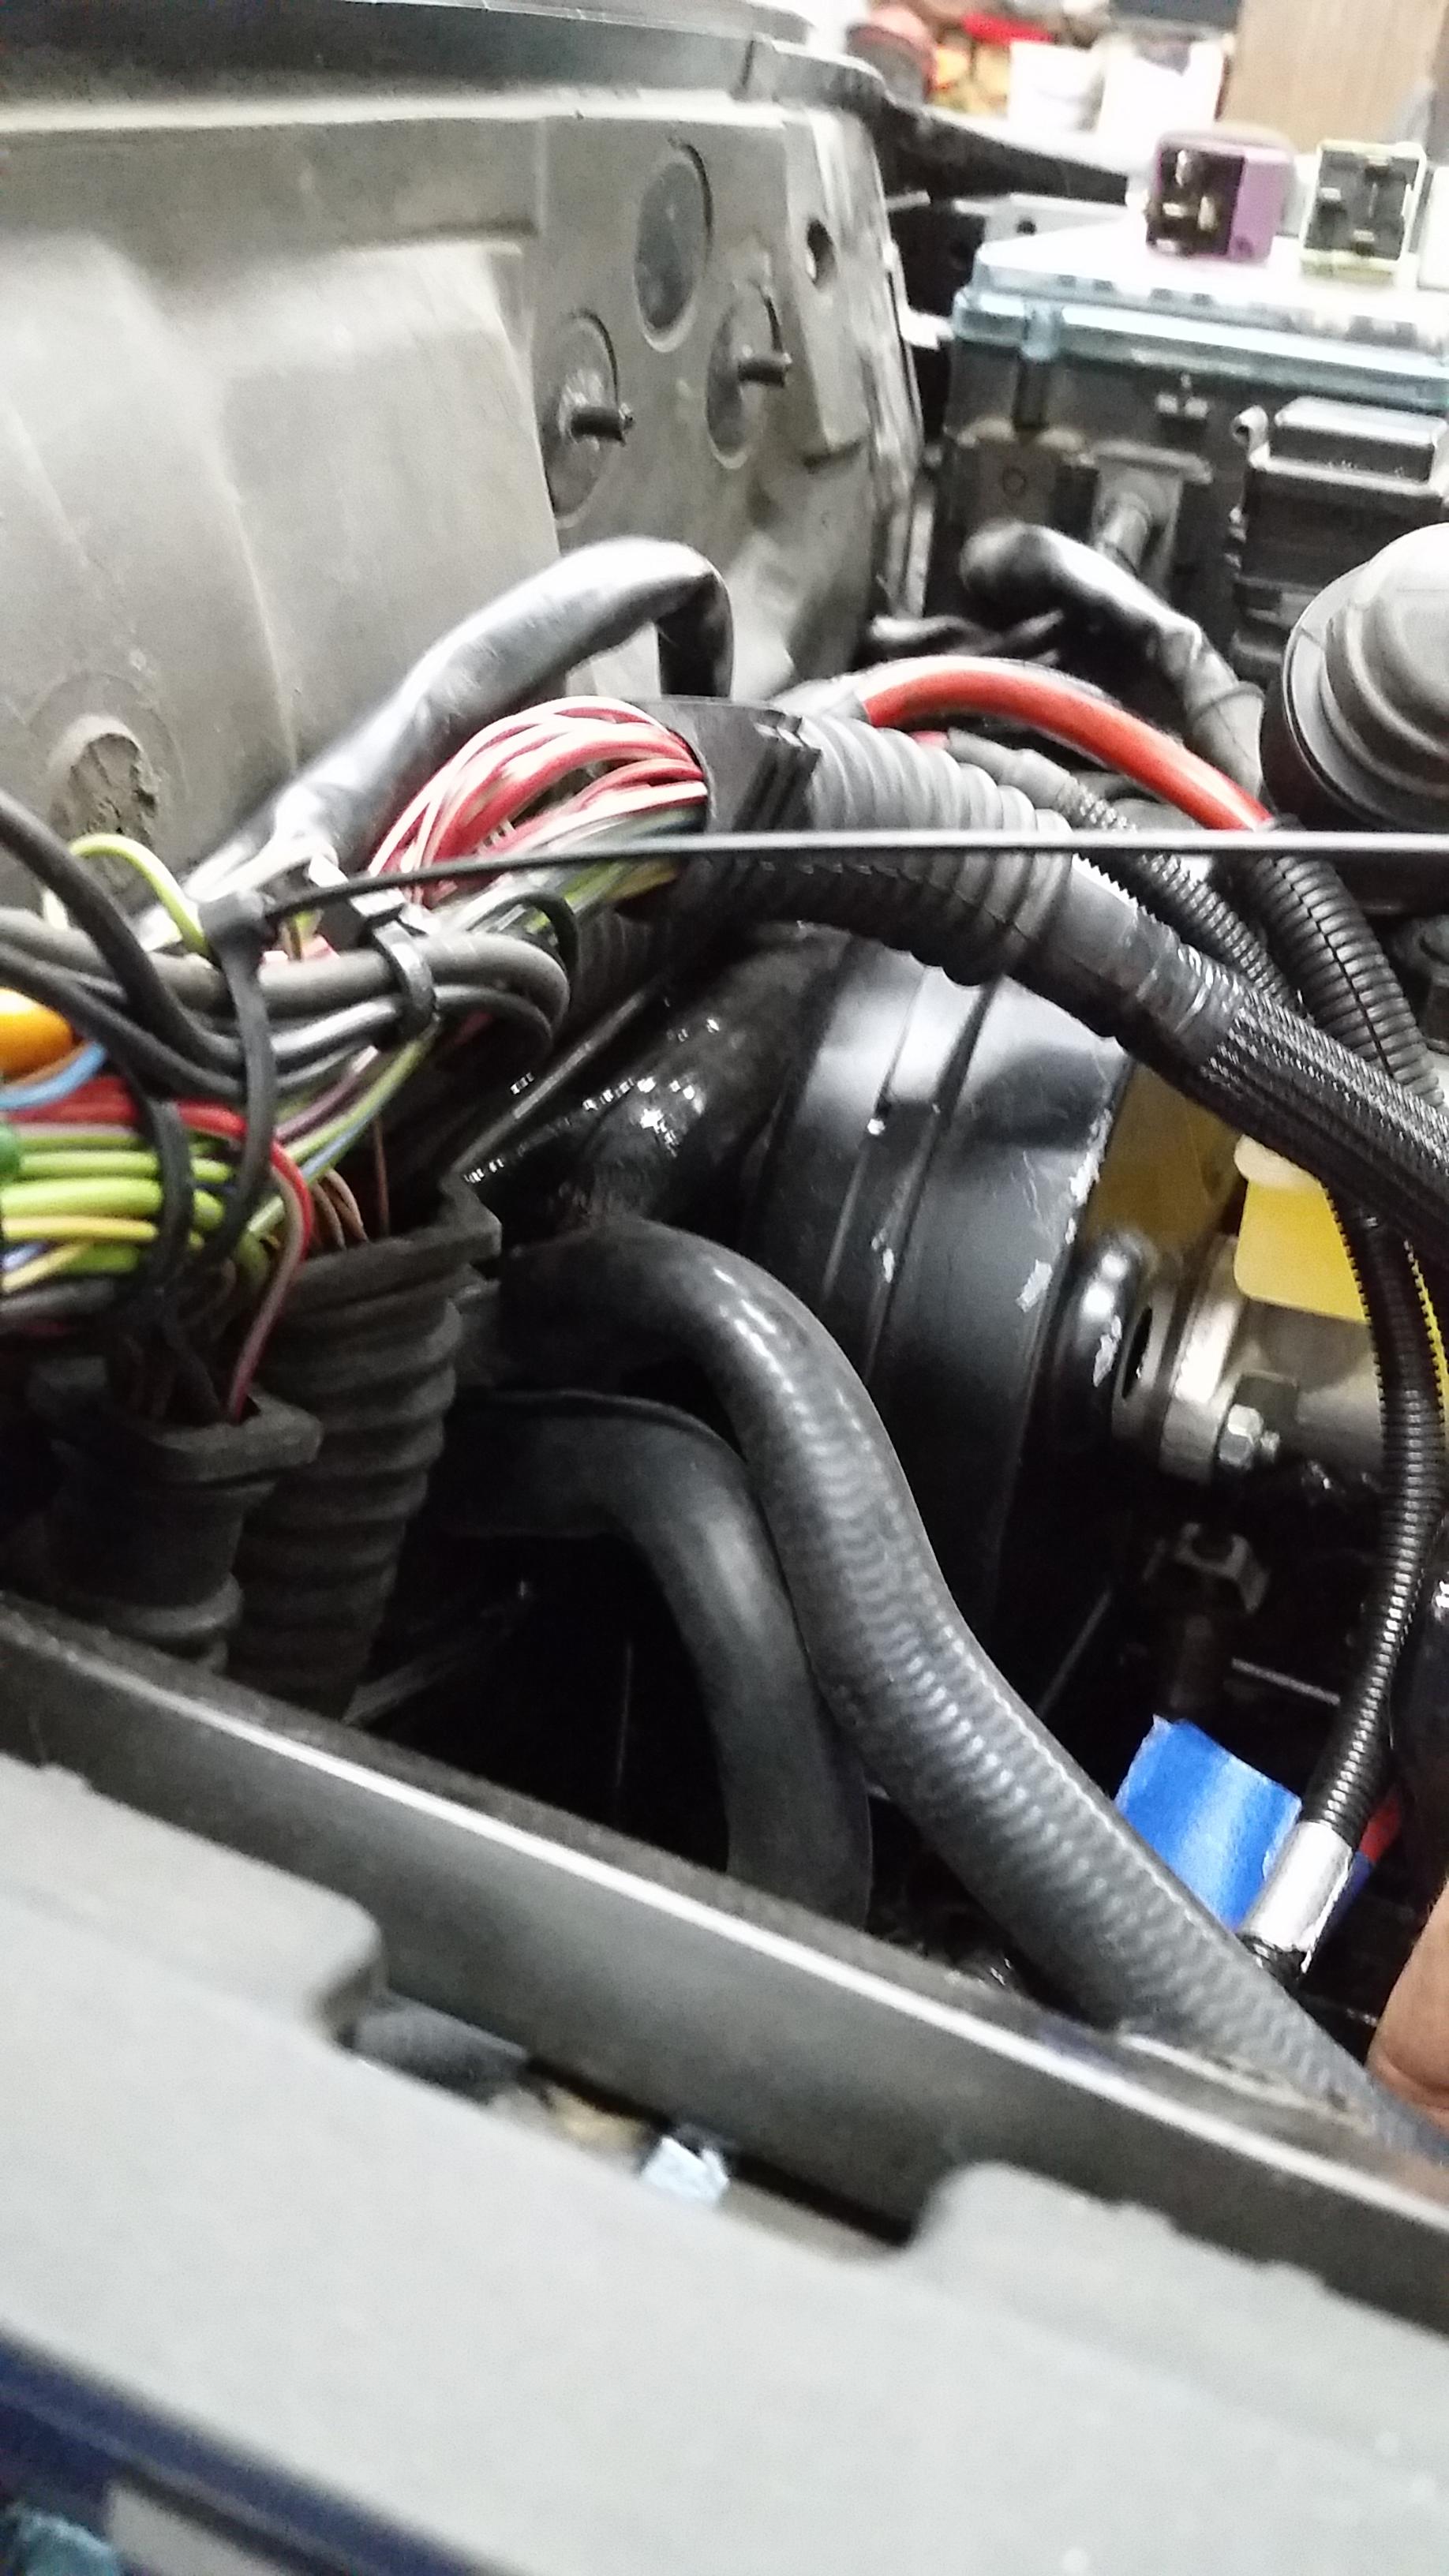
Was working on installing the spider coolant hose and noticed that when installed it kinks once you strap it down to the mounting locations on the motor harness bracket. Still working on a solution for this or I may not strap it down but still worried it may kink. Solutions?
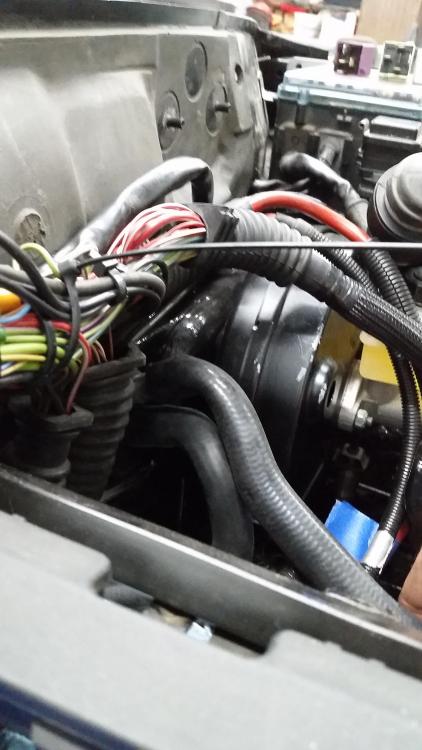
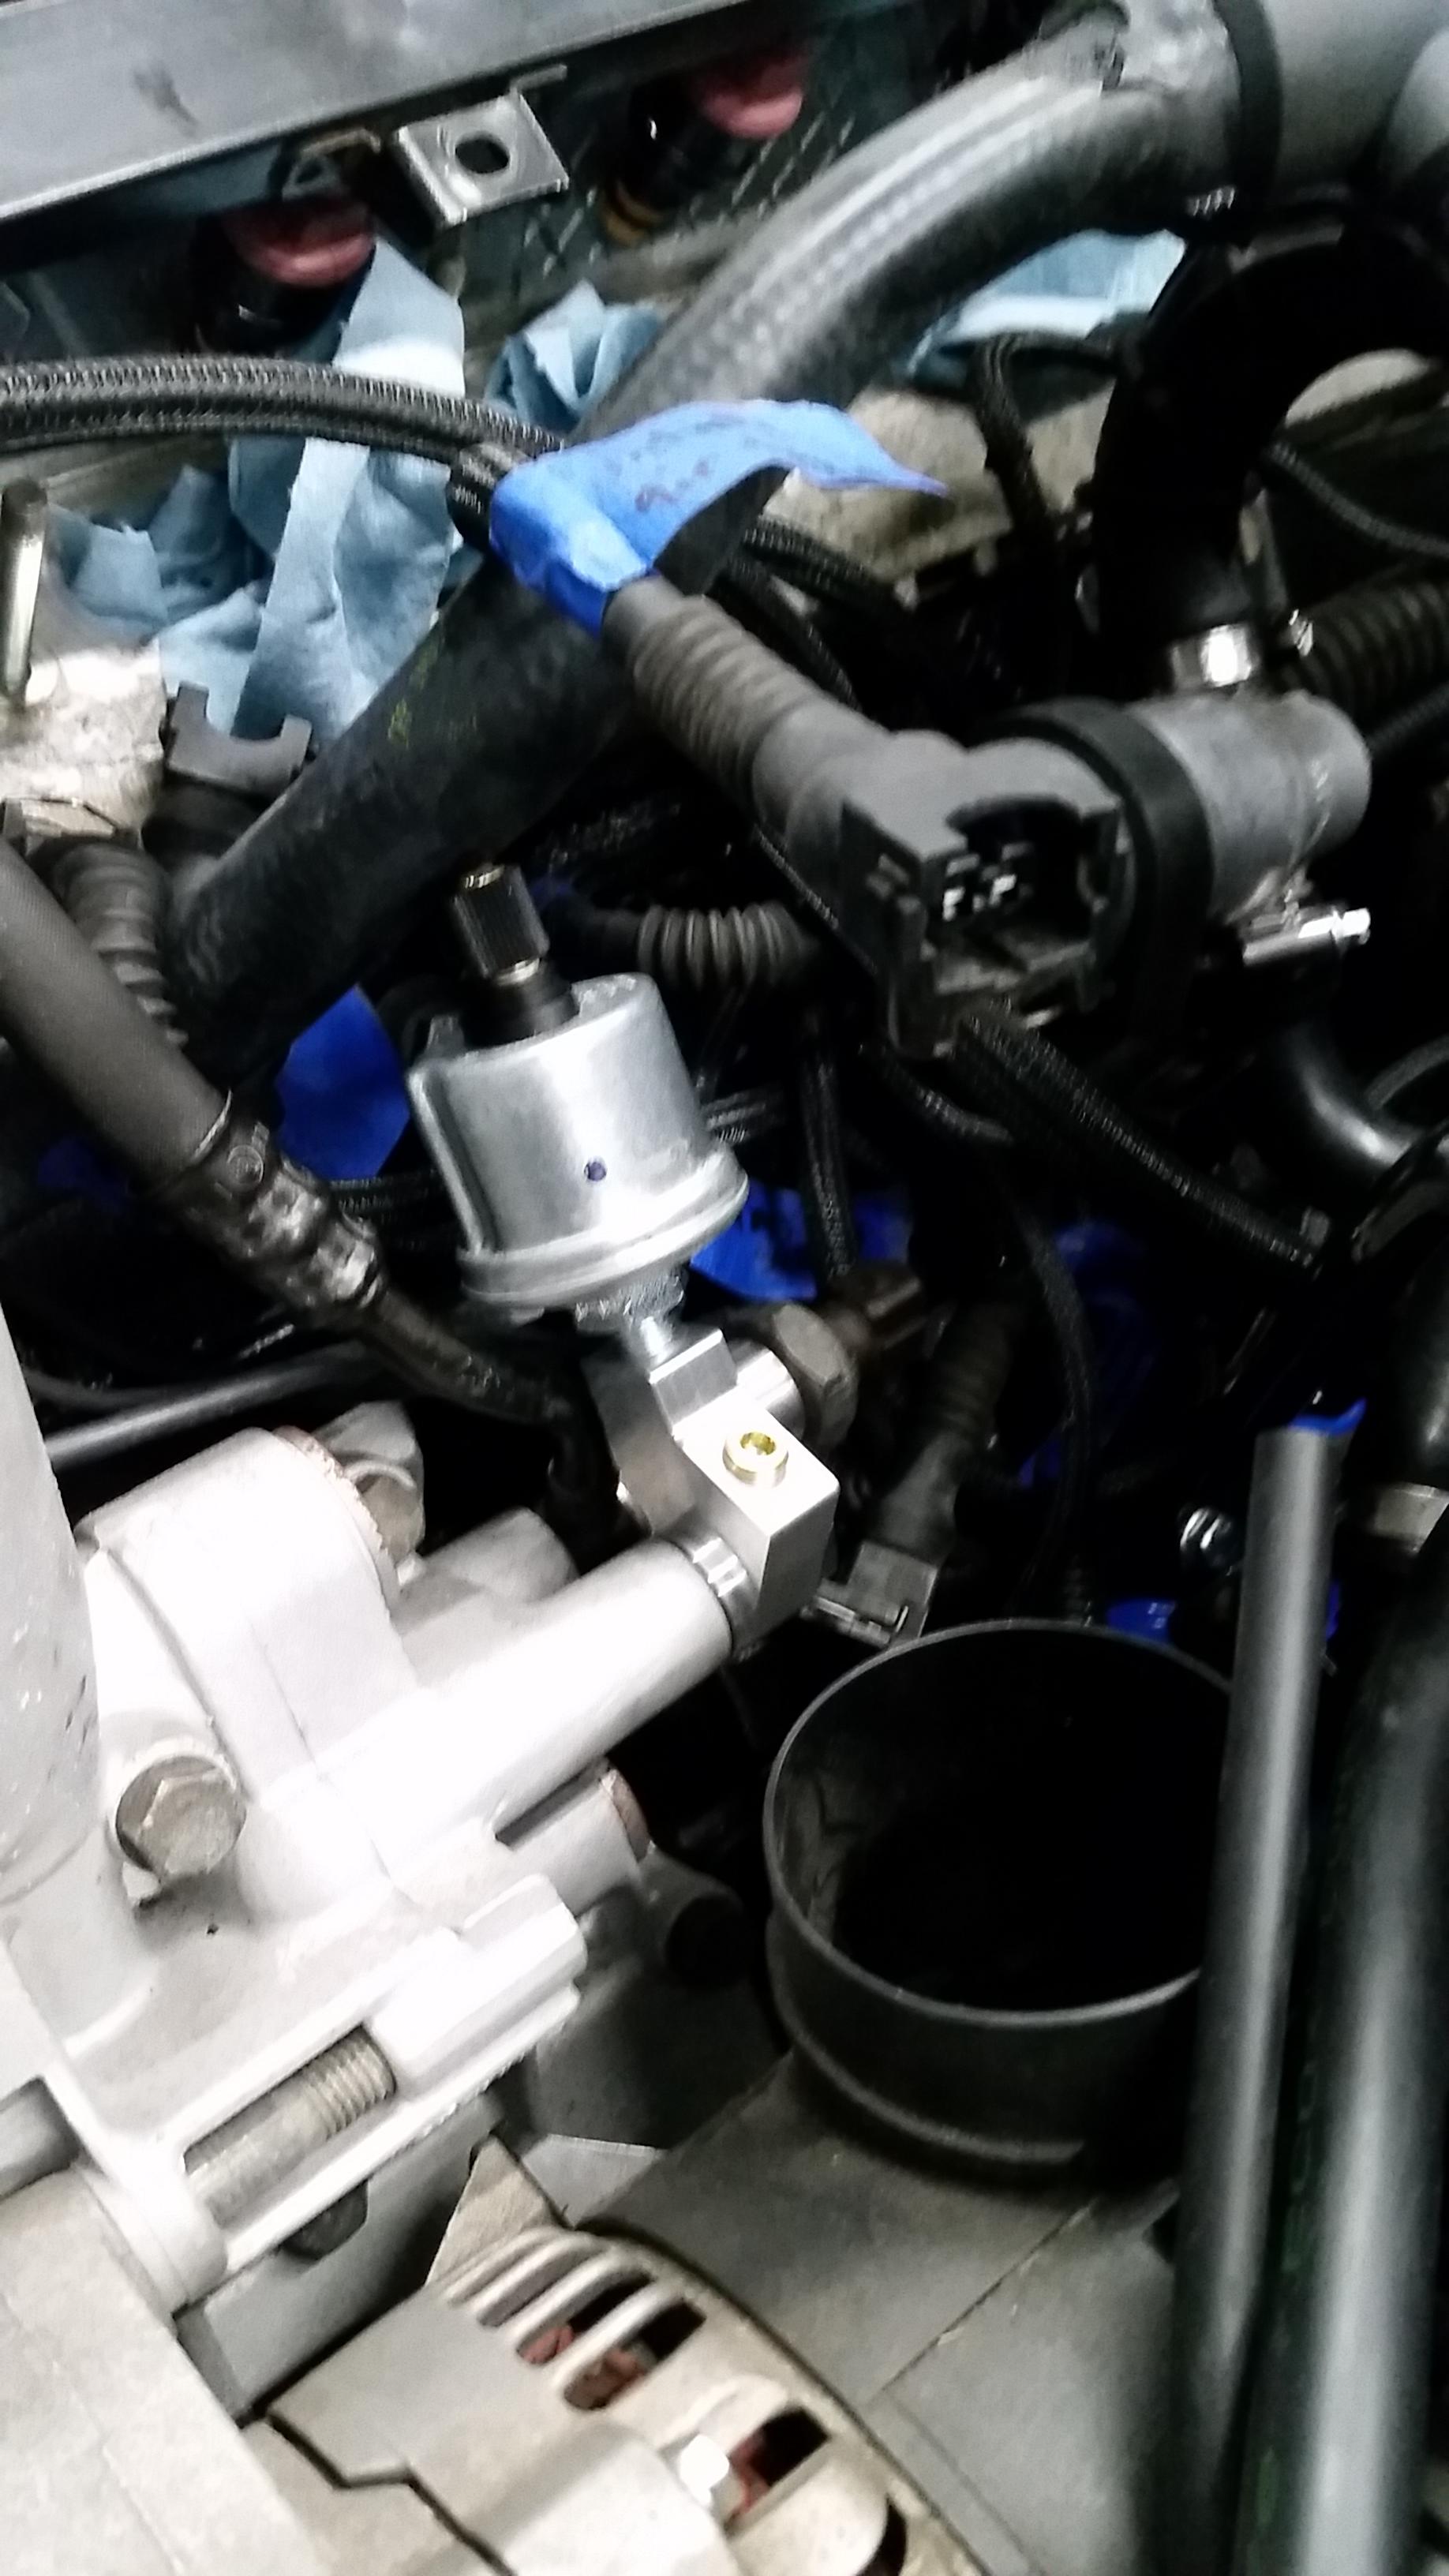
Ended up purchasing a bimmerworld oil distribution block when I ordered the fan and radiator. It's a very pricey piece and I searched for other alternatives but sort of just came back to the same thing and it is a very nice quality part. Also got sending units from vdo for the oil pressure, oil temp, and coolant temp. Just got the oil temp sending unit in the mail yesterday so still have to install it then I will begin working on wiring everything up hopefully tomorrow.
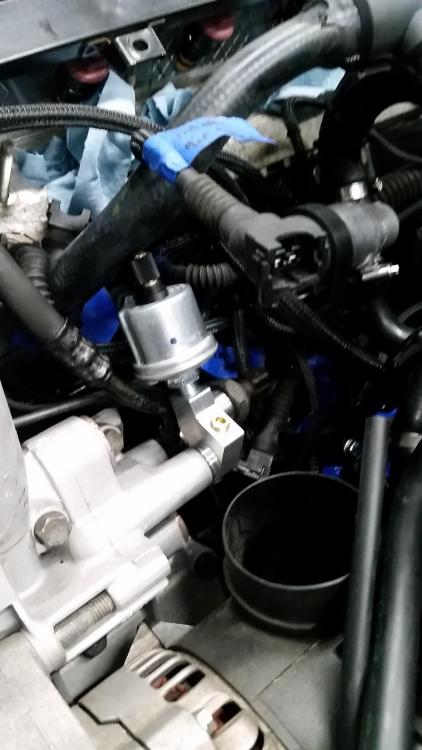
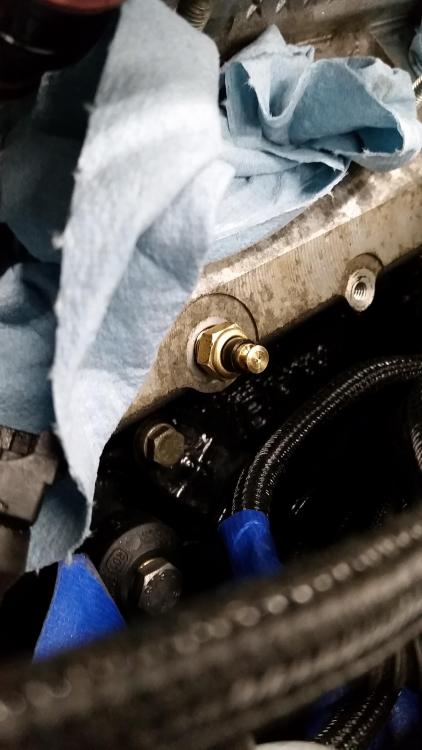
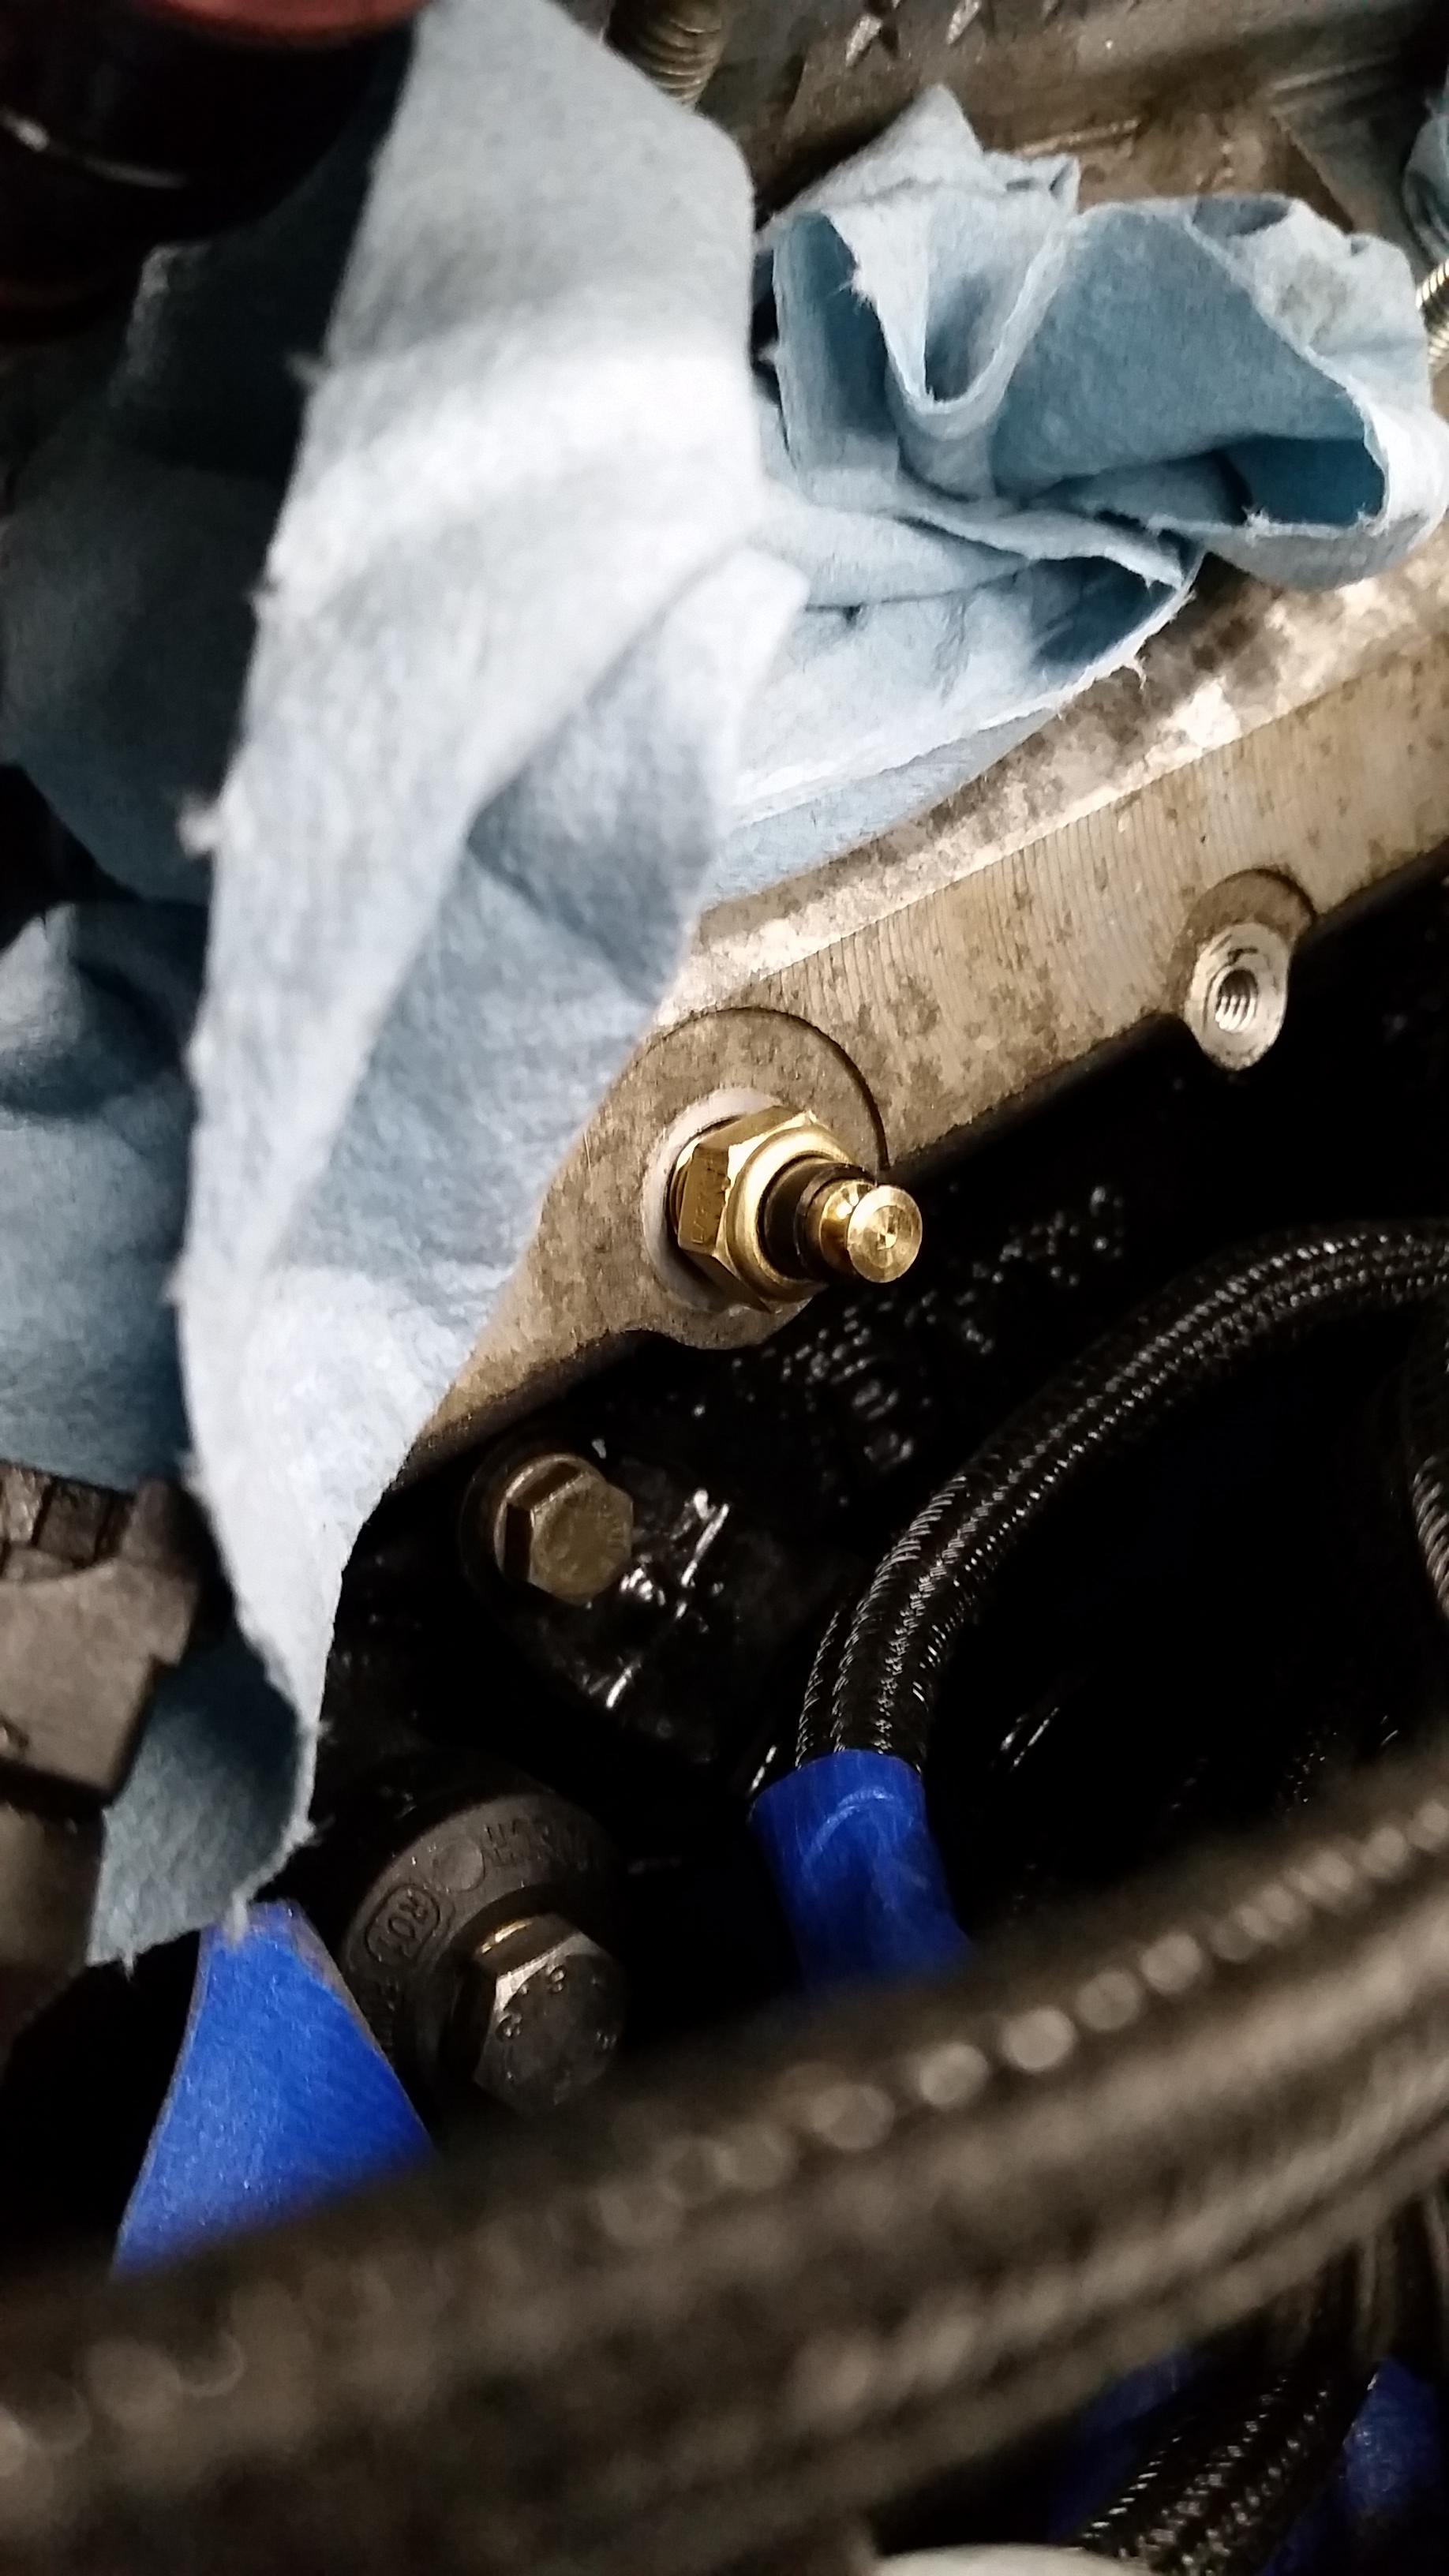
I decided to remove the m20 coolant temp sensor in order to run this sensor in the throttle body coolant passage hole. So my temp gauge on the cluster will be dead but I like the vdo gauge much more and I can more accurately read water temps. Unfortunately s52/m52 heads only came with two coolant threaded holes instead of the m50/s50 heads with three so I have to pick between one or the other. When installing the unit it got tight halfway through the threads and didn't reach flush on the head. Now I understand that it has pitch on the threads to tighten up, just wondering as to whether it should tighten down flush to the head or if this is okay and I shouldn't see any leaks just don't want to over tighten and strip it.
meh, boring. Yet's talk about some more exciting things!
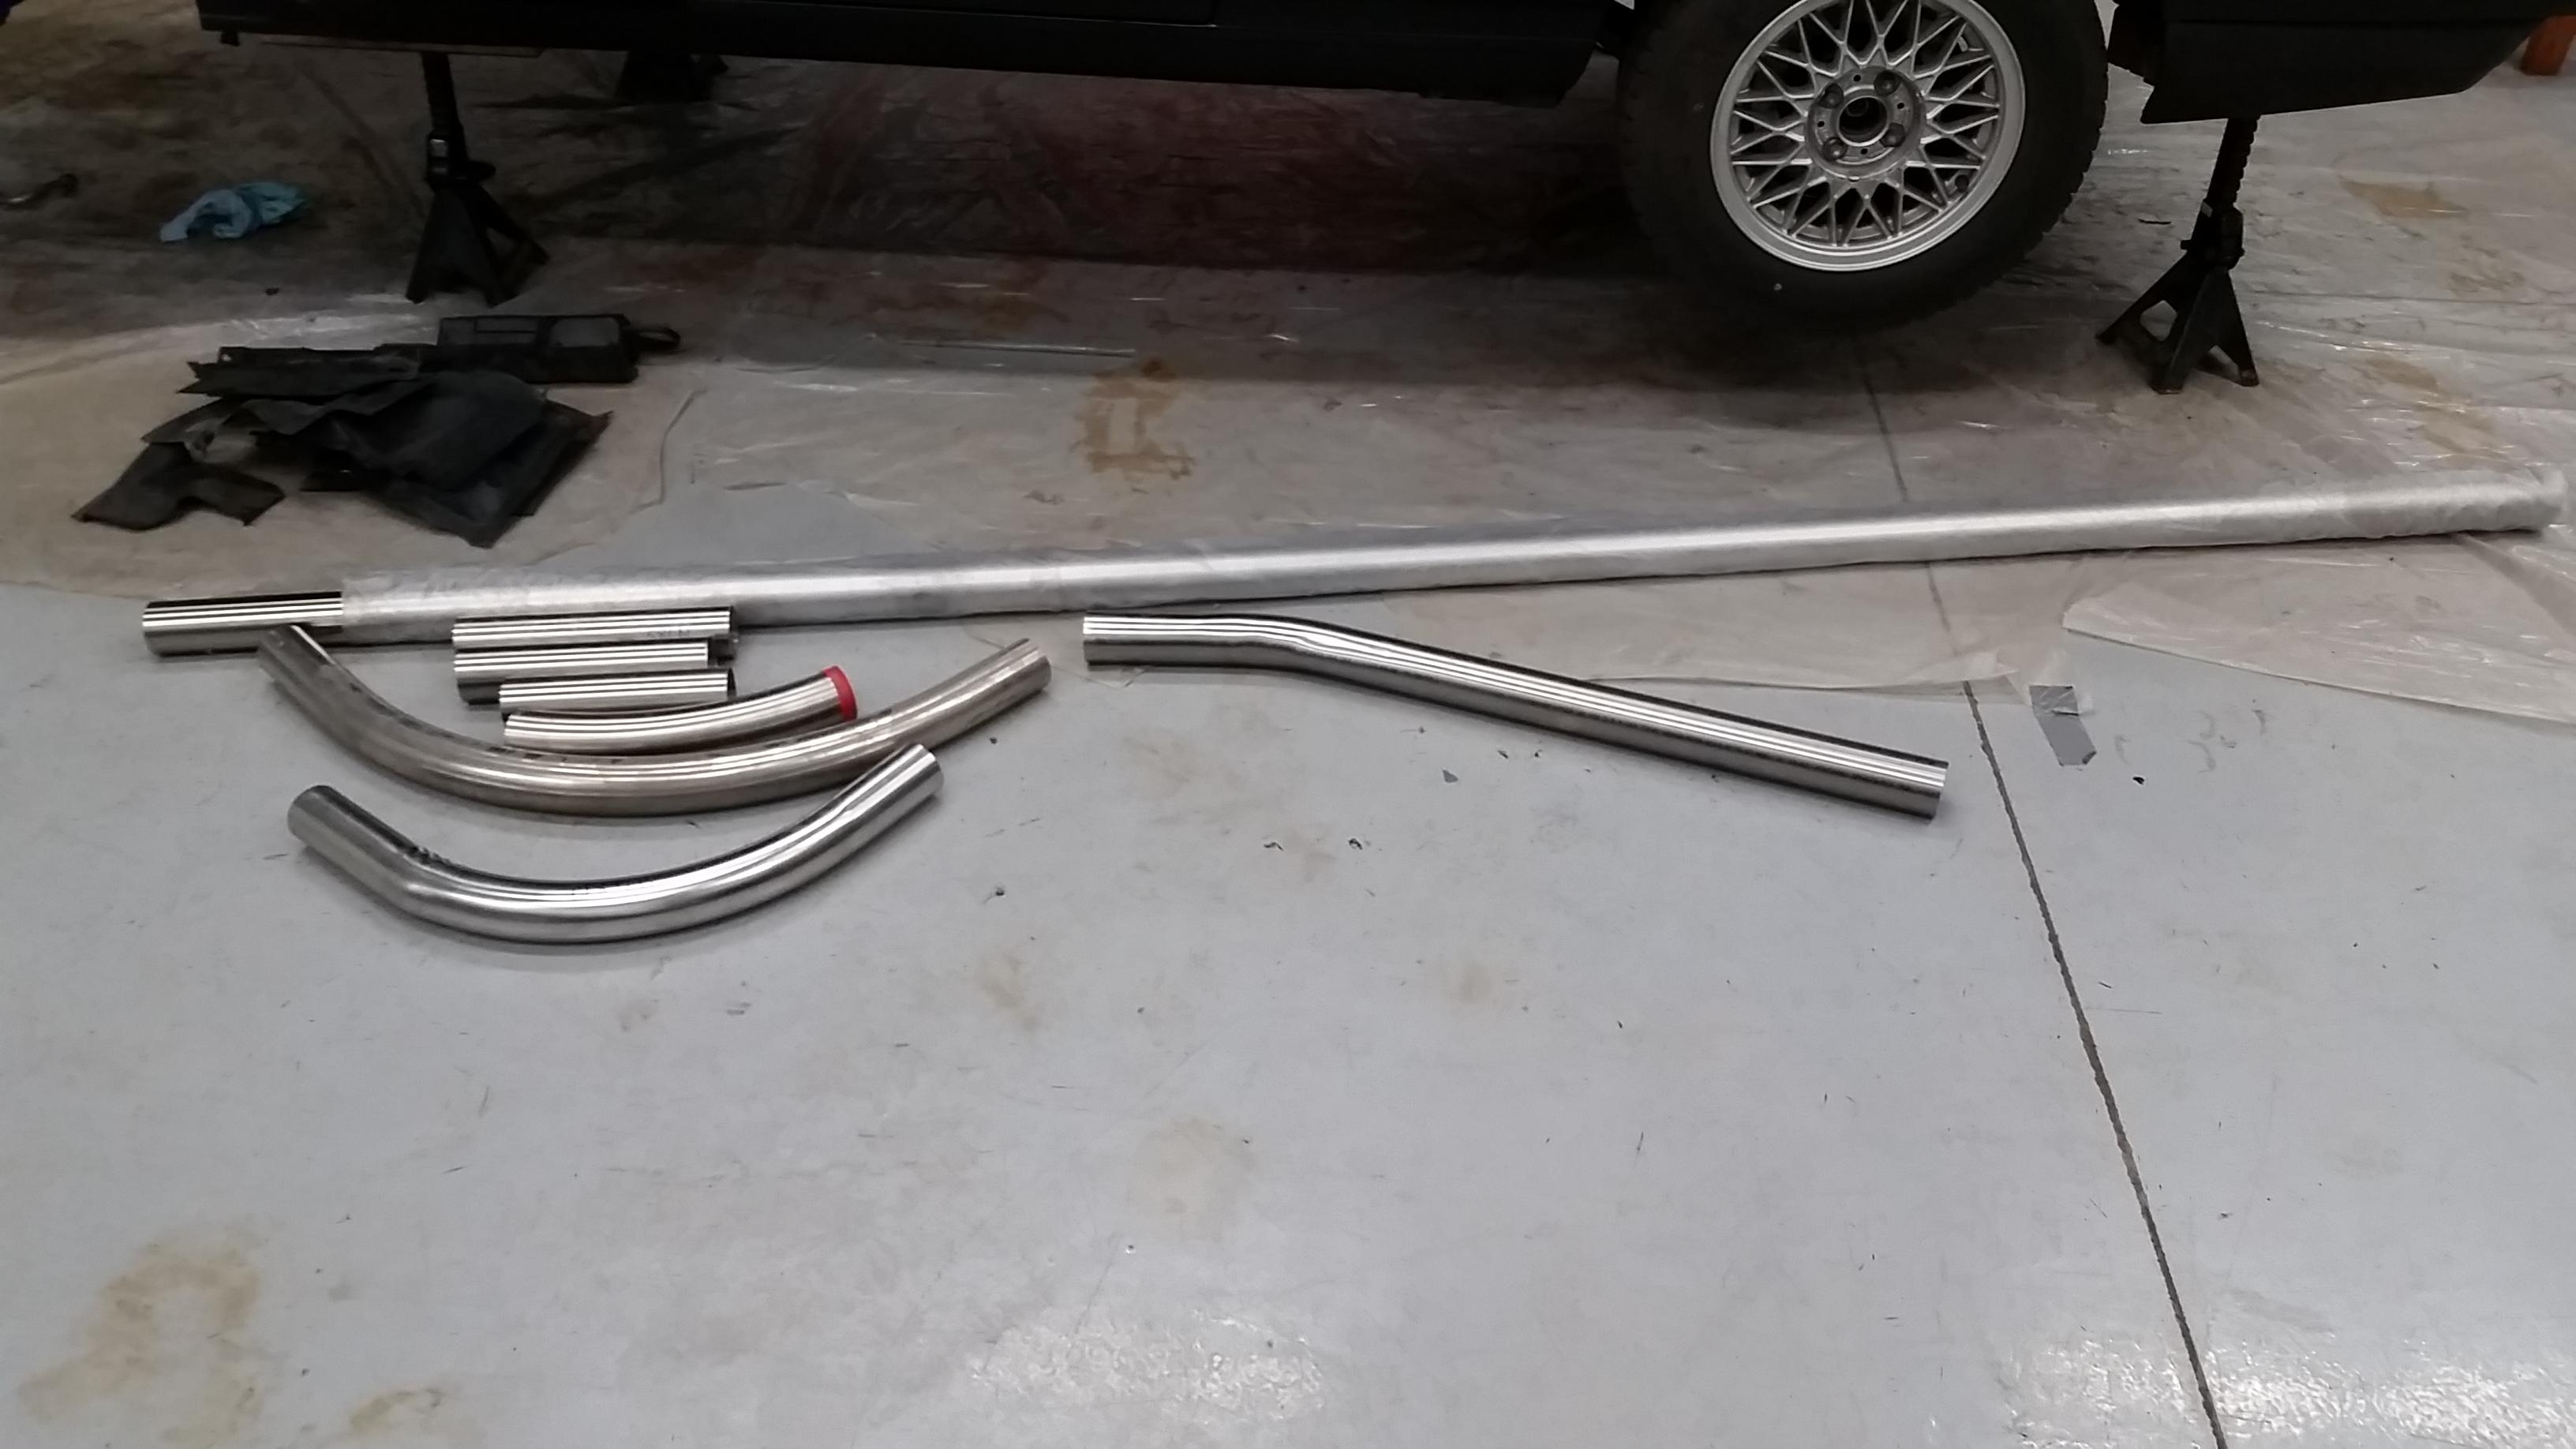
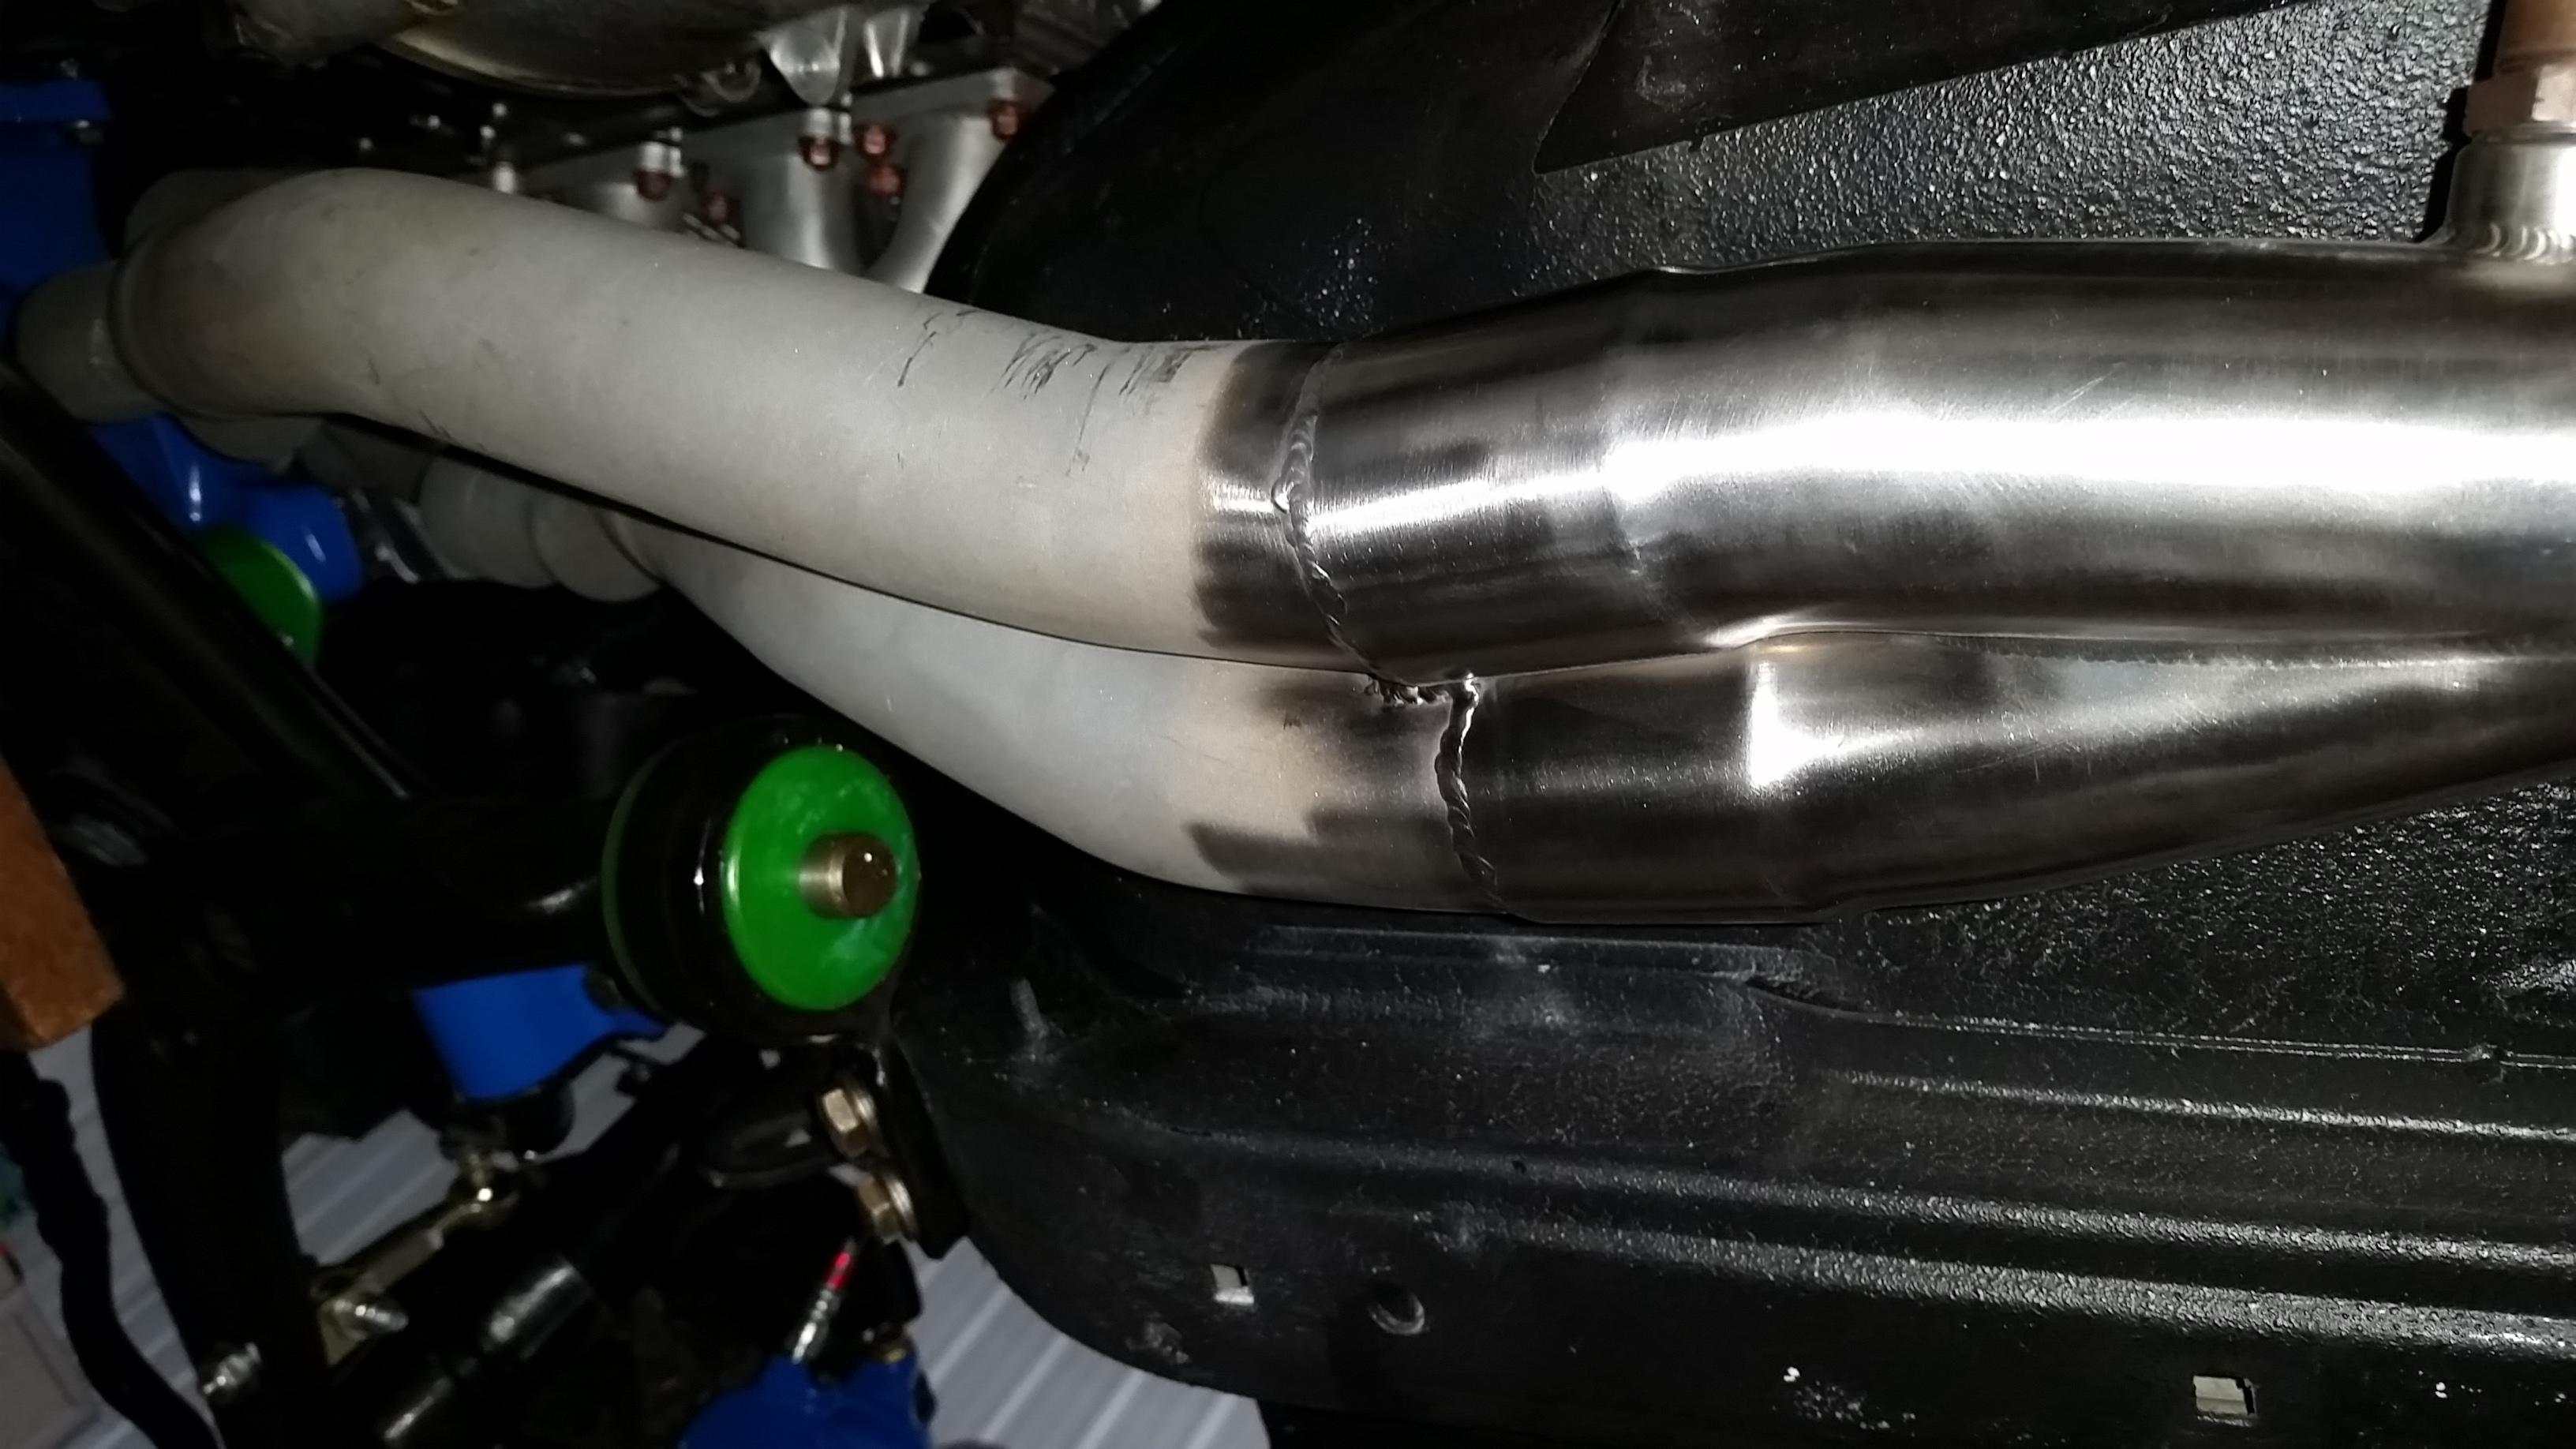
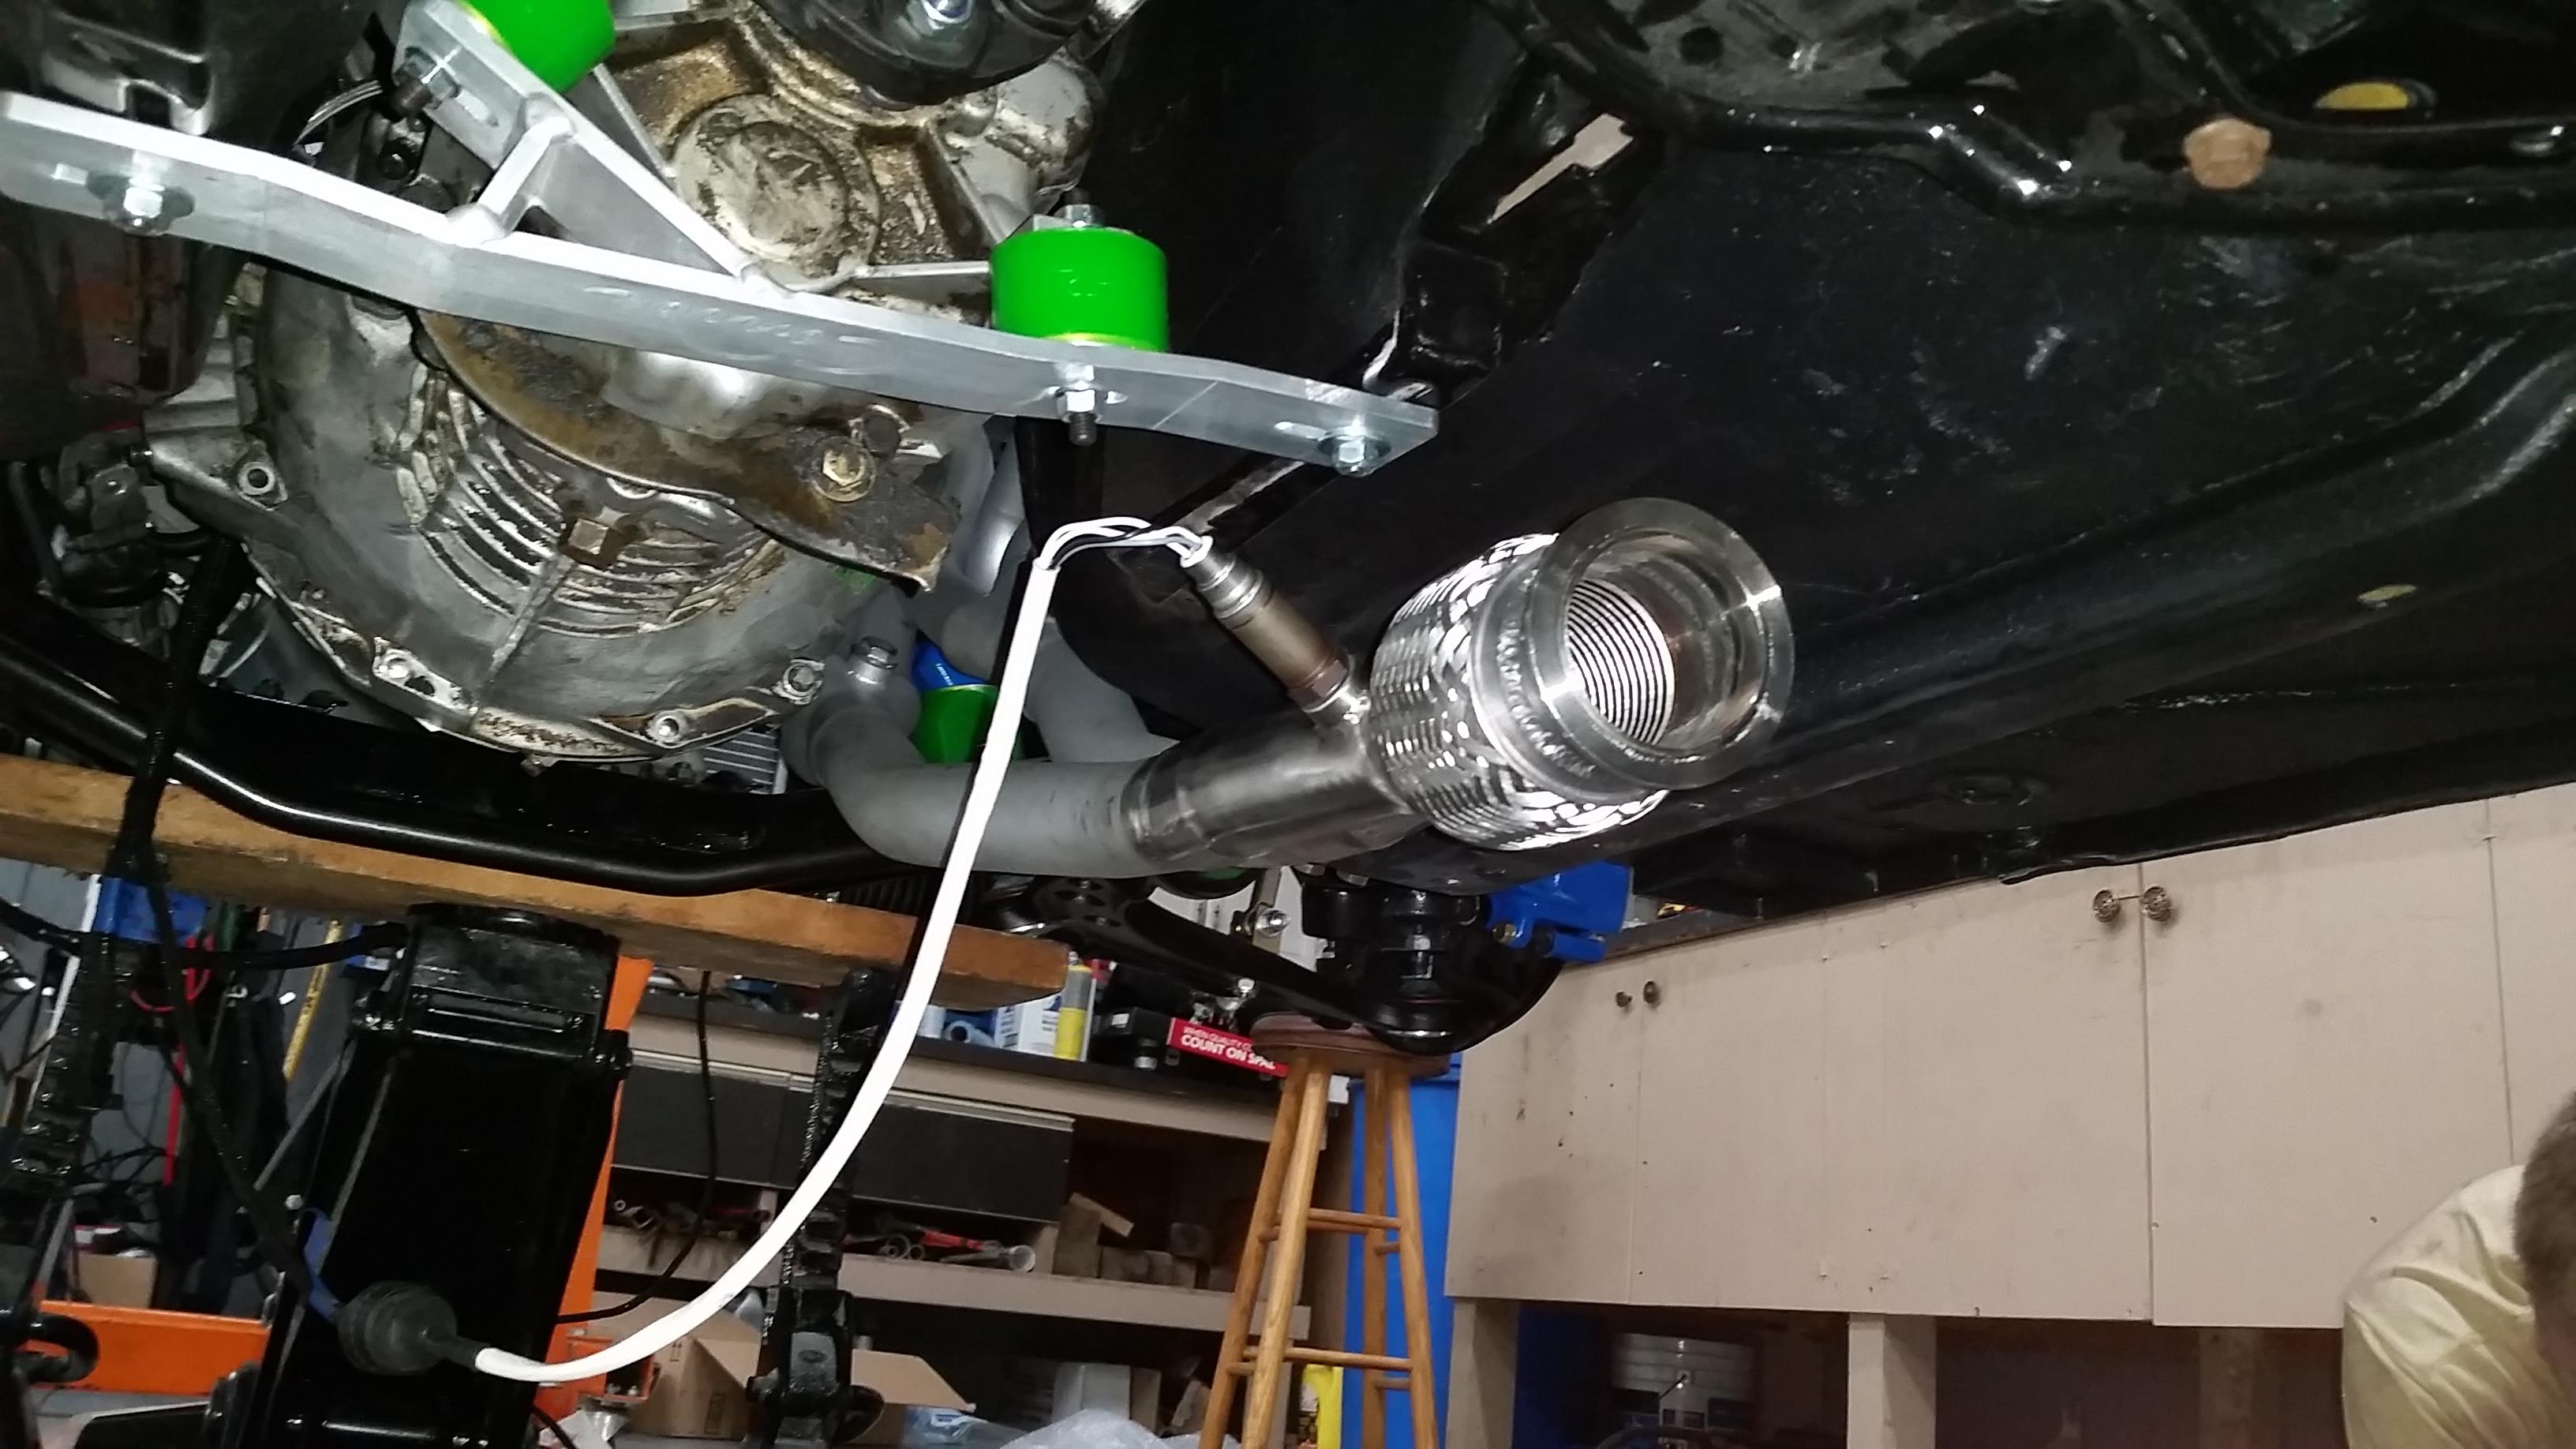
Was super stoked when one of my close friends hooked me up with a guy who runs a stainless polishing shop down in Kenosha that had a bunch of scrap 2.5 inch polished 316 stainless piping that he would be willing to give to me for free. So that following weekend I took a drive down there and he was kind enough to give me a tour of his shop which was very impressive (sort of disappointed I didn't take any pics) and hooked me up with more then enough tubing I would need to complete the exhaust. There was a side of me that felt my car was not worthy of such nice quality tubing sense this type of stainless is considered food grade metal and is also used in parts made for medical equipment polished to a mirror finish. Now the wall thickness is a bit thicker then what normal exhaust tubing would be so the weight does go up slightly but It's minimal.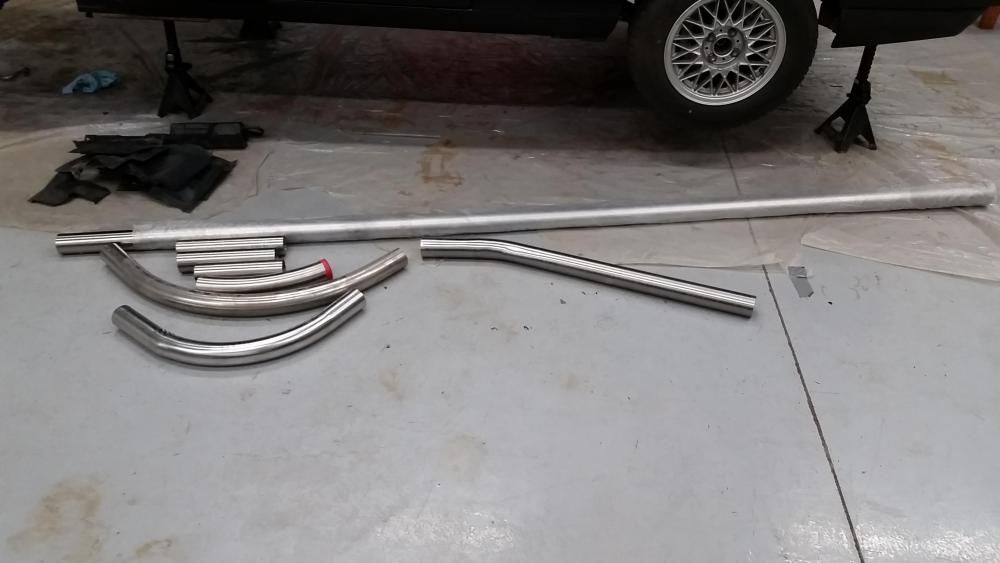
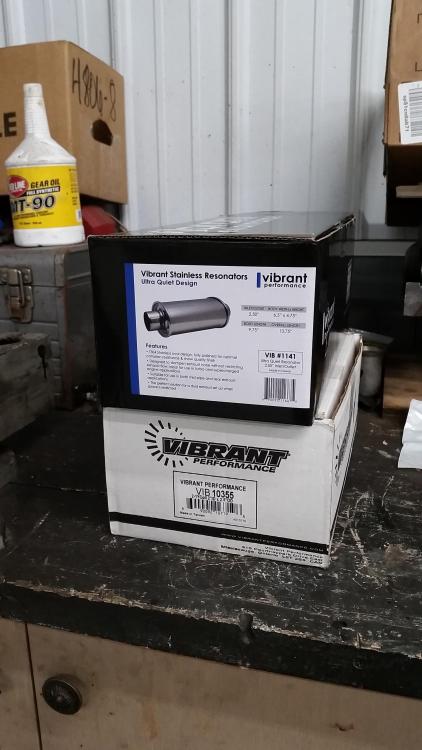
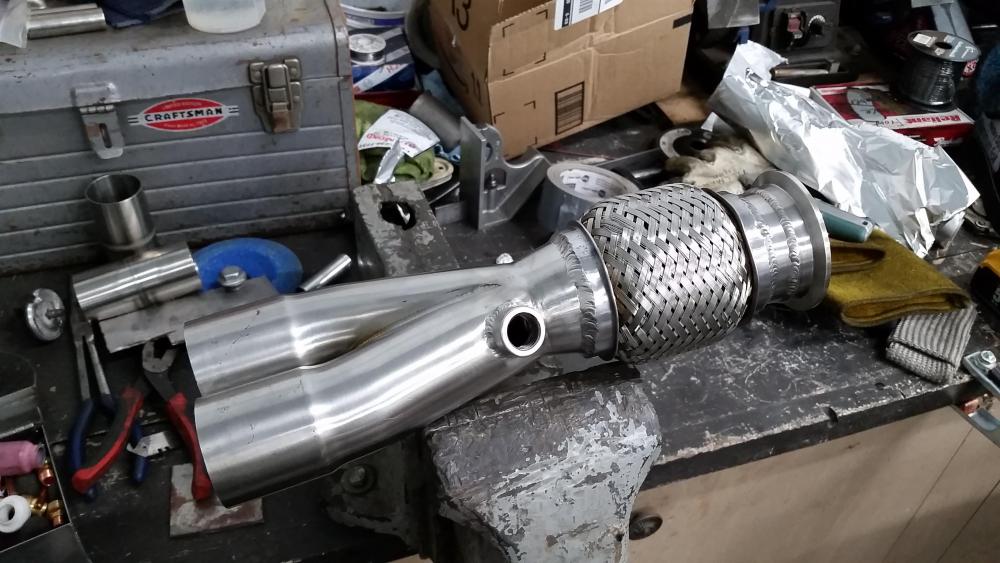
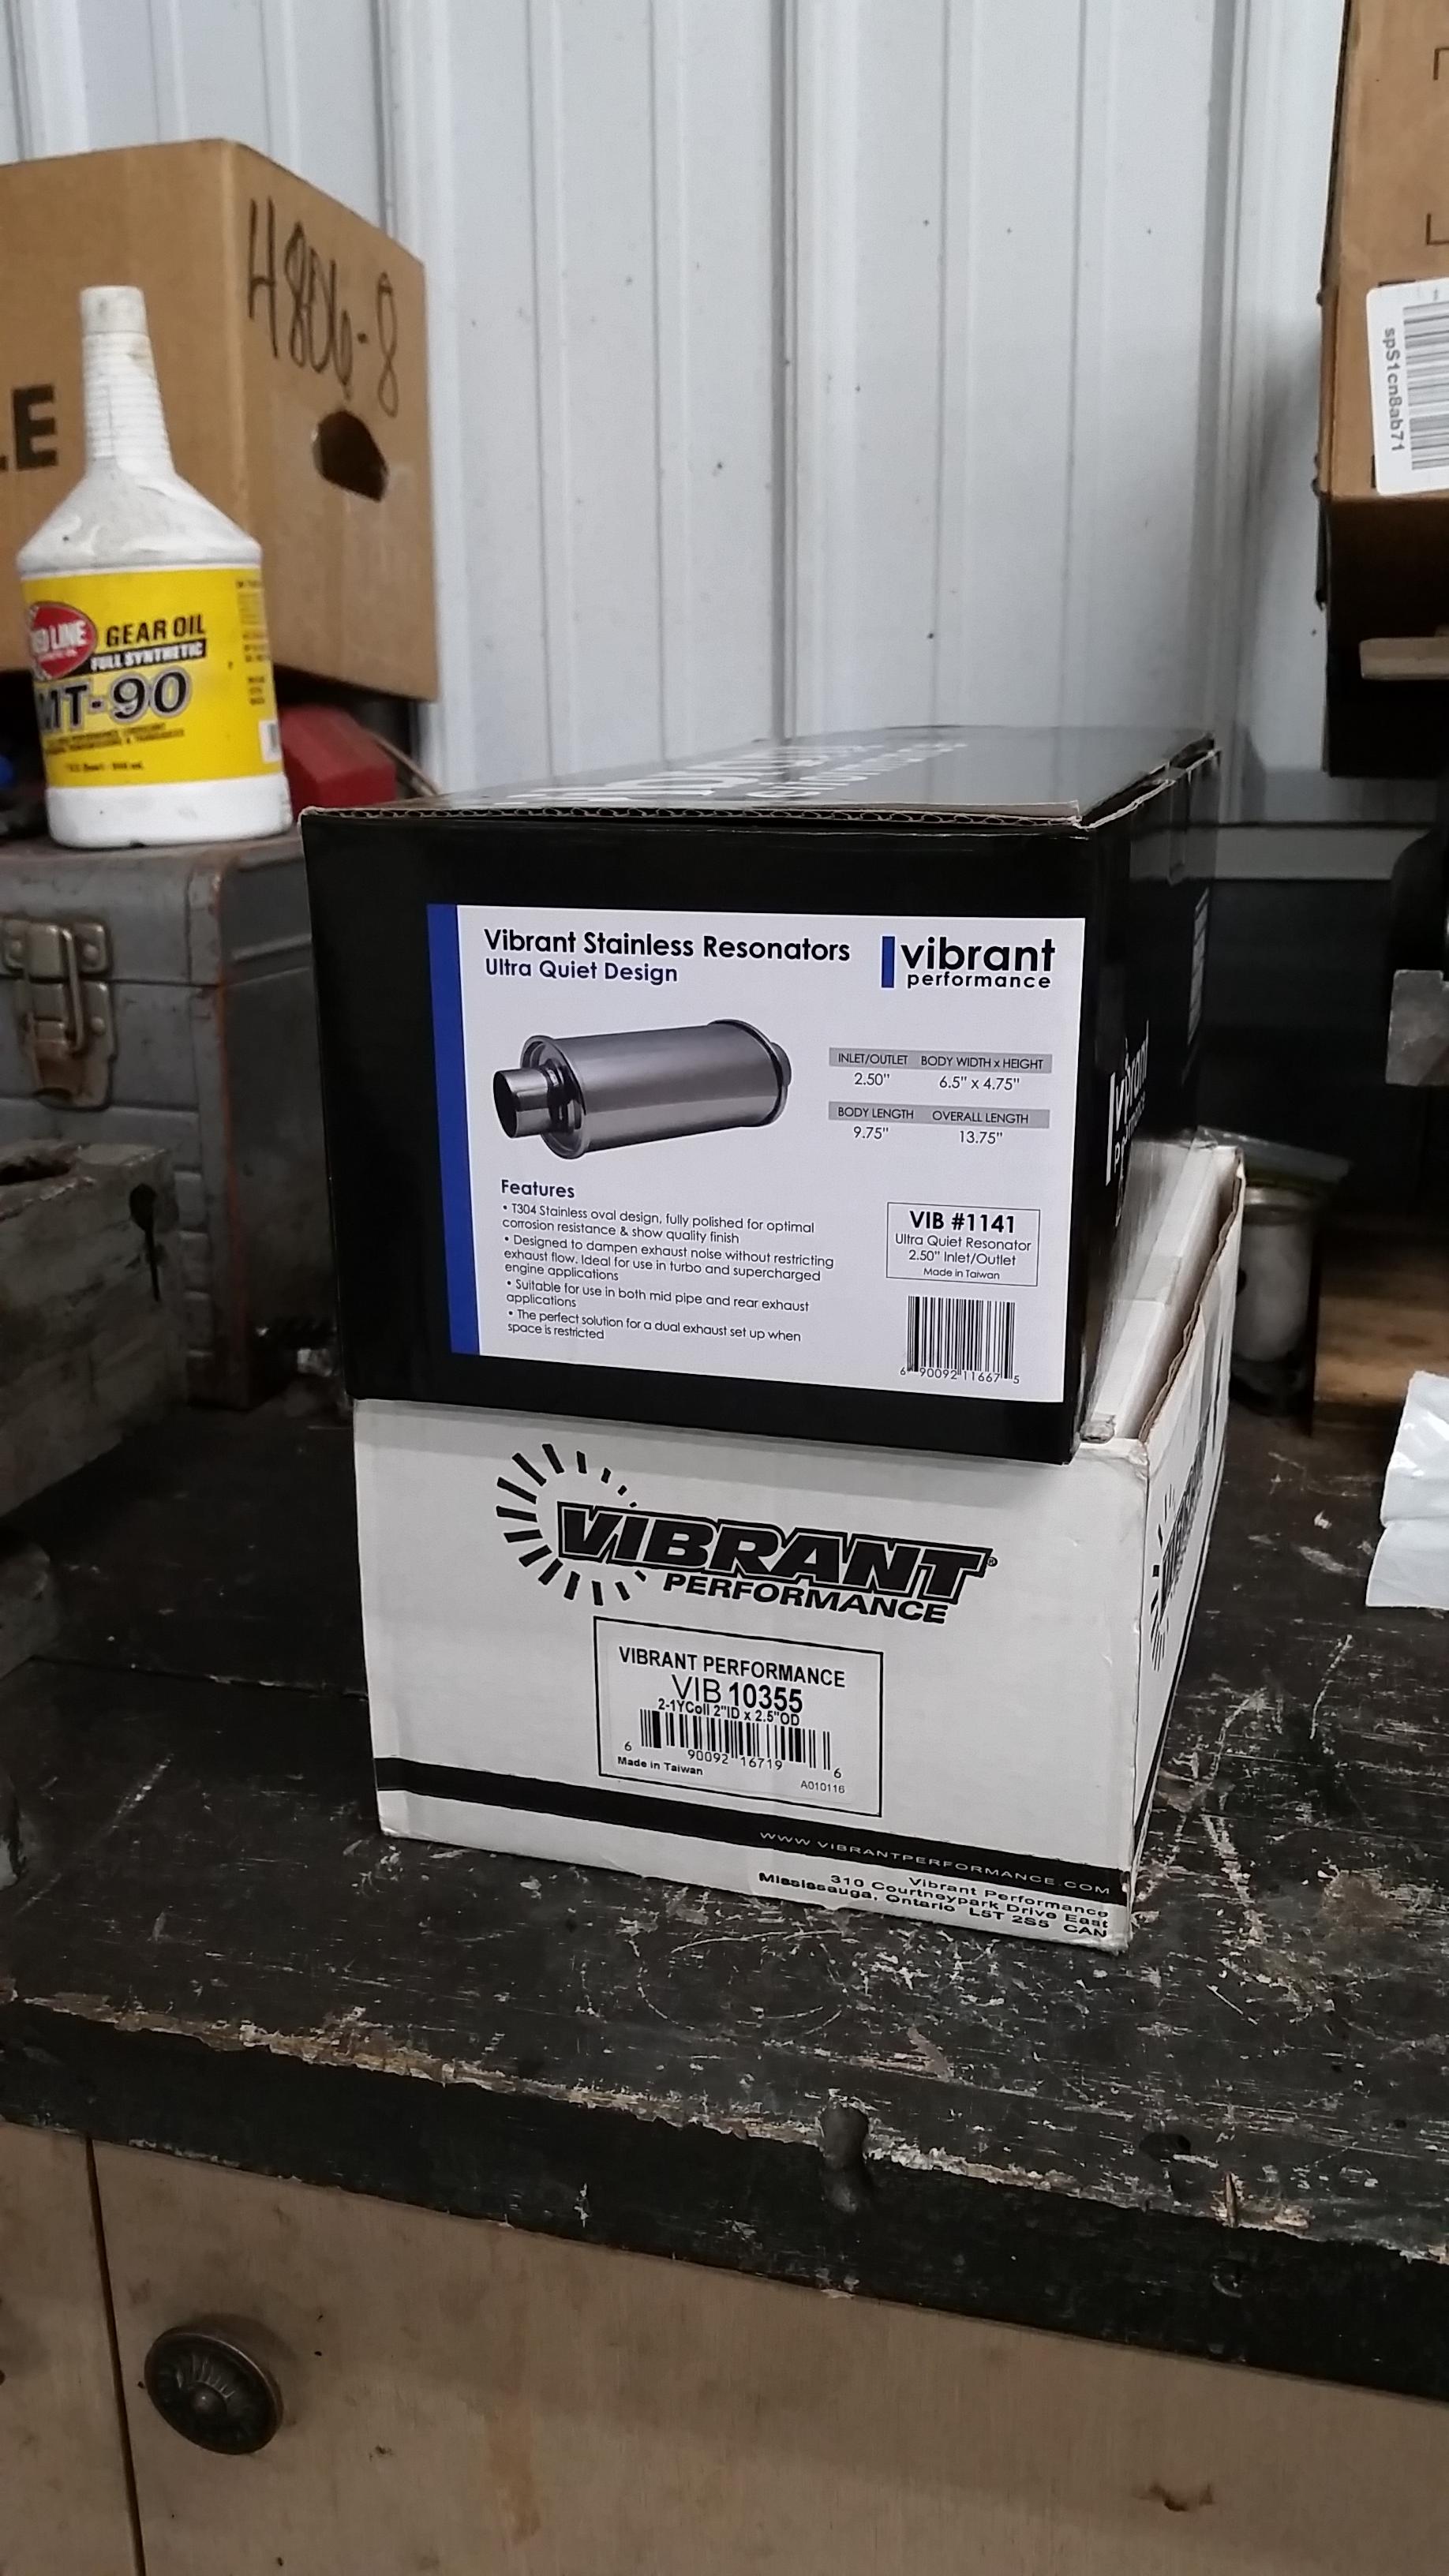
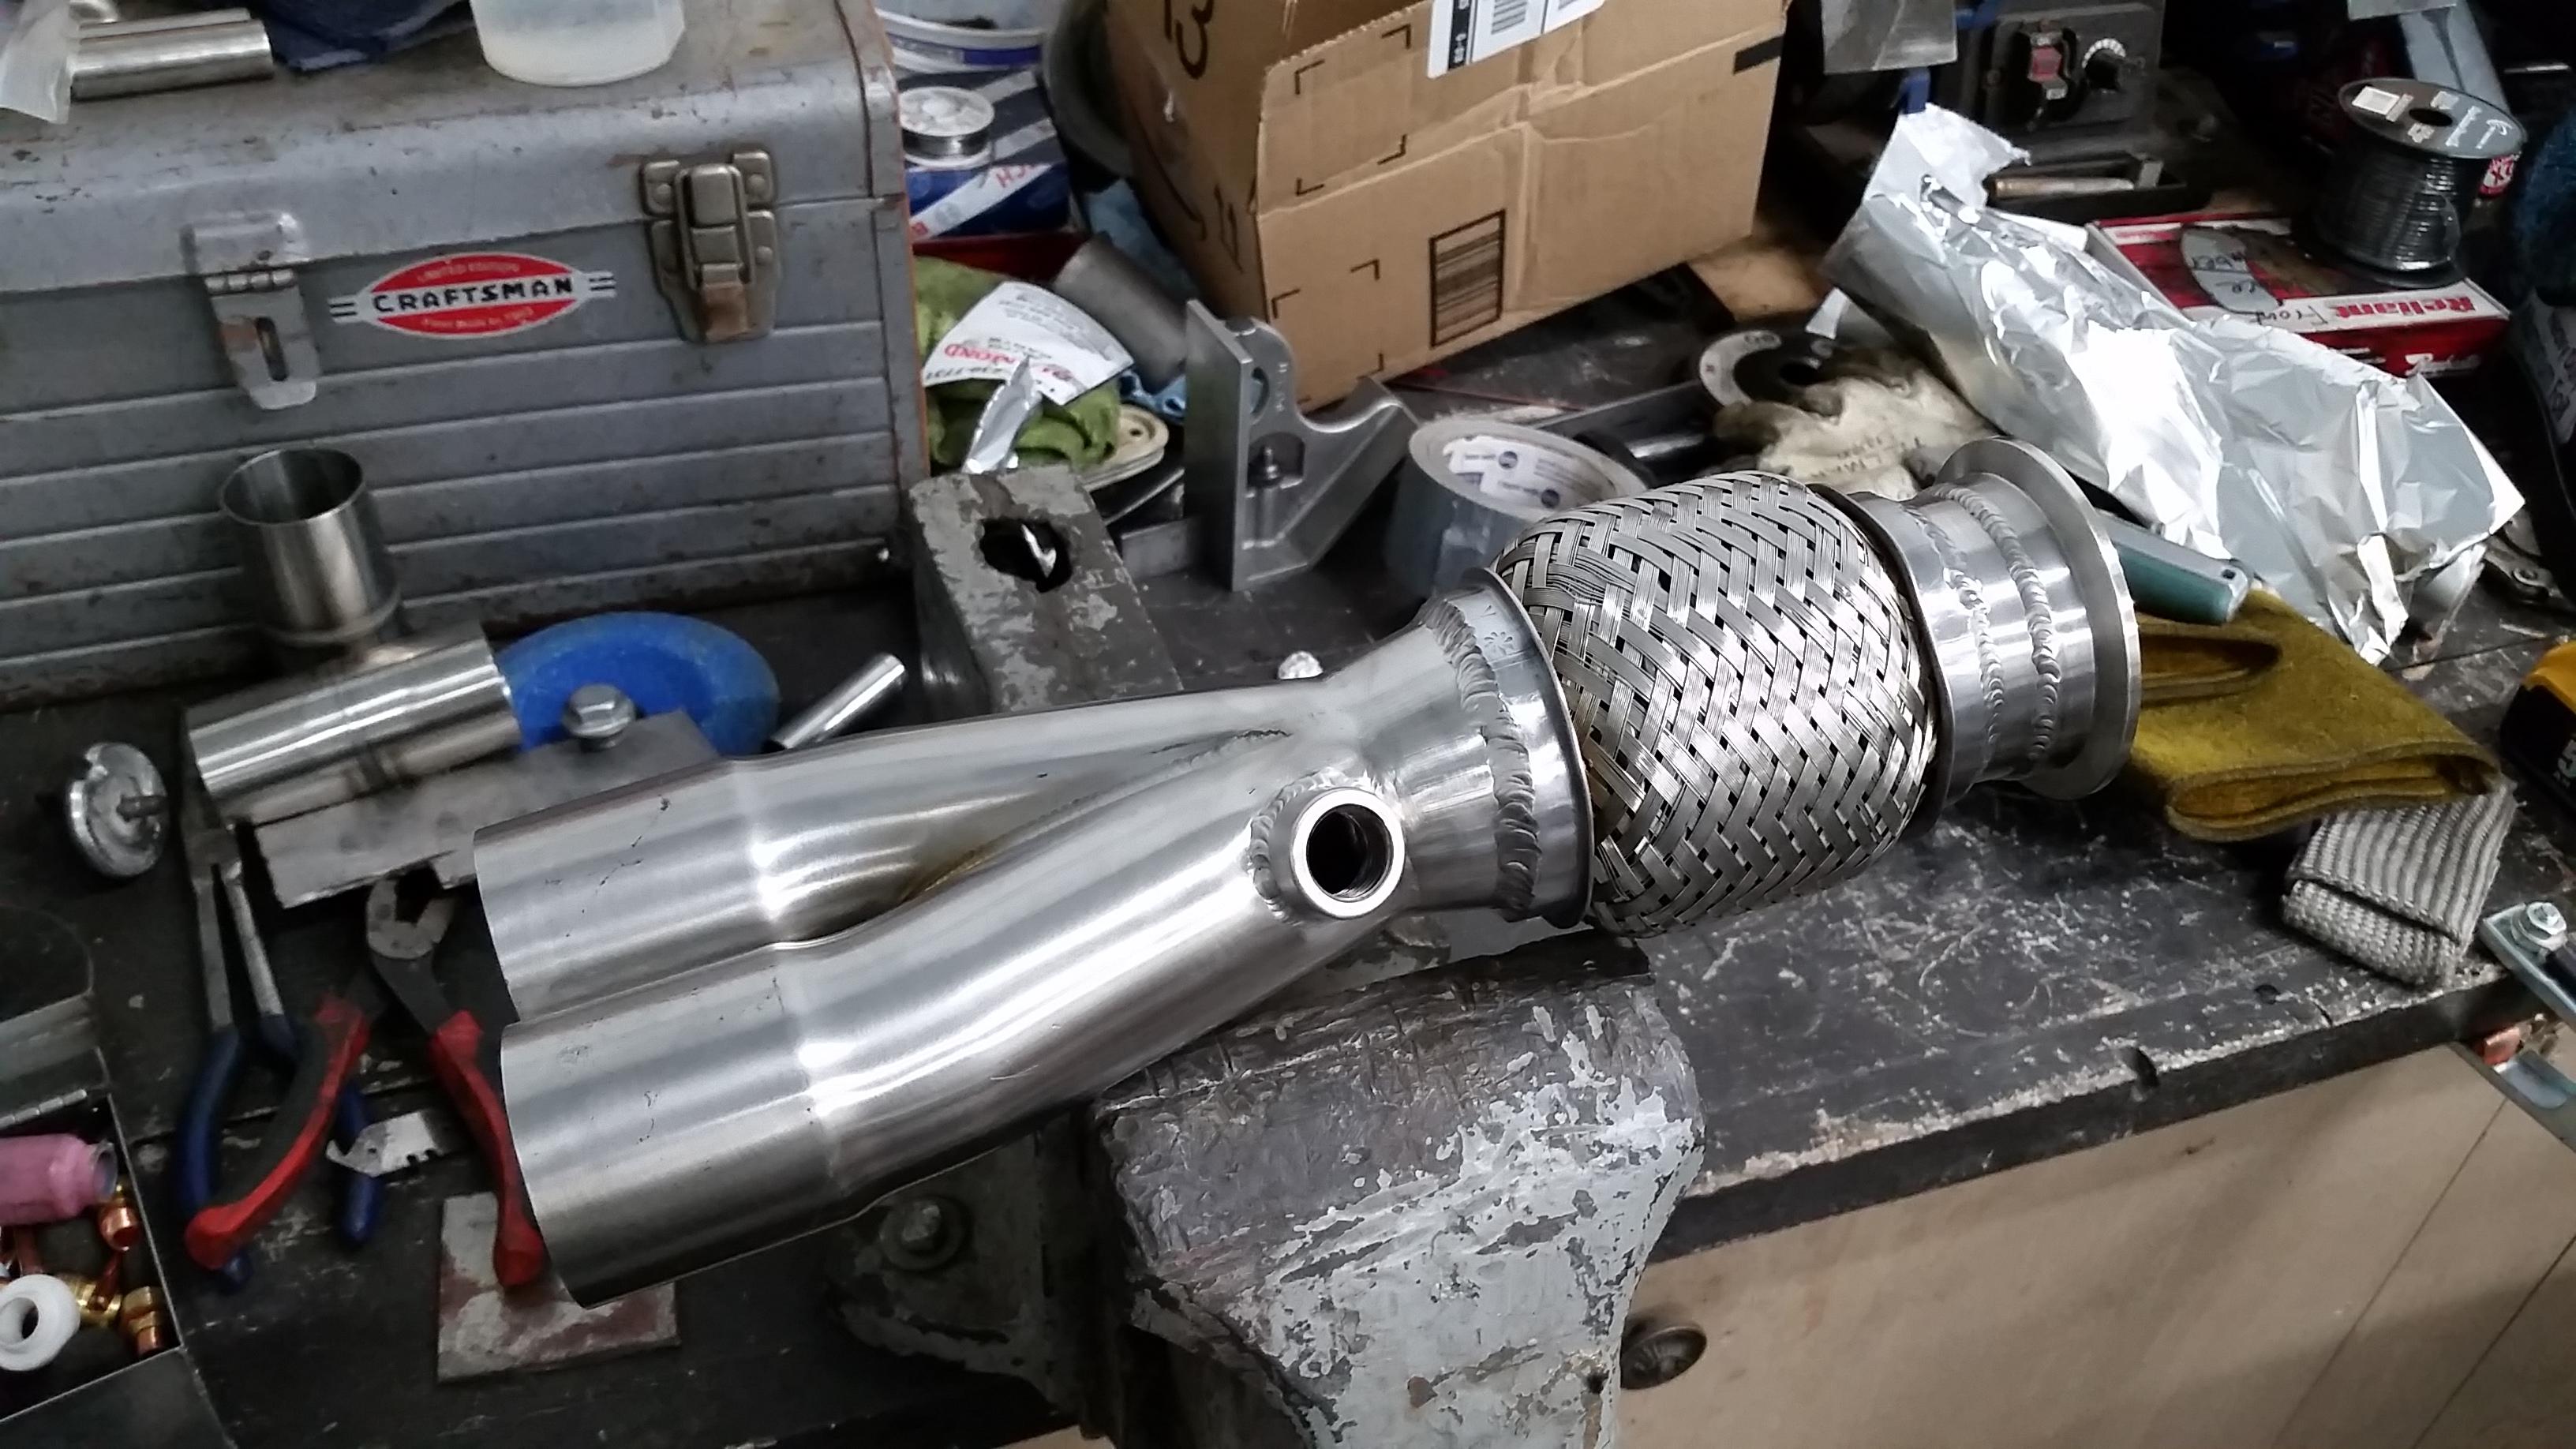
Ordered and received all of my other needed things for the exhaust from vibrant including a quiet flow resonator, y-pipe, o2 bung, flex tube, and clamp. I Kind of went along the same lines as @snap did on his exhaust for his previous e30 build. Thanks for the good info on ur thread for that man!
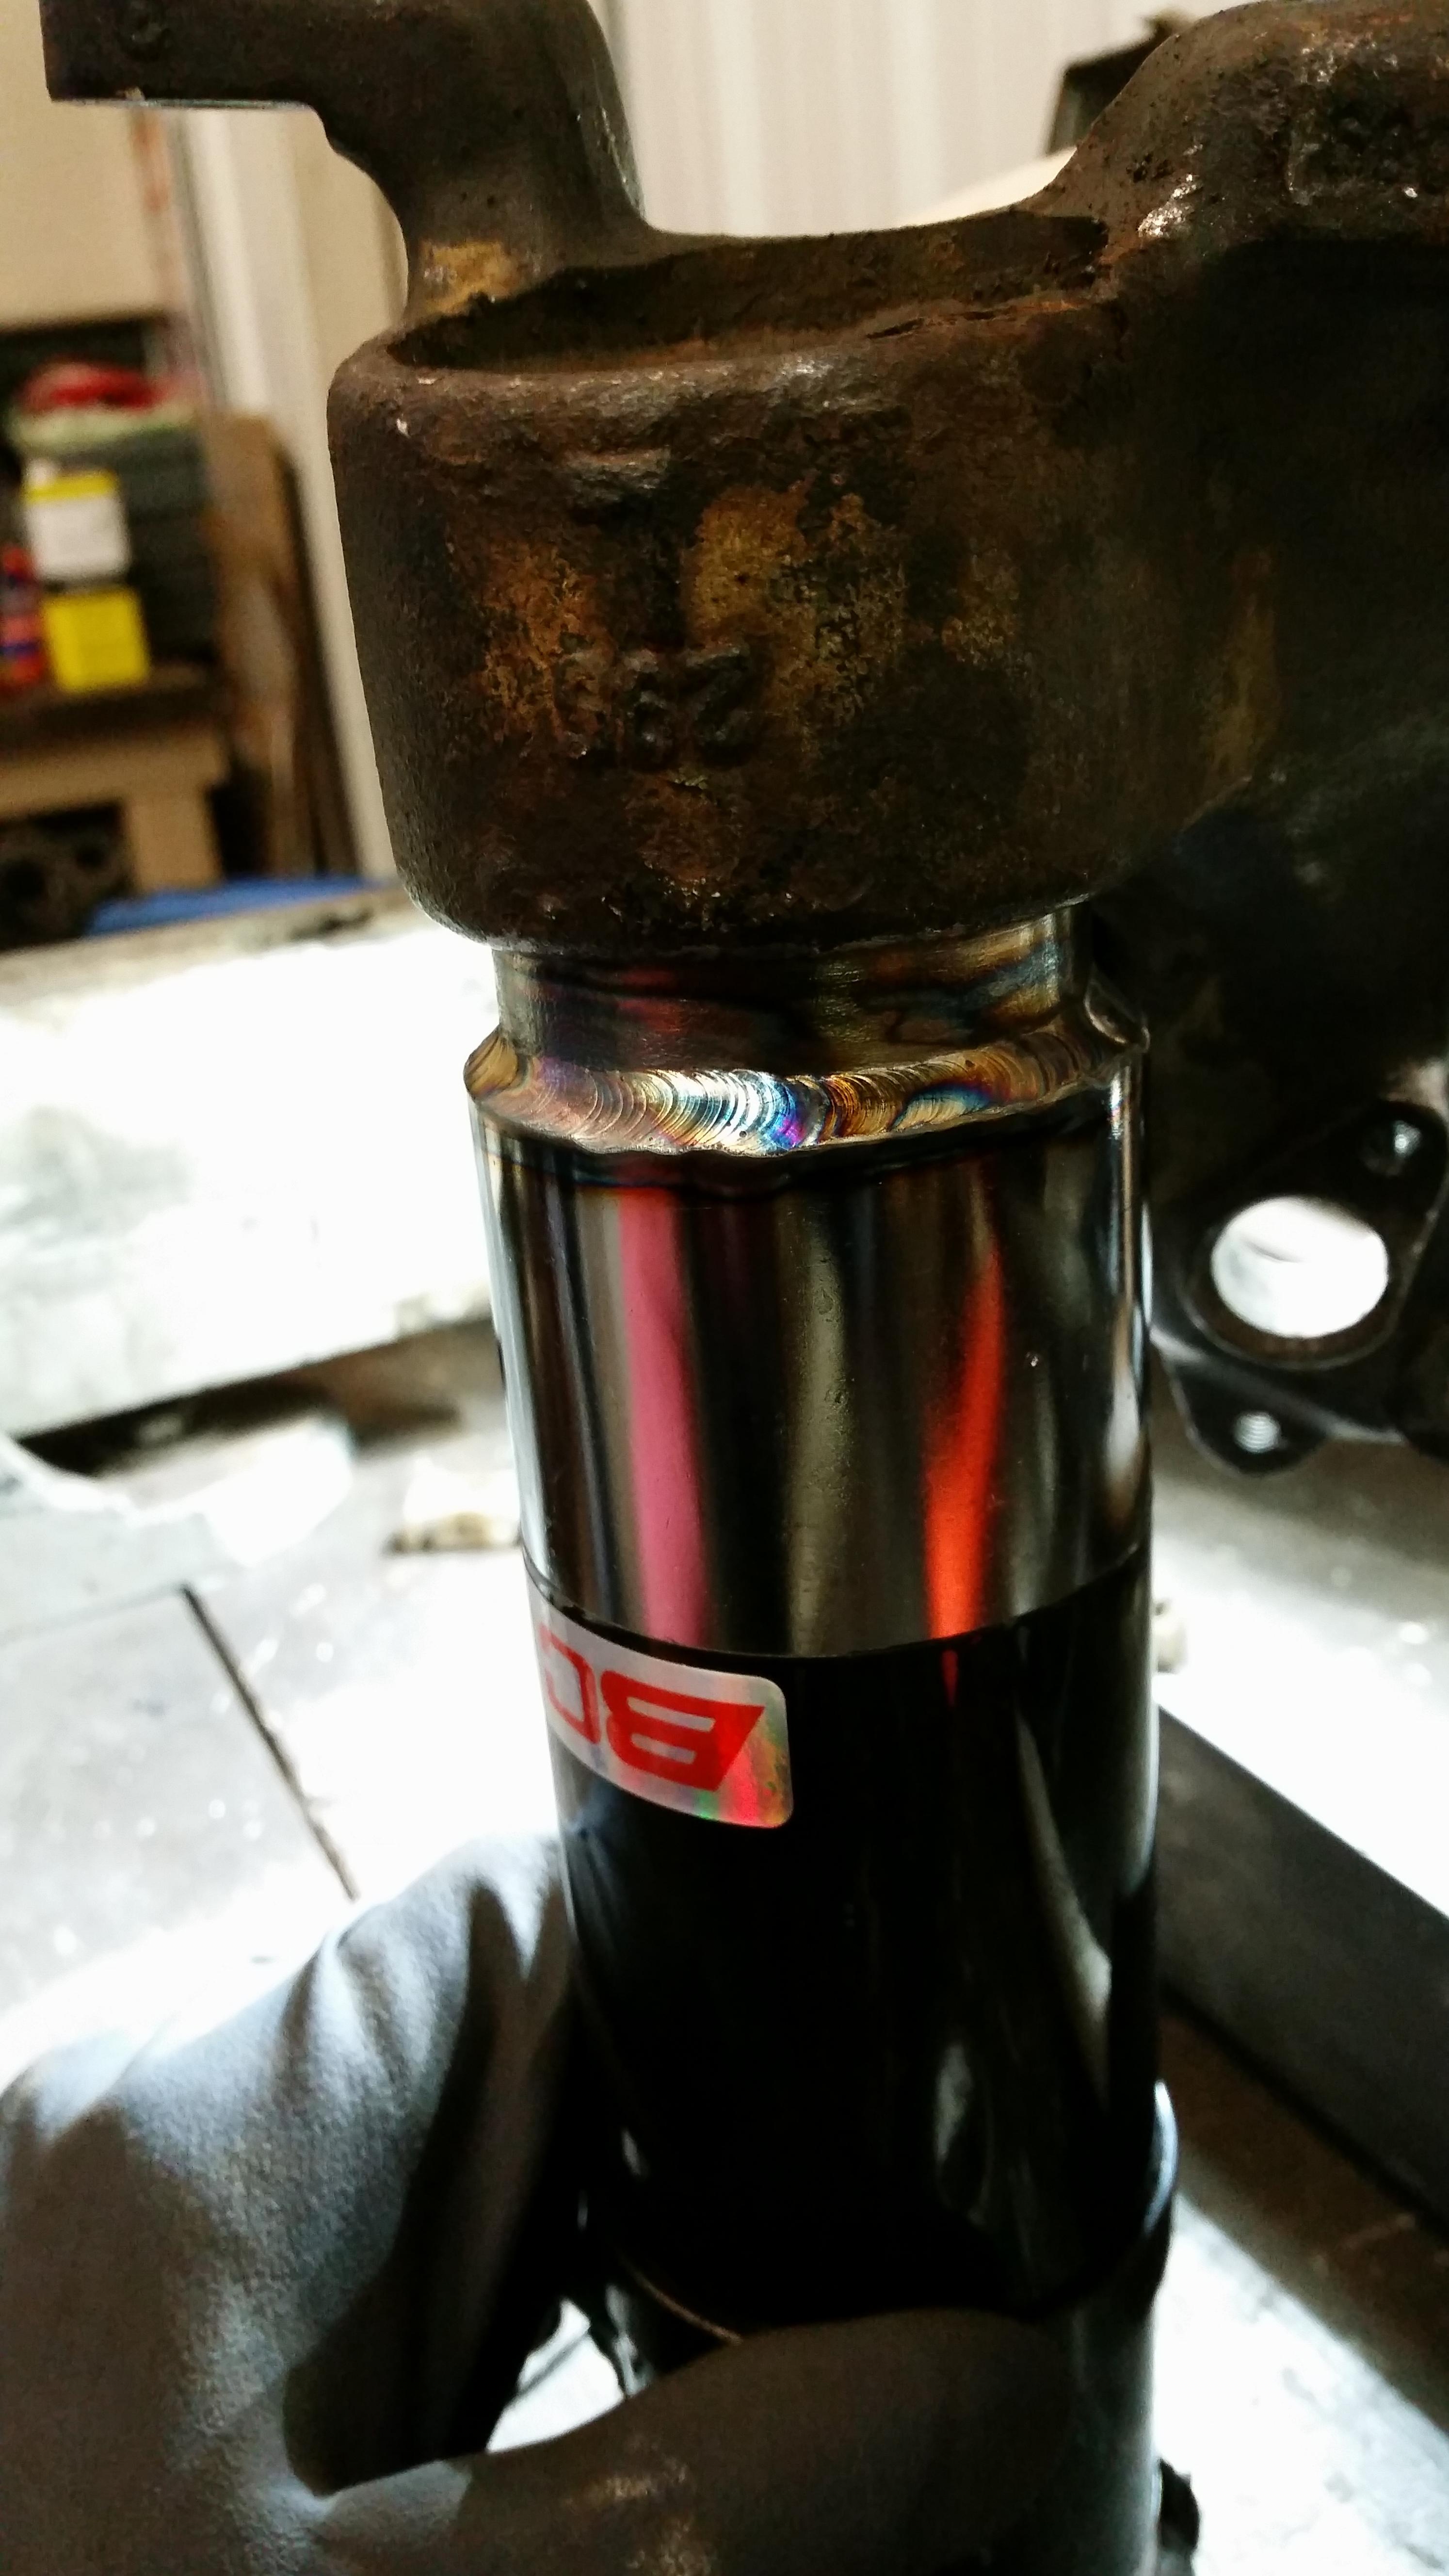
After everything was at the shop I had my buddy come over and get started on fitting everything up and doin his thing. Of course, the welds come out with a bit of discoloration once complete so after he was done he took a scotch brite pad on a drill and polished them up which looked much better.
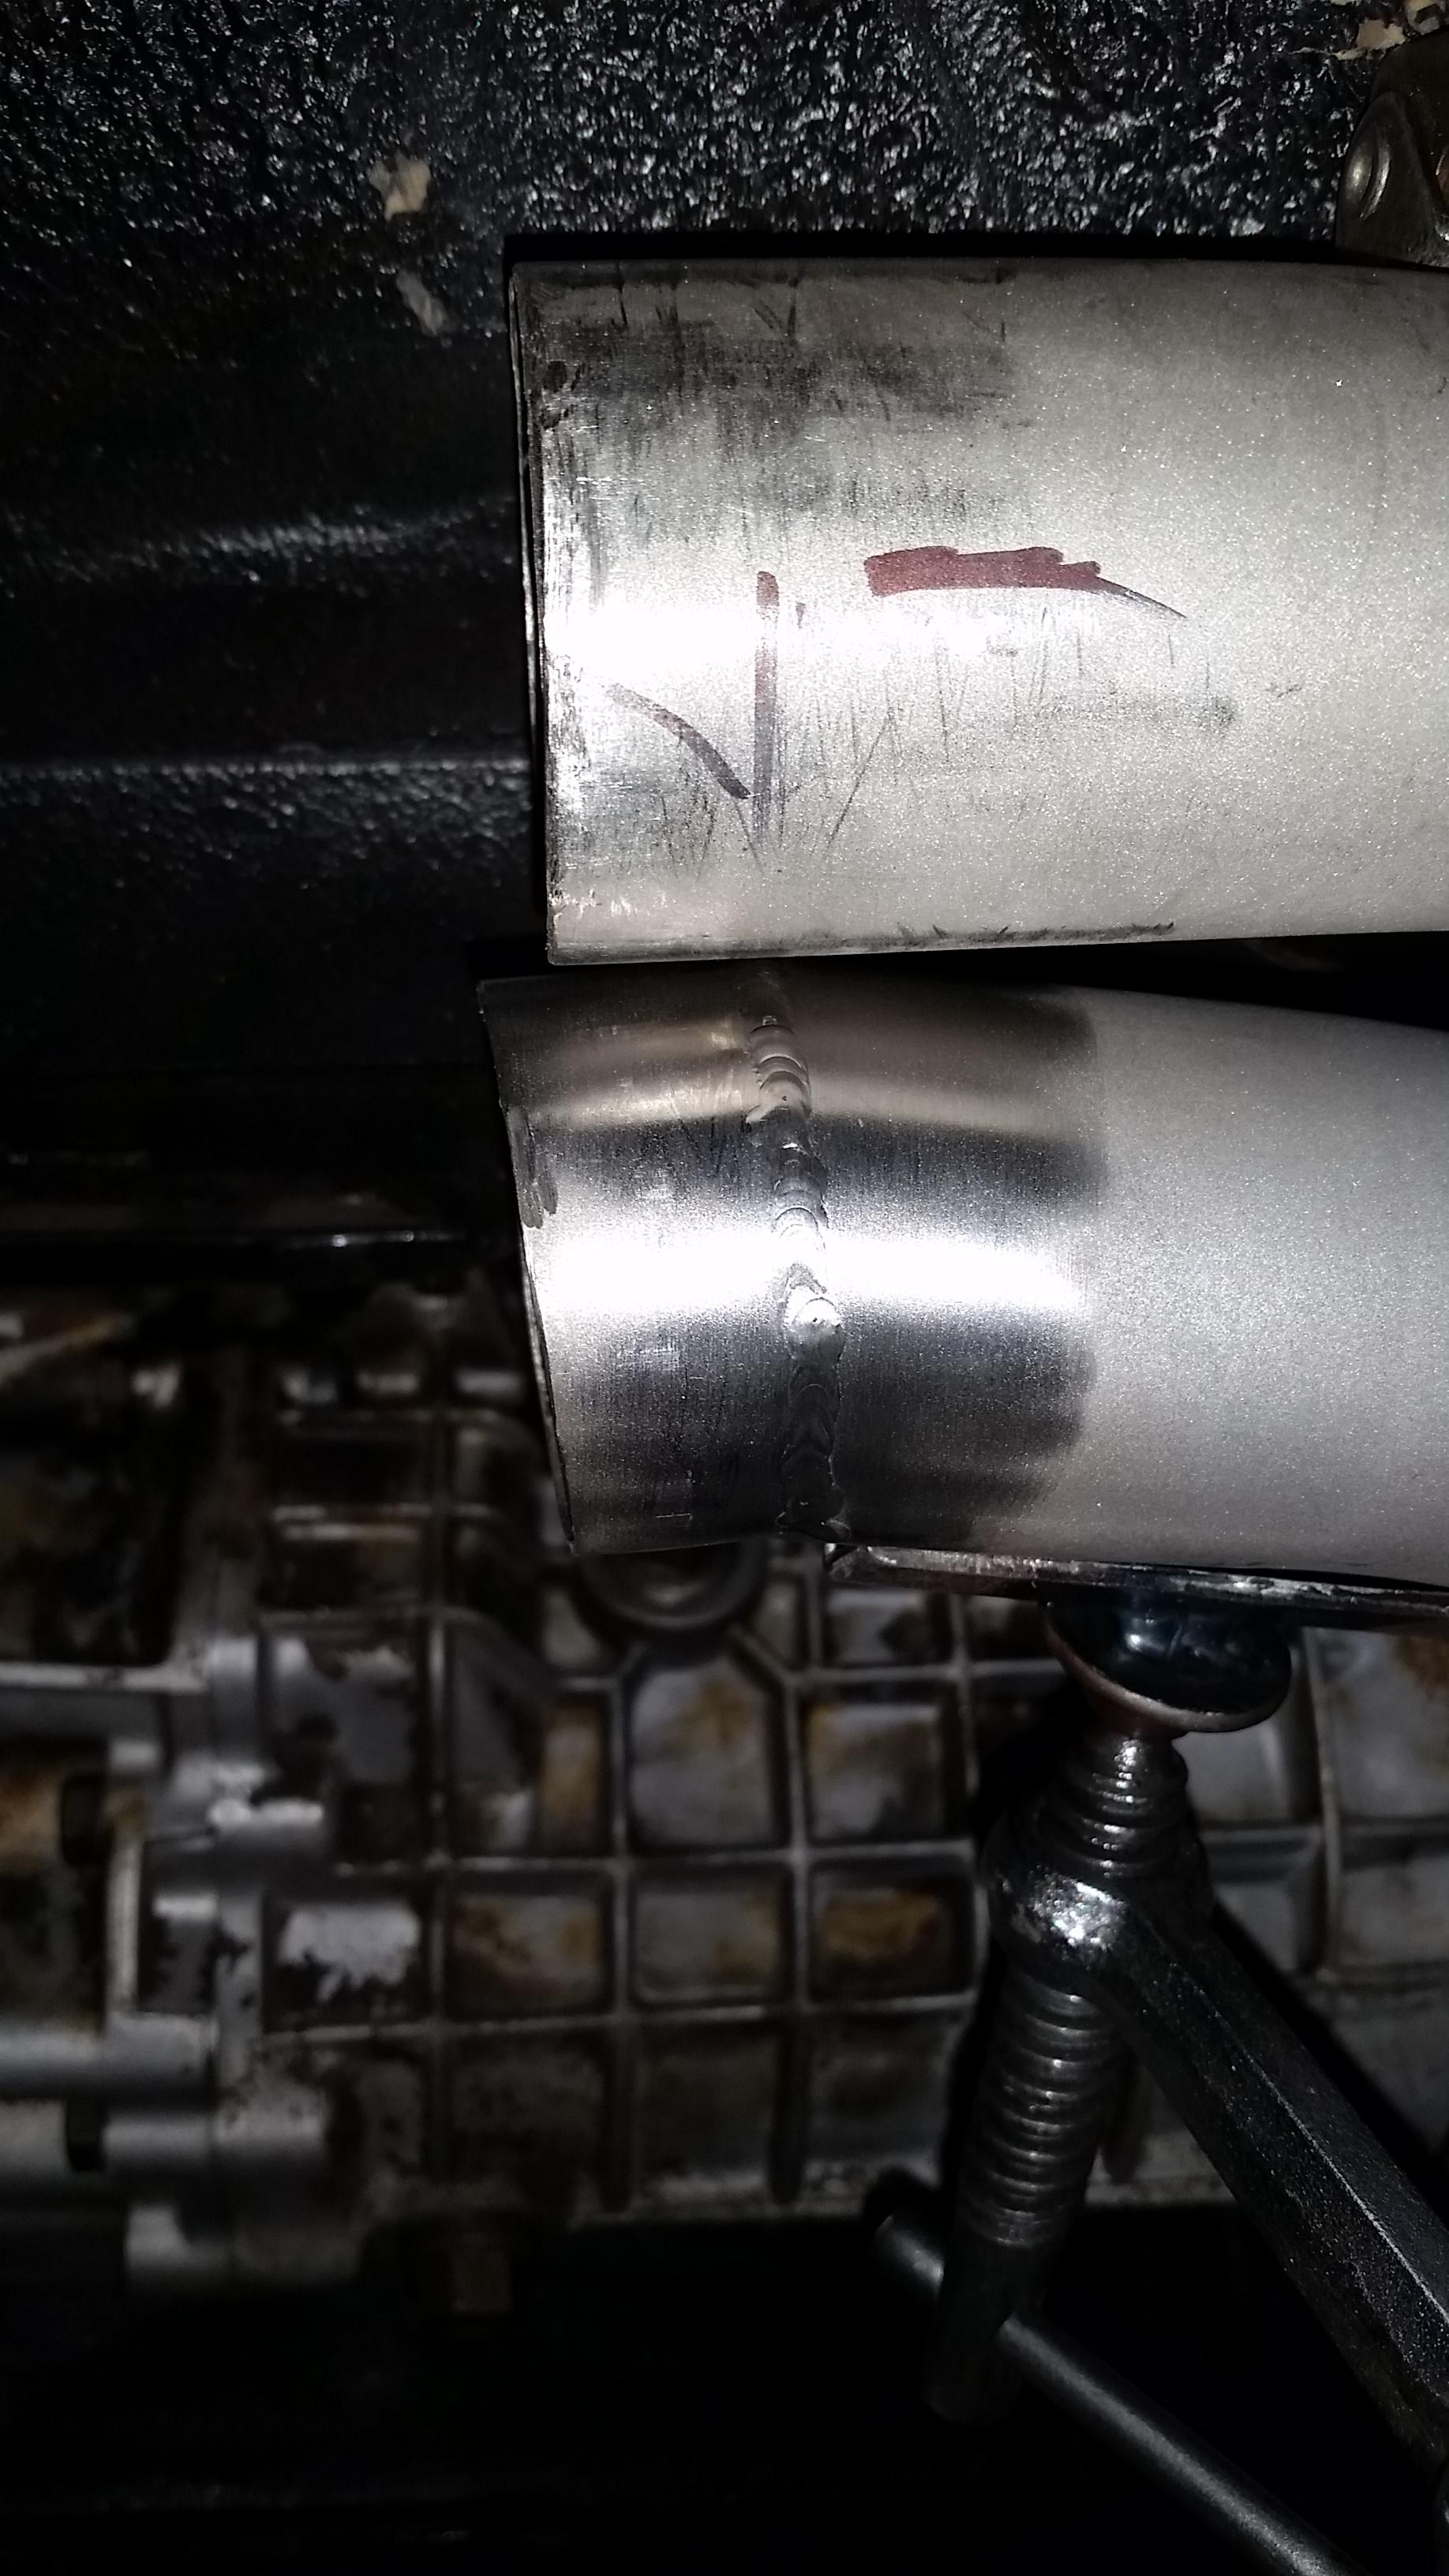
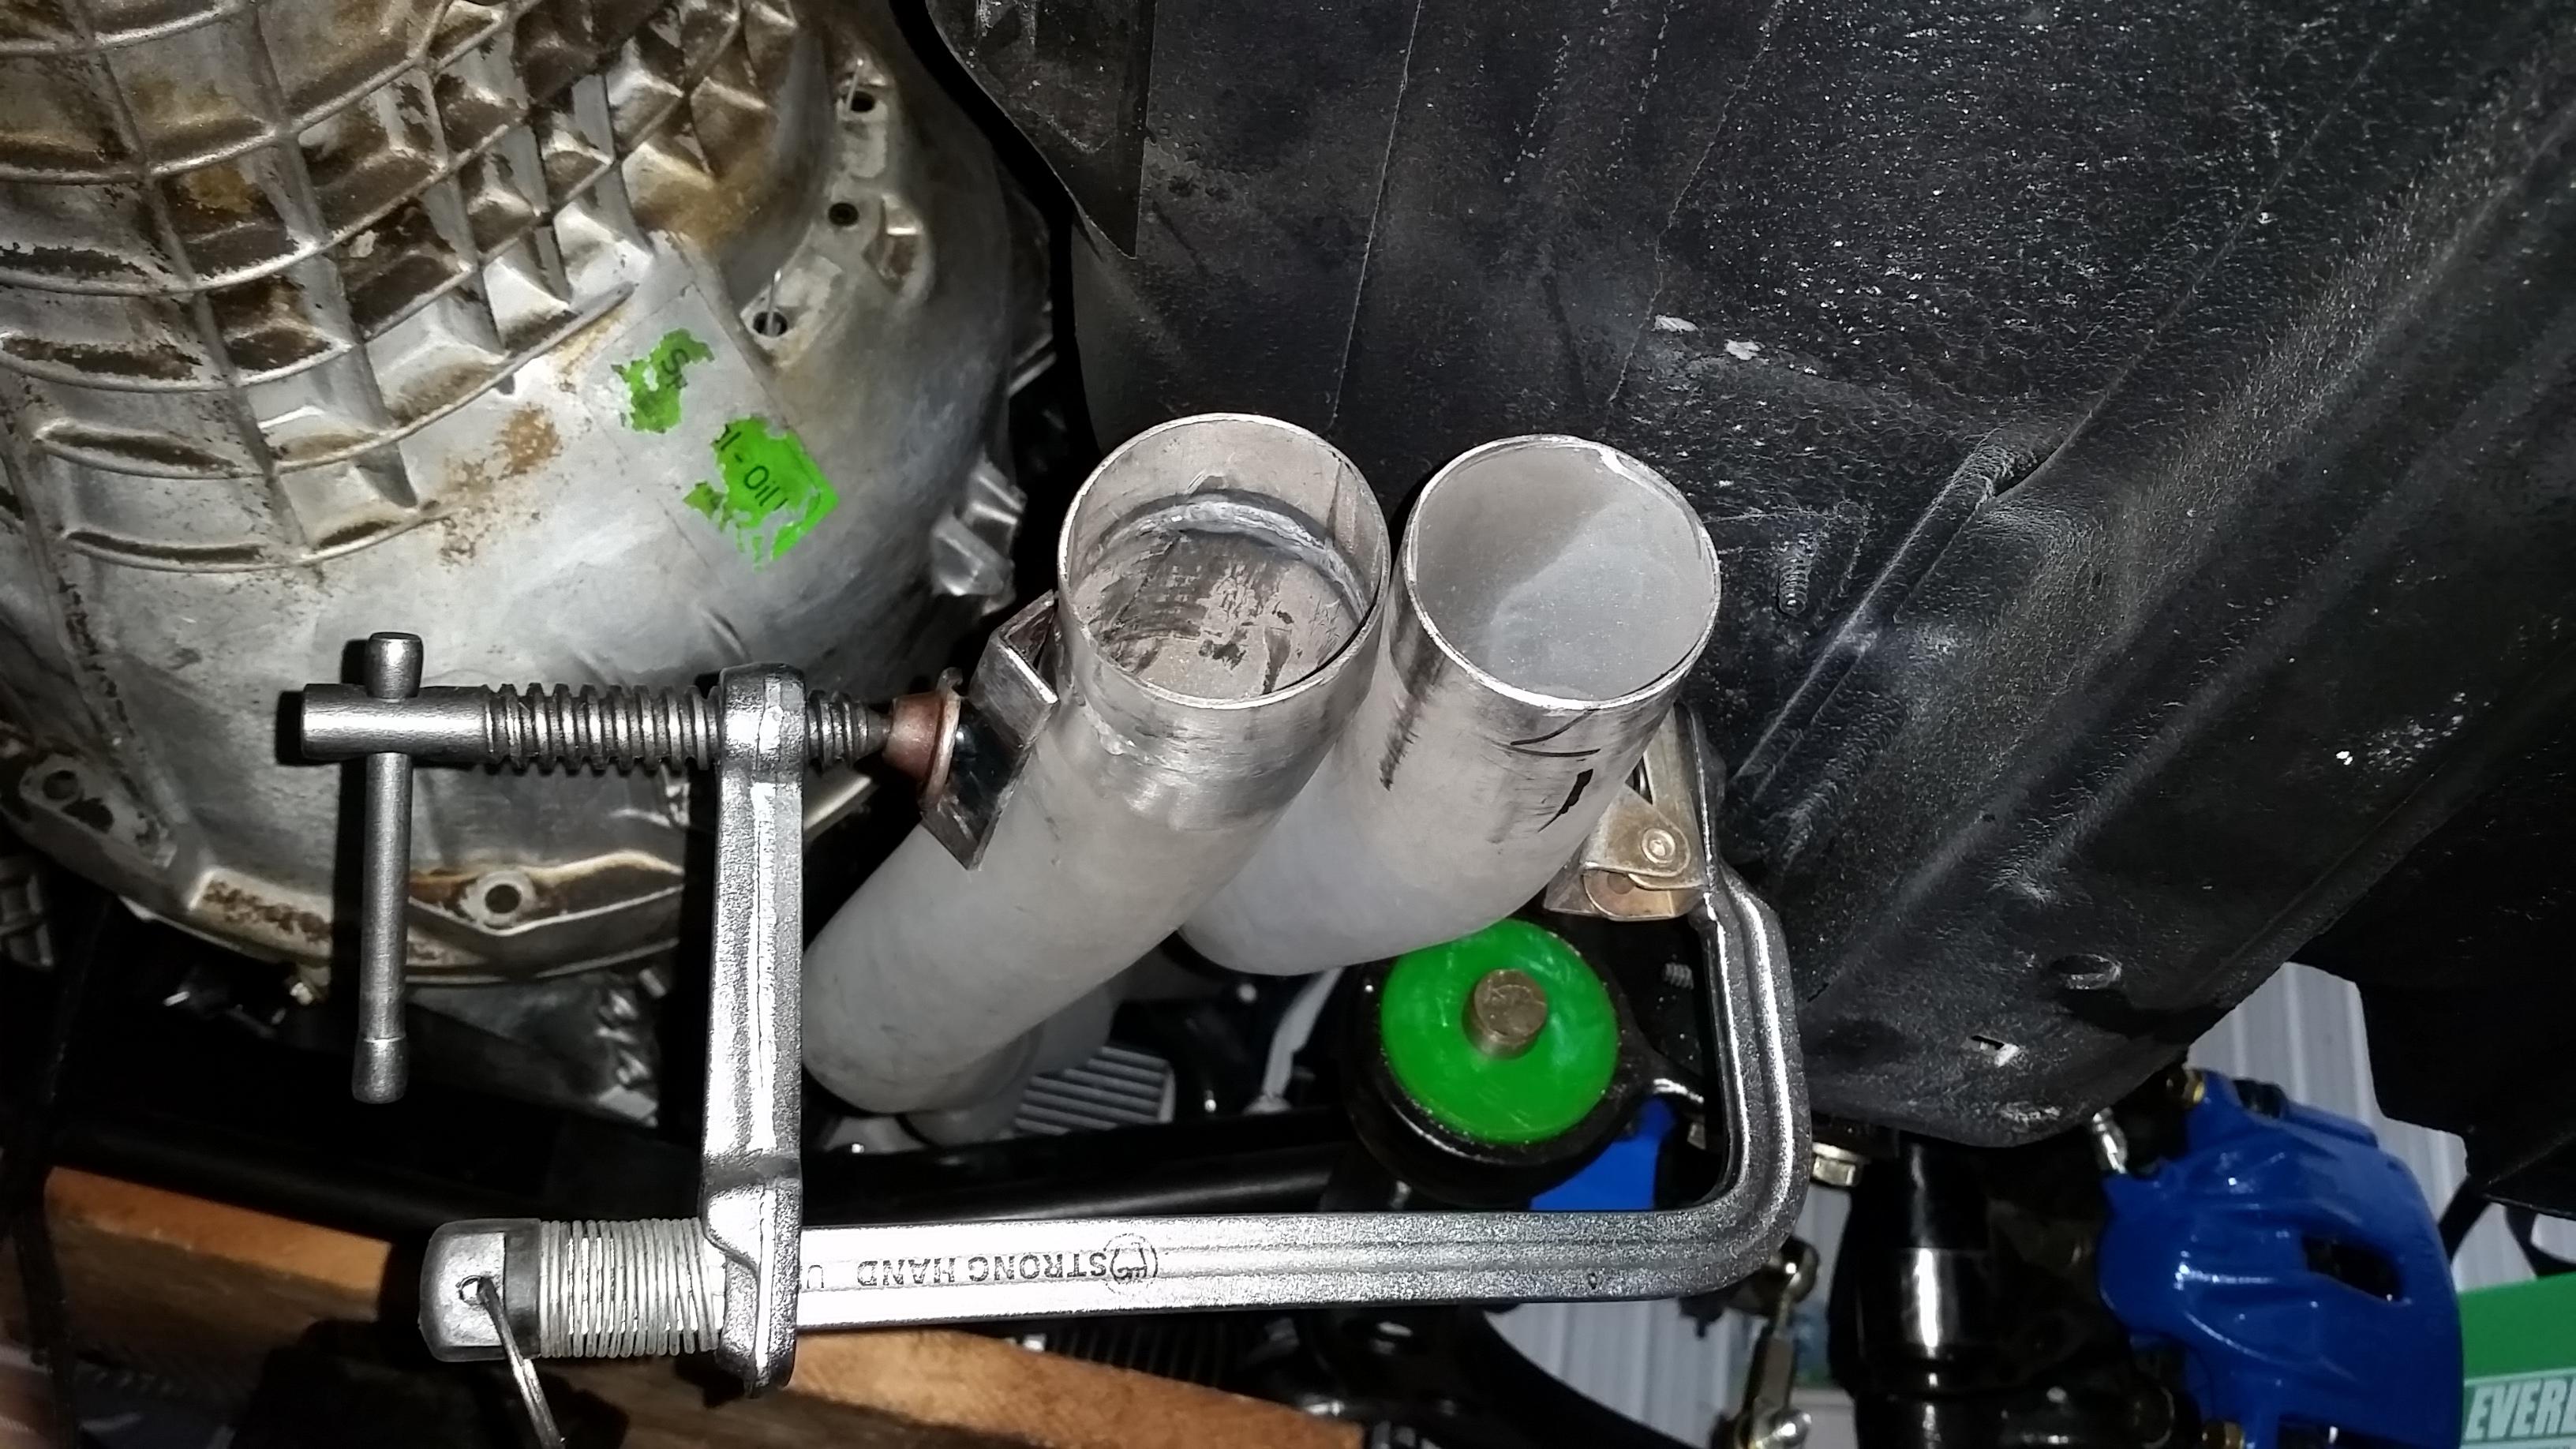
After getting that welded up it was time to throw it on the car. Few issues right of the bat. The header tubes didn't come out all that straight and there was about a 1/2 inch gap between them and the y-pipe was very tight. In order to straighten out the tubing a bit we pulled the cylinders 1-3 header out of the car and welded on a extra small piece of scrap tubing to bring things together a bit better.
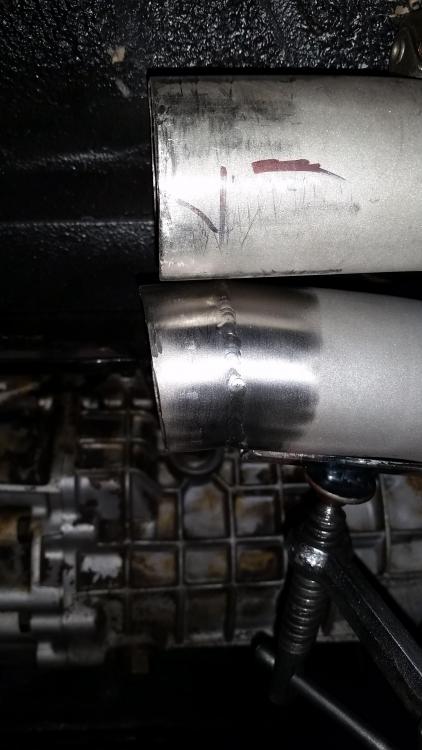
After re-installing we took a c- clamp and brought the two tubes in a bit to fit the y pipe over.
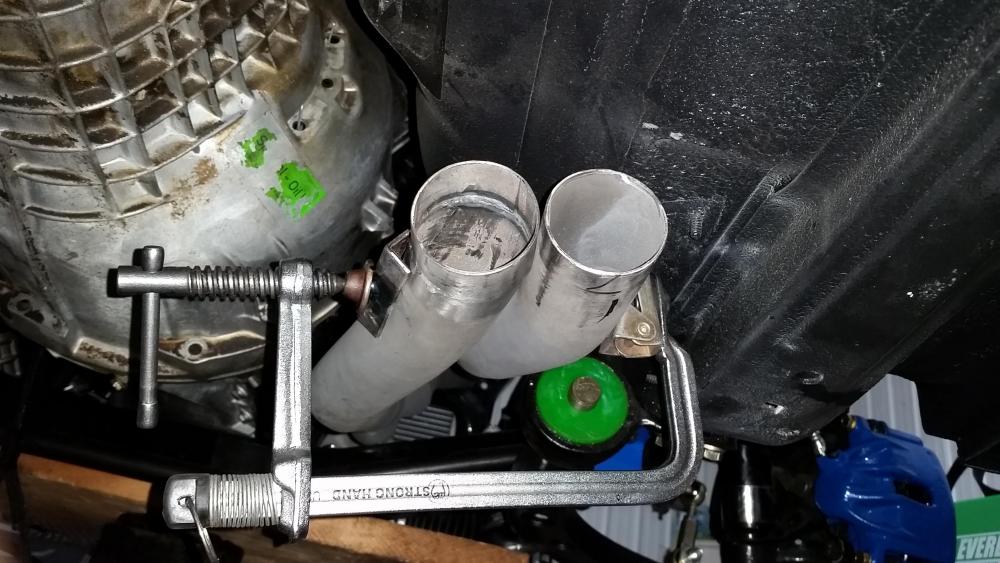
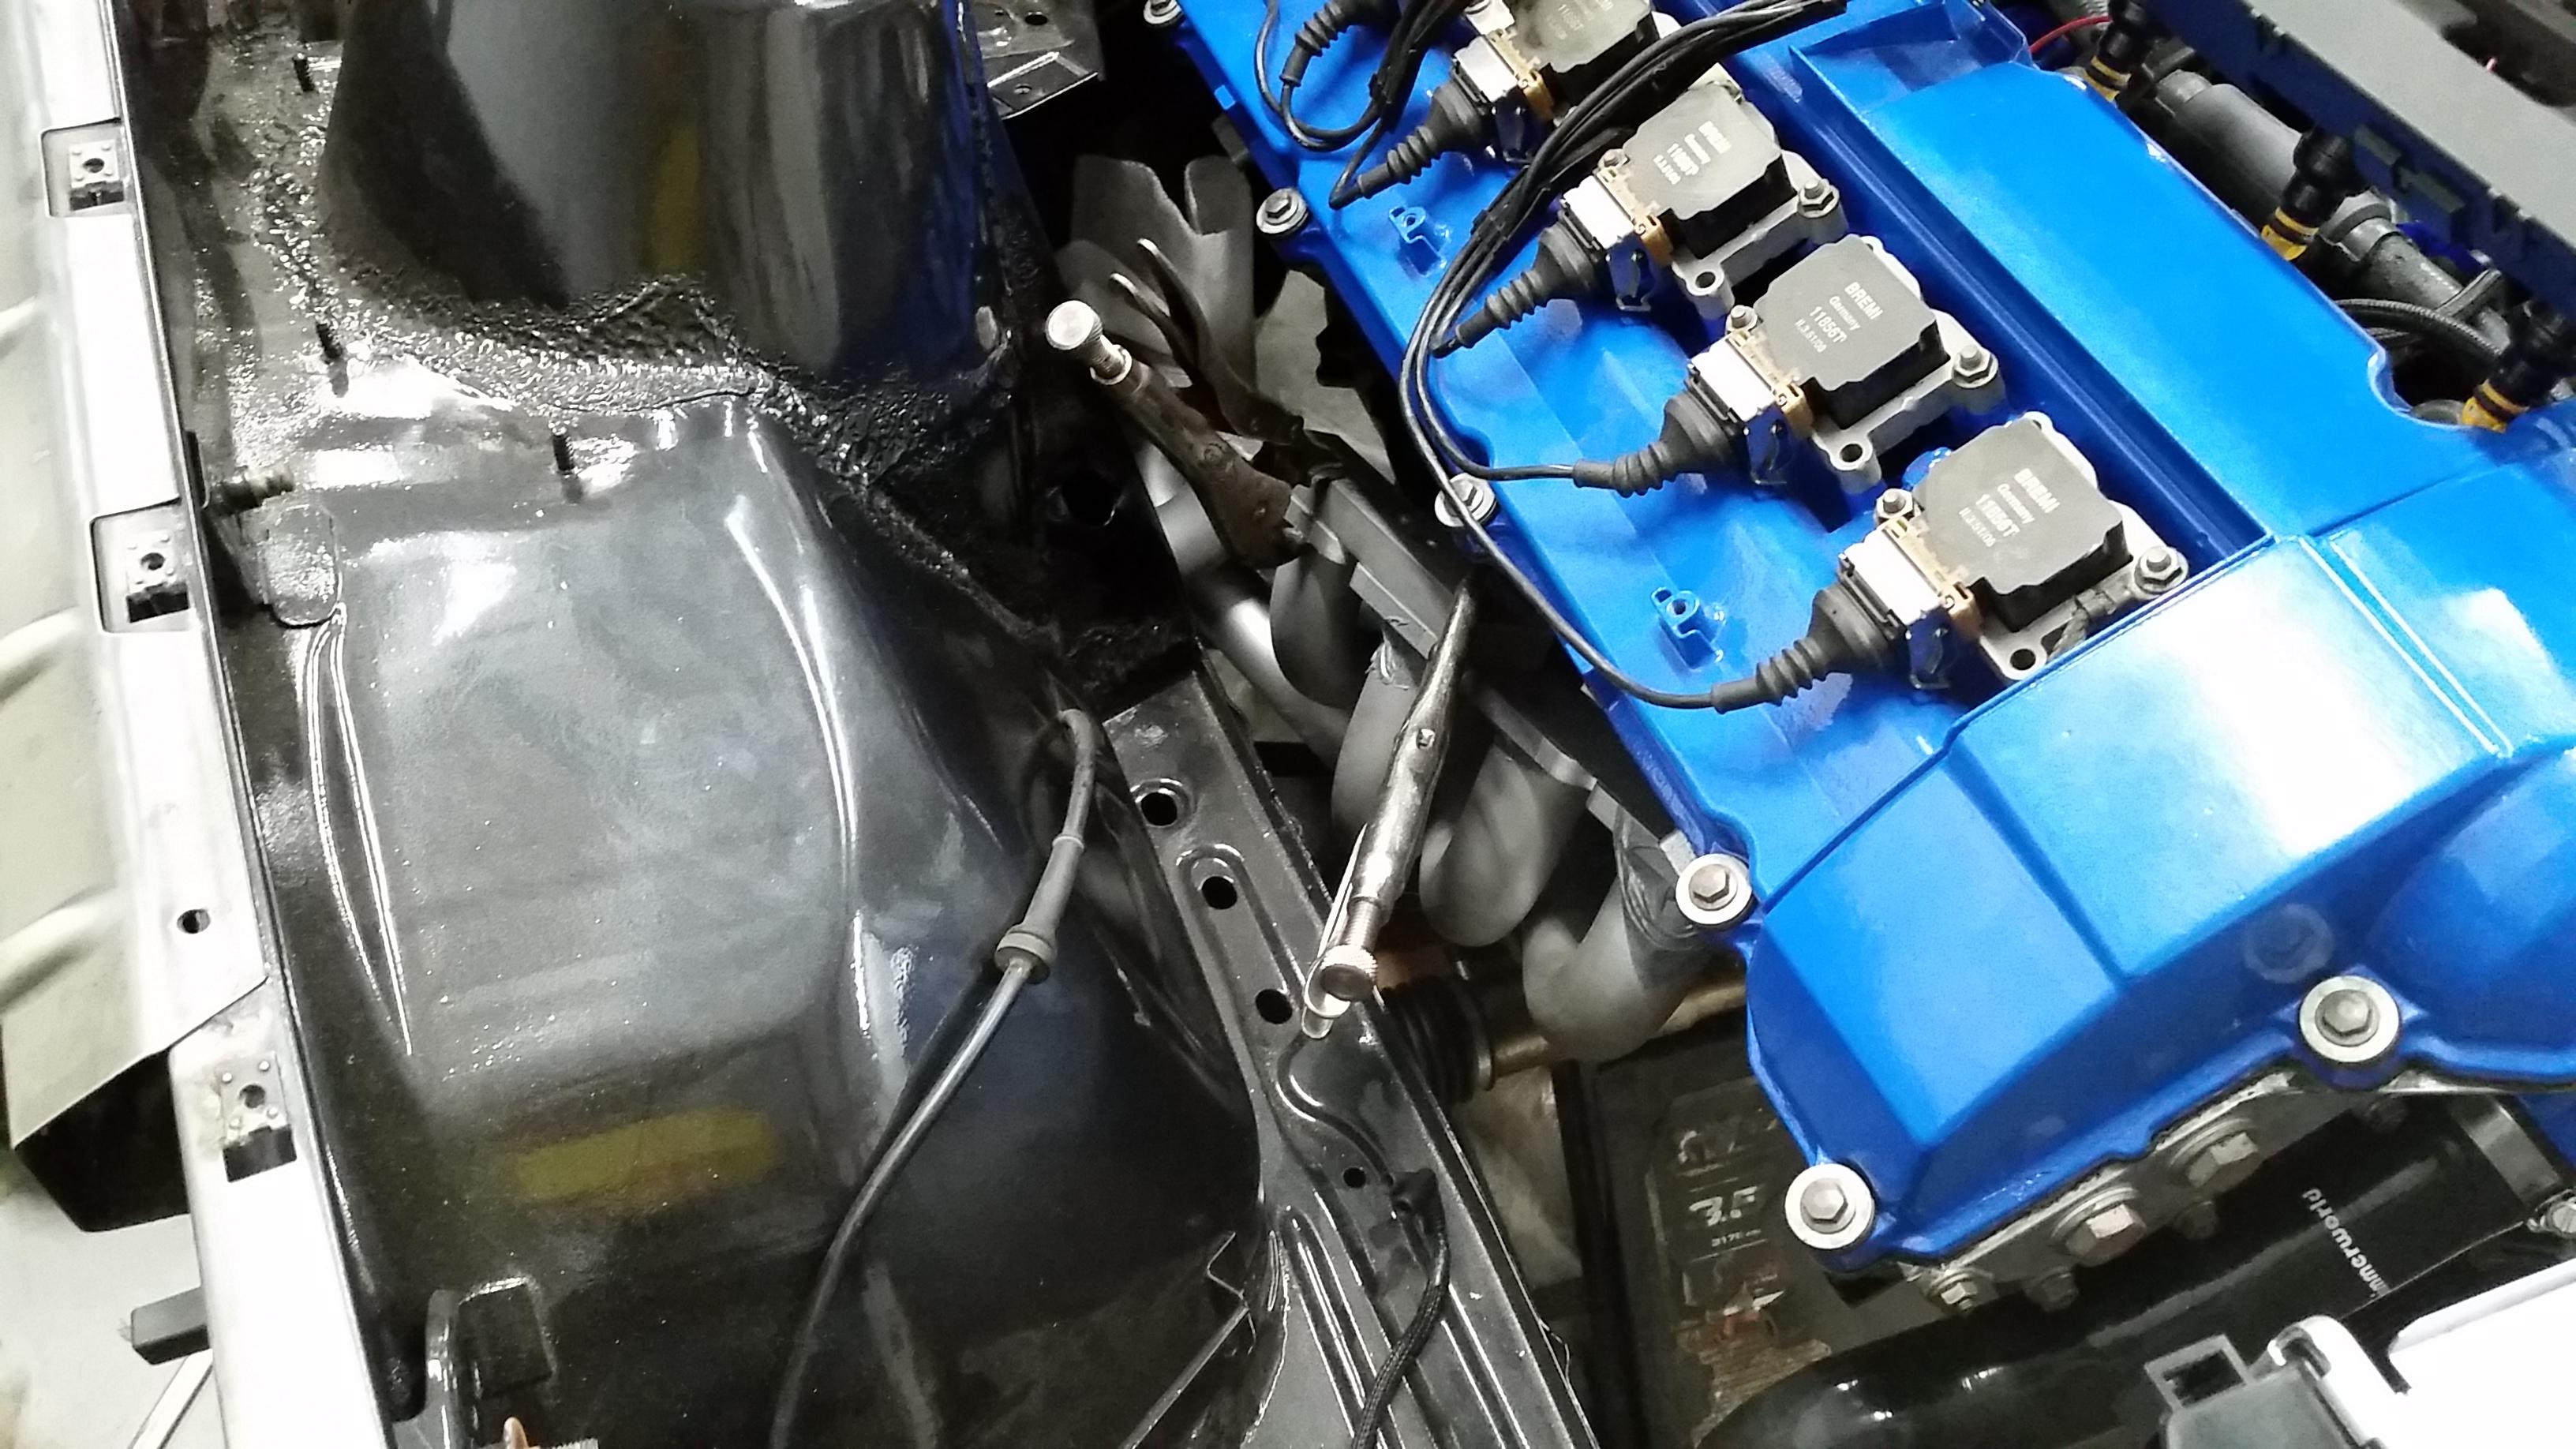
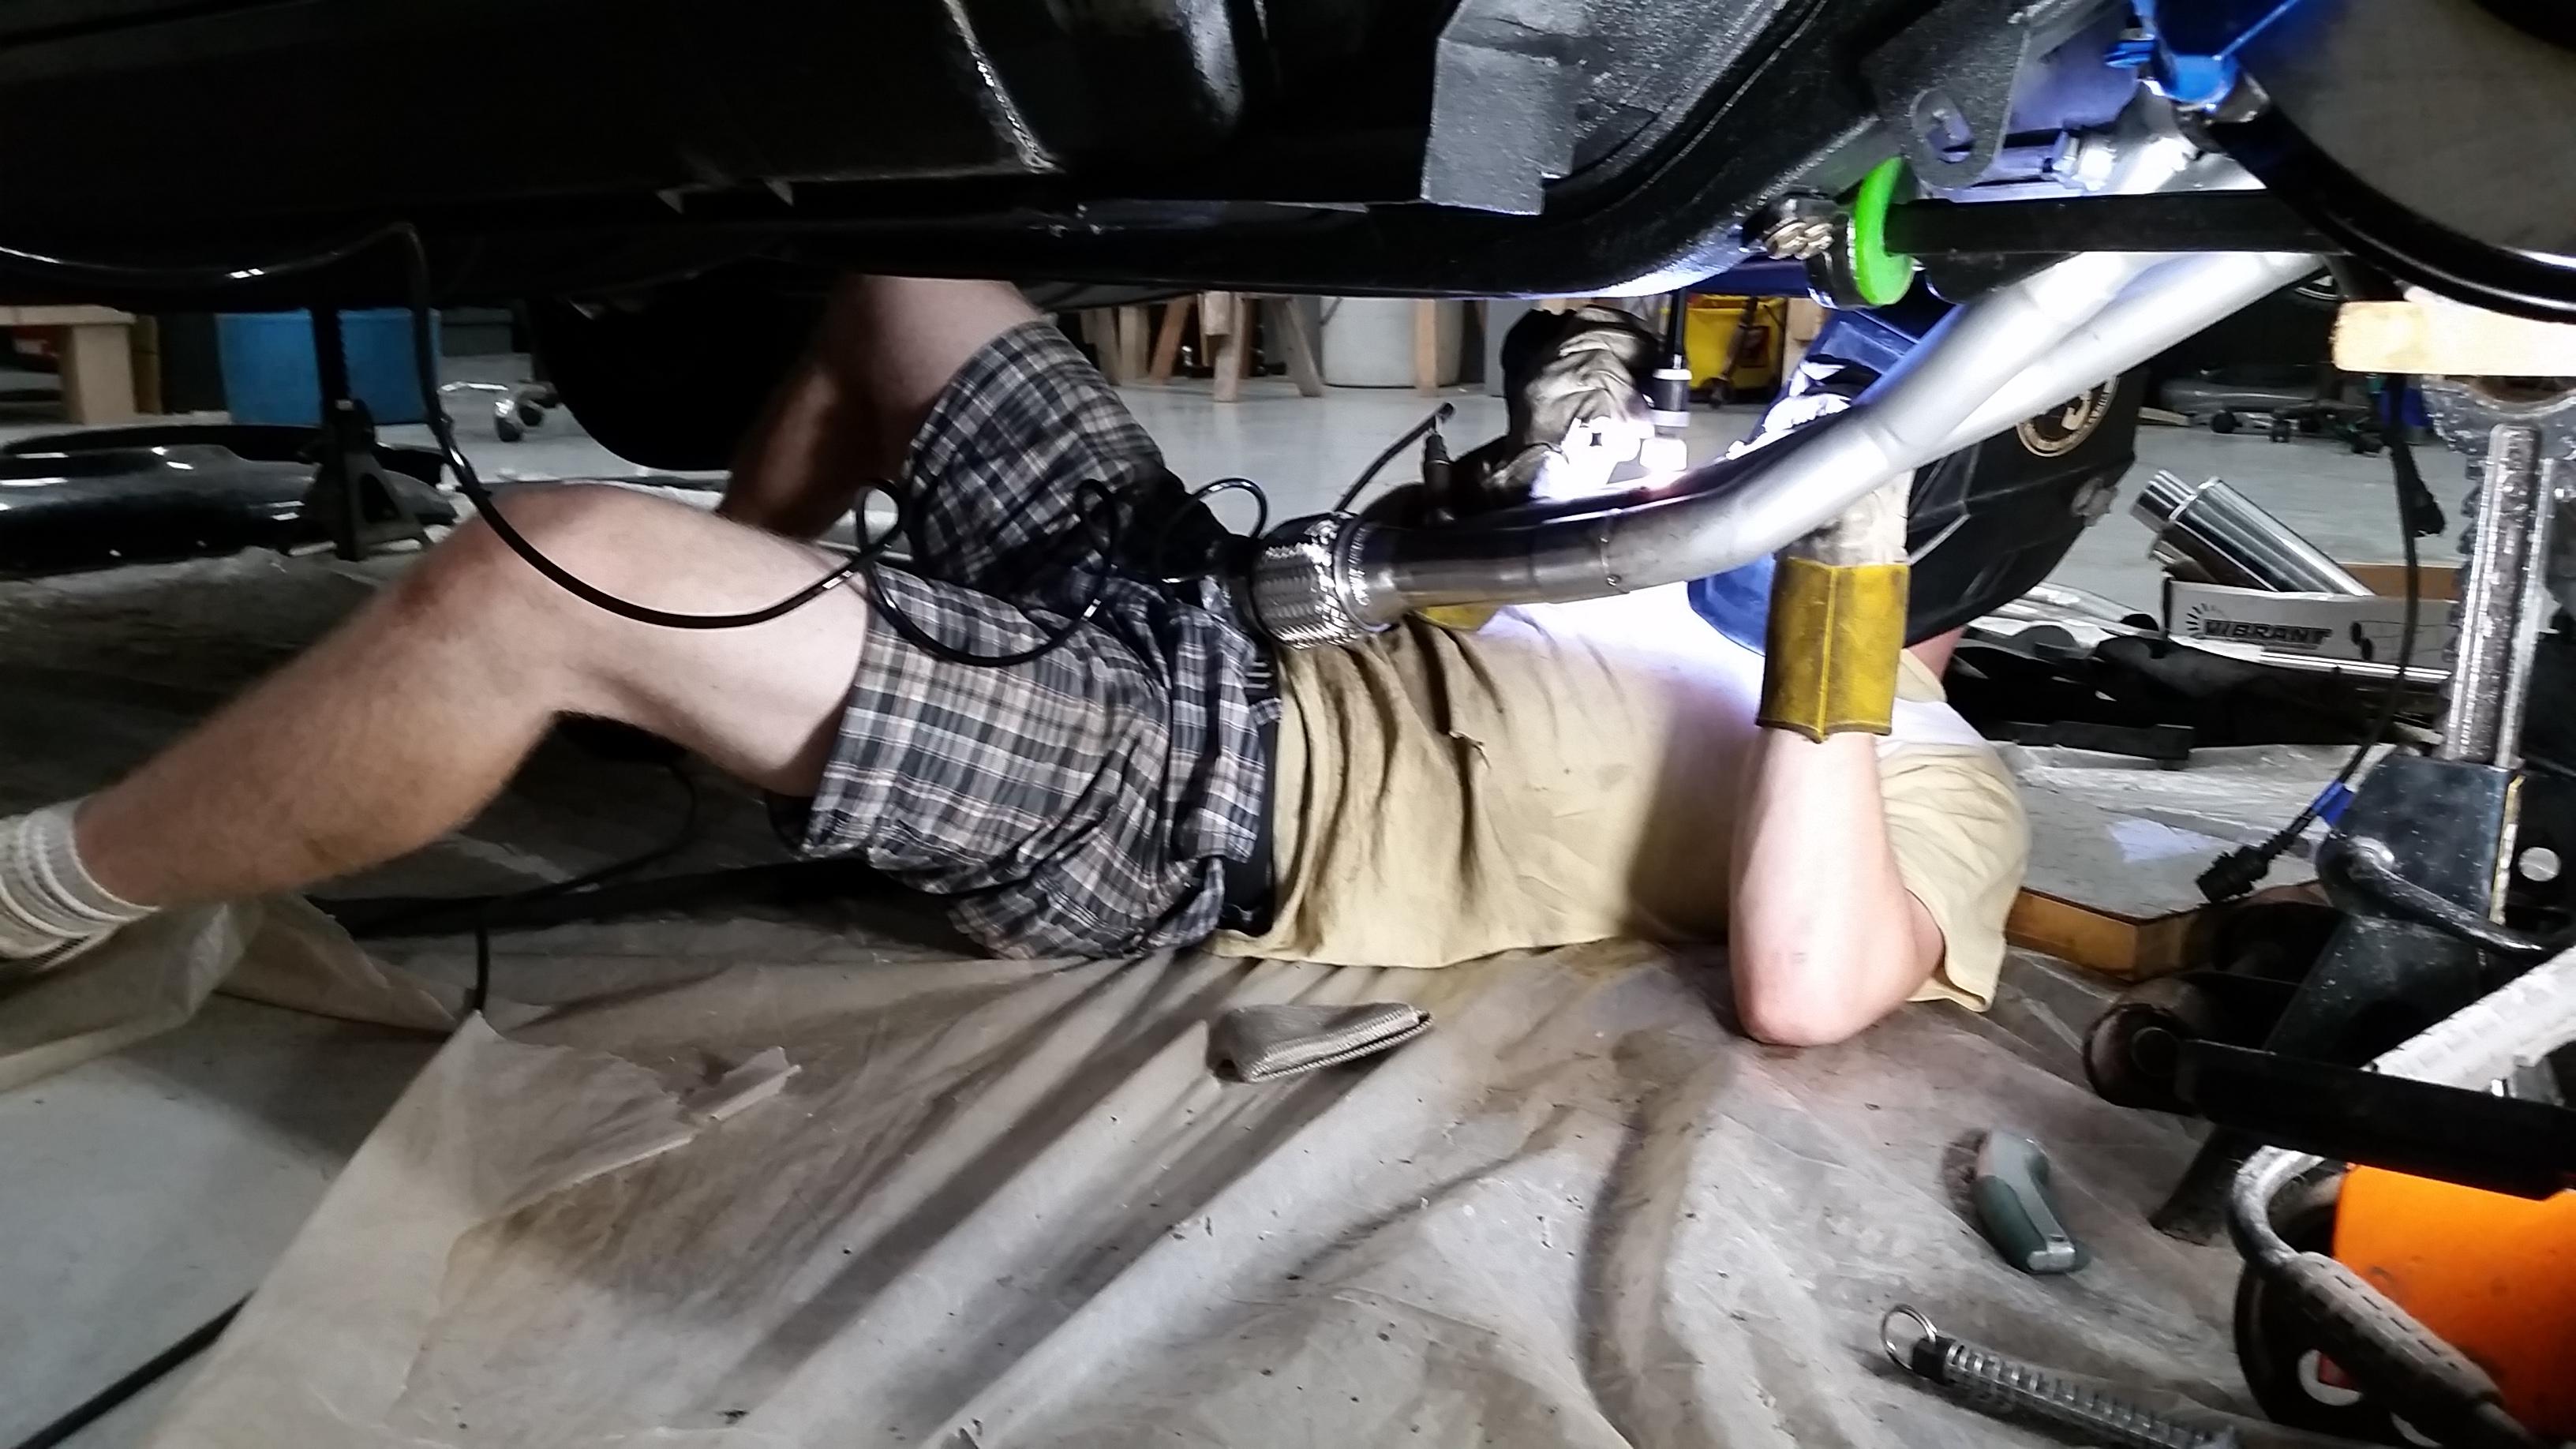
Once the y-pipe was tacked up in place we unbolted both the headers and angled them down so he could lay a nice bead all the way around. There was no way we were getting both the headers out of the car as a pair unless we dropped the subframe which I really didn't want to do so this was the only other option and it ended up working out pretty good.
To keep the headers from shifting we threw in a piece of aluminum clamped down by vice grips on the flanges to keep them straight.
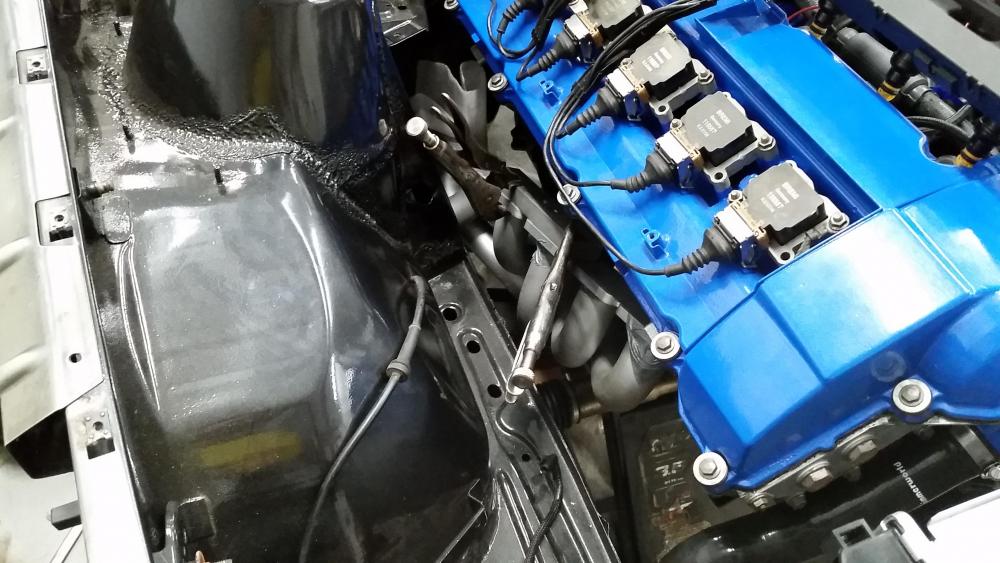
I did feel a little bad for him though as he had to get into some pretty shitty positions to lay beads across the top side.
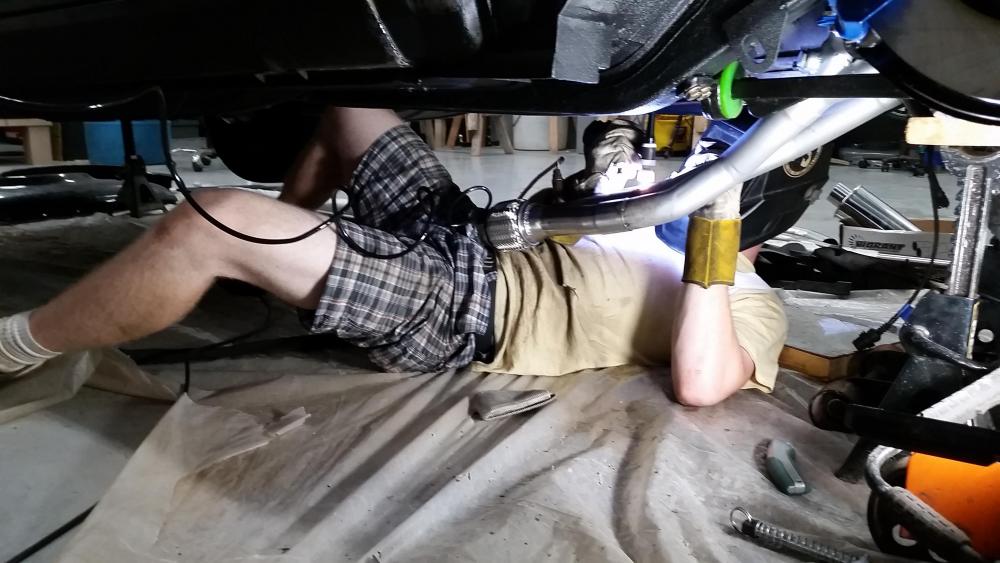
Of course it would have turned out a bit better if the headers were sitting in the vice but he managed to pull it off and I still think it turned out great. After we got the thing welded up and cleaned them up with scotchbrite we got the headers reinstalled with new oem exhaust gaskets and torqued to spec.
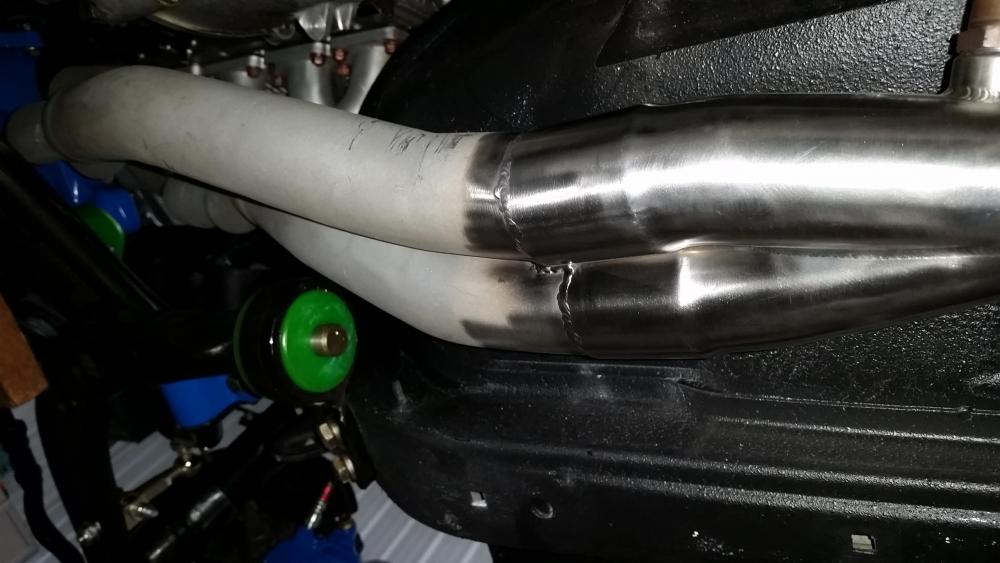
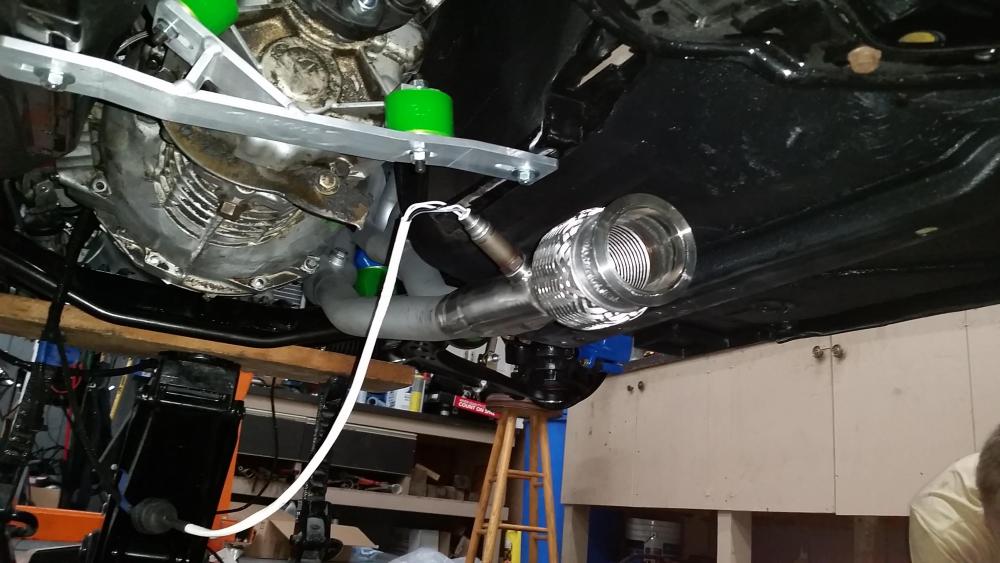
Tomorrrow he will be coming back over to start working on the mocking up the rest of the exhaust. I also ordered a 180 and 45 degree mandral bent tubing from vibrant which will come in very handy to make some of the turns to get the exhaust tubing to fall right down the center of the car through the resonator and pass under the rear subframe where it will meet a magnaflow muffler poking out under the rear valance for some very nice sounds.
Unfortunately I will probably fall short of my goal to try to get the car done by this weekend to make it to the cruise as even if I got it running I am still waiting on the seats which will probably not be here tell the following week,
. I'm gonna go cry now. -
IIRC, you can swap the seat belt receptacle to the other side to make that seat temporarily safe to use.
for the spider hose, i believe i trimmed the end that hooks to the heater core pipes to let it sit straighter. its not designed for the e30 chassis, obviously, so its not a perfect fit. however, I don't that that kink is going to cause you a problem, either.
here's your info for the aux fan wiring: https://www.r3vlimited.com/board/showthread.php?t=210783
Dan
-
That spal fan will pull too much current on the inrush. I tried wiring it to both high and low speed circuits. It would always pop the fuse on one, and would pop it one in ten times on the other. Unfortunately the only way to wire it reliably is to use the Spal fan harness. i was able to do it cleanly along the passenger side fender.
fyi, that exhaust is going to be loud
-
The threads in the head for the temp sensor are not NPT. It is an M14x1.5 mm straight thread. I don't know what the VDO sensor is but it should not be just cranked in there. The head does not have tapered threads and should seal with a crush washer like the factory sensor, it will not seal otherwise.
I have an Autometer gauge and the sender is 1/8" NPT and I bought an adapter from 1/8 NPT to M14x1.5.
-
That spal fan will pull too much current on the inrush. I tried wiring it to both high and low speed circuits. It would always pop the fuse on one, and would pop it one in ten times on the other. Unfortunately the only way to wire it reliably is to use the Spal fan harness. i was able to do it cleanly along the passenger side fender.
Thank you for the info. I actually purchased the spal wiring harness when I bought the fan but then figured I wouldn't need it if I can use the factory wiring. I suppose it will come in handy after all.
IIRC, you can swap the seat belt receptacle to the other side to make that seat temporarily safe to use.
for the spider hose, i believe i trimmed the end that hooks to the heater core pipes to let it sit straighter. its not designed for the e30 chassis, obviously, so its not a perfect fit. however, I don't that that kink is going to cause you a problem, either.
here's your info for the aux fan wiring: https://www.r3vlimited.com/board/showthread.php?t=210783
Well it seems the seats may be here sooner then I thought...

I fiddled around with the spider coolant hose again last night and I got it to where the kink is very minimal and should work fine. I did trim it down a bit as well which definitely helped.
fyi, that exhaust is going to be loud
Good
The threads in the head for the temp sensor are not NPT. It is an M14x1.5 mm straight thread. I don't know what the VDO sensor is but it should not be just cranked in there. The head does not have tapered threads and should seal with a crush washer like the factory sensor, it will not seal otherwise.
I have an Autometer gauge and the sender is 1/8" NPT and I bought an adapter from 1/8 NPT to M14x1.5.
I ordered an assortment of metric adapters that should be here tomorrow. Hopefully it does the trick. Thx!
Nice progress. What steering wheel were you going with?
http://www.renownusa.com/product/renown-130r-motorsport-competition
-
I had a Renown and it seemed a bit flimsy in comparison to all of the Momos I've had. I also just found out that they're just a rebranded Chinese wheel. Look at Viilante steering wheels on eBay. They're the same wheels as Renown but different branding.
while it definitely could be rebranded, or share overseas suppliers for parts, my renown wheel is not flimsy. i torque'd on it pretty good and felt i was at risk of breaking something in the column else before the wheel was going to bend.
Dan





 \
\
 '
'

Hello! It looks like you're interested in this conversation, but you don't have an account yet.
Getting fed up of having to scroll through the same posts each visit? When you register for an account, you'll always come back to exactly where you were before, and choose to be notified of new replies (either via email, or push notification). You'll also be able to save bookmarks and upvote posts to show your appreciation to other community members.
With your input, this post could be even better 💗
Register Login