
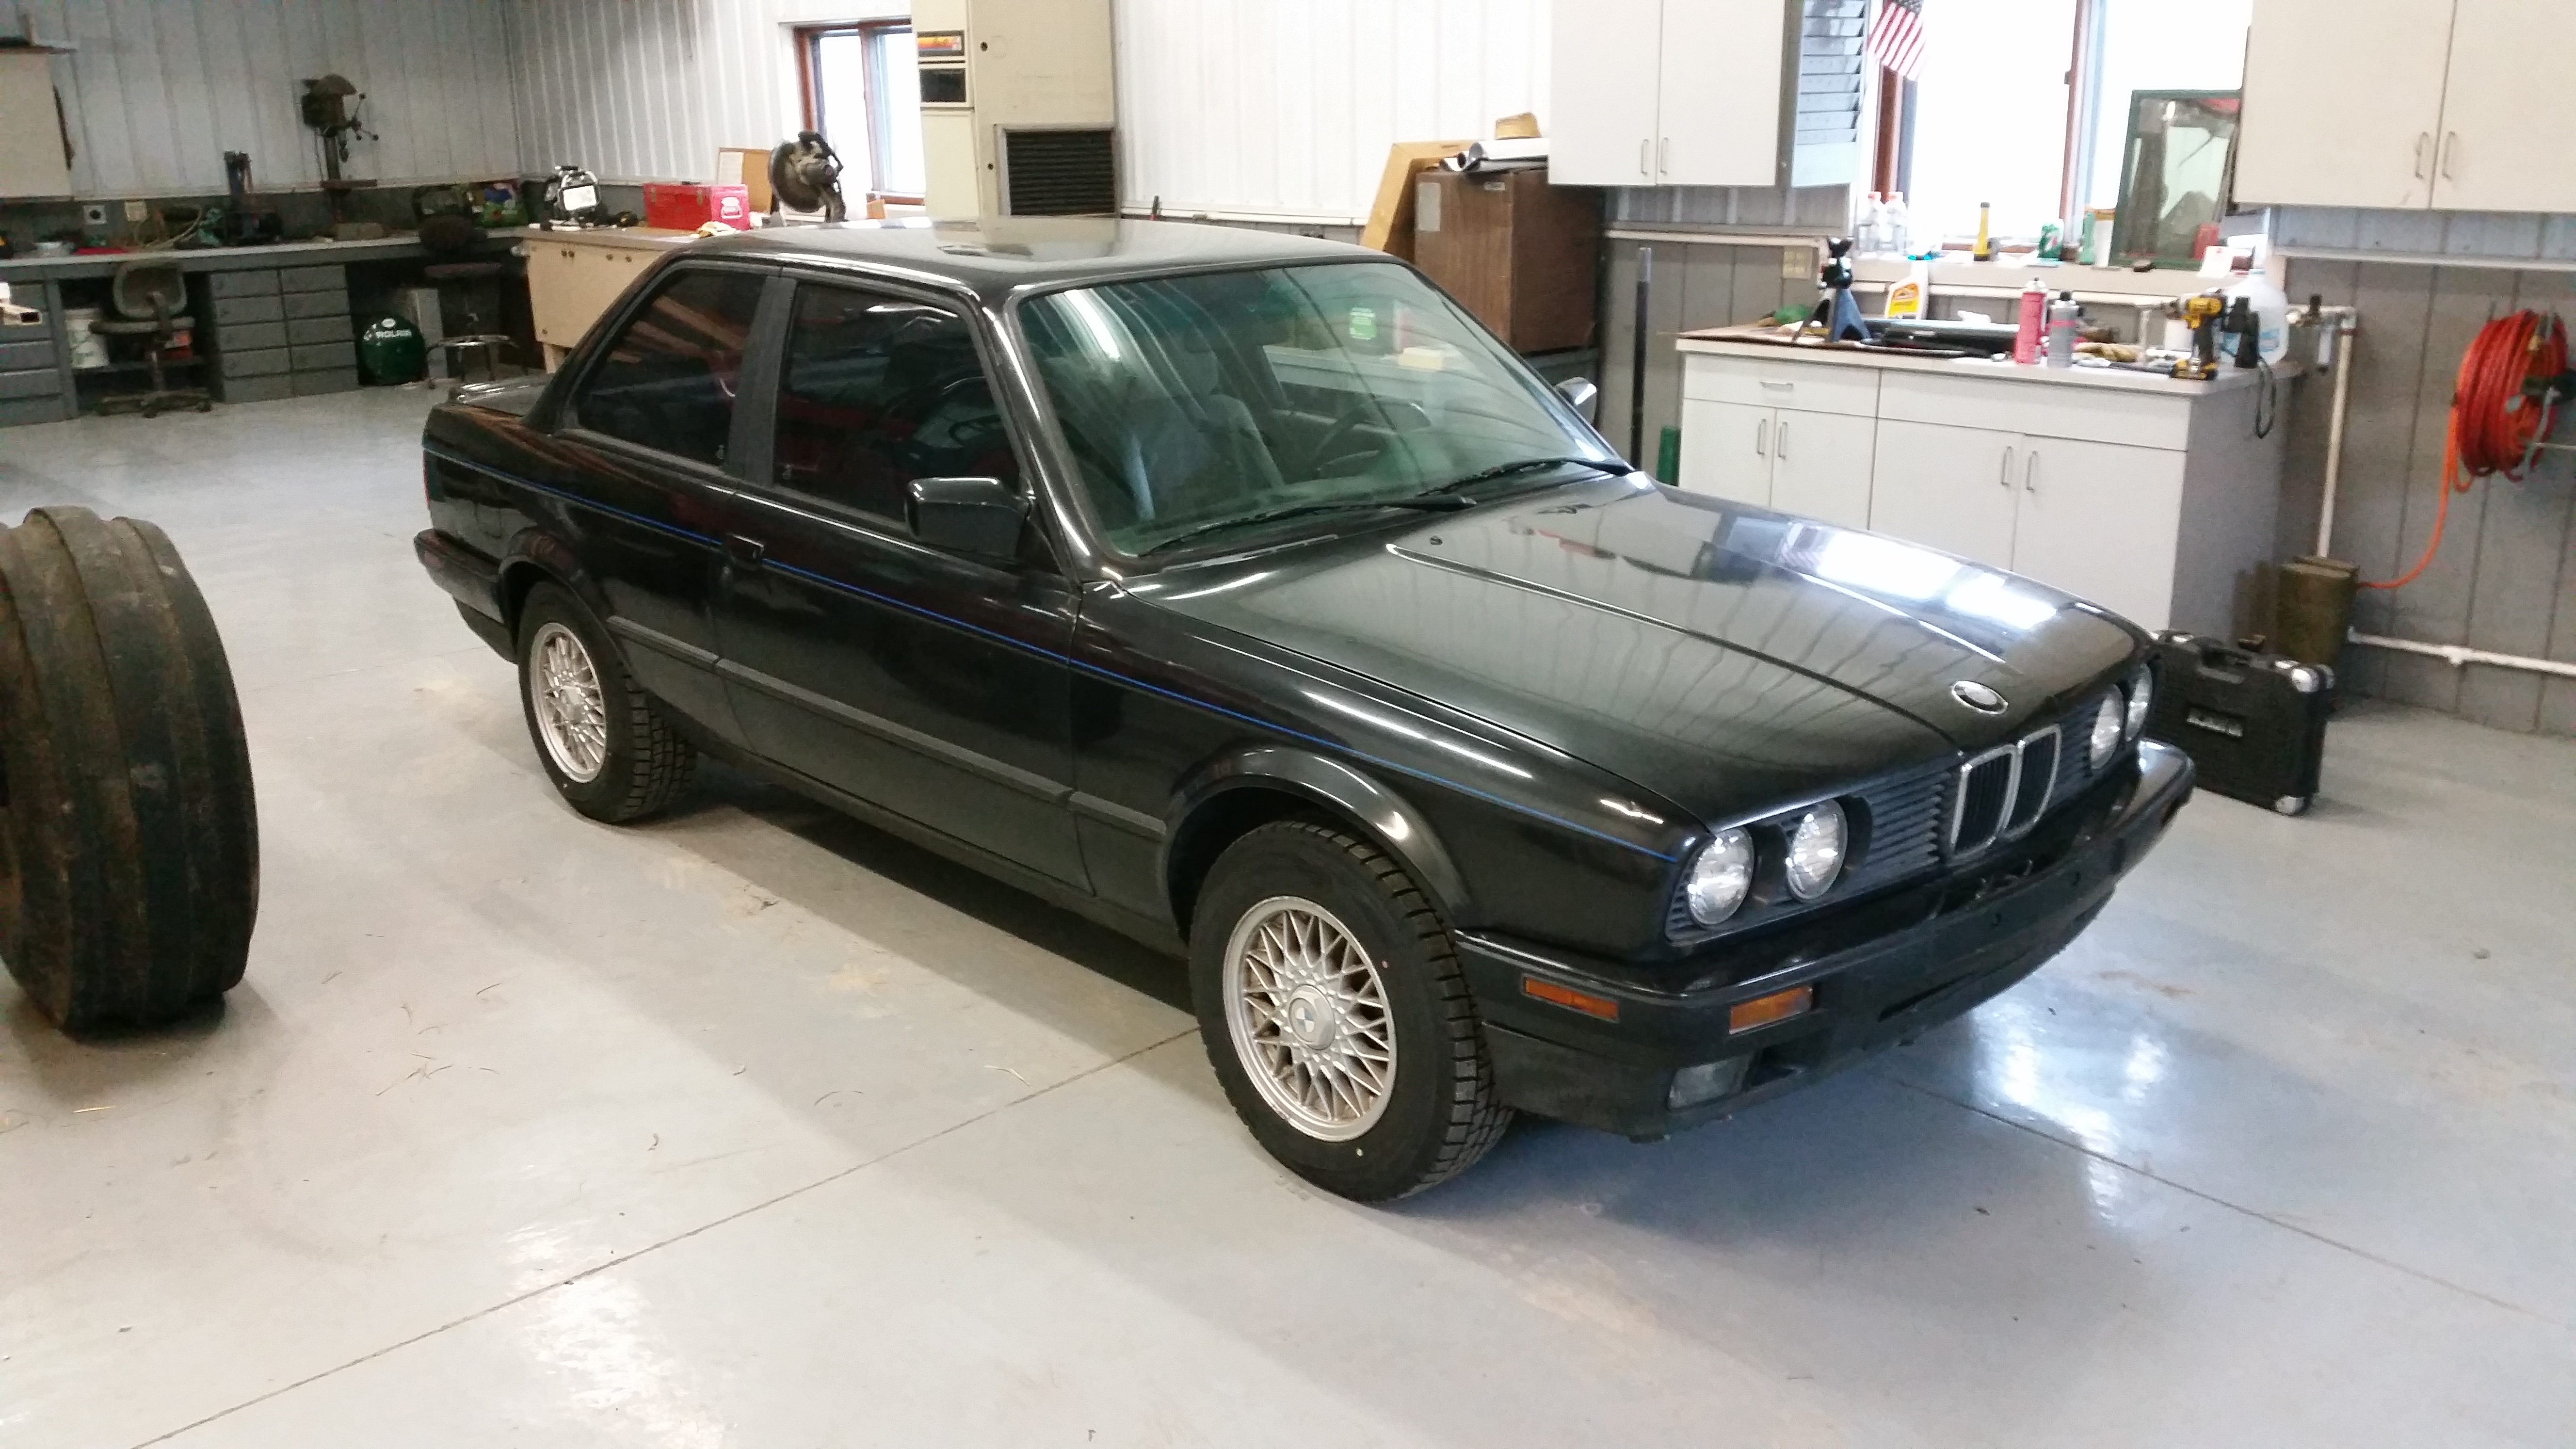
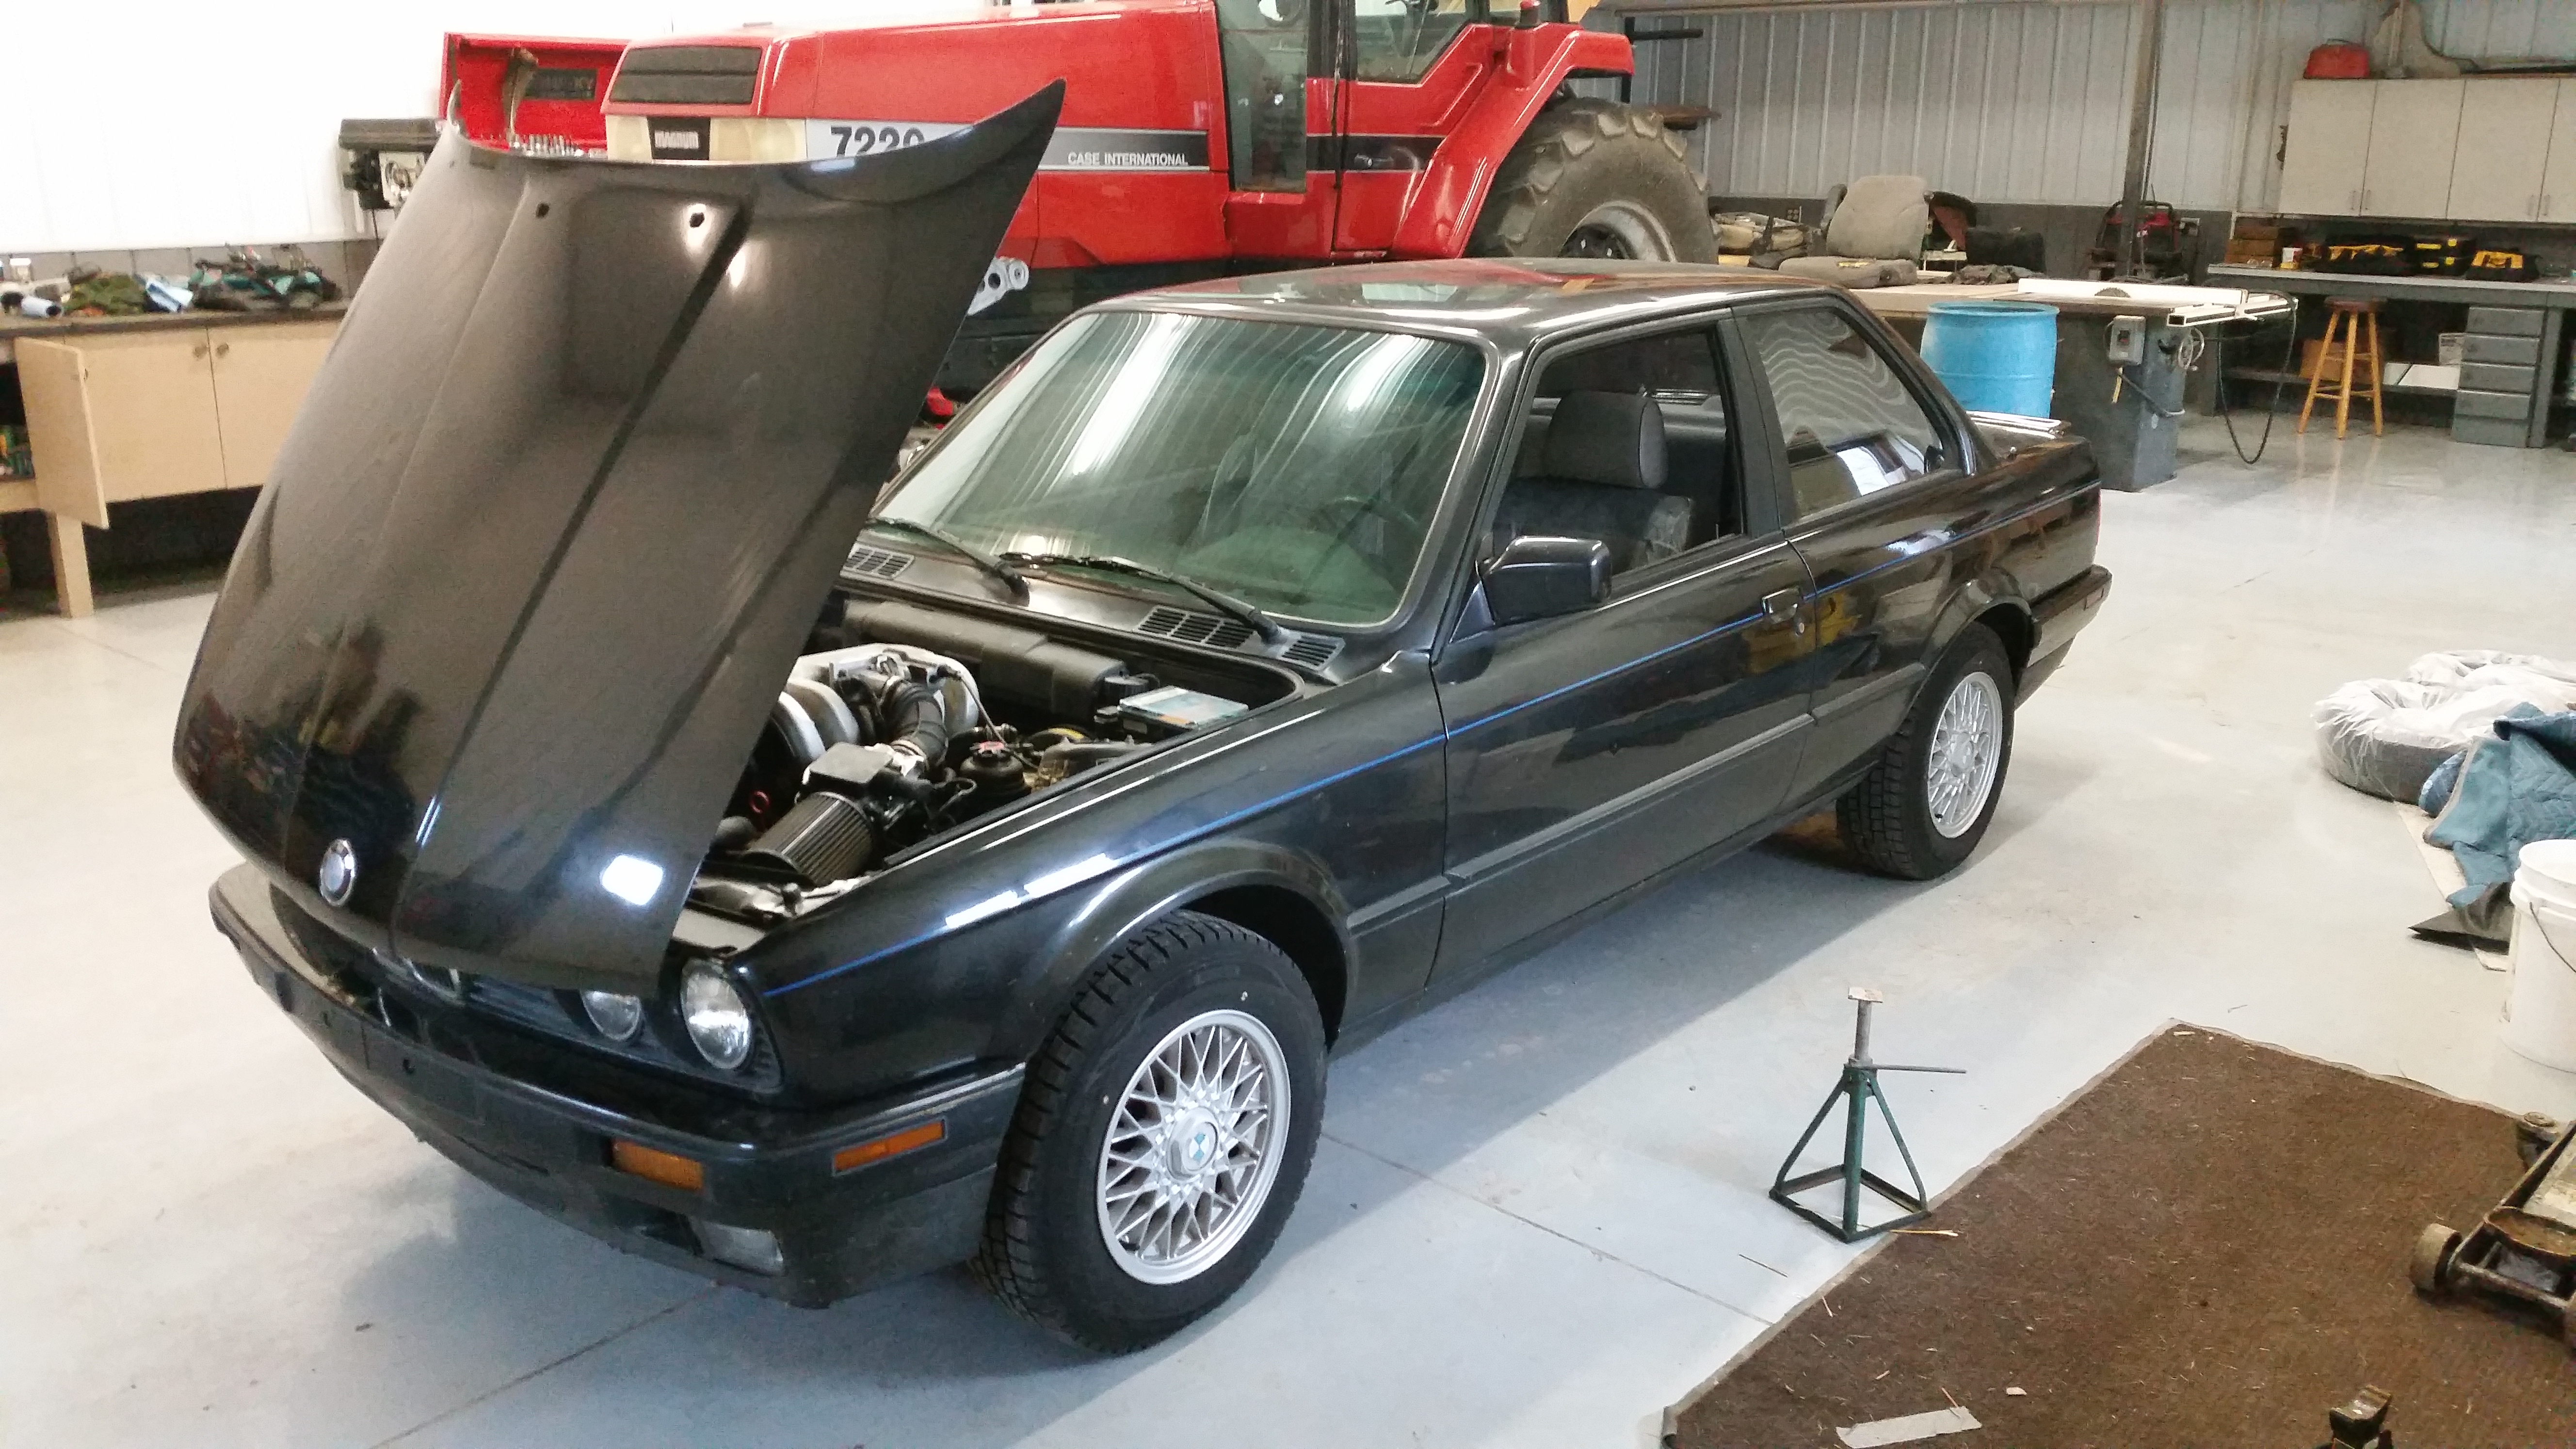
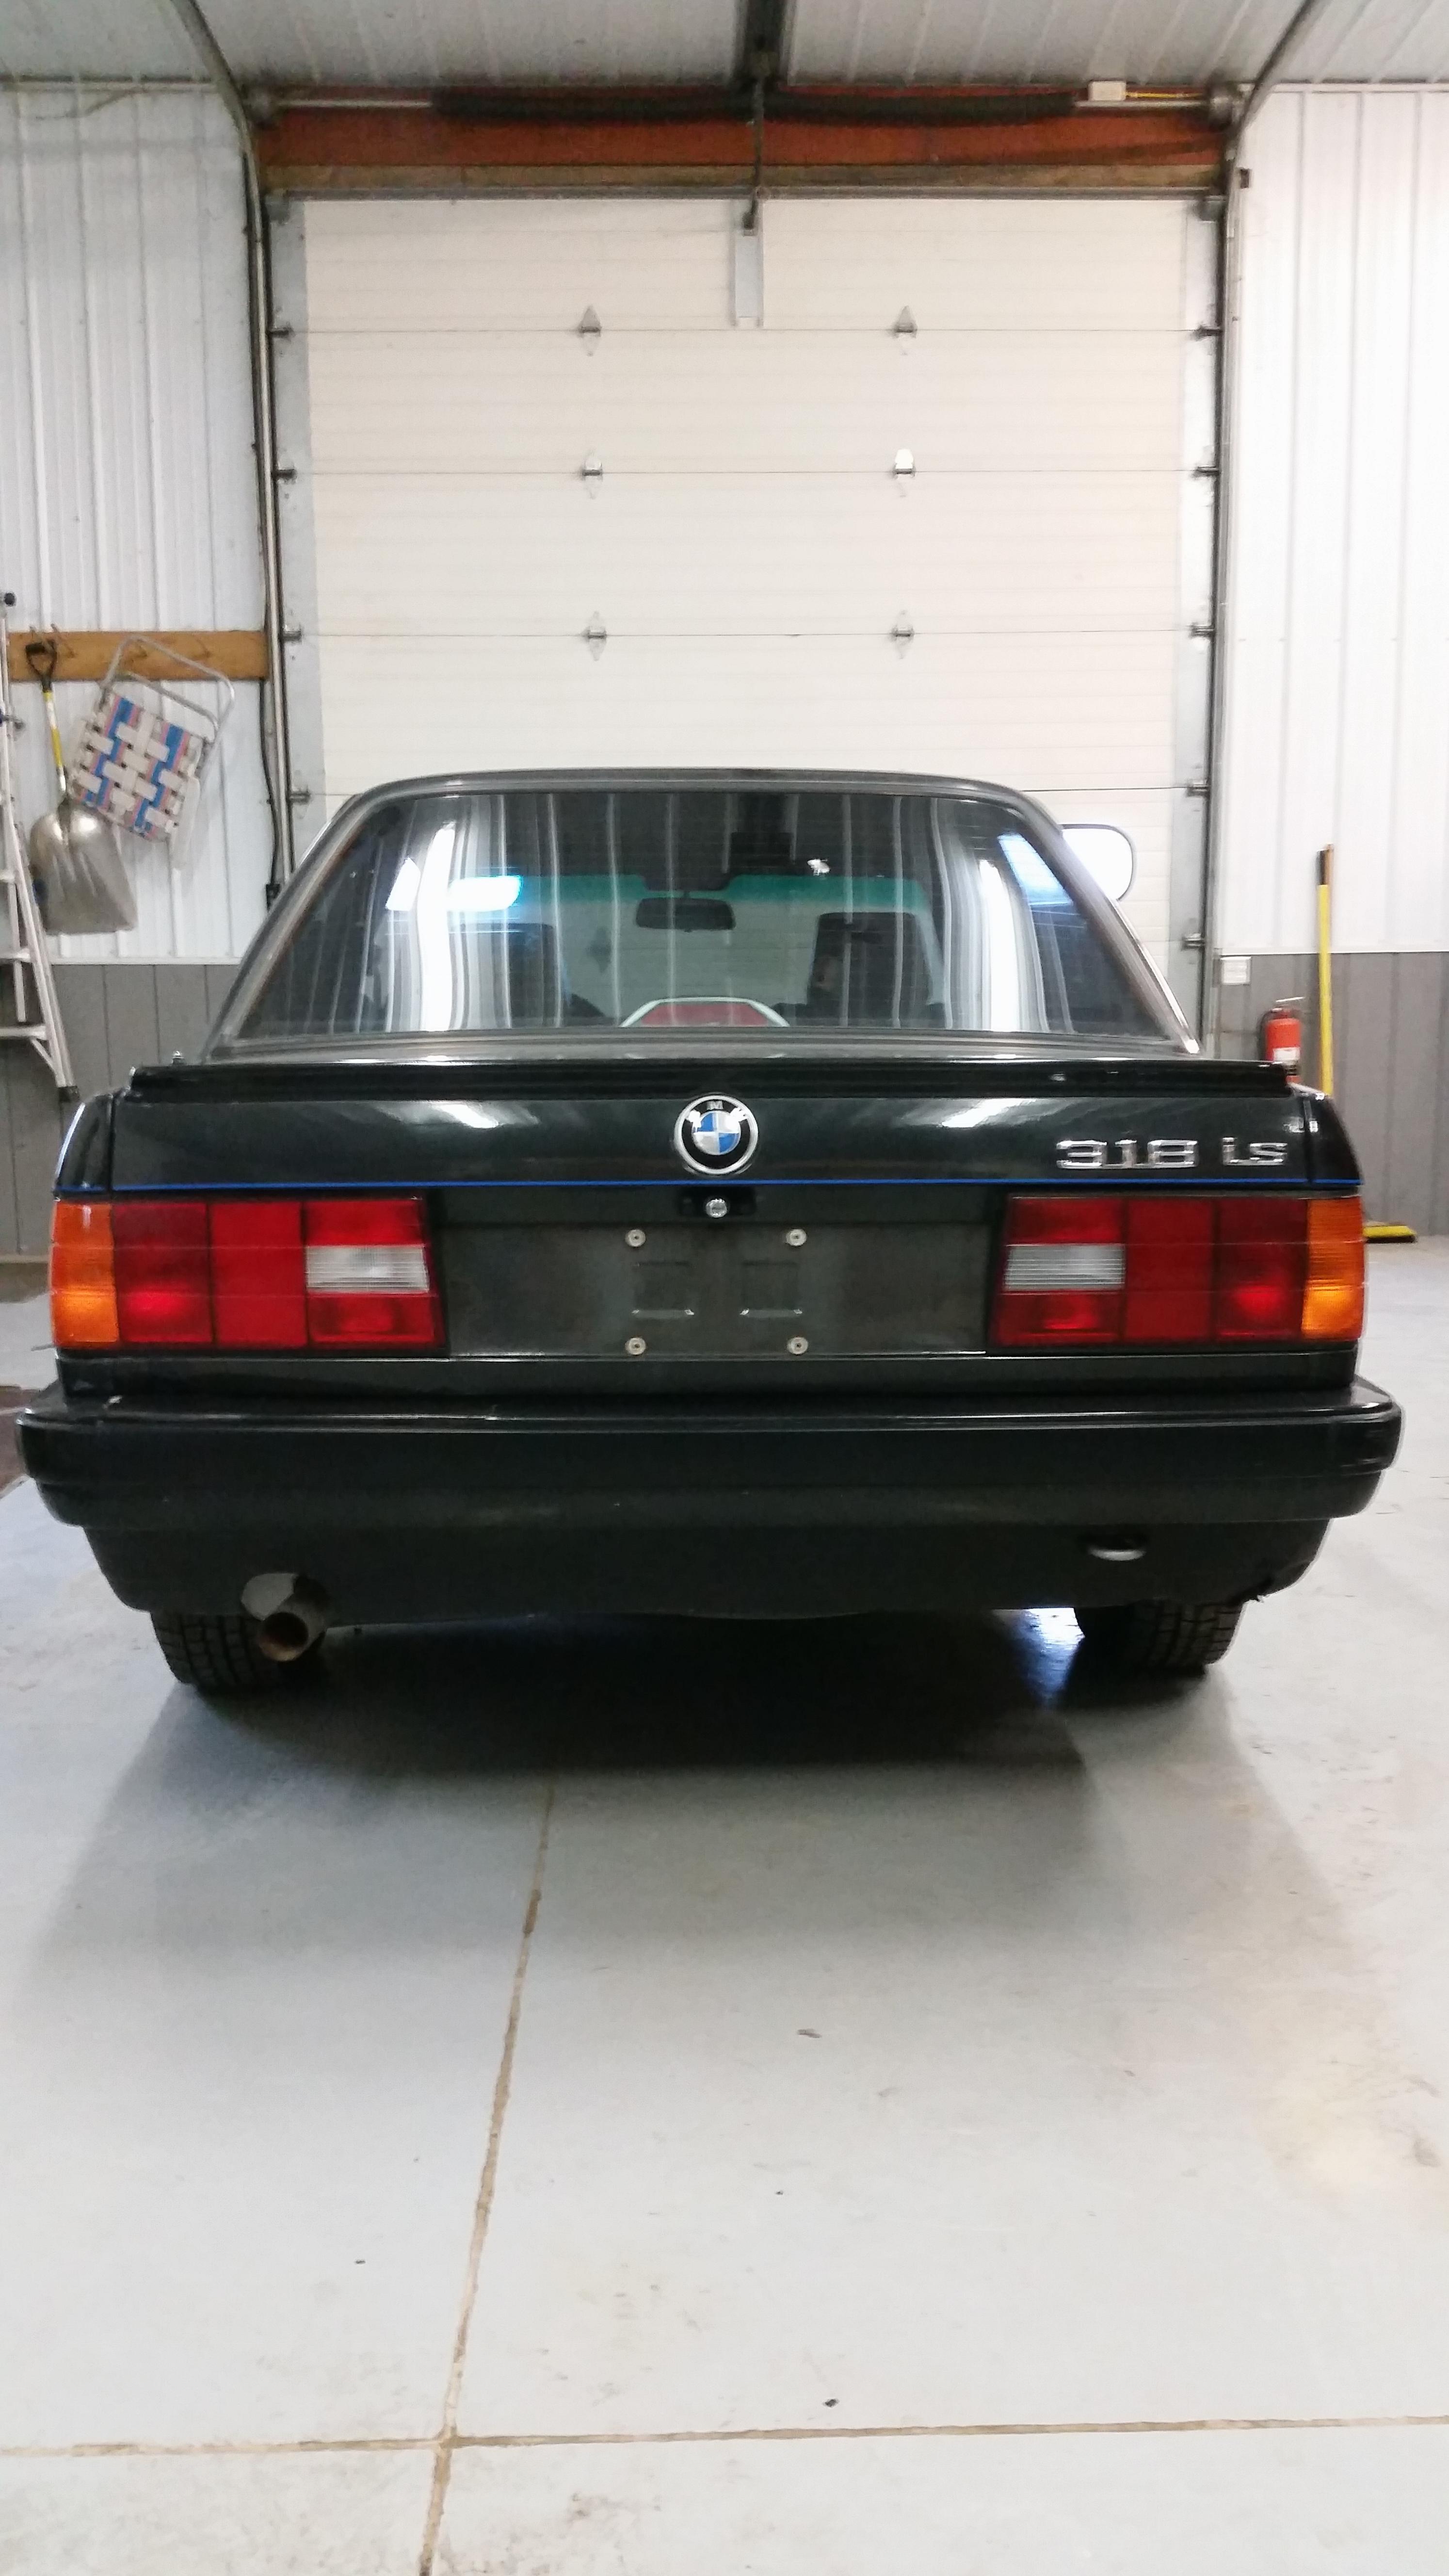
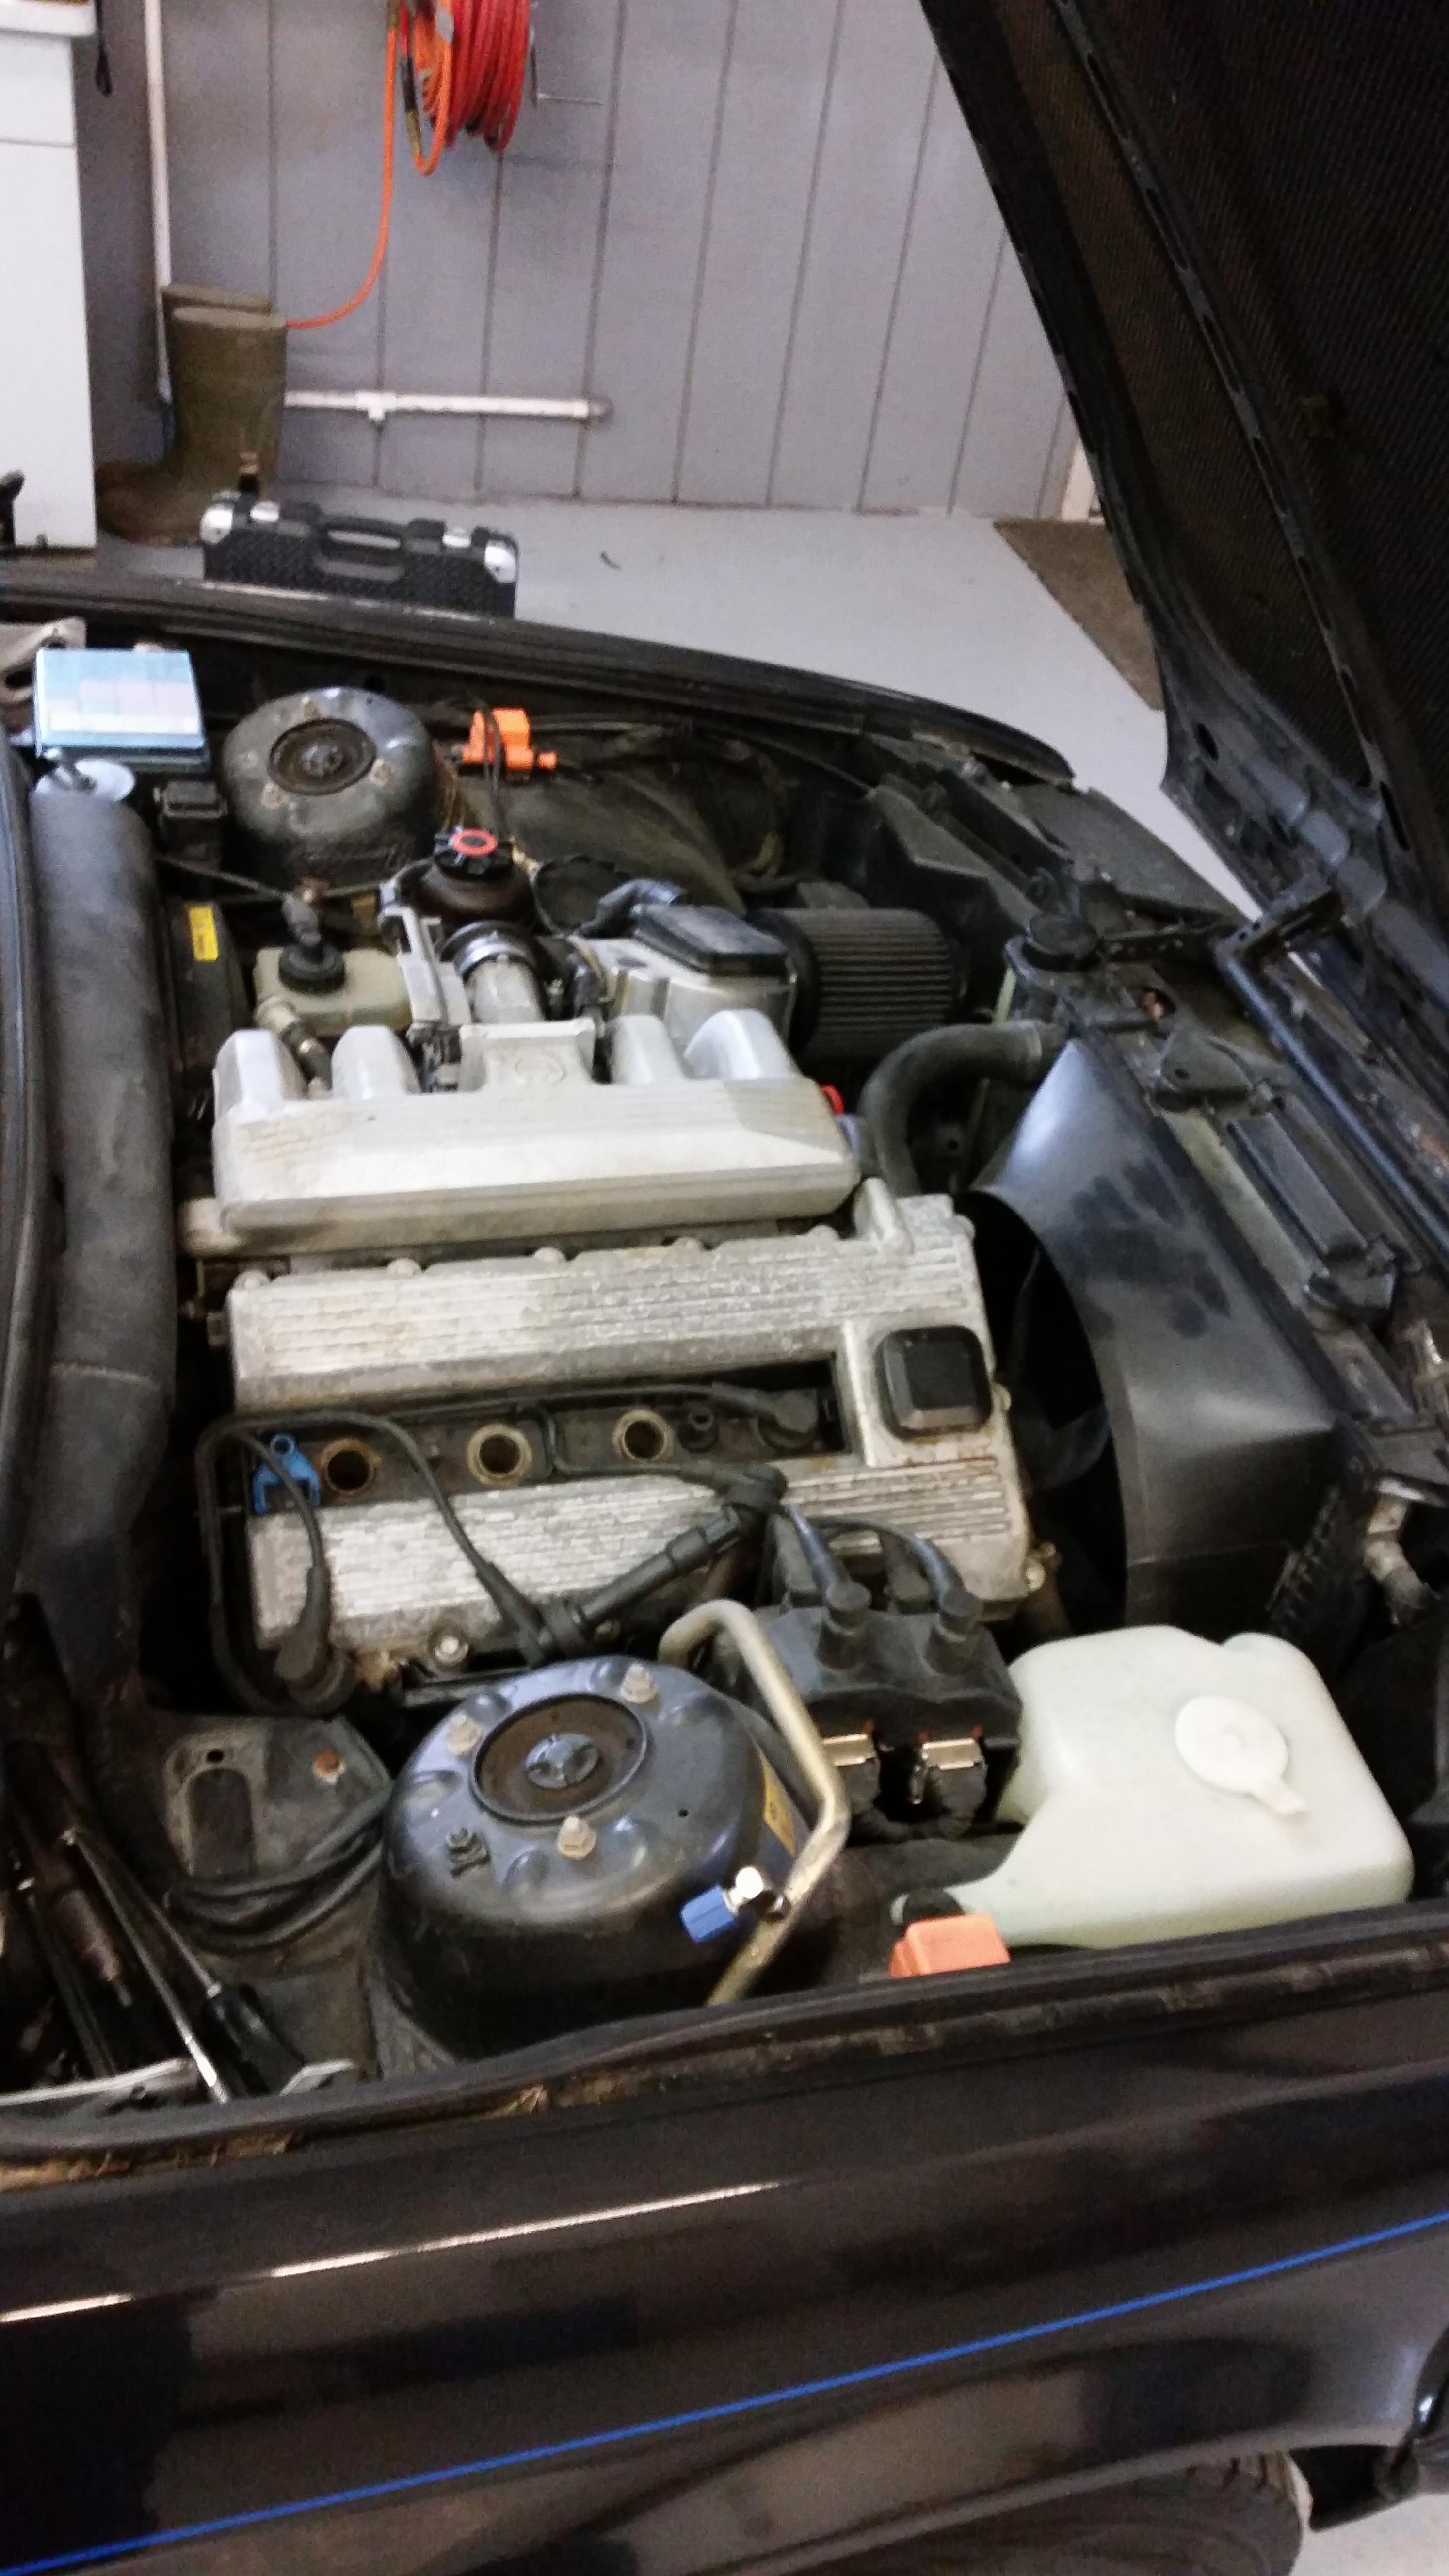
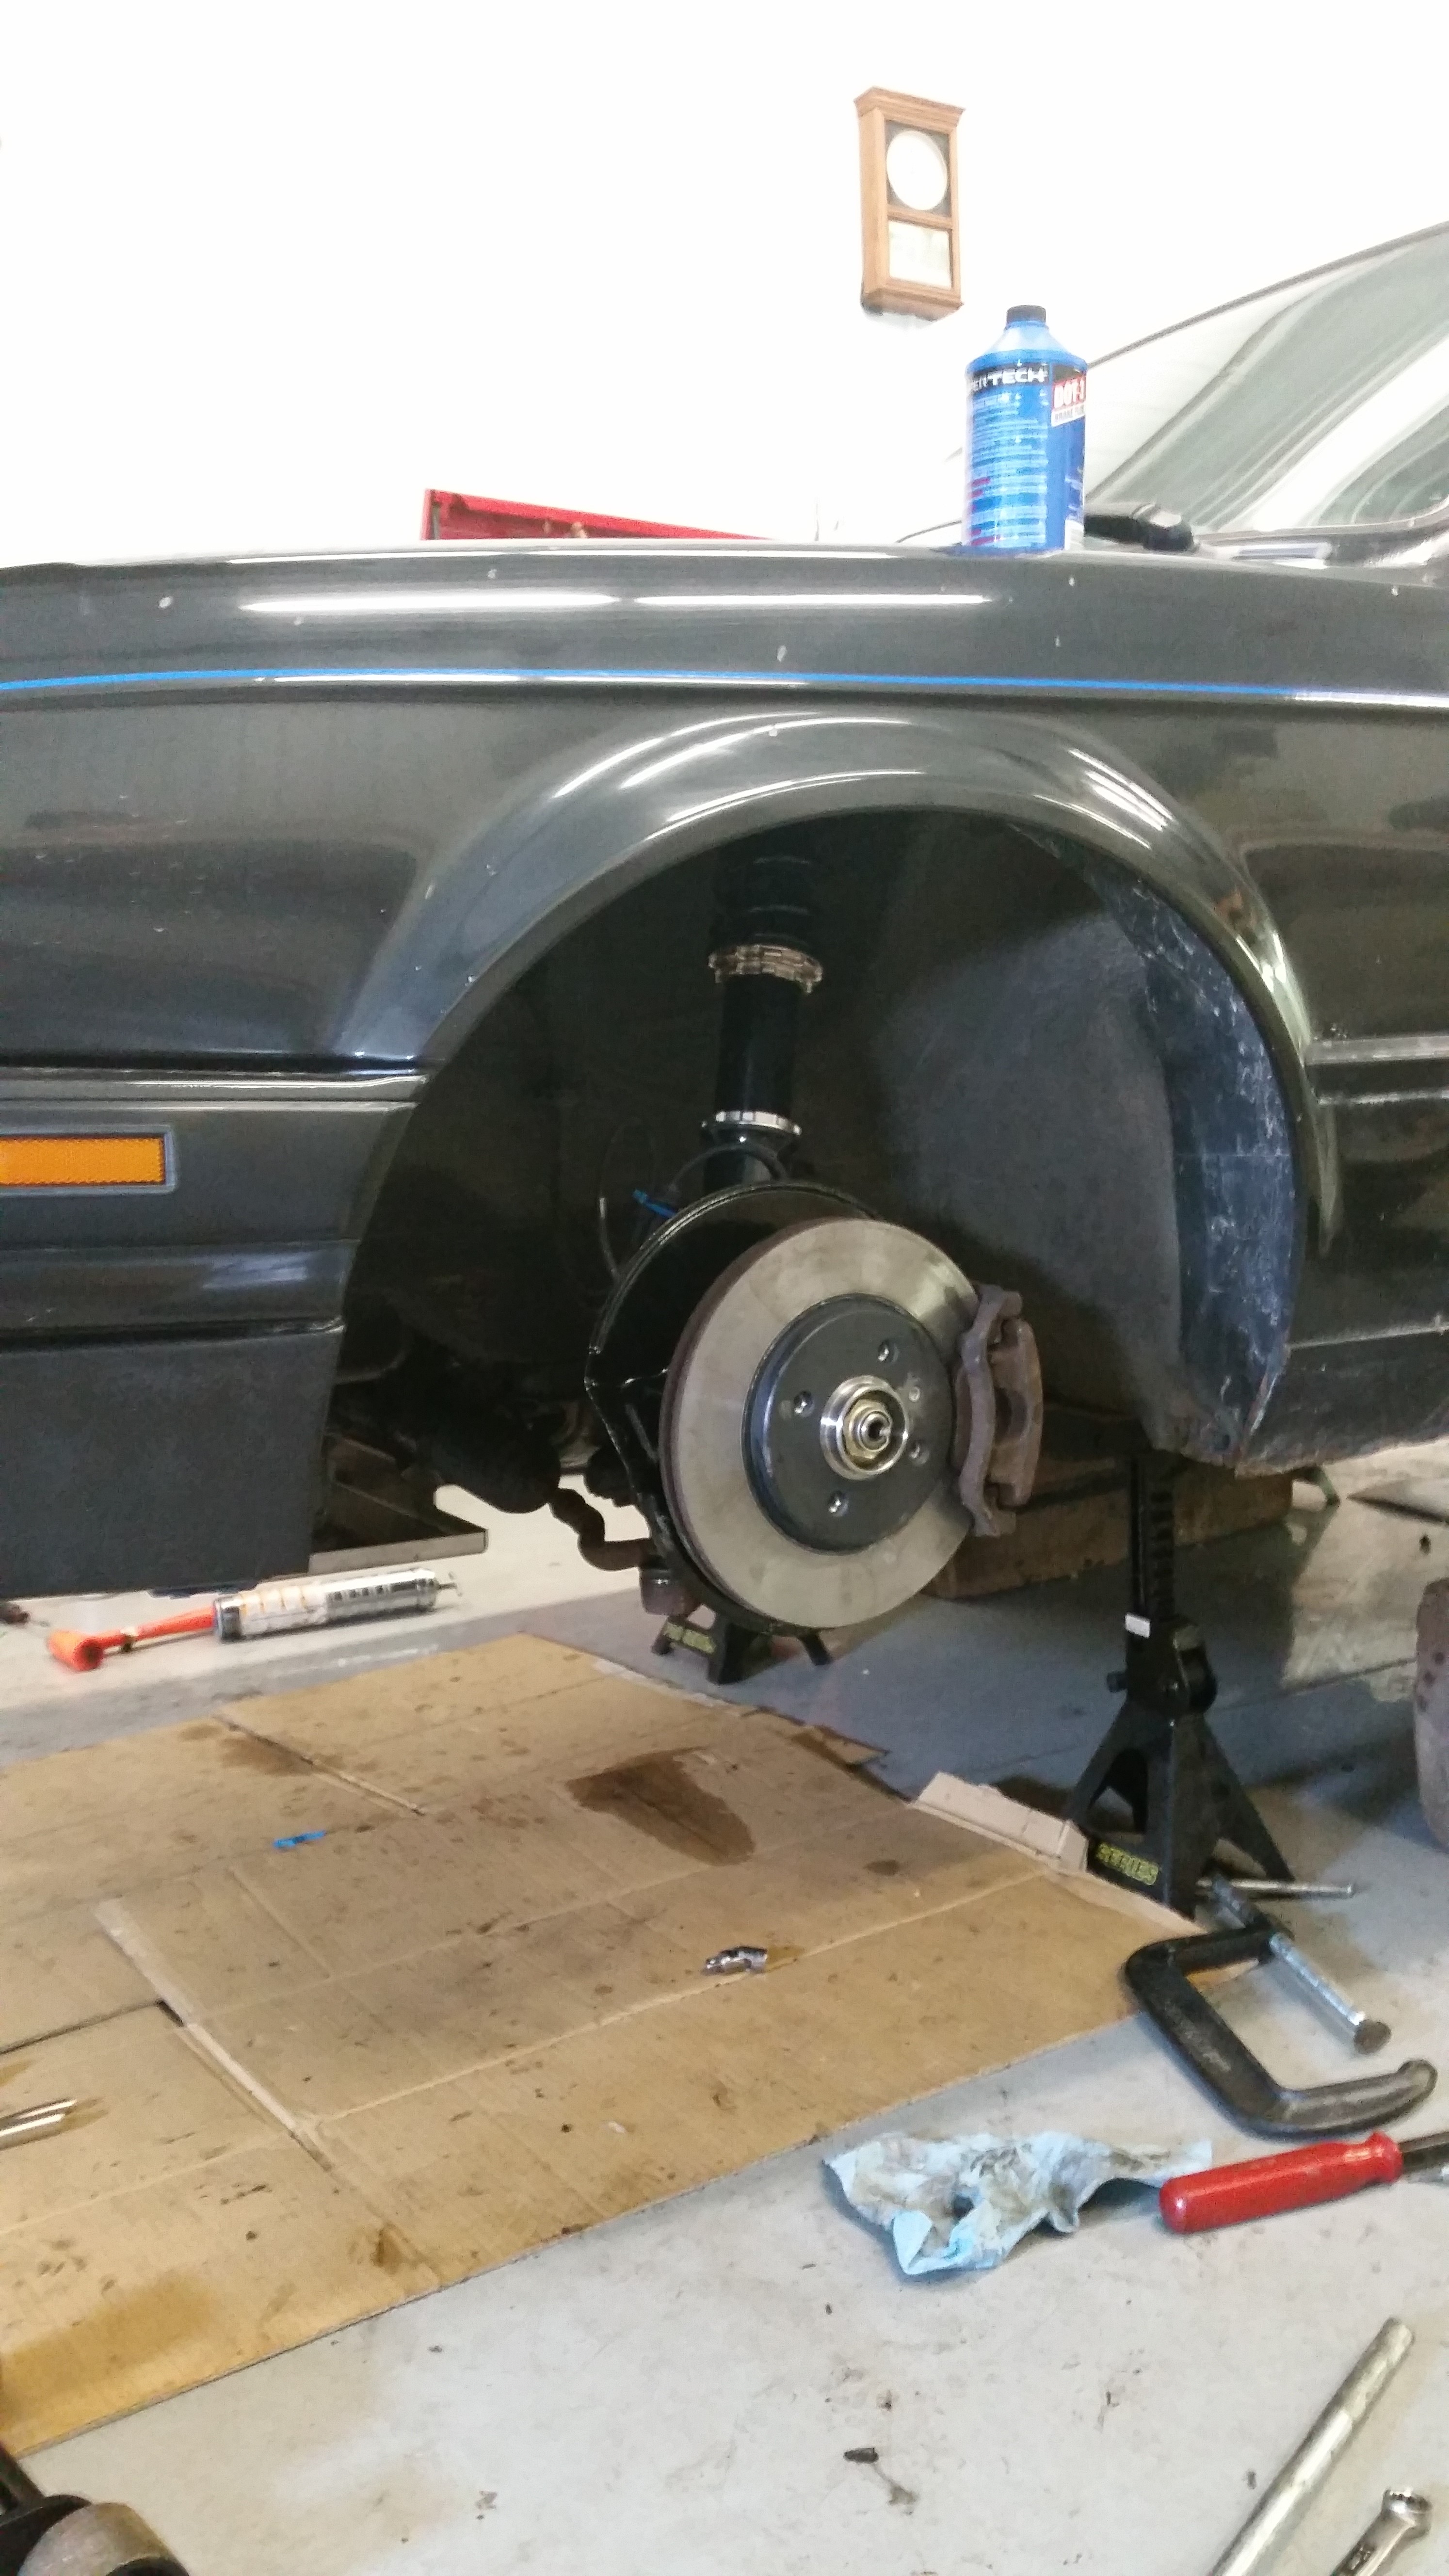
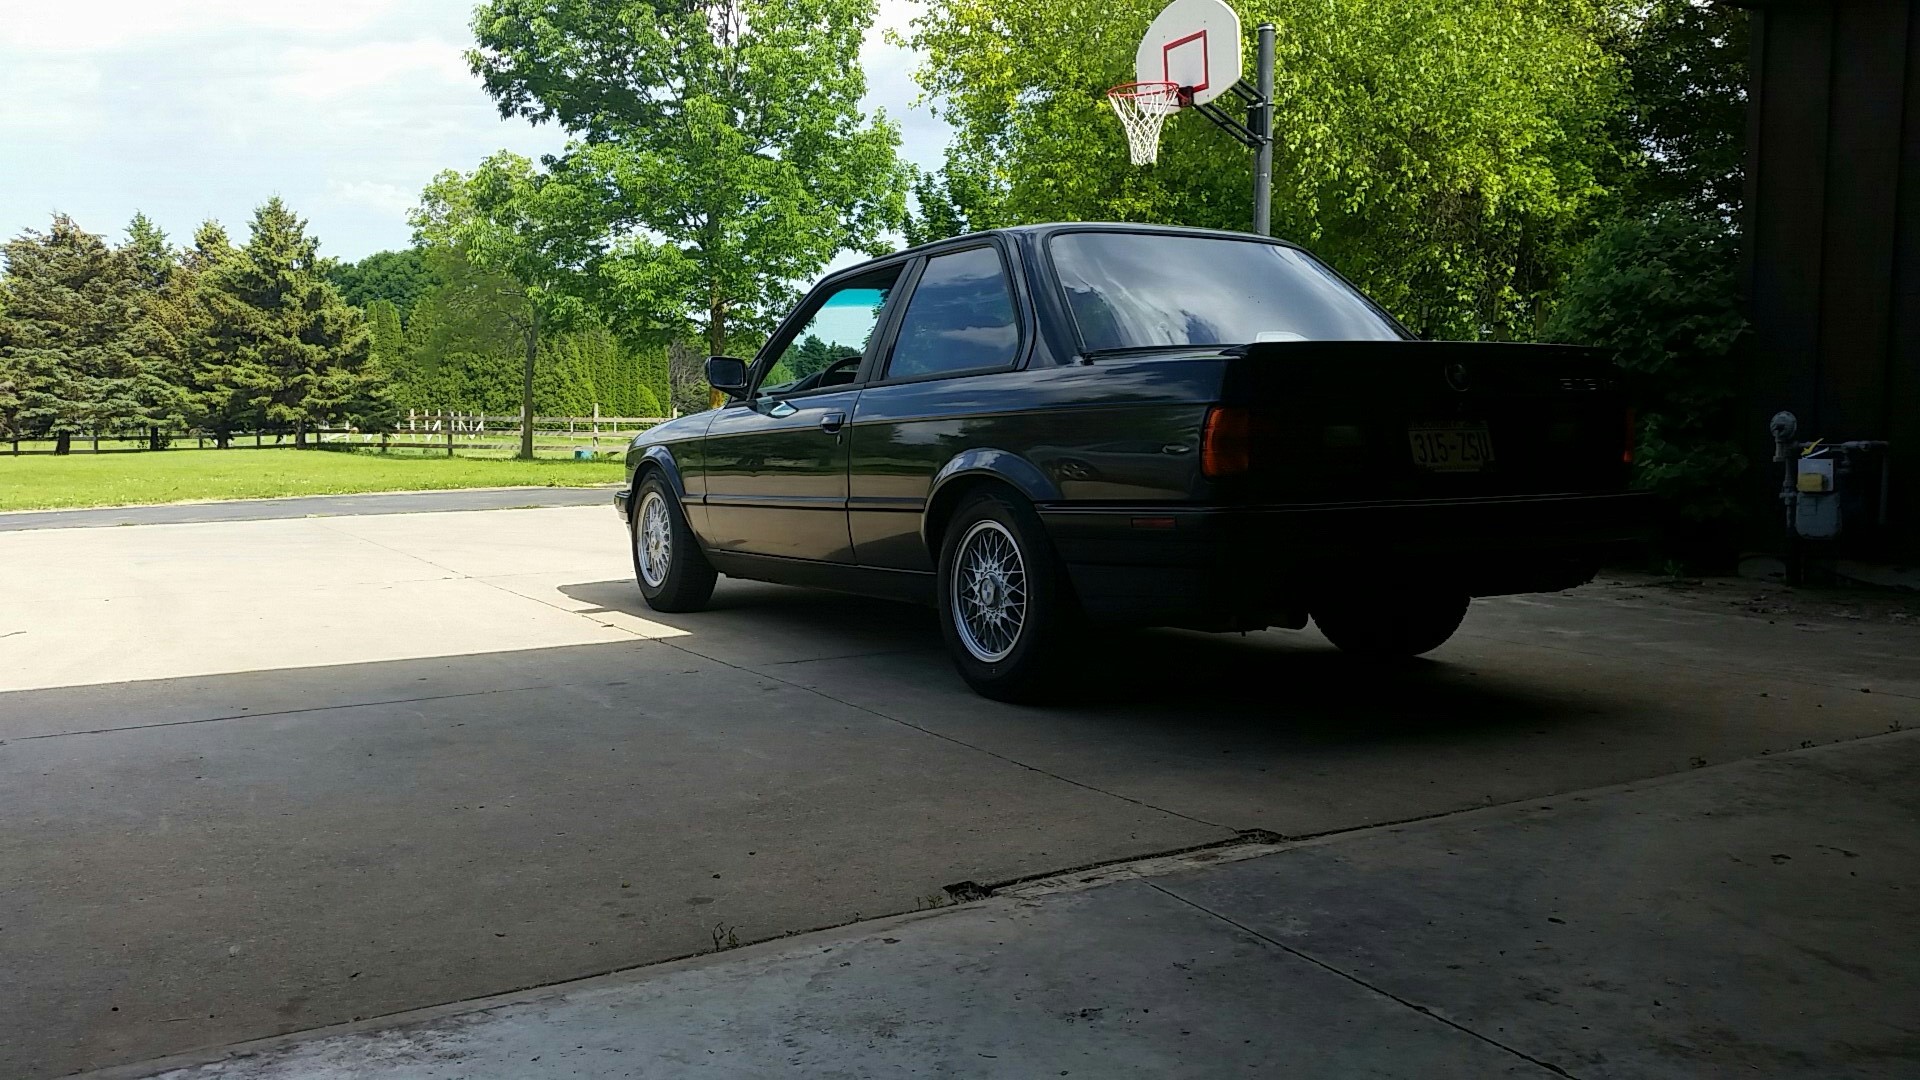
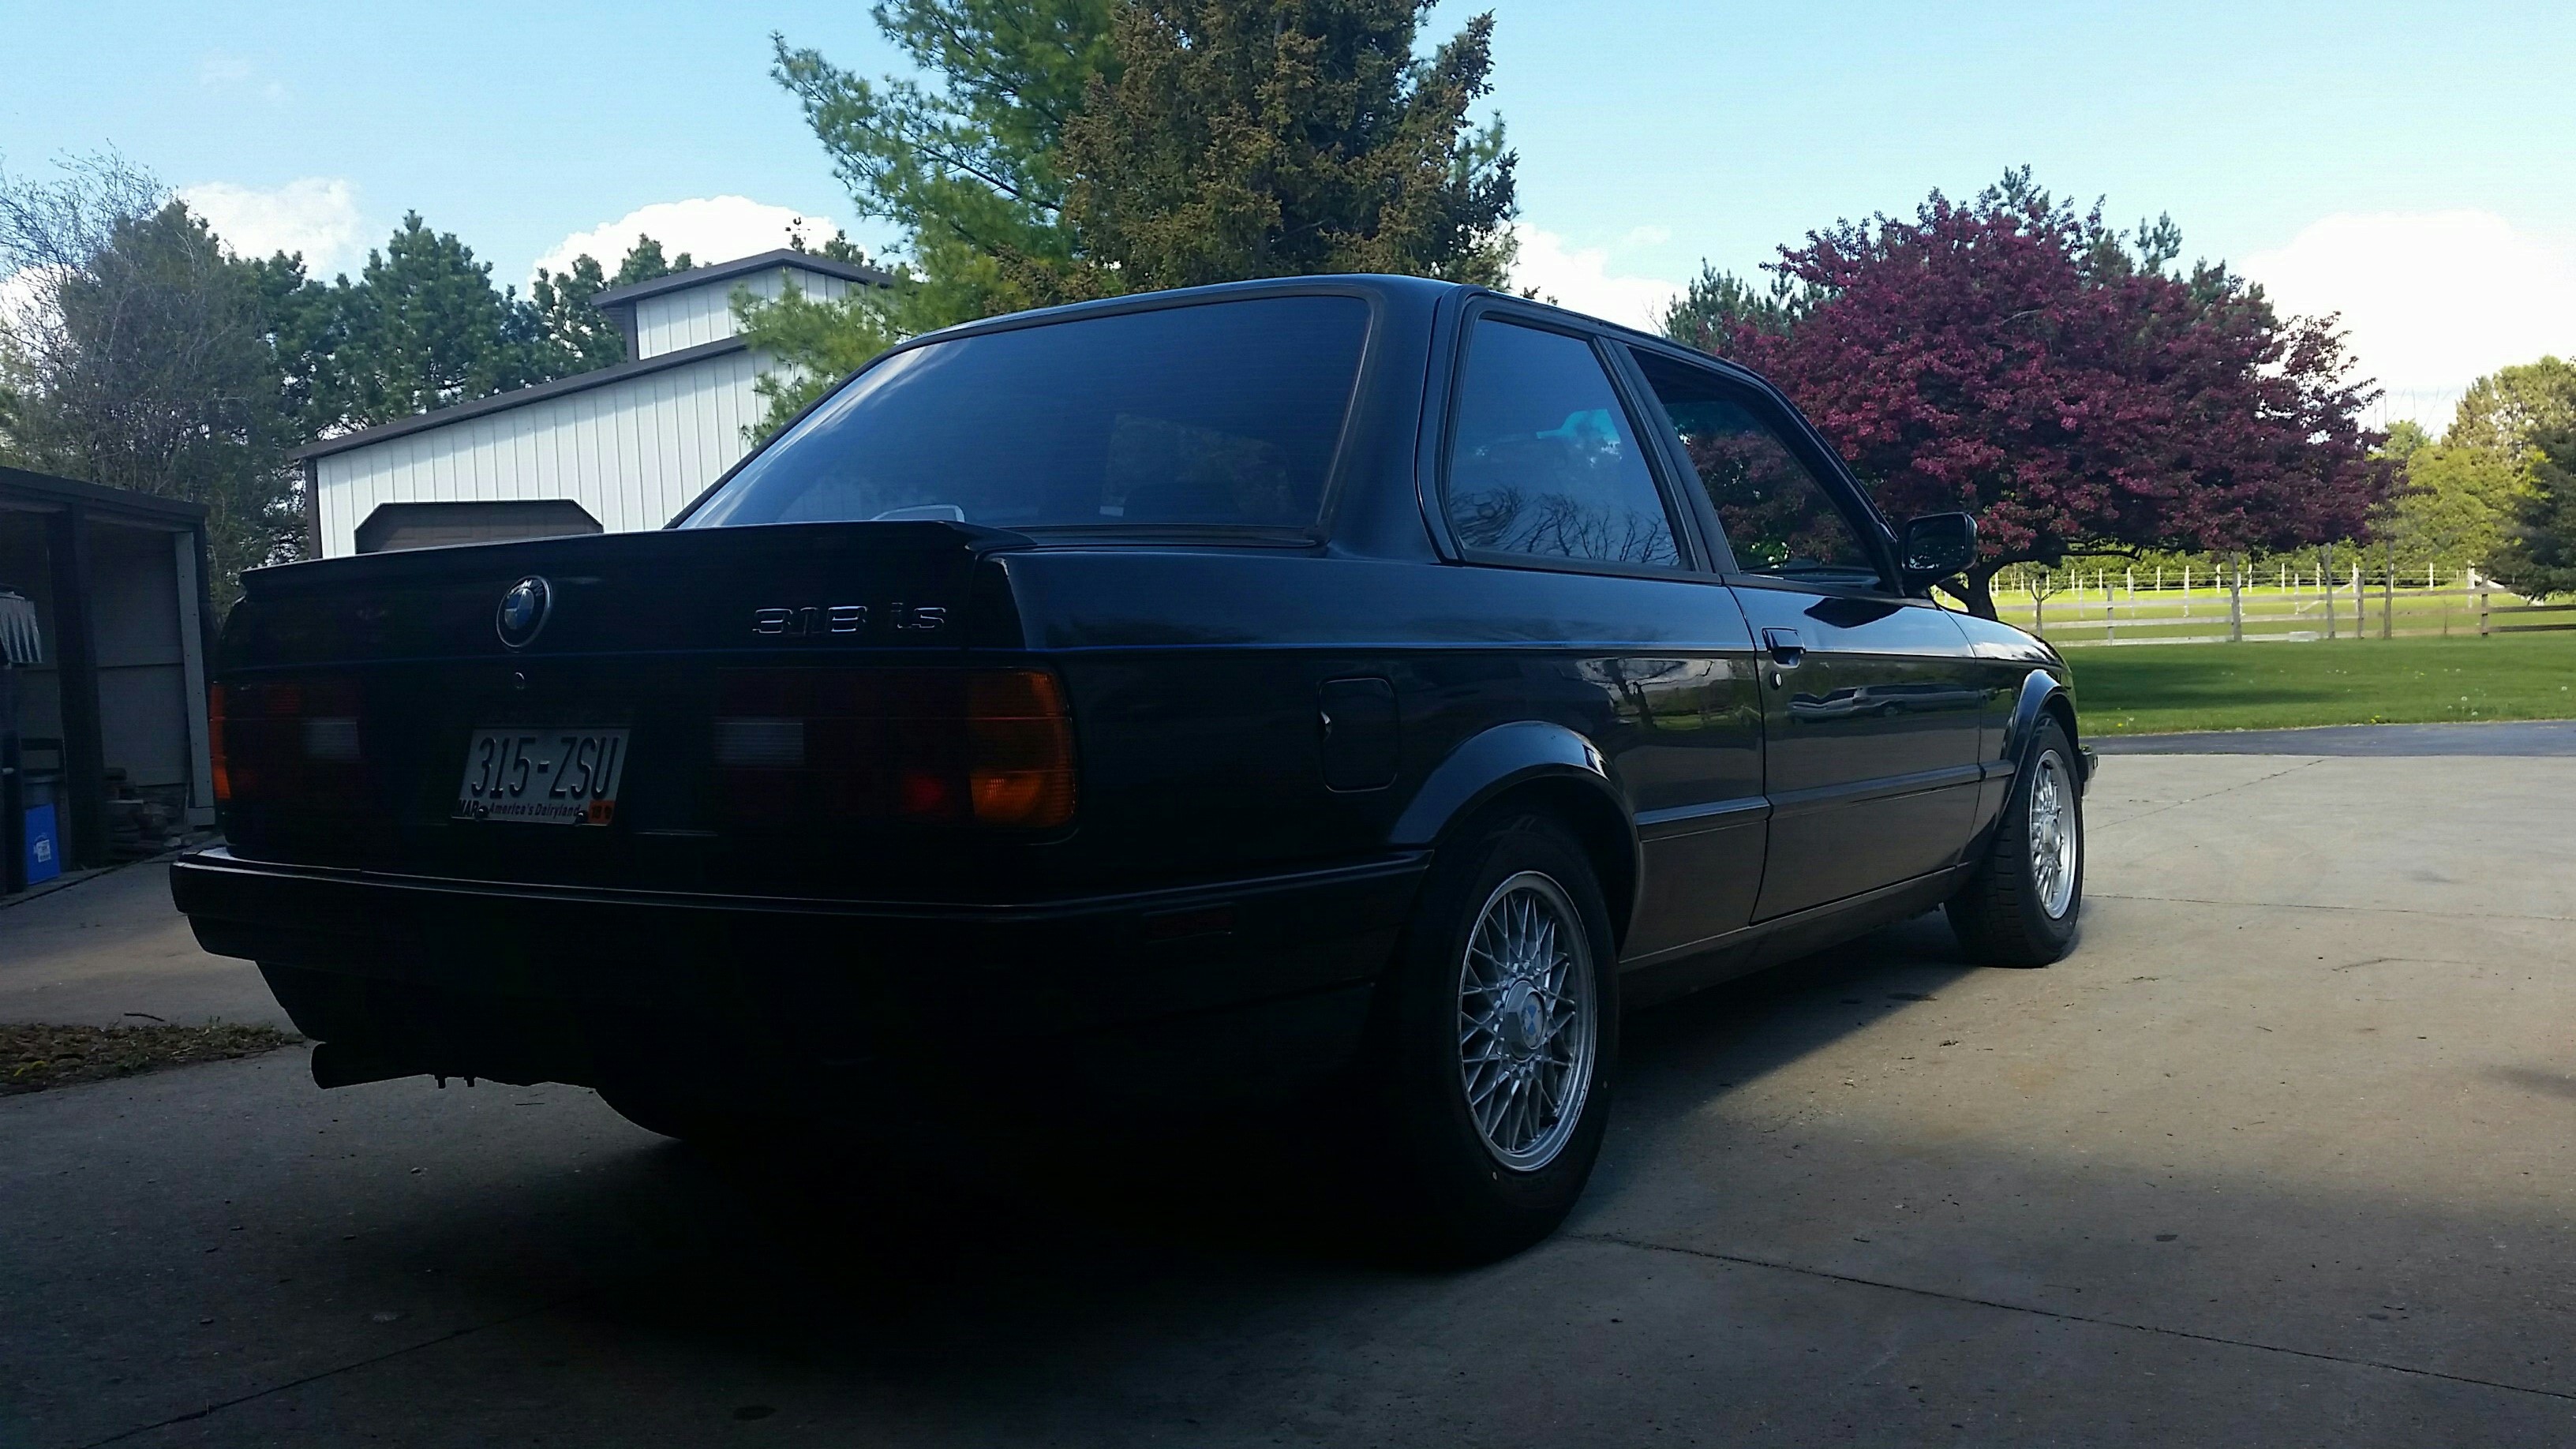
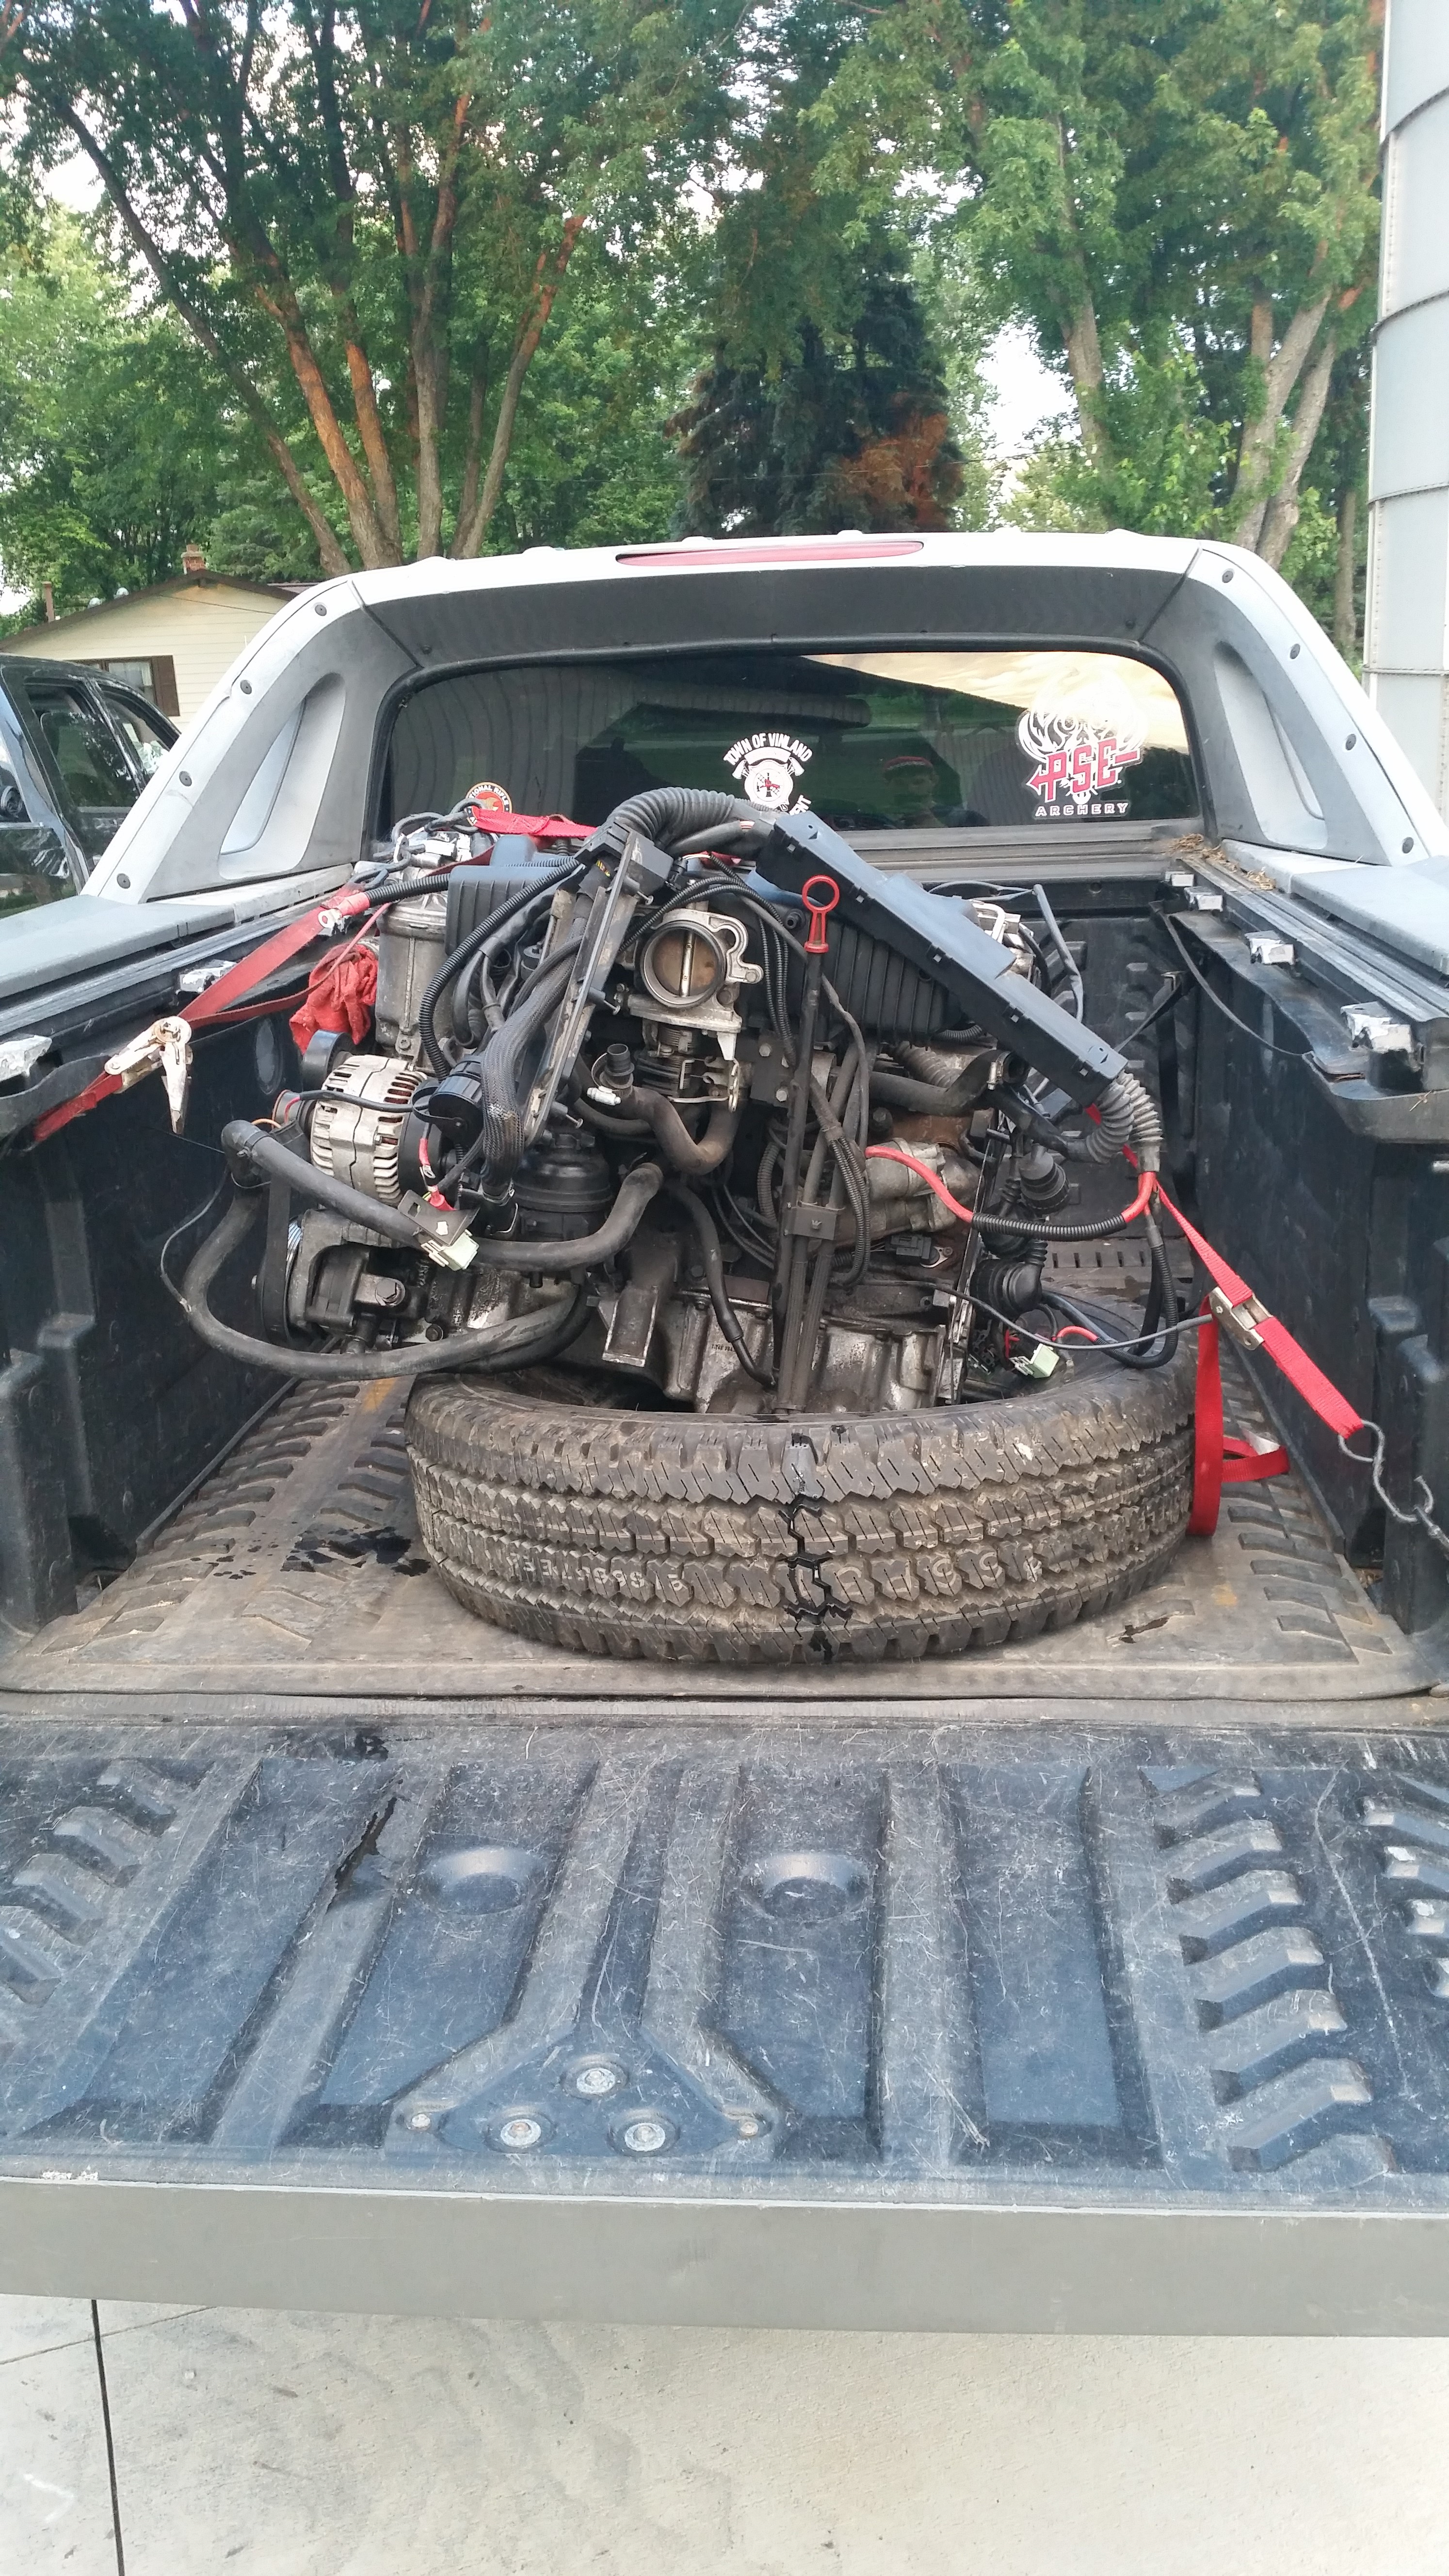
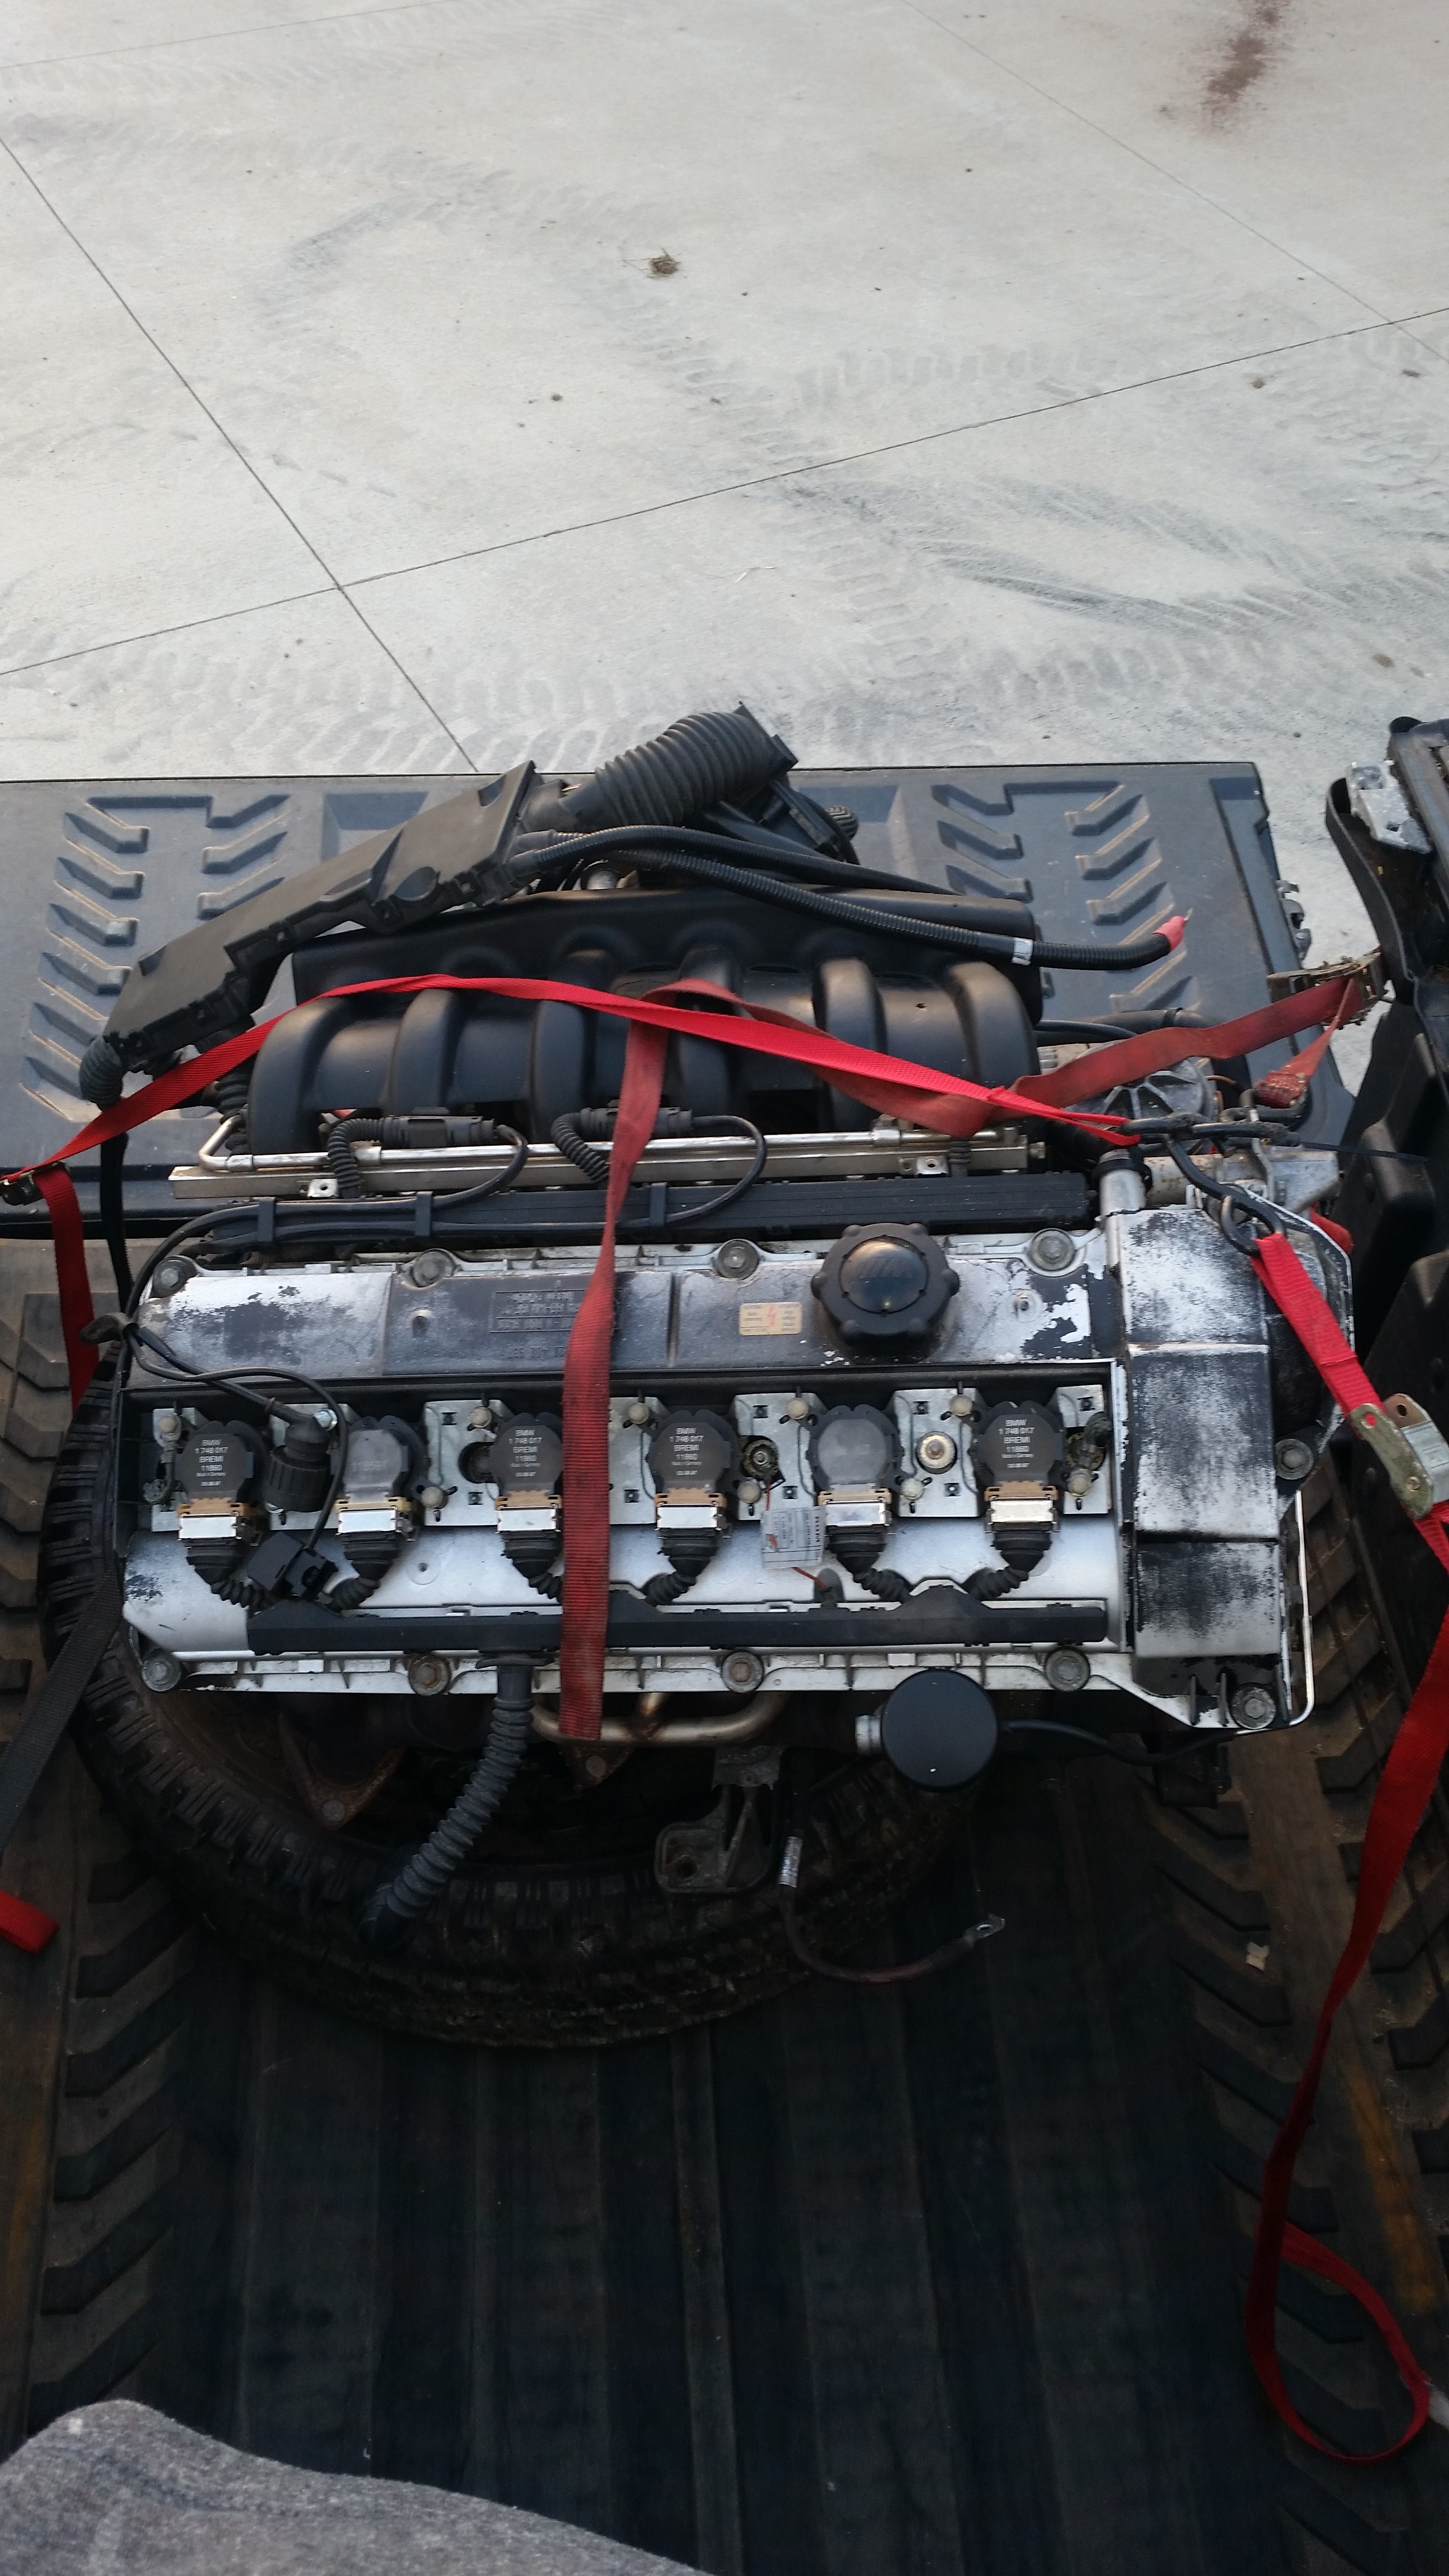
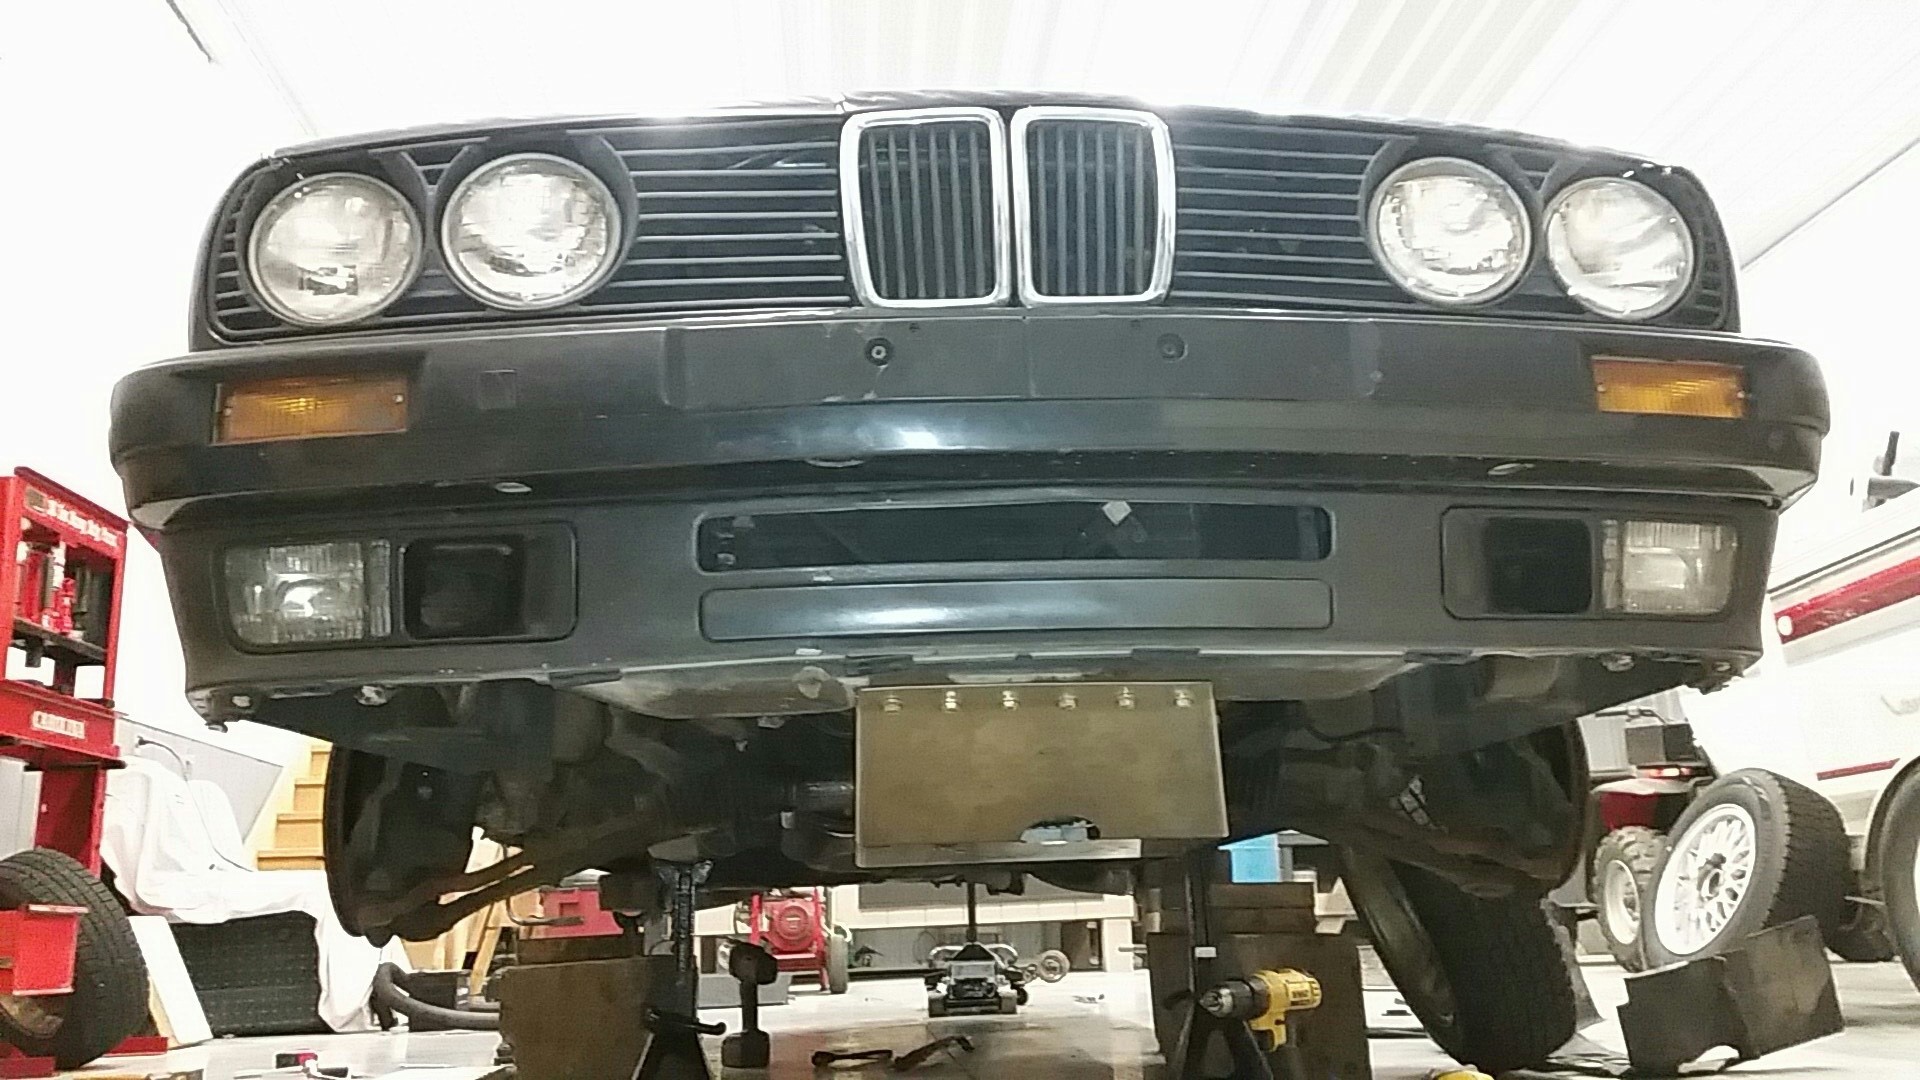
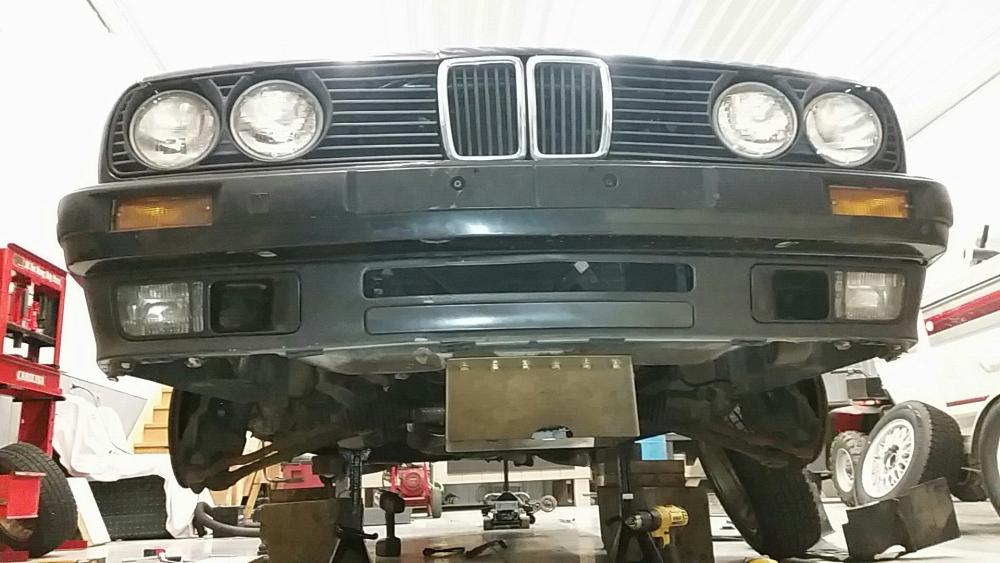
the one and only e30 s52 engine swap
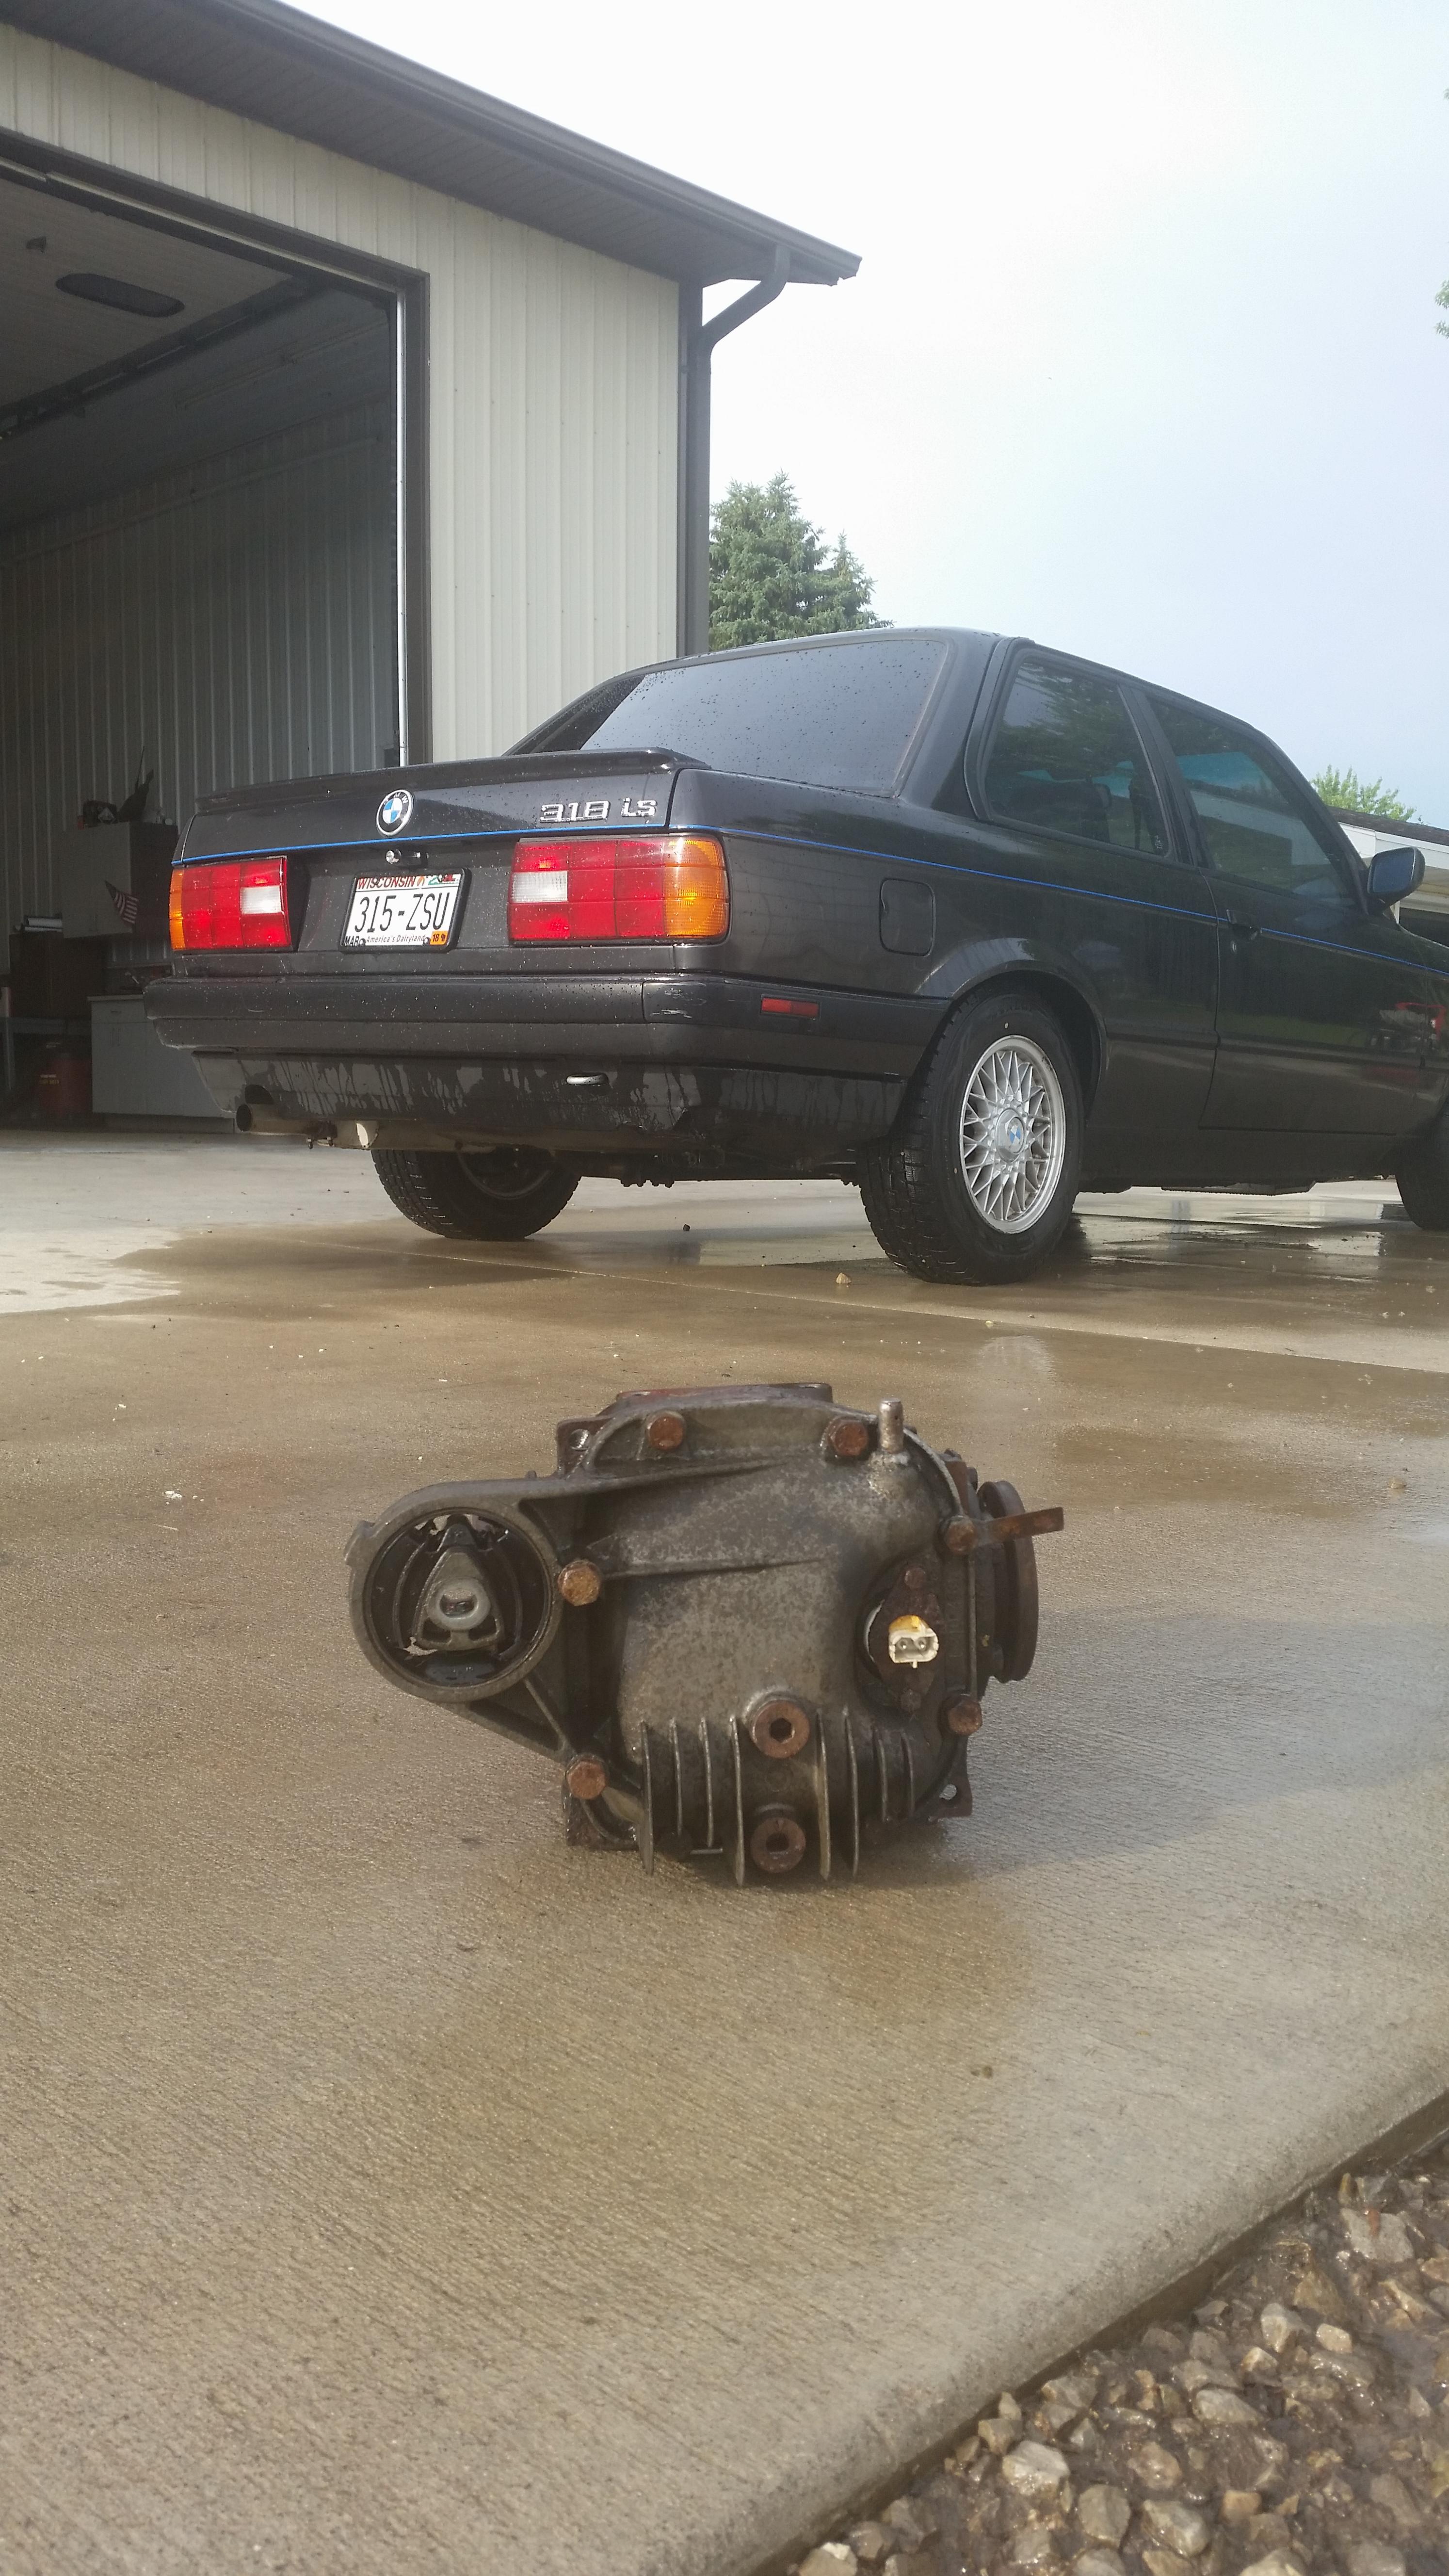
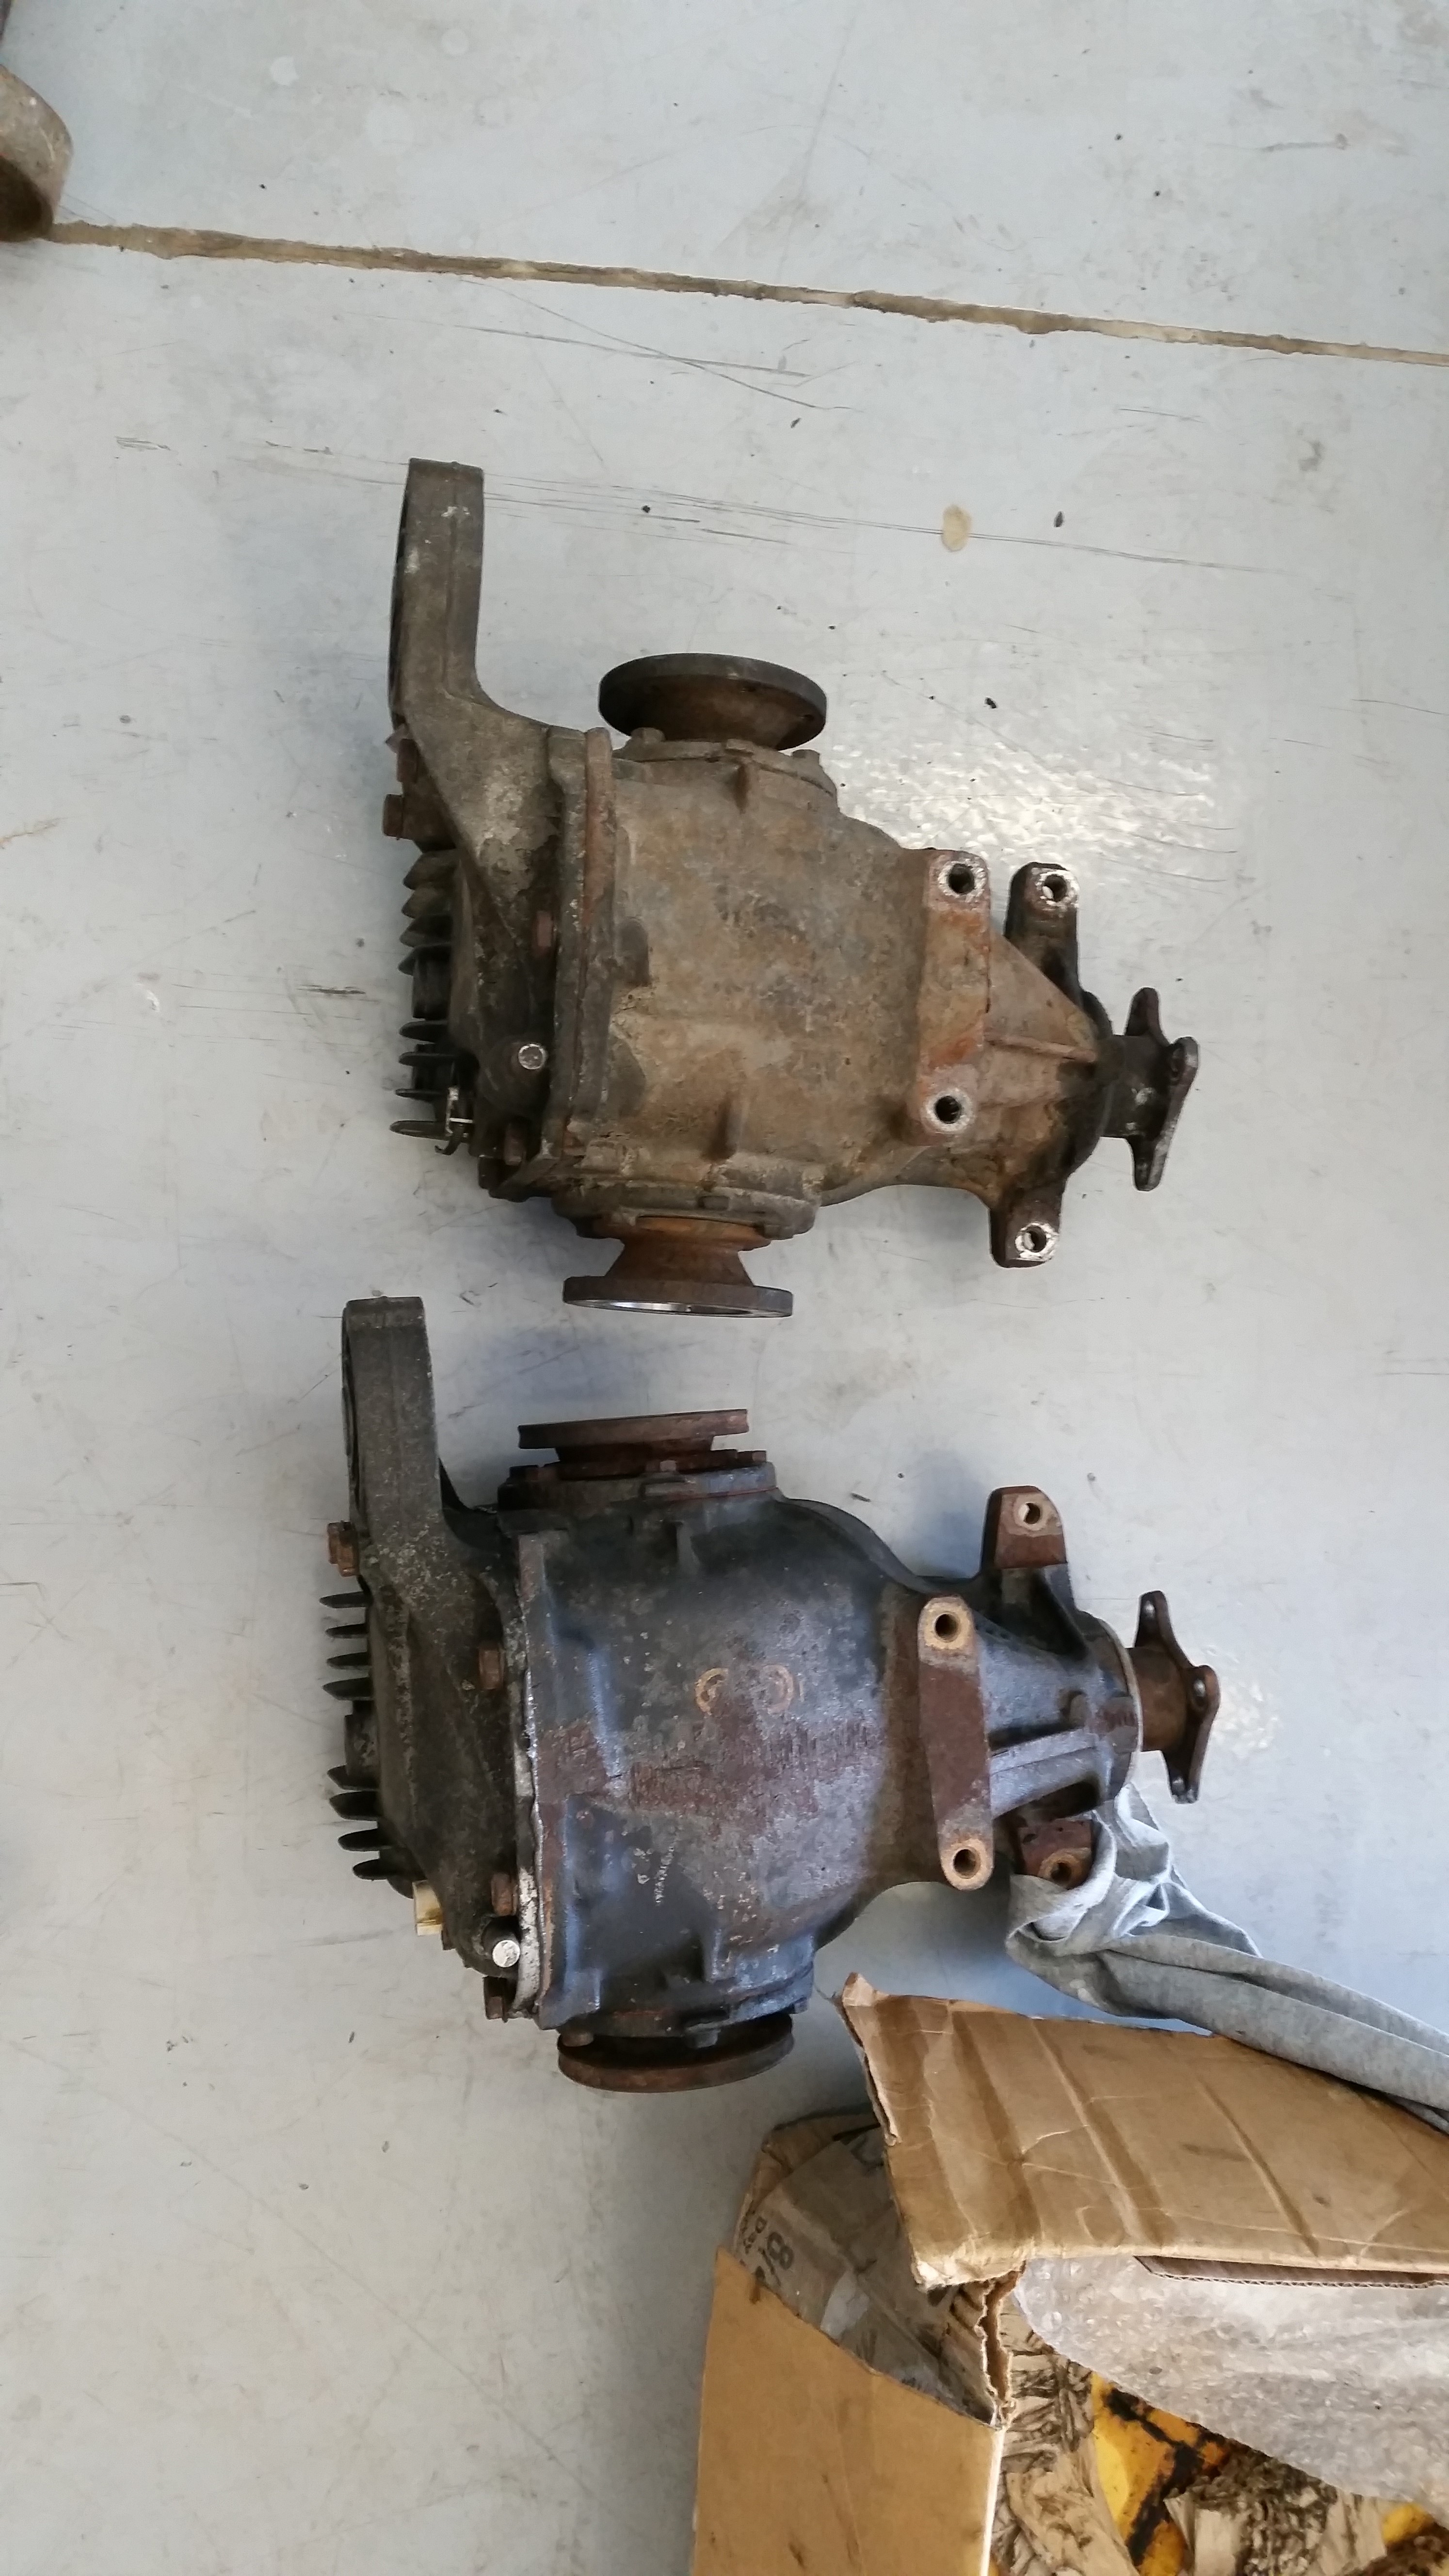
-
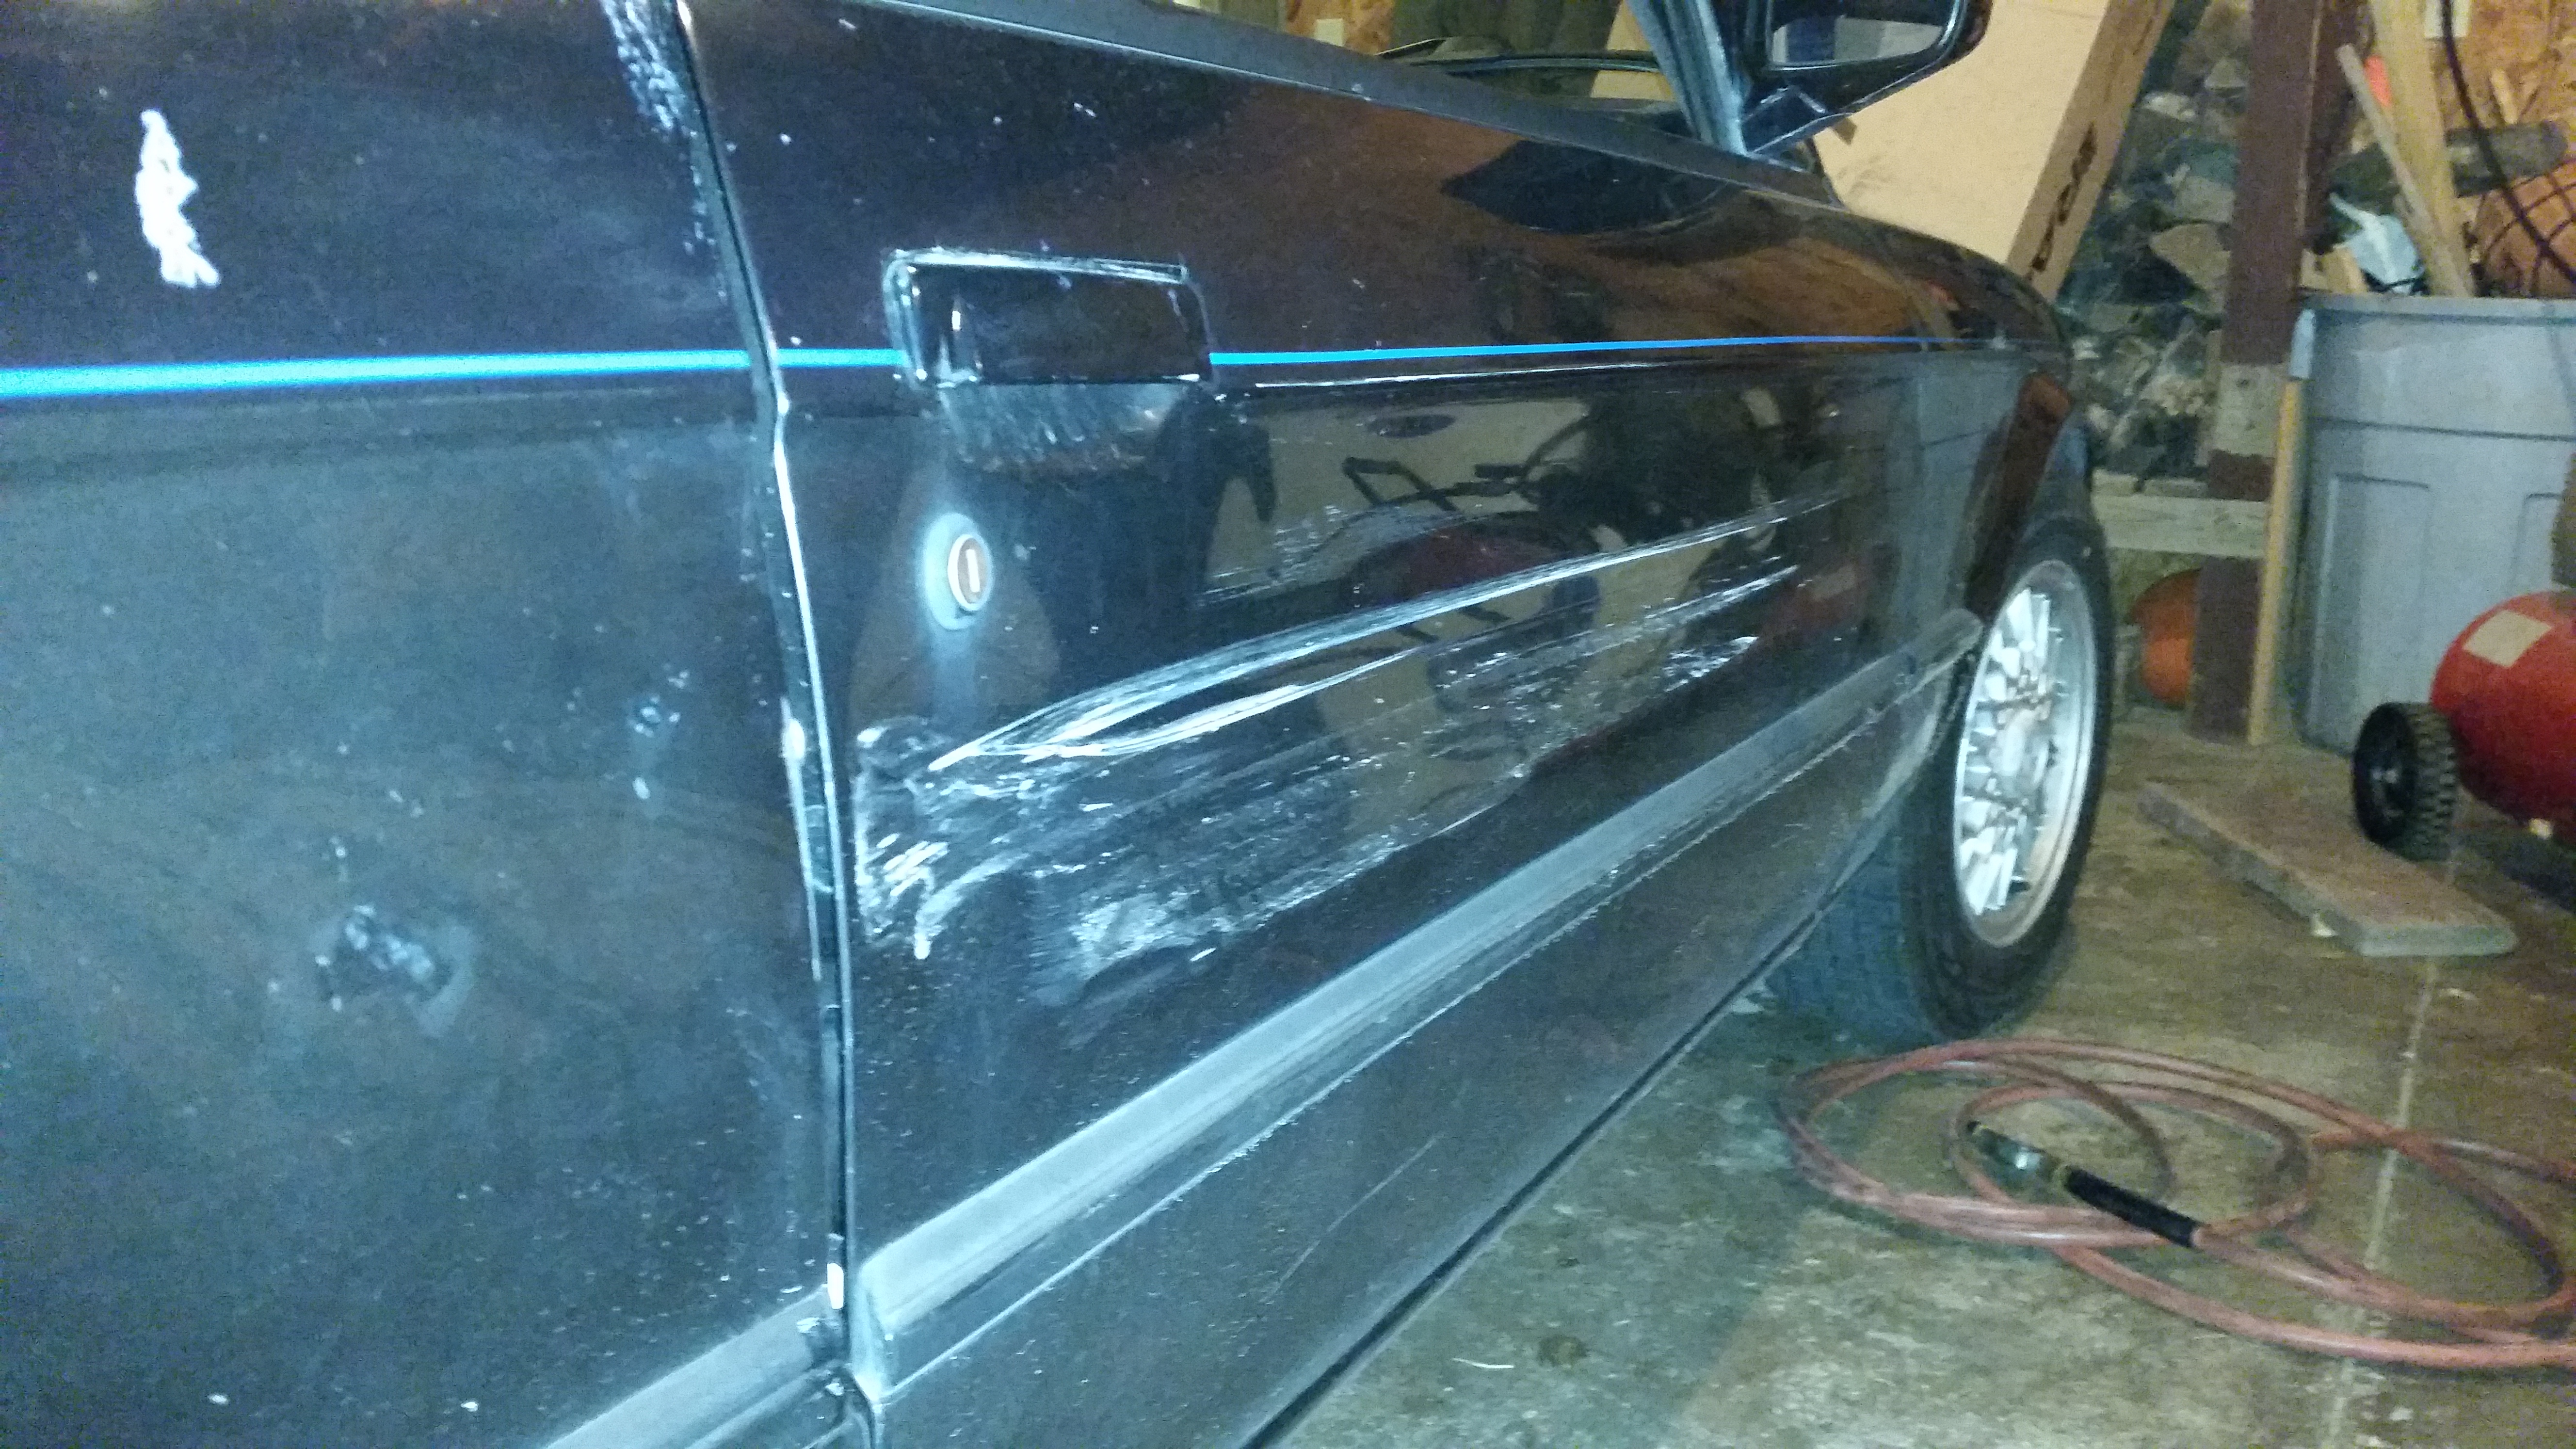
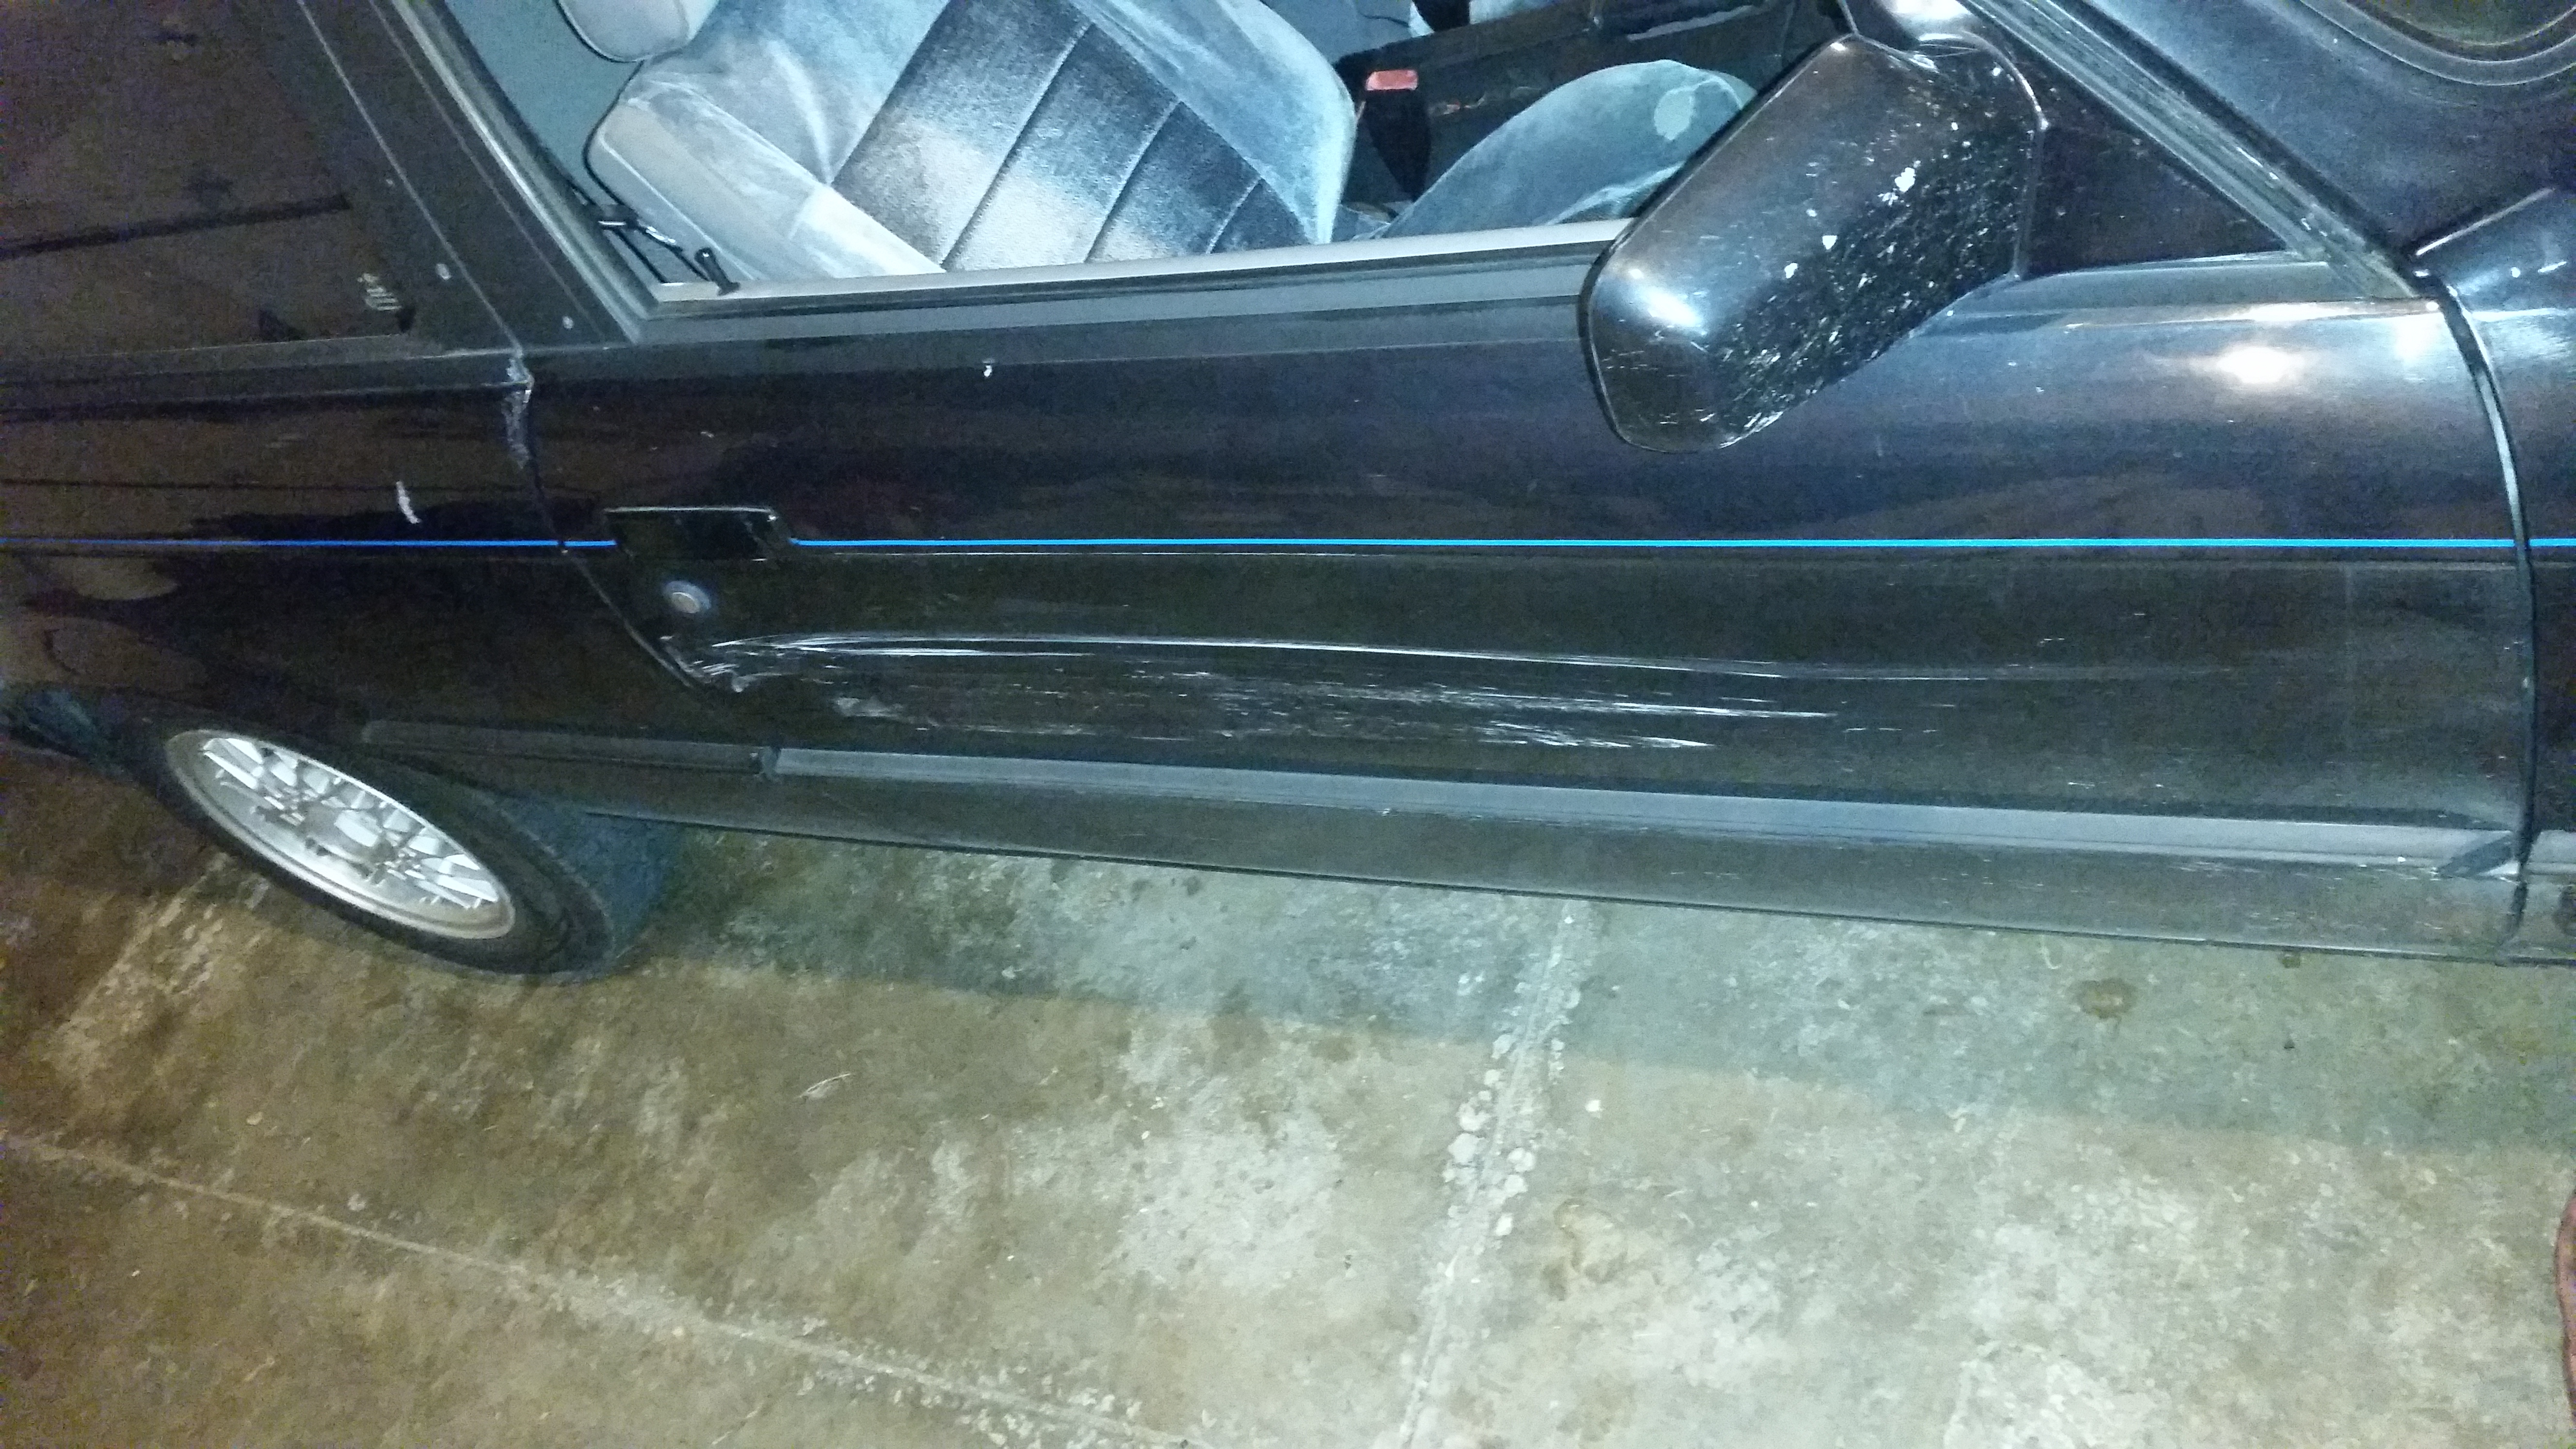
Damn you @GunMetalGrey
-
-
Damn you @GunMetalGrey
Easy chief!
Is this because of your gender fluidity? -
Easy chief!
Is this because of your gender fluidity?It is.
It's not your fault, lol. I thought for sure I had the right sensor because real oem was giving me that same part number as the sensor you gave me under a couple different obd1 vehicle. Made me keep thinking something was funky with harness.
-
-
^ For sure, it's a super cost effective option and I've used a few myself with no issues.
-
-
I feel so lame with my wimpy amounts of progress lately.
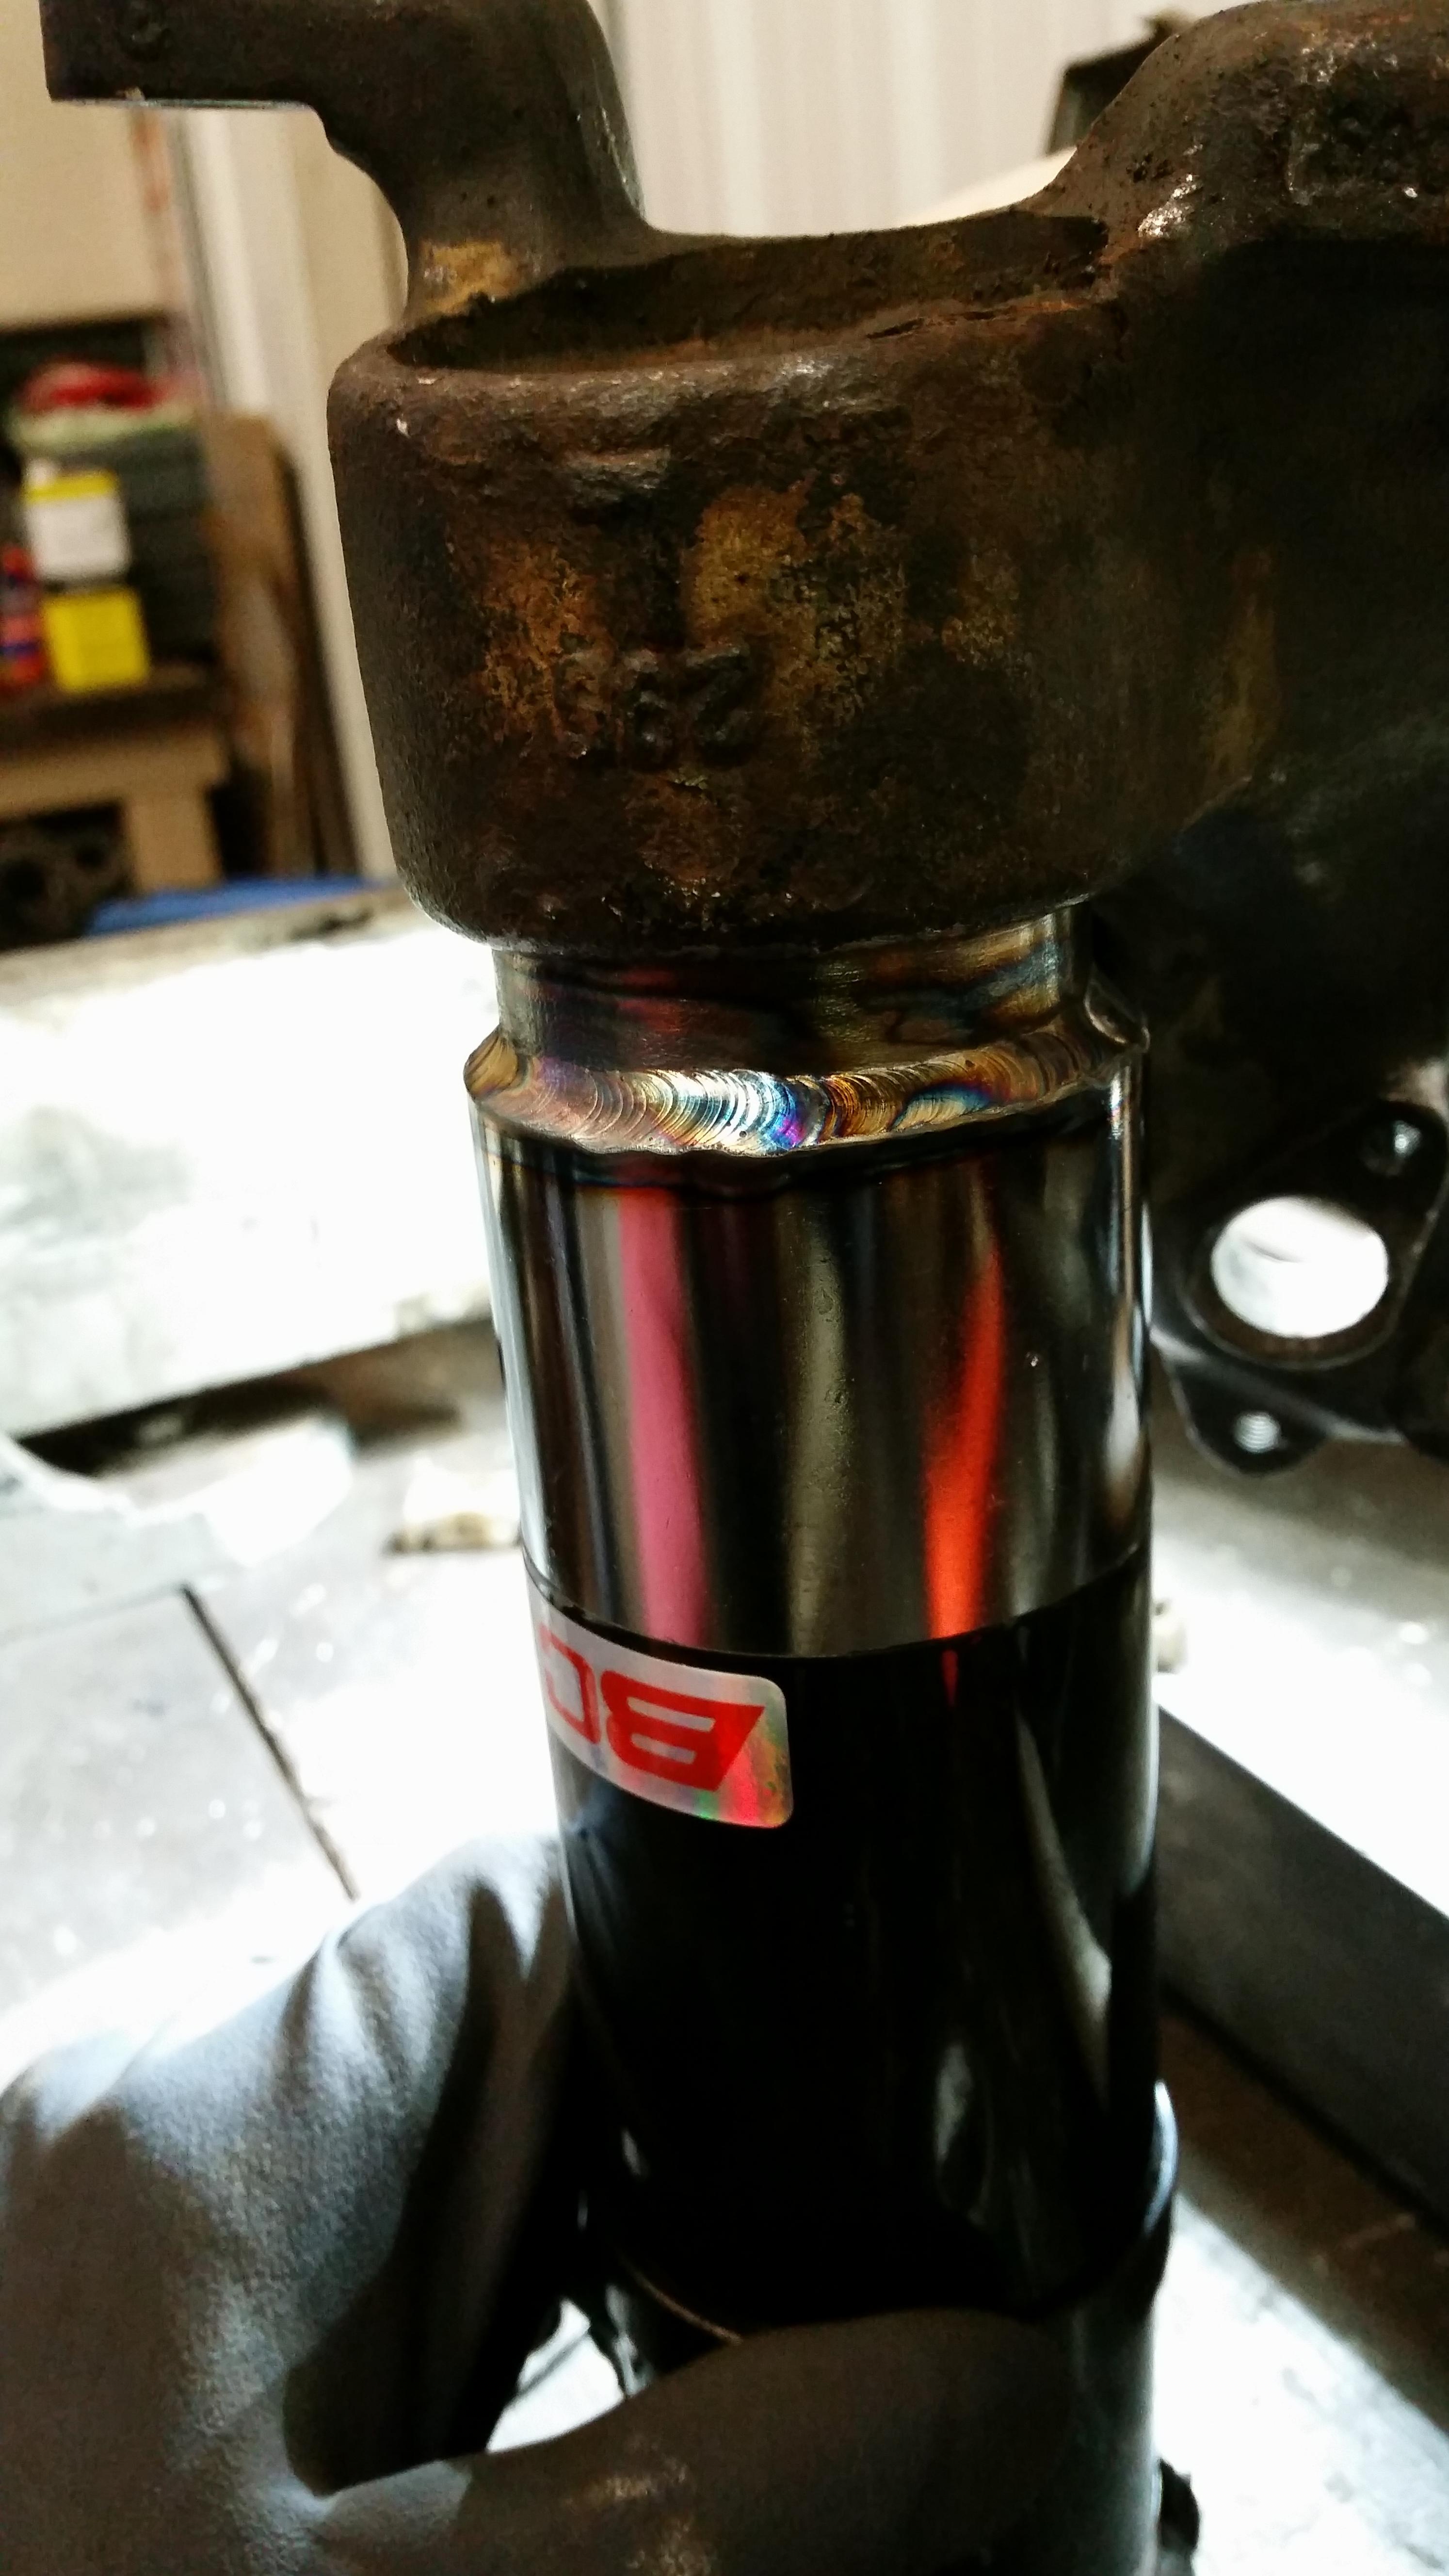
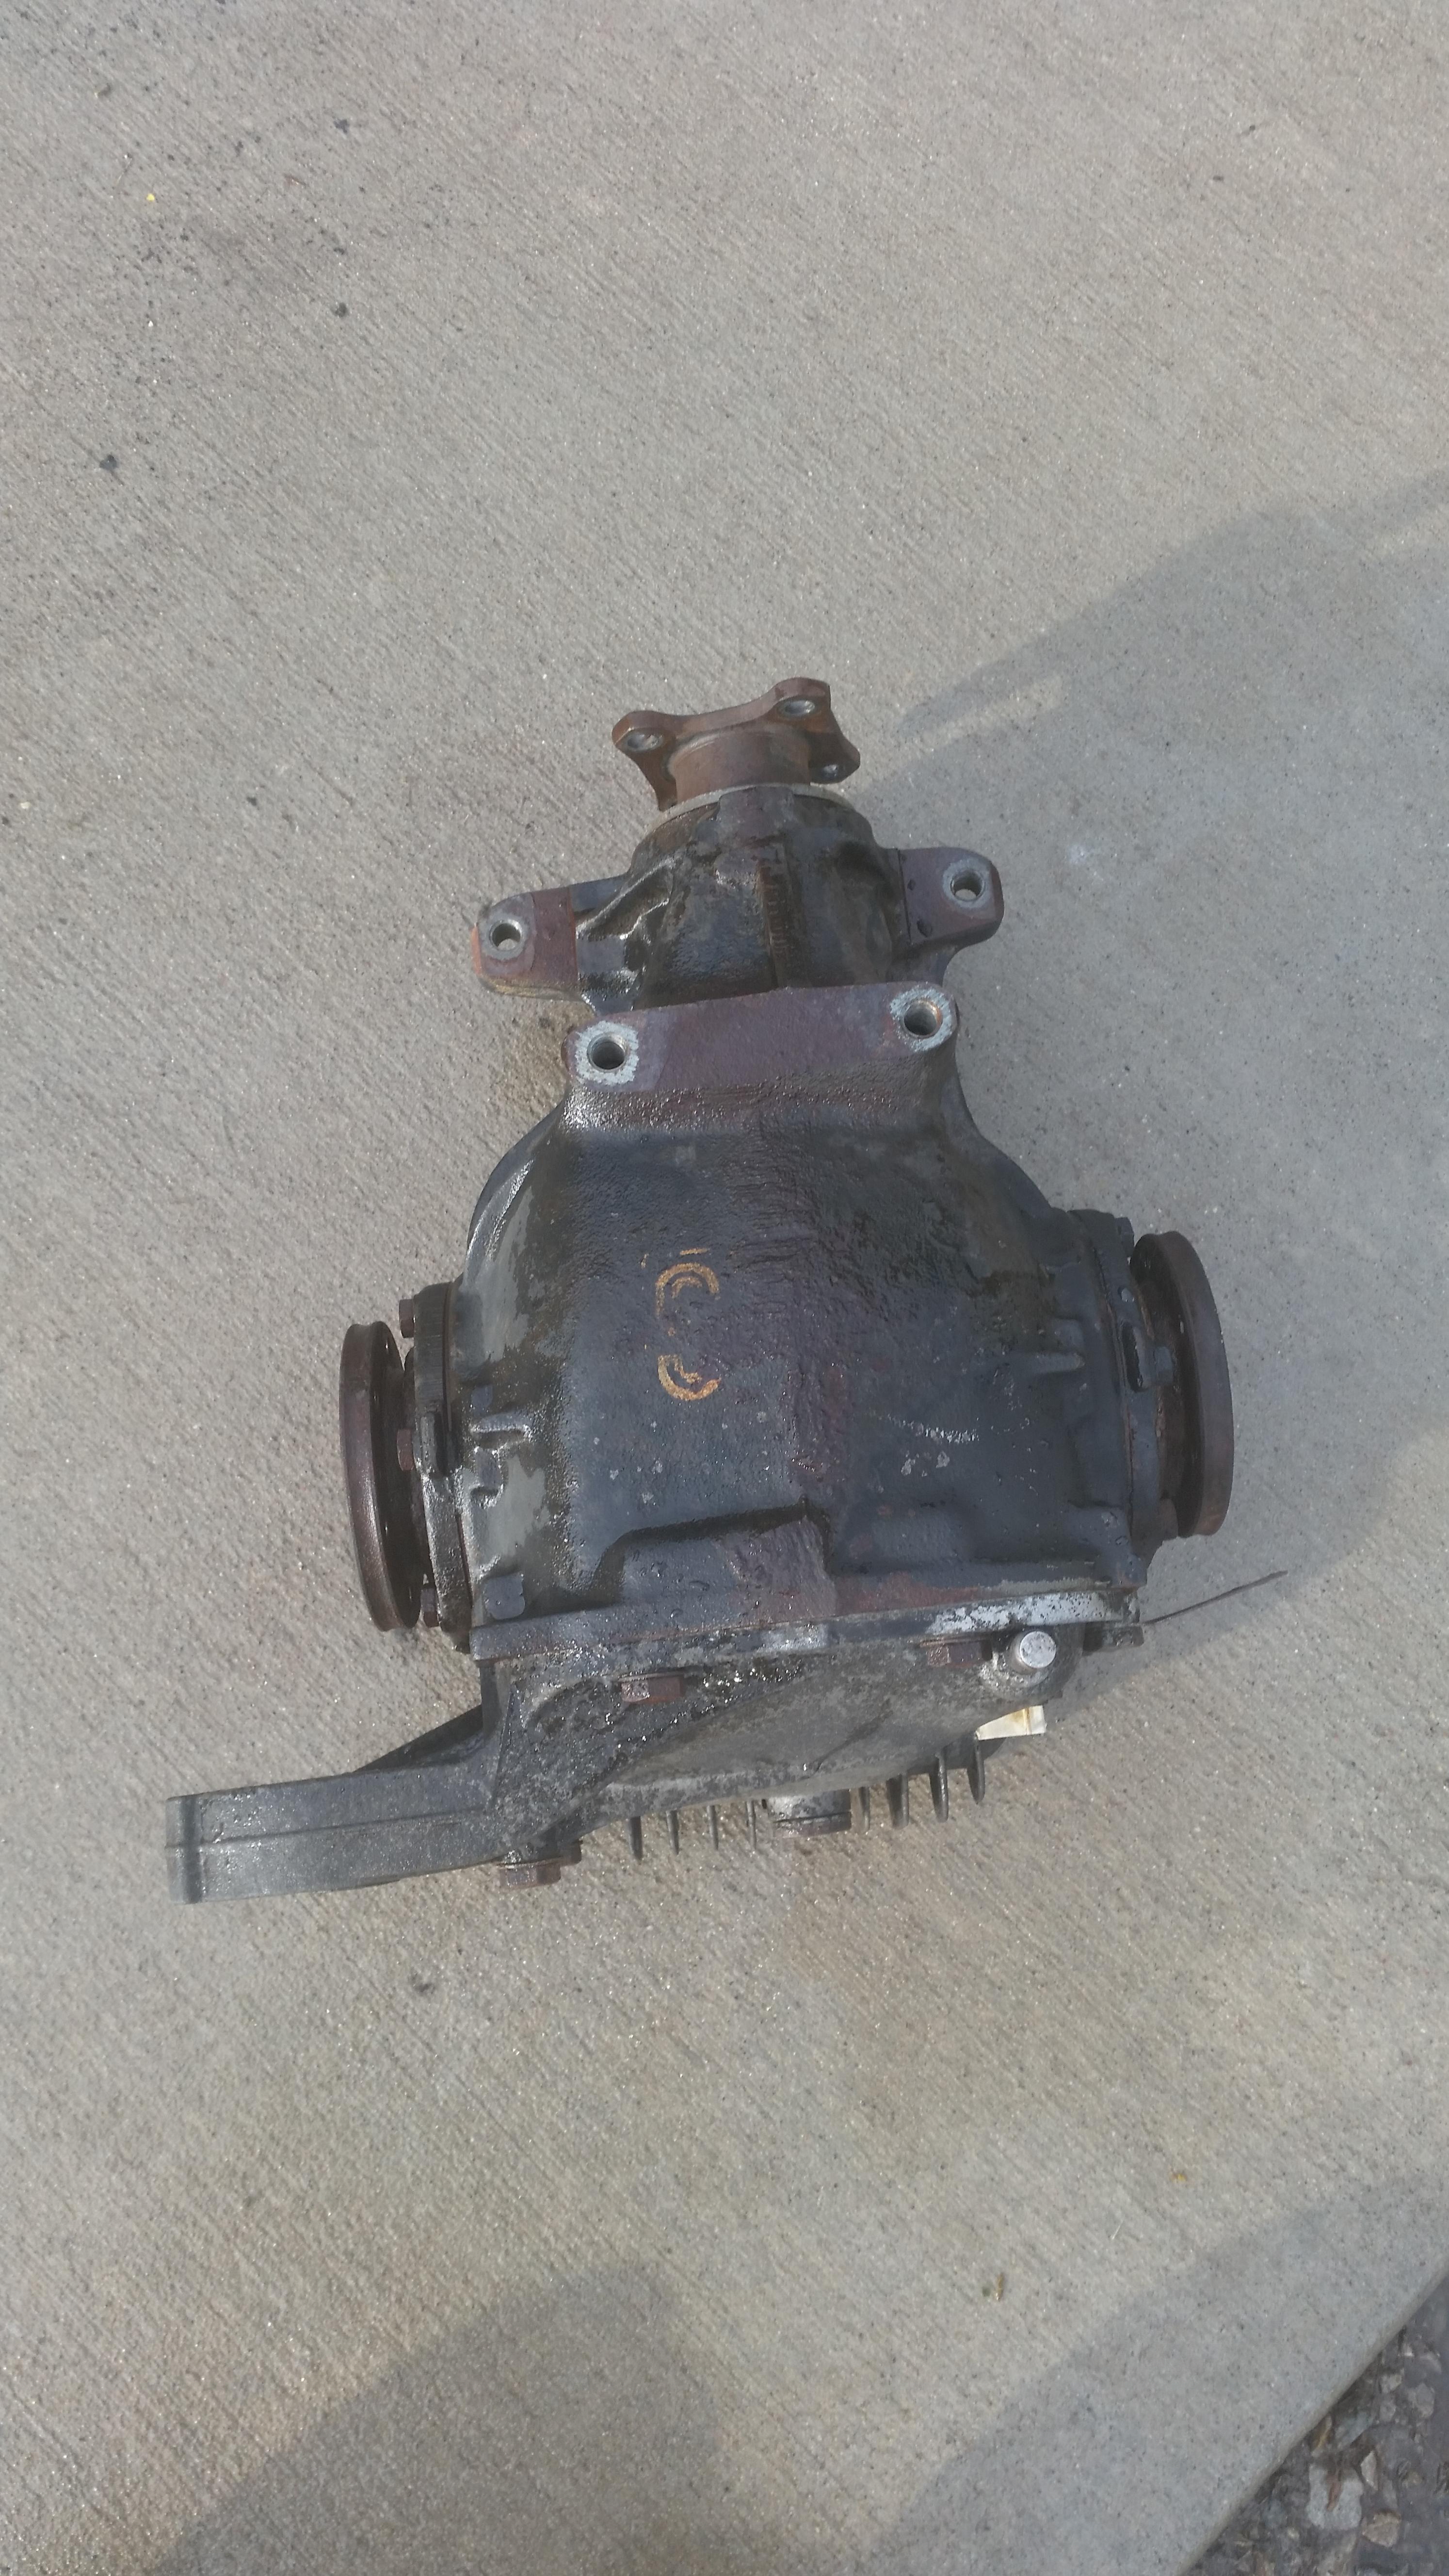
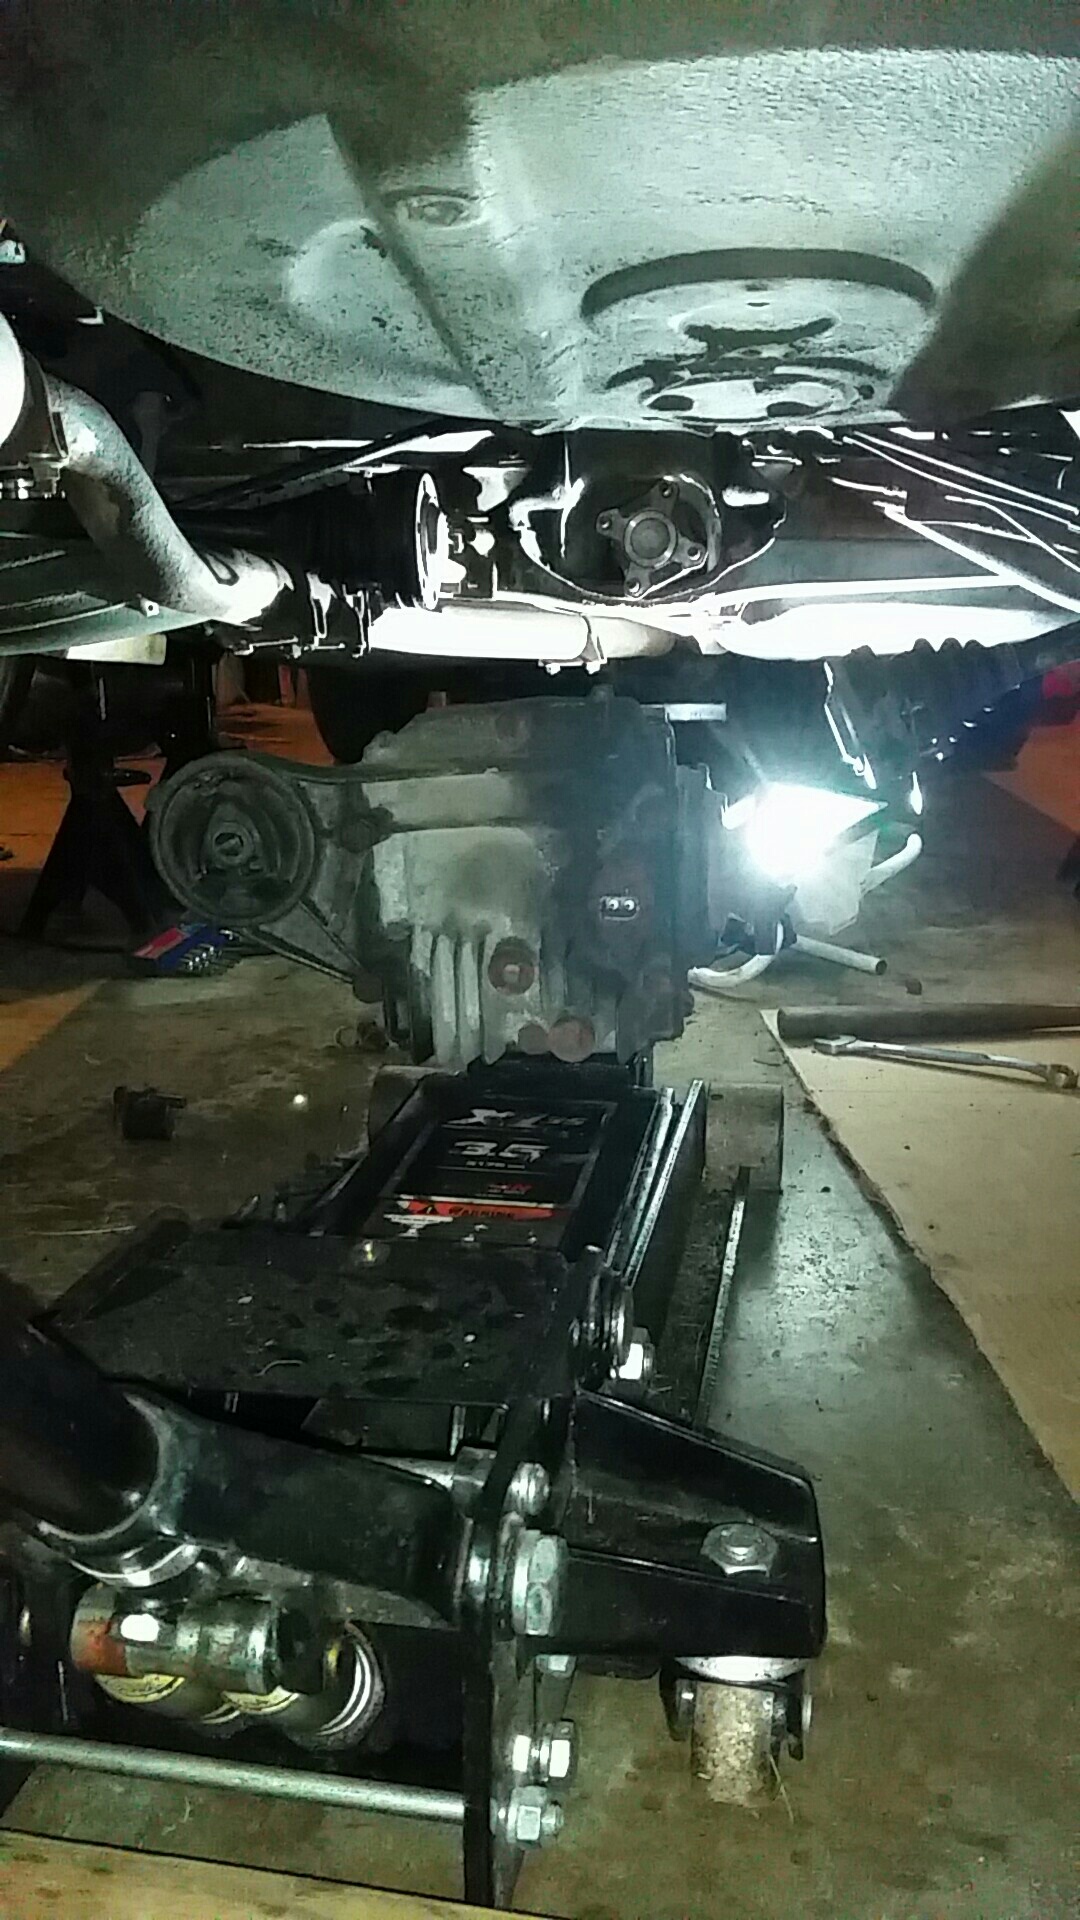
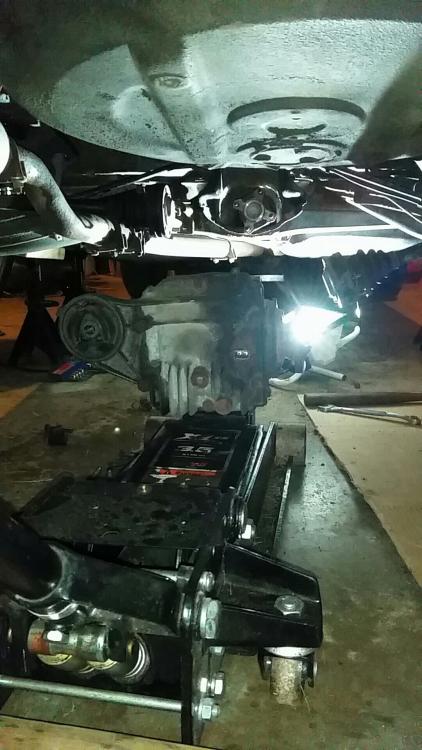
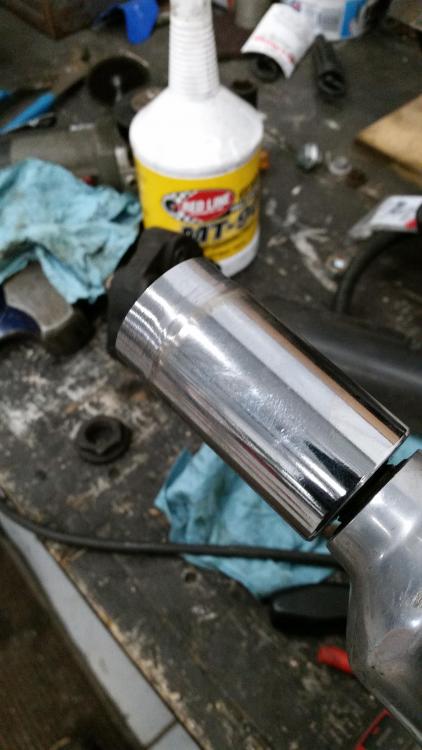
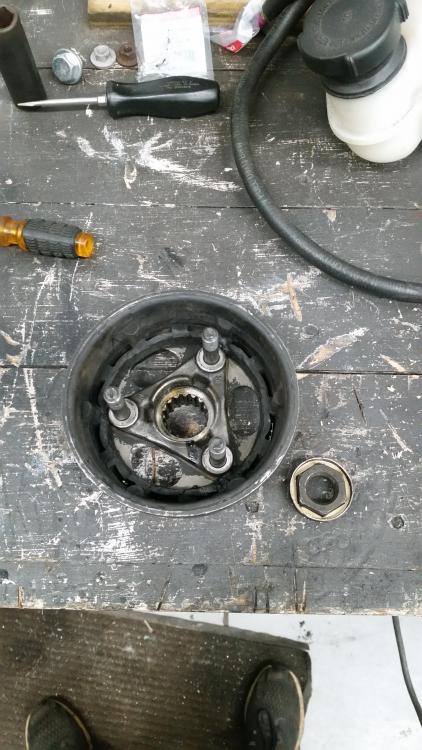
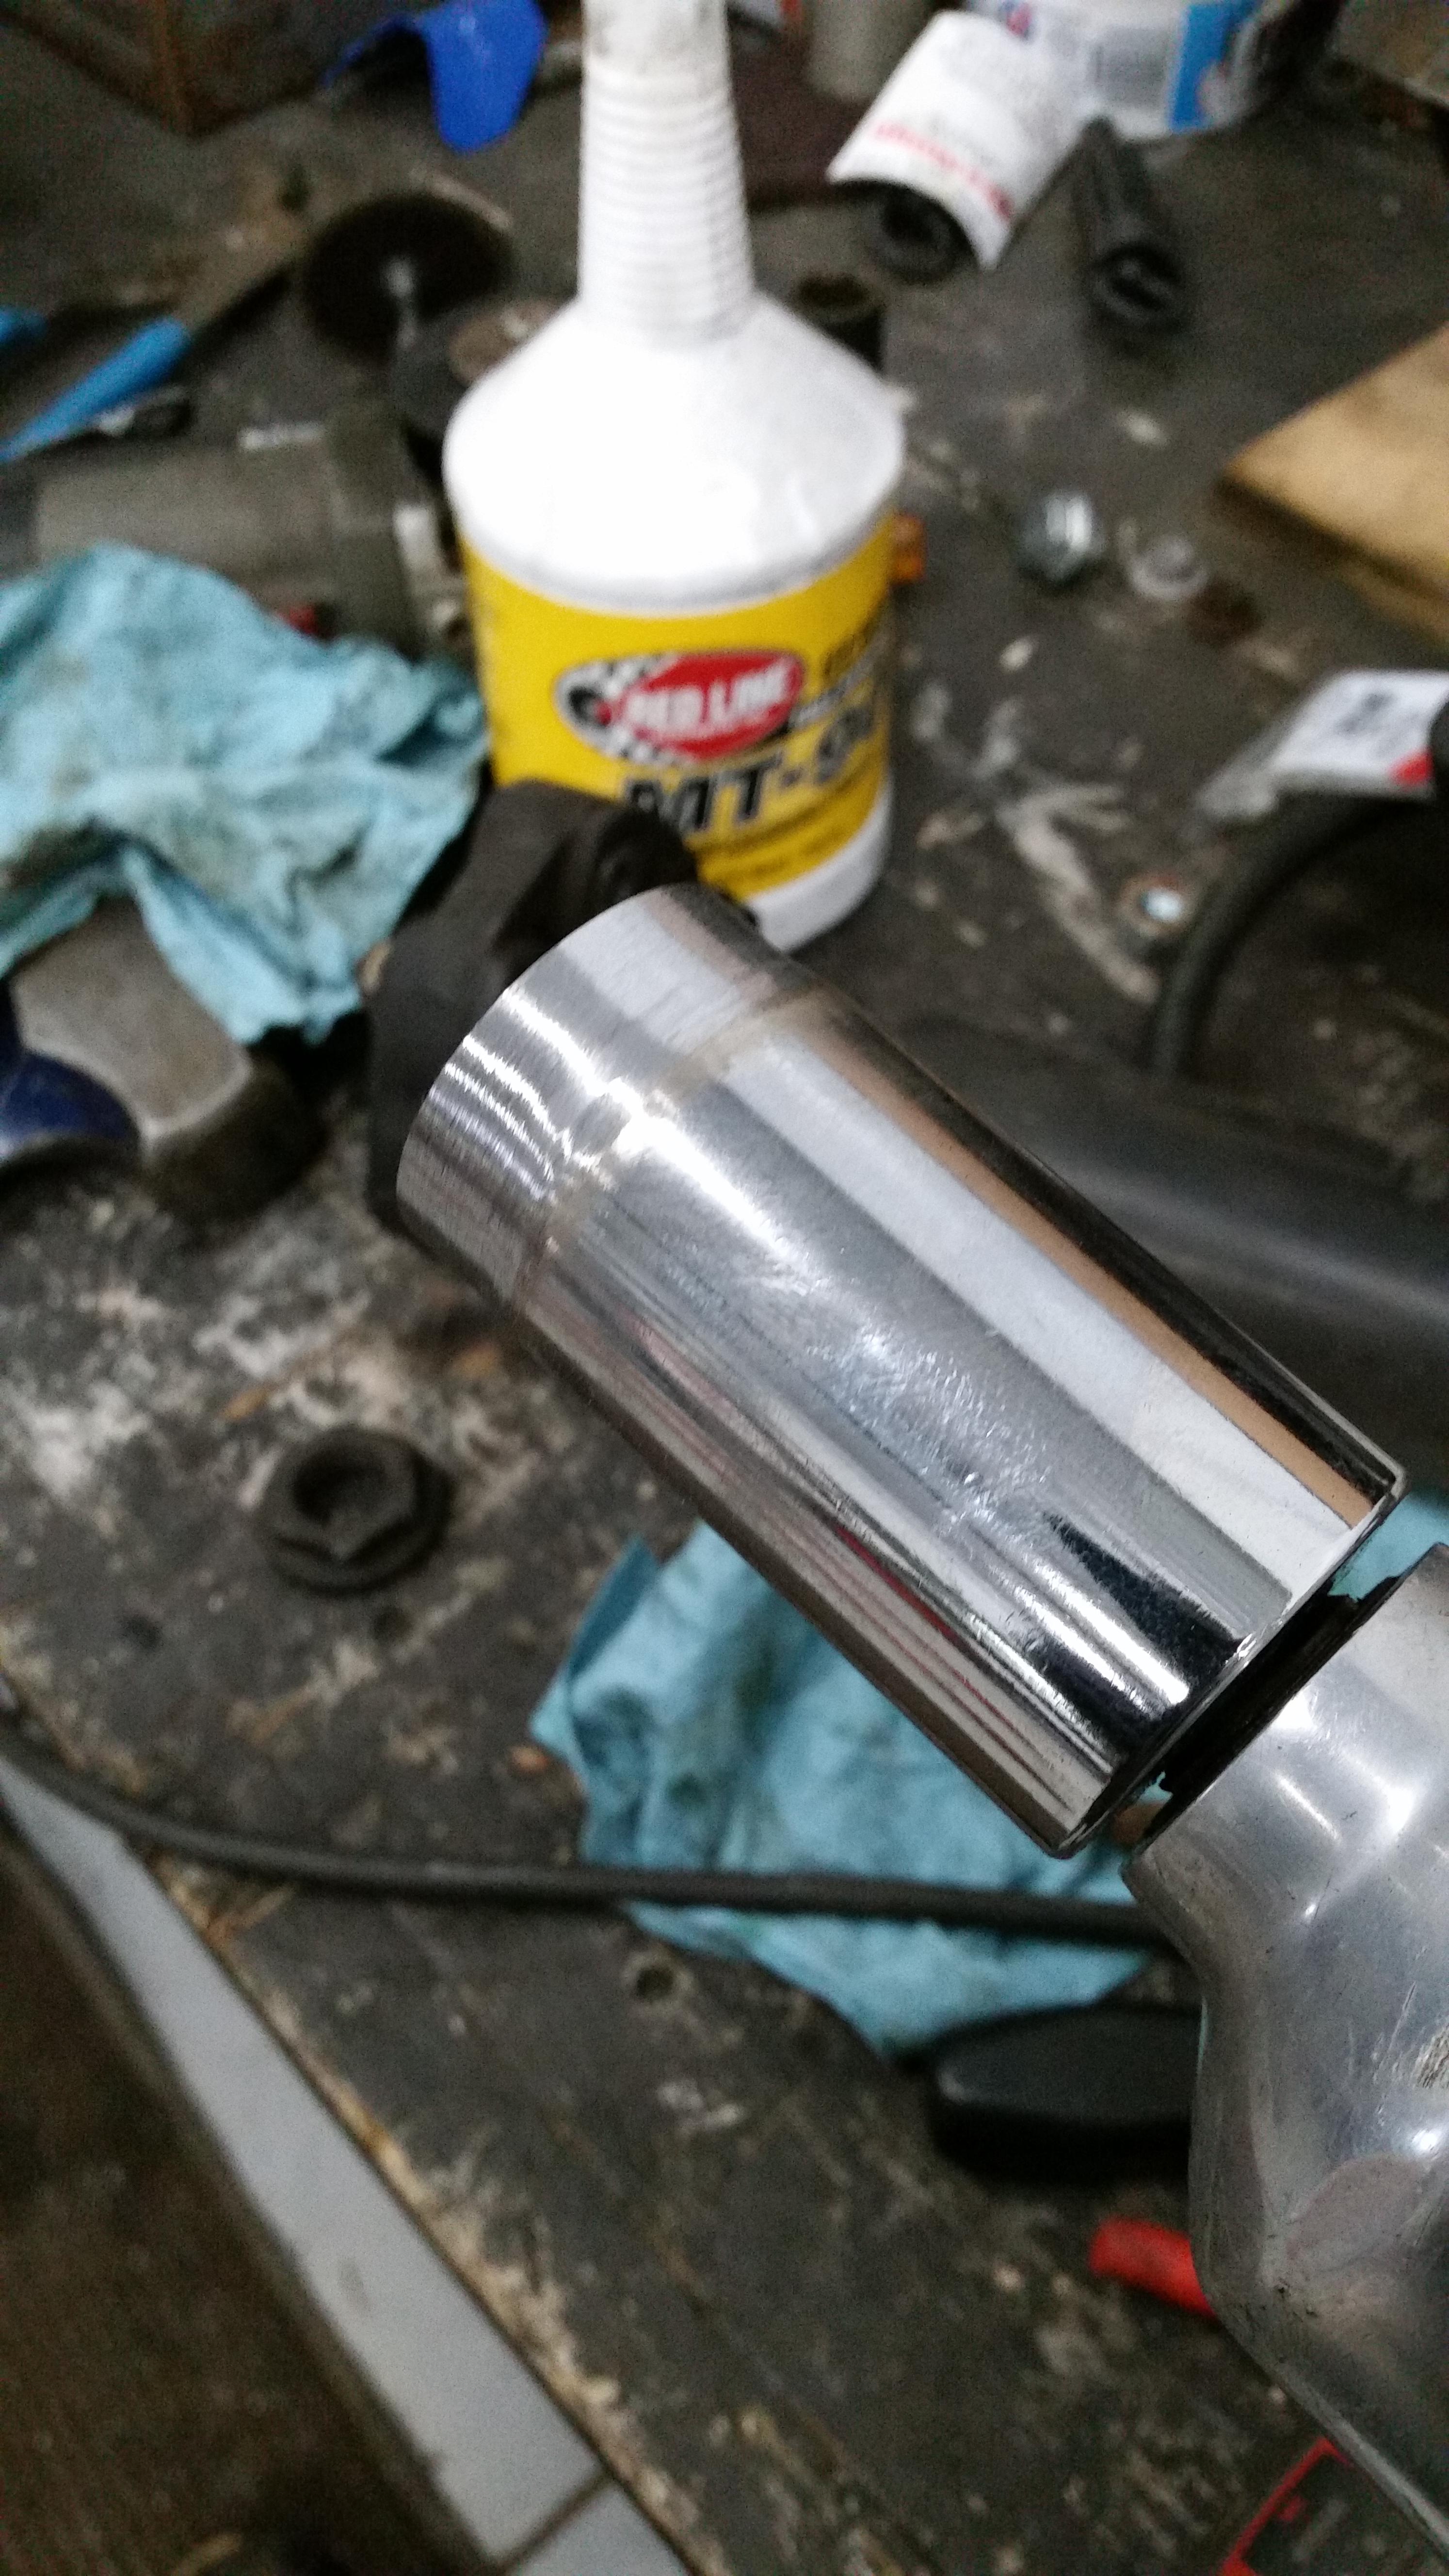
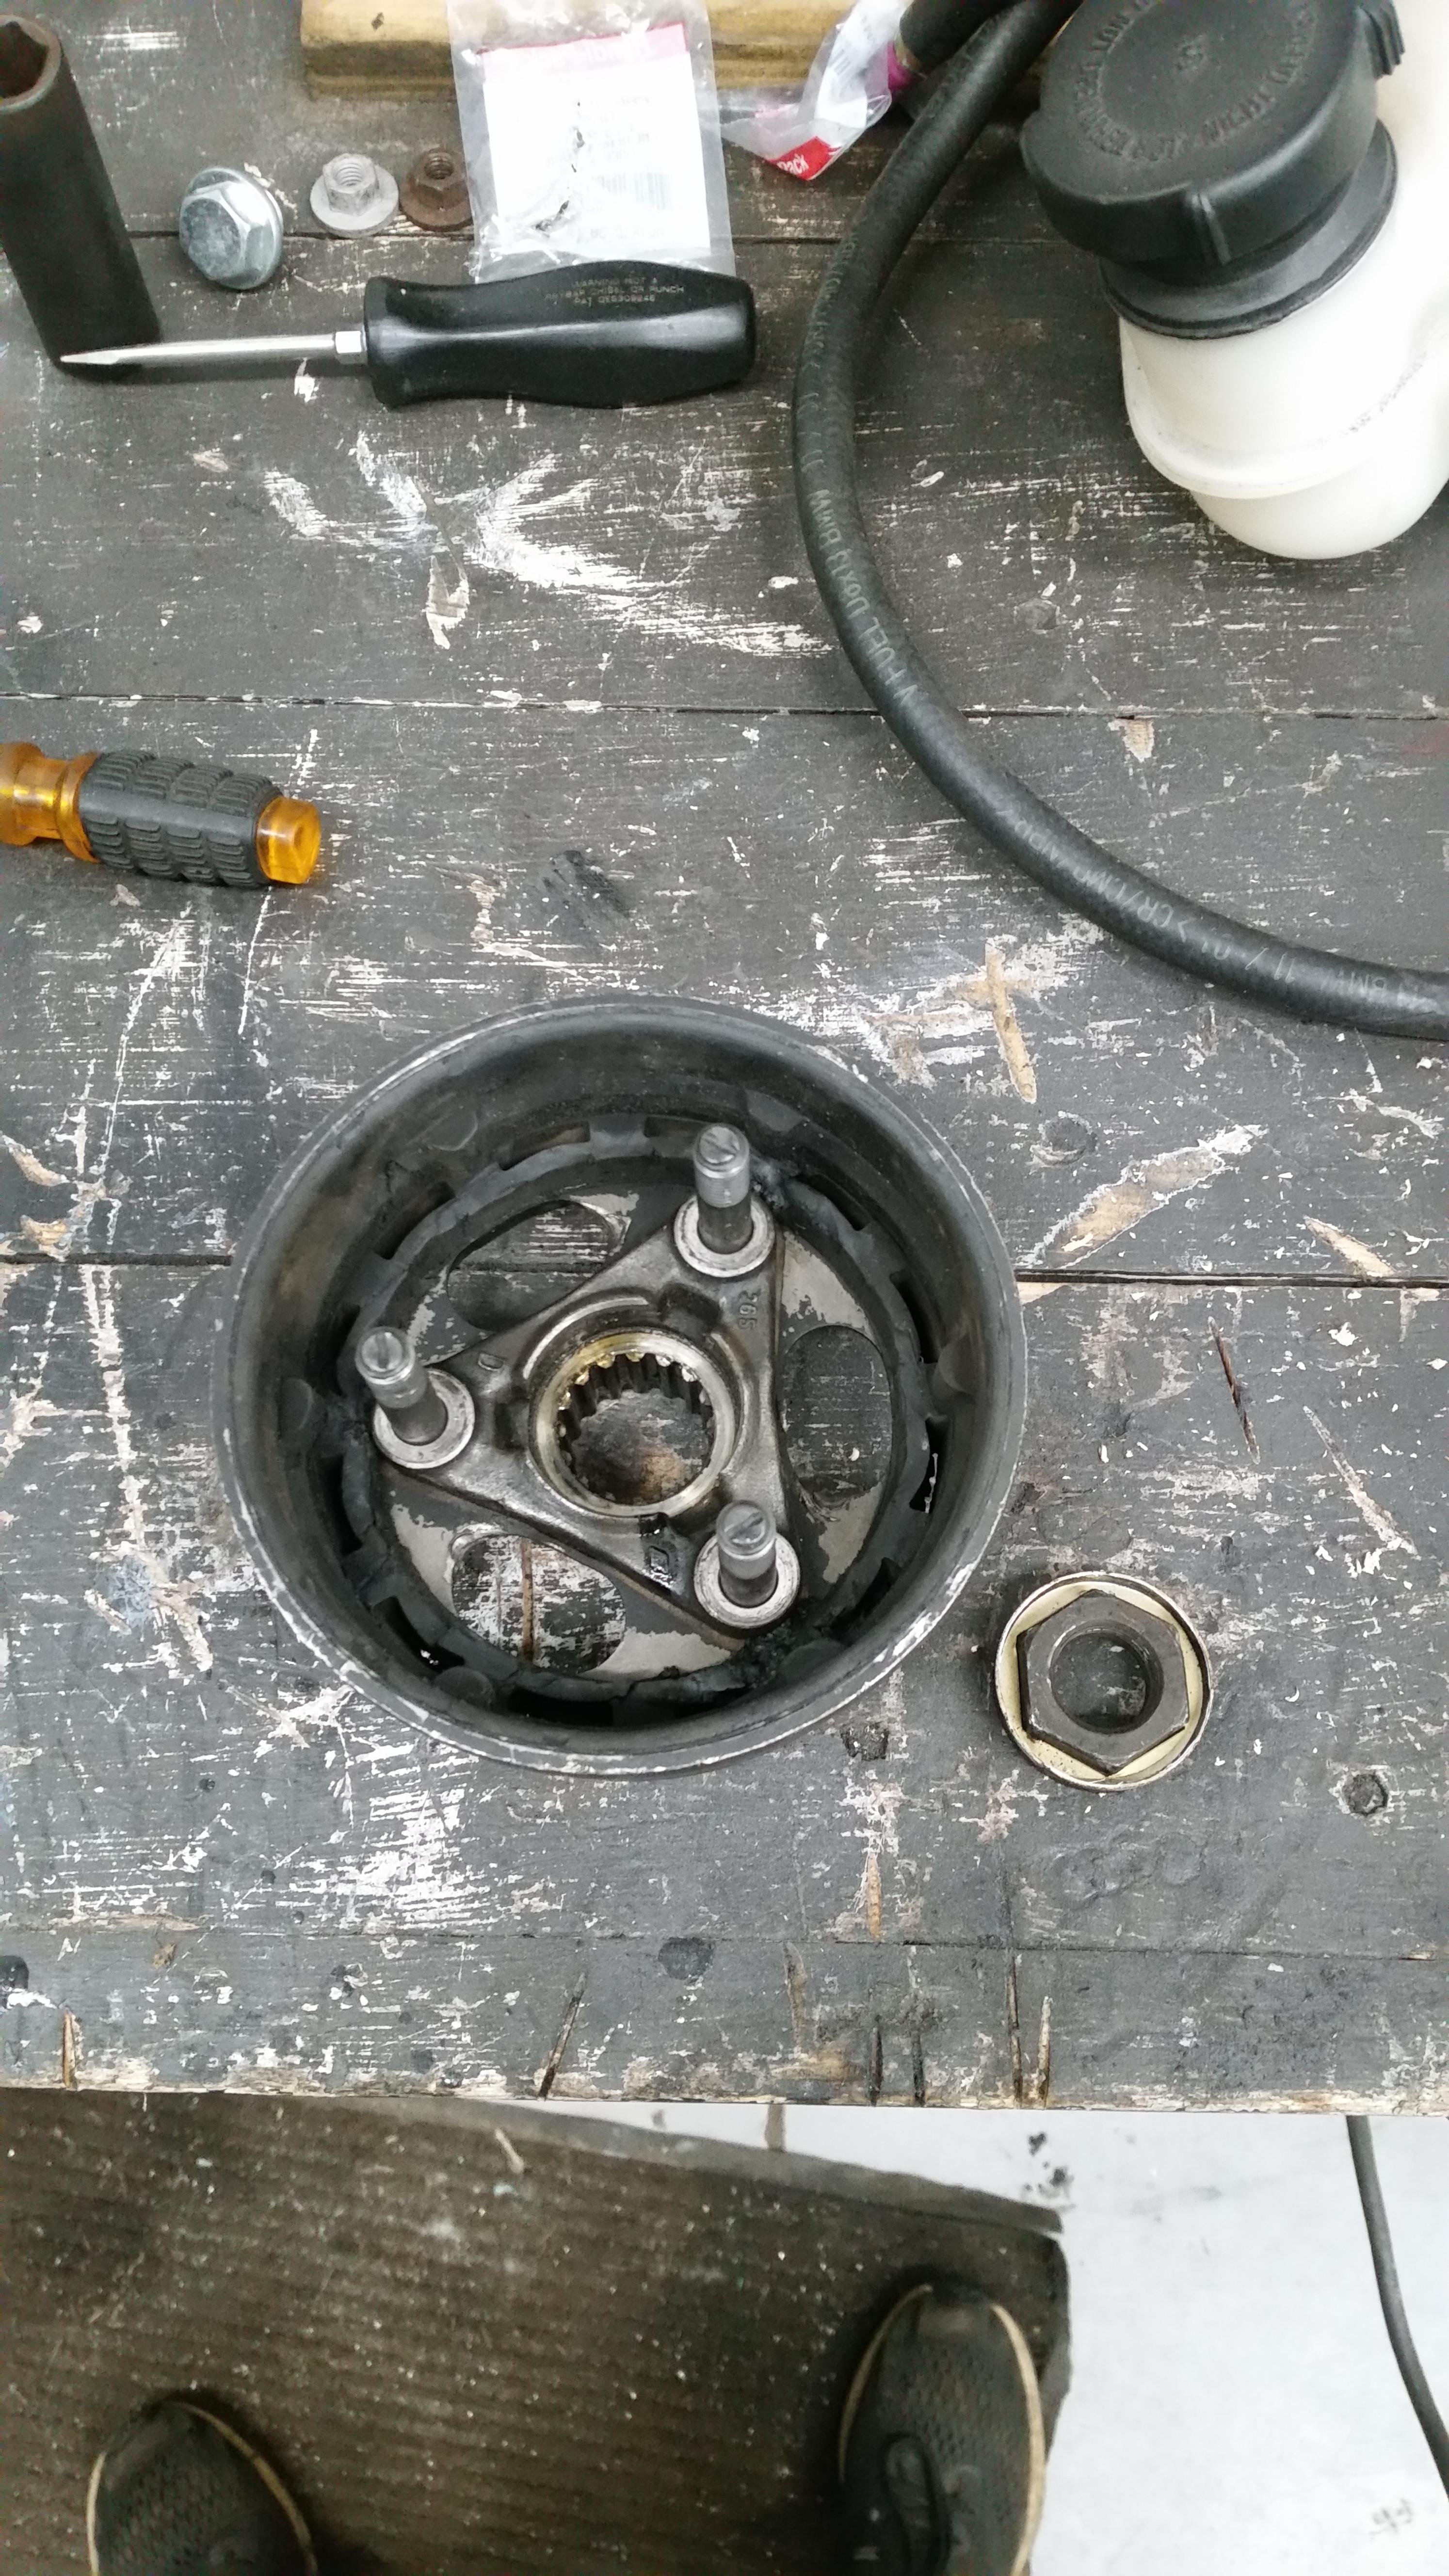
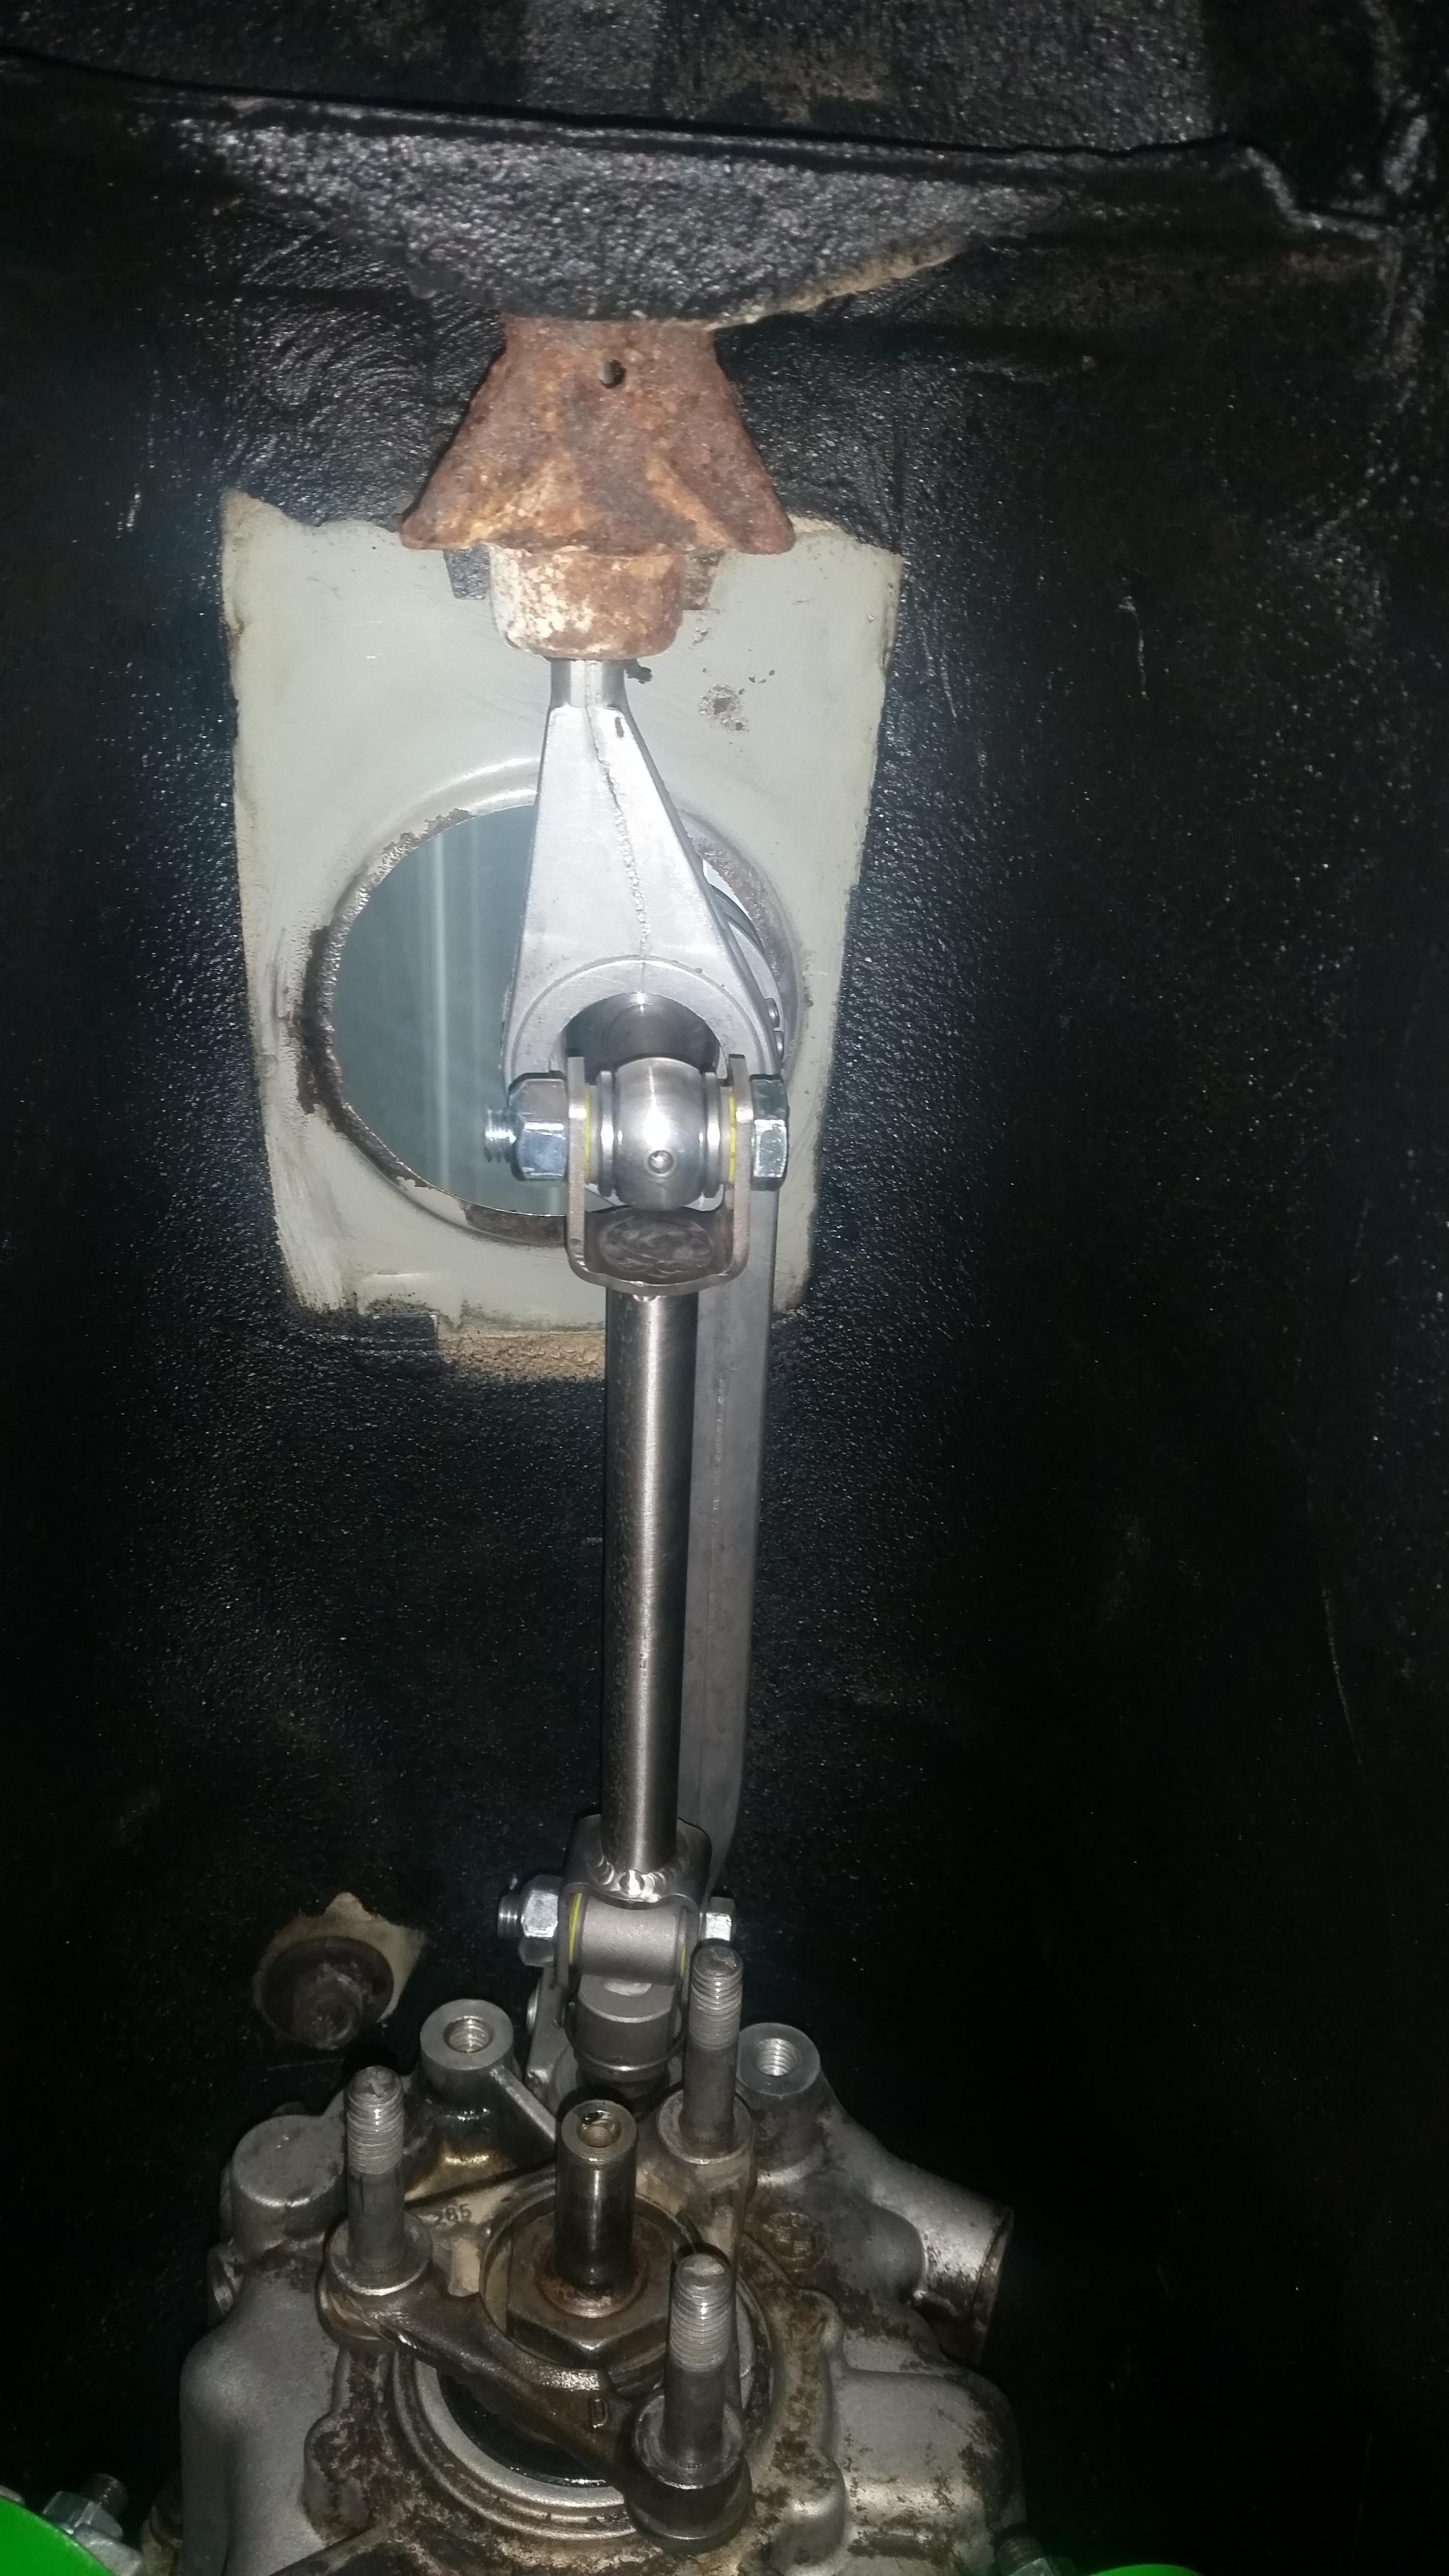
Got the output flange removed, pulled the dampener off so I don't have anymore dssr clearance issues, then reinstalled. Had to modify a 30mm socket just slightly to fit around the nut.
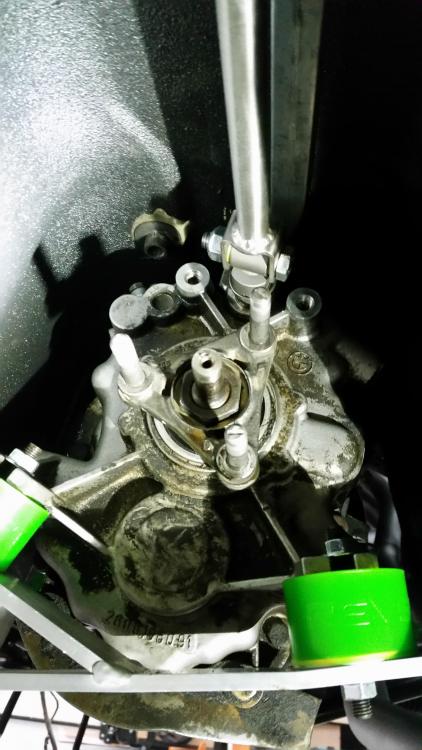
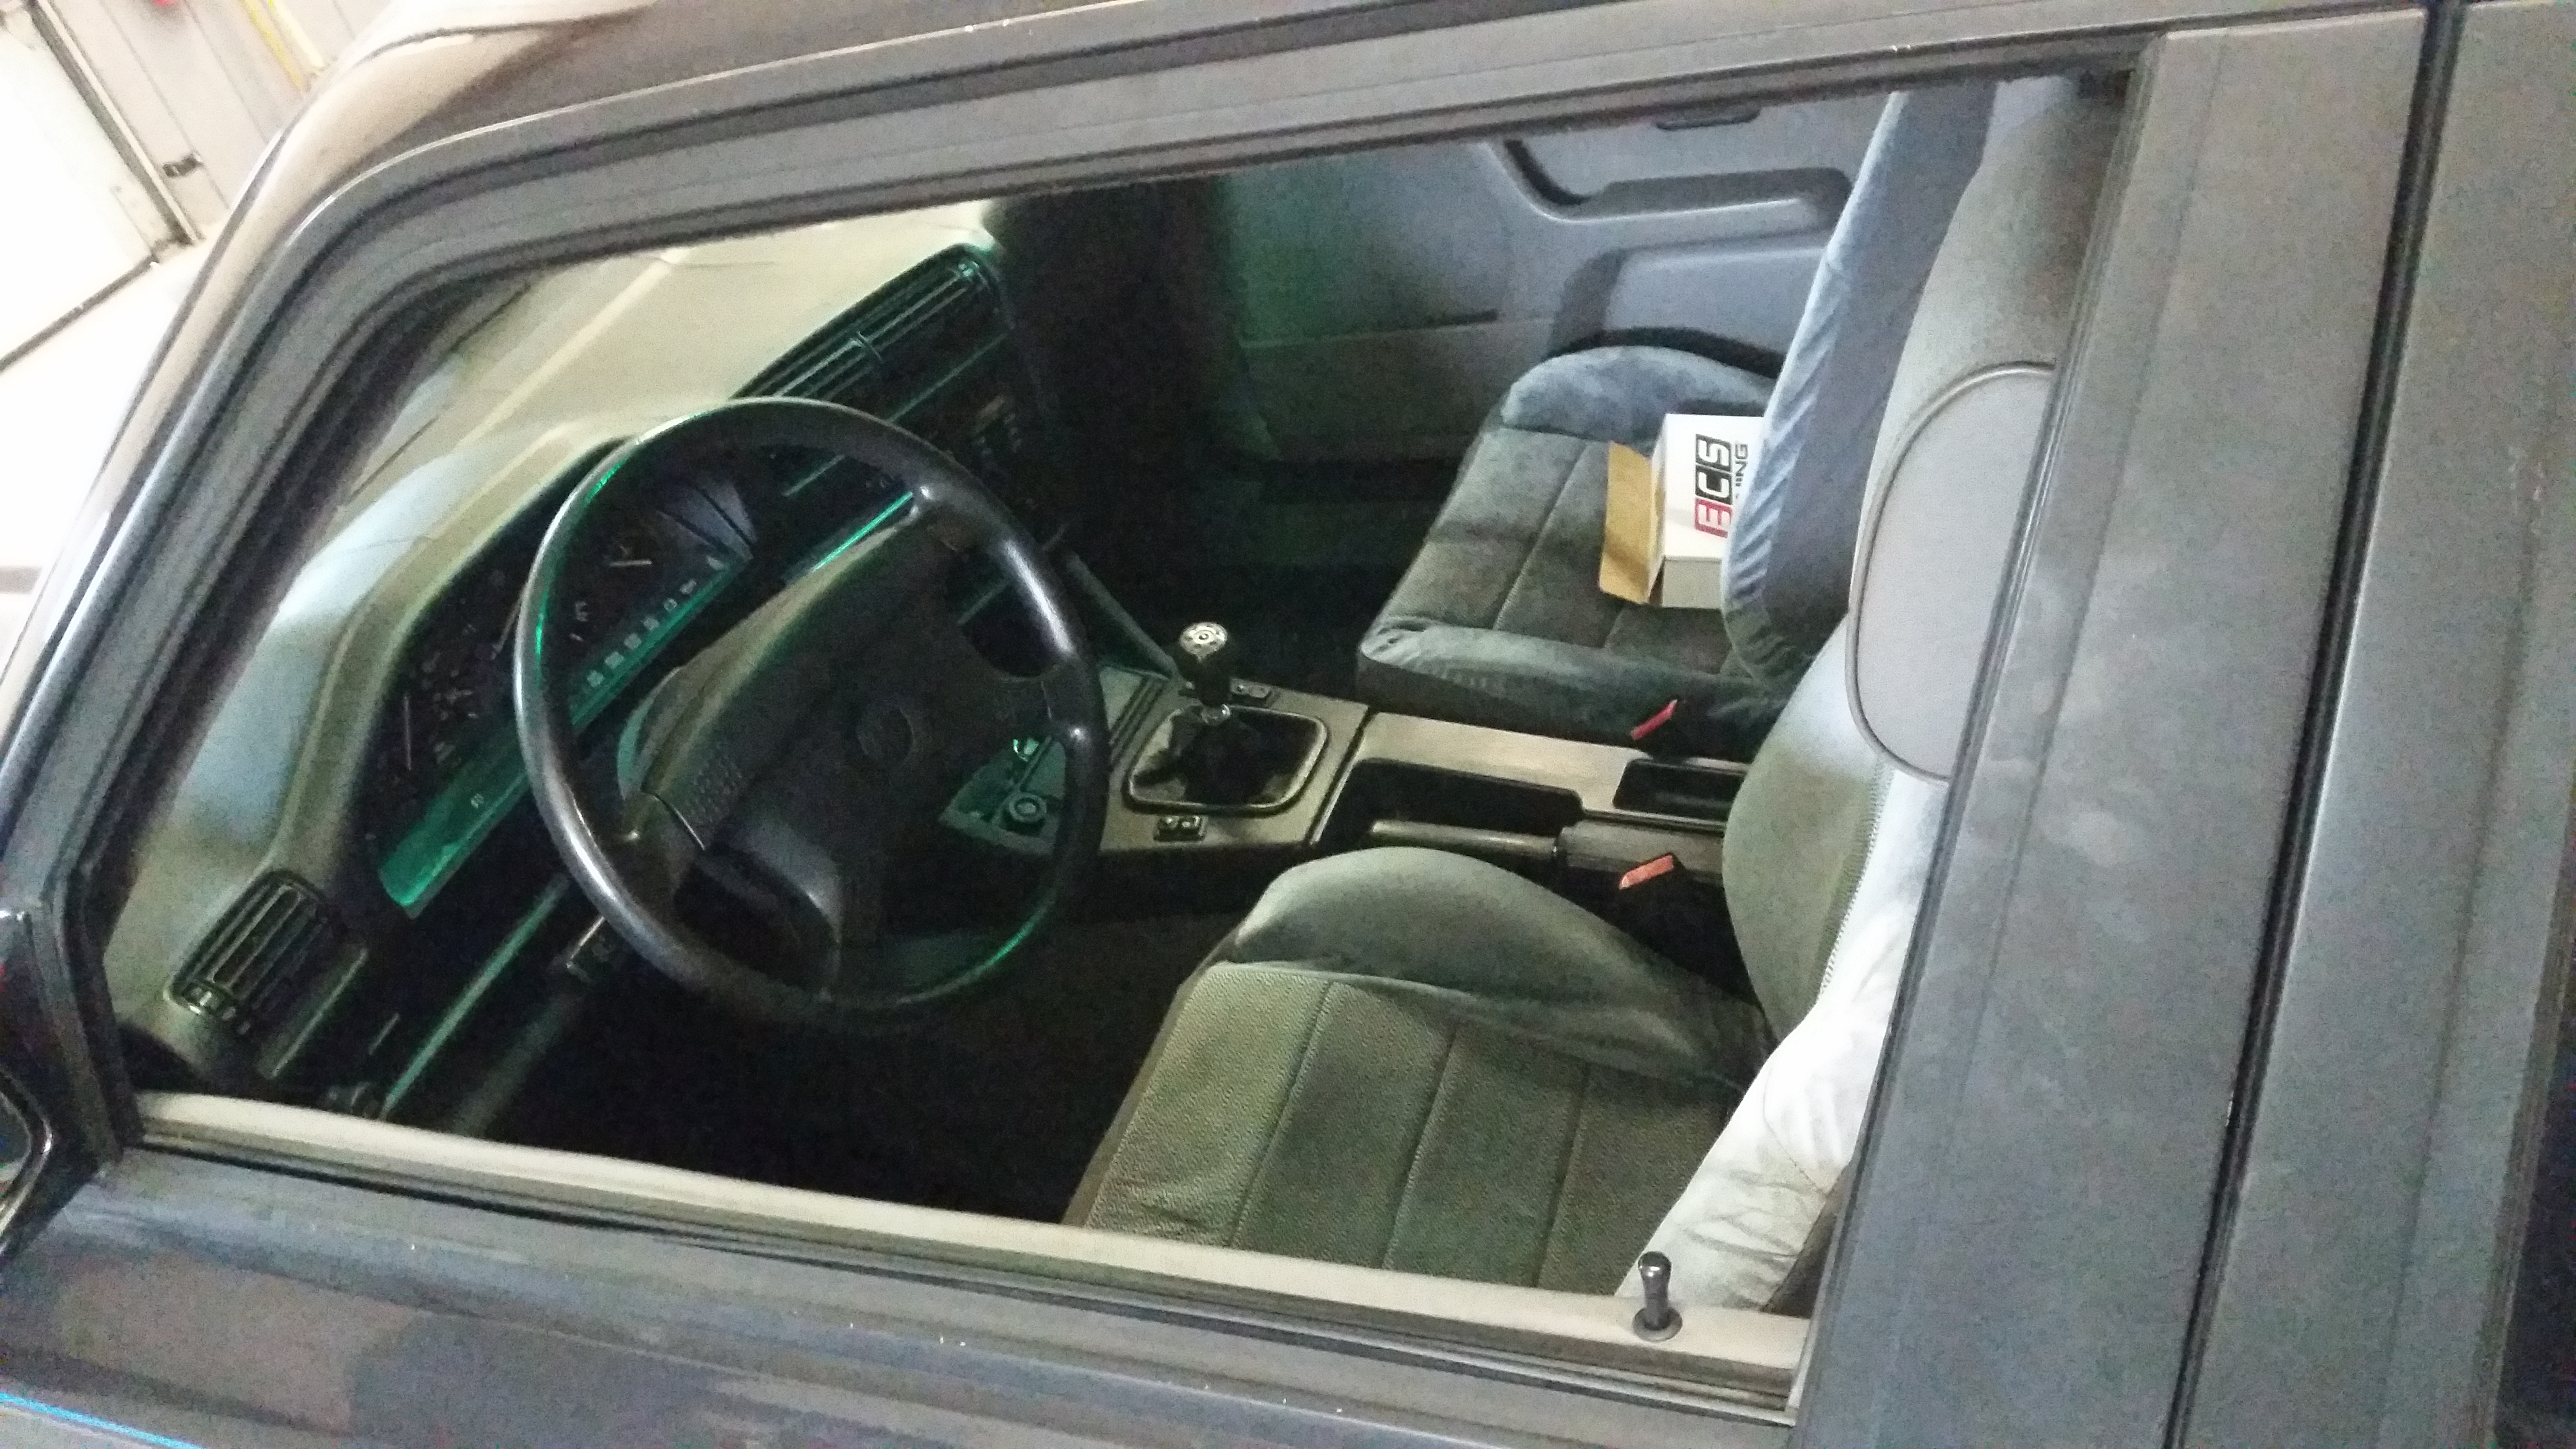
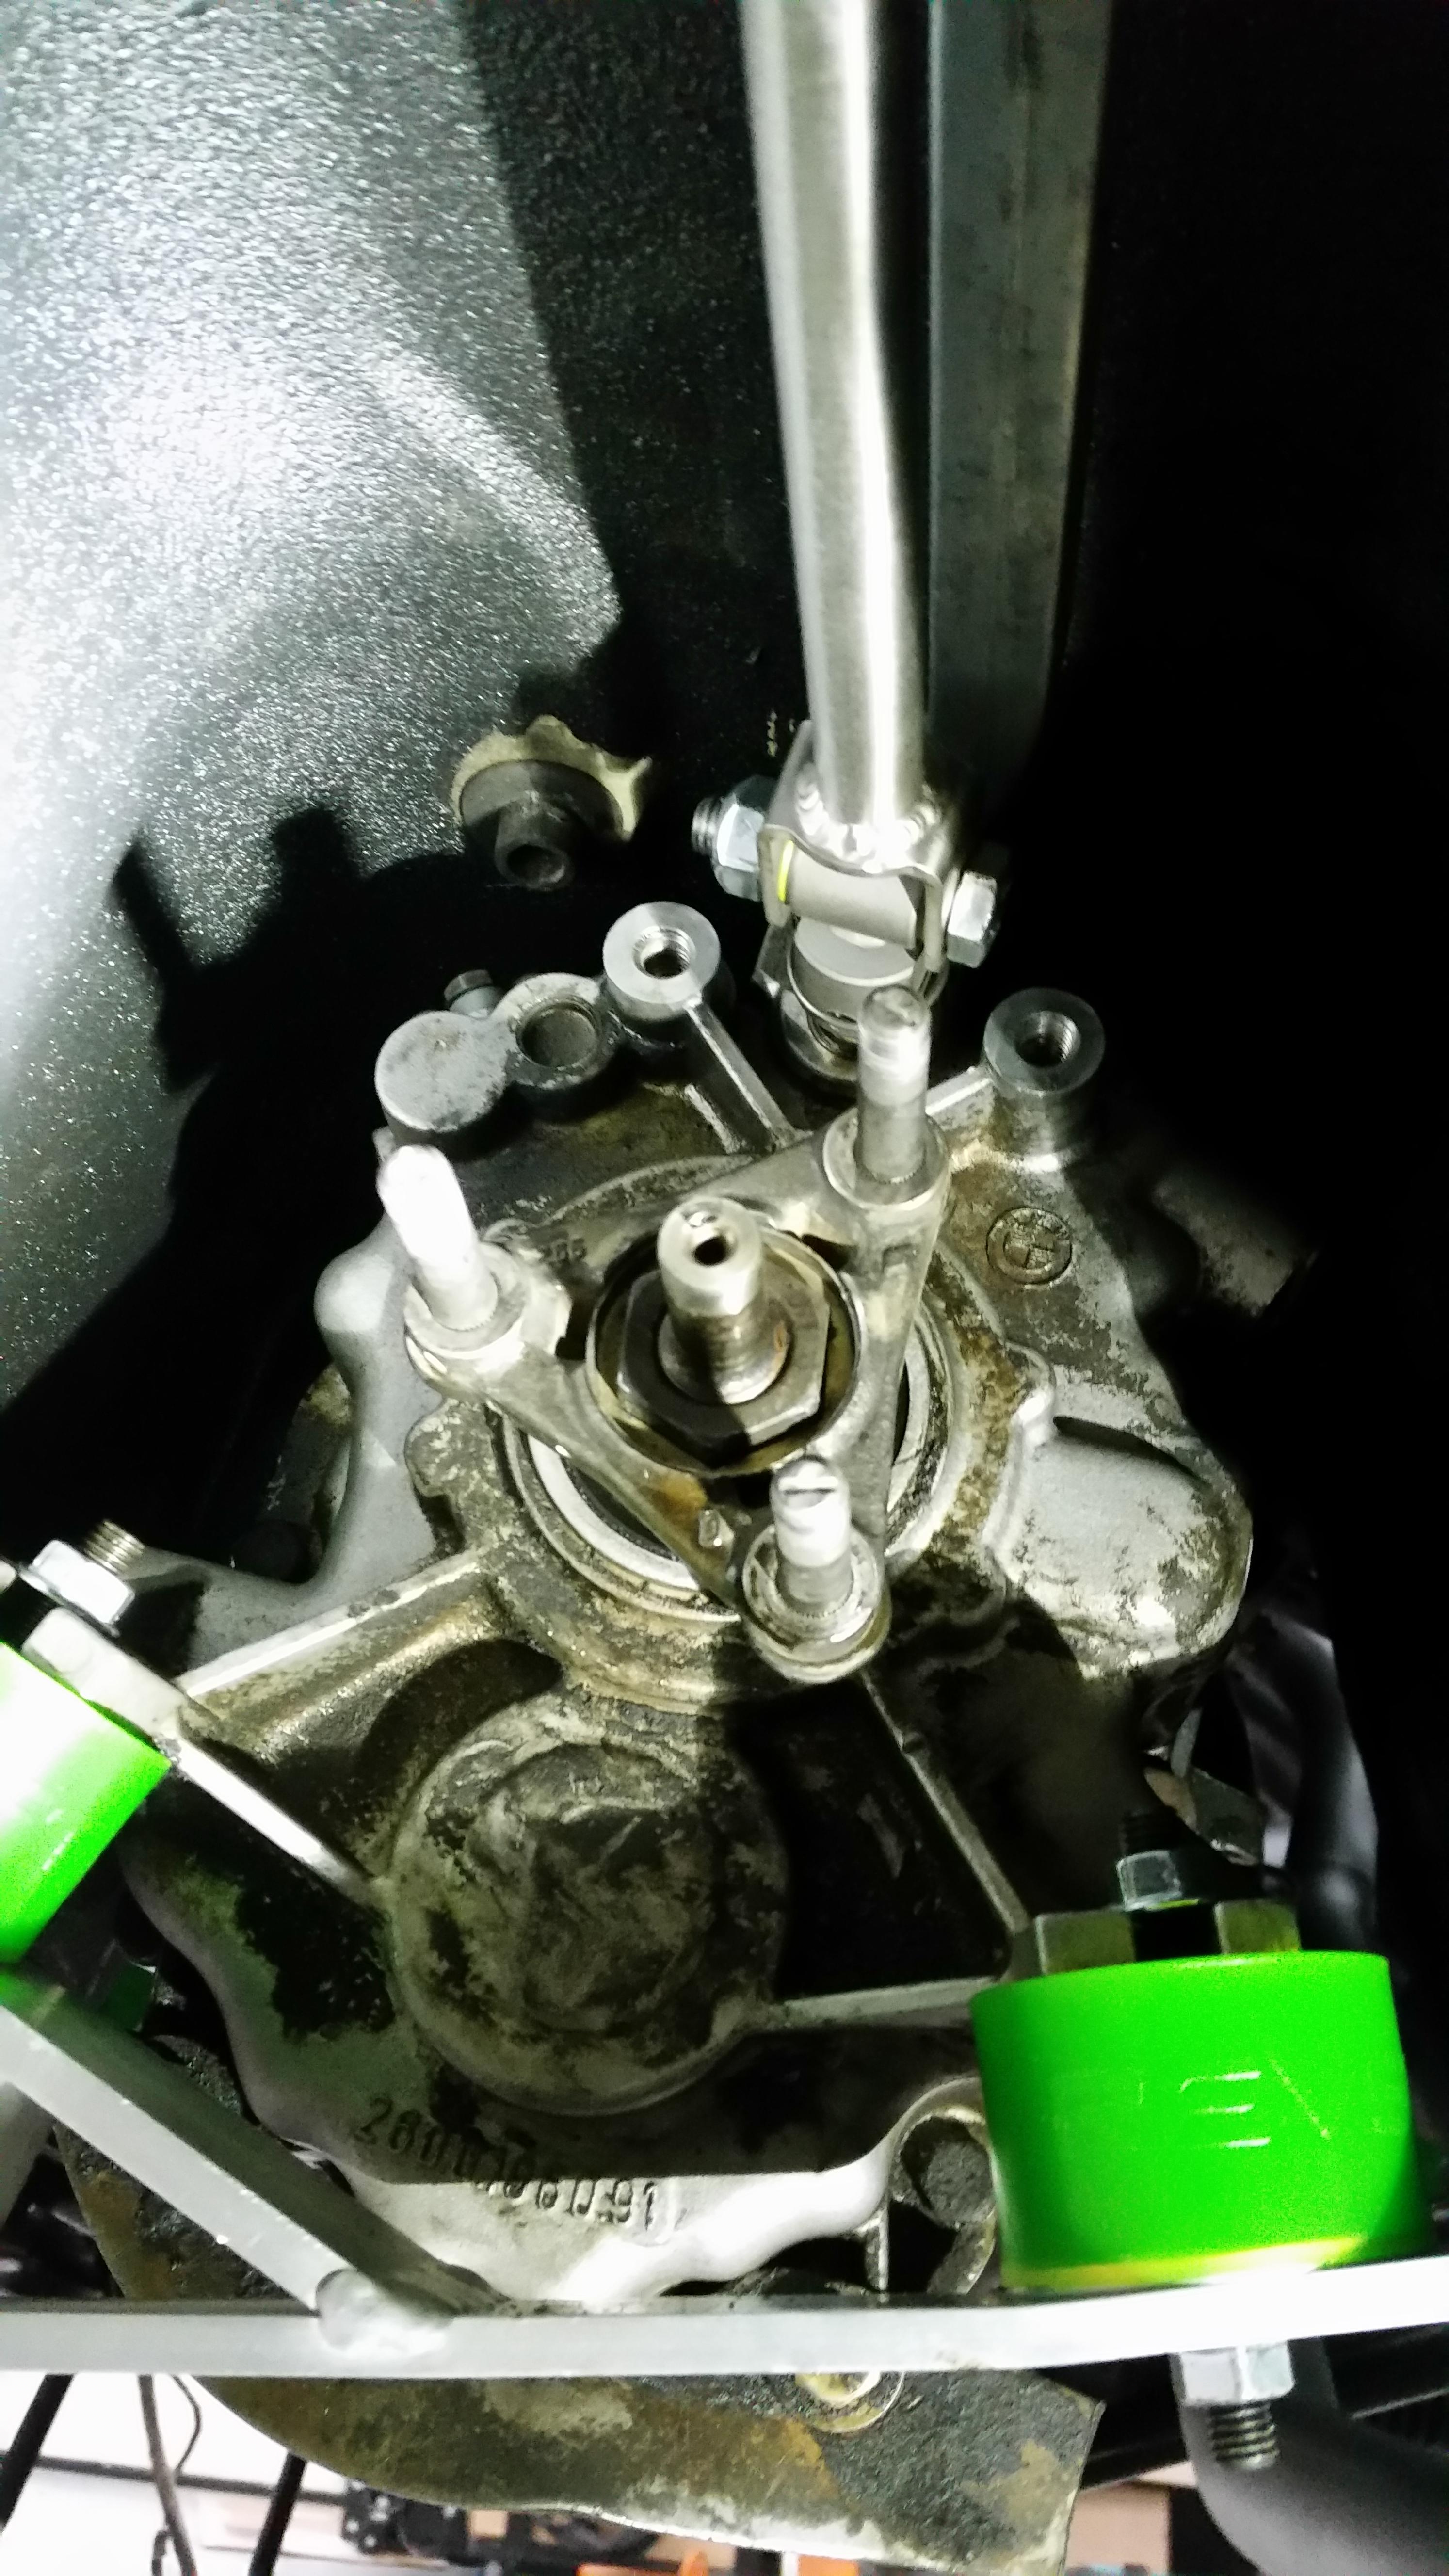
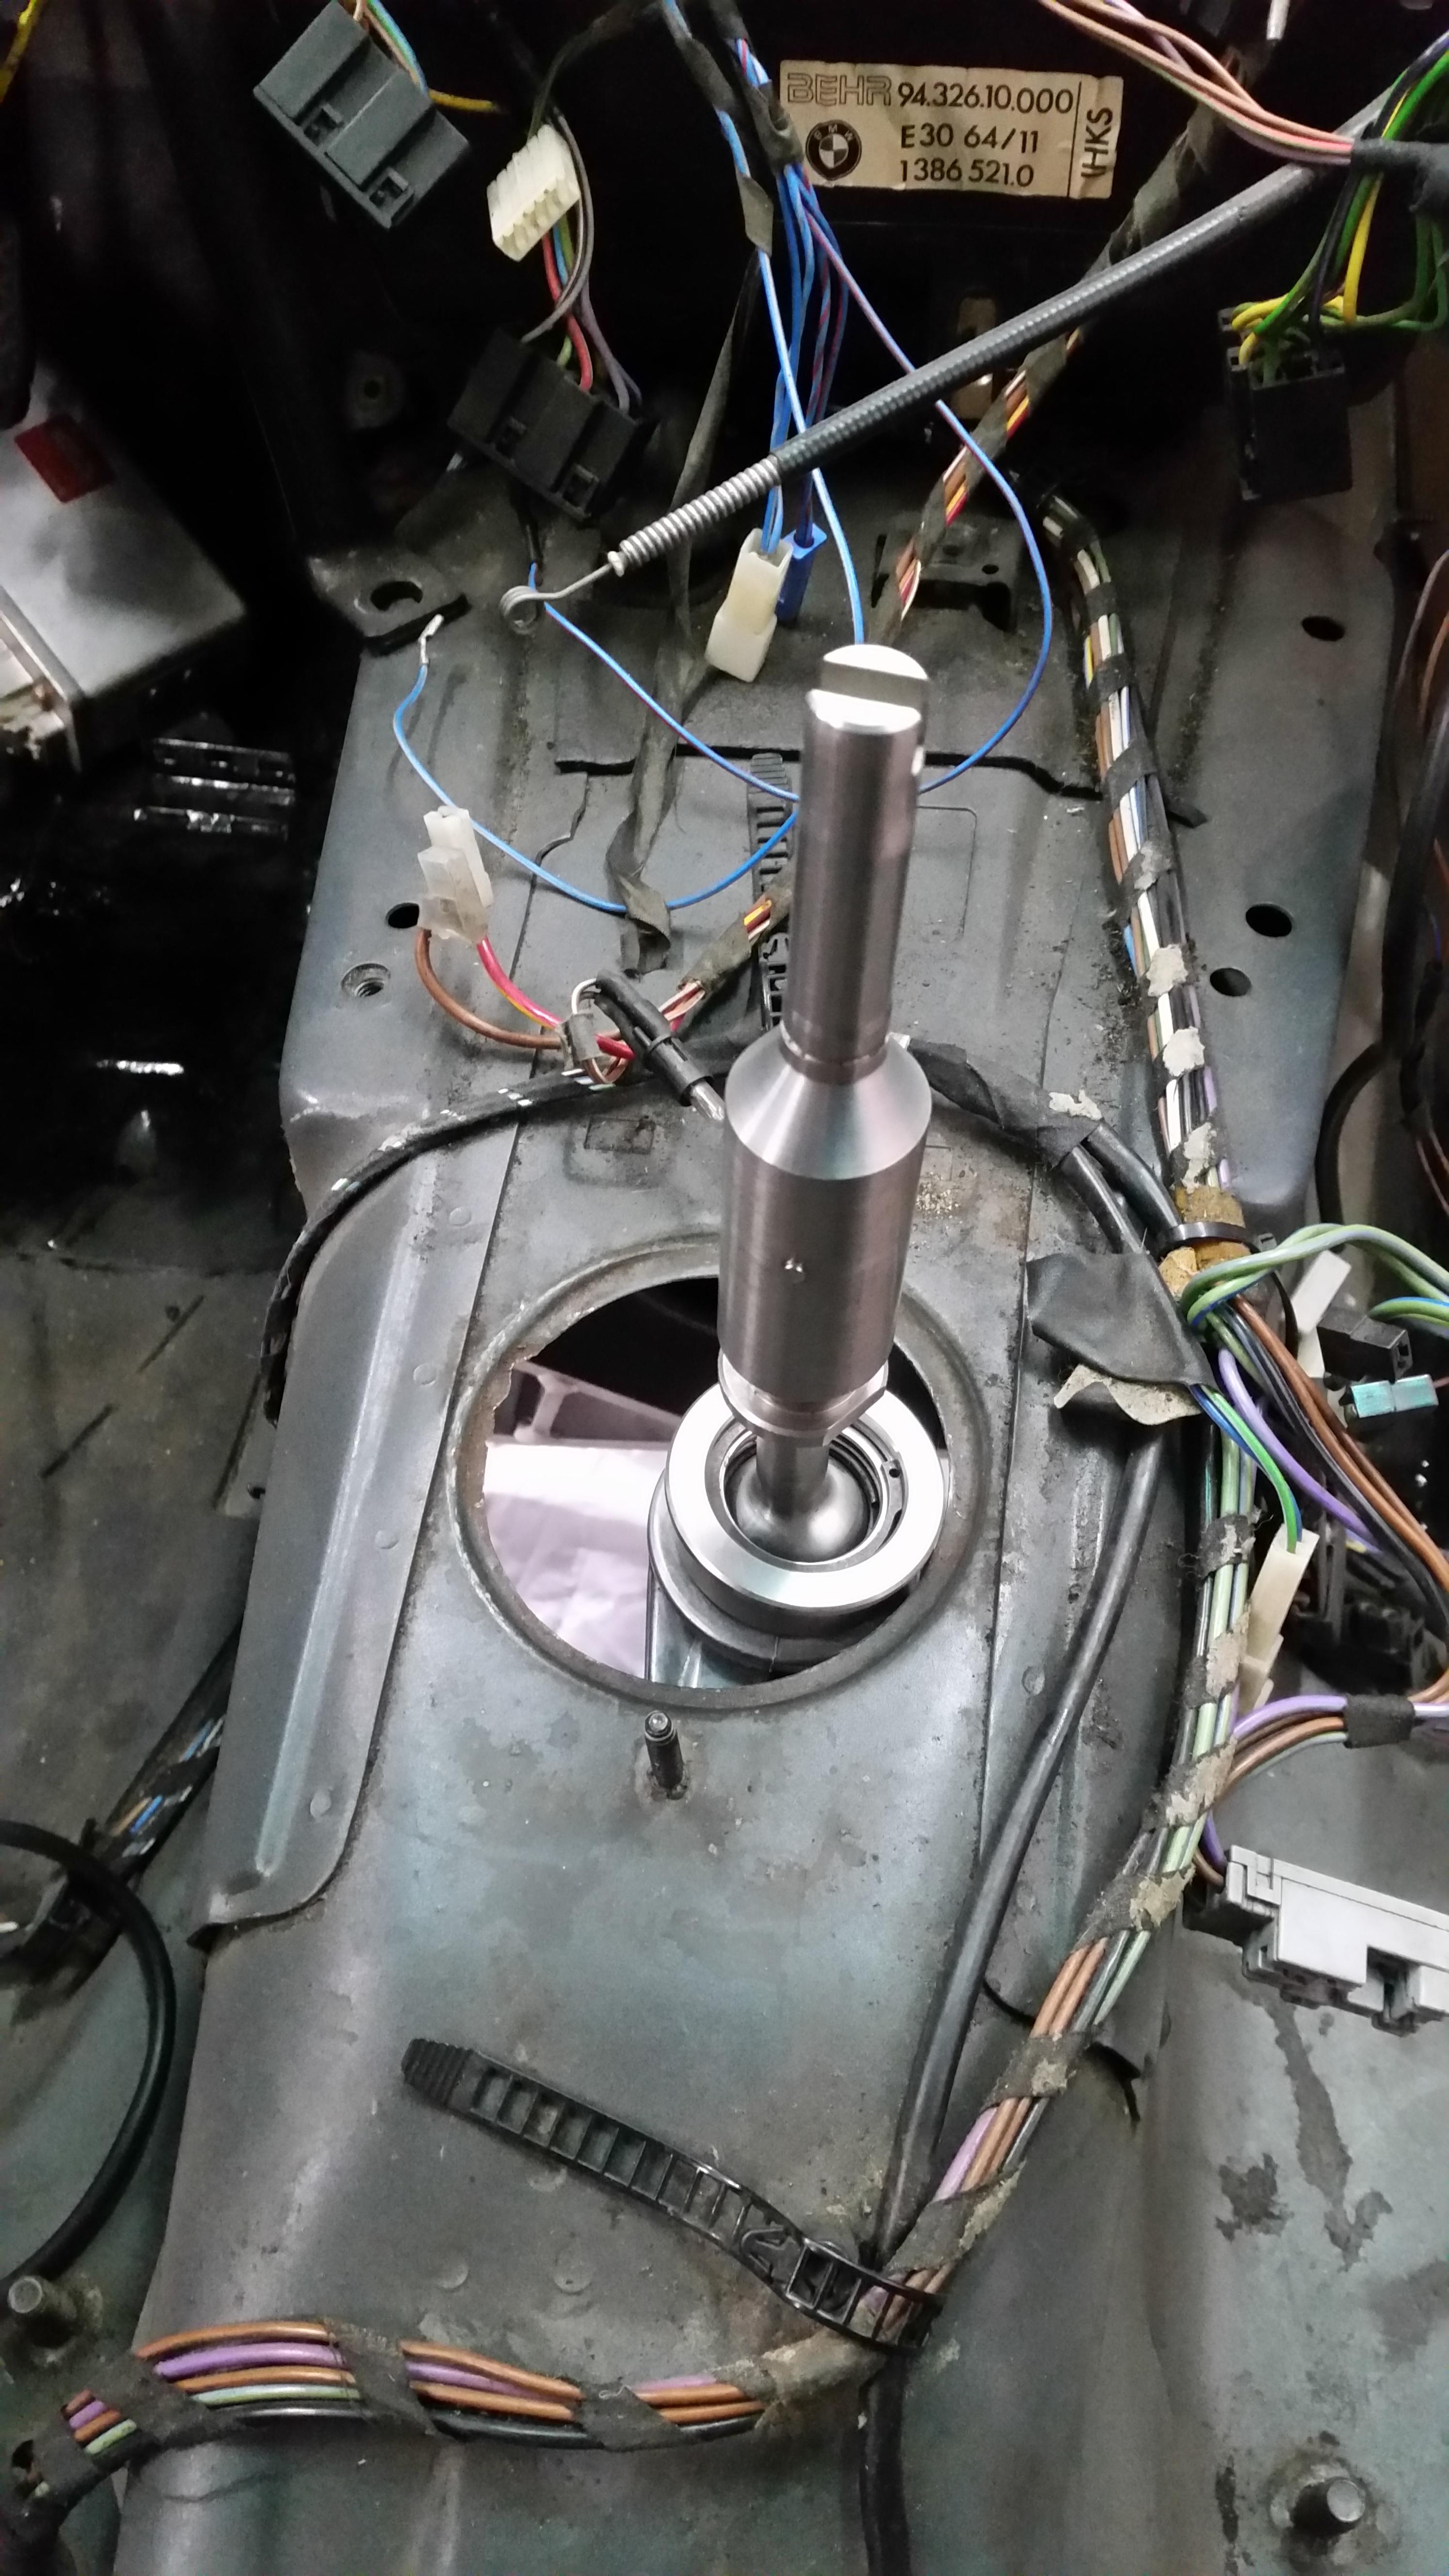
Now that the dssr clears, everything feels nice and tight and the shifter is very crisp. As you can see though, I'm having some lineup issues.
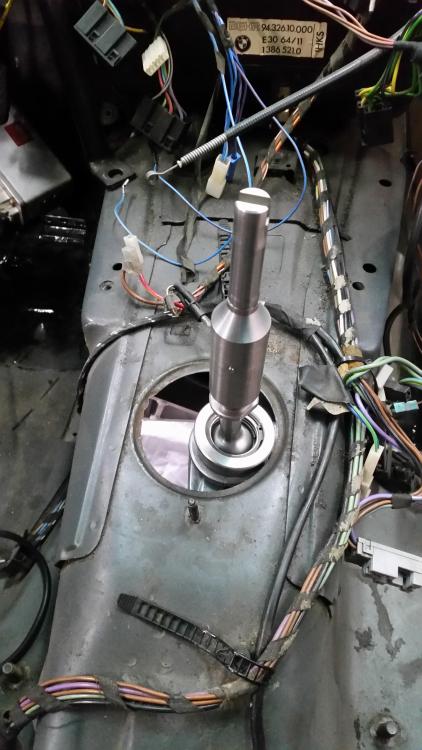
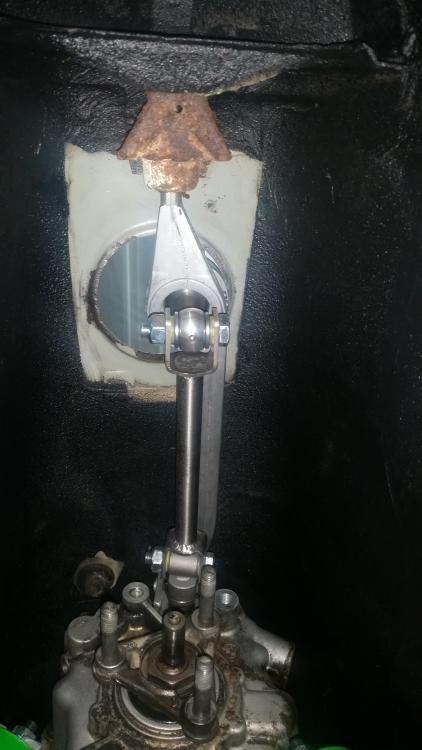
I have no issues with shifting and it goes into every gear with no interference's but the thing is completely off center and looks wacky as hell so I'm just curious what others have done or if they had similar issues.
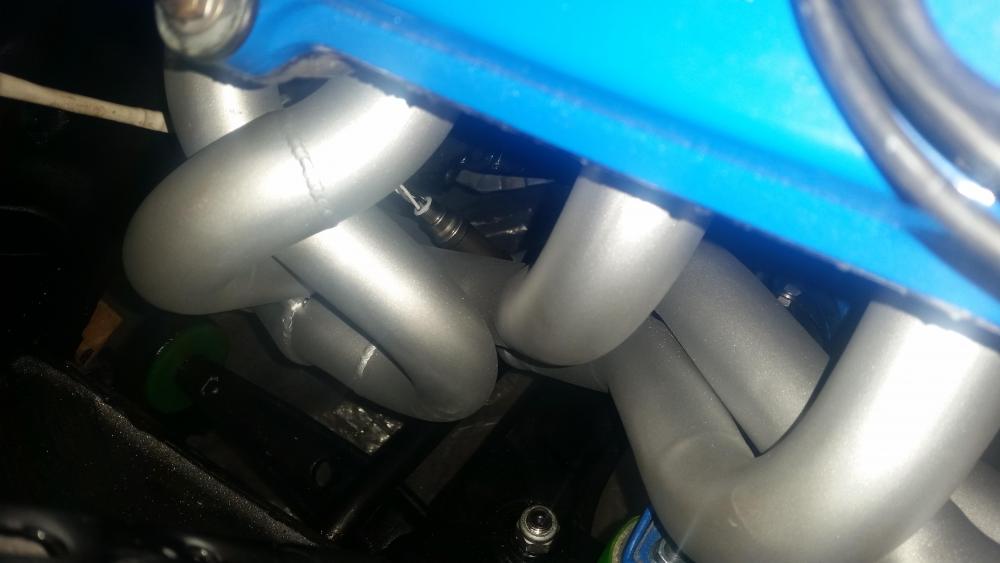
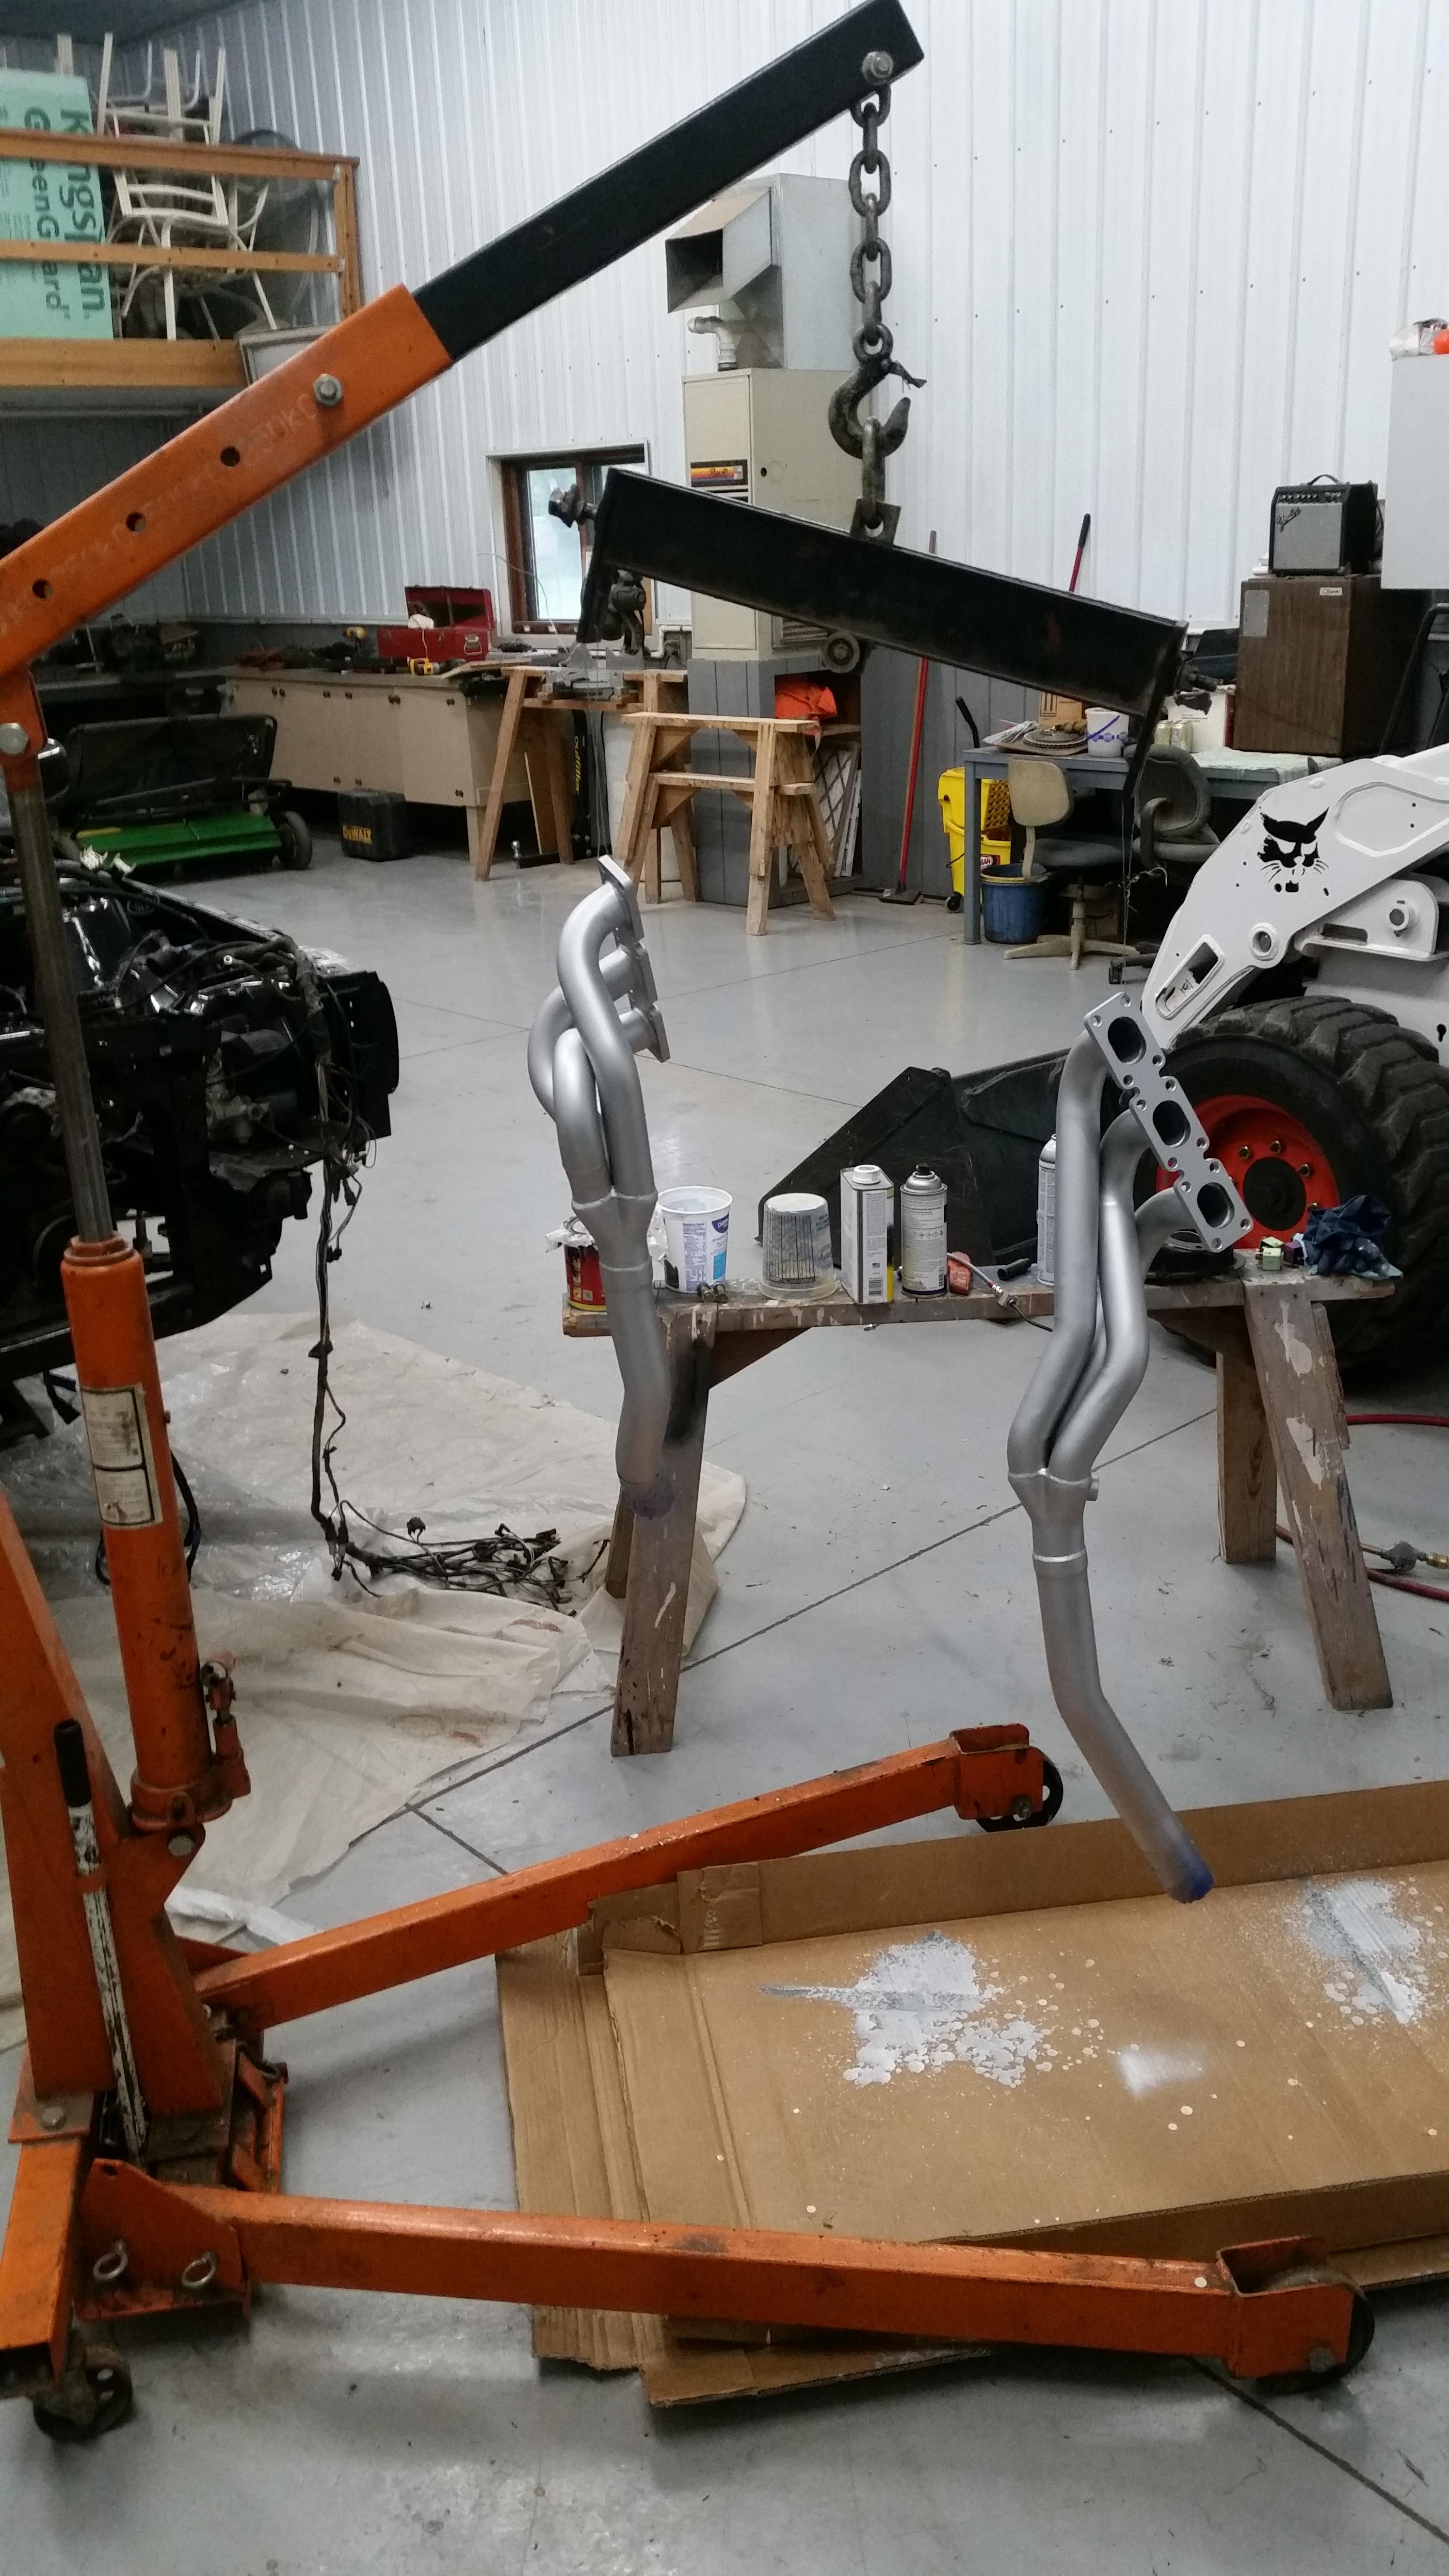
Ceramic coat headers... check
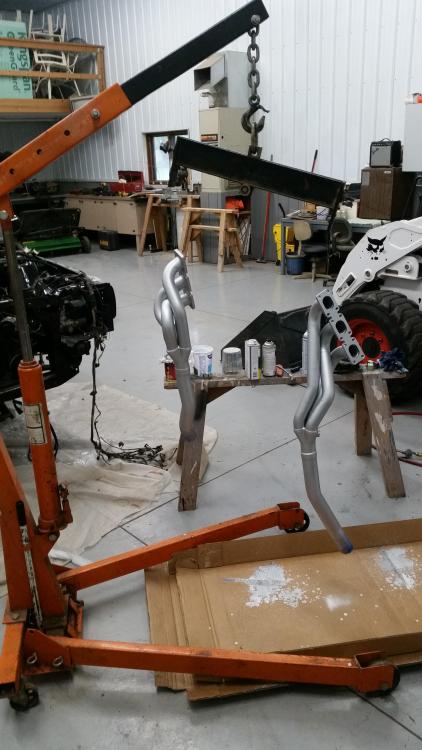
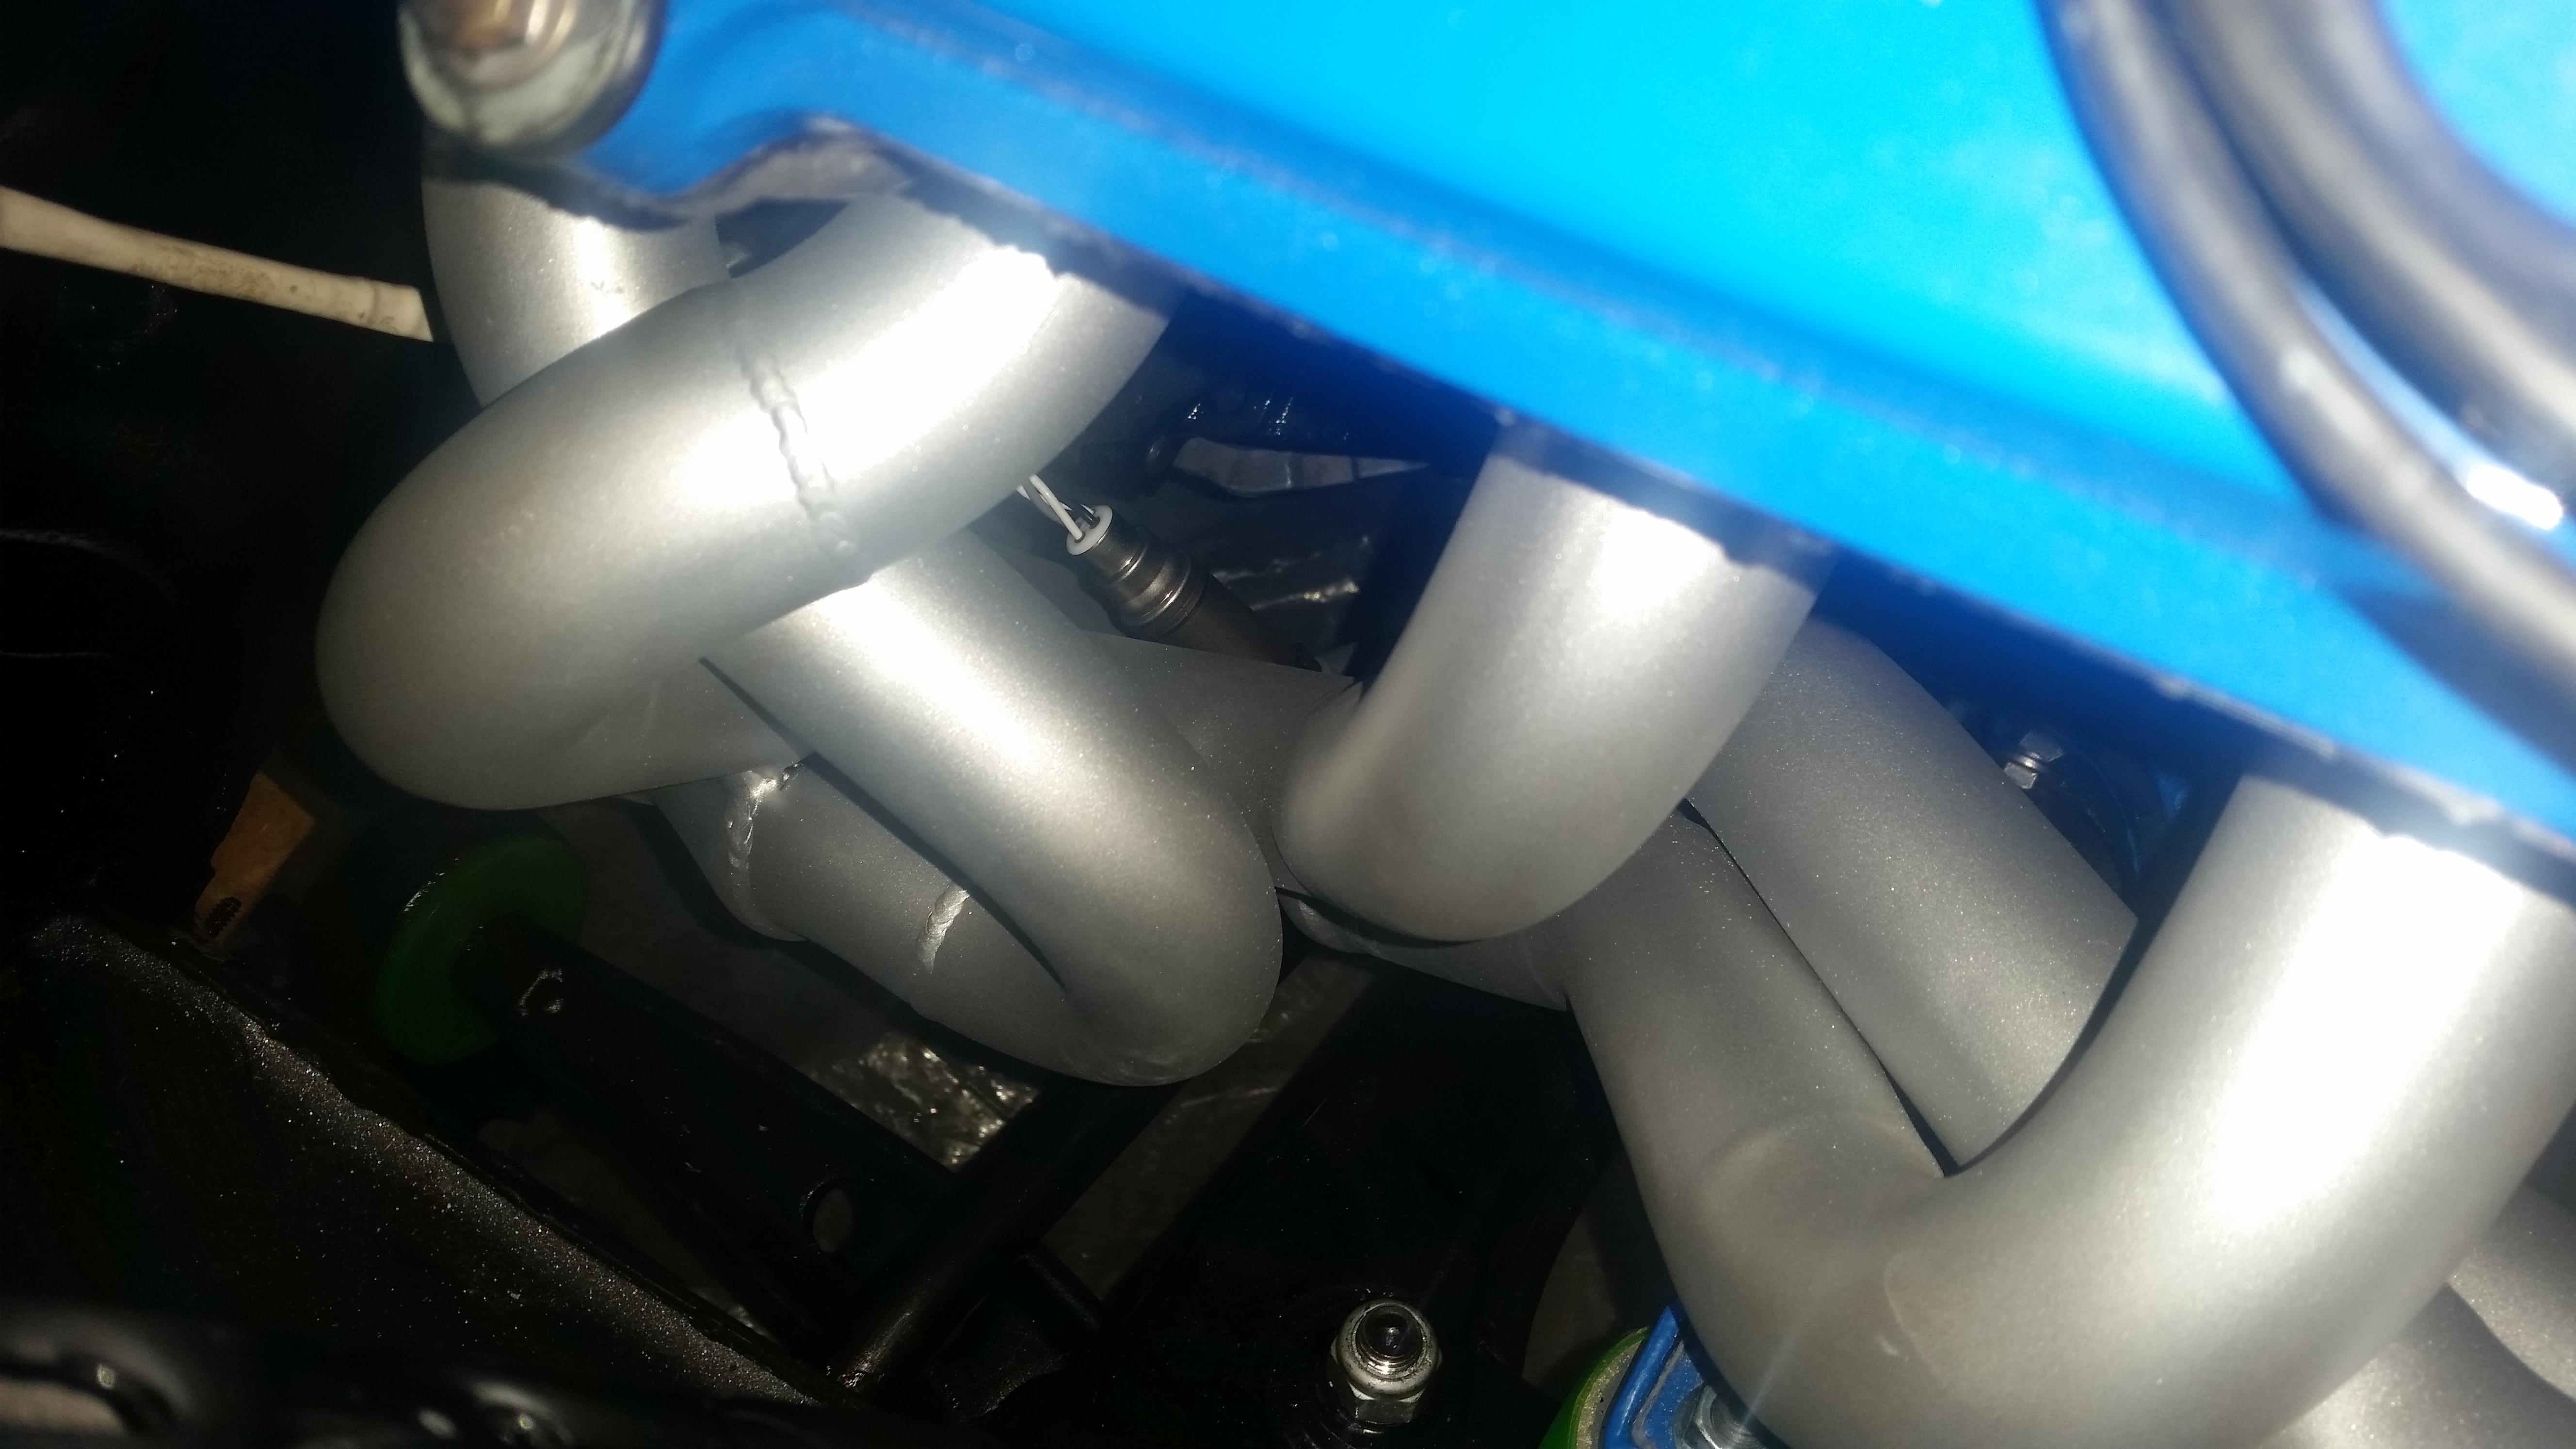
Re-installed them and was relieved when I crawled under and was able to screw in my O2 sensor with just enough clearance on the original bungs welded on the headers.
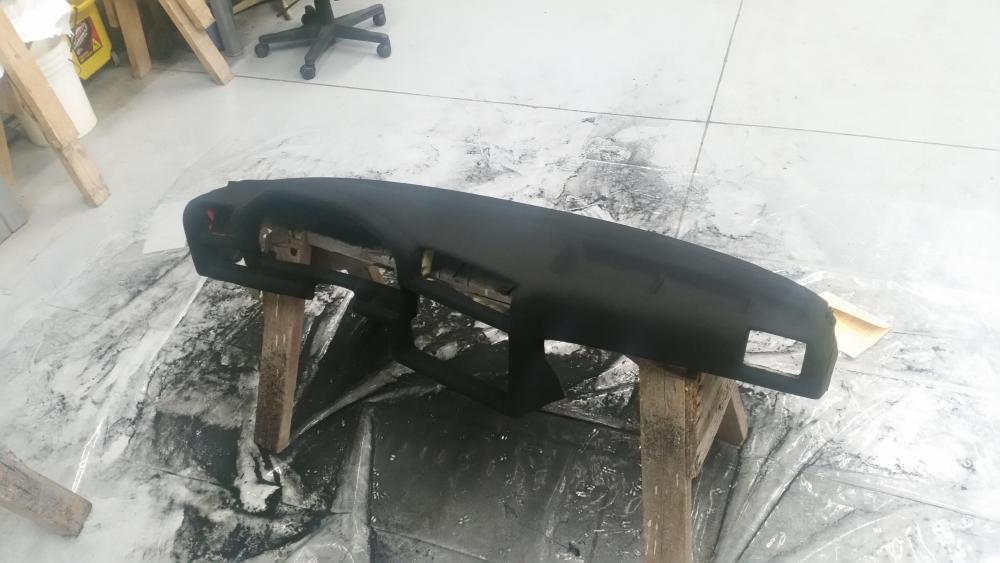
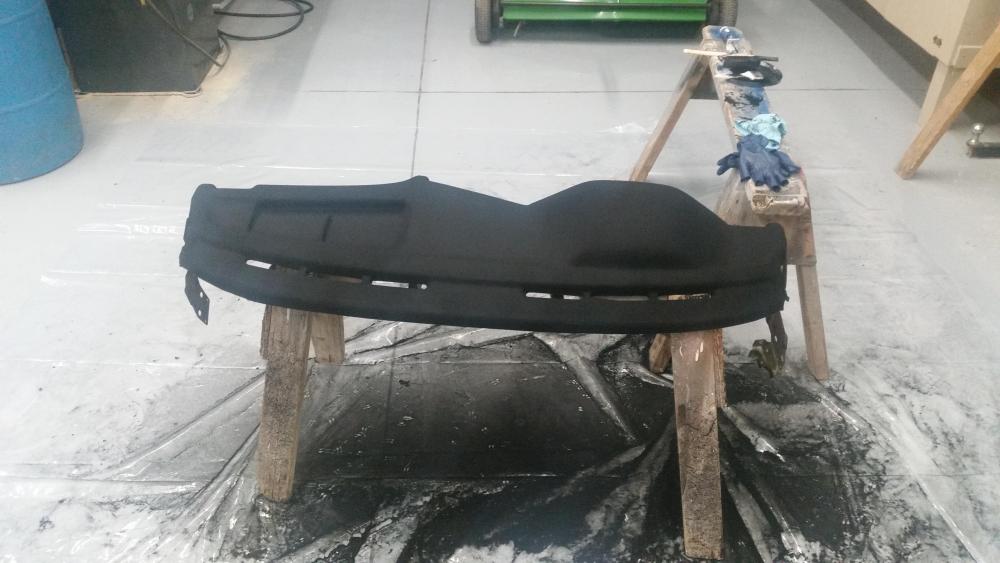
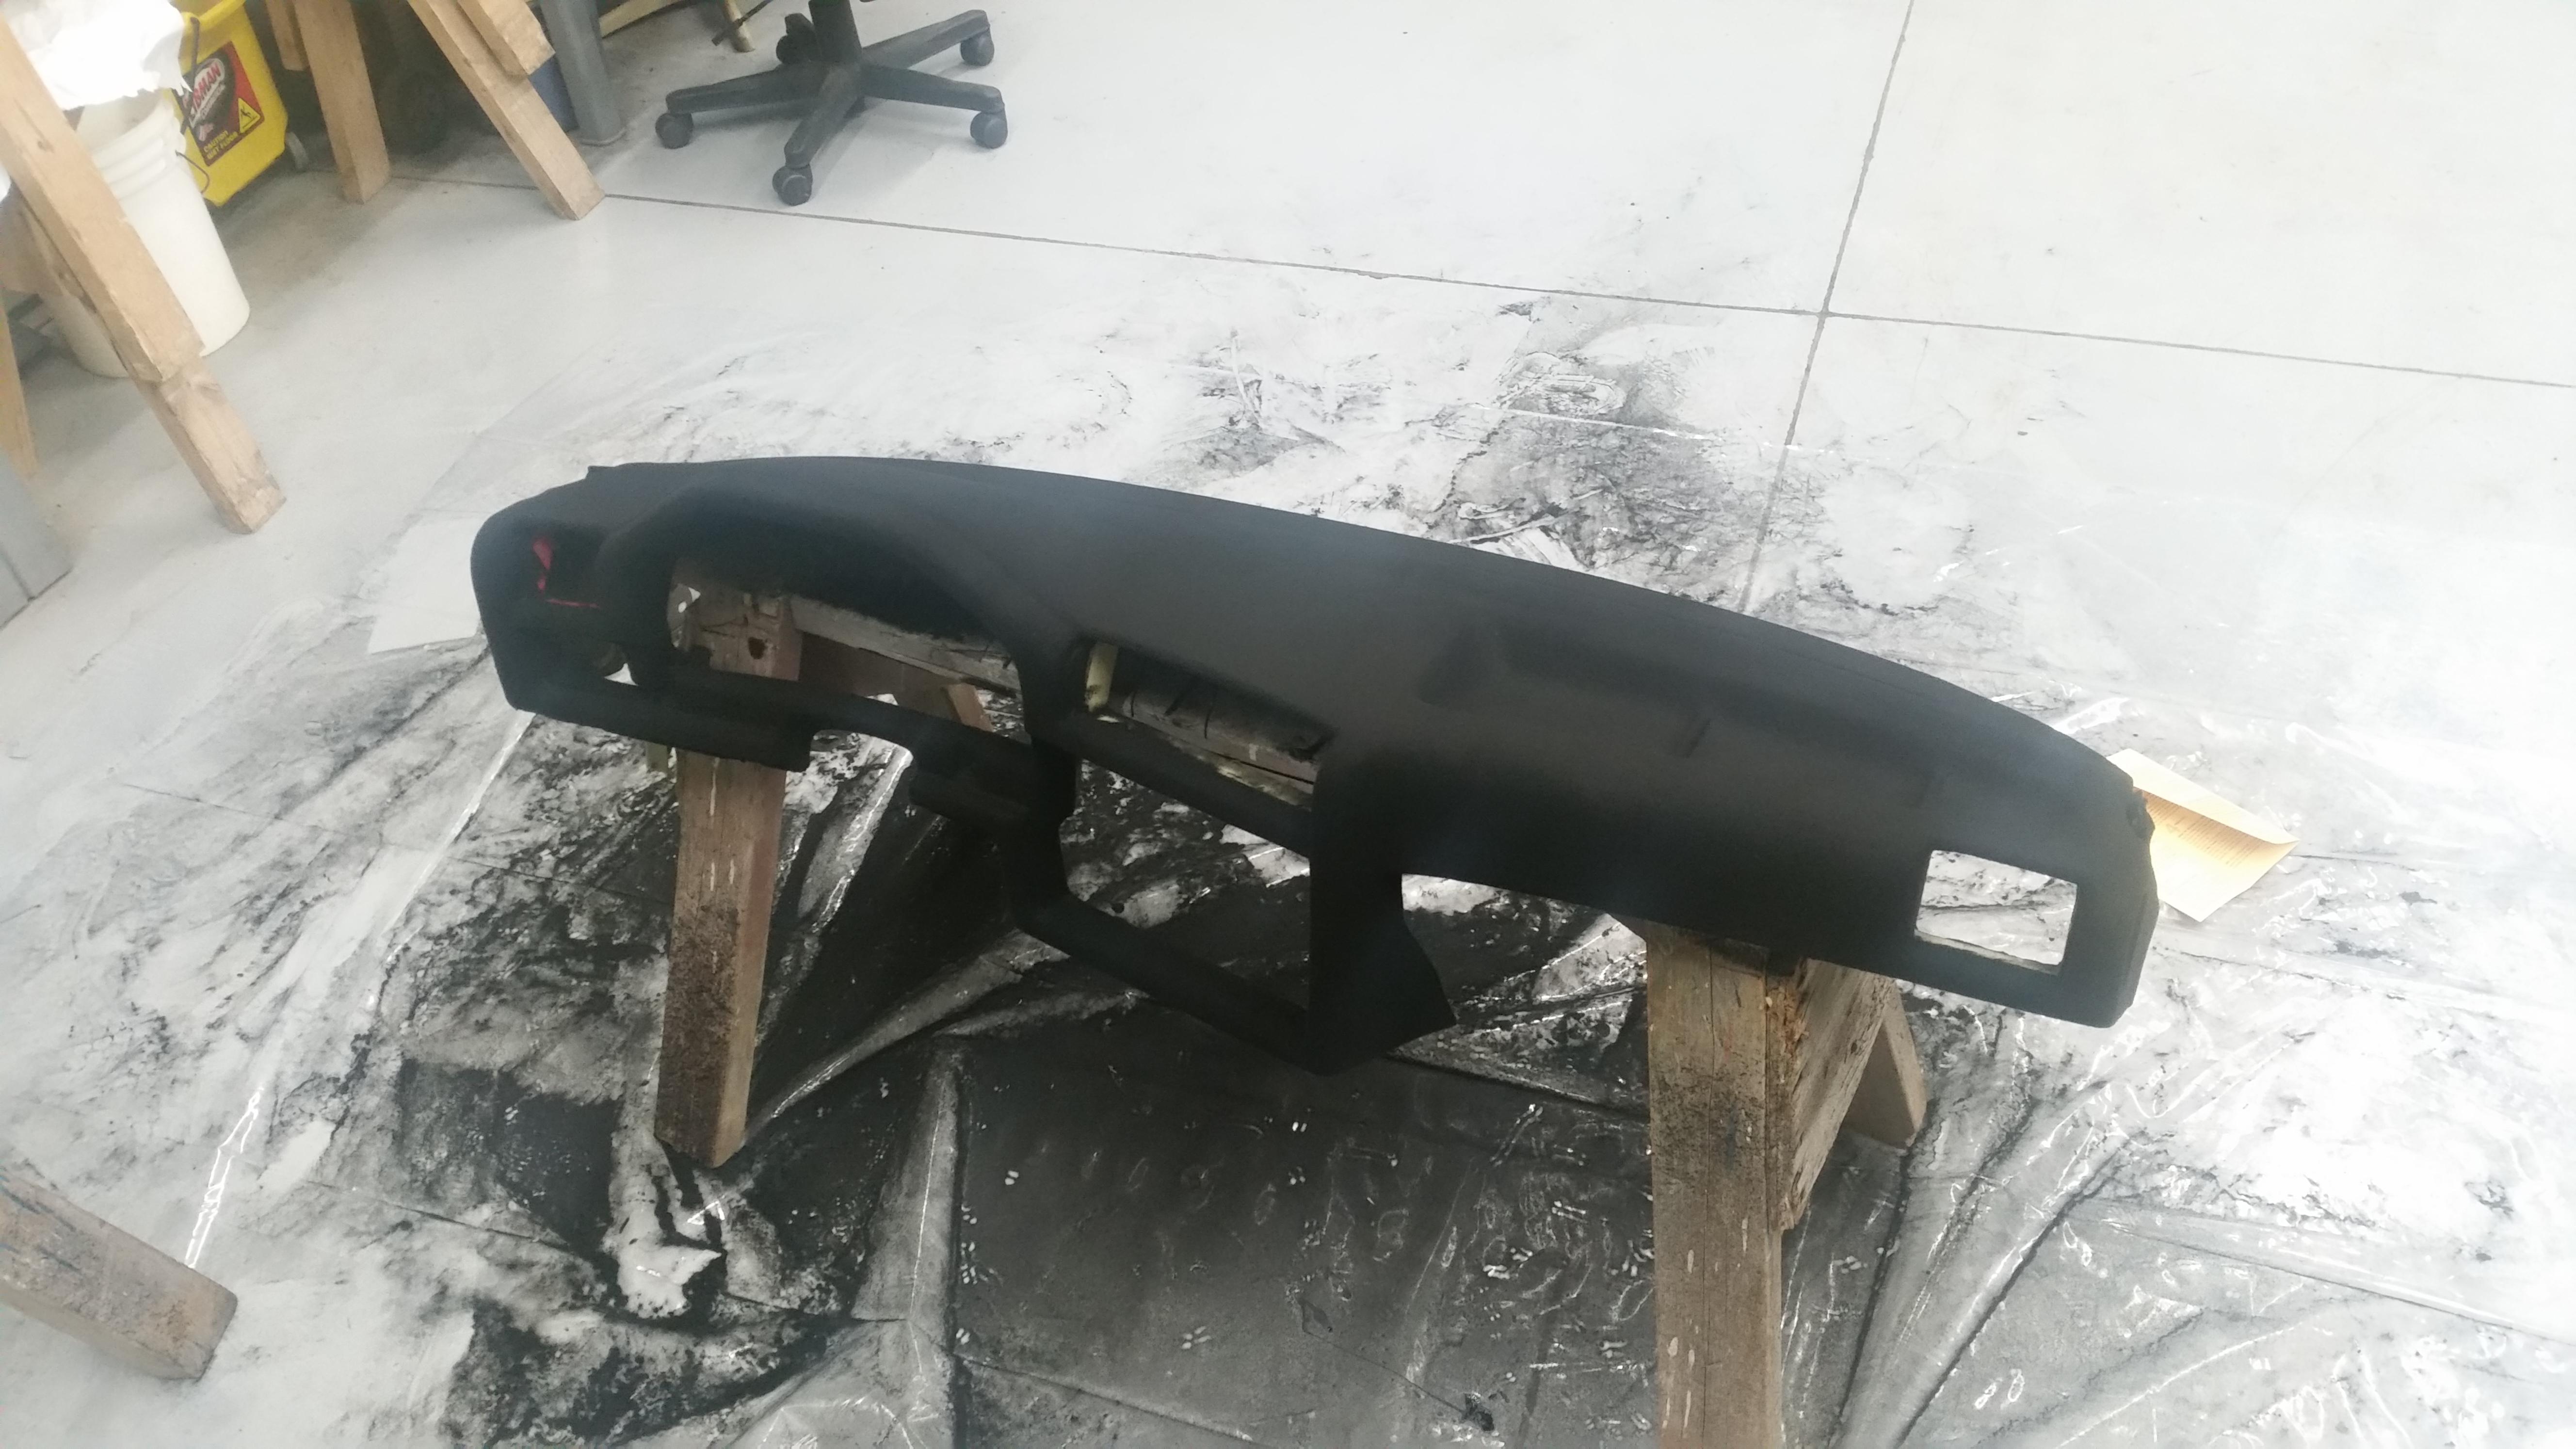
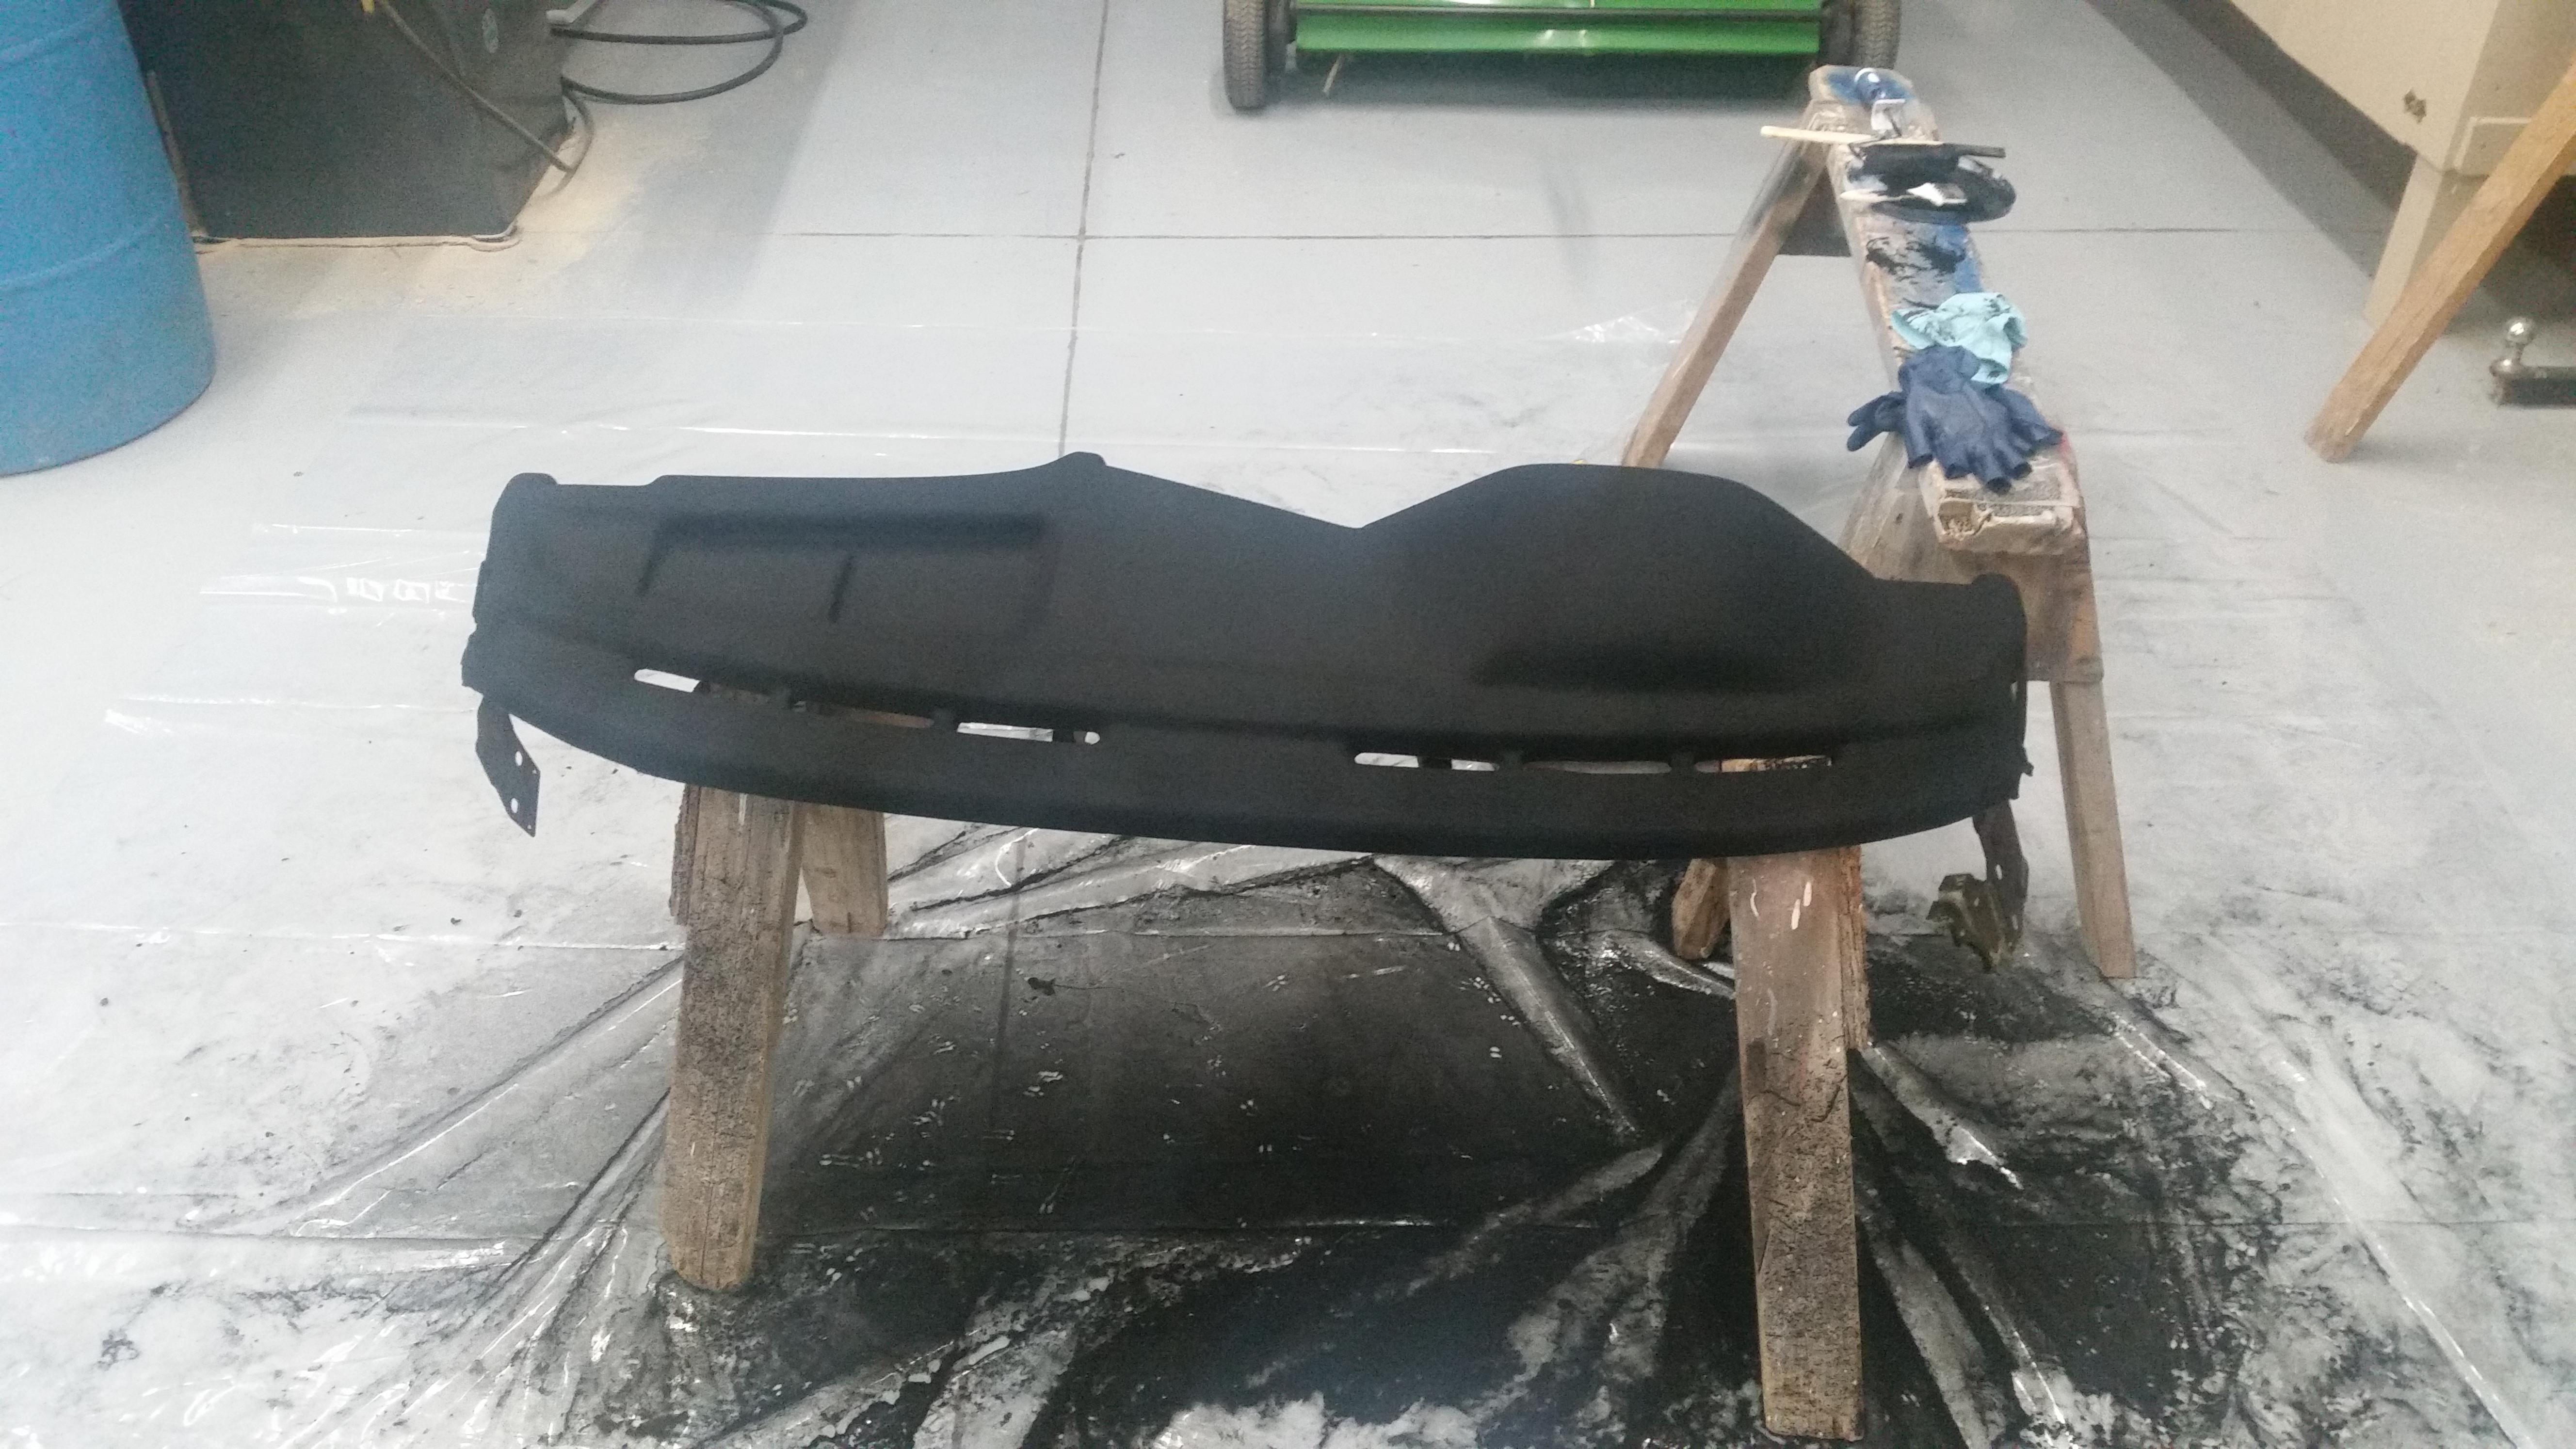
Last week I pulled the dash back out and threw another layer of the flock it kit on there. It needs about a week to cure completely before blowing off access and reassembling.
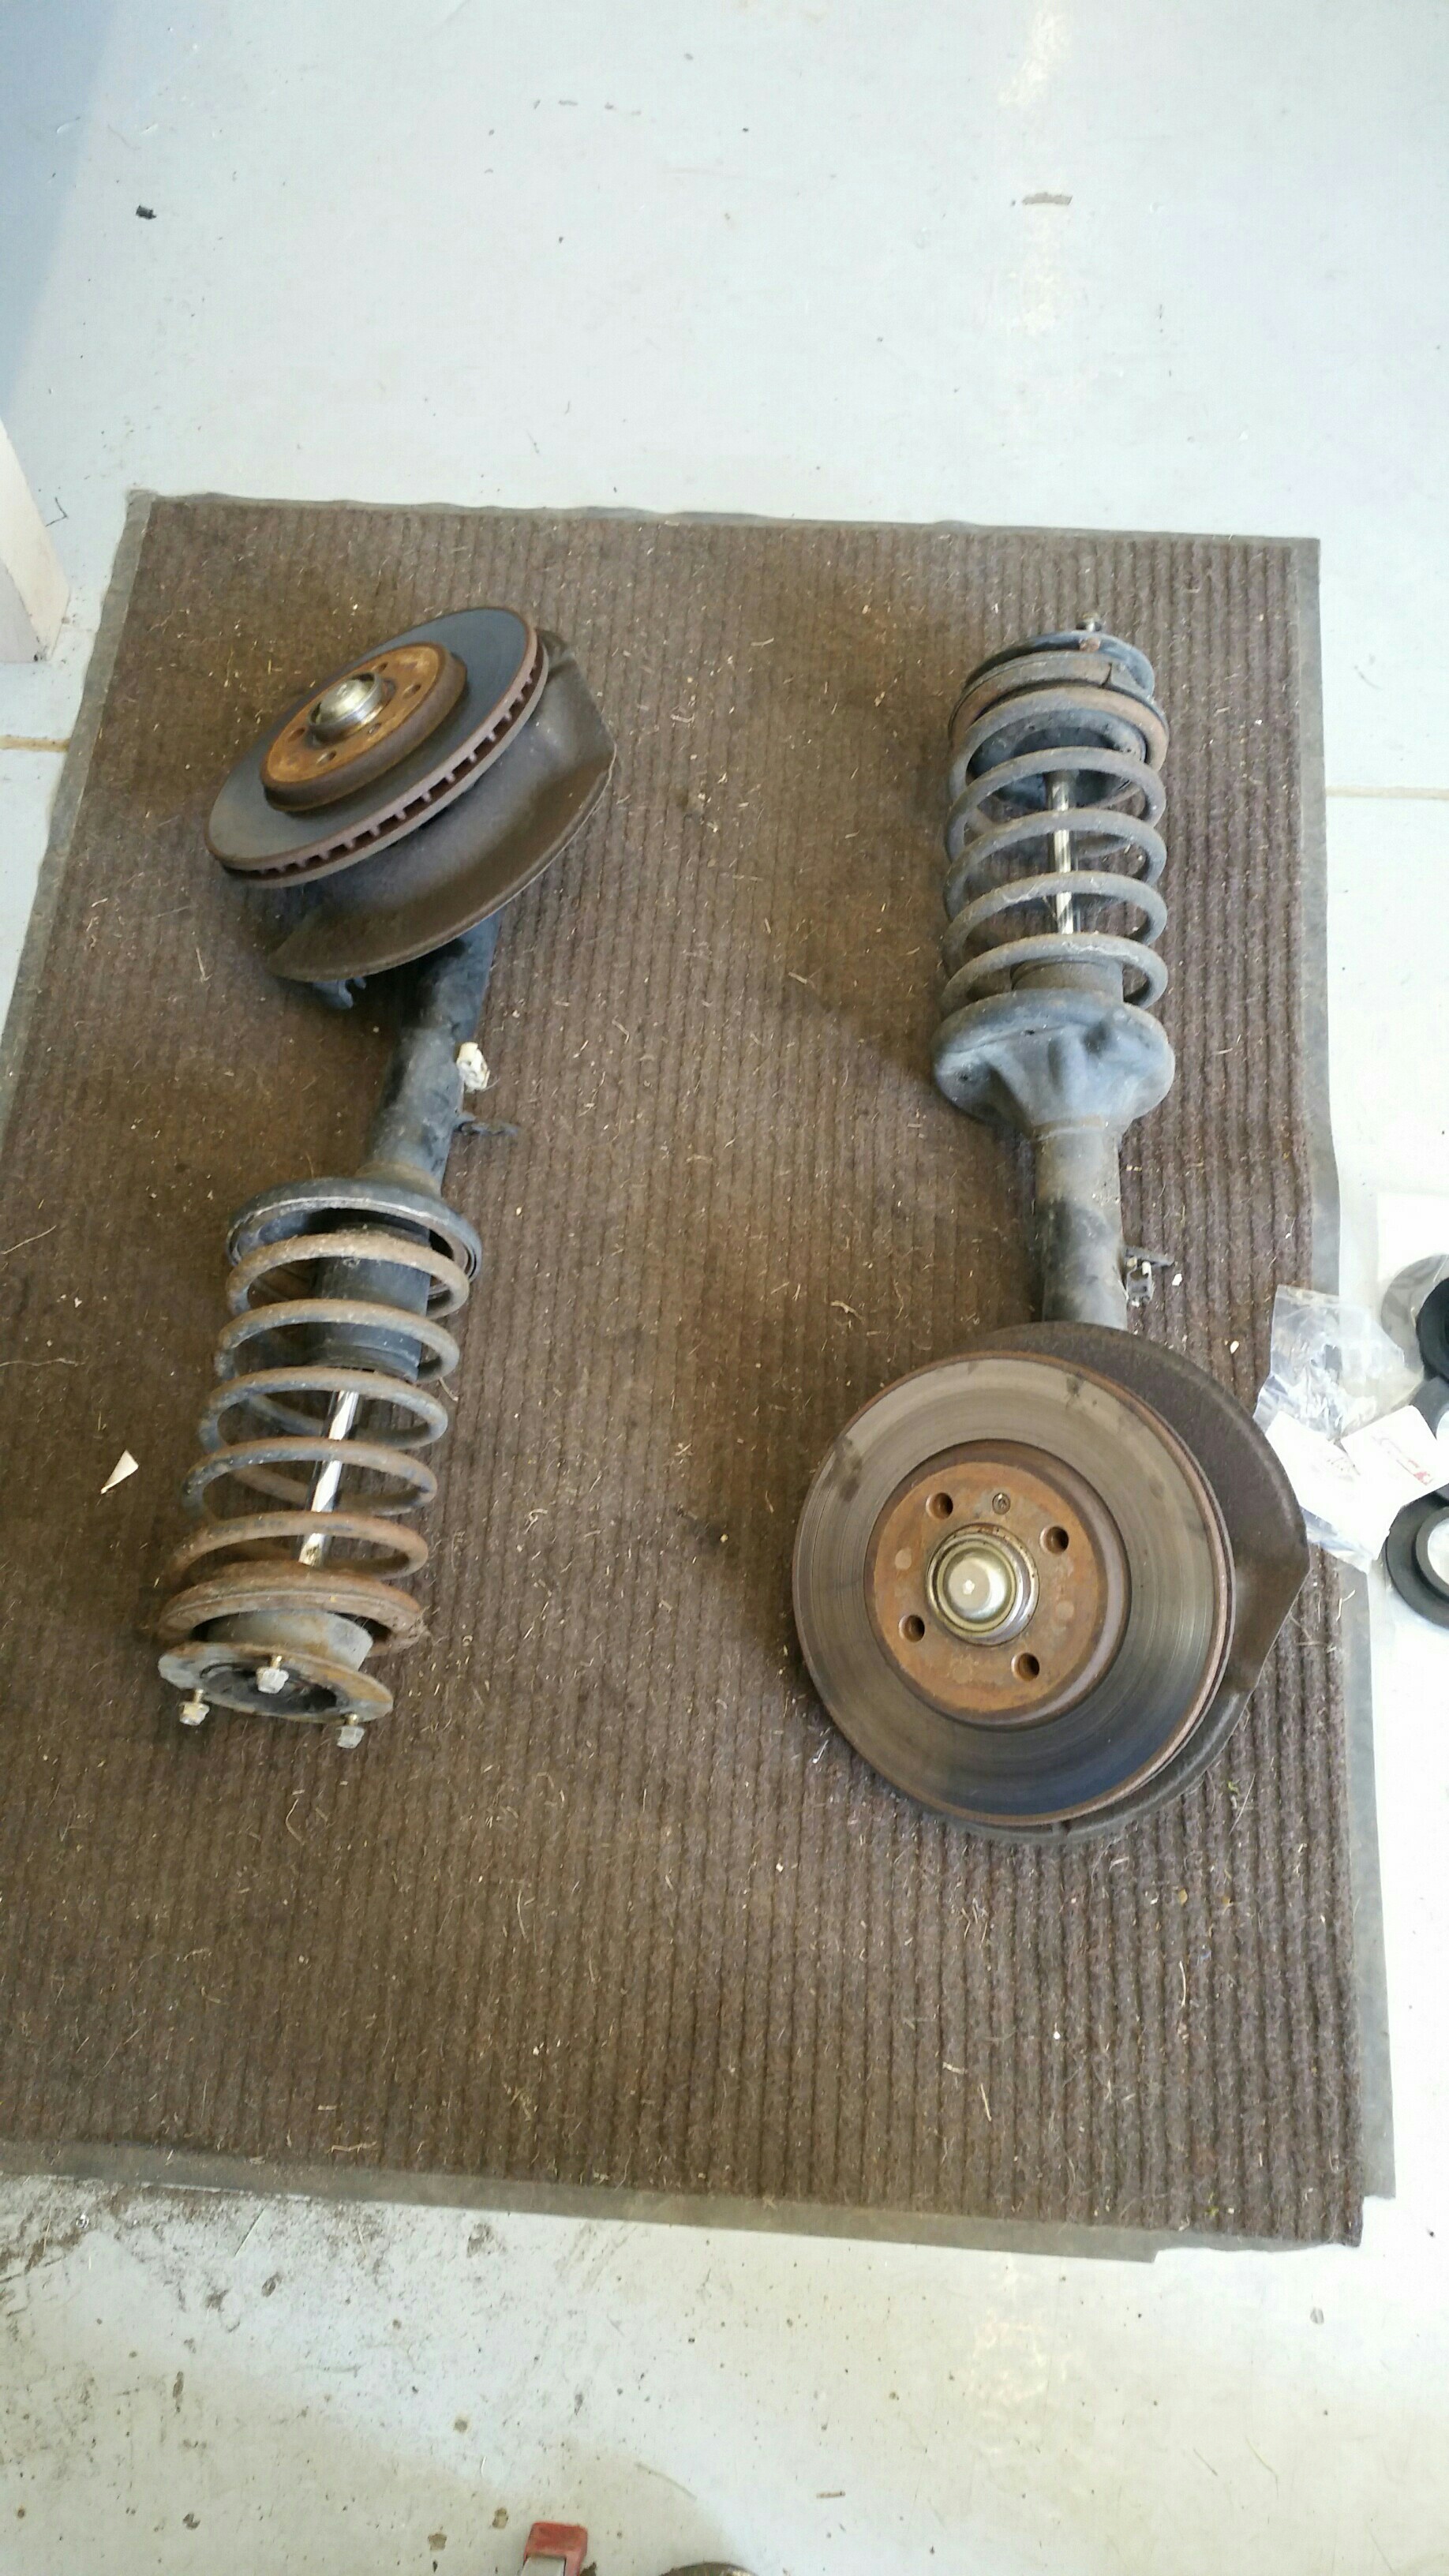
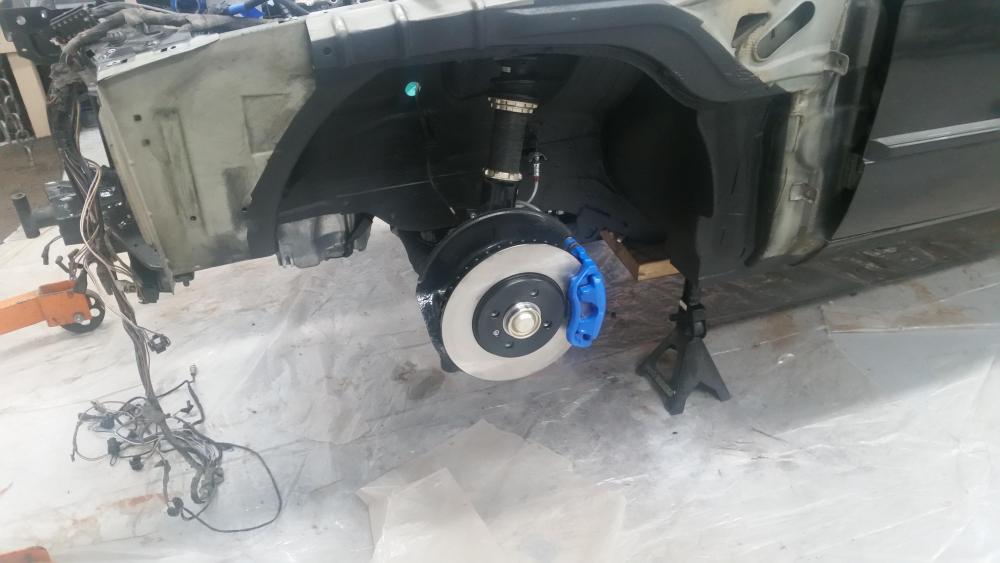
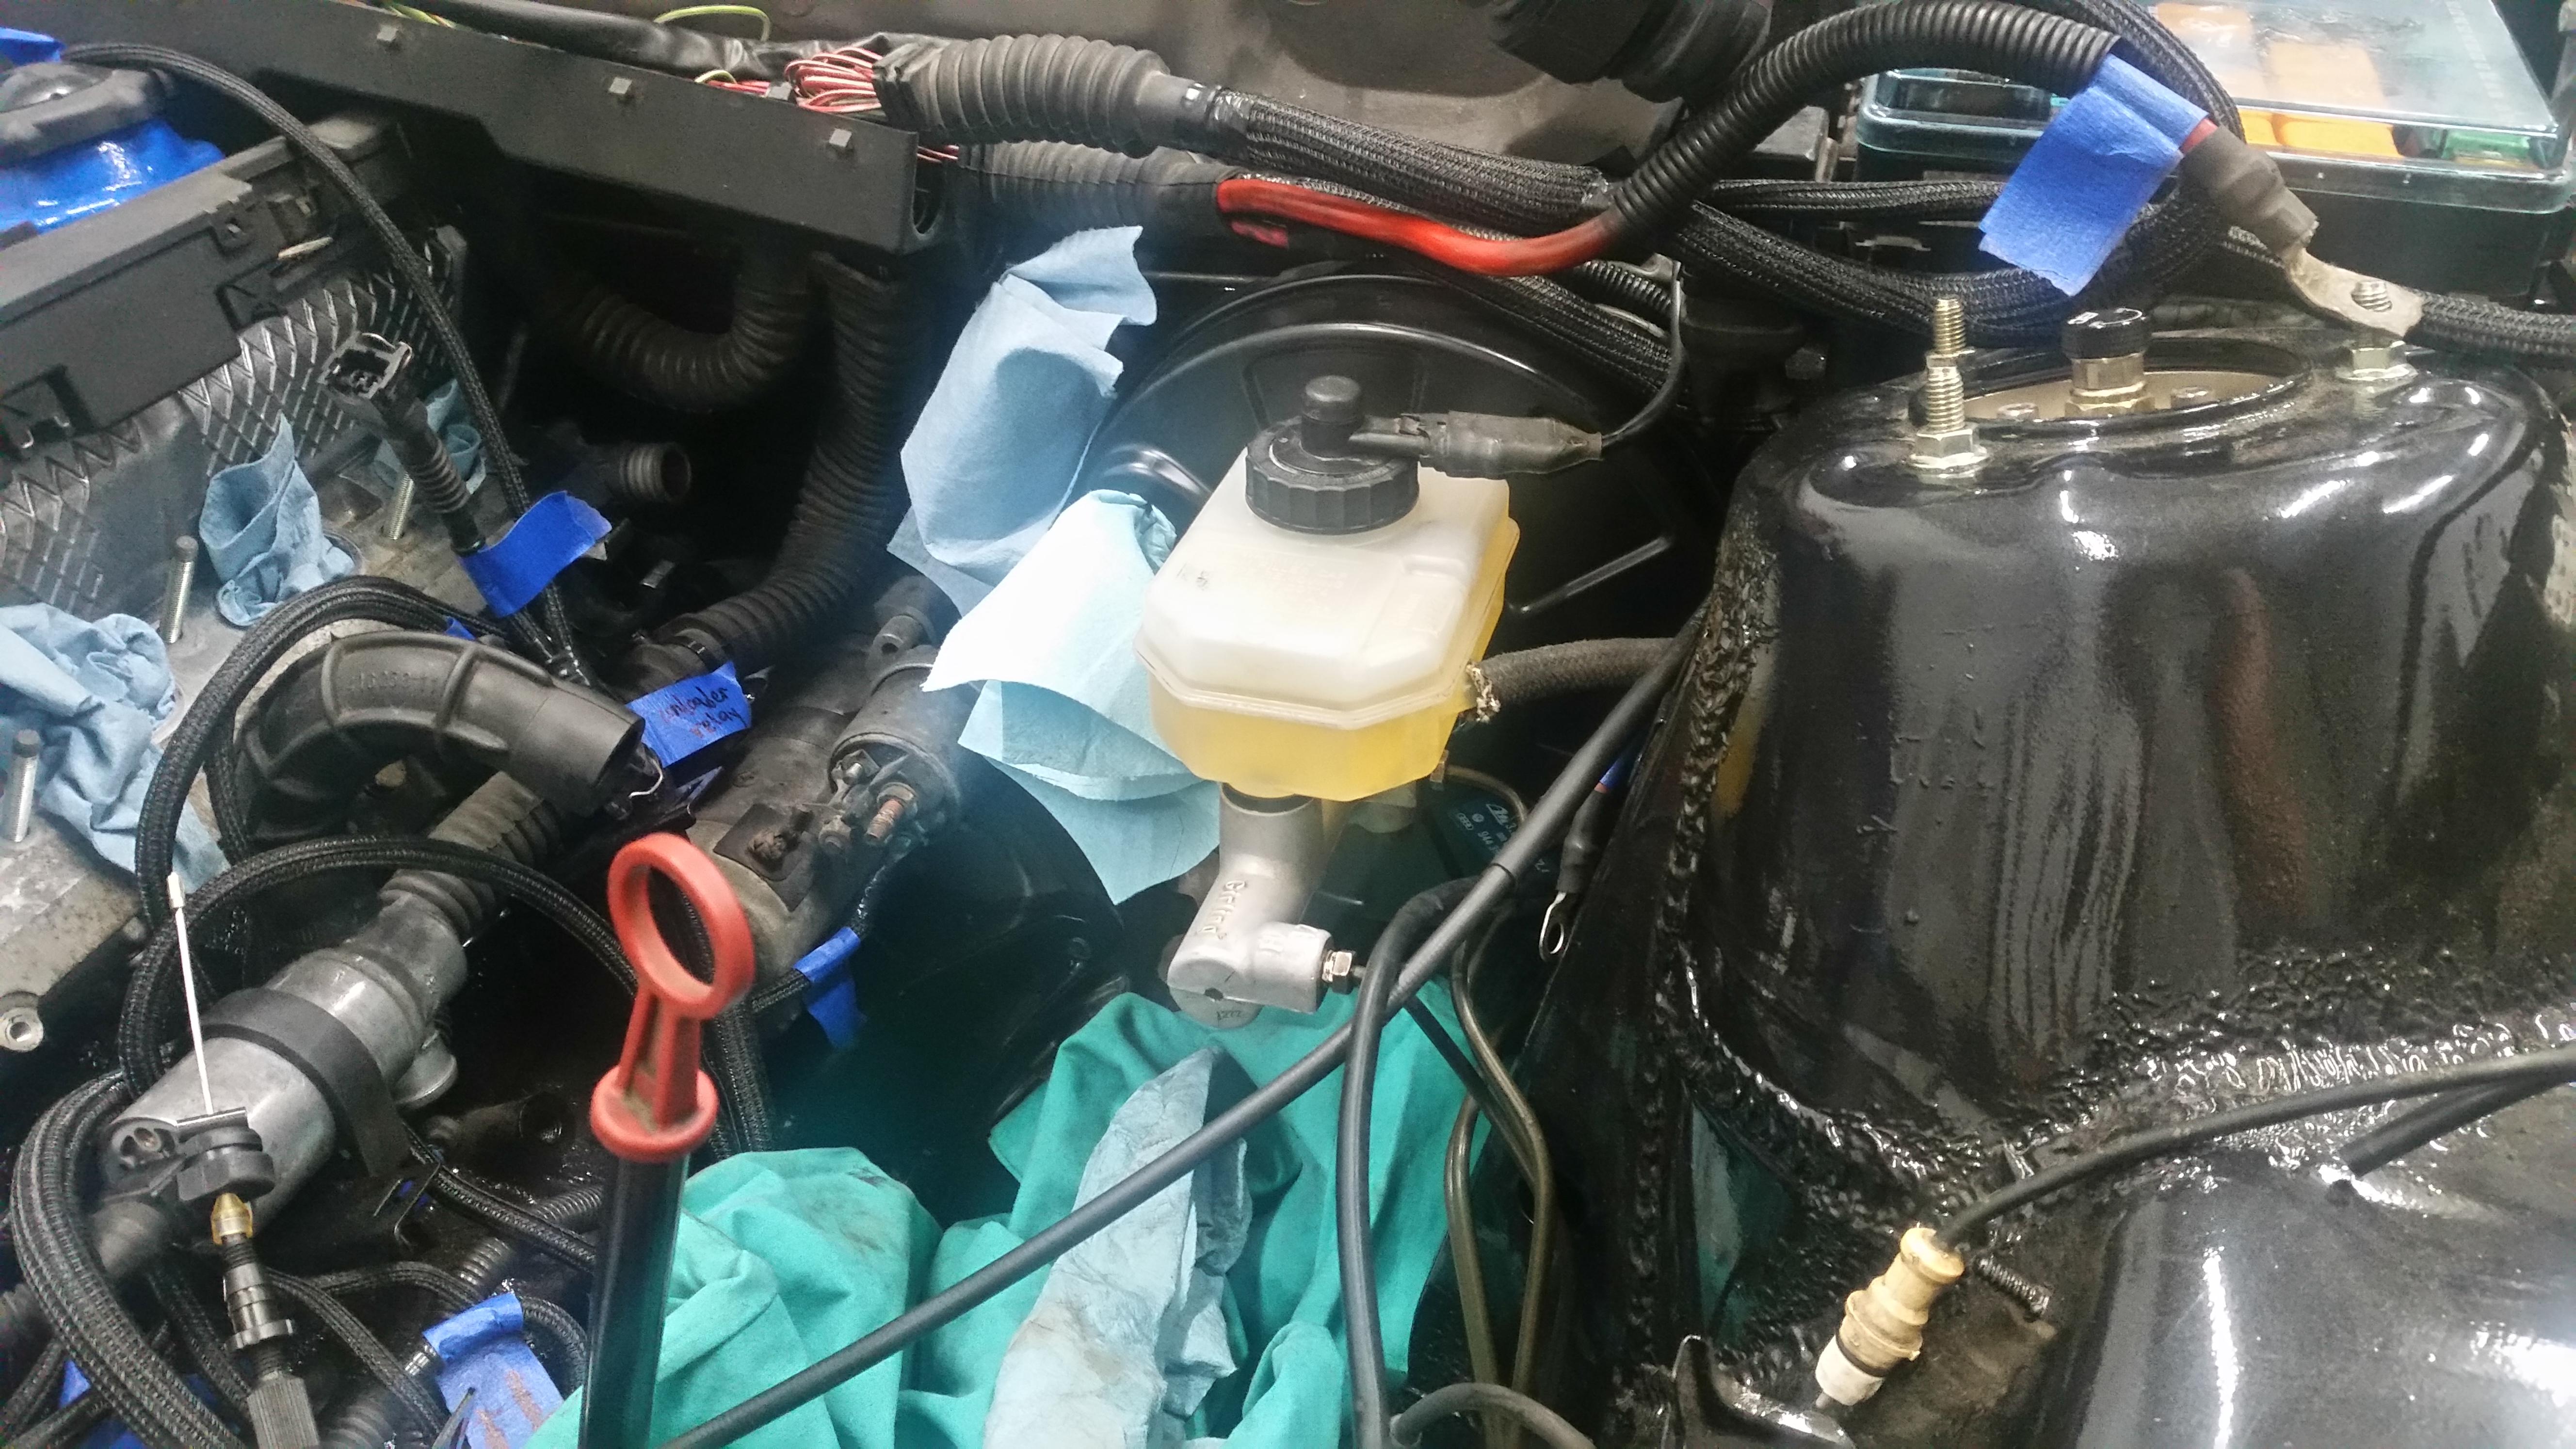
At the moment I'm waiting for the last of my parts to show up for the motor so to keep chugging along I took some time to install and bleed the entire brake system, brake pedal feels great and there are no leaks!
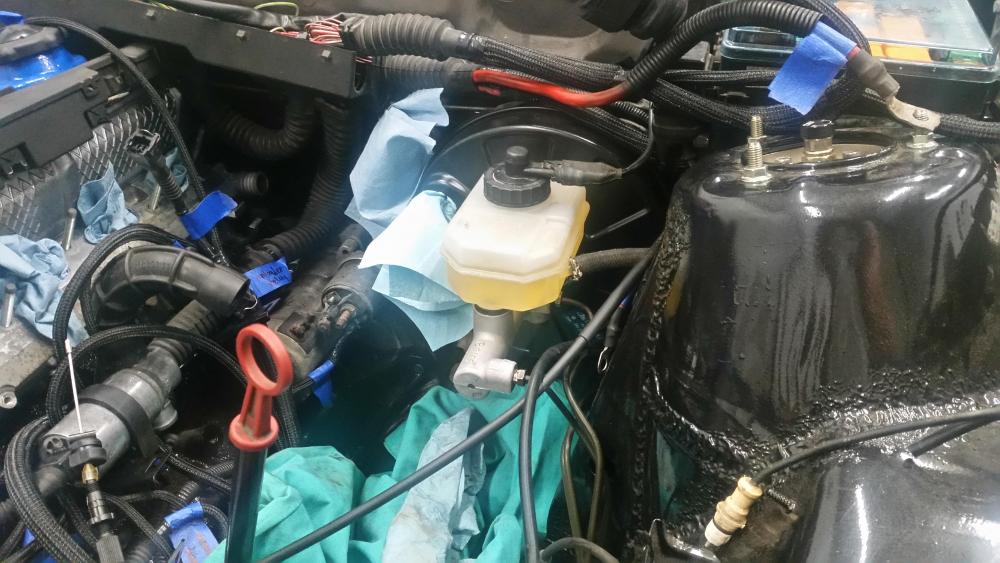
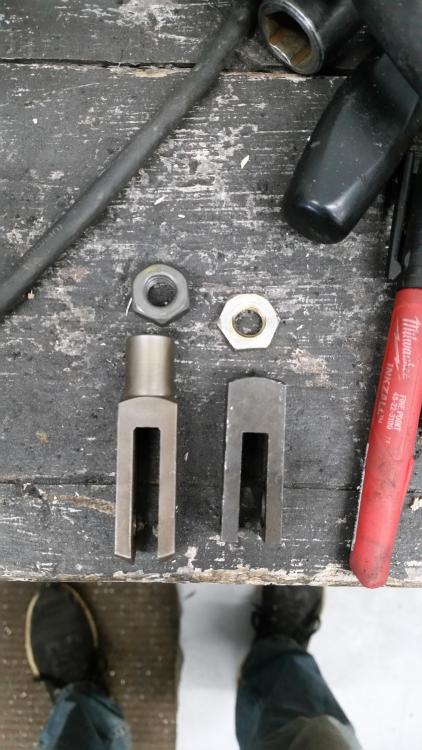
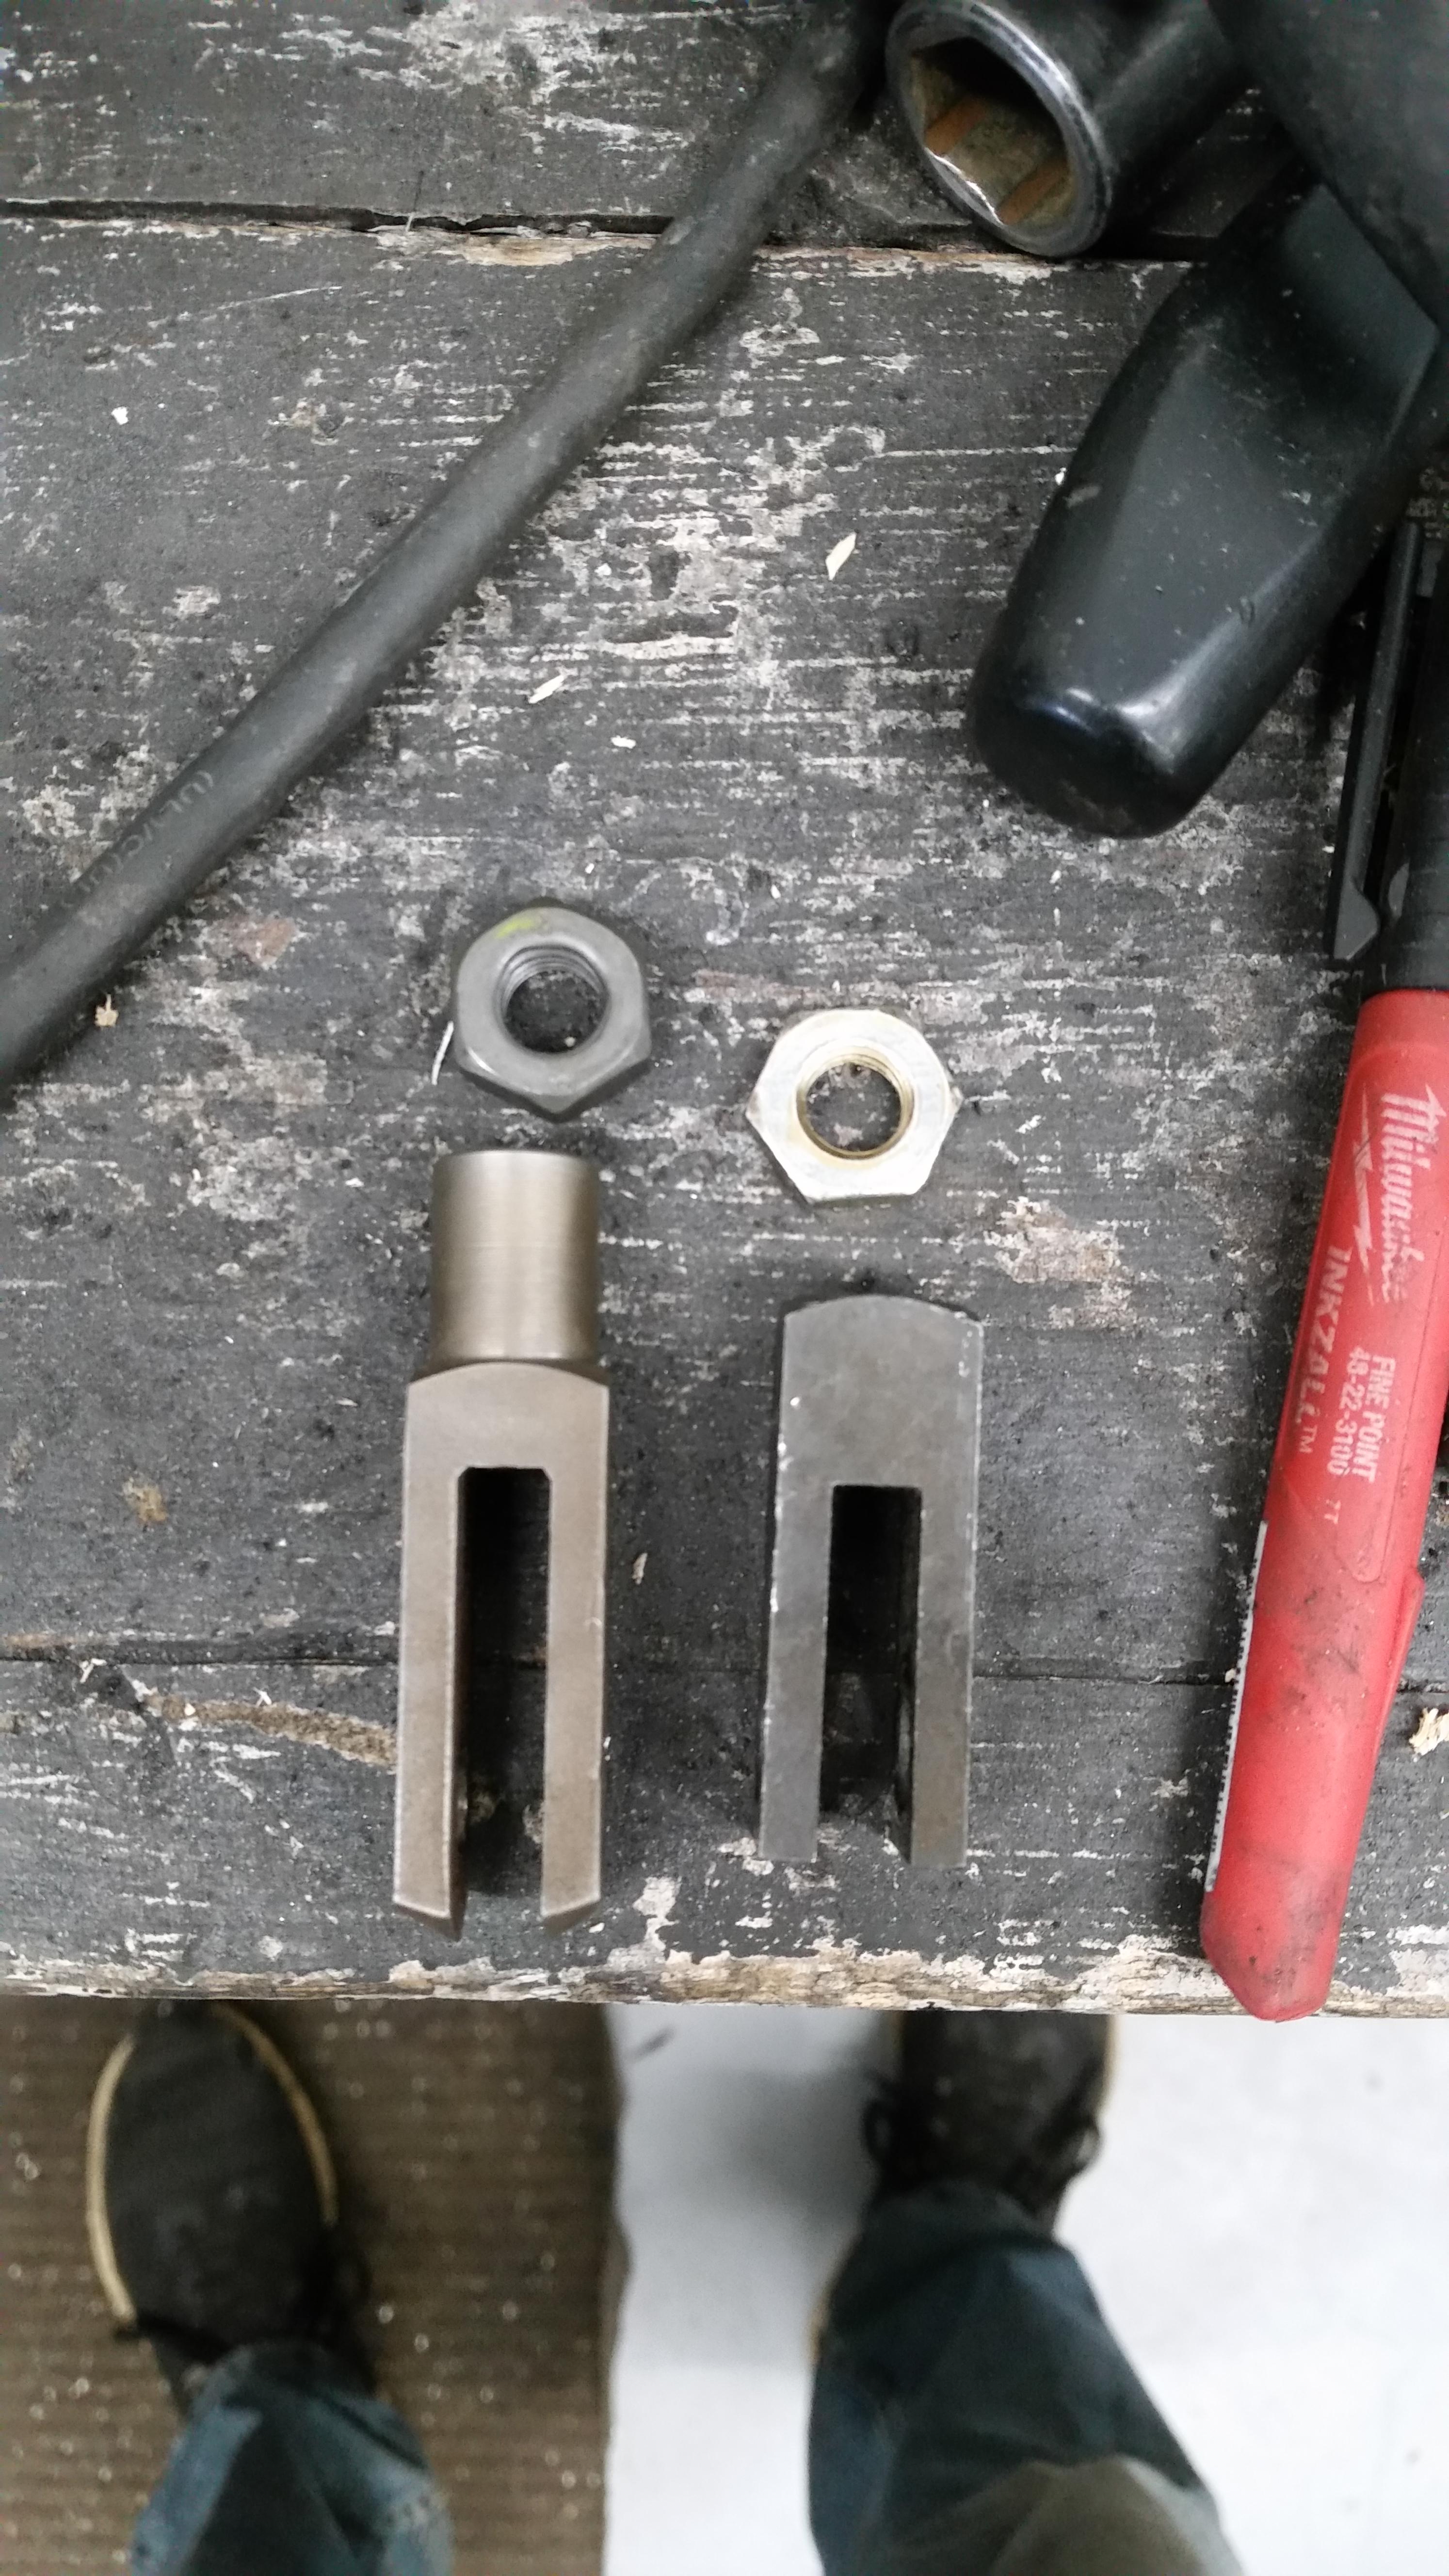
Figured out why I was having troubles with the booster rod not bolting up to the pedal...
I was trying to use the 944 clevis (left) instead of the original e30 one (right). All I can say is I'm lucky I didn't take any more off the threaded rod cause once I put the e30 one on it fit up perfectly!
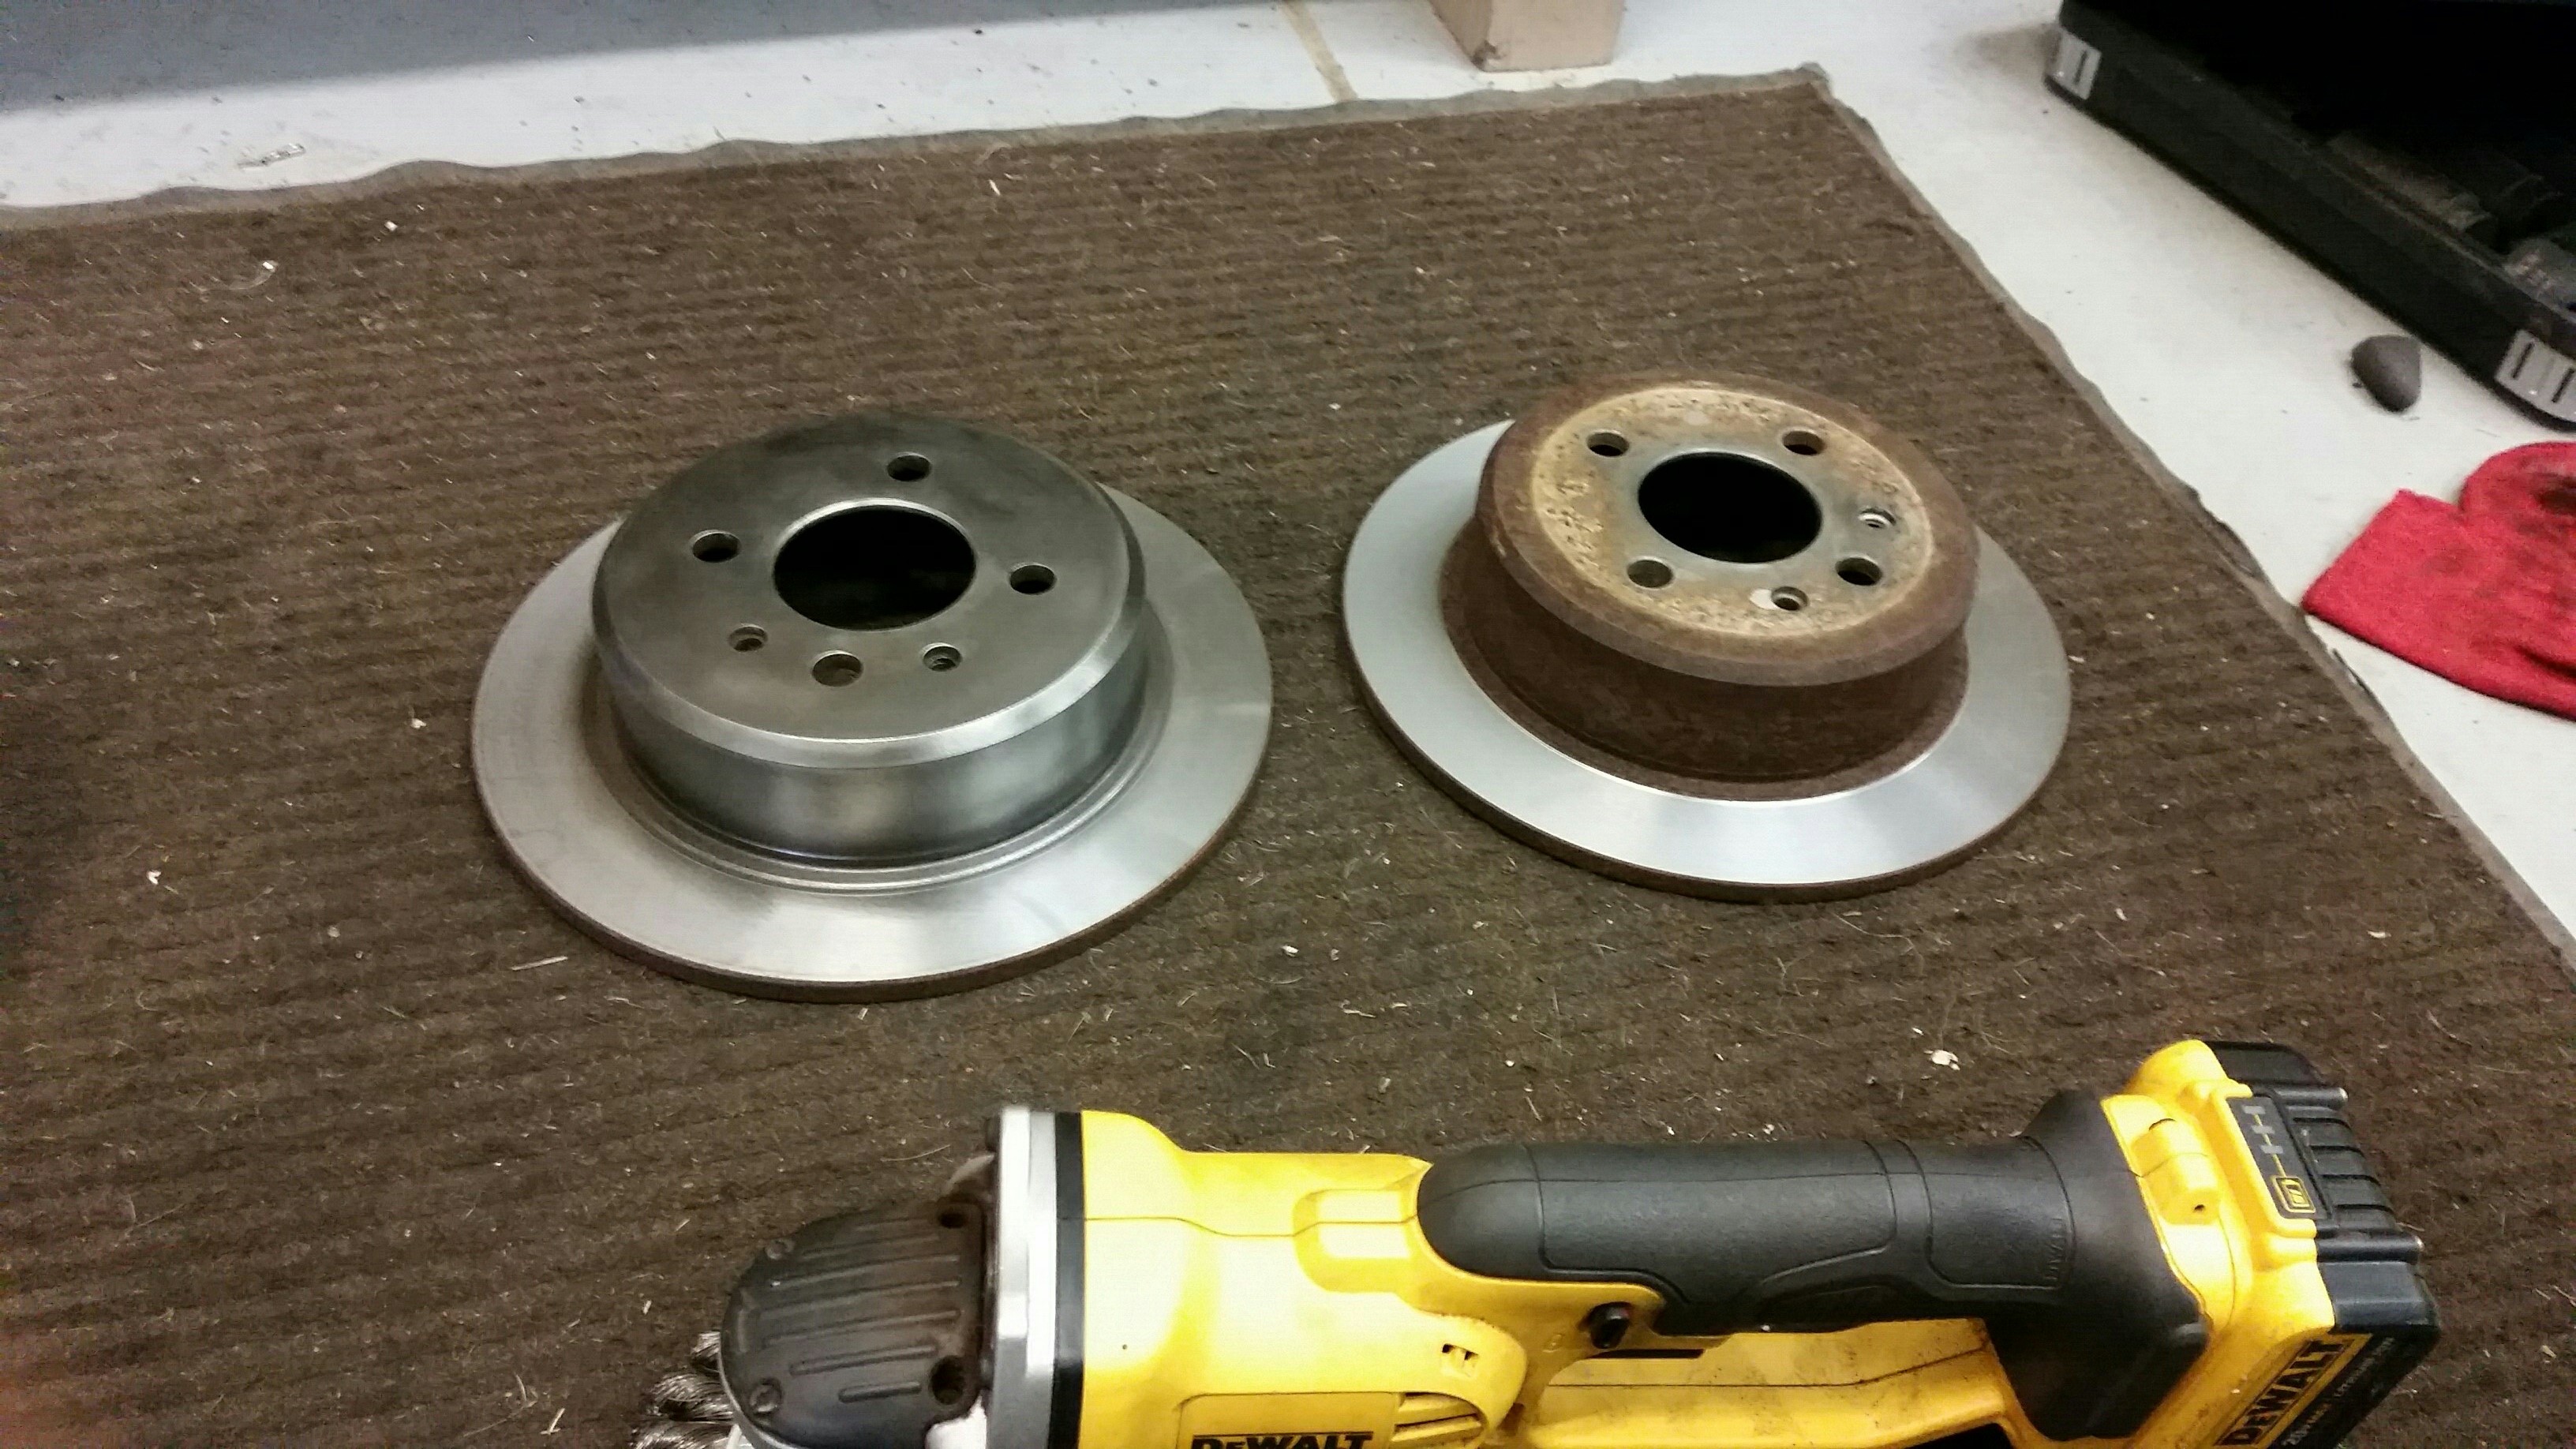
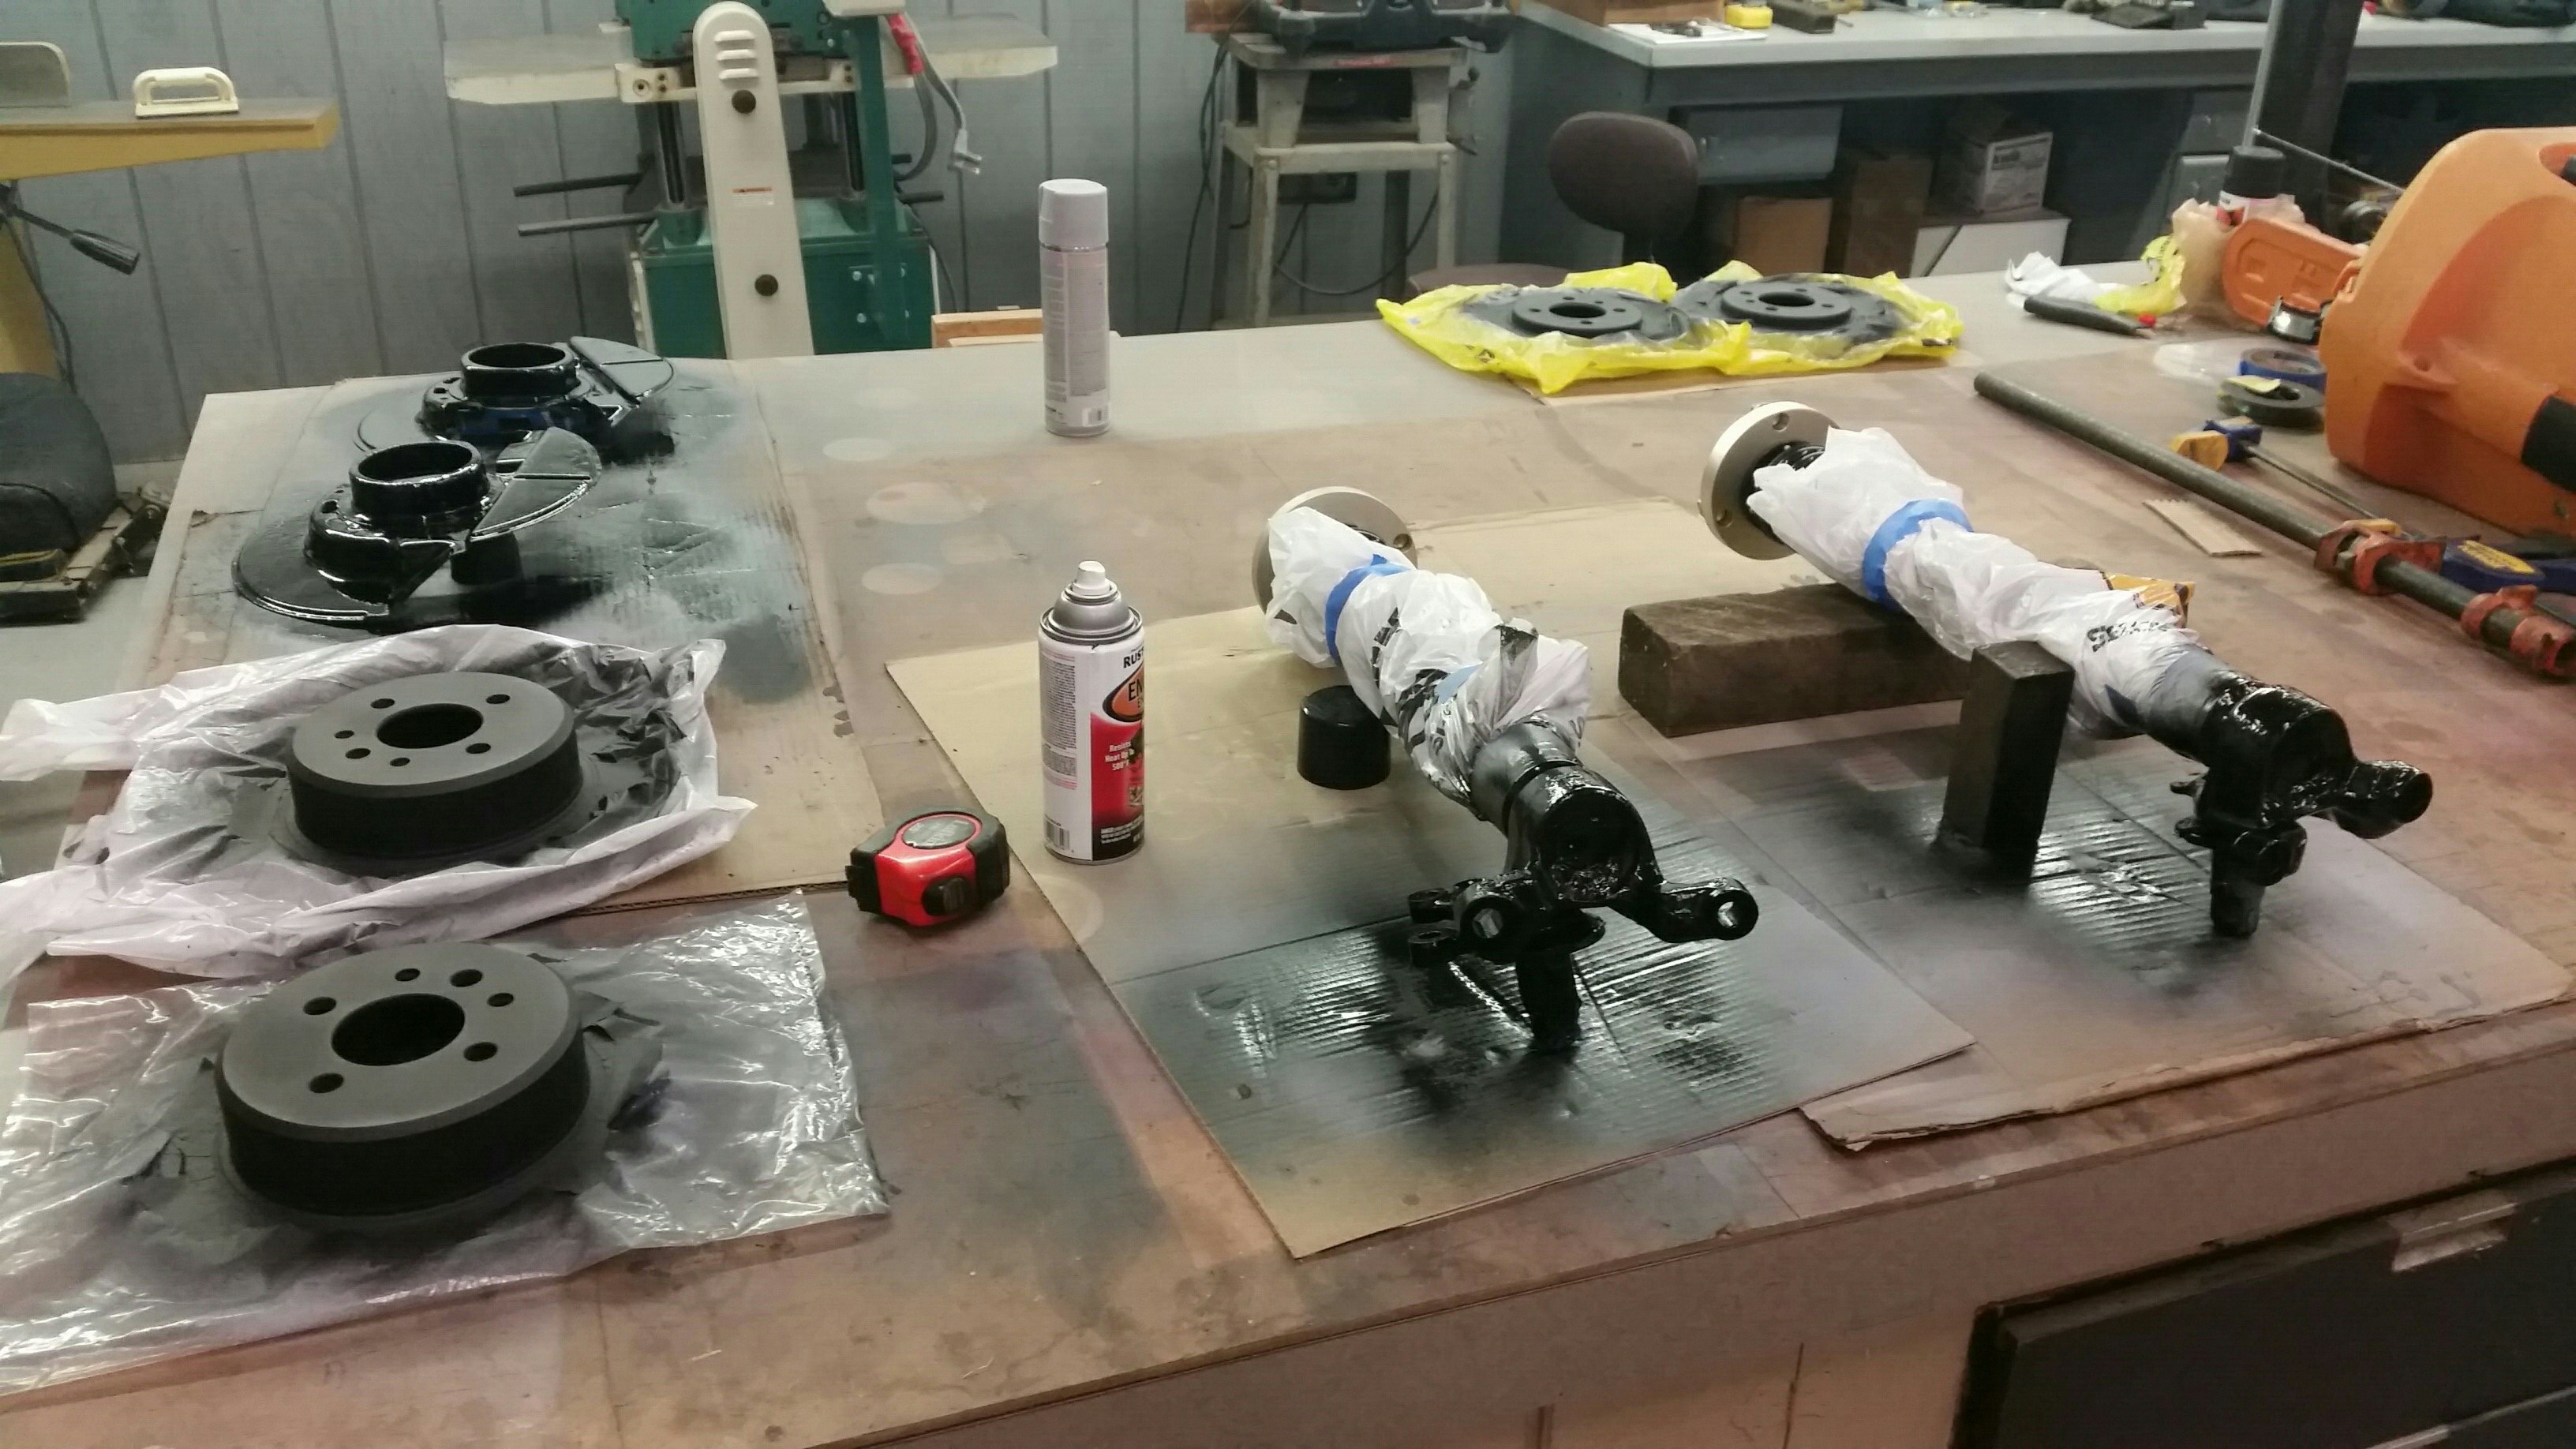
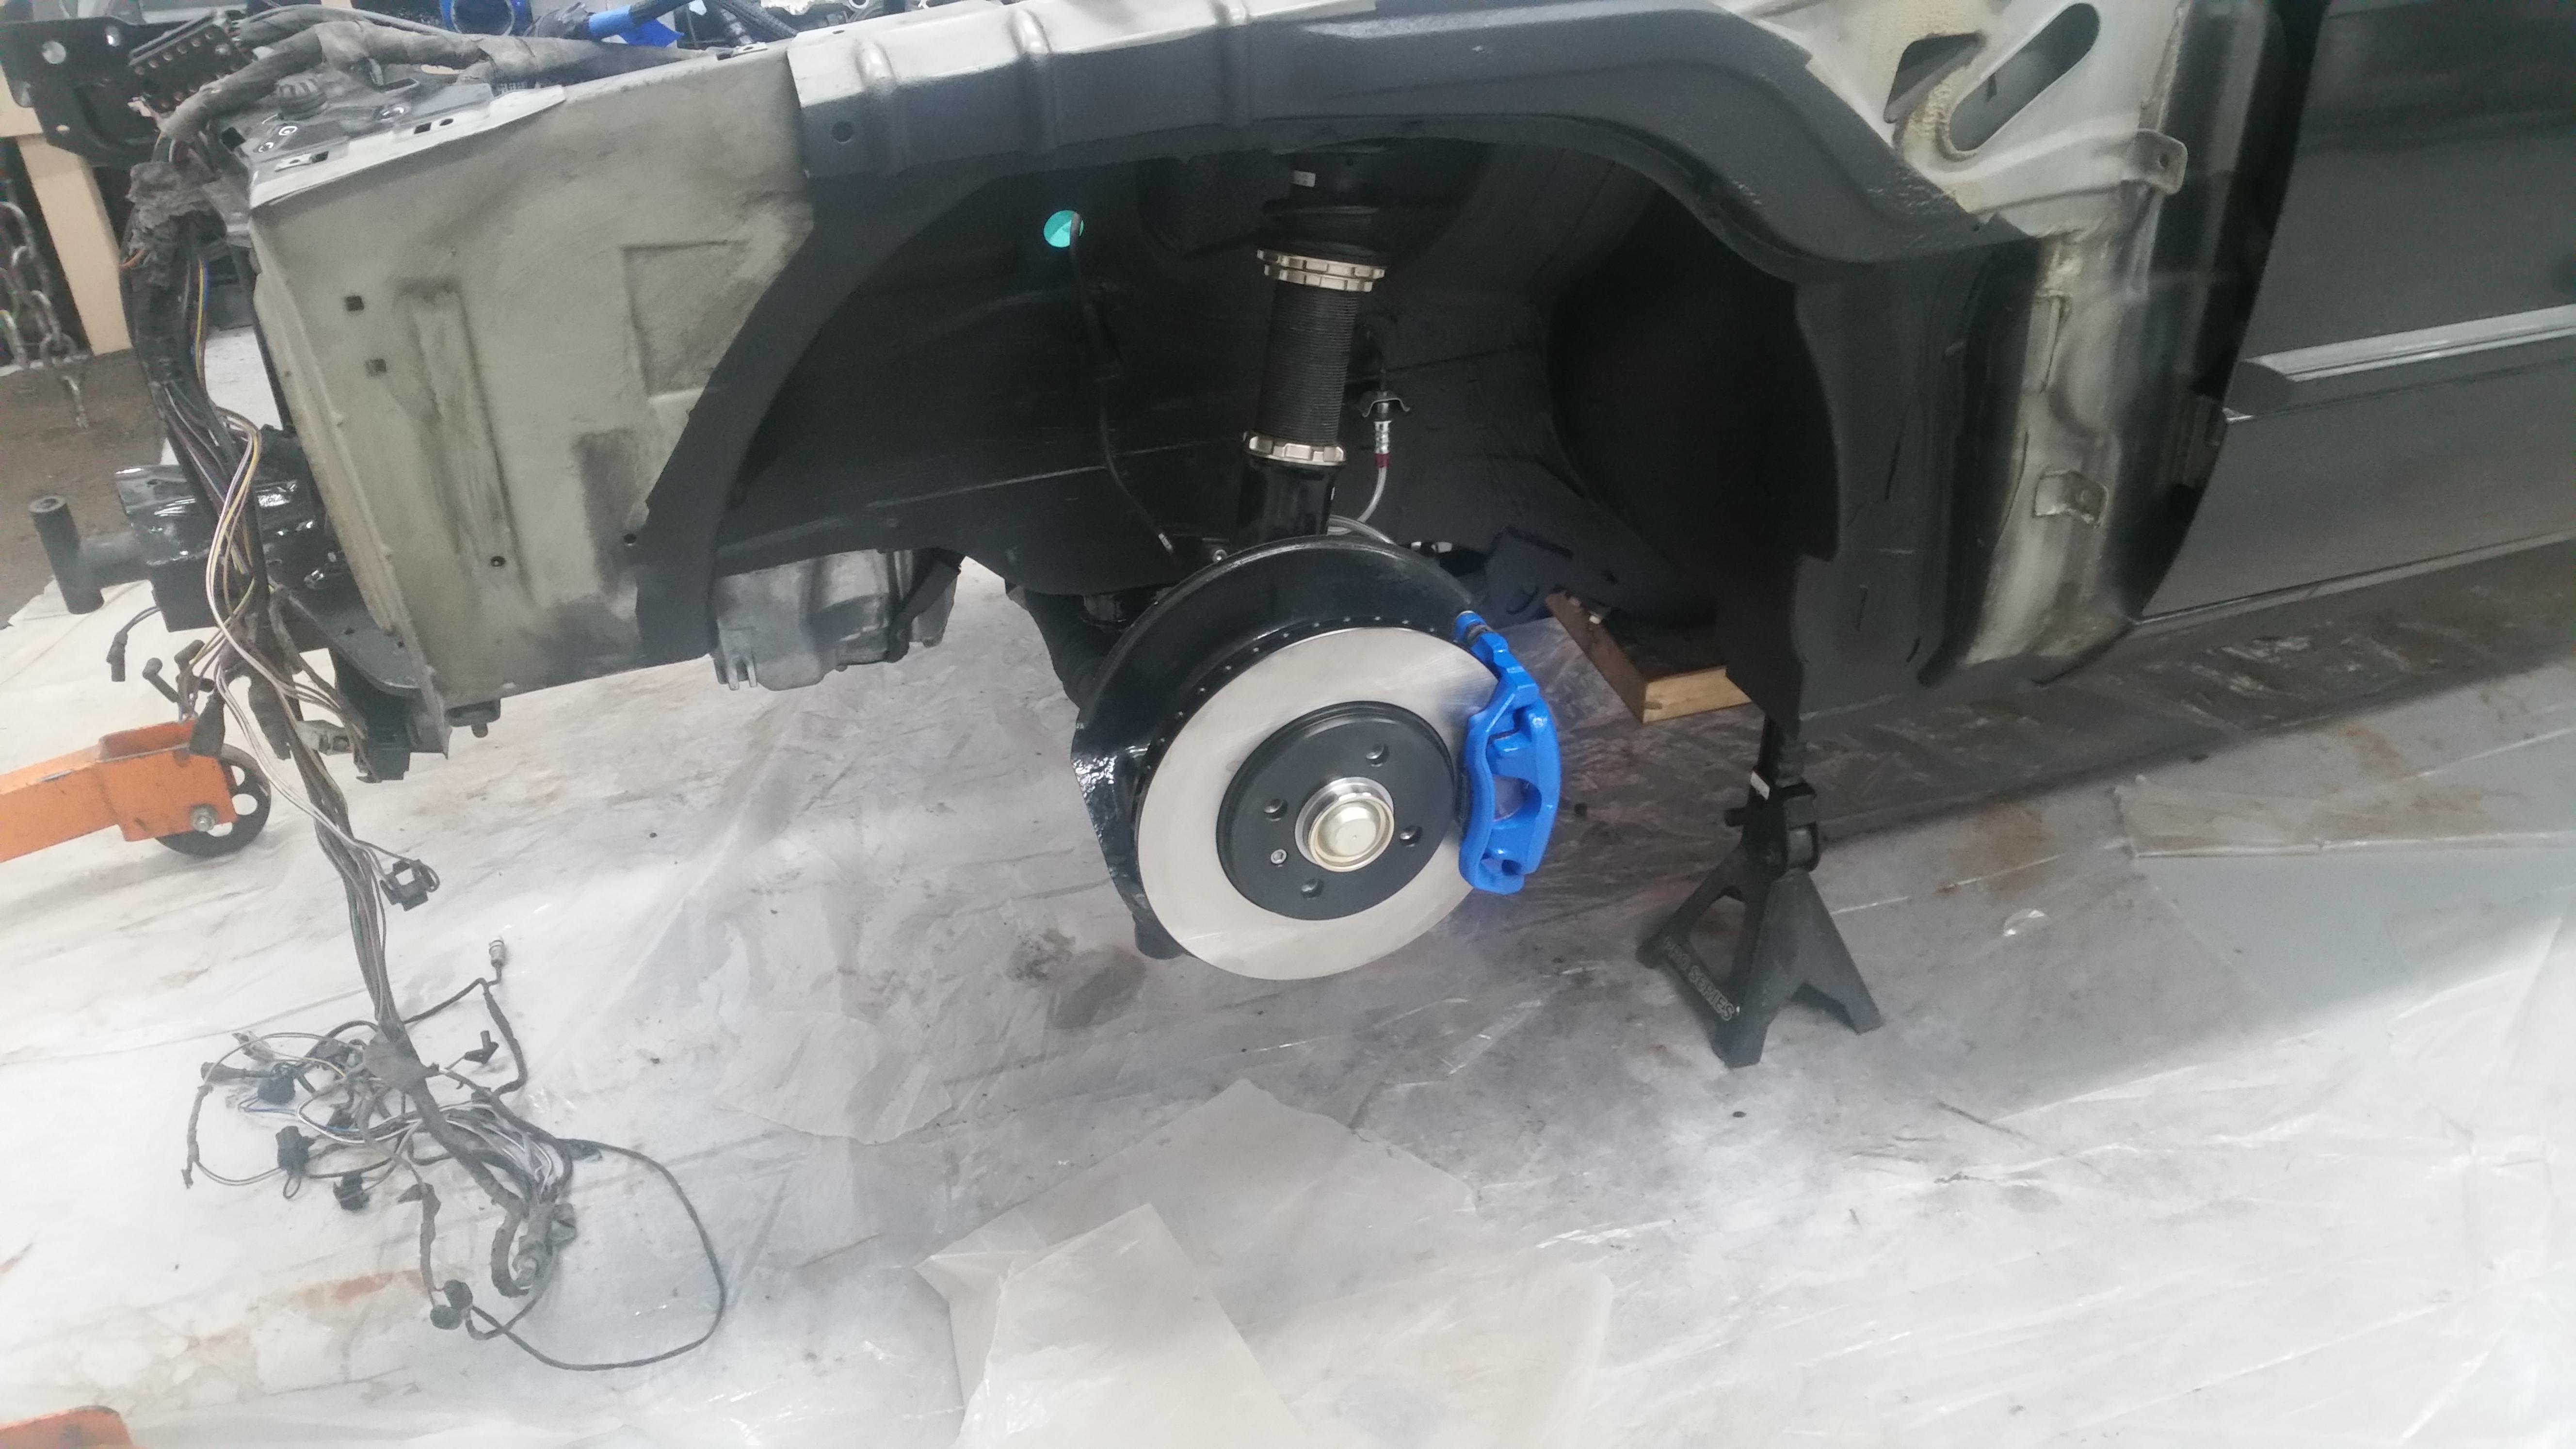
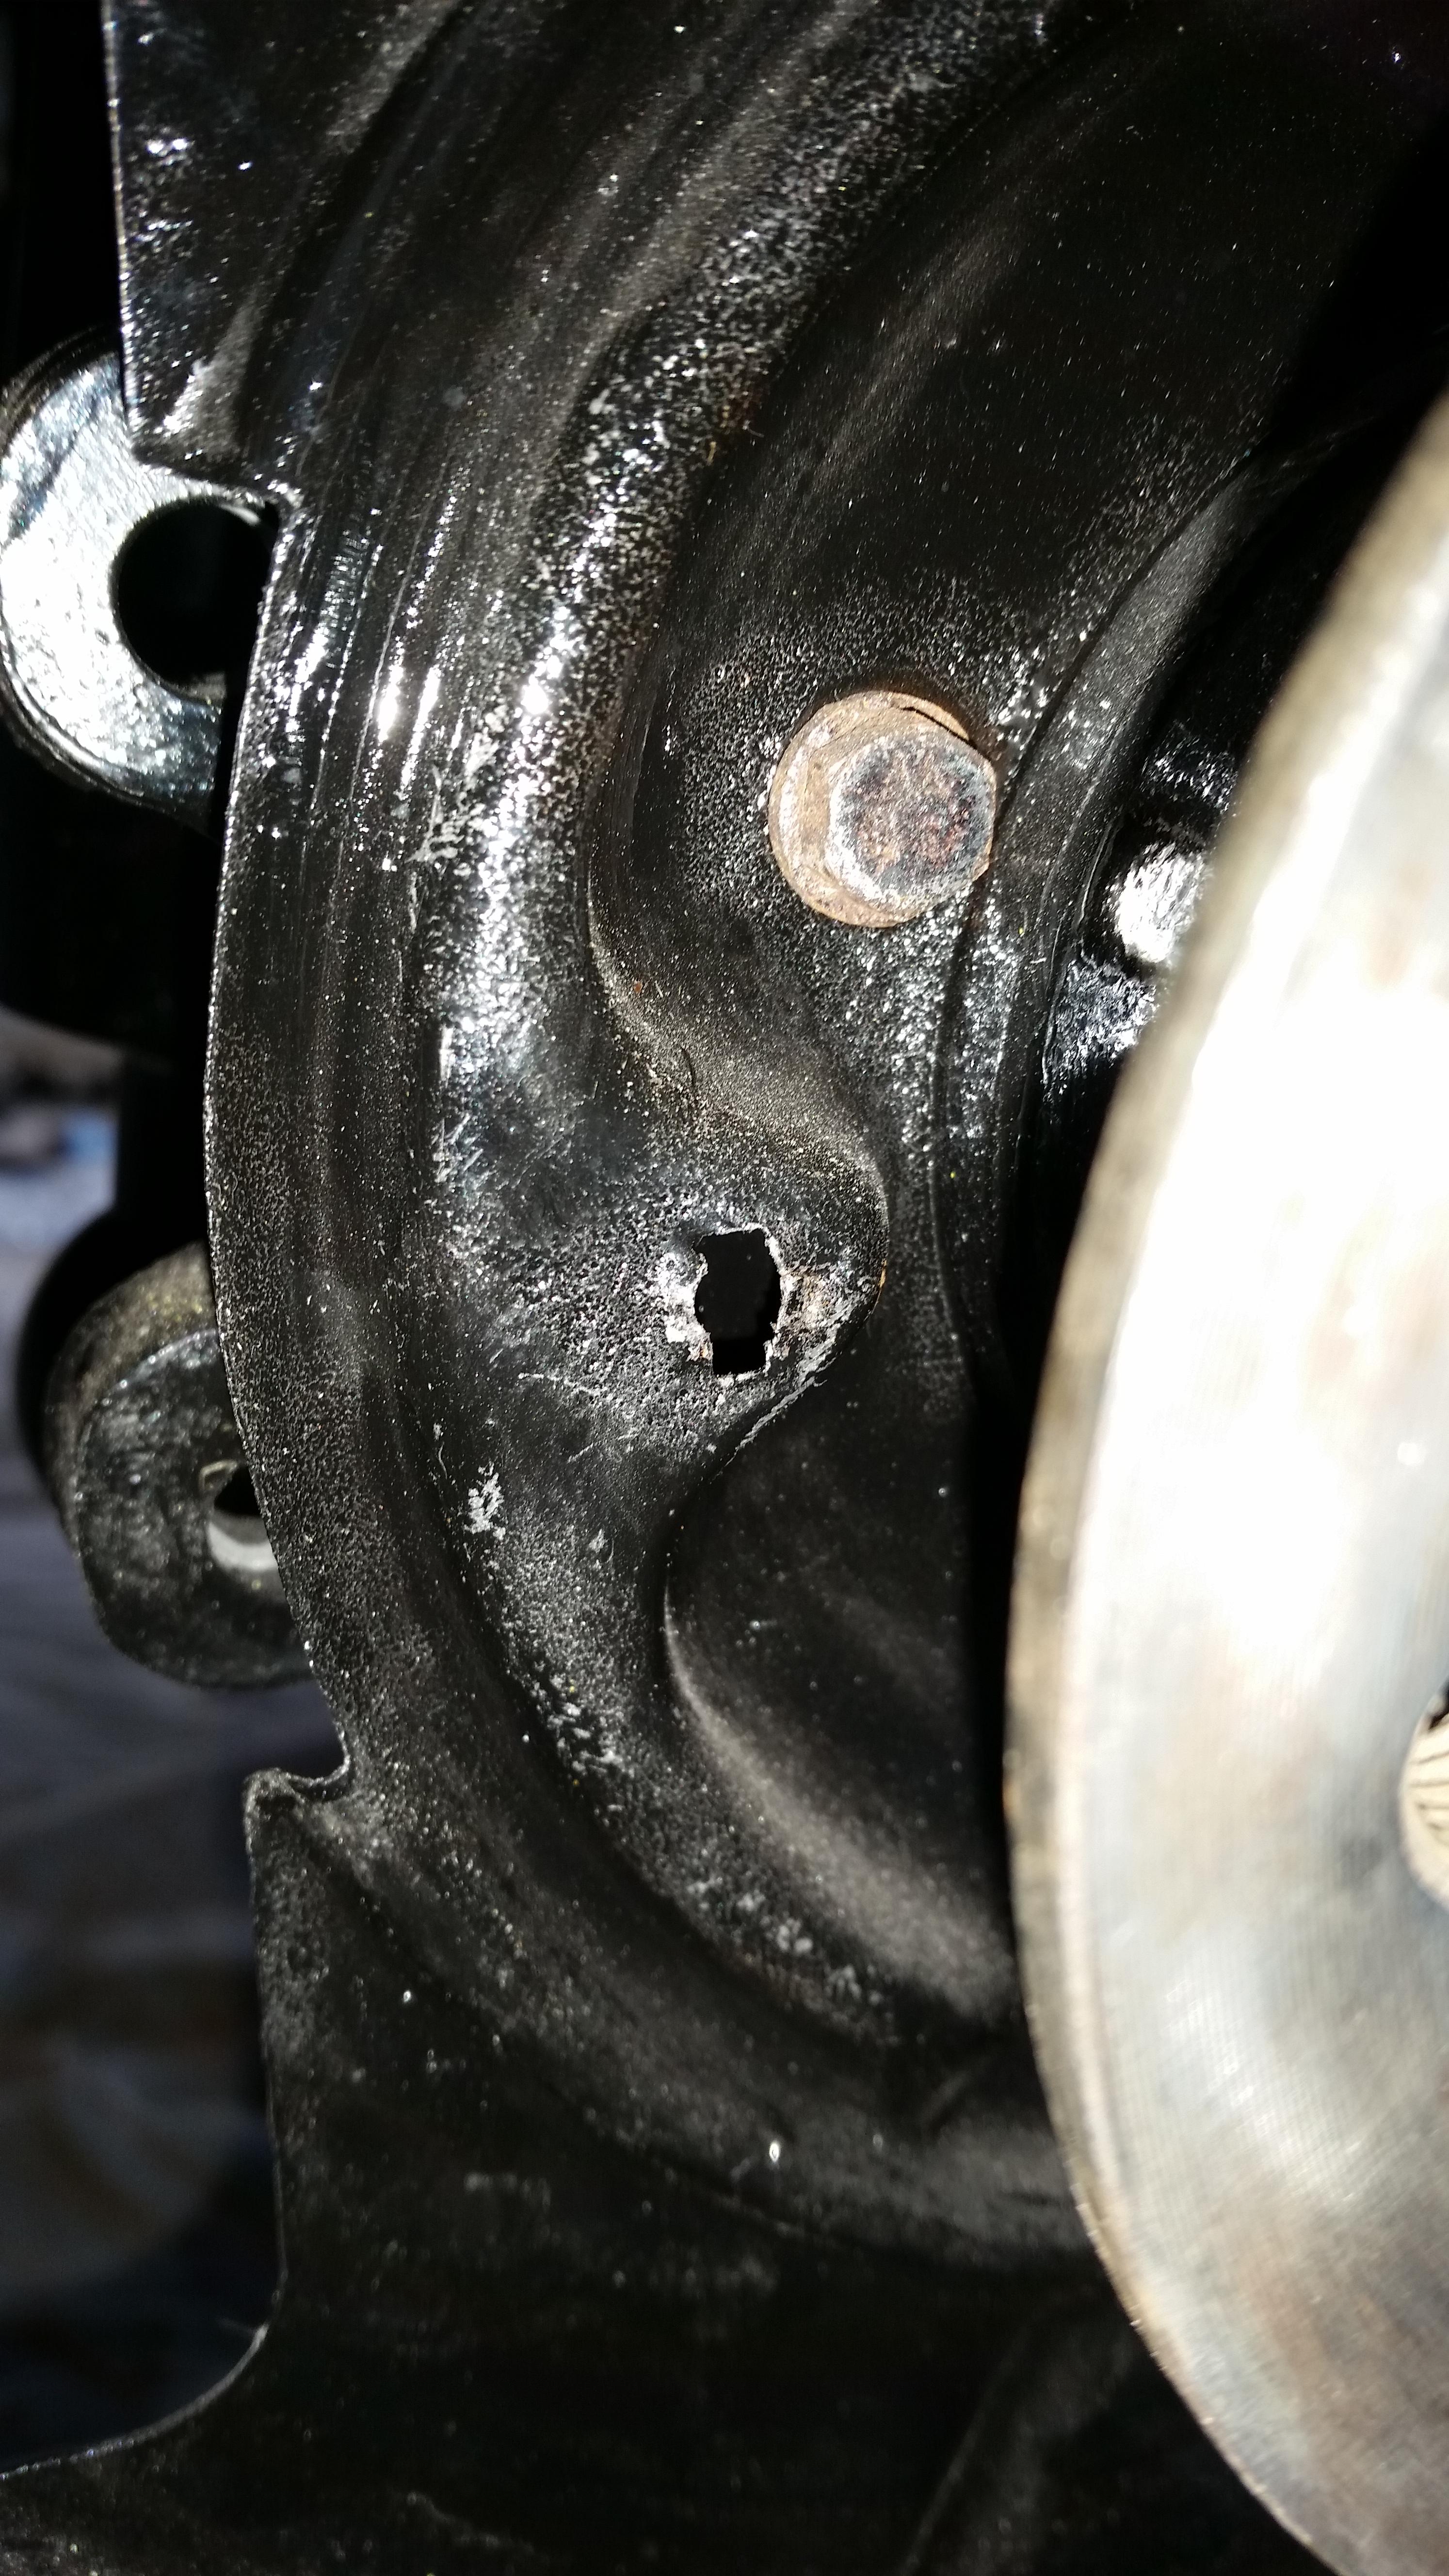
On to more brake related things... doesn't look like I will be having a e-brake this season. Instead of replacing the dust shield like any person with a brain would do I decided to sand blast and por-15 the old ones in order to save them. Well, turns out the metal is a bit to corroded through around the holes where the pins go in to hold the shoes and every attempt at installing the pins with the springs results in it just ripping back out and tearing the hole even more, yah!
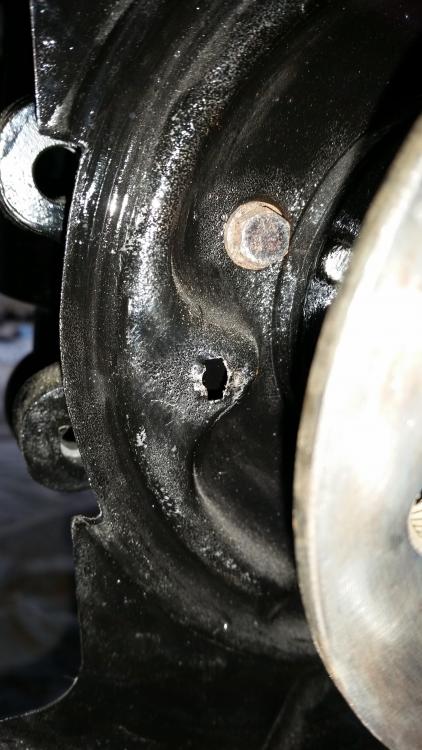
Sense I will have to replace the dust shields (which means pulling the trailing arms back off and the wheel hub) I removed the e-brake lines and decided I'm just gonna run no e-brake for this season and mess around with reinstalling it next winter.
I did get the carpet scrubbed as best I could this last weekend. There are a few stains that are most definitely coming out but they are in areas where the floor mats will be covering so I'm not gonna worry about it to much.
Hoping to get the carpet and dash reinstalled by the end of this week.
Also gonna start tearing the front seats apart for reupholstering.
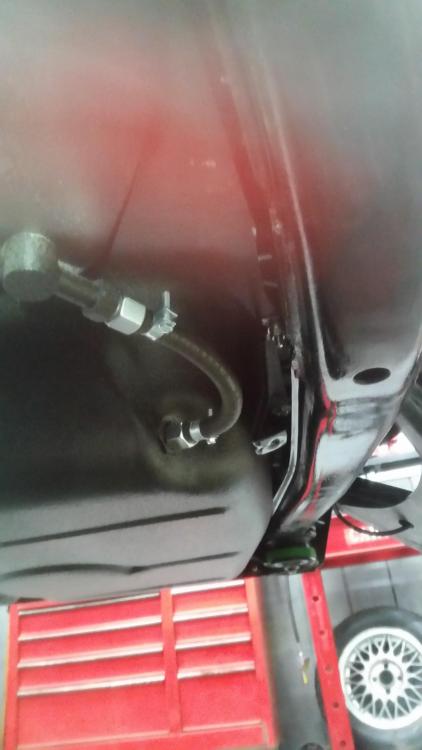
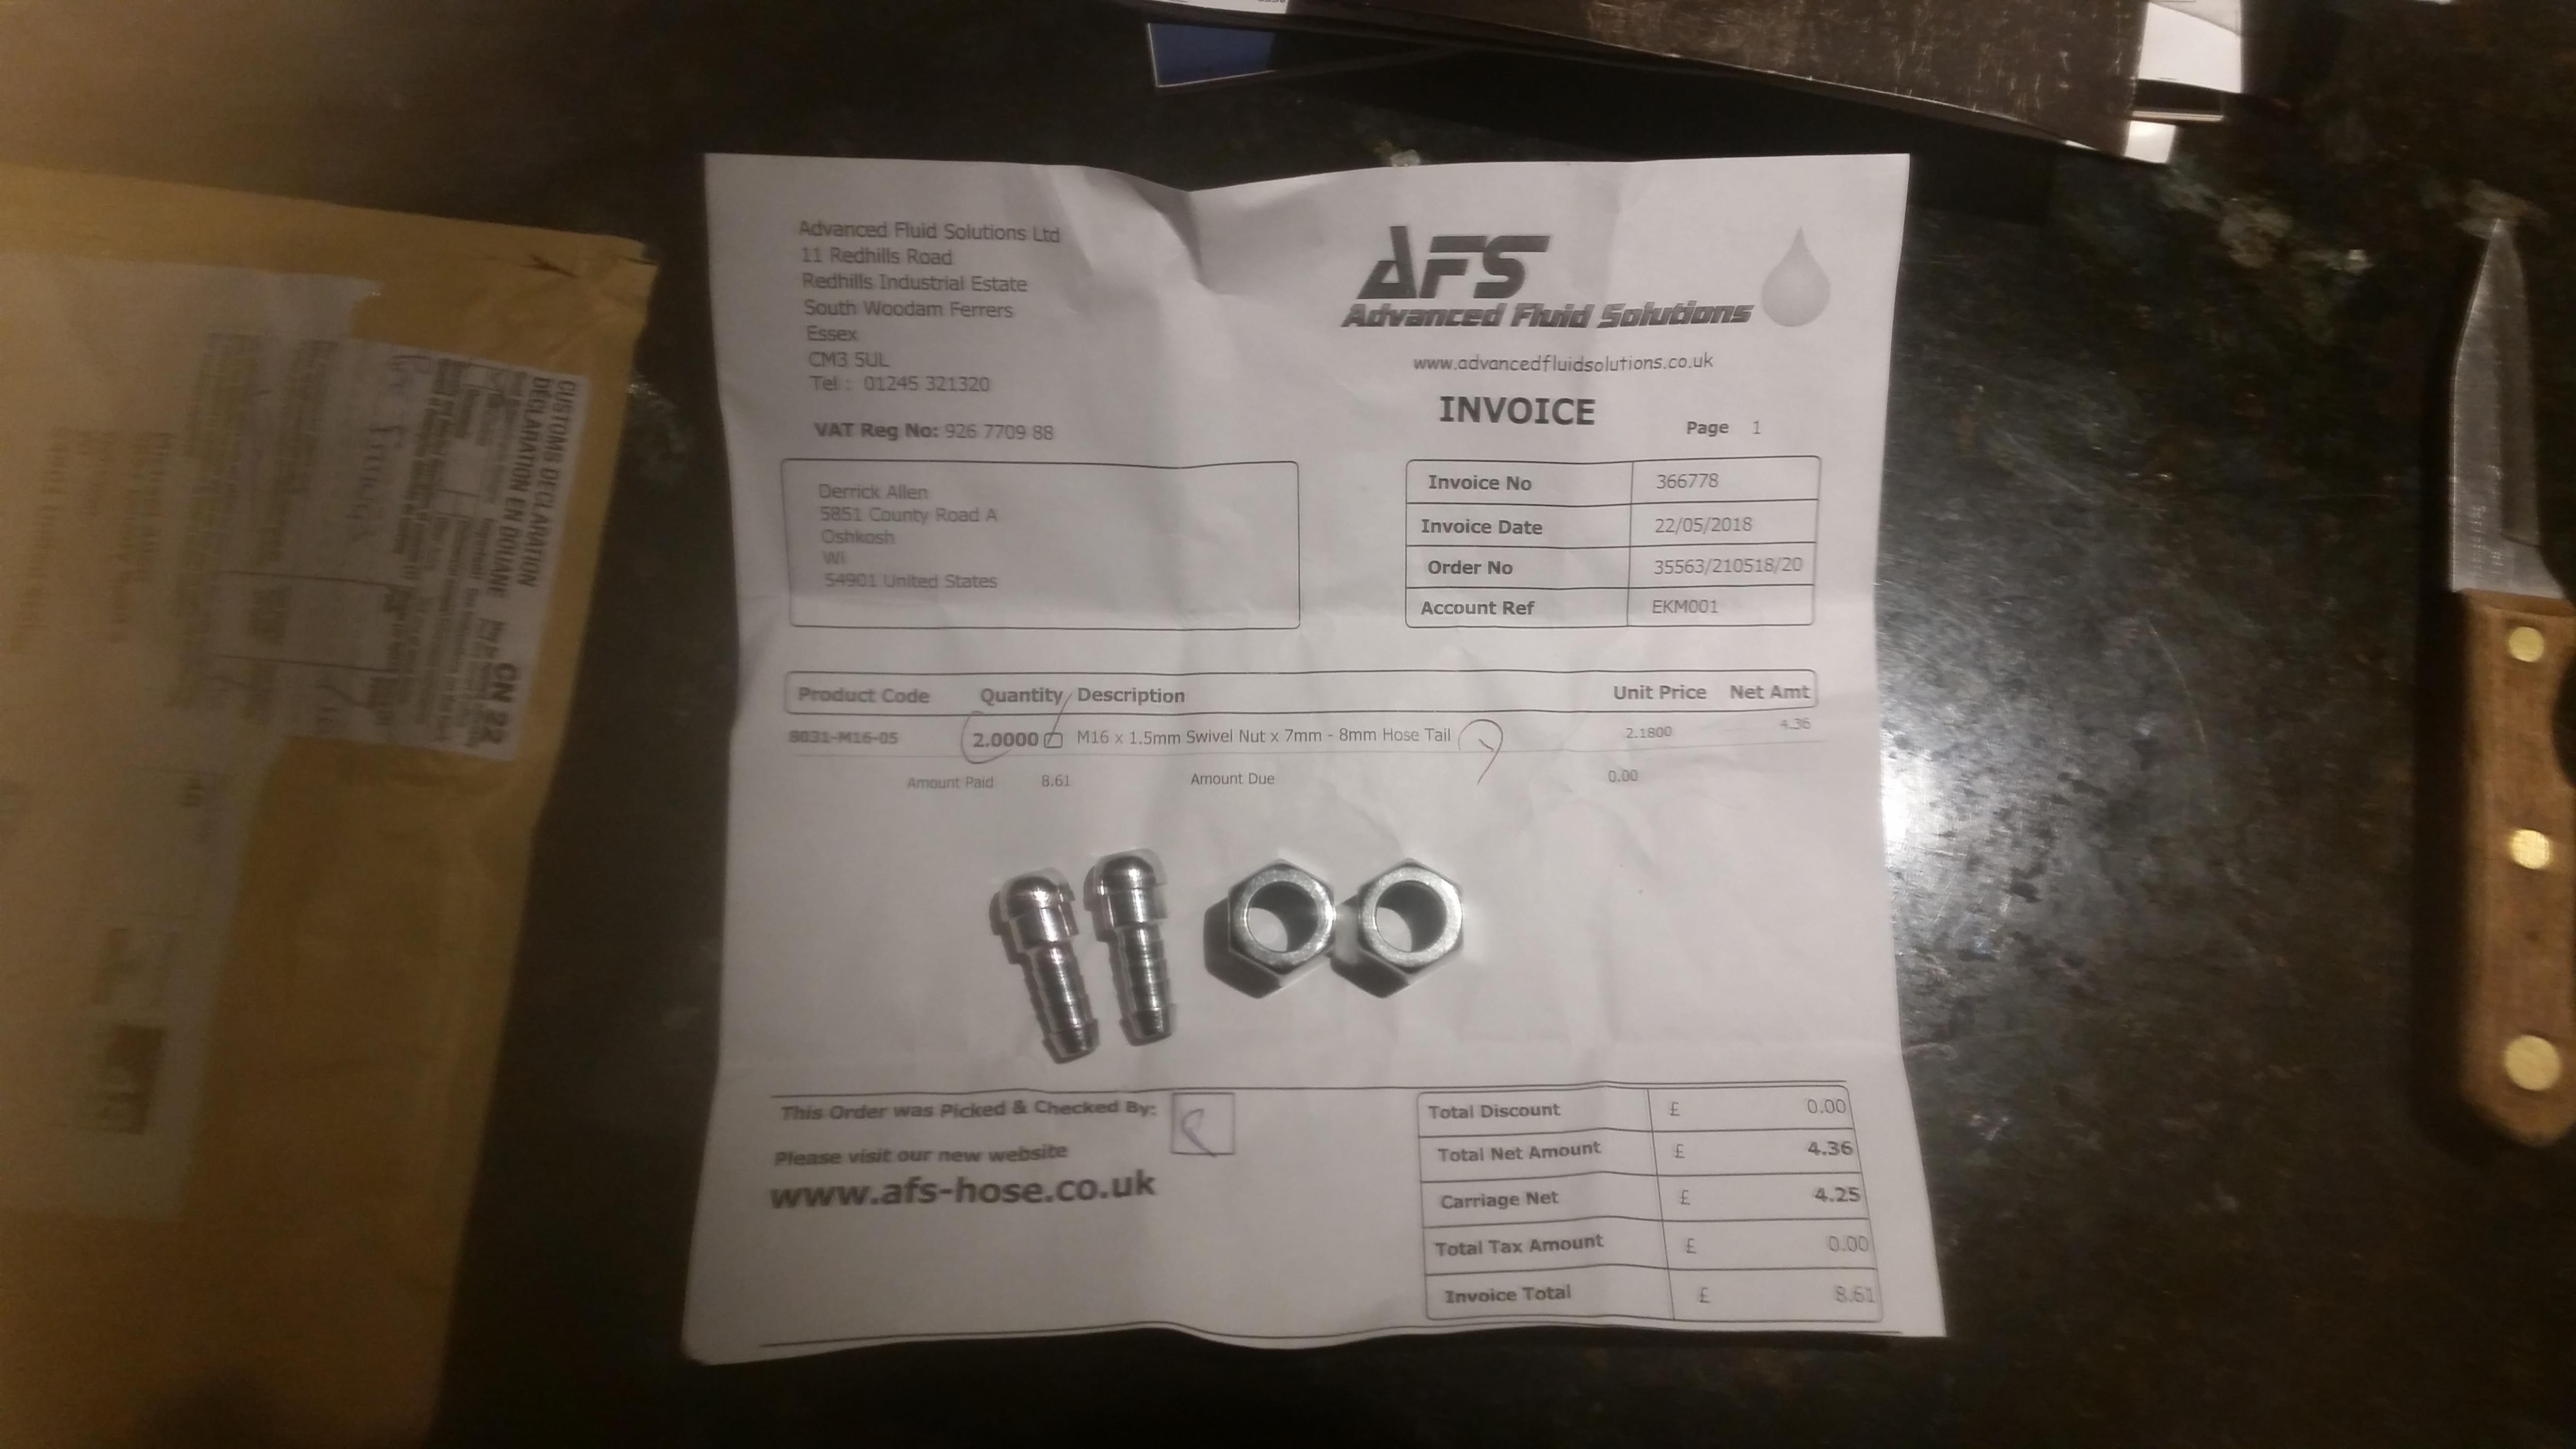
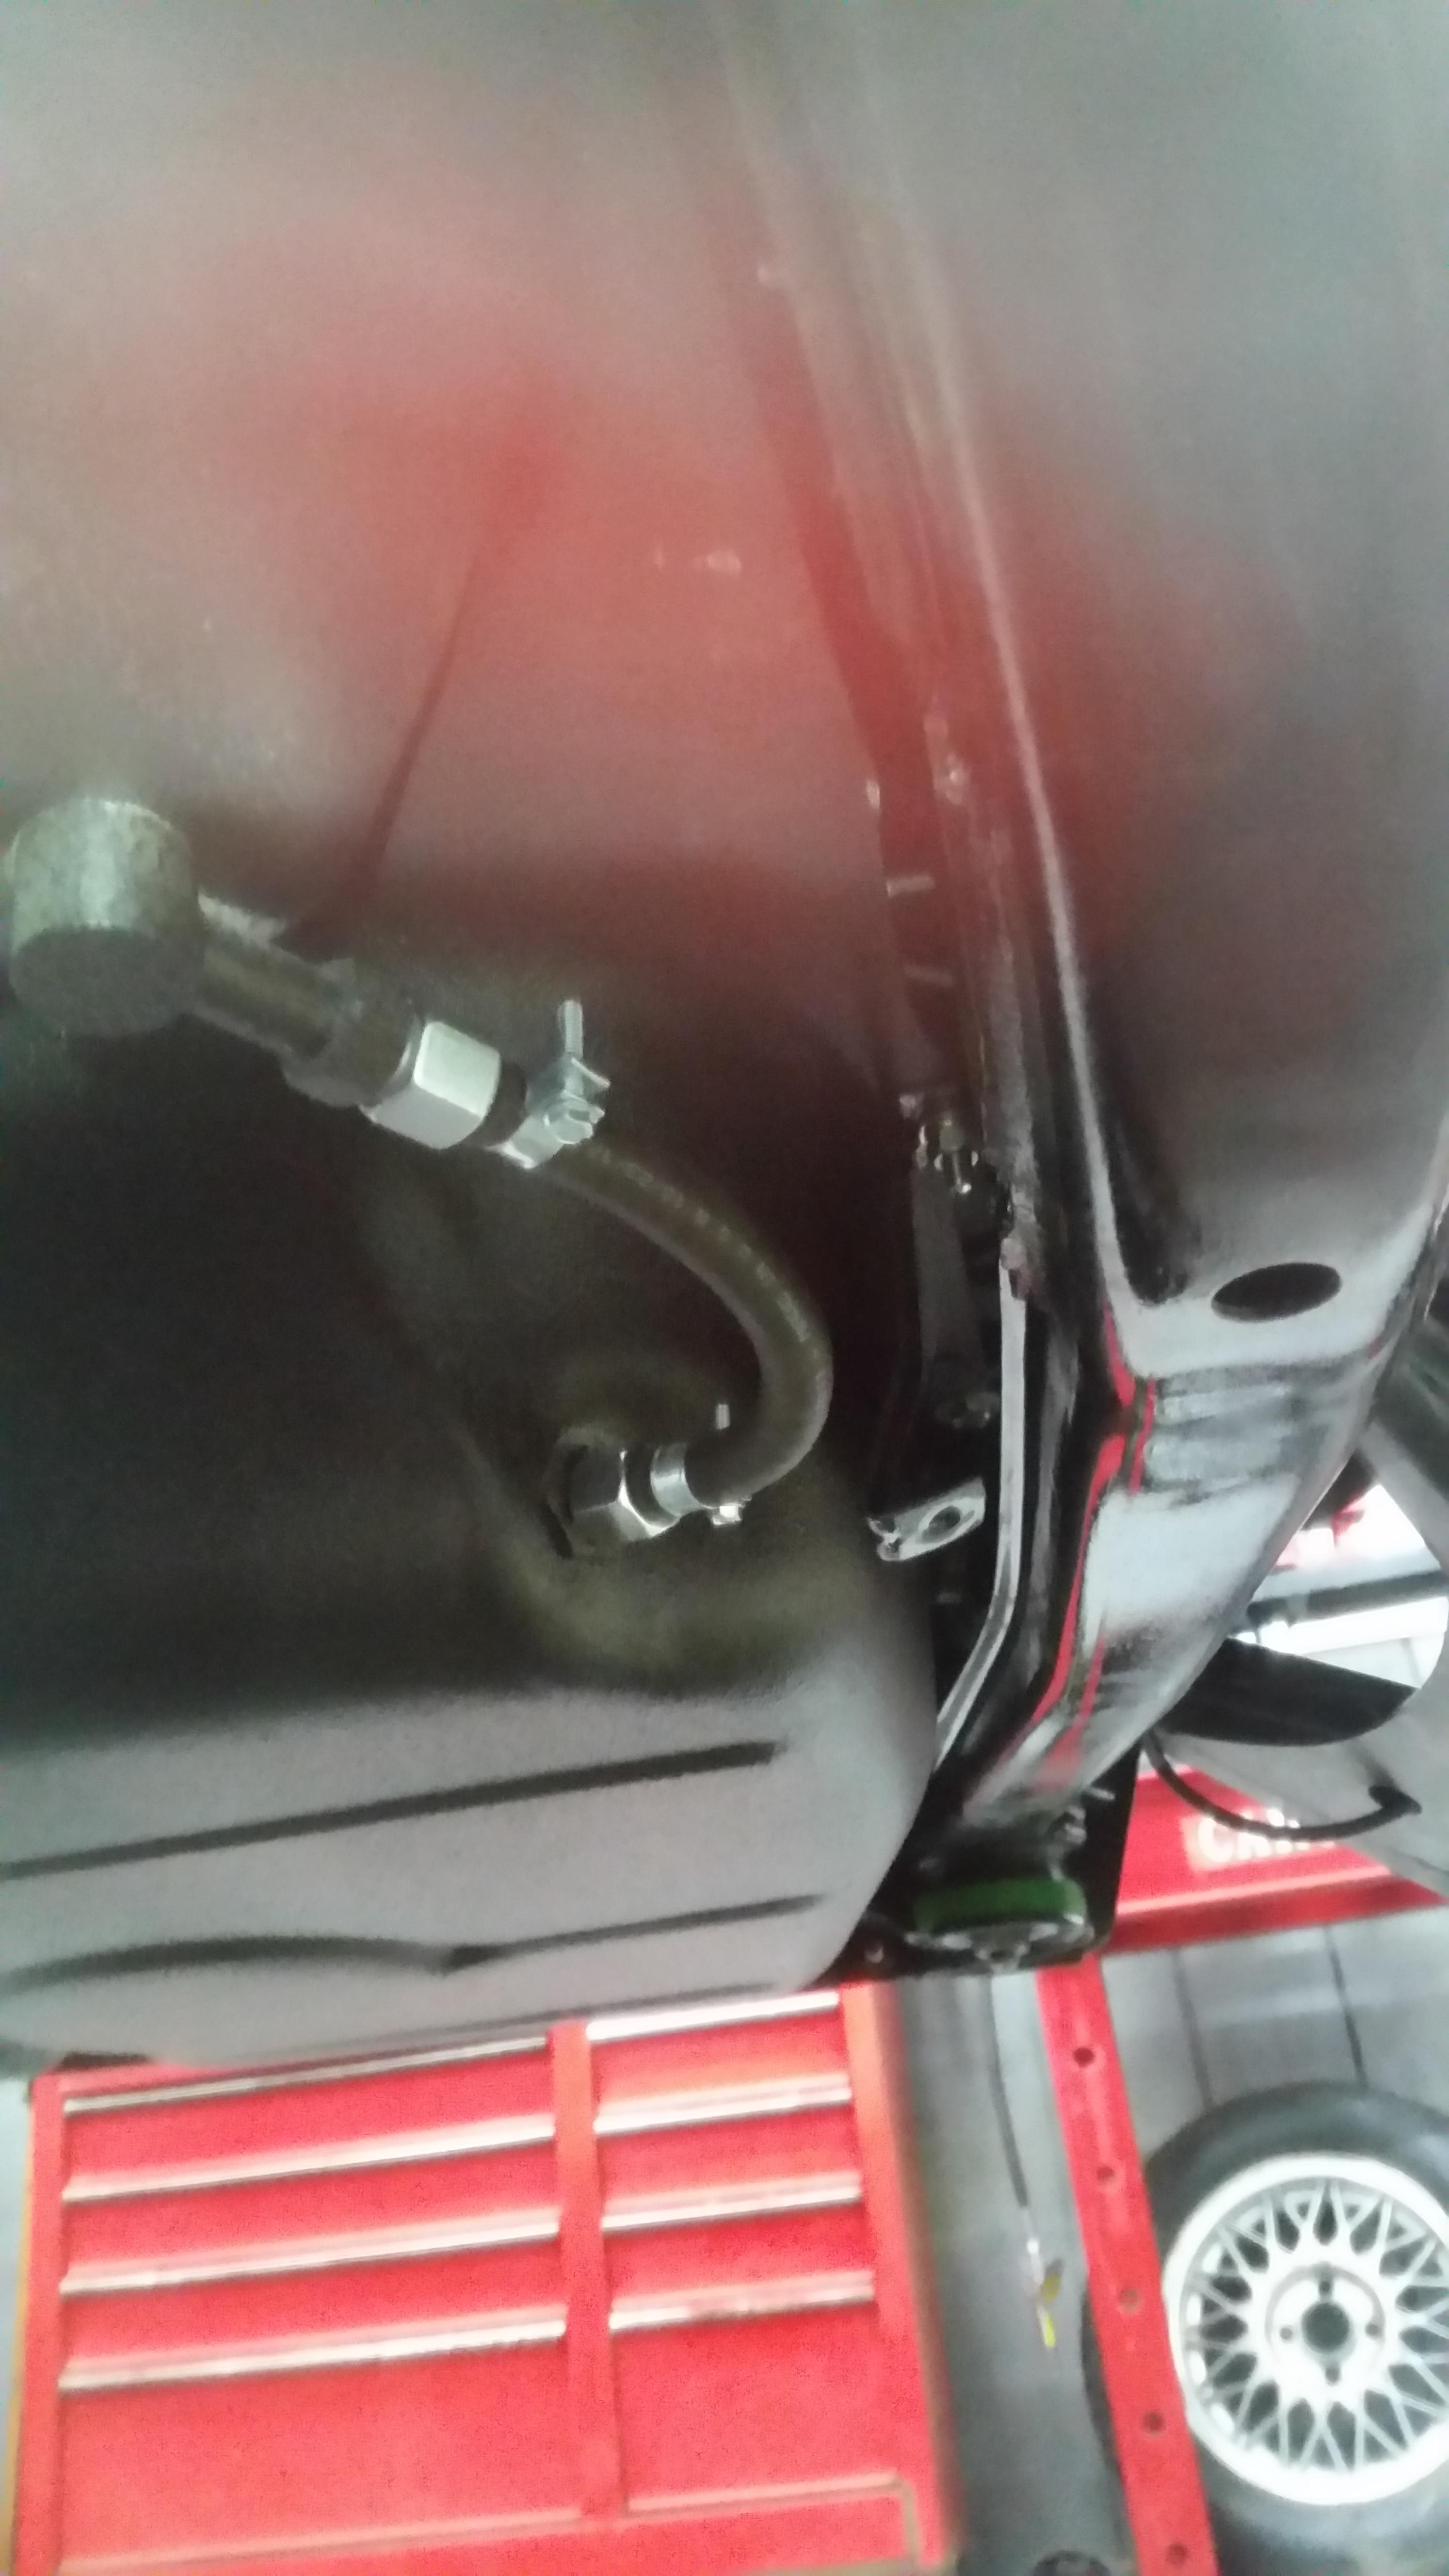
Oh! one other thing I should mention is I found an alternative replacement for the gas tank tube.
https://www.advancedfluidsolutions.co.uk/m16-x-15mm-swivel-nut-x-7mm---8mm-hose-tail-516-2107-p.asp
I located this website off the forums from a guy who had found this part that has the correct flared ends for the tank. With the barbed end sides you just have to run a rubber gas hose with a bit of slack from one to the other. Now these parts are coming from the UK so I'm not entirely sure when they will be showing up but the cost was so inexpensive I couldn't not give it a try and according to this guy, they worked great with no leaks.
-
I feel so lame with my wimpy amounts of progress lately.
Please.
Your progress has made most off the people around here look lazy and pathetic, myself included. That being said, it's all the little nit-picky PITA details that make the difference between a "finished" project and a pile of parts that runs and drives. Keep it up!

Don't tell @GunMetalGrey but I did the same mod to his 30mm this past weekend to get the input flange off my diff

-

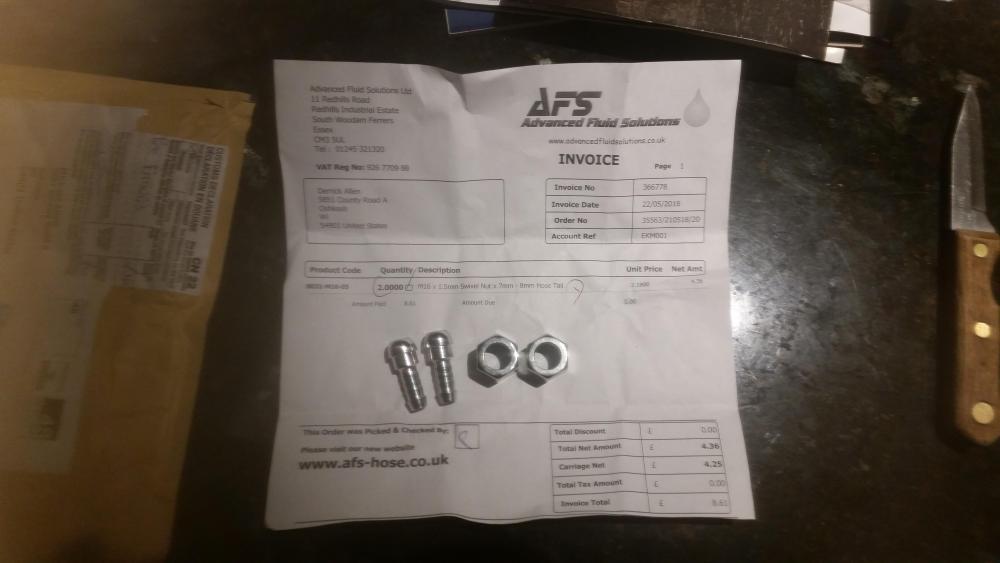
(ya I know, the pics are terrible. I dropped my phone and the camera lens hit a small rock and cracked so now I get fun little glares on every picture)
-
I like hearing these noises.
-
I like hearing these noises.
Brought to next page for convenience
-
Aaaaahhhhh yaaaaaa!!!
I still can't believe how well the motor is running and the fact that it even started! it idles very smooth. Gotta be honest, Was a little worried whether or not it was gonna start at all and if it did that it was just gonna throw a rod through the oil pan right away or something.
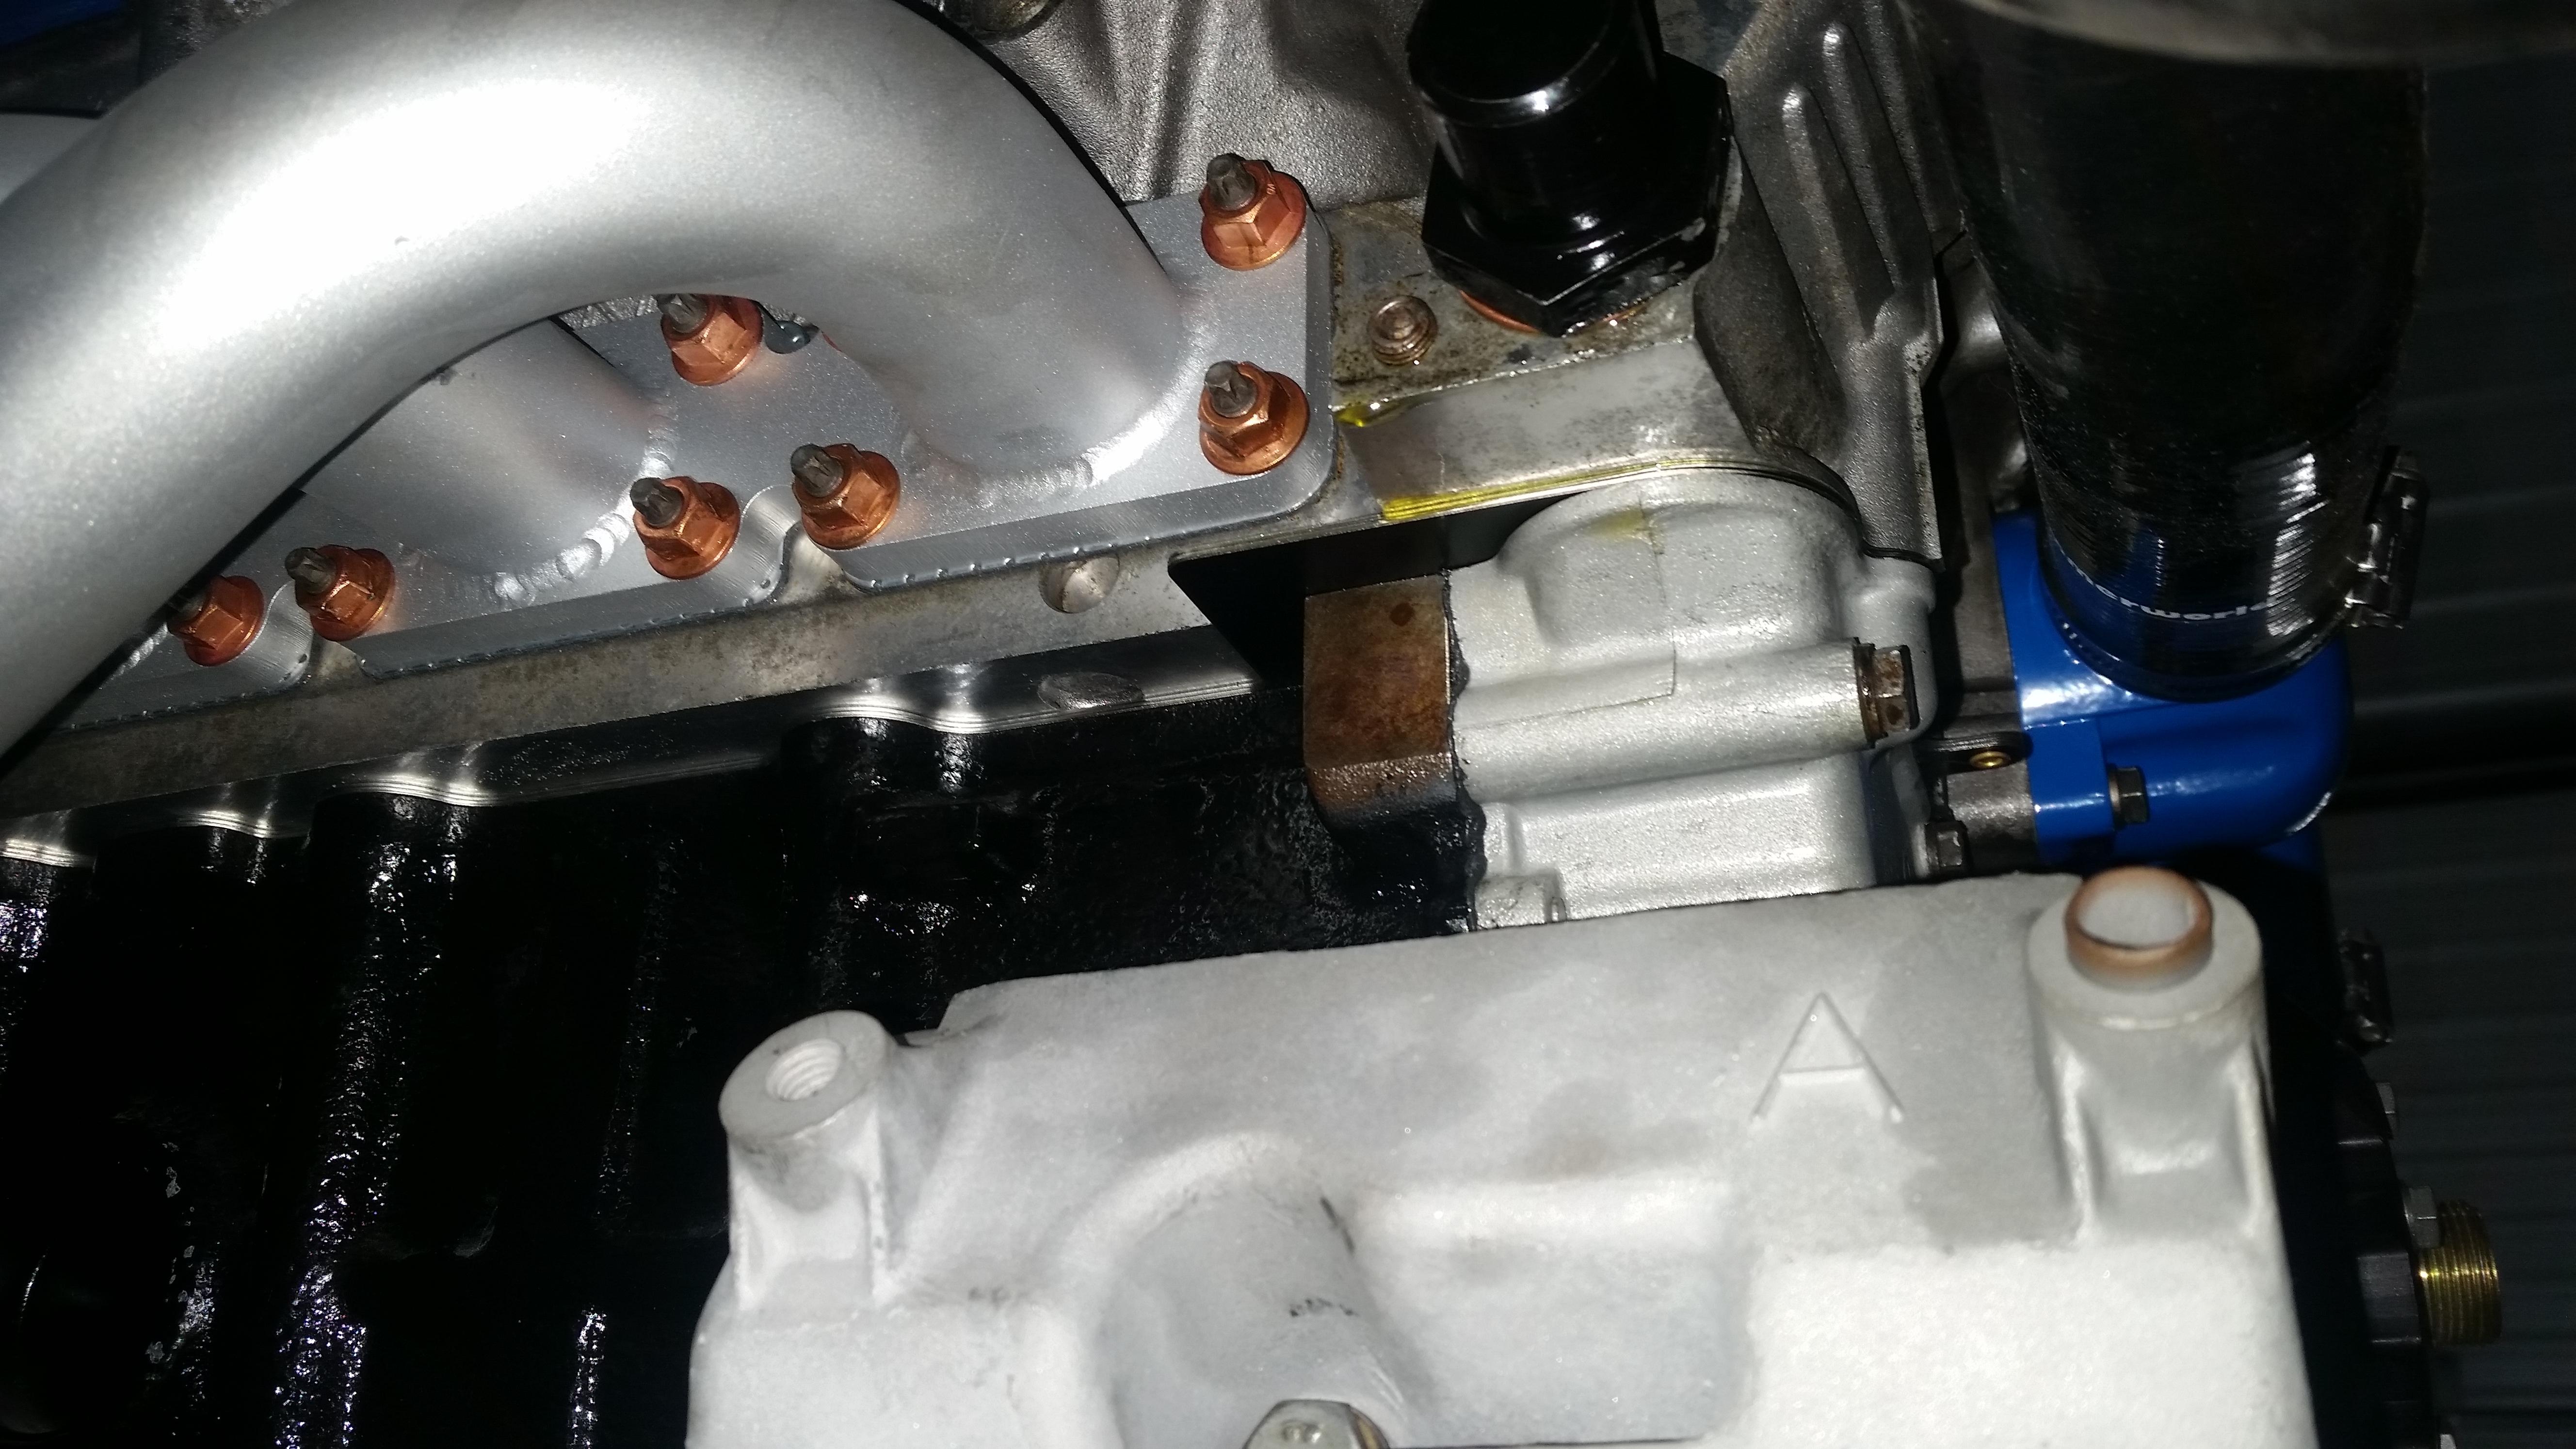
Now the motor ain't perfect and in fact I may still have a possible minor problem that could turn into a major one. It wasn't tell the second time I started it up (for my grandfather who was very excited to hear it finally run) that Ben noticed a very bad oil leak coming from the right side of the motor where the engine block, head gasket, and timing cover meet.
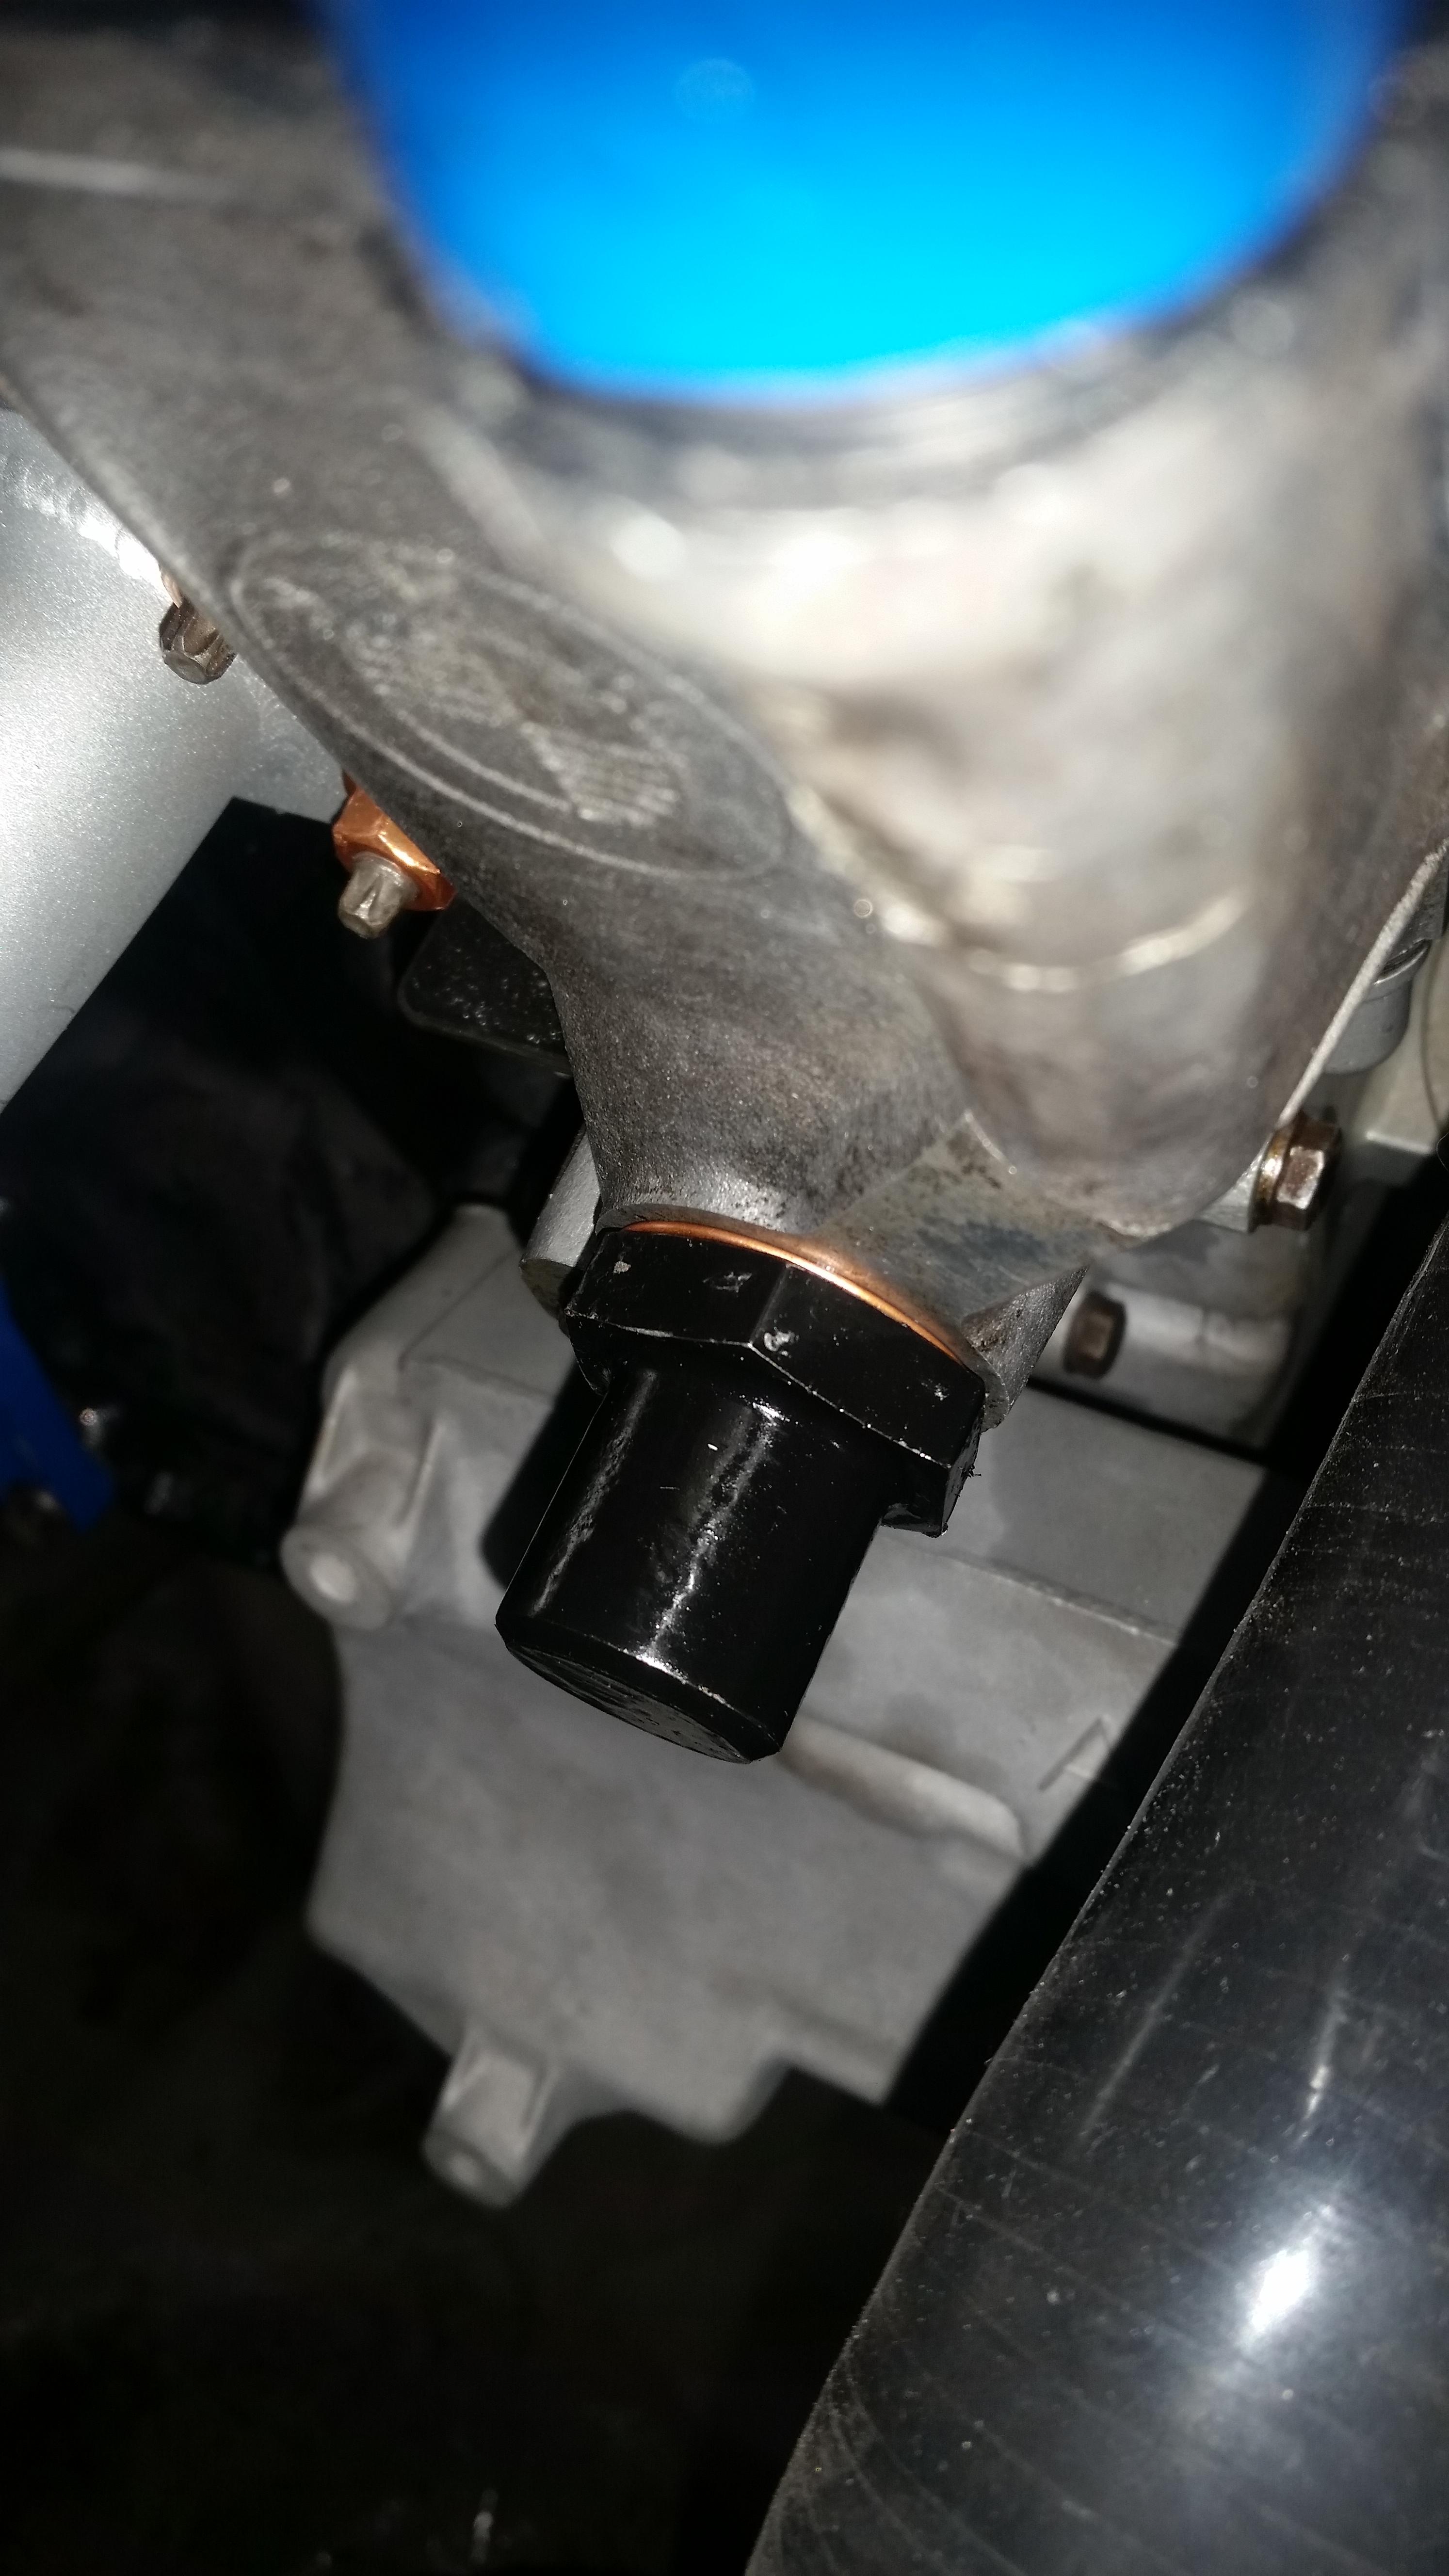
Assuming my head gasket wasn't sealing properly and I was gonna have to pull the head back off I almost immediately felt like falling to the floor and crying. After chatting about it for a bit and running it another time I got a better look at where the leak was coming from and I can't even begin to explain how relieved I was. I never installed a crush washer on the primary timing chain tensioner and it was leaking very quickly.
Friday rolled around and right after I finished up at work I picked up the correct size crush washer from Napa, installed it torquing it to spec, and ran the motor one more time.
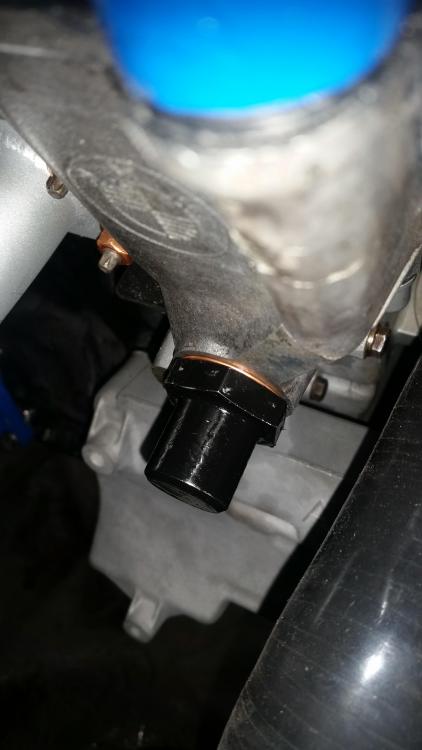
The super fast leak I was experiencing before is gone which is a plus but, as you can see there is still a small amount slowly seeping out of the area where the head gasket and timing cover meet, Shit.
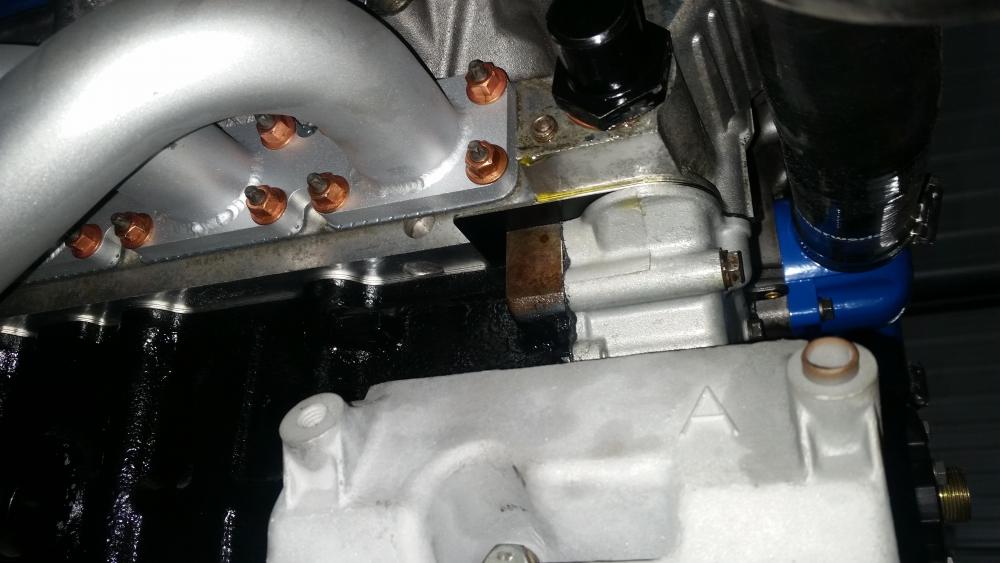
As for right now I'm gonna get the rest of the cooling system hooked up and run the motor through a few heat cycles, re-torquing the head studs after. Only after doing this does it continue to leak I will most likely be pulling the head back off
 and assessing the problem in more depth which will probably conclude with me going back to a oem head gasket which is what I should have done in the first place but I'm a noob at this and sometimes I think I need things that I really don't and it comes back to bight me in the ass.
Onto other things... interior is almost completely reinstalled. At the moment I am on the hunt for another driver side sport seat of any color or fabric as long as it has a good bracket. Tomorrow I'm going to be giving a junk yard down in Milwaukee a call who apparently have some out of a 88 325is, really hoping they're sport seats)
As for things to get done the list is plentiful but definitely attainable. I have to take the intake manifold back off to finish up installing the coolant spider hose and upper heater core hose so that I can finally fill the system with coolant. I also have the bimmerworld sending unit block to install as well as sending units for oil pressure, oil temp, and coolant temp (still waiting on them to show up). If everything shows up this week and I find a seat, hopefully I can take the car out on the road for a short drive next weekend and break in the motor a bit.

Next big thing on the list though will be the exhaust system for sure as I do plan on making my own and I do not have that all figured out quite yet.
-
Did you have the deck machined? If so, the timing cover needs to be machined the same amount. What sort of rtv did you use on the gasket? Black RTV all the things!!!!
I second this comment!

https://www.instagram.com/_jdesigner_/ http://nevertoolow.tumblr.com/
🥳SOLD BMW E24 633CSI - BMW M30B32 🧪SOLD HCH ES9 - 1.3 LDA
👽BMW E30 325IC - Toyota 1JZ-GTE ⏰ HONDA EF9 CIVIC SI - JDM B18C5
☠️BMW E36 318i - Ford 5.0 FE302 🚴♂️ GT-Labomba - 26x2.75 Freeride
🤹♀️SOLD BMW E36/7 Z3 - BMW M54B25 🧓SOLD BMW E10 2002 - BMW M10M05 -
Did you have the deck machined? If so, the timing cover needs to be machined the same amount. What sort of rtv did you use on the gasket? Black RTV all the things!!!!
See this is where I went wrong, I never had the engine deck machined. I only found out after the fact that in order for a MLS or cut ring headgasket to seal correctly it is important to have the engine deck machined. Although, my machinist said that the deck was checked with a straight edge and had no warpage and I have yet to see any leaks other then this small area.
Every gasket on the motor was installed with a layer of "The right stuff" black gasket maker.
-
you sure you got RTV between the front cover and the head? I see RTV seepage between the cover and the block, but not around the top.
Dan










Hello! It looks like you're interested in this conversation, but you don't have an account yet.
Getting fed up of having to scroll through the same posts each visit? When you register for an account, you'll always come back to exactly where you were before, and choose to be notified of new replies (either via email, or push notification). You'll also be able to save bookmarks and upvote posts to show your appreciation to other community members.
With your input, this post could be even better 💗
Register Login