
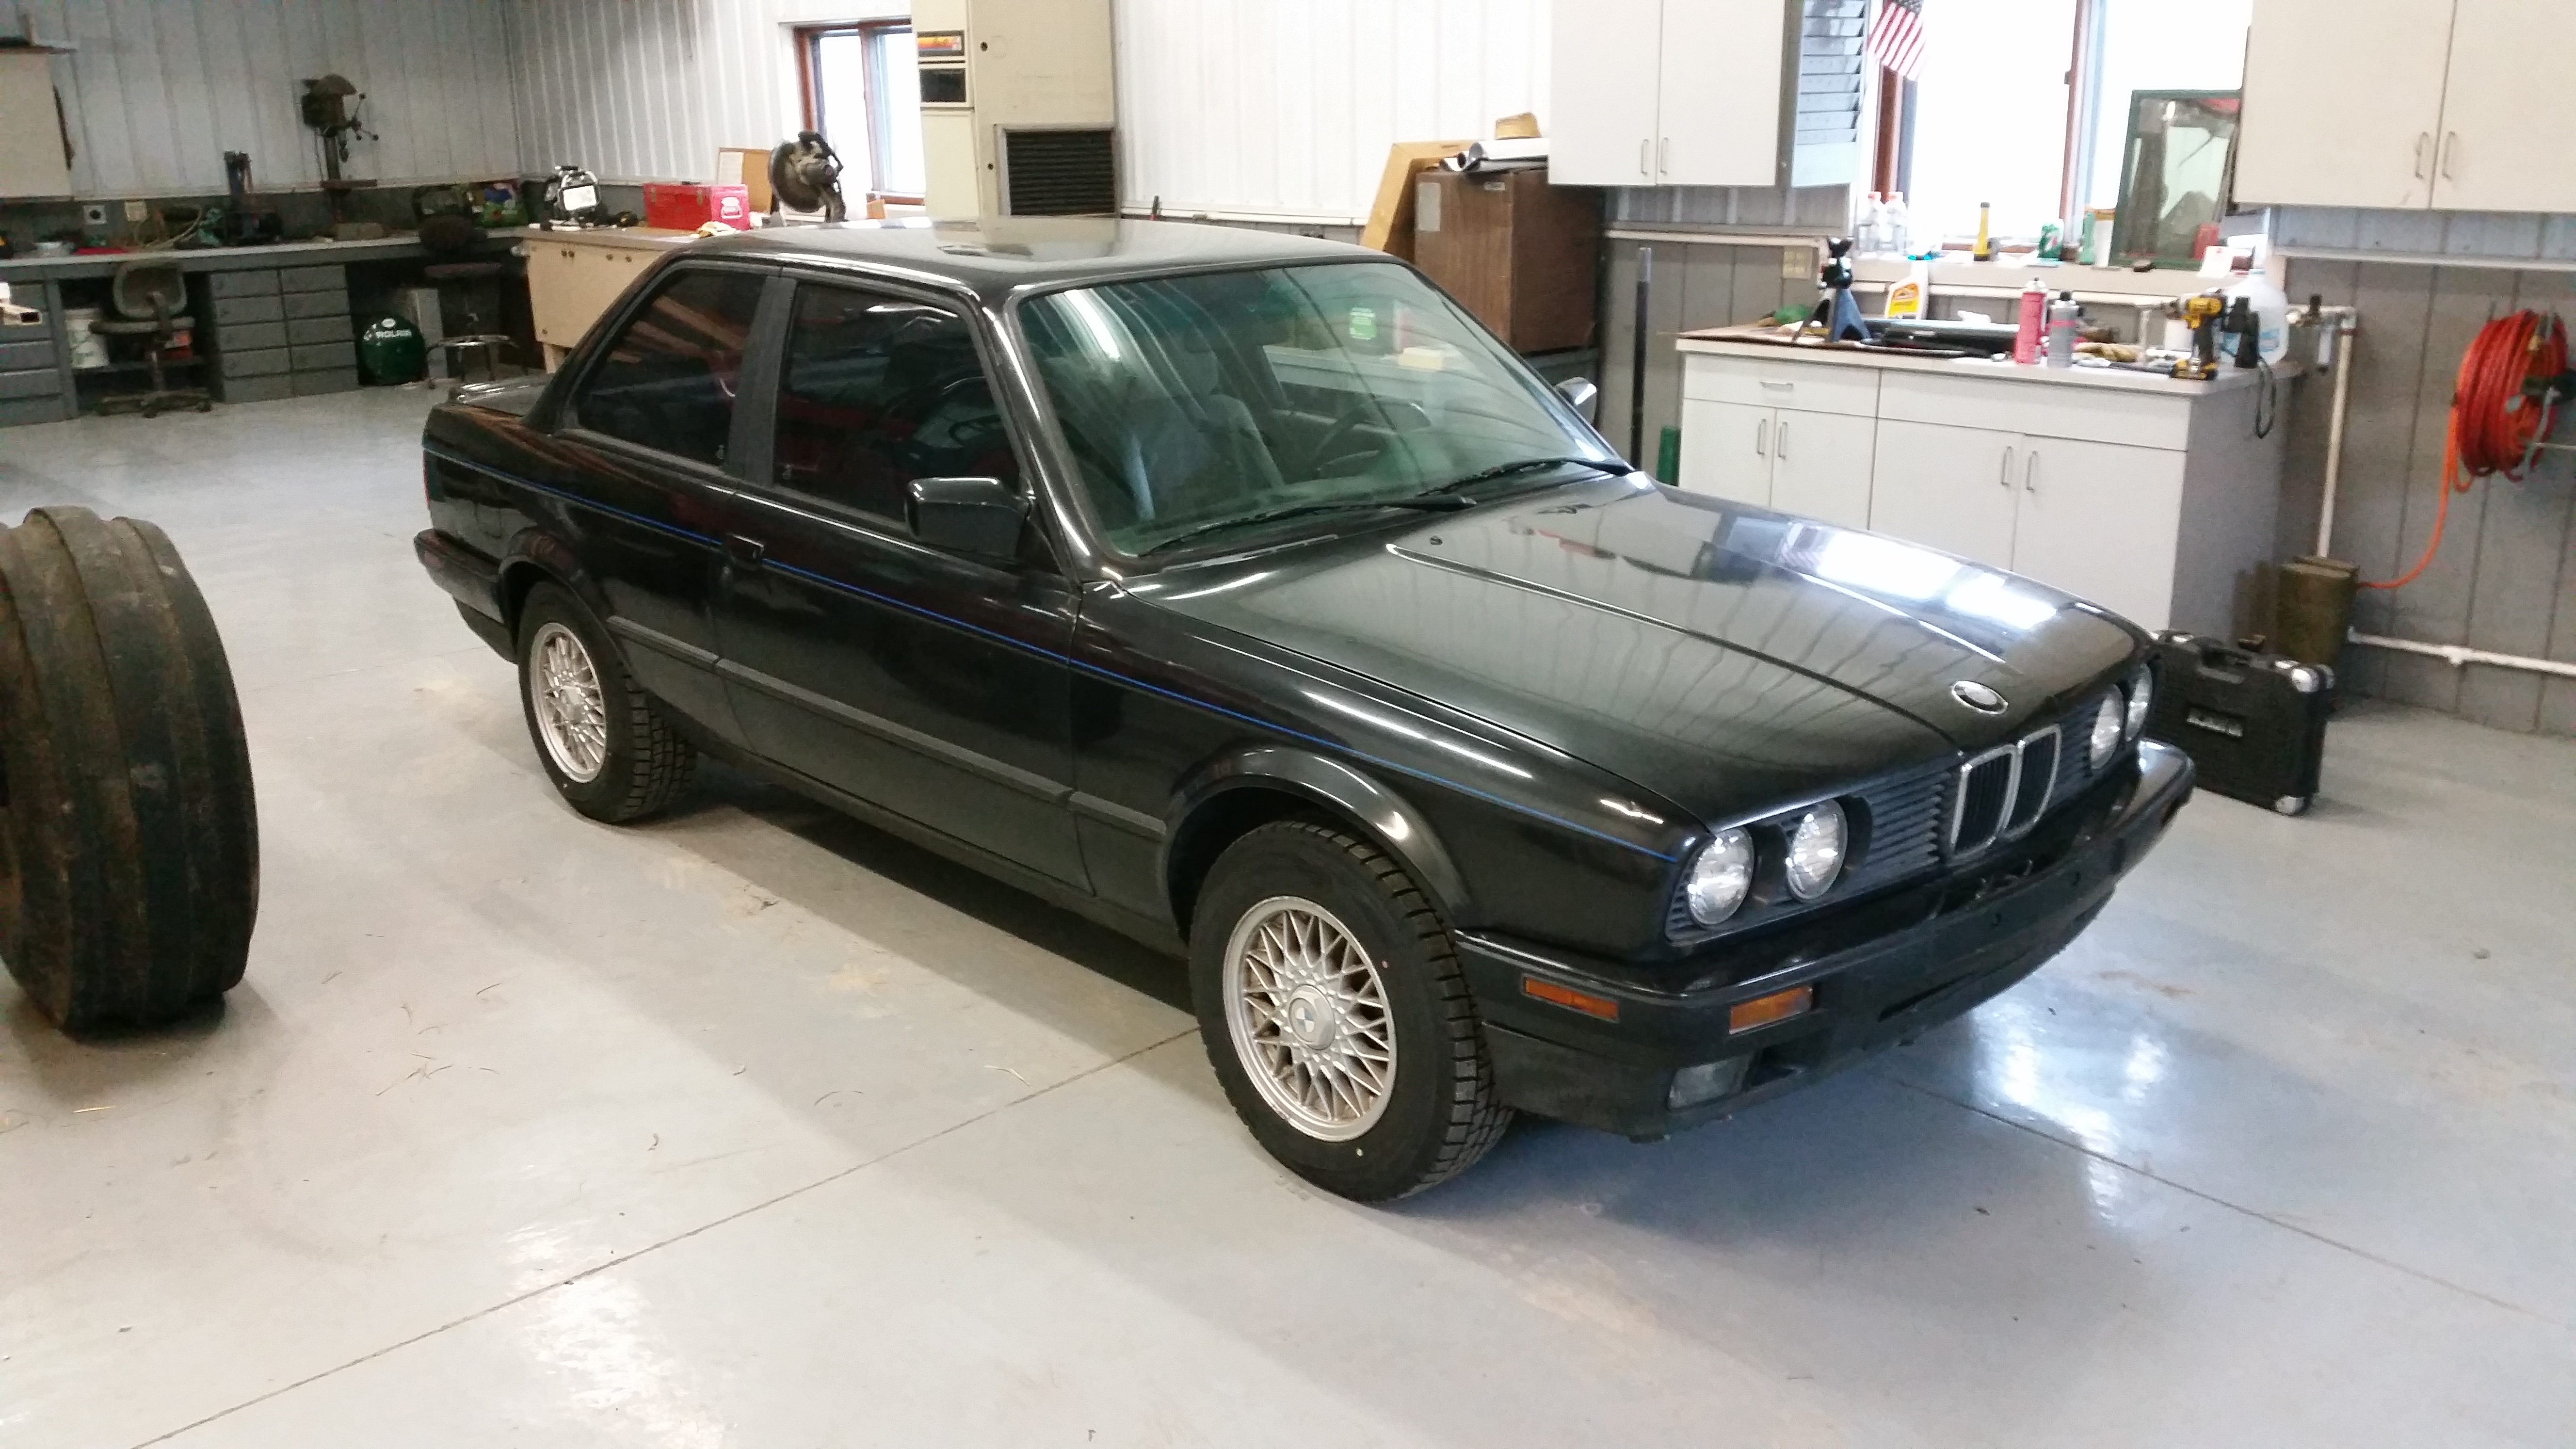
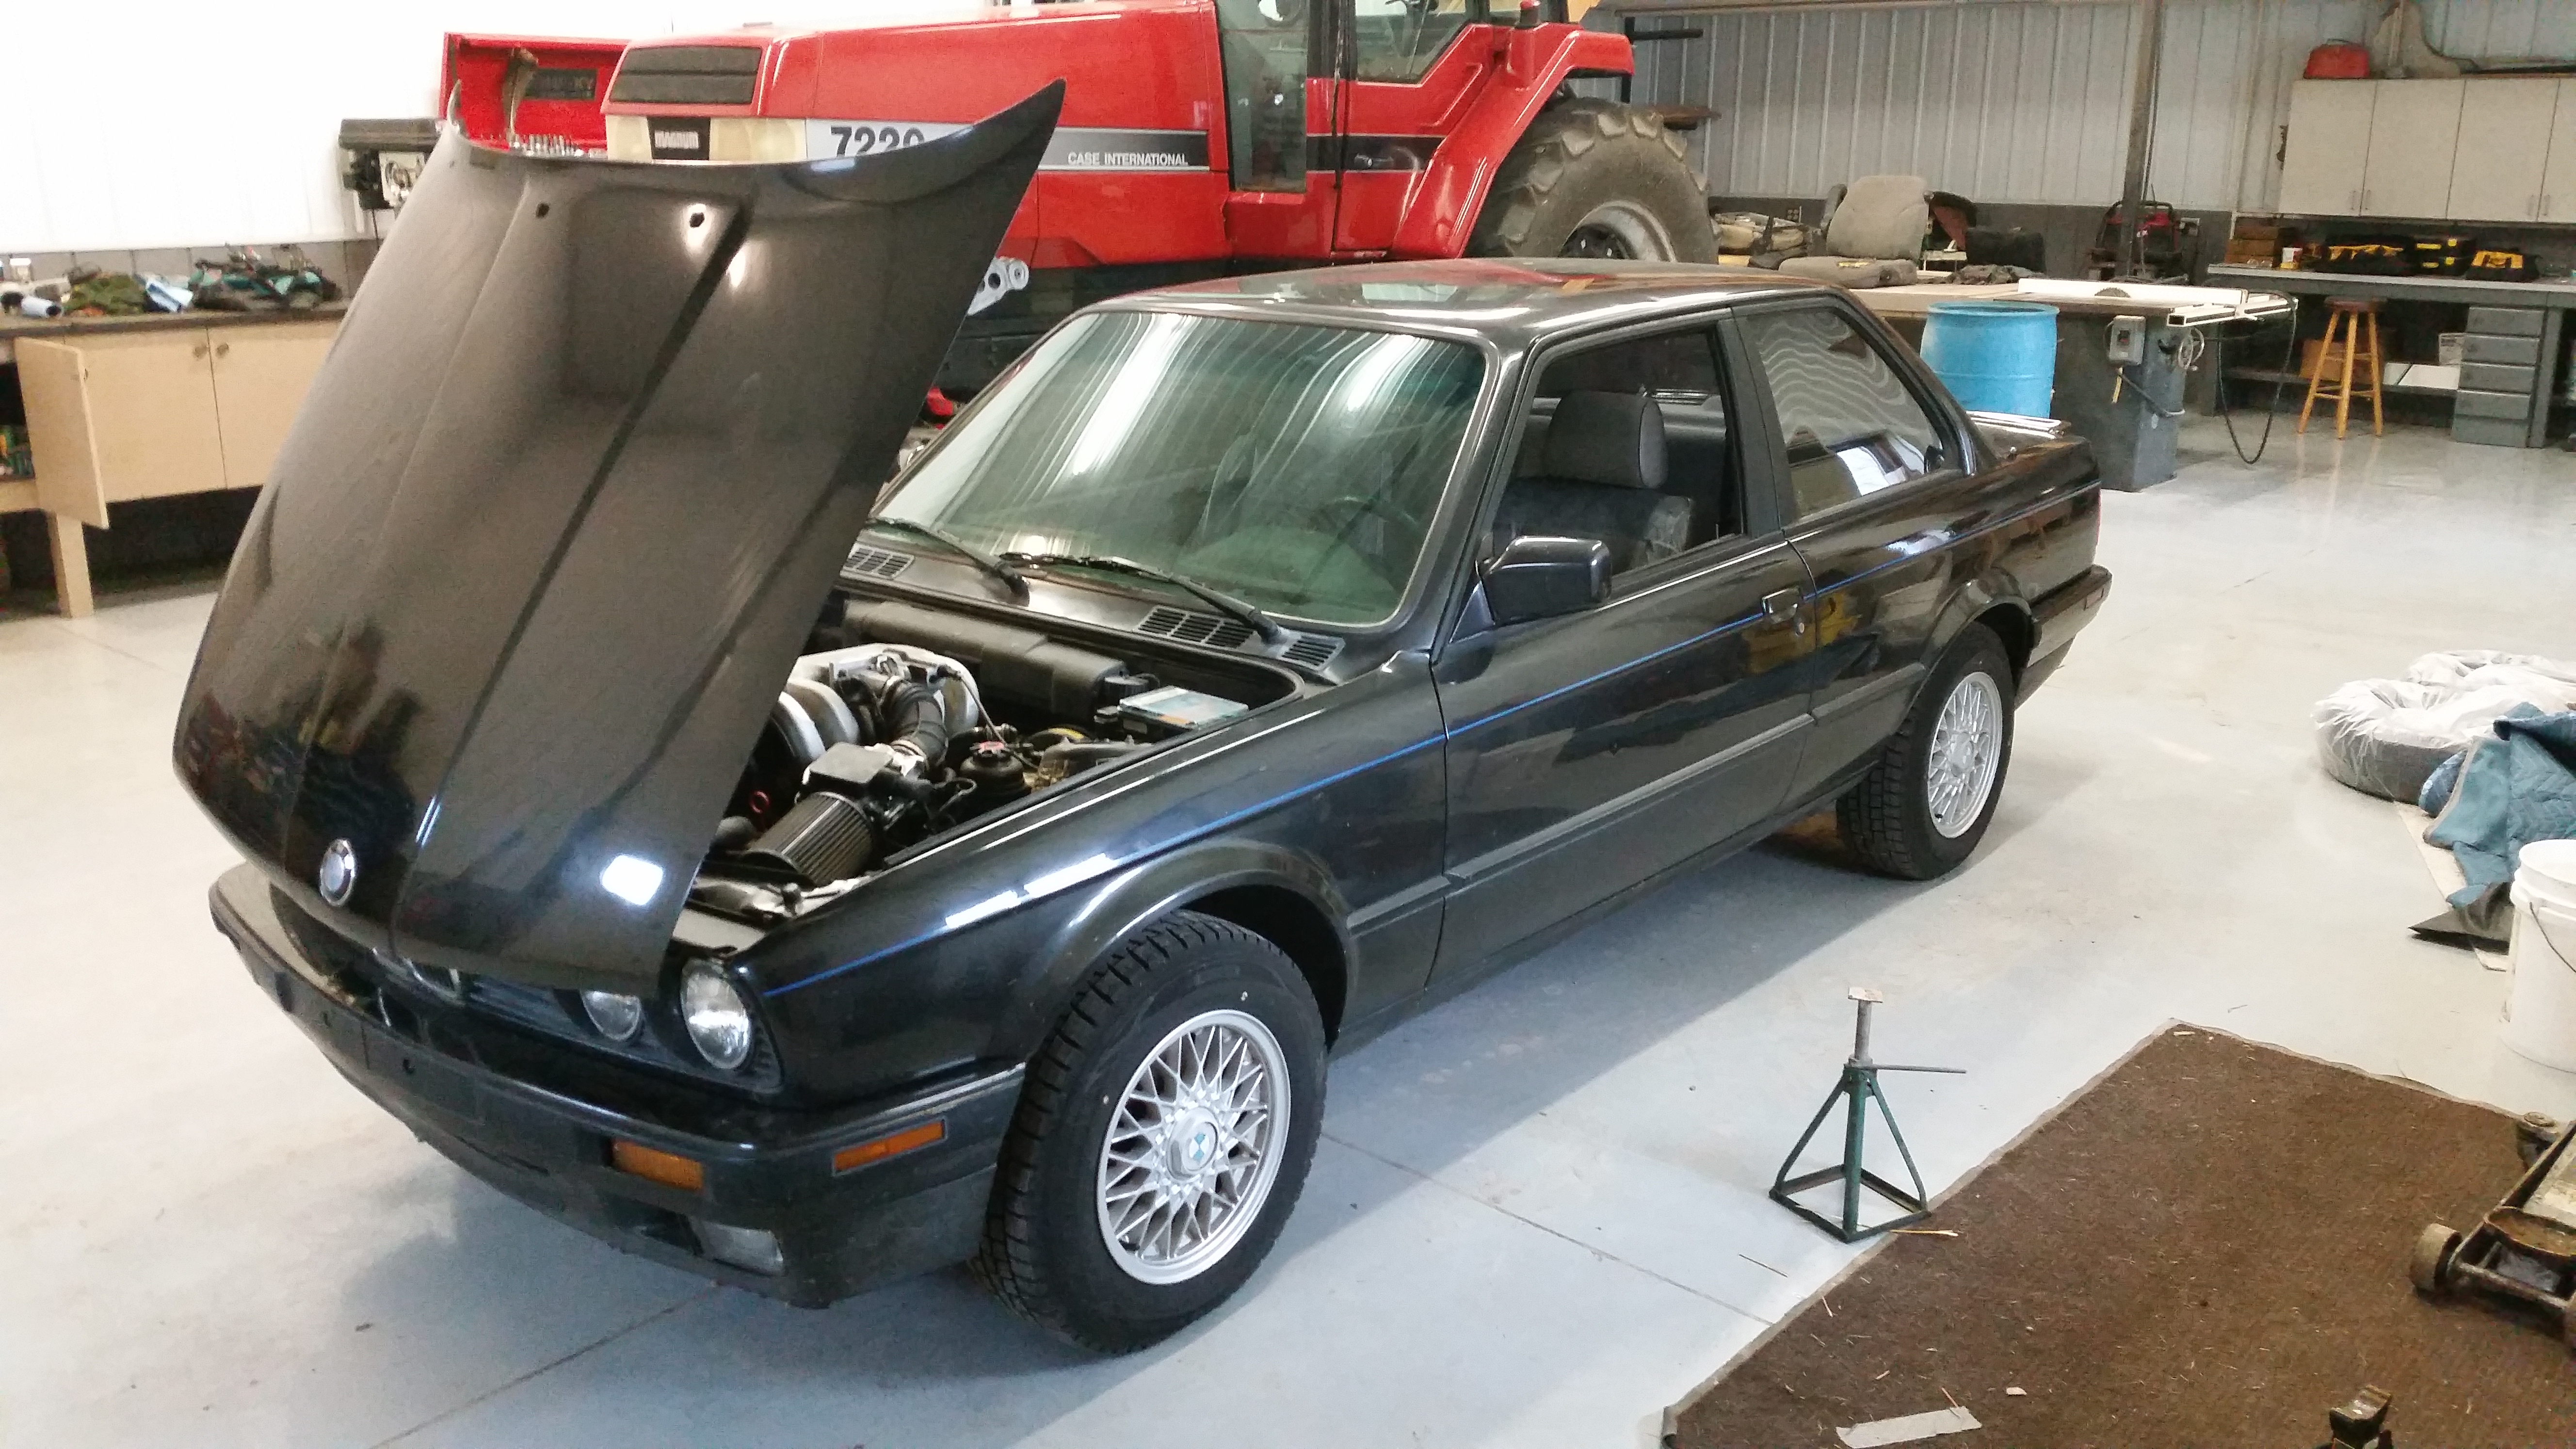
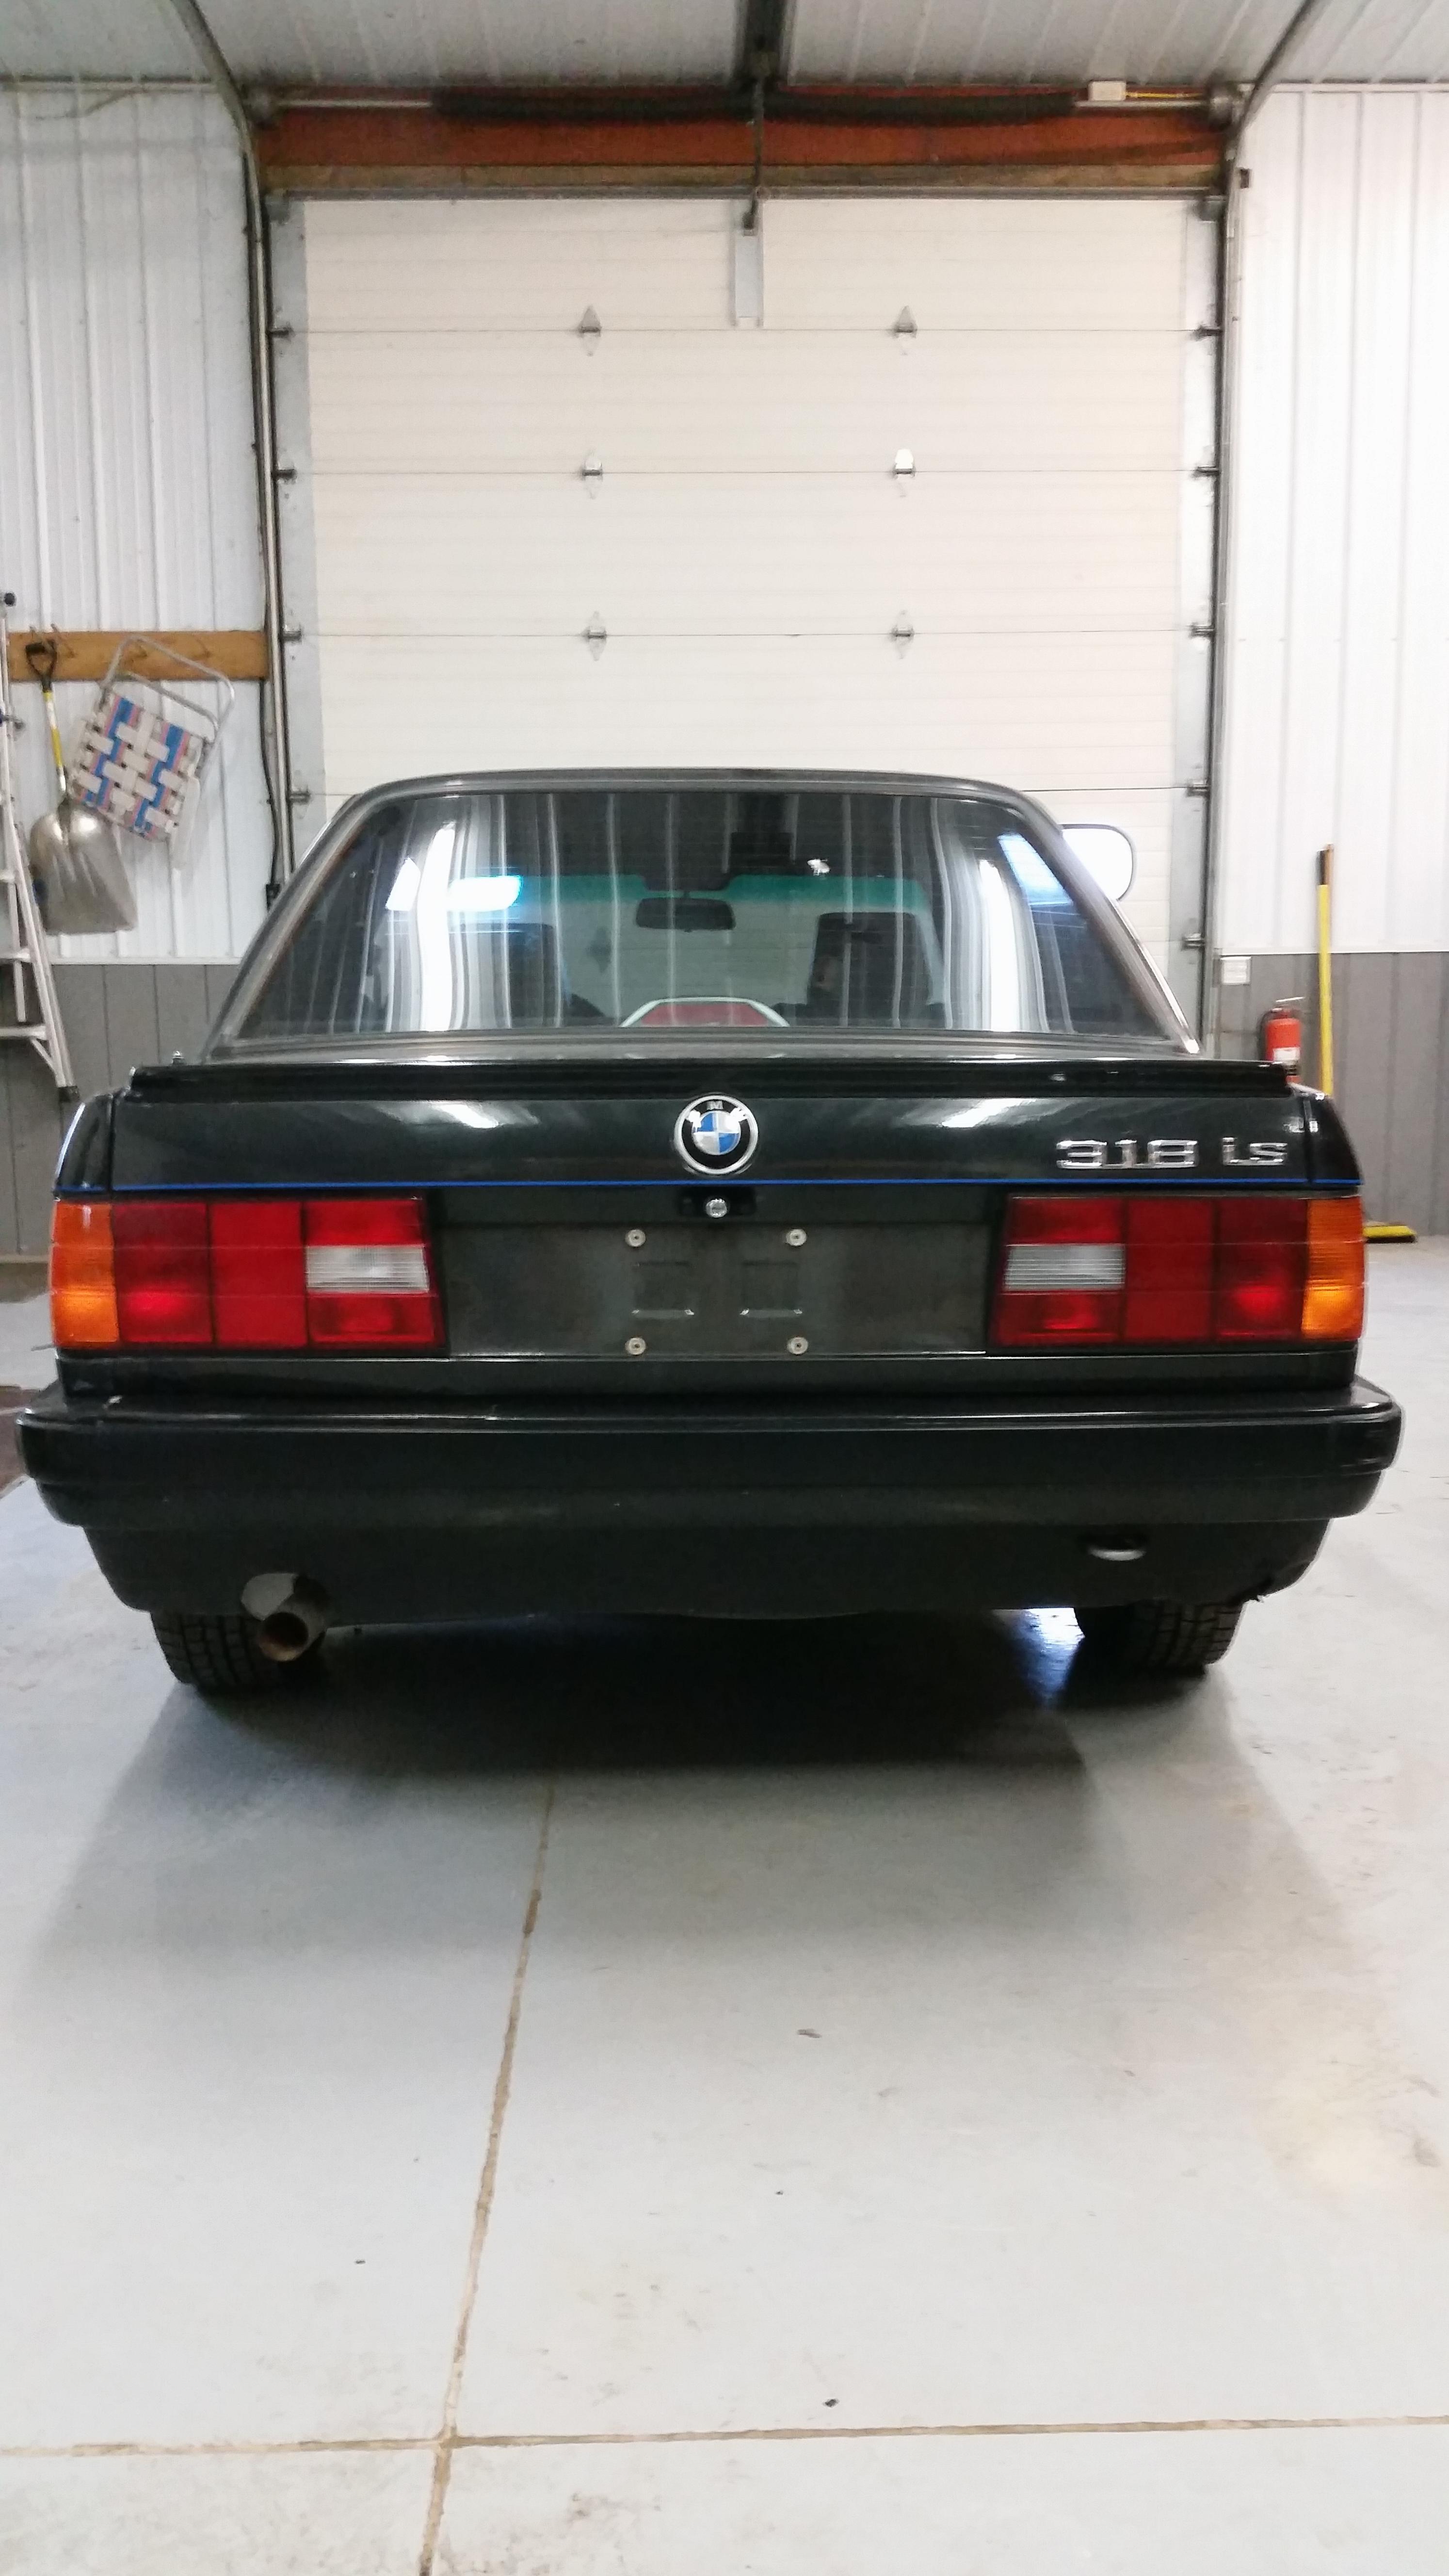
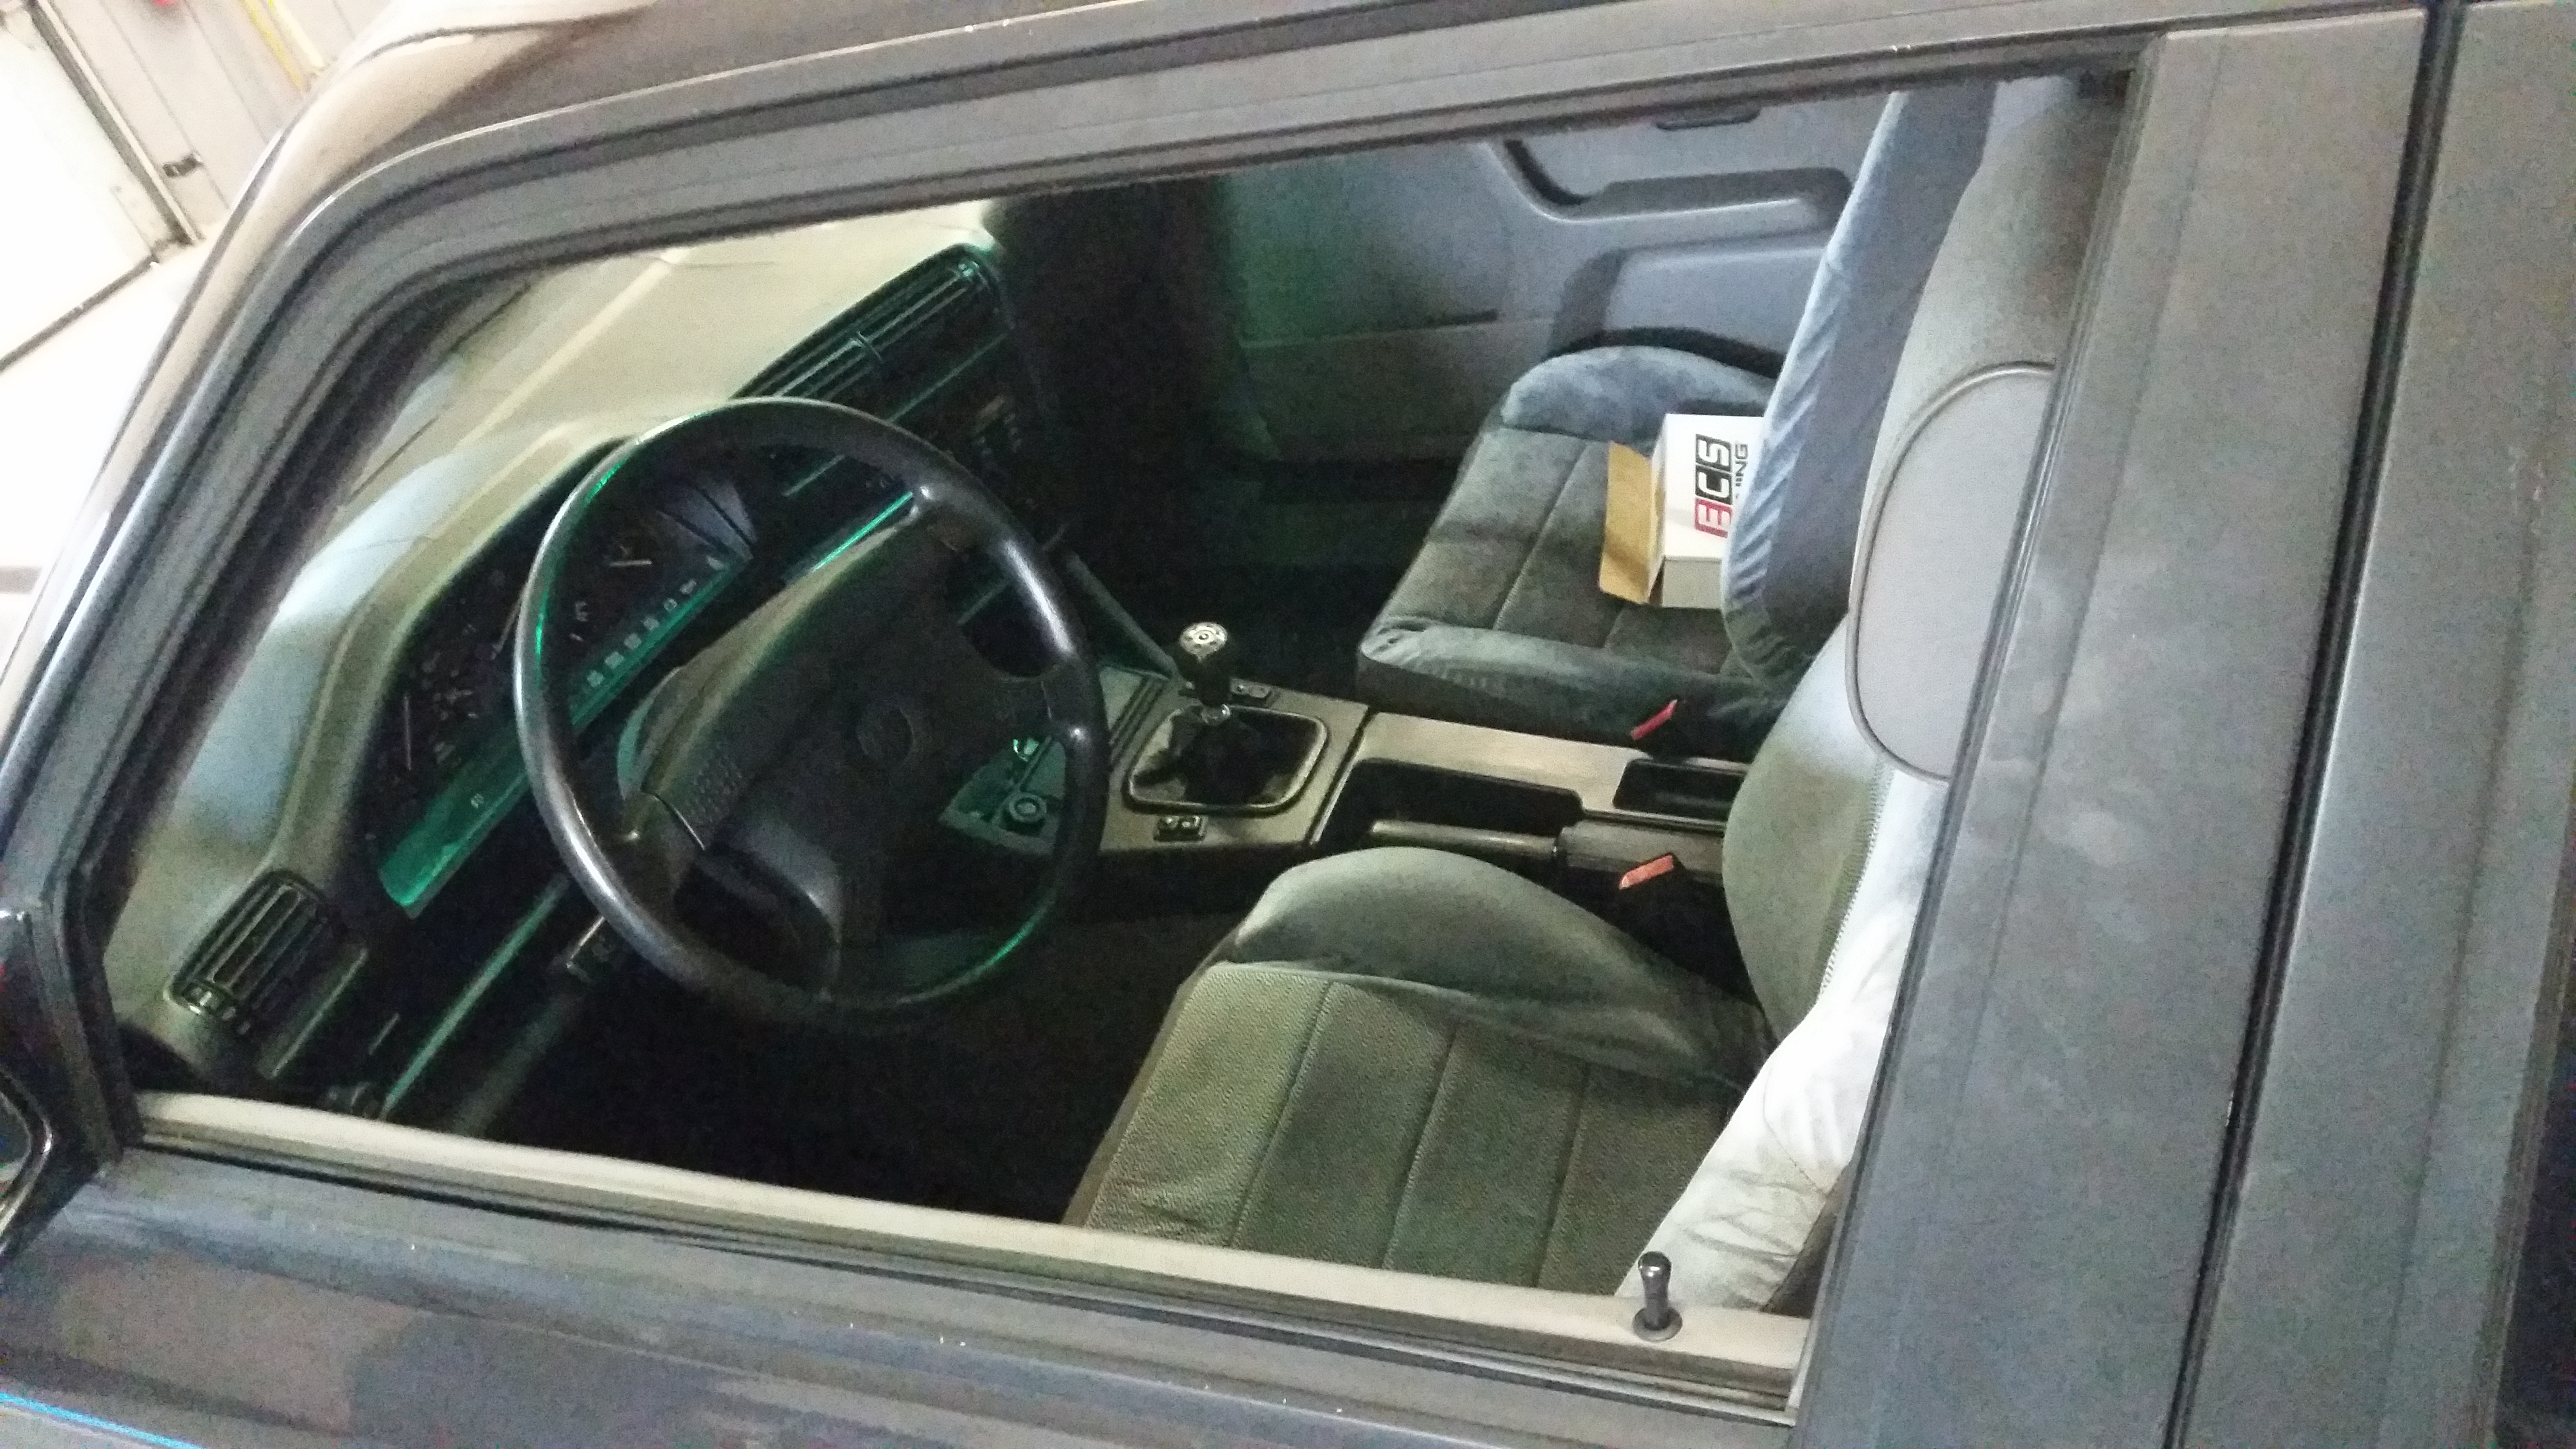
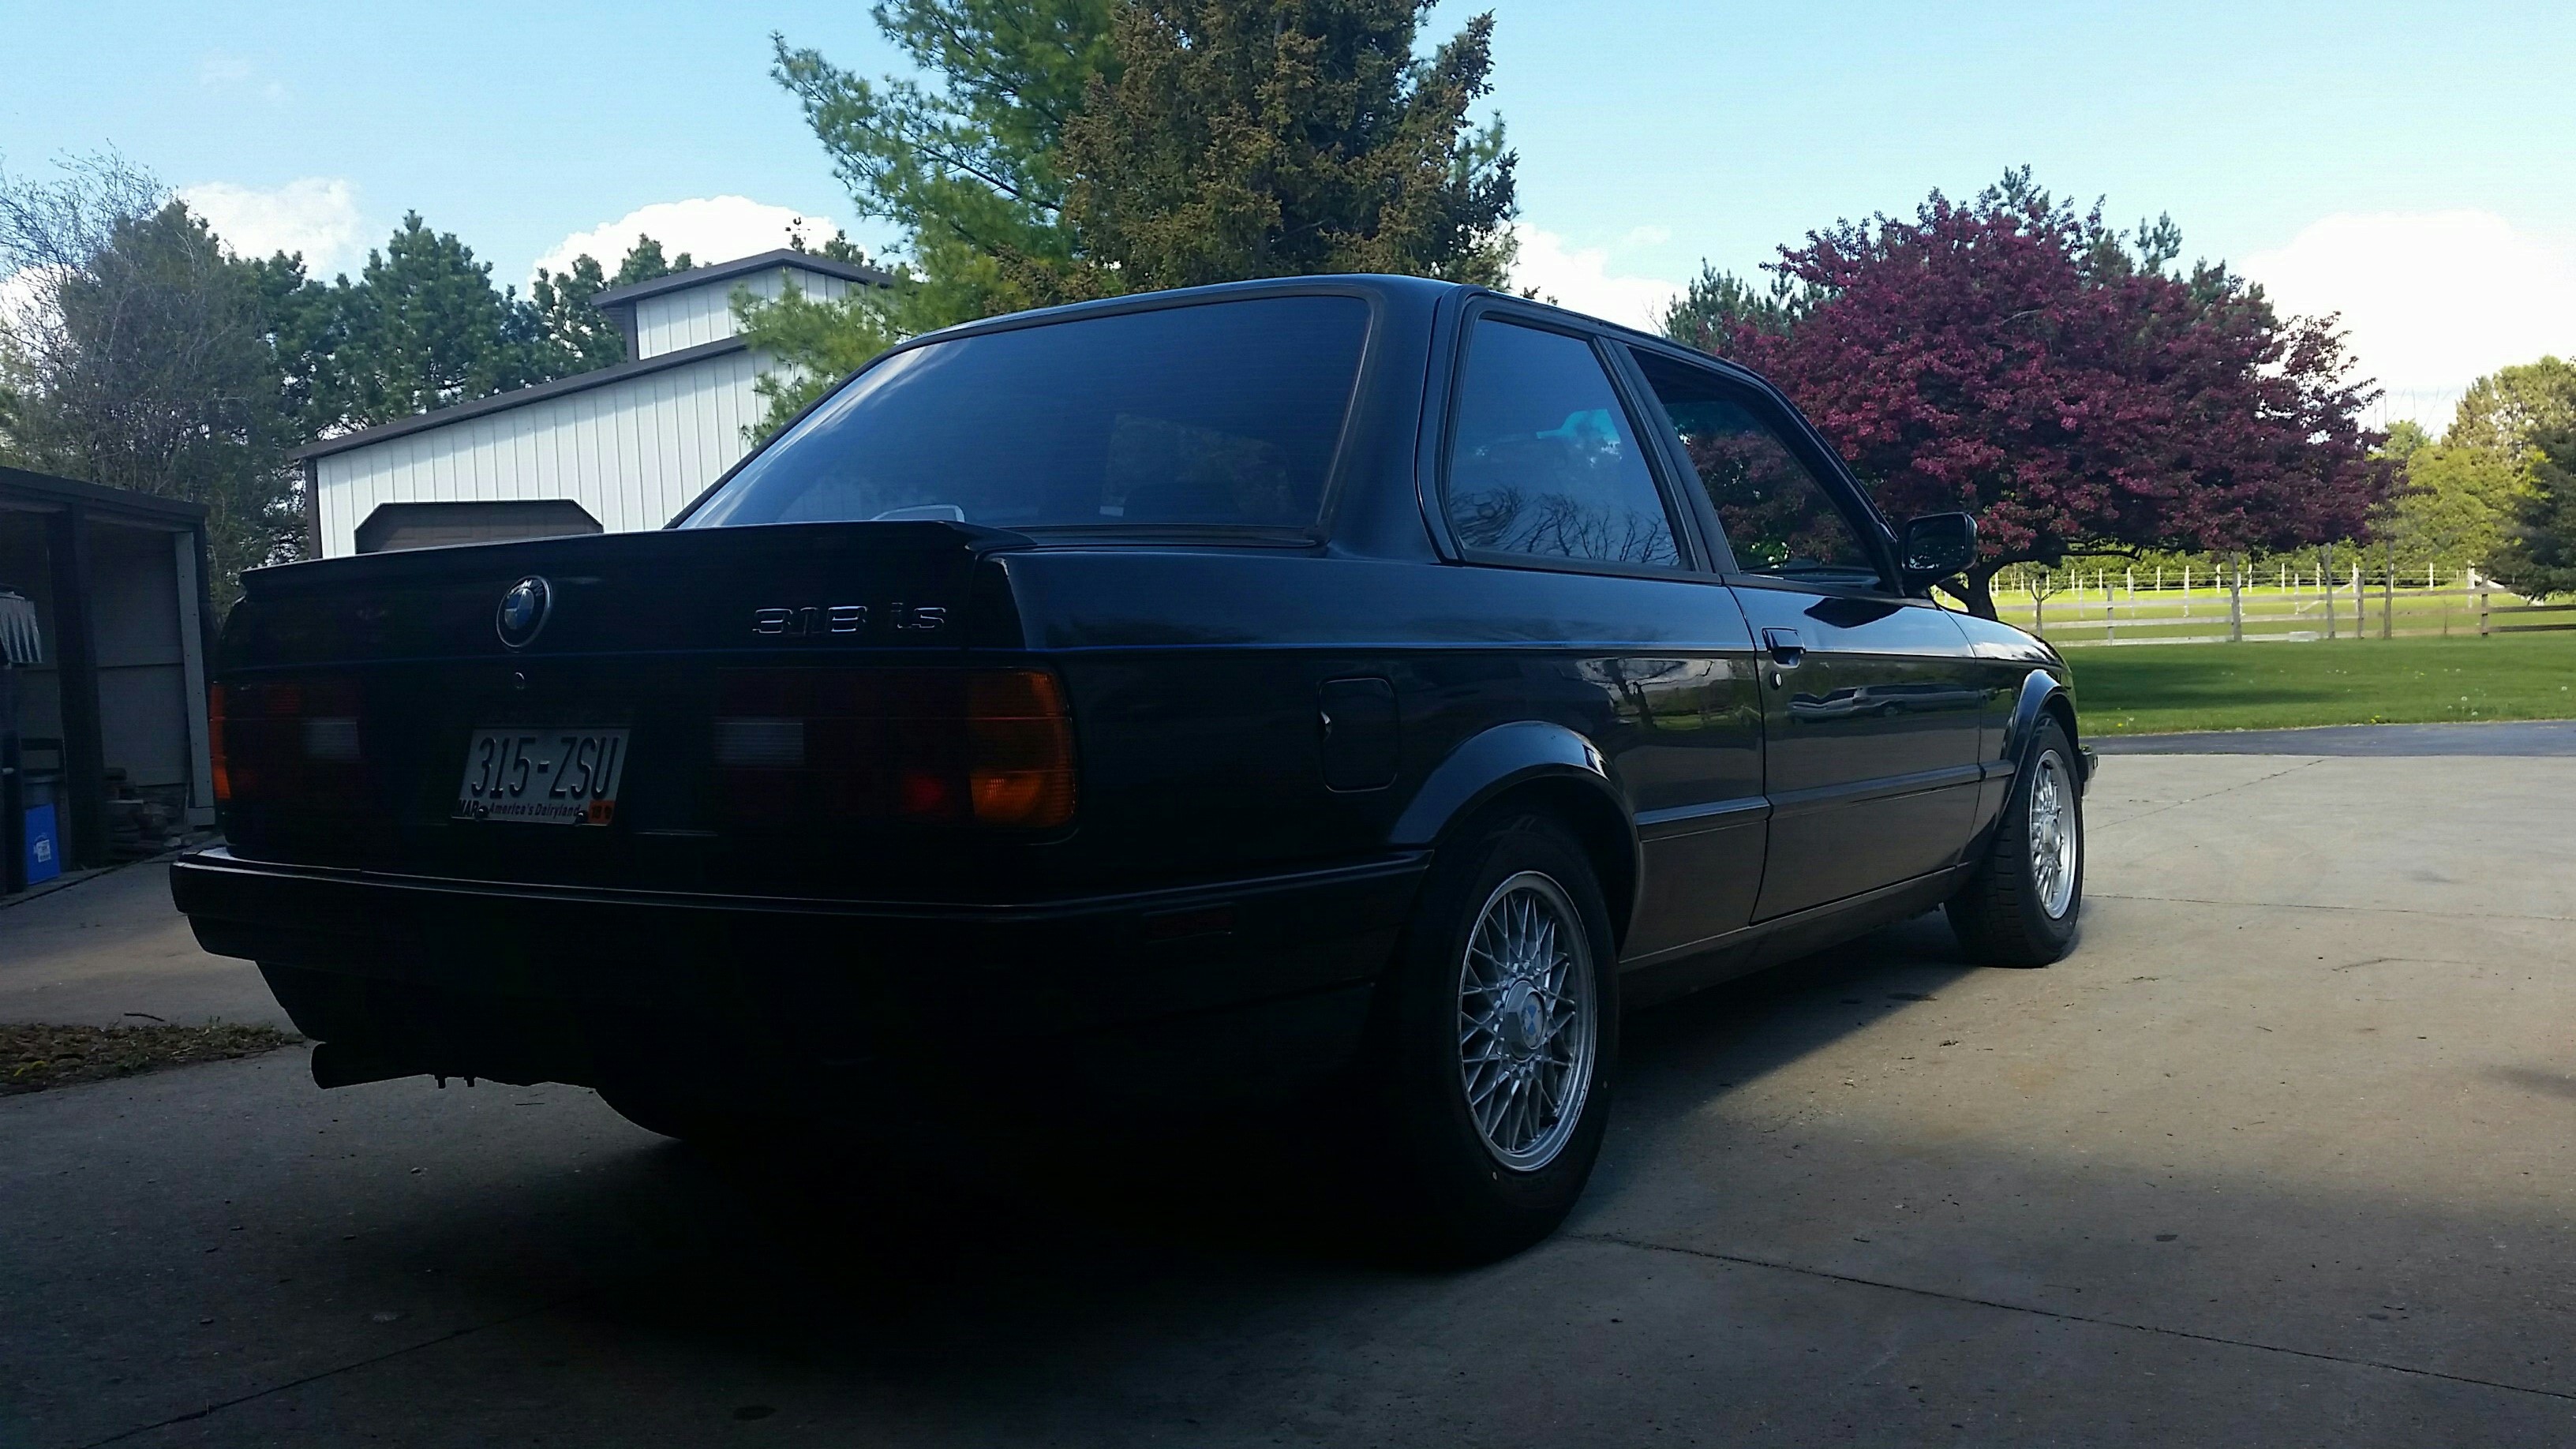
the one and only e30 s52 engine swap
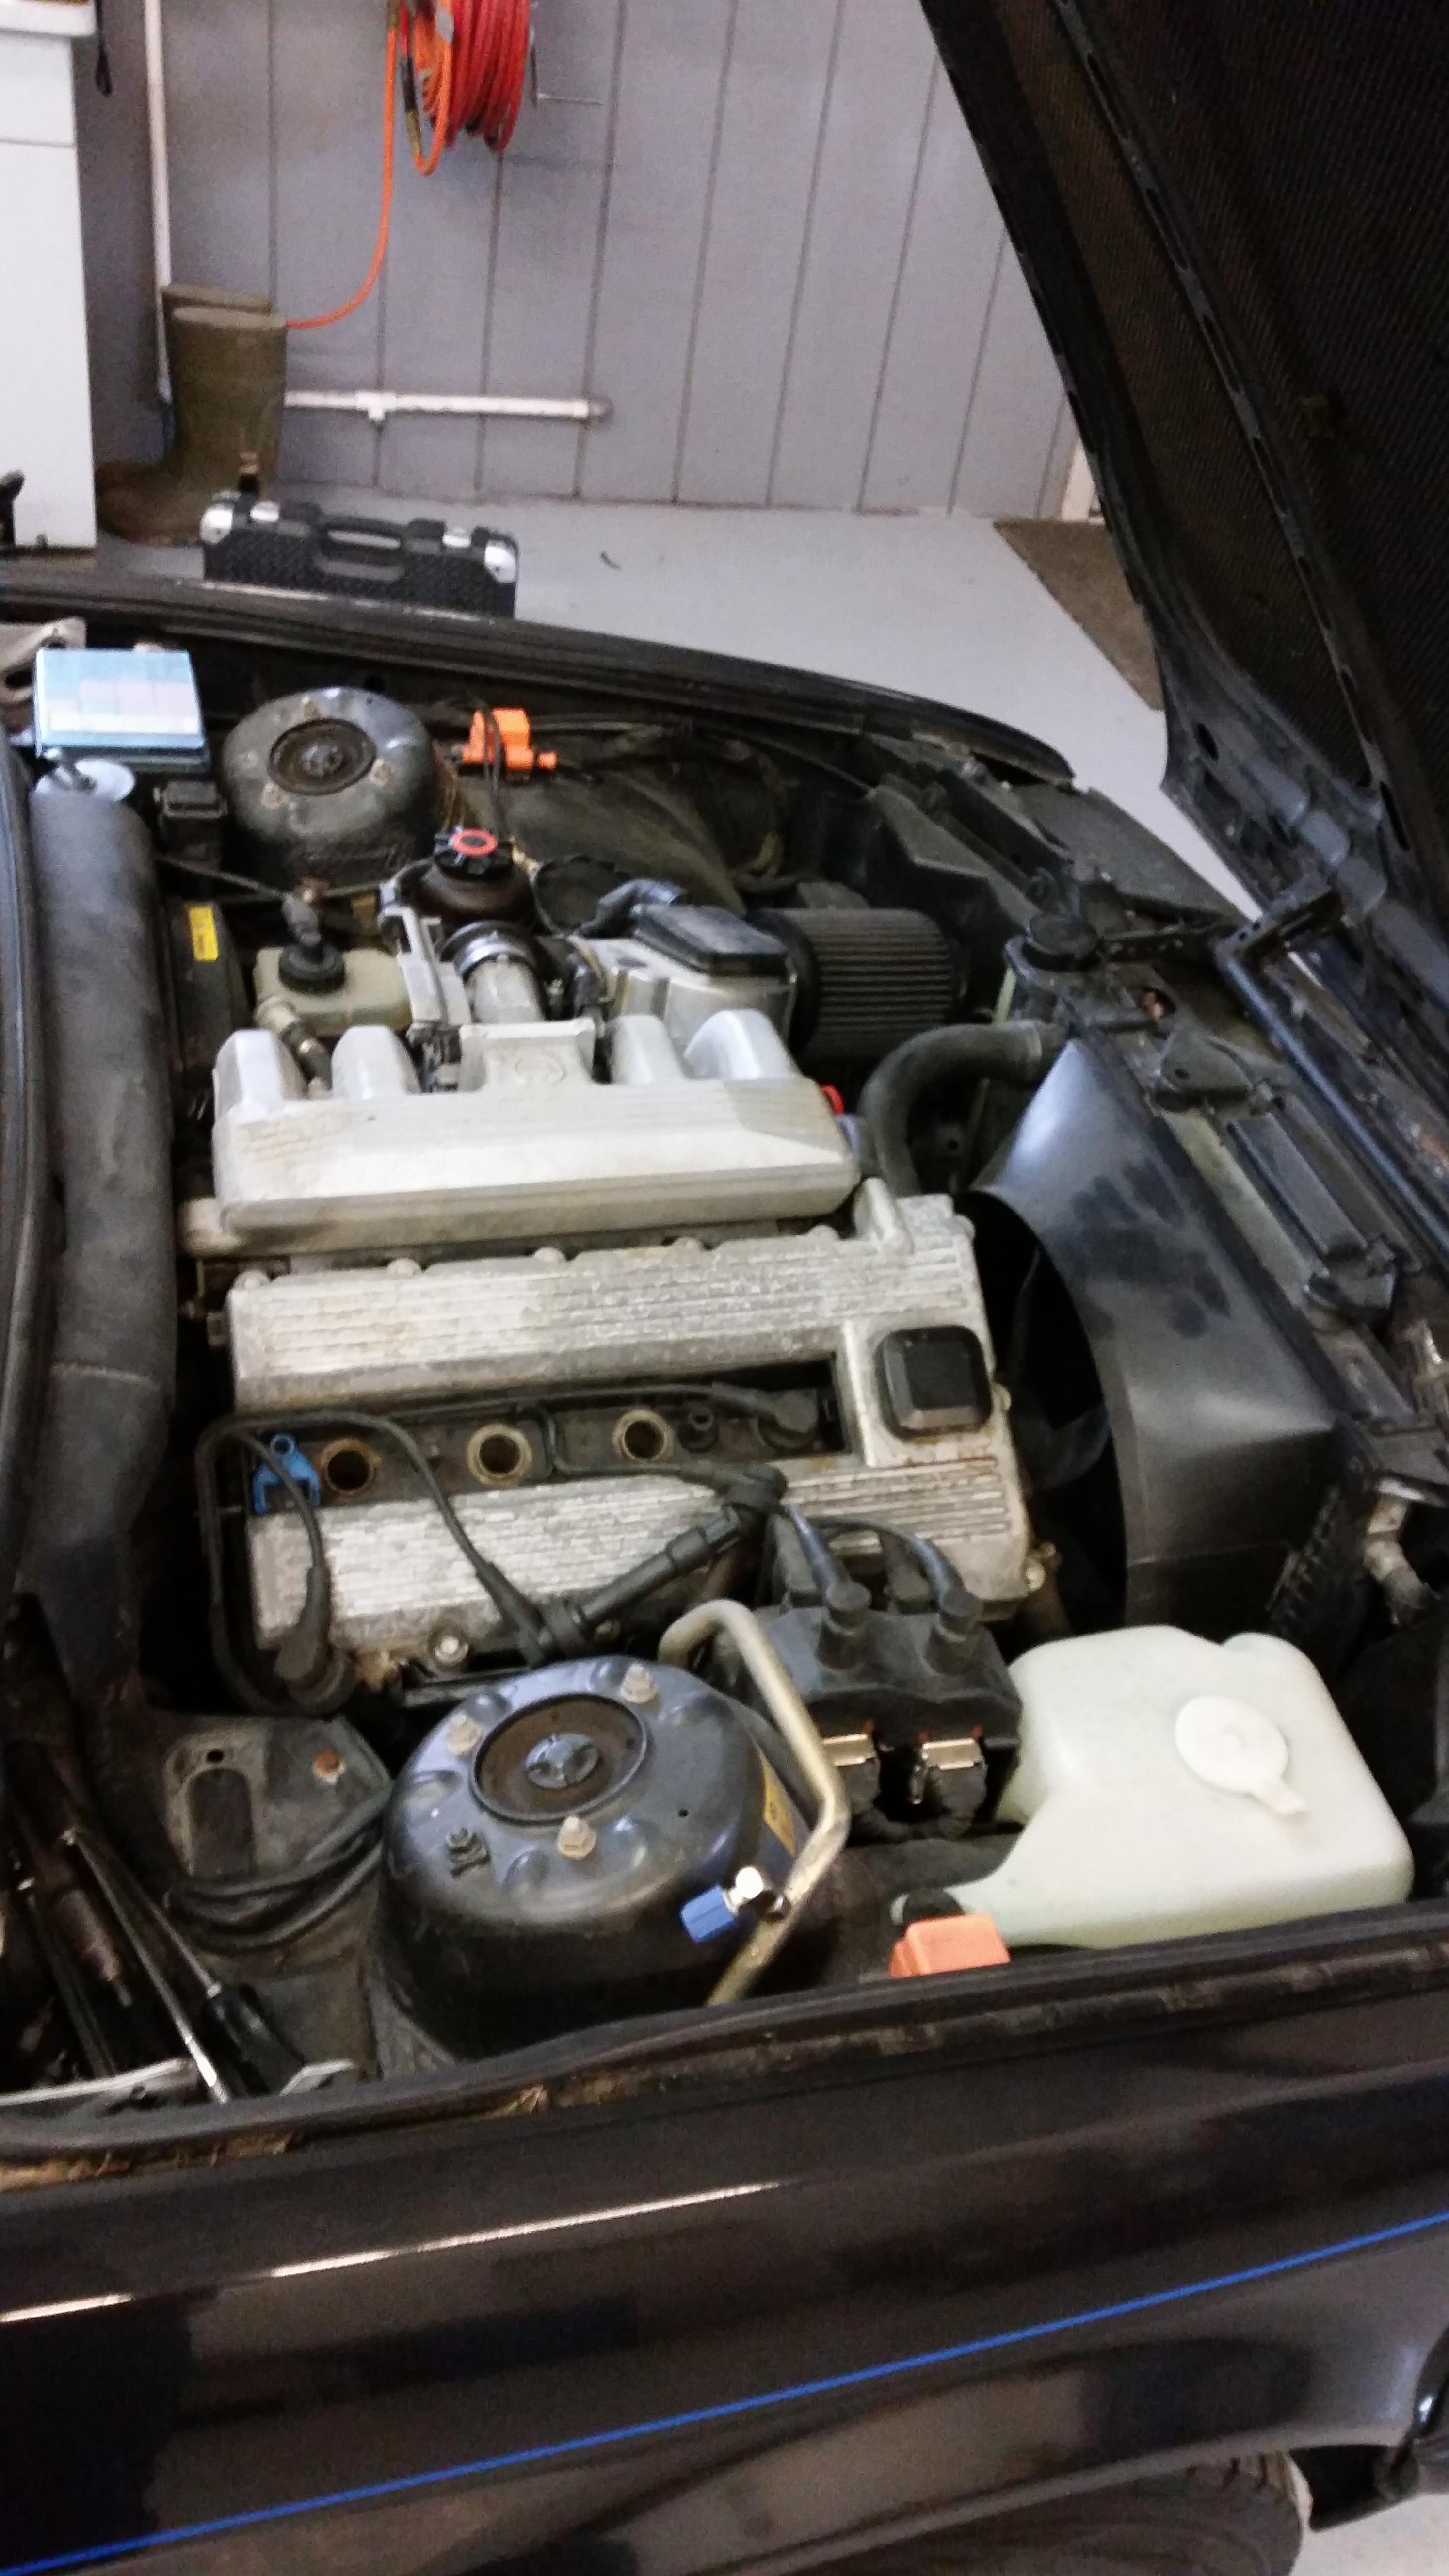
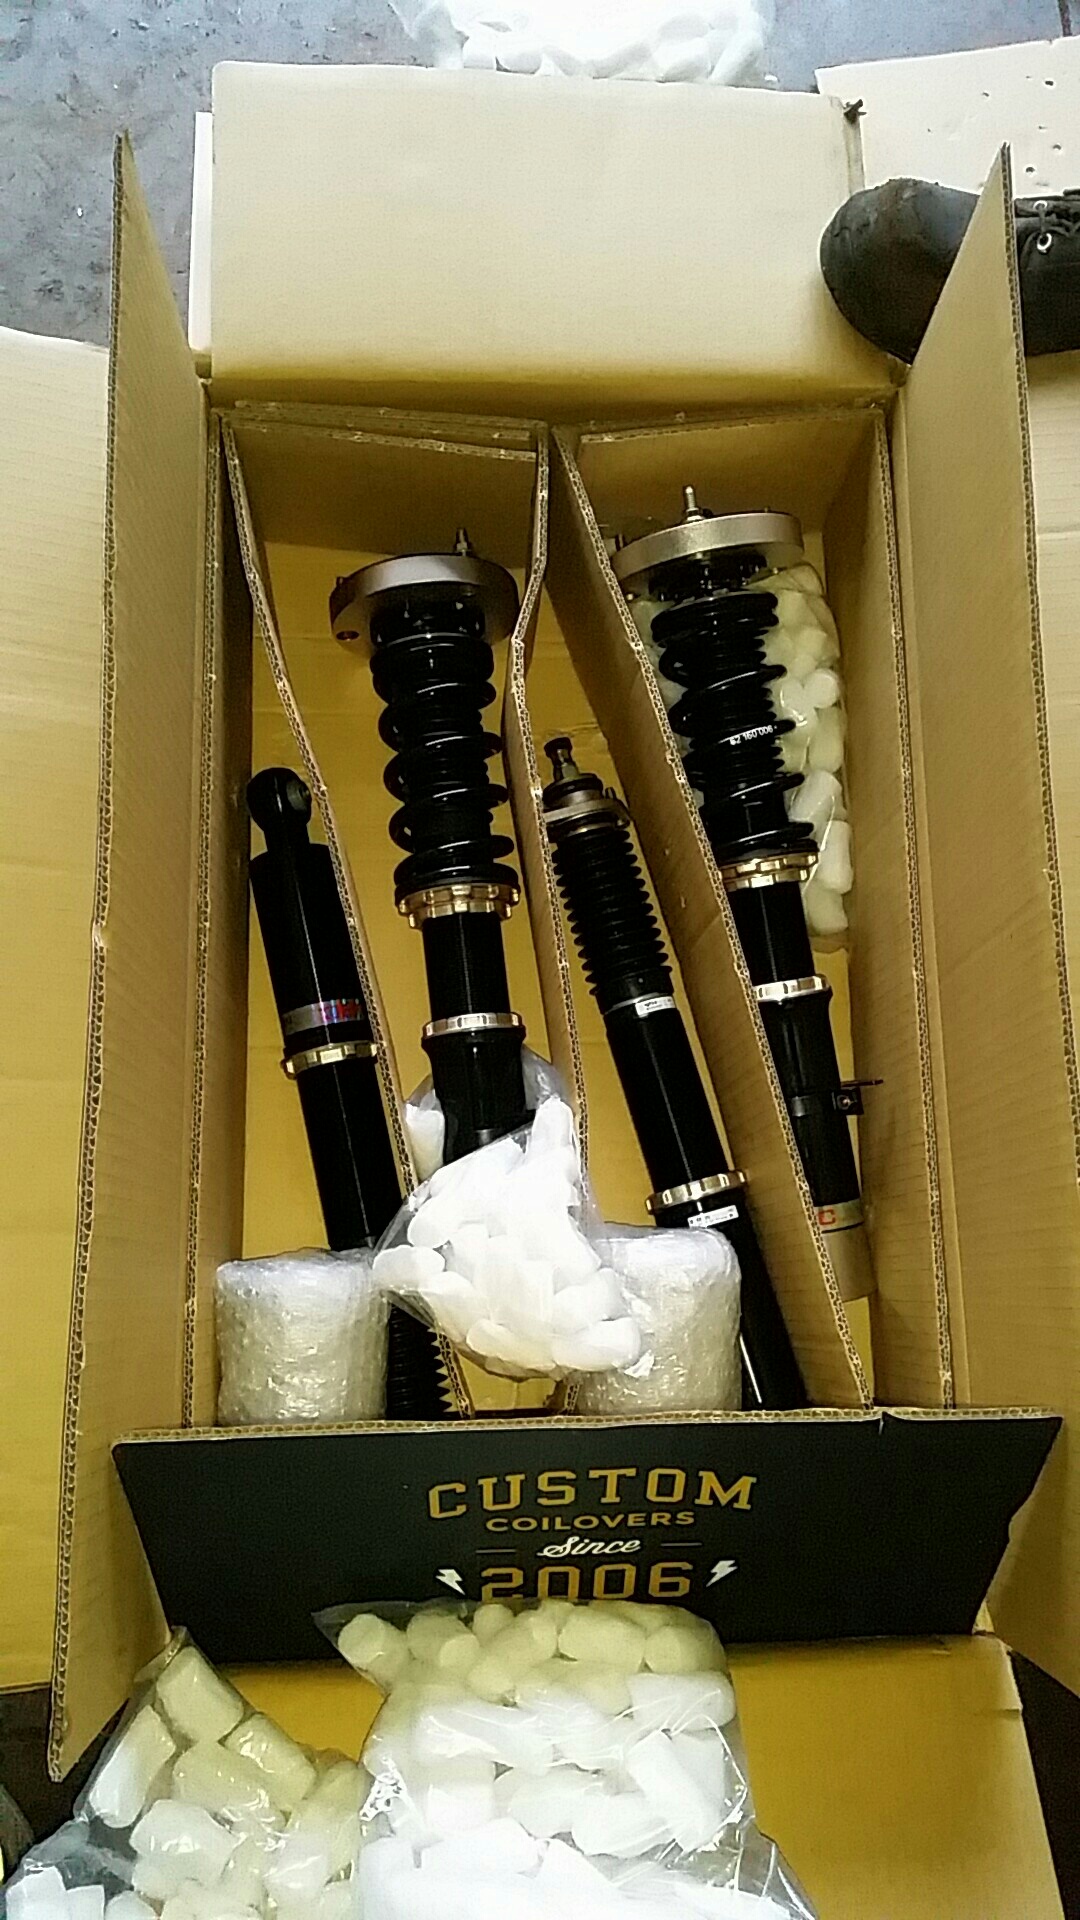
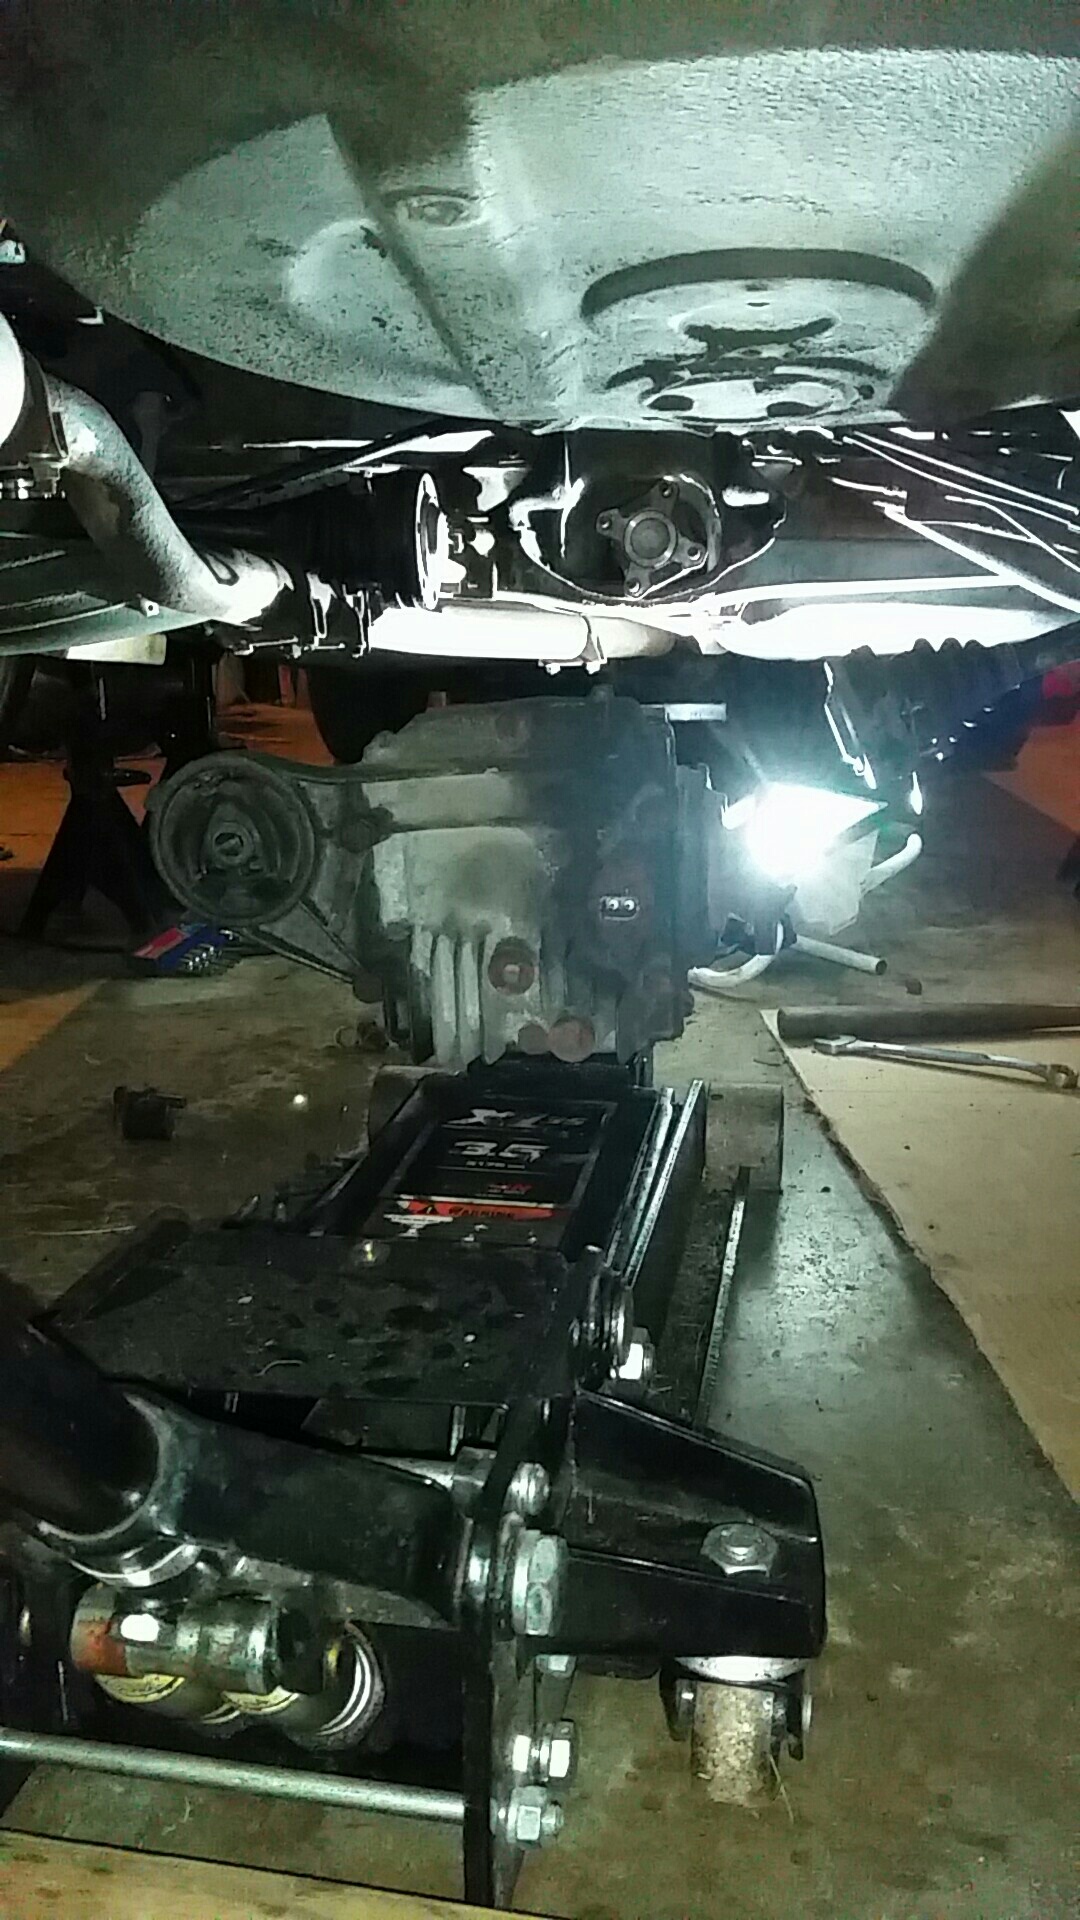
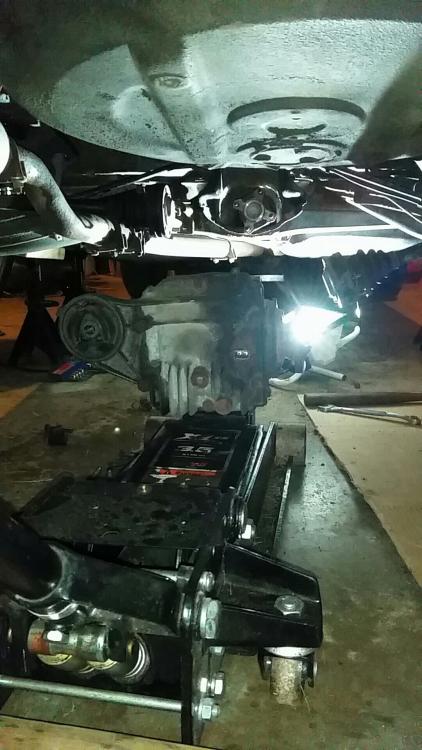
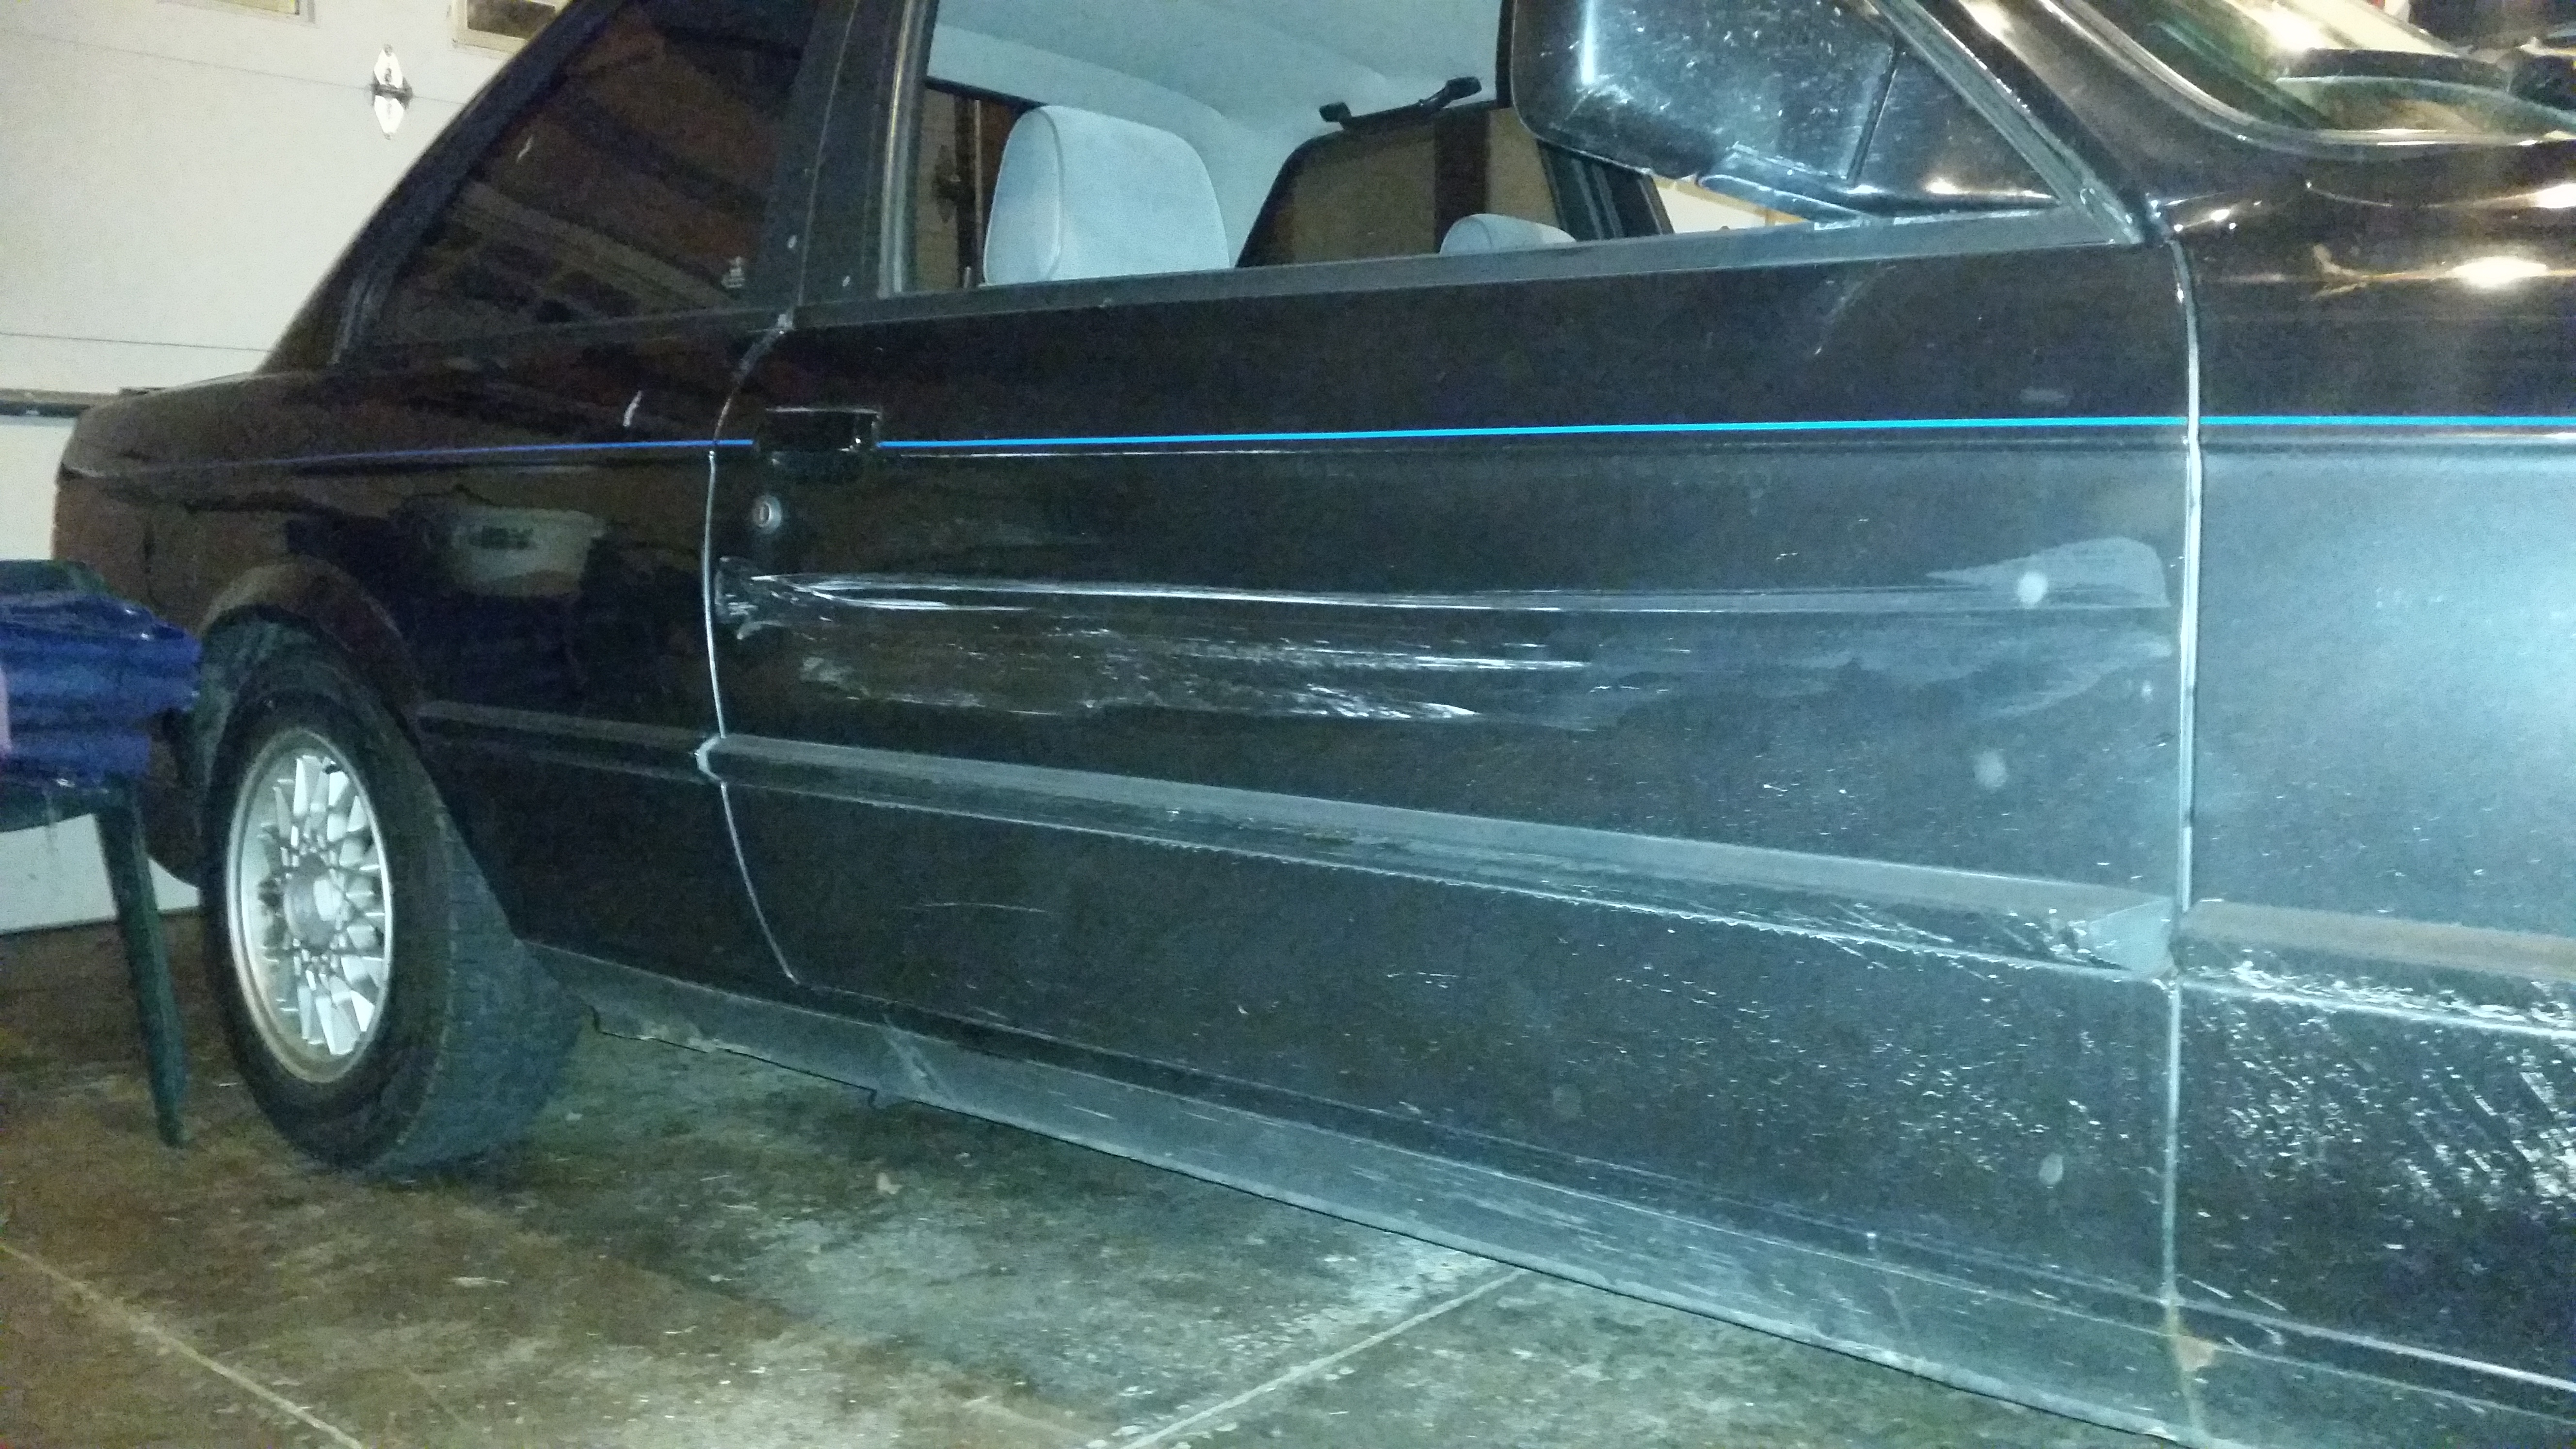
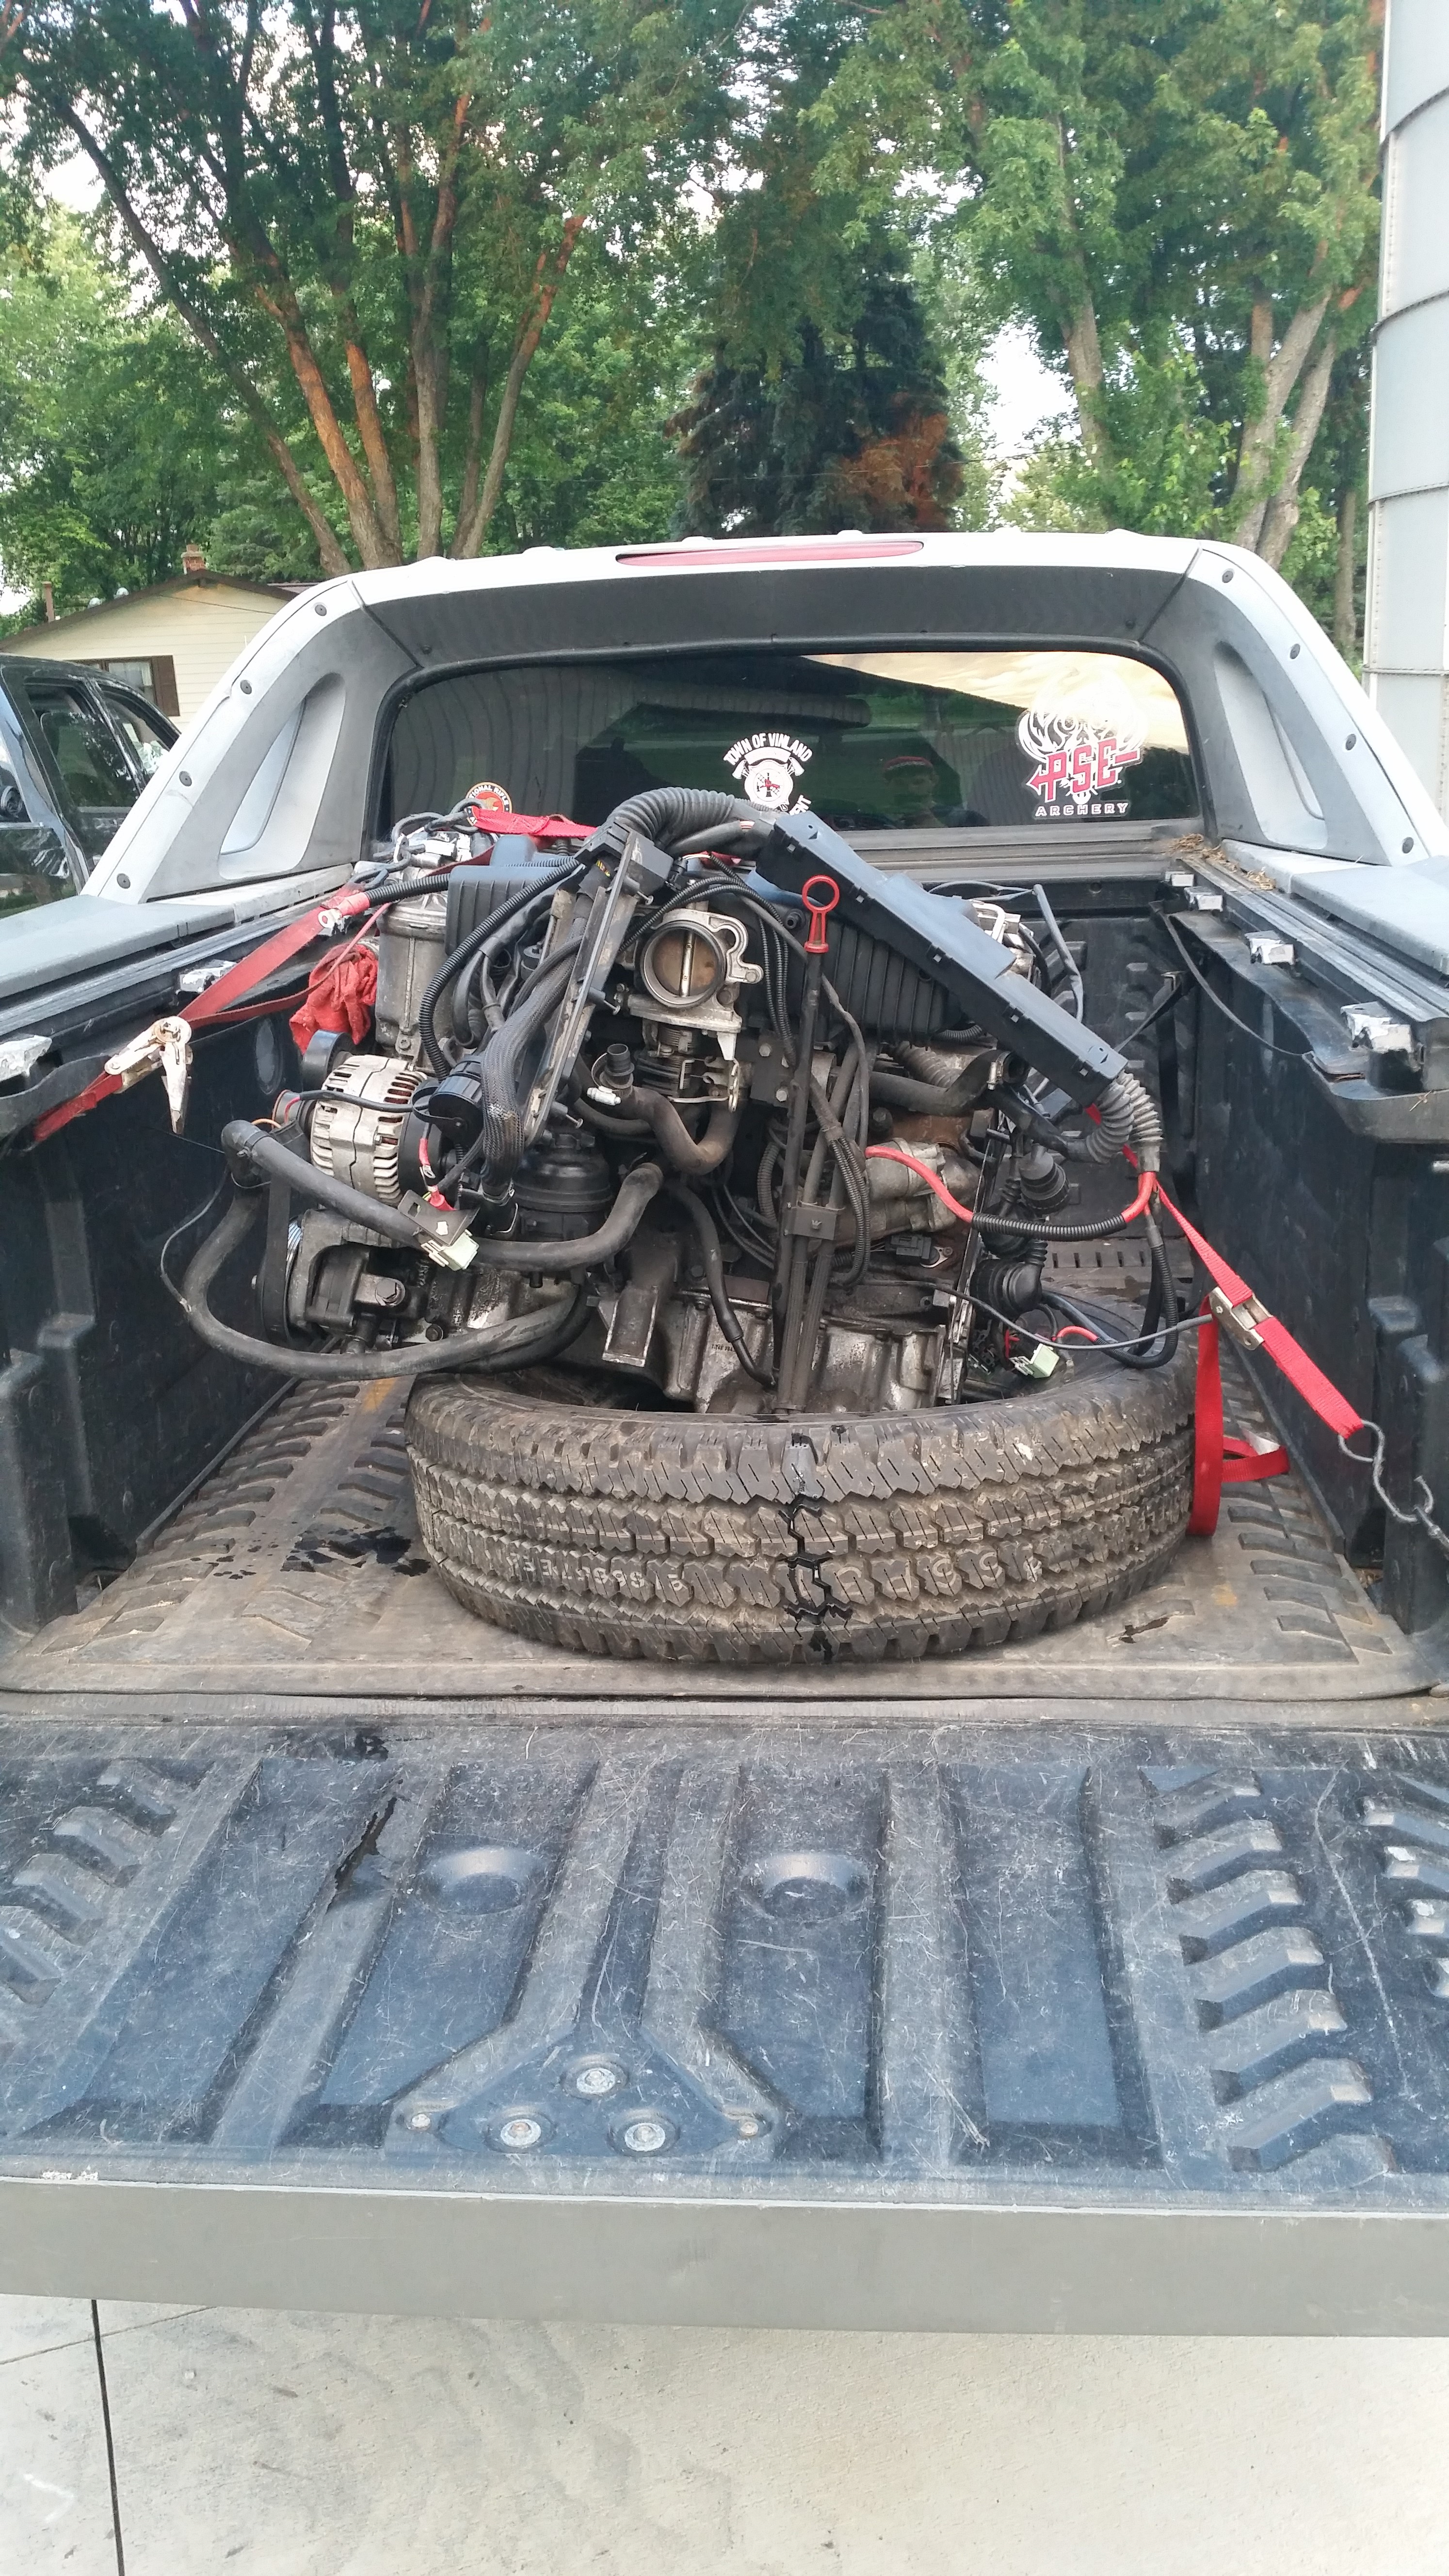
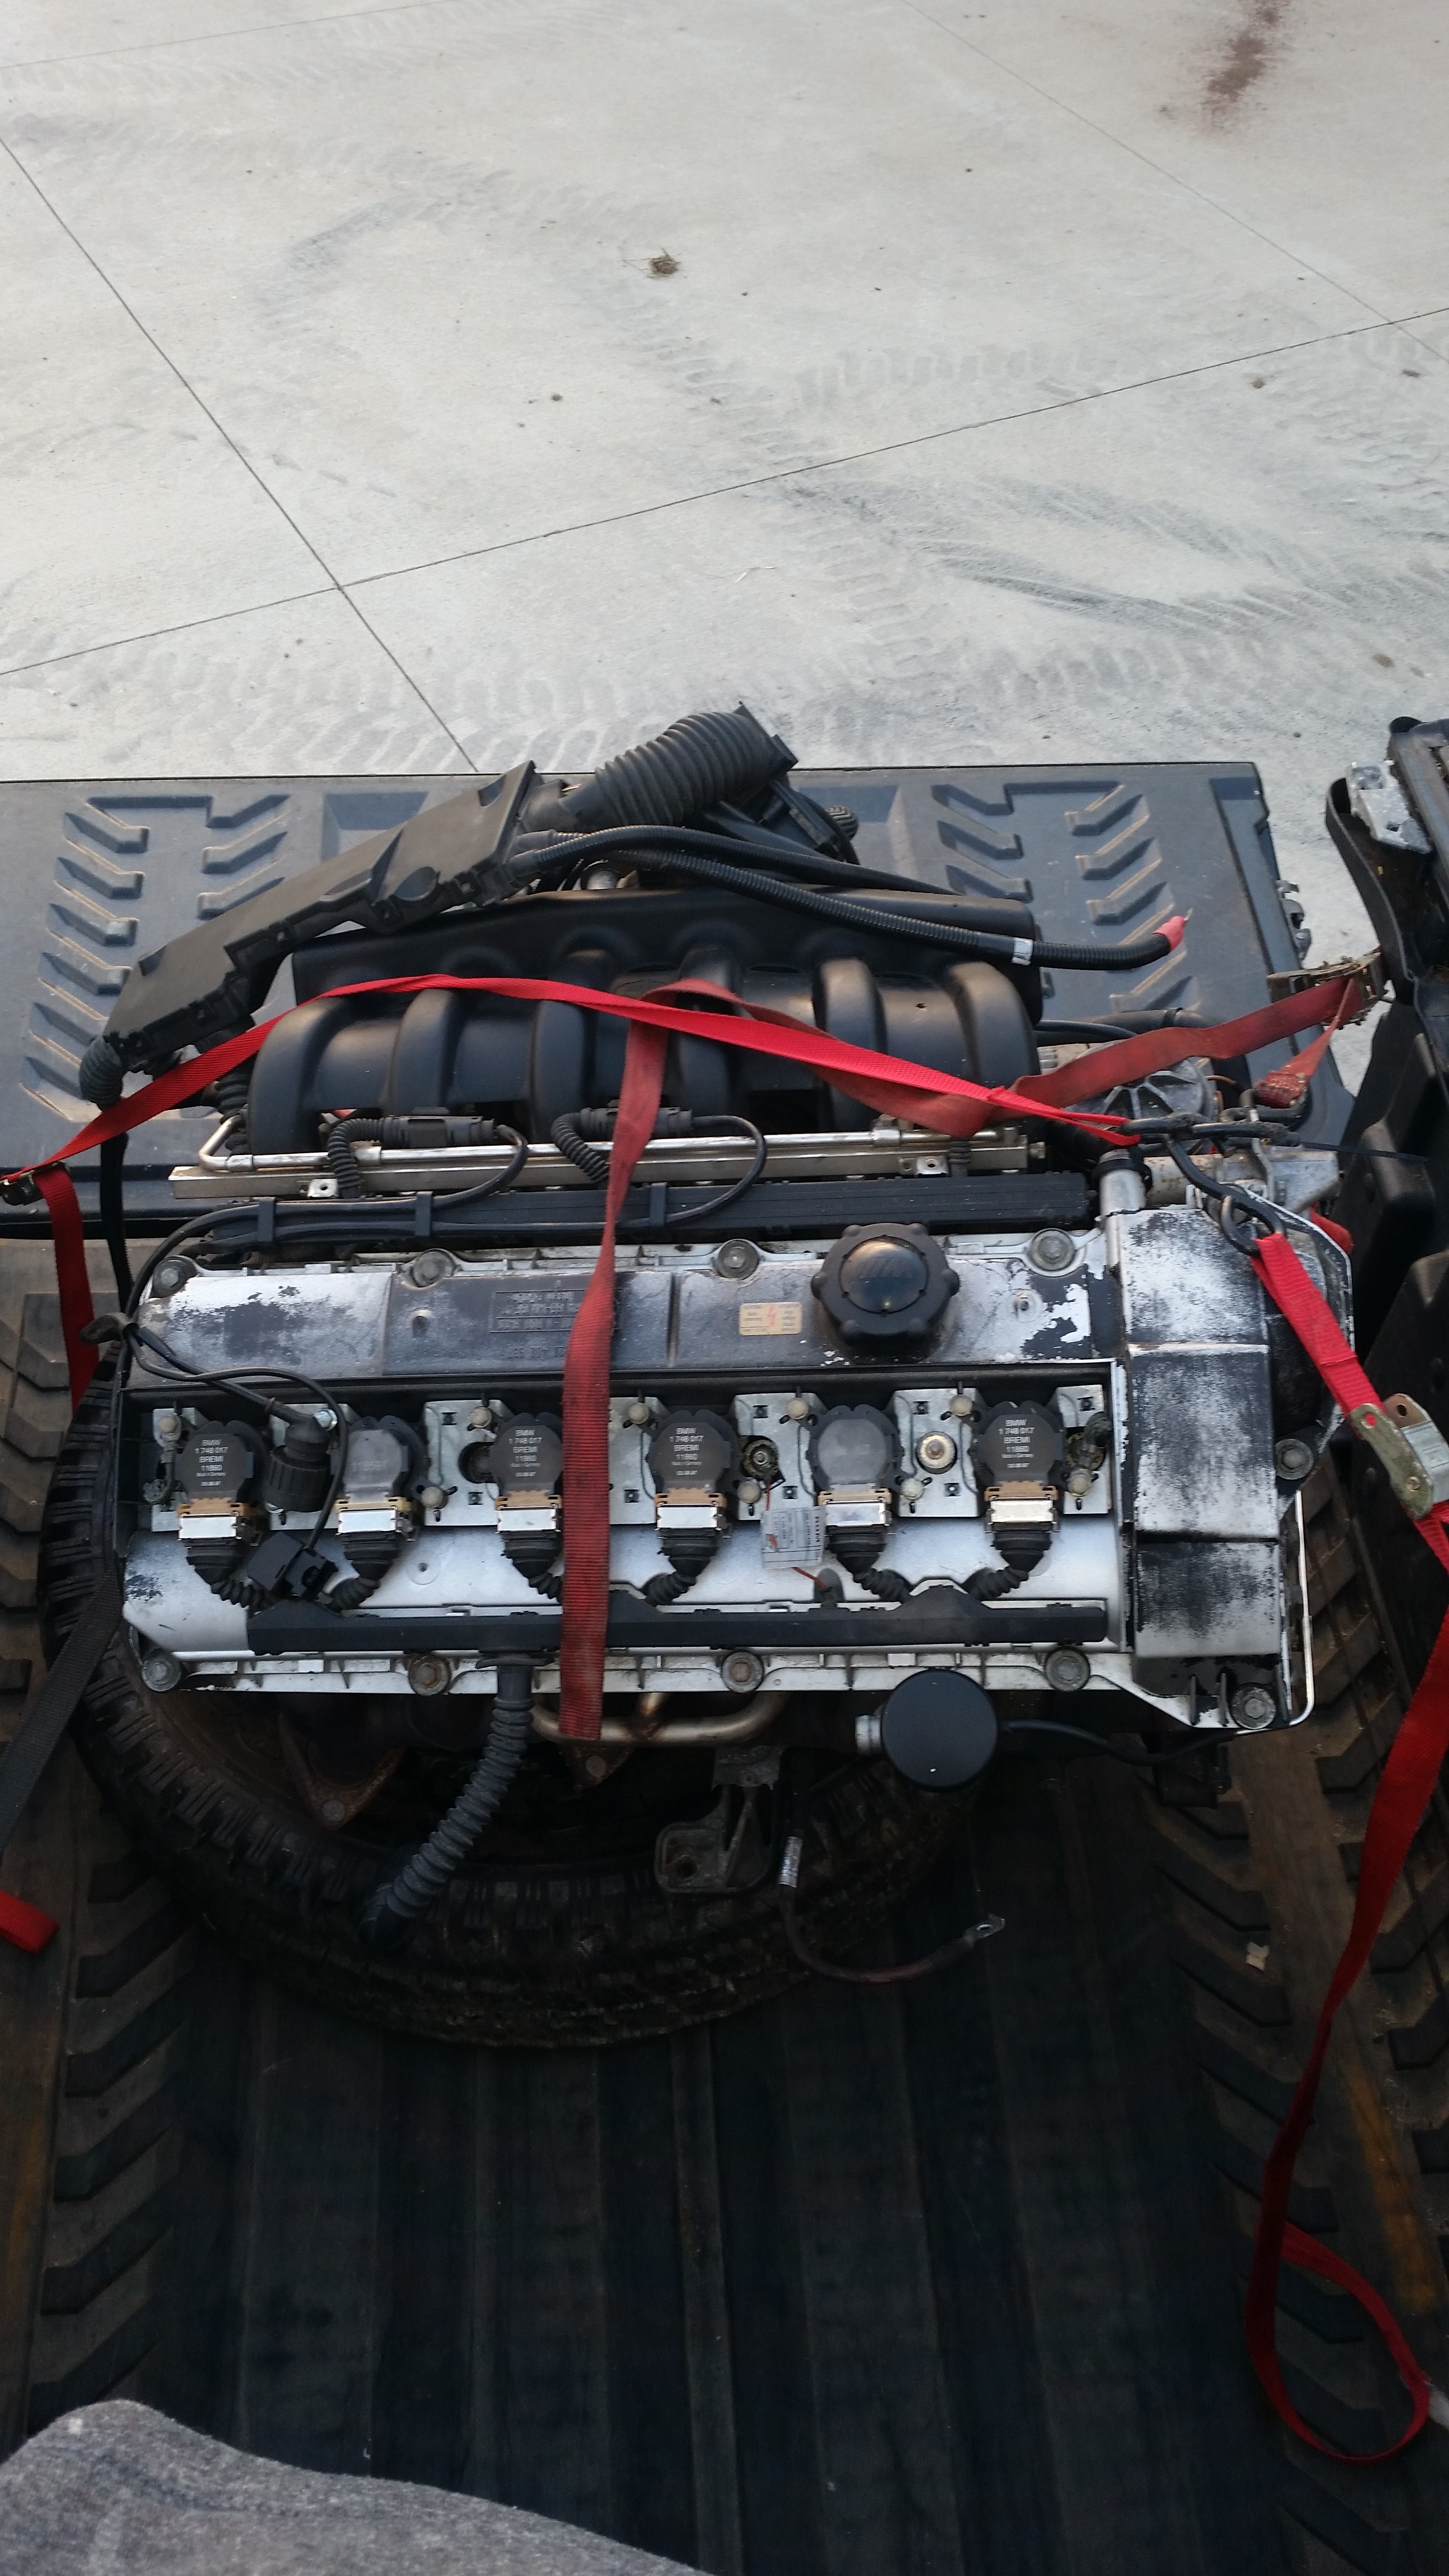
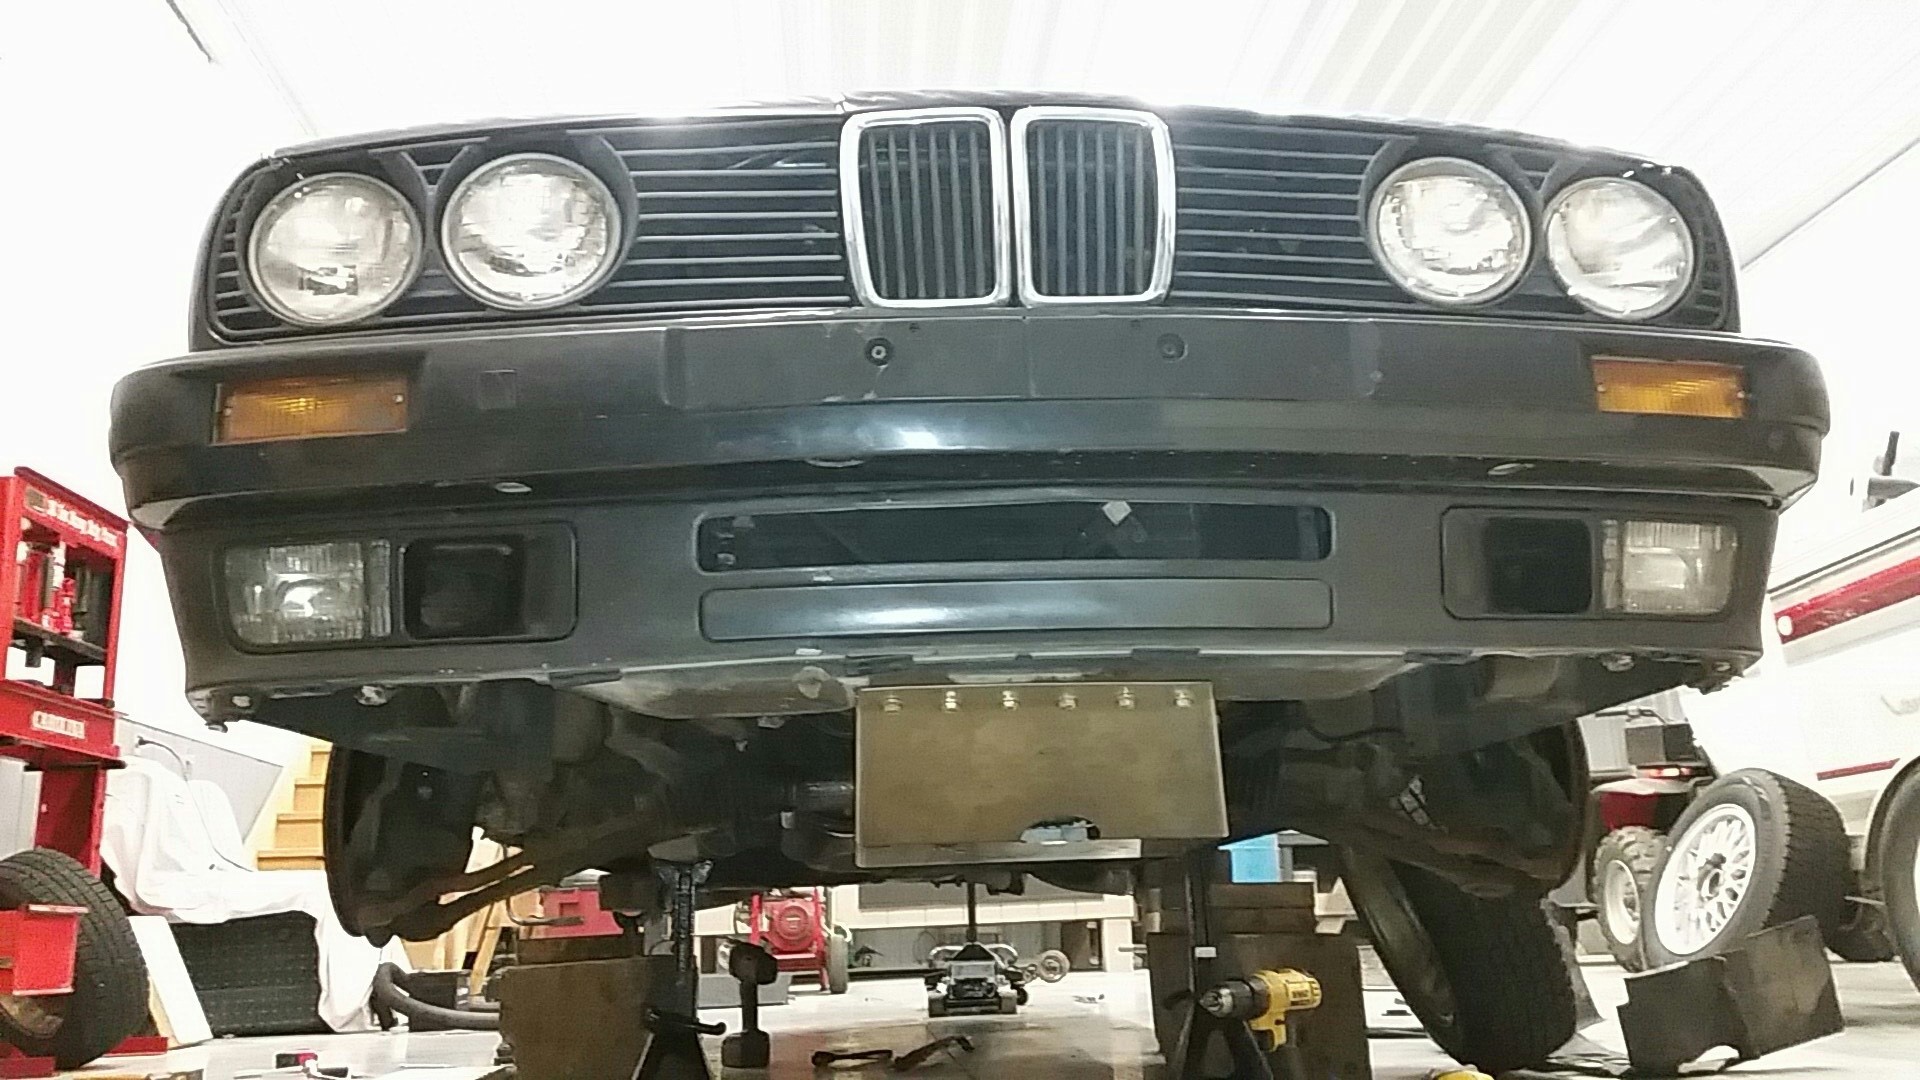
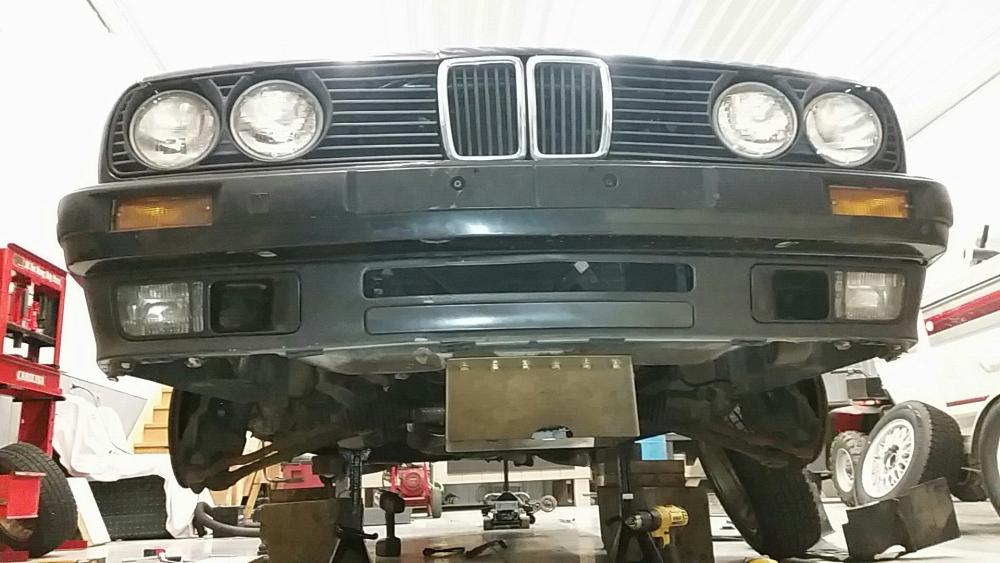
-
I went with a kit from gripforce. The kit includes a lightweight billet aluminum flywheel (10.6 lbs I believe) and a stage 2 sprung hub clutch disk and pressure plate rated for 342 ft/lbs of torque.
If it comes with a pilot bearing and throw out bearing, toss them in the trash and never look at them again - go OEM for those parts
Good time to replace the pivot pin on the clutch fork as well
-
Update...
Did a few little things while waiting for parts to show up.
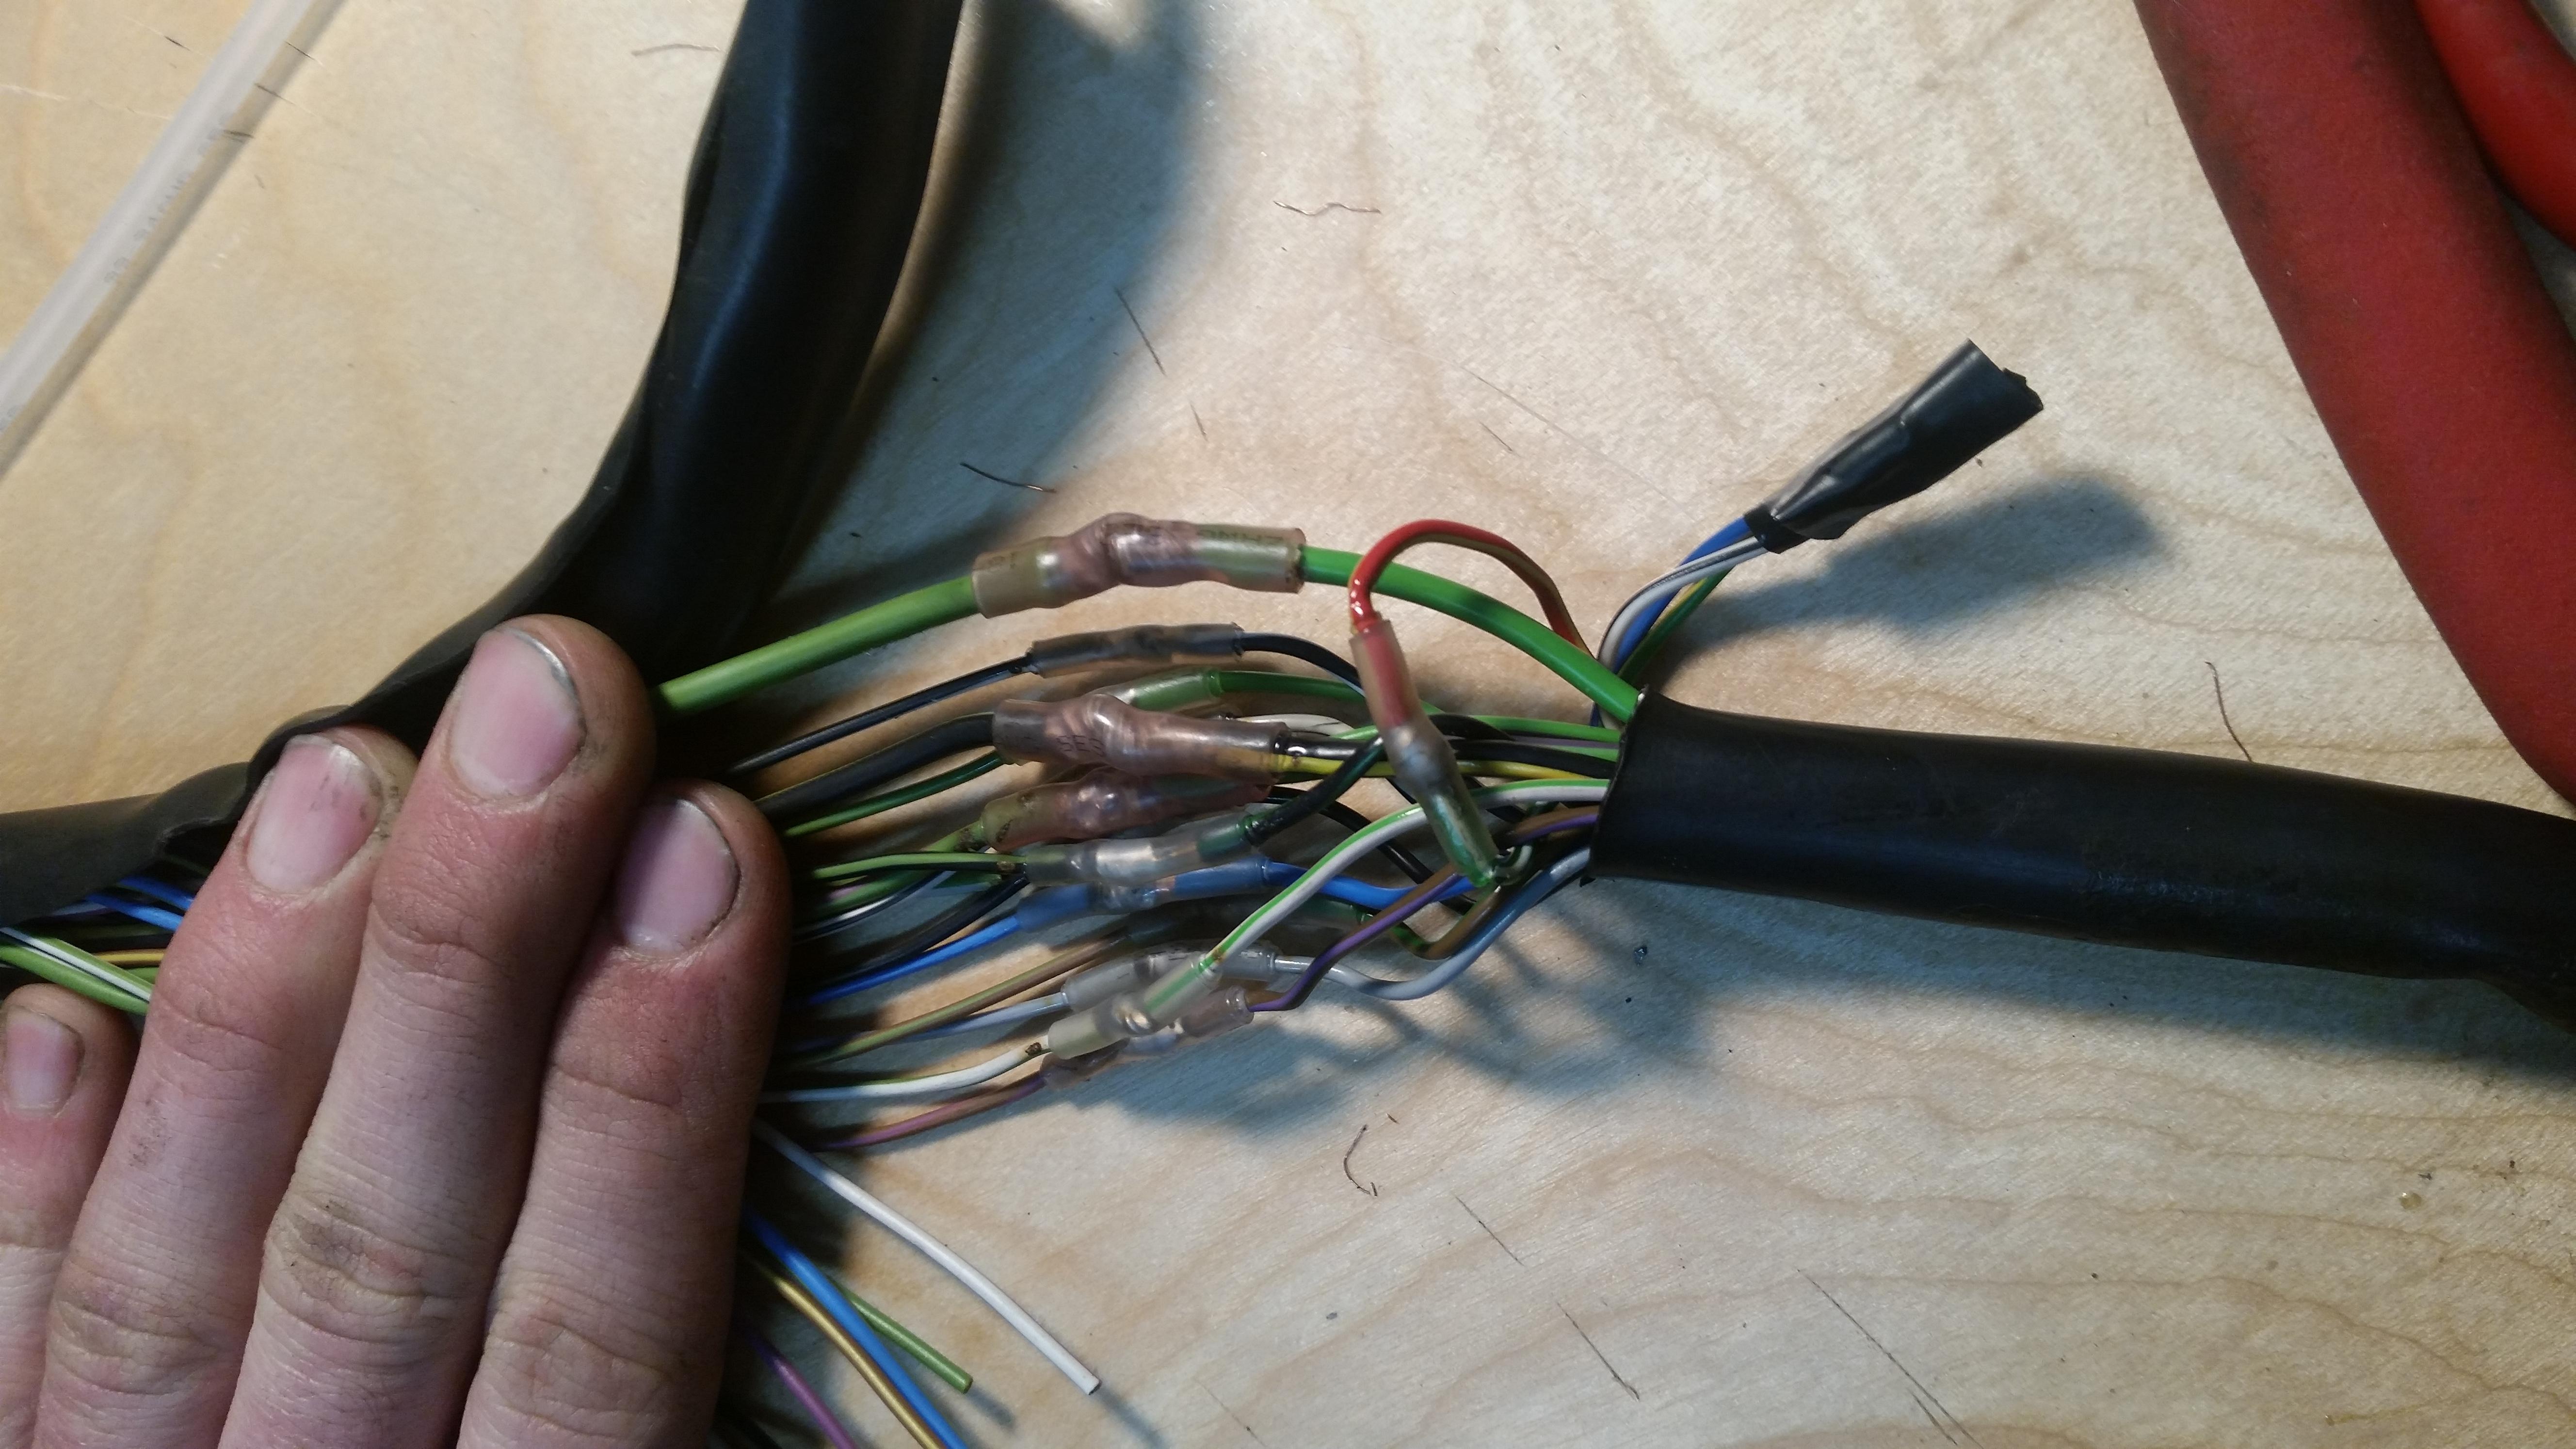
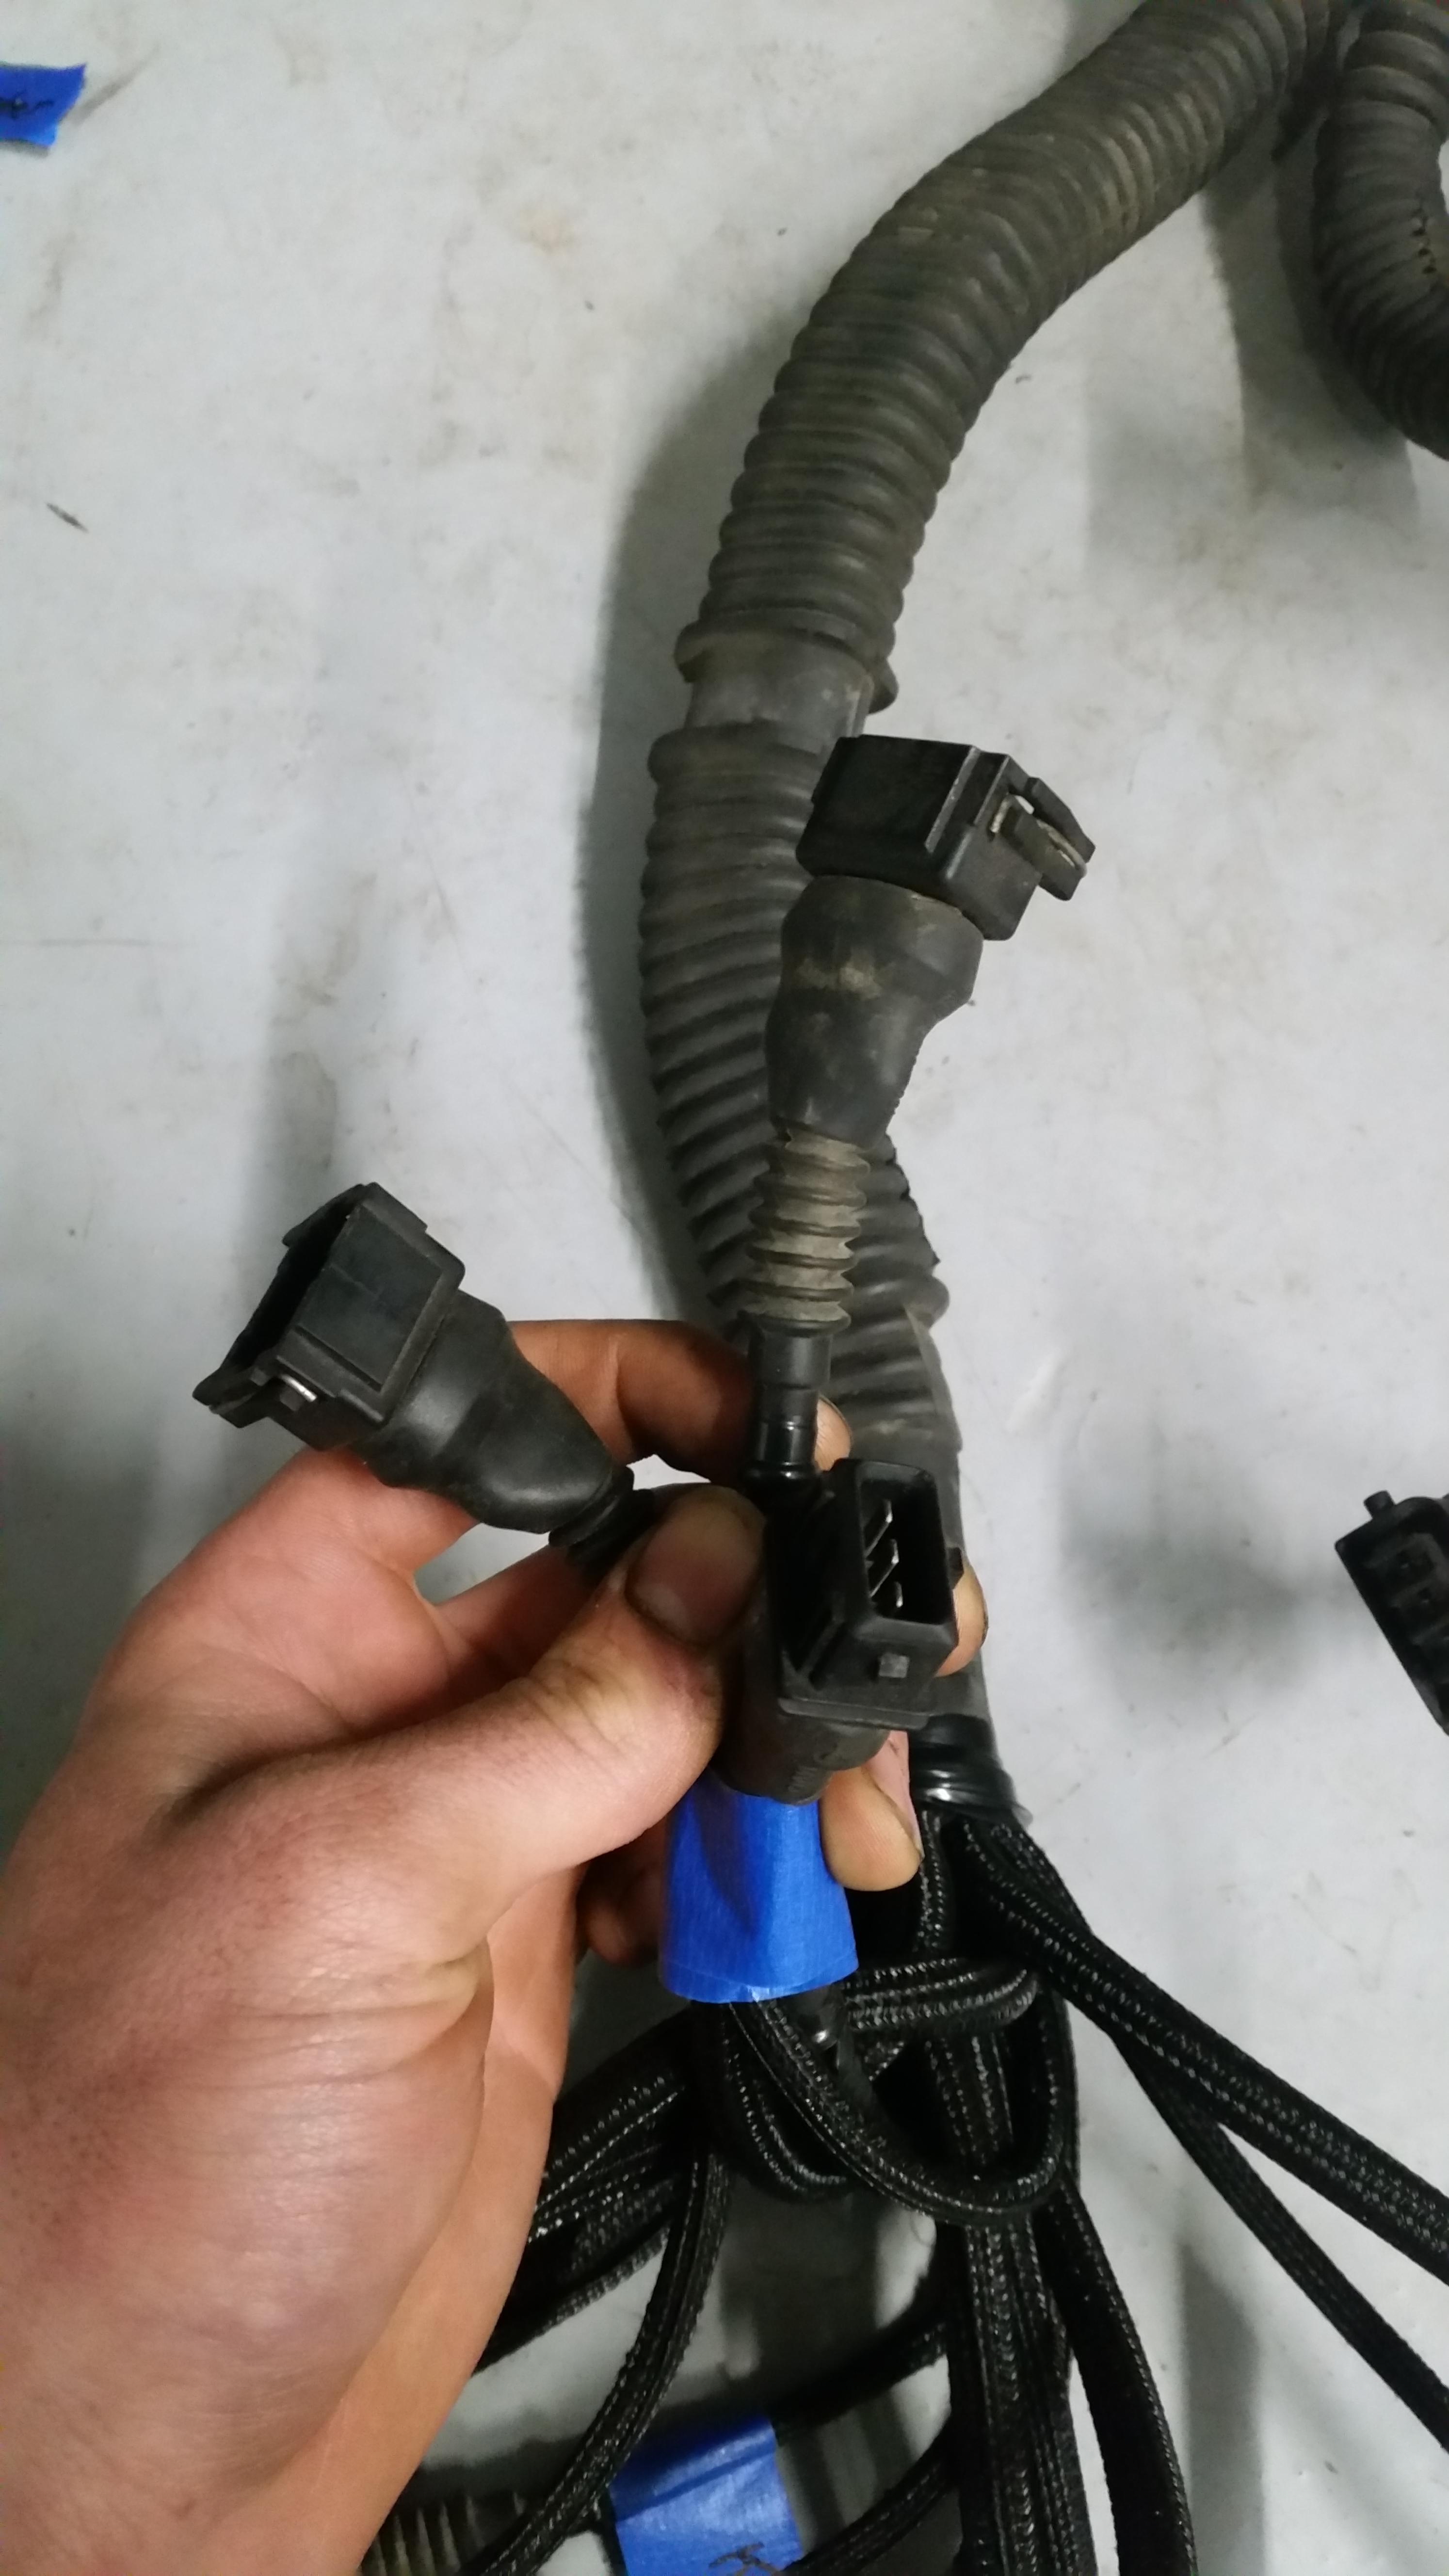
Swapped out connectors on the engine harness. After ciphering through a good amount of shitty pin out charts I located one from mega-squirt that literately couldn't have been more helpful. link below for others:
http://www.megasquirt.325ix.com/MS_to_Motronic/C101 to X20.html
Used a c101 connector off I snatched off an e30 at Gibson's salvage yard.
Only wire I had a little confusion but I think I got right was pin #20 abs relay wire. After some digging I found the popular choice was to wire it back on to pin# 6 which is a switched power wire on a 15 amp fuse. Only extra wires I did not hook up was pin # 2, #10, and #16. 2 and 10 are oil level sensors for the m20 and don't even exist on the 318is c101 connector and #16 is airbag related which of course will be unneeded as I removed the entire airbag system in the car. As for all the wires I did not hookup on both sides, I shrink rapped the ends of each one to avoid any hot wires short circuiting with each other.
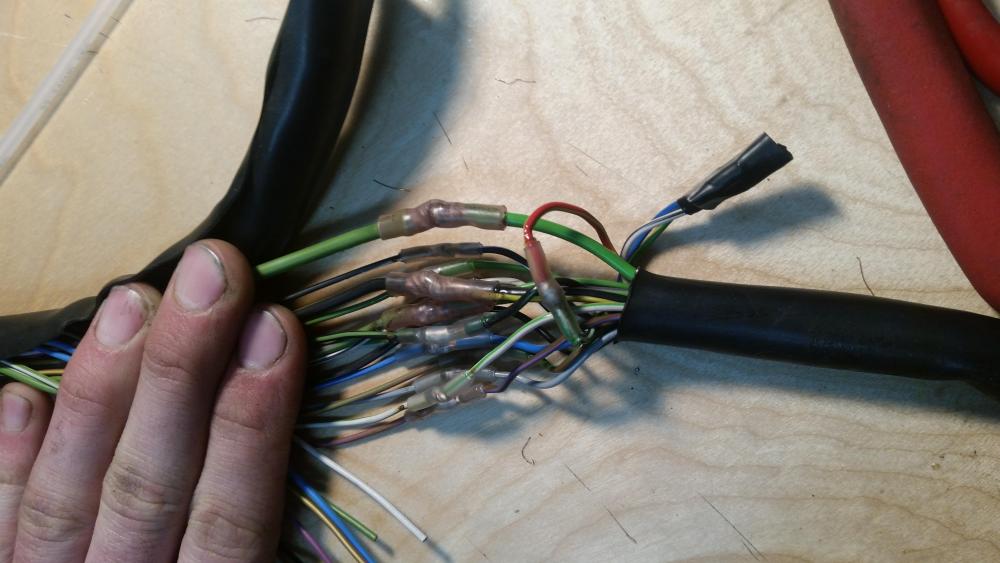
Once the connector was complete I started cleaning up the harness and wrapping split loom around everything. Haven't finished the harness yet as I need to pickup some better electrical tape then the junk I have.
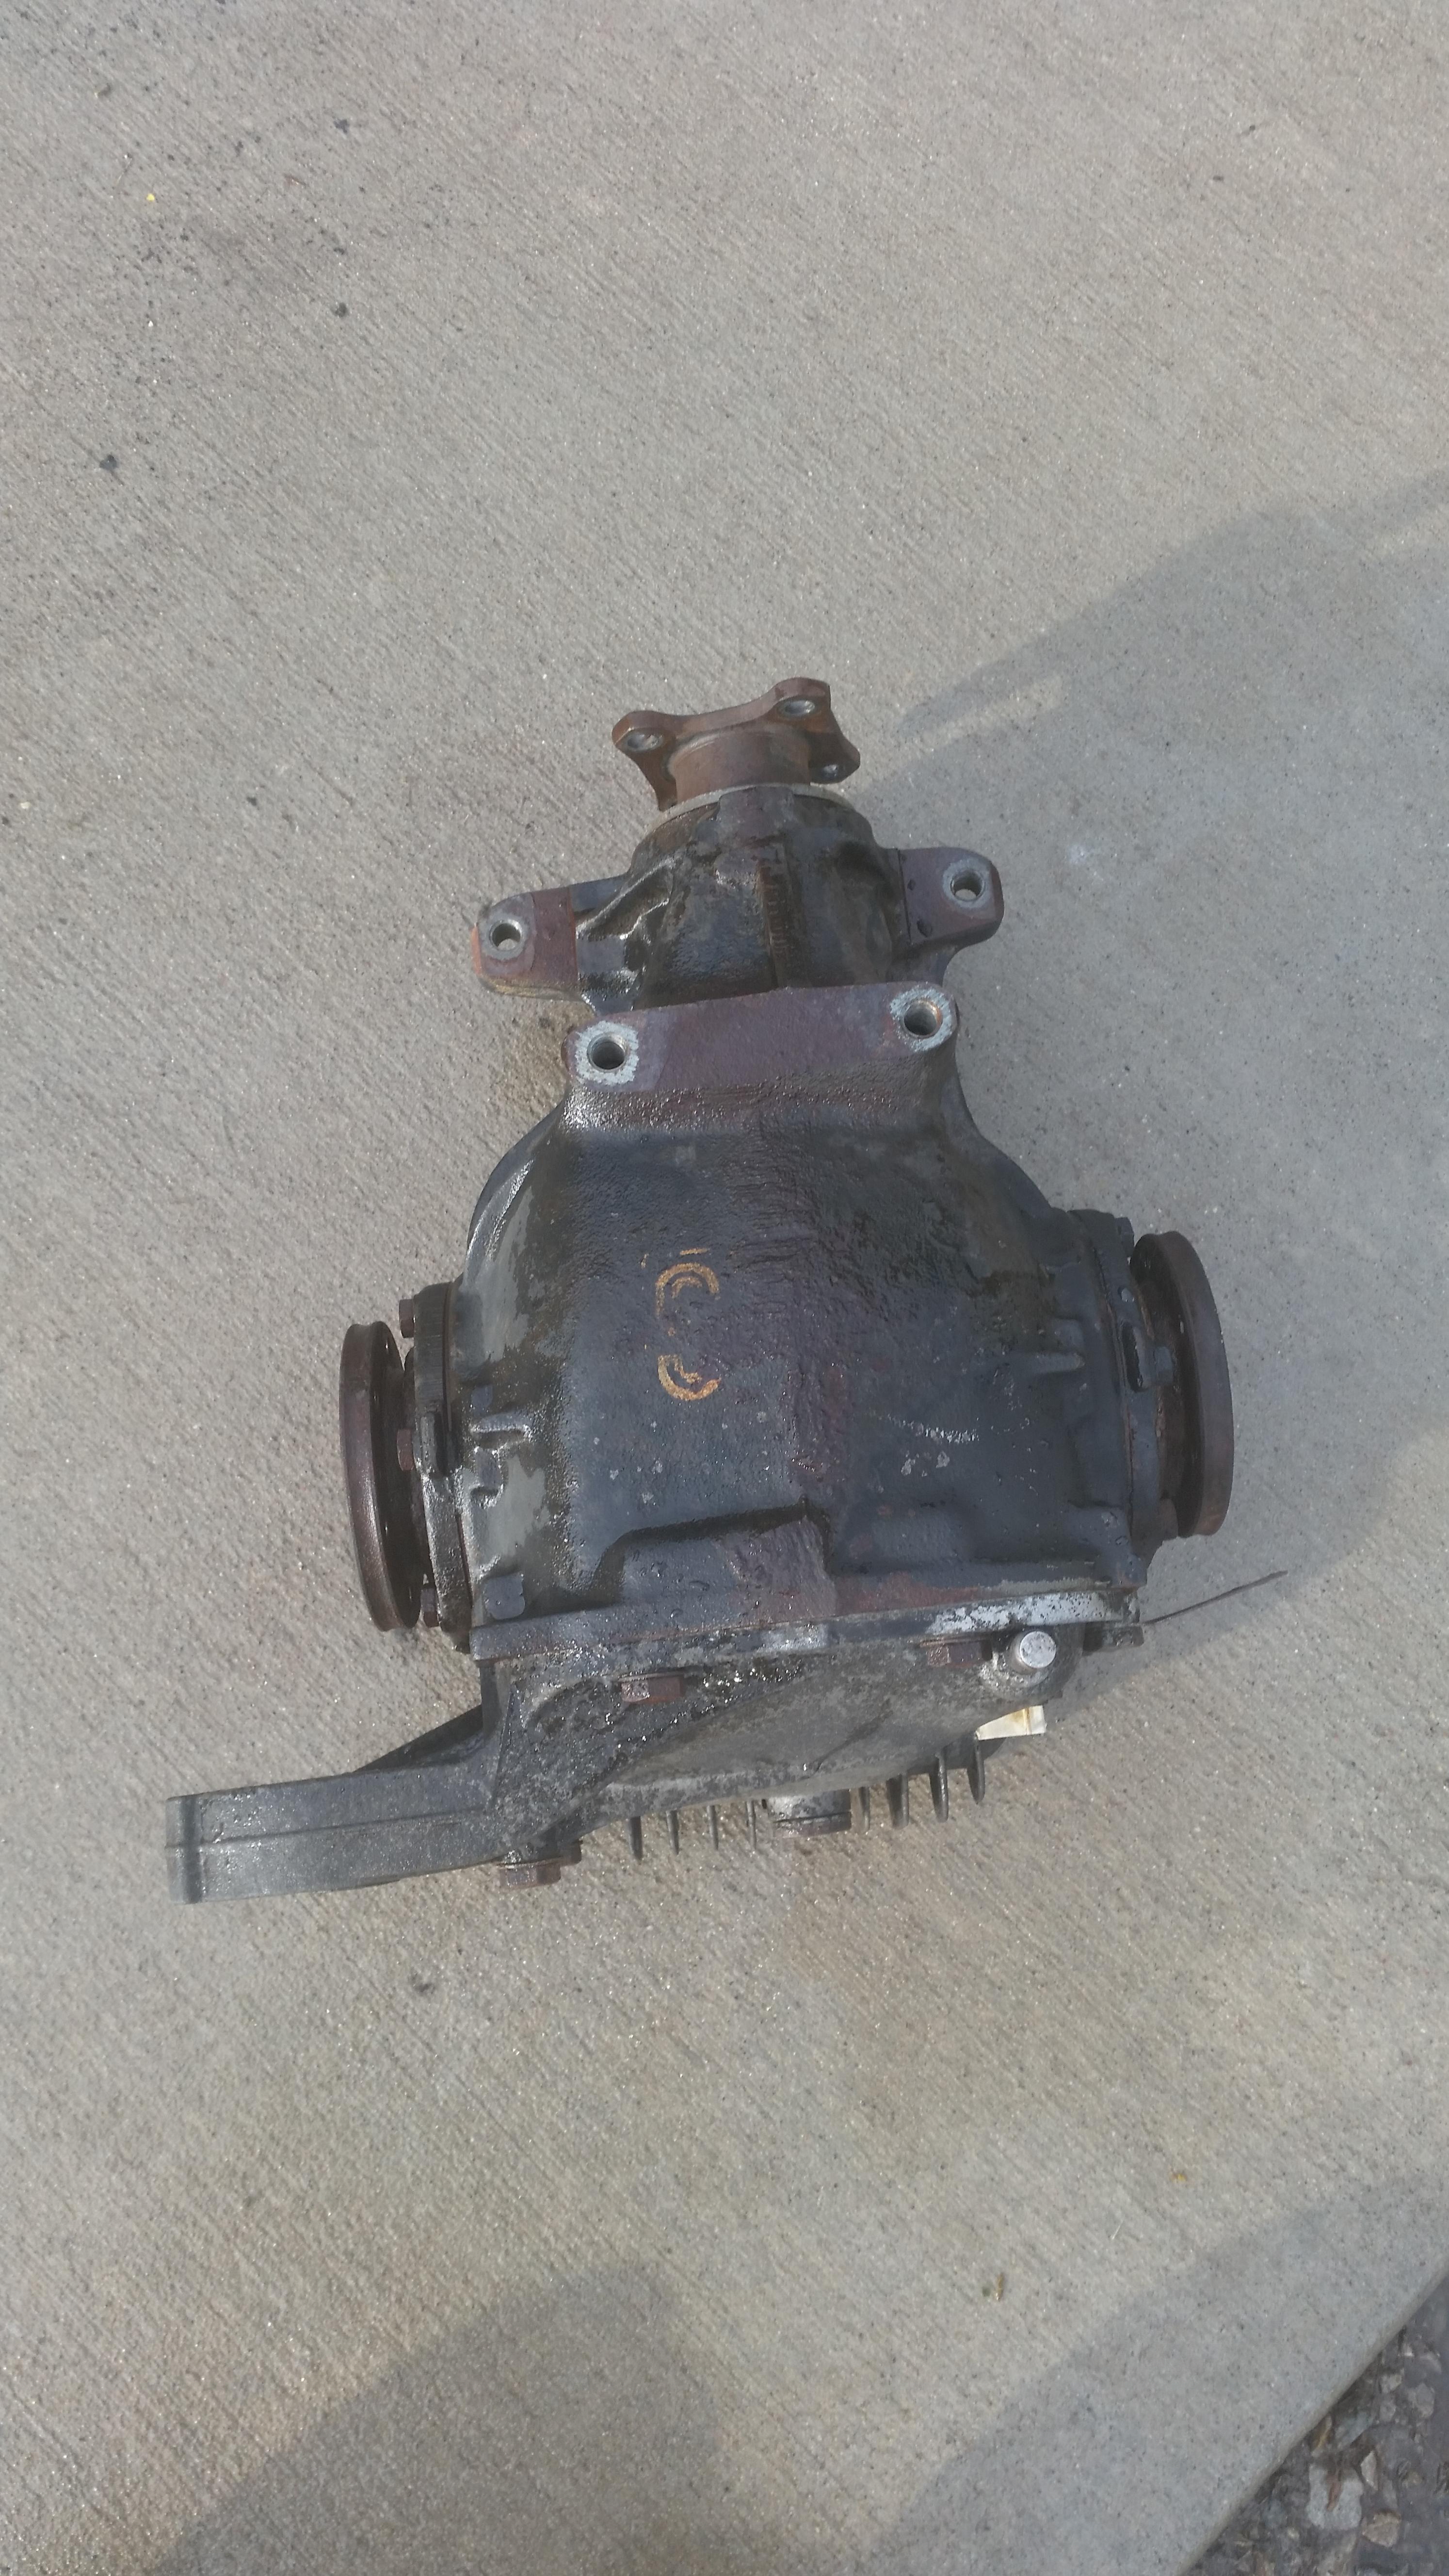
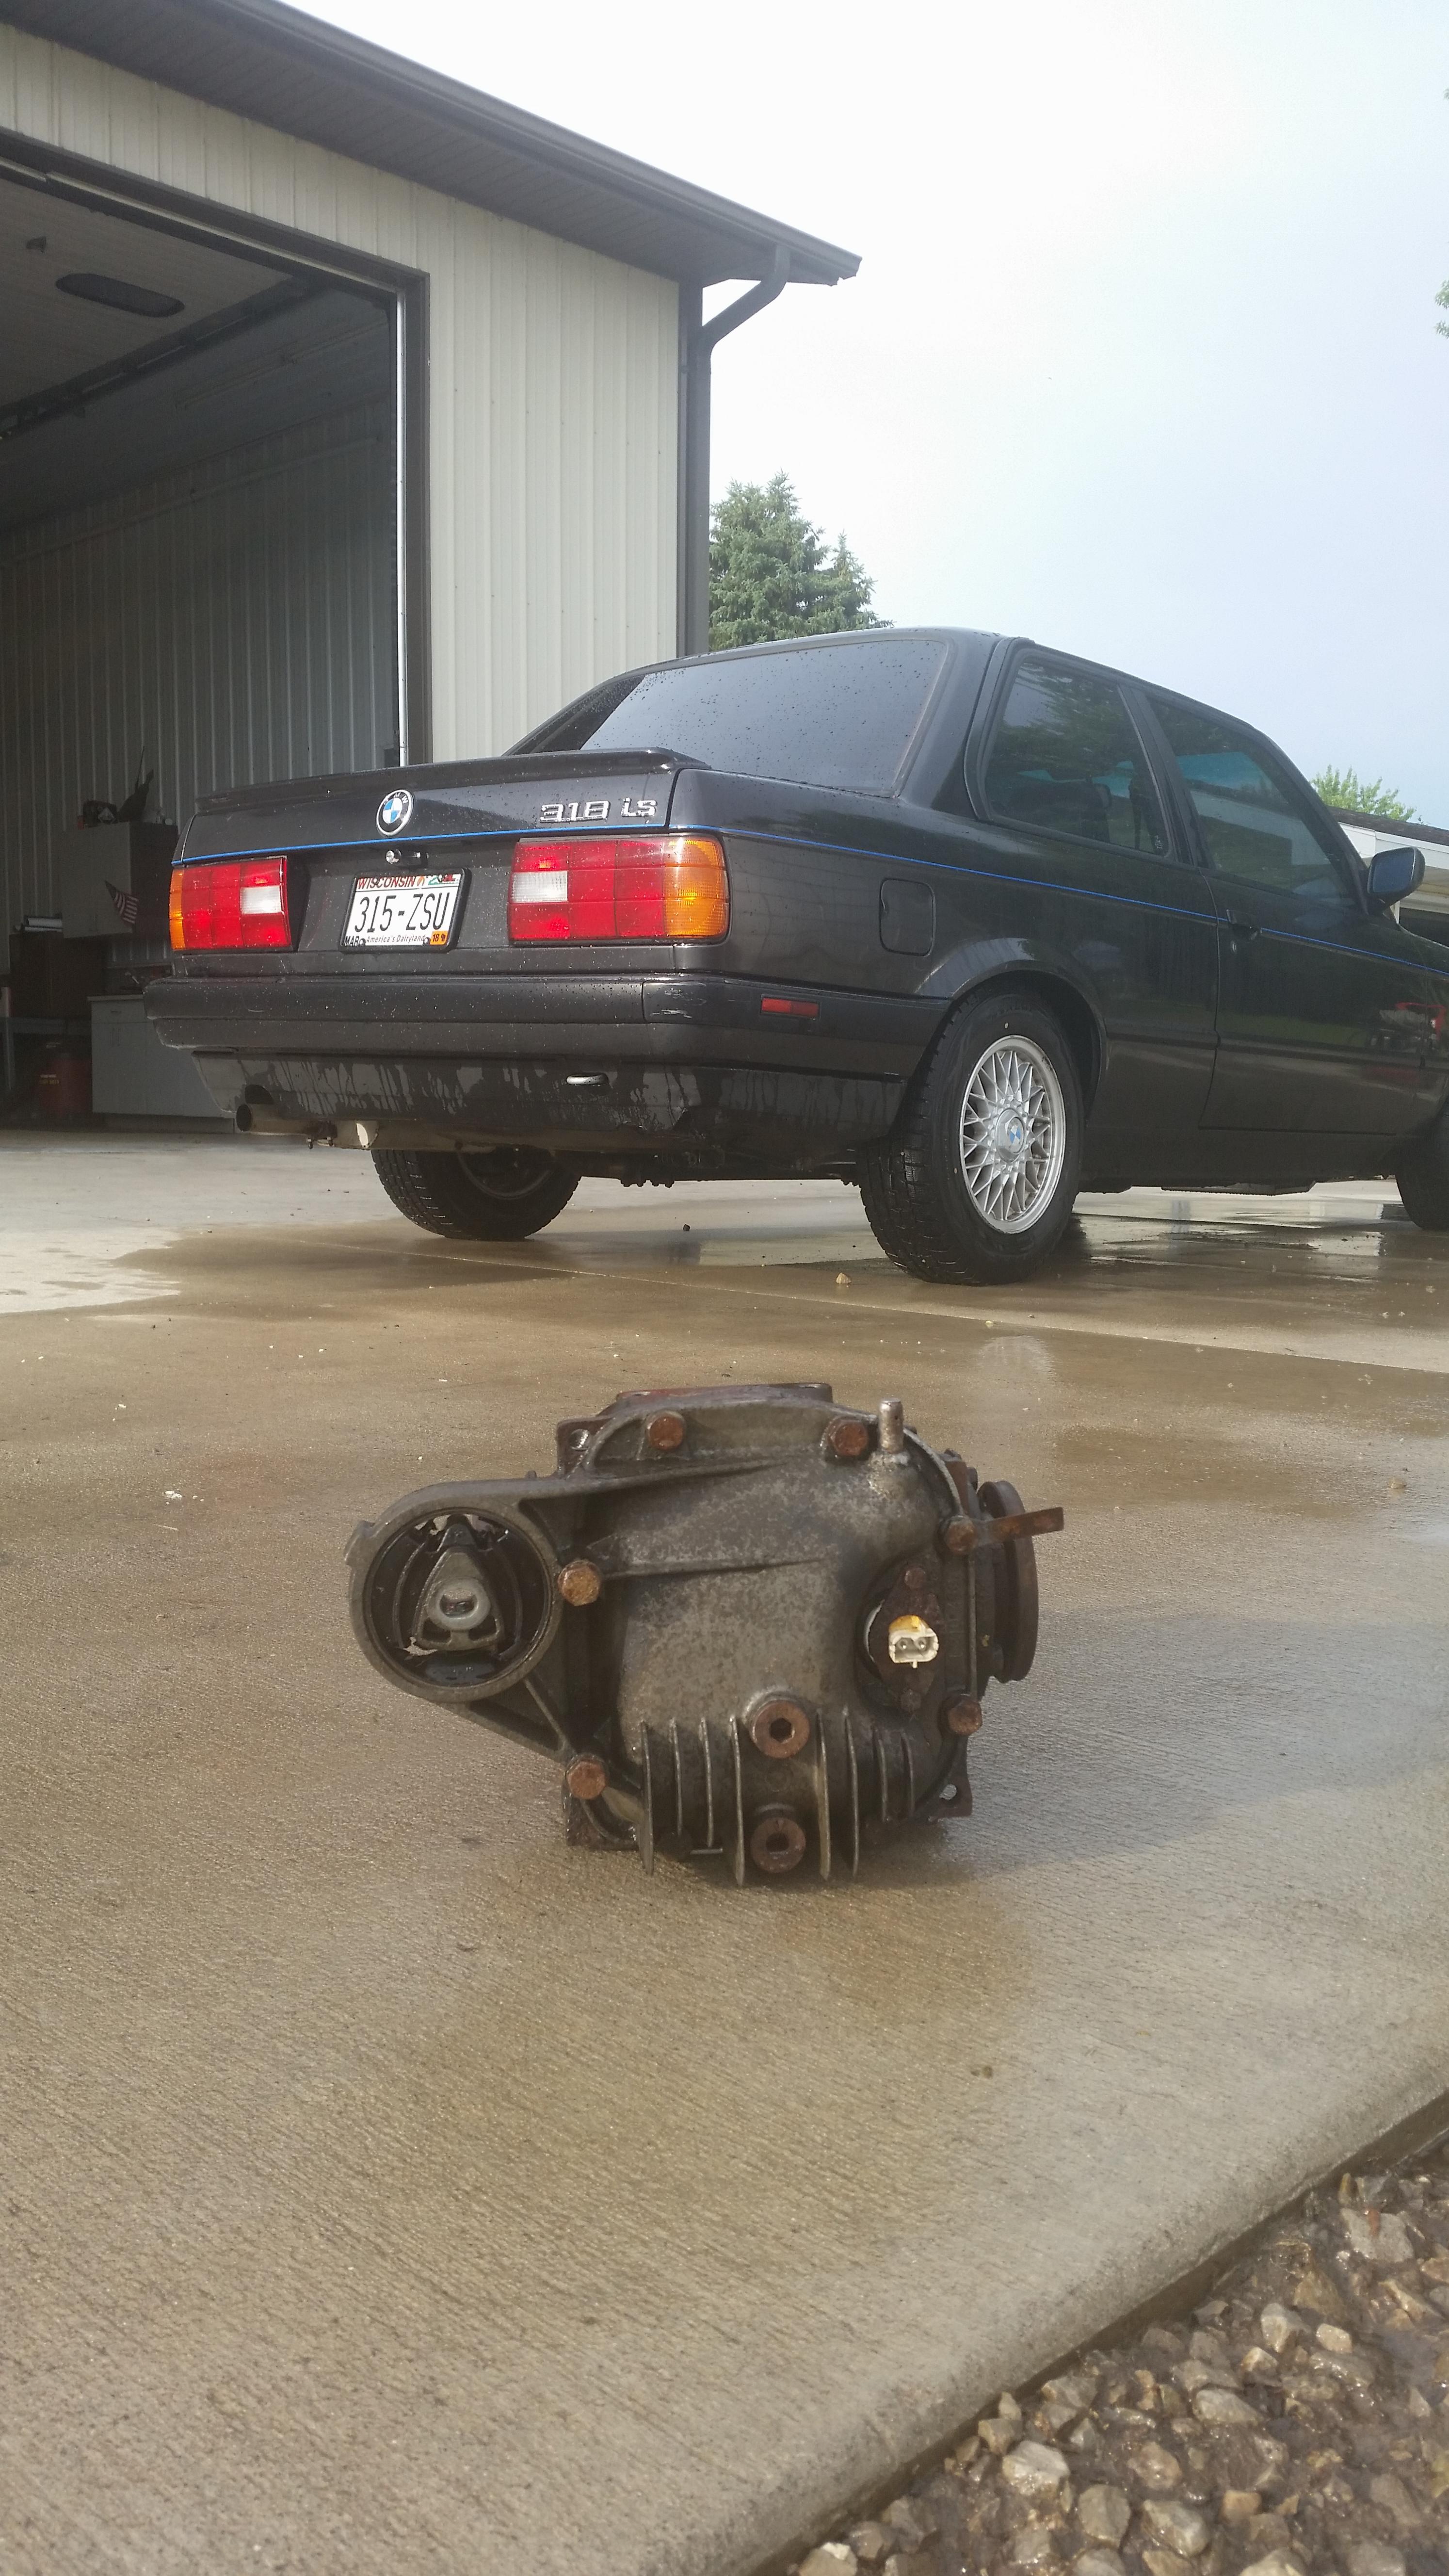
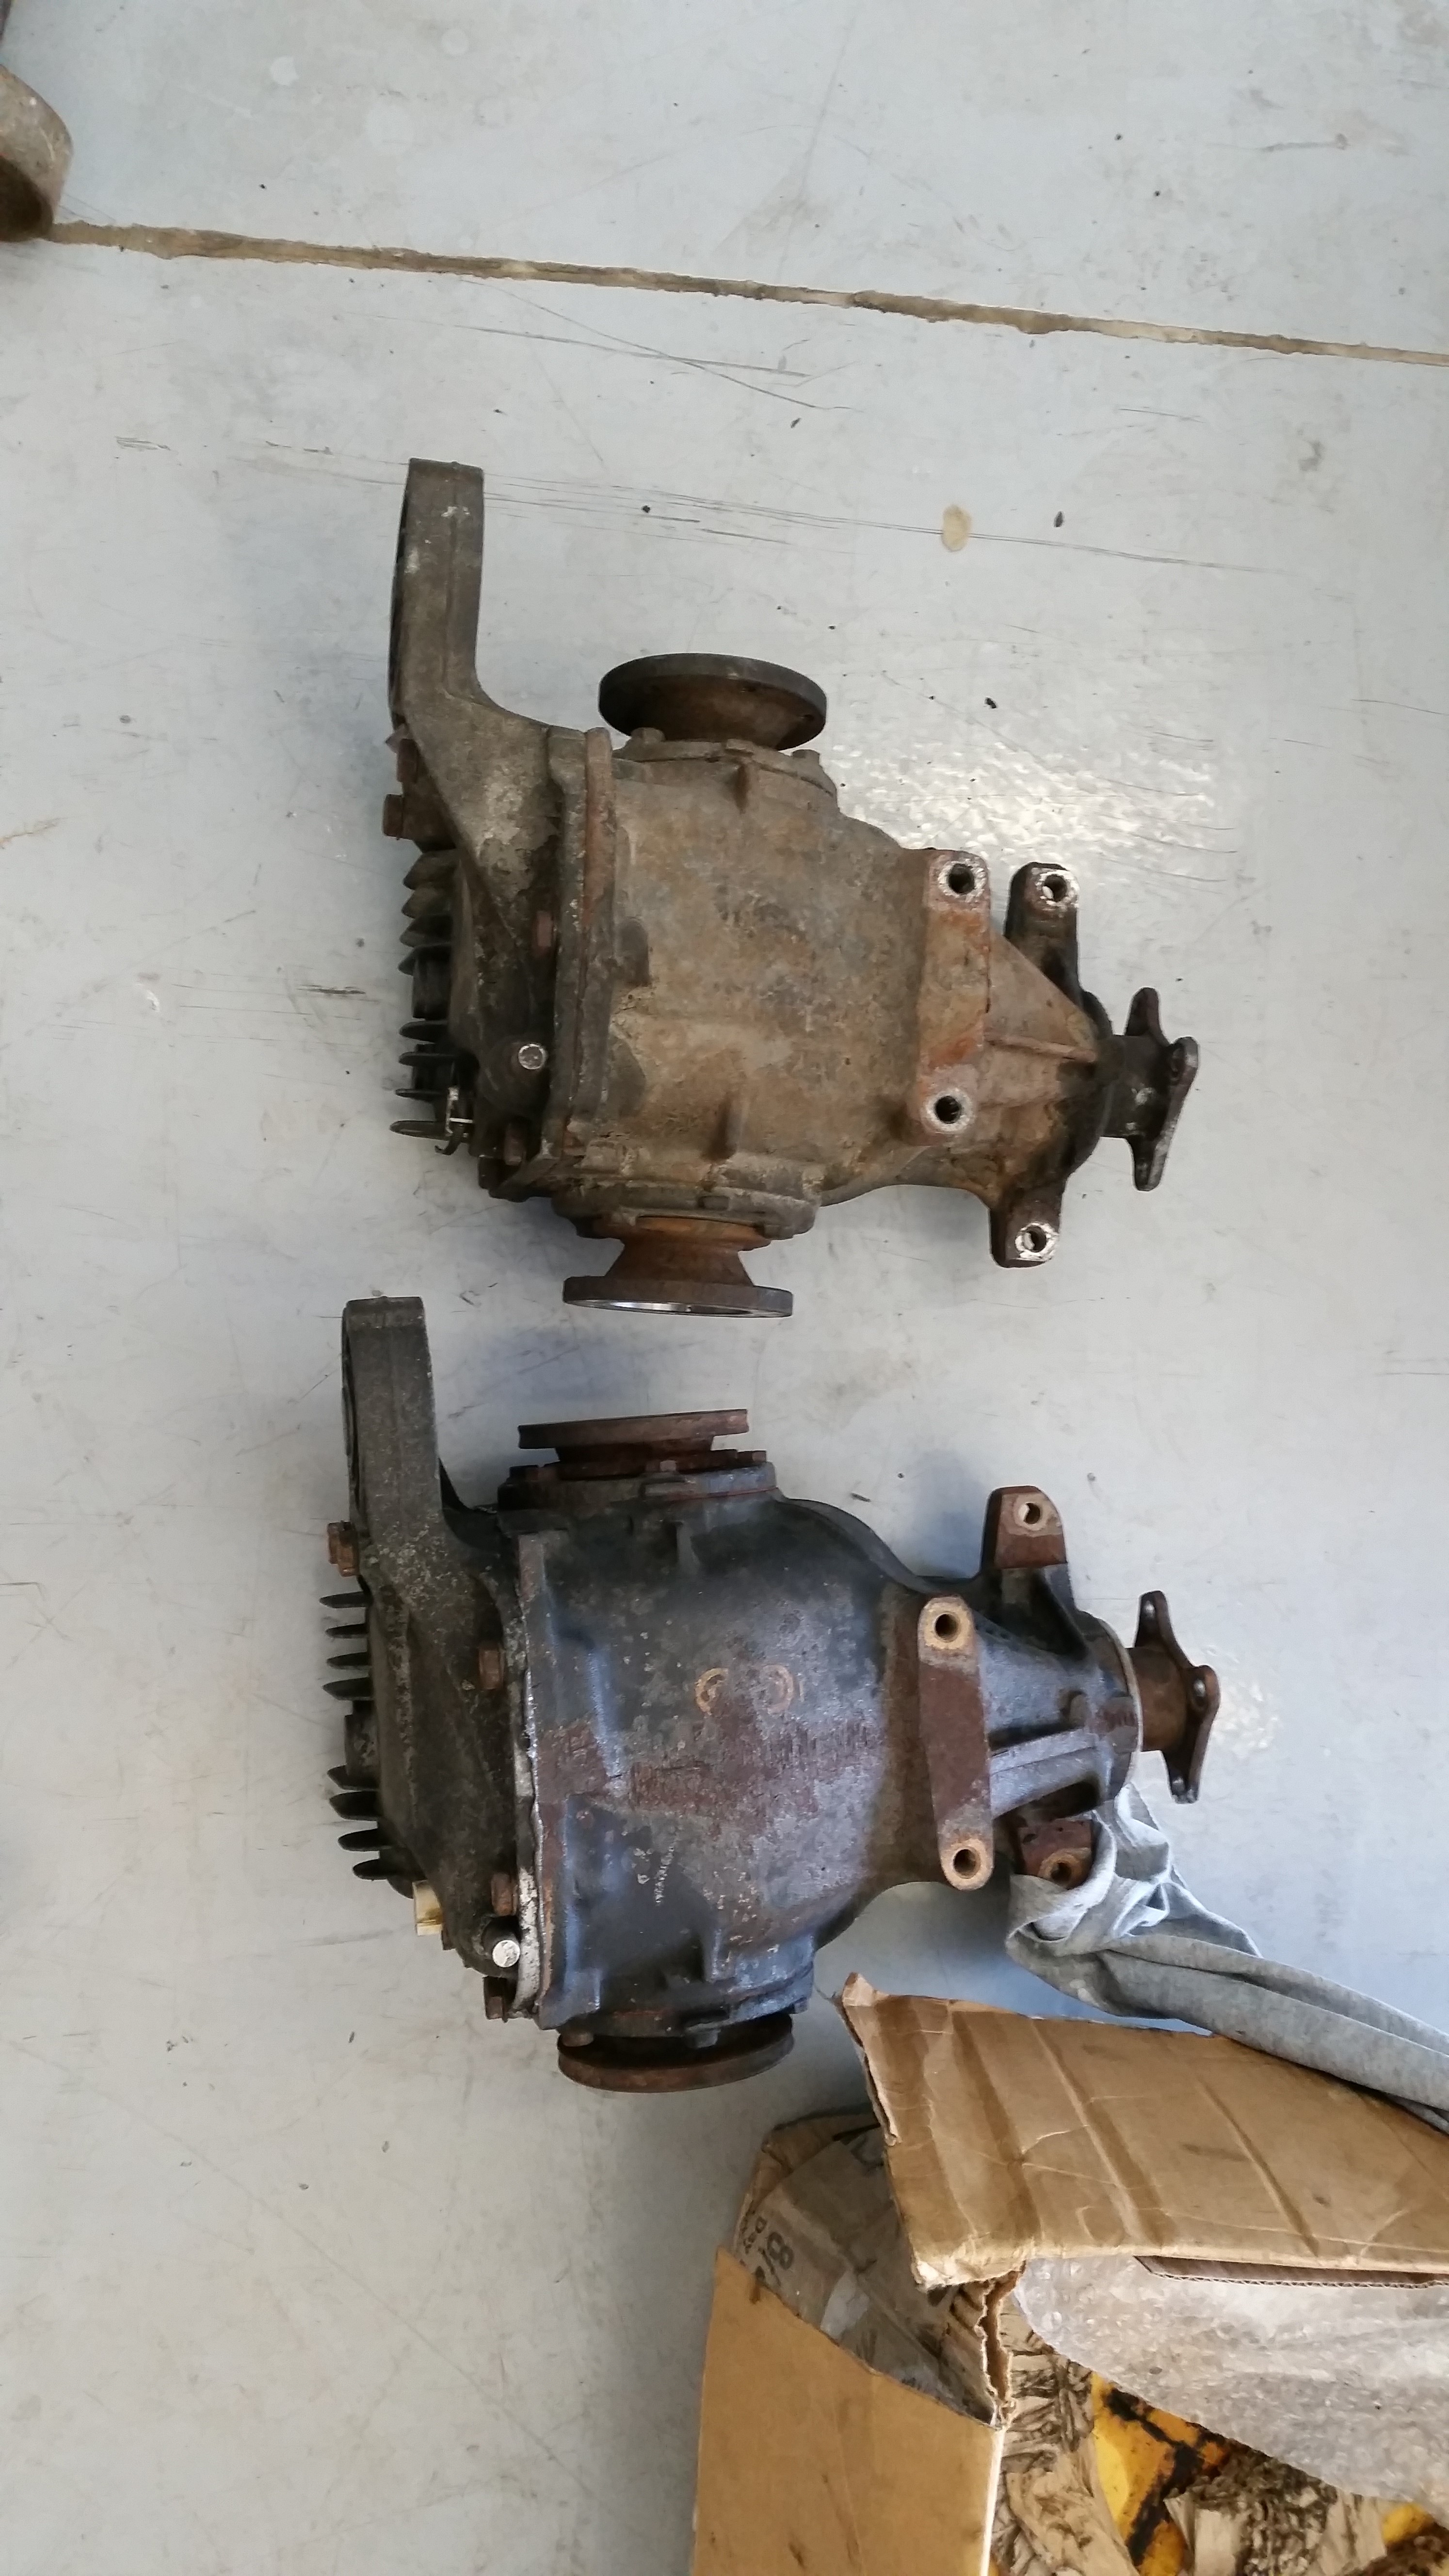
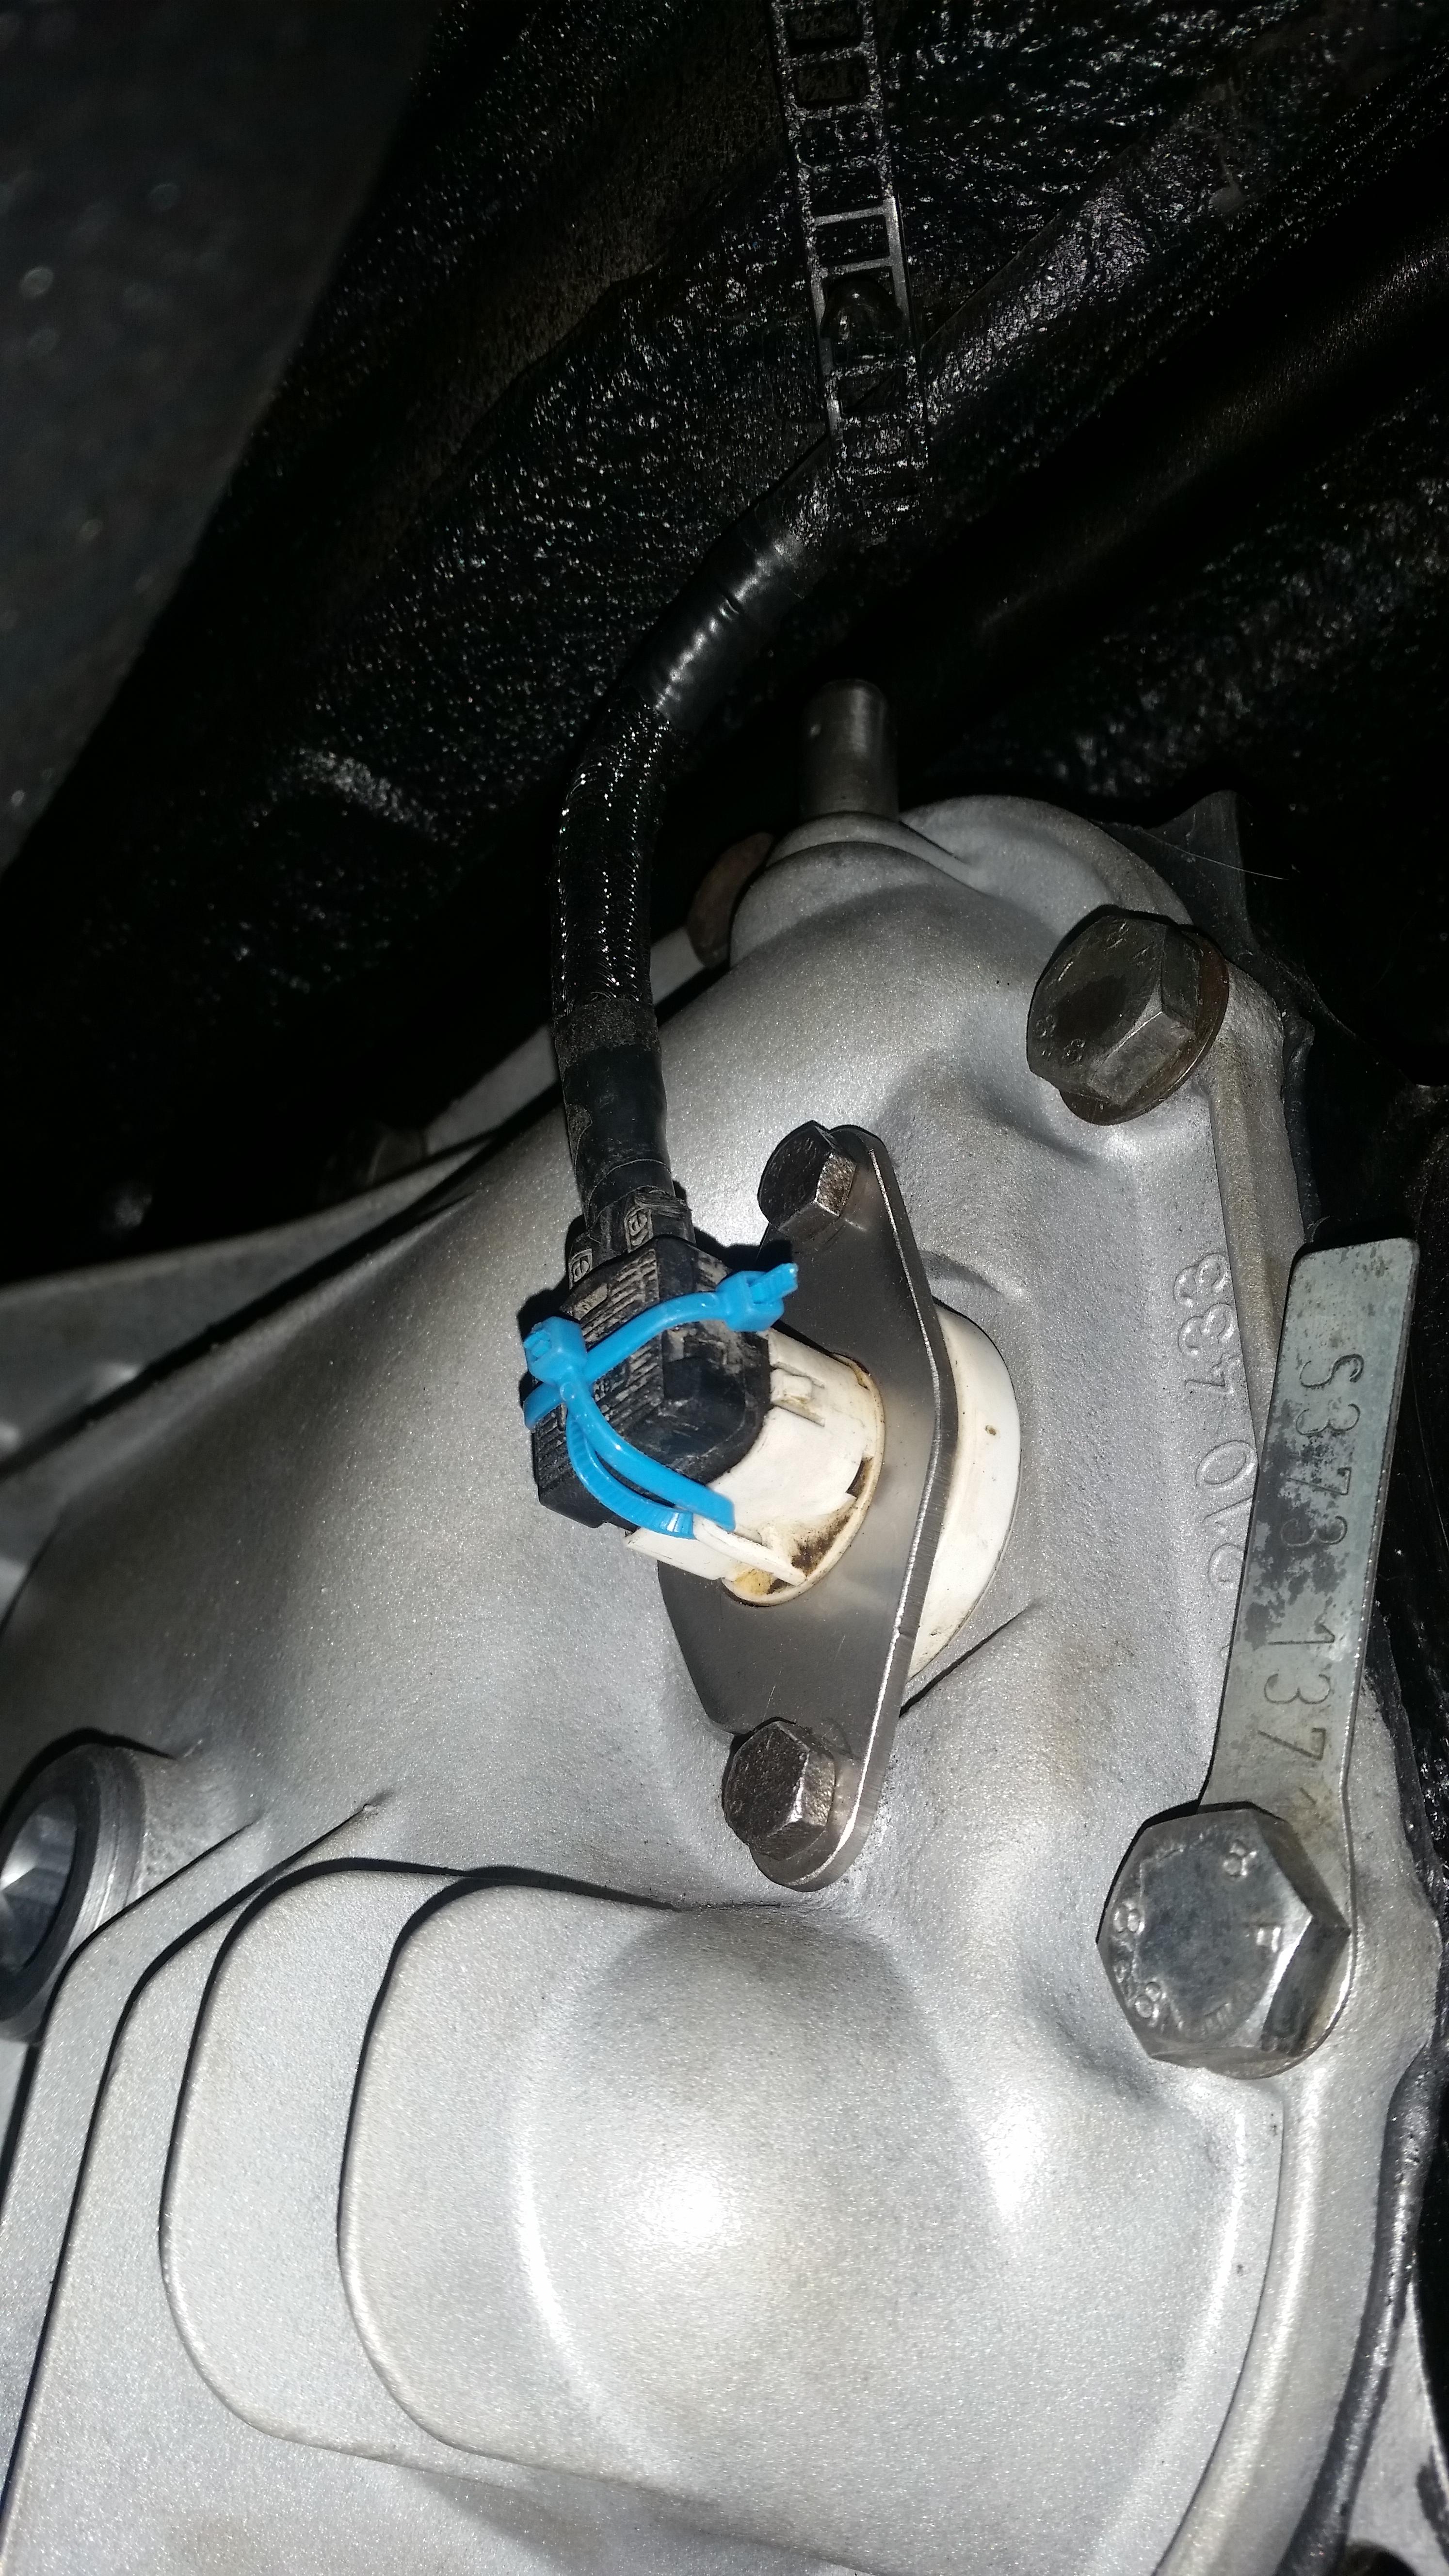
Also was able to snatch up a pigtail for the diff sensor at the salvage yard. Soldered in the wires, covered it with shrink rap and split loom, good to go. The wire or tab that held the sensor were broke and I wanted to be original so I did something a bit more creative with it
 . (notice I used blue zip ties to go a long with the powder-coated pieces.)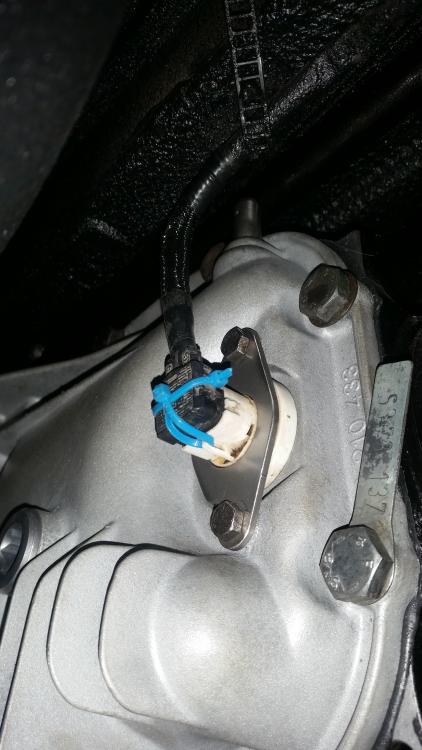
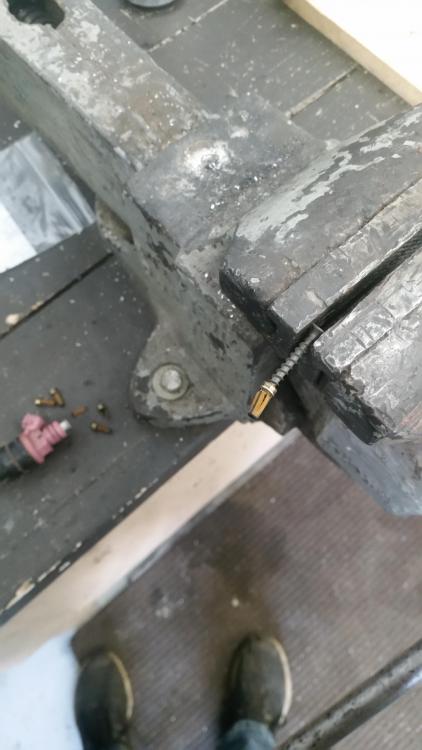
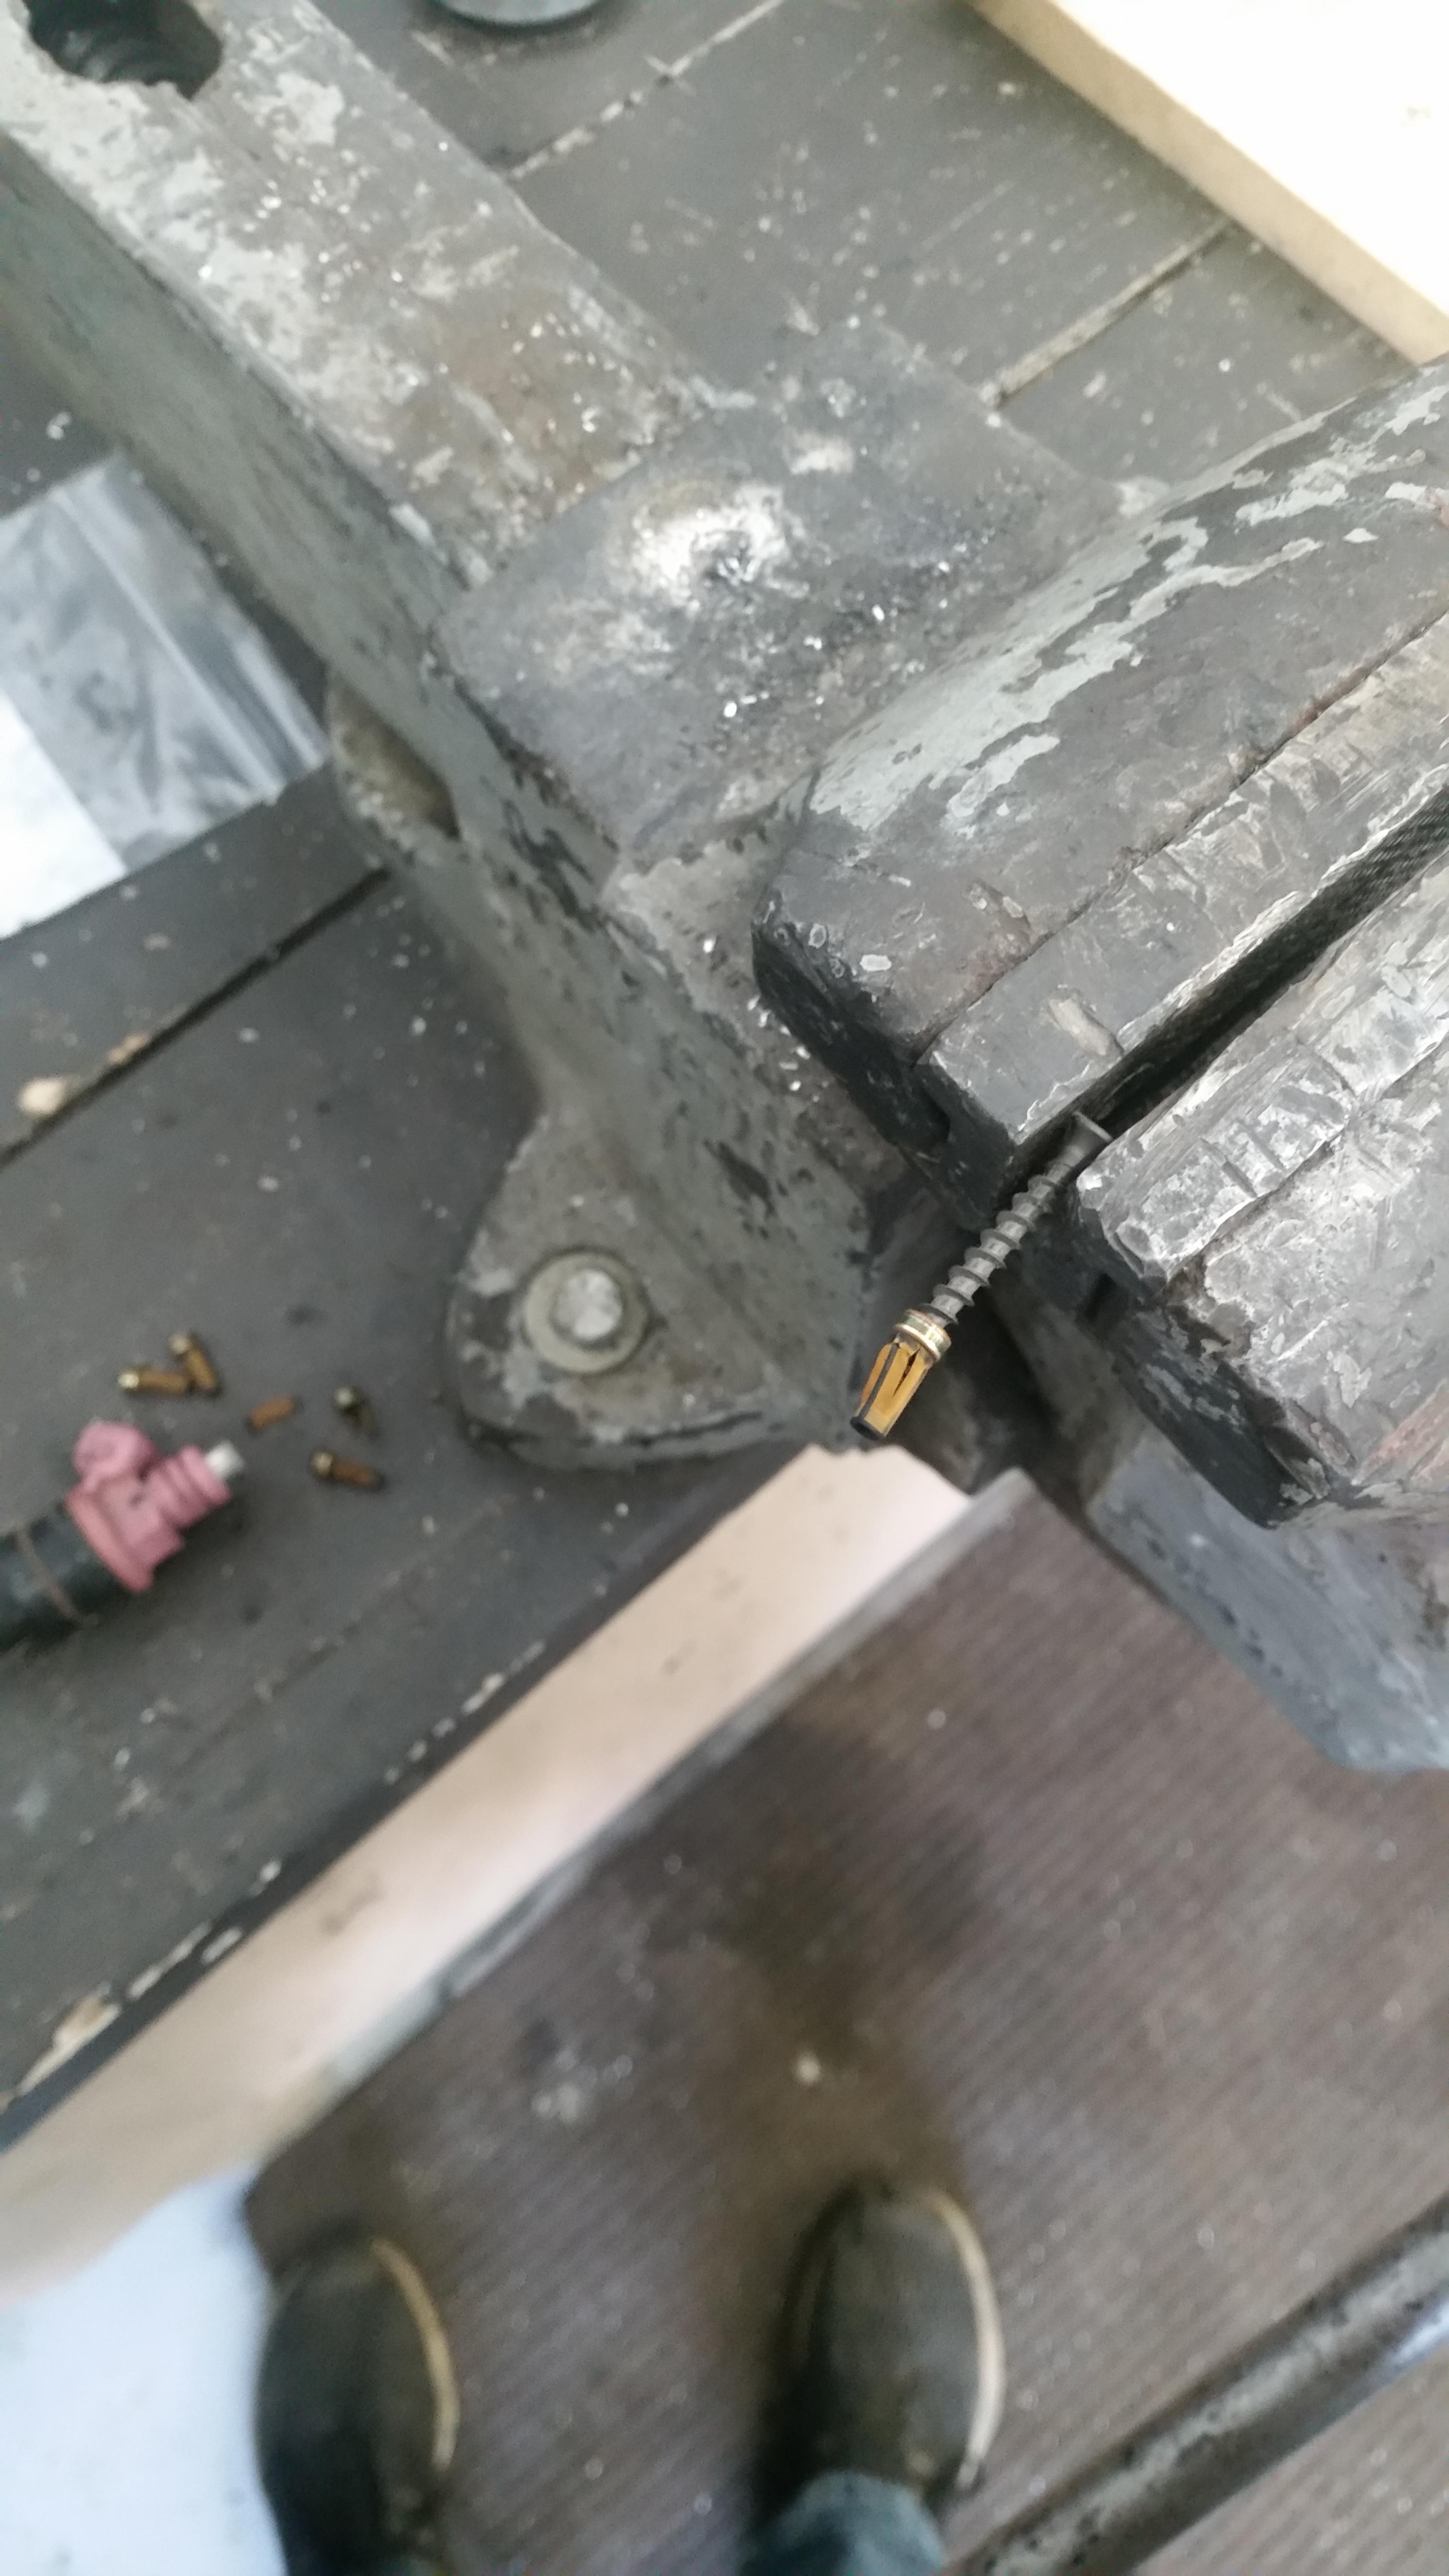
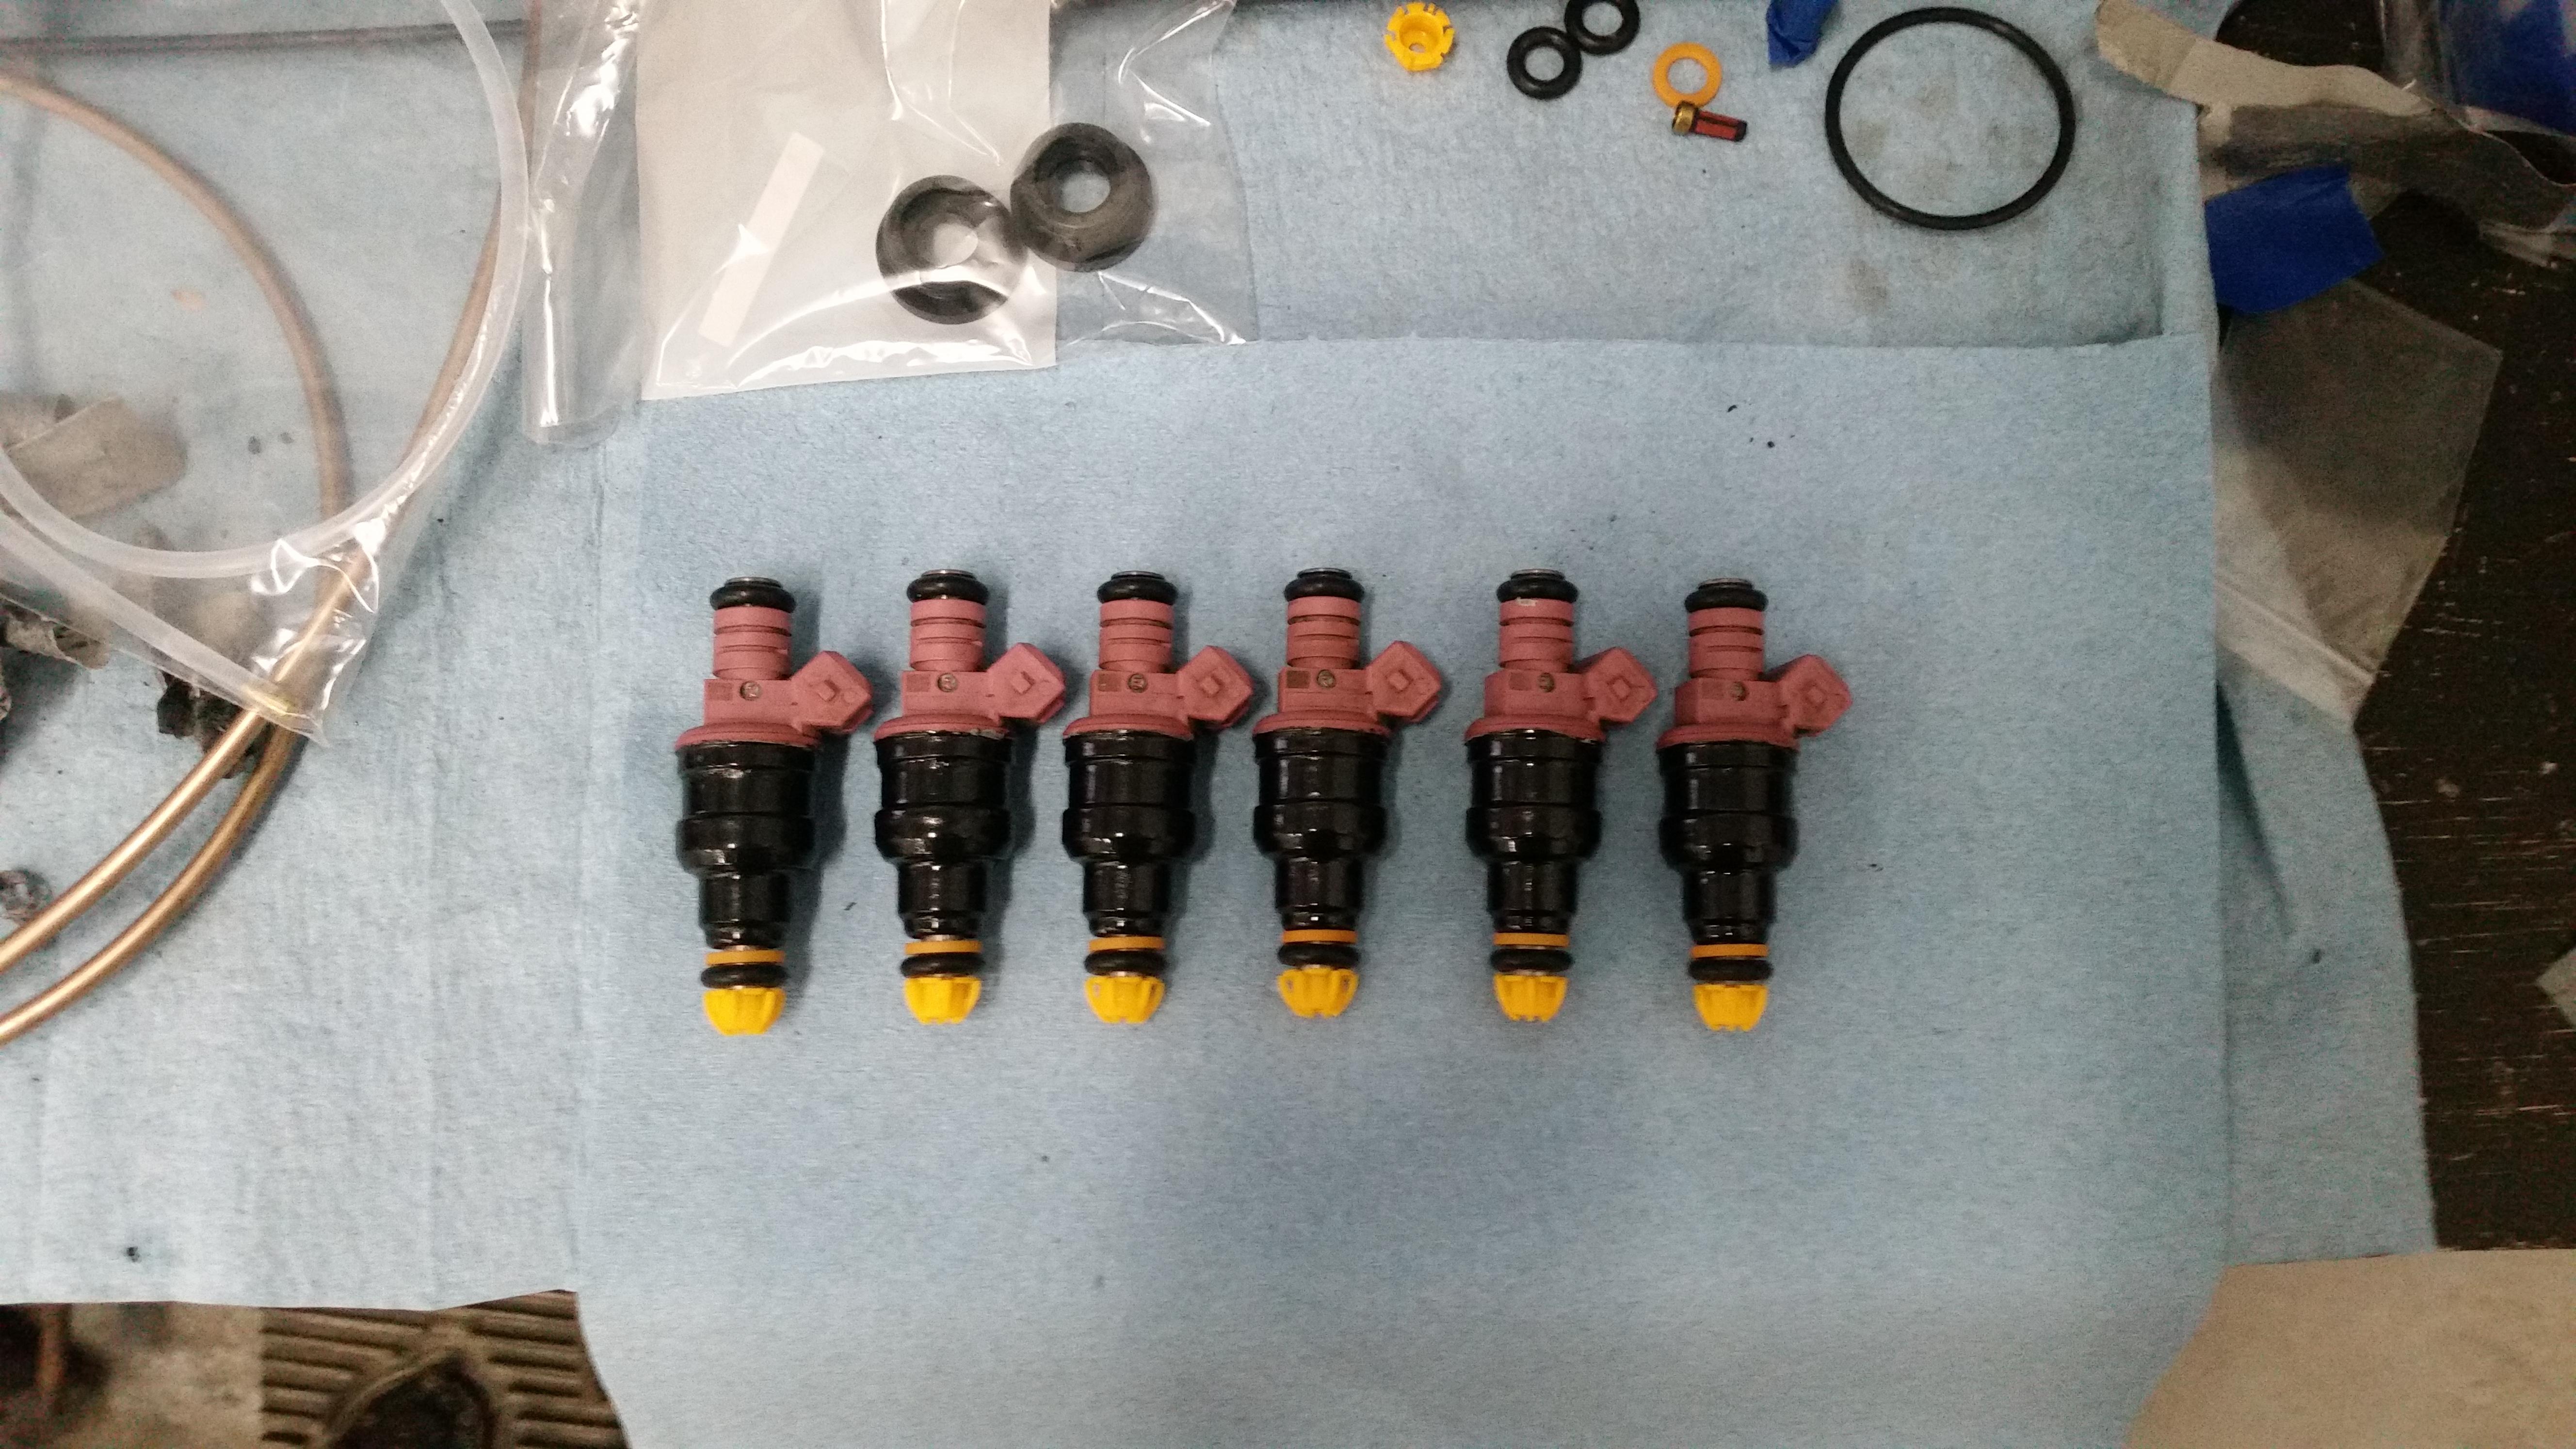
Went ahead and started dissembling the injectors for a rebuild. Purchased a kit on amazon coming with all the filters and o rings needed to refurbish them. Used a wood screw to pull out the old filters...
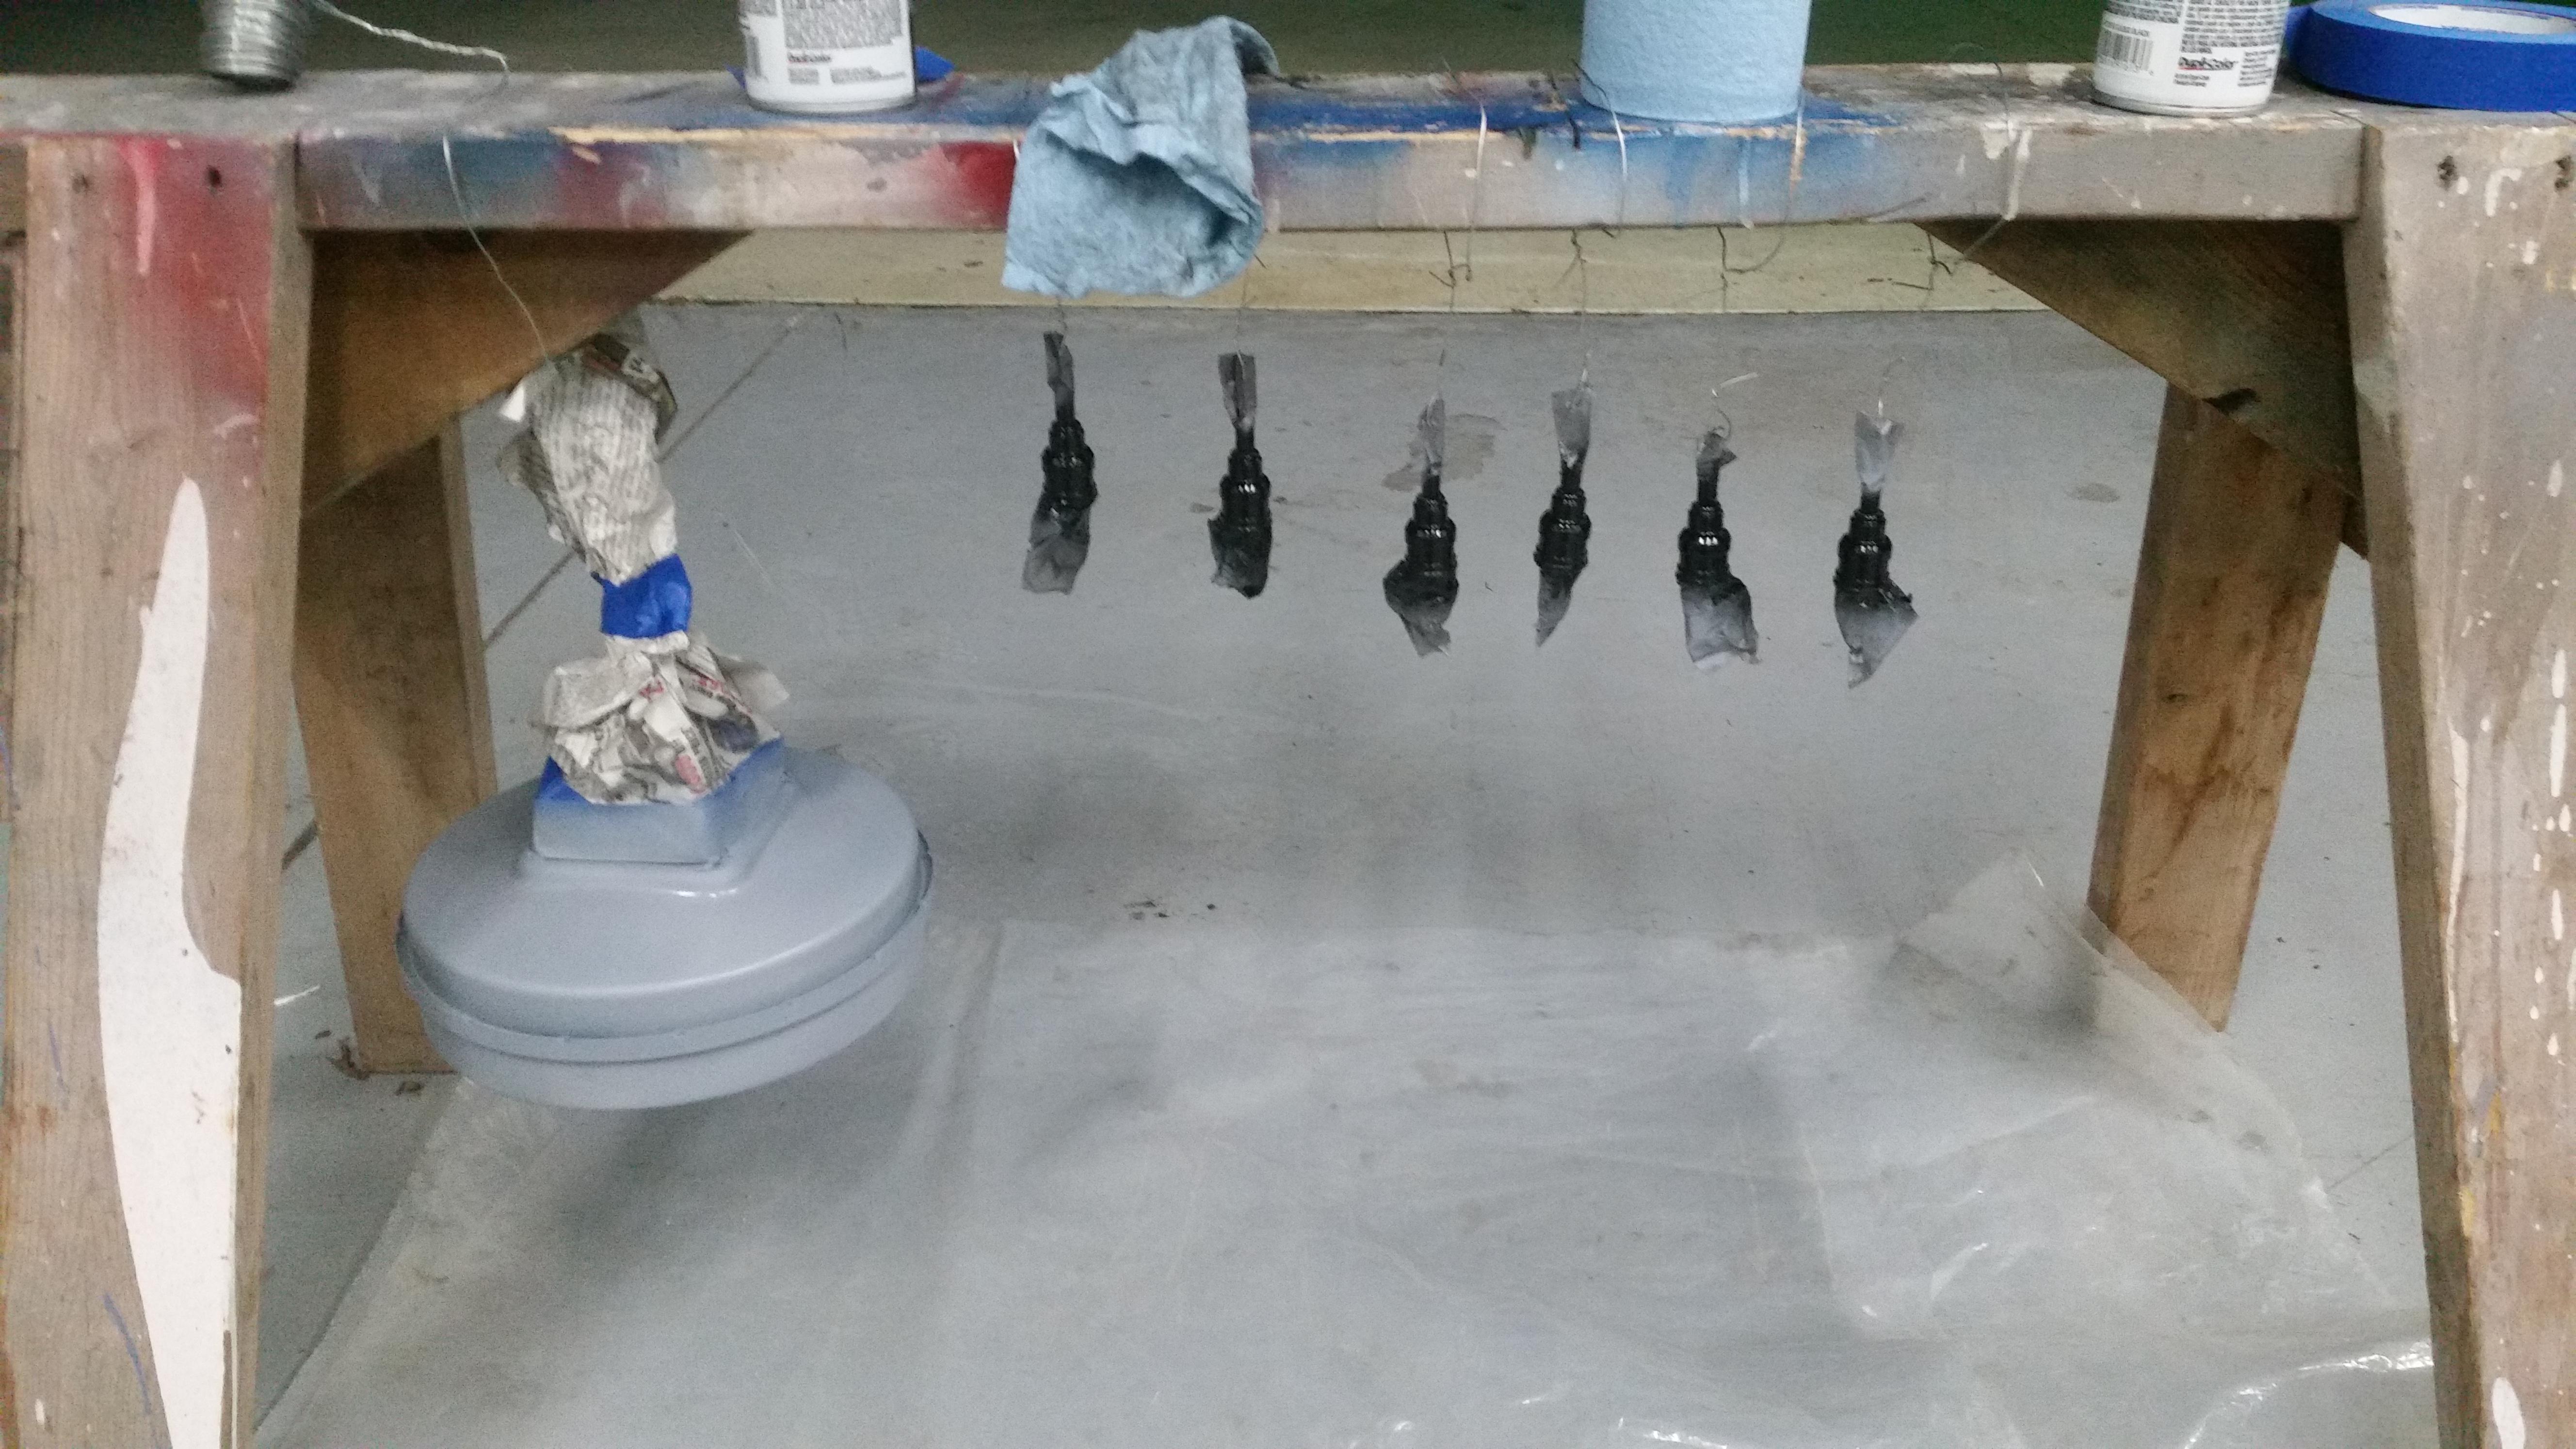
As some of the injectors had some minor surface rust and the paint was wearing off the only right thing to do was to put a fresh coat of paint on them. I did apply a light coat of primer before the paint.
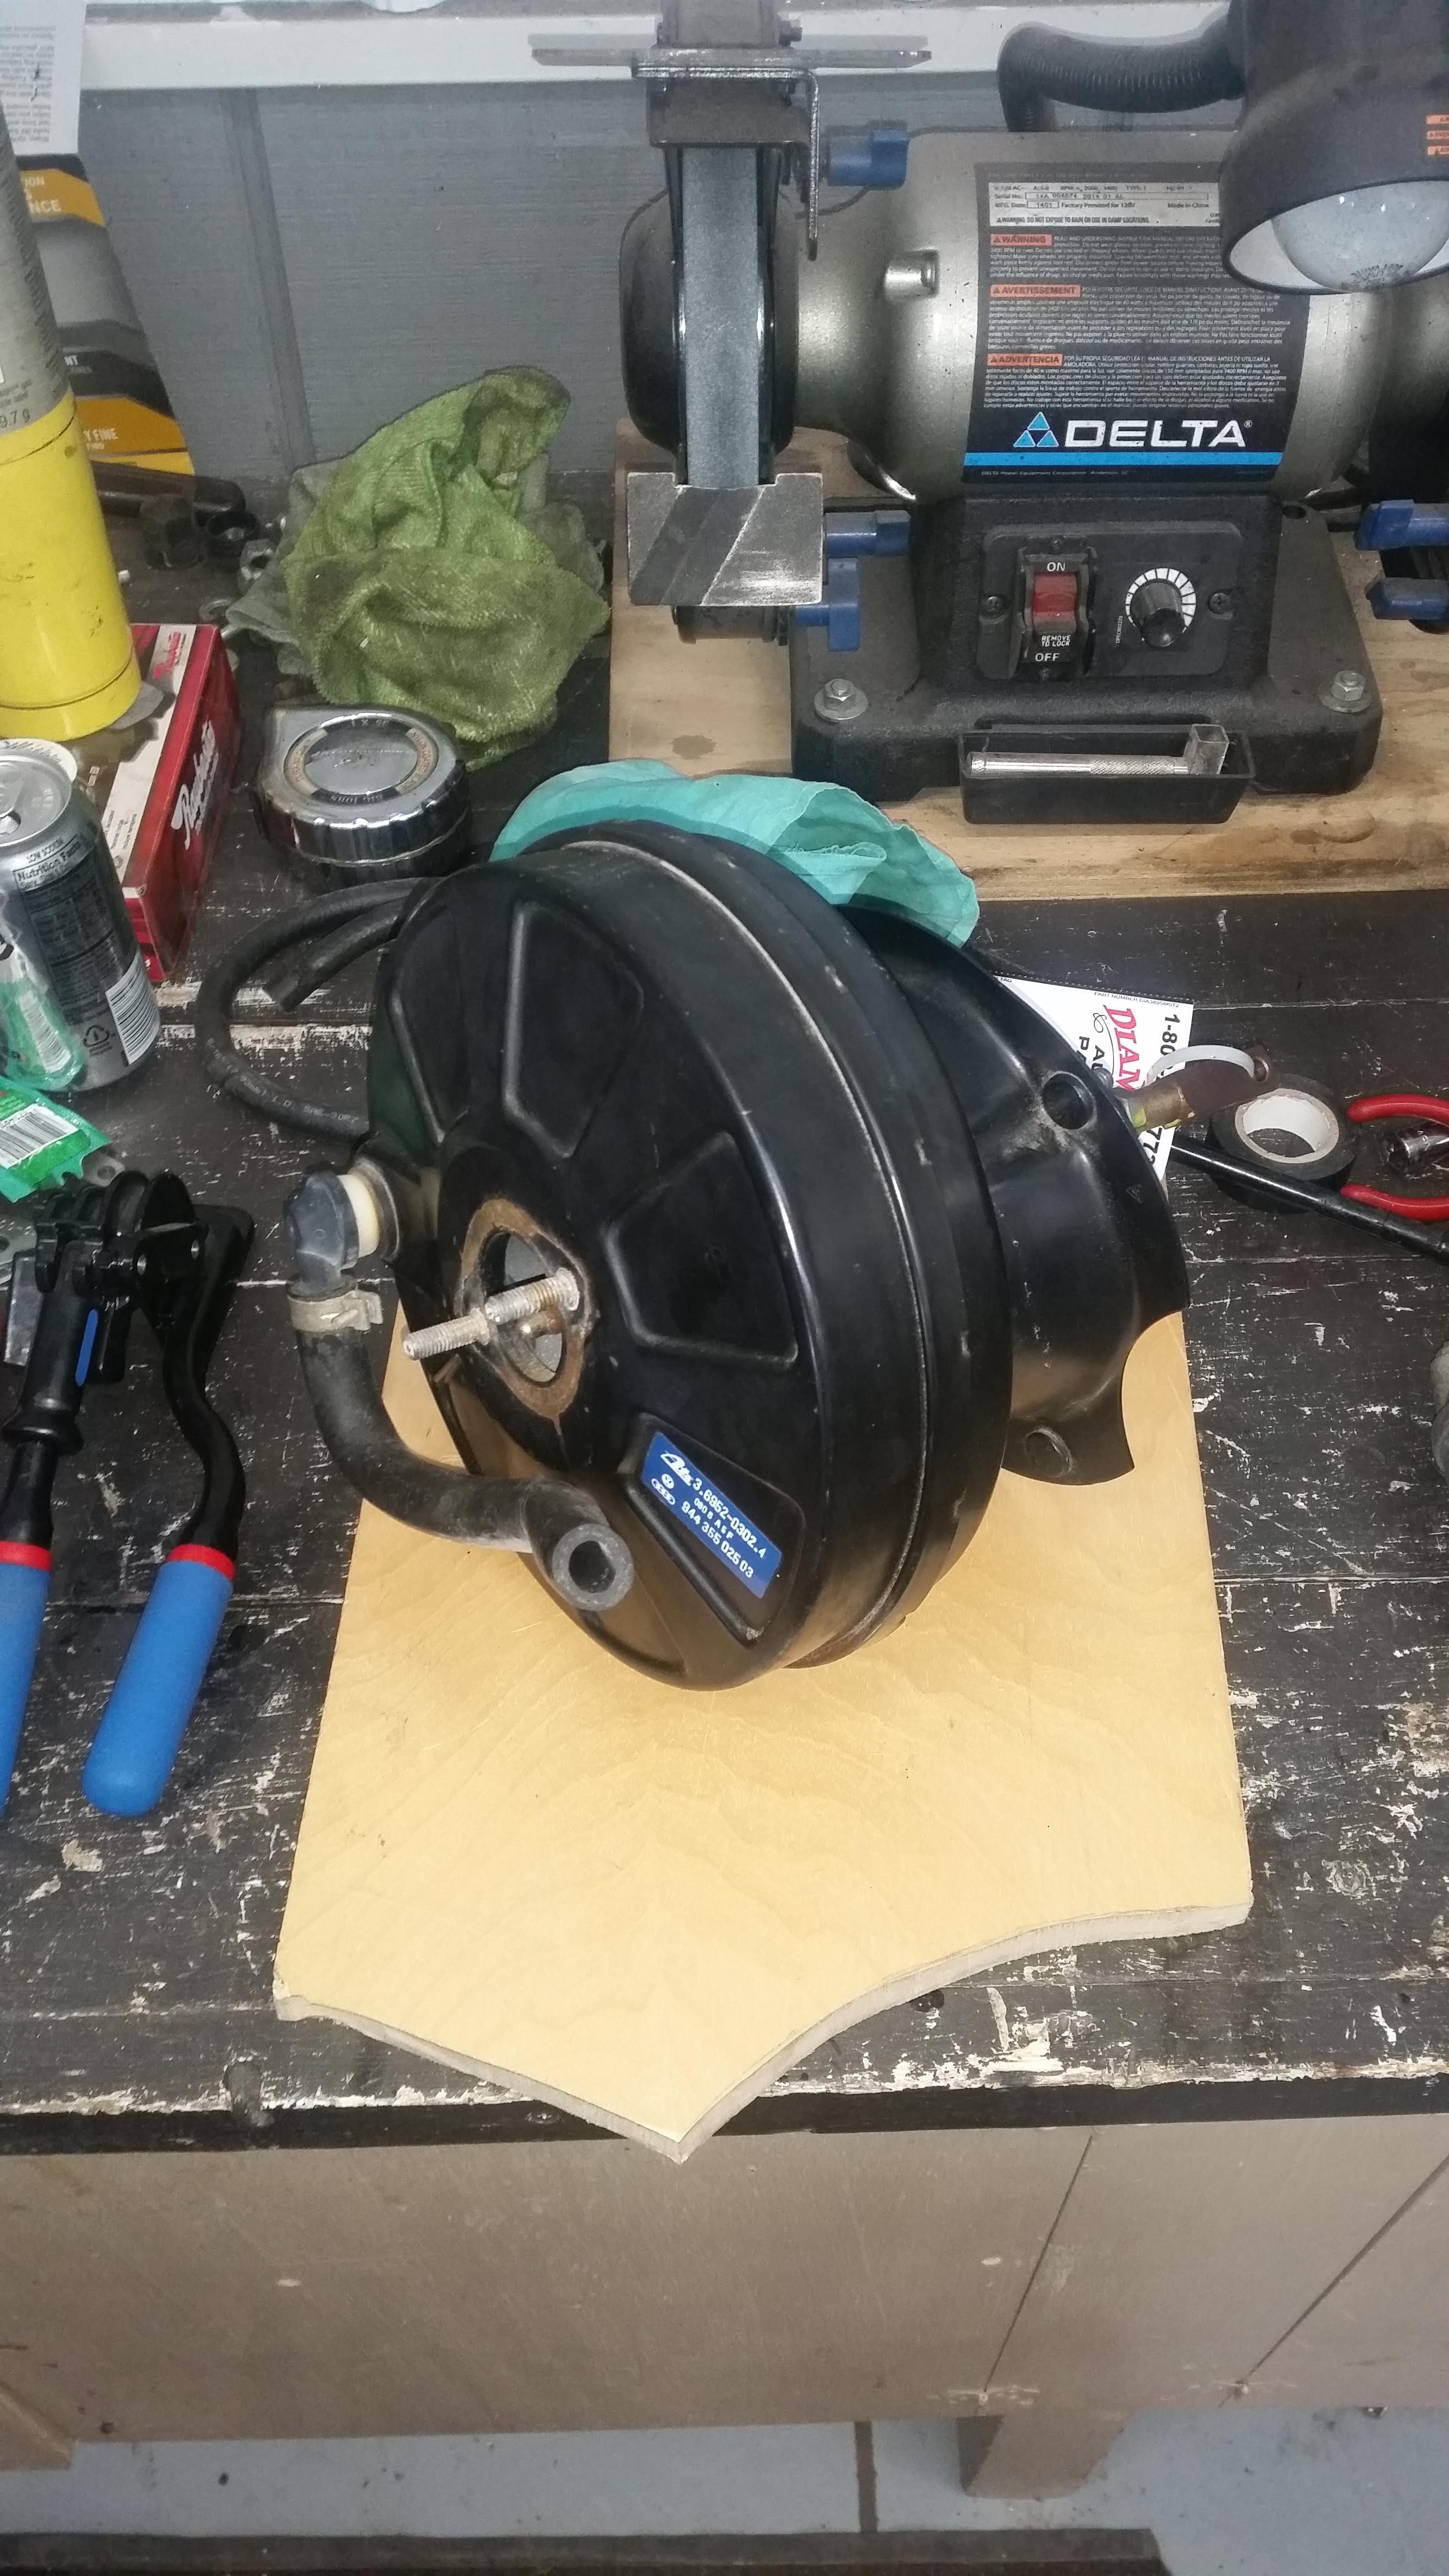
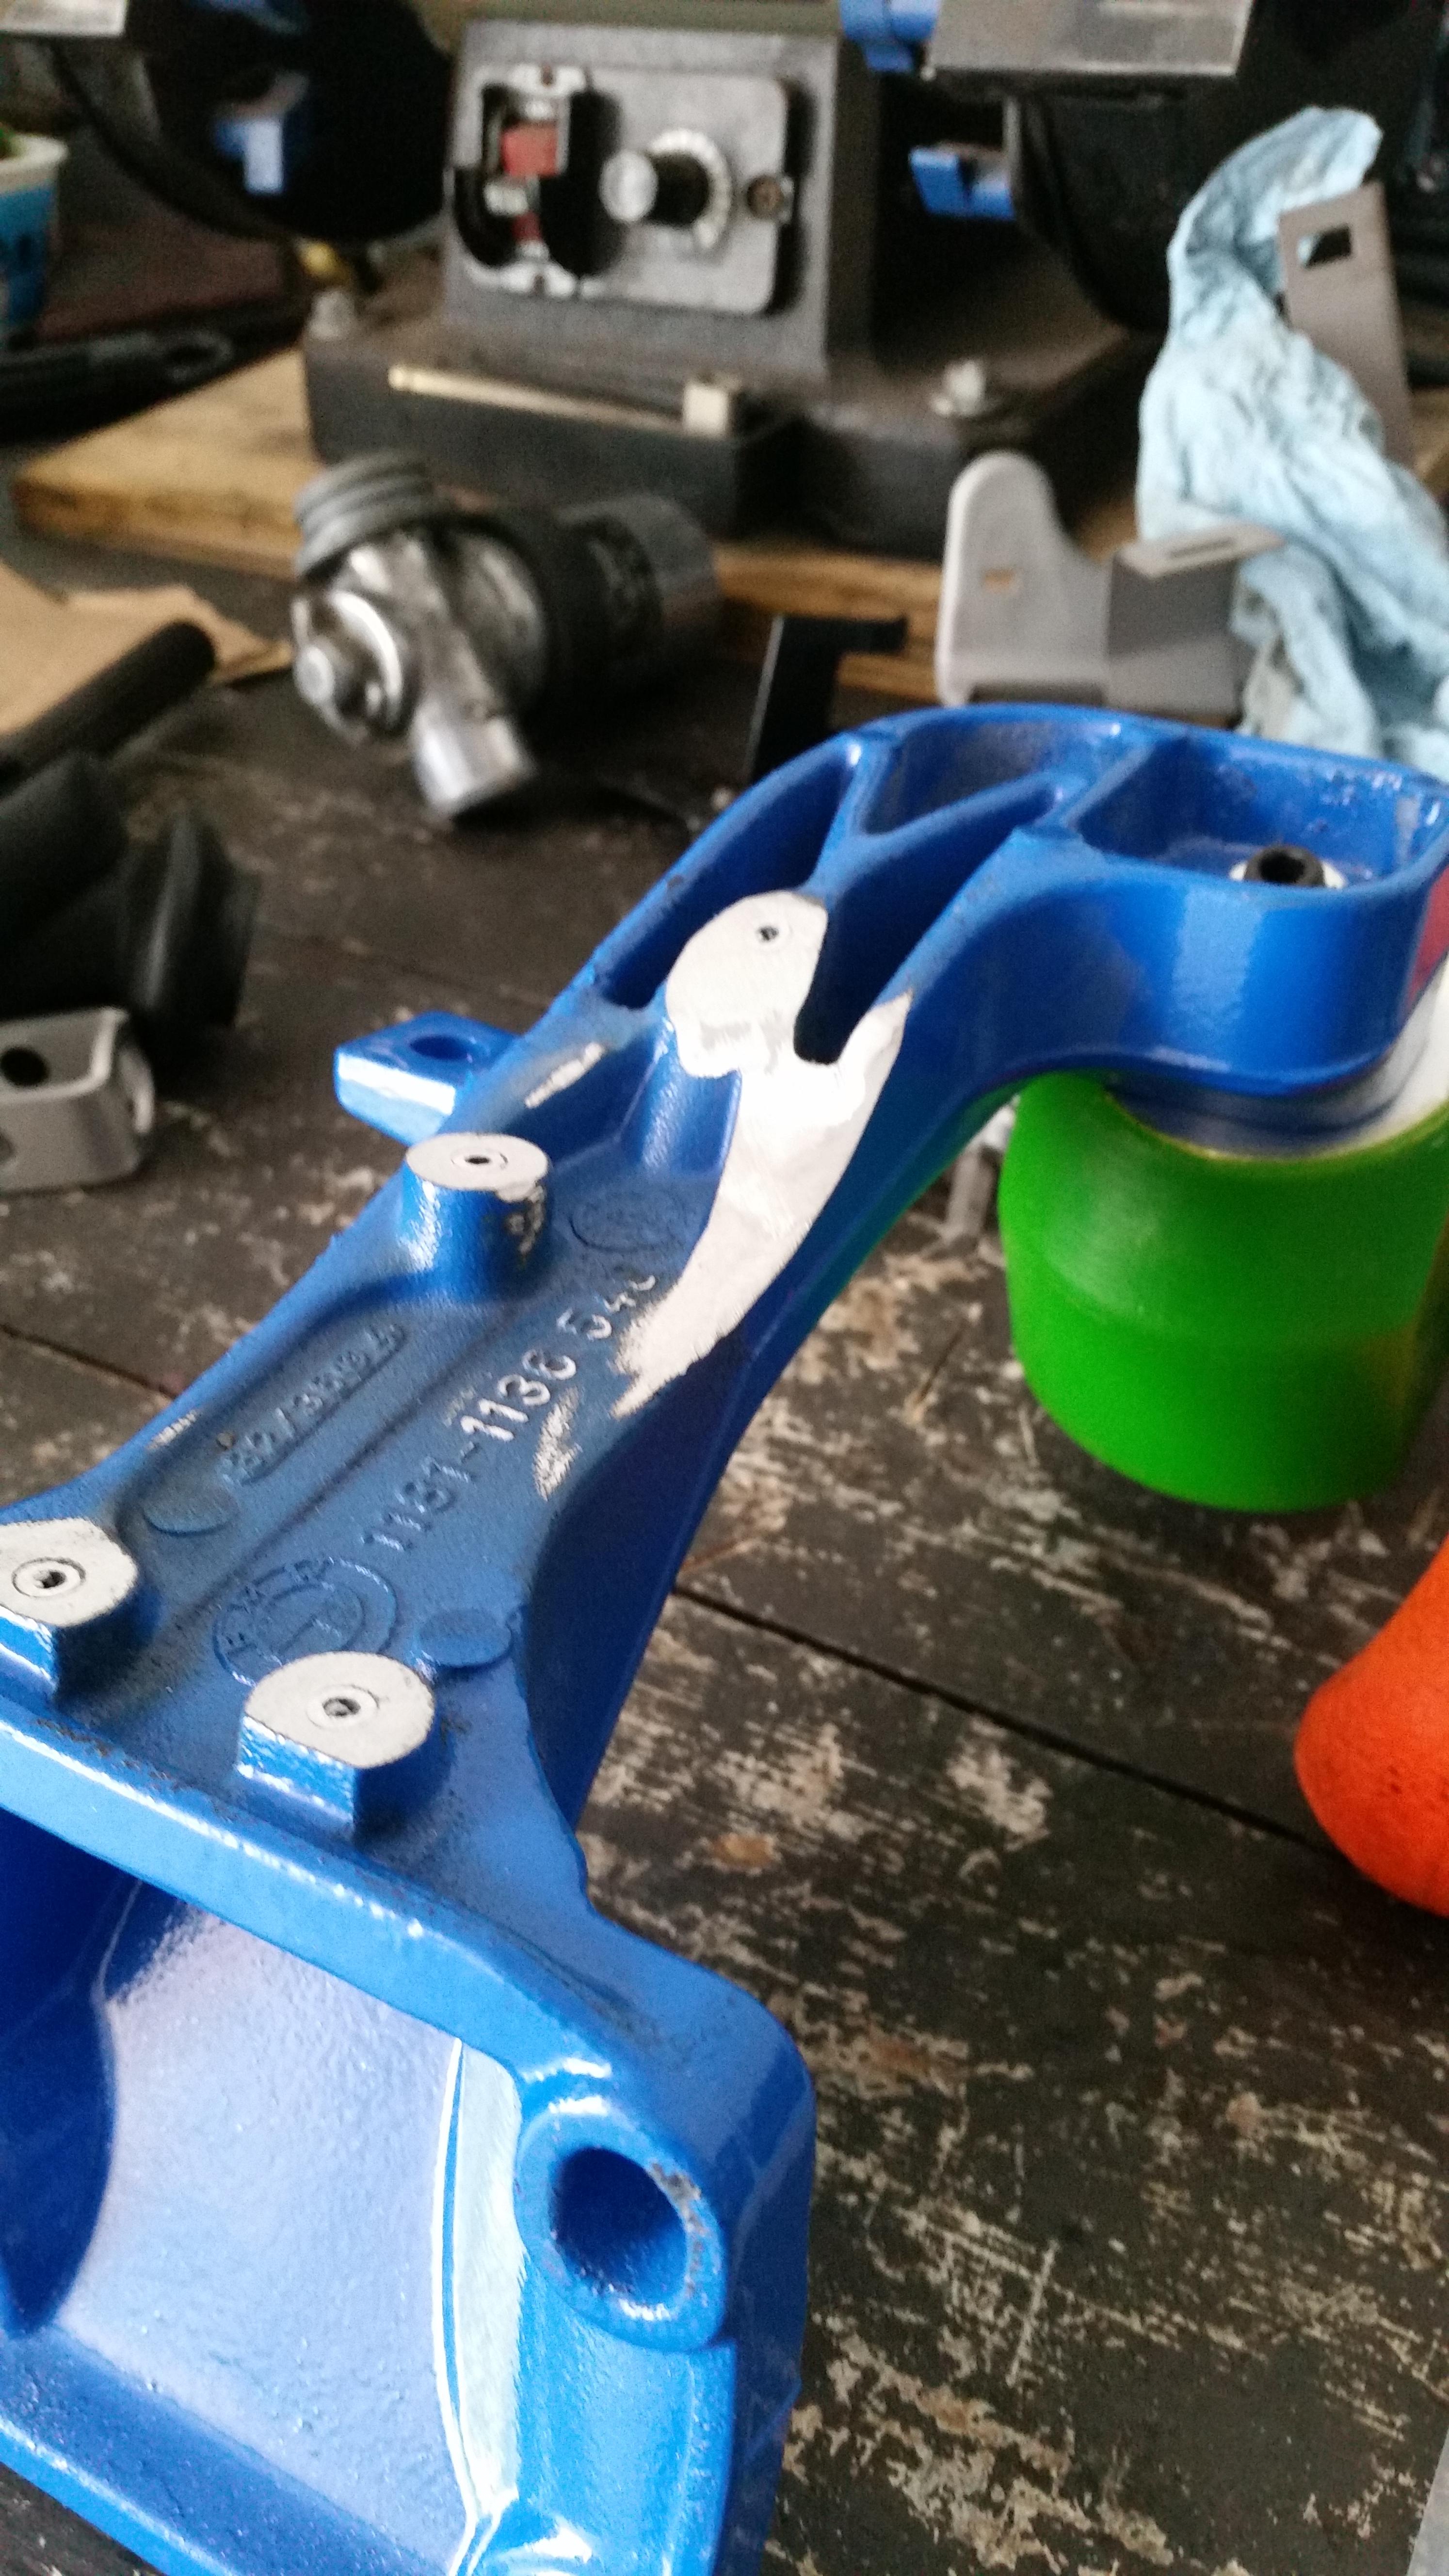
Finally got myself a brake booster that was much needed. Picked it up out of a salvage yard in fond du lac (diamond auto parts). The booster is from a 86 Porsche 944 turbo and I was very pleased with the condition of it.
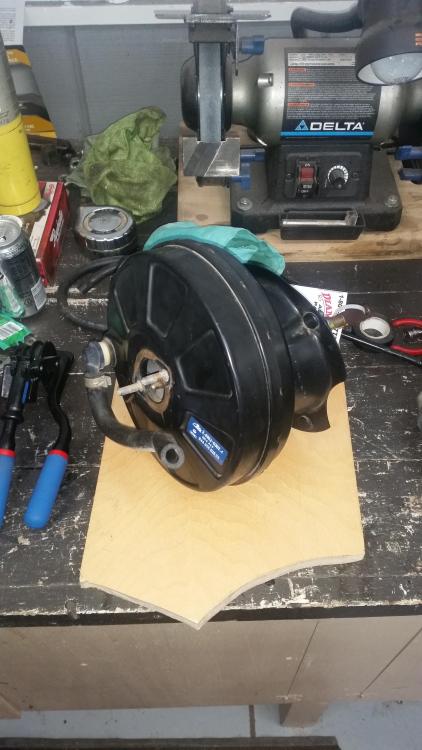
As it did have some surface rust and what not I got to repainting that as well... A lot of bare metal was showing after I went at it with a wire wheel and scotch brite so I threw on a coat of primer first. Gonna head over and throw a coat of flat black paint on it in a bit. Injectors should be dry by now and ready to be installed.
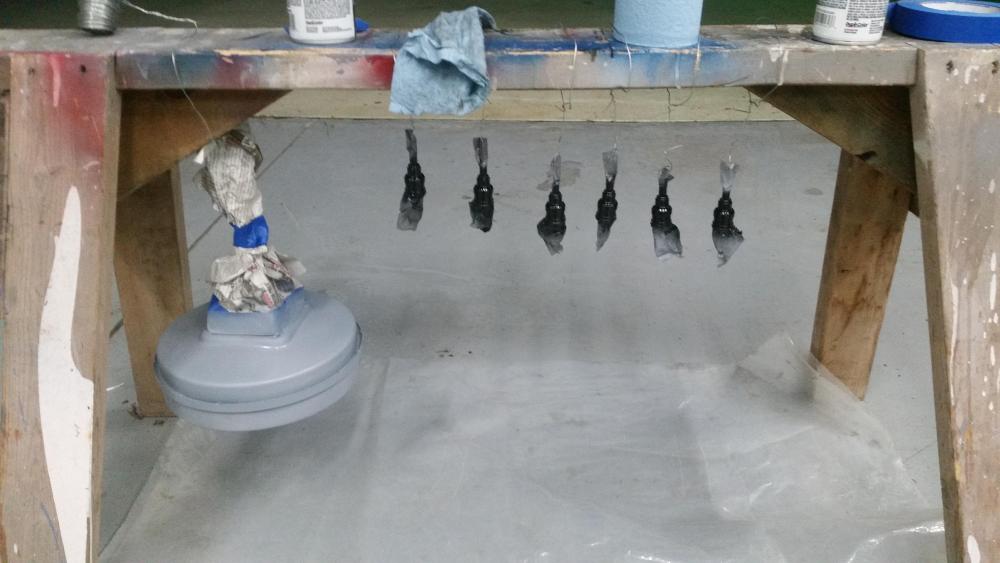
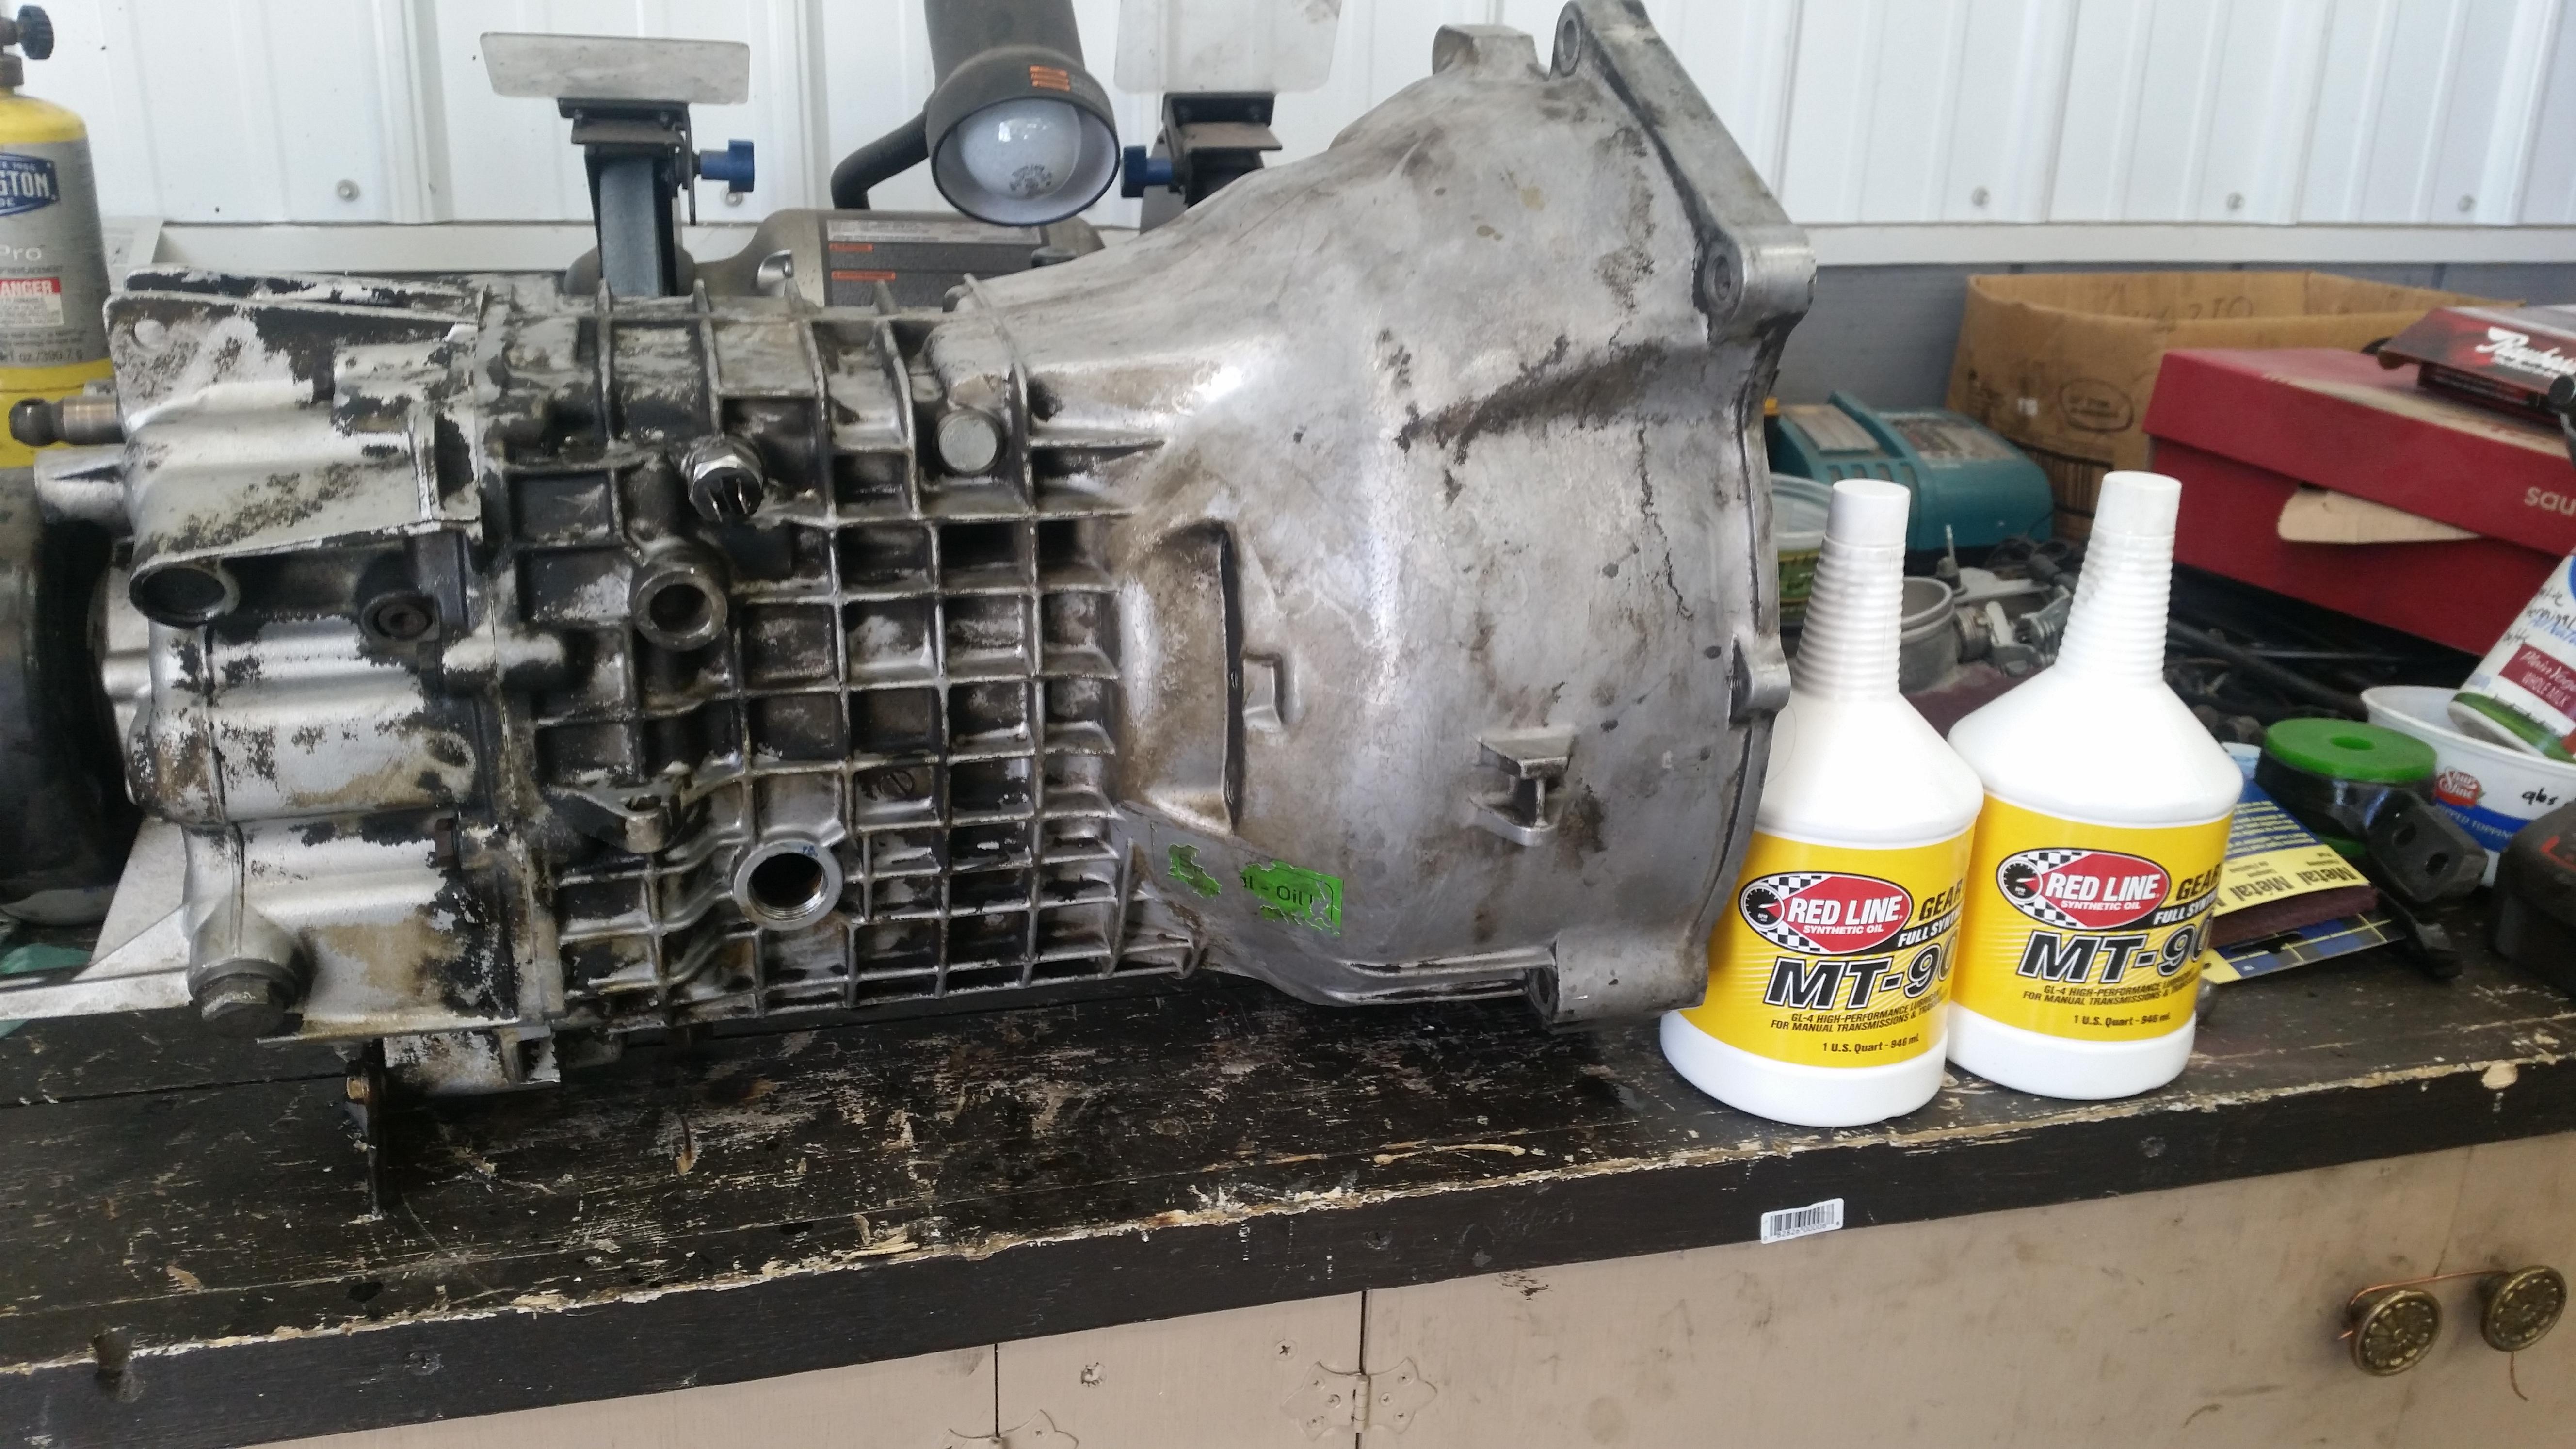
As that was drying I dissambled all the shifting linkages off the trans and took the pressure washer to it one more time to see if I can't get any more grim off. I was very unsuccessful.
After a half hour of 3500 psi of water on a 0 degree tip I gave up, shit ain't comin off. Blew the thing off with a air hose and put in some fresh trans oil. Quick tip: I used MT-90 as it is recommended to be used on all getrag trans with a green tag. If yours is not green taged it is recommended to stick with redline MTL.
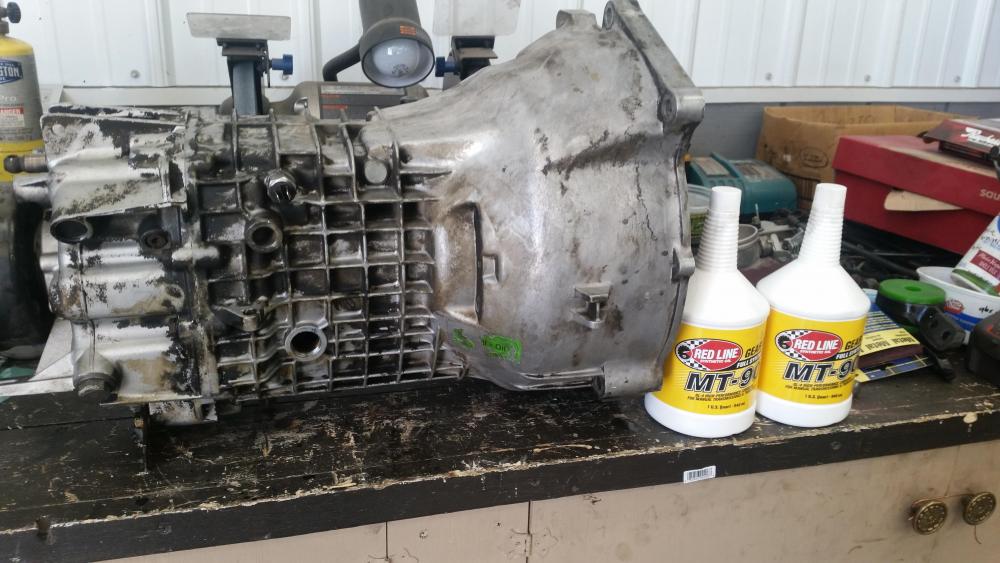
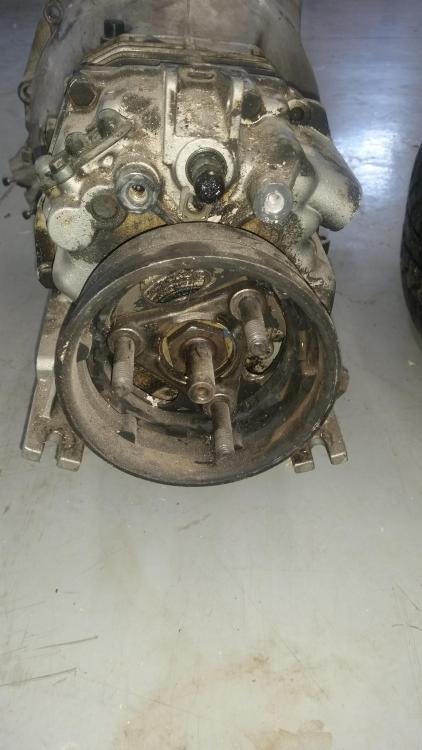
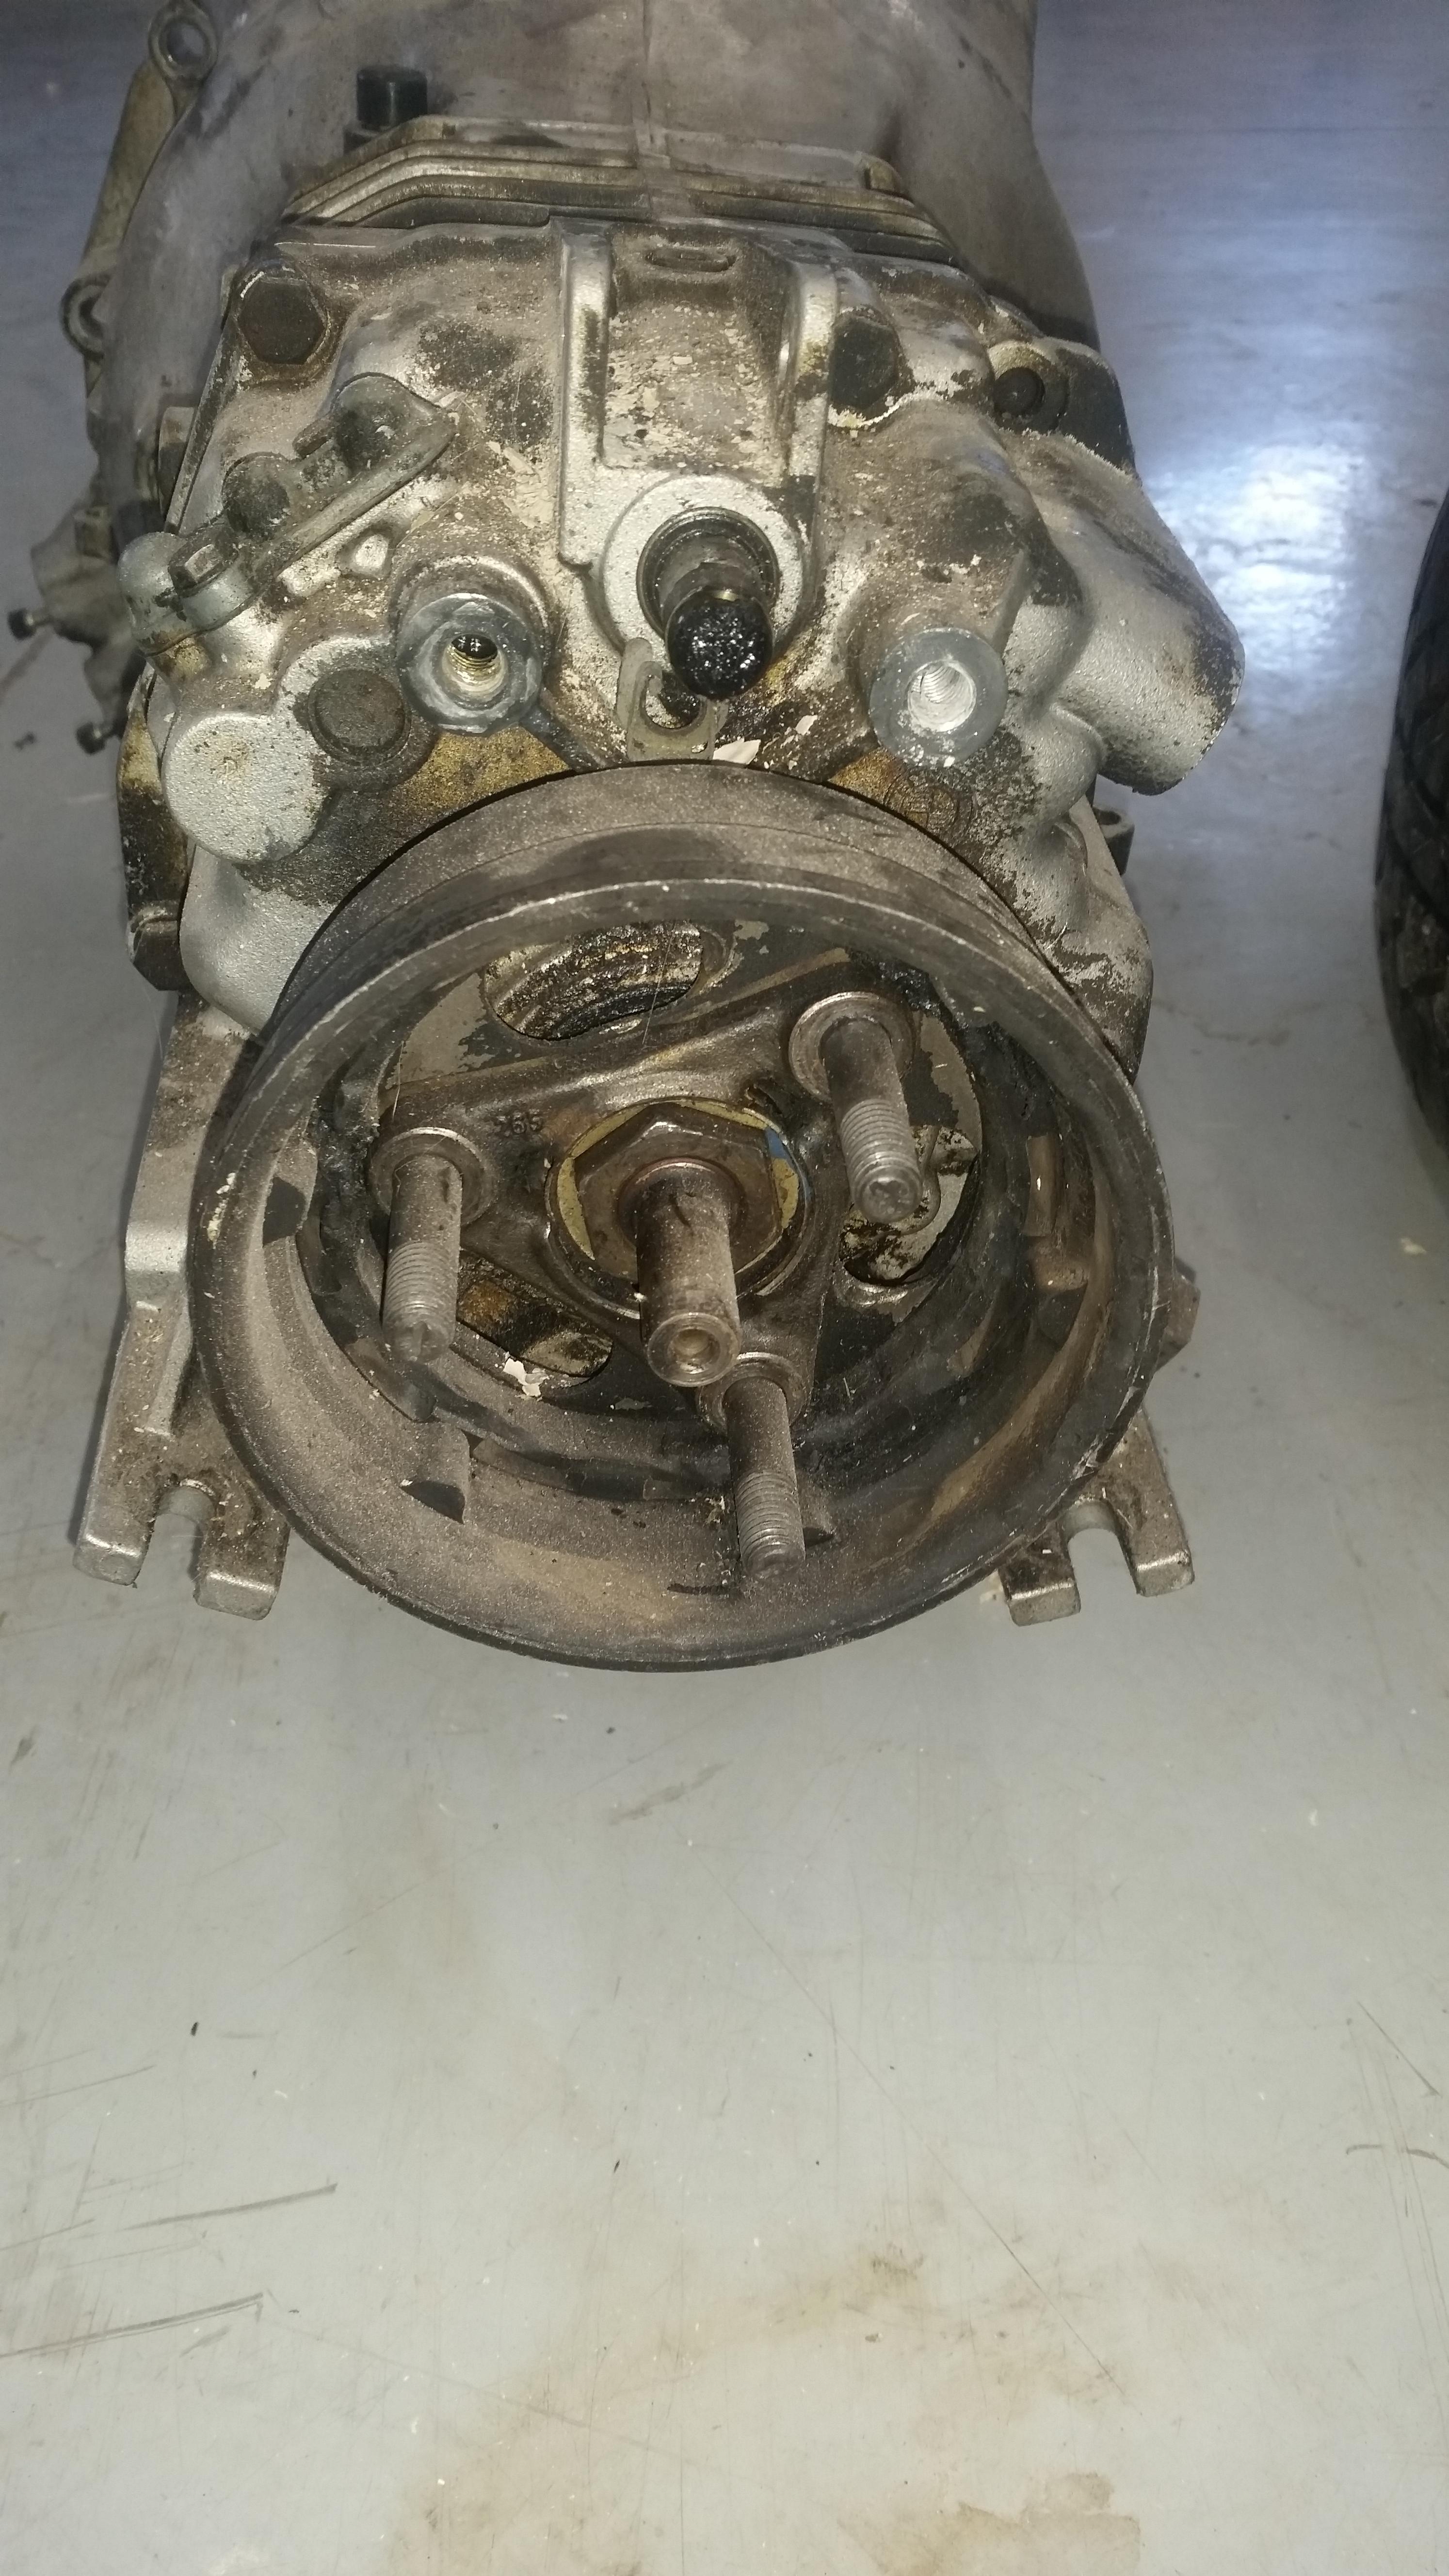
Quick question: On this particular trans, it came with a harmonic dampener on the flange. This was in particular is not like the one's where the dampener is on the driveshaft that I'm familiar with. Was gonna remove it but I failed miserably as none of my sockets would fit correctly. I'm thinking I'm probably just gonna keep it, any reason to be rid of it?
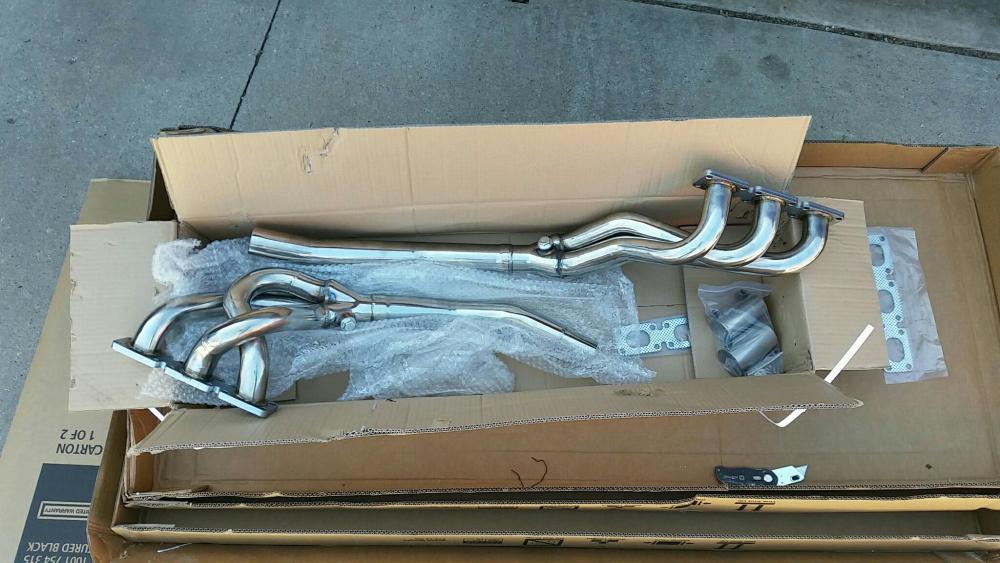
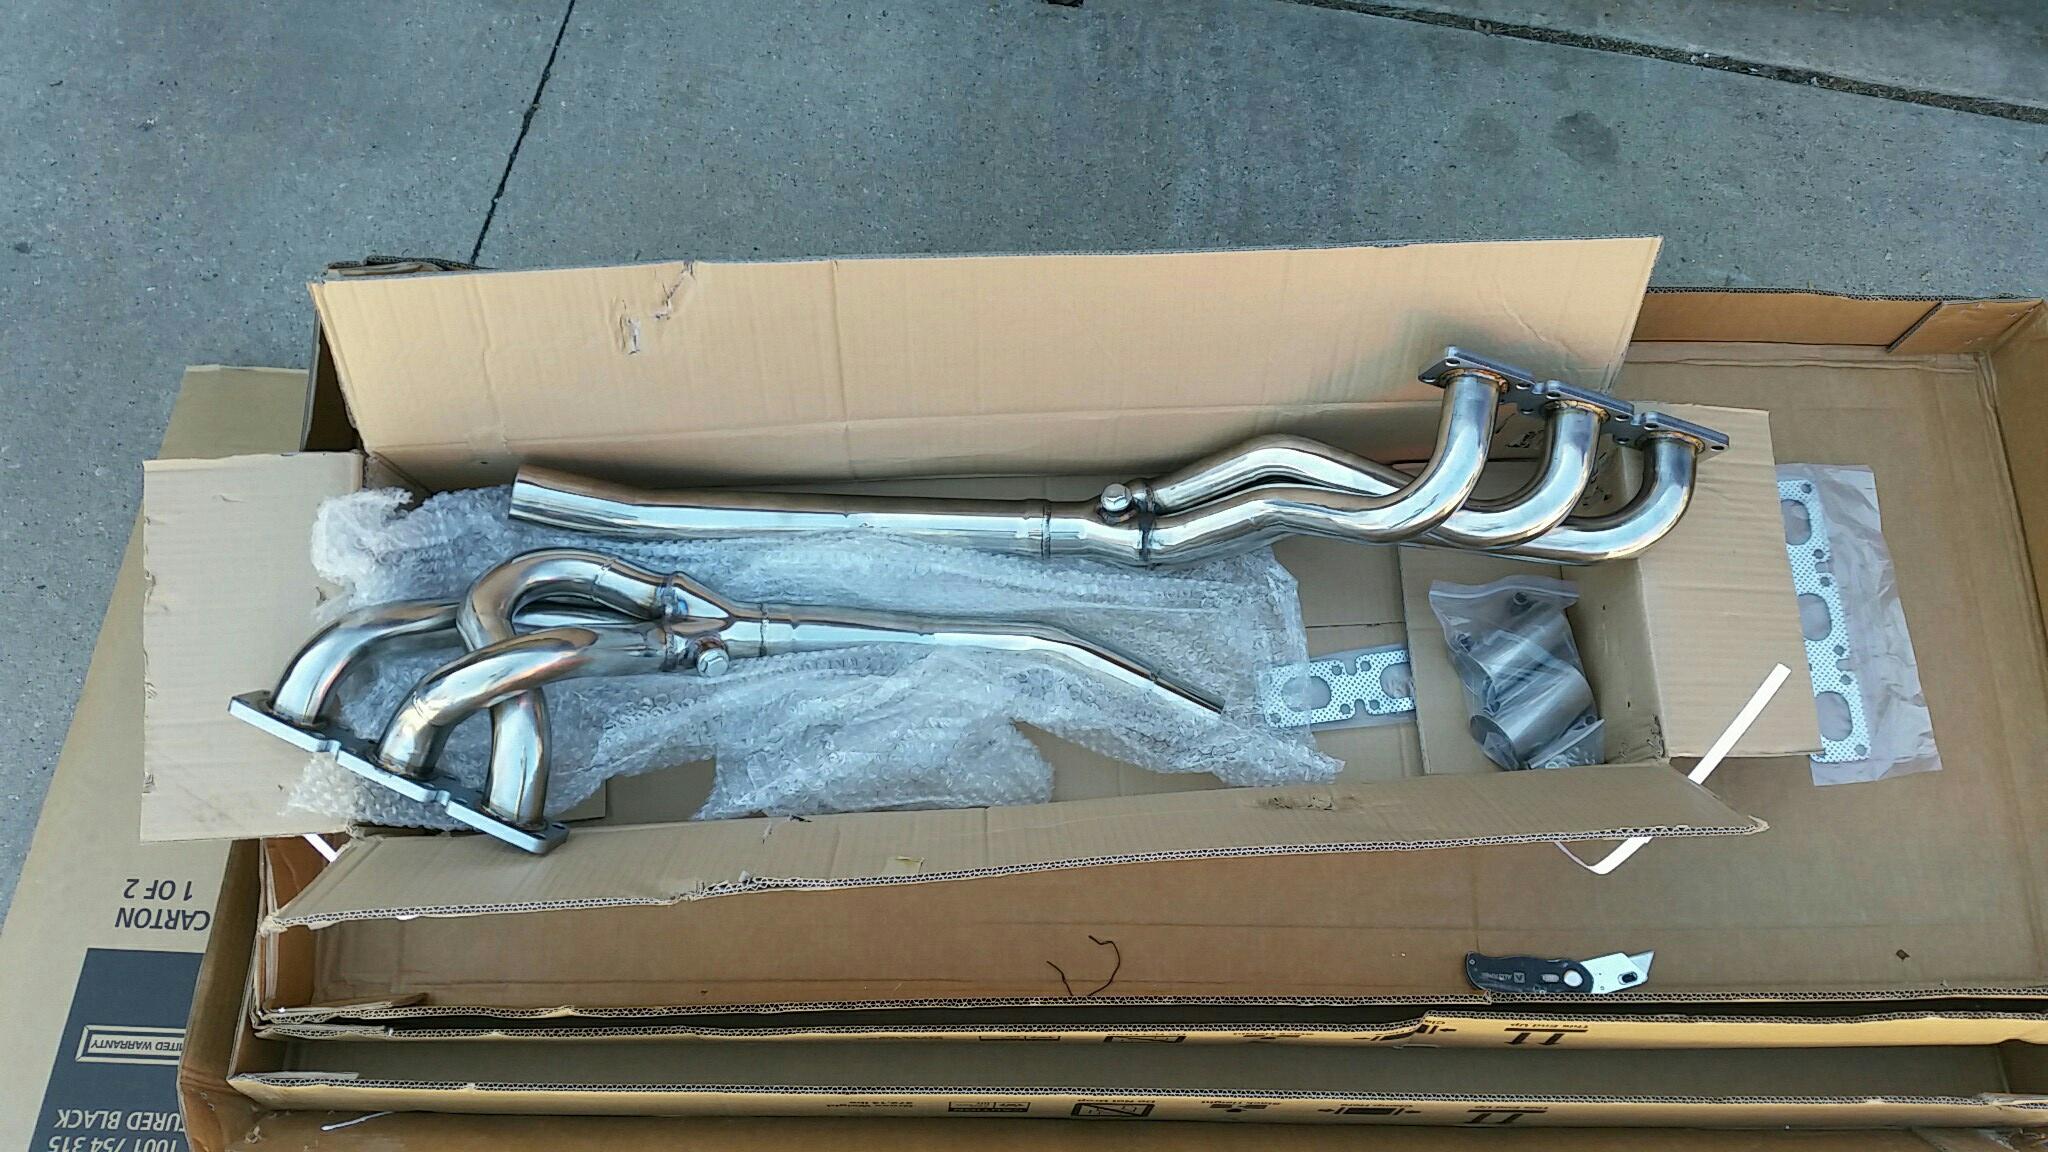
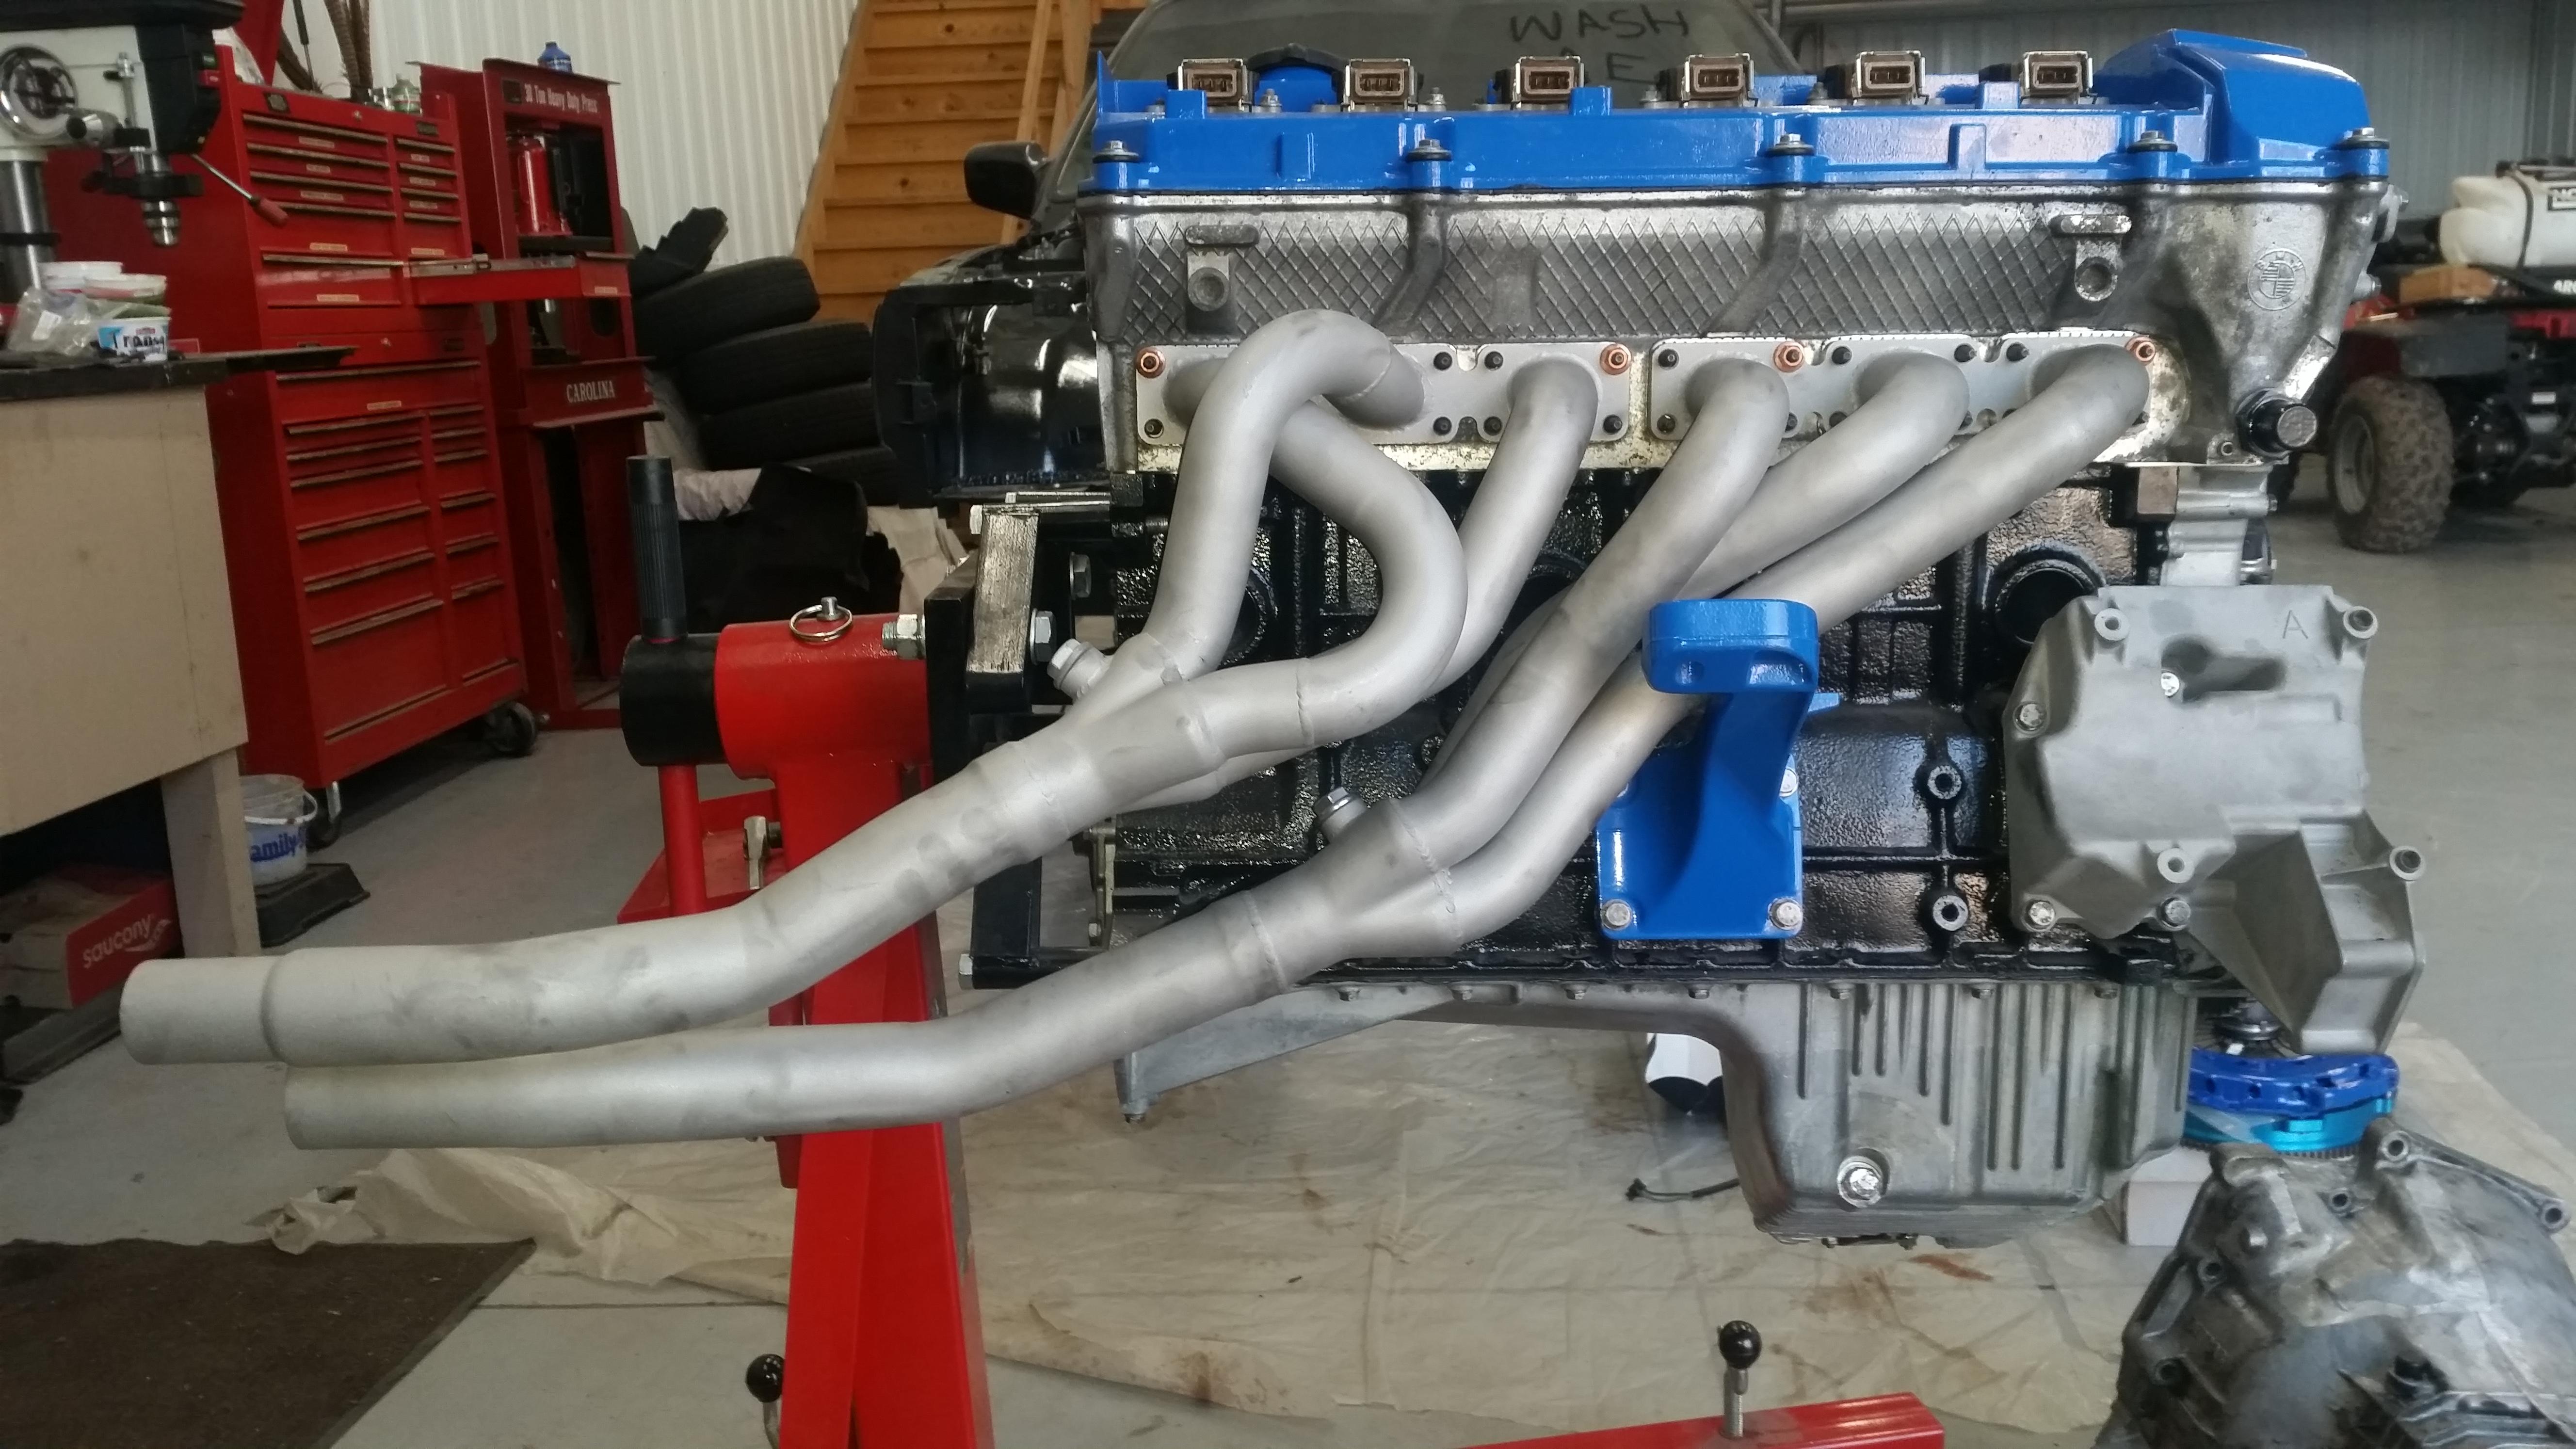
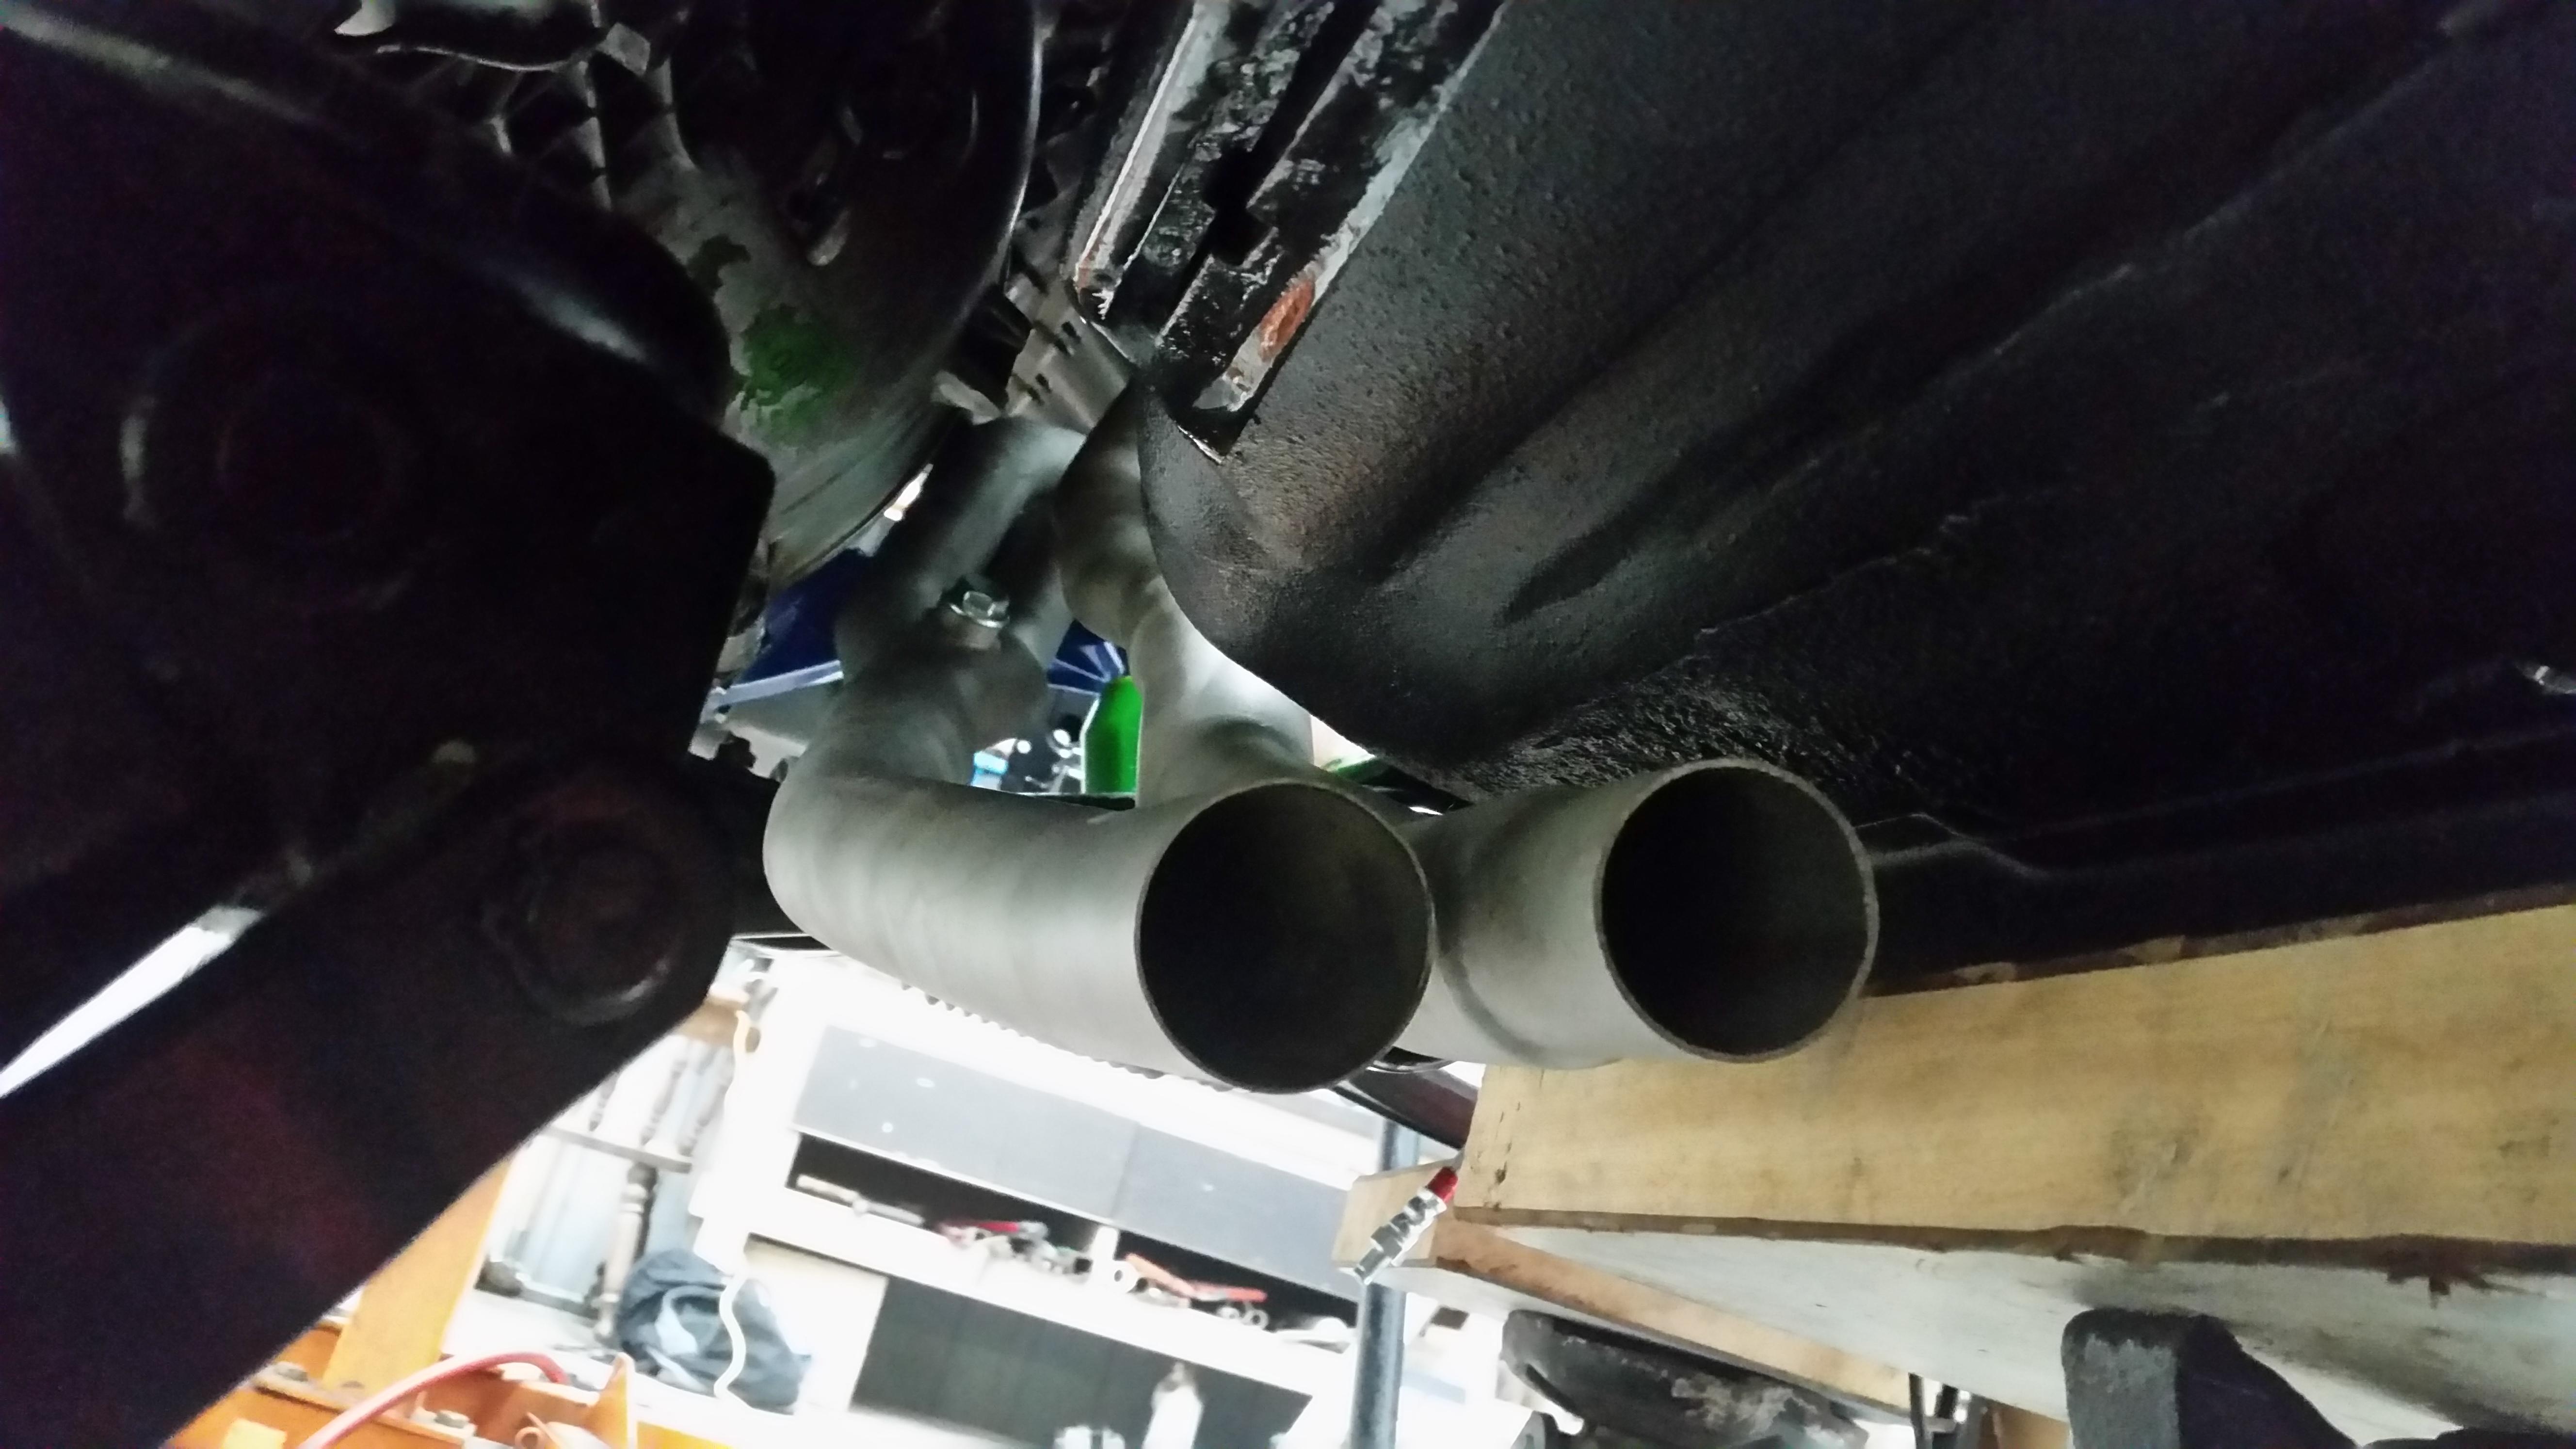
Received some headers in the mail from amazon the other day. Pretty cheap ones but should do the job well.
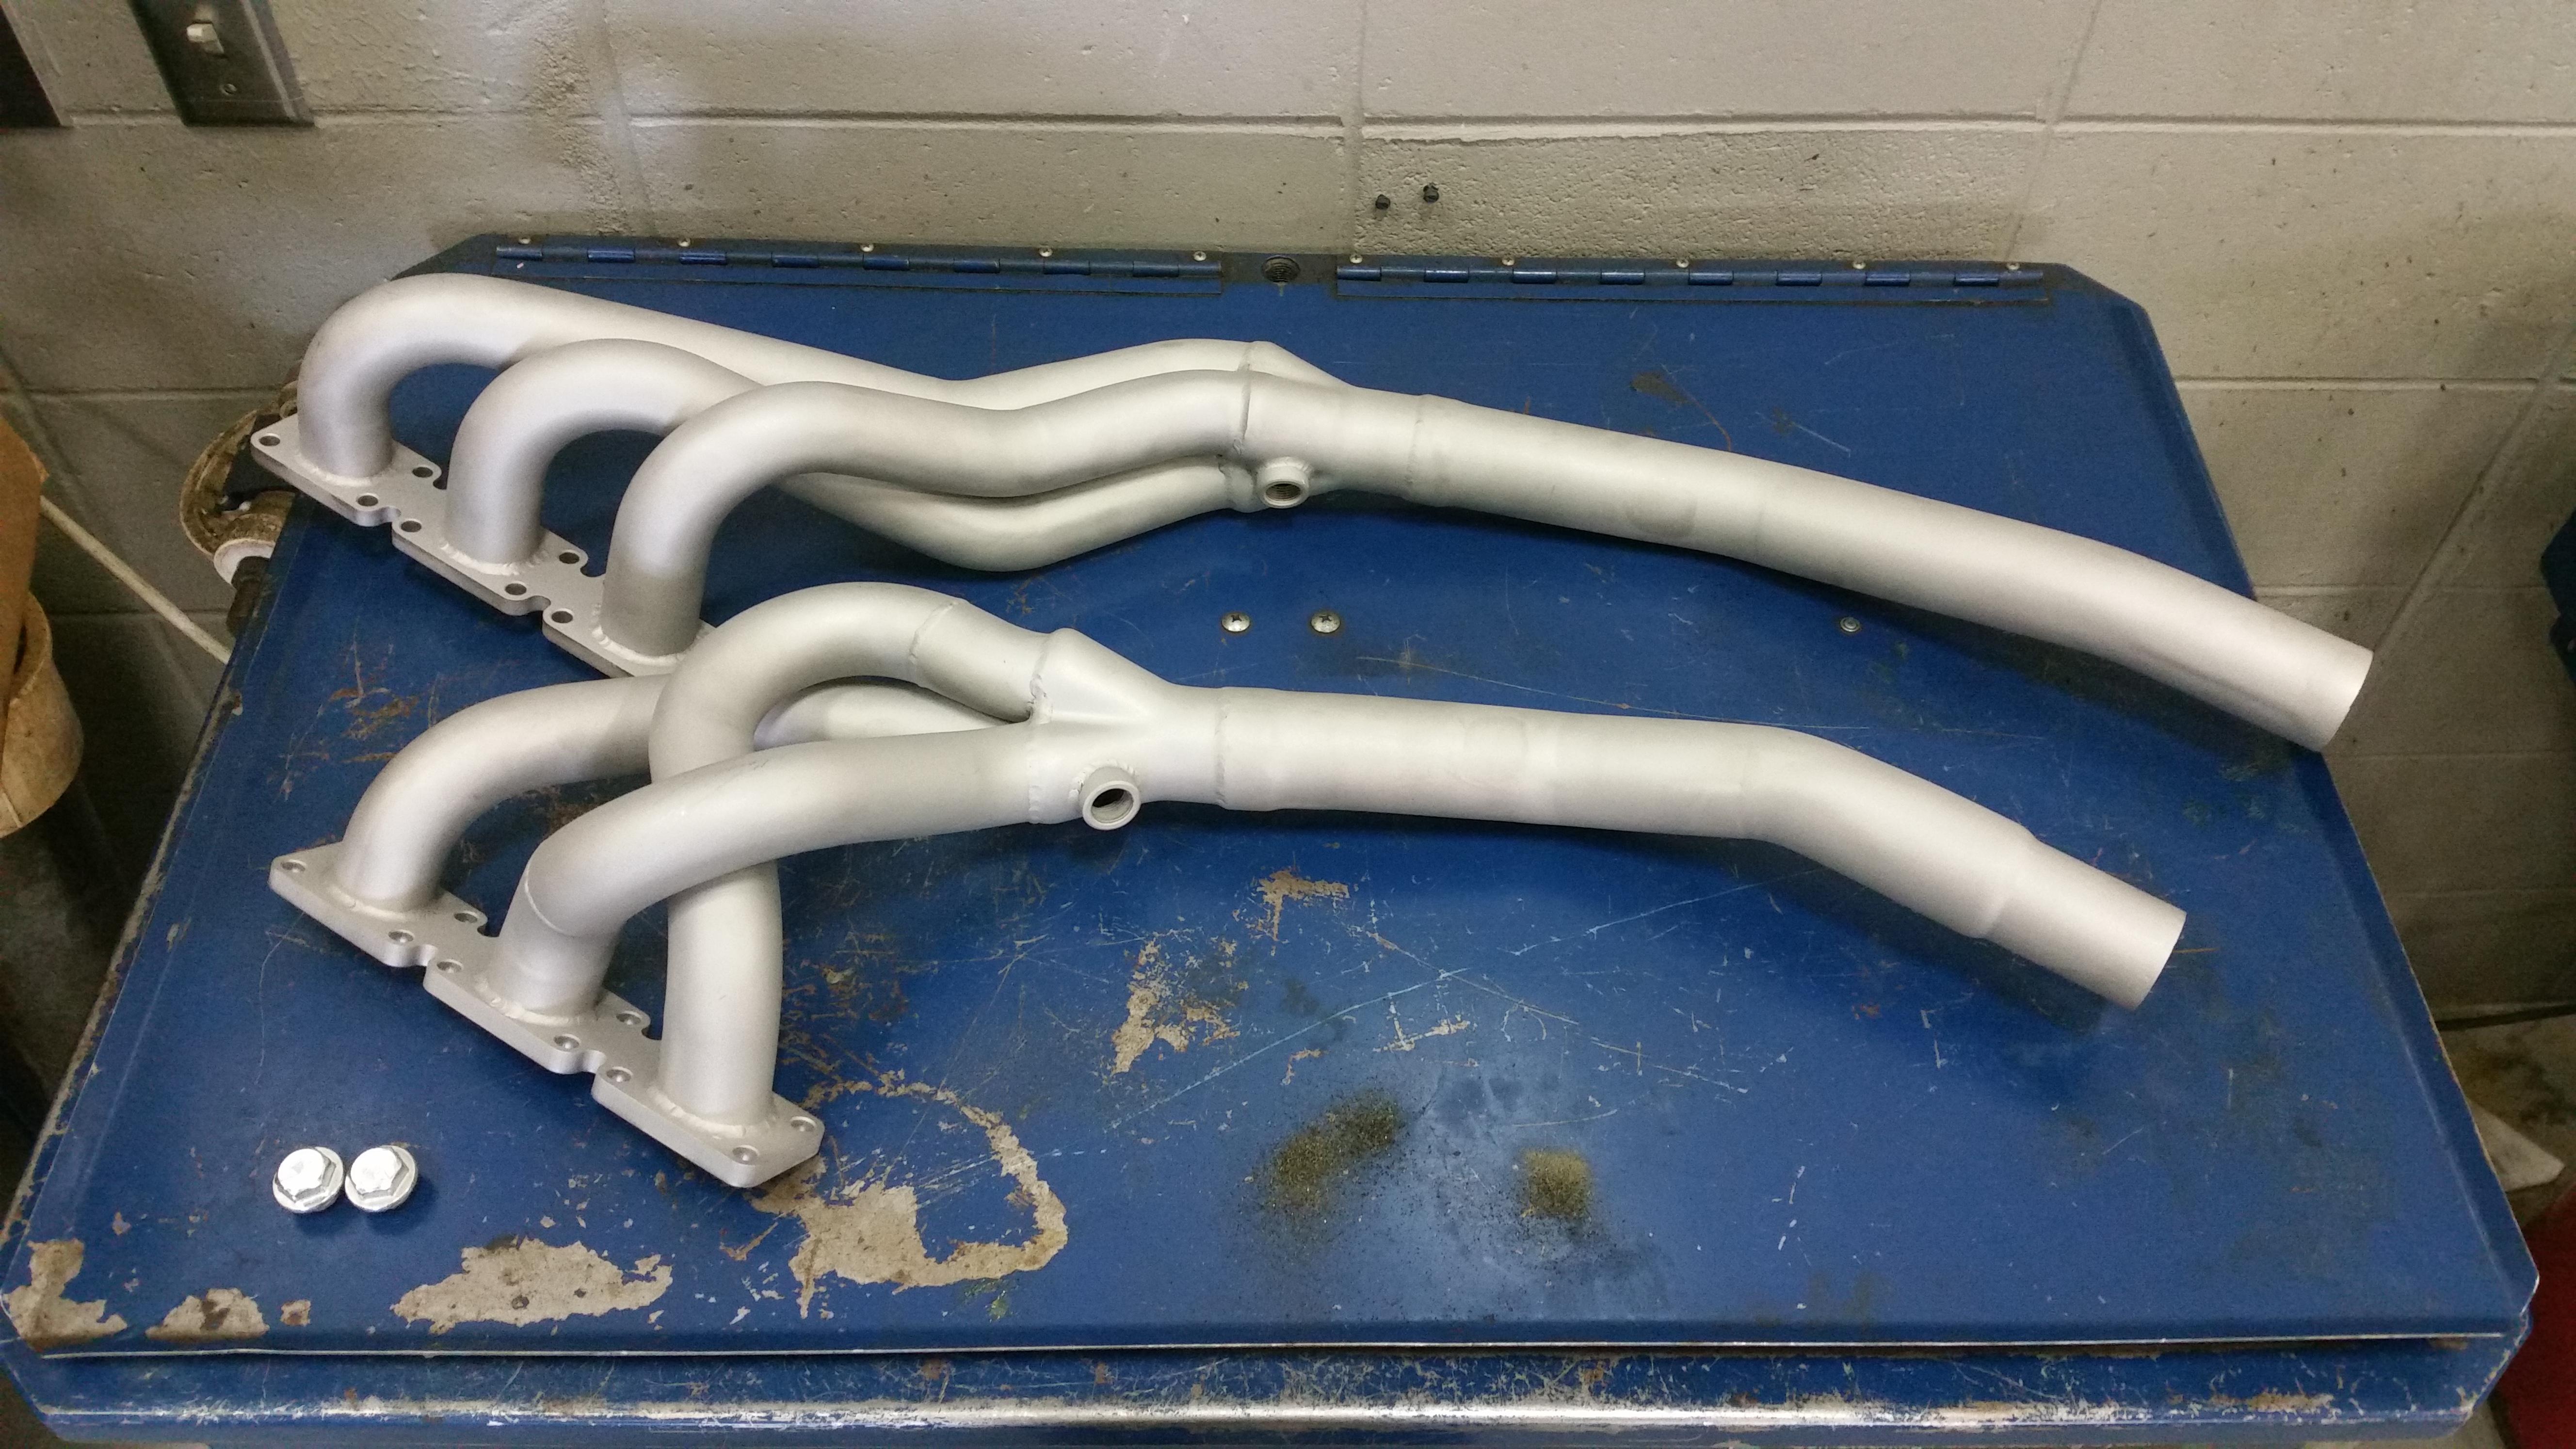
Plan is to ceramic coat them so the following day I threw them in the blasting cabinet.
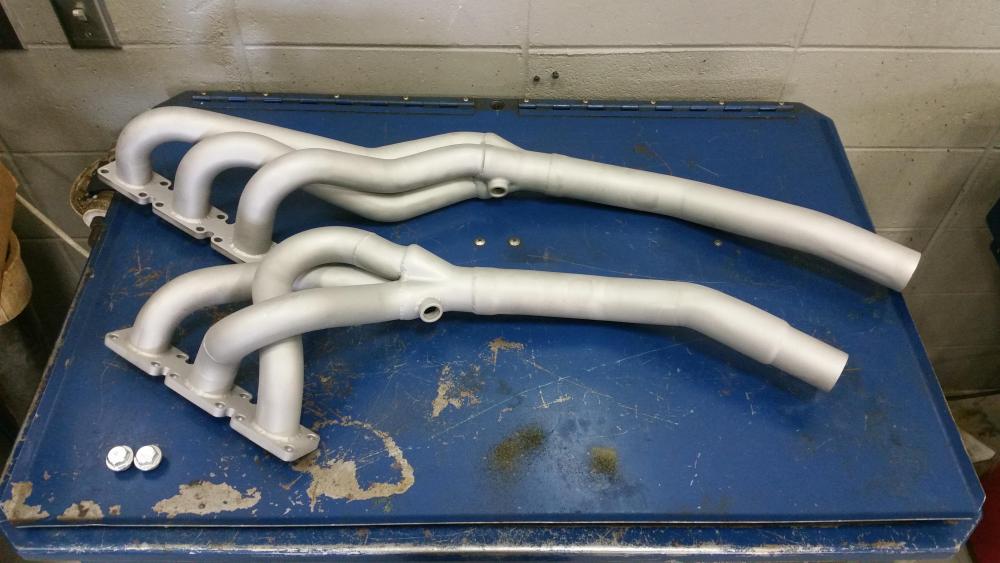
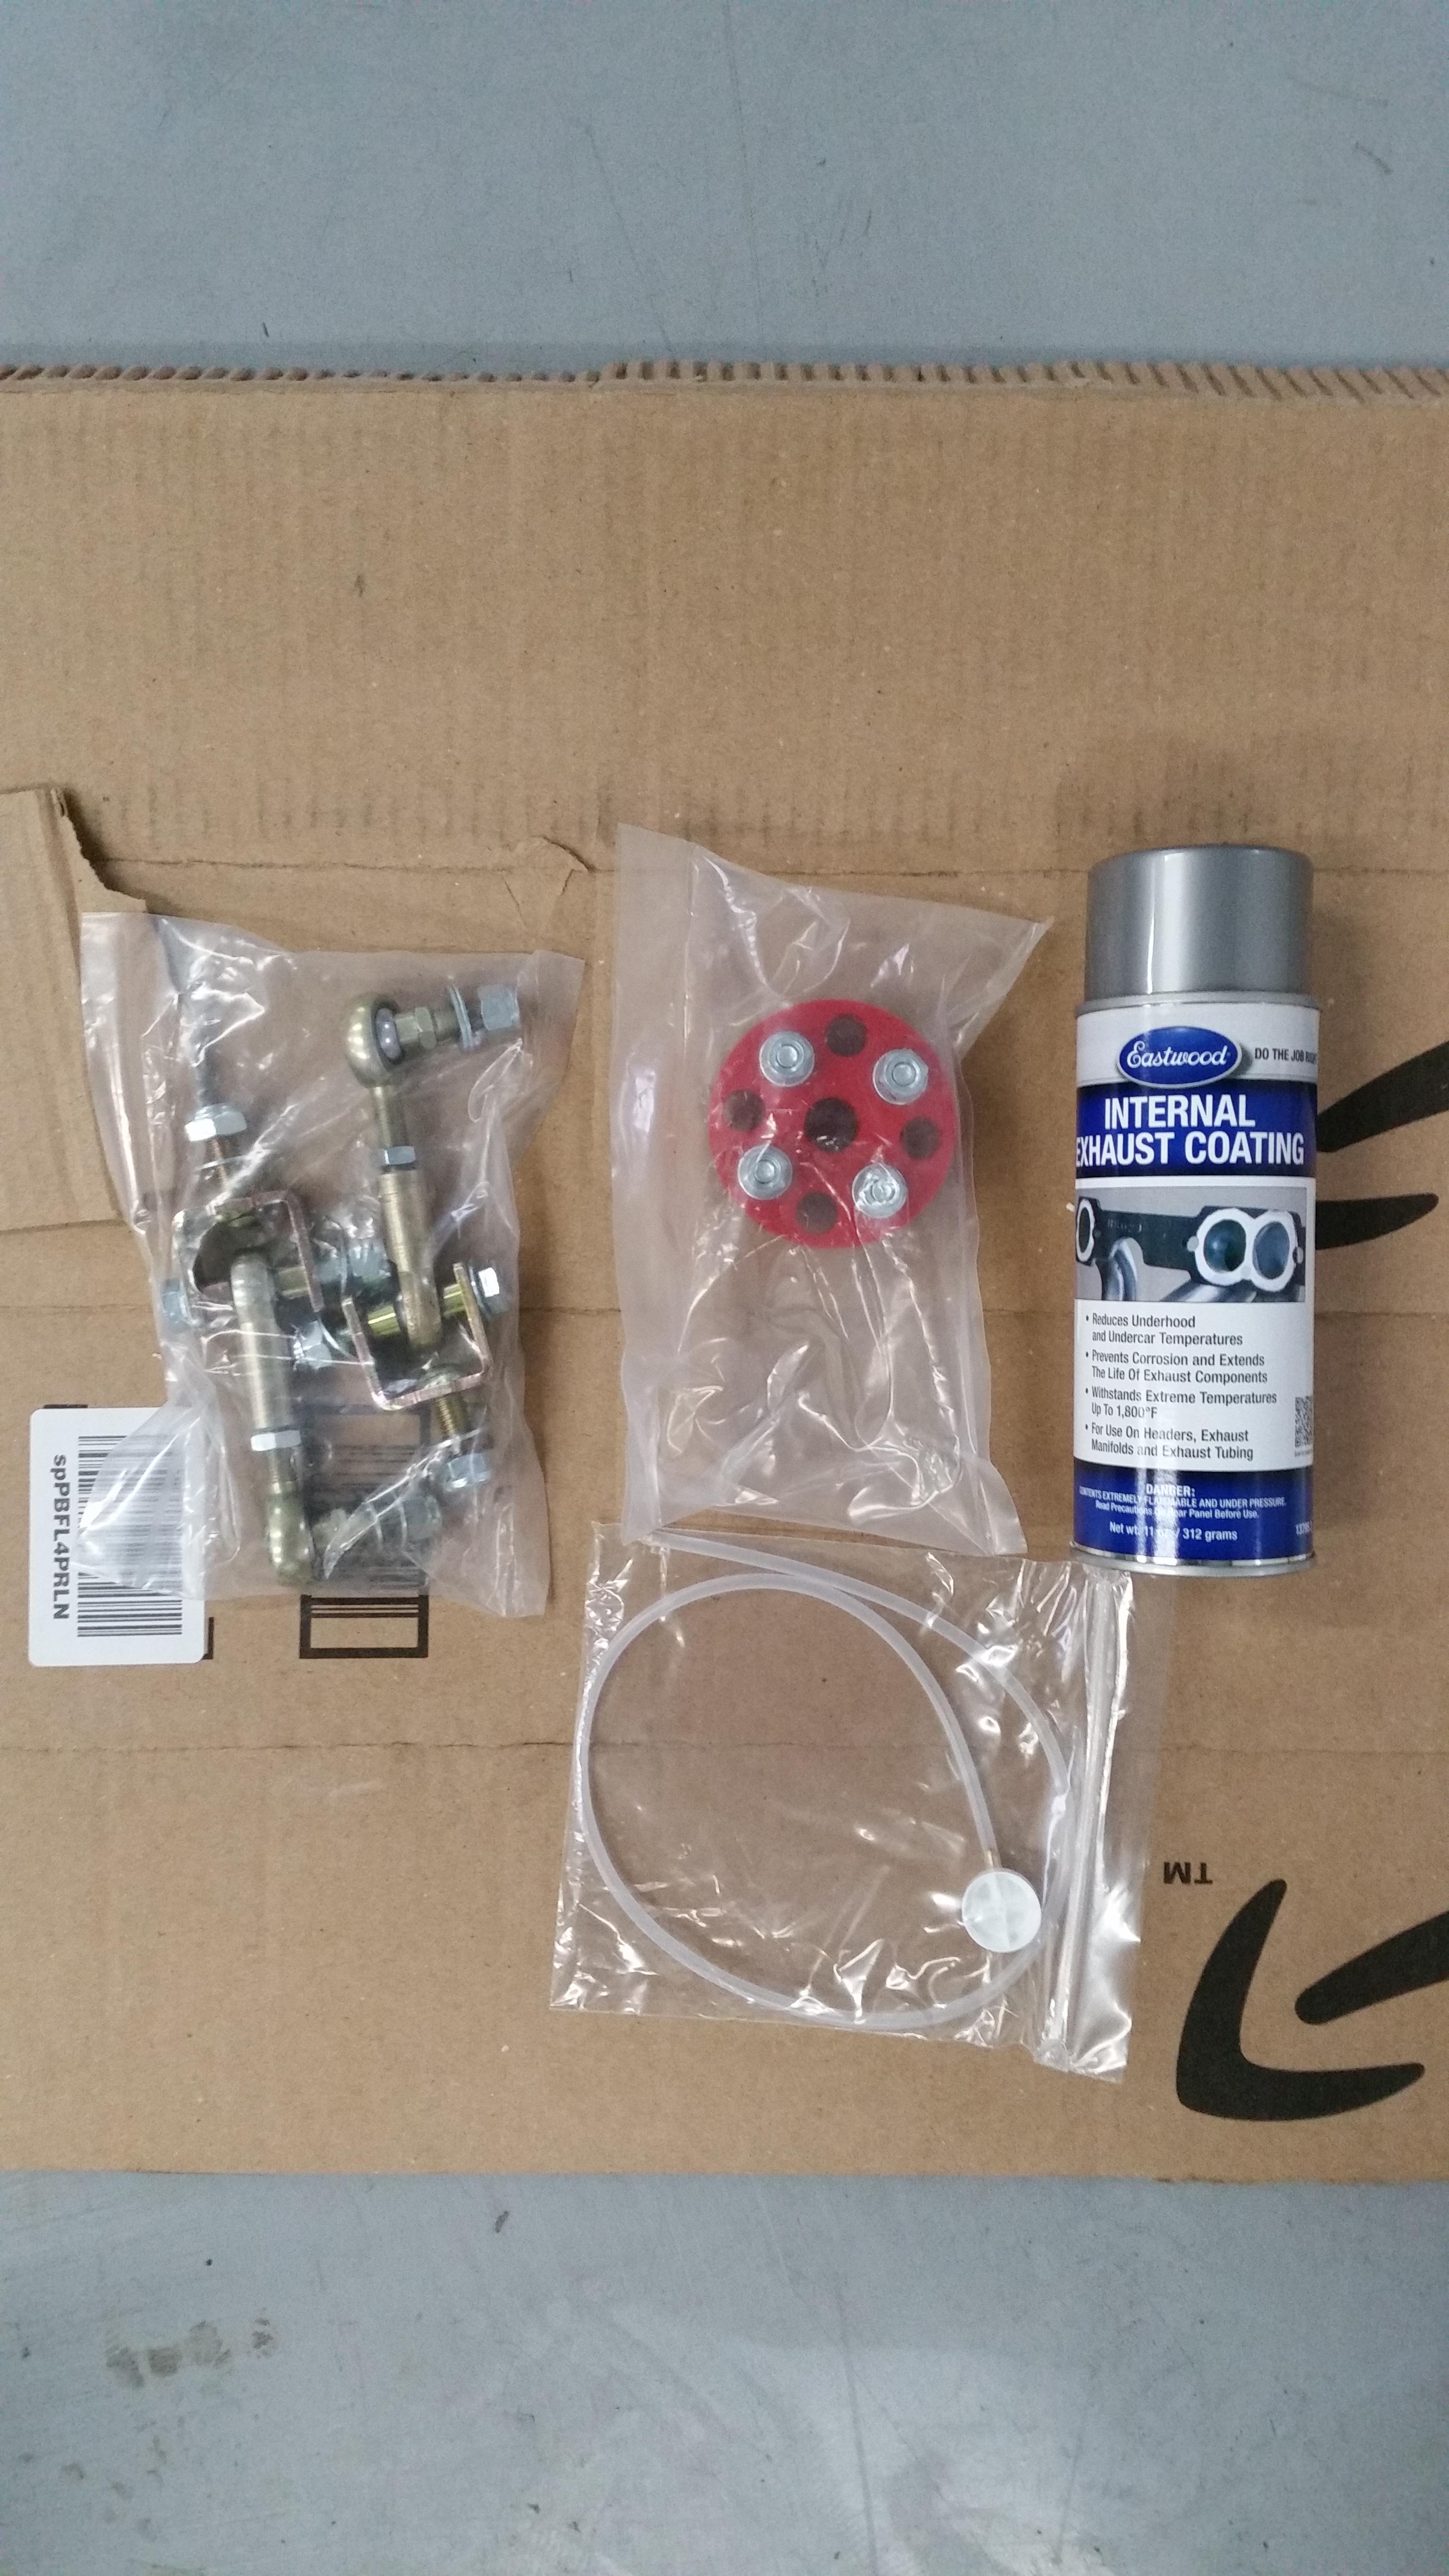
I will be using the ceramic coating from eastwood (same stuff @snap used) which should hopefully be here in the next day or so.
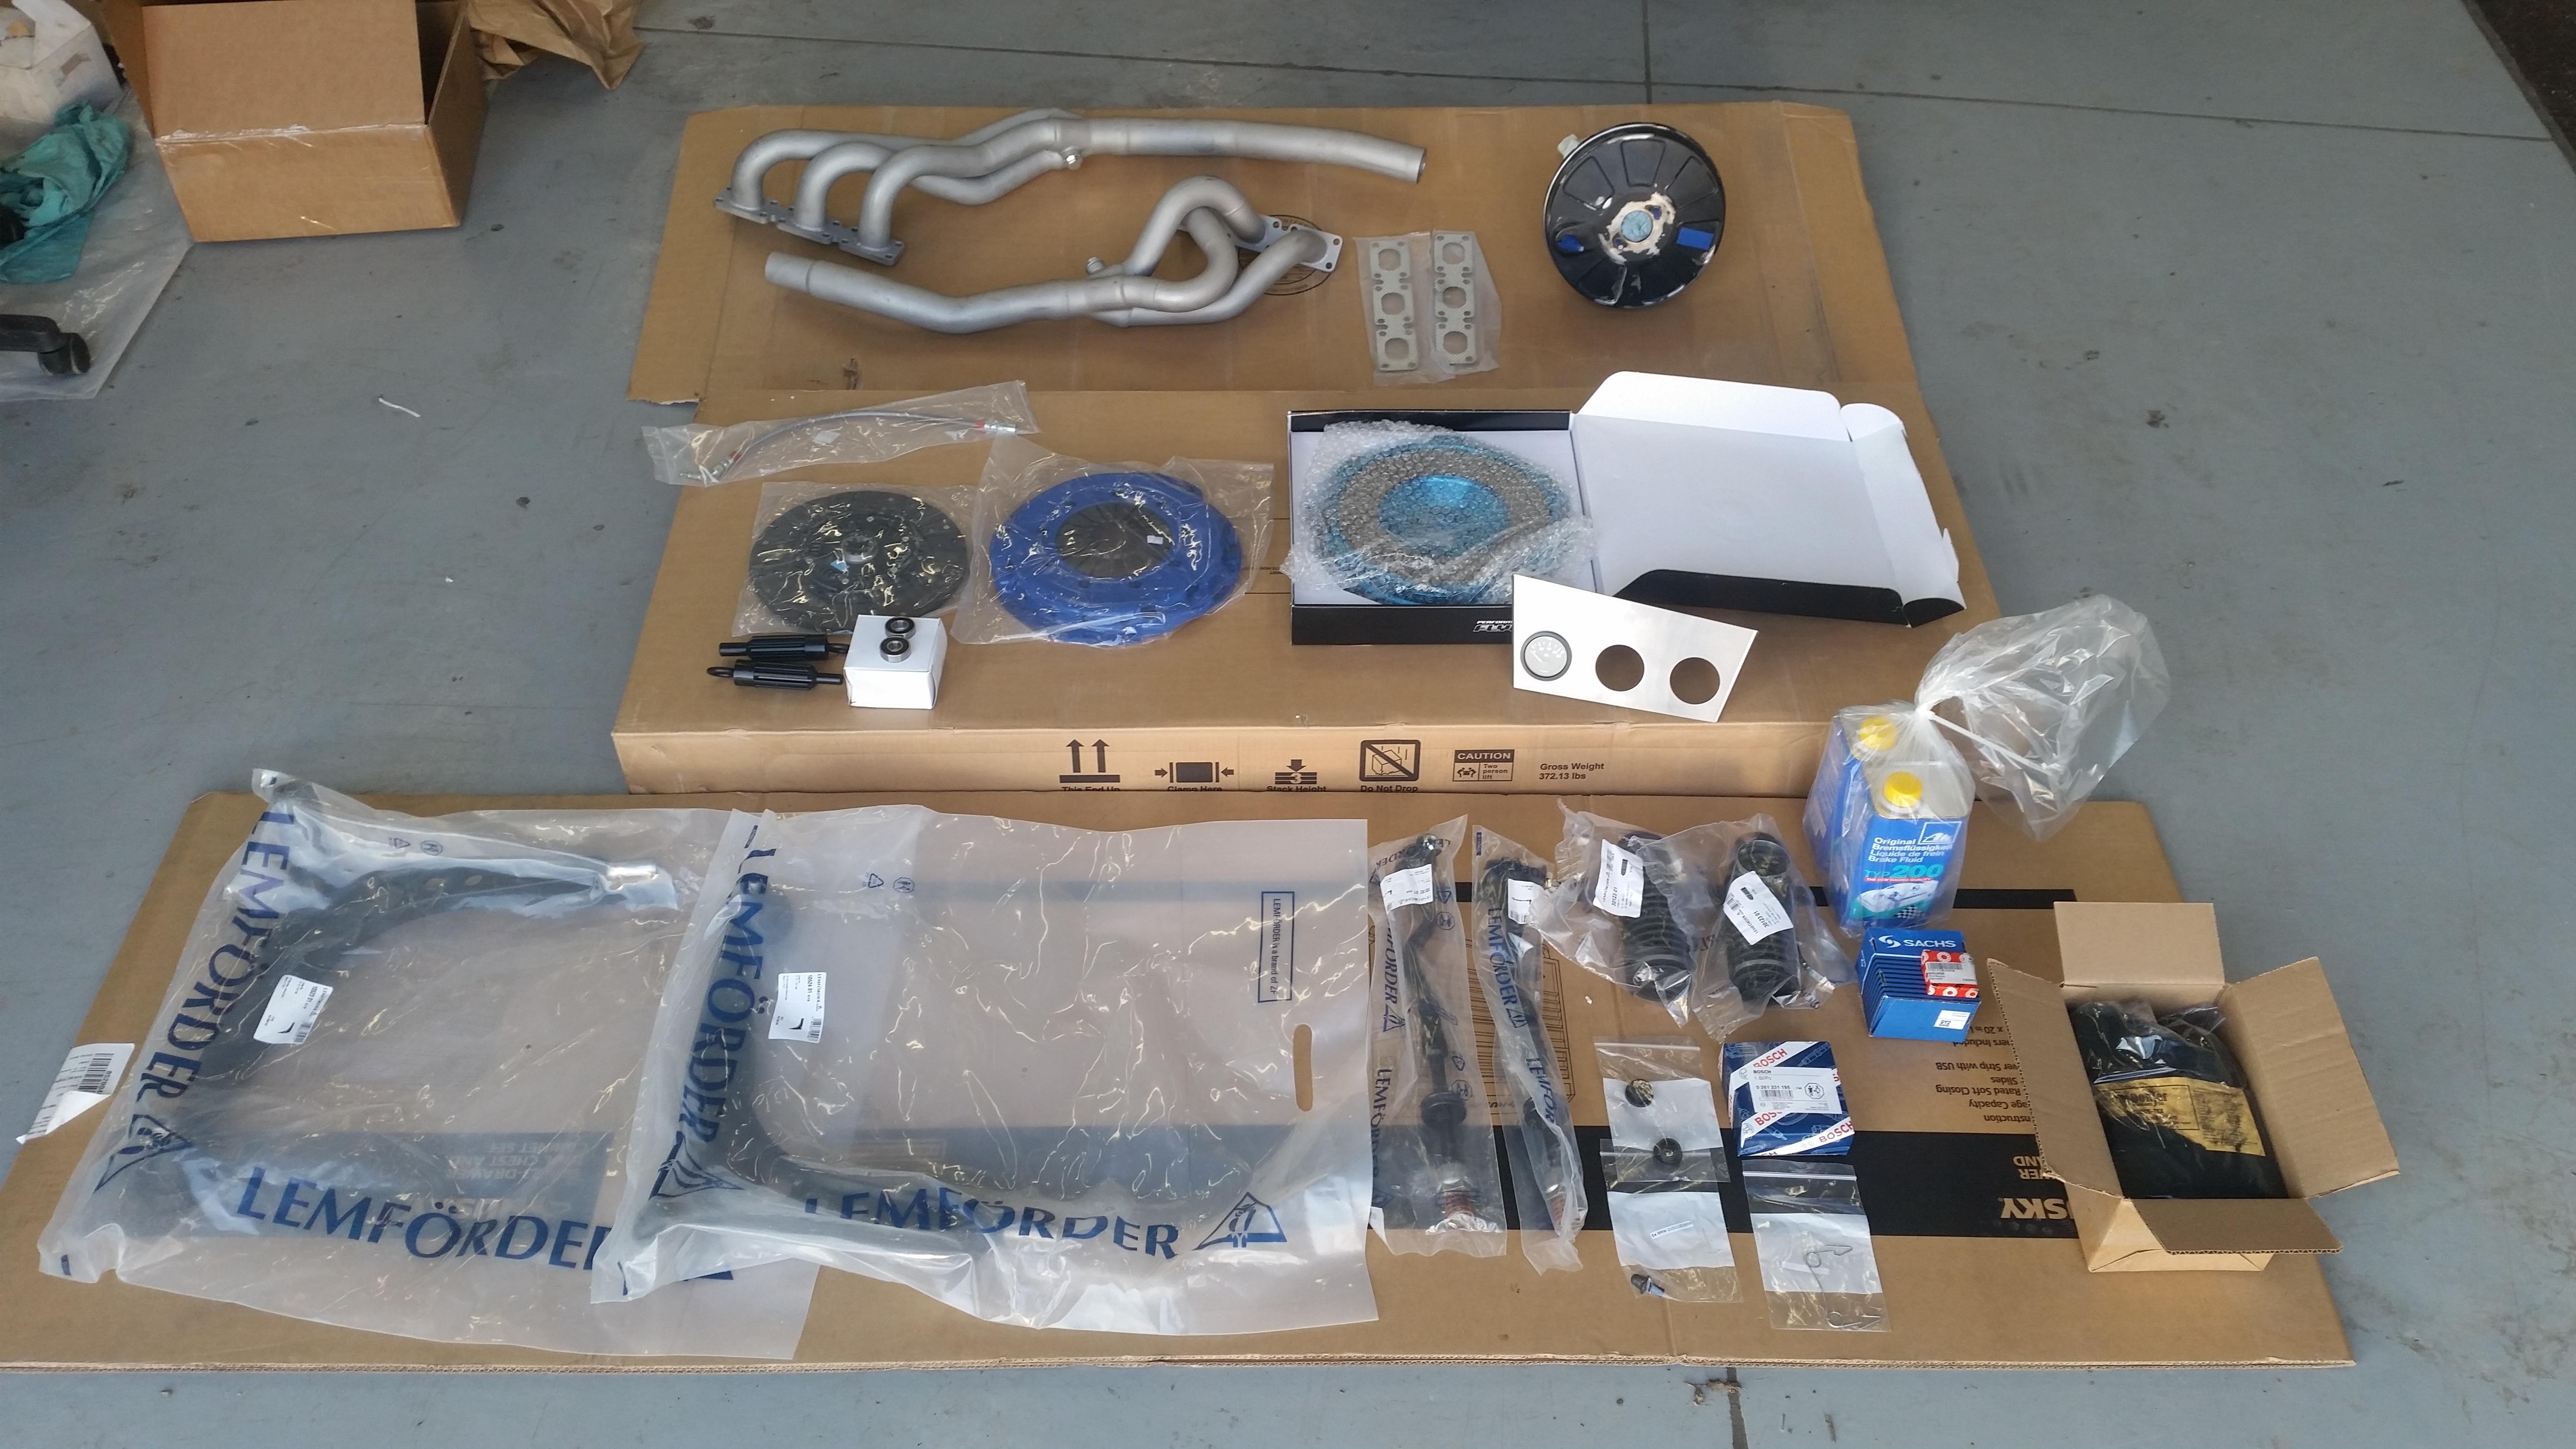
Clutch kit showed up! as well as many other things greatly needed to get this car a few steps closer to being finished.
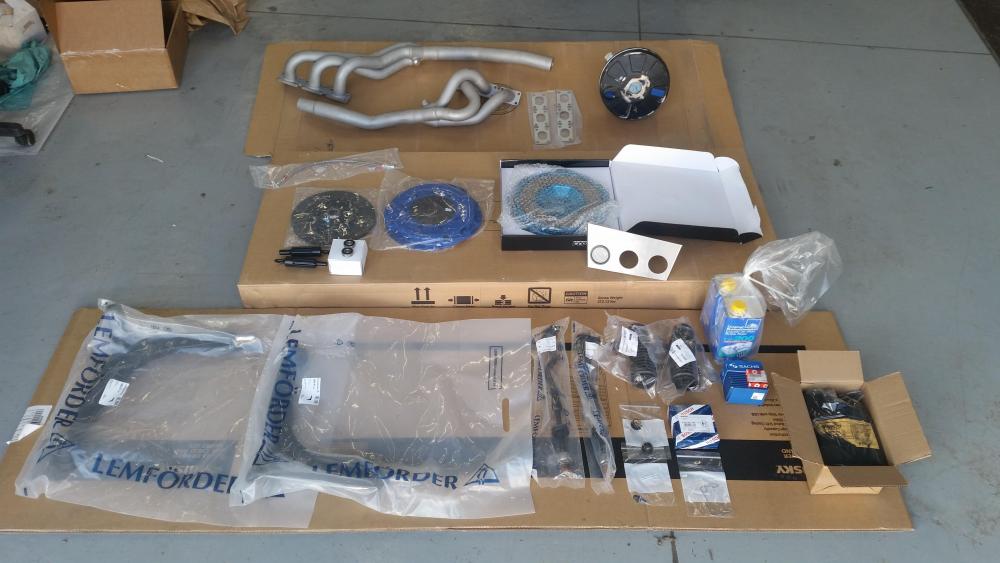
Parts above:
Gribforce clutch kit with aluminum flywheel
CSS clutch line
Oem control arms
Oem E36 tie rod assembly's
Oem tie rod boots
2 liters of ate typ 200 dot 4 brake fluid
oem clutch fork pivot
oem clutch release arm spring
oem throw-out bearing
oem pilot bearing
2nd bosch knock sensor
2 oem grommets for brake master cylinder reservoir
vdo oil pressure gauge I picked up on r3v
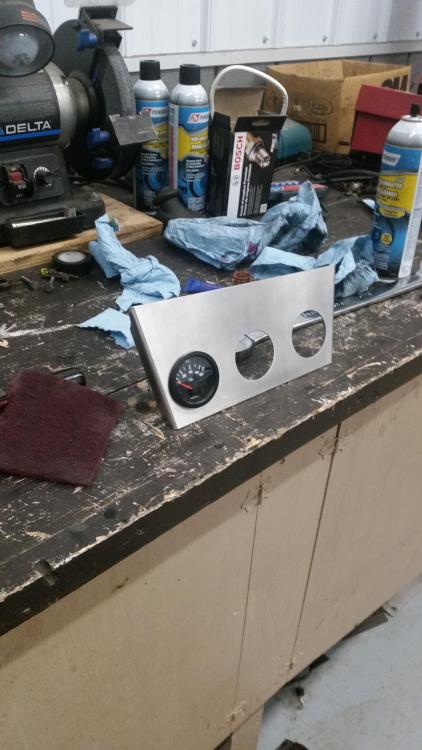
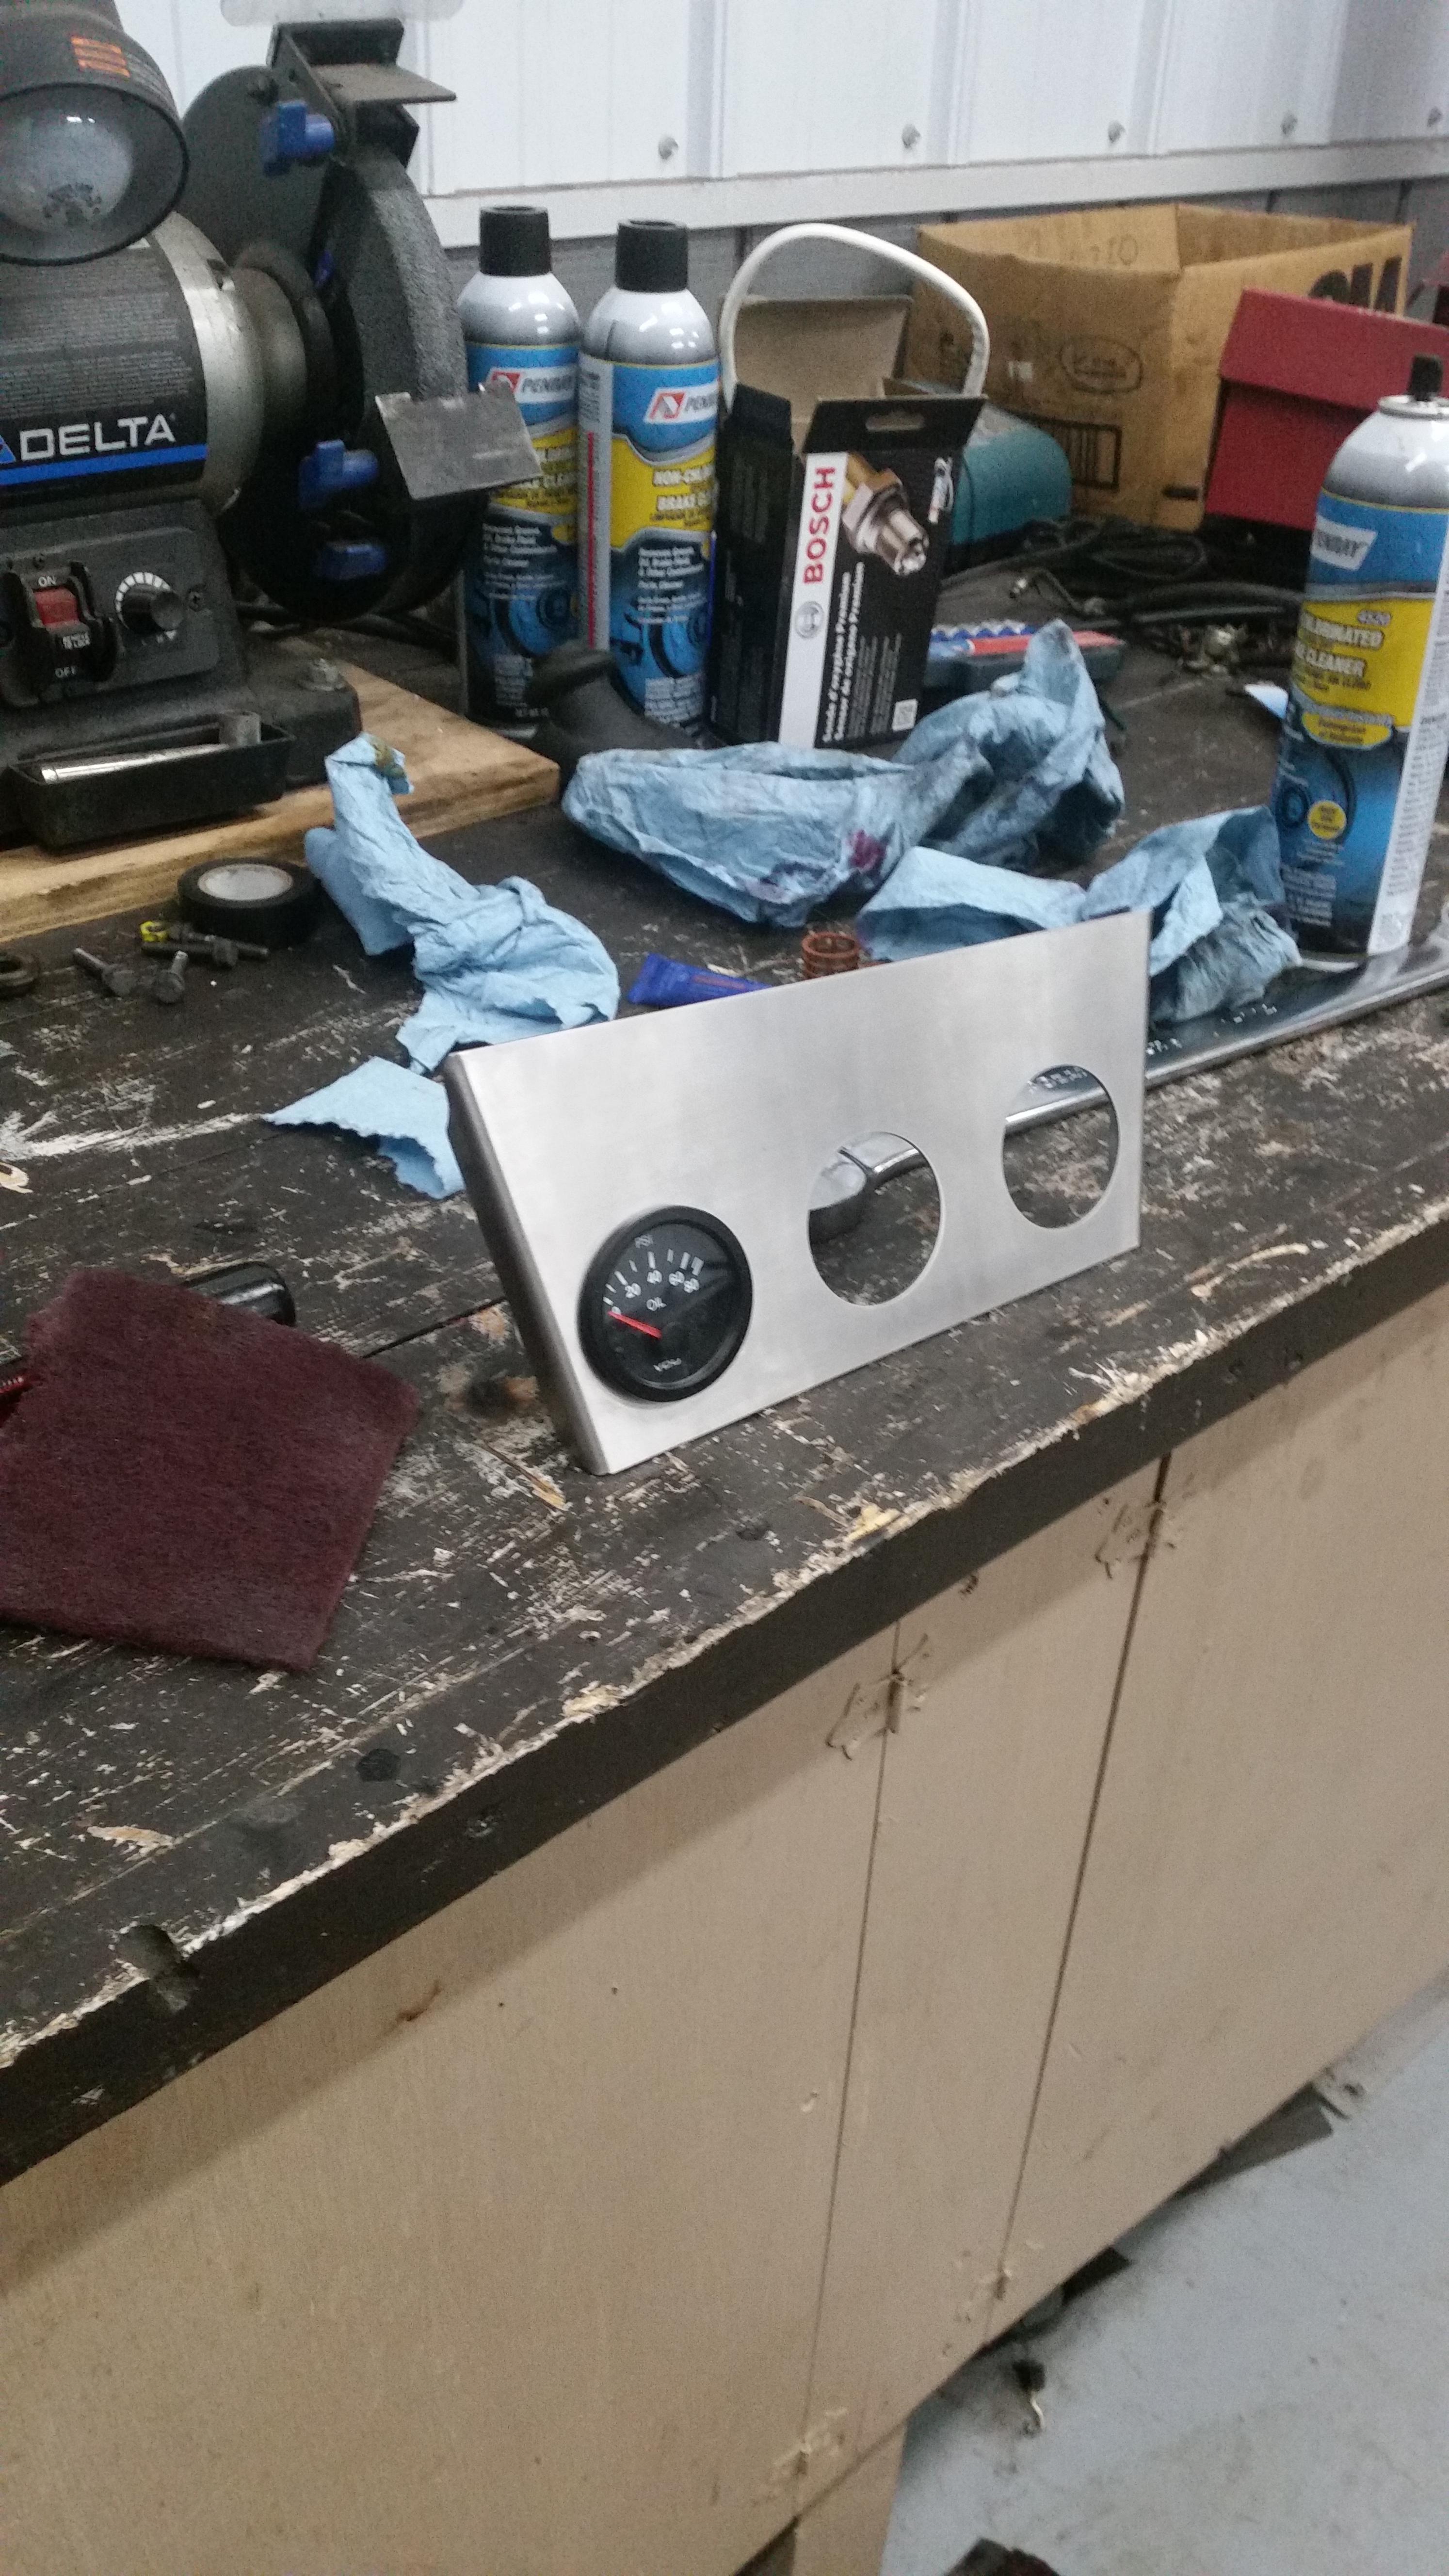
custom ashtray gauge pod a friend of mine designed and cut out for me (will be wrapping it with oem vinyl)
1 lb of black nylon flocking fibers
Stuff hoping to see in the next day or so:
IE front adjustable sway bar links
IE poly steering coupler bushing
eastwood ceramic coating
UUC EVO III short shifter
Right away I ripped open the clutch kit and did what needed to be done.
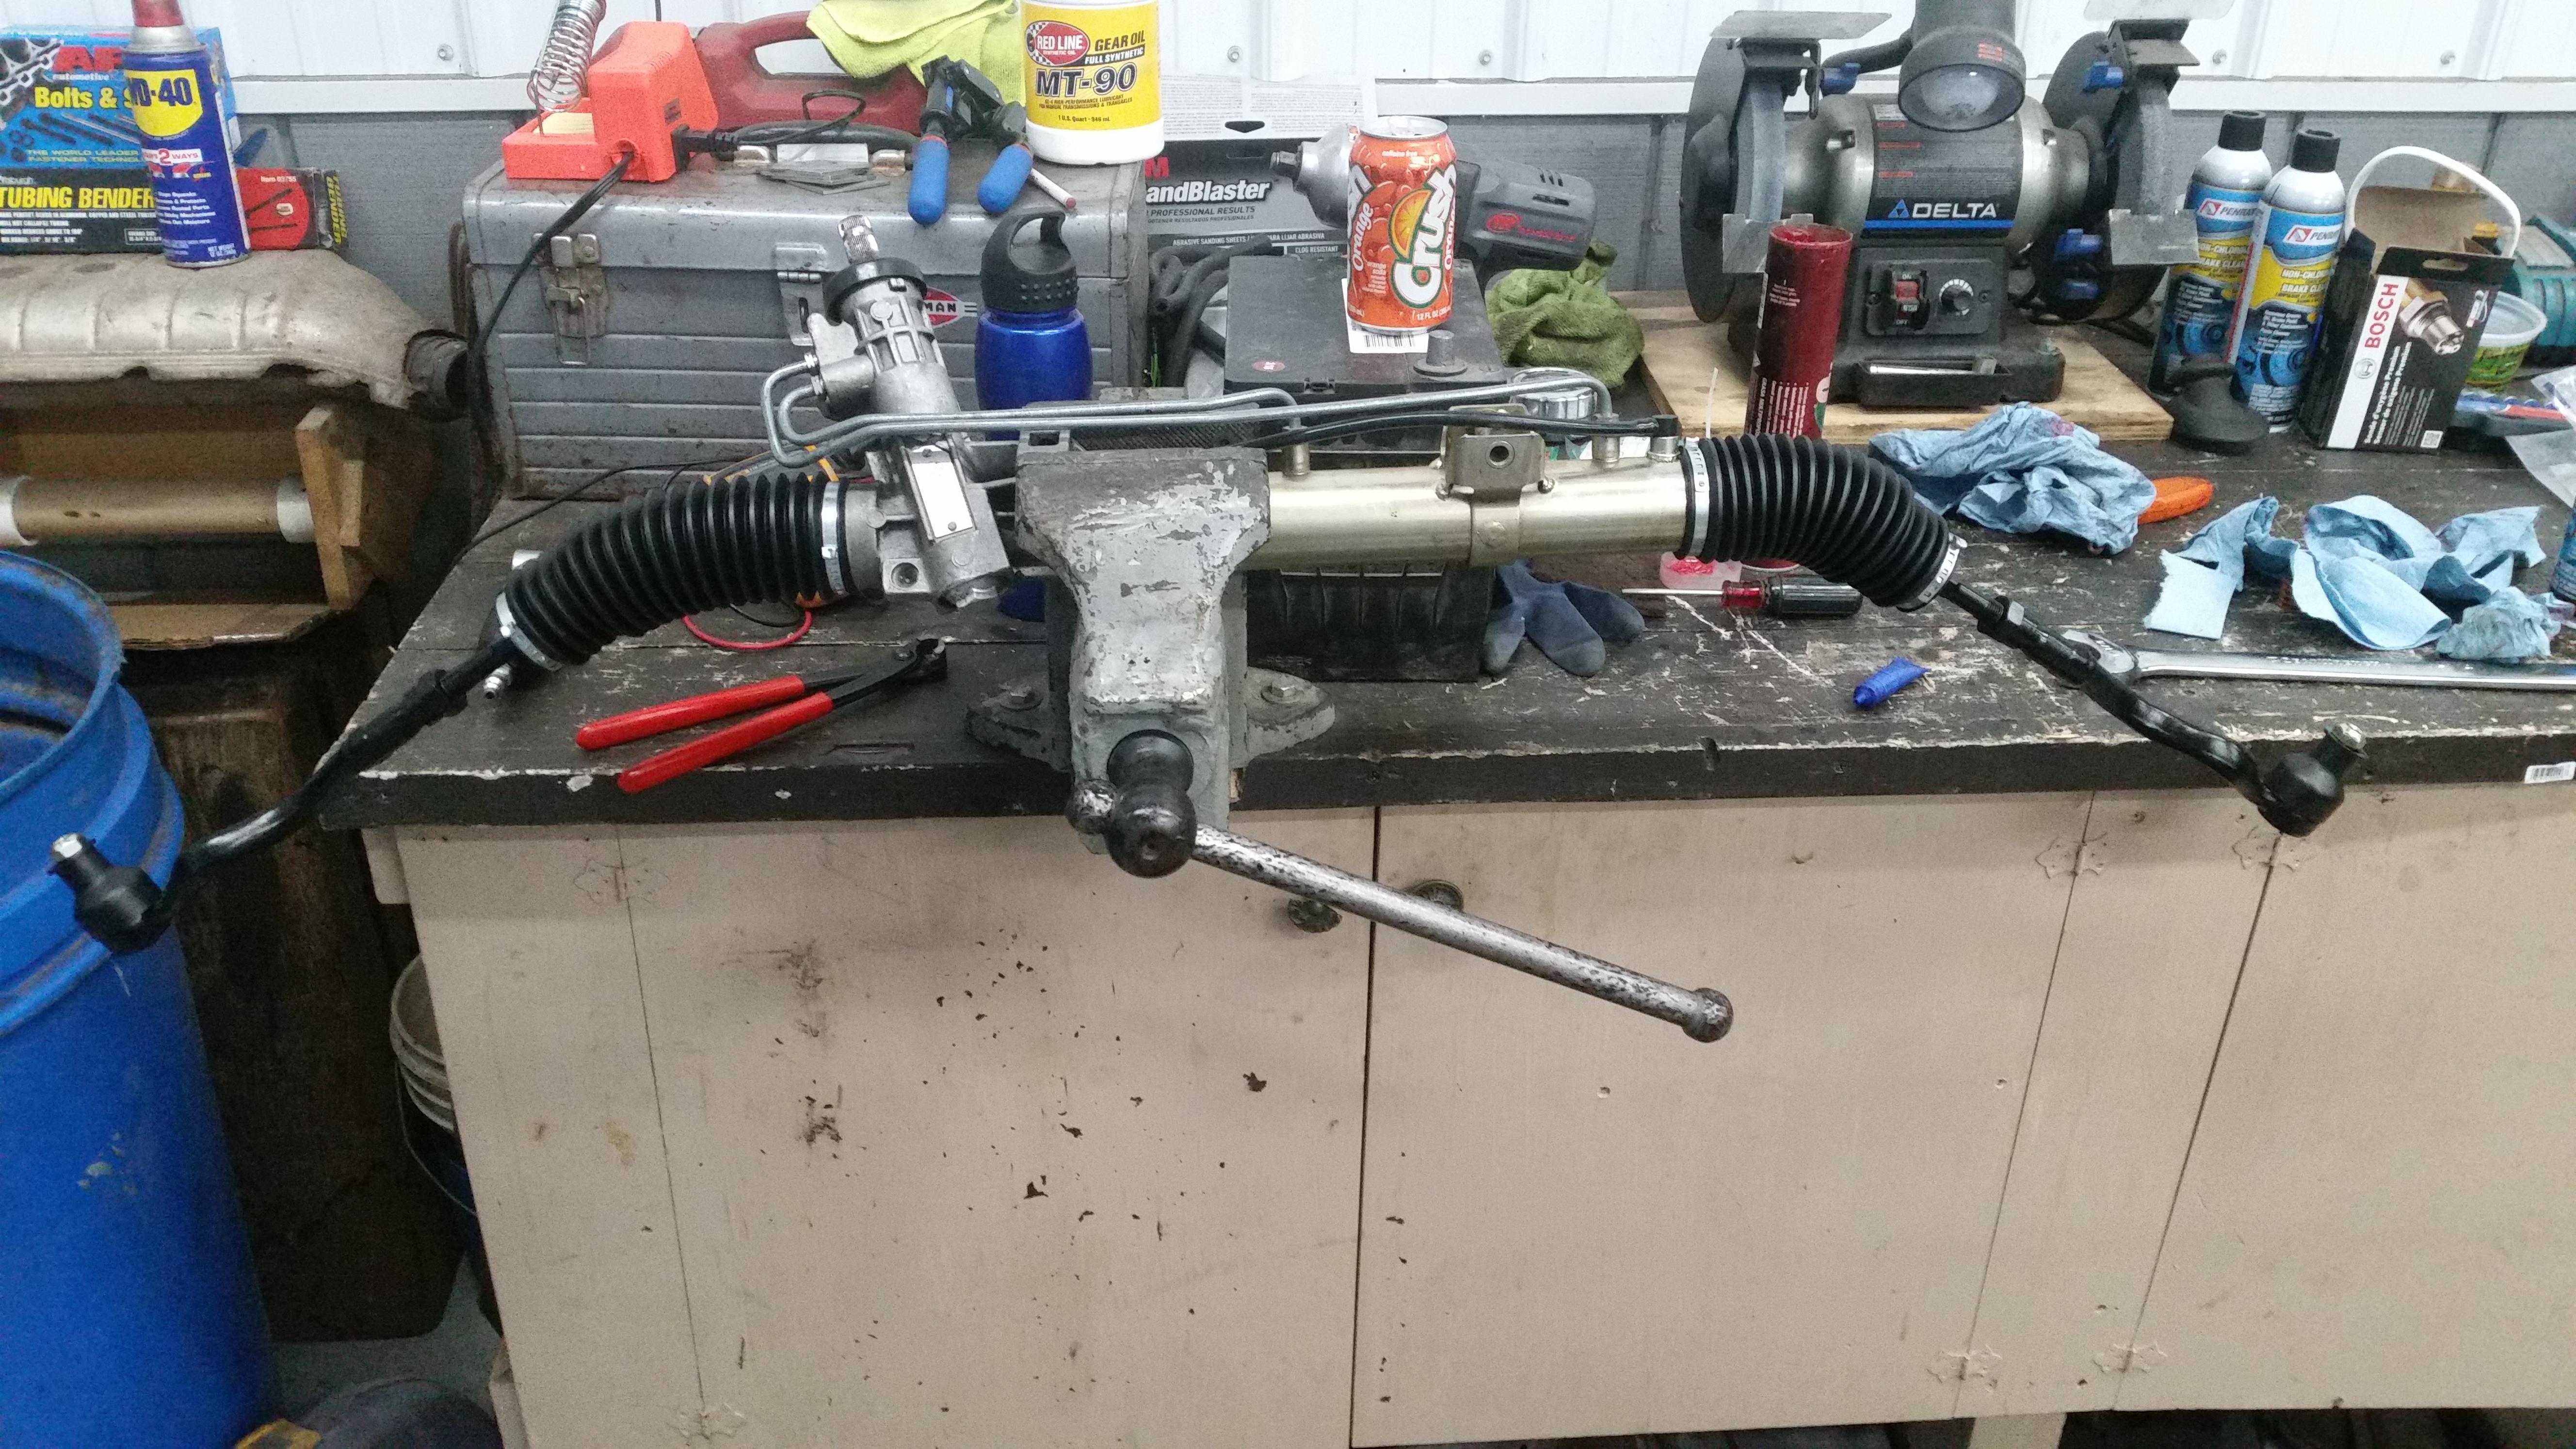
Now that that's done, on to the next thing of business... steering rack.
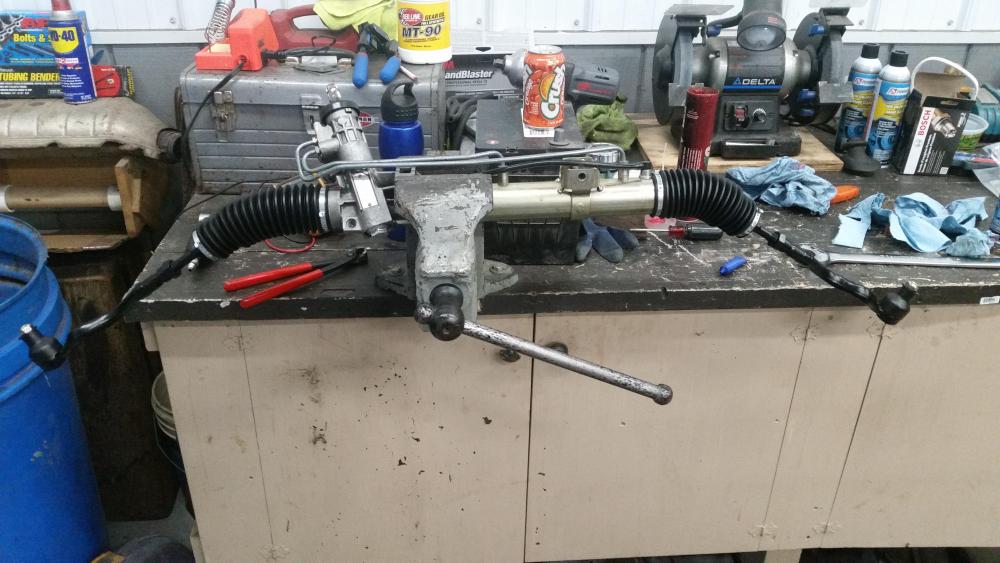
Applied red loctite to threads before tightening and applied some grease around the inner tie rod joint before installing the boots.
I was so very pleased with the gauge pod my buddy made for me I feel a need to post a more justified pic of it.
As u may of noticed above I did end up getting the UUC shifter. After looking around a bit I noticed a guy selling one hardly used and in nice shape for less then half of what they are new also including the aluminum shifter carrier and a weighted shifter . It was posted as an auction so for my very first time I played the bidding game and Won! For only about 5 dollars more then the starting price. Hopefully gonna be seeing it here sometime Friday.
Got myself a lot on my plate to get installed. Plan is to start getting the rear end assembled and get the trans and harness installed on the motor this weekend.
-
Nice trash pic Lol!
Might want to test fit those headers in the car before going through all the ceramic coating. They will most likely need some coaxing with a hammer to clear the subframe/engine mount. Might have to widen out the flange holes as well
awesome progress!
-
Also use OEM gaskets on the headers if you can. The ones they provide will probably leak after 1000 miles.
Cant remember if you bought exhaust studs yet, but I think(?) people buy n54 because they have an Allen on the end for easy install (no two nut method, unless you’re into that)
-
For the trans dampener you have to remove the output flange with a thin wall 30mm socket **after removing the lock plate** around the flange nut. Most guys just grind down a cheaper impact socket but you also need a good impact too.
TLDR it’s a pain, so leave it if it’s fine.
-
Looks like you need boost.
Just sayin' -
Are those harness wire connections just twisted together and heat shrinked? I am breaking up with my soldering iron because I have discovered the joy of a properly installed crimp connector. I spend way too much time soldering things.
The o2 bungs on those headers are worthless so dont toss the plugs that come with them. I didnt really have too much issue with fitment. The engine mount arm I have has already been clearancedfor the header and I just had to compress the relatively soft heat shielding material on the firewall where it bends down into the floorpan.
-
Nice trash pic Lol!
Might want to test fit those headers in the car before going through all the ceramic coating. They will most likely need some coaxing with a hammer to clear the subframe/engine mount. Might have to widen out the flange holes as well
awesome progress!
Thanks for the tip! I will take a look at that
Also use OEM gaskets on the headers if you can. The ones they provide will probably leak after 1000 miles.
Cant remember if you bought exhaust studs yet, but I think(?) people buy n54 because they have an Allen on the end for easy install (no two nut method, unless you’re into that)
Shit! that sucks. When I sold the exhaust manifolds to a guy last week I gave him the oem gaskets I had purchased for these headers as well sense I saw that they came with new ones already. Live and learn.
I did go ahead and use the n54 exhaust studs, I very much like the torque head on the end to tighten them in, lots of time is saved going that route for sure.
For the trans dampener you have to remove the output flange with a thin wall 30mm socket **after removing the lock plate** around the flange nut. Most guys just grind down a cheaper impact socket but you also need a good impact too.
TLDR it’s a pain, so leave it if it’s fine.
Like u said I noticed that I would probably have to modify a socket to get it off. Seems like a pita so I'm just gonna leave her on there.
Are those harness wire connections just twisted together and heat shrinked? I am breaking up with my soldering iron because I have discovered the joy of a properly installed crimp connector. I spend way too much time soldering things.
The o2 bungs on those headers are worthless so dont toss the plugs that come with them. I didnt really have too much issue with fitment. The engine mount arm I have has already been clearancedfor the header and I just had to compress the relatively soft heat shielding material on the firewall where it bends down into the floorpan.
Yup I just twisted the wires tightly, helps if you have longerish thumb nails to get them really tightened together. I use to have a really cheapy soldering iron that barely got hot enough to melt the solder, made me hate soldering tell I finally invested in a better one that I couldn't be happier with and it makes soldering very quick and painless. I have used the crimp connects as well on other applications and I don't mind them but for the little extra time it takes for the soldering and shrink tube I think its worth it cause IMO they seem to hold up much better.
Couple more things showed up at the old doorstep dis mornin...

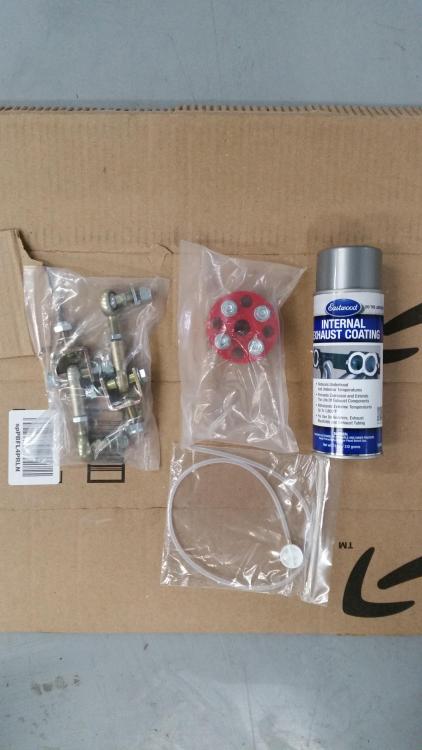
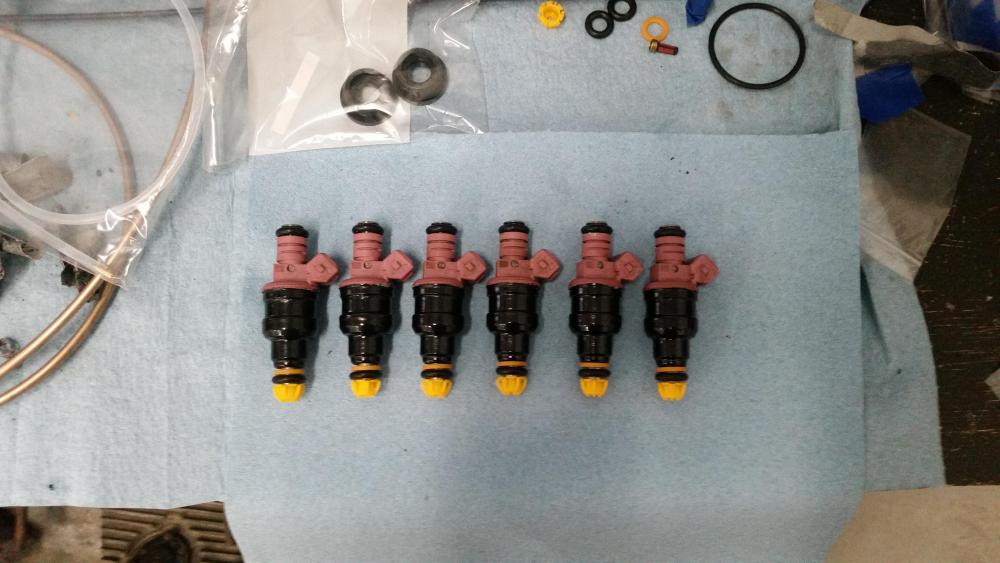
Also got around to finishing up with the injectors and getting them reassembled. Before reinstalling them I want to run some injector cleaner through them to make sure they are working properly.
-
I got no pressure plate bolts with the girpforce kit. @KaiserRolls Is this normal?
-
I got no pressure plate bolts with the girpforce kit. @KaiserRolls Is this normal?
Mine did not come with any either. Could snag some decent stuff at the hardware store or re use if you’re in a pinch
-
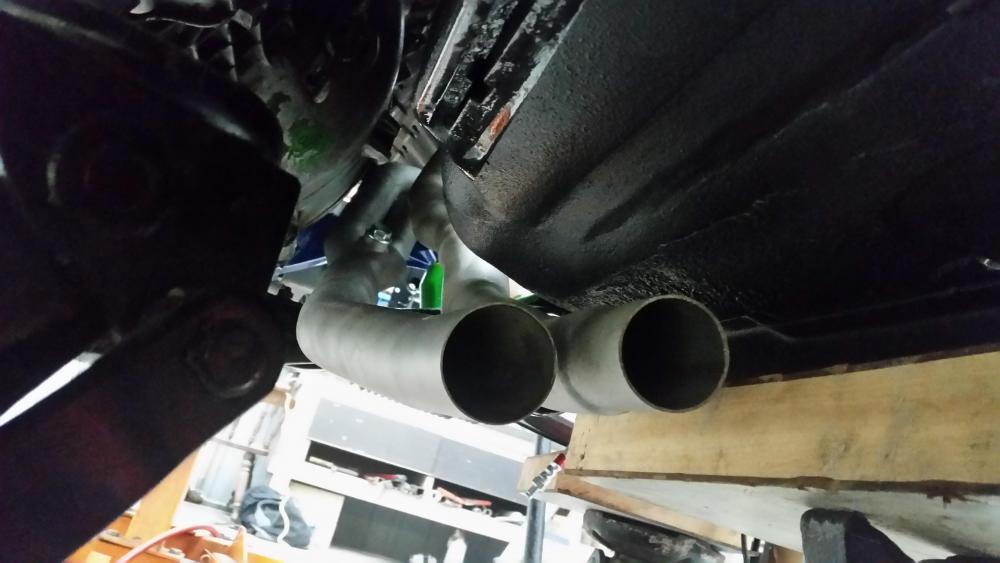
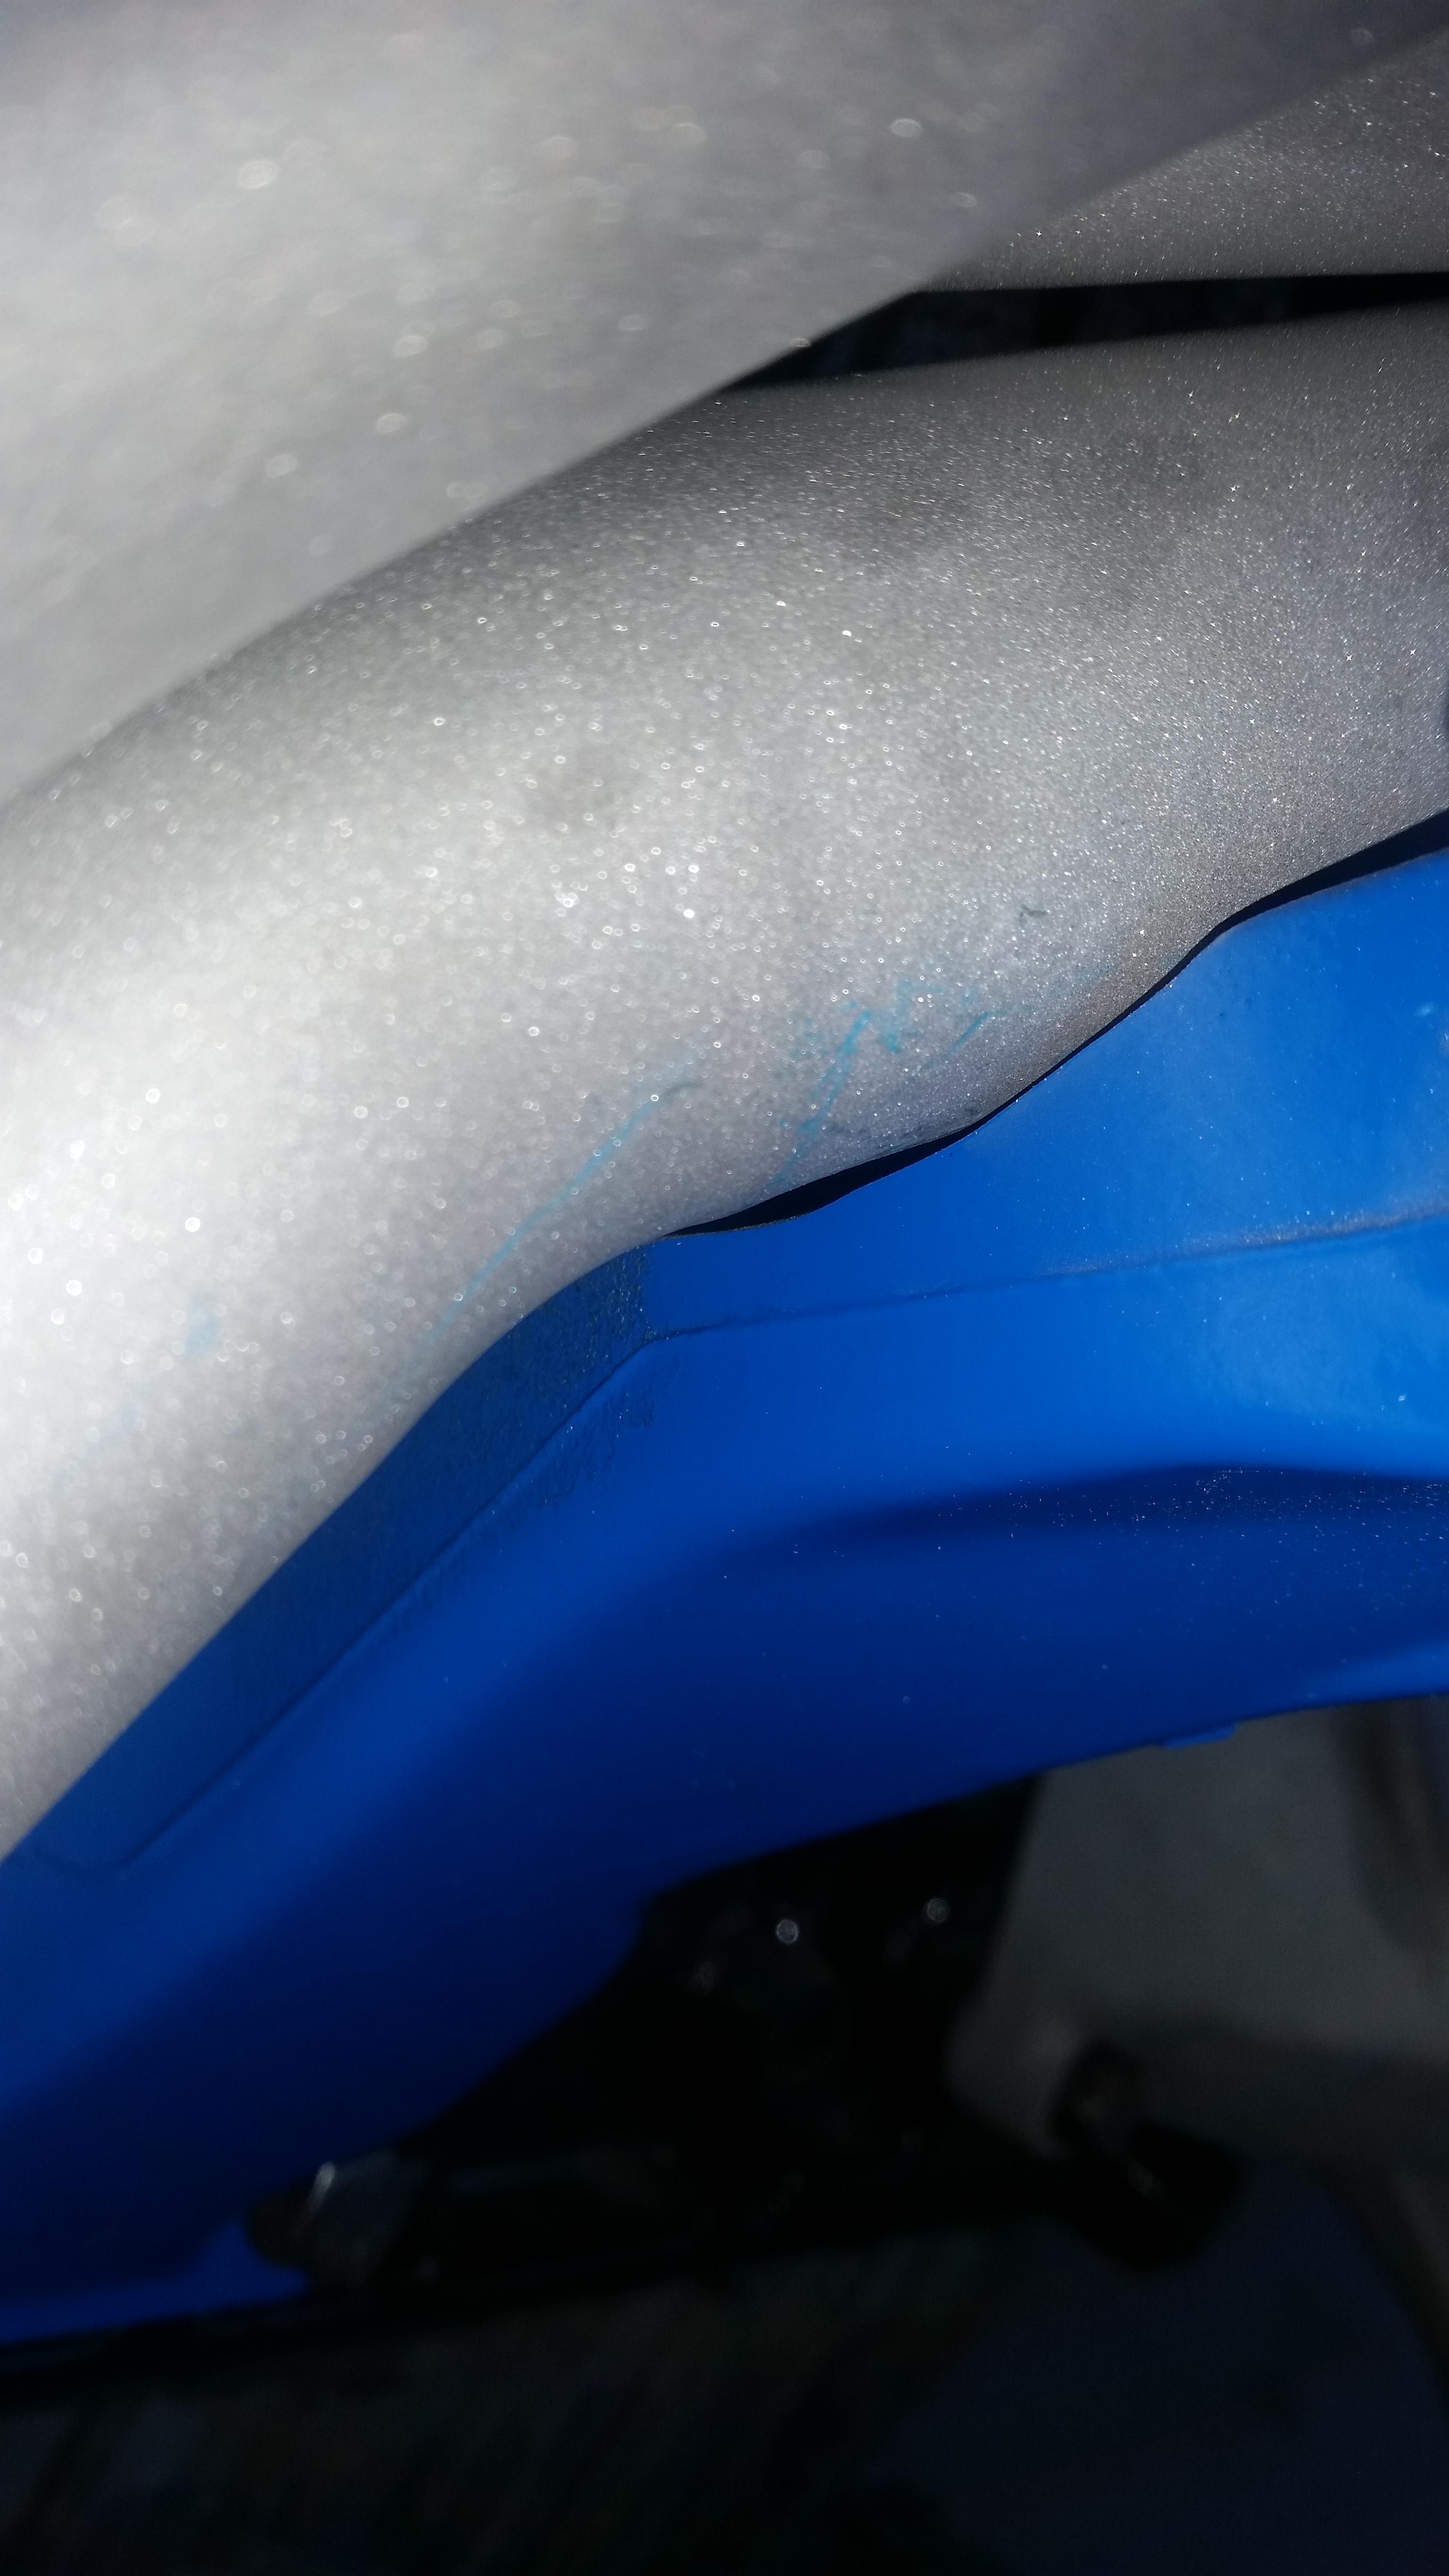
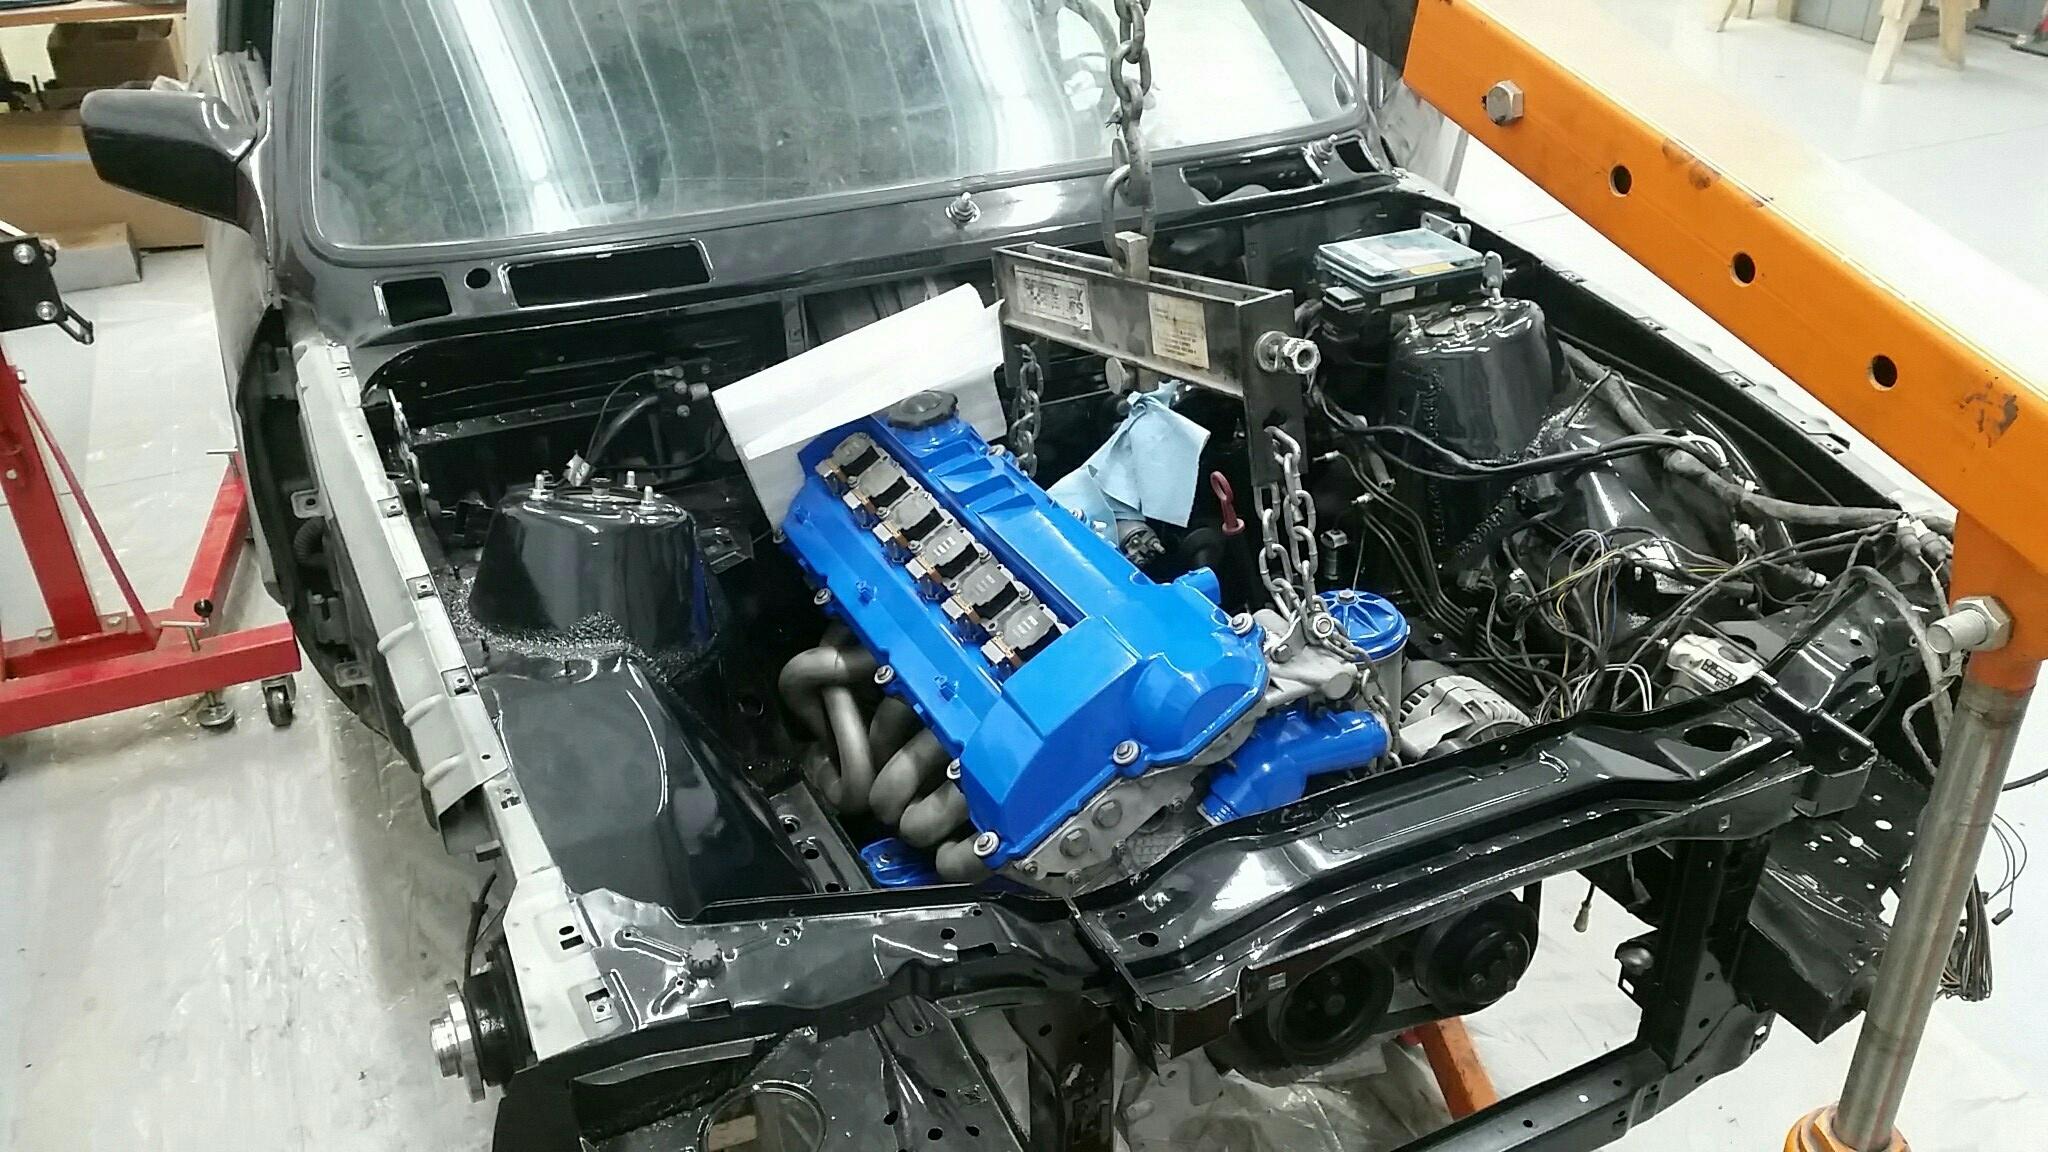
So I did end up having to do a little modifying to get the headers to clear the motor mount.
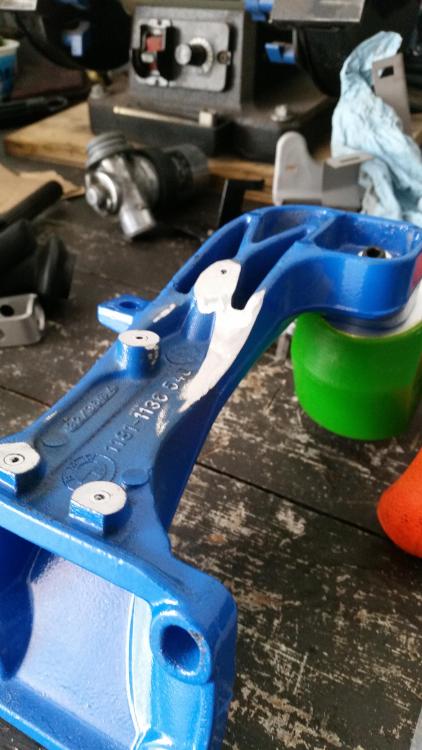
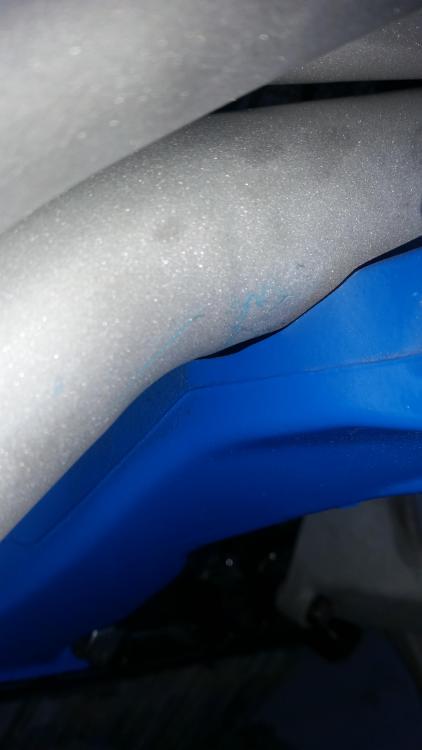
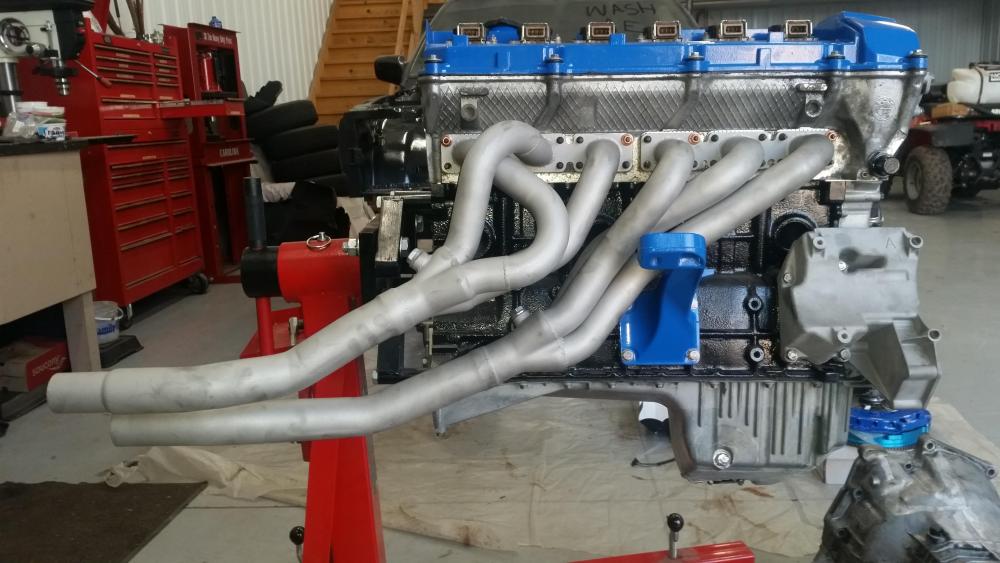
After a little shaving everything is fitting up nicely.
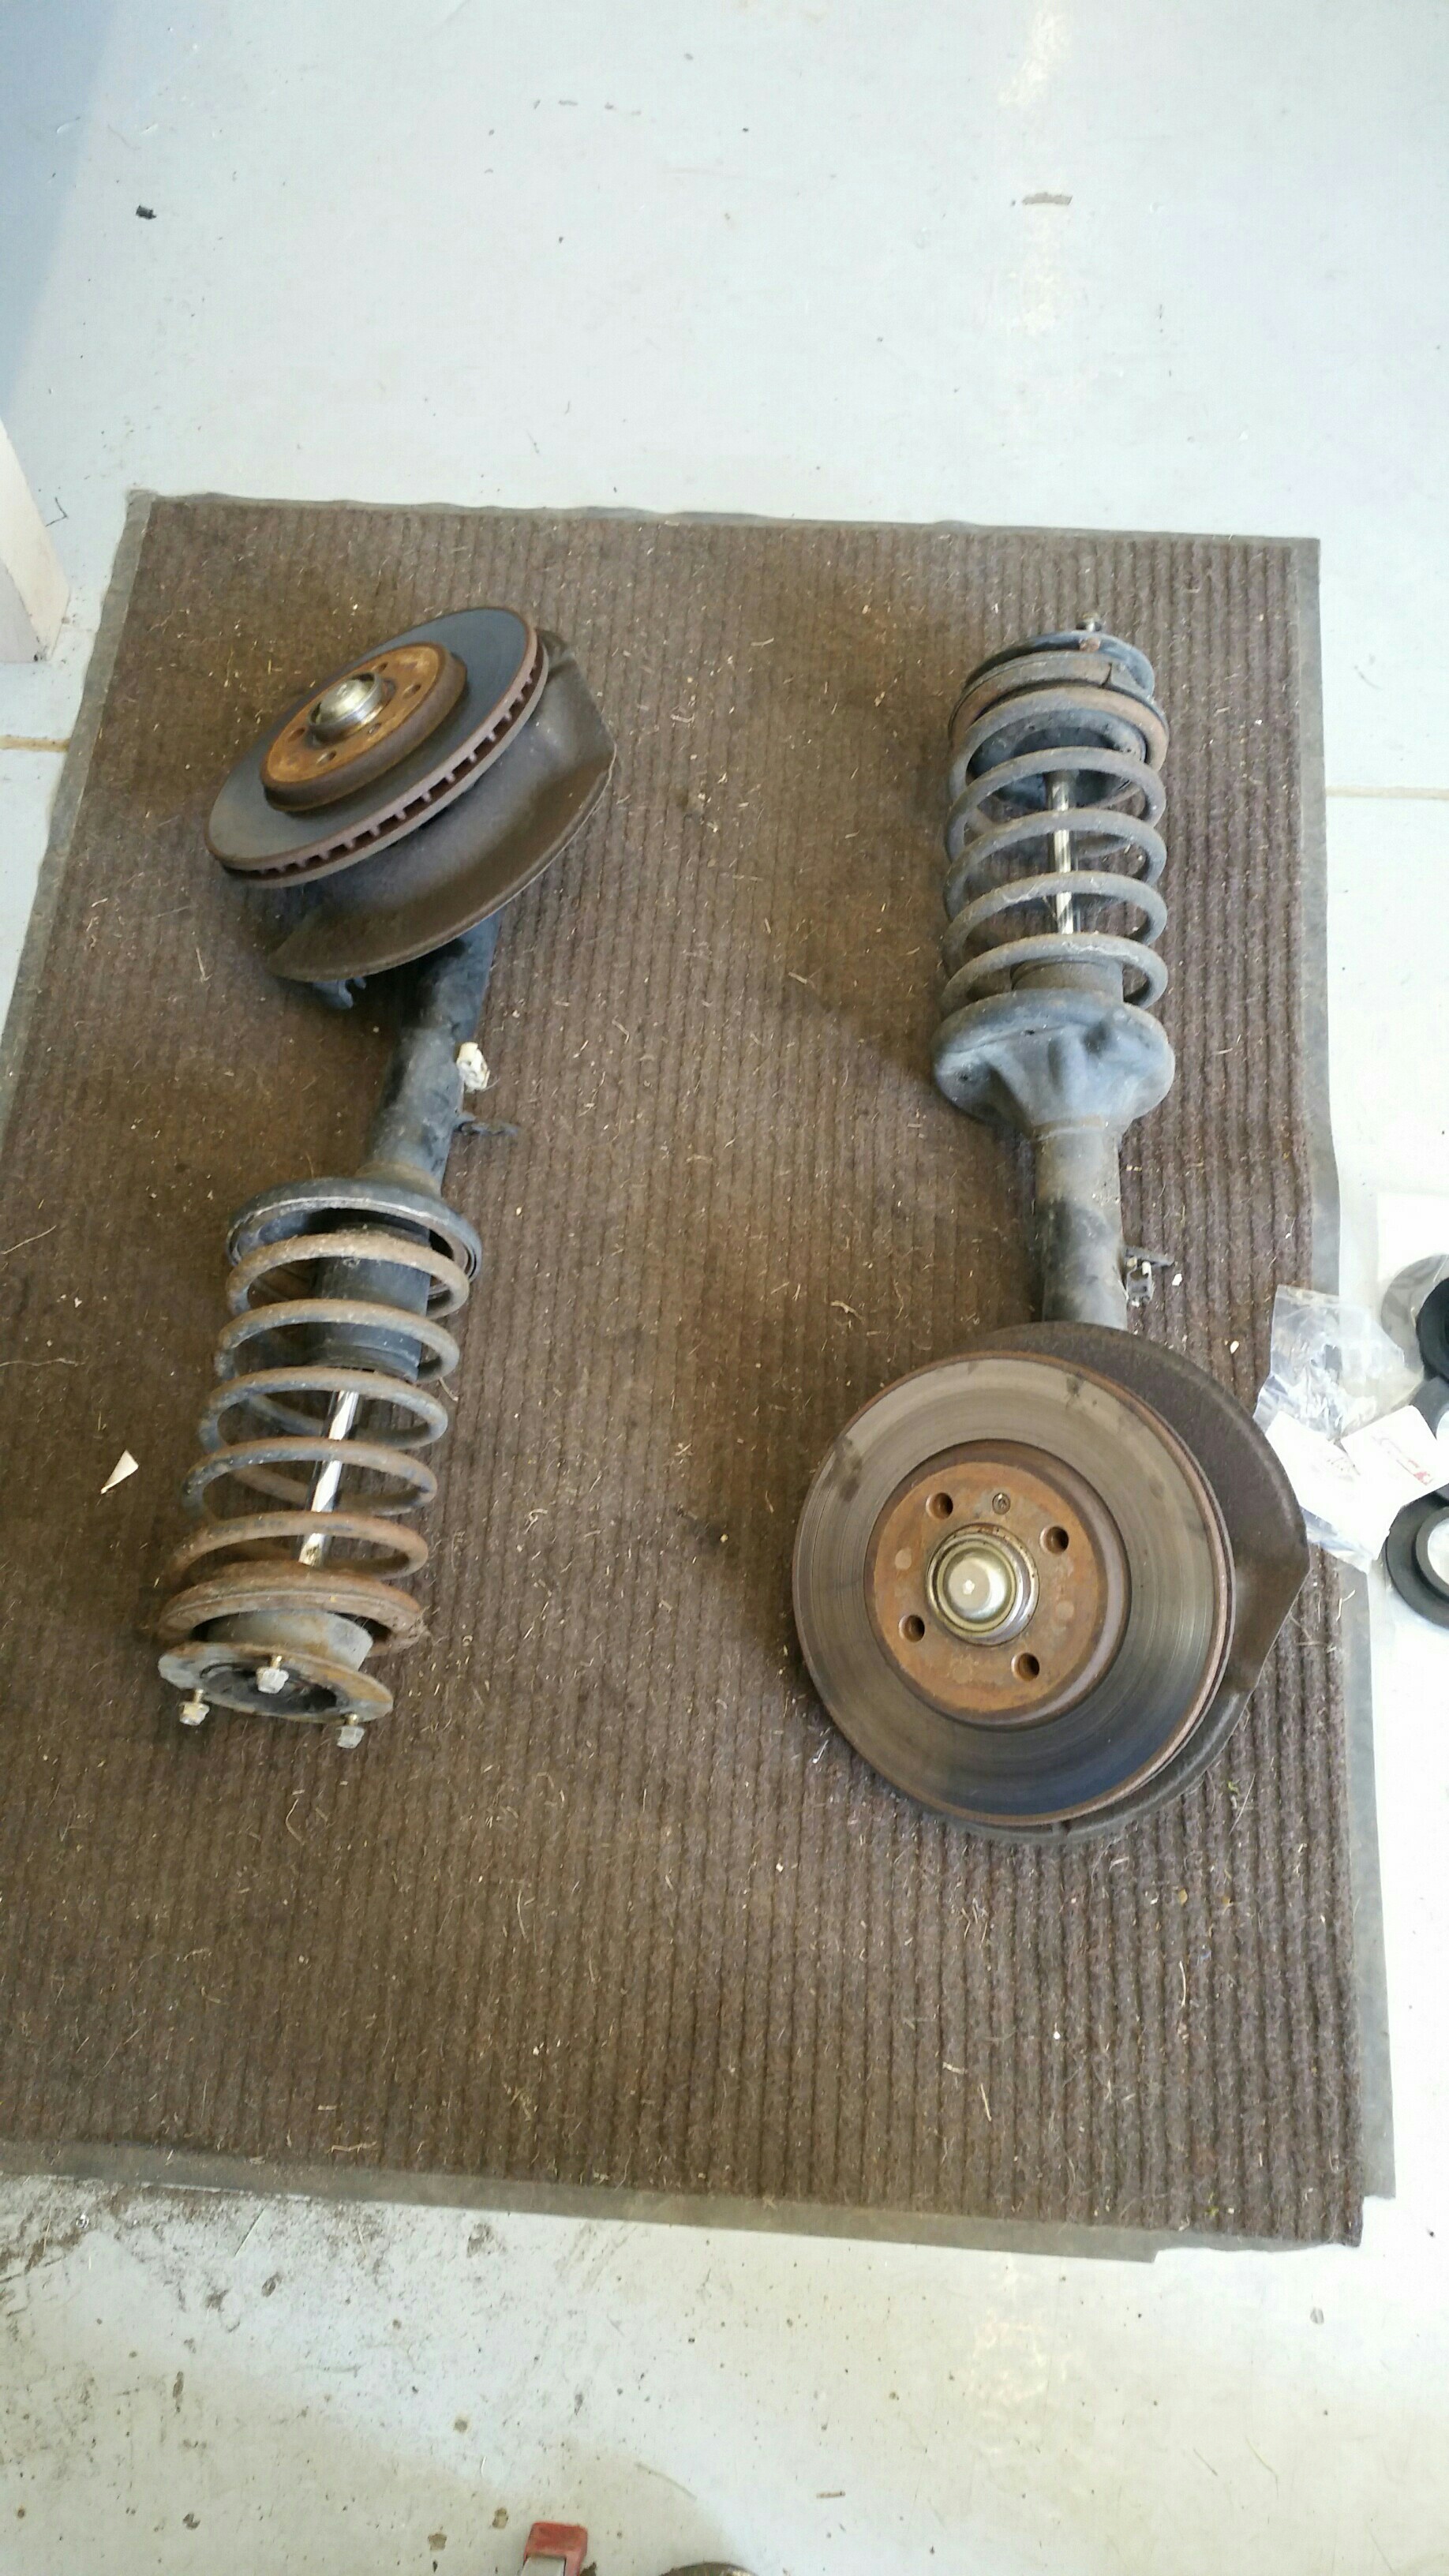
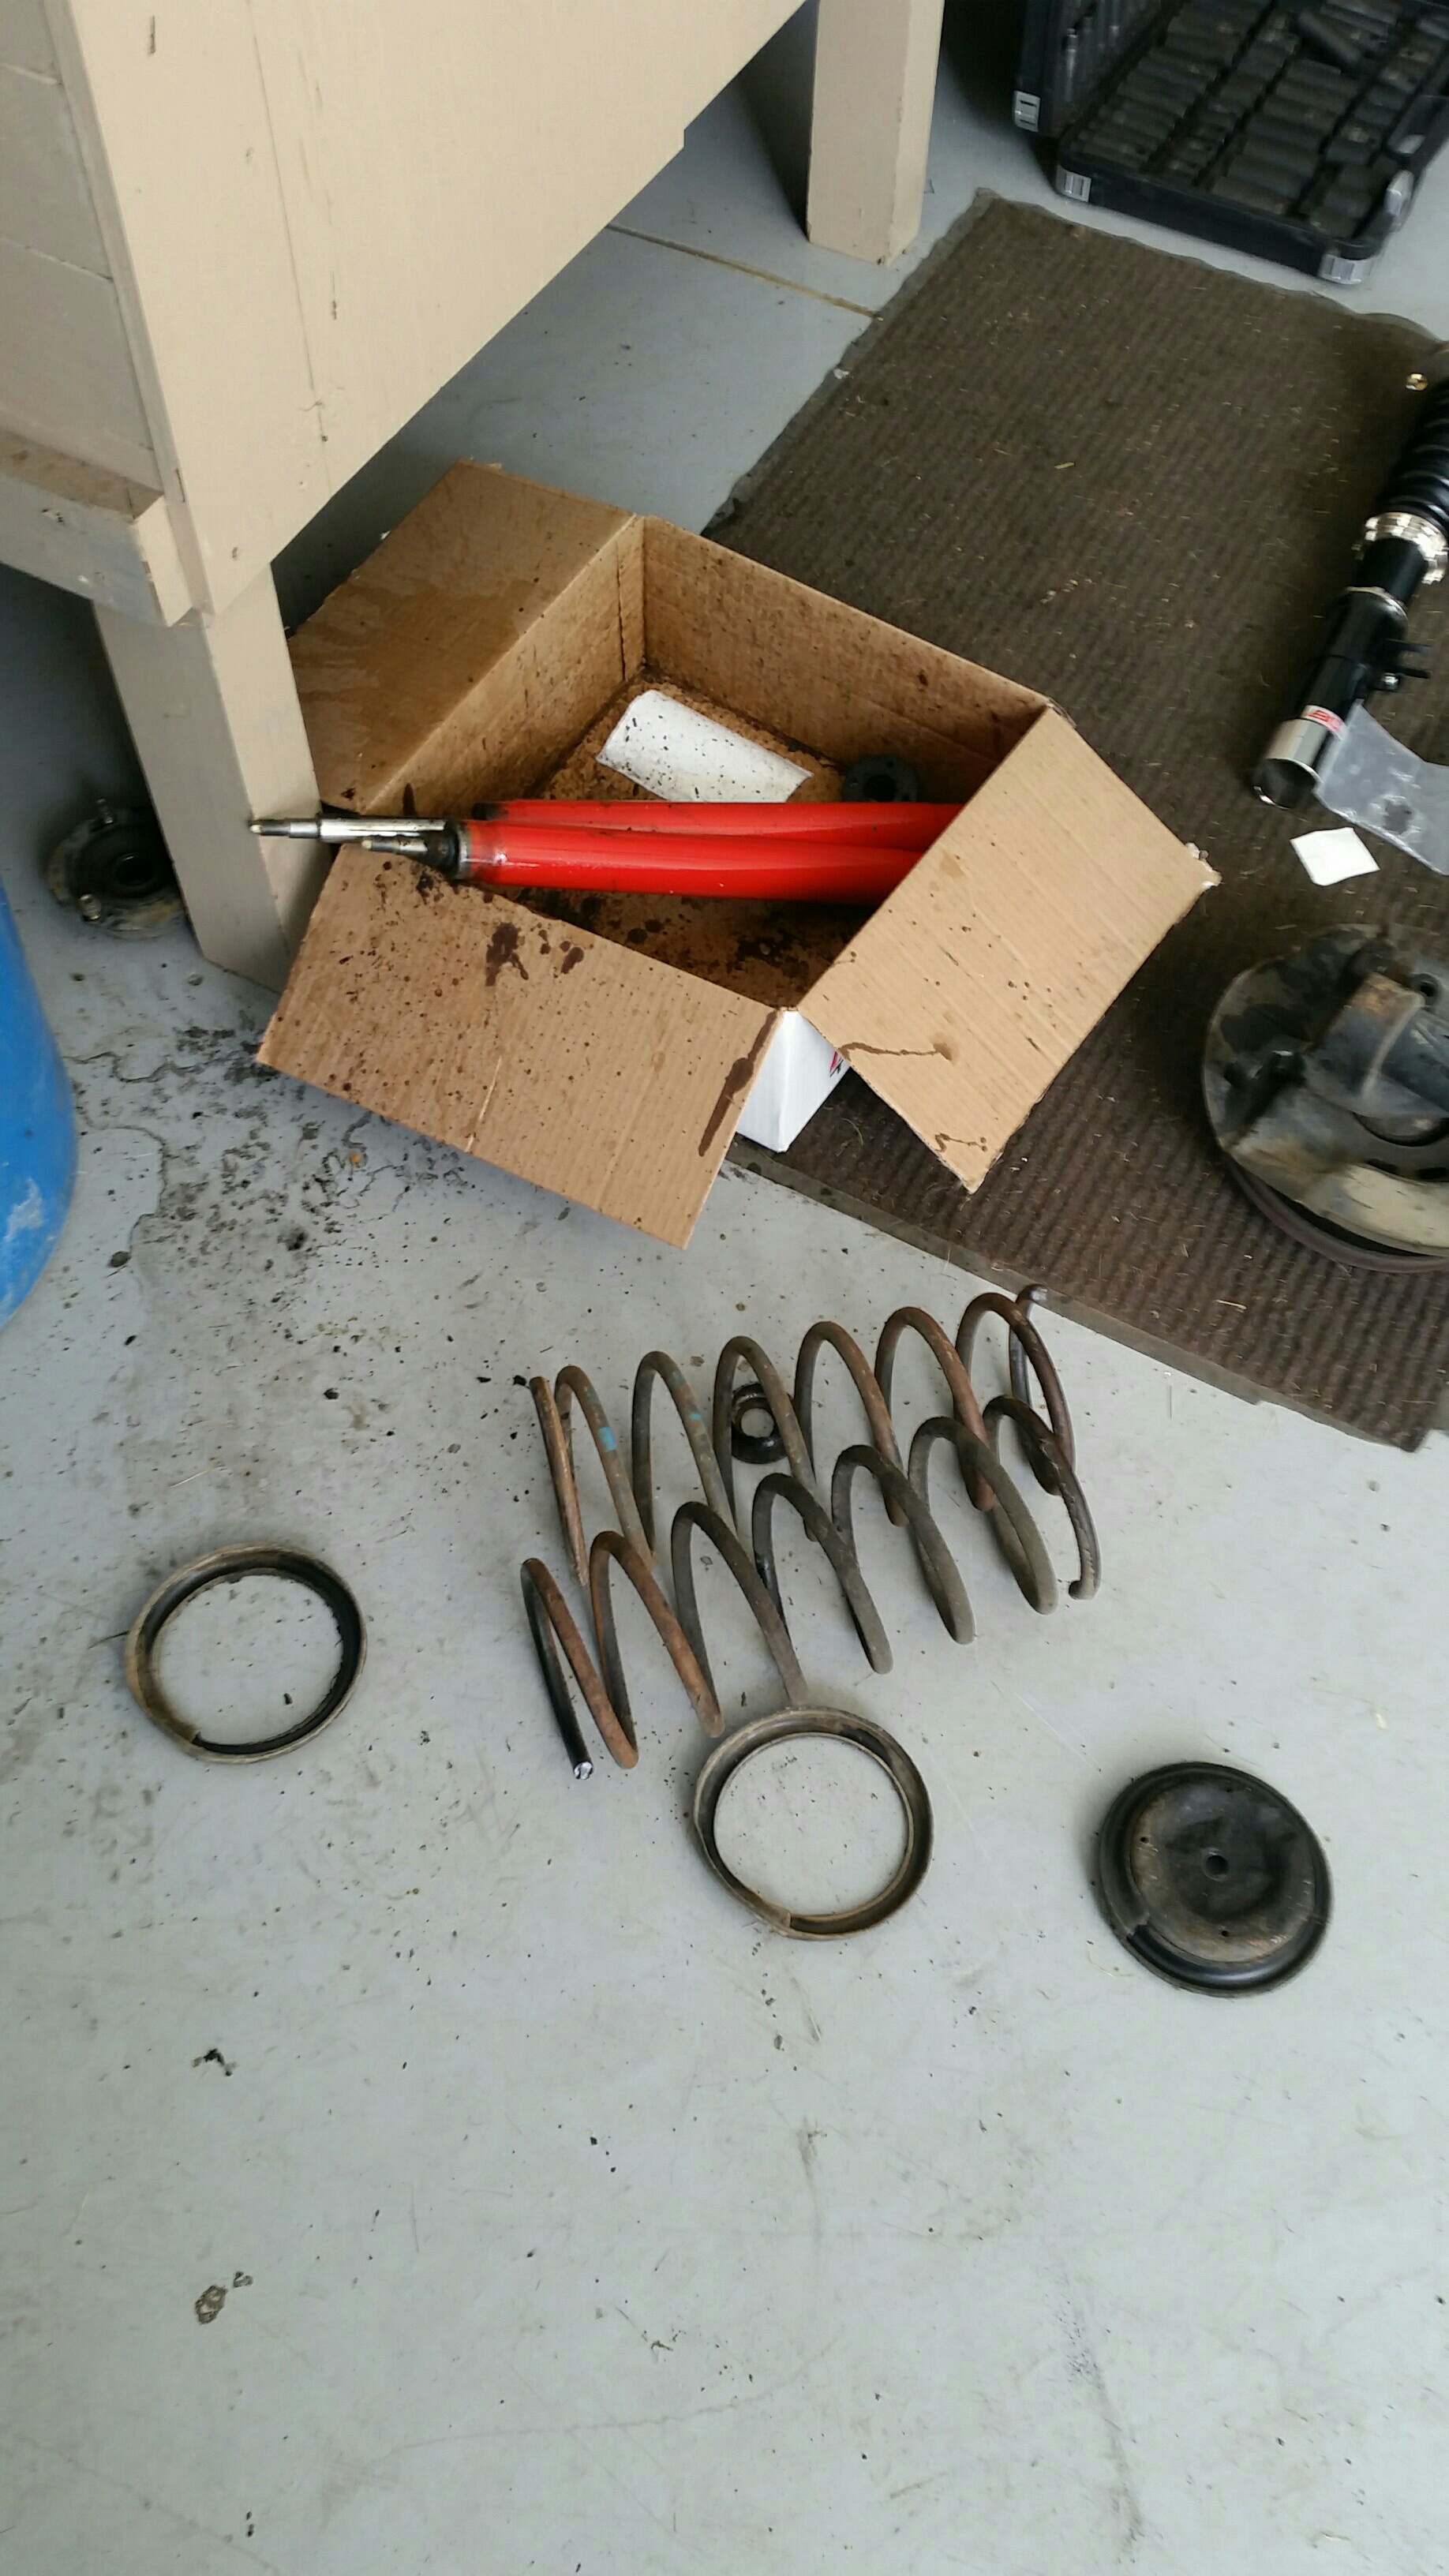
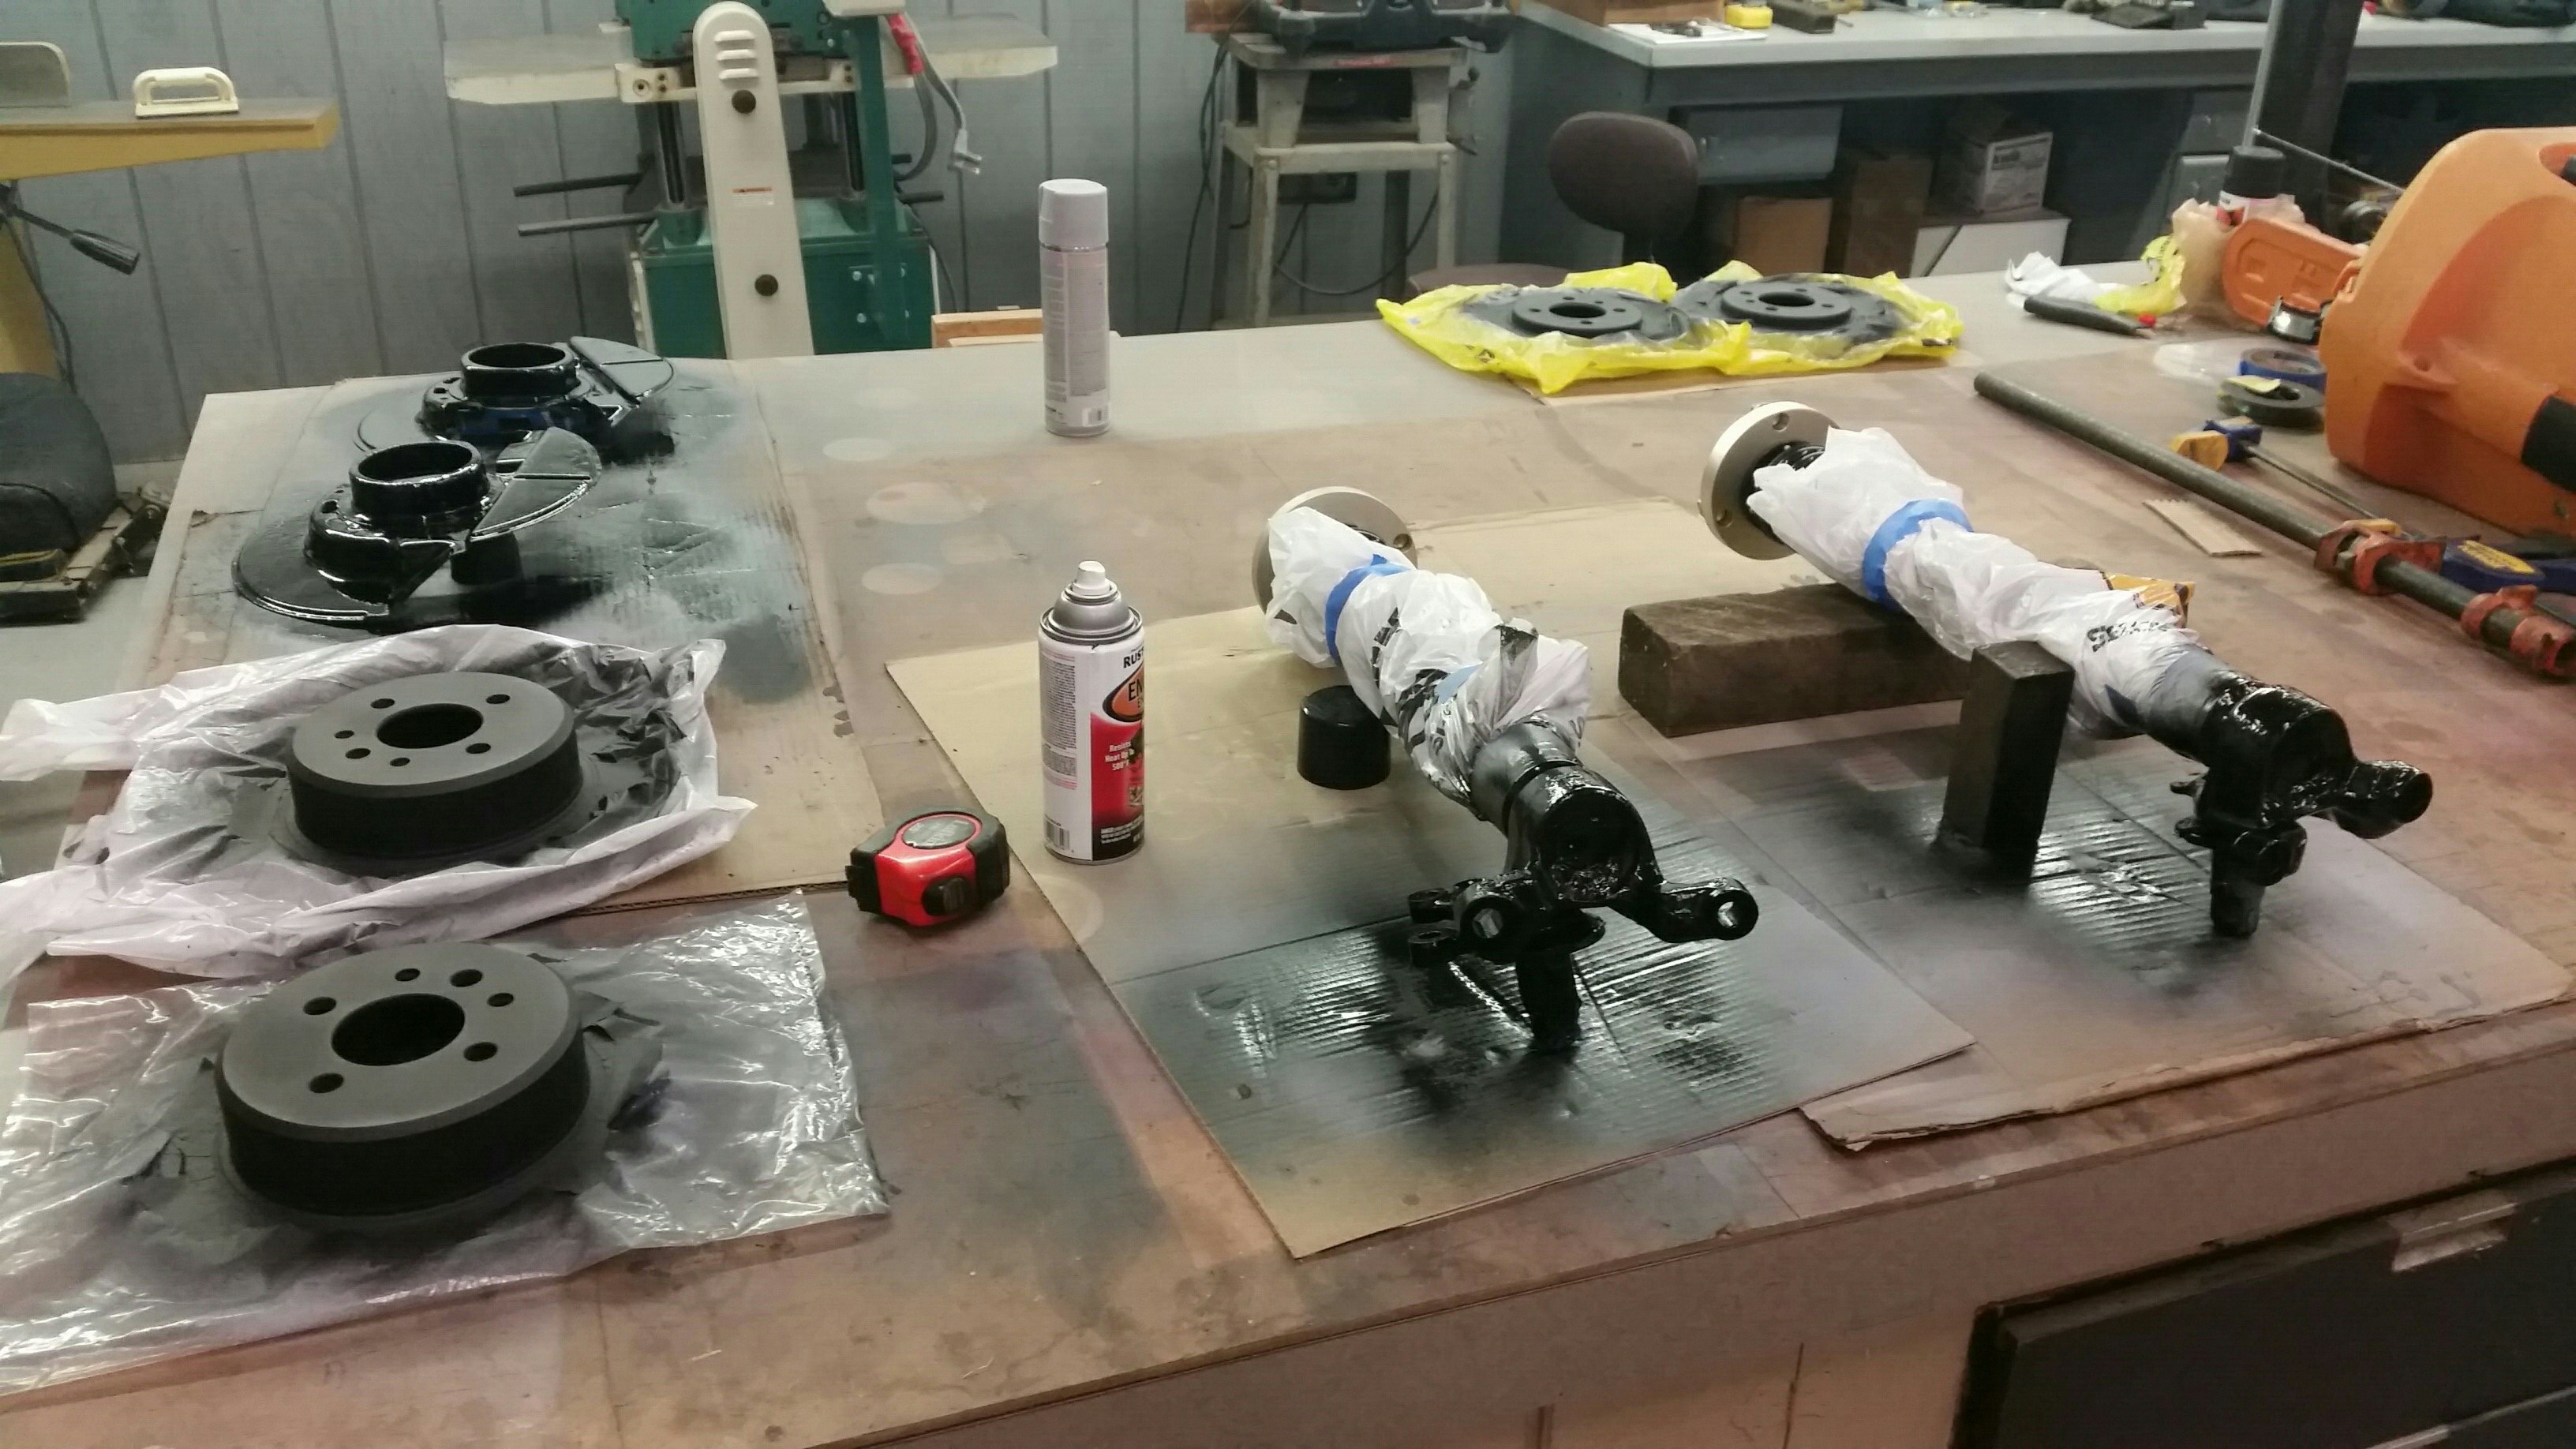
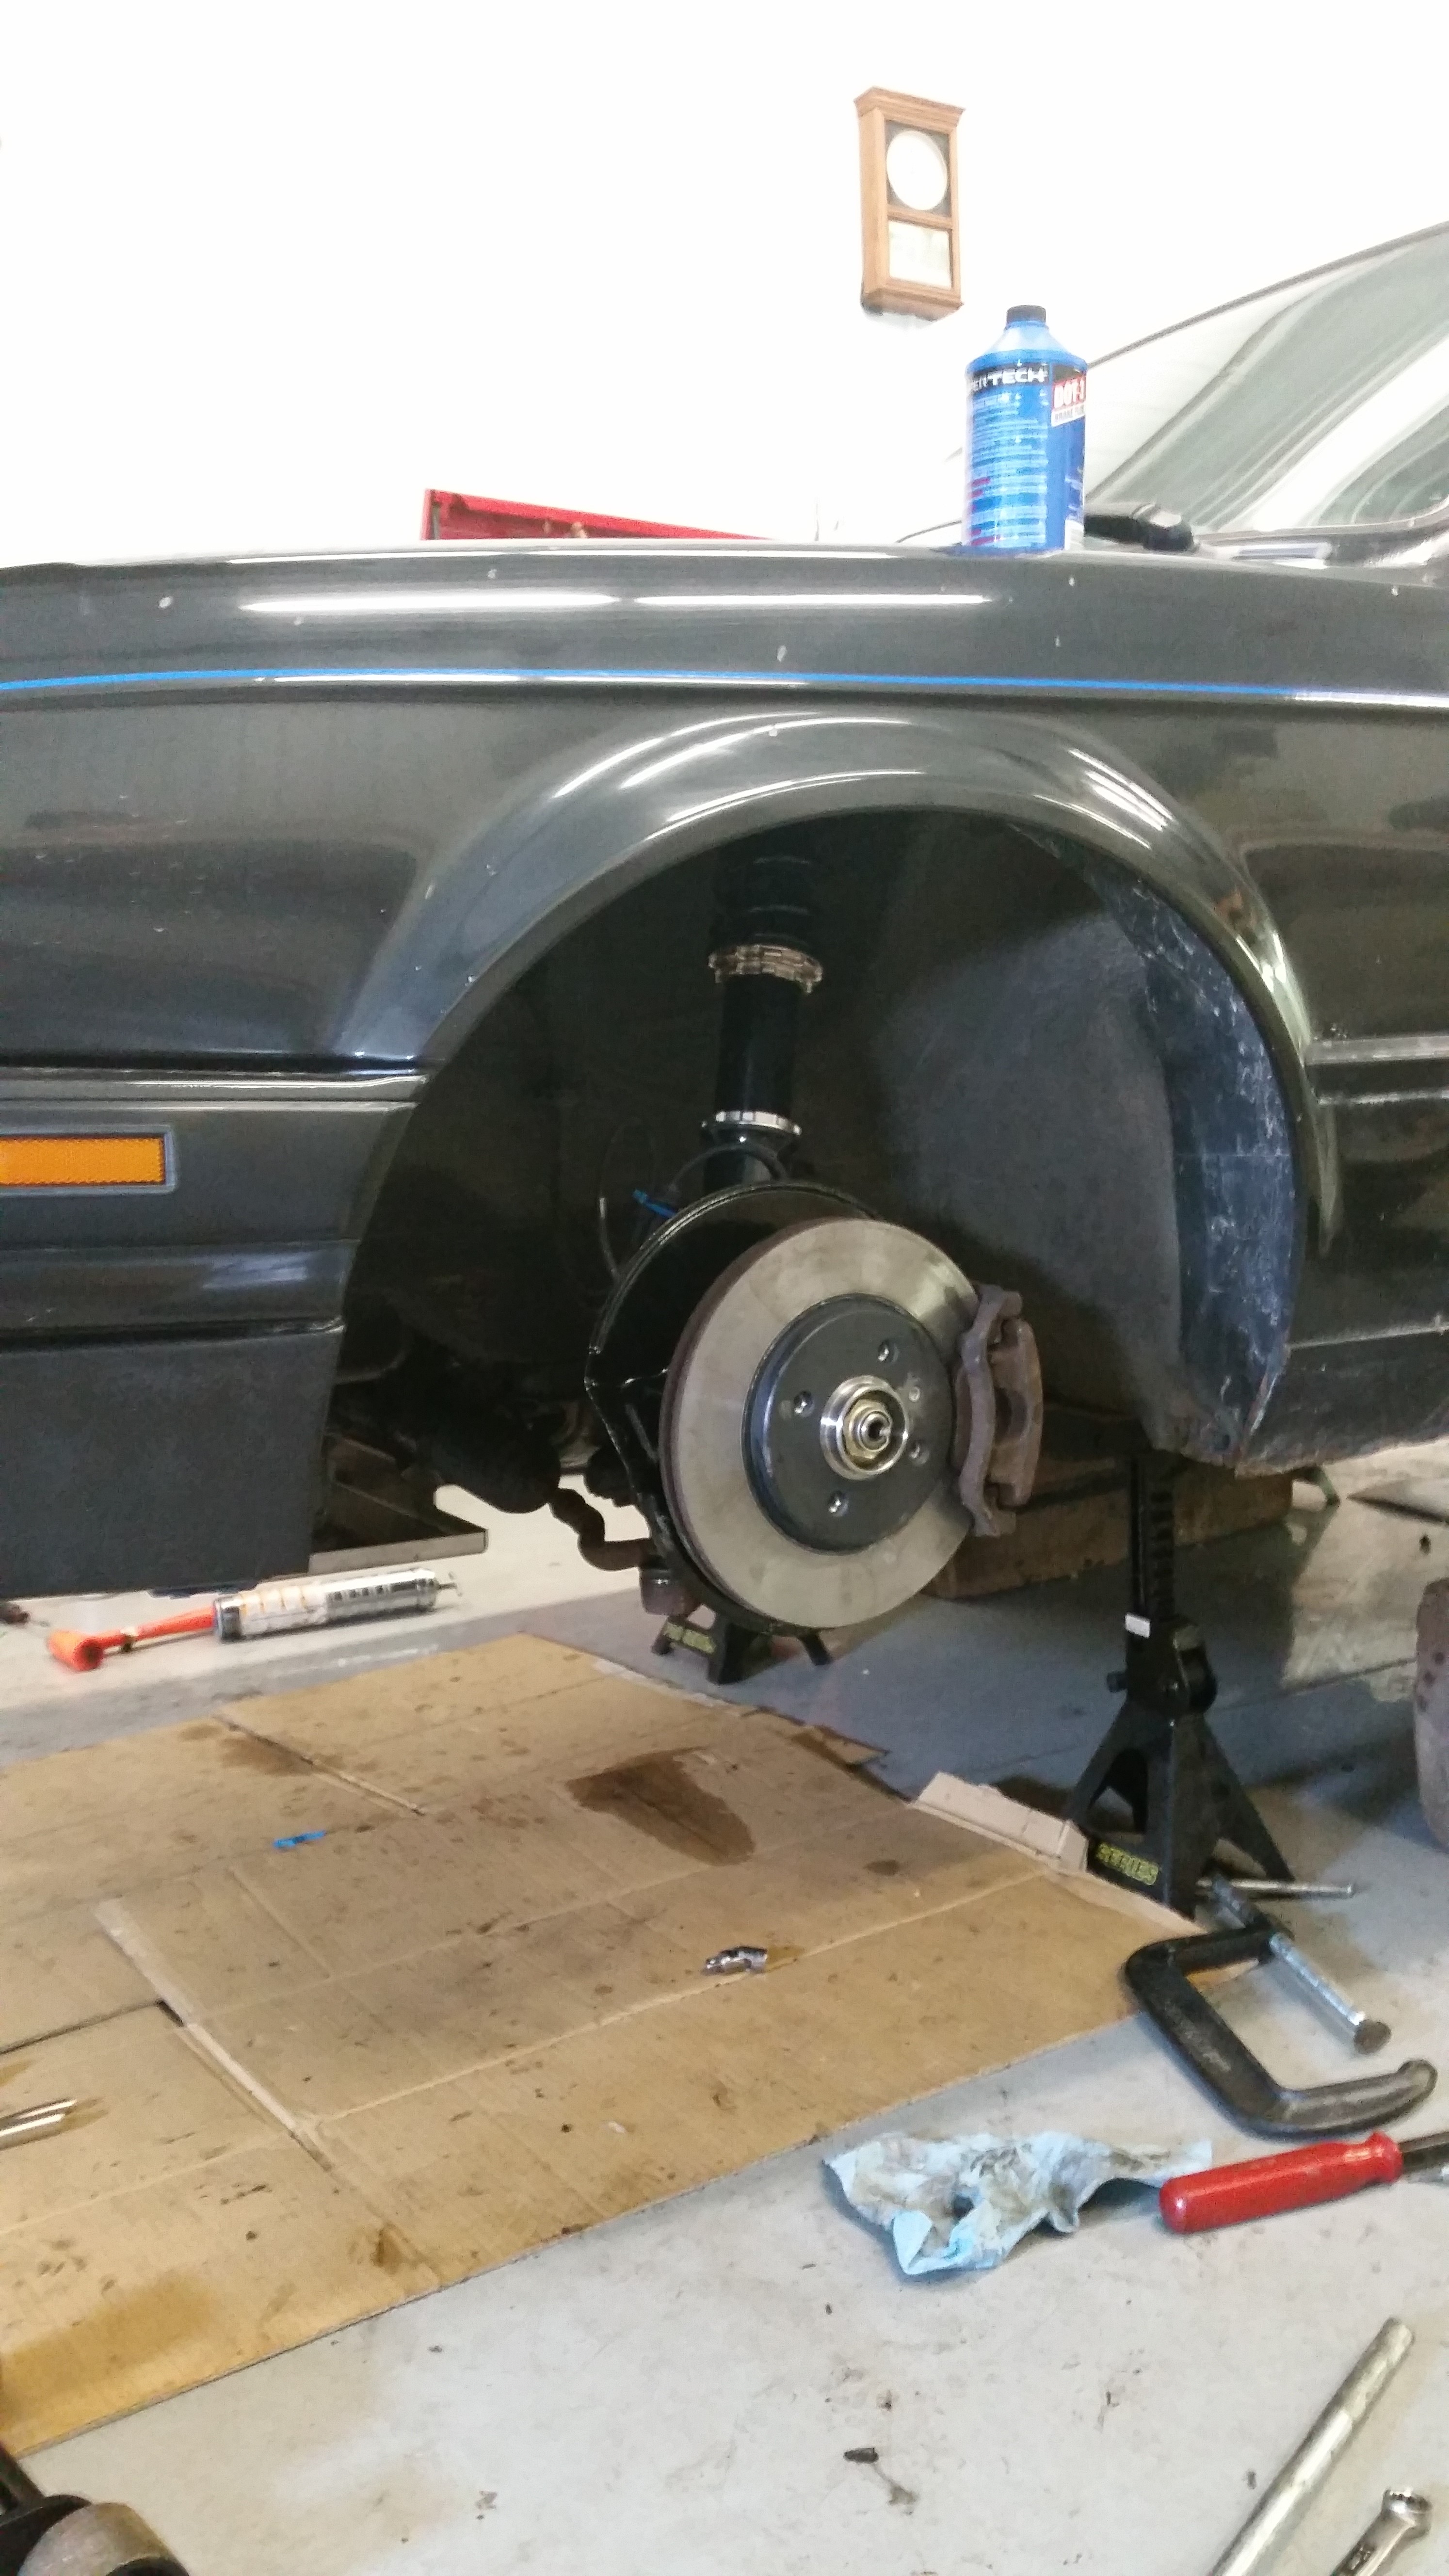
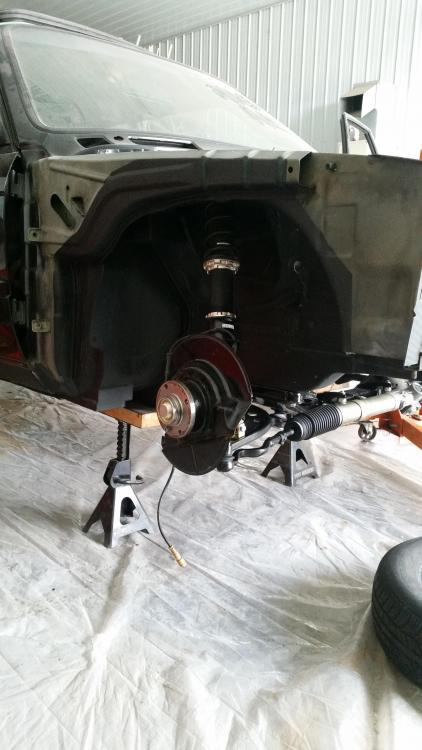
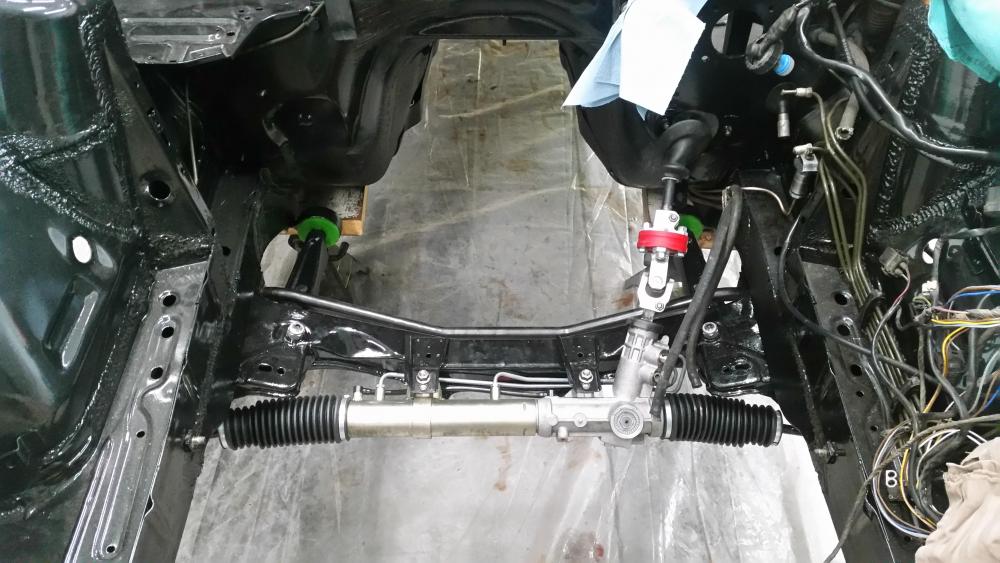
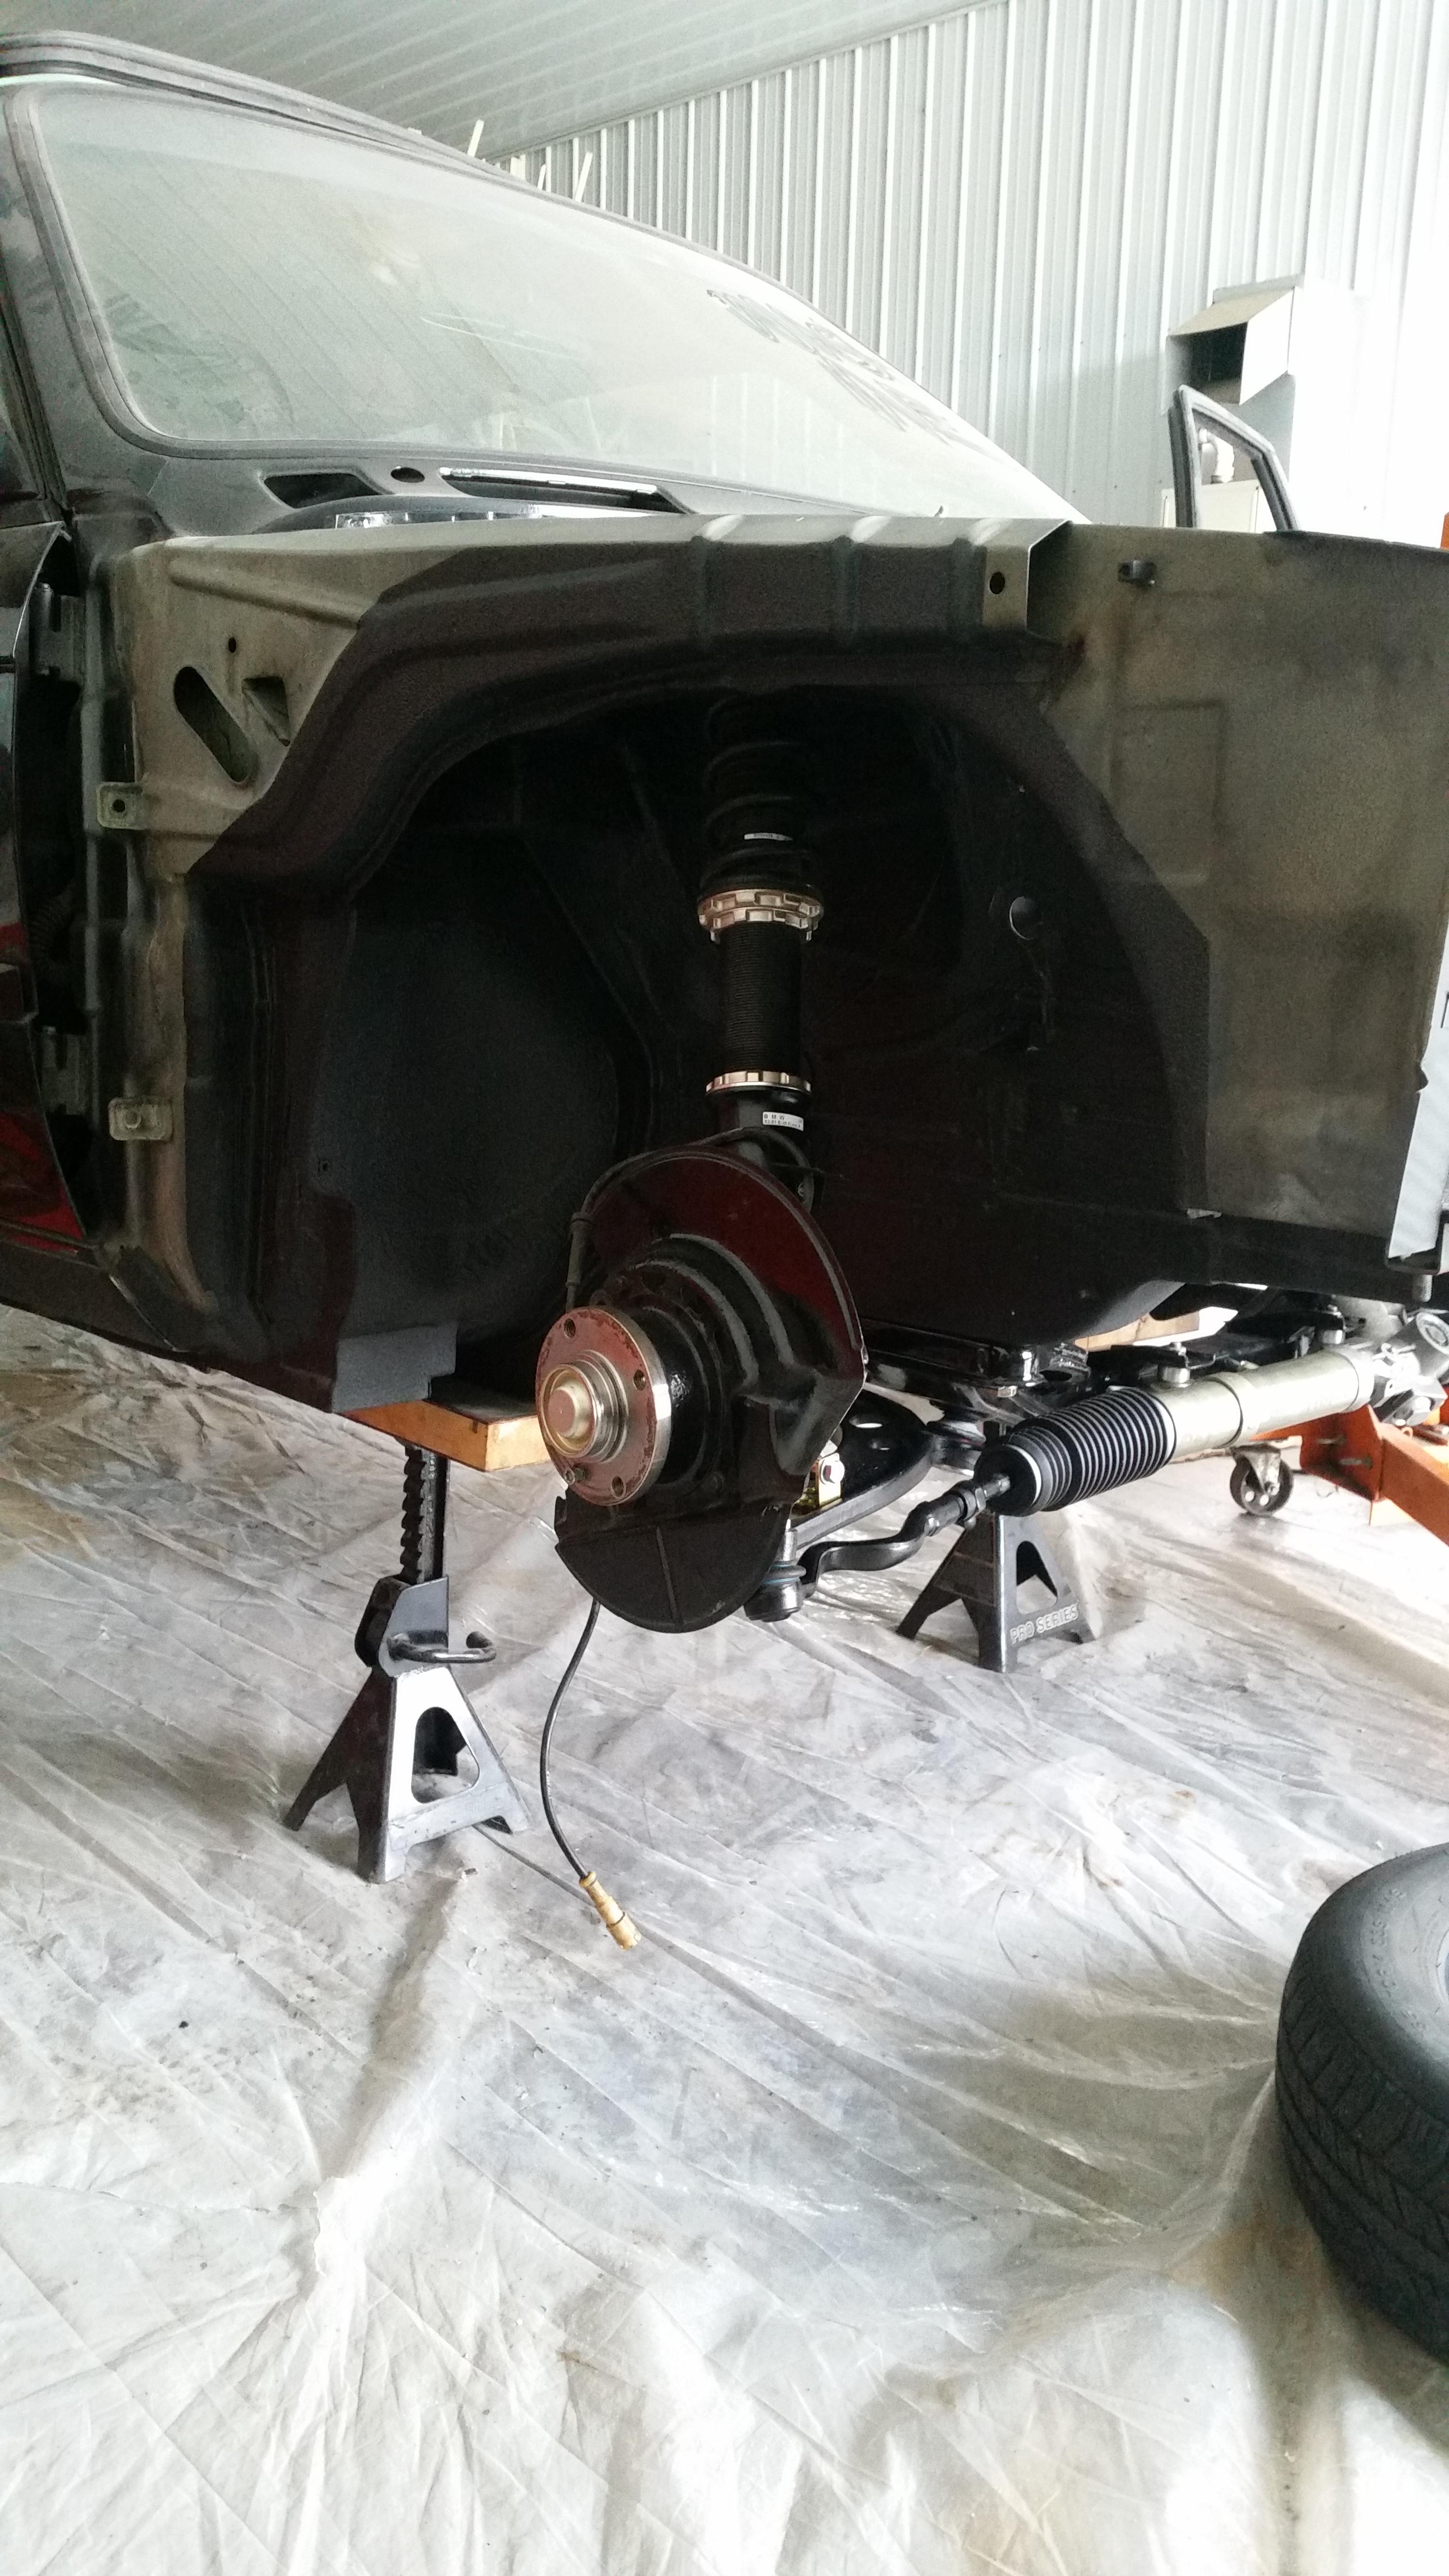
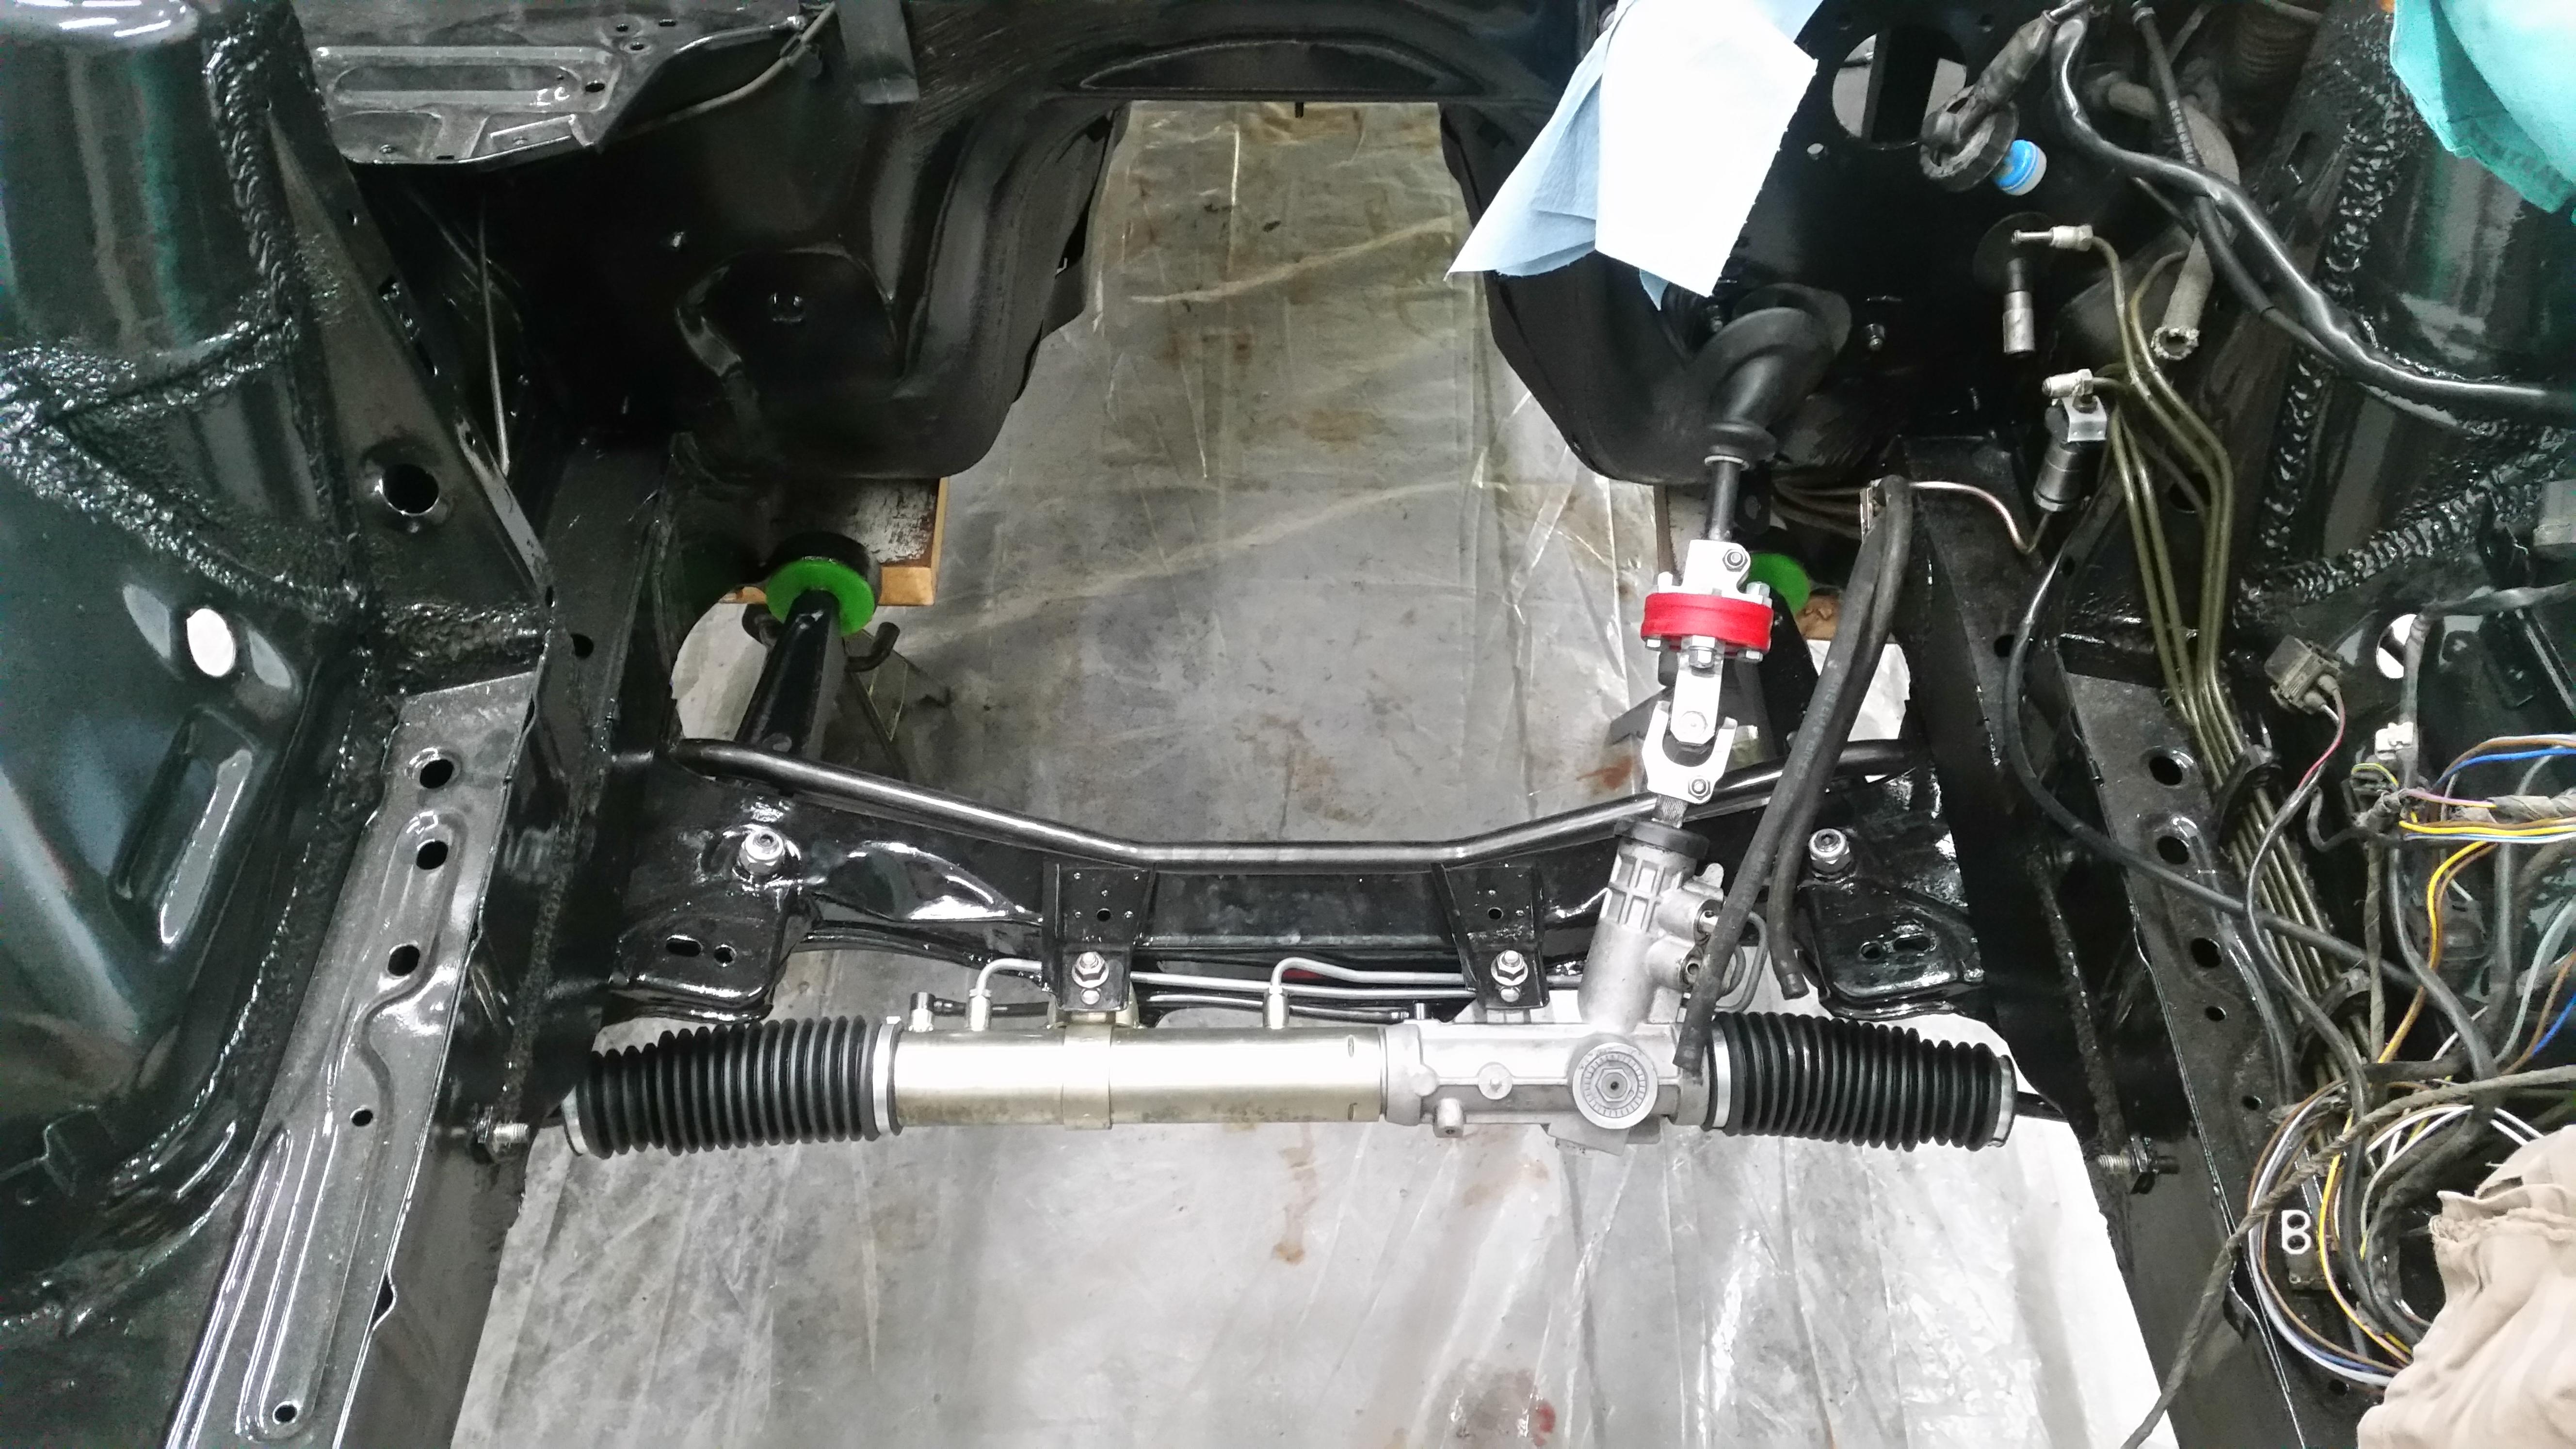
Front suspension and steering reinstalled.
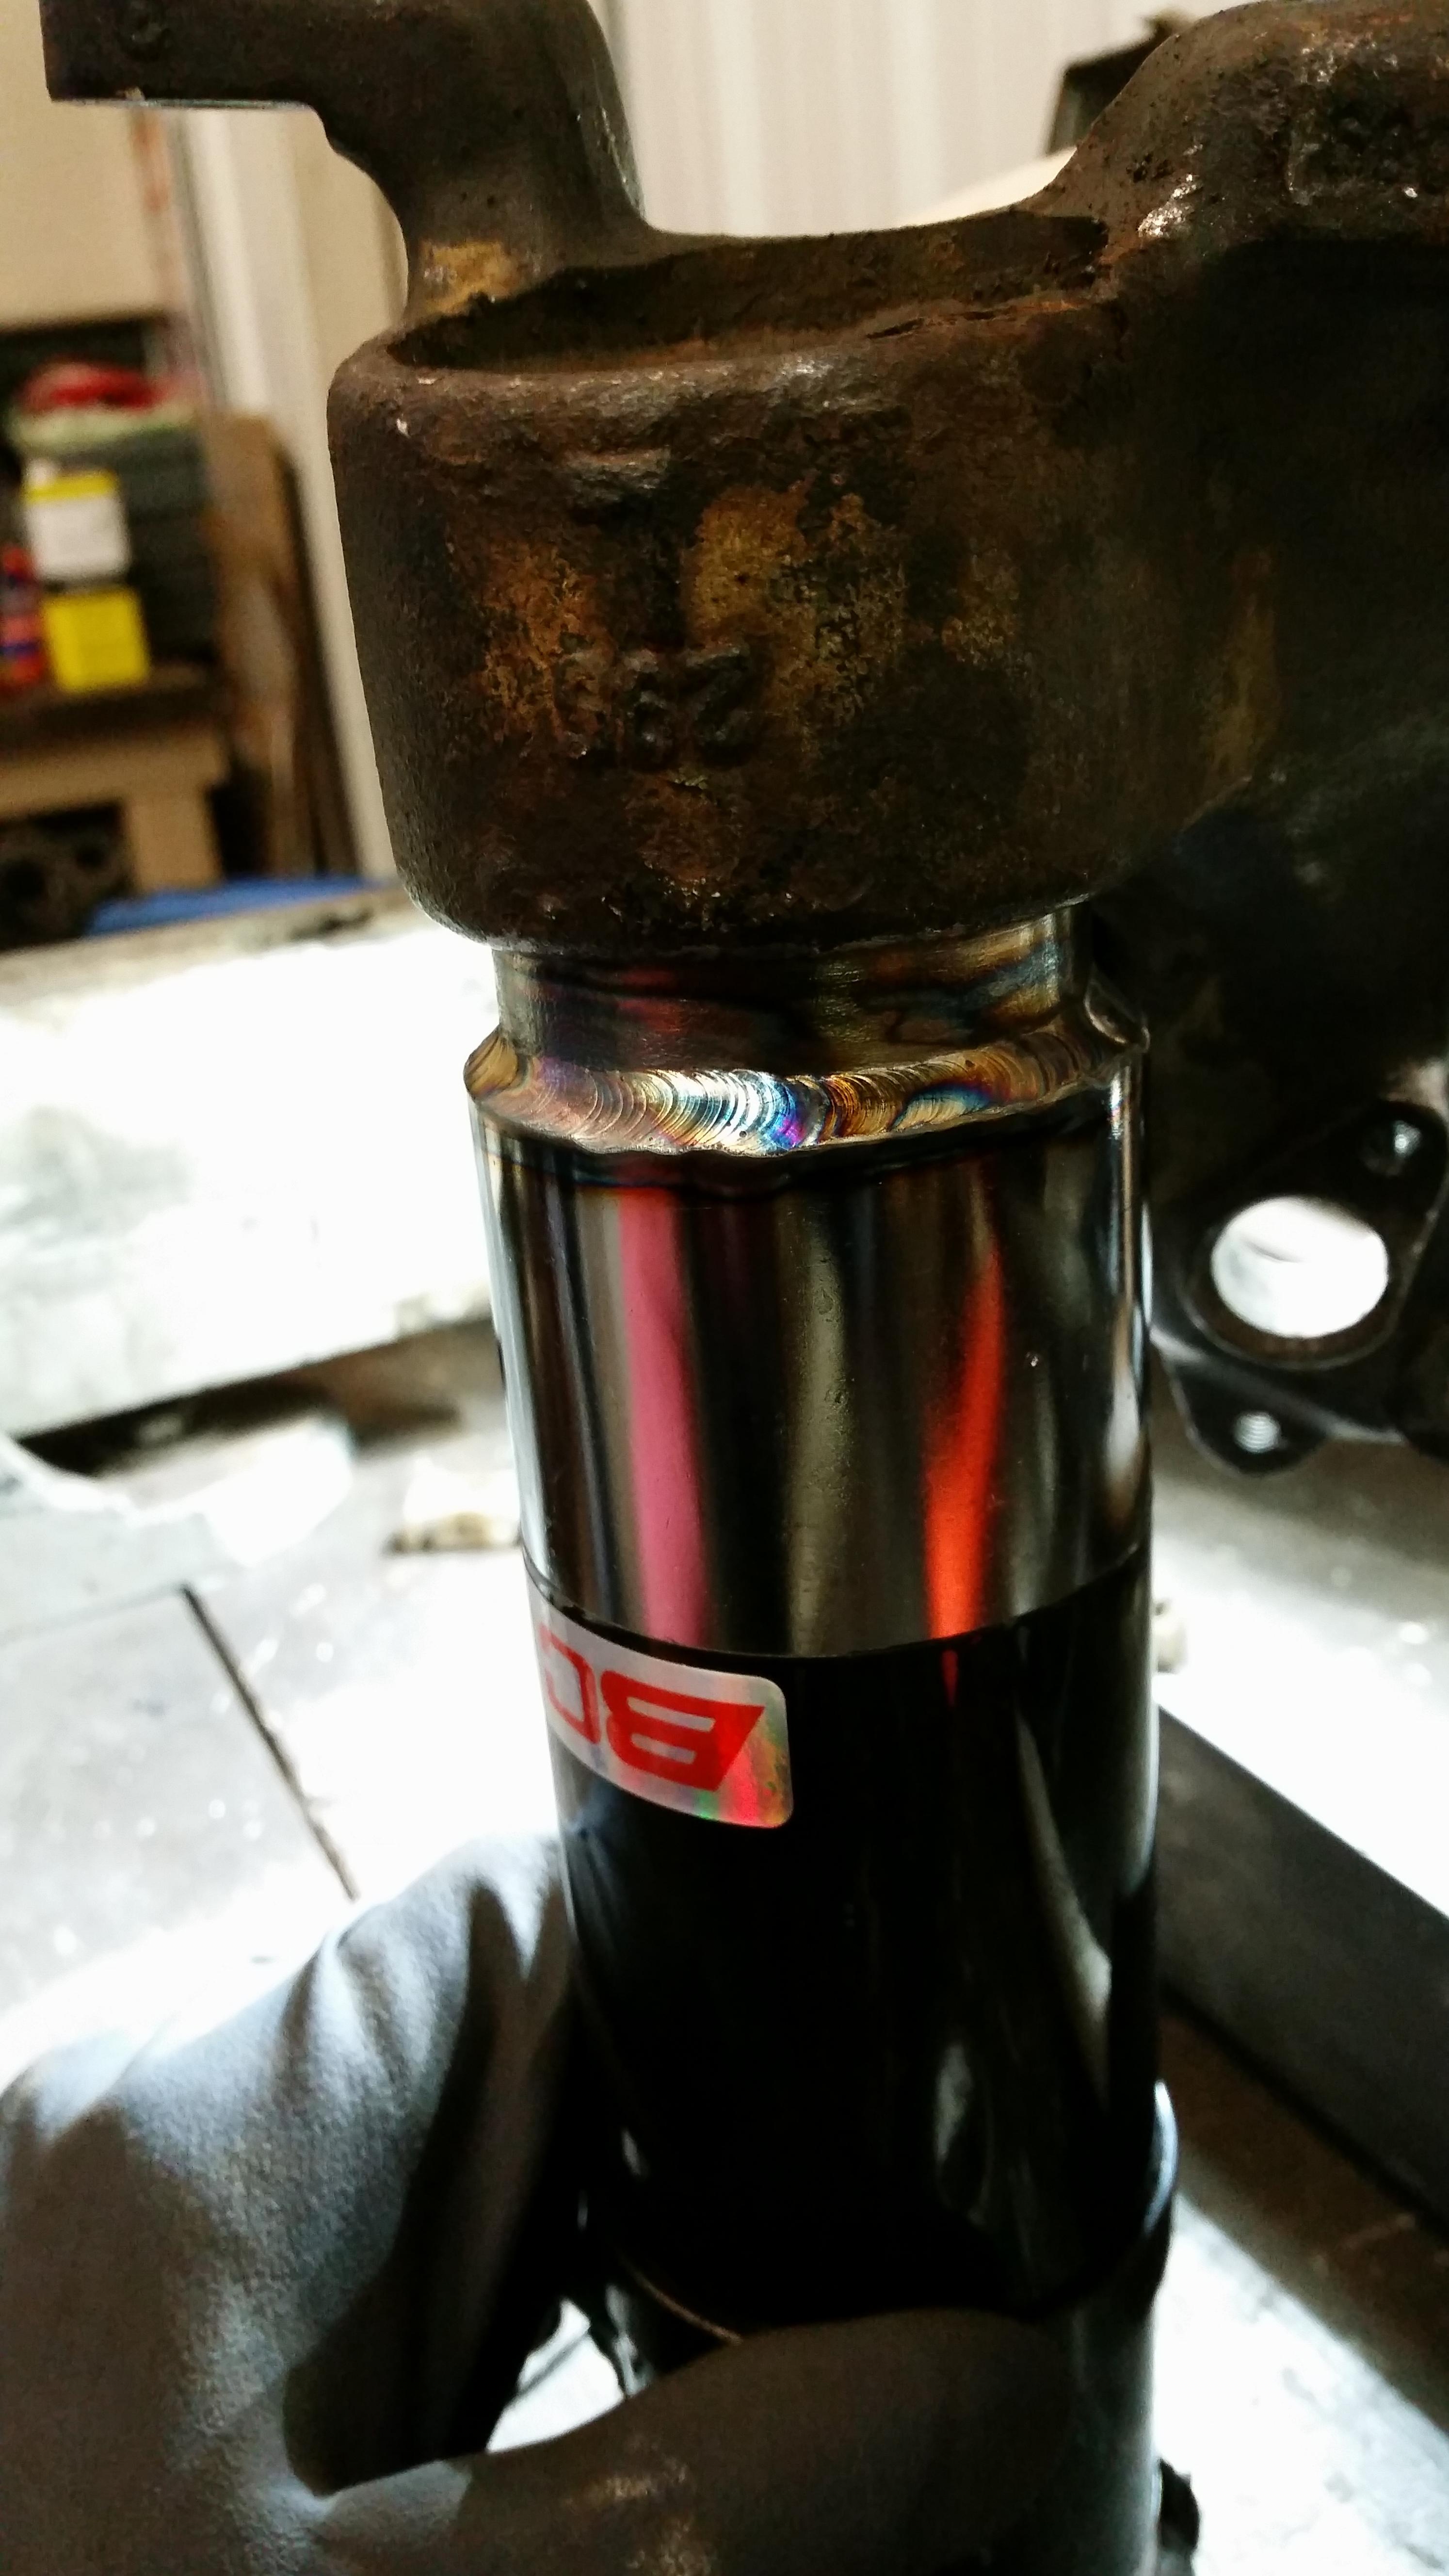
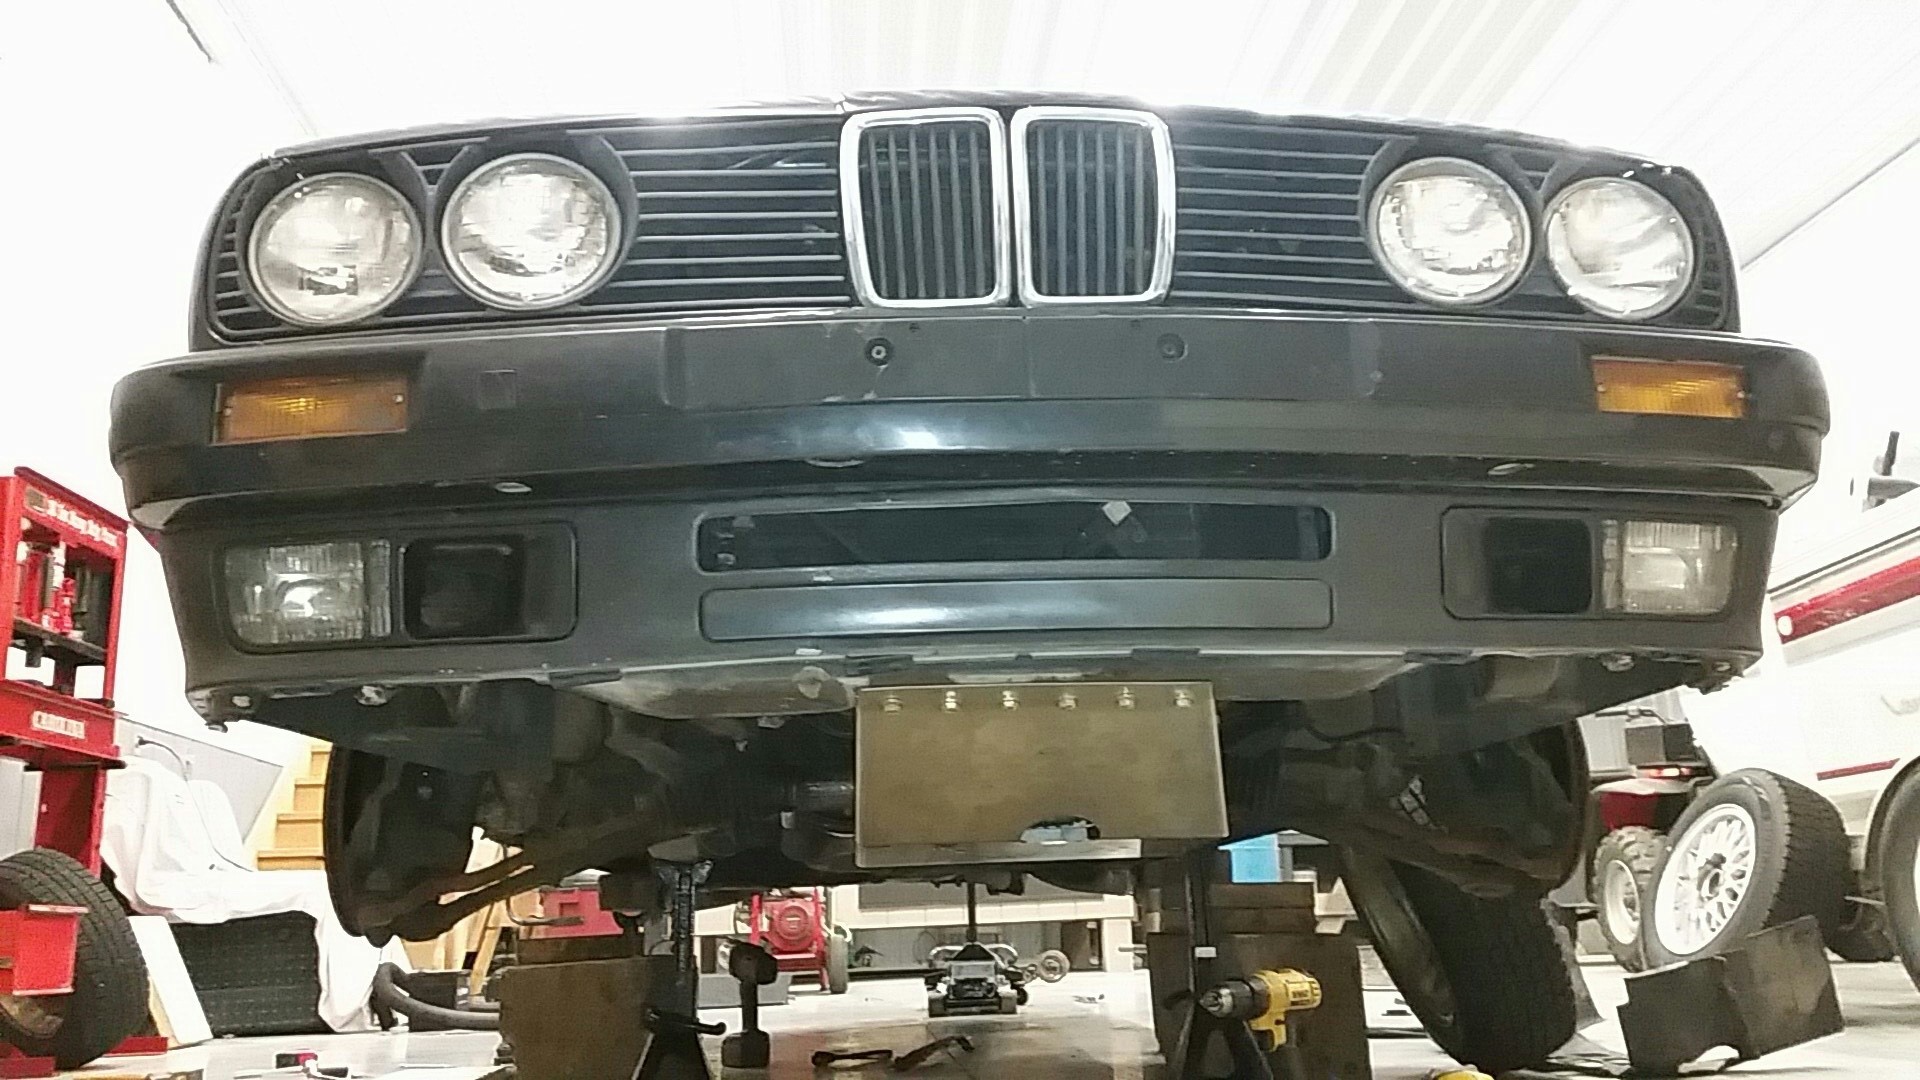
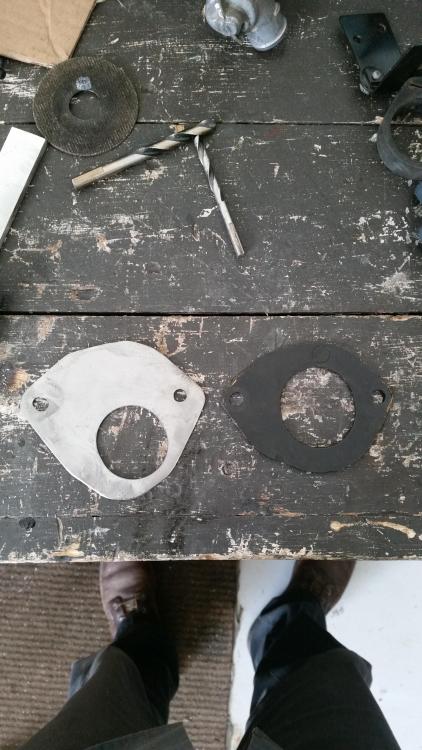
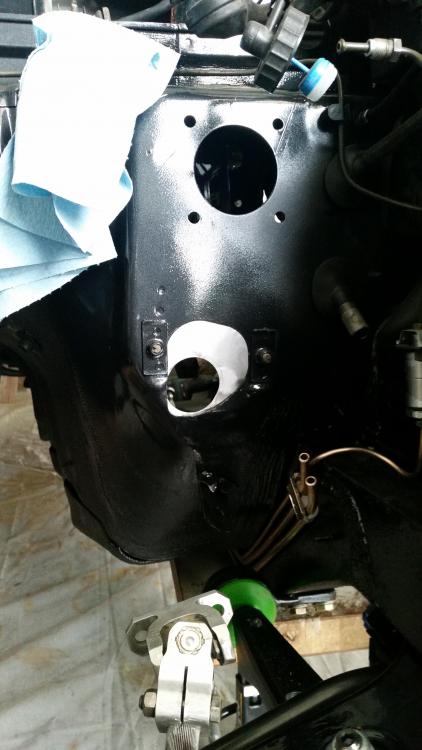
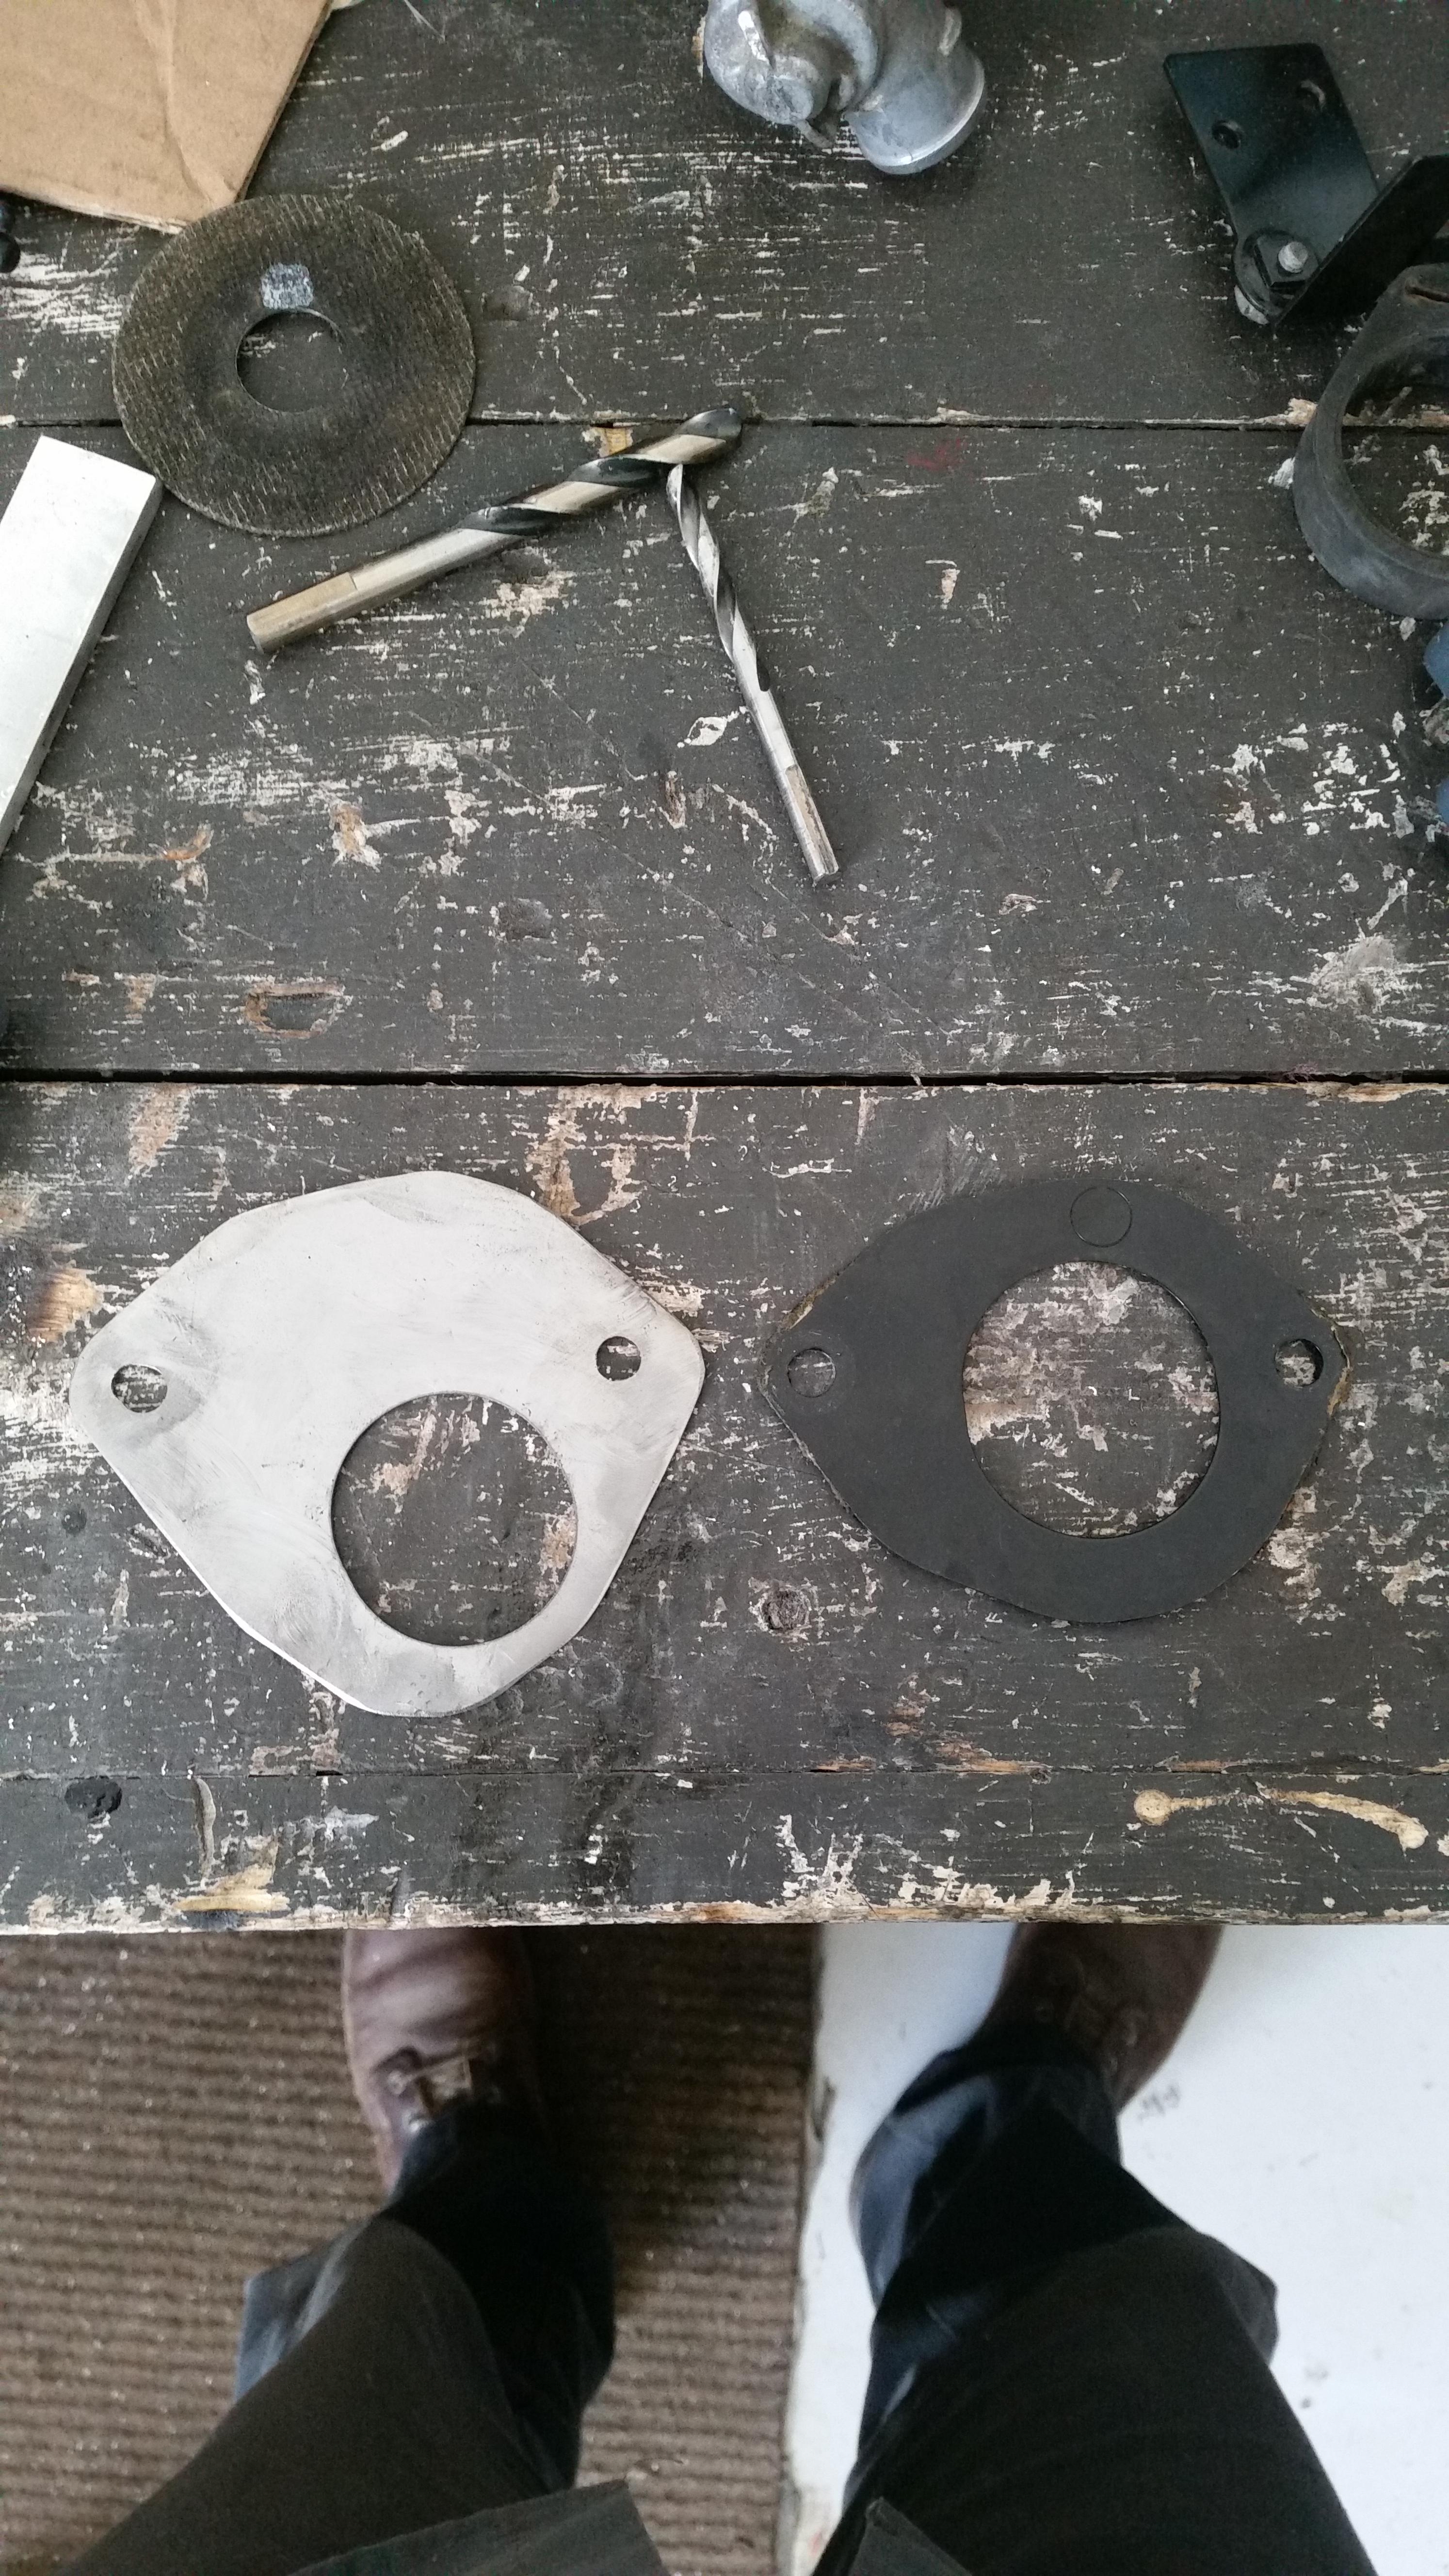
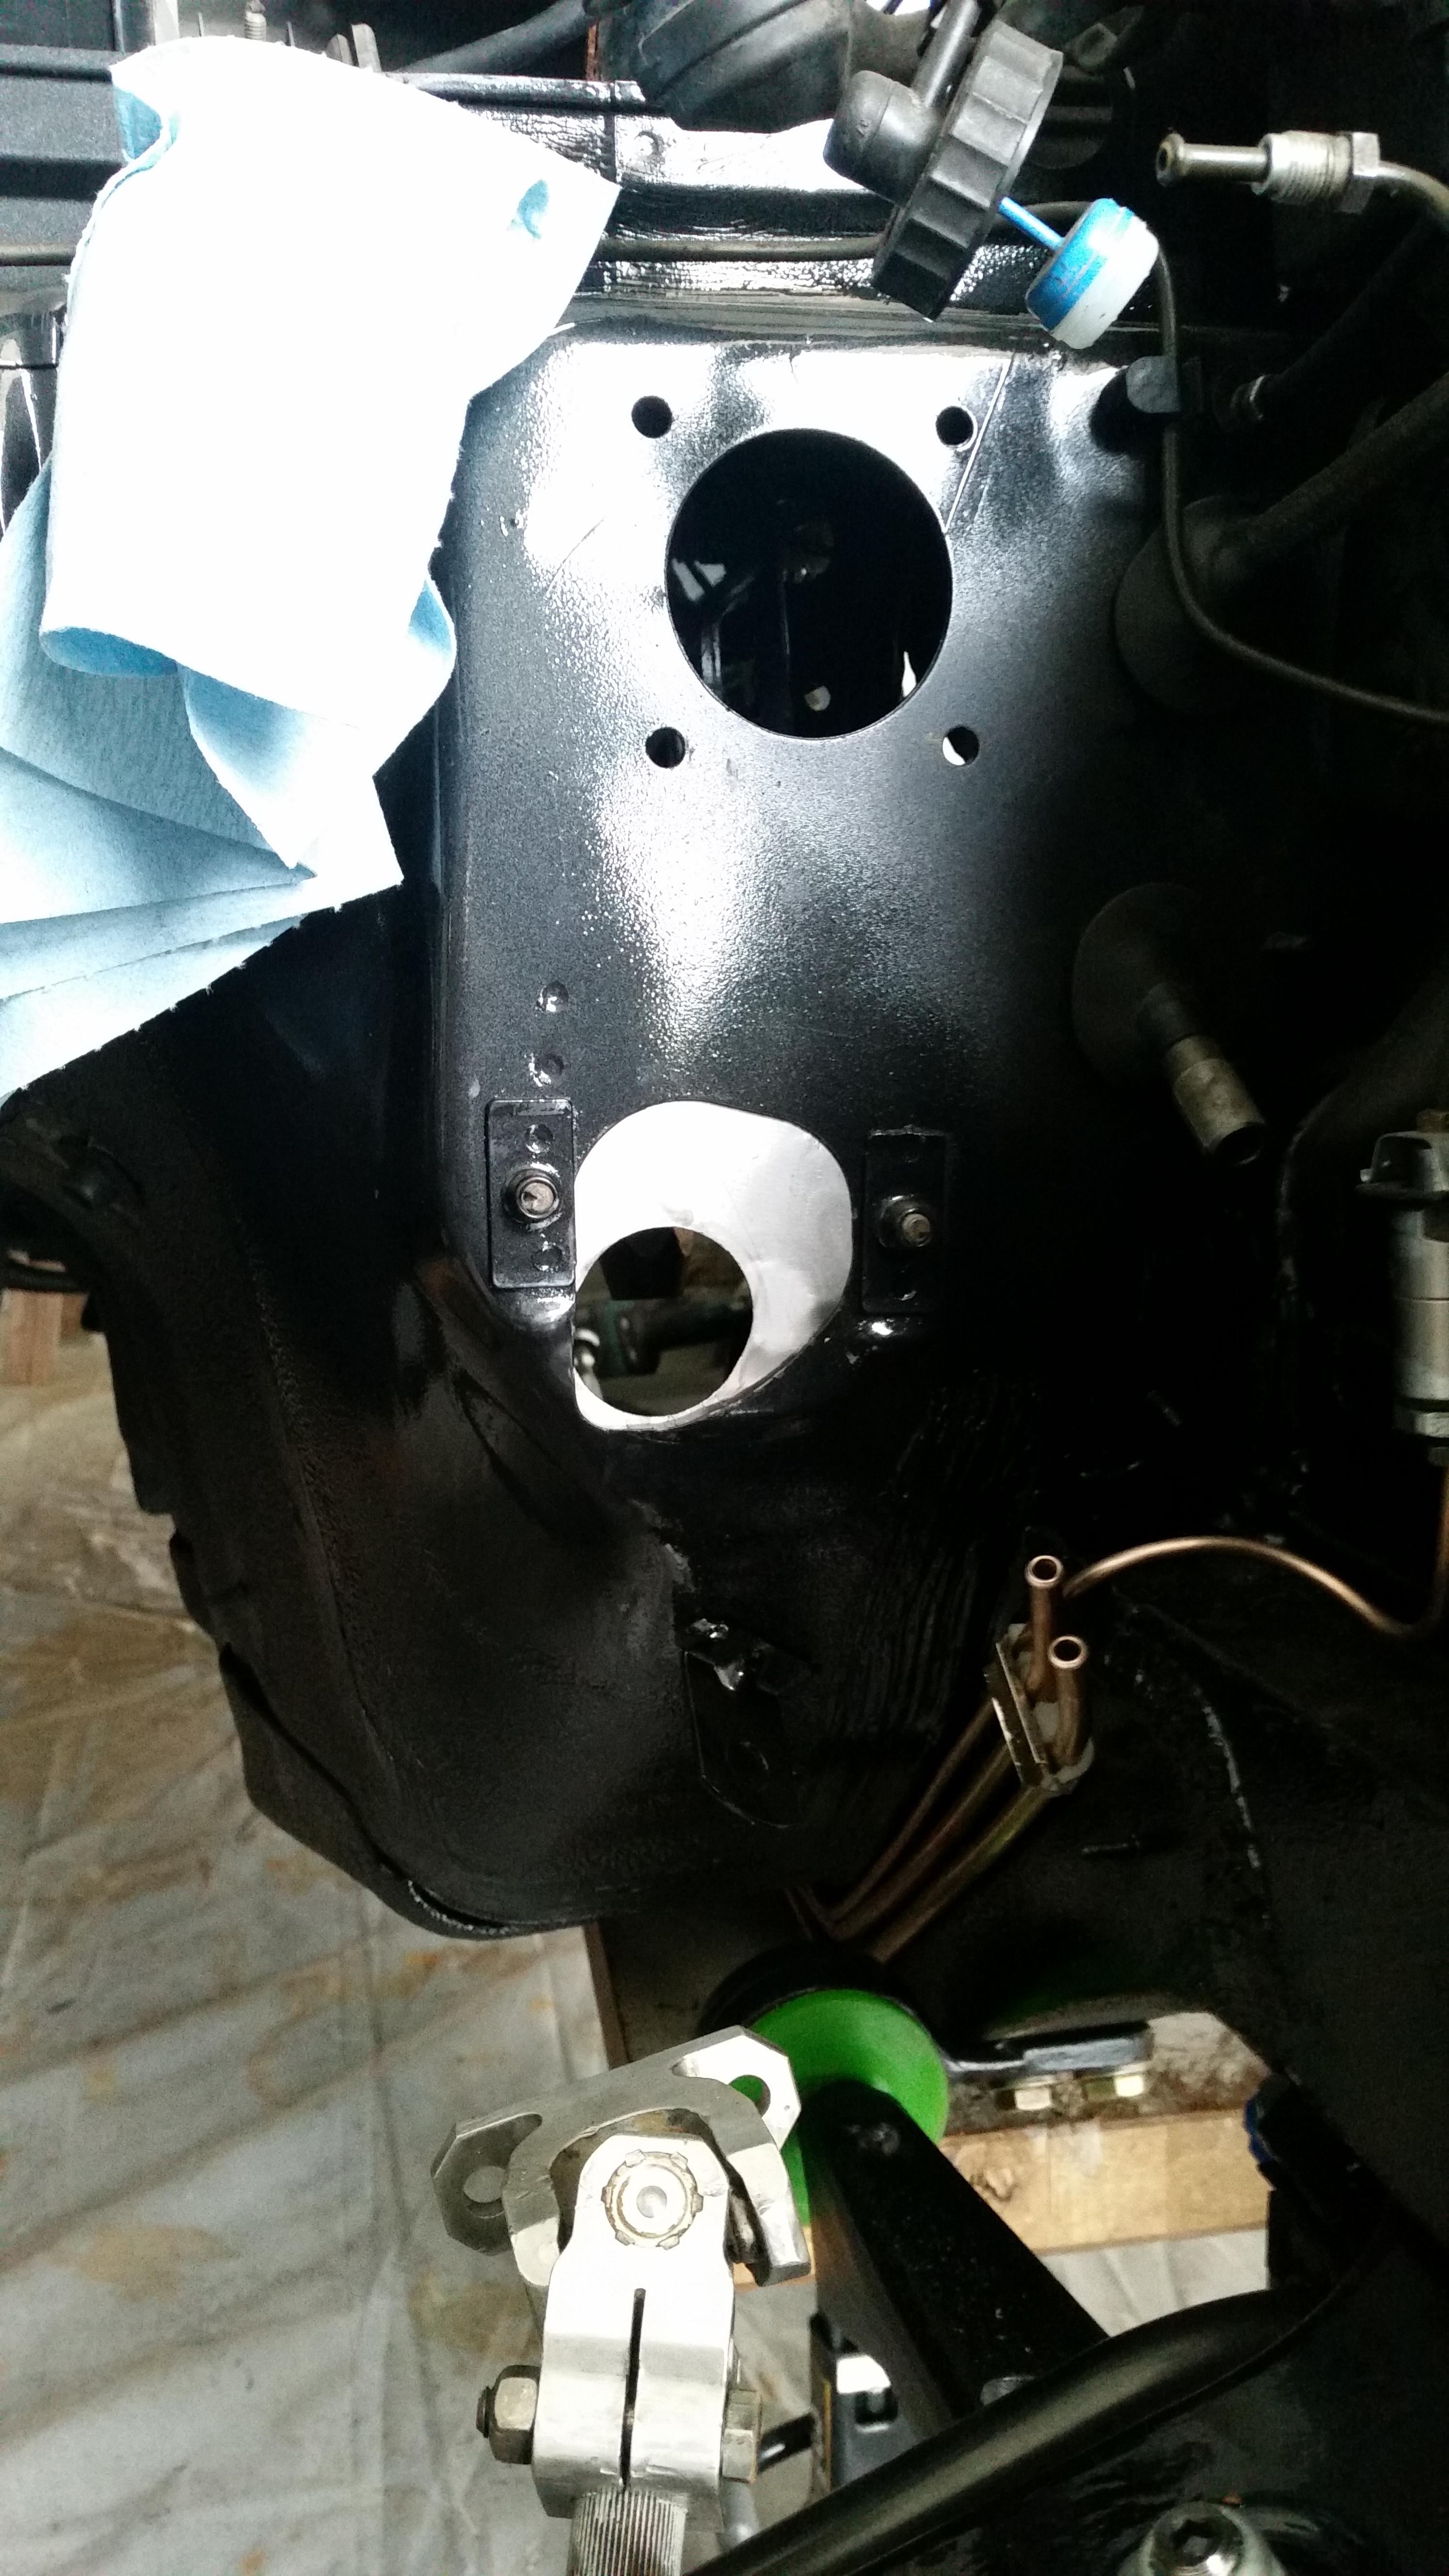
Made some measurements for a new plate for the re-positioned steering shaft and got that cut out. The hole where the boot goes in is slightly smaller then the original. The boot fits very snug in there which I like a lot. ( The new piece is out of 12 gauge stainless)
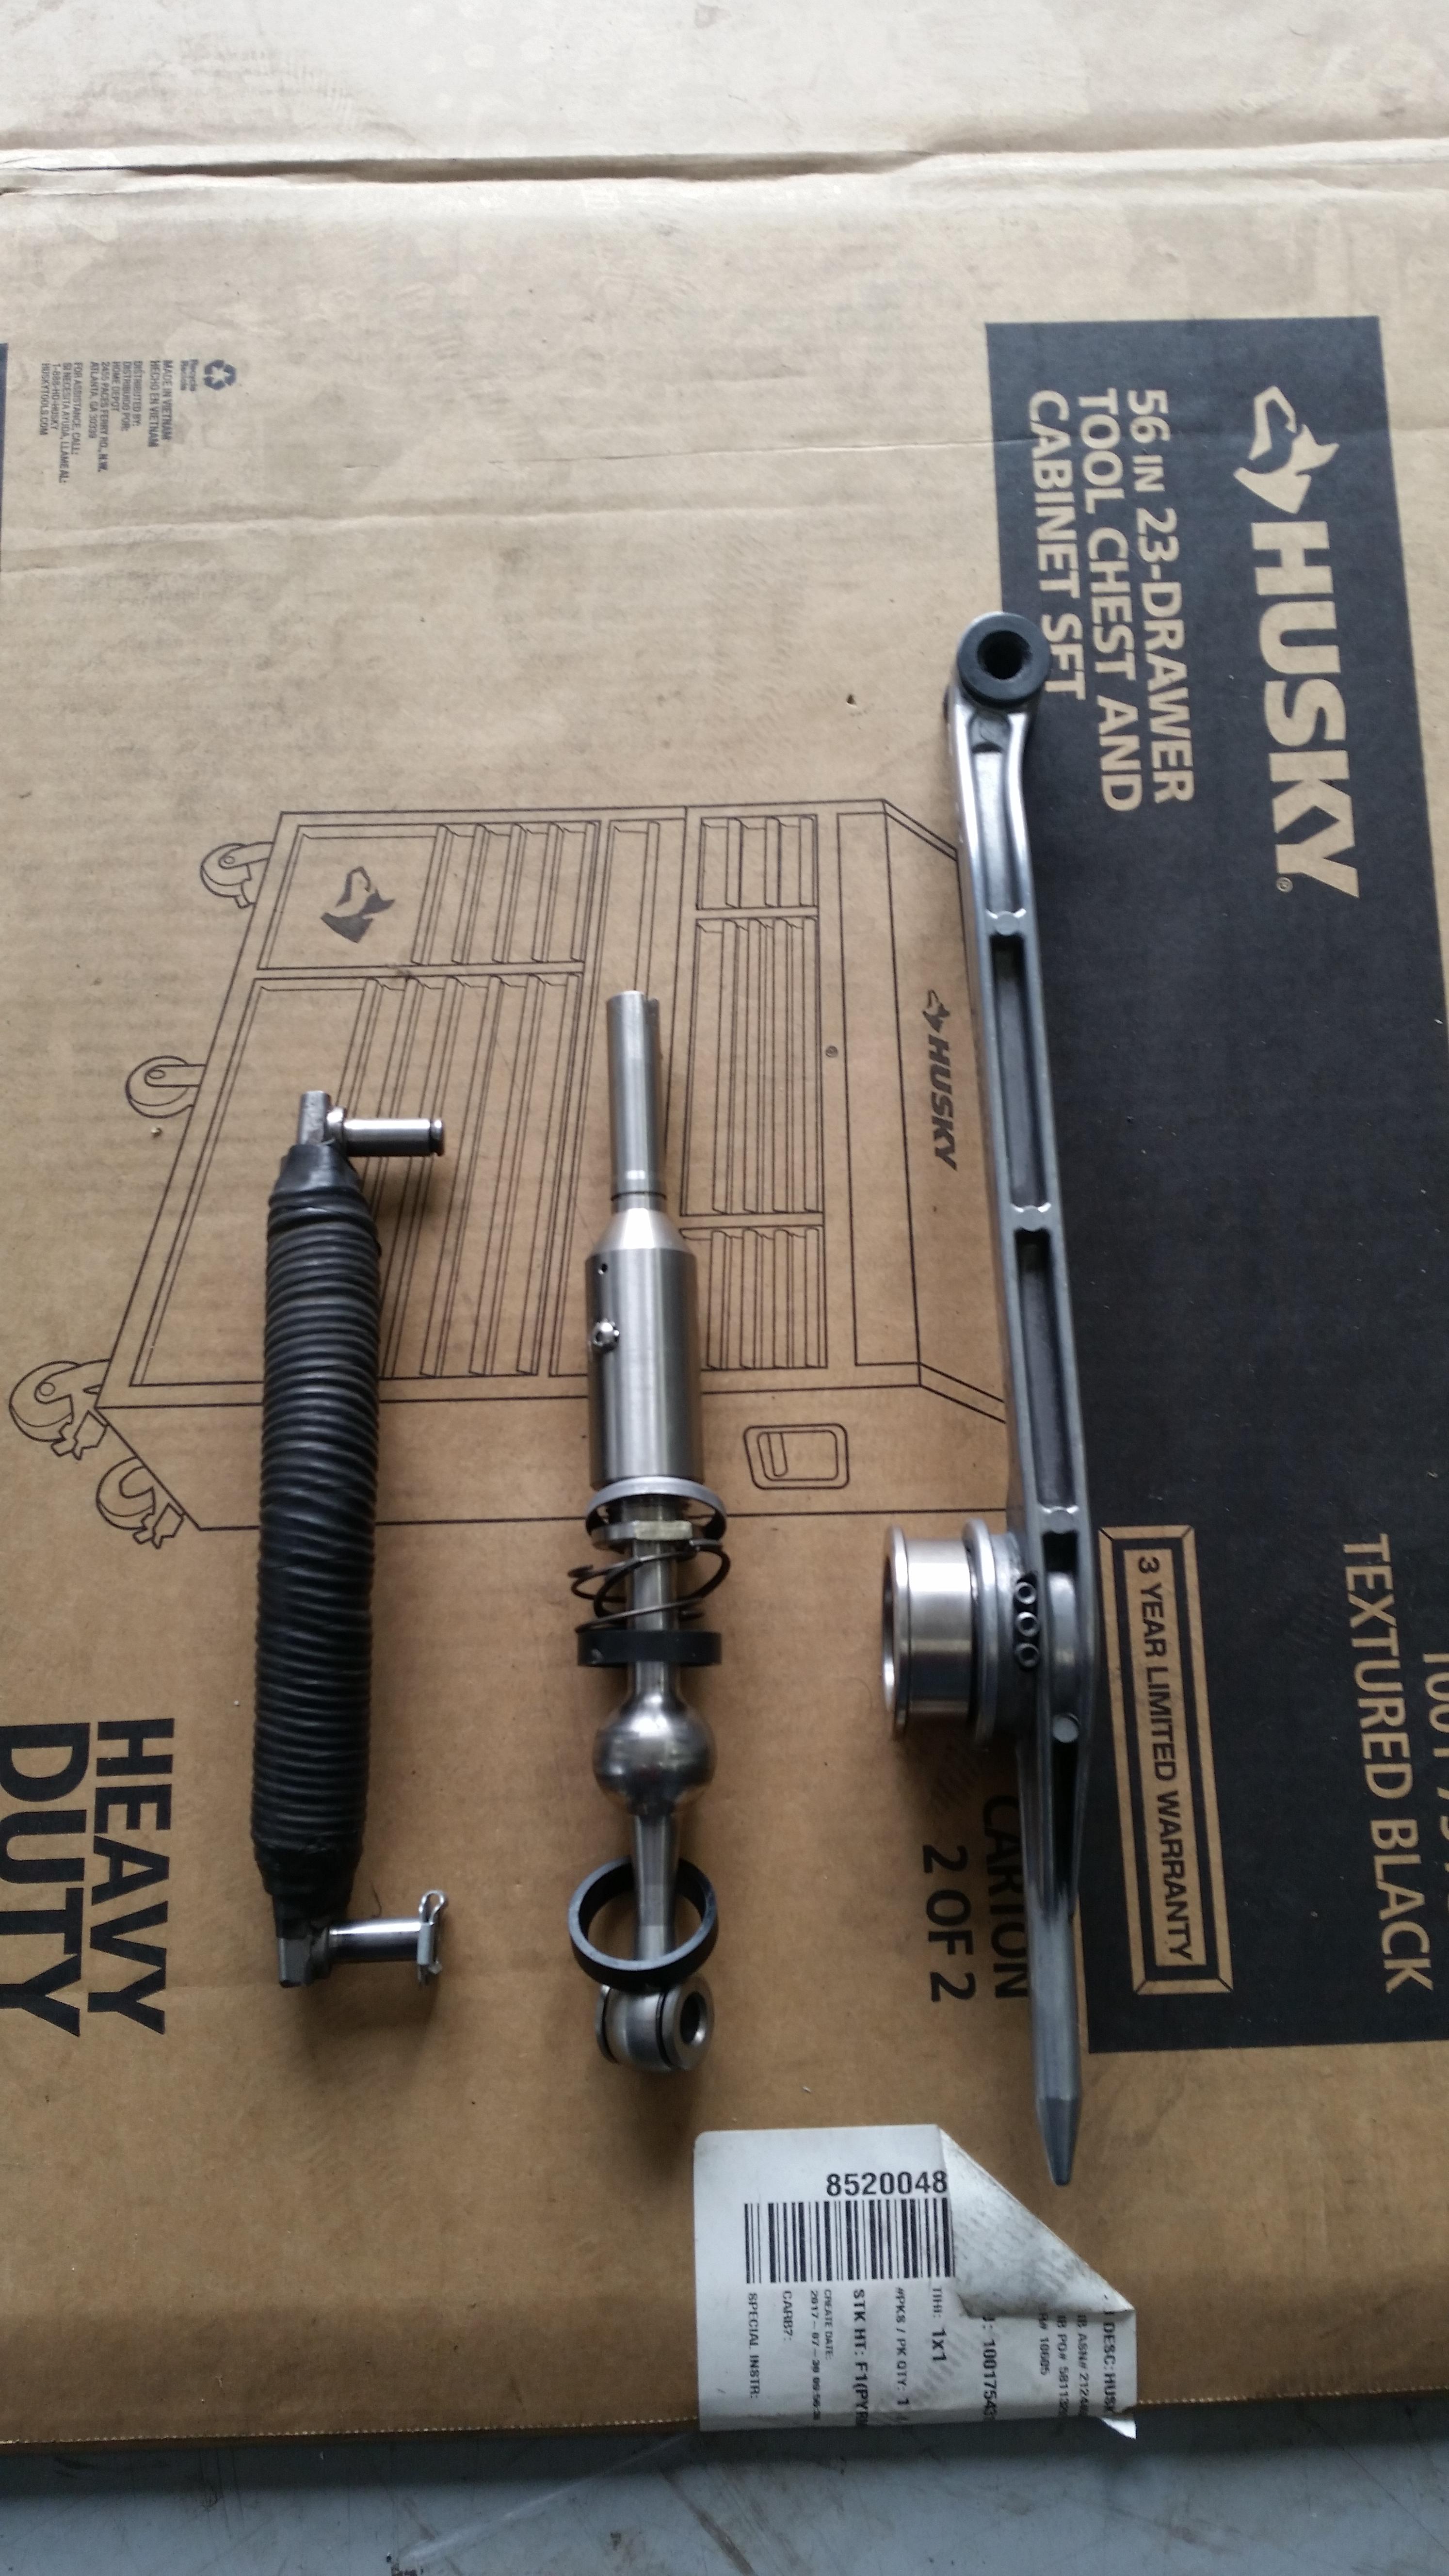
UUC shifter showed up. The guy threw in a weighted selector rod he made himself with the shifter, which seems to consist of just a bunch of heavy gauge wire wrapped tightly around. Not gonna be using it as we ended up making a dssr instead so if anyone is interested in it you are more then welcome to have it.
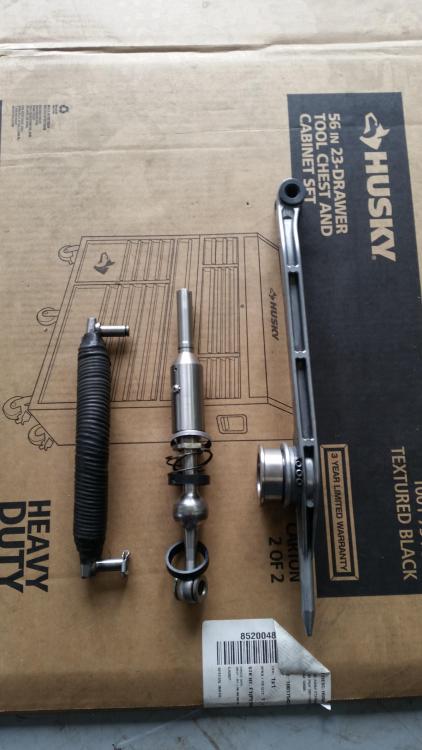
Speaking of dssr...
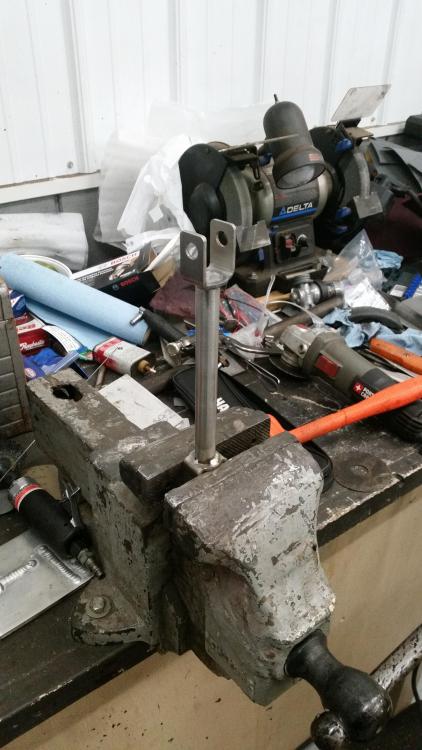
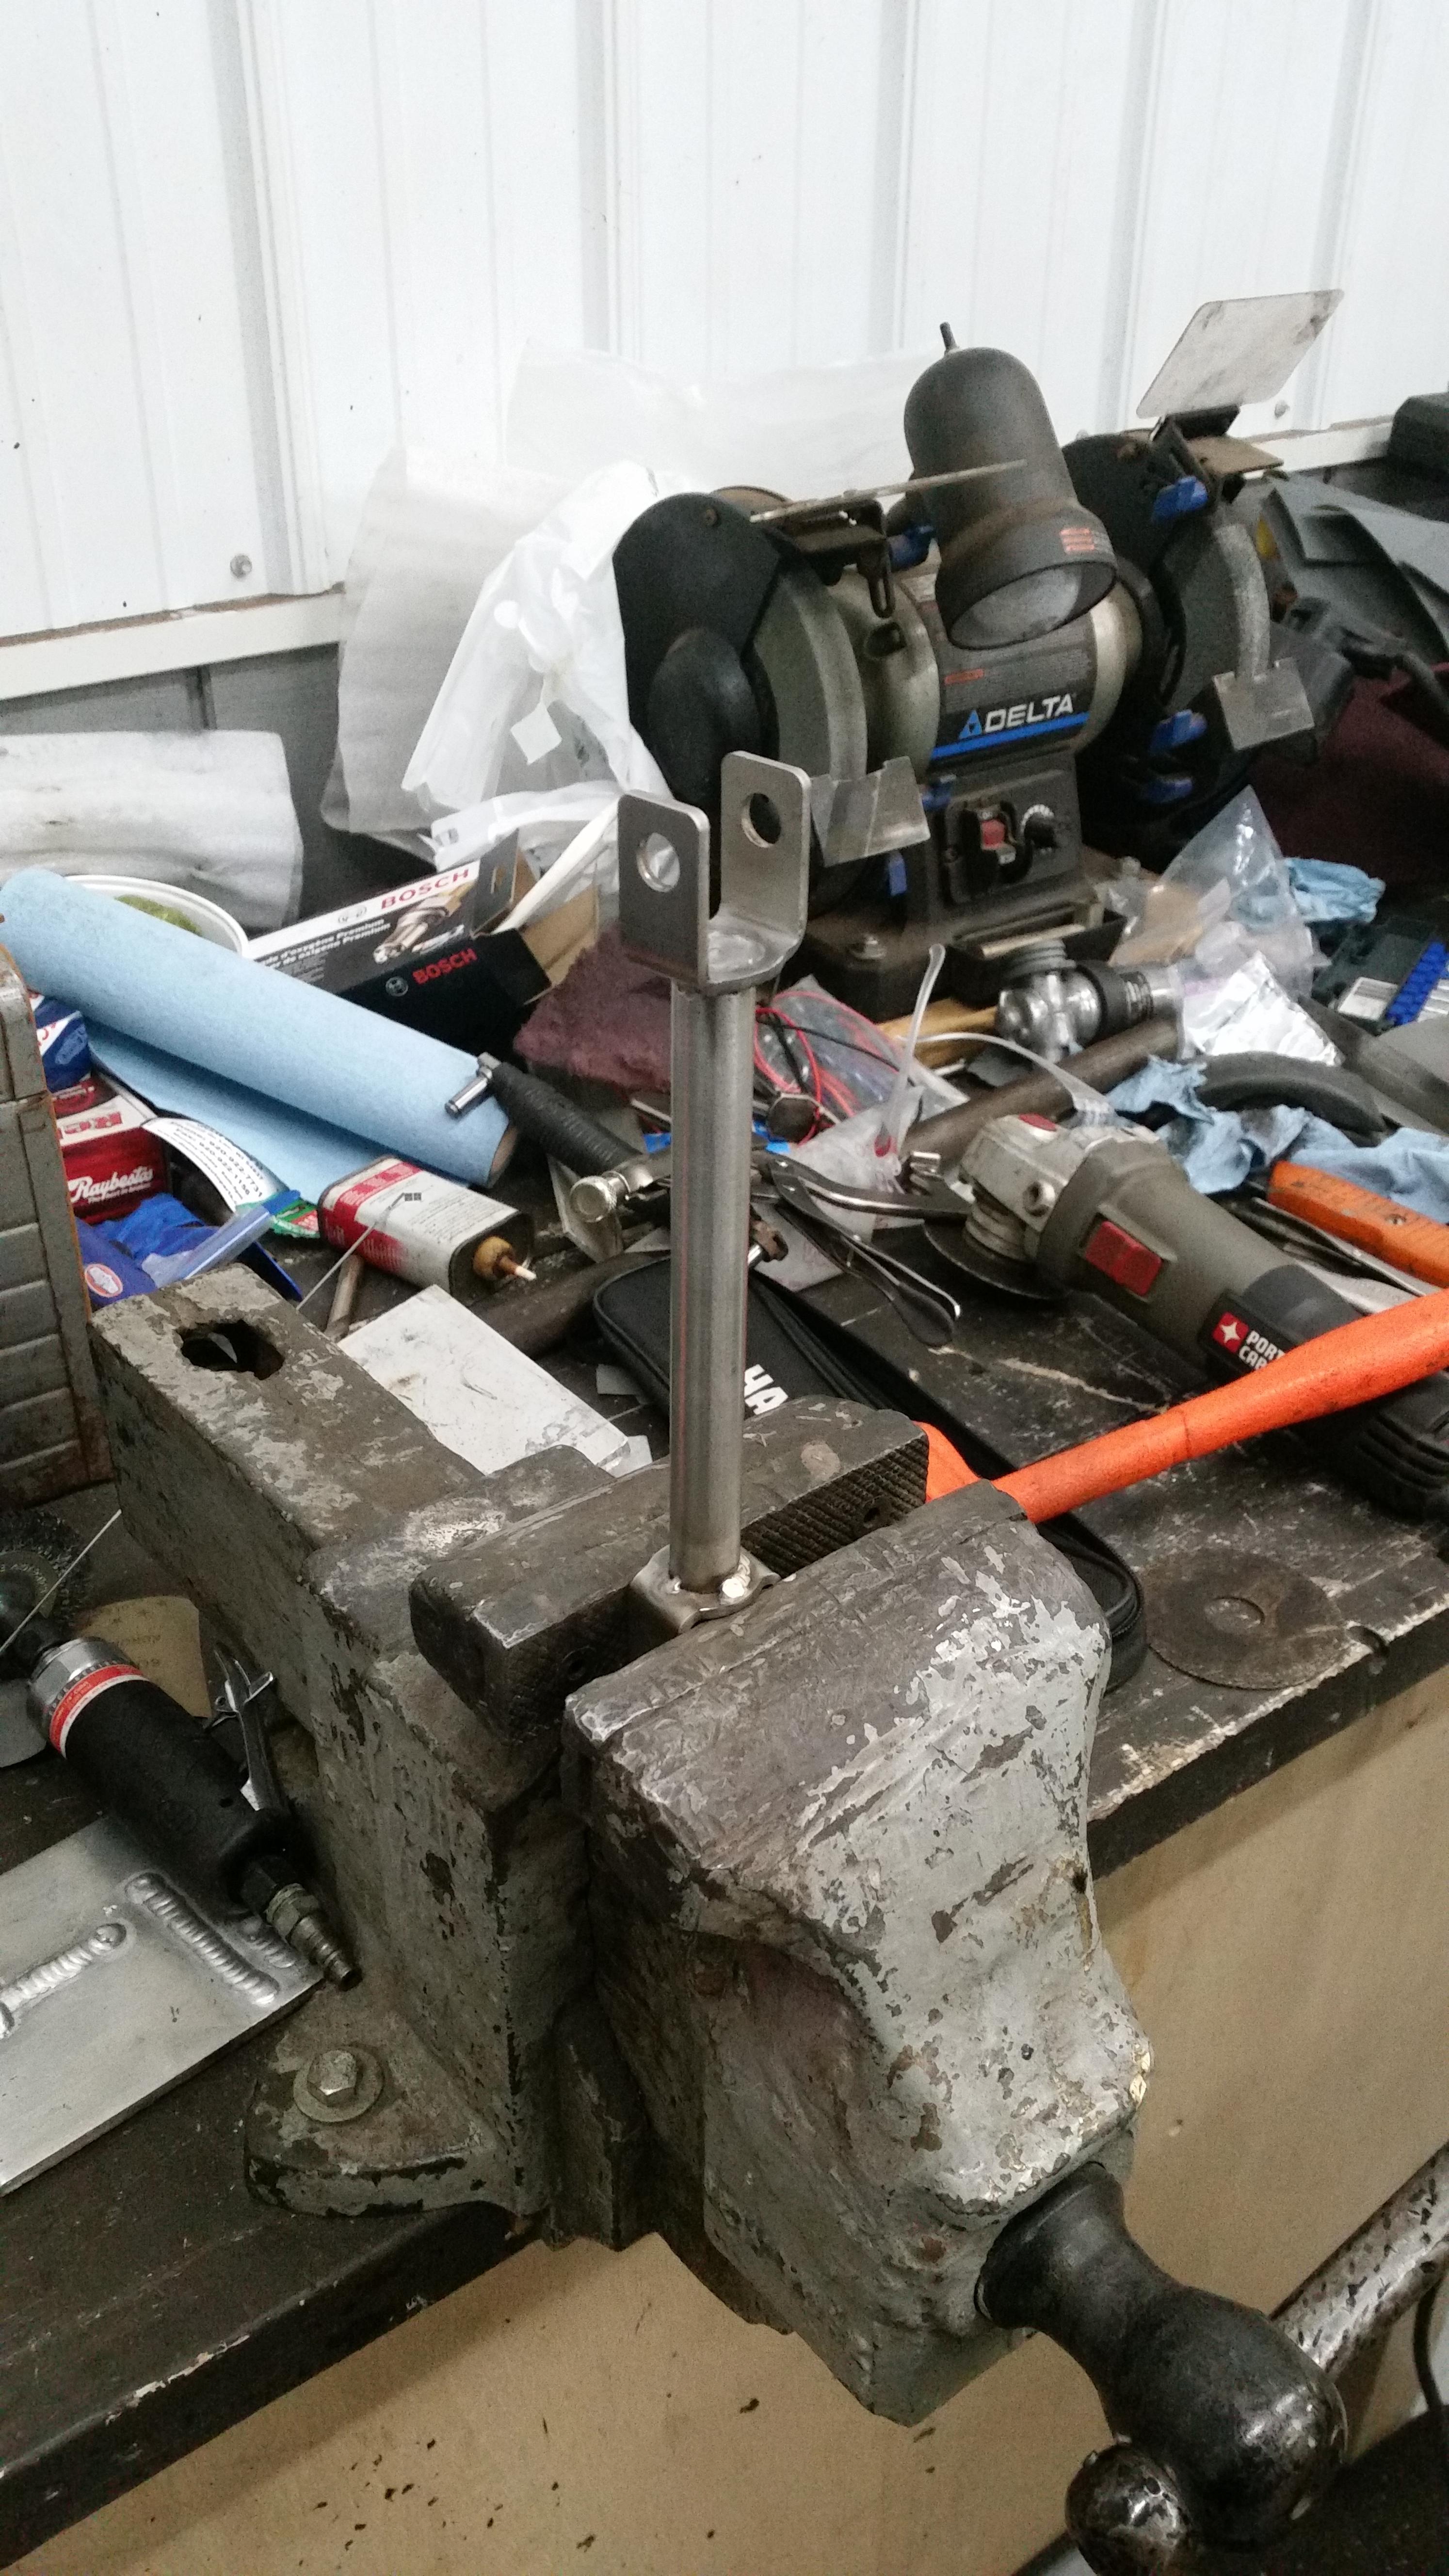
So things went a little differently then anticipated so the gap is a bit wider which meant I had to throw in nylon washers on both sides to make the shifter and selector joint fit nice and tight. Once the washers are in though it is a very snug fit and I think is gonna work out great anyways. I did remember to angle the one side 10 degrees to compensate for the angle of the g260 trans when installed. ( All materials are off stainless as well )
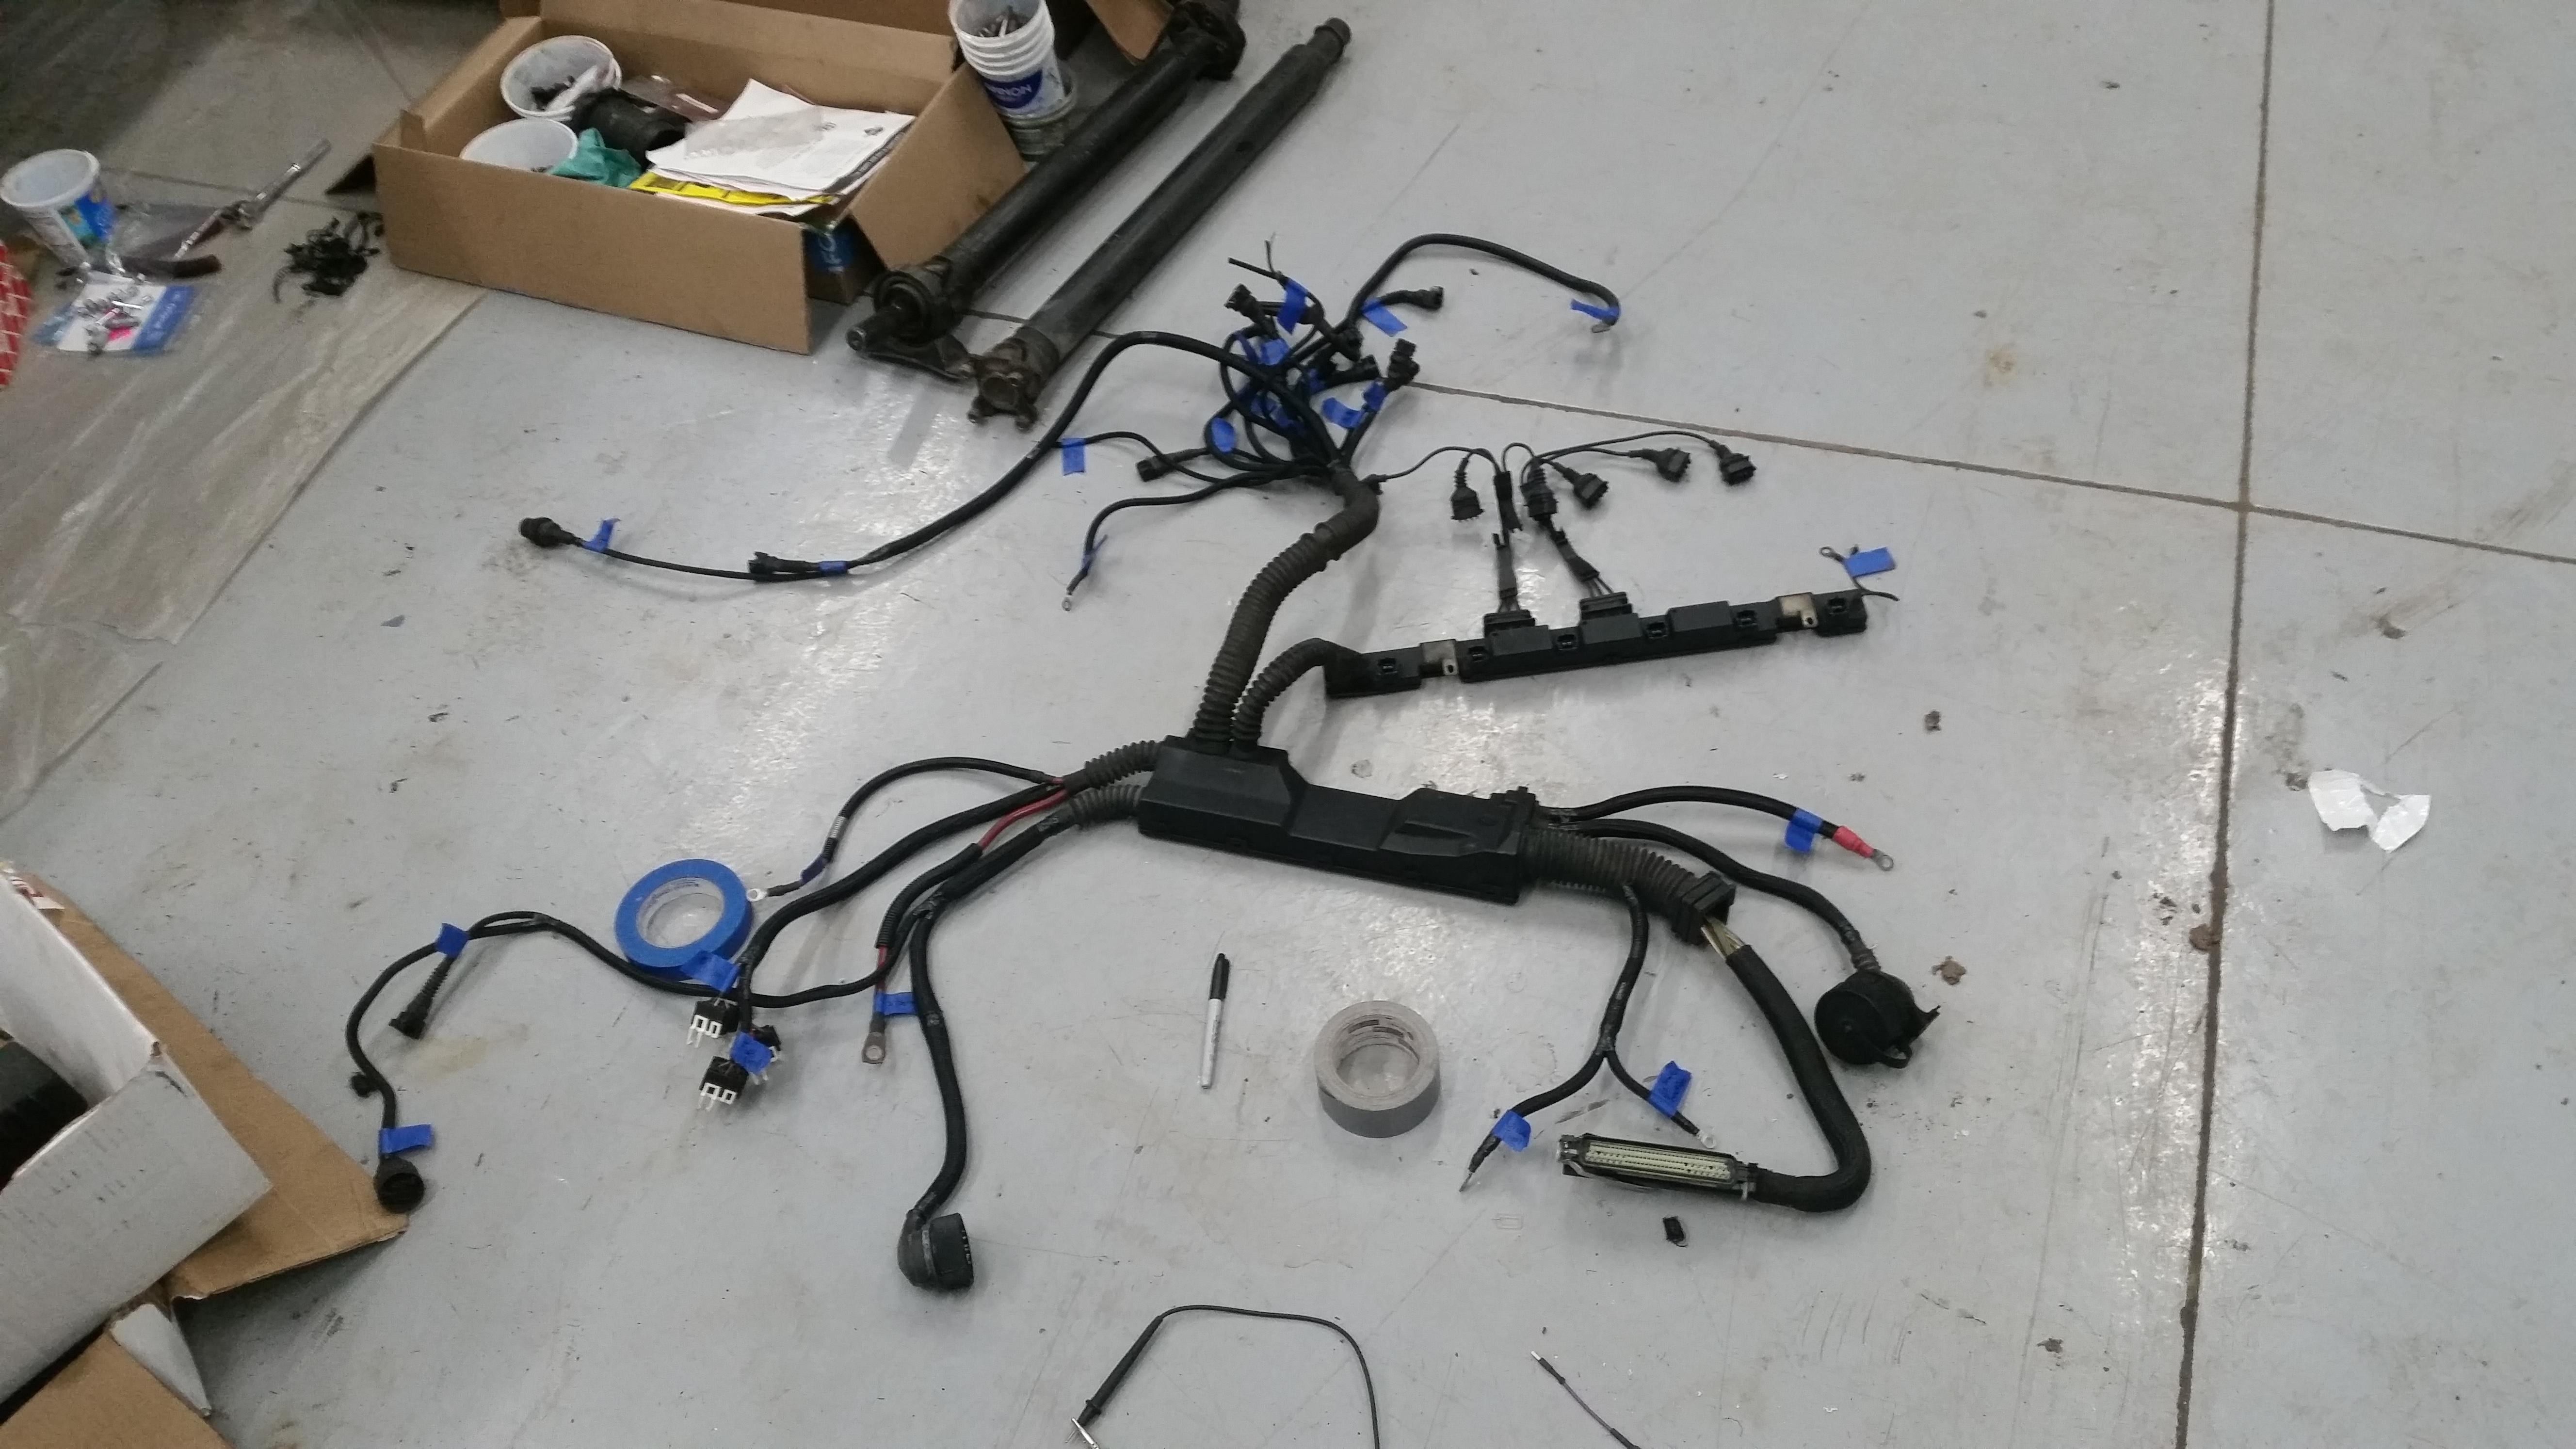
Got the Obd1 harness dissected up and all the connectors identified and labeled.
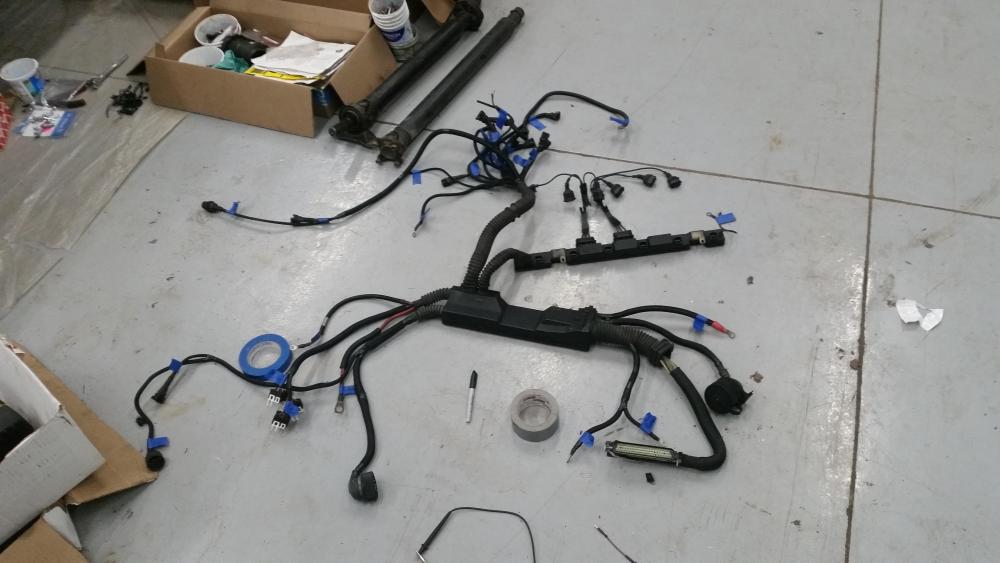
Everything makes sense except for one particular thing. It's the cam sensor harness connector.
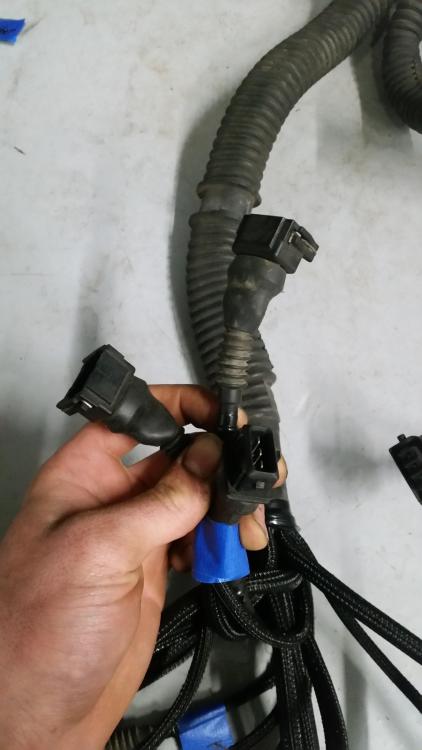
It's a male connector, and so is the cam sensor. Do I need to to cut and splice in a female plug on the harness side? I did some digging and checking but couldn't find anything on it. I do know for sure it is the cam sensor though.
Now for exciting news...
Motor is off the stand now.
Got the flywheel, pilot bearing and clutch kit installed. I ended up picking up some hex bolts for the pressure plate at Menards, they worked great!
Trans is installed on the motor as well as the starter. Everything torqued down.
...
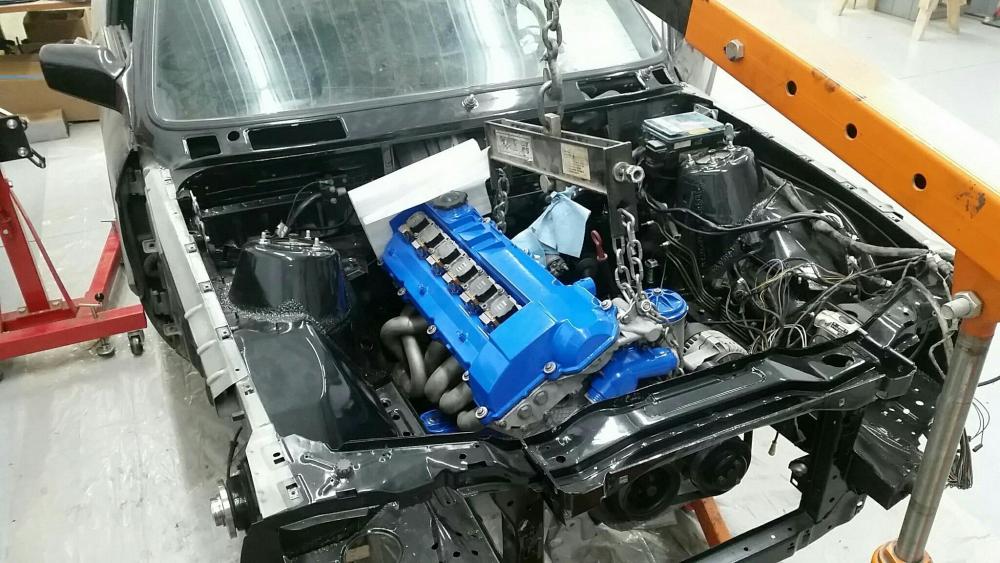
I did go ahead and hook up the shifter linkage to see how the dssr fit up. It looks like I'll be removing that flange dampener after all.
Just to be sure here, Do I have to modify the shifter carrier at all sense it is twisted as well?
On a even more positive note, Header clearances are looking great! I will be cutting off the reduced section on the one header as well.
Next things on the to do list:
Get the harness installed on the motor
Brake booster modified and installed
remove, ceramic coat and re-install headers
flock the dash a second time
clean carpet
get drive shaft and shifter linkage fully installed
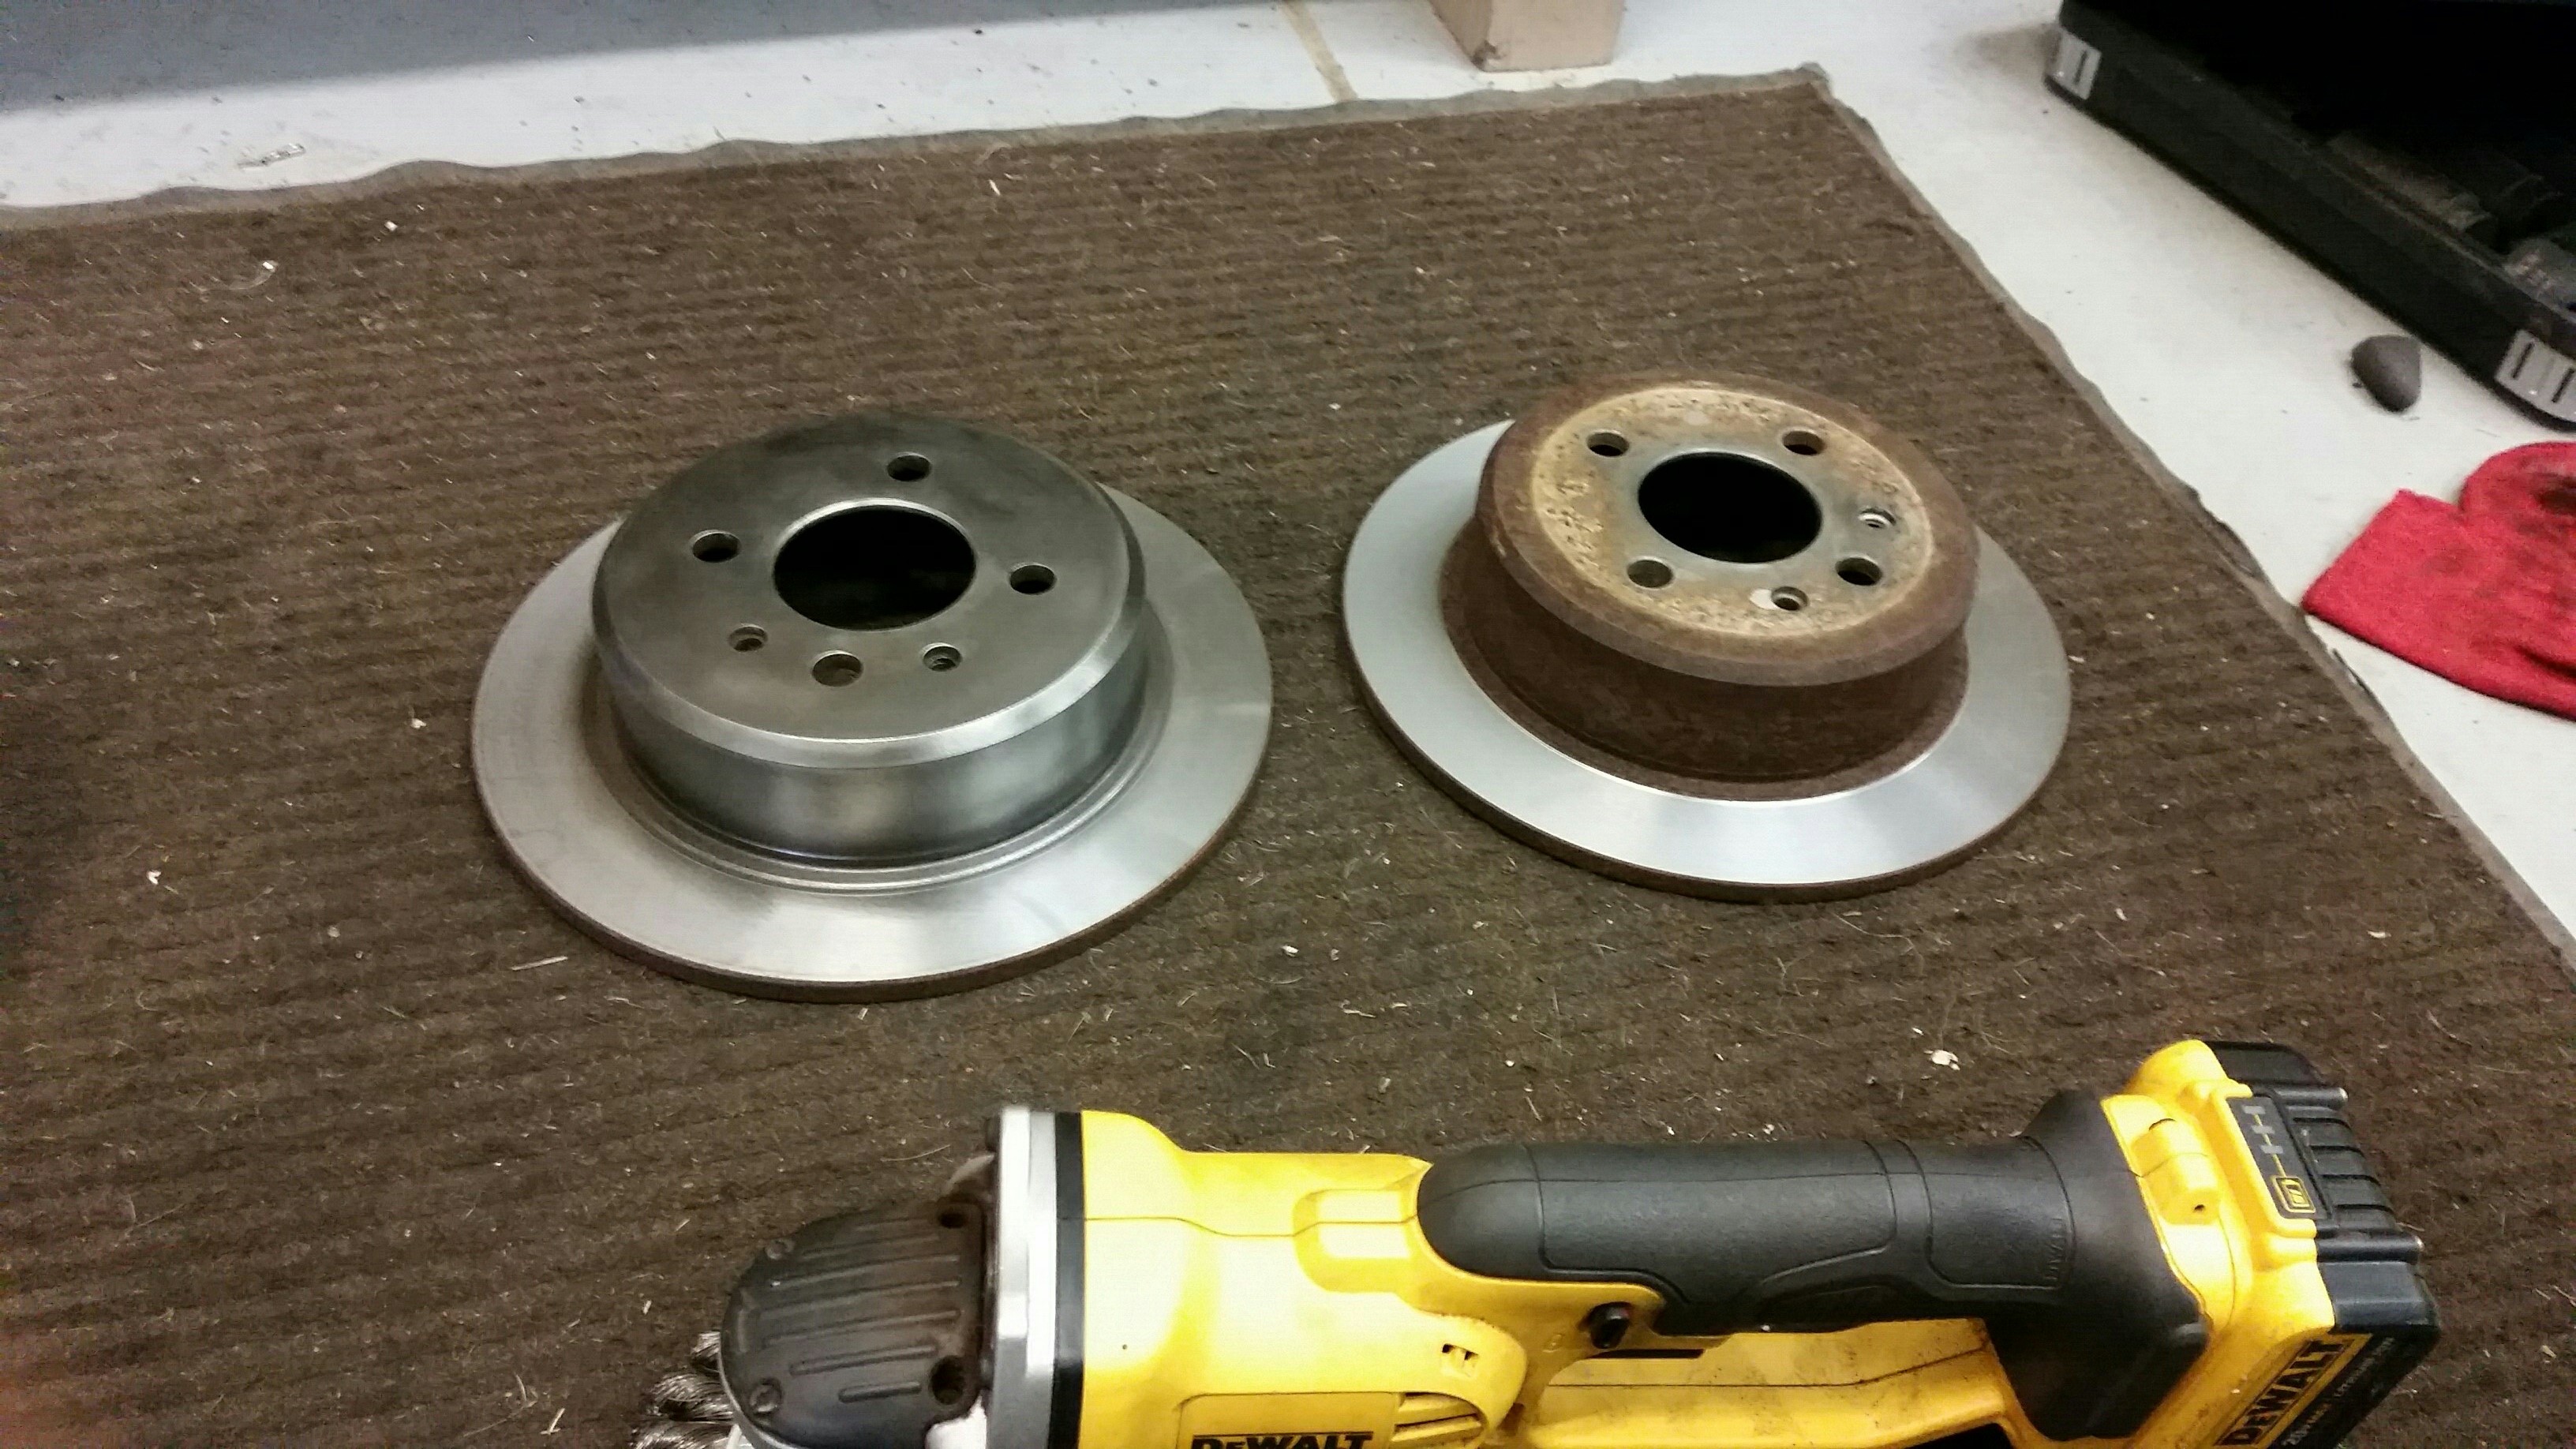
I have brake rotors and brake pads showing up tomorrow so I will hopefully get around to getting those installed and bleed sometime this week.
Sent my slave cylinder back to fcp for warranty replacement, hoping to see that back sometime this week so I can get that installed and bleed as well.
This is the last week of school for me so as always I am getting slightly swamped with last minute projects and finals so I will work my hardest to find time and get over to the shop and get things cranked out. Of course I want to get the car going asap but not trying to meet any dead lines like the picnic as there is no way the car will be ready for that by then anyways. I do although still plan on coming down and hanging out with everyone, hopefully put a few names to faces.
-
Looking forward to meeting you at the picnic! The cam sensor has a female connector which fits with the male connector on the harness. I had to order a different cam sensor because the first one I bought was the wrong gender/different plug. It needs to be an M50/S50 cam sensor
I cant remember what gender everything is supposed to be but all I know is there was once a gay situation requiring a new sensor purchase
-
Damn you @GunMetalGrey
-
-
Damn you @GunMetalGrey
Easy chief!
Is this because of your gender fluidity? -
Easy chief!
Is this because of your gender fluidity?It is.
It's not your fault, lol. I thought for sure I had the right sensor because real oem was giving me that same part number as the sensor you gave me under a couple different obd1 vehicle. Made me keep thinking something was funky with harness.
-
-
^ For sure, it's a super cost effective option and I've used a few myself with no issues.







Hello! It looks like you're interested in this conversation, but you don't have an account yet.
Getting fed up of having to scroll through the same posts each visit? When you register for an account, you'll always come back to exactly where you were before, and choose to be notified of new replies (either via email, or push notification). You'll also be able to save bookmarks and upvote posts to show your appreciation to other community members.
With your input, this post could be even better 💗
Register Login