
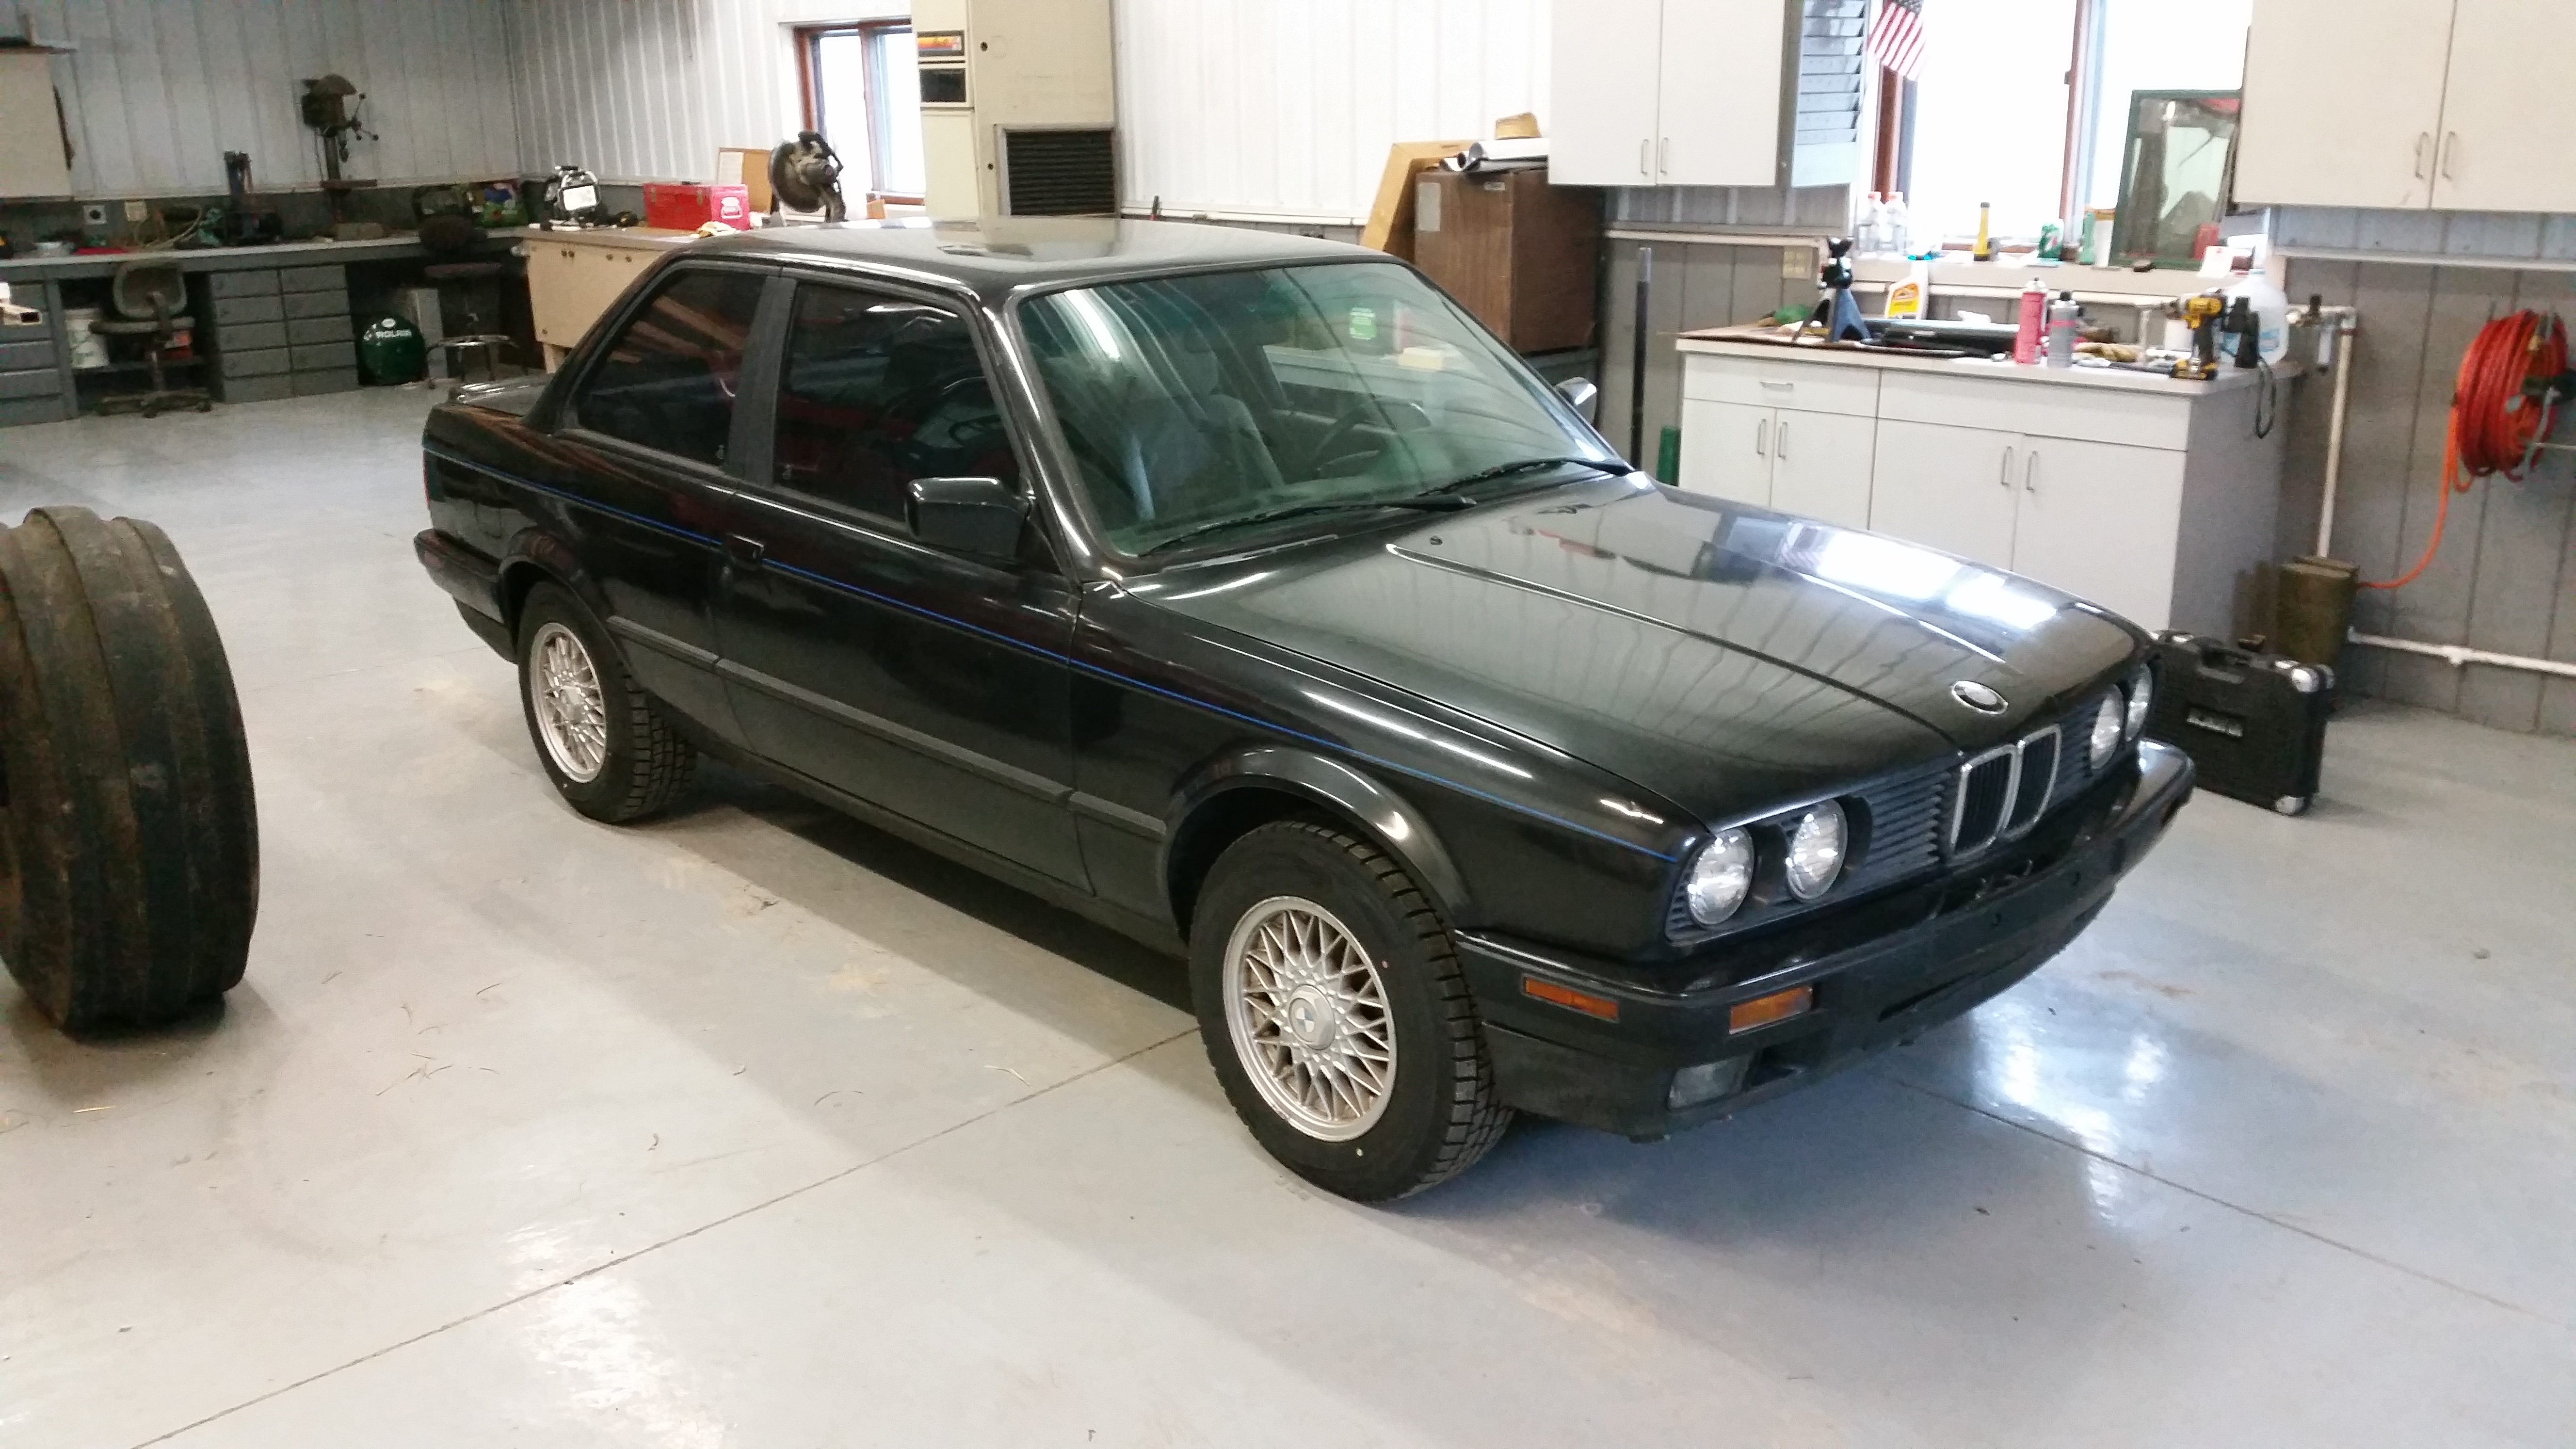
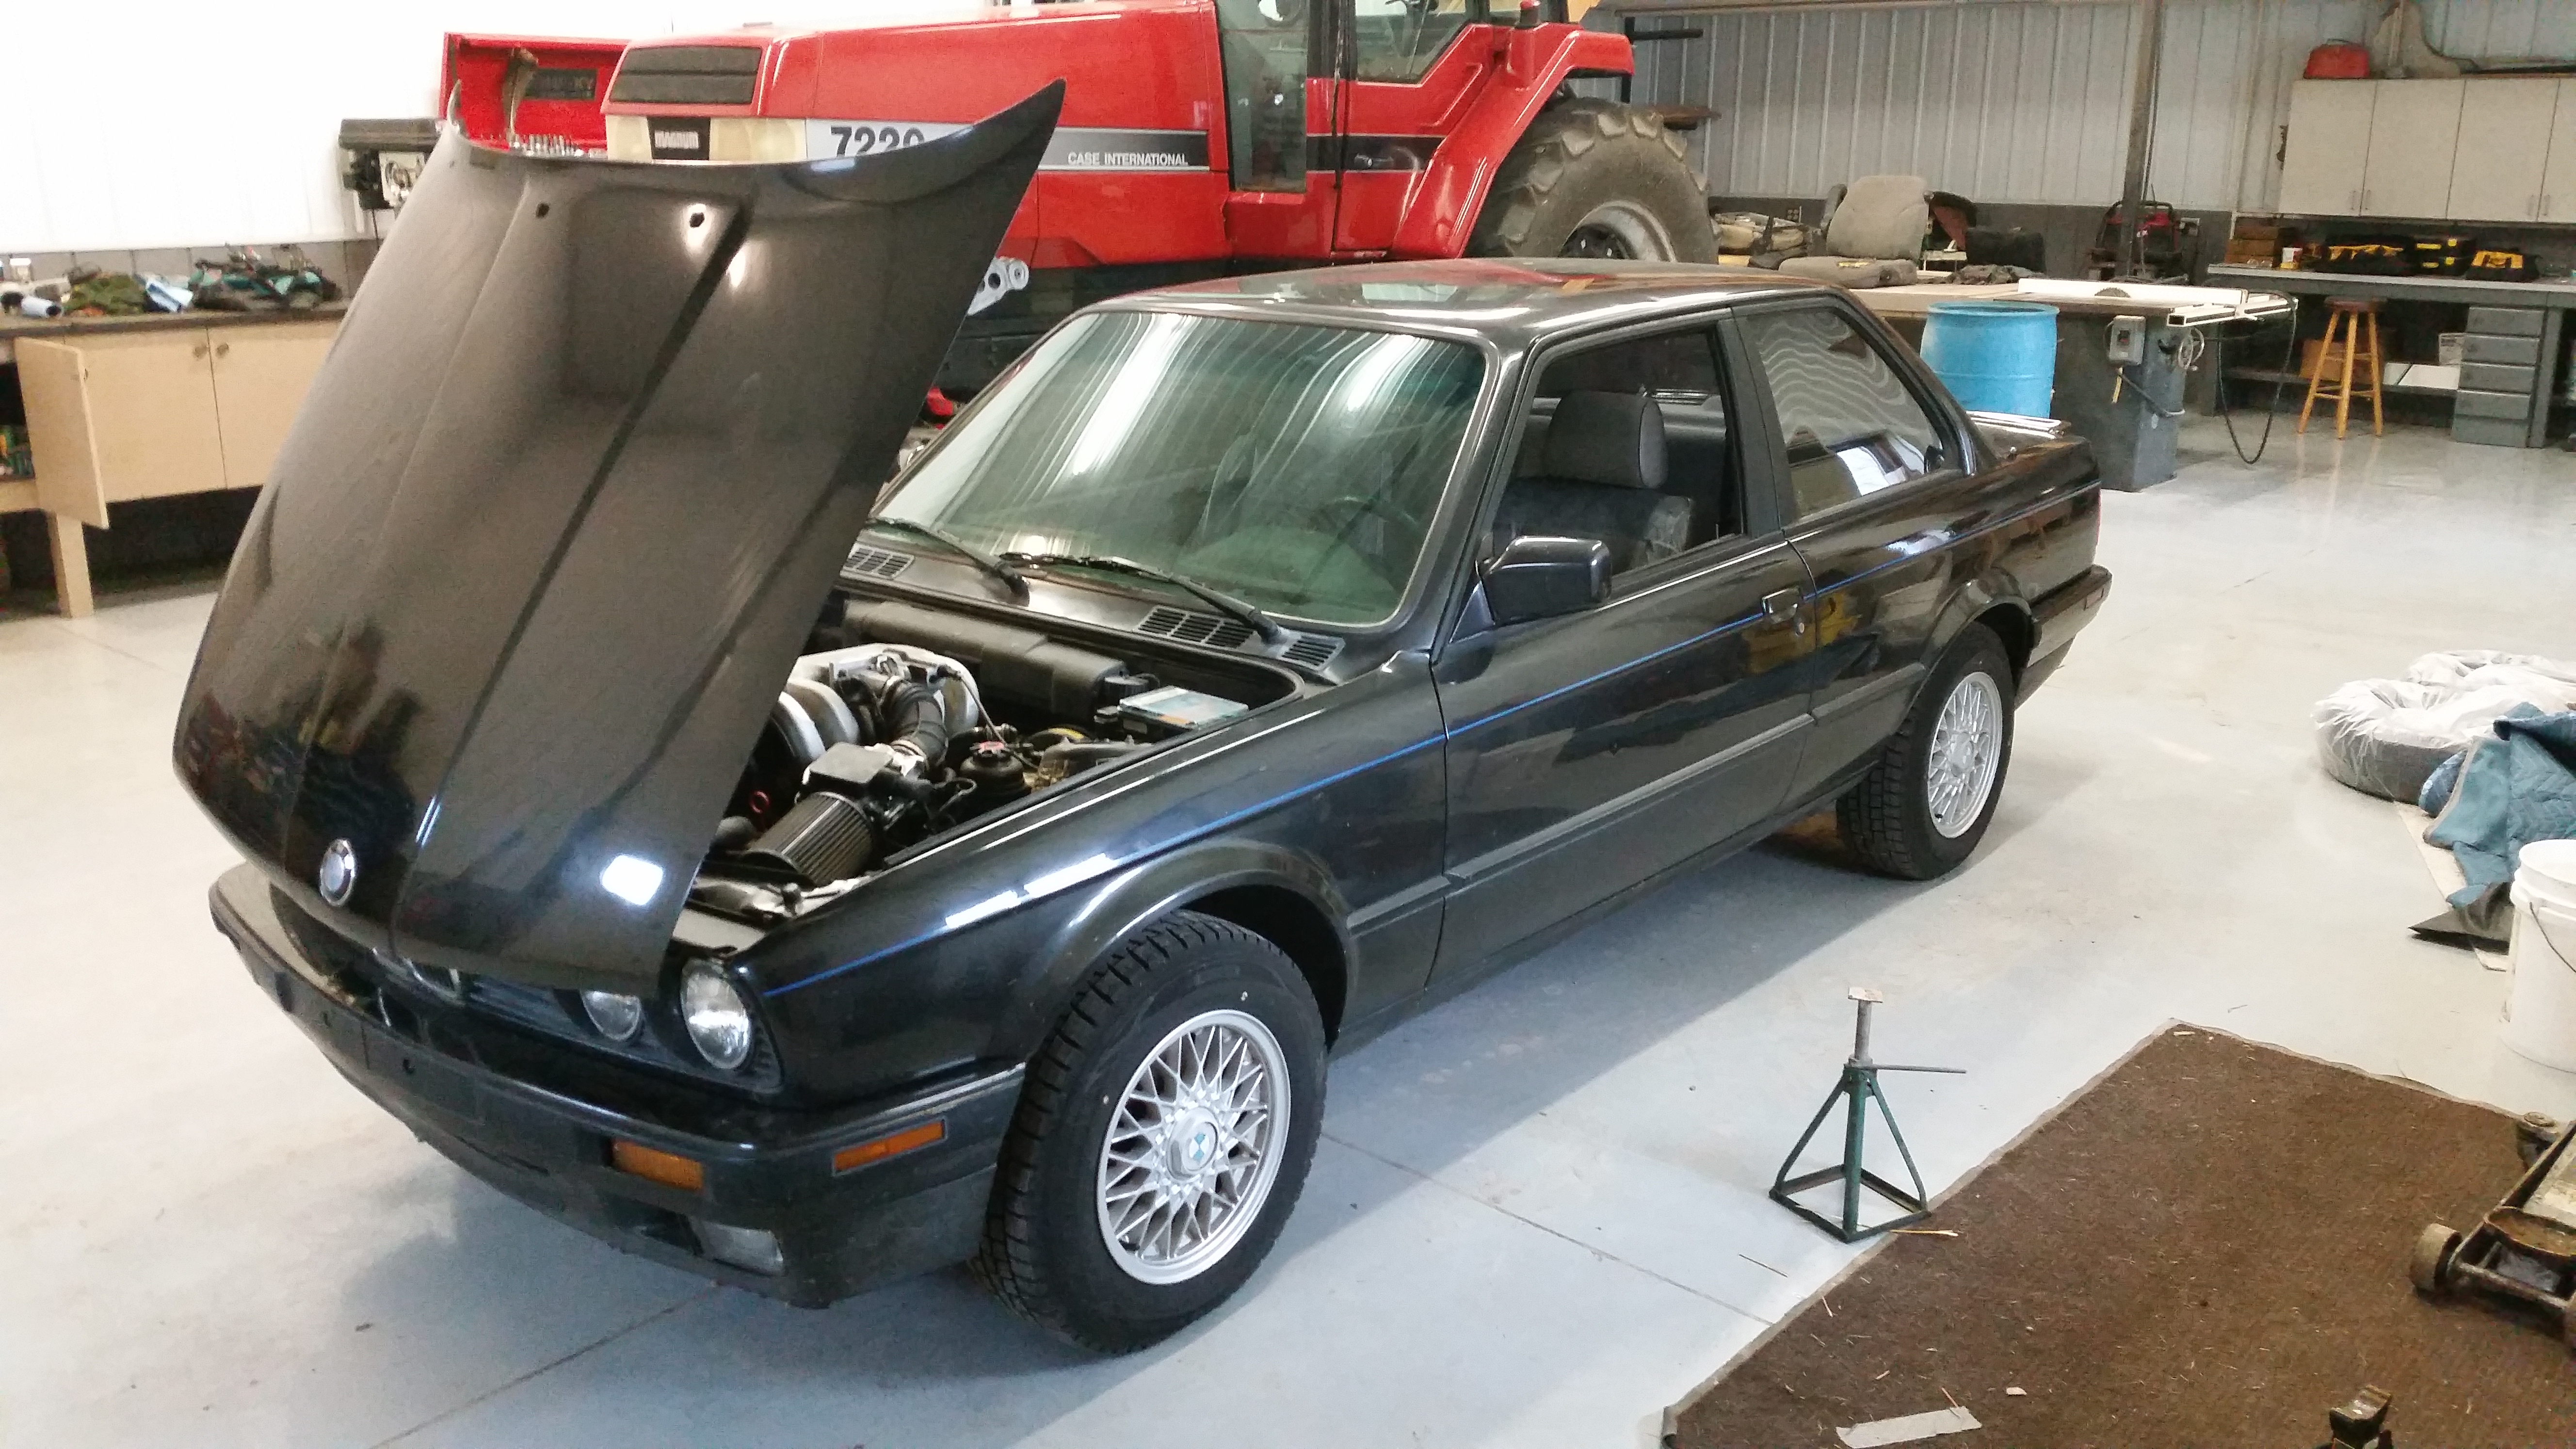
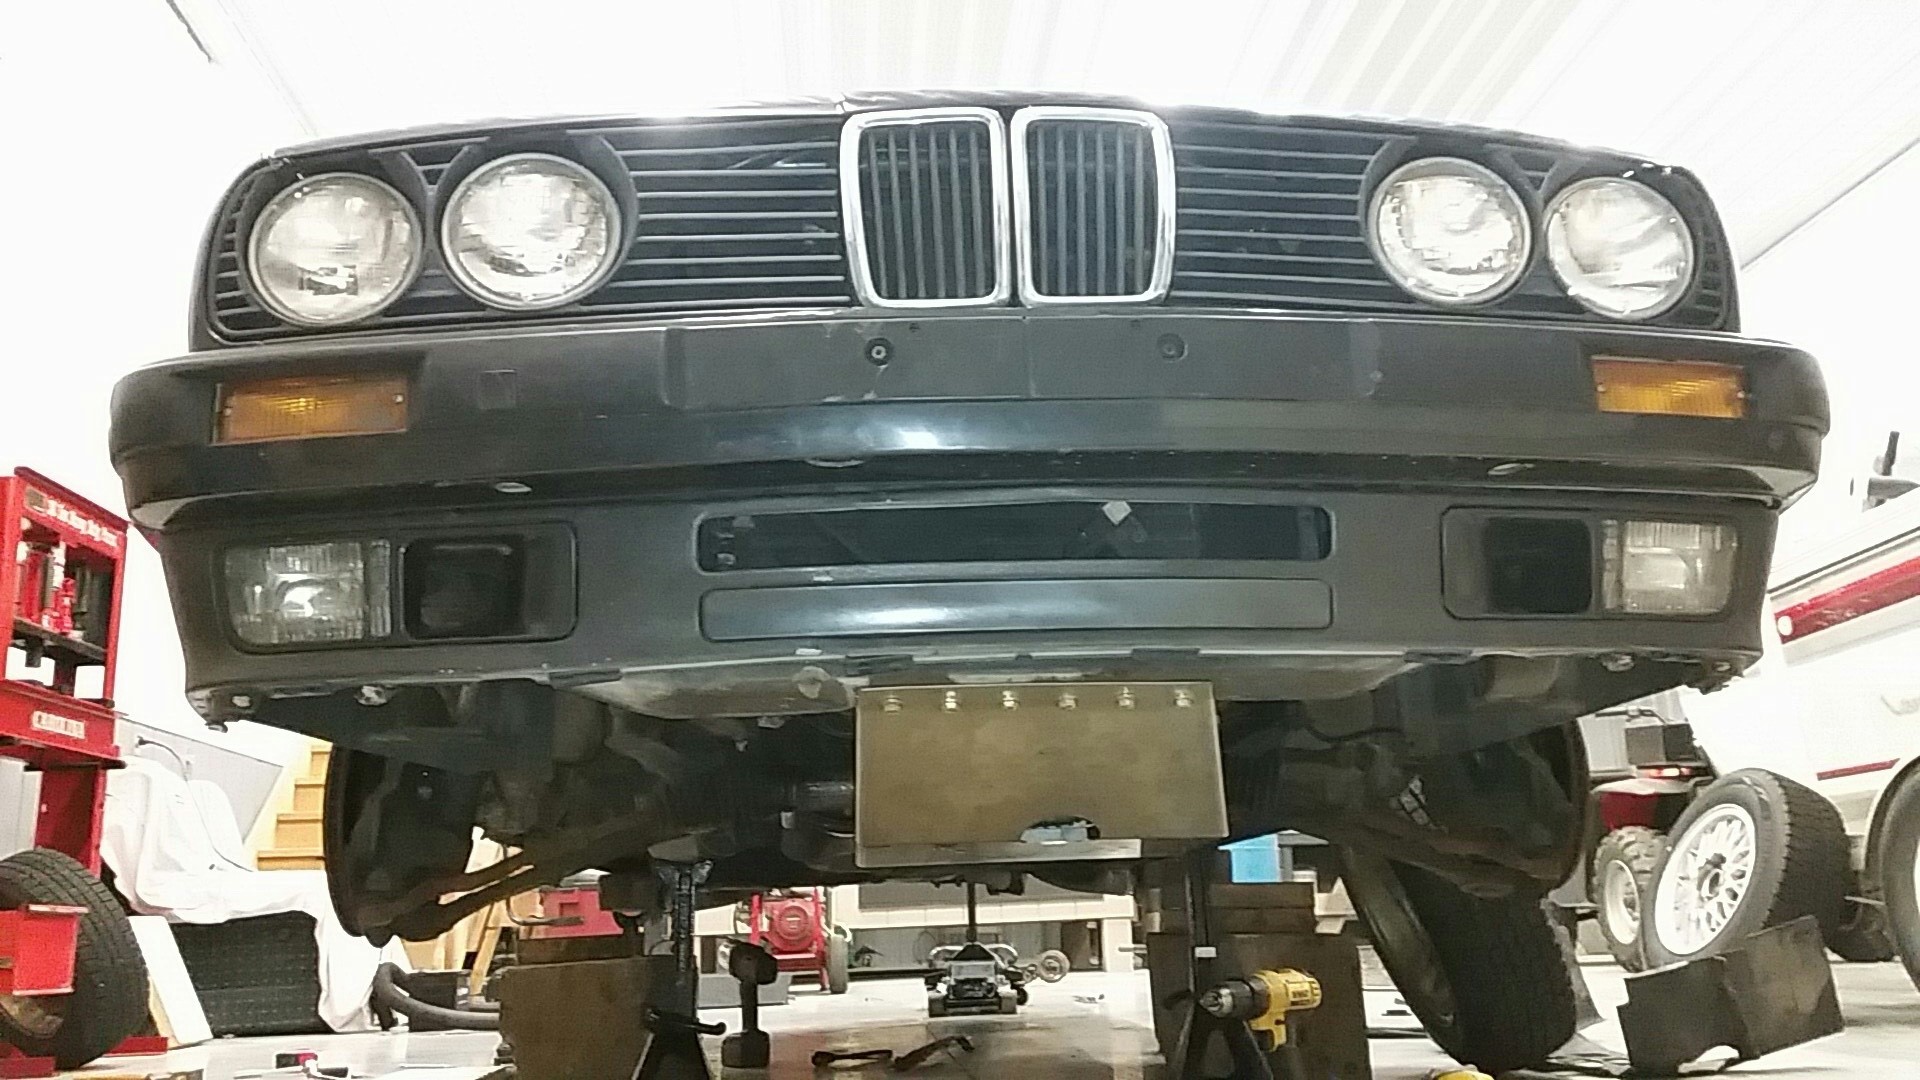
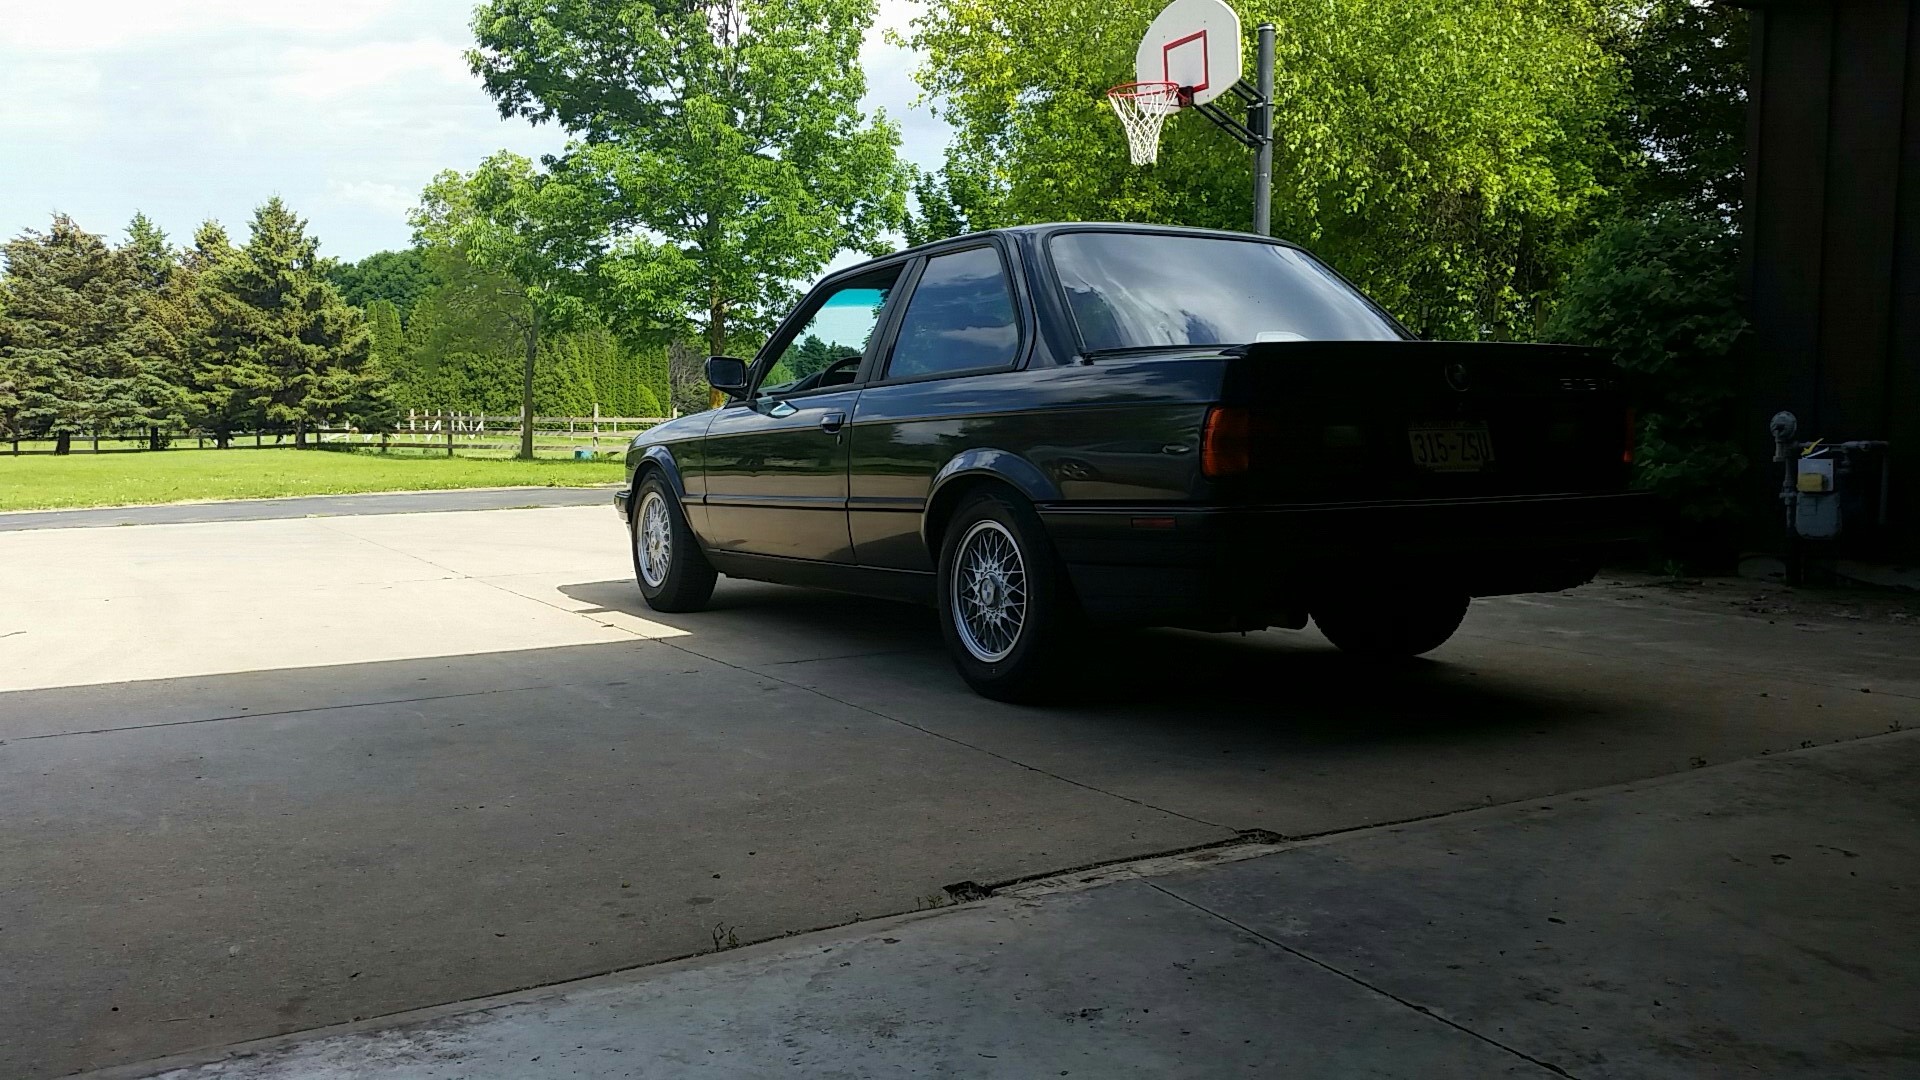
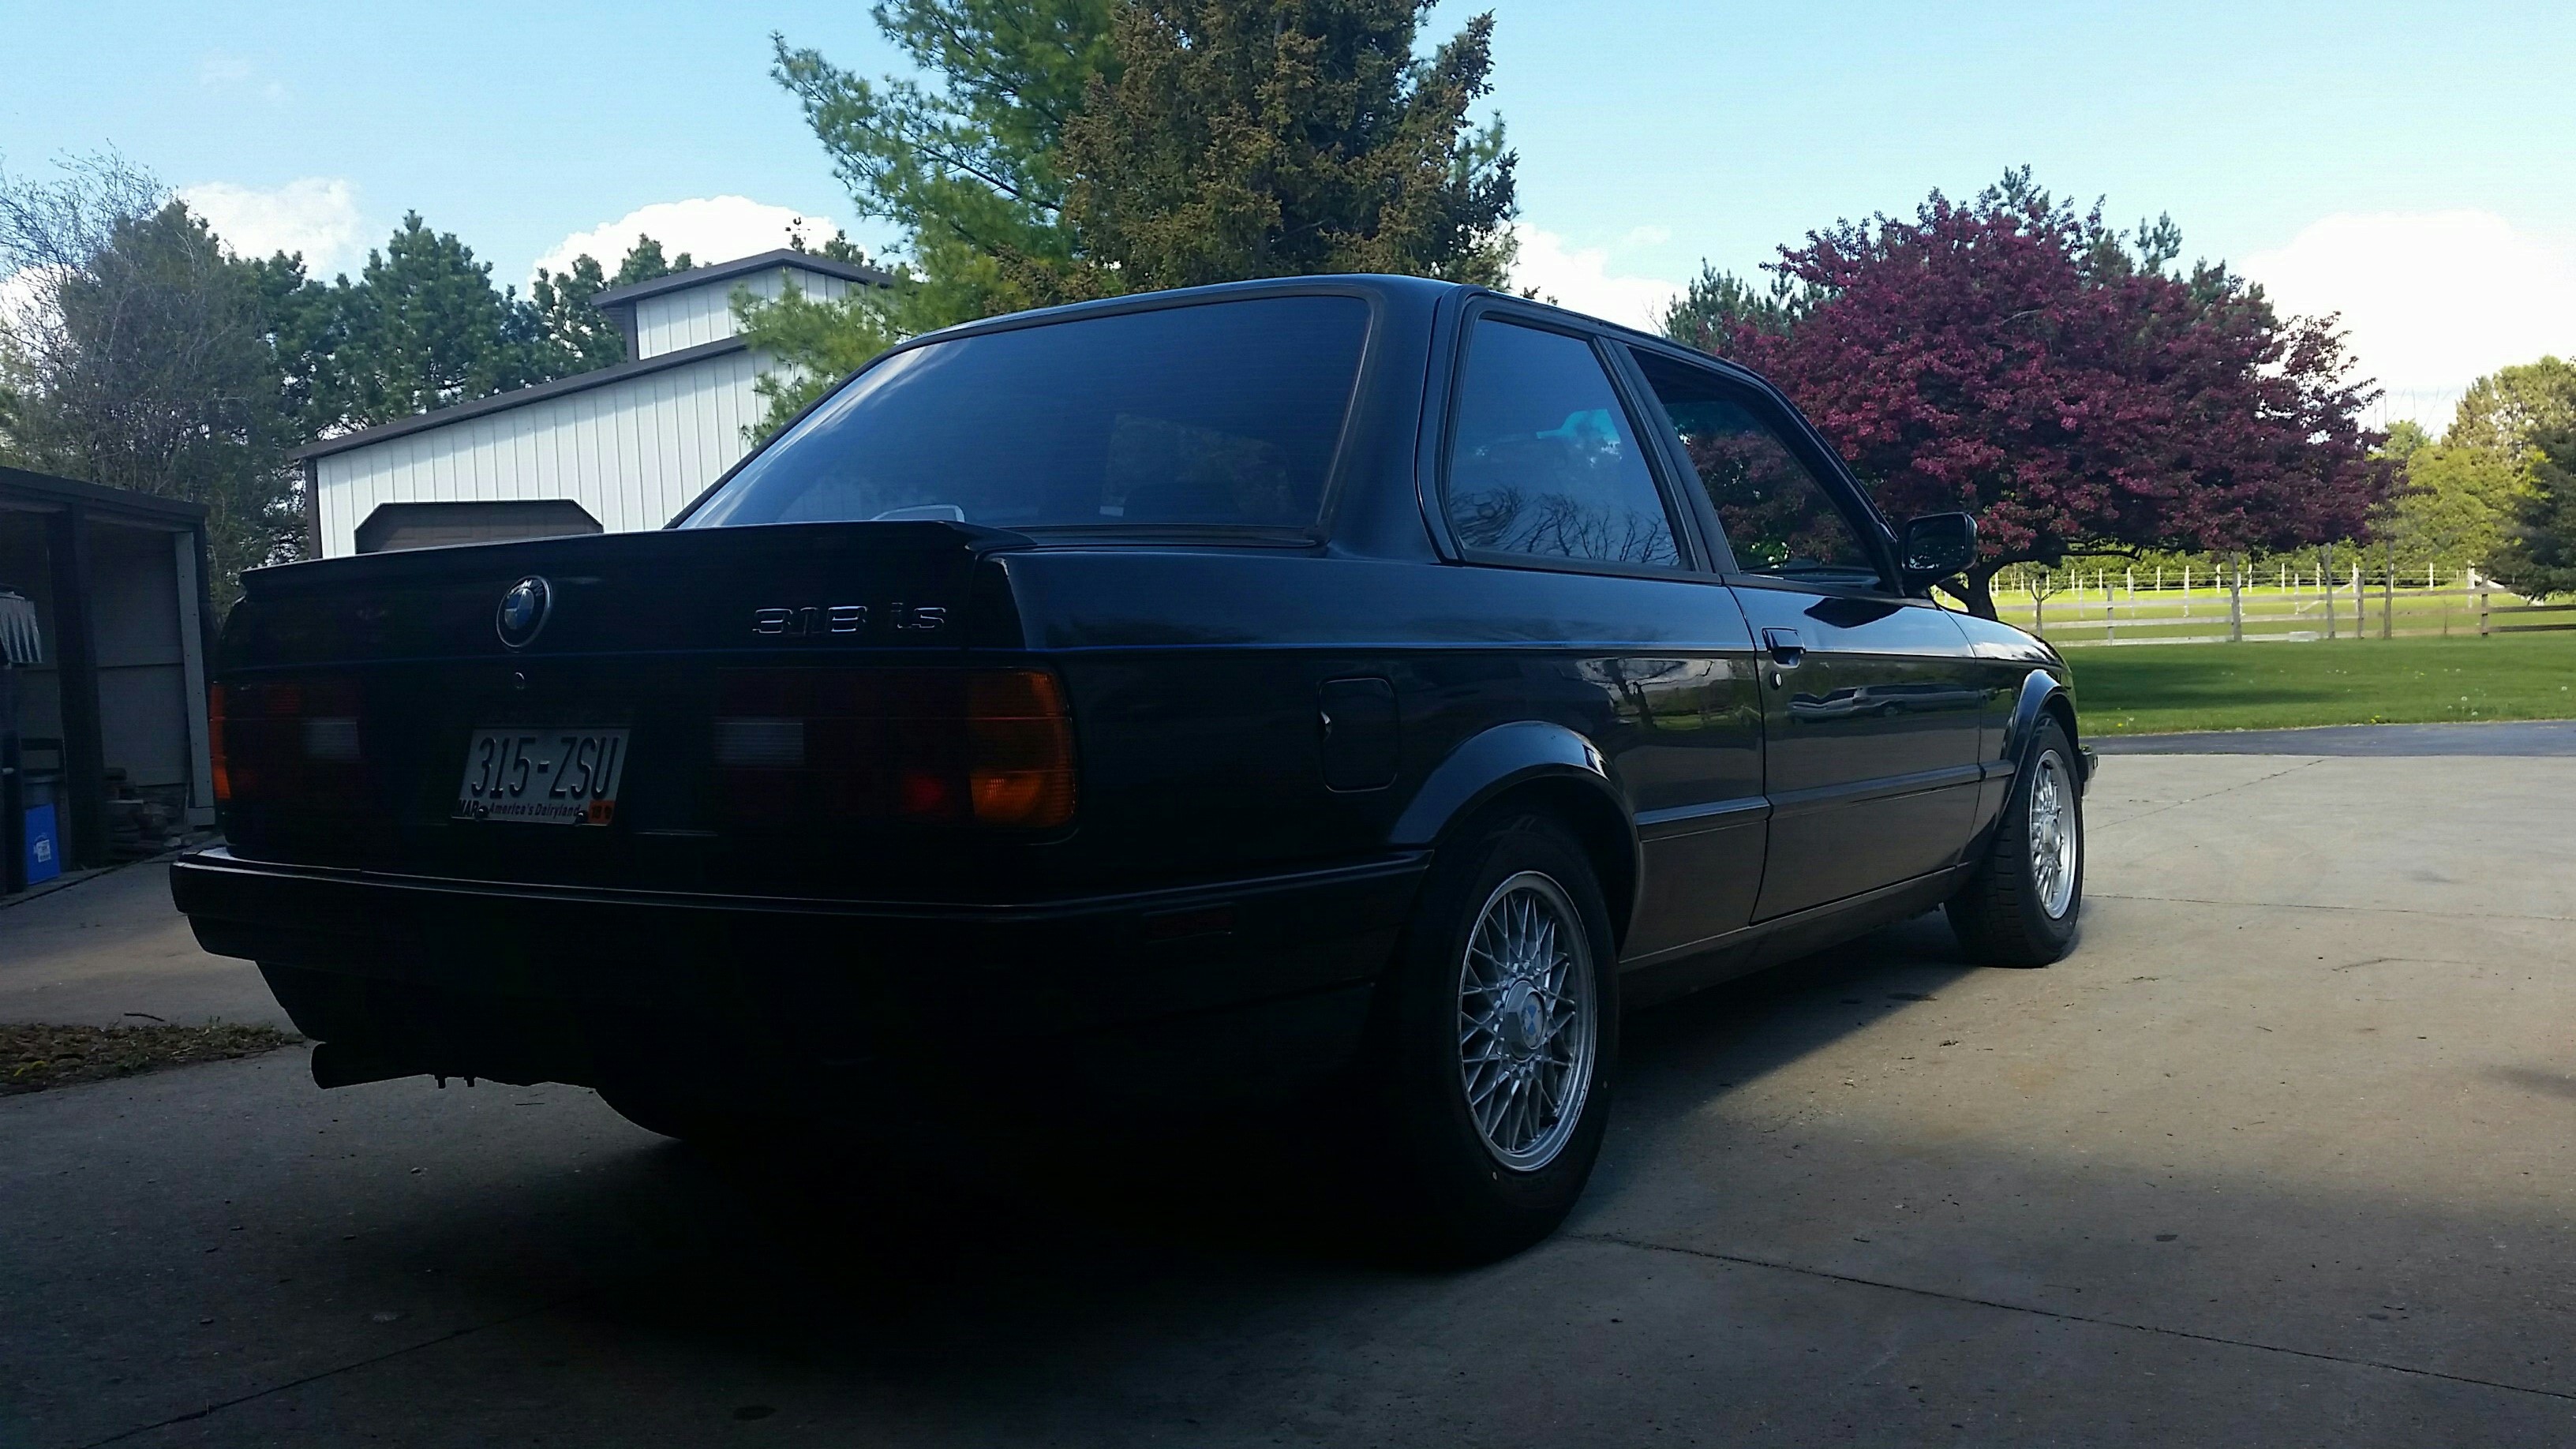
the one and only e30 s52 engine swap
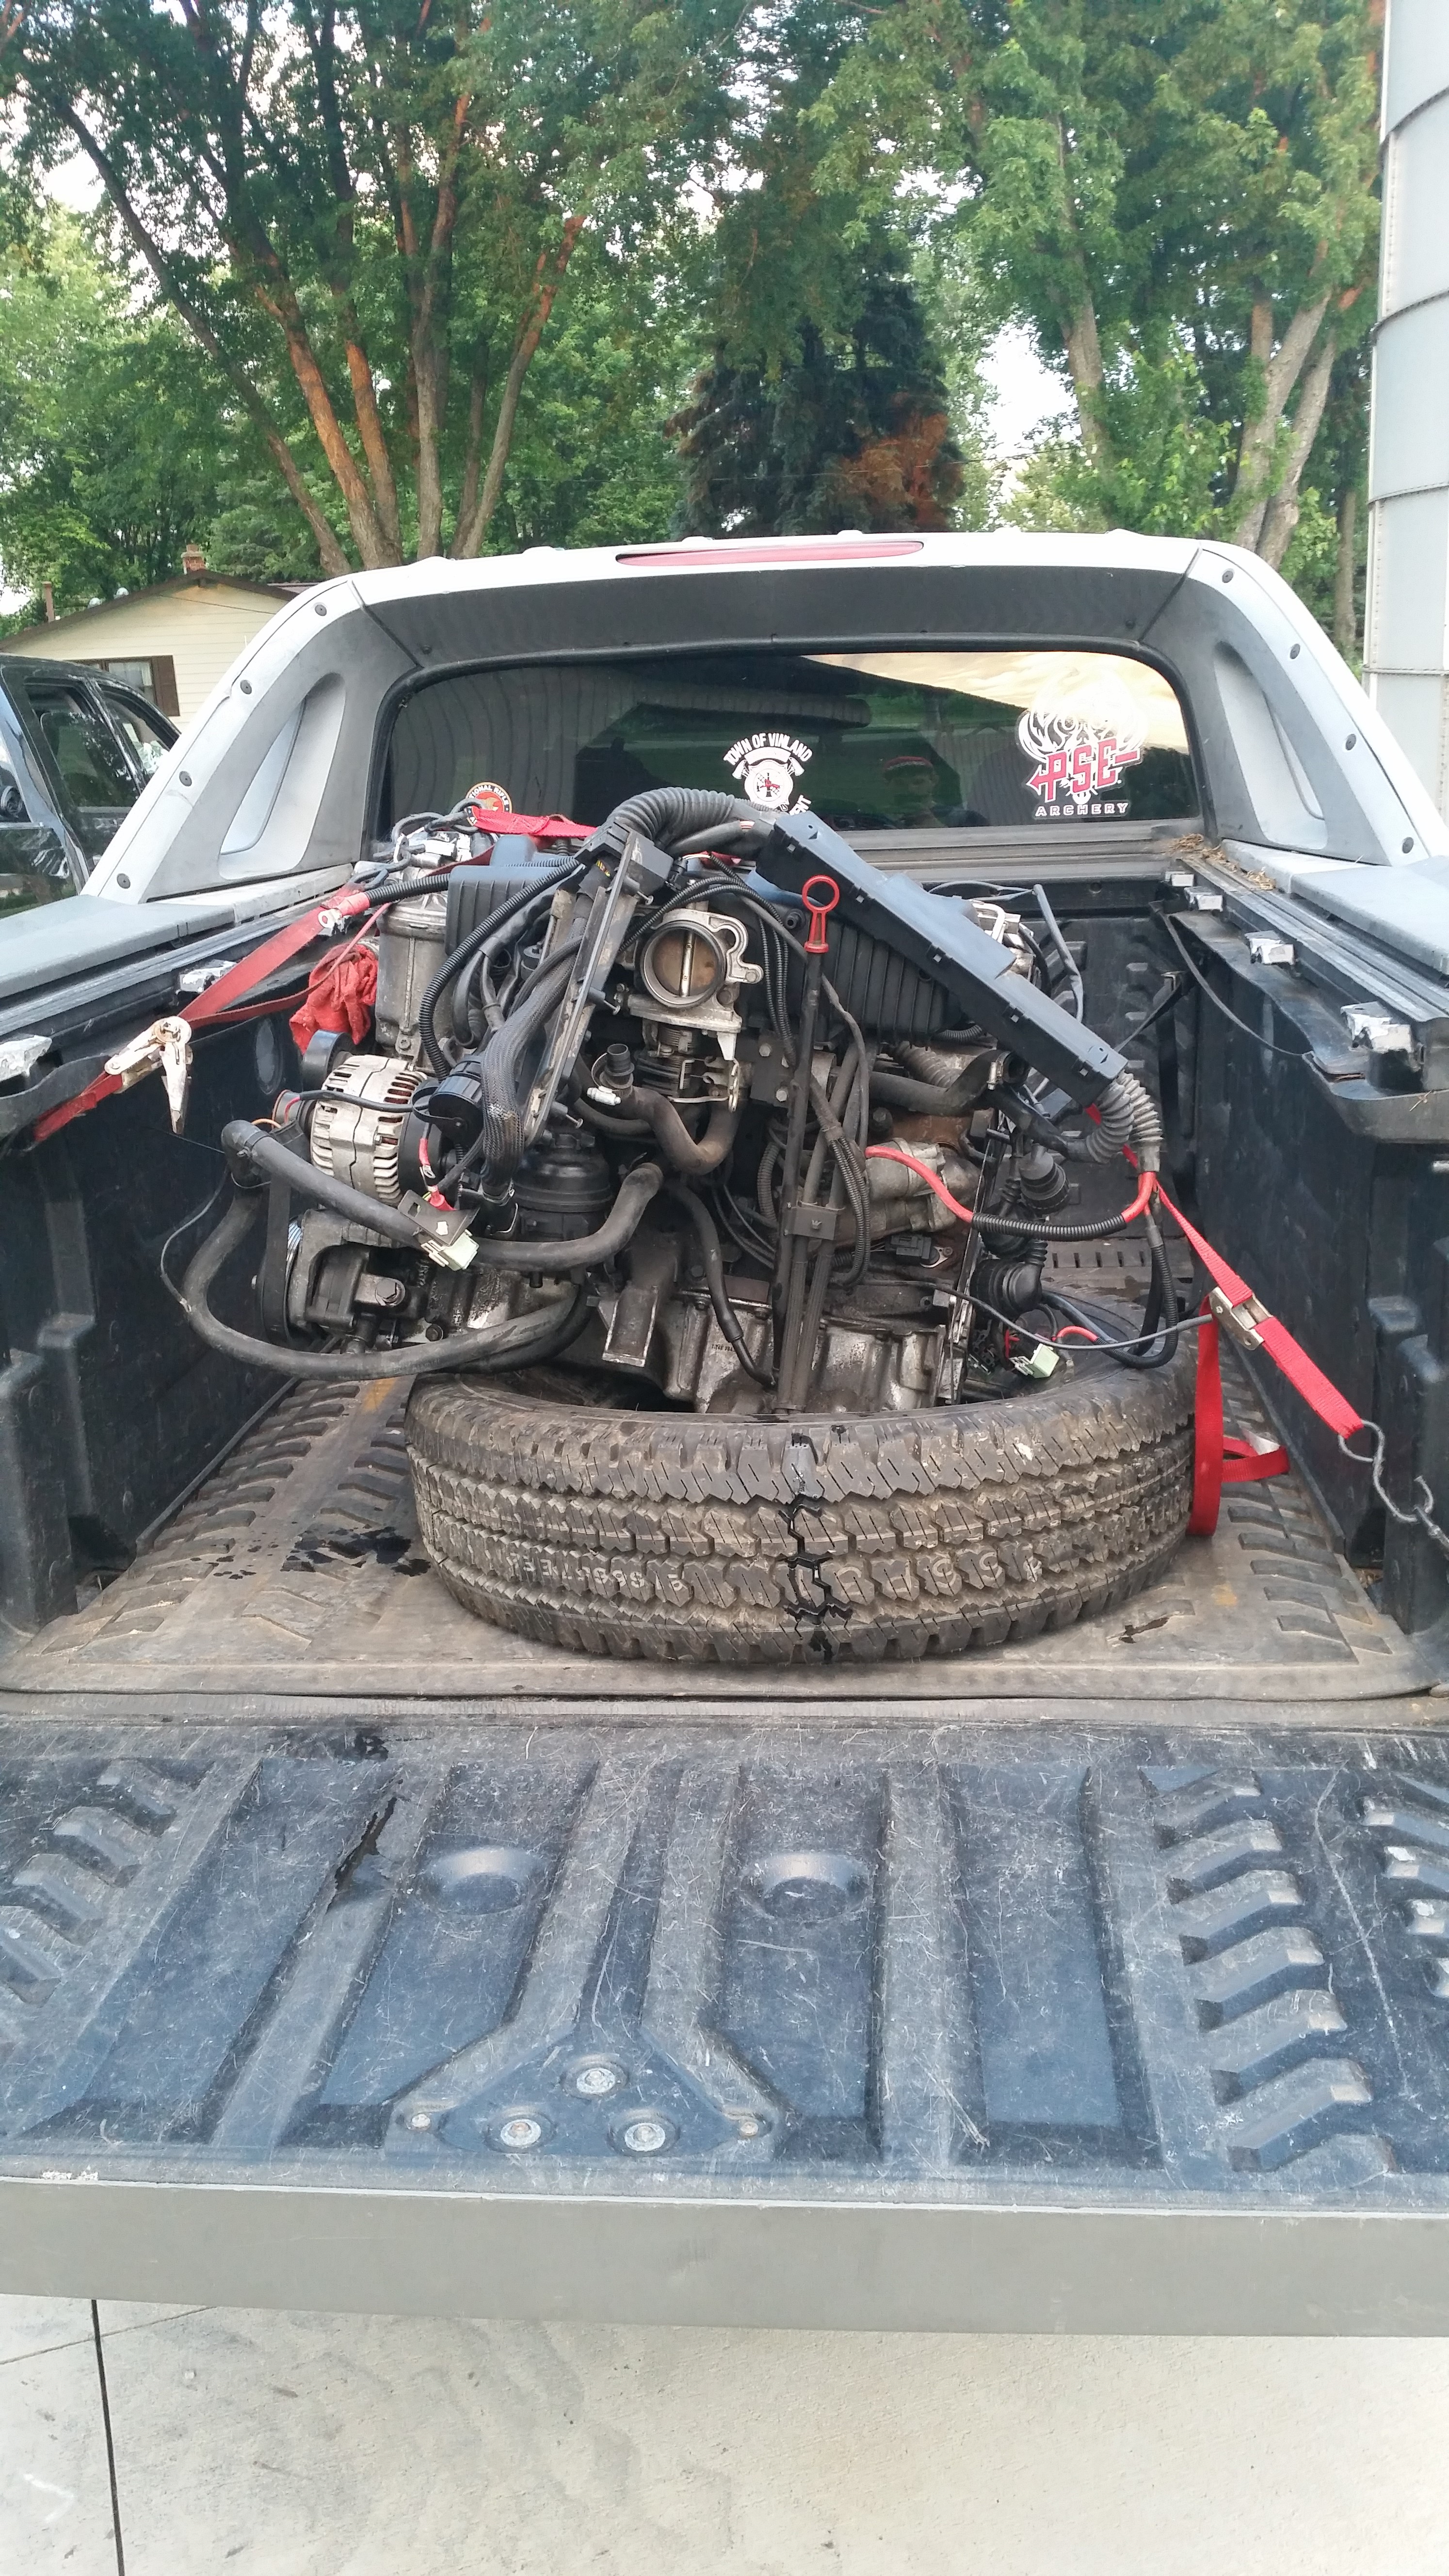
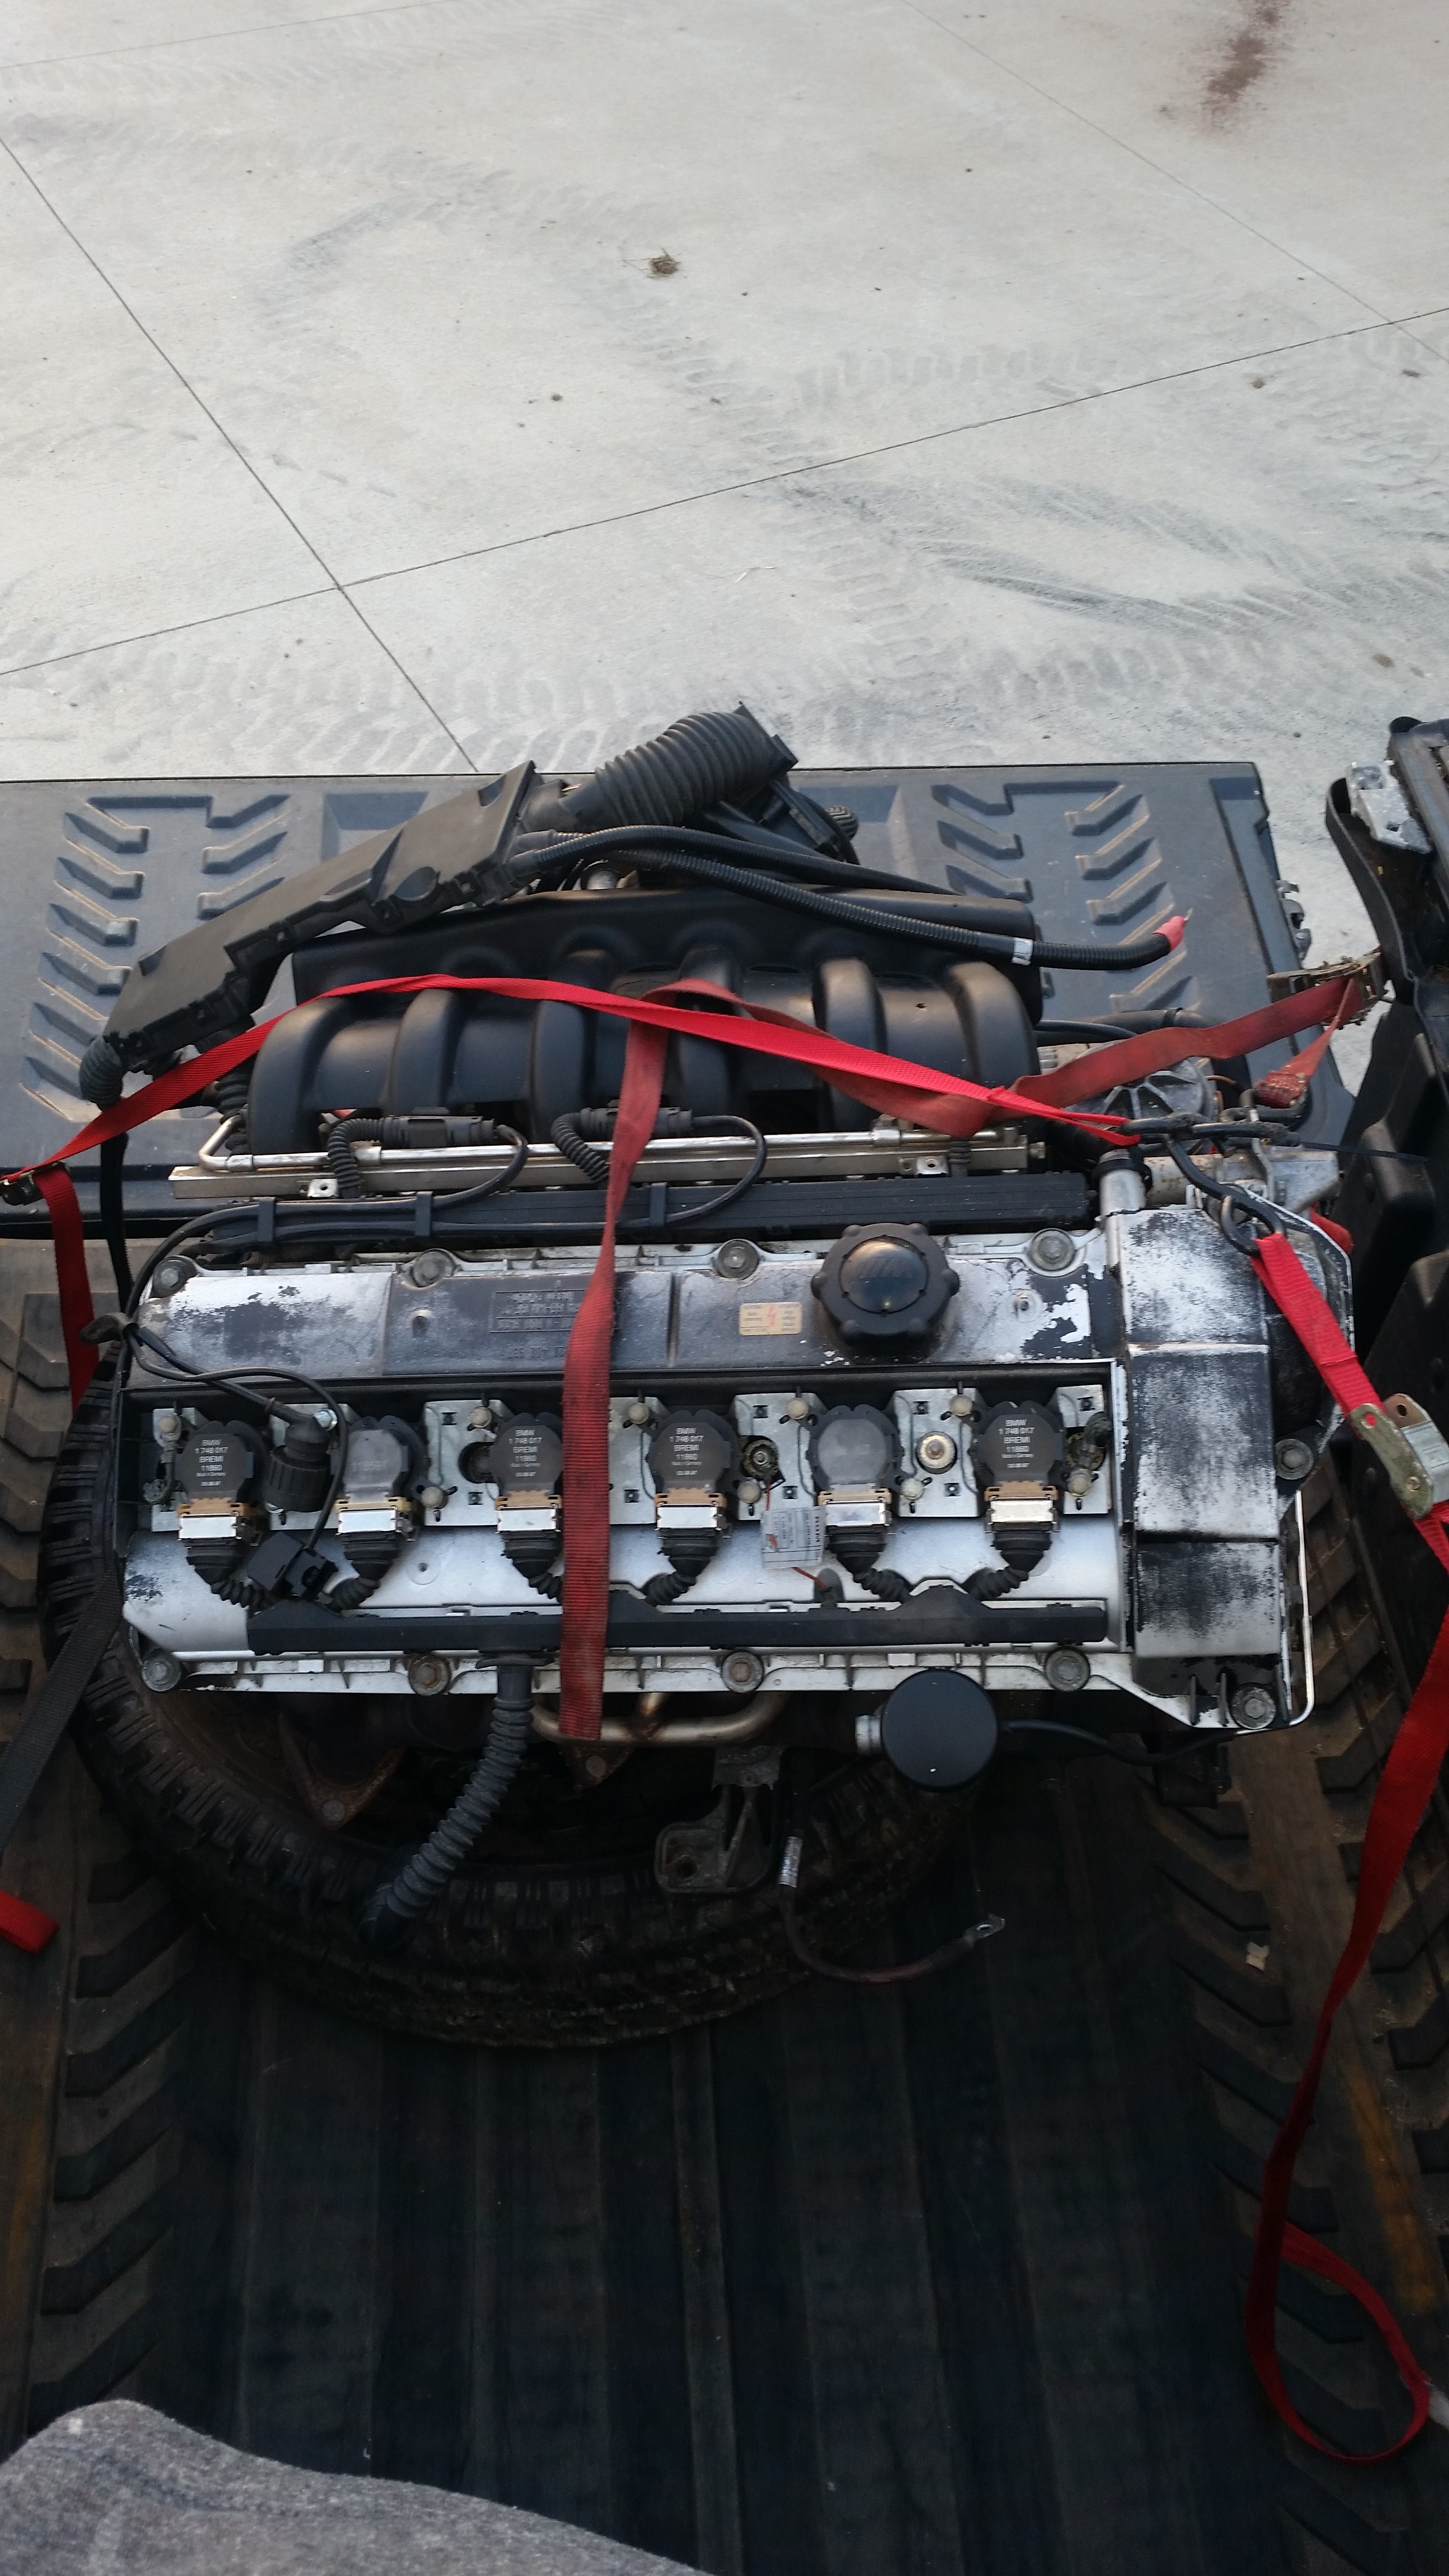
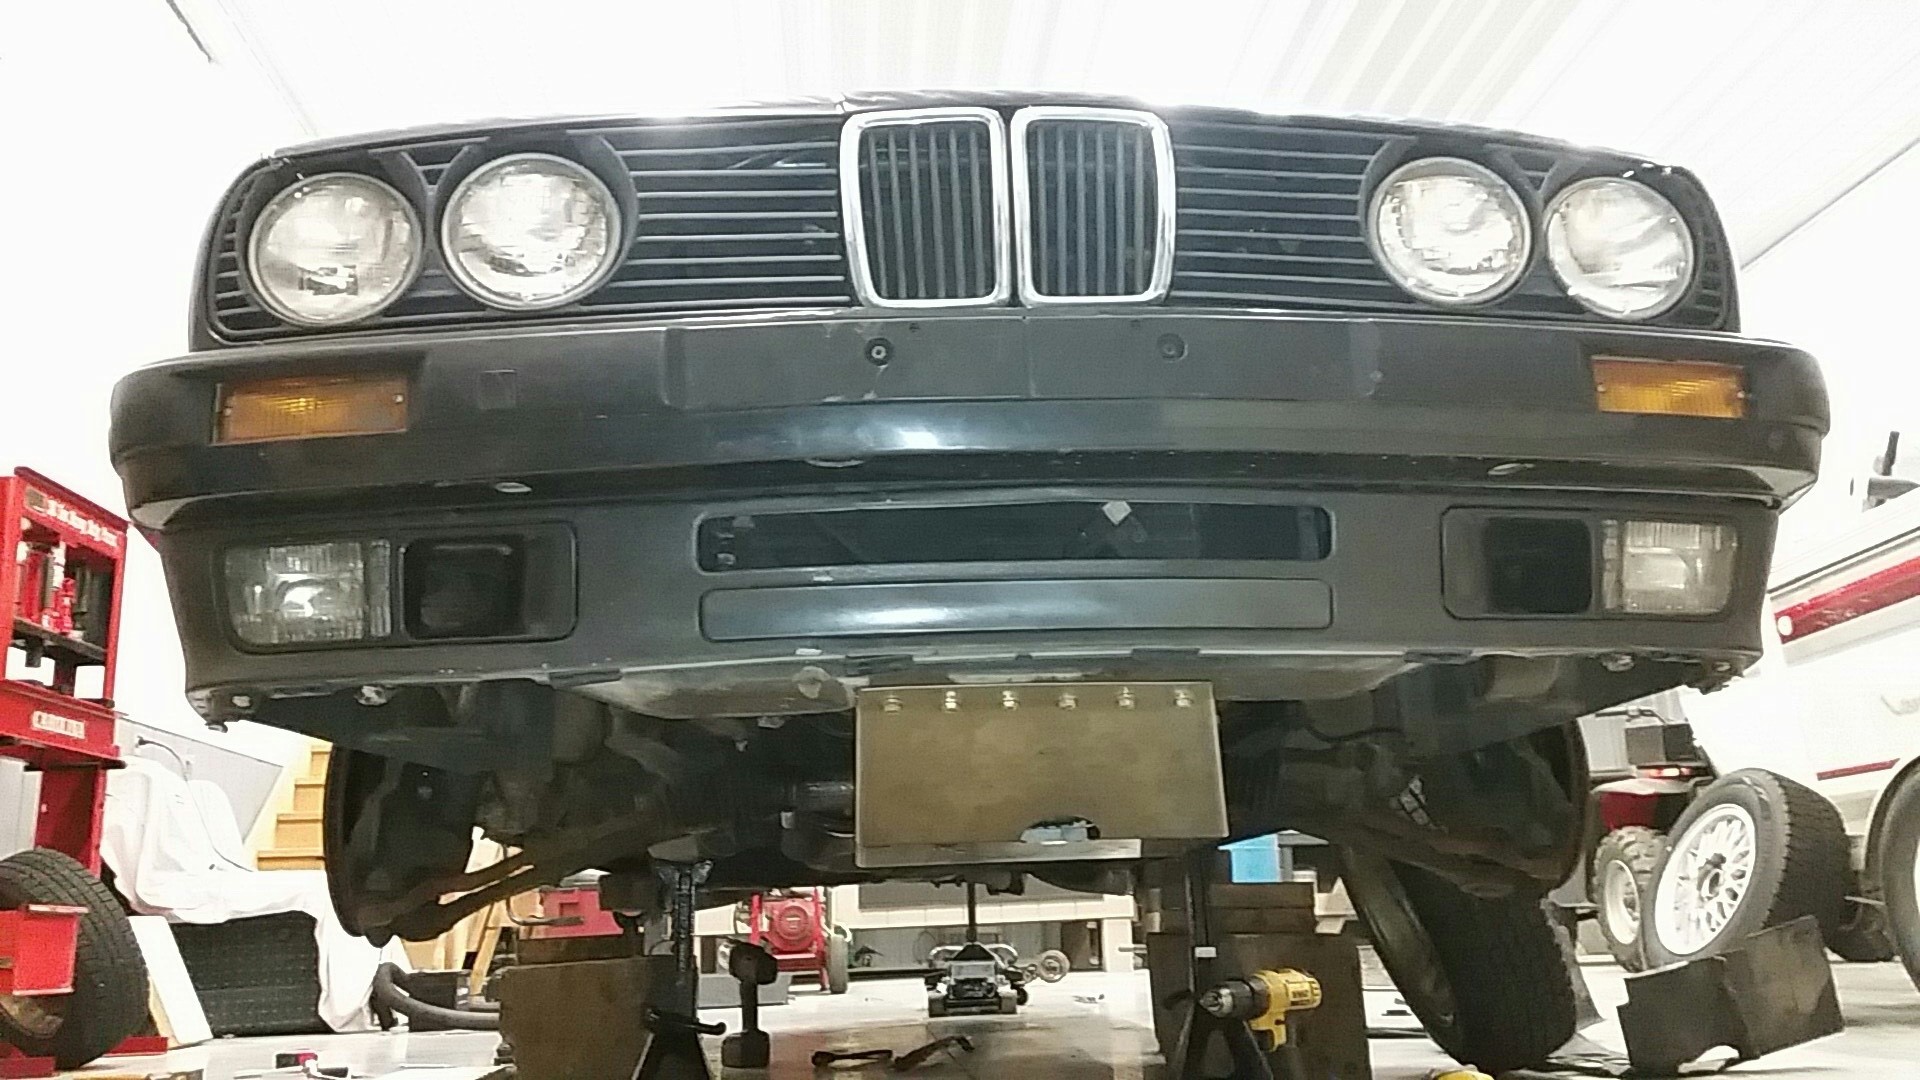
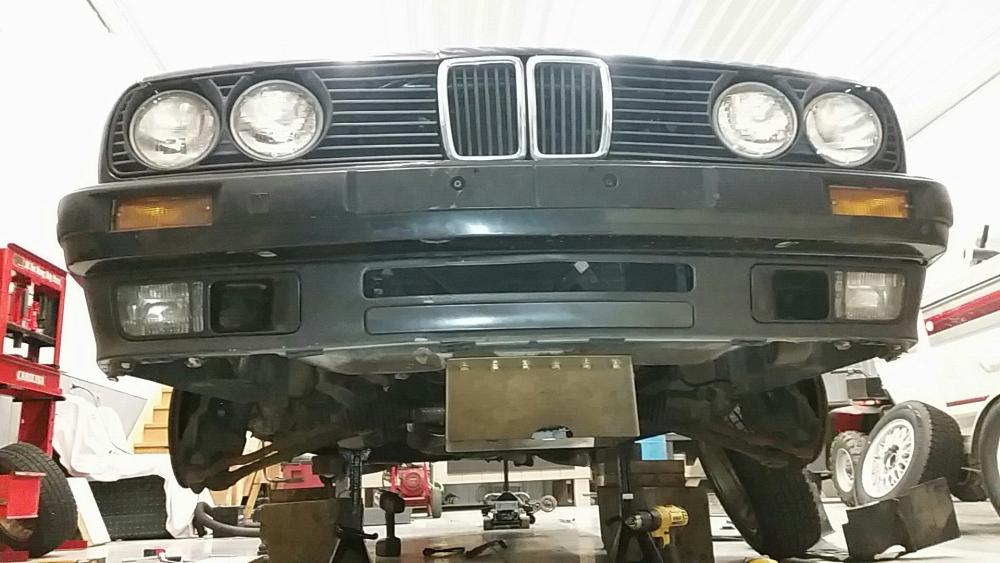
-
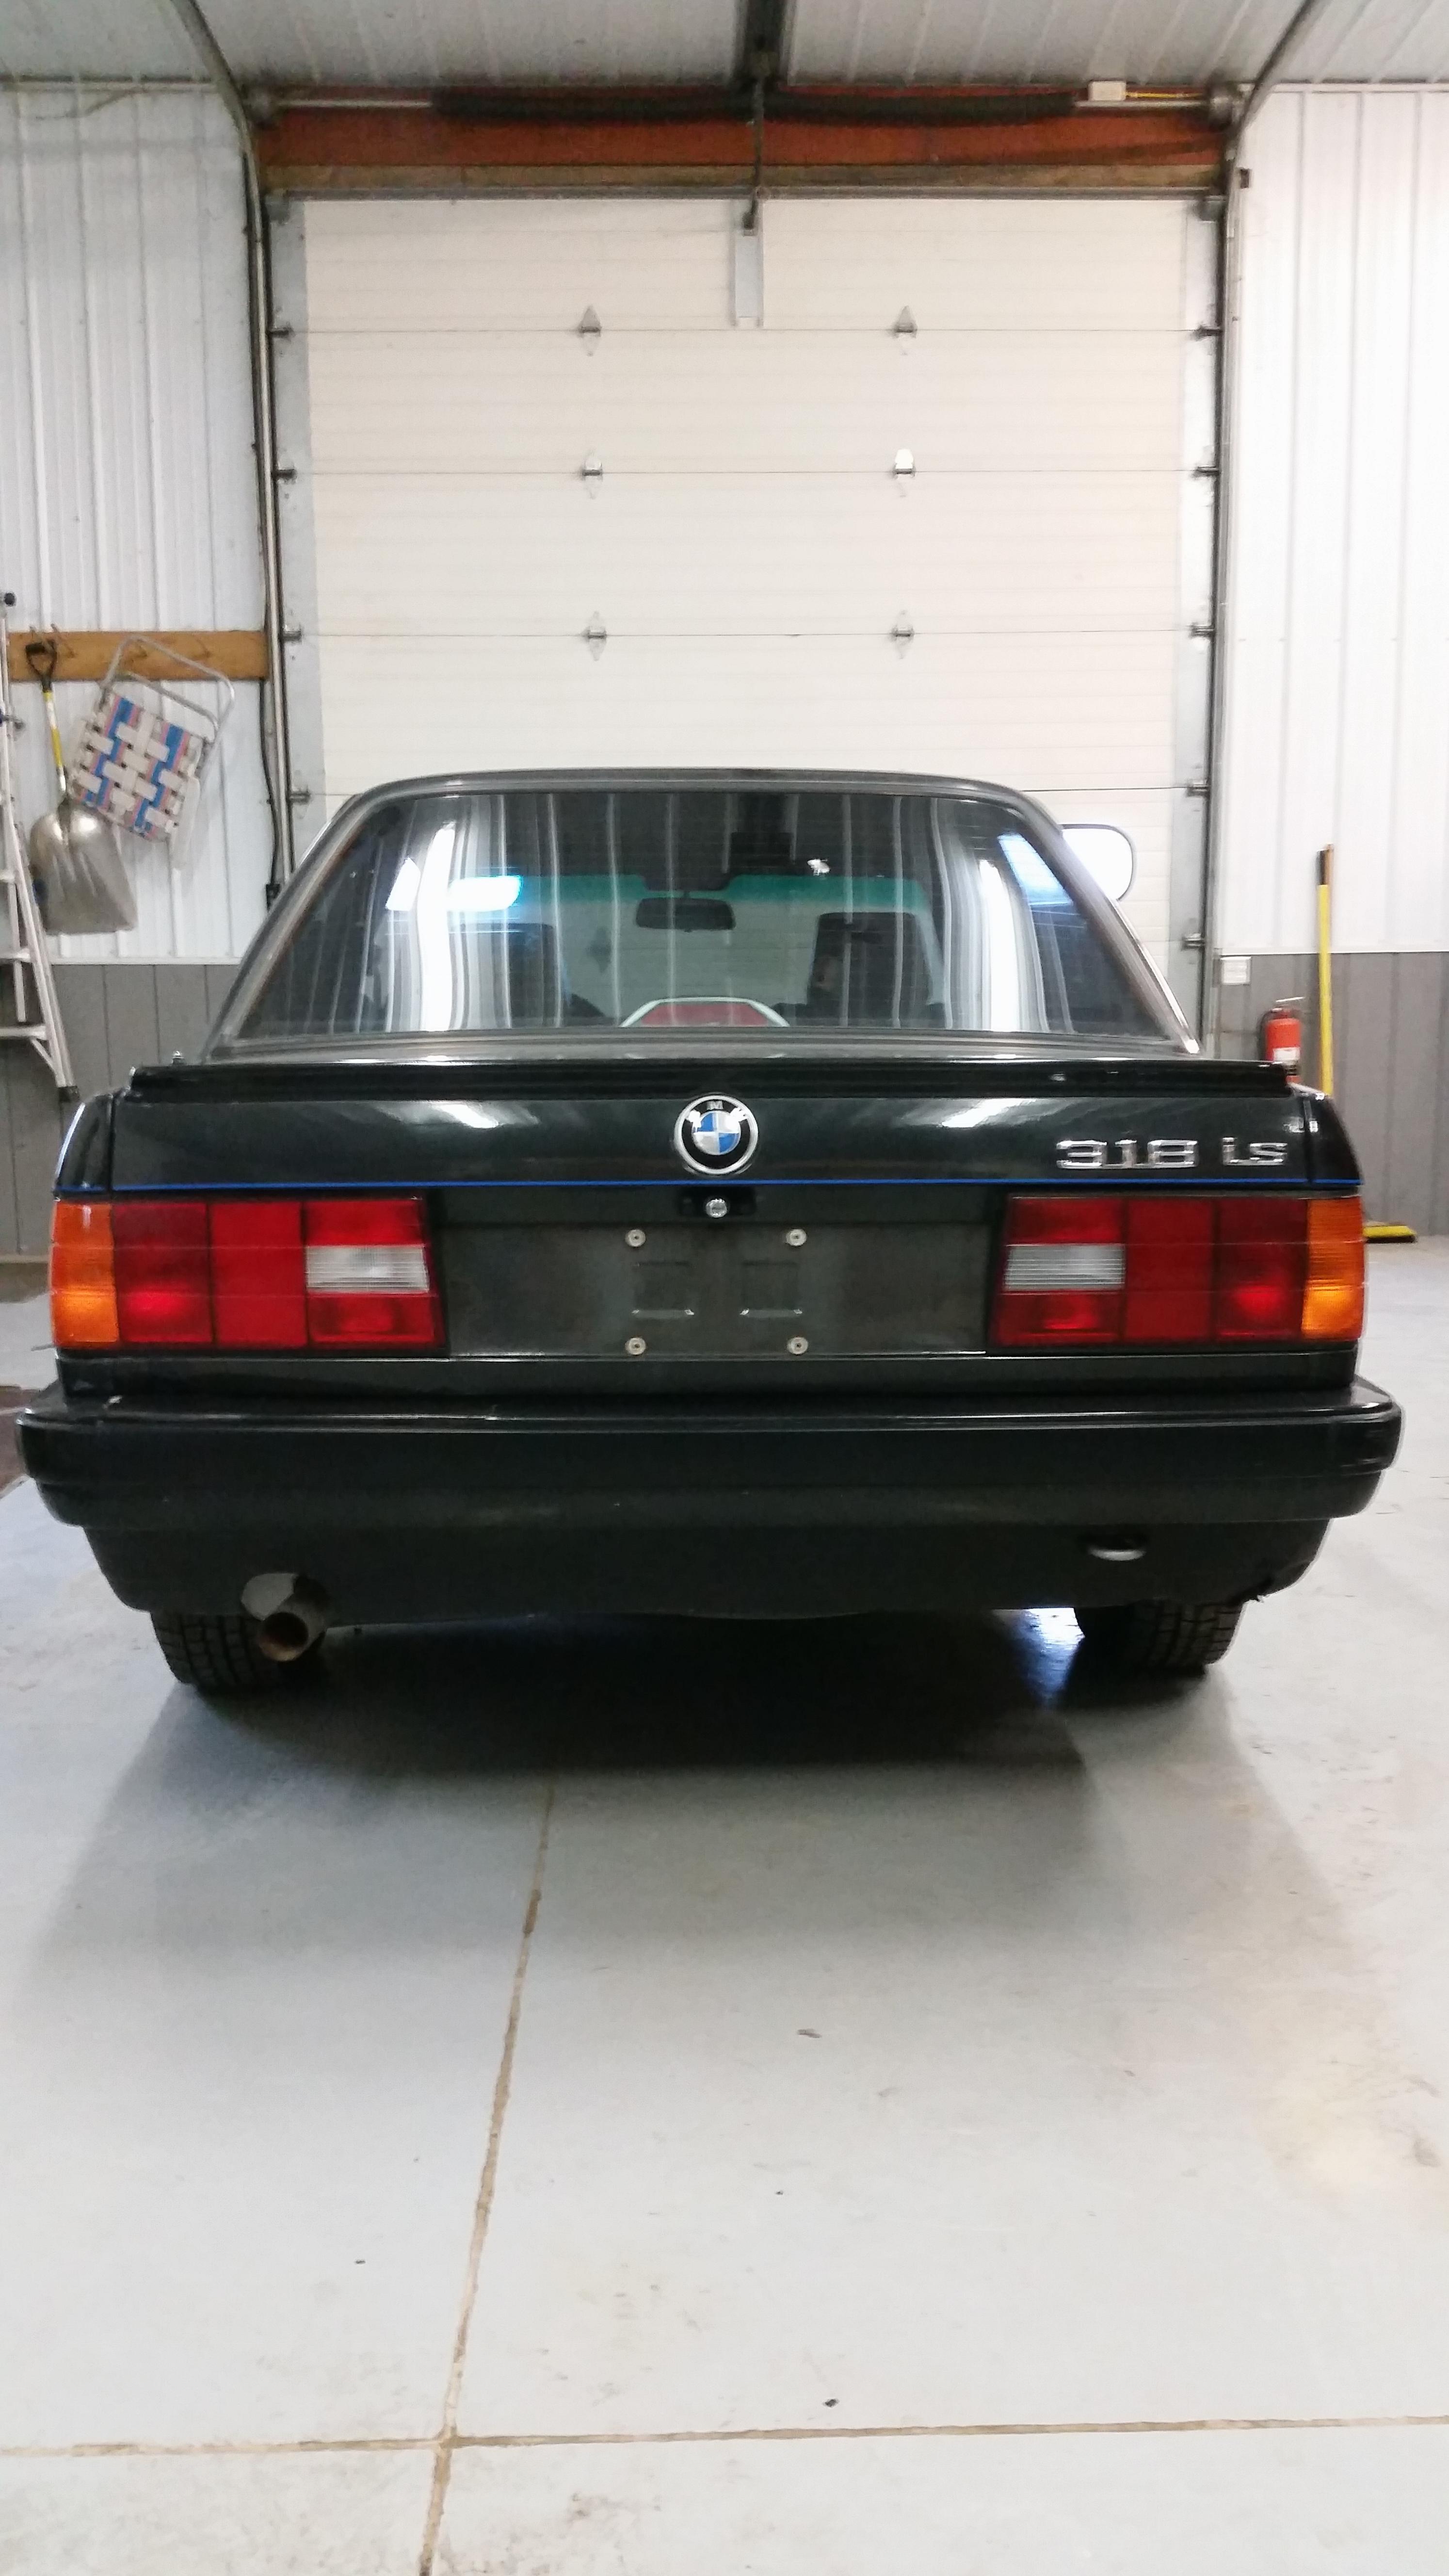
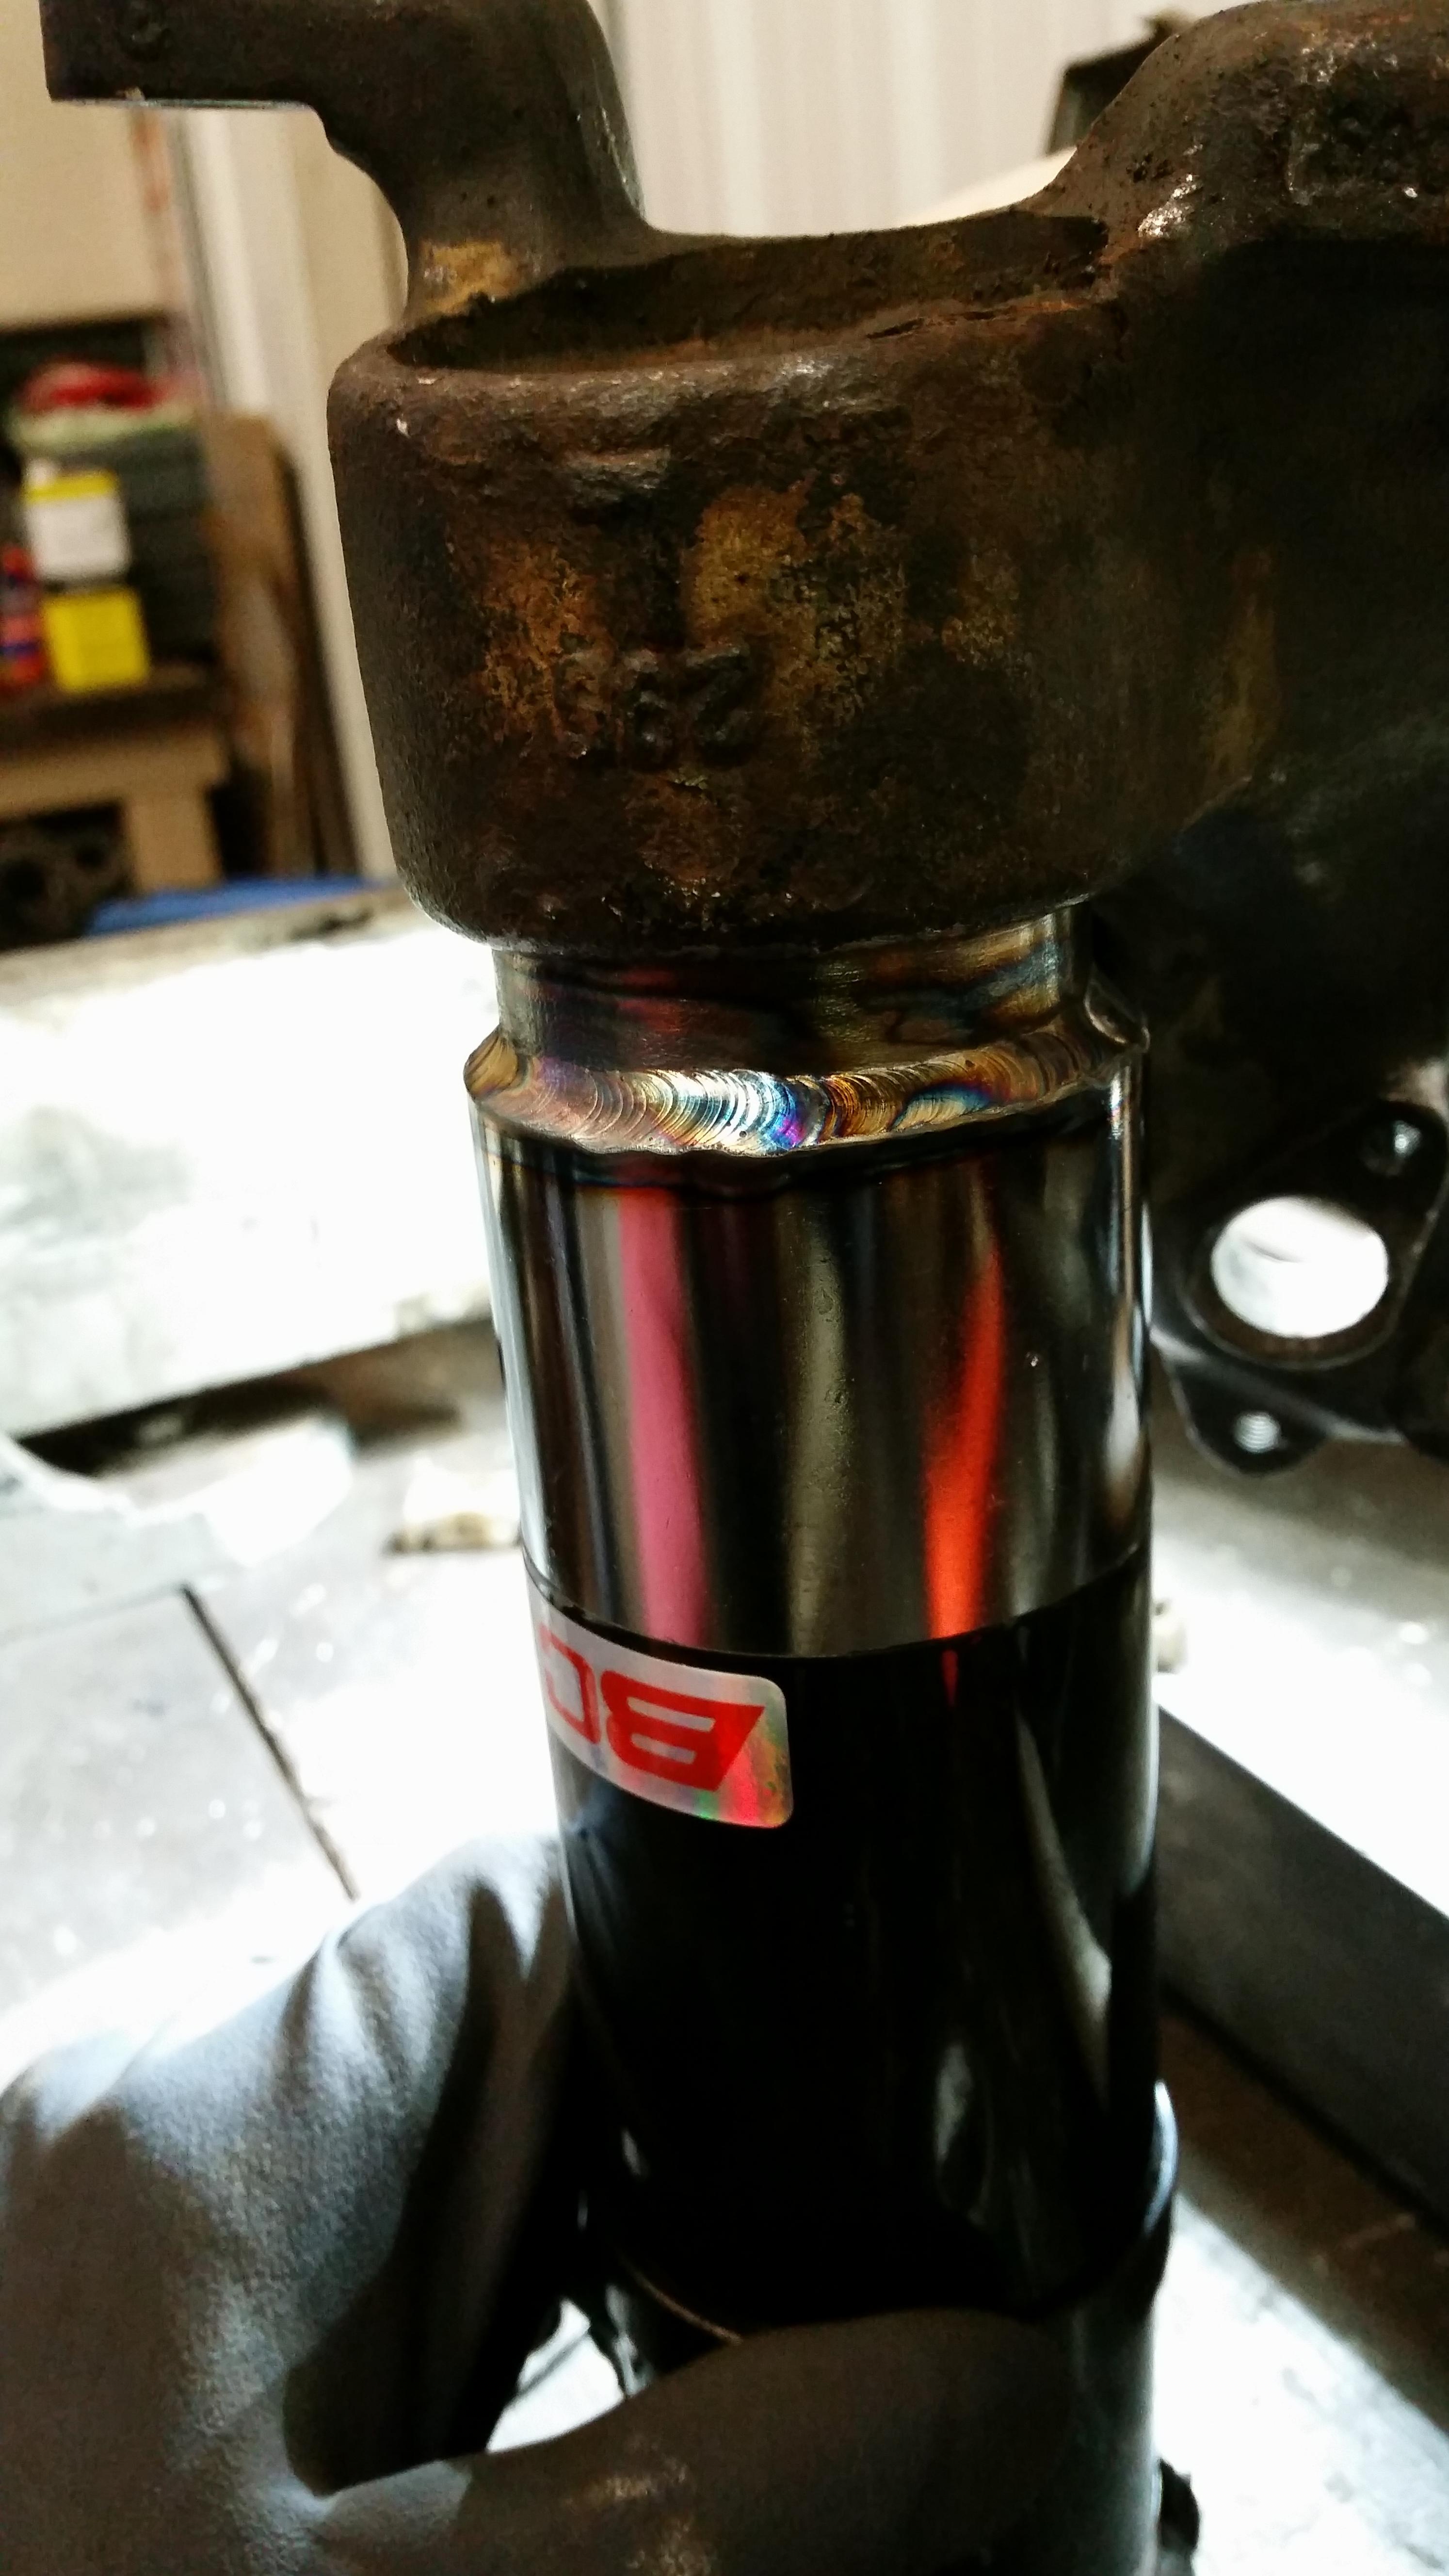
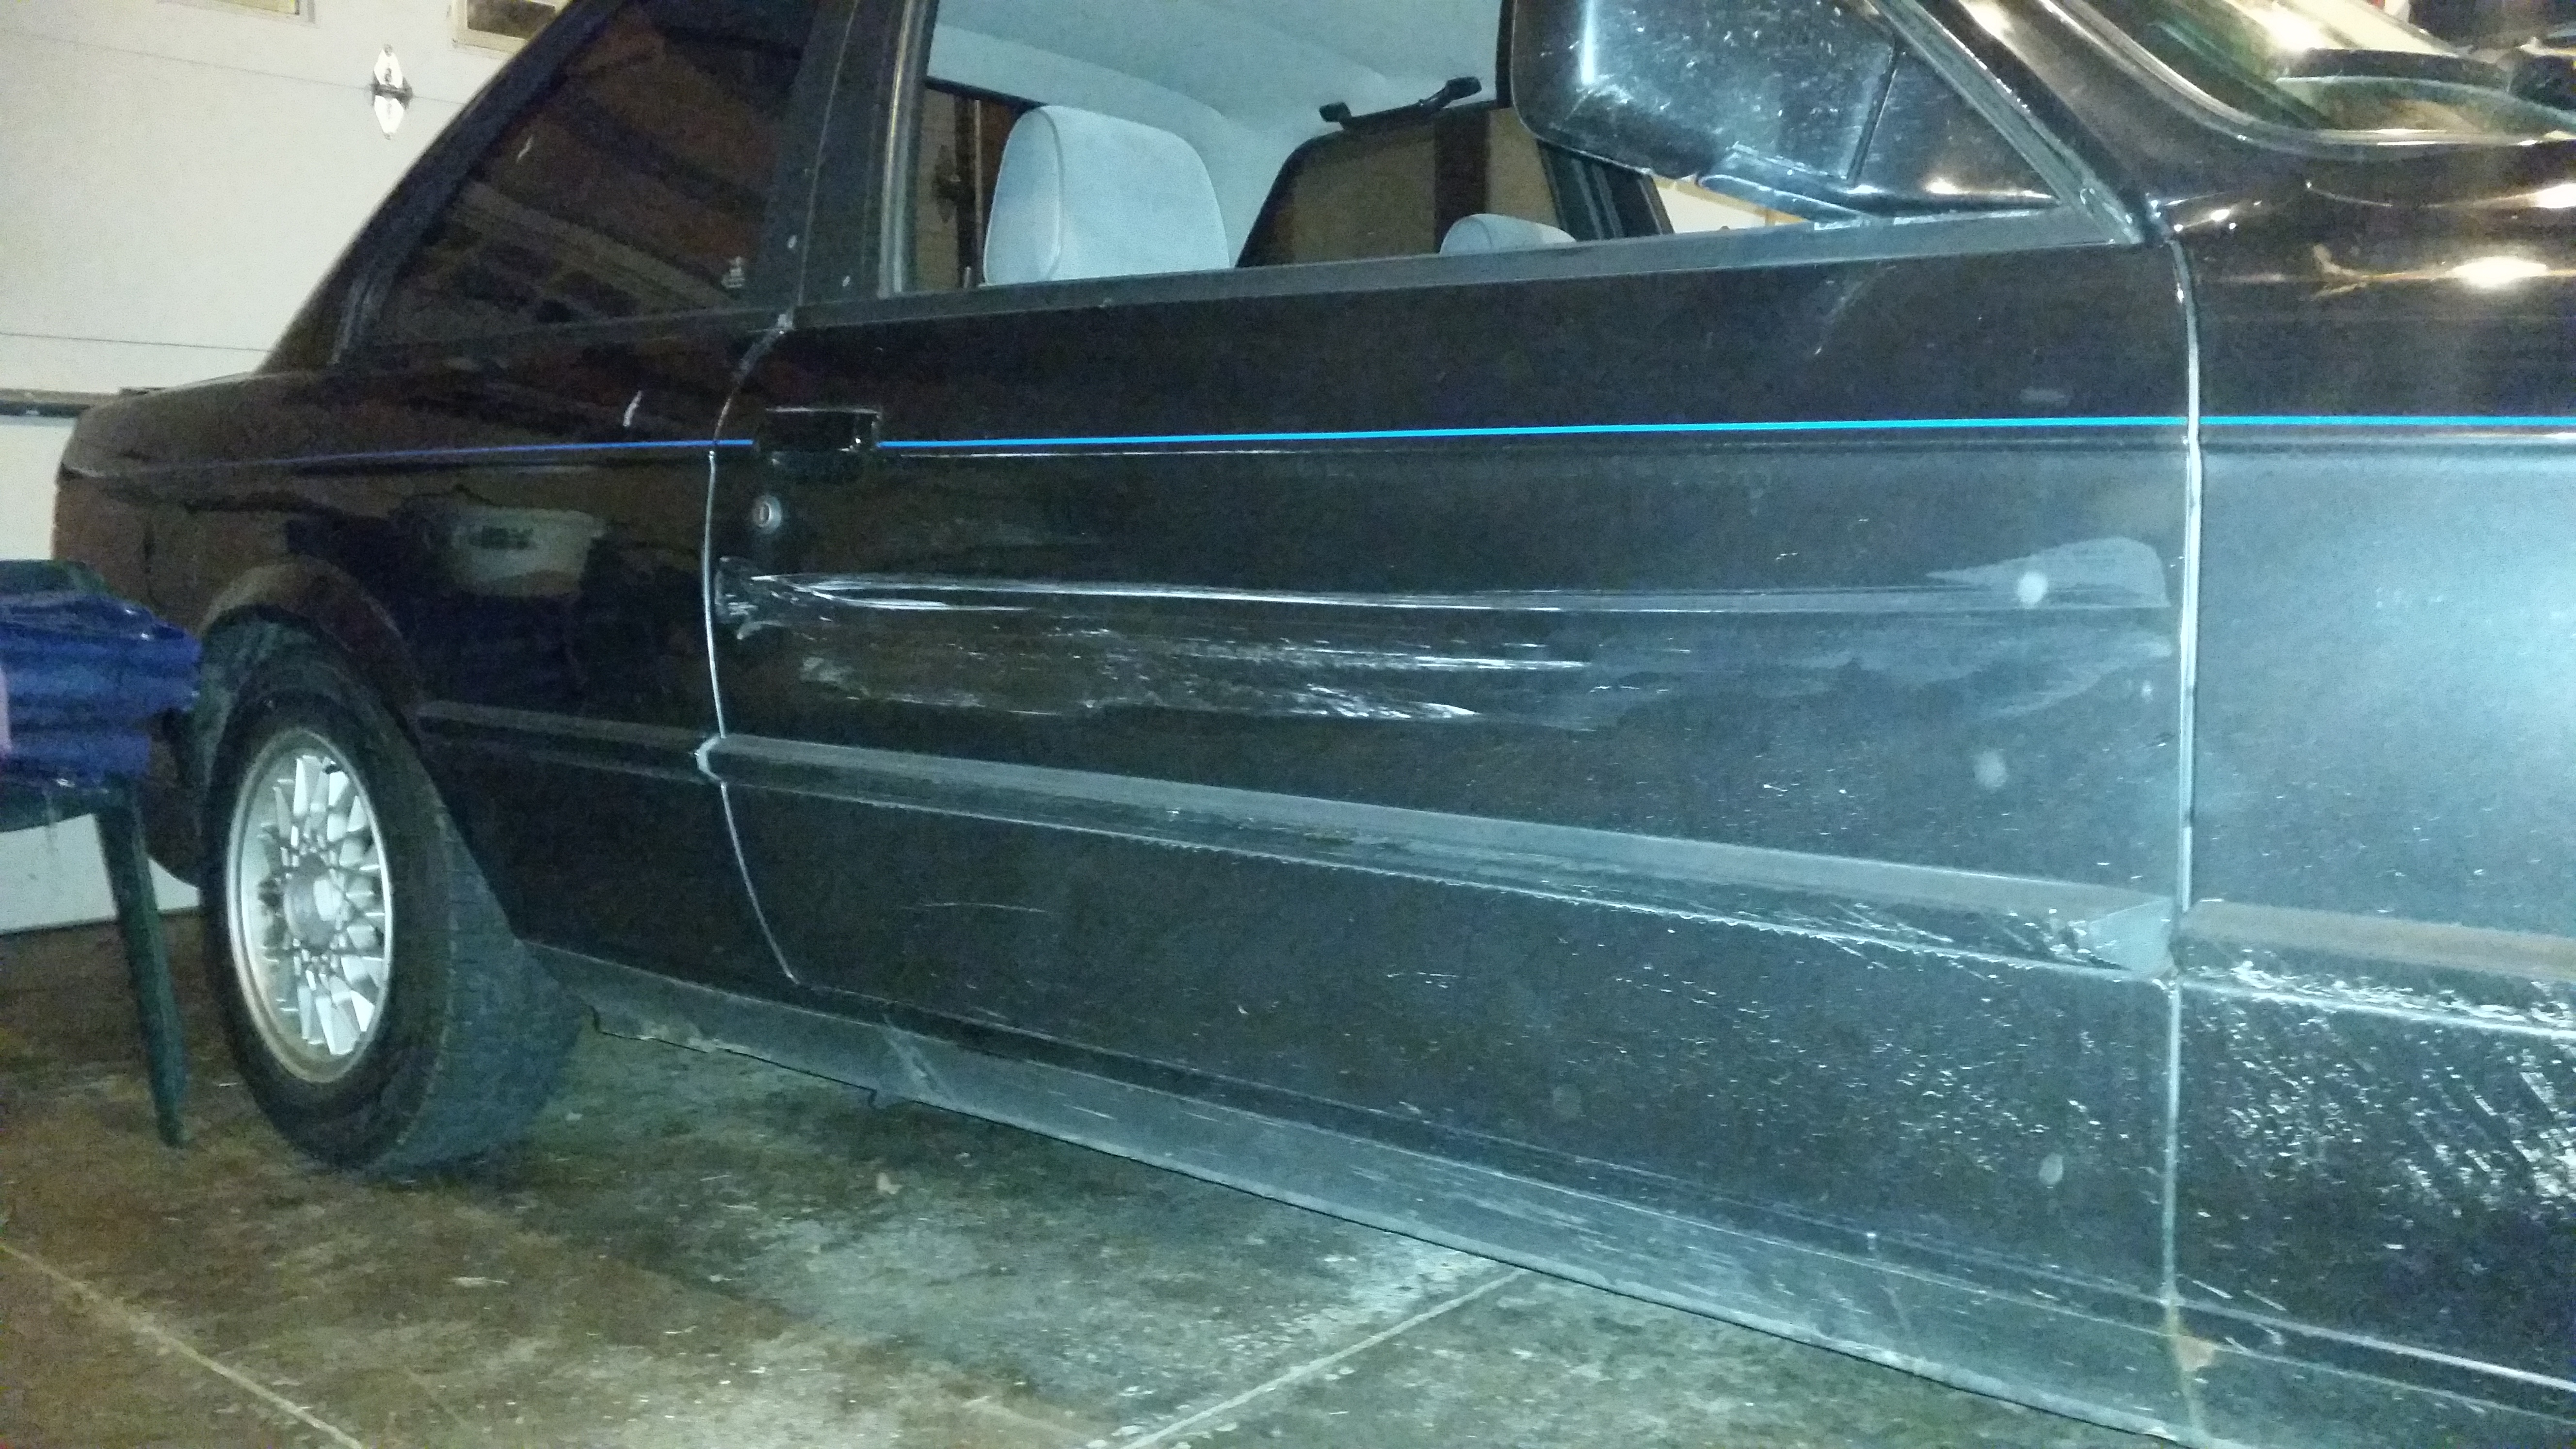
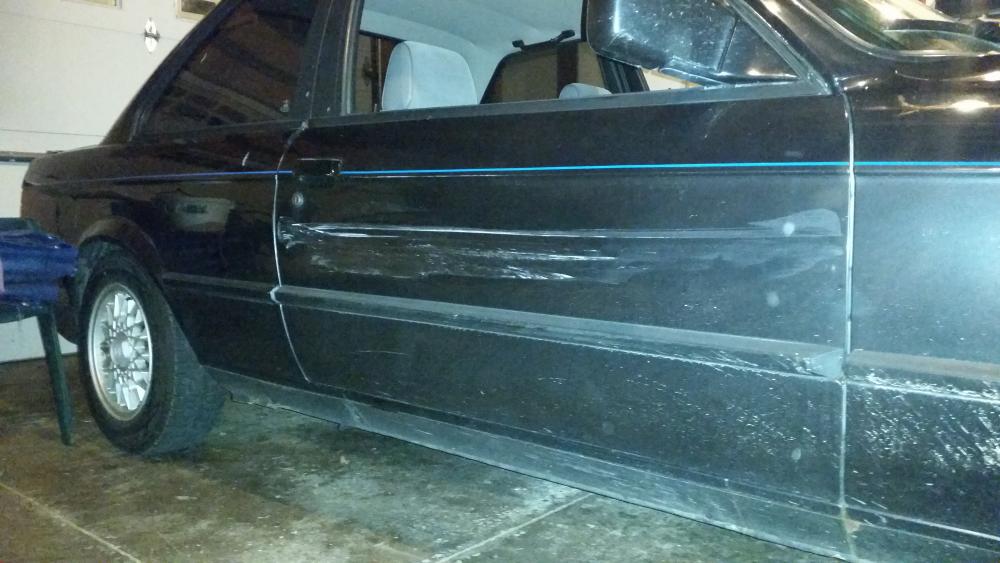
Did the paint adhere well to the seam sealer stuff?
yup, no trouble there. Although I should add that cleaning out all the crevices in the body sealer is important for better adhesion sense those areas get clogged up with dirt very easily. I actually went at it with a toothbrush and some acetone for a while scrubbing out all the areas the best I can.
-
I'm such a procrastinator on posting updates.
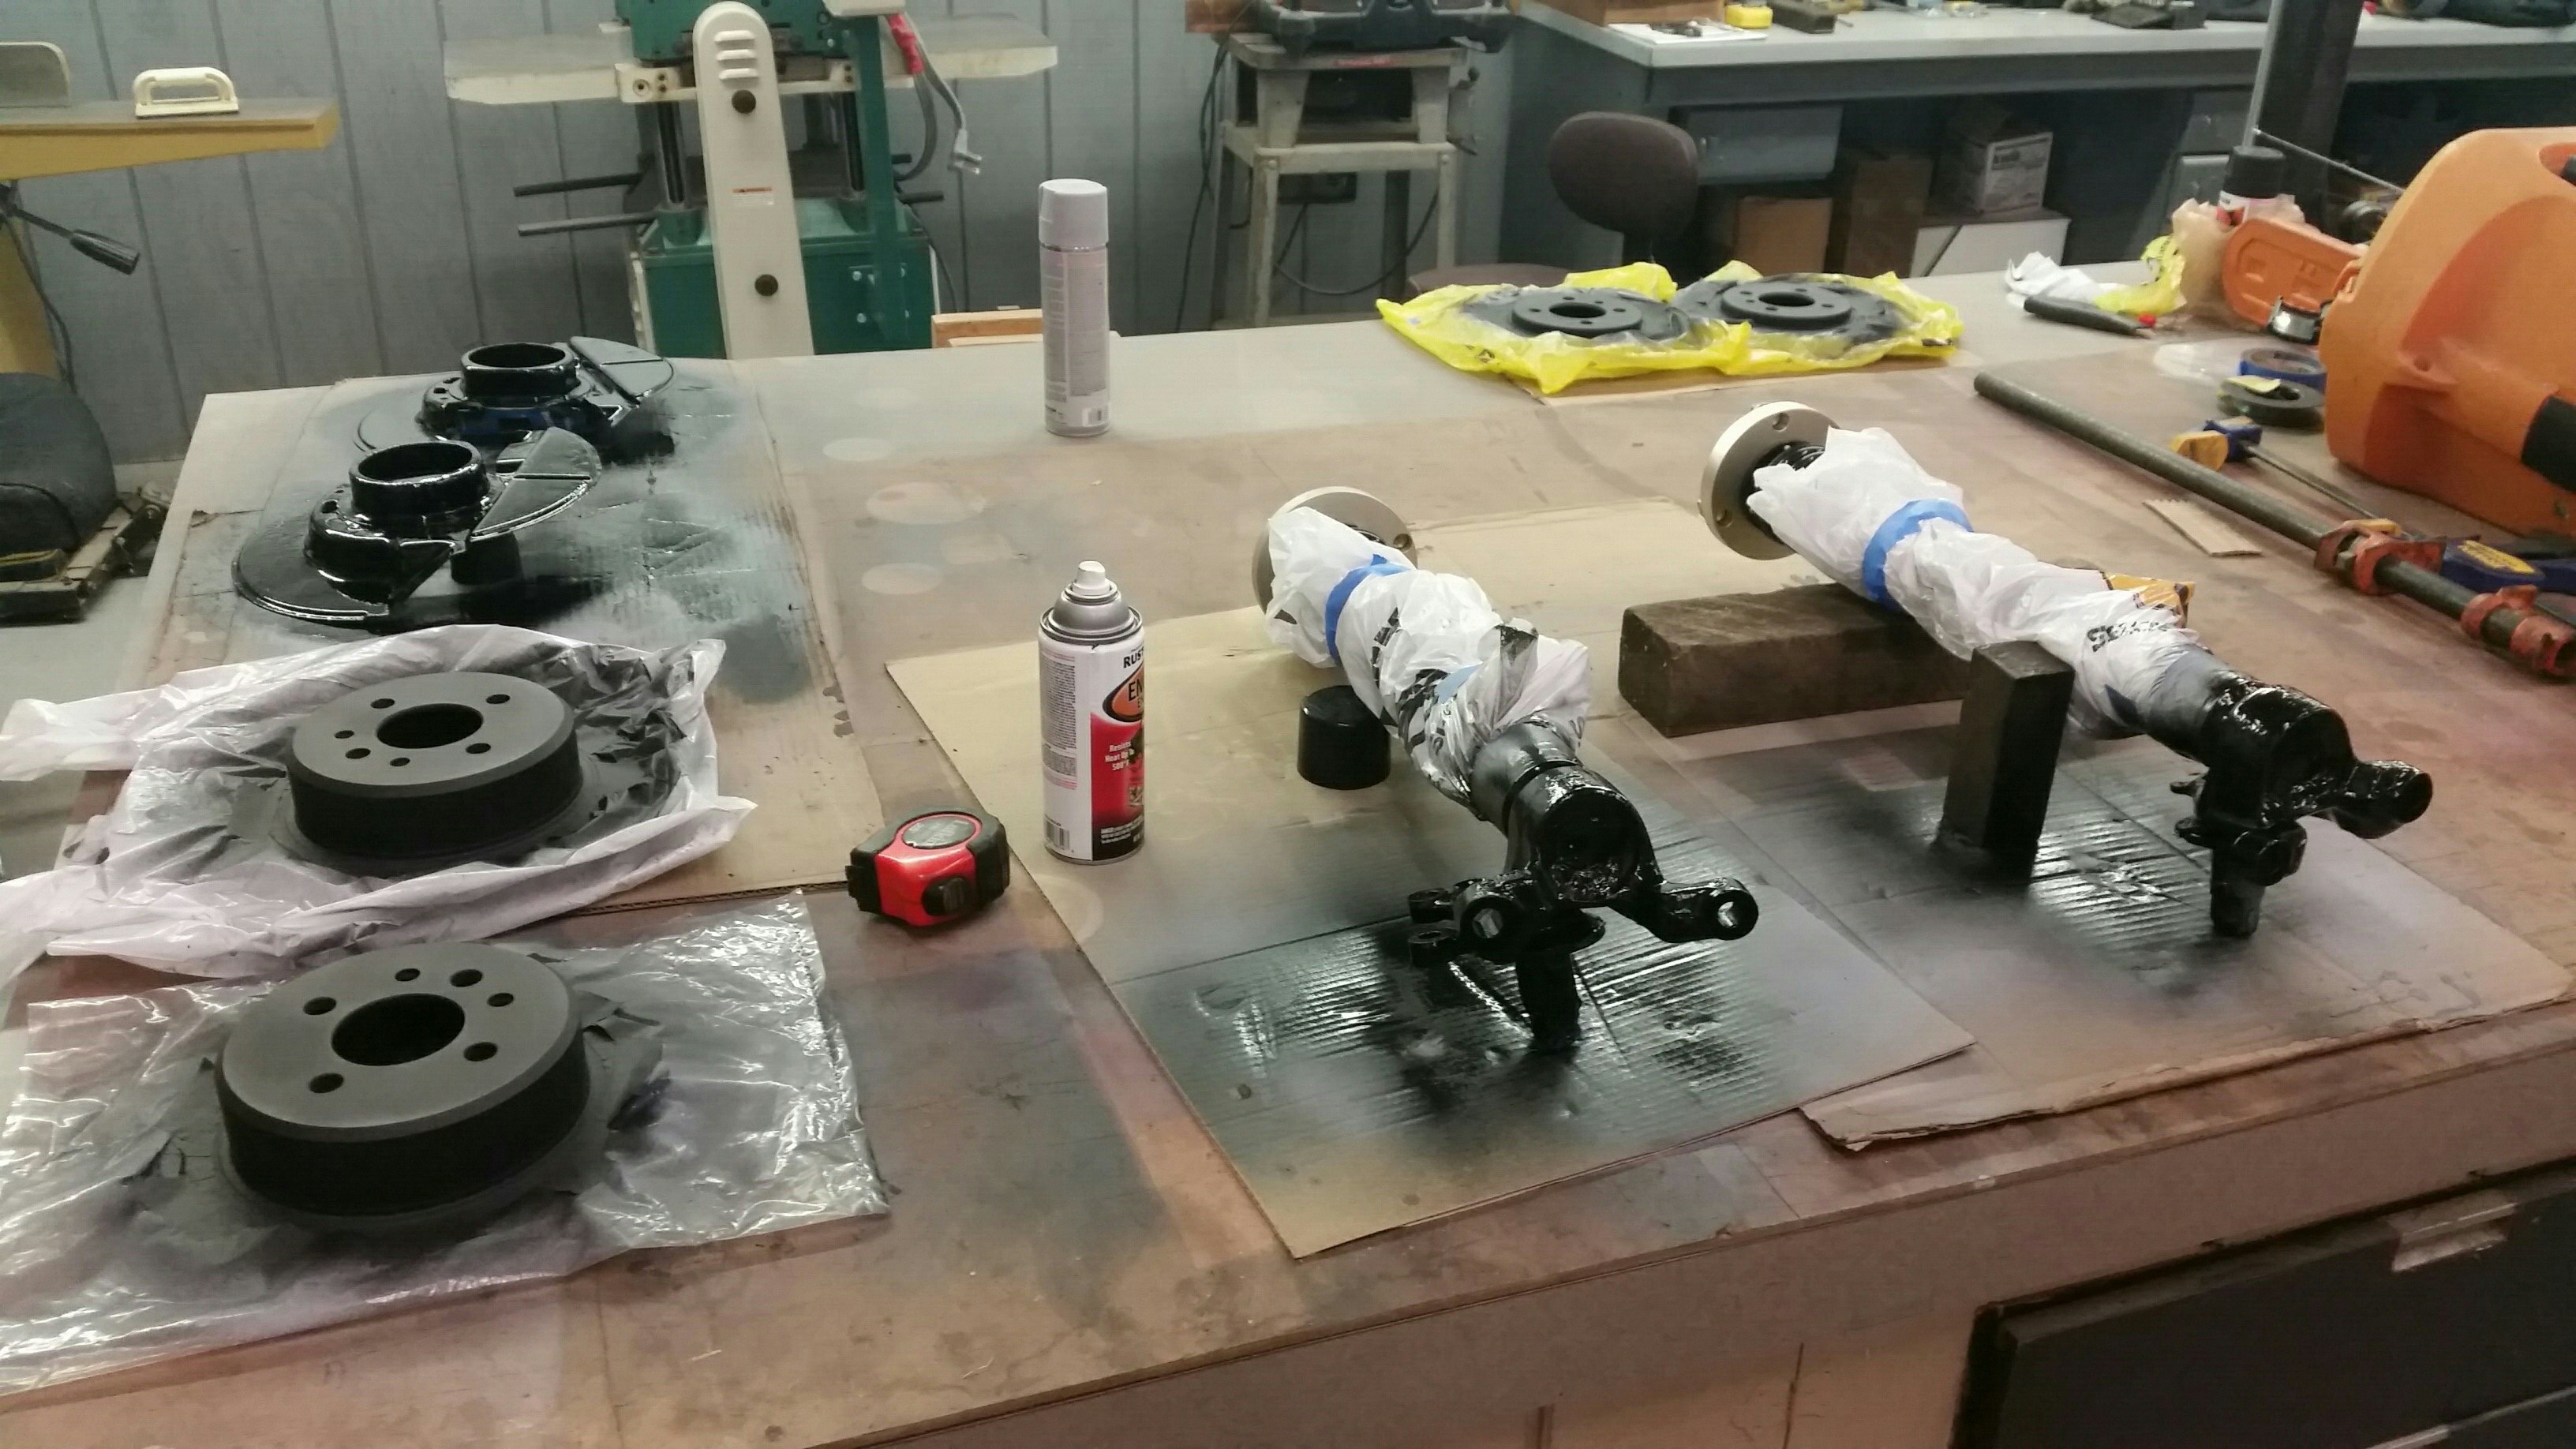
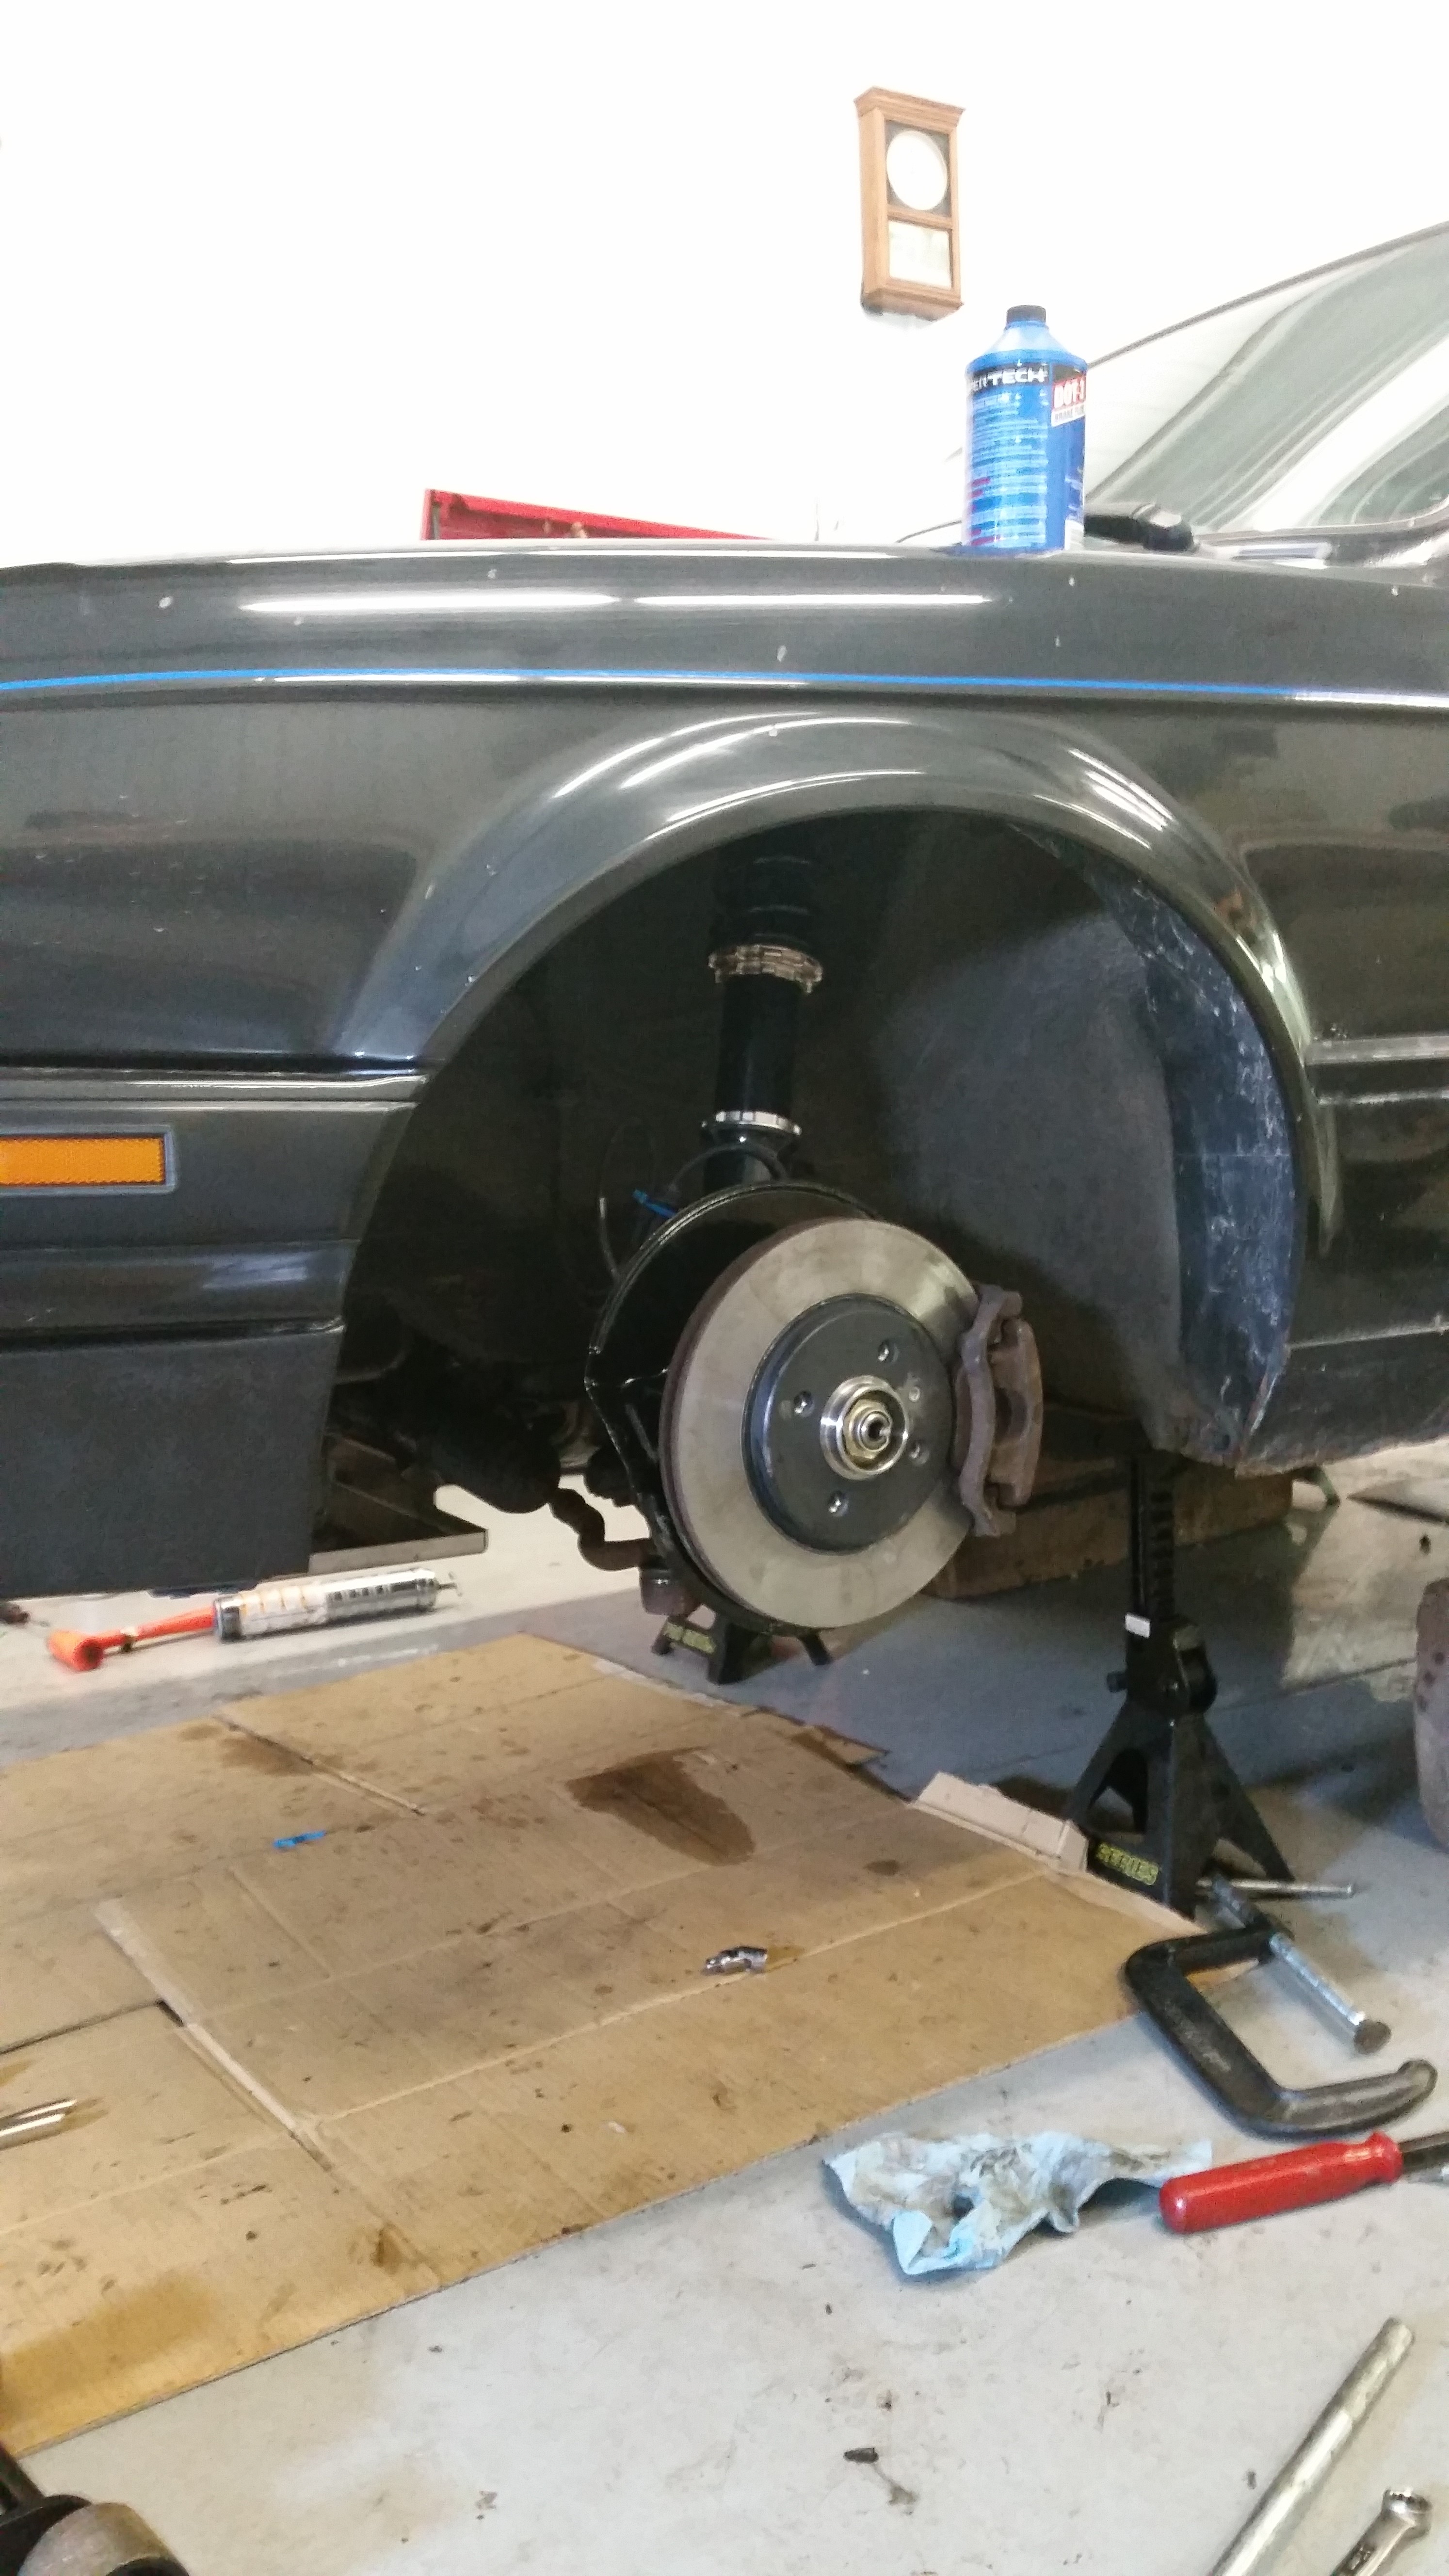
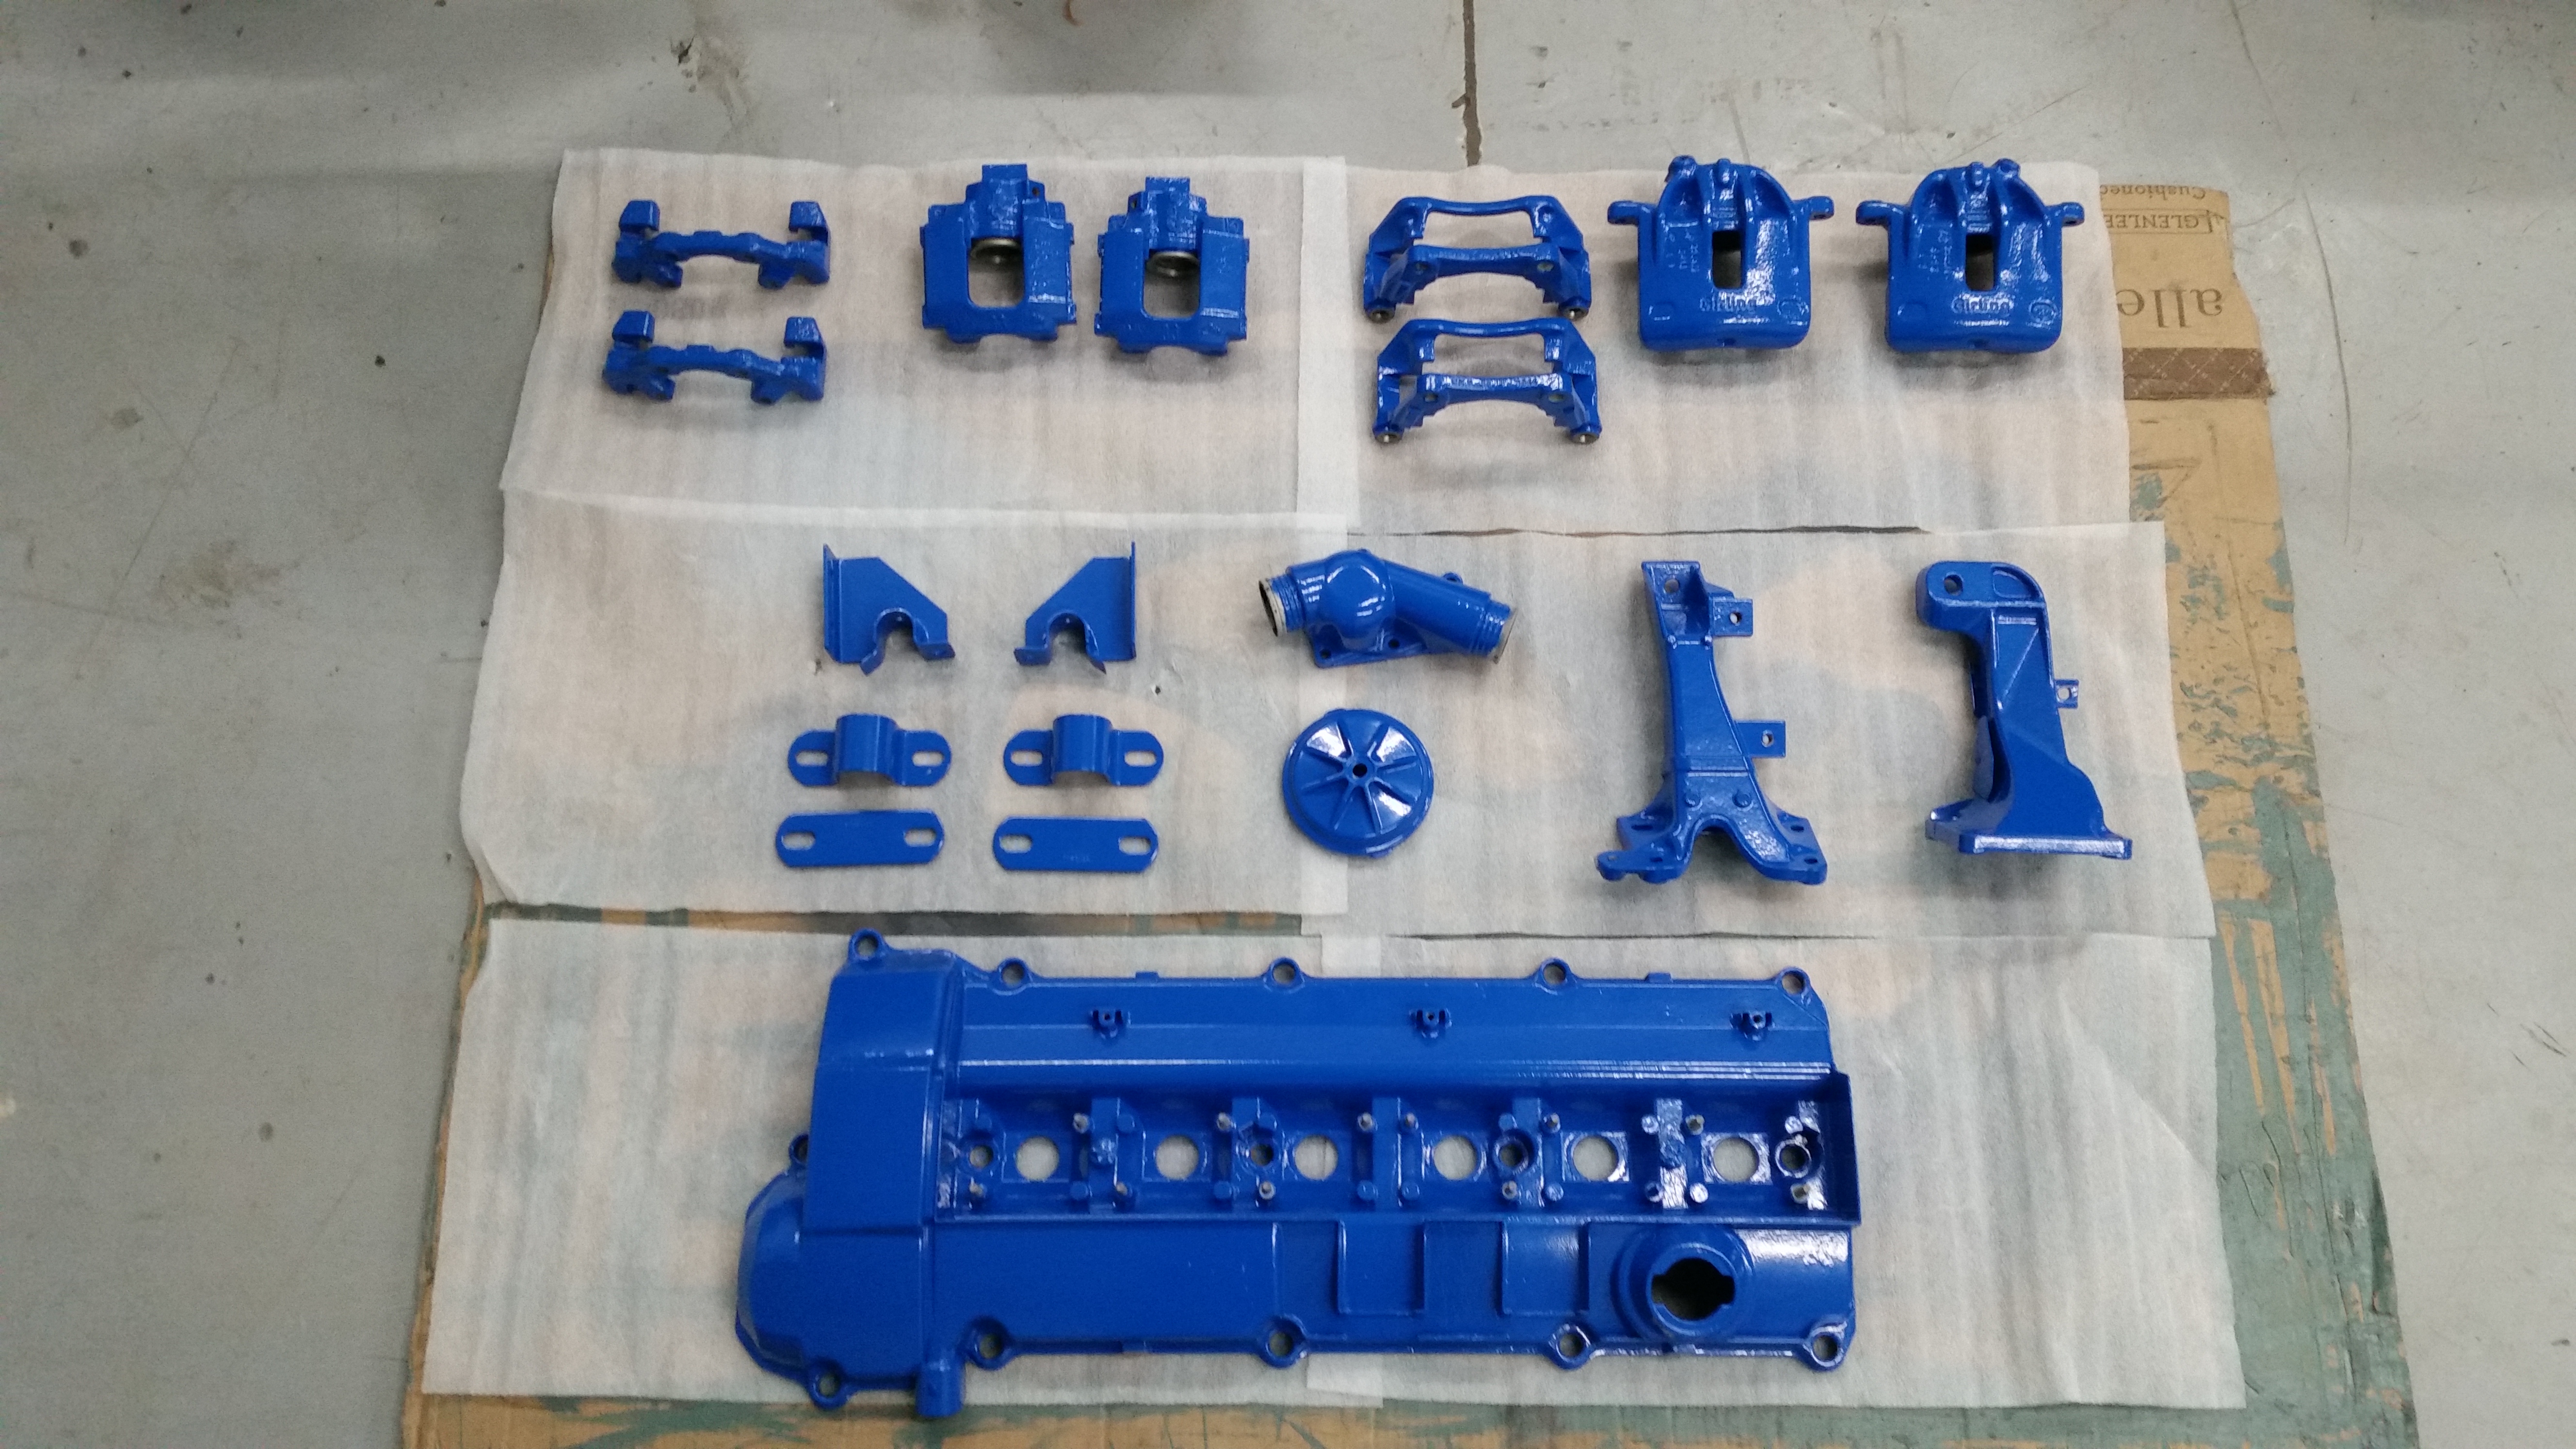
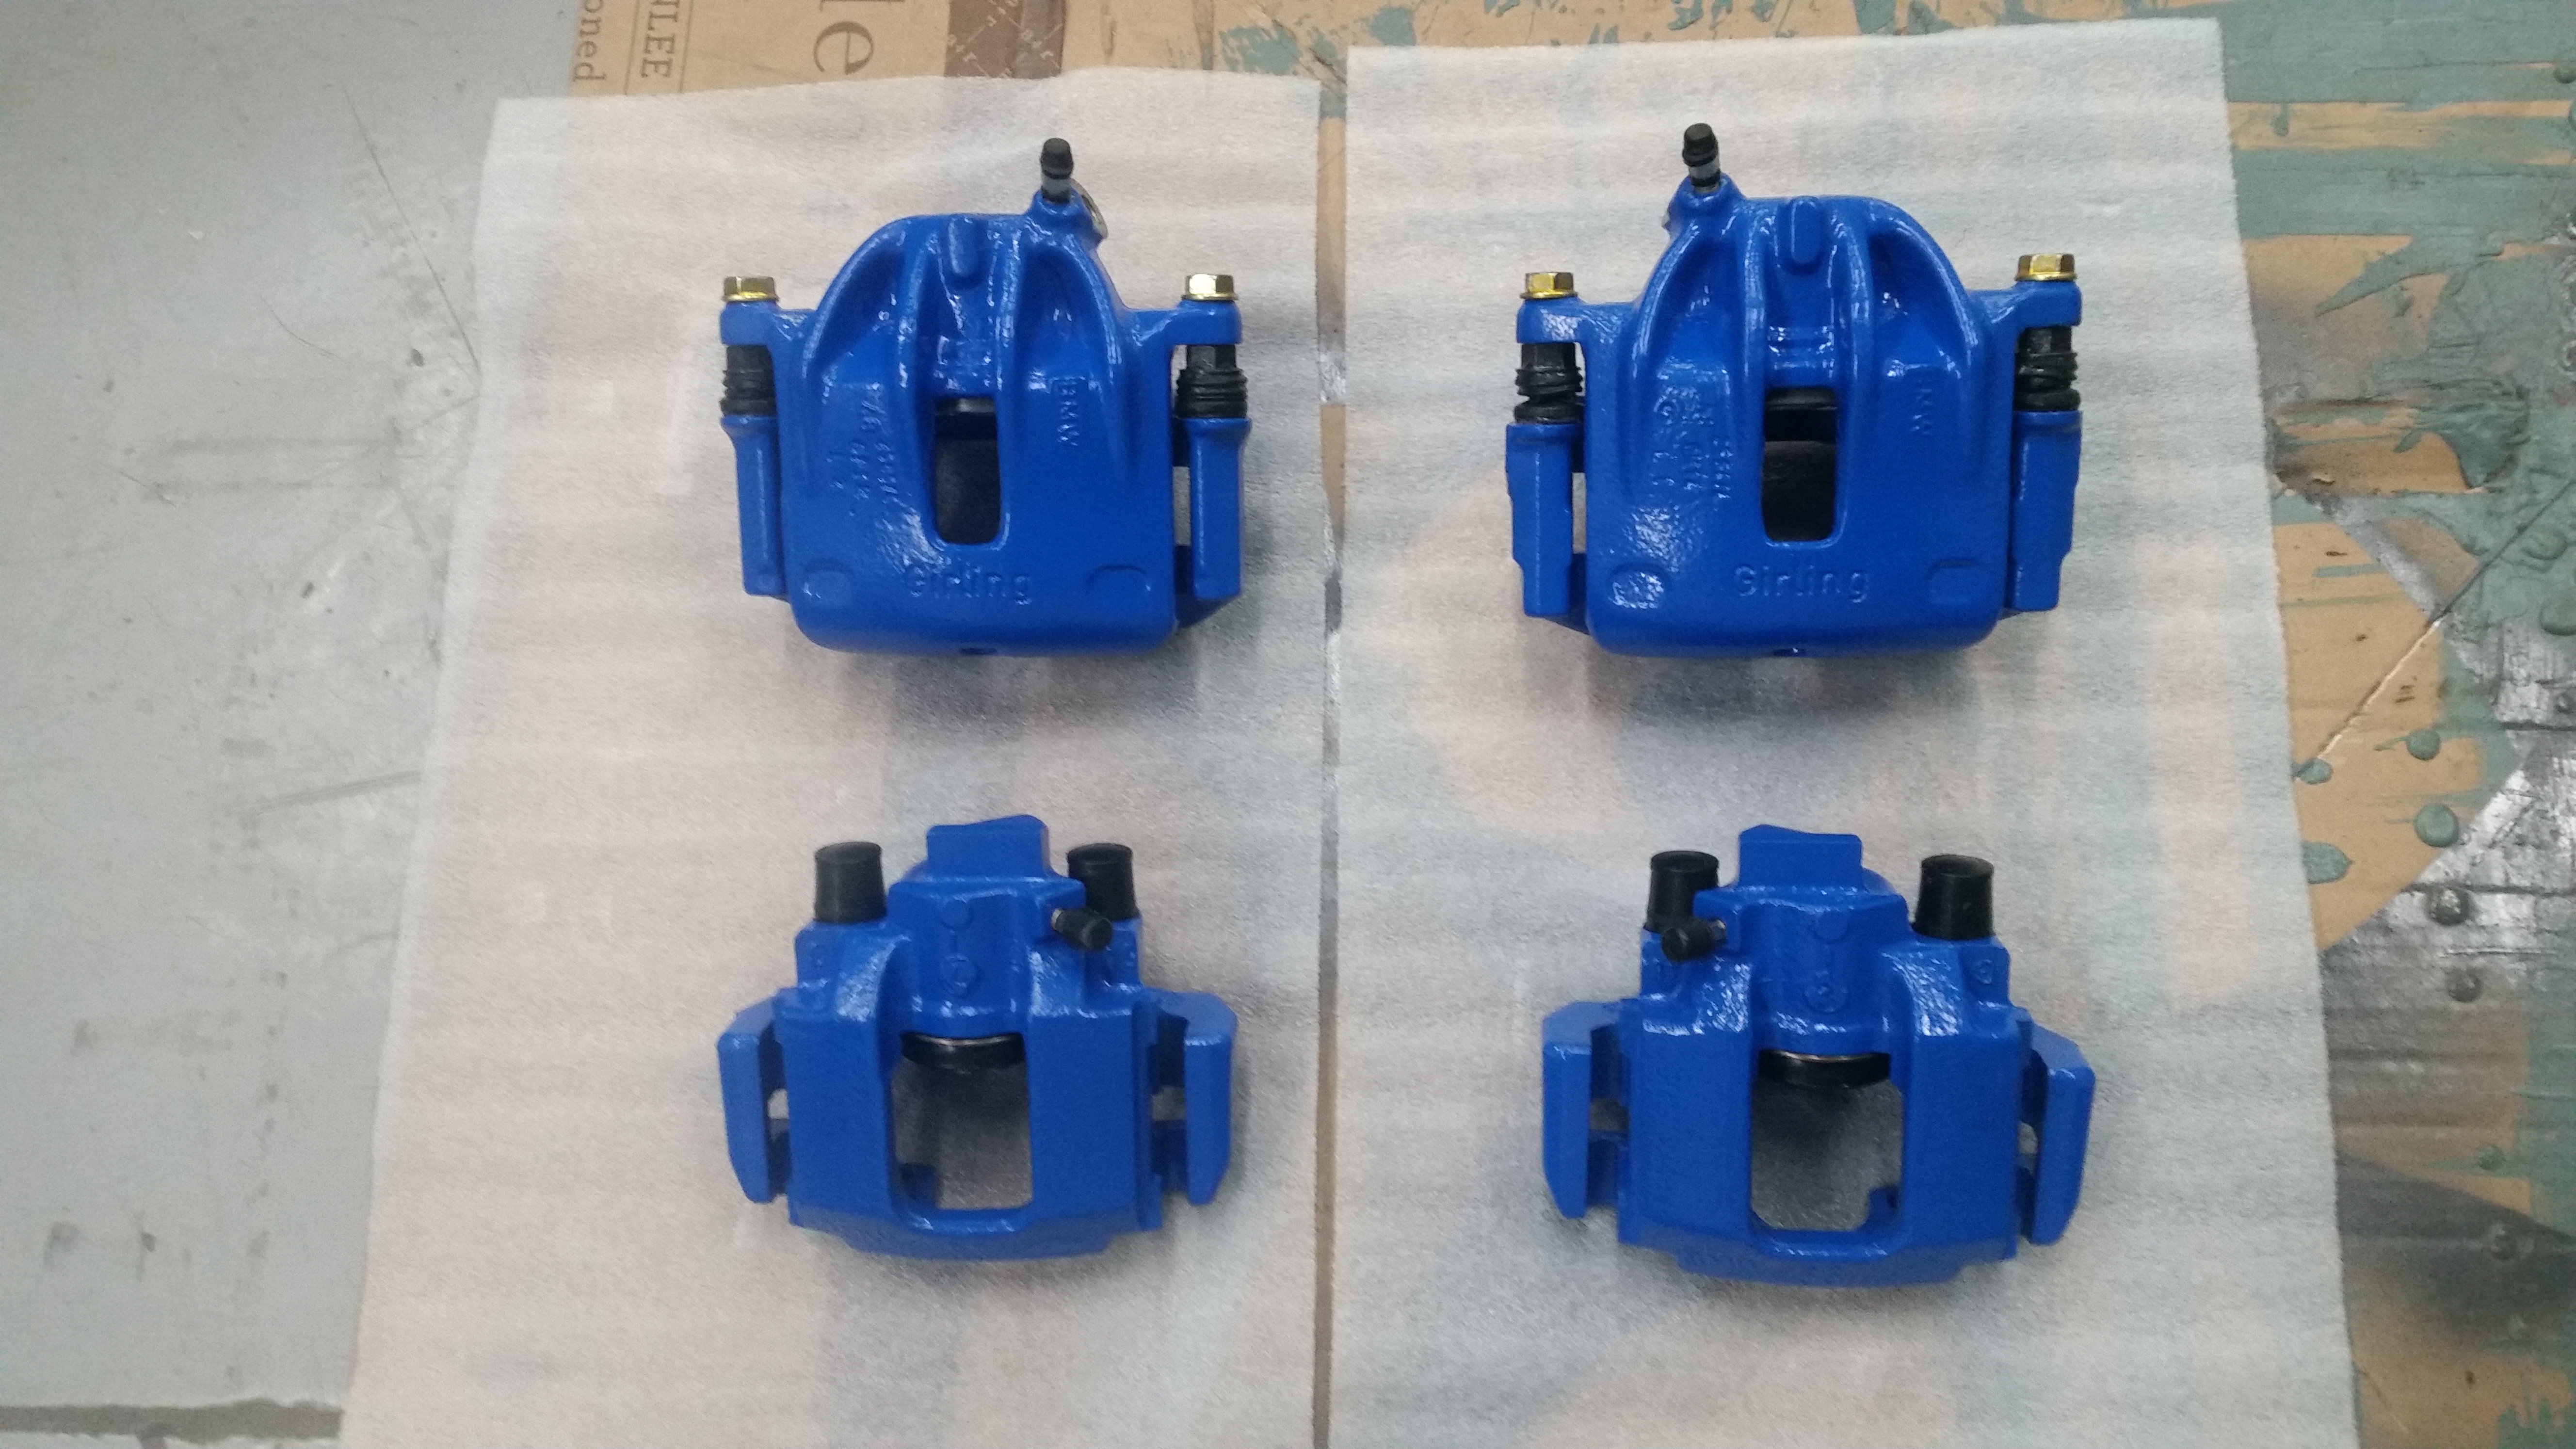
So there was a few things I wanted to get powder coated a while back but sense I was doing the calipers as well and I had ordered reman'd front ones, I have been waiting on the them to arrive which I bought from centric a few weeks back. I also was gonna have the rear sway bar brackets painted as well and I wanted to get the rear sway installed before putting the rear end. Well calipers finally showed up and I was able to send everything out to finally get painted.
Fast forward about 2 weeks and everything's back and I am super happy with how it turned out. I ended up going with a safety blue. My original plan was ford blue, which is the color I painted the oil pan, but I liked this shade of blue better and it was also a much more common color that the powder coating guy had in stock. Sense the shade of blue has changed I was gonna have to change the color of the oil pan to the same blue as well. After looking it over I decided I'd rather it be just the aluminum color instead. So, I'll be taking the pan back off to strip all the paint off sometime this week.
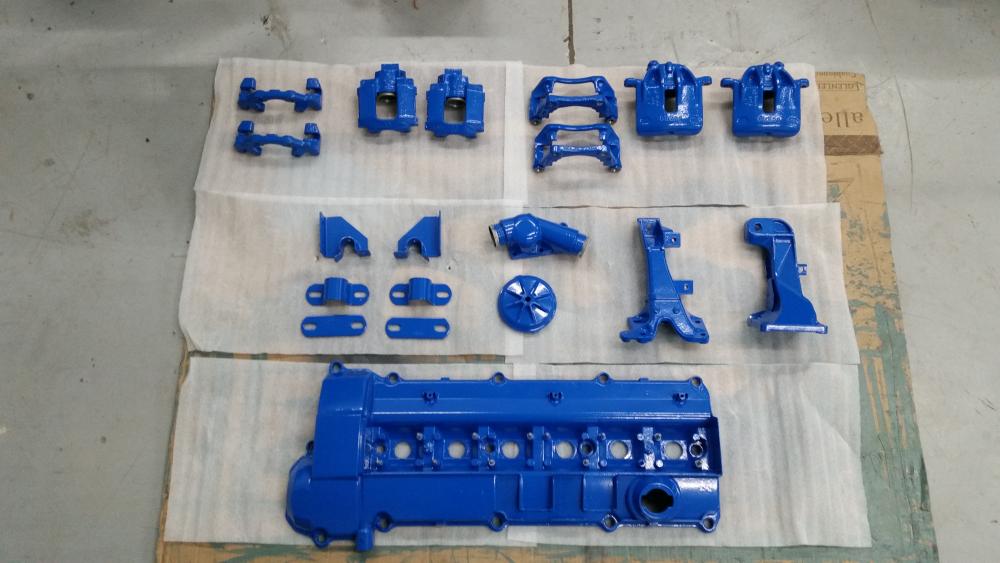
Now that everything is back, let the wrenching begin!
Fresh new bushings, guide pins and bleeder screws for the front and rear calipers as well as the new seals for the pistons.
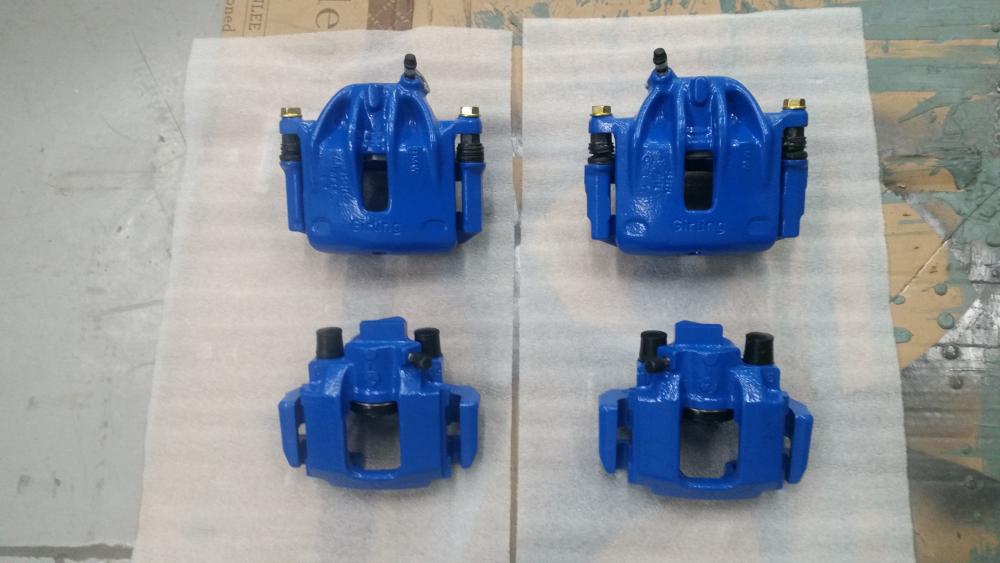
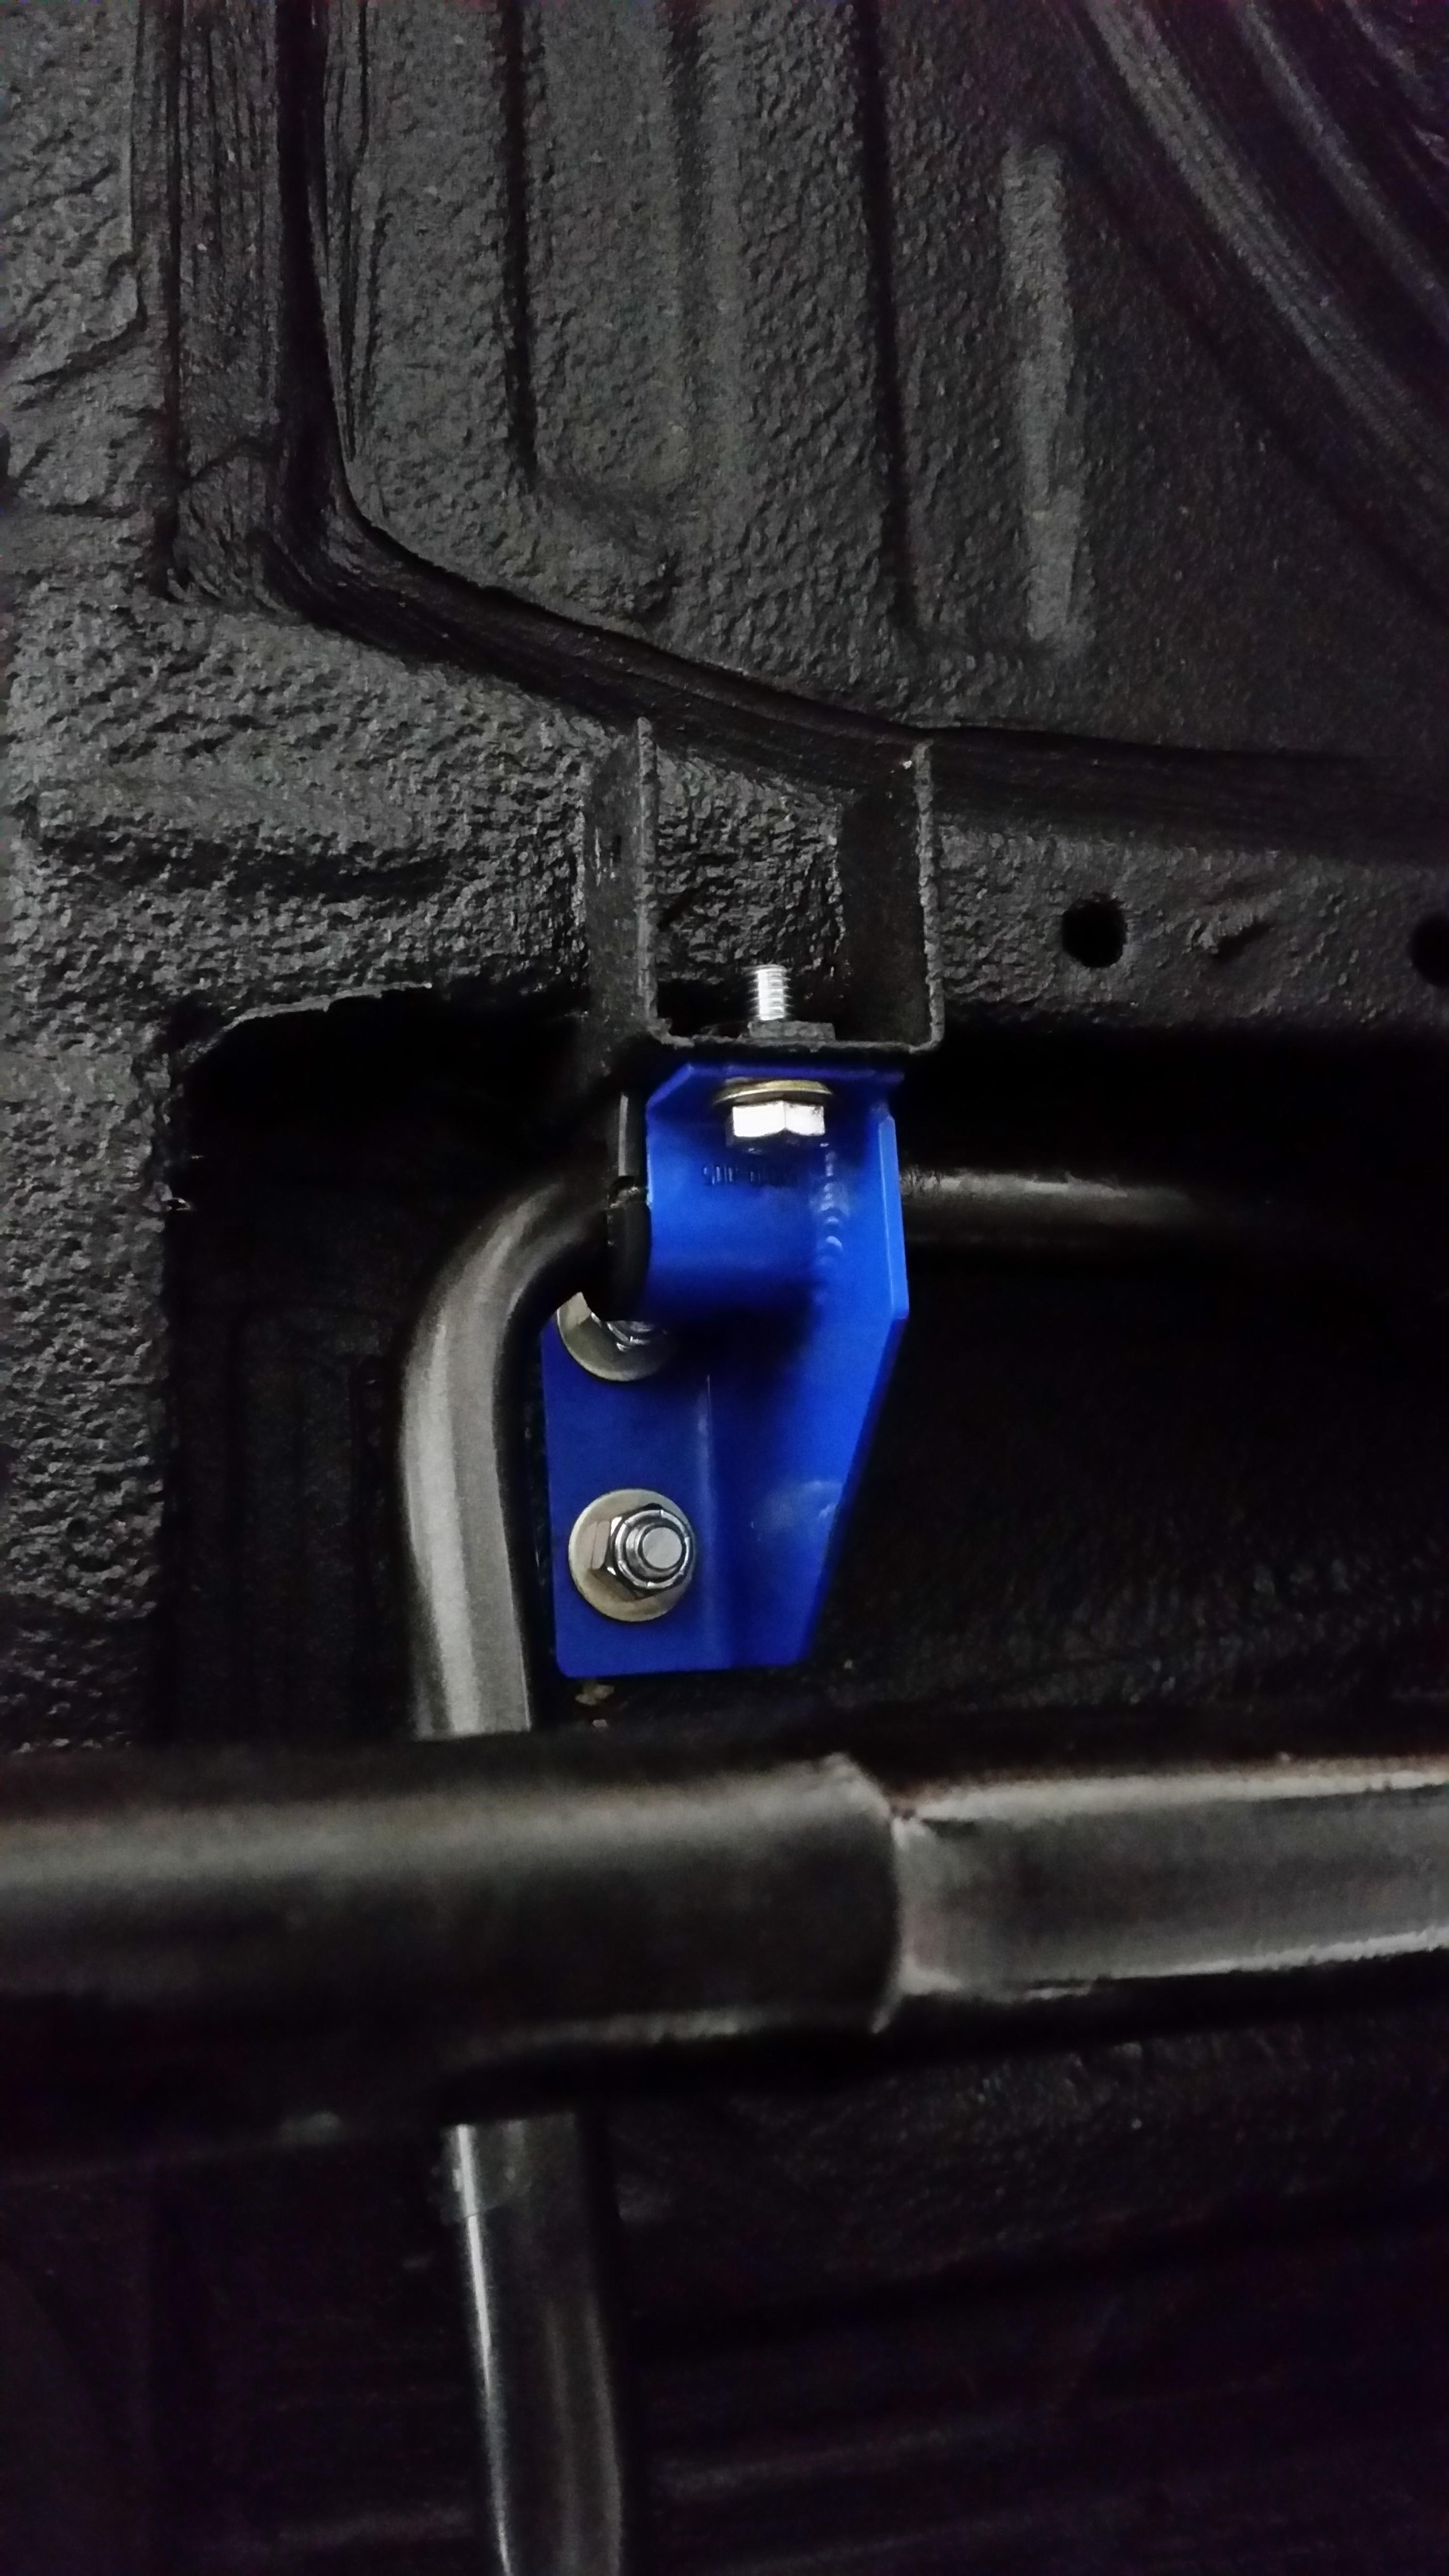
Set those a side and worked on getting the rear sway bar installed. Mounts worked out good after all said done, I did however have a small issue with them fitting up nicely. I suppose when the original brackets are installed they flex just slightly wider to fit the bushing and bar in between. Well, once they were welded up there was no flex and in turn caused me a great deal of trouble and I did end up having to shave the bushing on one side ever so slightly to get the bracket to fall into place. Drilled the holes, installed the upper bolts with some washers and nylon nuts and she's good to go.
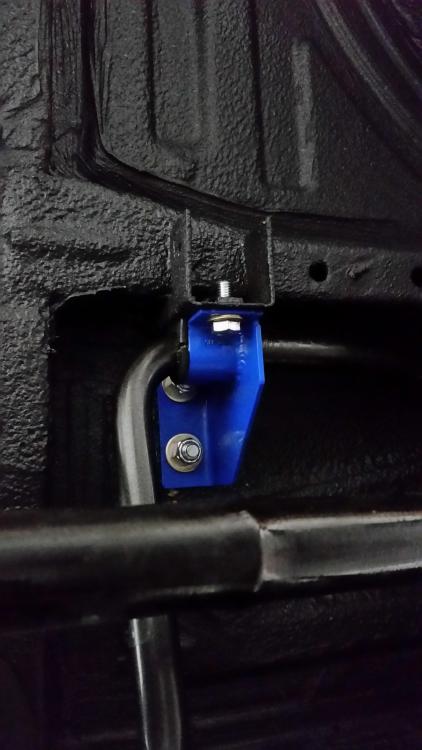
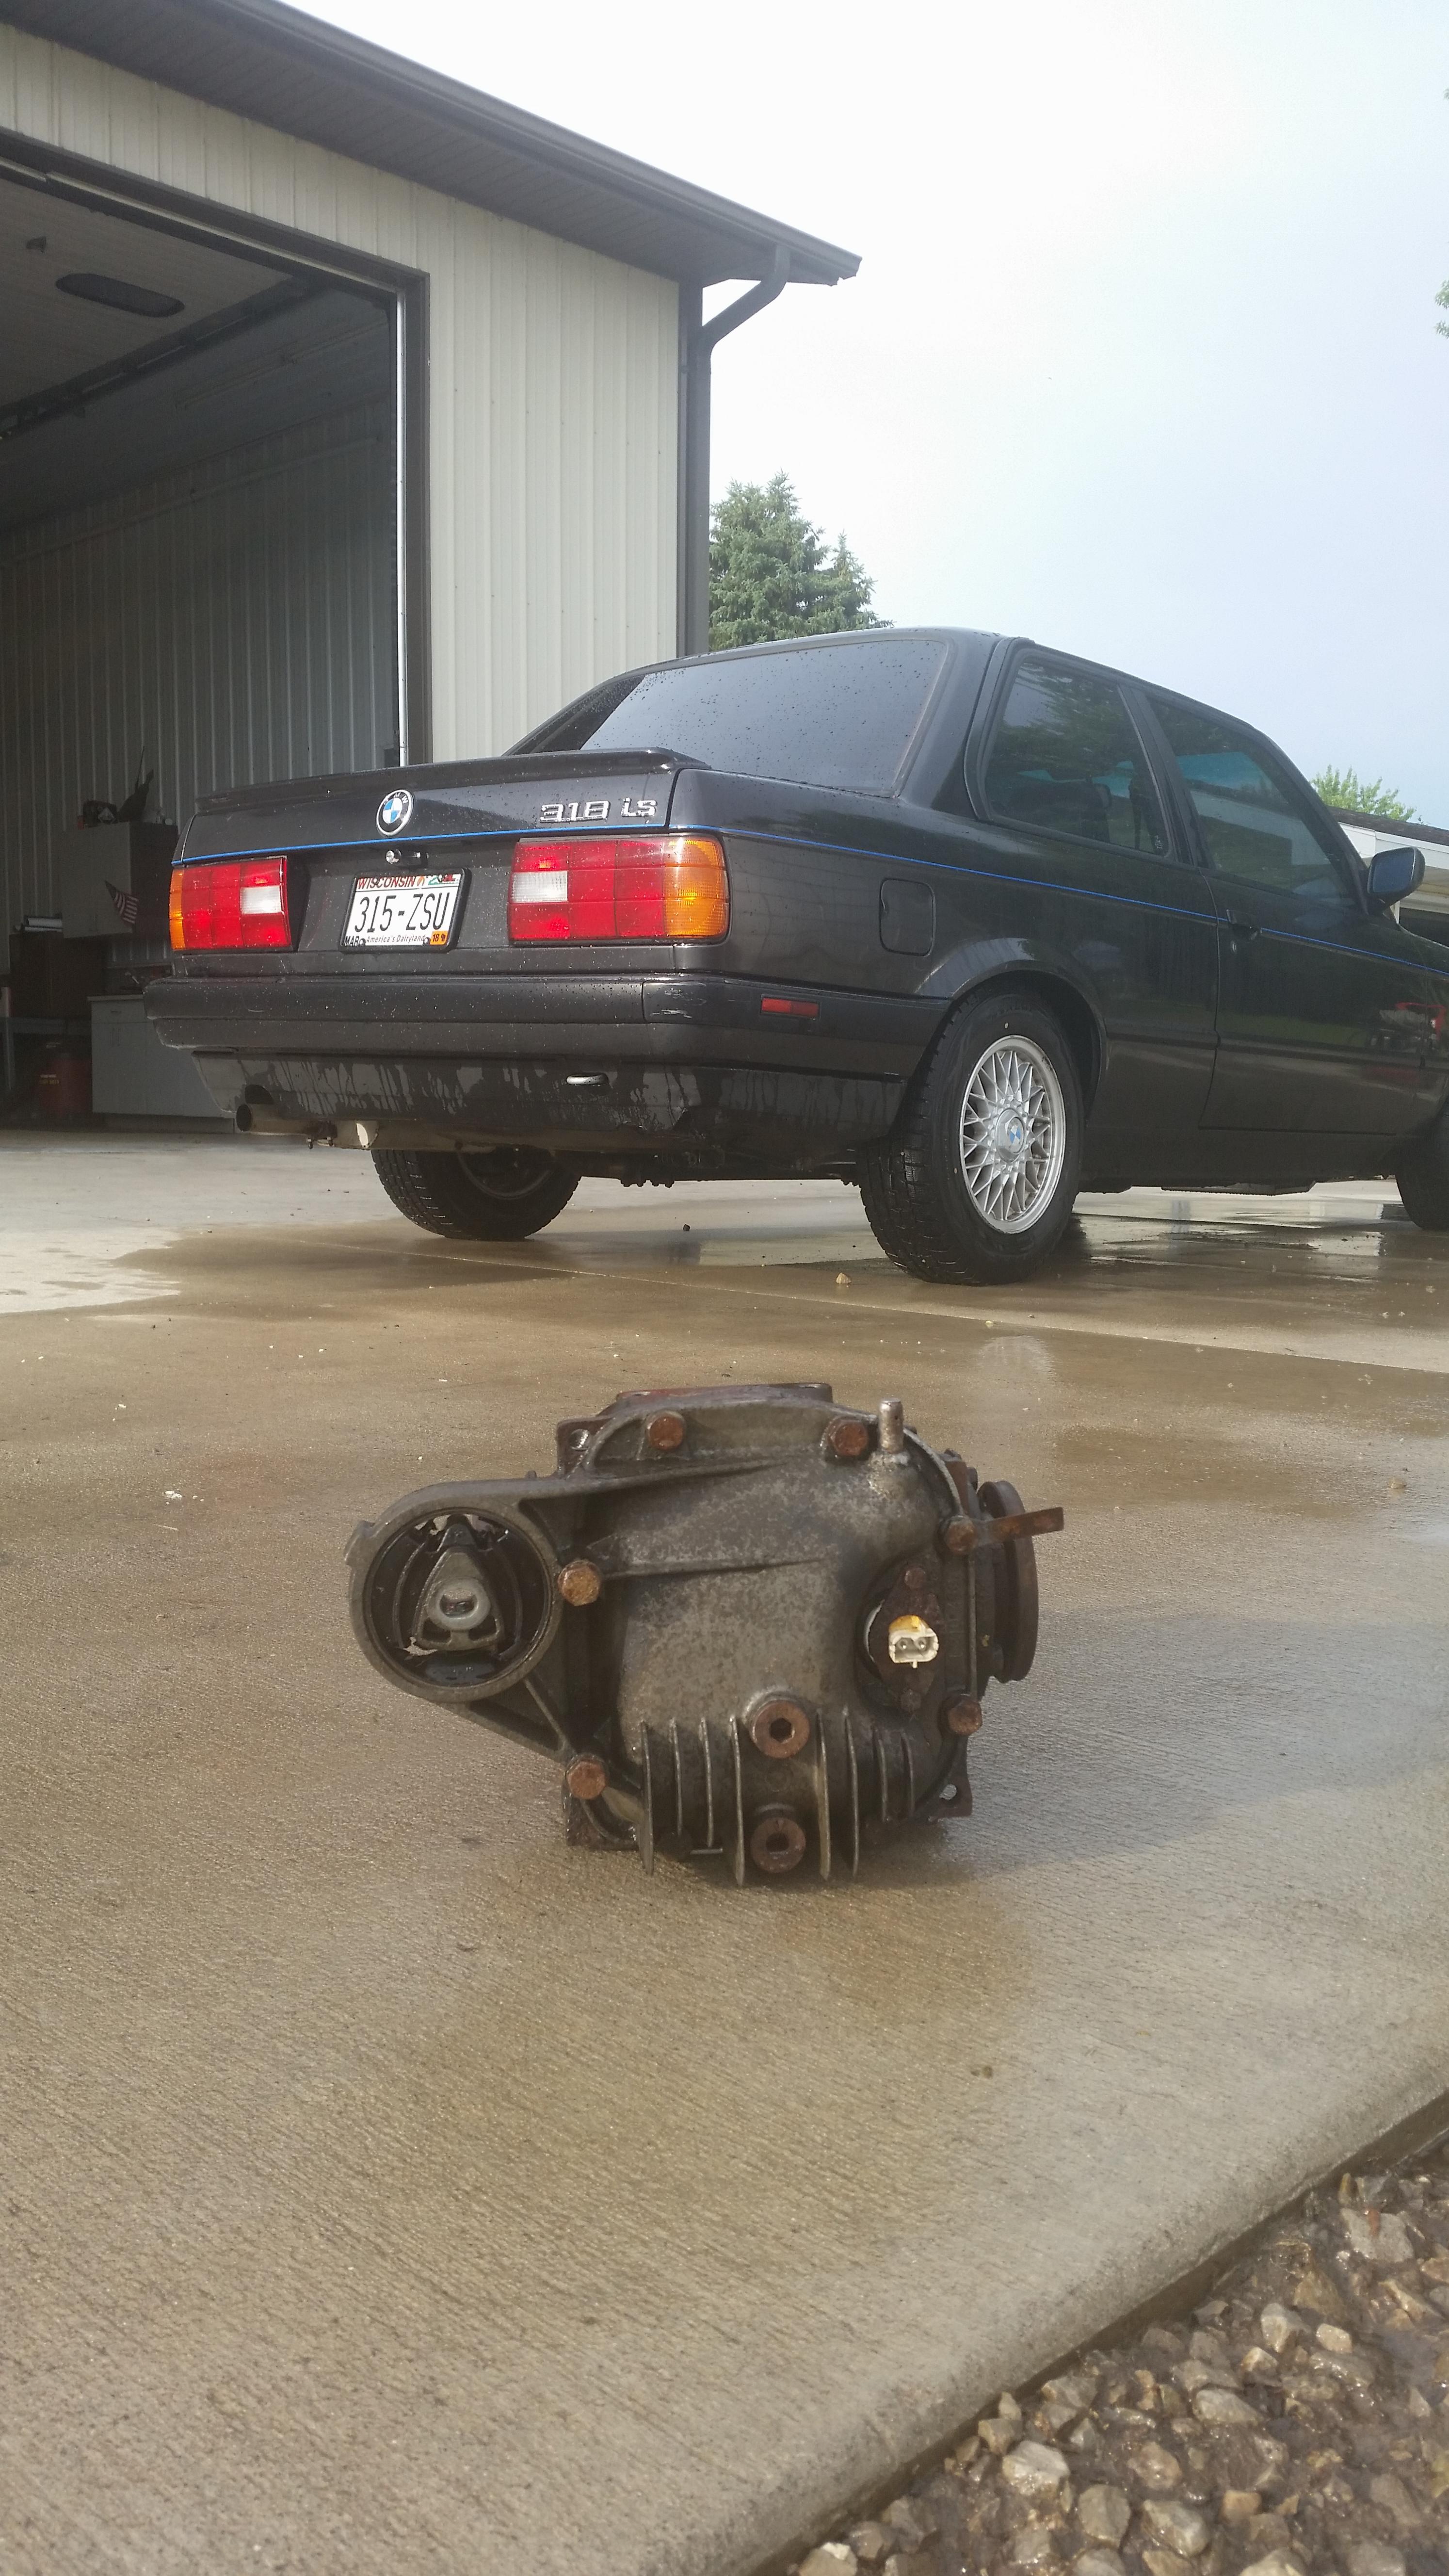
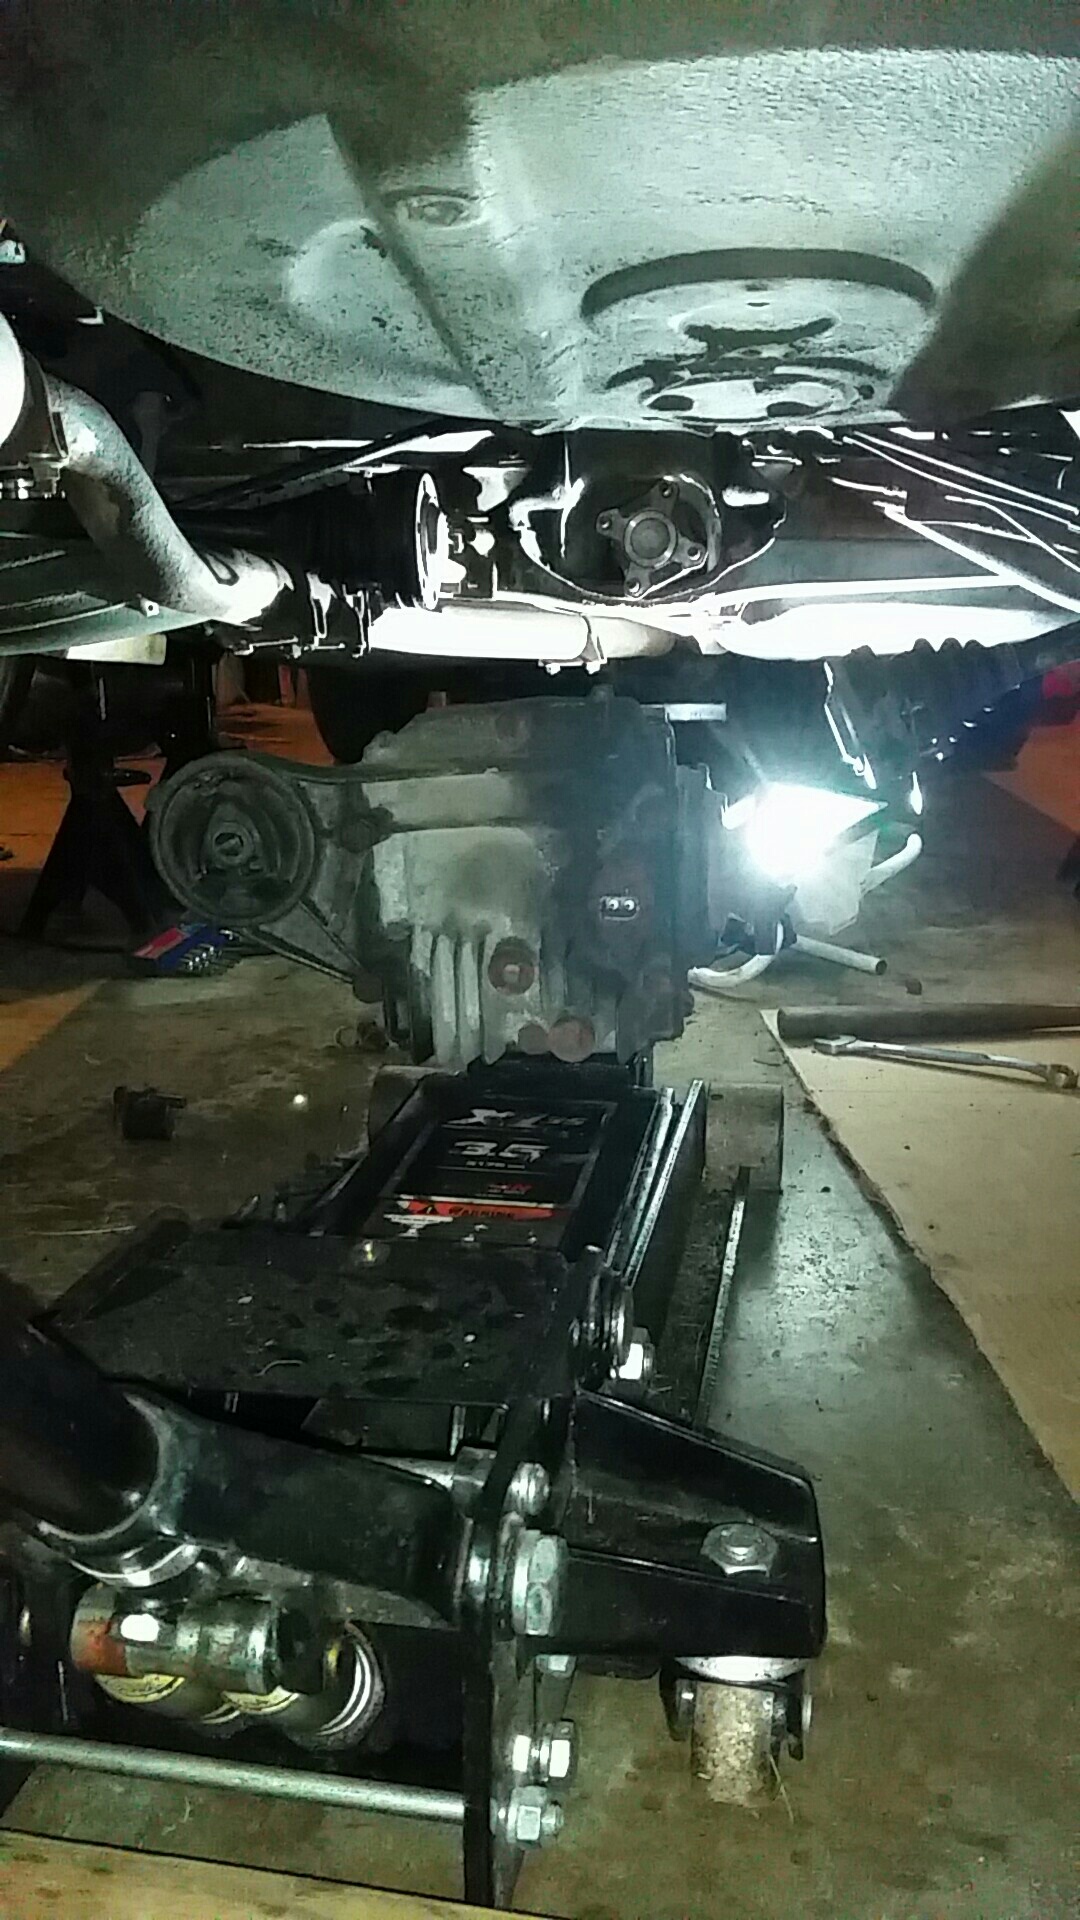
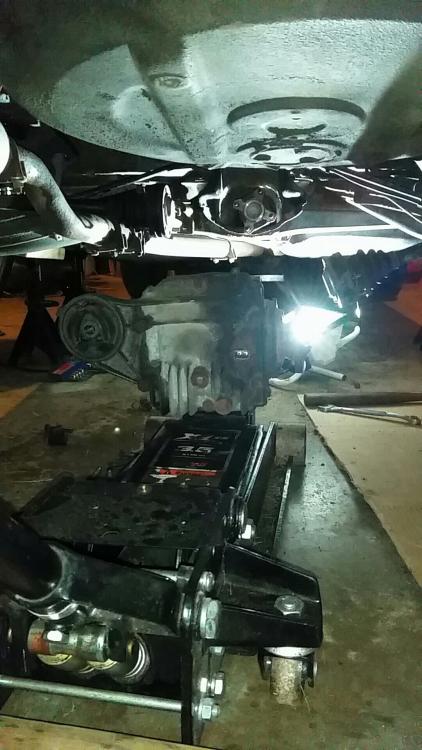
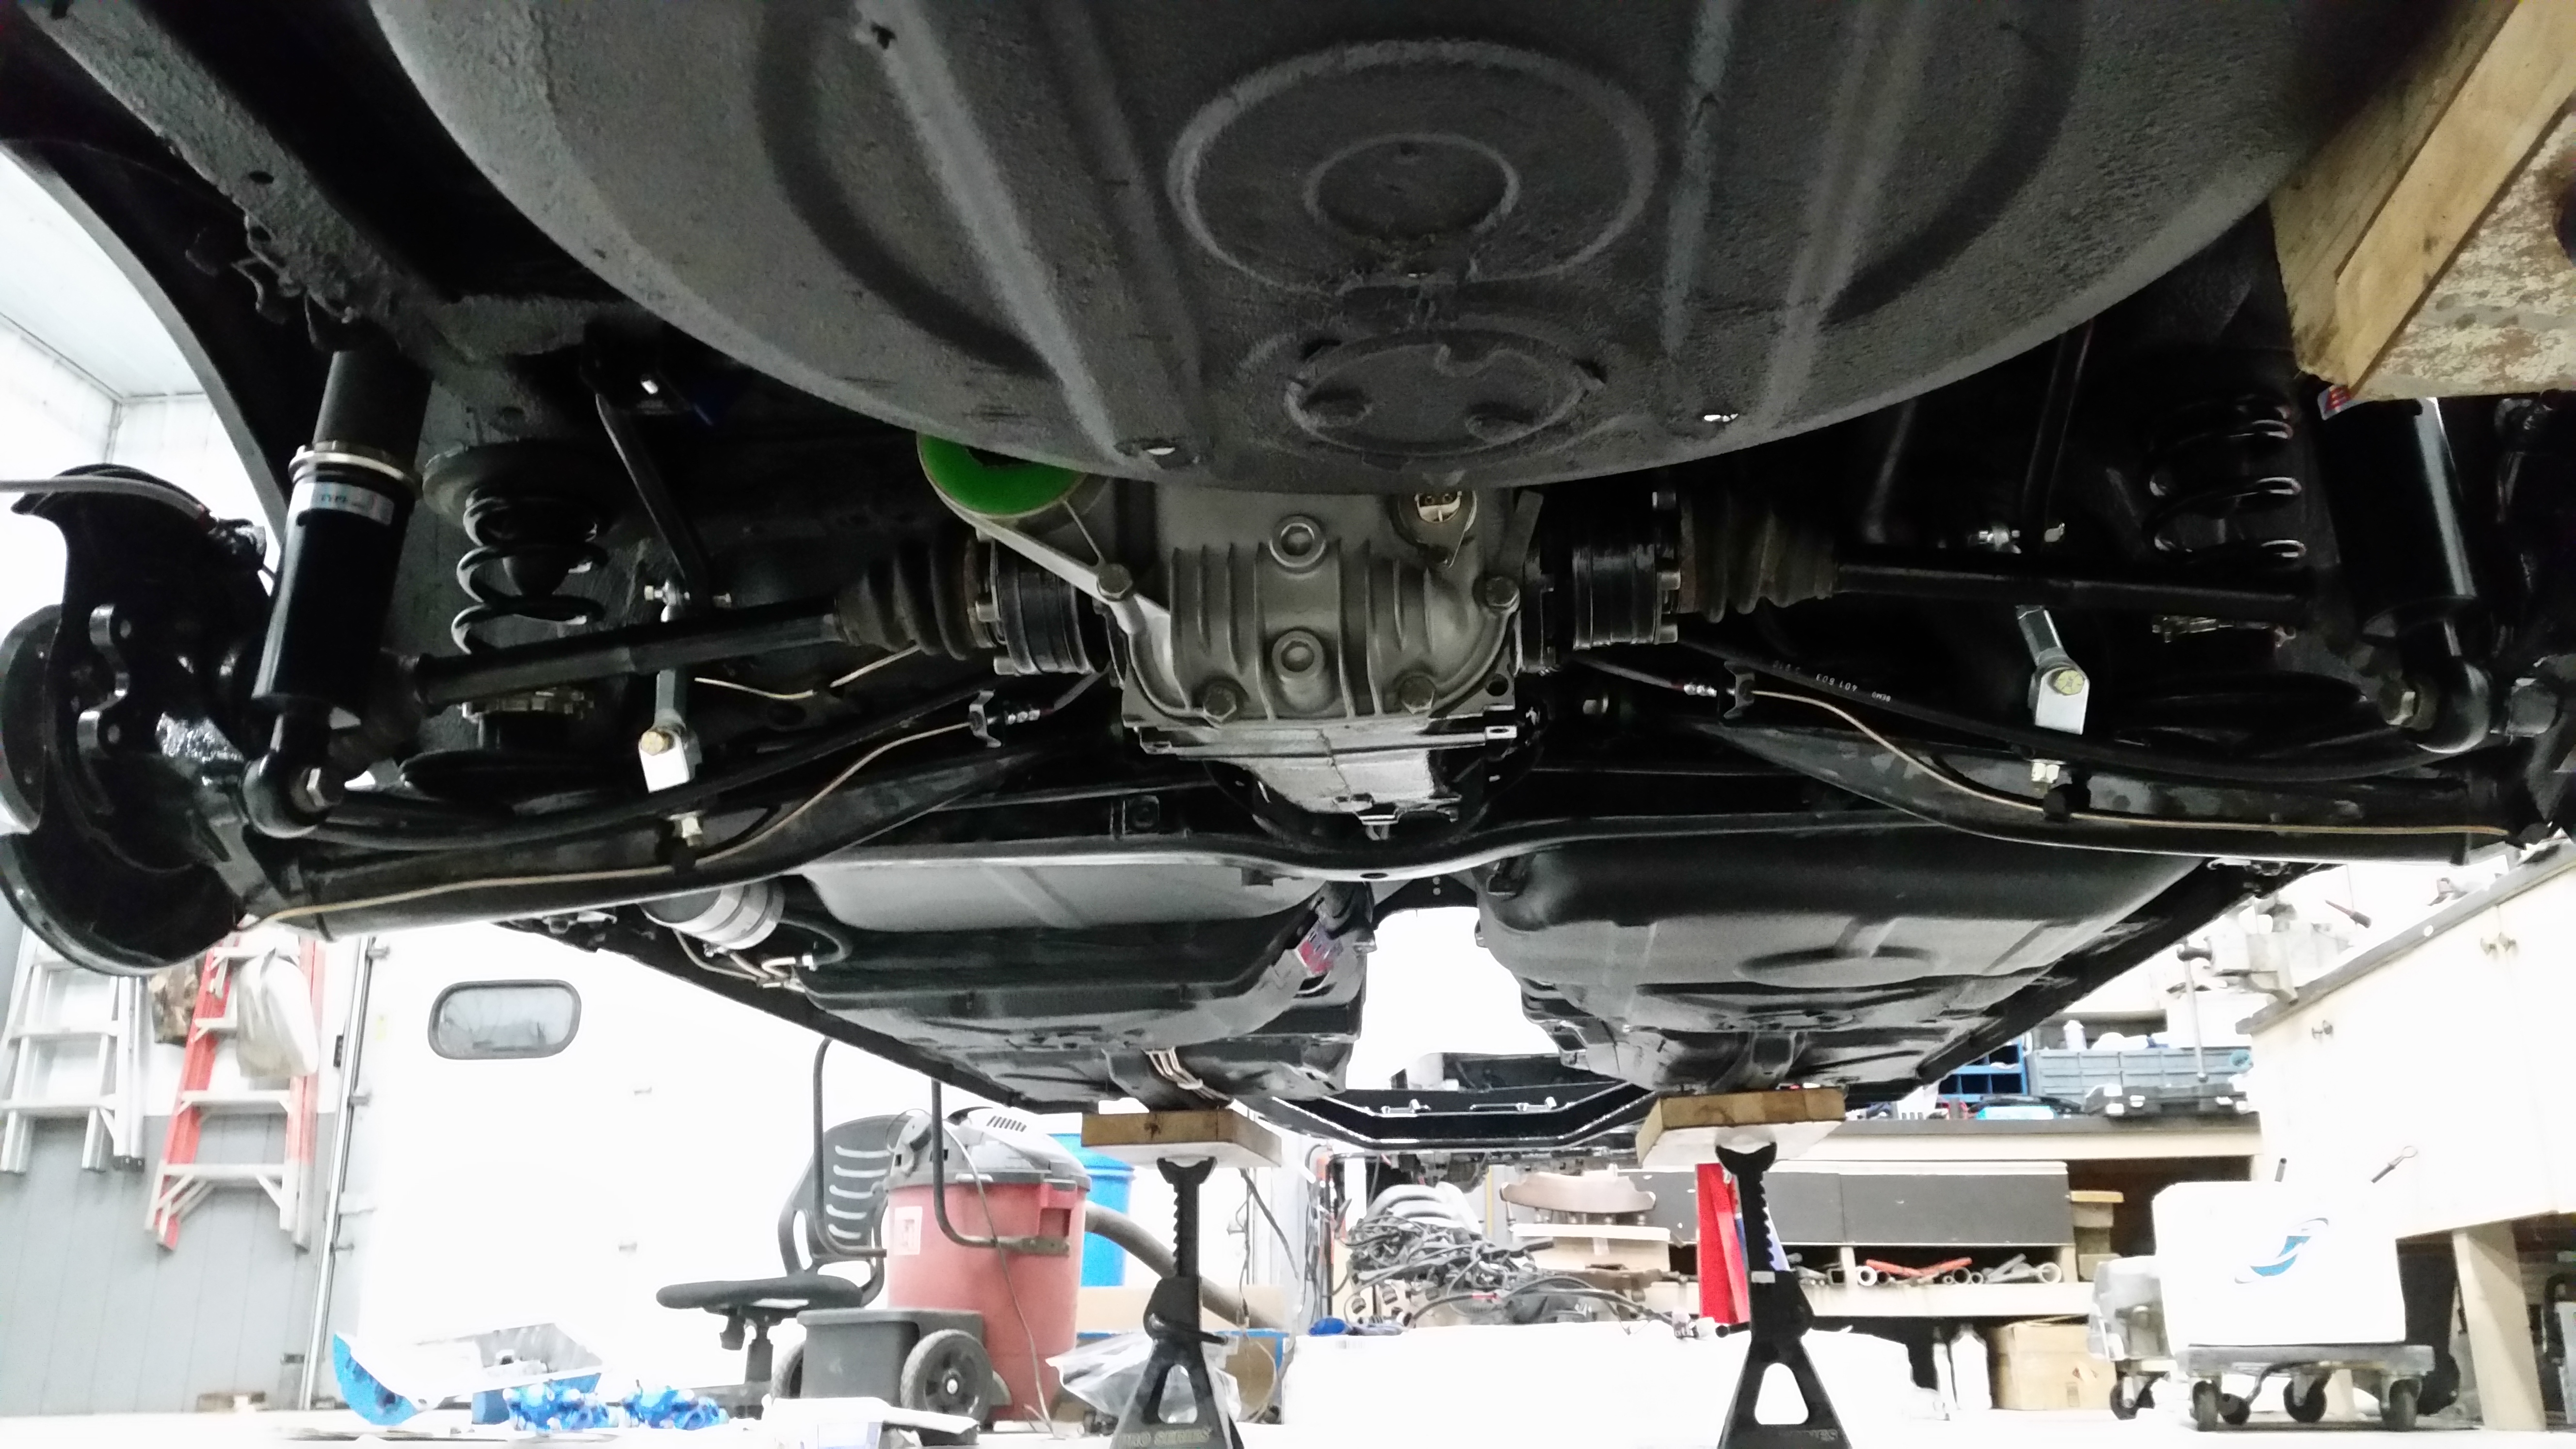
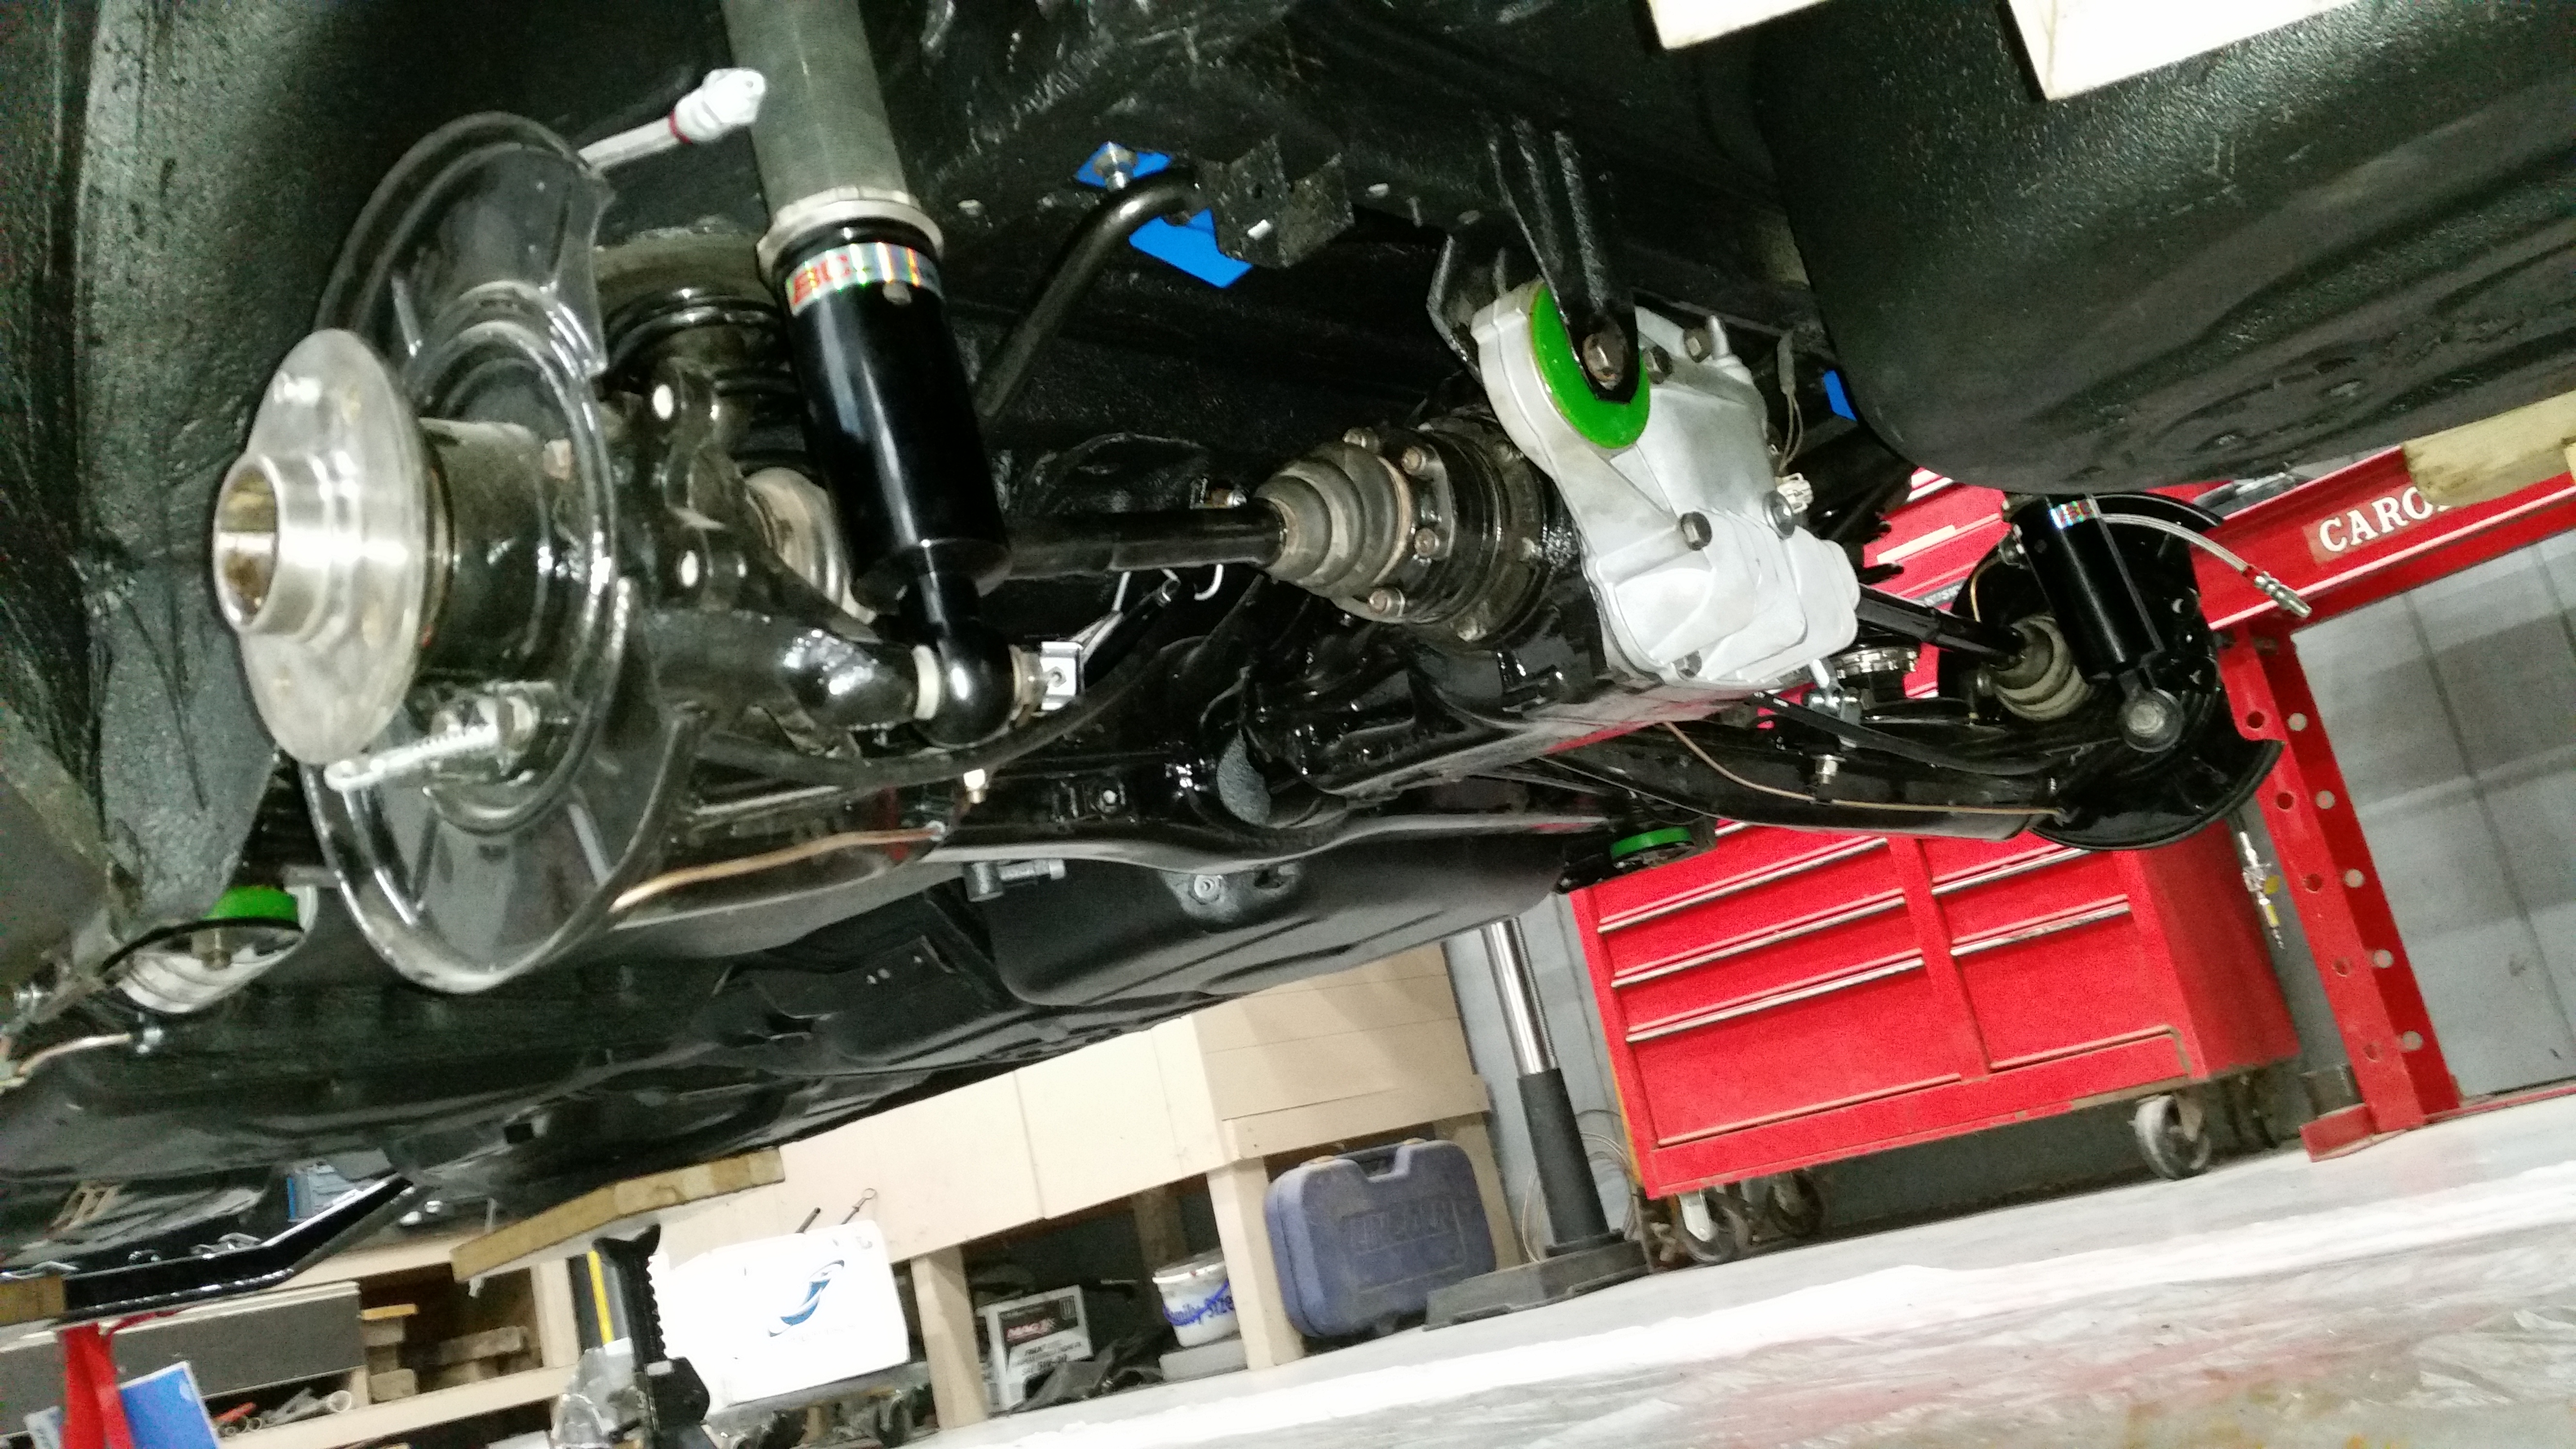
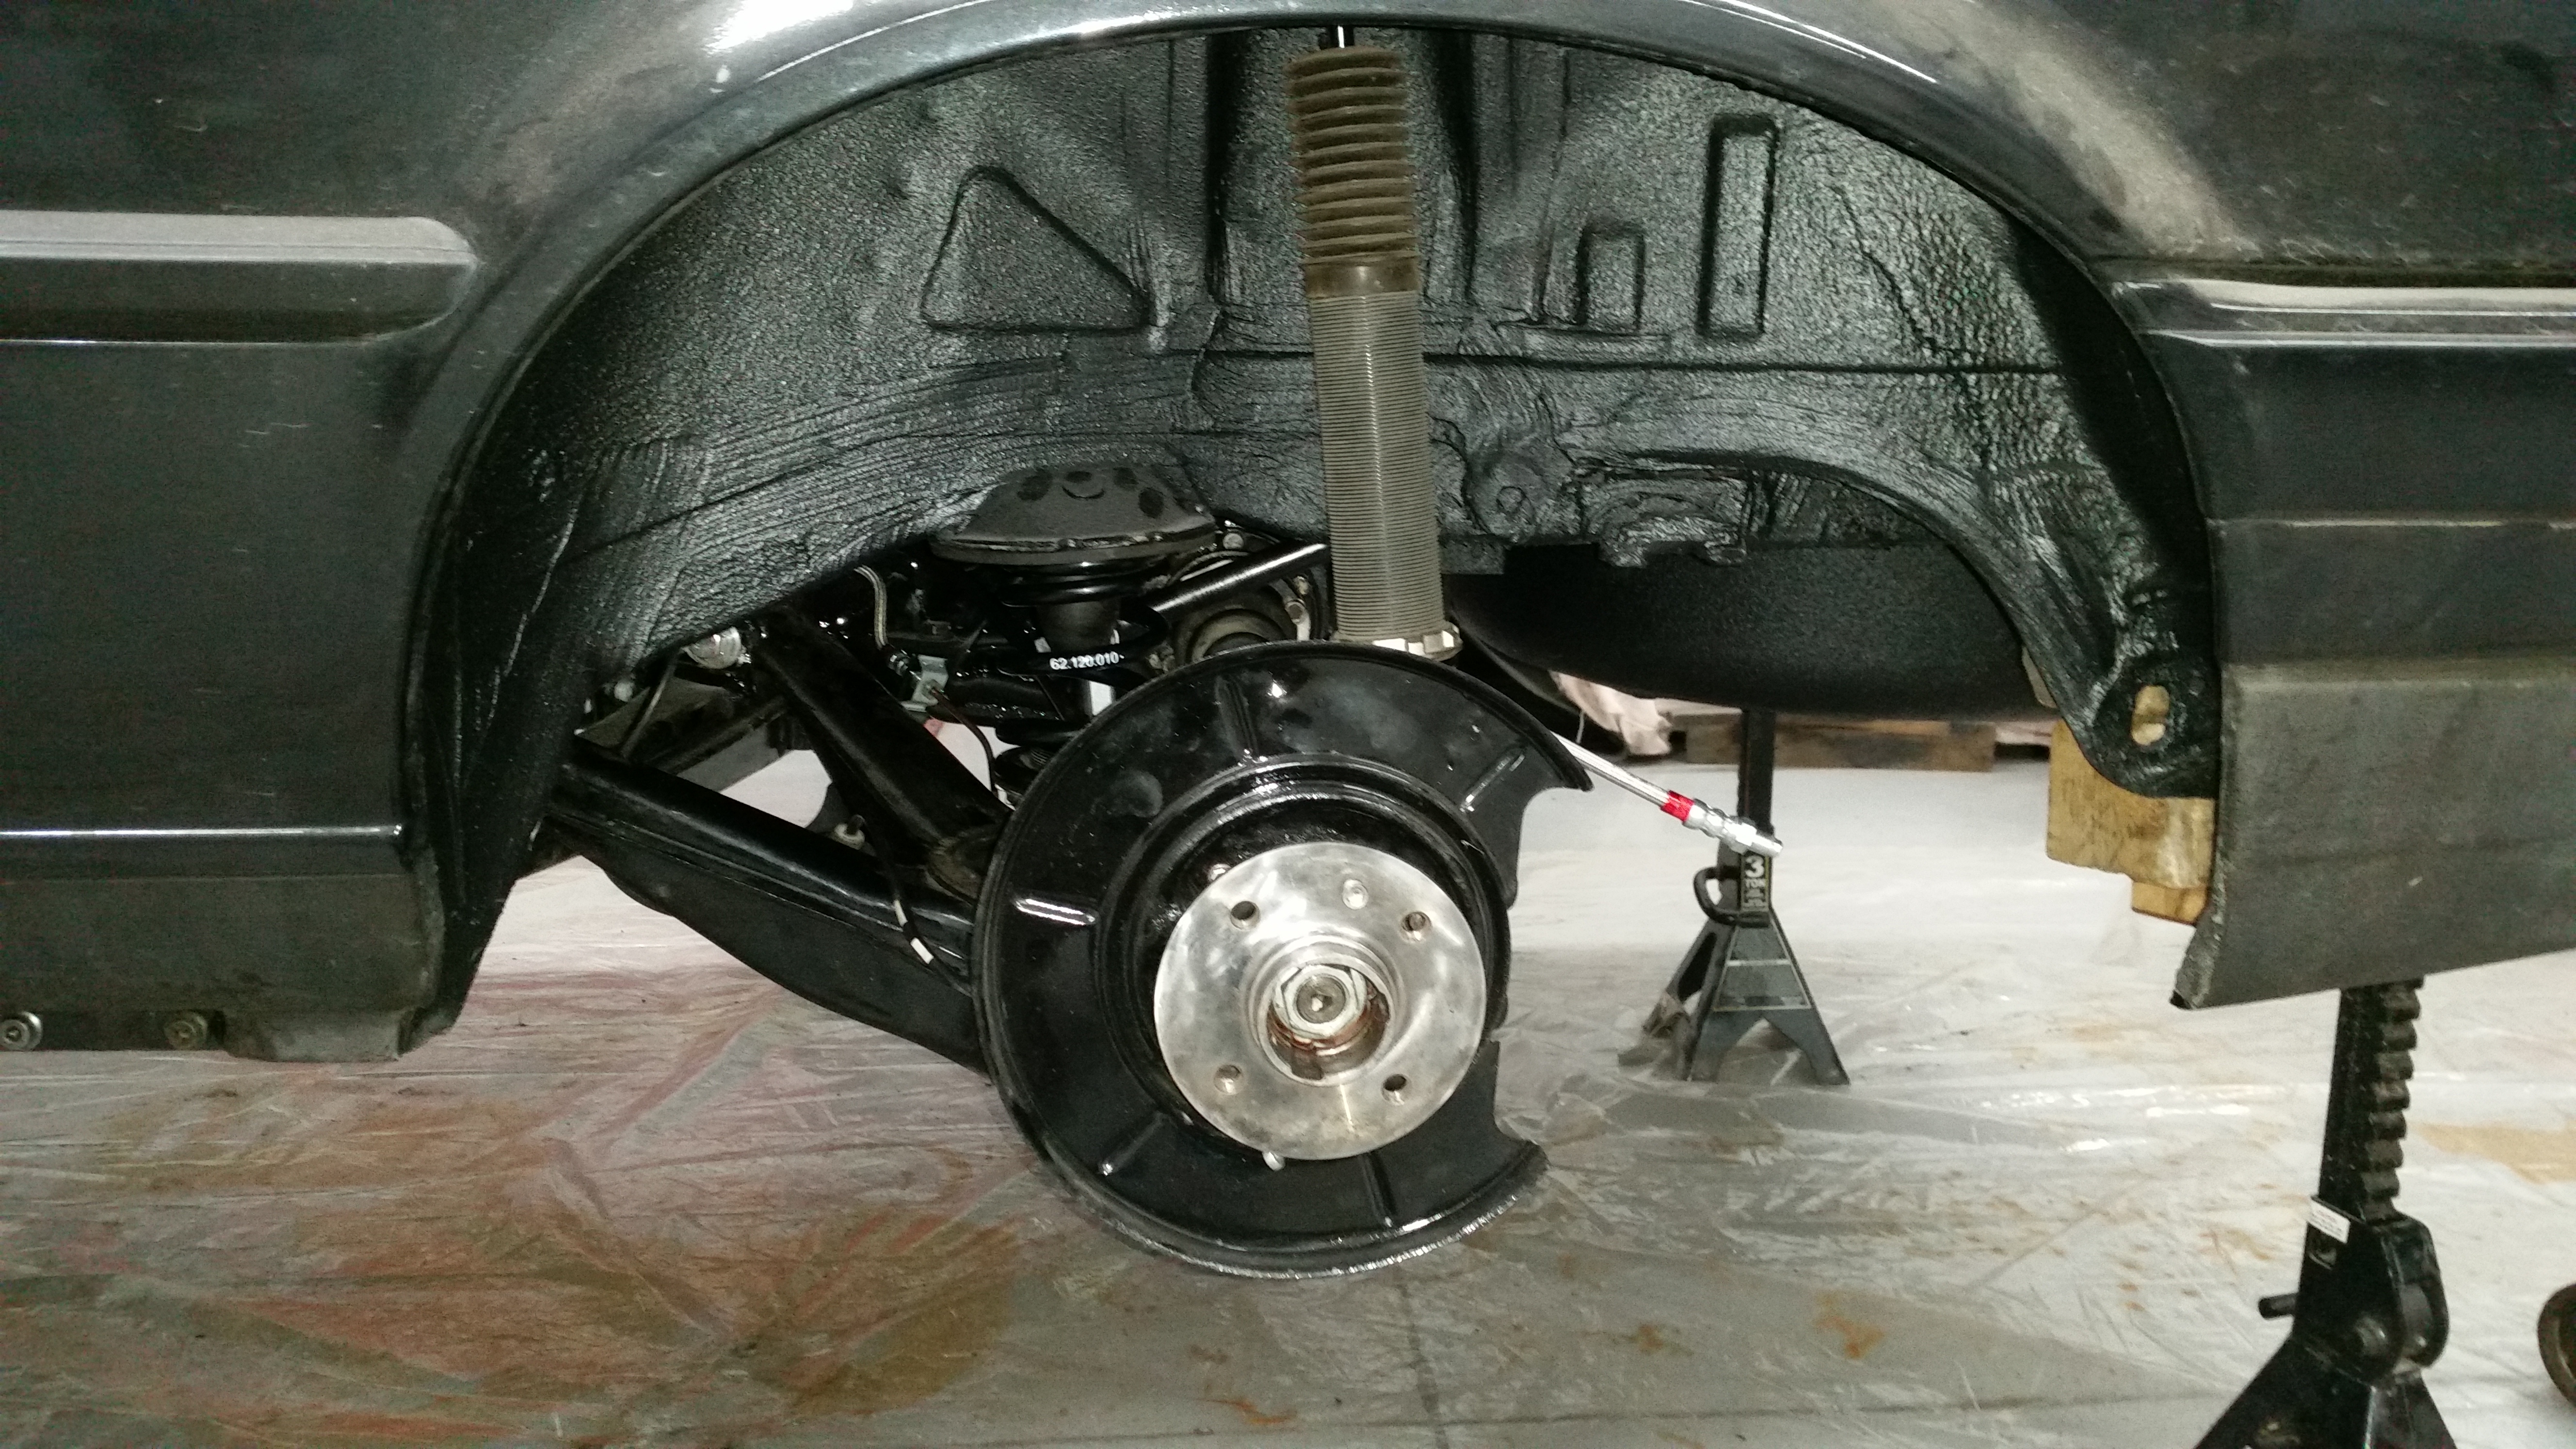
After that was complete the car was ready to have the rear end re-attached.
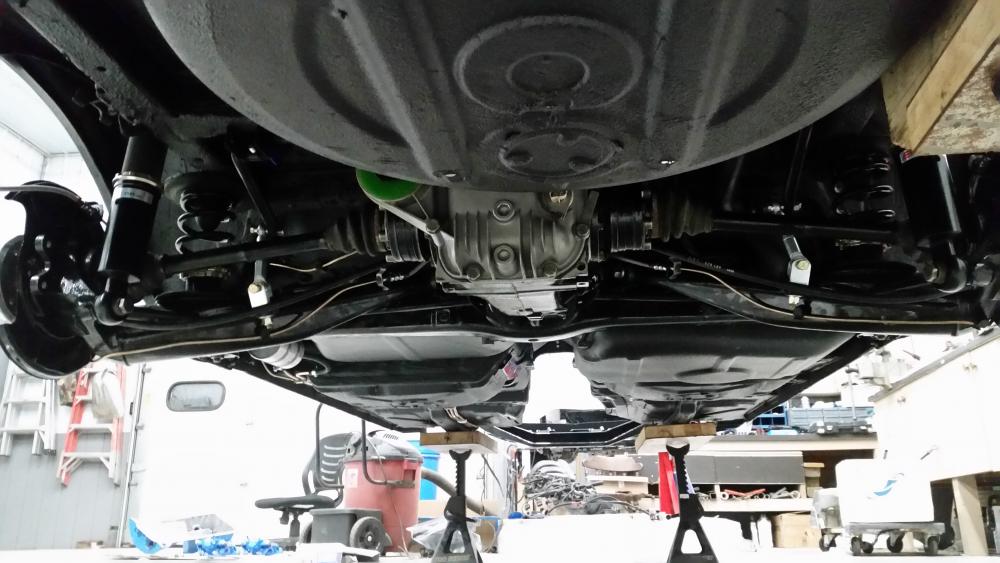
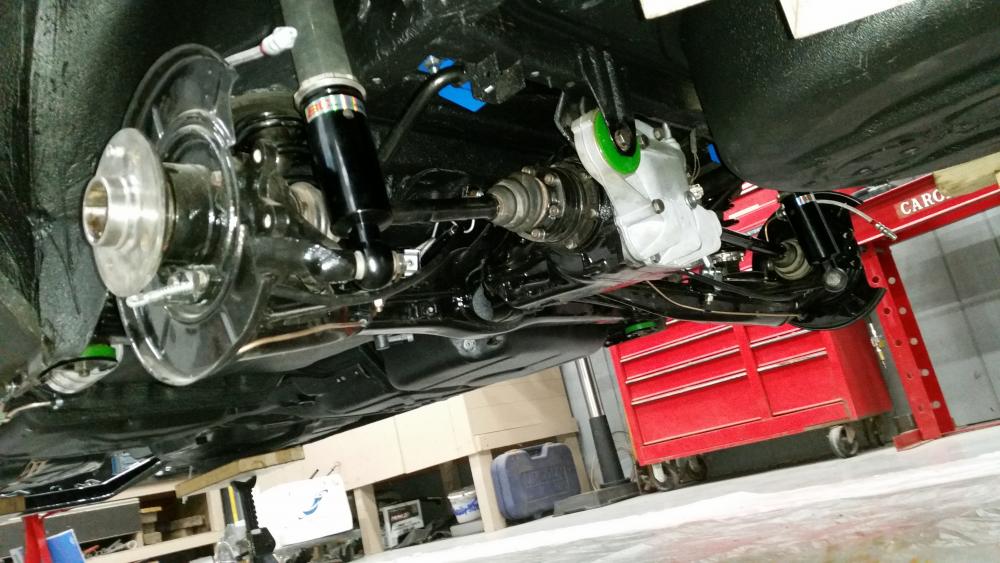
Had a little bit of a hard time getting the two mounting bolt brackets to line up with the holes on the pinch weld but after adjusting it around a bit I was able to get the bolts through. I ended up having to replace one of those screws as the allen heads are pretty easy to round and the old one was oh so tight and ended up snapping off. Also purchased new reinforcement tabs for the outside of the pinch a while back sense the old ones were in fairly rough shape and new ones were pretty inexpensive.
Everything is tightened down and torqued with exception to the hub nuts and axle to diff bolts as it will make it much easier once the trans is in and I can lock the drive-line up. (I did wright myself a reminder so I don''t forget, I think I've heard enough horror stories of what happens when you don't torque your hub nuts to avoid not forgetting.)
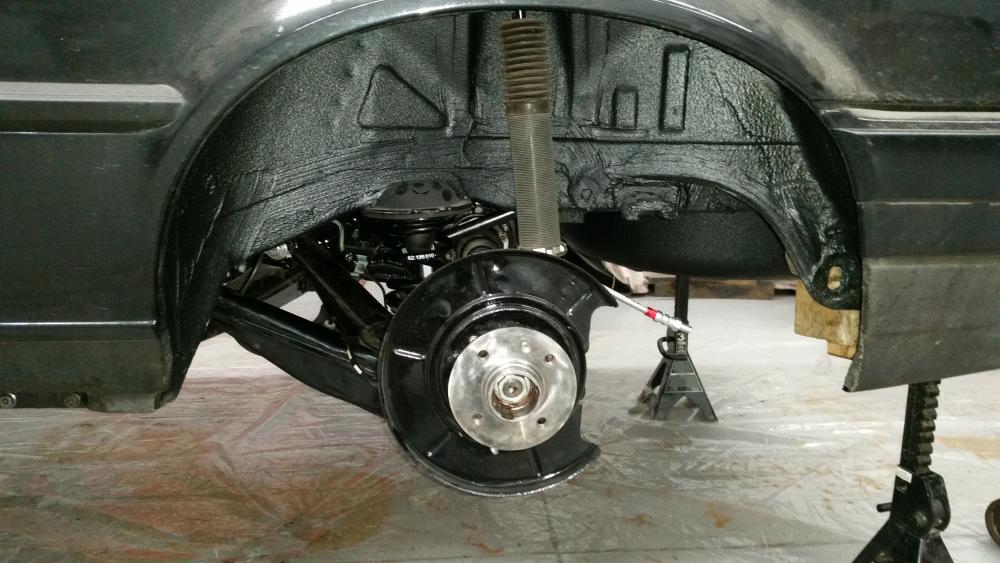
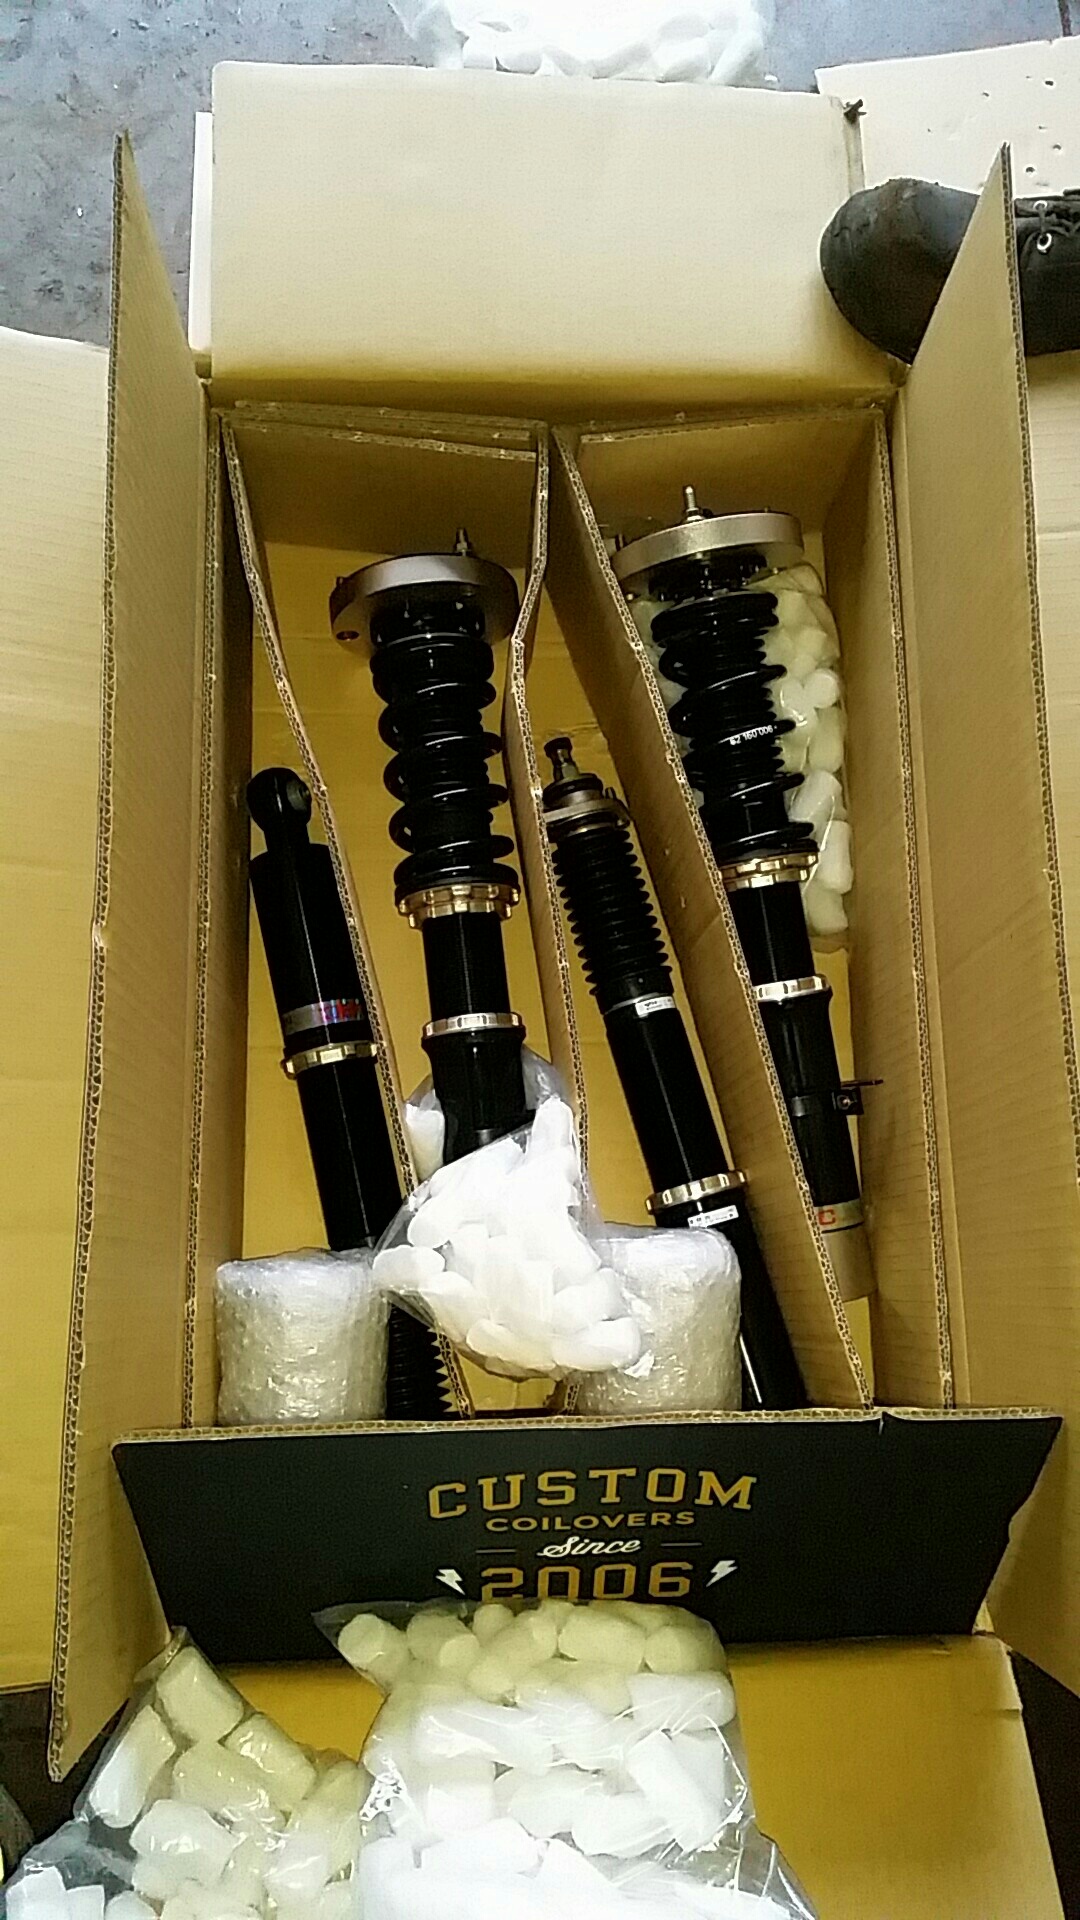
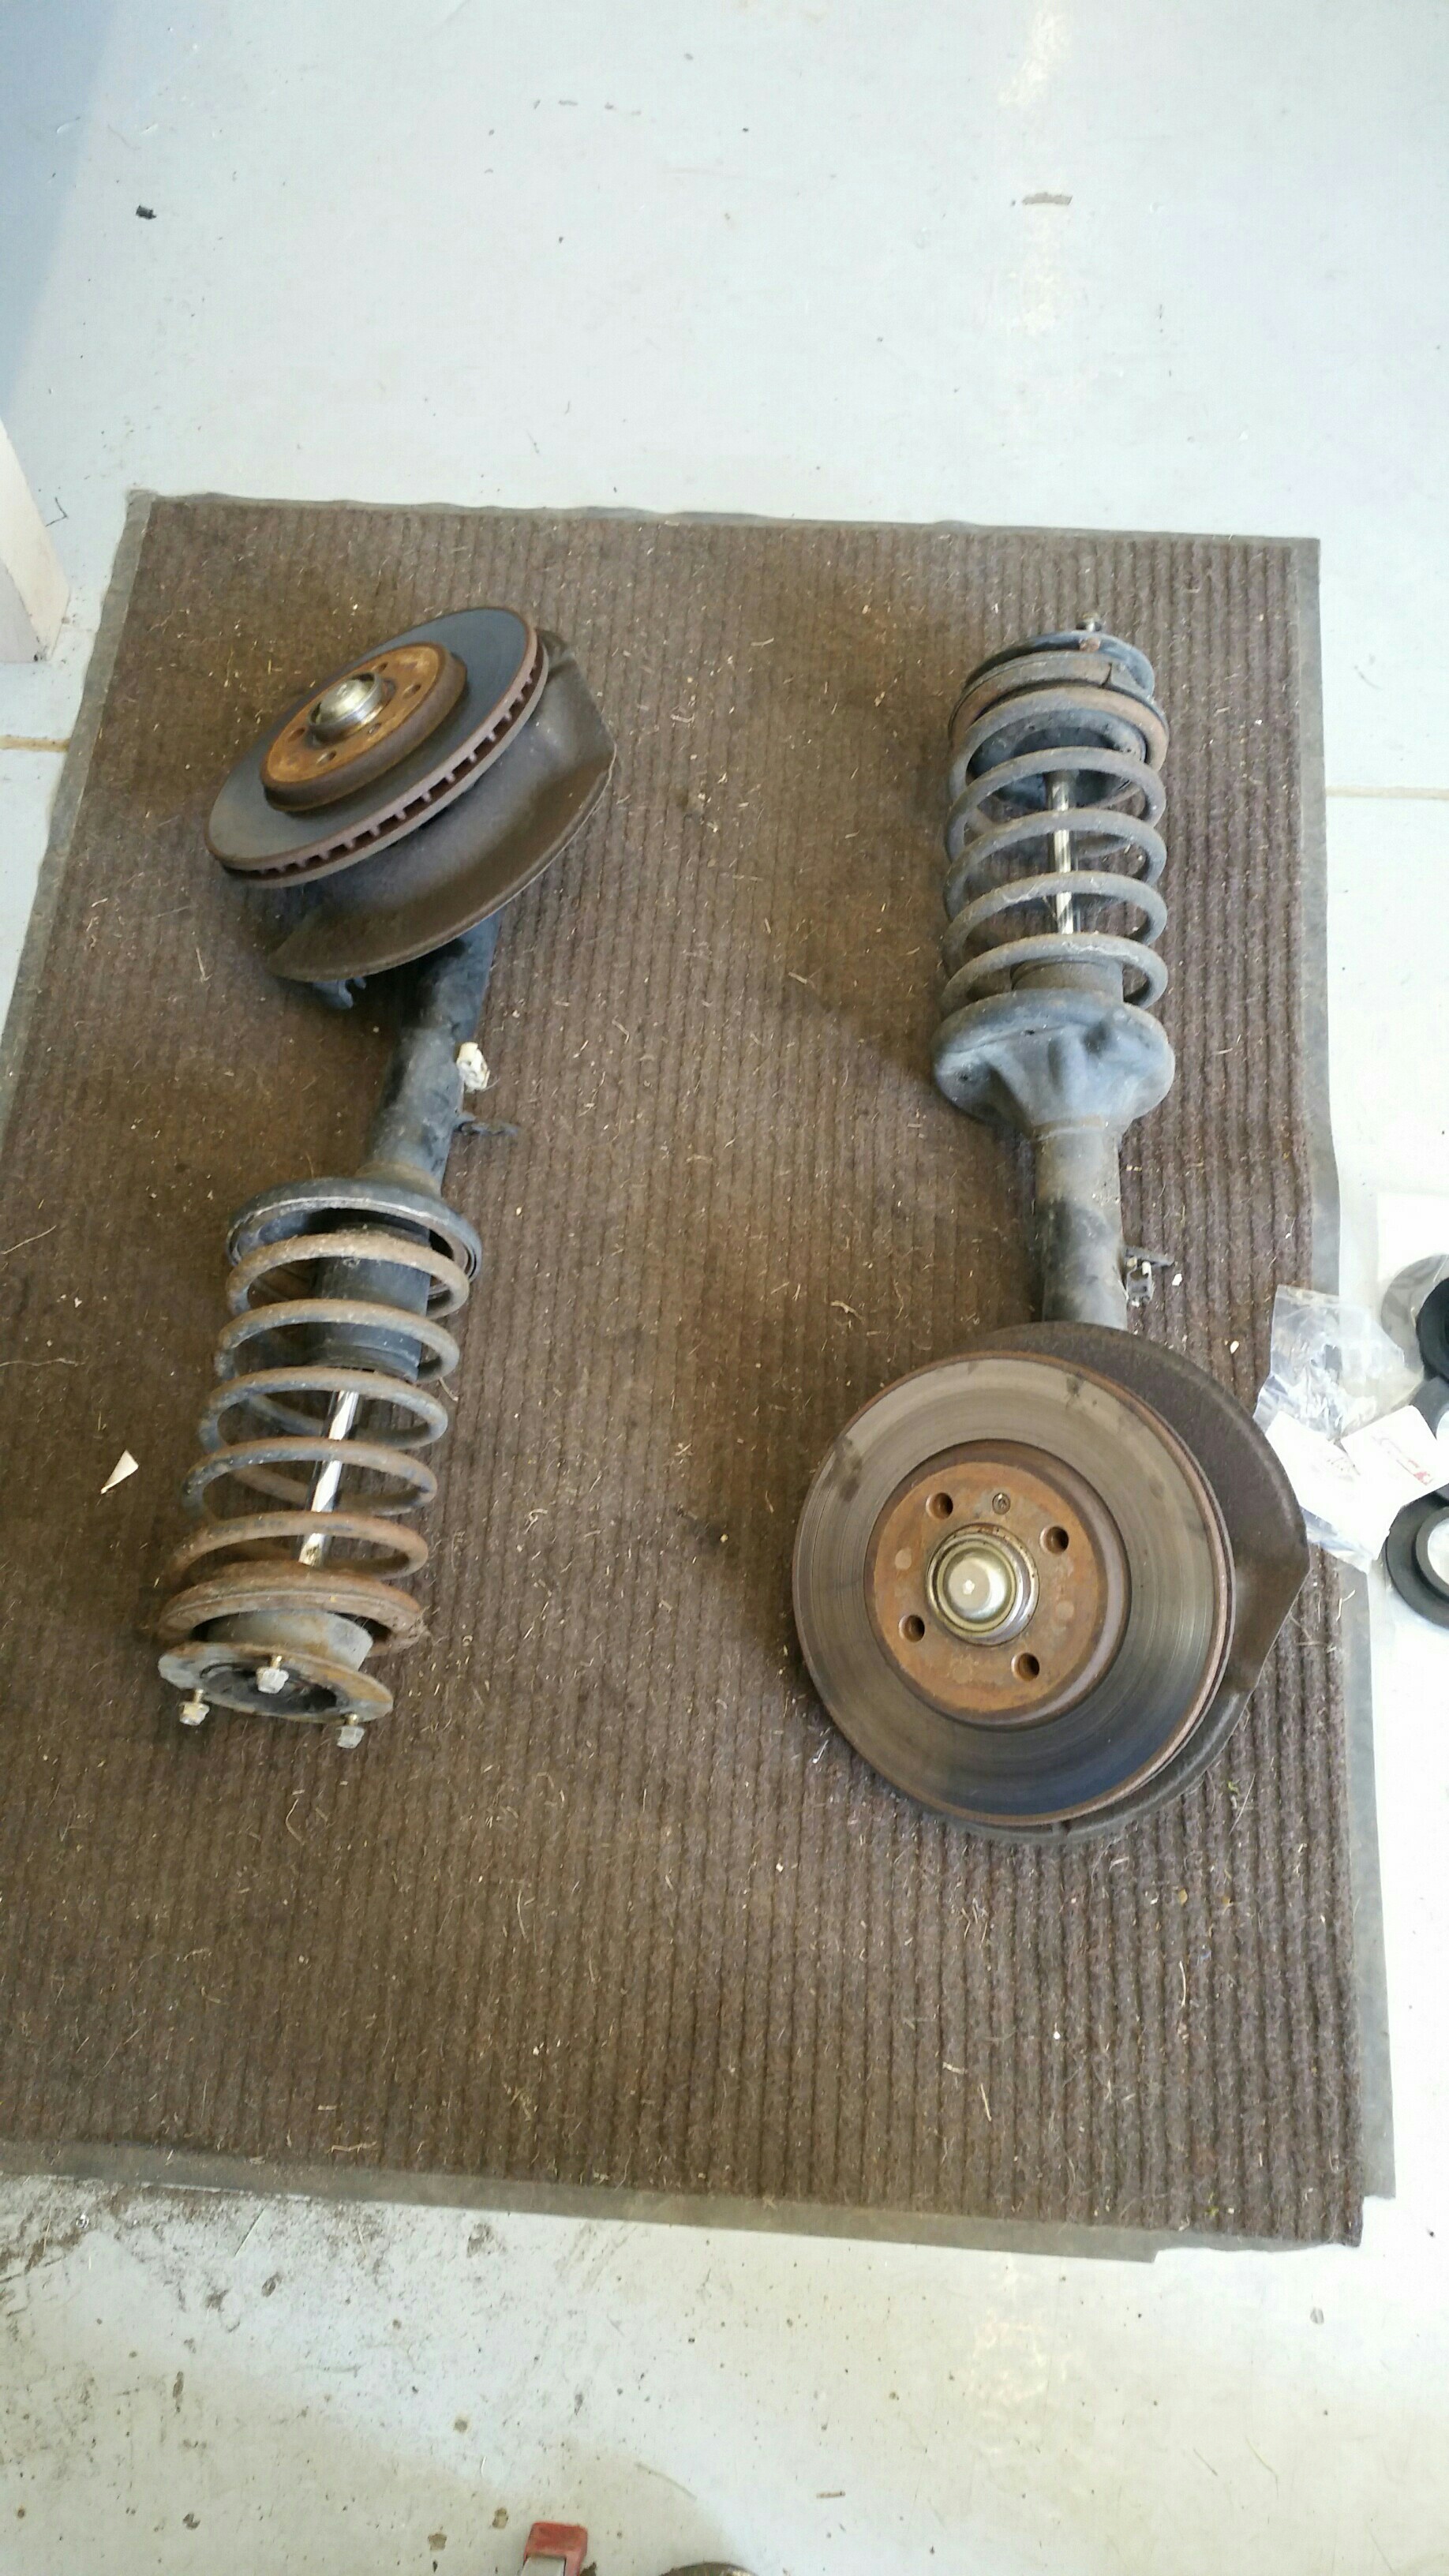
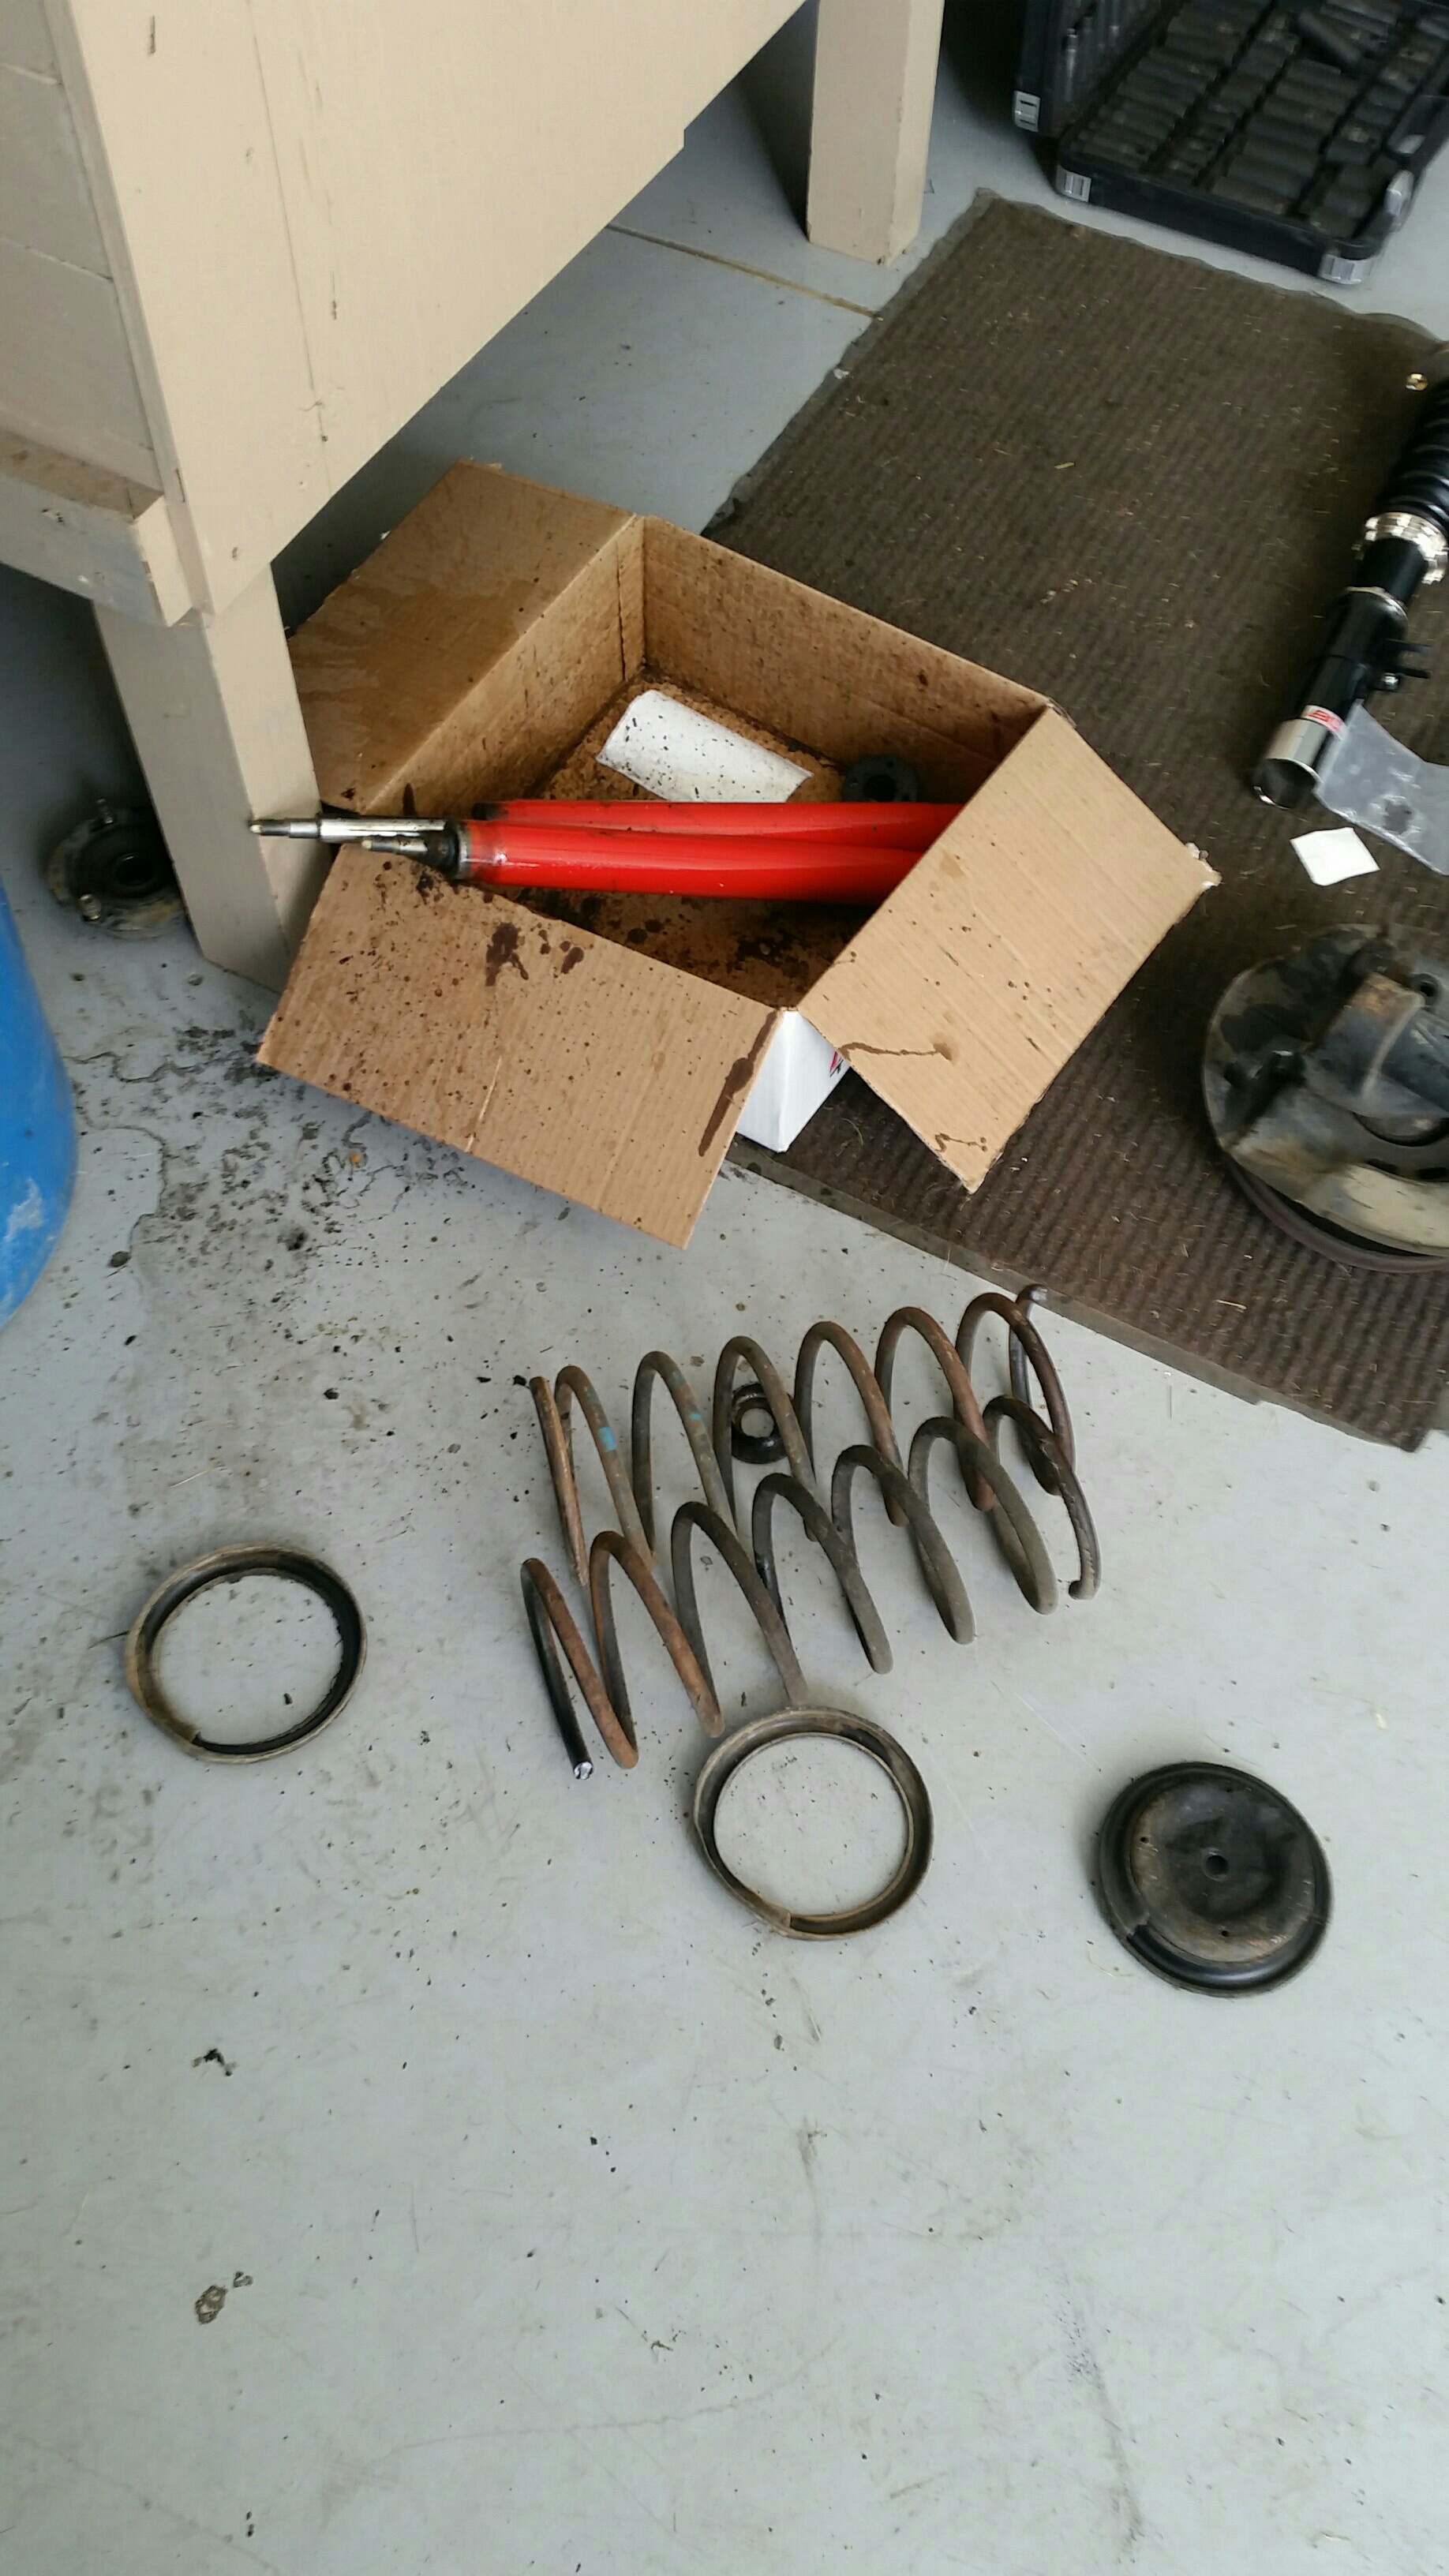
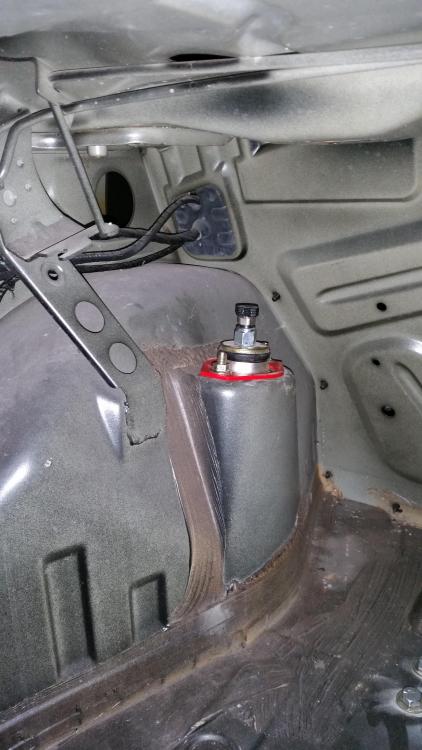
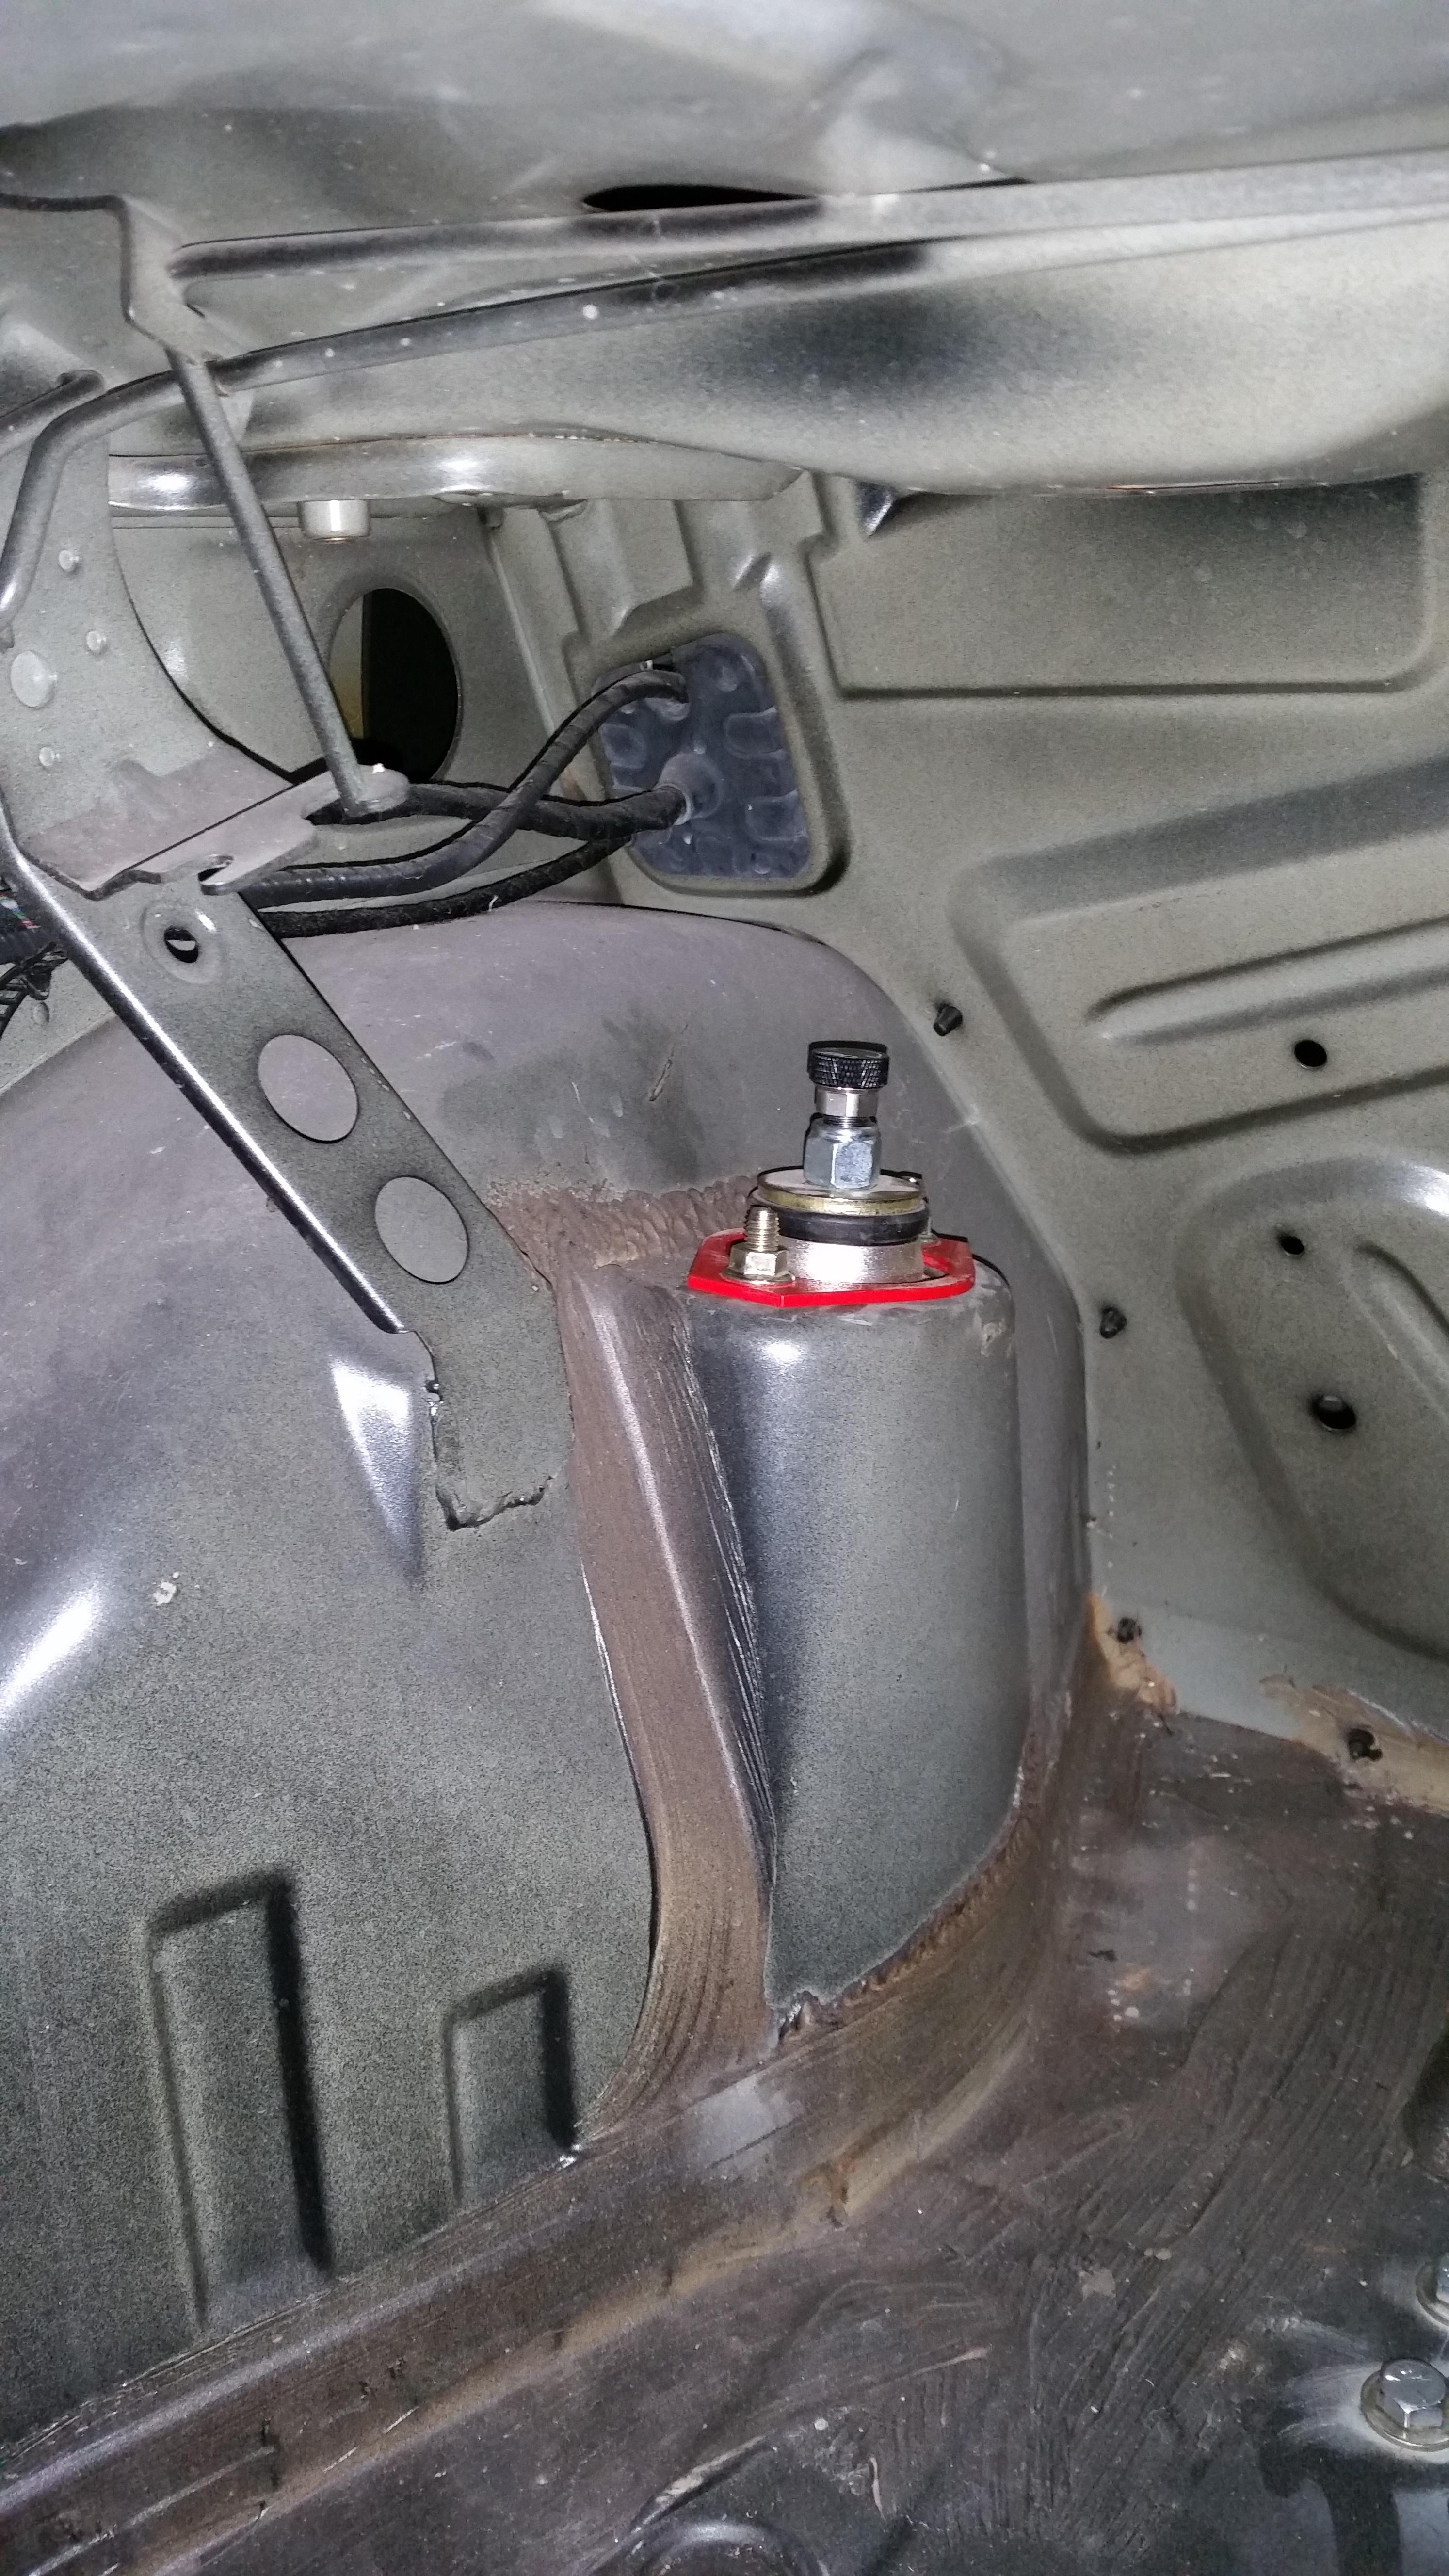
Went ahead and threw on some shock reinforcements from garagistic while installing the shocks. Ya, they are red and not blue, oh well. Their gonna get covered up by the carpet anyways so not really worried about it.
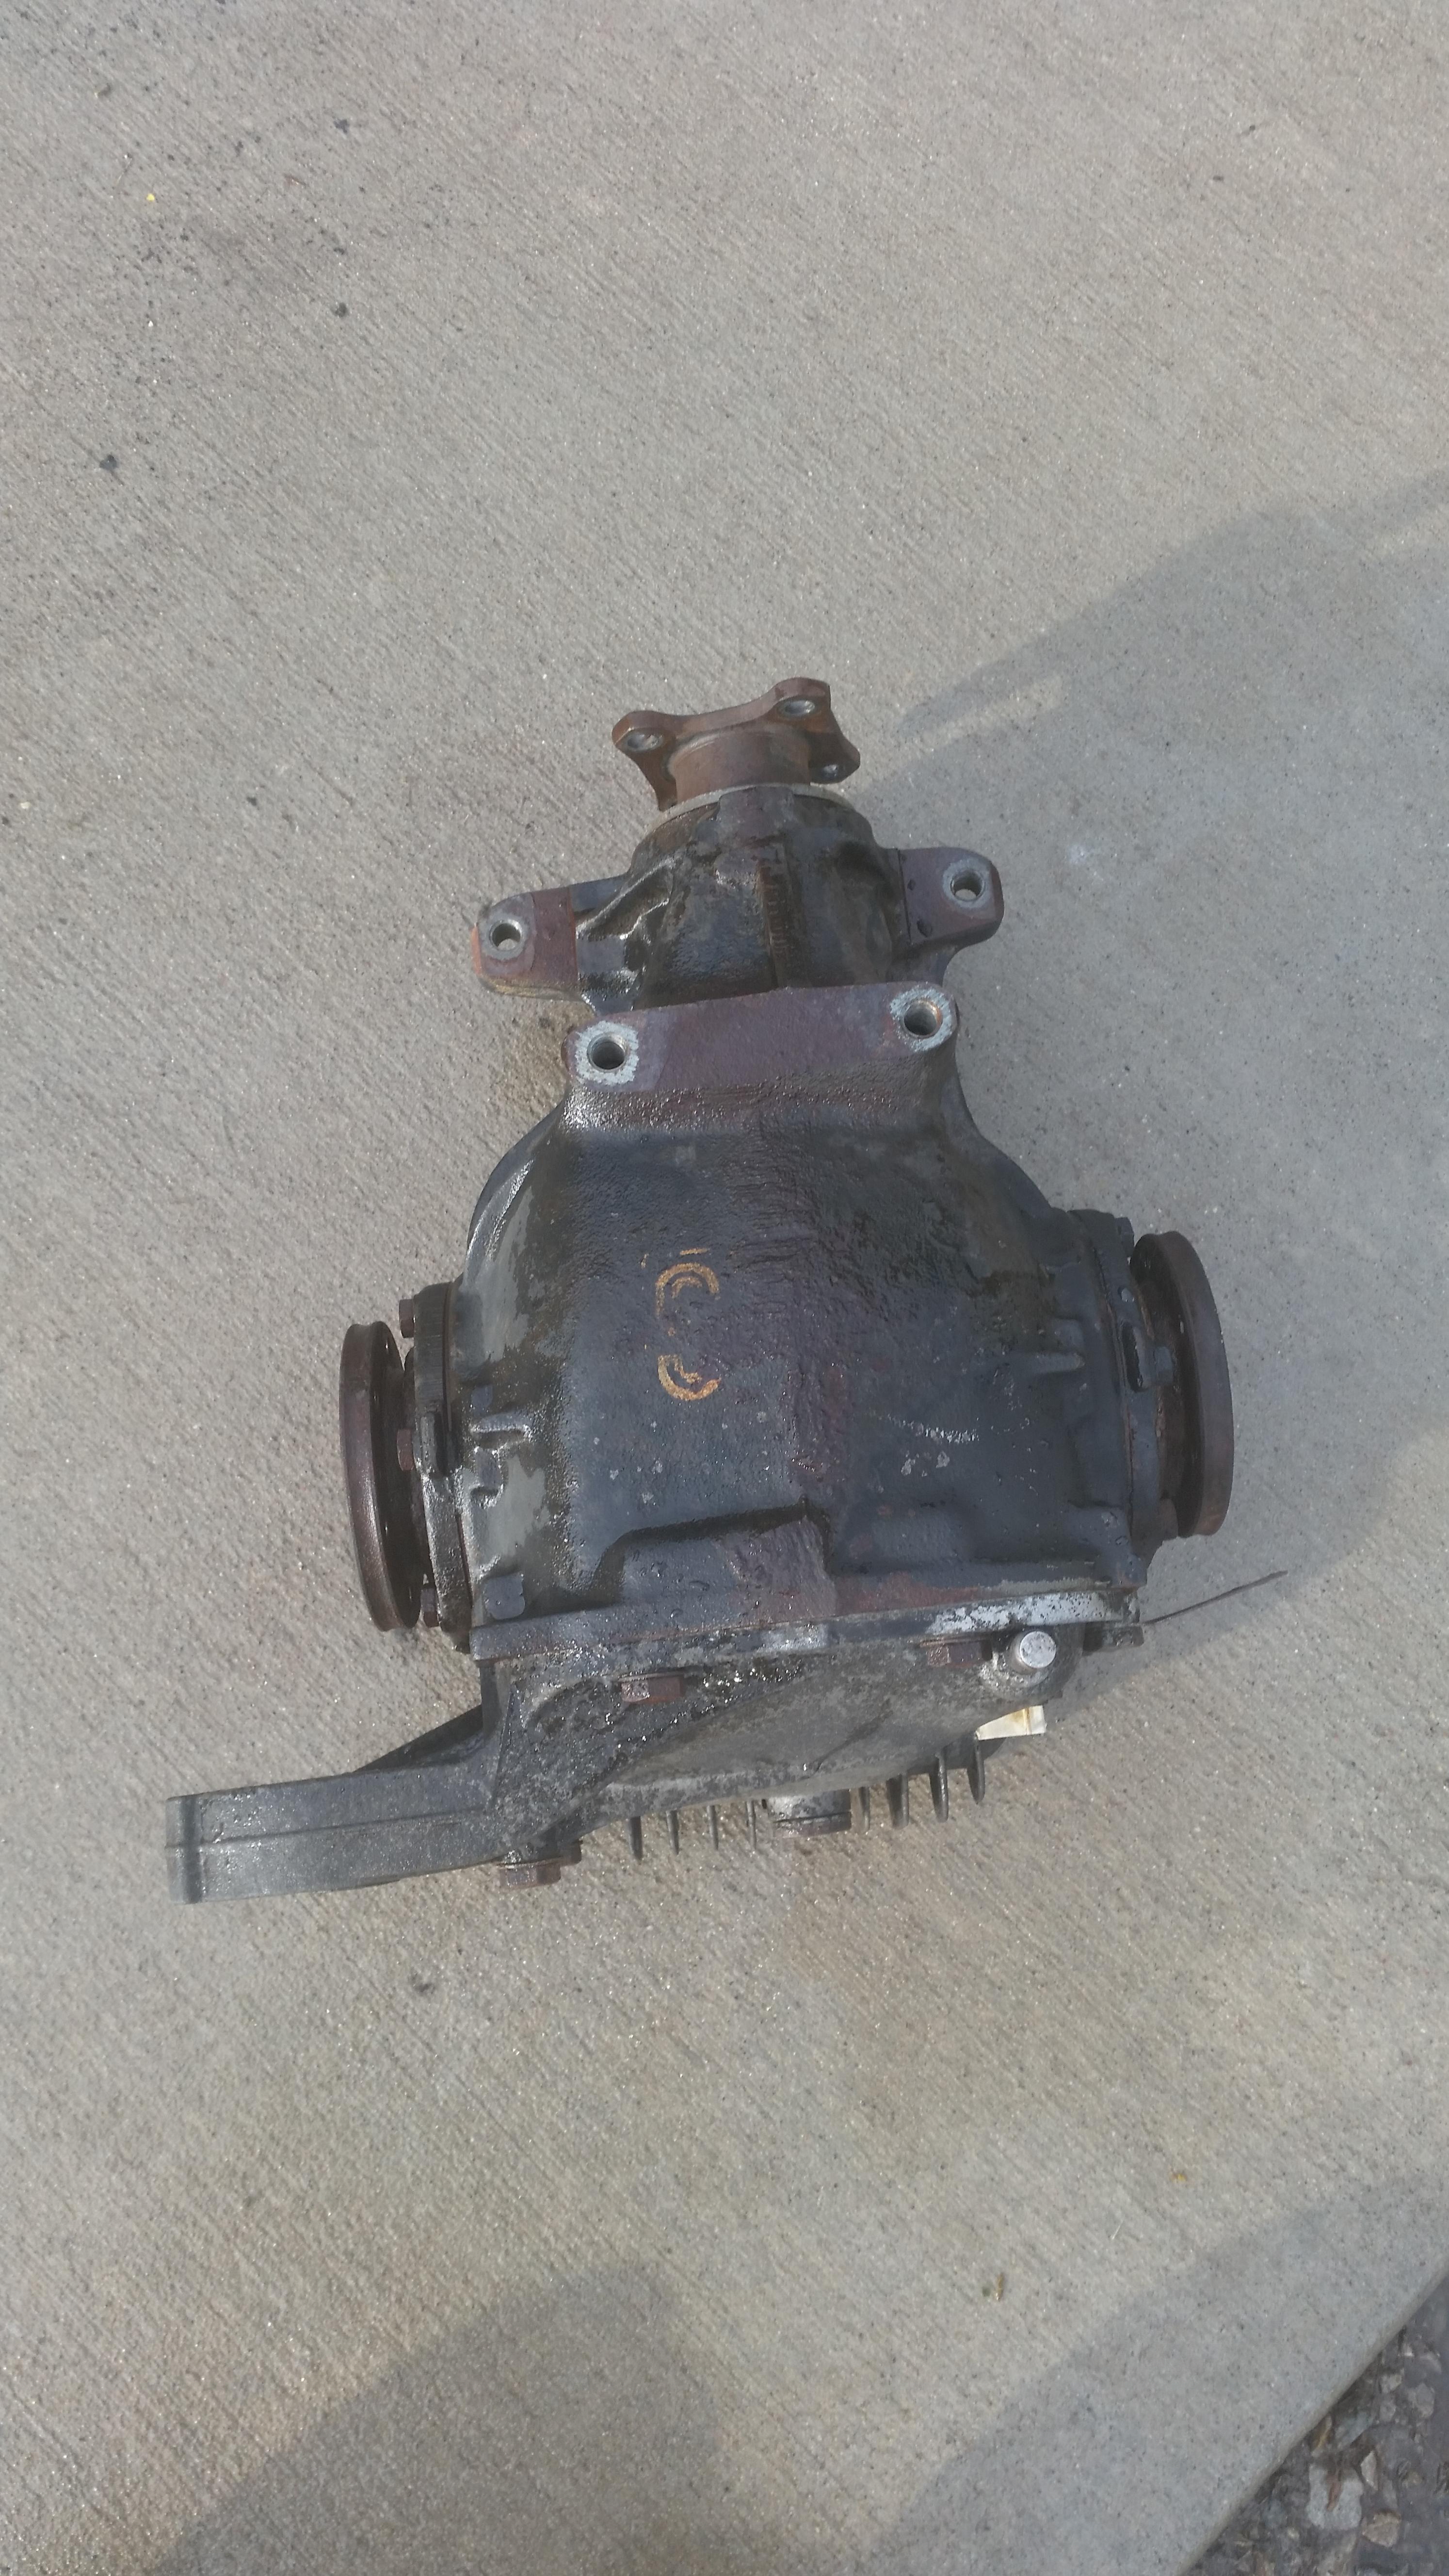
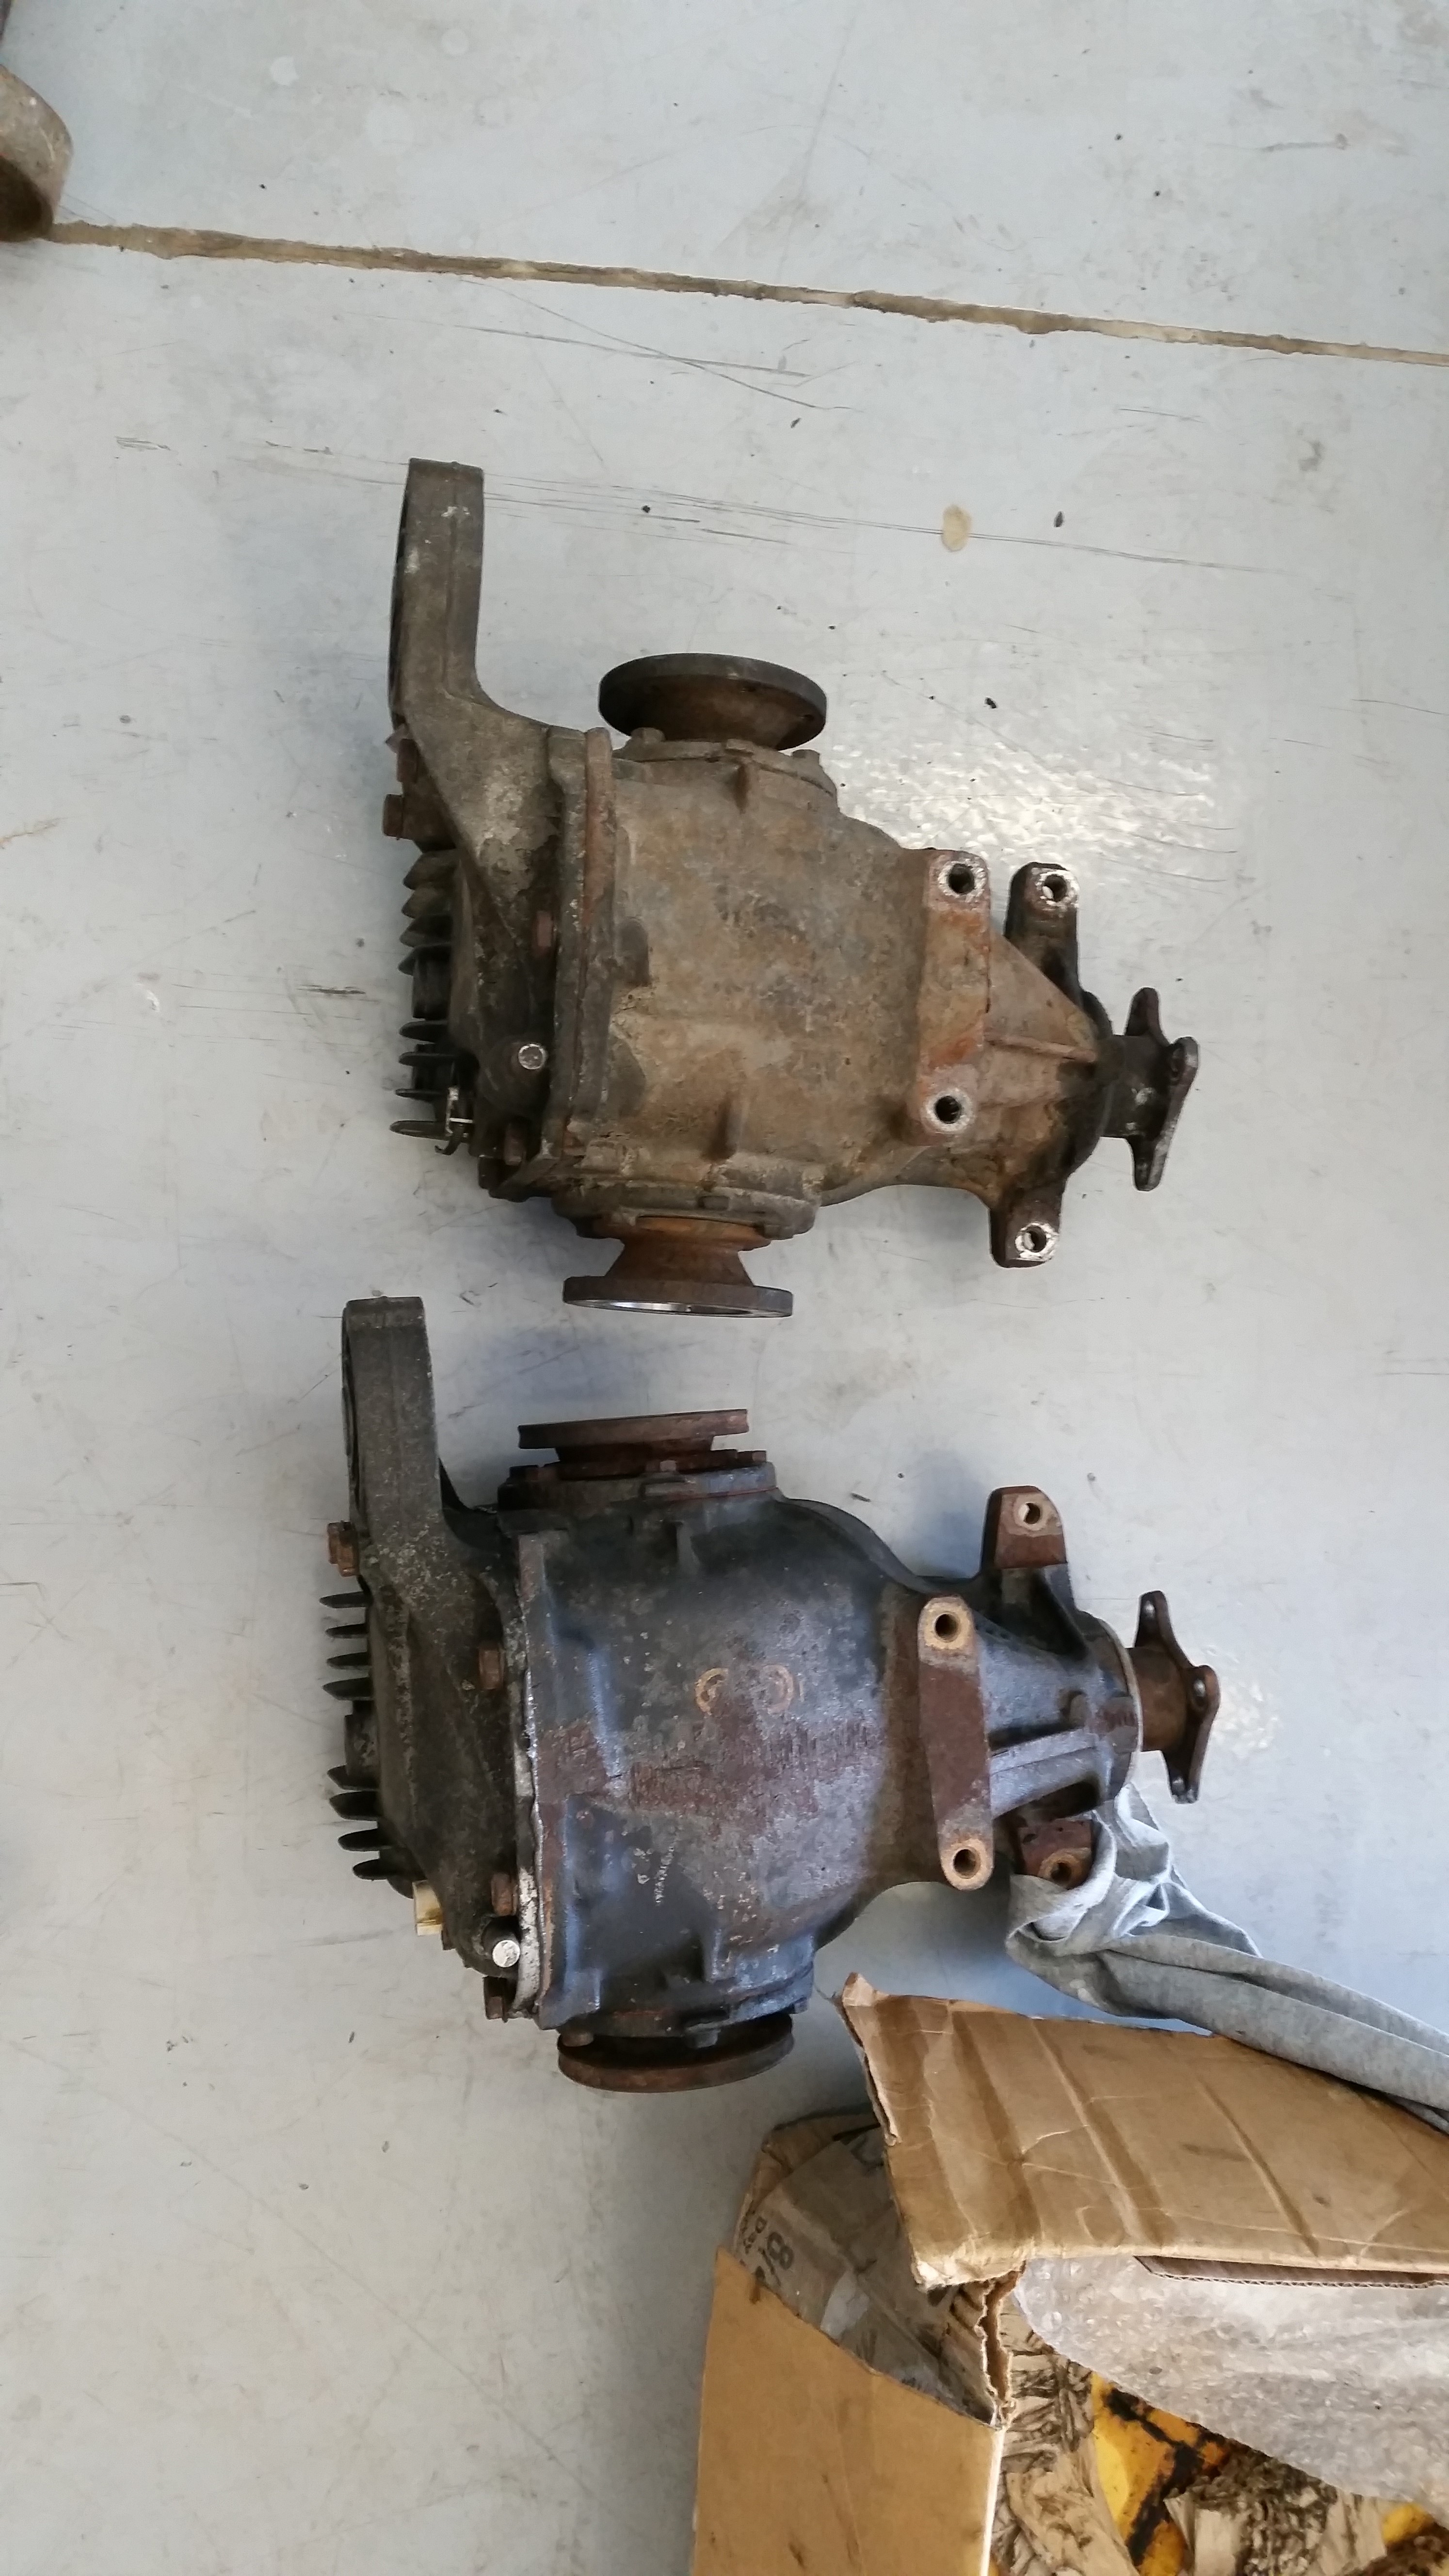
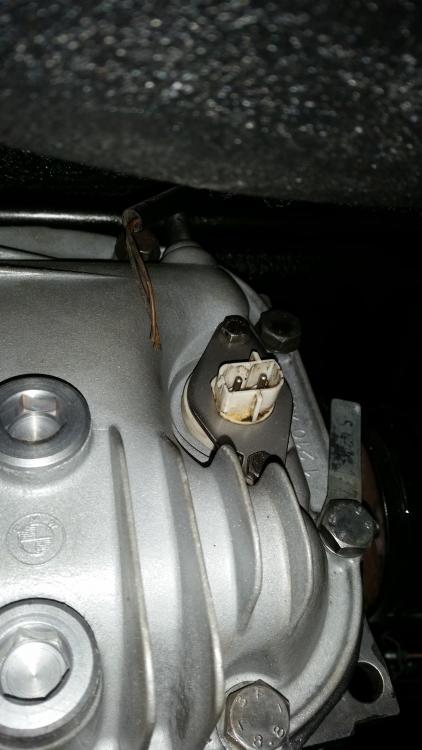
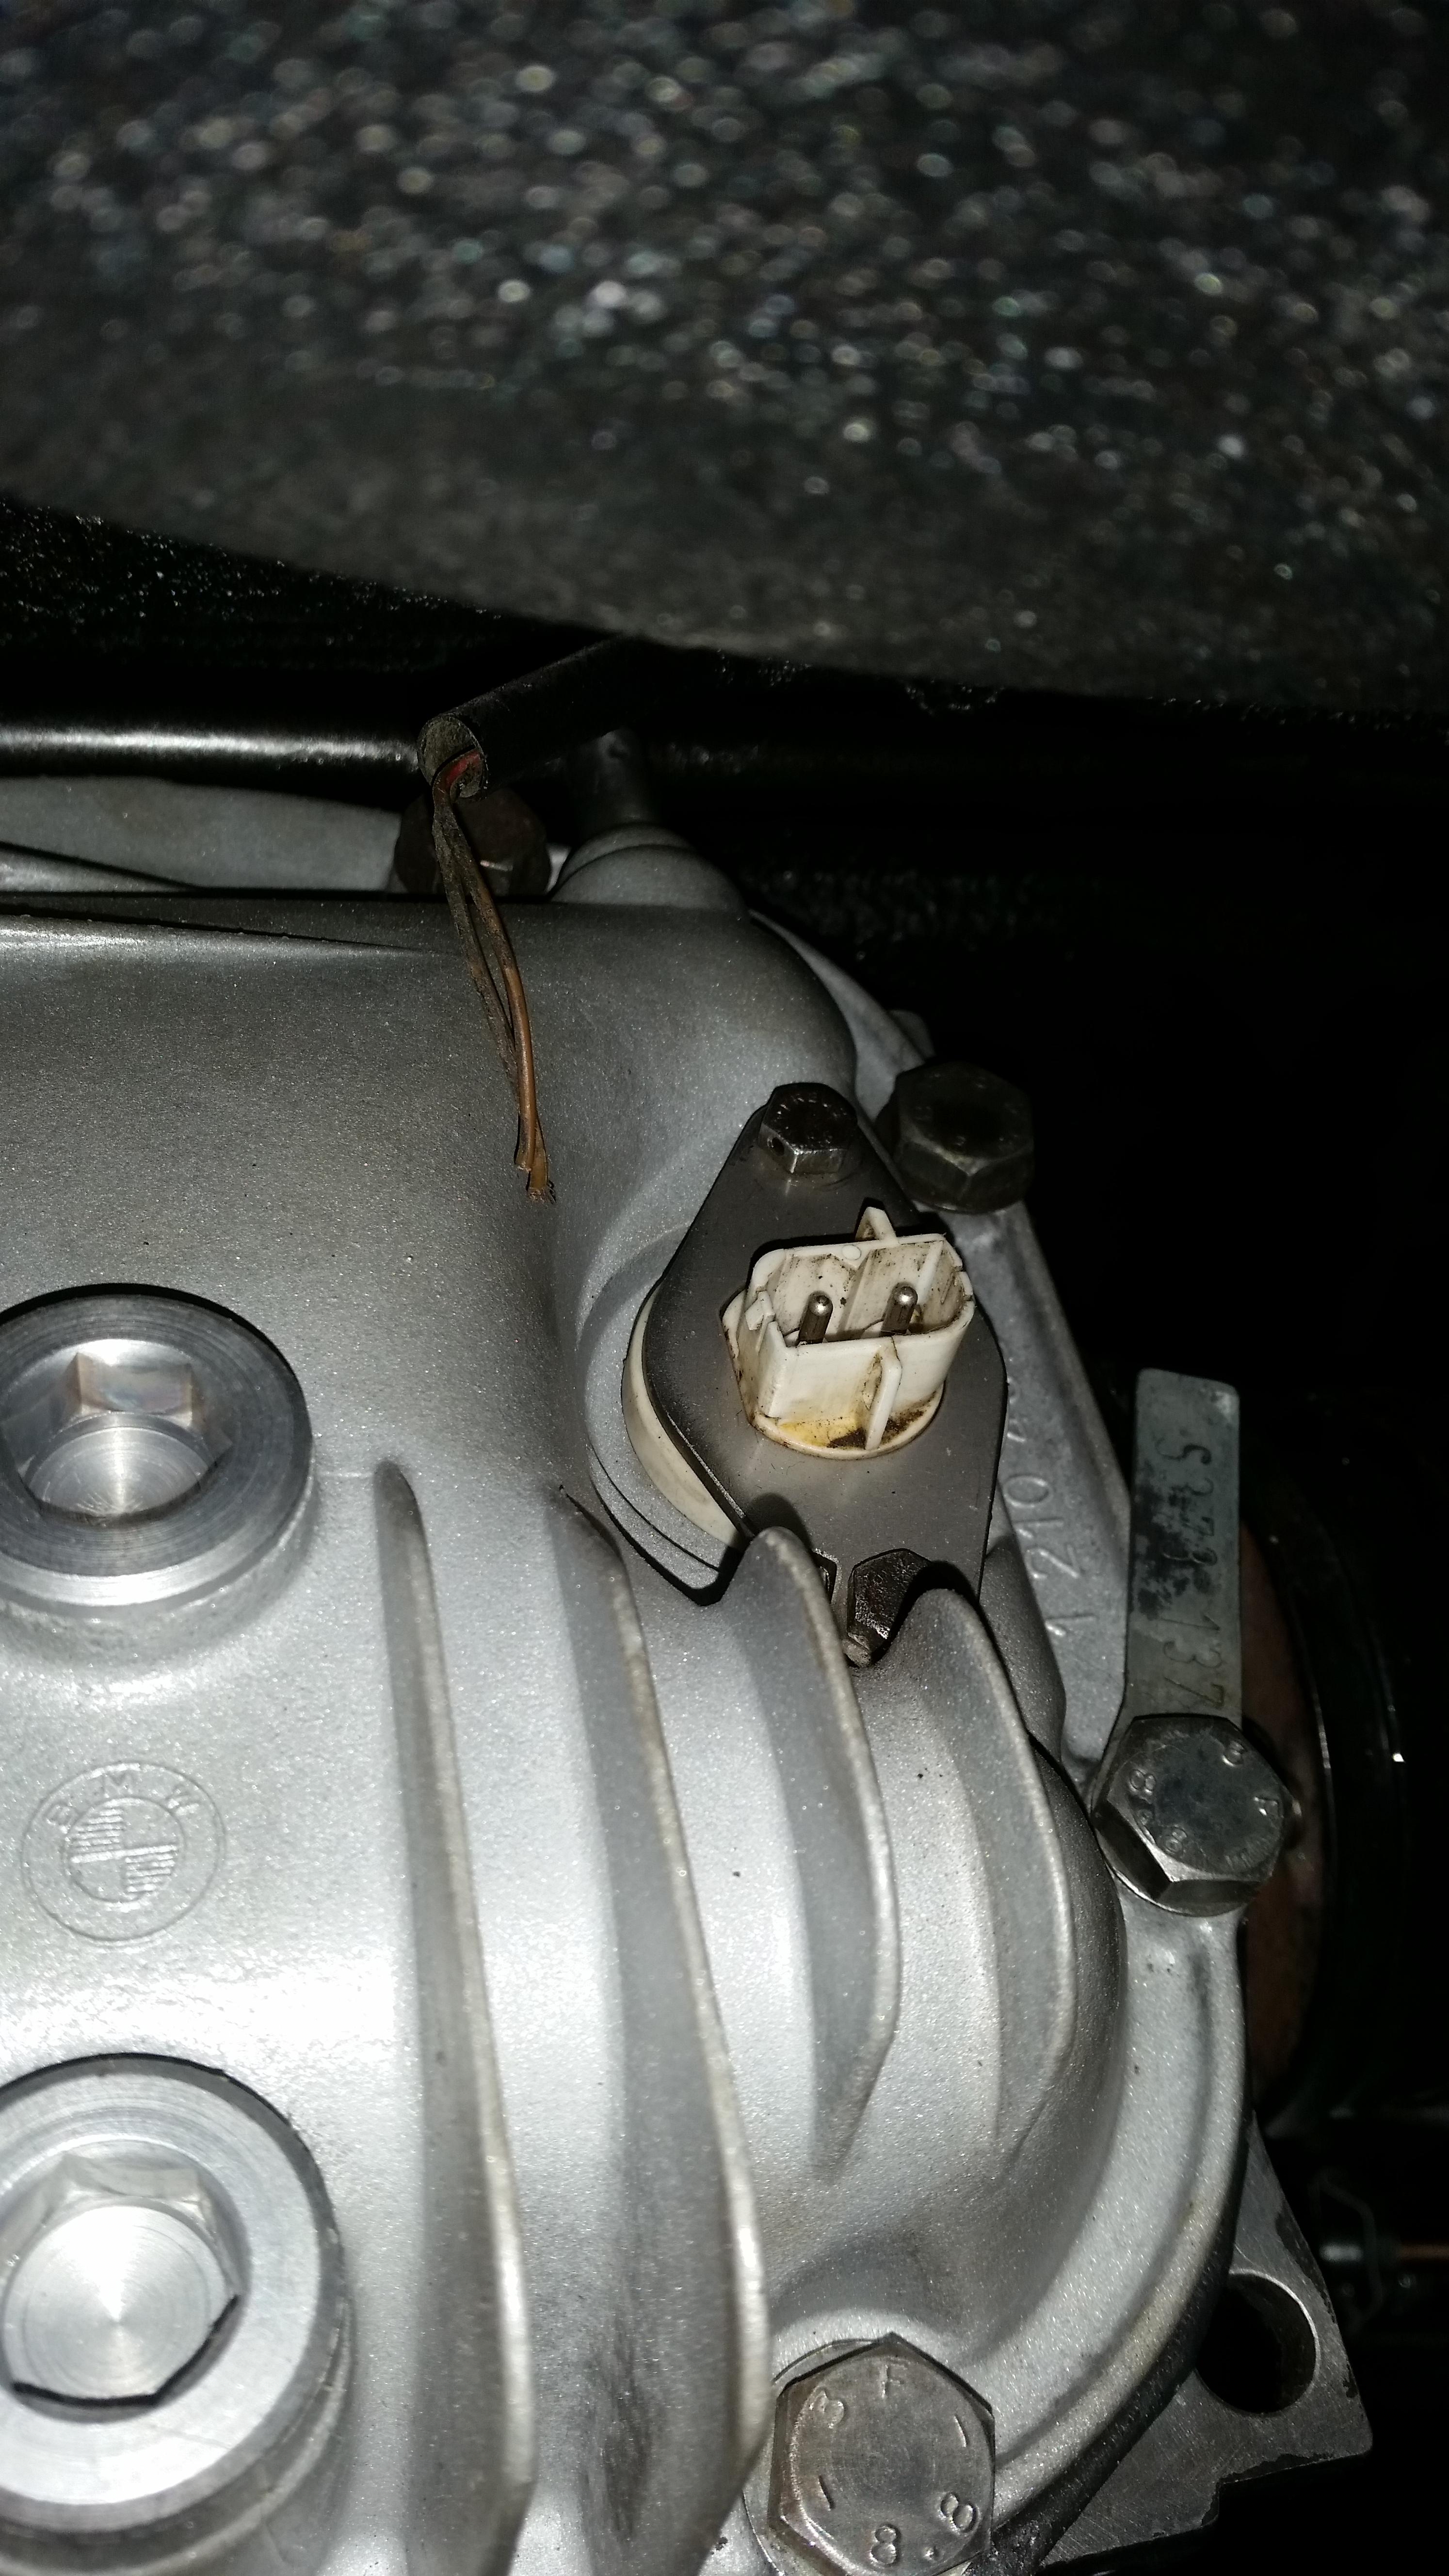
Realized this a few weeks back but I didn't mention it. When I initially pulled the rear sub frame out I had not disconnected the sensor plug on the diff and it ended up ripping off. Working on finding another plug to wire up.
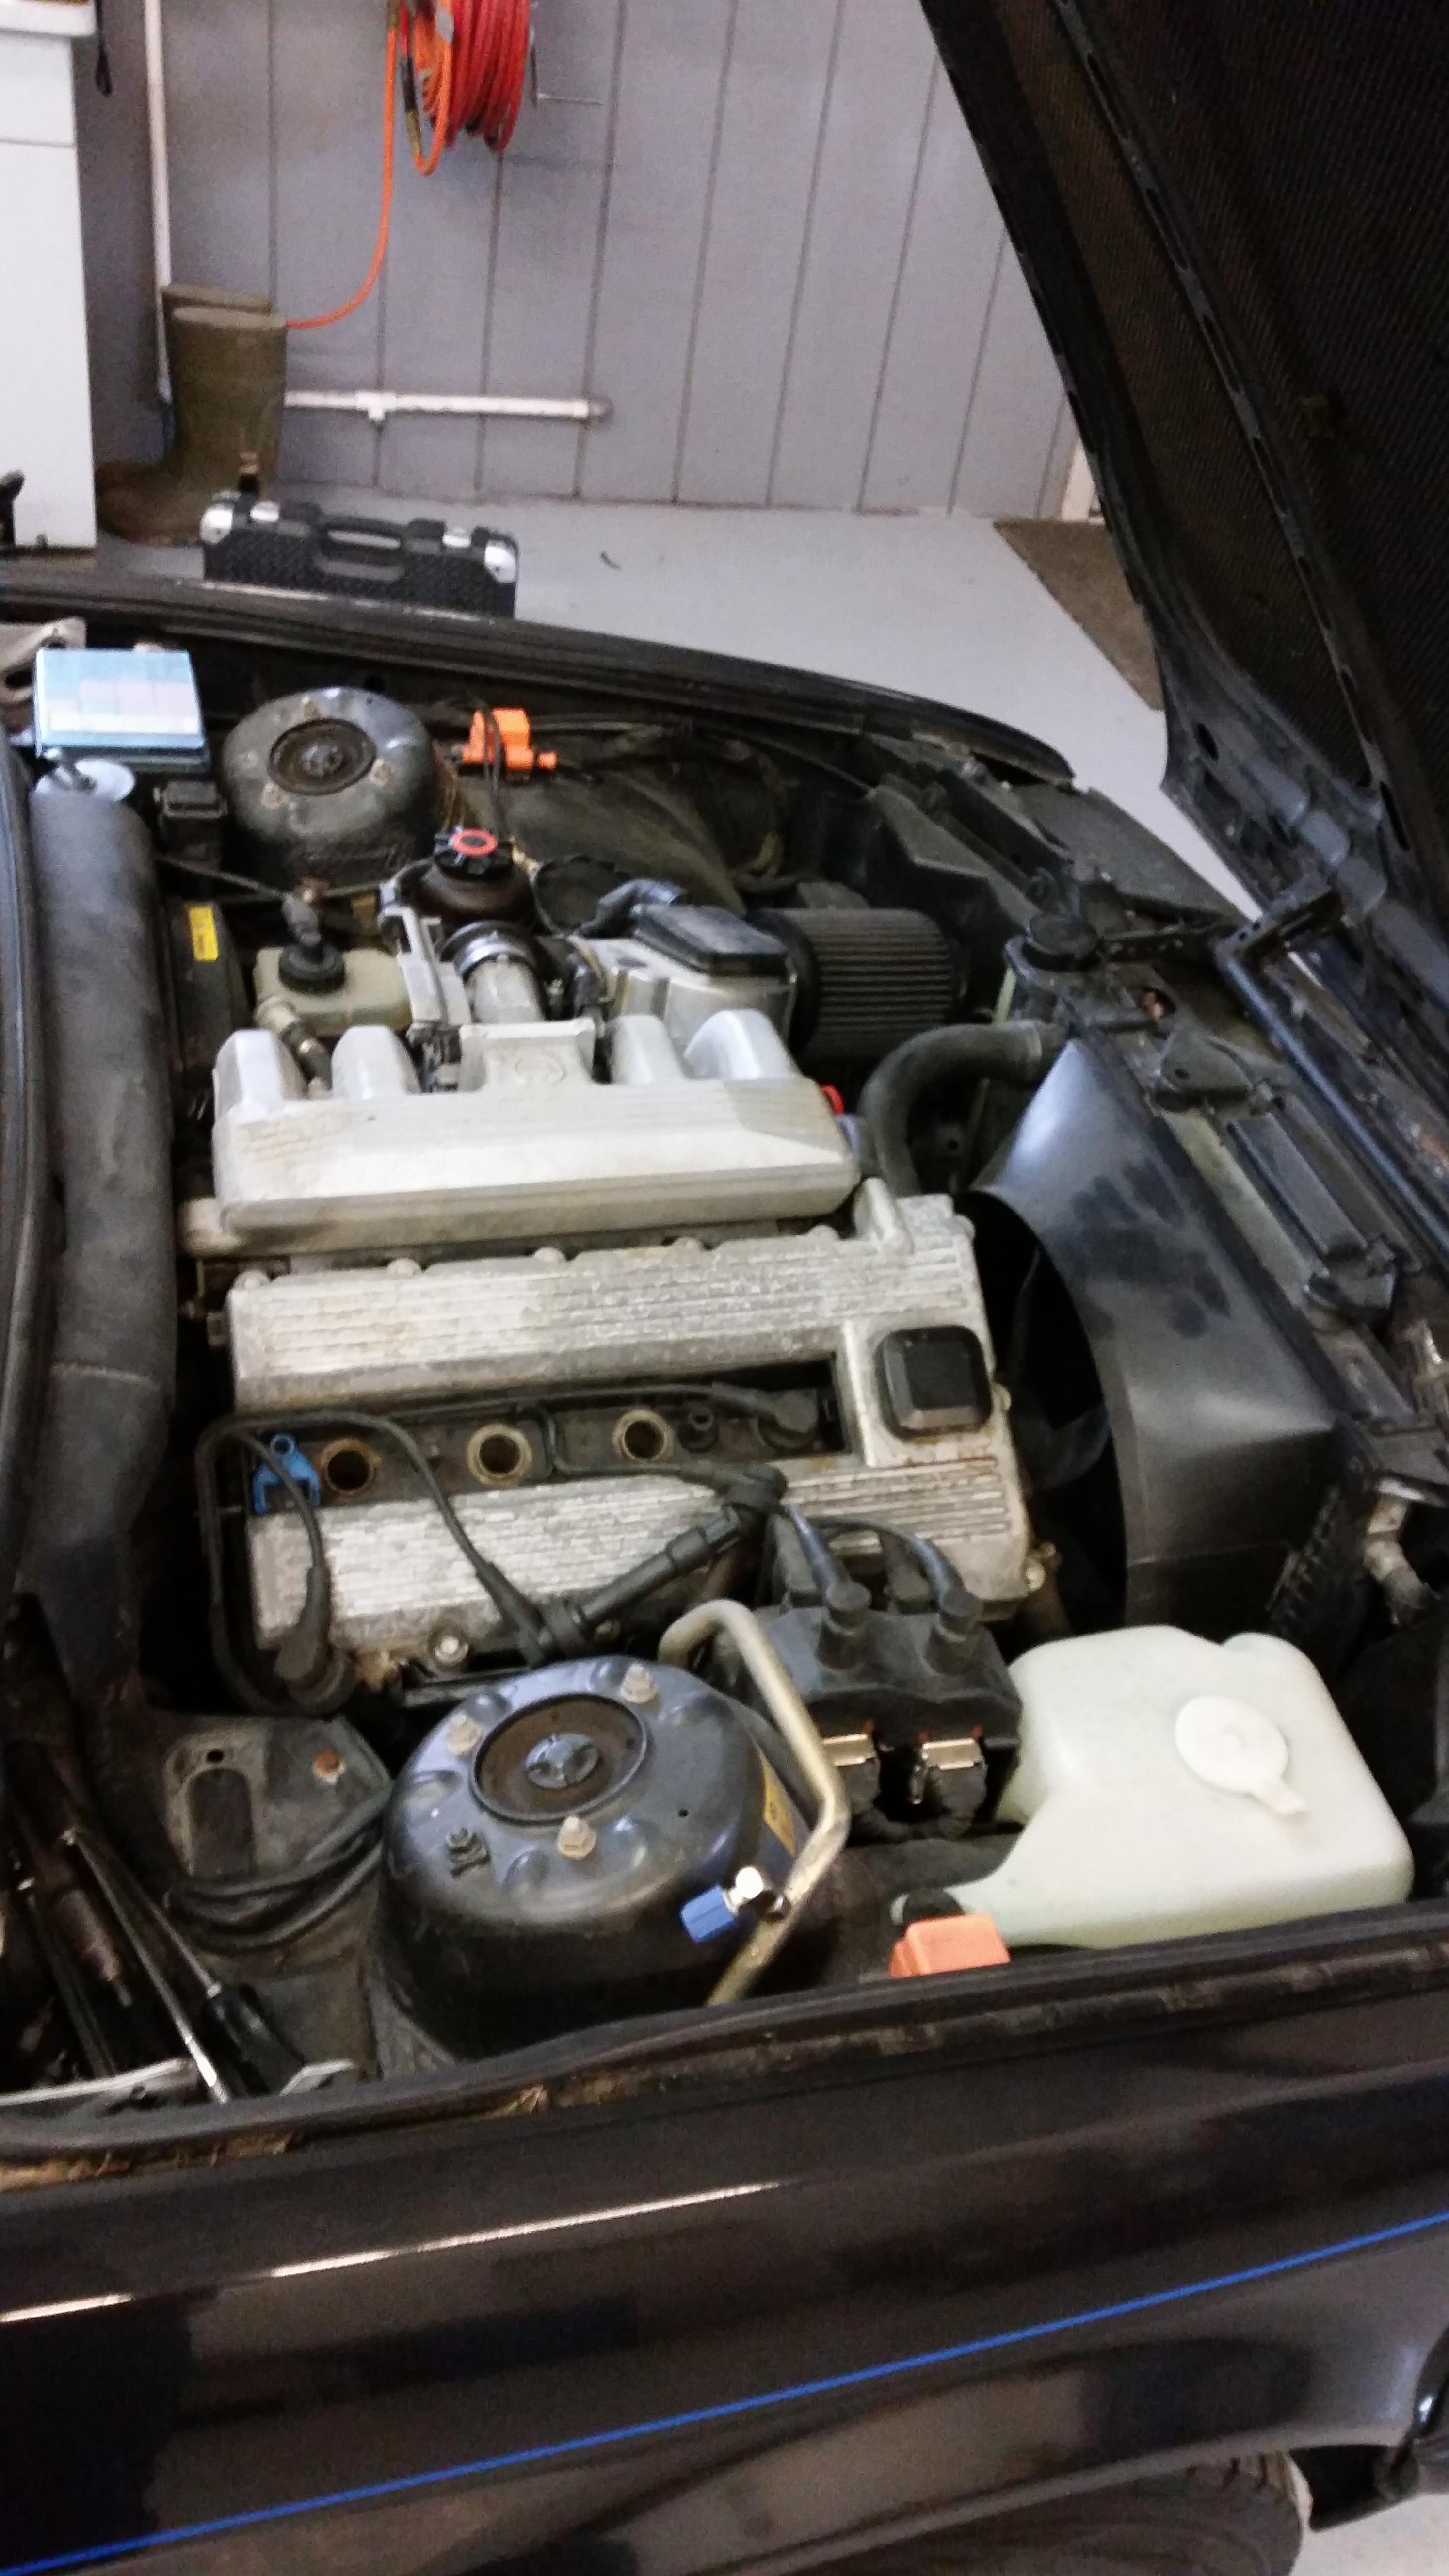
Enough with the car, yets talk about the motor that I haven't worked on for a quite a while now.
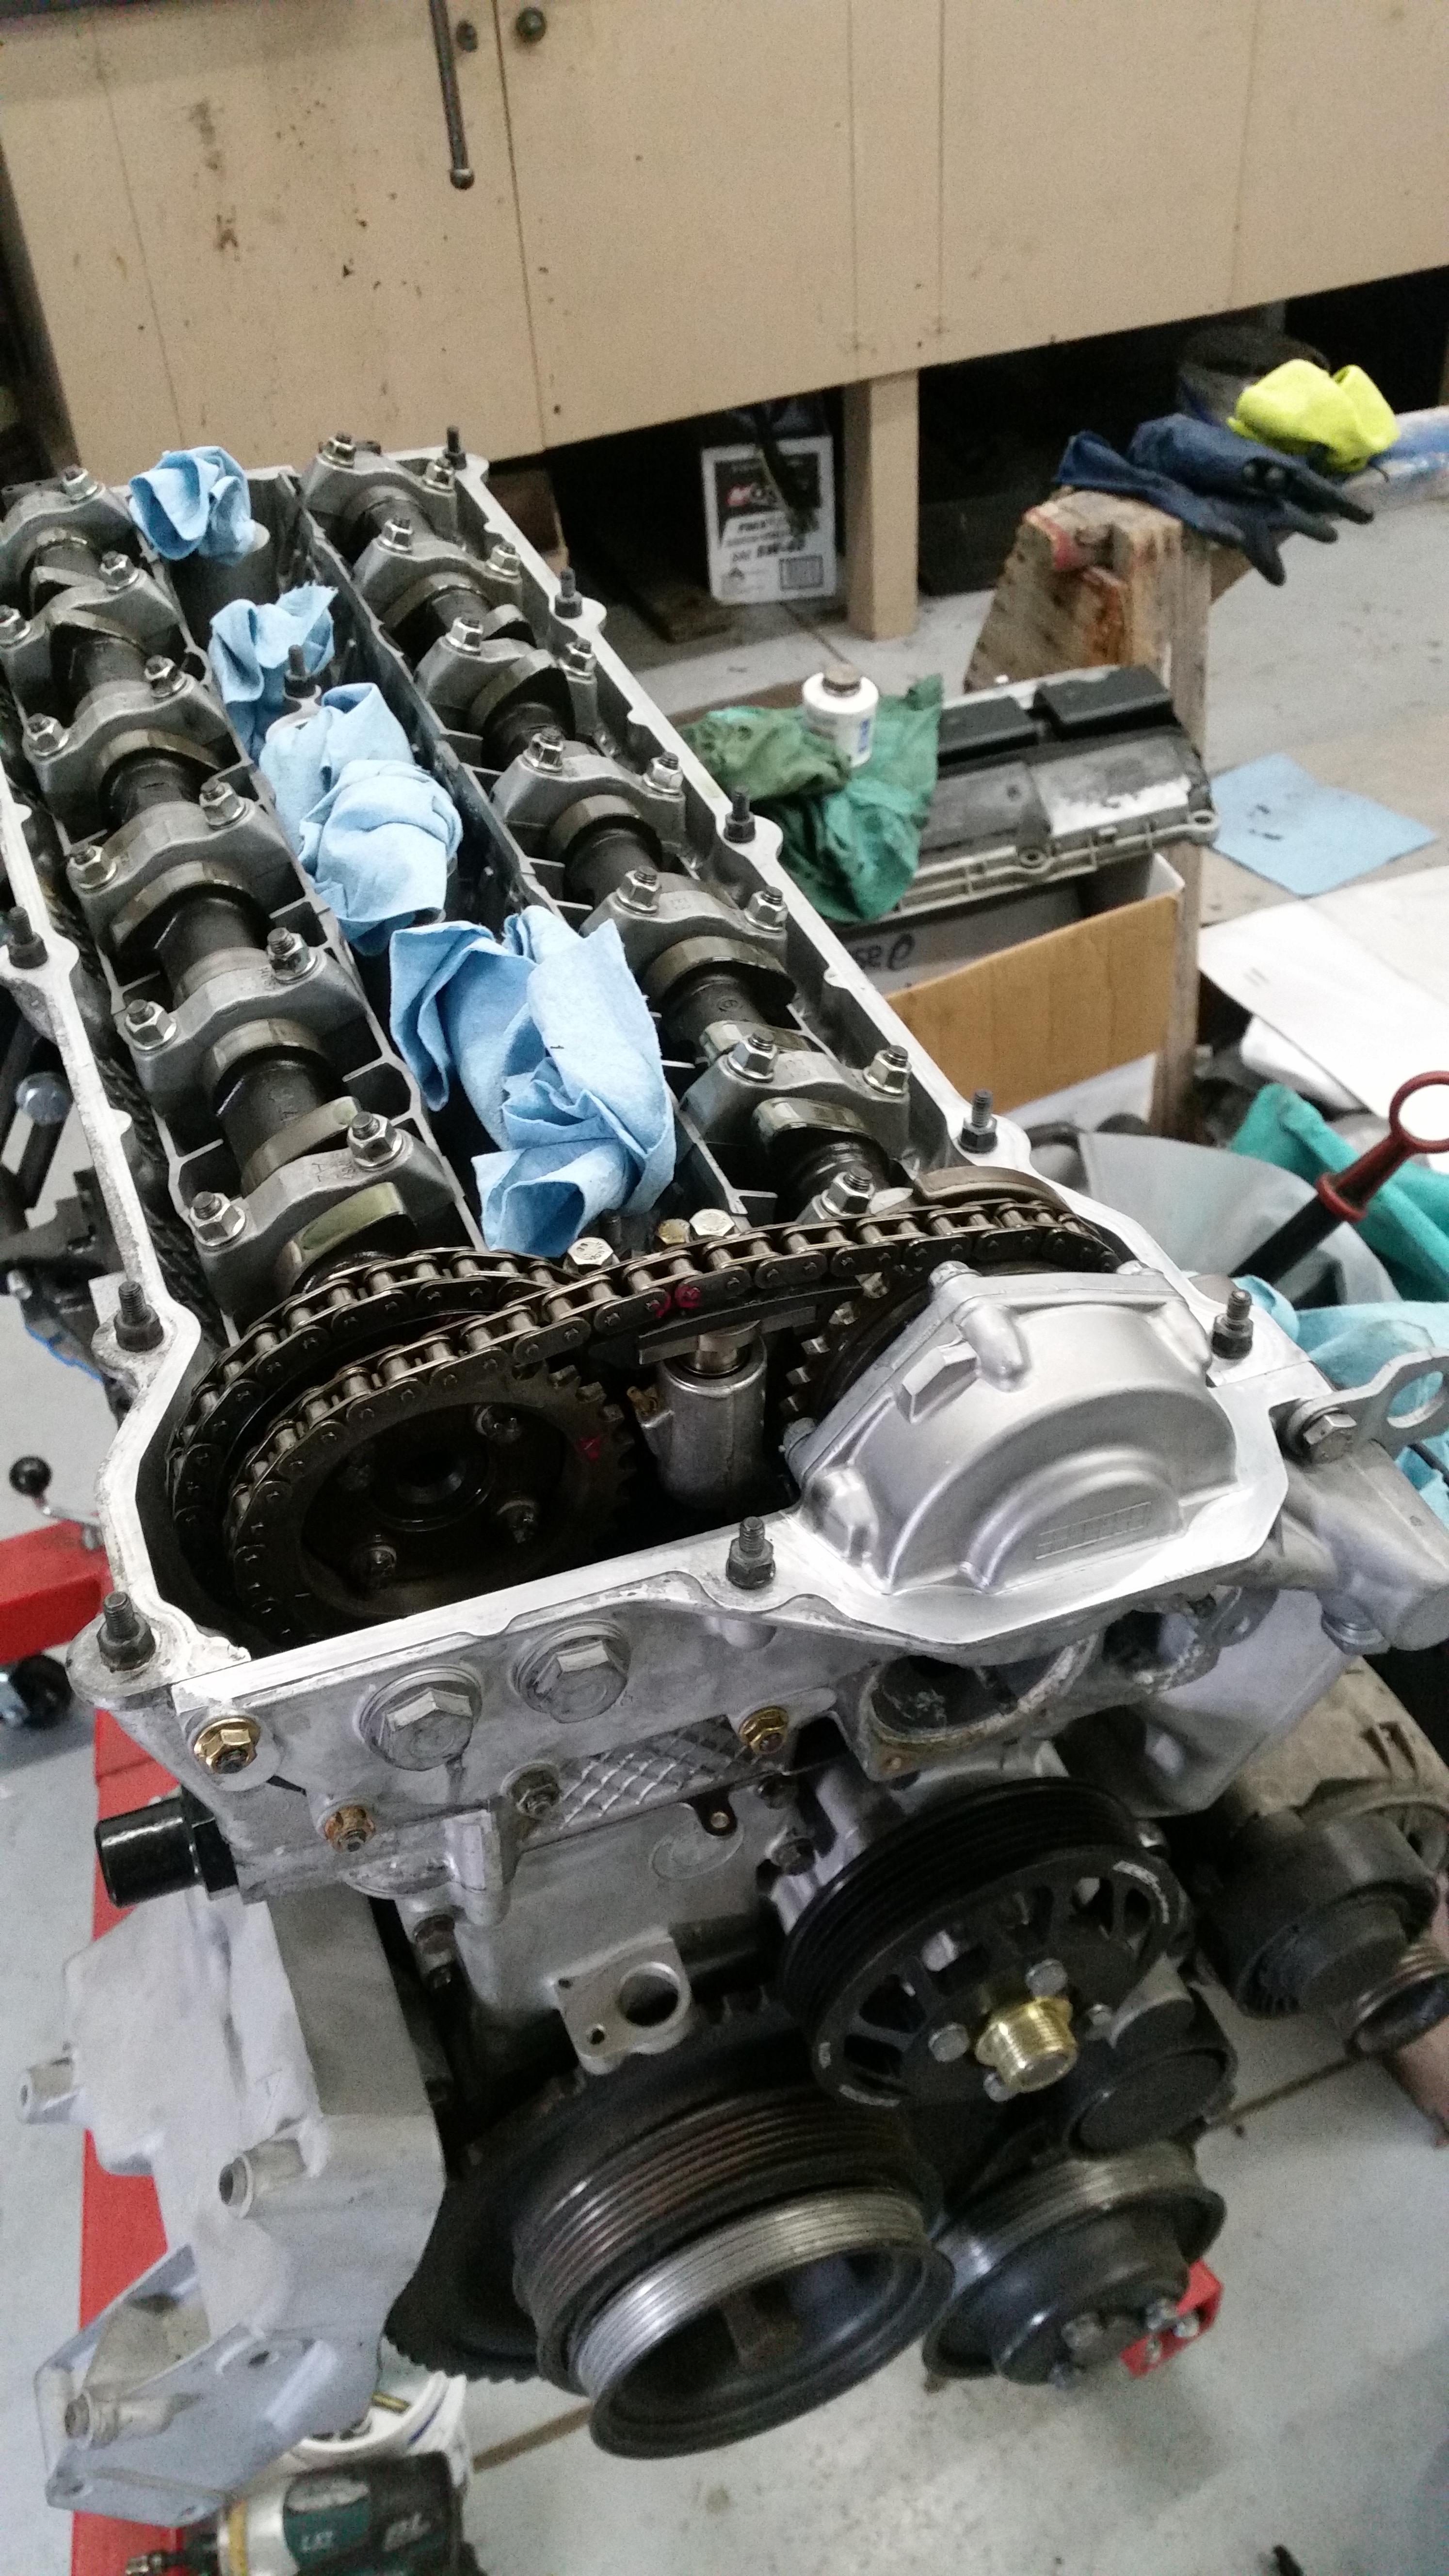
Finally got the motor is timed. Spun the motor by hand several times to check and after 2 spins of the crank everything was at tdc.
Now that the timing was complete I was able to throw on the new and freshly rebuilt vanos by my very own self. Put off doing the rebuild as I thought I needed the special tools sold by beisan systems but I realized that neither of them are really necessary to do it. I did however make a small mistake. When going to remove the small torque screw underneath the 18mm nut that pretty much holds everything together I hadn't realized that it was opposite threads and snapped the bitch off. After throwing every tool on the work bench across the shop I drove out to gibson's where I spent most of that morning pulling another solenoid so I could get the thing back together.
Once the vanos was back together I went ahead and reinstalled it on the motor with a new gasket and some rtv.
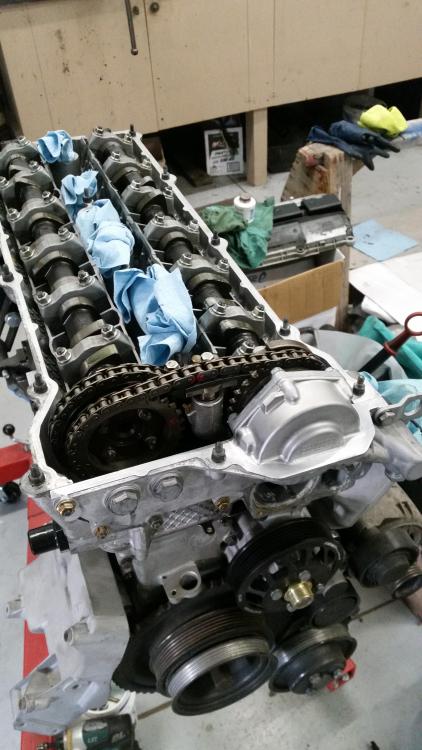
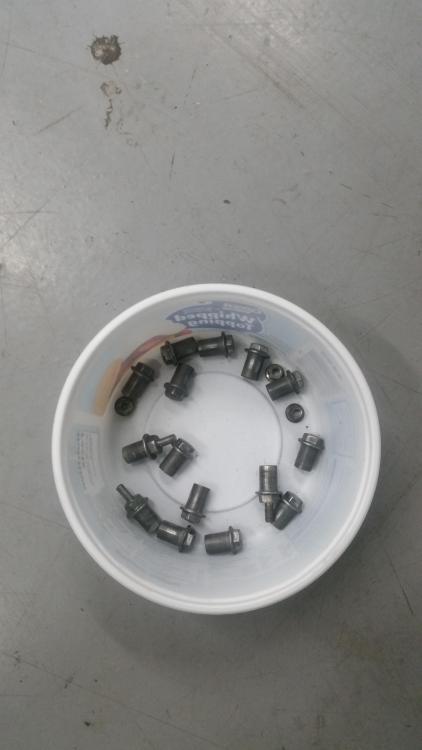
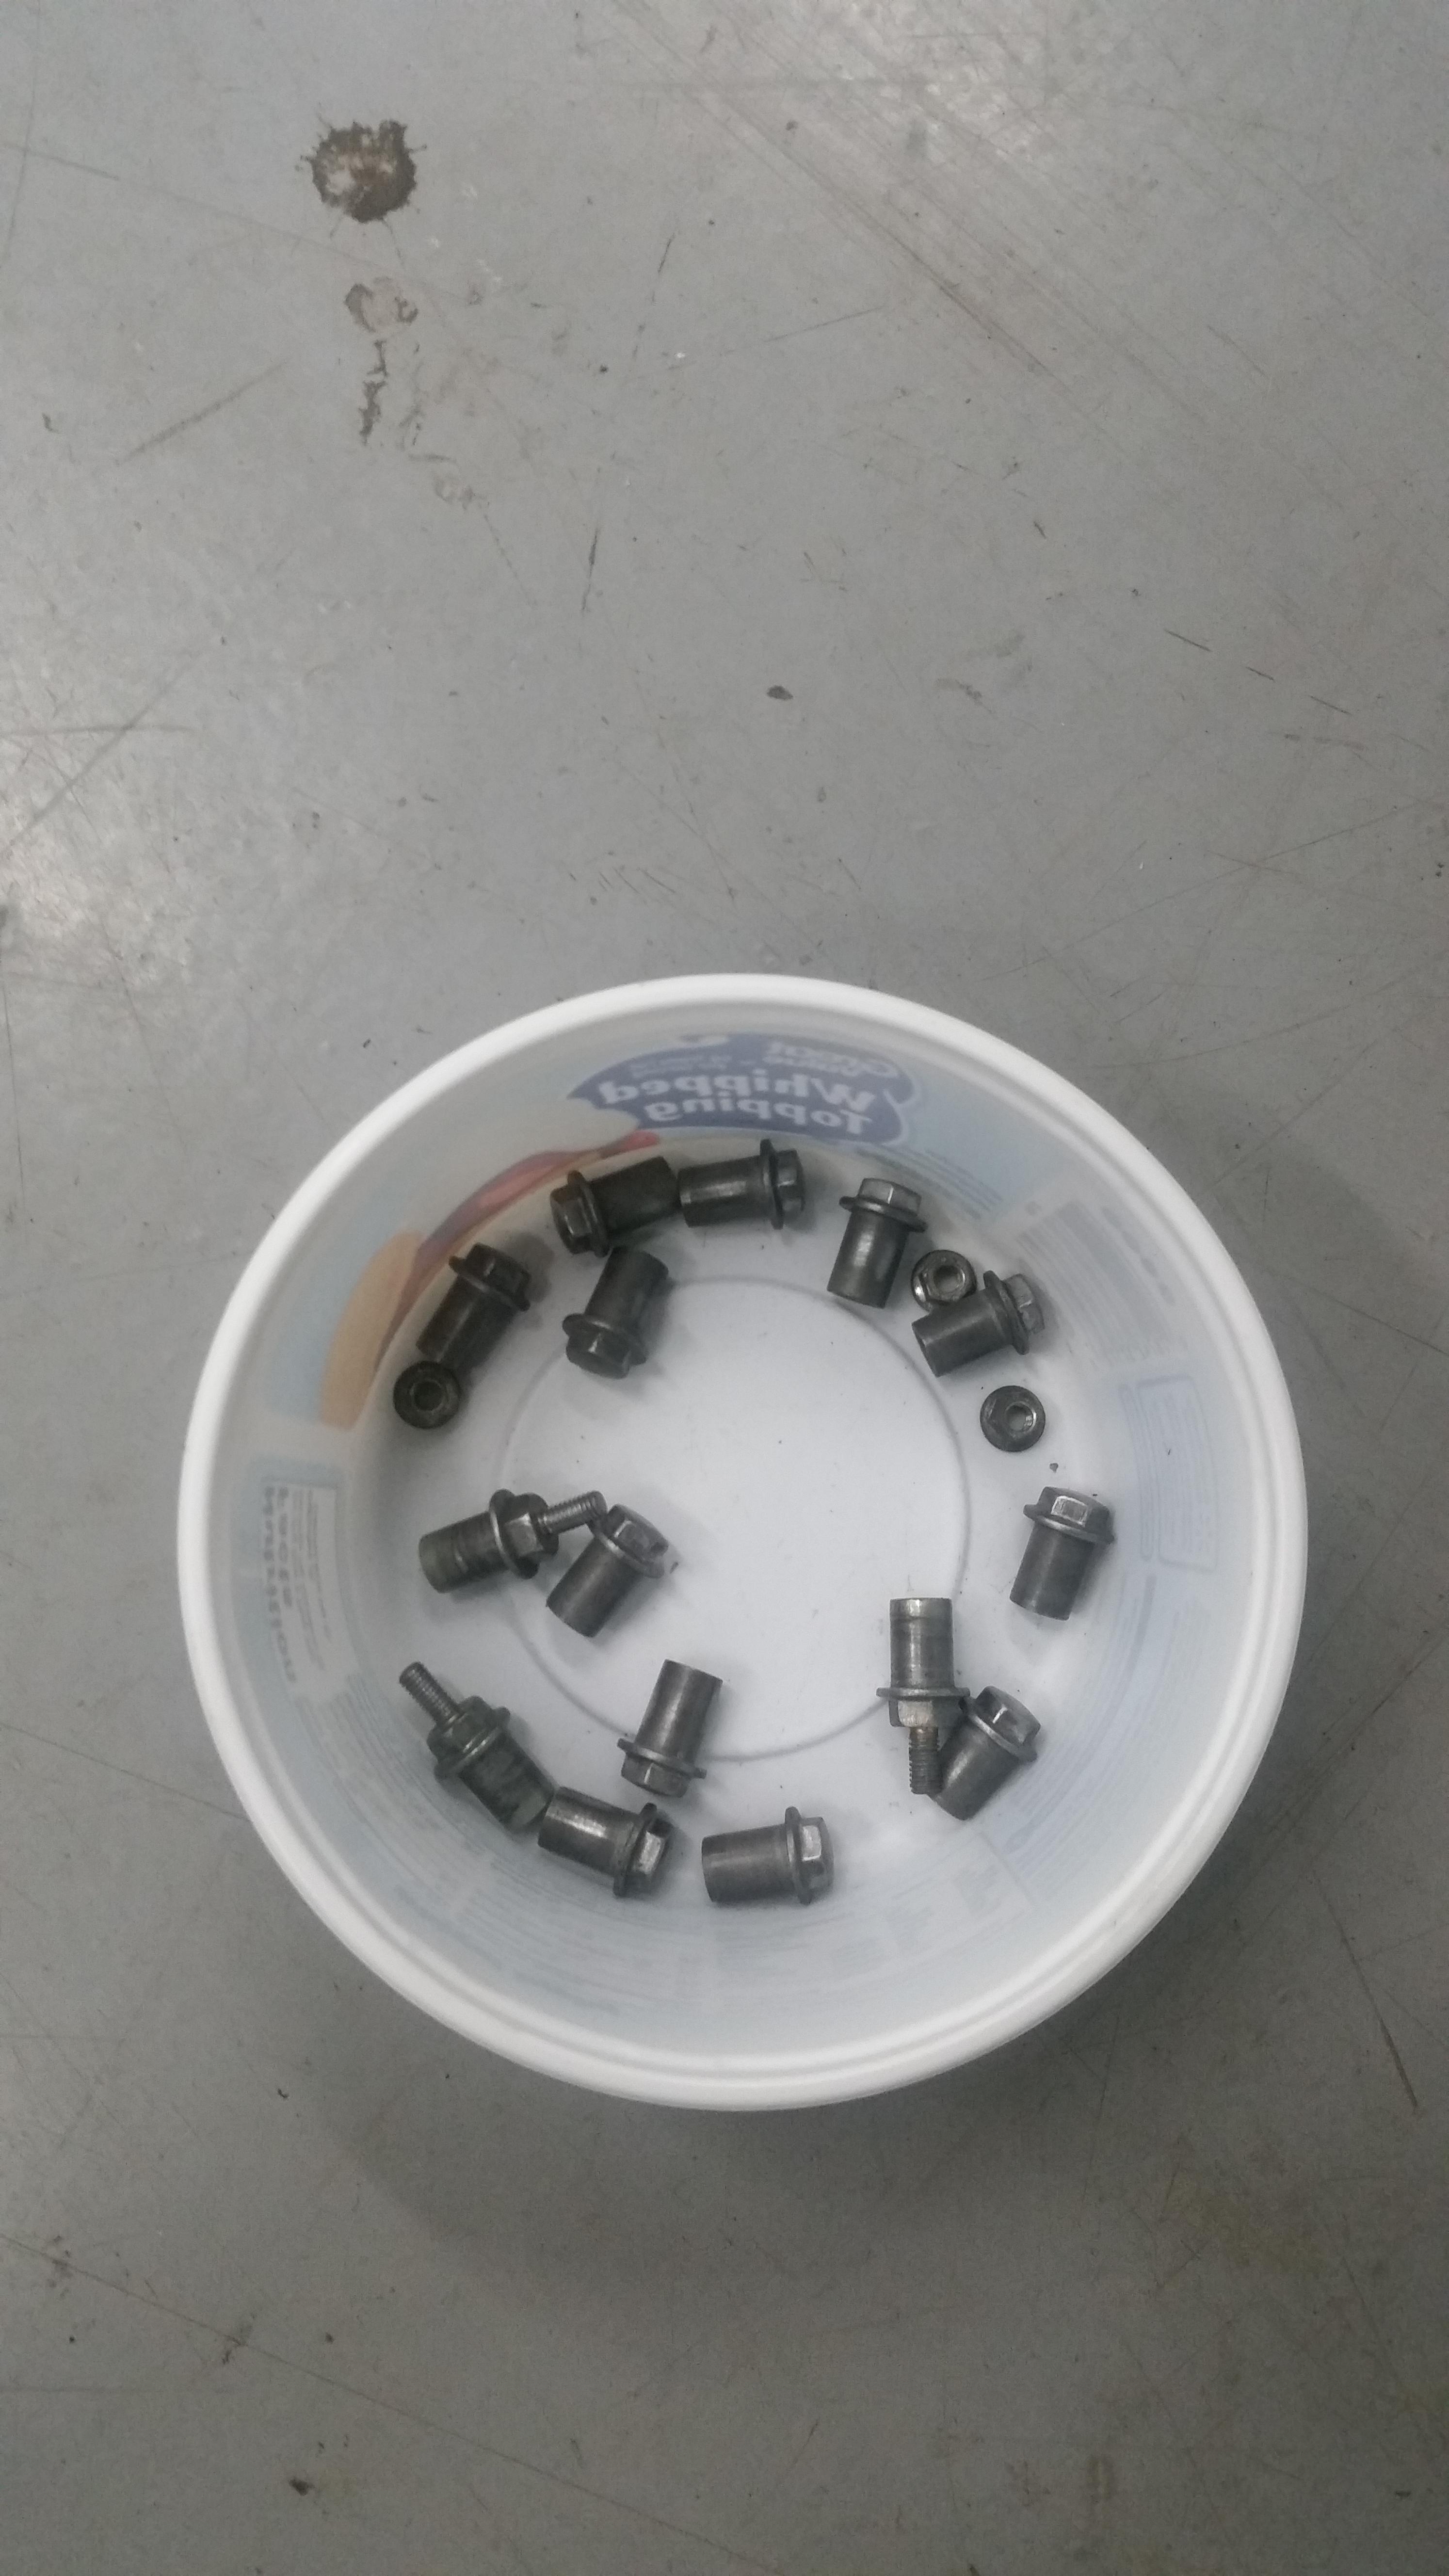
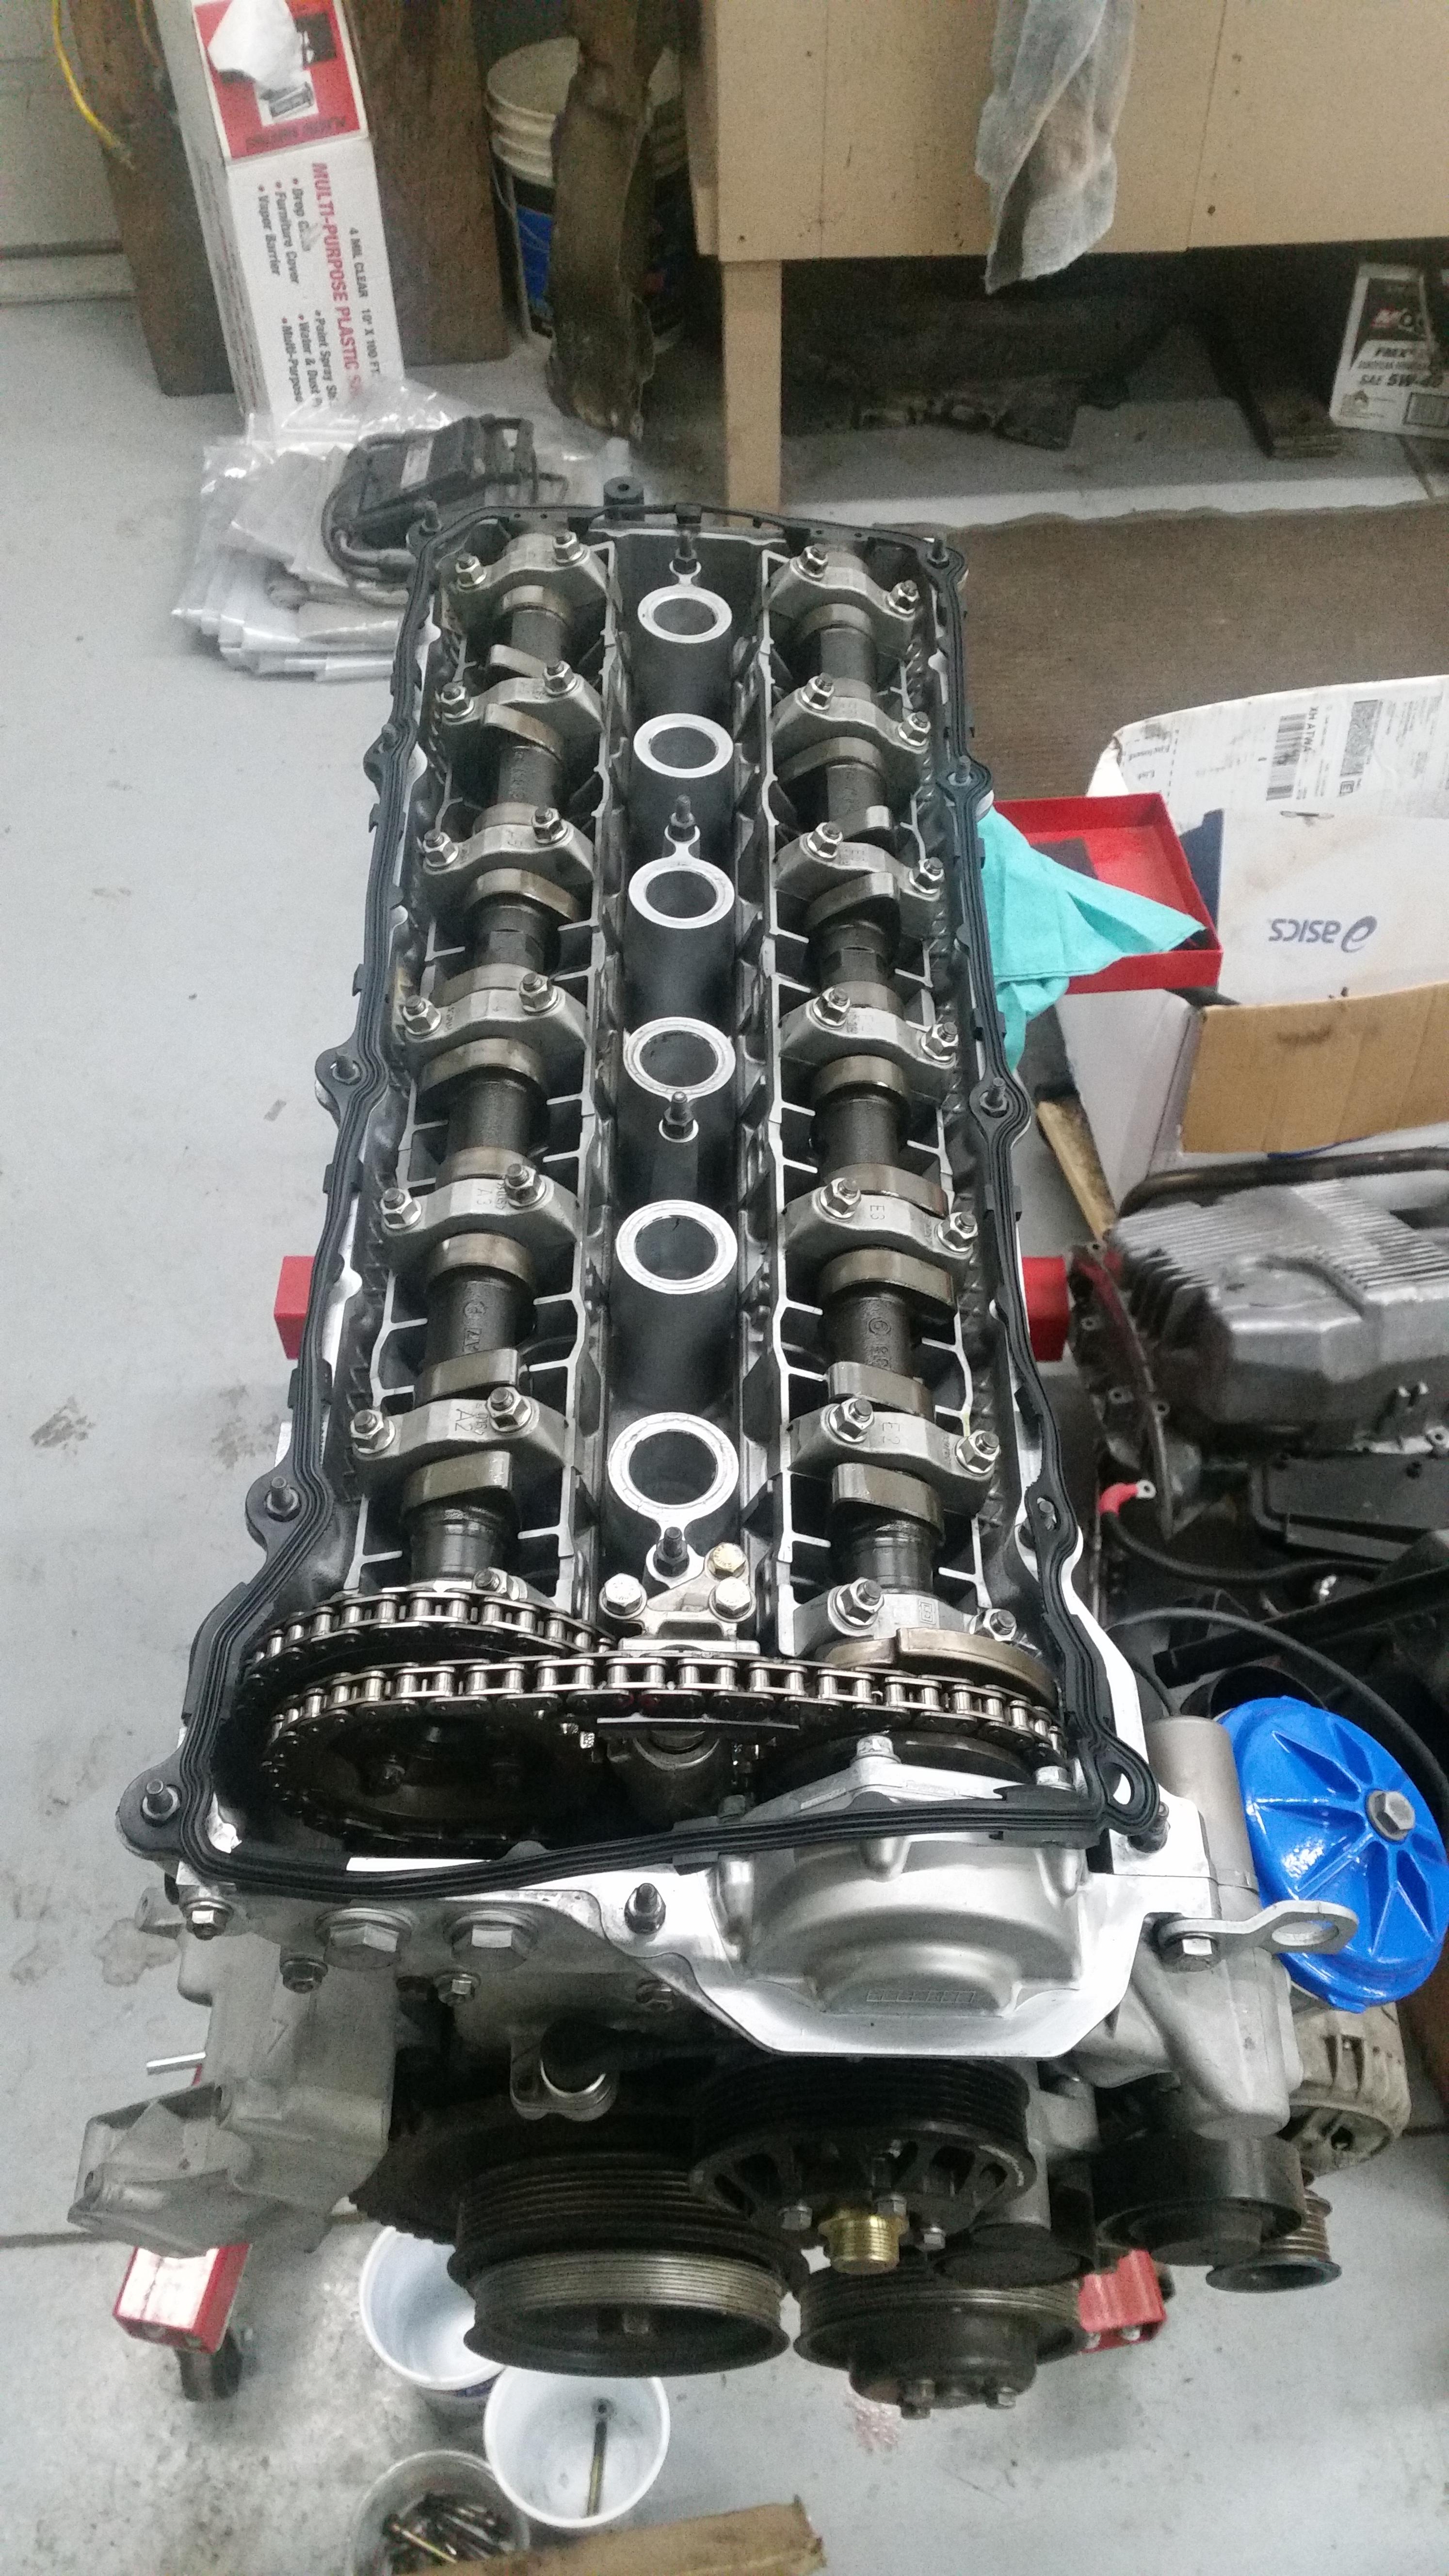
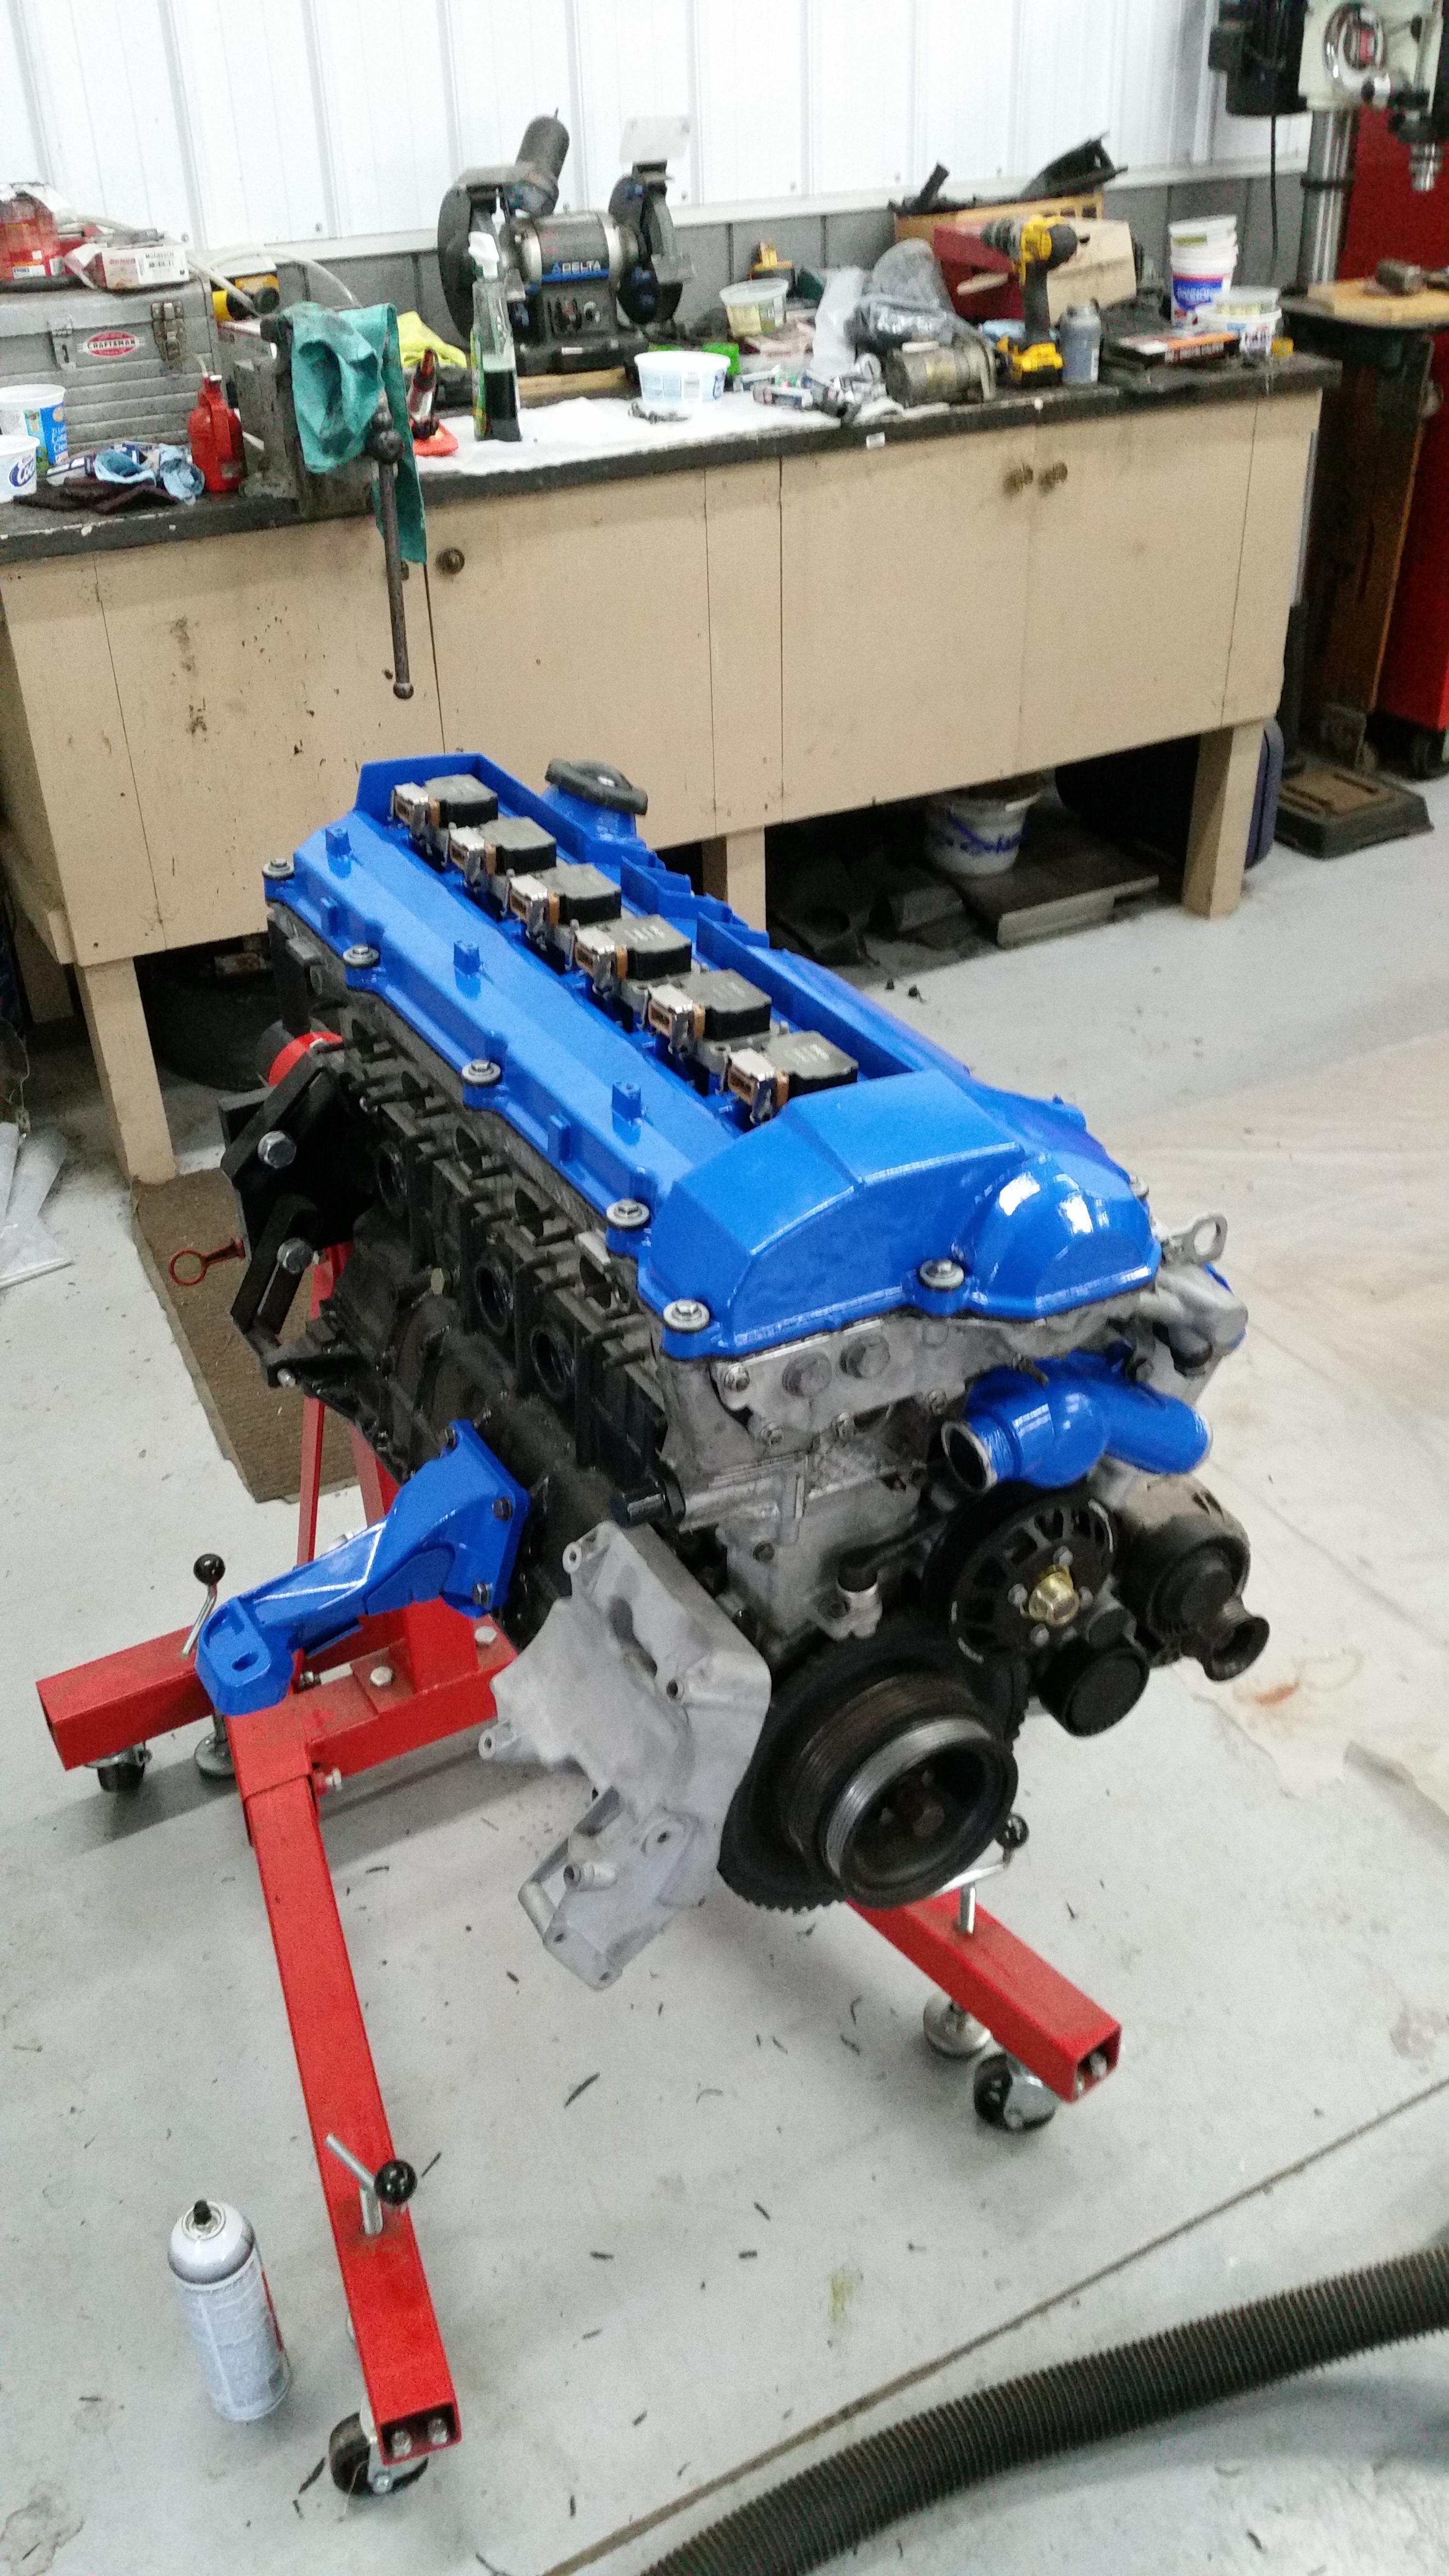
Before installing the valve cover I took some time to prep the surfaces well and shined up the hardware with a wire wheel.
Lesson of the day: Don't buy a non-vanos valve cover gasket for a vanos motor. It doesn't fit.
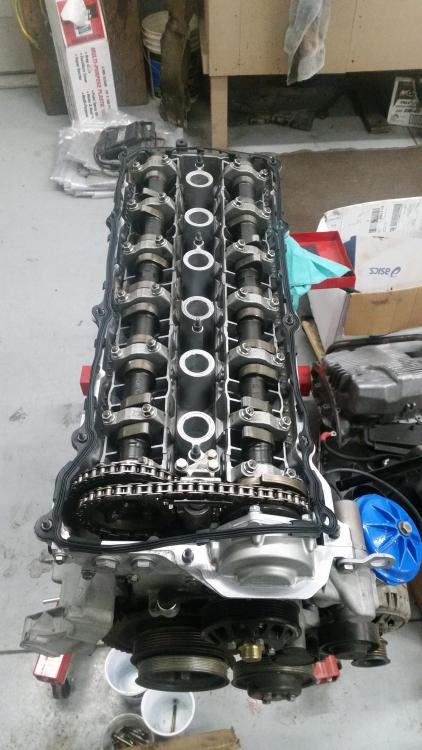
I bought this gasket over 2 months ago and its been sitting in a box up till now when I was ready to put the valve cover on. The gasket was from elring which I purchased through ecs that had the same part # as the vanos gasket on real oem. The only way to know that it was a non vanos gasket was buy looking at the picture presented and even then its easy to miss, kind of frustrating if you ask me. So I Ordered the correct one from amazon which I received this last Friday.
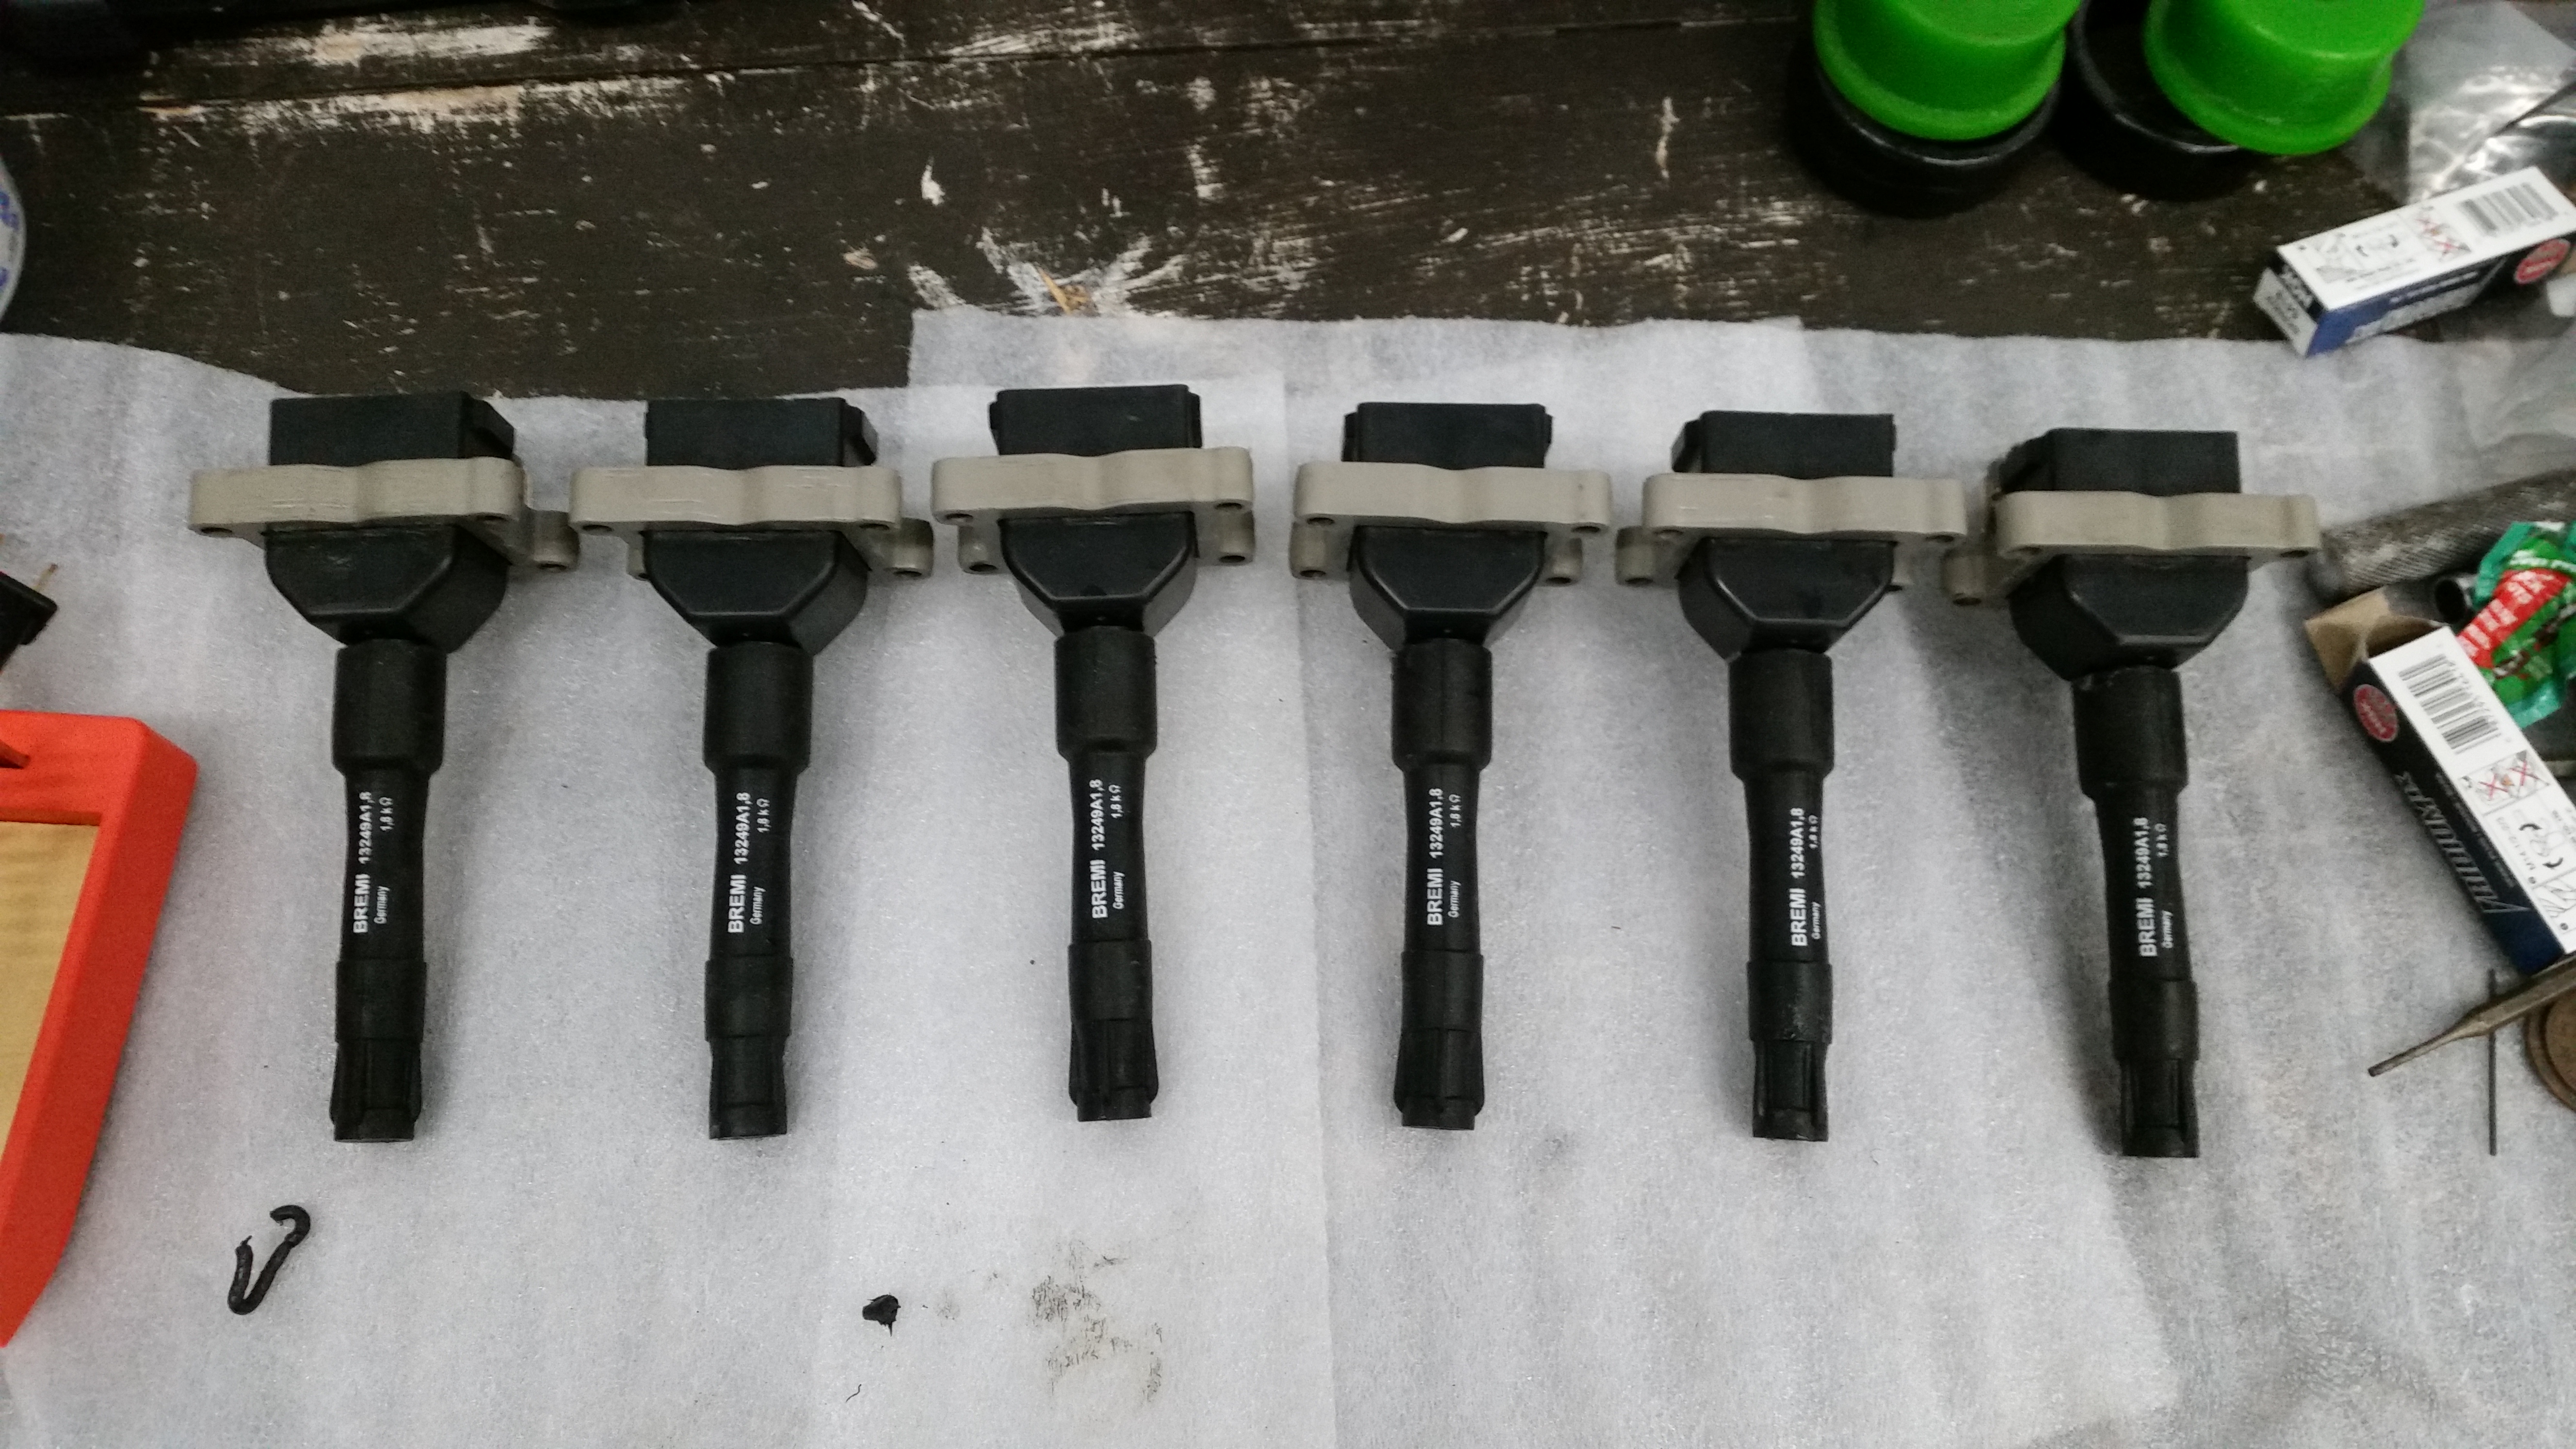
With the new gasket in hand I threw a layer of rtv on both sides and installed the freshly painted valve cover. After letting the rtv cure over night I went ahead installed new ngk spark plugs with dielectric grease. Picked up some oem coil packs off a fairly low mile e36 at gibsons. For those of you that may be curious, a good way to check a coil pack to see if their any good is to ohm them. Resistance between the outside 2 pins should be between 0.4 and 0.8. Also be sure that the resistance values are about the same between the six of them.
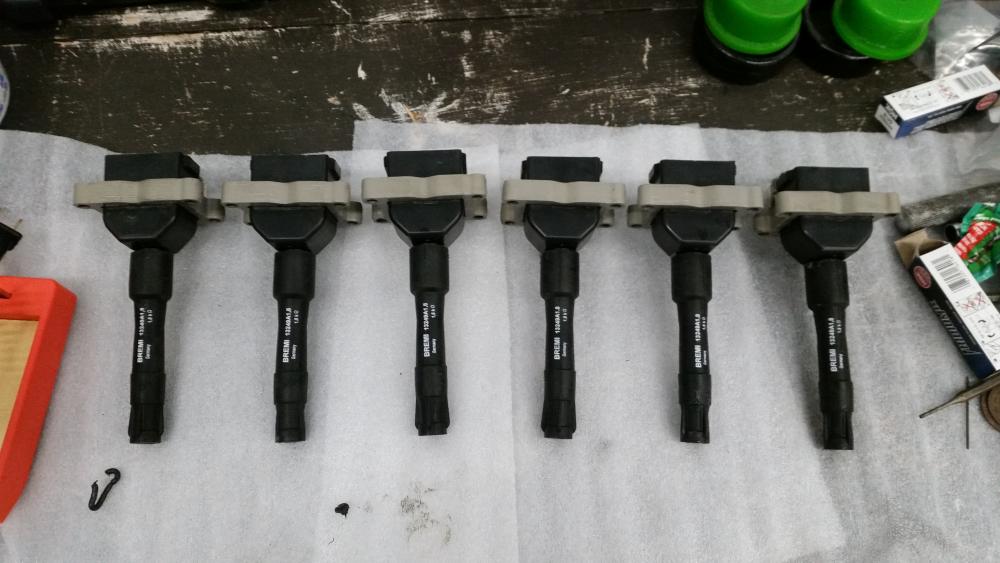
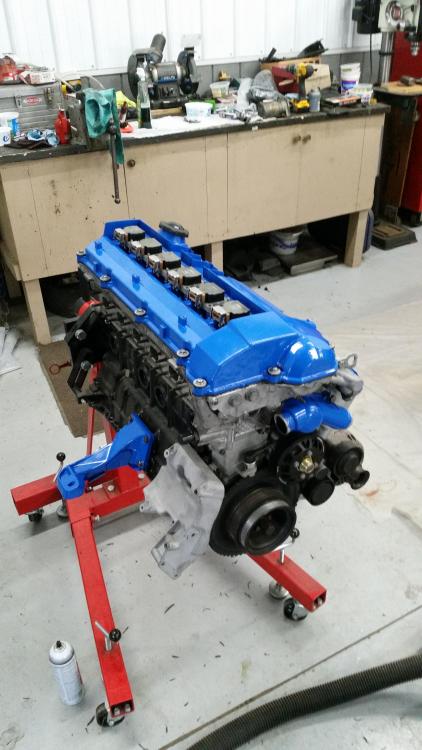
Got a few sensors installed as well as the thermostat housing. Also started on dissecting the wiring harness and getting the c101 plug soldered in.
On the other hand, I bought myself a steering rack! I got it on eBay and its actually supposed to be here later today so I'll post up some pics once its here.
Another thing I should point out is the fact that I have changed my mind and will be going with the original e36 m3 flywheel and clutch kit instead of the m20. Sense I'll be running the g260 trans I thought I had to run the flywheel that typically goes along with it. Little did I know that I can actually run the s52 flywheel with the g260 no problem and its got the benefit of being able to run a 240mm clutch disk over the smaller 228mm m20 clutch disk. Thanks for clearing that up for me @GunMetalGrey
I'll hopefully be ordering a lightweight aluminum flywheel and clutch kit sometime this week. Still deciding between going a stage 2 disk or a 6 puck, recommendations?
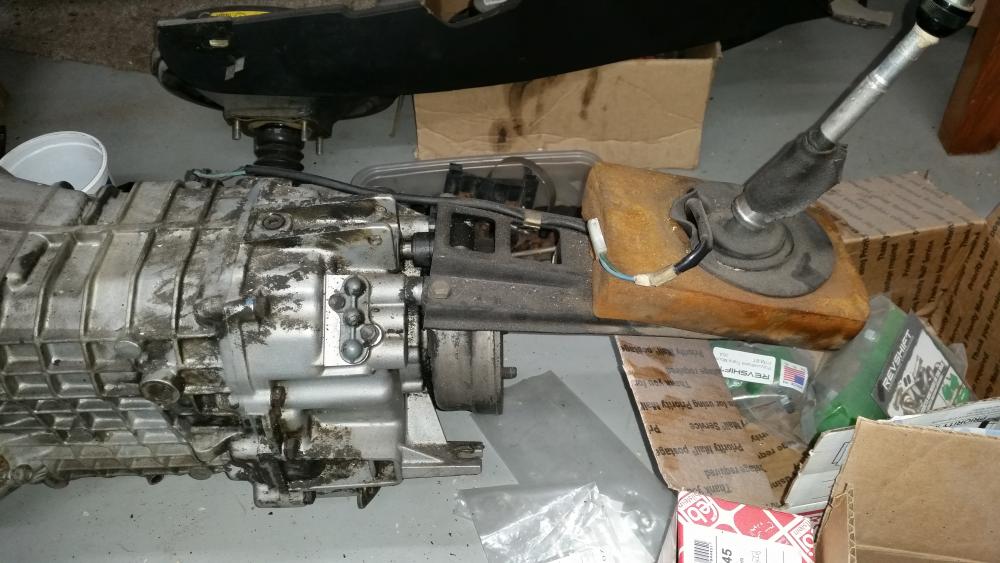
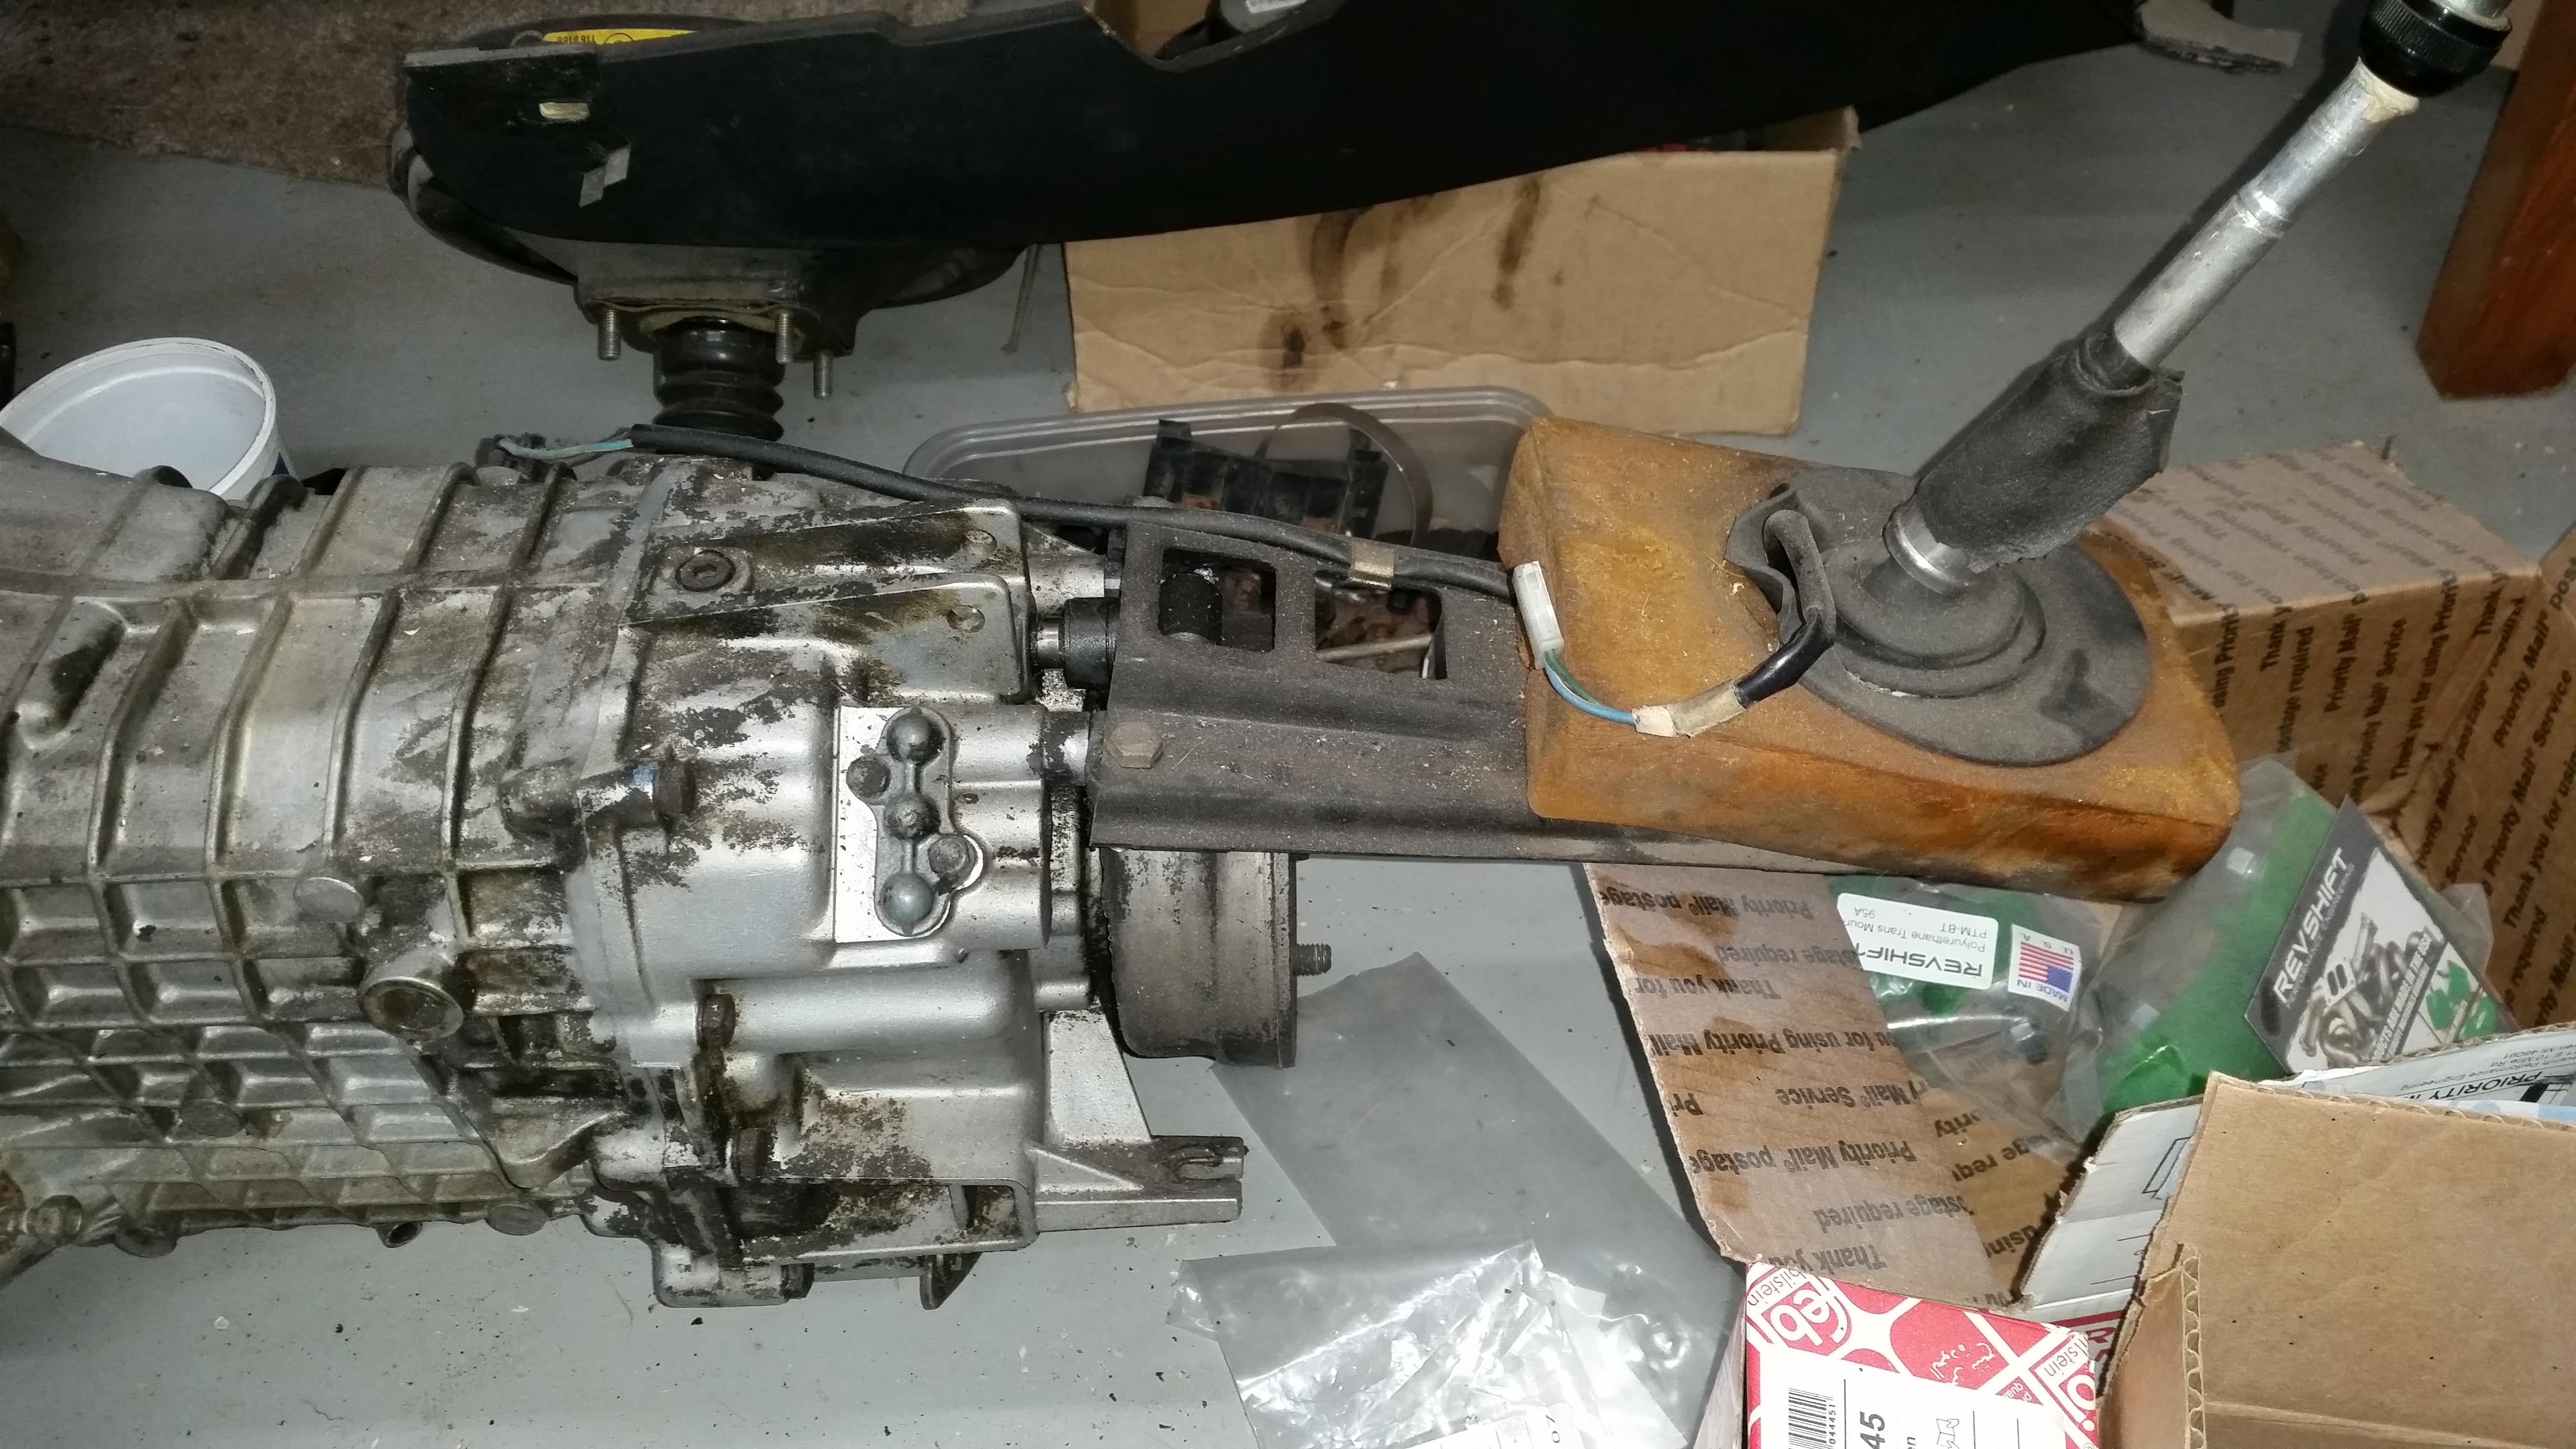
I'll be starting here real soon on getting the trans ready for install and I'm trying to figure if it's of any benefit to me to get am aluminum shifter carrier that came in the late models or just run the sheet metal one that's on there, is there any advantages to the aluminum one? any incite on that would be greatly appreciated.
-
Looks great!
I dont think you can use an upgraded double shear selector rod with the sheetmetal shift carrier (i believe UUC has an outrageous addendum on the price of a DSSR if you need the late model aluminum carrier)
Check the South Bend stage 2 or 3 street clutches depending on your future power desires. Basically its South Bend’s own sprung hub disk with a Sachs 918 pressure plate. I have the stage 3 carried over from my former turbo M20 setup “conservatively rated for 400 hp” I definitely dont like twin disk or 6 puck unsprung clutches from my driving experiences.
Twin disk are noisy and unsprung are bog-or-burn
Are you going to be keeping the AC? I see the bracket is still on the engine.
-
Awesome progress, it’s looking great. What kind of rack did you pick up?
Non-m Z3
I dont think you can use an upgraded double shear selector rod with the sheetmetal shift carrier (i believe UUC has an outrageous addendum on the price of a DSSR if you need the late model aluminum carrier)
I do want to run a dssr eventually so that would be a good enough reason for me to switch over to the aluminum carrier if that's the case. I'm just curious why you can't use a dssr with the sheet metal.
Check the South Bend stage 2 or 3 street clutches depending on your future power desires. Basically its South Bend’s own sprung hub disk with a Sachs 918 pressure plate. I have the stage 3 carried over from my former turbo M20 setup “conservatively rated for 400 hp” I definitely dont like twin disk or 6 puck unsprung clutches from my driving experiences.
I've actually been looking at clutch kits through grip force. They sell kits including an aluminum flywheel and clutch disks with either stage 2 (carbon/Kevlar) or stage 3 (6 puck) Sprung hub clutch disks and a Sachs pressure plate. I do think I will be adding boost to this motor in the near future so I'm just curious if a stage 3 6 puck sprung hub clutch disk is manageable to drive with a fairly stock s52.
Are you going to be keeping the AC? I see the bracket is still on the engine.
I do plan on having AC in the car, not right away though. Right now my goal is to get the motor in the car and get it running. A/C can easily be added in later on.
-
Right. In my brain, I cant determine why a DSSR wouldn’t work with a sheetmetal carrier (i also lack a lot of familiarity with the sheetmetal carrier)
The ultimate shifter, though, is the UUC Evo III. It is expensive but man it feels incredible!
https://www.turnermotorsport.com/p-339053-uuc-evo3-short-shift-kit-e30-e36-e46-z3/?pdk=AQEB
-
Any shifter with a DSSR would be excellent. I have UUC EVO3 with DSSR and wish I had gotten just the DSSR. I also have the UUC aluminum flywheel with Sachs e34 M5 clutch. Amazing upgrade, the best thing I ever did. Driveability like stock, my wife didn't notice, but rev matching and quick shifting out of this world. Best upgrade ever IMO.
-
FWIW I run gripforce stuff
Haven’t had an issue yet
-
You should contact garagistics and have them make you a blue diff cover bushing mount to match.

-
Twin disk are noisy and unsprung are bog-or-burn
Everyone says this, but I ran an unsprung disc on a 11lb flywheel in my m52 setup with an aggressive clutch, and never had an issue. It engaged smooth, shifted smooth, and seemed just like normal. Not that all experiences will be the same, but just throwing that out there.
In regard to the sheet metal carrier, I find them to be more of a pain to install / put motor in with them on, but other than that I can't determine a solid reason to remove it. Though I don't know if the shifter bushing is removable, and that would certainly be a reason to ditch it.
The car is looking great!
-
Thanks for all the feedback guys, I very much appreciate it.
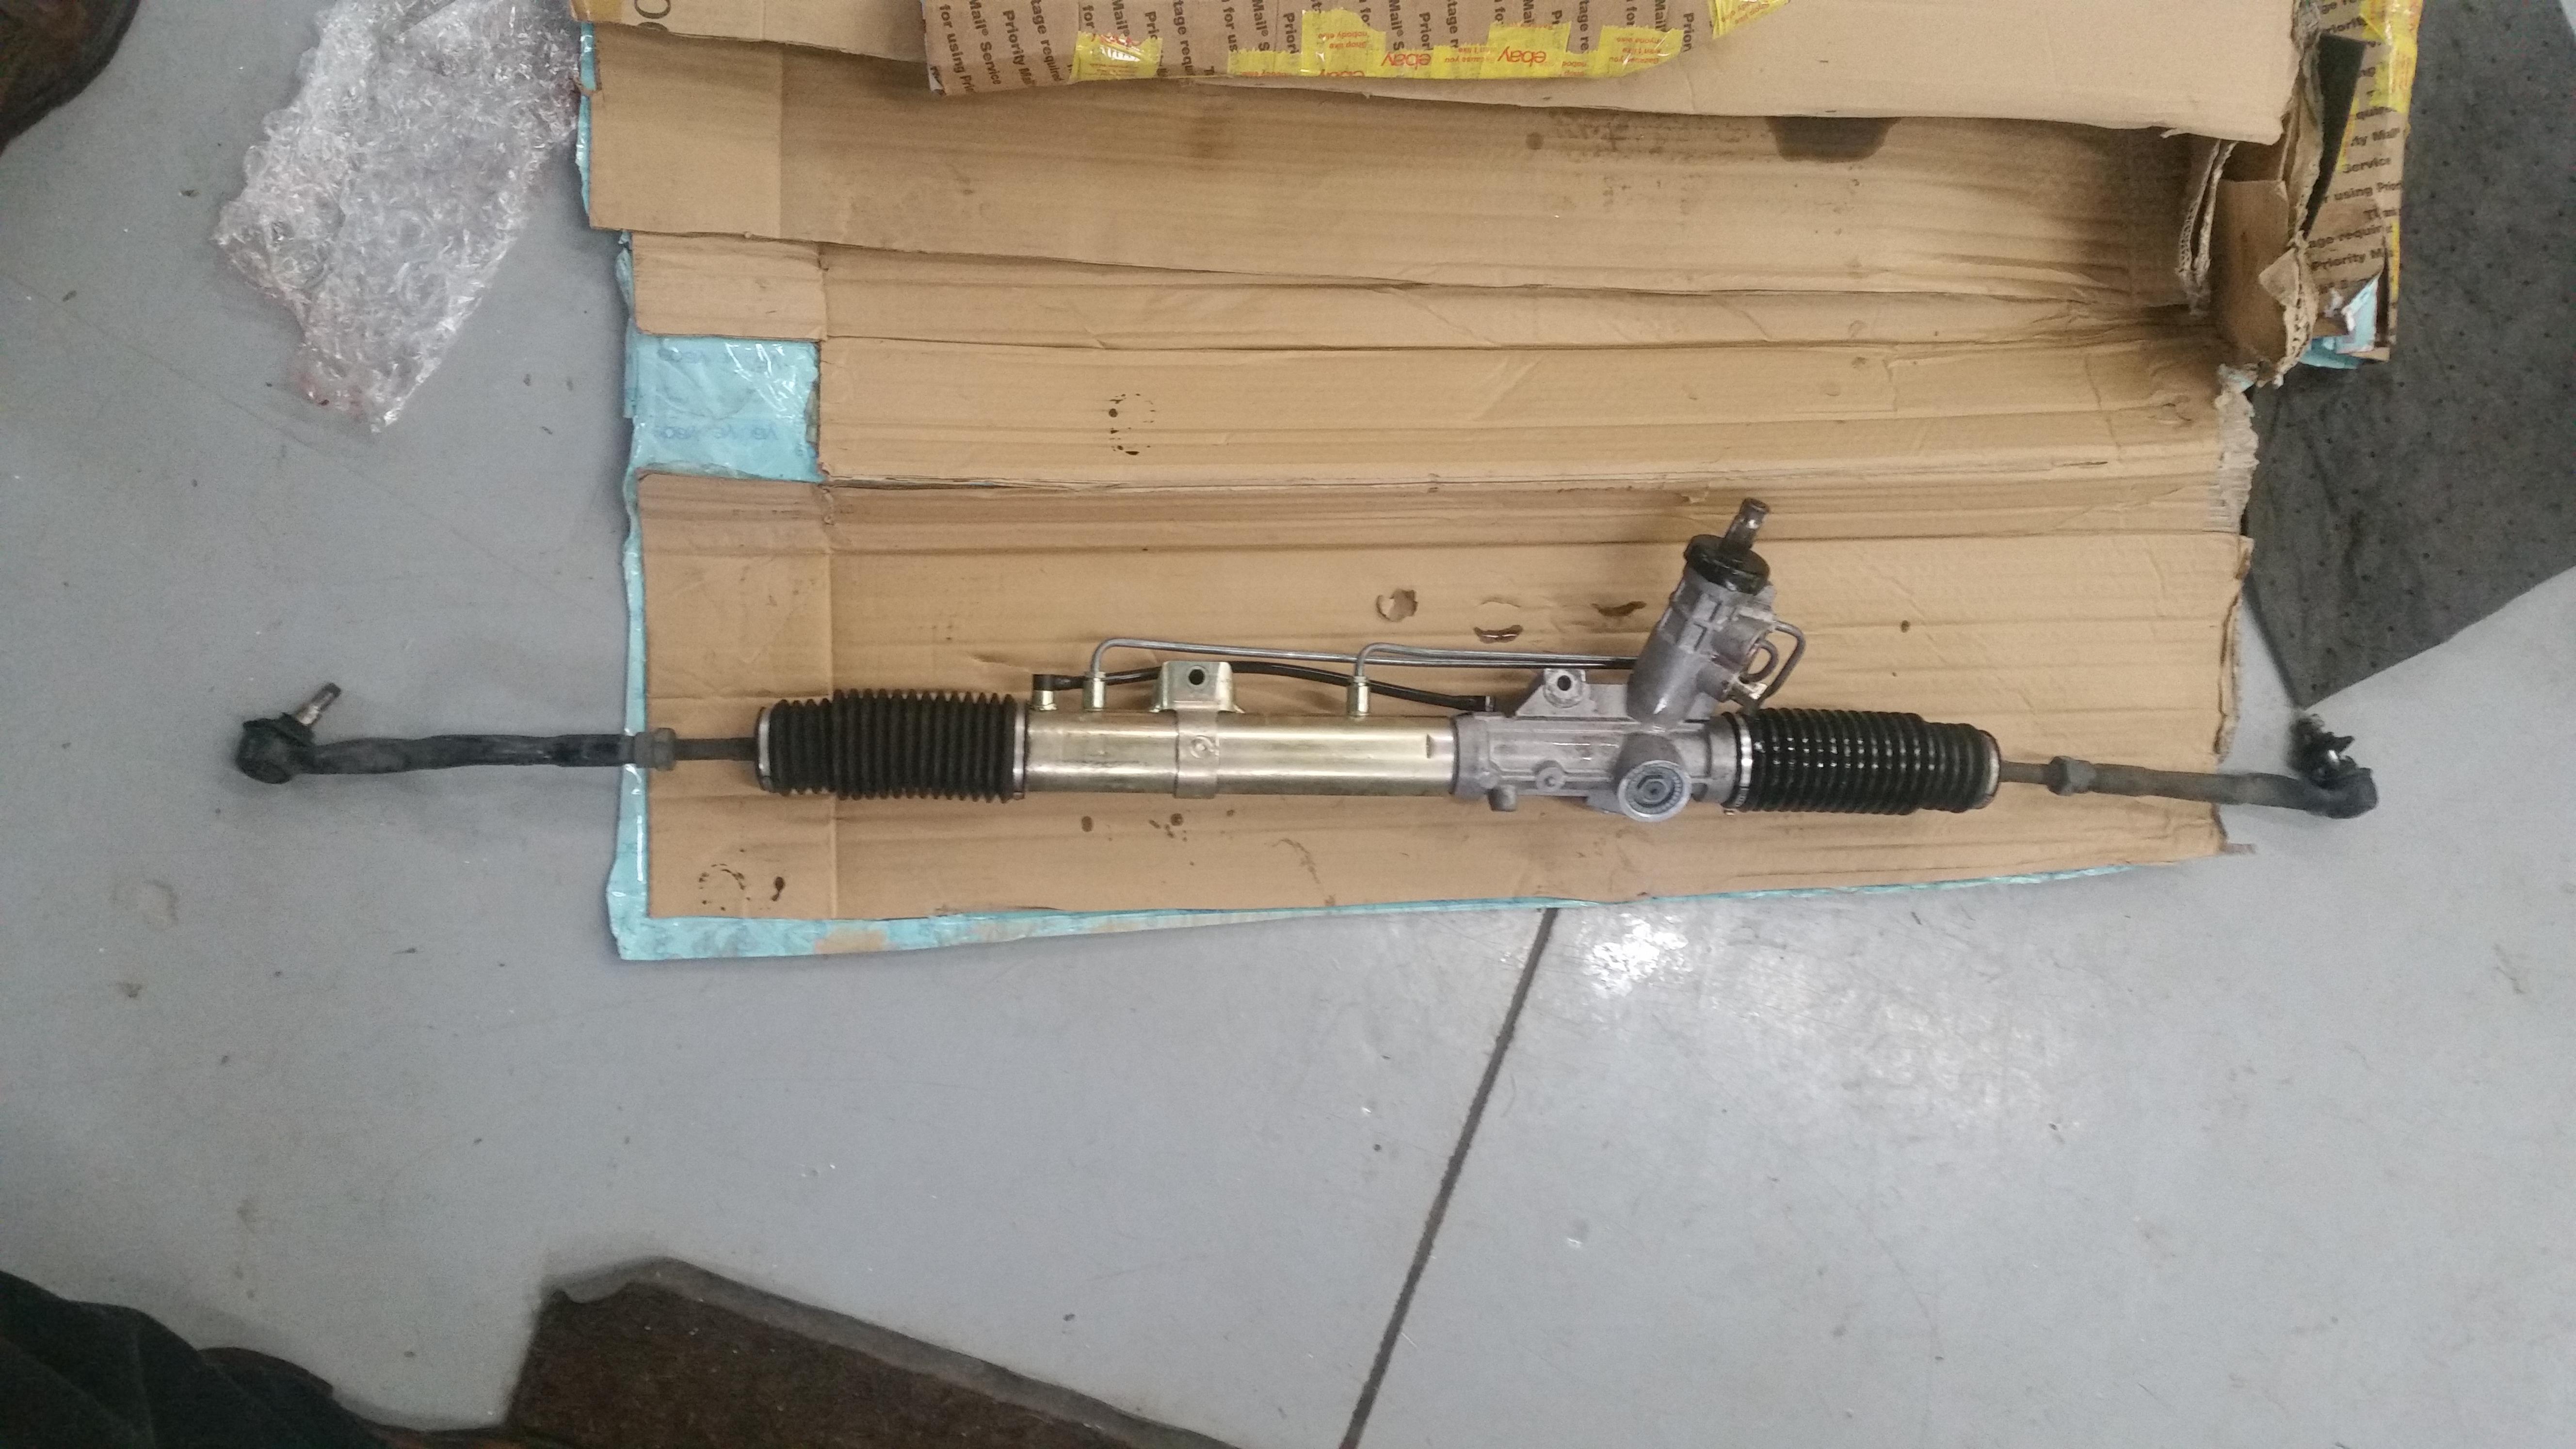
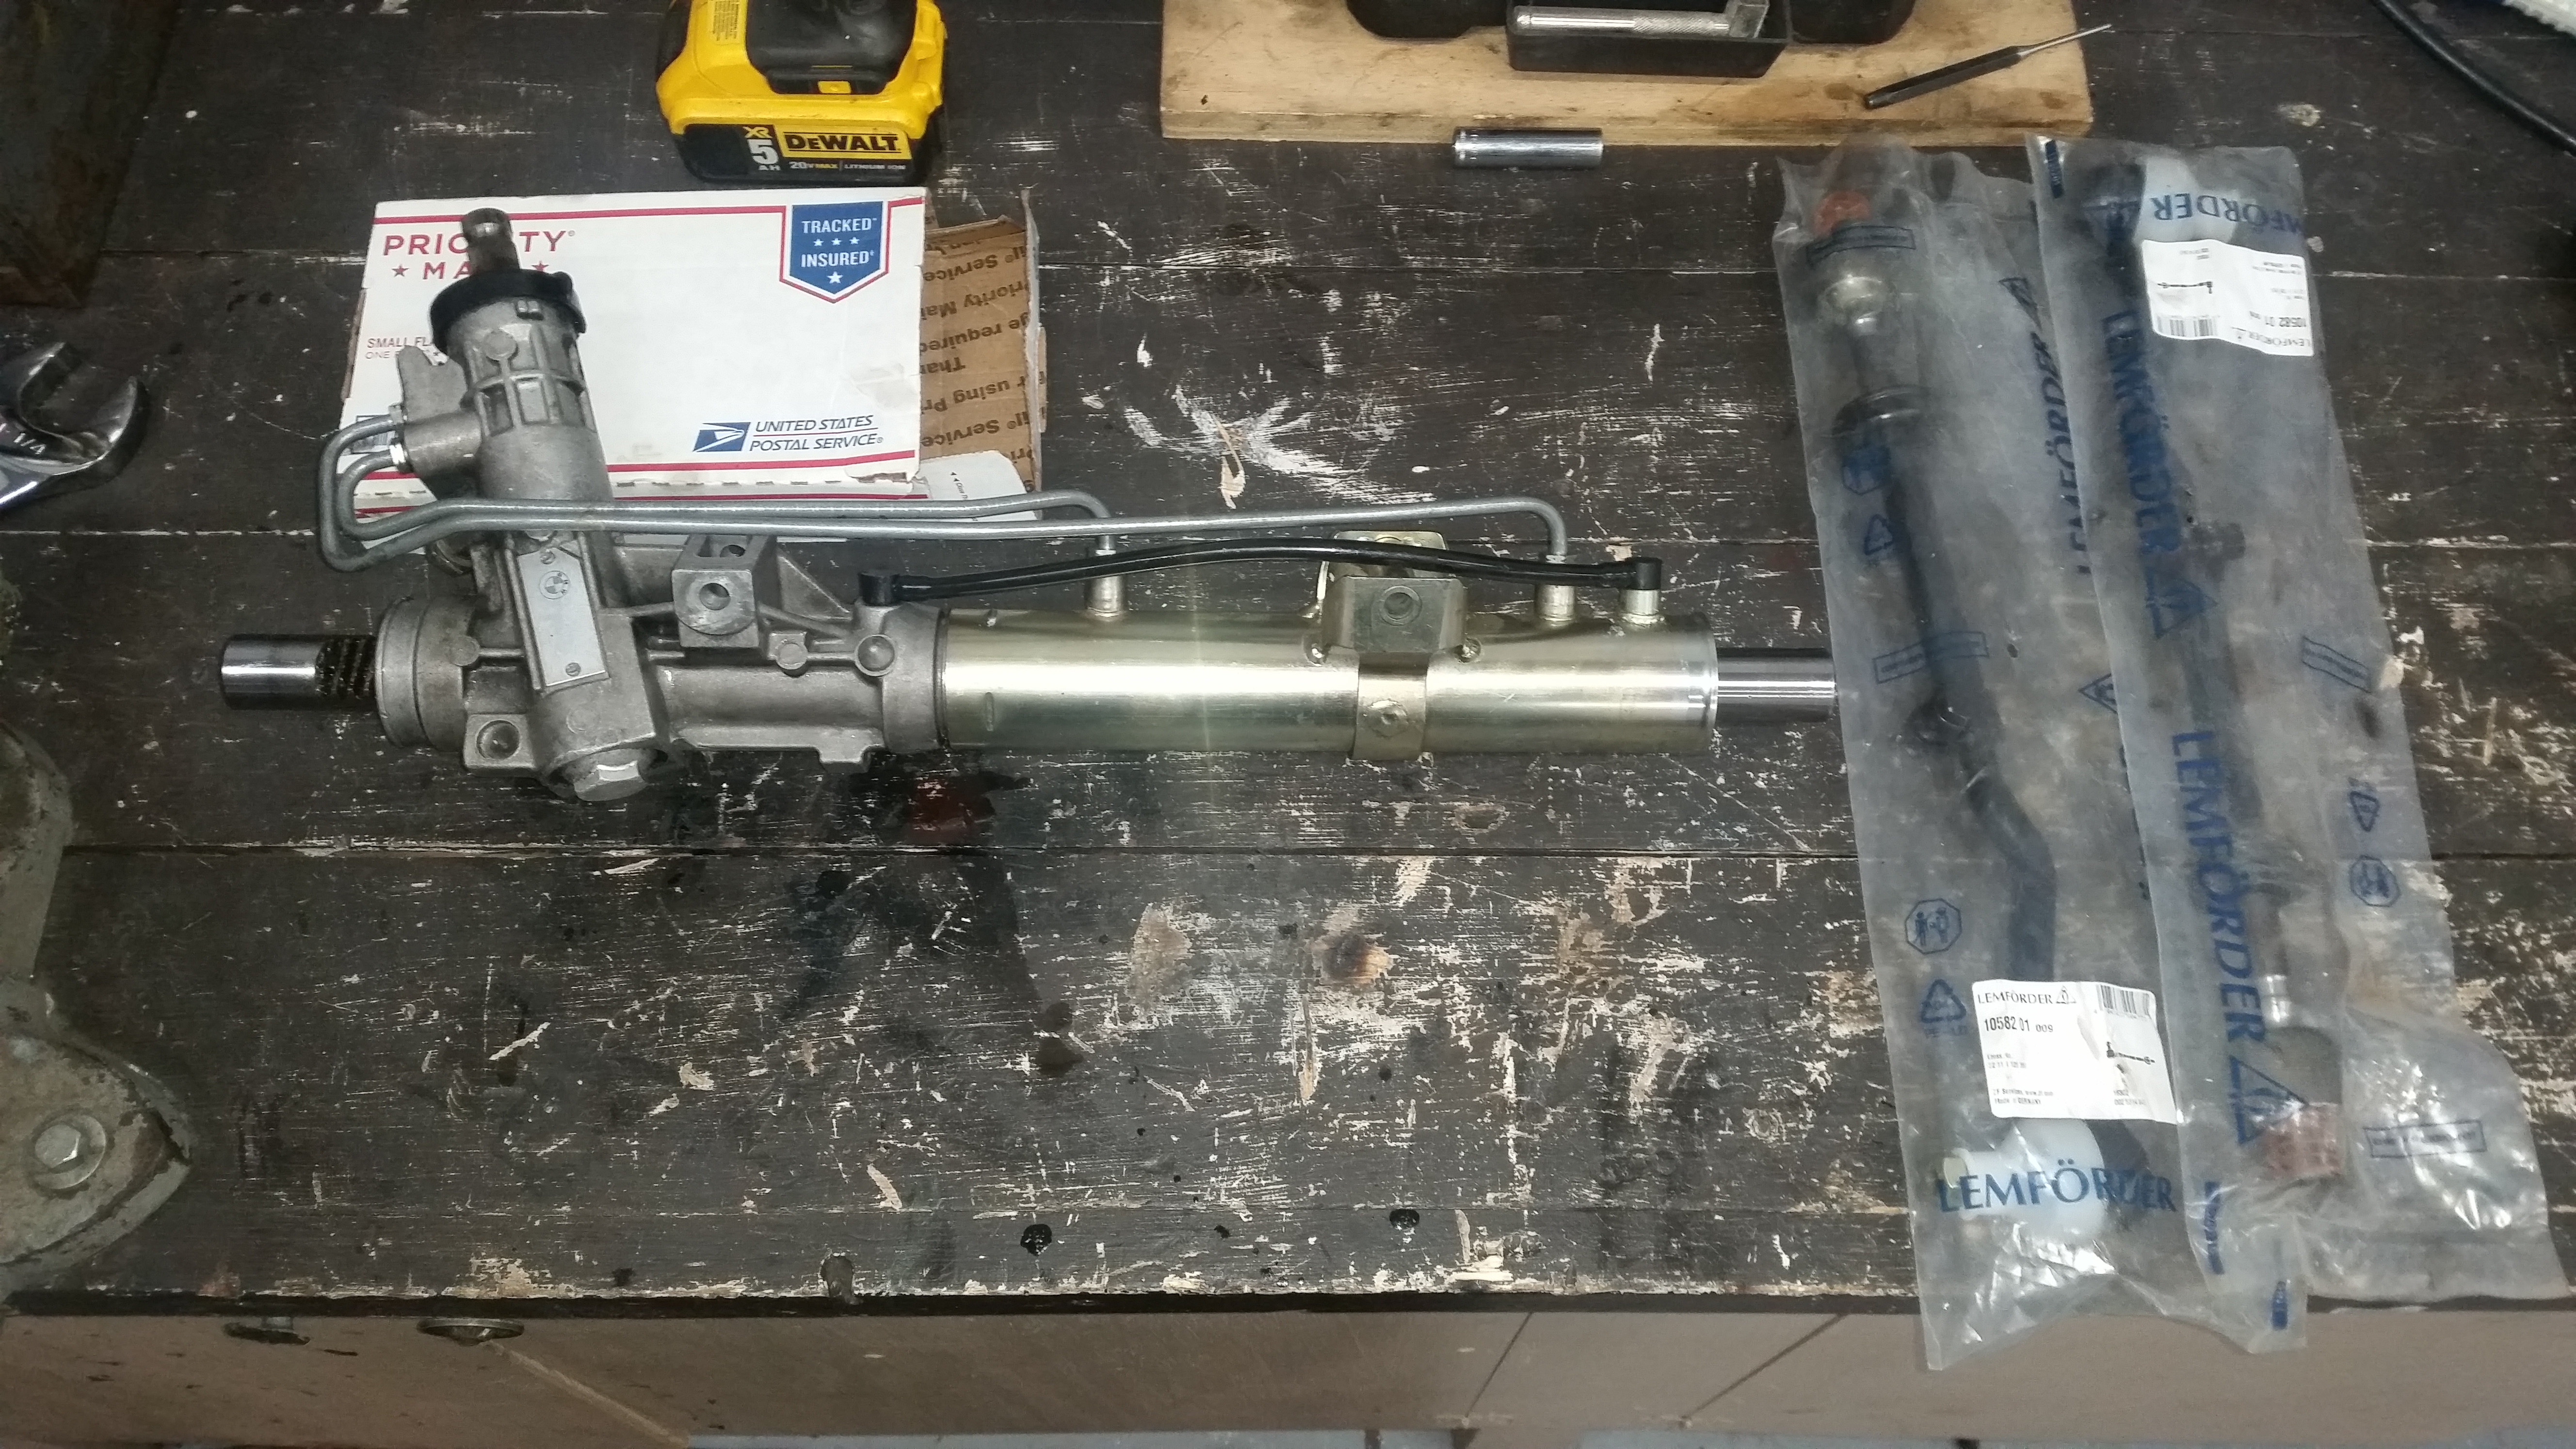
Steering rack showed up today!
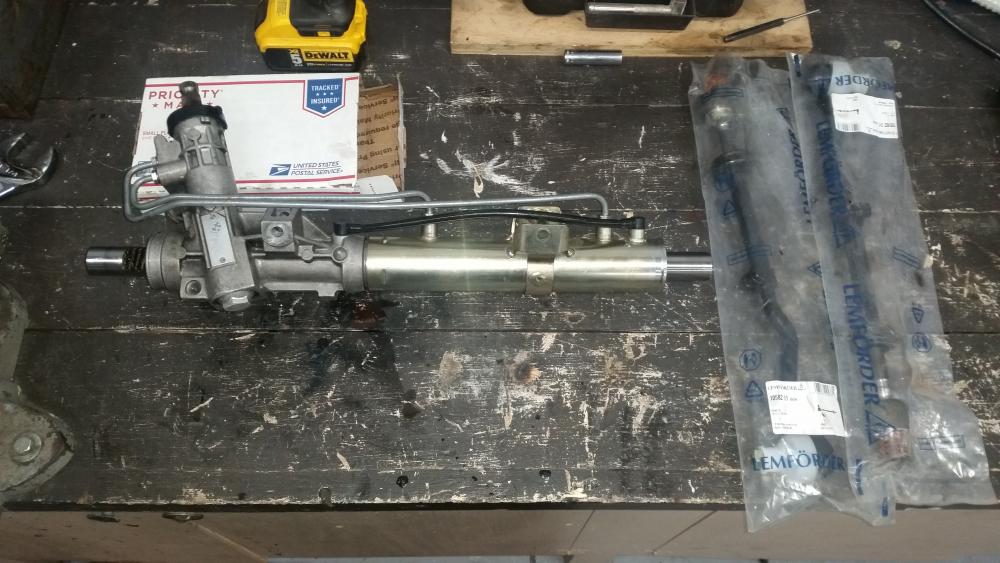
Like I said before, I picked it up off eBay. Payed $150 for it plus shipping. According to the seller its out of a 2000 non-m z3, unknown miles. Both tie rod assemblies are pretty much shot but that's fine cause I got a brand new pair of oem e30 tie rod assemblies sitting in a box anyways that I was gonna put on the old rack a while back.
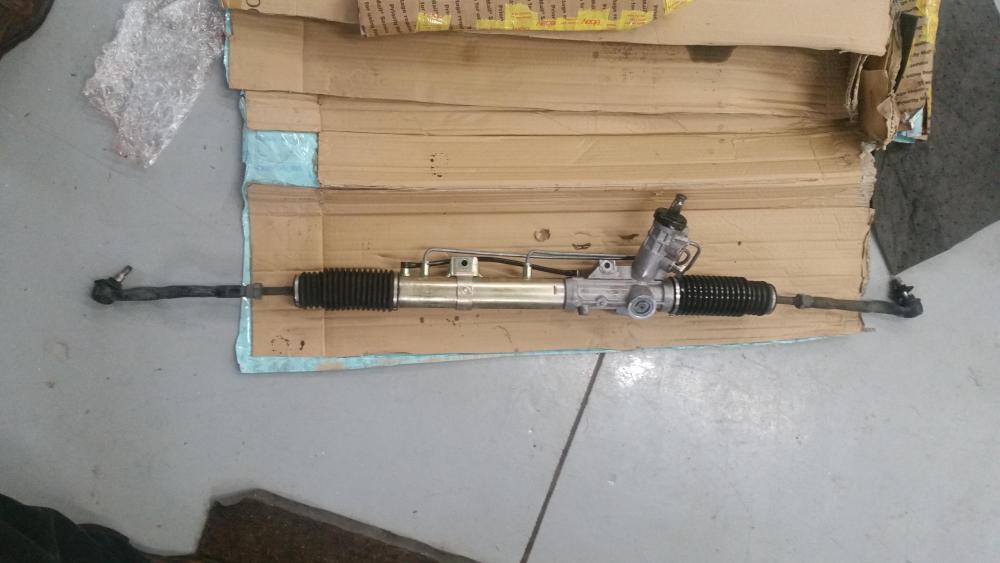
Pulled the old tie rods off and spun the rack back and forth to see how she feels. This thing is gonna be awesome!
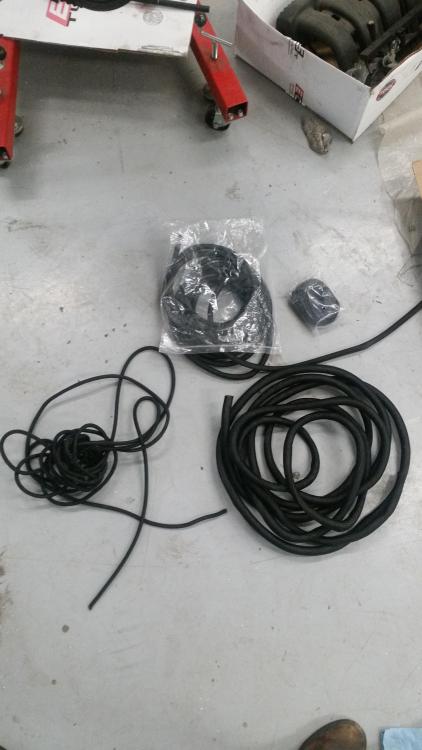
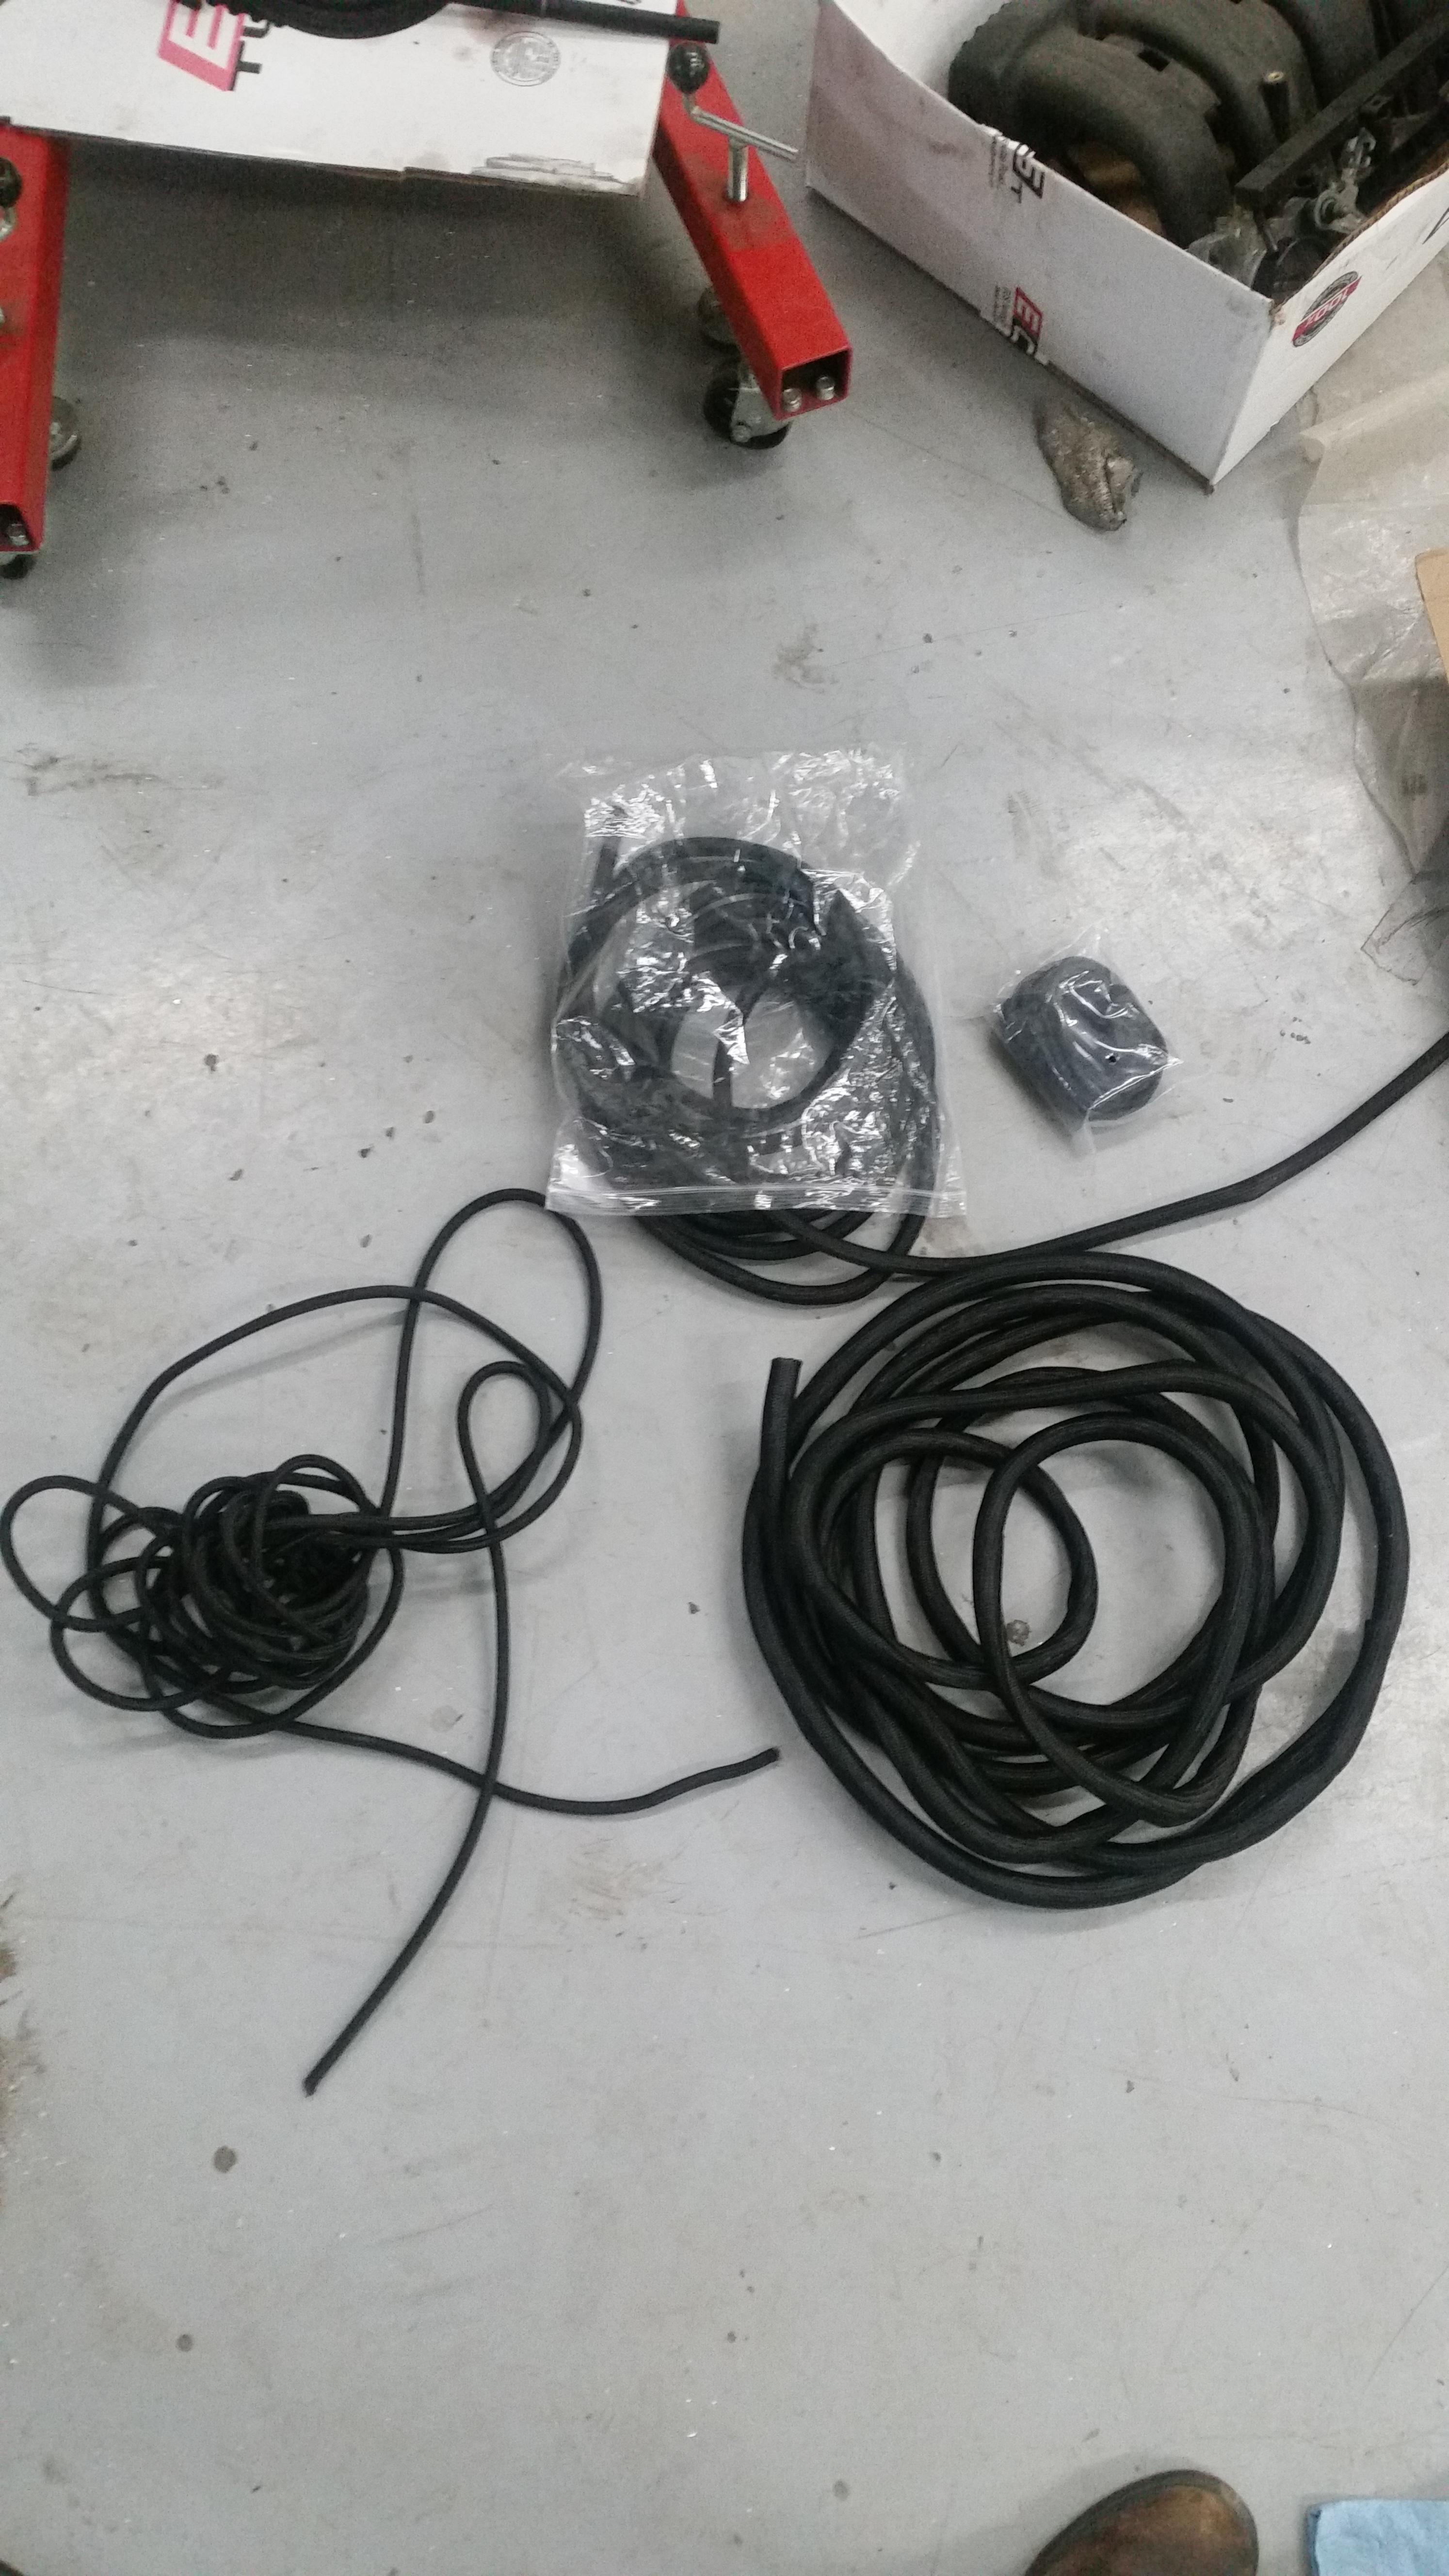
Also received a whole bunch of different size tech flex split loom rap today for my wiring. Hopefully will get a chance to work on that tomorrow or Friday.
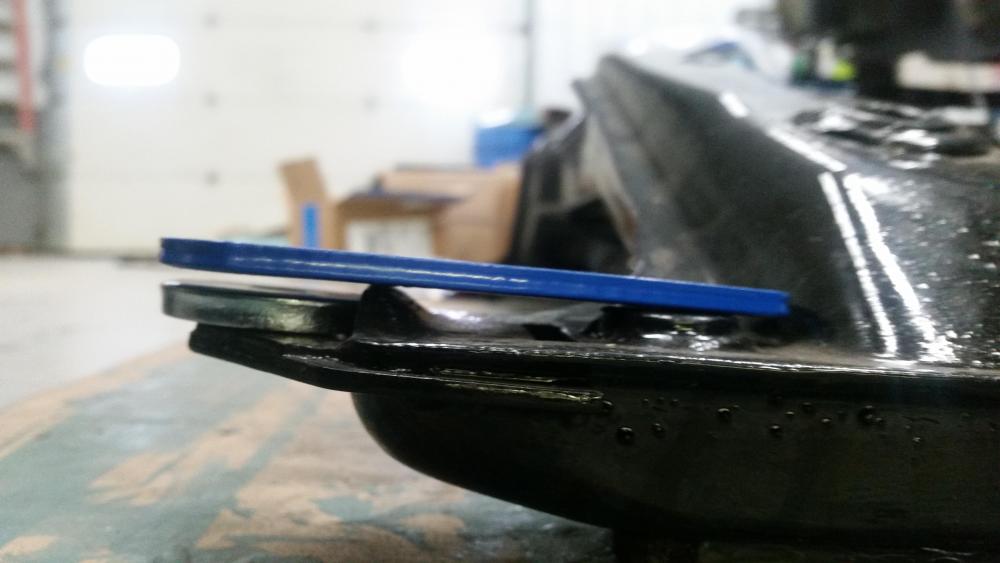
Couple questions sway bar related
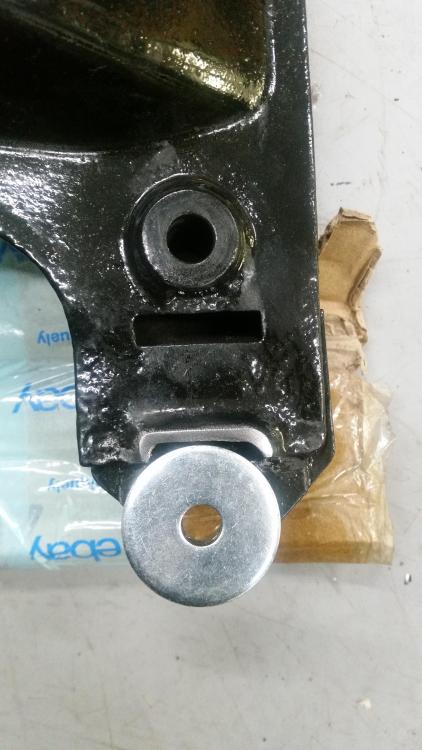
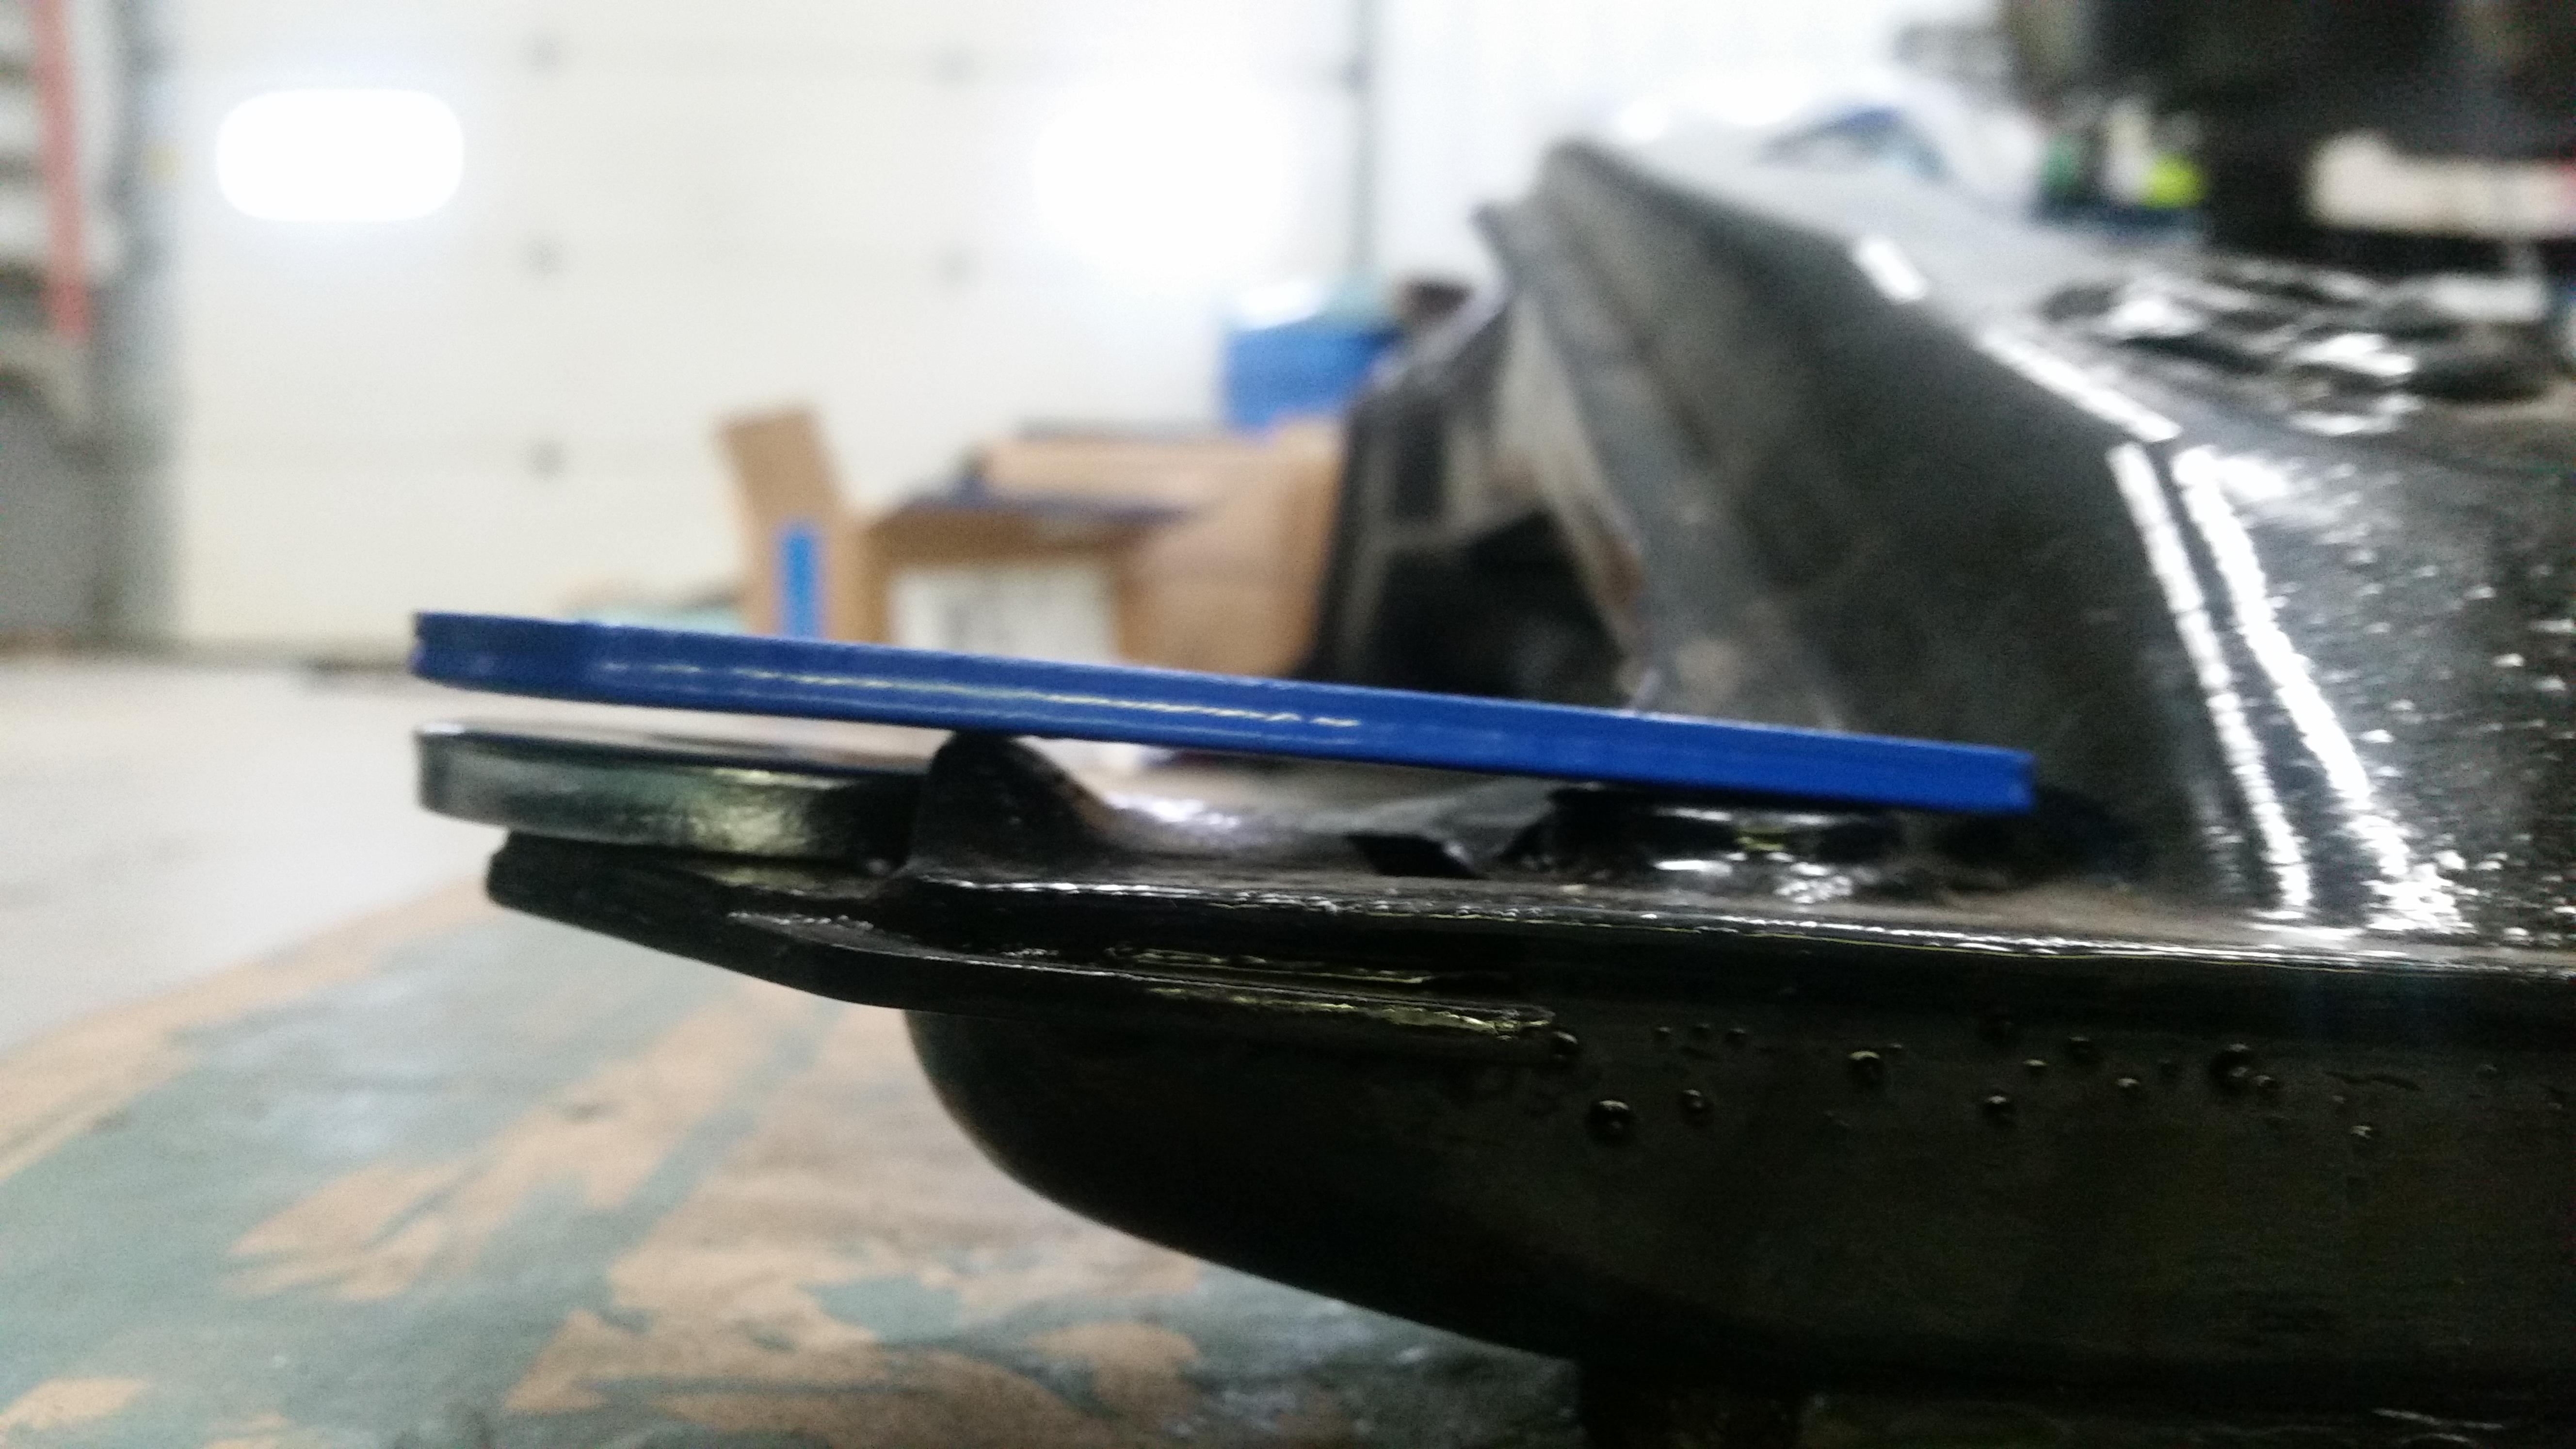
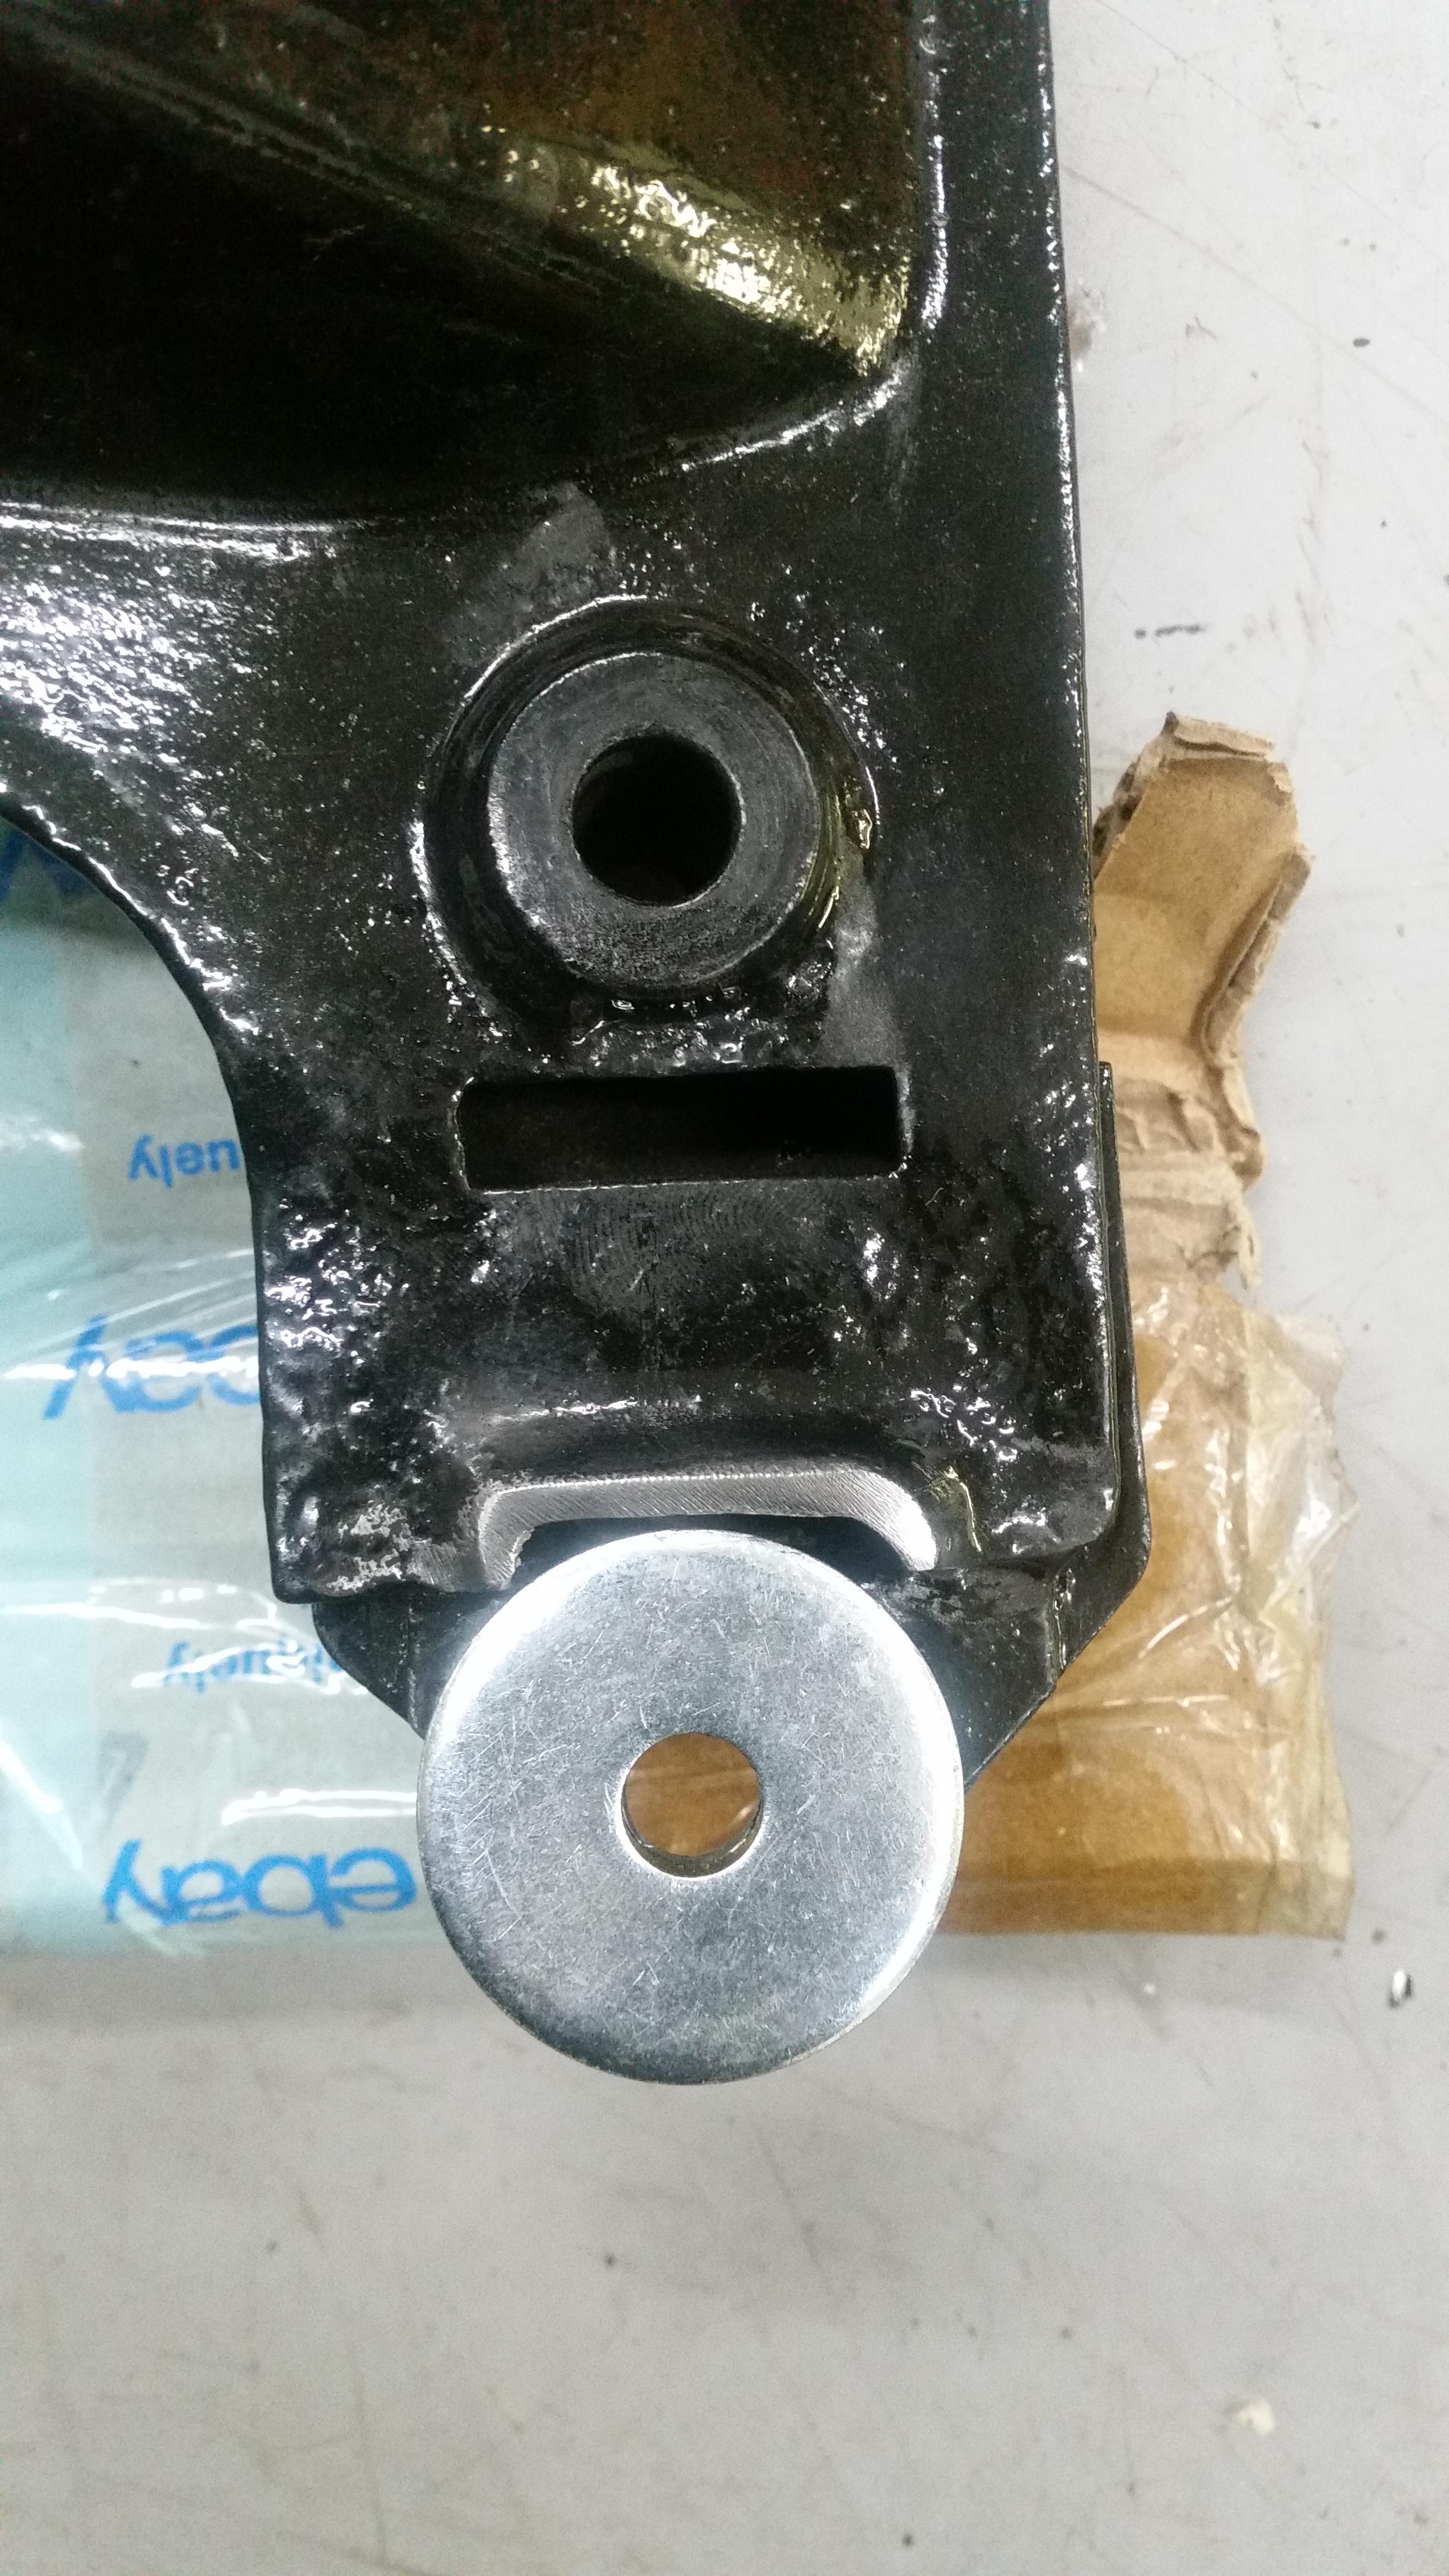
Do I need to grind down this tab so the blue spacer sits flat on the washer and sub frame bolt hole?
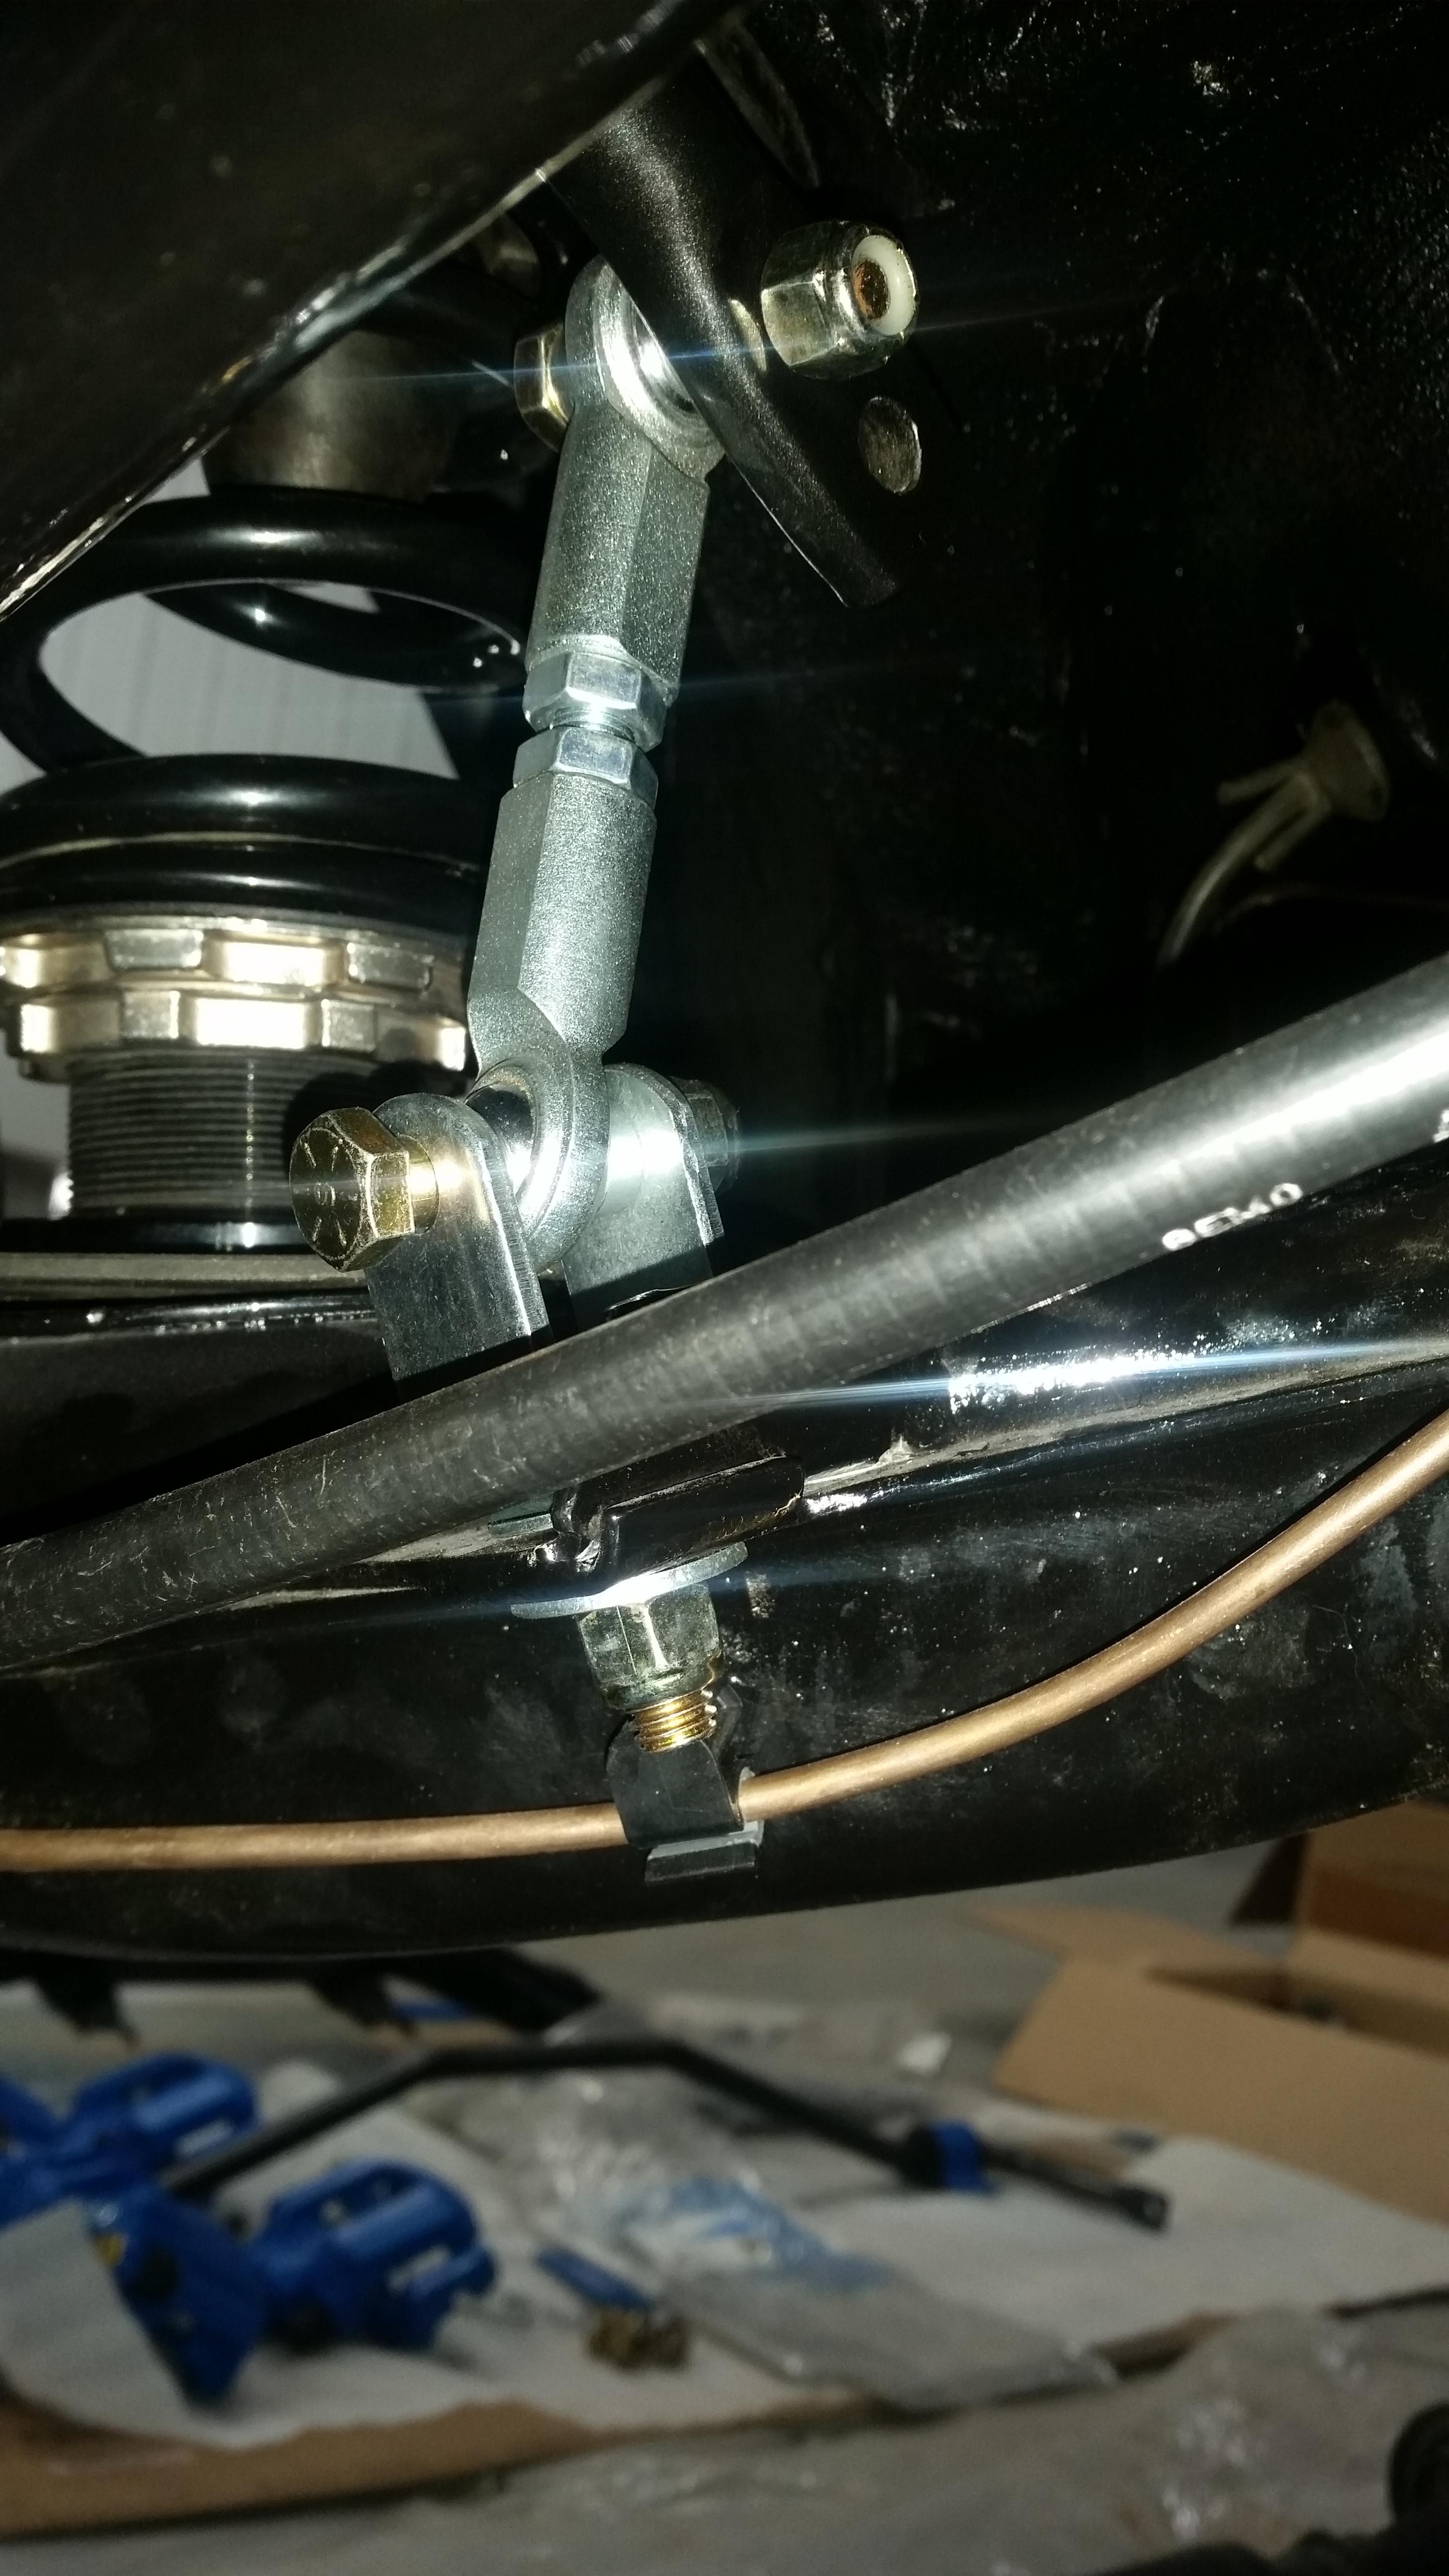
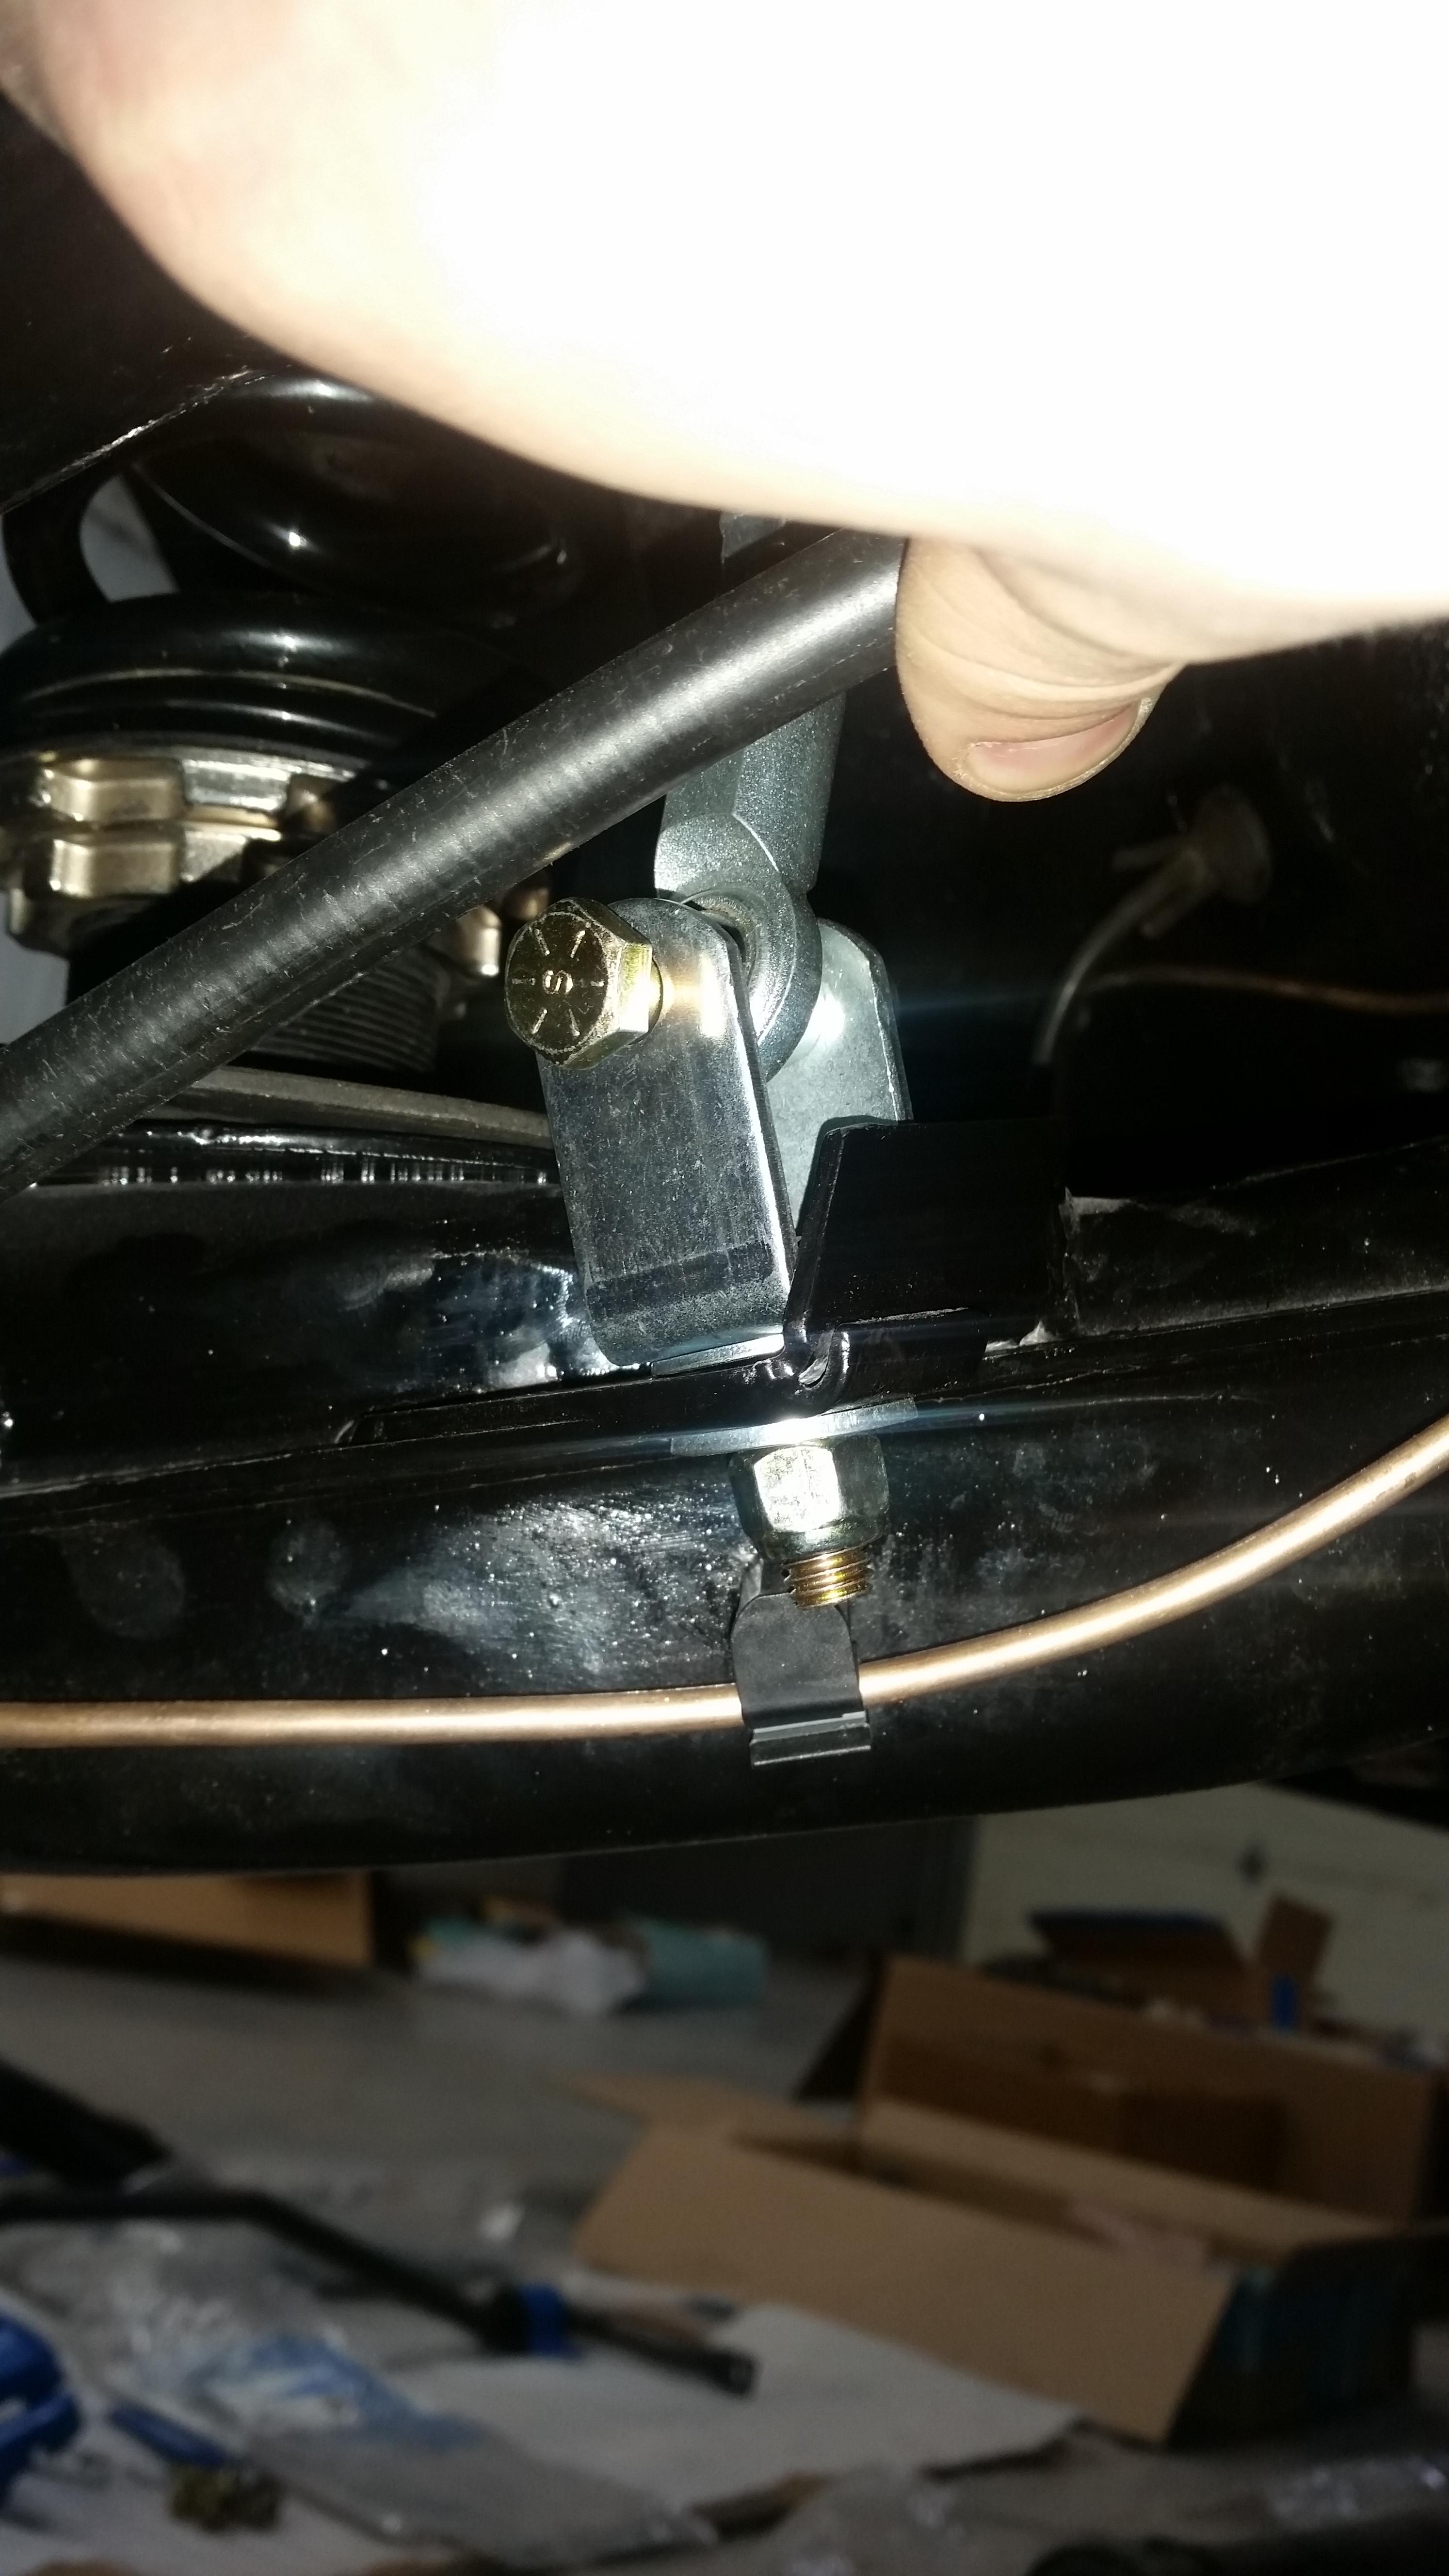
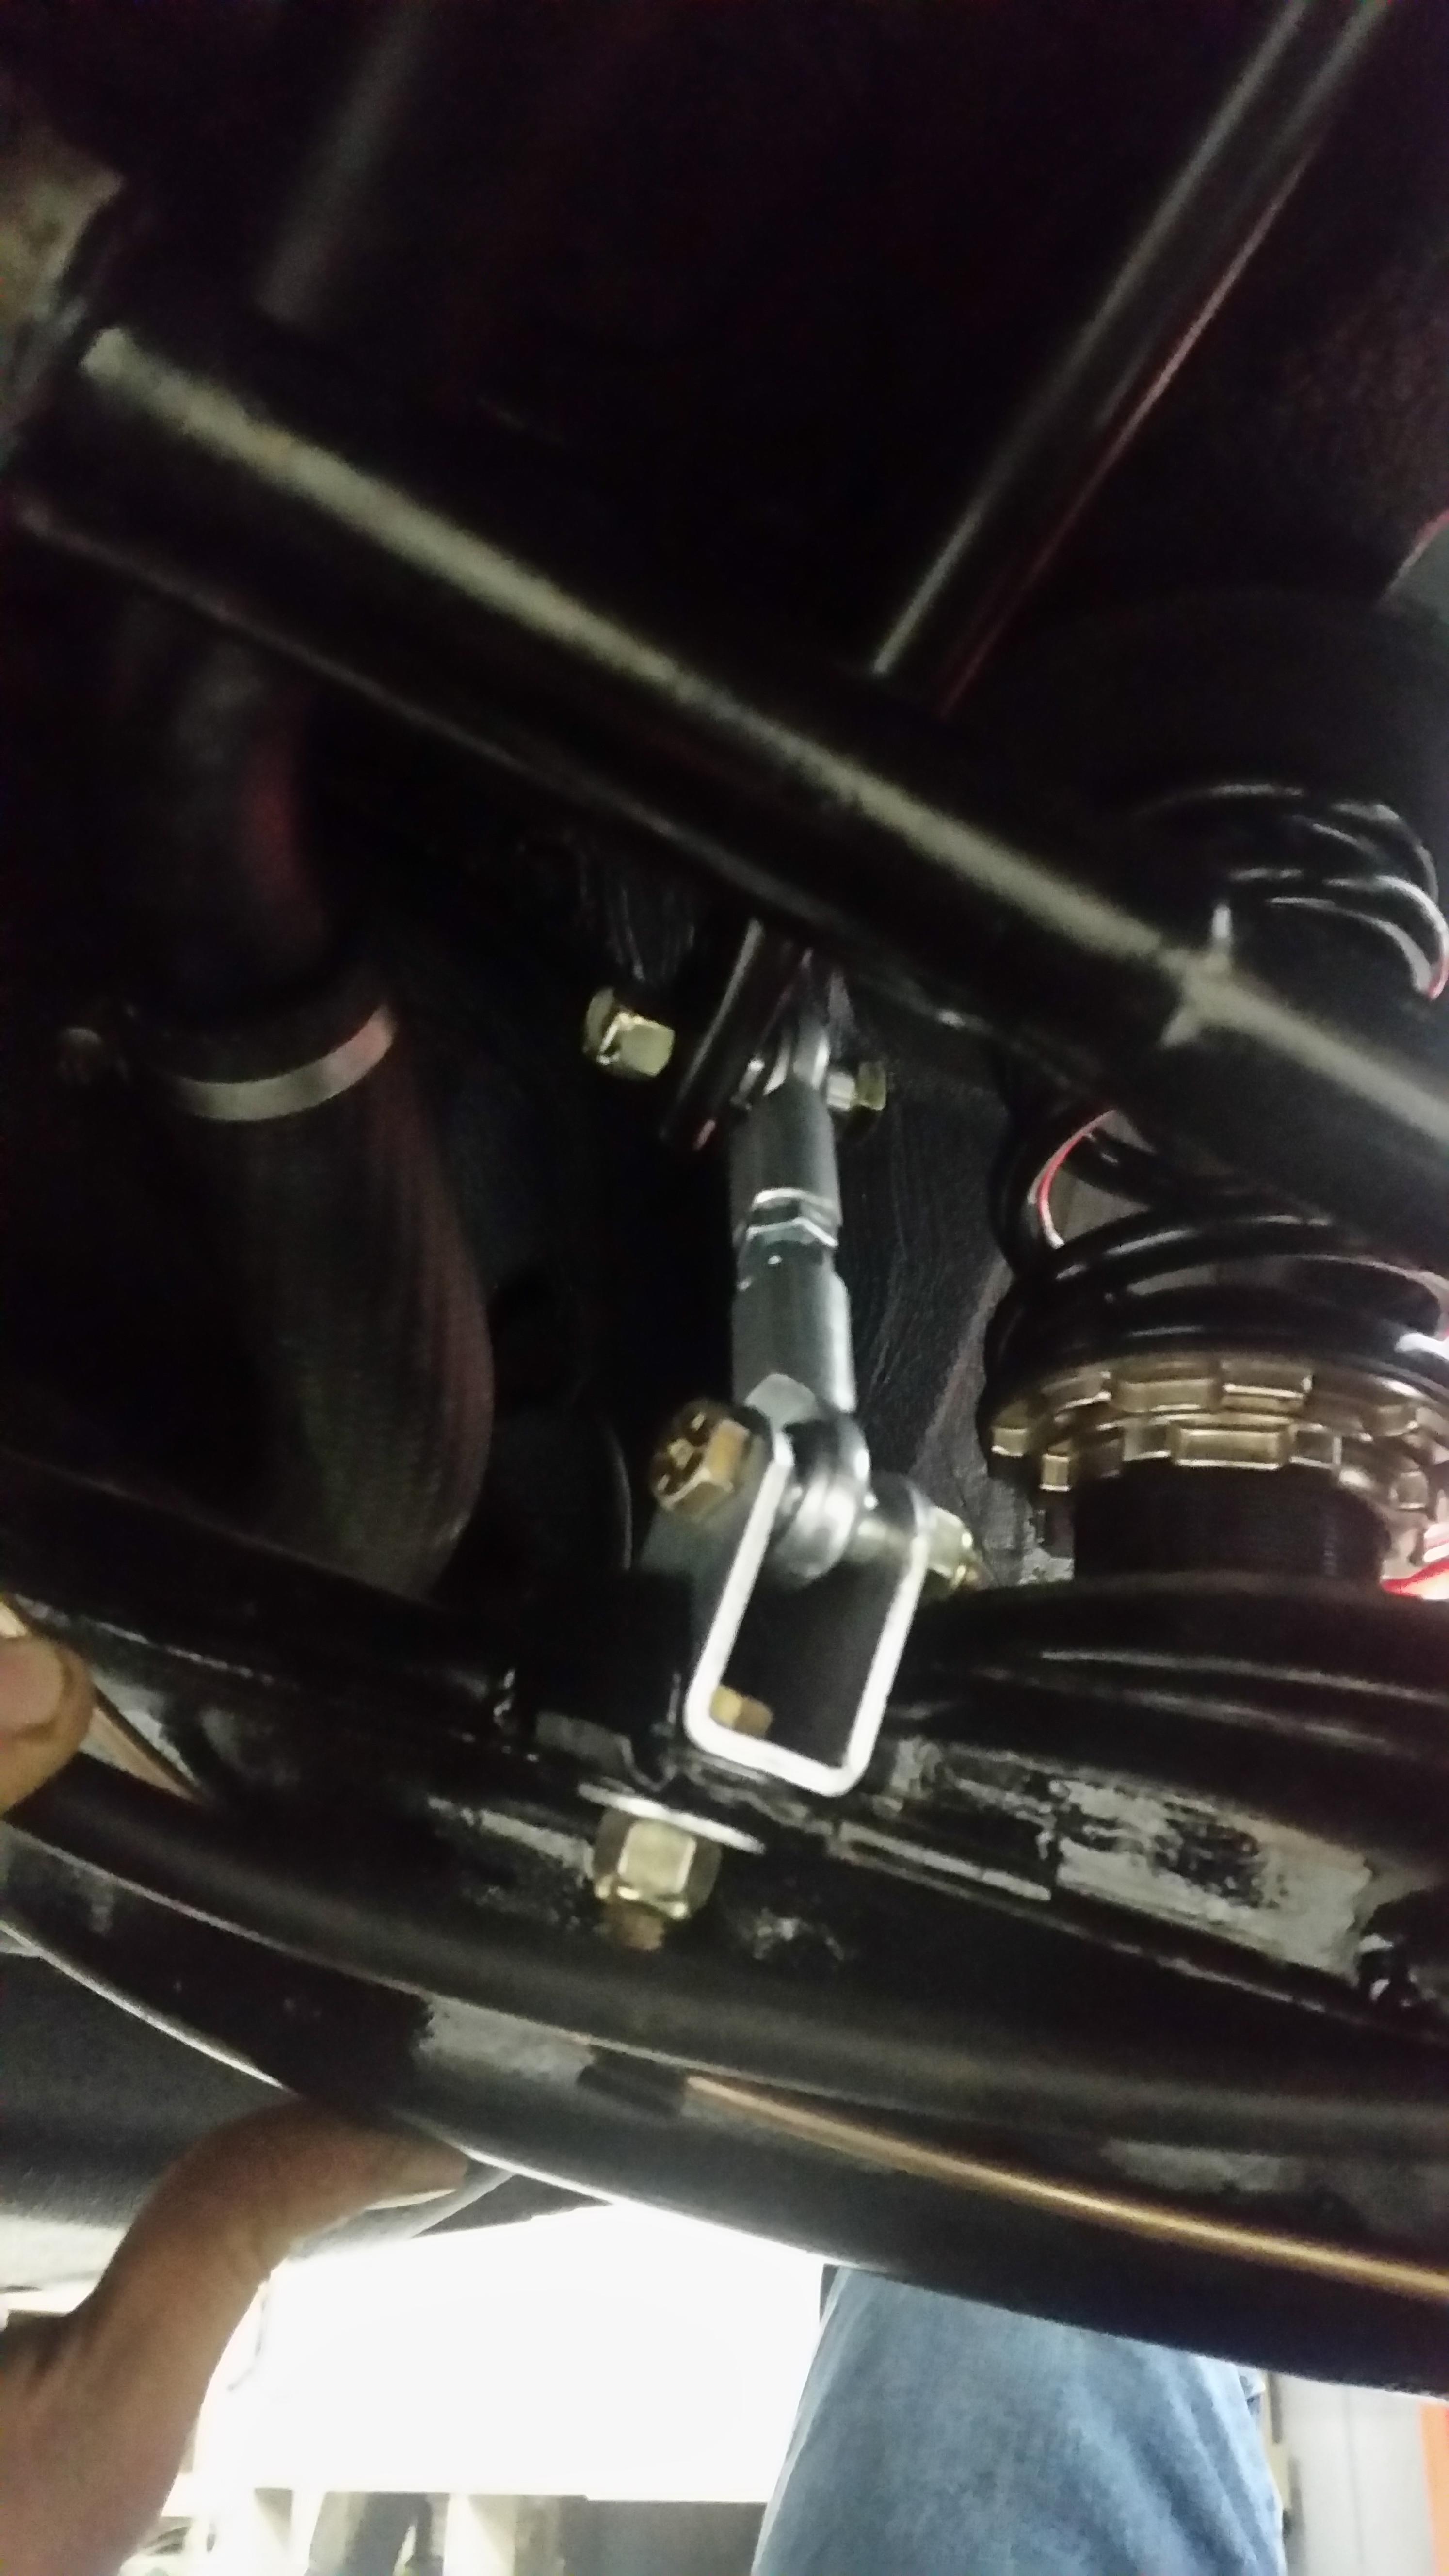
The rear sways aren't working out real nicely either. The way it is right now pretty much just maxes out the joint on the link and its adjusted to the smallest length it will go. The only way to fix this issue is to turn the U bracket the other direction of course. Well yets just say the trailing arm reinforcement doesn't really let you.
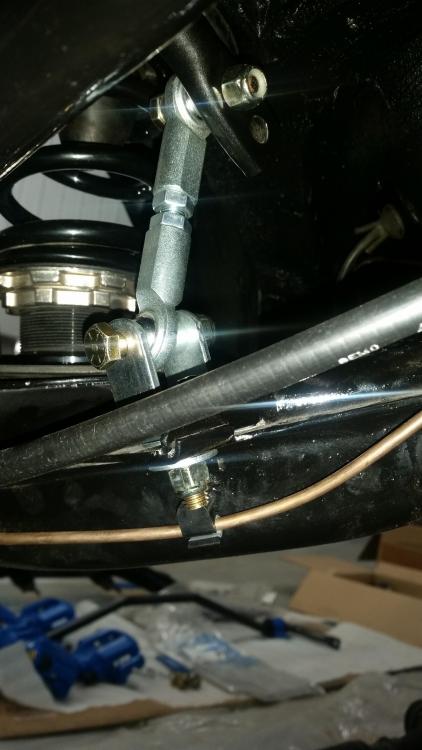
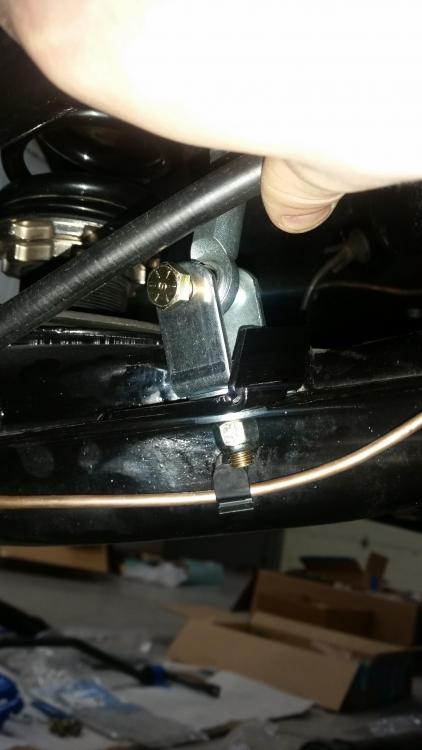
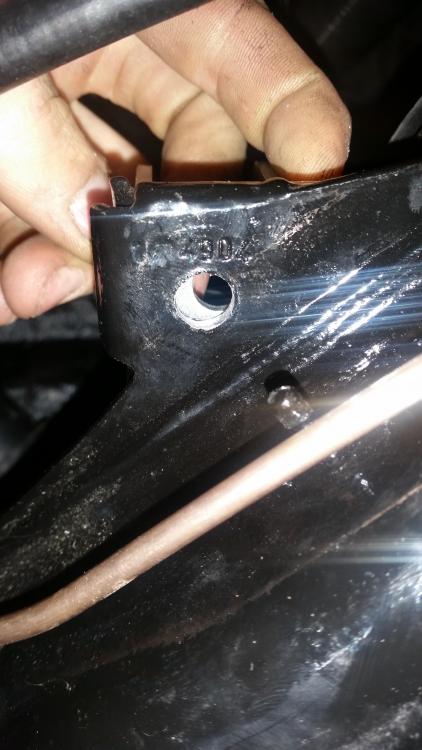
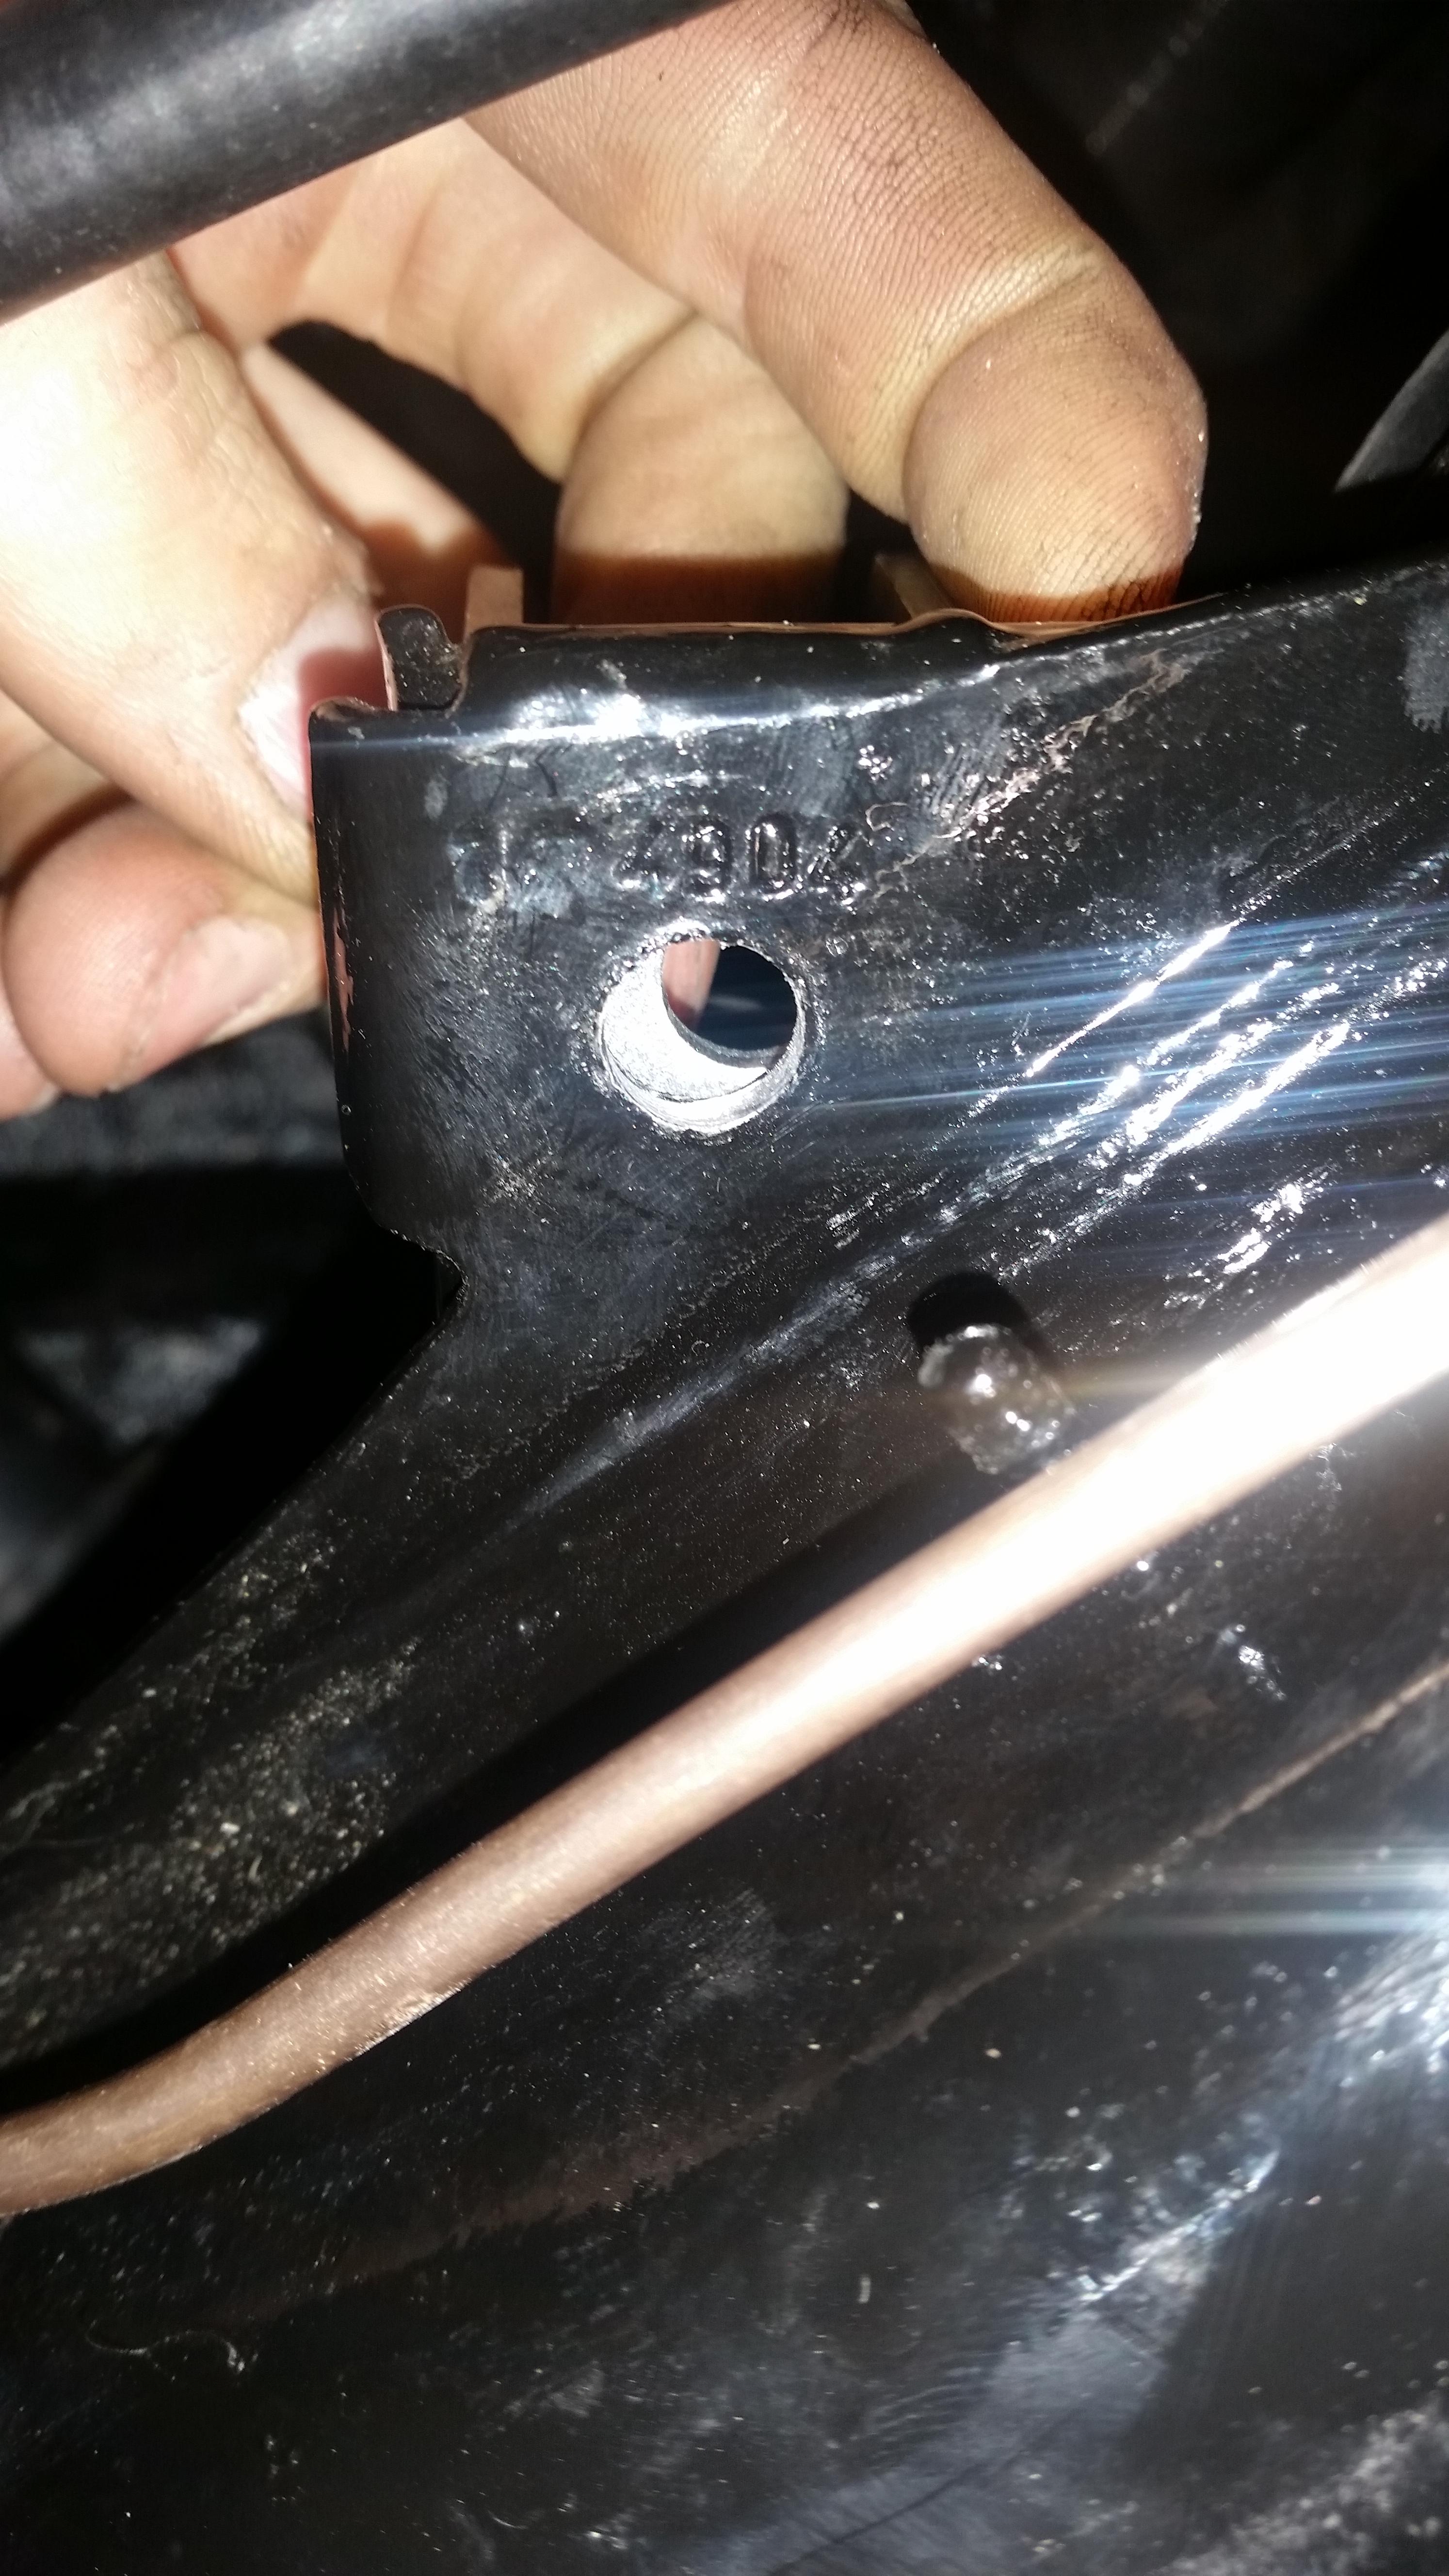
I'm thinking of probably welding the hole up on the U bracket and re drill it off-set so I can turn the U bracket the other direction and it lines up with the bolt hole on the reinforcement tab. Any one have similar troubles with this particular thing? I suppose a lot of you probably used the reinforcement triangles that came with the ST kit which in that case you would not have had this issue. Sigh...

-
Yes, grind that peak so that the spacer sits flat.
I thought I remember having to use regular E36 tie rod ends on my rack swap... or was it E36 inner rods andE30 outers....I just remember that the Z3 rack does not have locking tab provisions foe the inner tie rods like the e30 and e36 rack do, so you just use loctite.
-
Yes, grind that peak so that the spacer sits flat.
I thought I remember having to use regular E36 tie rod ends on my rack swap... or was it E36 inner rods andE30 outers....I just remember that the Z3 rack does not have locking tab provisions foe the inner tie rods like the e30 and e36 rack do, so you just use loctite.
I just looked quick and I think all you have to worry about is using the same for both inner and outer rods, so either inner and outer e36 or inner and outer e30.
-
FWIW I think e36 outers are a tad thicker than e30 tierods
-
Is that at full droop?
Should be setting the swaybar endlinks with the car on the ground
-
Found this pic, I didn’t use the st reinforcements - can’t remember what you bought - but I think (??) I went with garagistic reinforcements. This is the orientation of my mount on the RTA

-
FWIW I think e36 outers are a tad thicker than e30 tierods
I think you may be right. I actually have a set of worn out e36 tie rods from the m3 rack laying in the scrap bin so I'll dig them out when I get over there later on and do a comparison.
Is that at full droop?
Should be setting the swaybar endlinks with the car on the ground
Ya. I knew I wouldn't be able to adjust pre-load tell the car was on the ground. I just wanted to get the links bolted up.
Found this pic, I didn’t use the st reinforcements - can’t remember what you bought - but I think (??) I went with garagistic reinforcements. This is the orientation of my mount on the RTA

I am running the garagistic reinforcements. It looks like you are as well. Did the holes line up for you or did you have to do a little modifying? I think I may just try notching out the hole on the U-bracket so that it lines up correctly like yours and probably just fill any gap up with weld so there's no slop with the bolt.
-
Gotcha on the links, just wanted to make sure there wasn’t preload on them in the air

Holes lined up after a touch of modifying if I remember correctly
I’m not at all surprised that something from garagistic needs to be modified
-
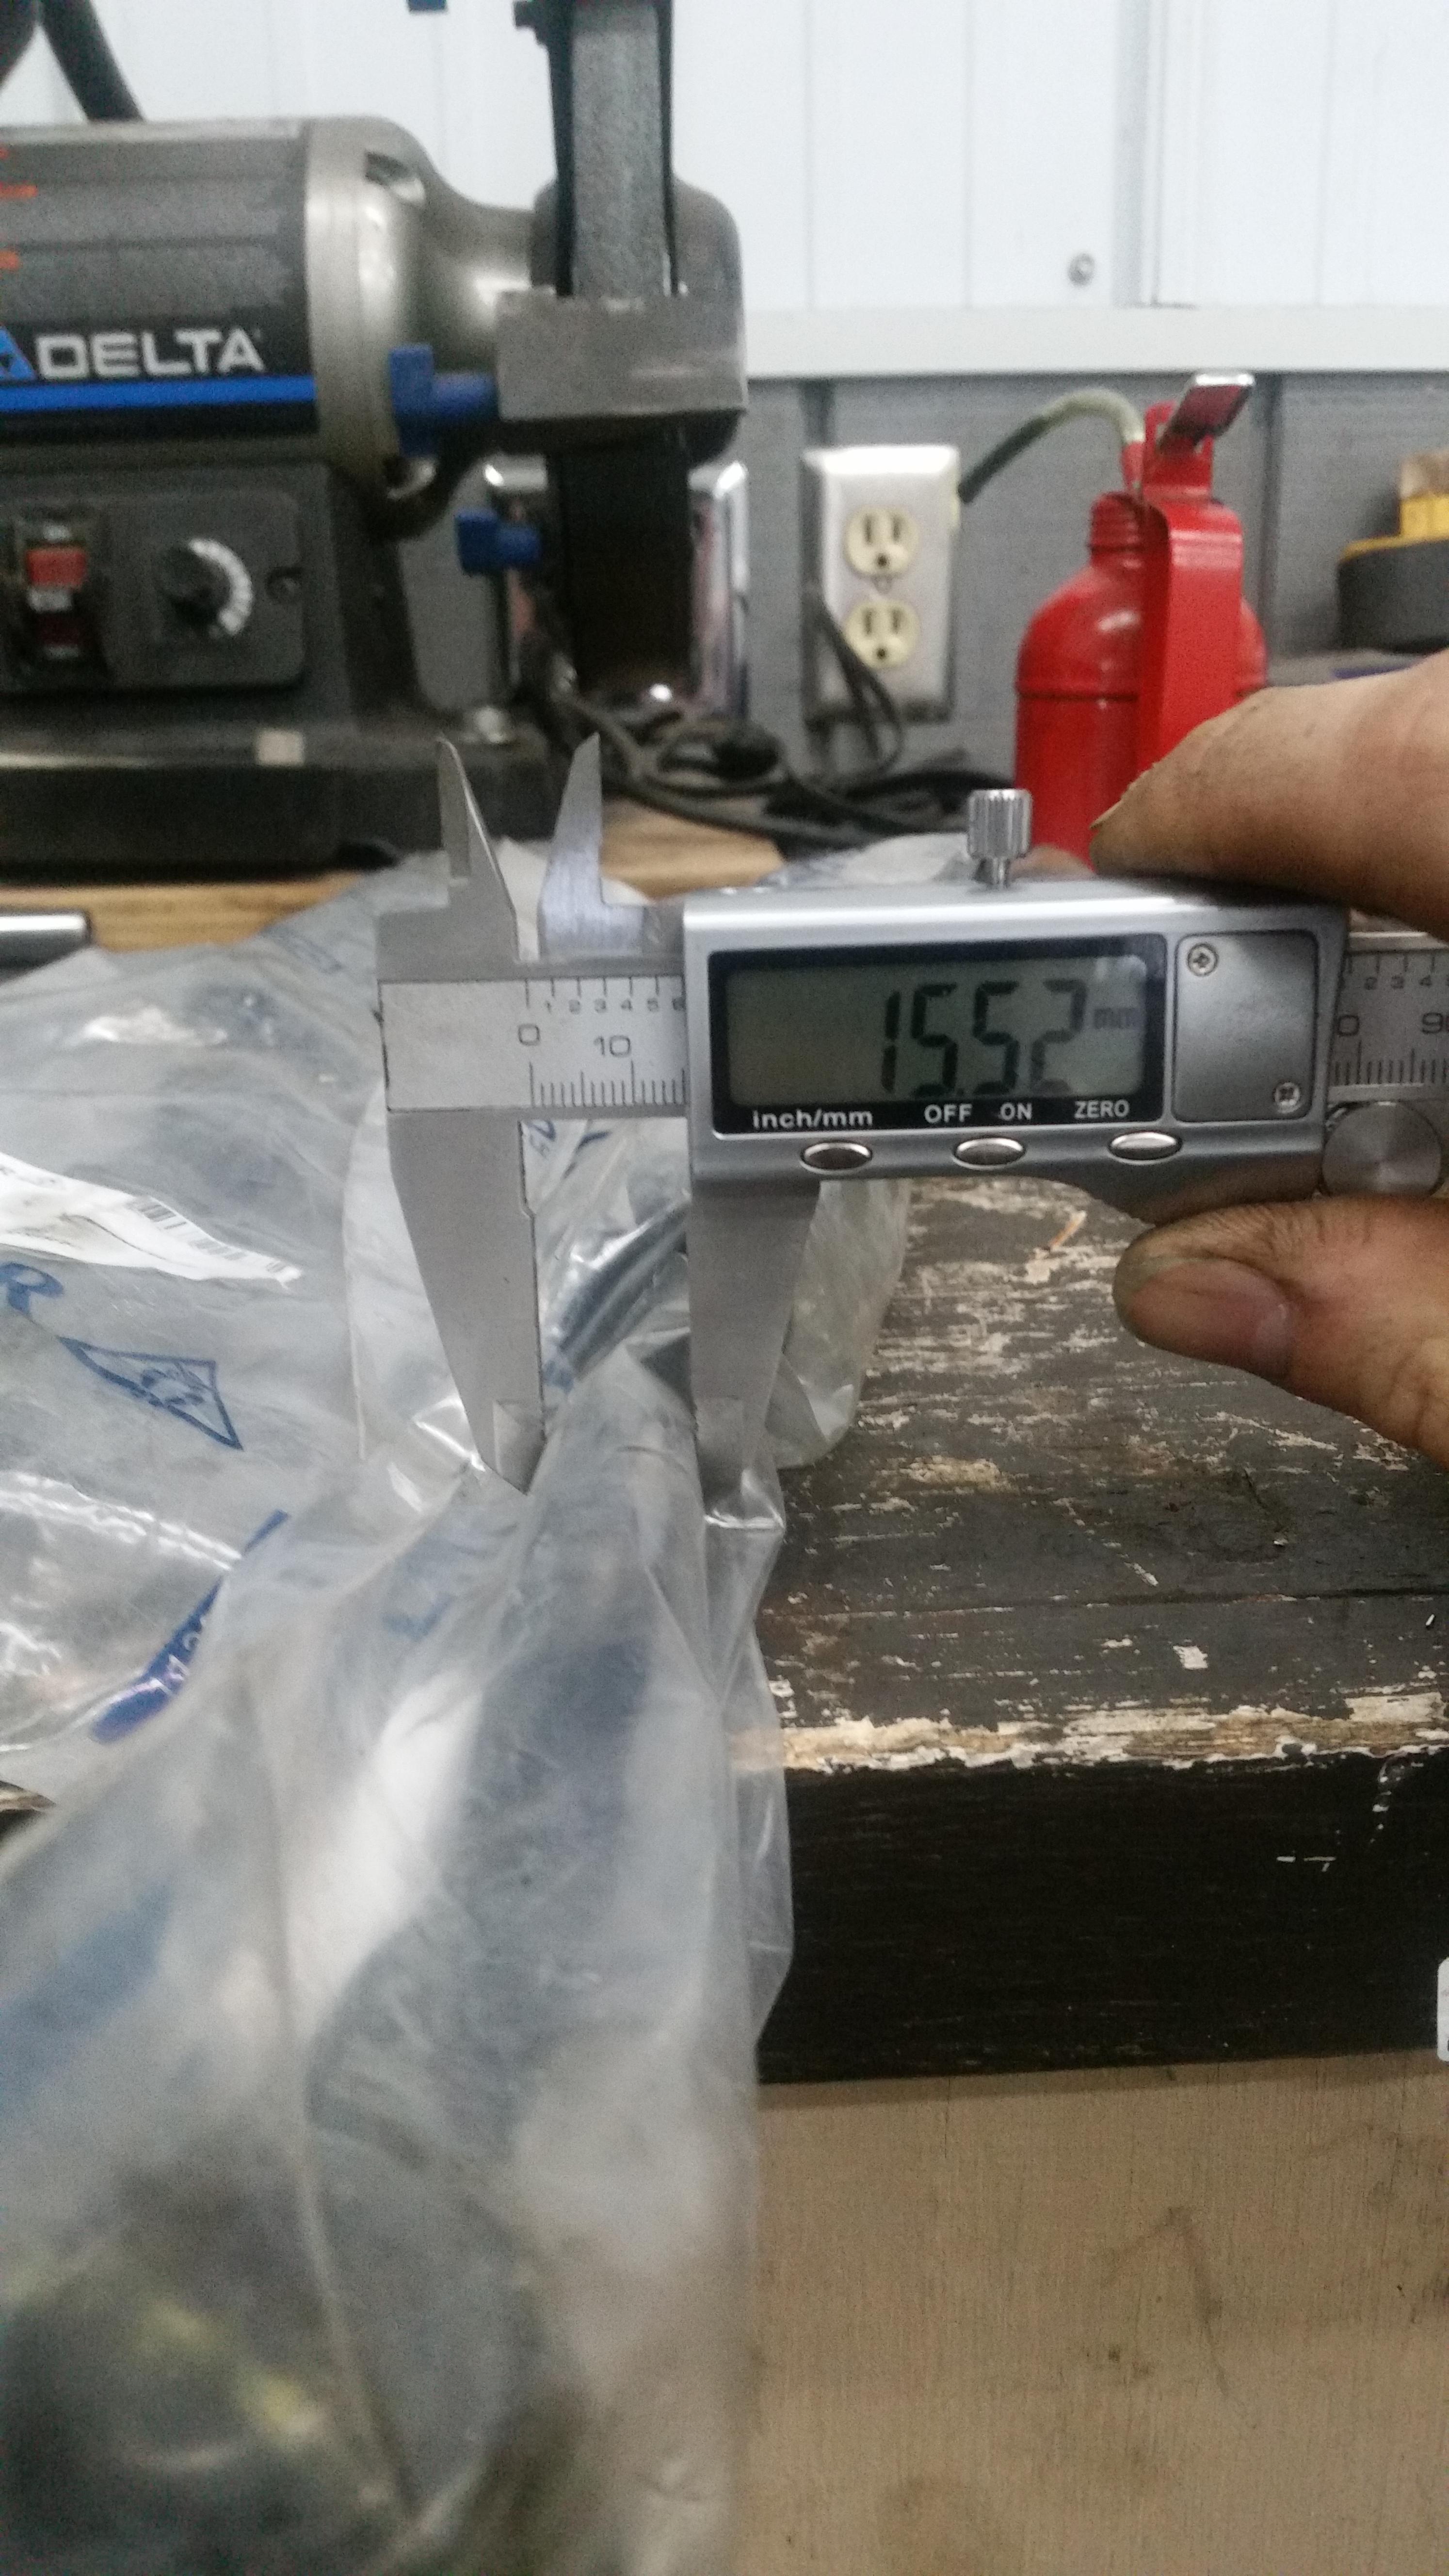
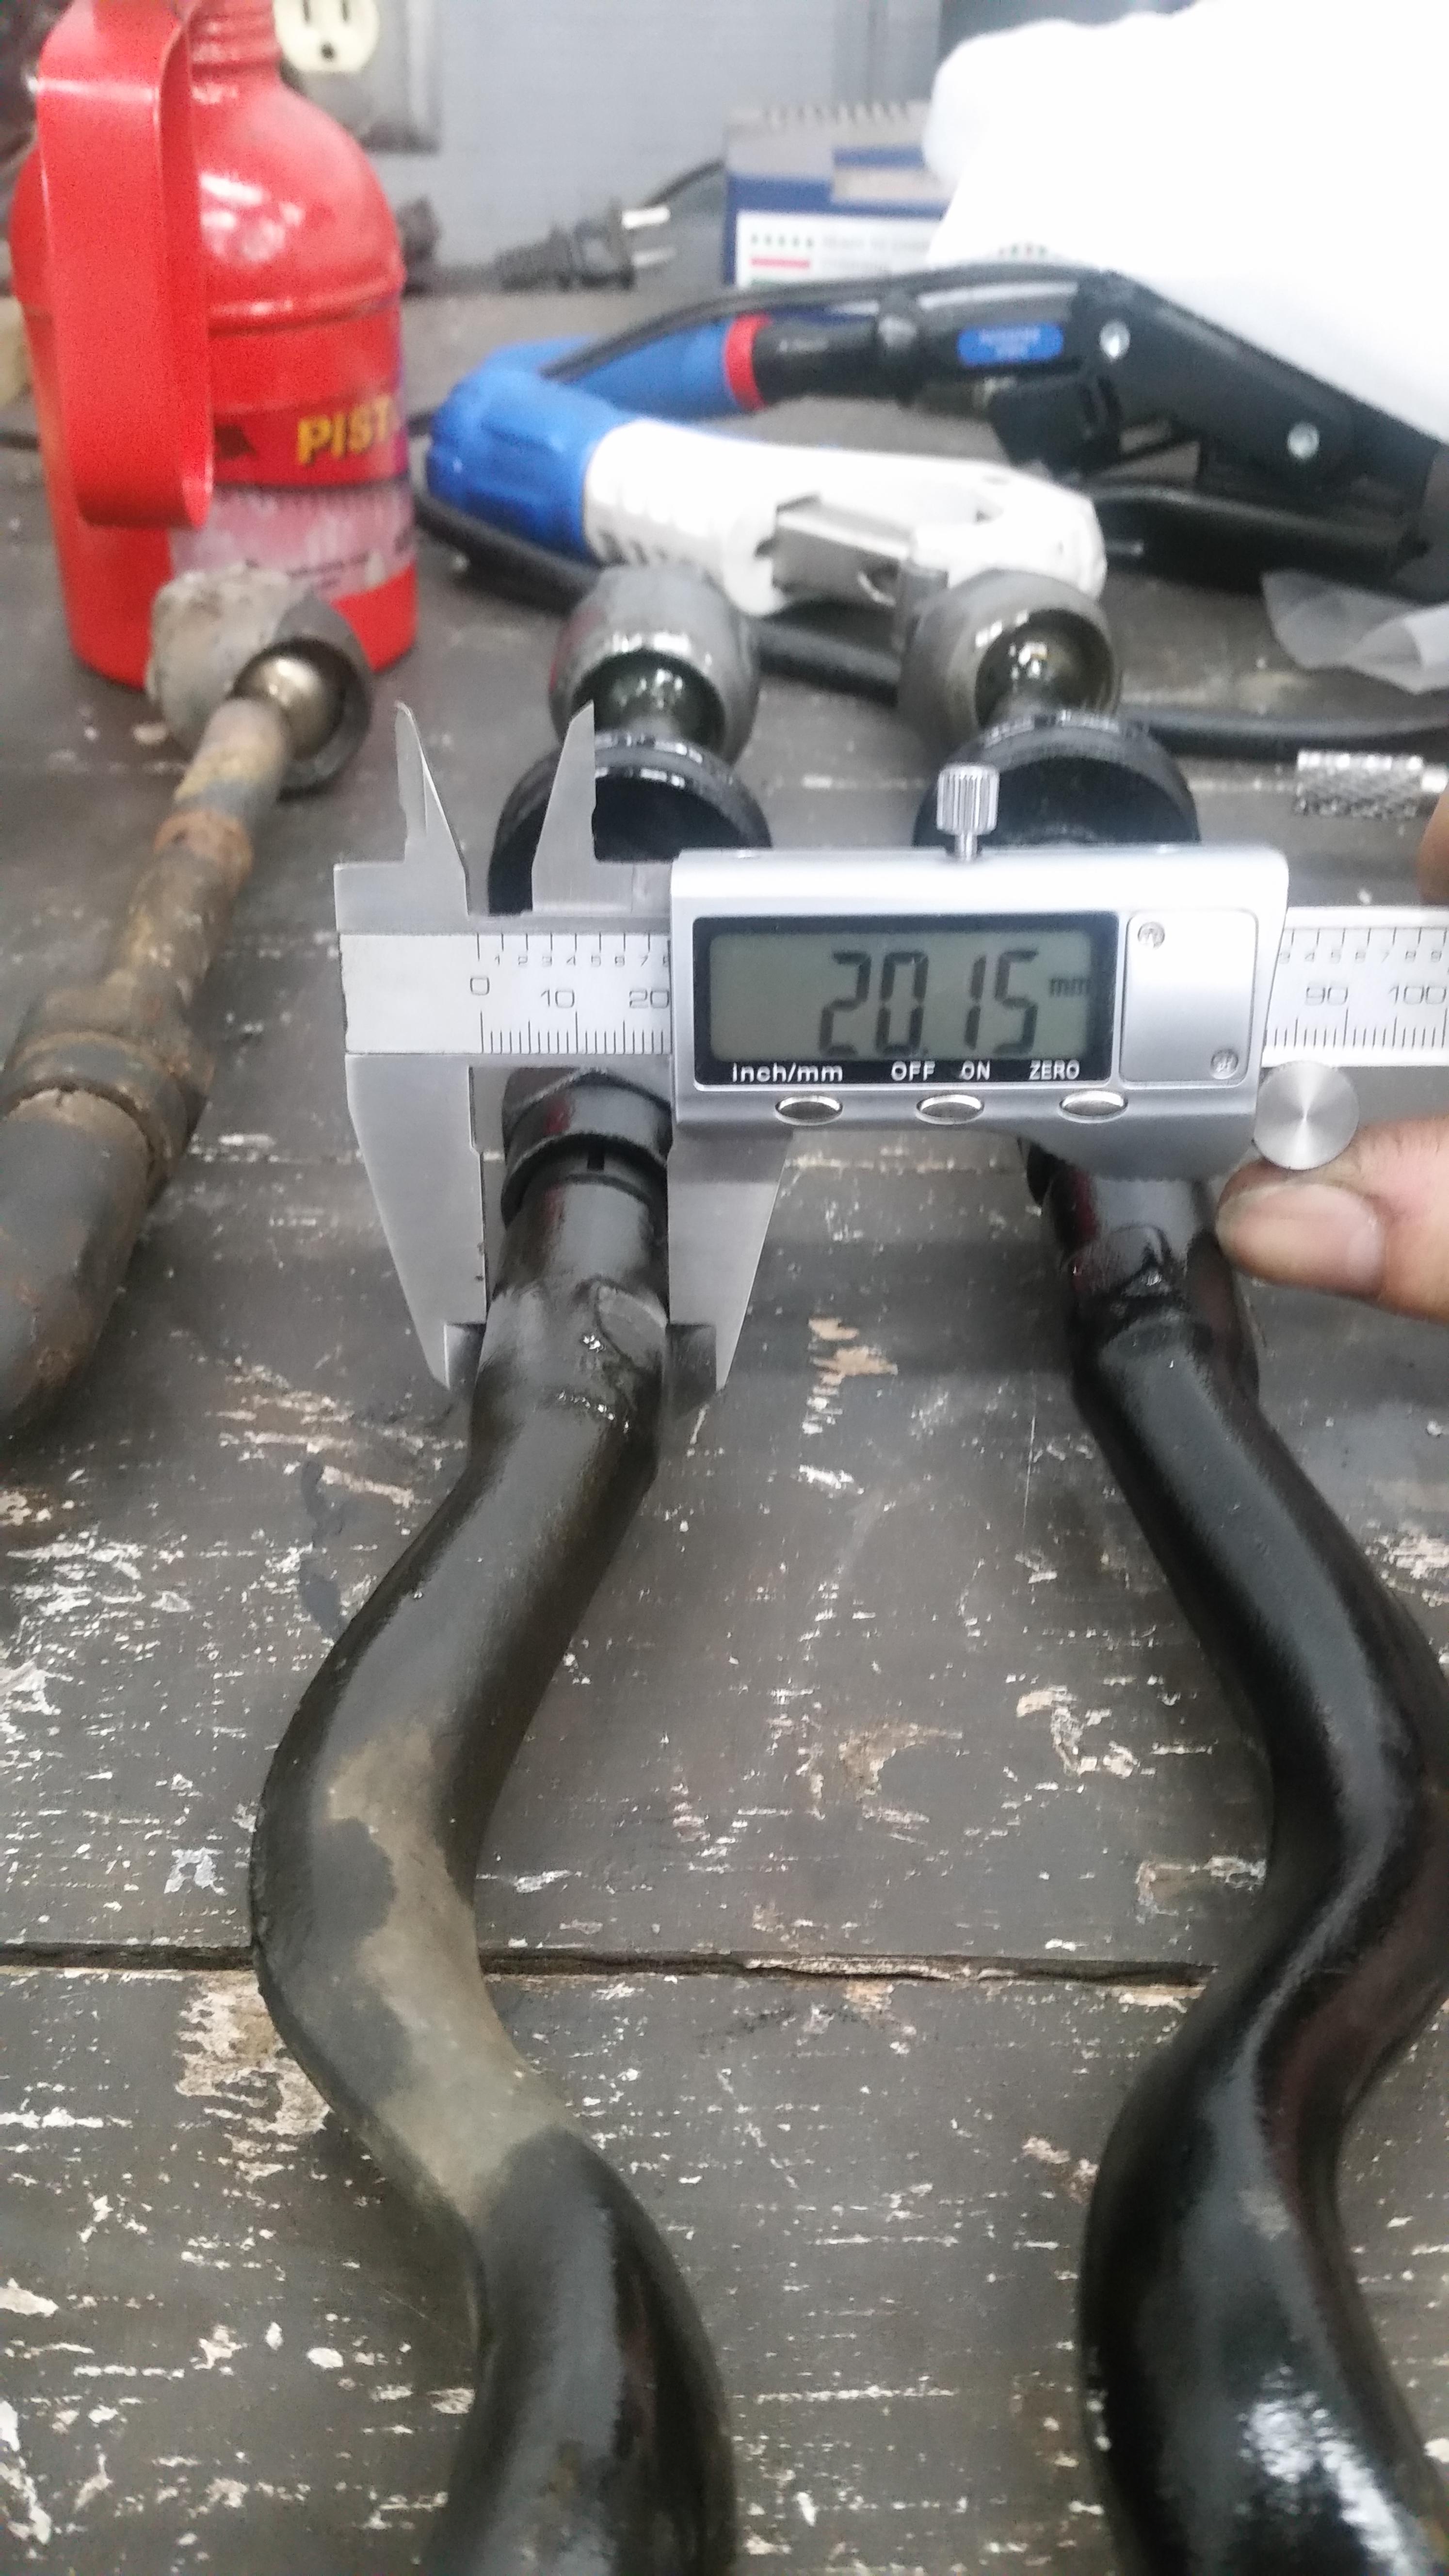
Welp, looks like I won't be using the e30 tie rods after all.
E30 outer tie rod diameter... (measurement is slightly large because of the packaging)
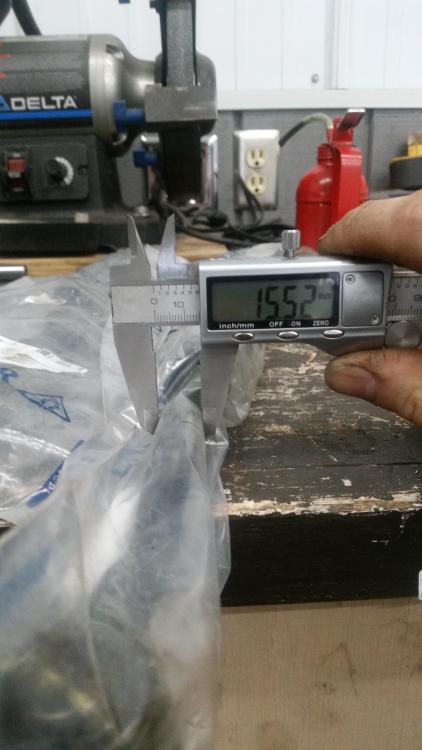
Aaaand E36/z3 outer tie rod...
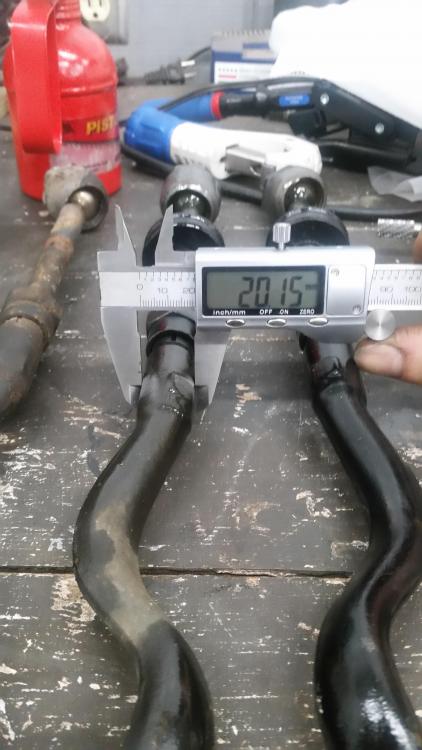
obviously that's quite the difference and it seems even larger when looking at them side by side. Threw e36 tie rods in the cart for my next order.
On the other hand got a few more small things finished up/fixed.
My rear sway bar links are looking better now.
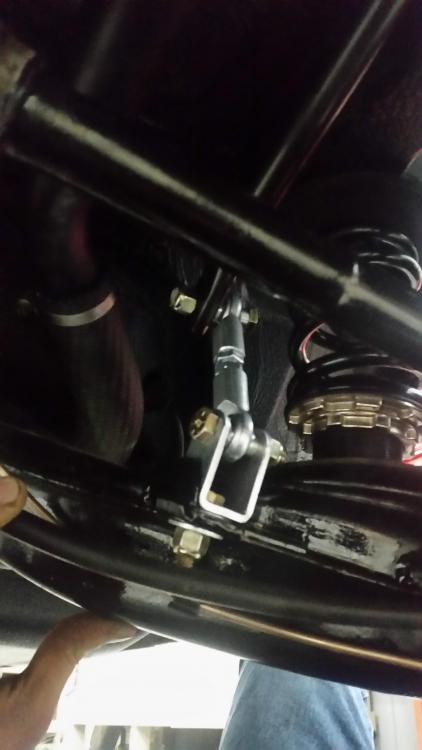
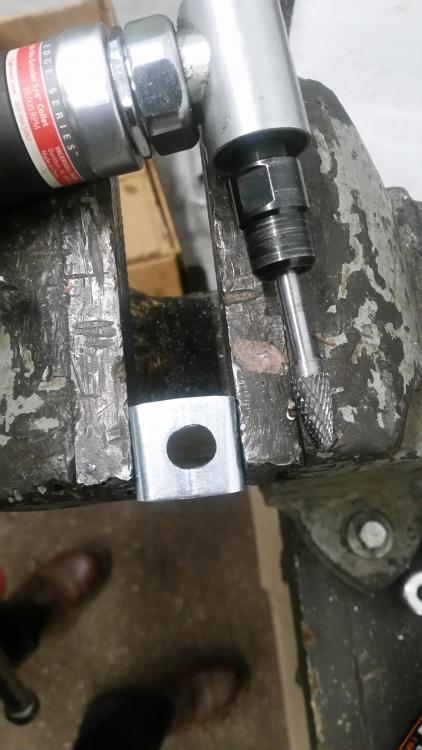
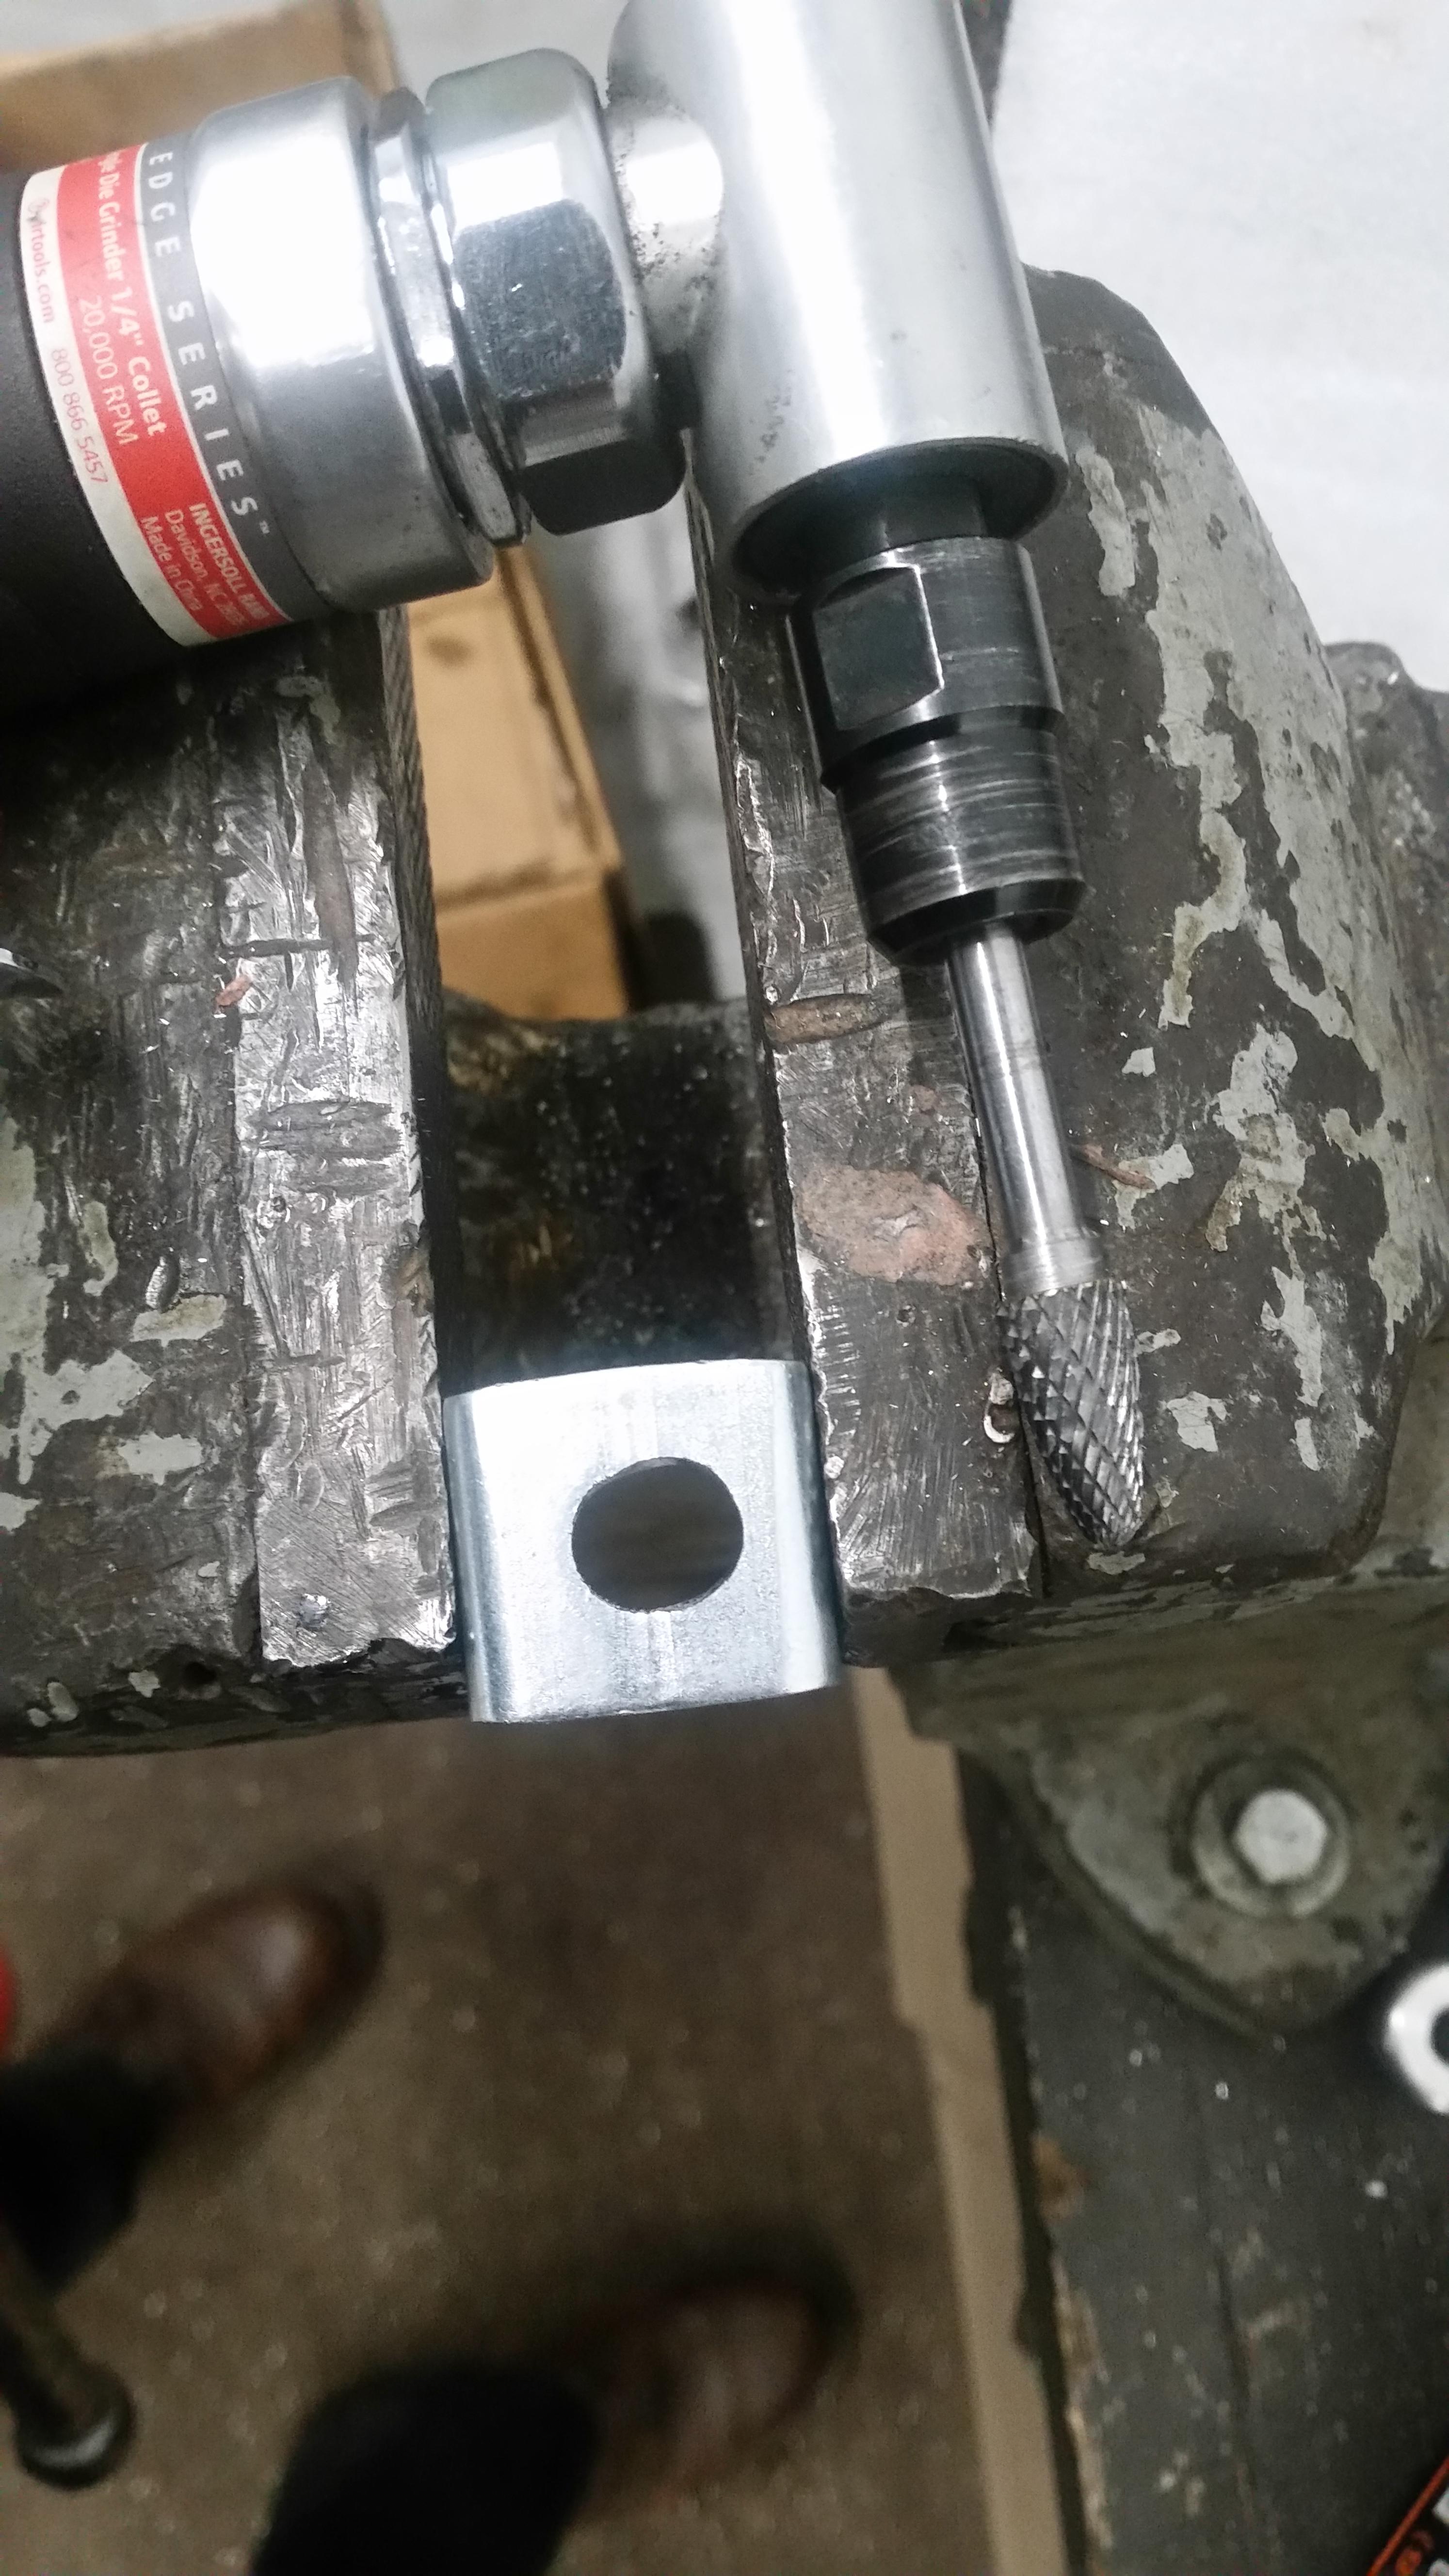
Went ahead and slotted the hole out with a tungsten/carbide rotary bit till the U-bracket hole lined up and faced the correct direction. Worked like a charm and sense its tight againest the reinforcement it won't slide anywhere and no welding will be necessary.
Also got around to grinding down the tab that was in the way for the front sway bar bracket. After grinding it down I touched up the exposed metal with por-15.
Also finished up stripping the blue paint off the oil pan. Before installing I did go ahead and replace the oil pan gasket and applyed rtv to both sides. All 25 Bolts cleaned up and torqued to 89 in lbs.
Clutch kit and flywheel ordered. Hoping to get some time tomorrow to go over to the shop and take the pressure washer to the transmission housing and get it cleaned up a bit more.




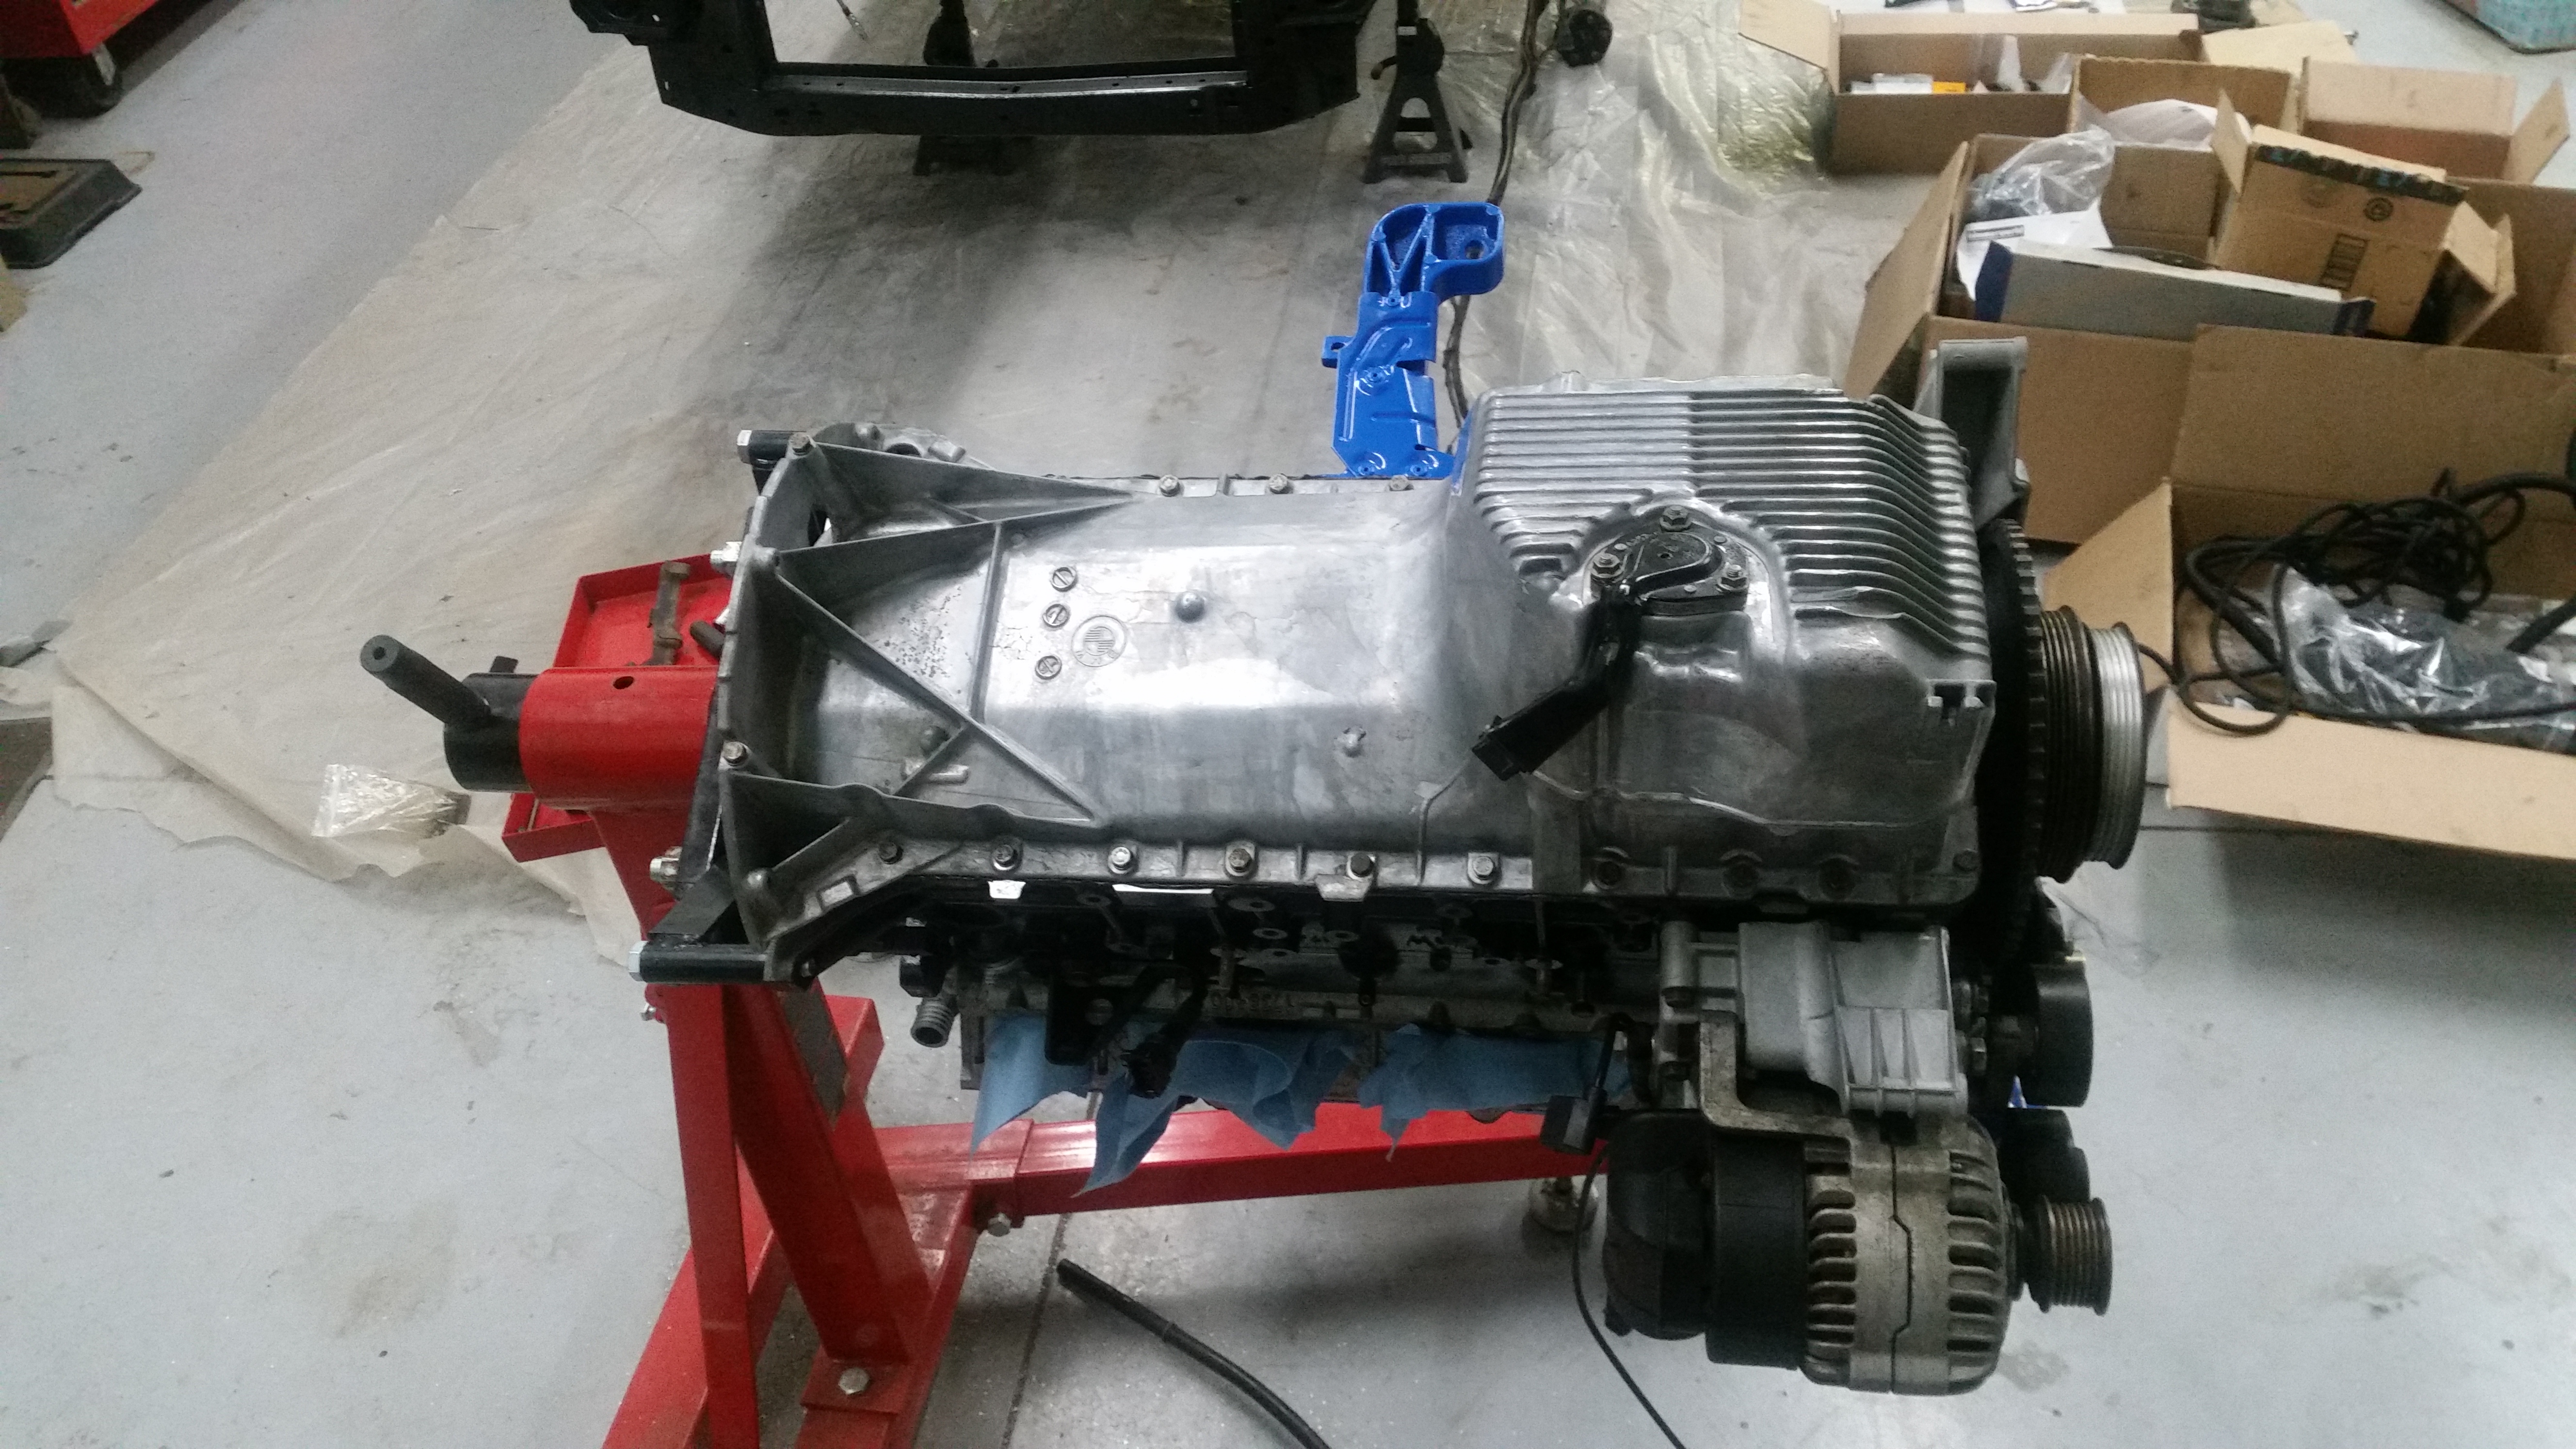 \
\Hello! It looks like you're interested in this conversation, but you don't have an account yet.
Getting fed up of having to scroll through the same posts each visit? When you register for an account, you'll always come back to exactly where you were before, and choose to be notified of new replies (either via email, or push notification). You'll also be able to save bookmarks and upvote posts to show your appreciation to other community members.
With your input, this post could be even better 💗
Register Login