
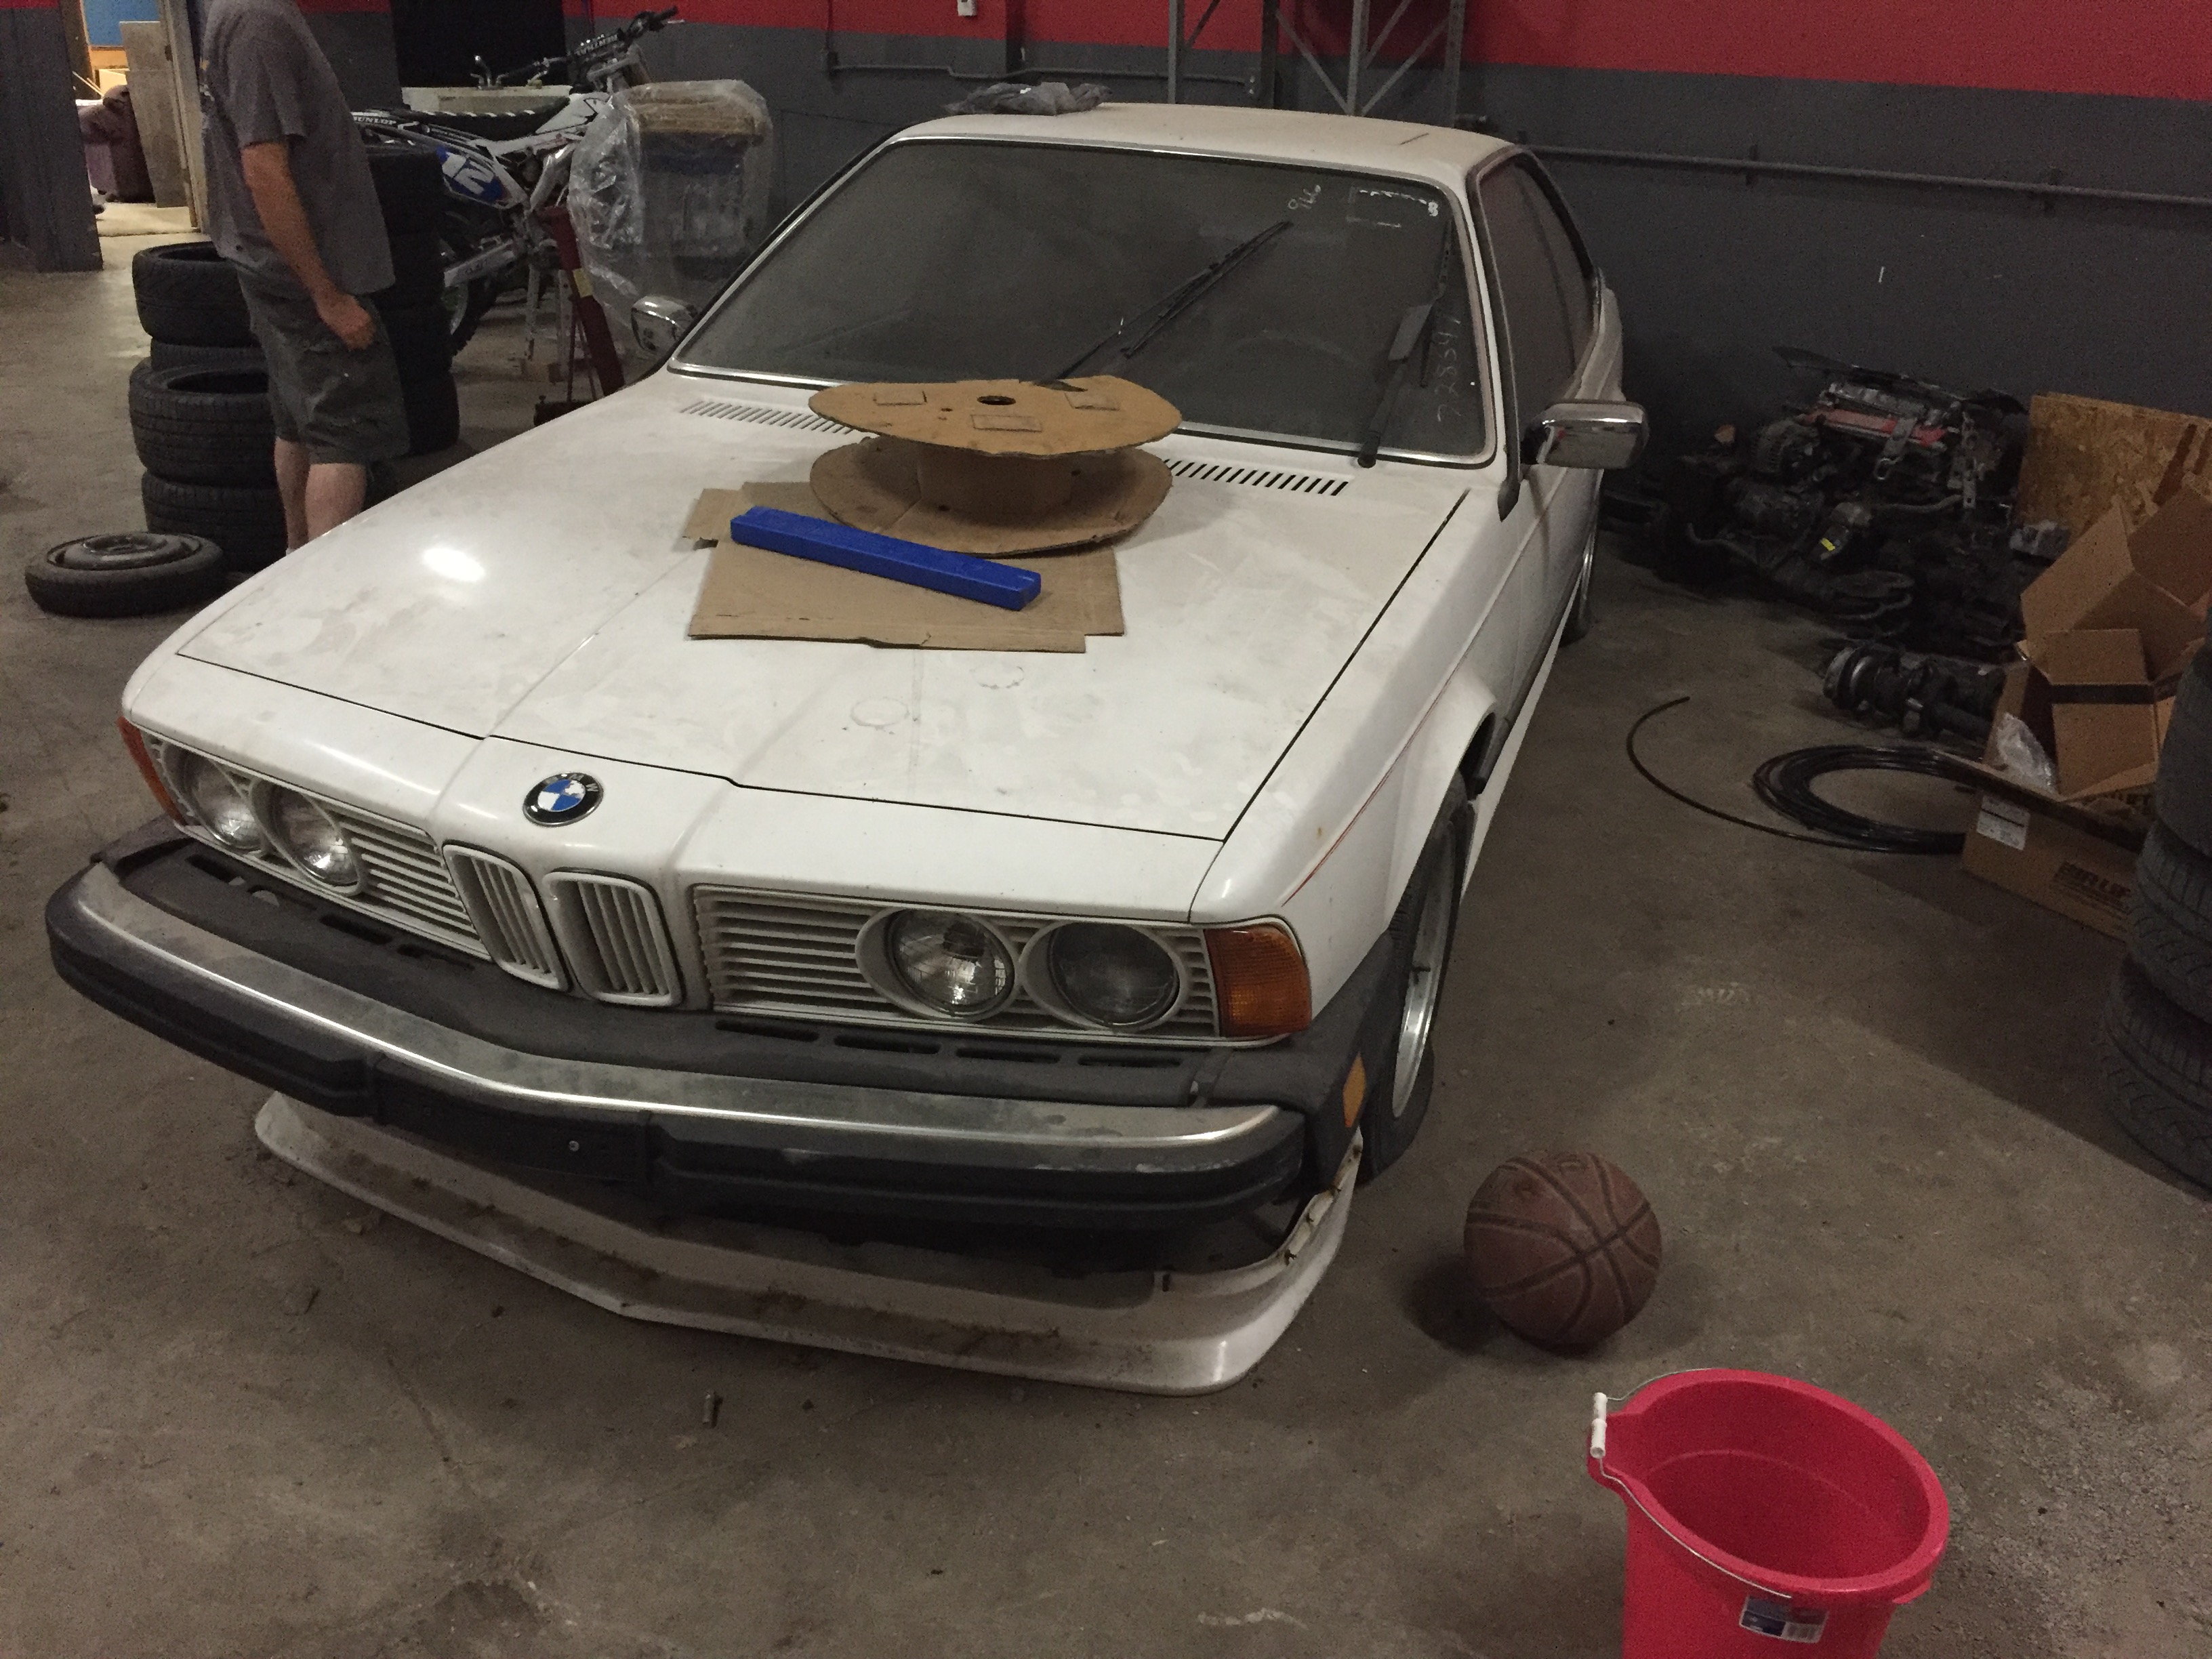
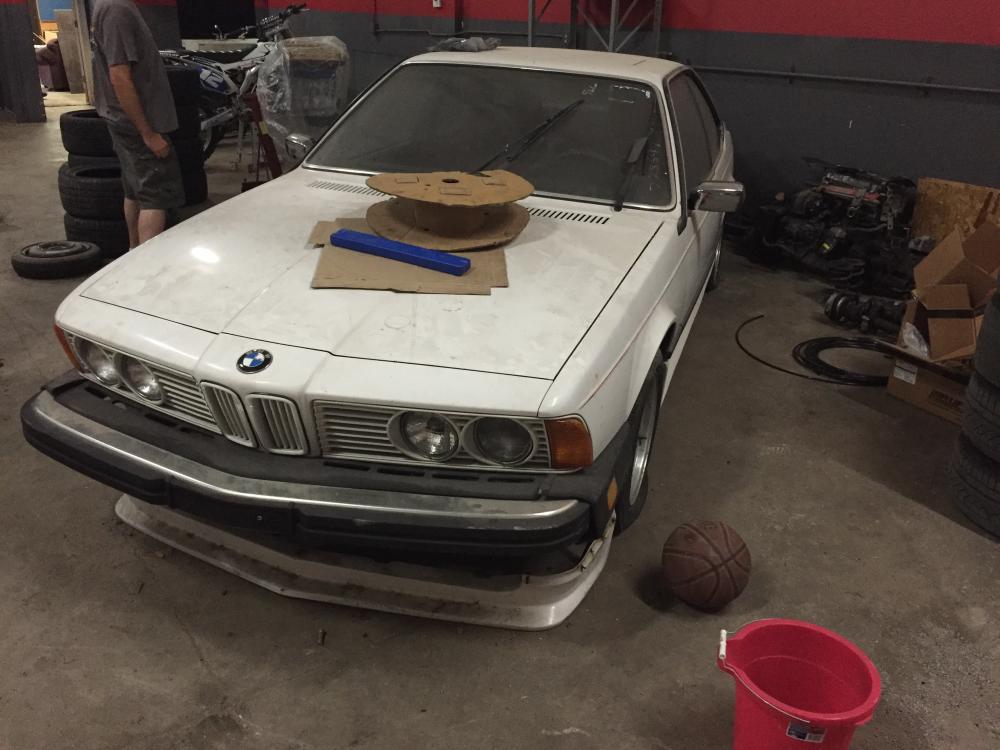
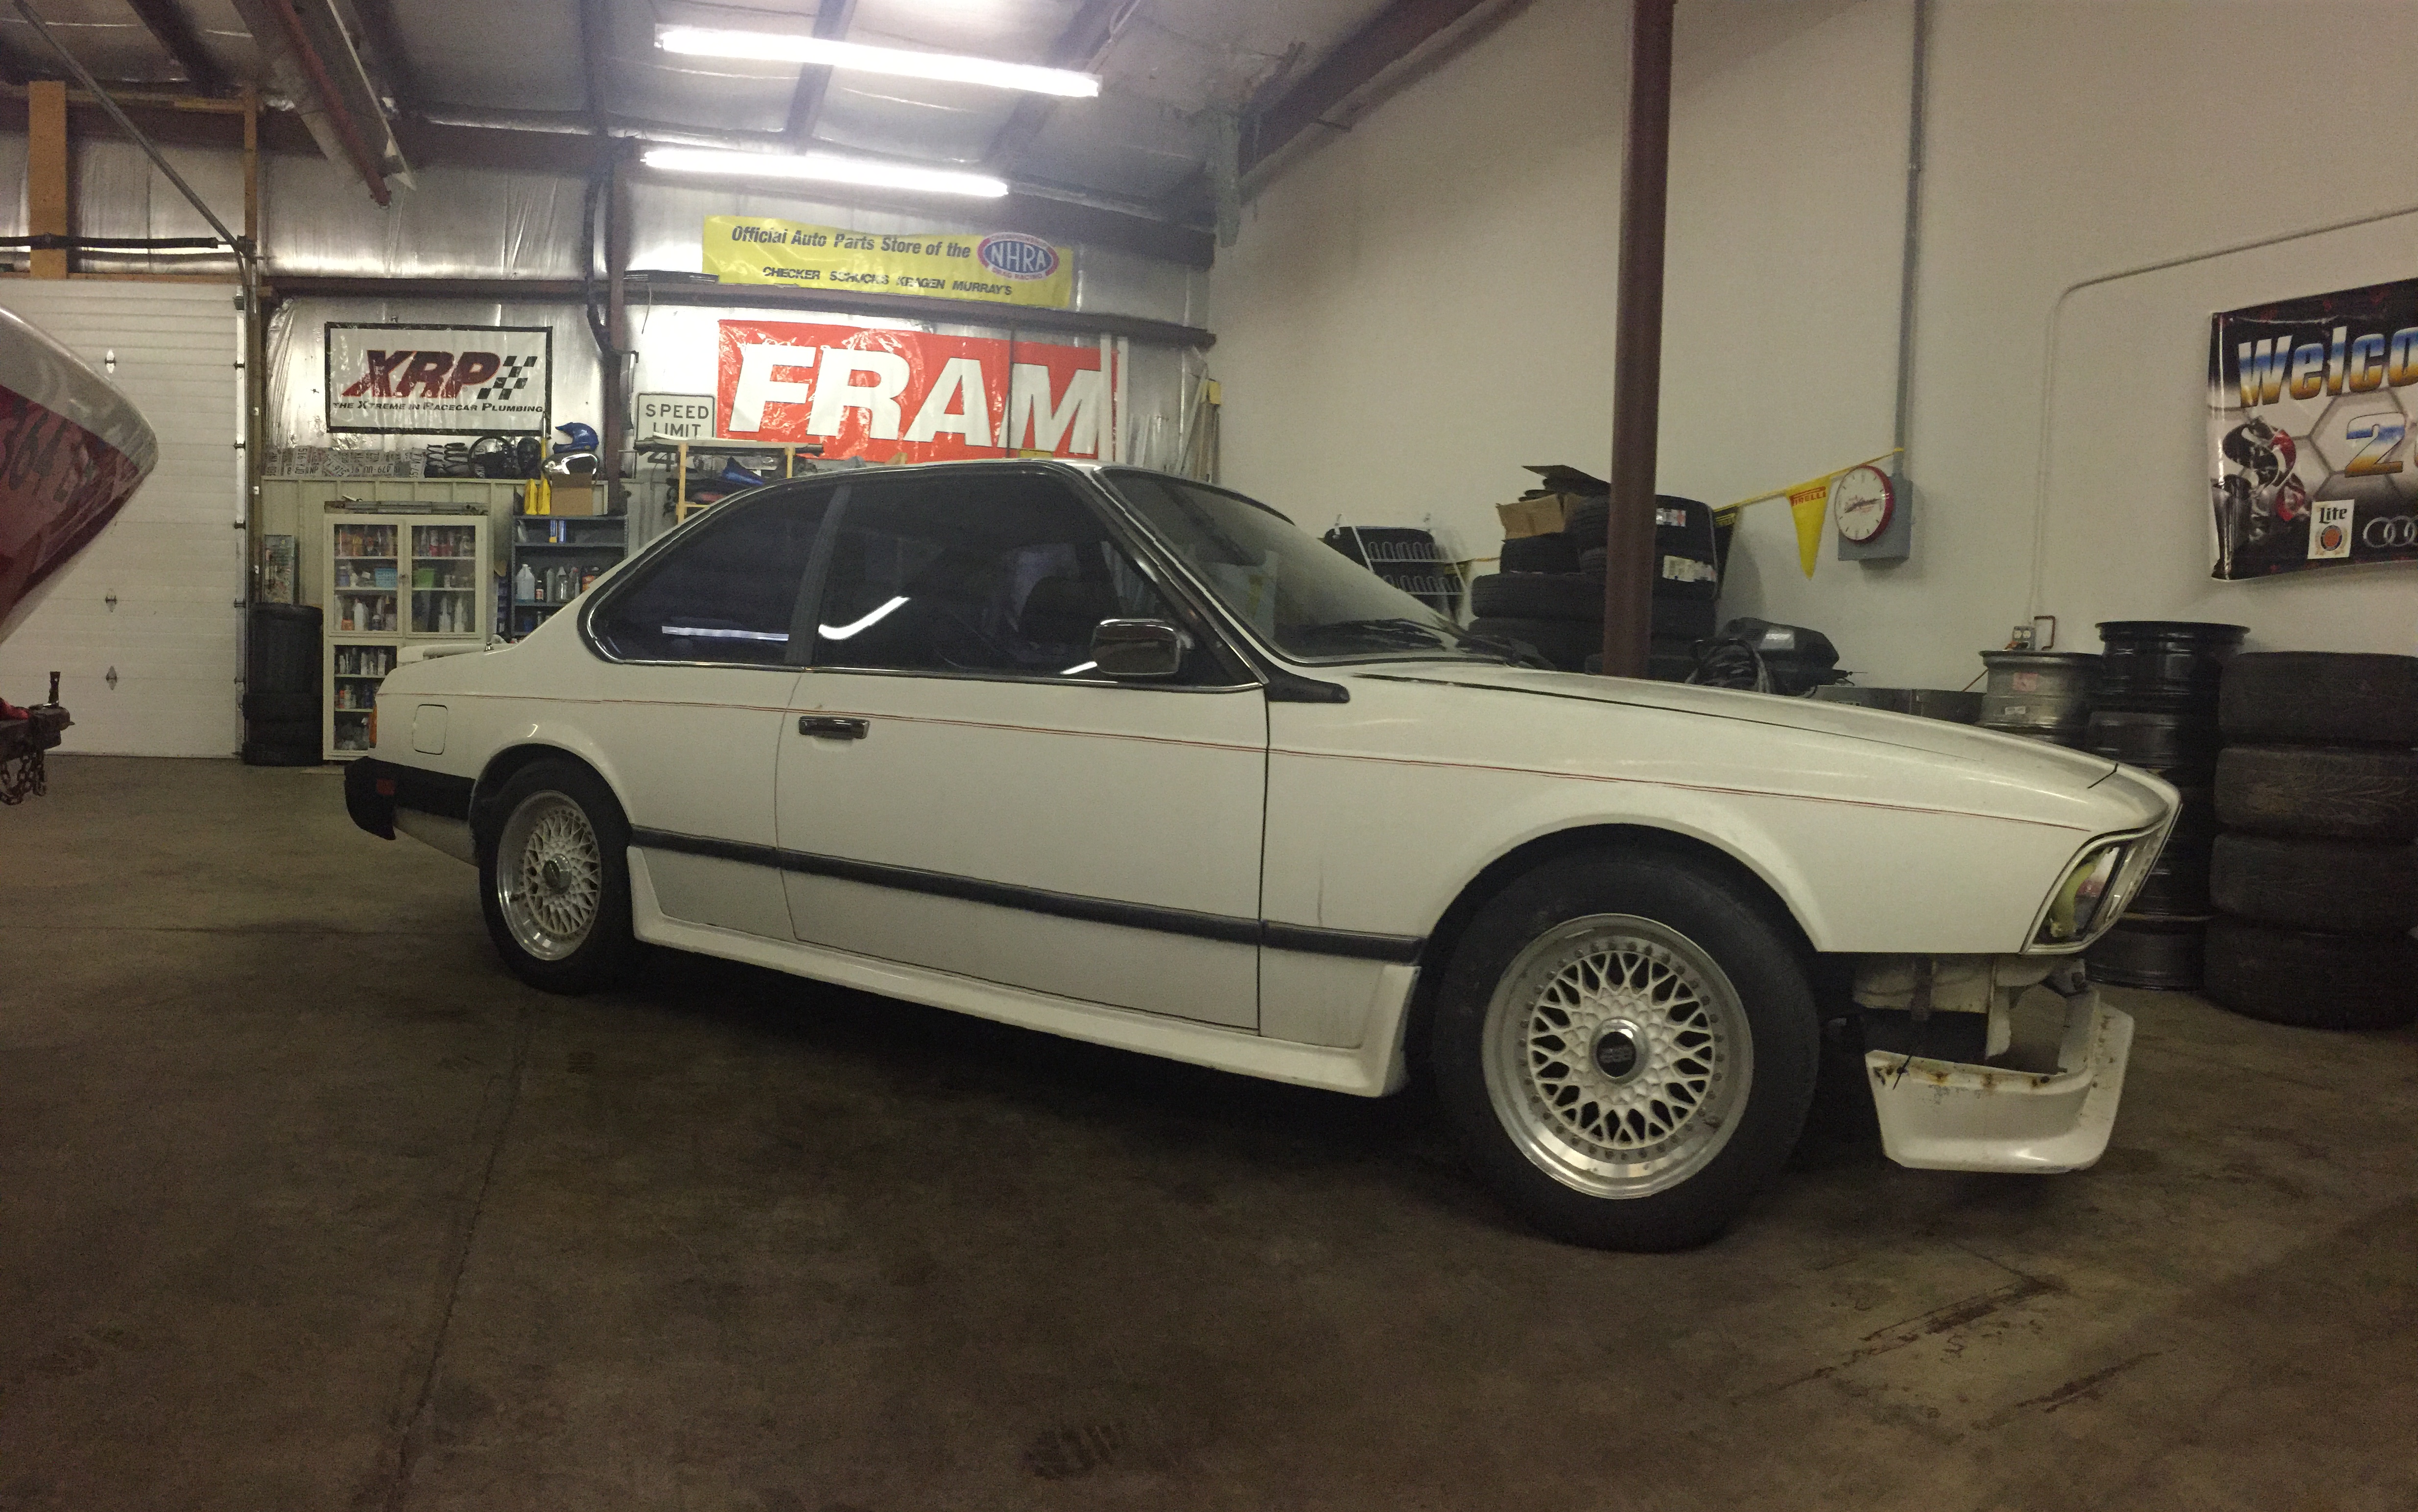
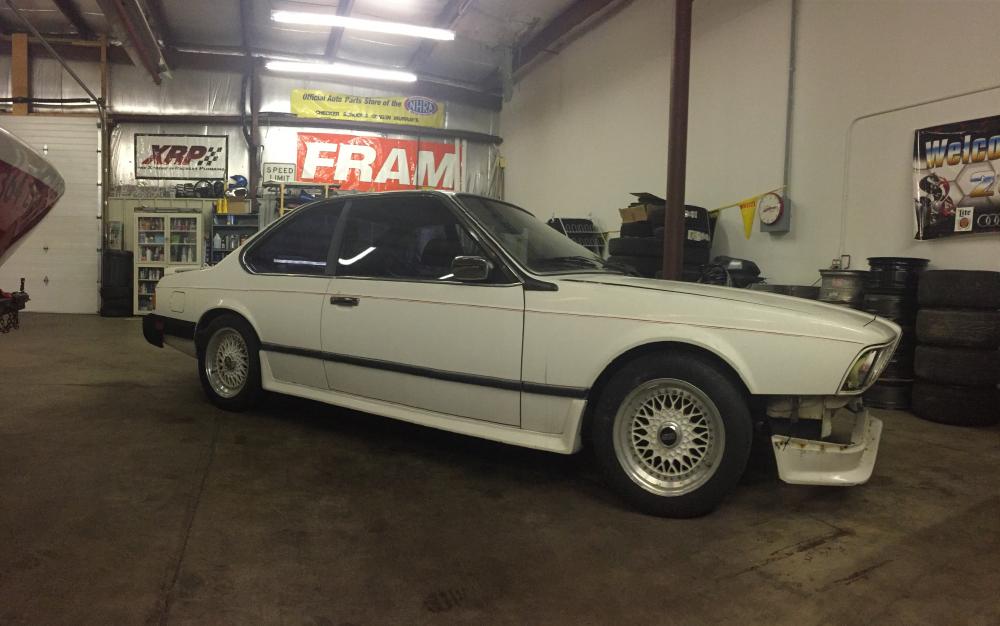
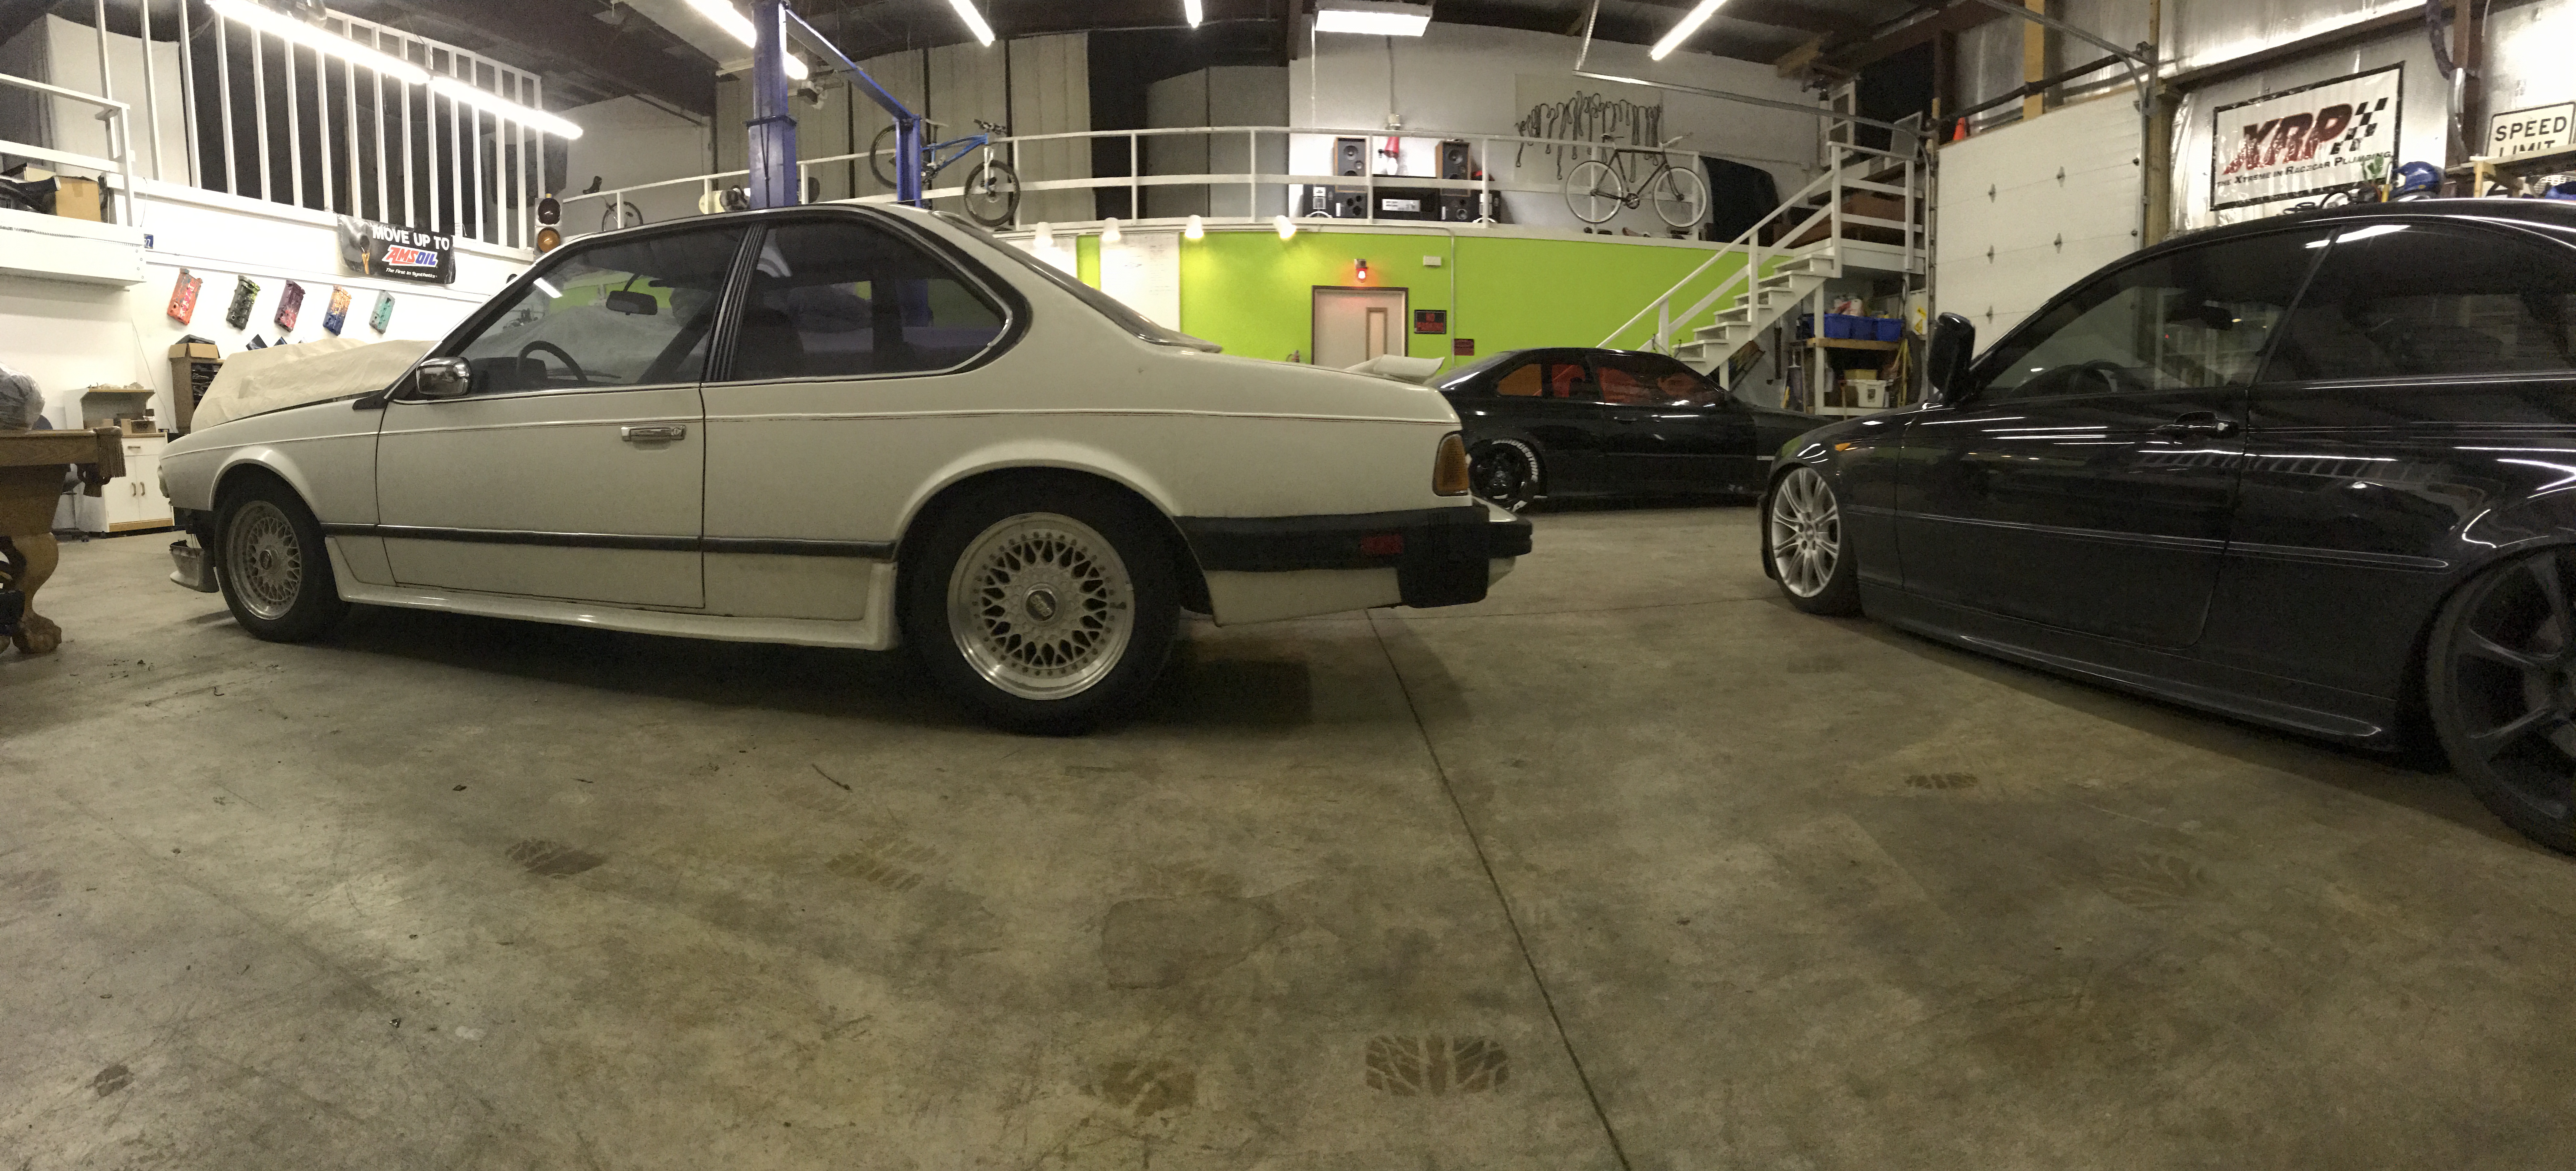
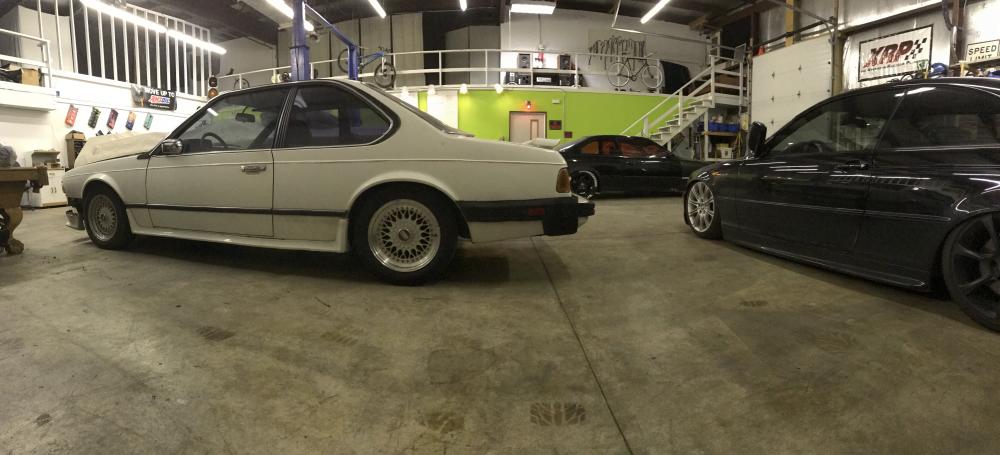
Alpine White Zender Kit E24 633CSI
-
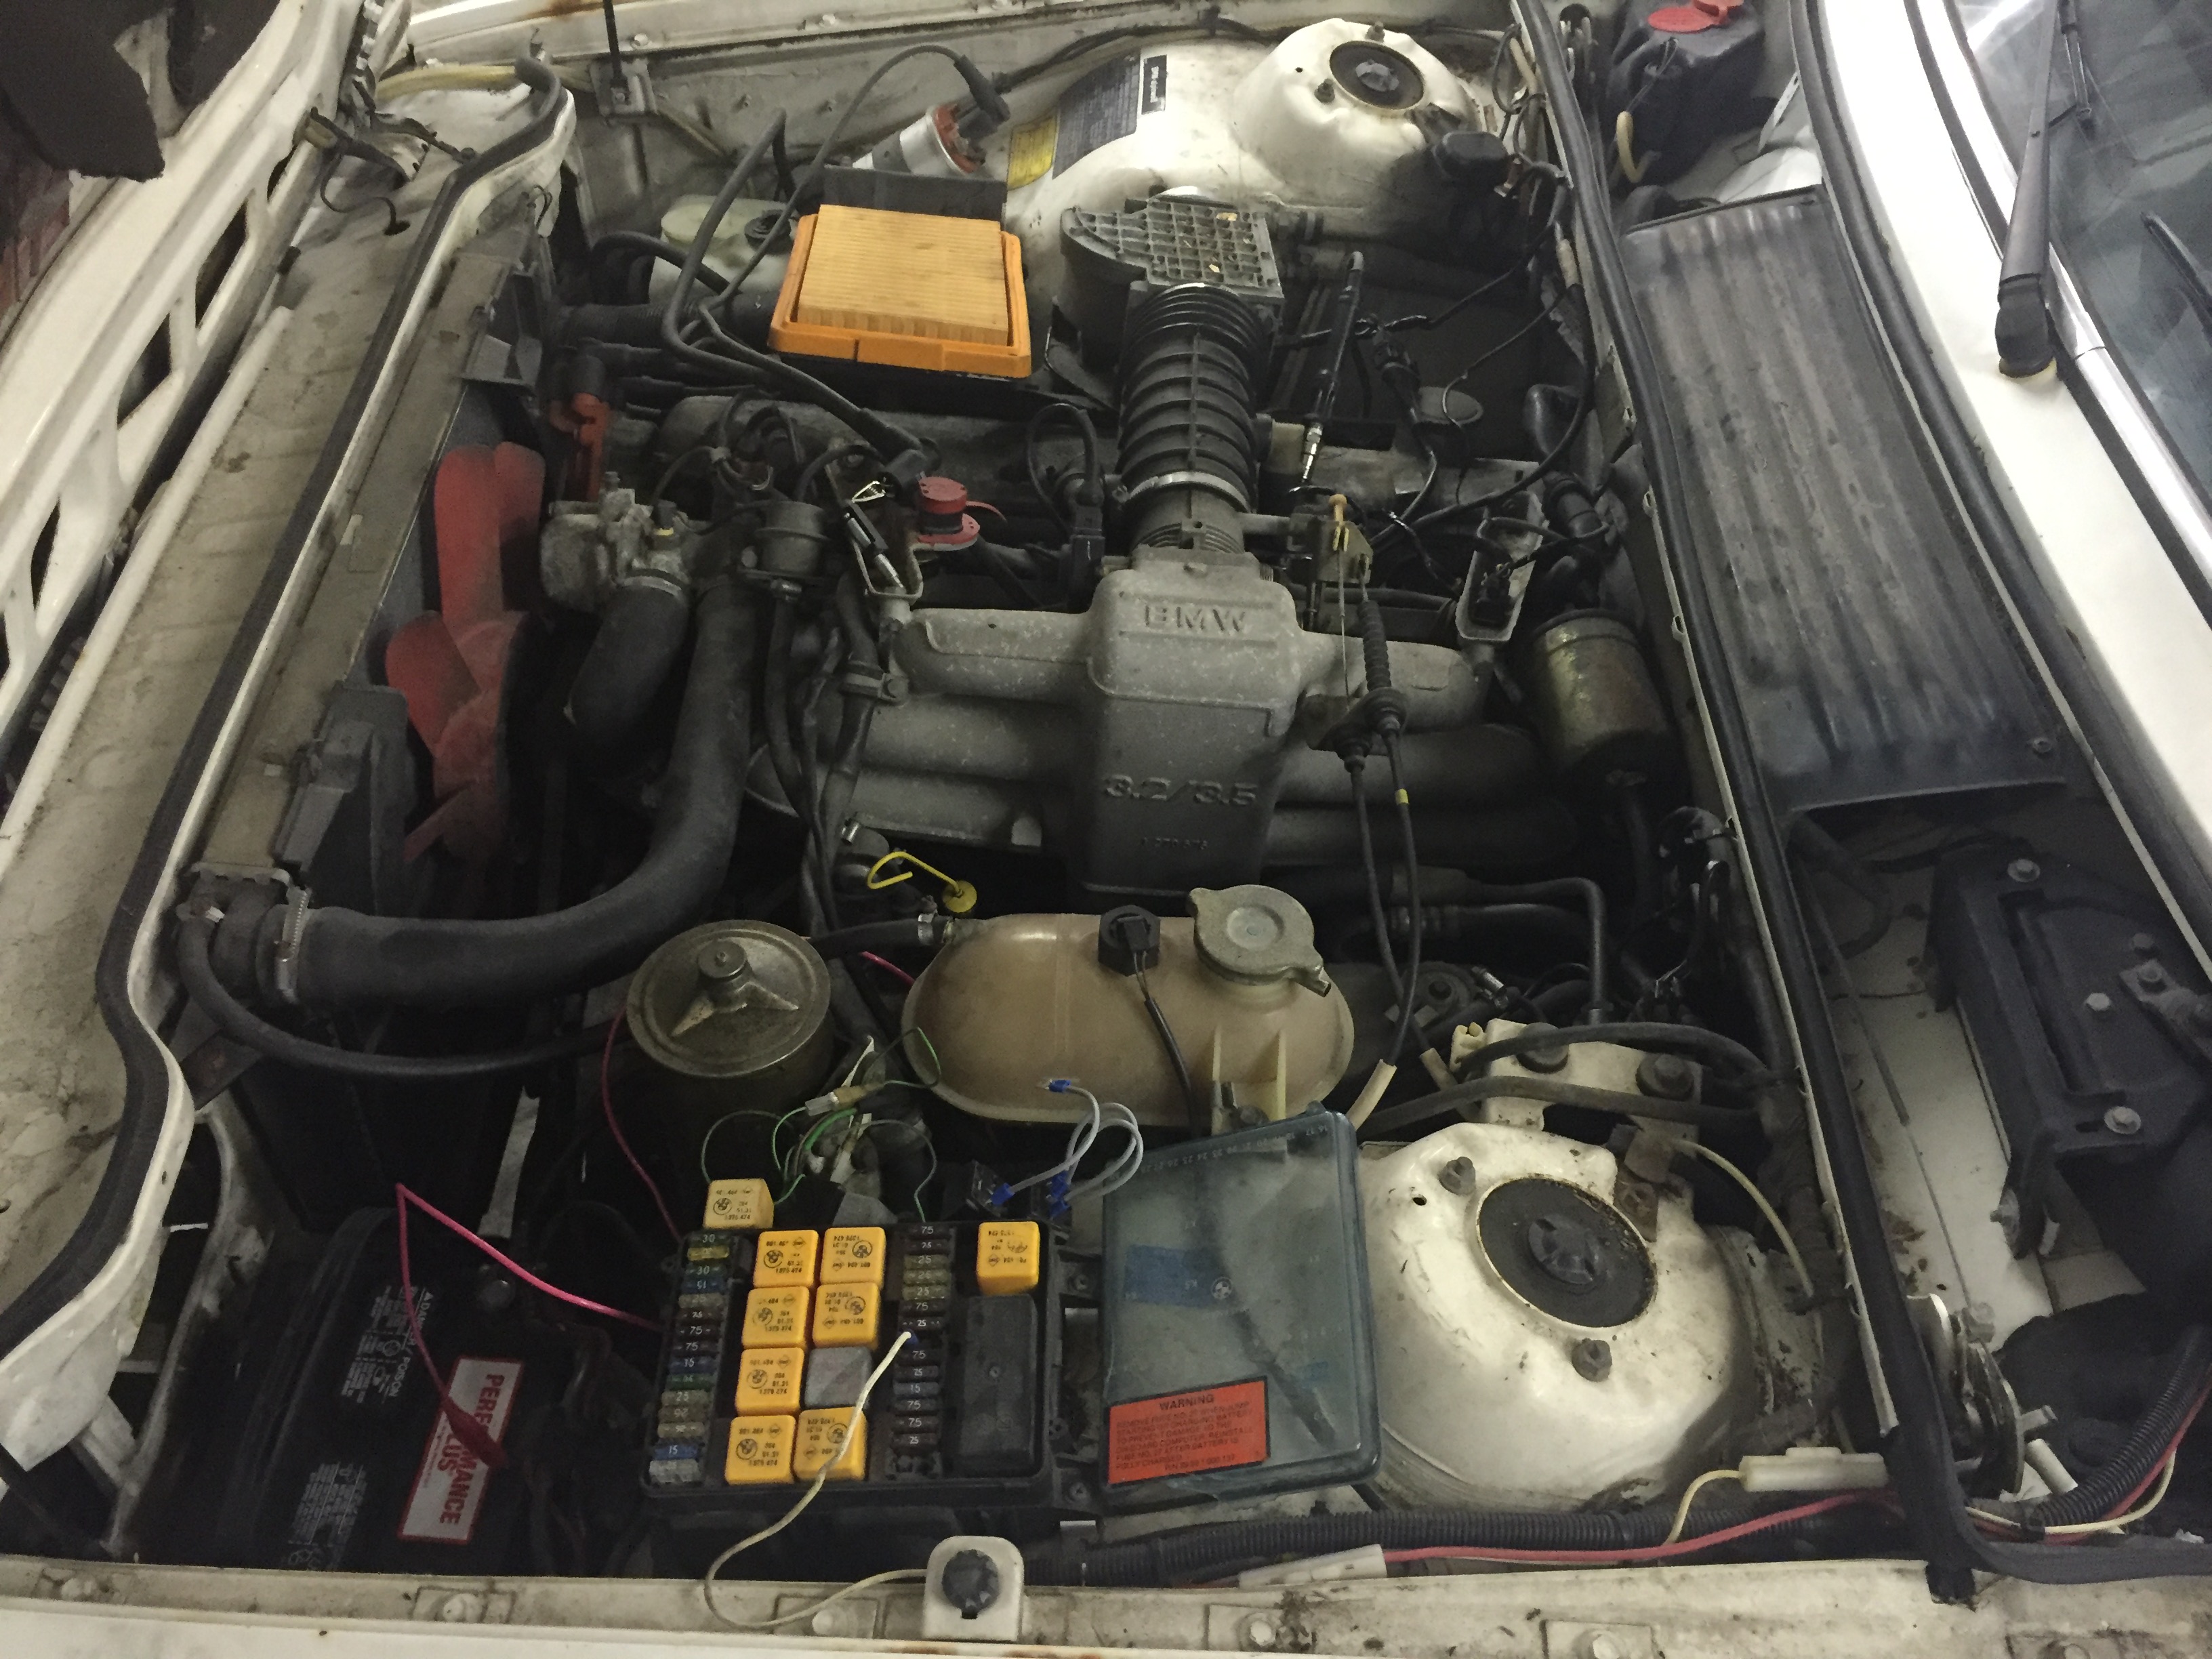
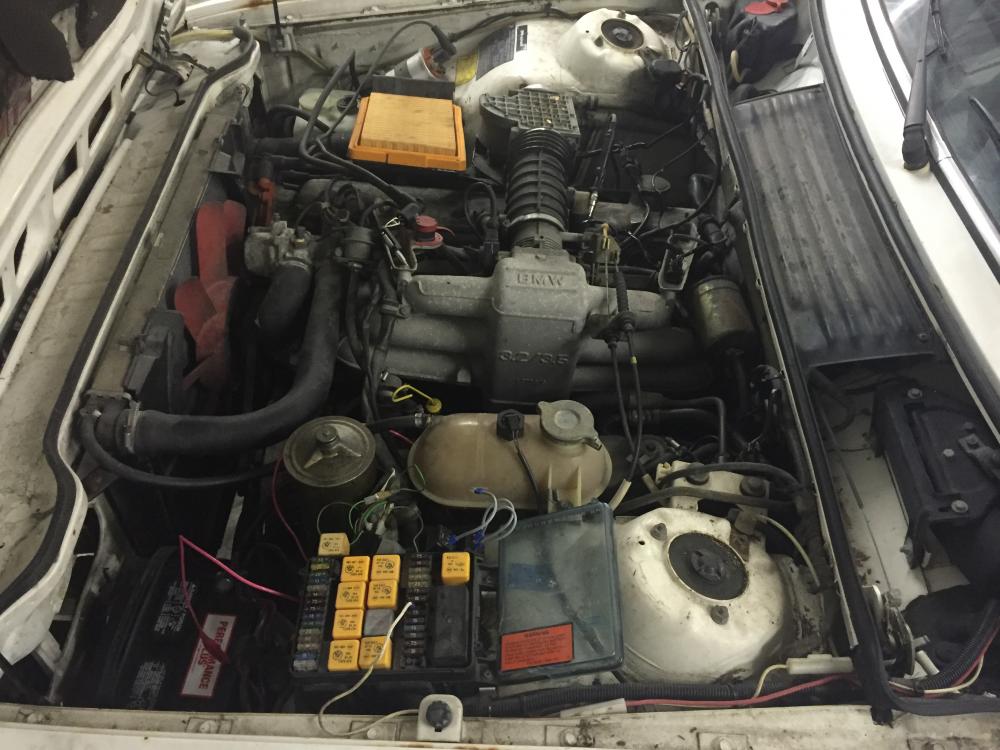
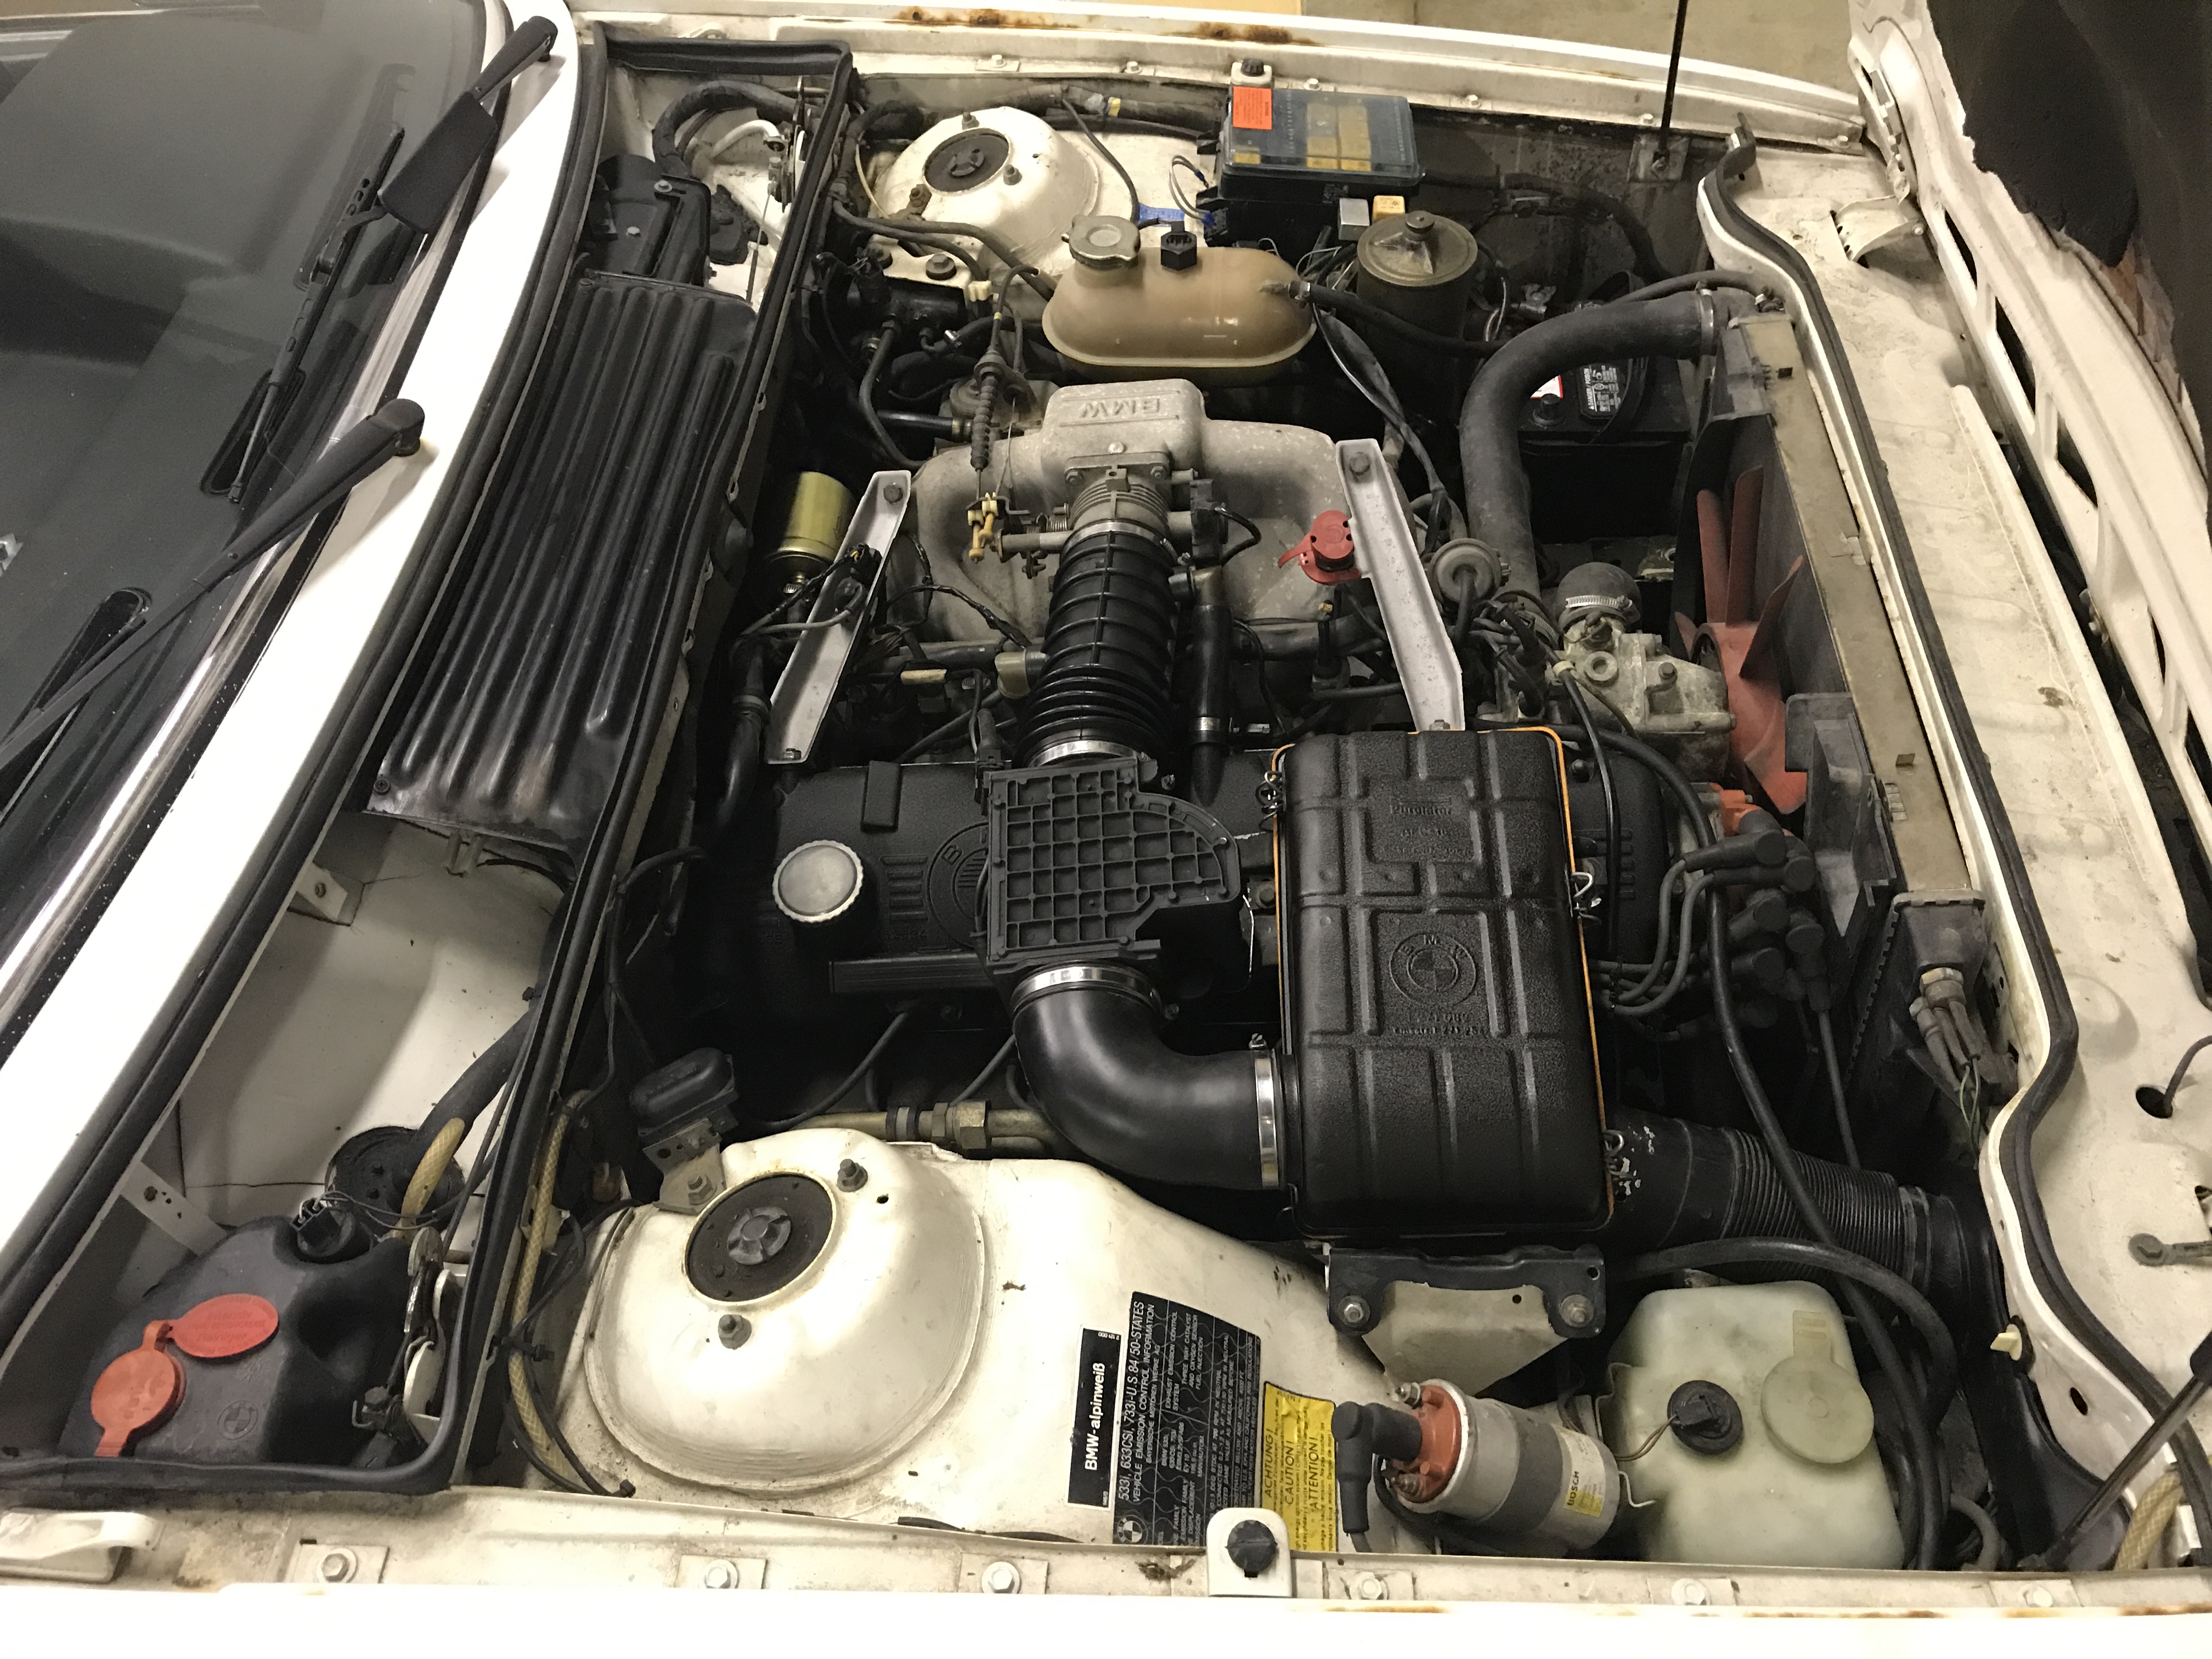
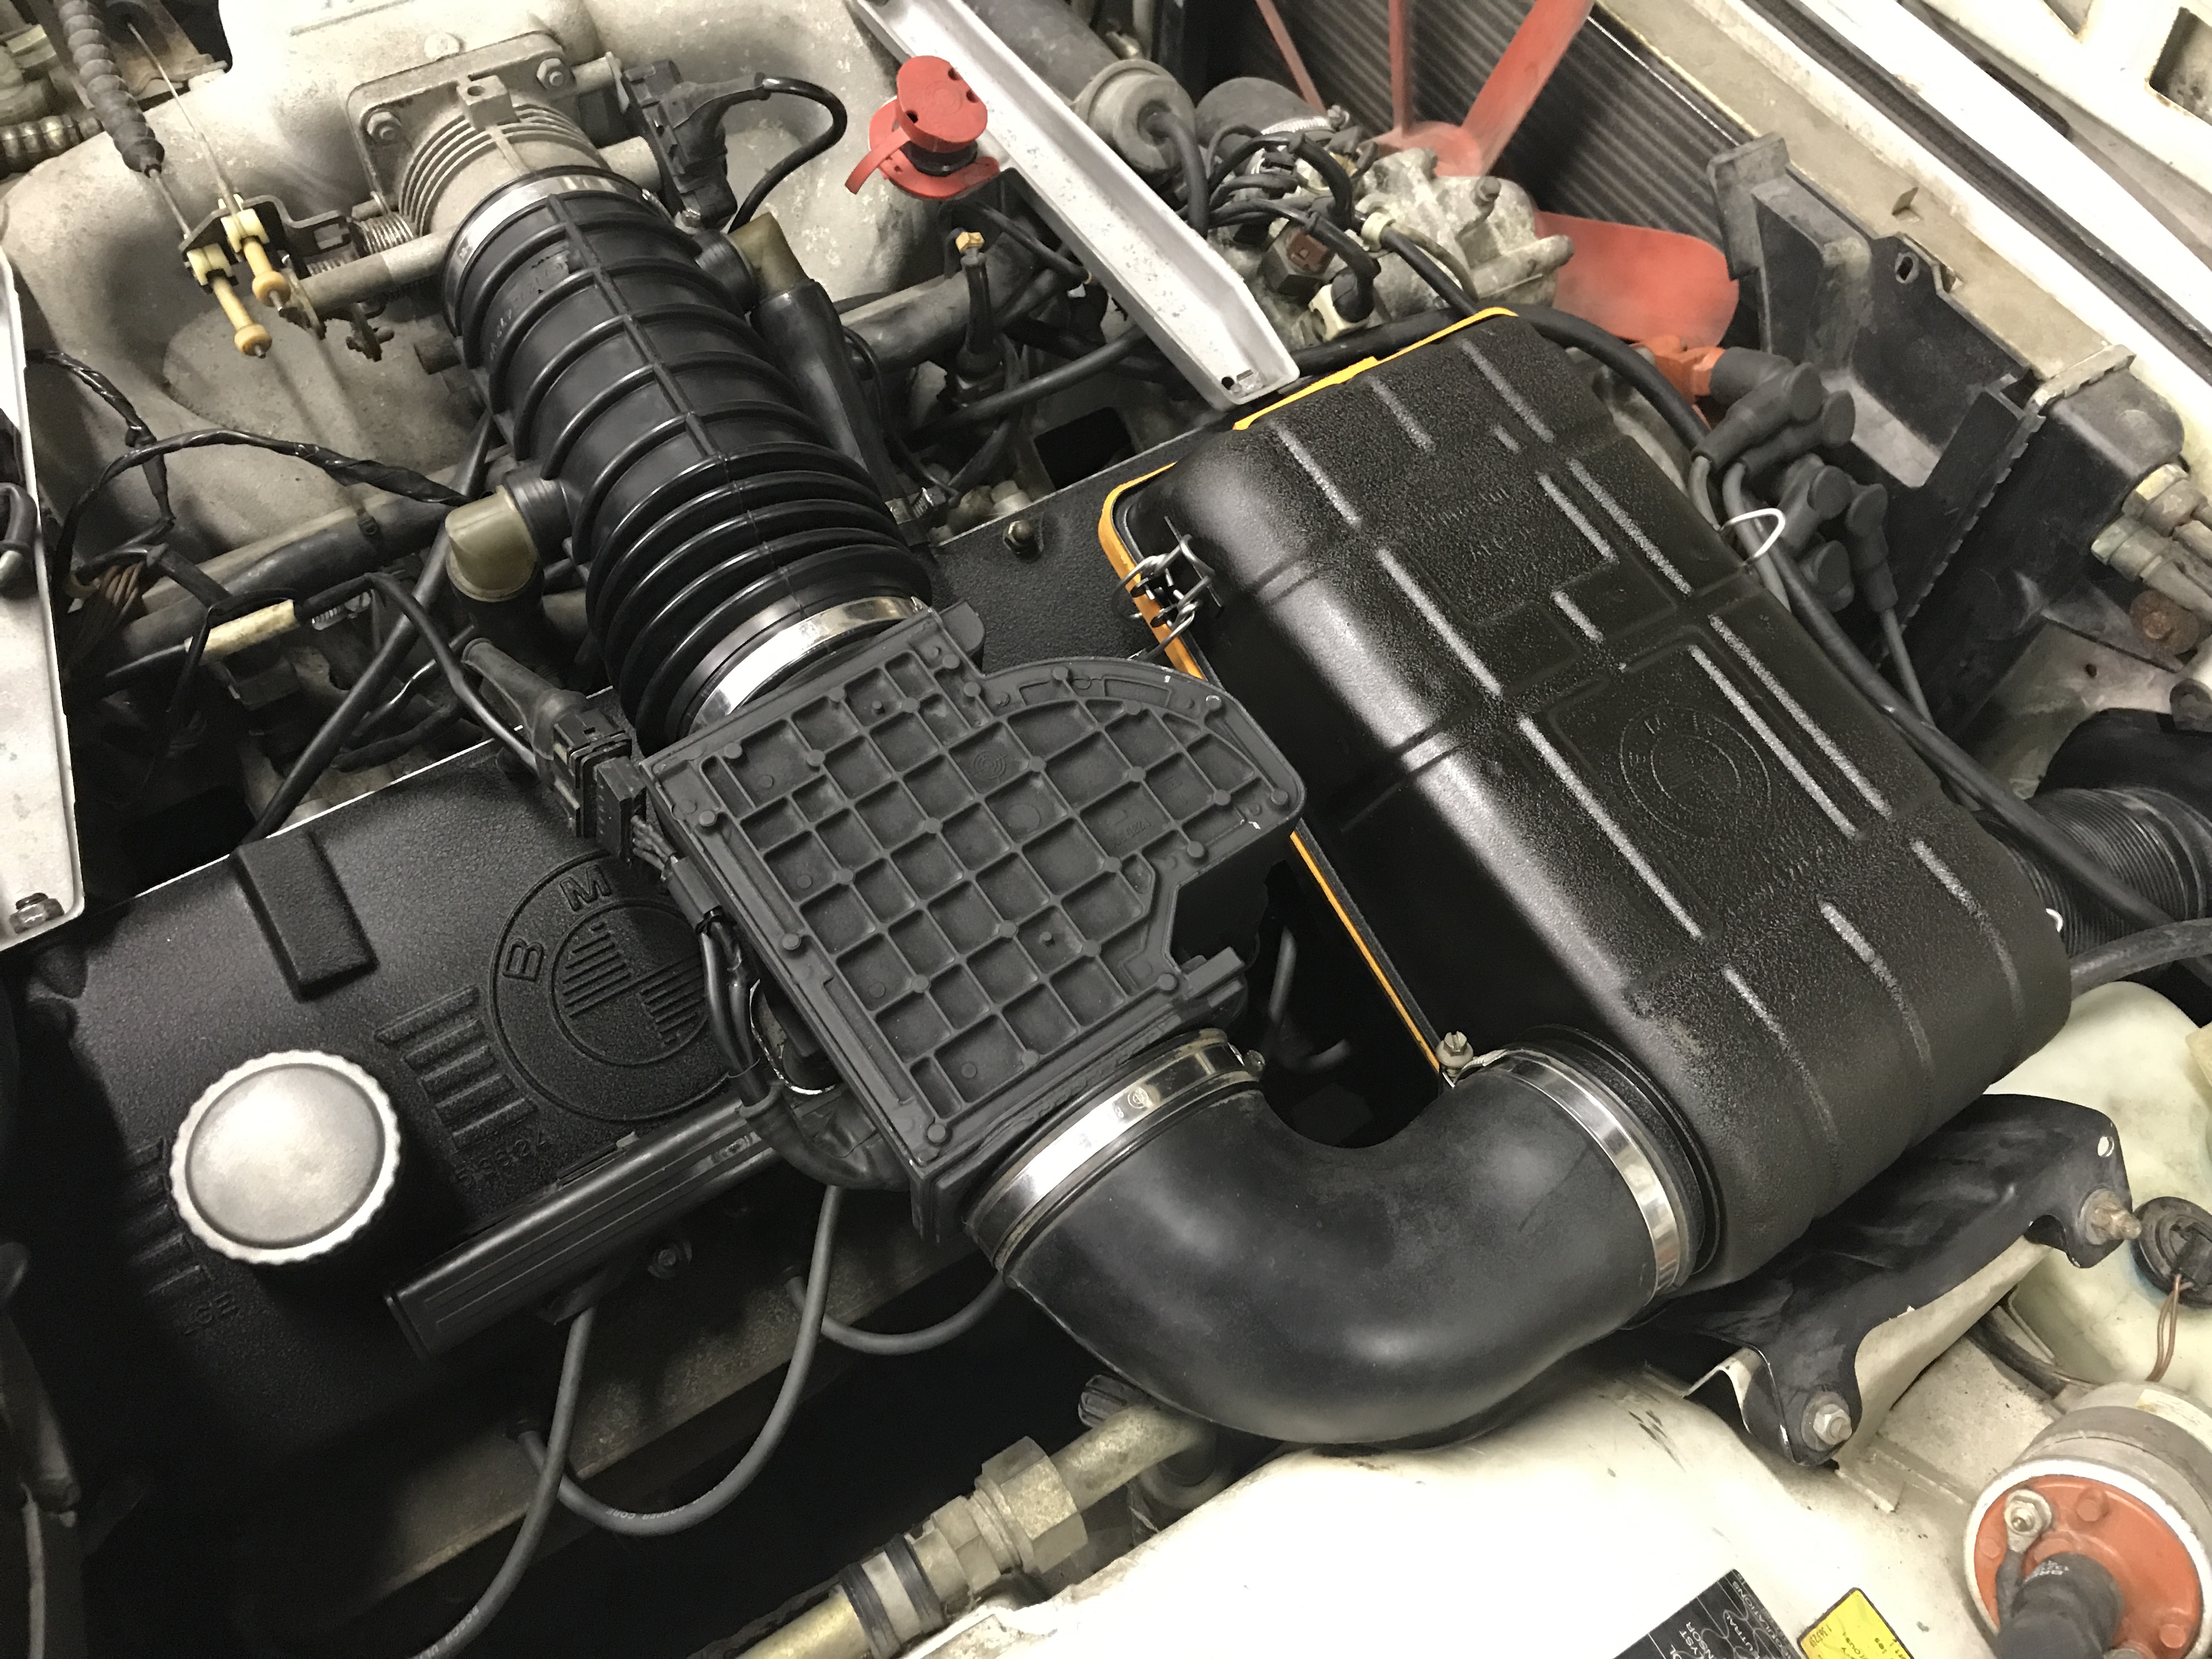
Finally got the crush washers after they got lost in shipping twice. I went to torque the oil rail down and the online specs said 11-13NM. I set my torque wrench to 11.5 but man that felt too tight so I went by feel. I know that rail is delicate, and the crush washers formed to the tube like they were before, so I am not worried about getting it any tighter. I also used some loctite as recommended so they wont back out. I bolted everything back together and it looks a ton better with everything freshly painted.
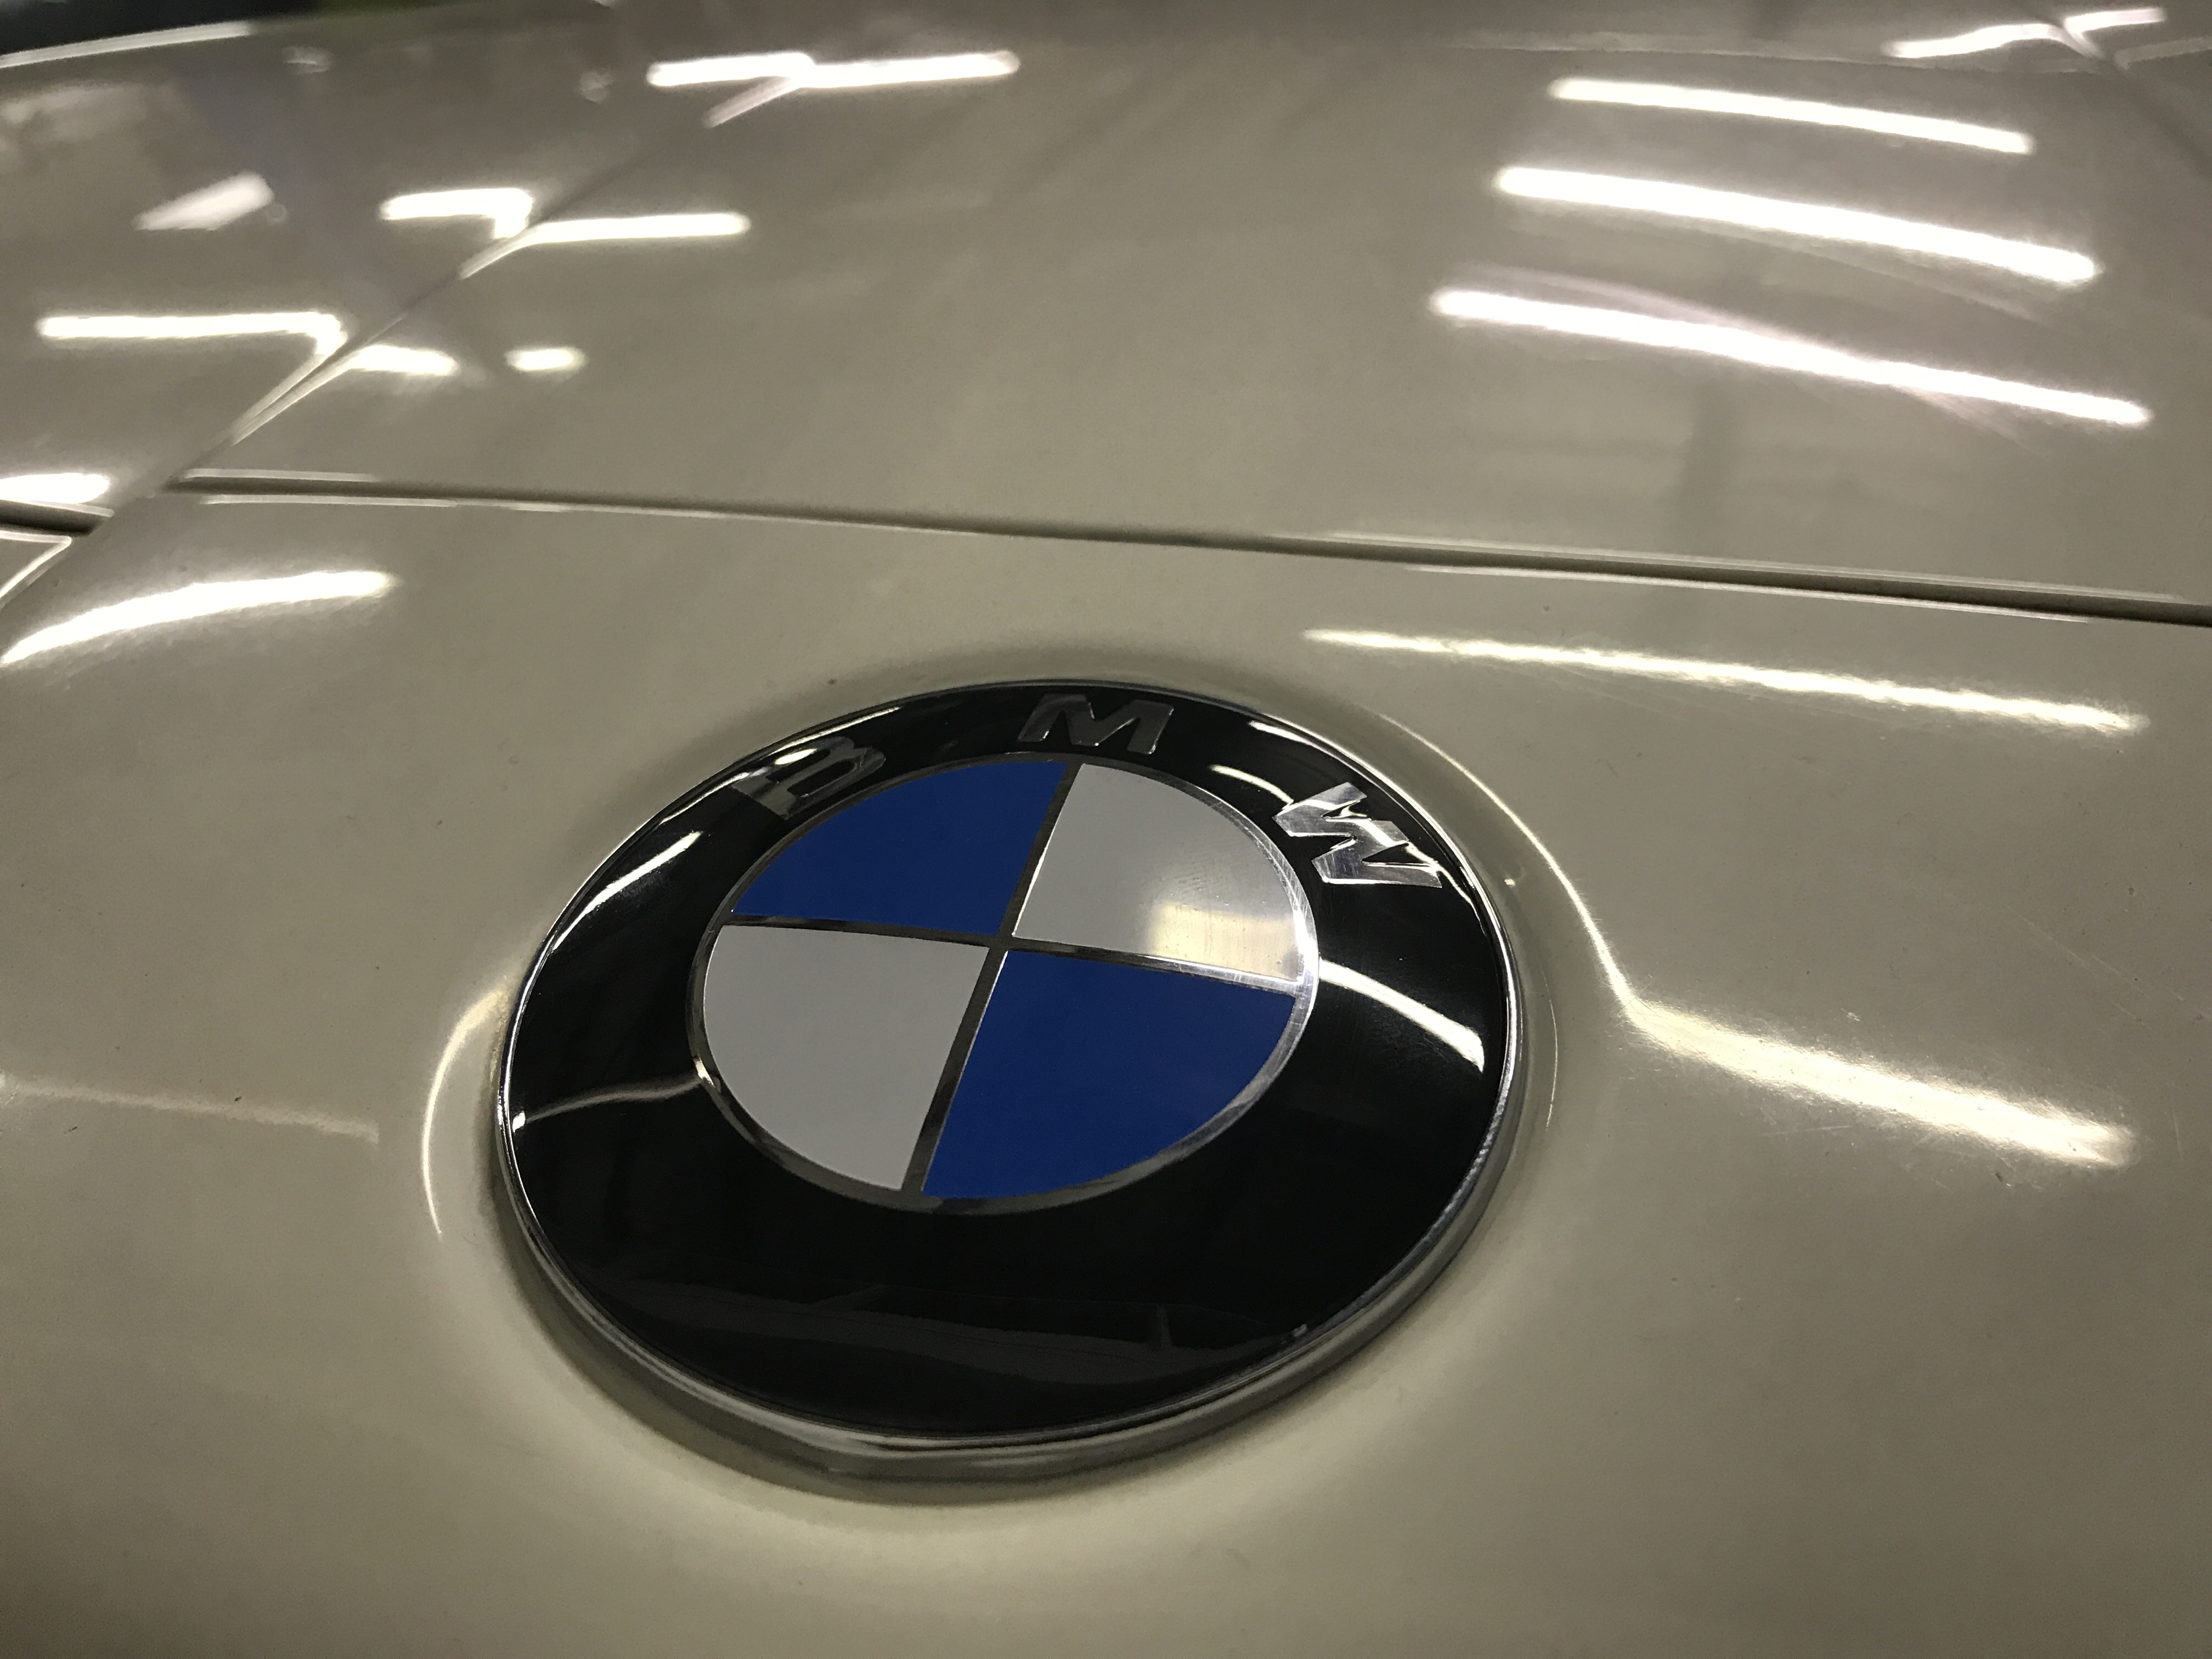
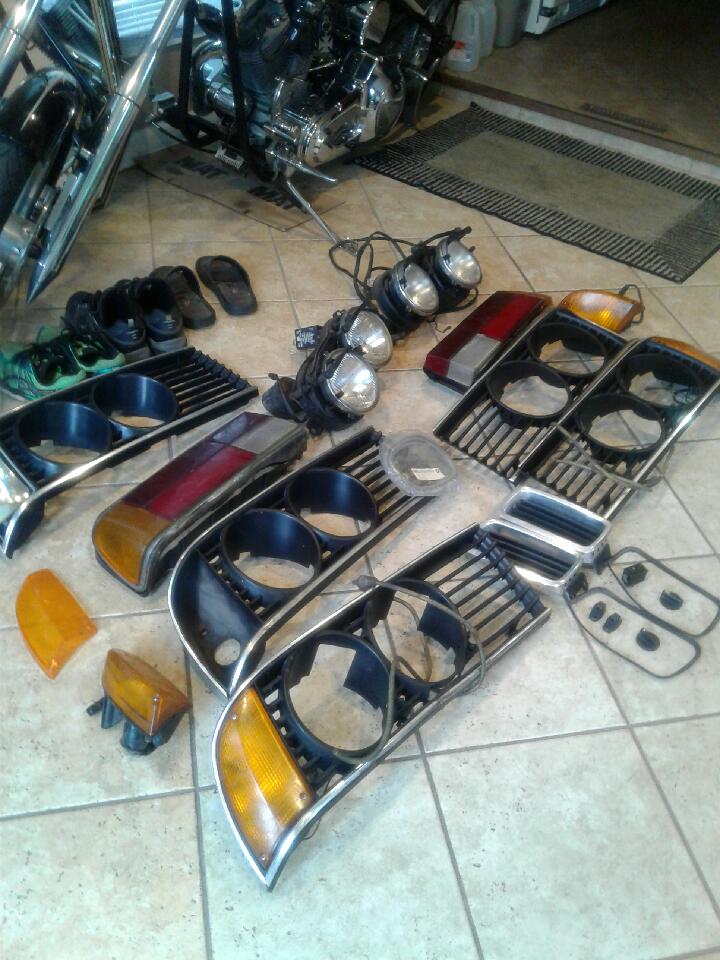
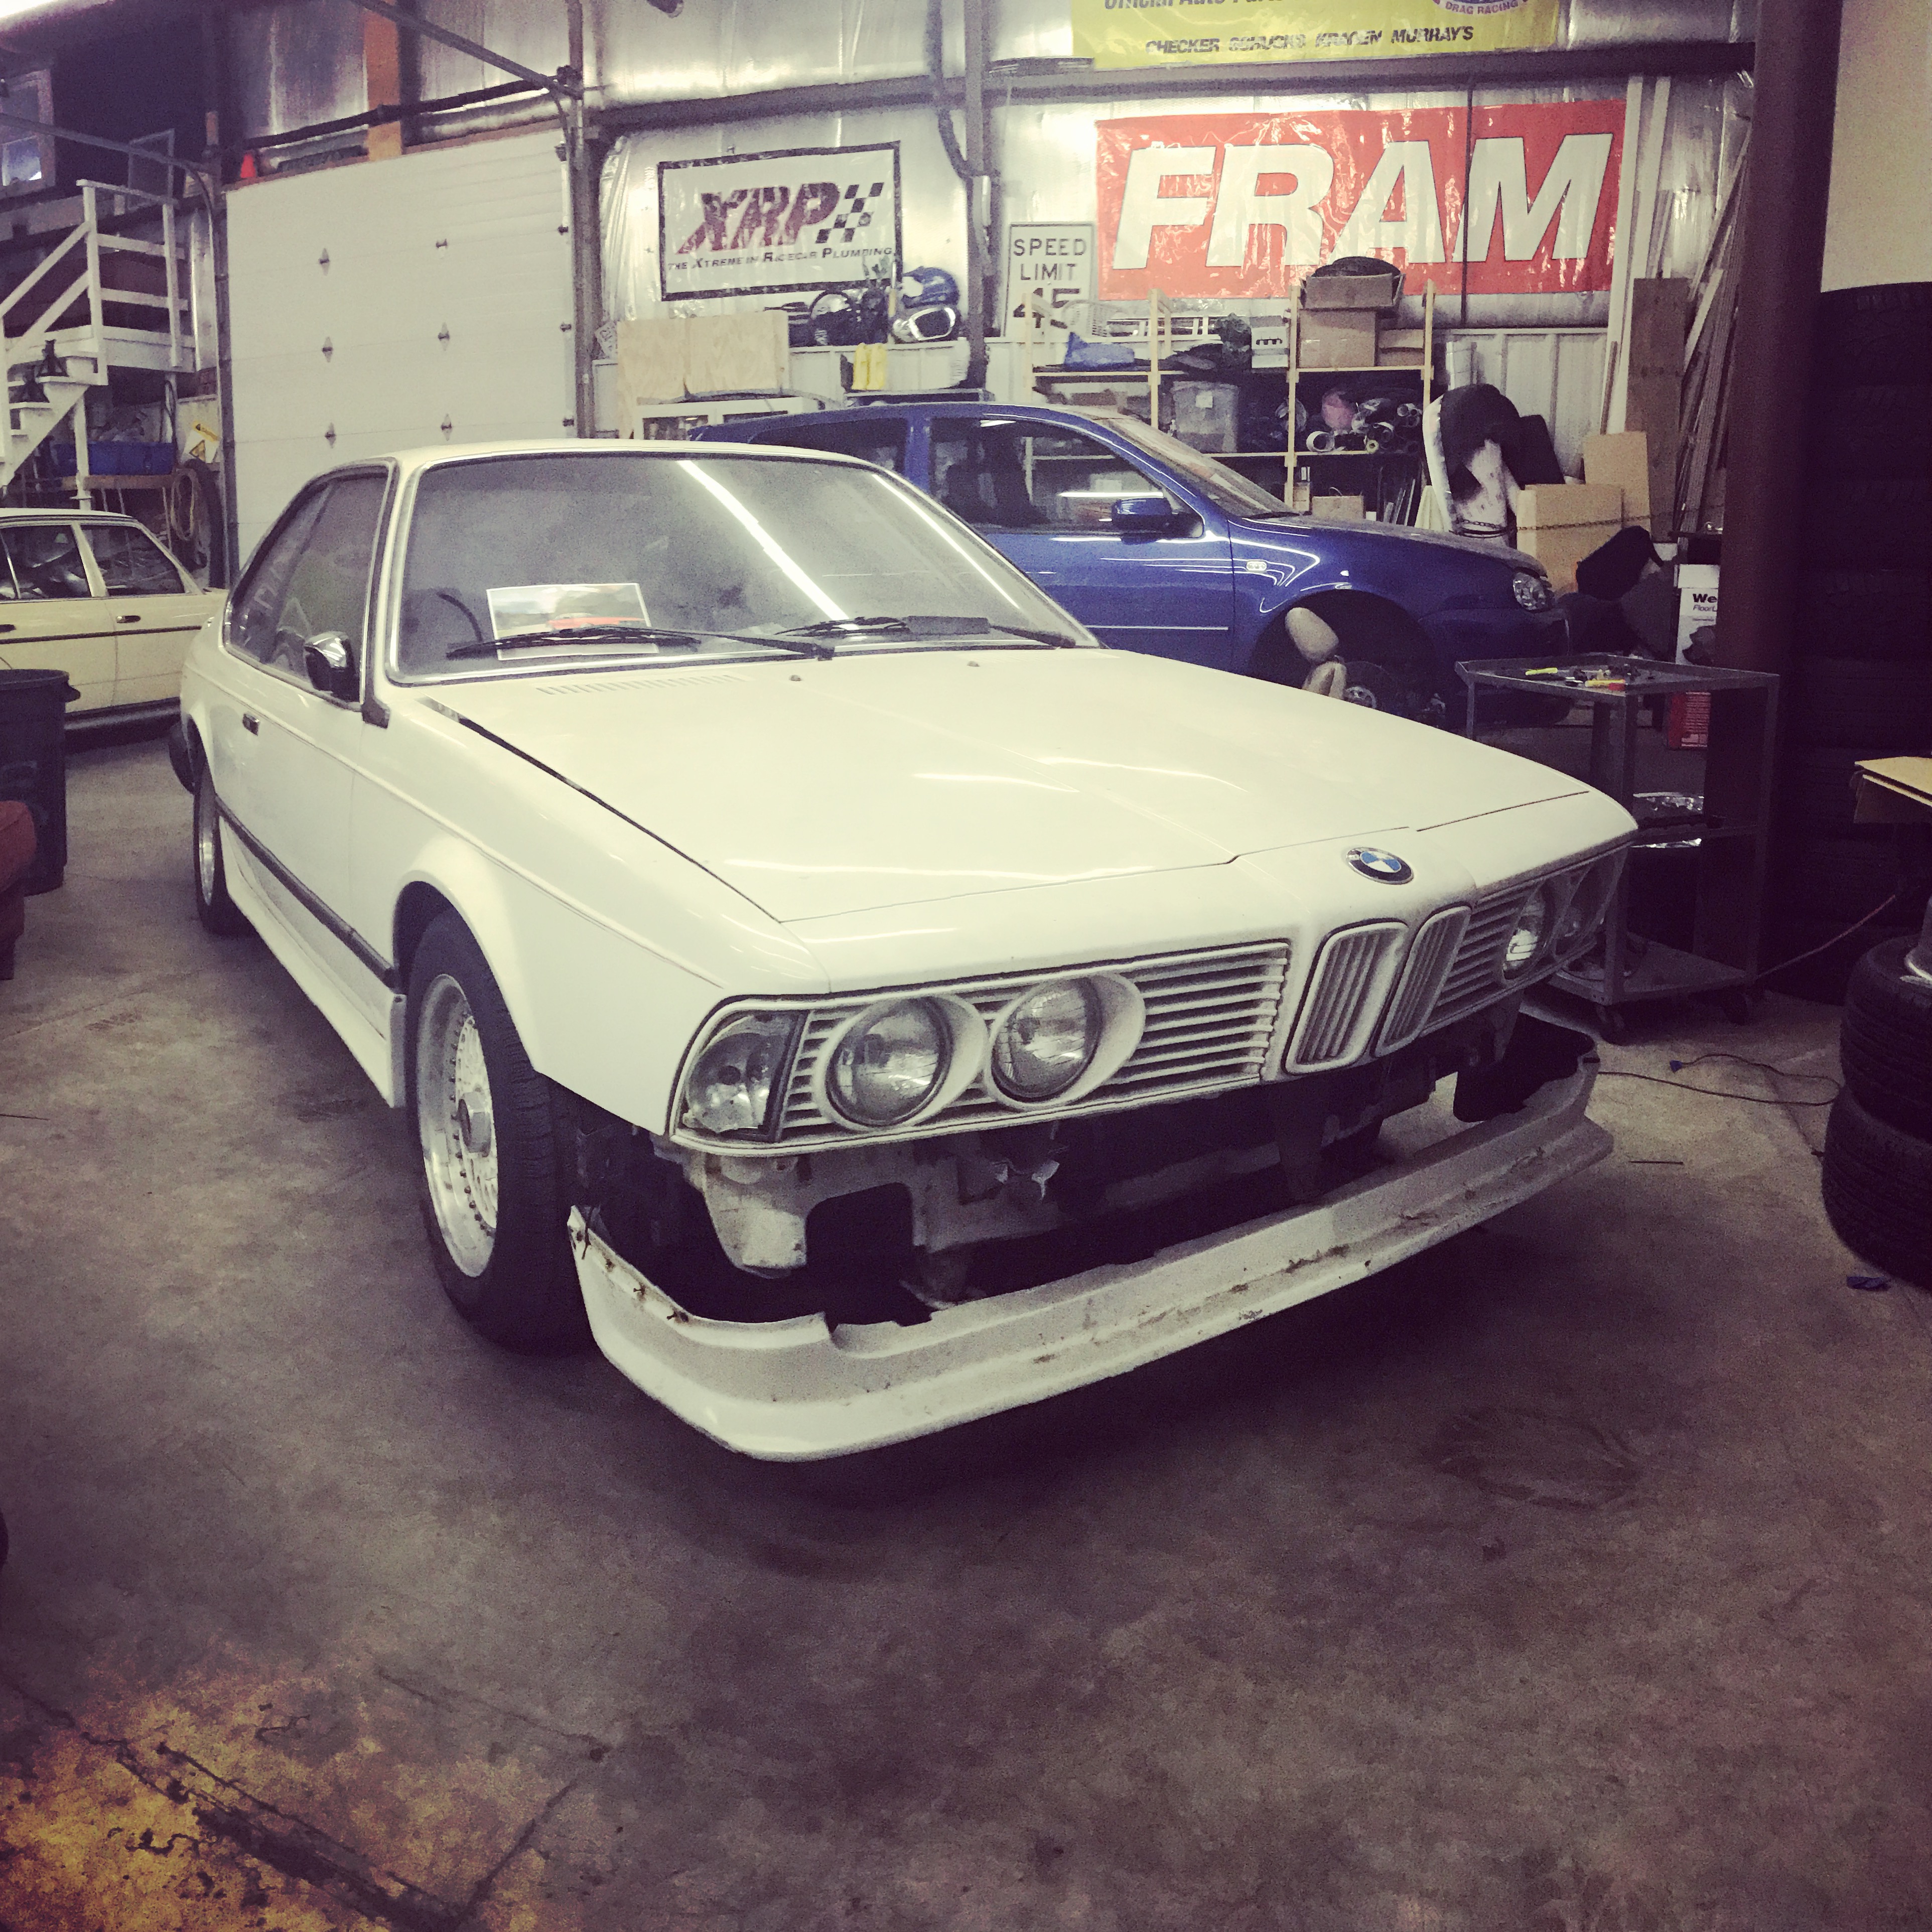
I also got a new roundel for up front and this afternoon I am meeting a guy with new headlights, grills, kidneys, side markers, gaskets, and hardware. I was really hoping he had a valance but he said he just sold his along with front and rear euro bumpers. DRATS!!
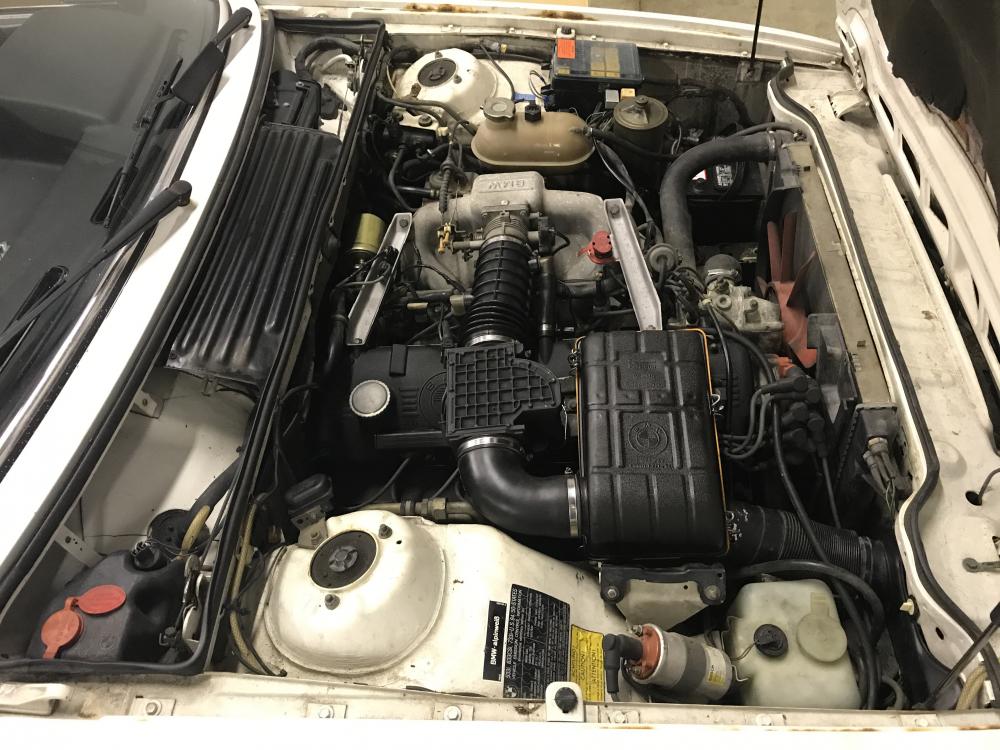
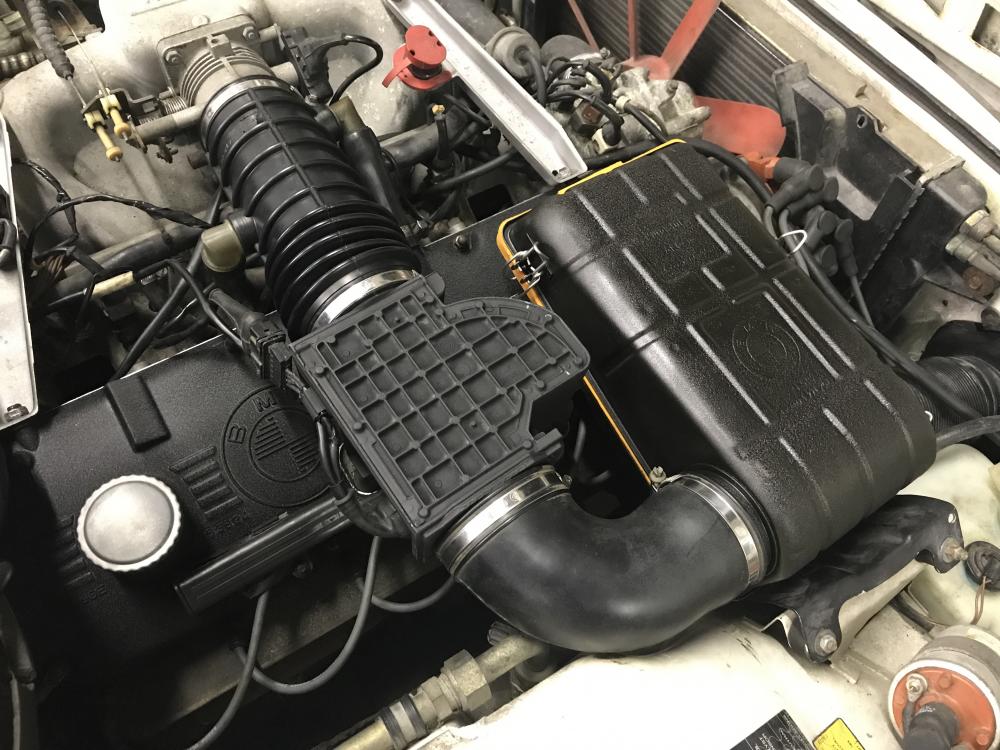
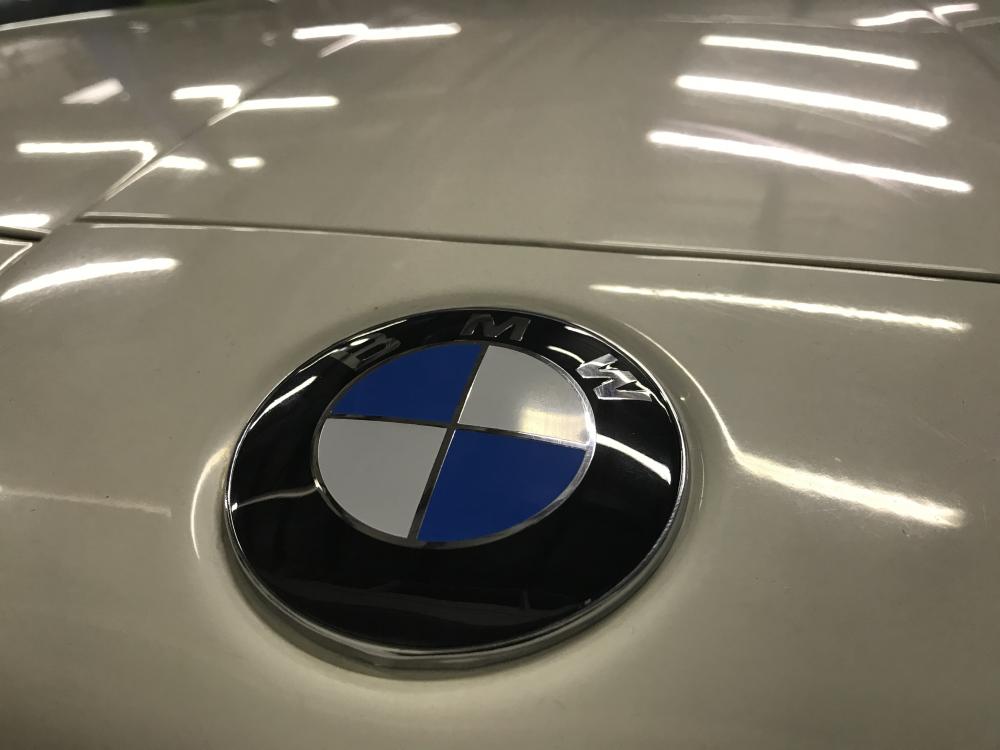

https://www.instagram.com/_jdesigner_/ http://nevertoolow.tumblr.com/
🥳SOLD BMW E24 633CSI - BMW M30B32 🧪SOLD HCH ES9 - 1.3 LDA
👽BMW E30 325IC - Toyota 1JZ-GTE ⏰ HONDA EF9 CIVIC SI - JDM B18C5
☠️BMW E36 318i - Ford 5.0 FE302 🚴♂️ GT-Labomba - 26x2.75 Freeride
🤹♀️SOLD BMW E36/7 Z3 - BMW M54B25 🧓SOLD BMW E10 2002 - BMW M10M05 -
So I met a guy that drove up from Illinois to deliver me some parts as seen below. Super nice guy and we ended up talking for a good 45 minutes. Turns out he has a nice size collection of vintage cars and he shared some pictures with me(also seen below). He convinced me that I need to visit the Windy City Vintage Fest this September on the 16th. Boom, I have a new deadline this car needs to be in perfect roadworthy selling condition.
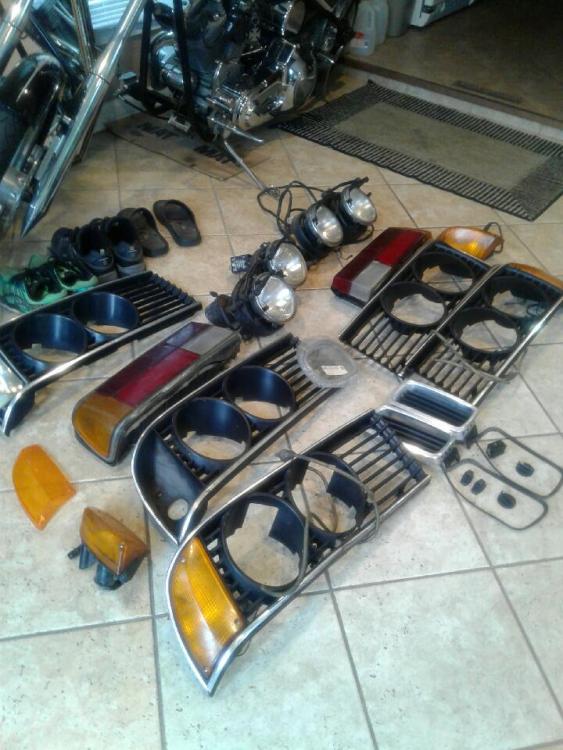
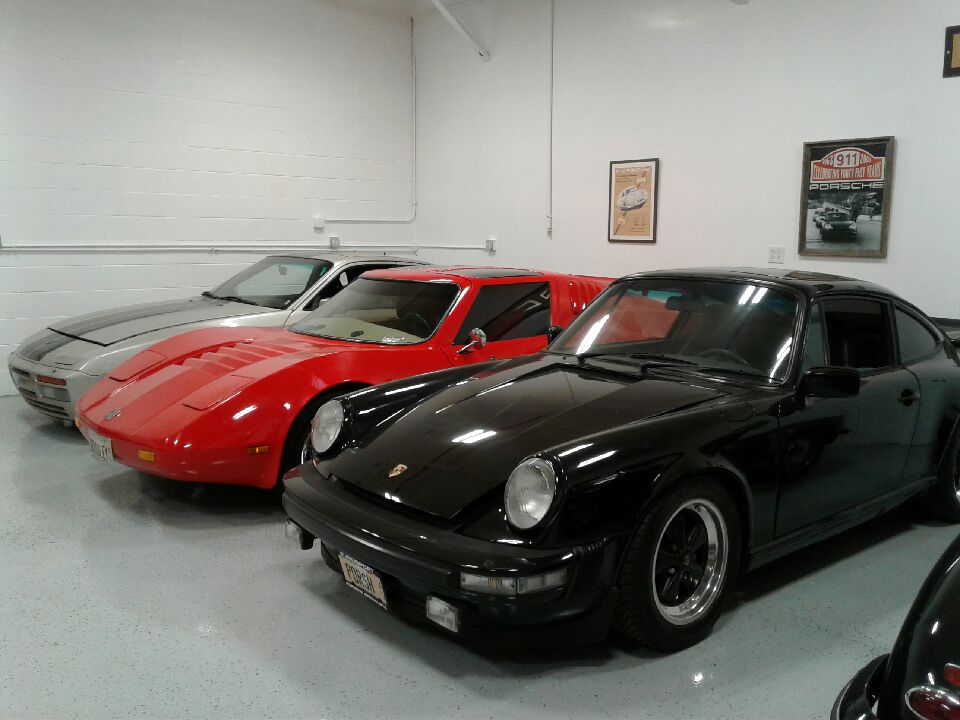
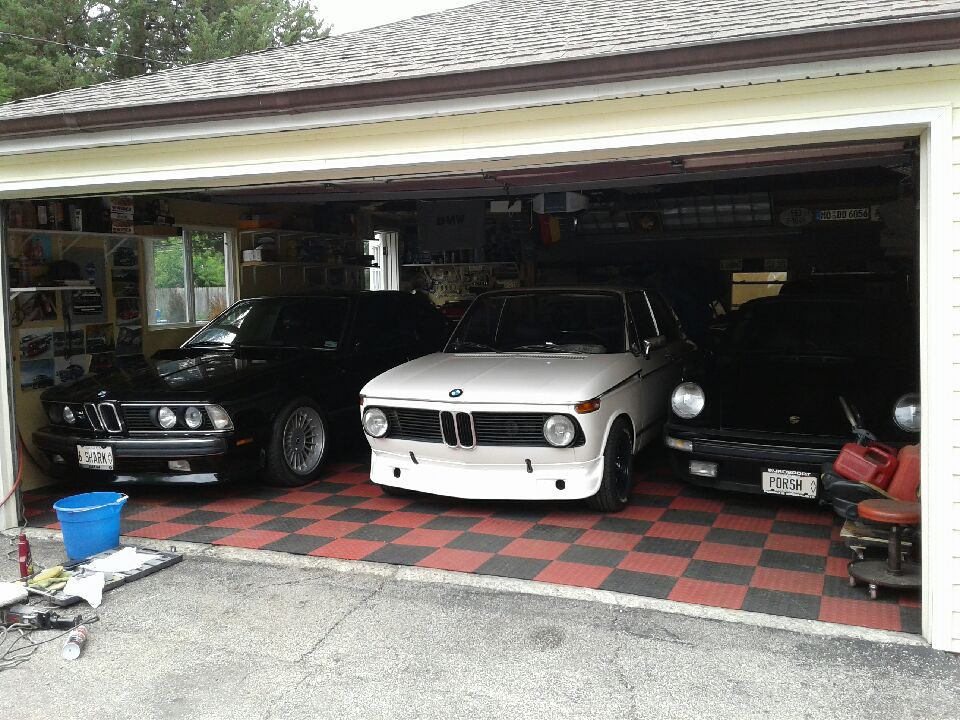
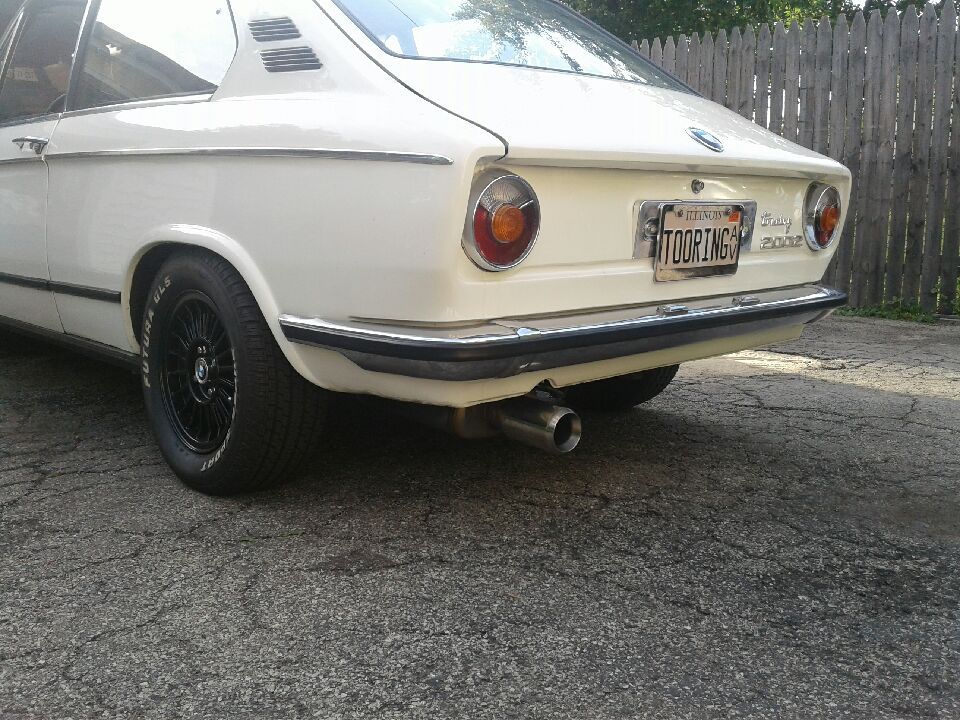
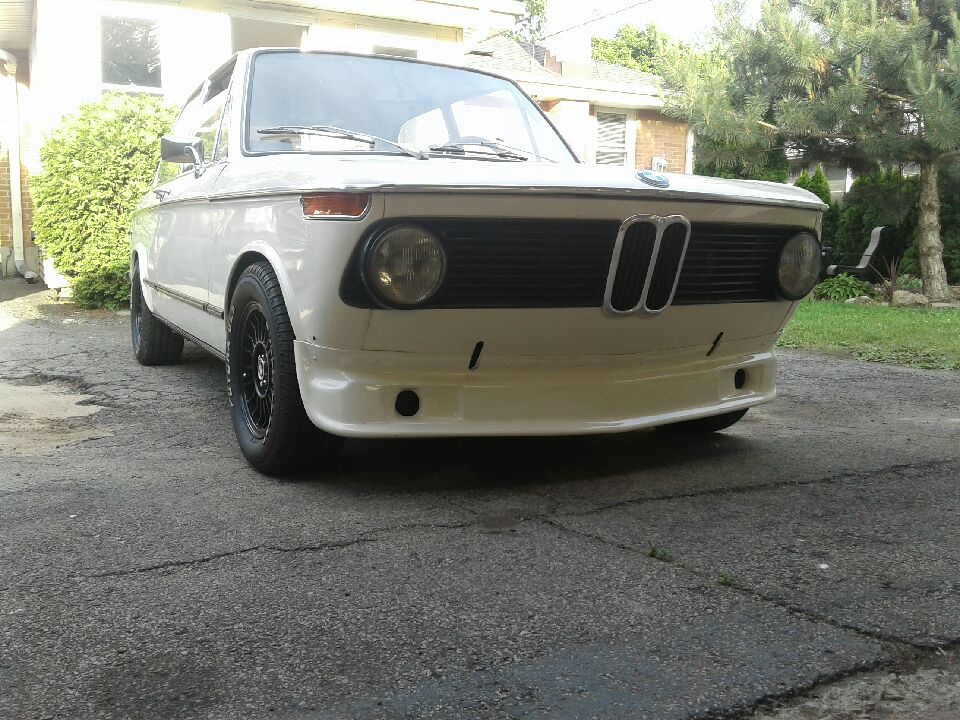
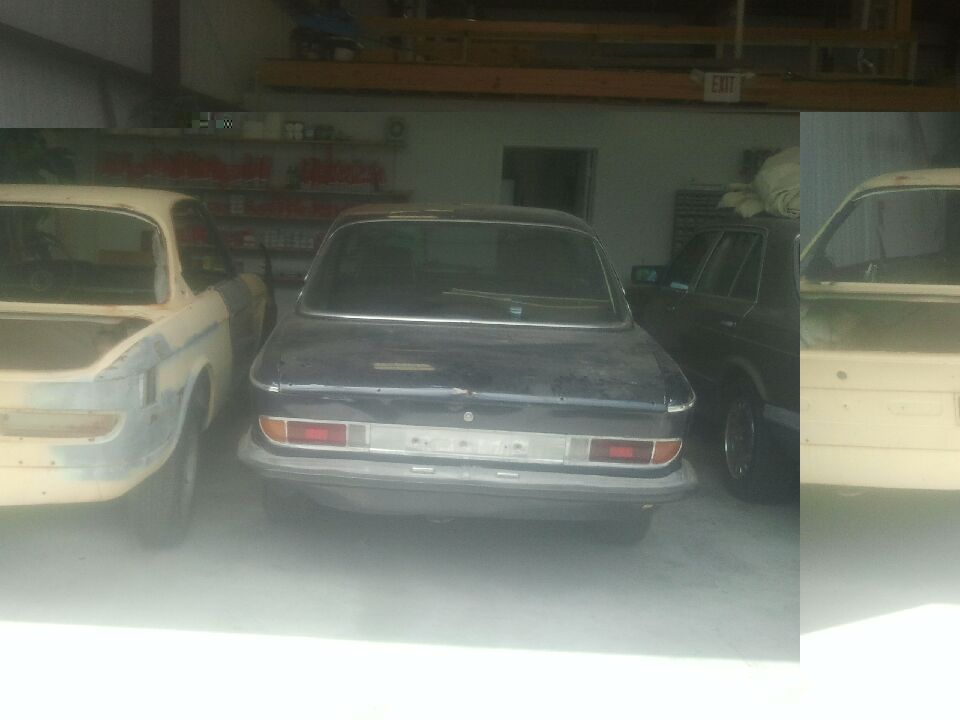
Overall he sent me about 40 pictures of his collection. Some pretty awesome stuff. That's all for now until I start installing all the goodies he brought me.
https://www.instagram.com/_jdesigner_/ http://nevertoolow.tumblr.com/
🥳SOLD BMW E24 633CSI - BMW M30B32 🧪SOLD HCH ES9 - 1.3 LDA
👽BMW E30 325IC - Toyota 1JZ-GTE ⏰ HONDA EF9 CIVIC SI - JDM B18C5
☠️BMW E36 318i - Ford 5.0 FE302 🚴♂️ GT-Labomba - 26x2.75 Freeride
🤹♀️SOLD BMW E36/7 Z3 - BMW M54B25 🧓SOLD BMW E10 2002 - BMW M10M05 -
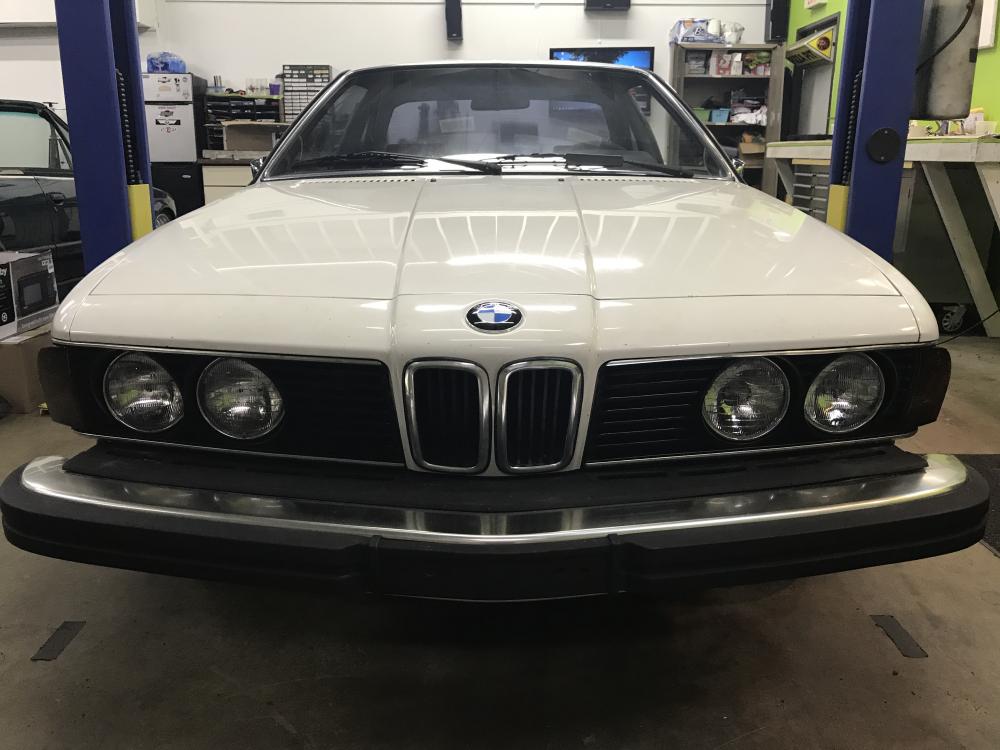
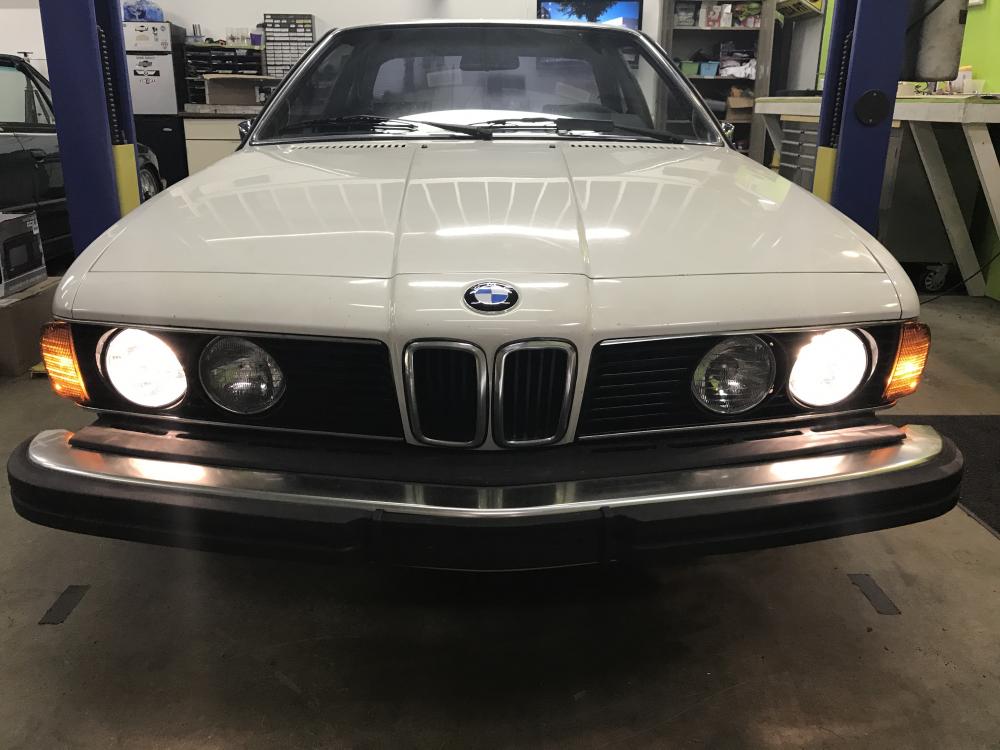
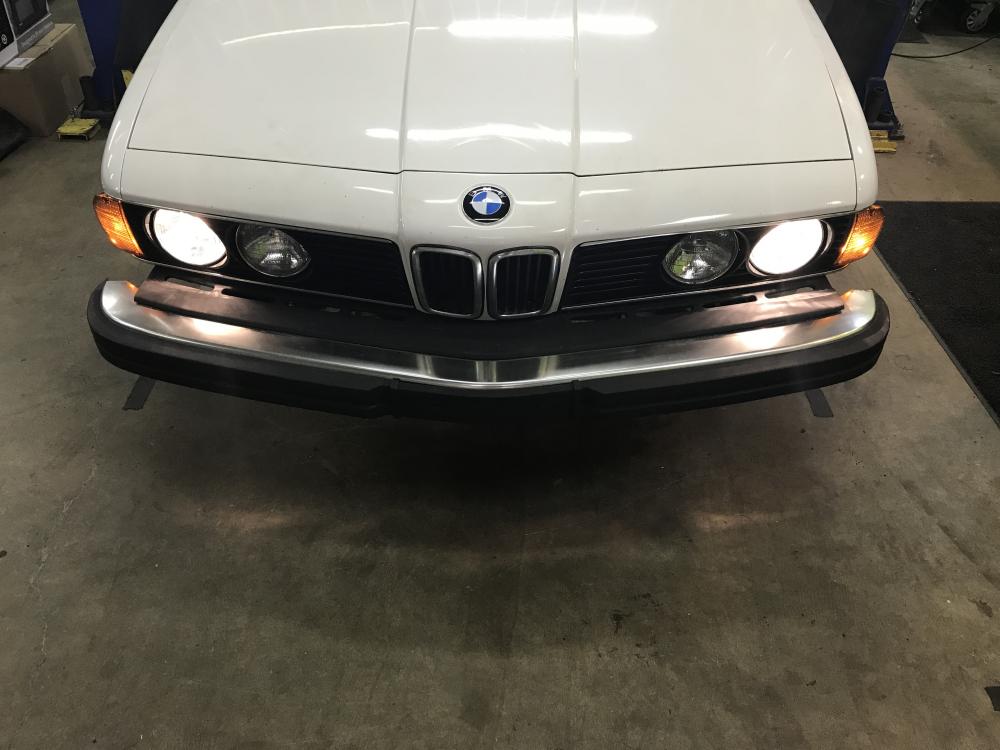
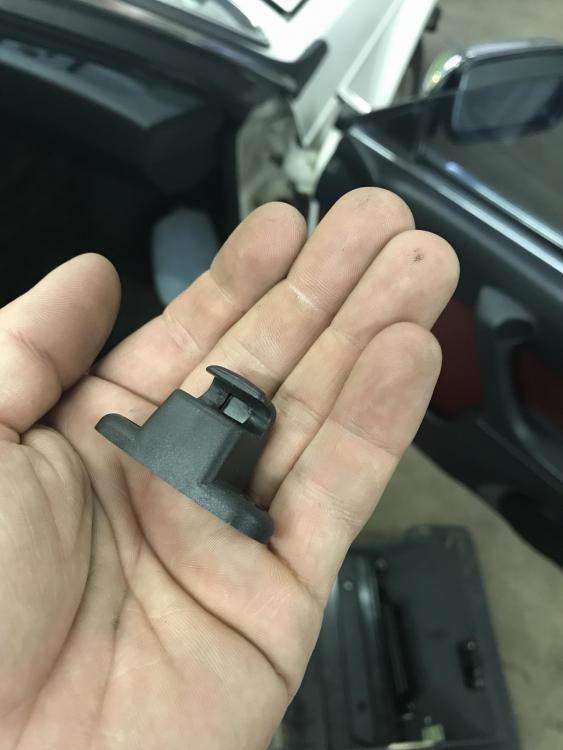
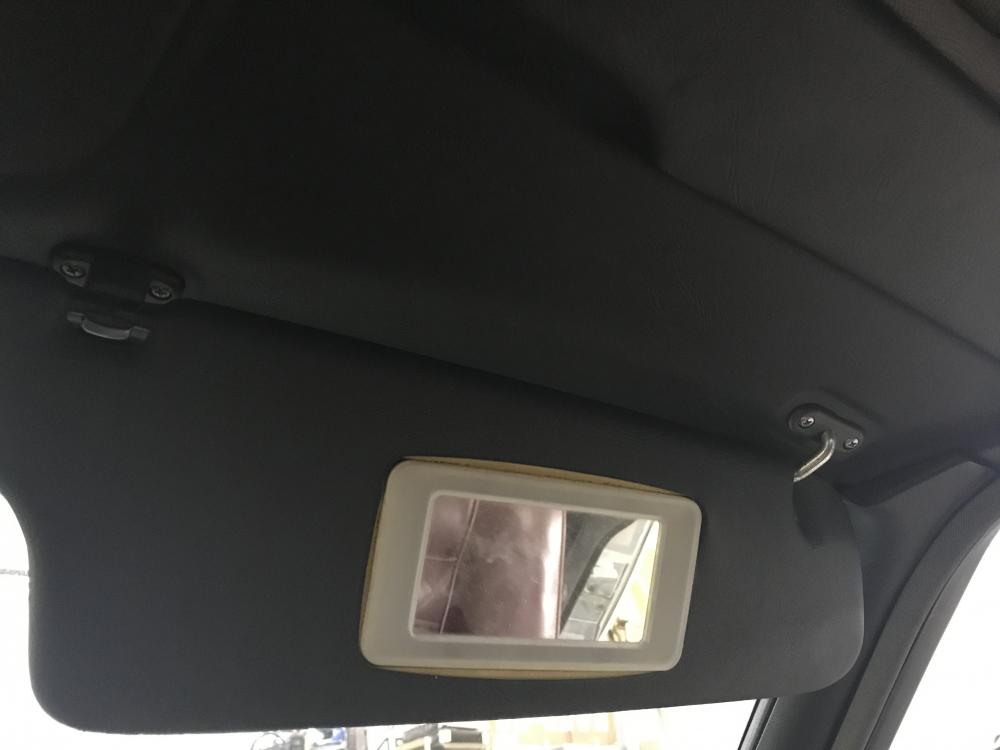
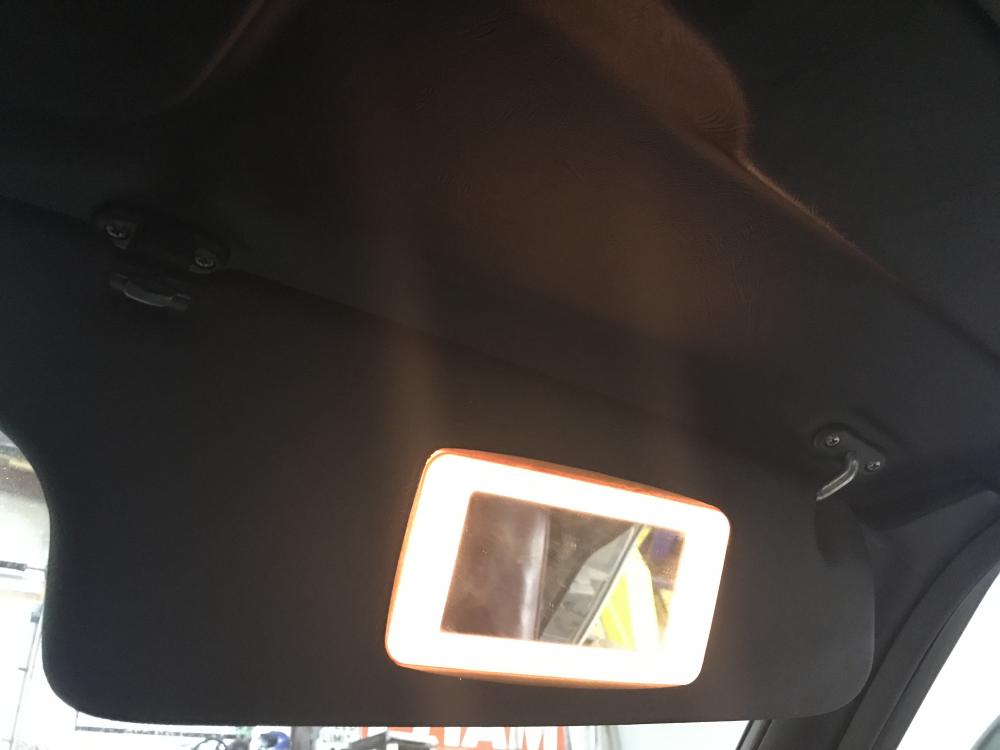
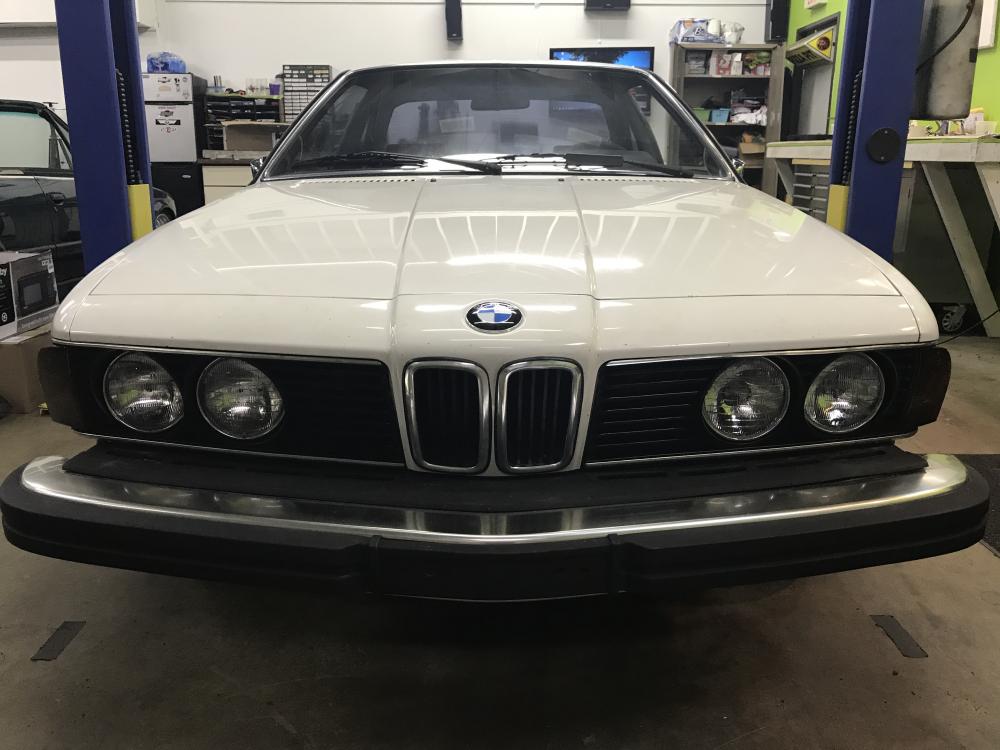
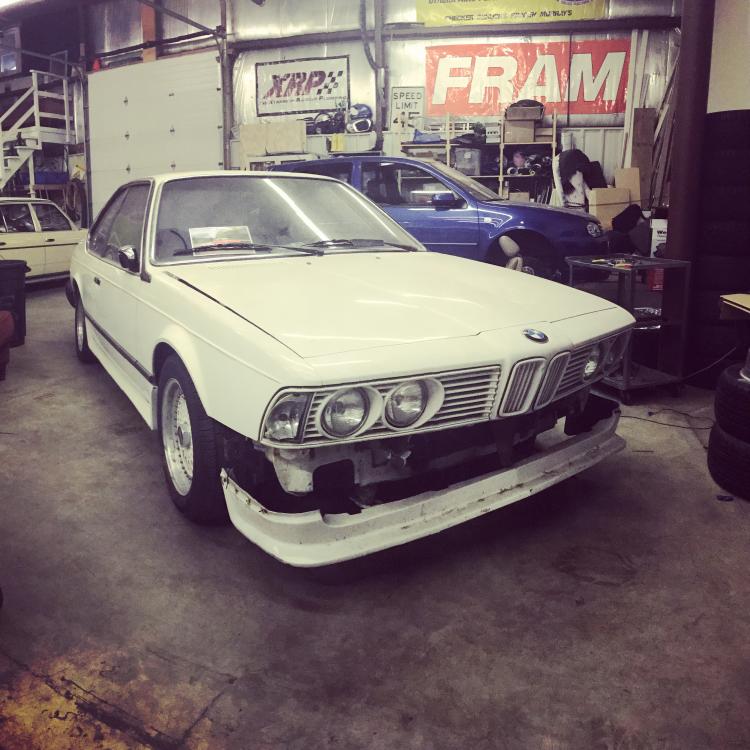
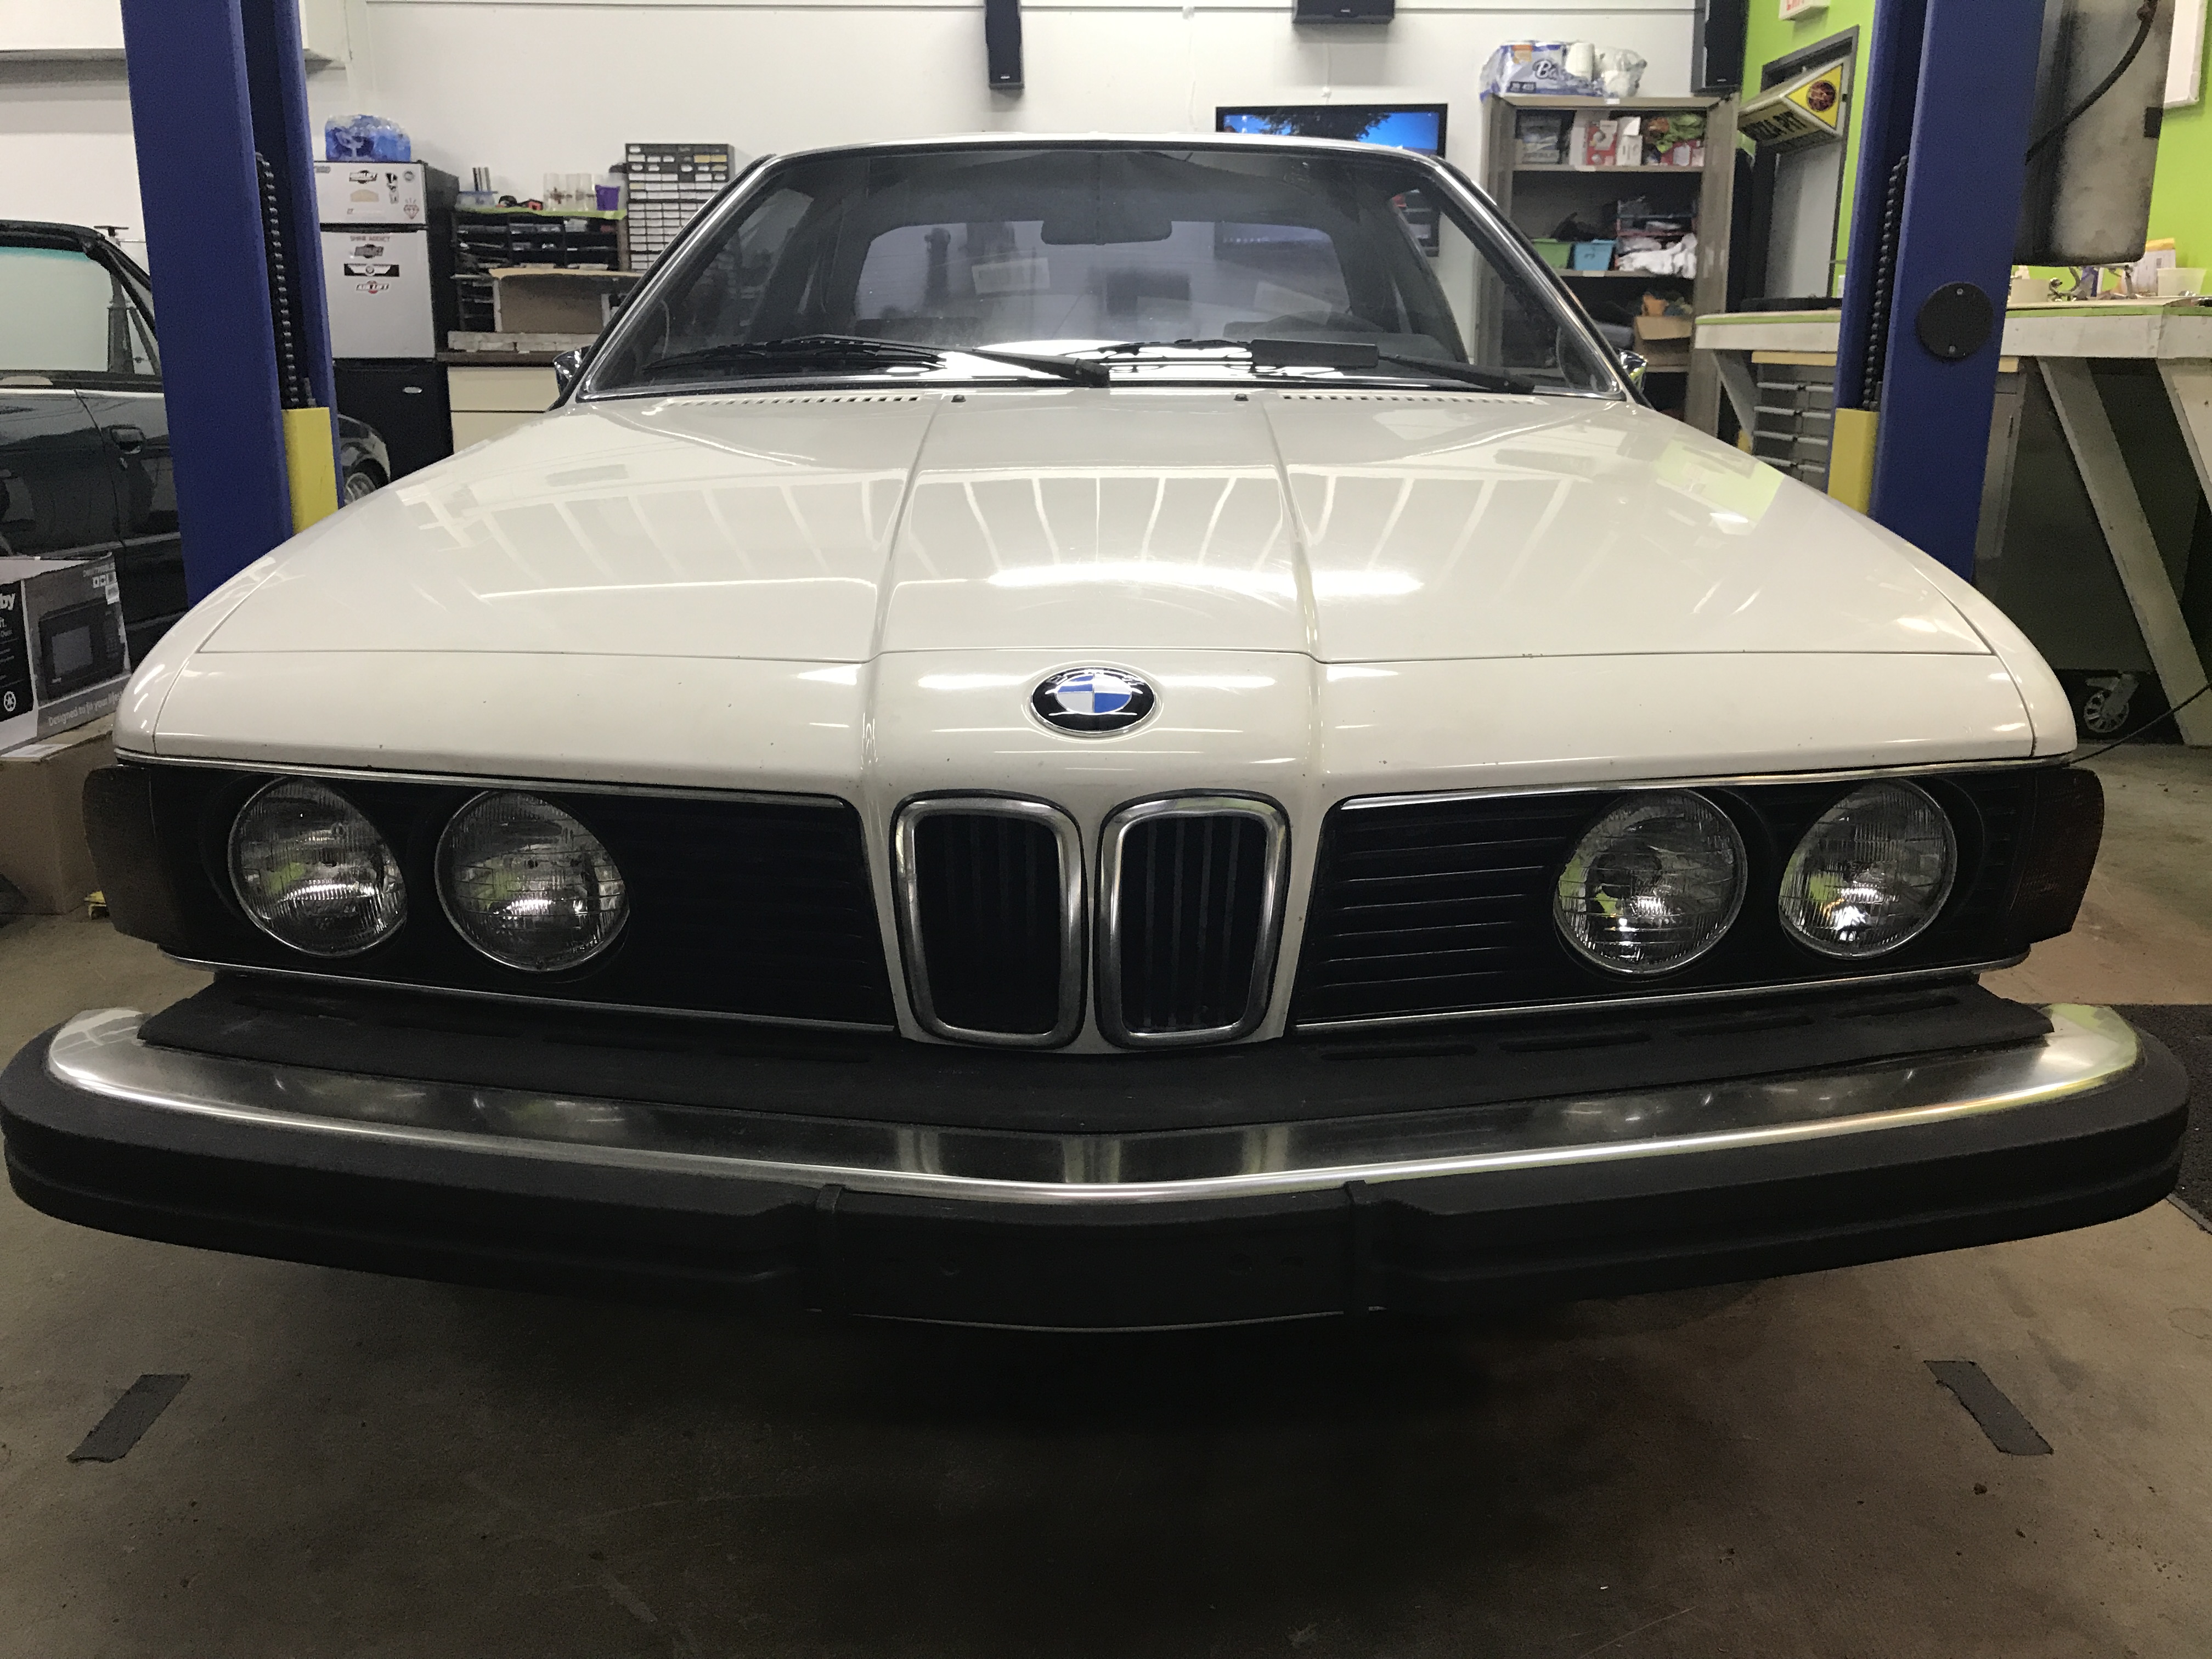
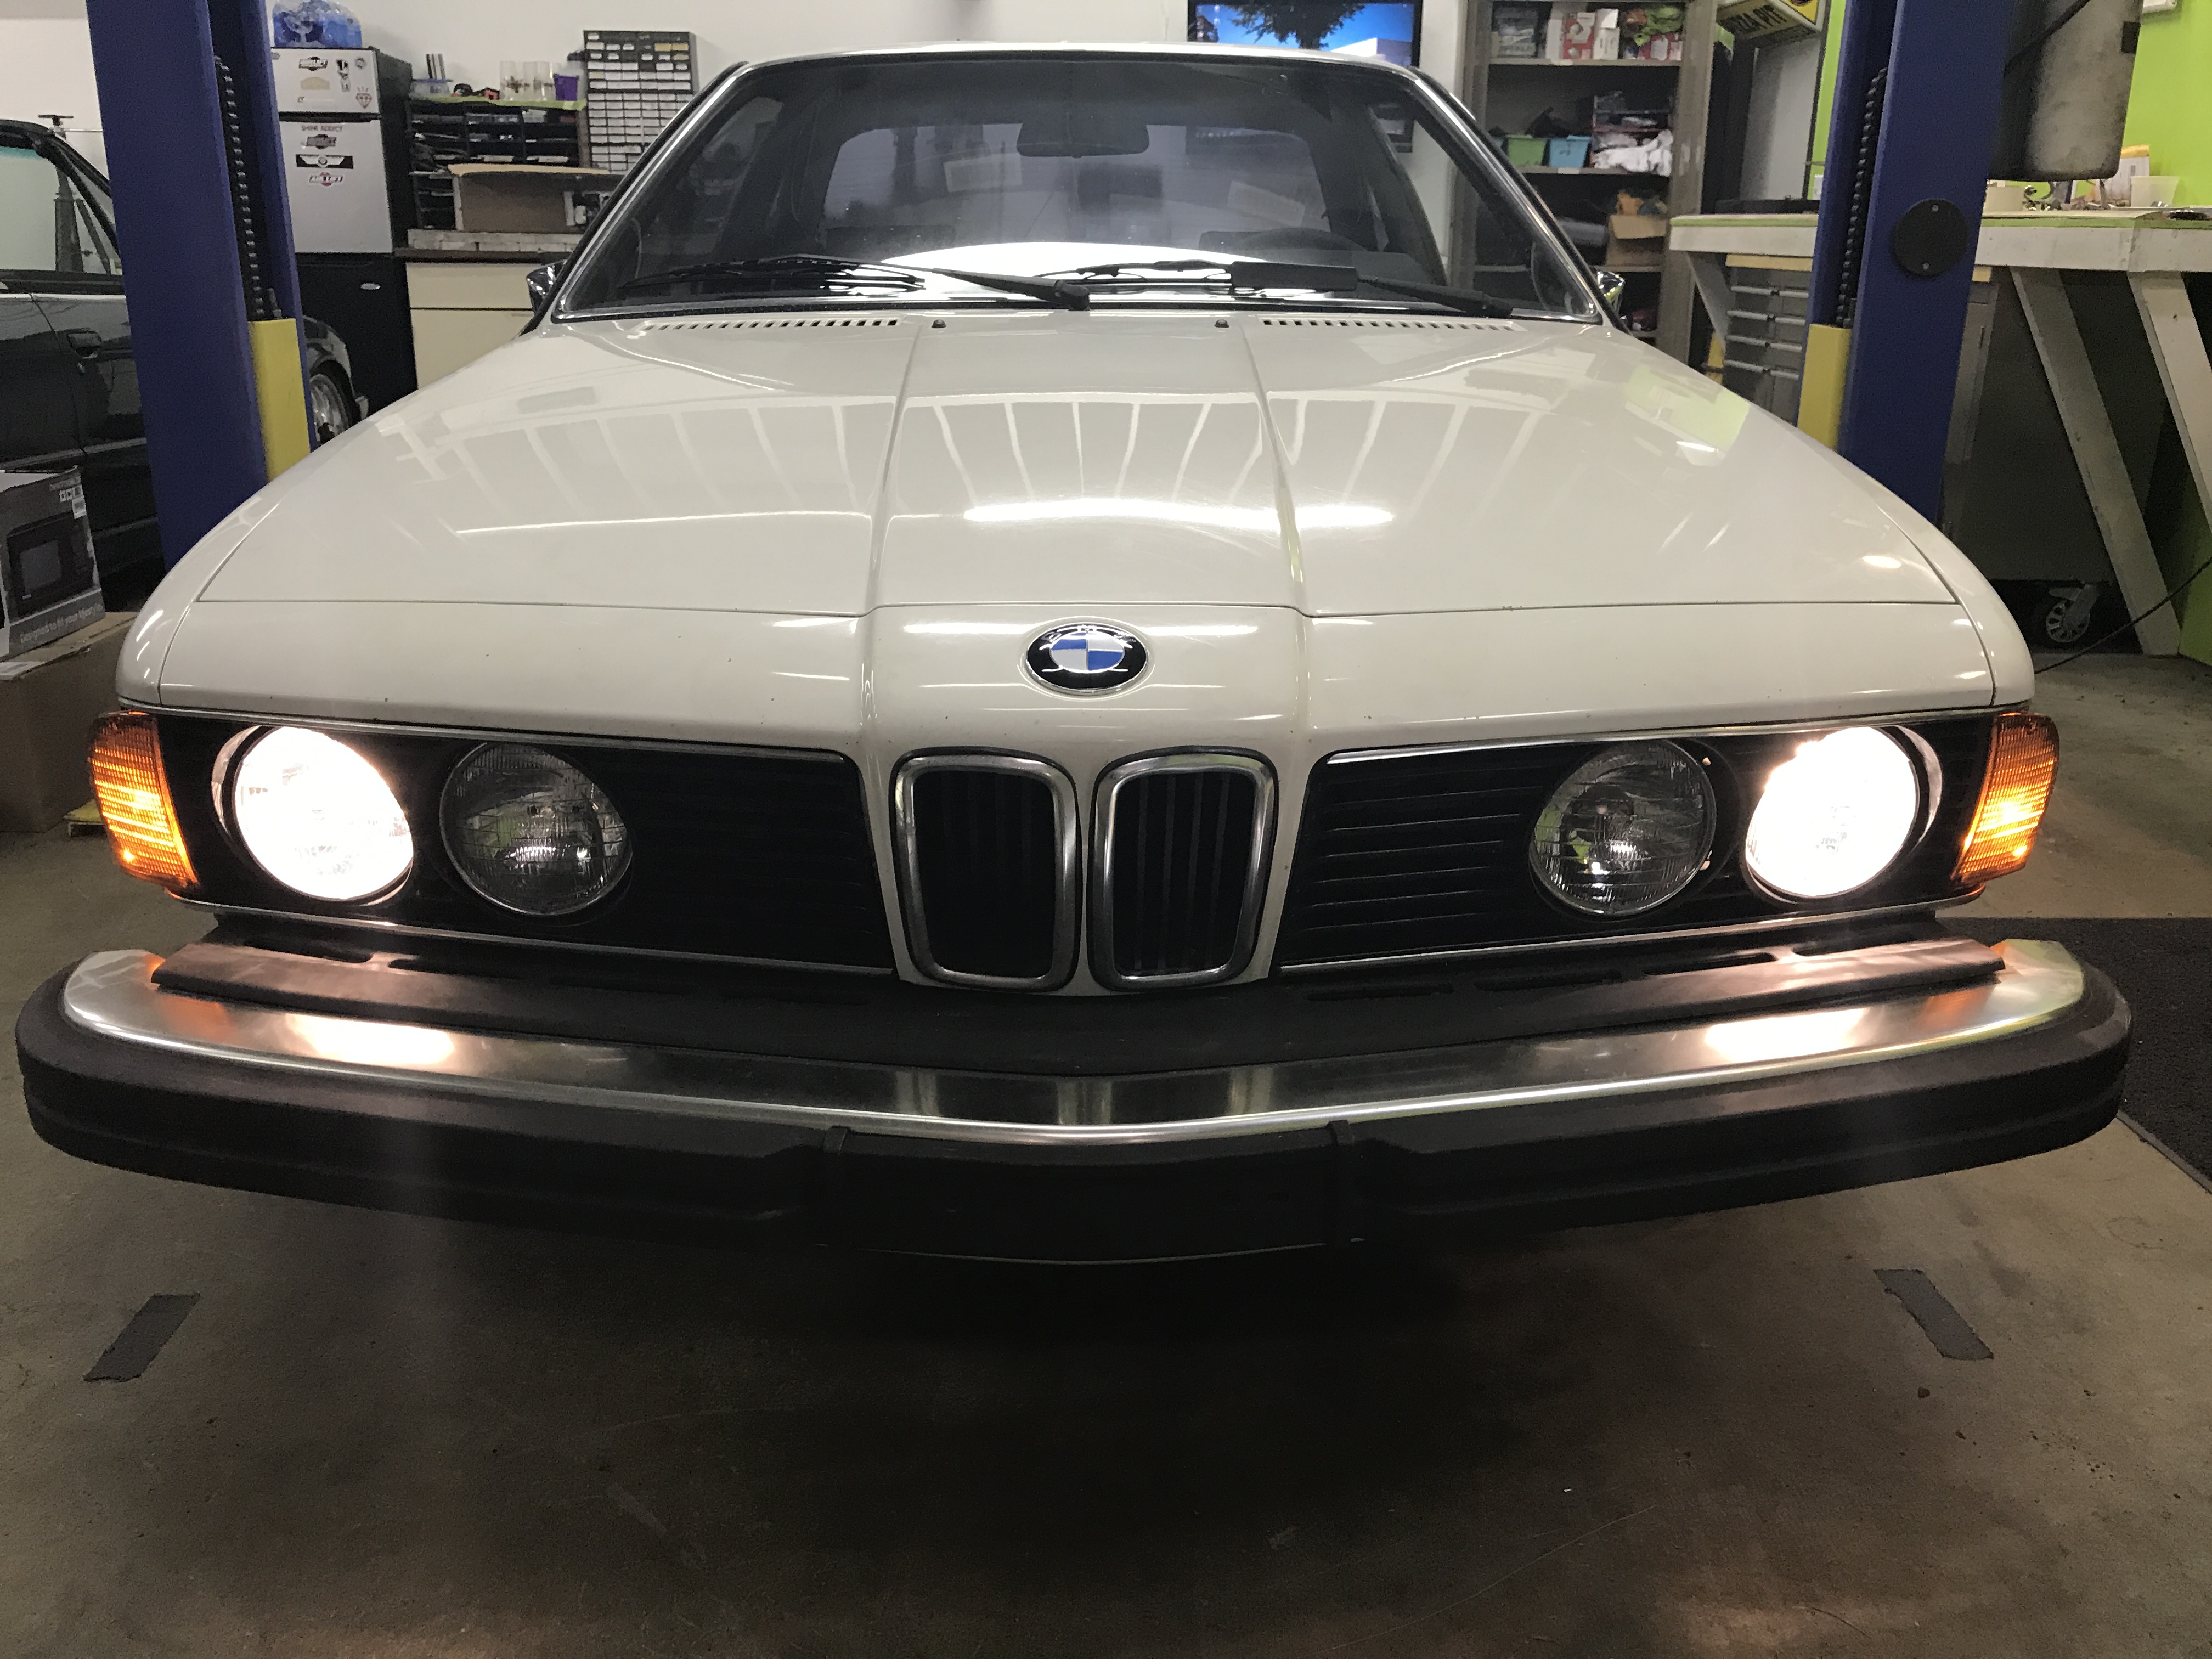
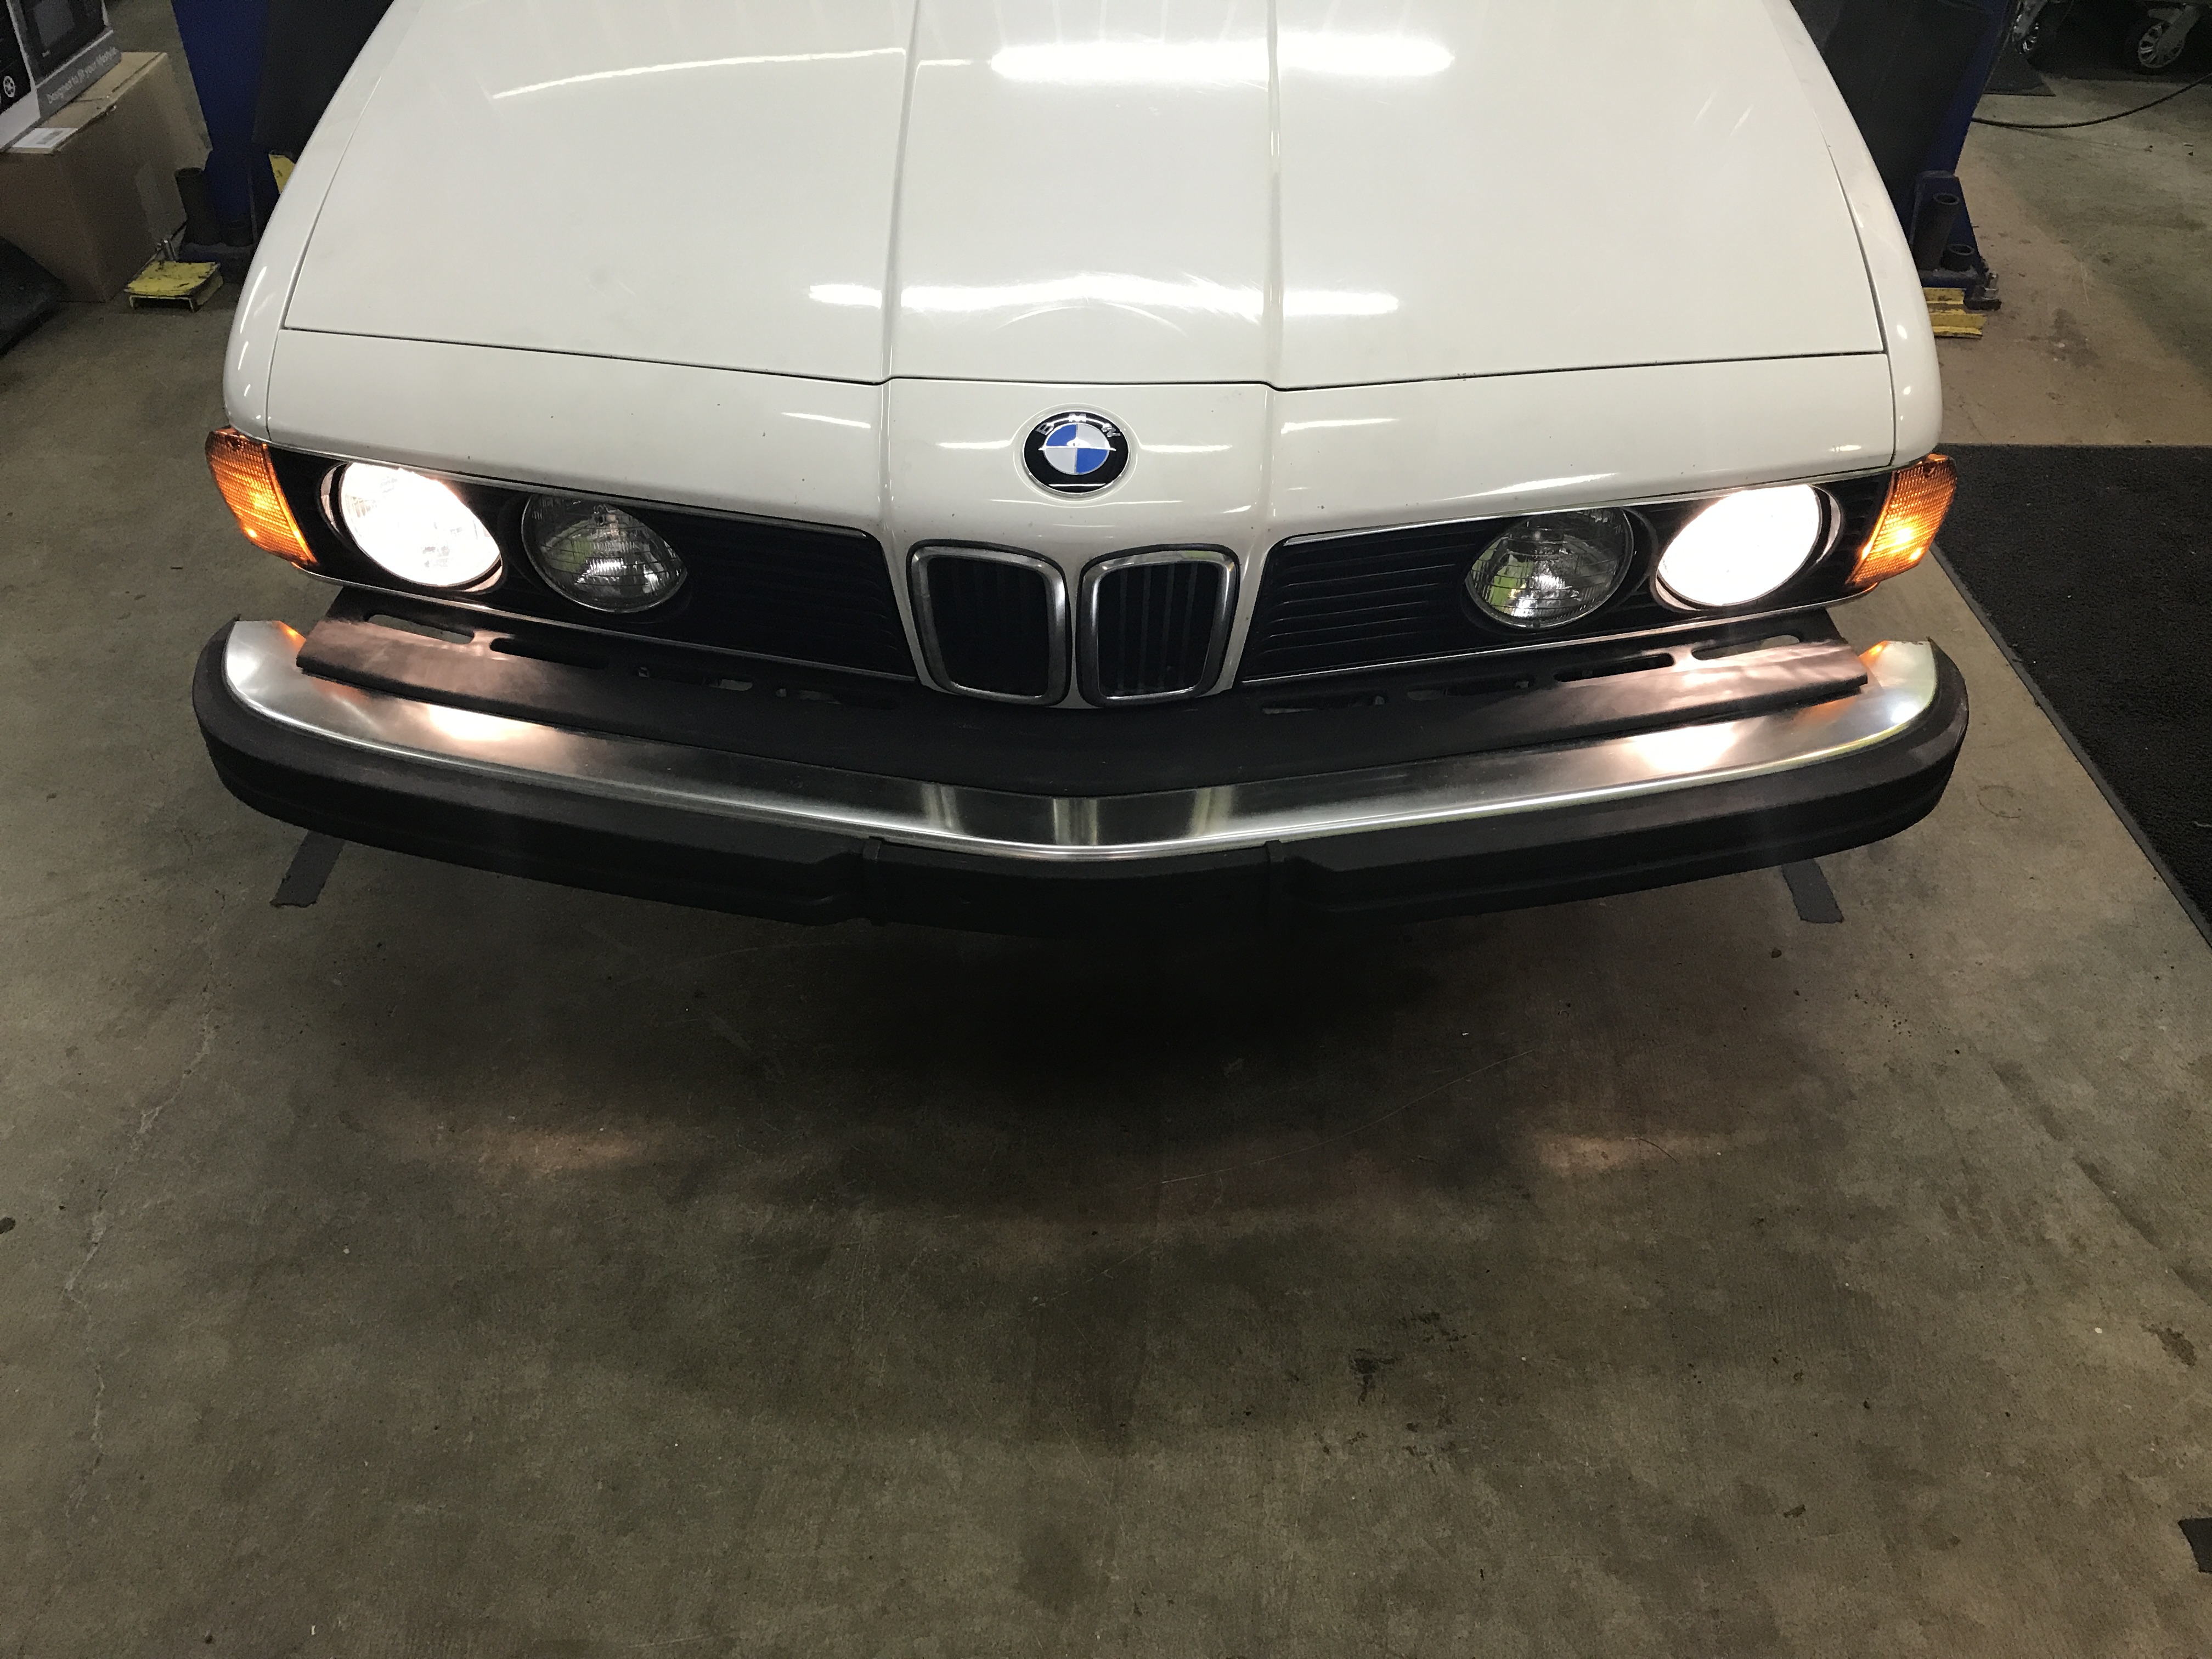
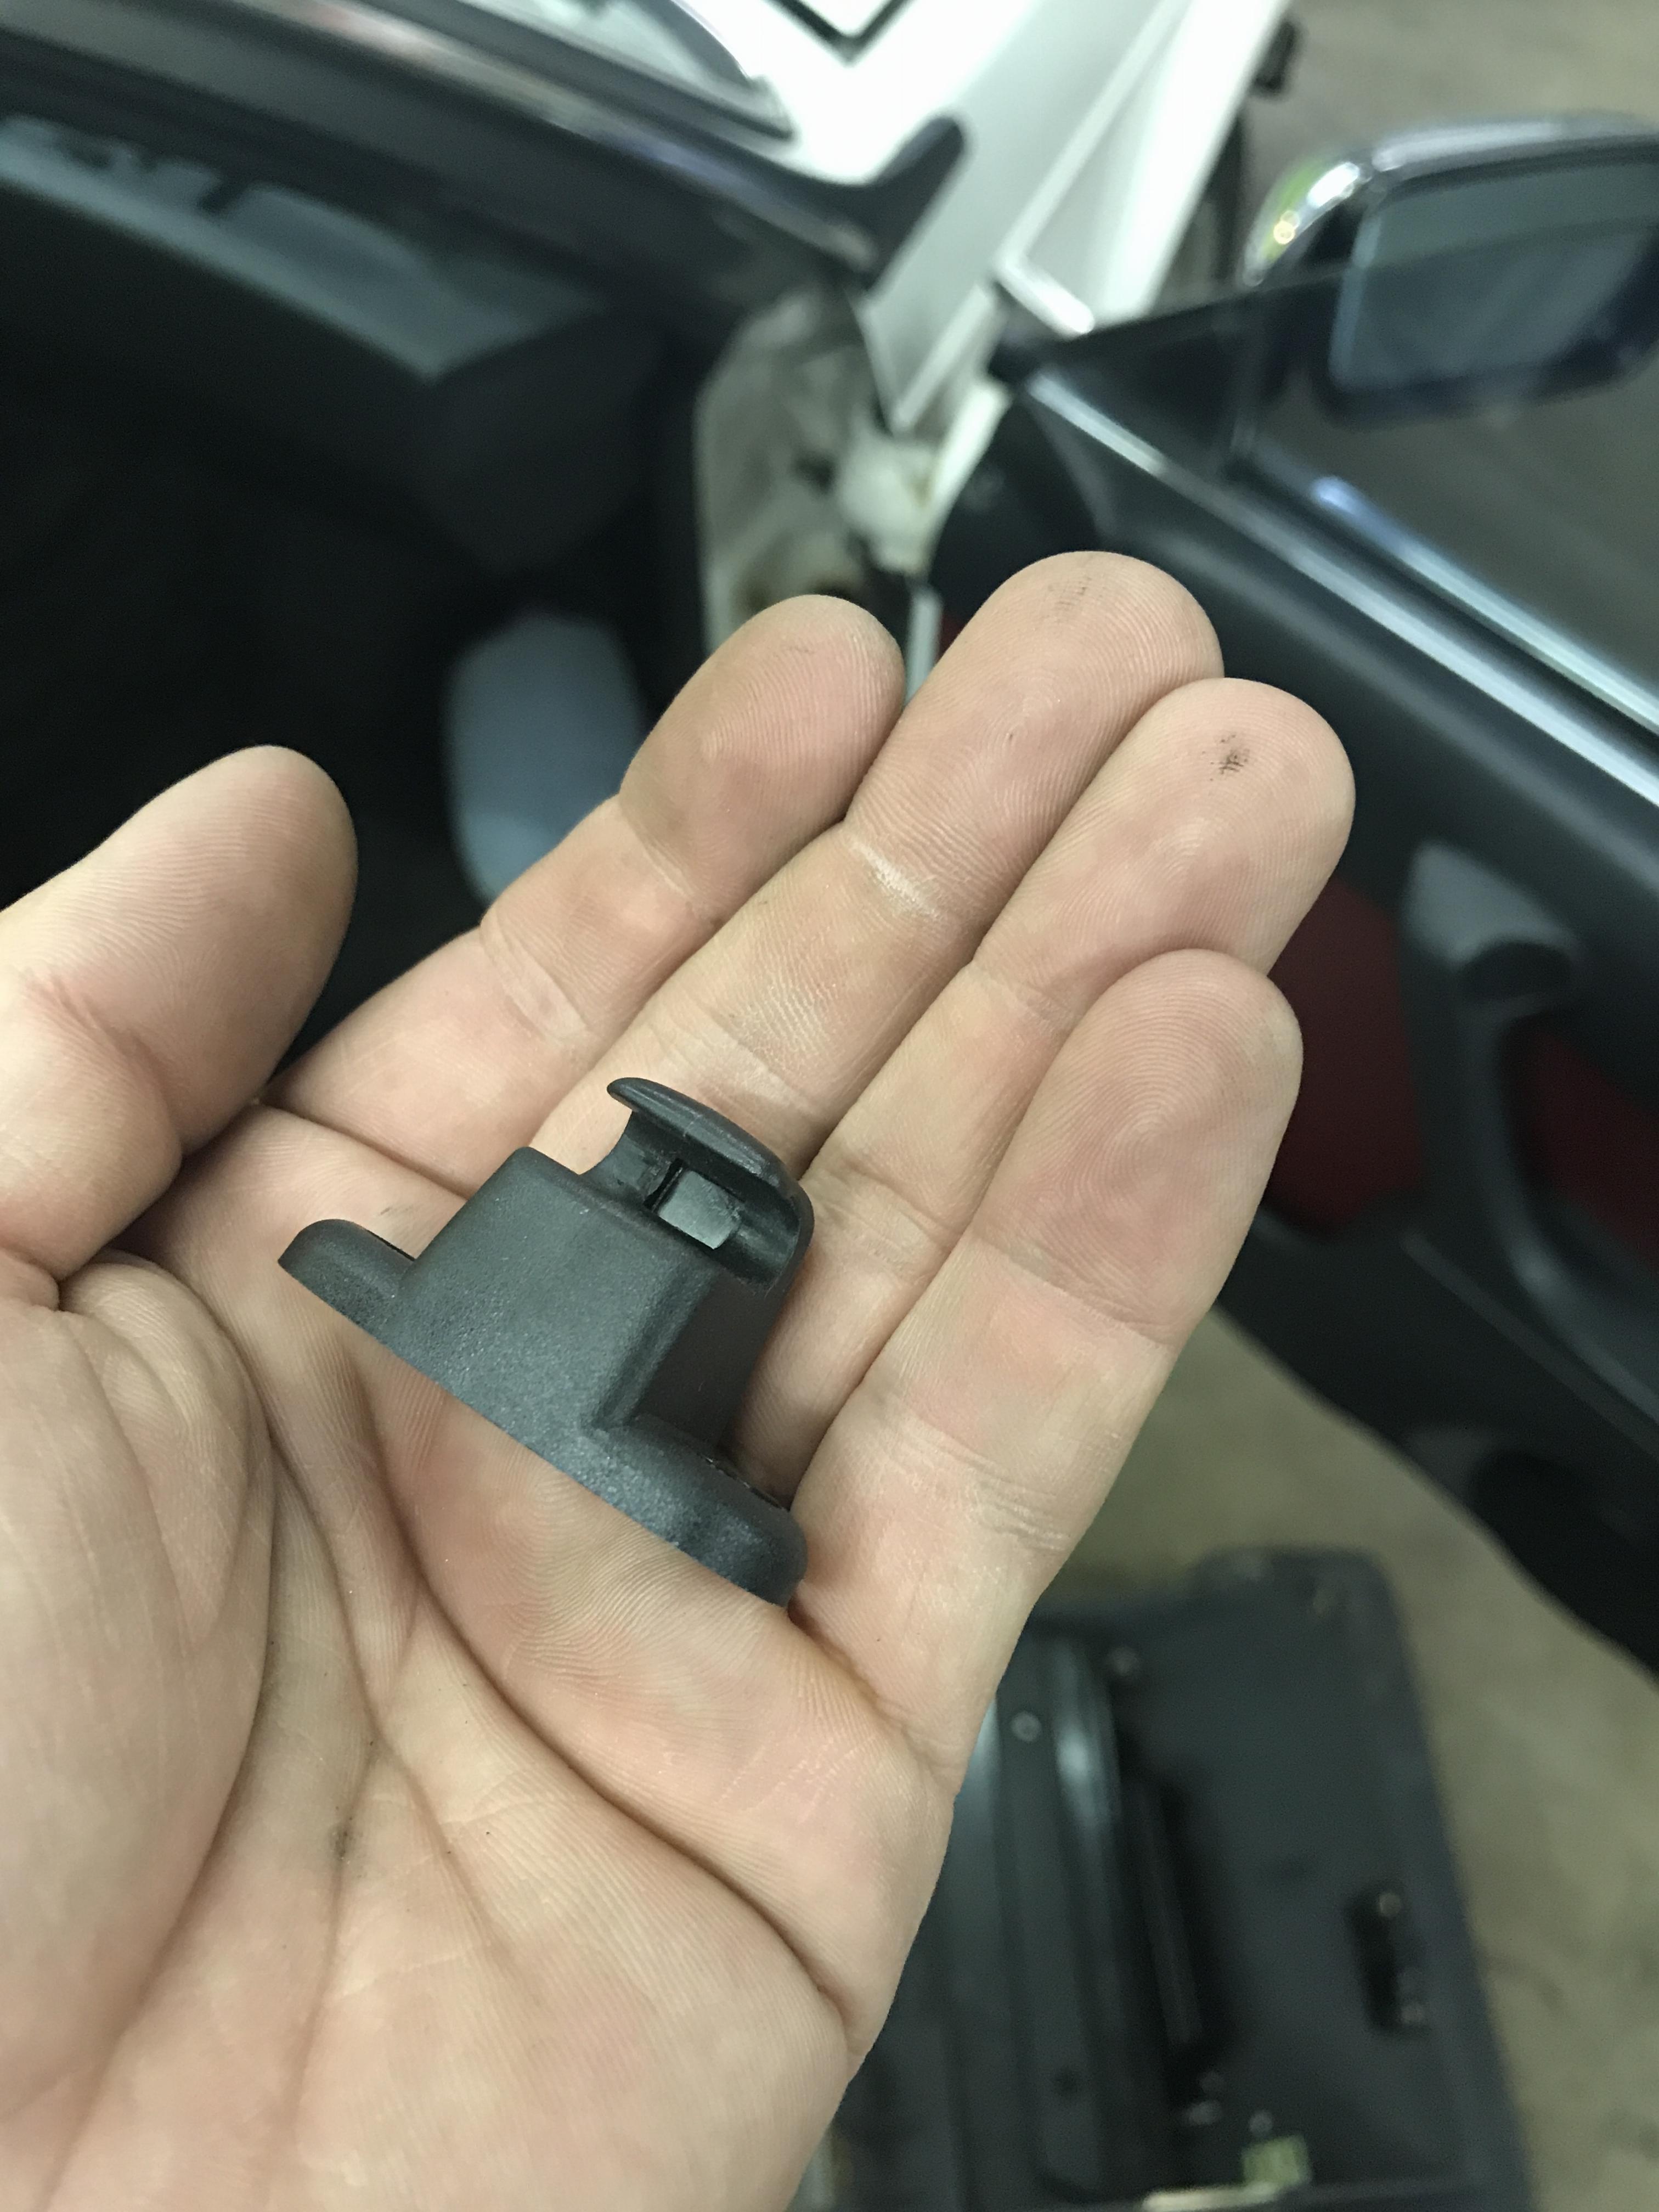
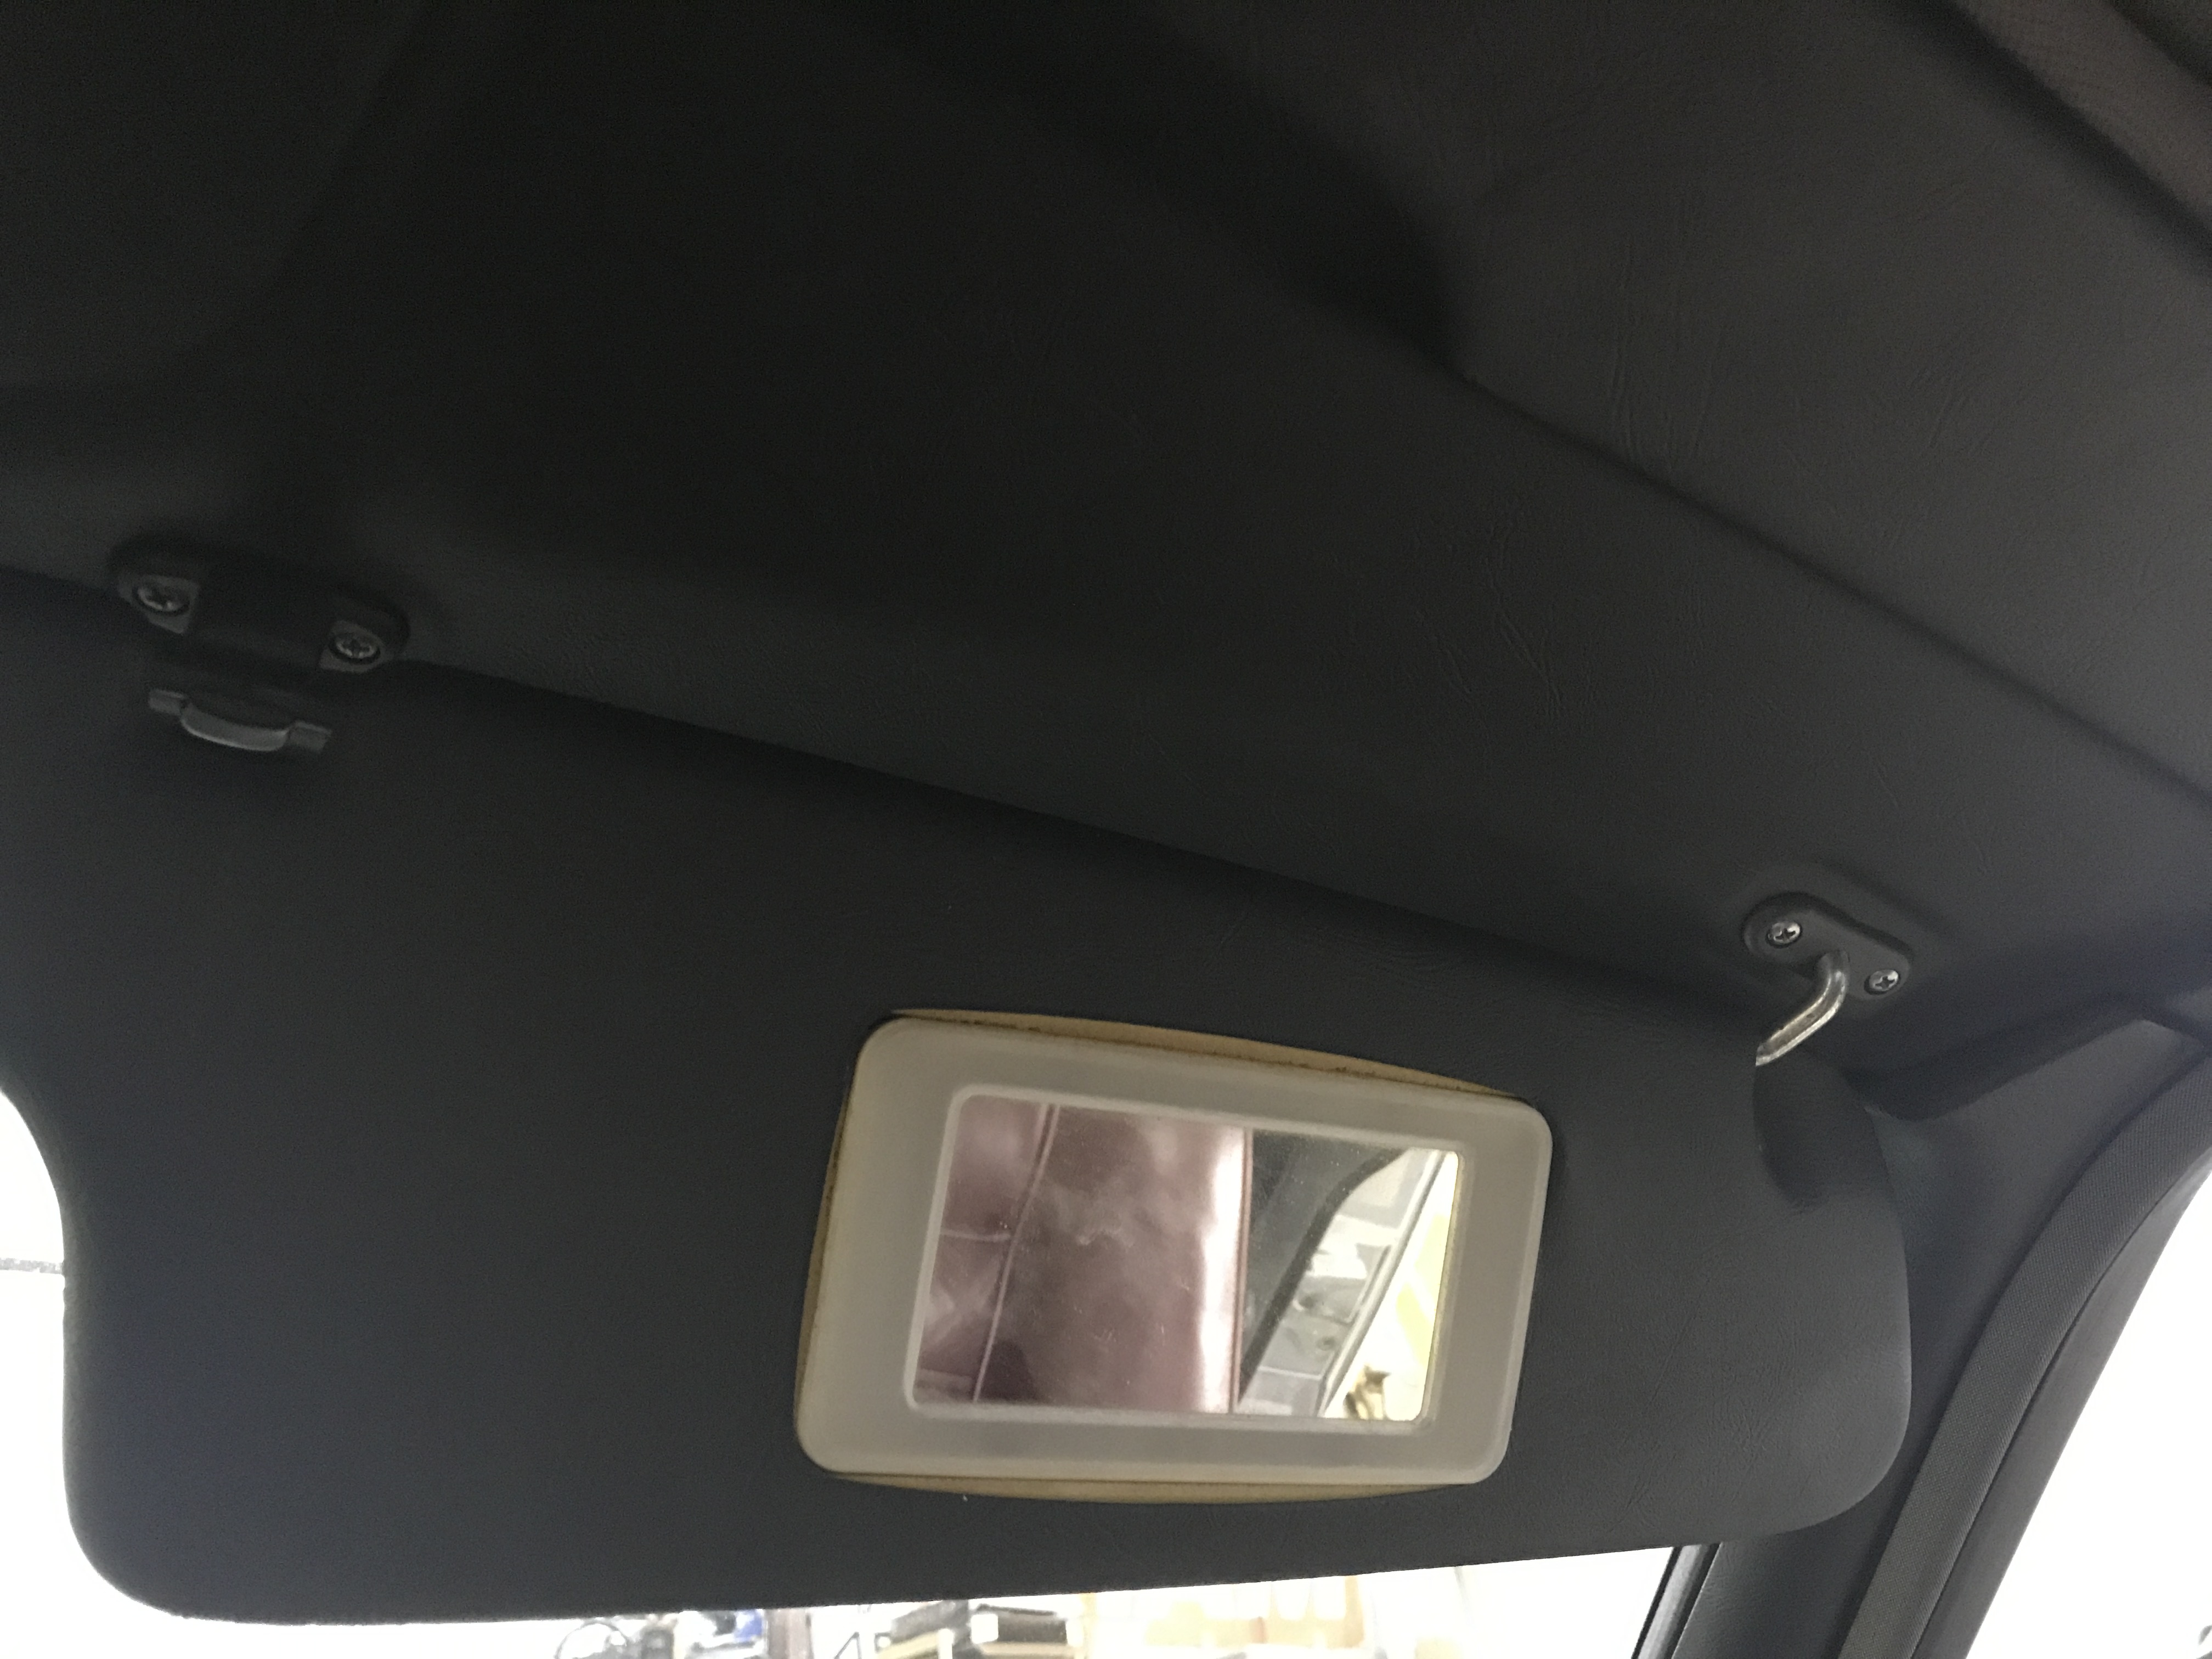
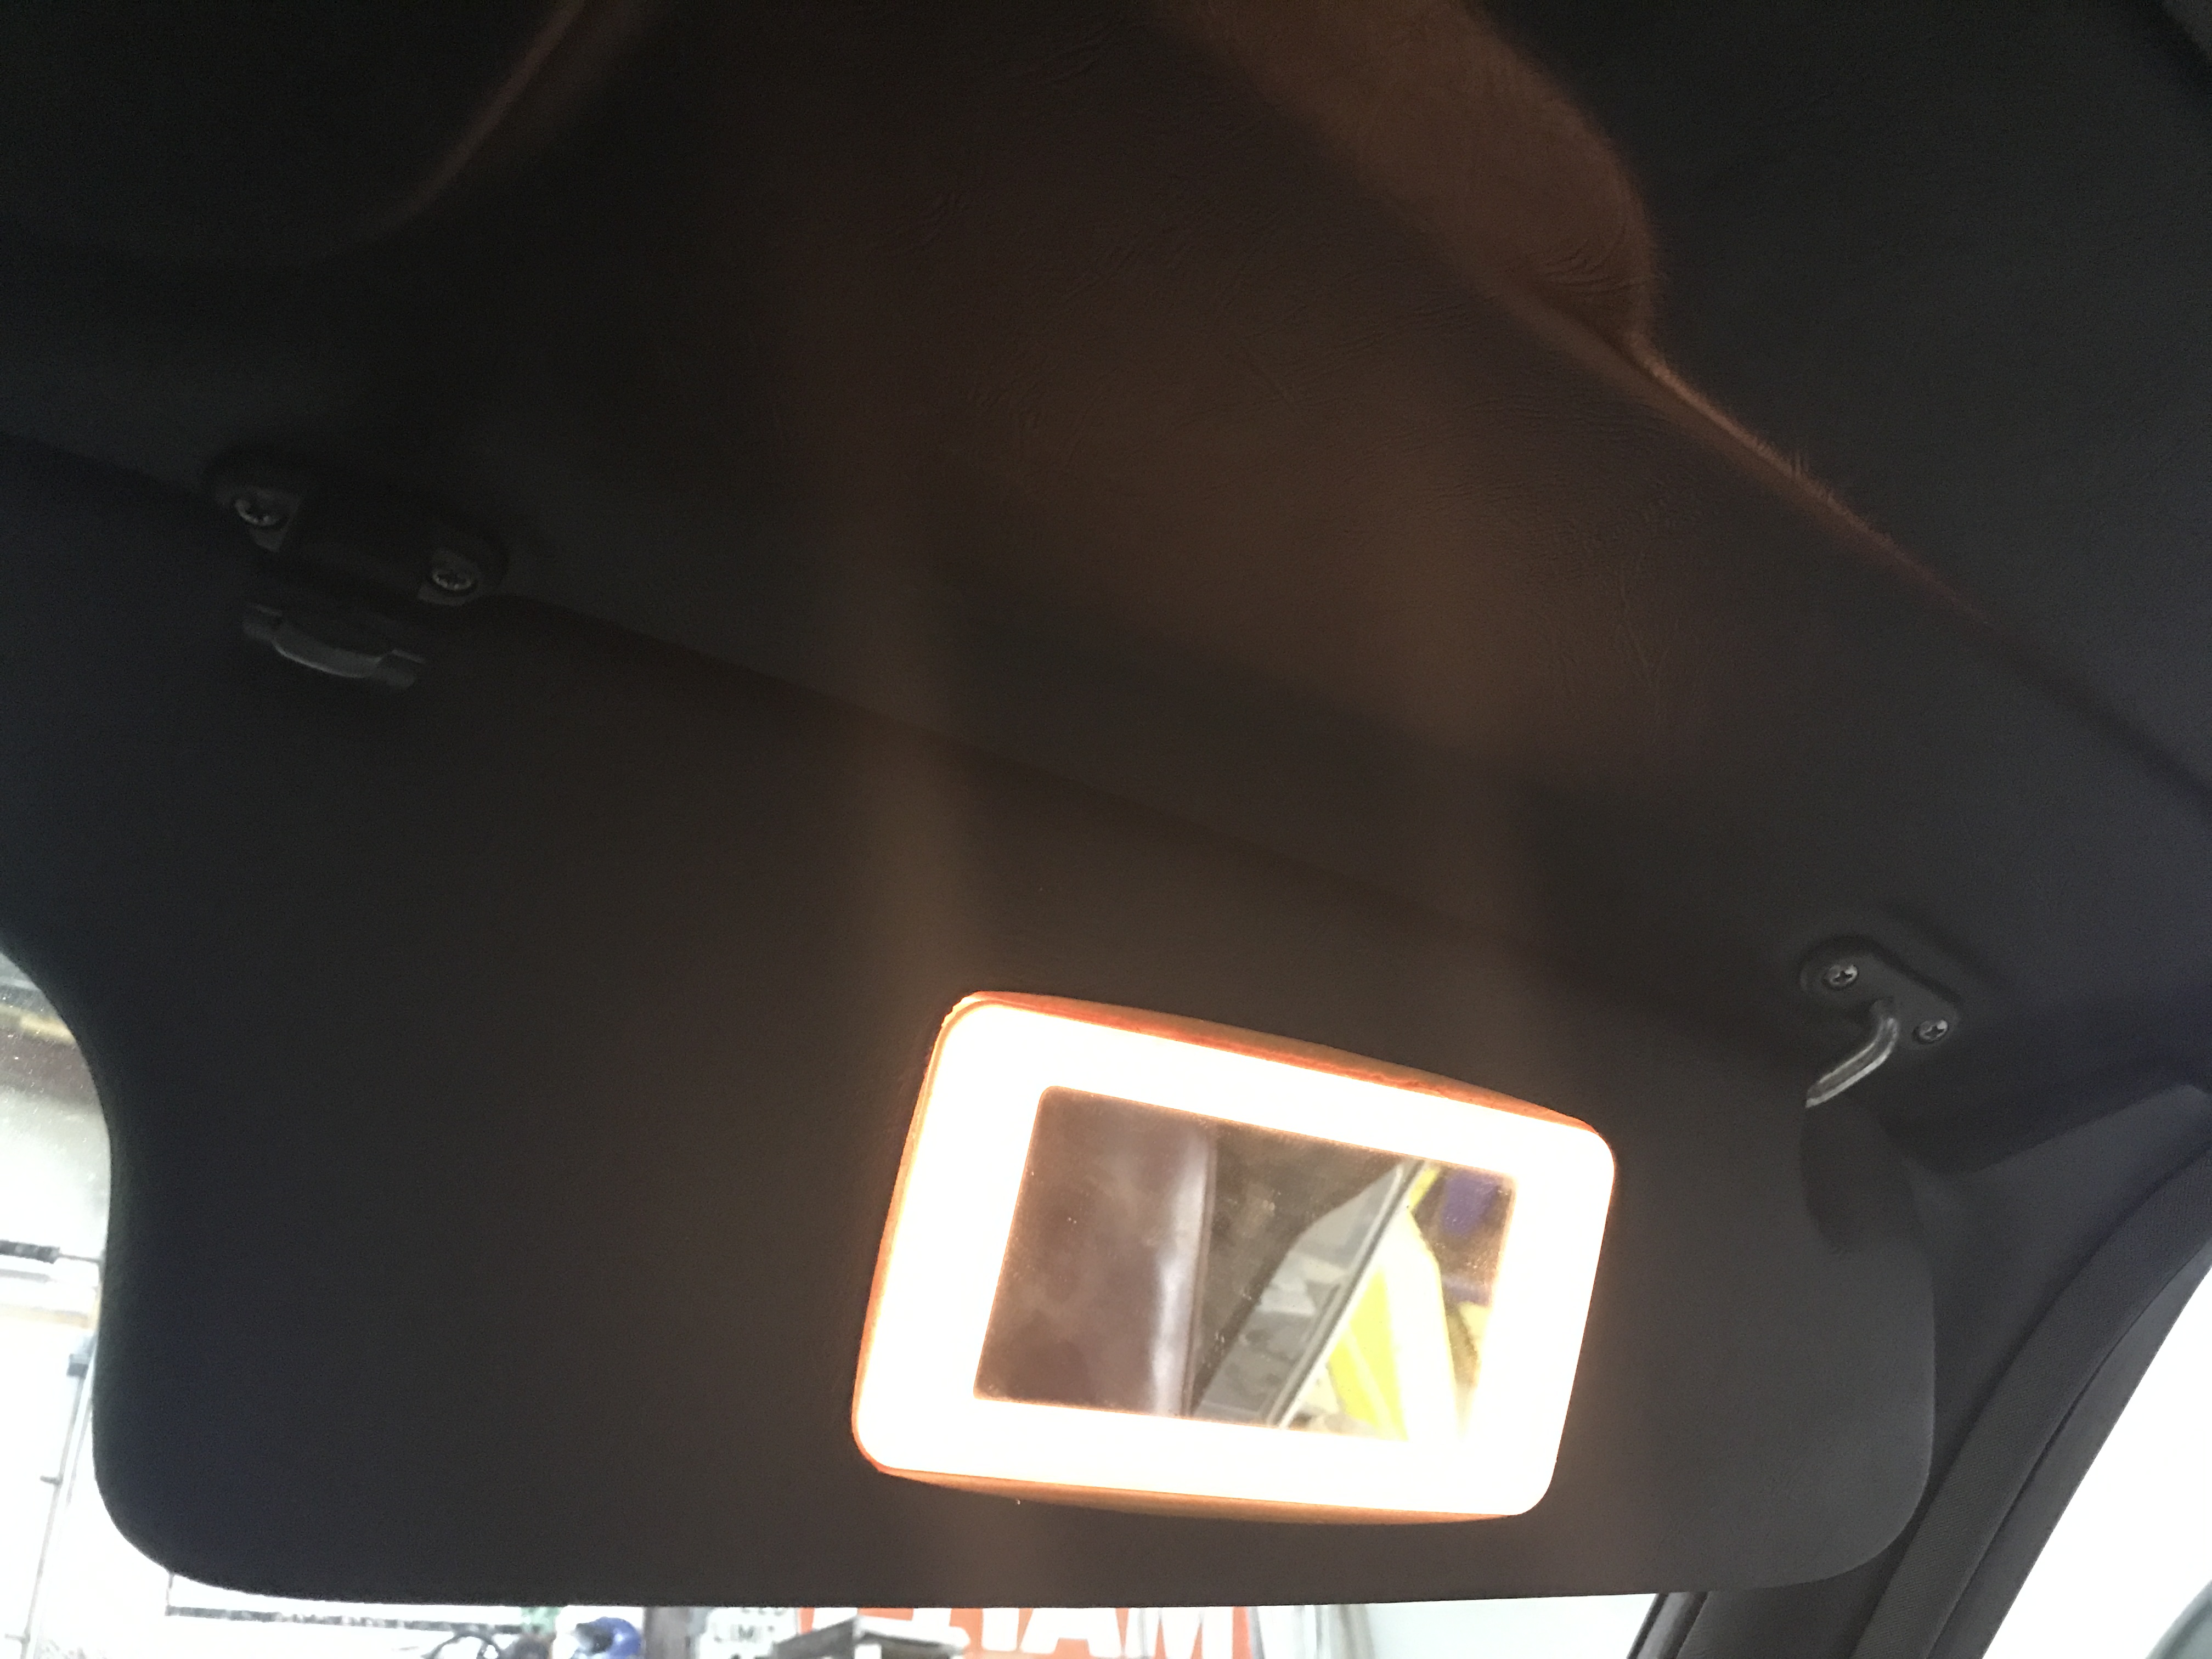
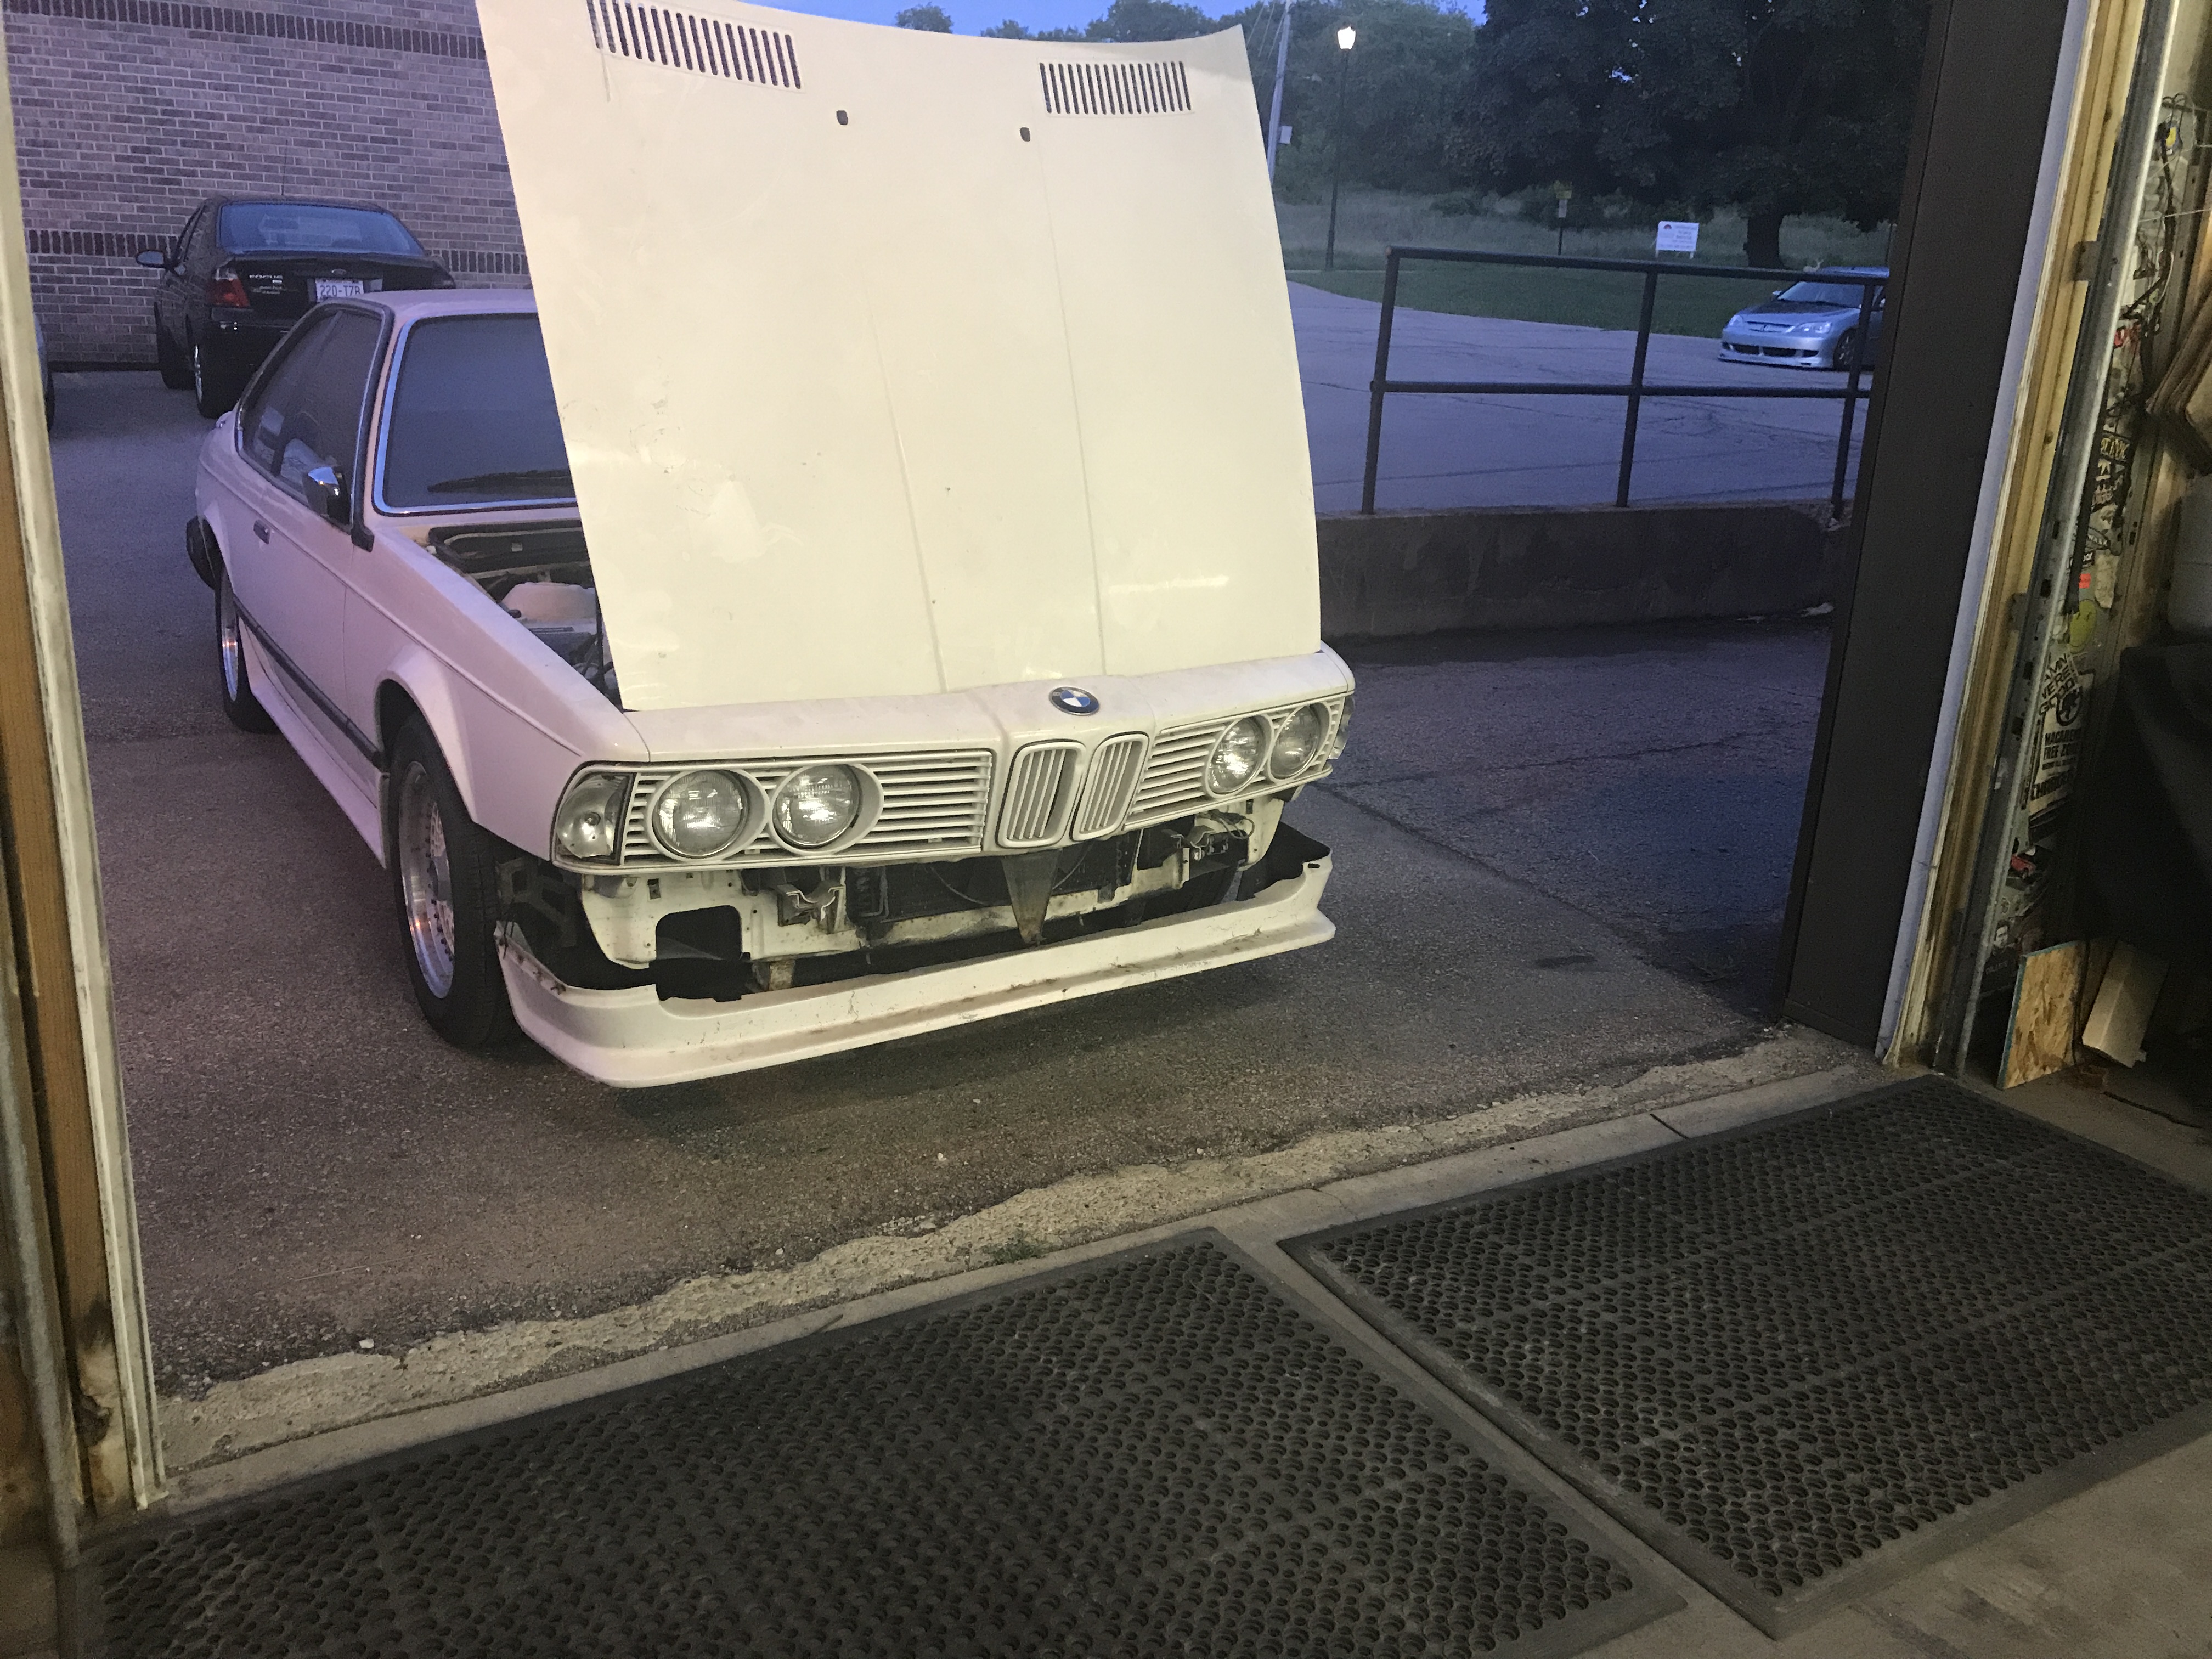
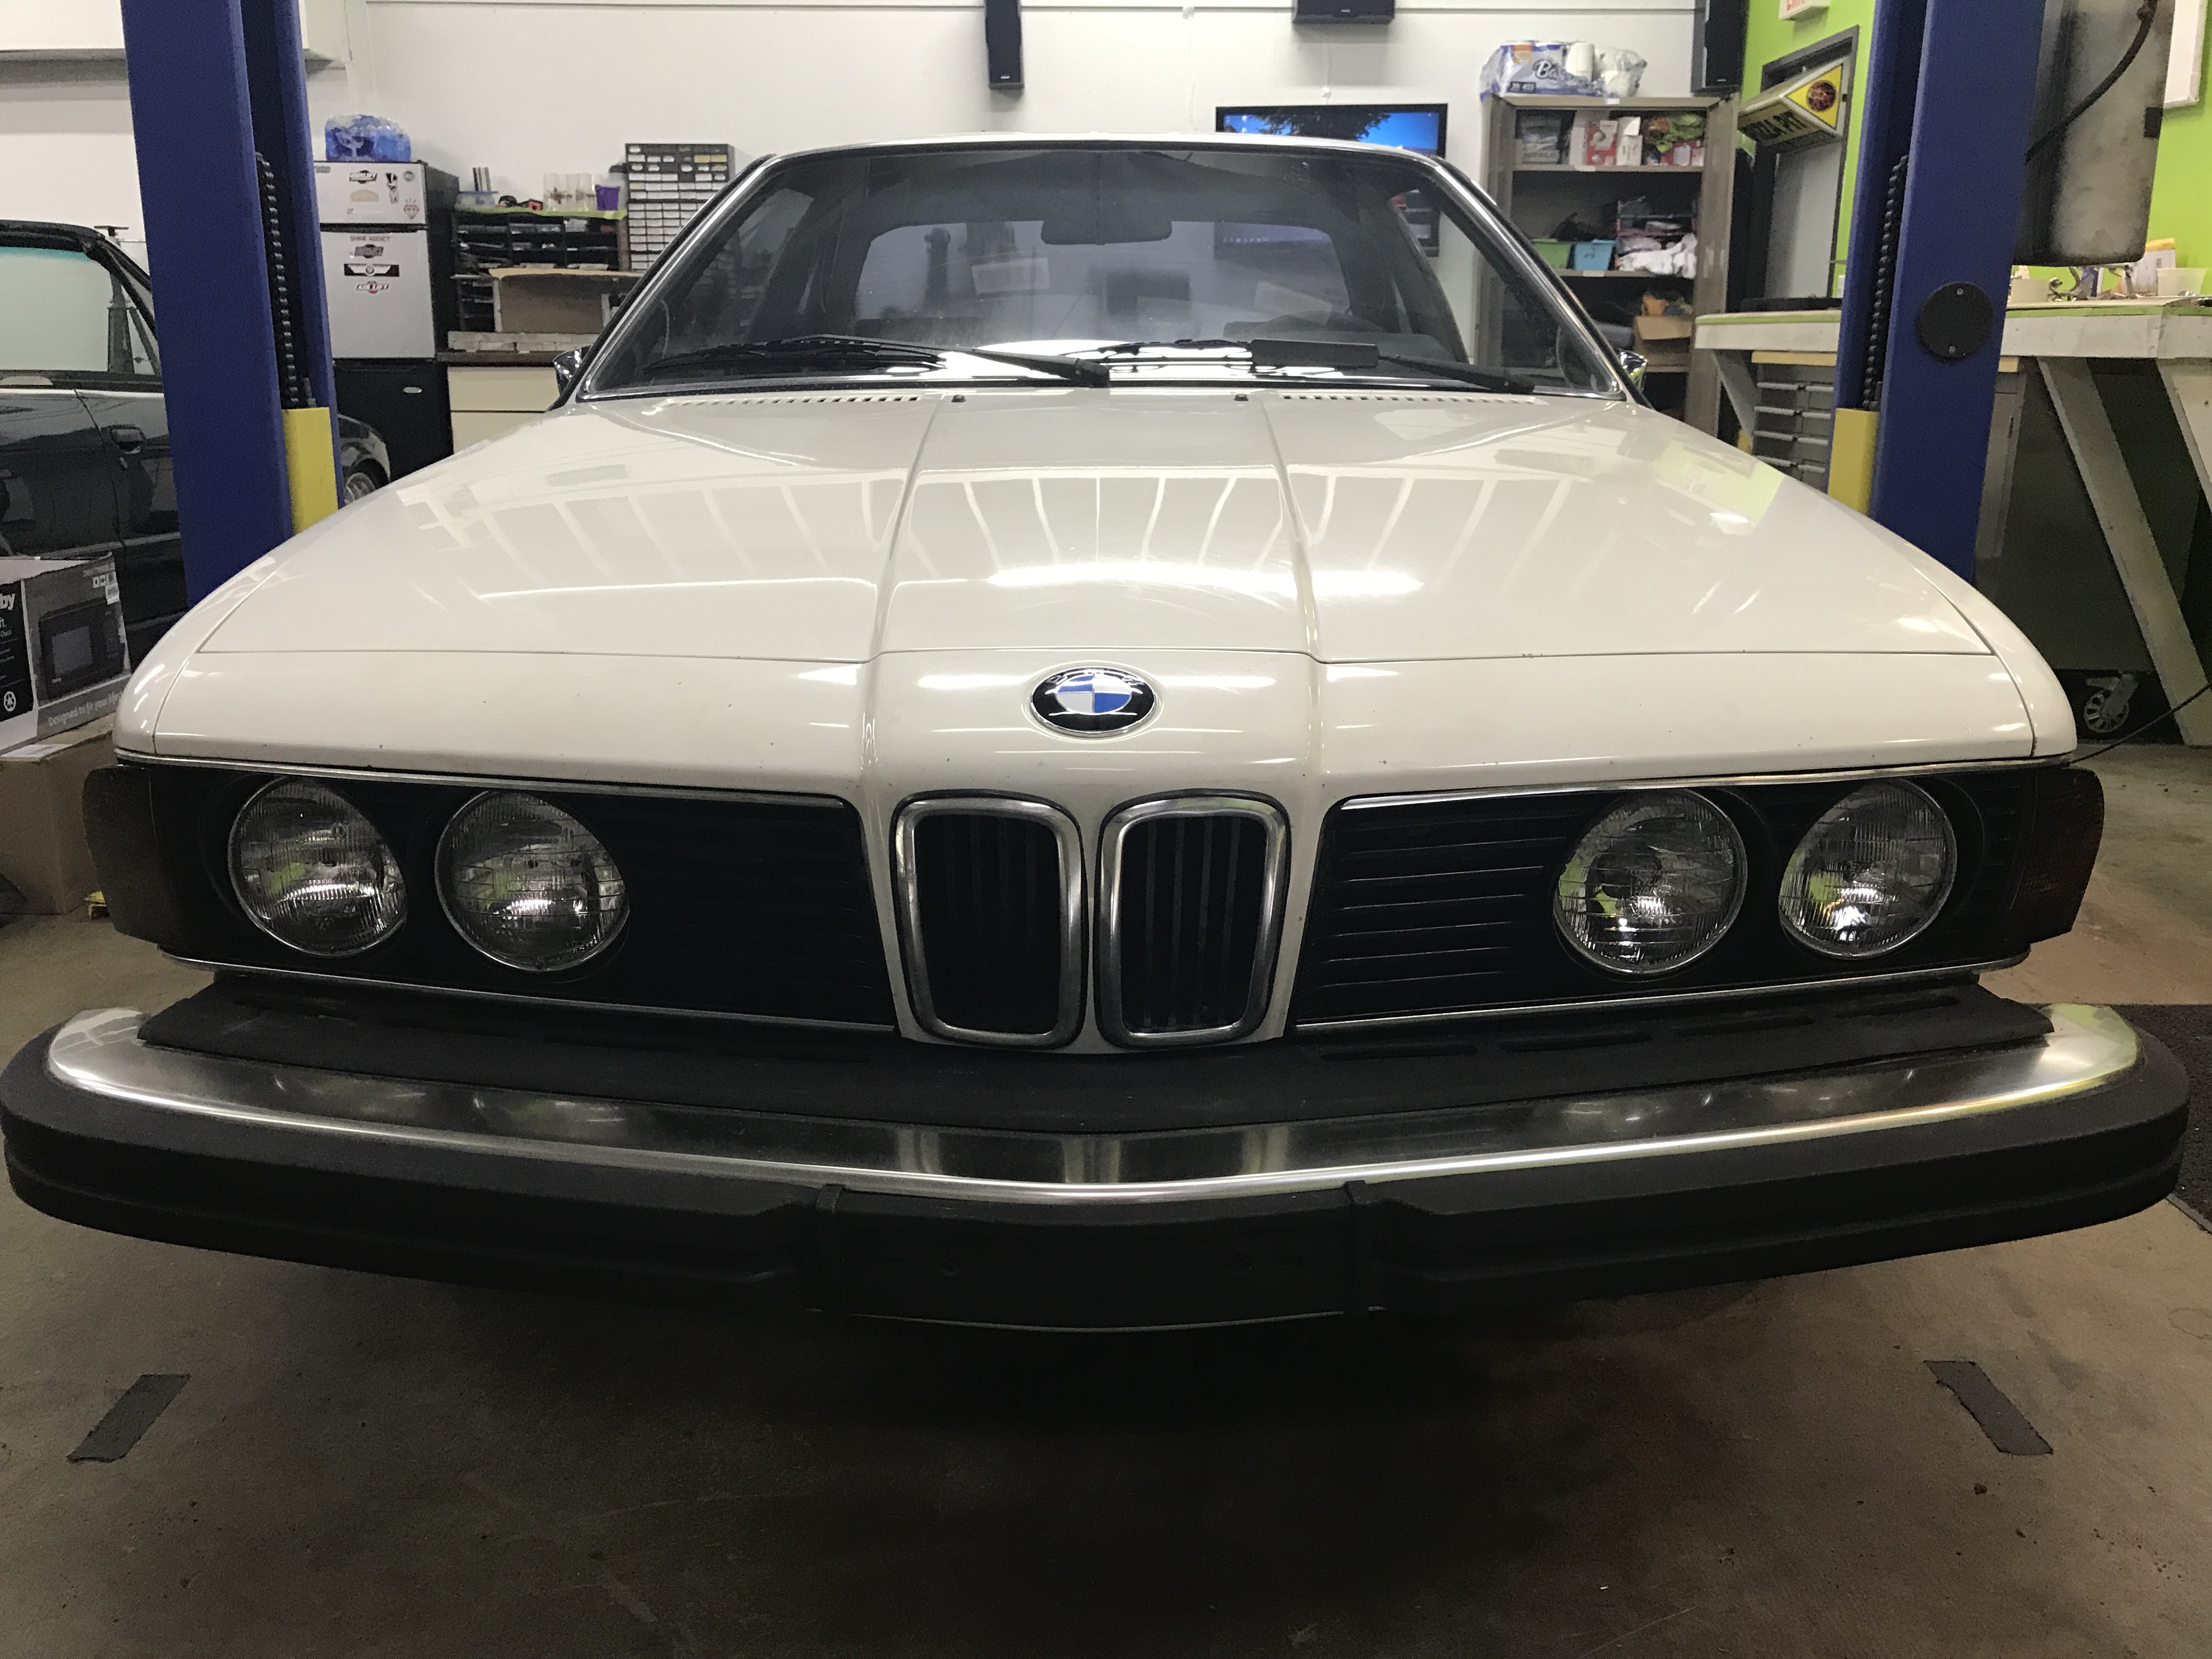
Installed and polished the new (to me) kidneys, grills, and lights. What a difference. I cant wait to find a front valance so I can mount the front Zender lip correctly. I also found the new coolest thing about the car; the perimeter lit vanity mirror. There is a metal part inside the visor clip and the previous clip was snapped off. I was able to use the old metal portion but the plastic was destroyed. The metal makes a connection when the visor is in the down position grounding out the light.

https://www.instagram.com/_jdesigner_/ http://nevertoolow.tumblr.com/
🥳SOLD BMW E24 633CSI - BMW M30B32 🧪SOLD HCH ES9 - 1.3 LDA
👽BMW E30 325IC - Toyota 1JZ-GTE ⏰ HONDA EF9 CIVIC SI - JDM B18C5
☠️BMW E36 318i - Ford 5.0 FE302 🚴♂️ GT-Labomba - 26x2.75 Freeride
🤹♀️SOLD BMW E36/7 Z3 - BMW M54B25 🧓SOLD BMW E10 2002 - BMW M10M05 -
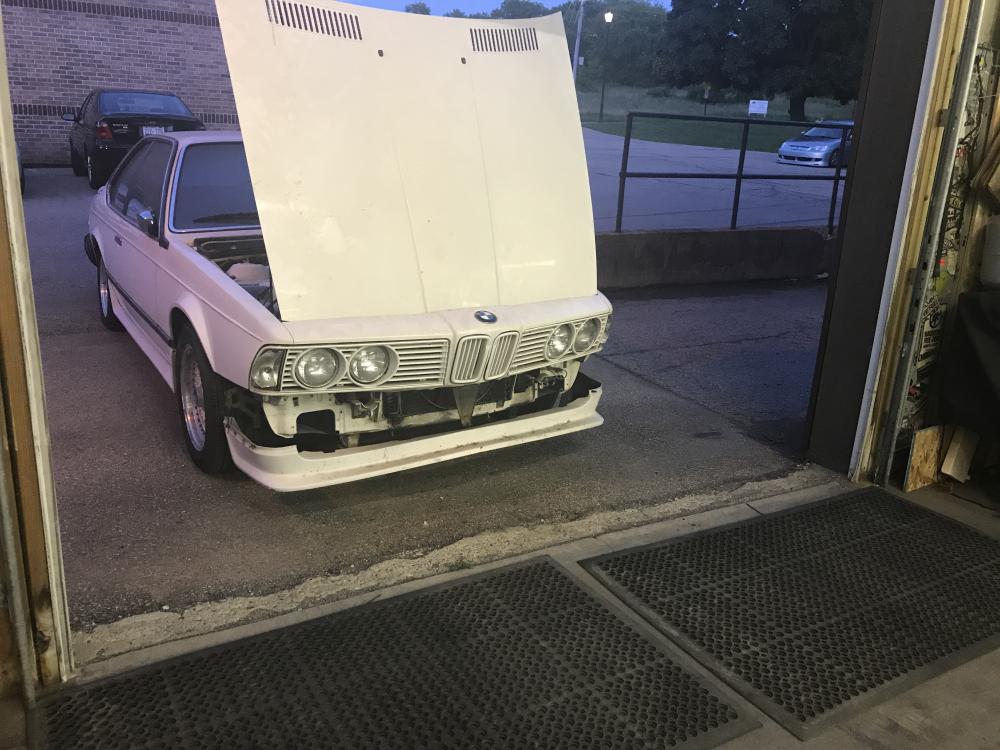
Oh and for fun, a before and after grills.
https://www.instagram.com/_jdesigner_/ http://nevertoolow.tumblr.com/
🥳SOLD BMW E24 633CSI - BMW M30B32 🧪SOLD HCH ES9 - 1.3 LDA
👽BMW E30 325IC - Toyota 1JZ-GTE ⏰ HONDA EF9 CIVIC SI - JDM B18C5
☠️BMW E36 318i - Ford 5.0 FE302 🚴♂️ GT-Labomba - 26x2.75 Freeride
🤹♀️SOLD BMW E36/7 Z3 - BMW M54B25 🧓SOLD BMW E10 2002 - BMW M10M05 -
what a world of a difference that makes! the paint on that car looks to be in great condition too
I know! The paint is so/so. I really need to finish buffing the whole car but there are deep scratches that wont really come out unless I melt the paint really good. I don't know if I have large enough kahunas.
https://www.instagram.com/_jdesigner_/ http://nevertoolow.tumblr.com/
🥳SOLD BMW E24 633CSI - BMW M30B32 🧪SOLD HCH ES9 - 1.3 LDA
👽BMW E30 325IC - Toyota 1JZ-GTE ⏰ HONDA EF9 CIVIC SI - JDM B18C5
☠️BMW E36 318i - Ford 5.0 FE302 🚴♂️ GT-Labomba - 26x2.75 Freeride
🤹♀️SOLD BMW E36/7 Z3 - BMW M54B25 🧓SOLD BMW E10 2002 - BMW M10M05 -
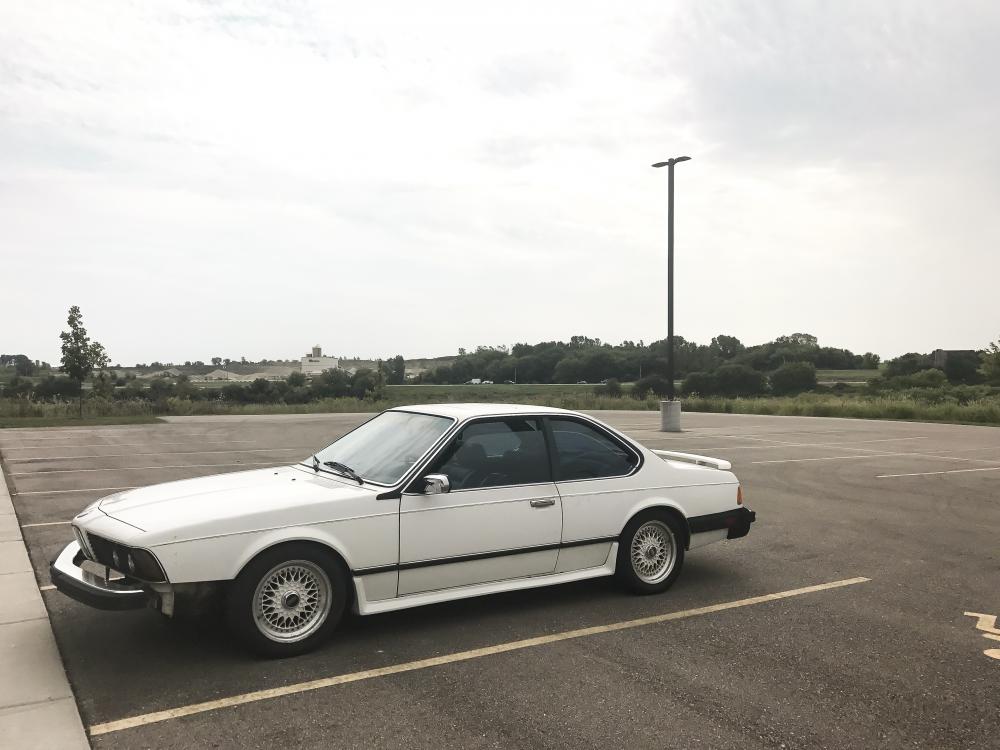
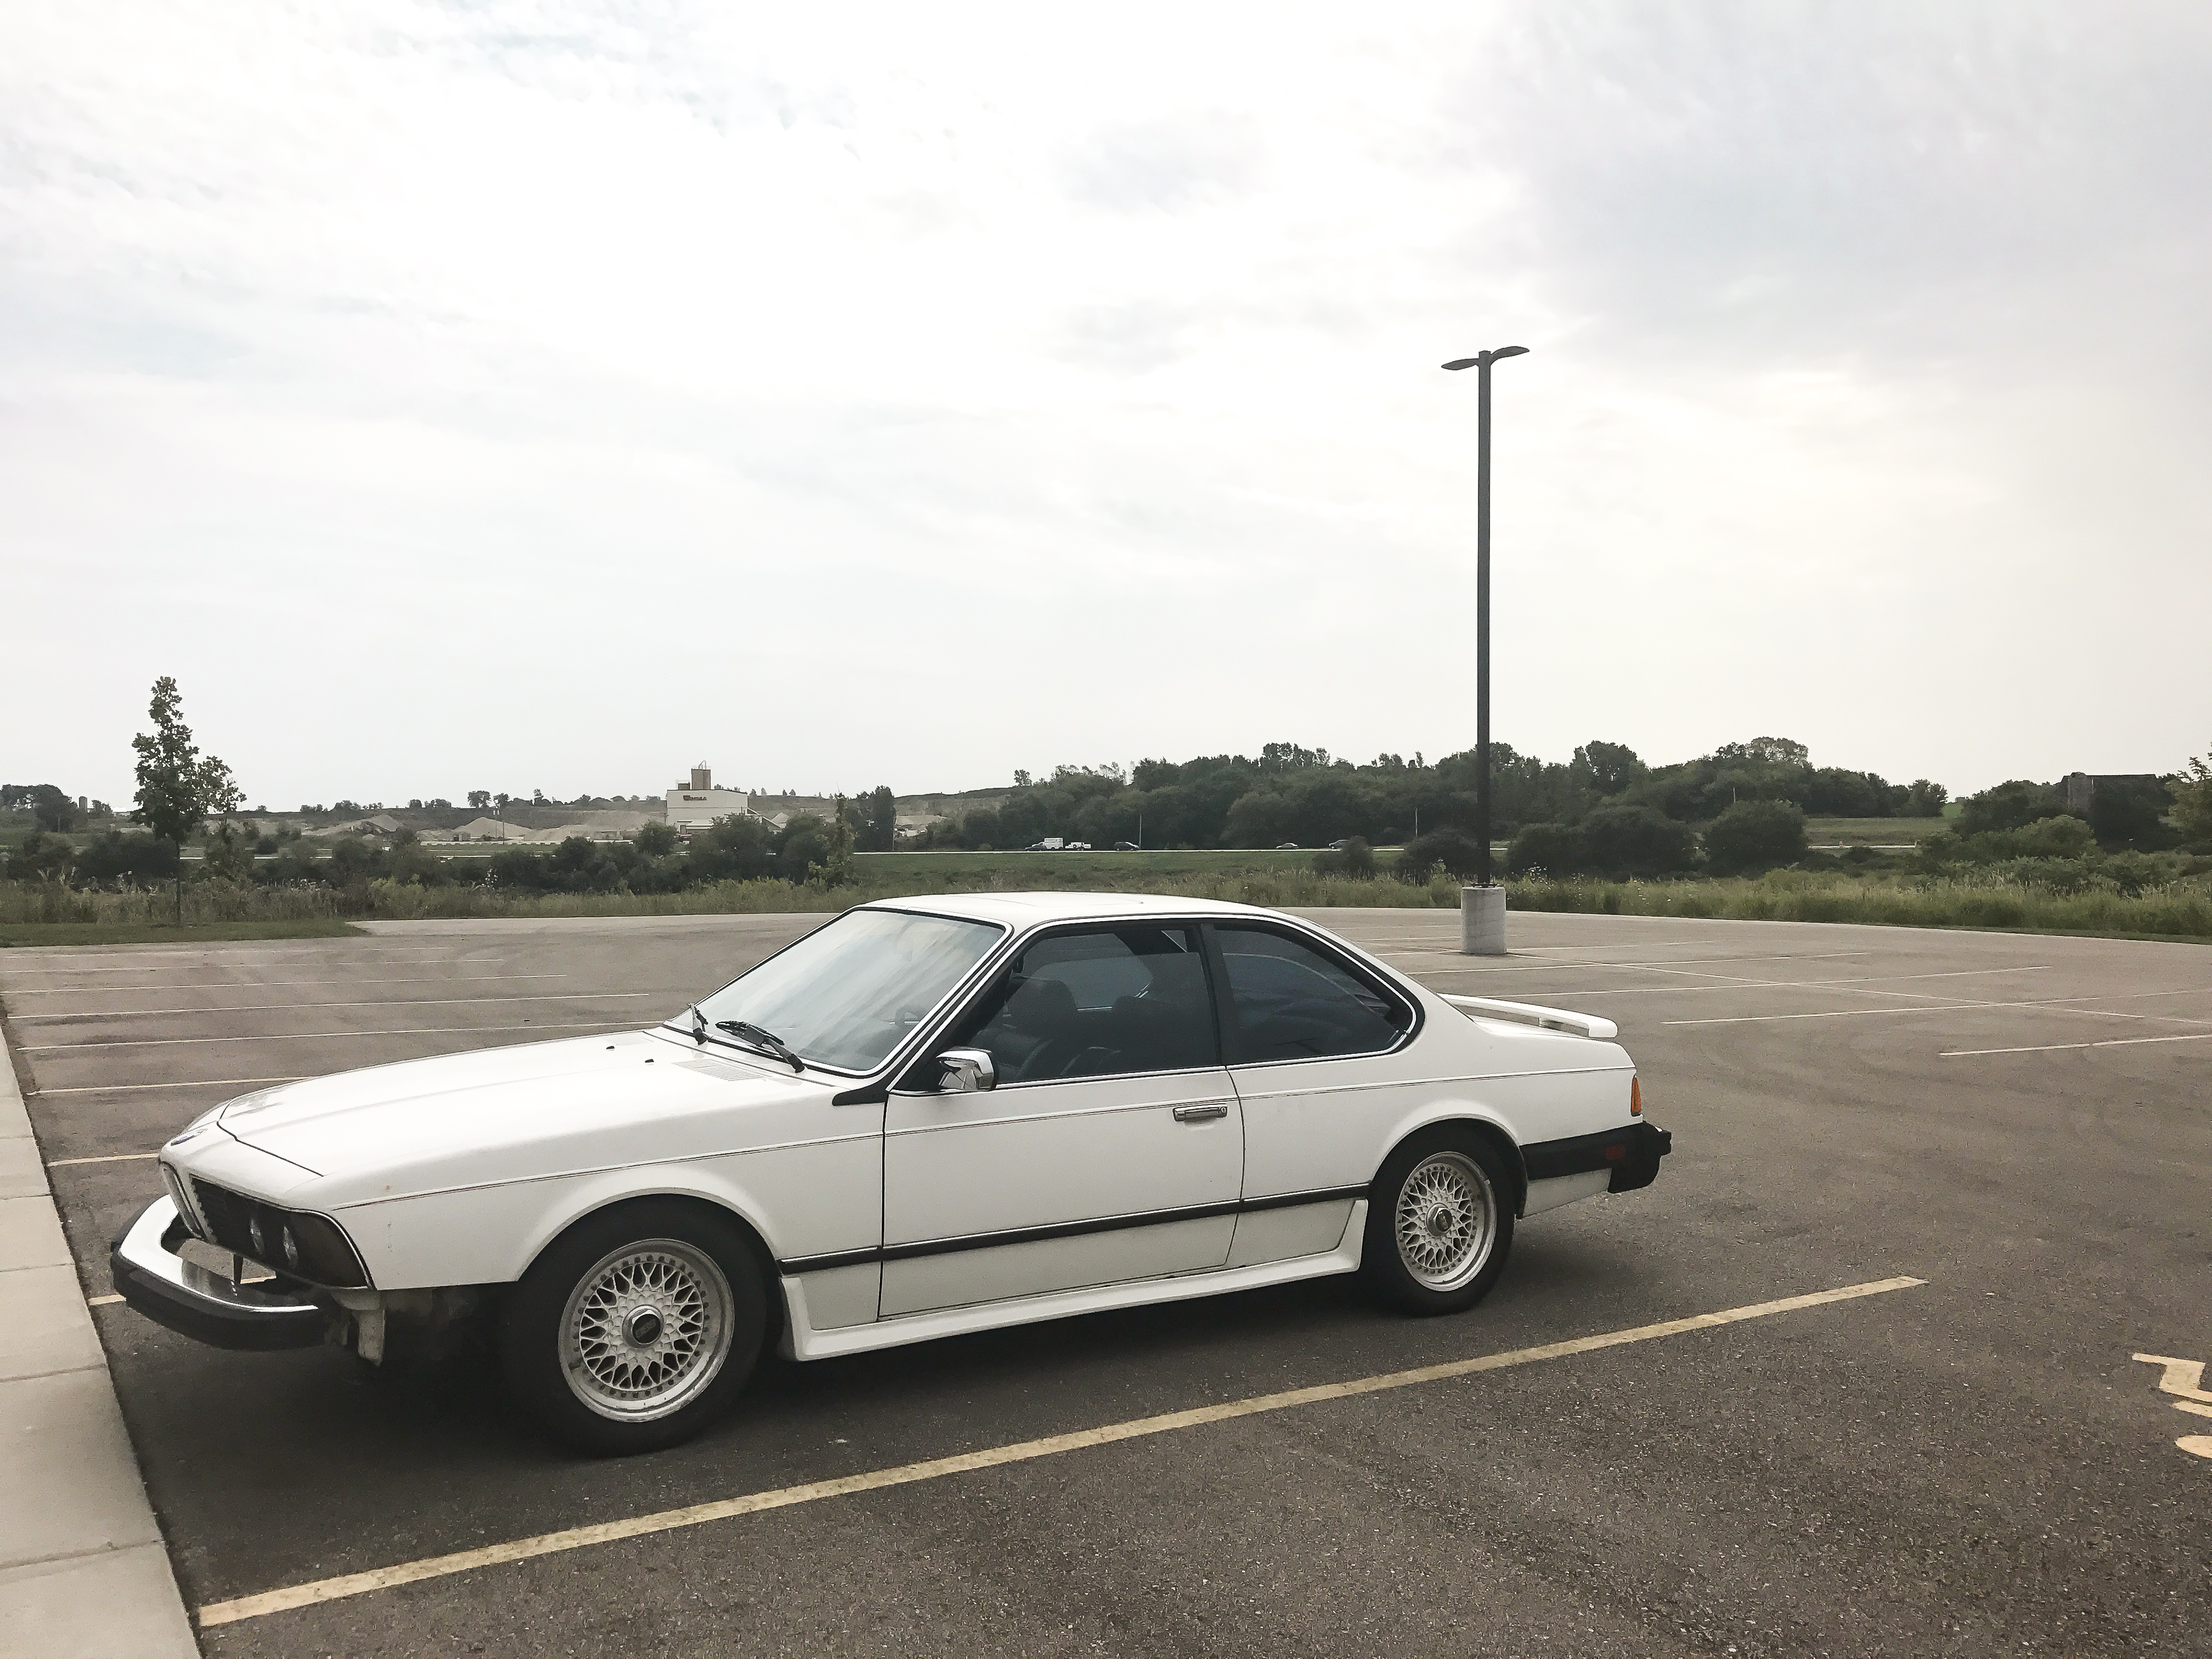
Drove the car to work (about 20min) for the second time now without a hiccup. Driving it is awesome, but I seemed to have noticed more things that I need to address by doing so.
I am also still on the hunt for a front valance!
https://www.instagram.com/_jdesigner_/ http://nevertoolow.tumblr.com/
🥳SOLD BMW E24 633CSI - BMW M30B32 🧪SOLD HCH ES9 - 1.3 LDA
👽BMW E30 325IC - Toyota 1JZ-GTE ⏰ HONDA EF9 CIVIC SI - JDM B18C5
☠️BMW E36 318i - Ford 5.0 FE302 🚴♂️ GT-Labomba - 26x2.75 Freeride
🤹♀️SOLD BMW E36/7 Z3 - BMW M54B25 🧓SOLD BMW E10 2002 - BMW M10M05 -
It's coming along great! I'm wanna come with my 6er to see this thing one day.
That would be cool
-
Drove the car to work (about 20min) for the second time now without a hiccup. Driving it is awesome, but I seemed to have noticed more things that I need to address by doing so.
I am also still on the hunt for a front valance!
I can tell
-
I can mount the top half and the sides of the bumper trim/covers, but there's no sense in doing so if I have to remove them to mount the valance.
Current list of things that still need attention:
Parts to order / find
- Front springs
- Tie rods
- Control arms bushings
- Ball joints
- Right rear window switch
- Battery tie down
- Front valance
- Speakers (4 minimum)
- Shift Bushing
- Wipers
- Tail light surrounds (might need to make my own)
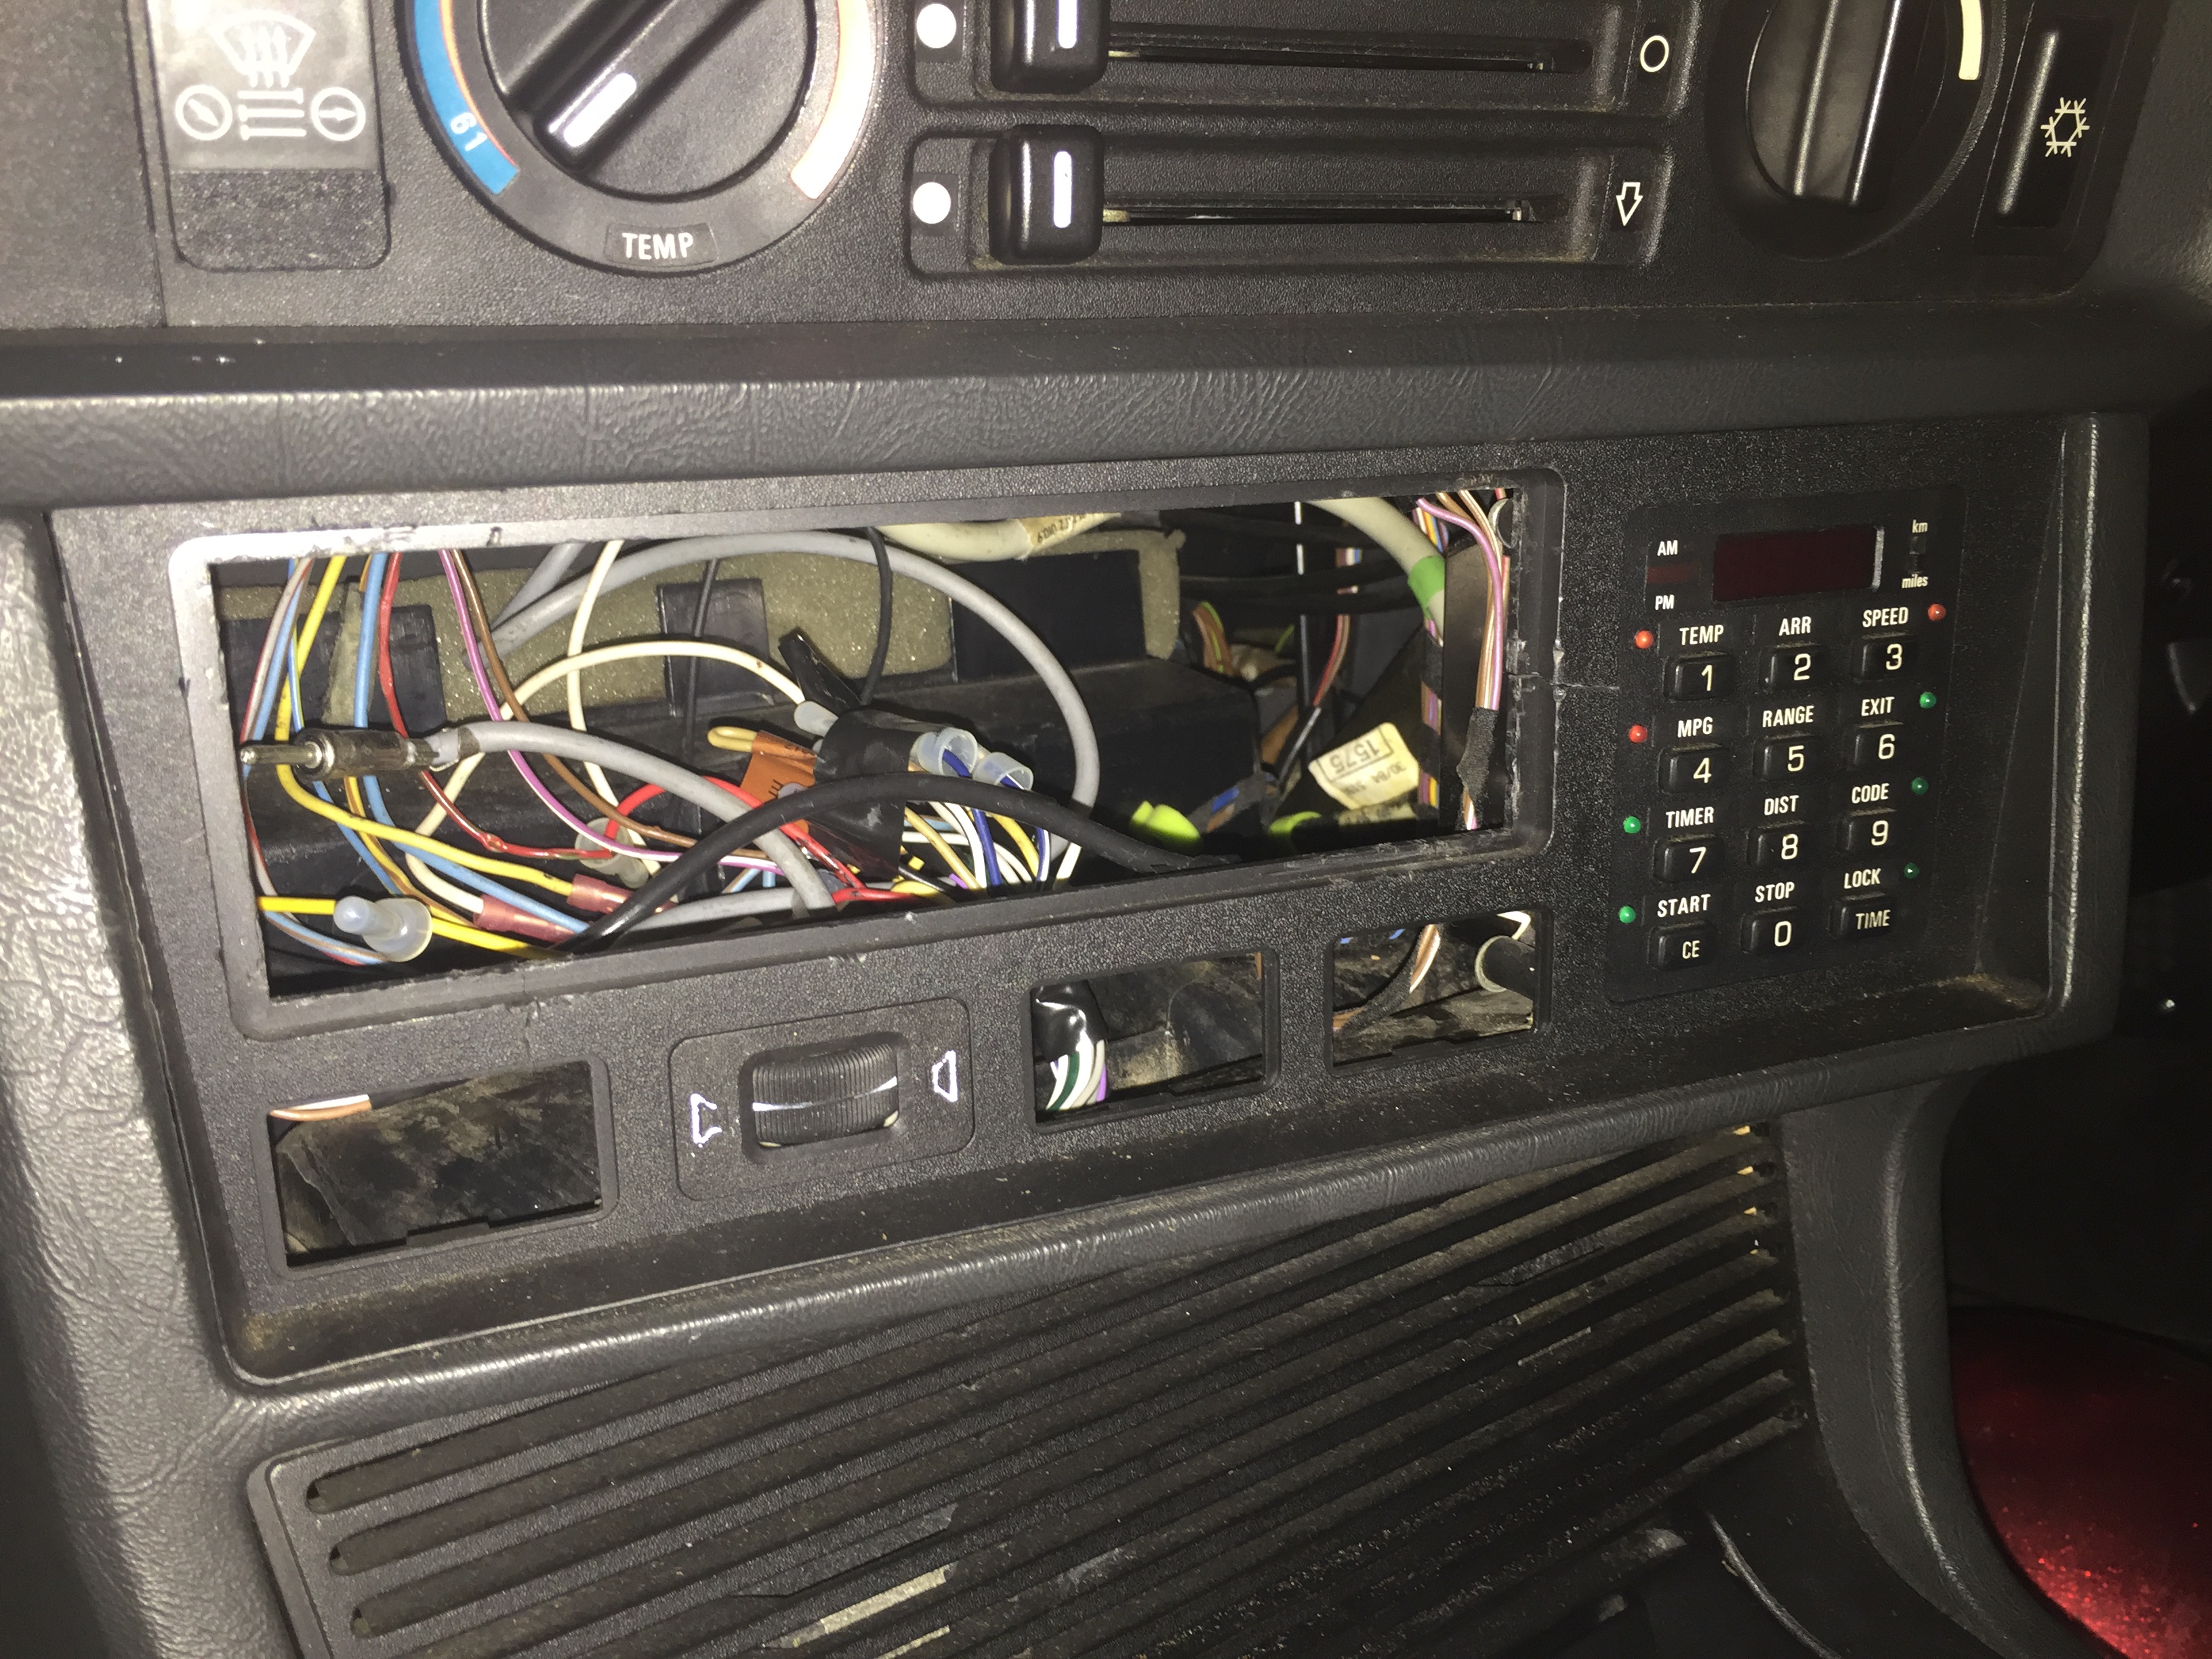
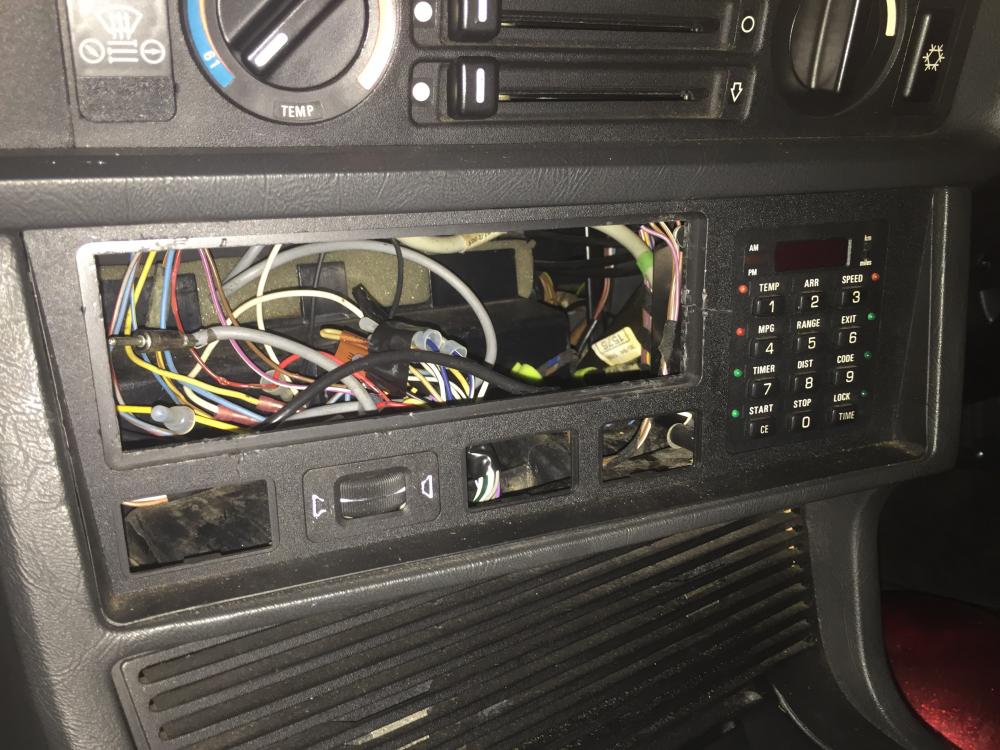
- interior dash blanks
- fog lights
Labor
- Remove tint
- Muffler/ rear exhaust
- Install v belts
- Adjust steering box
- Extreme detail/ buffing session
- New brake pads
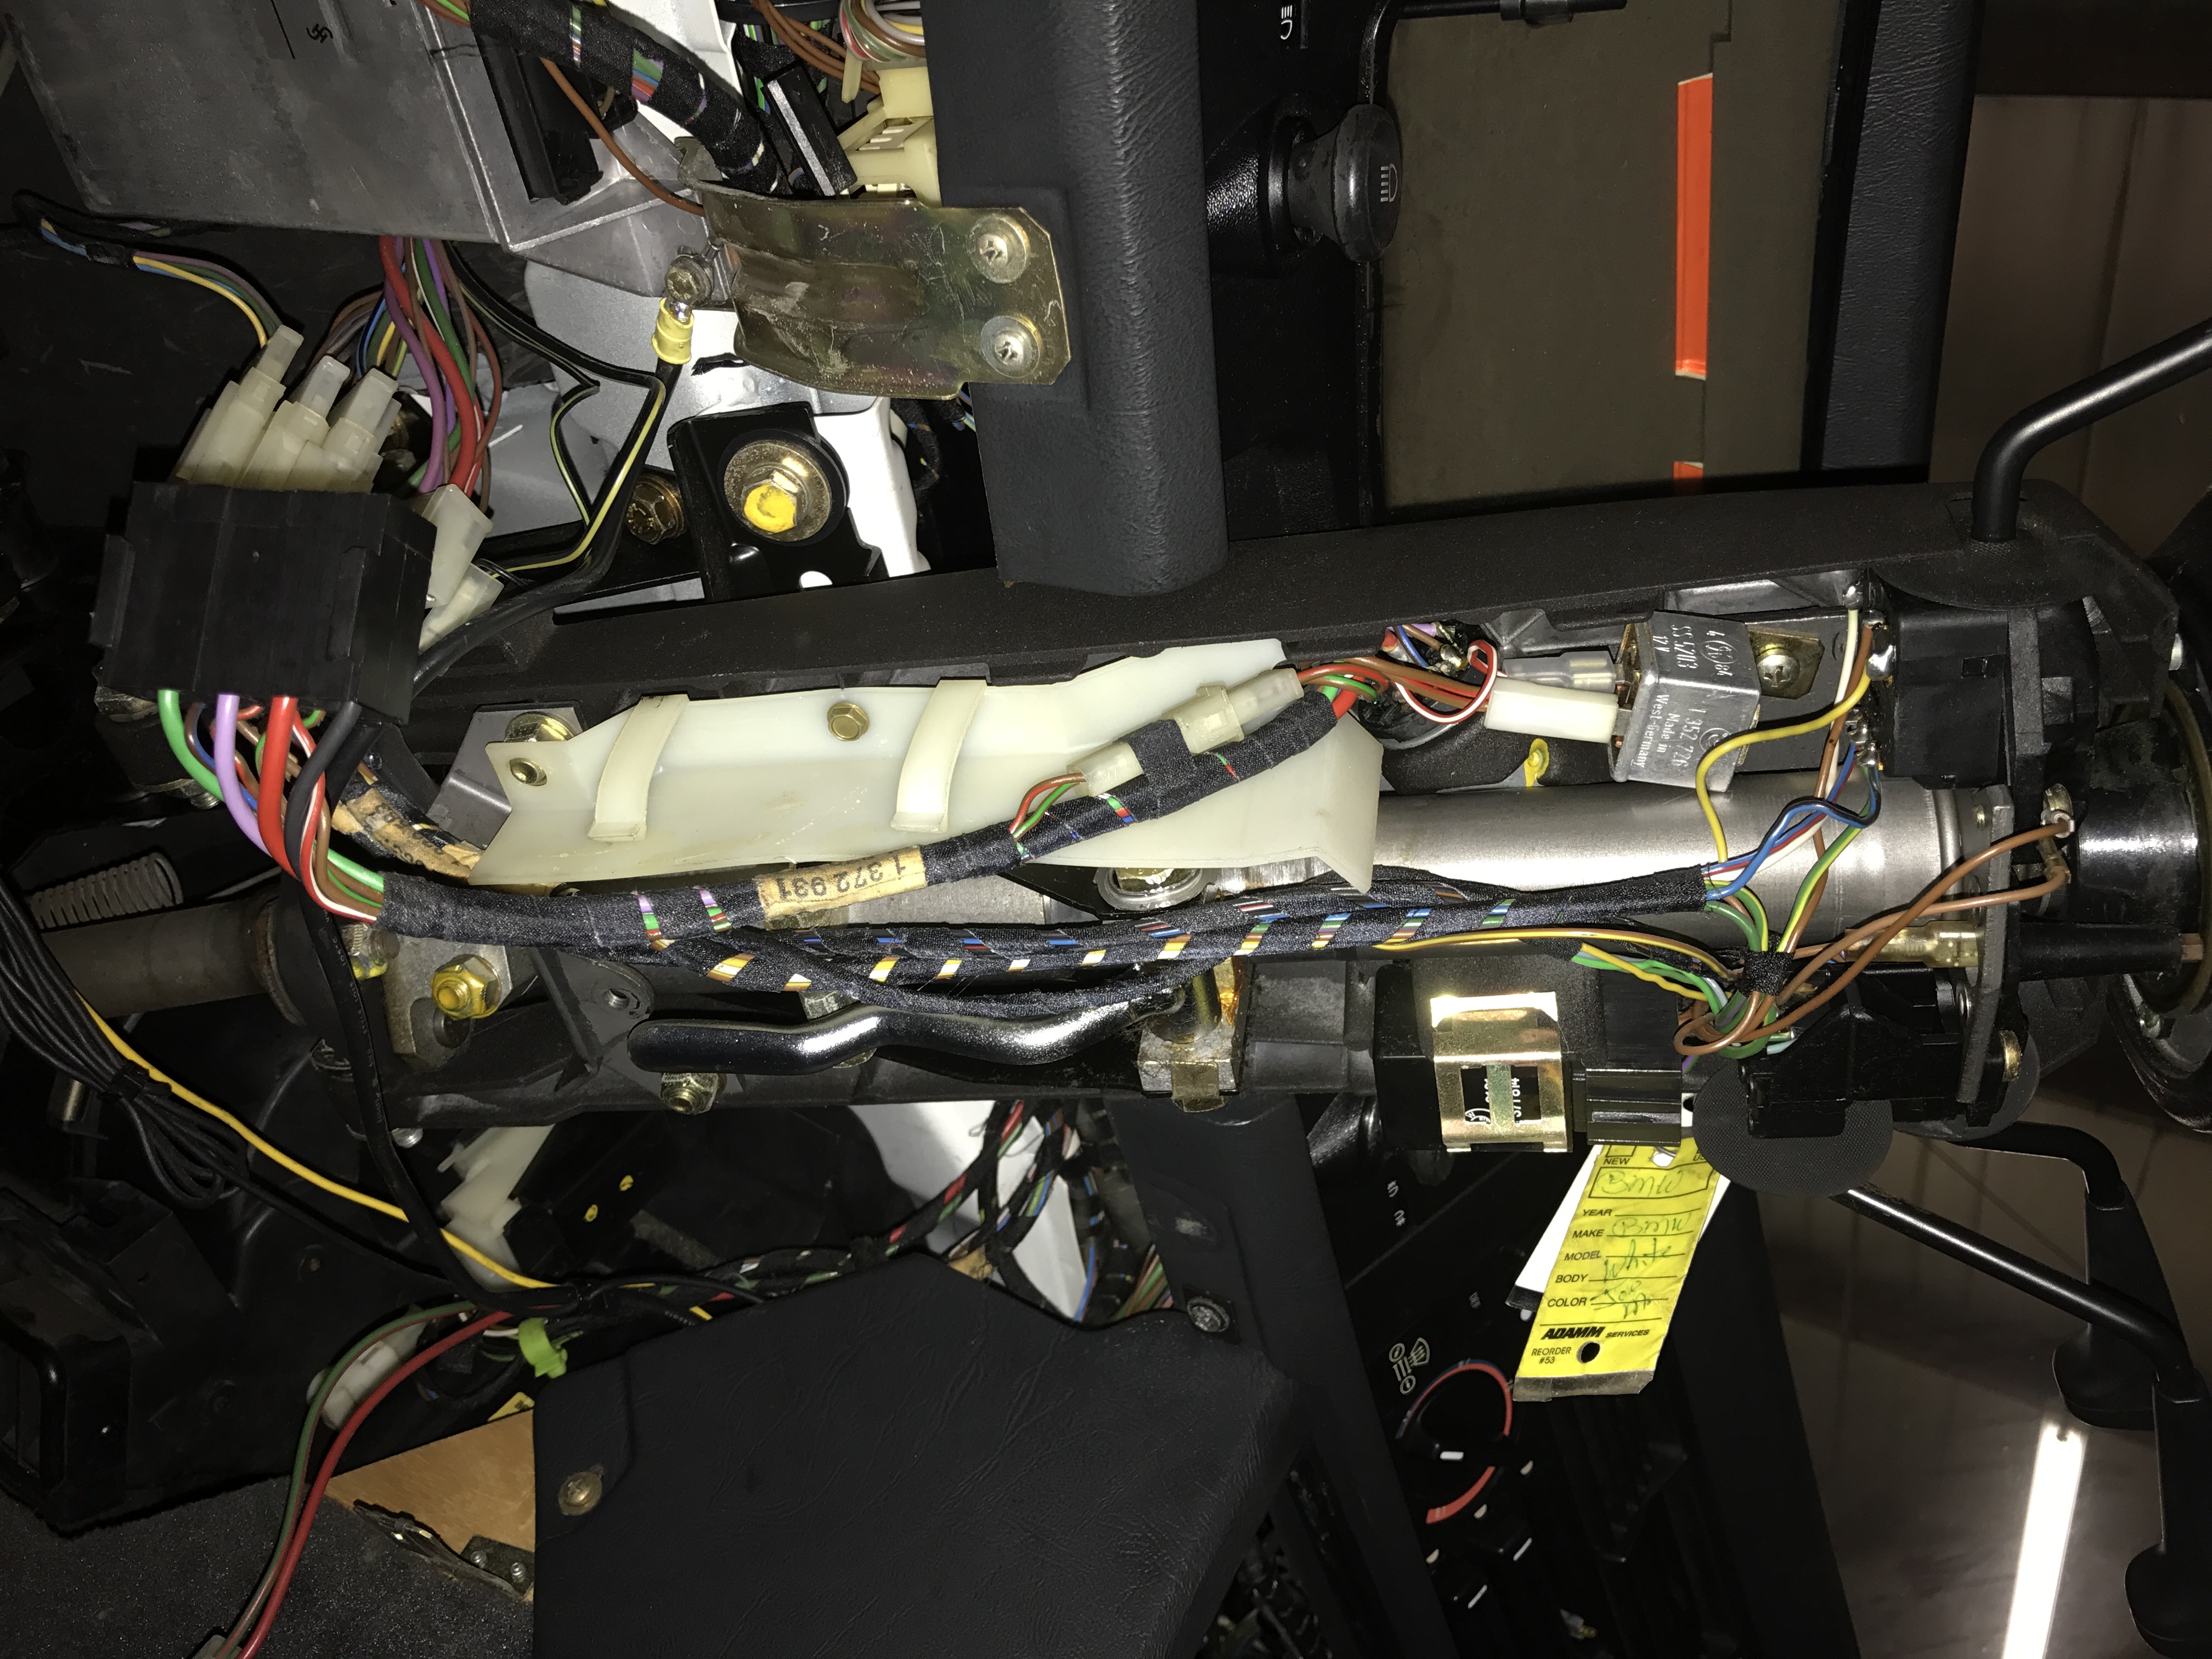
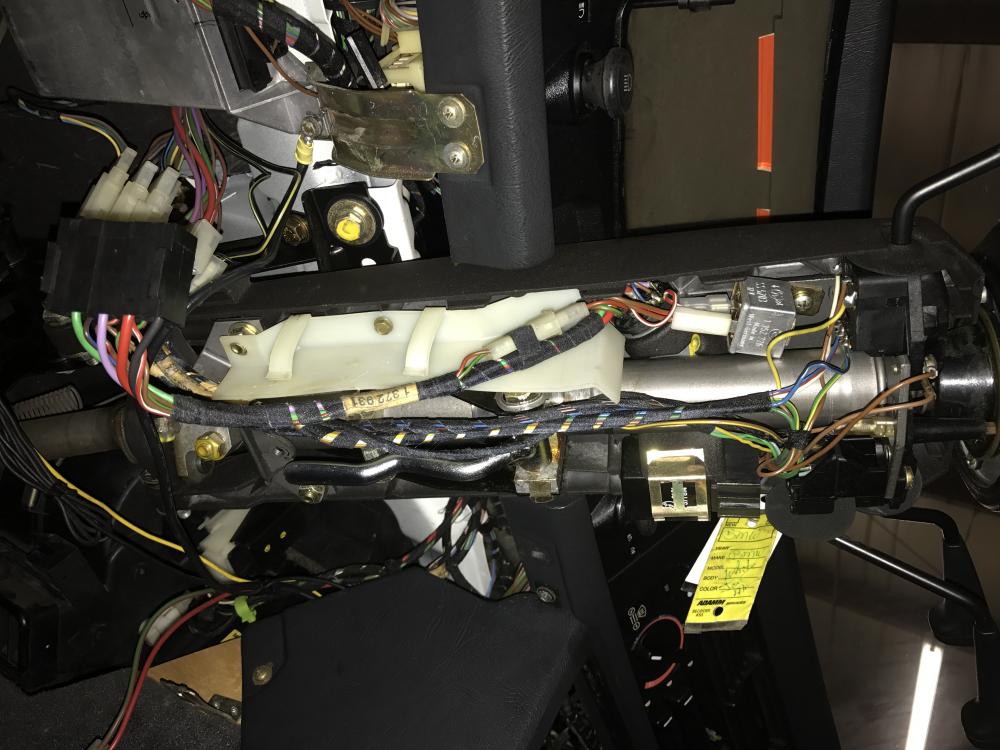
- Turn signal Relay needs to be cleaned or replaced
https://www.instagram.com/_jdesigner_/ http://nevertoolow.tumblr.com/
🥳SOLD BMW E24 633CSI - BMW M30B32 🧪SOLD HCH ES9 - 1.3 LDA
👽BMW E30 325IC - Toyota 1JZ-GTE ⏰ HONDA EF9 CIVIC SI - JDM B18C5
☠️BMW E36 318i - Ford 5.0 FE302 🚴♂️ GT-Labomba - 26x2.75 Freeride
🤹♀️SOLD BMW E36/7 Z3 - BMW M54B25 🧓SOLD BMW E10 2002 - BMW M10M05 -
What speakers are on the rear shelf? I have a bunch of stock e28 stereo components.
Im not sure, I assumed none from the factory. I can take pictures, but I think a PO cut holes for custom units

If any of that stuff crosses over with E30's I have most of that car I'm parting. Its possible the window switches, battery tie down, (maybe) speakers, interior dash blanks, and turn signal relays would carry over between cars.
Do Nots:
- the blanks
- signal relays
The Dos:
- window switches
- battery tie down
- speakers
https://www.instagram.com/_jdesigner_/ http://nevertoolow.tumblr.com/
🥳SOLD BMW E24 633CSI - BMW M30B32 🧪SOLD HCH ES9 - 1.3 LDA
👽BMW E30 325IC - Toyota 1JZ-GTE ⏰ HONDA EF9 CIVIC SI - JDM B18C5
☠️BMW E36 318i - Ford 5.0 FE302 🚴♂️ GT-Labomba - 26x2.75 Freeride
🤹♀️SOLD BMW E36/7 Z3 - BMW M54B25 🧓SOLD BMW E10 2002 - BMW M10M05 -
The Dos:
- window switches
- battery tie down
- speakers
Speakers are a toss up on condition as I never heard them work, but I could throw the battery tie down plate/long bolt and a window switch (with a good backlight) into a padded envelope and send them to you if you wanted!
-
PM'd Ya Joe!
https://www.instagram.com/_jdesigner_/ http://nevertoolow.tumblr.com/
🥳SOLD BMW E24 633CSI - BMW M30B32 🧪SOLD HCH ES9 - 1.3 LDA
👽BMW E30 325IC - Toyota 1JZ-GTE ⏰ HONDA EF9 CIVIC SI - JDM B18C5
☠️BMW E36 318i - Ford 5.0 FE302 🚴♂️ GT-Labomba - 26x2.75 Freeride
🤹♀️SOLD BMW E36/7 Z3 - BMW M54B25 🧓SOLD BMW E10 2002 - BMW M10M05 -
Got the parts and never said thank you. How Rude of me. Thanks Again! @m42b32
https://www.instagram.com/_jdesigner_/ http://nevertoolow.tumblr.com/
🥳SOLD BMW E24 633CSI - BMW M30B32 🧪SOLD HCH ES9 - 1.3 LDA
👽BMW E30 325IC - Toyota 1JZ-GTE ⏰ HONDA EF9 CIVIC SI - JDM B18C5
☠️BMW E36 318i - Ford 5.0 FE302 🚴♂️ GT-Labomba - 26x2.75 Freeride
🤹♀️SOLD BMW E36/7 Z3 - BMW M54B25 🧓SOLD BMW E10 2002 - BMW M10M05 -
Did some tinkering with this last night as I moved it out of the way to use the pool table.
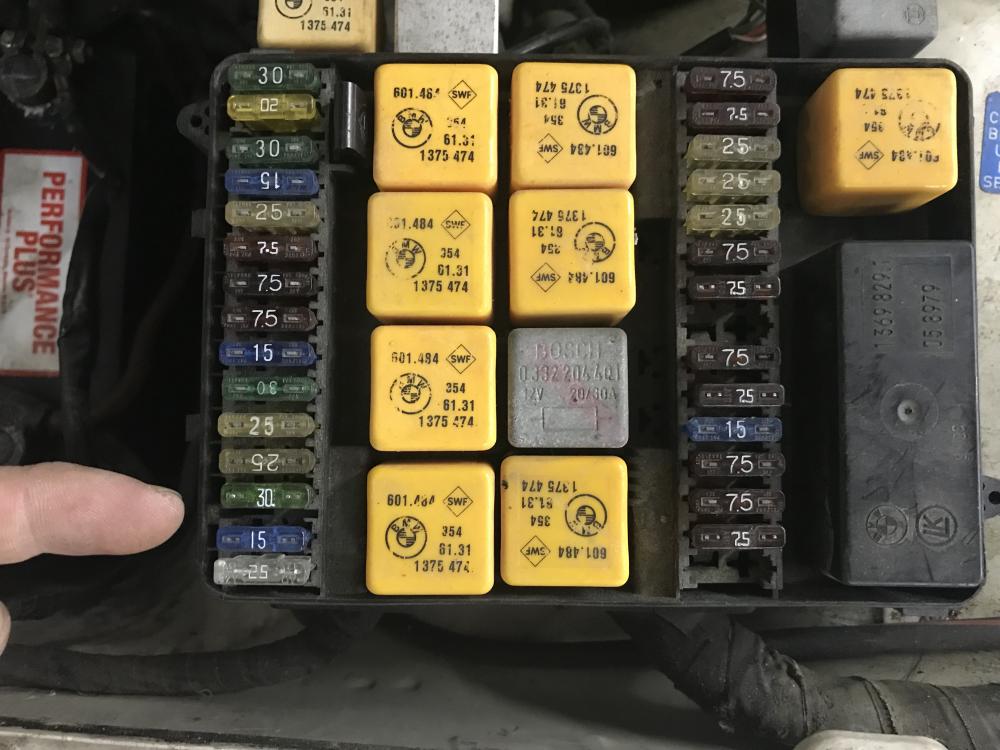
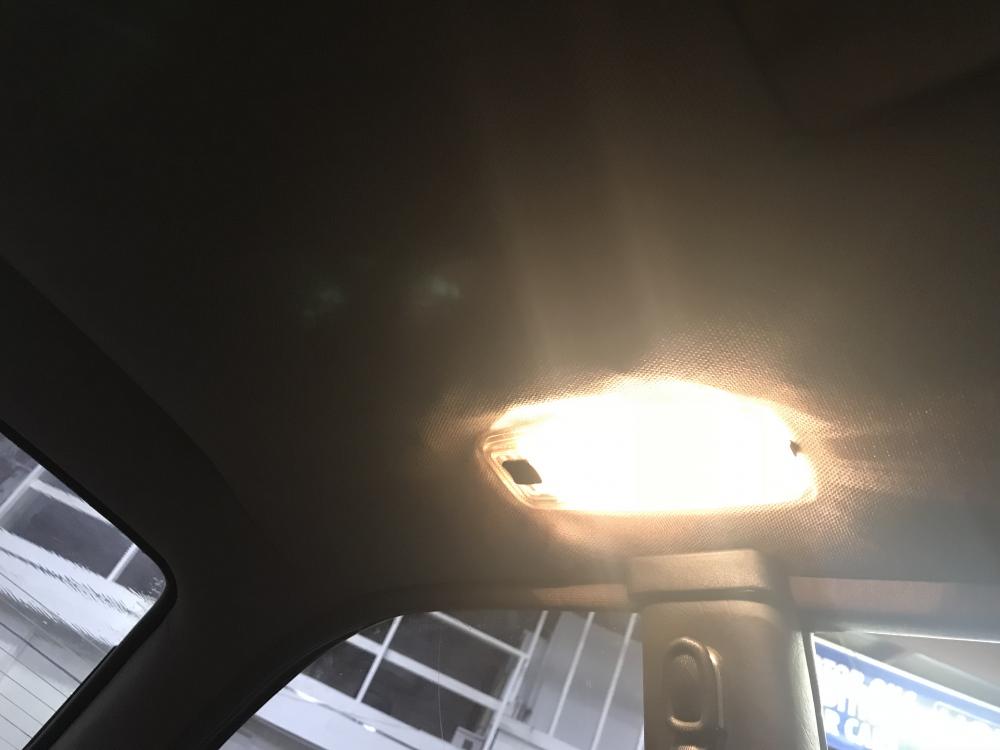
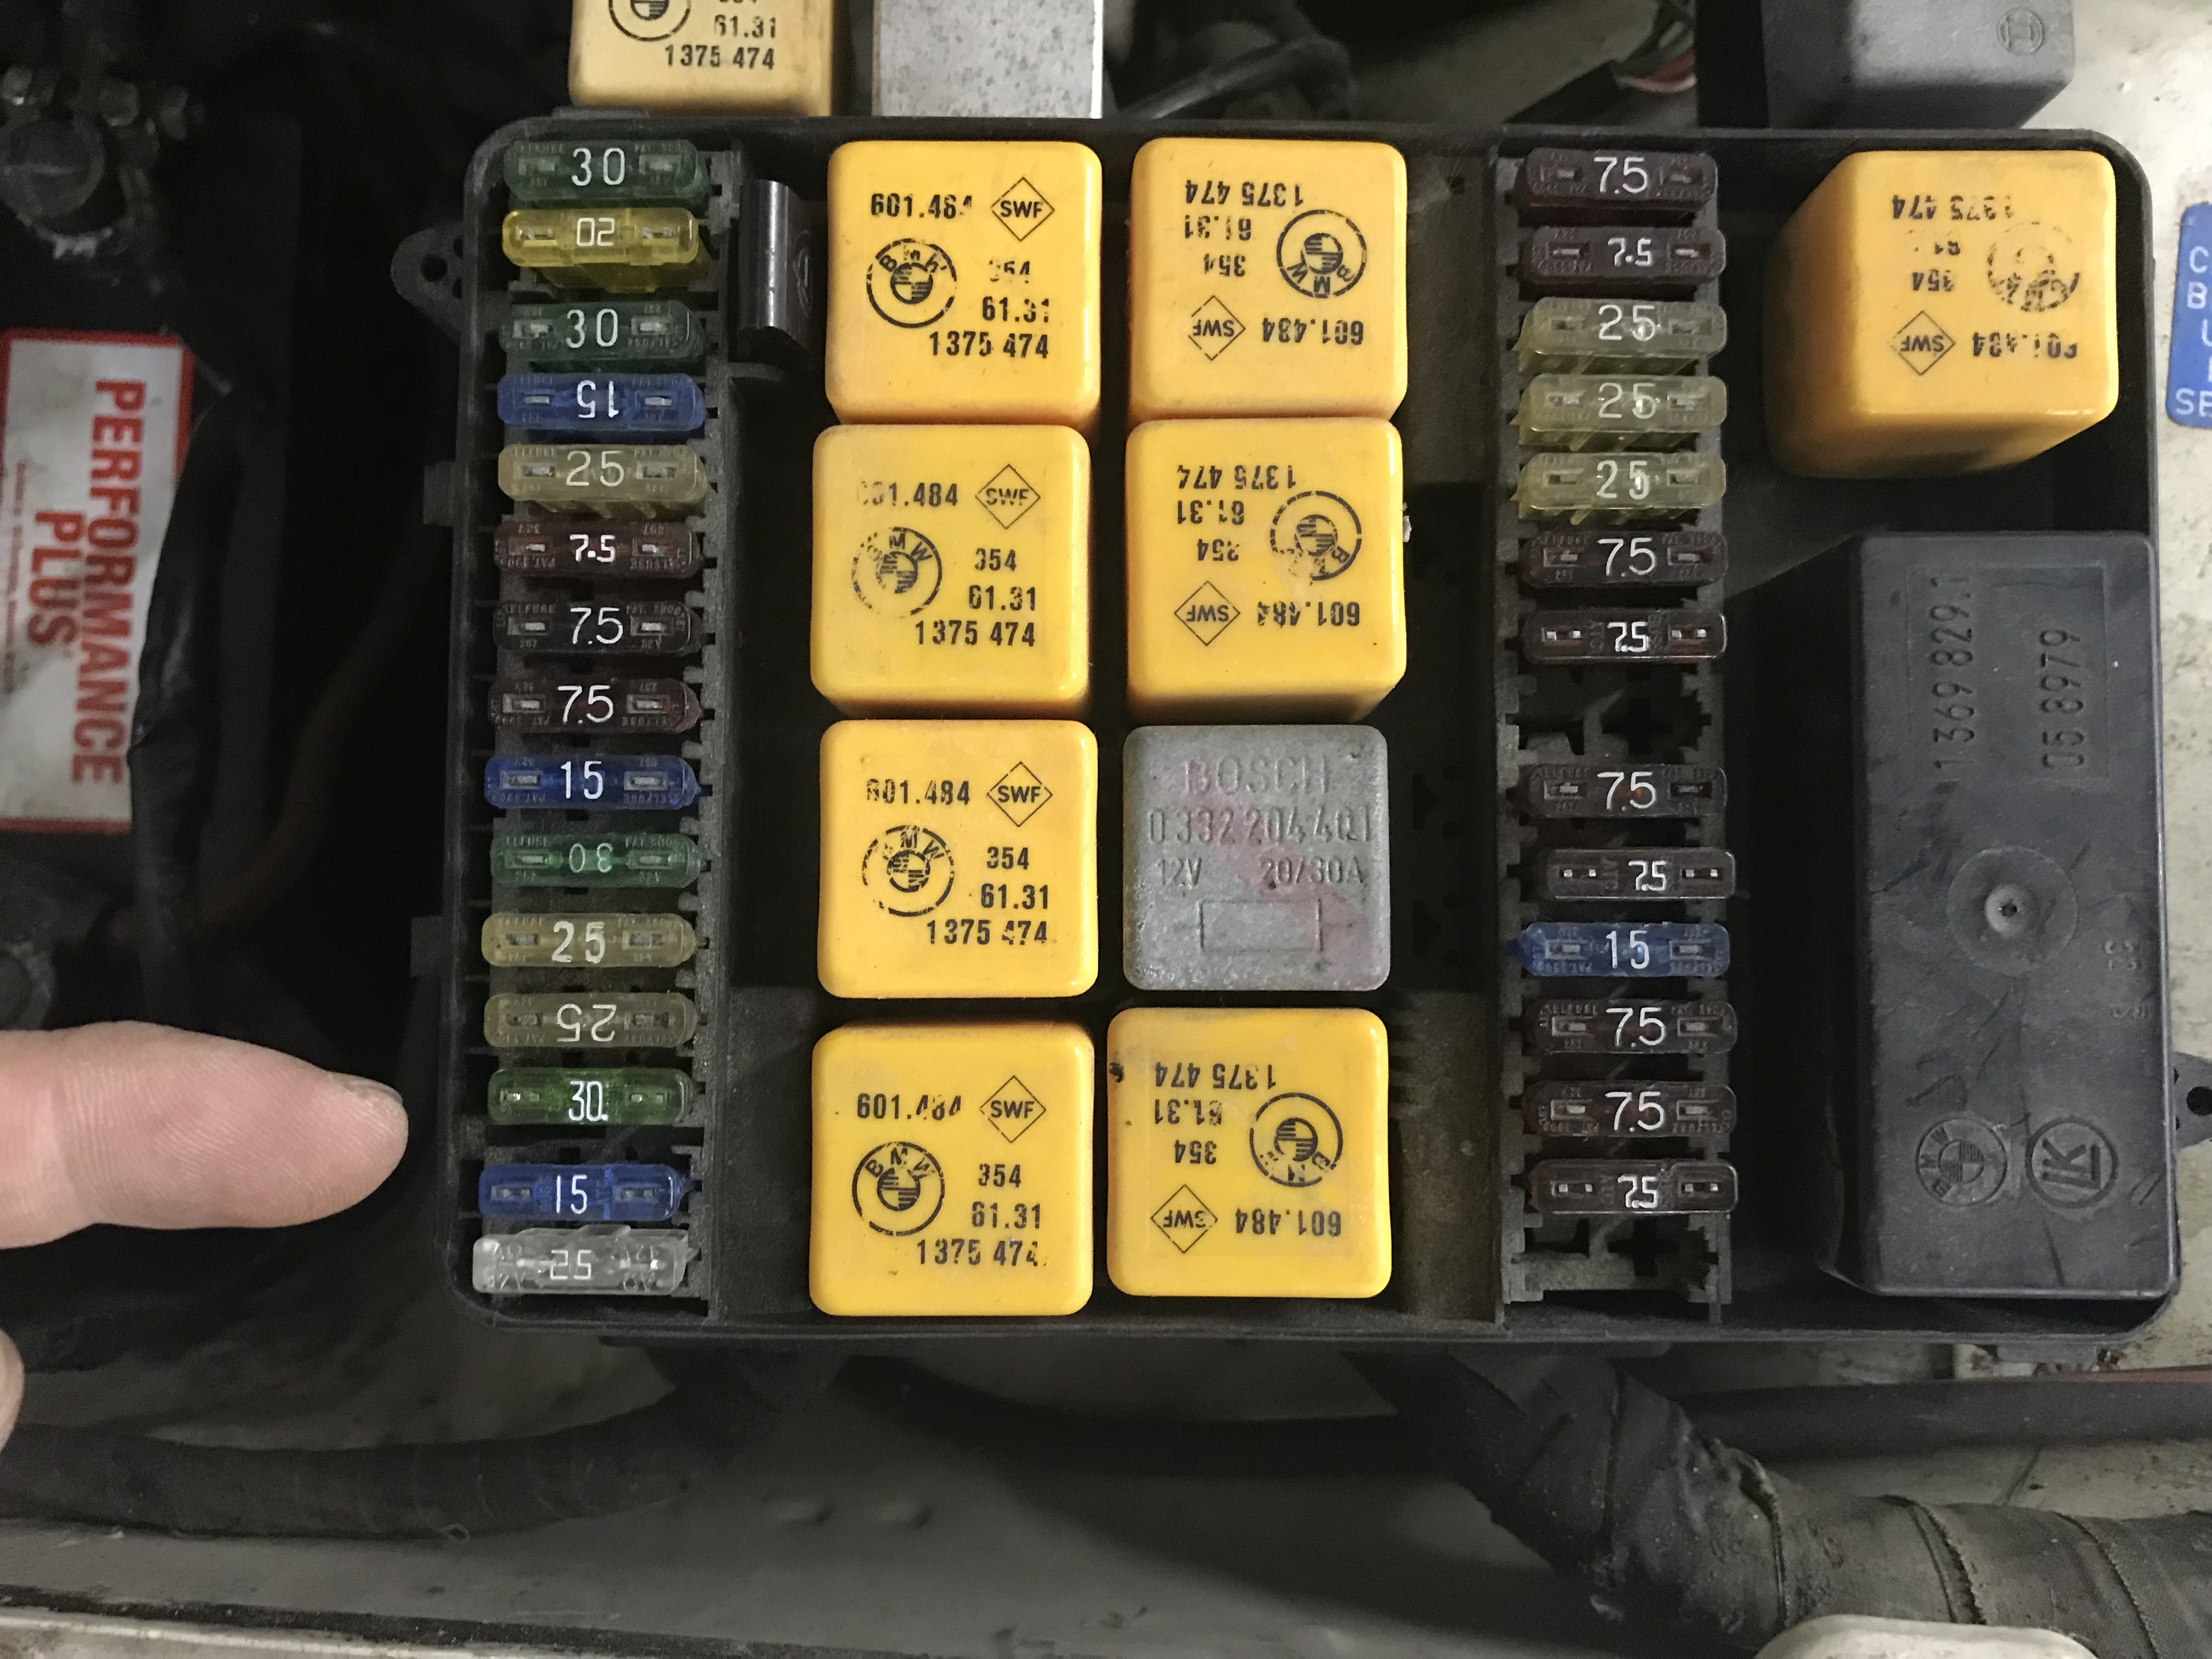
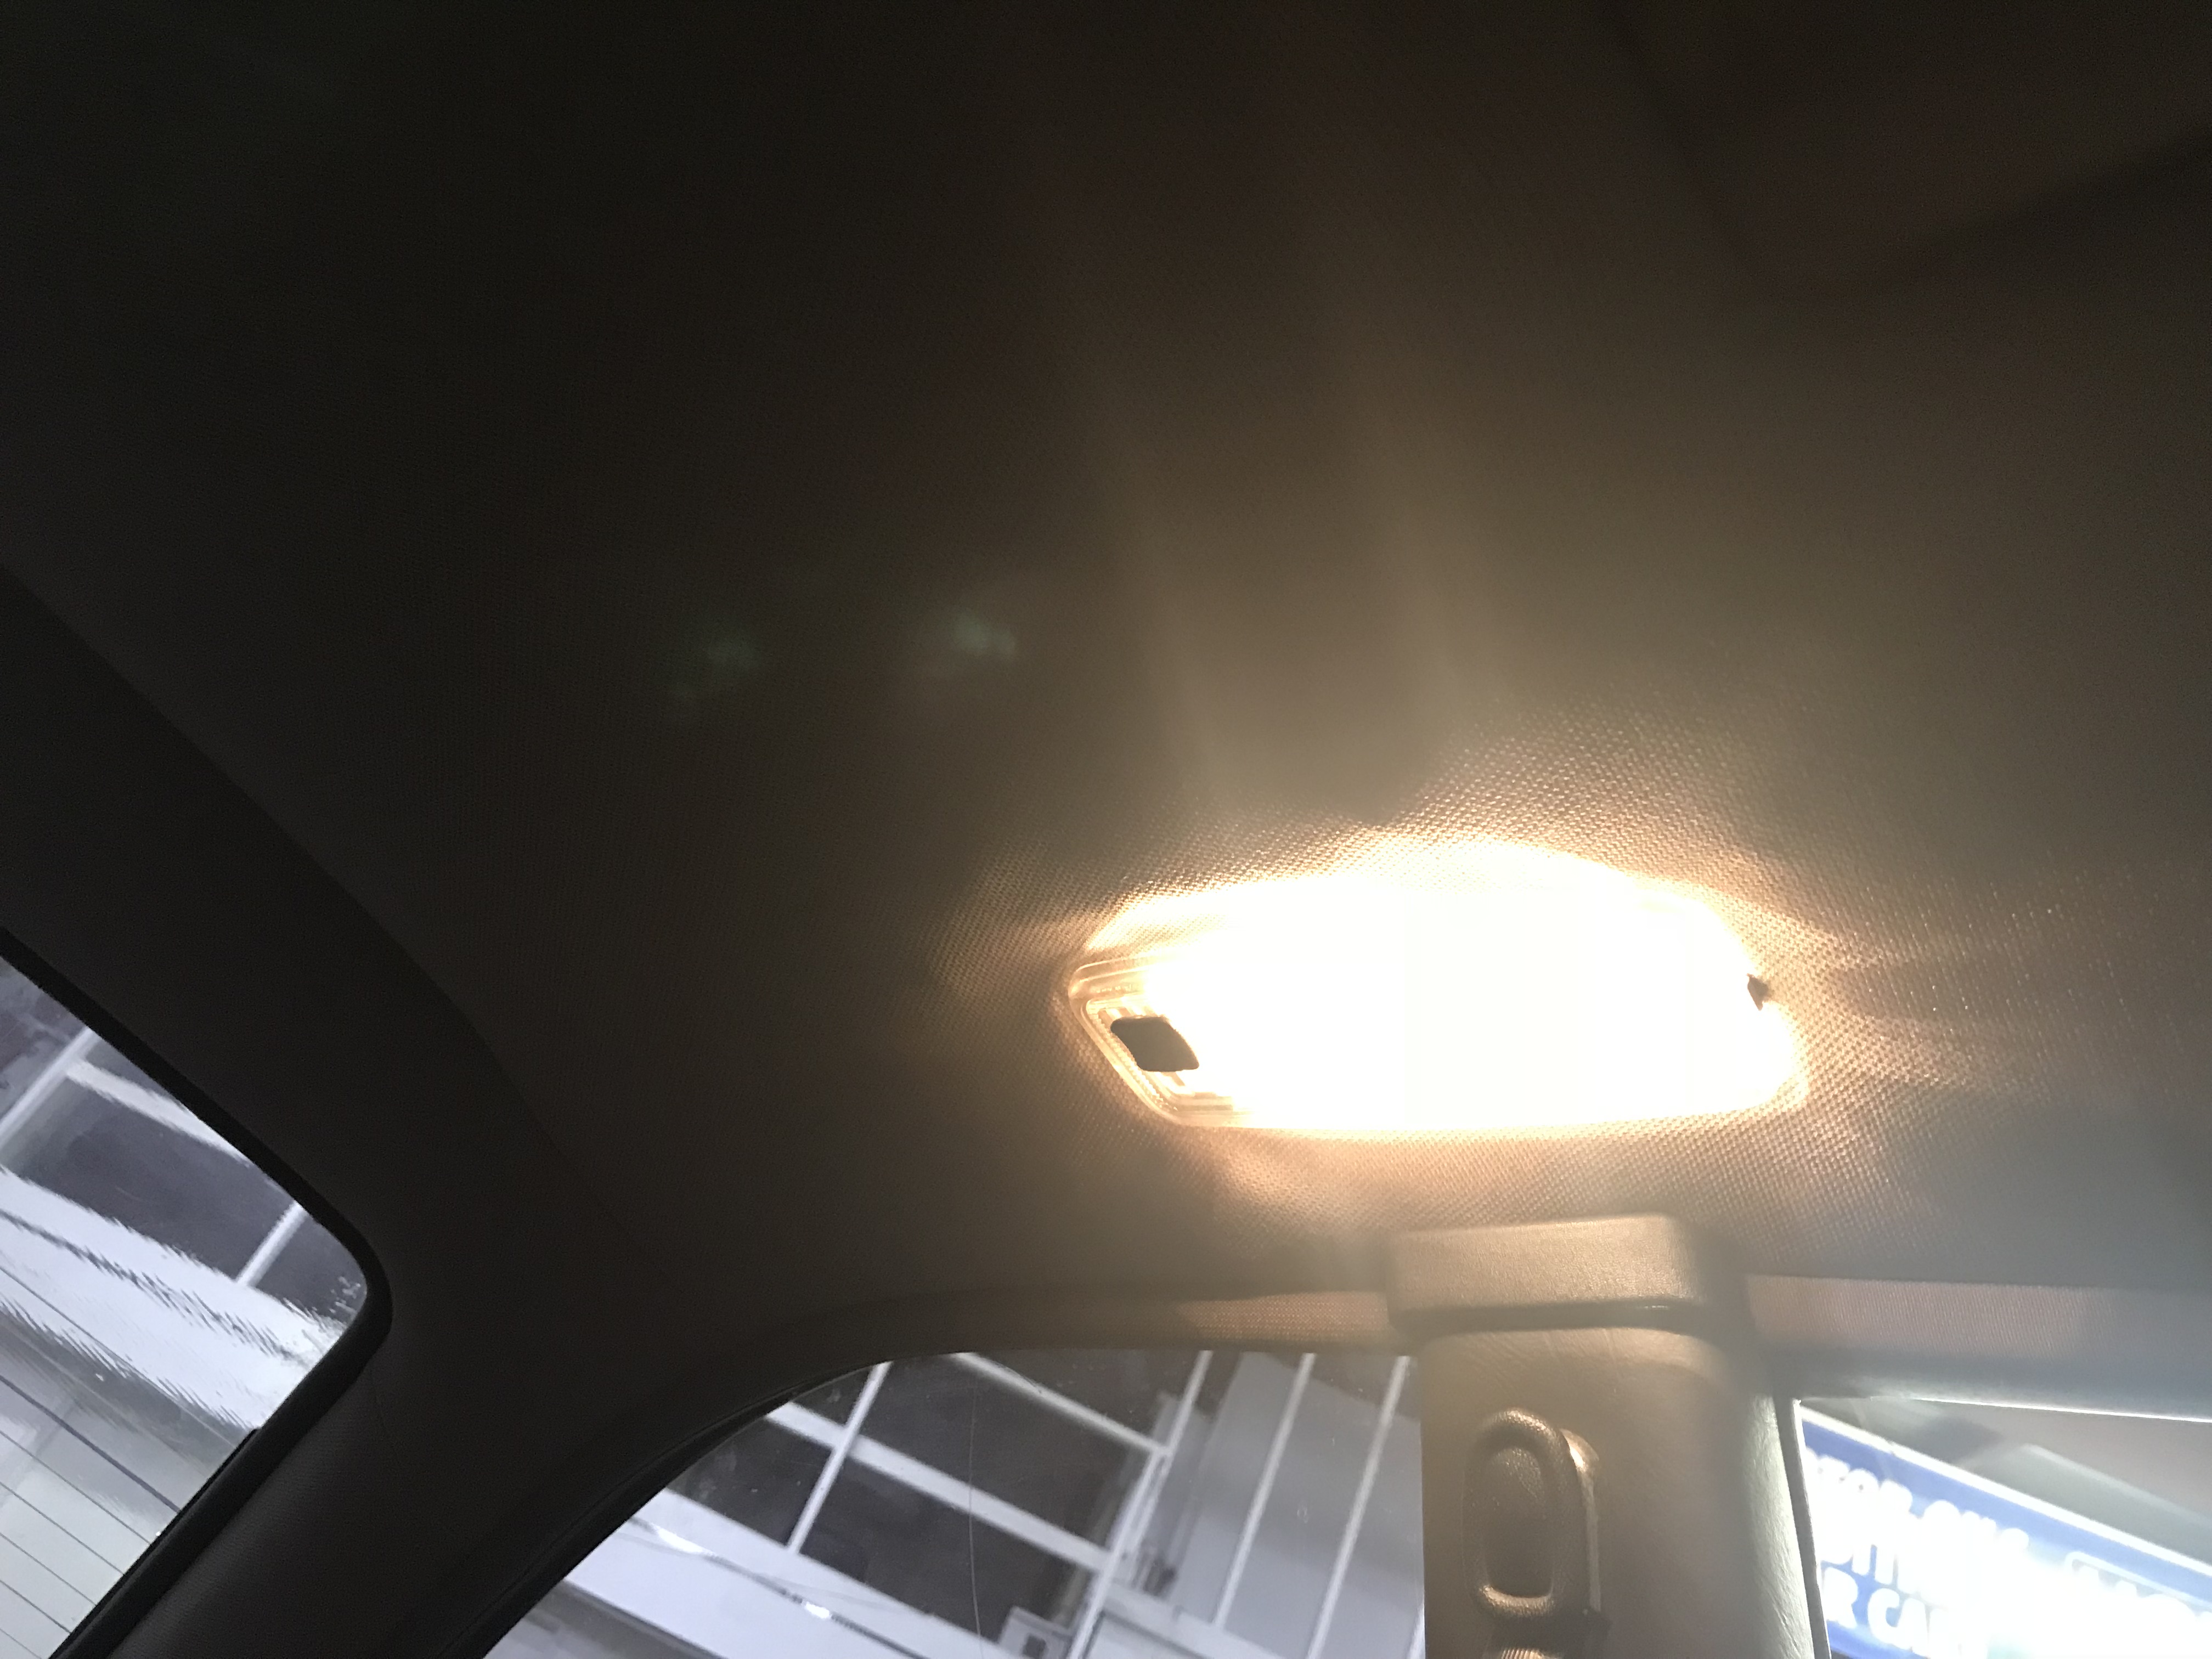
- Fixed the dome light.-- The fuse (NOT LABELED DOME LIGHT) was blown and the connections were corroded. Someone along the line cut one of the wires for the door ajar position so it doesnt come on when you open the door. My assumption is that this was done because one of the door switches is bad and the light will always stay on. I plan on hunting this down later.
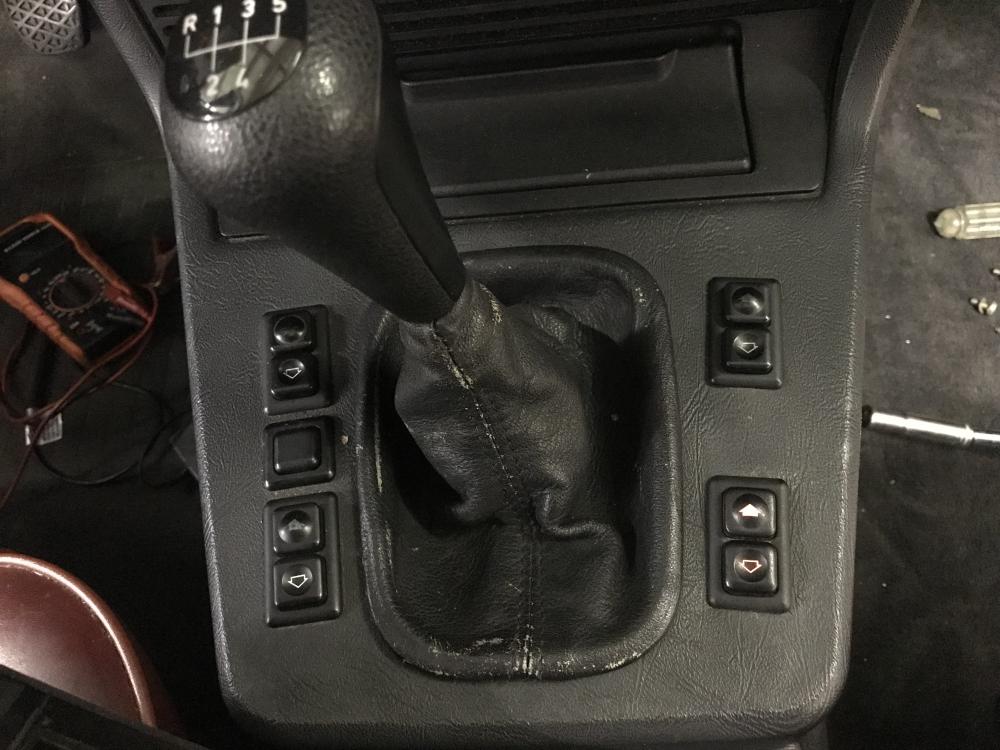
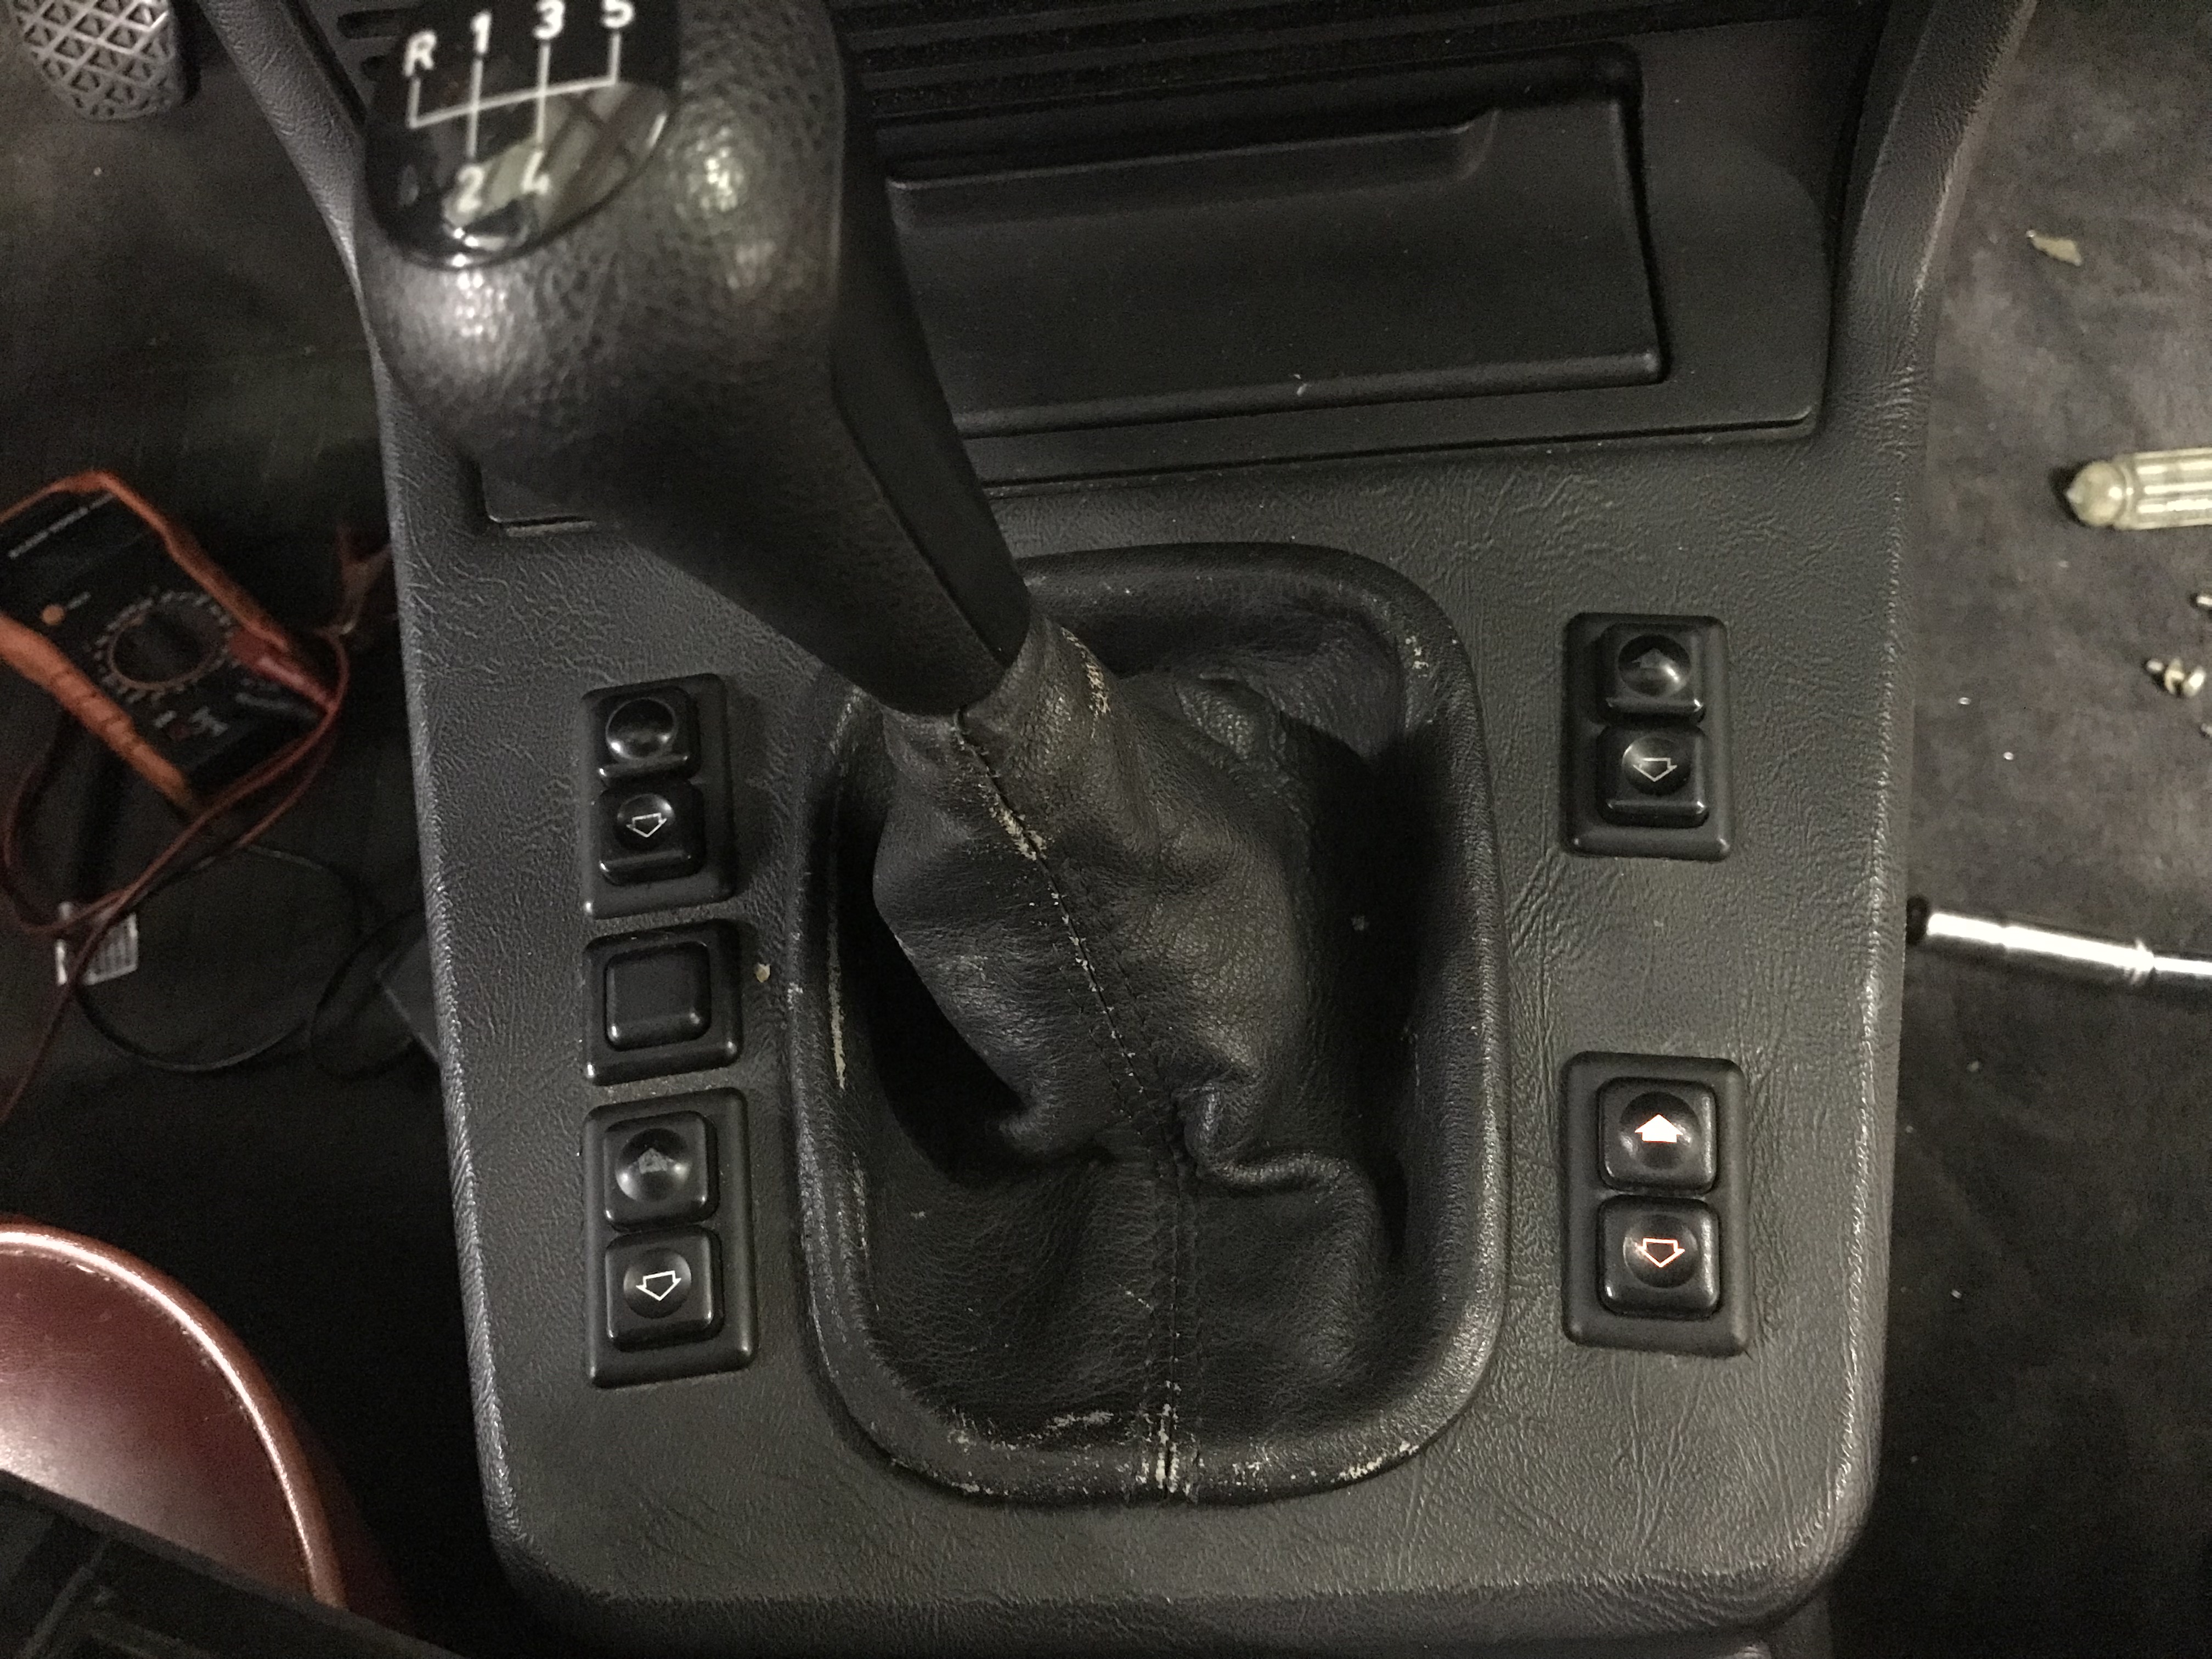
- Fixed the passenger rear window switch.-- I tried to fix the old switch but ended up replacing it. The contacts inside were worn to the point of not being repaired. This is fine because they are the older style with the pad printed icons vs. the new style I replaced it with is backlit. Now I need 4 more switches so they match.
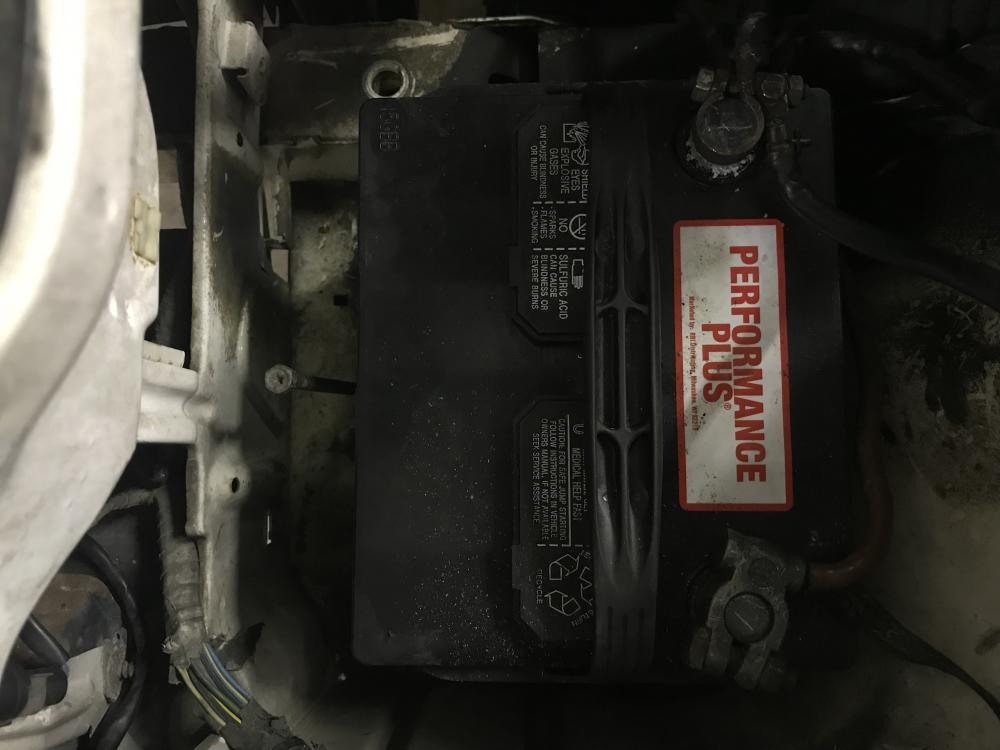
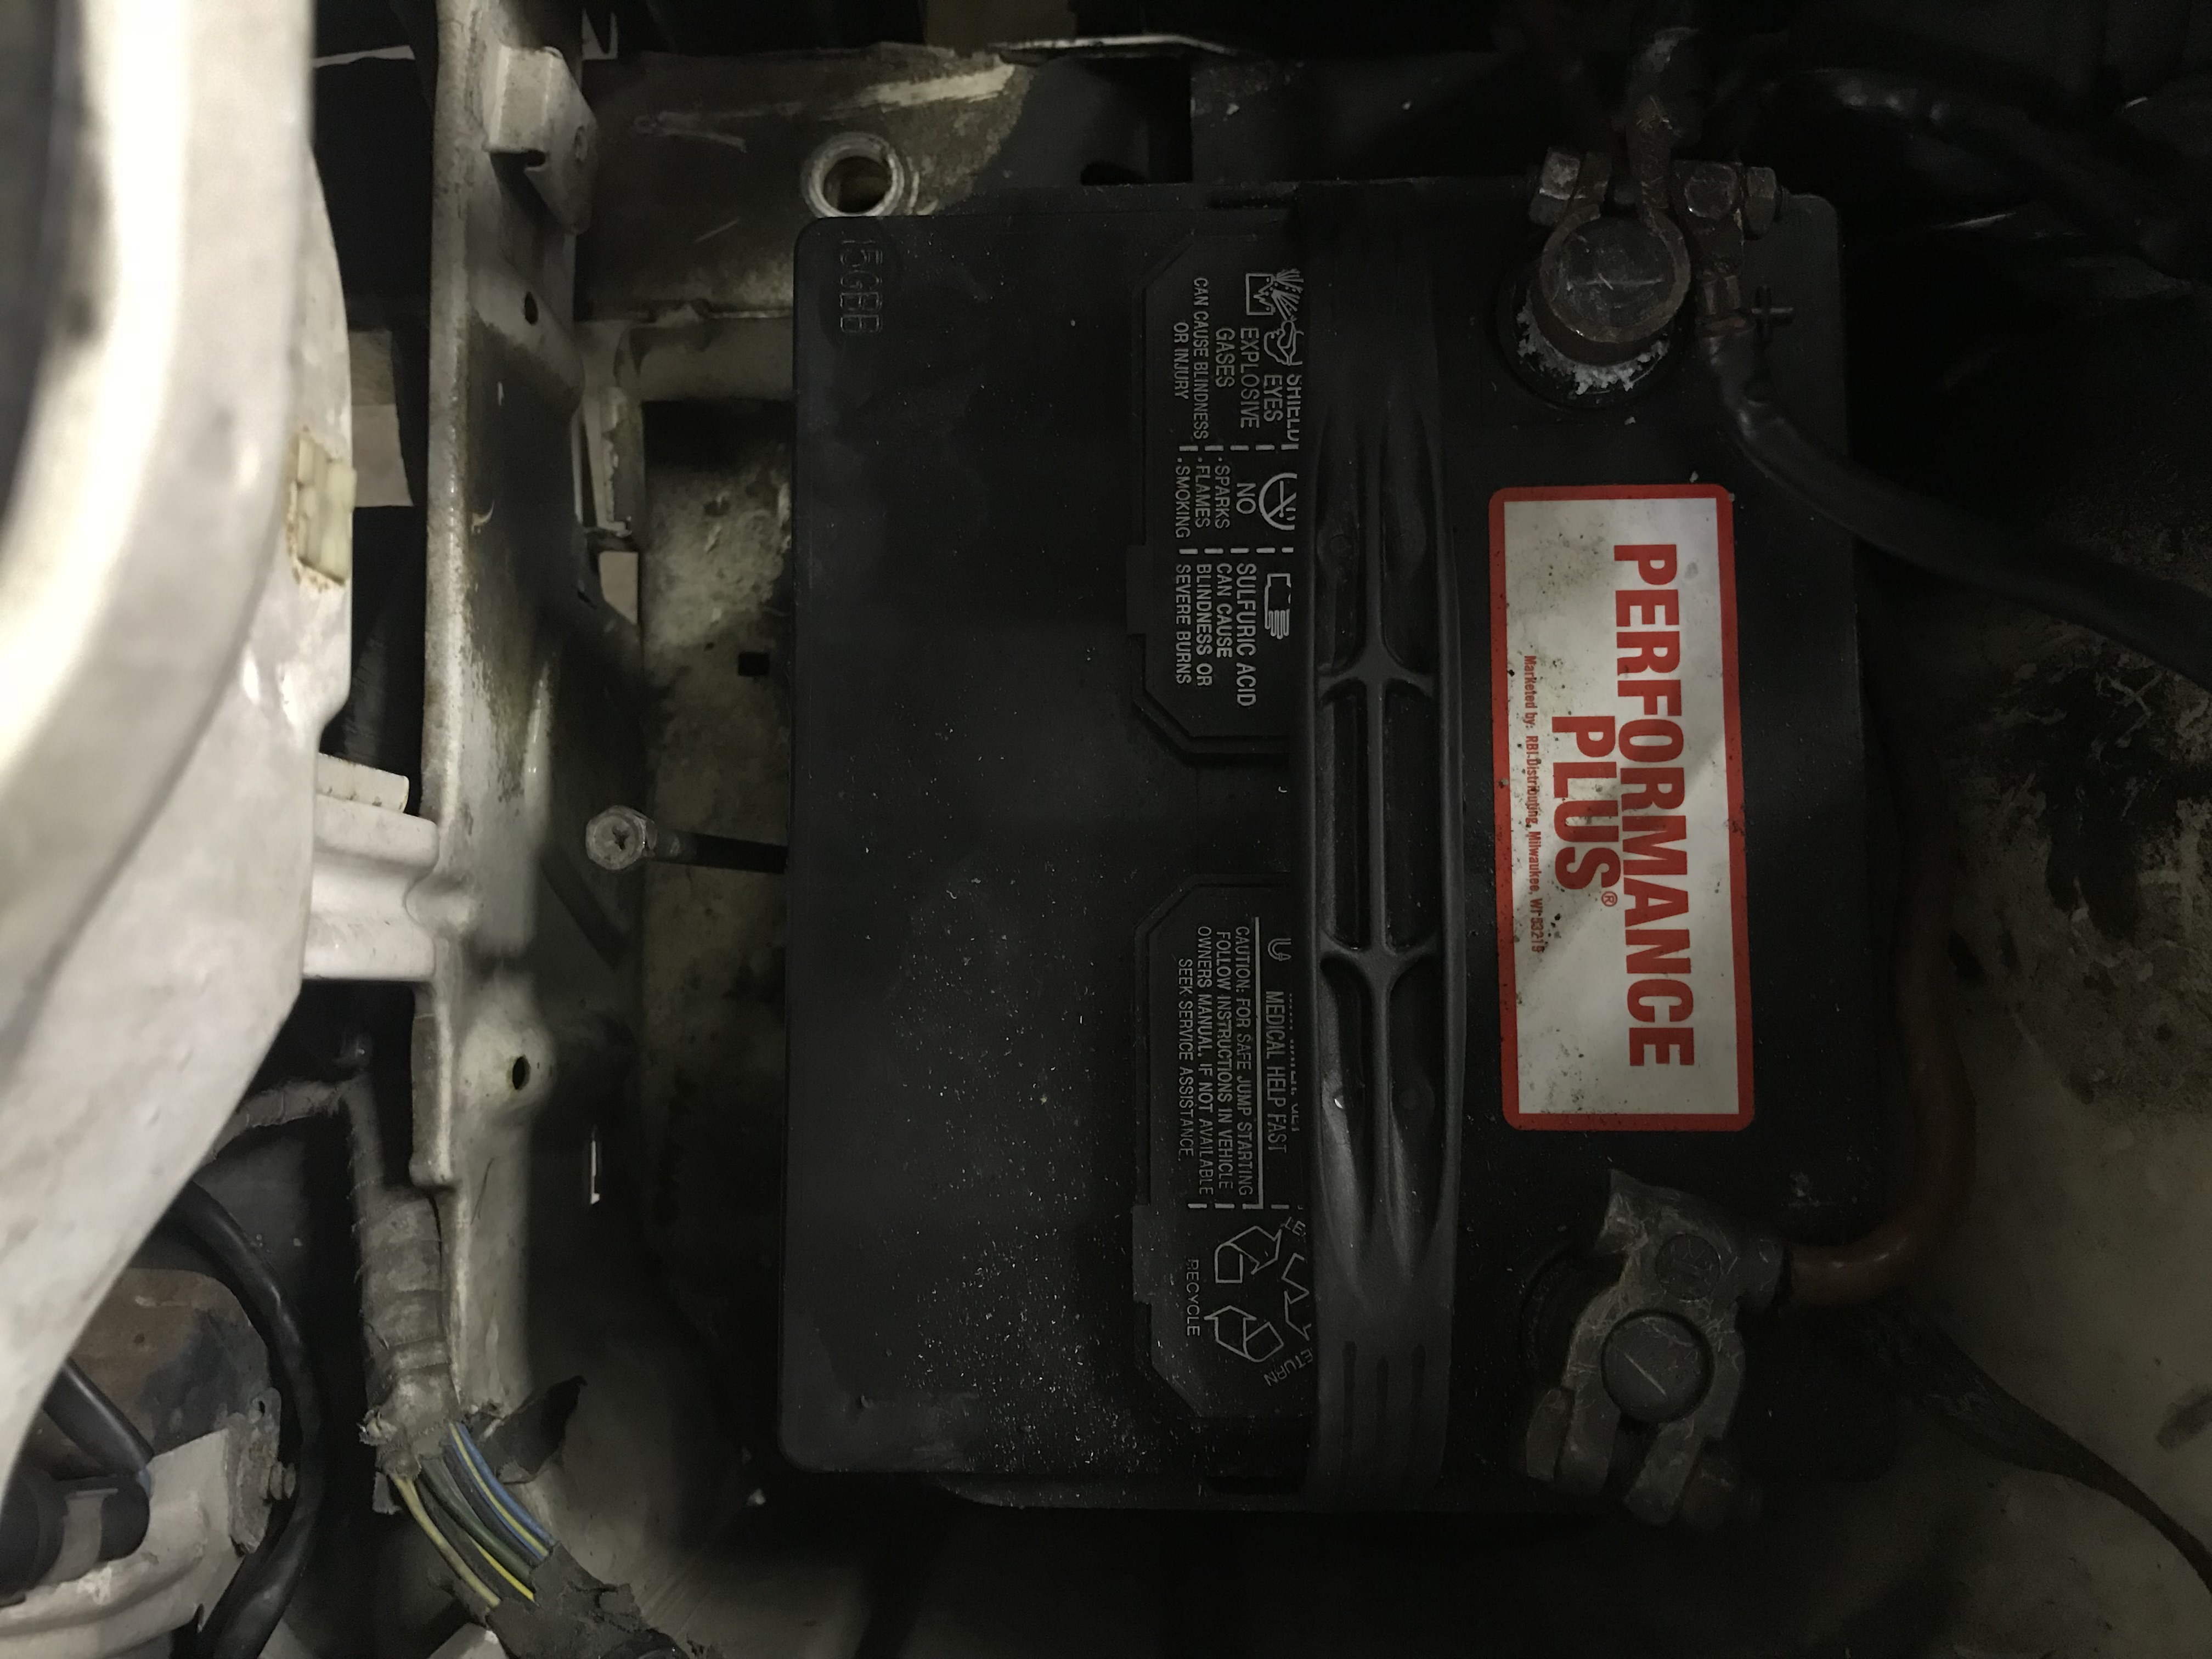
- Installed the battery hold down bolt and clamp-- from @m42b32.- It originally had a different style from the factory, but there was a hole that perfectly aligned with the bolt. I just added a nut to the back side from under the rail pan and it seems like it was that way from the factory.
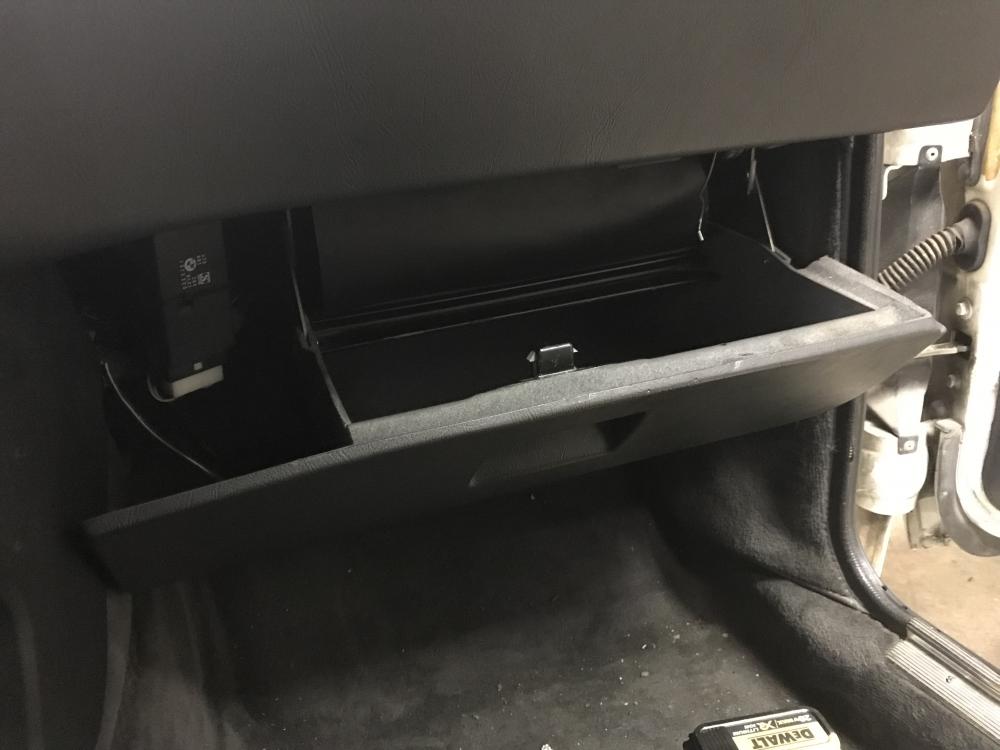
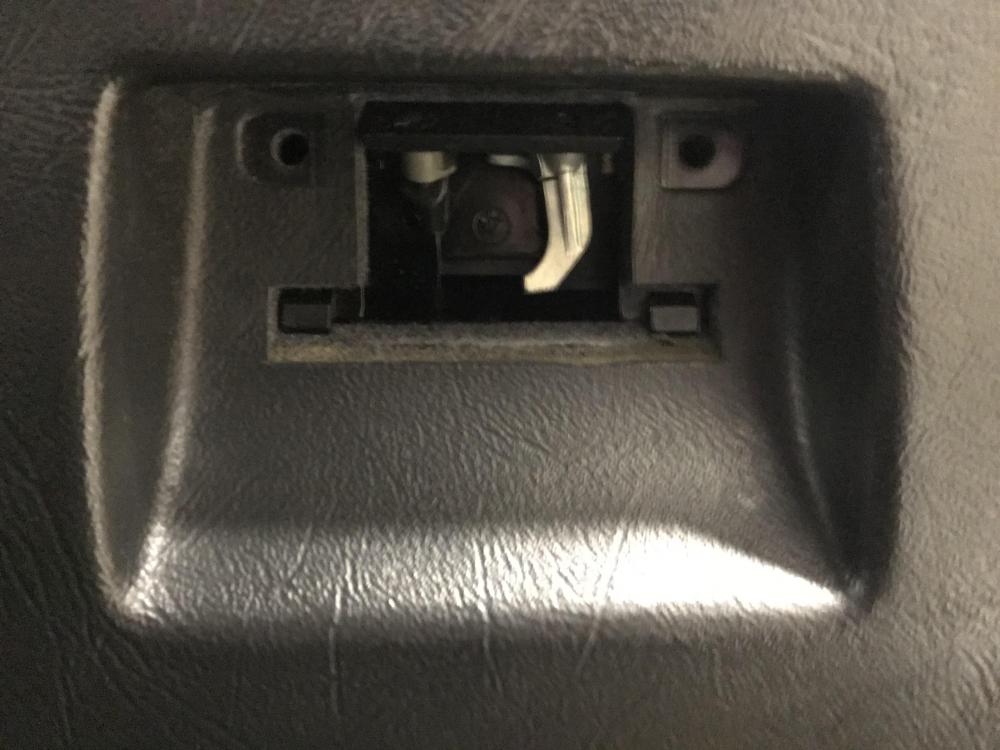
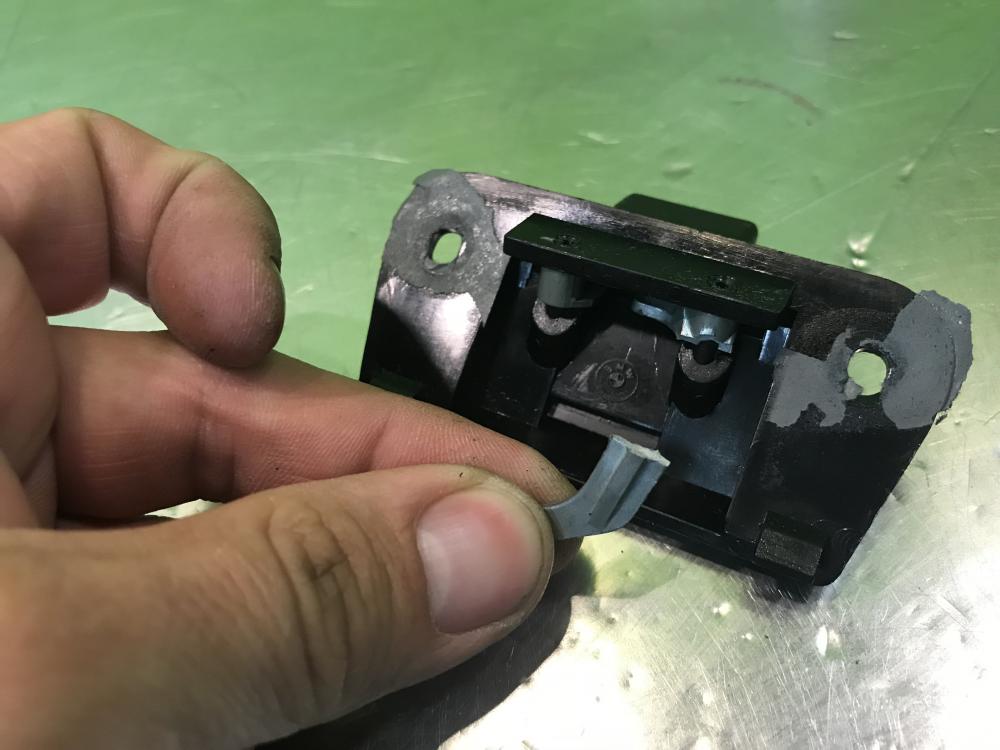
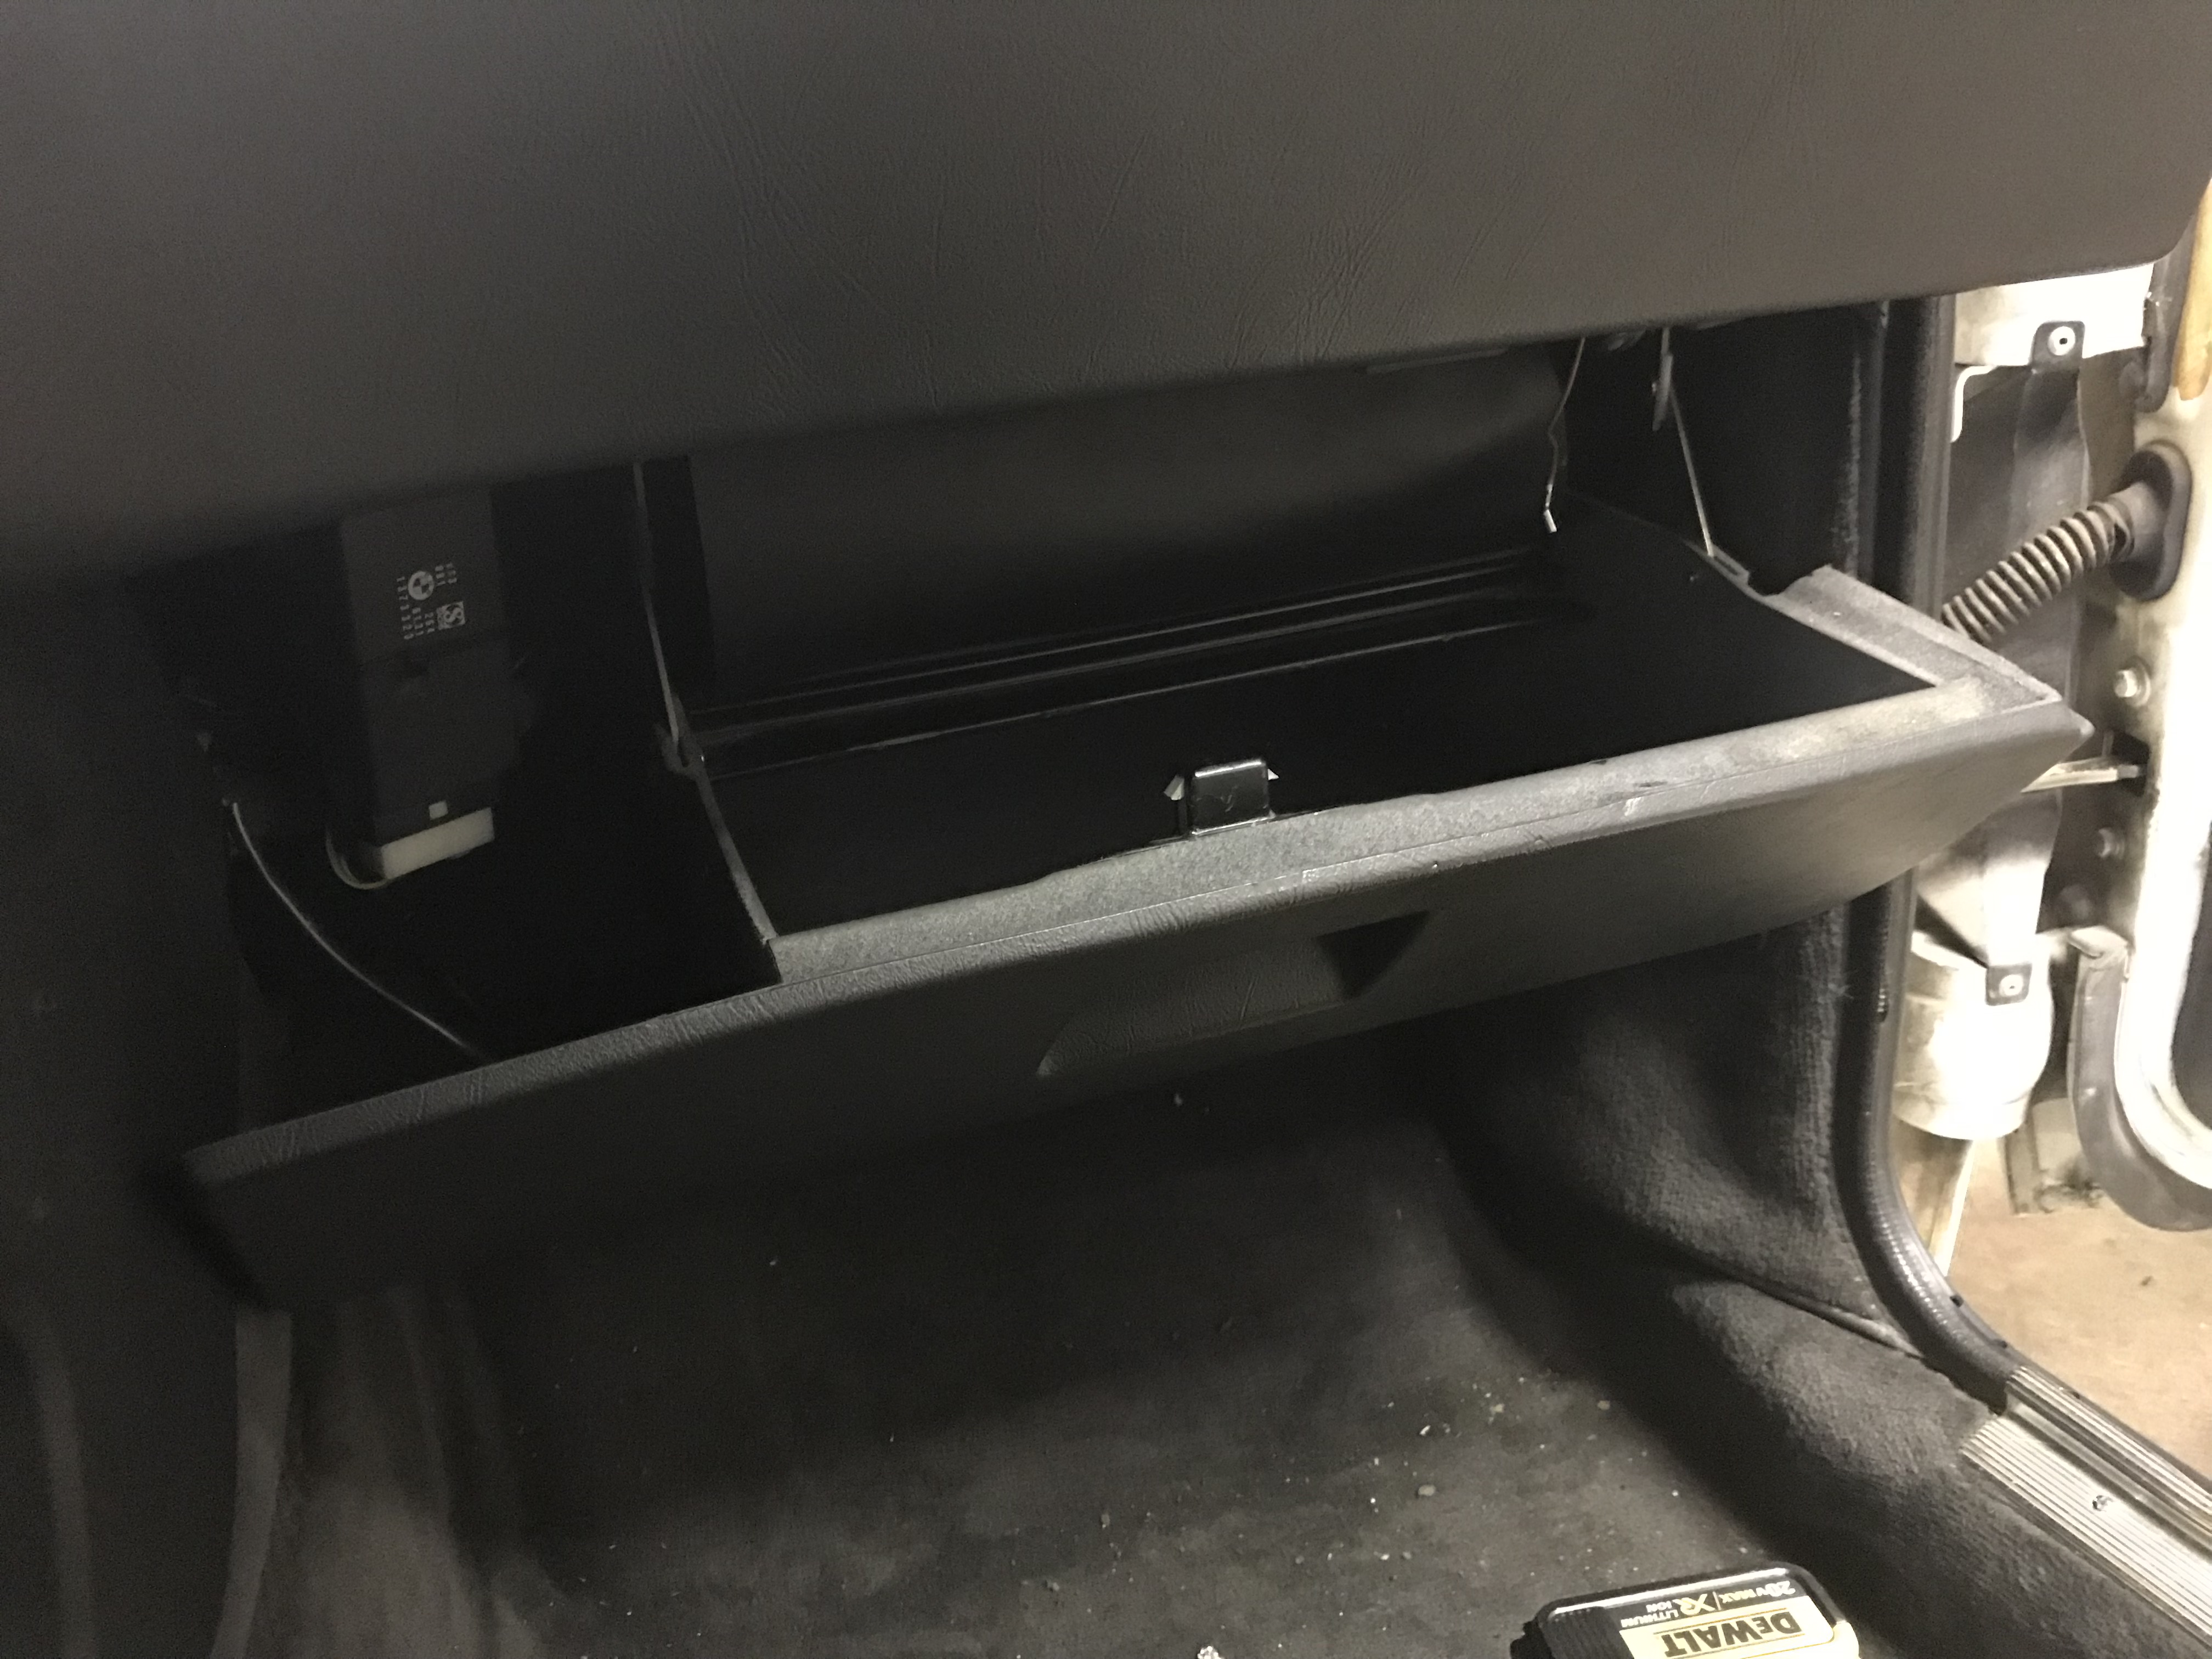
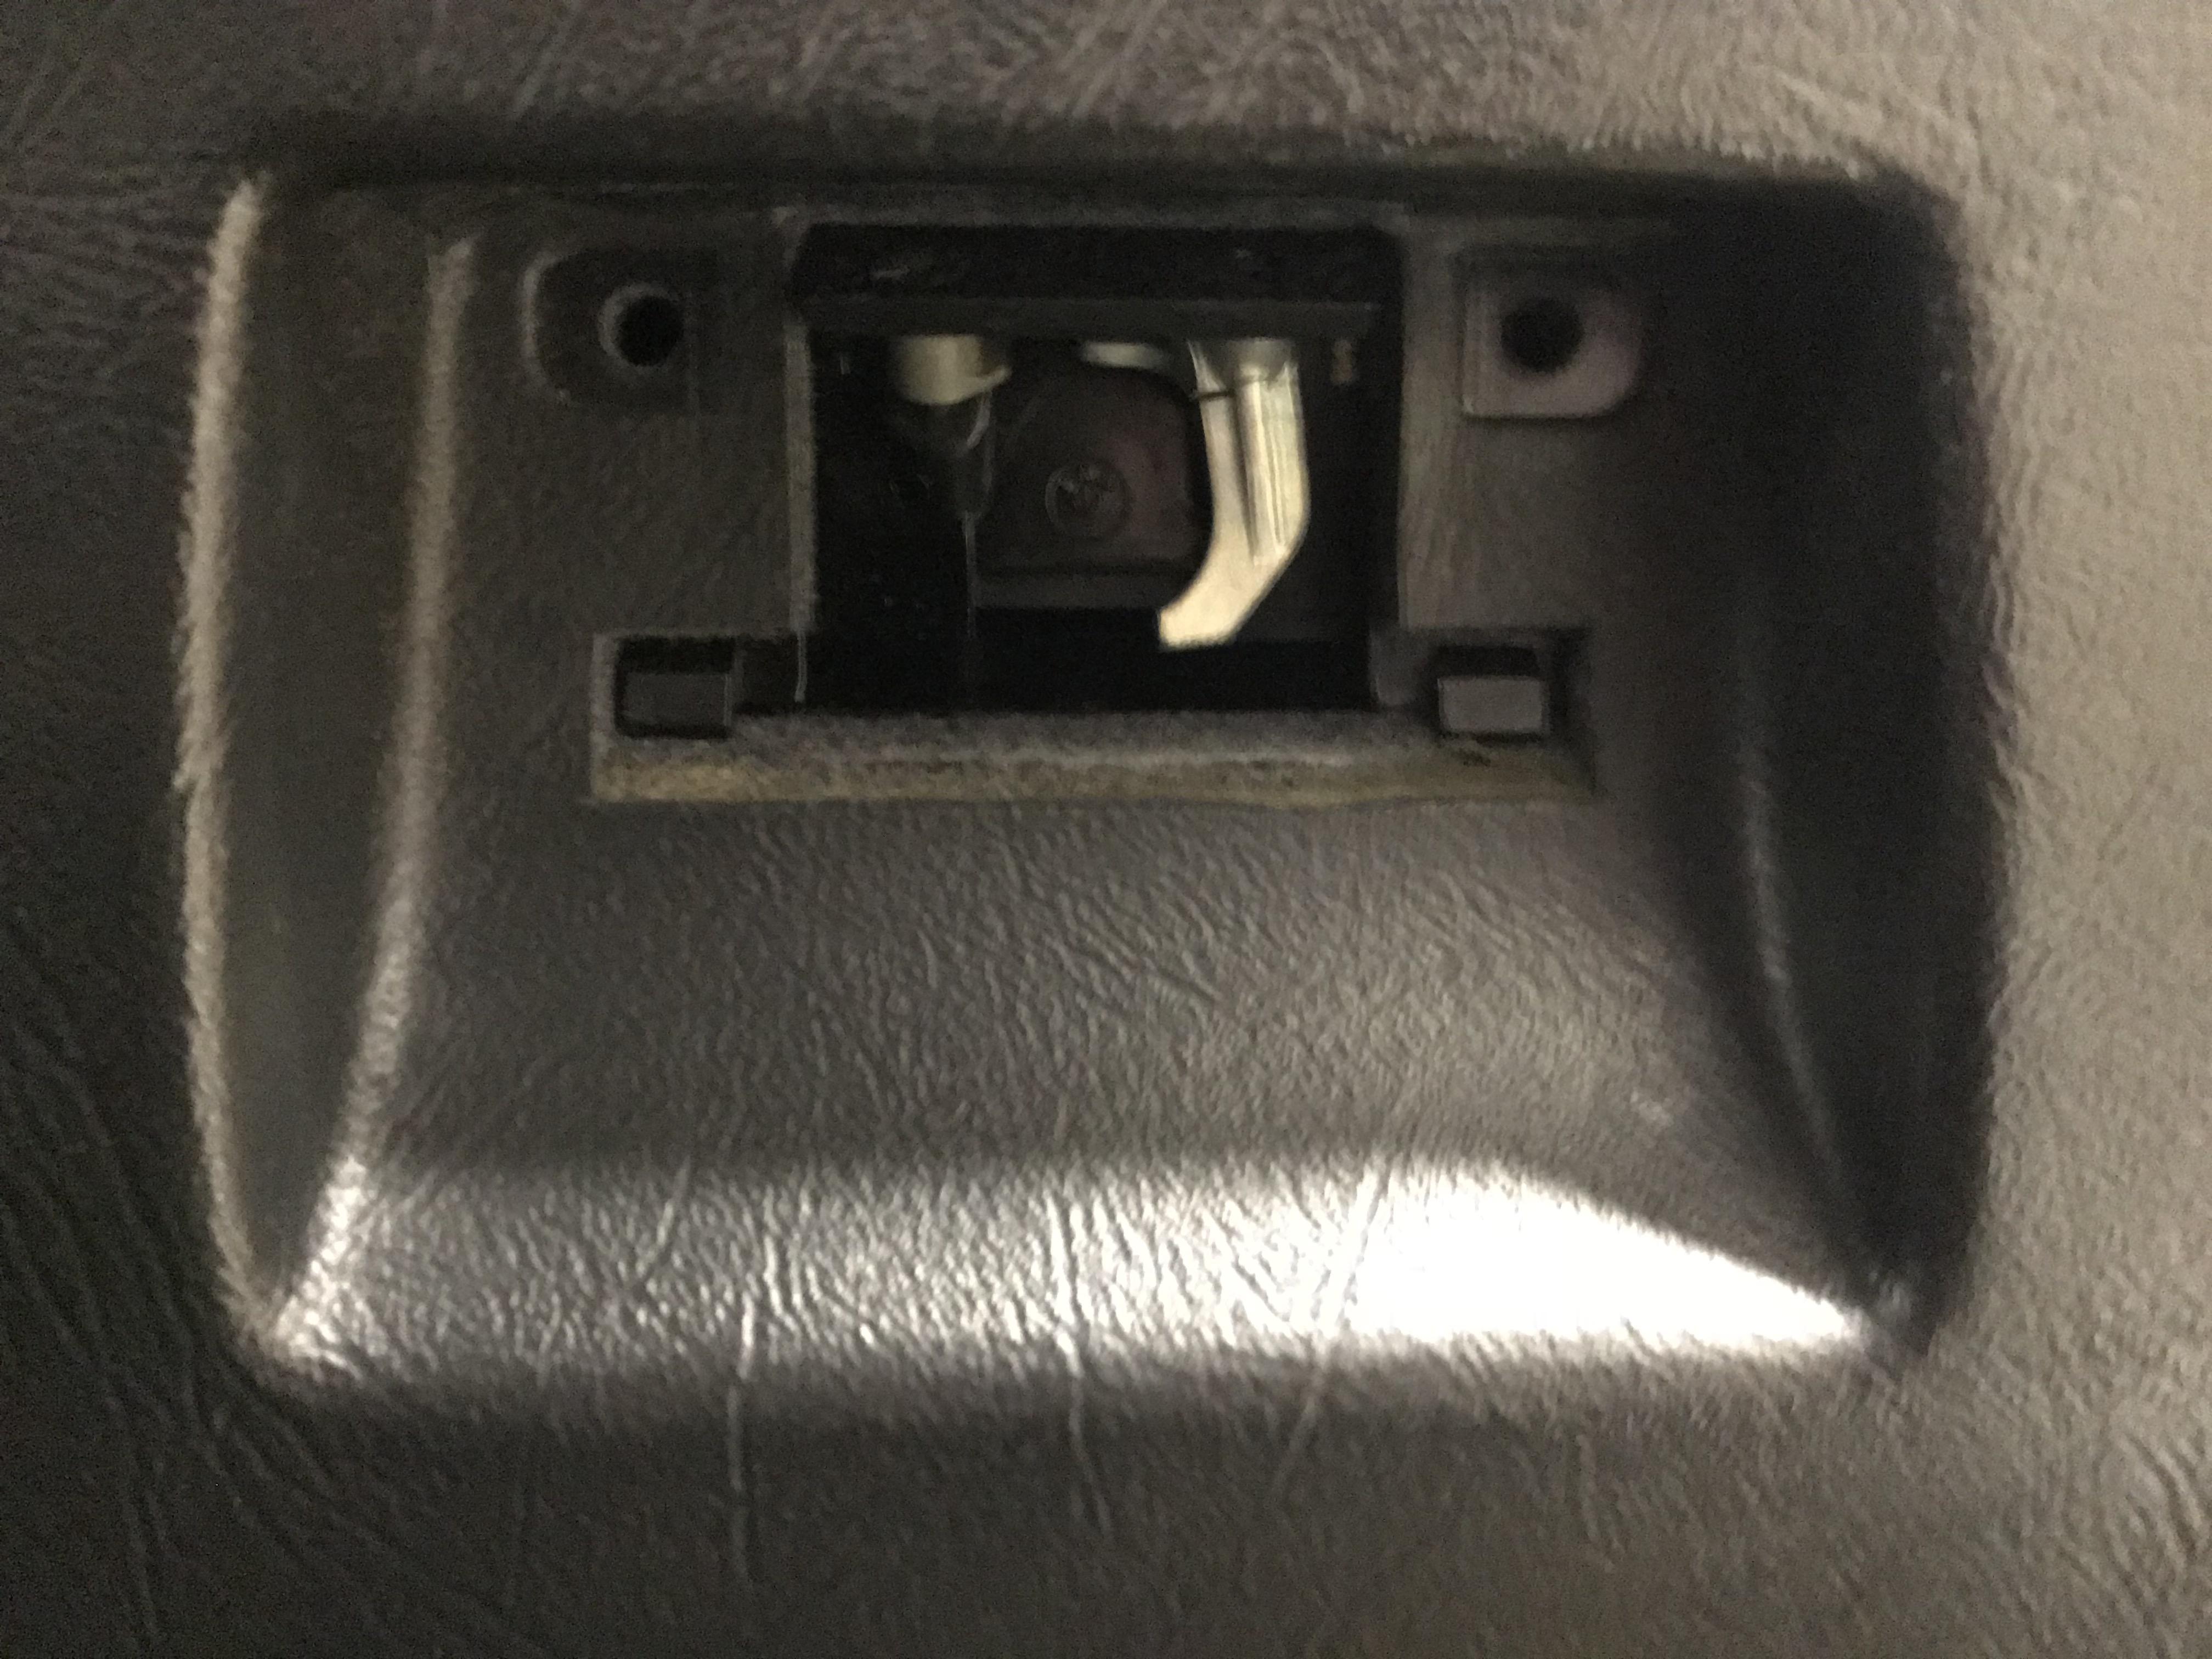
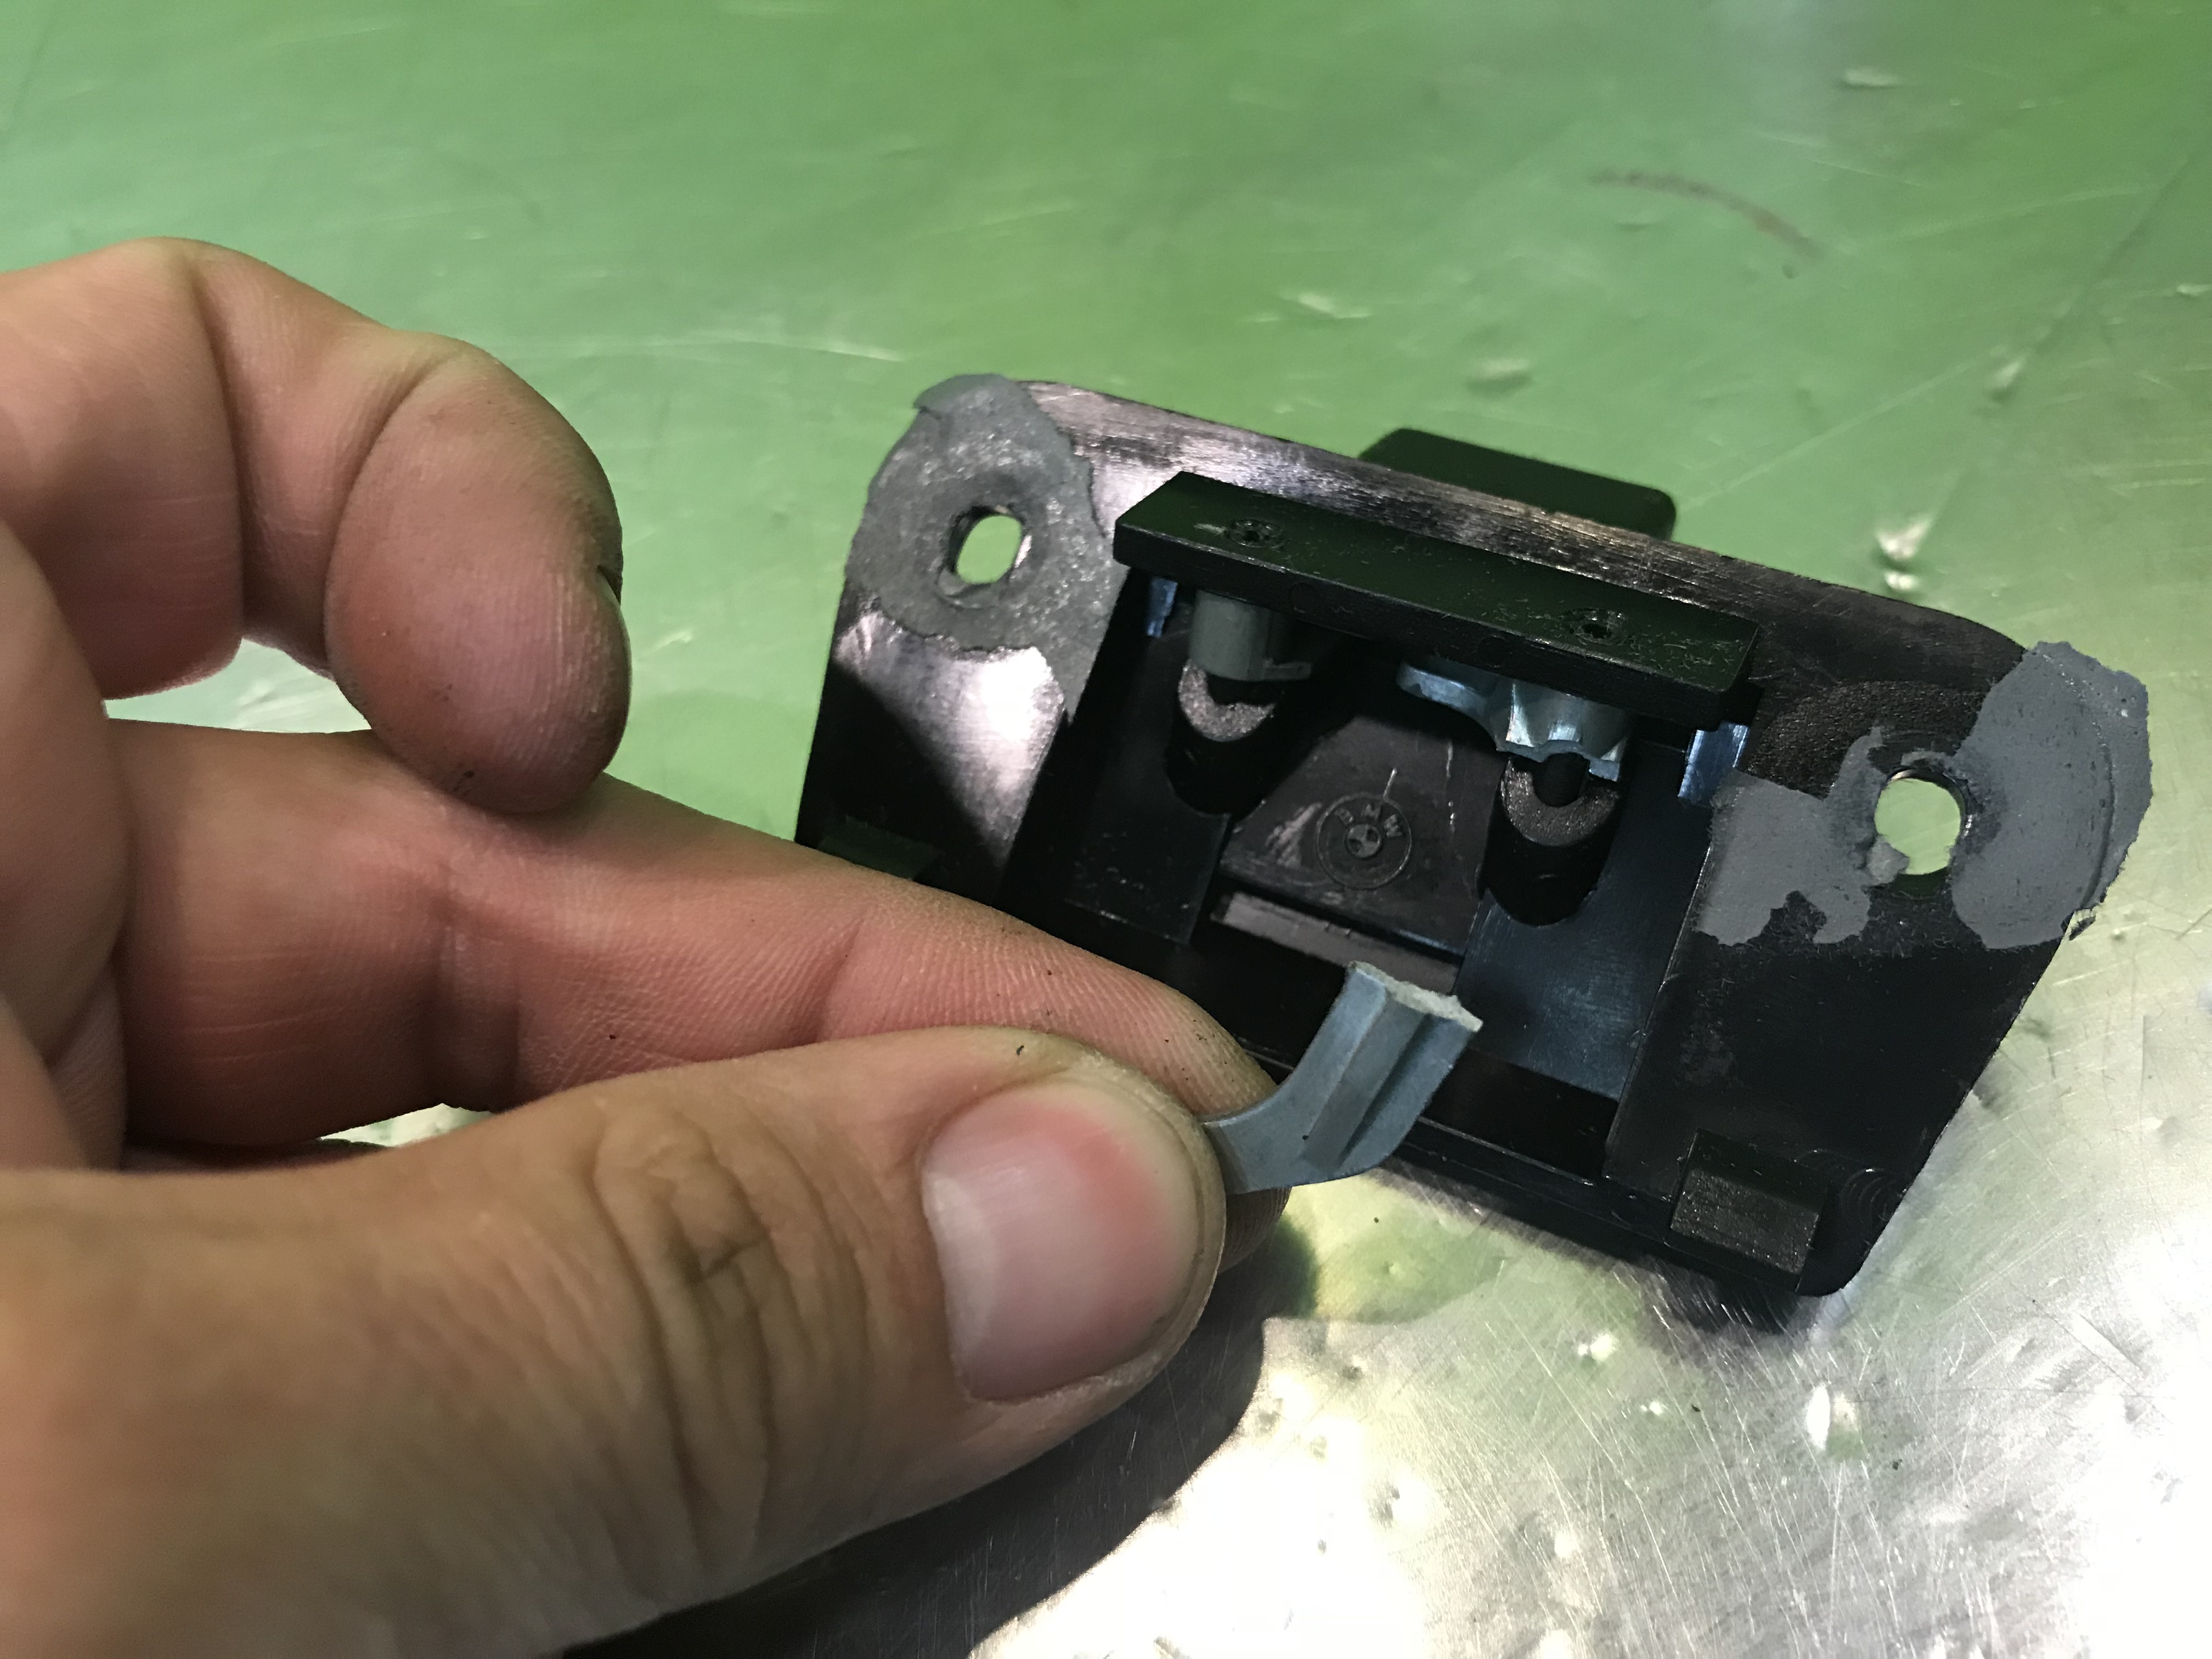
- Also TRIED to install the glove box.-- When I removed it I noticed that it was locked shut and I needed to unscrew the latch and hinge to get it out. Turns out is has a small cast zinc hook that operated the latch. this cracked and was no longer engaging. I plan on fixing it this afternoon and will keep my eyes out for a replacement.
https://www.instagram.com/_jdesigner_/ http://nevertoolow.tumblr.com/
🥳SOLD BMW E24 633CSI - BMW M30B32 🧪SOLD HCH ES9 - 1.3 LDA
👽BMW E30 325IC - Toyota 1JZ-GTE ⏰ HONDA EF9 CIVIC SI - JDM B18C5
☠️BMW E36 318i - Ford 5.0 FE302 🚴♂️ GT-Labomba - 26x2.75 Freeride
🤹♀️SOLD BMW E36/7 Z3 - BMW M54B25 🧓SOLD BMW E10 2002 - BMW M10M05 -
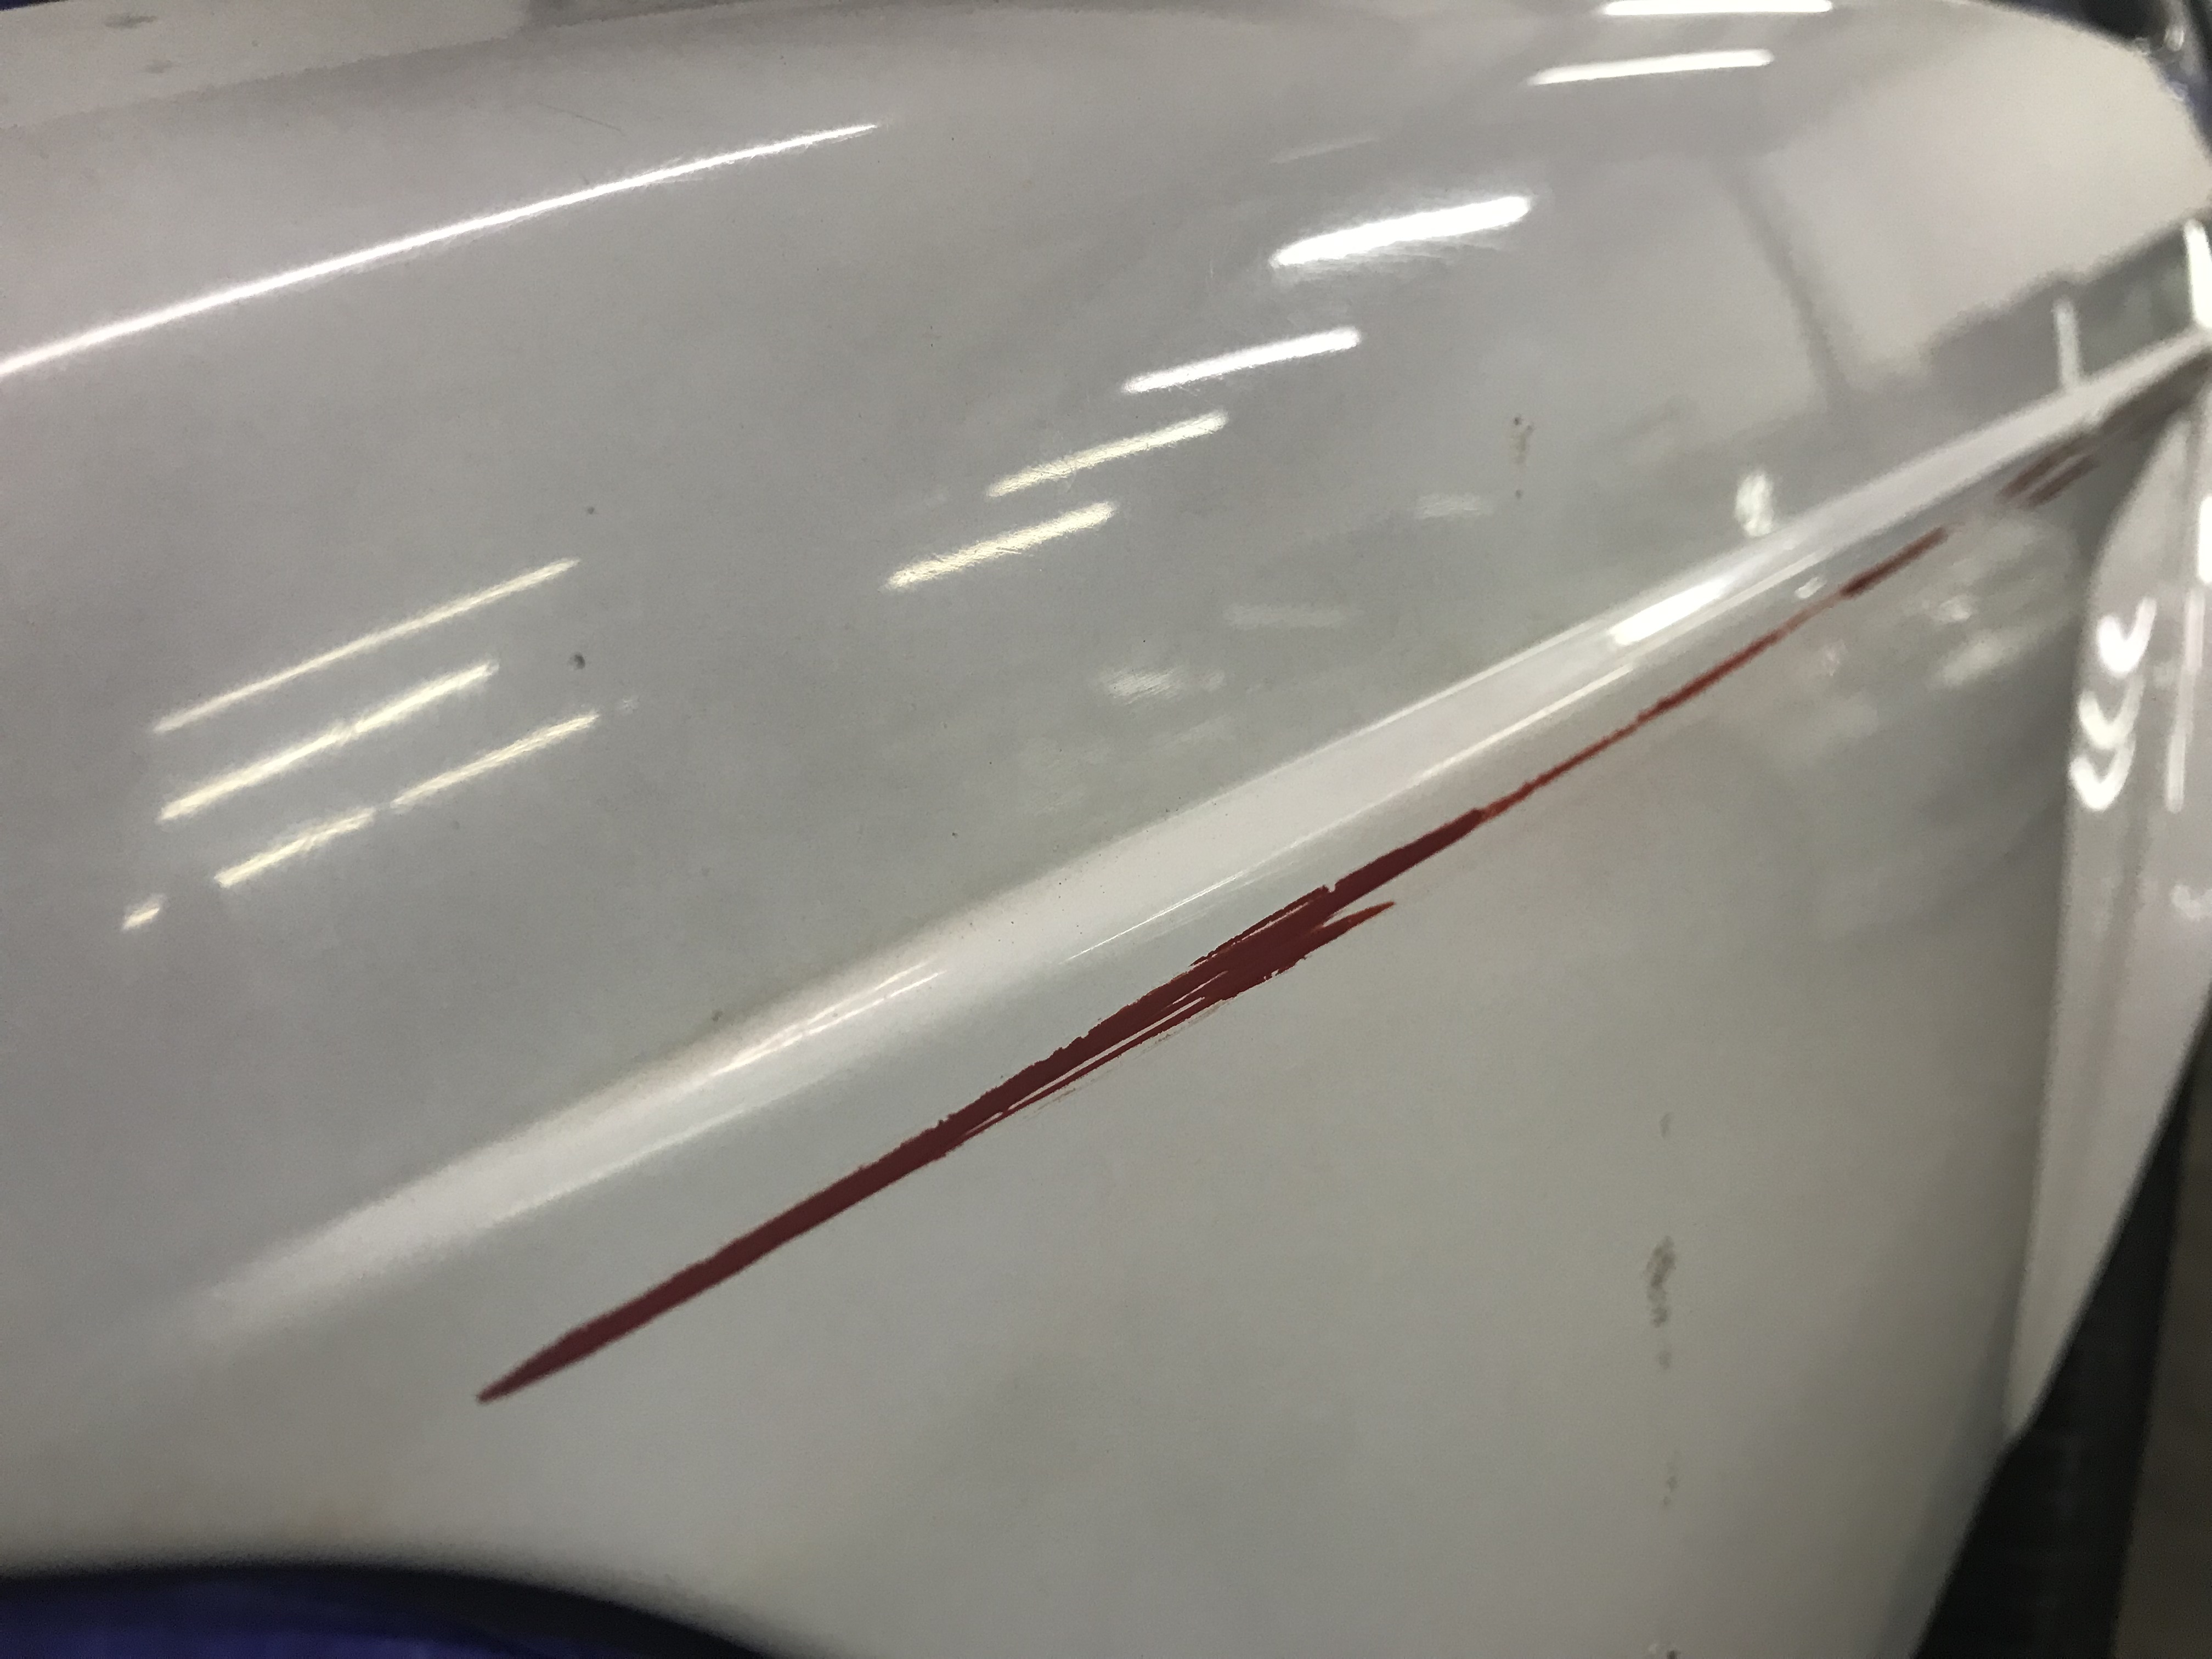
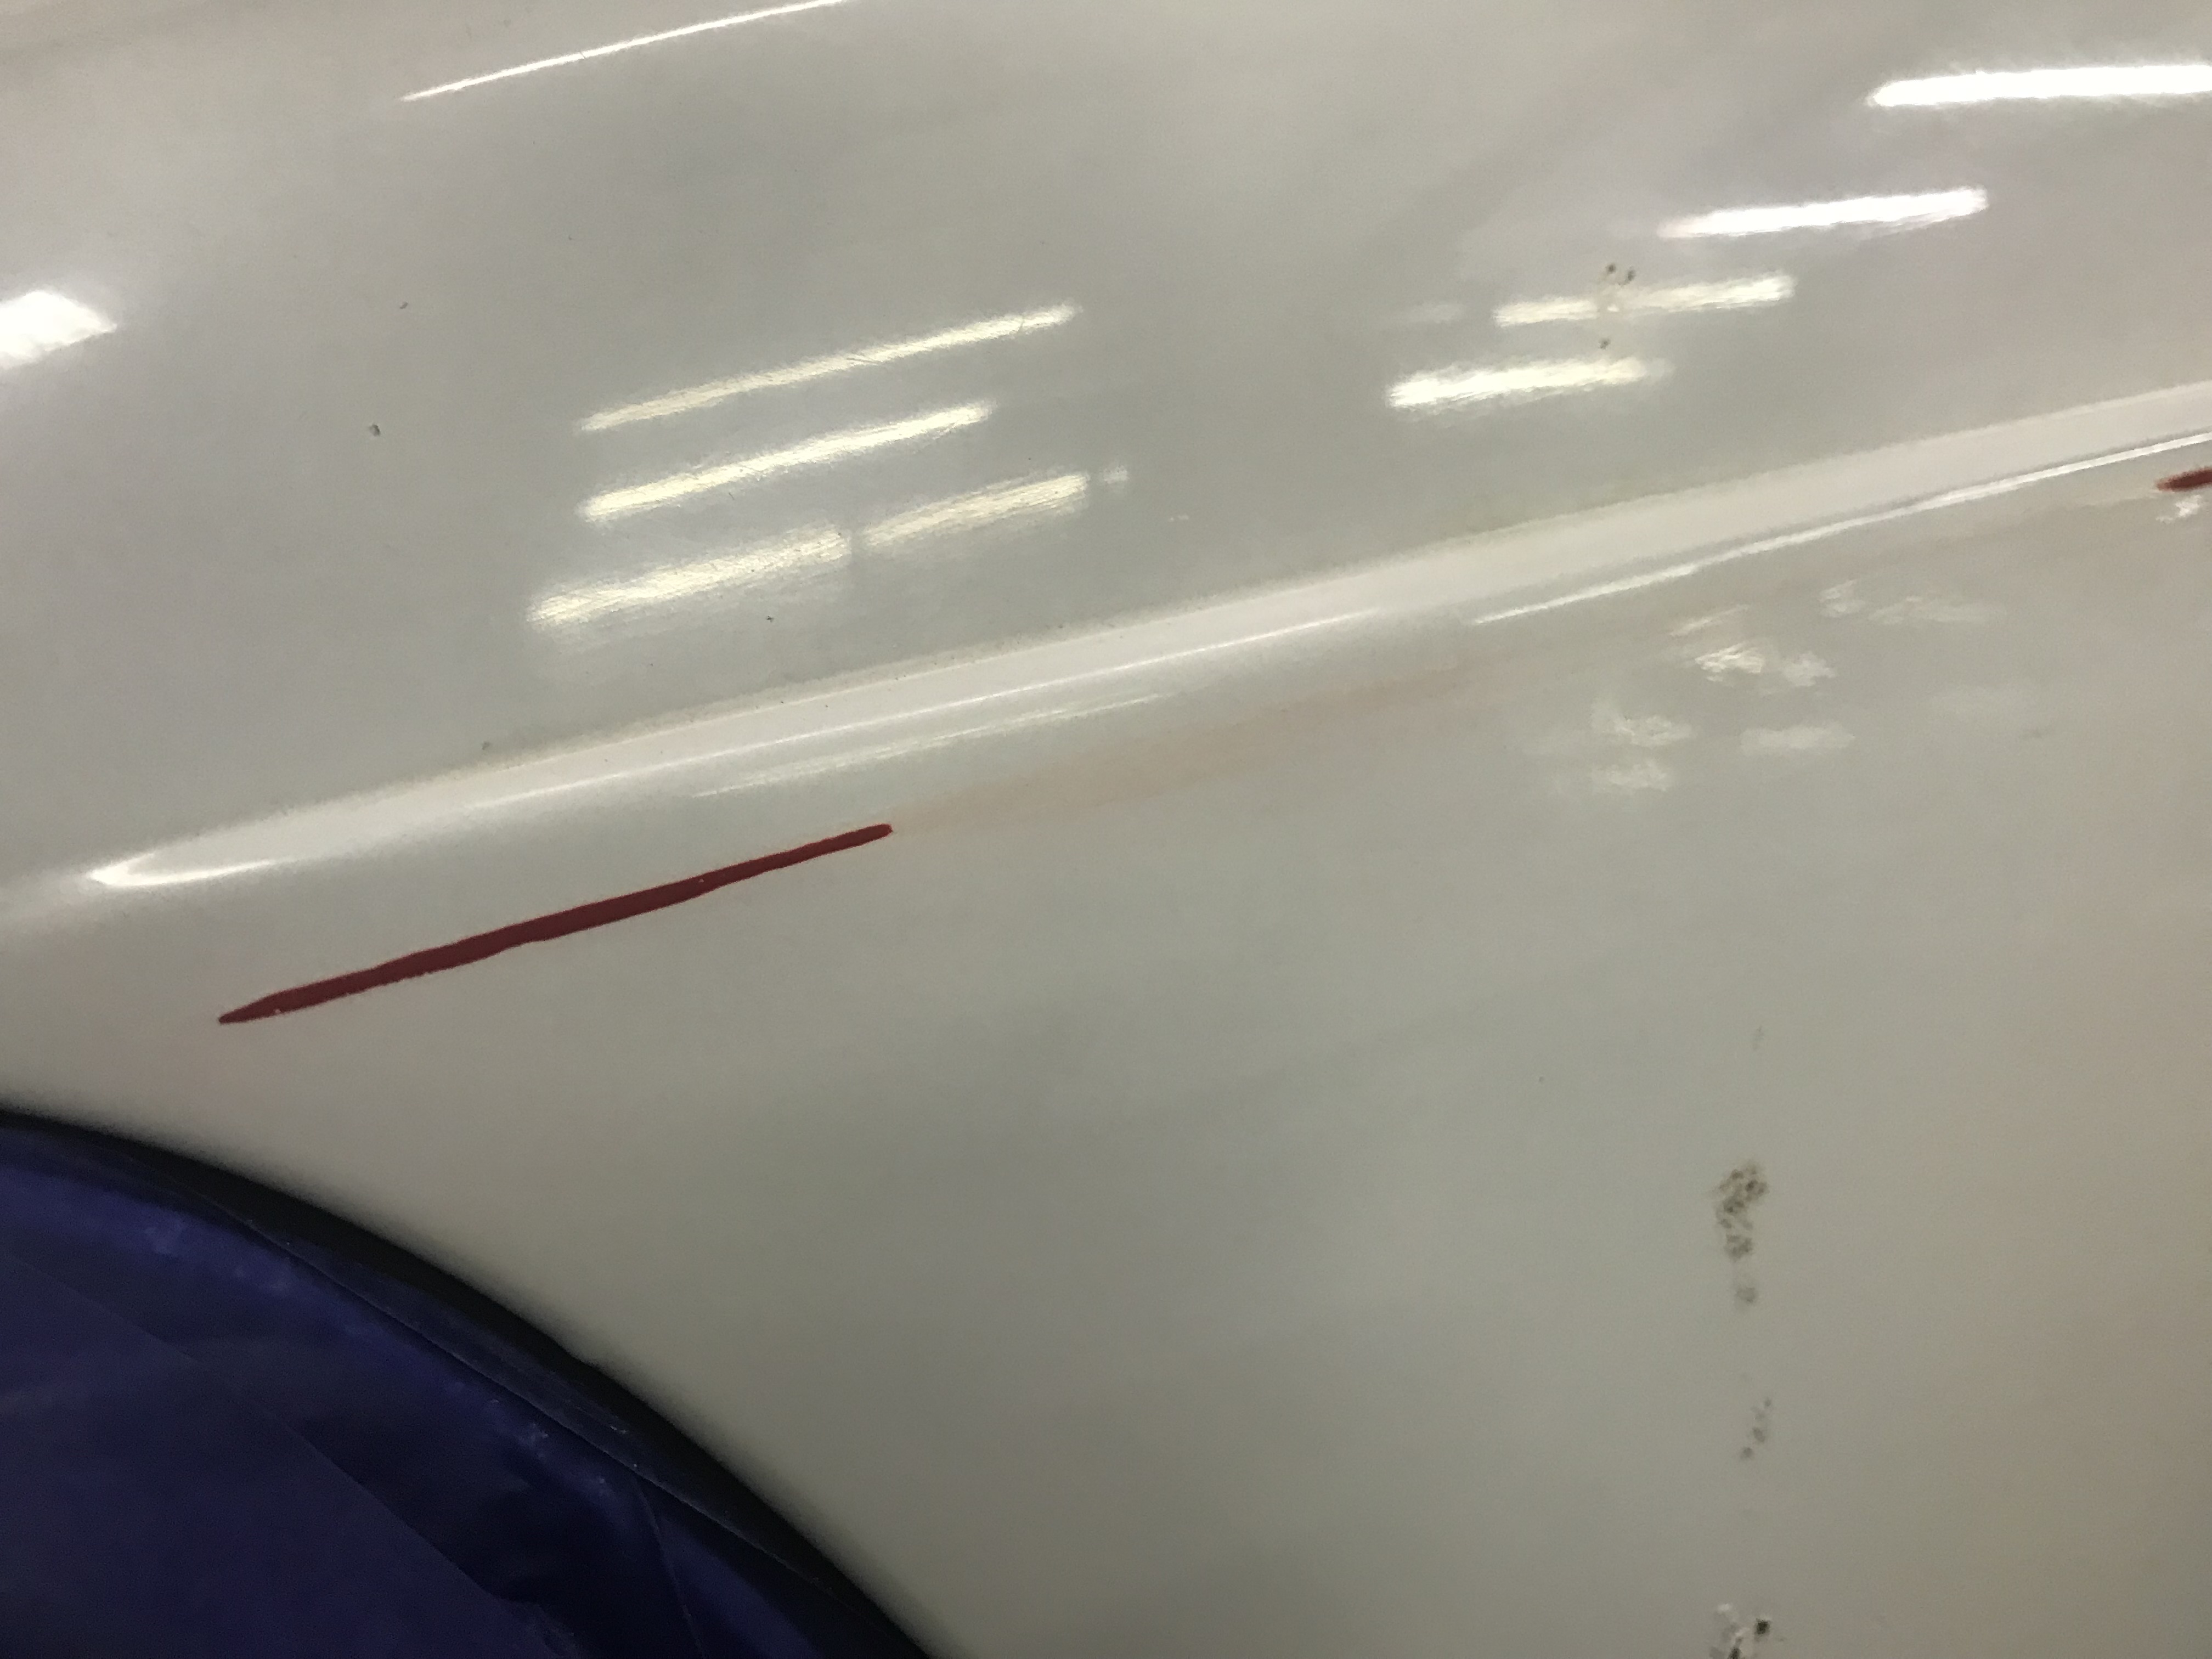
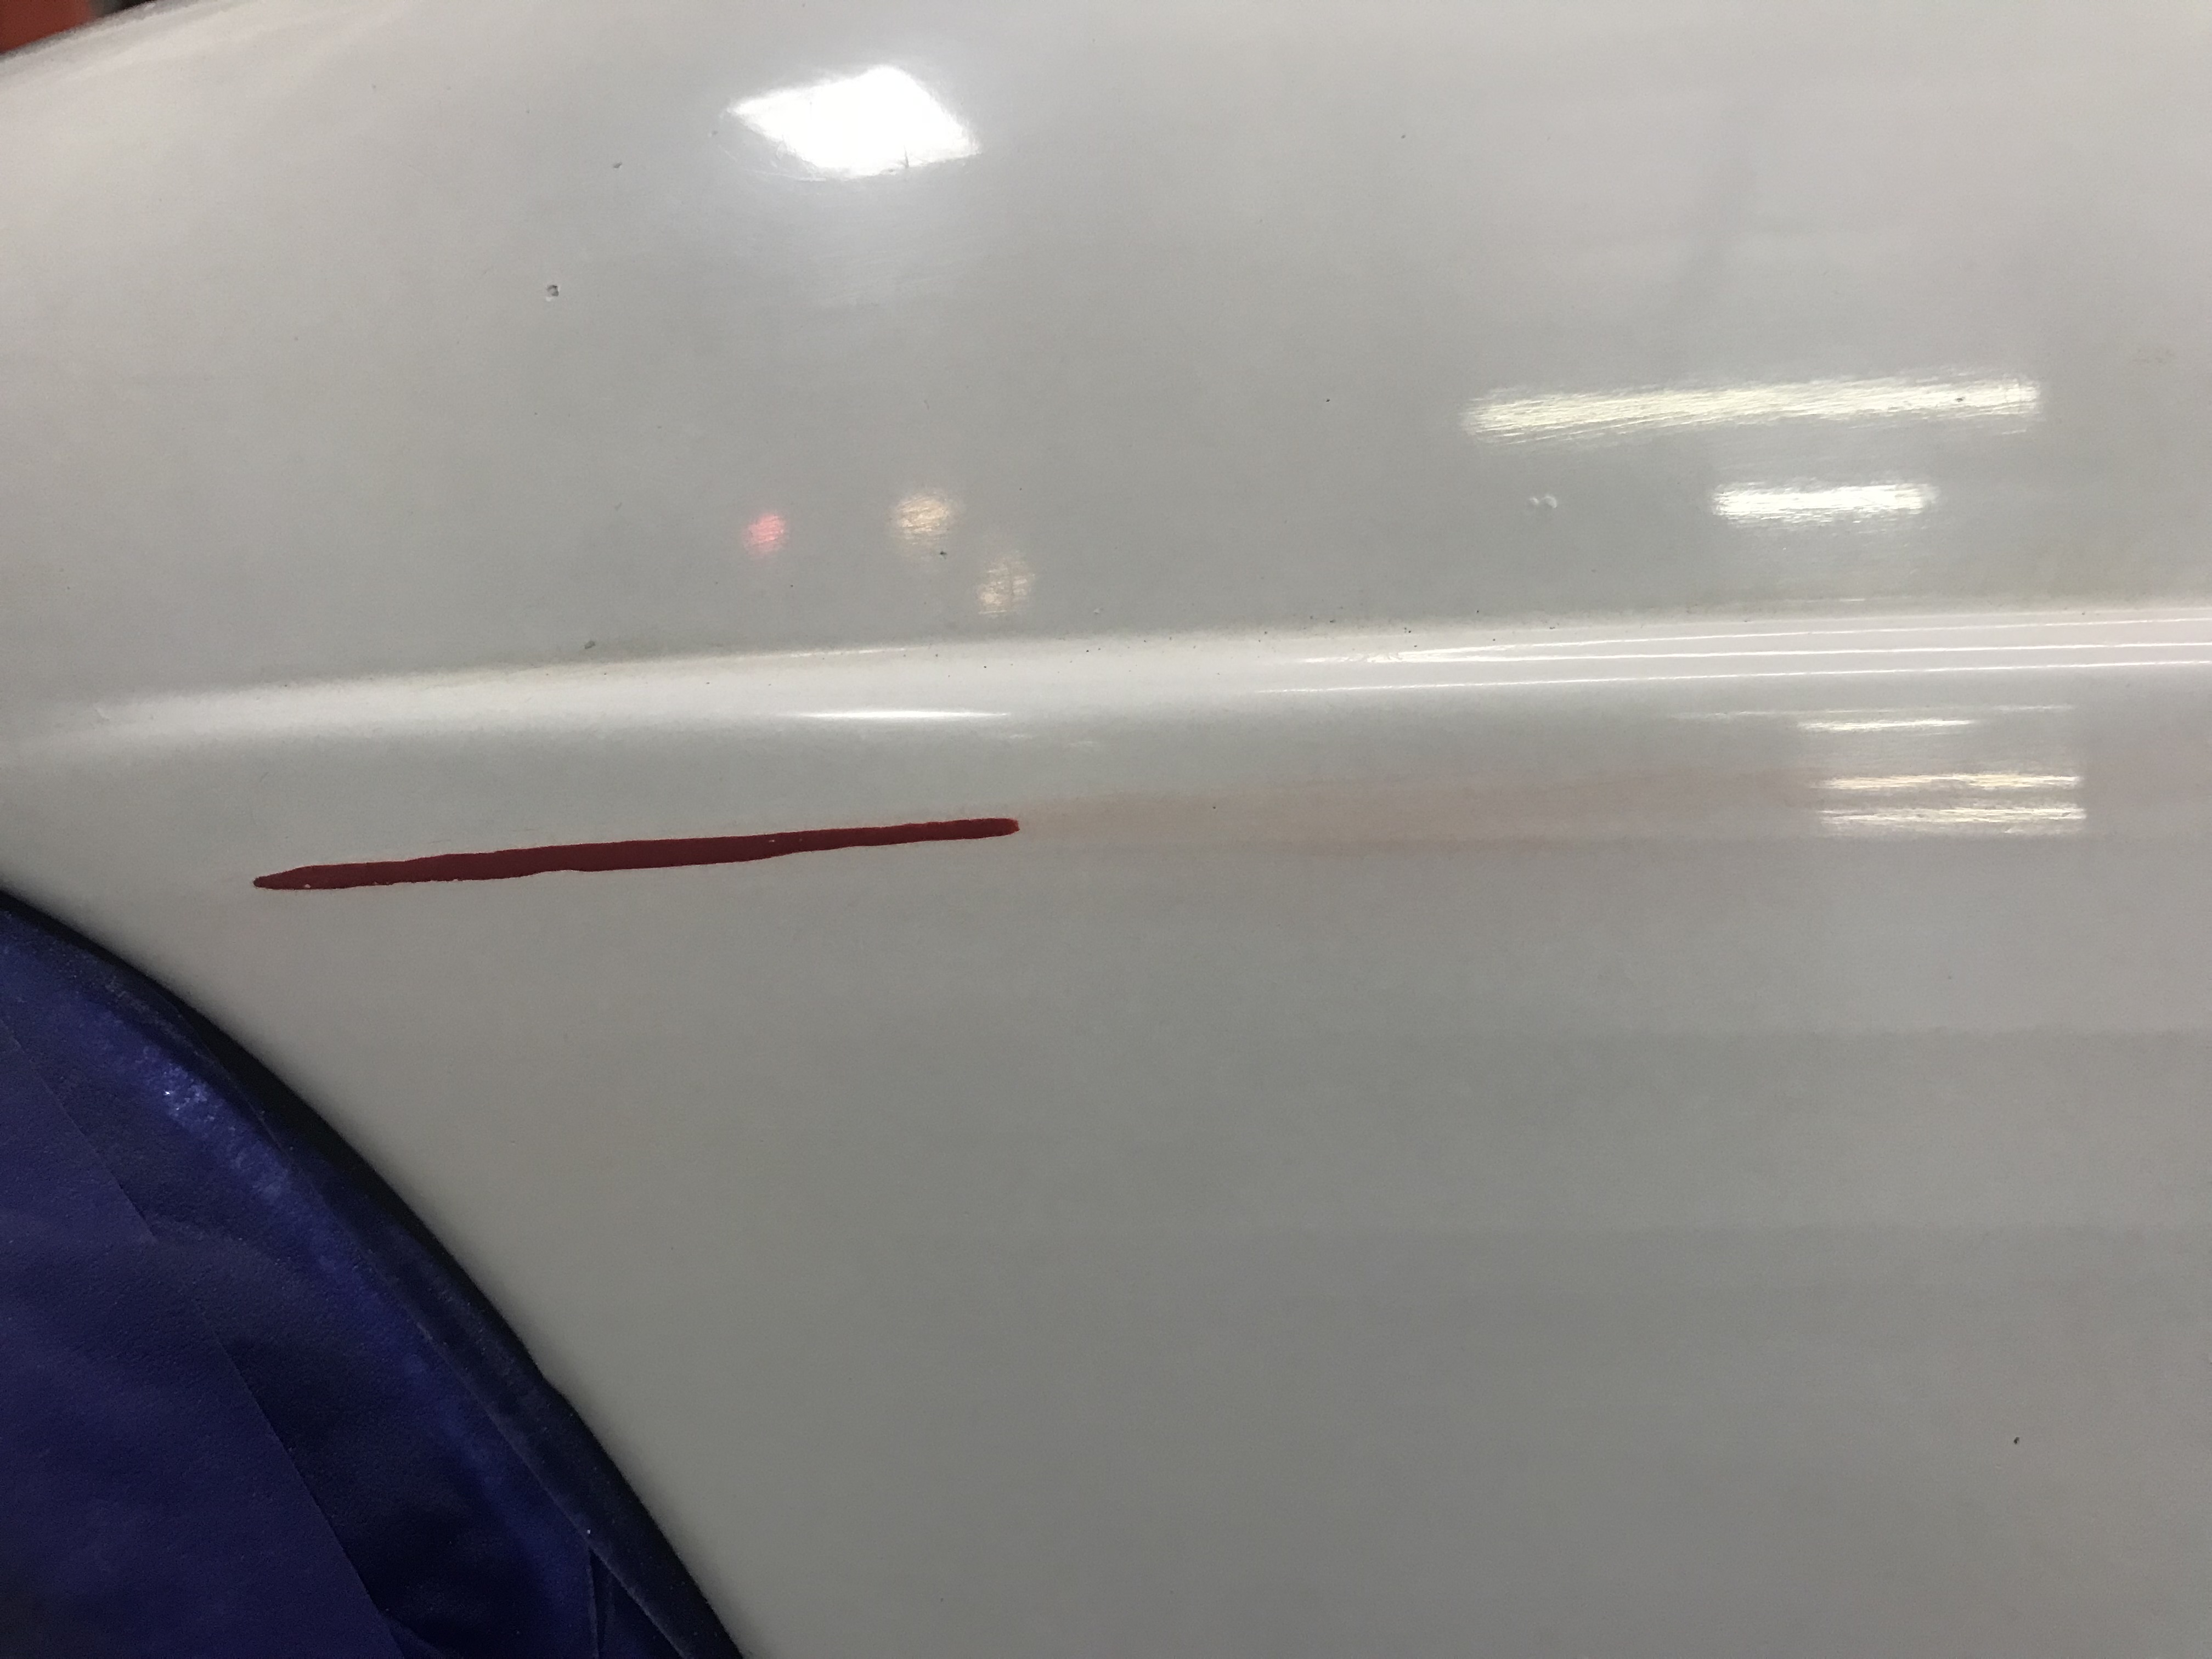
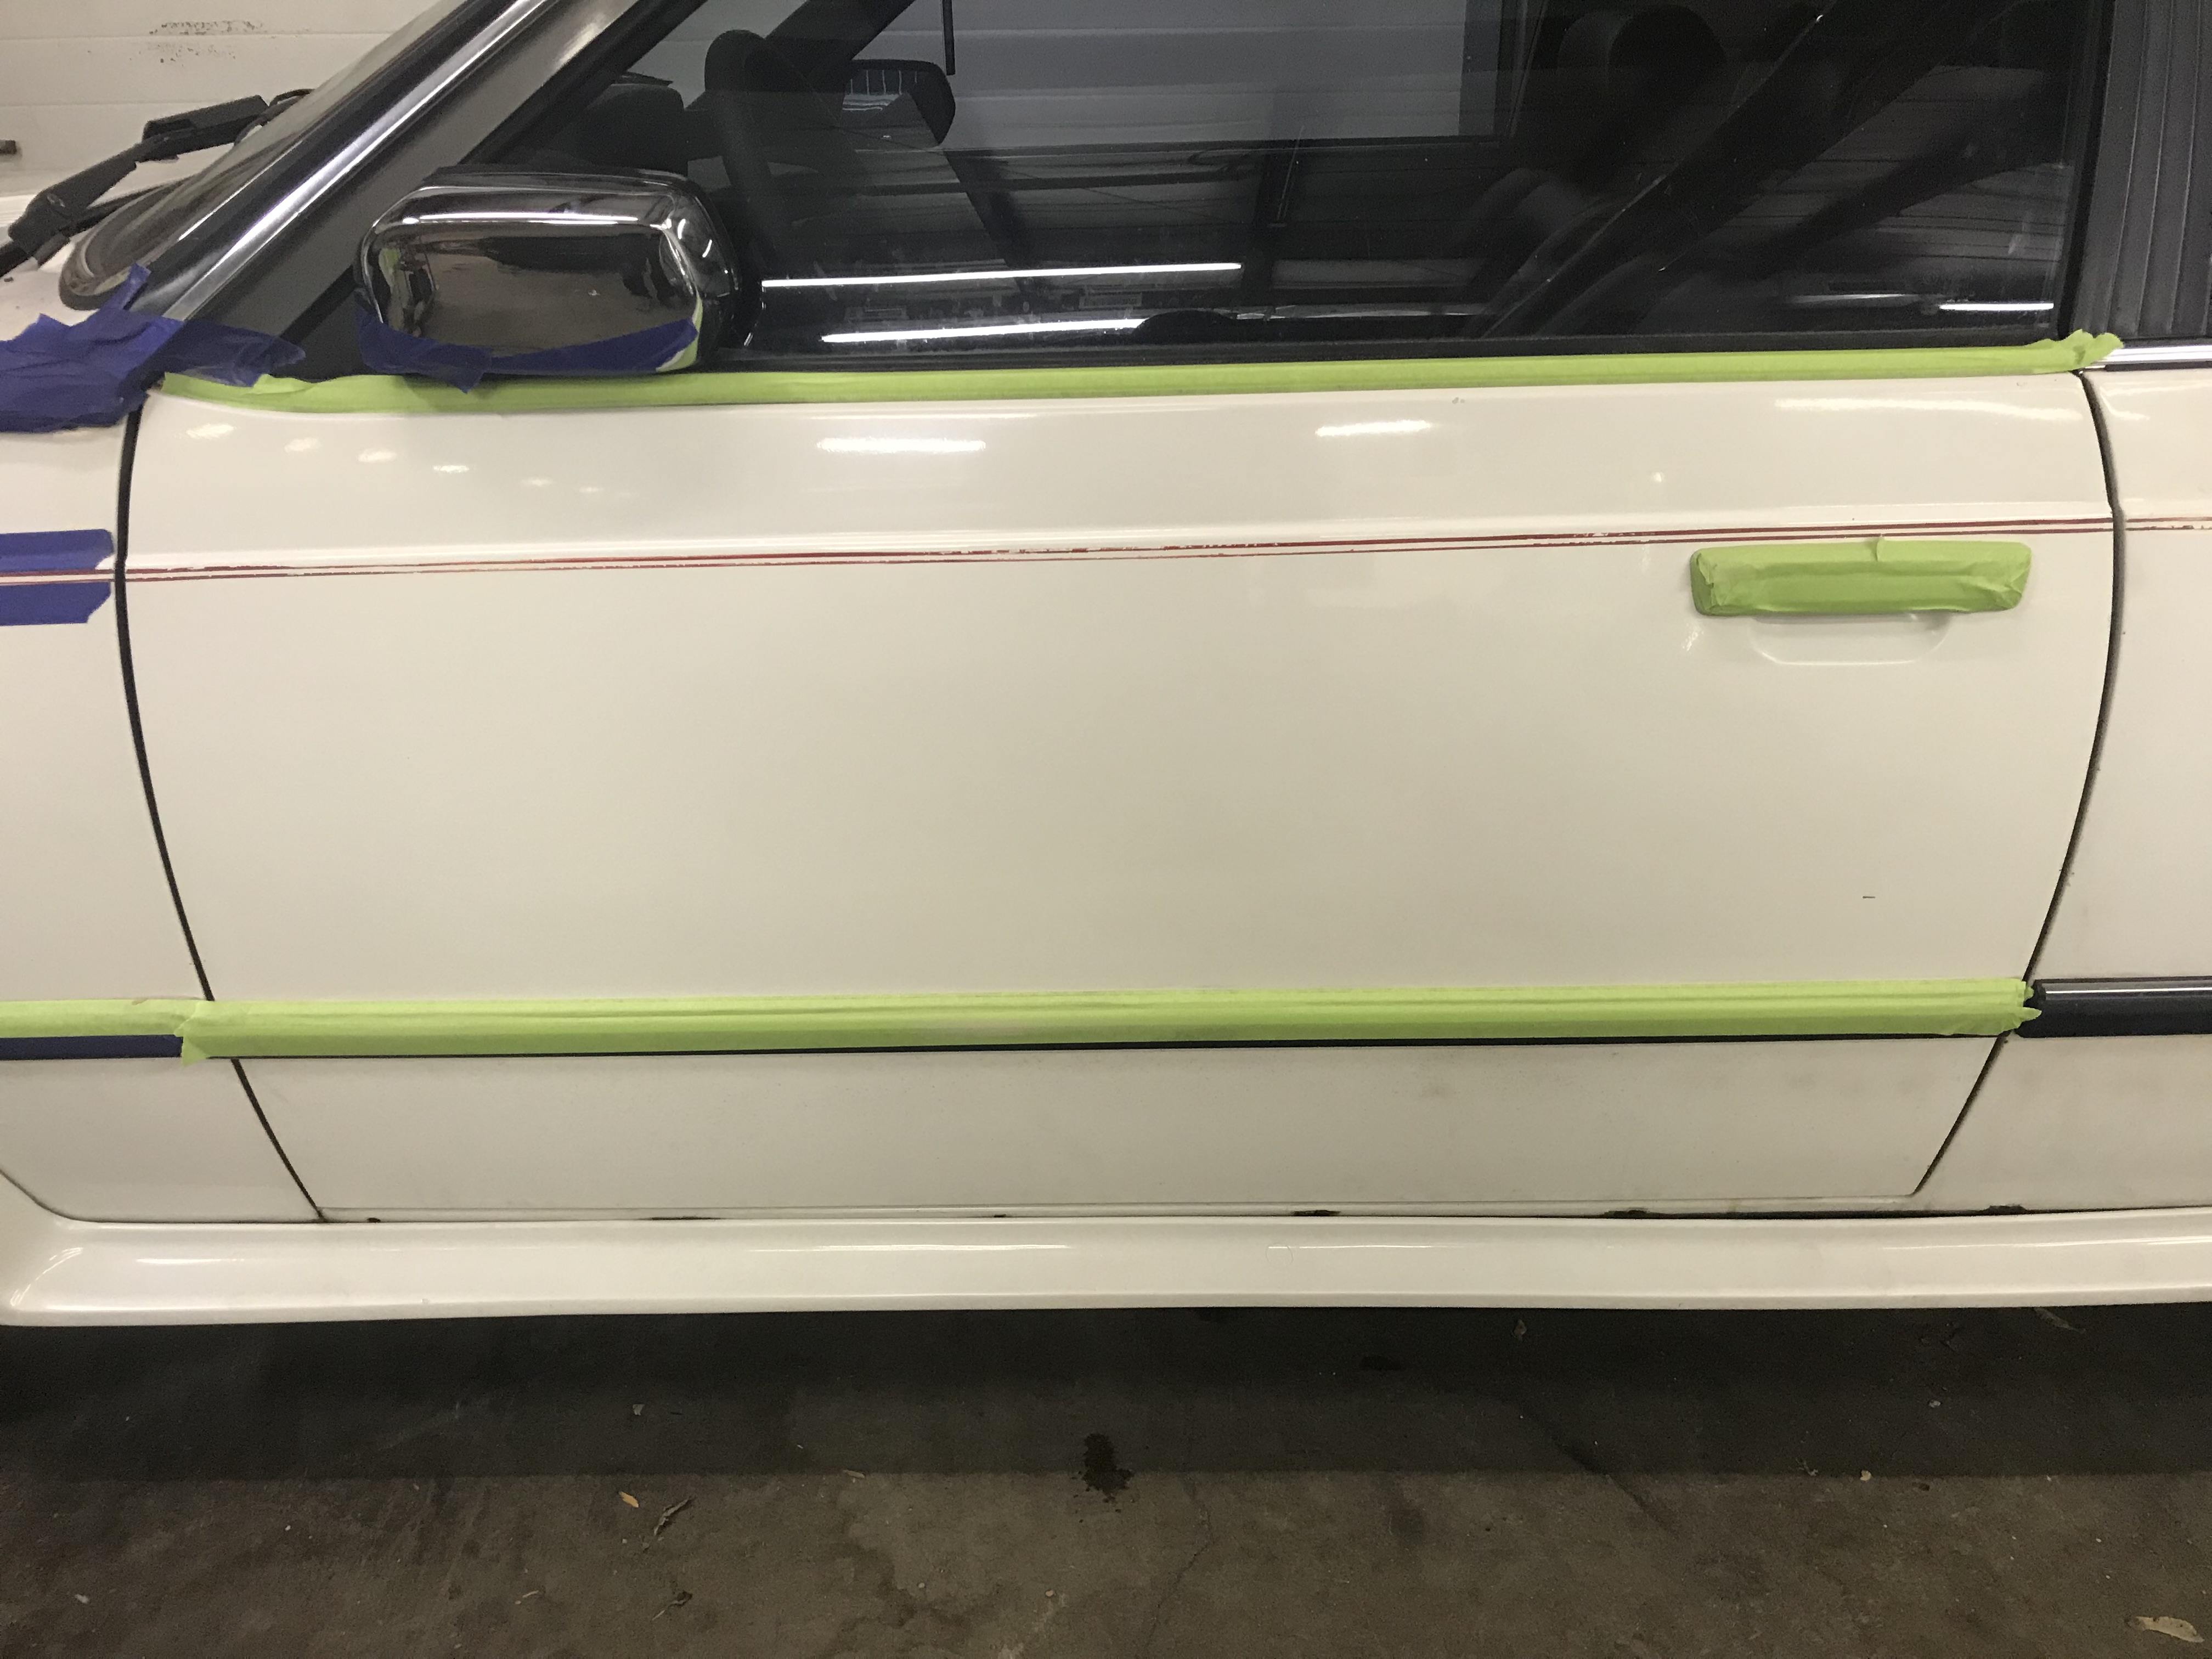
Decided to finally attack the task of buffing the entire car back to its former shine. Upon doing so I learned a few things;
- The paint is a lot worse than I expected
- It was repainted and the new clear and paint is thin
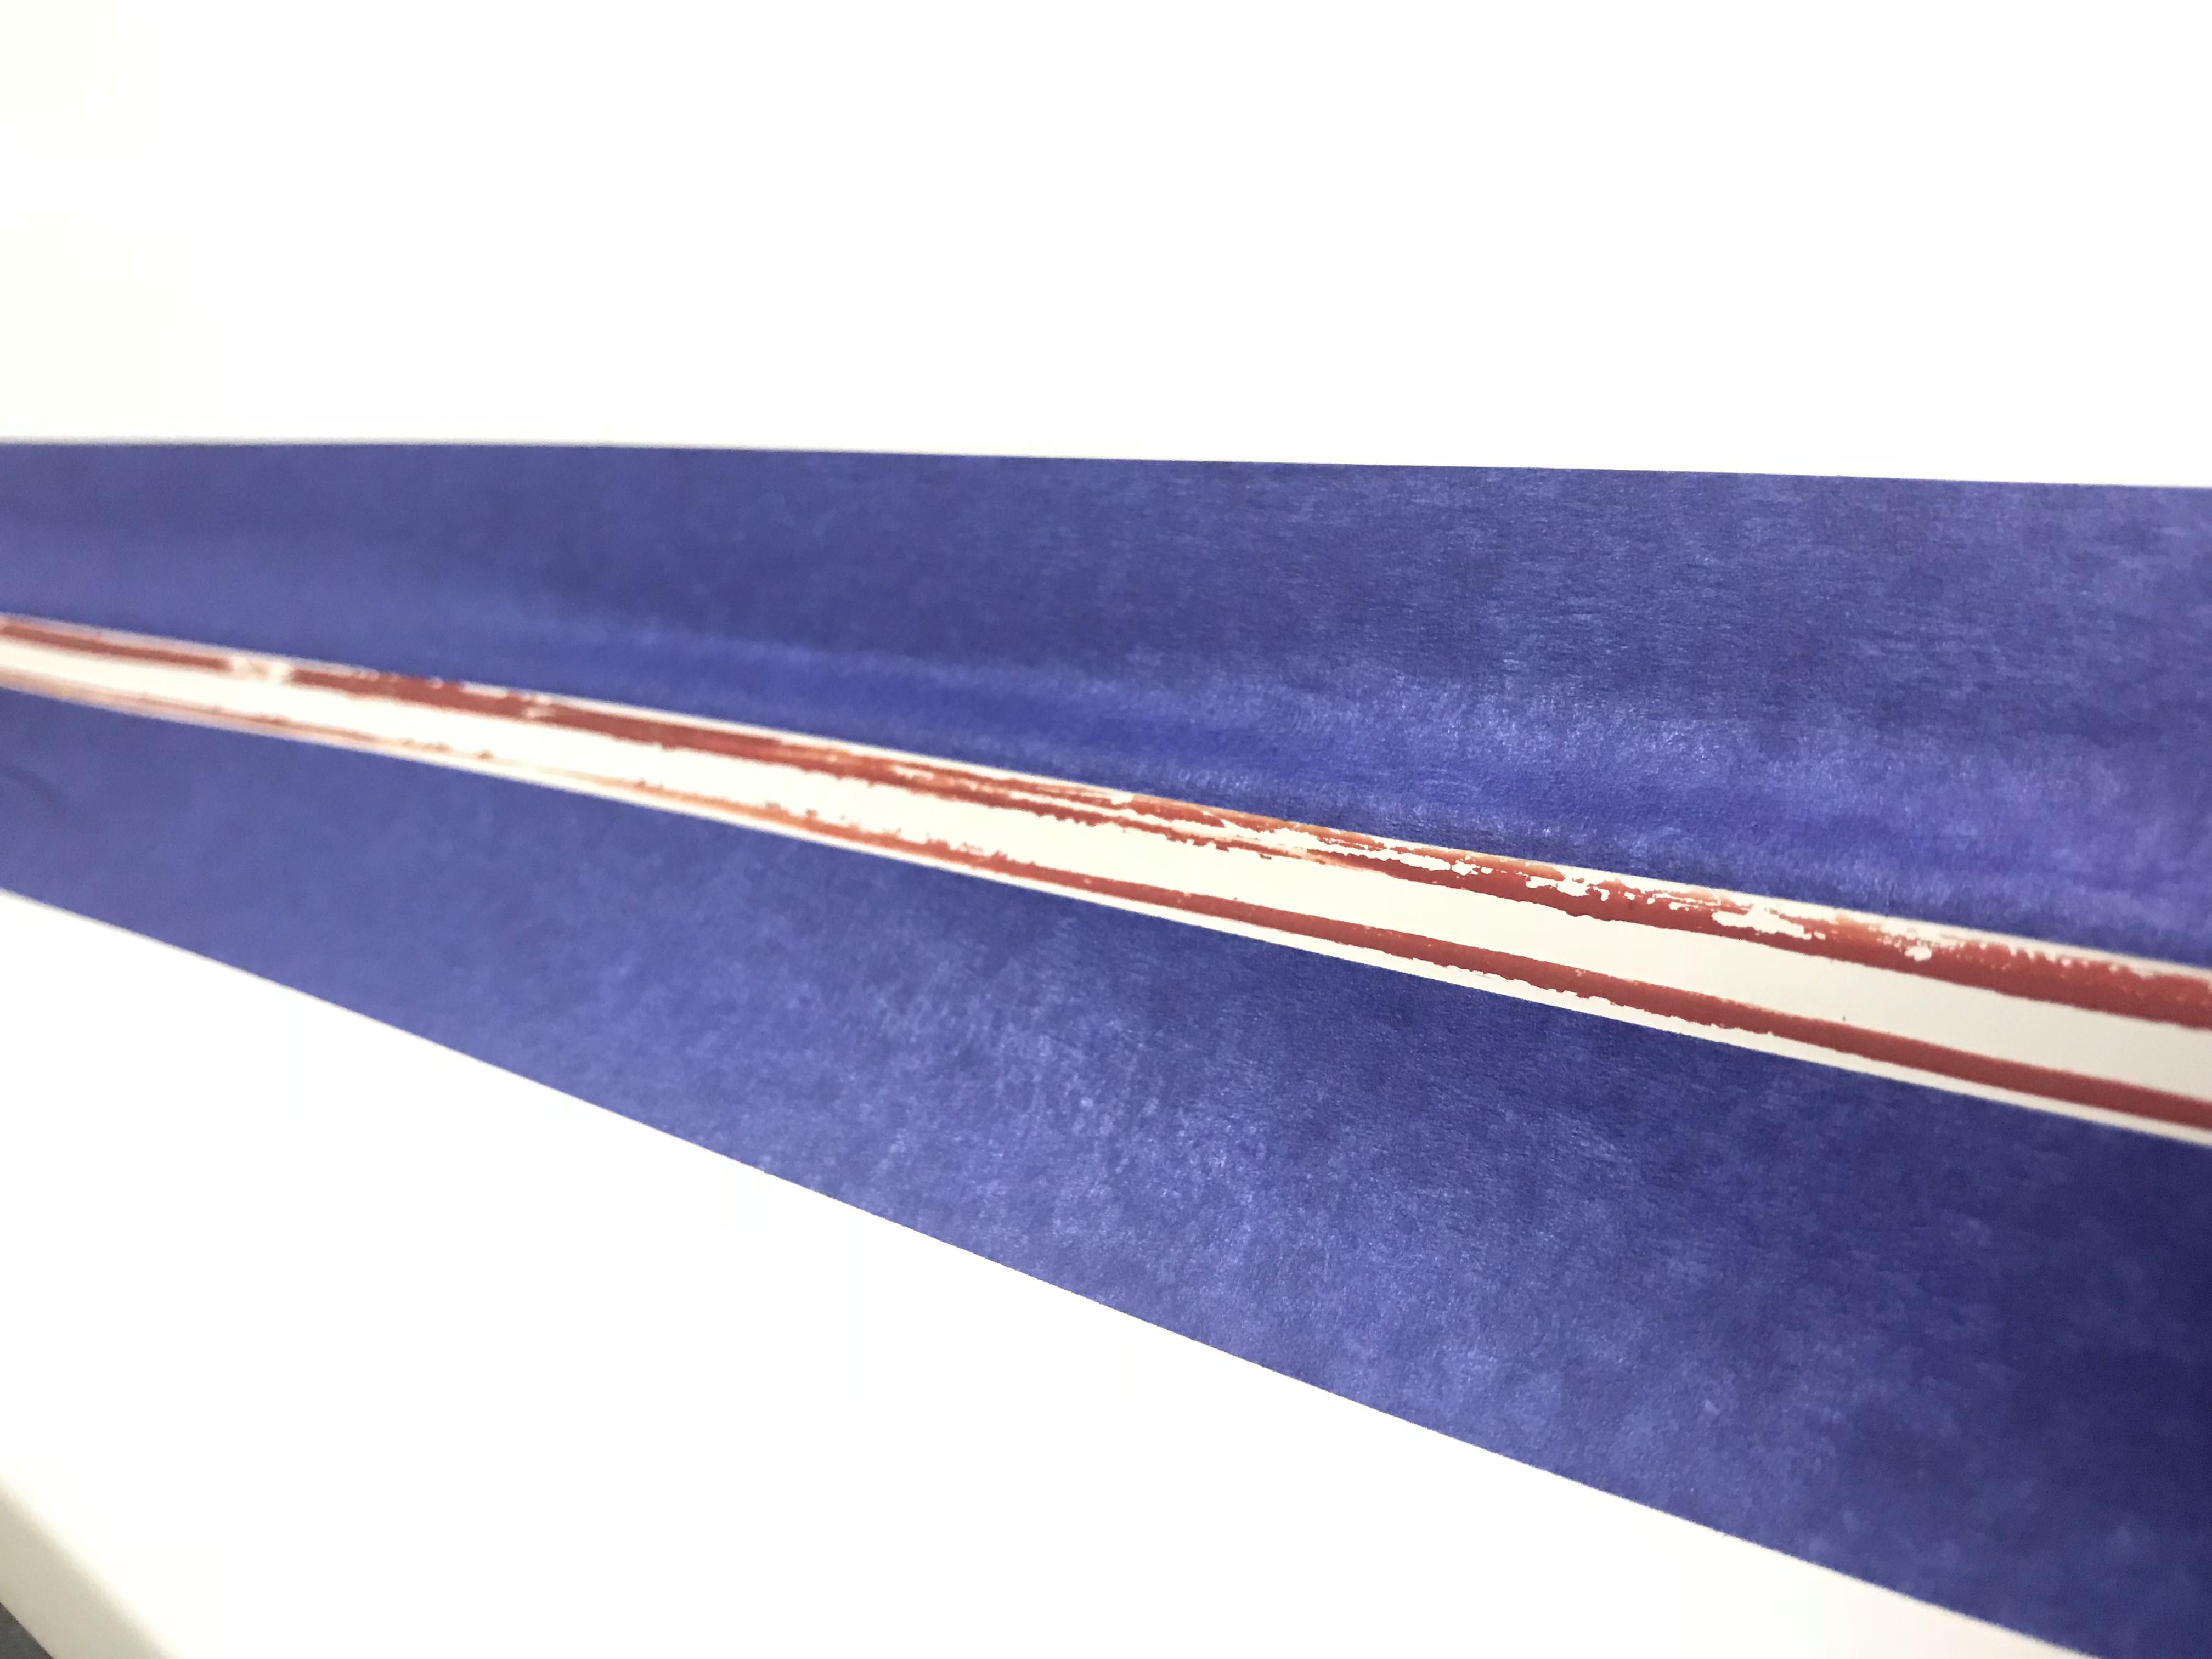
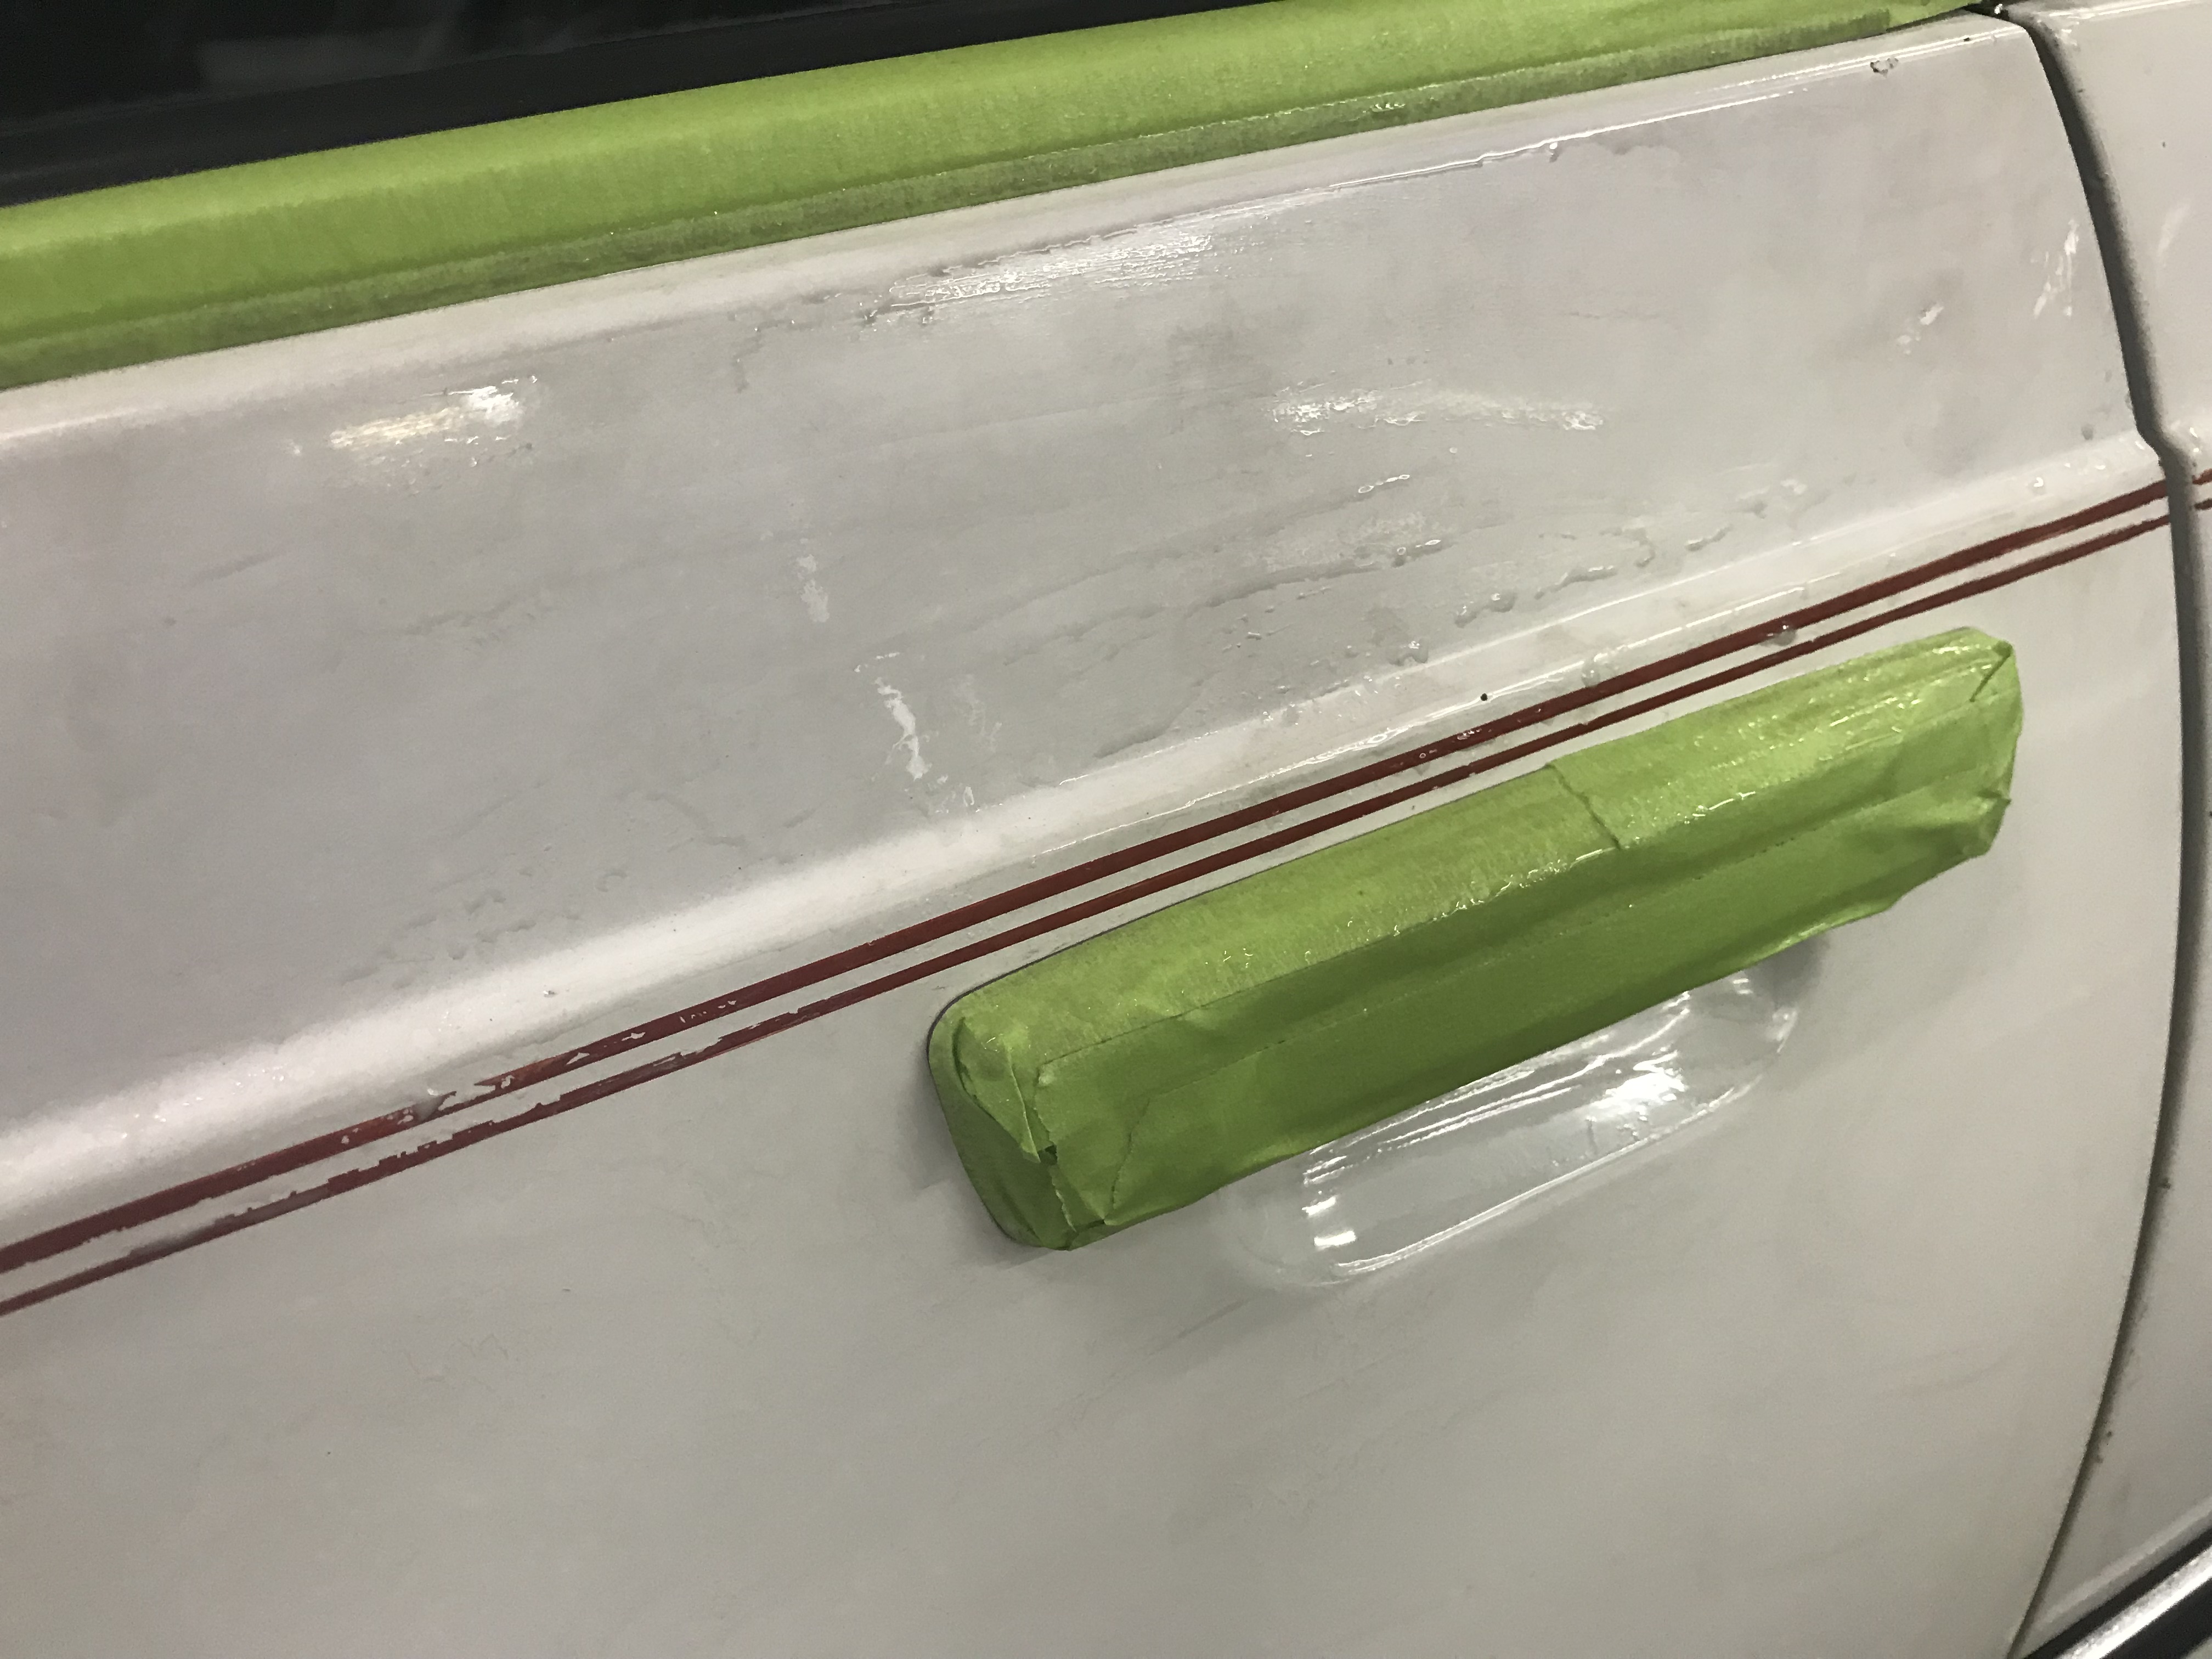
- pin-striping is hand painted and baked on
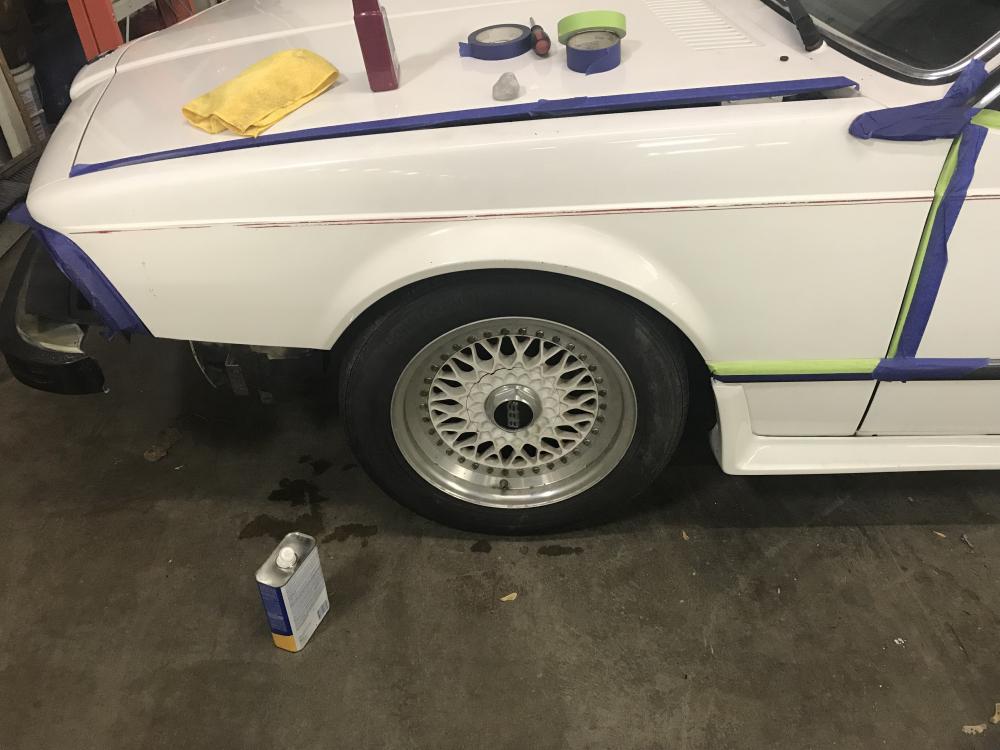
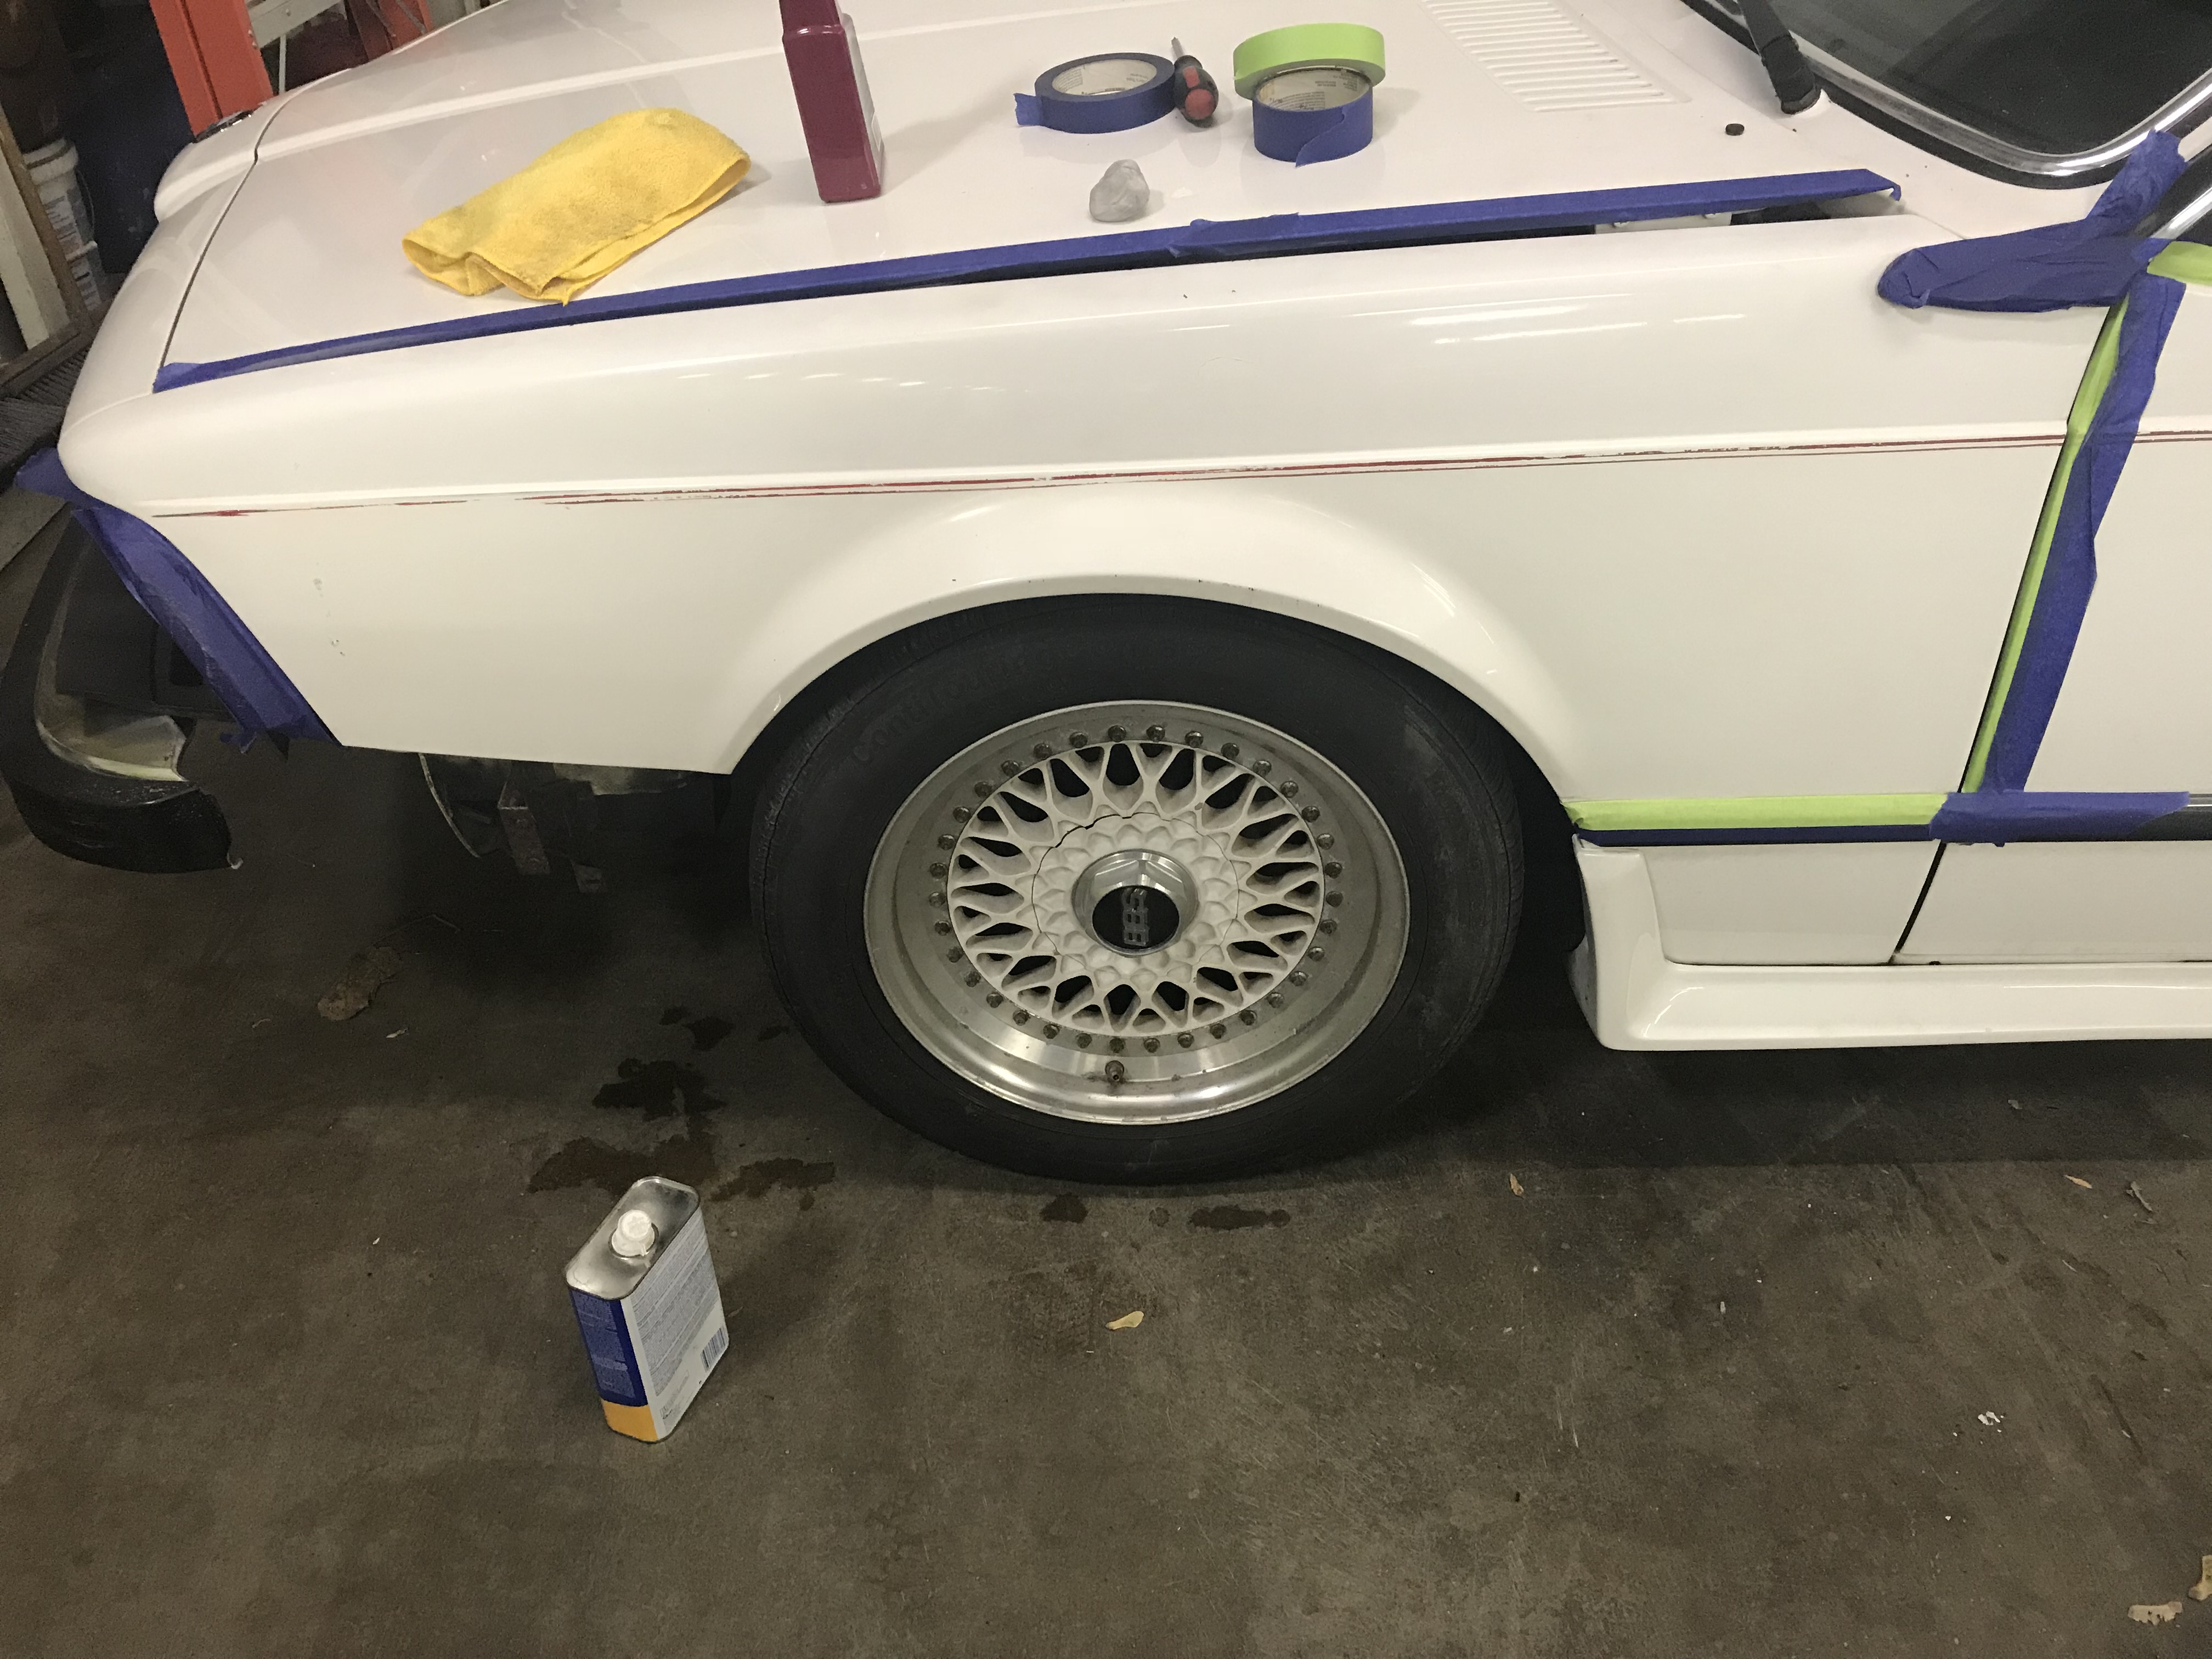
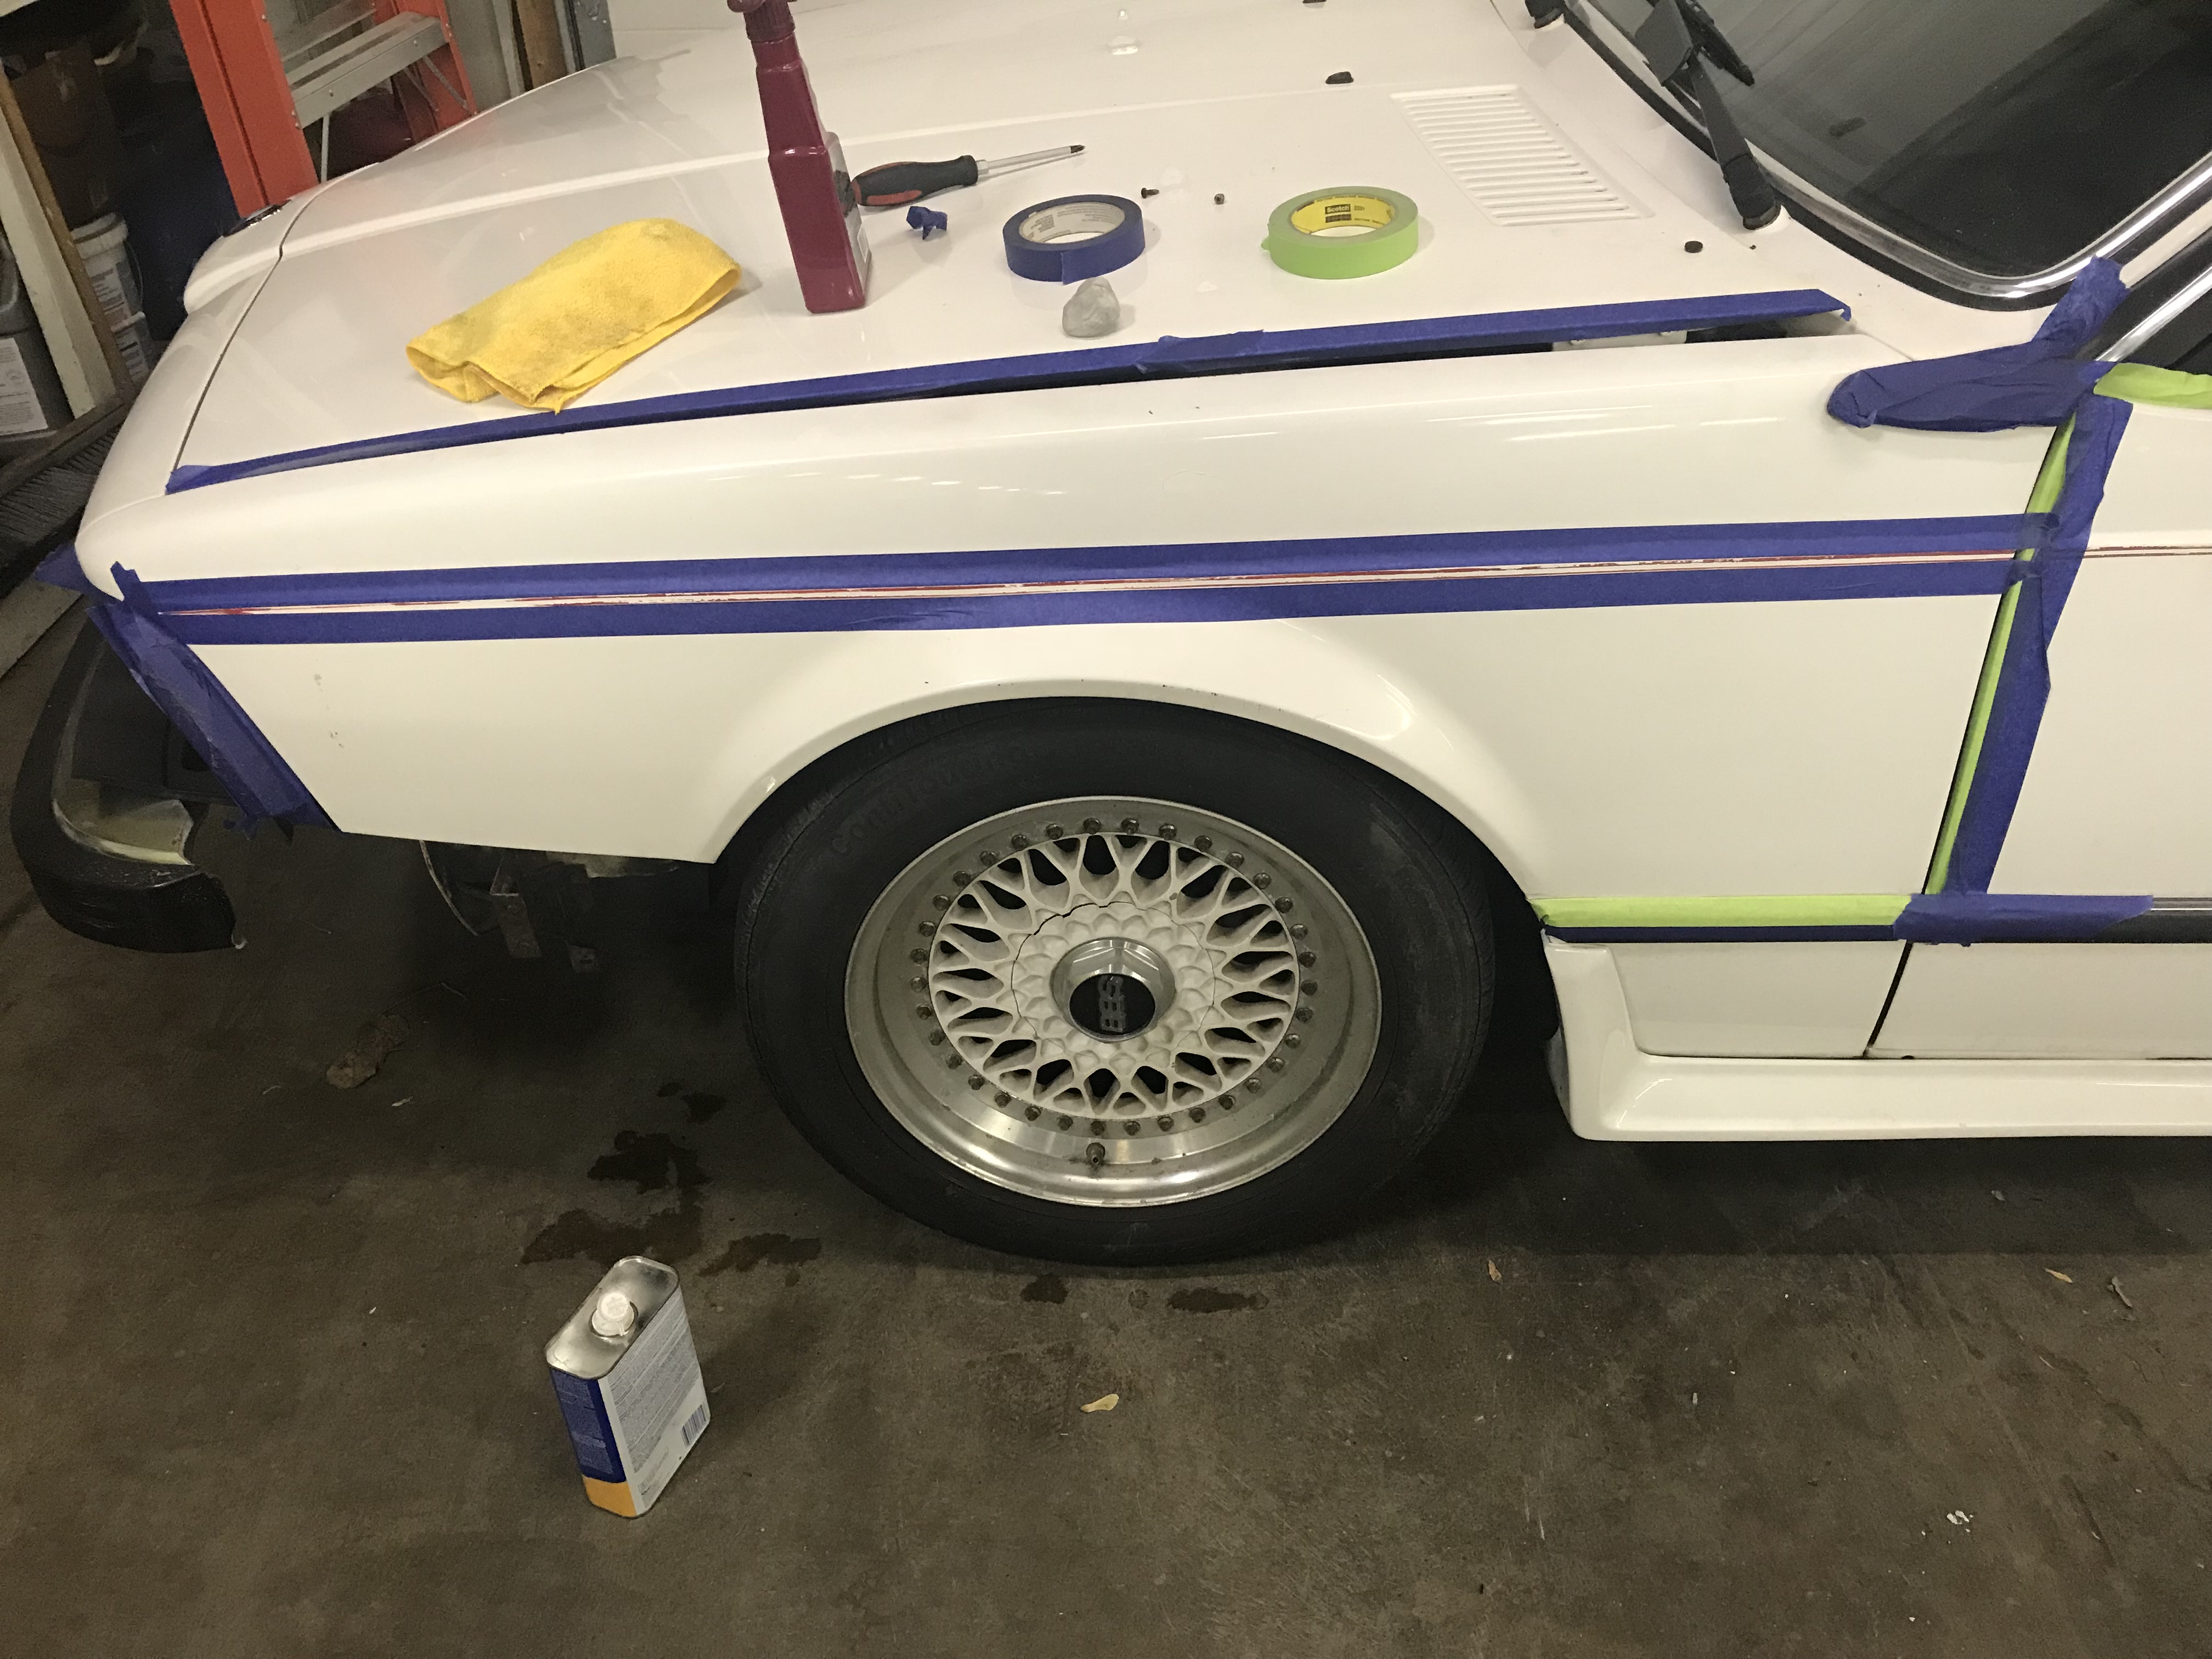
I took some pictures as I started to cut into the clear. The pinstripe is the worst. I soaked a section with alcohol and paper towel to soften the pin striping paint, rubbed at it a few minutes later, but its going to take some elbow grease. I have access to a pin-striping gun, so I think I might just re stripe the car once its cut and buffed and the majority of the lines are gone.
My process is fairly simple
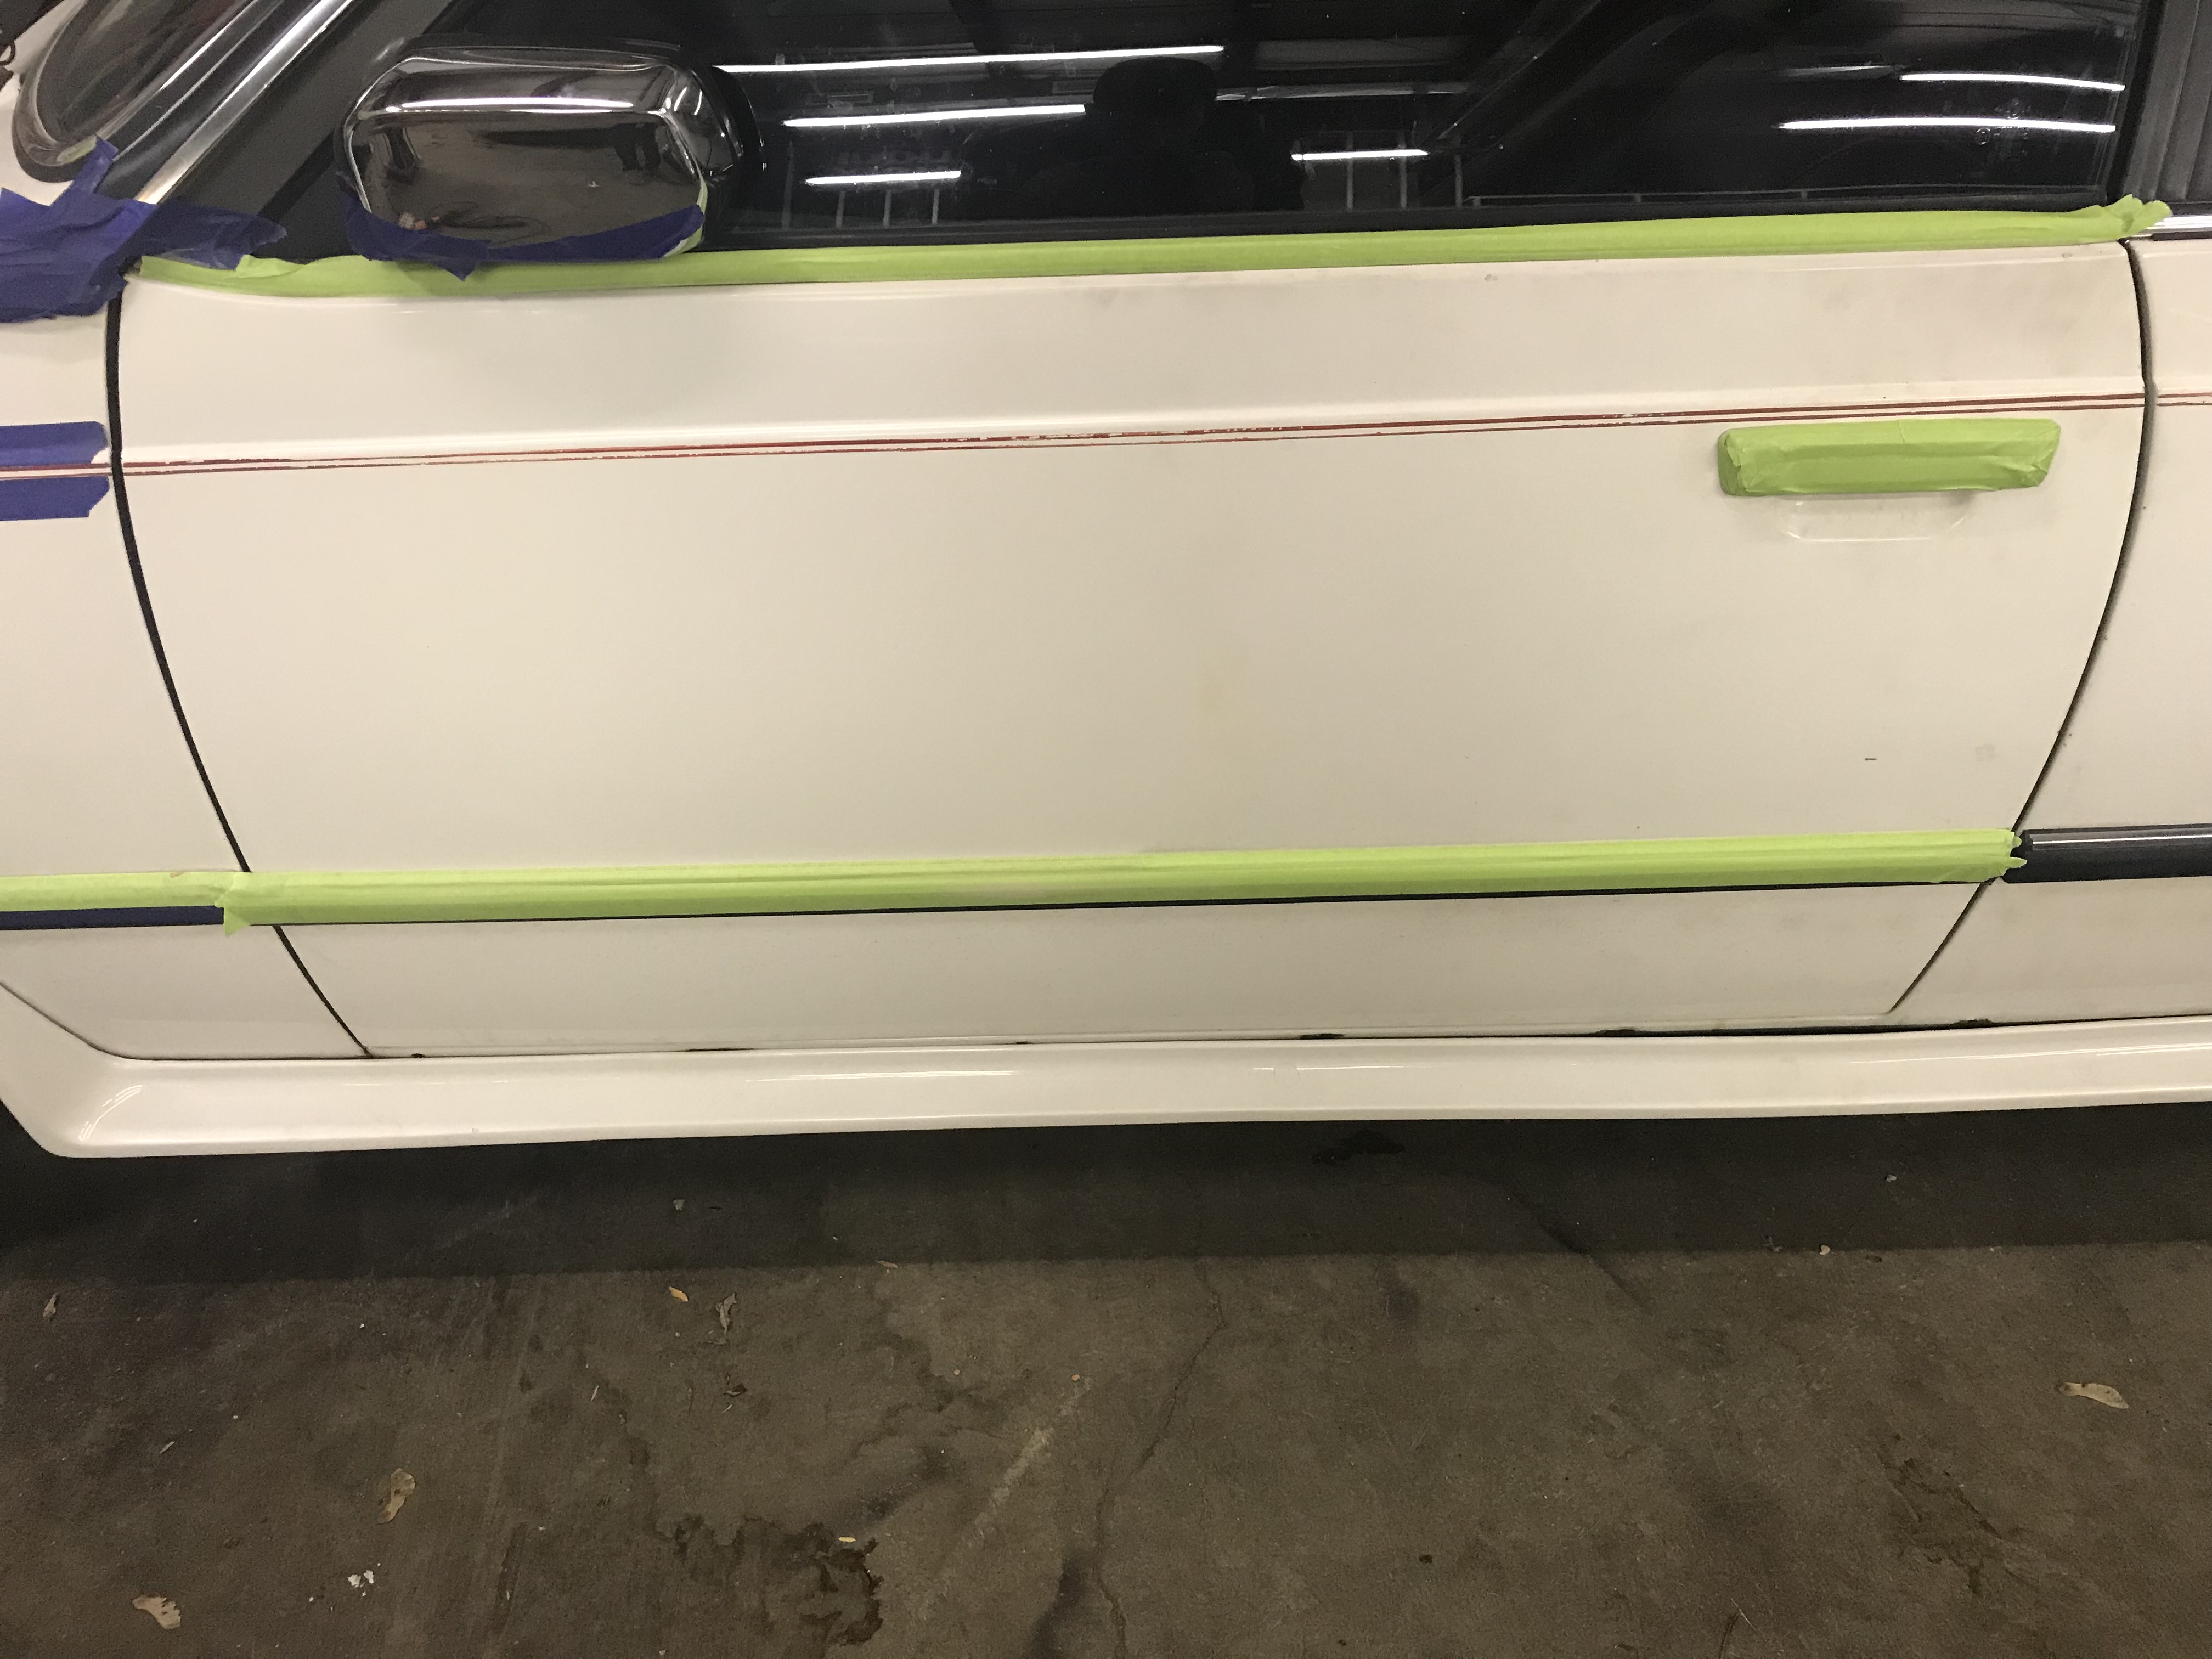
- mask off all molding and trim
- Clay bar all painted surfaces
- Aggressive polish where needed on painted surfaces with polisher
- Light polish all painted surfaces with polisher
- Wax all painted surfaces
- Seal all painted surfaces
- Drink beer when finished
All masked off Fender #1
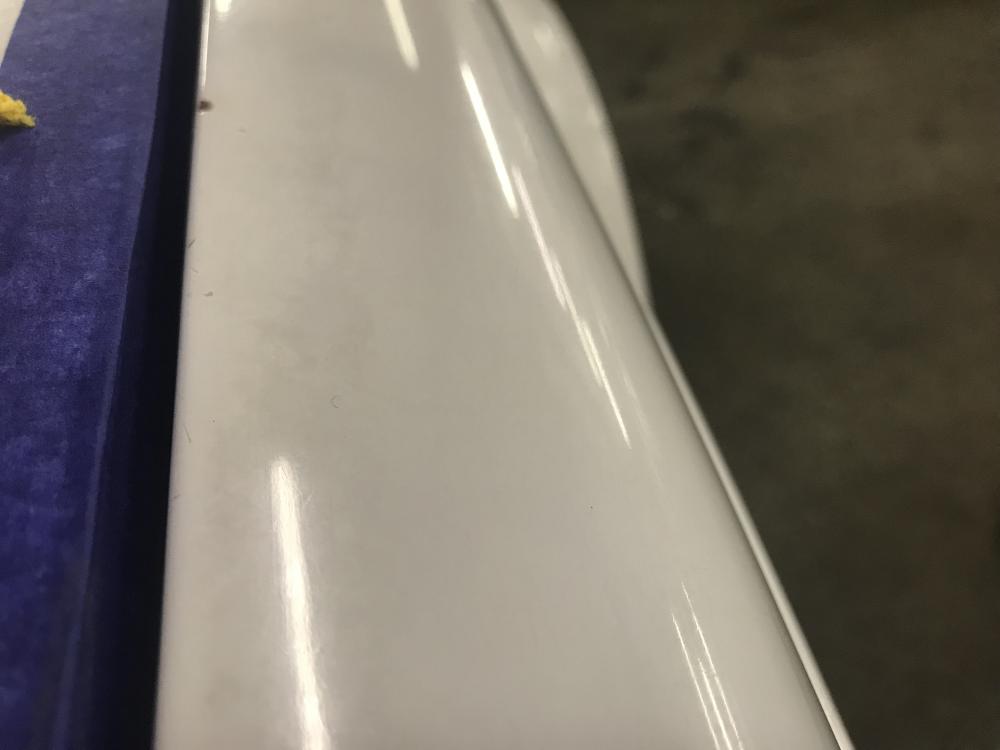
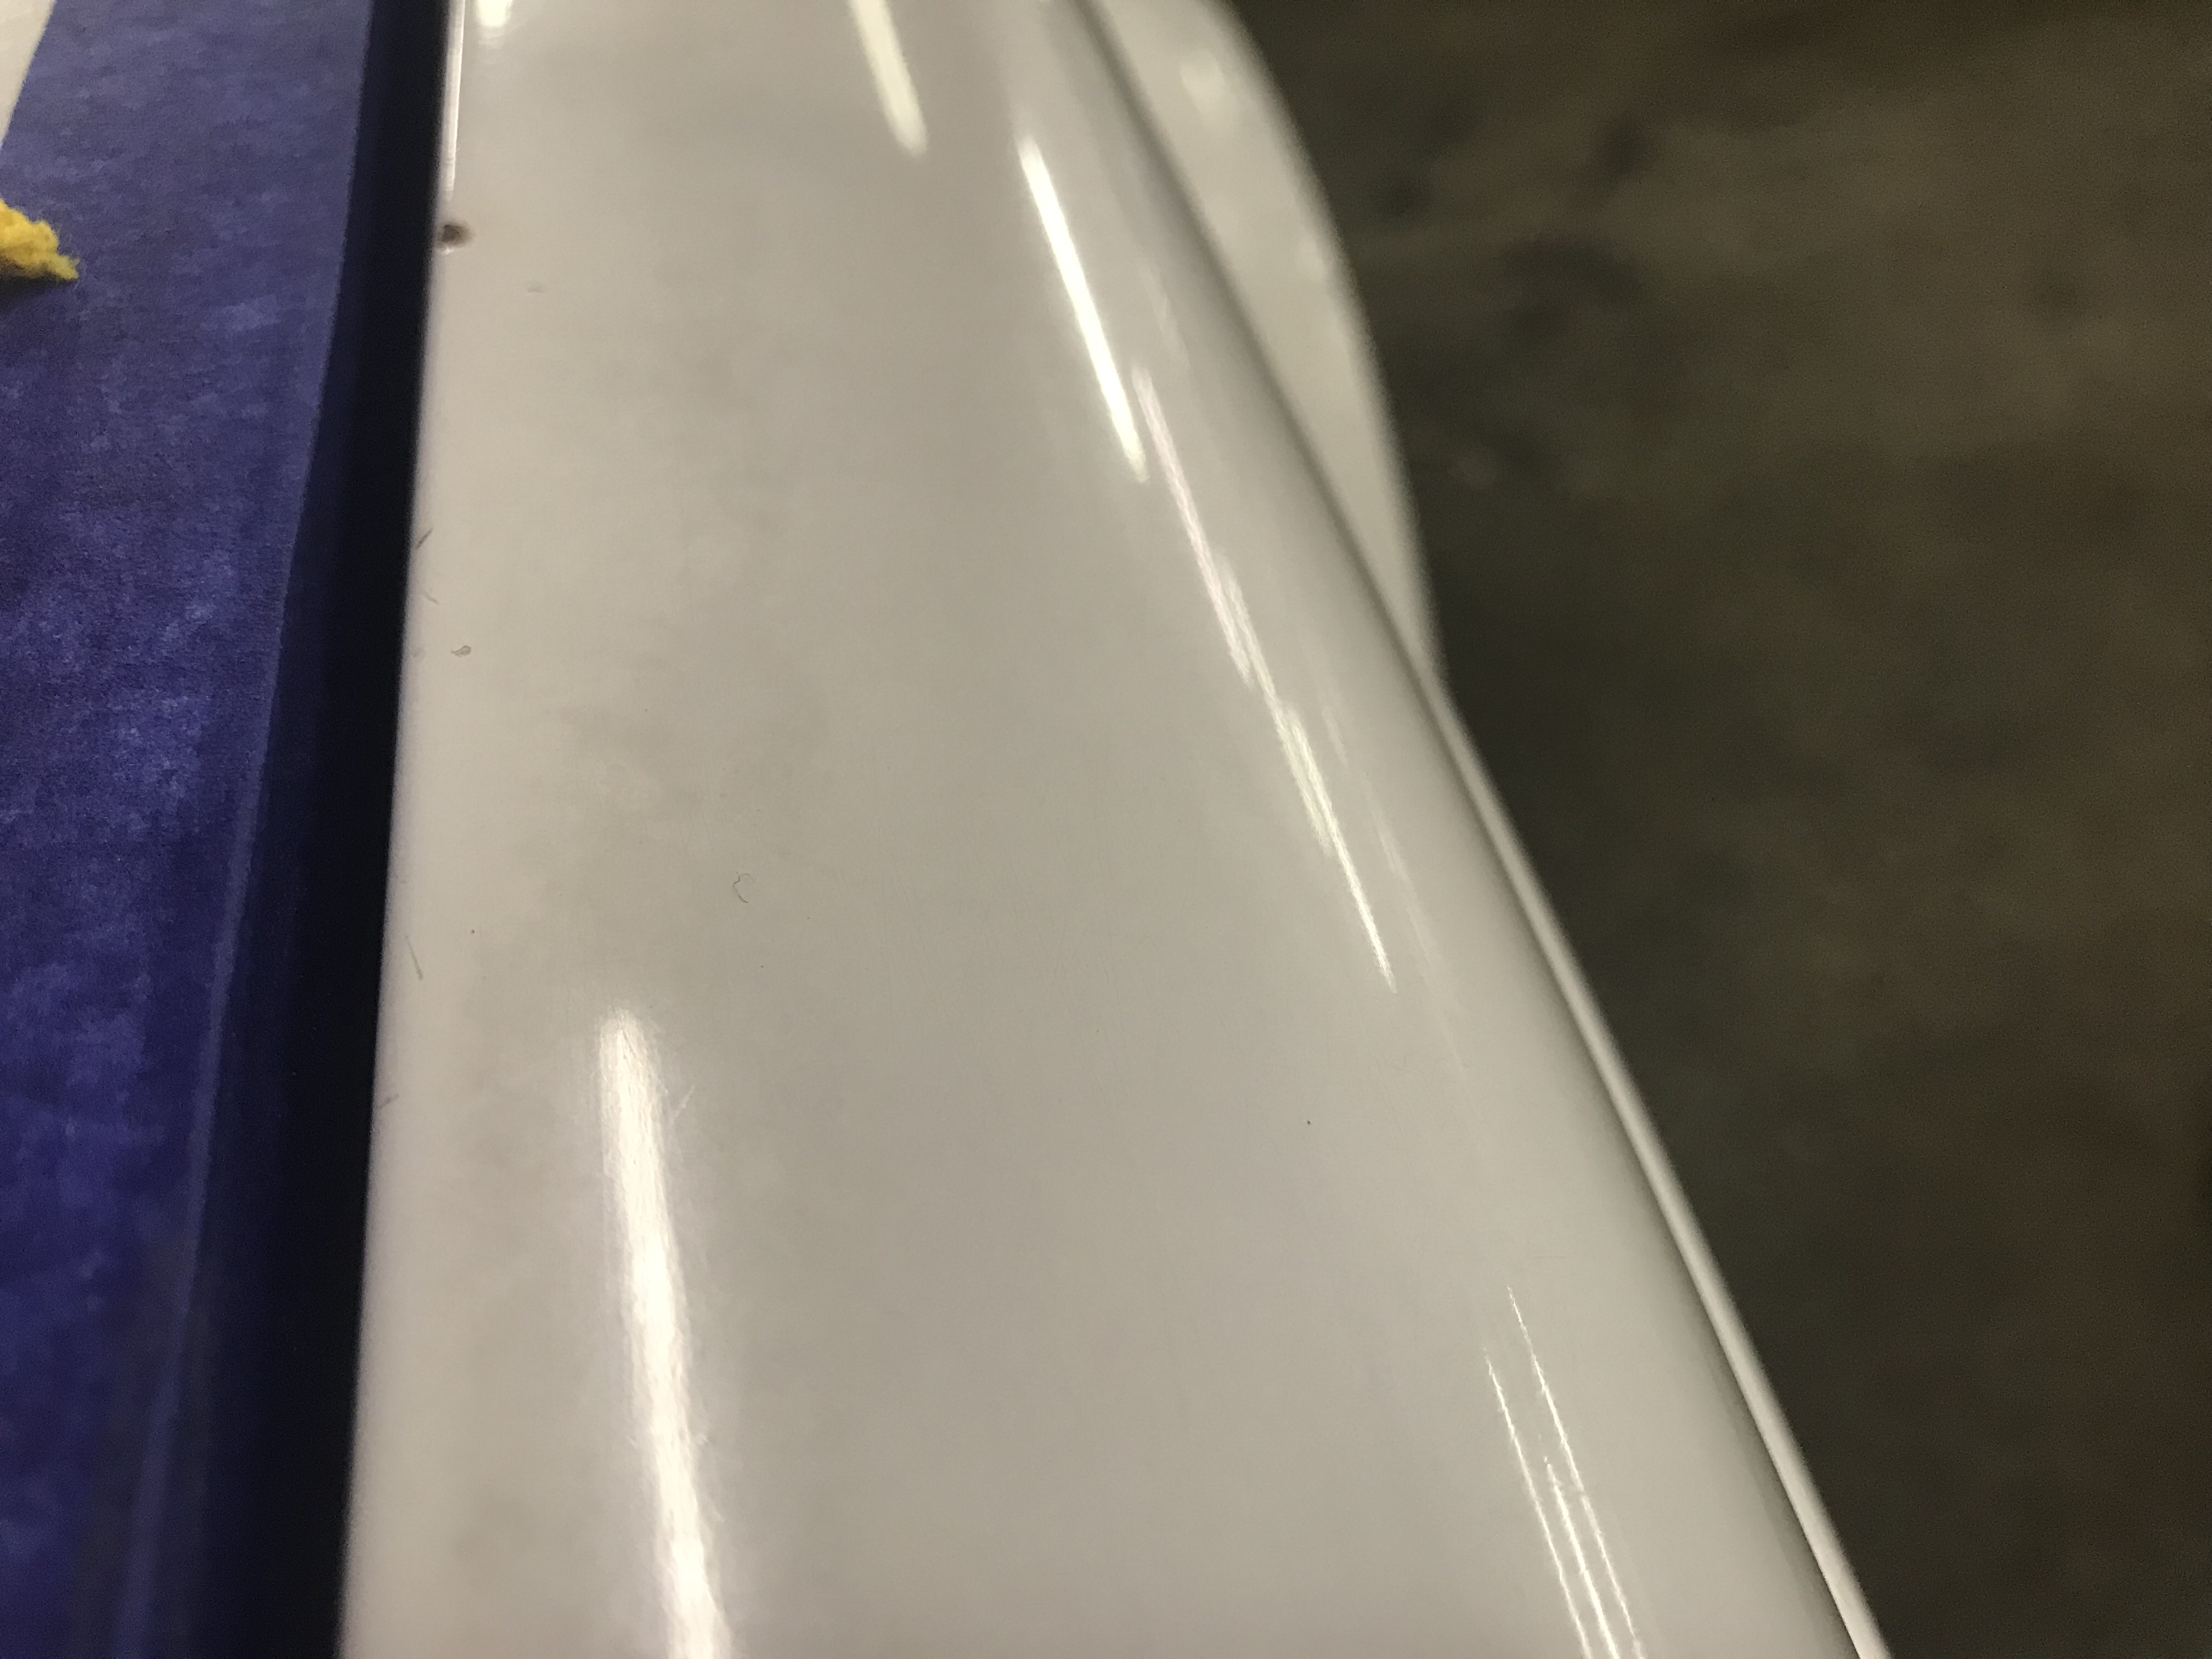
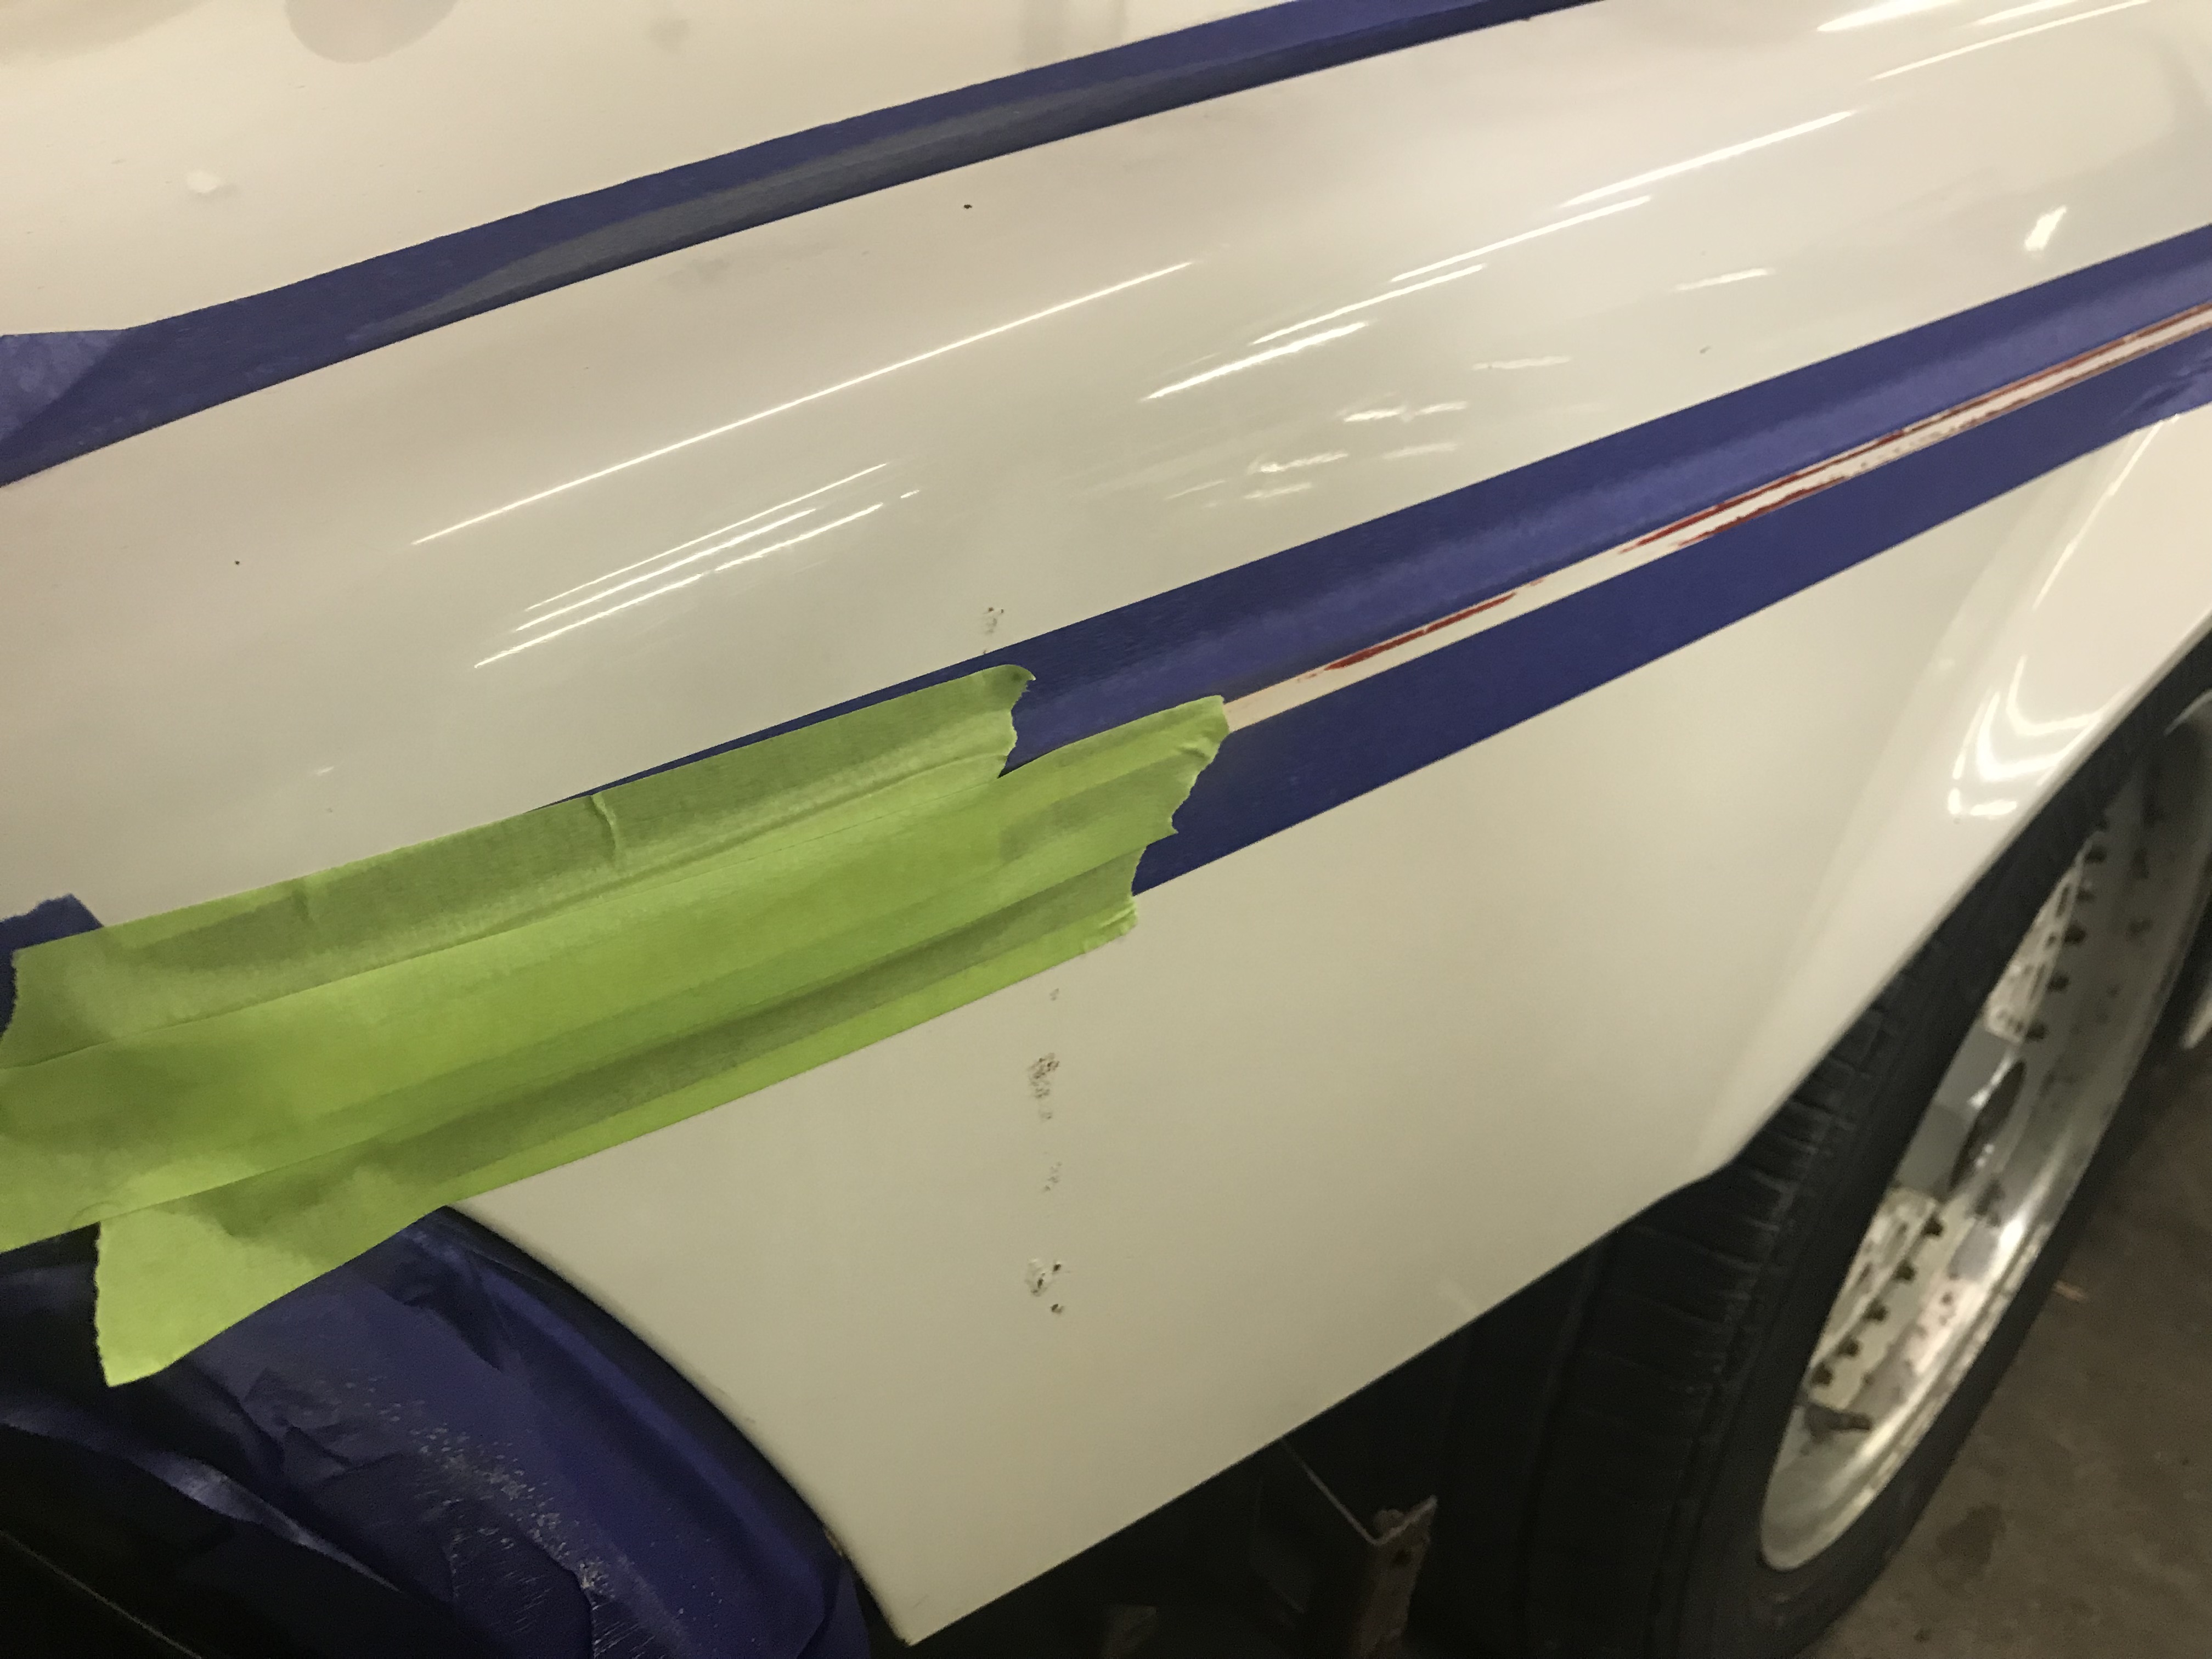
Weirdly damaged paint under the clear is kind of hard to capture in pictures with white paint but if you look, you can see dark spots;
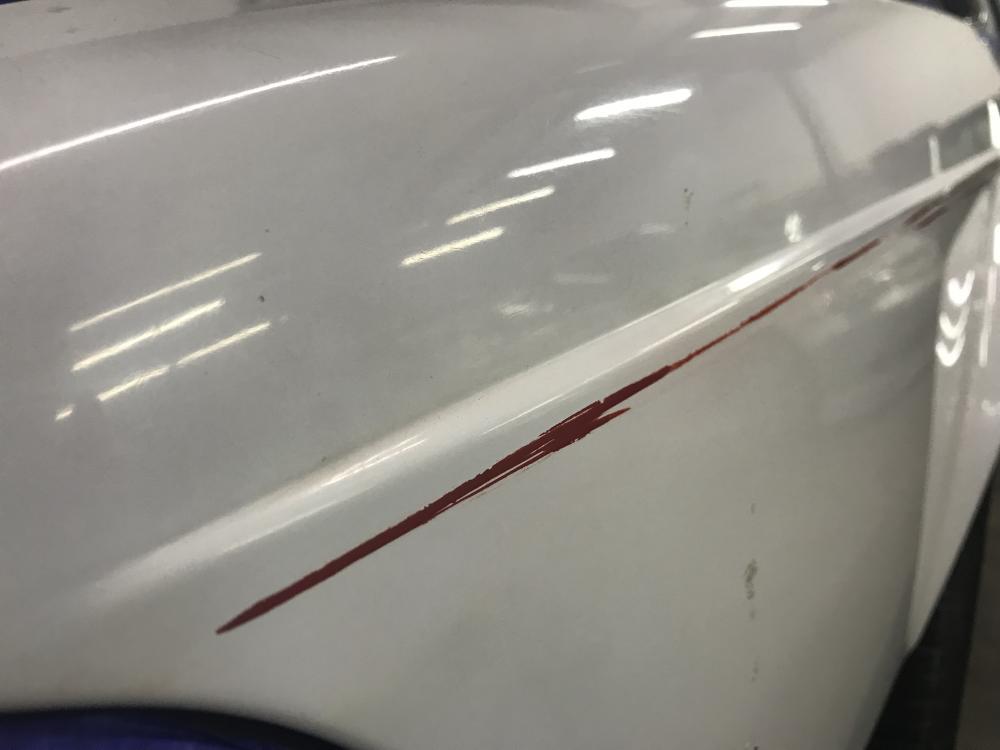
Realizing the pin stripping is not cooperating, I masked it off and burned at it separately from the paint around it.
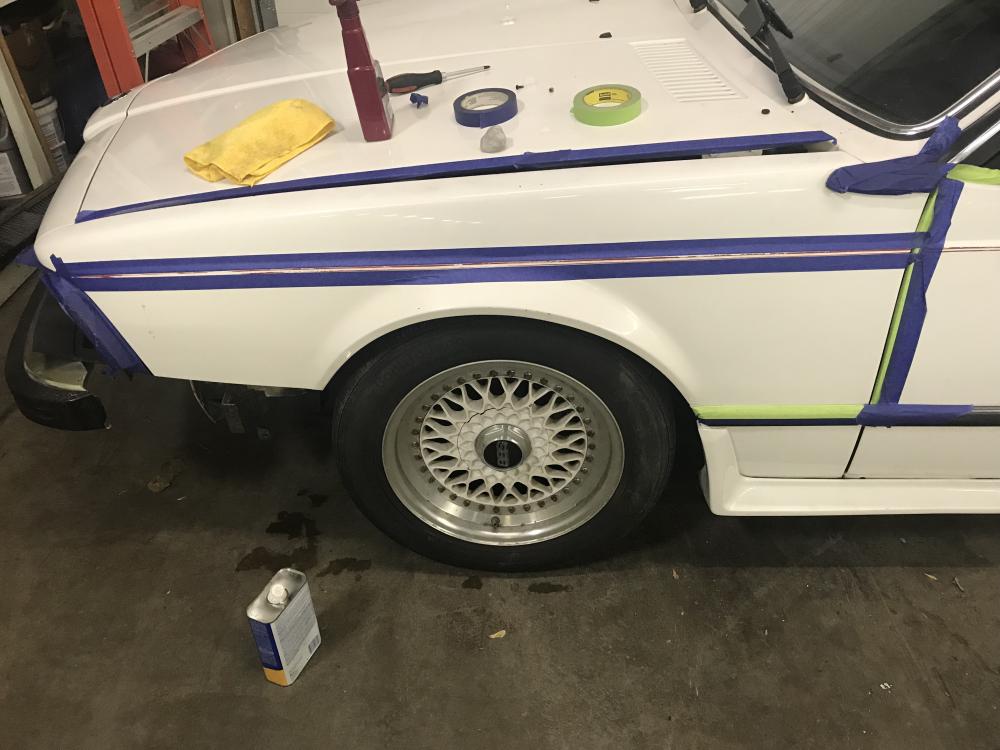
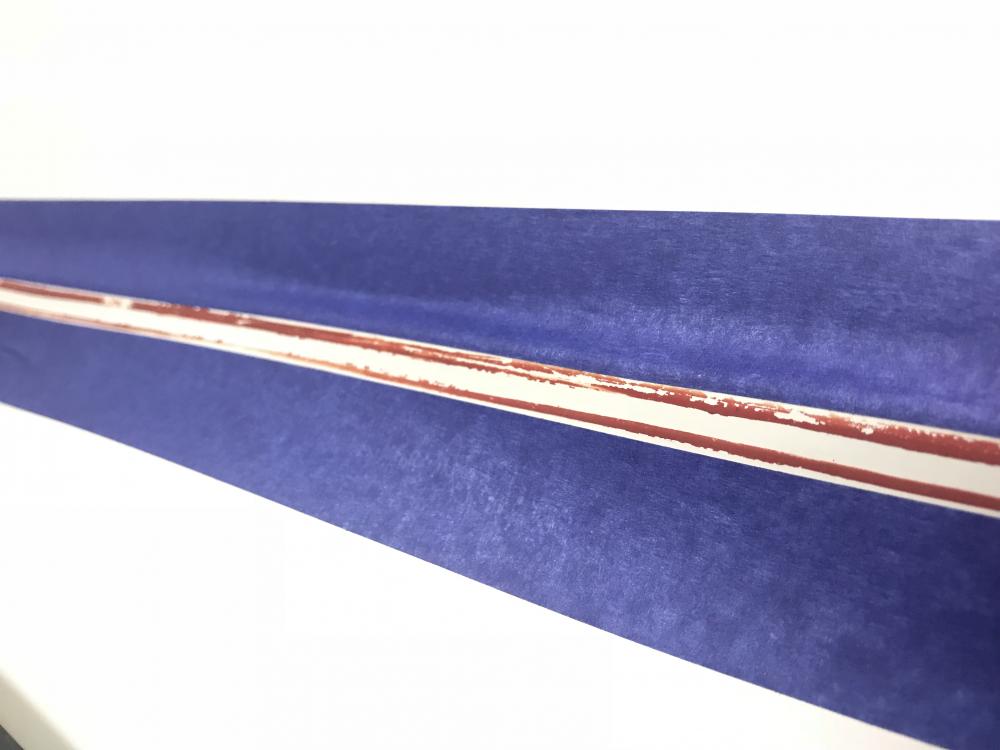
After minimum results, I started soaking.
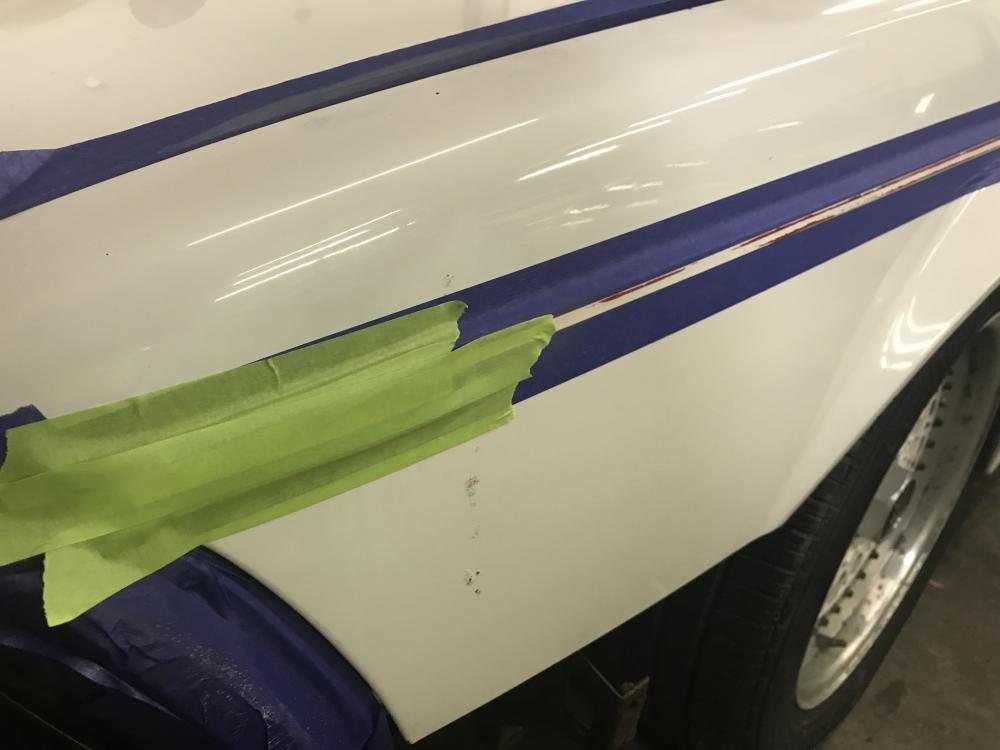
After soaking this is what I was able to remove, I may need to repeat the process to remove the rest, but you can see that the red has a tint on the surface still.
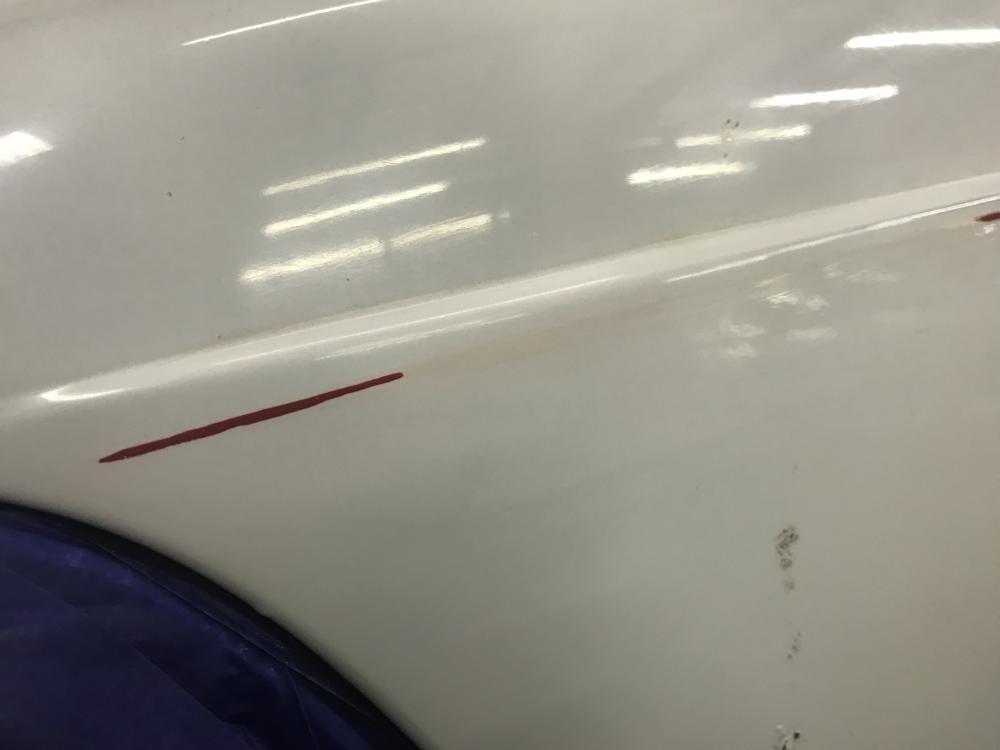
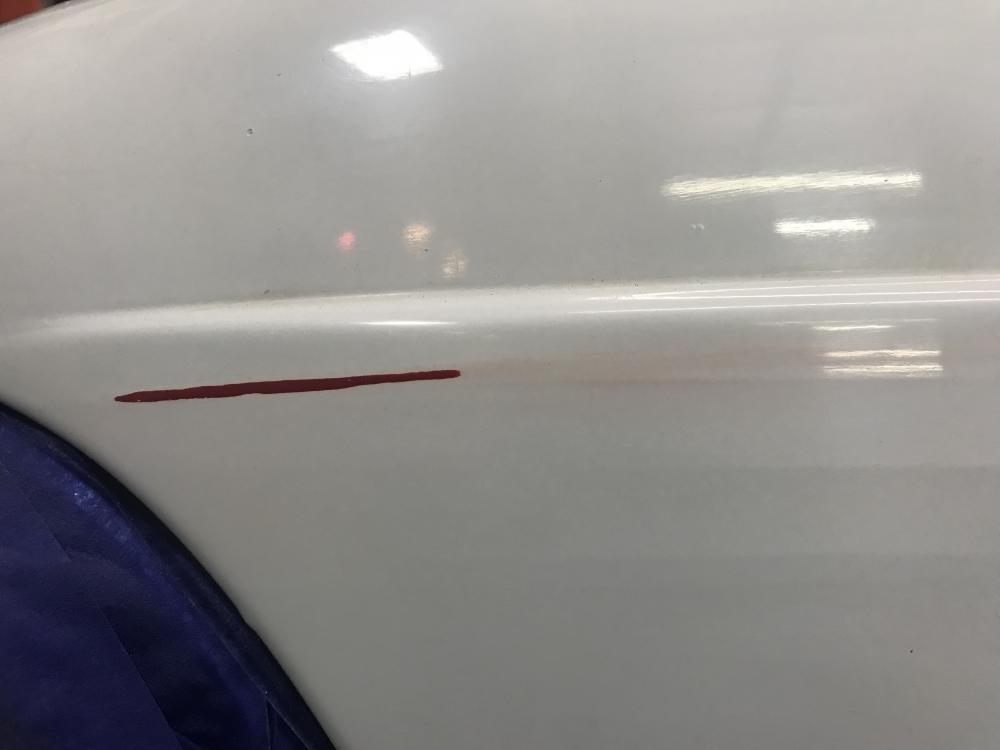
by the time I made it to the door, it was midnight. There is a lot of work ahead.
Check out all the dirty fingerprints at the edges.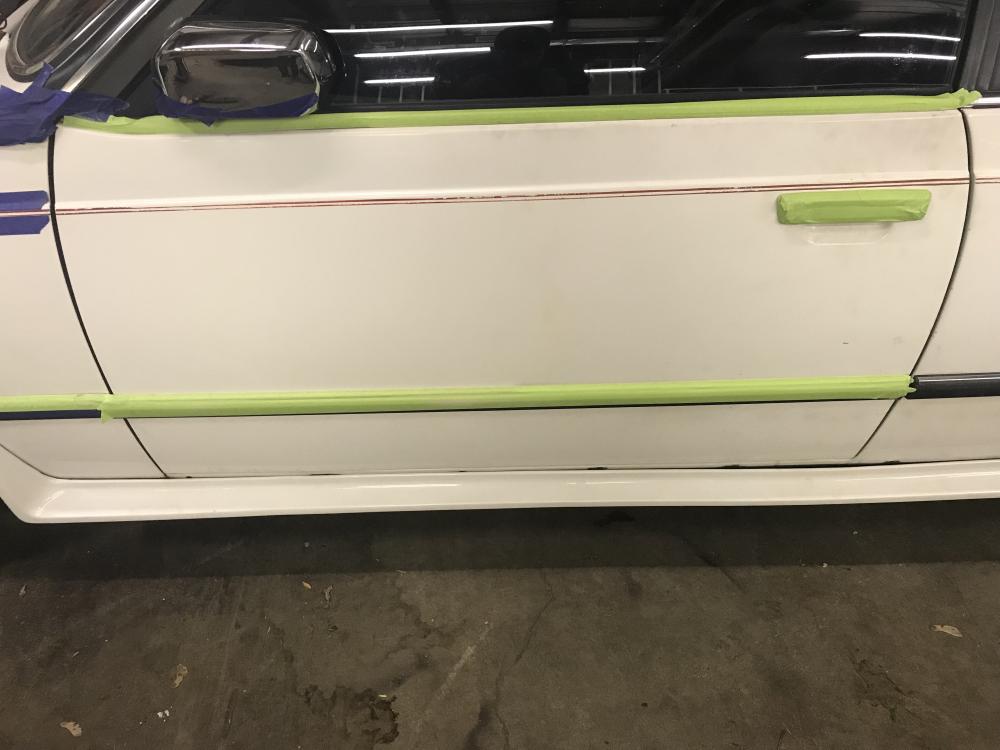
Claybar removing the dirt;
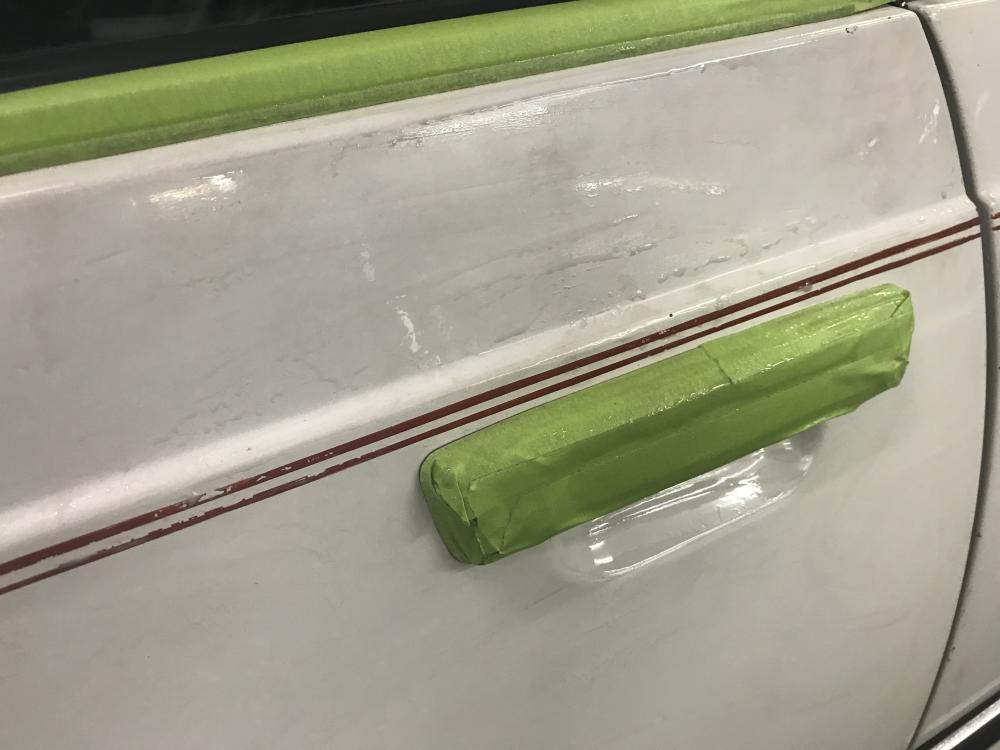
after cutting with medium compound;
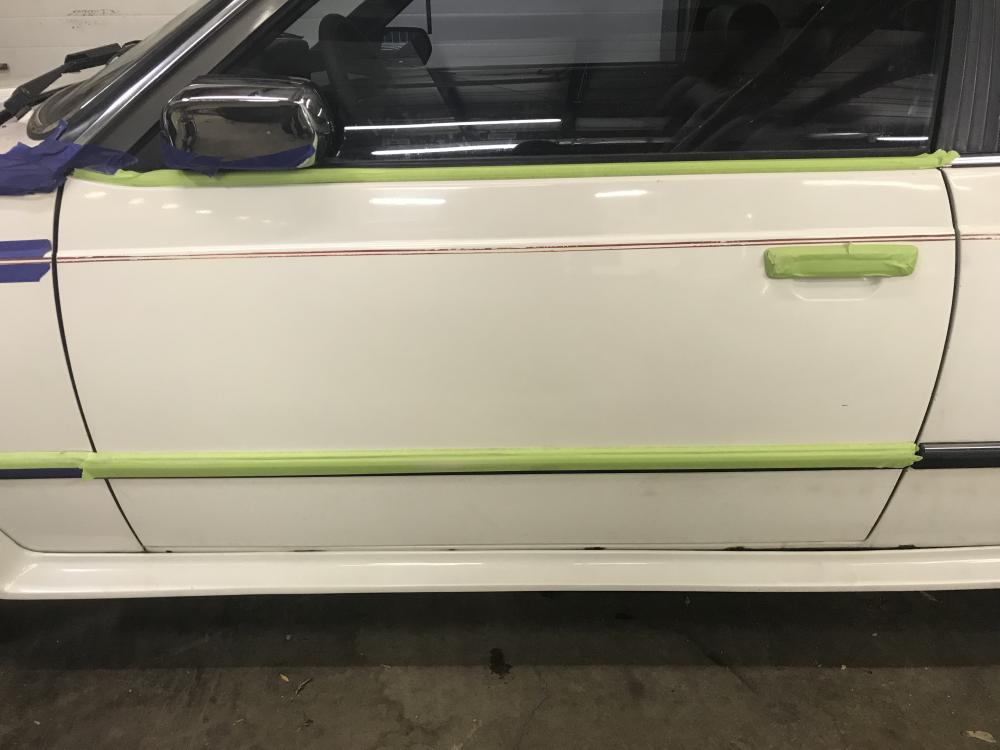
I hope to do 1 or 2 panels a day, but that's all subject to how much I want to punish myself.
https://www.instagram.com/_jdesigner_/ http://nevertoolow.tumblr.com/
🥳SOLD BMW E24 633CSI - BMW M30B32 🧪SOLD HCH ES9 - 1.3 LDA
👽BMW E30 325IC - Toyota 1JZ-GTE ⏰ HONDA EF9 CIVIC SI - JDM B18C5
☠️BMW E36 318i - Ford 5.0 FE302 🚴♂️ GT-Labomba - 26x2.75 Freeride
🤹♀️SOLD BMW E36/7 Z3 - BMW M54B25 🧓SOLD BMW E10 2002 - BMW M10M05



Hello! It looks like you're interested in this conversation, but you don't have an account yet.
Getting fed up of having to scroll through the same posts each visit? When you register for an account, you'll always come back to exactly where you were before, and choose to be notified of new replies (either via email, or push notification). You'll also be able to save bookmarks and upvote posts to show your appreciation to other community members.
With your input, this post could be even better 💗
Register Login