
My name is Earl, and I have a Stainless Steel bolt fetish =)
-
It all looks good Earl! Great progress!
-
Things are getting real, real fast!!! Looking good man!

1984 BMW 528e - SETA and manual swapped! M50 to come!!!
1988 BMW 528e - Need parts?
1991 Chevy C1500 (mighty 350 with TBI and Wisconsin weight reduction package)
1996 Mazda Miata (SOLD!!!)
1996 BMW 325i (Donor car)
1998 Chevrolet Corvette (BEAST)
2001 Jeep Grand Cherokee (BROKEN)

-
Thank you sir=)
Thursday I arrived to the shop to see how the fuel rail turned out.

I also installed a little more hardware from Fastenal.

Before

After

They gave me an m10 nyloc nut instead of an m12, so I had to put the old diff bolt back in until they get that sorted.
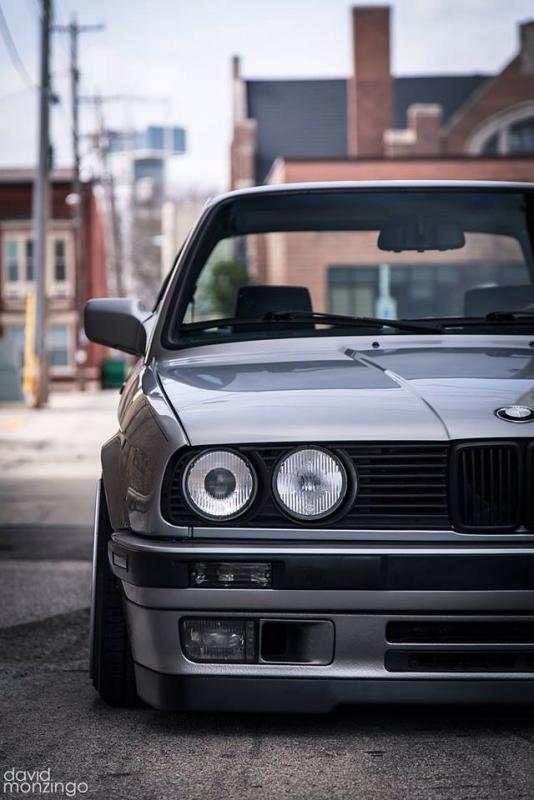
I went to Summerfest Thursday as well and saw this


I wanted to take it for a ride so bad=)
Saturday I decided to make it my goal to get the car back on all four wheels. With me patiently awaiting my quote, I figured that the car needs to be ready to roll as soon as possible.
With that I started by priming the front subframe and control arm mounting areas. I wanted to make the surfaces as nice as possible to keep from dirtying up my new parts. I didn't want to install any of this until the entire front end was cleaned up and undercoated, but they will be doing that when they paint so I will be dropping this all once it gets to the bodyshop anyways=)
I started by laying everything out (I didn't lay out the struts and calipers since the cardboard was too small)

I then installed the front subframe


After that came the control arms and Treehouse Racing mounts


I then bolted the front knuckles to the struts and then installed them on the car.


-
After that I installed the front rotors (with my stainless ECS retaining bolts)

Followed by the front calipers

Once the front was tackled I moved onto the rear.
I installed the axles
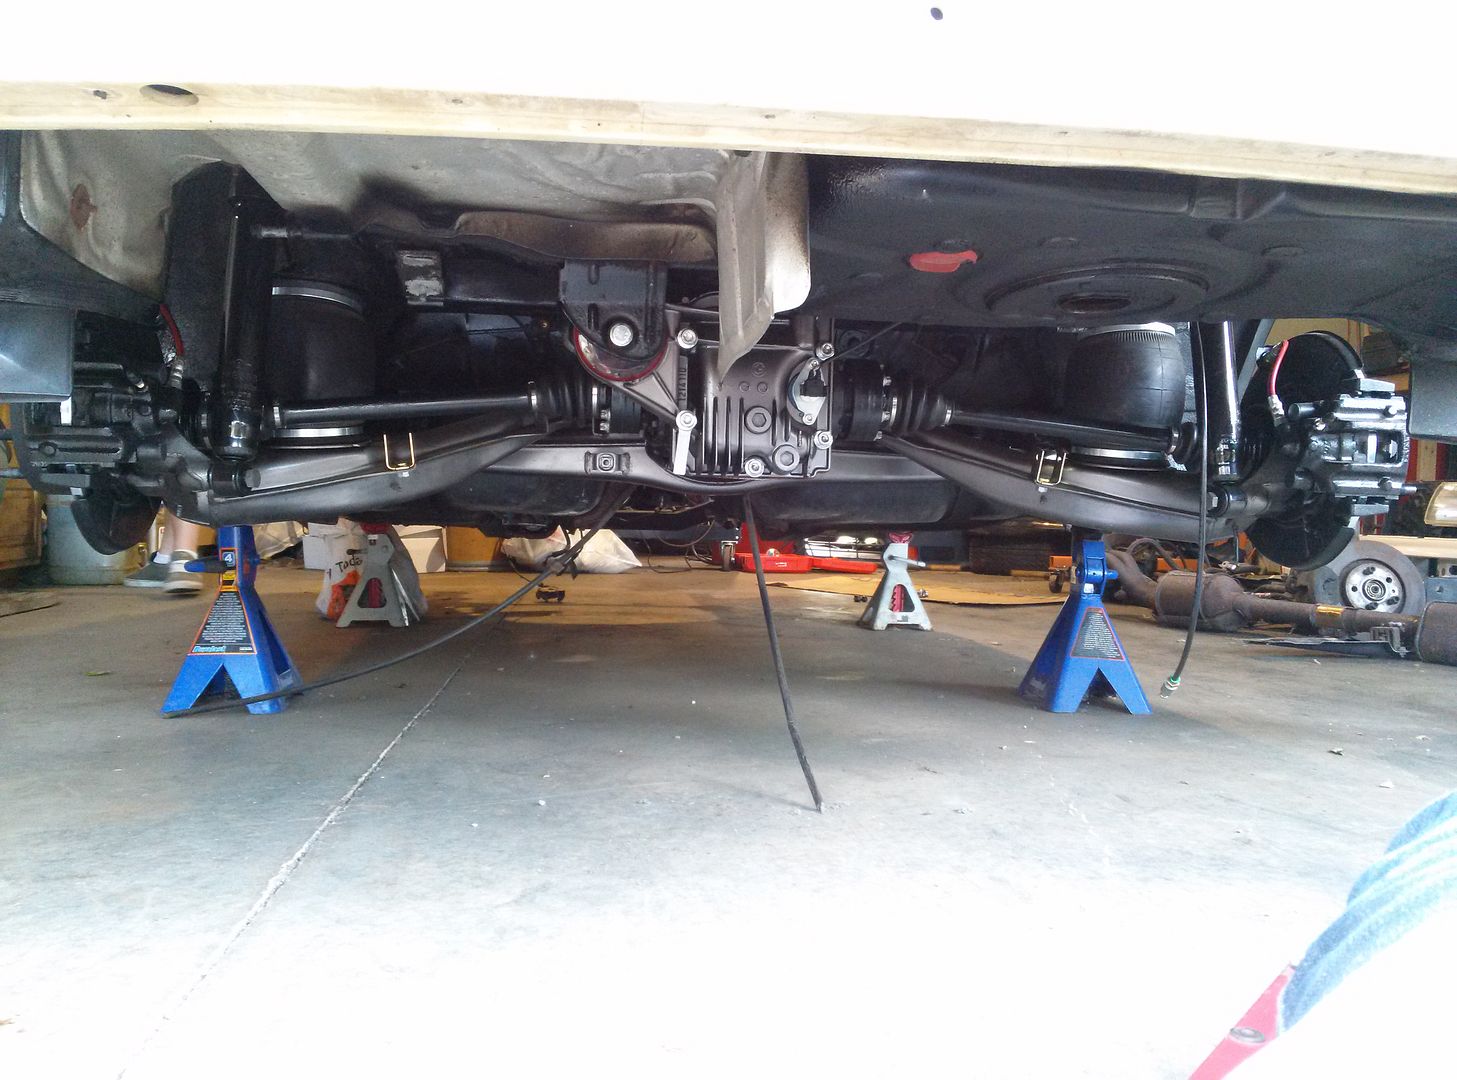
Then it was time to toss the wheels on and drop it back onto the earth
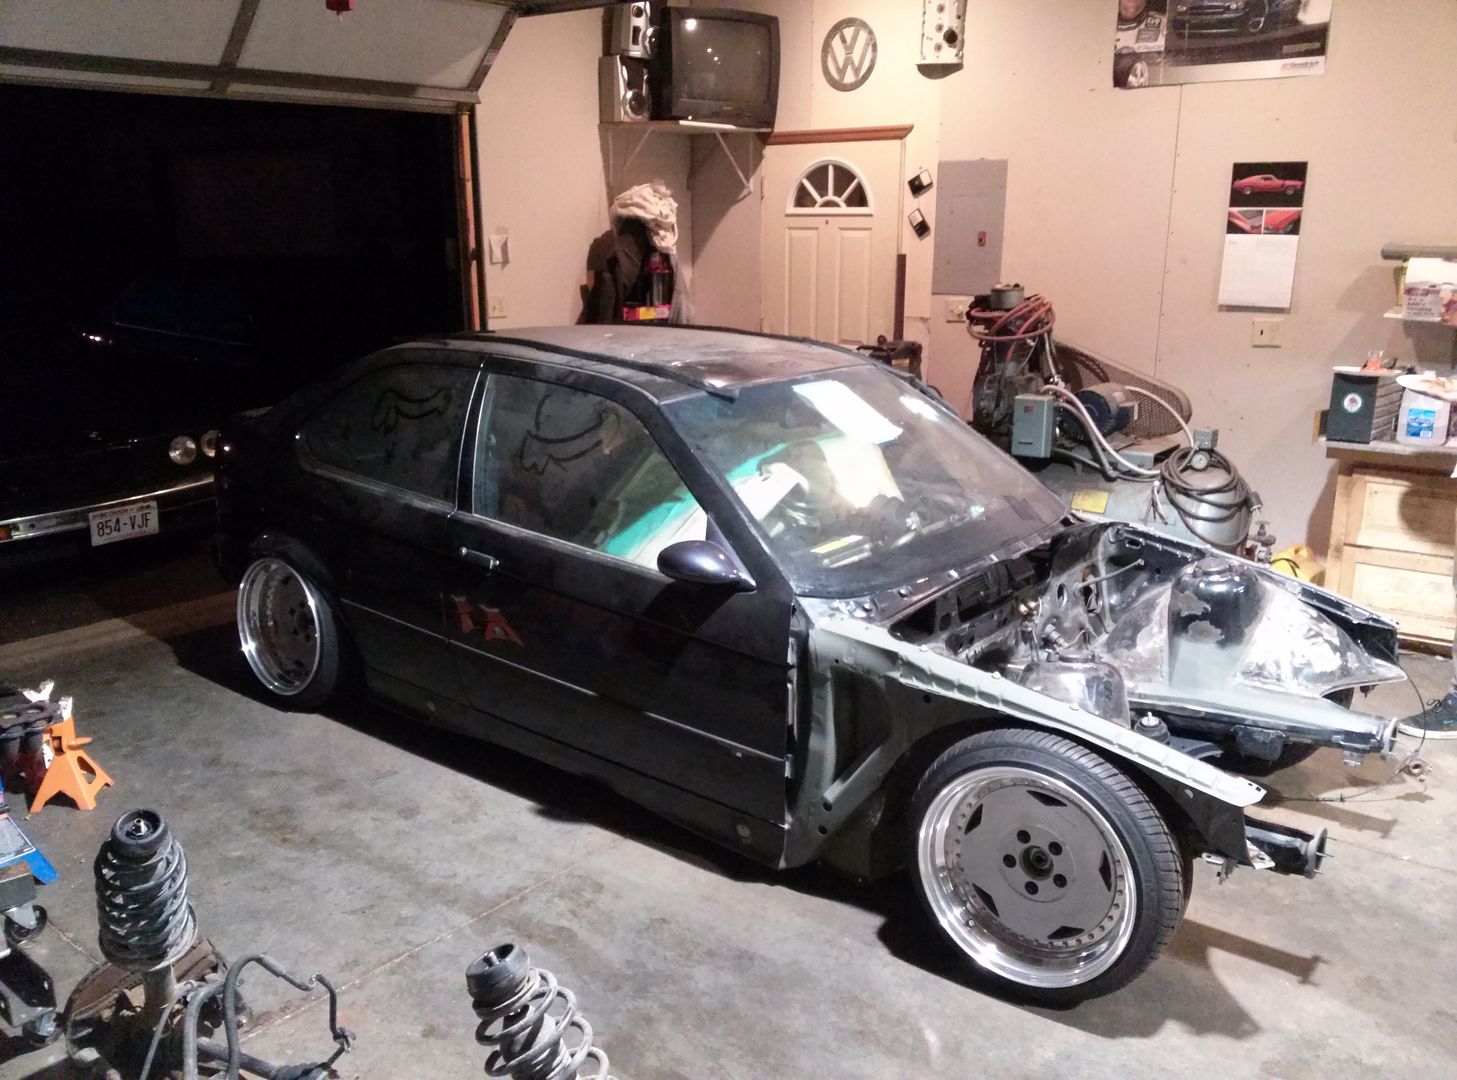
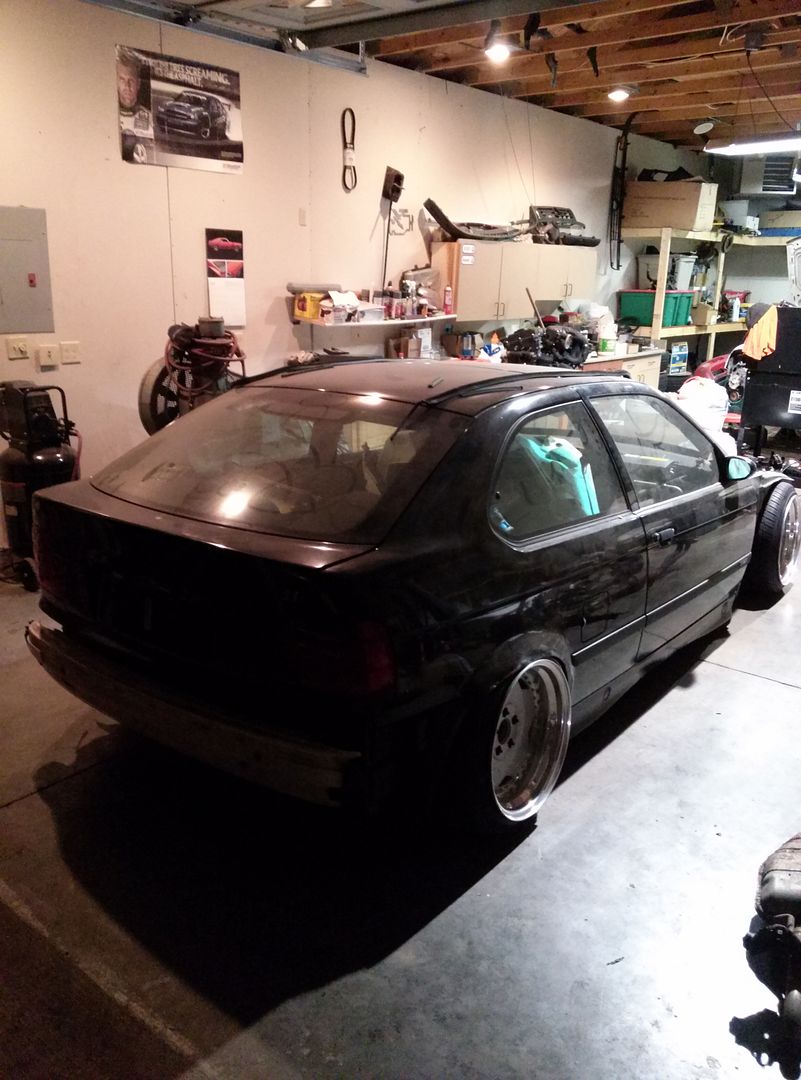
We were going to drop the engine in for shits and giggles, but didn't have the proper straps and I couldn't air the front of the car up high enough to get the engine hoist legs to slide underneath.
Things are now happening at a steady pace=) I am hoping to get the car out to paint within the next month. My interior and other small tasks should keep me busy while it is away
-
Looking good Earl! Keep it up!
-
Looks great... but I'm more excited to see pictures after you have driven it 5,000 miles.
-
Looks great... but I'm more excited to see pictures after you have driven it 5,000 miles.


-

You're welcome!
-
hahaha
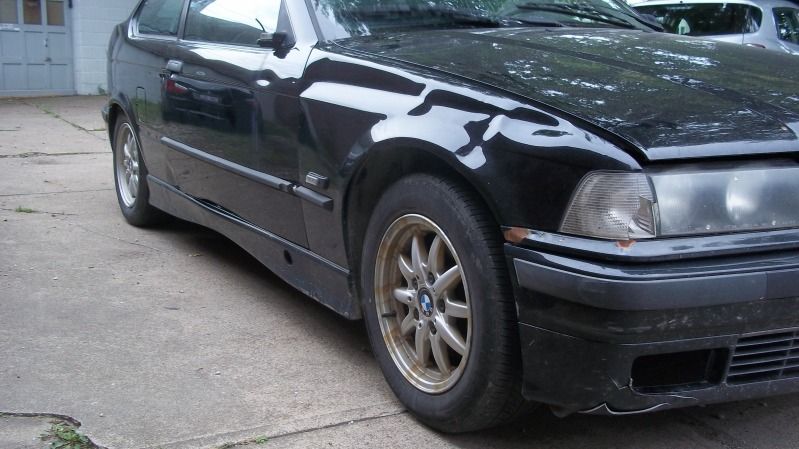
Yesterday I took the time to remove the old stickers from my side moulding badges and install the new "Touring International" badges that I had made up.
The hardest part was cleaning up the old sticker residue before applying the silicone and new badge. I found that applying WD40 and letting it sit for a few minutes allowed it to be rubbed off fairly easily with a cotton swab.


I really like them. There is a reflection under "Touring" in the picture that looks like a scratch but I assure you it isn't=) One of them has a really small bur that I only noticed once they were installed. I am going to try being careful with a razor blade and scrape it off. Otherwise they turned out awesome.












Hello! It looks like you're interested in this conversation, but you don't have an account yet.
Getting fed up of having to scroll through the same posts each visit? When you register for an account, you'll always come back to exactly where you were before, and choose to be notified of new replies (either via email, or push notification). You'll also be able to save bookmarks and upvote posts to show your appreciation to other community members.
With your input, this post could be even better 💗
Register Login