
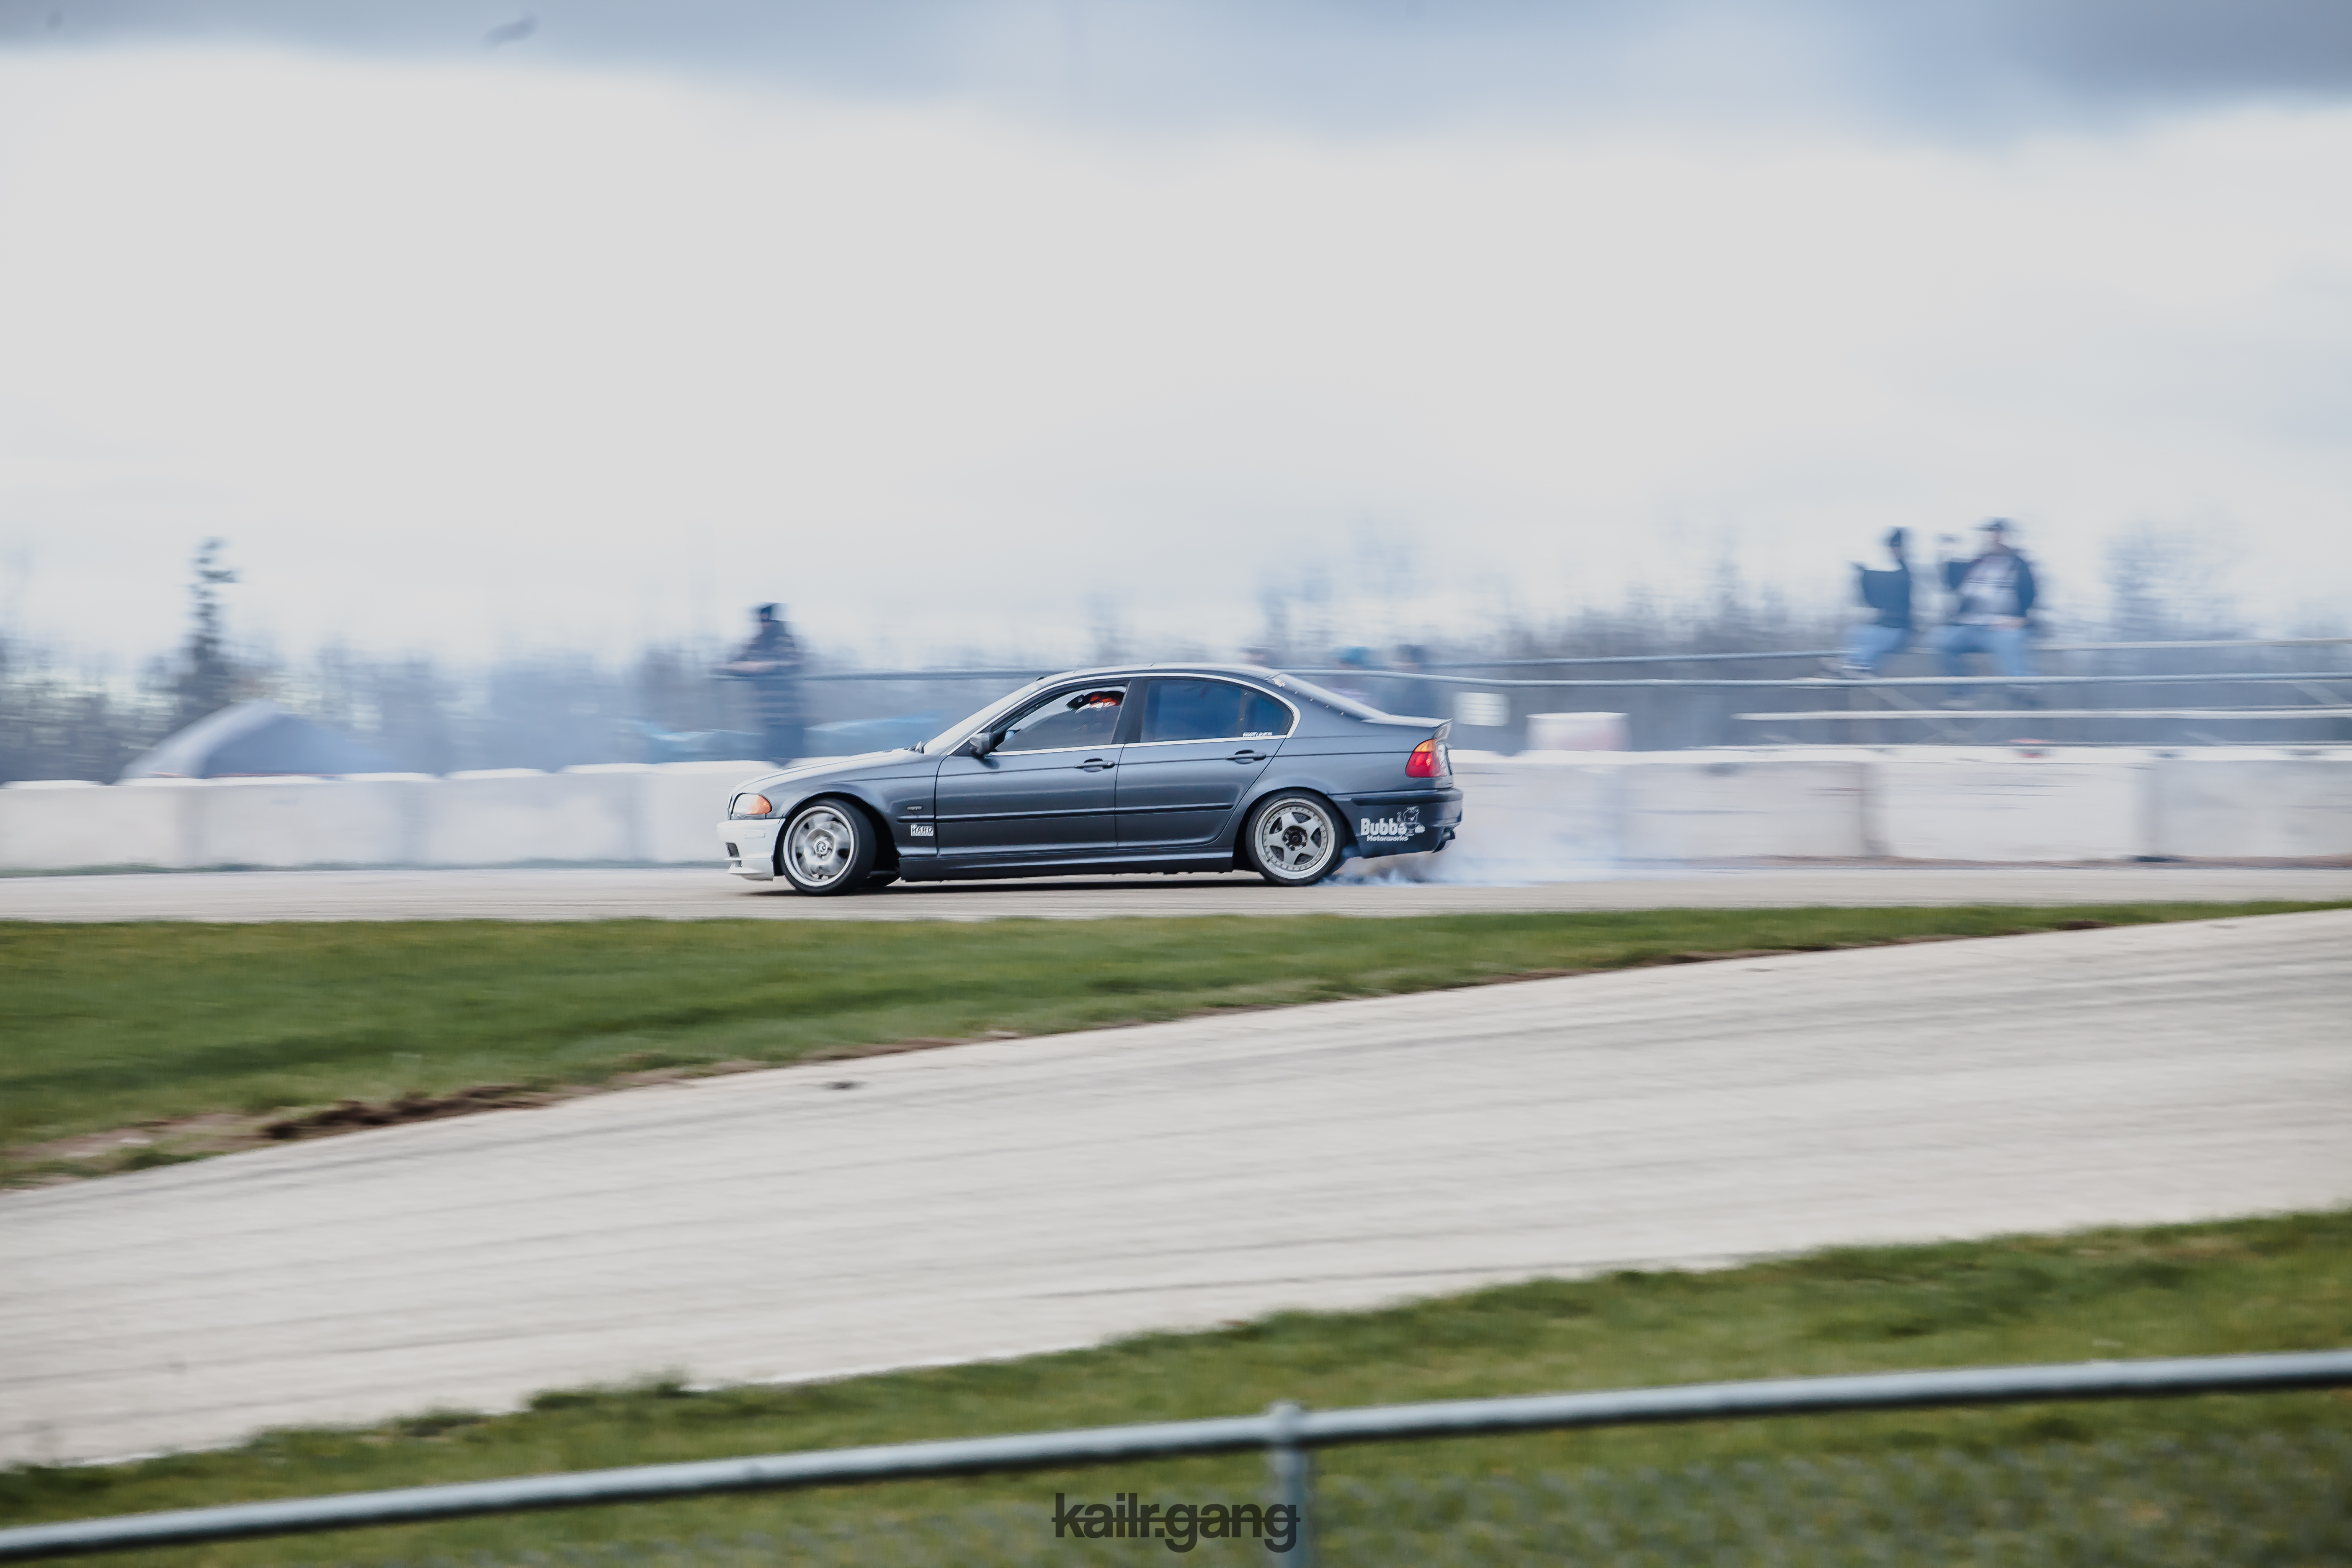
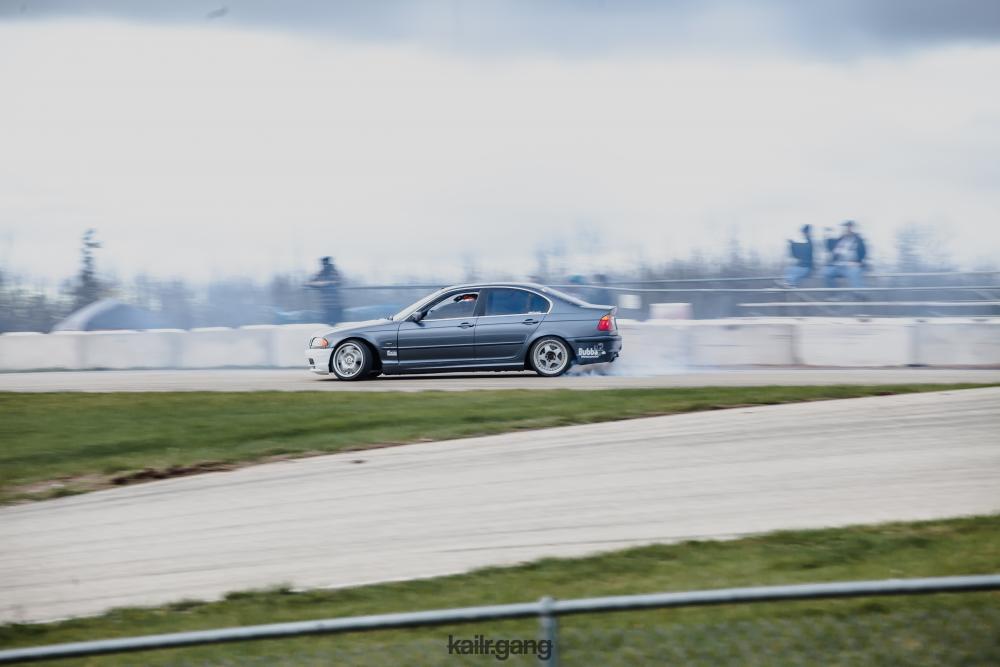
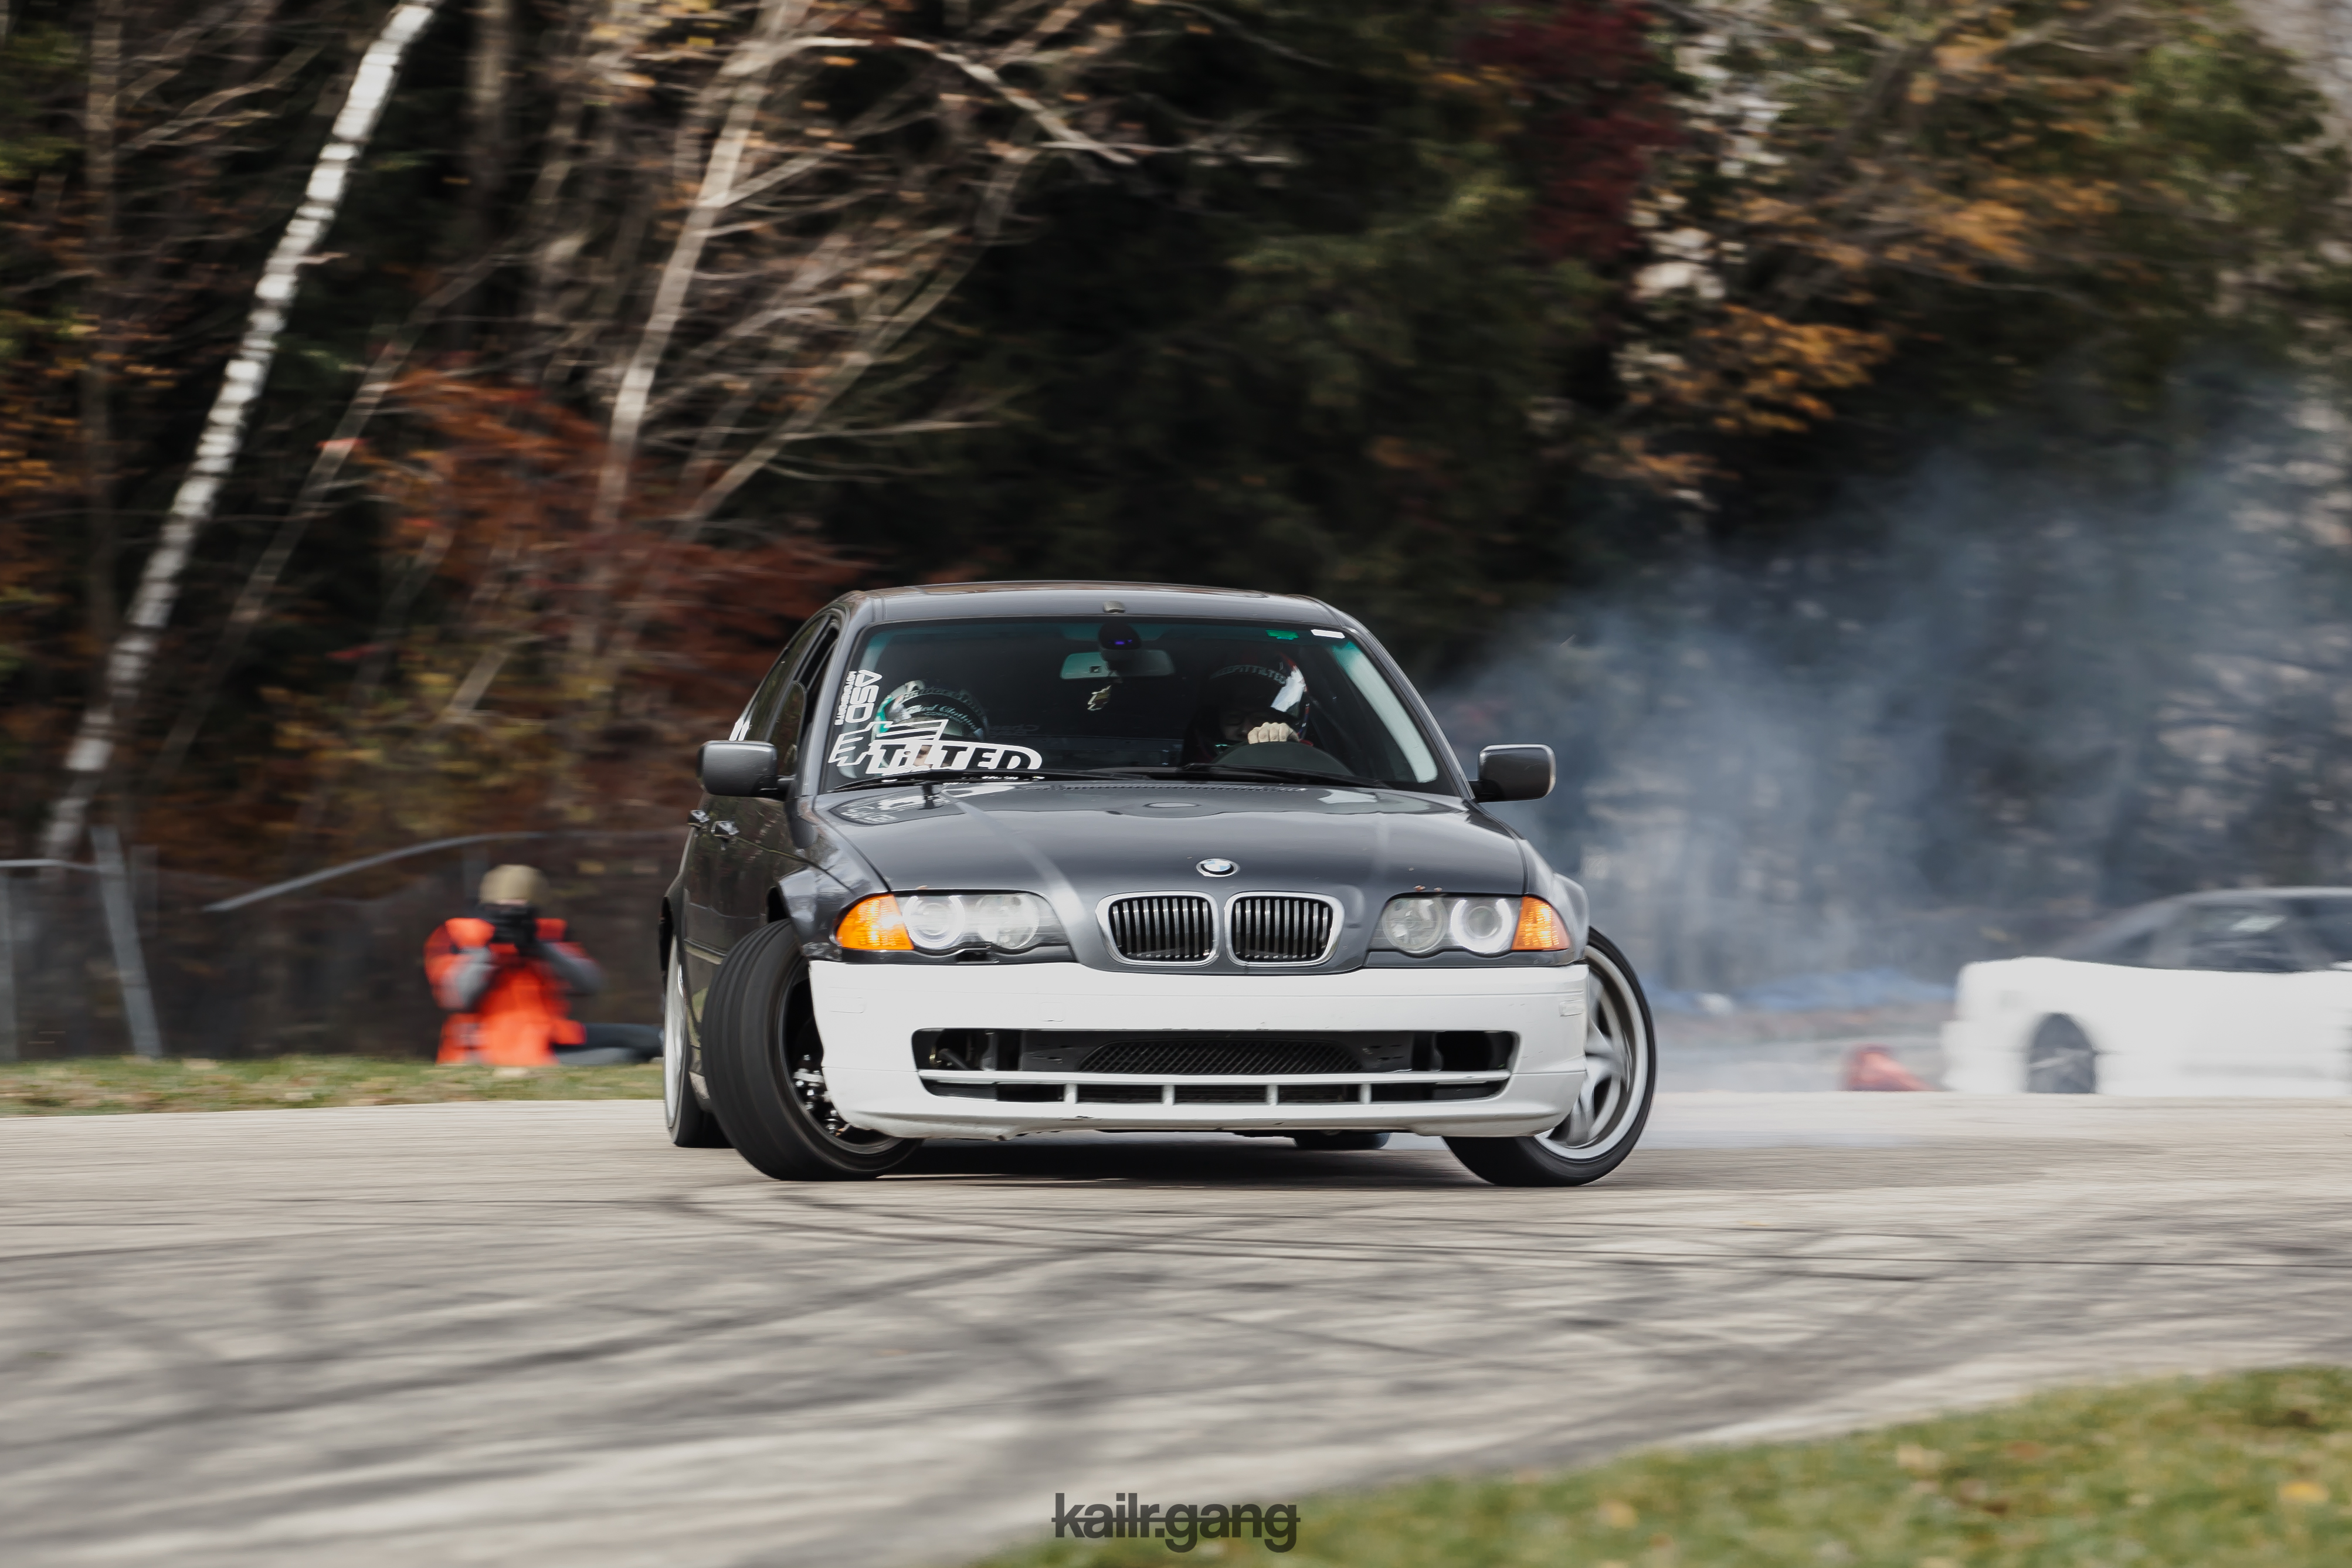
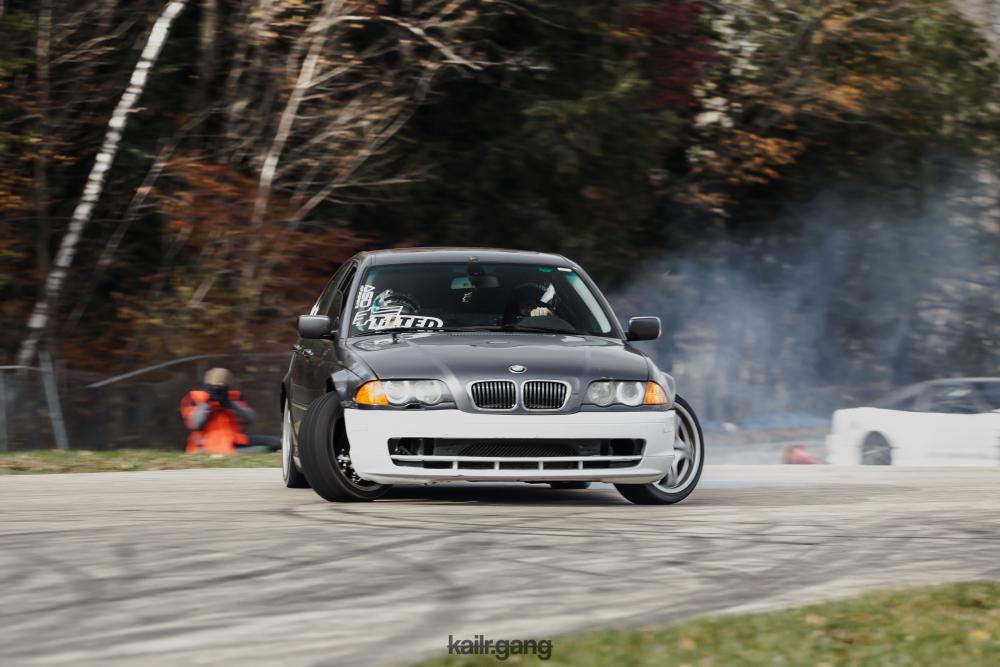
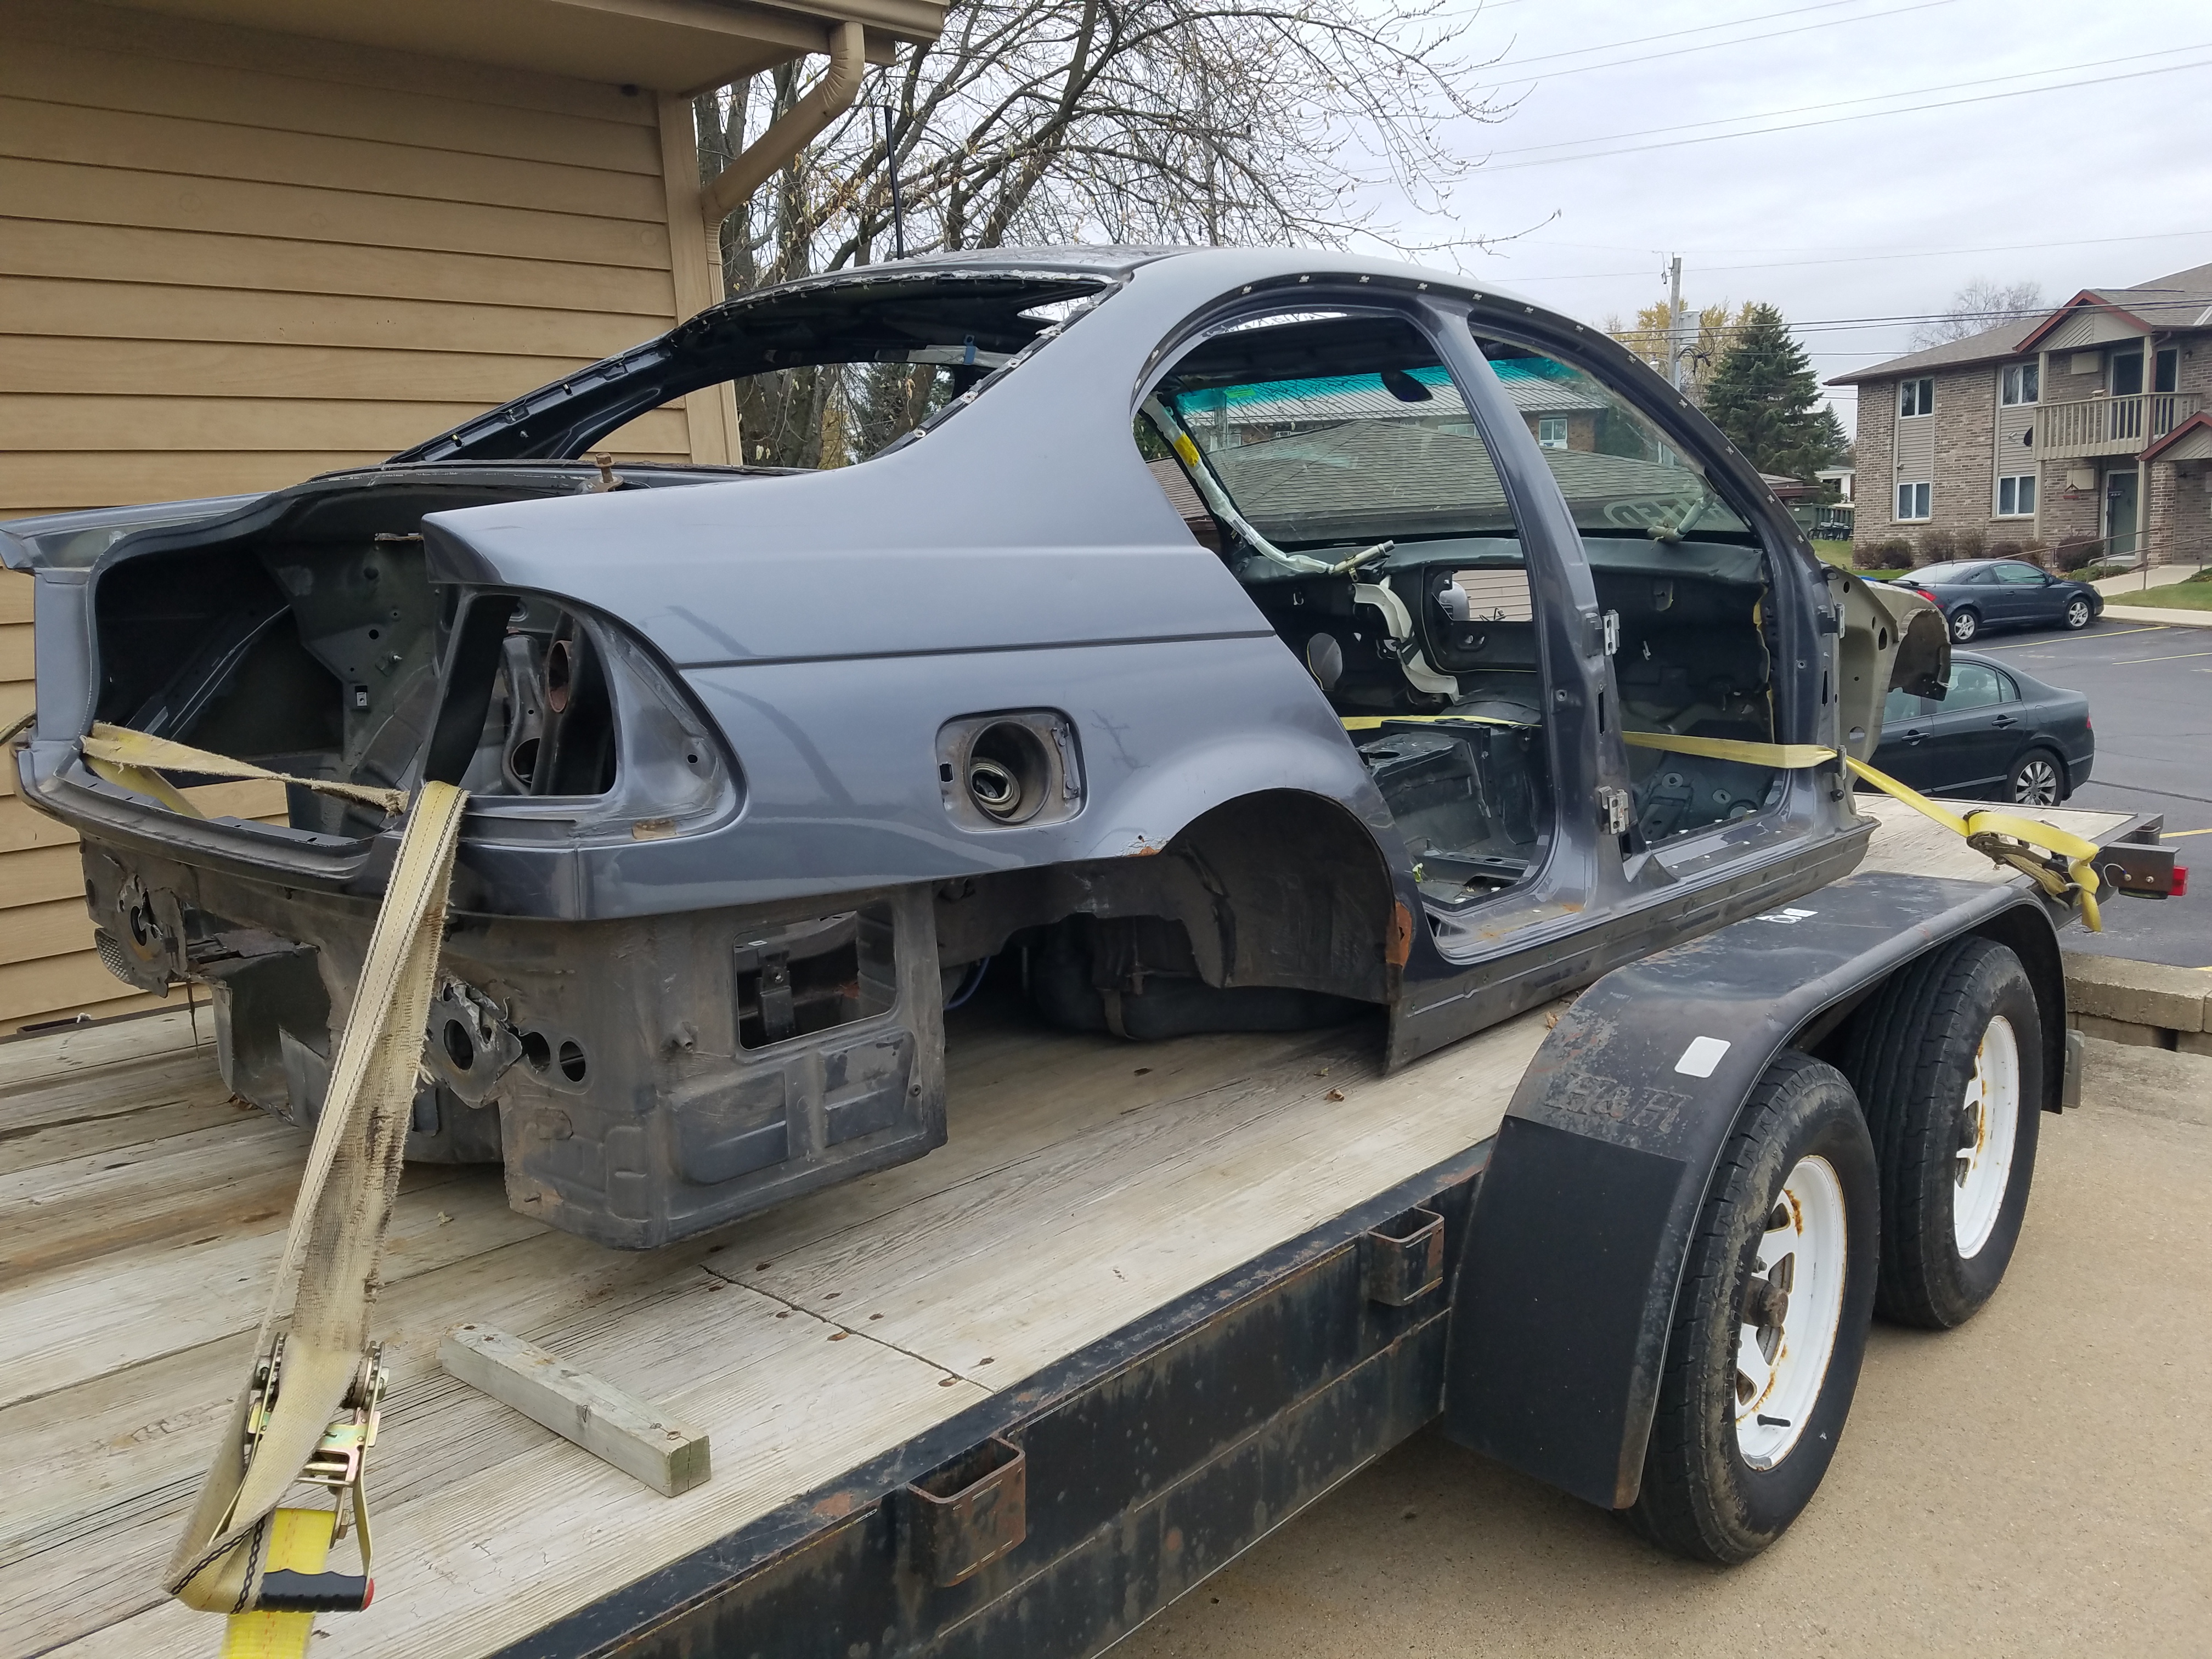
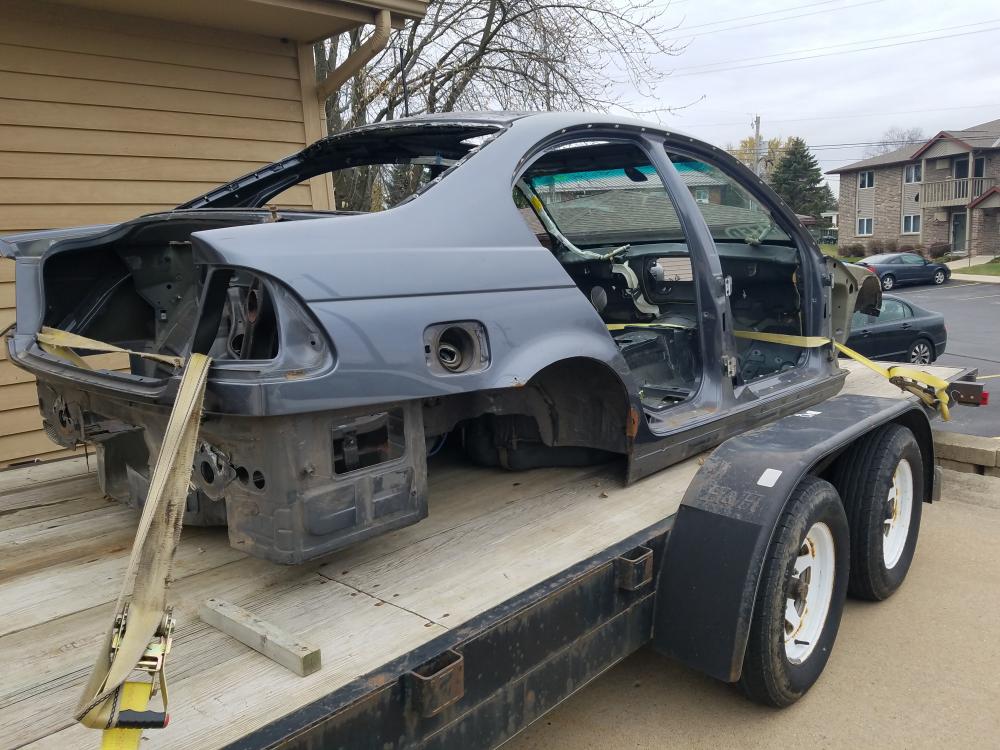
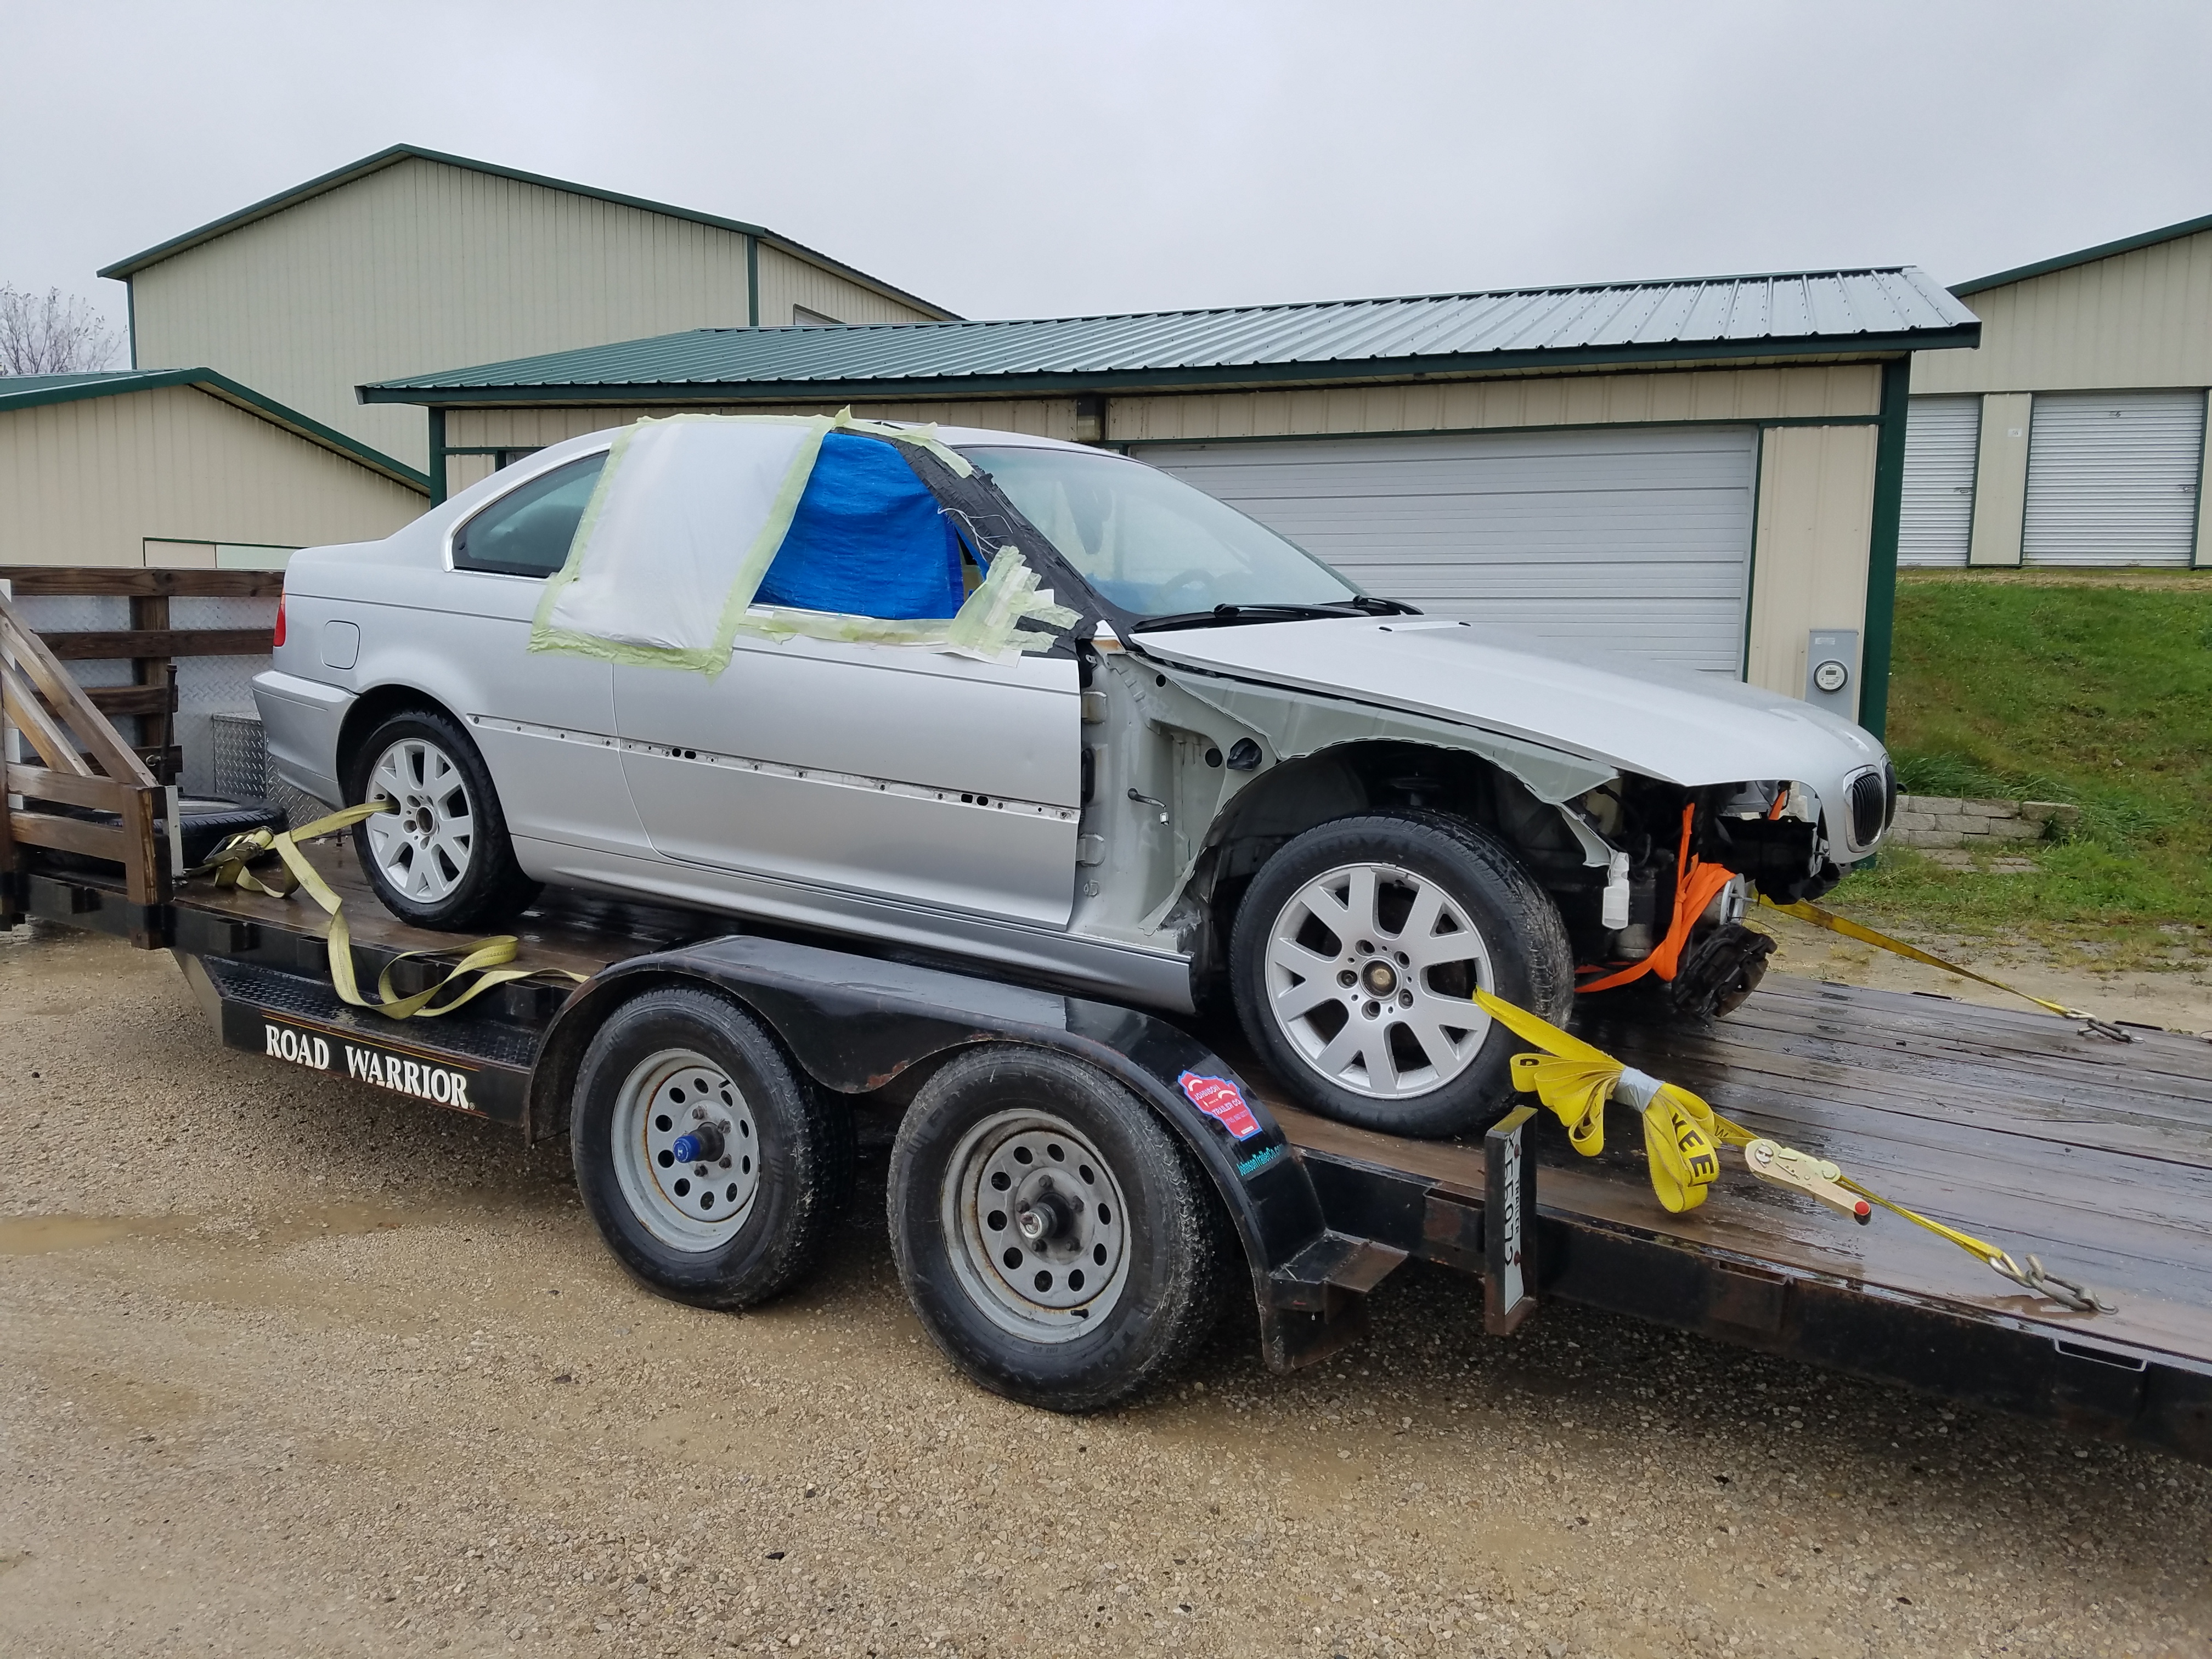
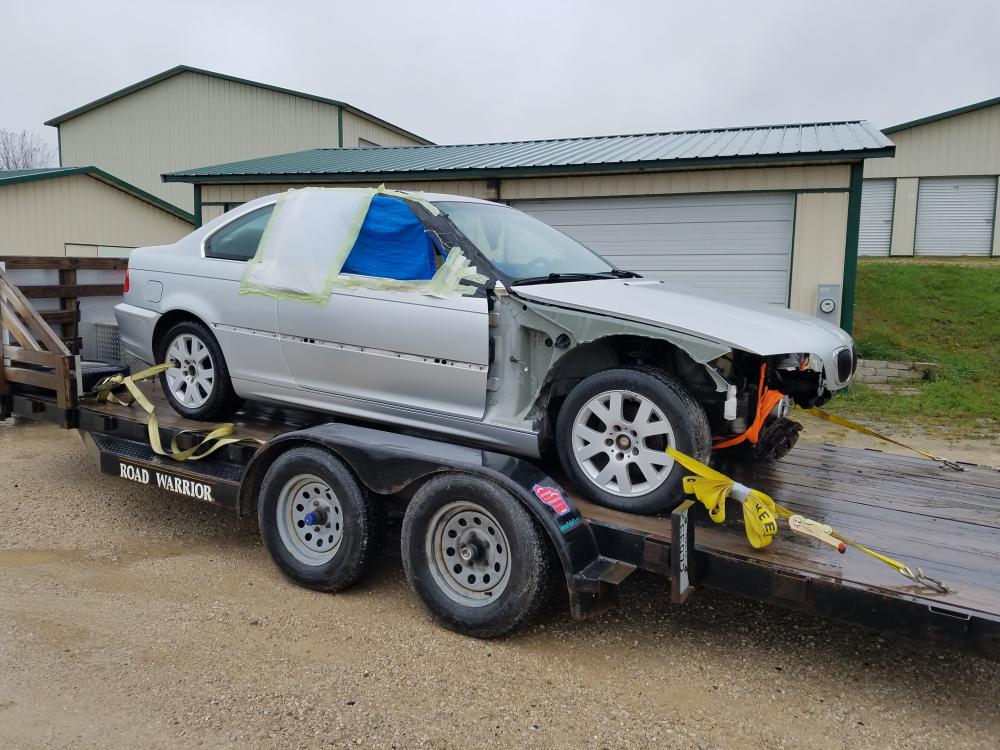
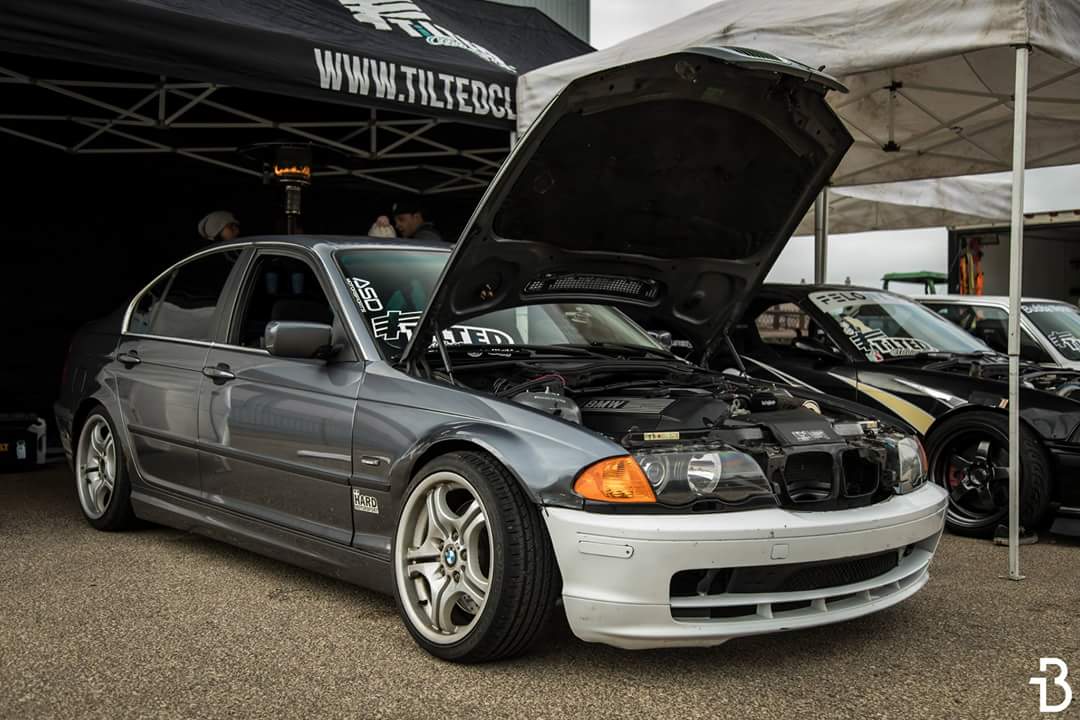
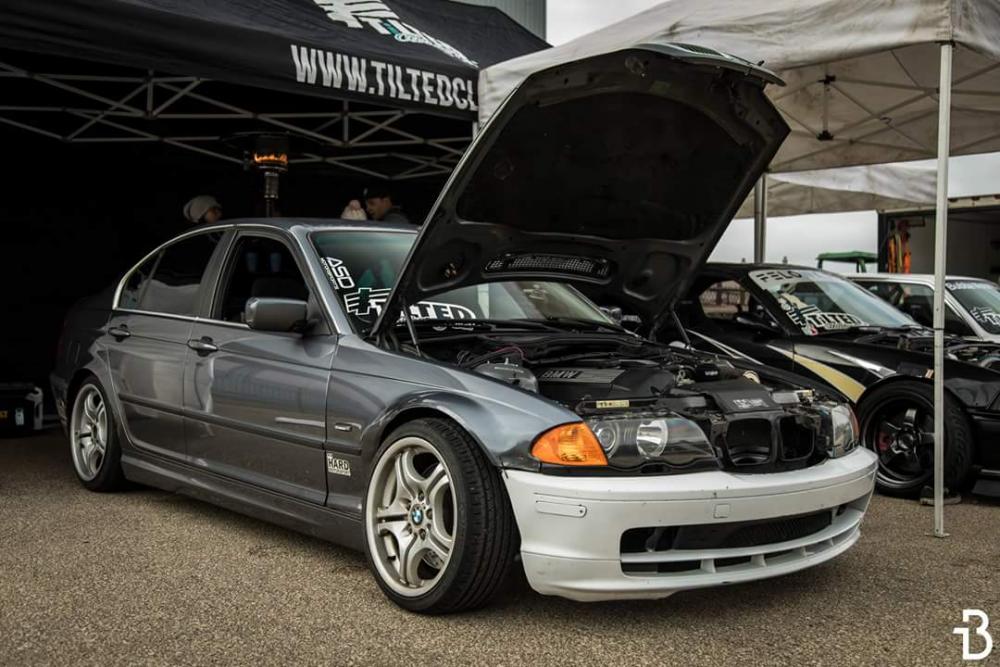
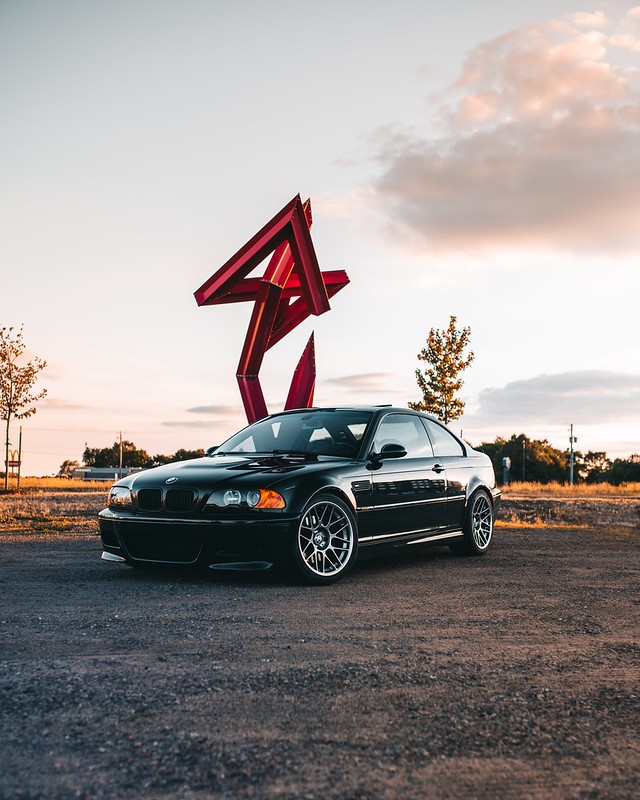
A purists nightmare - E46 drift build

-
Is that good or bad lmfao
Just remembering all the issues that came with putting 20lbs of poo in a 10lb bag
-
Just remembering all the issues that came with putting 20lbs of poo in a 10lb bag
Thats definitely what this is hahaha
-
UPDATE
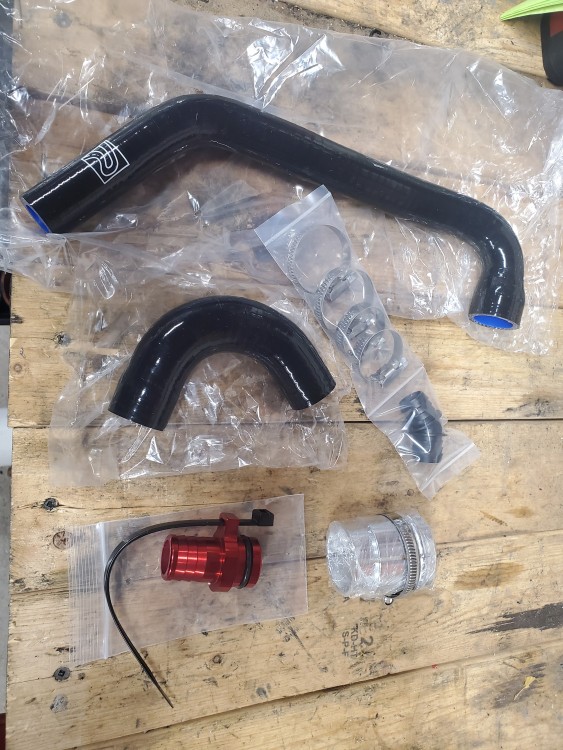
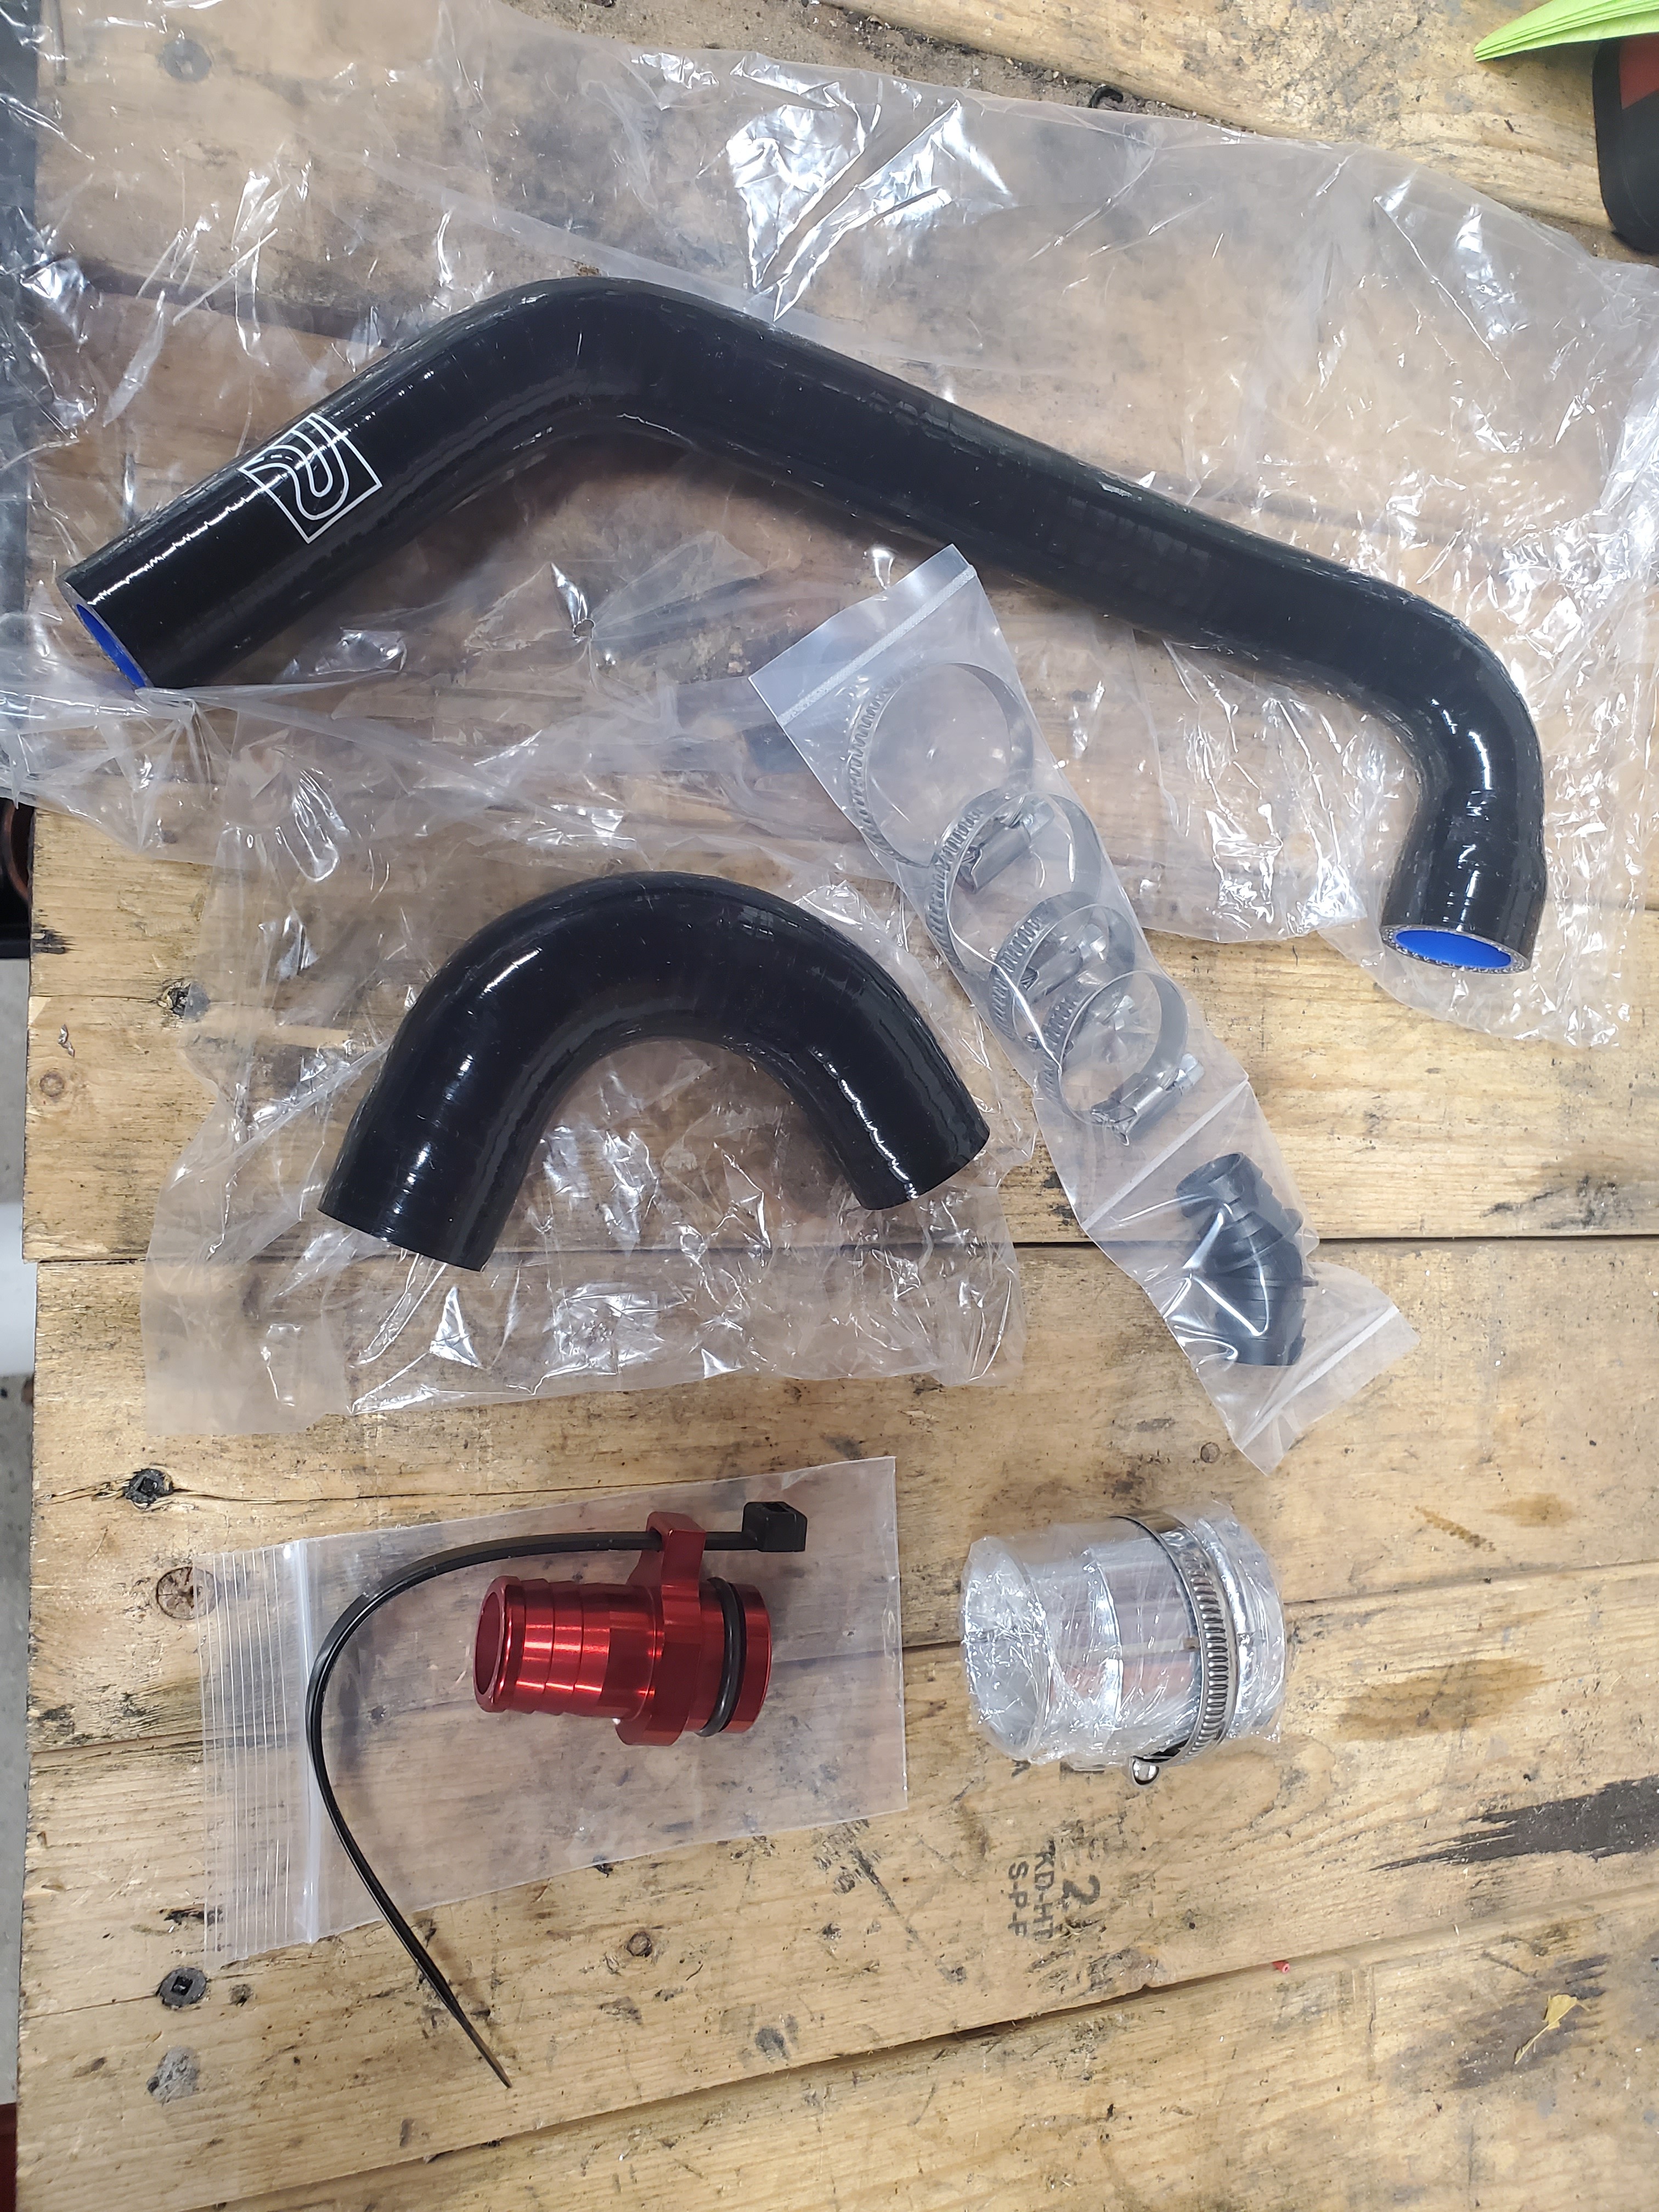
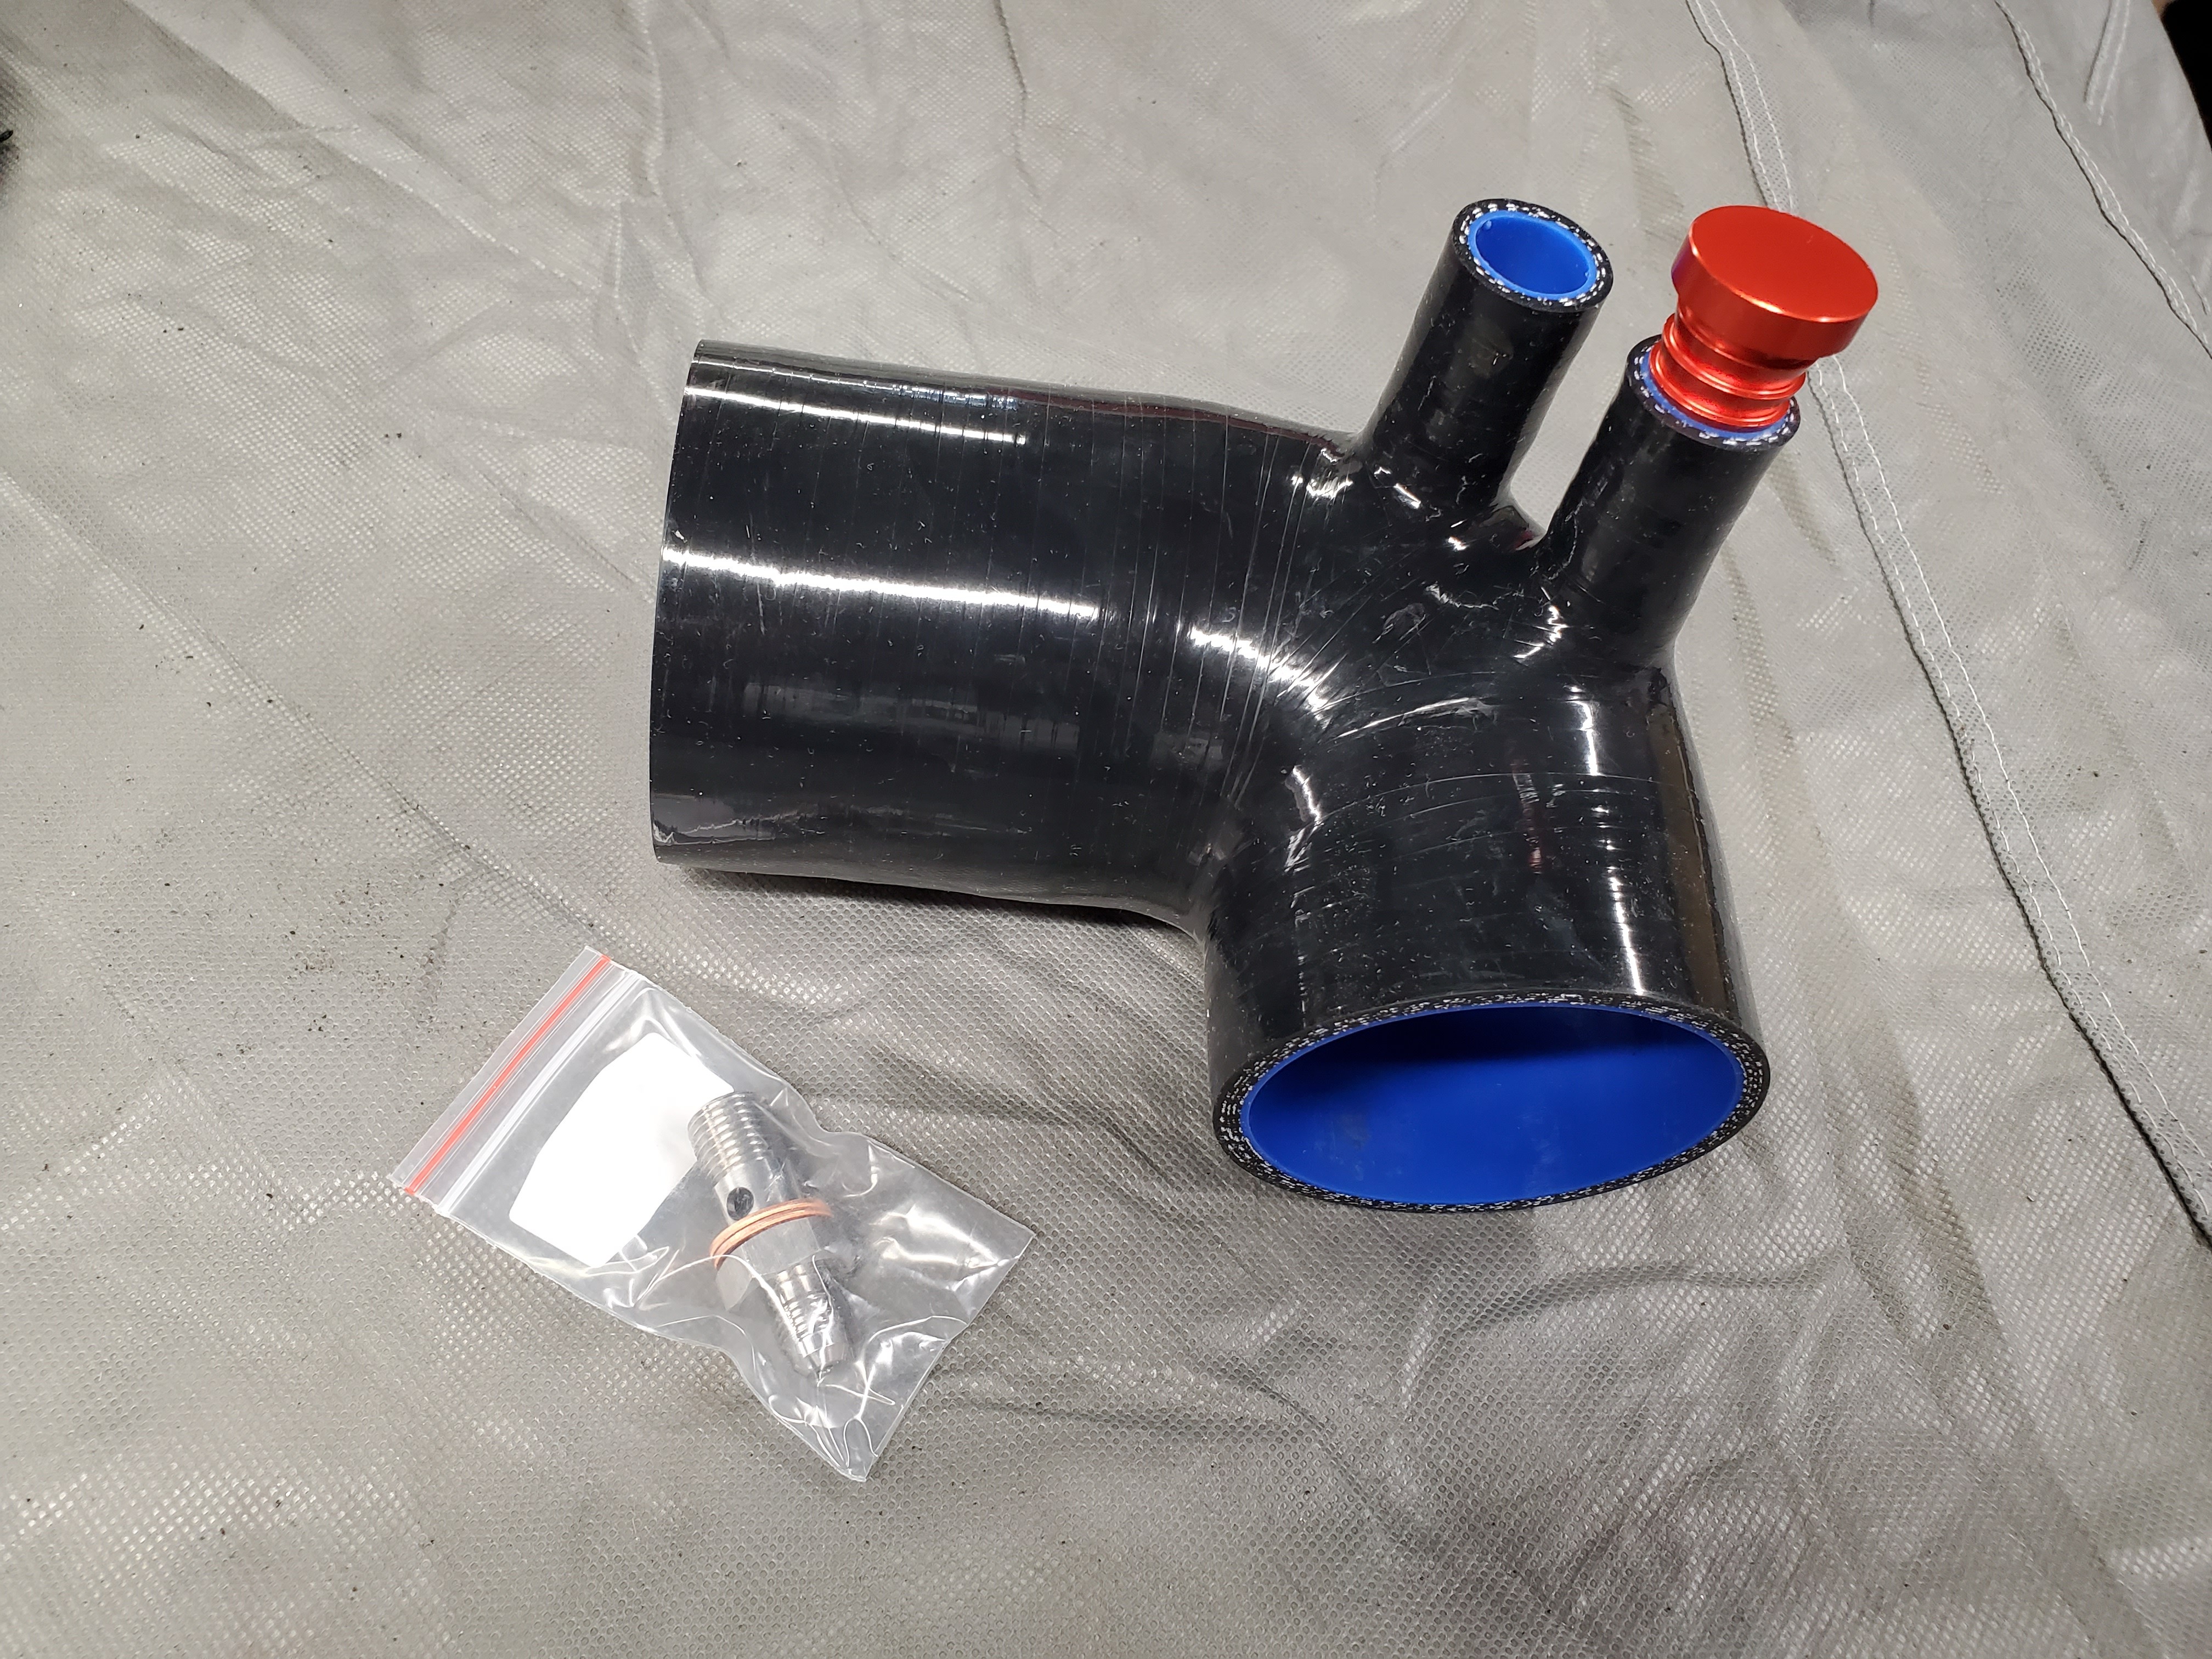
Some parts came in. Silicone IACV hose kit with the aluminum boost proof fitting and a non-m fuel pump sleeve.
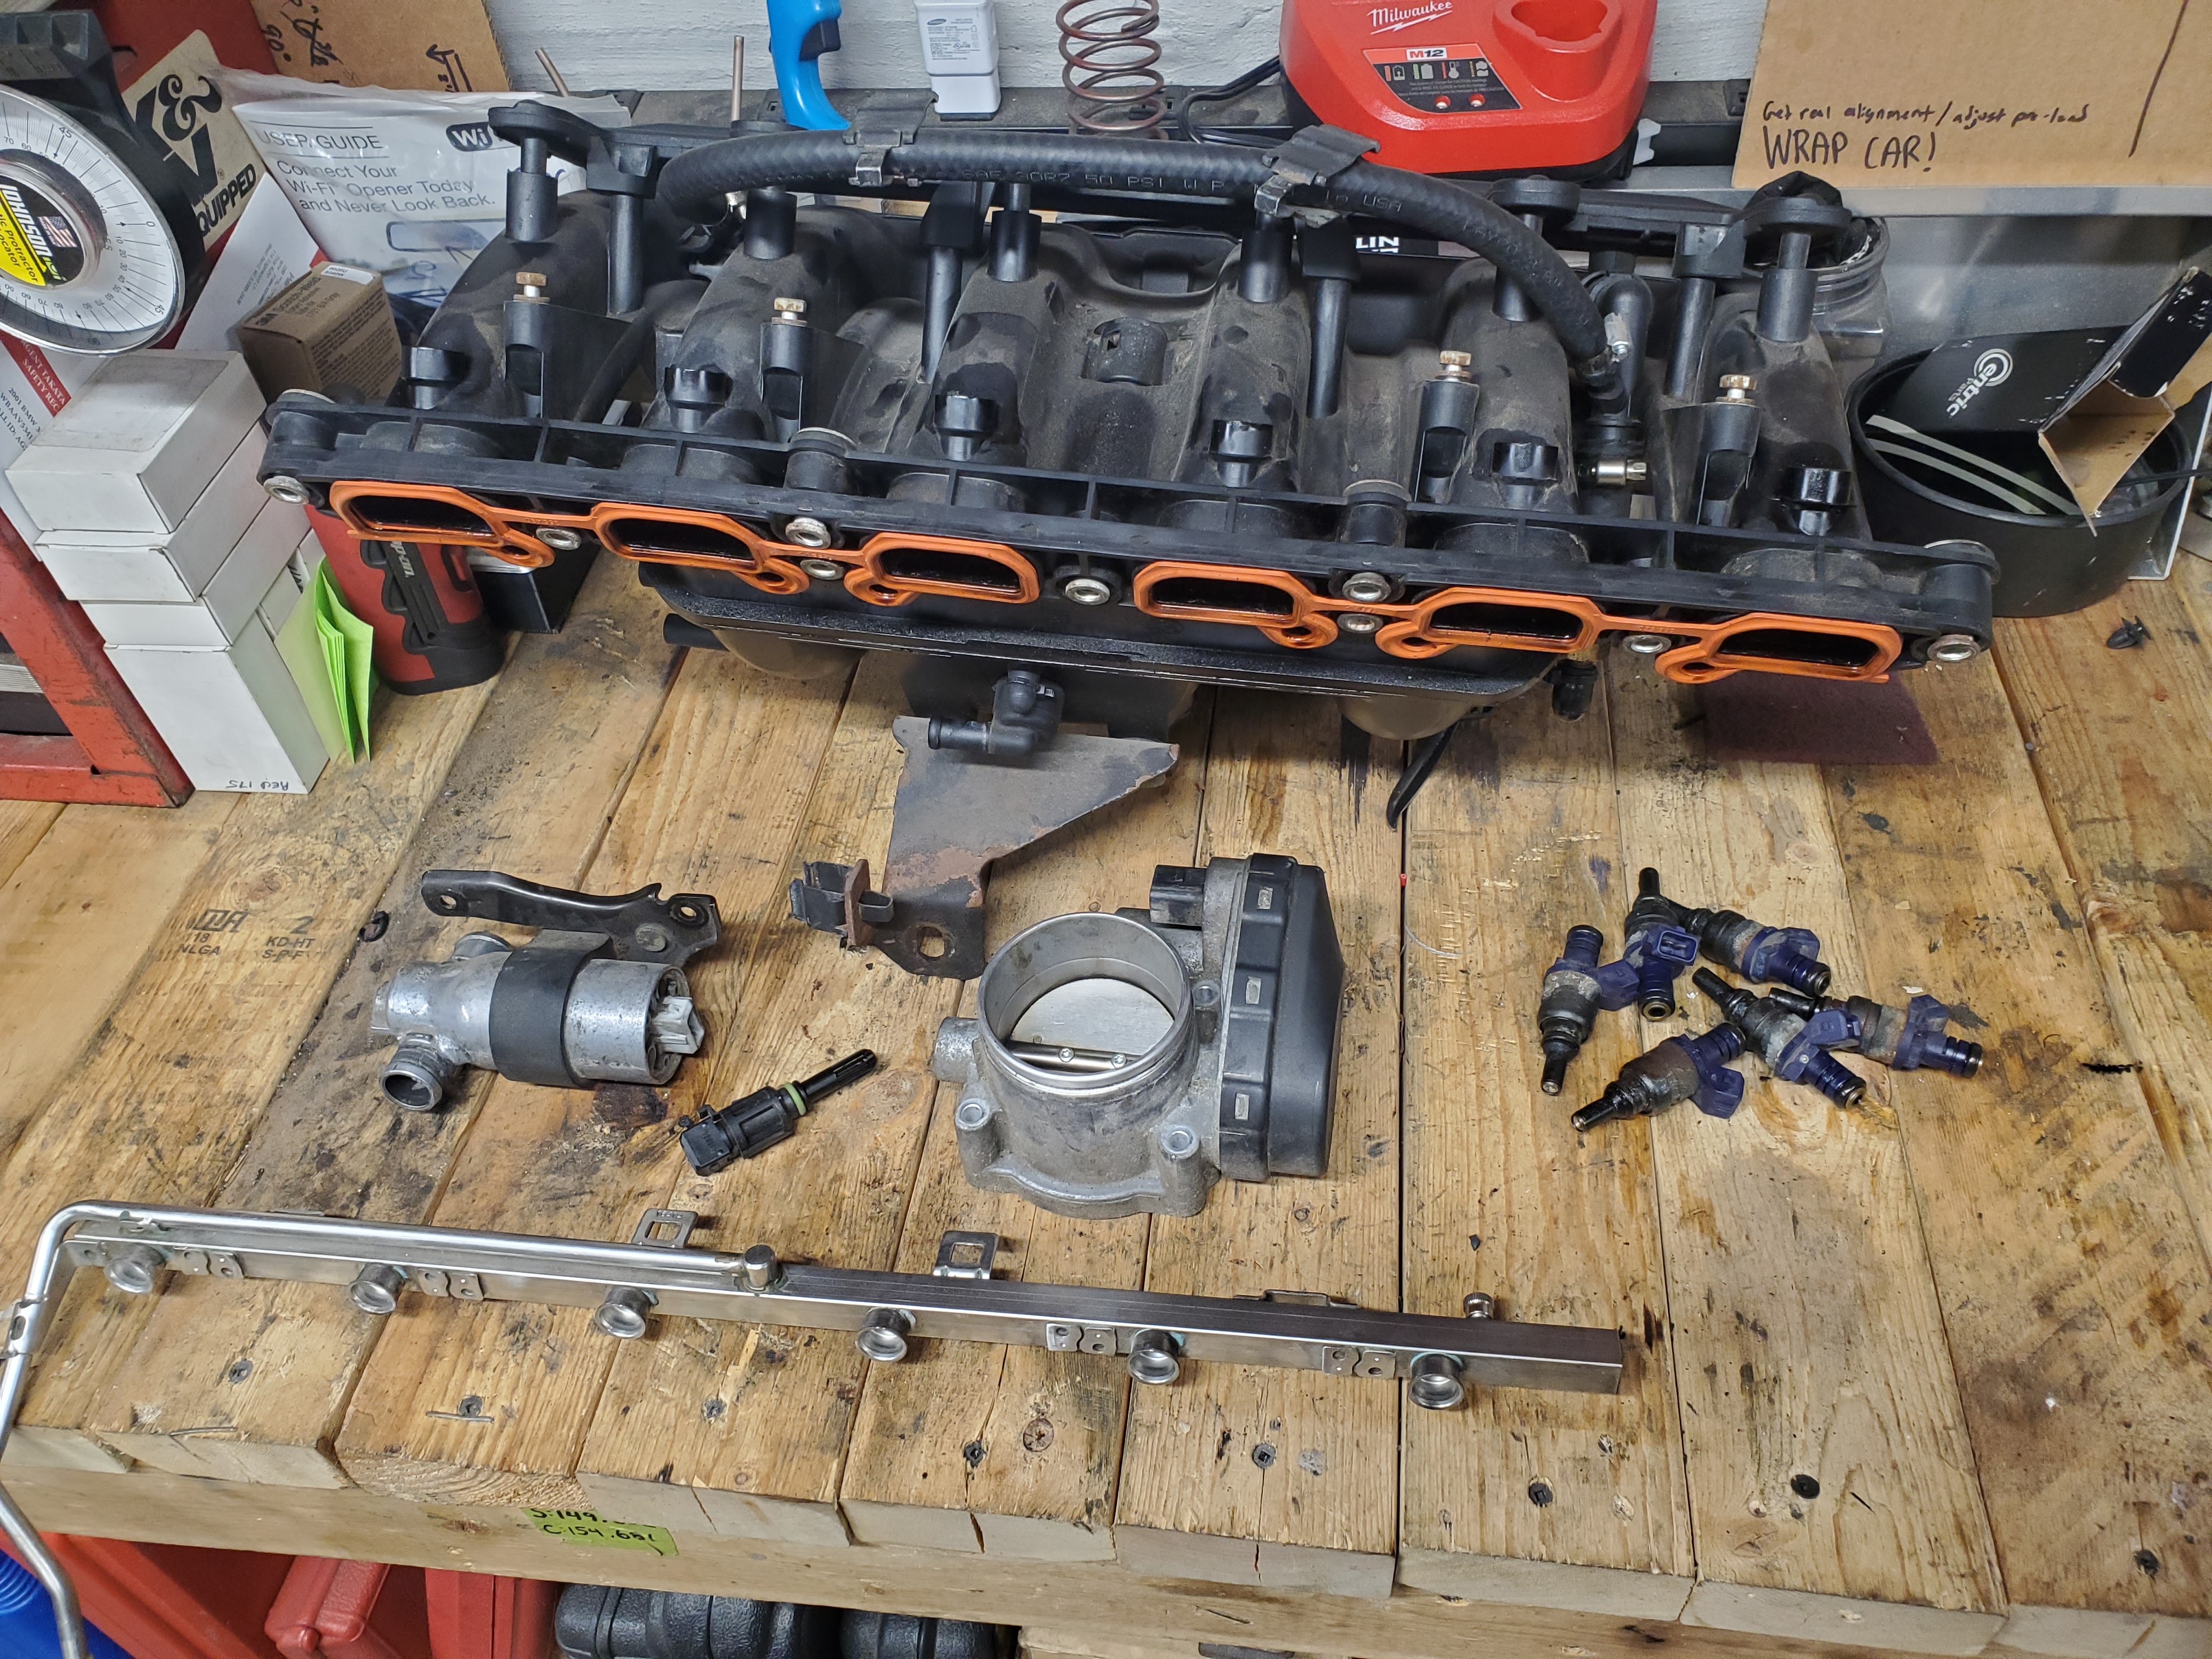
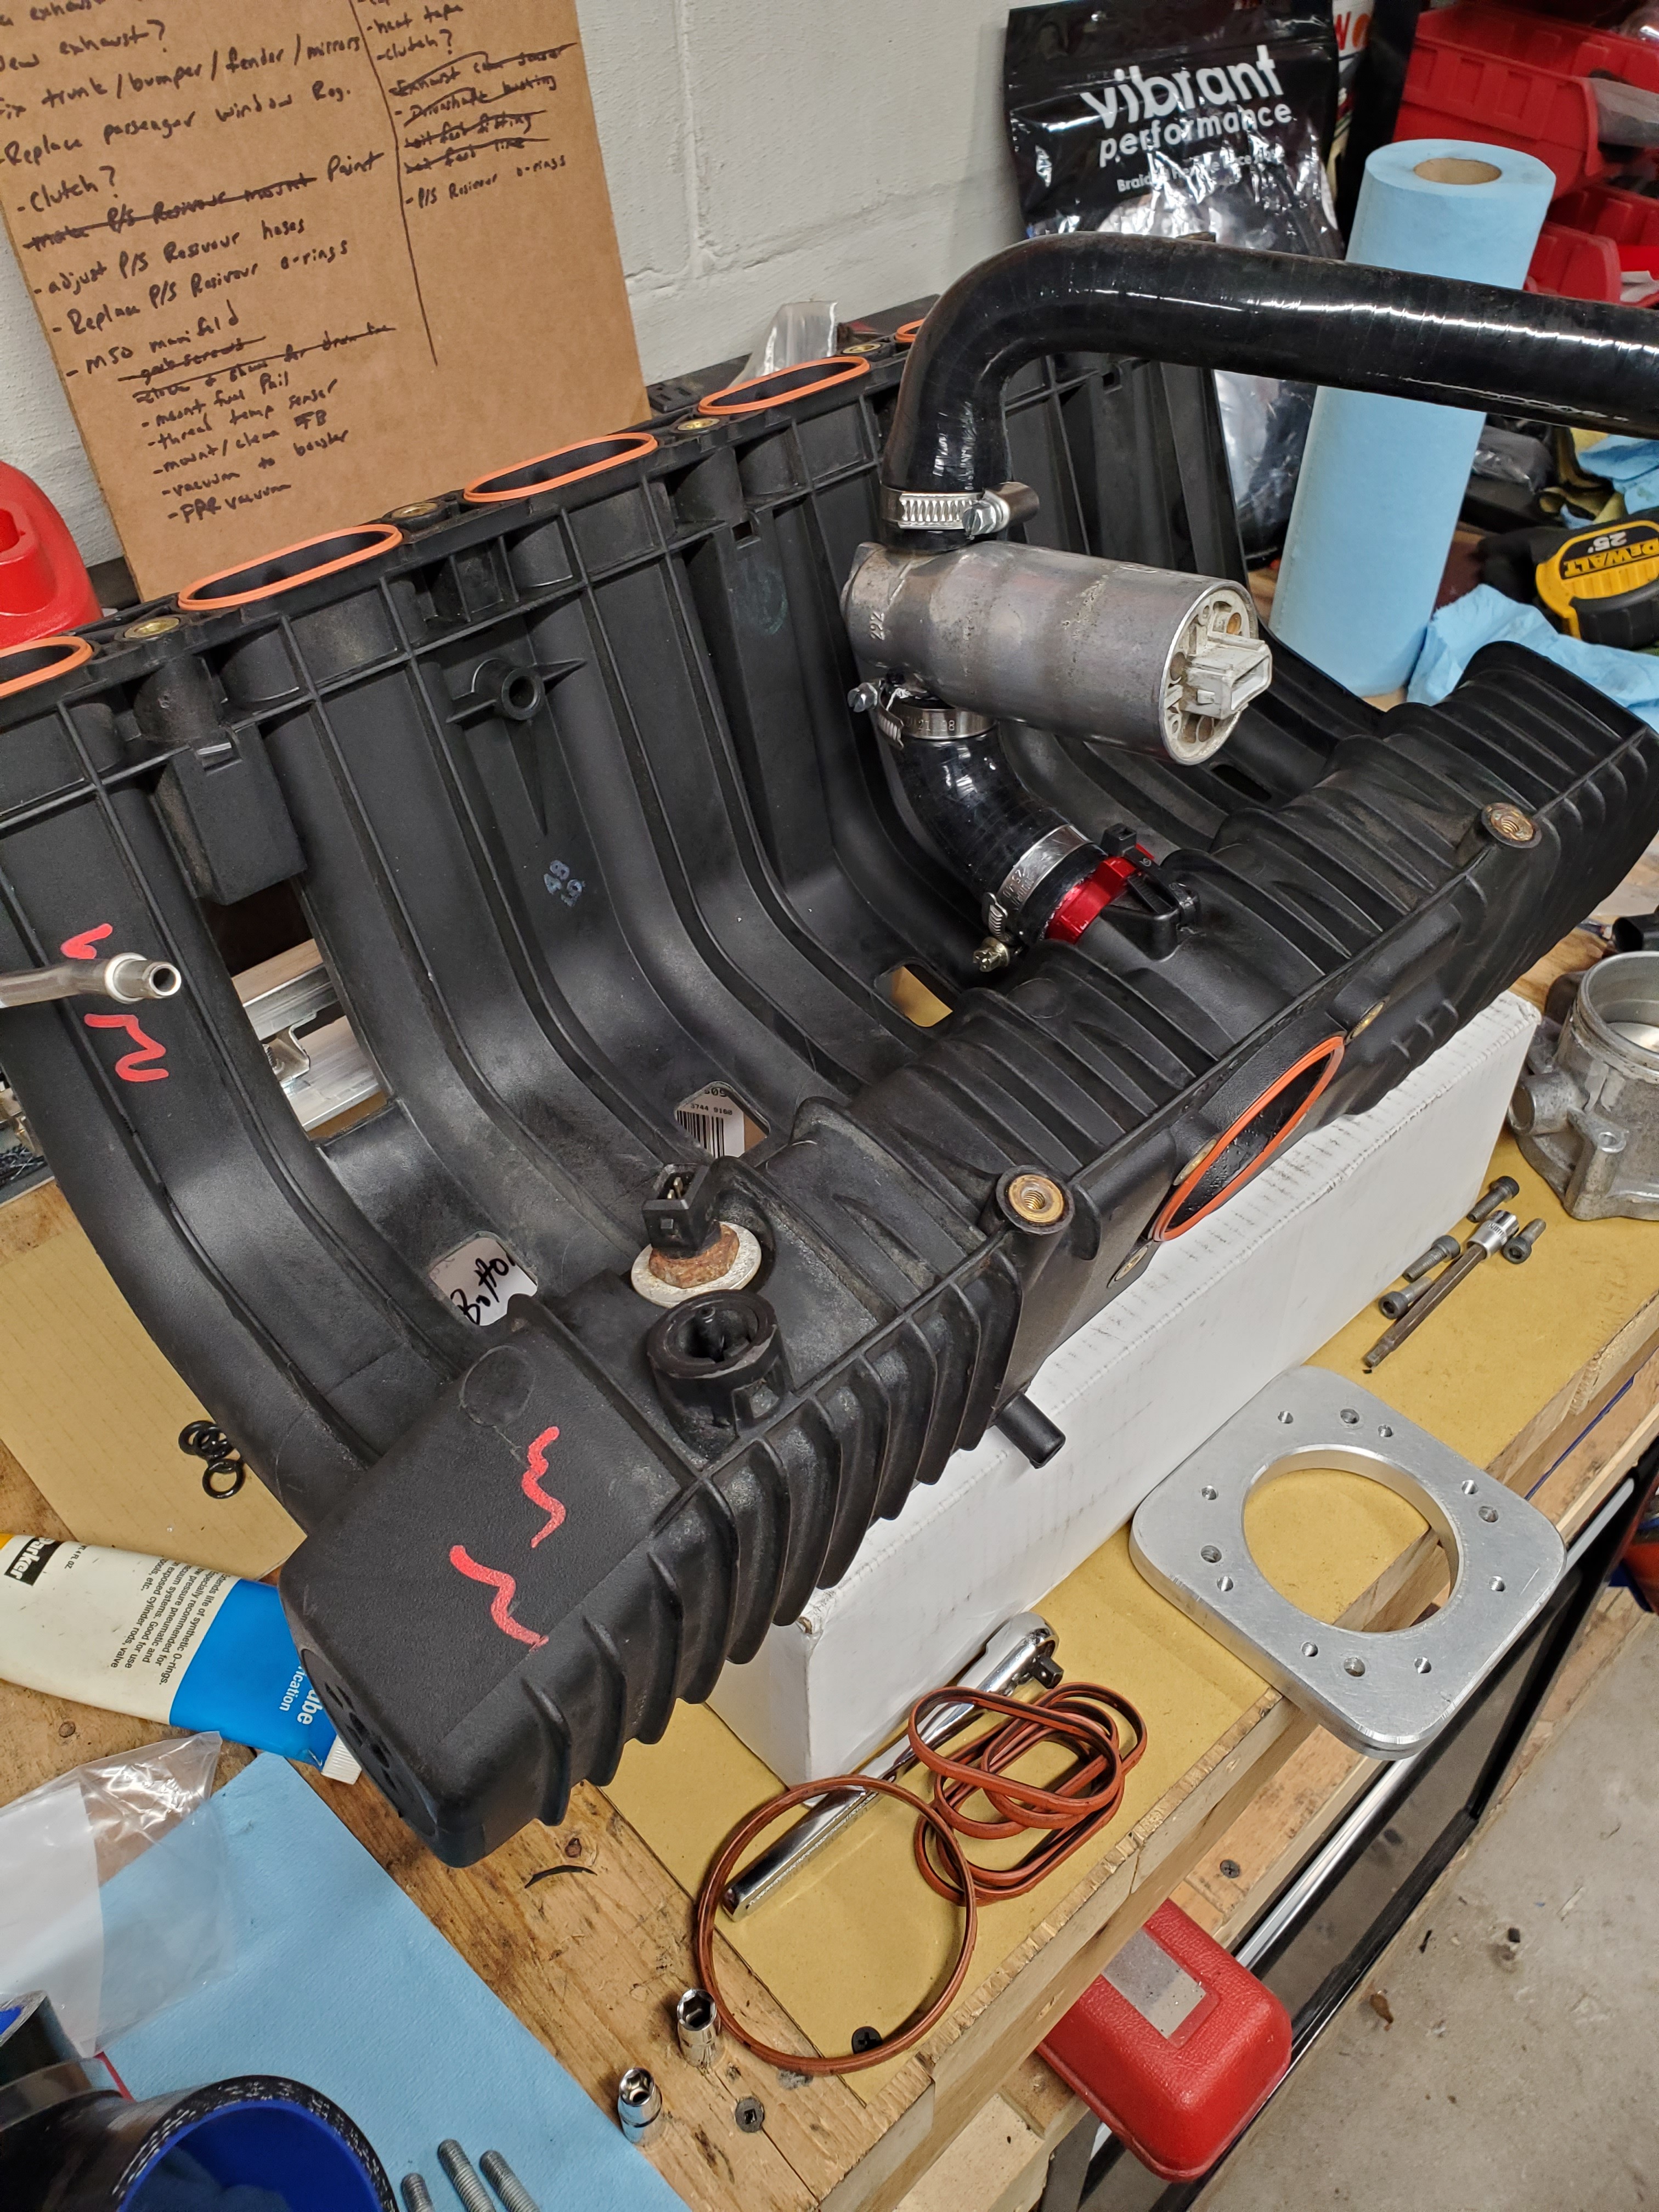
I broke down my M54 manifold as well. Removed the fuel rail, iacv, throttle body and the IAT sensor.
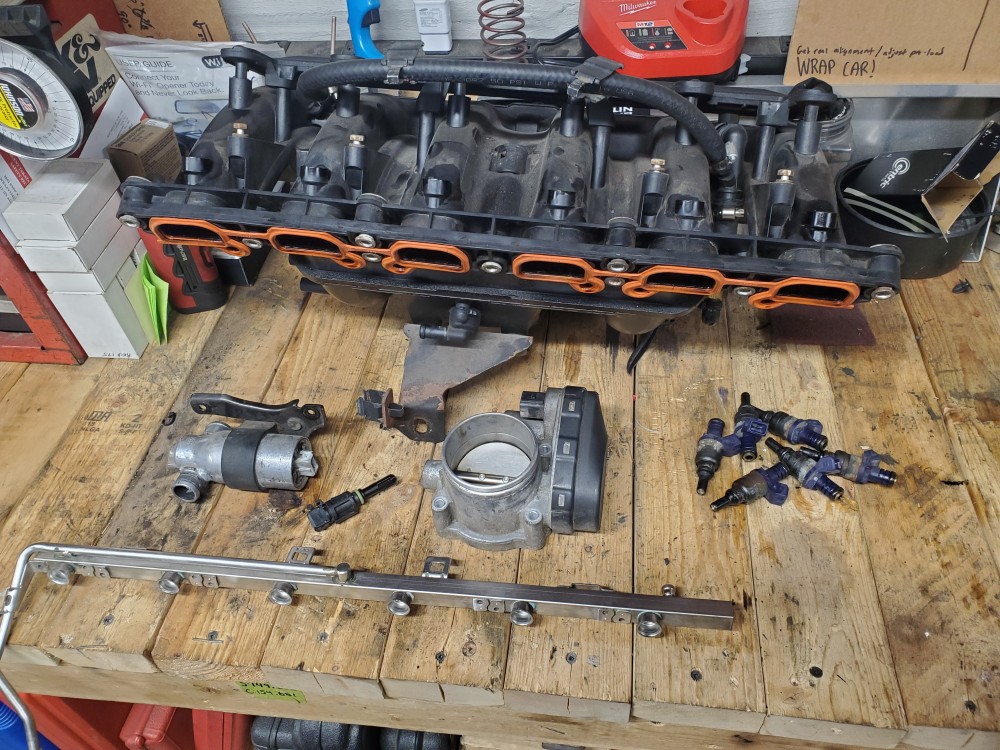
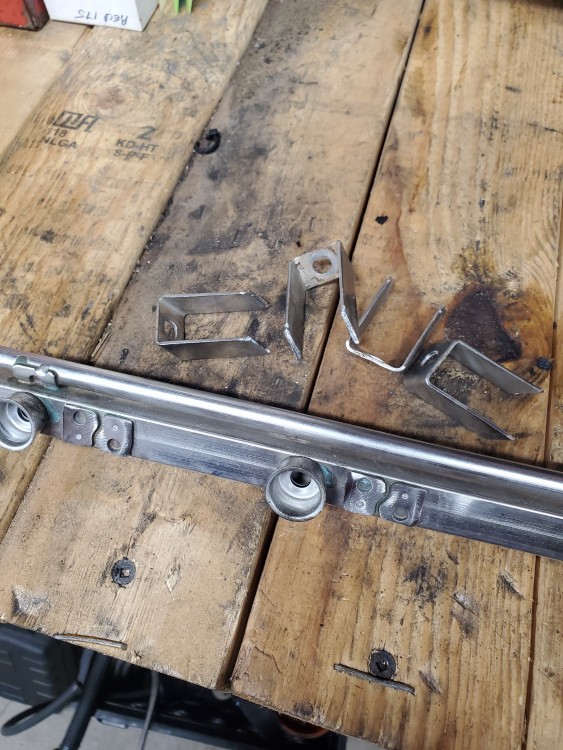
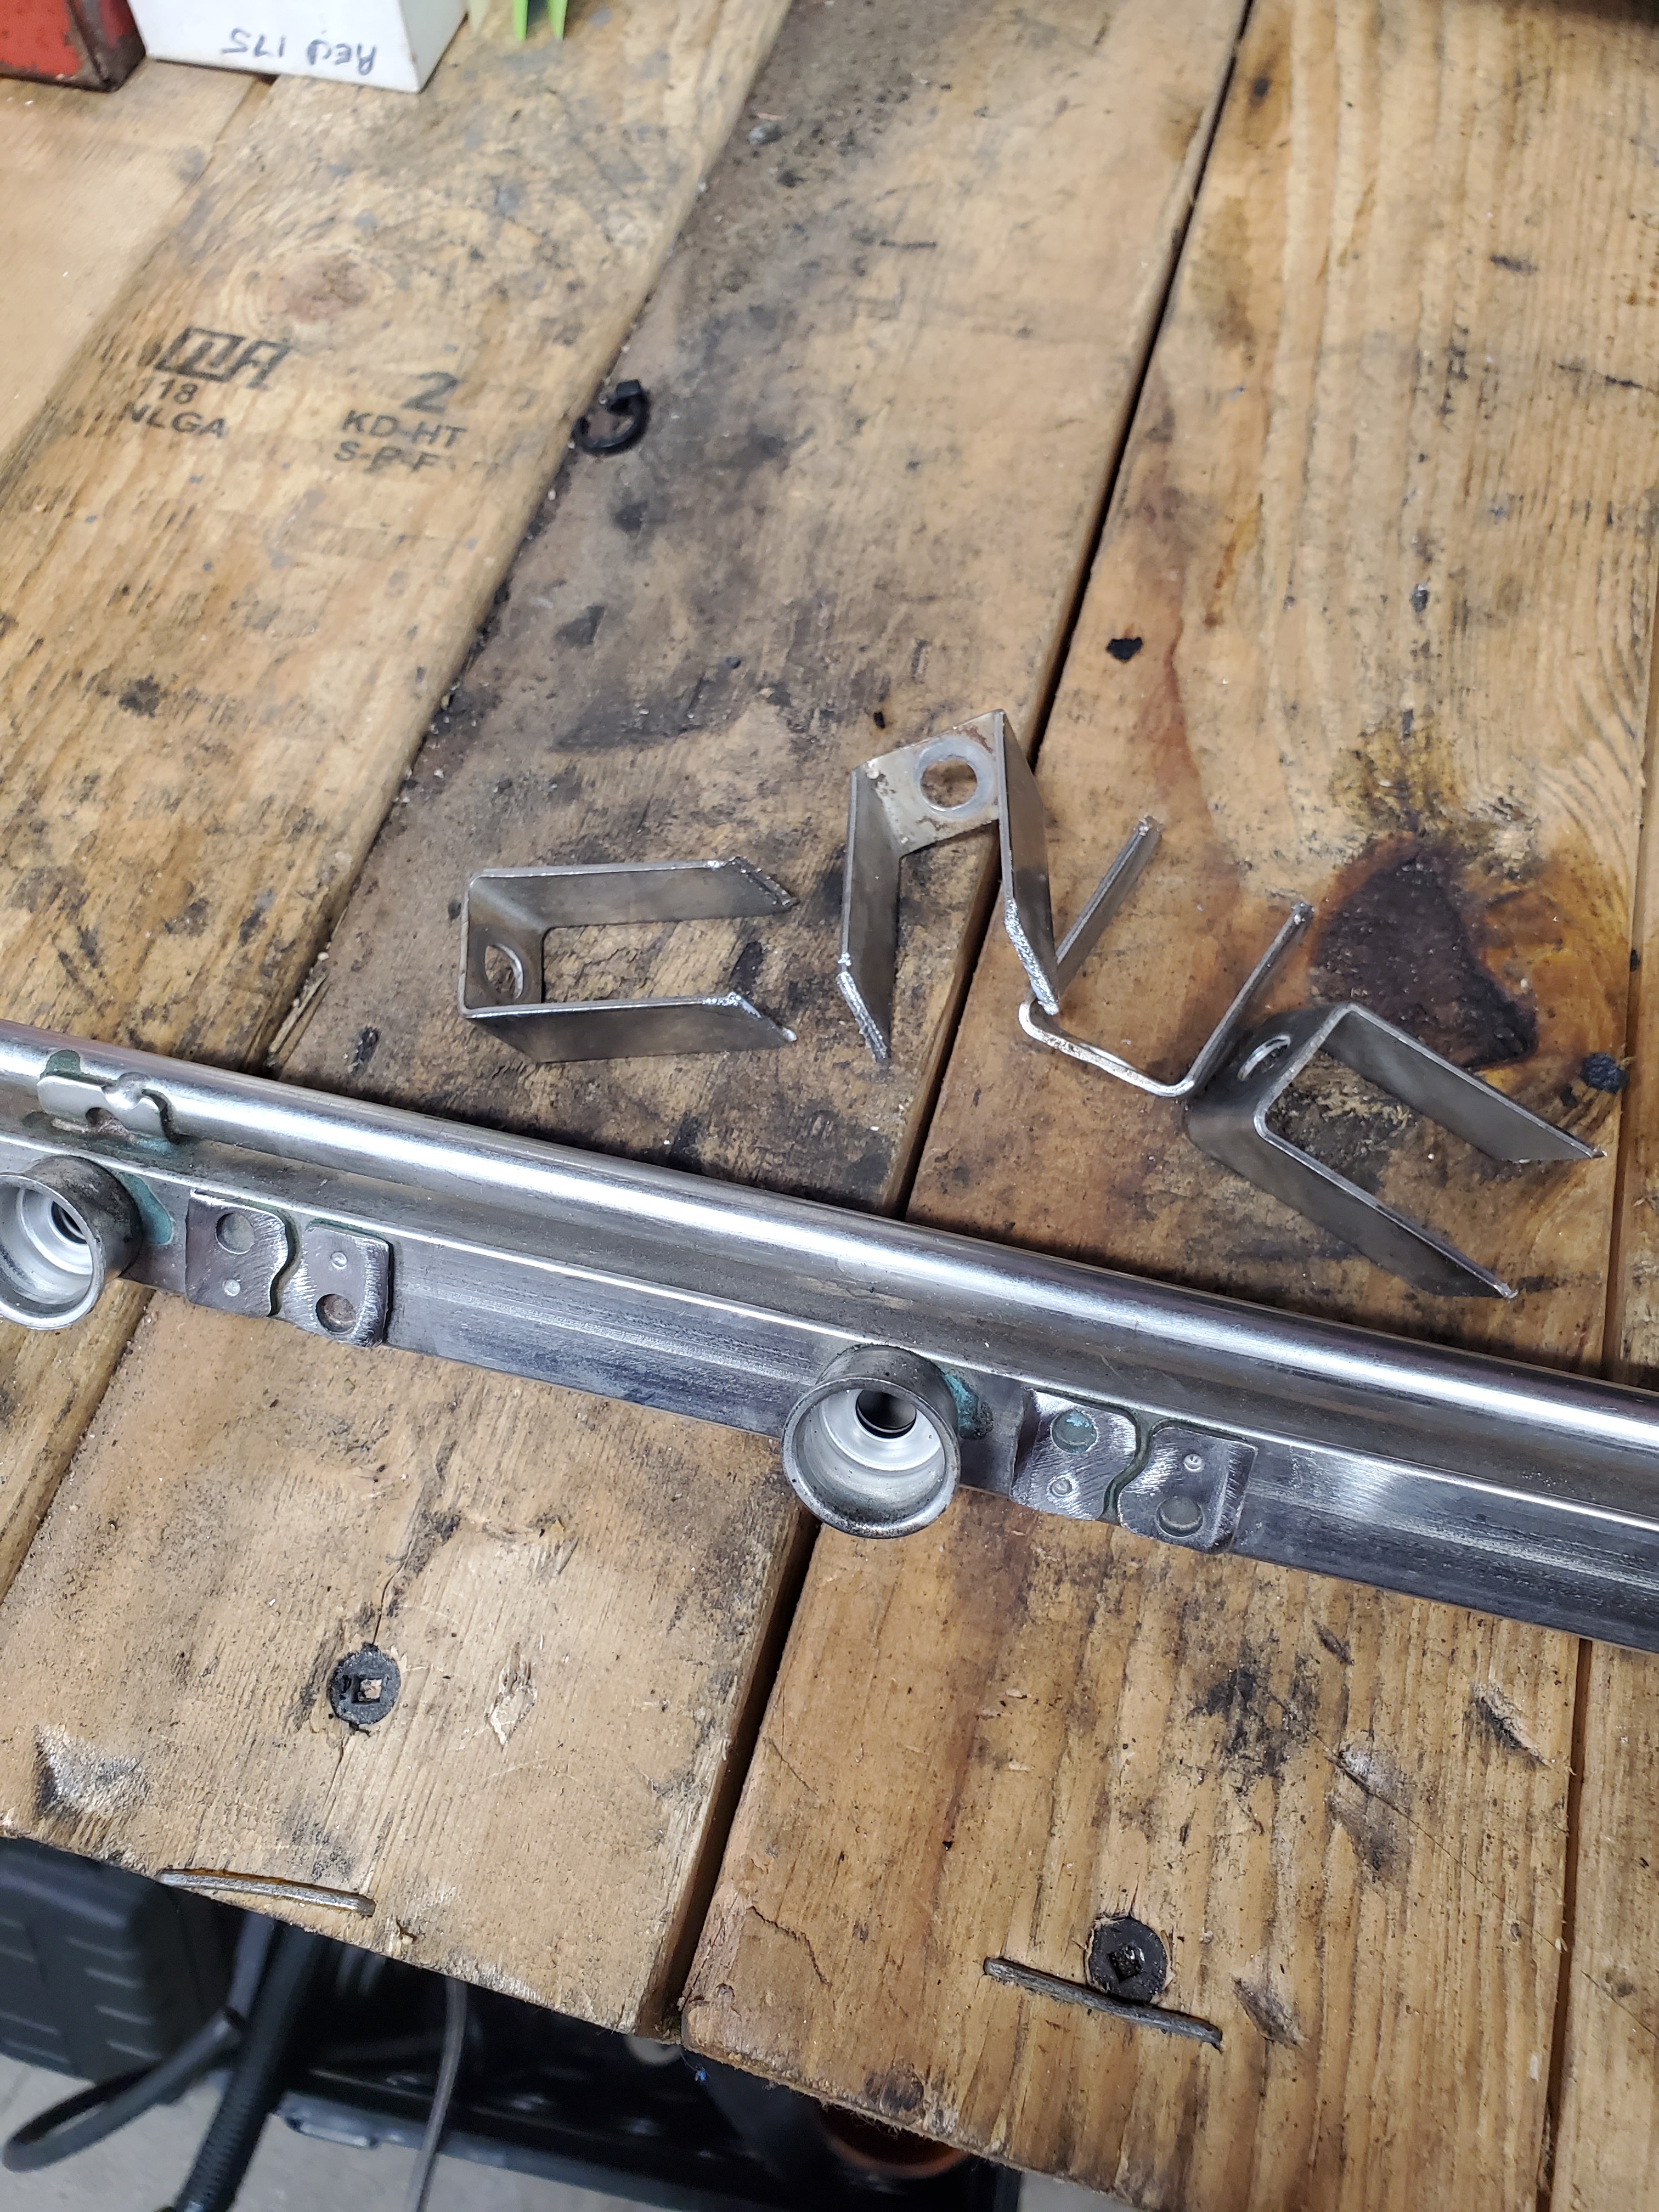
Then I started the modifications to the fuel rail that I know need to be made to use the factory M54b30 fuel rail on the M50 manifold, which is cutting off the mounting tabs.
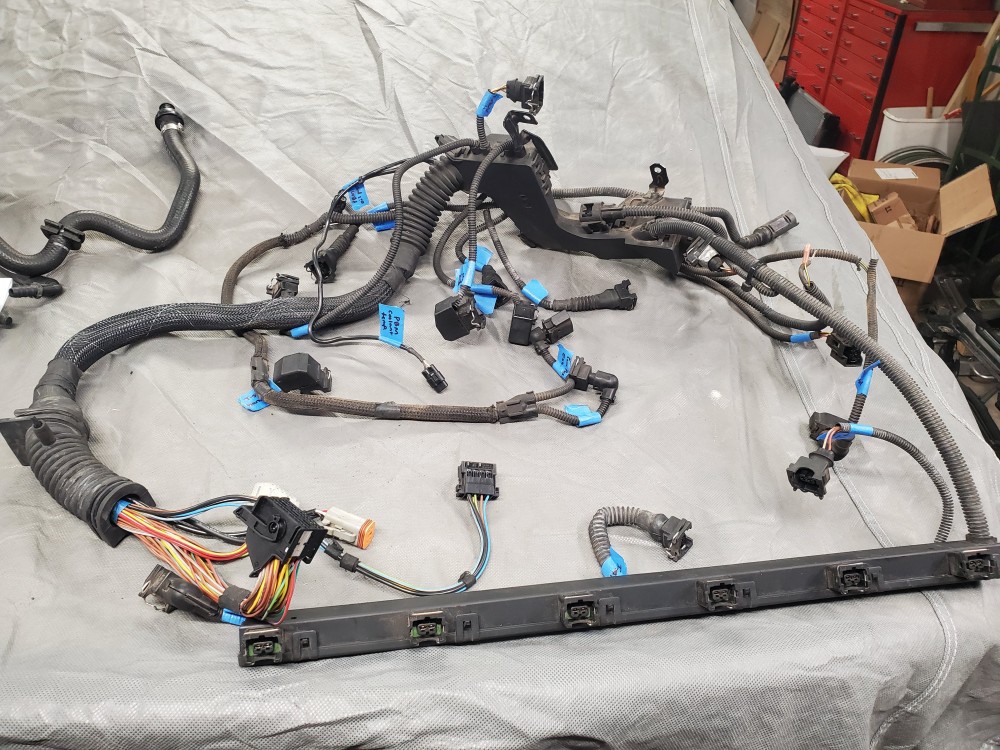
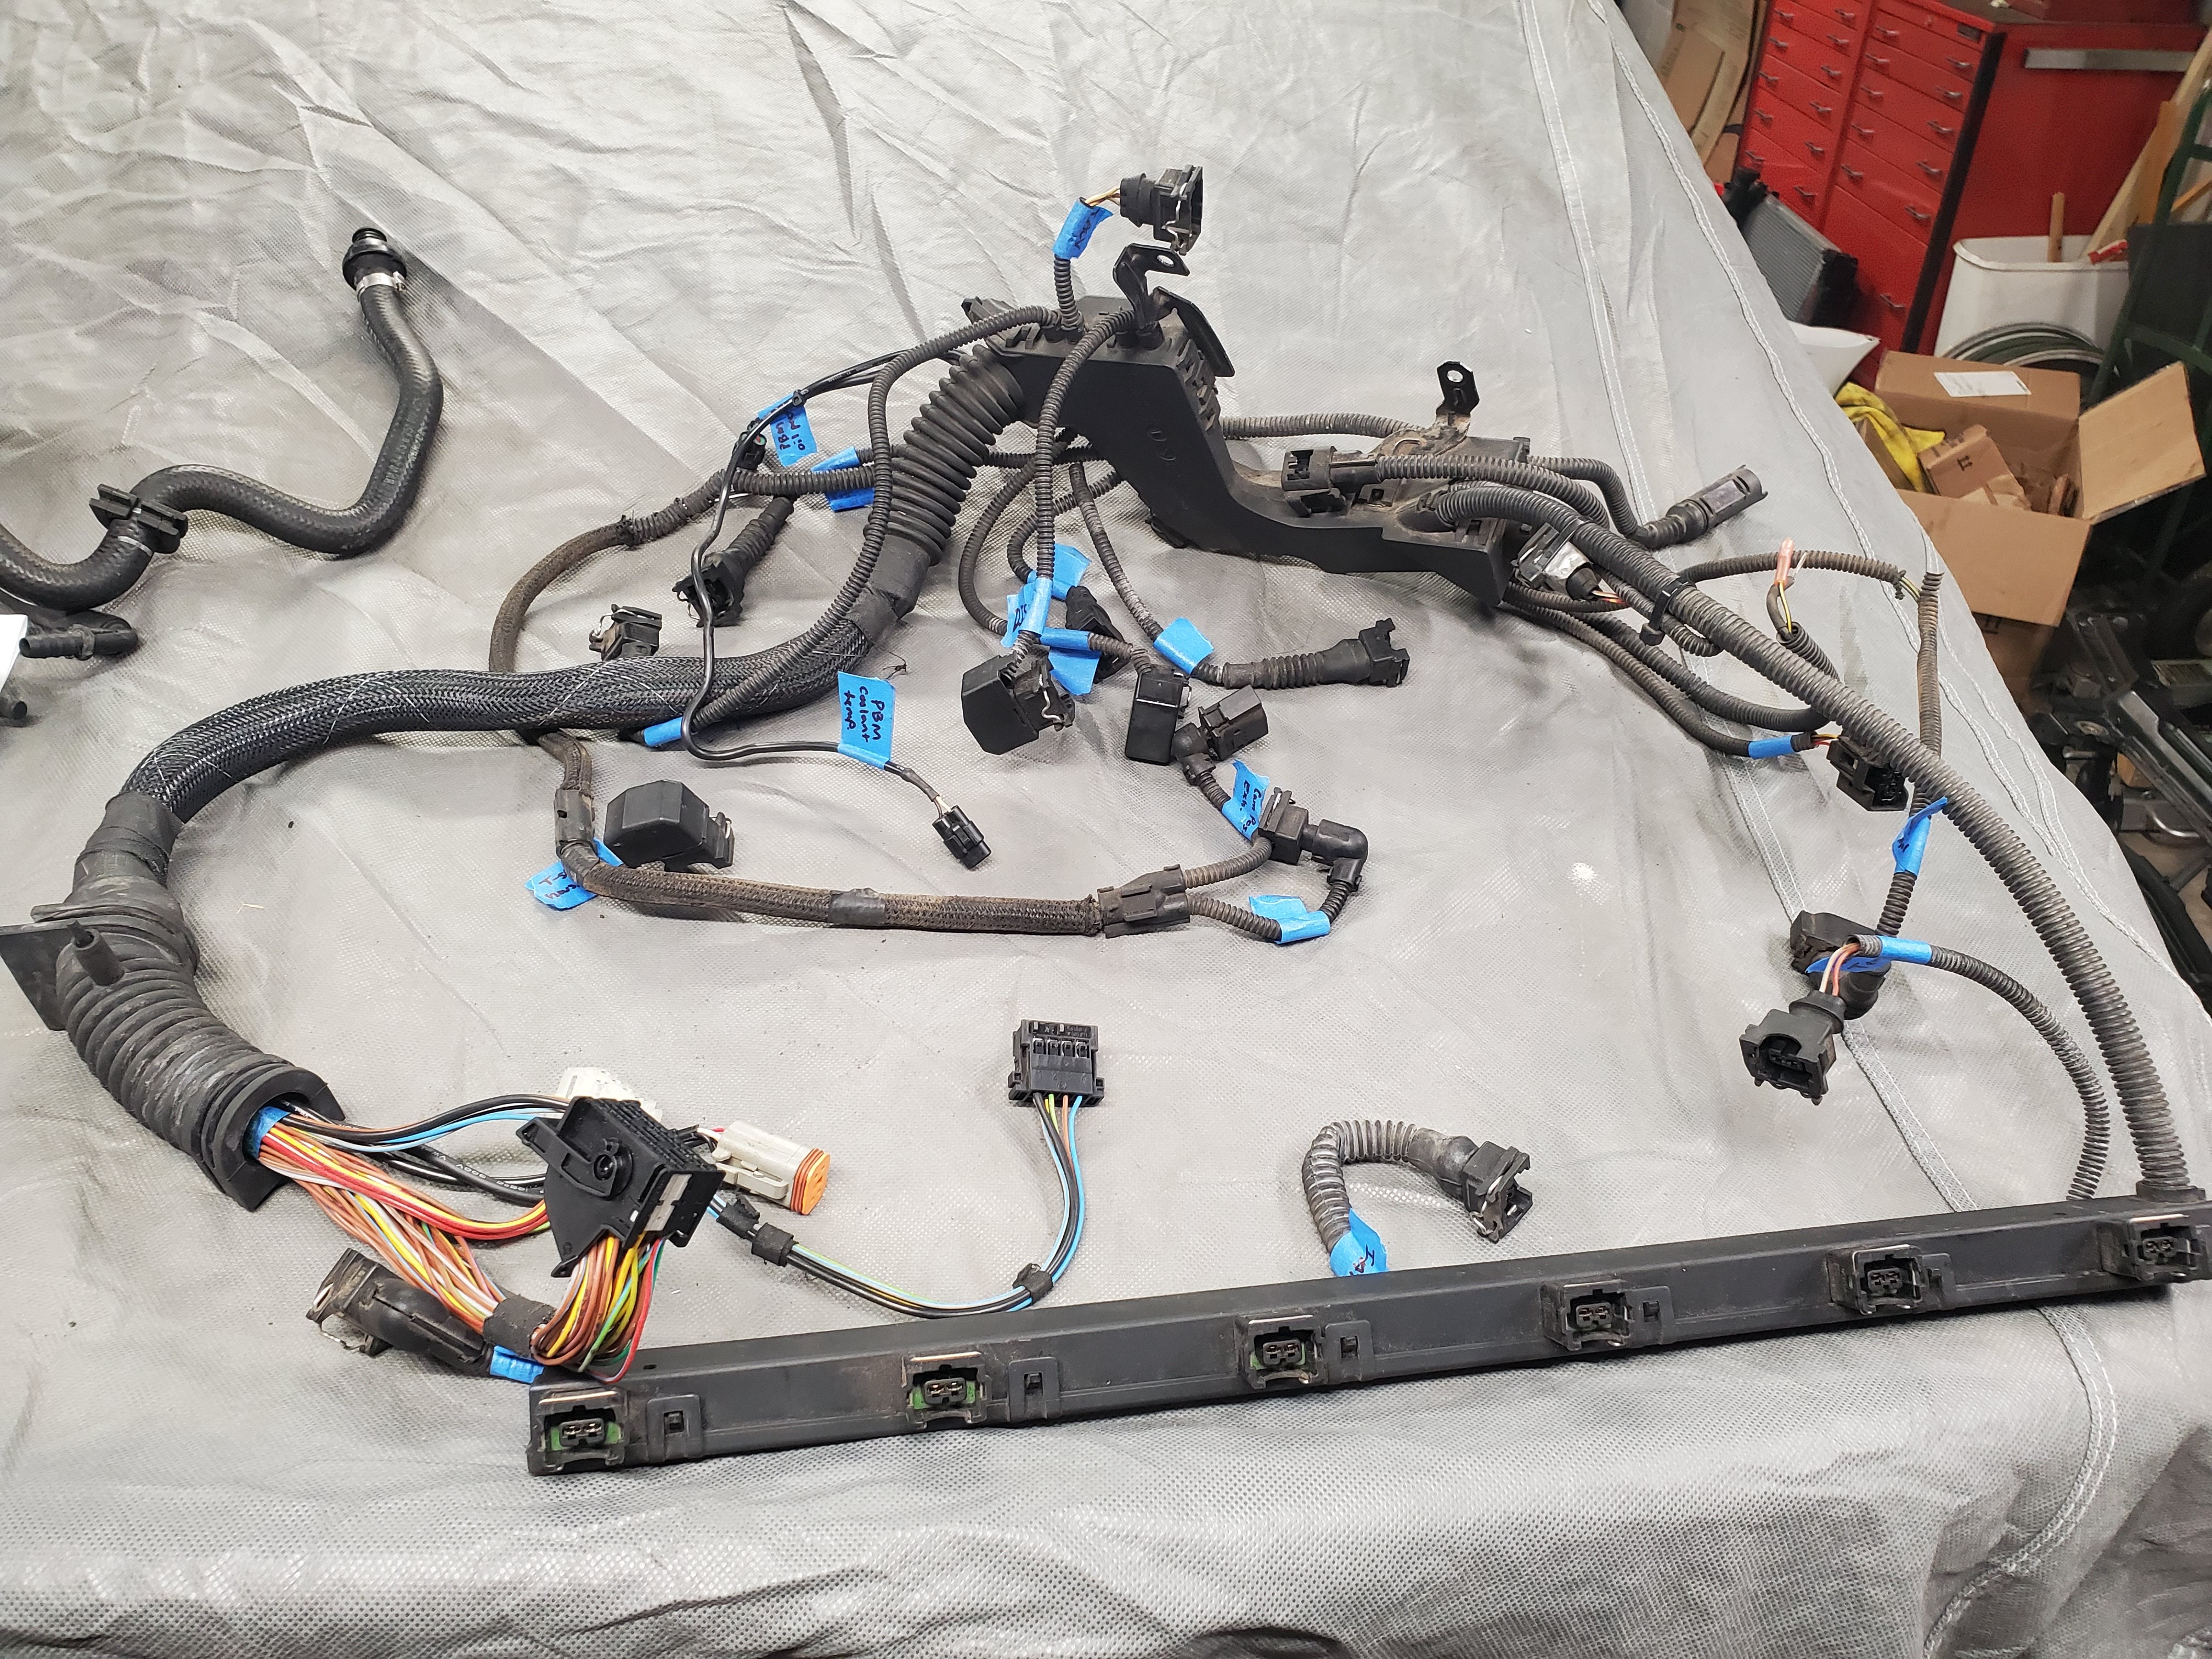
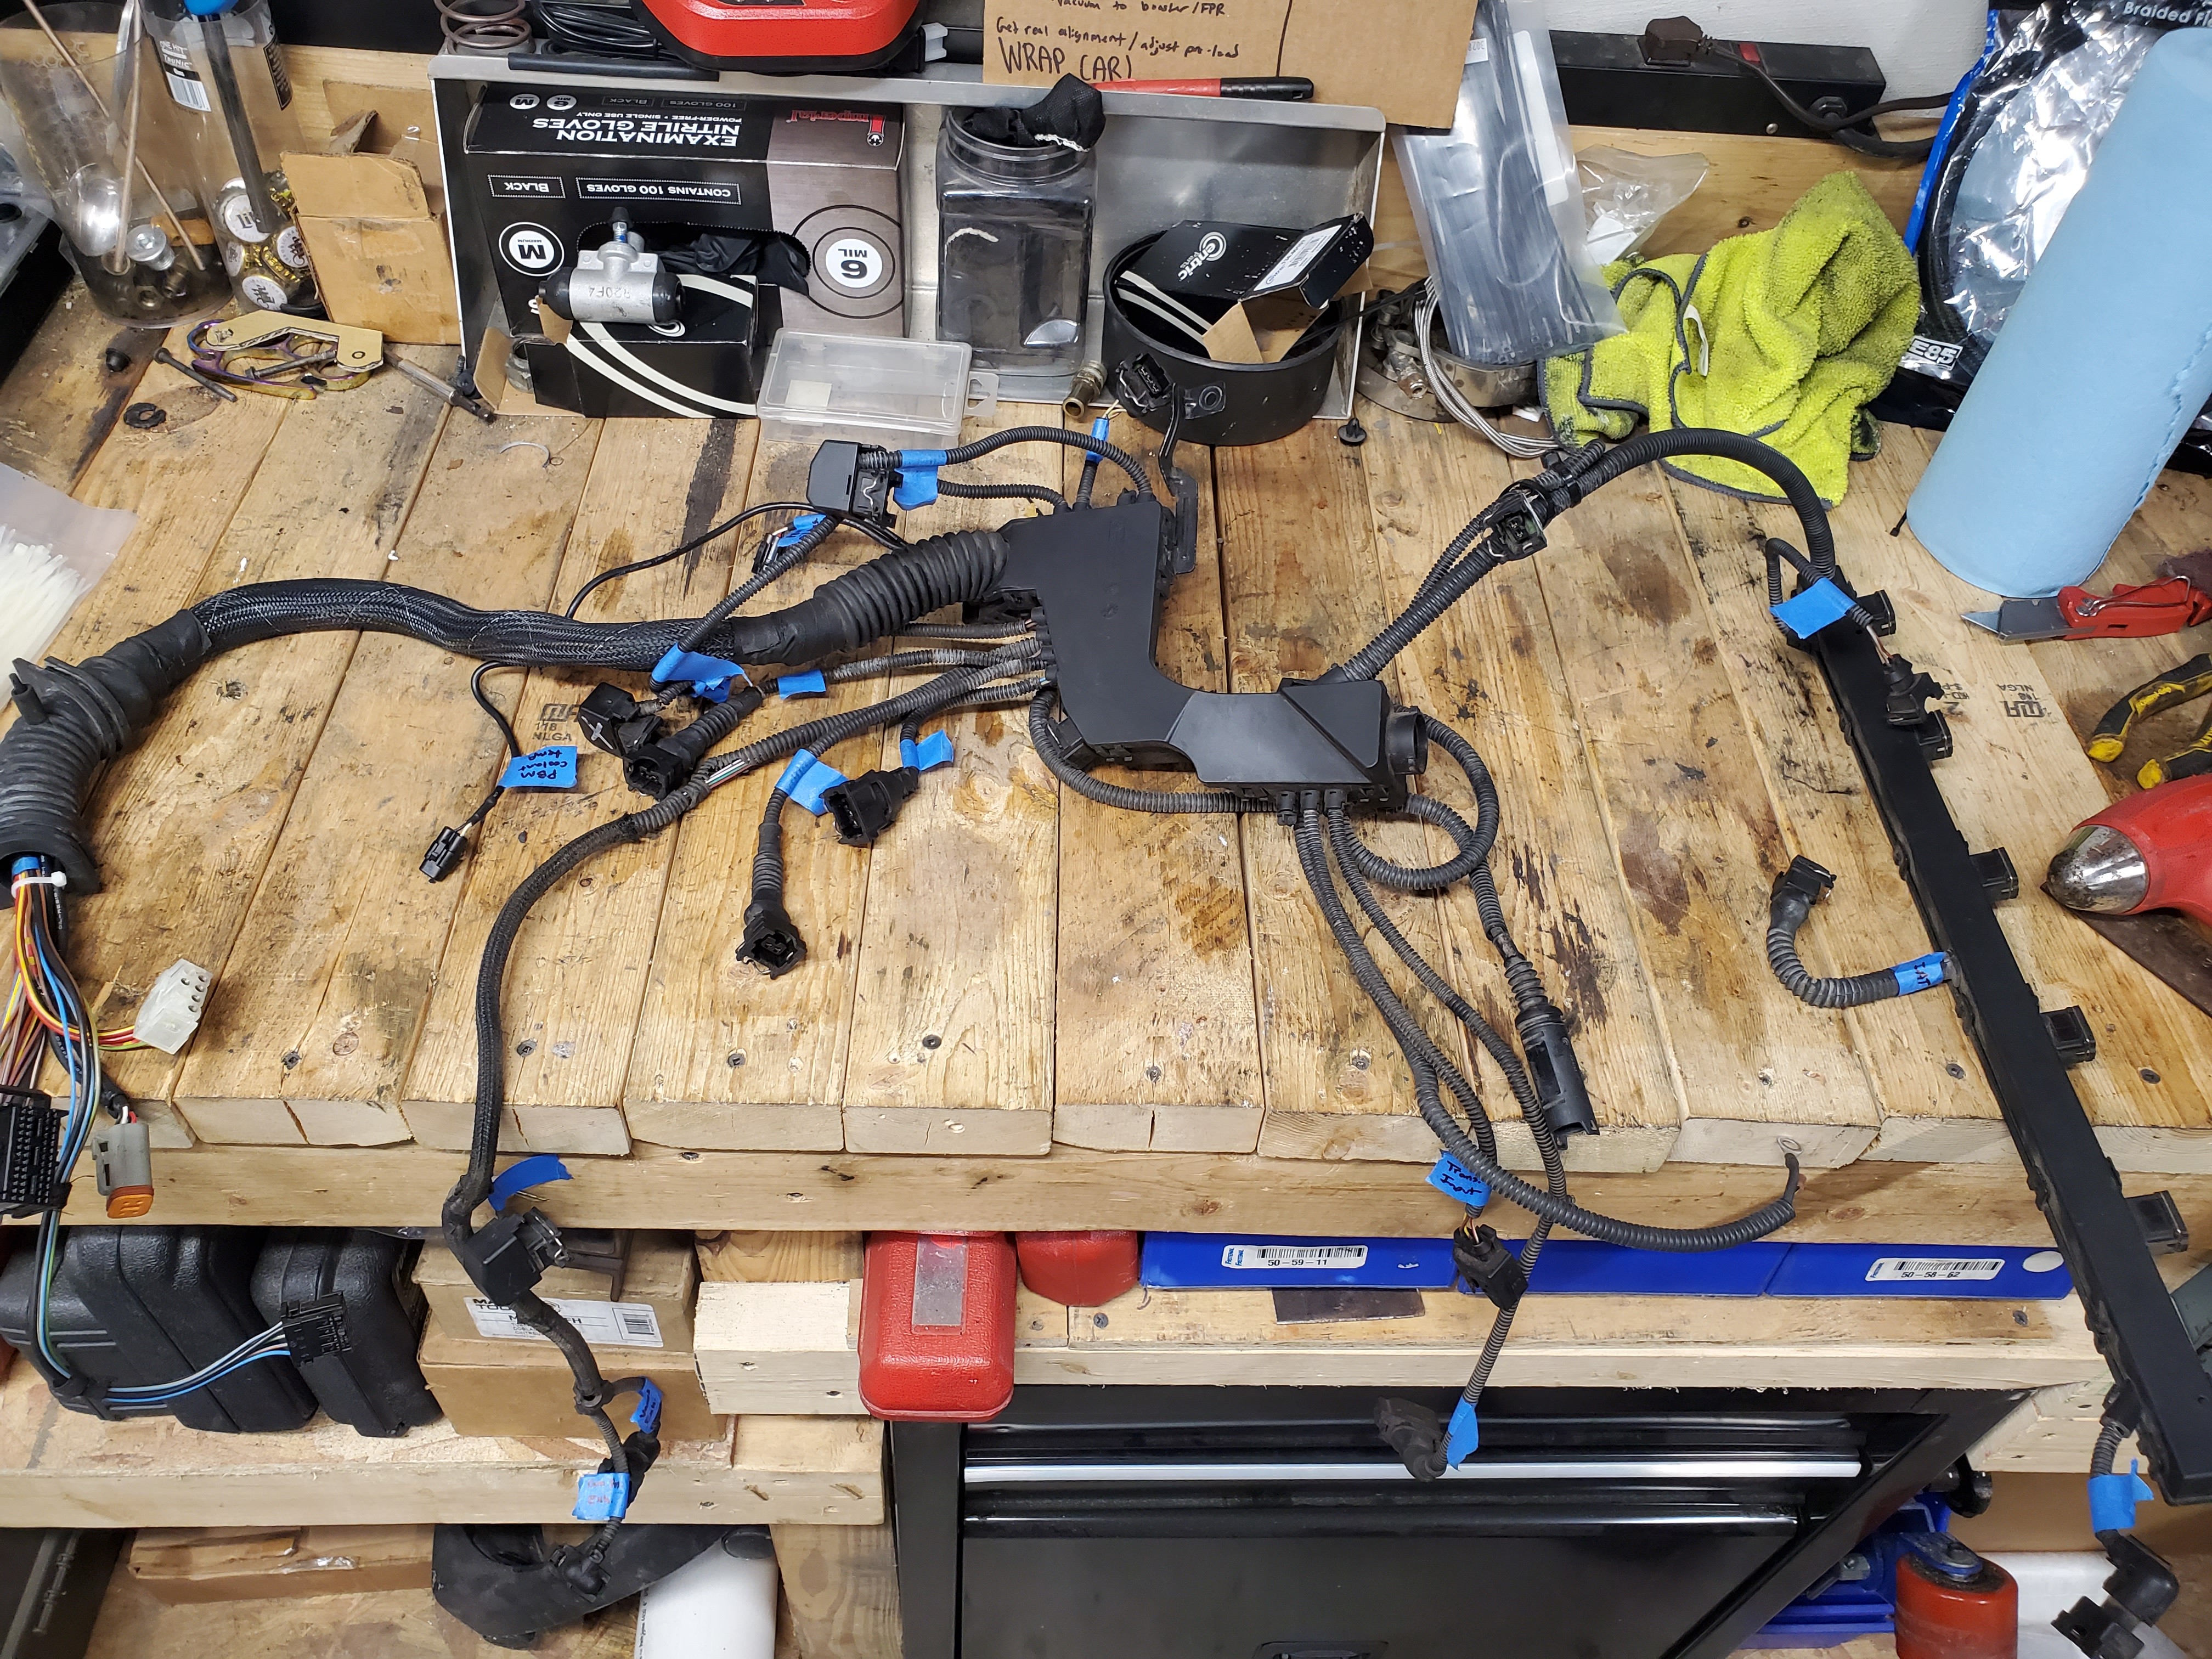
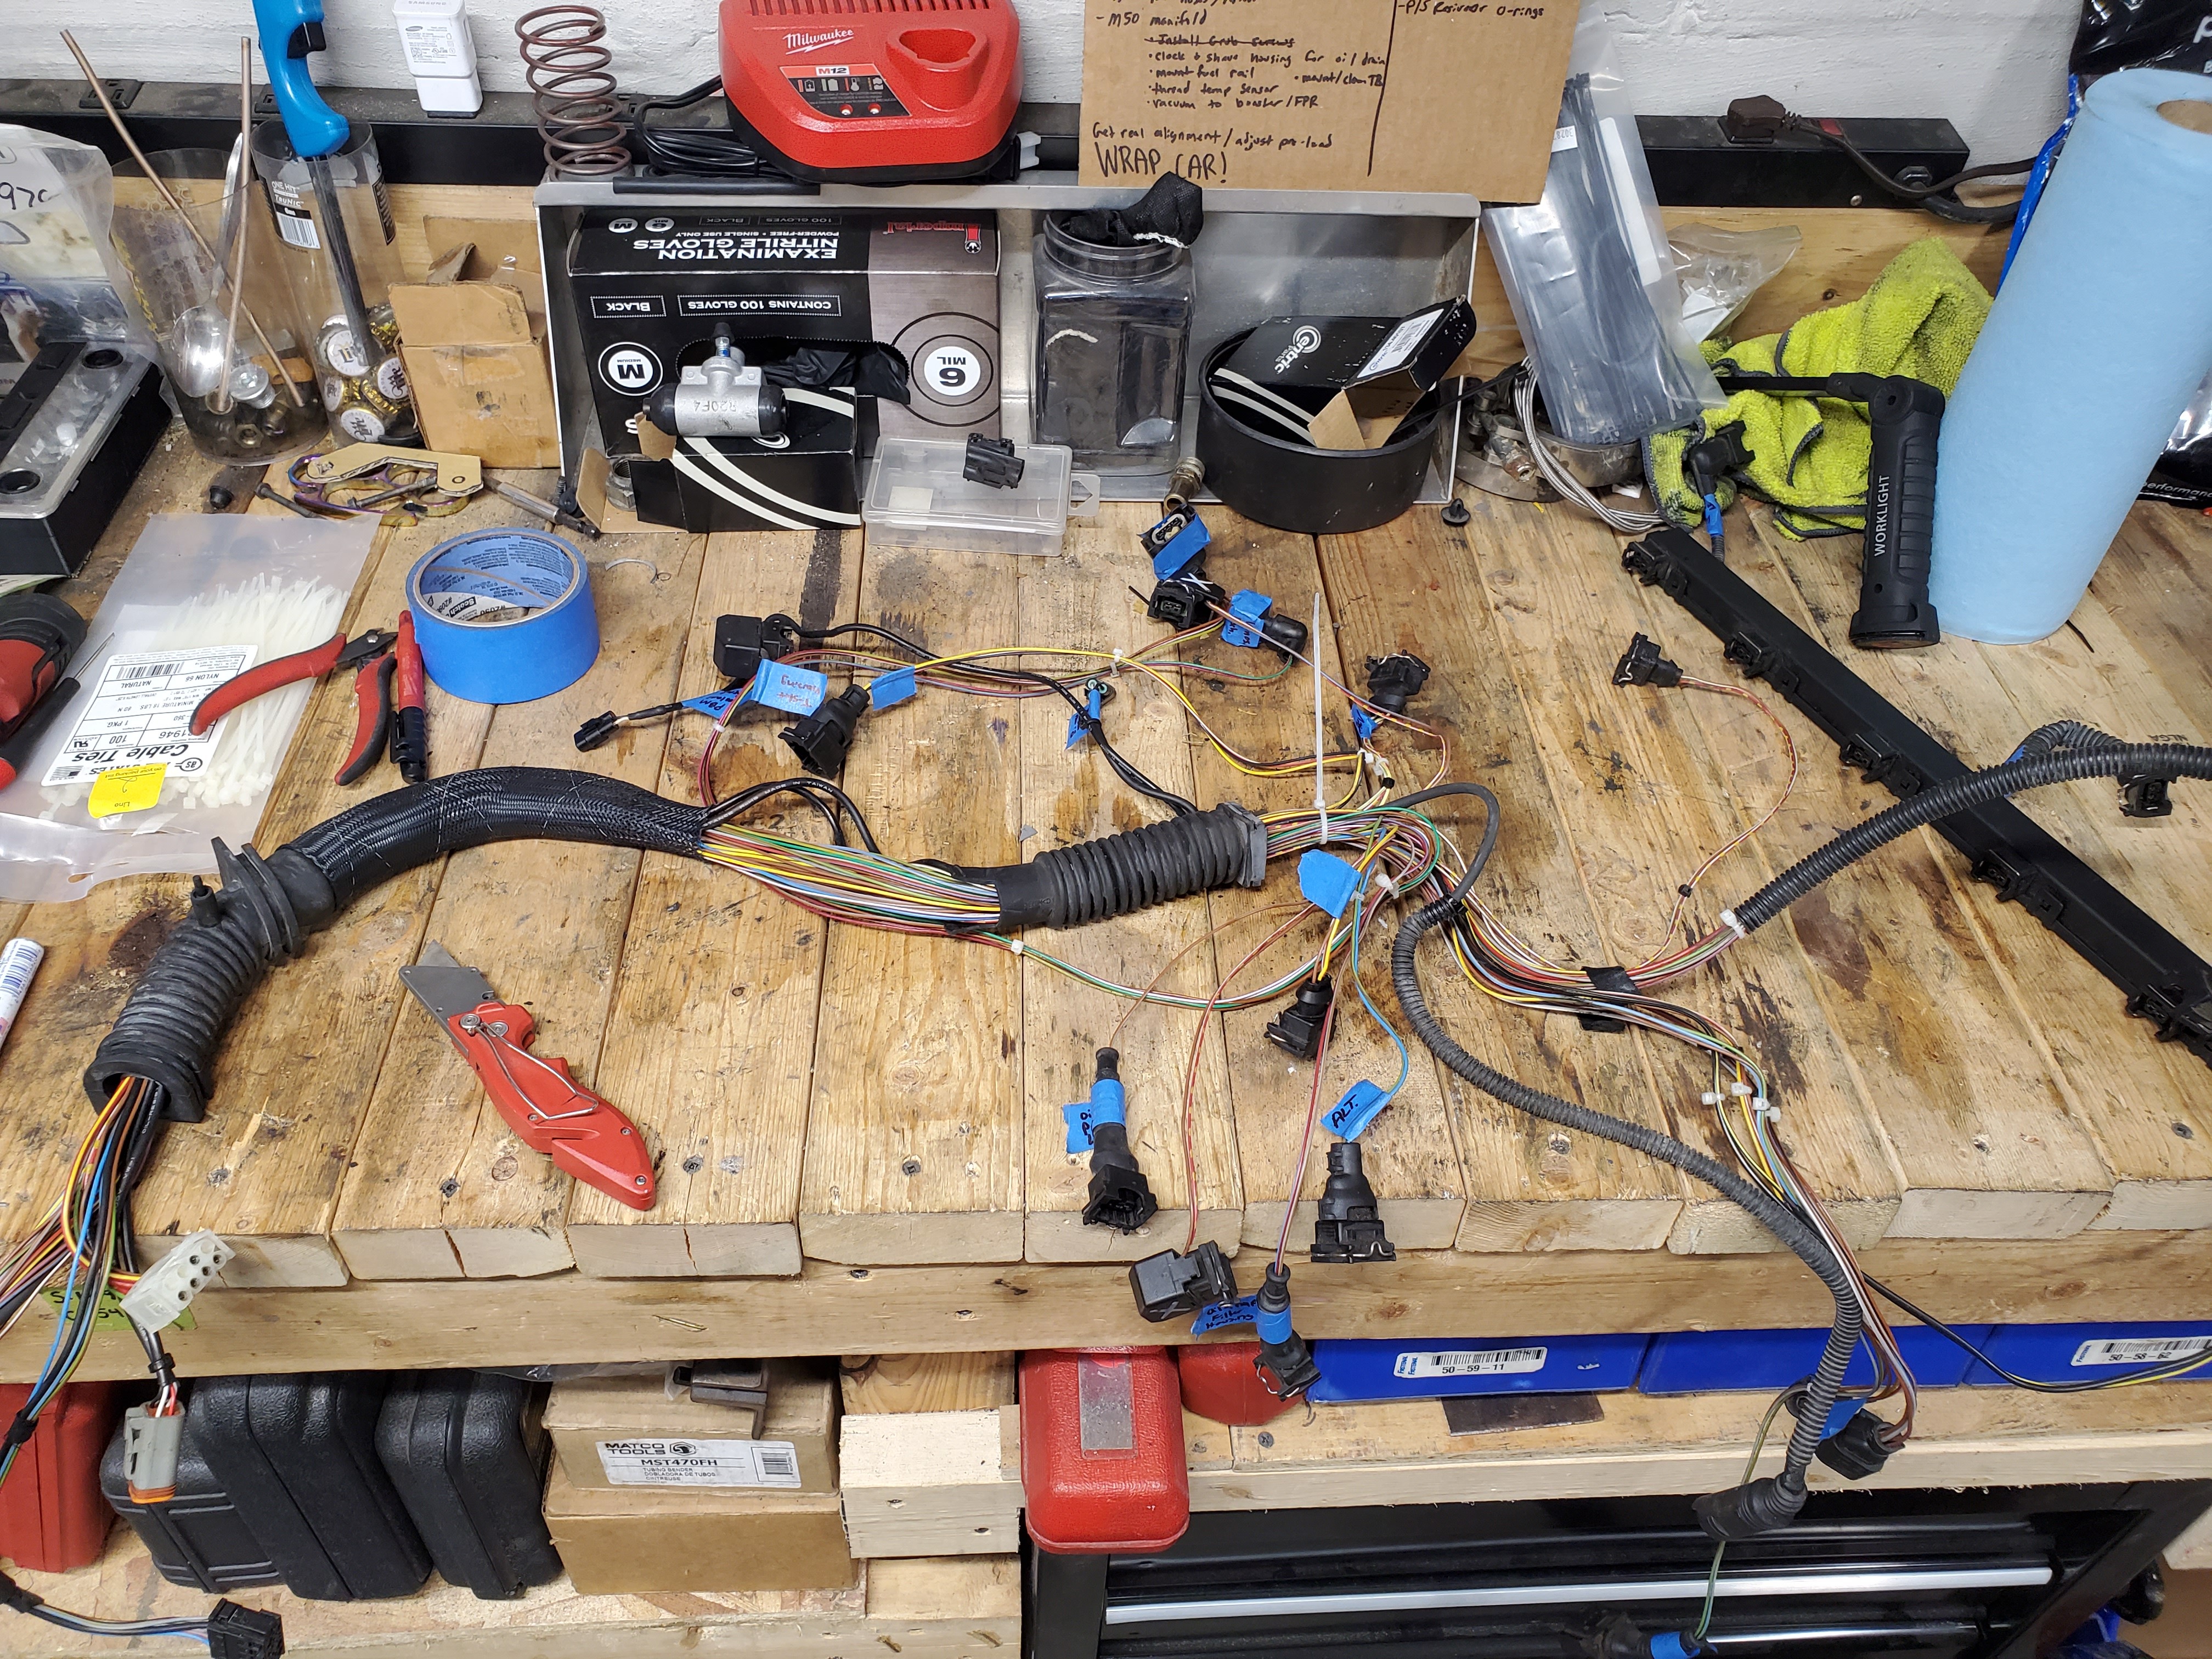
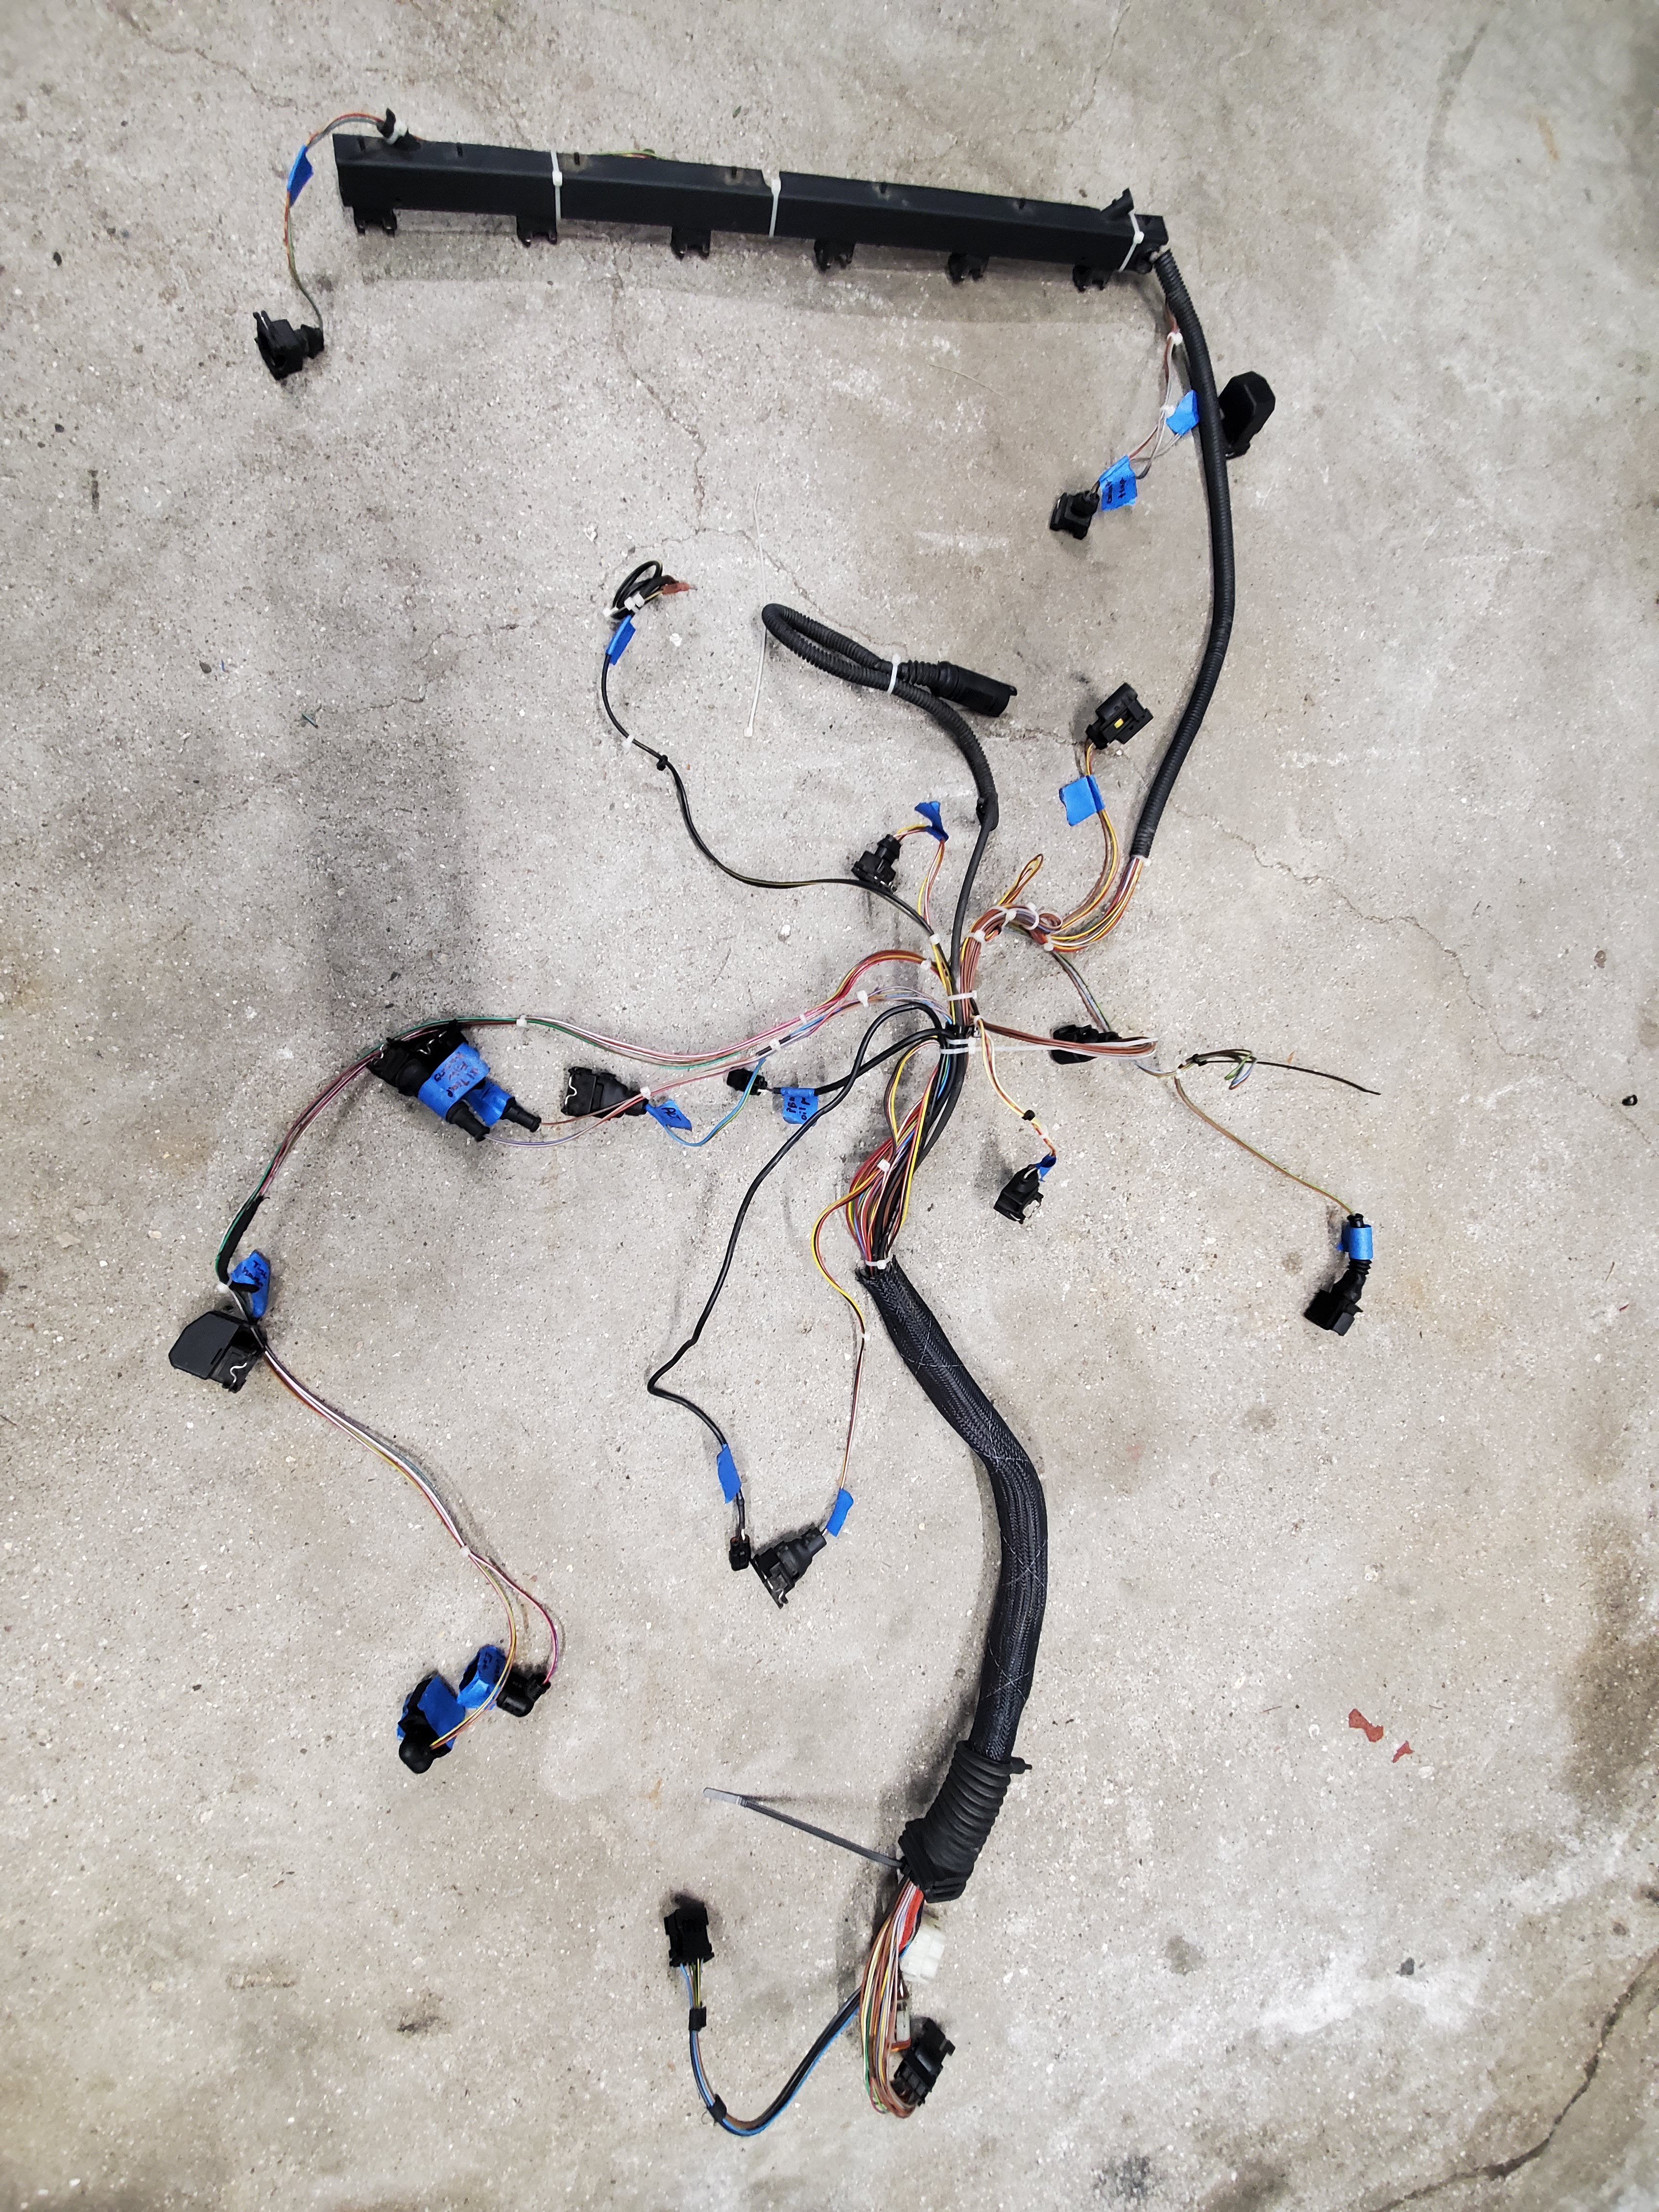
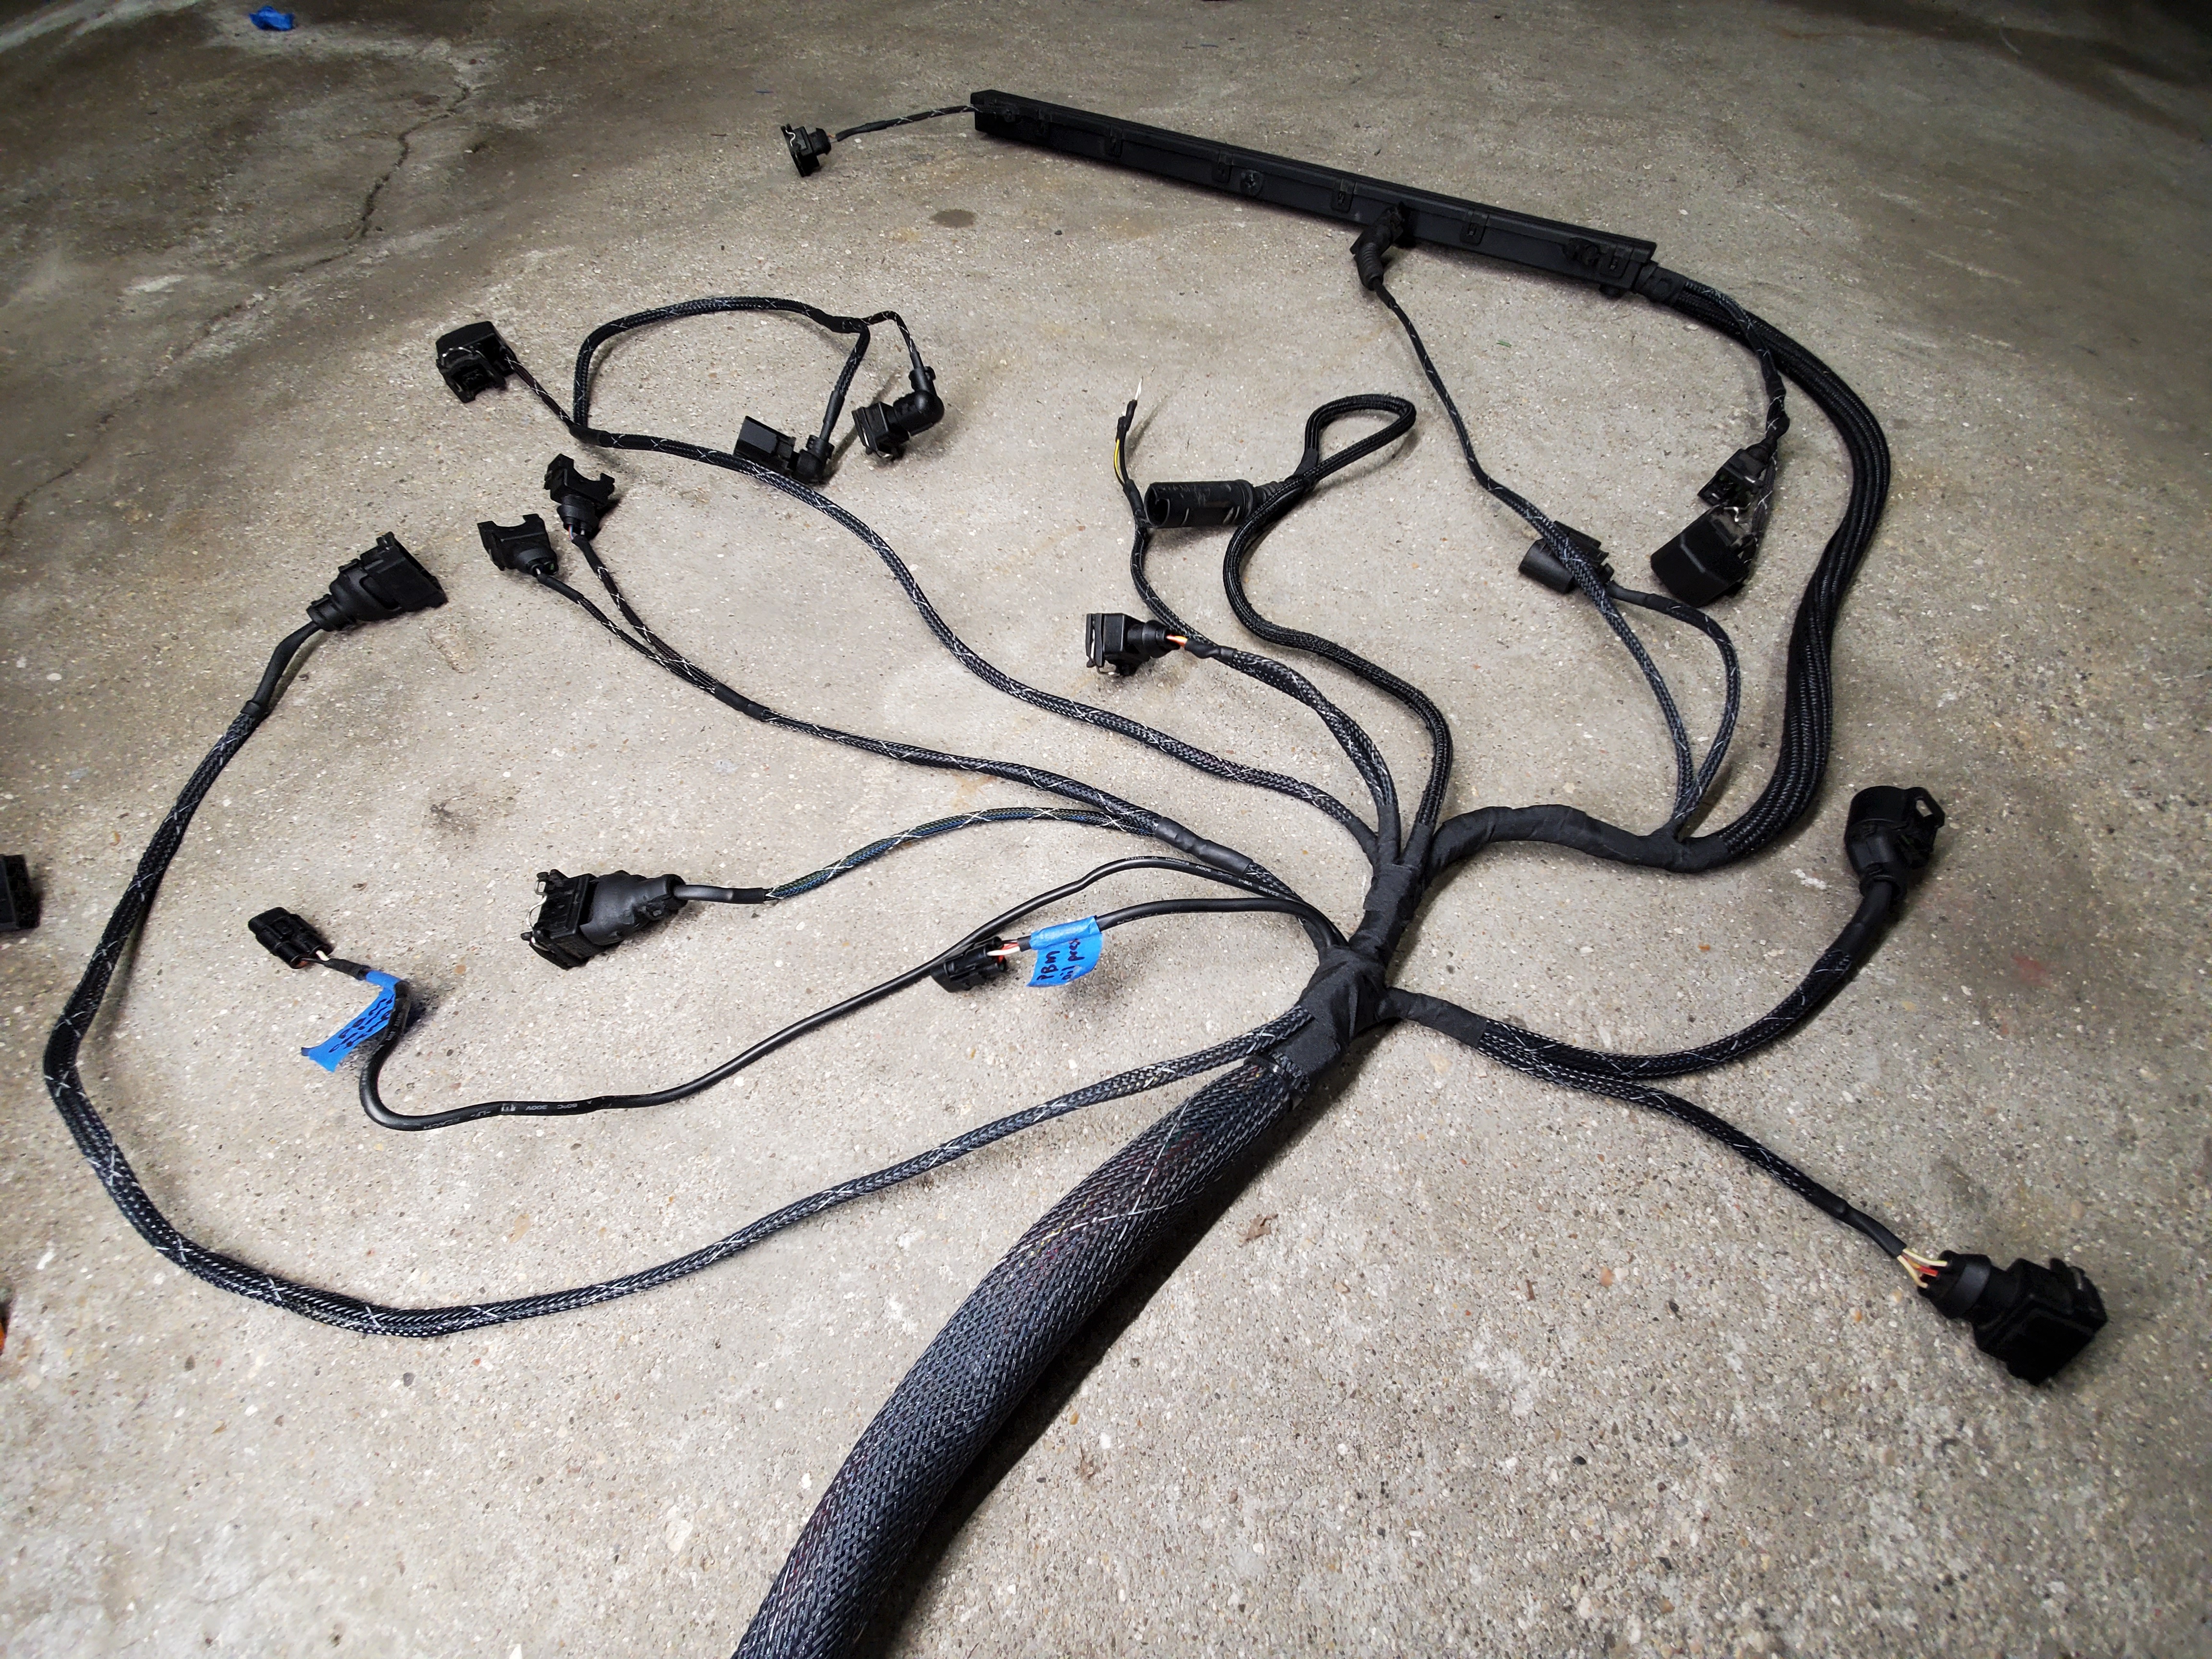
While I was waiting for the manifold I also pulled the harness off and labeled it all as well as wrote down the pin numbers and locations in preparation for re-looming as well as some modifications.
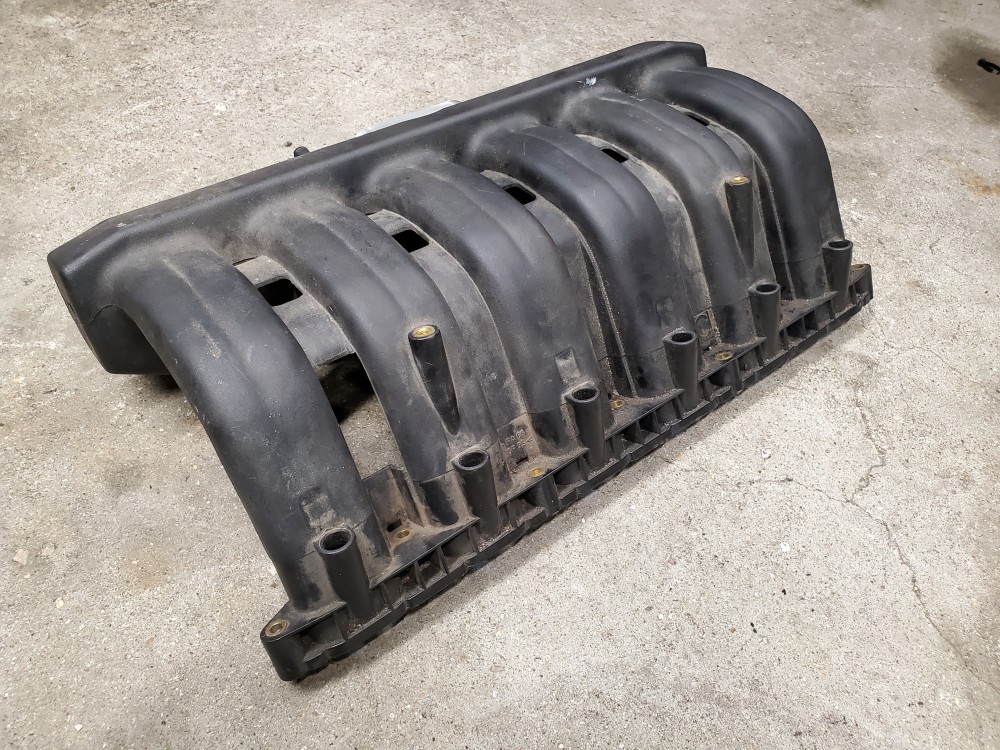
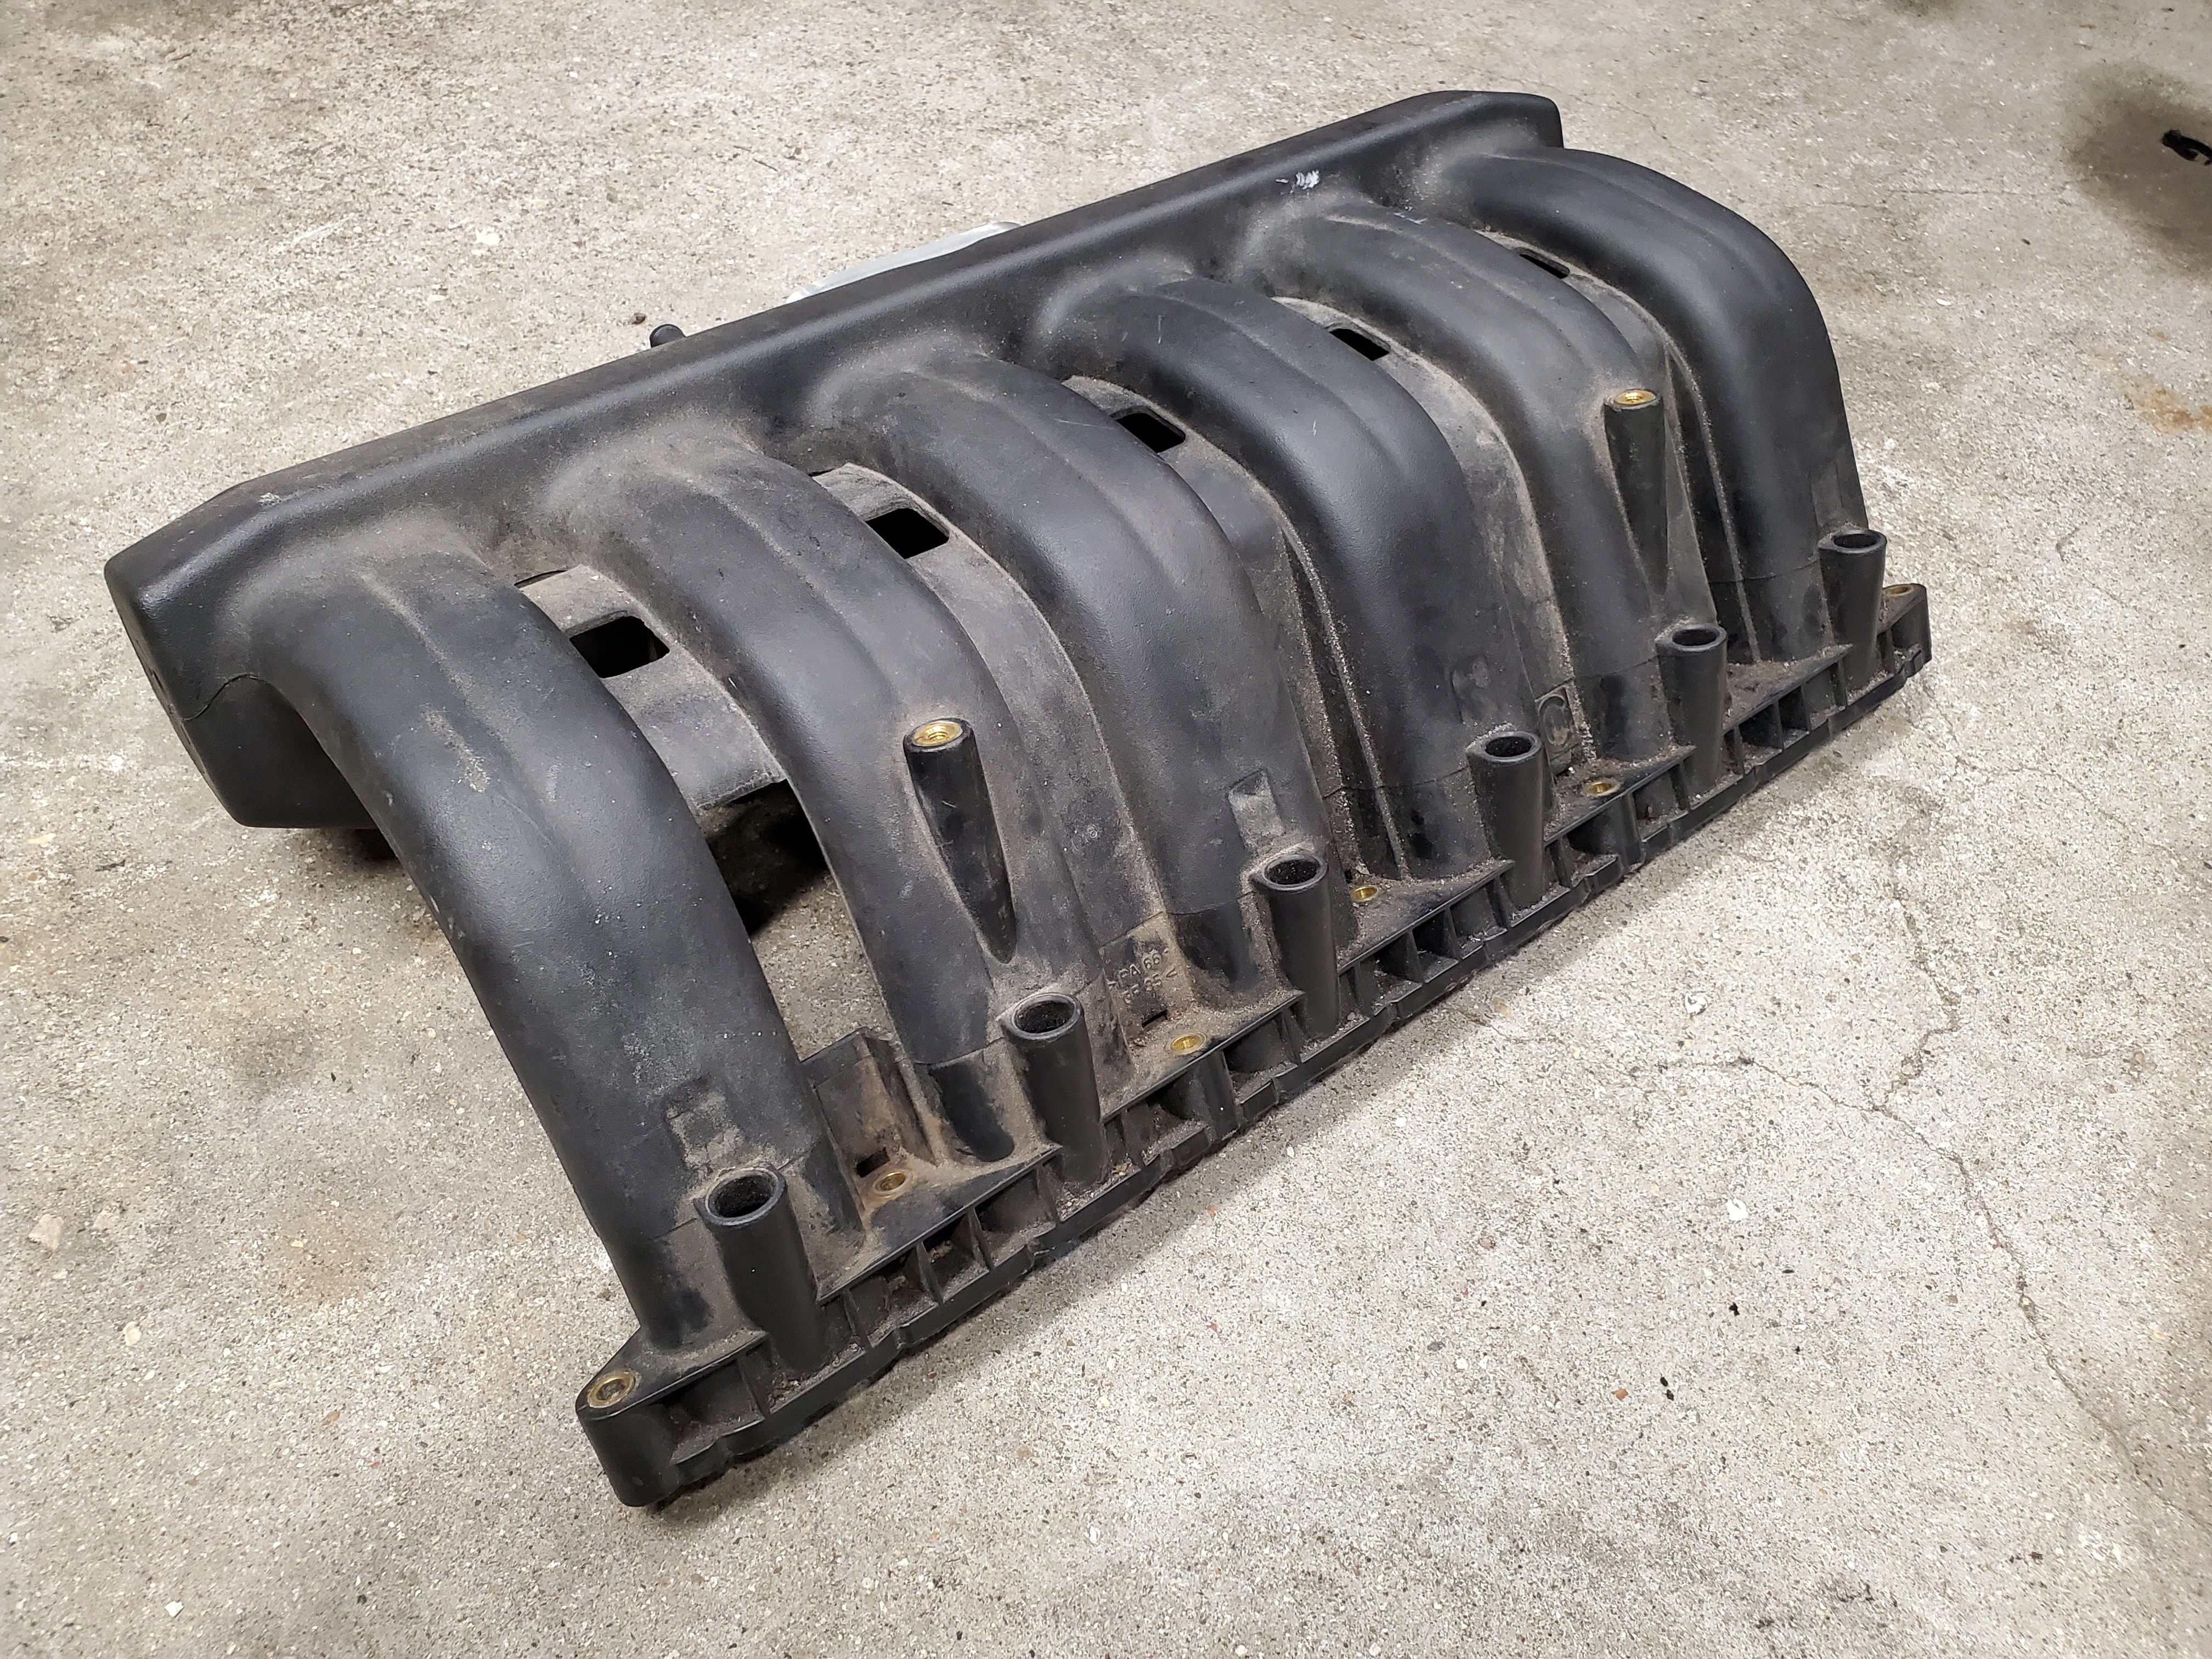
Here is the manifold before I cleaned it up. I definitely forgot to snap a pic after pressure washing it.
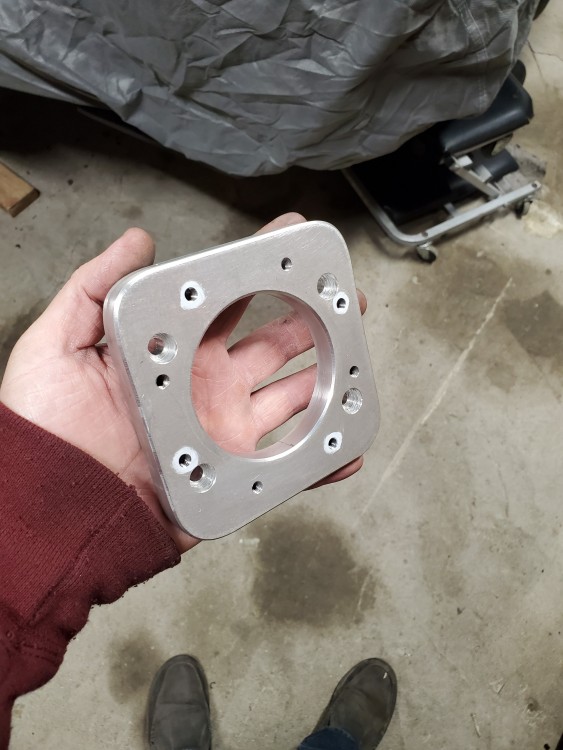
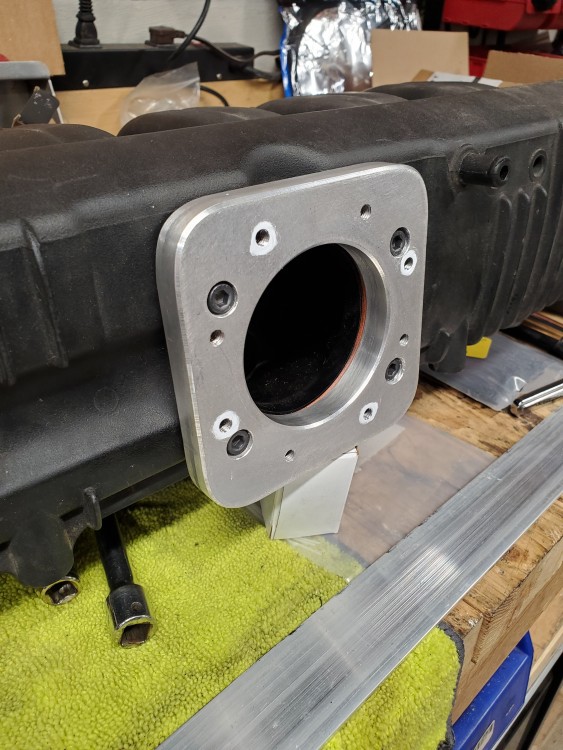
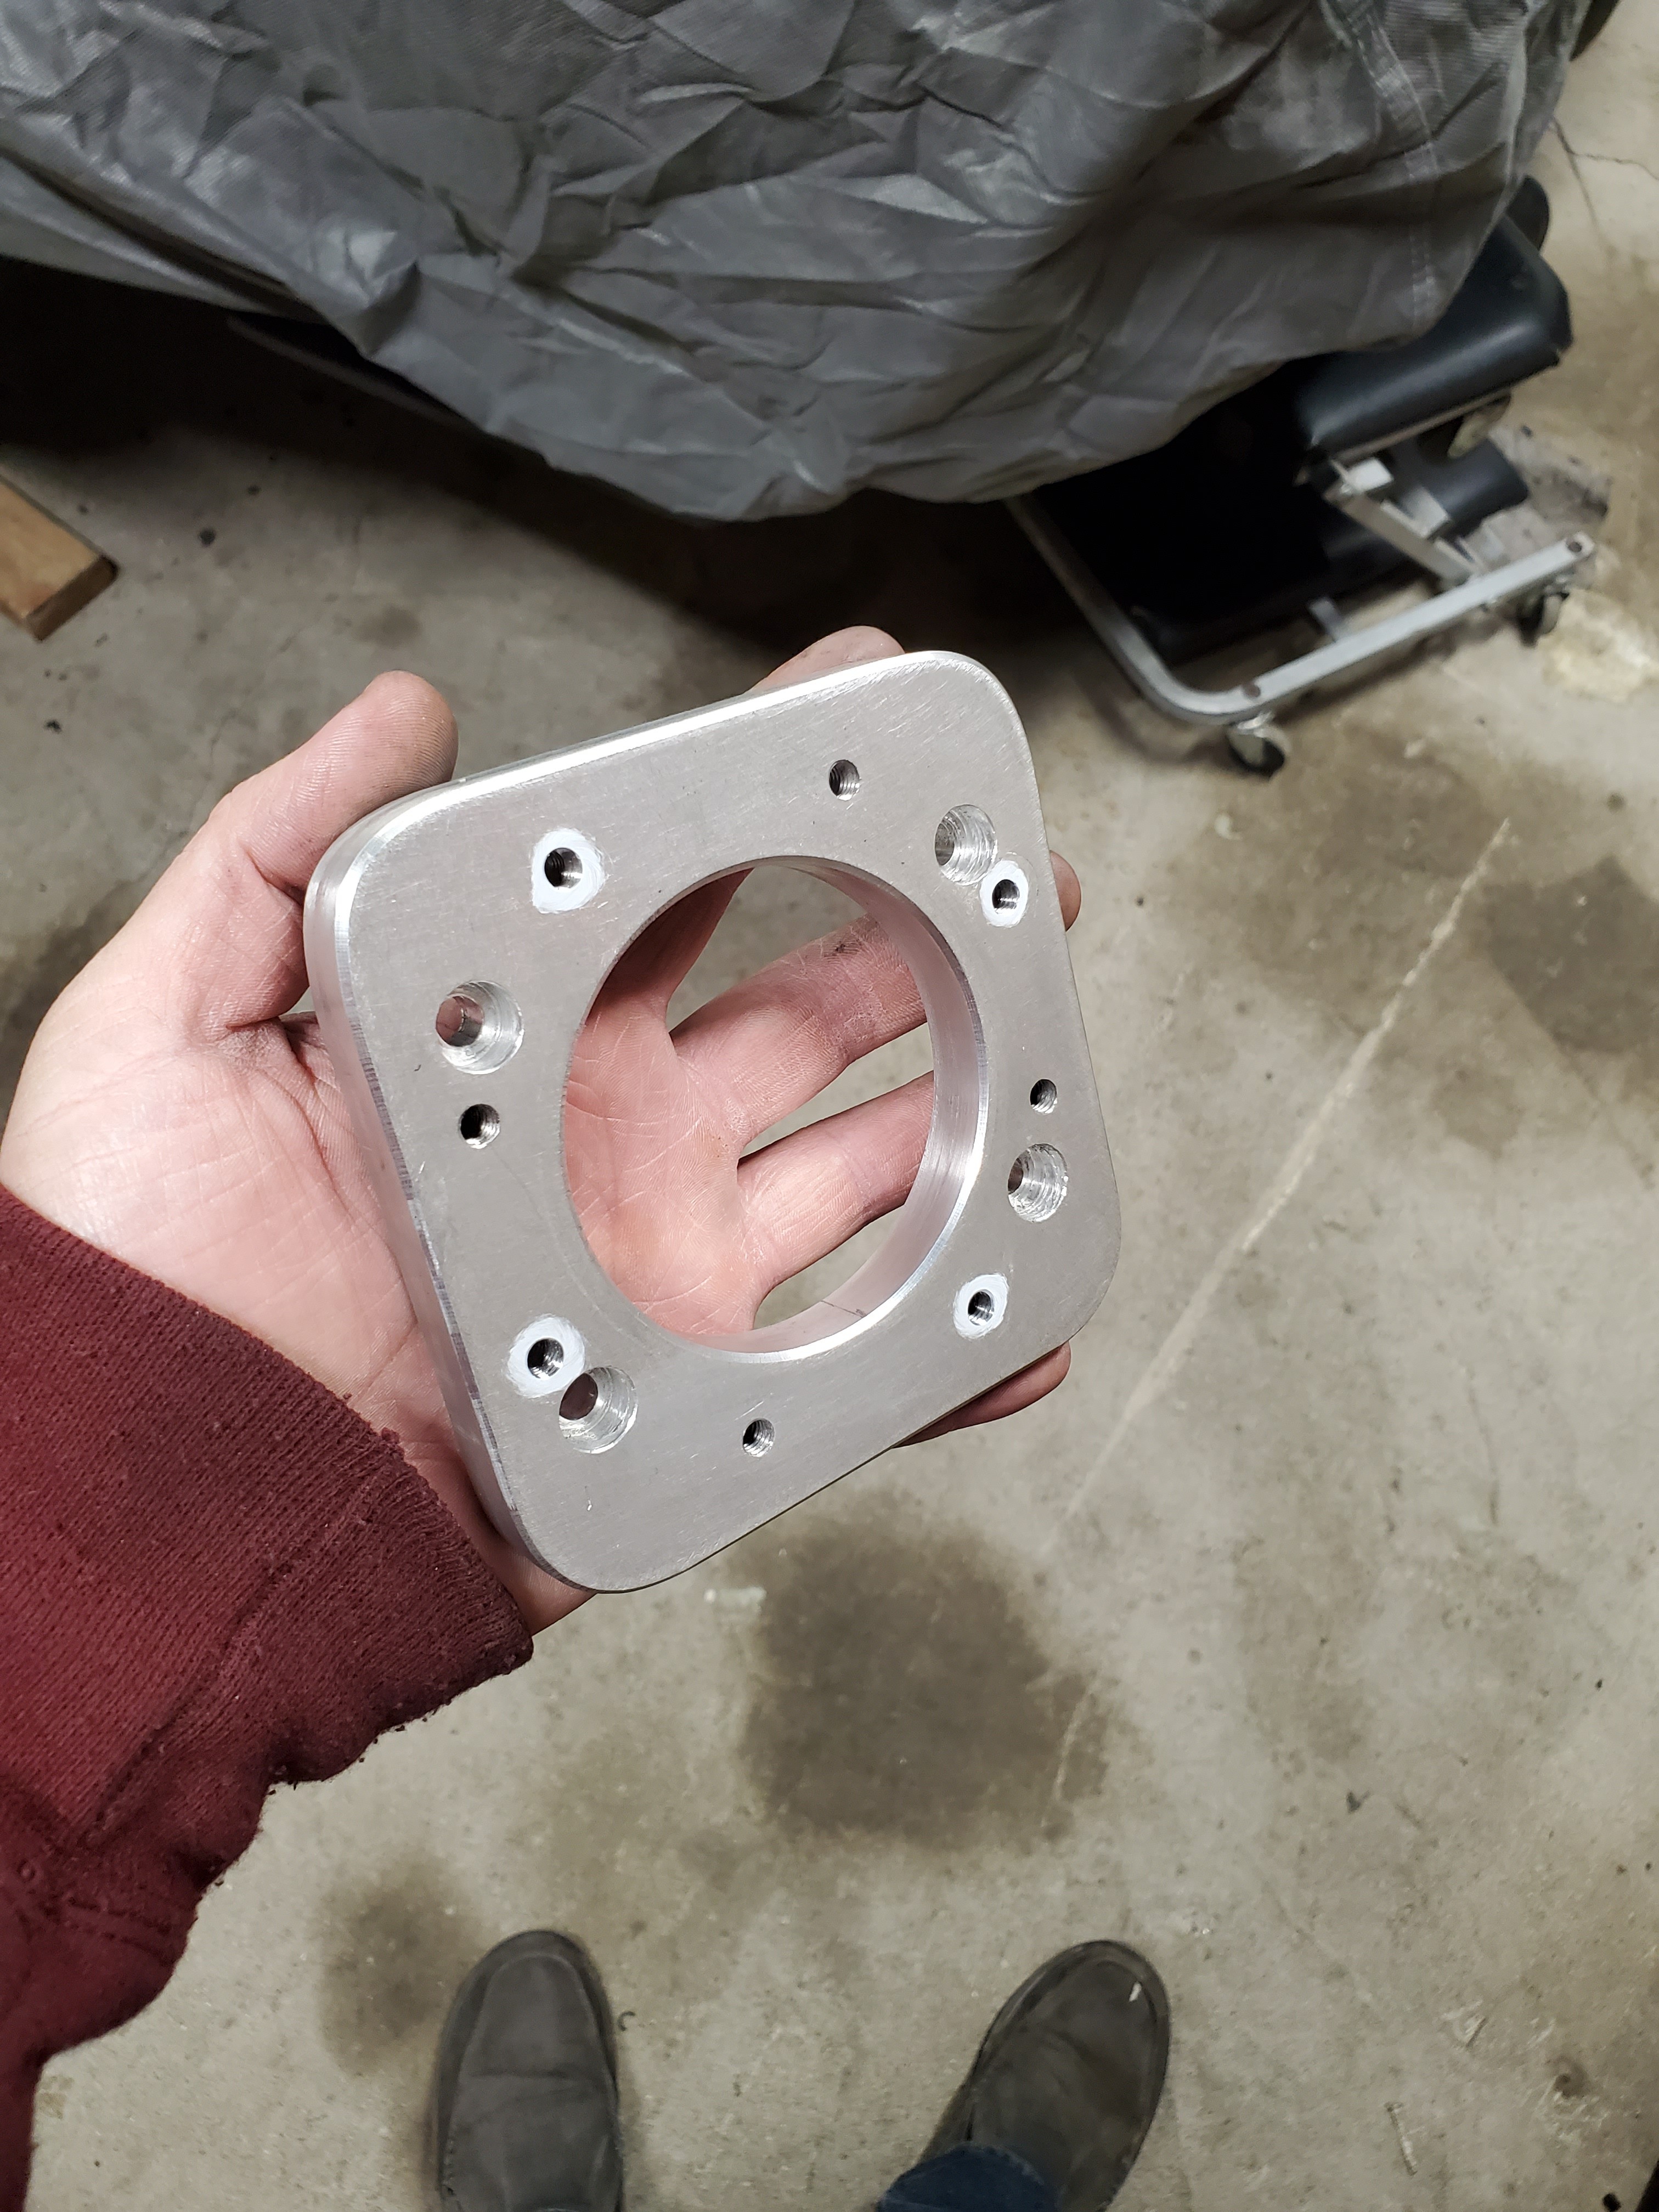
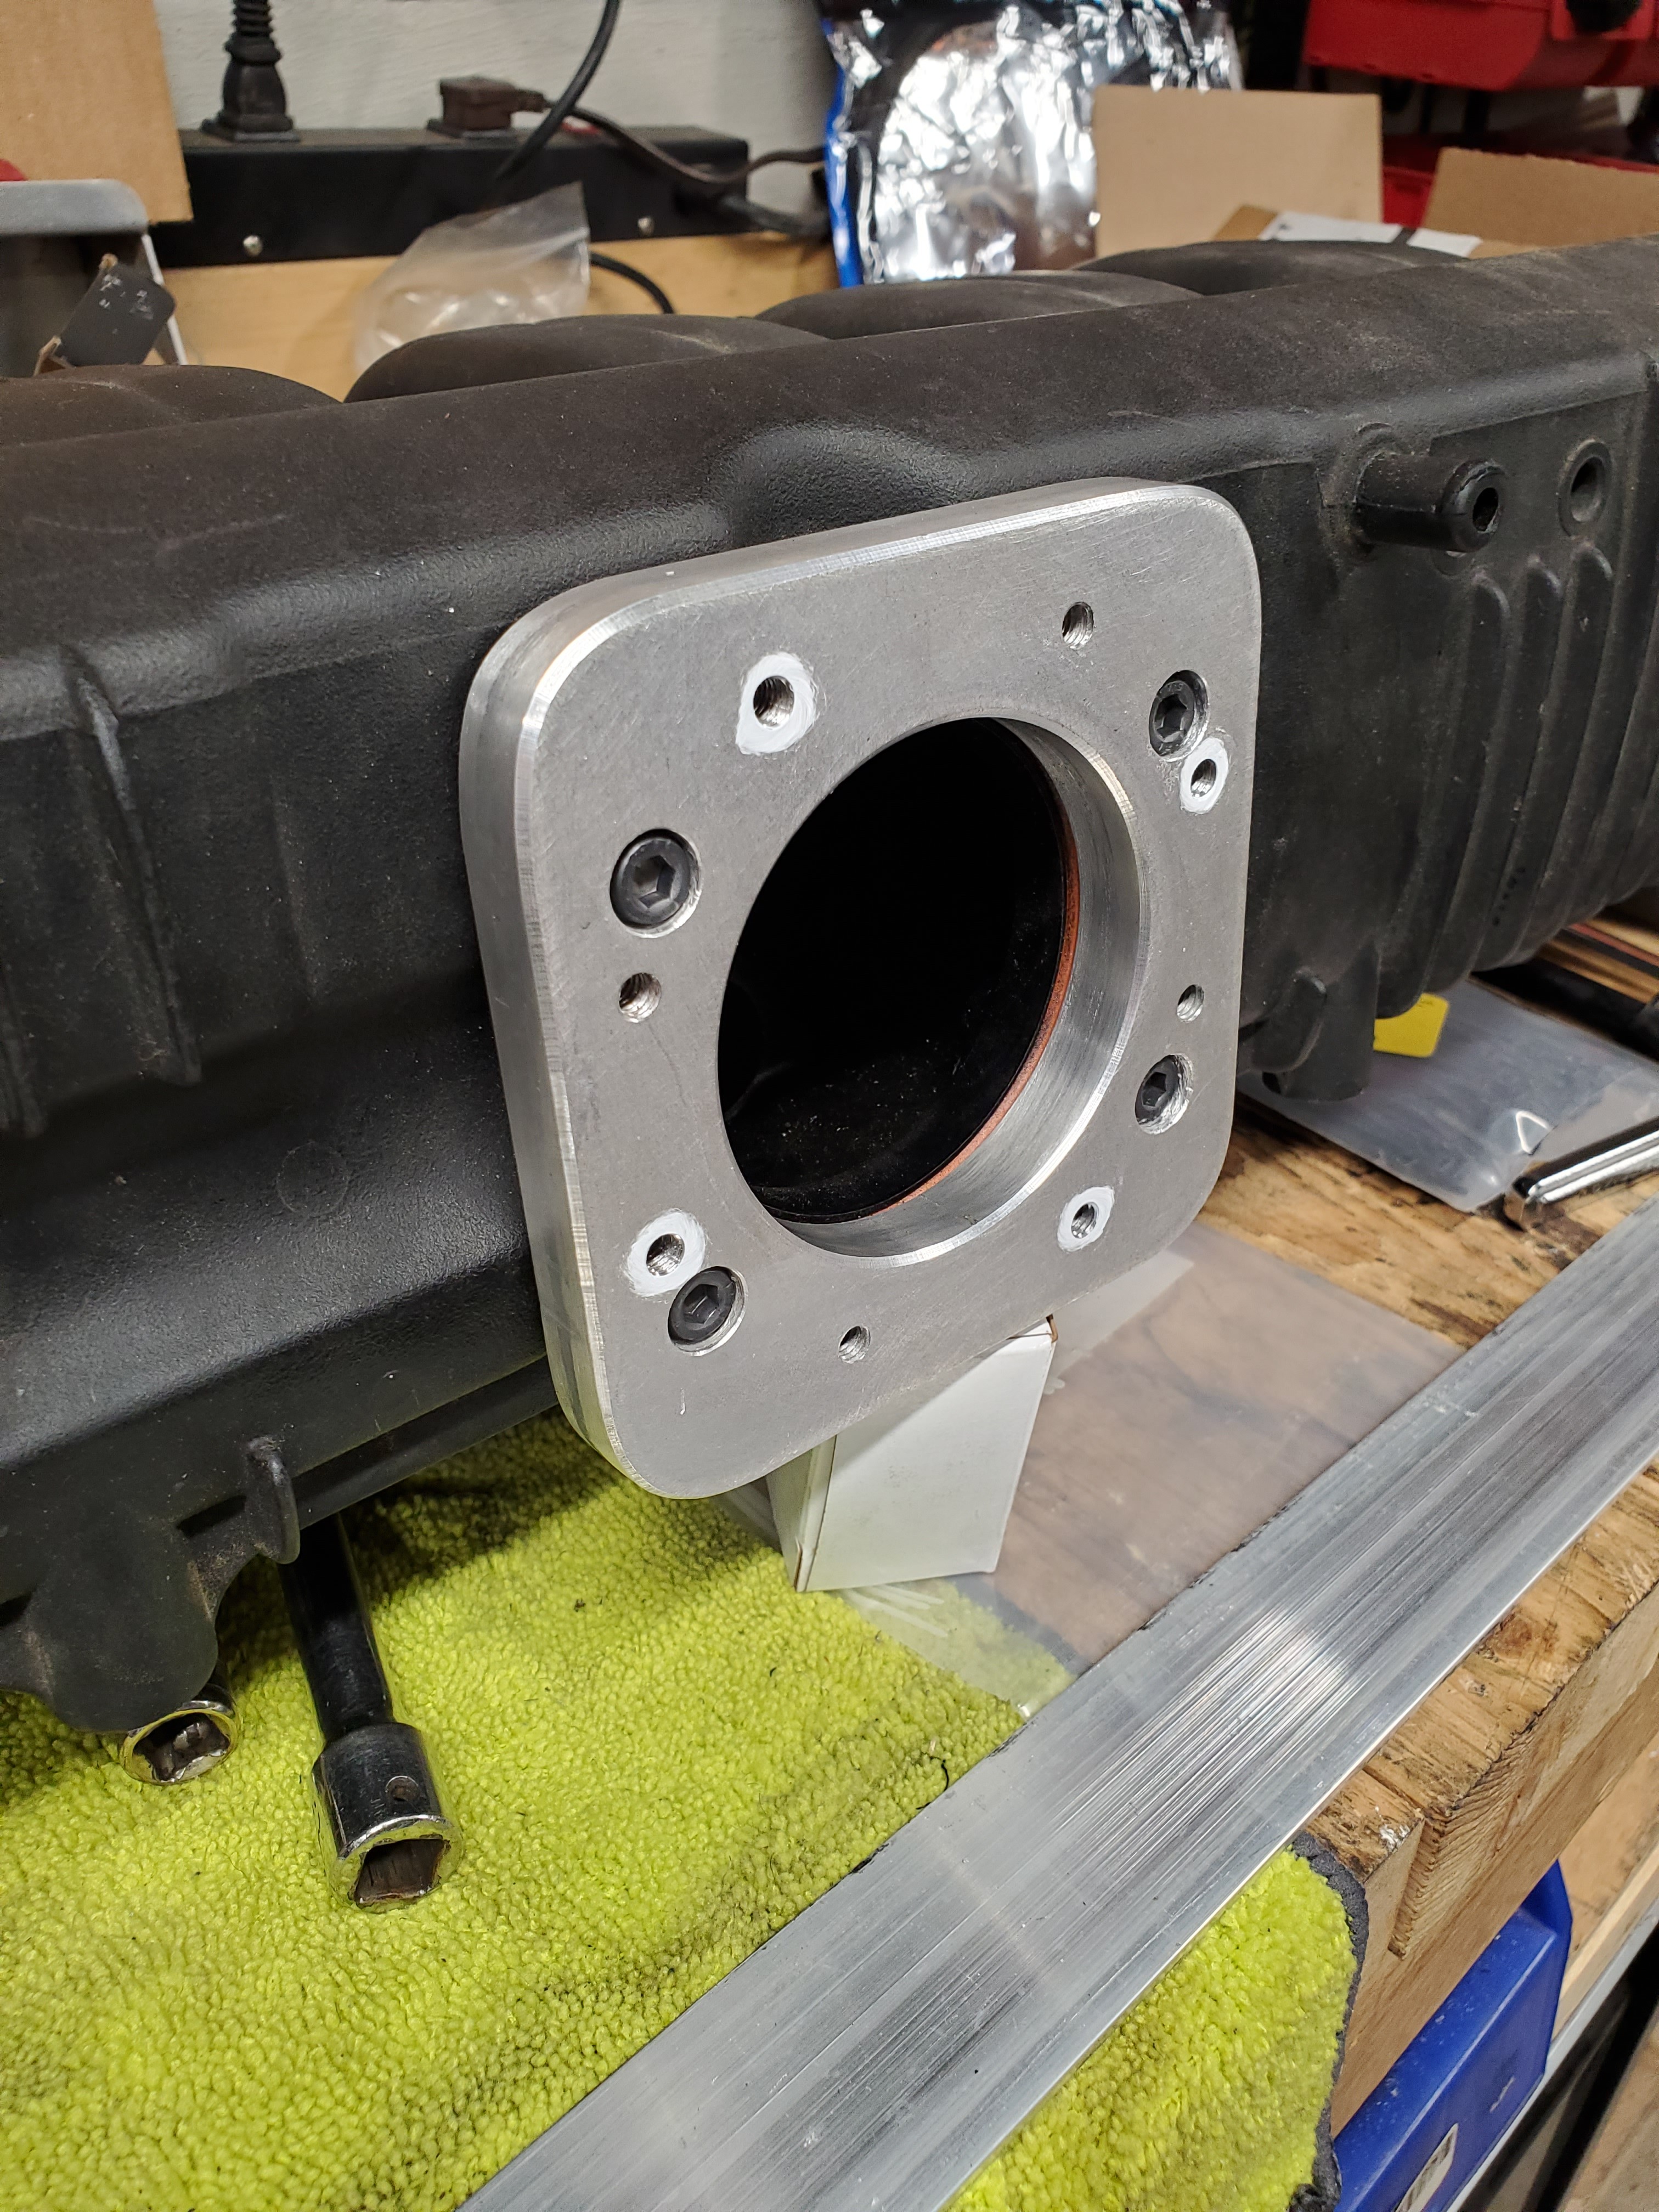
Here is the manifold adapter to put my b30 throttle body onto the M50 manifold.
Mocked it on while I'm waiting for all the gaskets and O-rings to show up.
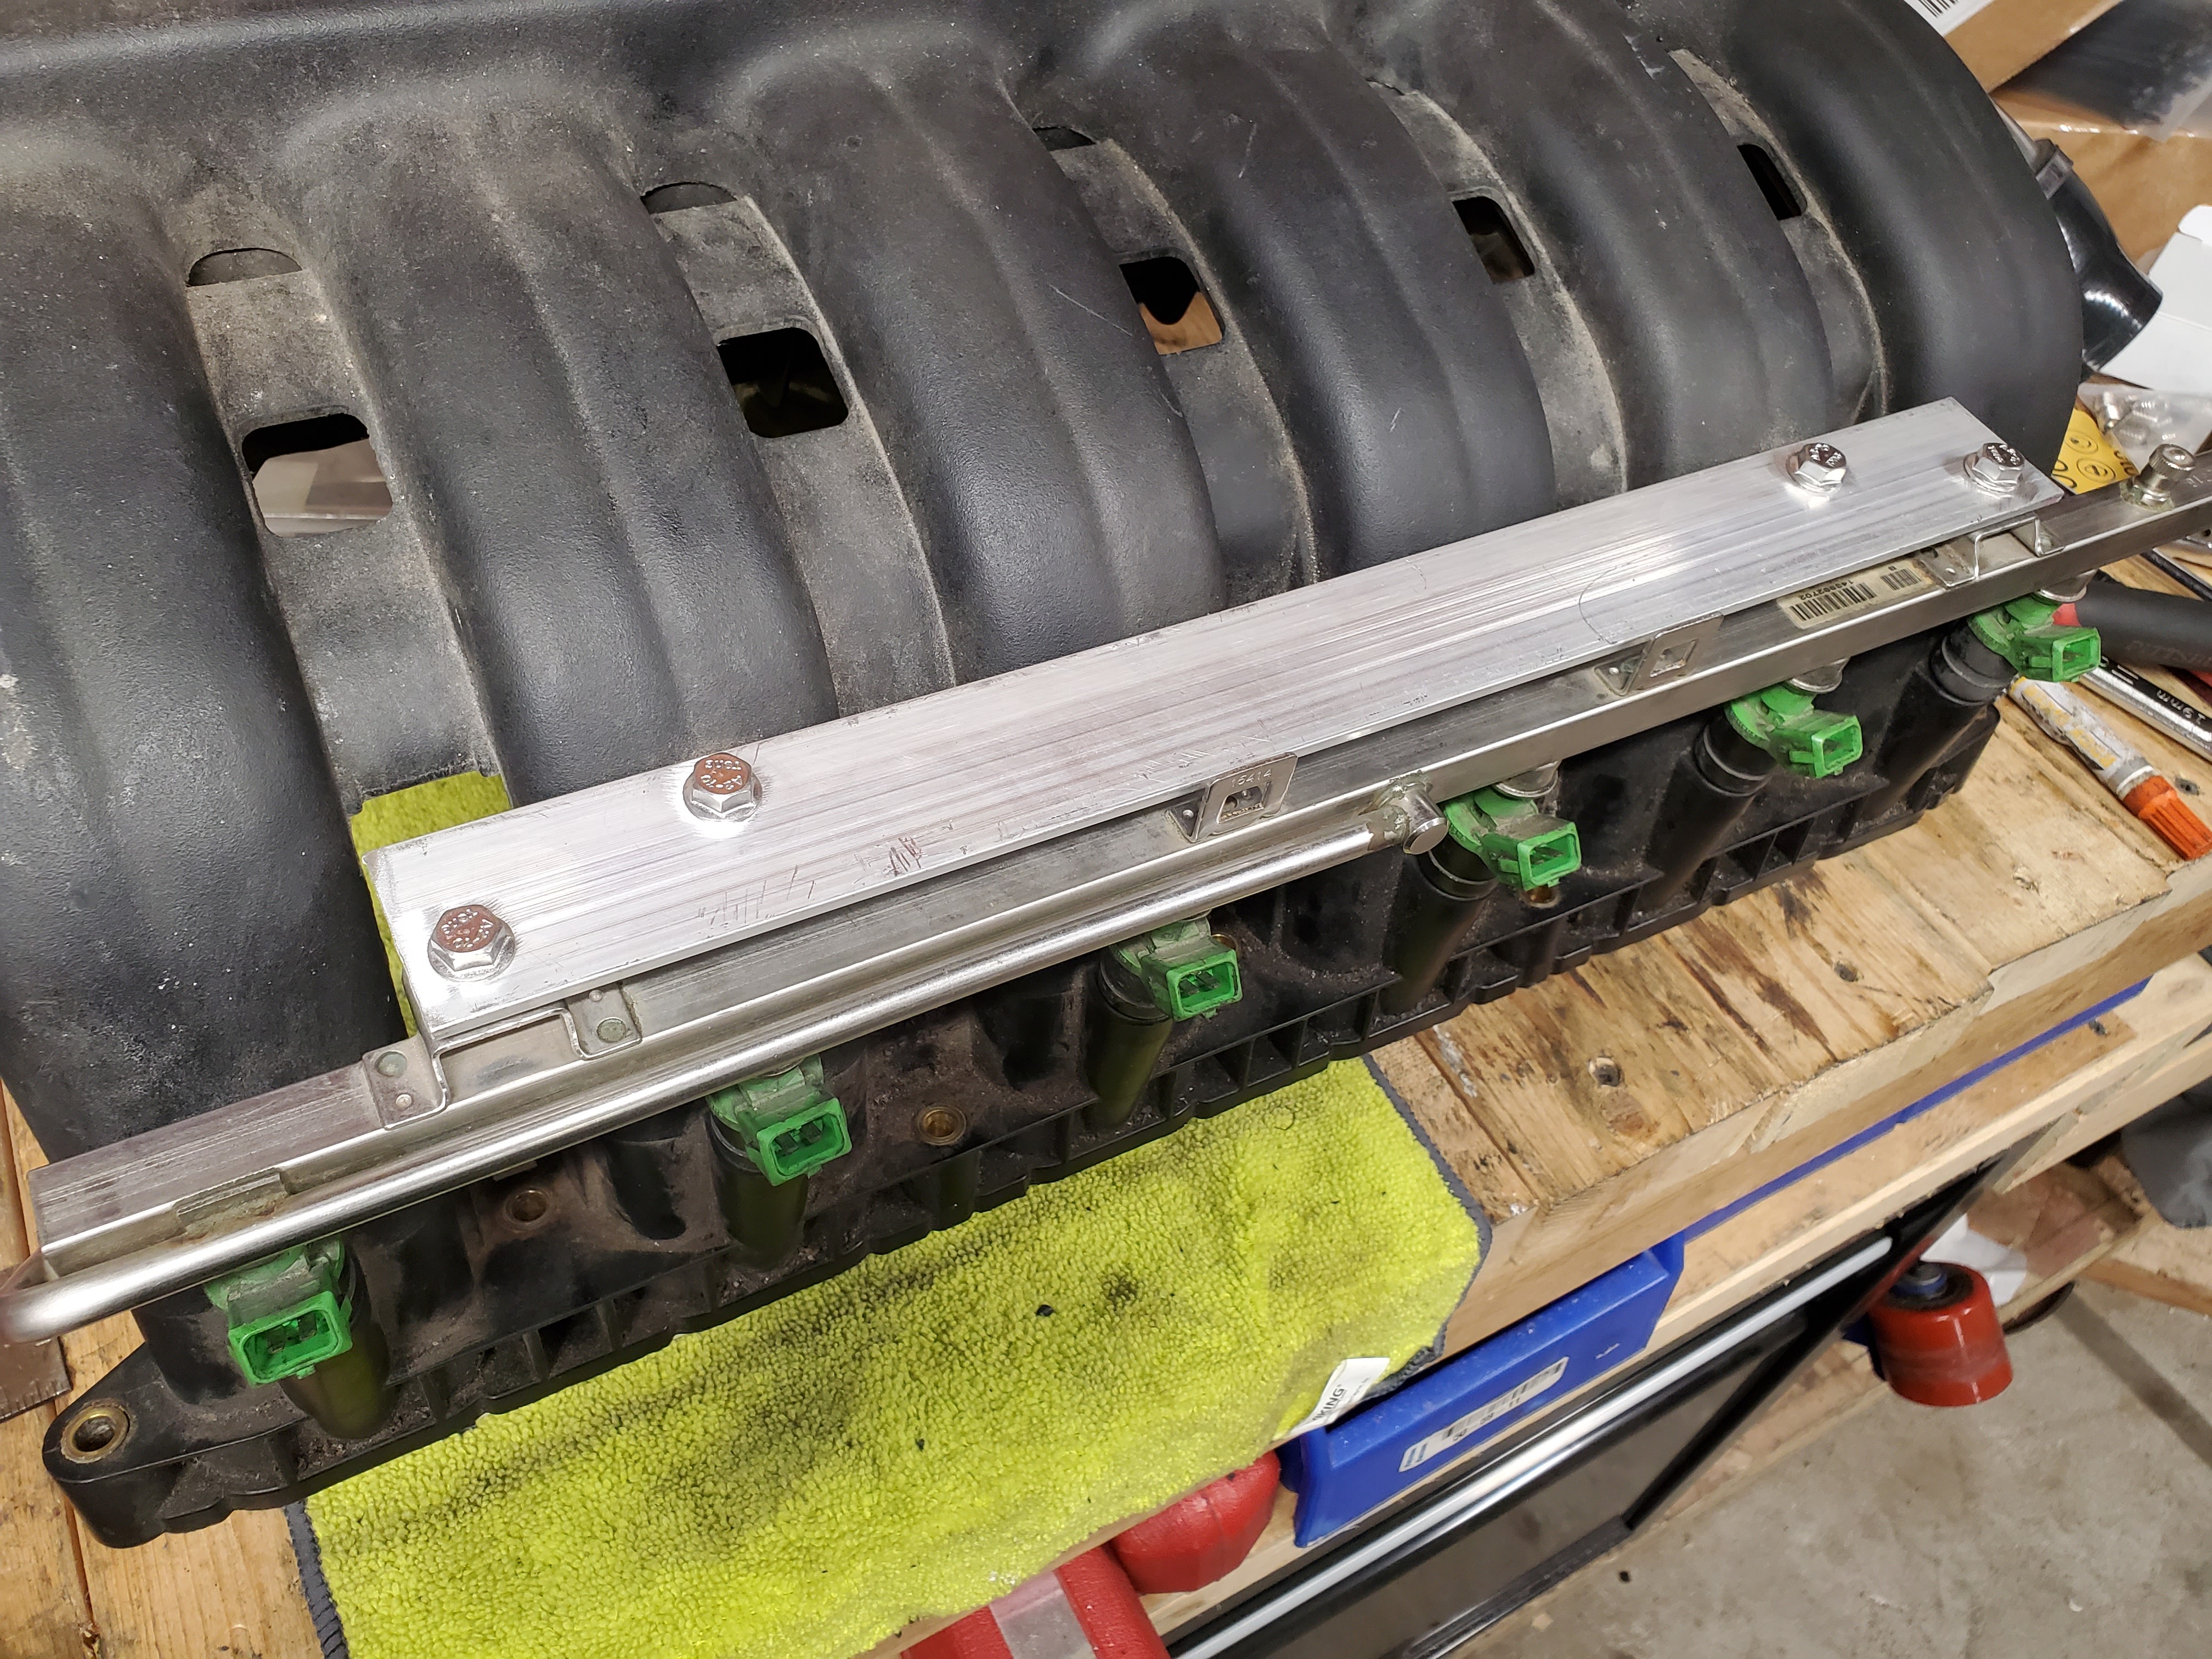
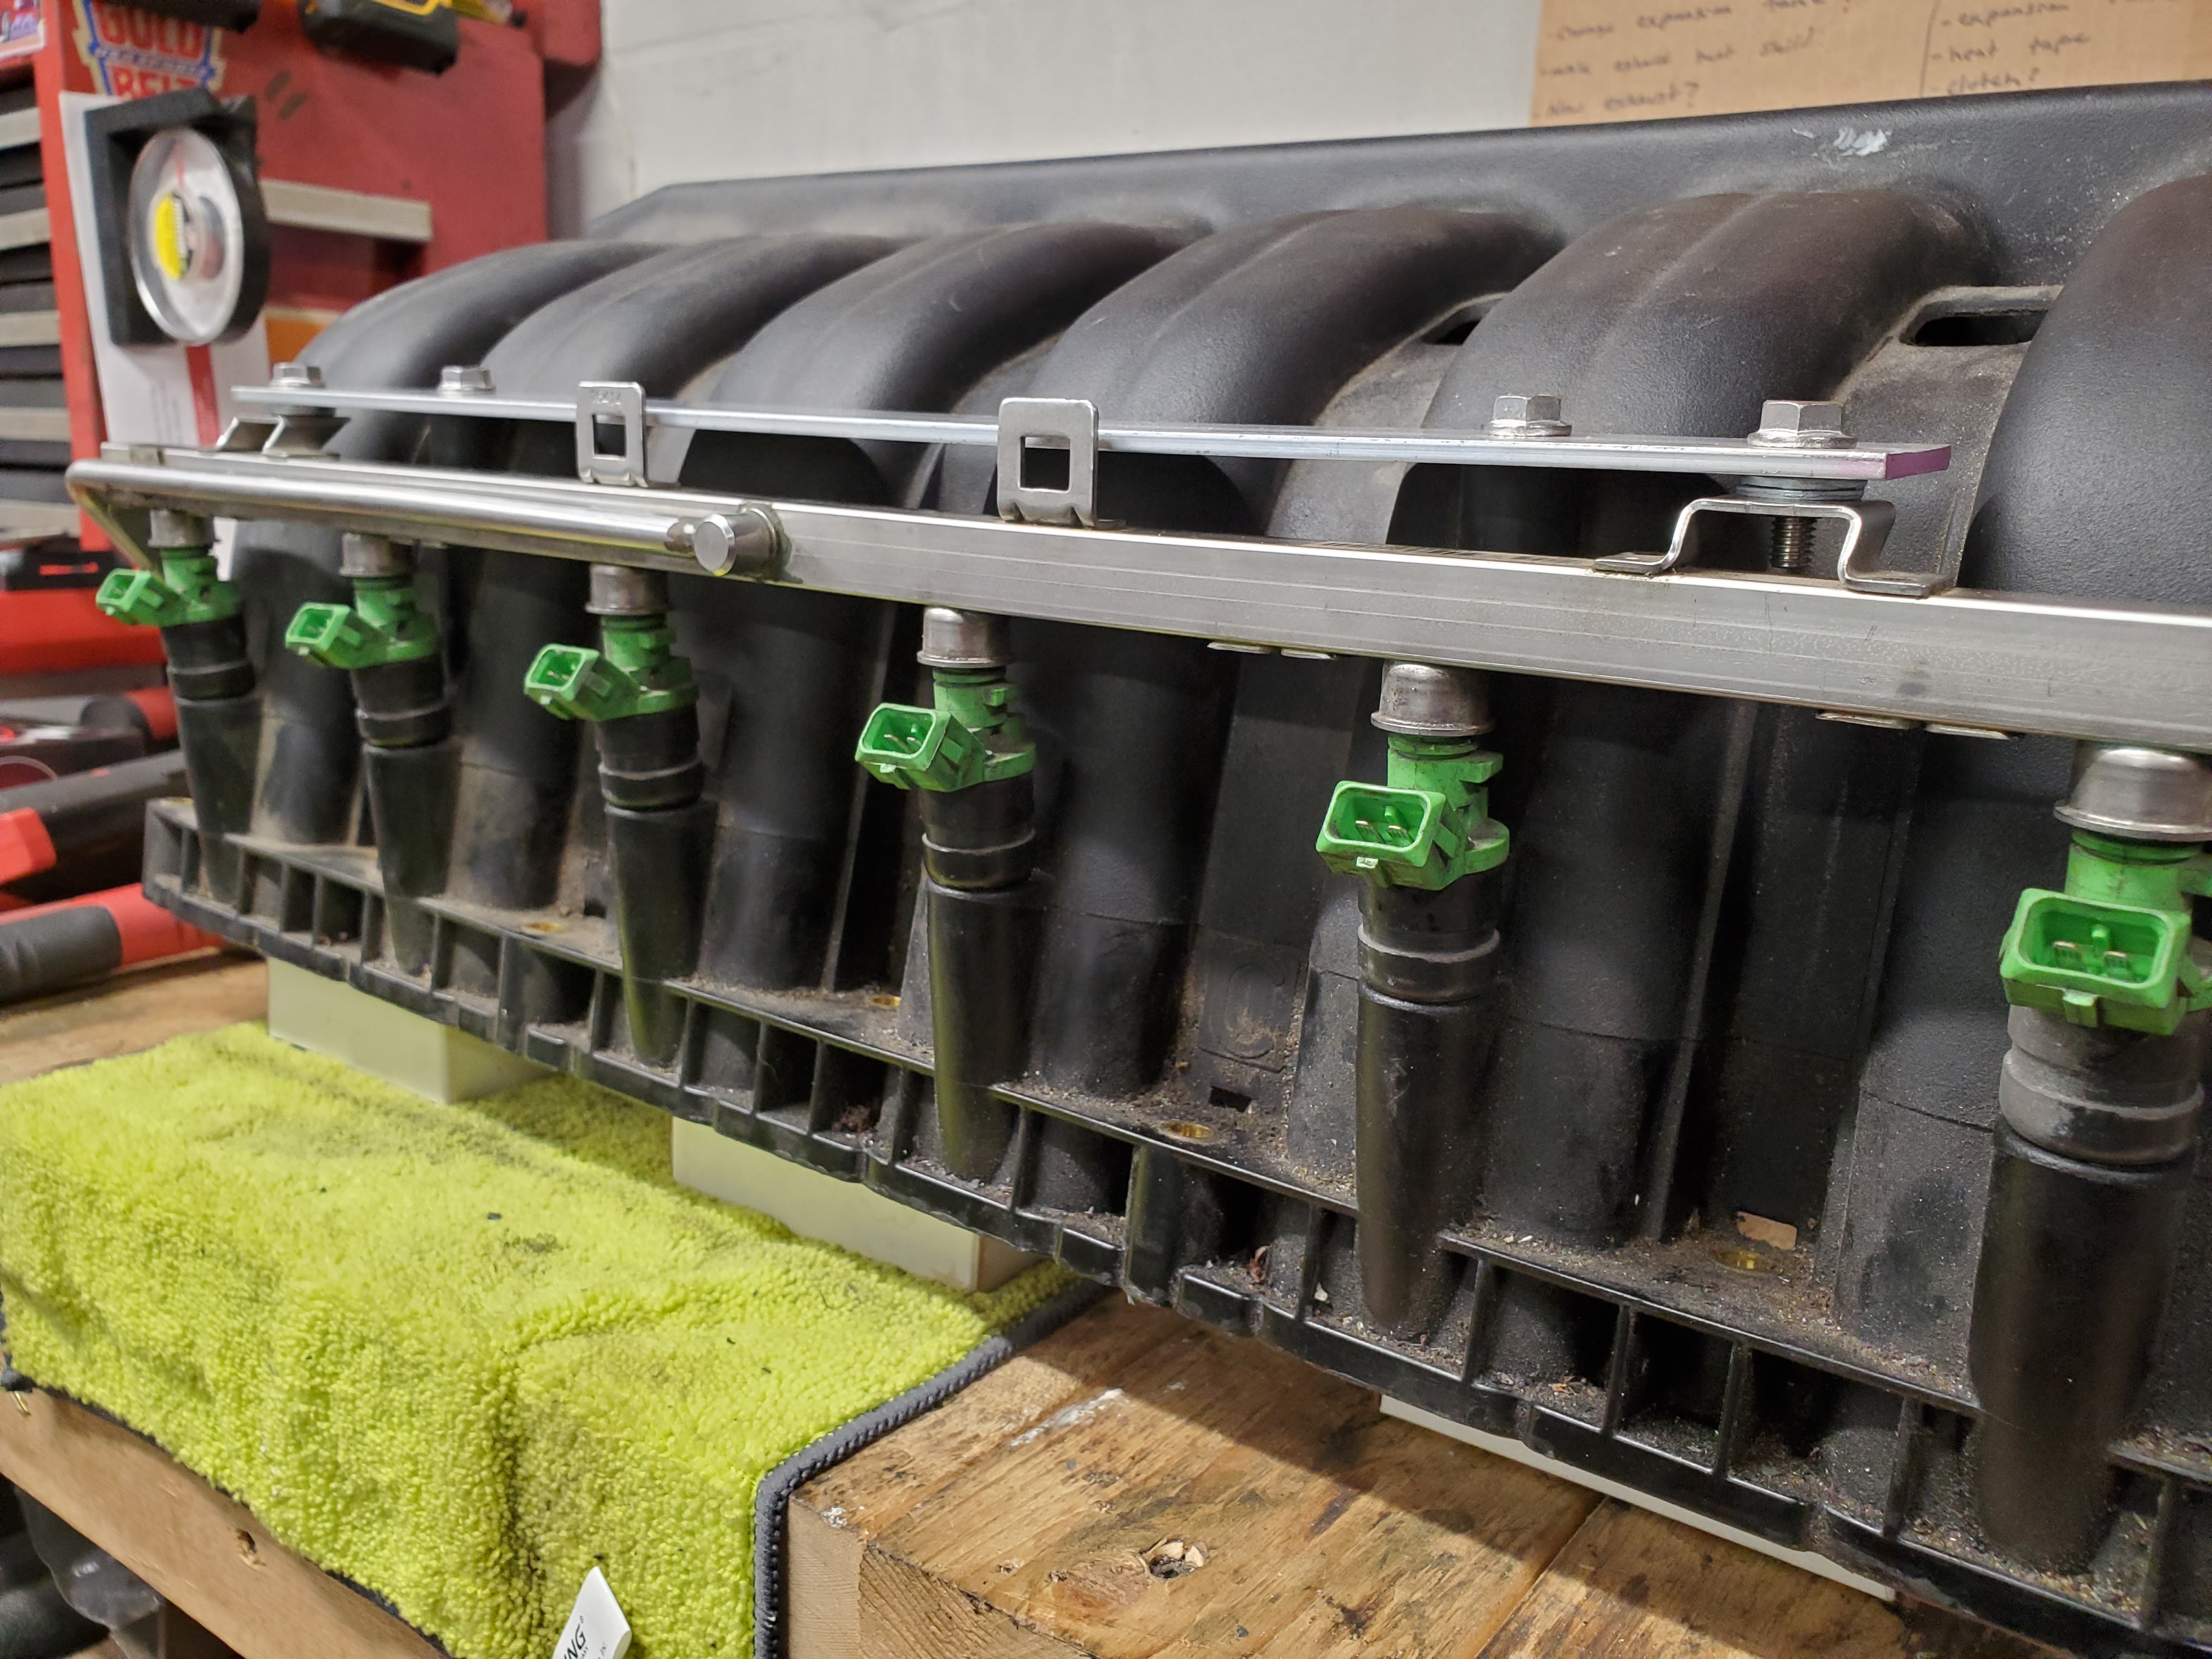
Then I got on to mounting the fuel rail, gotta thank my buddy @_Wackster for the idea to mount this way rather than what comes in the standard kits.
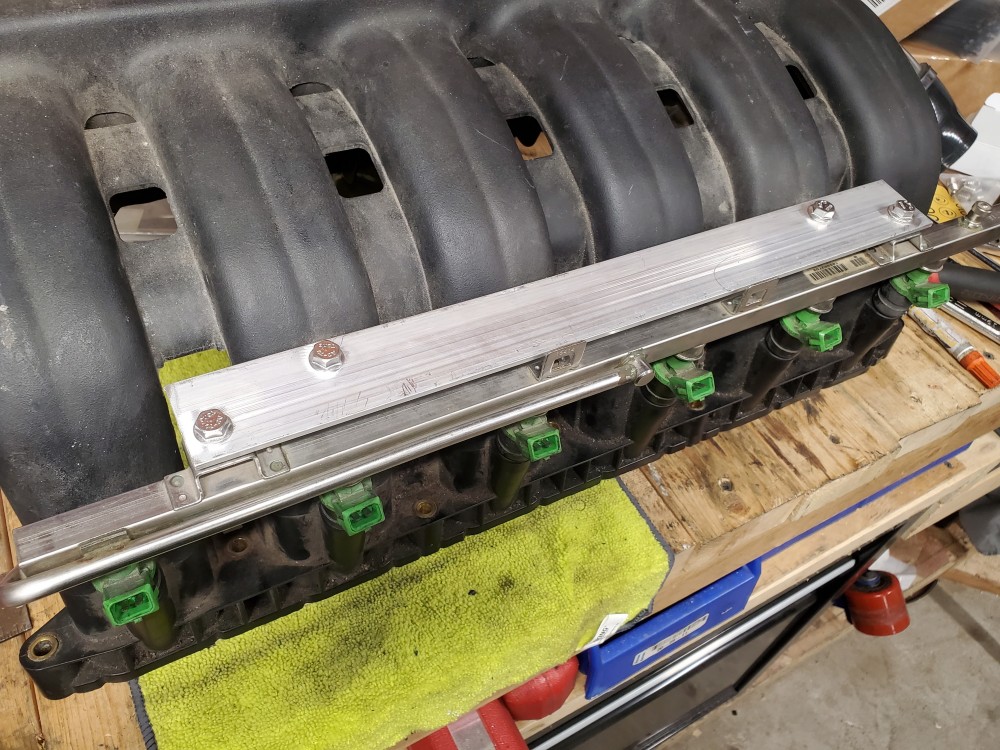
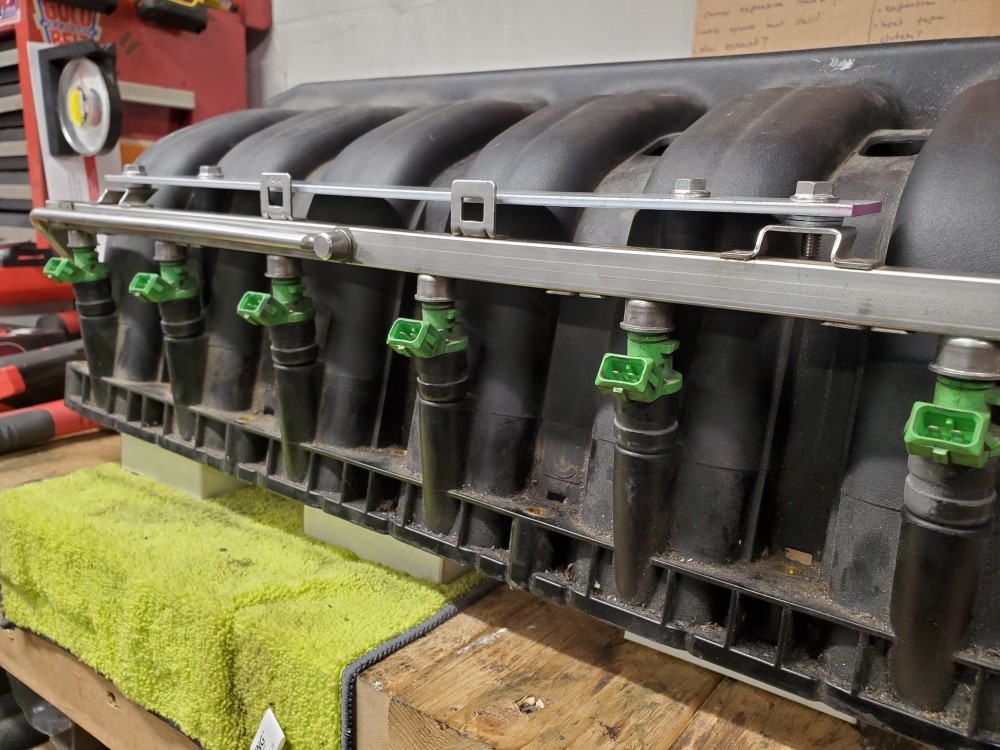
I have some ideas on how to spice it up appearance wise if I can't make the factory manifold cover fit.
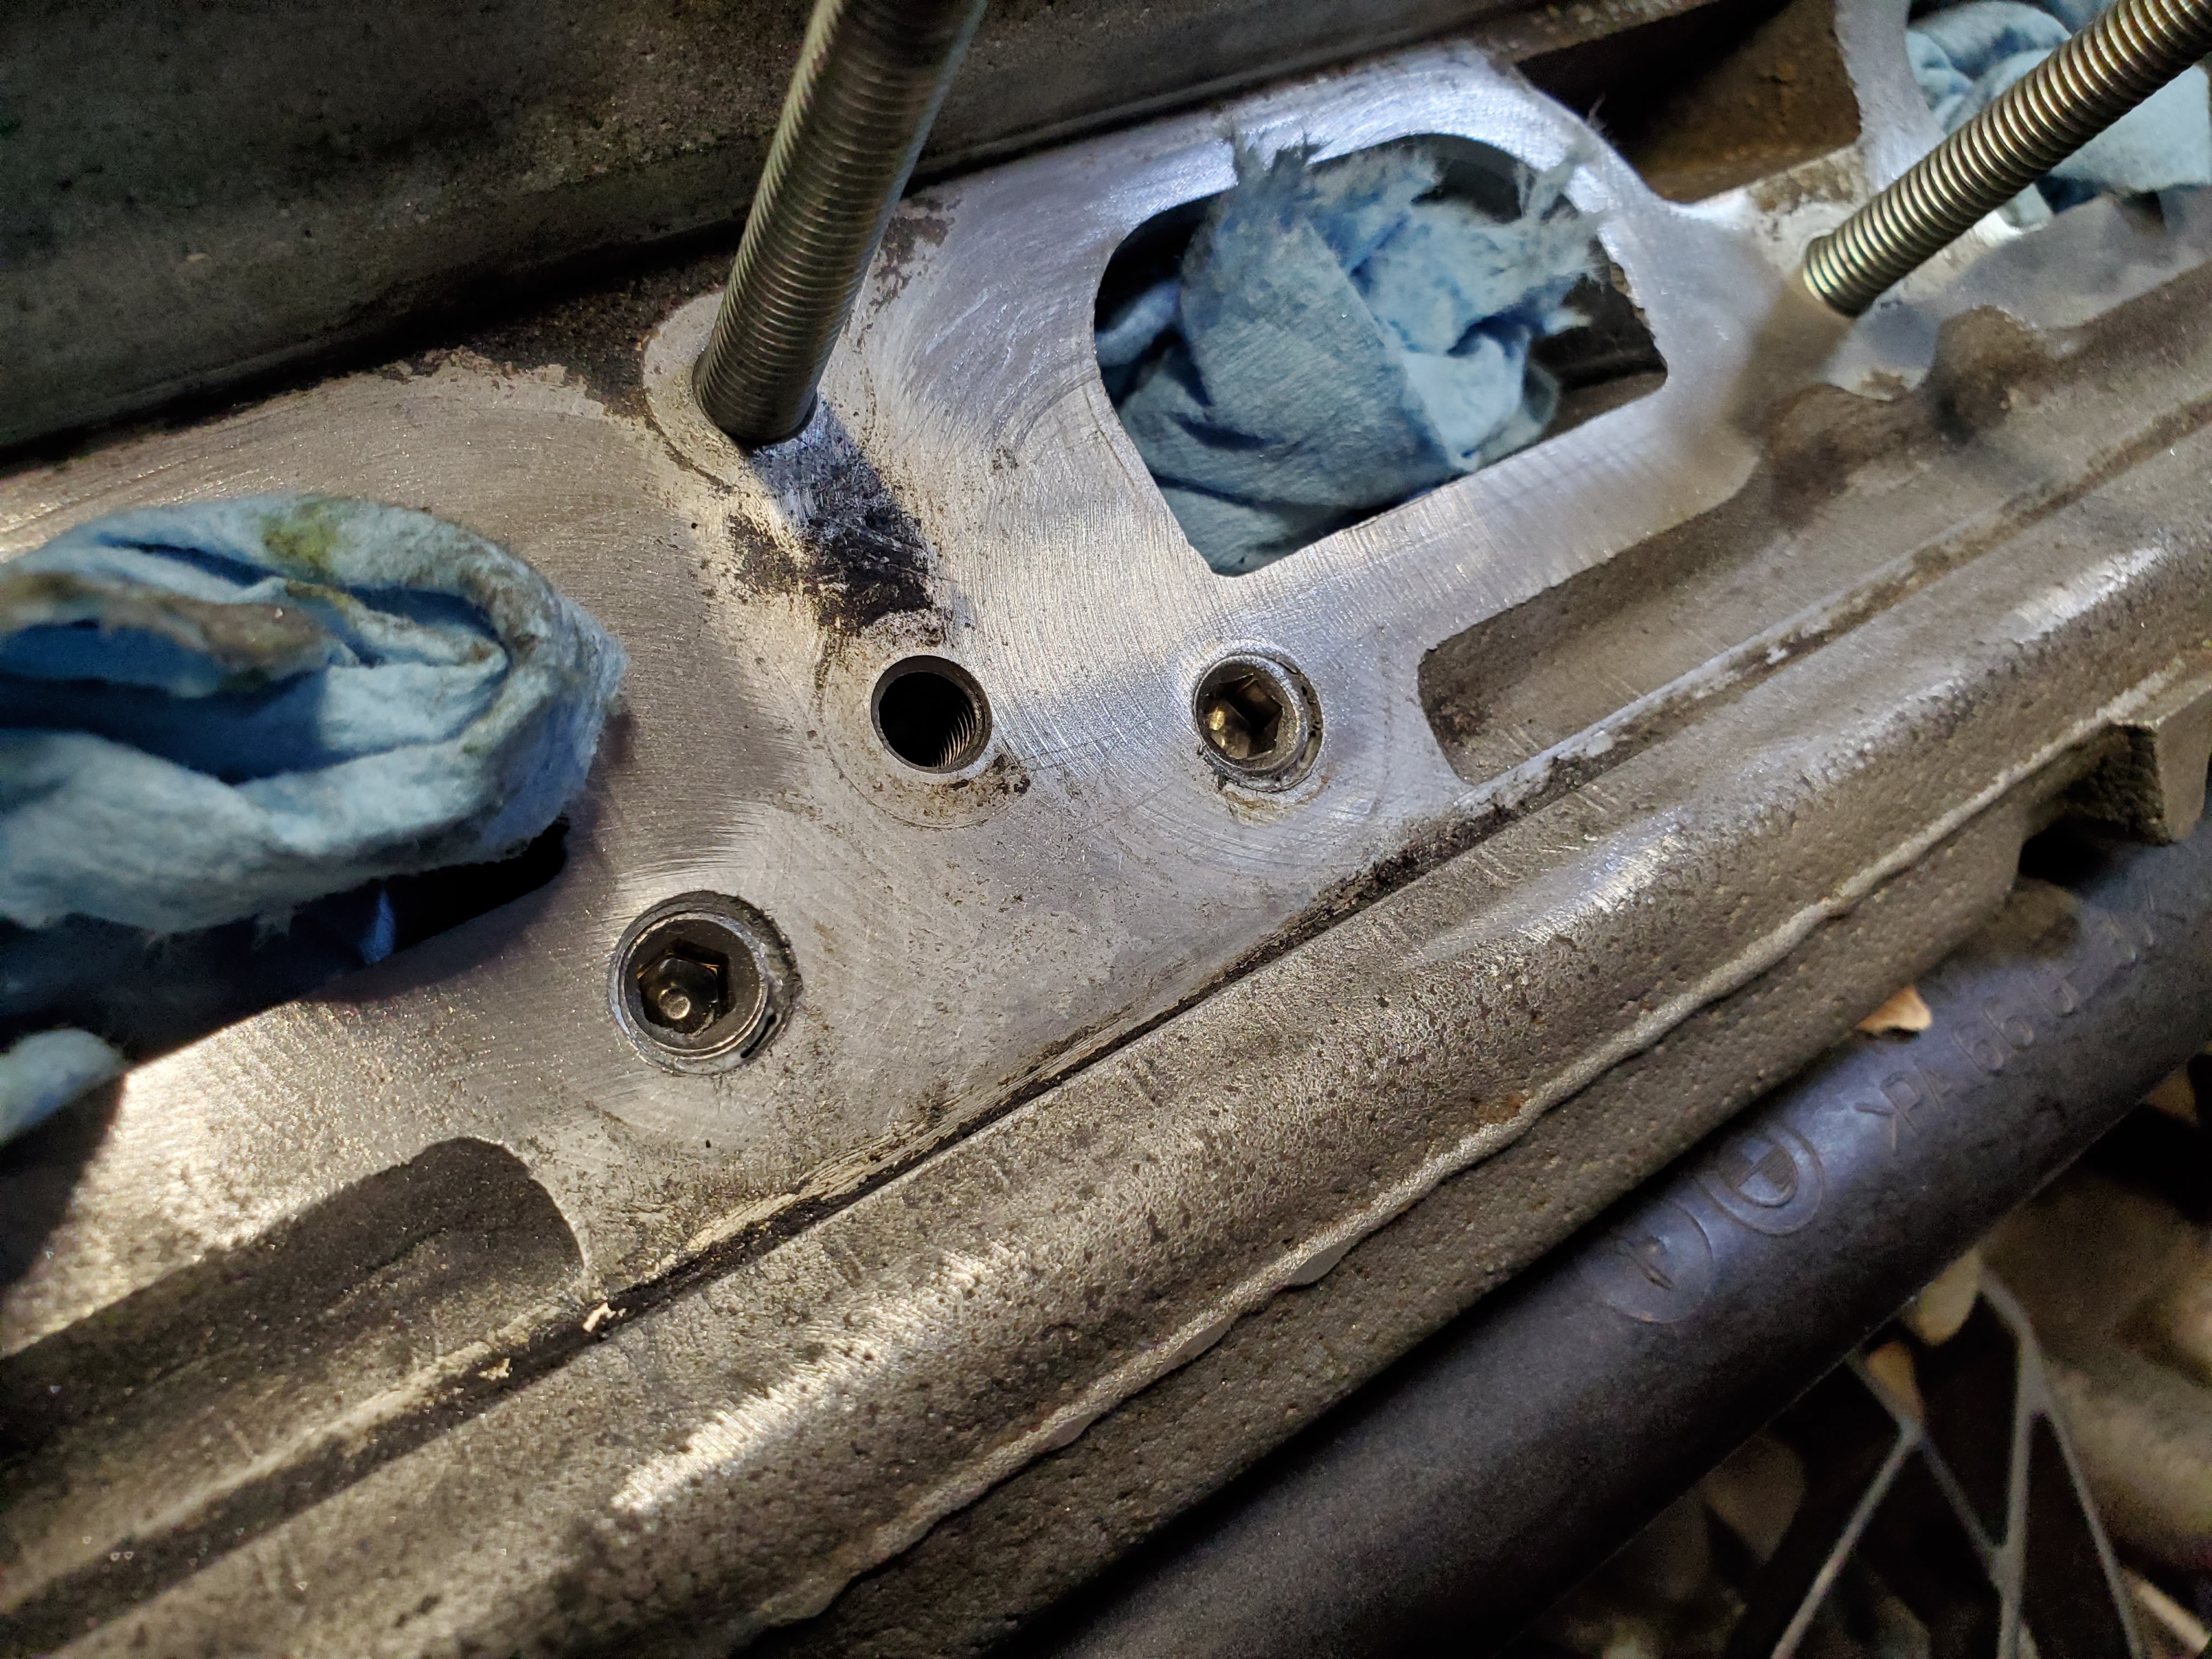
Next I plugged up the ccv holes in the head.
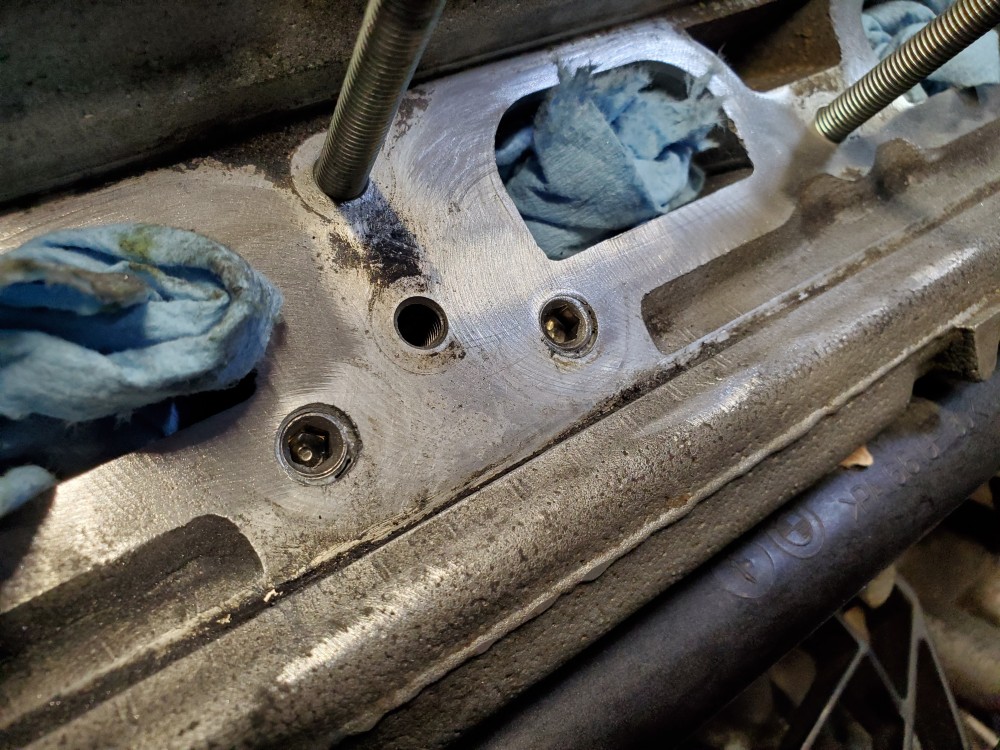
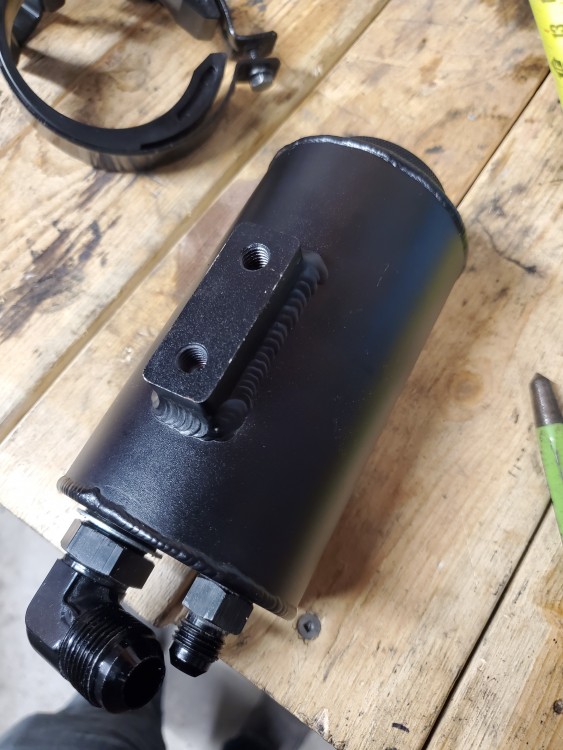
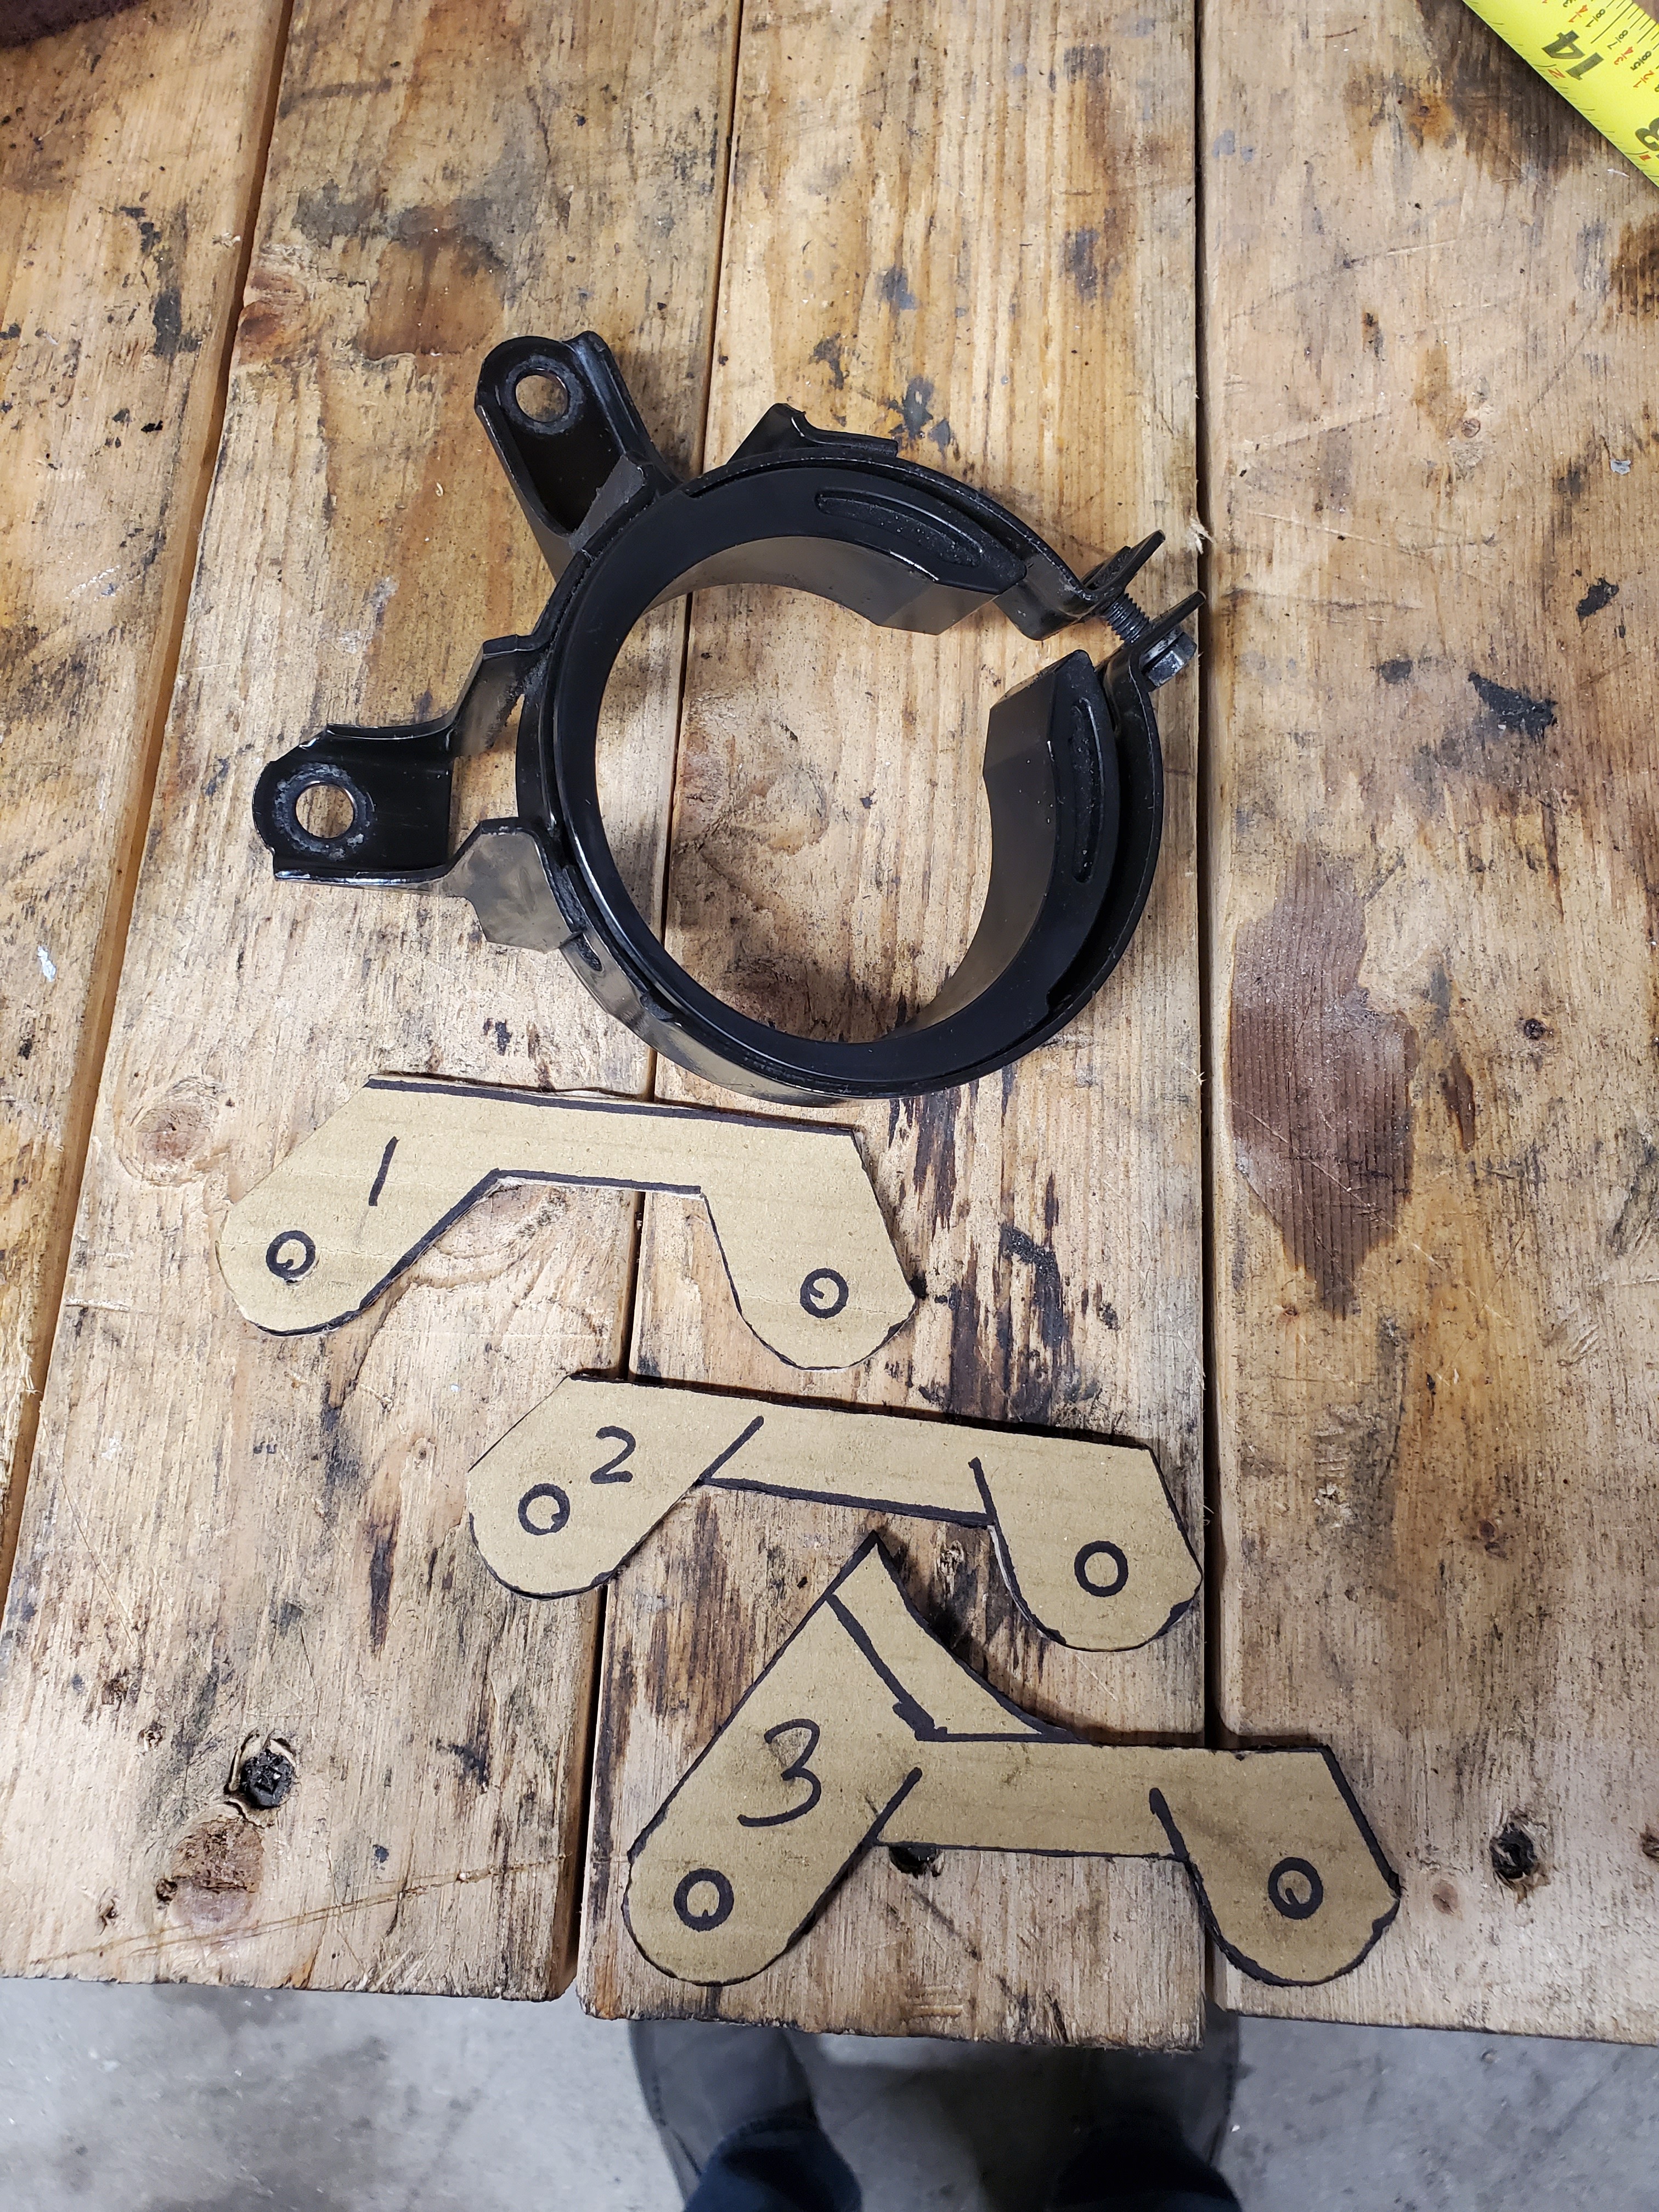
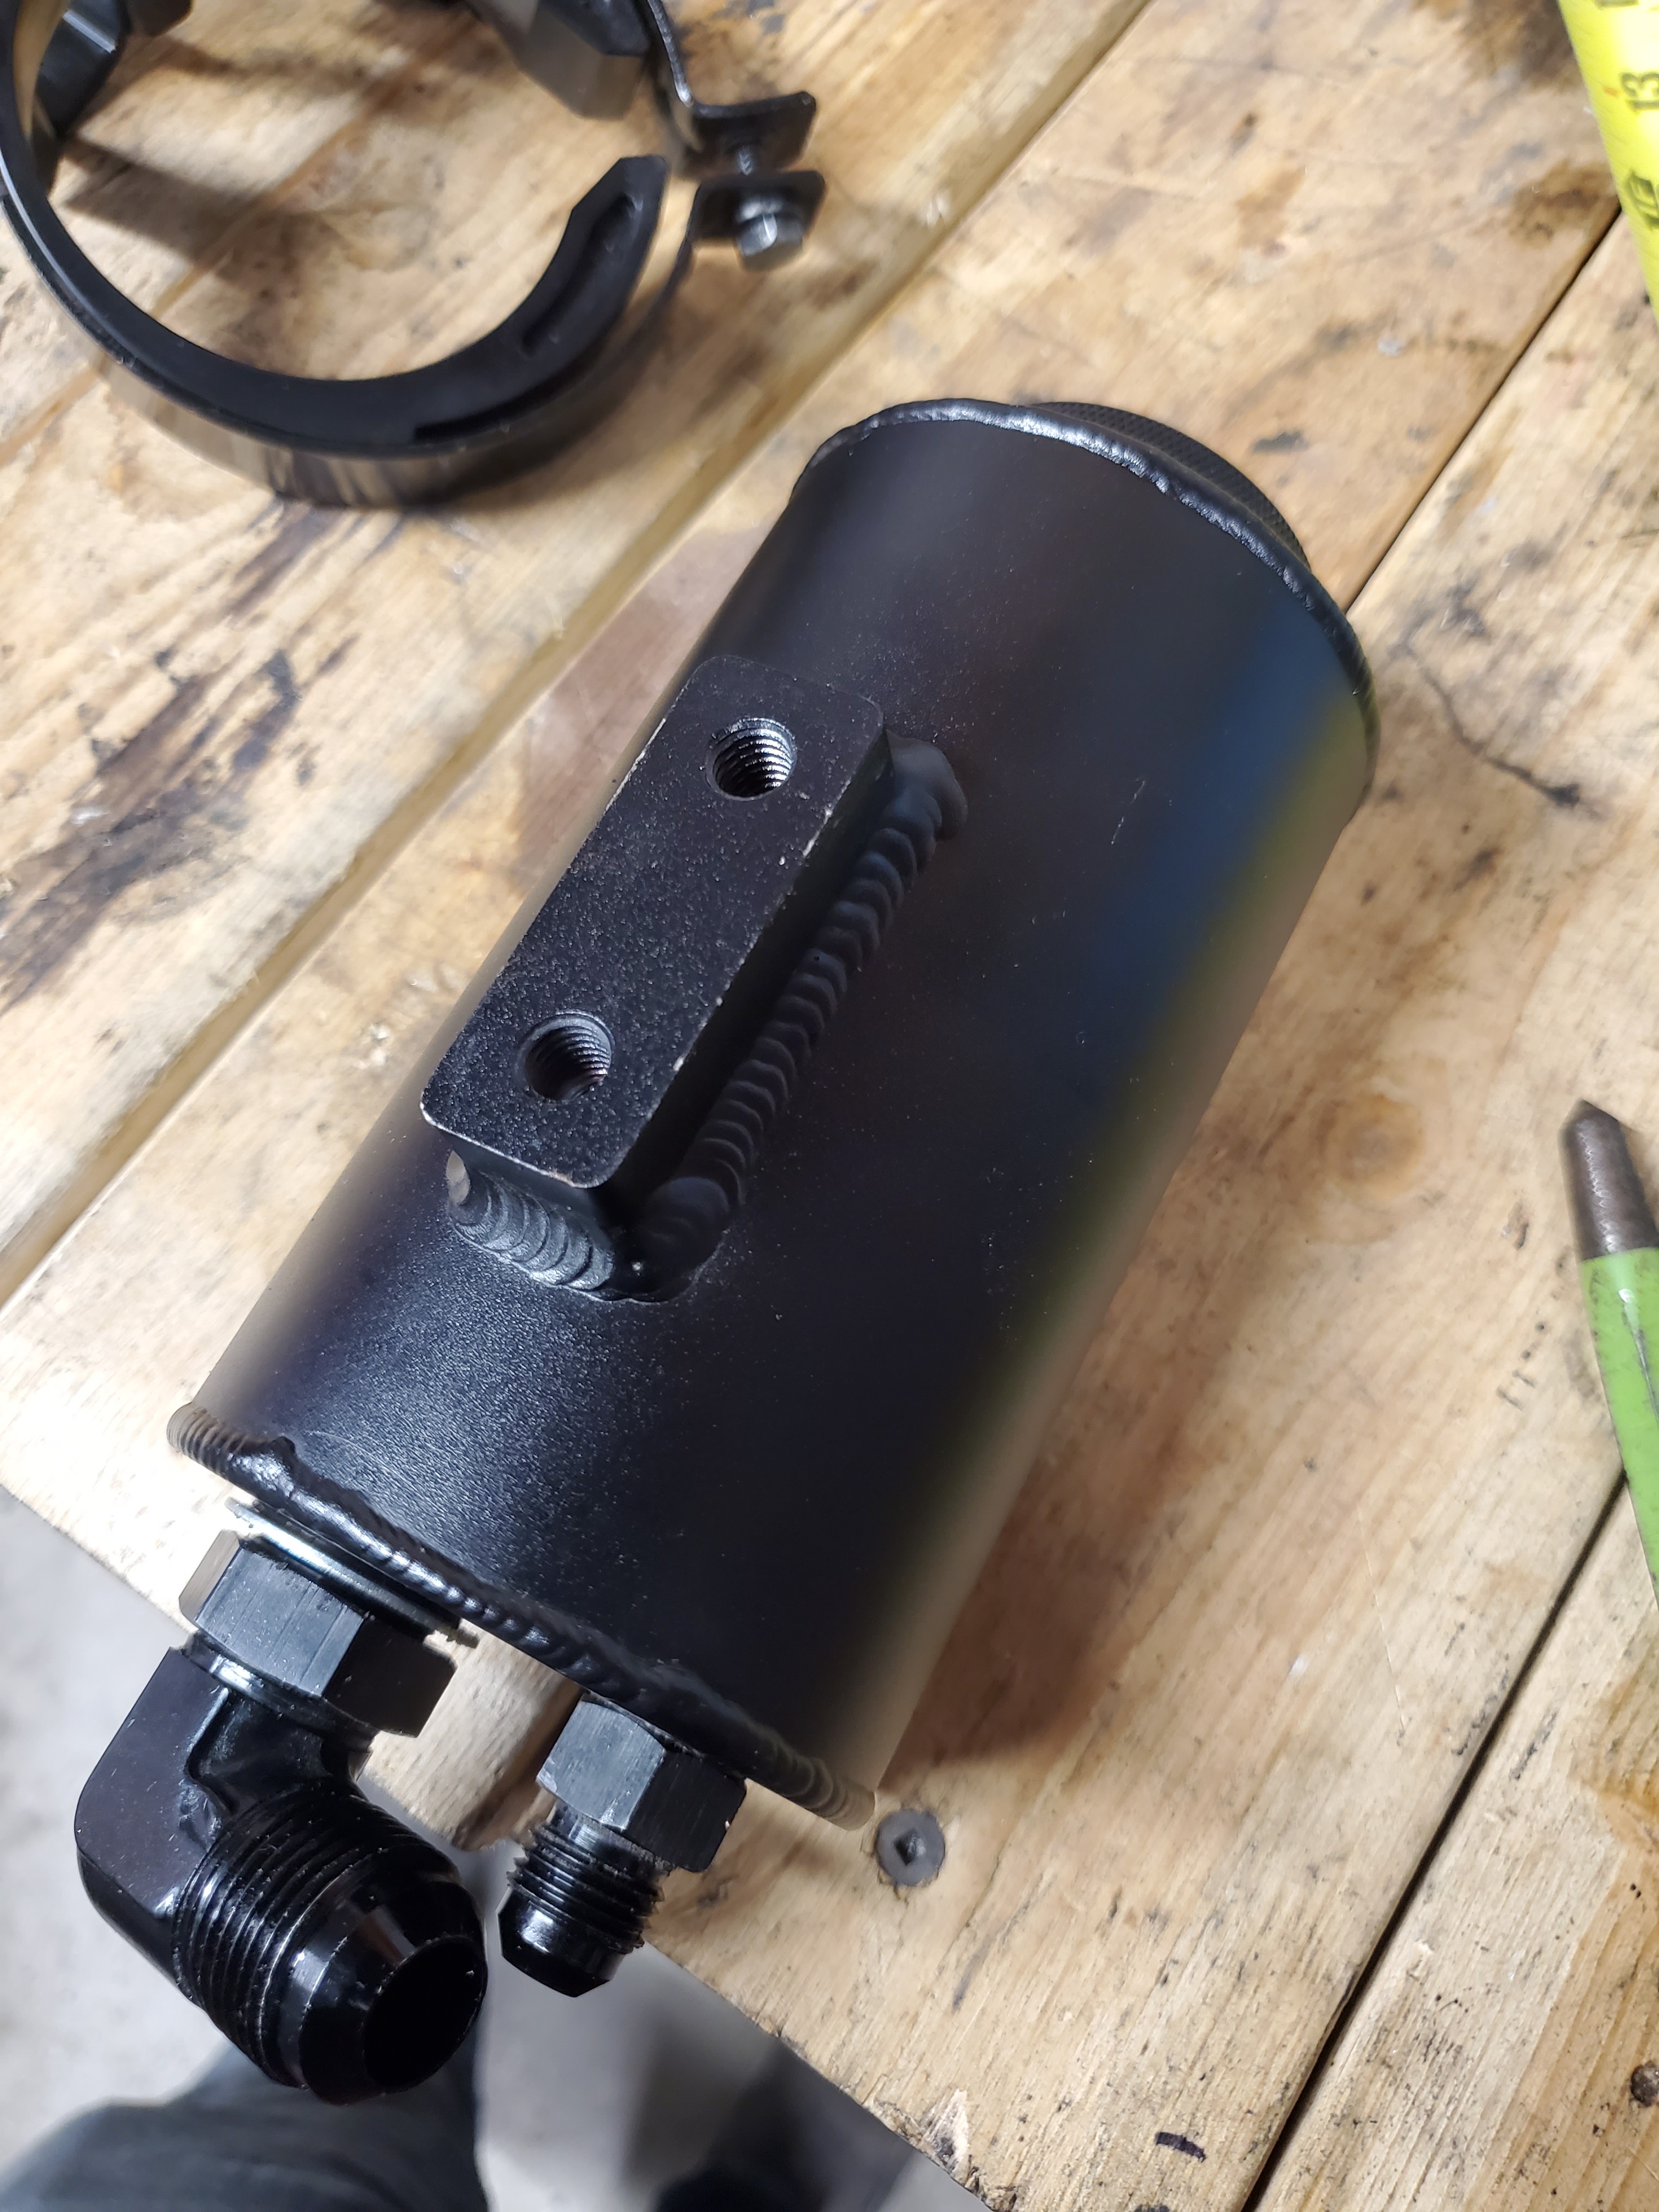
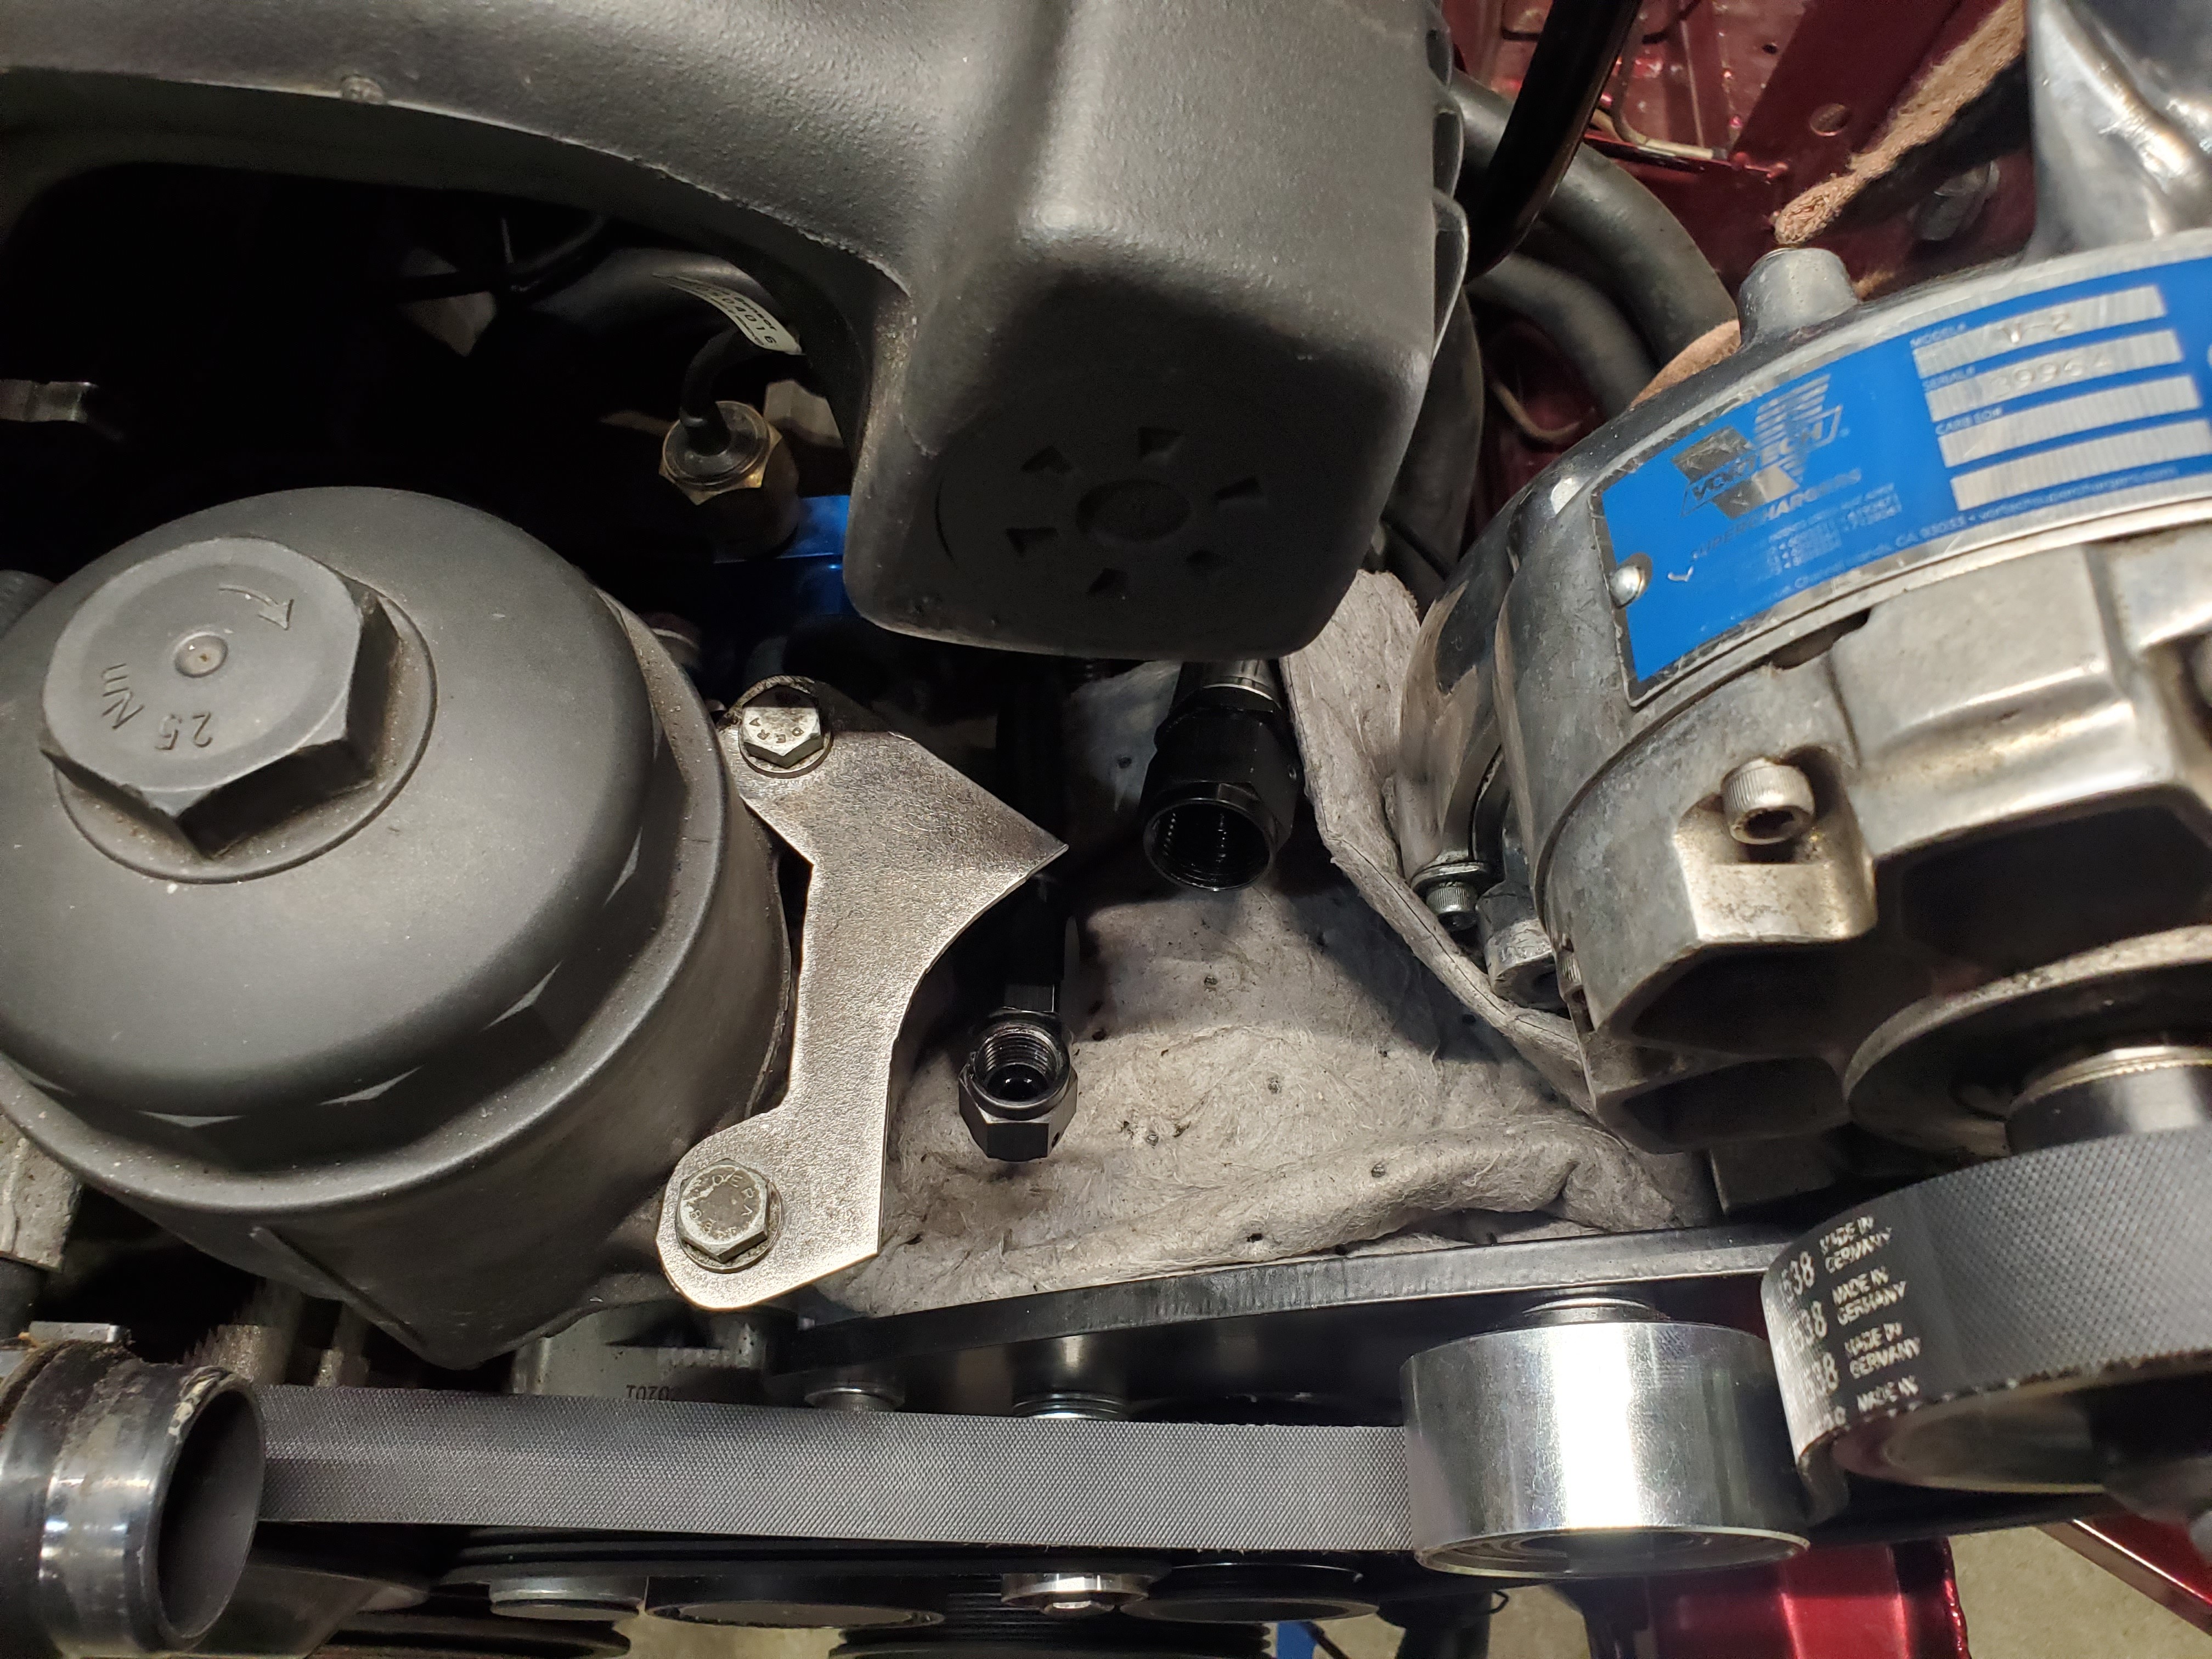
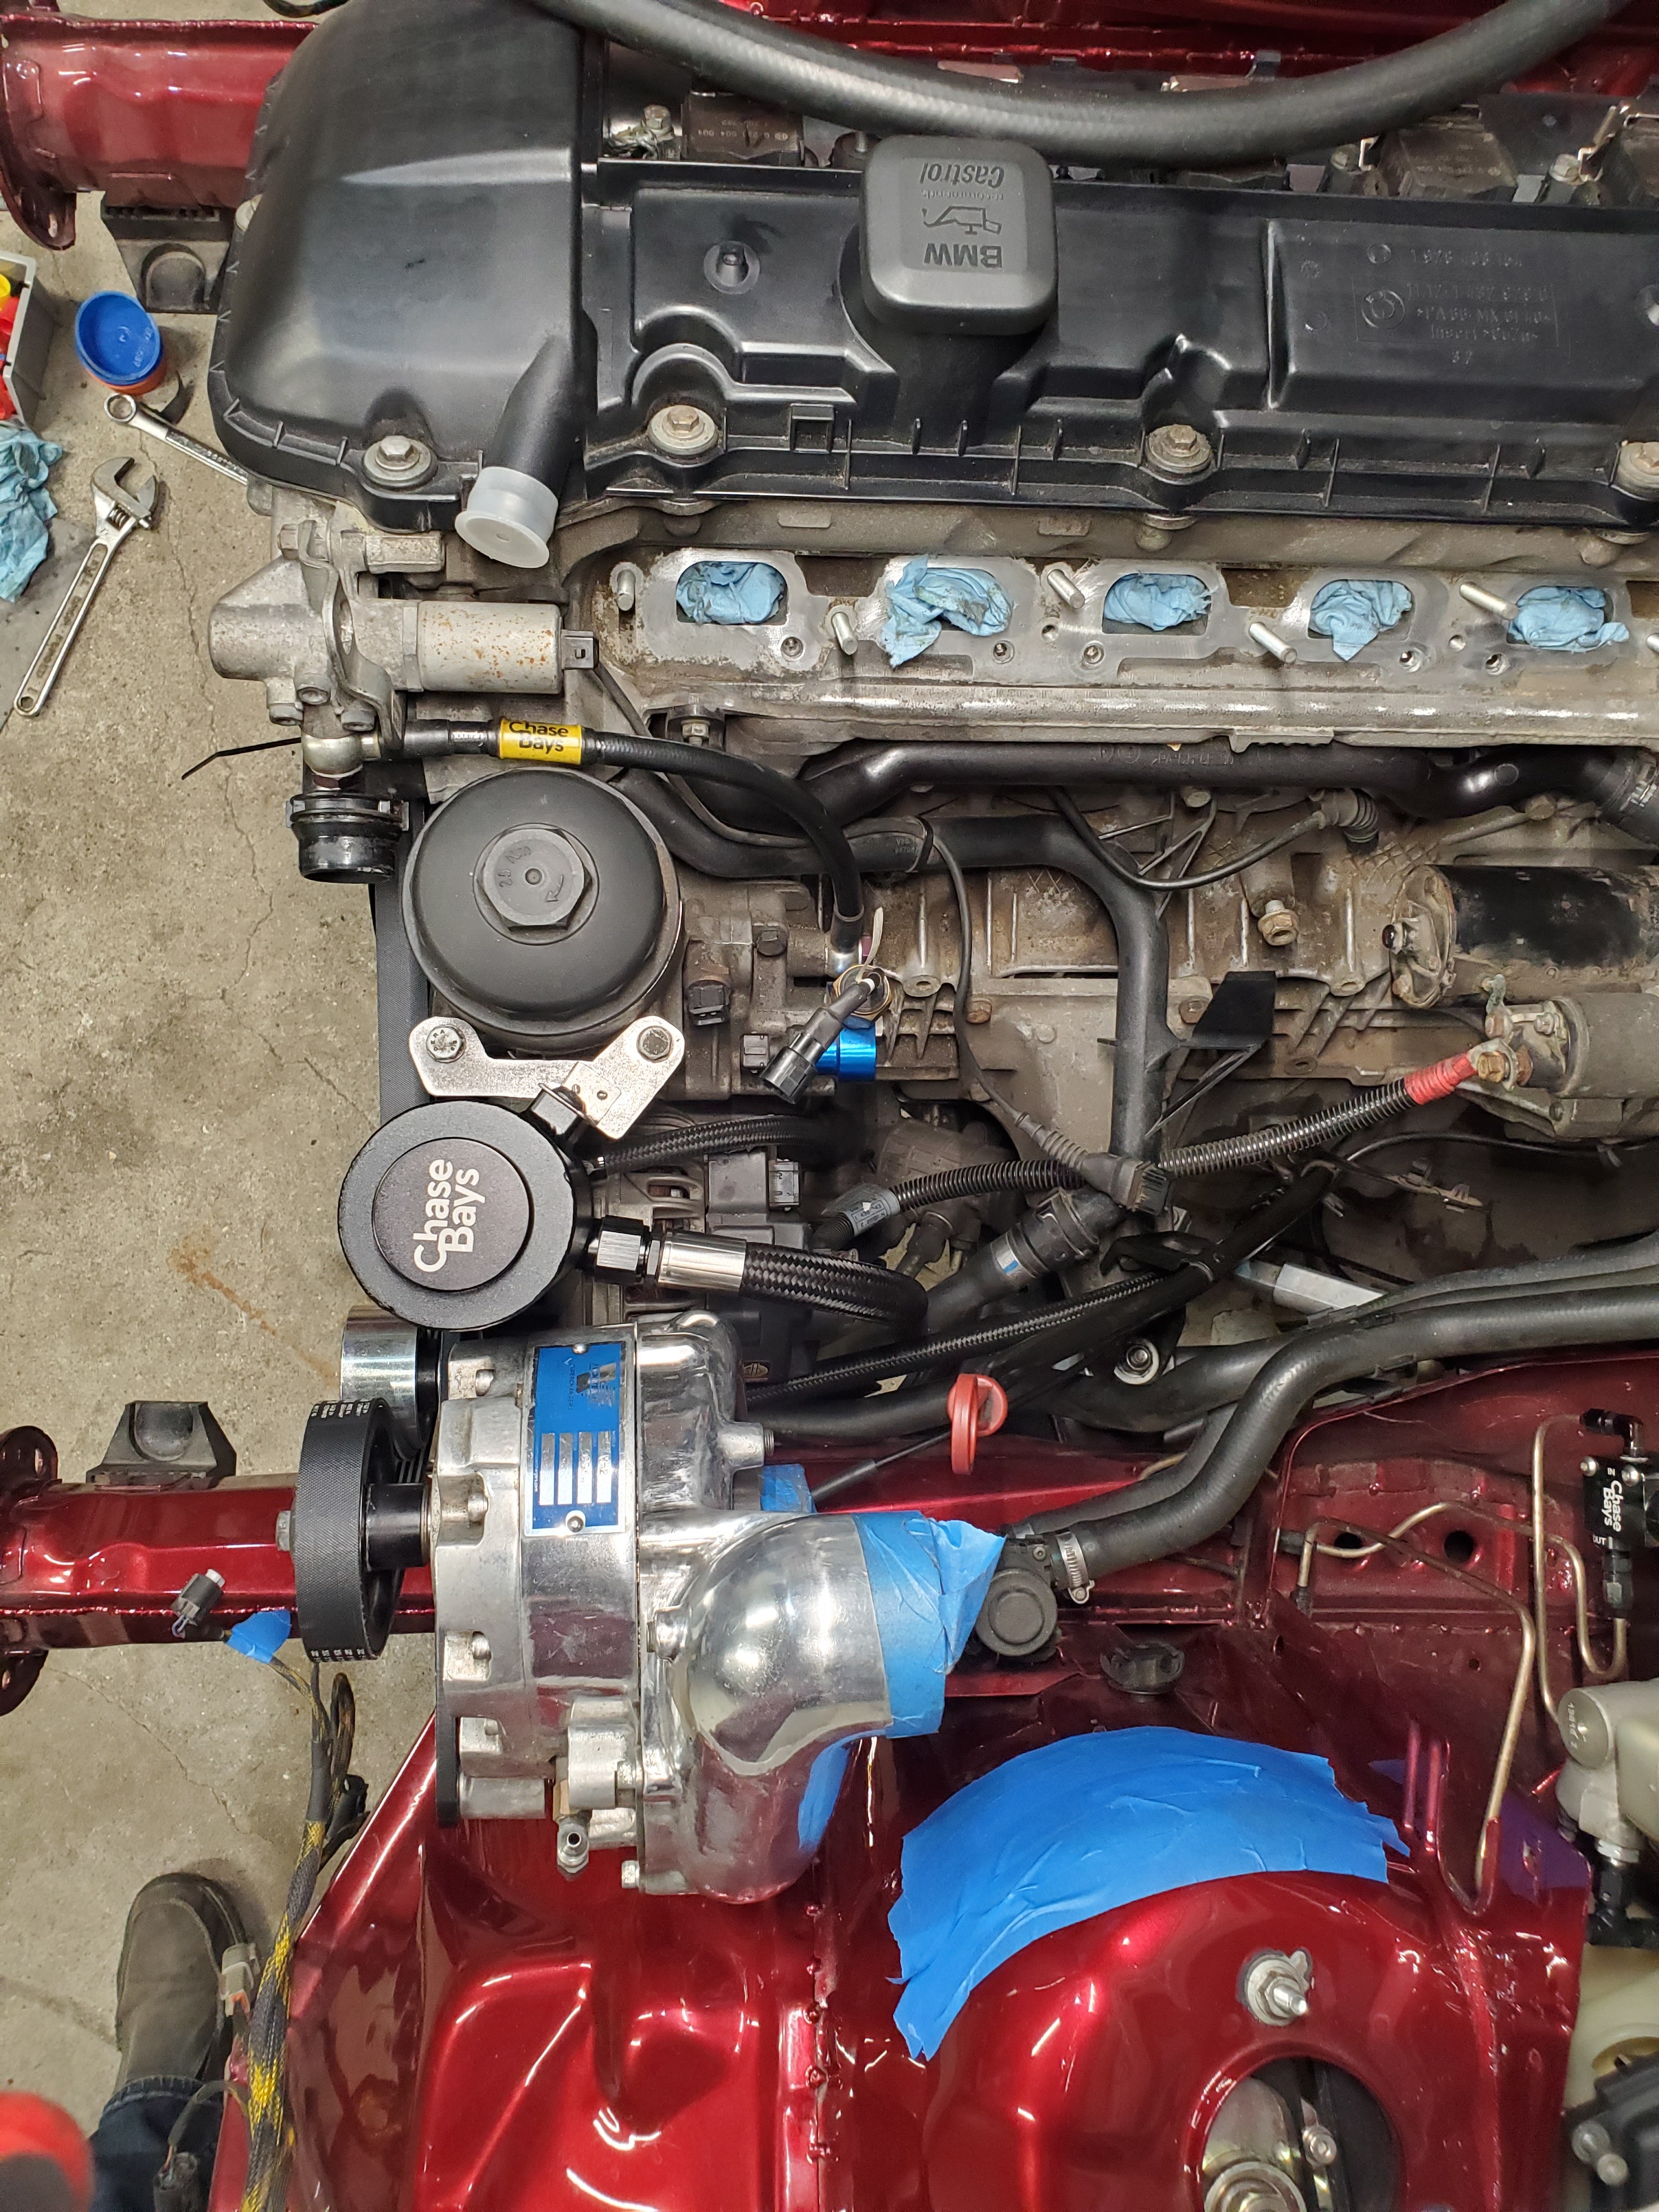
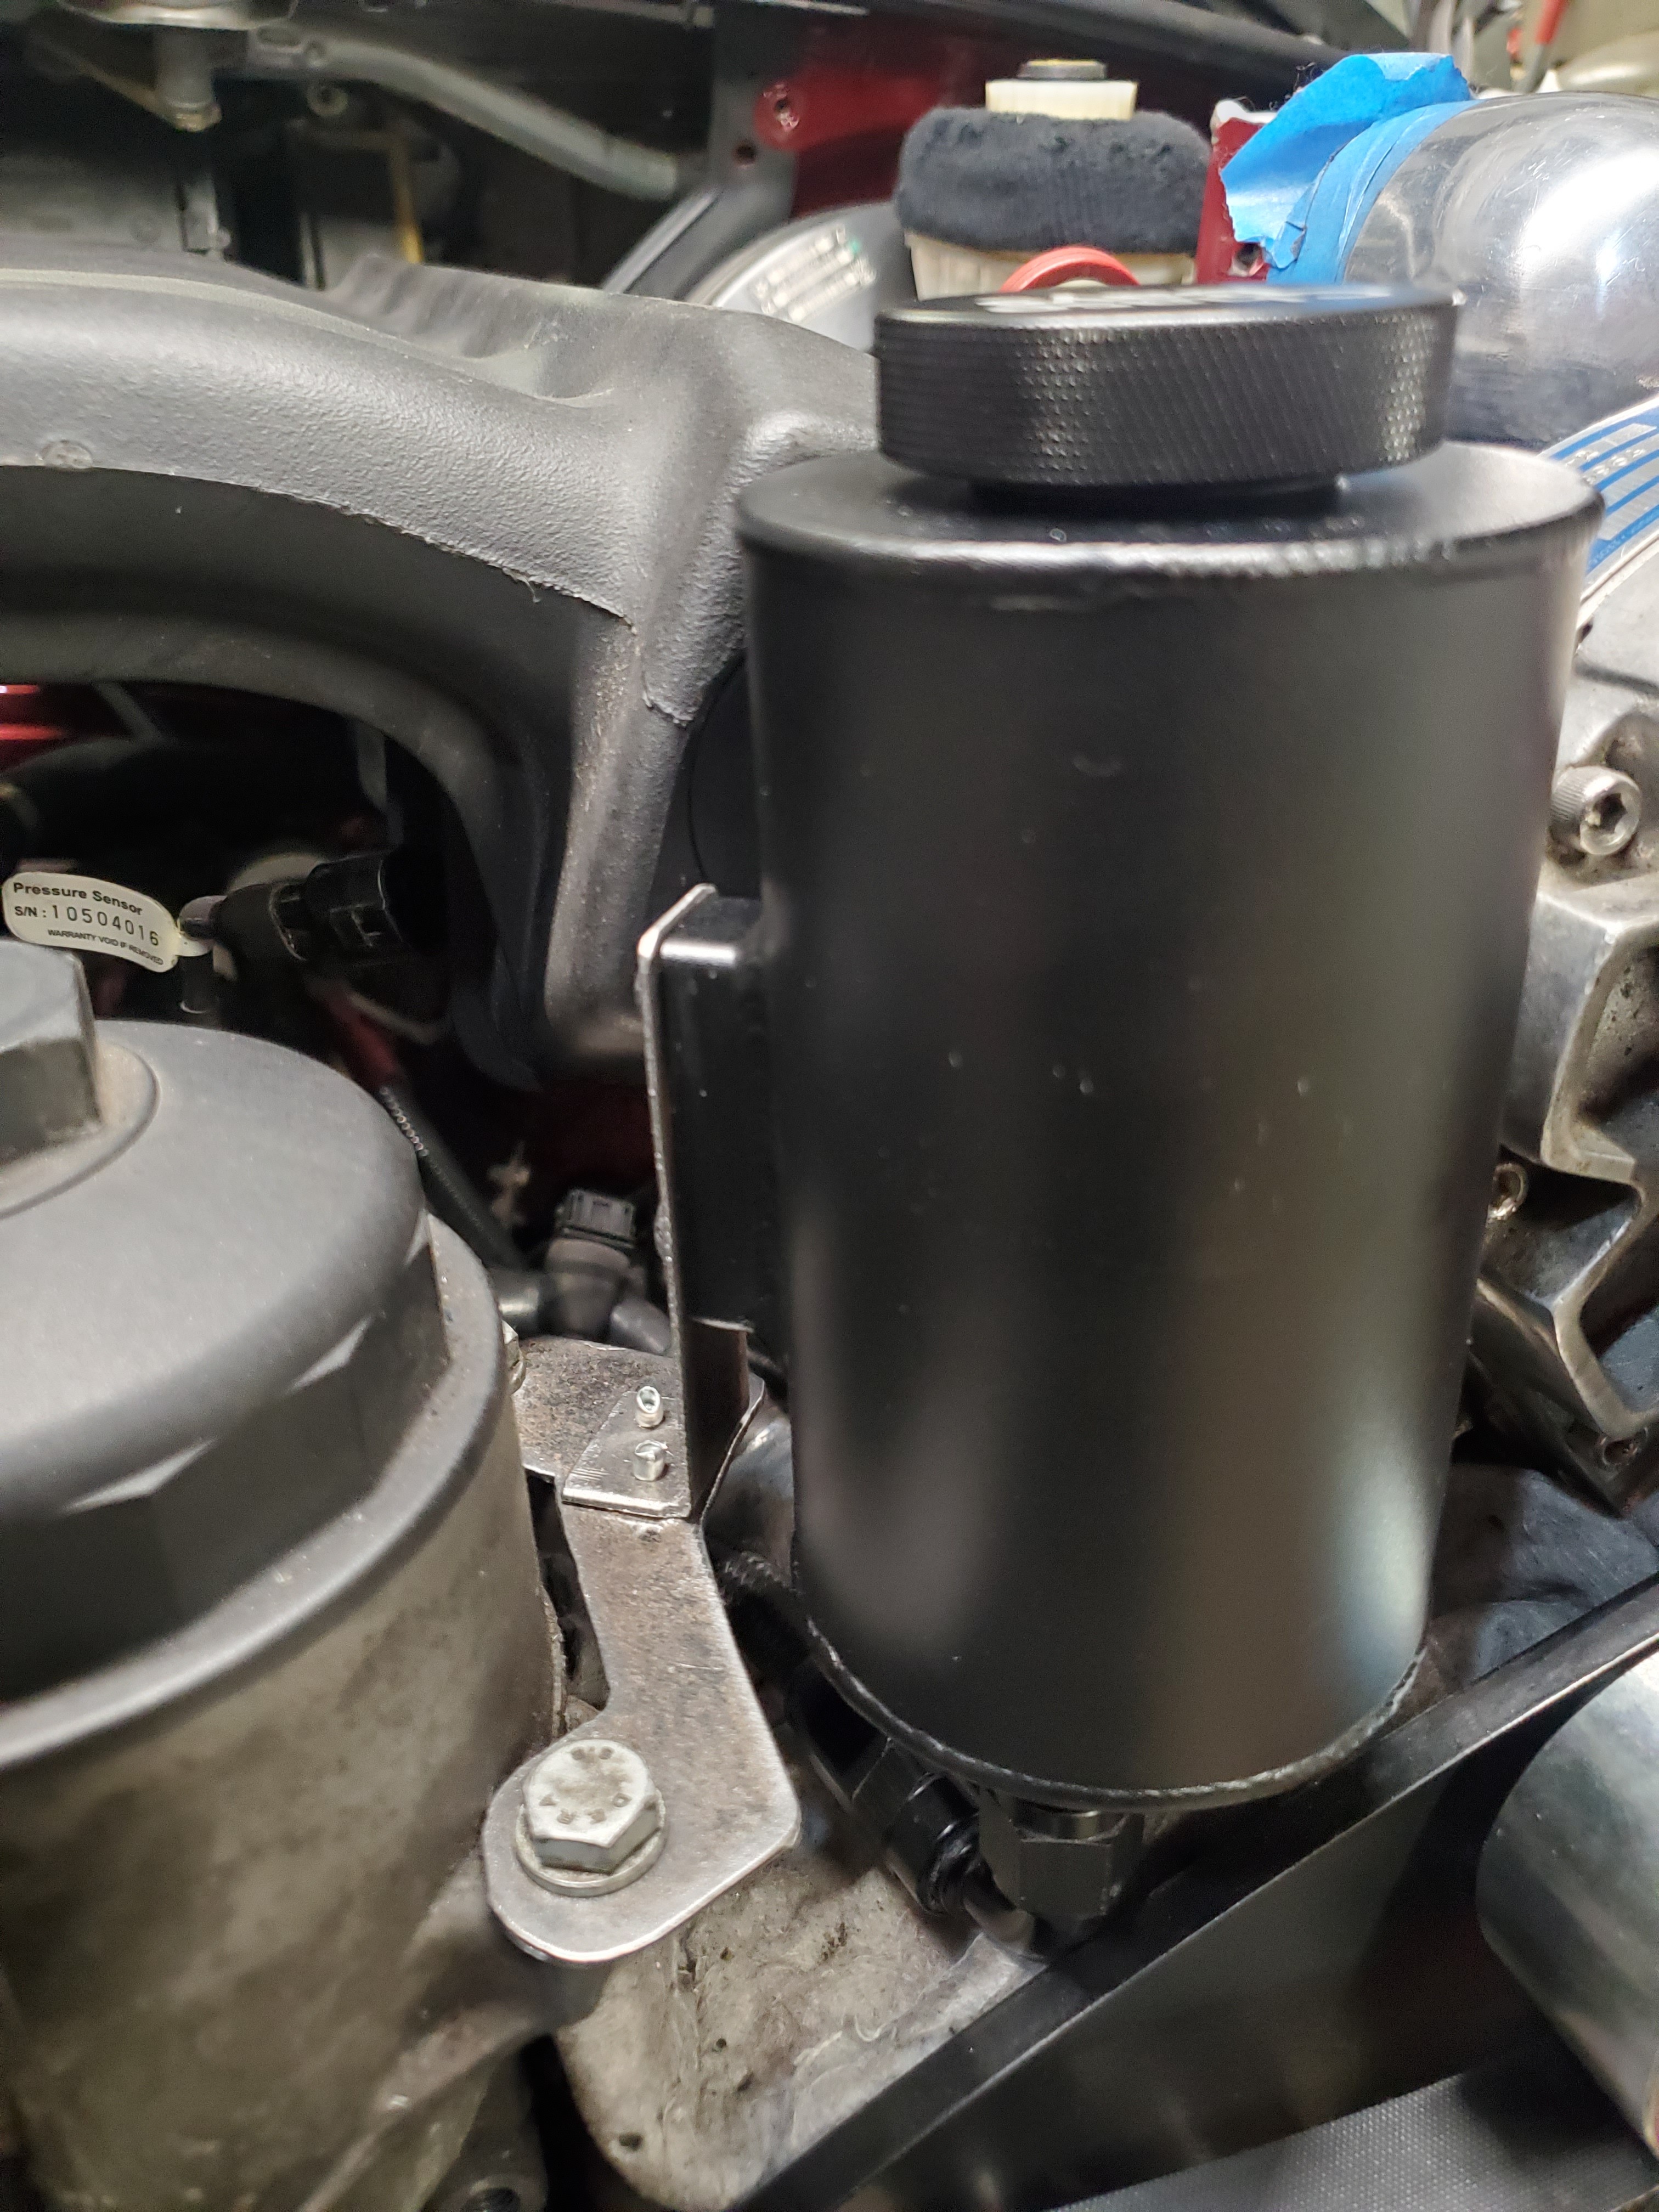
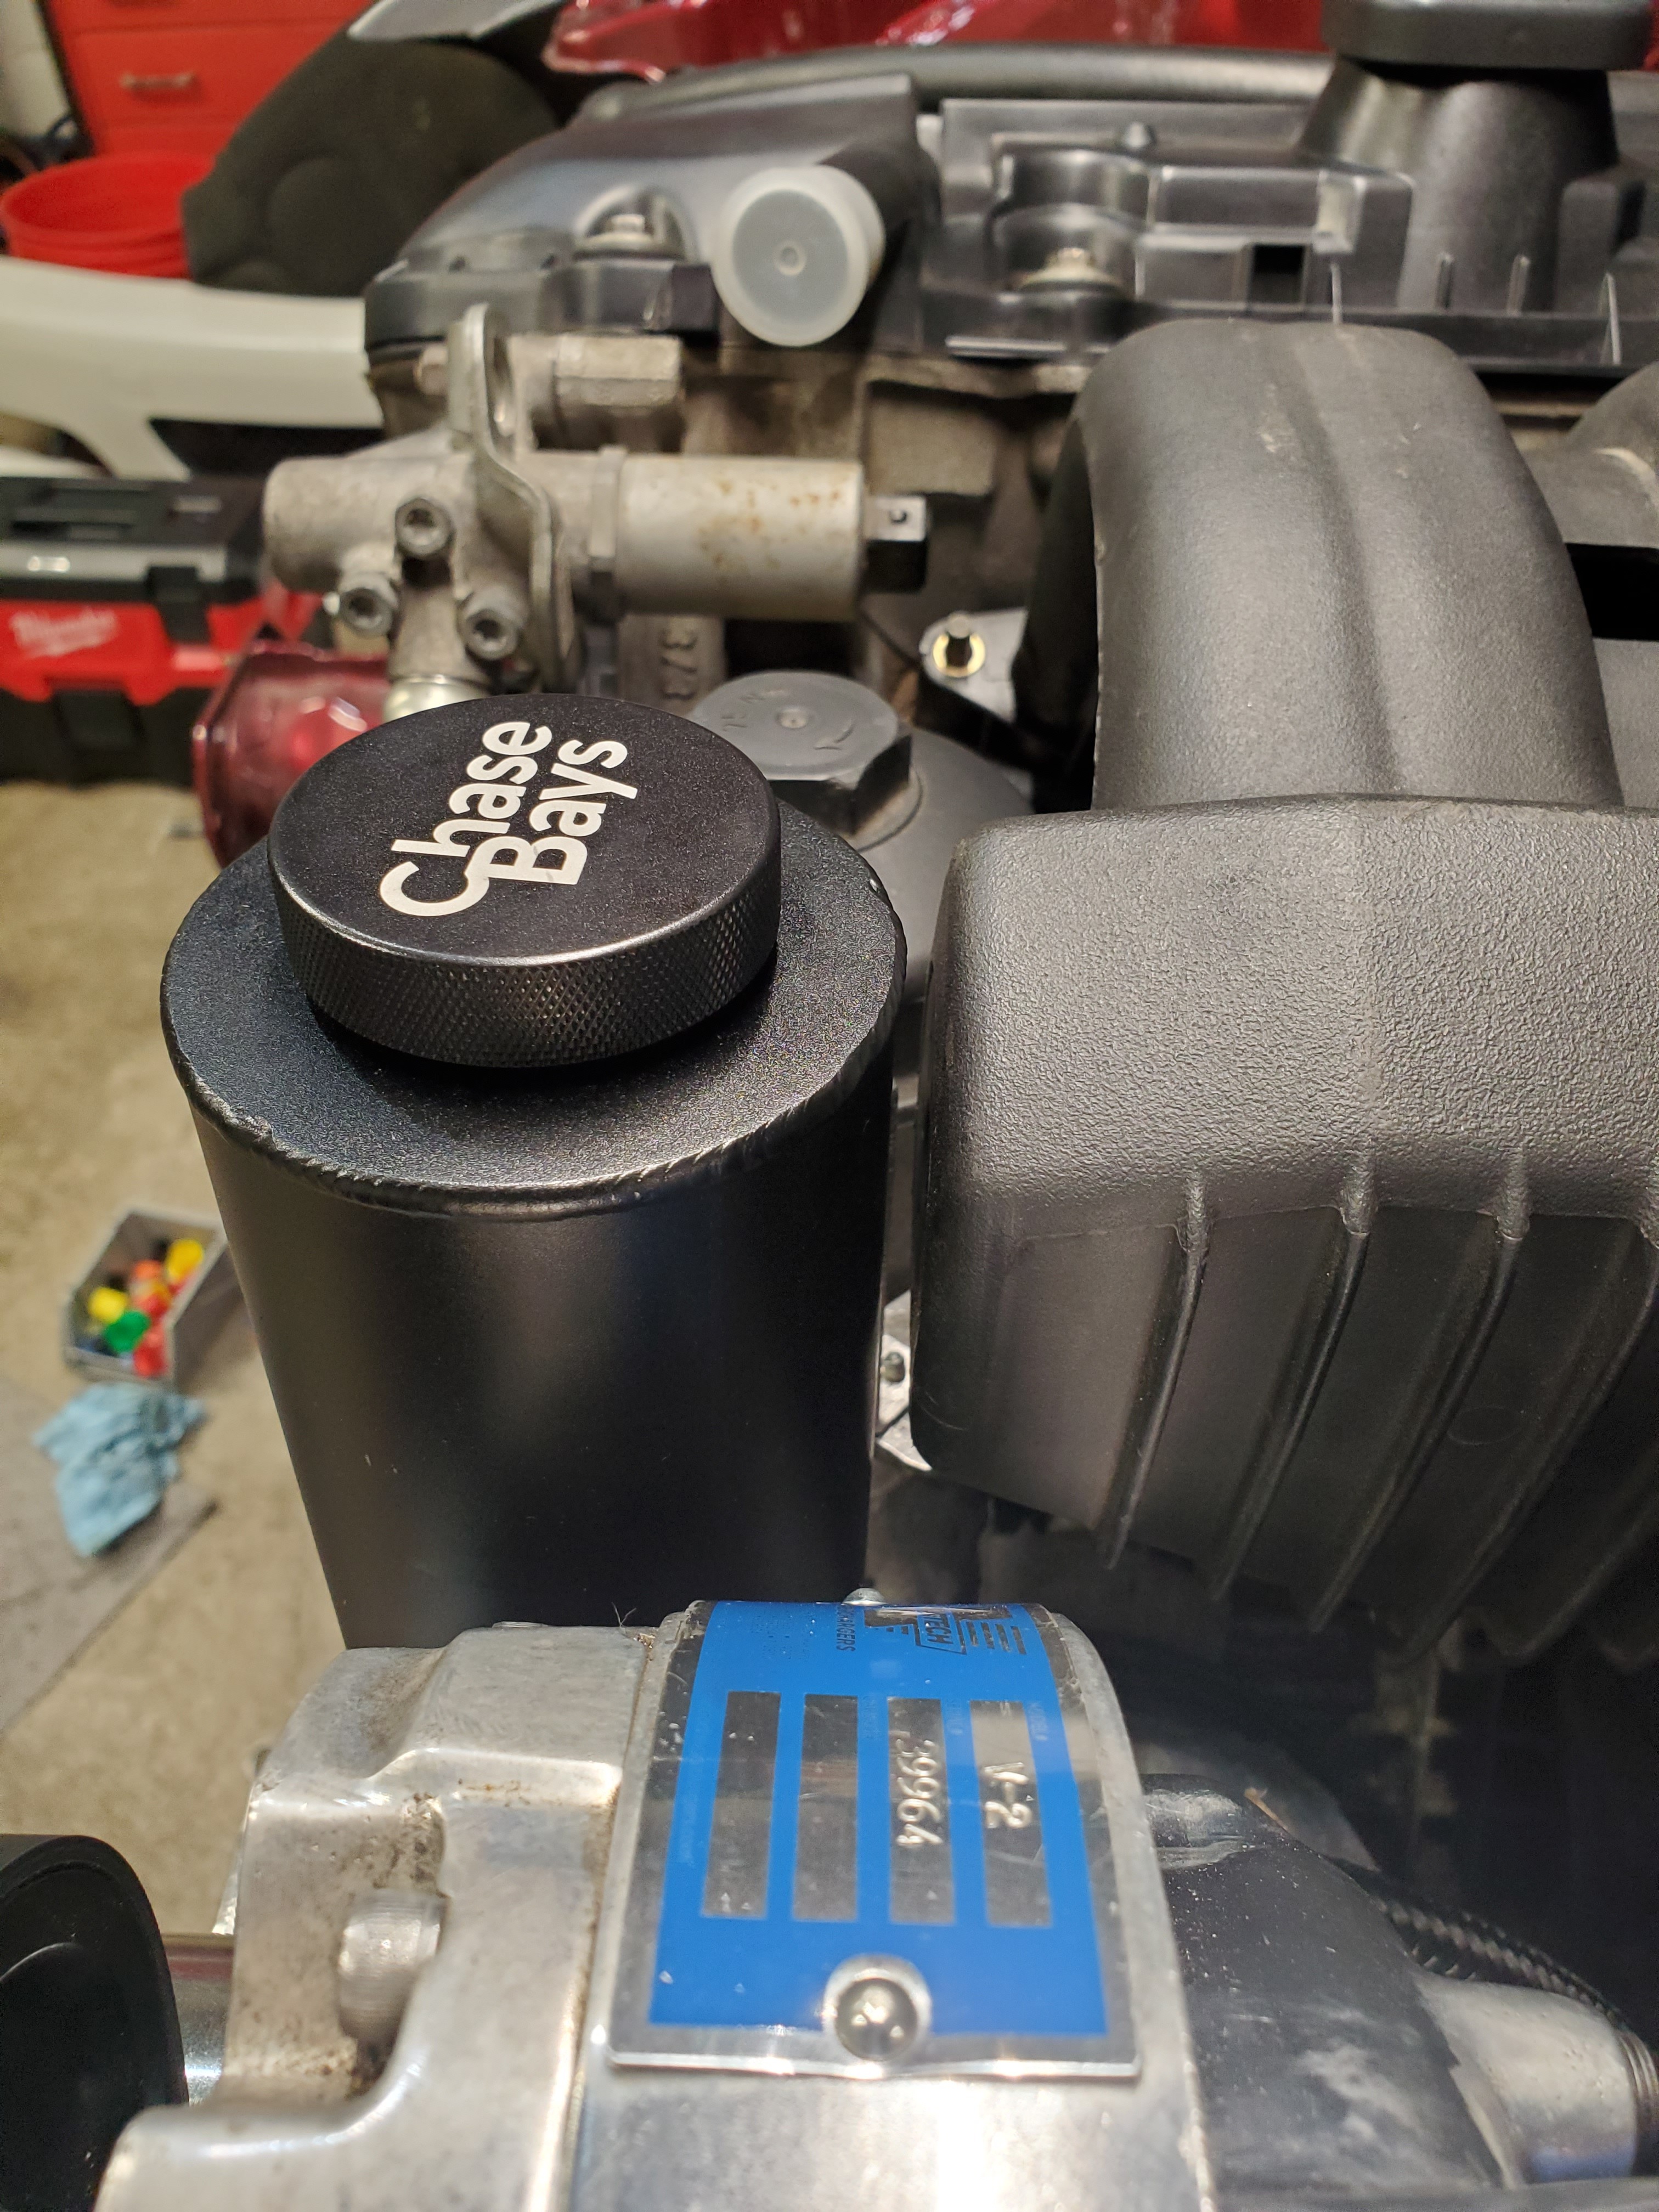
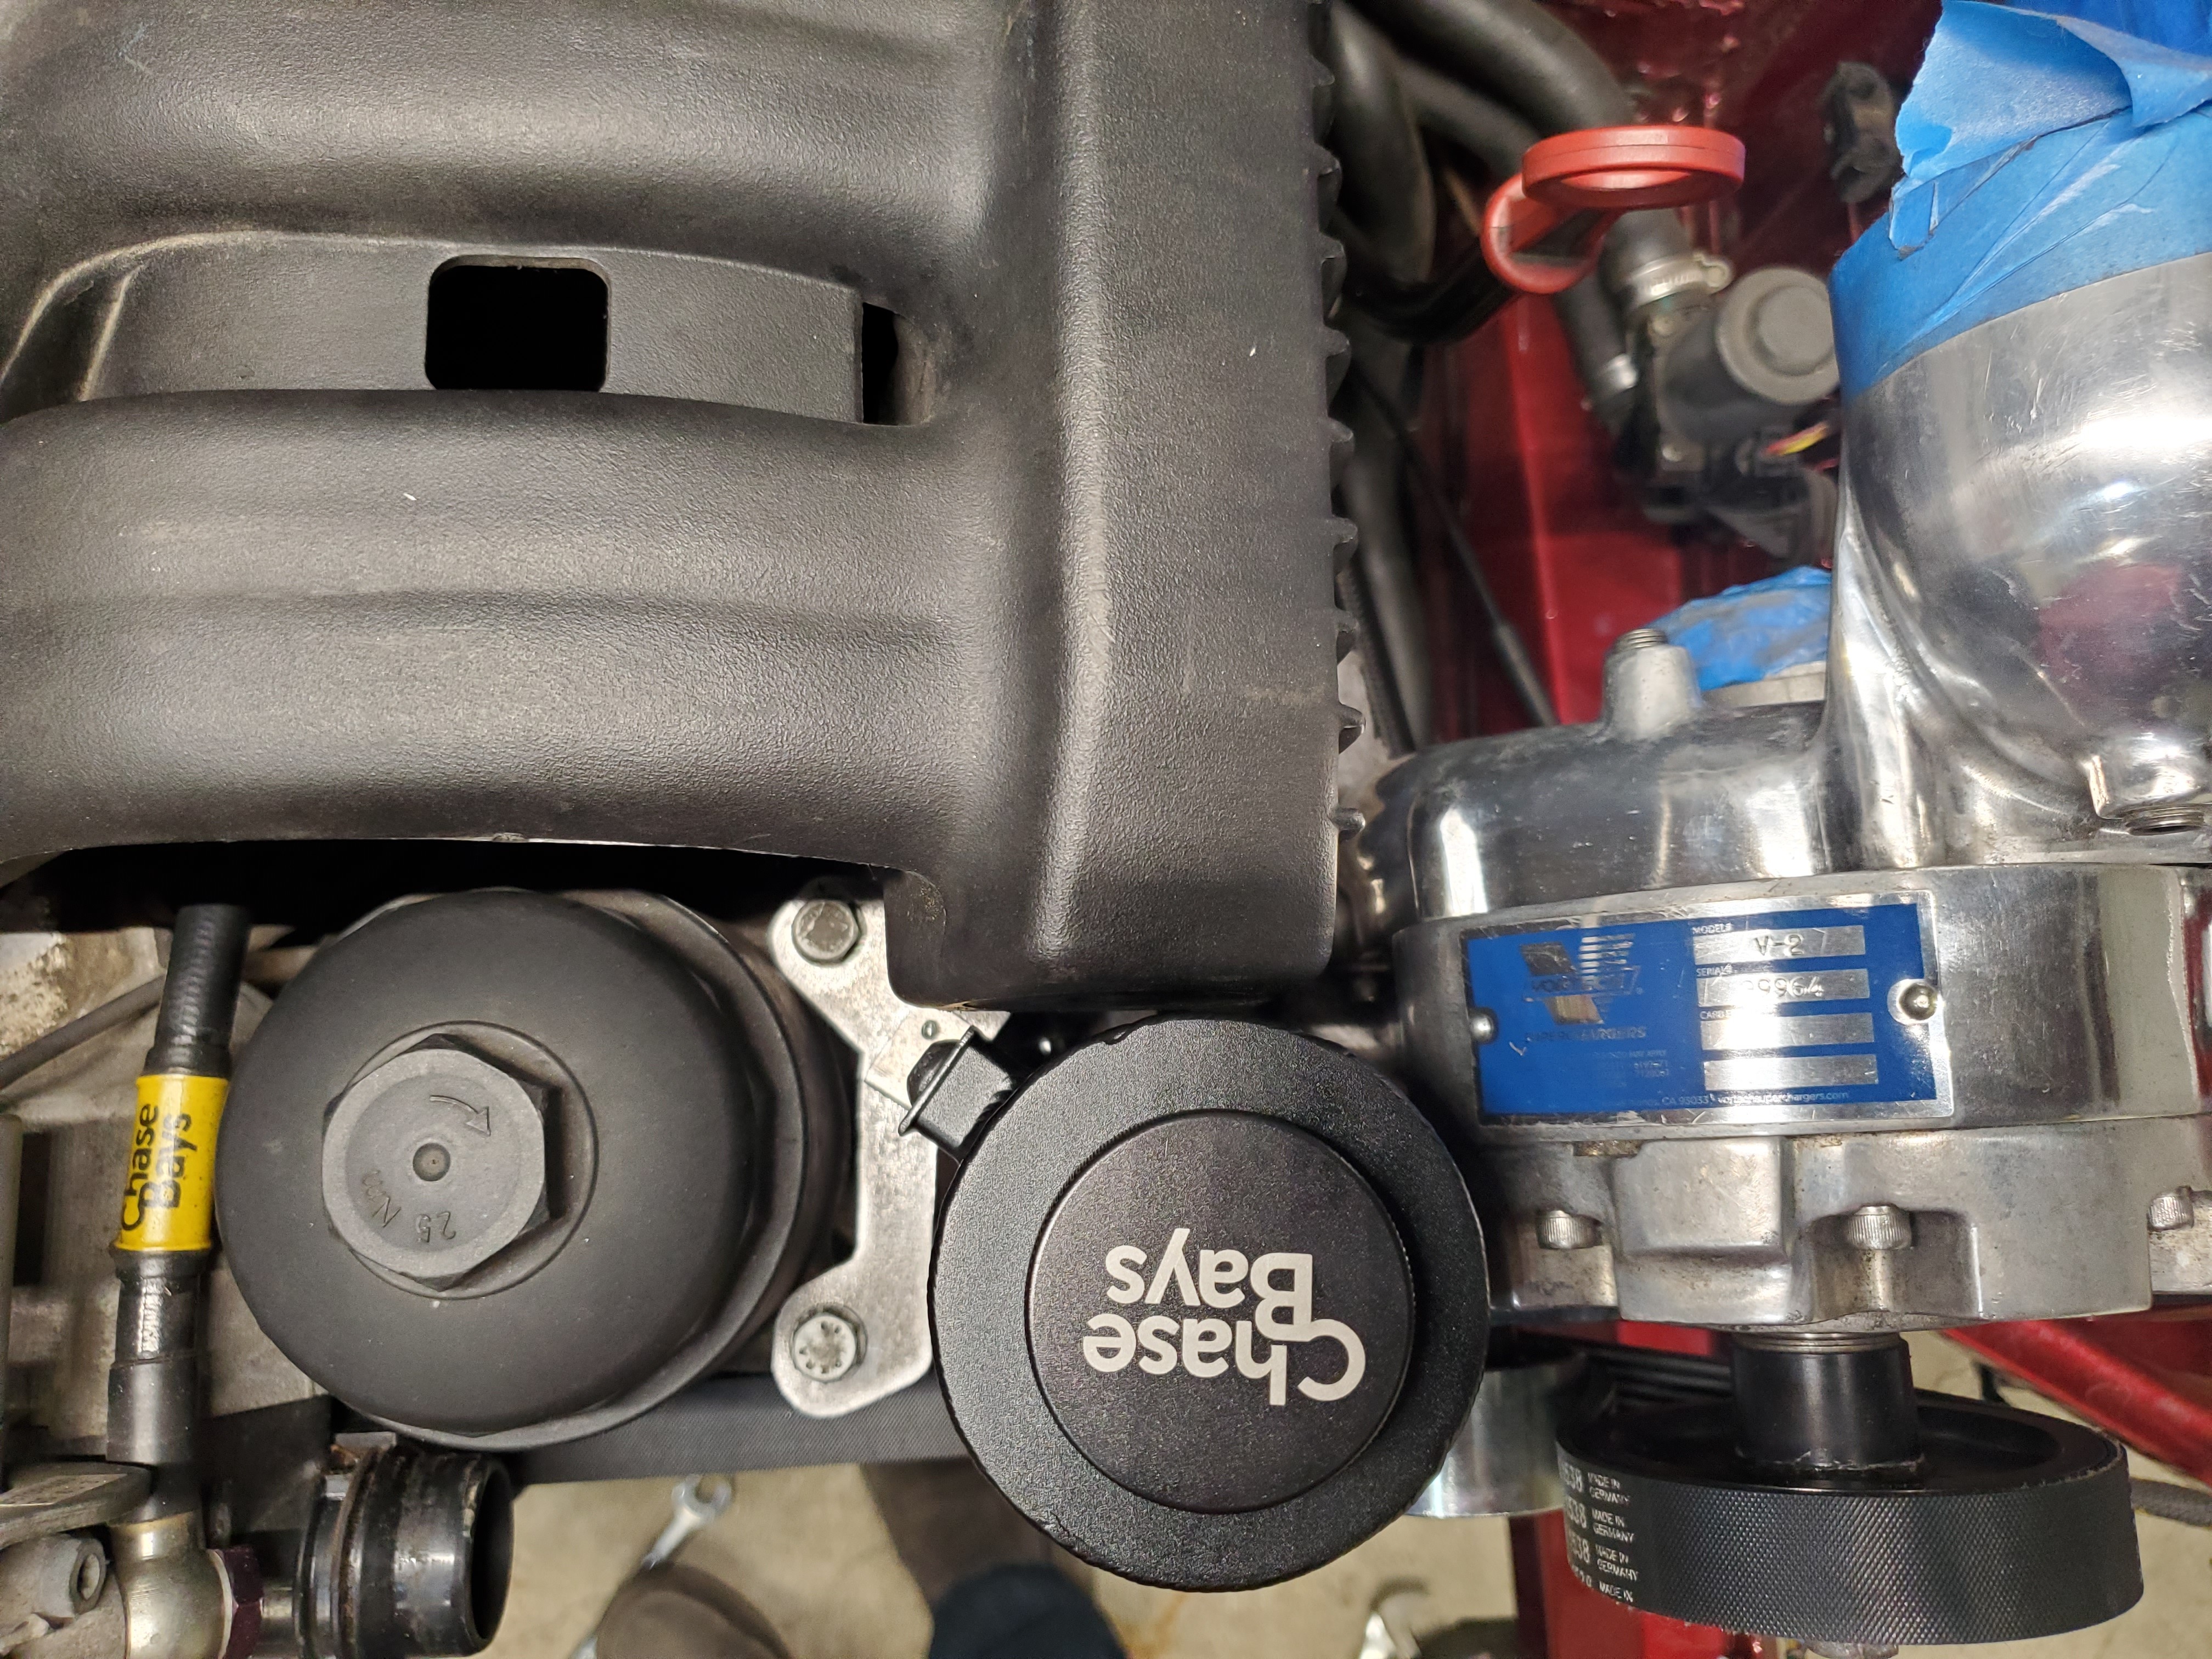
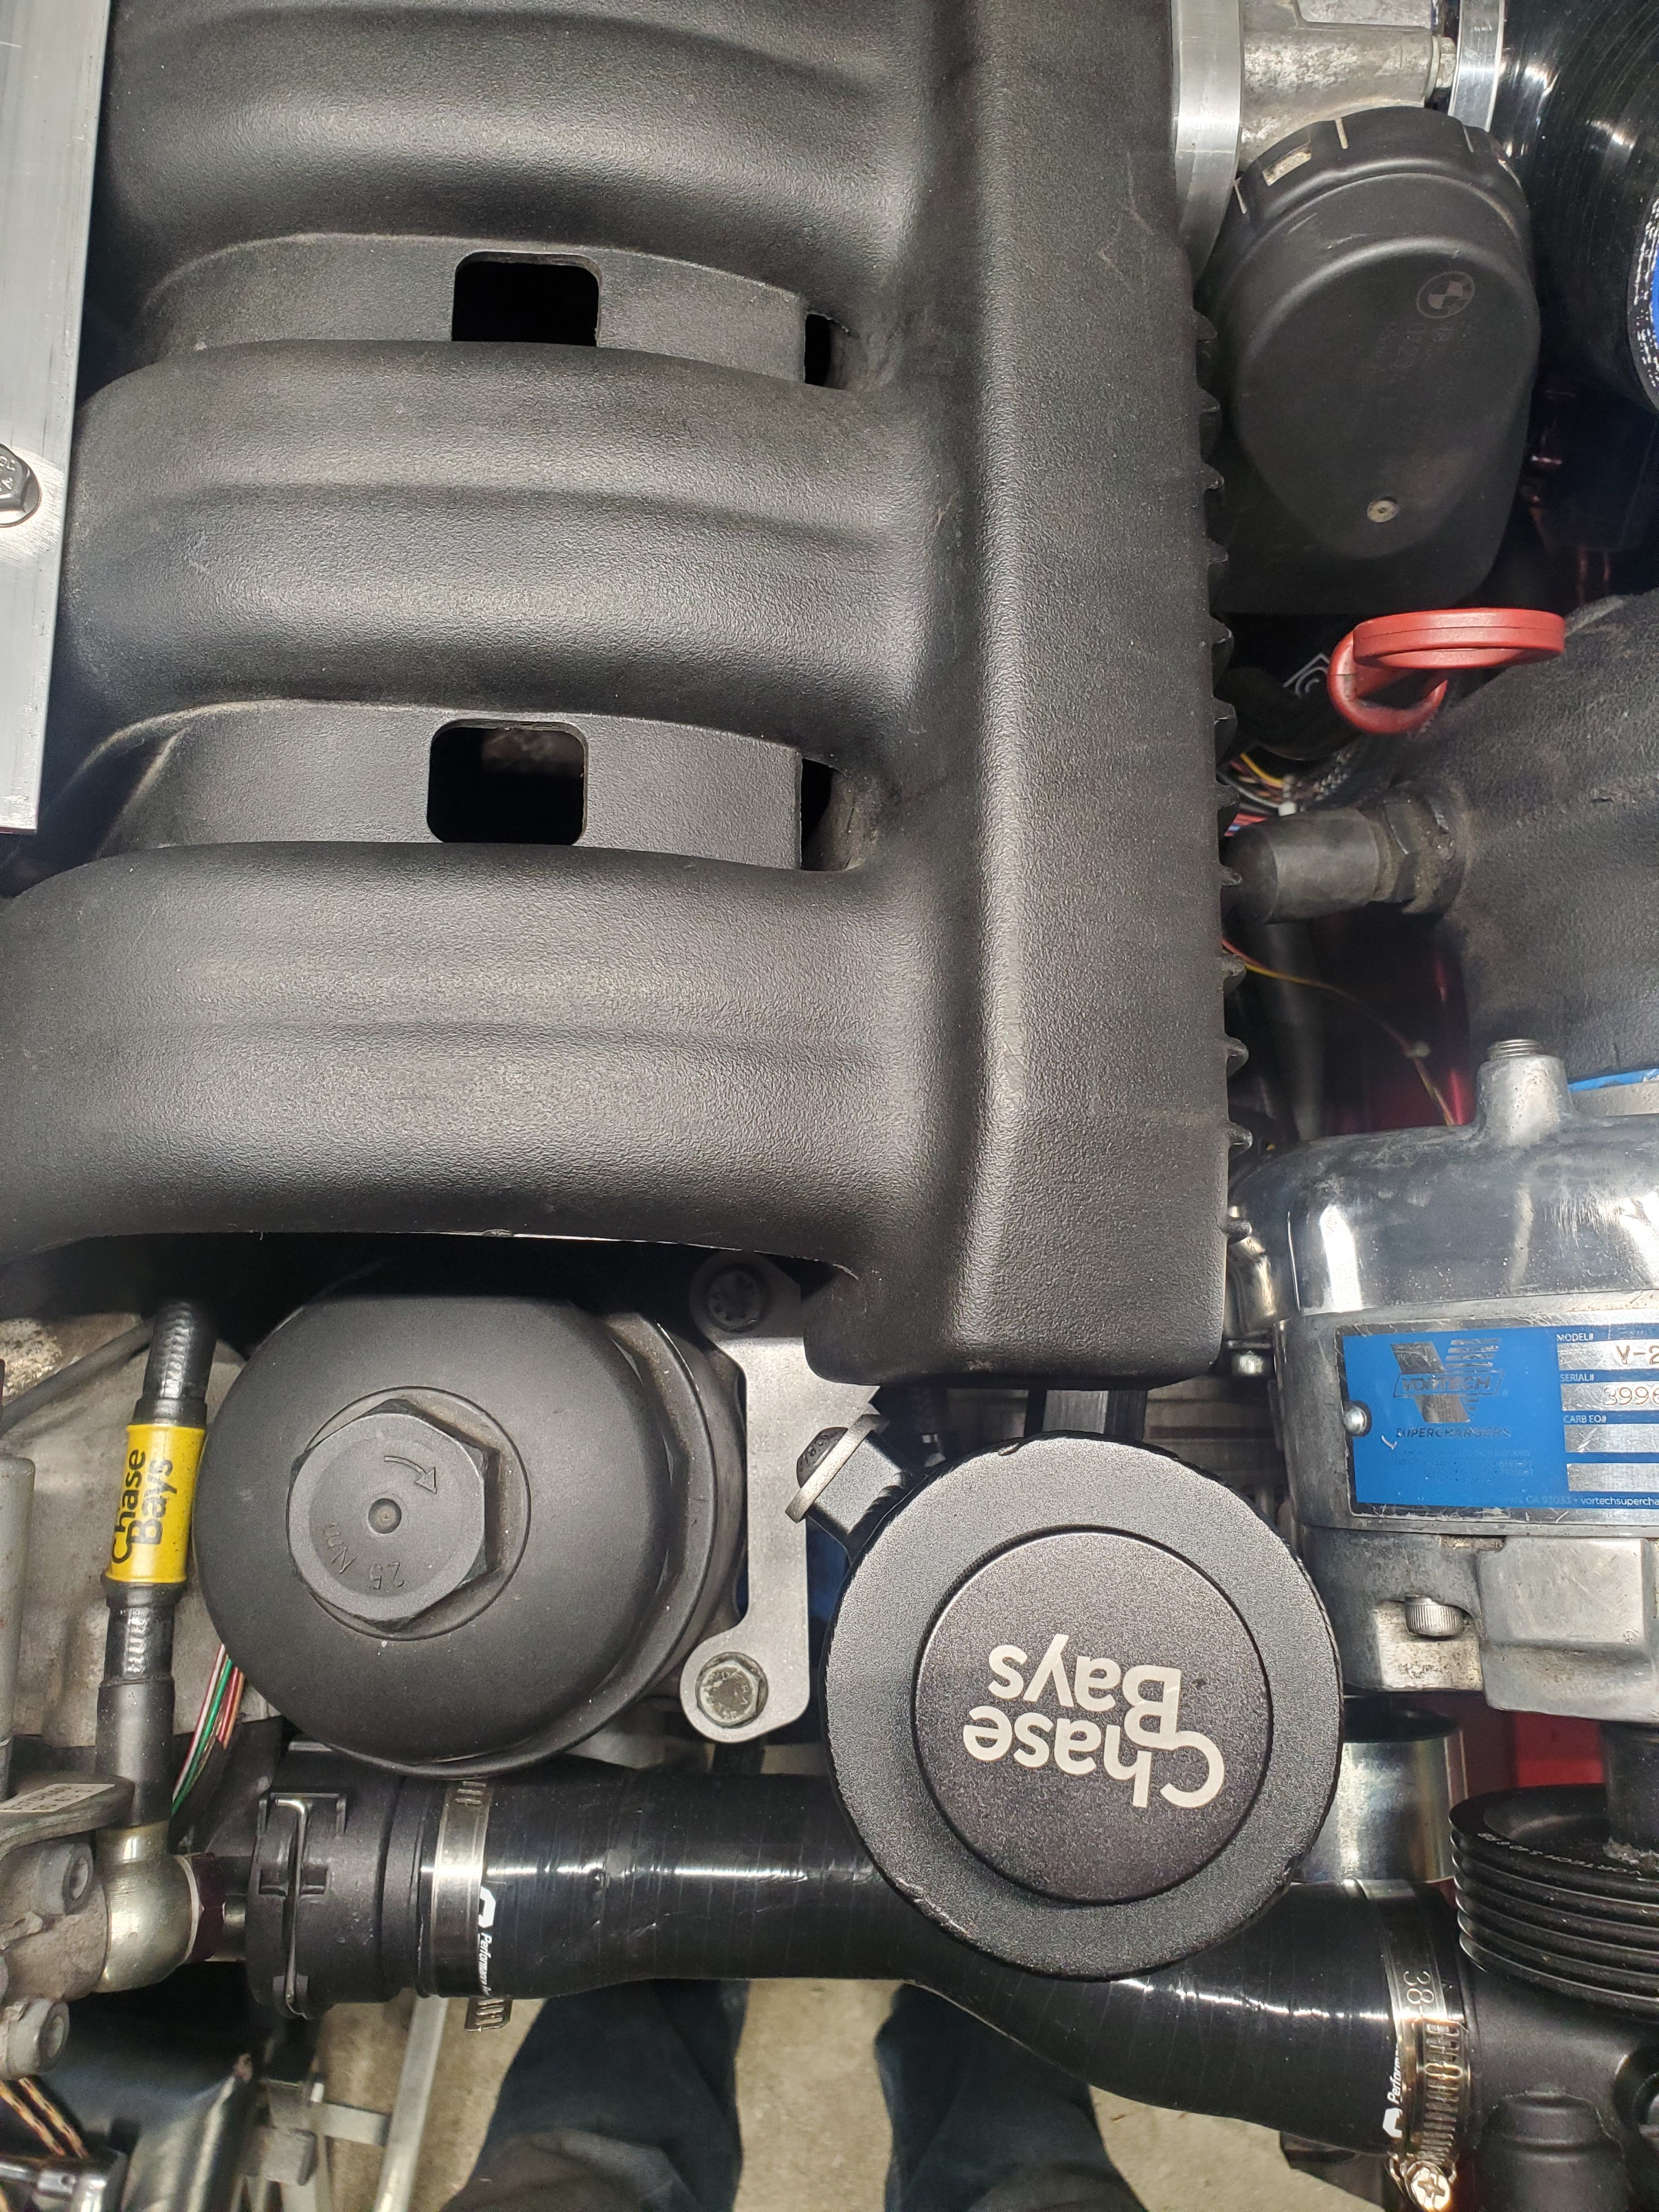
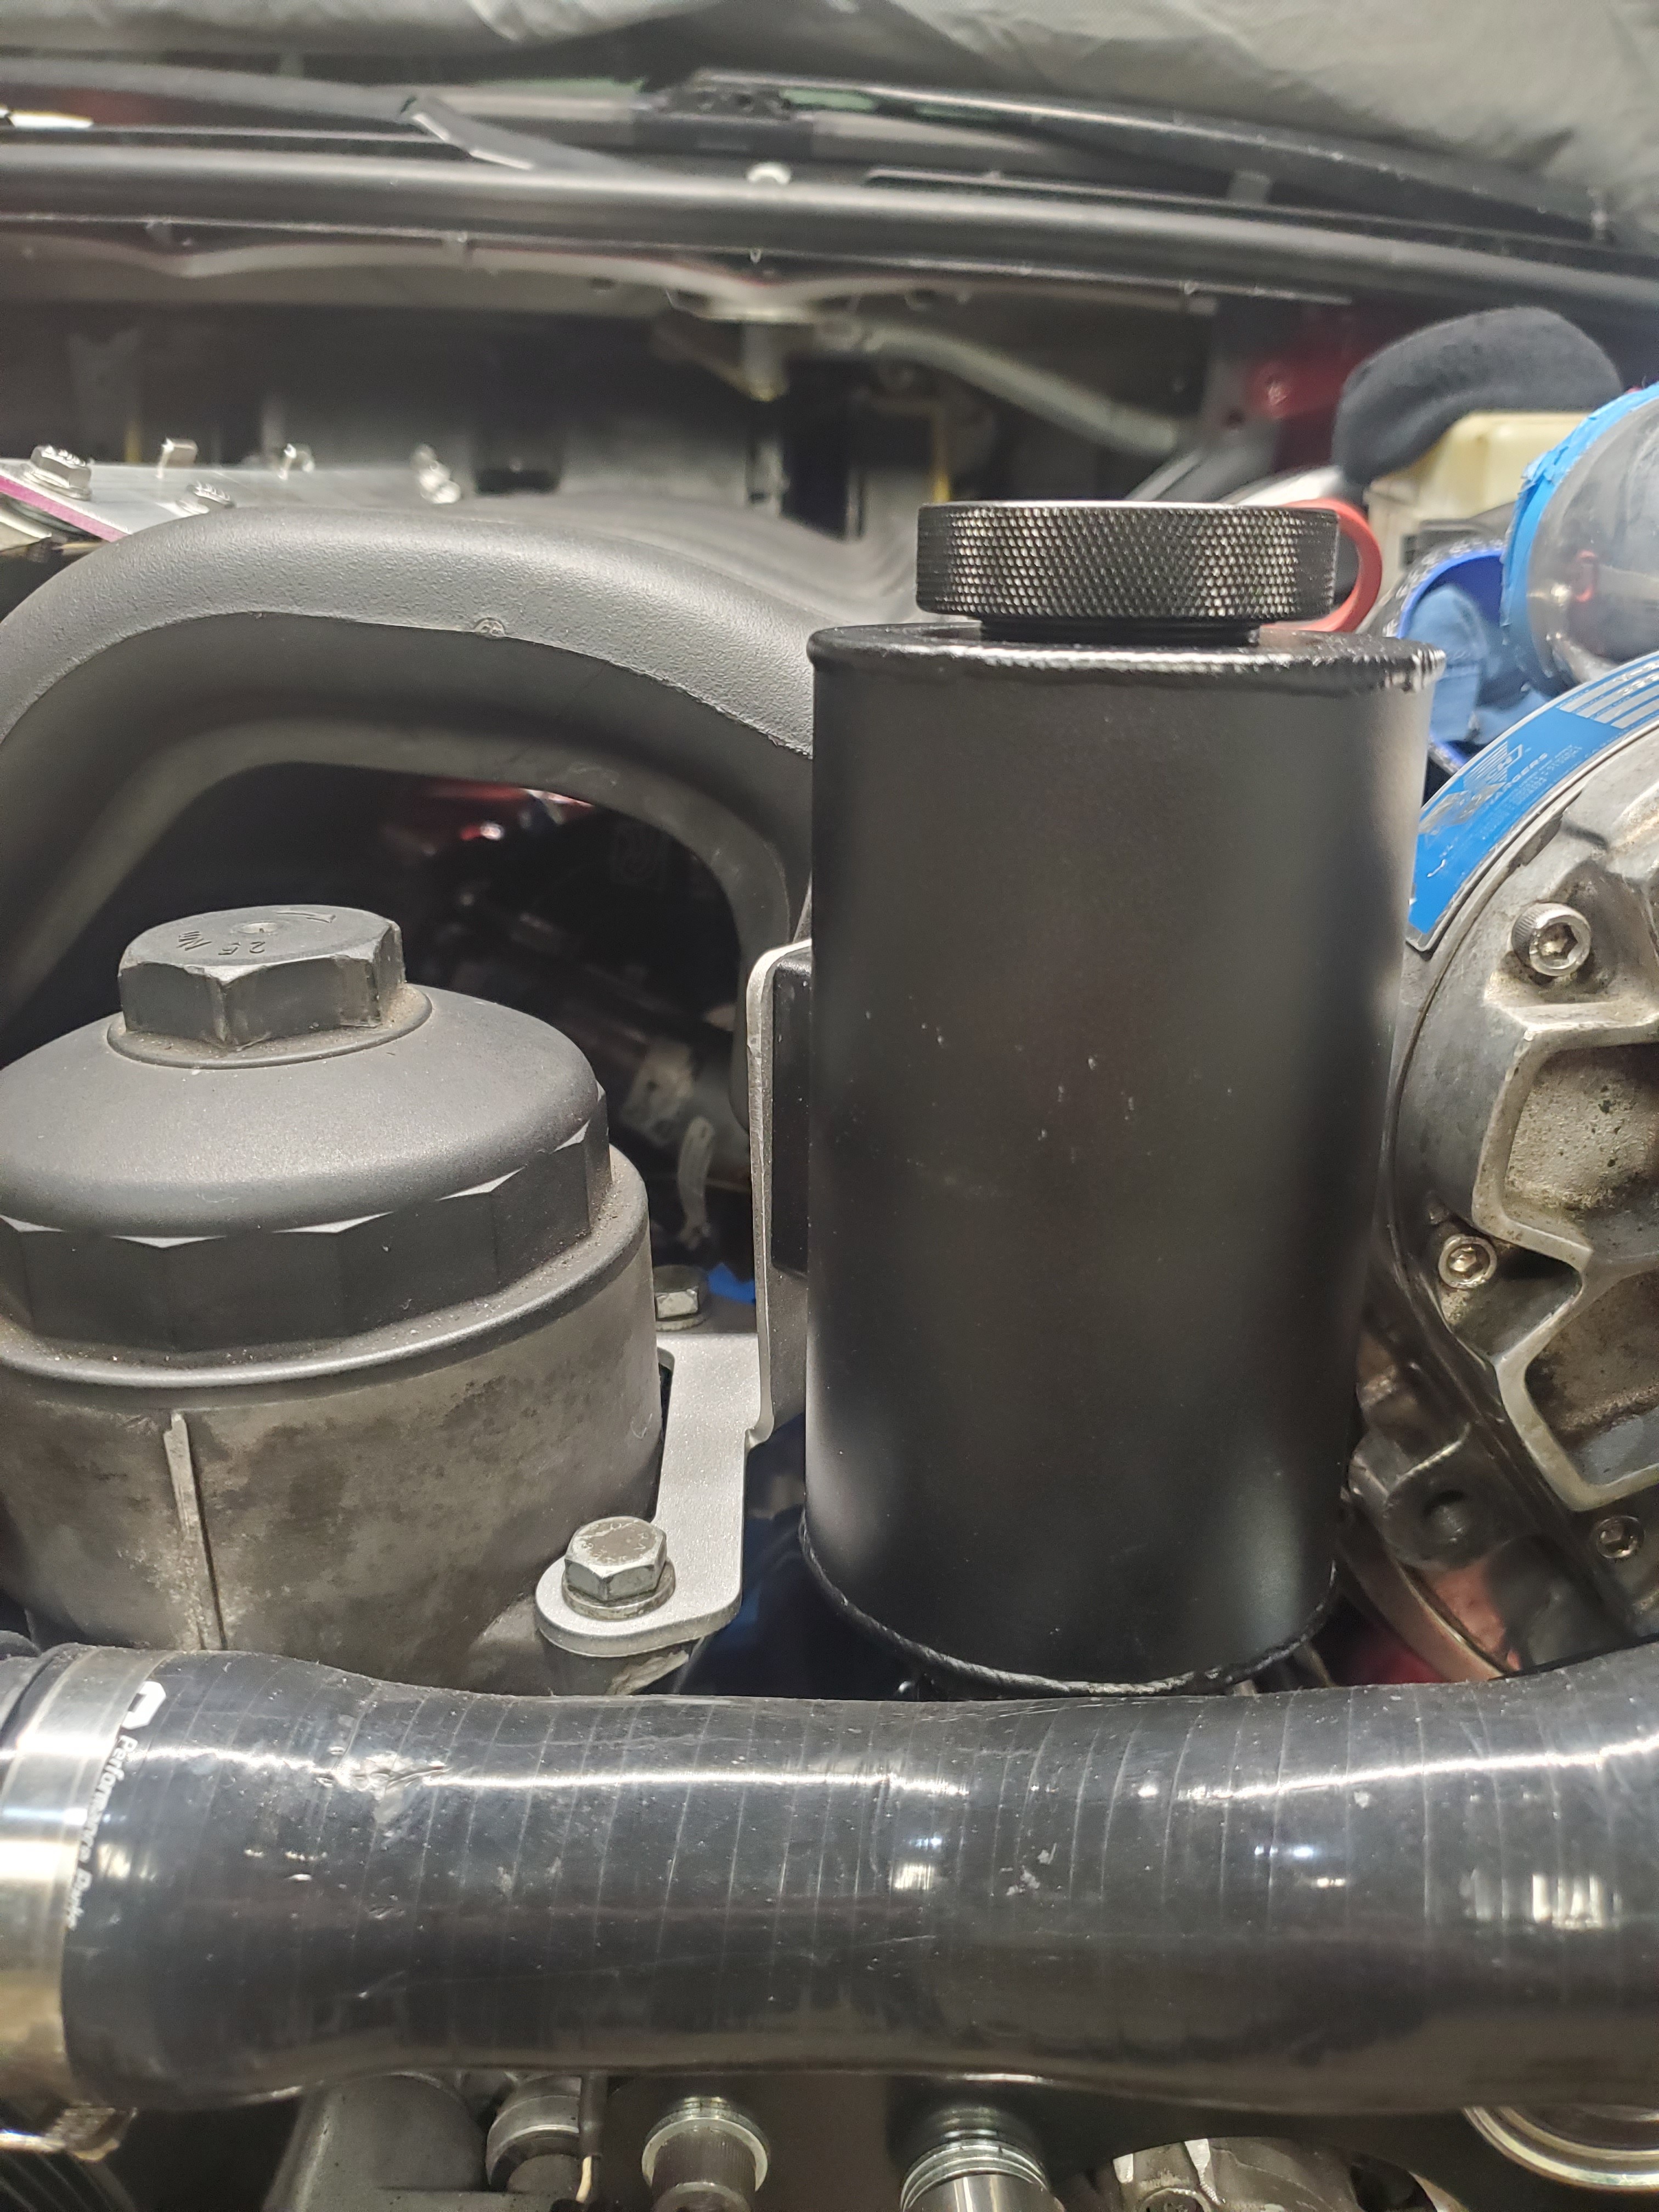
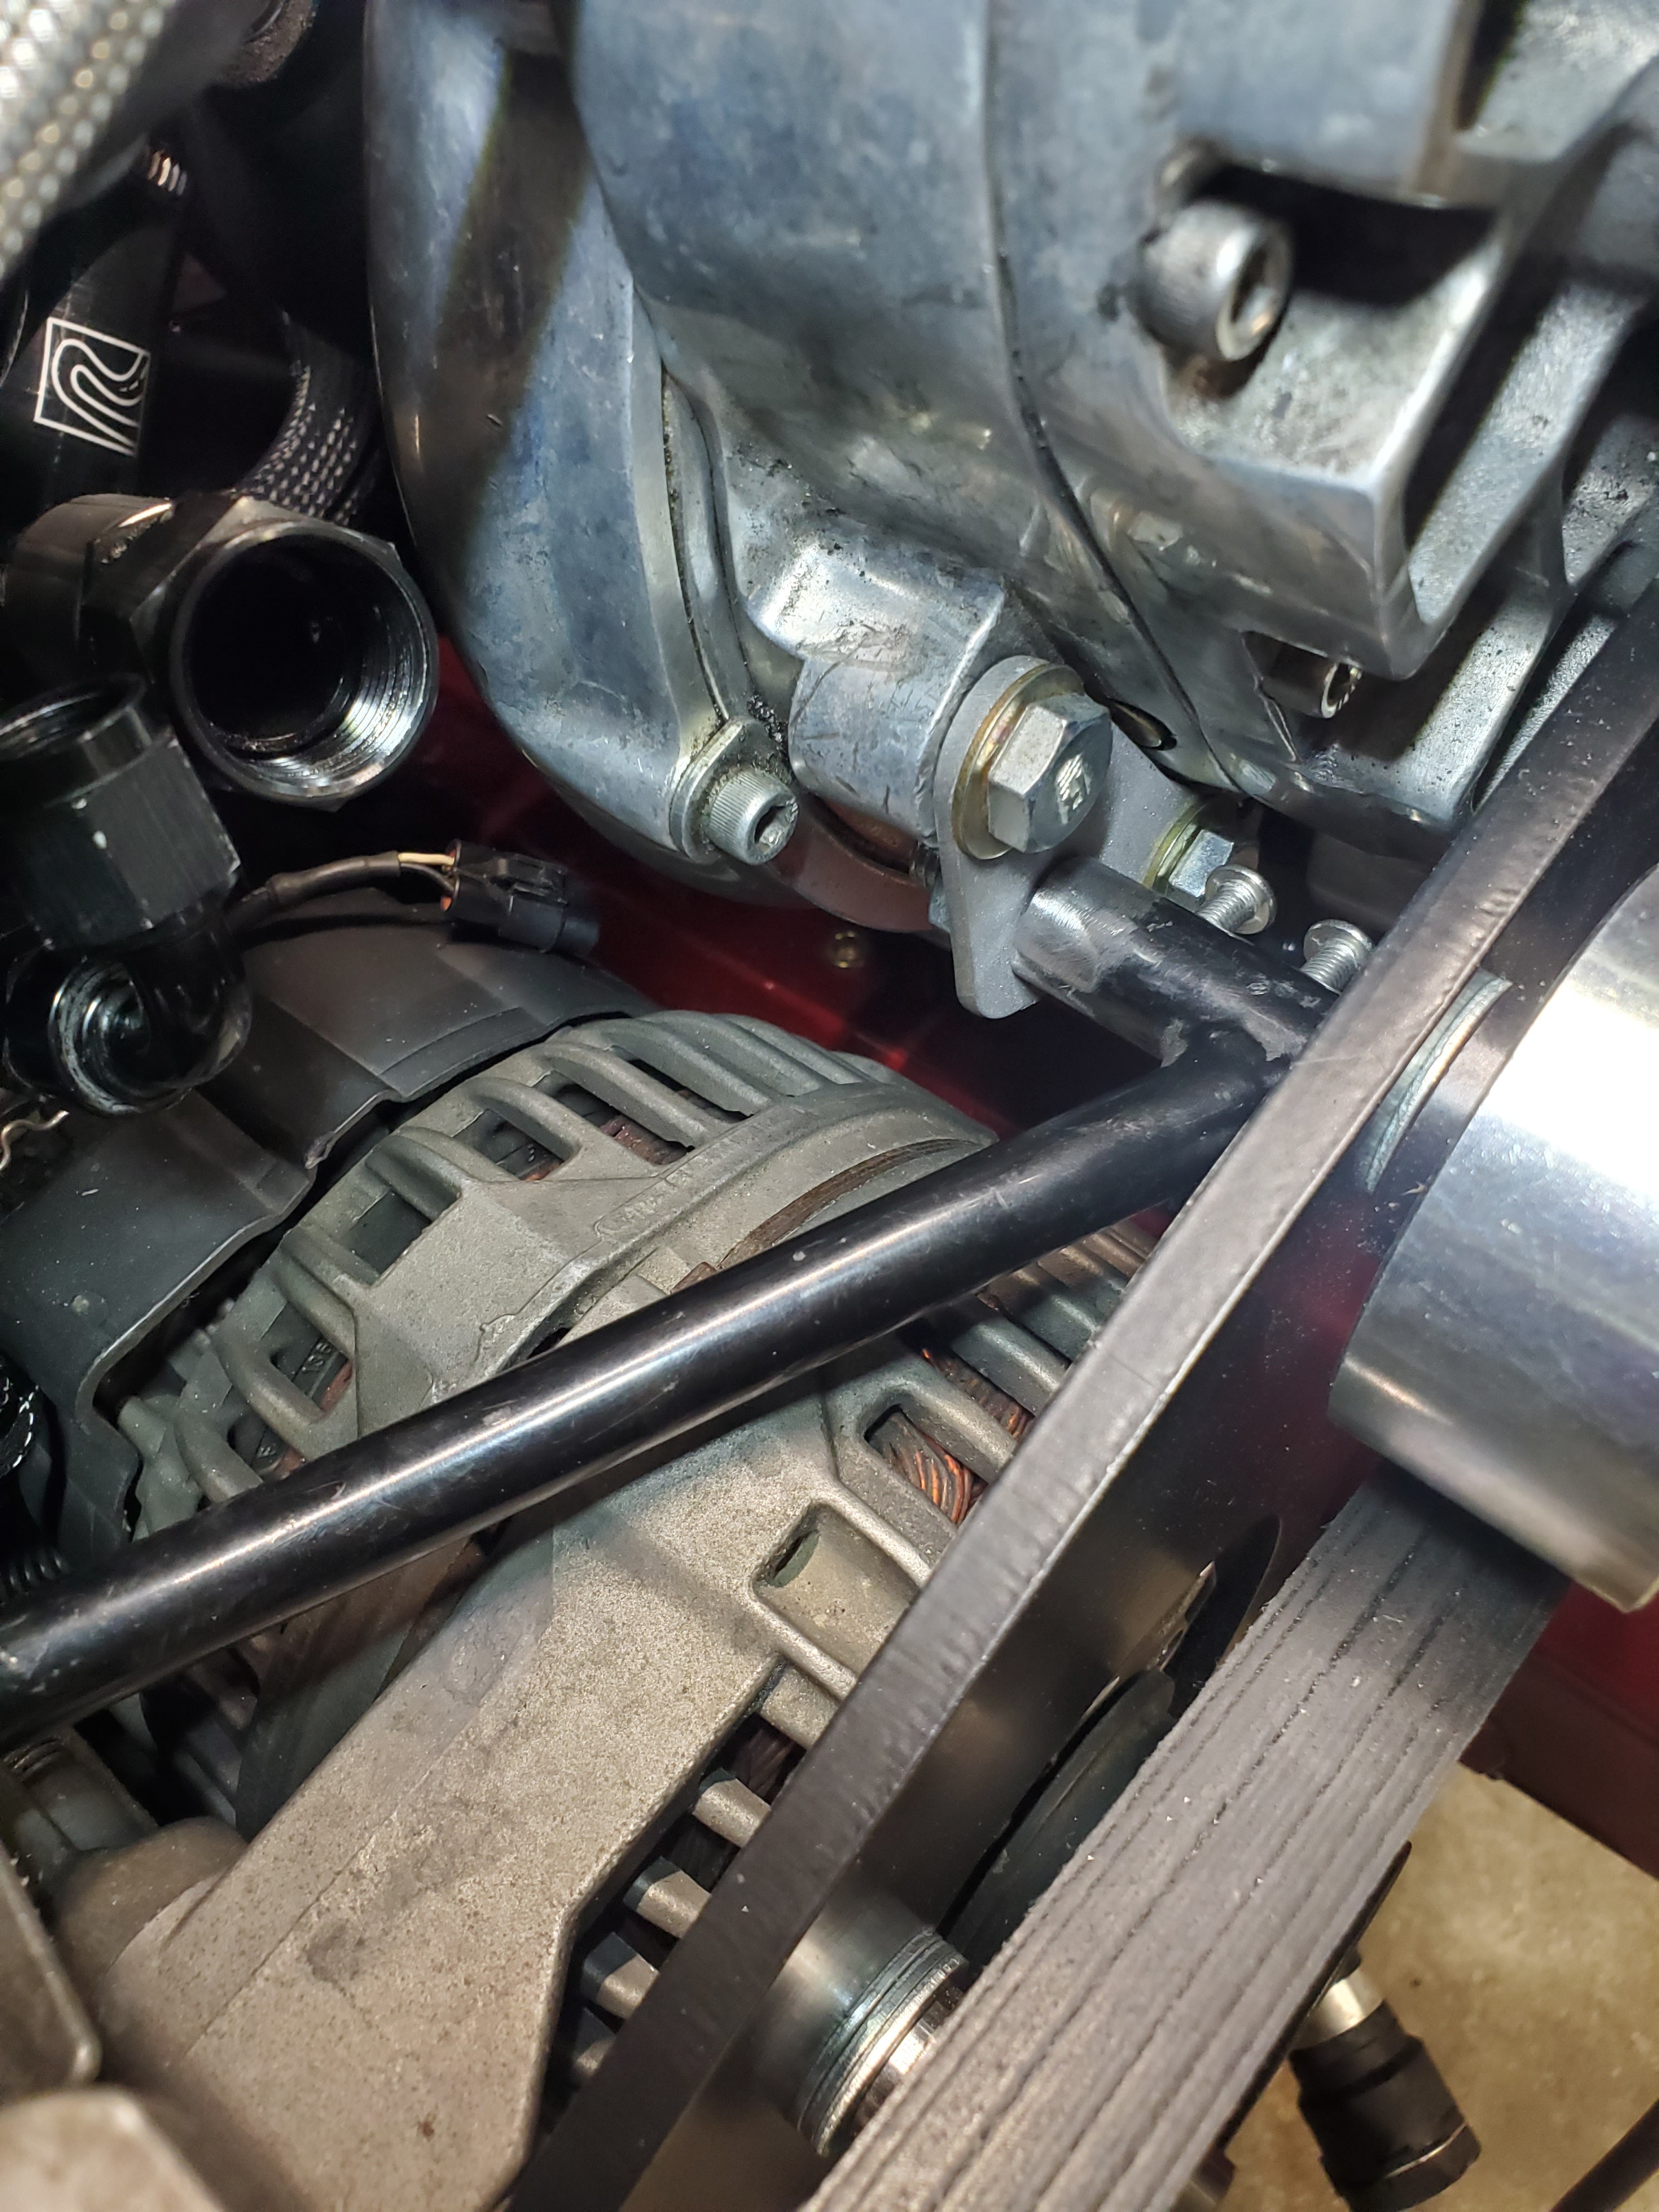
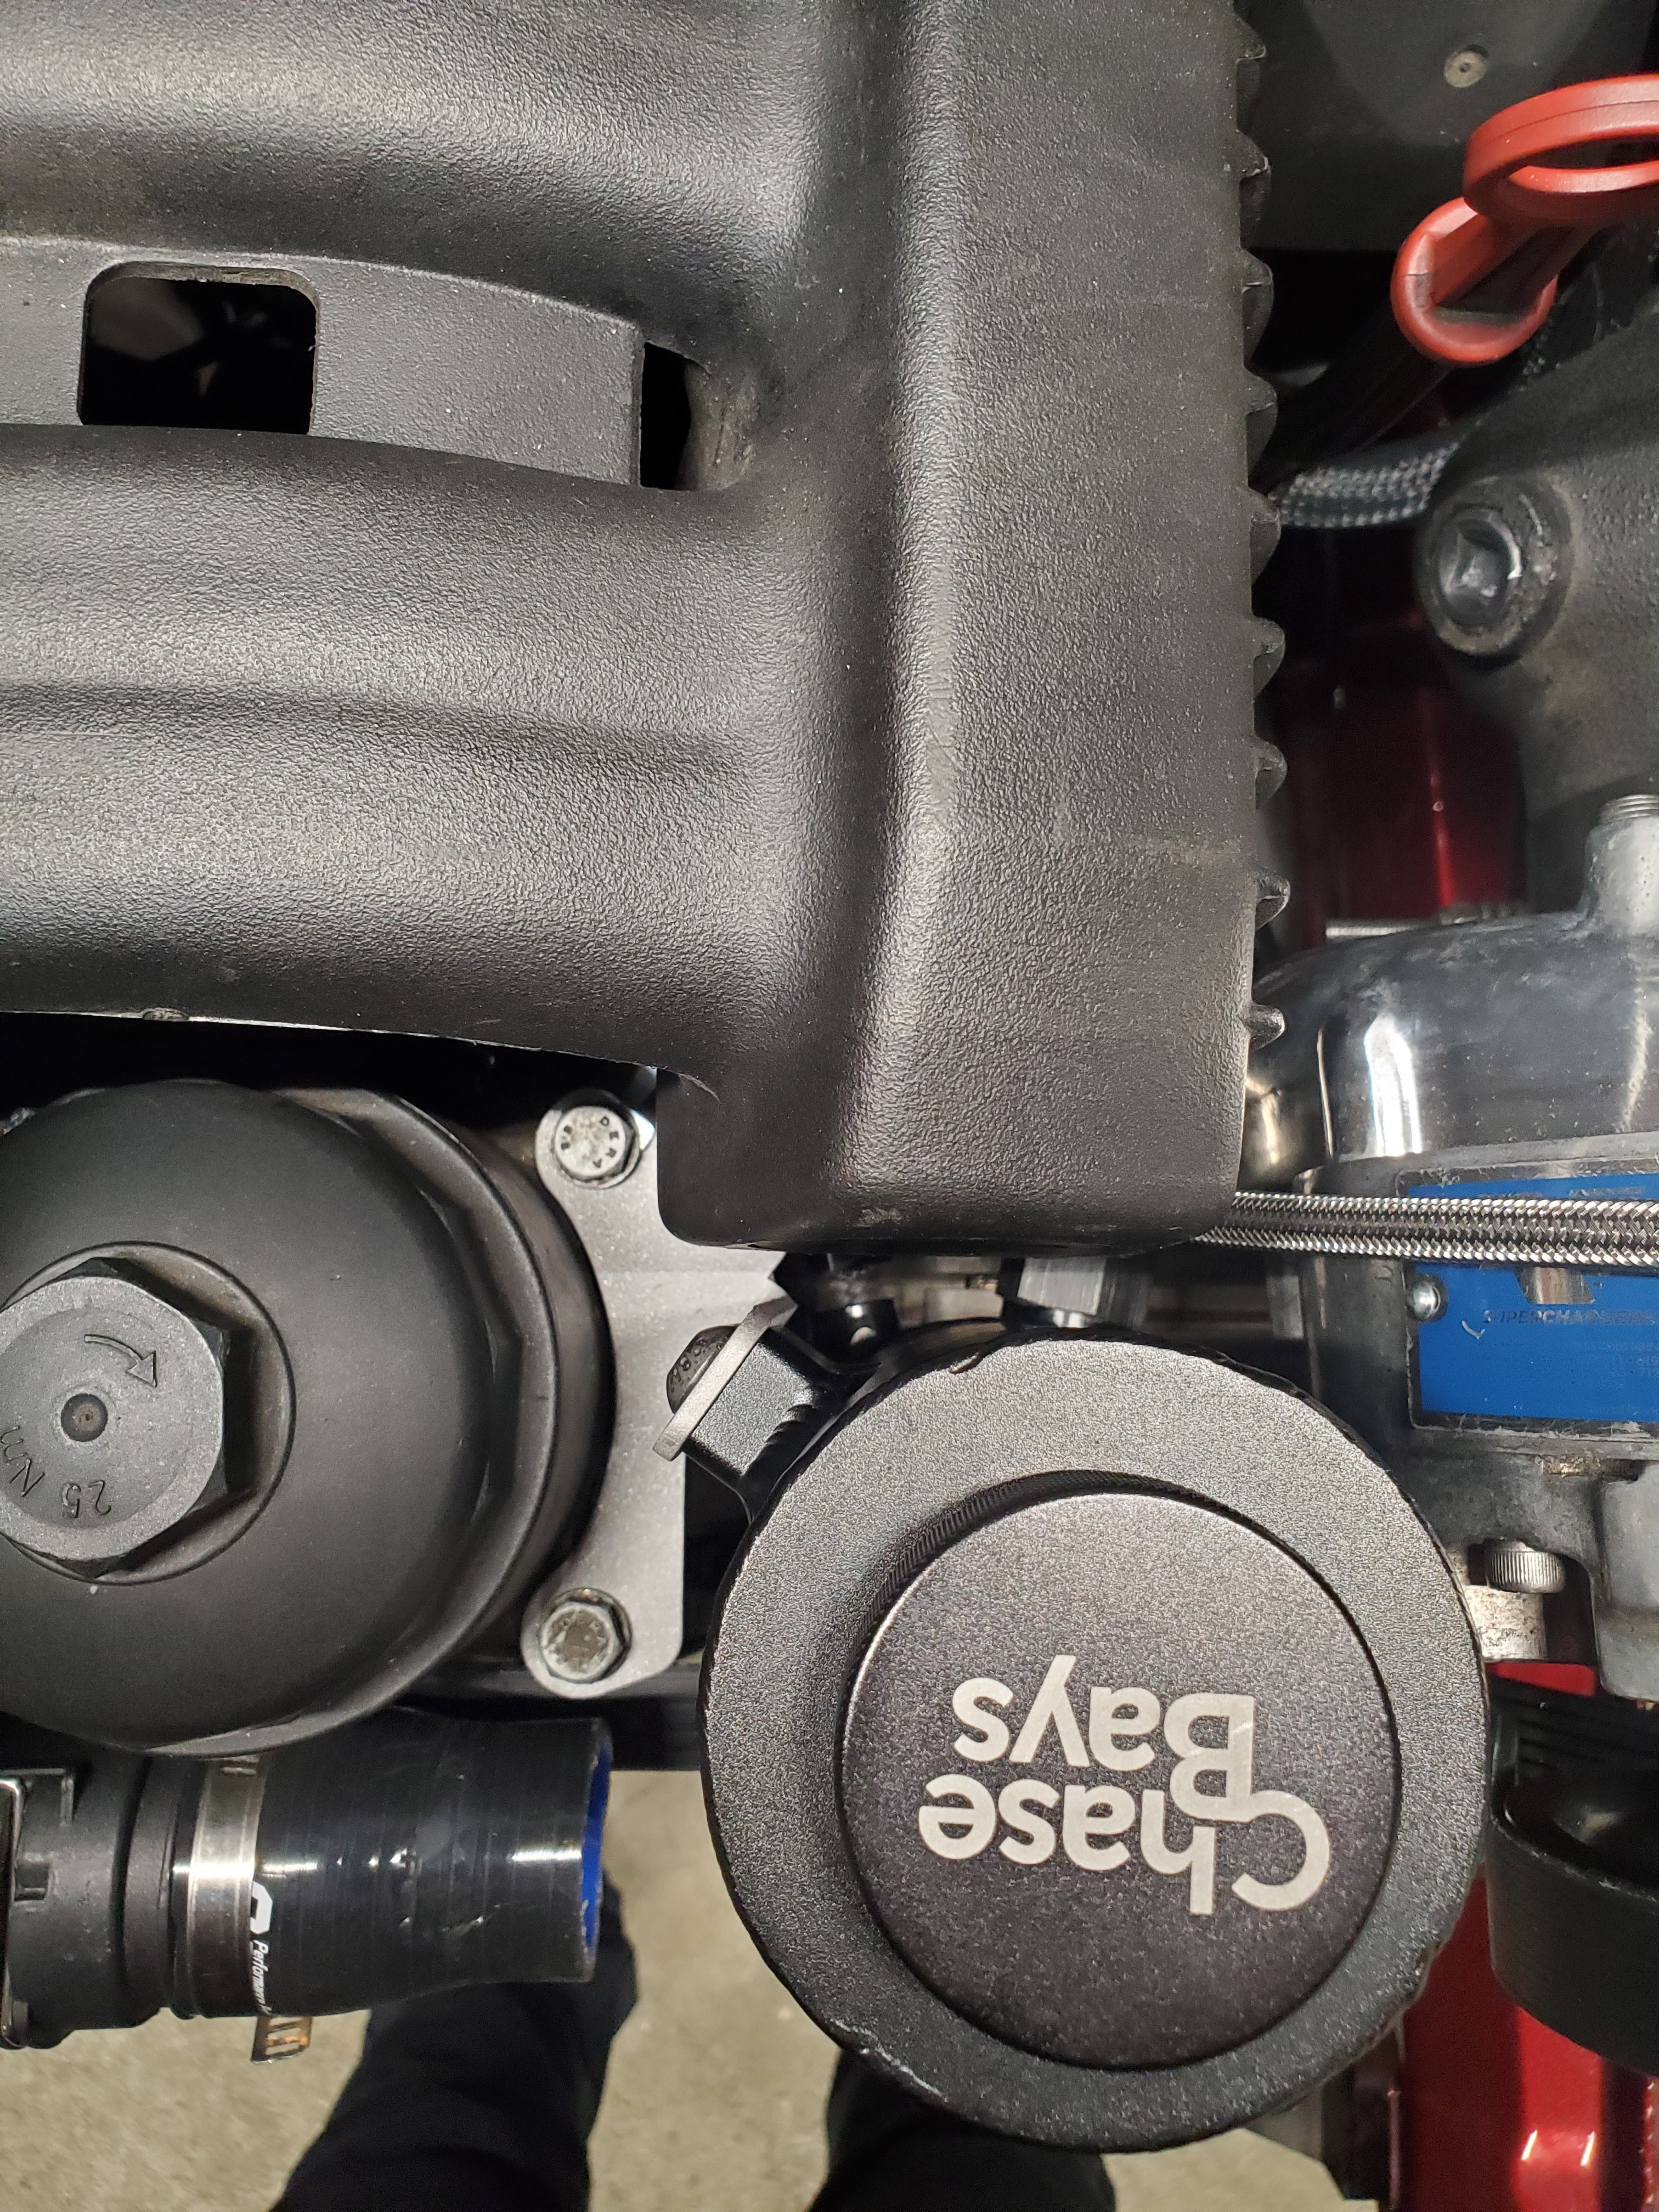
I was able to test fit the manifold and I knew that the chase bays power steering resiviour would be a problem. So I devised an idea and began with the first CAD work of the season lol.
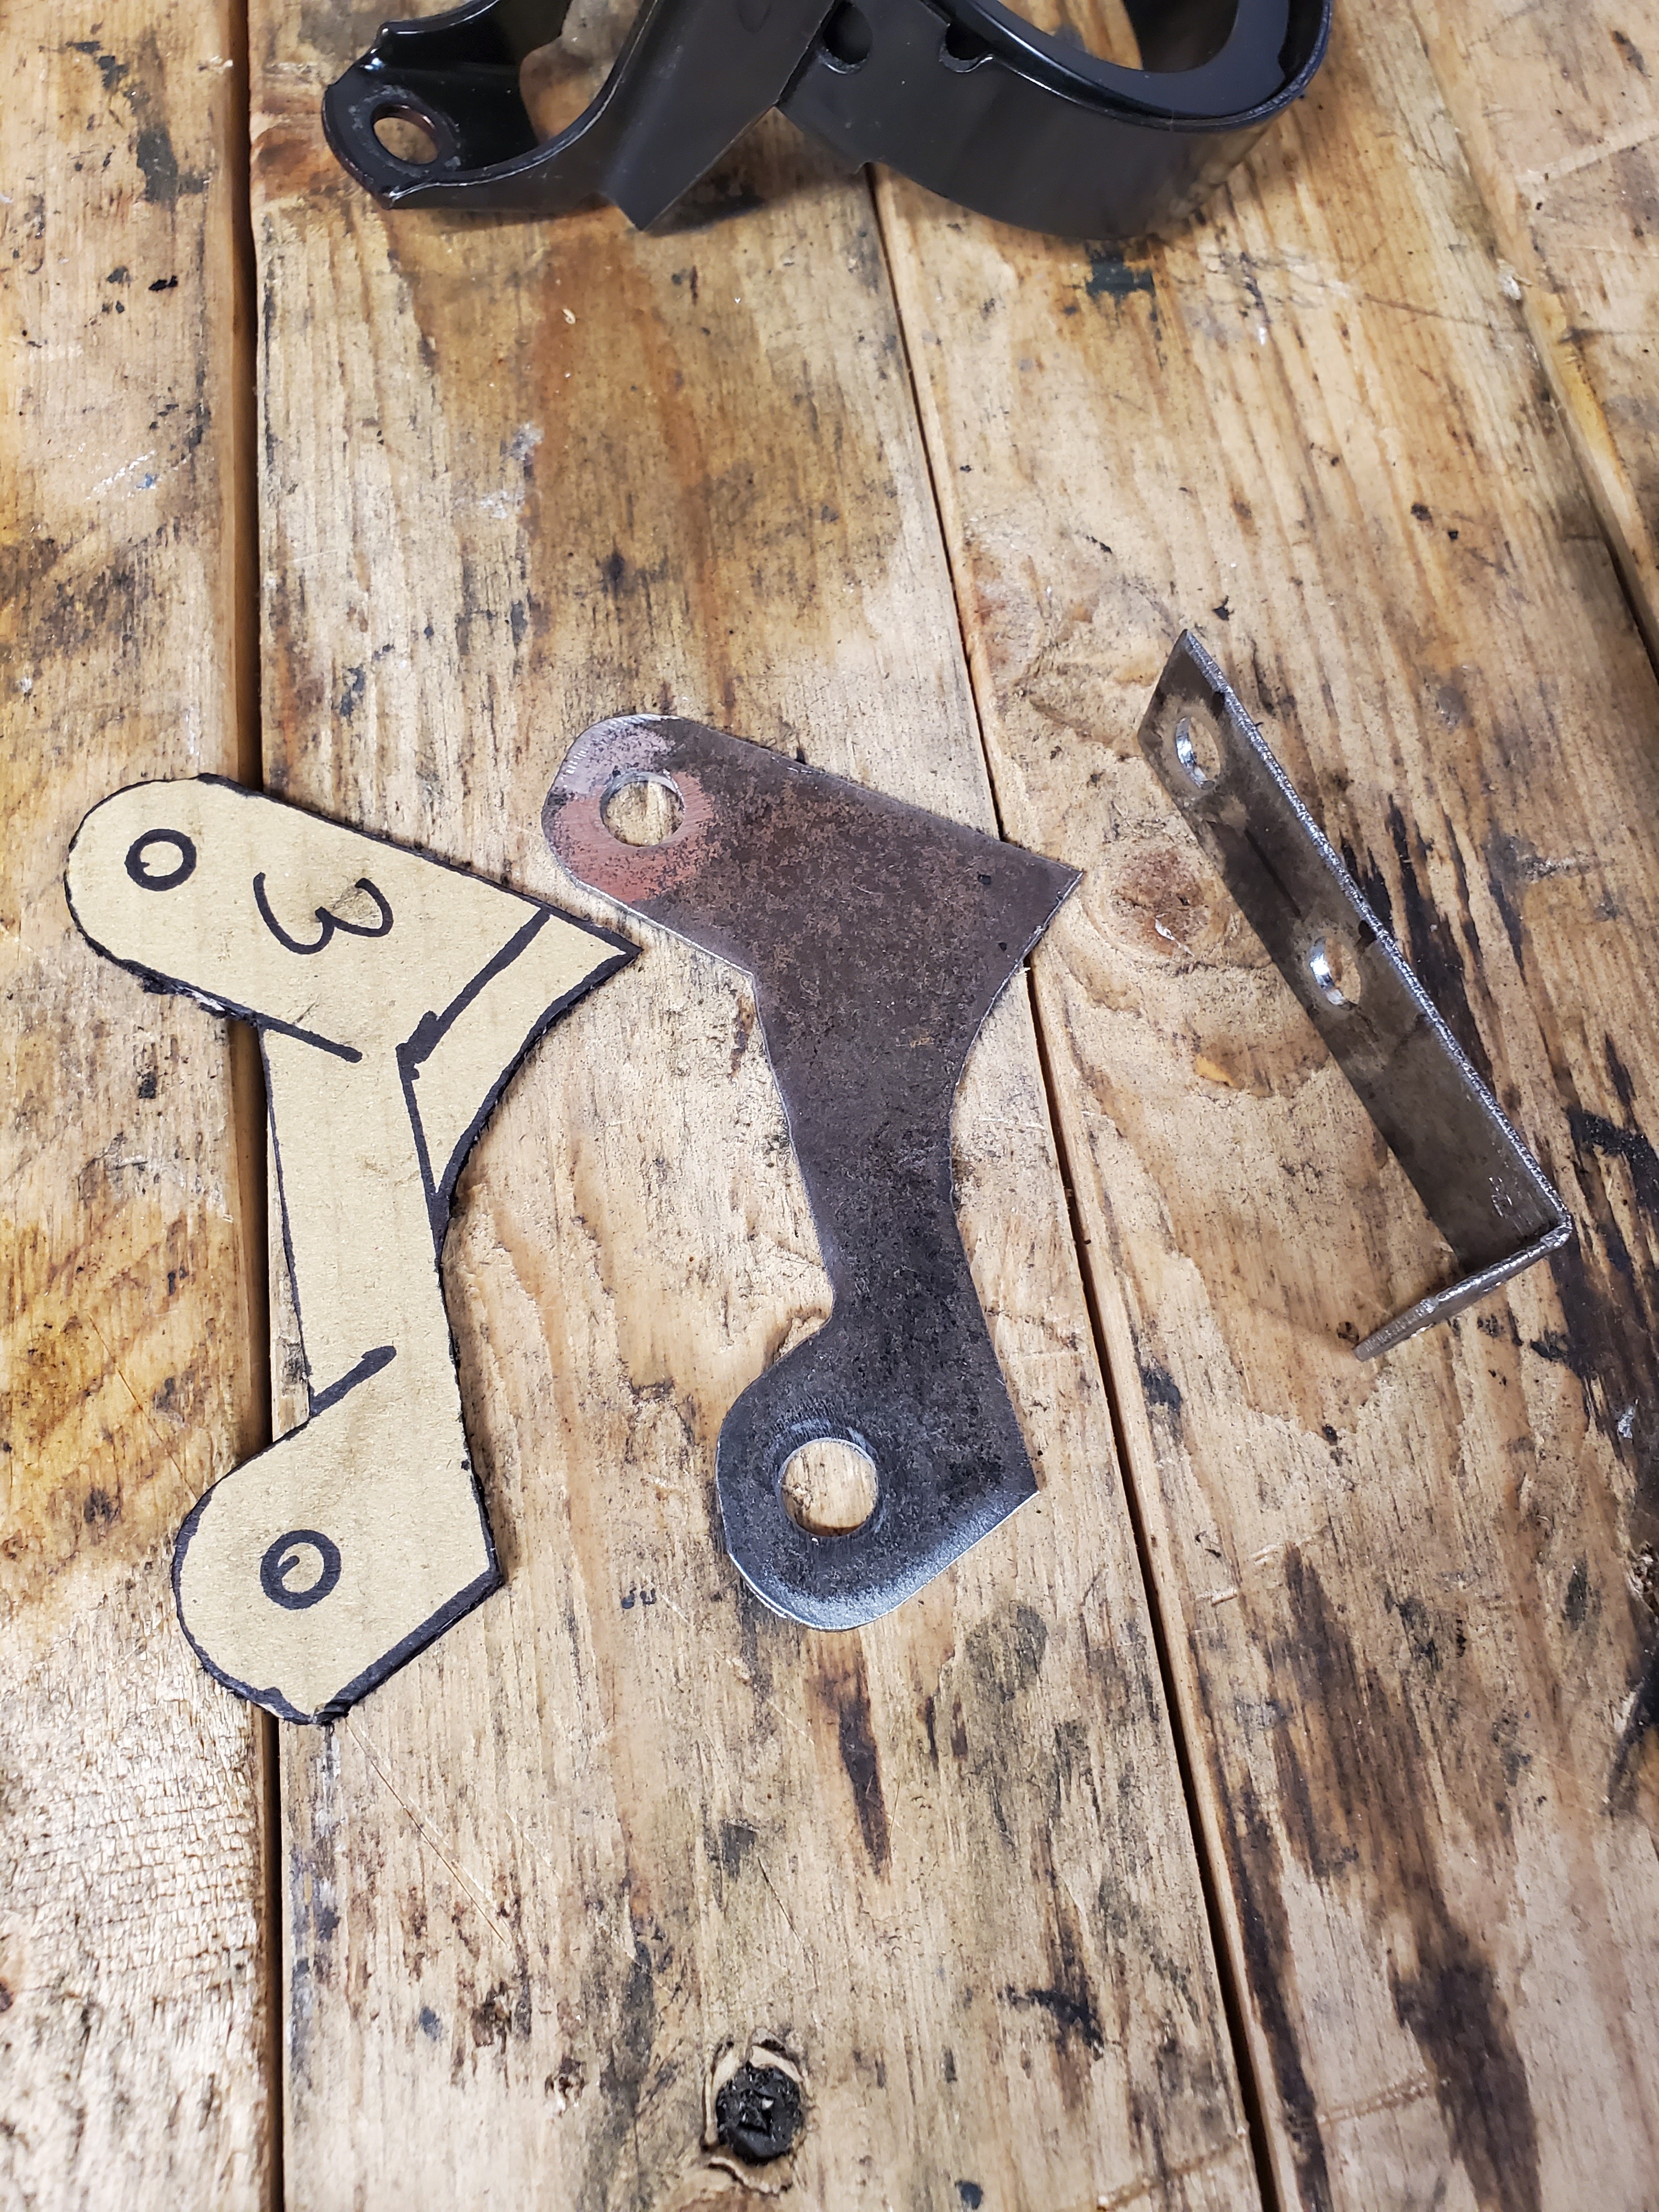
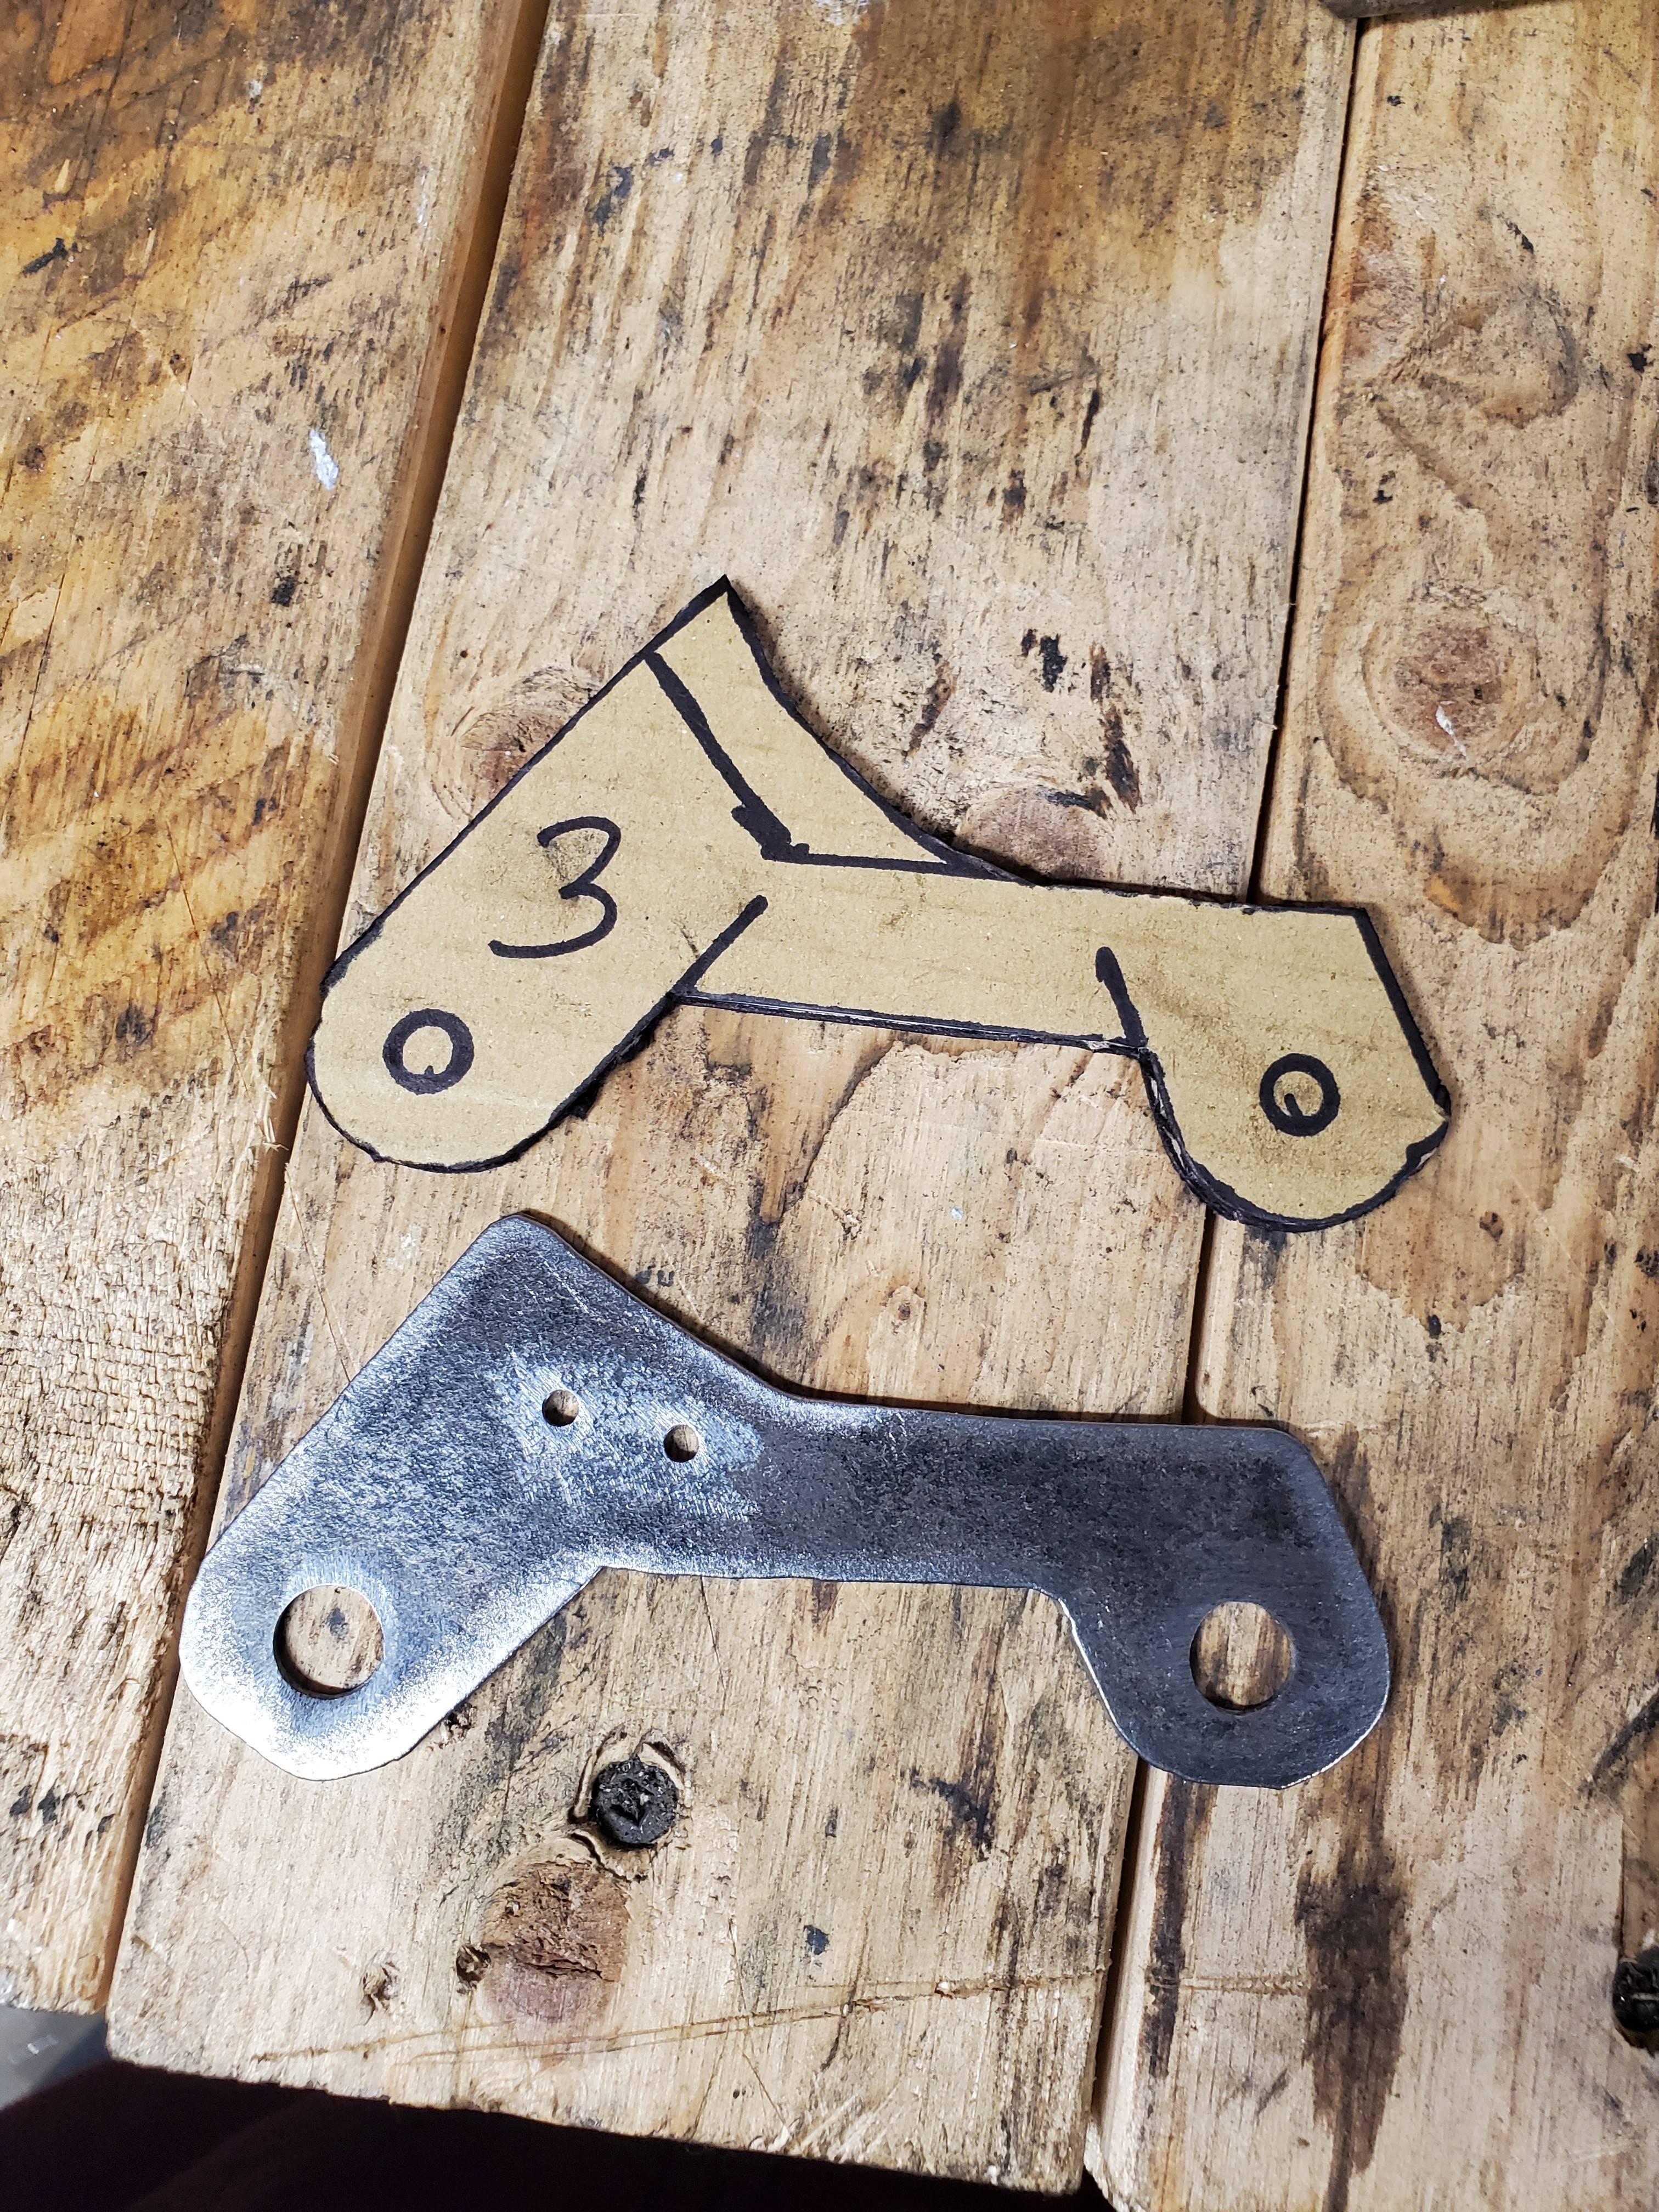
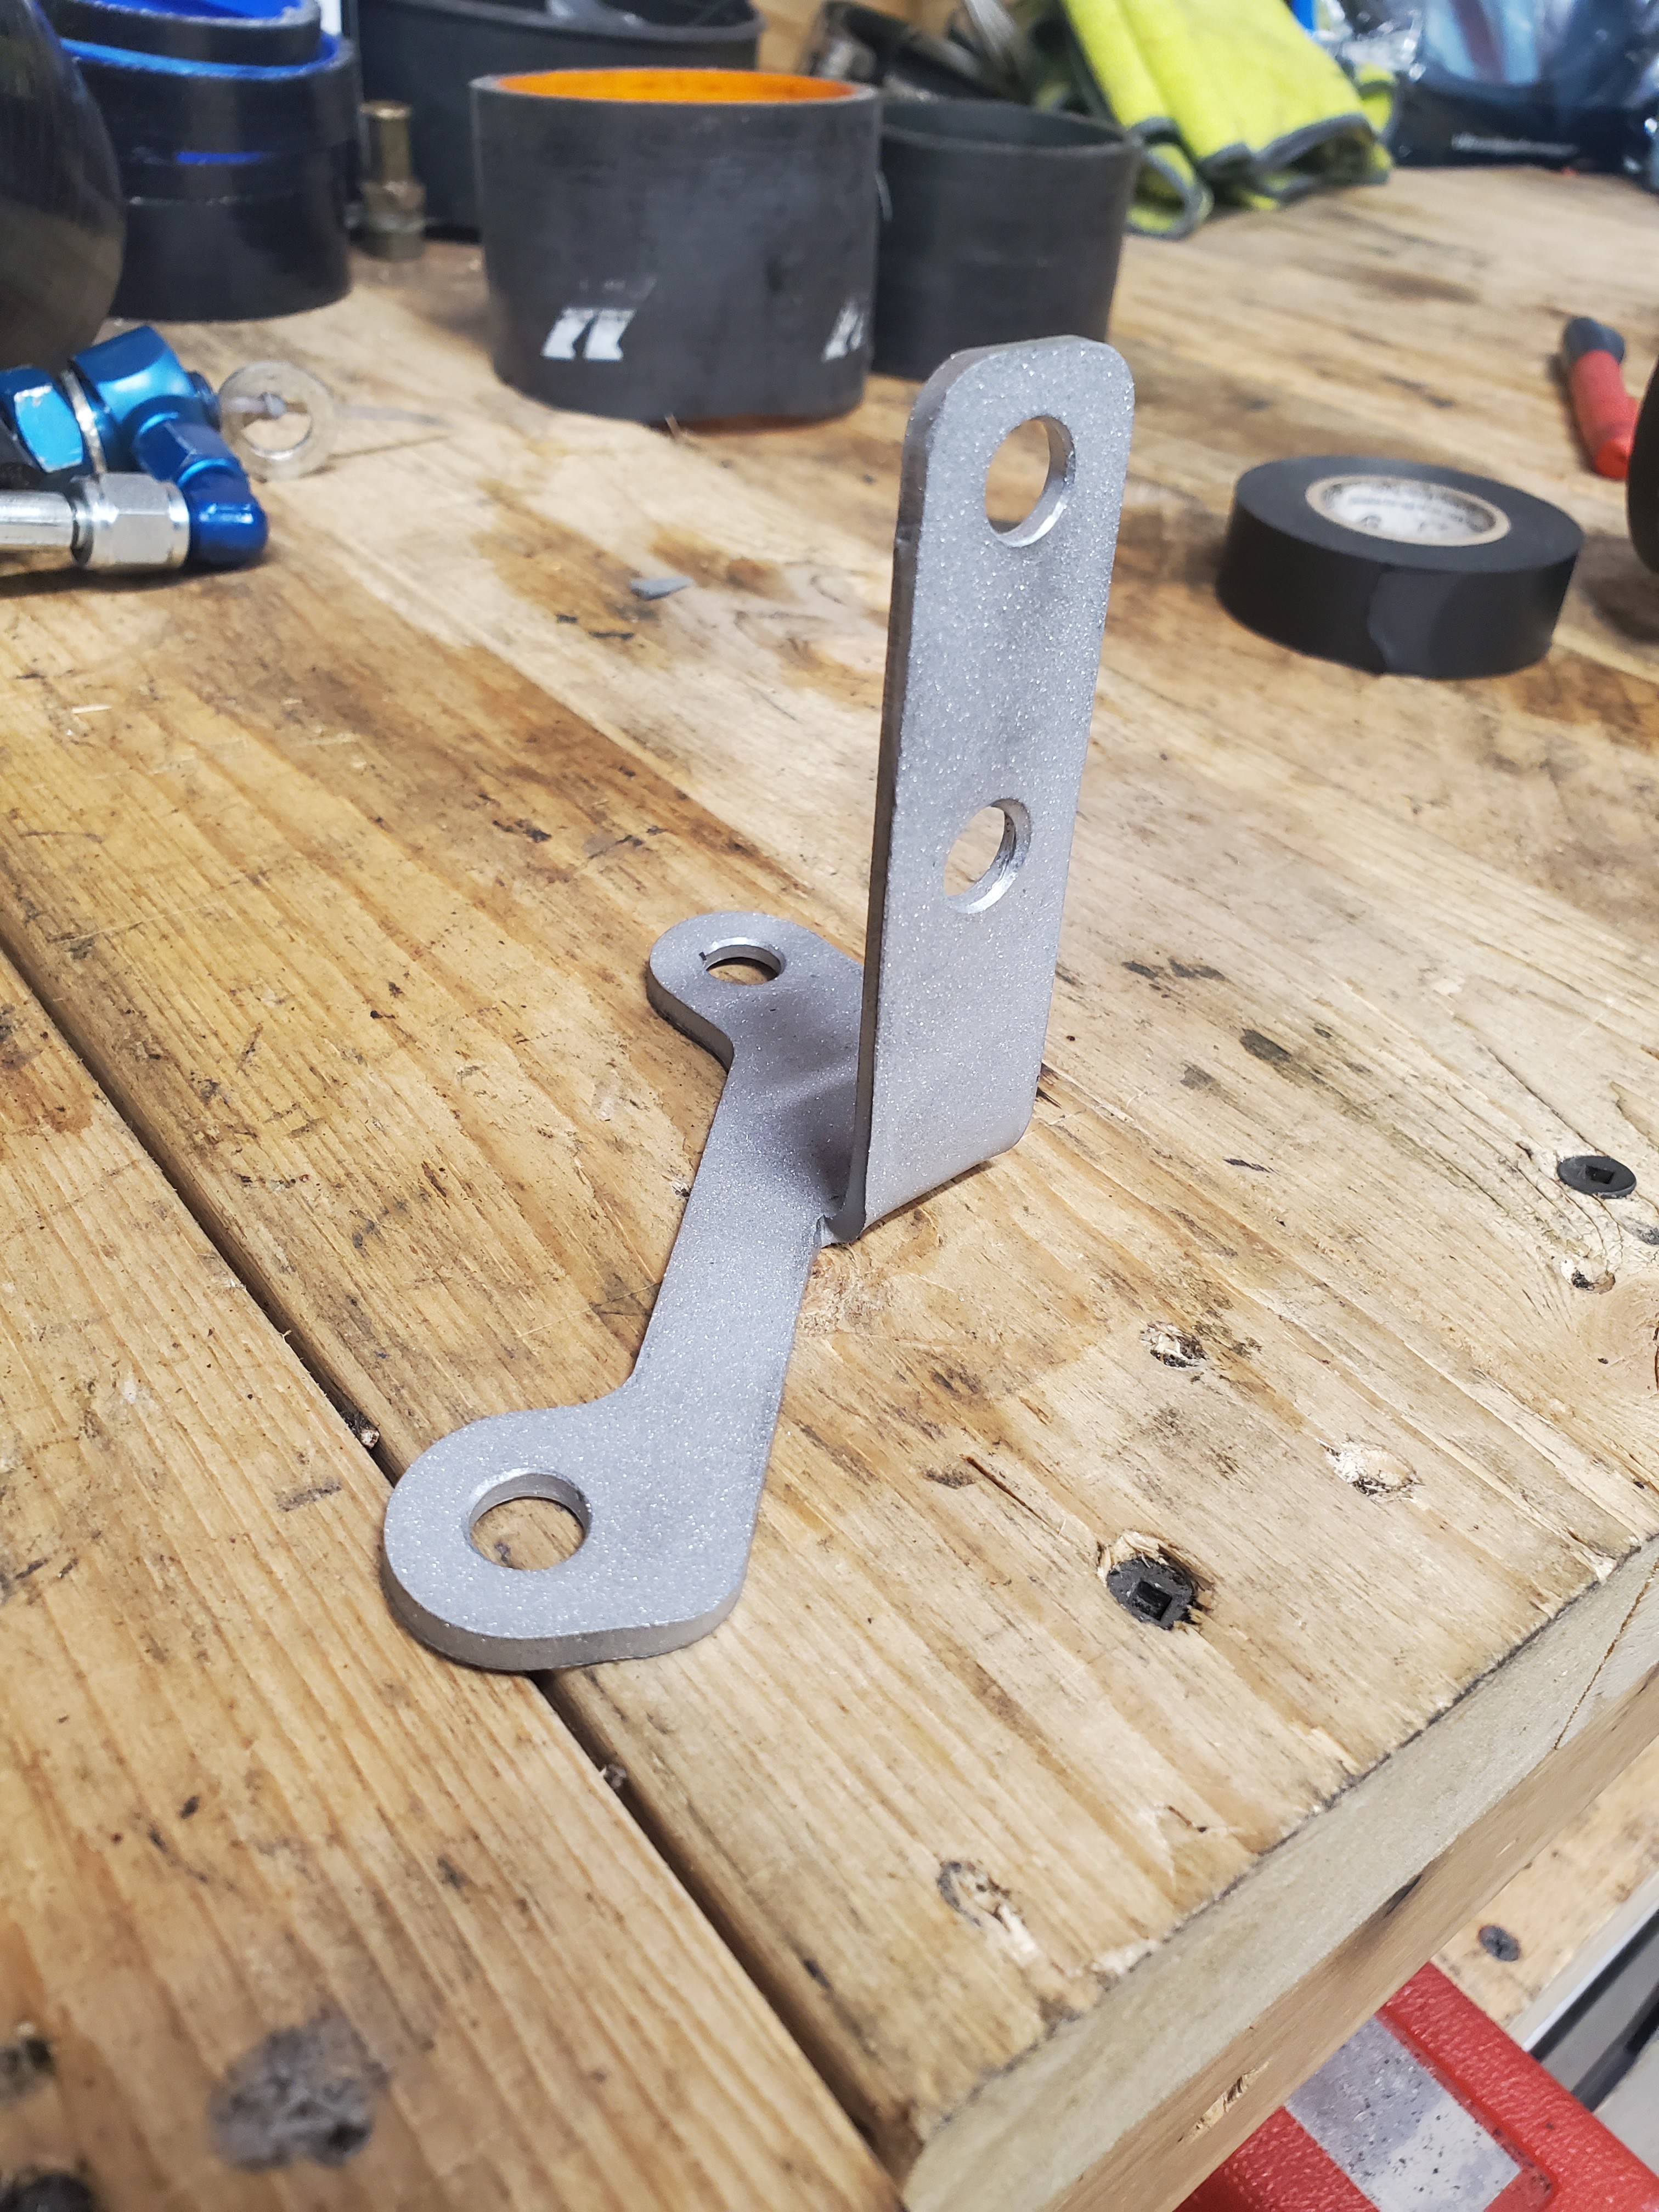
Here is the base part of the mount, originally used the pattern of the factory mount that the chase bays unit used. Then I modified its shape from there, below is the progression.
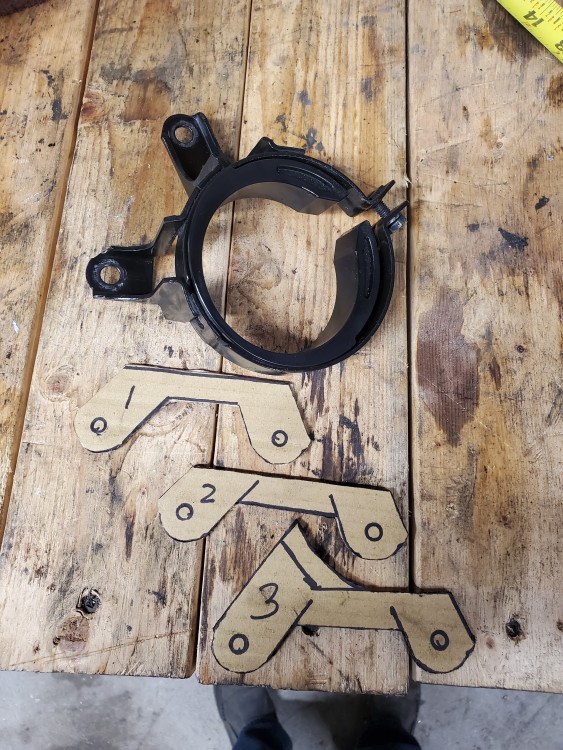
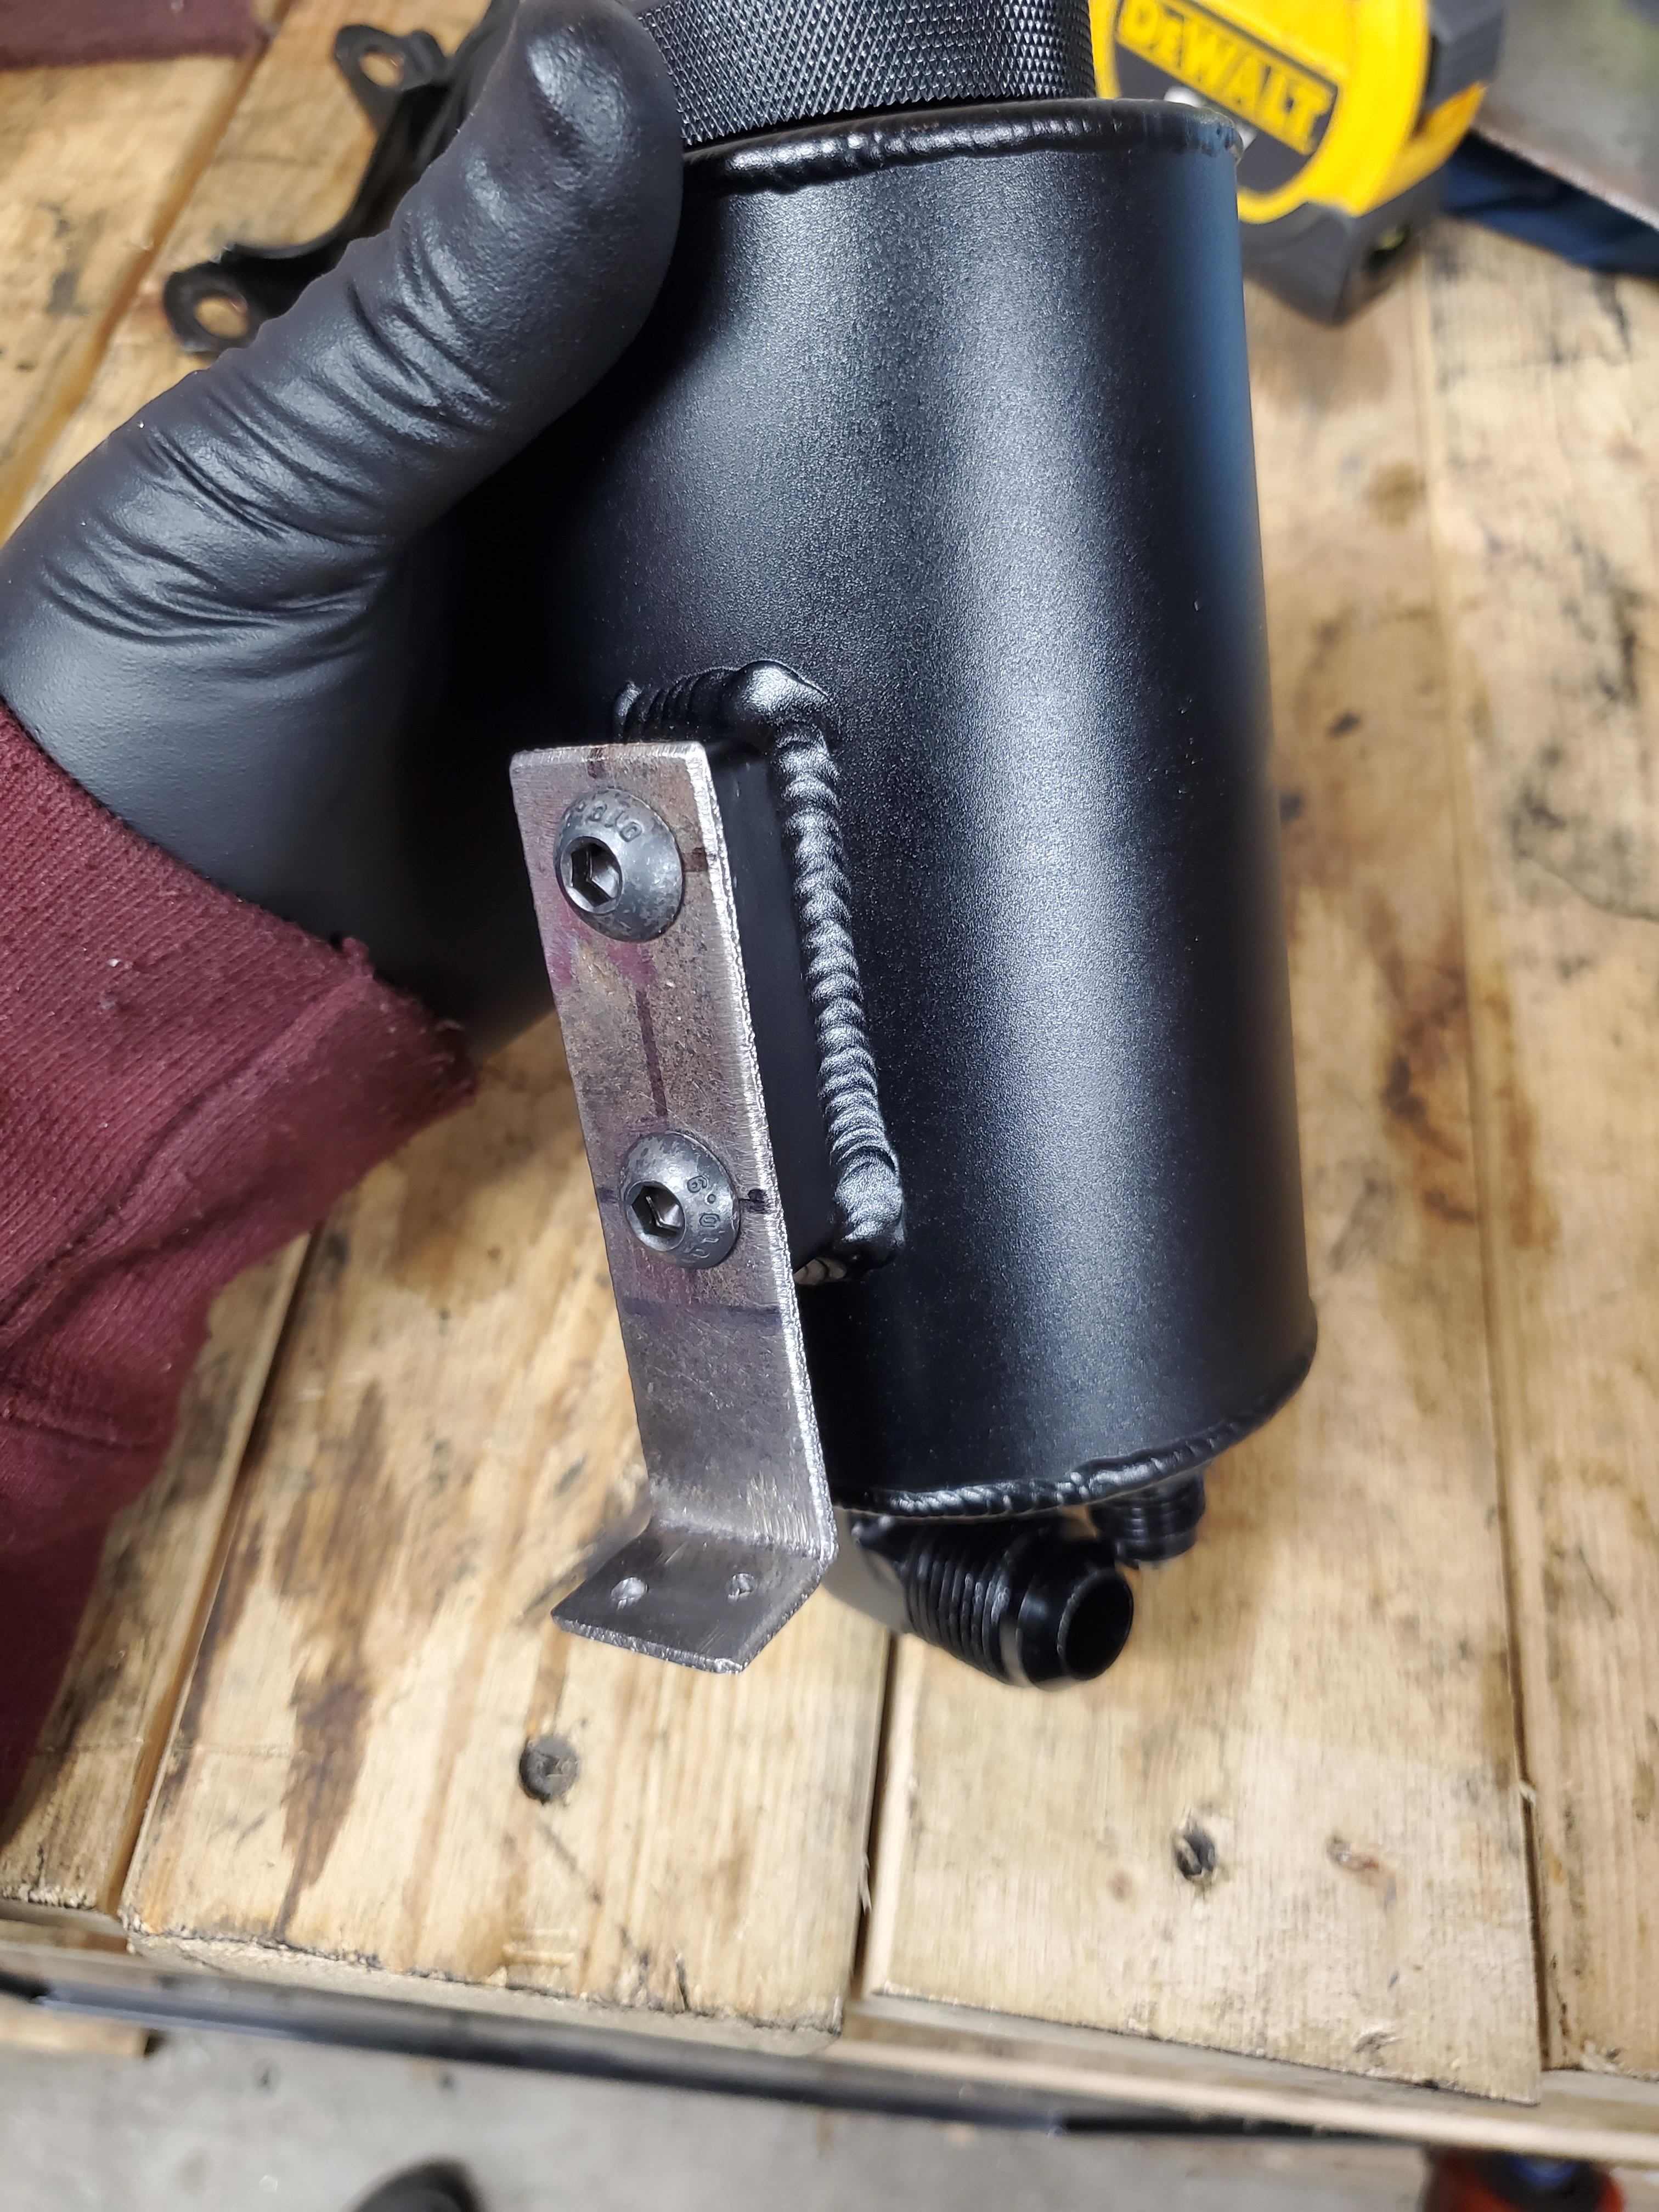
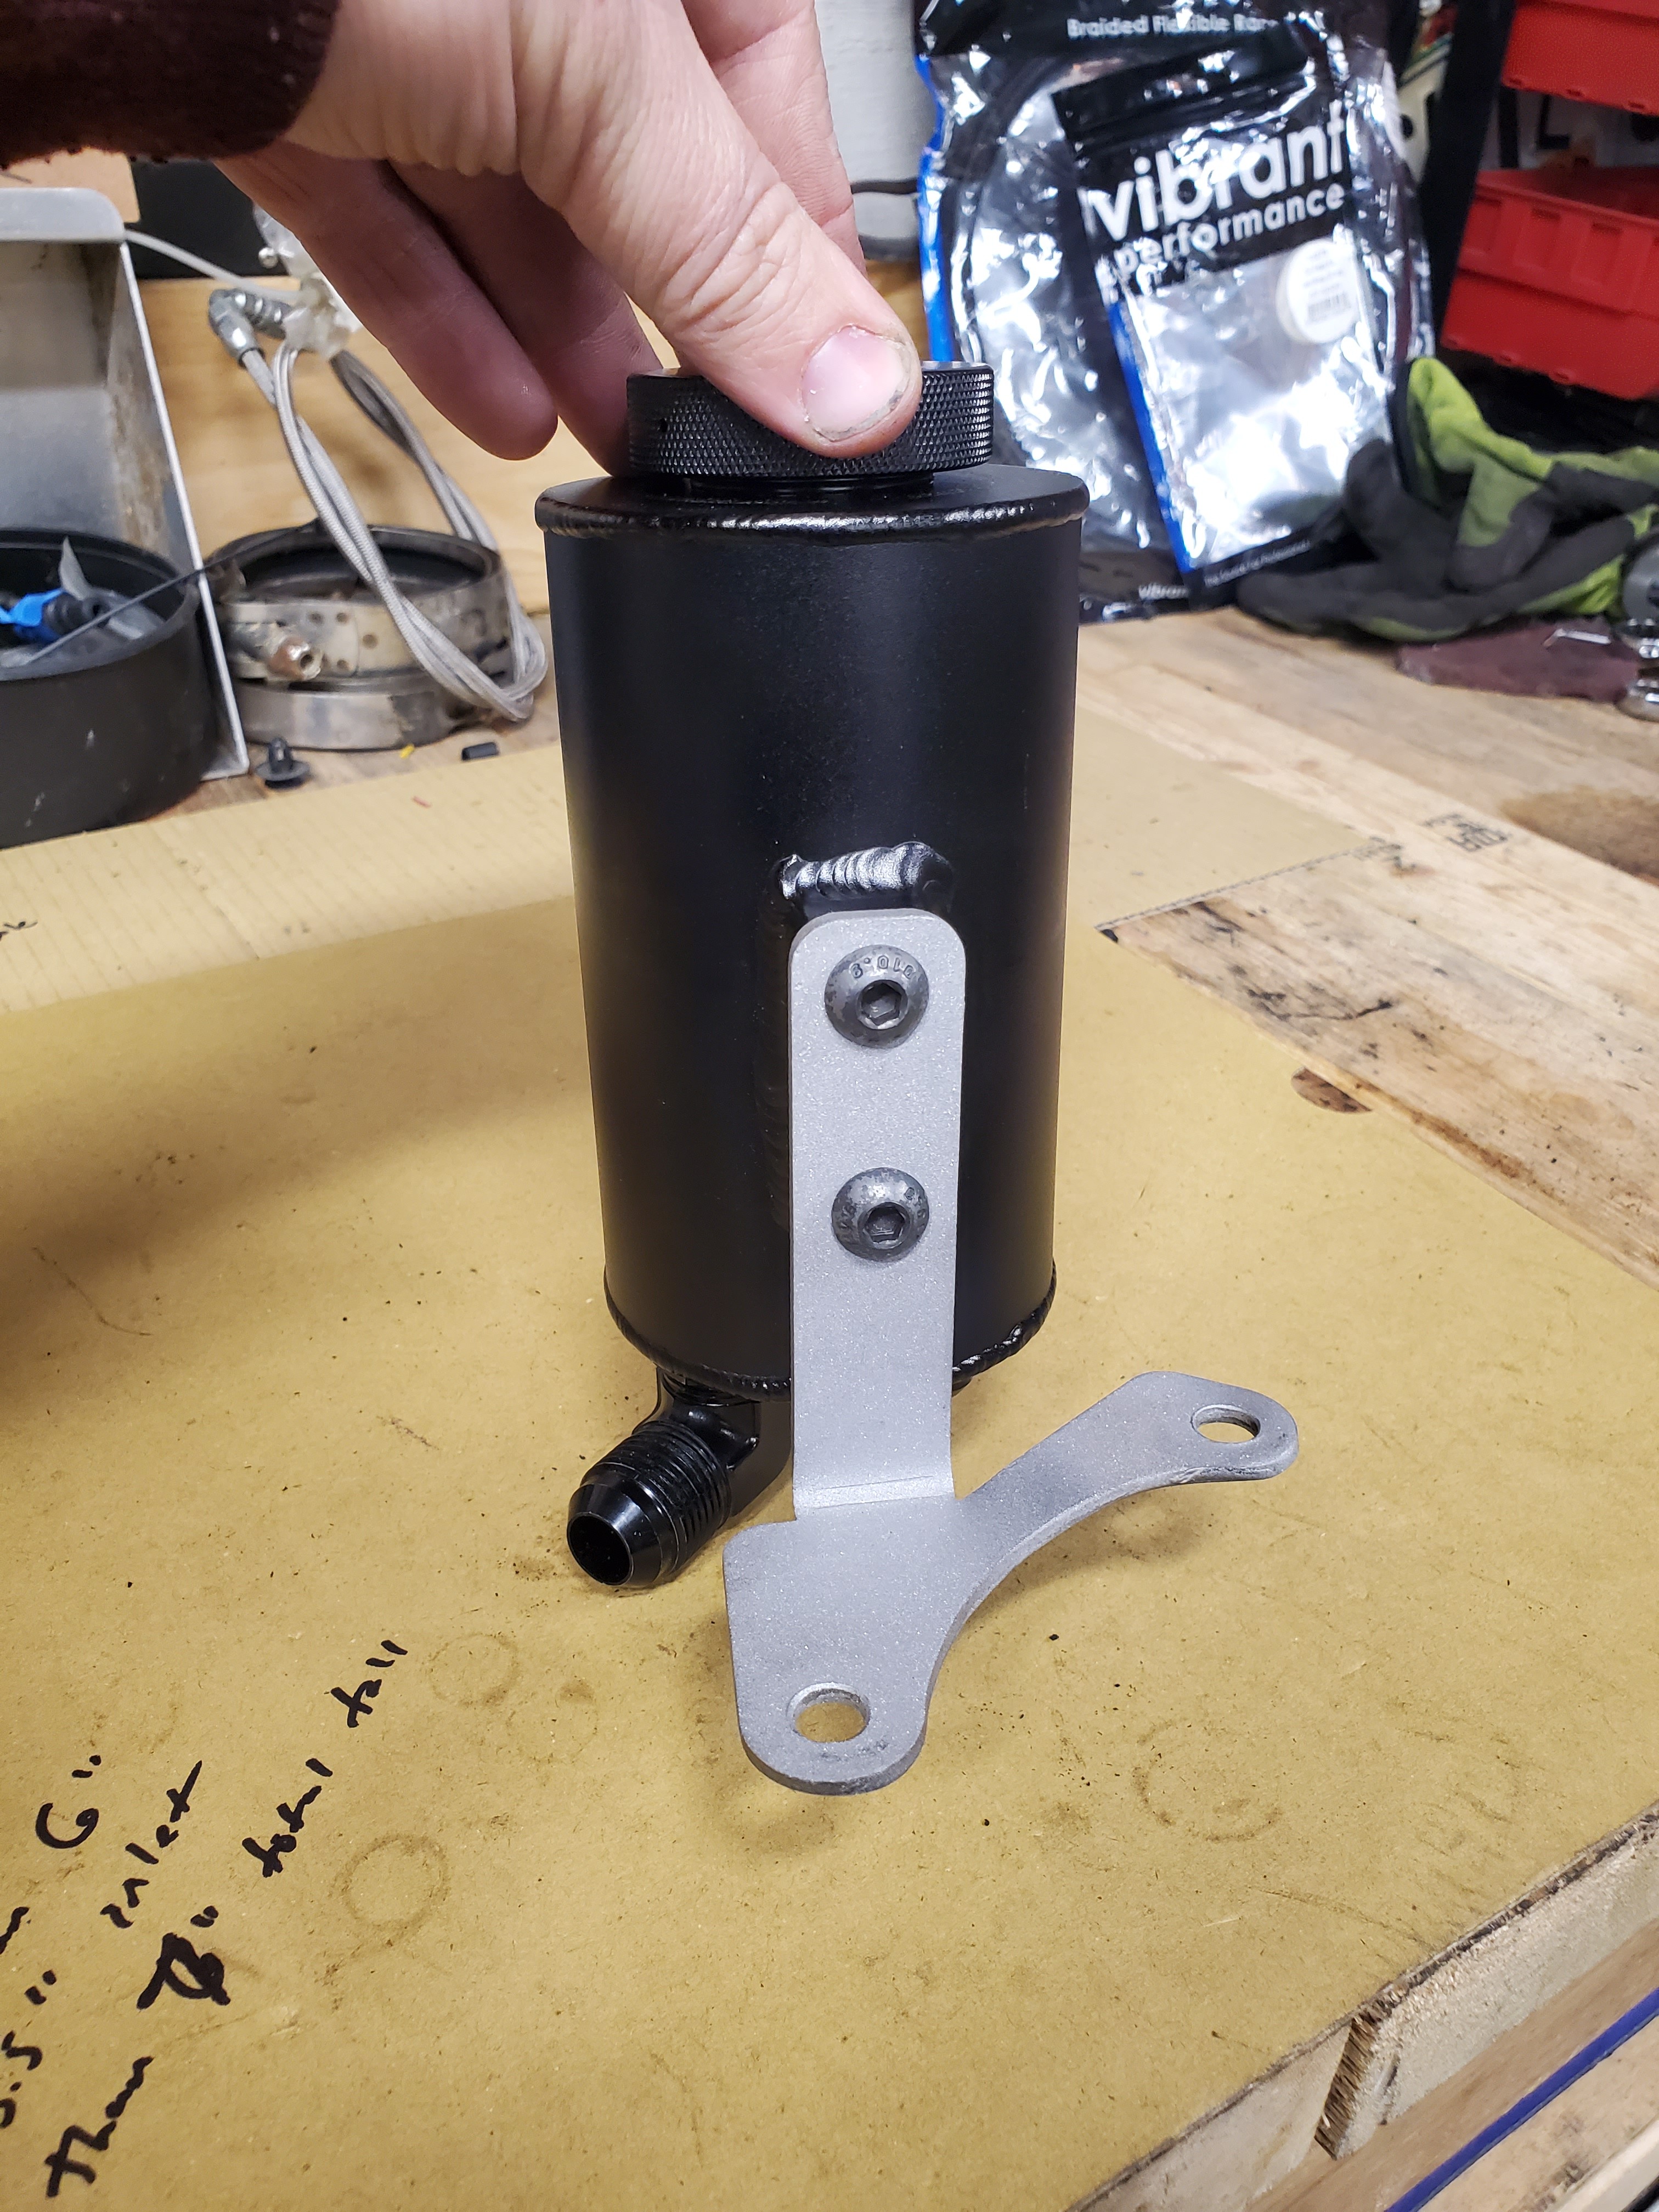
Then I made the upright mount with hols that lined up with the mounting holes on the chase bays resiviour, and transfered it all to some metal.
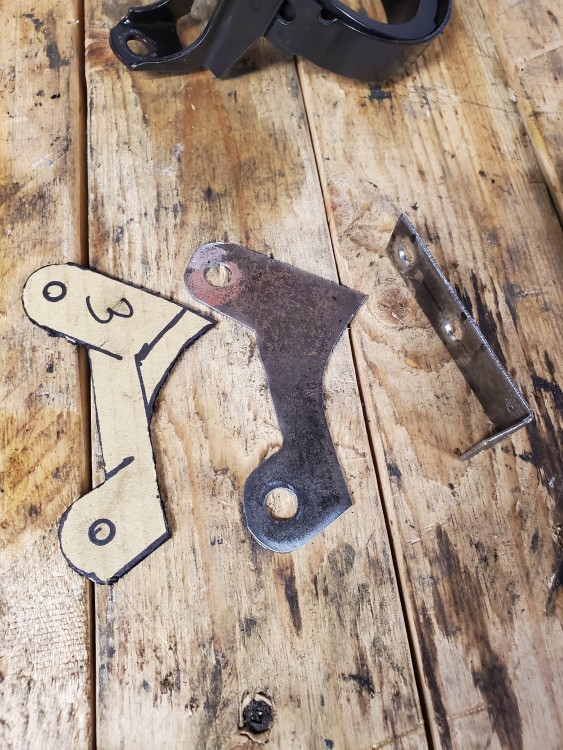
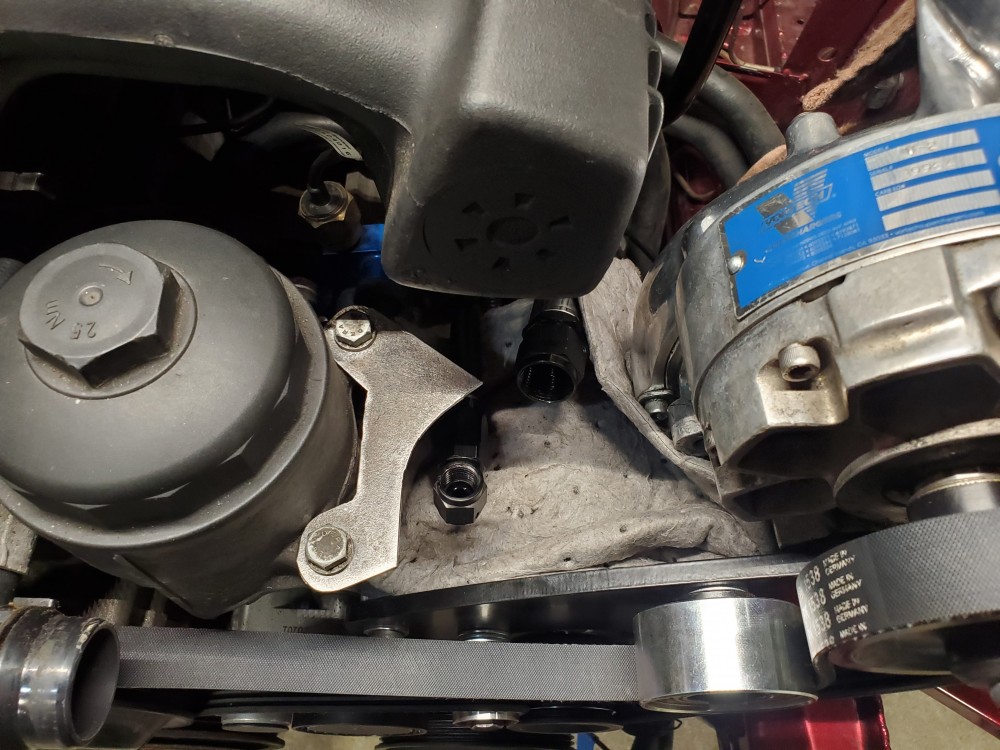
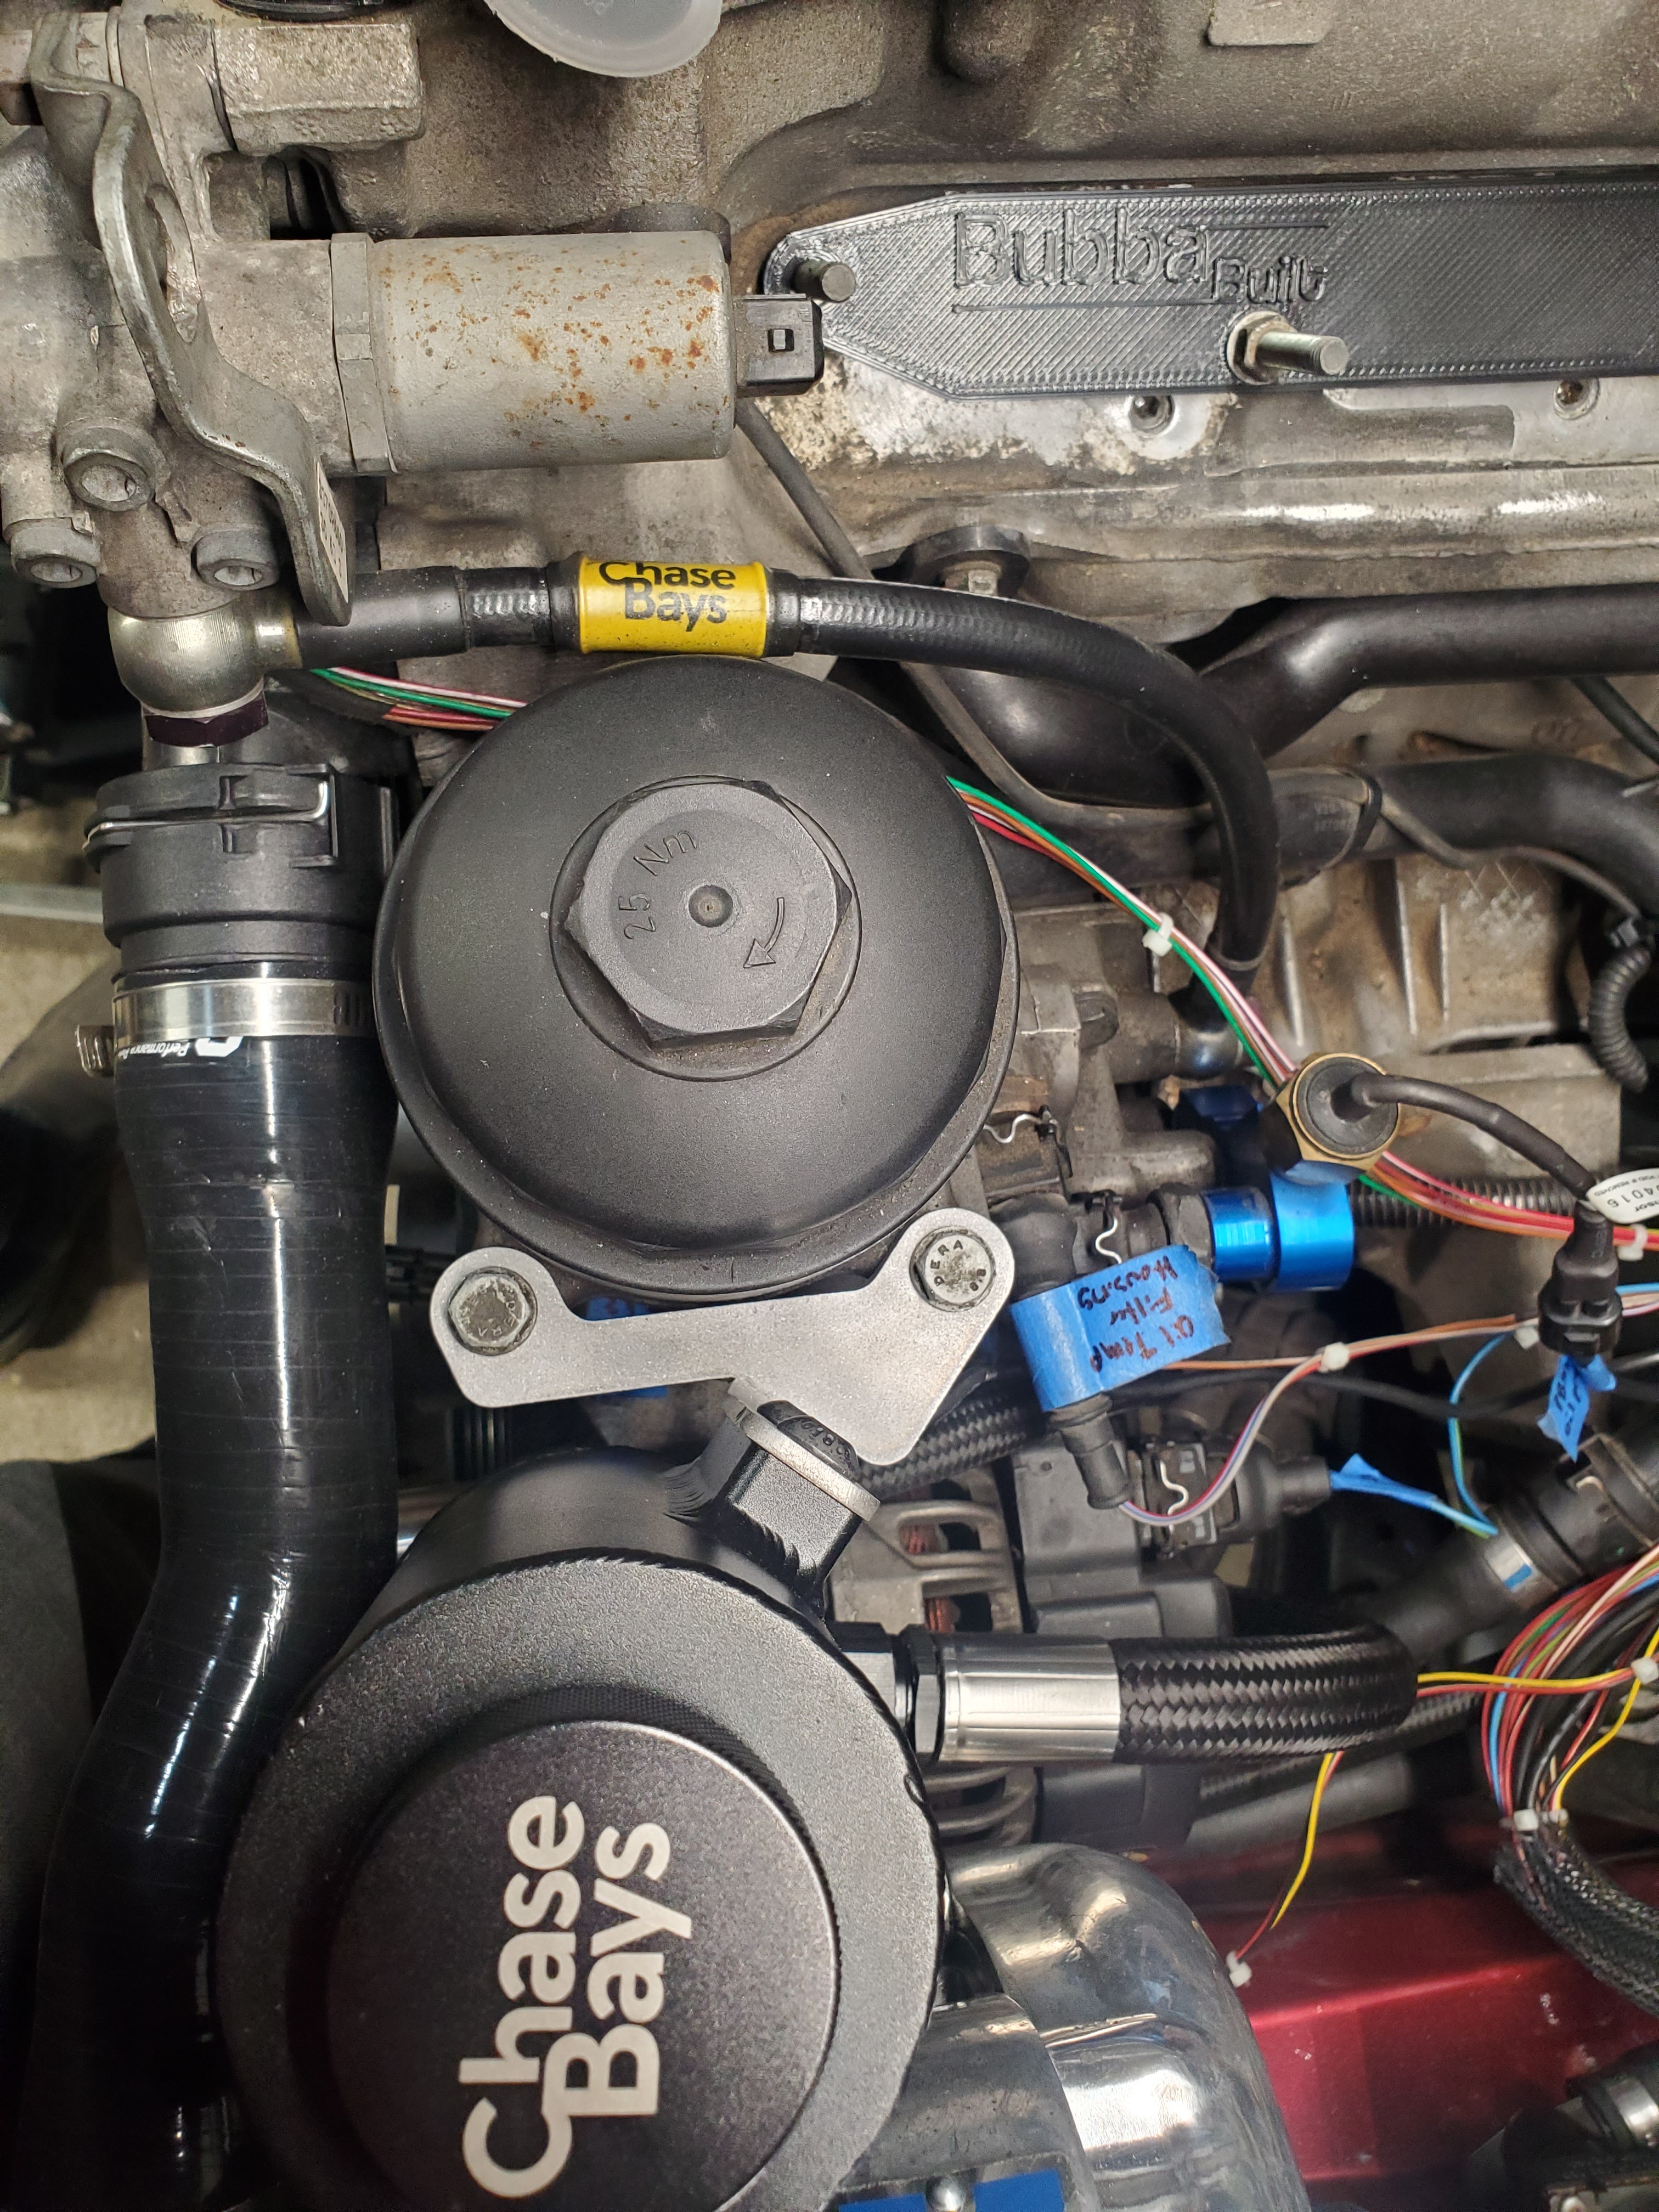
Here's the plate mounted to the oil filter housing.
Then I made a few final adjustments to the base plate and marked and drilled some holes for rivets.
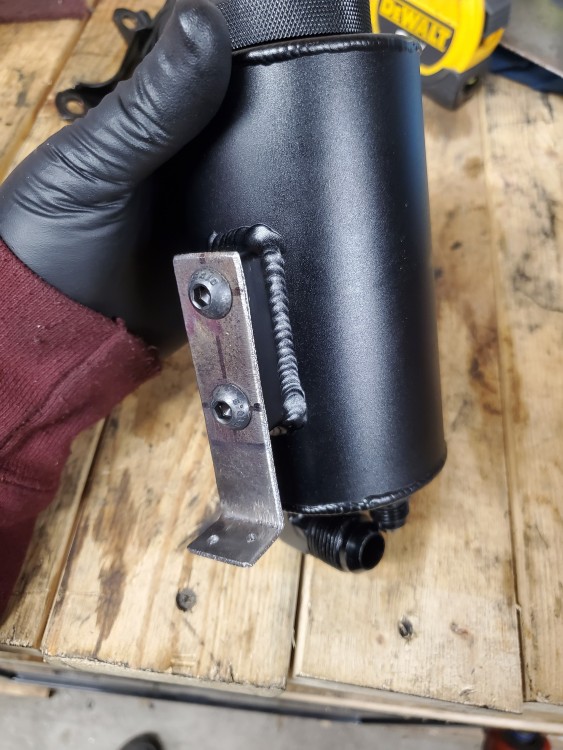
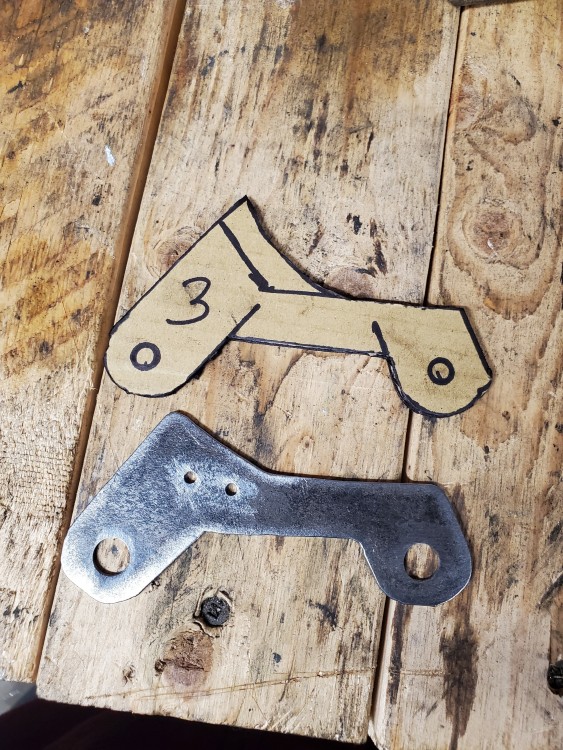
The plan is to have this drawn up, cut, and bent so it is all one piece.
But here is the final product for now.
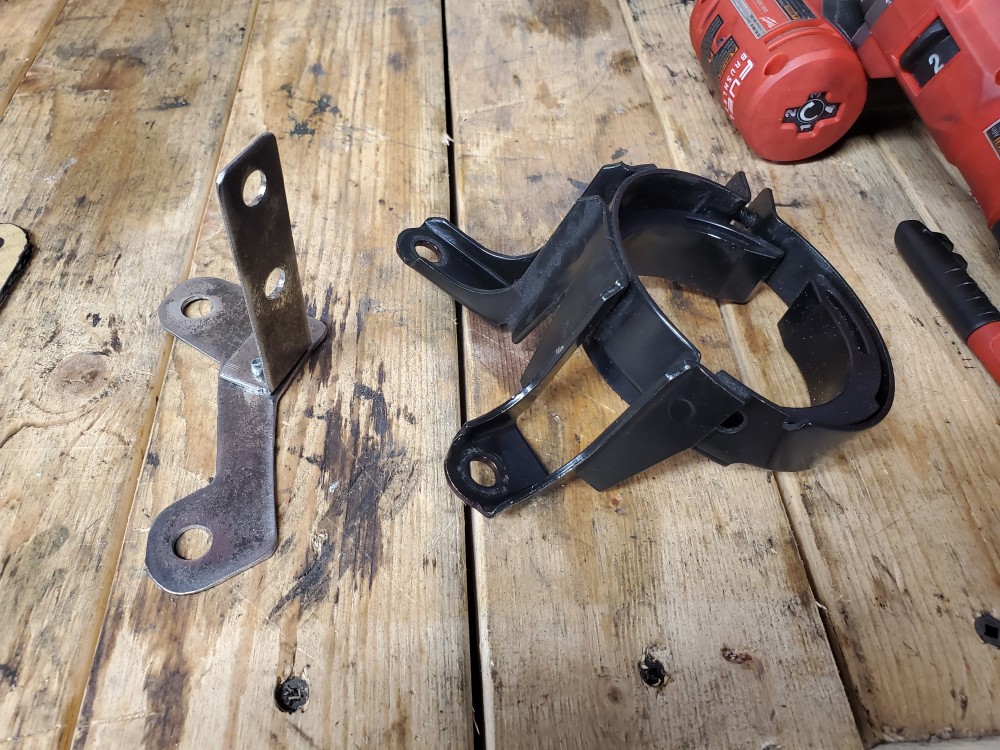
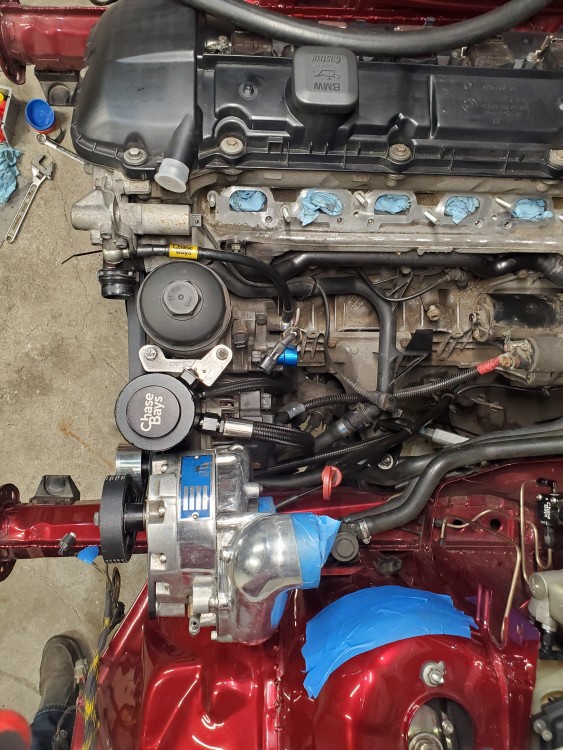
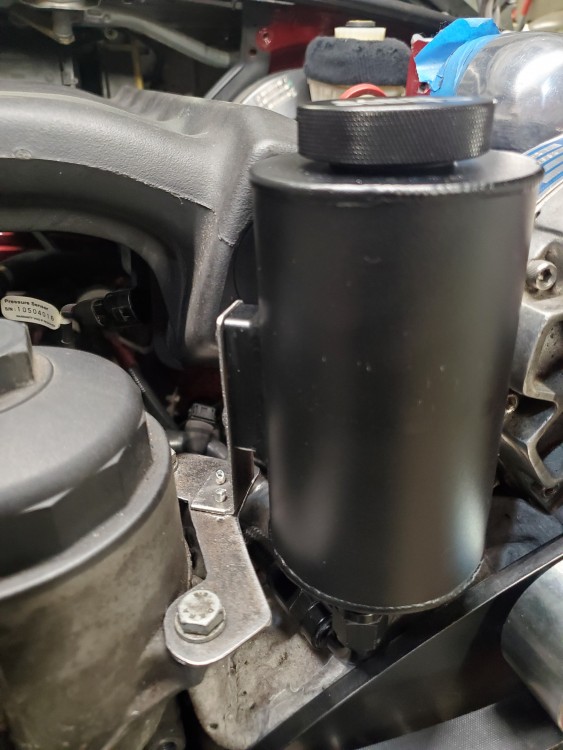
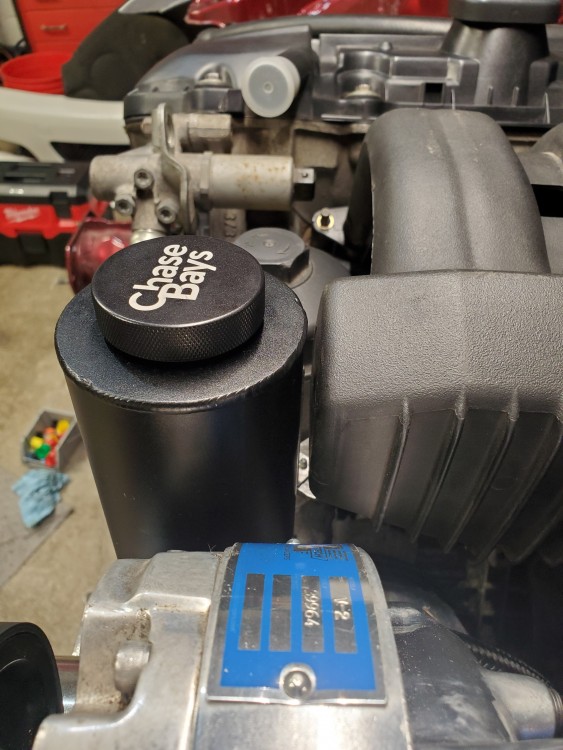
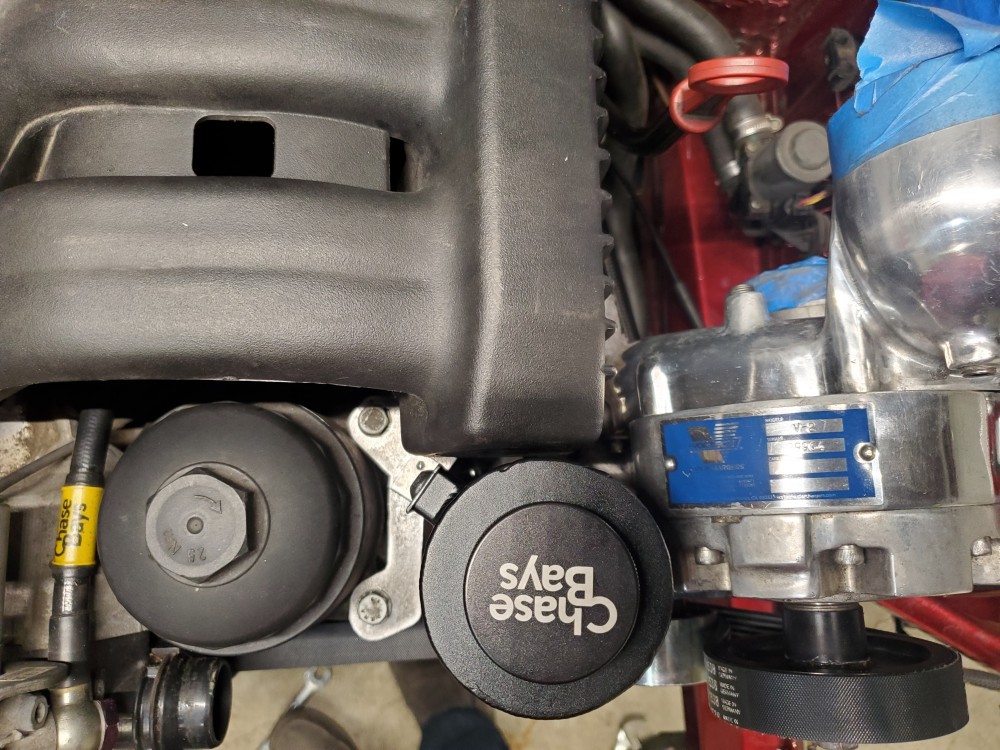
With the resiviour mount done for now I moved on to stripping down the engine harness.
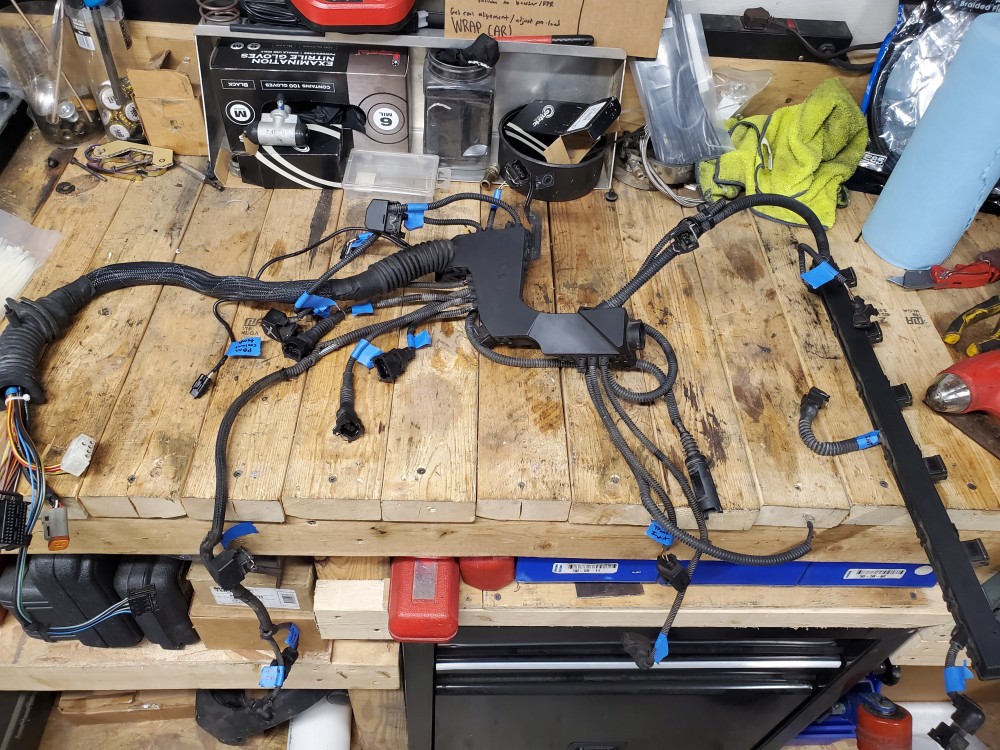
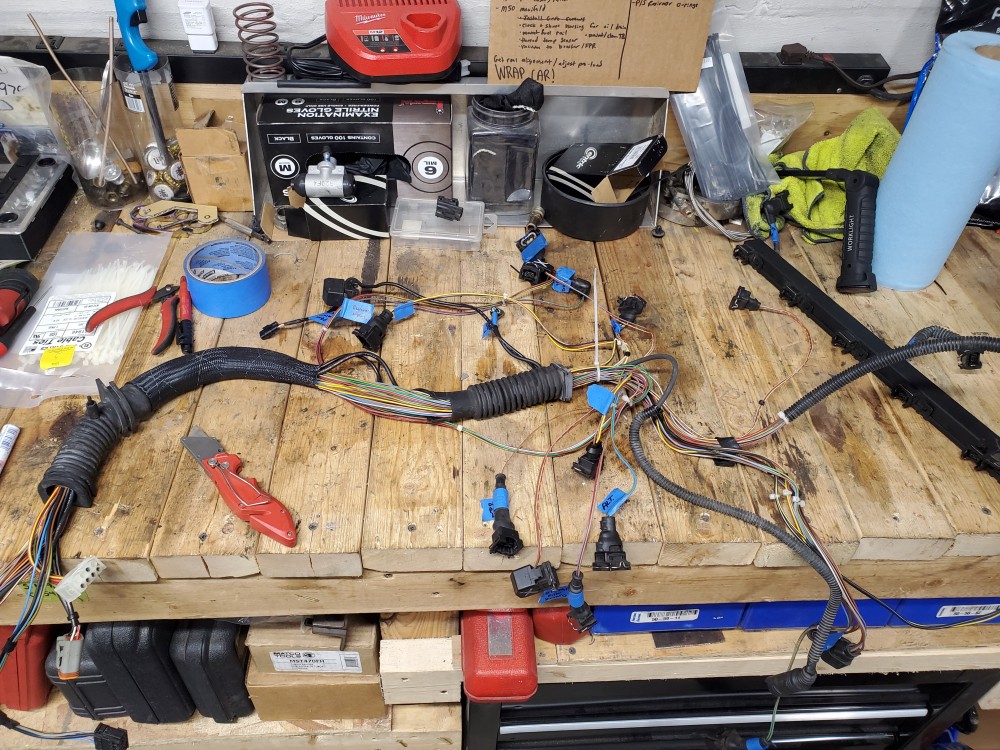
I did remove all the wiring for the DISA, SAI, and the evap solenoid from the sensor plugs to the connector on the DME.
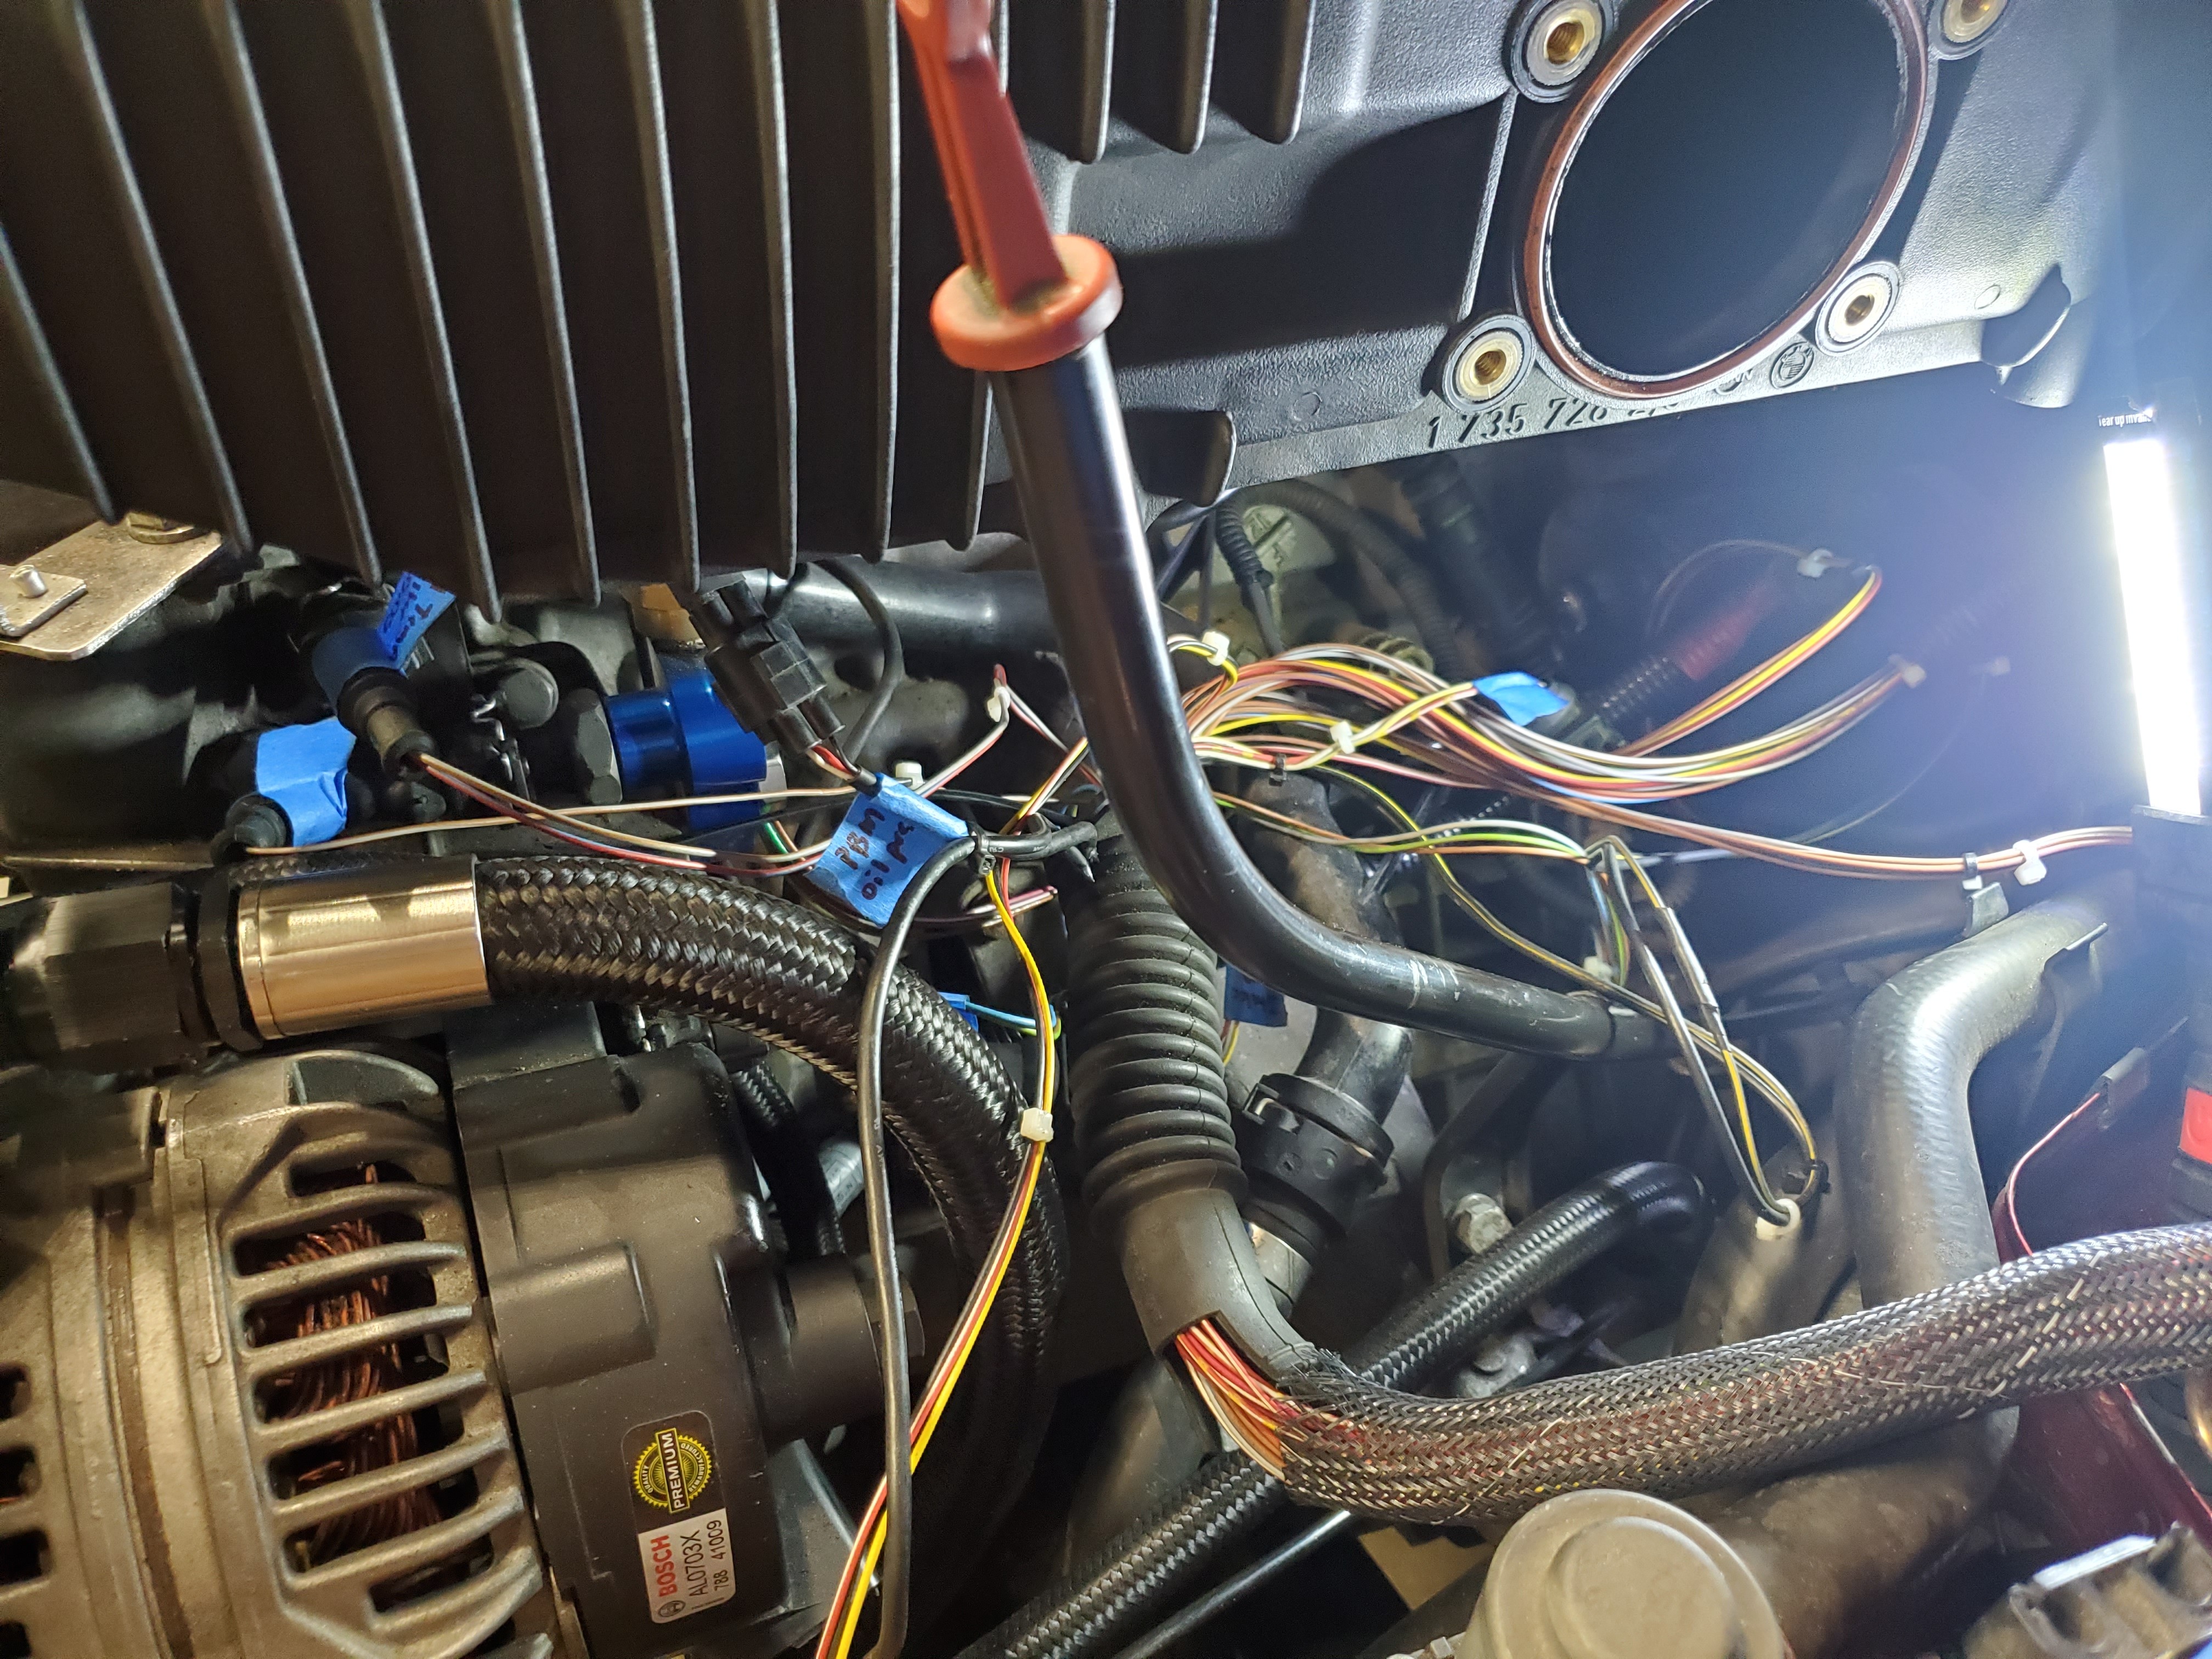
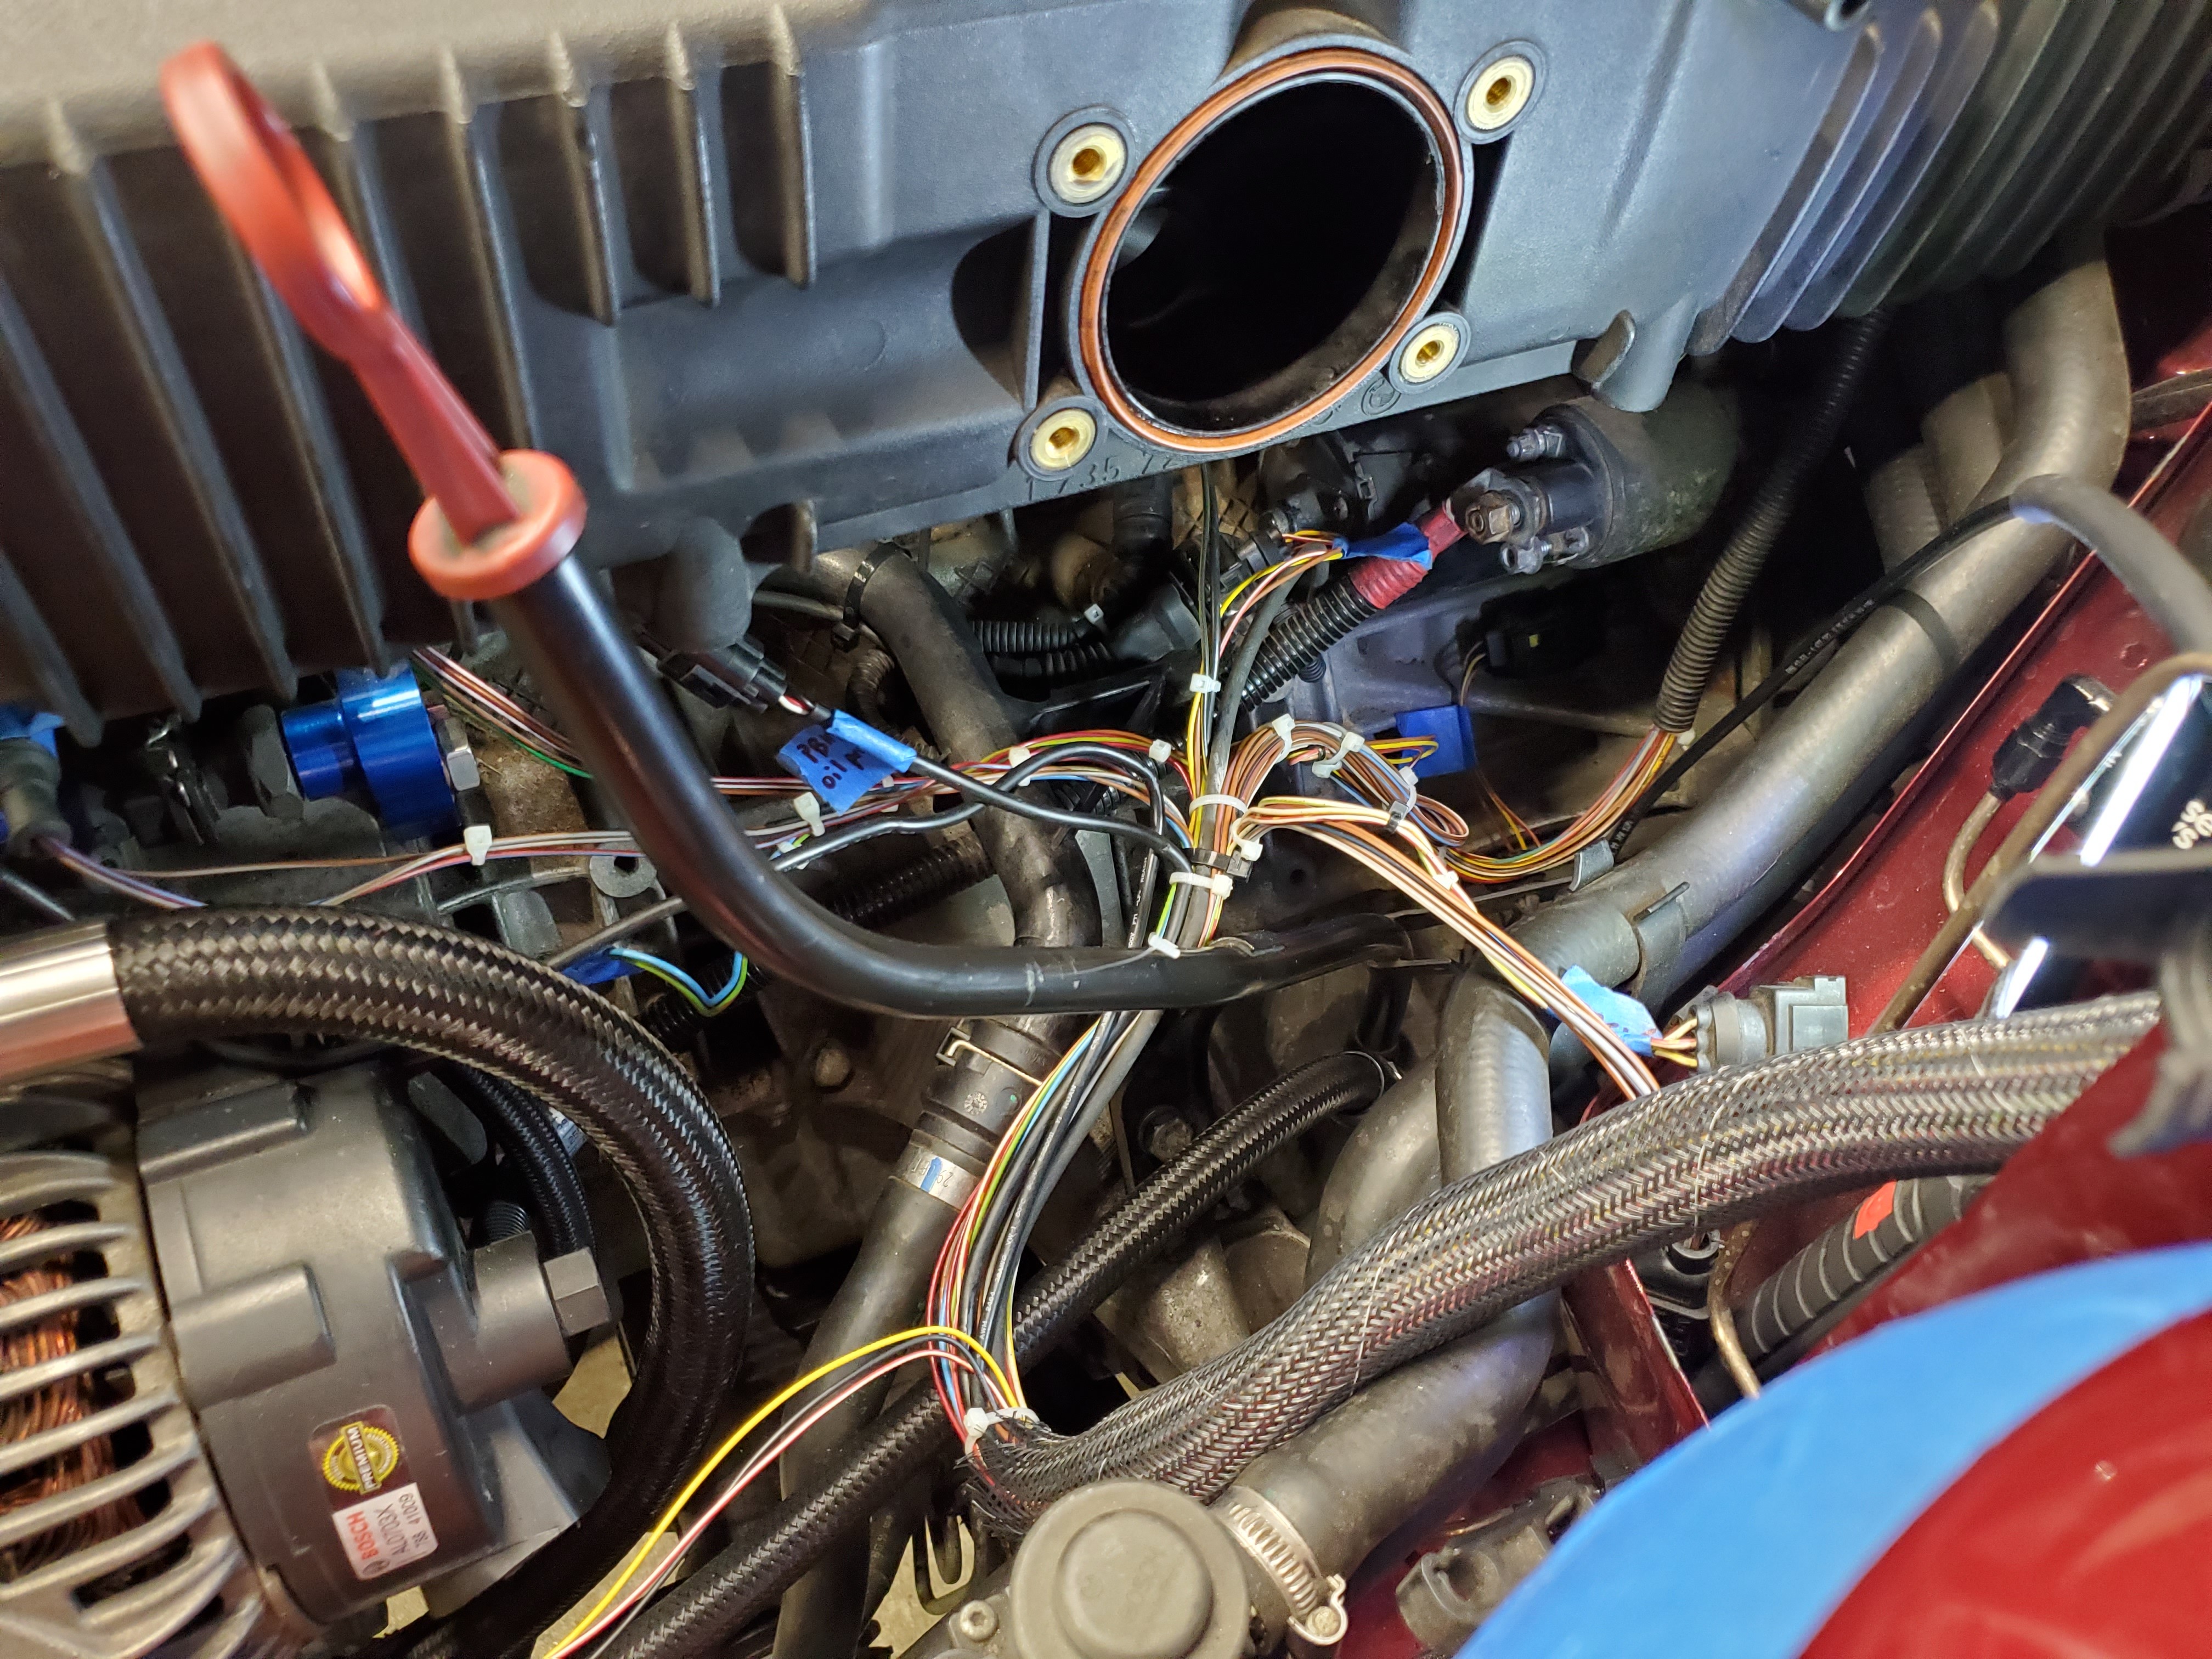
Once I removed what I wanted I put it on the engine and began the slow process of routing things.
The beginning.
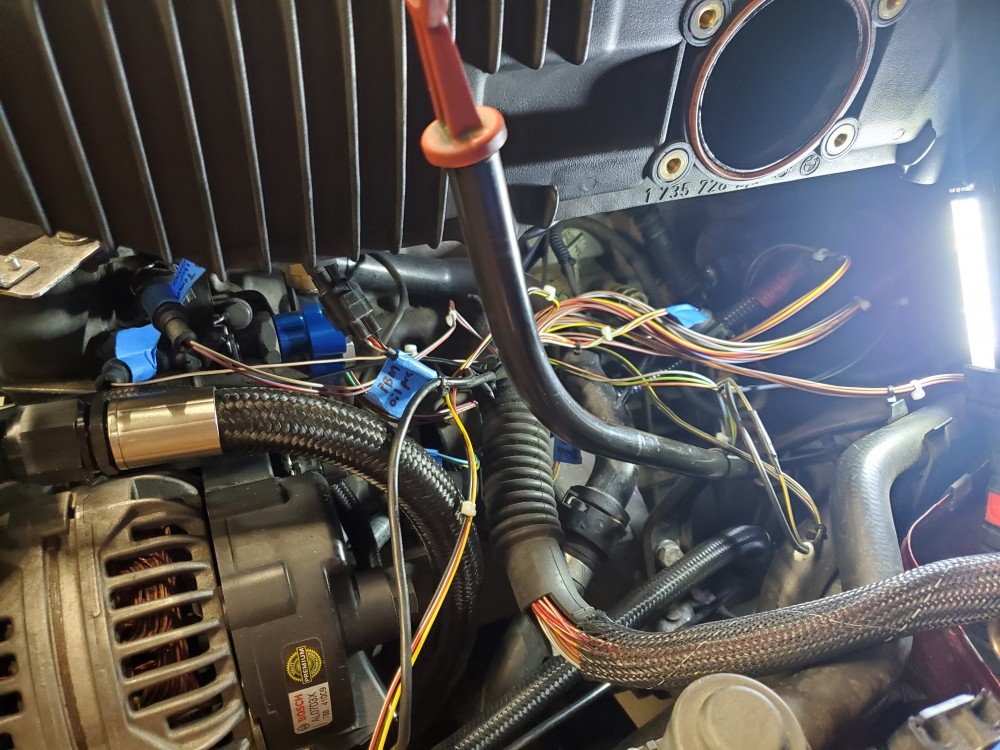
and the end for now.
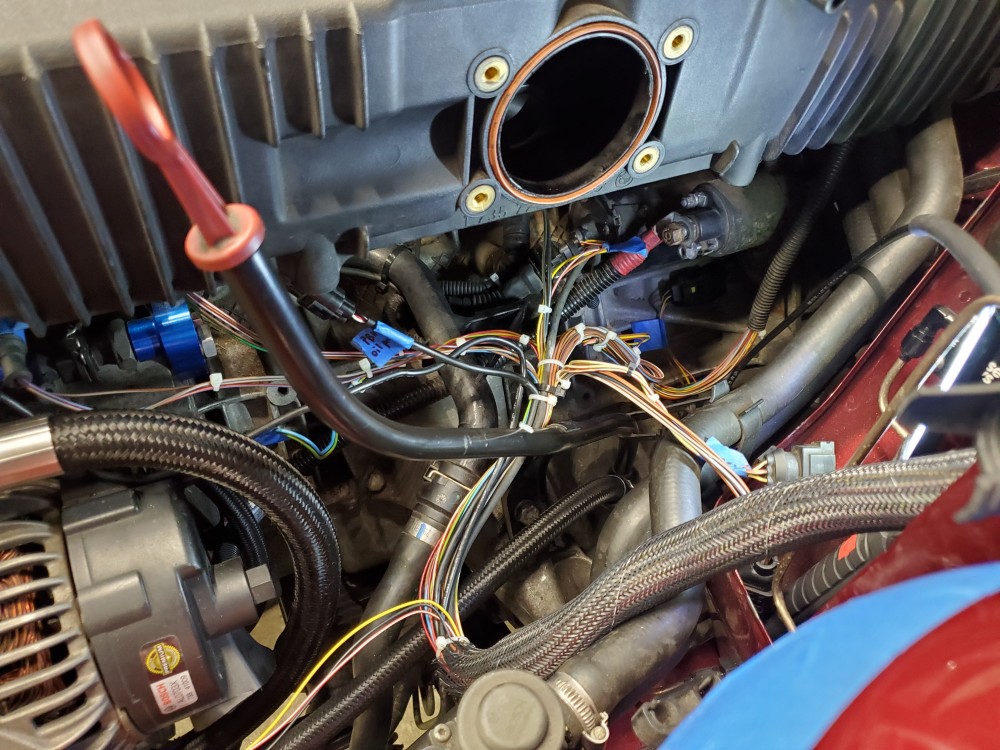
Waiting on a few things to finish up the harness along with a few other parts to finish up the manifold swap which should be here and done by next weekend.
So that's it for now!
-
UPDATE
Got some parts in!
Throttle body coupler with 2 ports and a -4 banjo adapter for the vanos oil line.
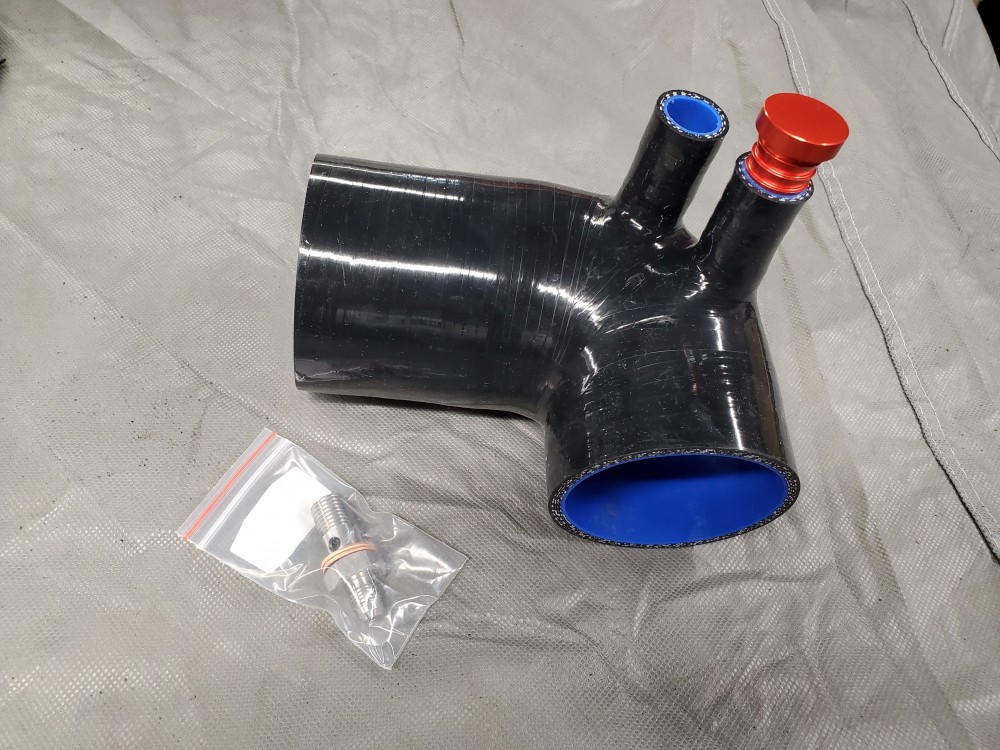
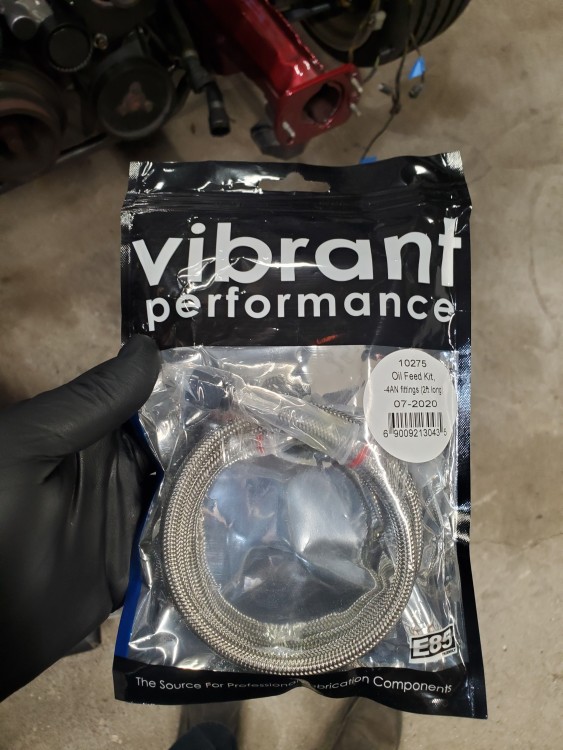
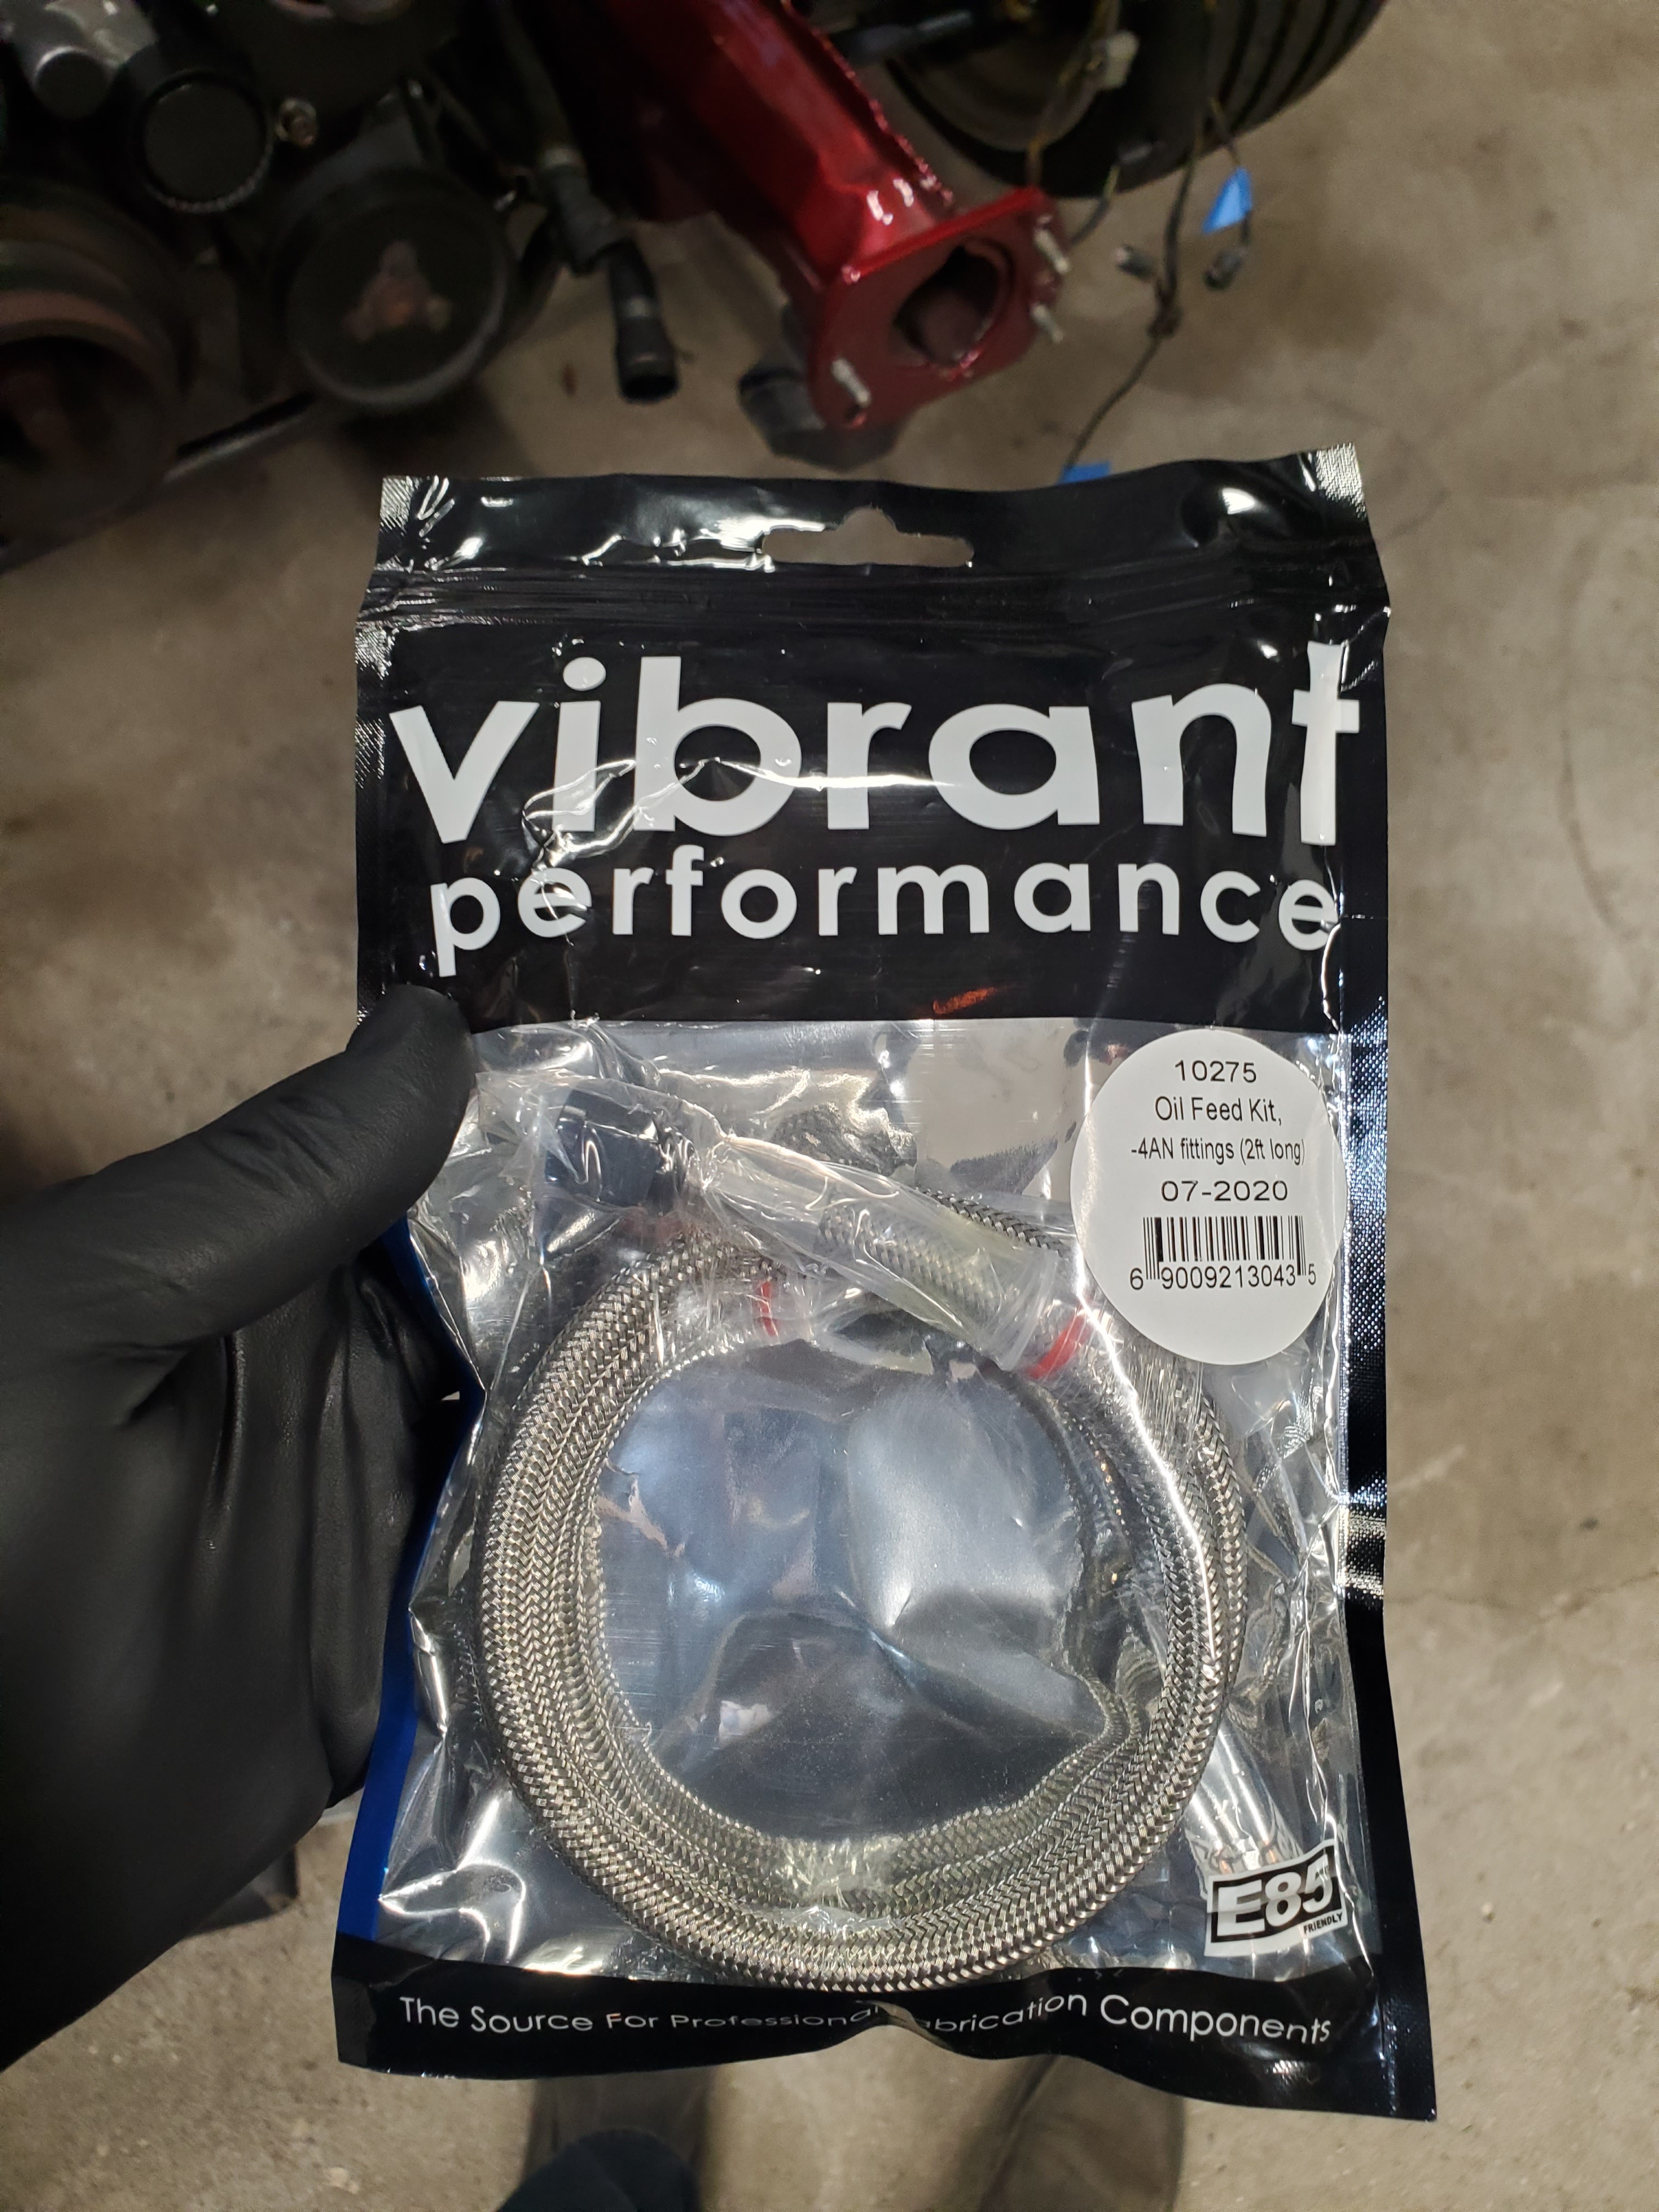
Vibrant -4 oil feed line
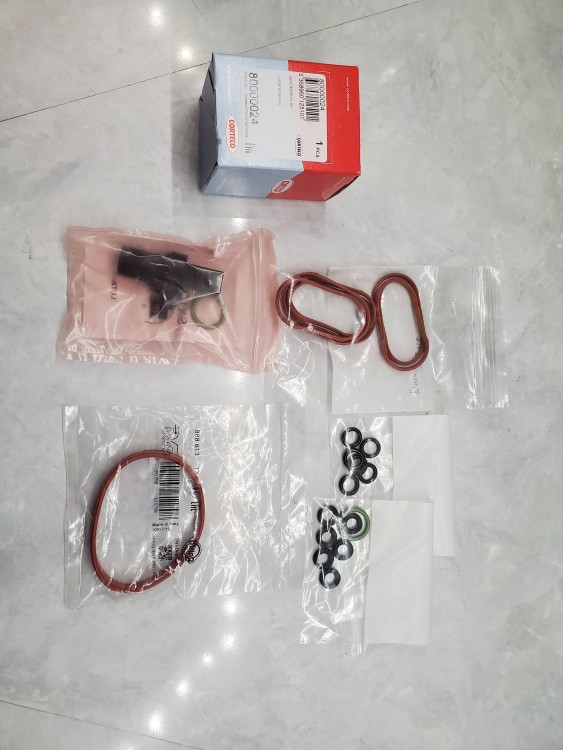
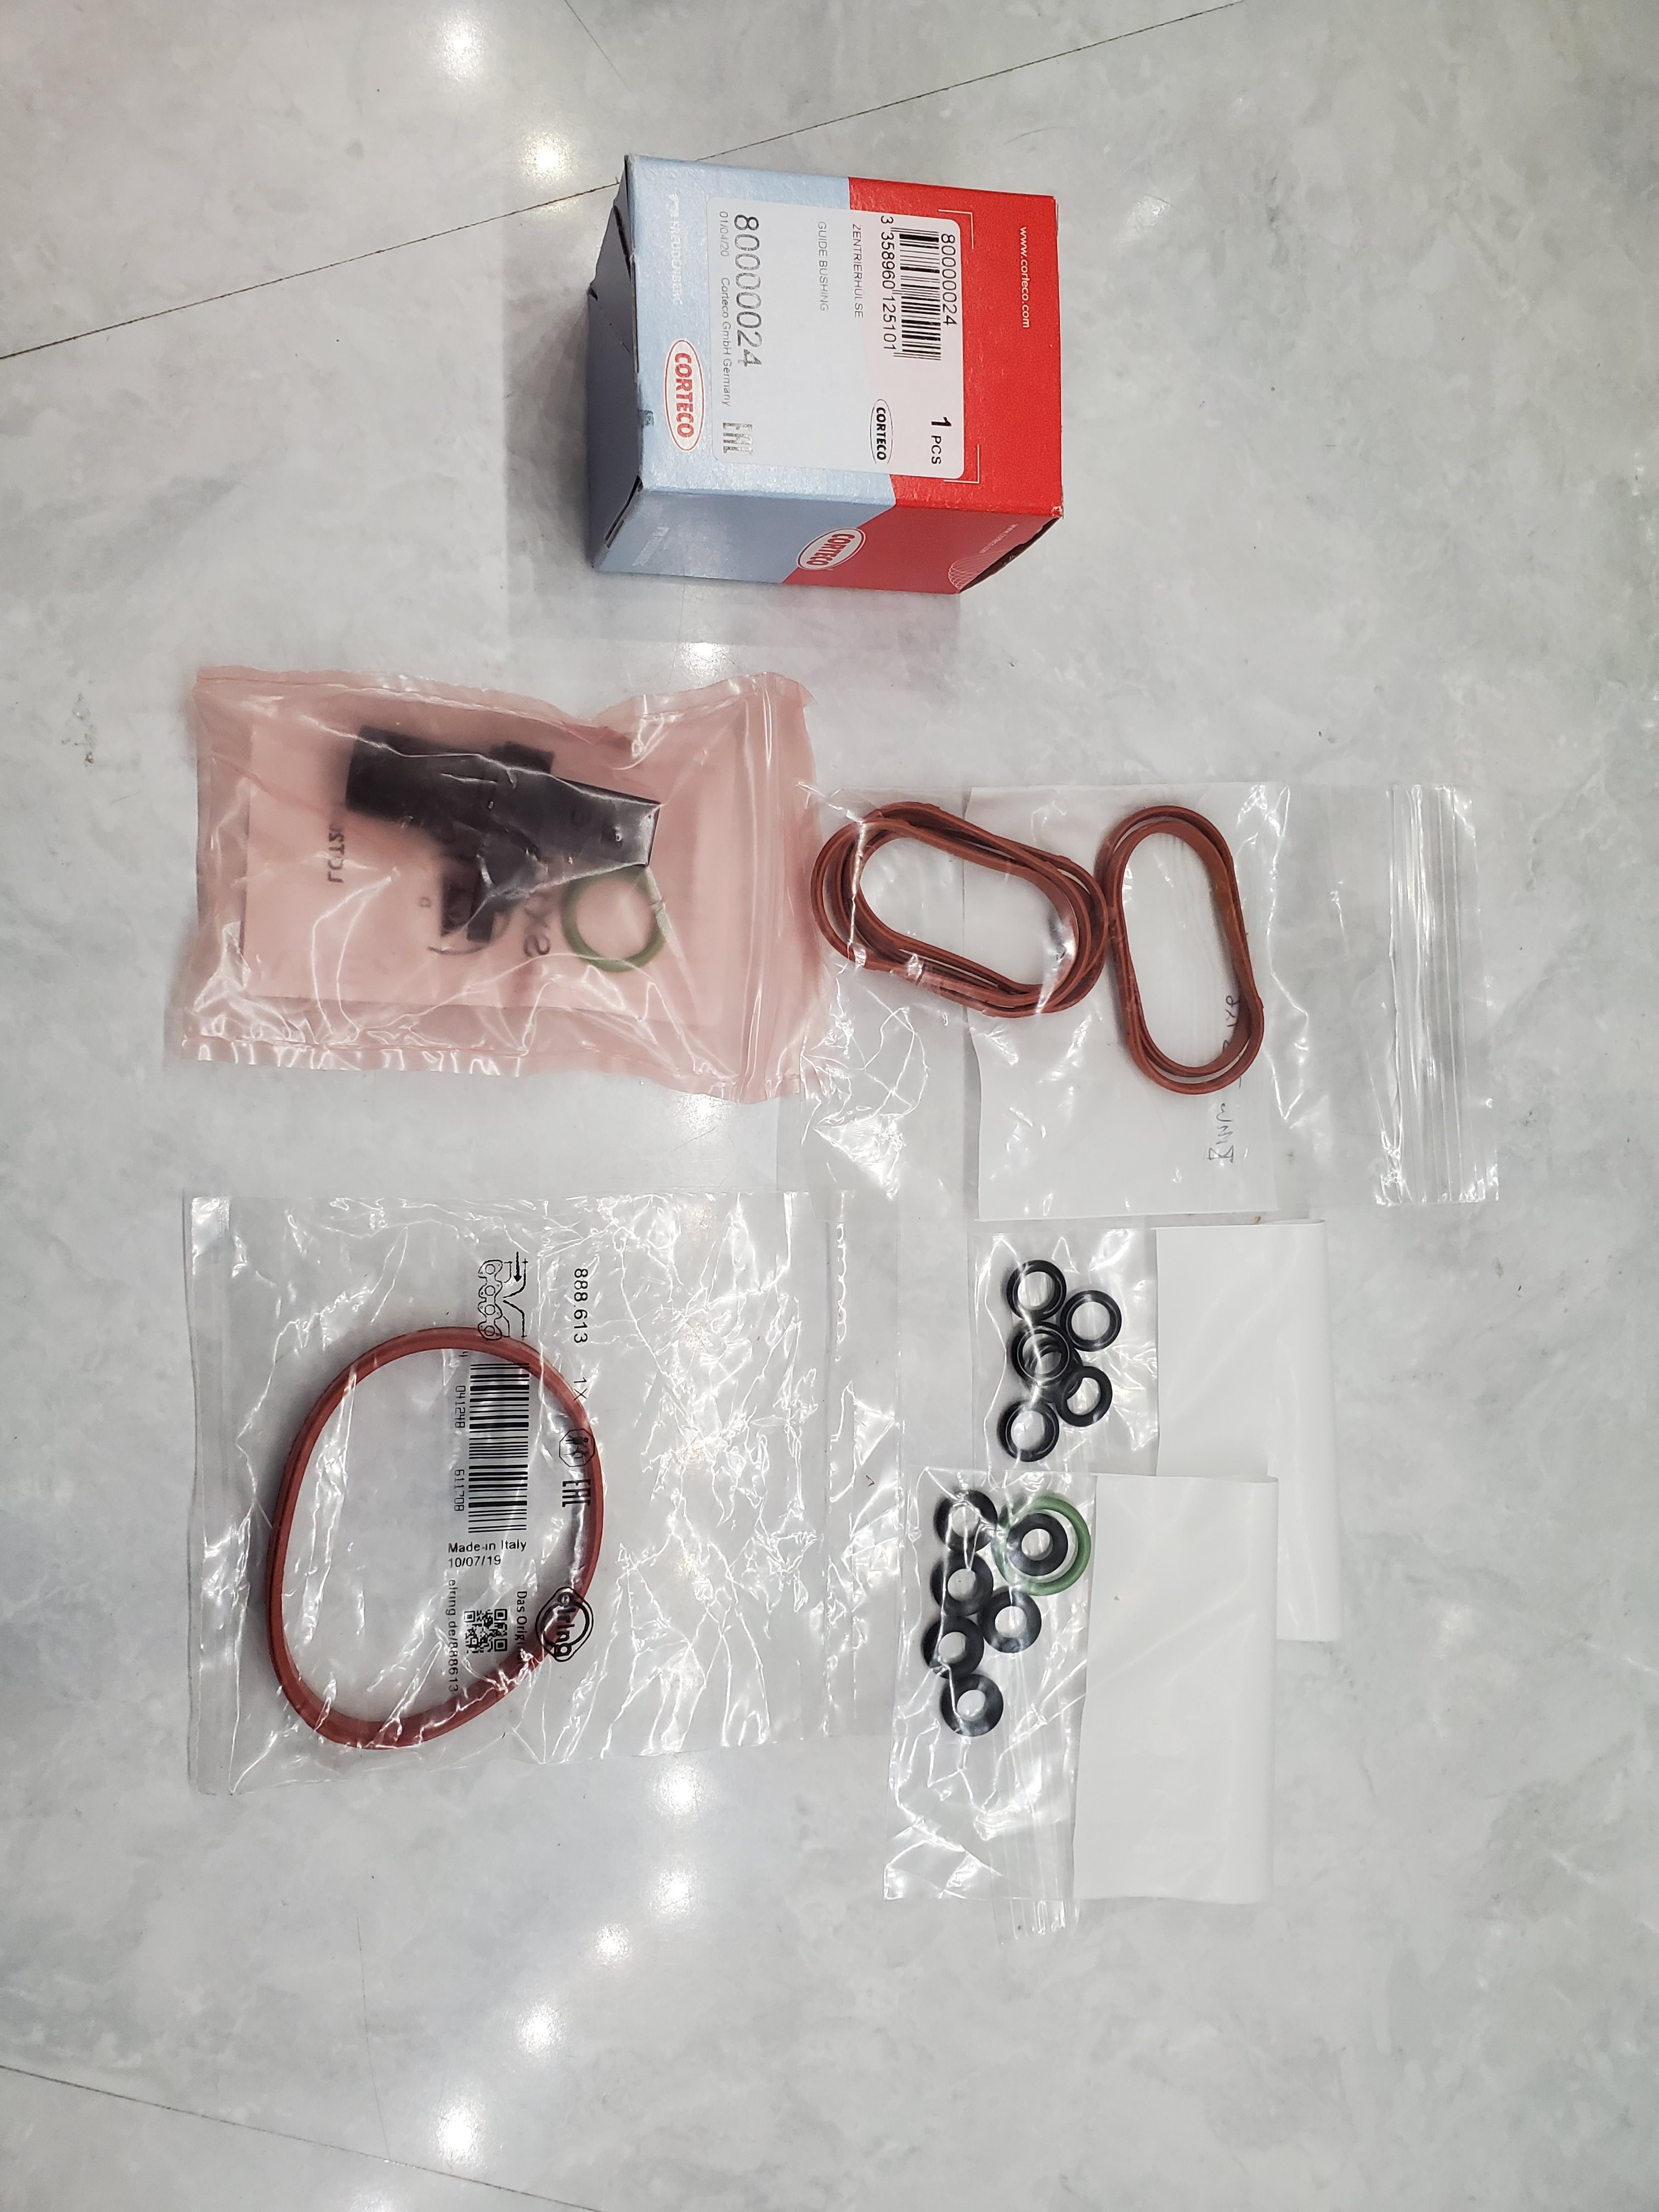
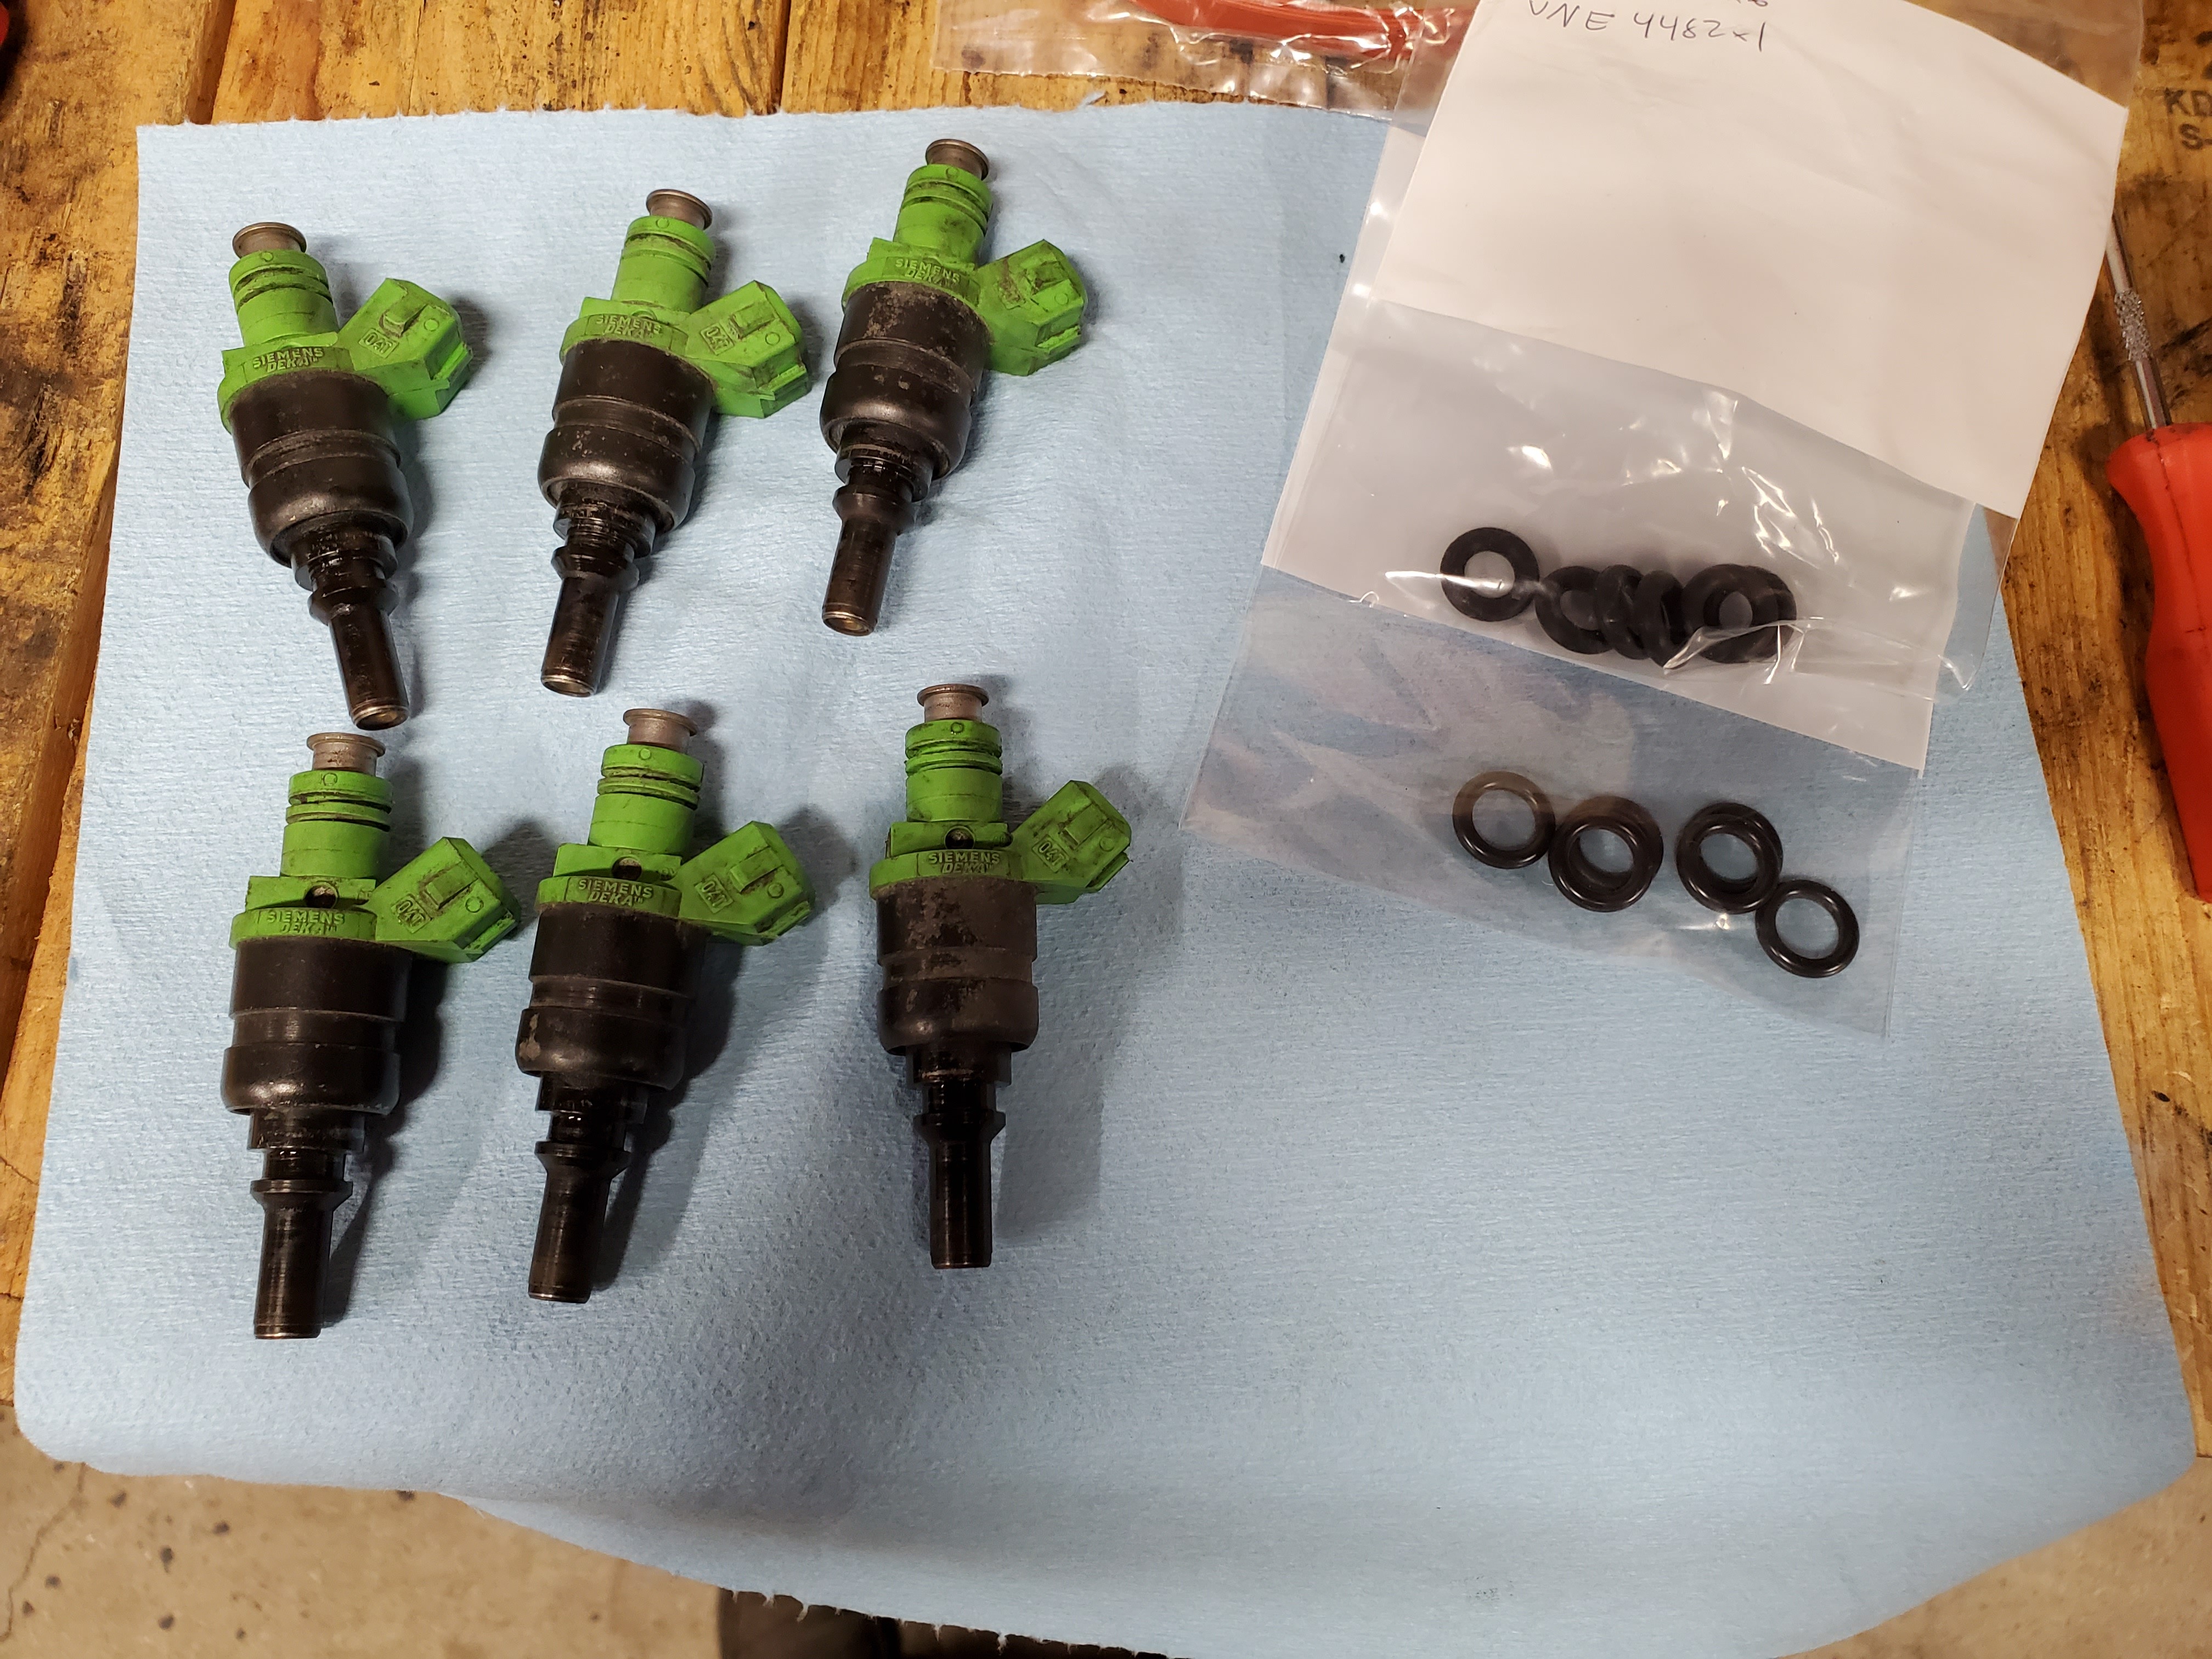
New o rings for the injectors, new intake manifold gaskets, throttle body gasket for the m50 manifold side, exhaust cam sensor (found out mine was cracked), and also a centering bushing for the driveshaft.
and finally for parts the sleeving for the engine harness came as well.
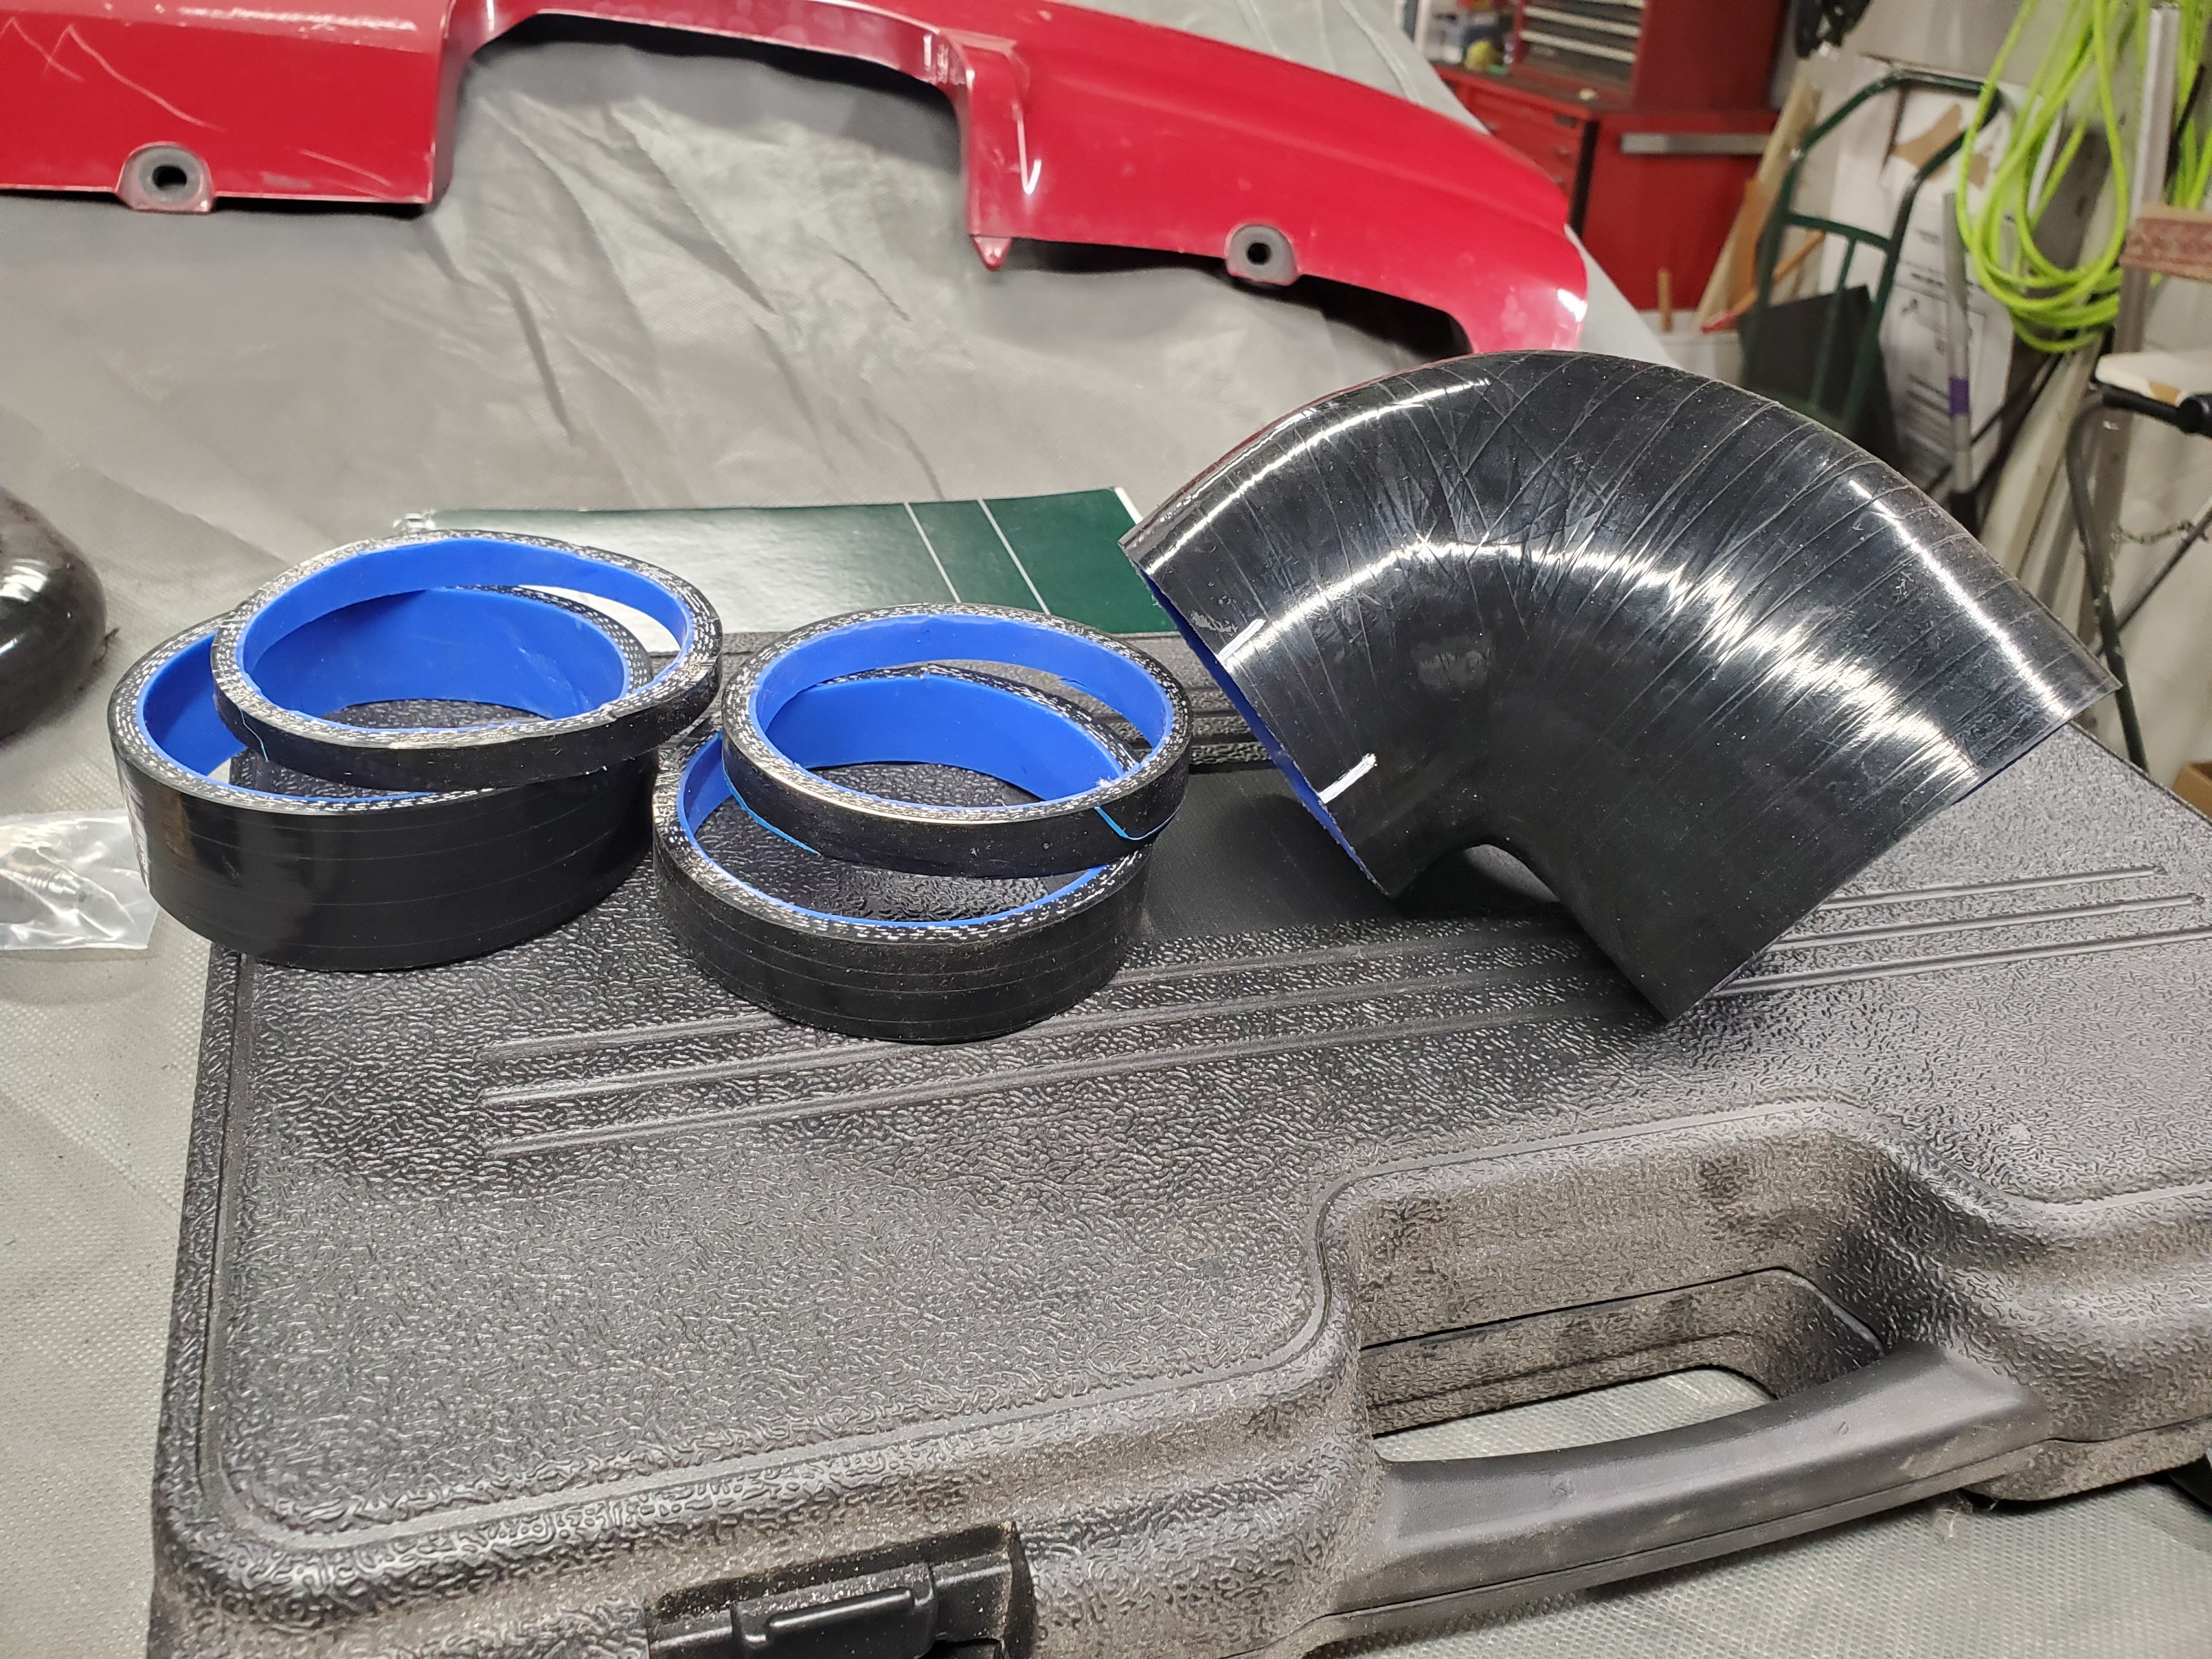
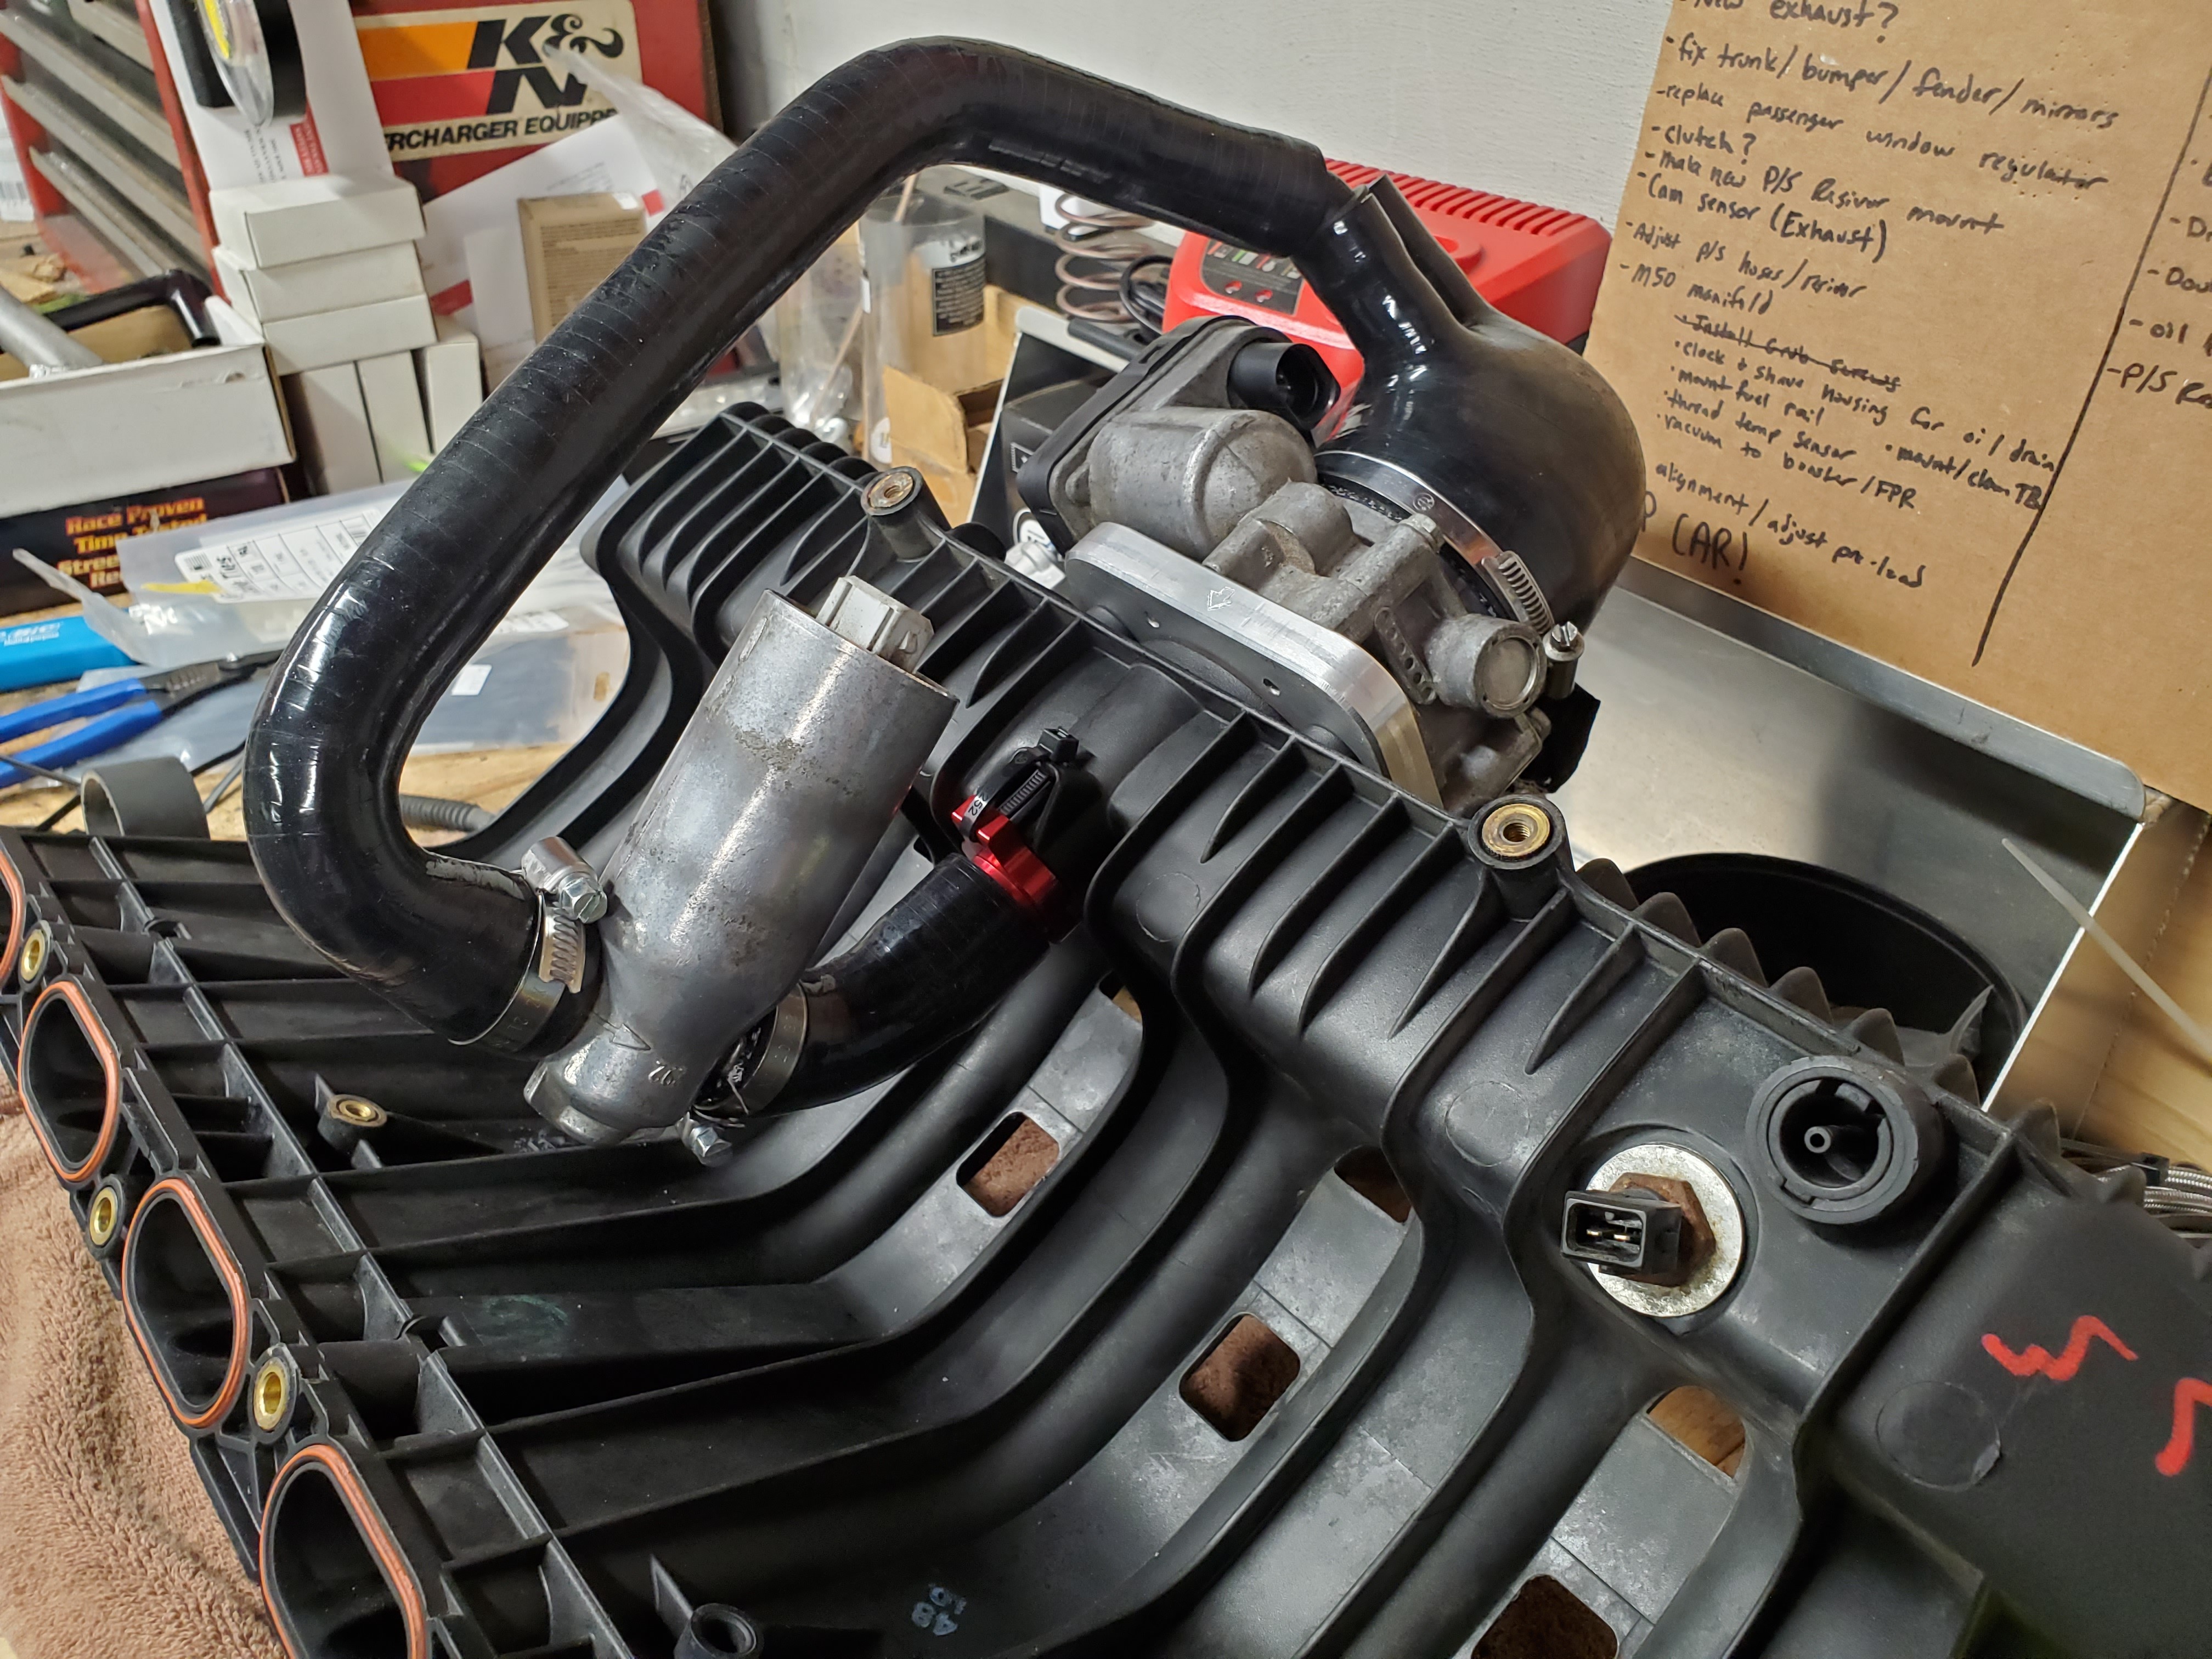
While I still had the manifold on I got to setting up the new double port coupler. The reason I went with the double port one was to be able to connect the iacv separate from the diverter valve. Ended up chopping quite a bit off both sides but it fits pretty well now.
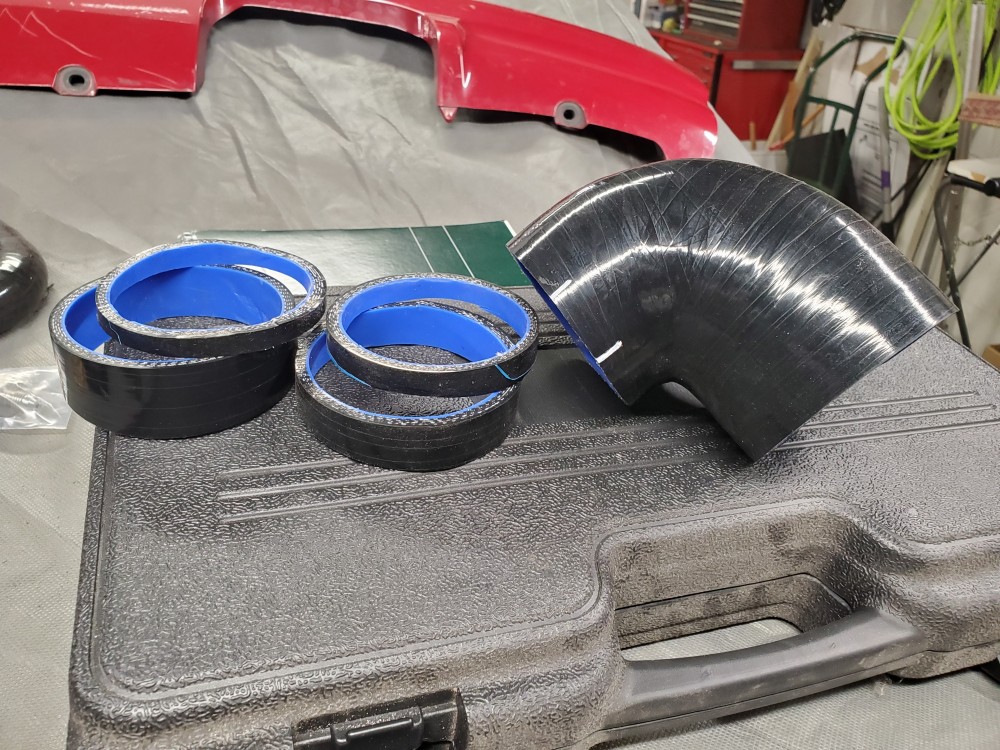
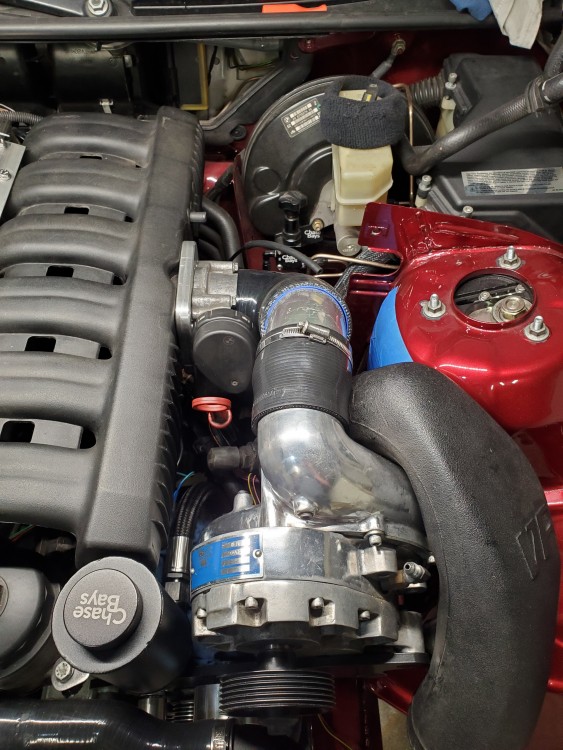
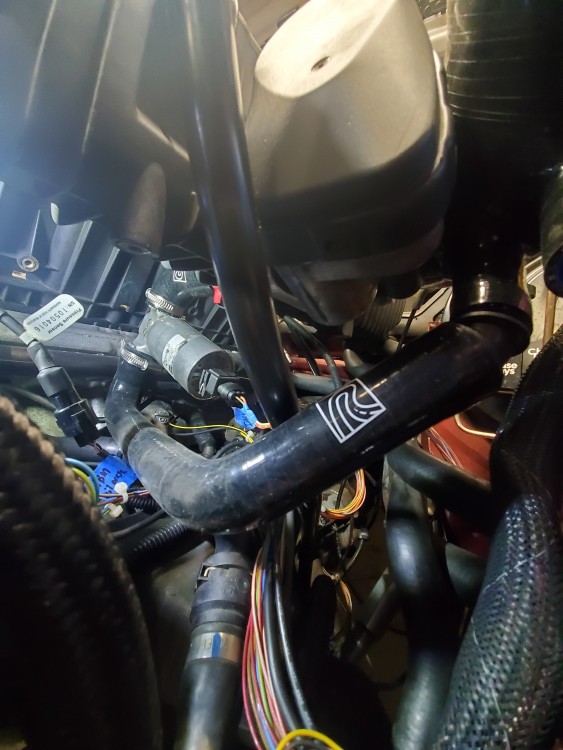
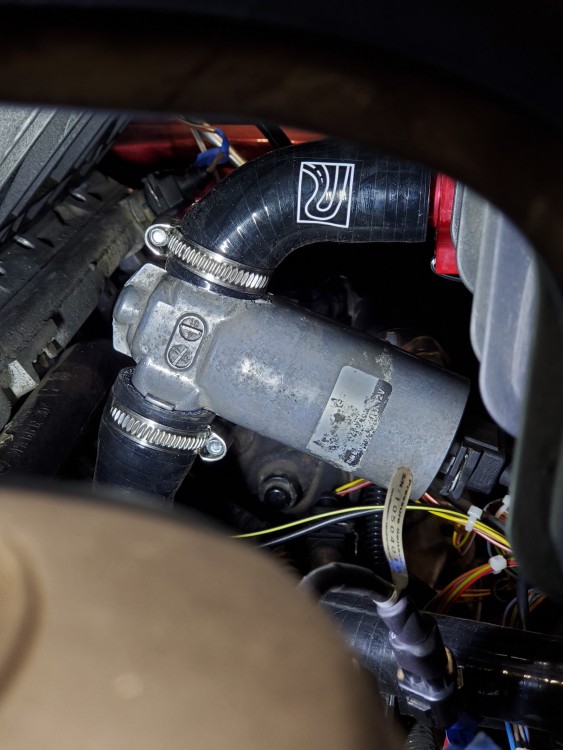
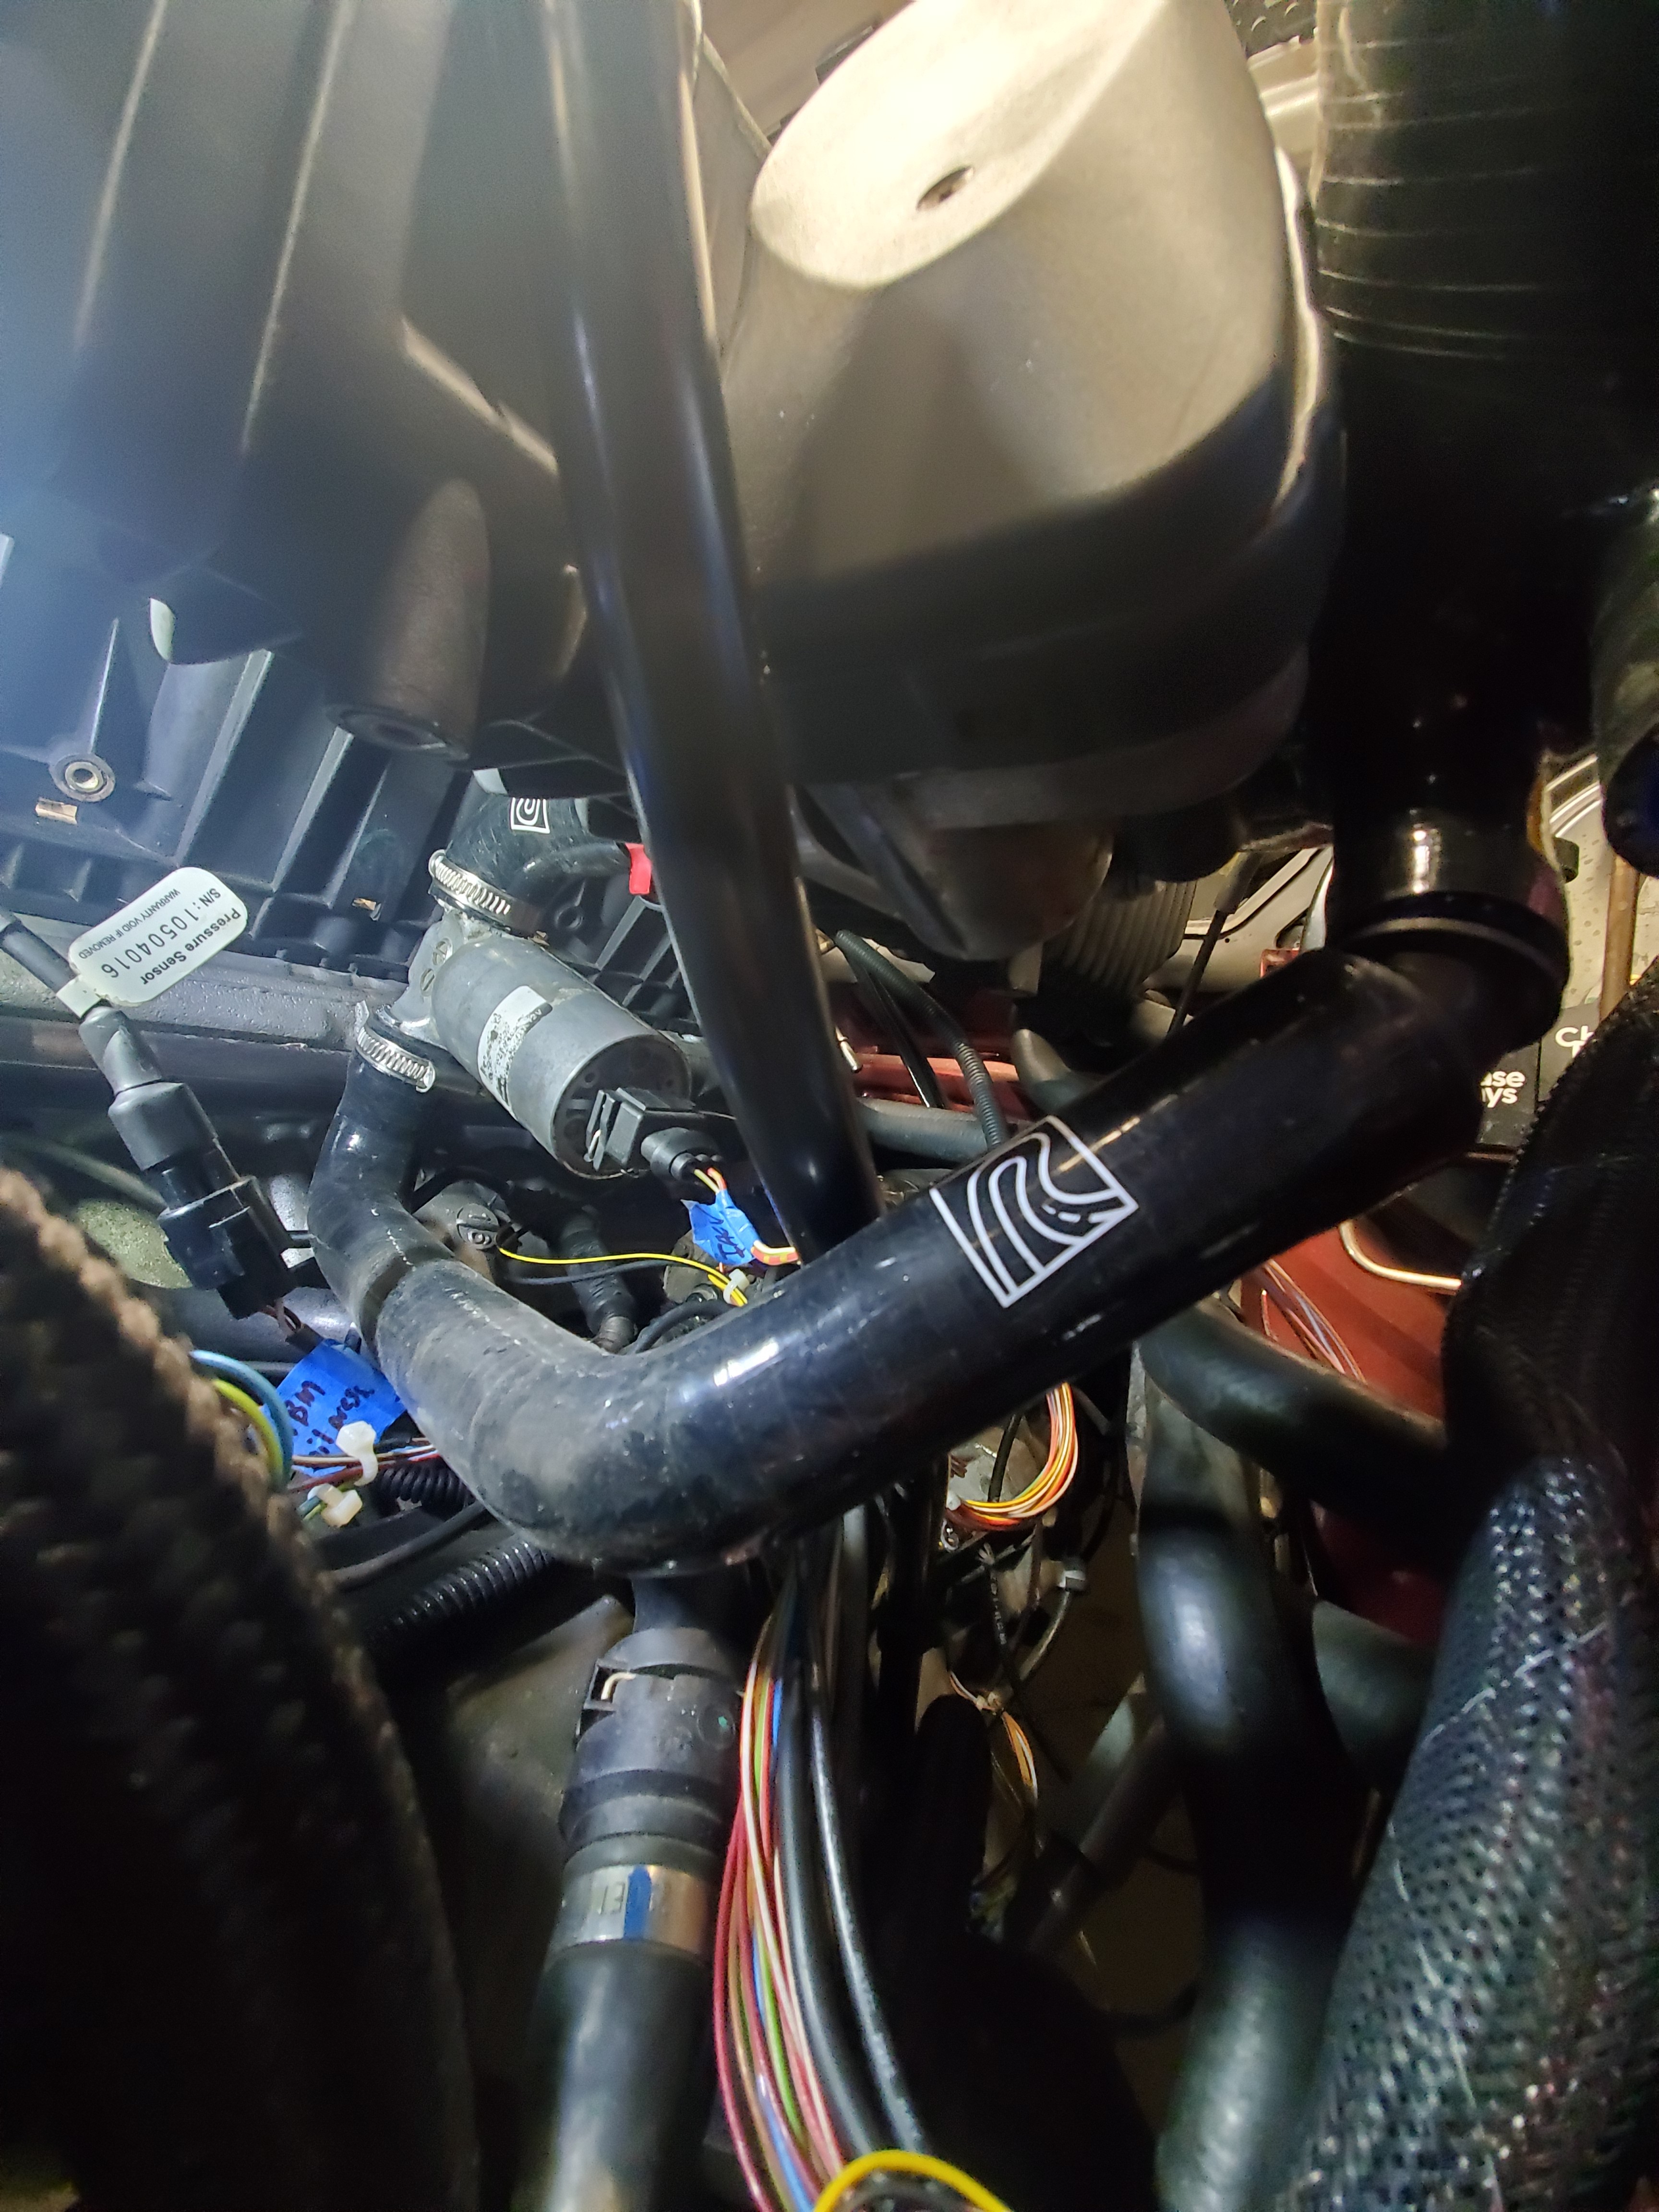
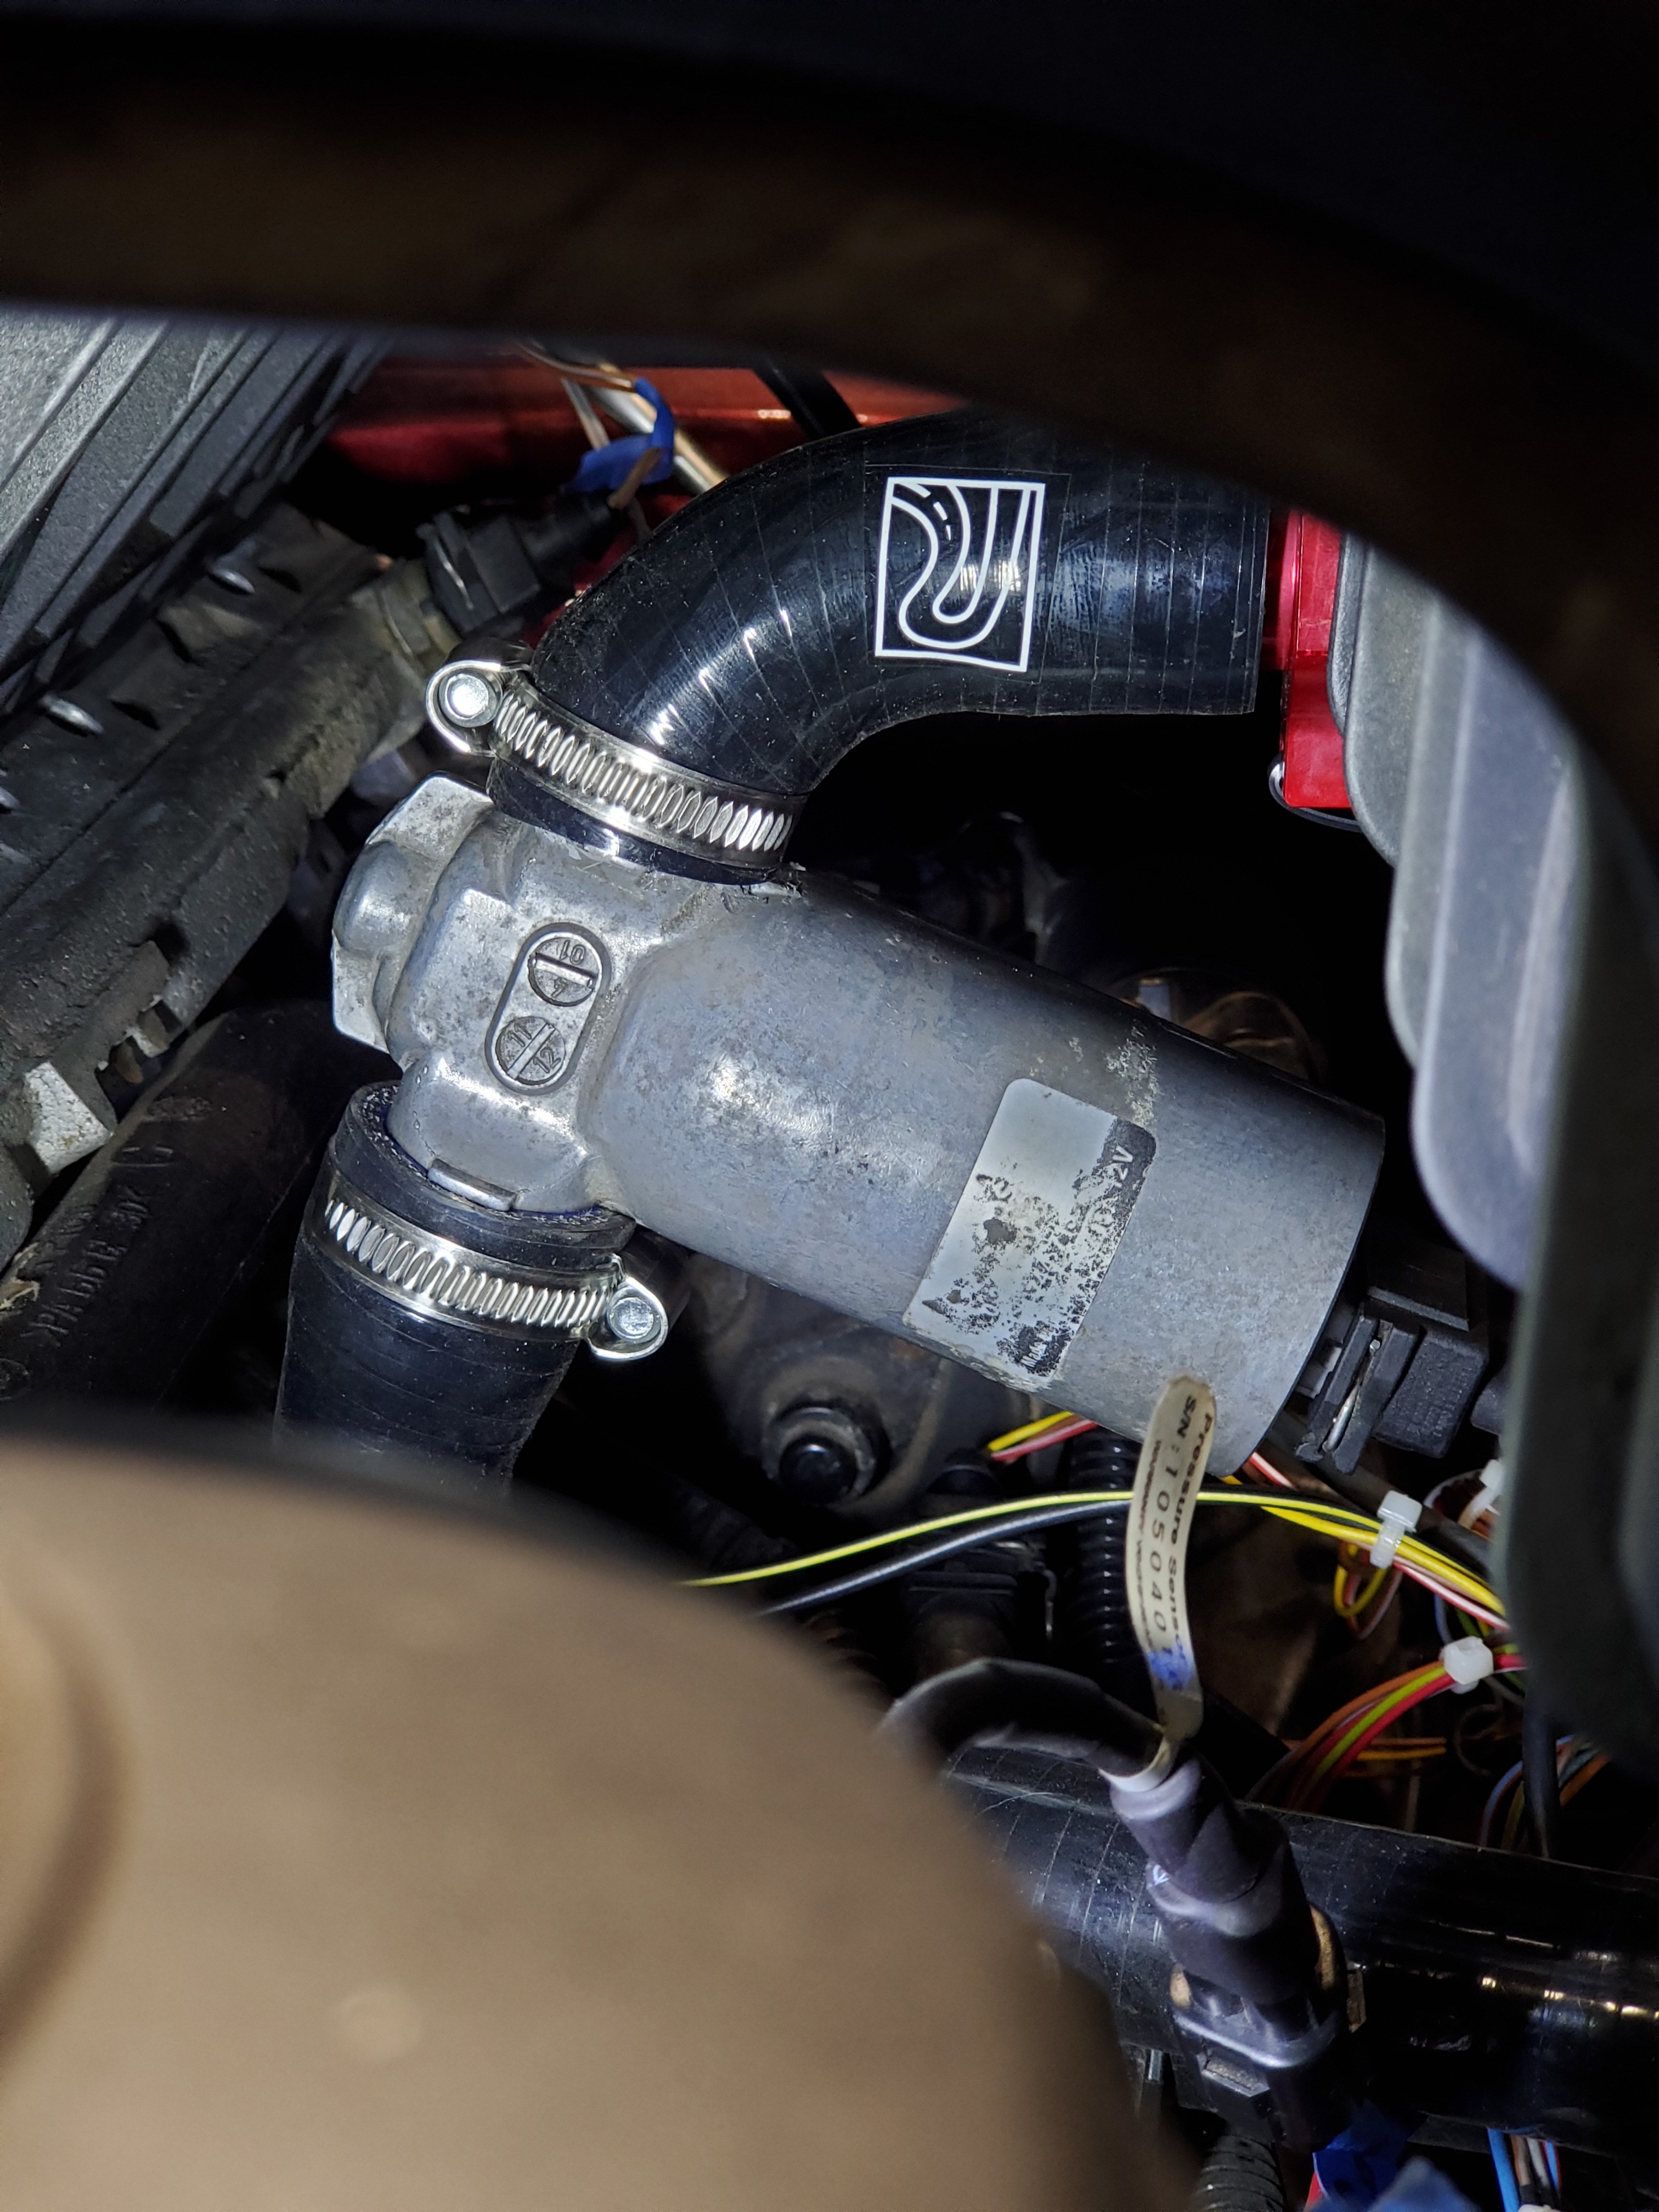
Once the throttle body elbow angle was finalized I was able to set up the IACV hoses. I ended up trimming the U shaped hose that the kit comes with because I was not liking how it was intended to sit.
Here's what I came up with.
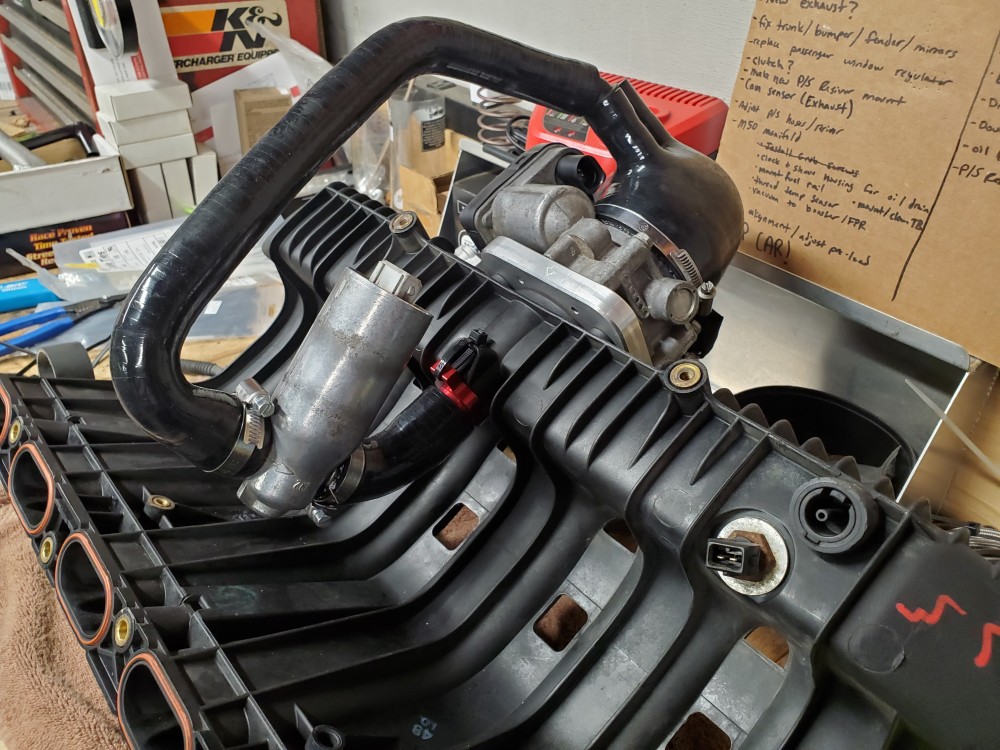
This way tucks really well under the manifold when it's bolted on the engine.
I was also able to take my "prototype" power steering resiviour bracket to @Sam_Holzmann and he drew it into digital form and cut it out on the plasma.
Here is "V1"
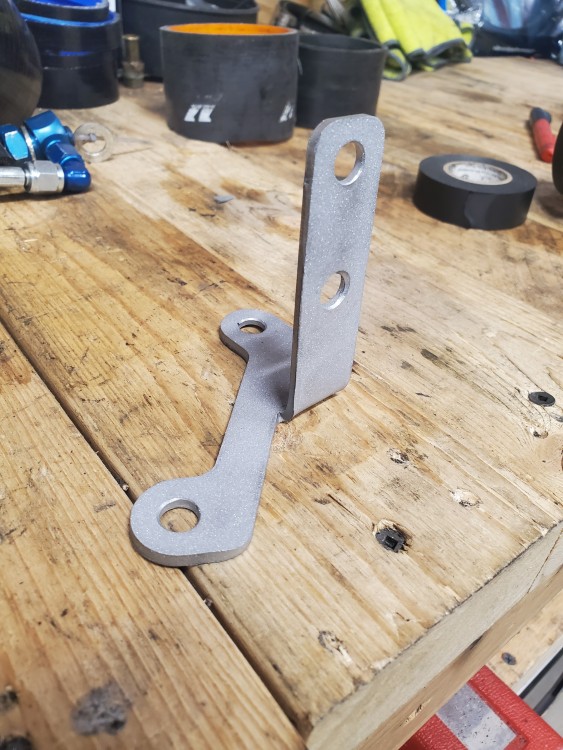
And it fits great just like the prototype version.
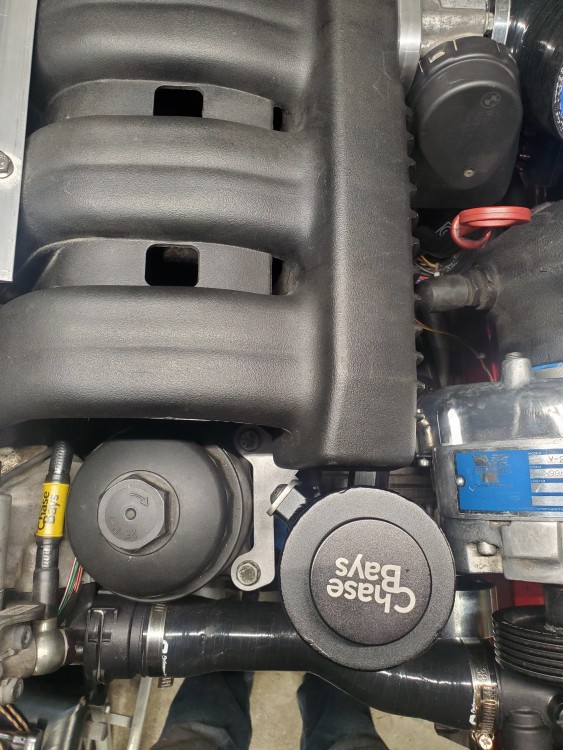
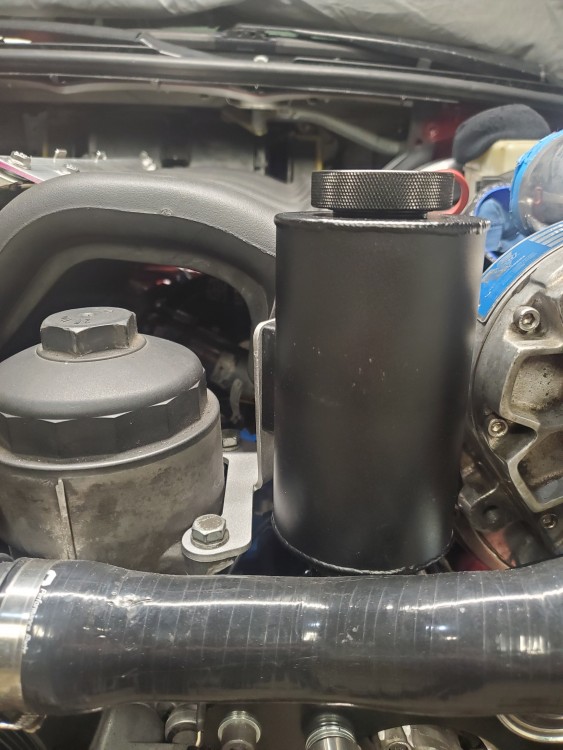
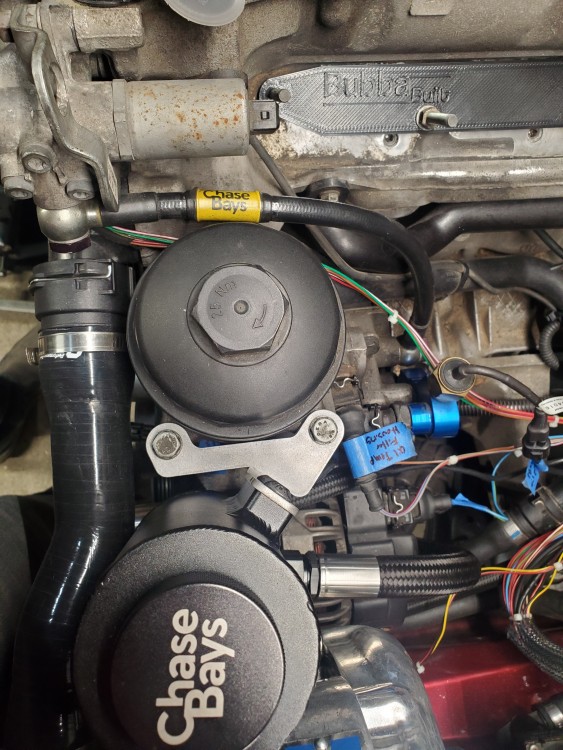
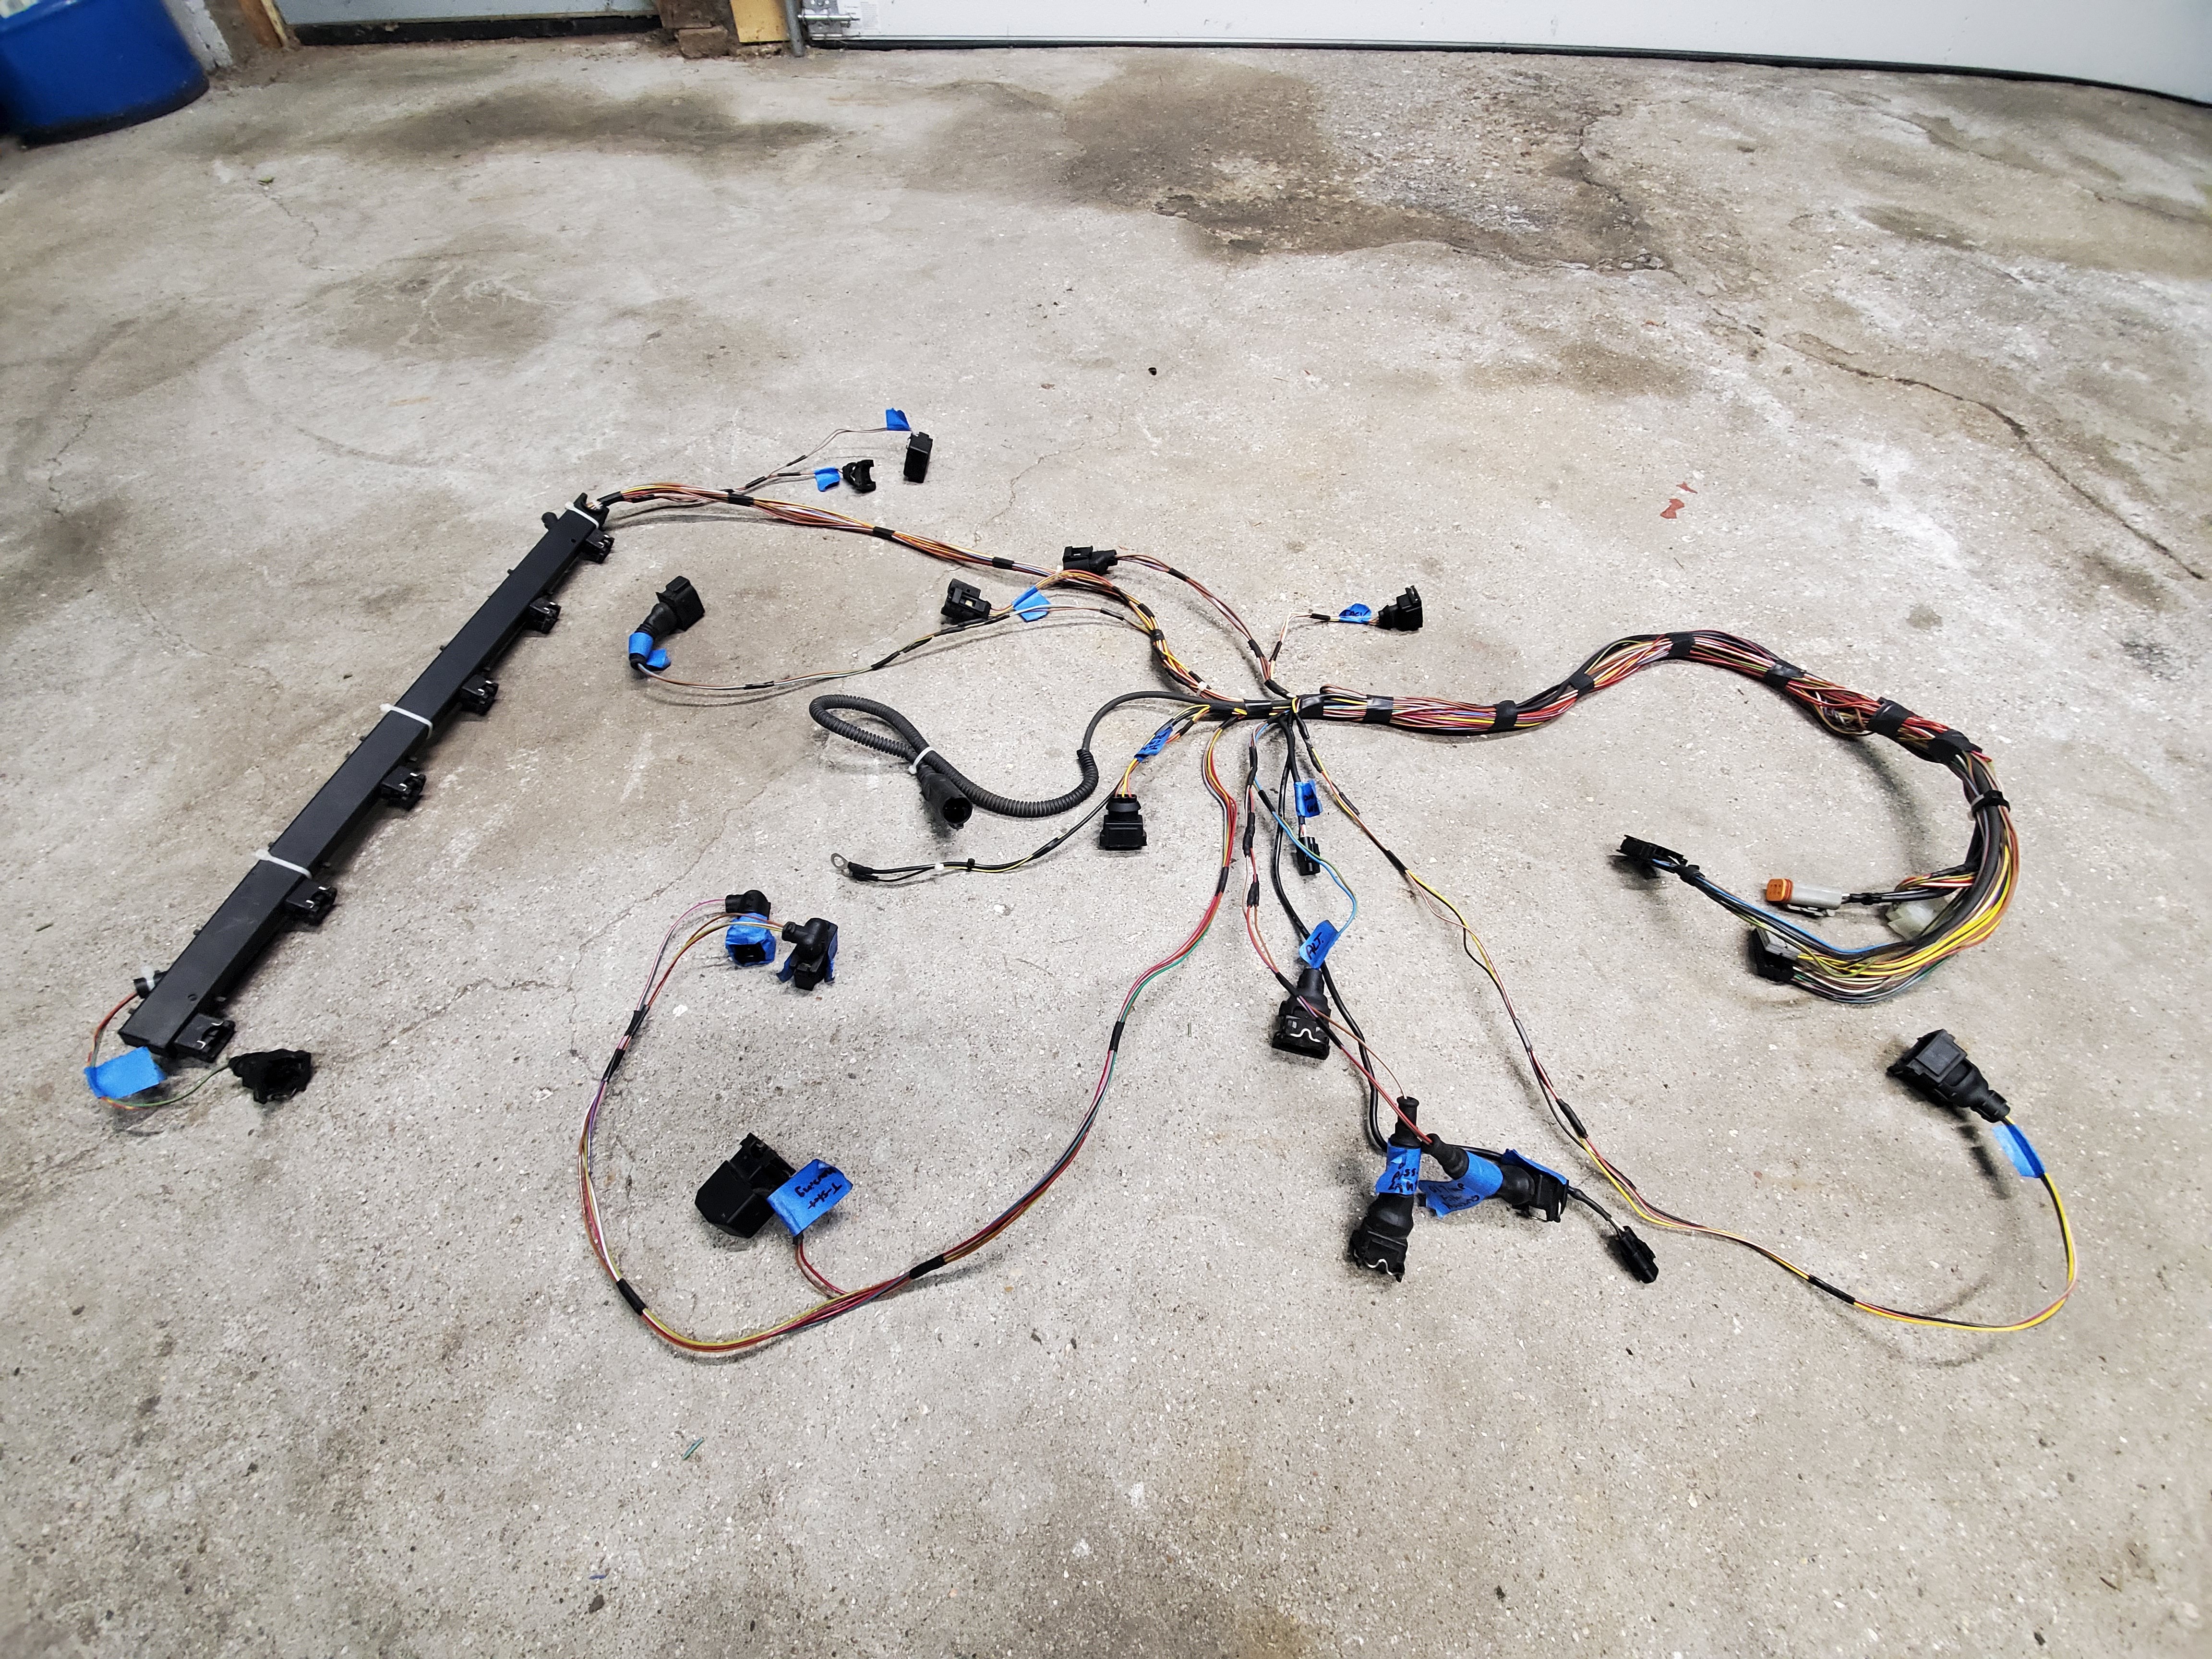
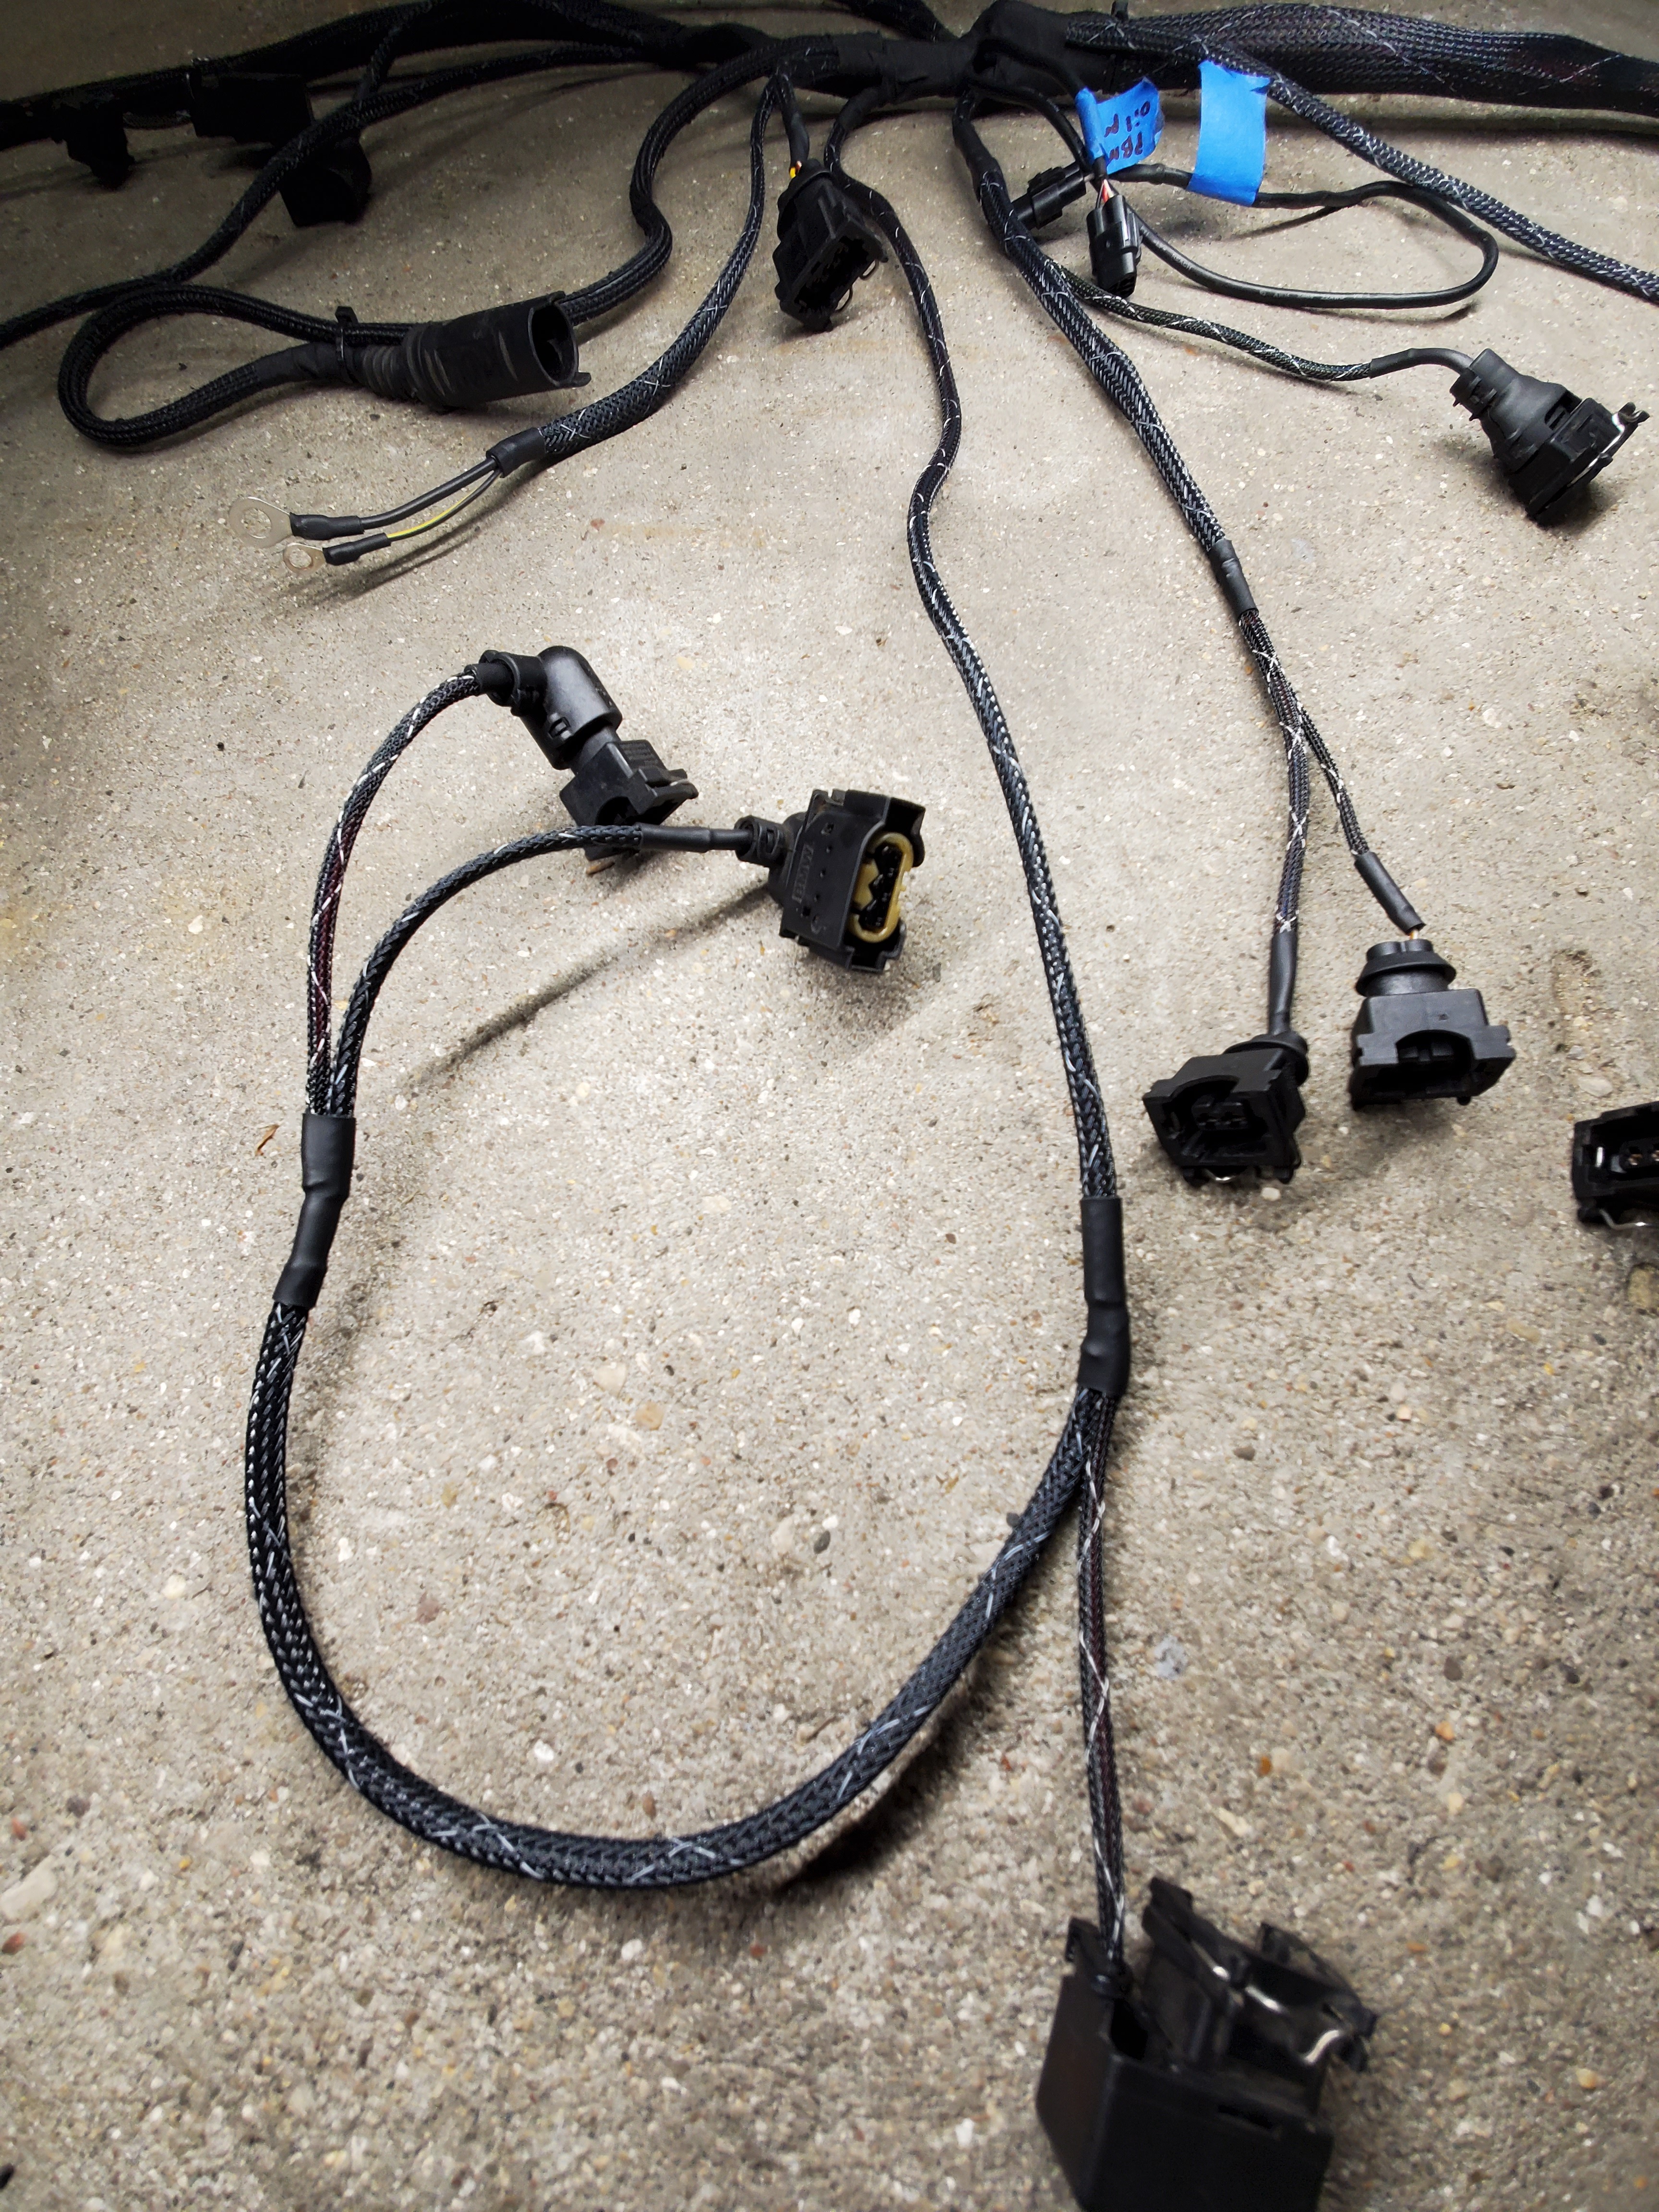
Next I got to work on finishing the engine harness. I finalized some lengths and removed the harness from the engine one last time.
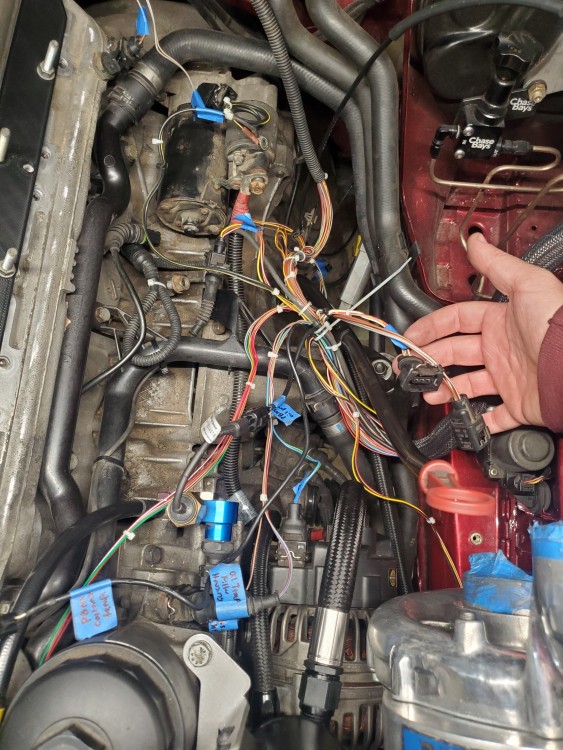
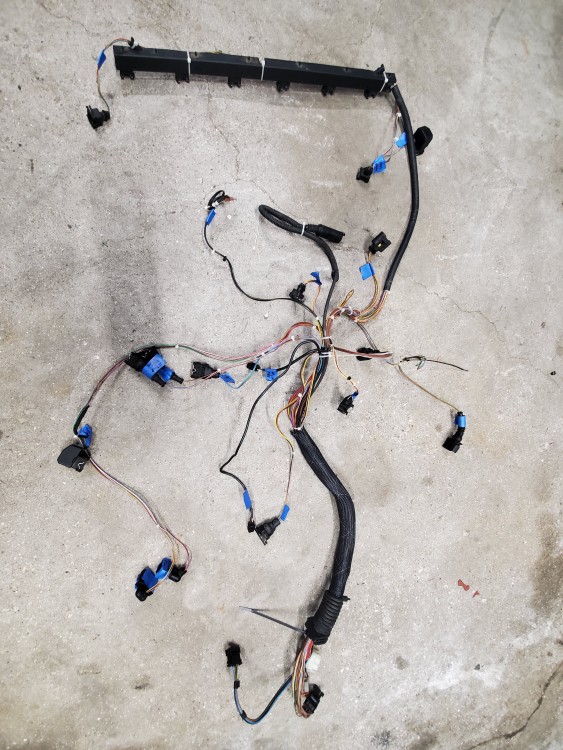
After lengthening some leads and shortening a couple others this is the bare harness.
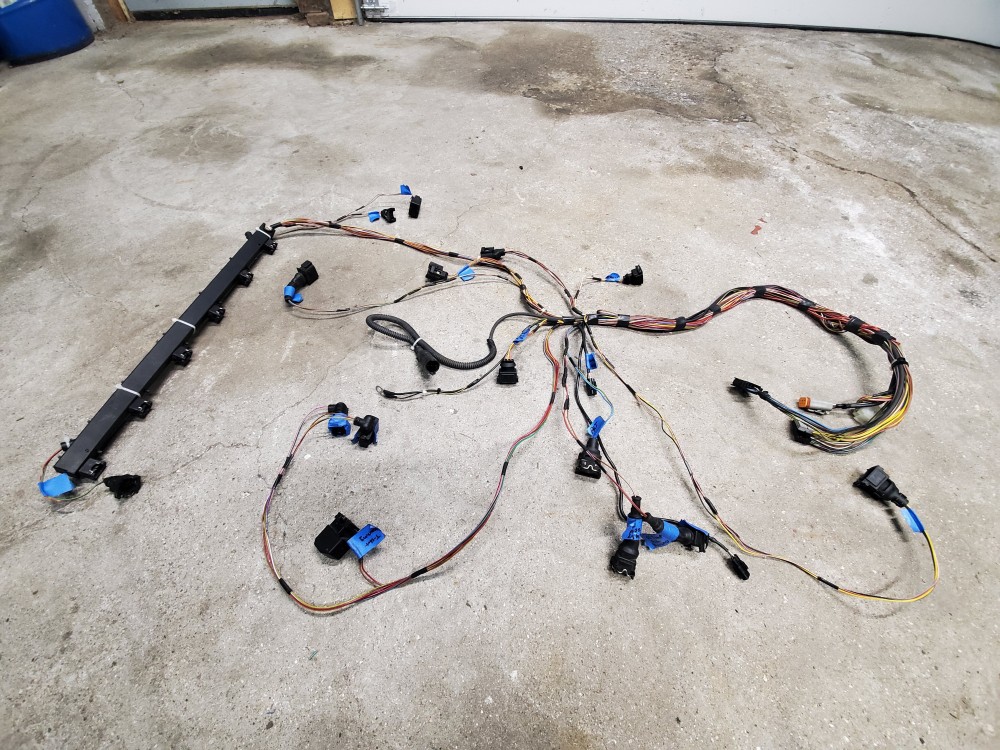
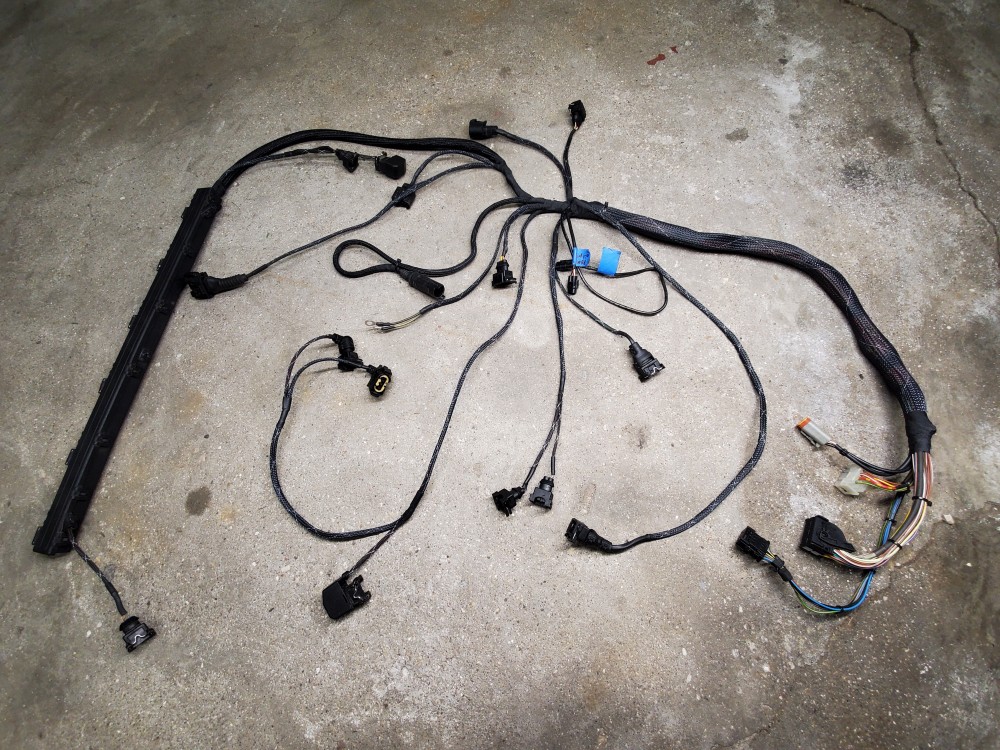
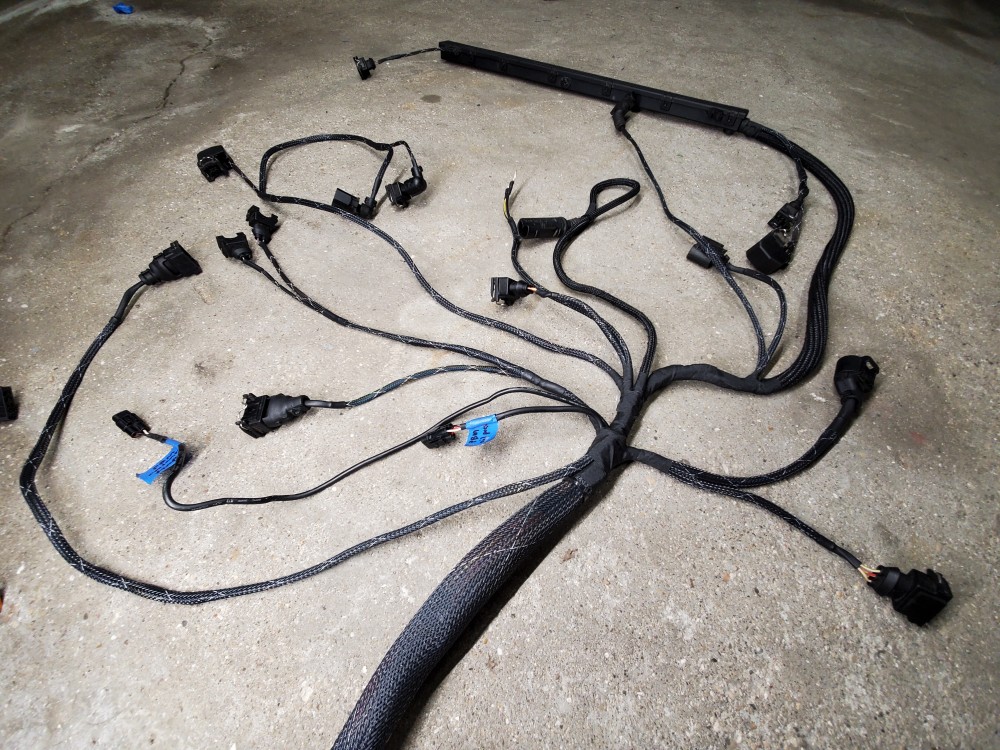
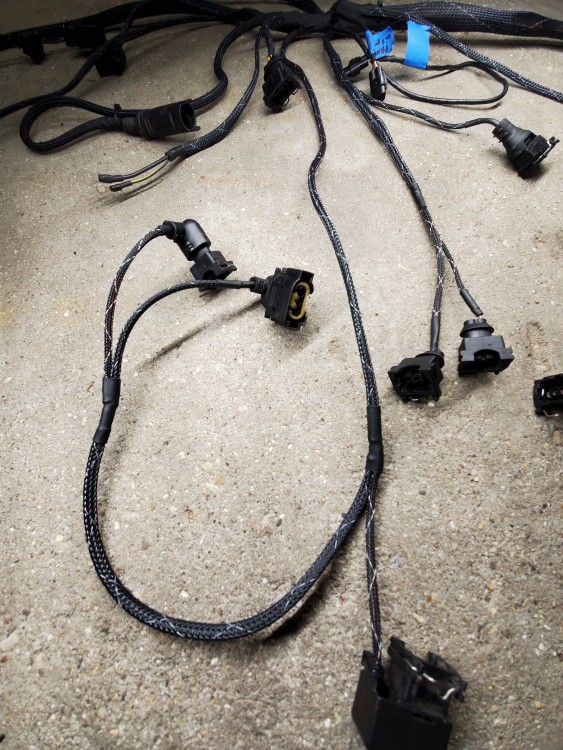
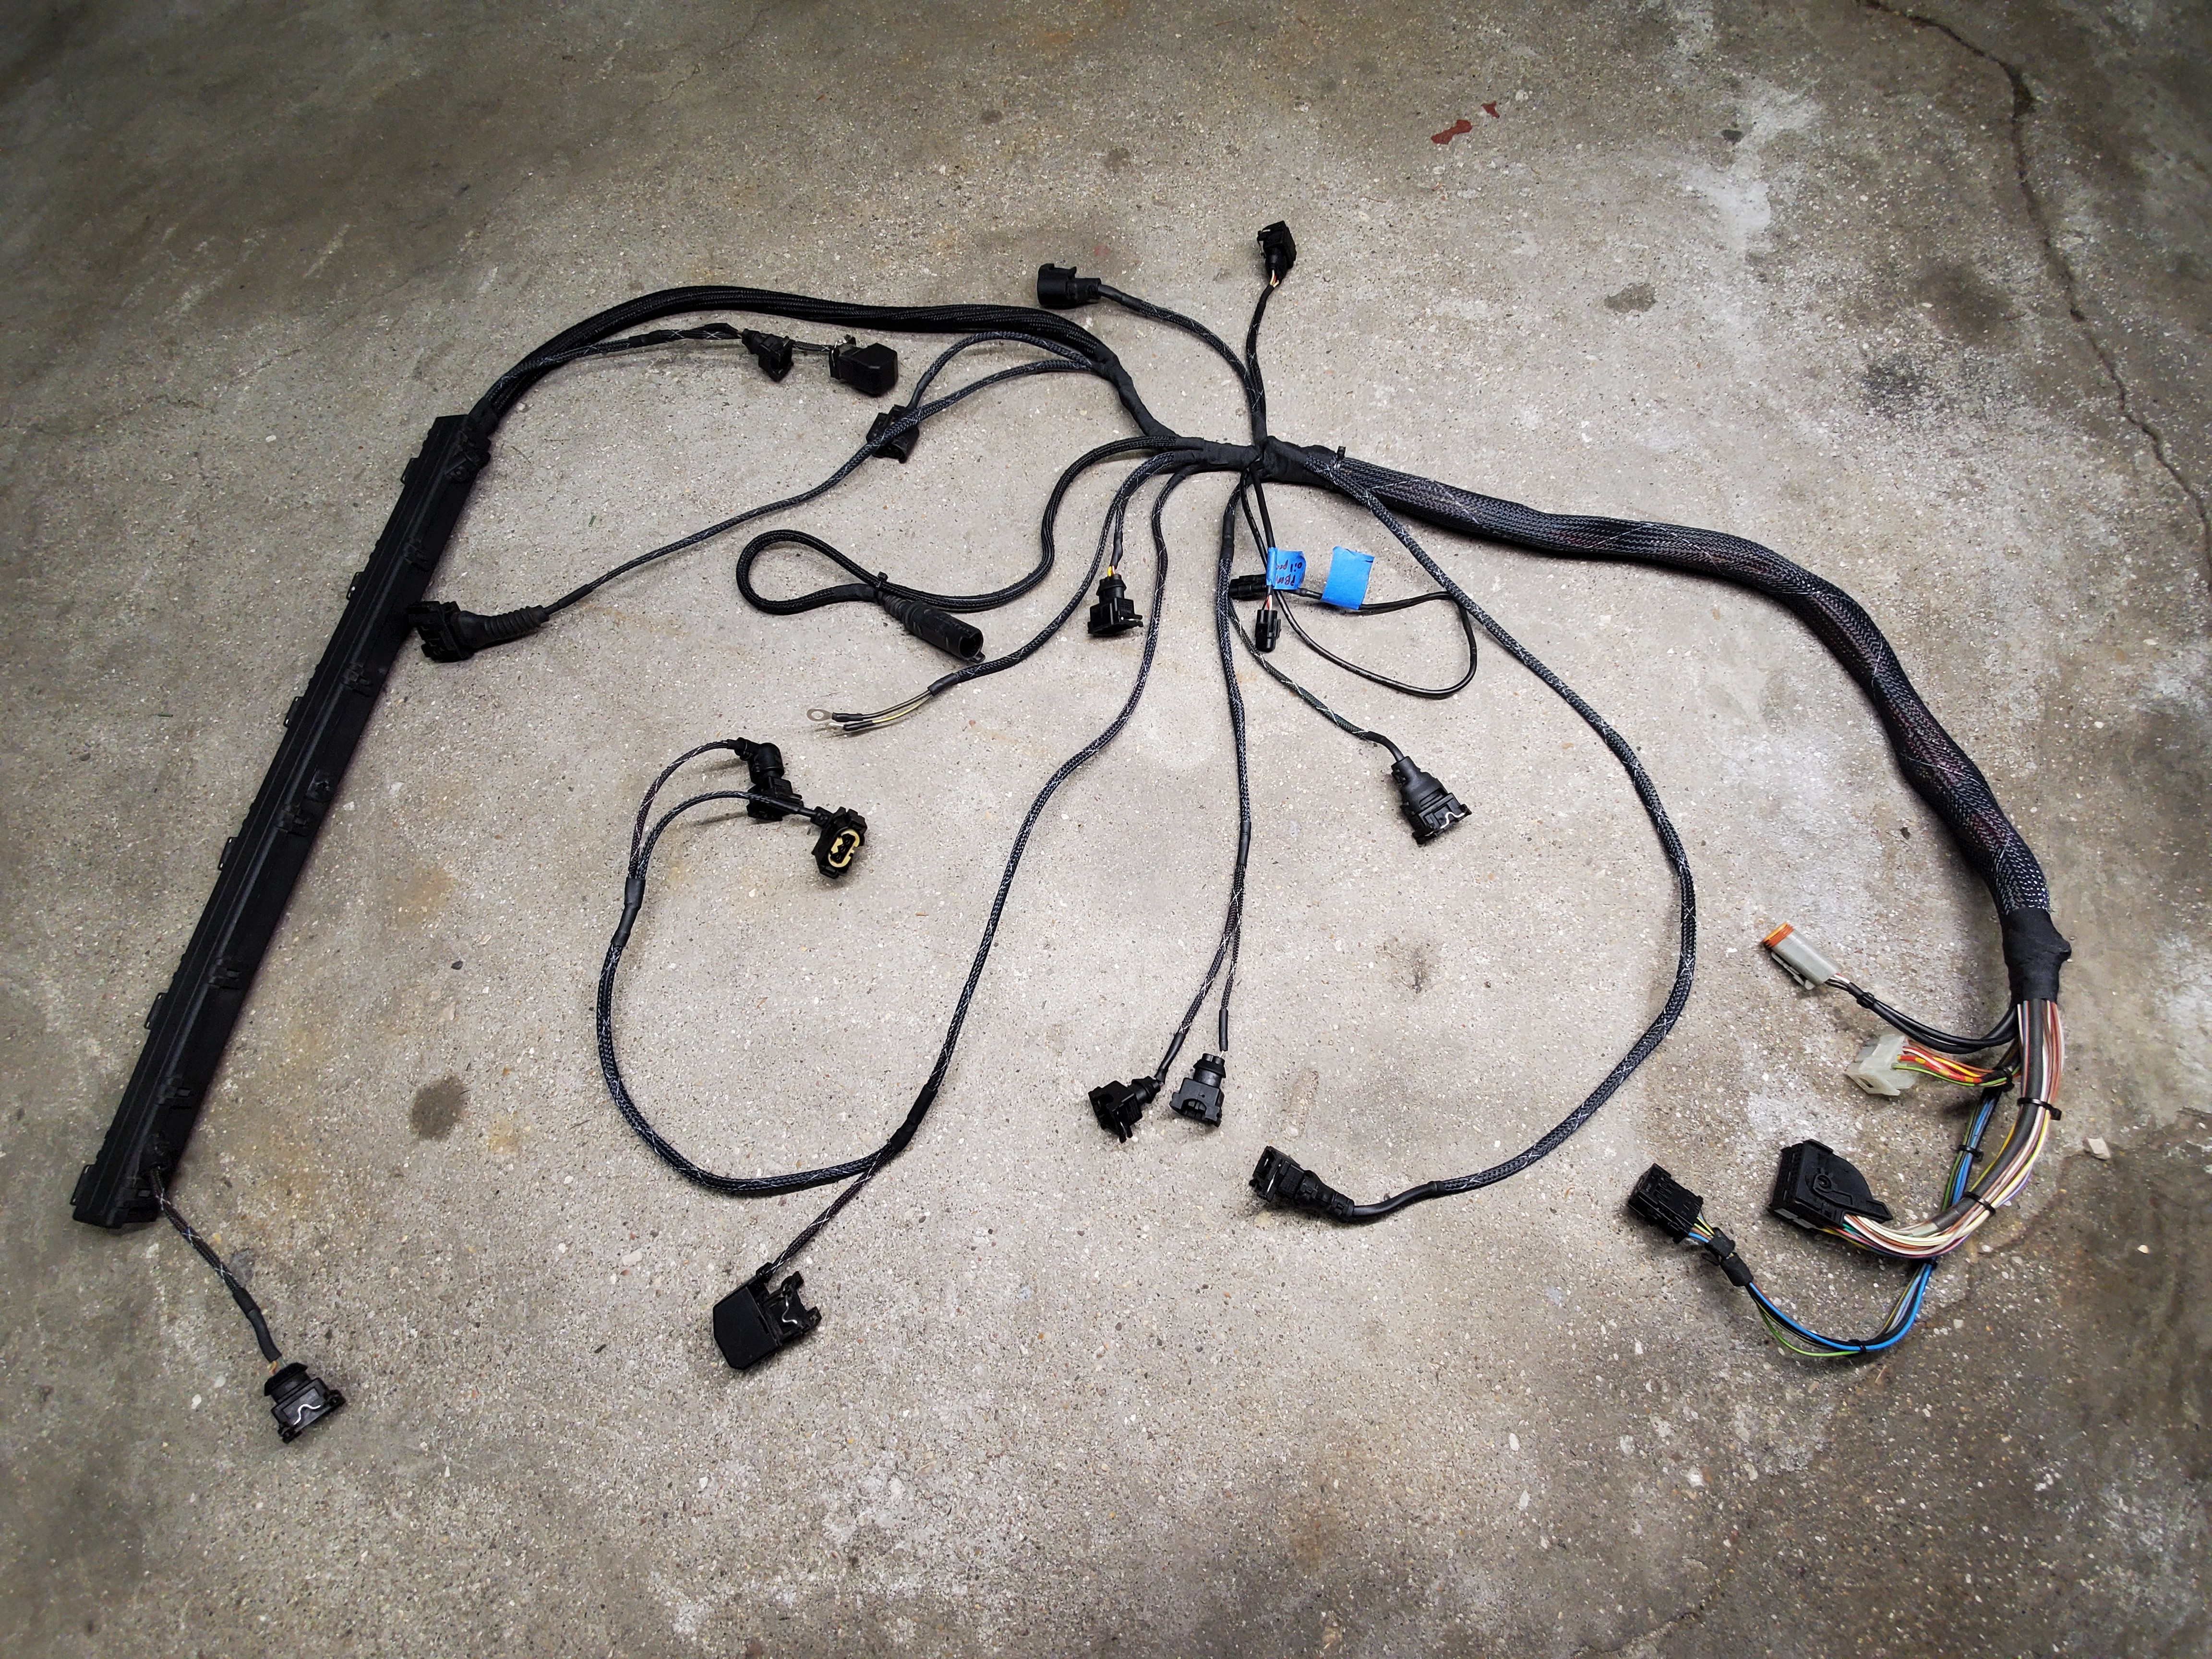
And finally after about 4 hours of looming it is complete

Super happy with how this harness turned out.
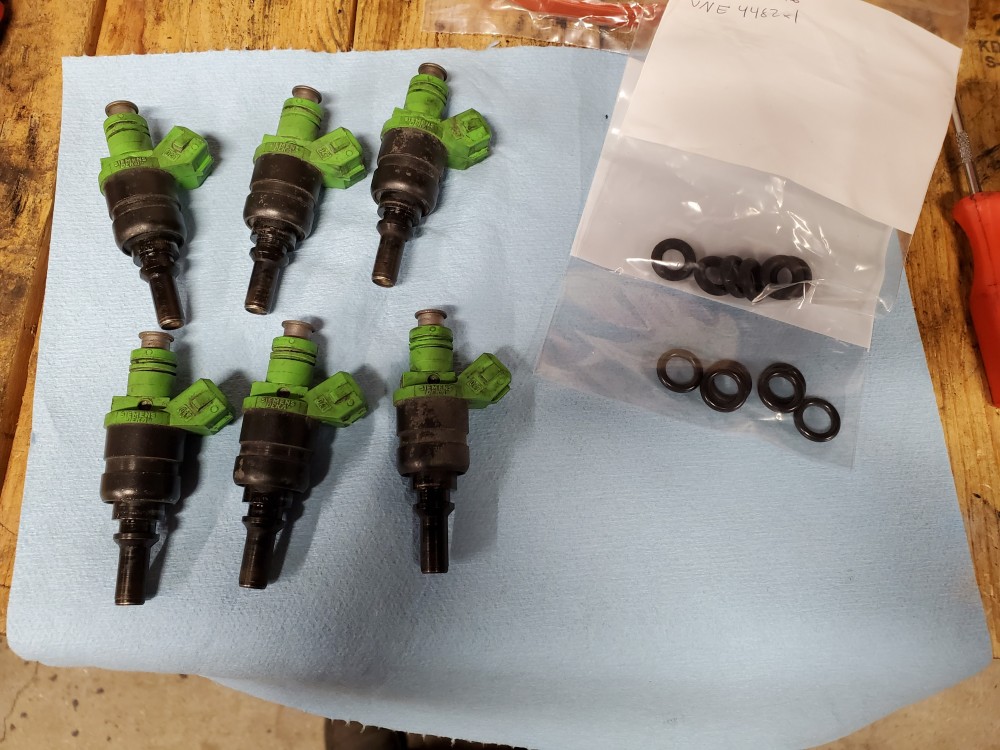
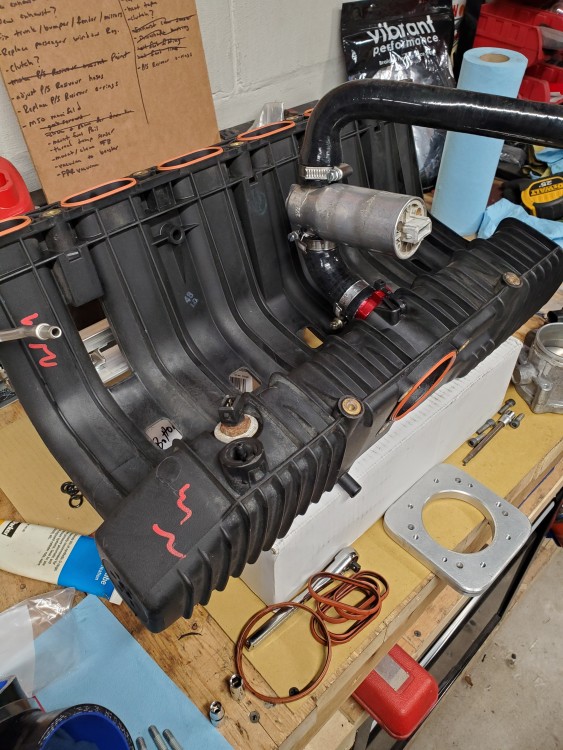
Now that the harness is done I got the new injector o-rings, throttle body gasket on the manifold side, and the 6 manifold to head gaskets.
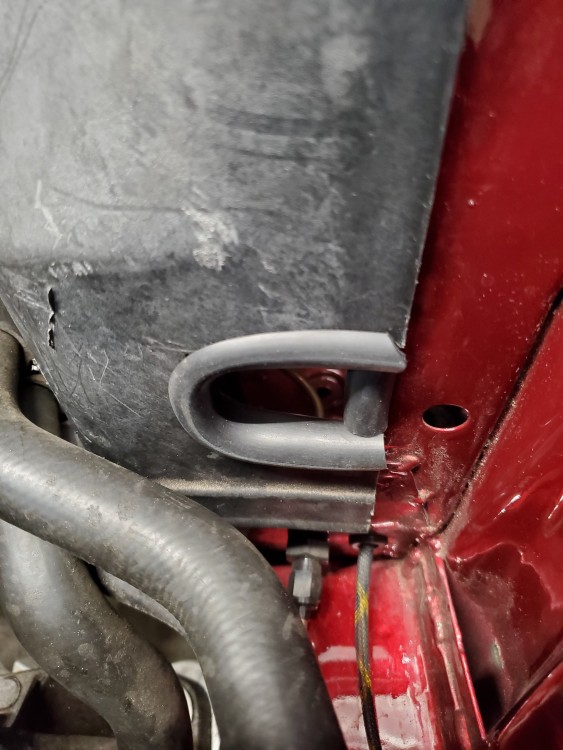
I also went ahead and notched the panel that separates the ebox compartment for the engine bay where the harness is going to come through now.
And finally I got that new oil feed line installed along with the vanos banjo bolt fitting. The line that came with the kit was not going to work for my set up but this way worked out exactly how I had hoped and looks super clean.
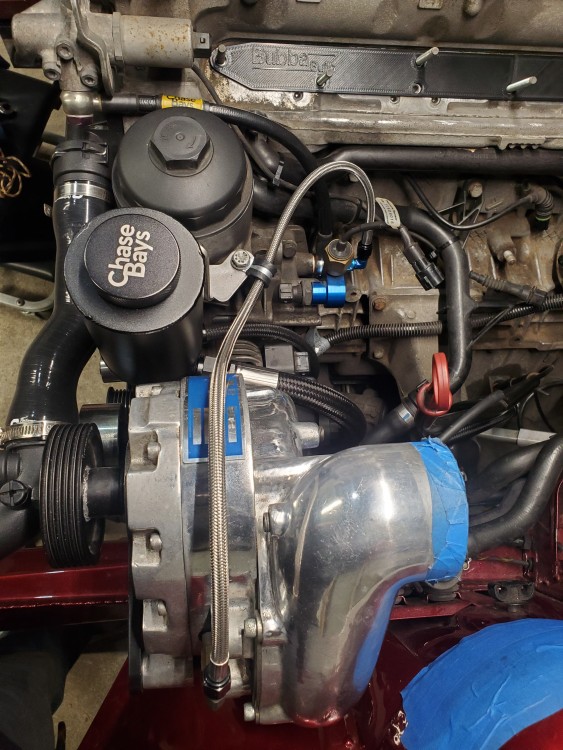
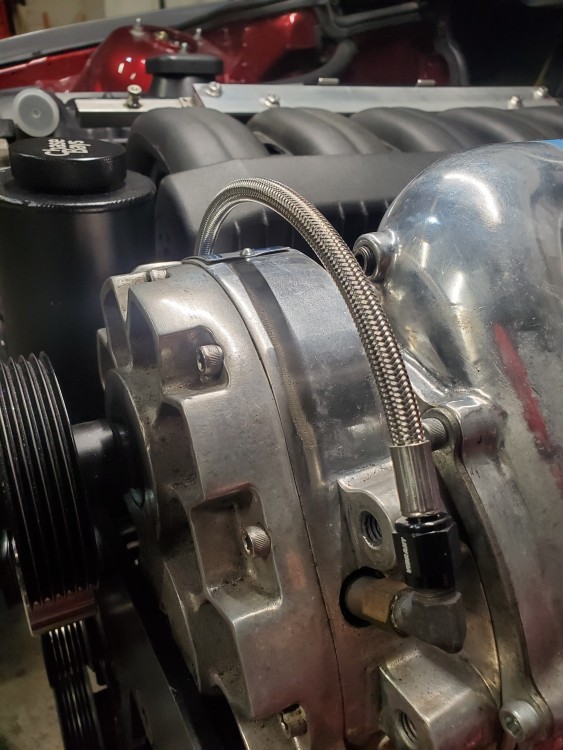
Thats it for now! Have a few more parts to order that were further down on the immediate priority list along with figuring out how I want to run the diverter valve hoses. Then on to final assembly I think haha.
-
What products do you use for the harnesses? I love all the details you and Sam put into these builds.
Thanks!! And I use flexo flame retardant sleeving. That's what this harness is done in and same with the chassis harness wiring that I did.
-
UPDATE
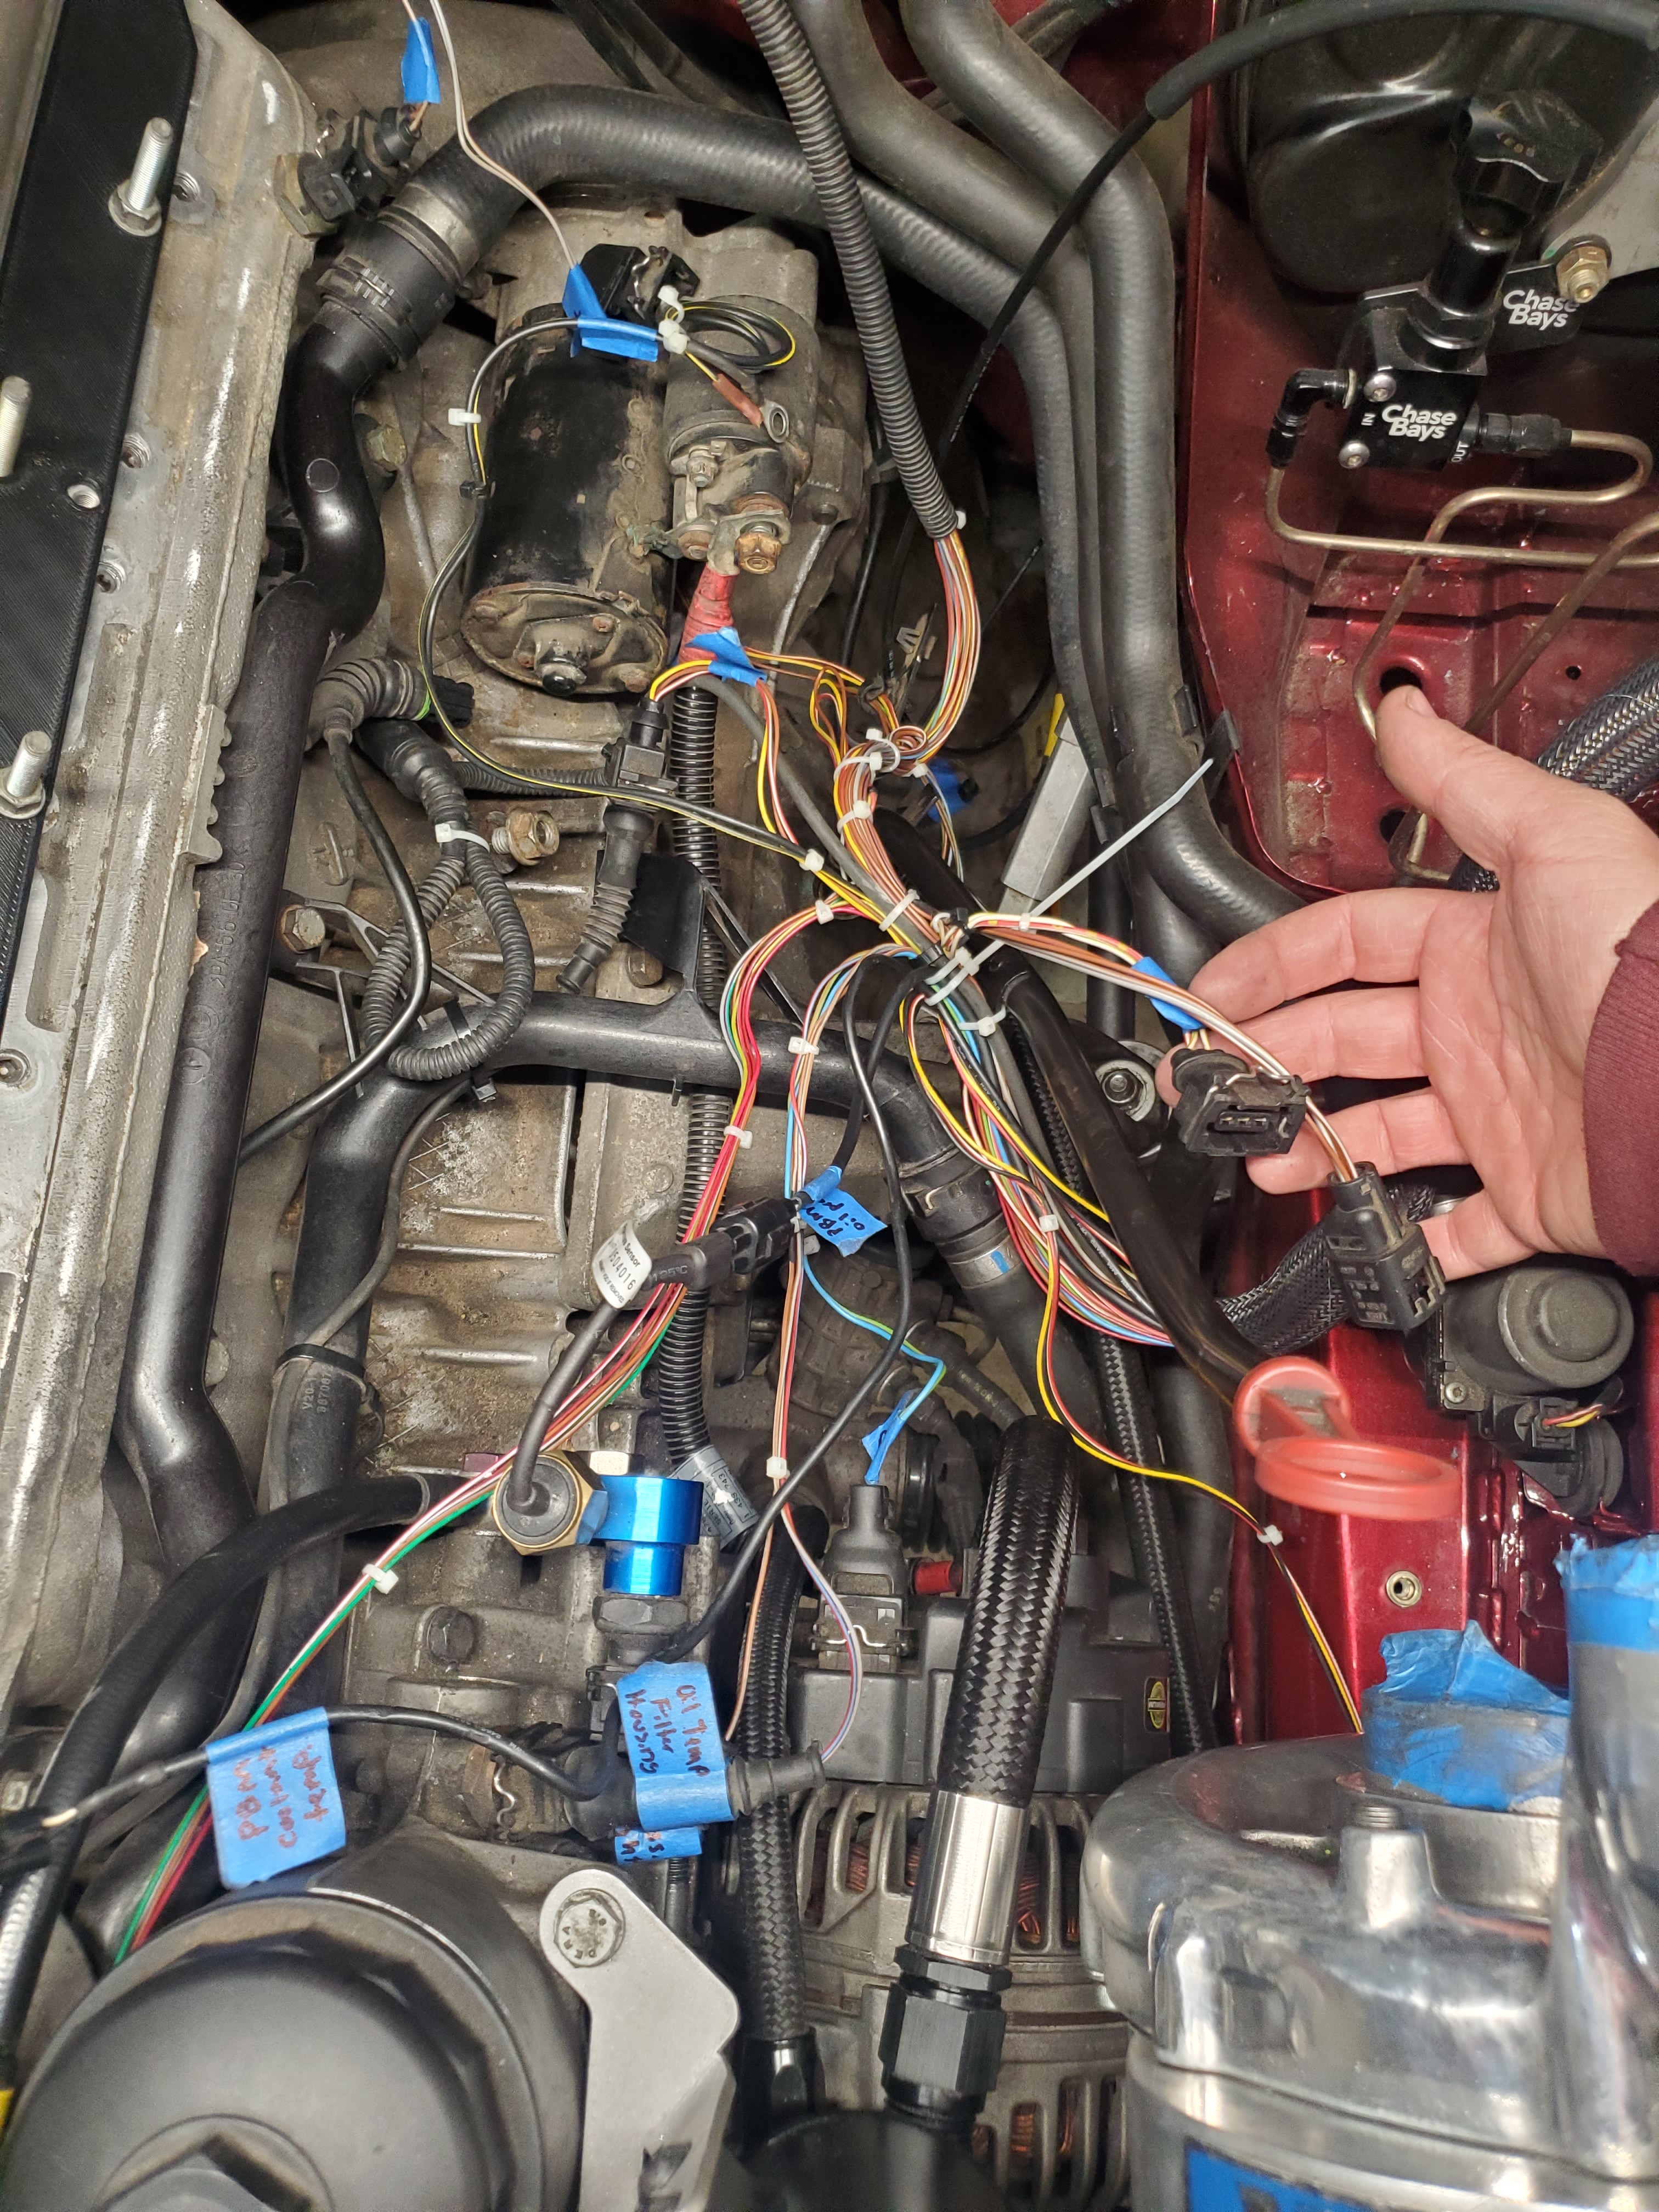
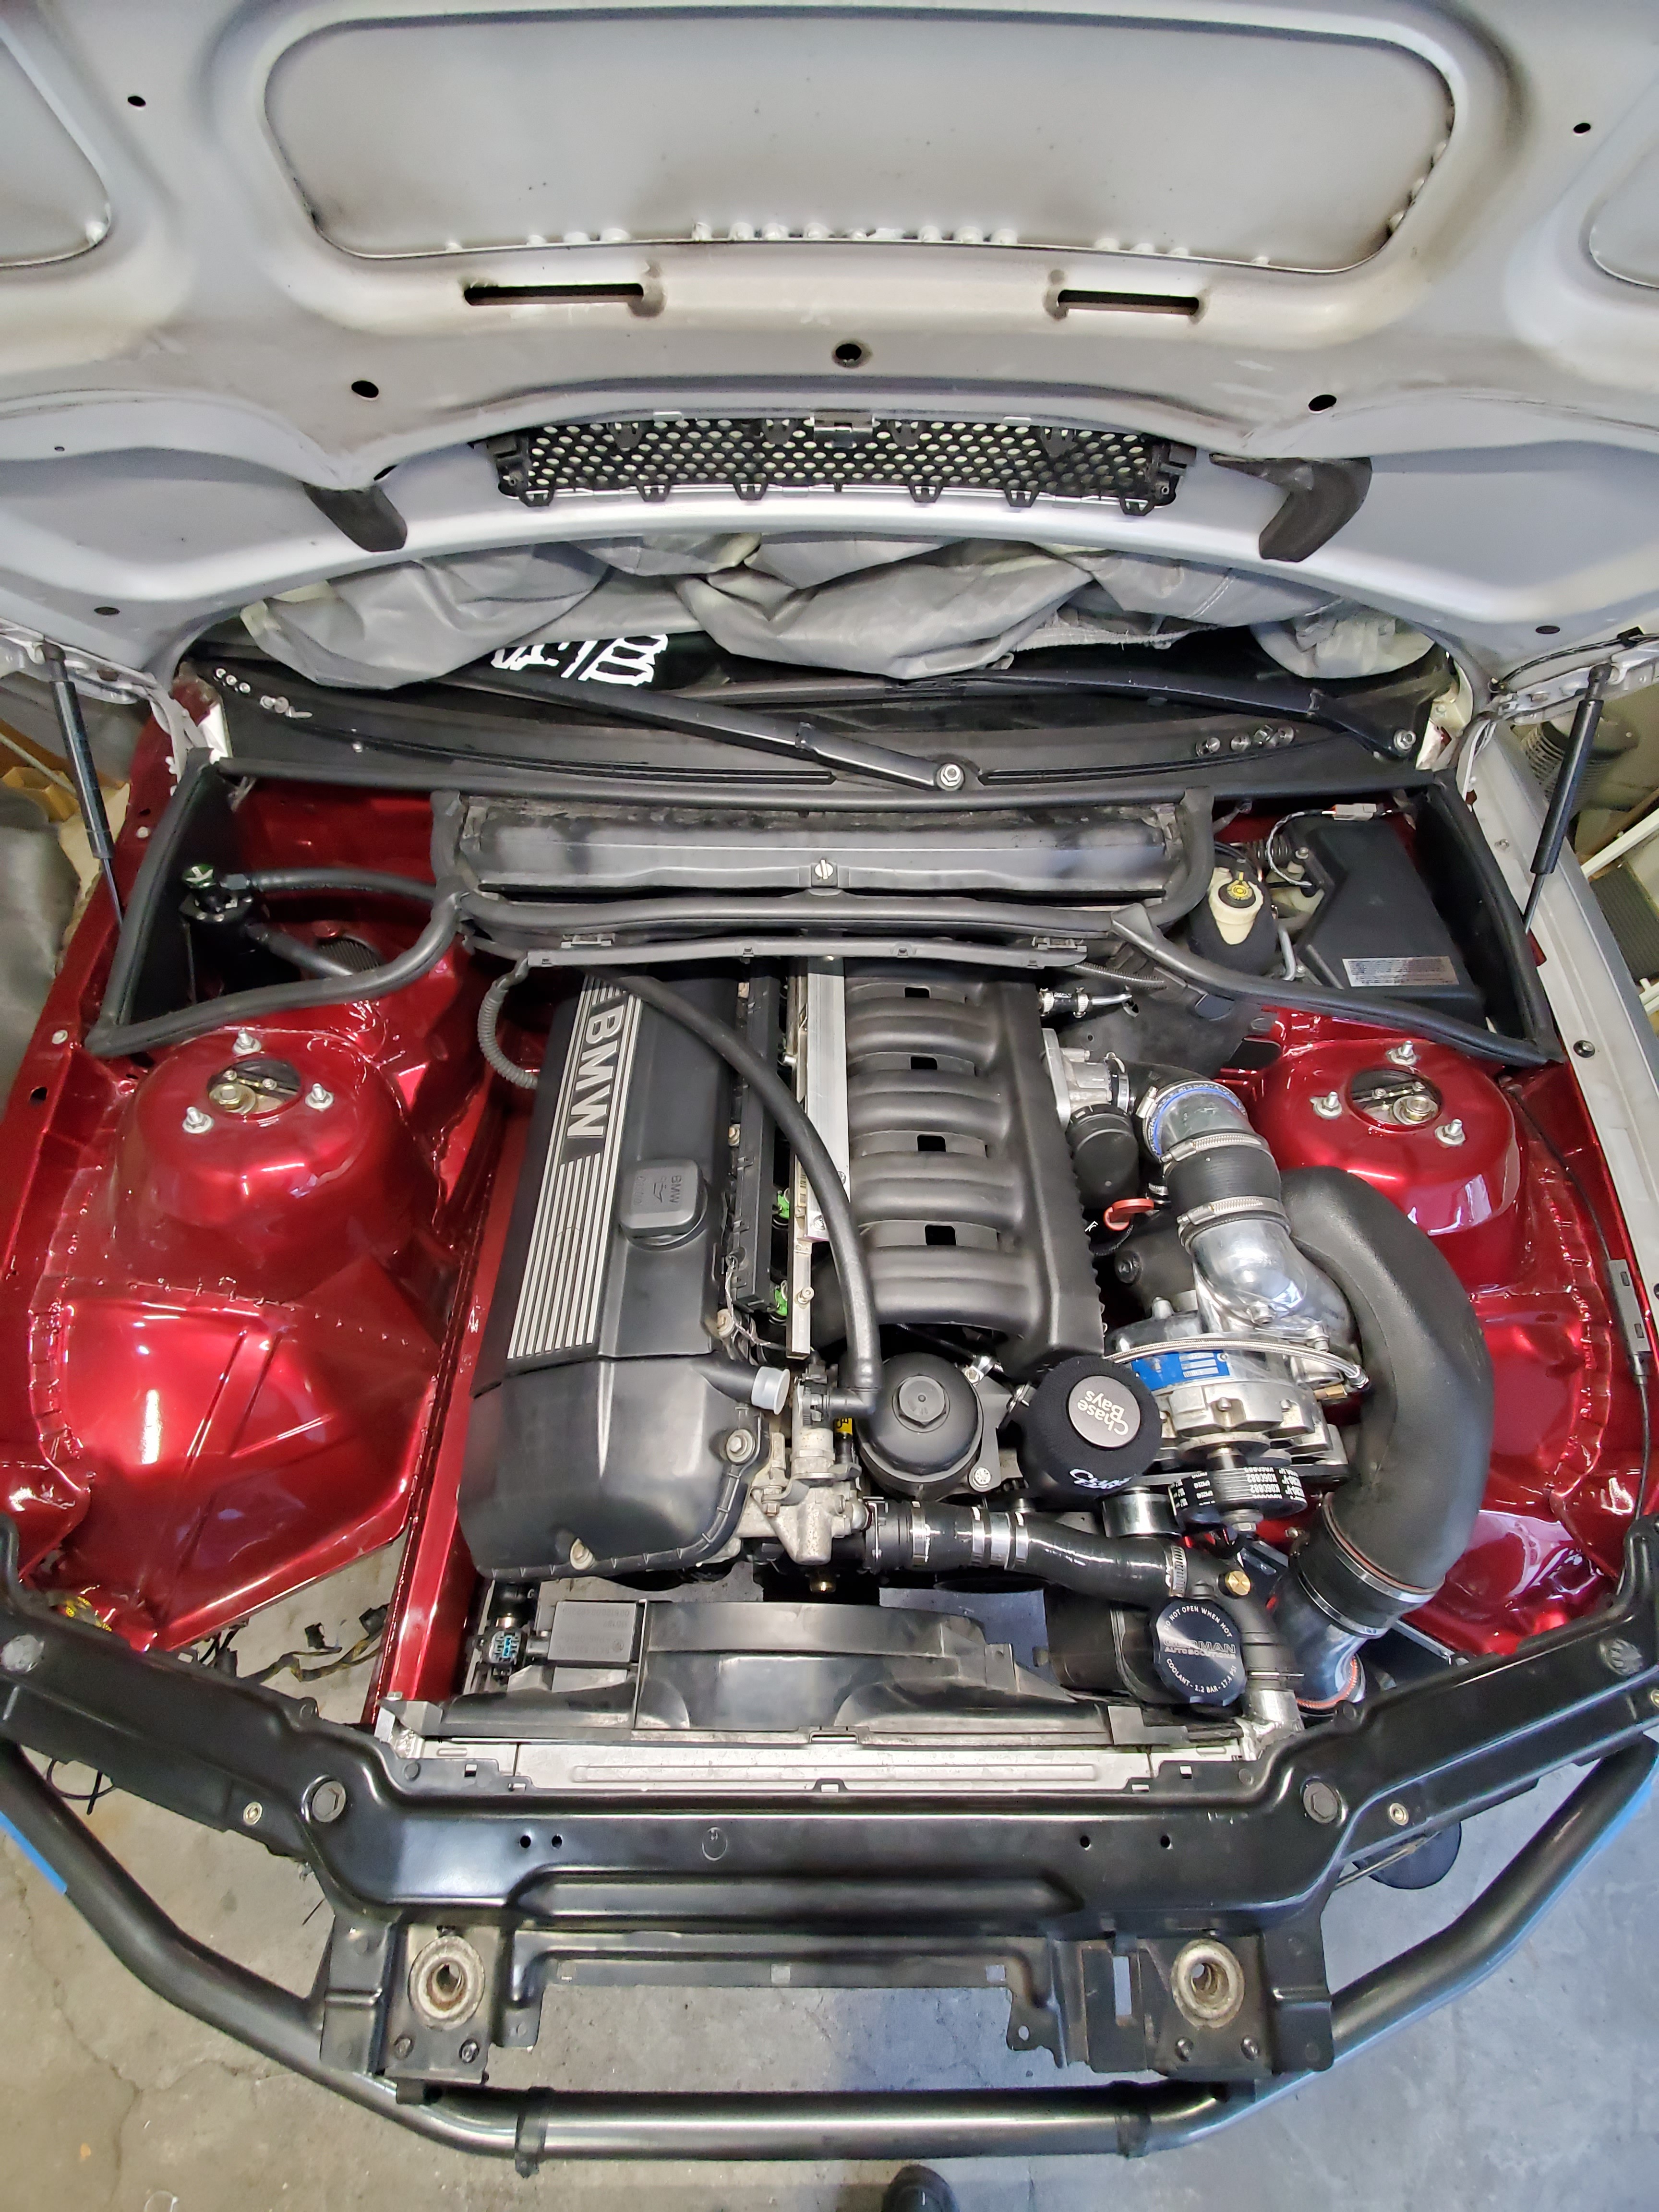
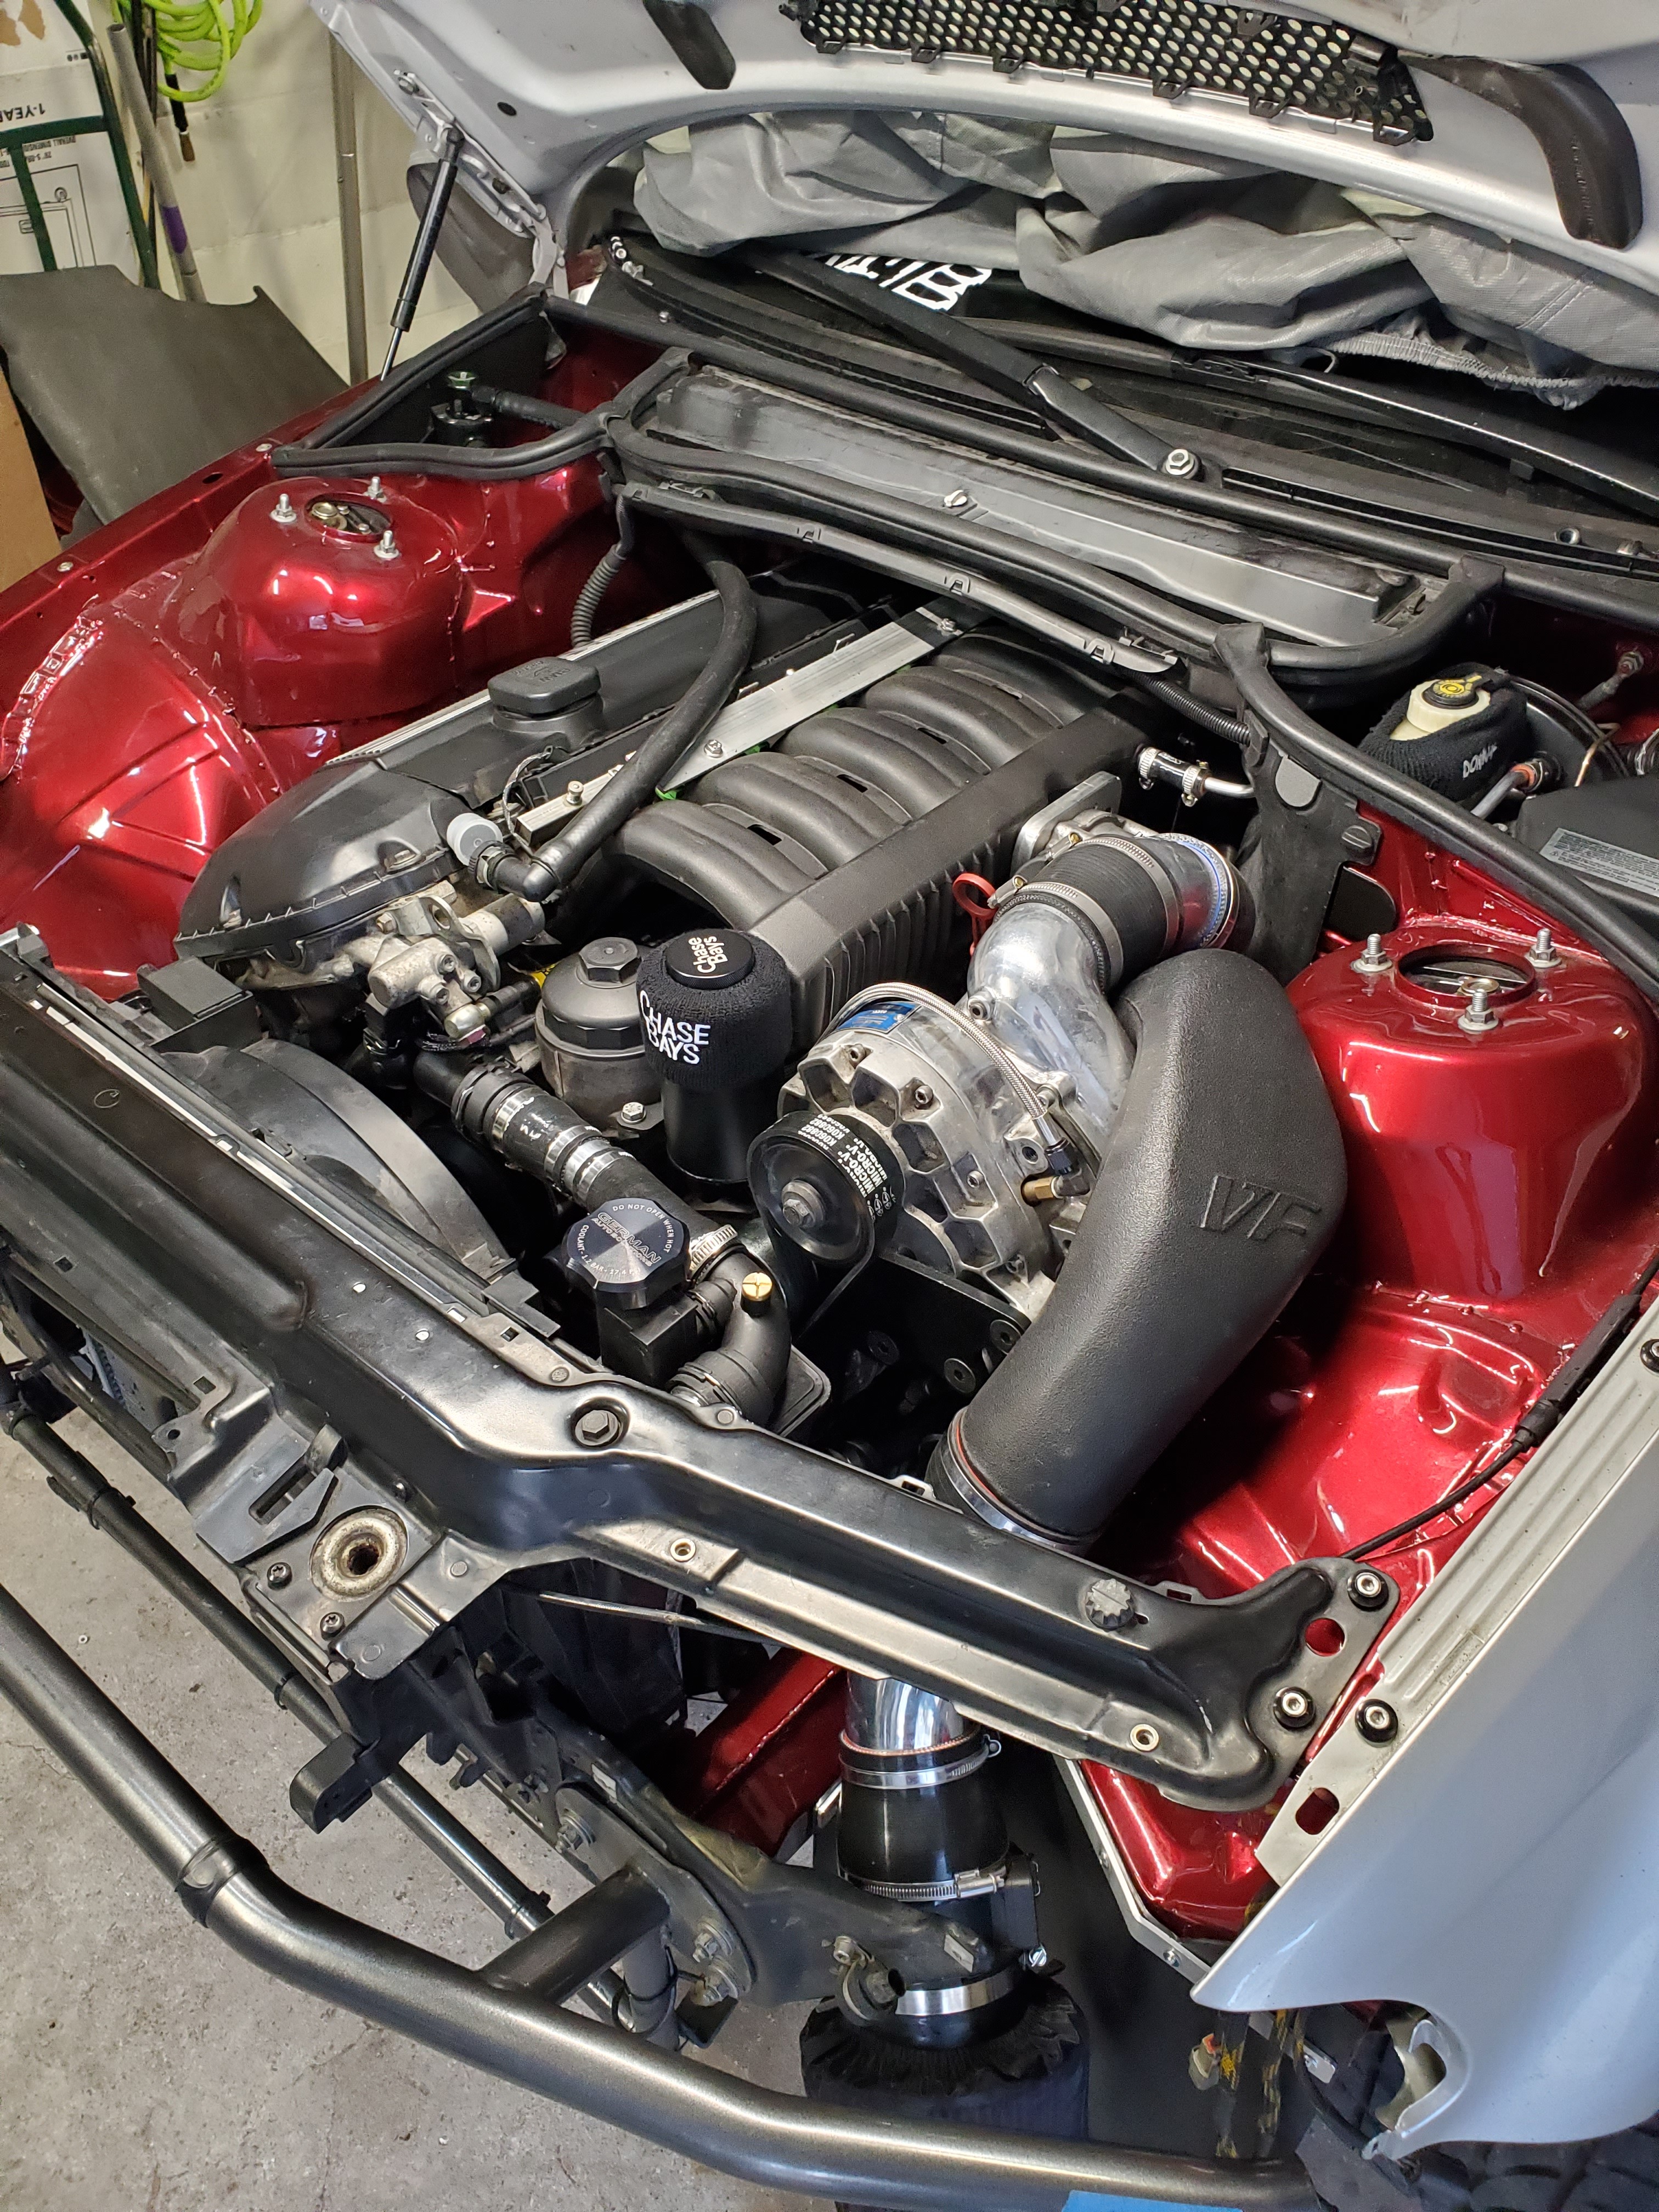
Got the engine harness installed.
Looks like a mess in the photo but I'm pretty satisfied with it.
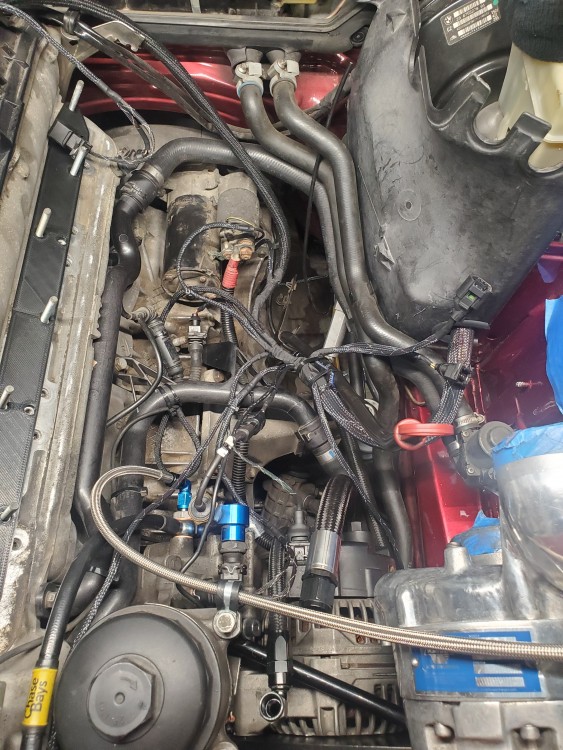
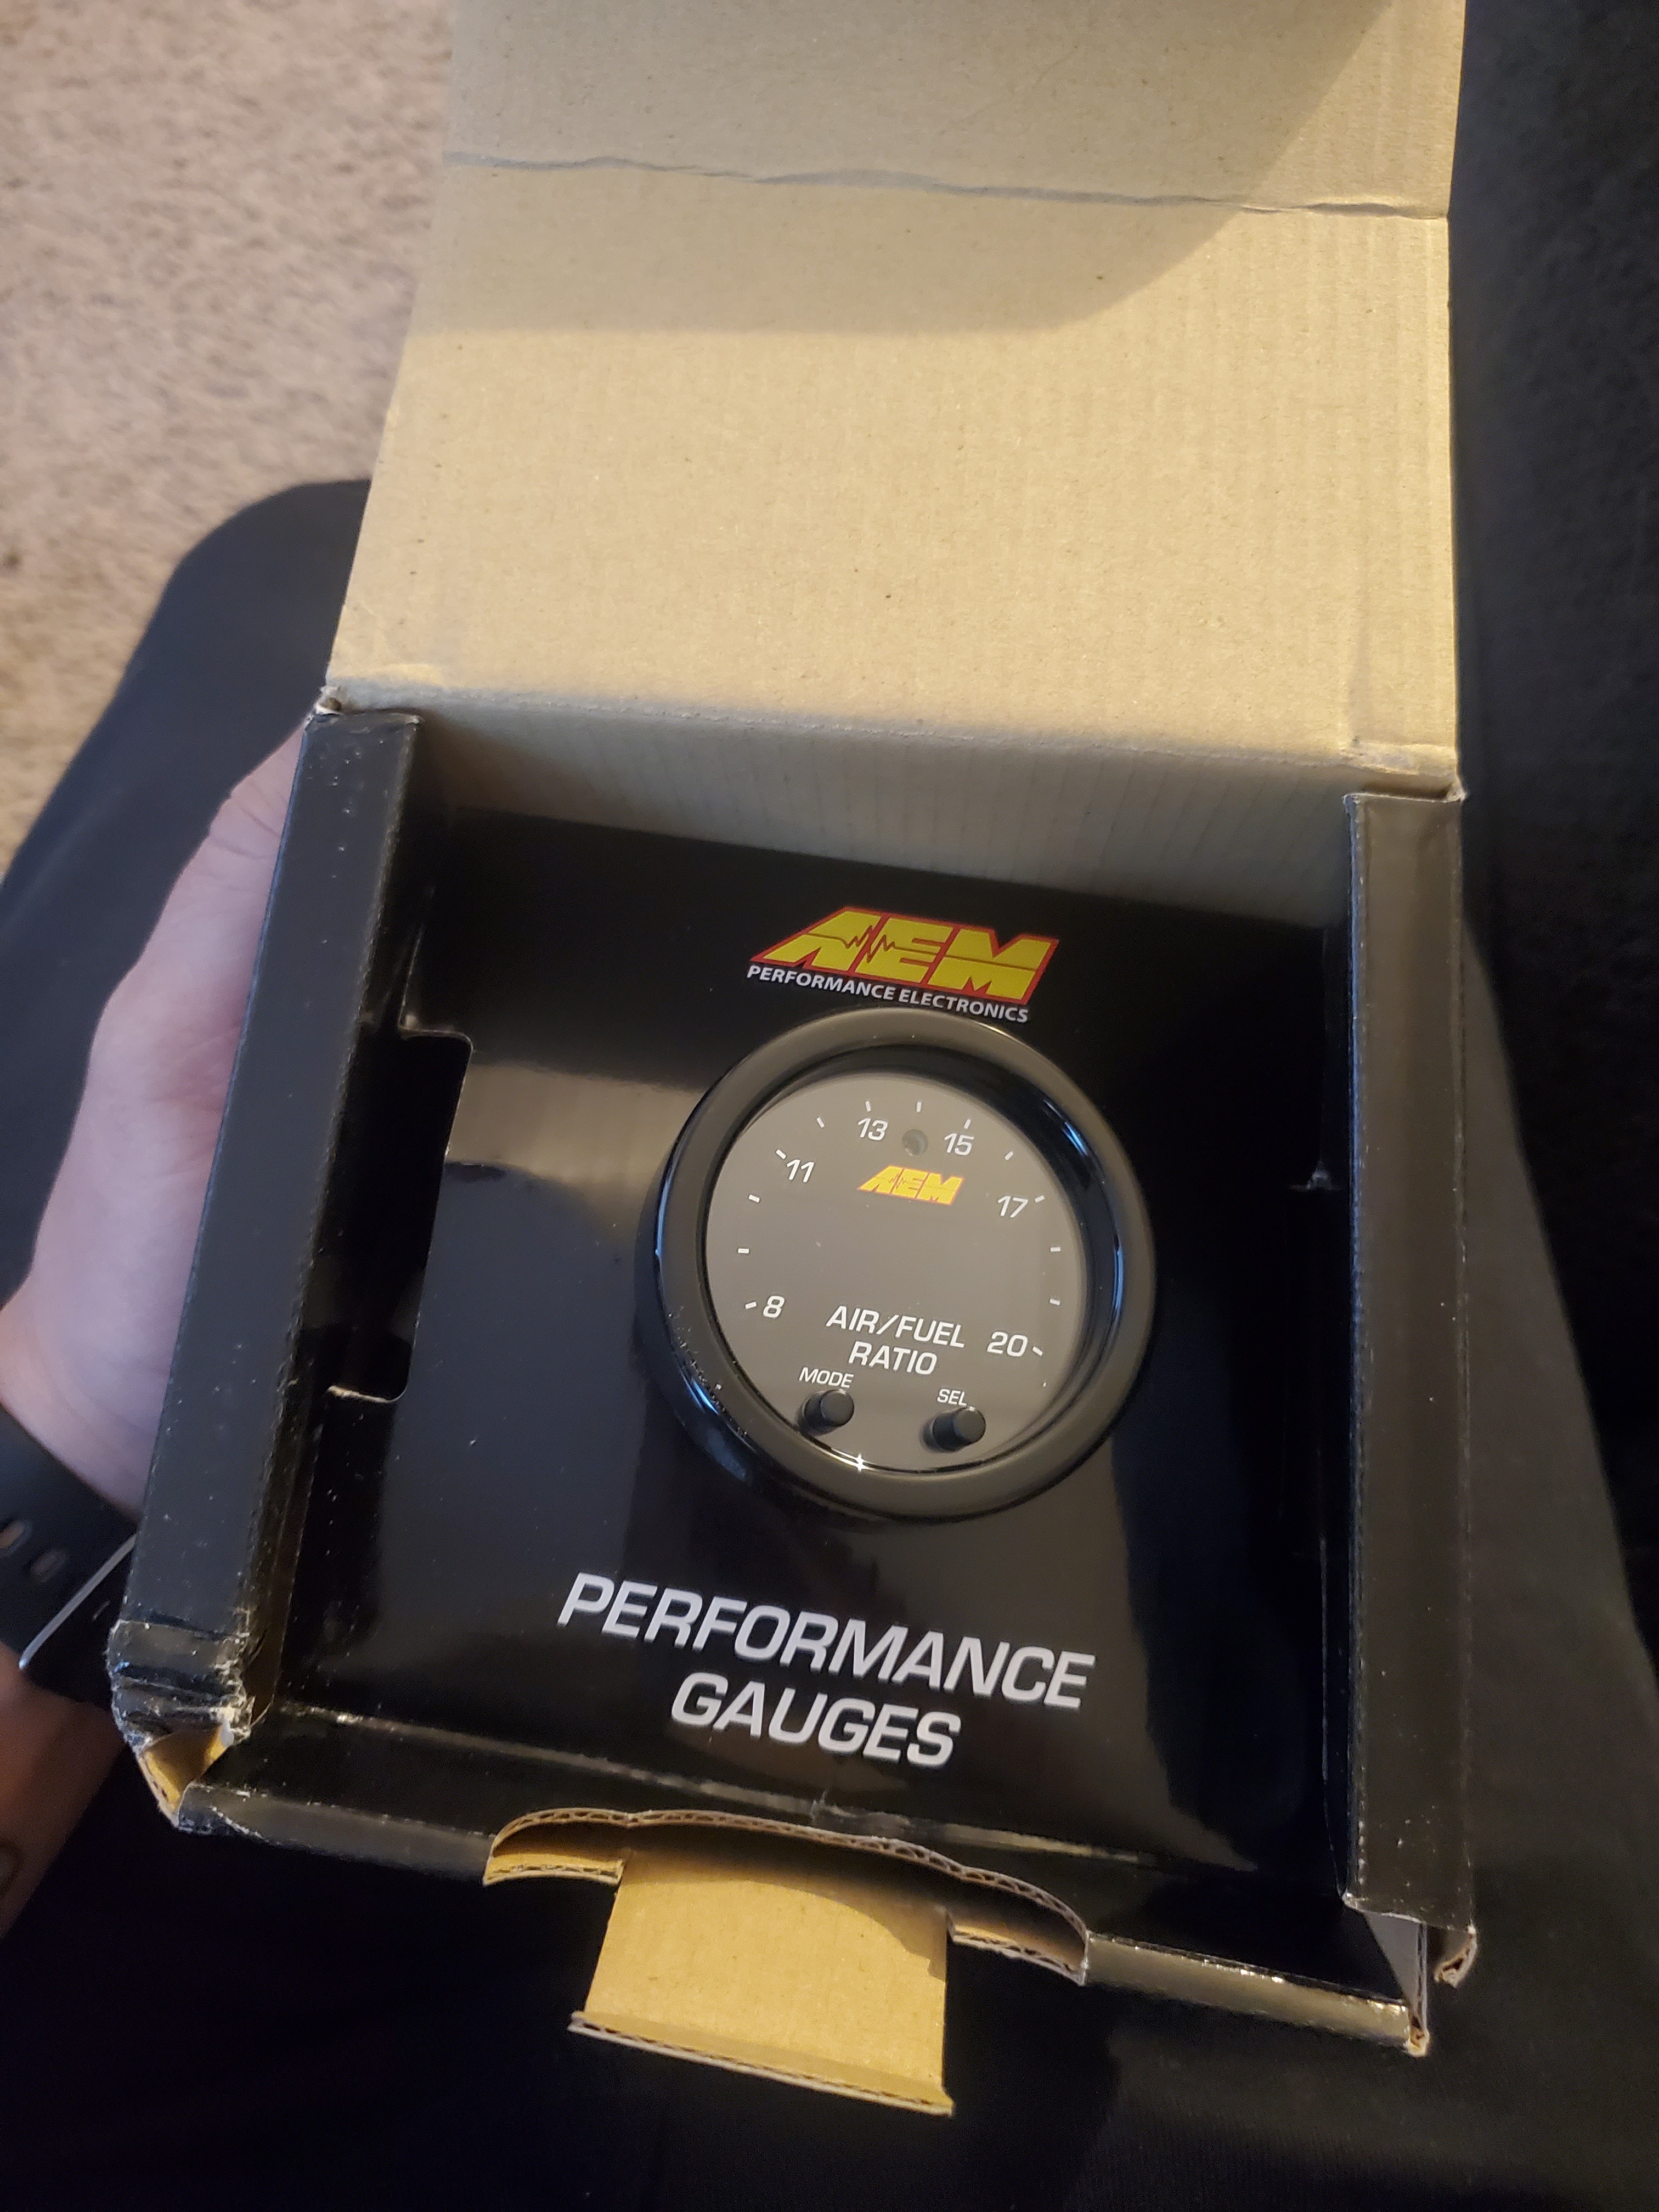
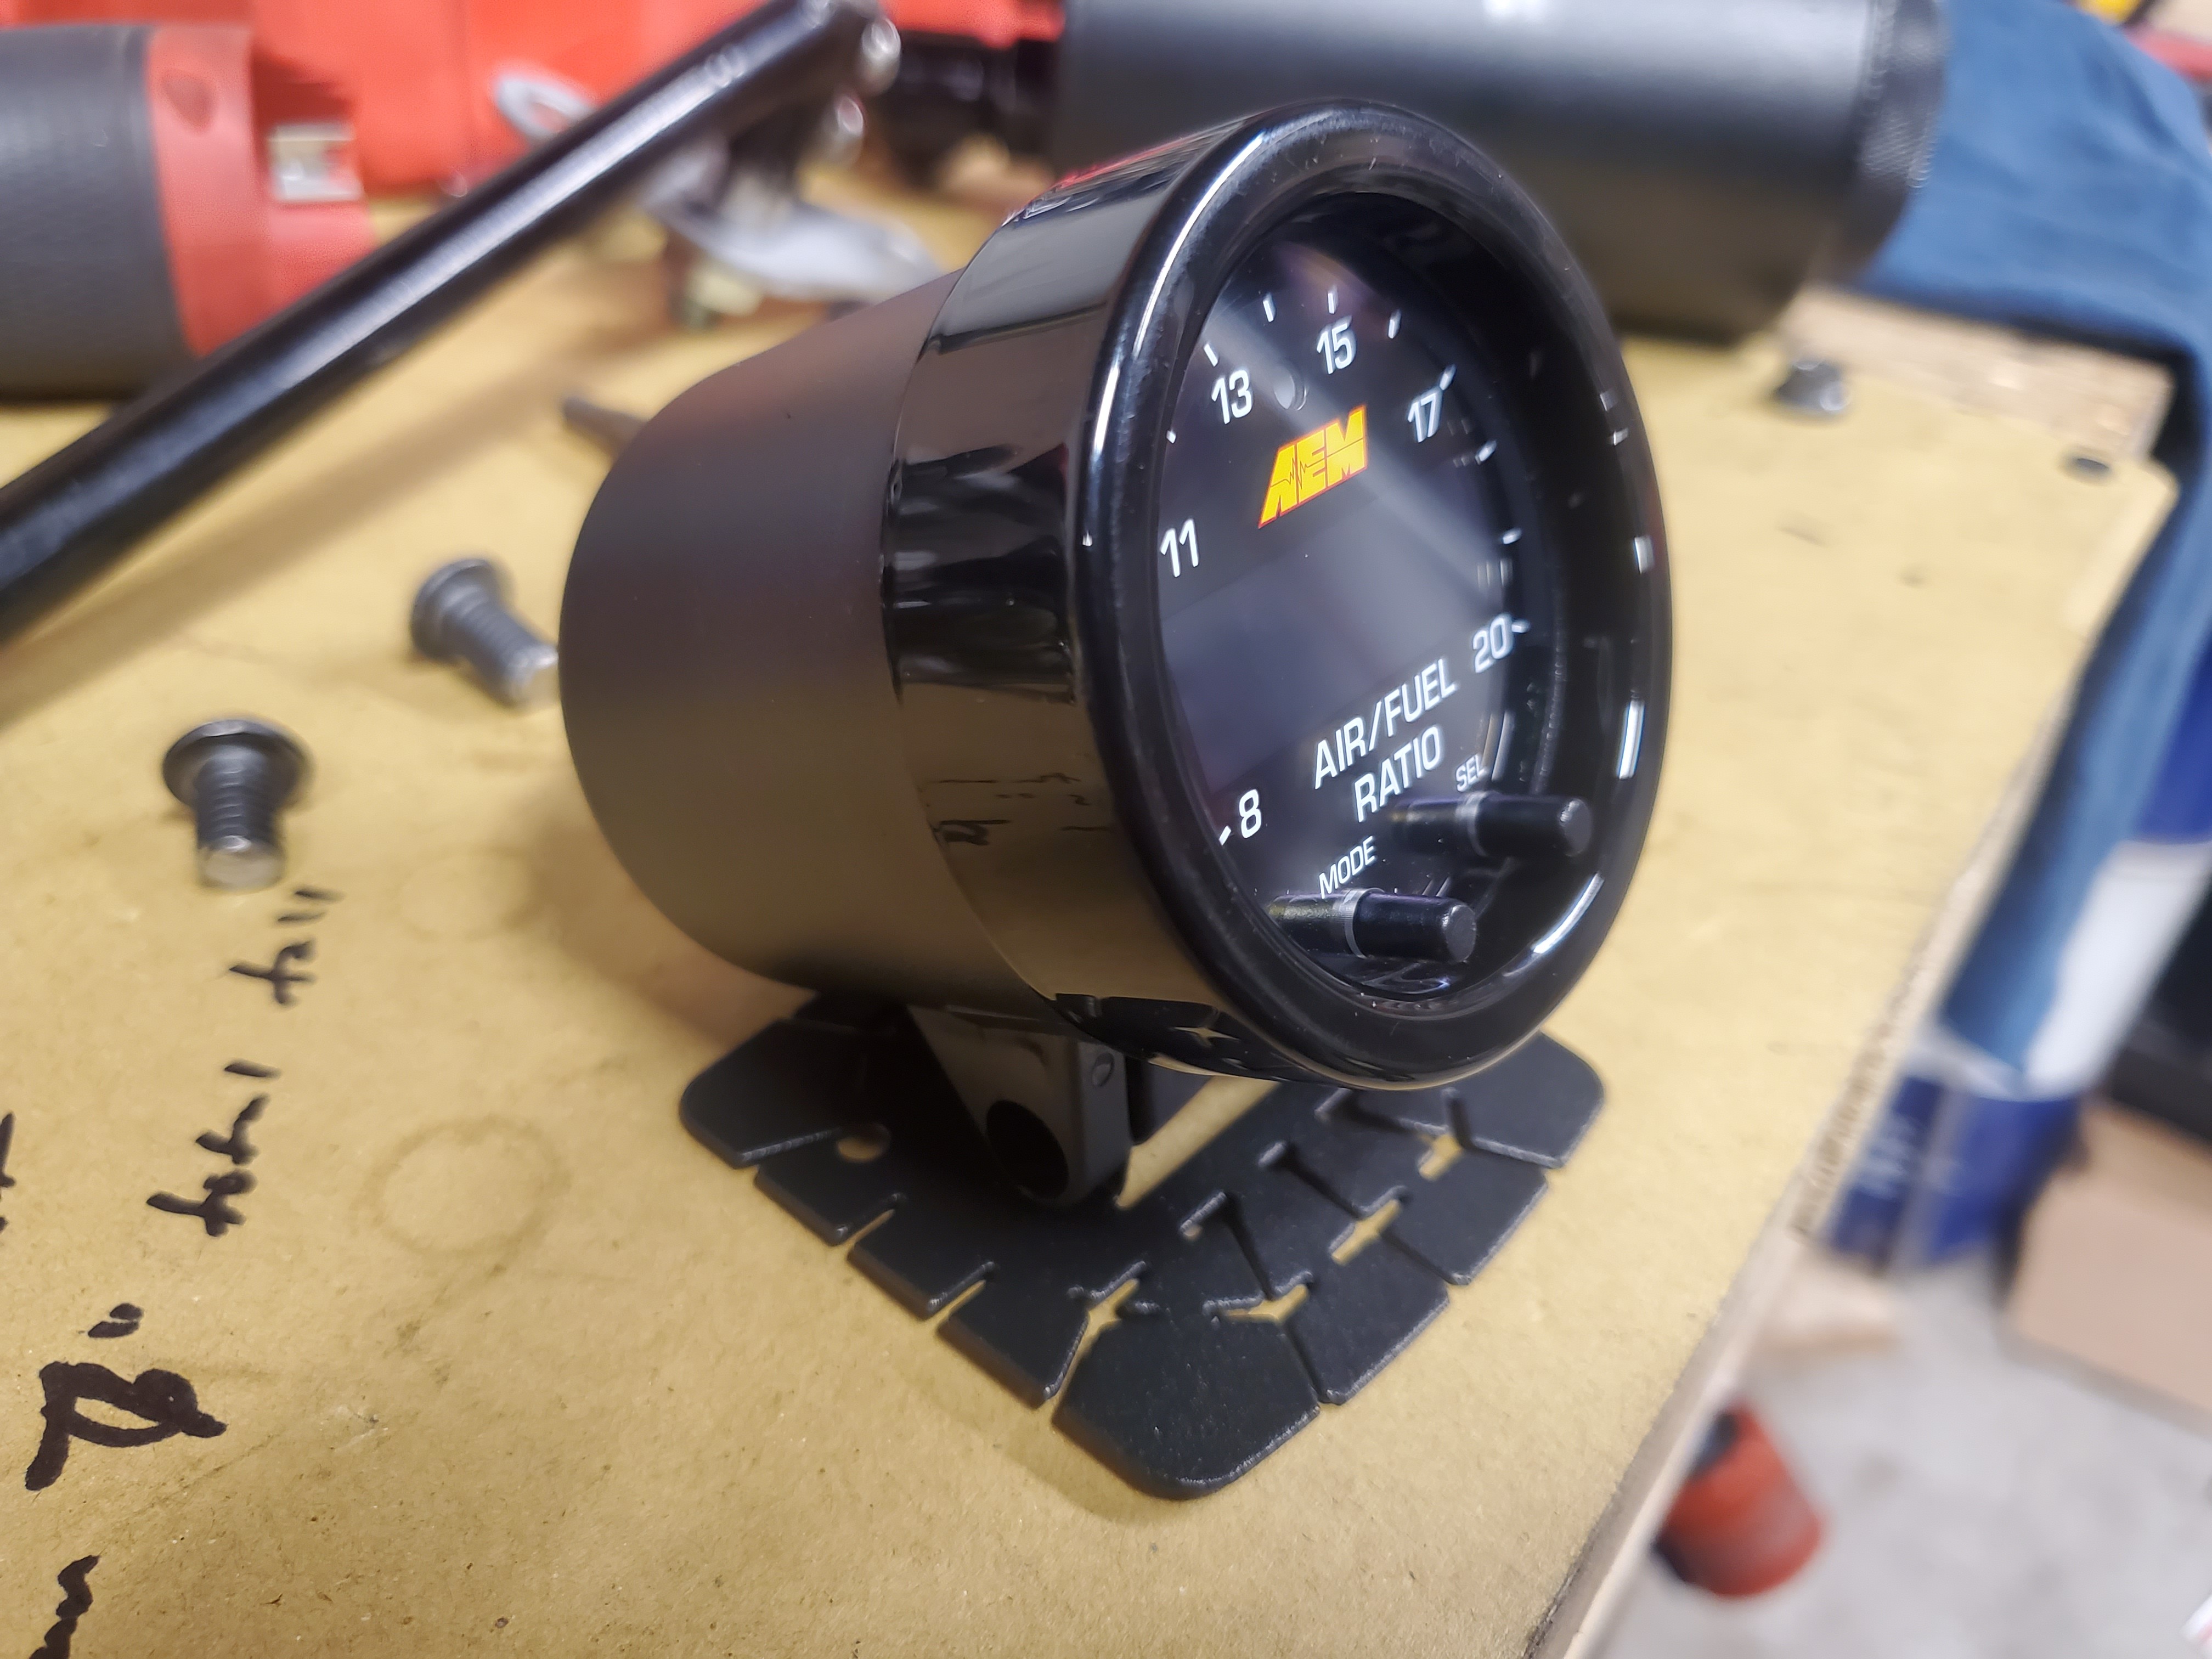
My AEM wideband came in as well.
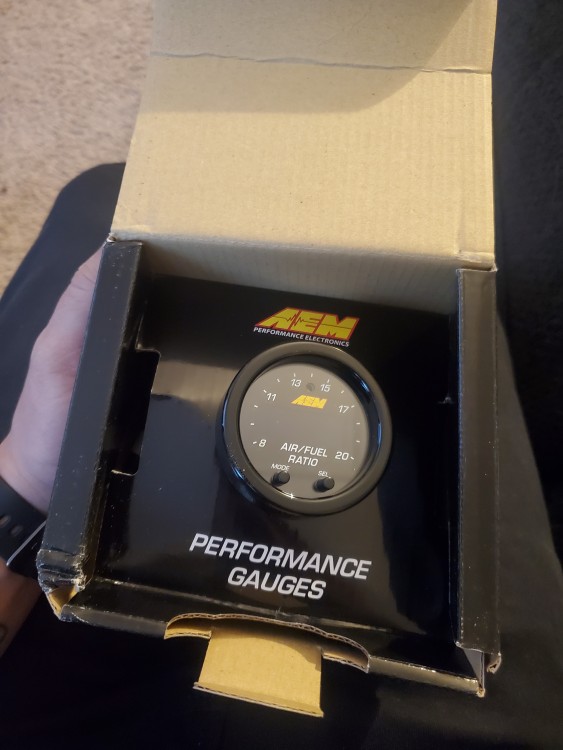
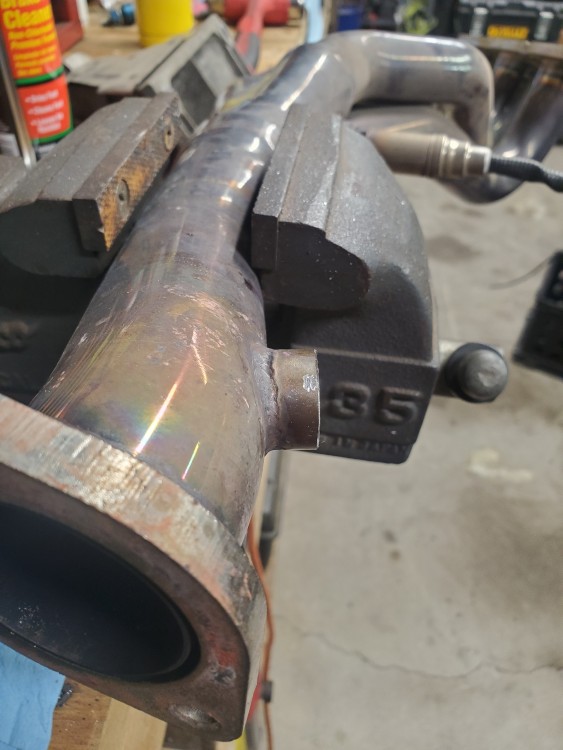
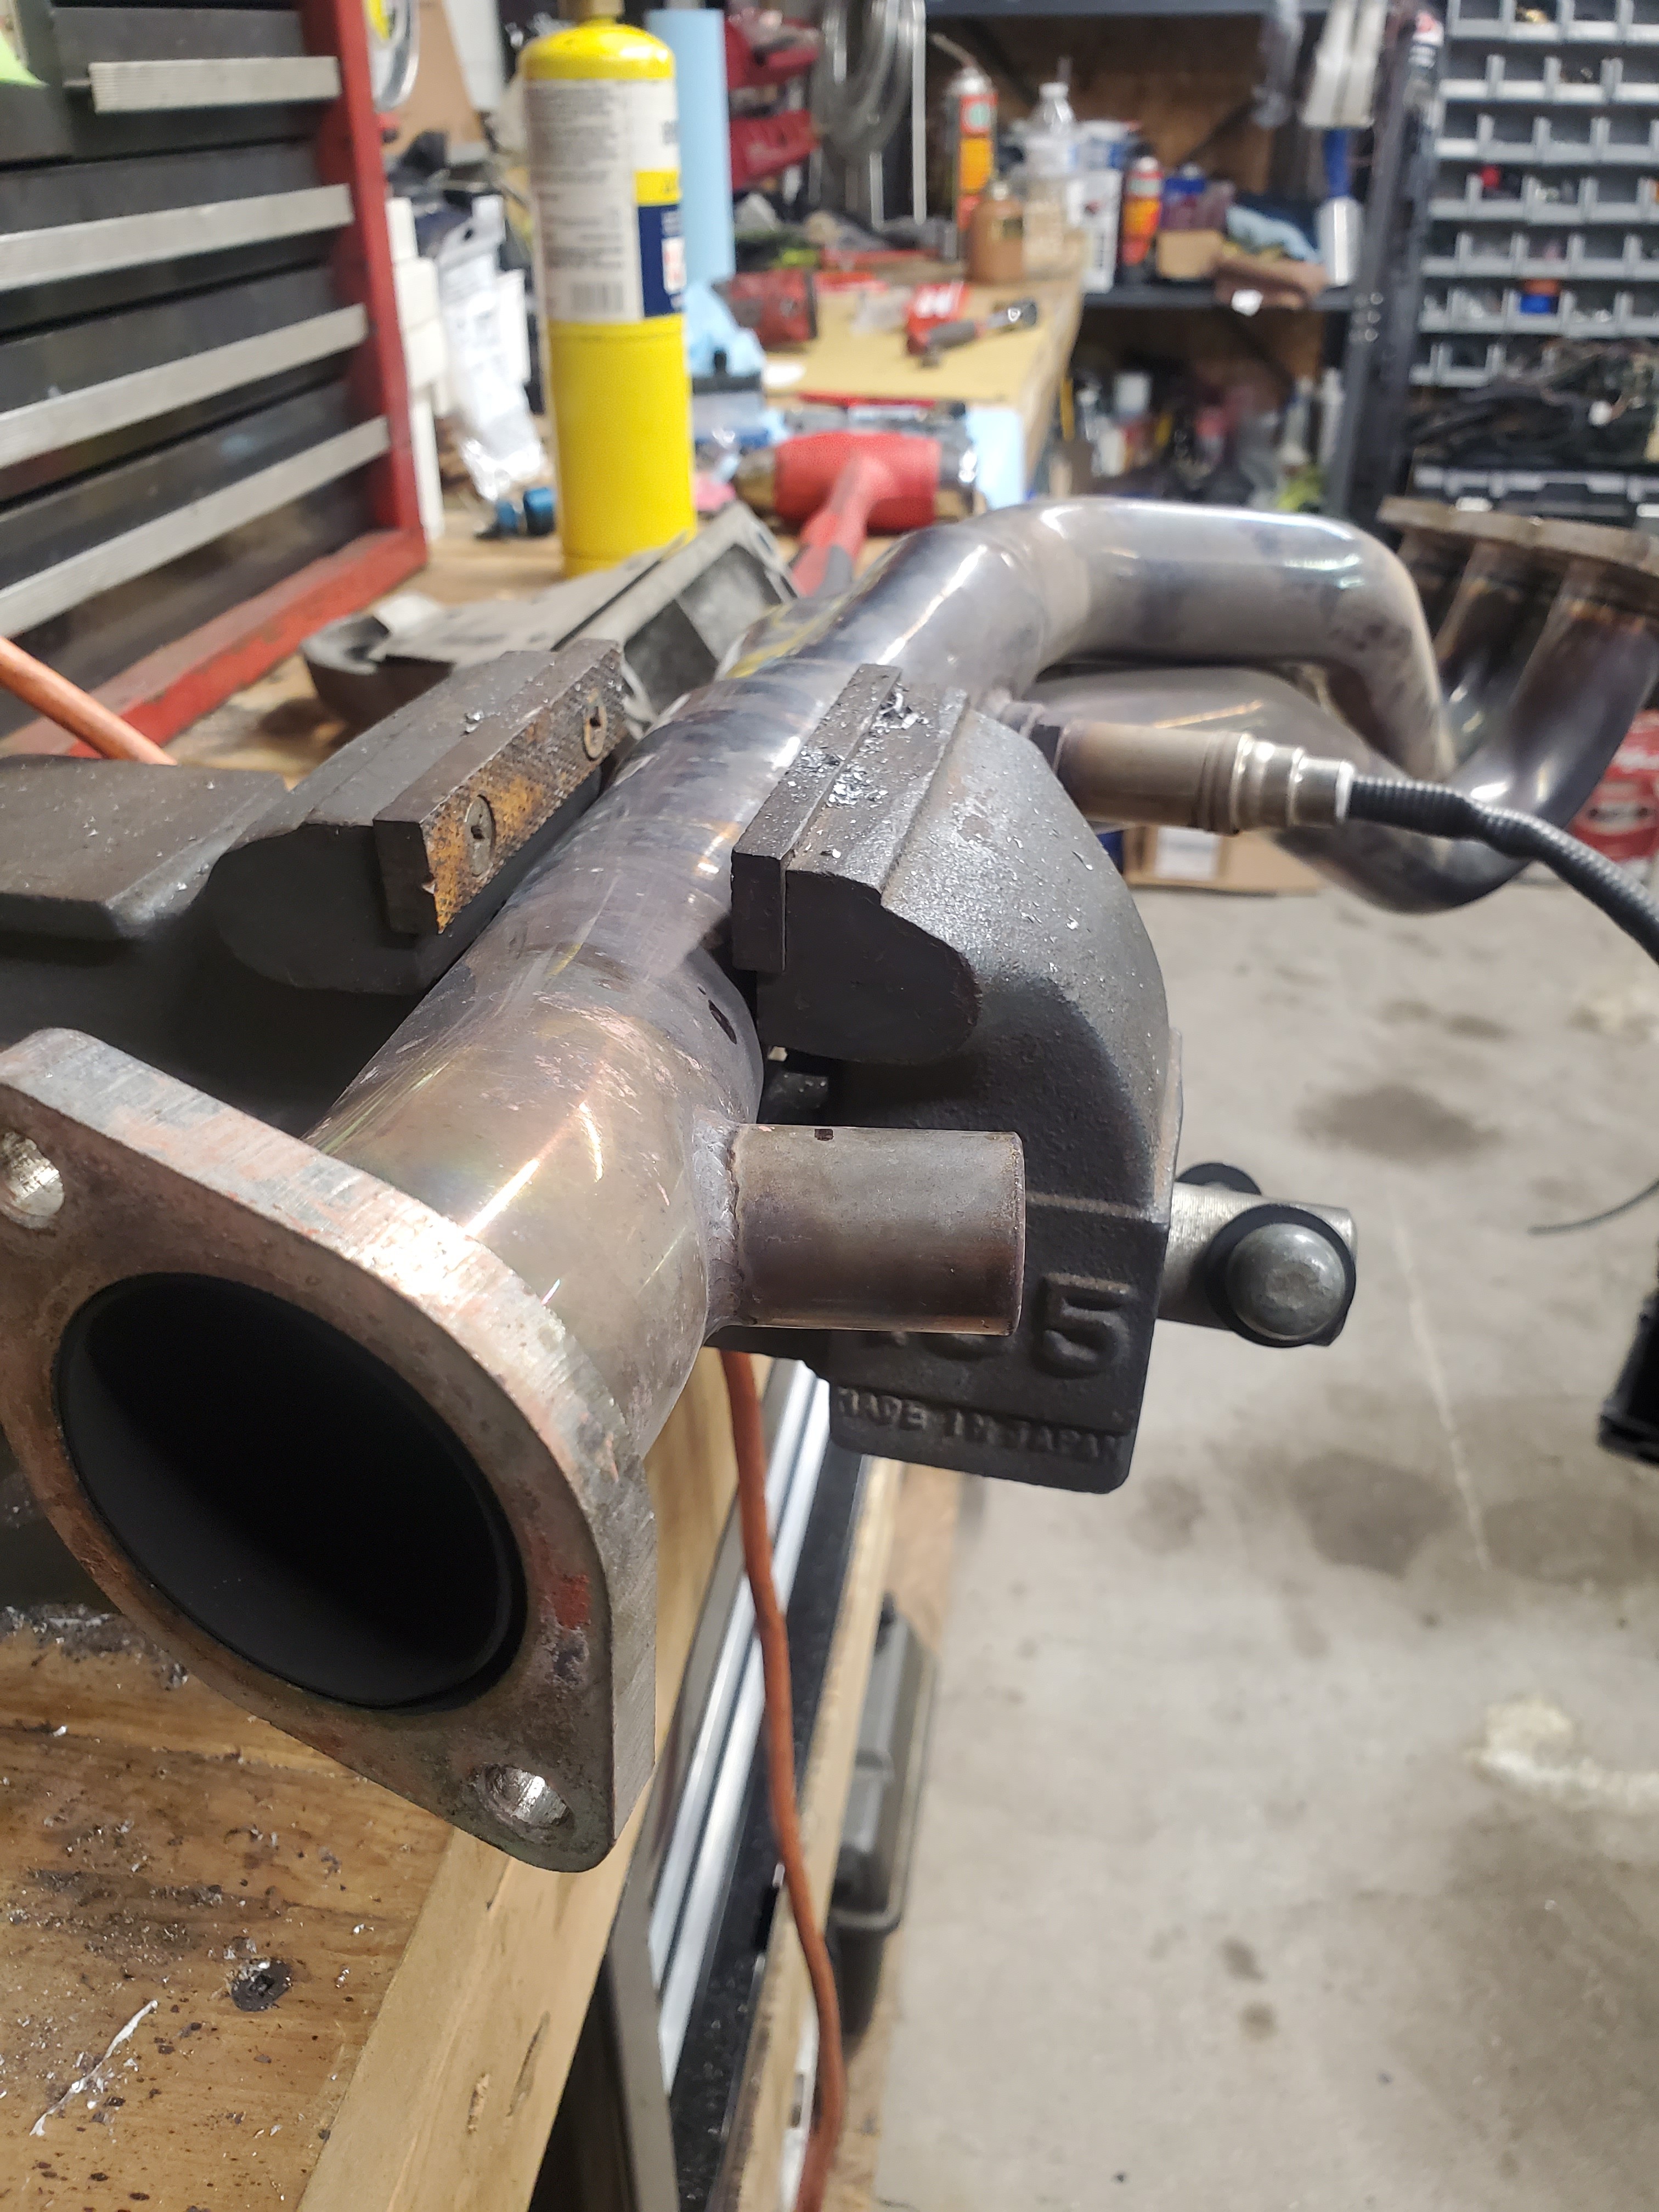
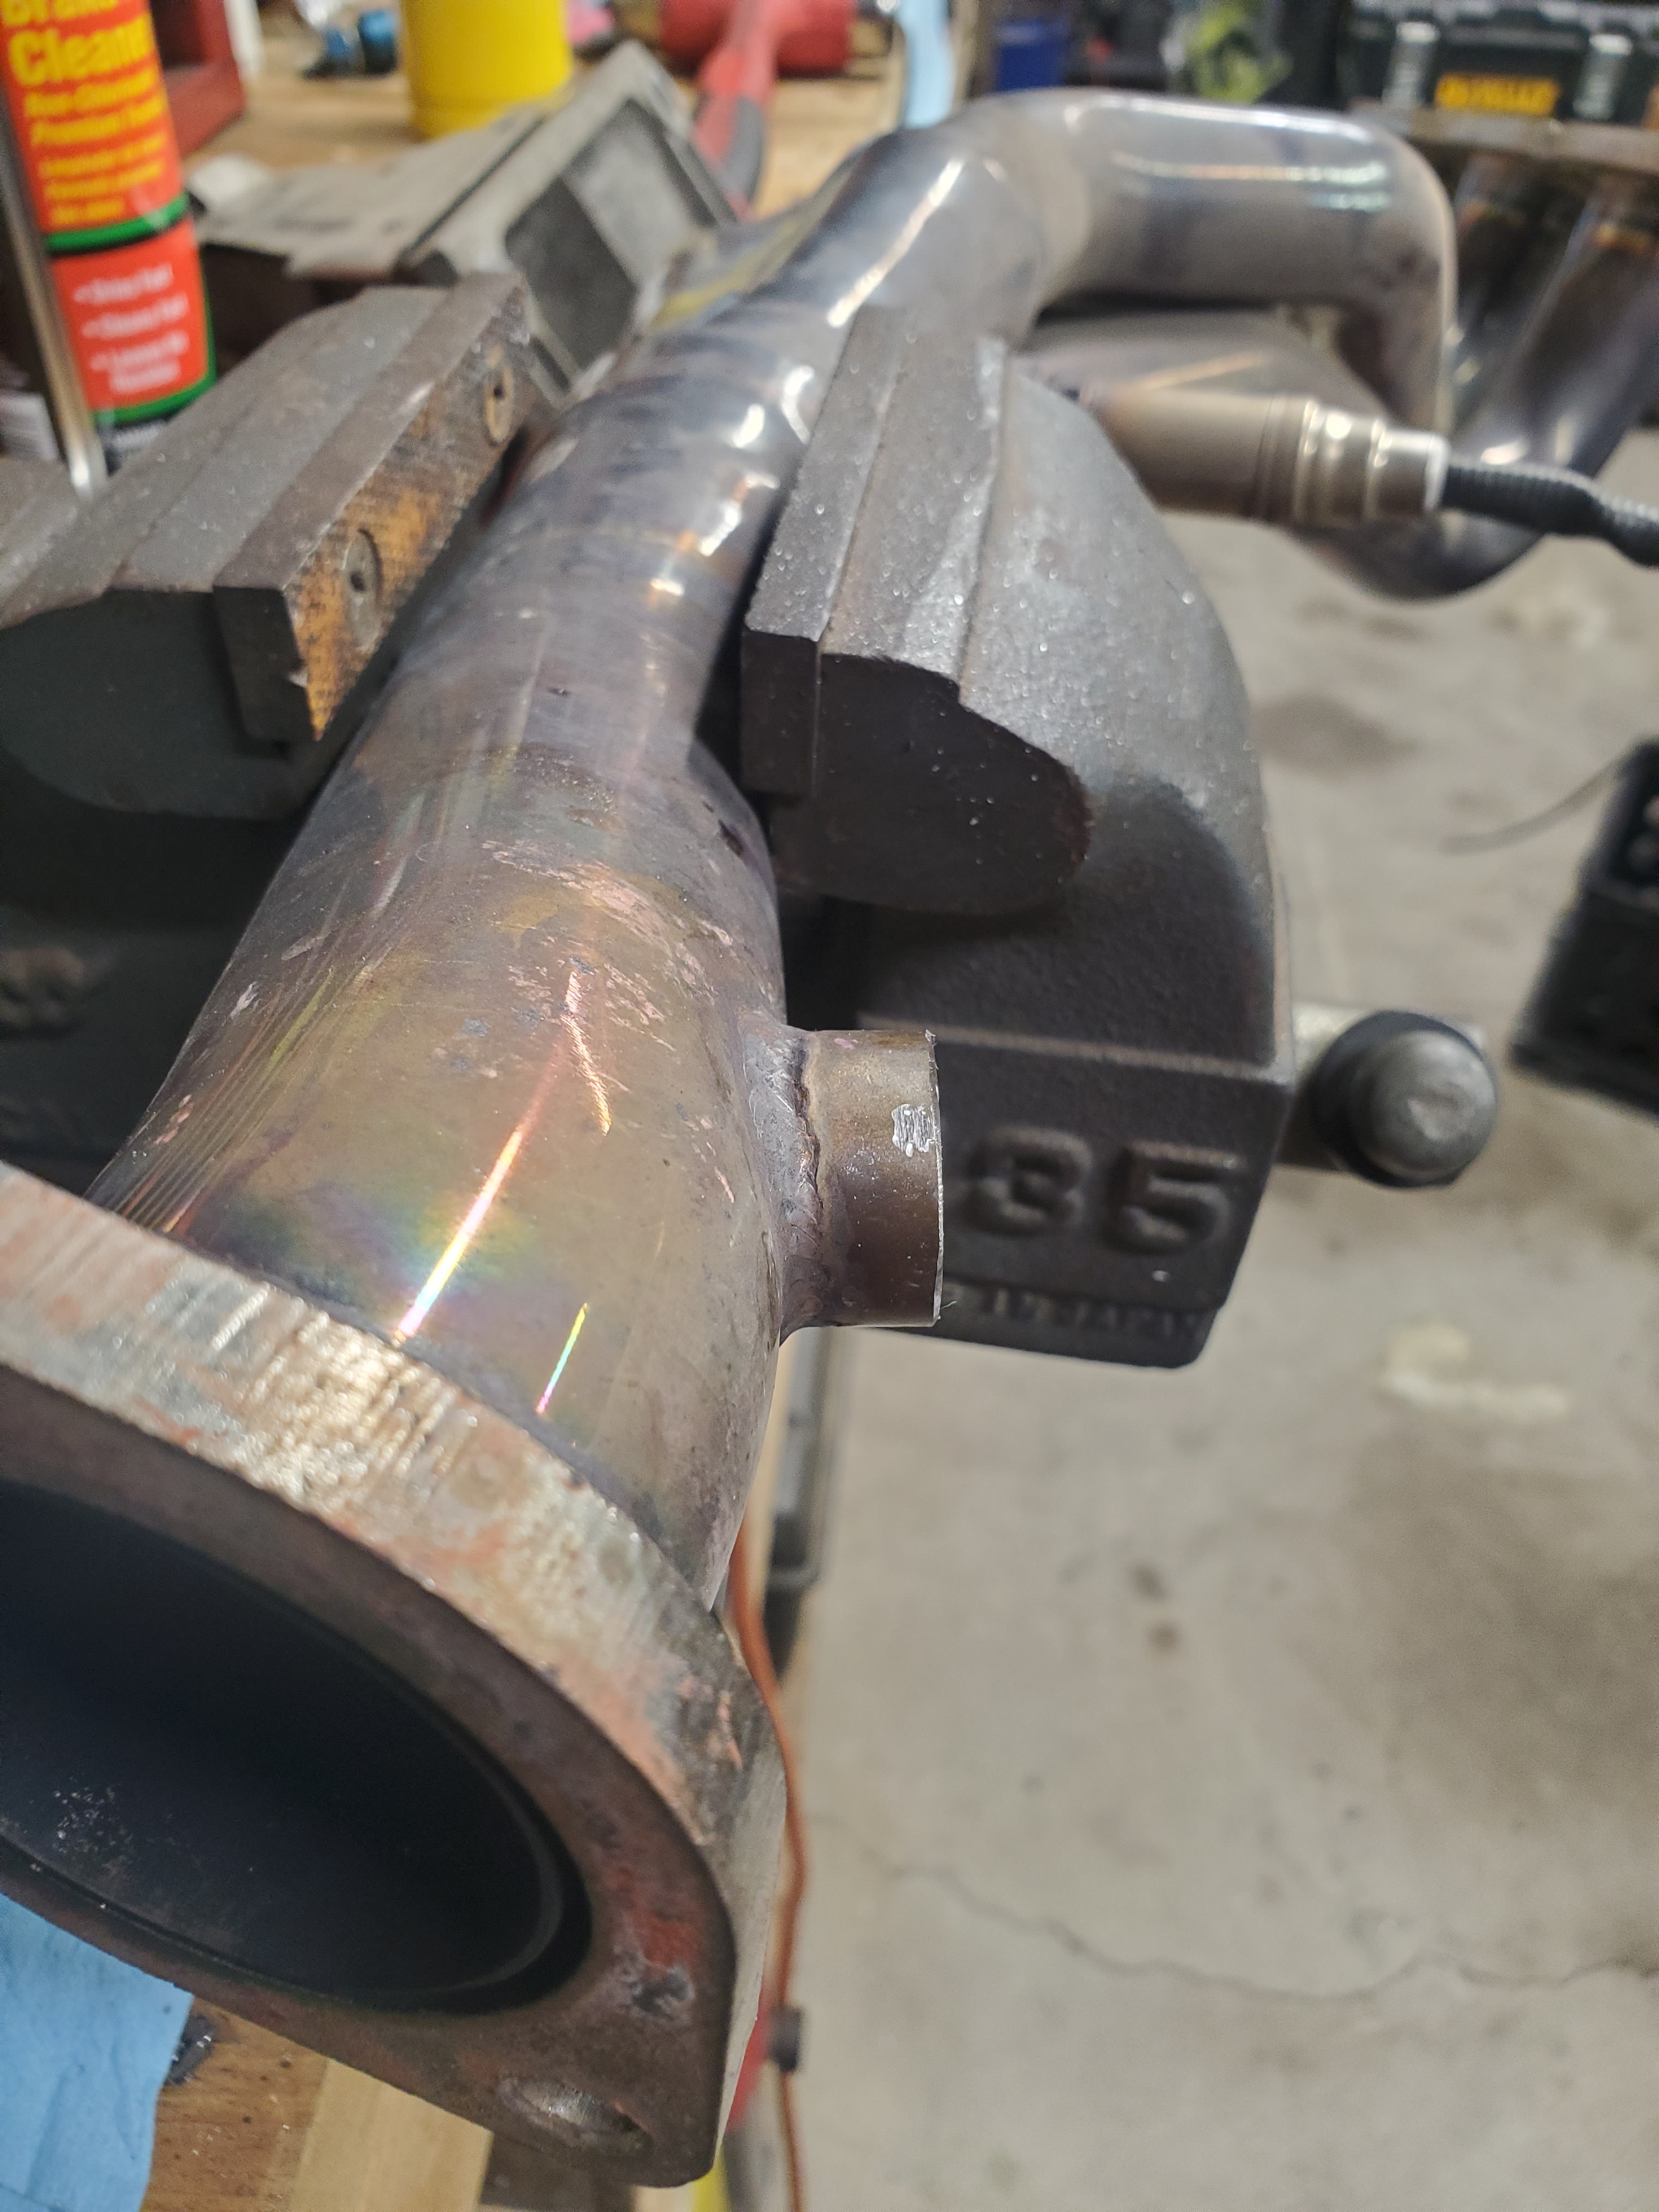
I was a little worried about where and how I planned to install the sensor but I figured out that I can just install the sensor in the rear of sensor location since I only have the primary ones installed.
To do this I had to chop down the sensor bung and then I chased the threads and installed the sensor.
Before.
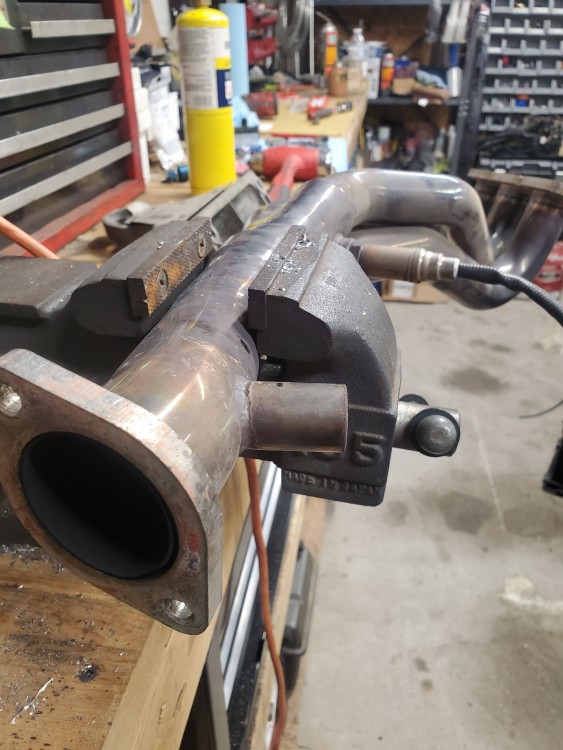
After.
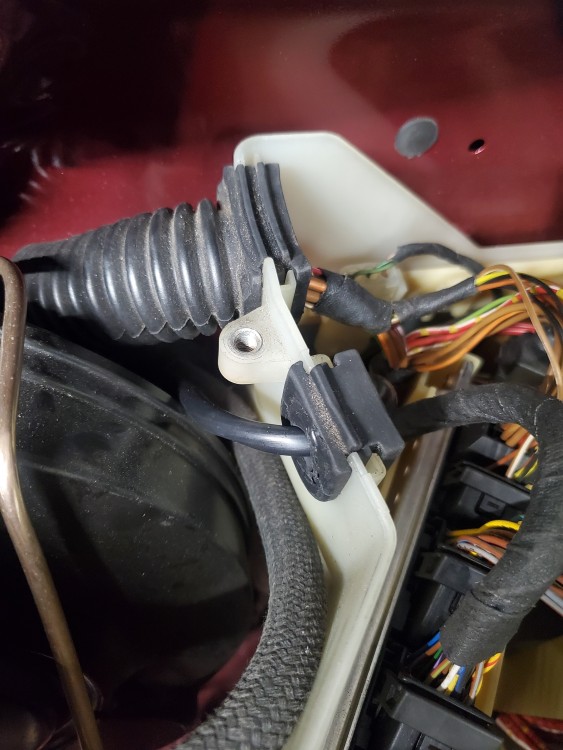
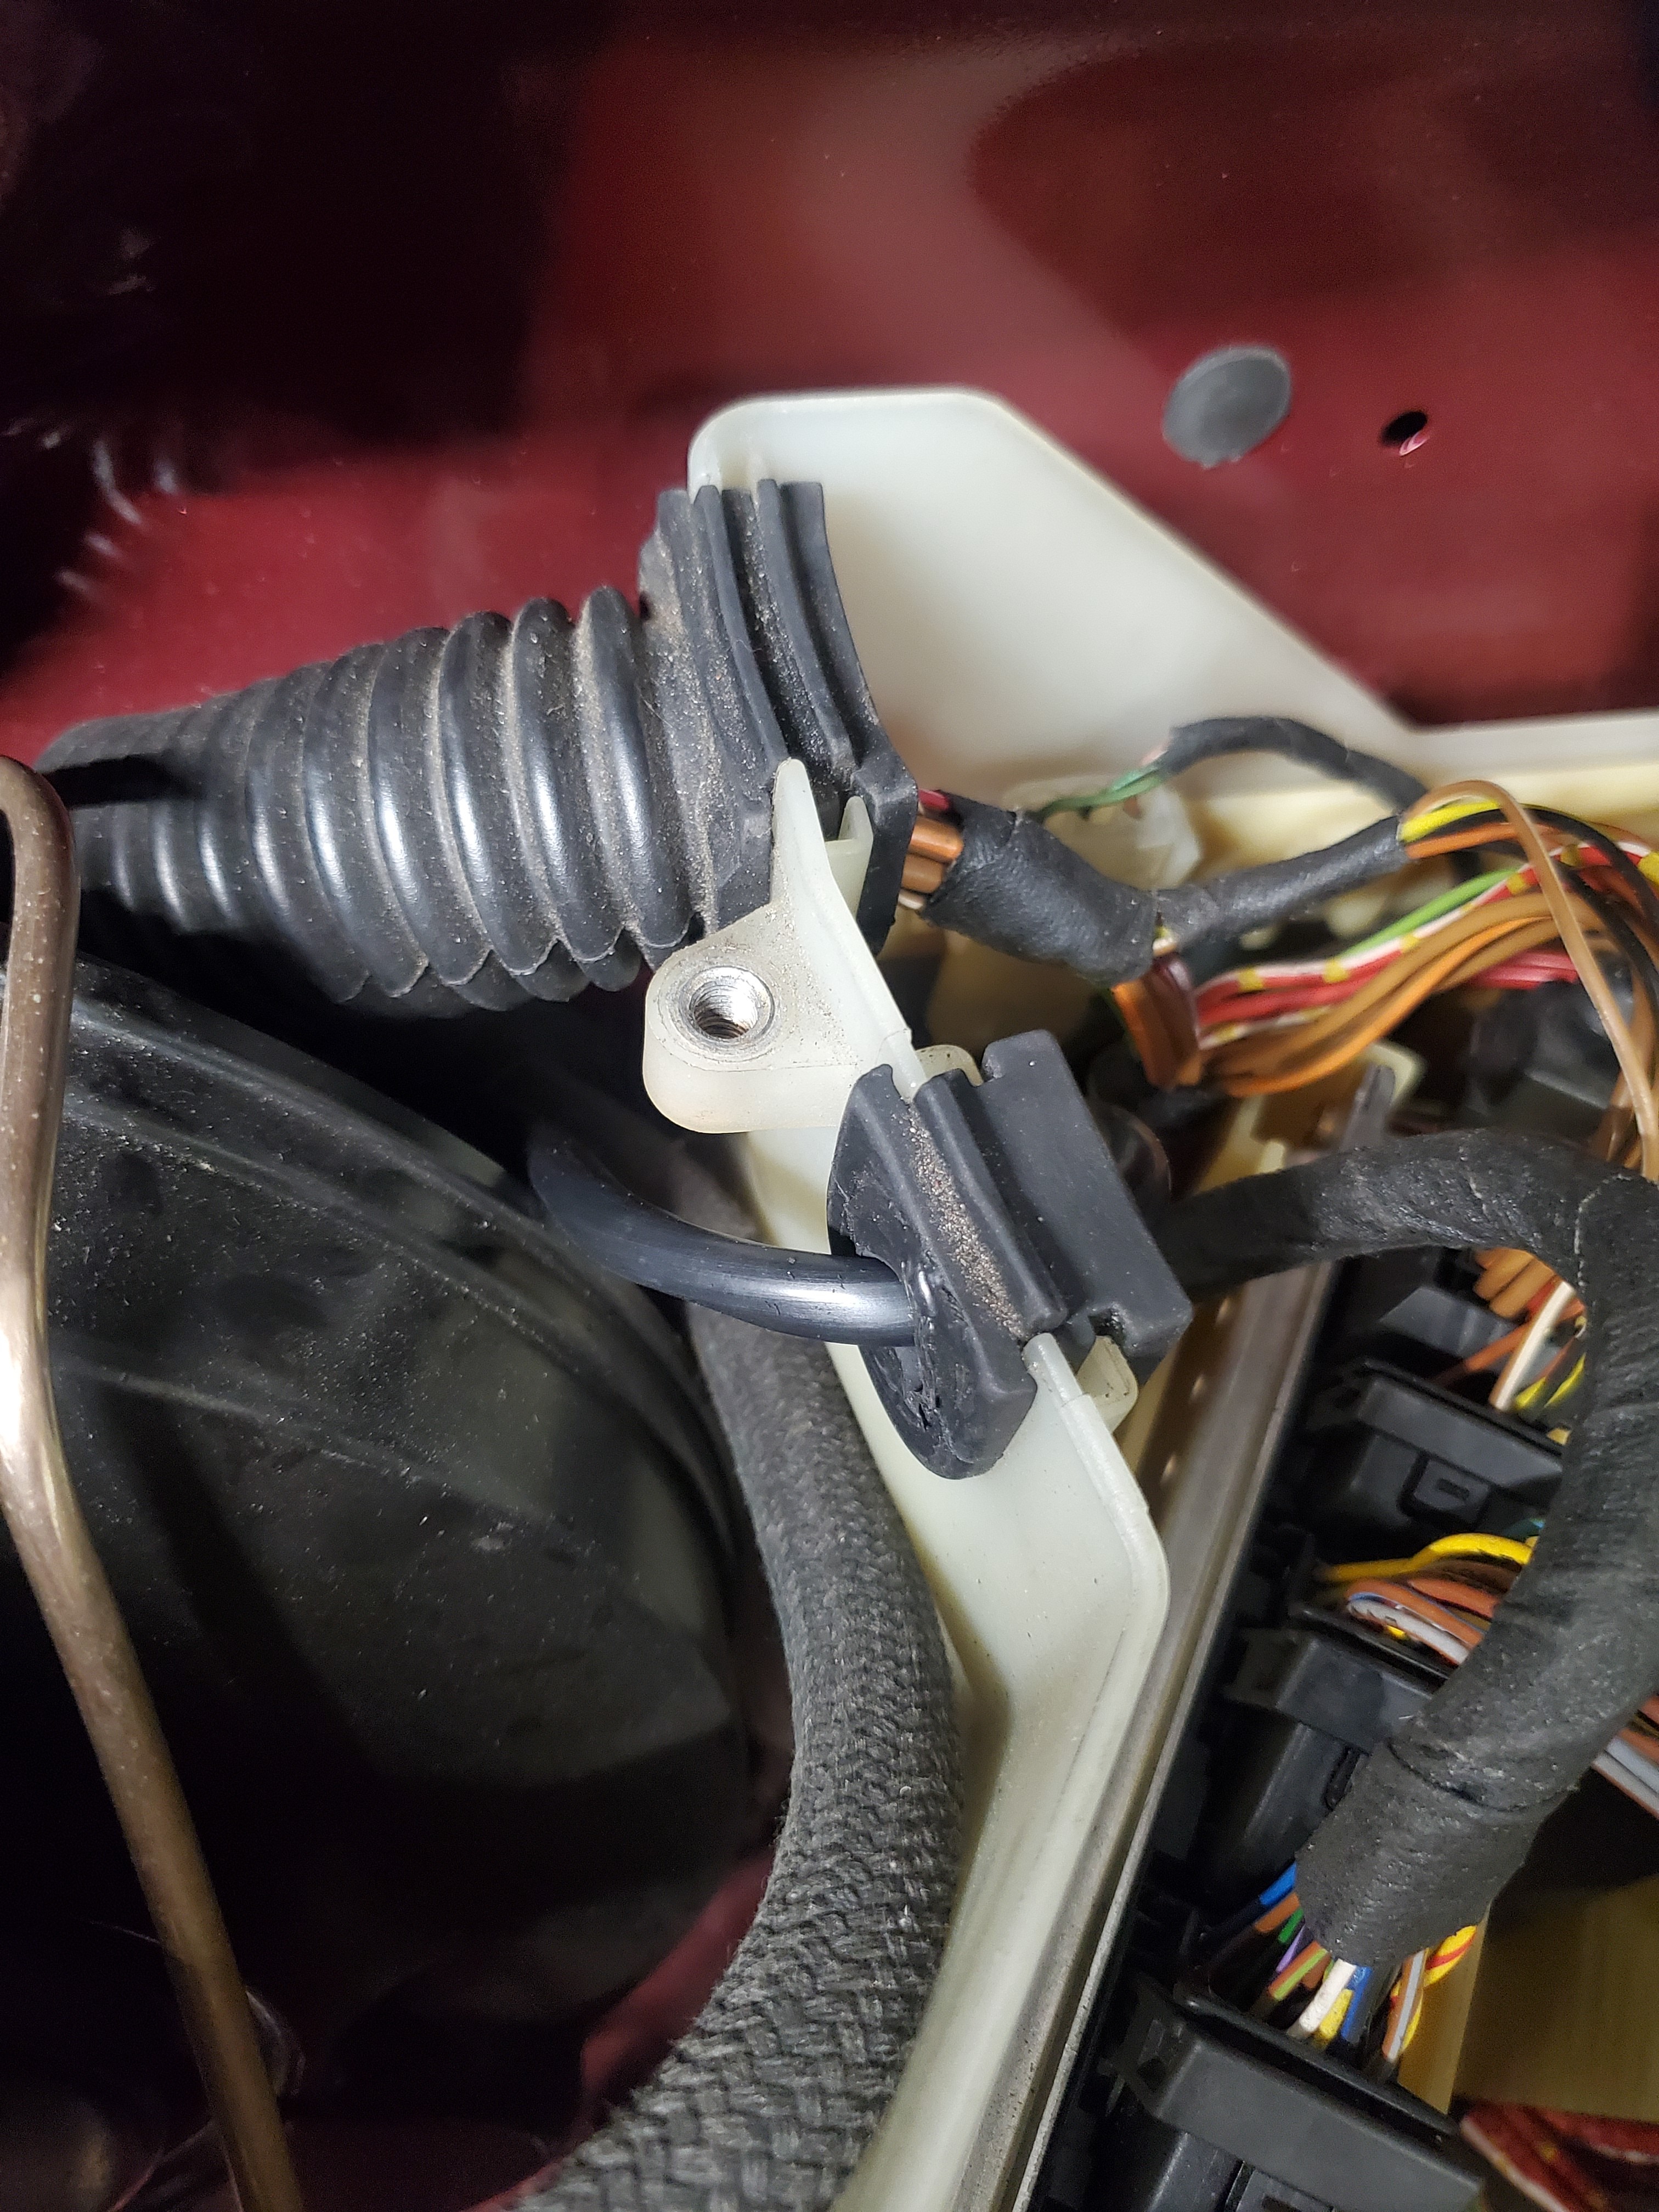
Once I had the header back installed I routed the sensor wiring up behind the head with the OEM o2 wiring. I then made a hole in one of the blank grommets and rand the wiring into the Ebox and then the chassis.
I need to decide where I plan to mount the gauge yet but the wiring is there.
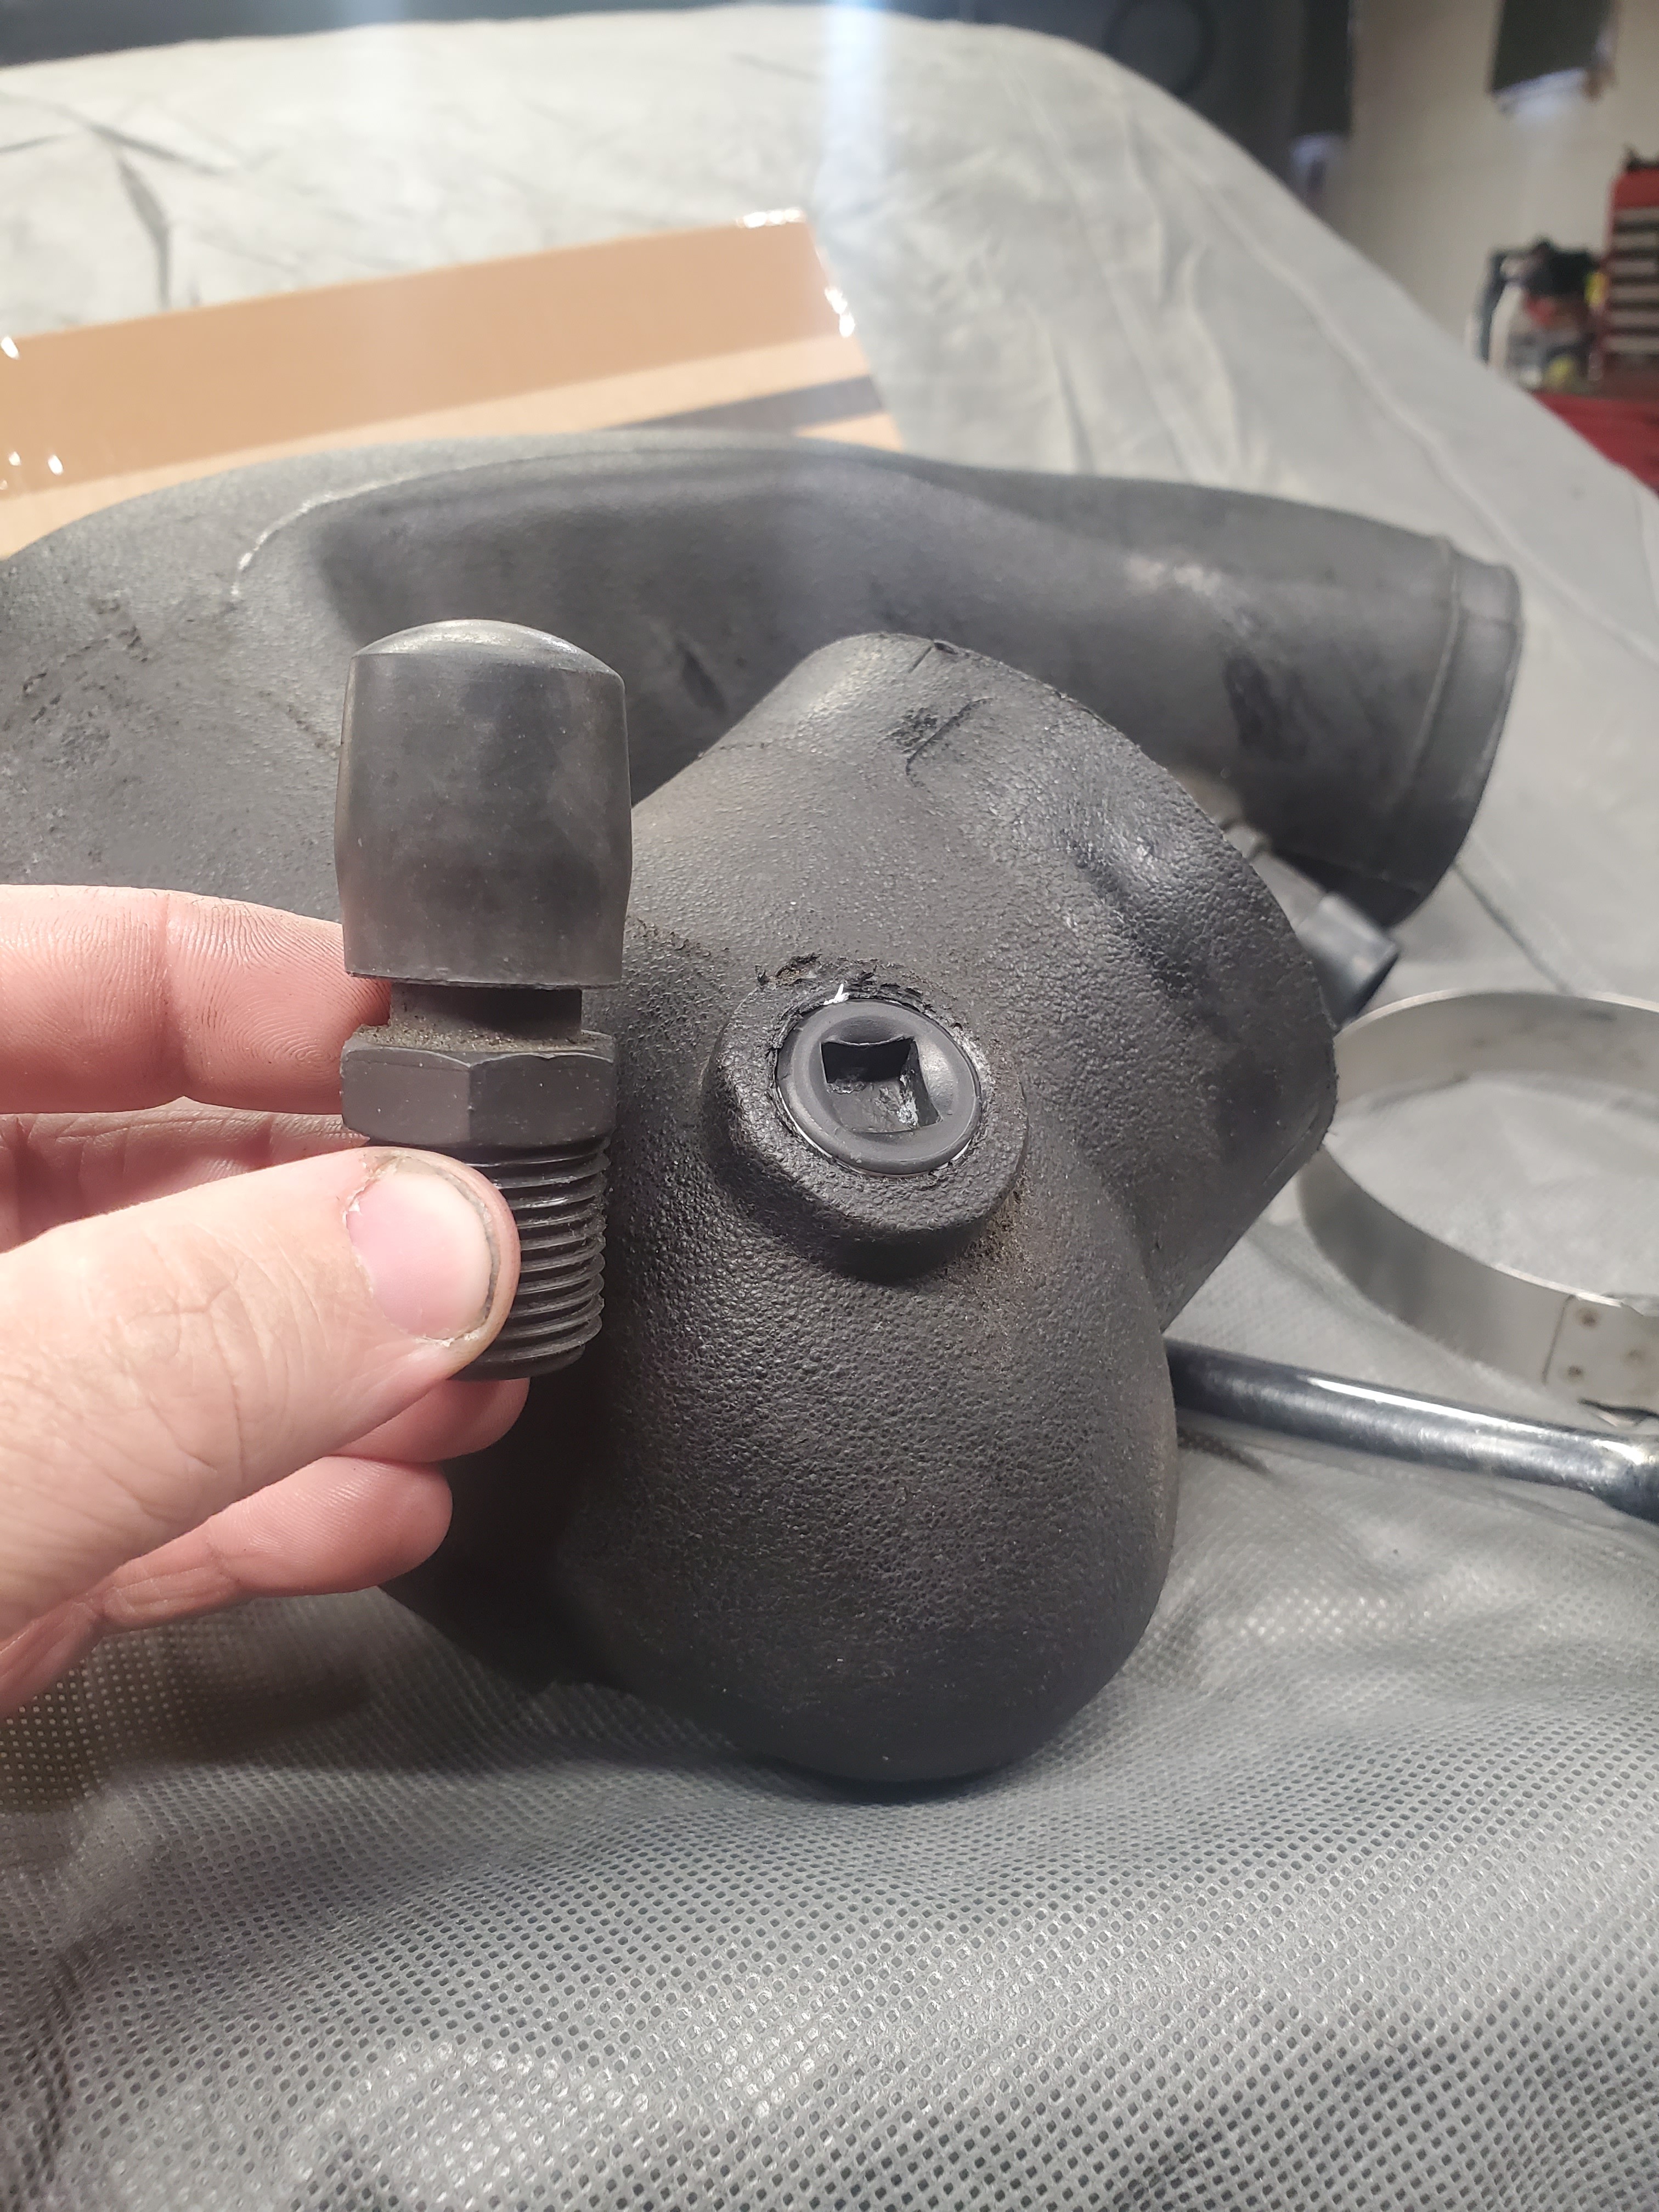
Next I found a plug to replace the barbed fitting that was normally plugged since it is only used with the 330 manifold originally.
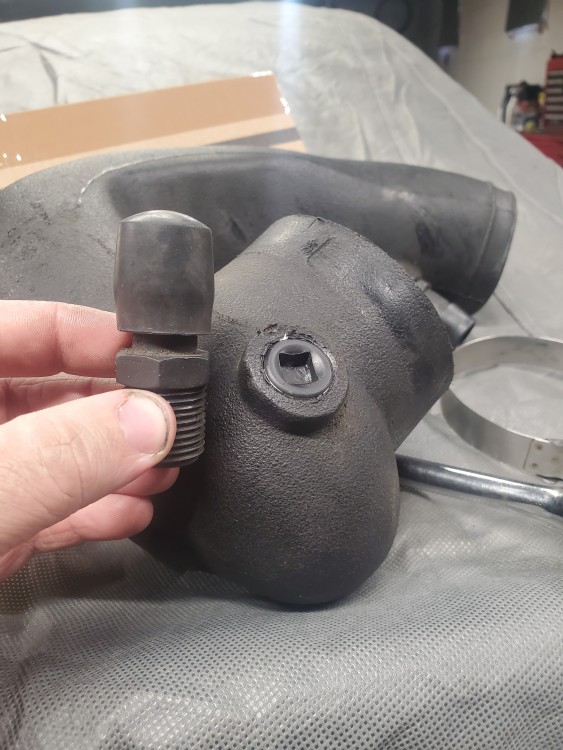
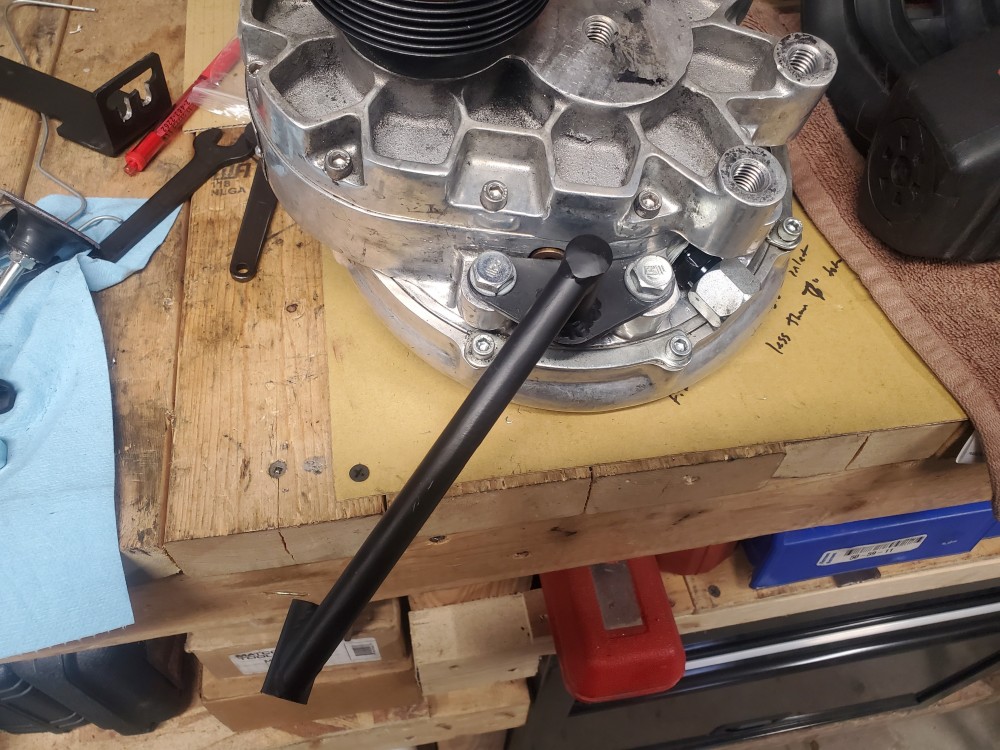
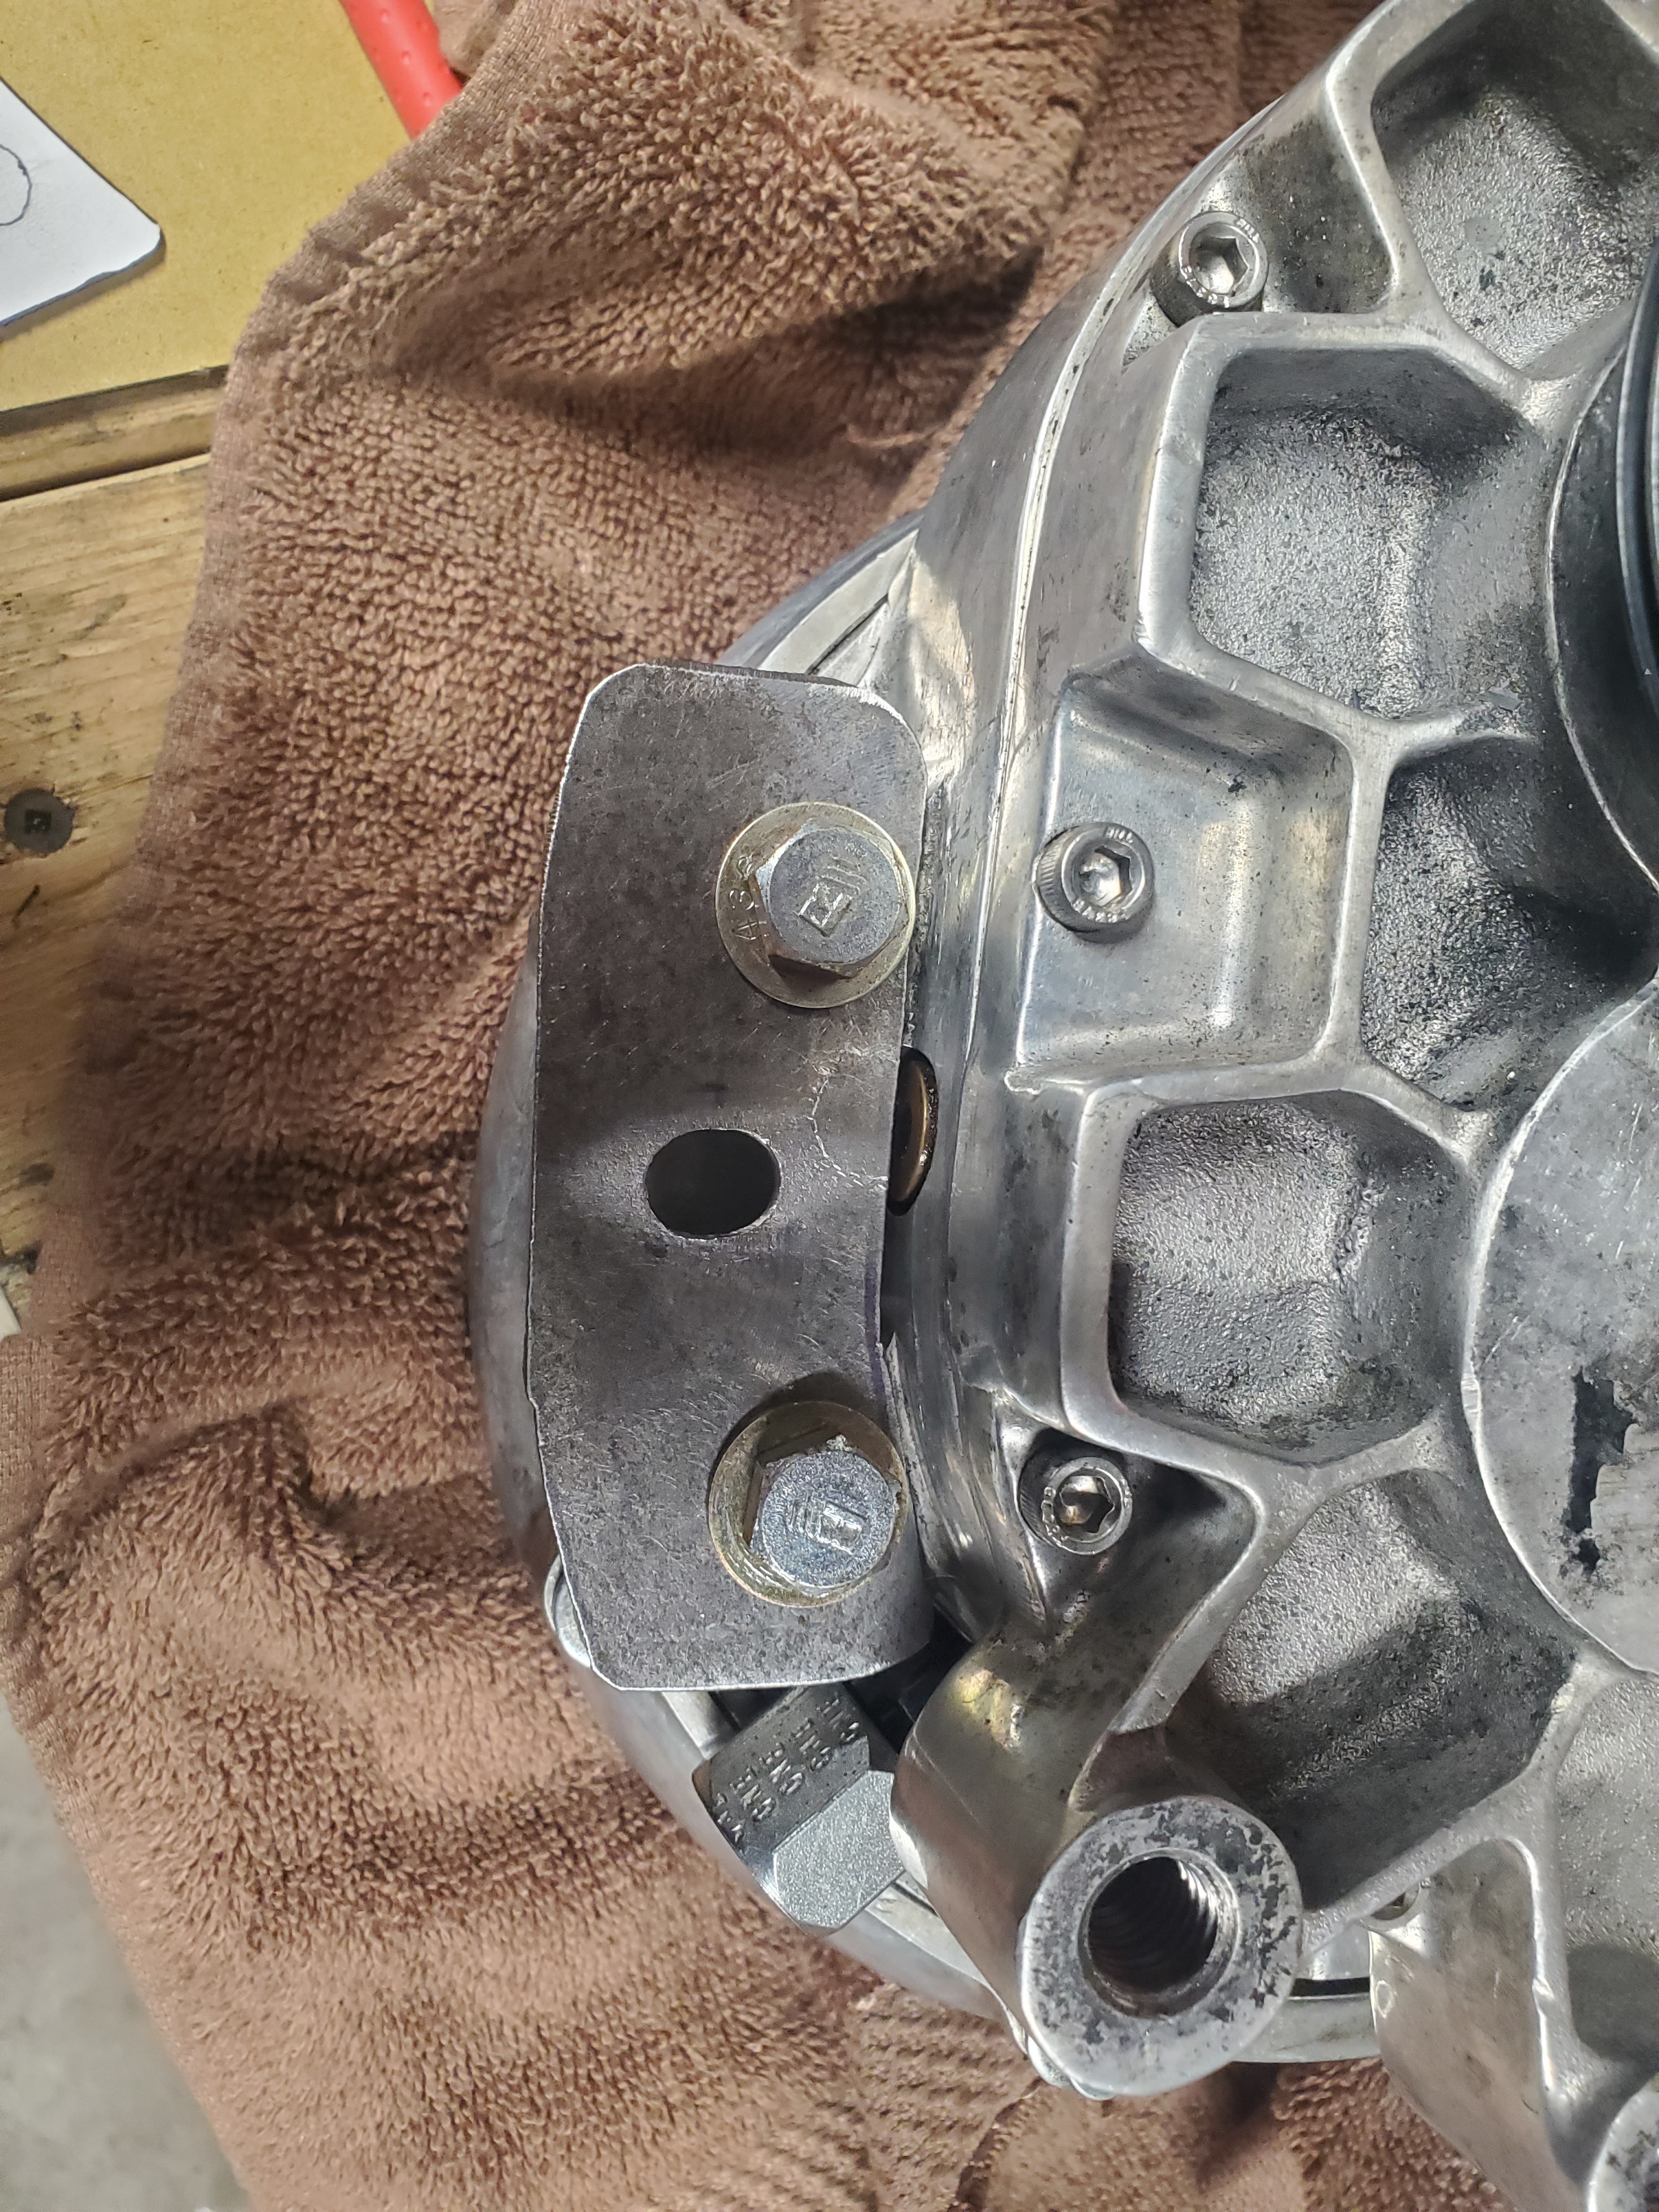
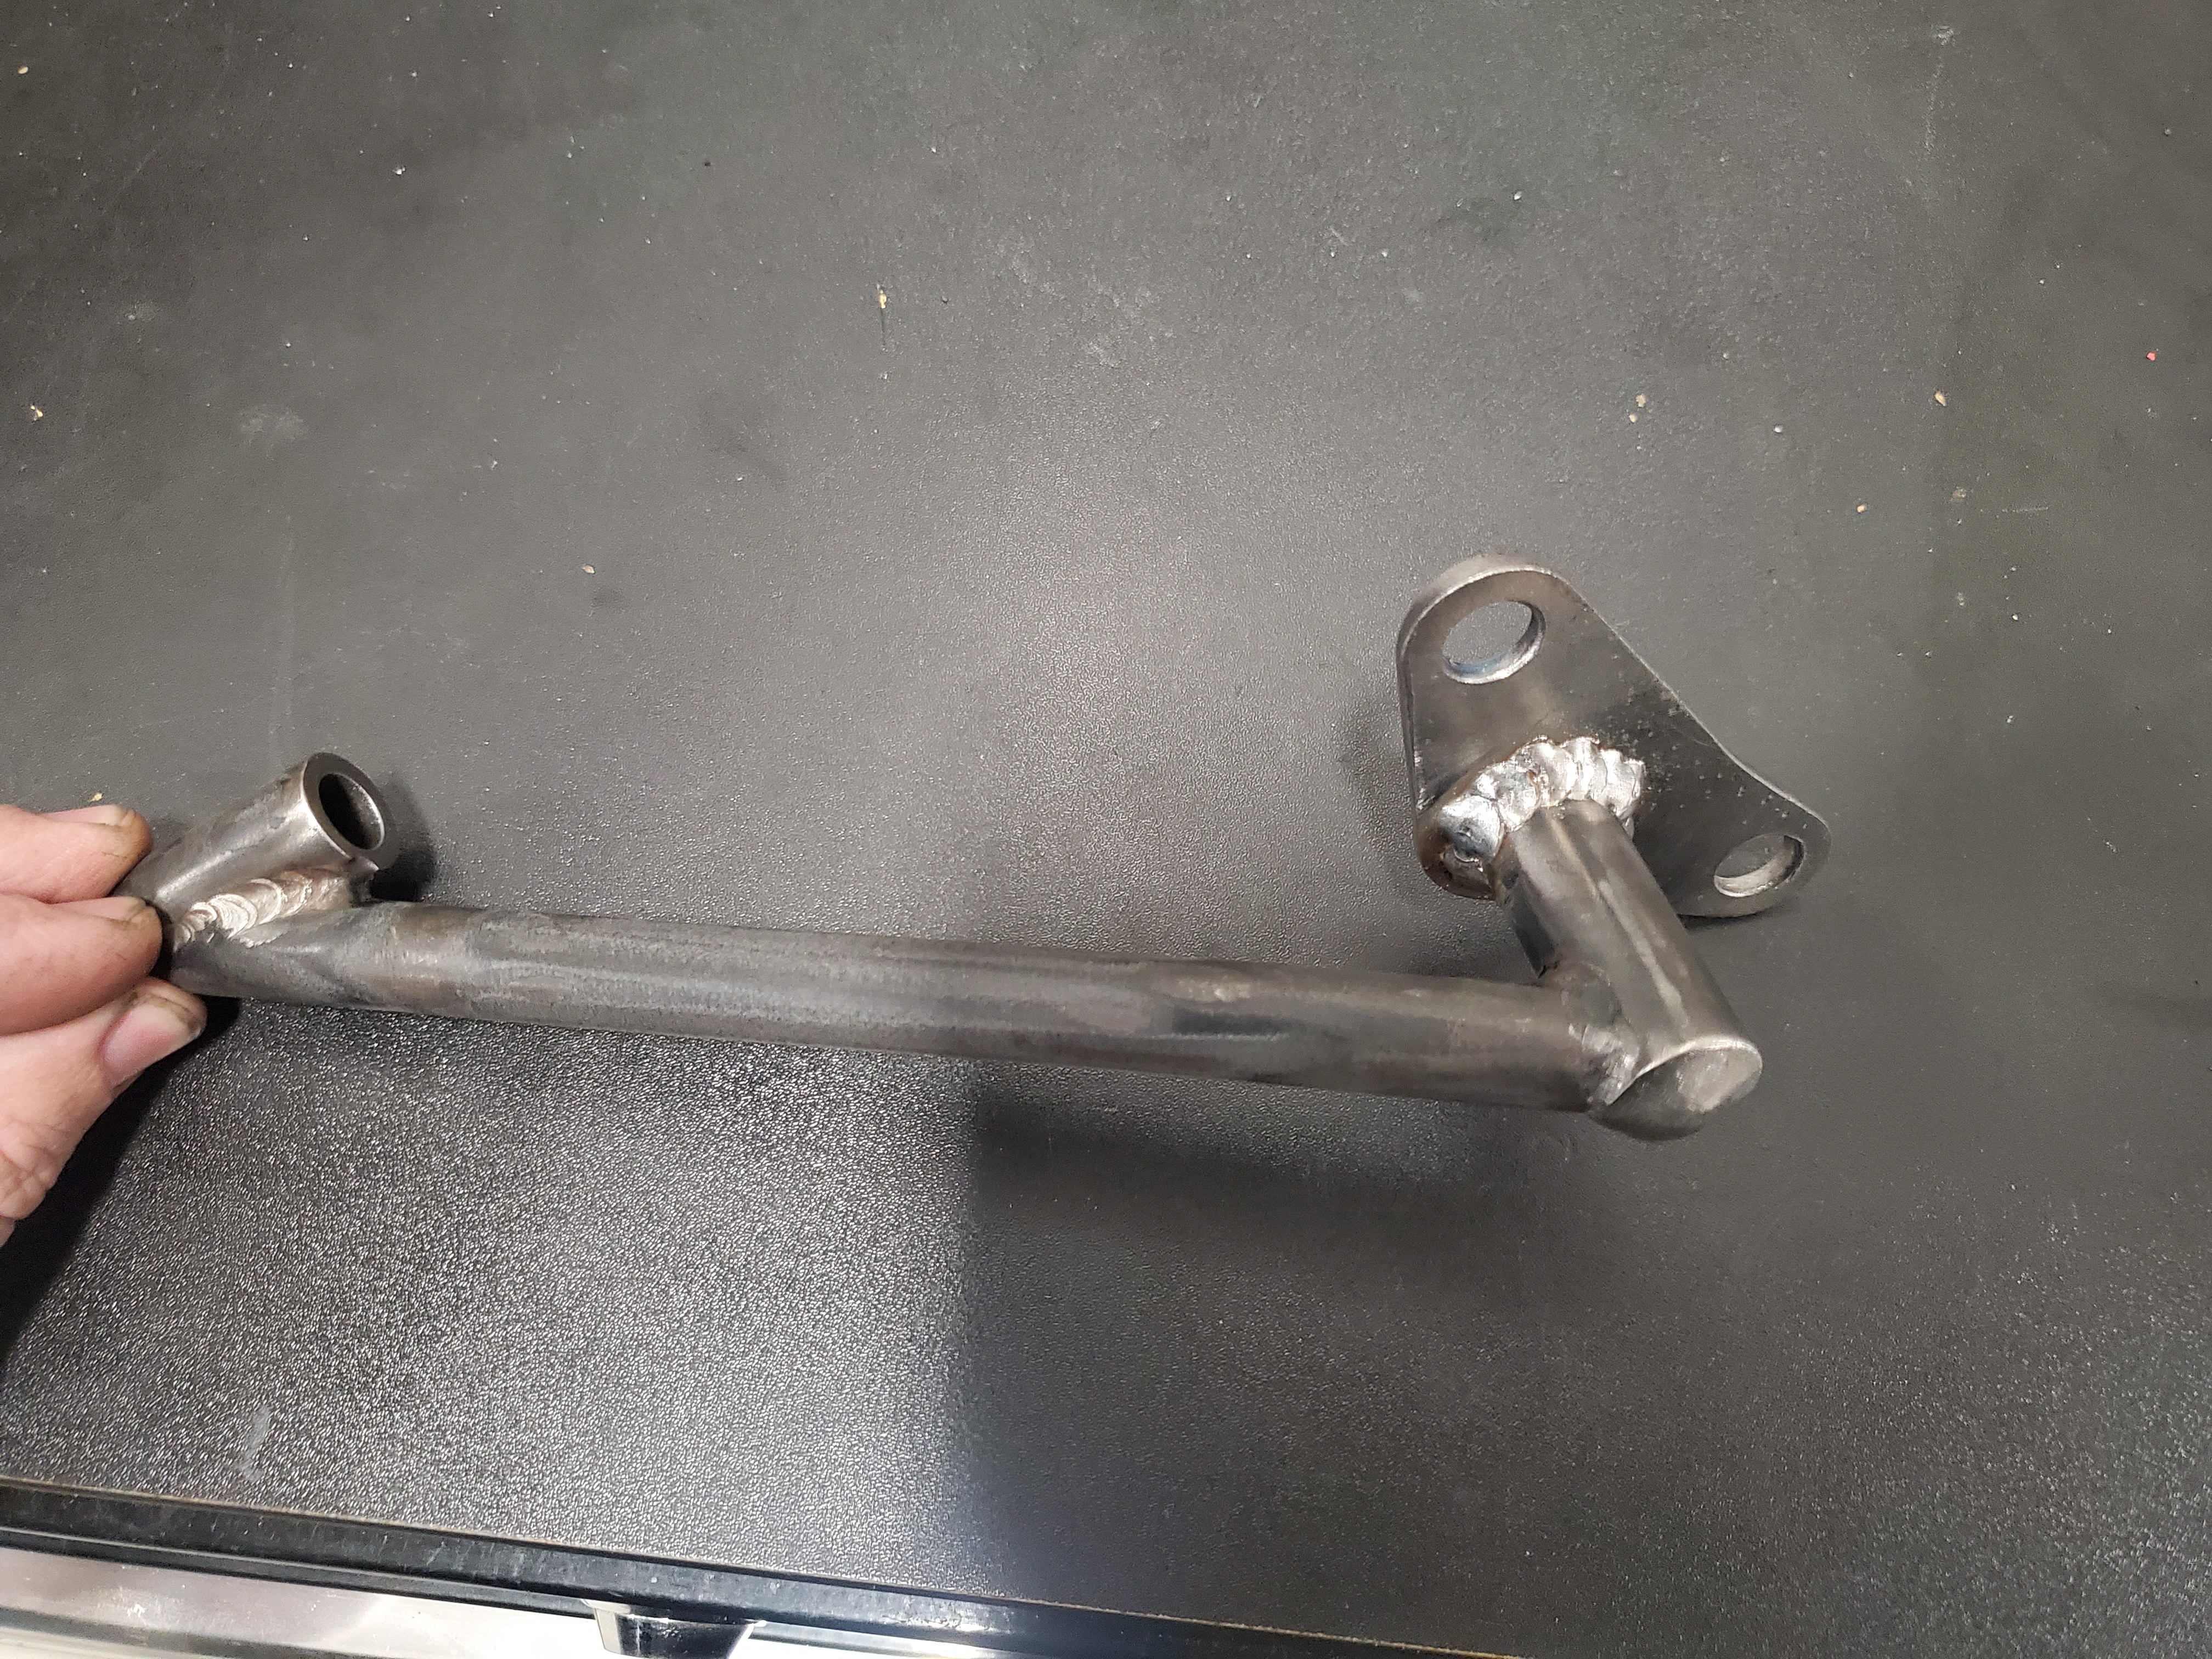
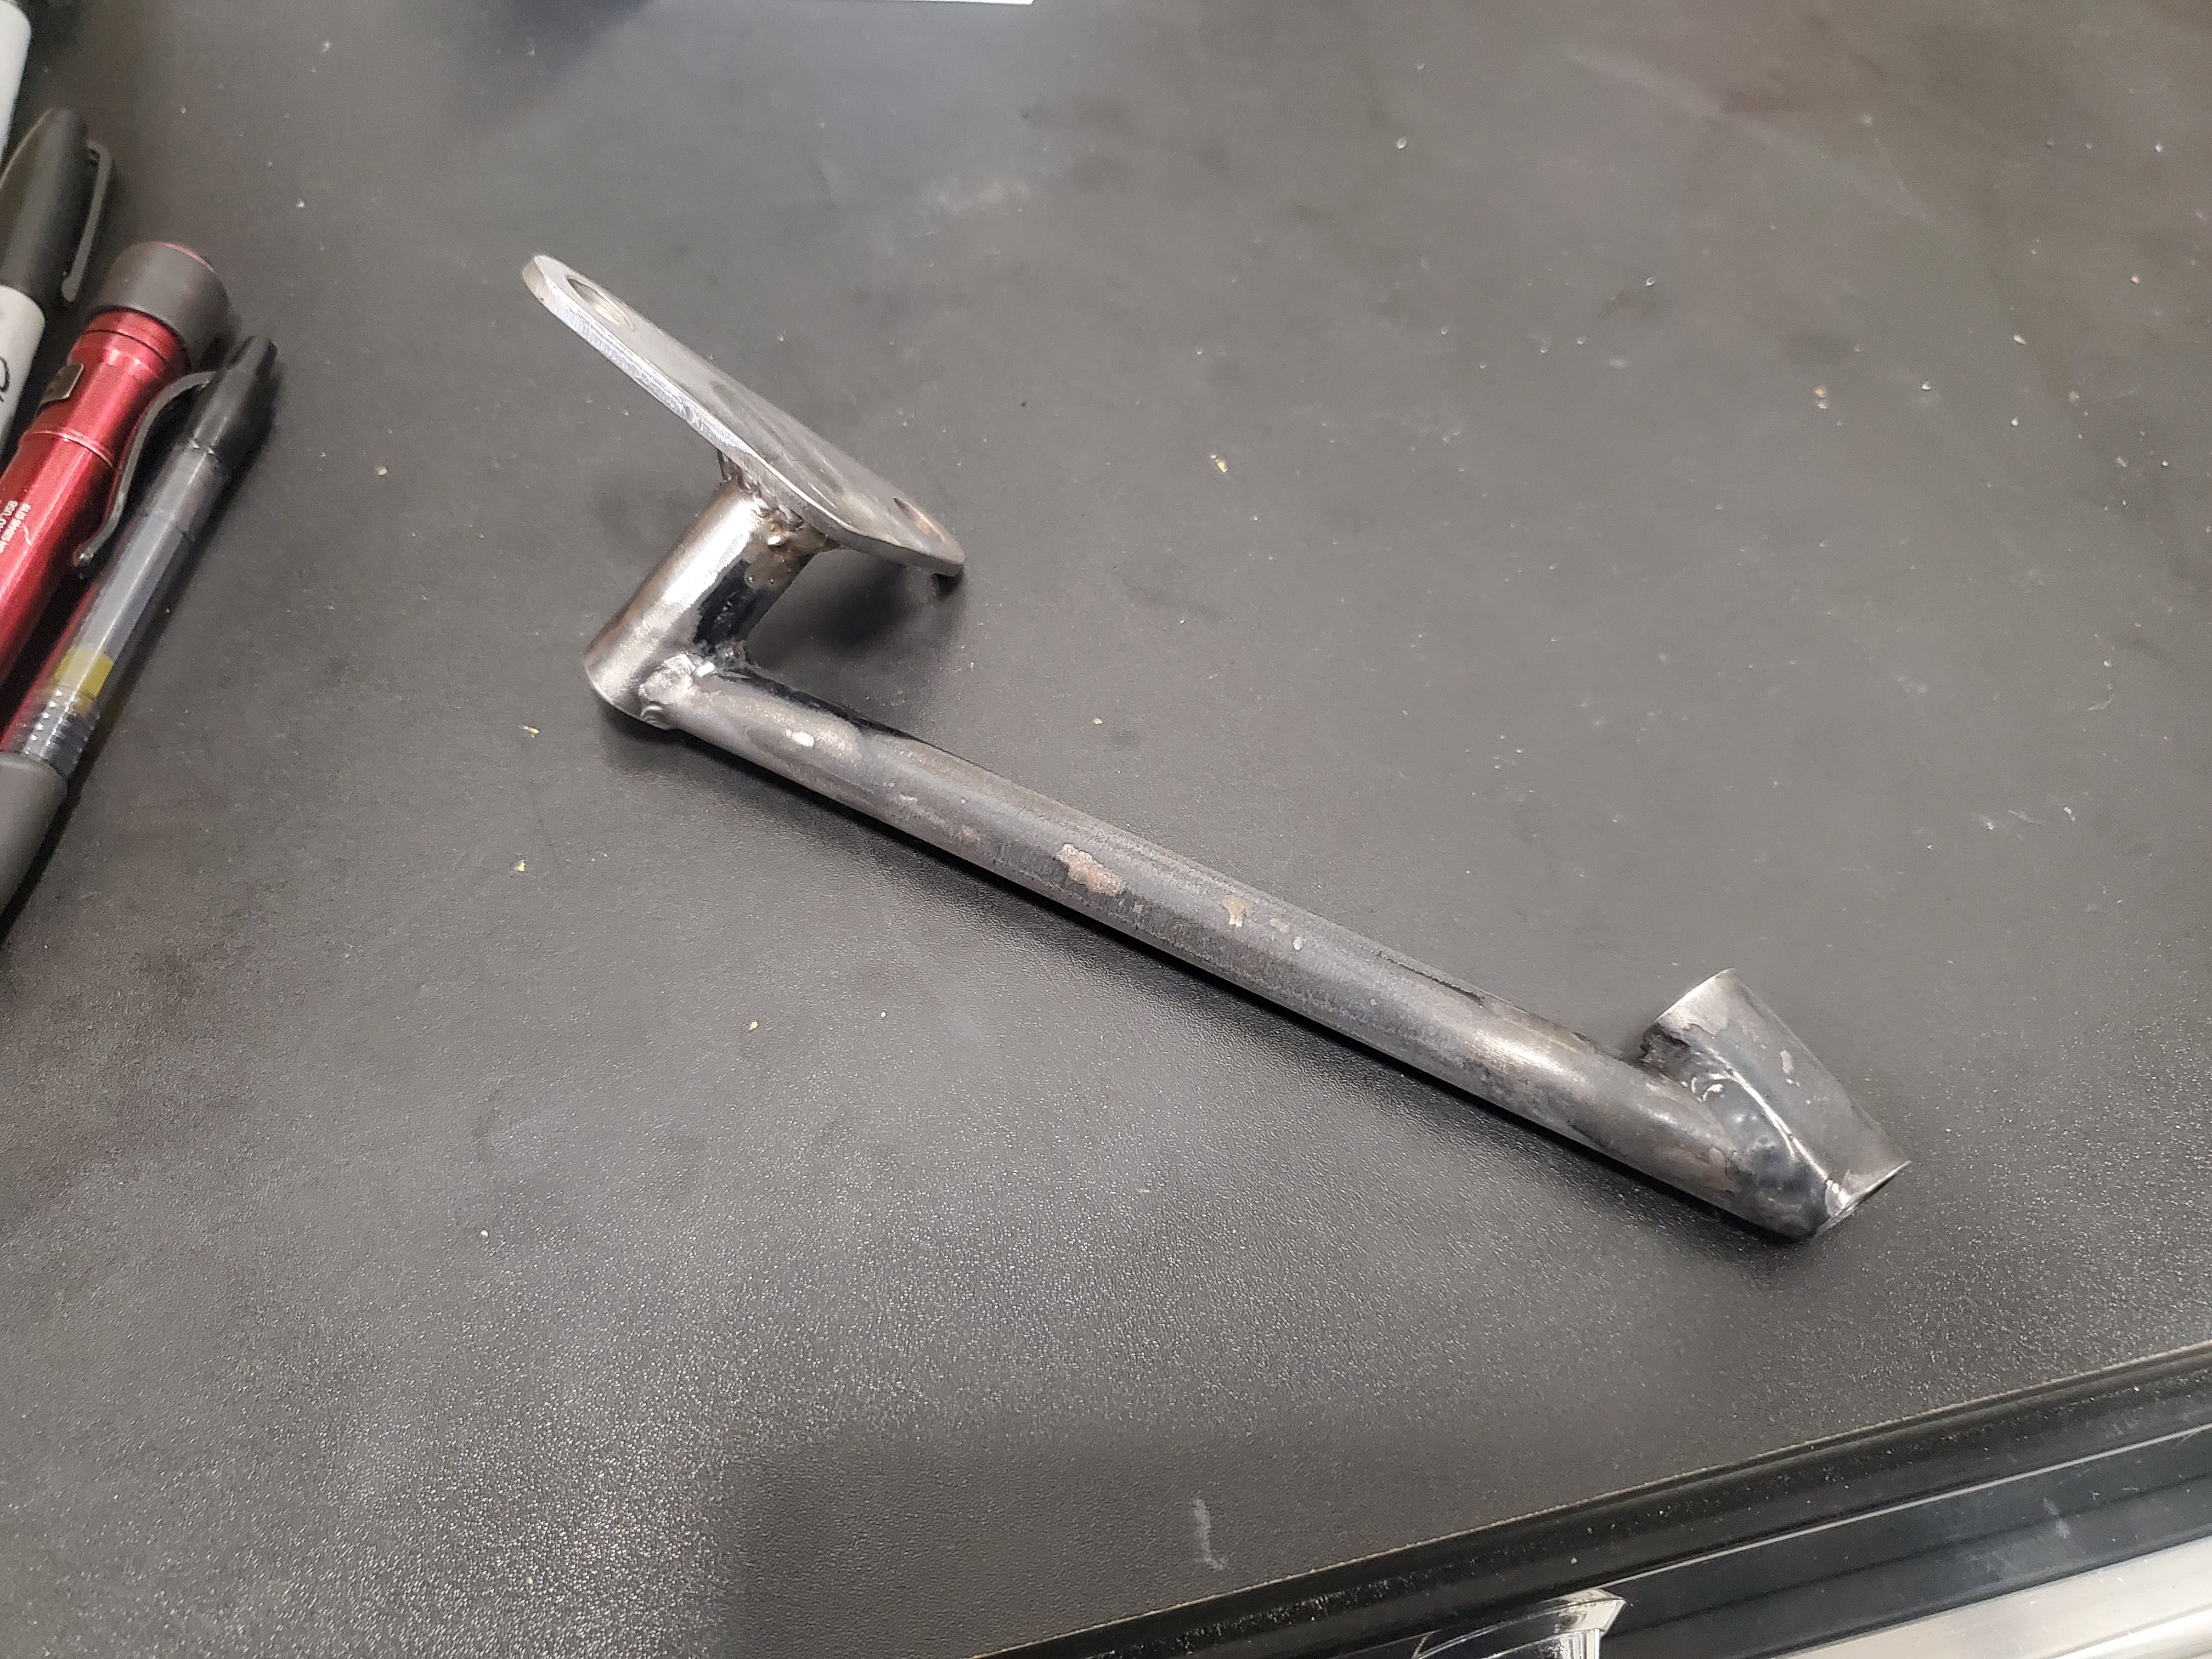
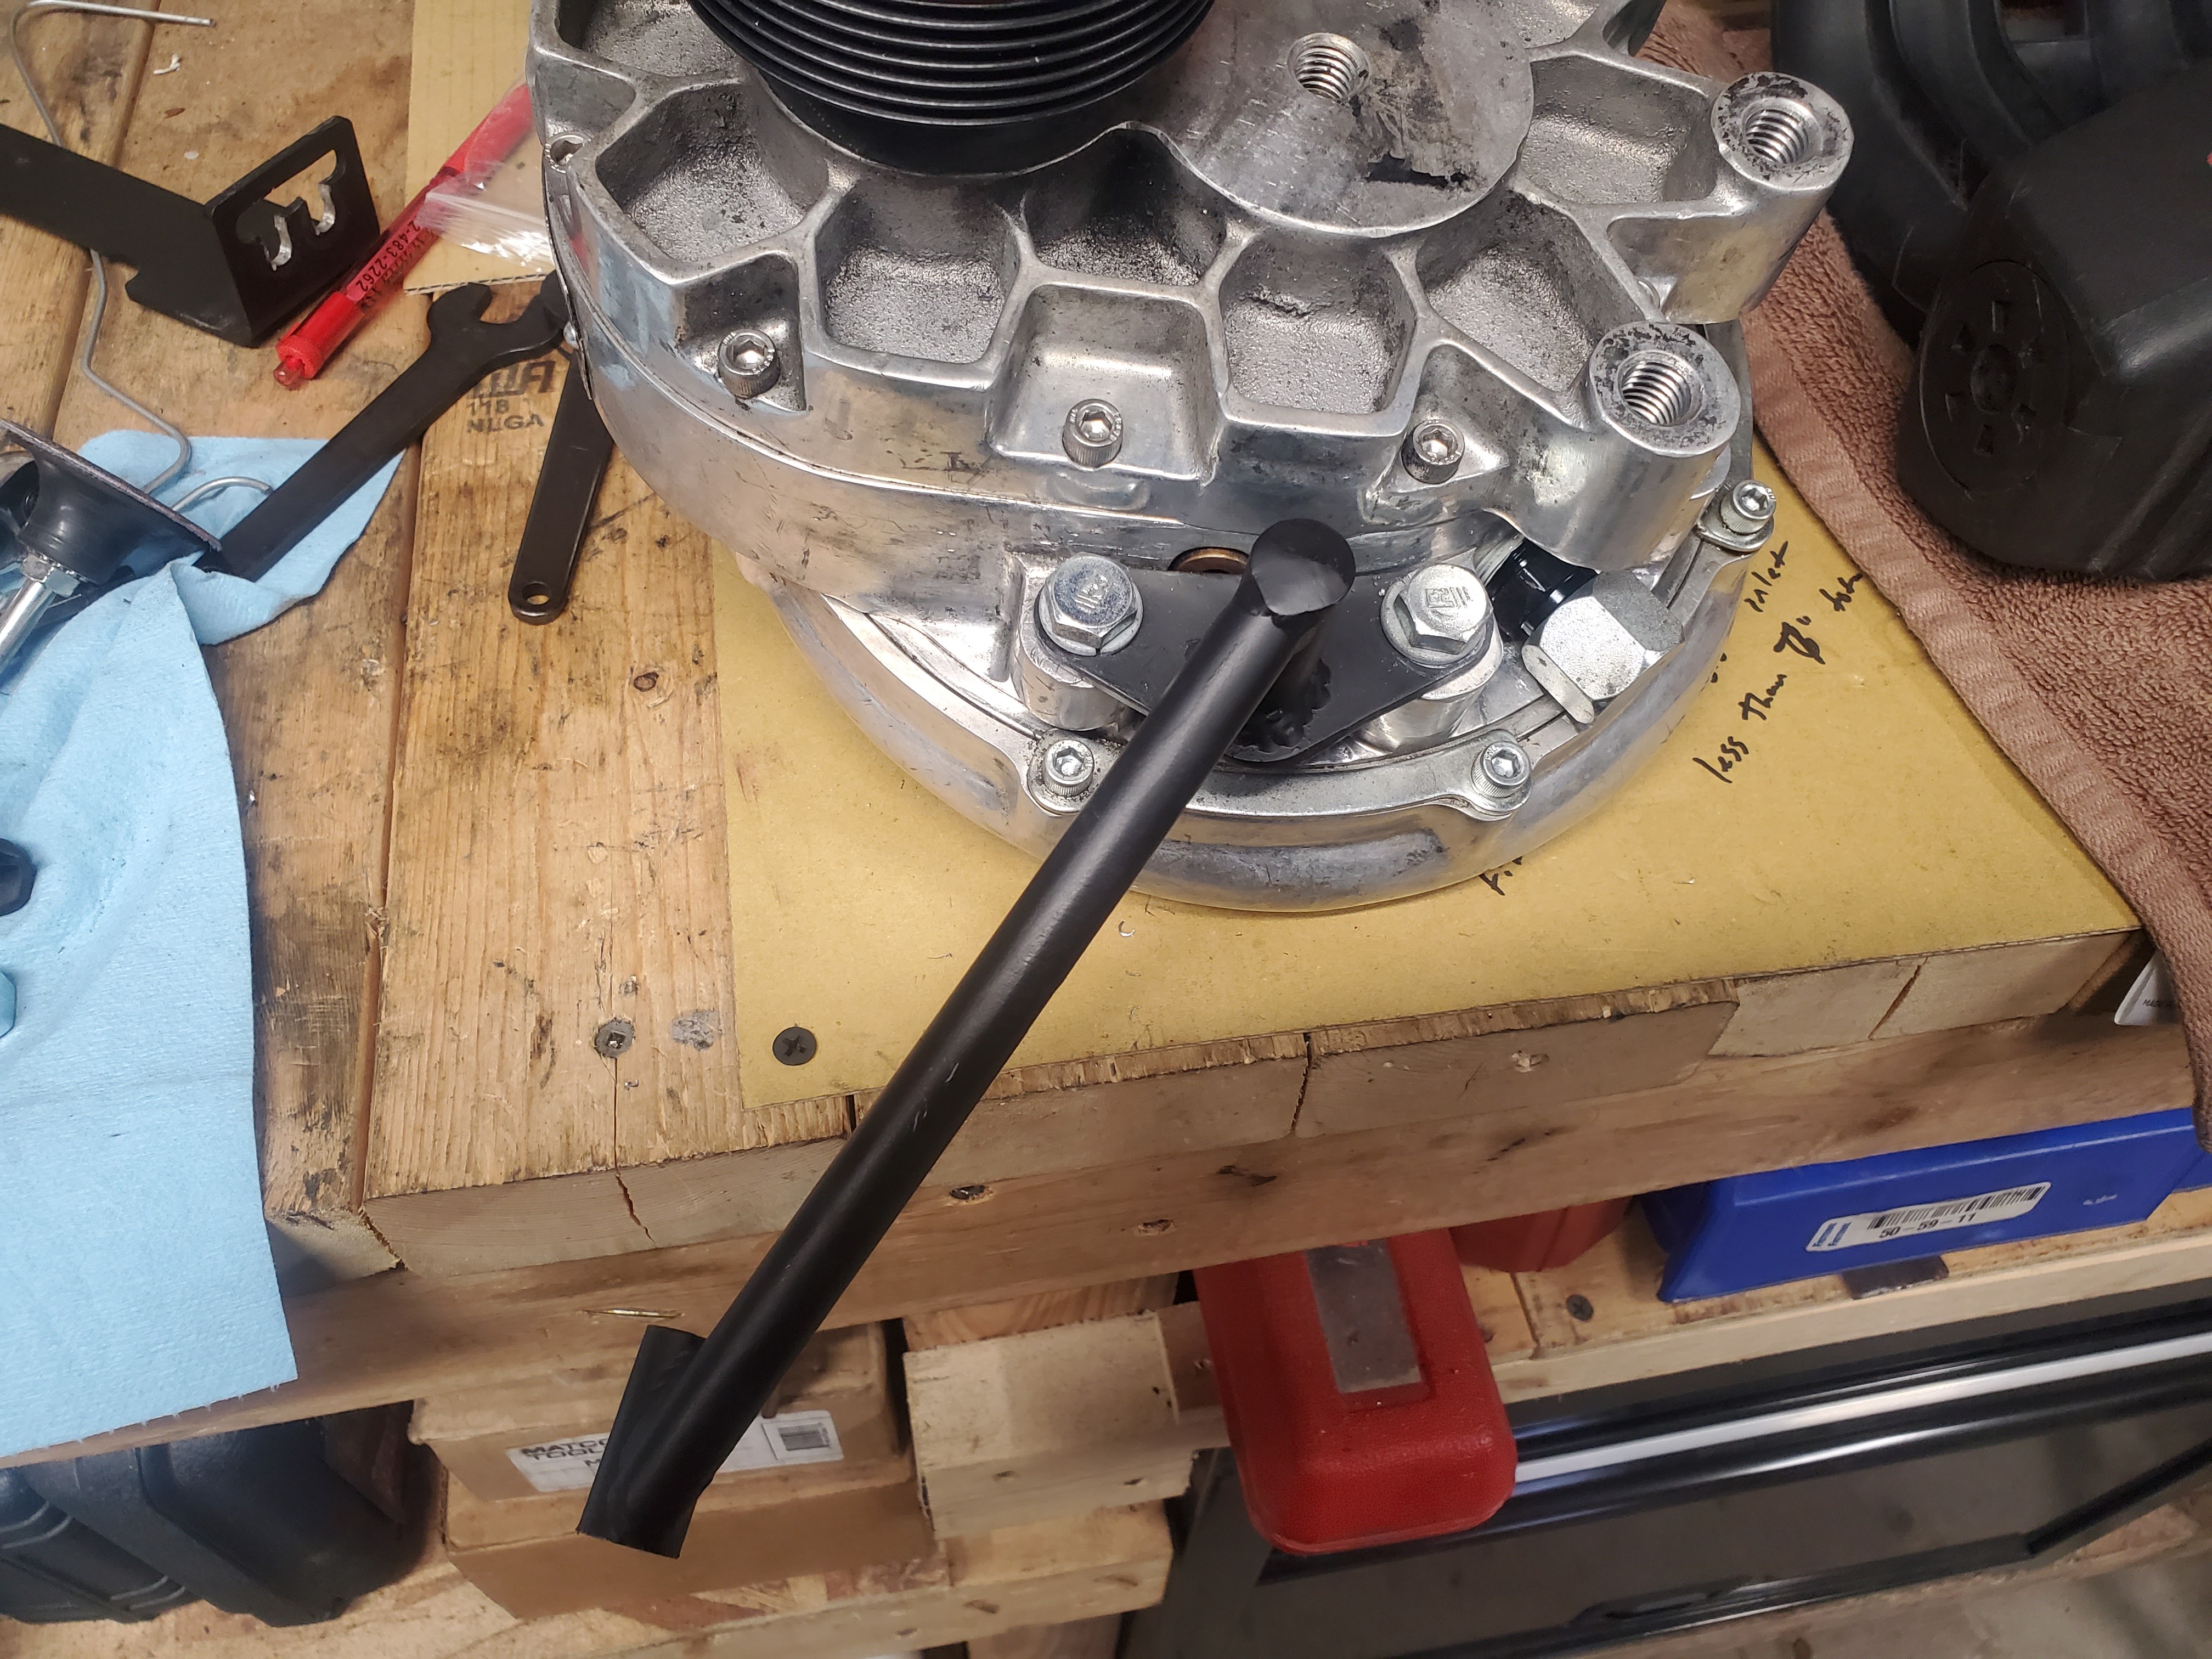
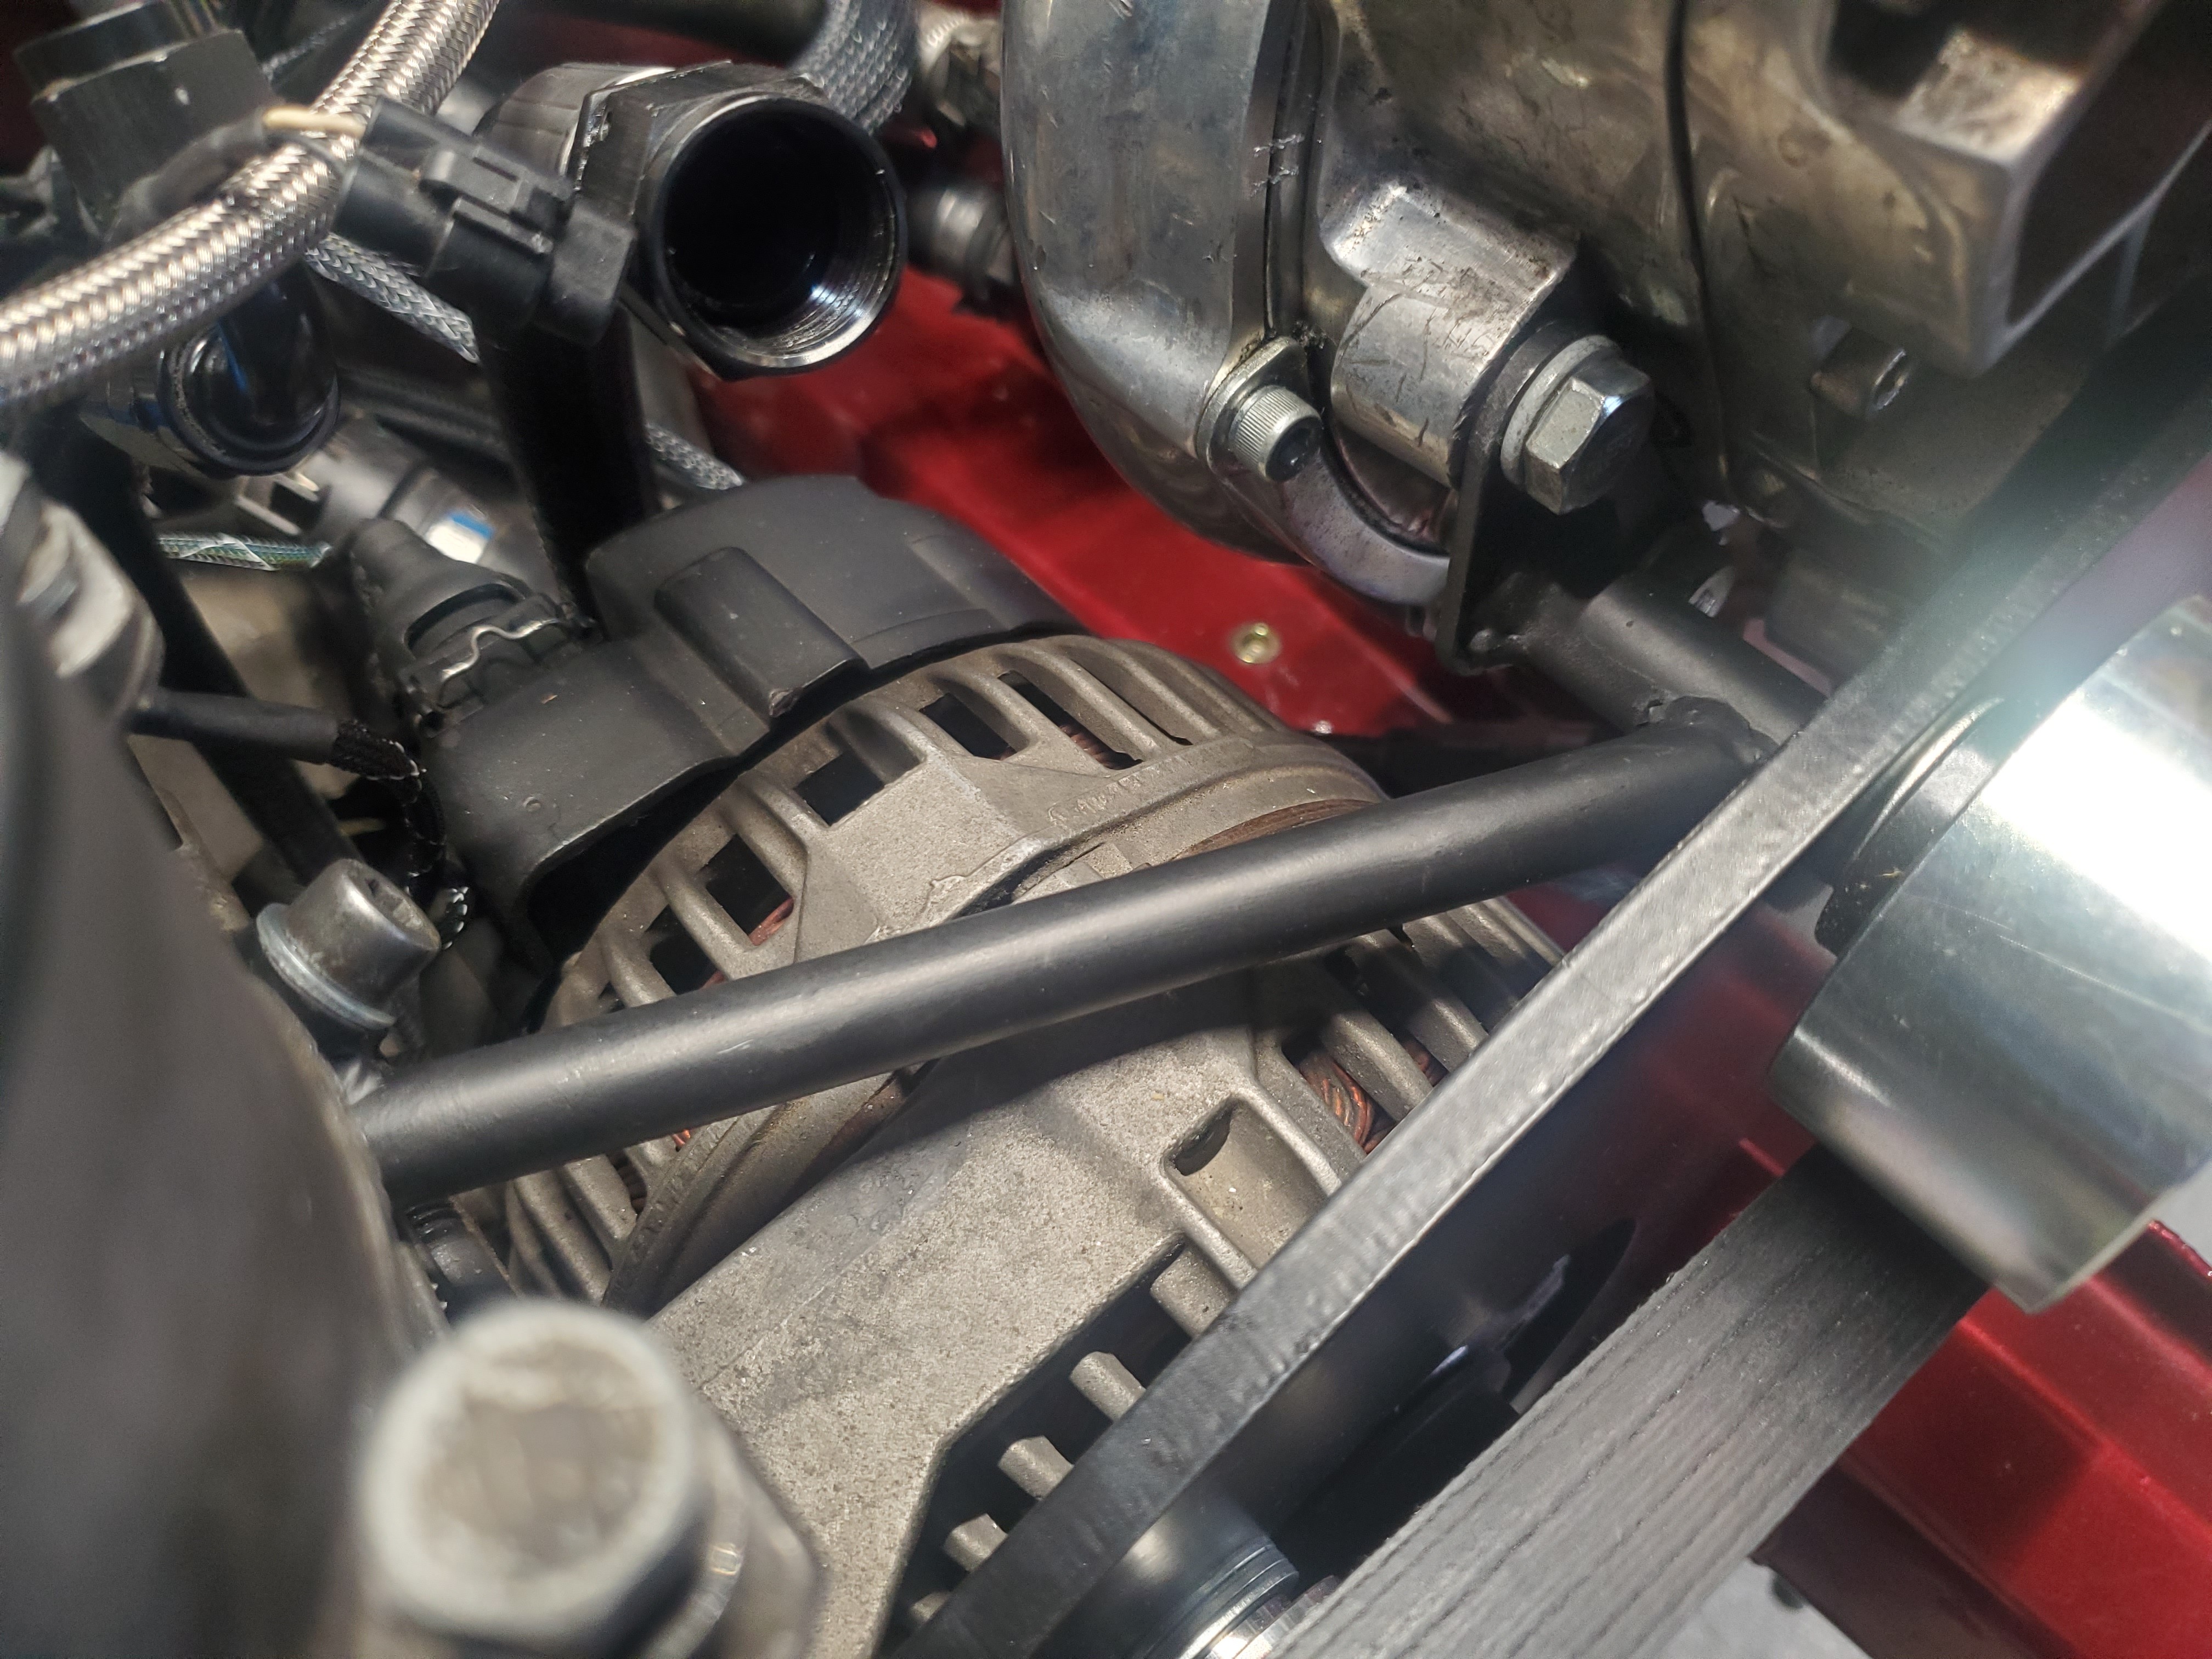
I then began the process of trying to figure out how to use the original VF mount that goes to the oil filter housing. Since the bracket I have rotates the charger a bit compared to the original bracket (that was lost in the mail), this is what I came up with.
I made a plate that mounts to 2 of the mounting holes on the bottom, and then figured out where the mount landed on that plate.
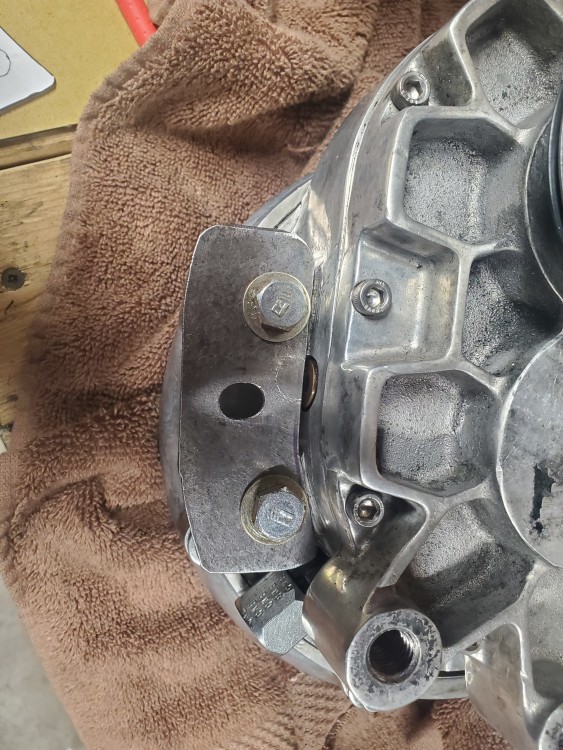
It started out as extremely crude, so just ignore the stud that I made in the mean time to land the bracket onto the plate.
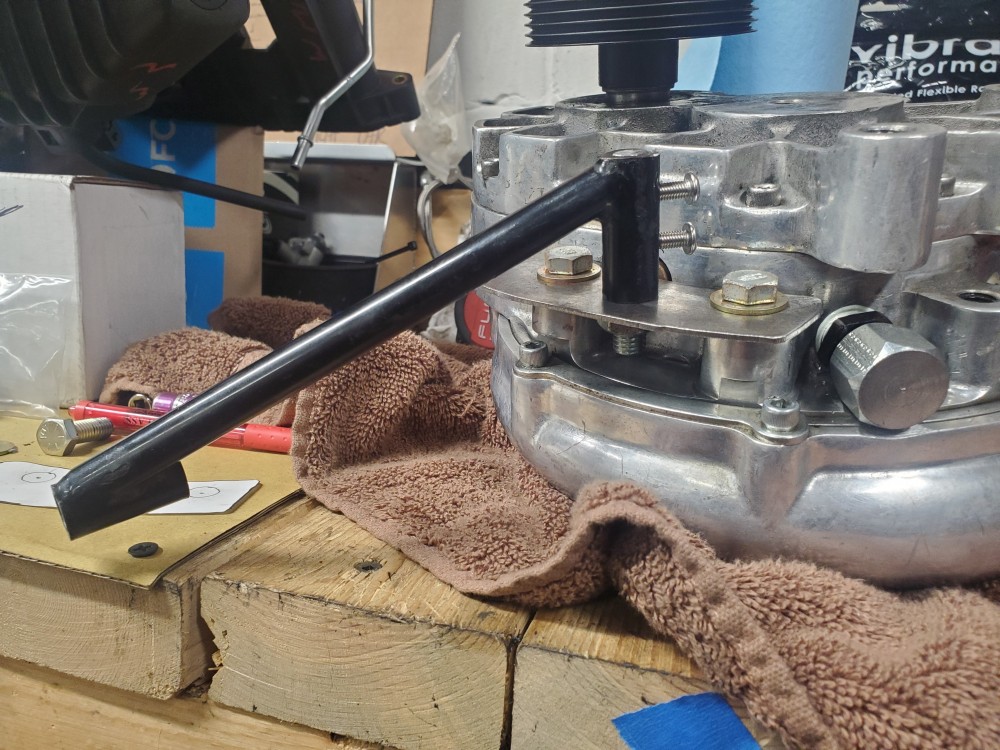
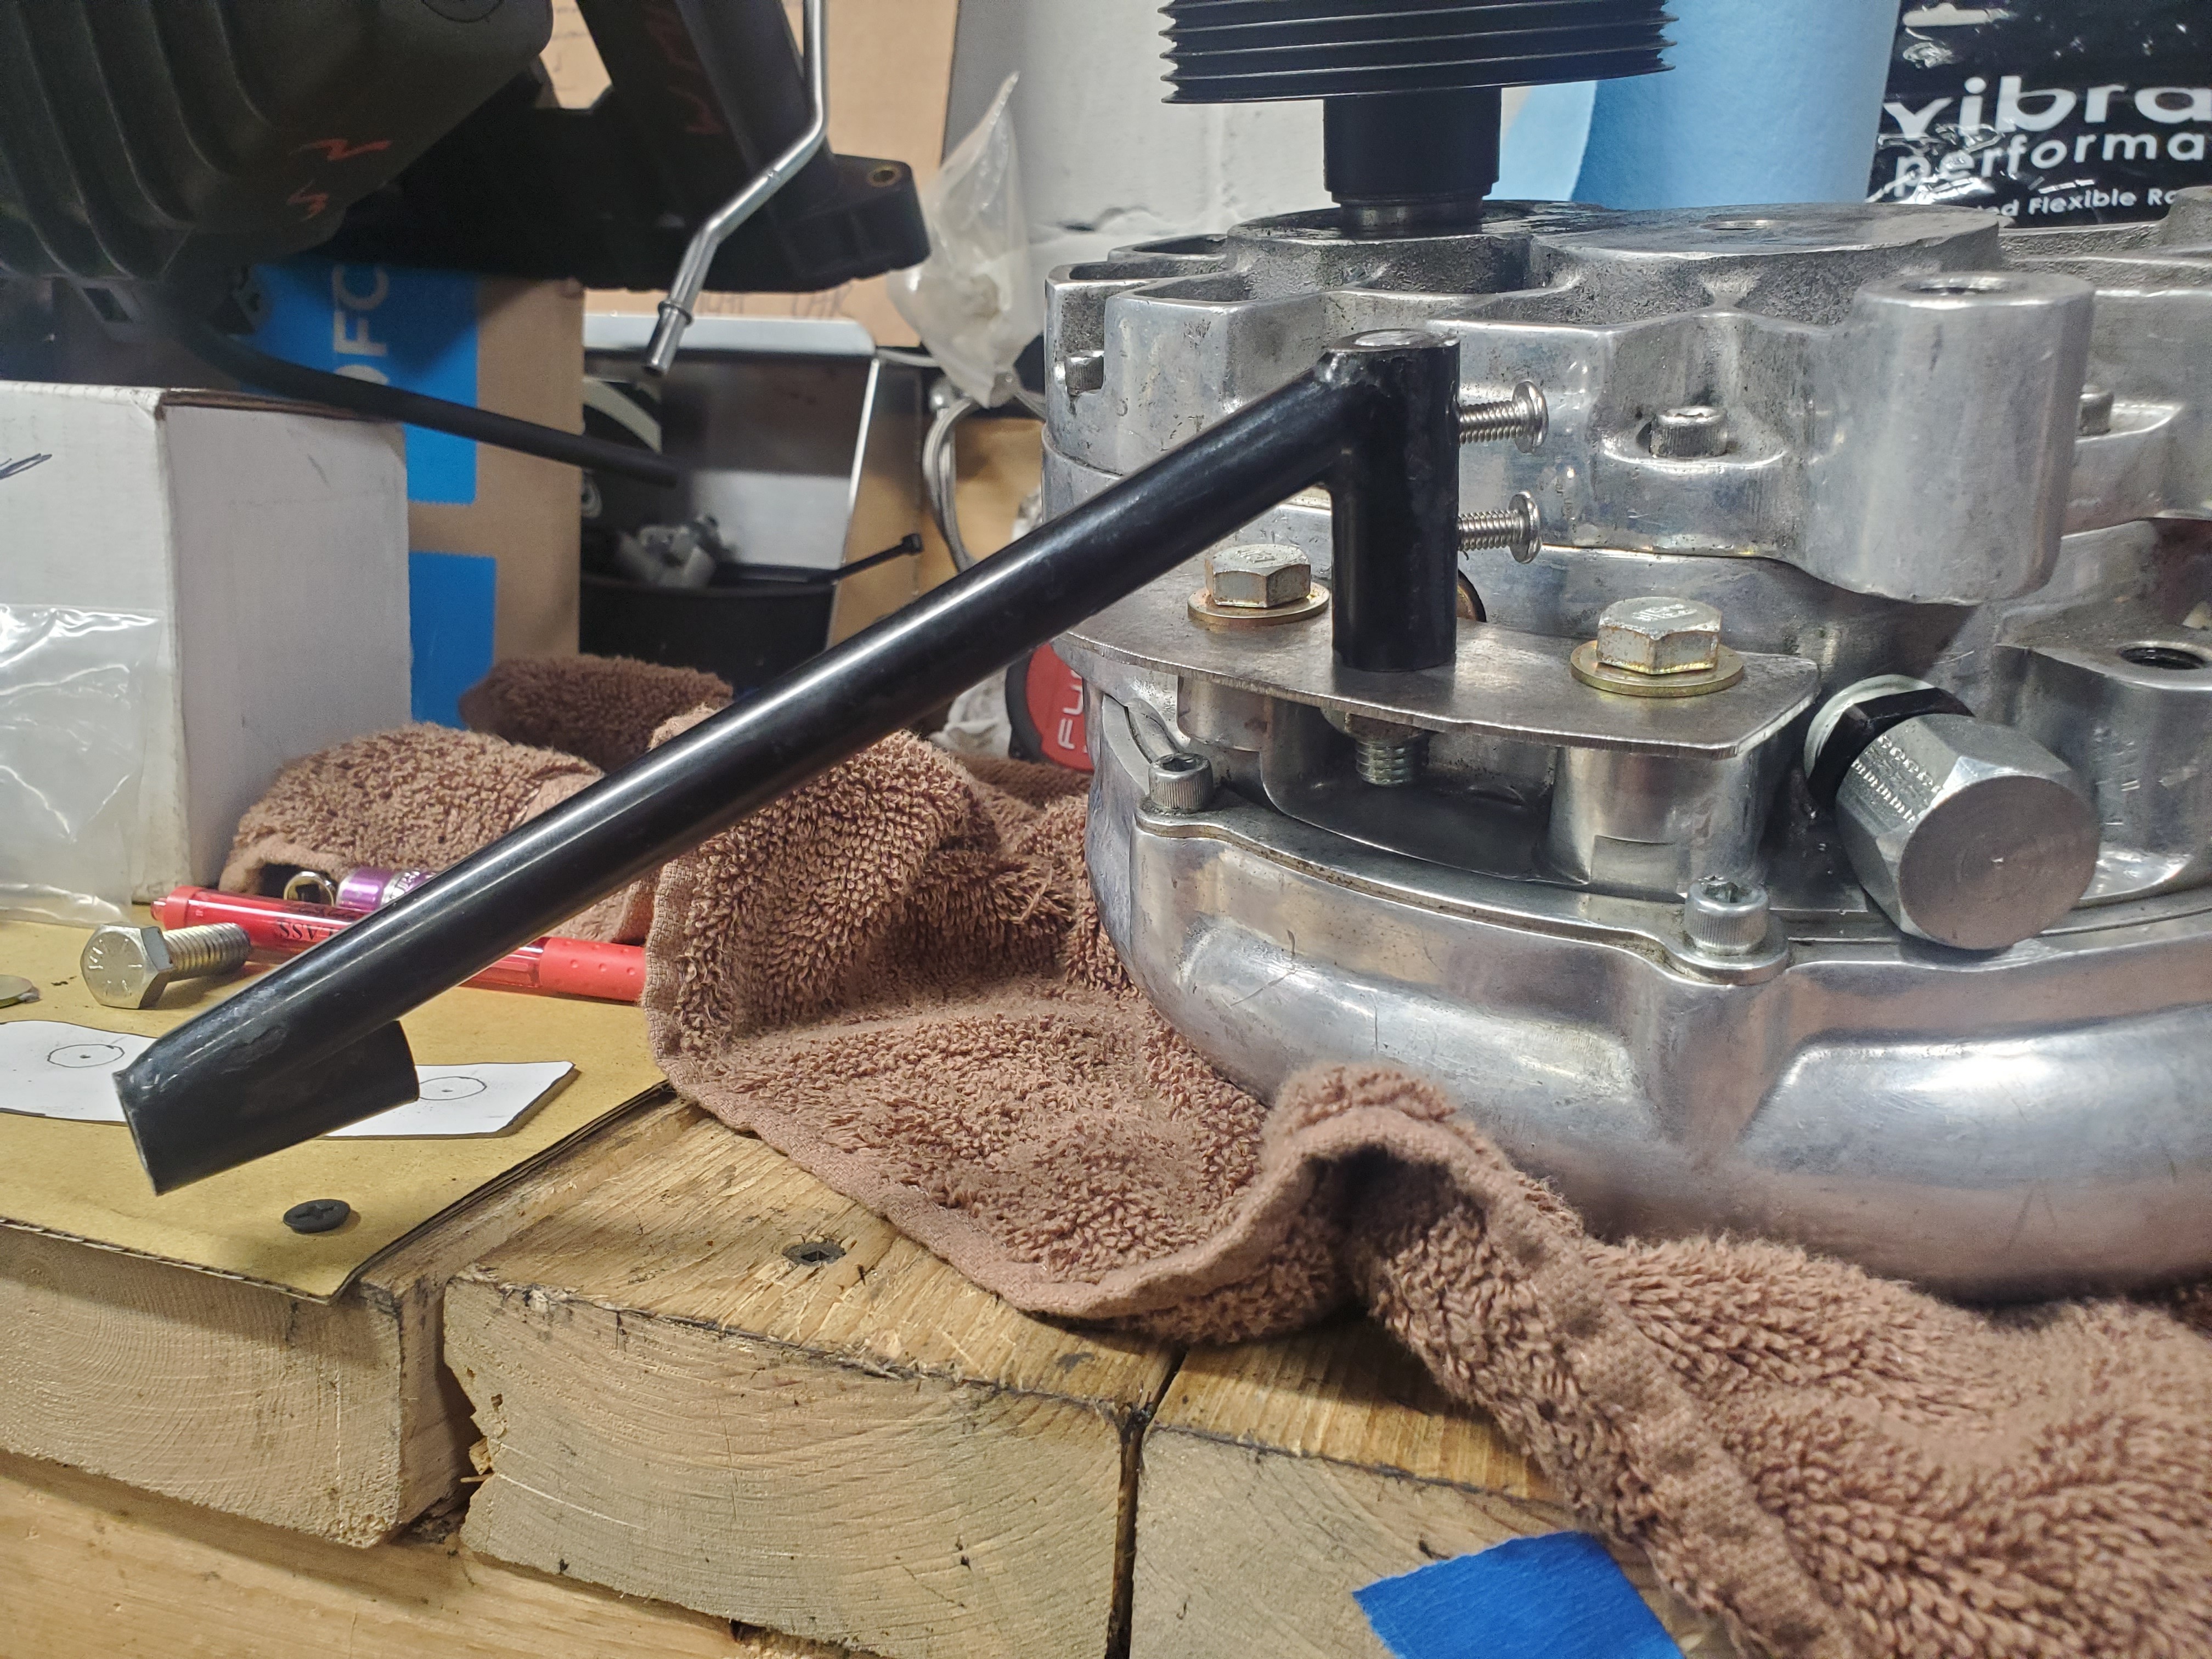
Then my dude Sam worked his magic and waaaala, we have a much nicer bracket.
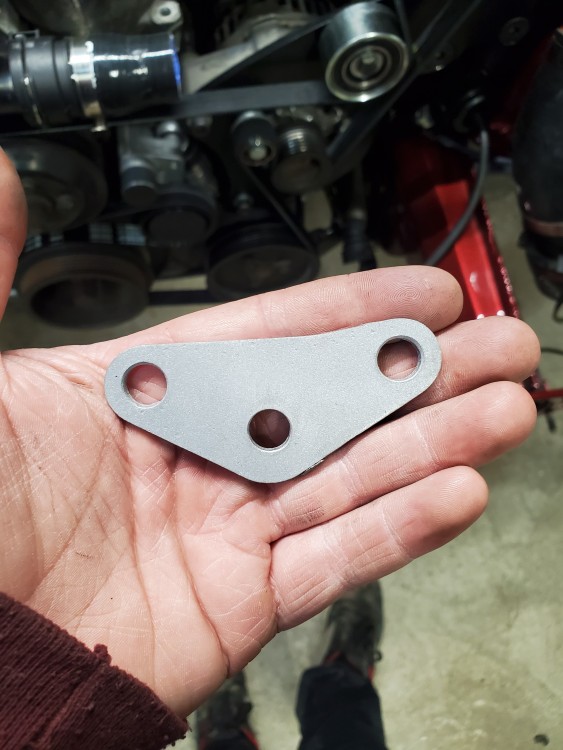
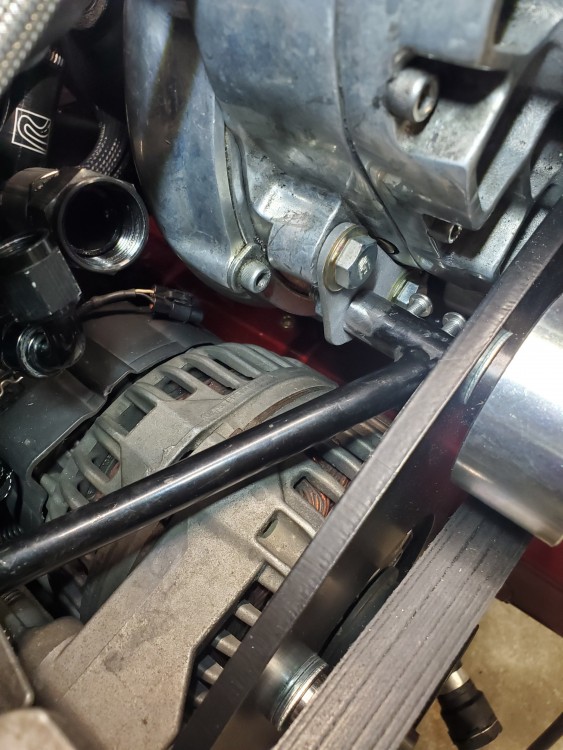
Then I test fitted it and I plan to weld the rod to the charger plate and it should be a much more compact package. I had to do it this way because I dont currently have a welder.
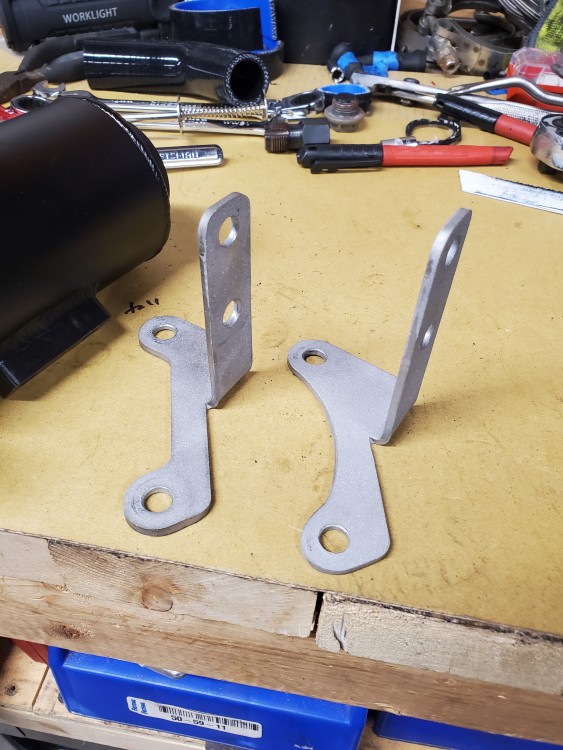
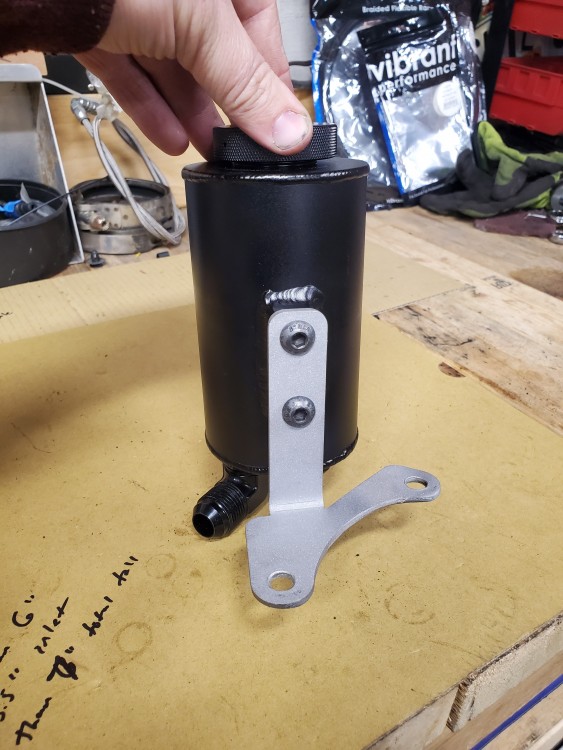
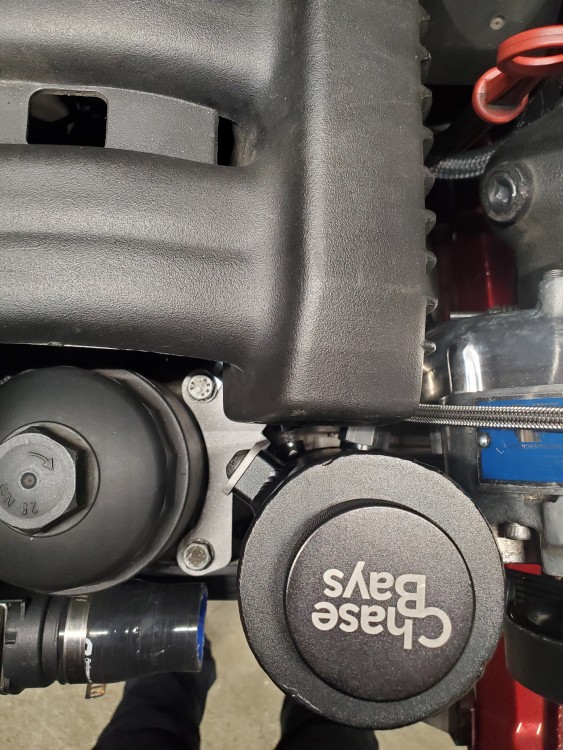
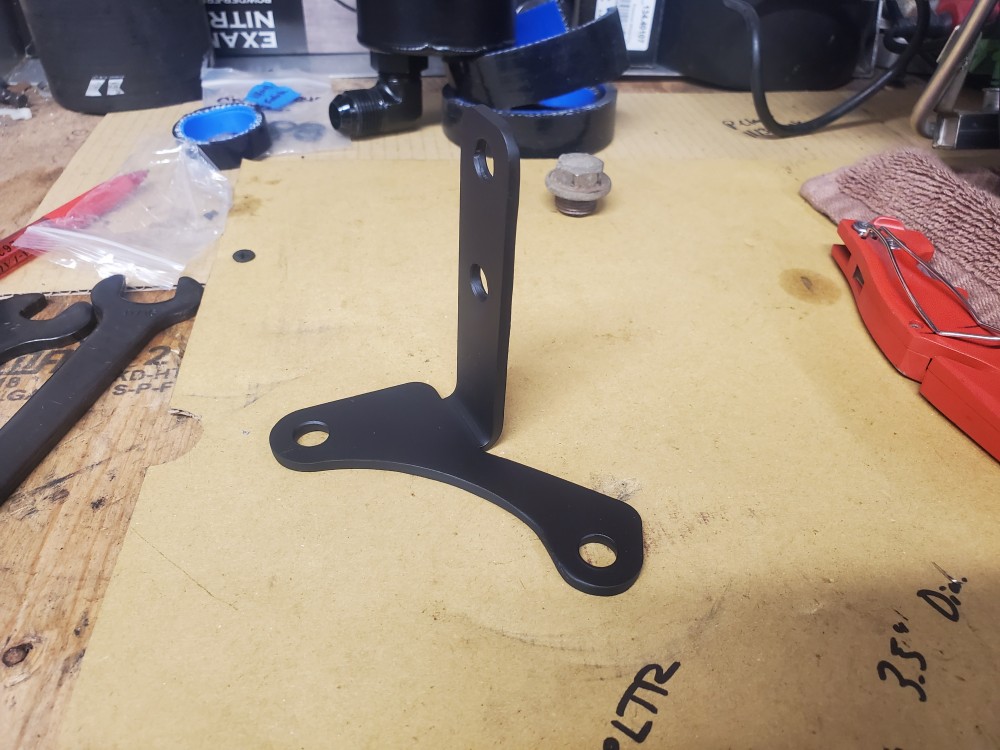
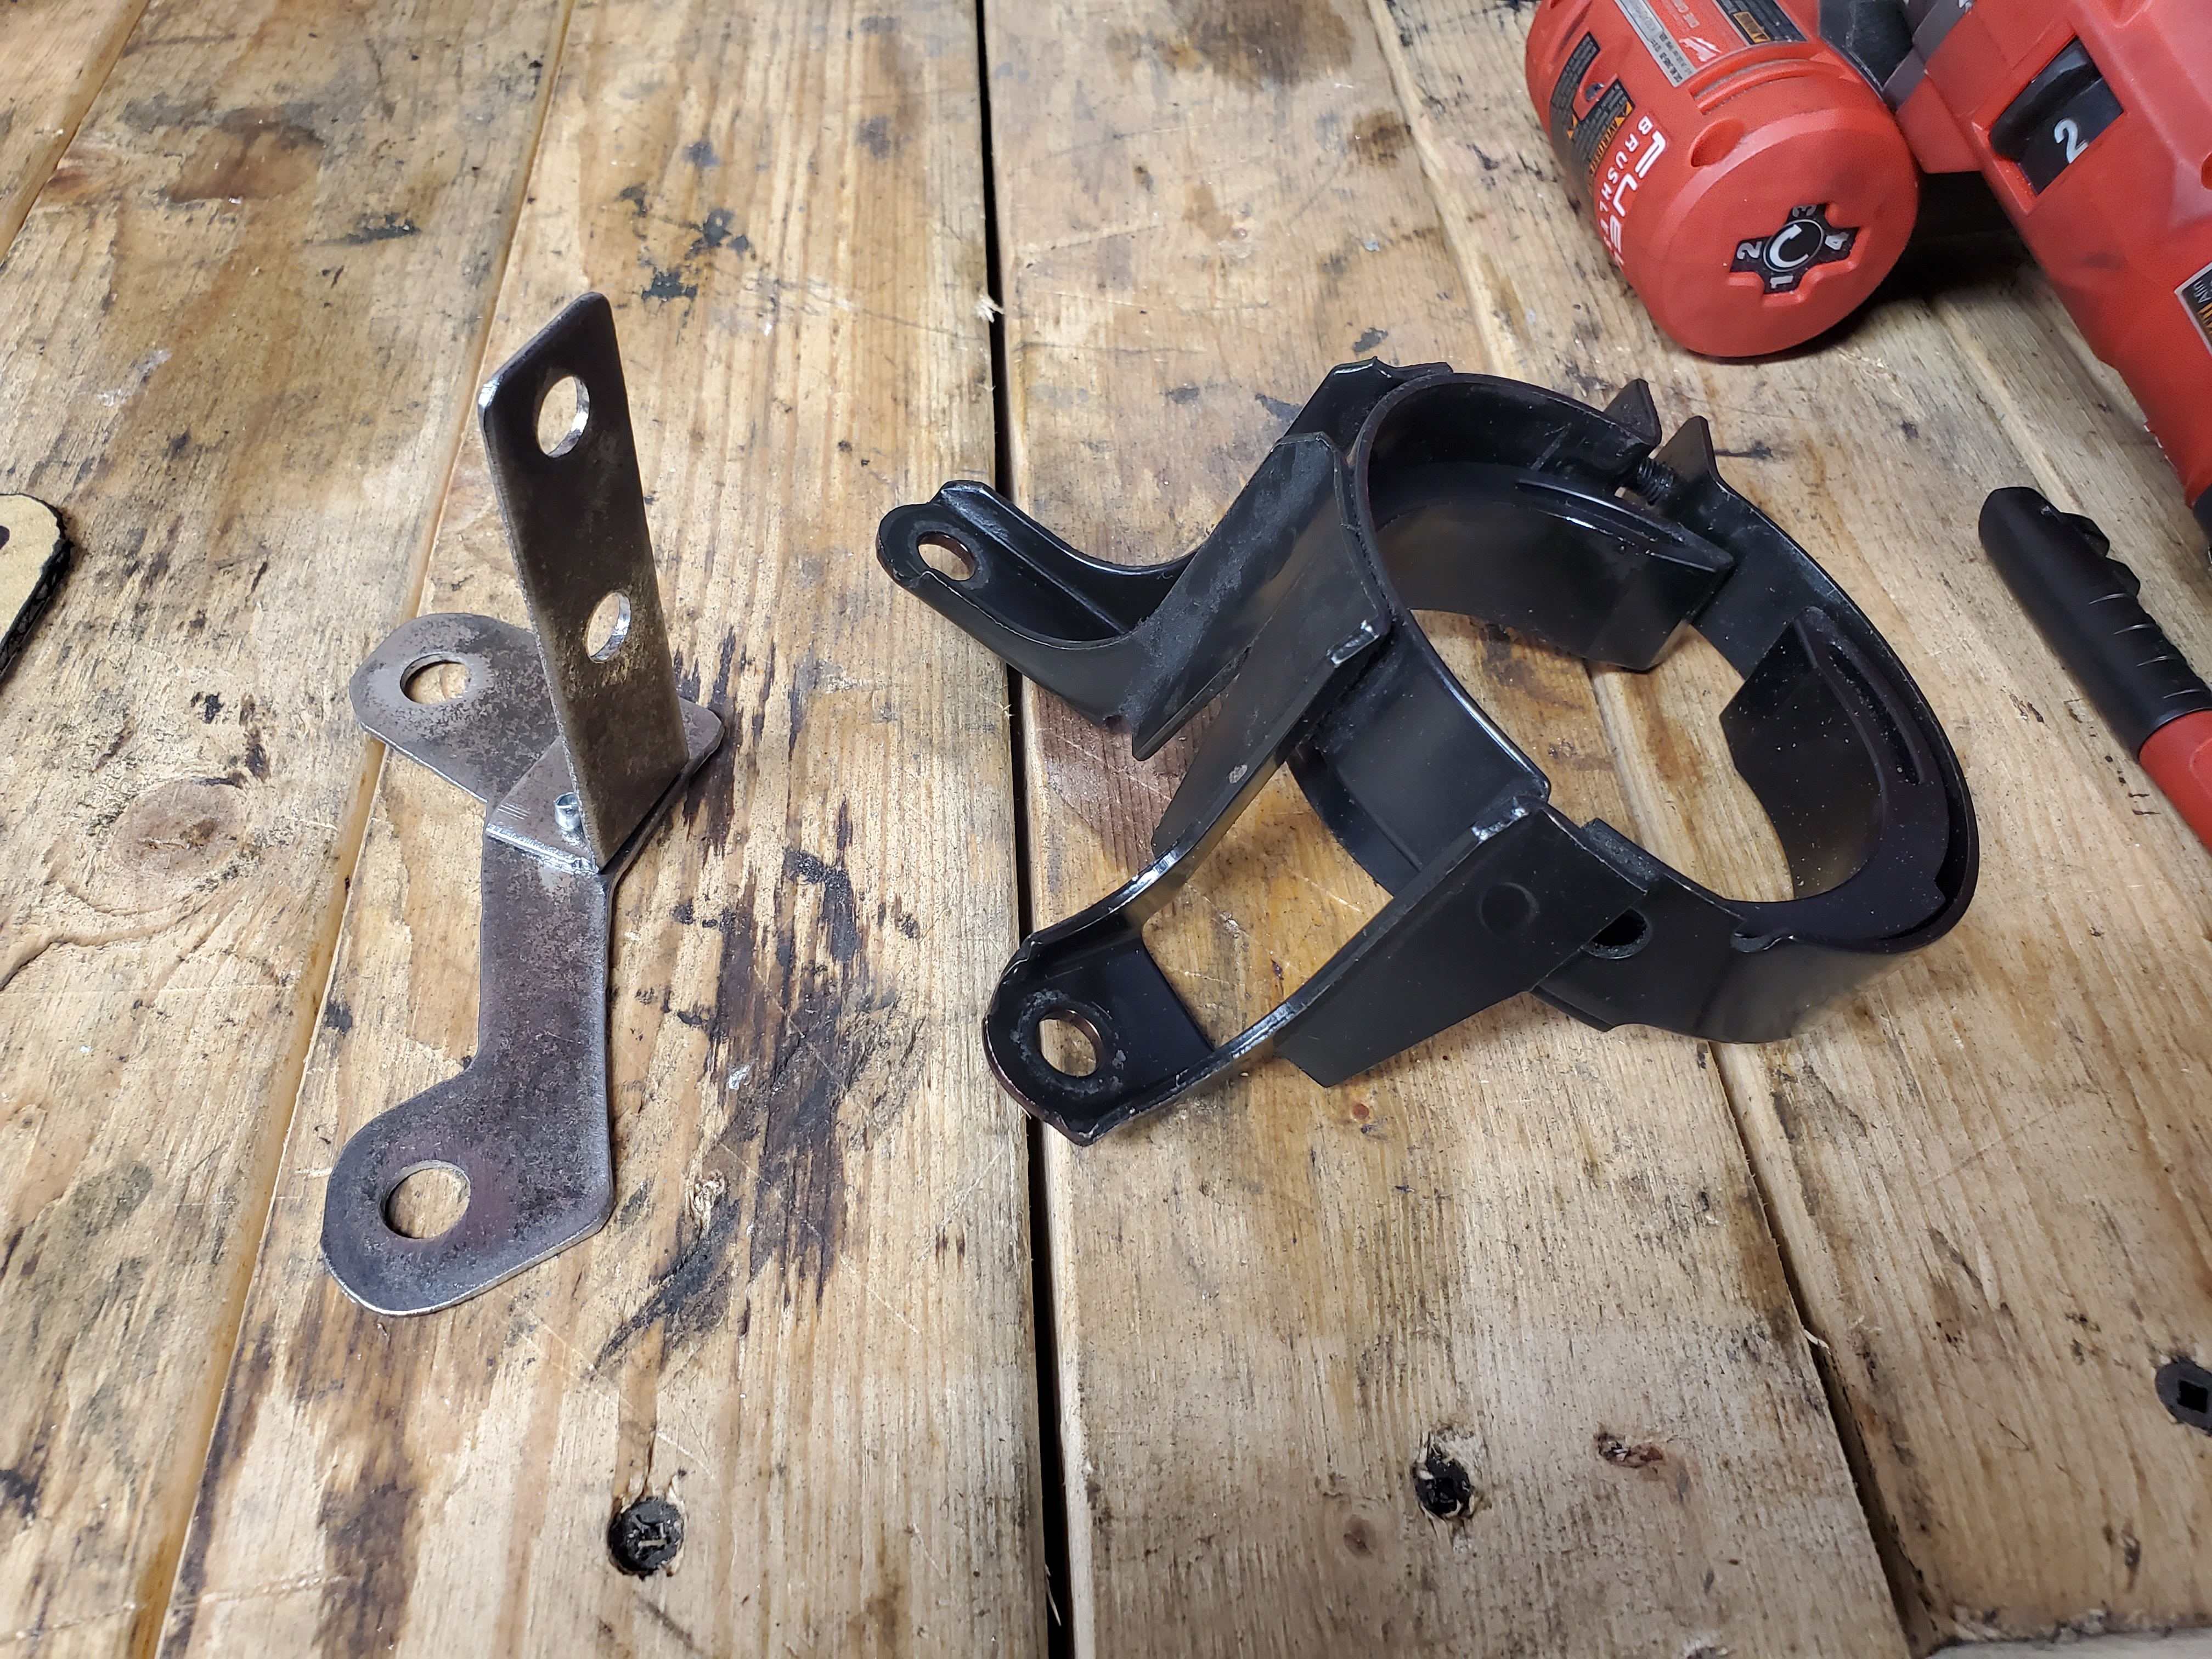
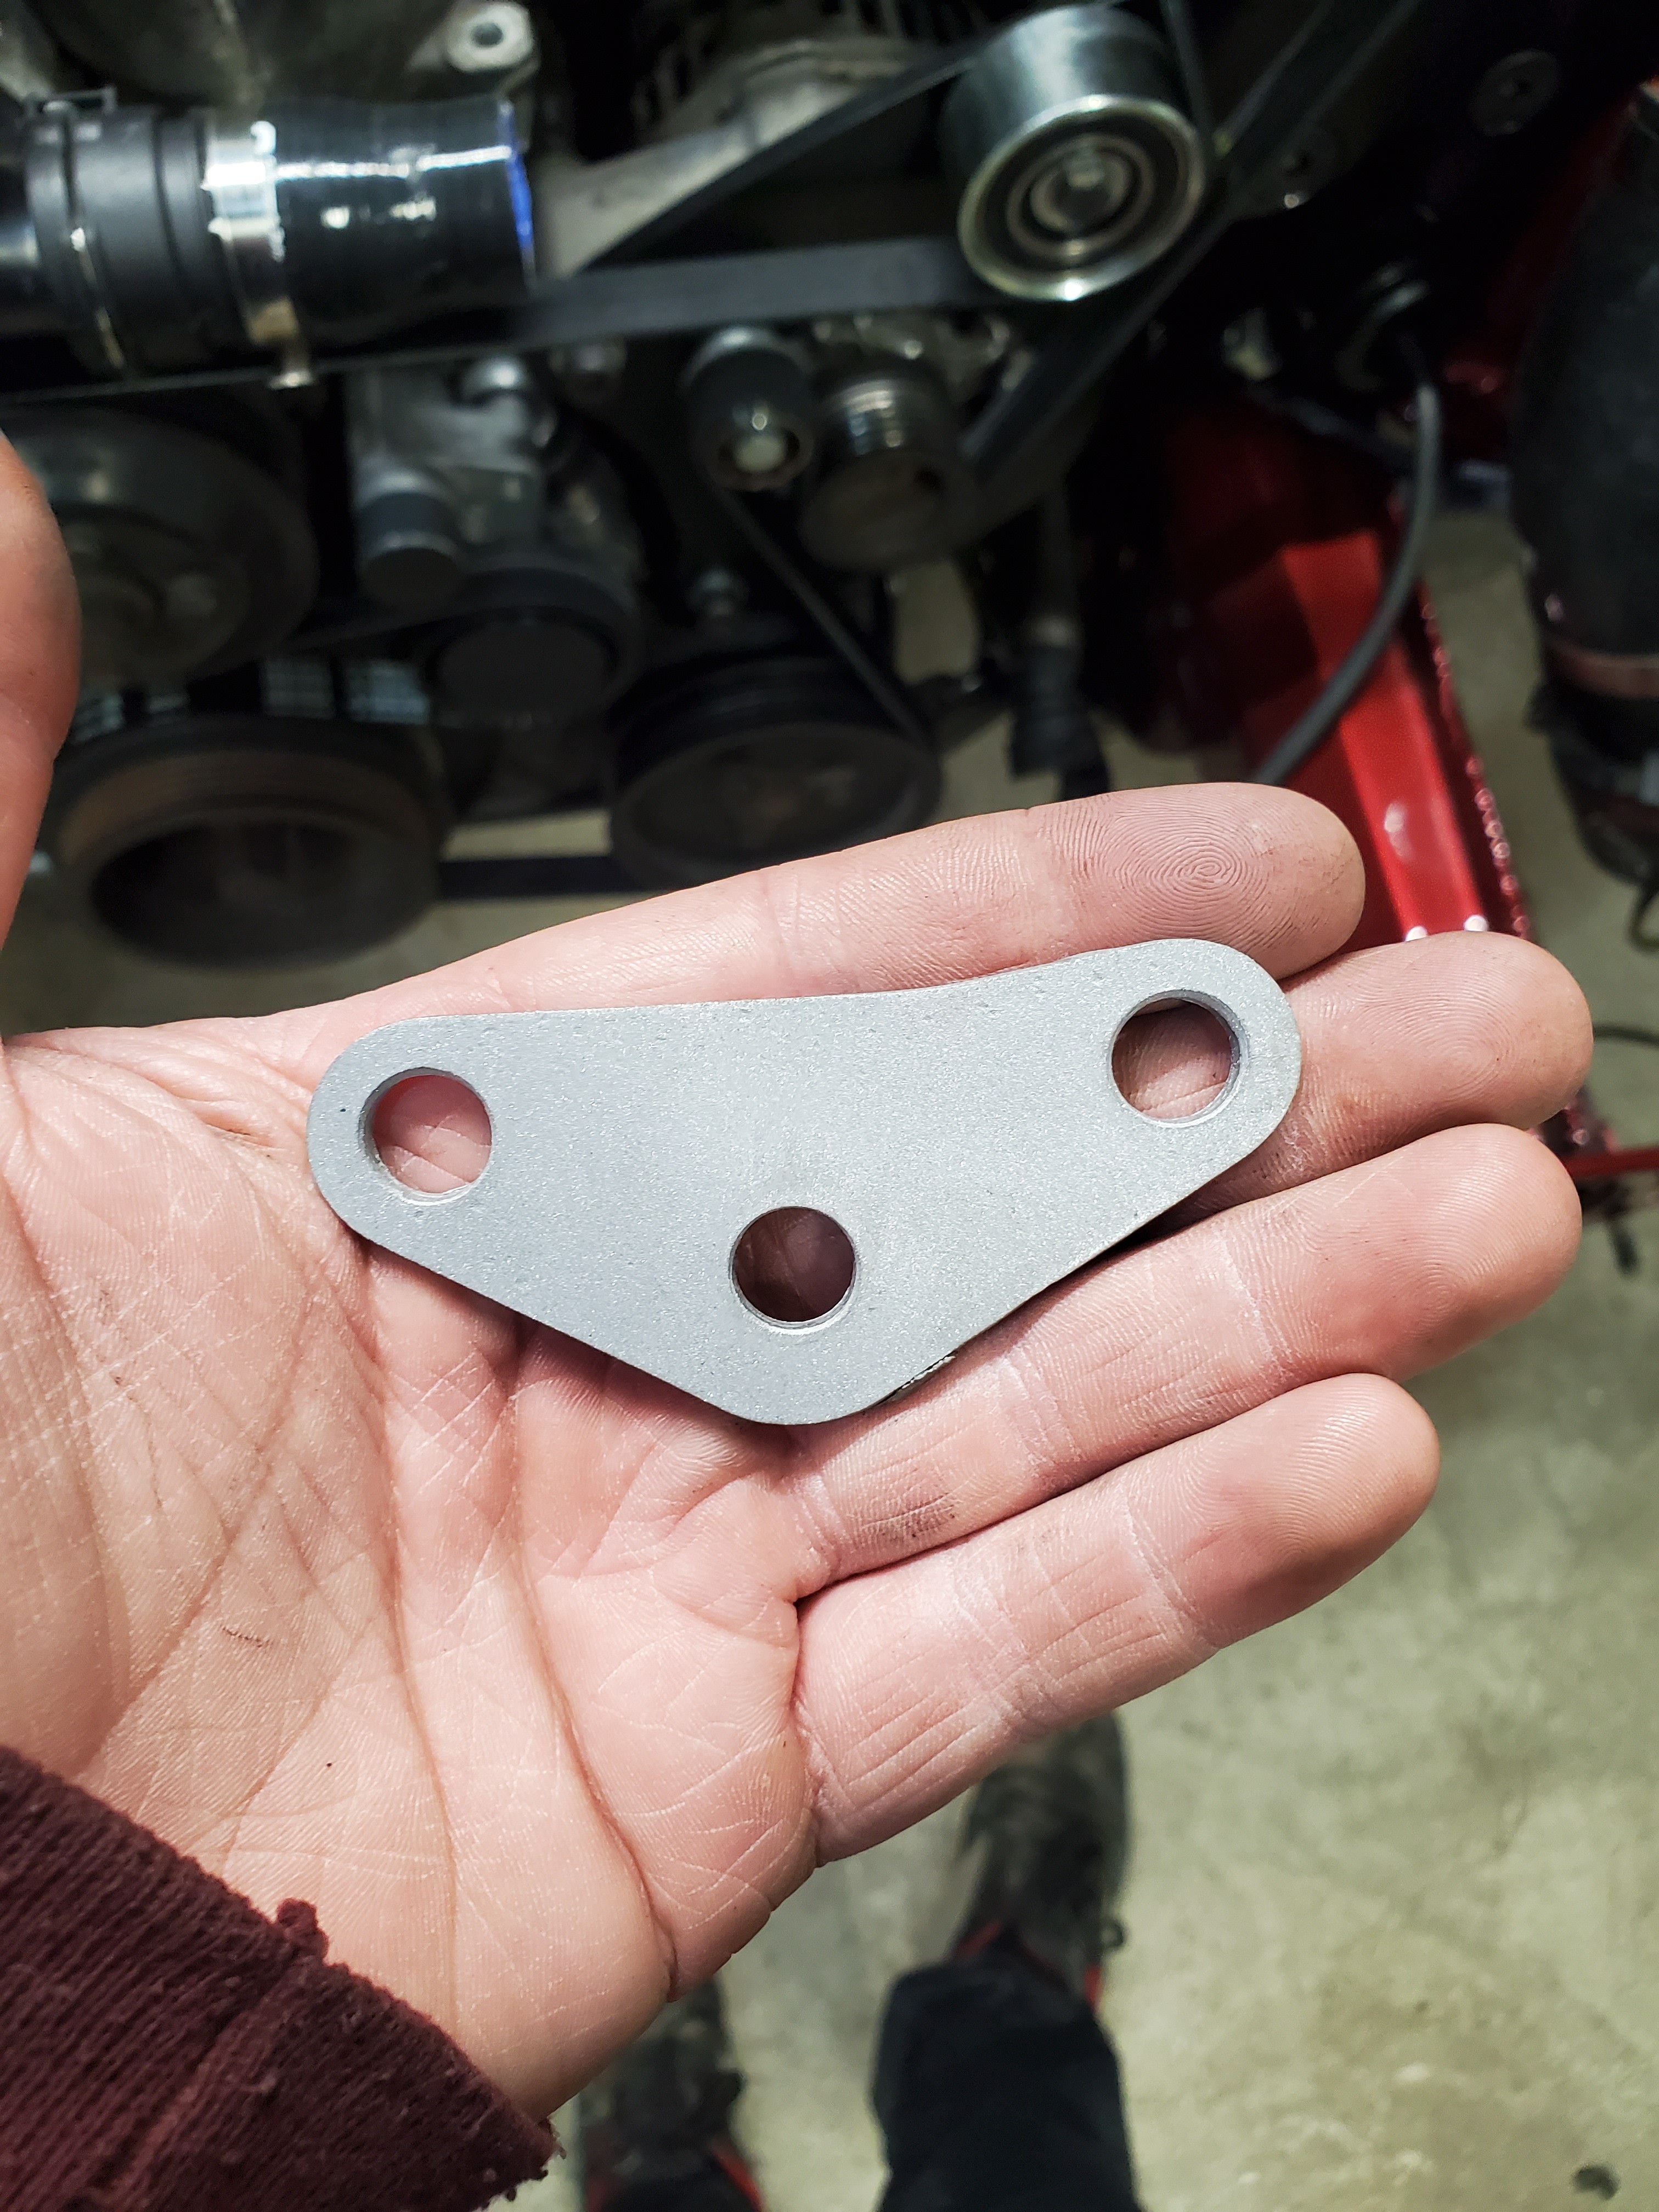
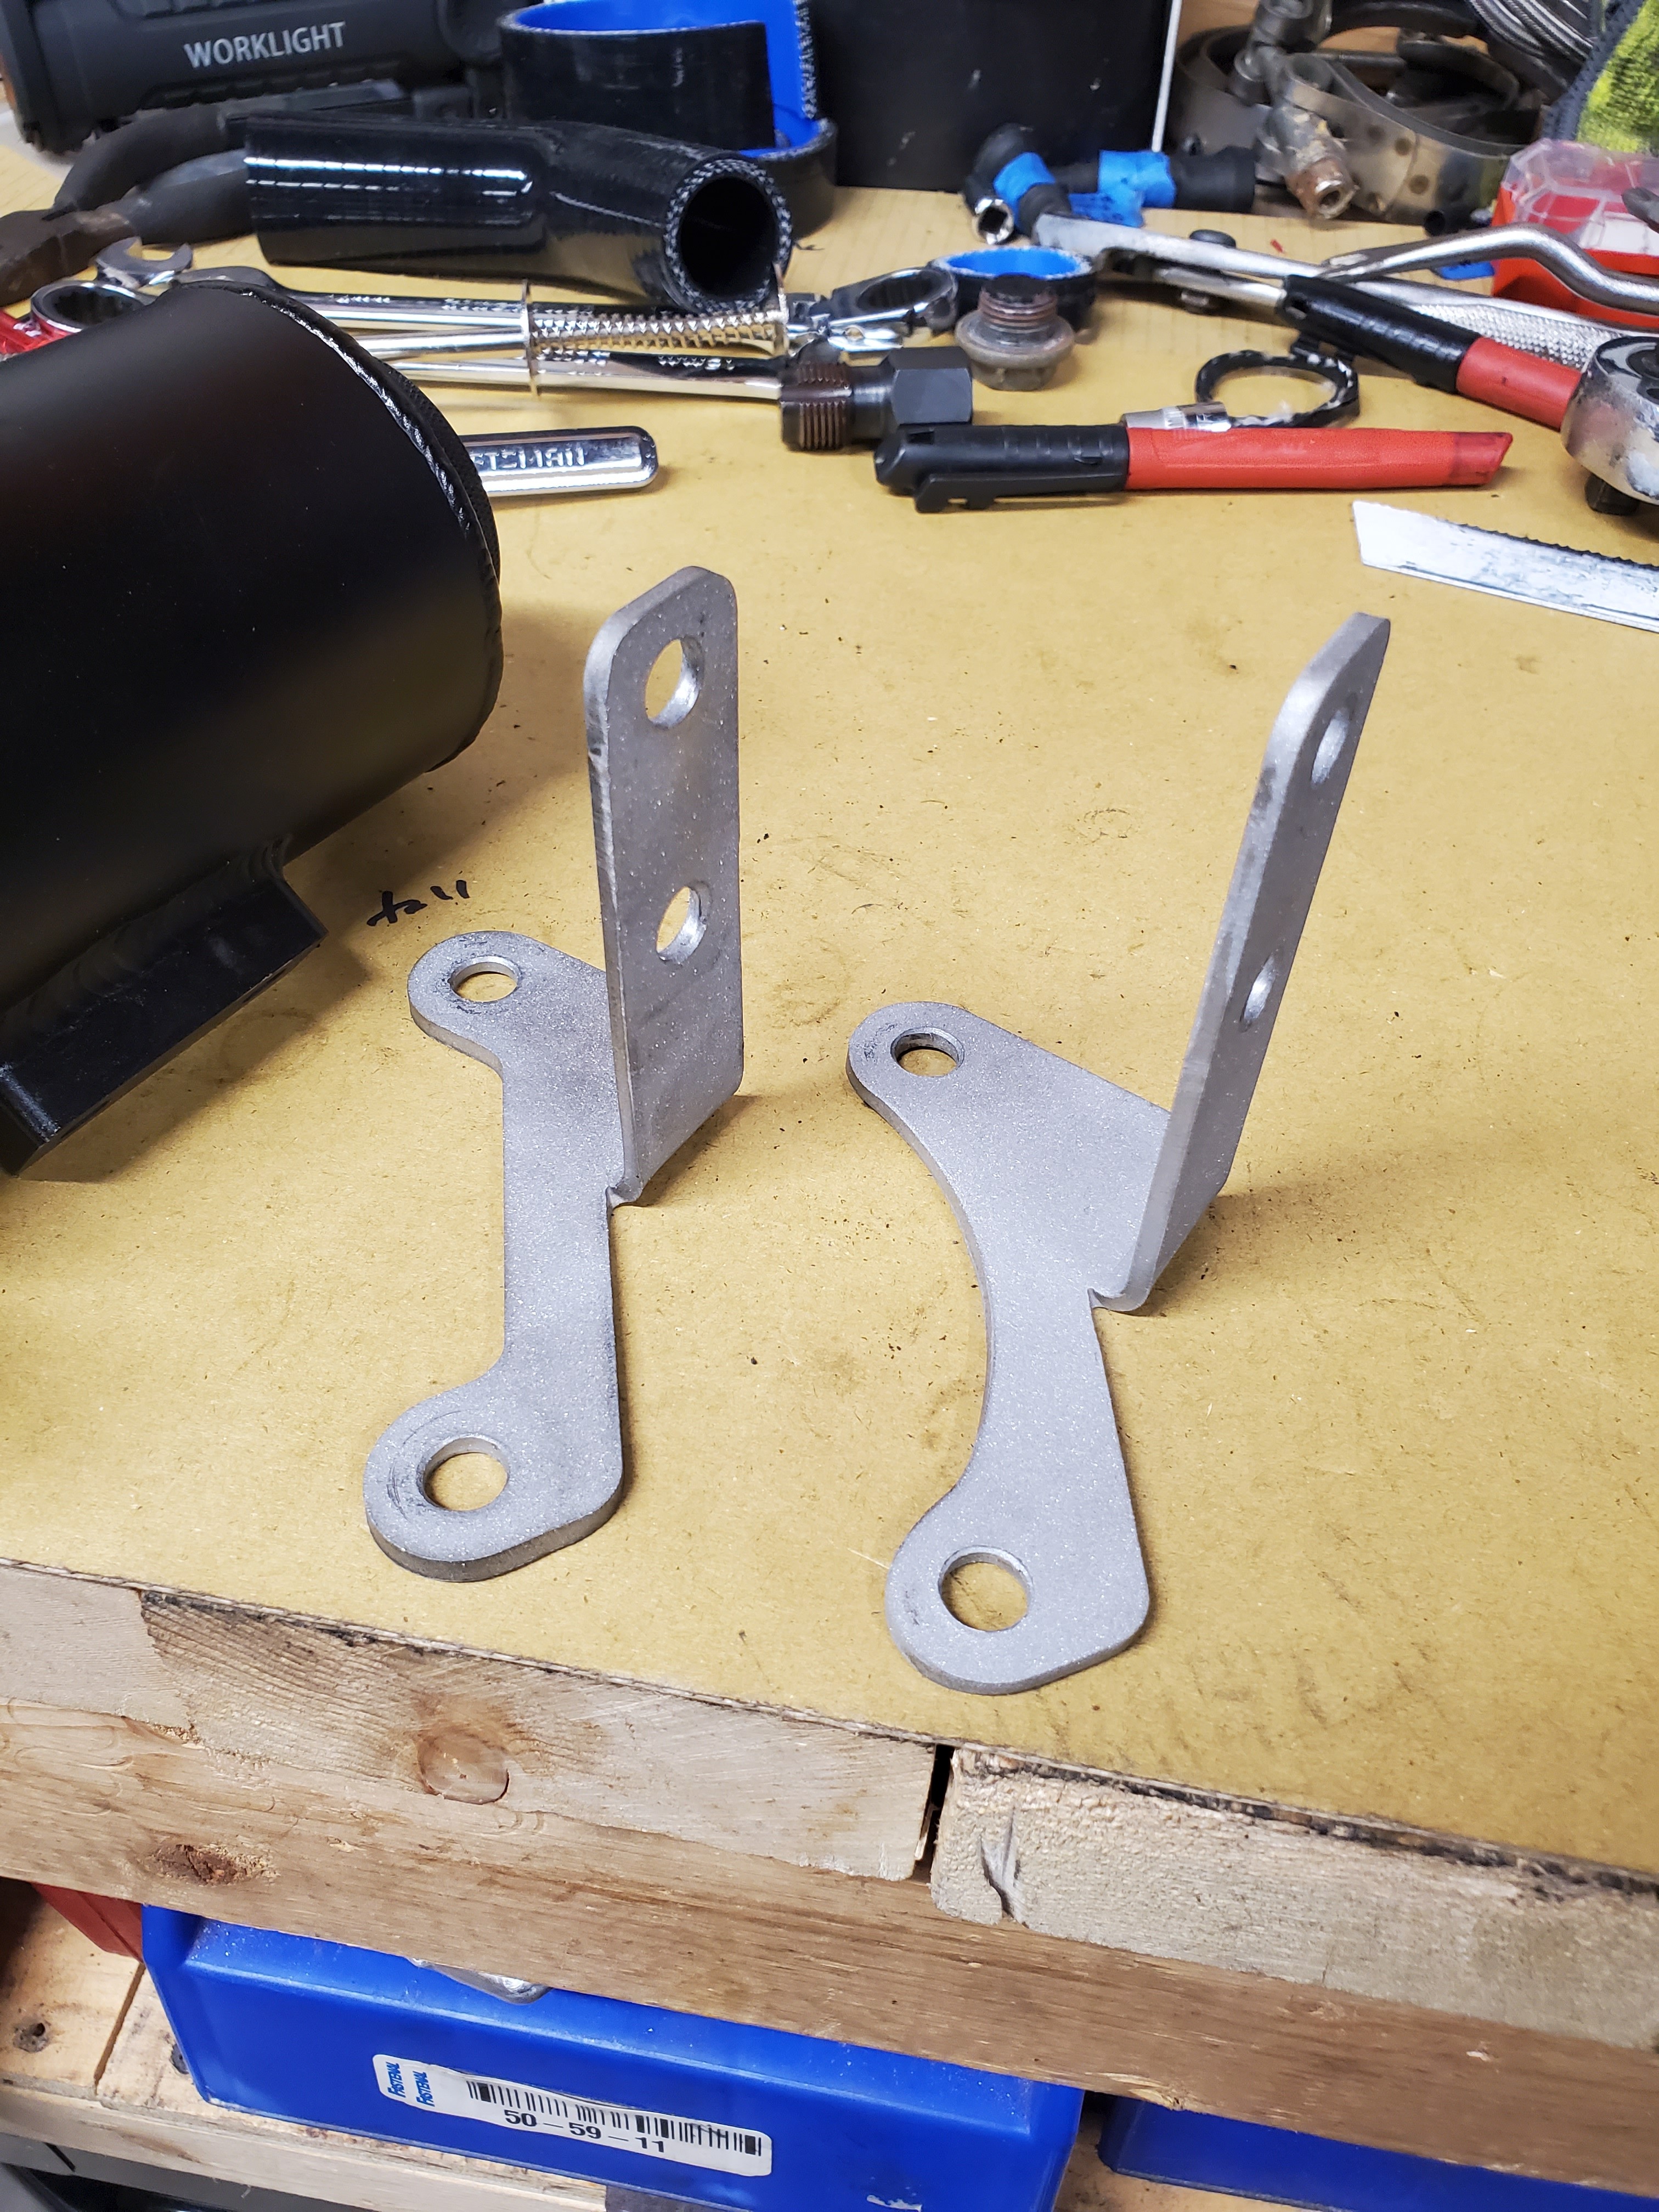
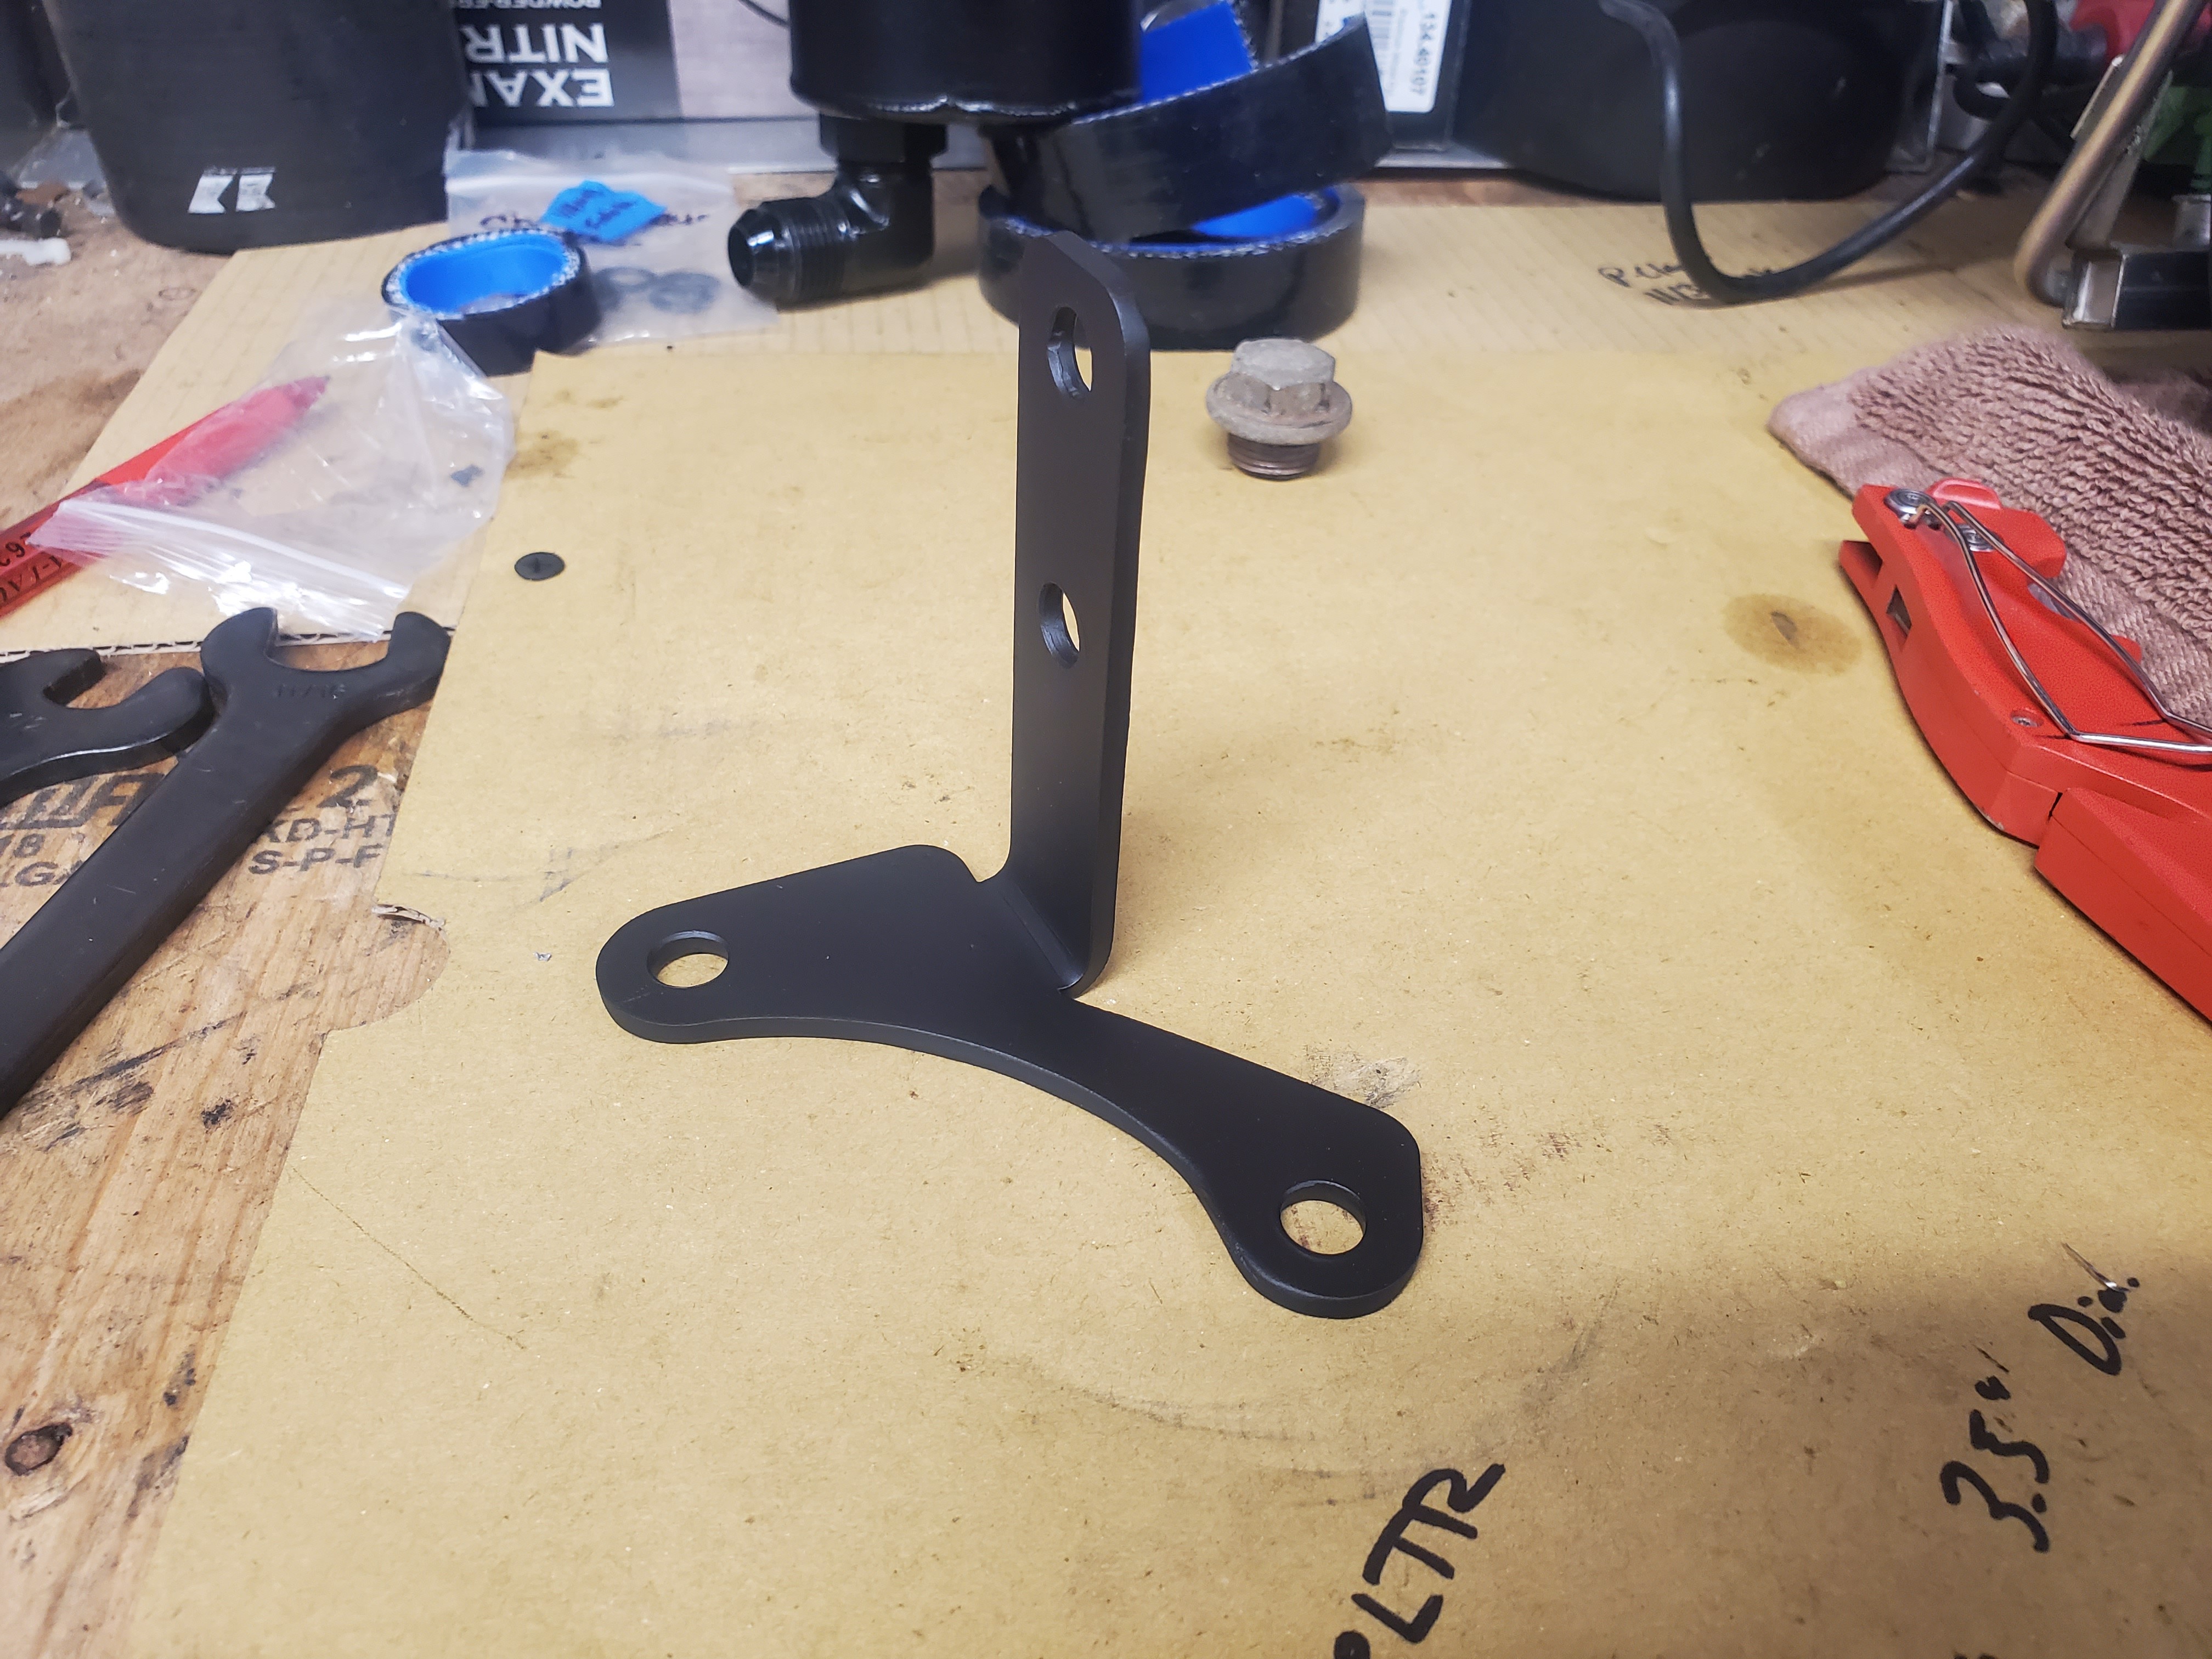
And finally today after some adjustments to Version 1 of the power steering resiviour bracket we landed on a final version 2 that just needs paint.
V1 on the left, V2 on the right.
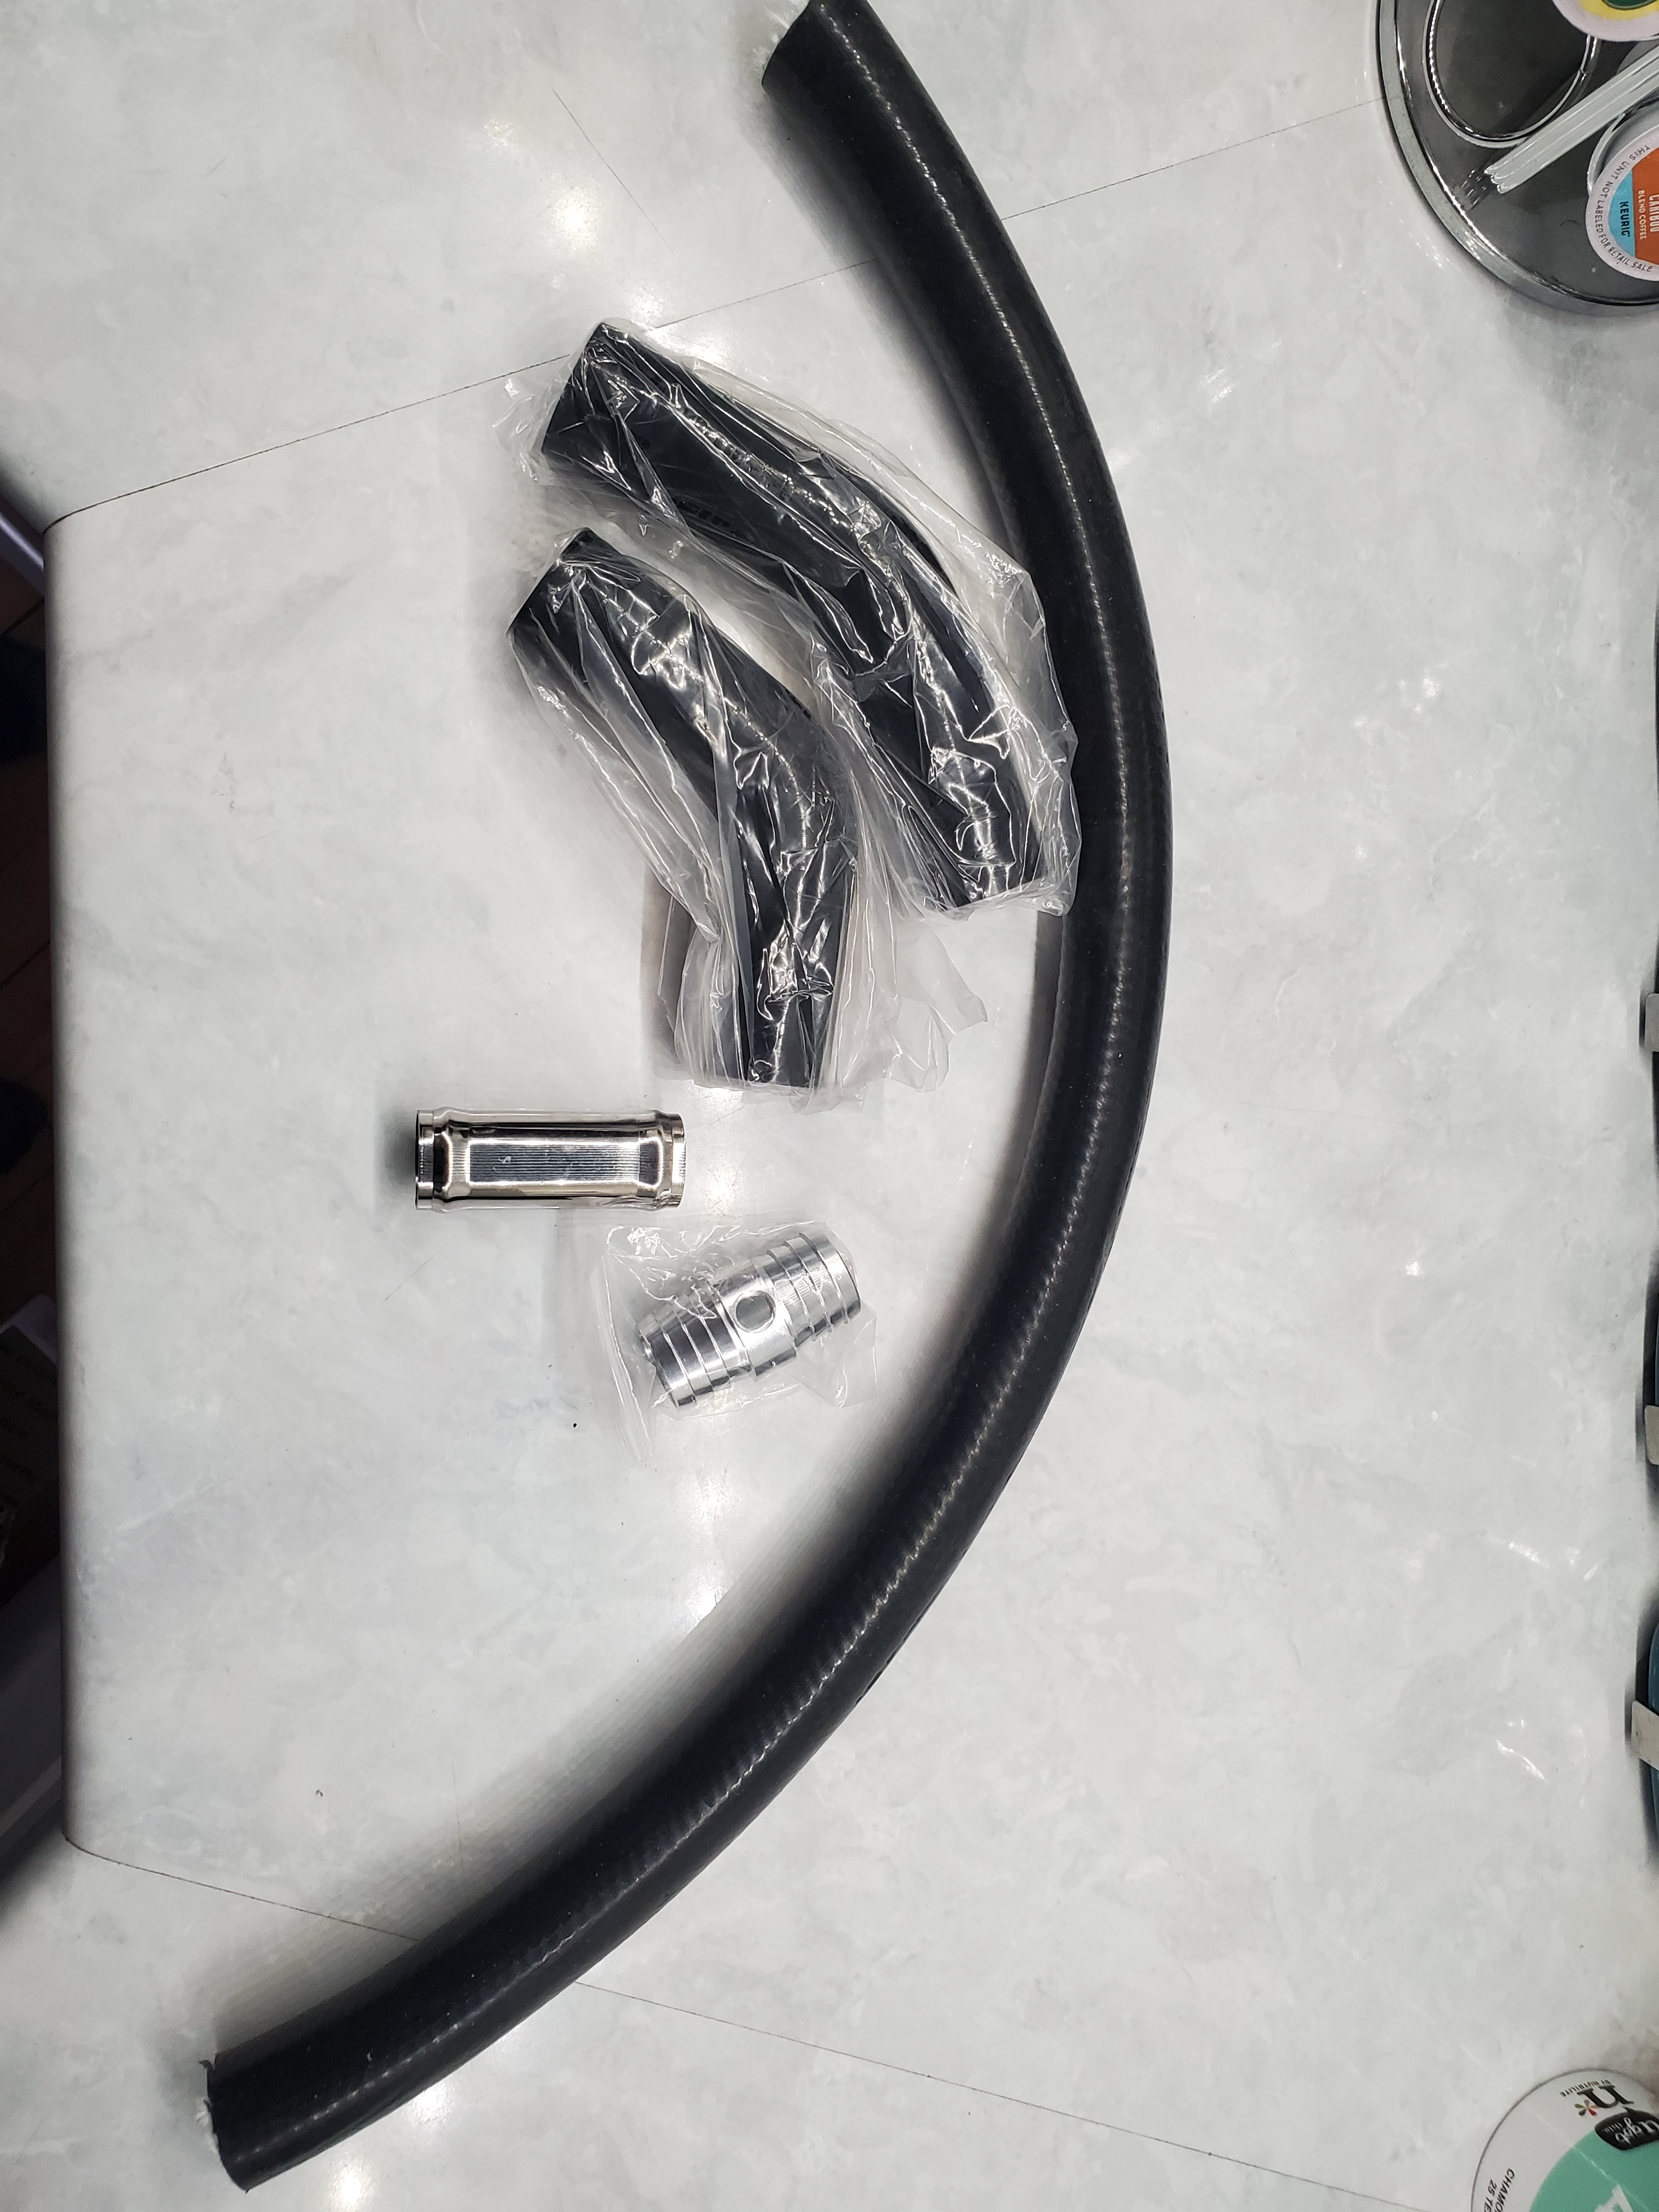
Also got in a few parts to route the recirculation valve hoses. There's also an adapter in there to put my coolant temp sensor into the upper hose.
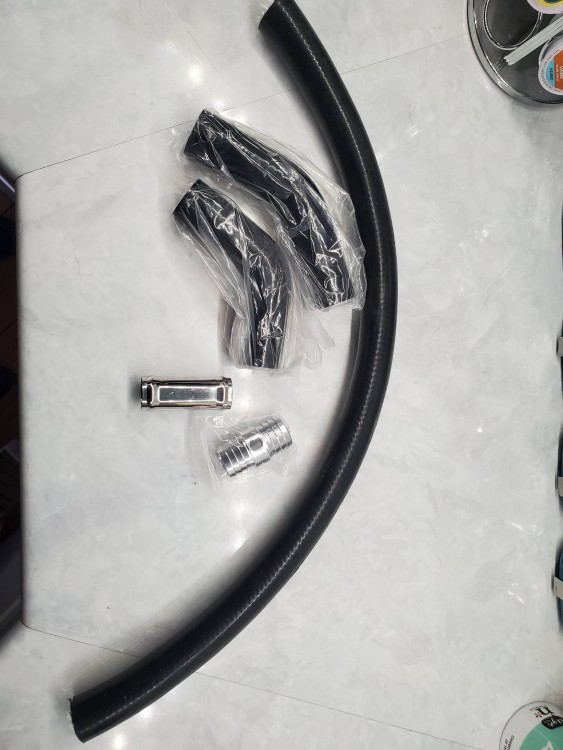
Hopefully will get a chance in the next few days to see how this hose idea will work.
-
Final weekend update.
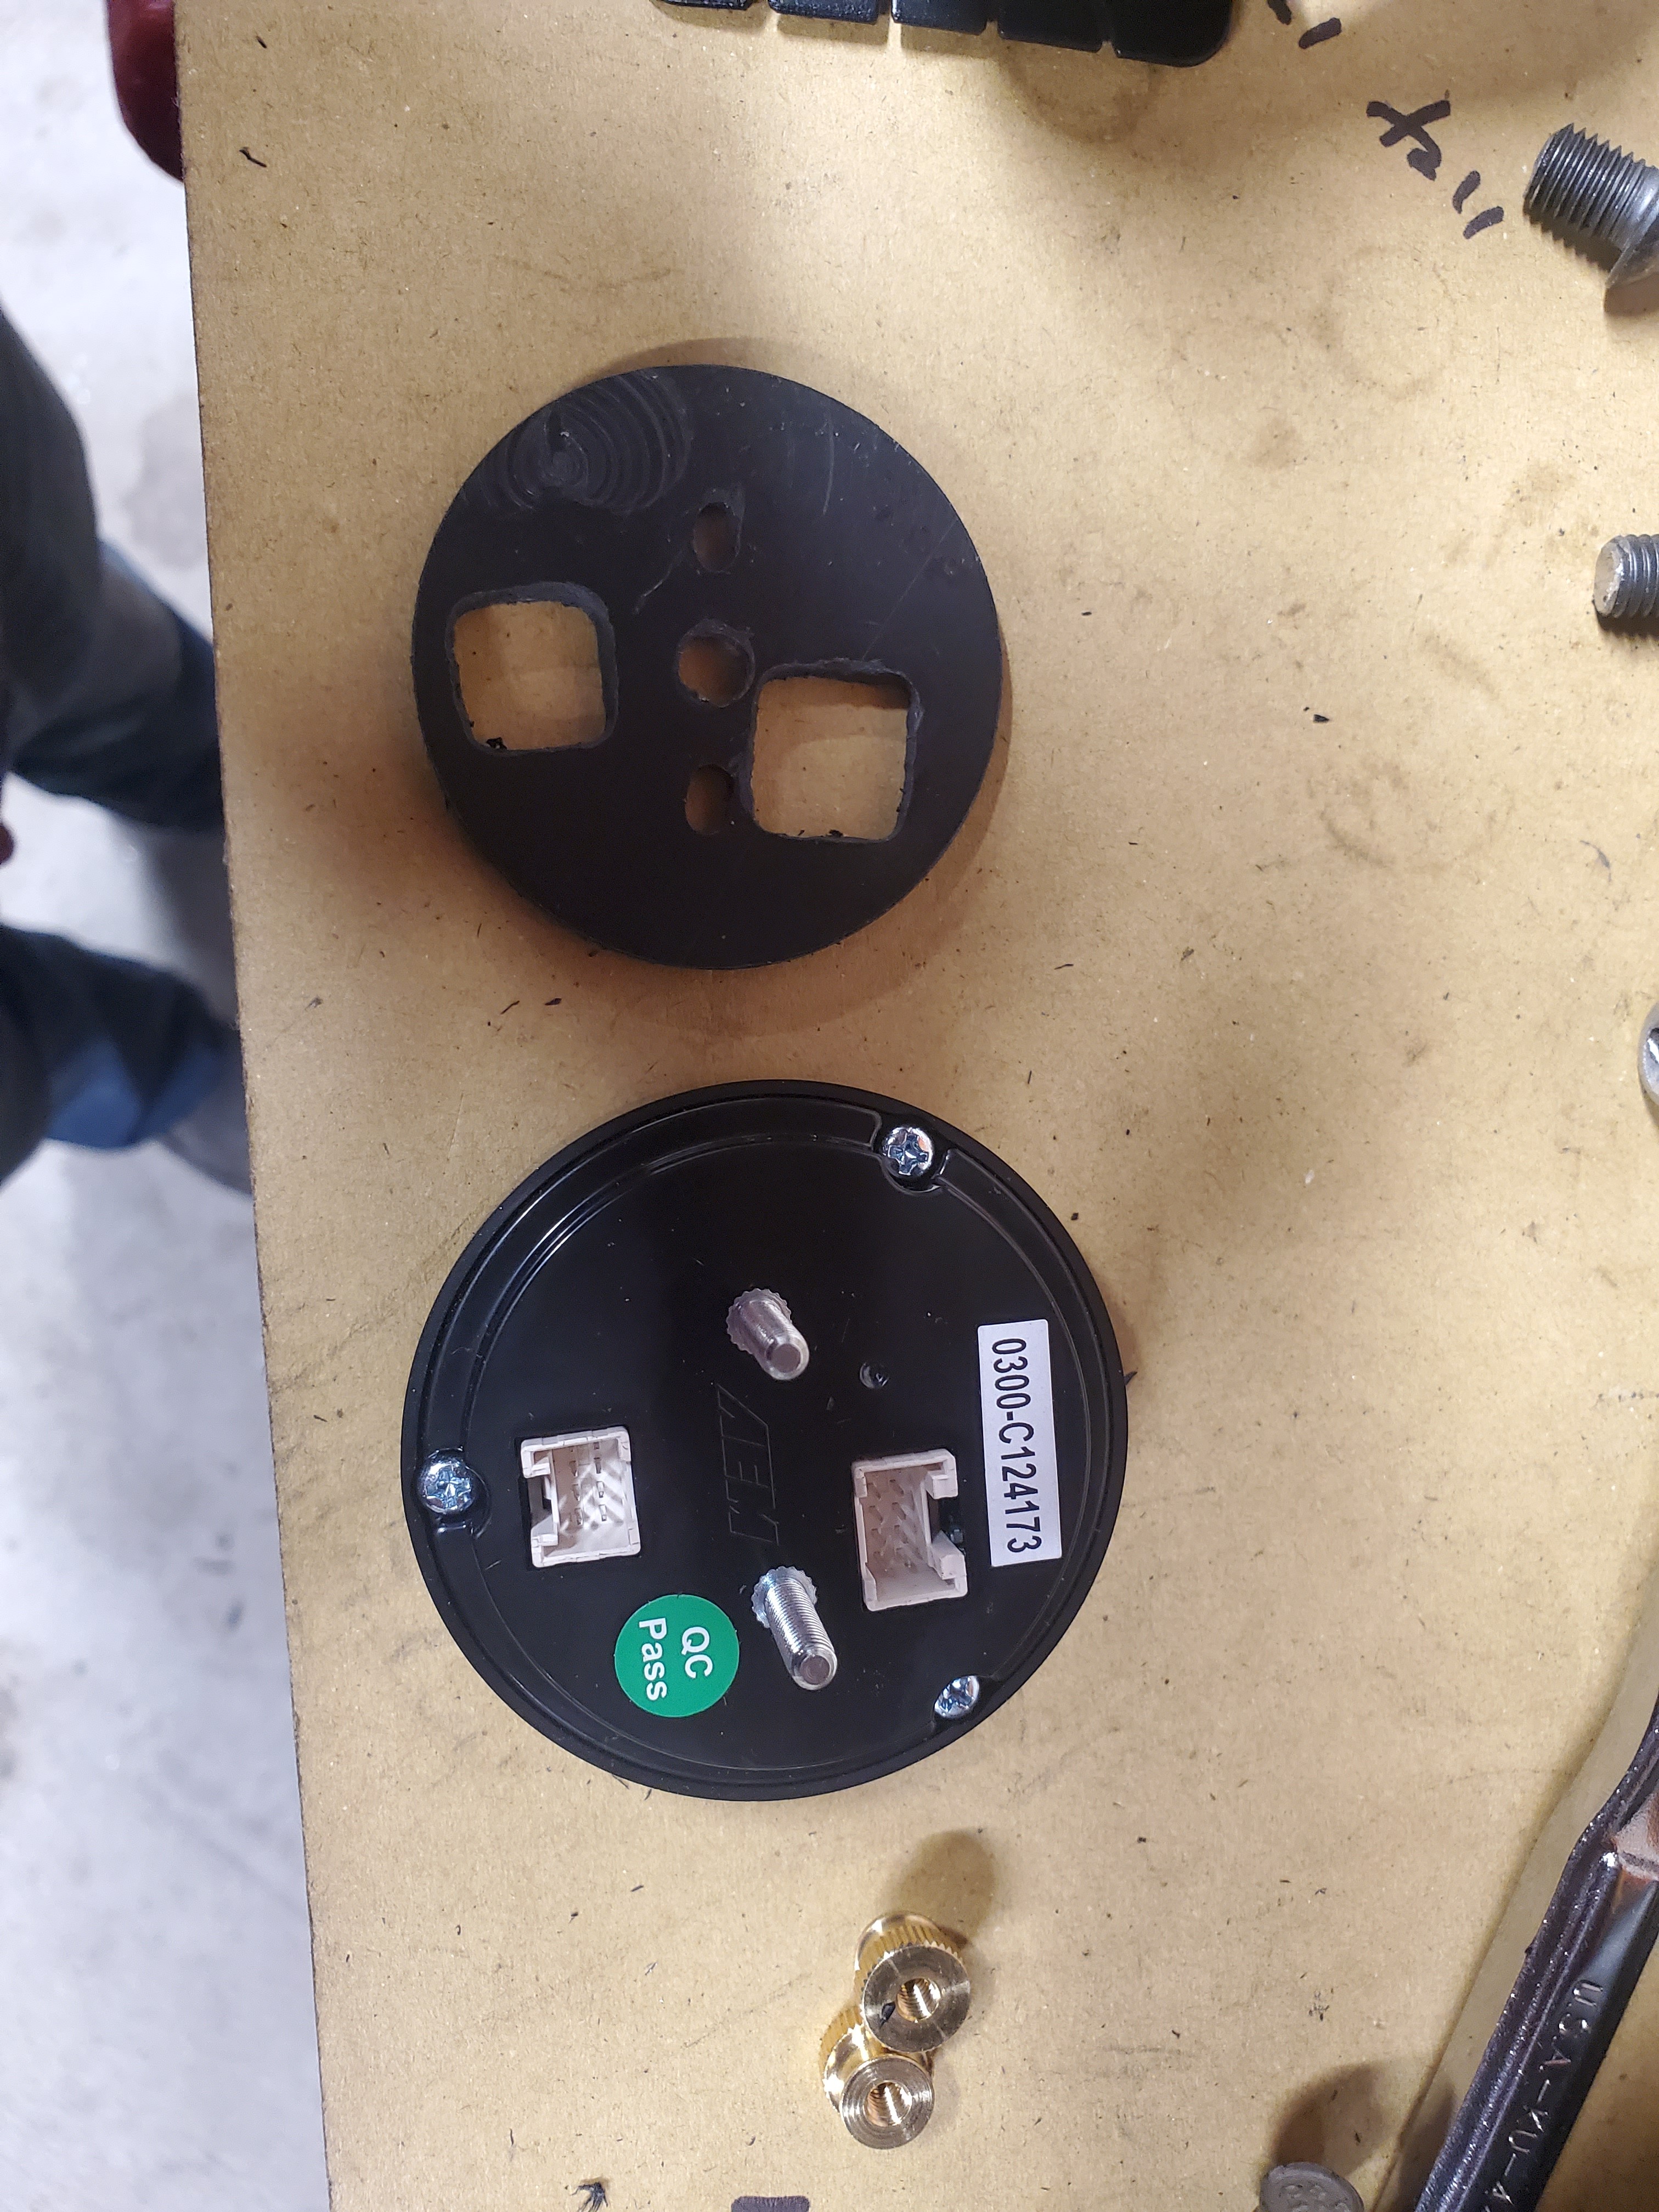
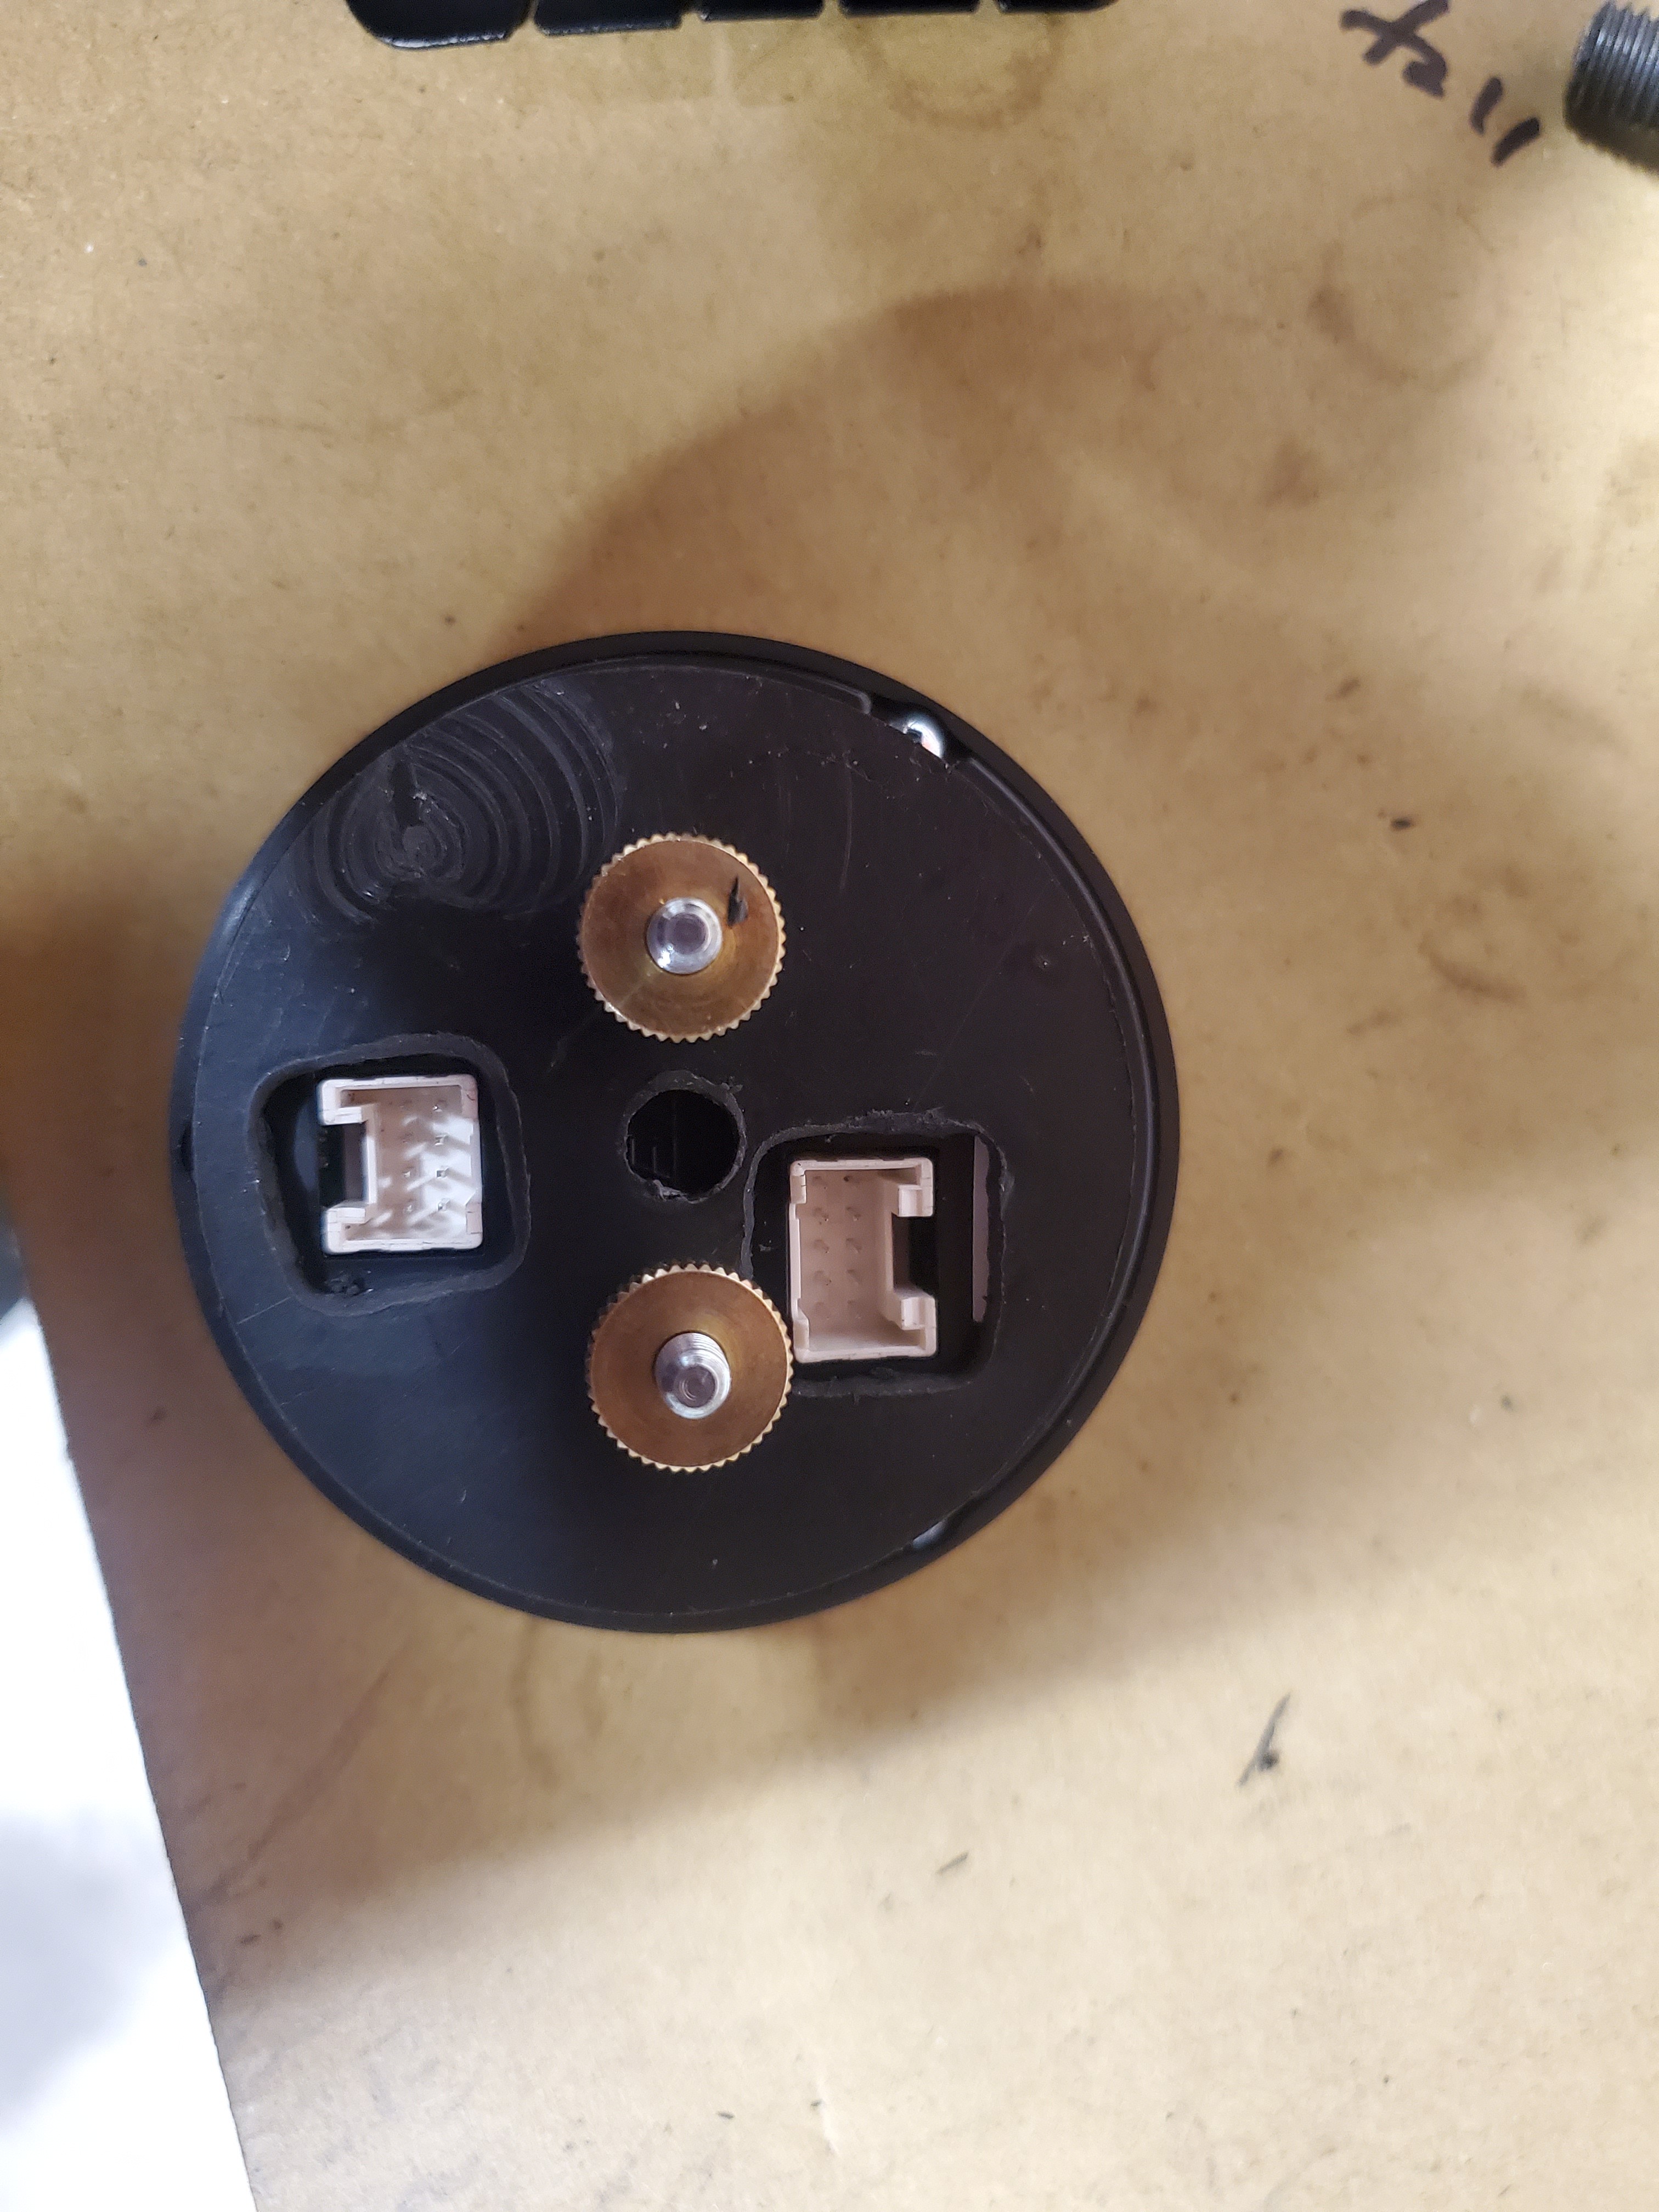
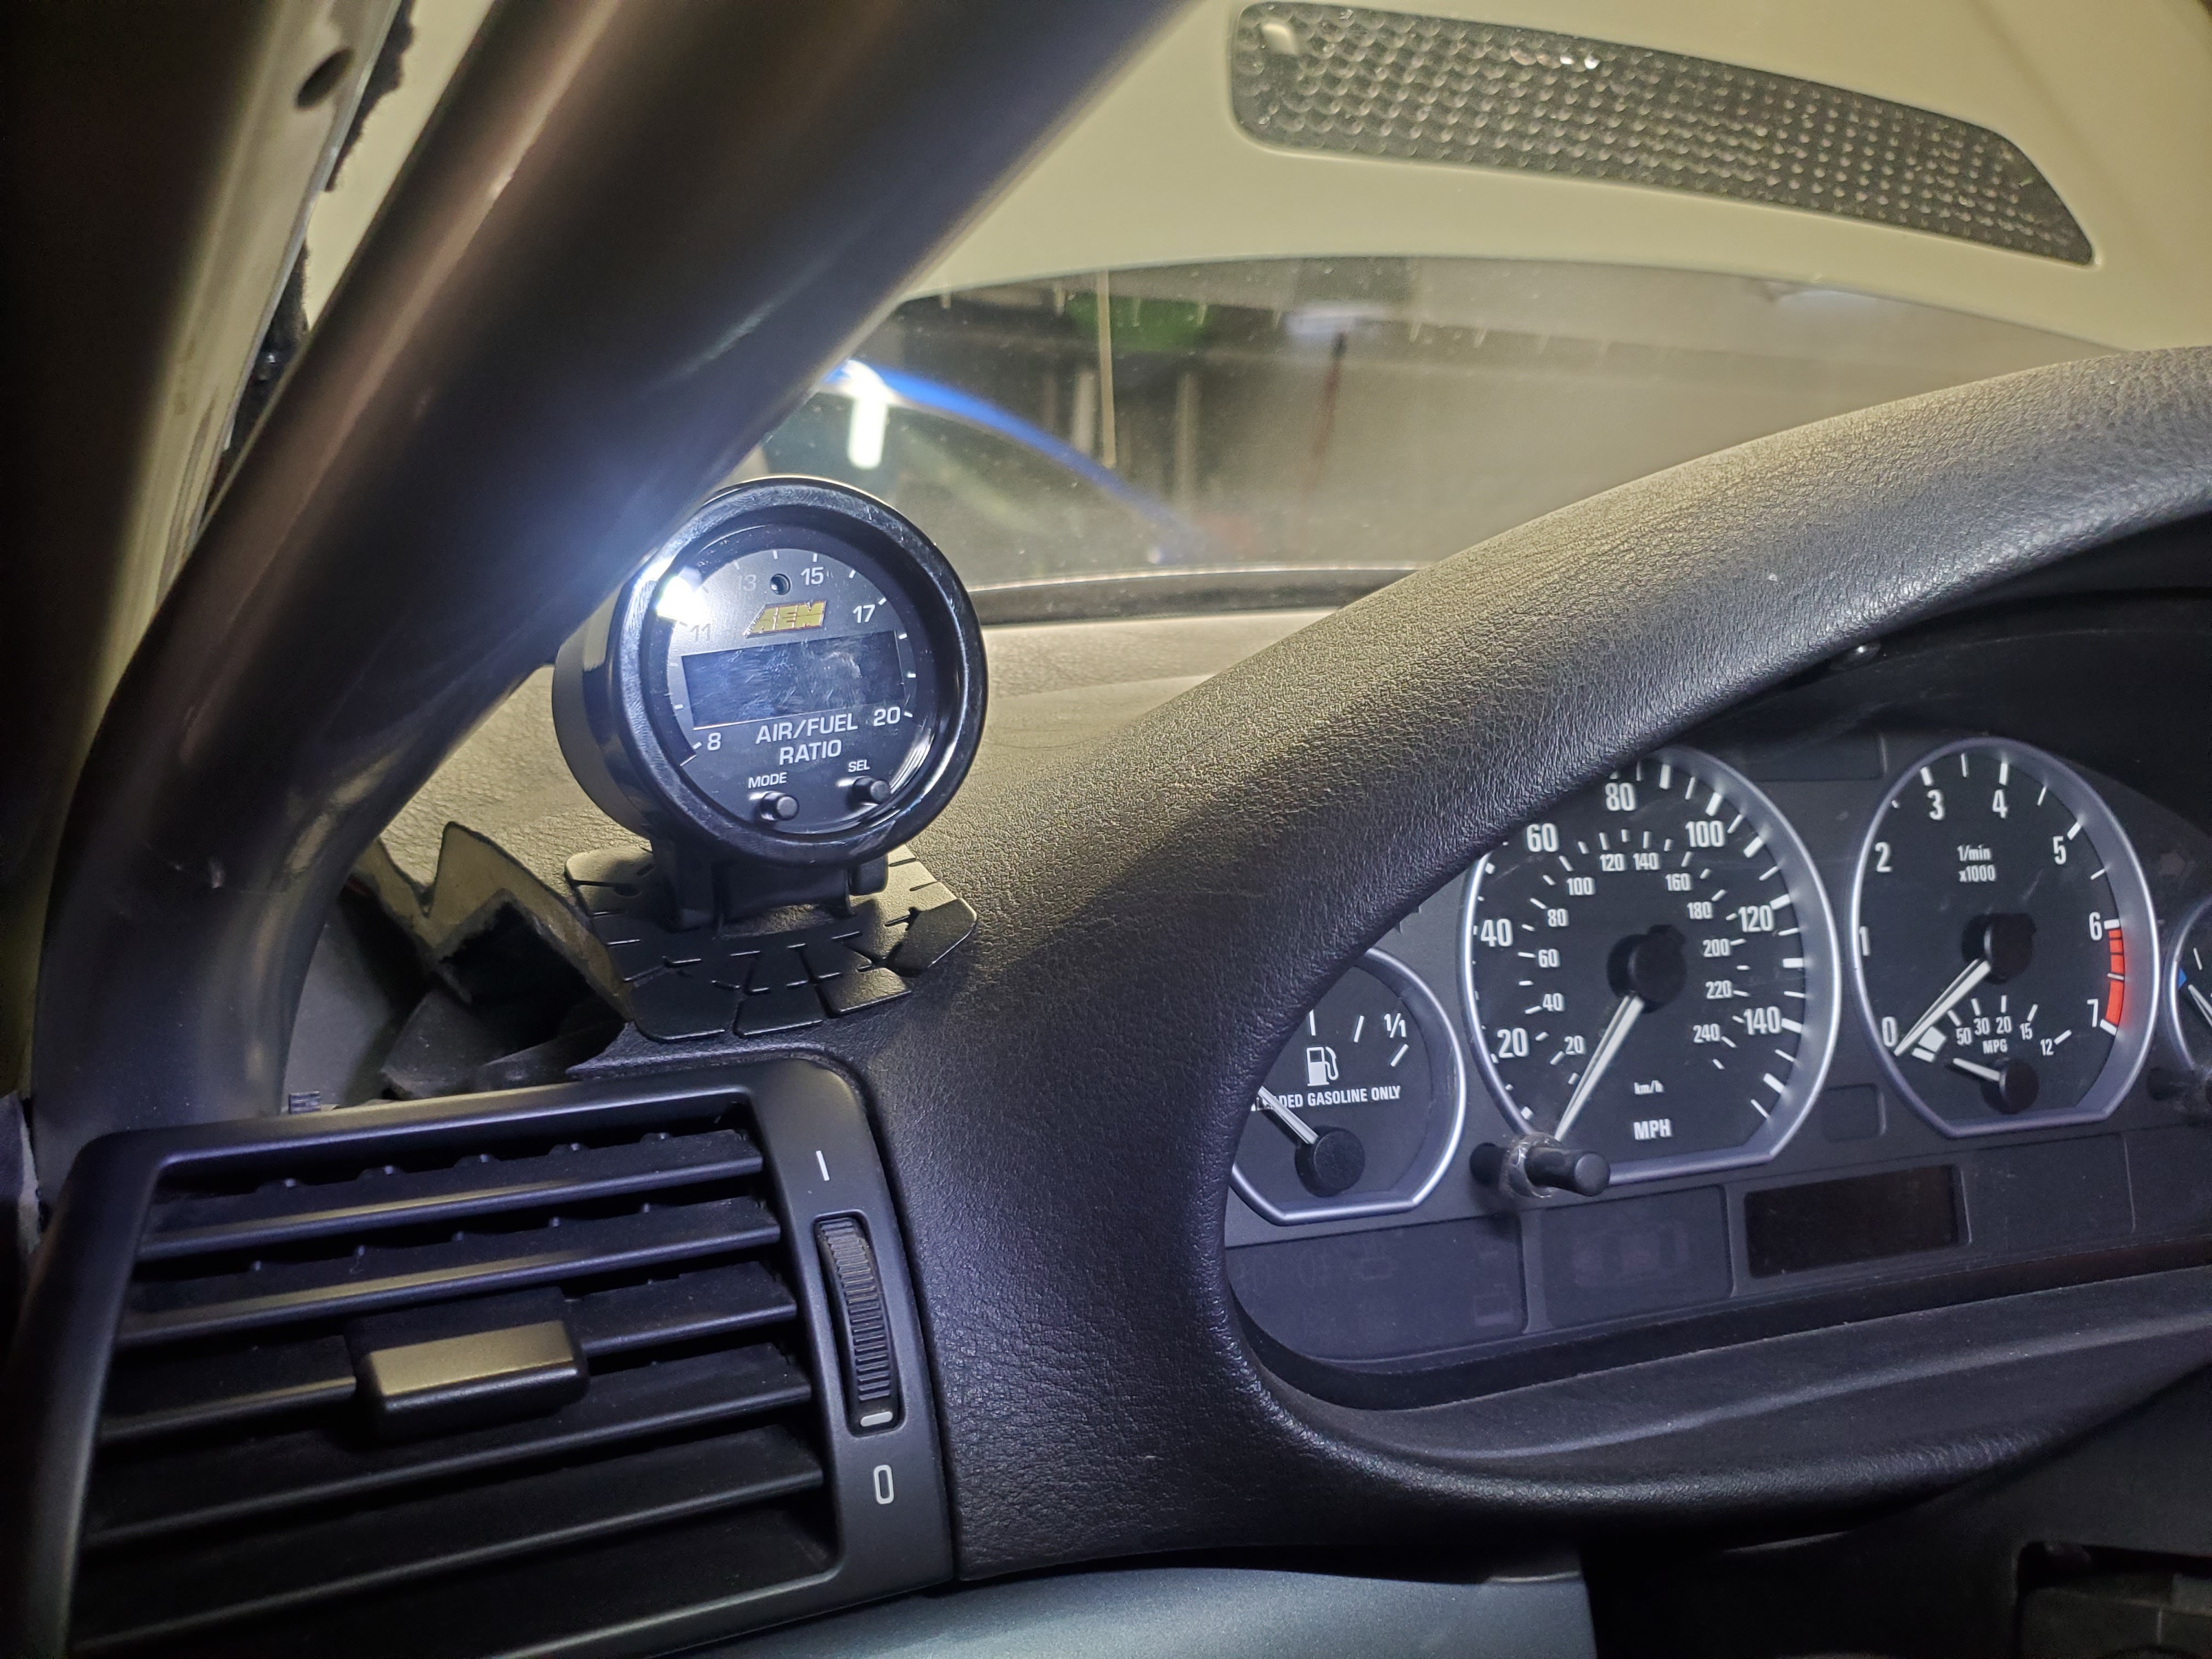
Got what I'm planning to be a temporary gauge mount in, the gauge didn't quite fit so I had to make an adapter out of abs plastic to allow it to press fit in.
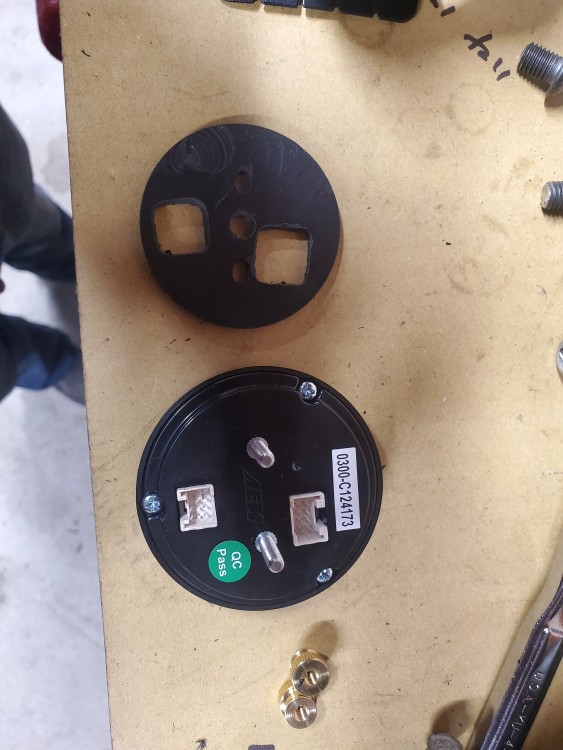
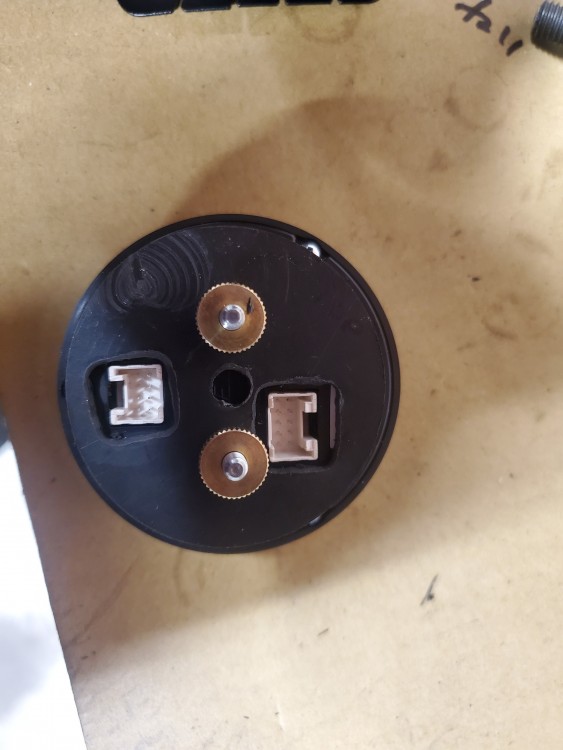
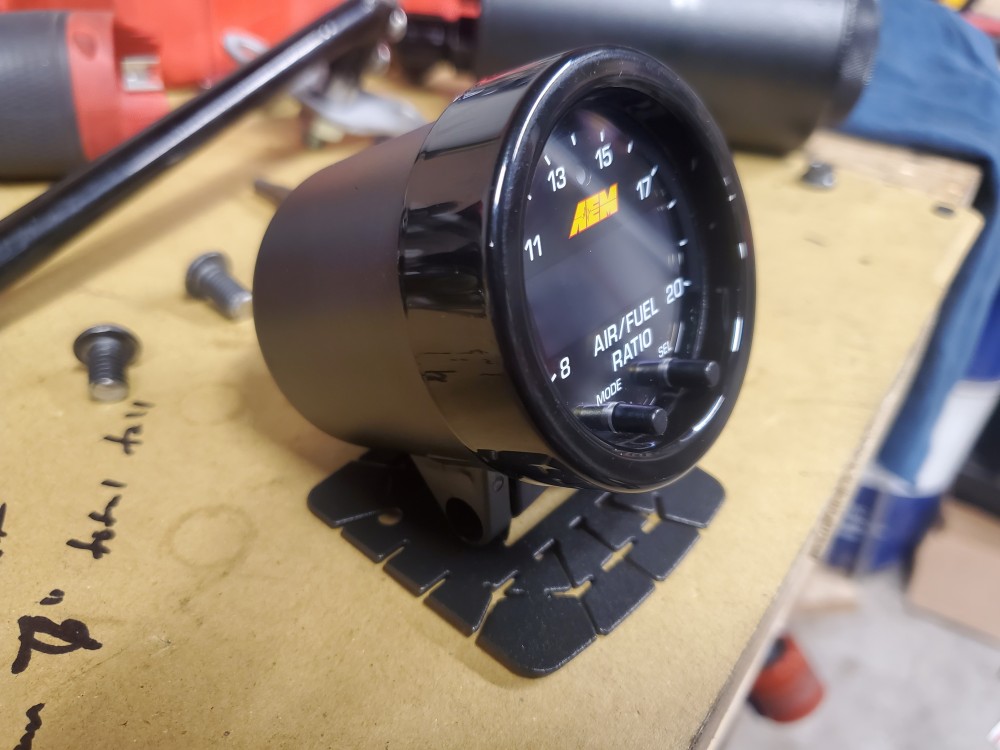
Here it is with the gauge installed.
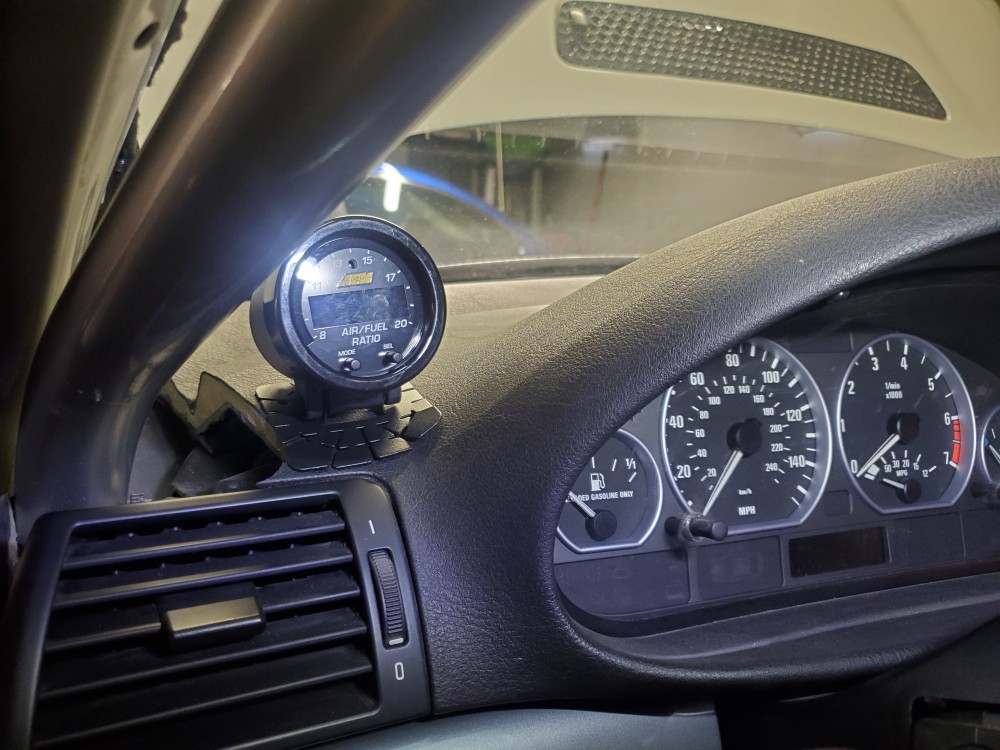
And in the car where I believe it will be mounted, again the plan is for this to be temporary as I have an idea brewing. Thus $10 mount is definitely a bit tacky, but it will work for now as it needs to.
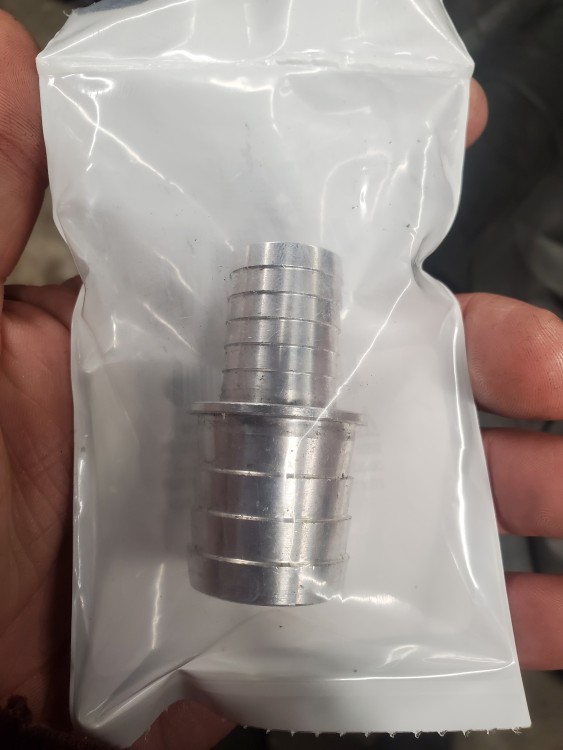
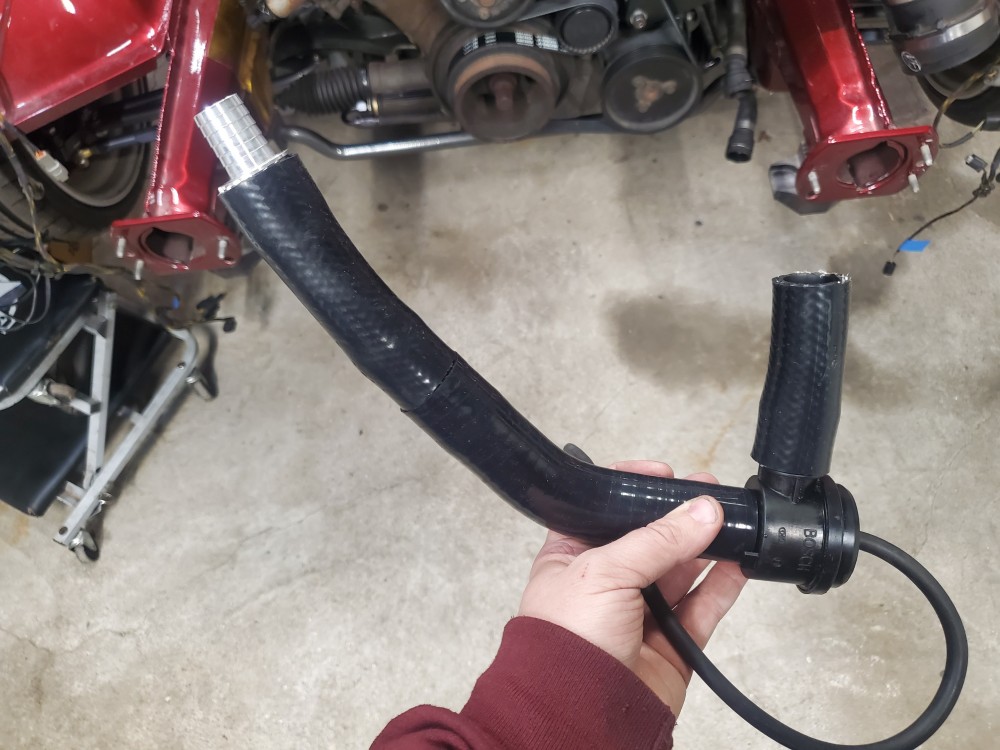
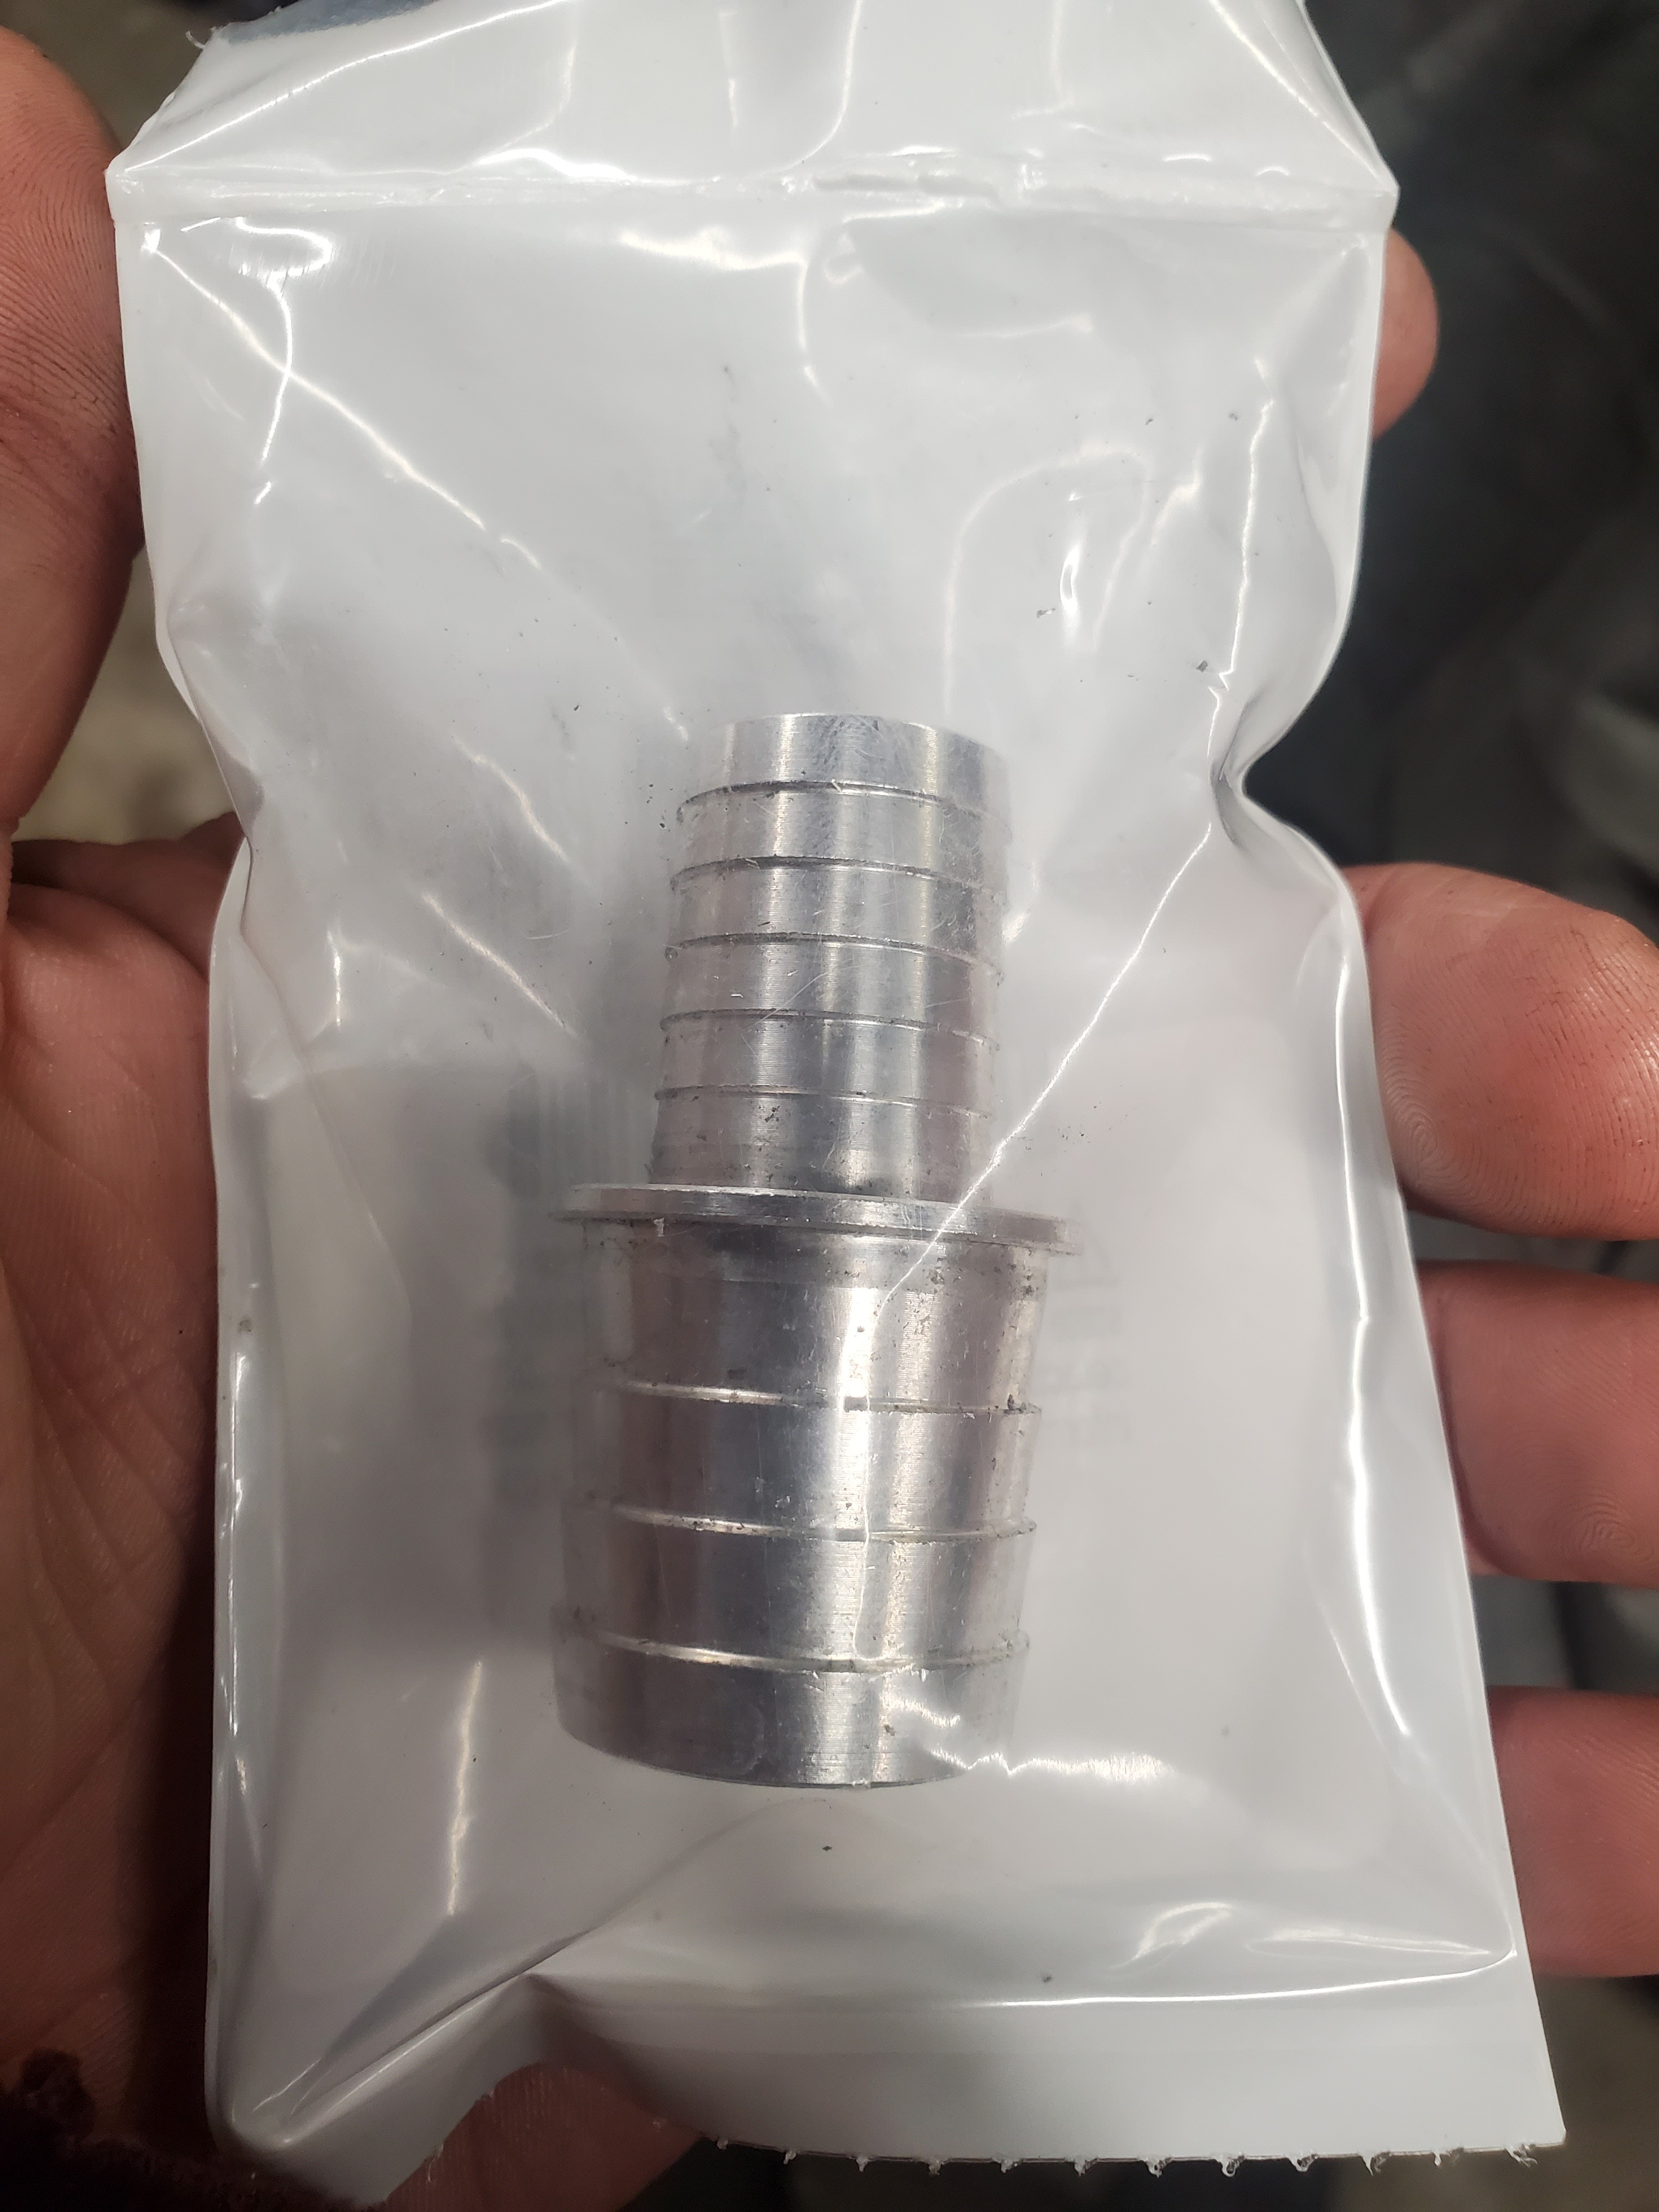
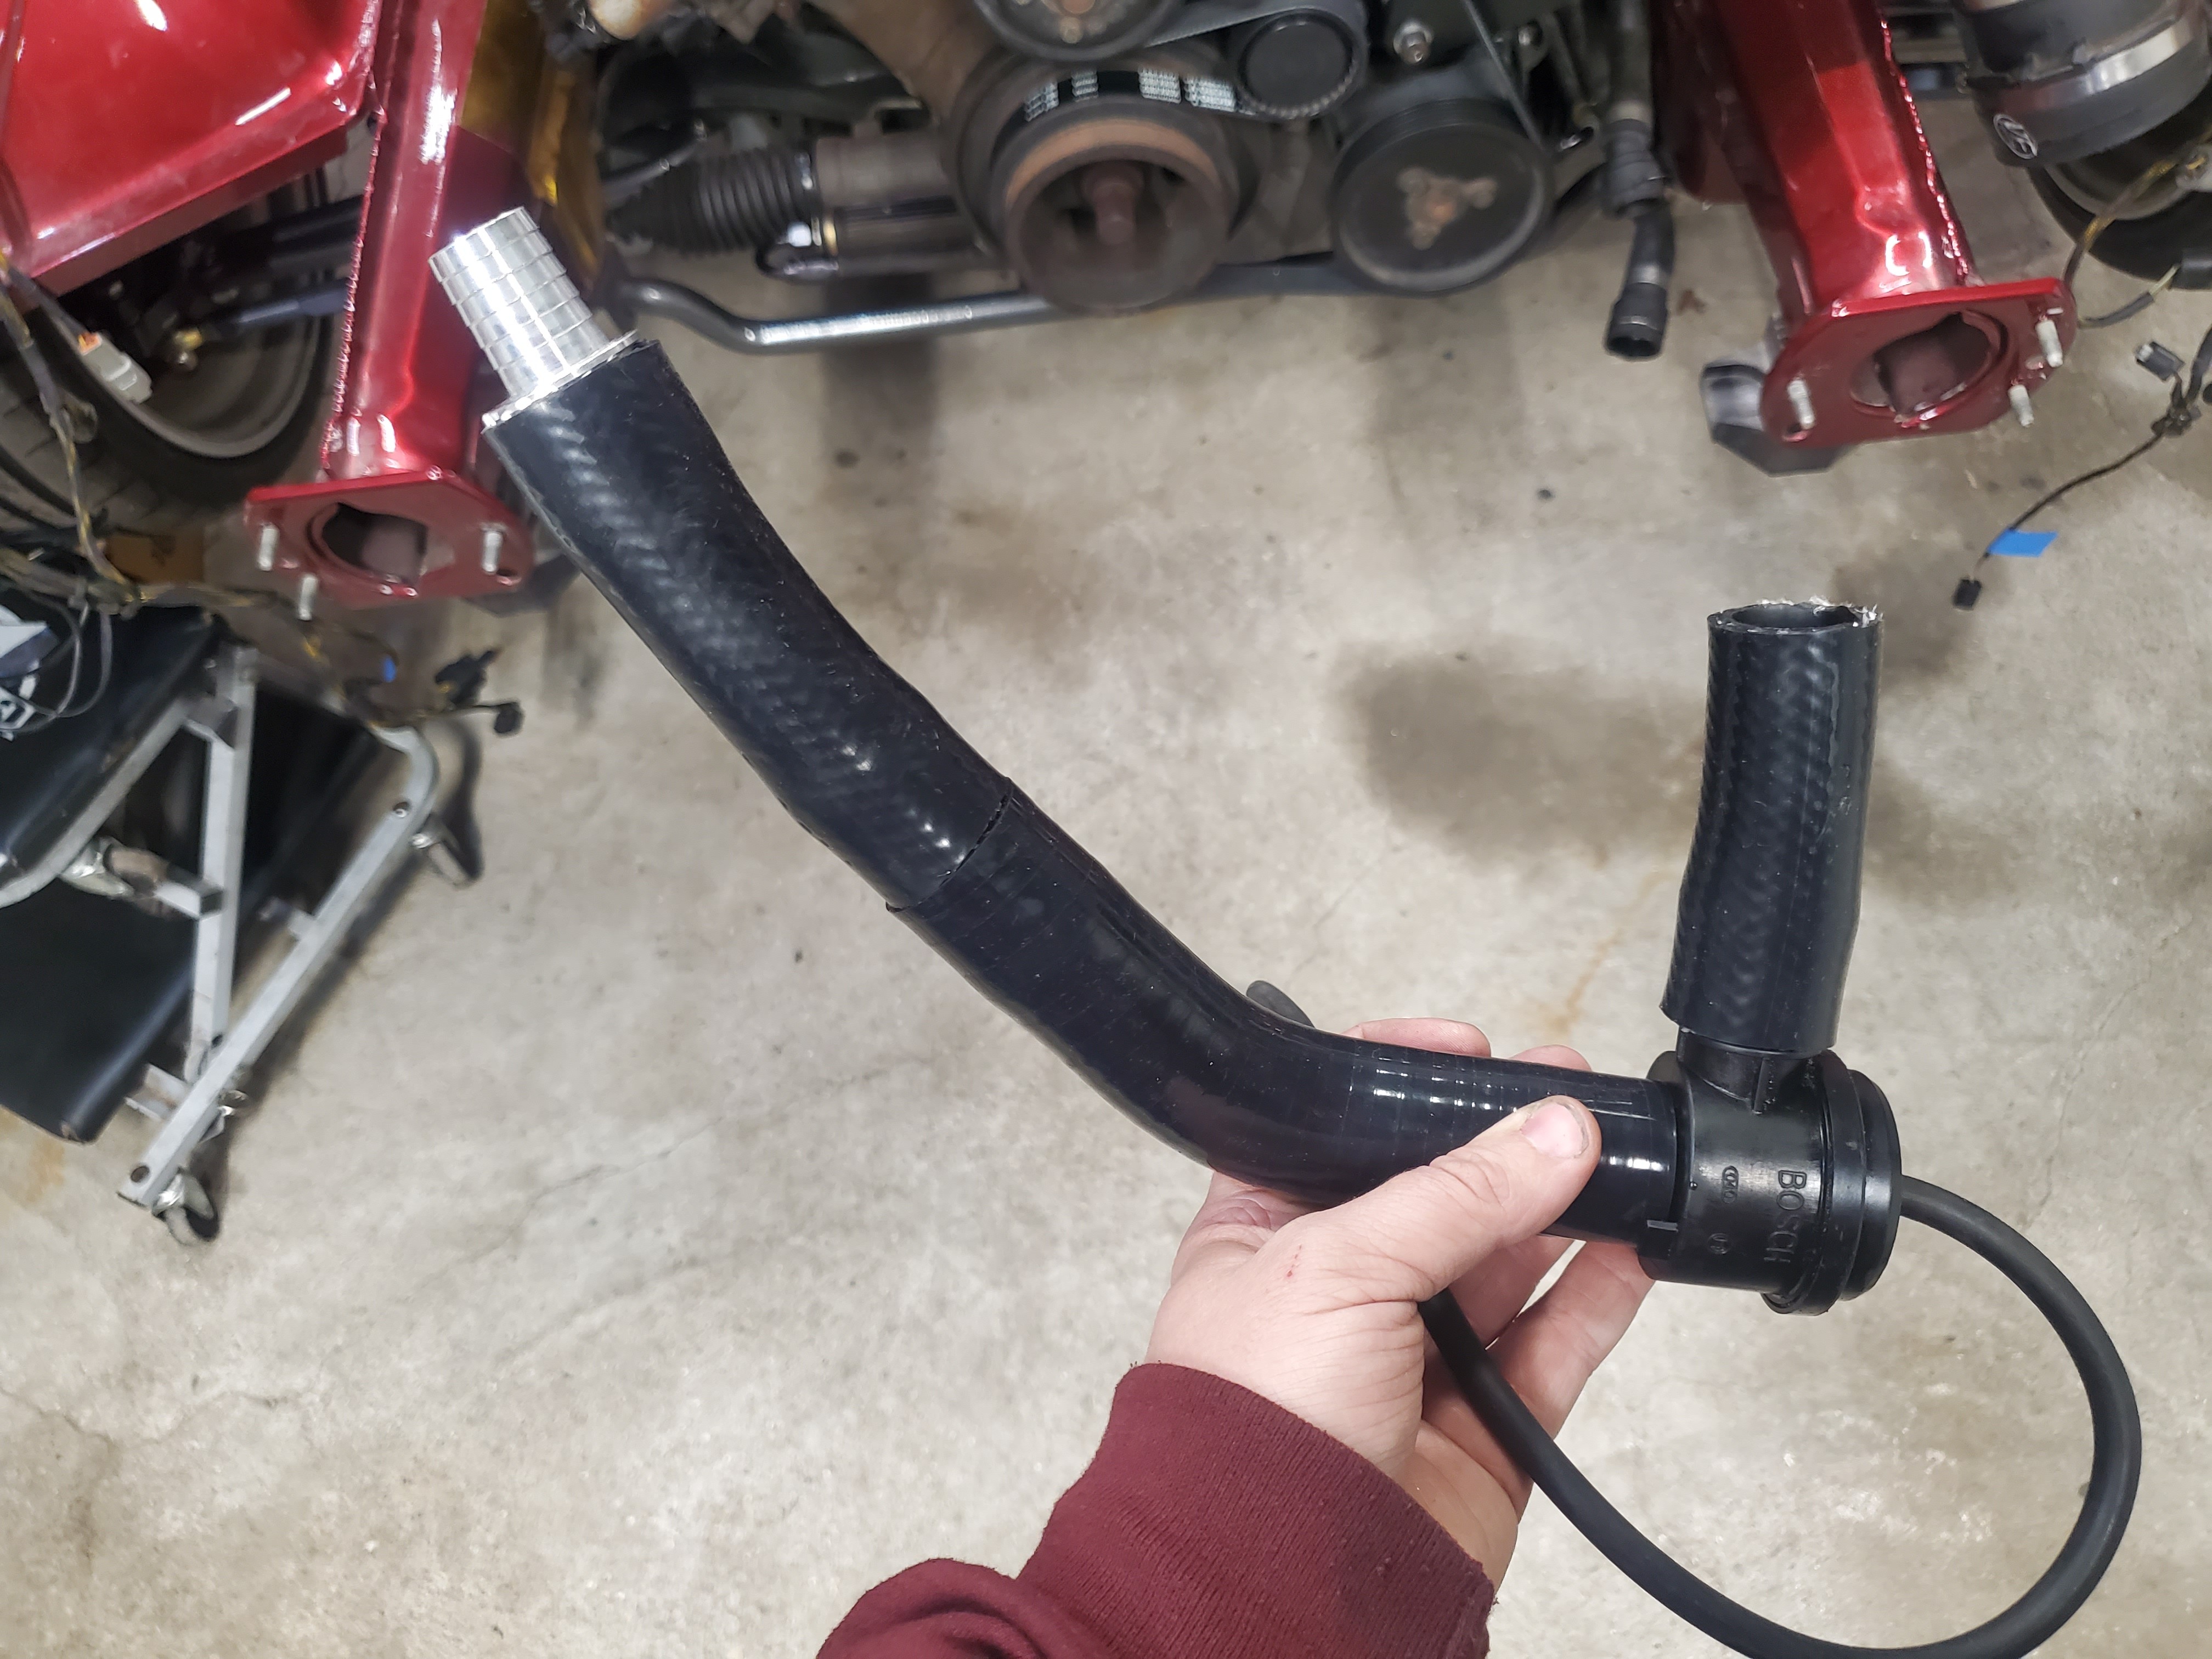
I also got in the ICT Billet 3/4 to 1" adapter union to make the diverter valve hosing work.
This is a nice piece for sure and made in the USA too

Here's what I came up with. Really happy with the outcome and the way these silicone sections worked out.
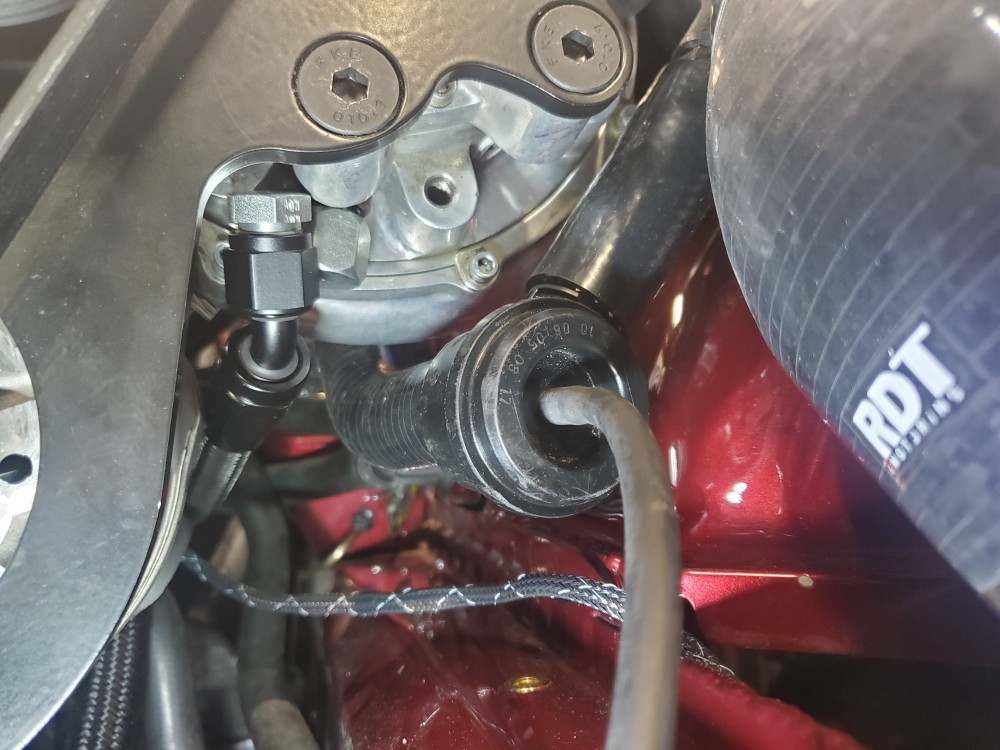
My order with all the clamps I need should be in this week along with a few other parts that should lead to final assembly
-
UPDATE!
Finished up the charger to oil filter housing bracket mods.
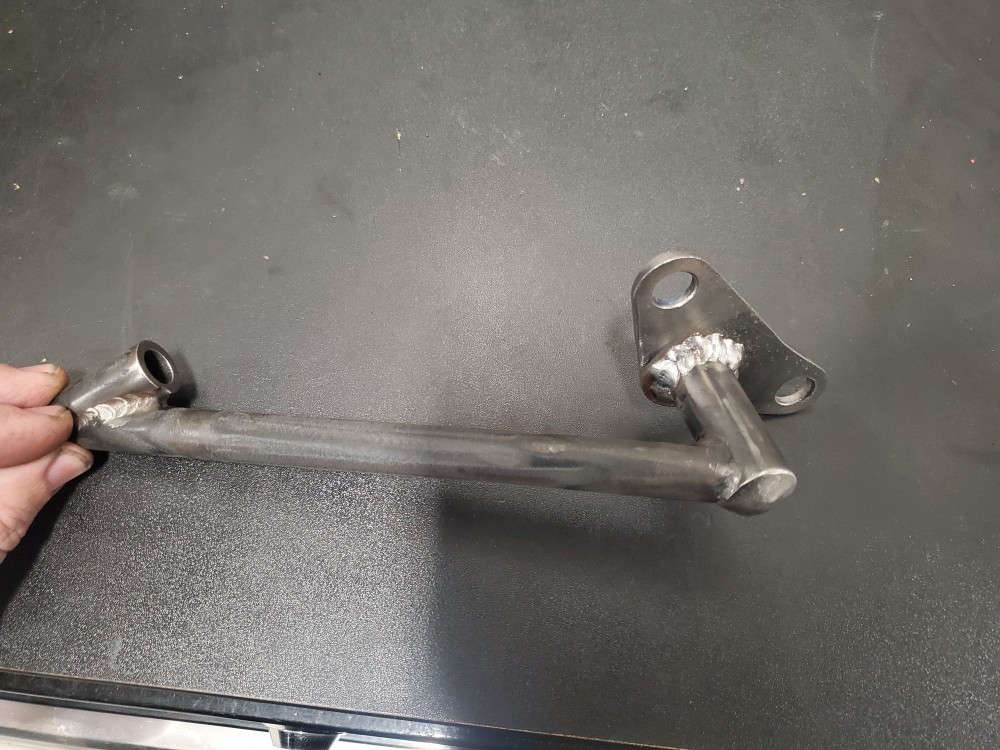
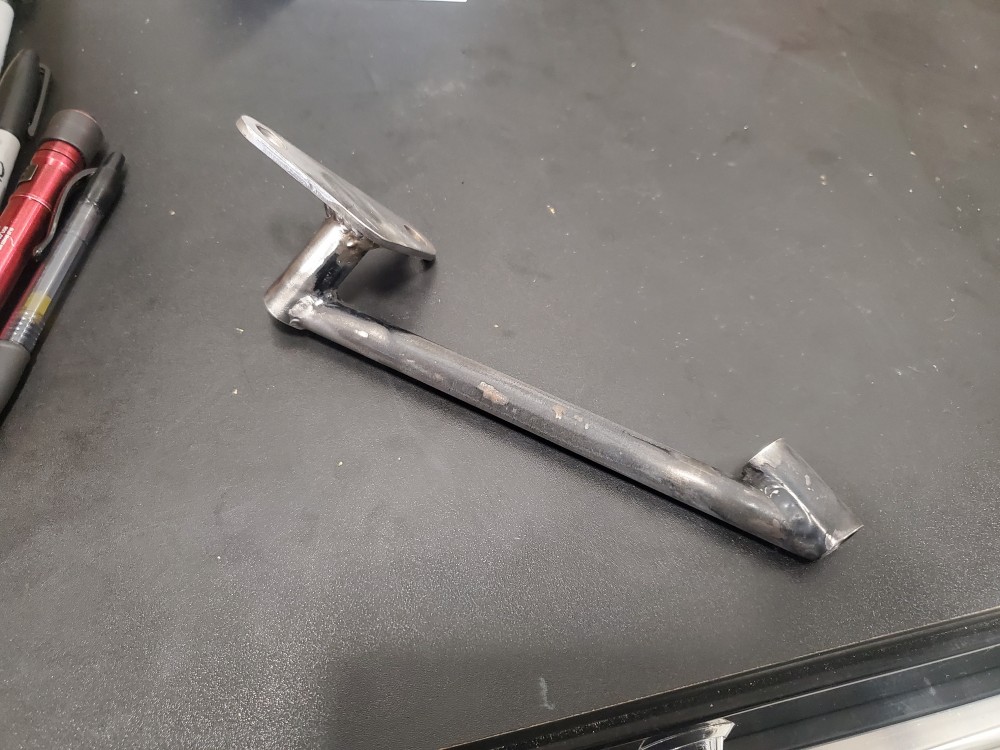
Then painted it along with the power steering resiviour bracket.
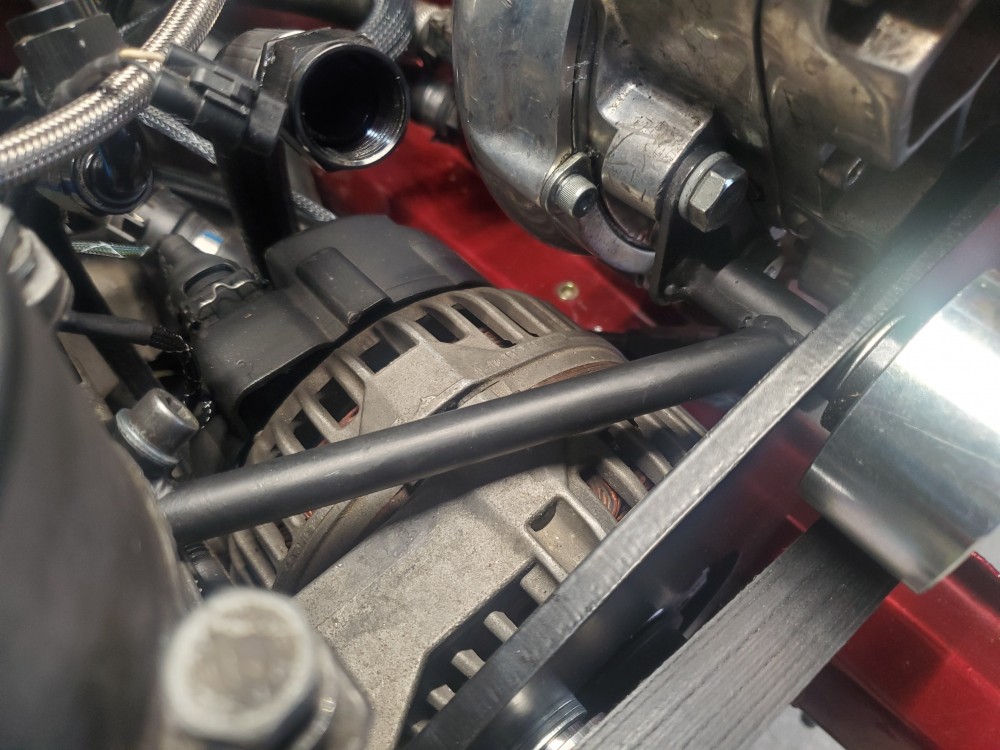
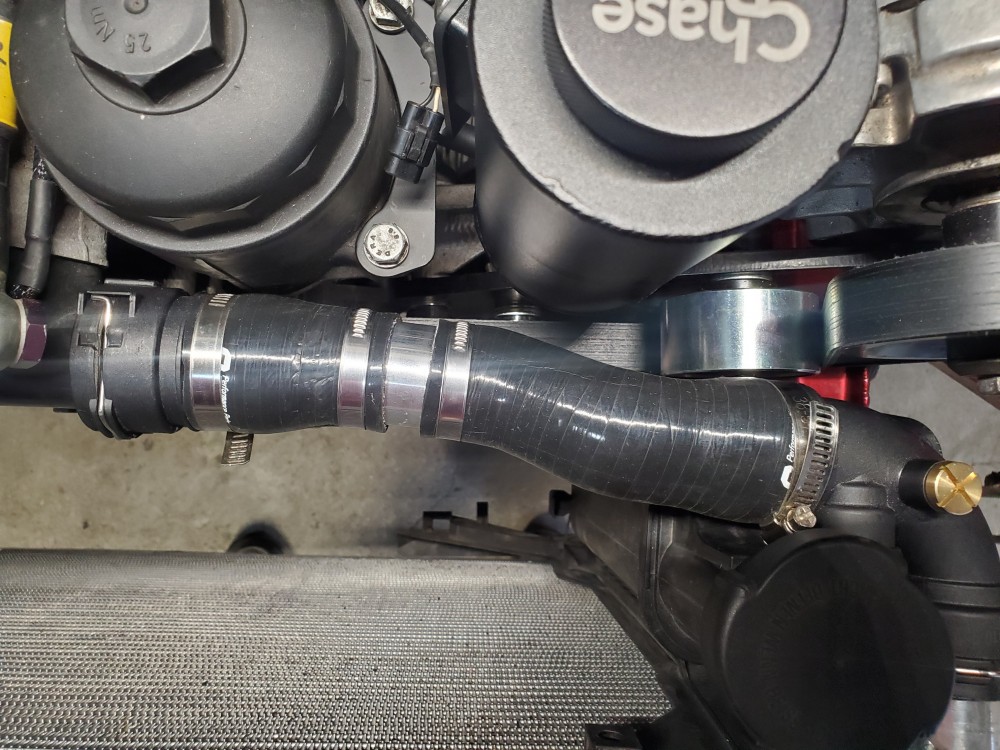
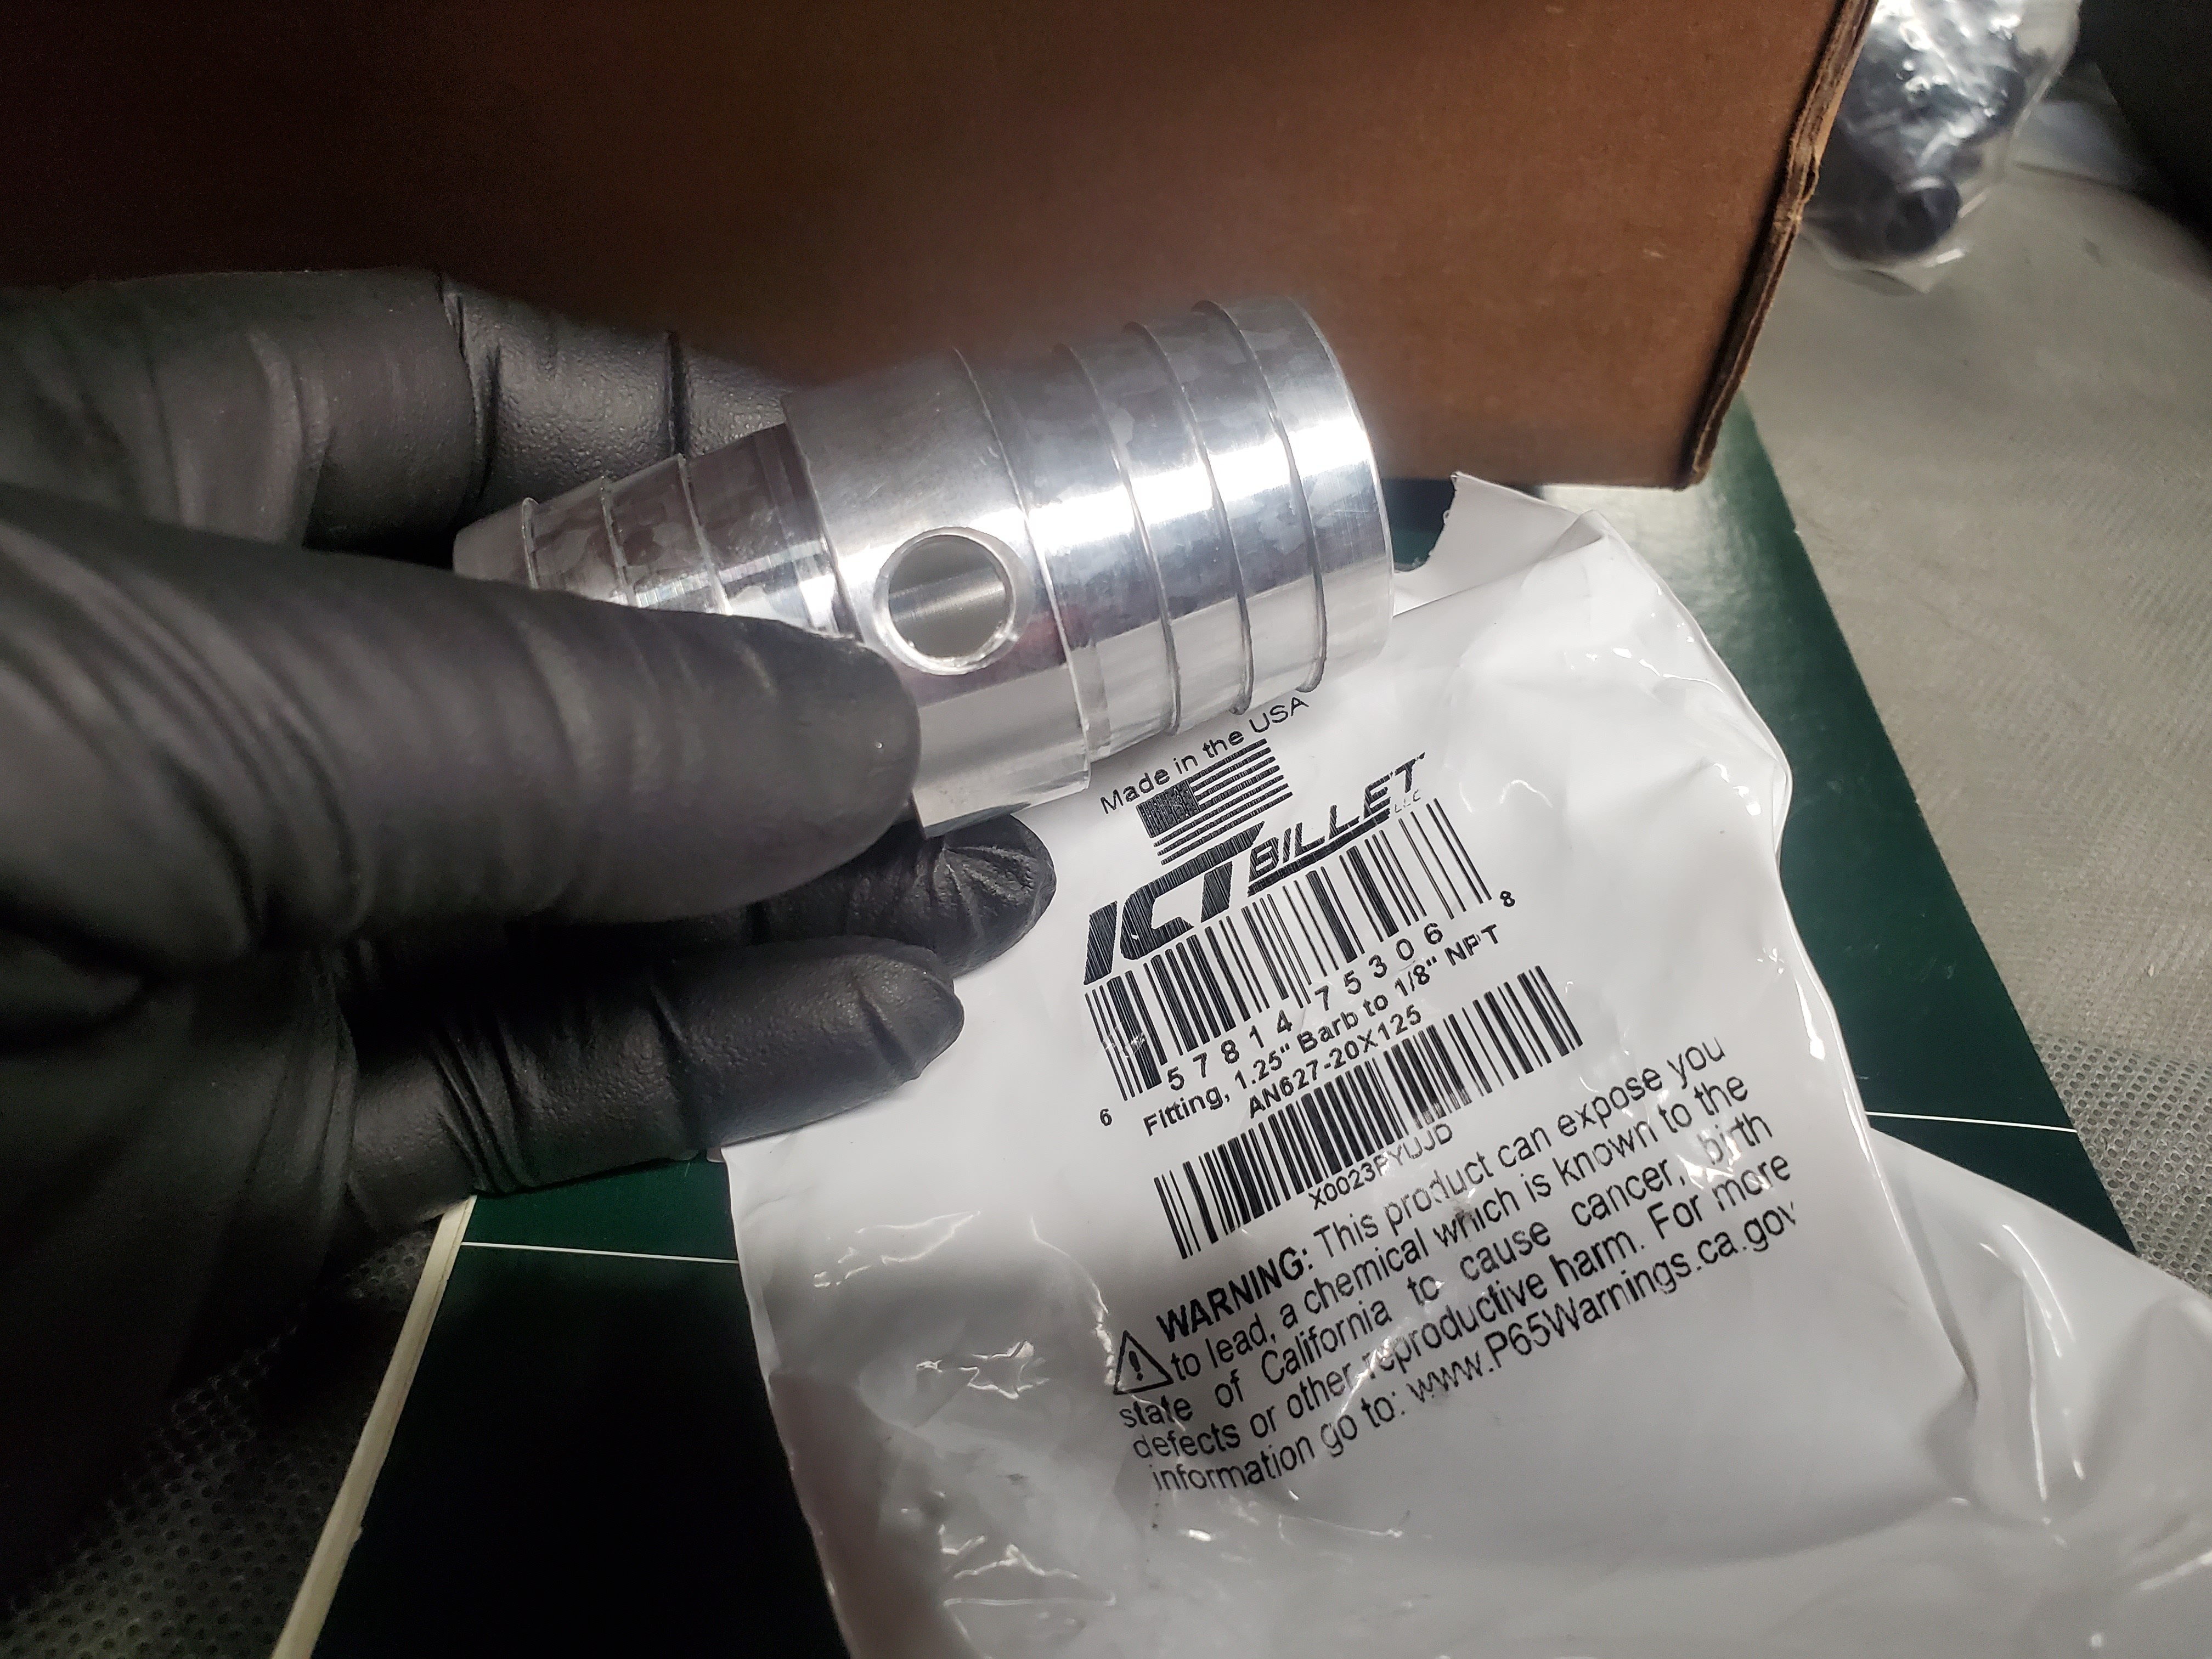
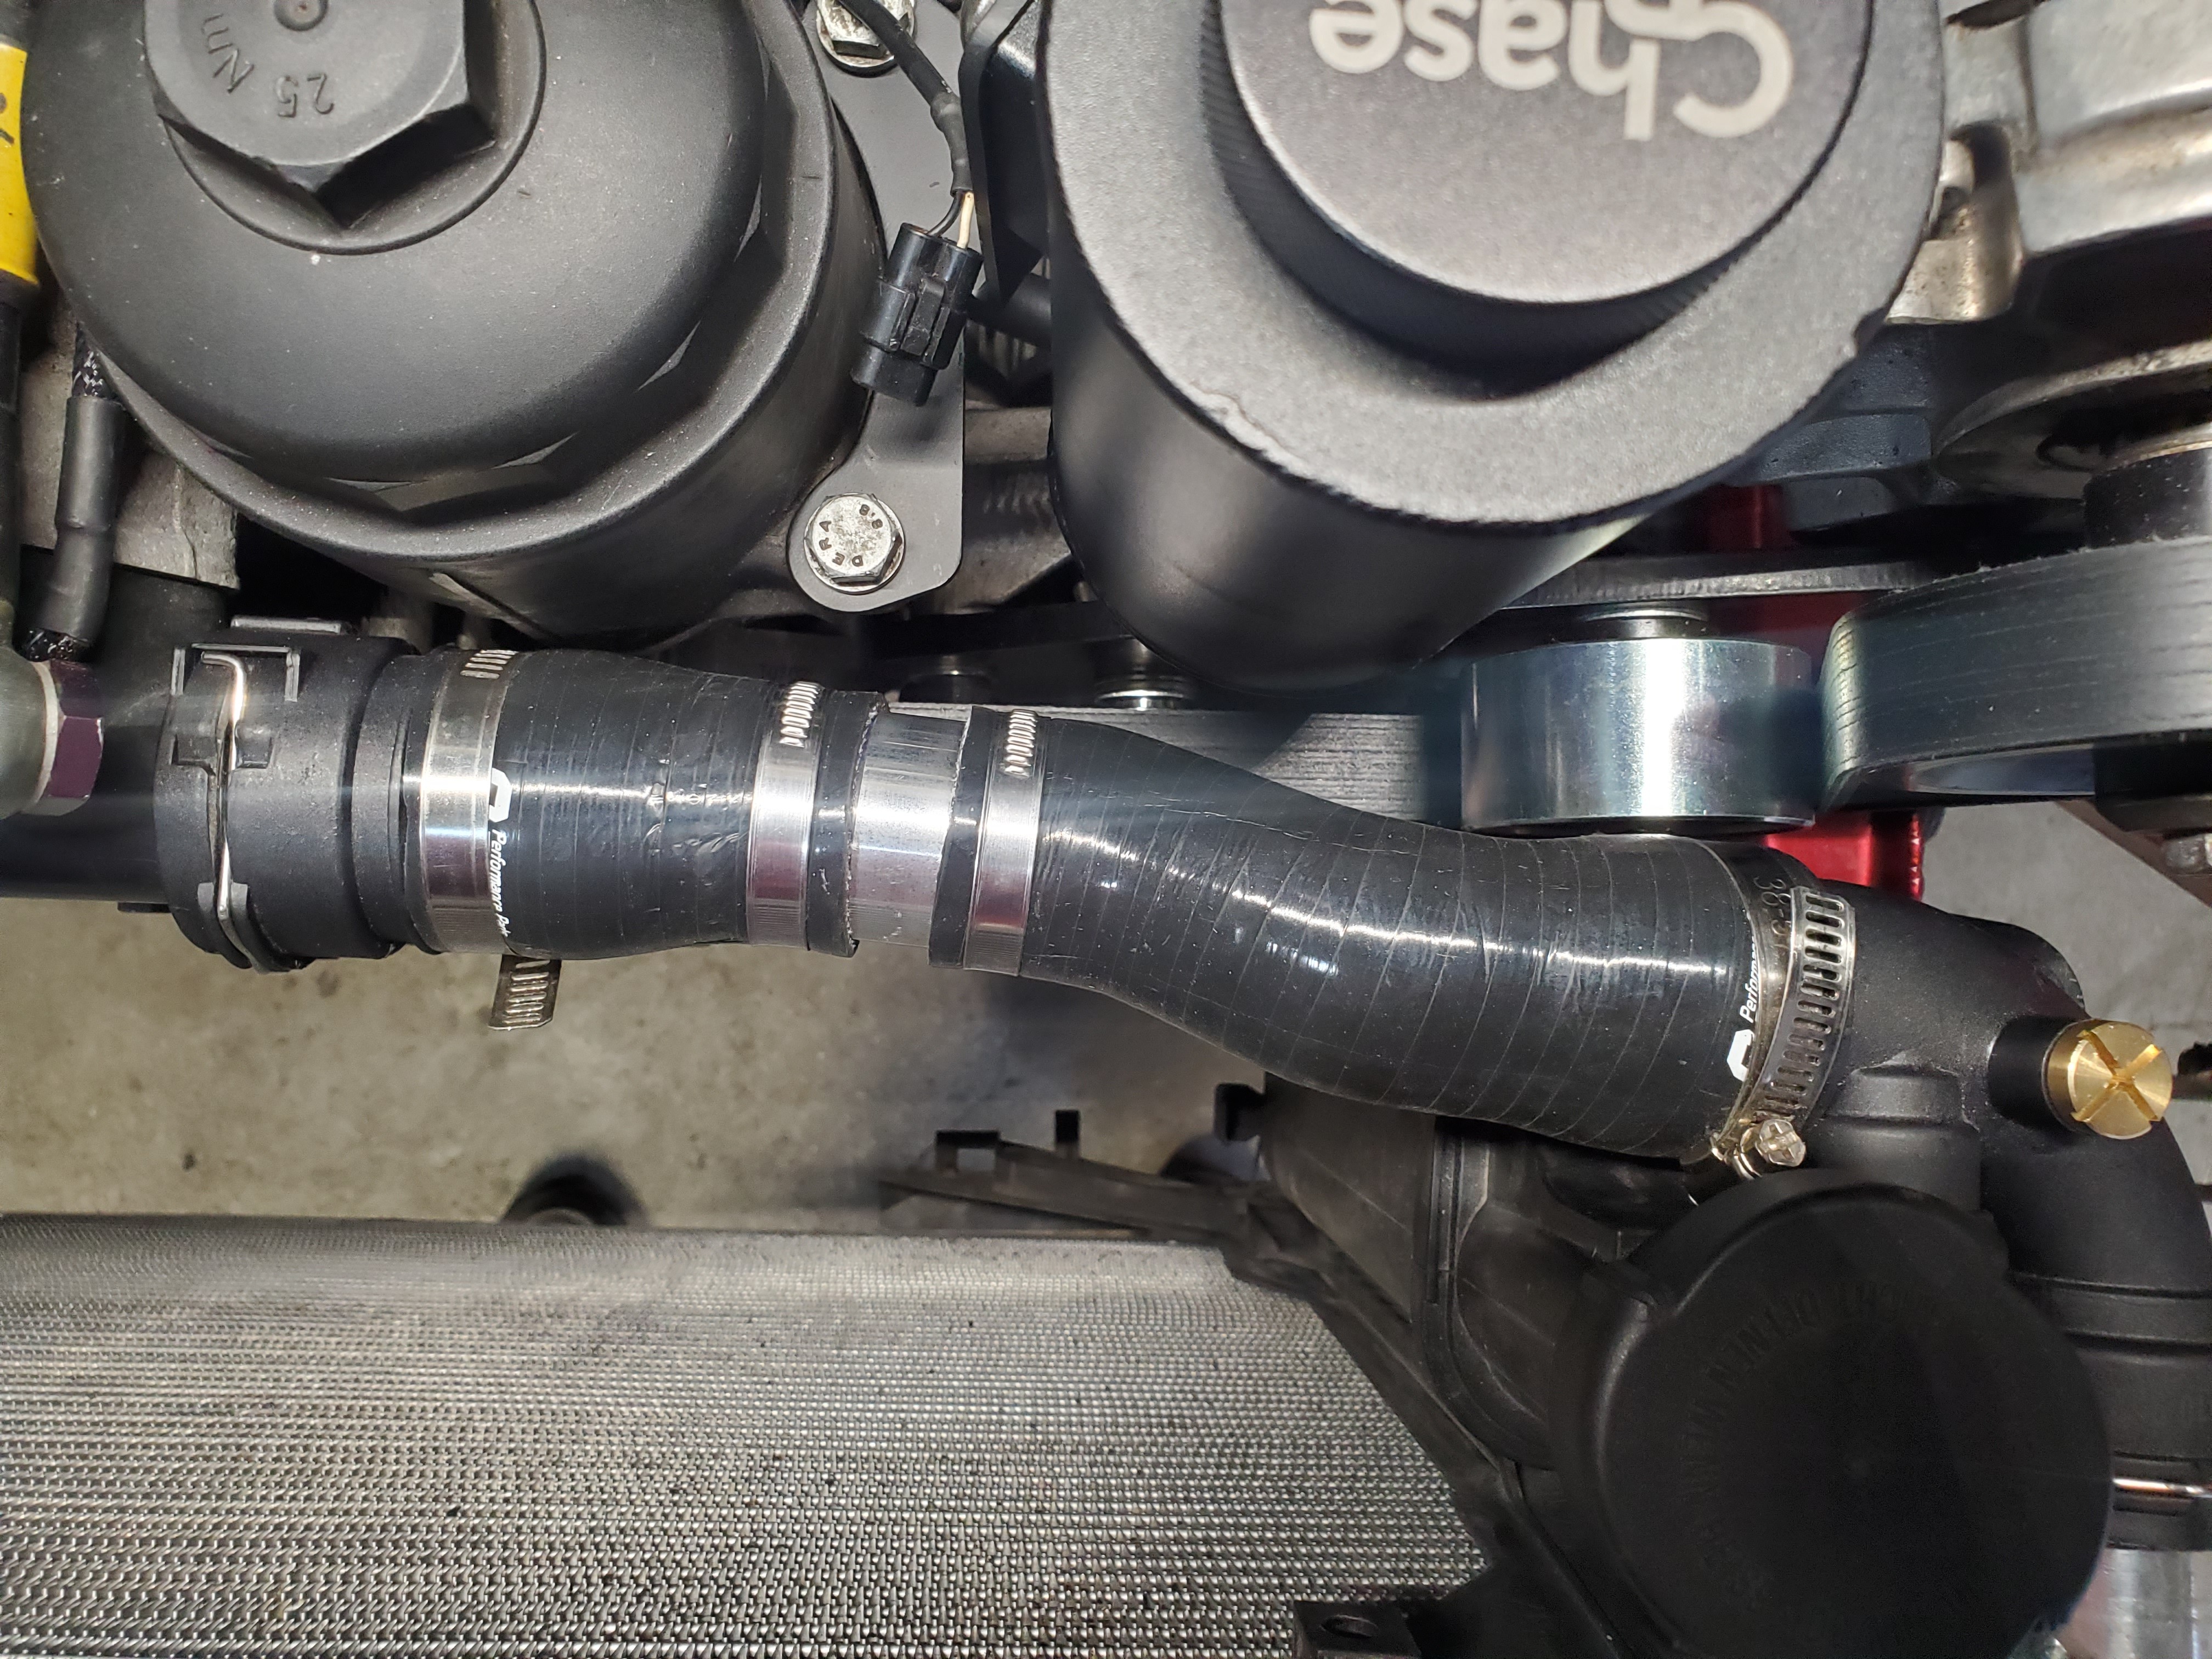
Also got in the upper radiator hose adapter from ICT billet.
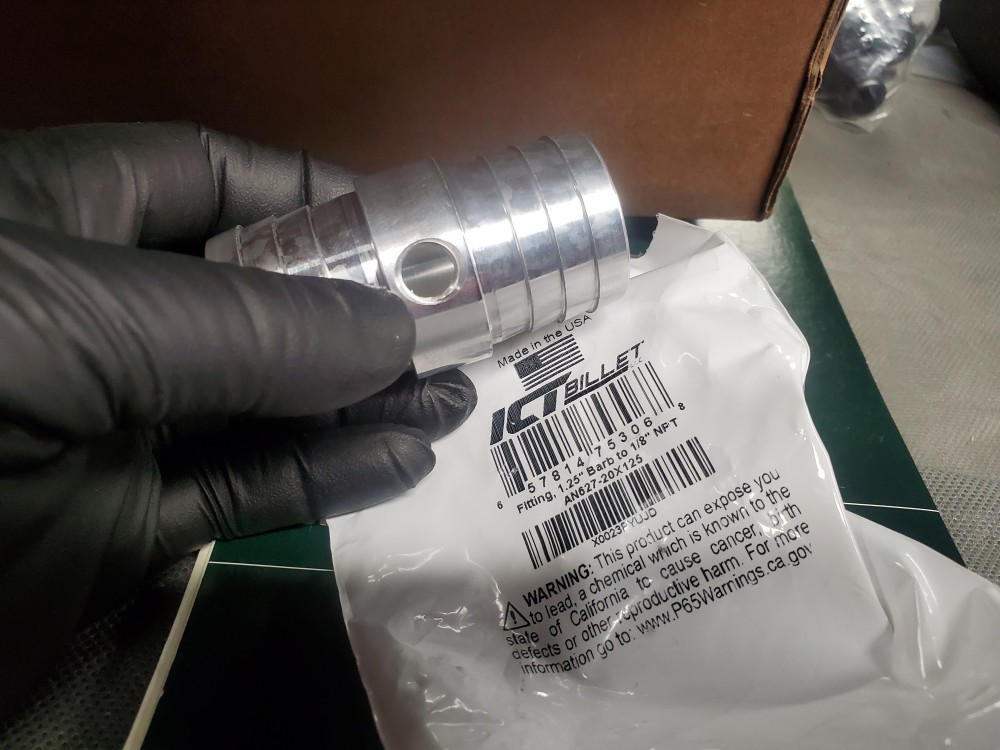
and installed.
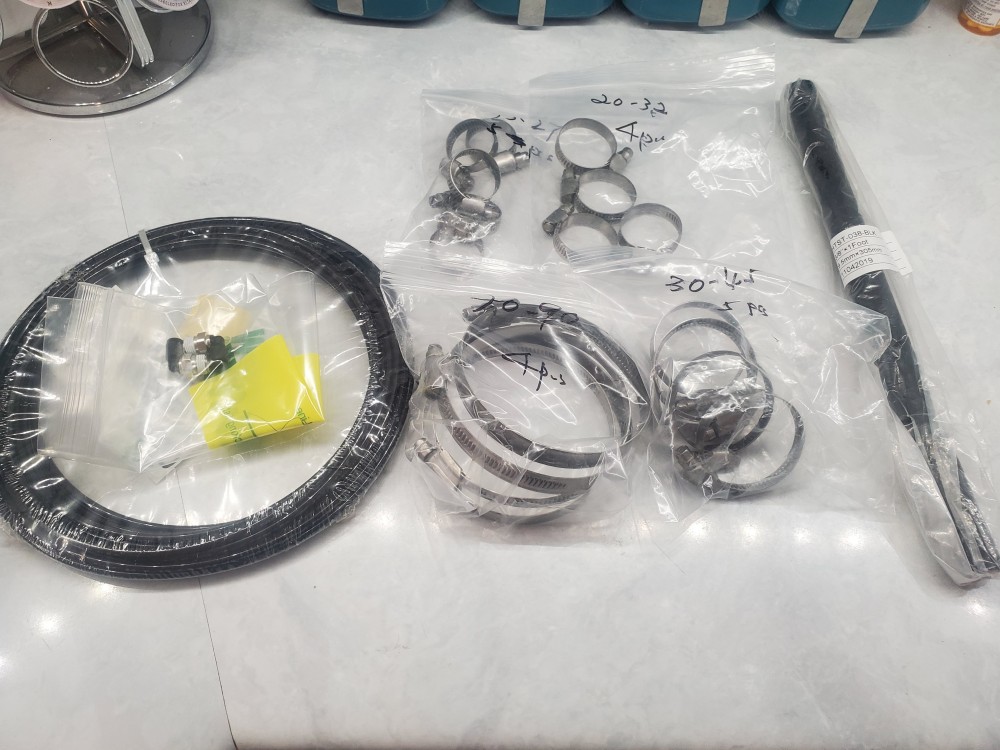
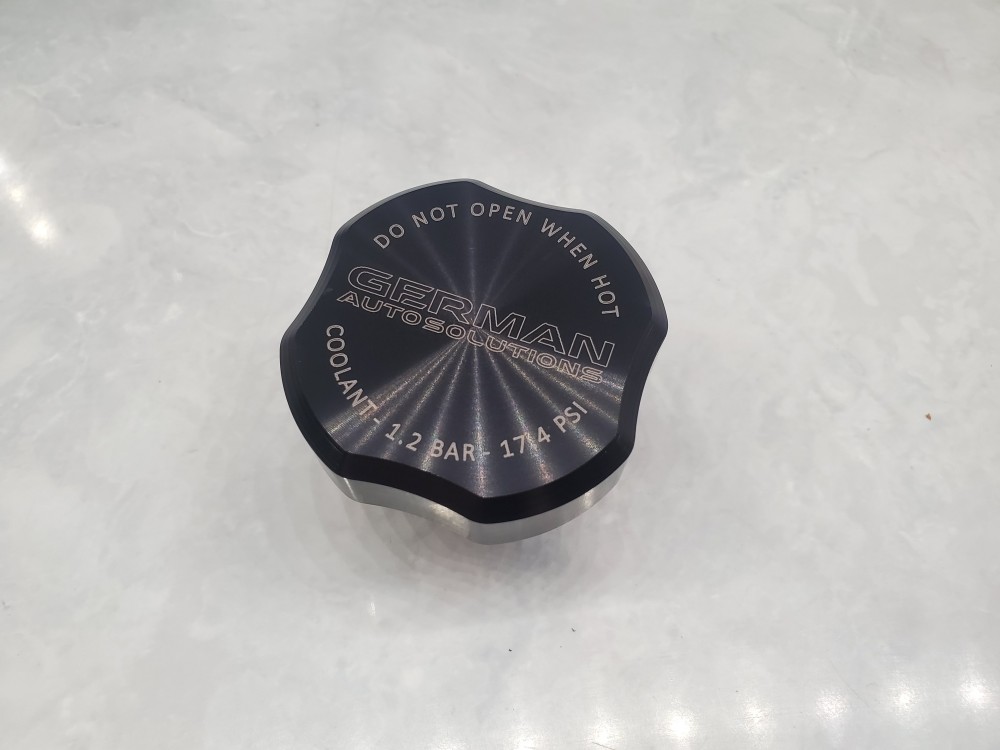
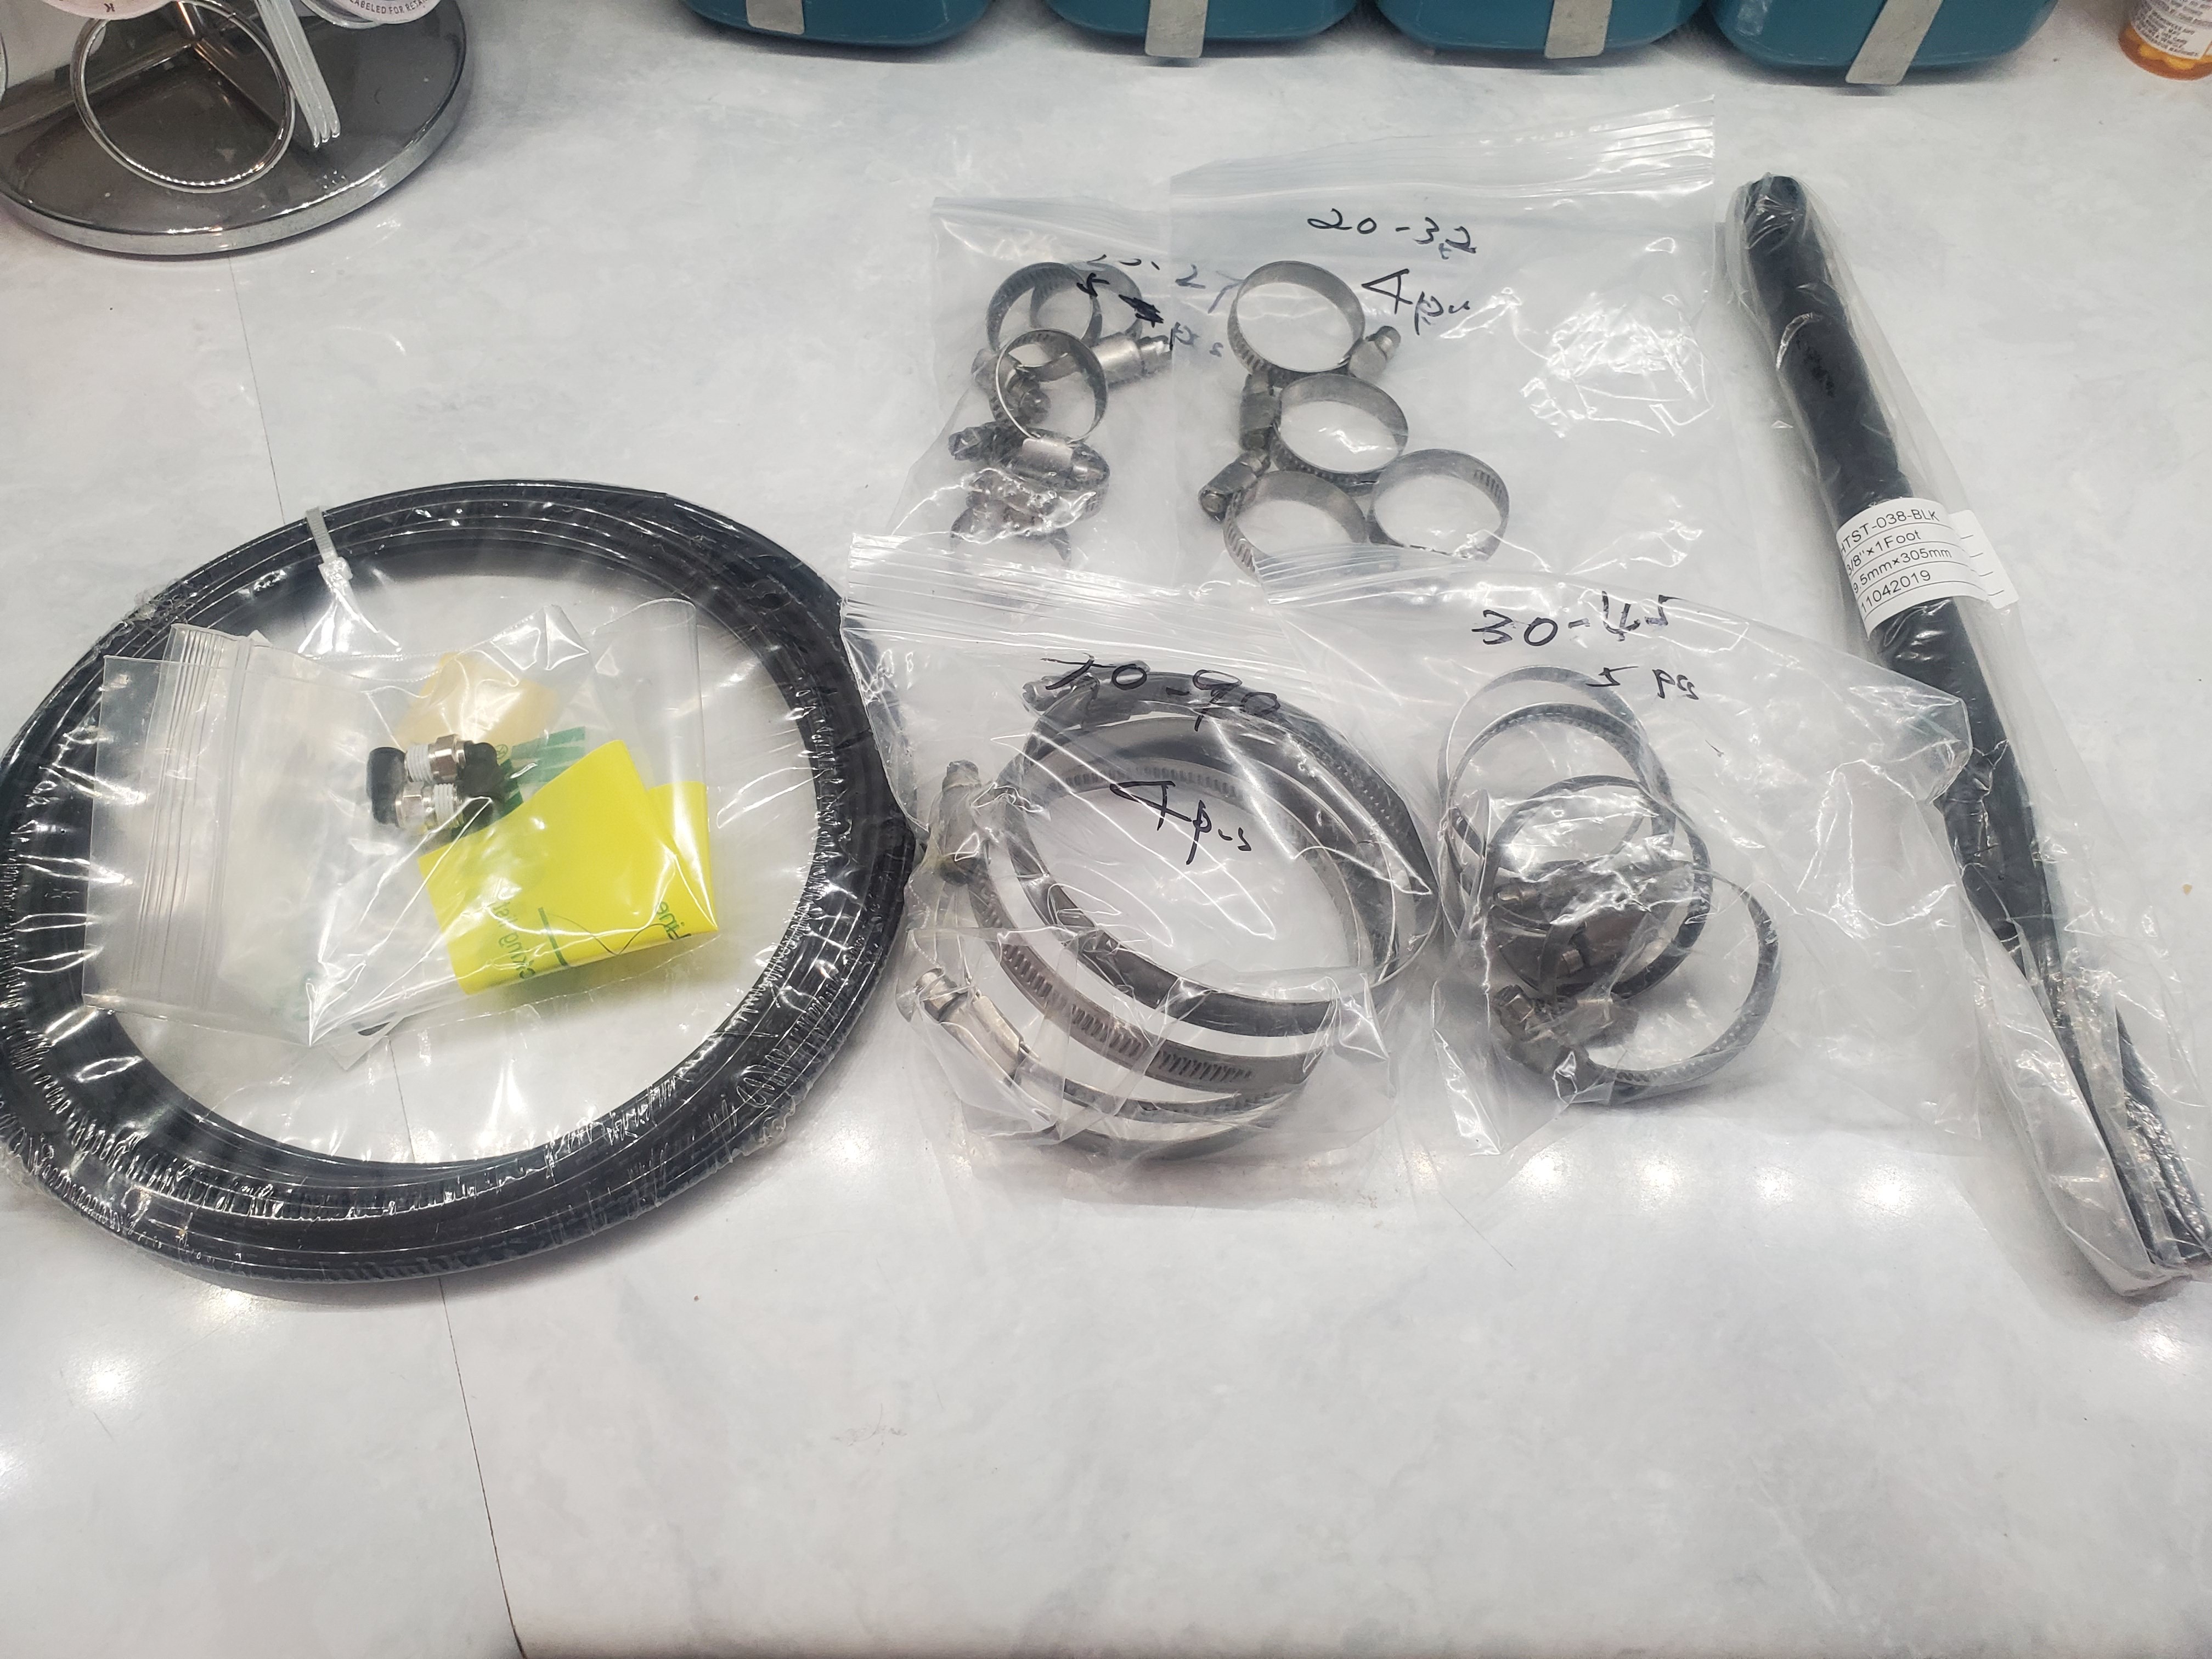
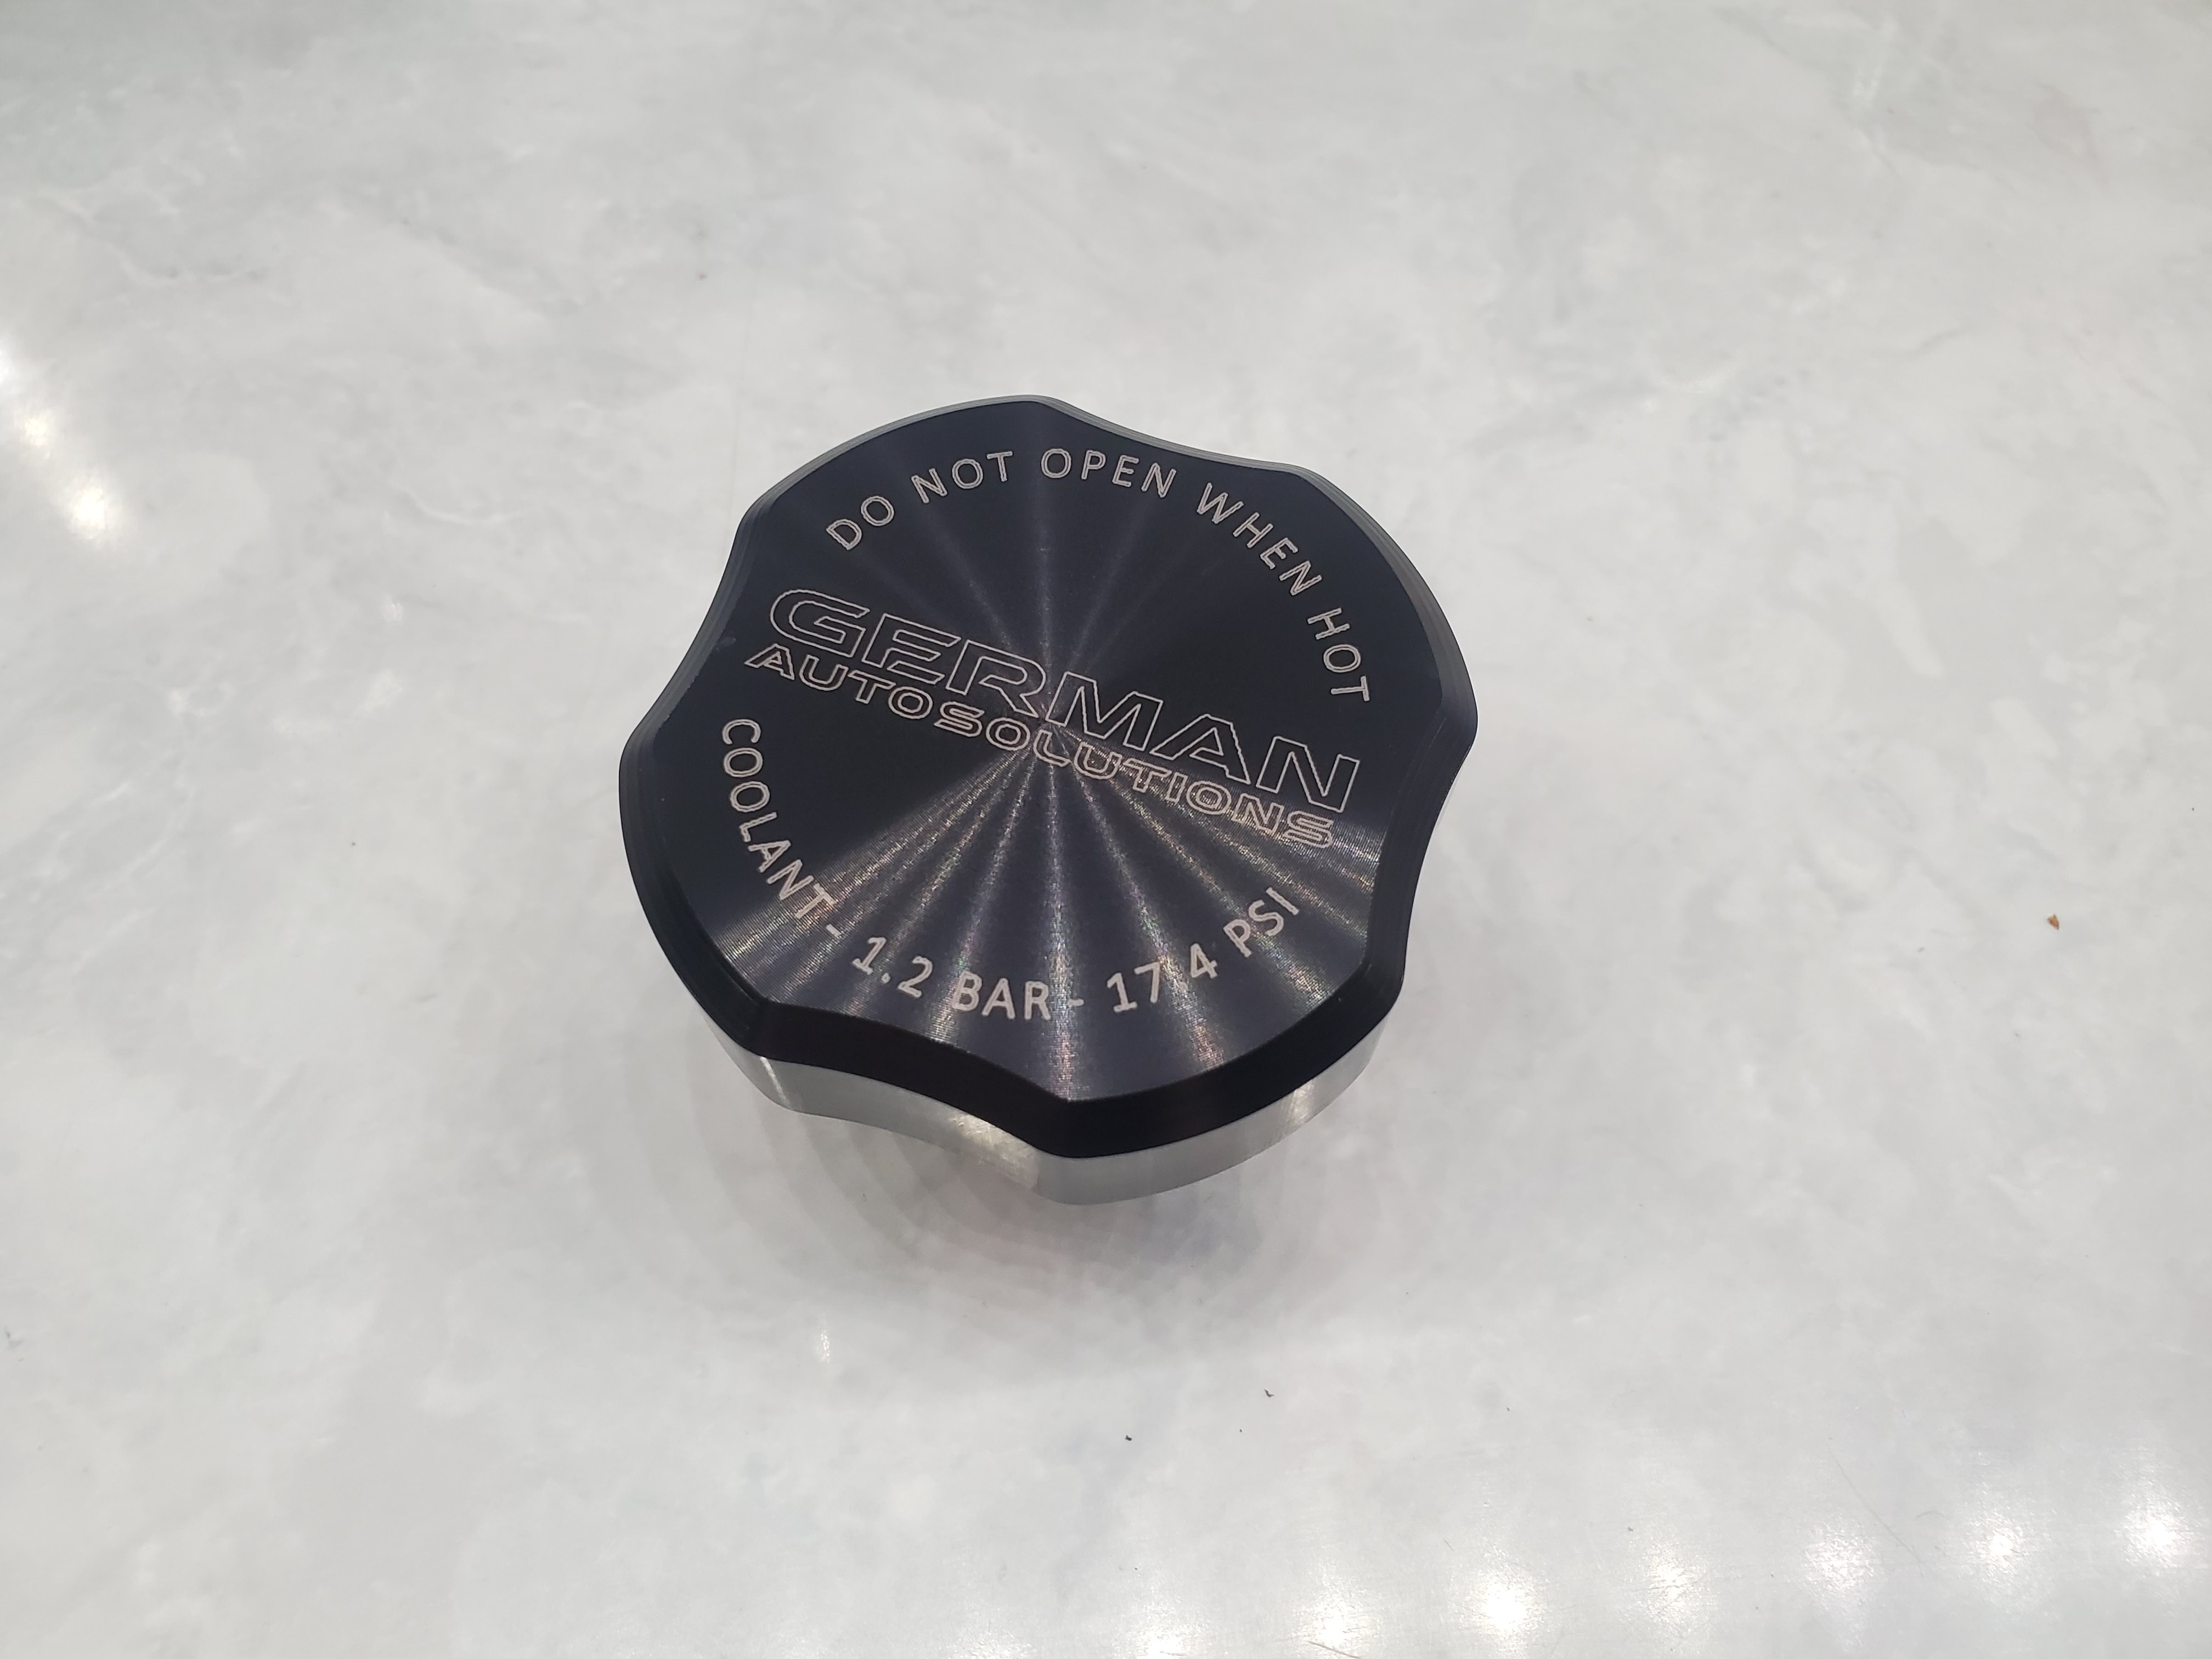
I also got in my clamps, the manifold vacuum fitting, the line for those fittings, and a section of 3/8 silicone hose plus my German Auto Solutions coolant cap came in.
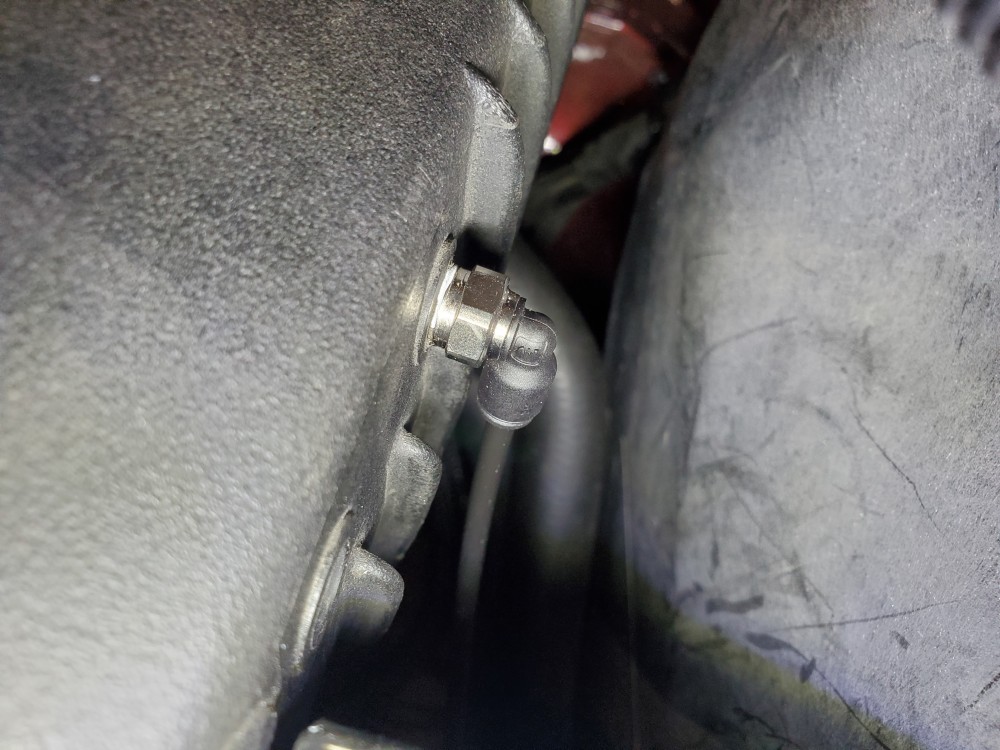
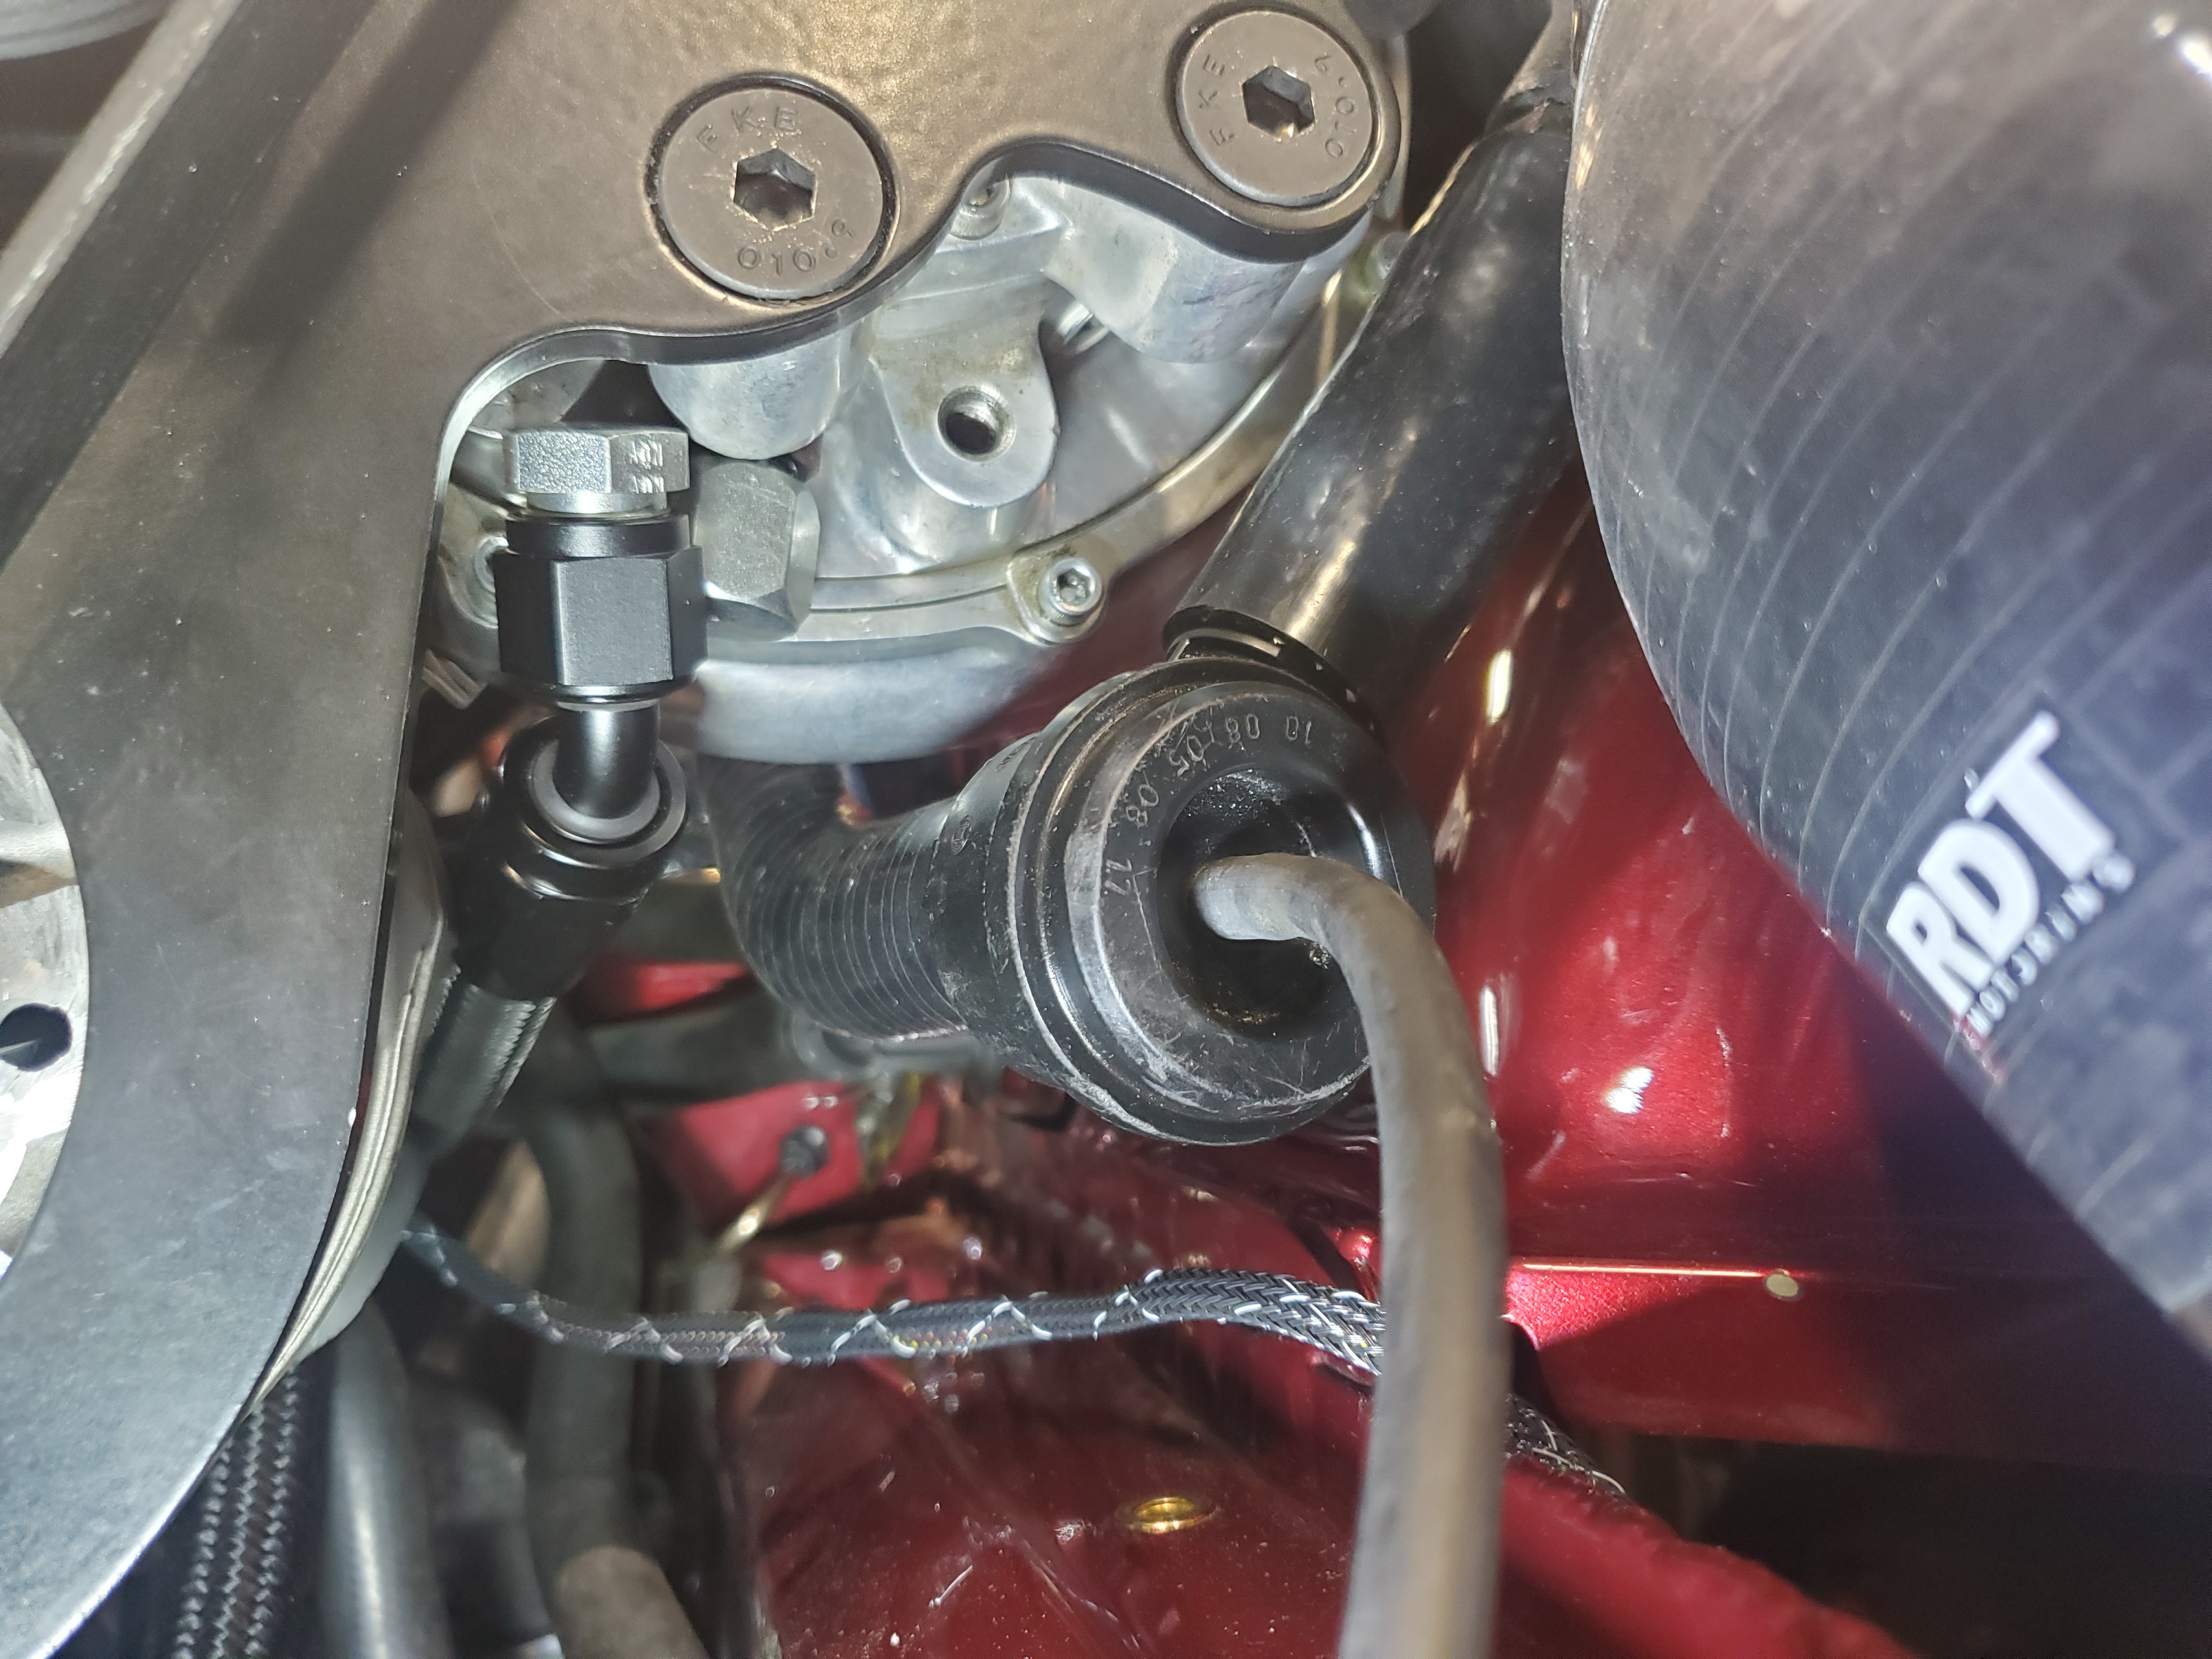
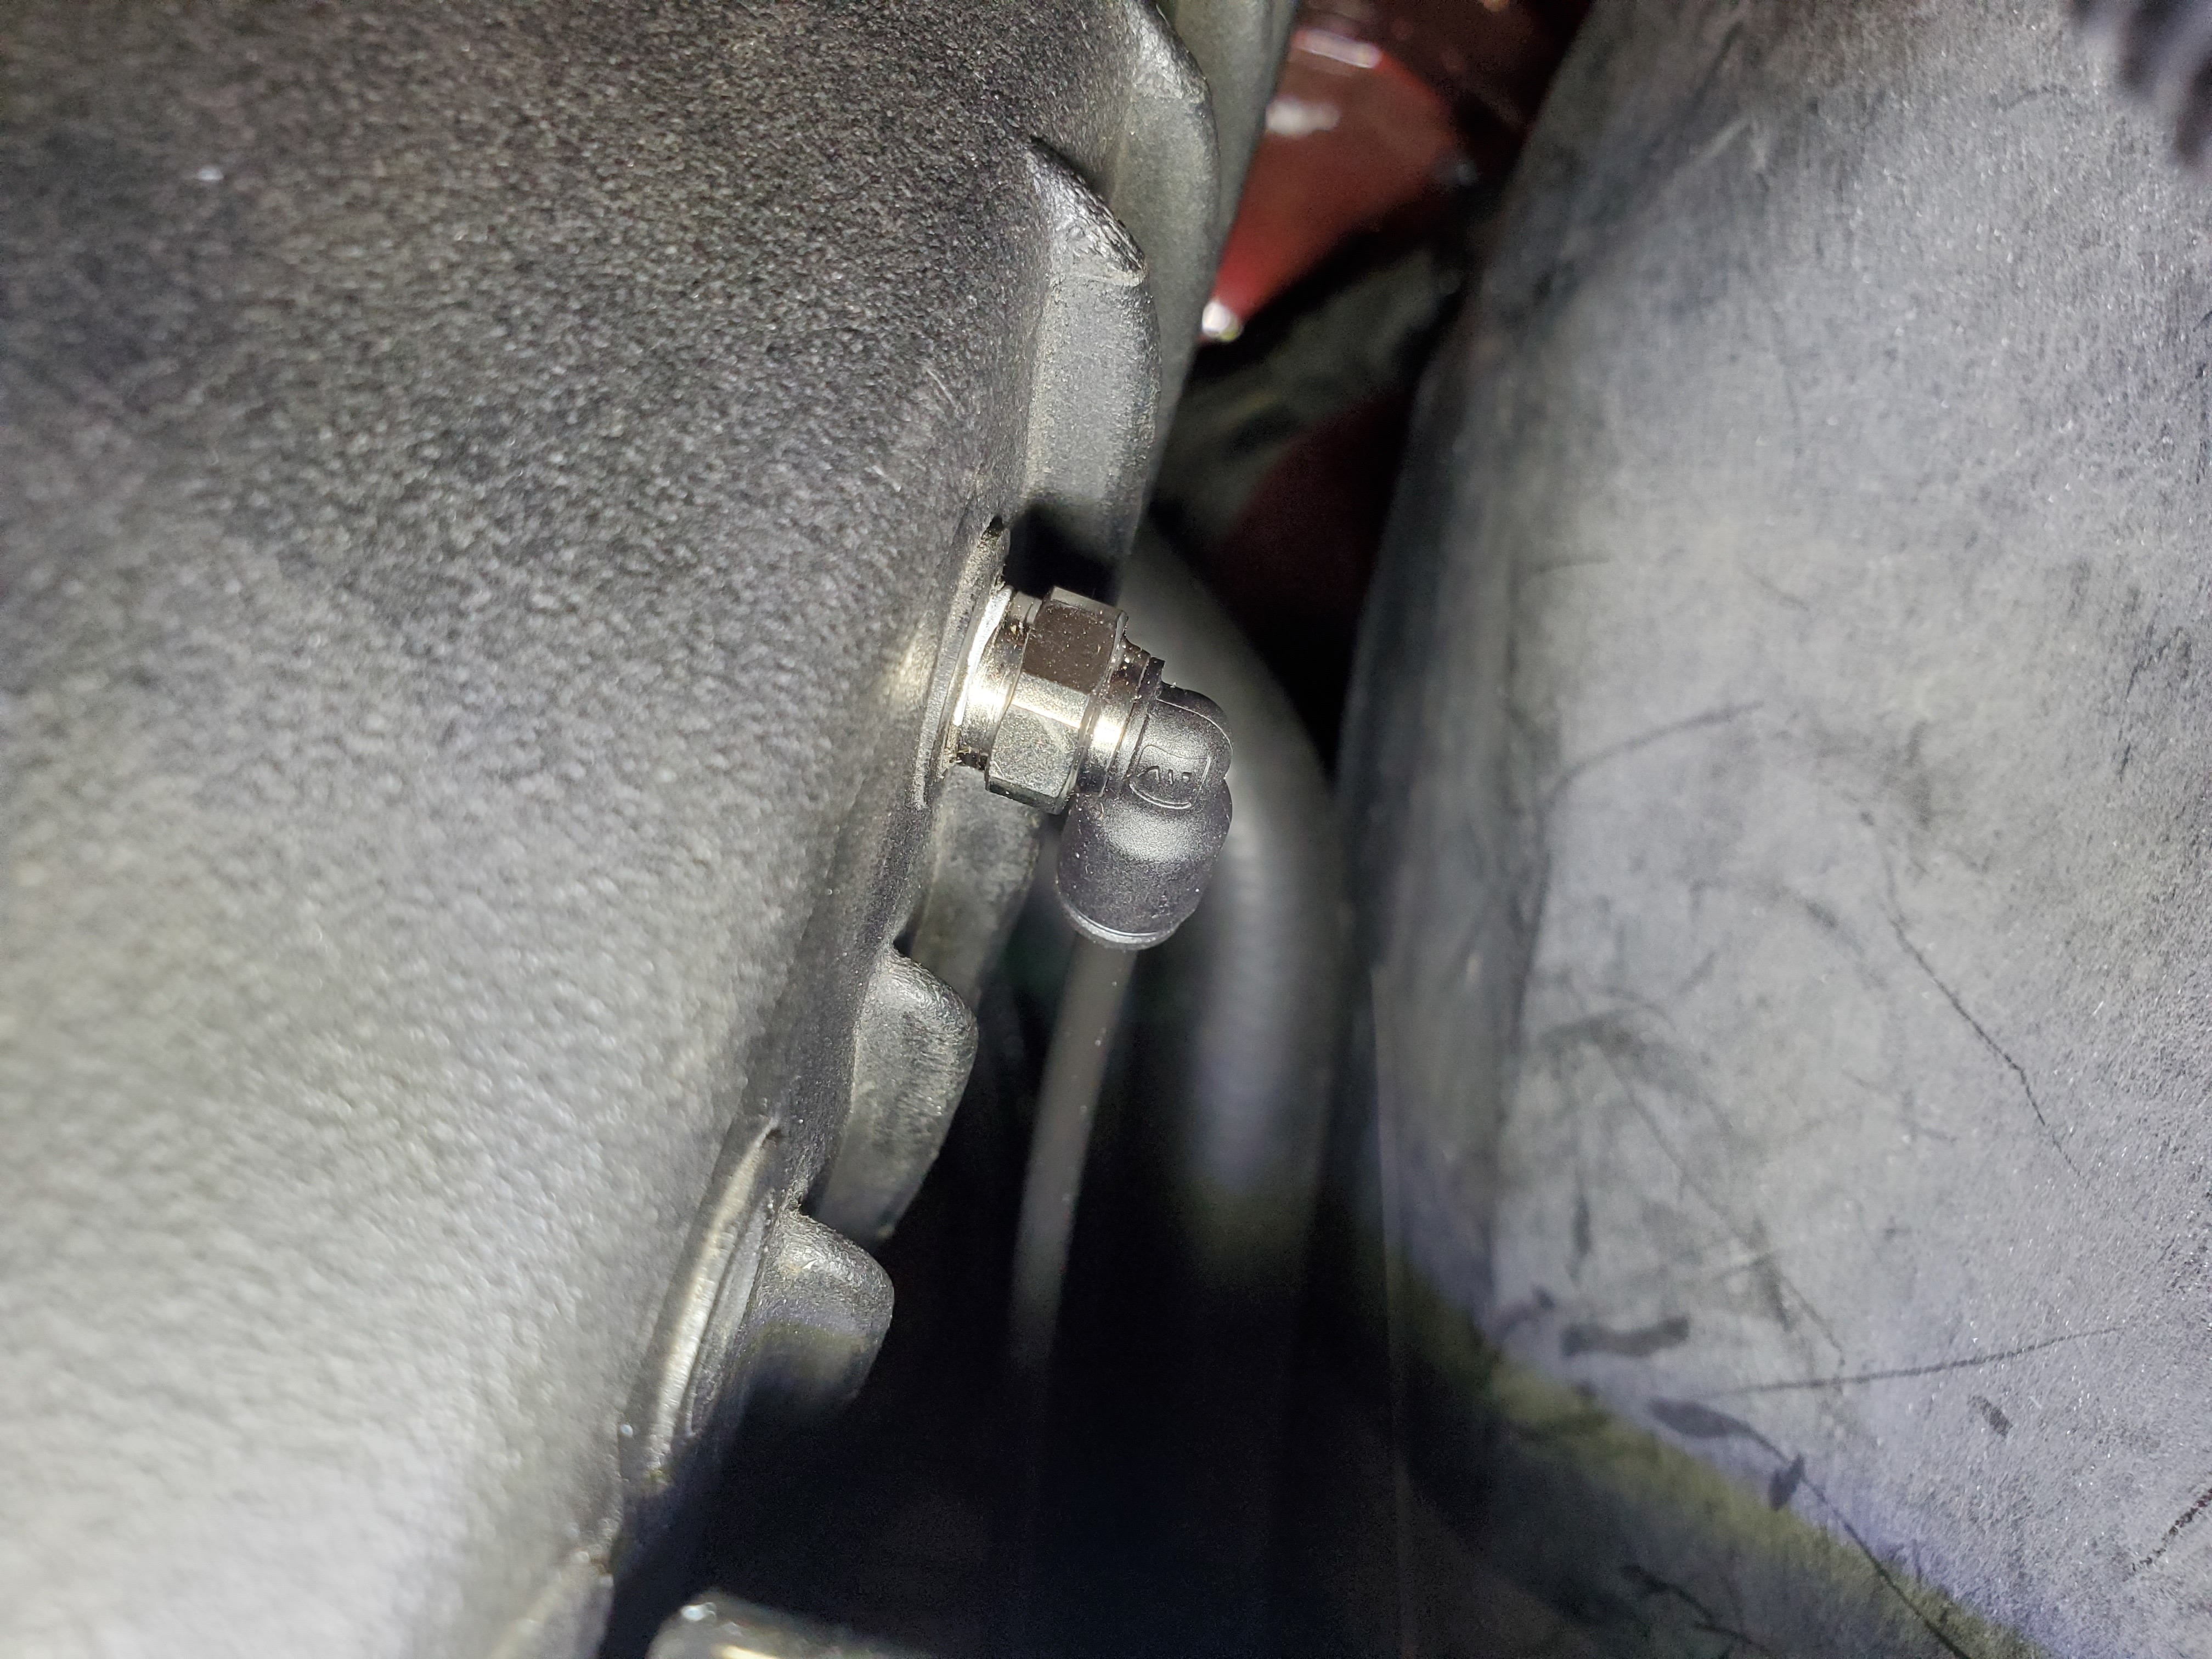
Drilled and tapped the manifold for this DOT push loc fitting and then routed the hose from the recirc valve to the manifold.
Really excited for how this worked out, too bad no one will see it hahahha.
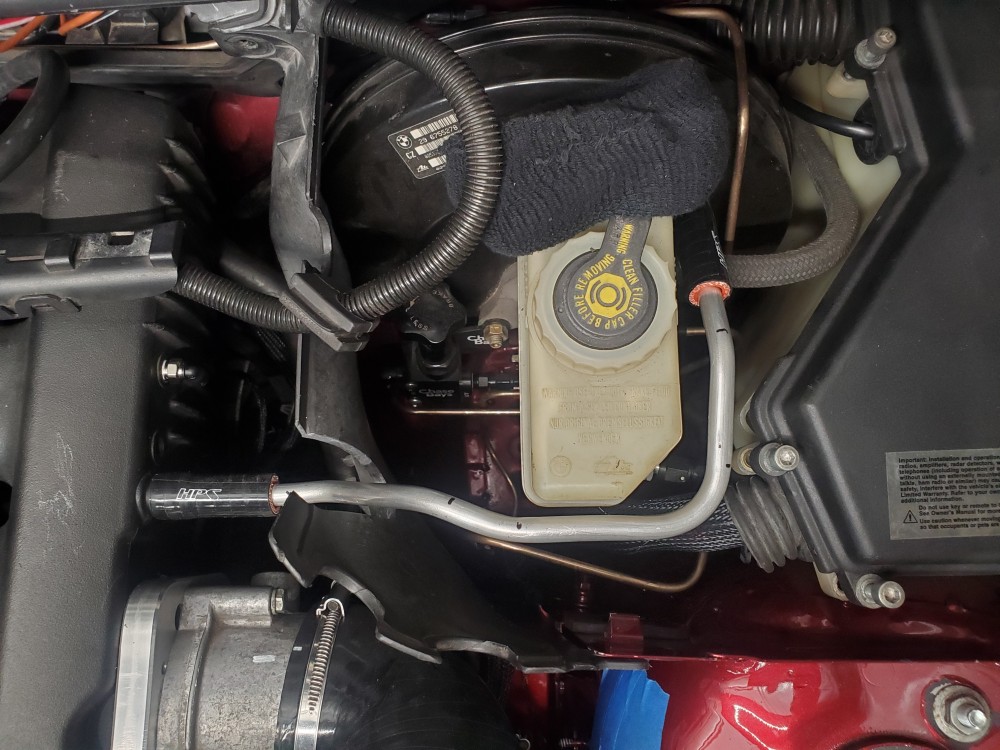
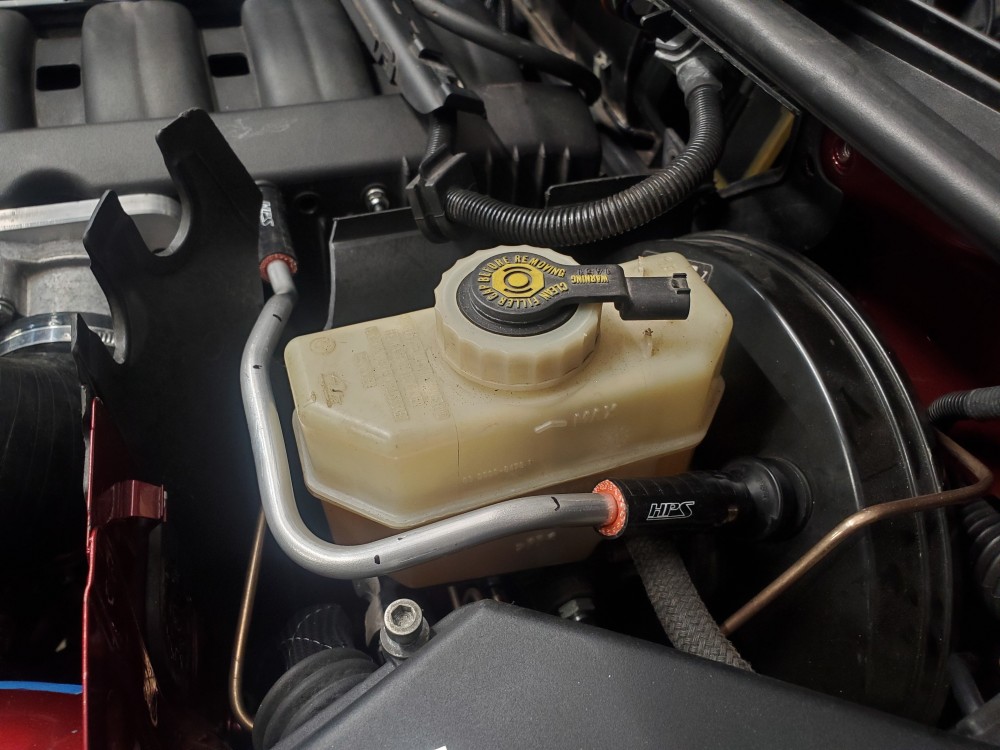
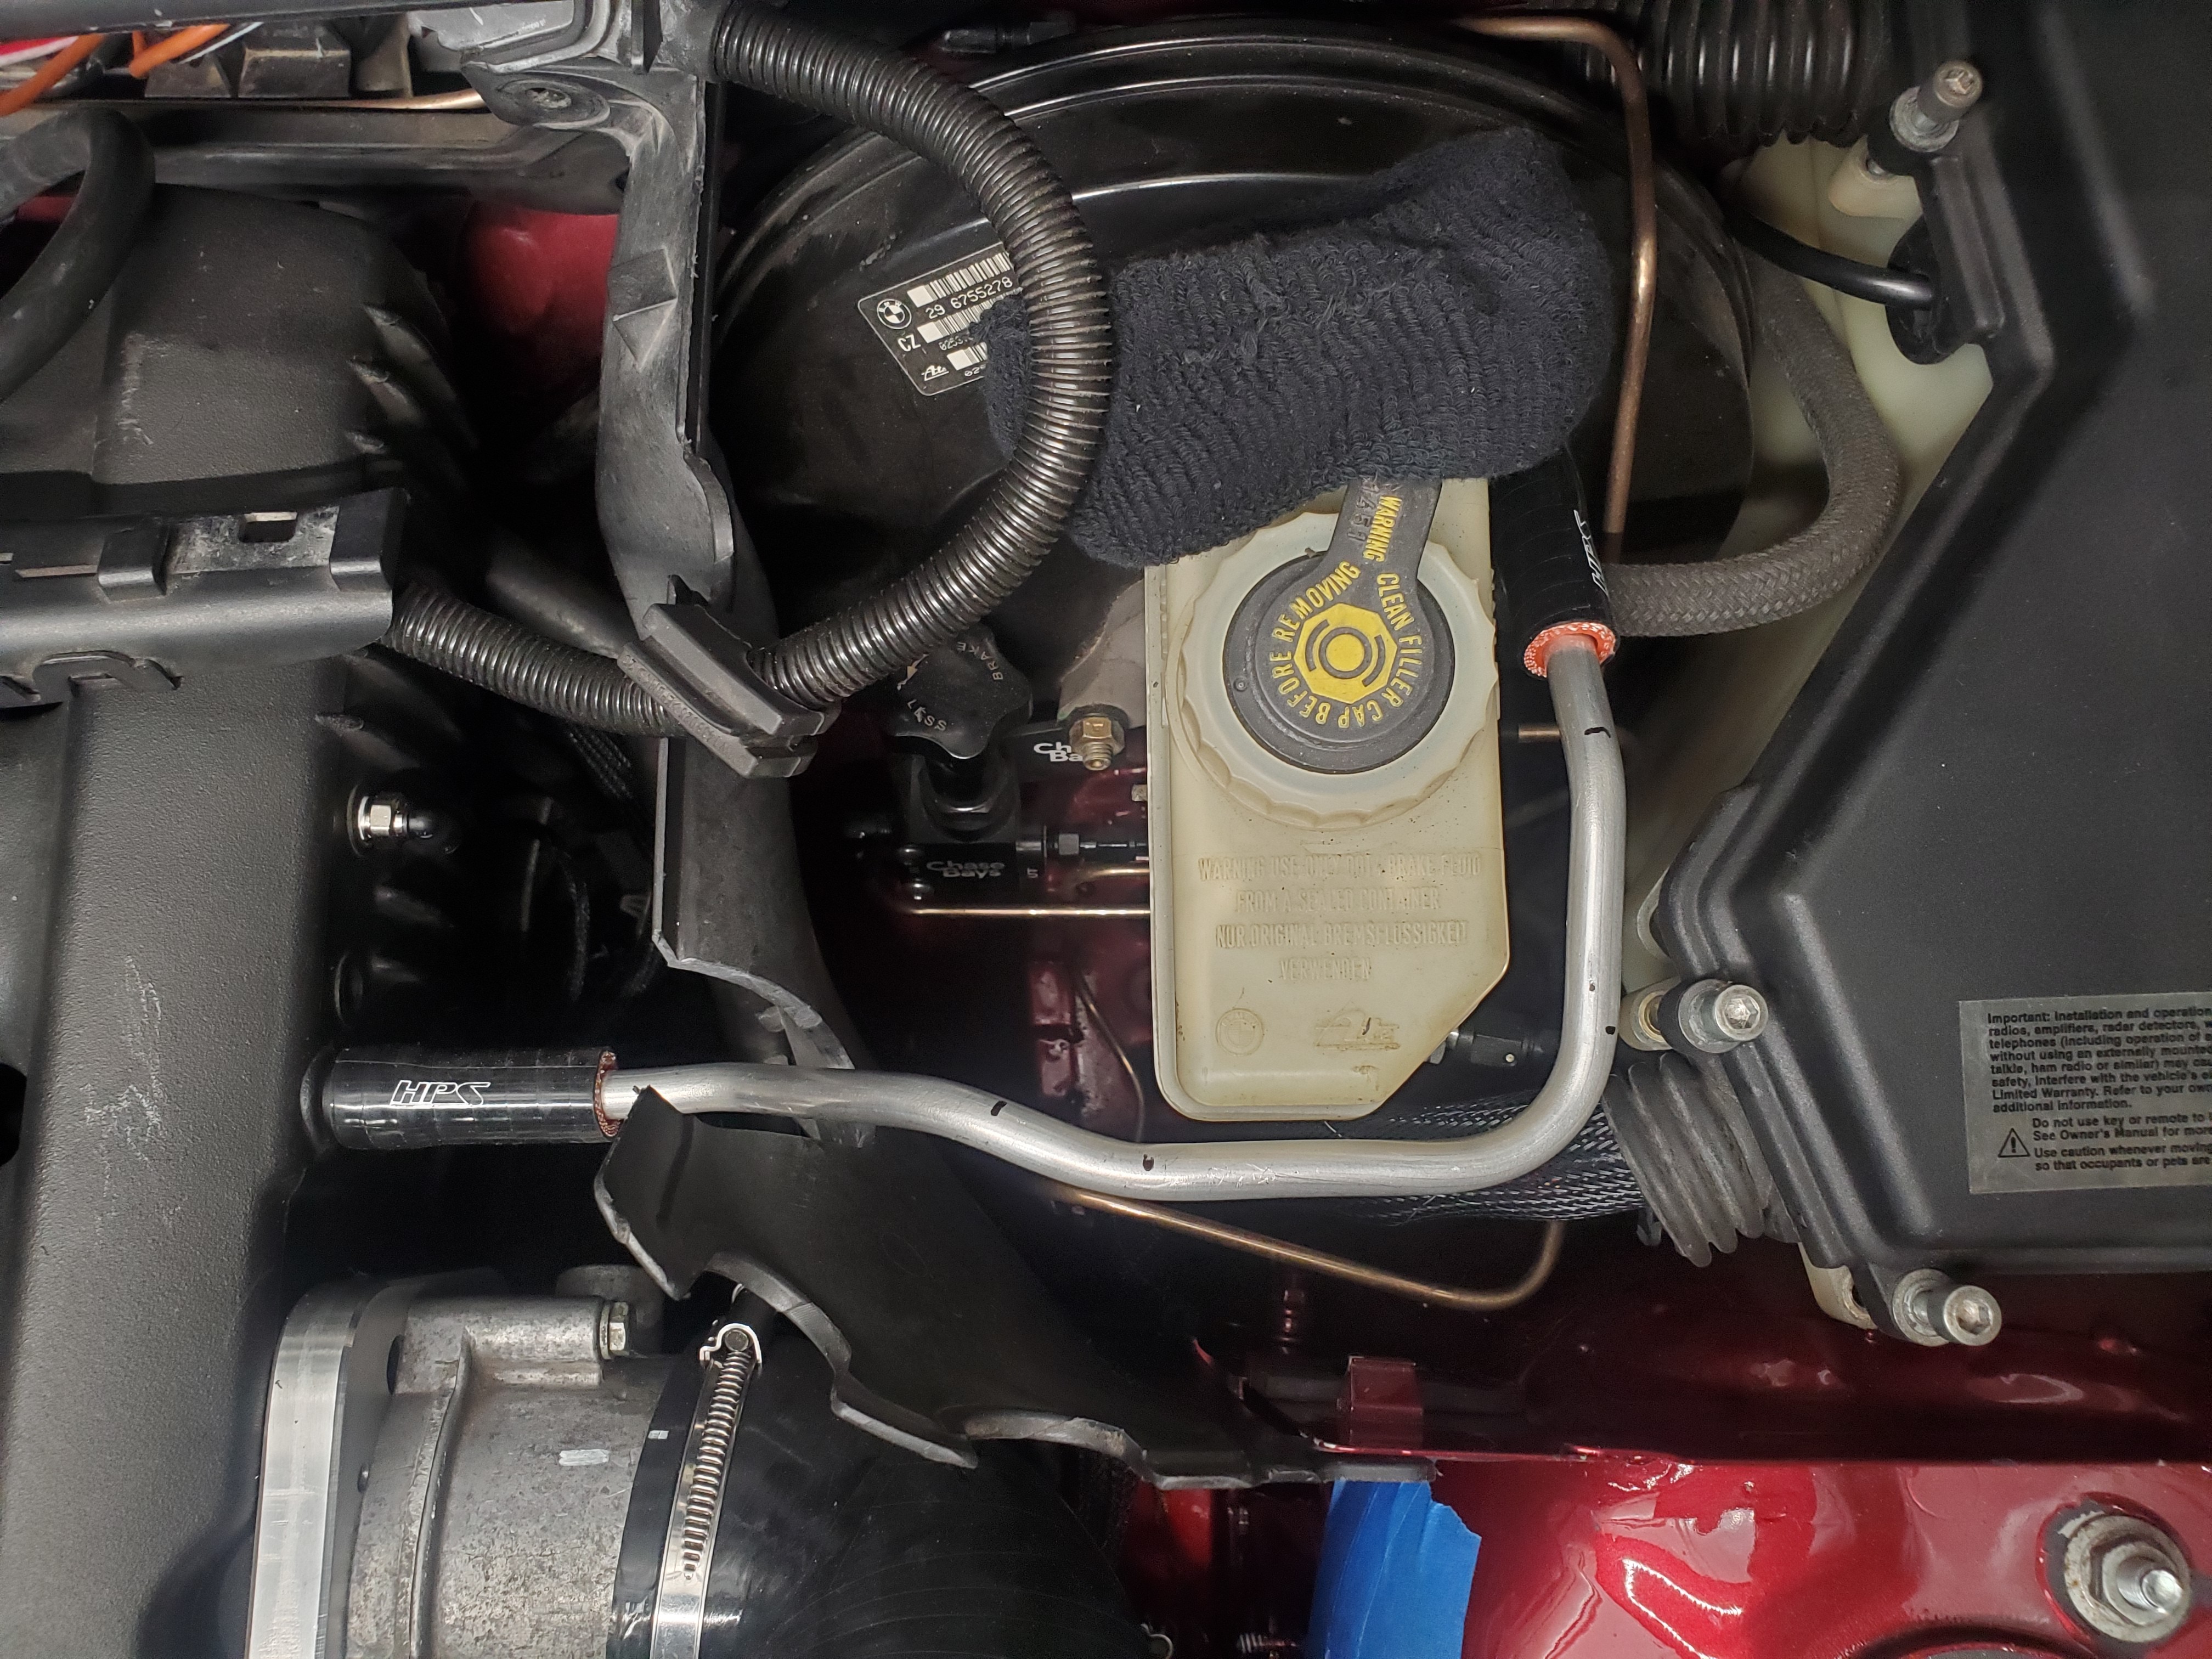
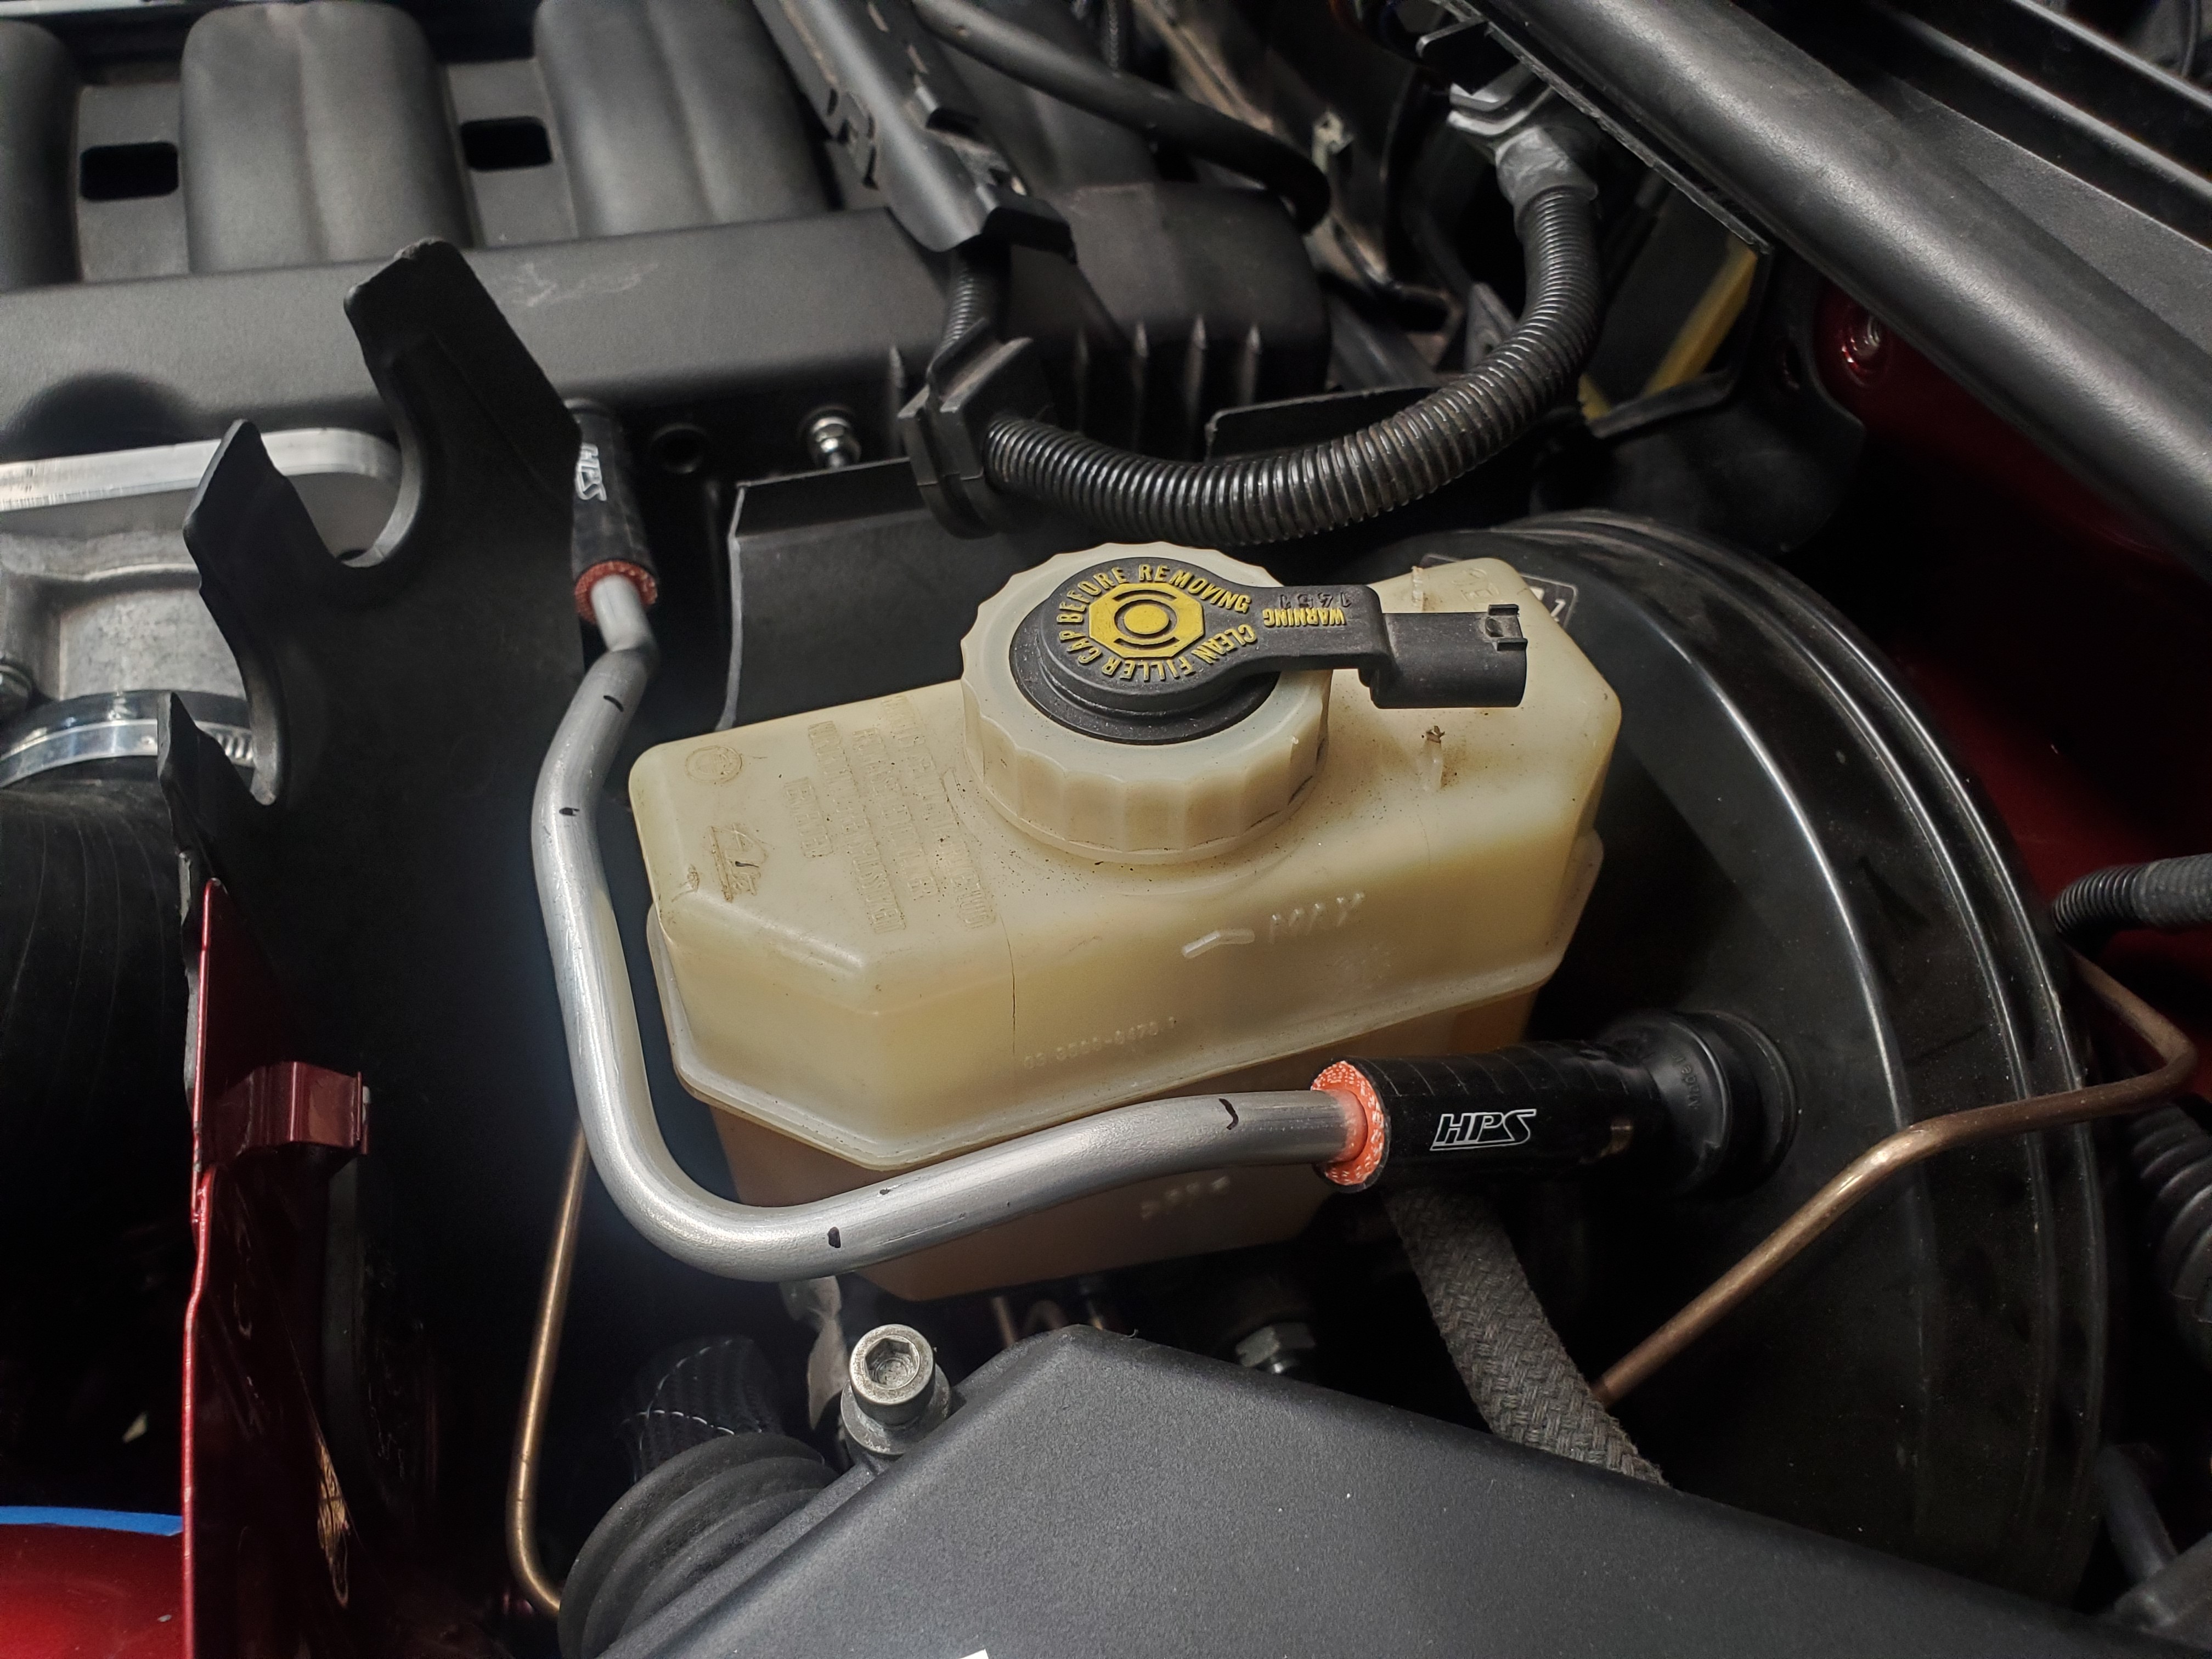
I then cut the section of 3/8 silicone into sections to act as couplers with the hardline I bent up for the vacuum to the booster. Just waiting on some more clamps to come in, because you know I forgot to get these ones lol.
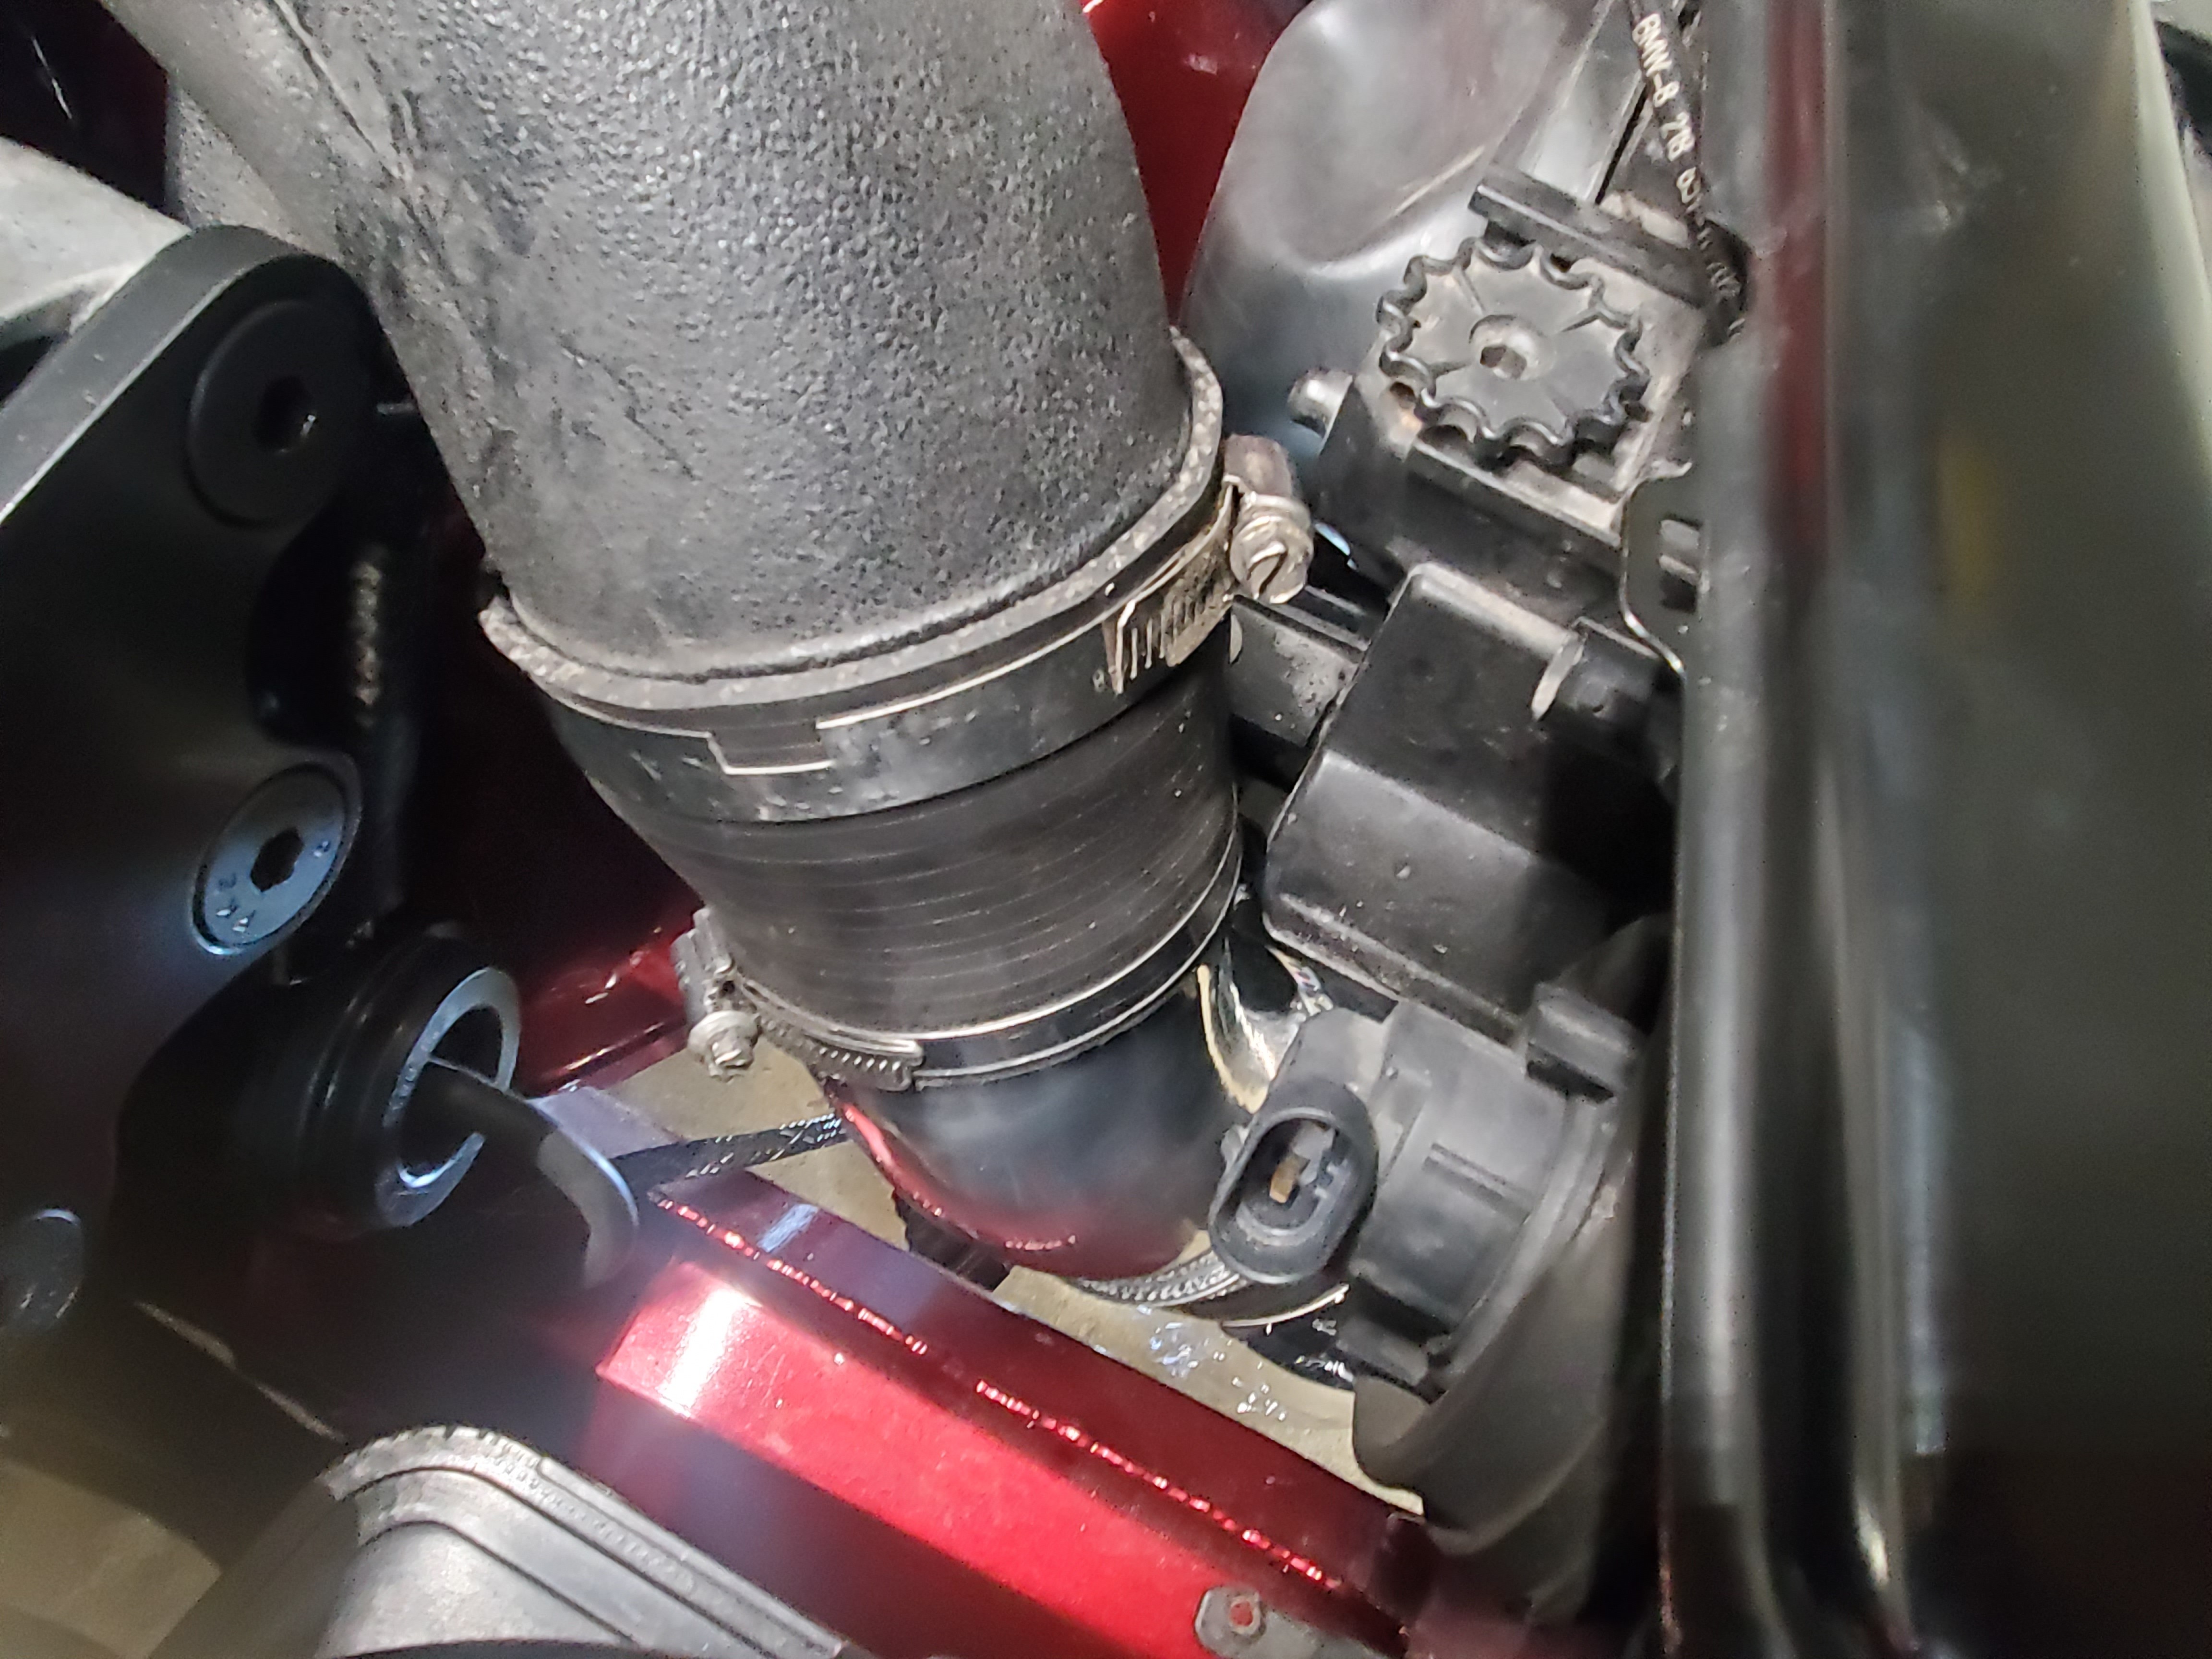
Next I wanted to see how the HELL the headlight was supposed to fit with the intake. The way the kit came had a 45" coupler off the main intake and then the maf attached to that followed by a plastic piece that went from the maf to the filter.
I dont have pictures but theres no way I was jamming that behind the headlight and pinching and pushing things around. Not to mention I have Xenon headlights so the ballast would need to be "moved". I have a solution for that once the parts come I will.share that!
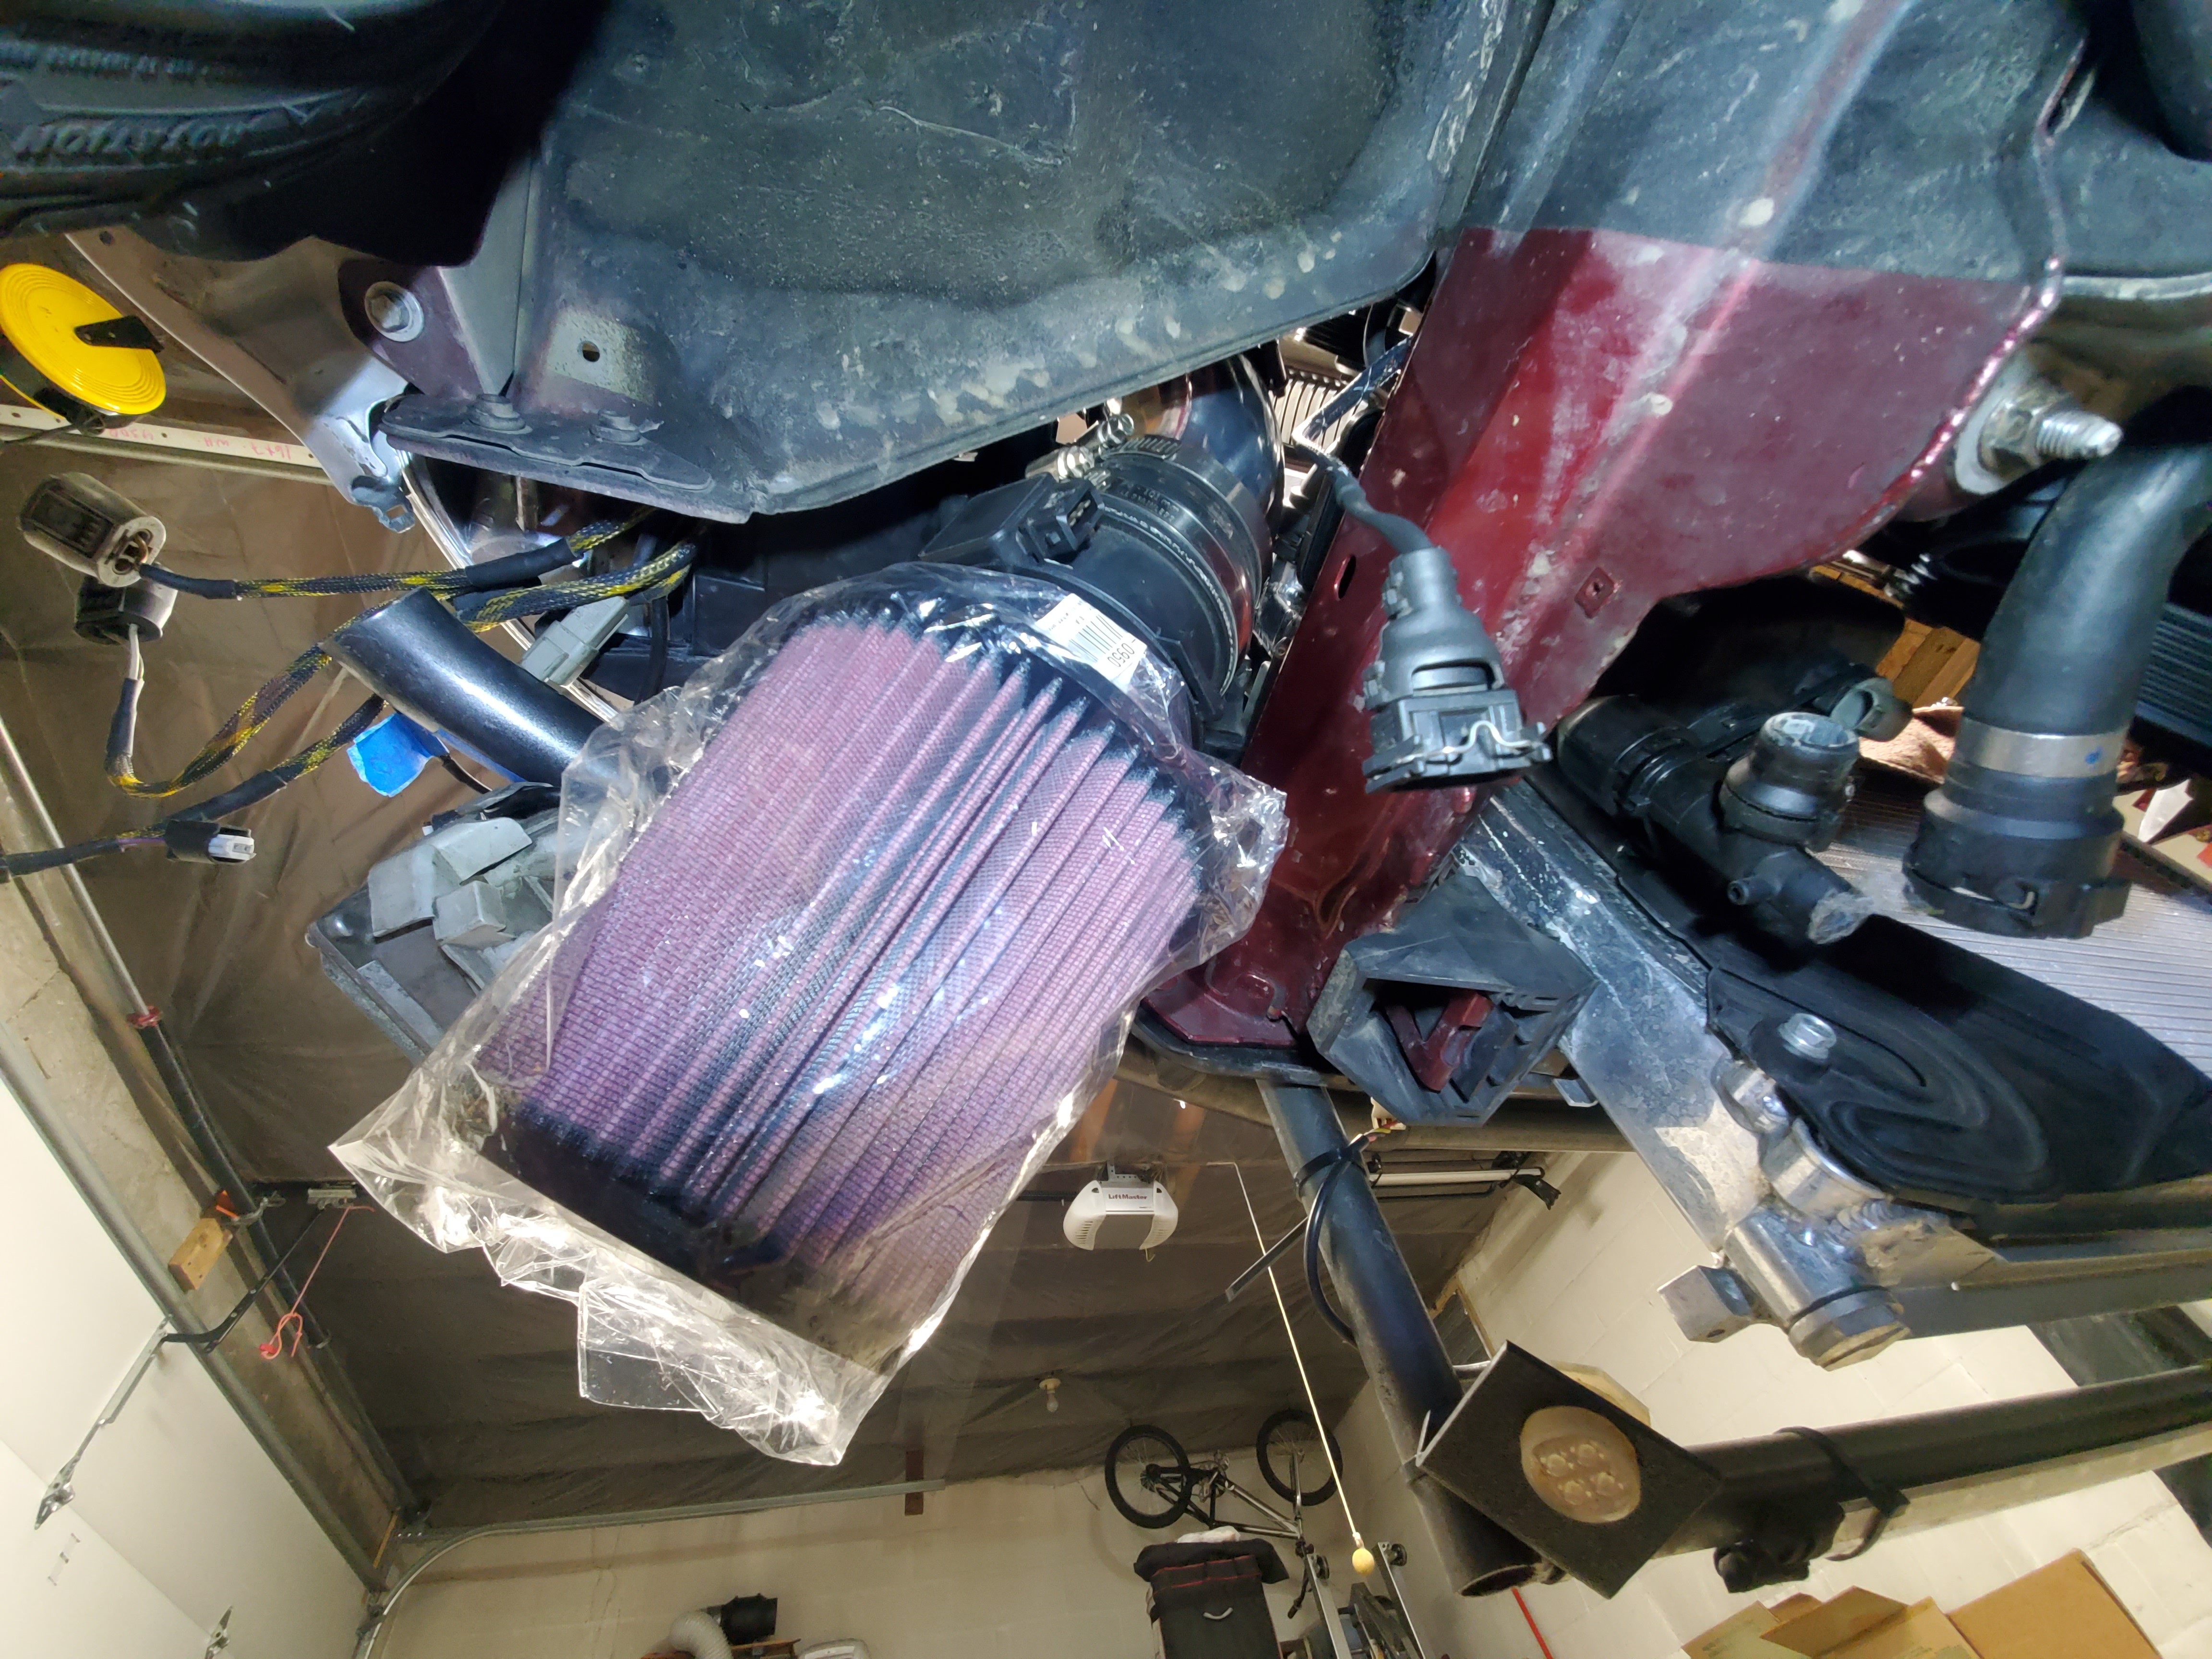
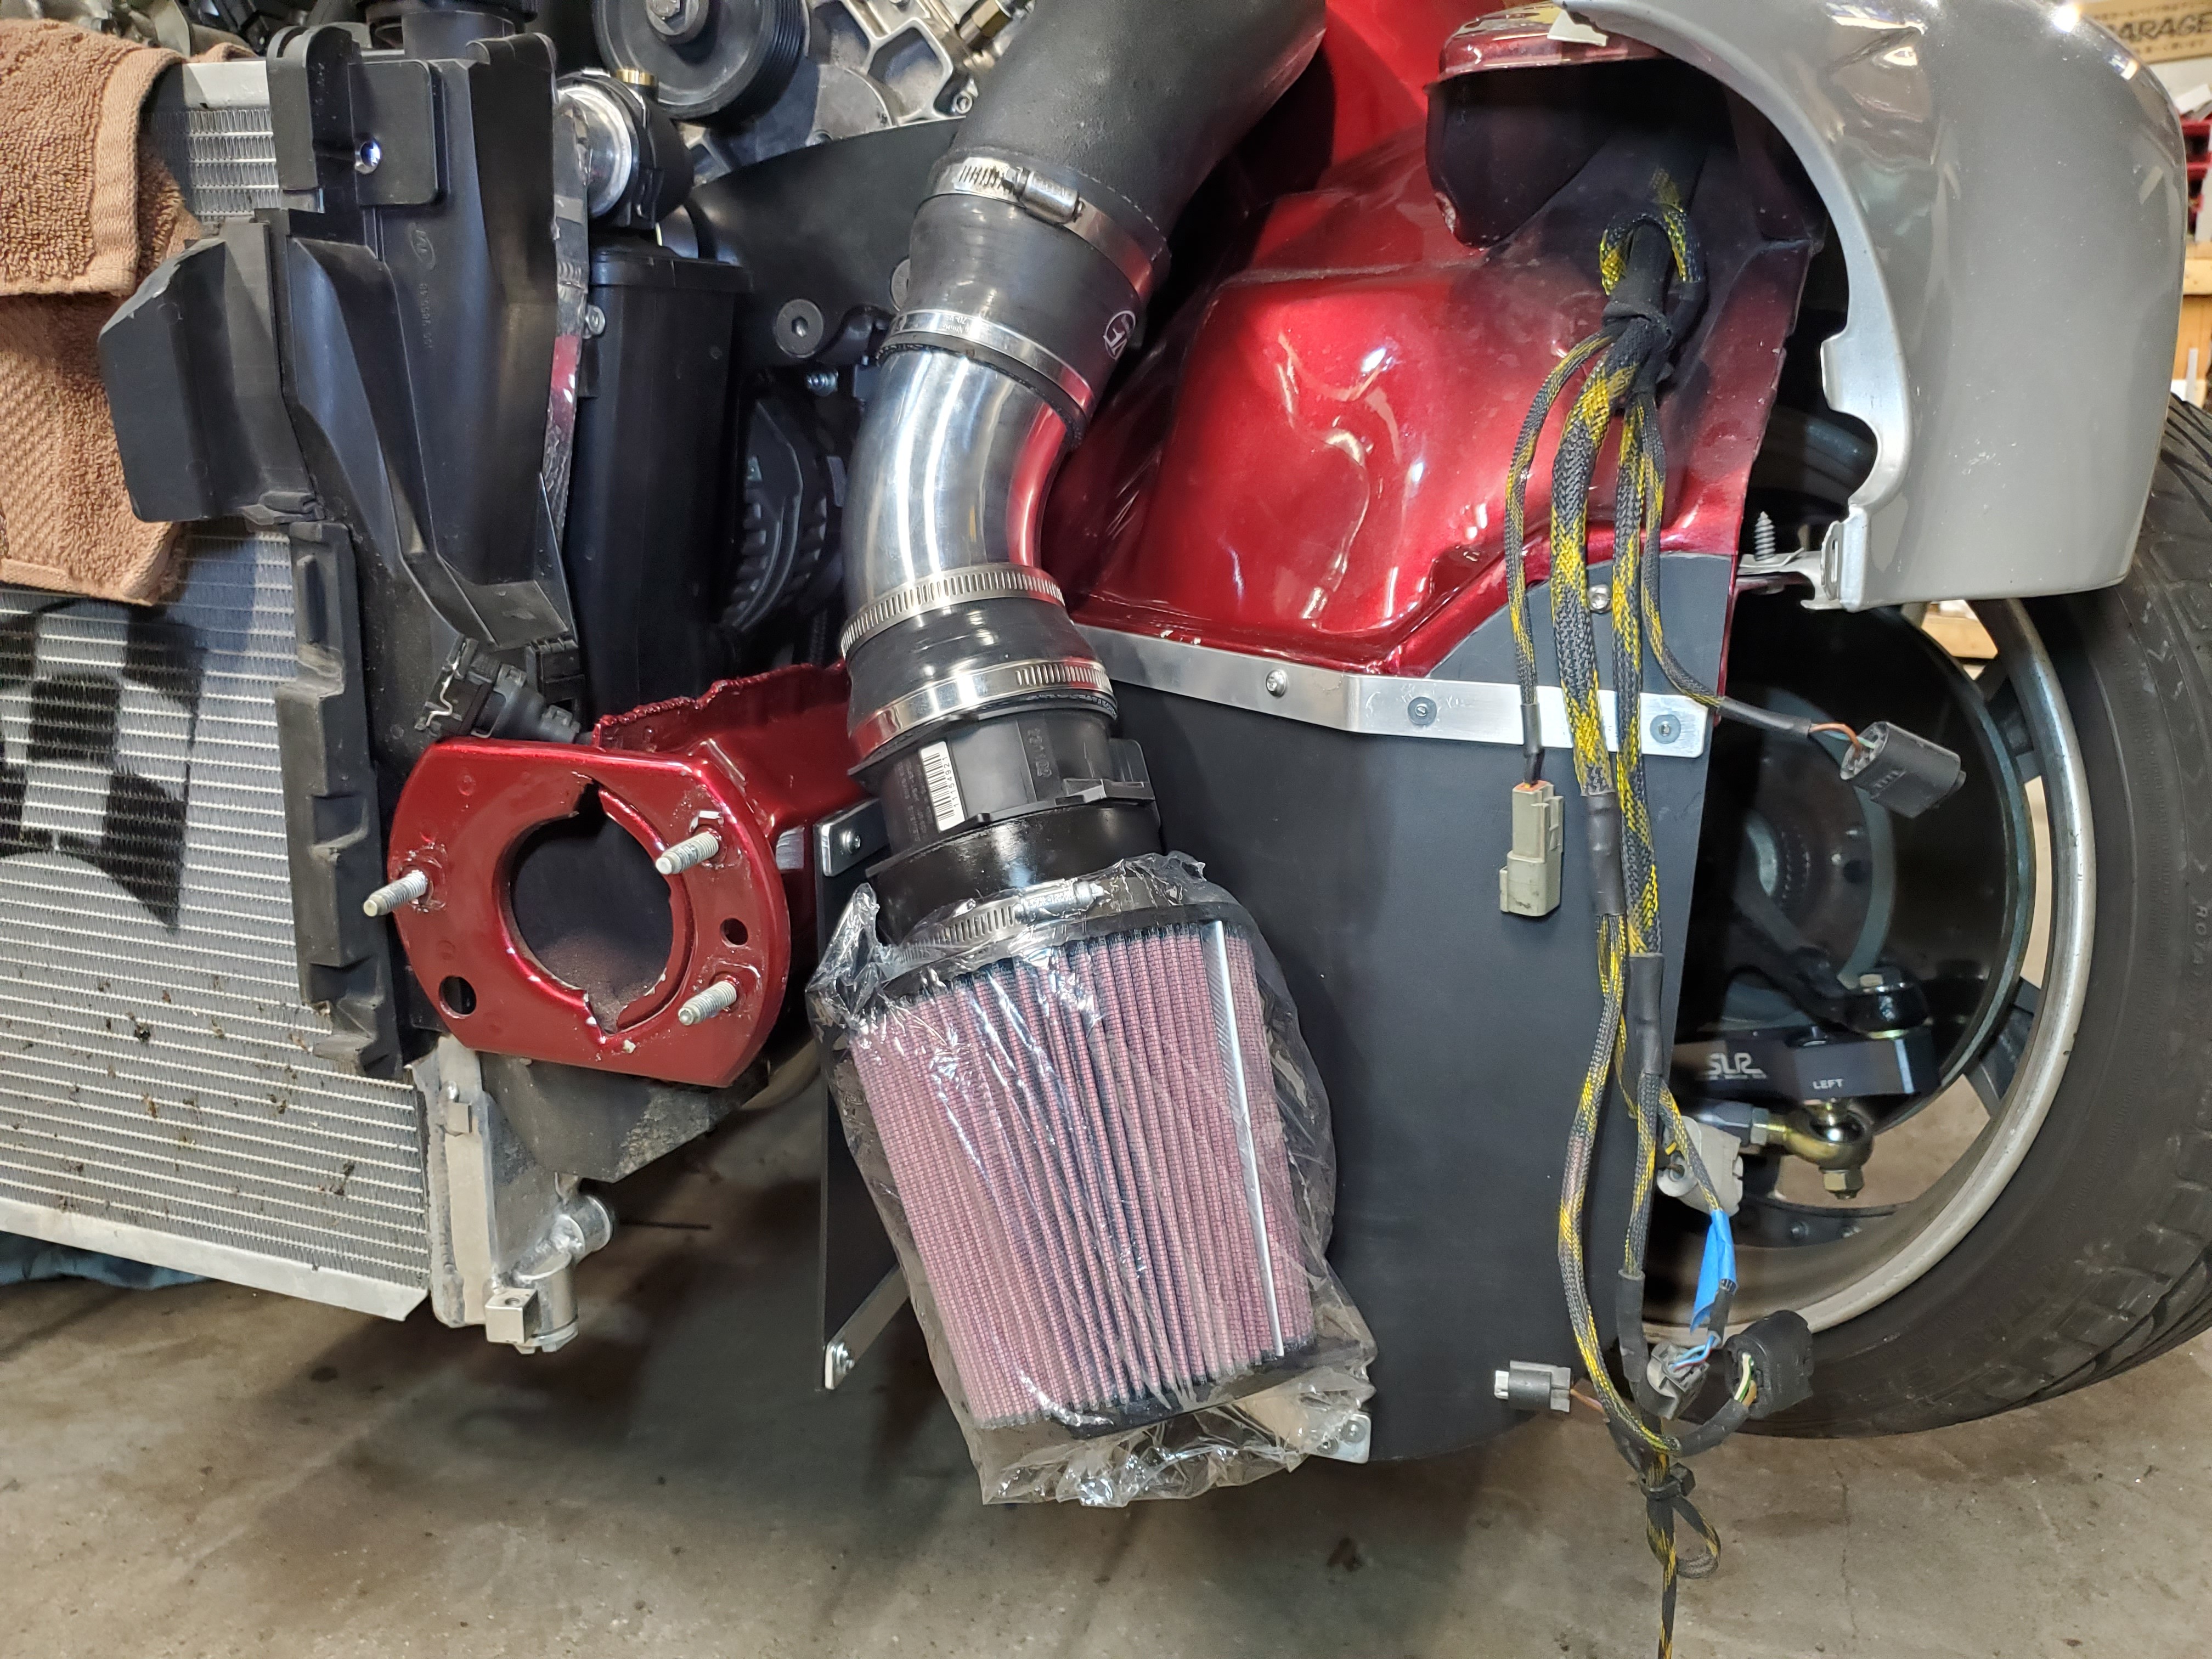
So here is what I came up with for the intake.
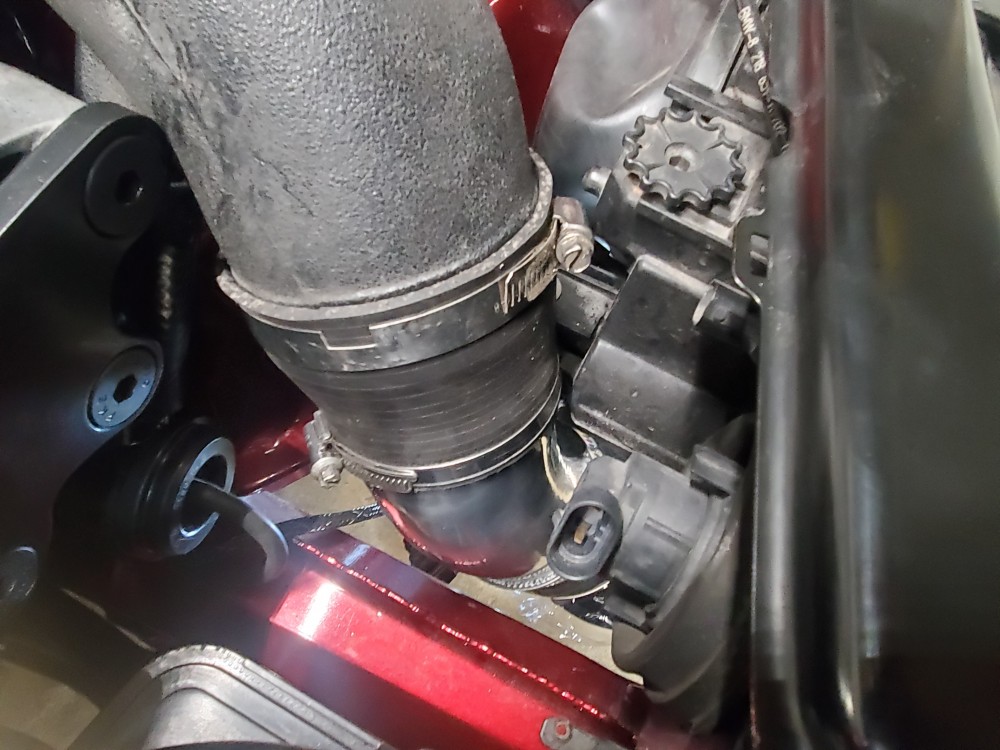
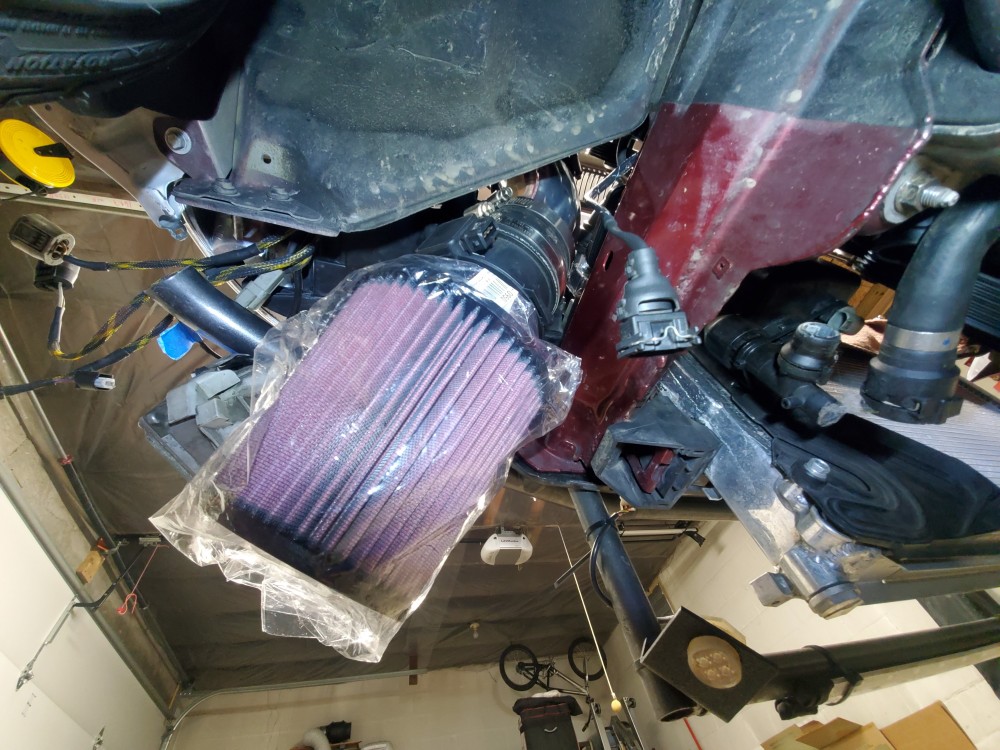
I stepped the main intake tube down to a 3" then used a aluminum 45° to get past the back of the headlight. Then stepped back from 3" to 3.5" to the MAF and then the MAF straight to the filter.
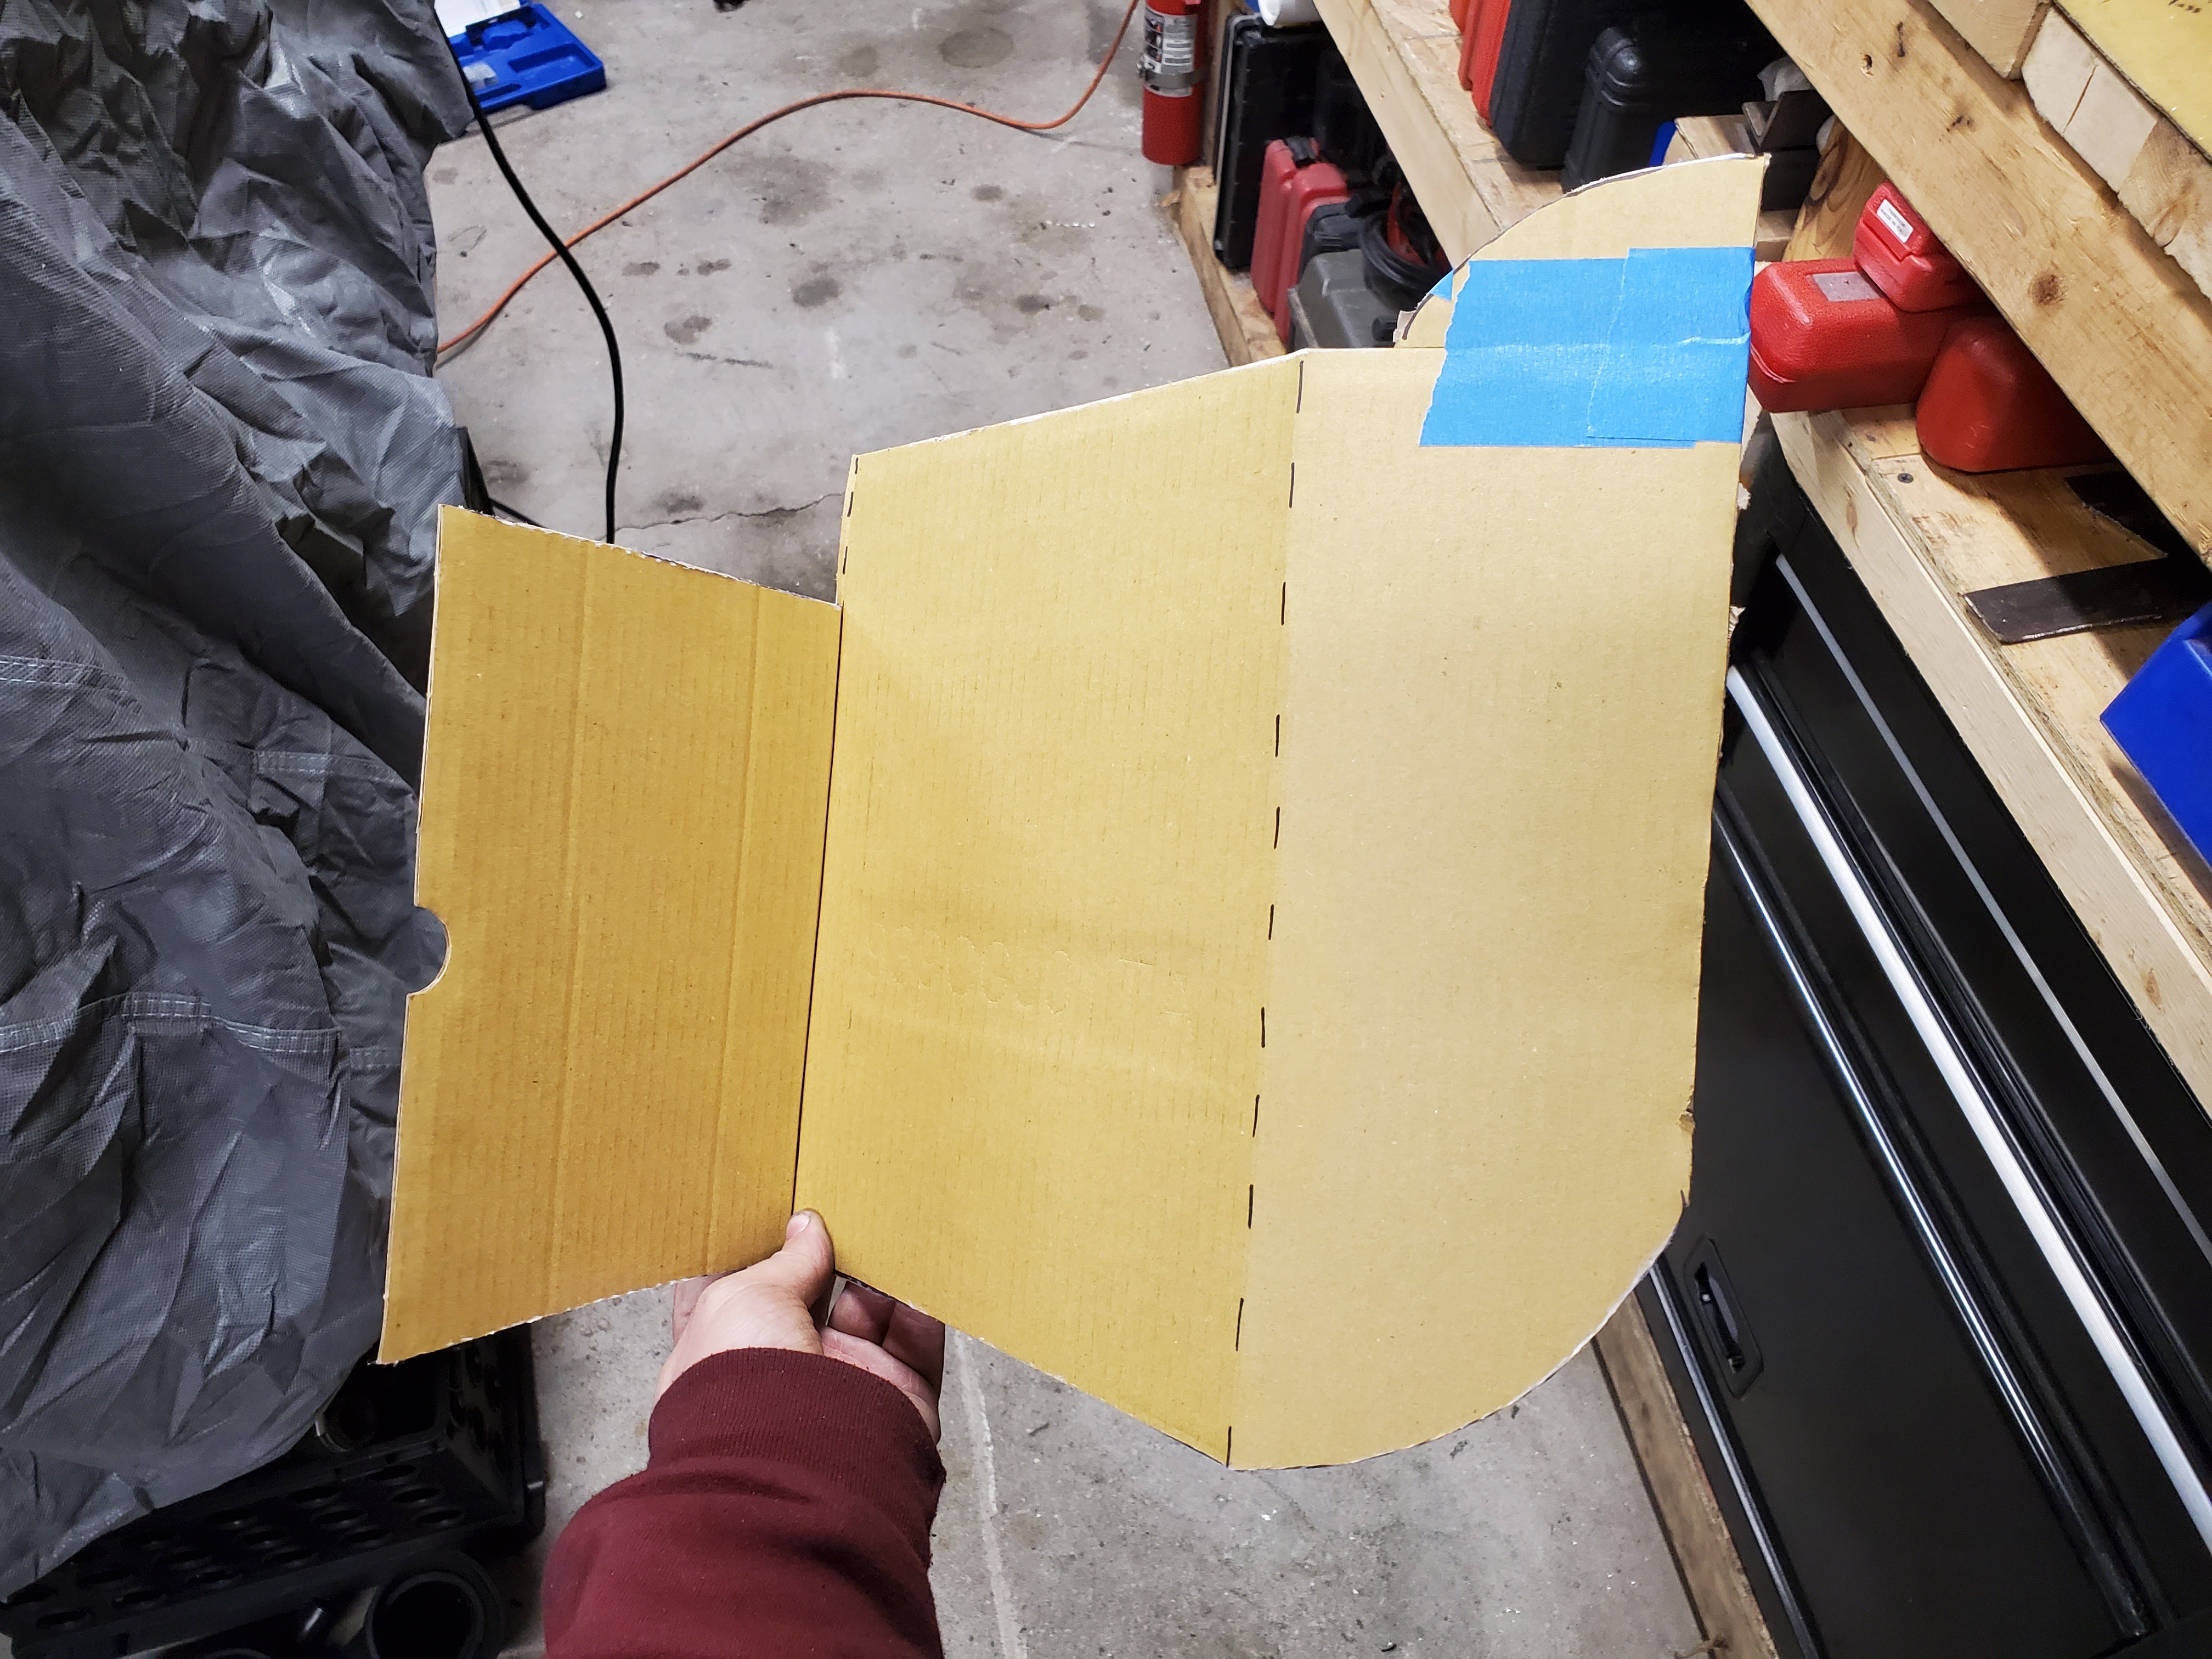
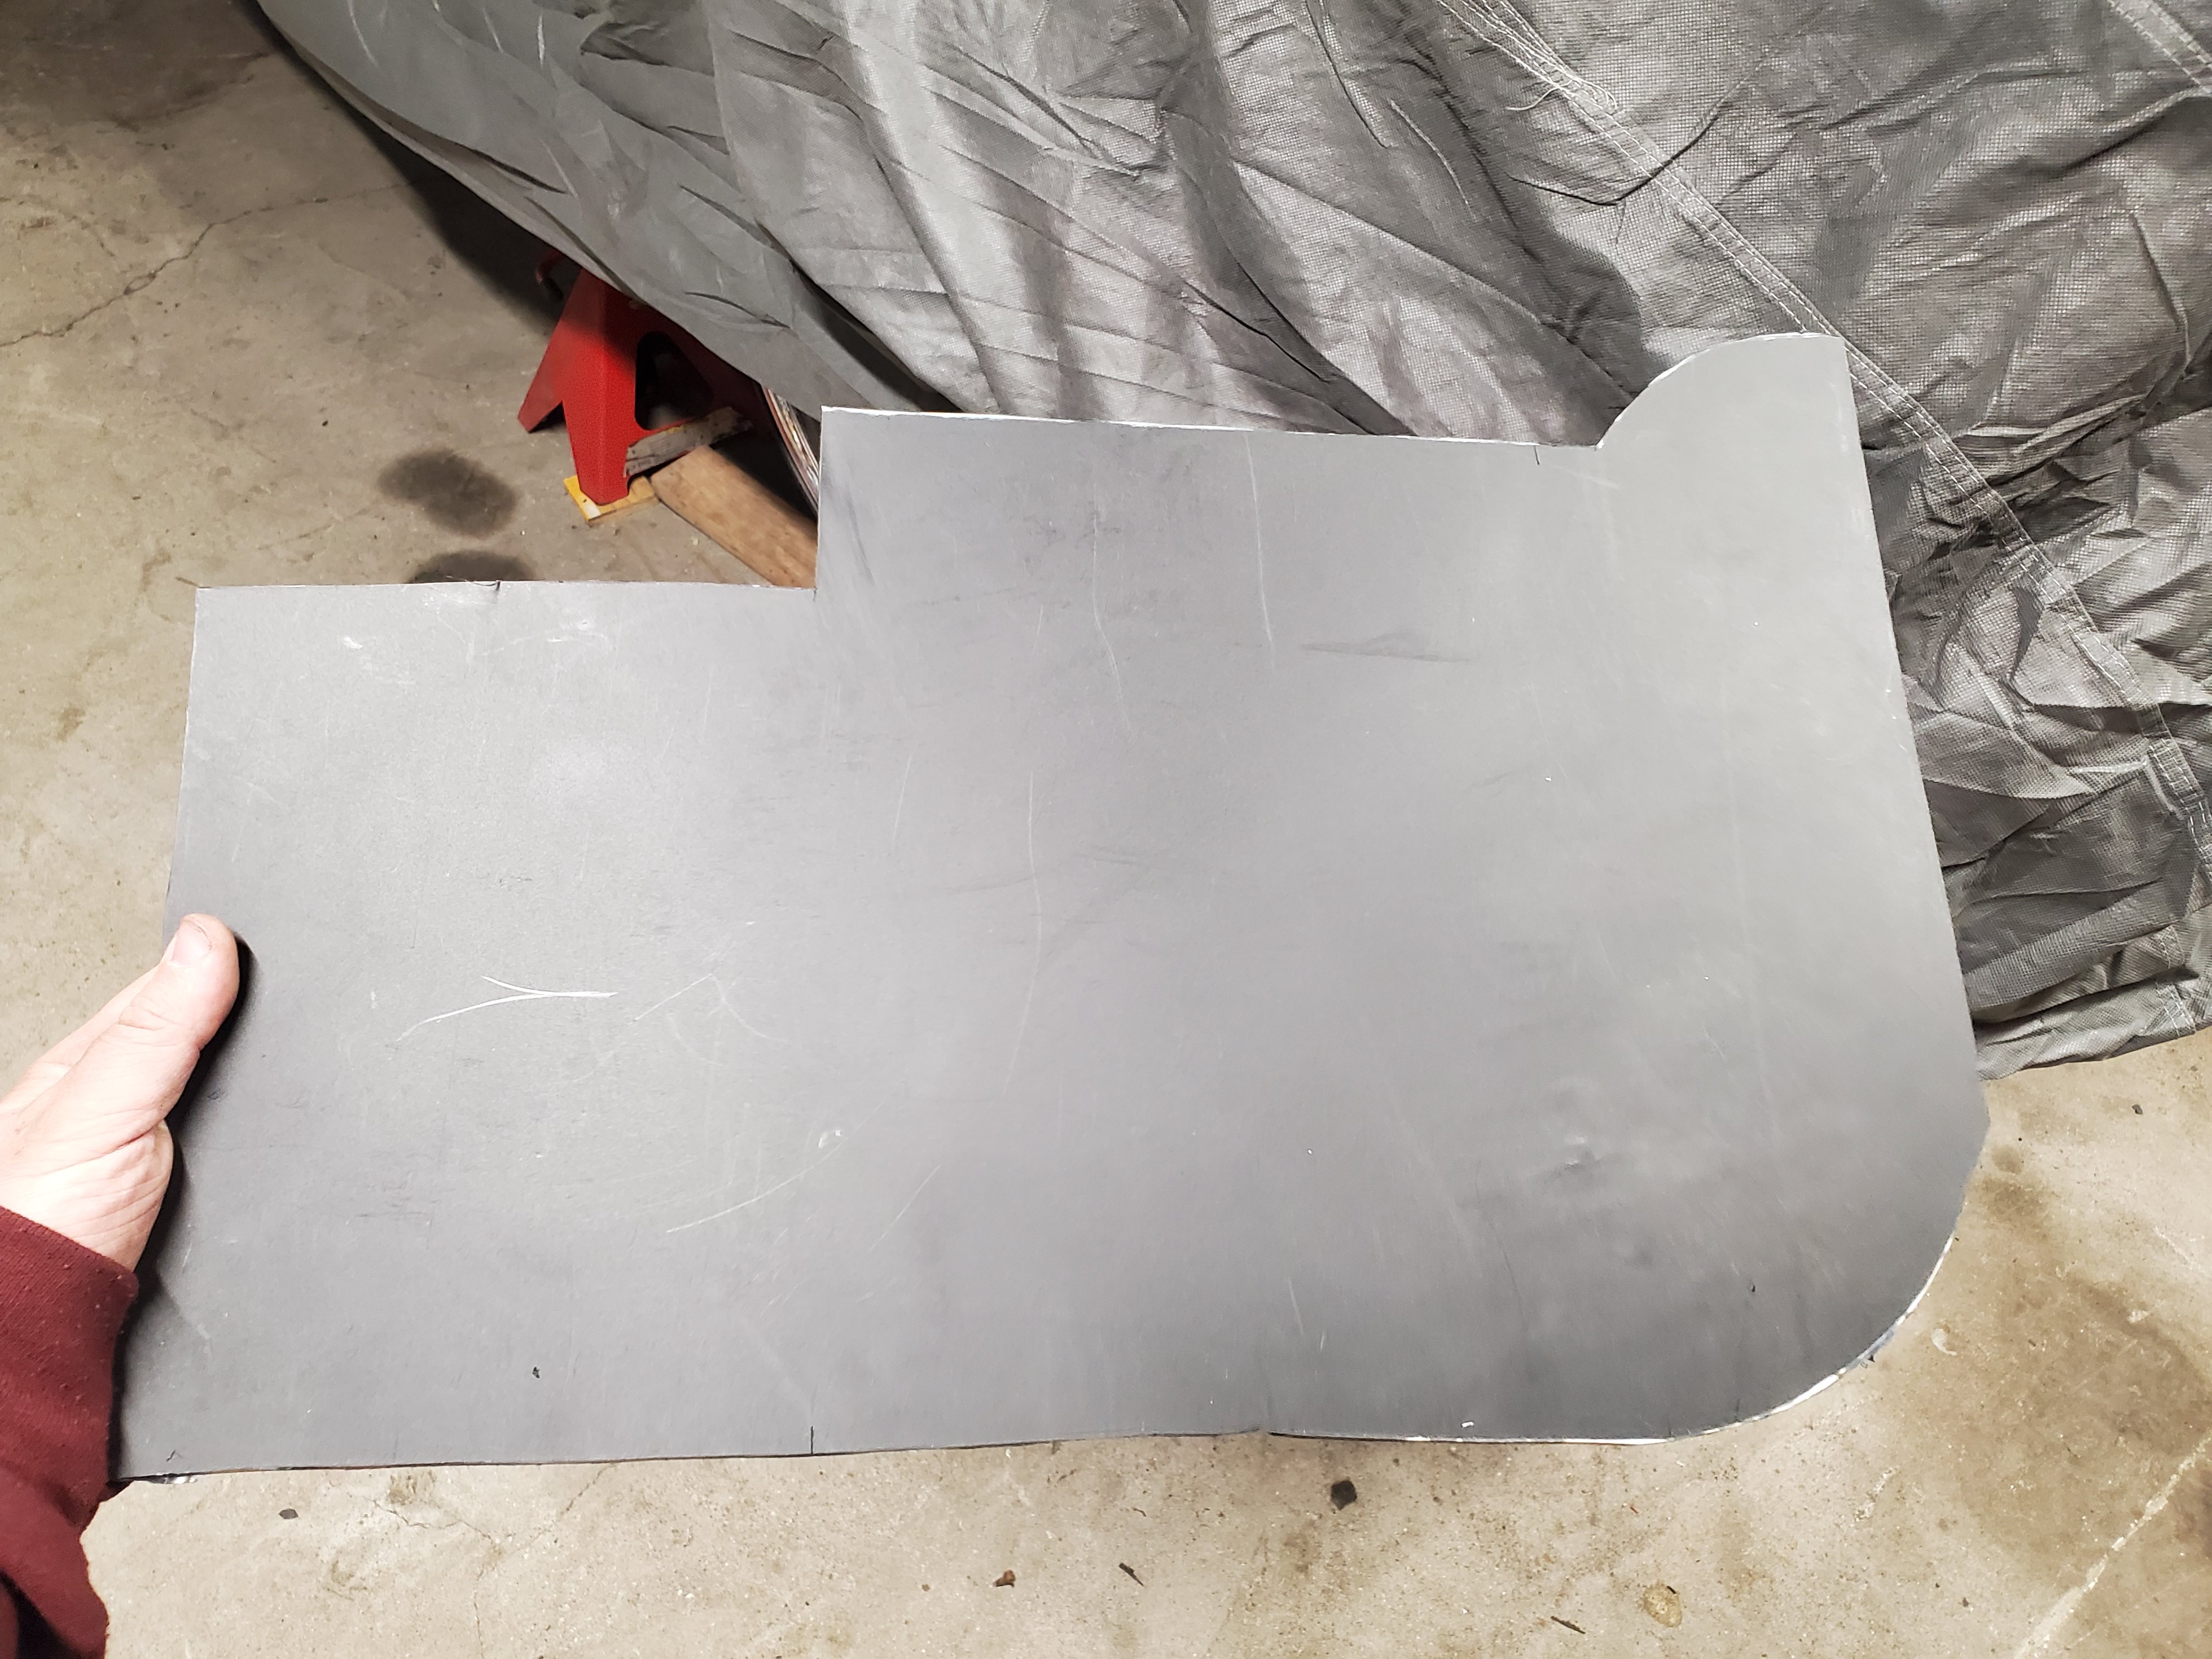
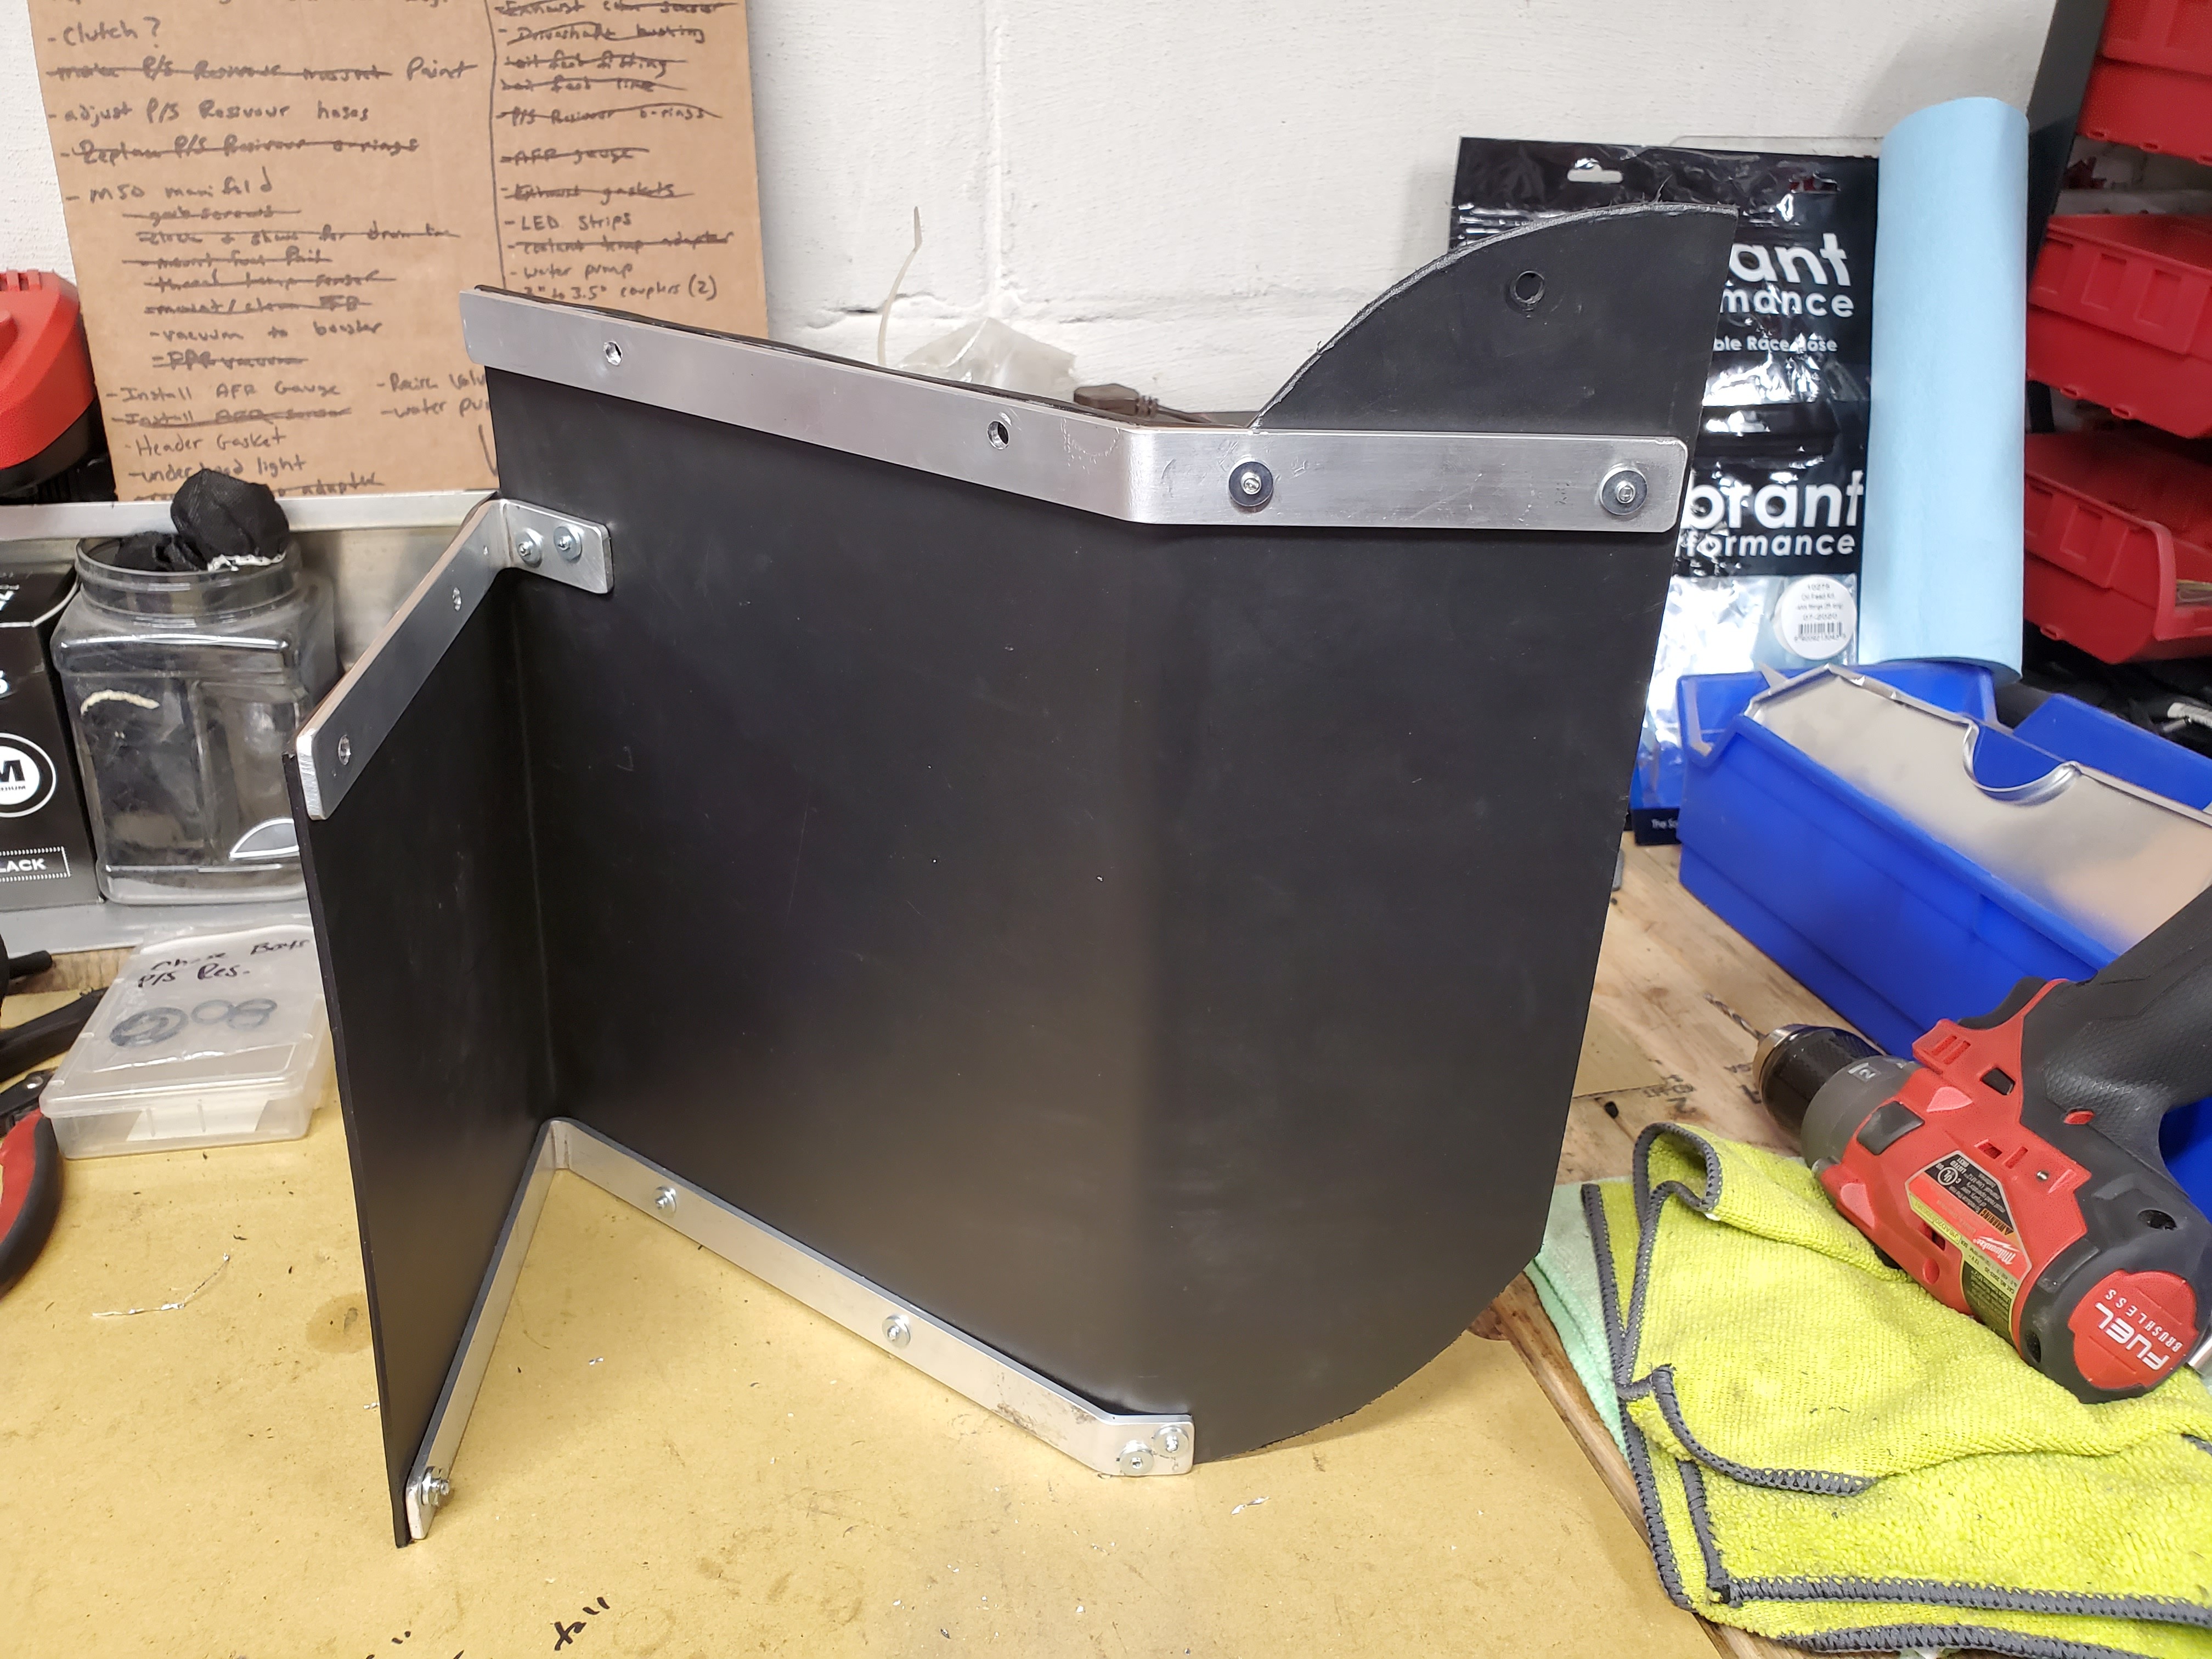
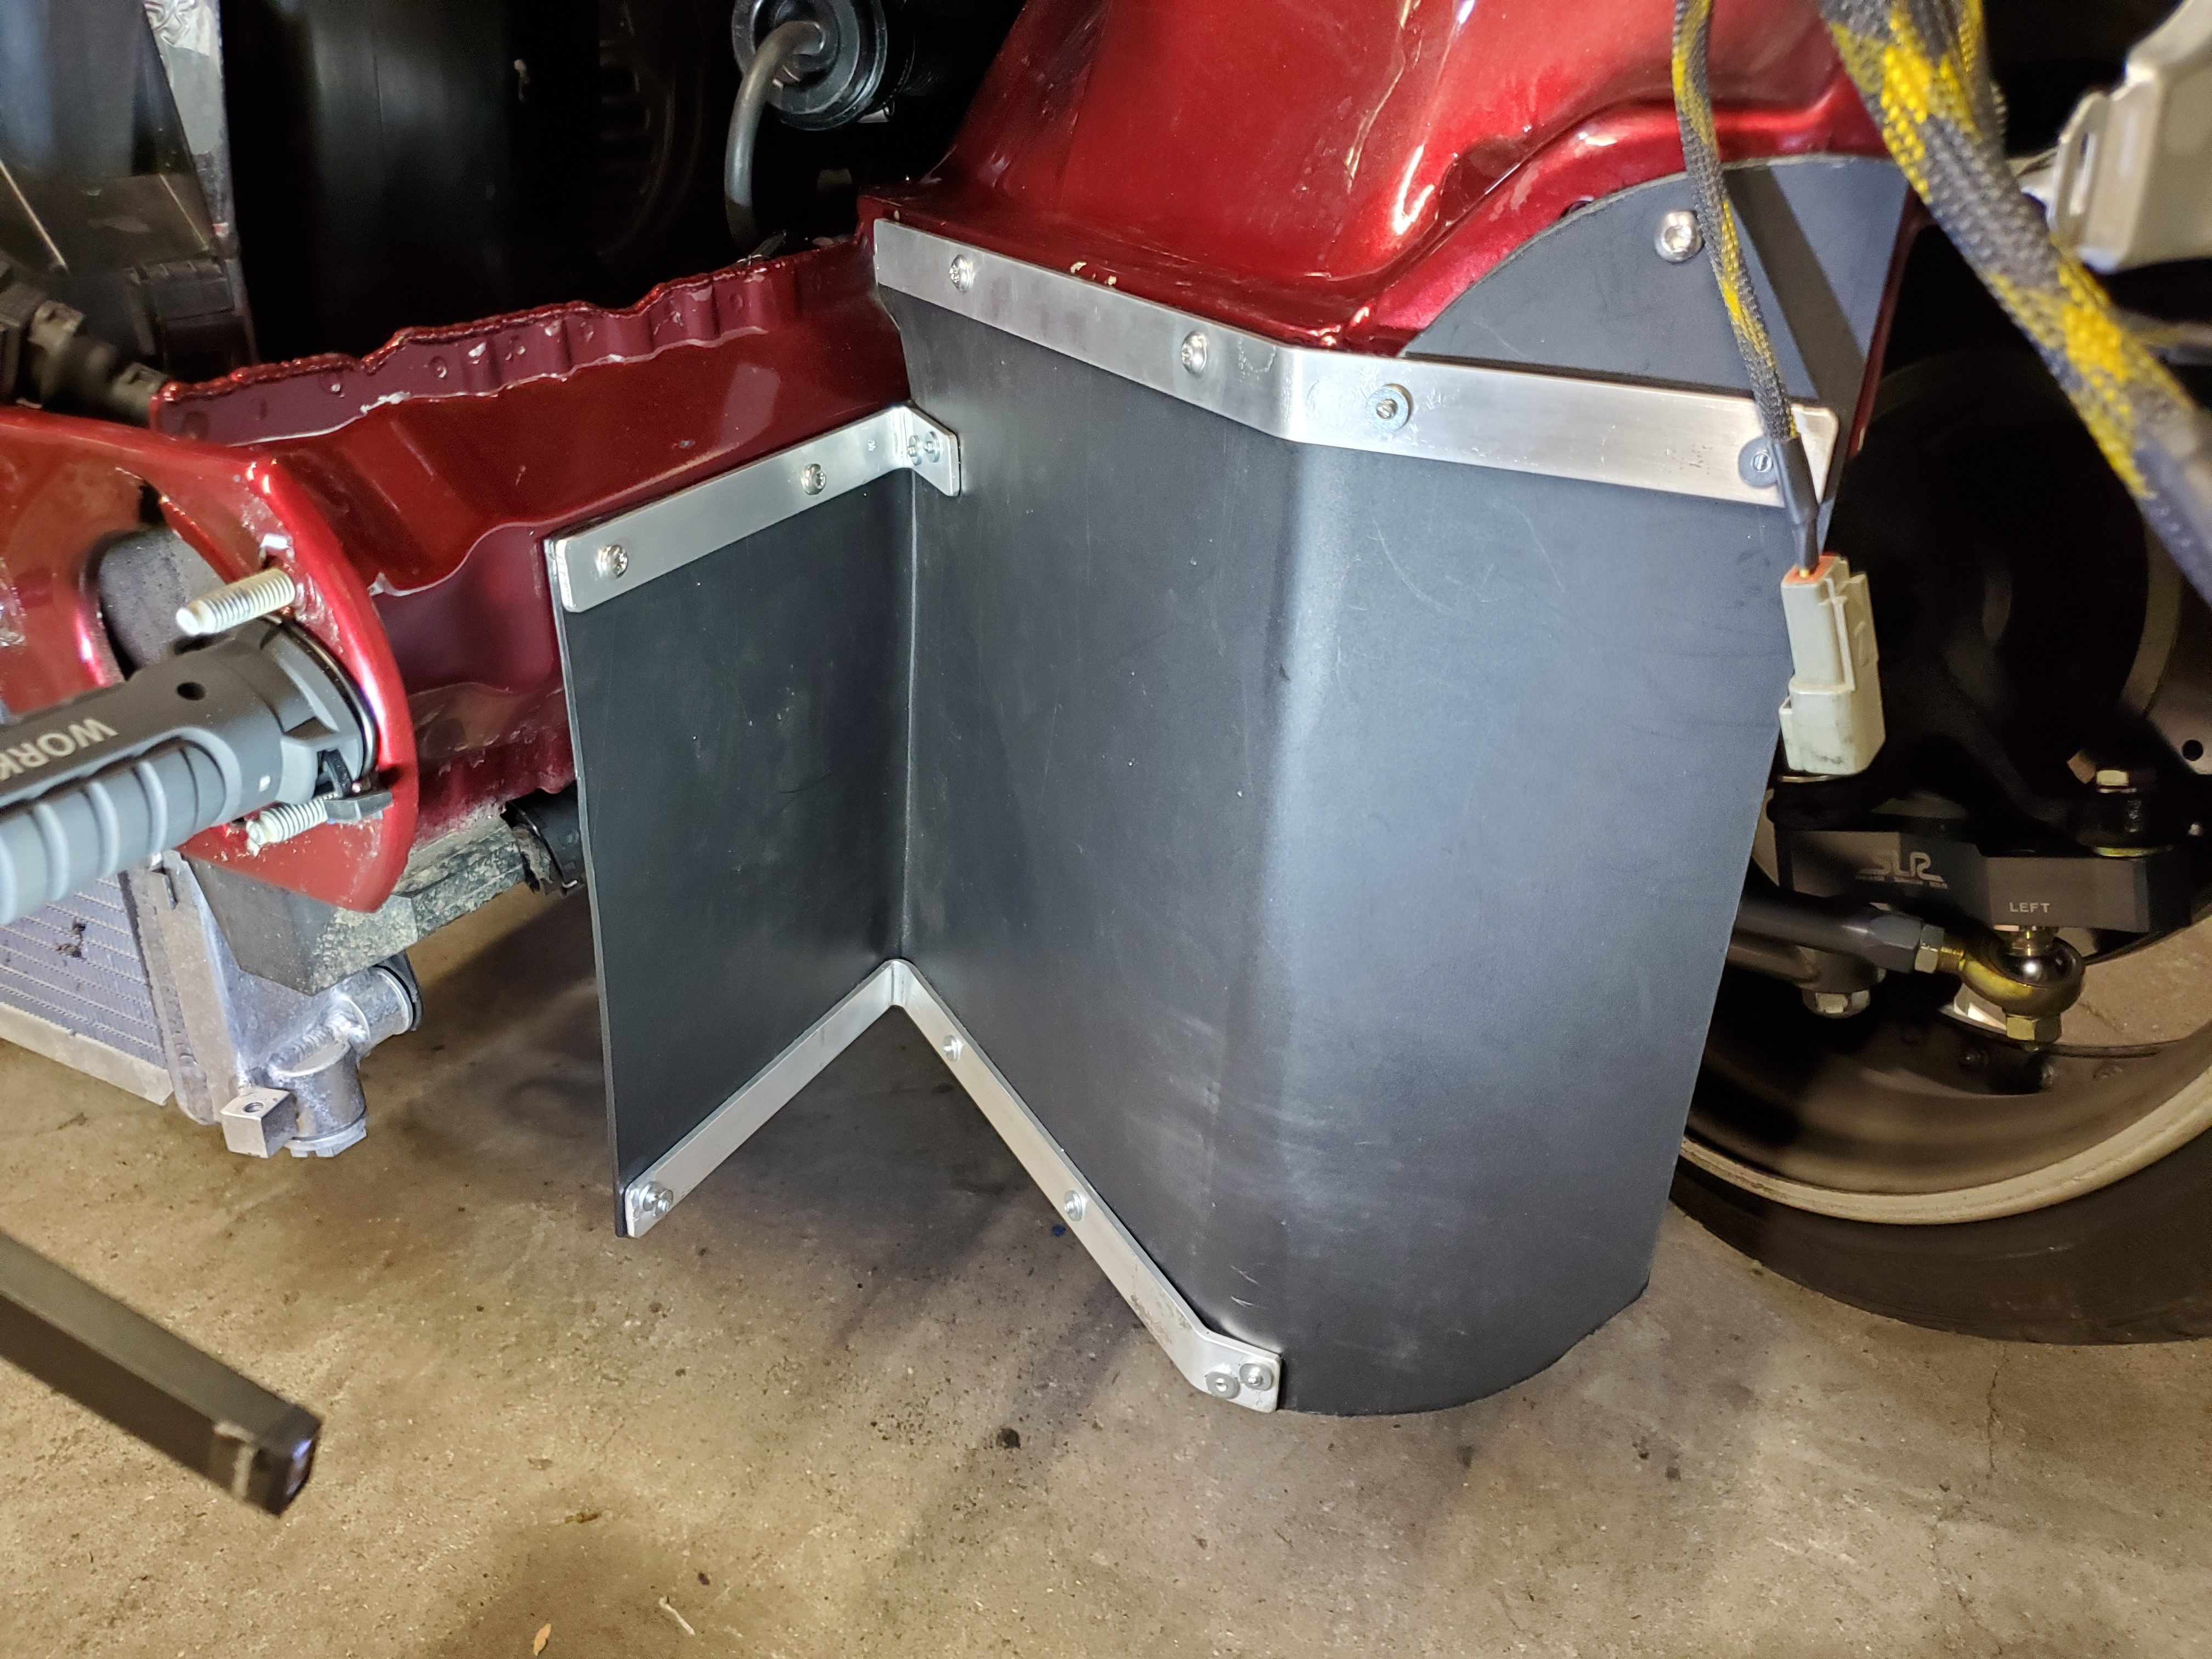
I have a sock for the filter to keep water off as well as I made this splash sheild.
Started as a good ole CAD template.
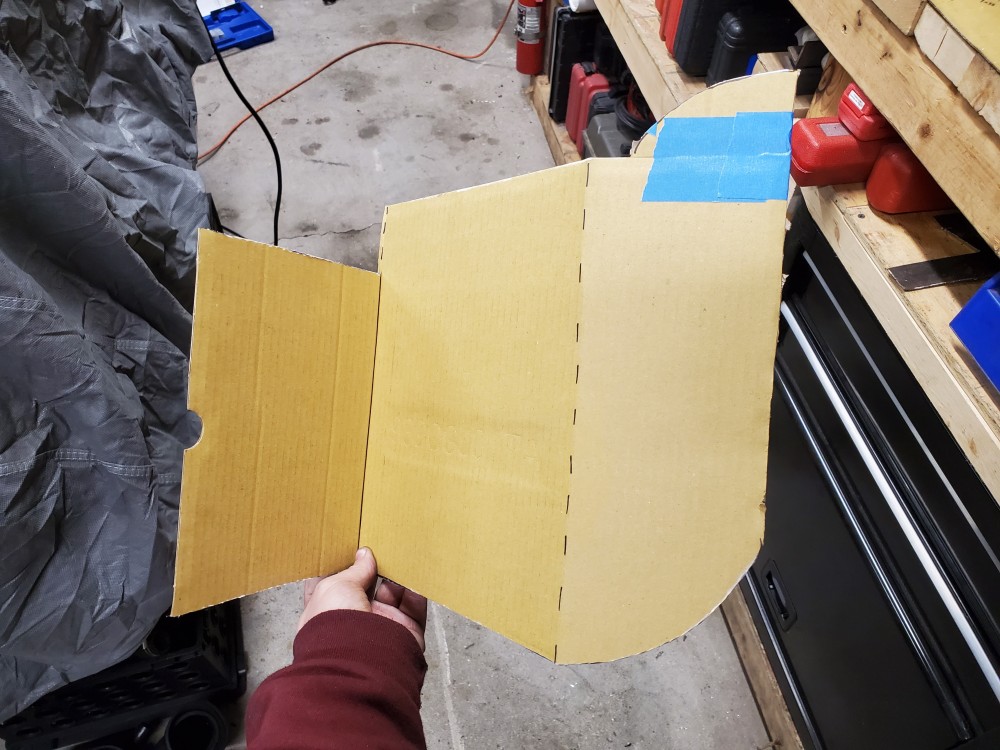
Then cut it out of some plastic sheet.
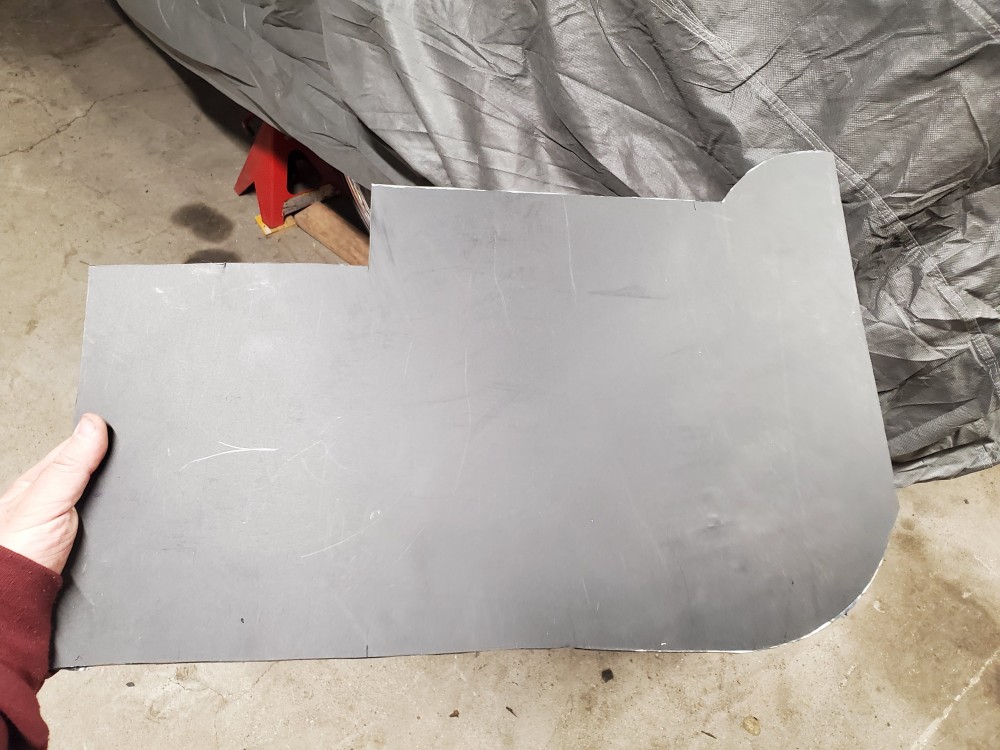
Once I formed it to the corner to mount it I added some supports of aluminum.
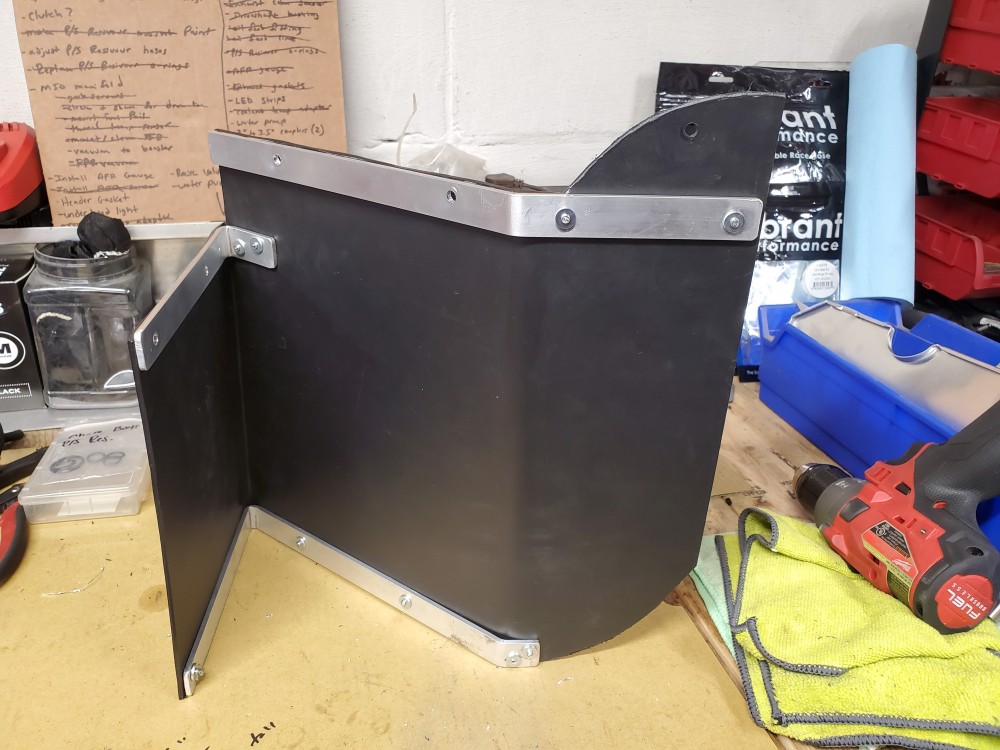
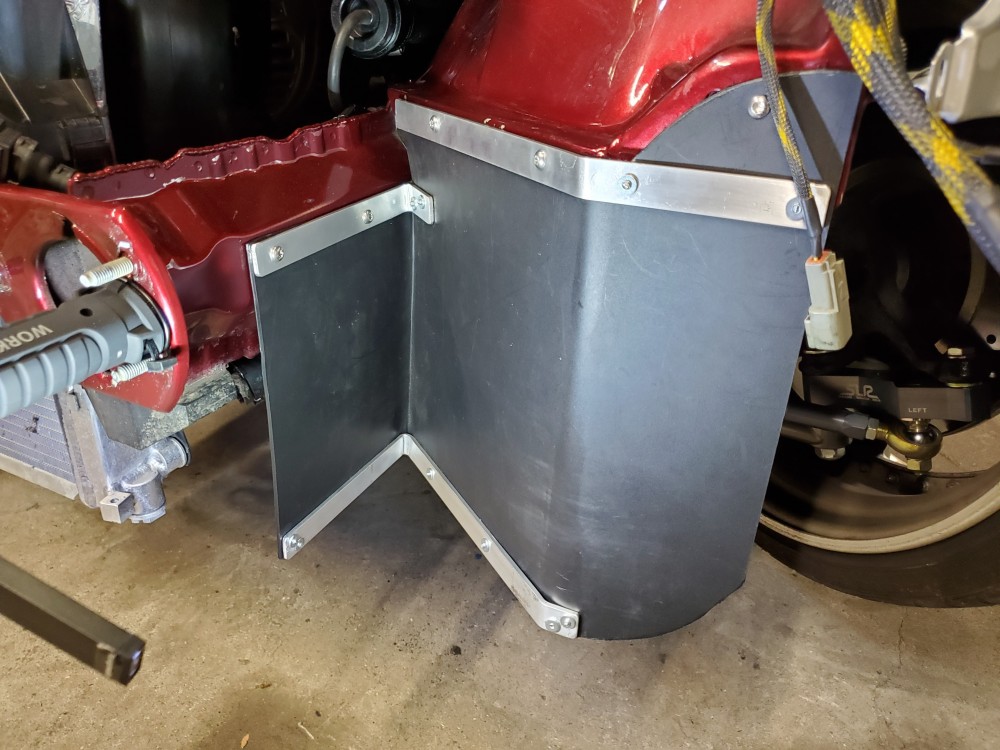
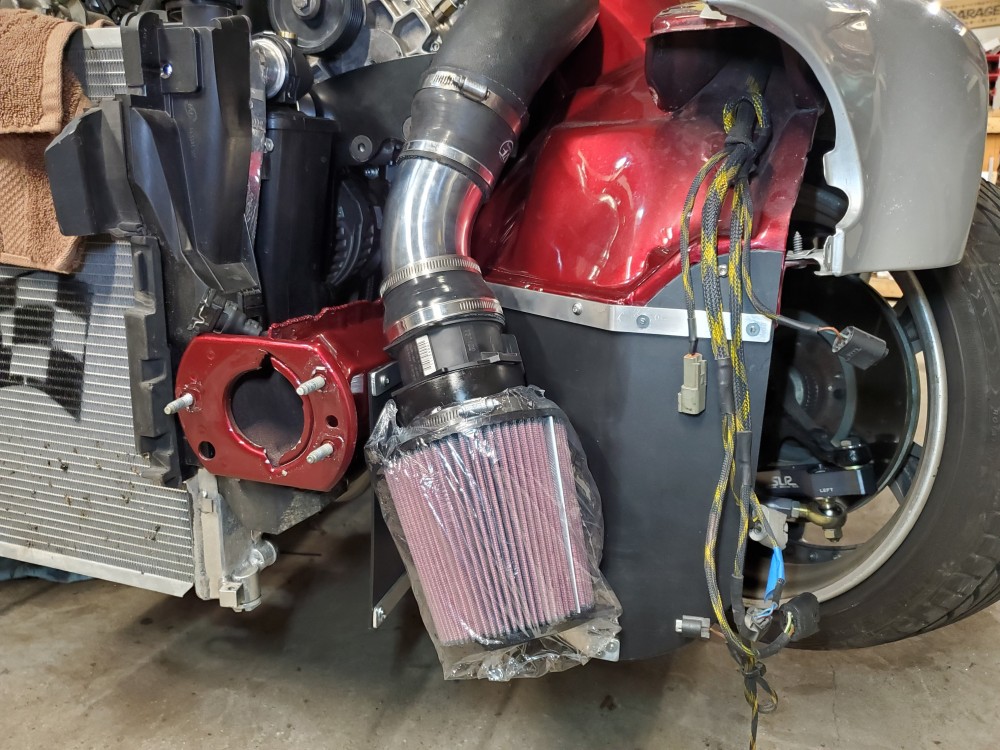
Pretty happy with the outcome especially considering I used what I had. We will see how well it performs.
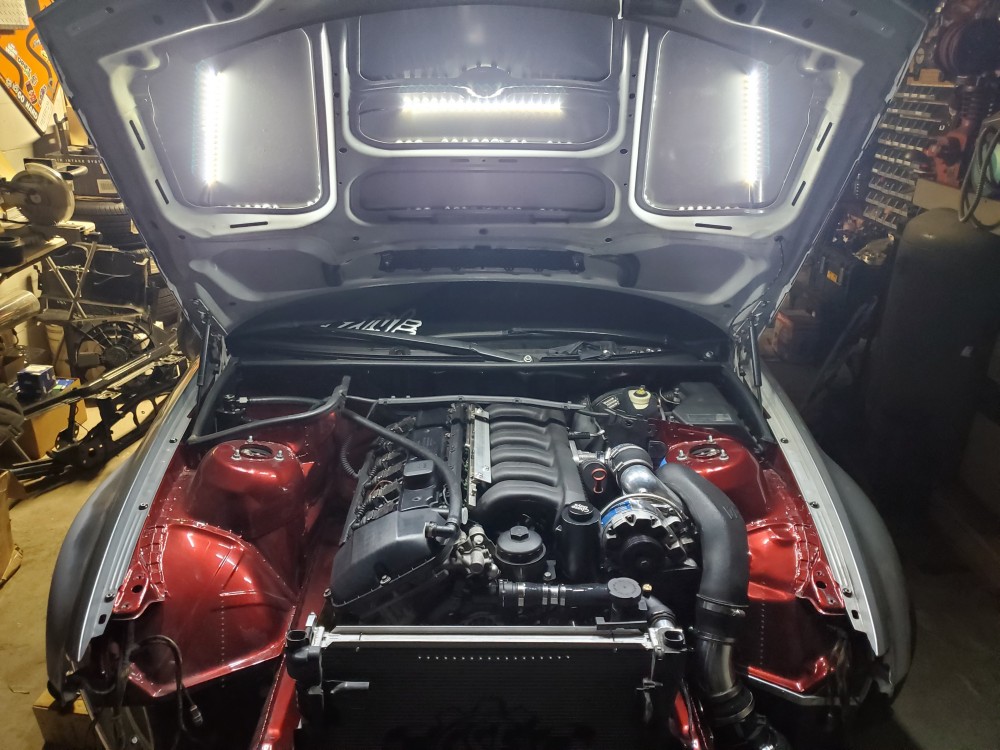
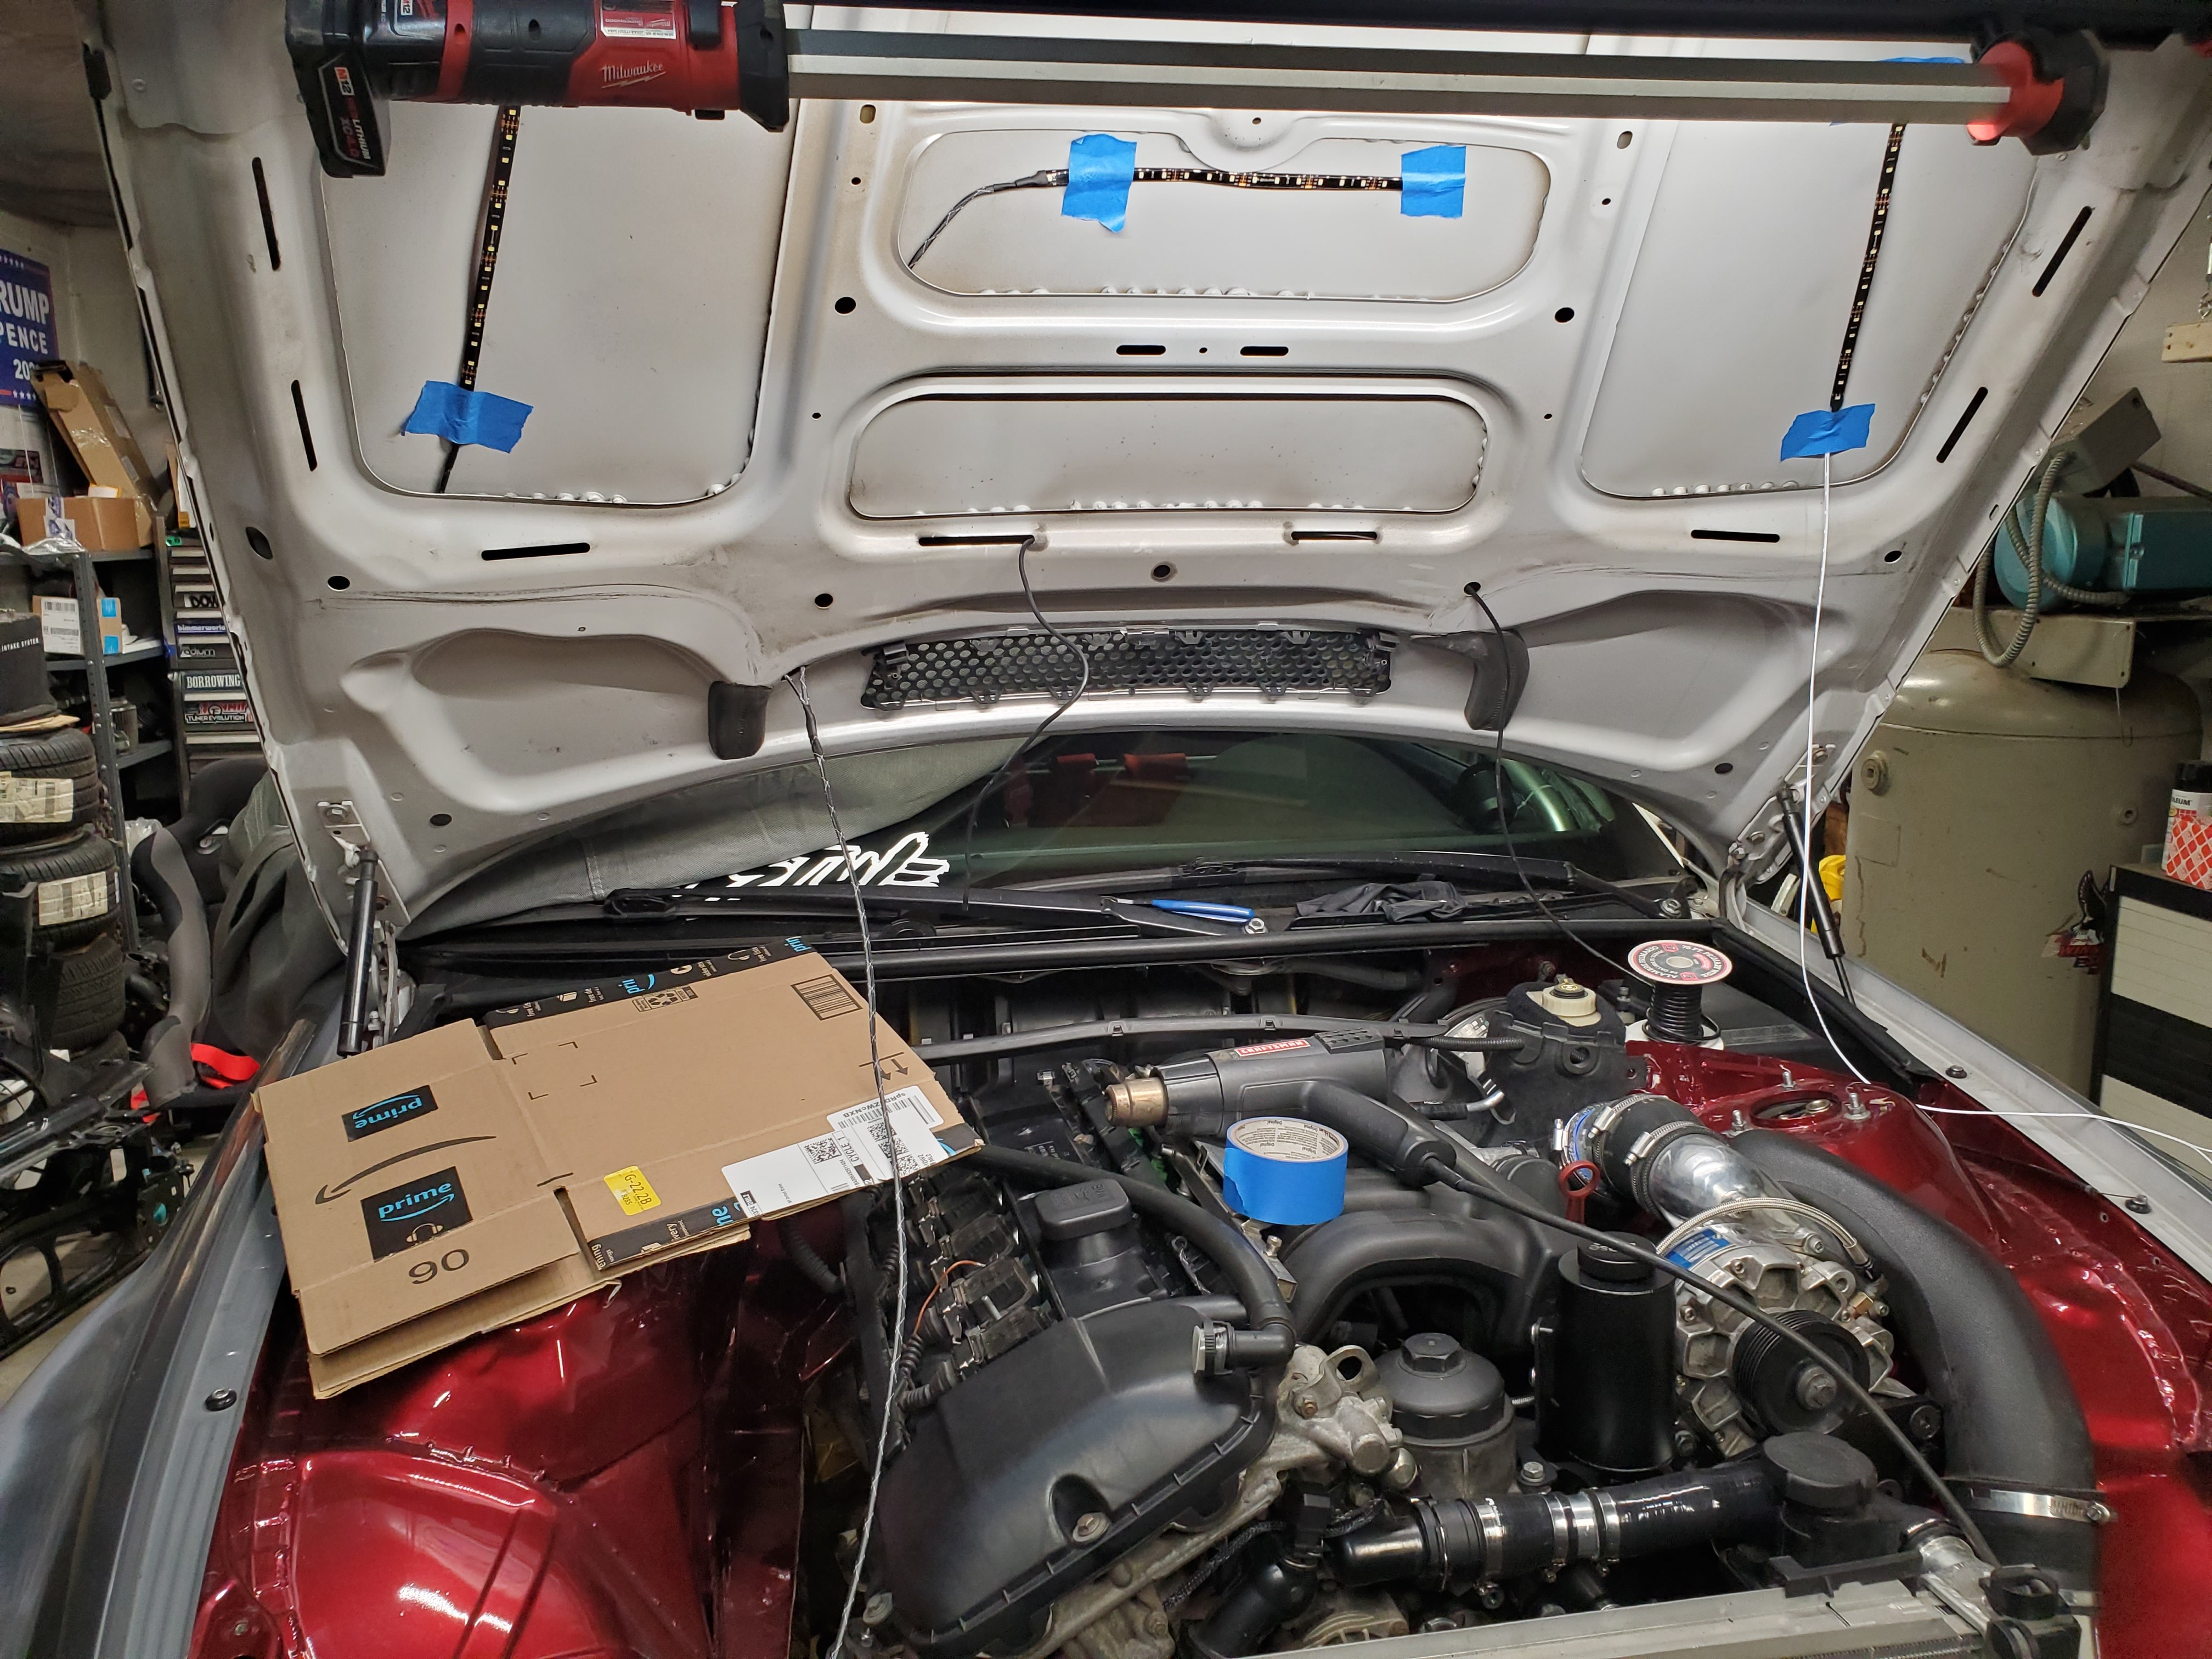
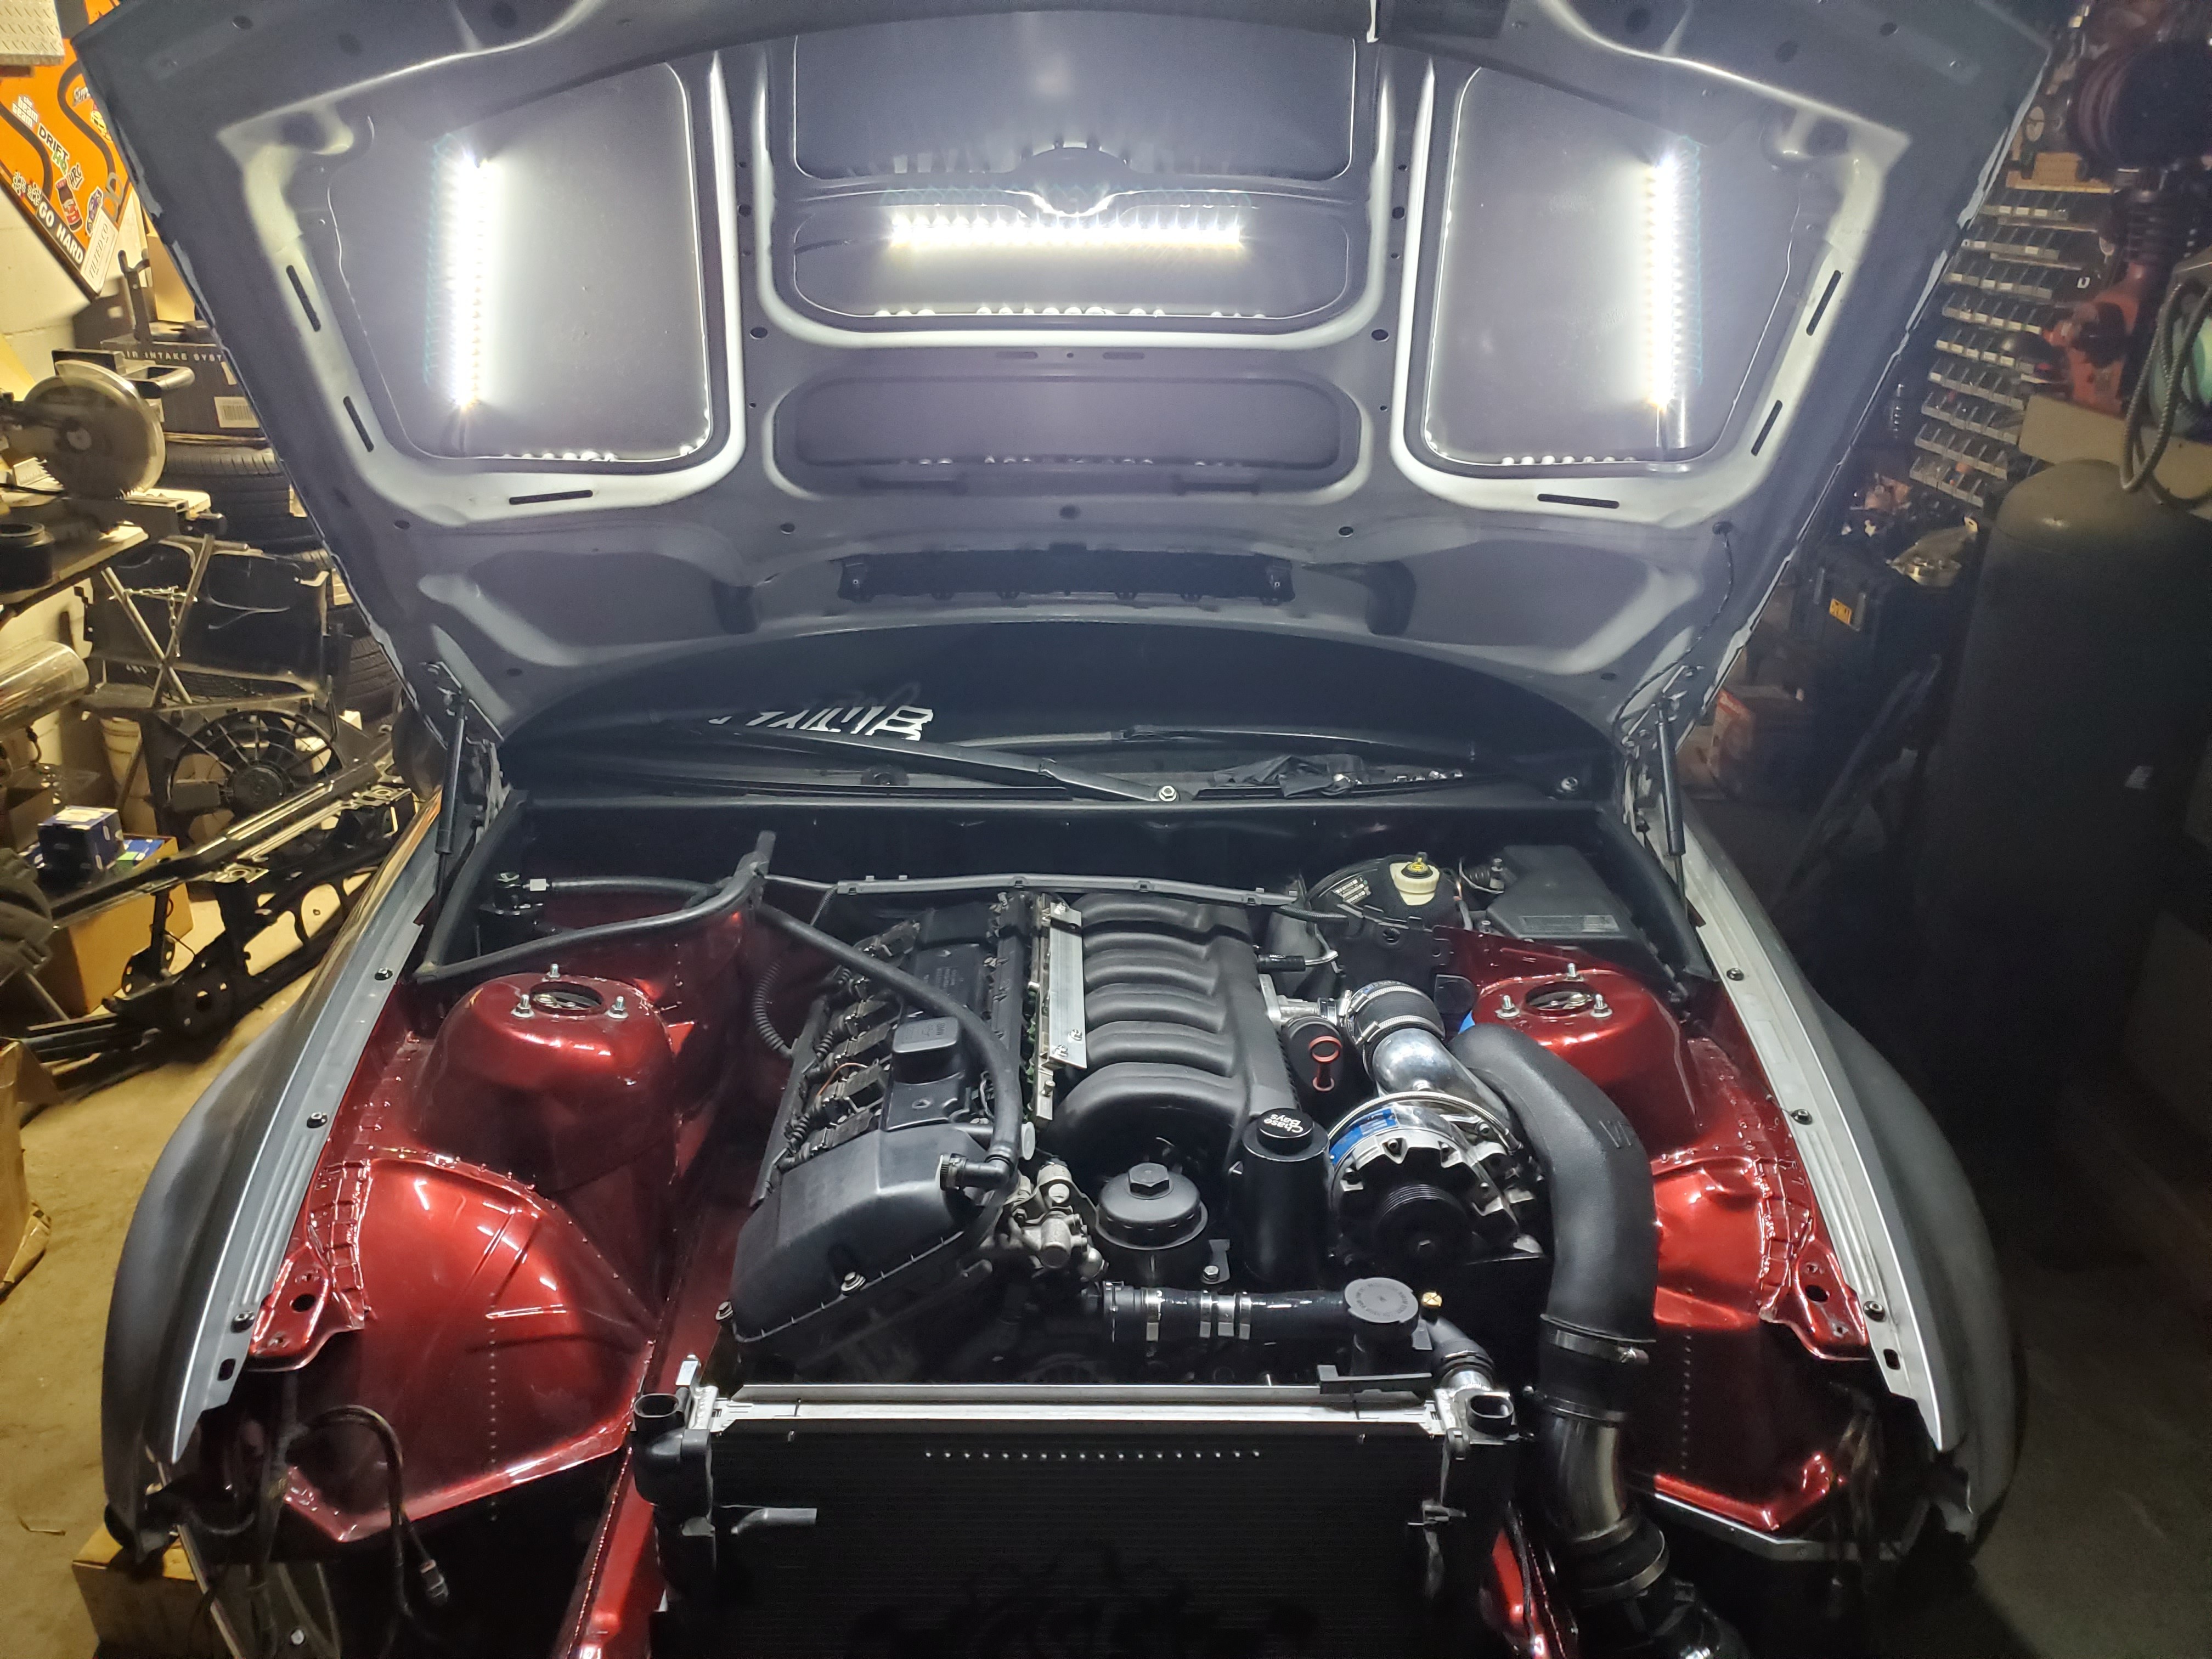
And finally I got everything in to add my under hood lights.

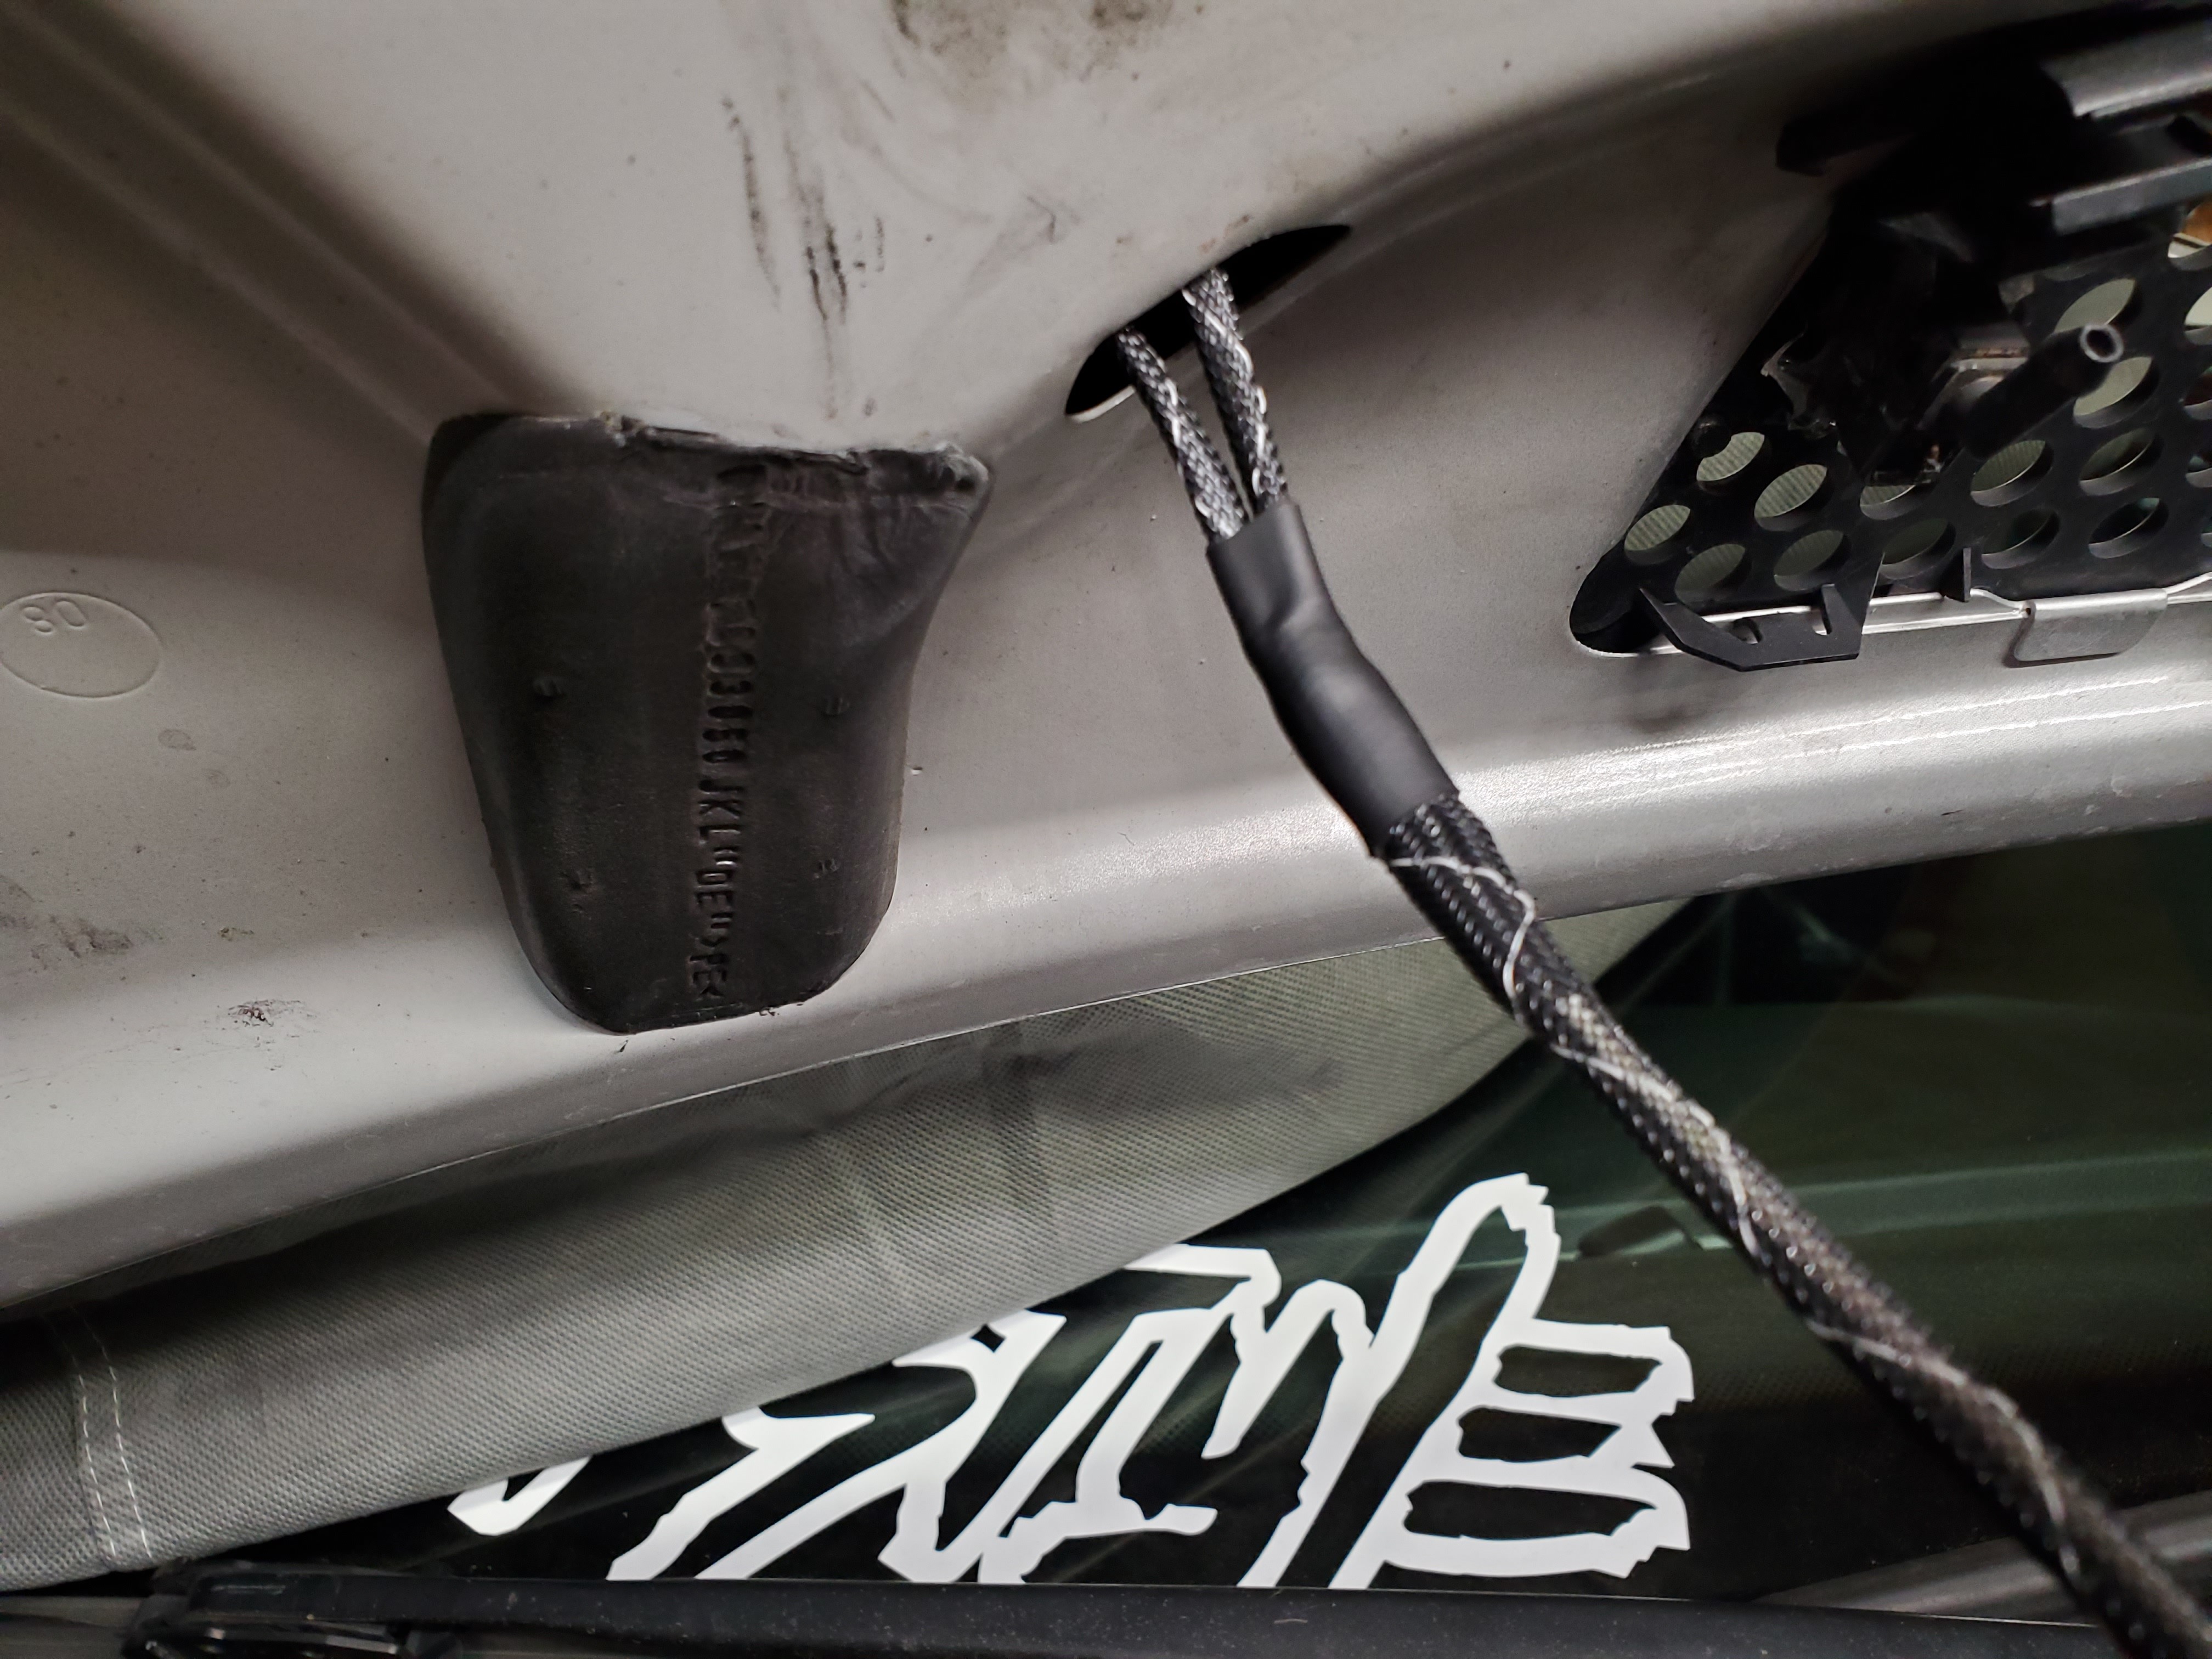
I wrapped all the wiring in the same flexo stuff I use on the engine and chassis harness, and then routed it through the ribs on the hood.
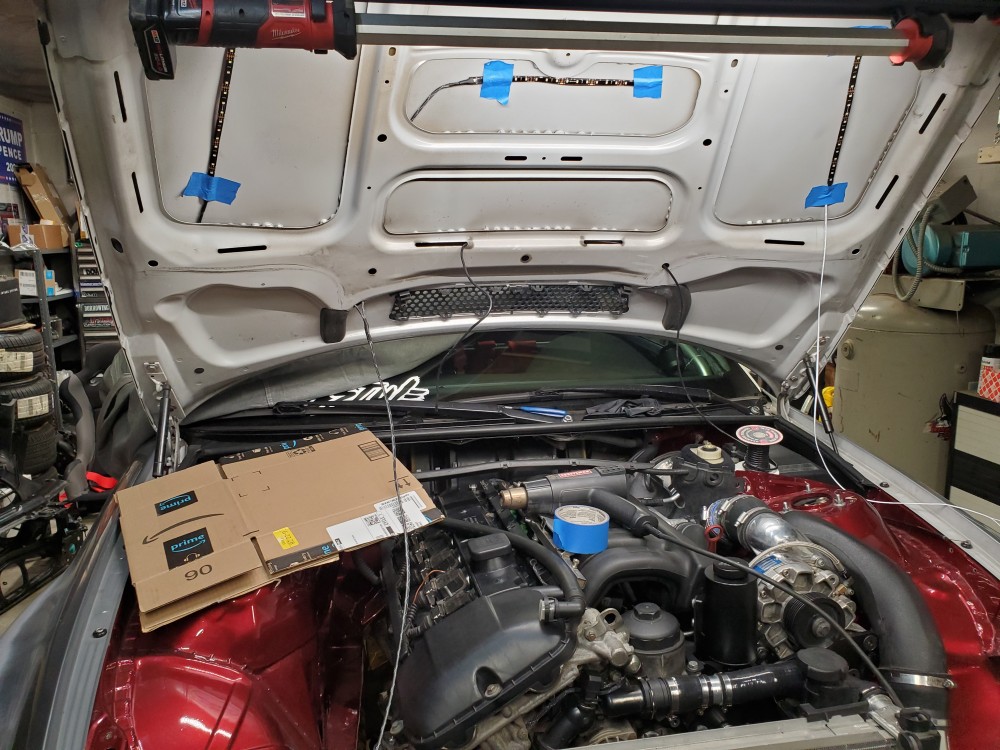
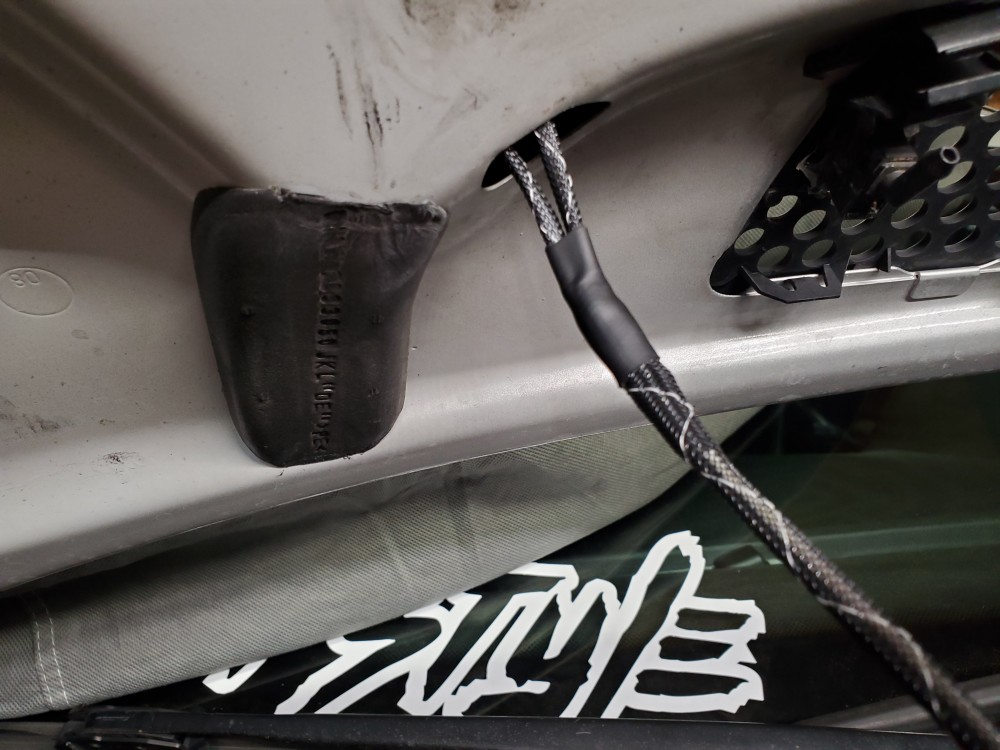
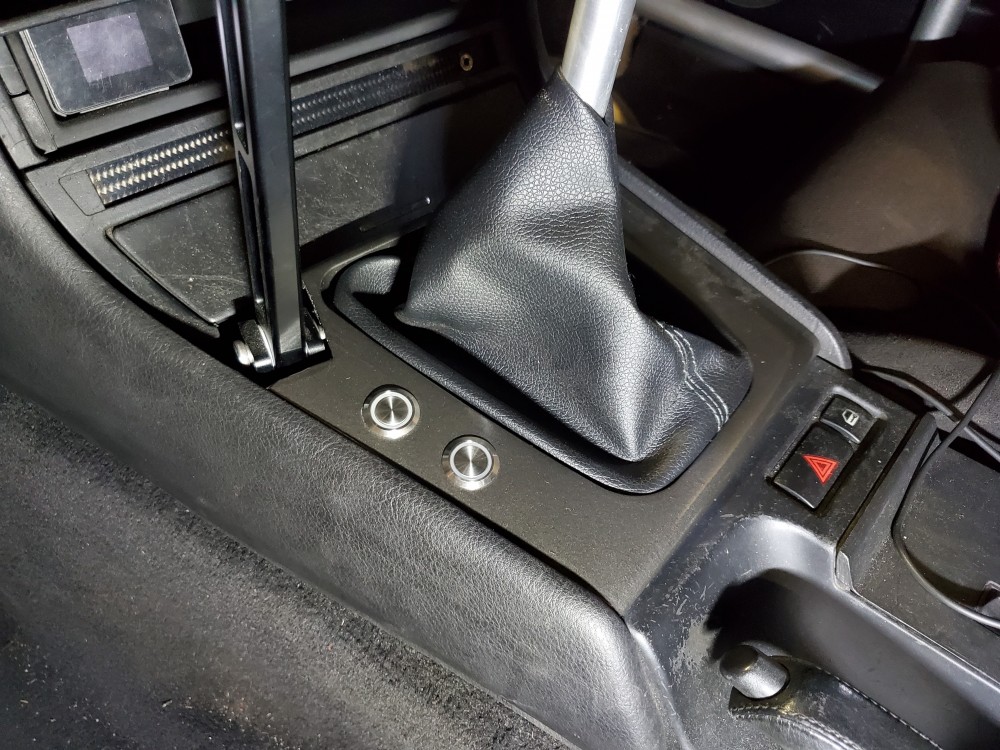
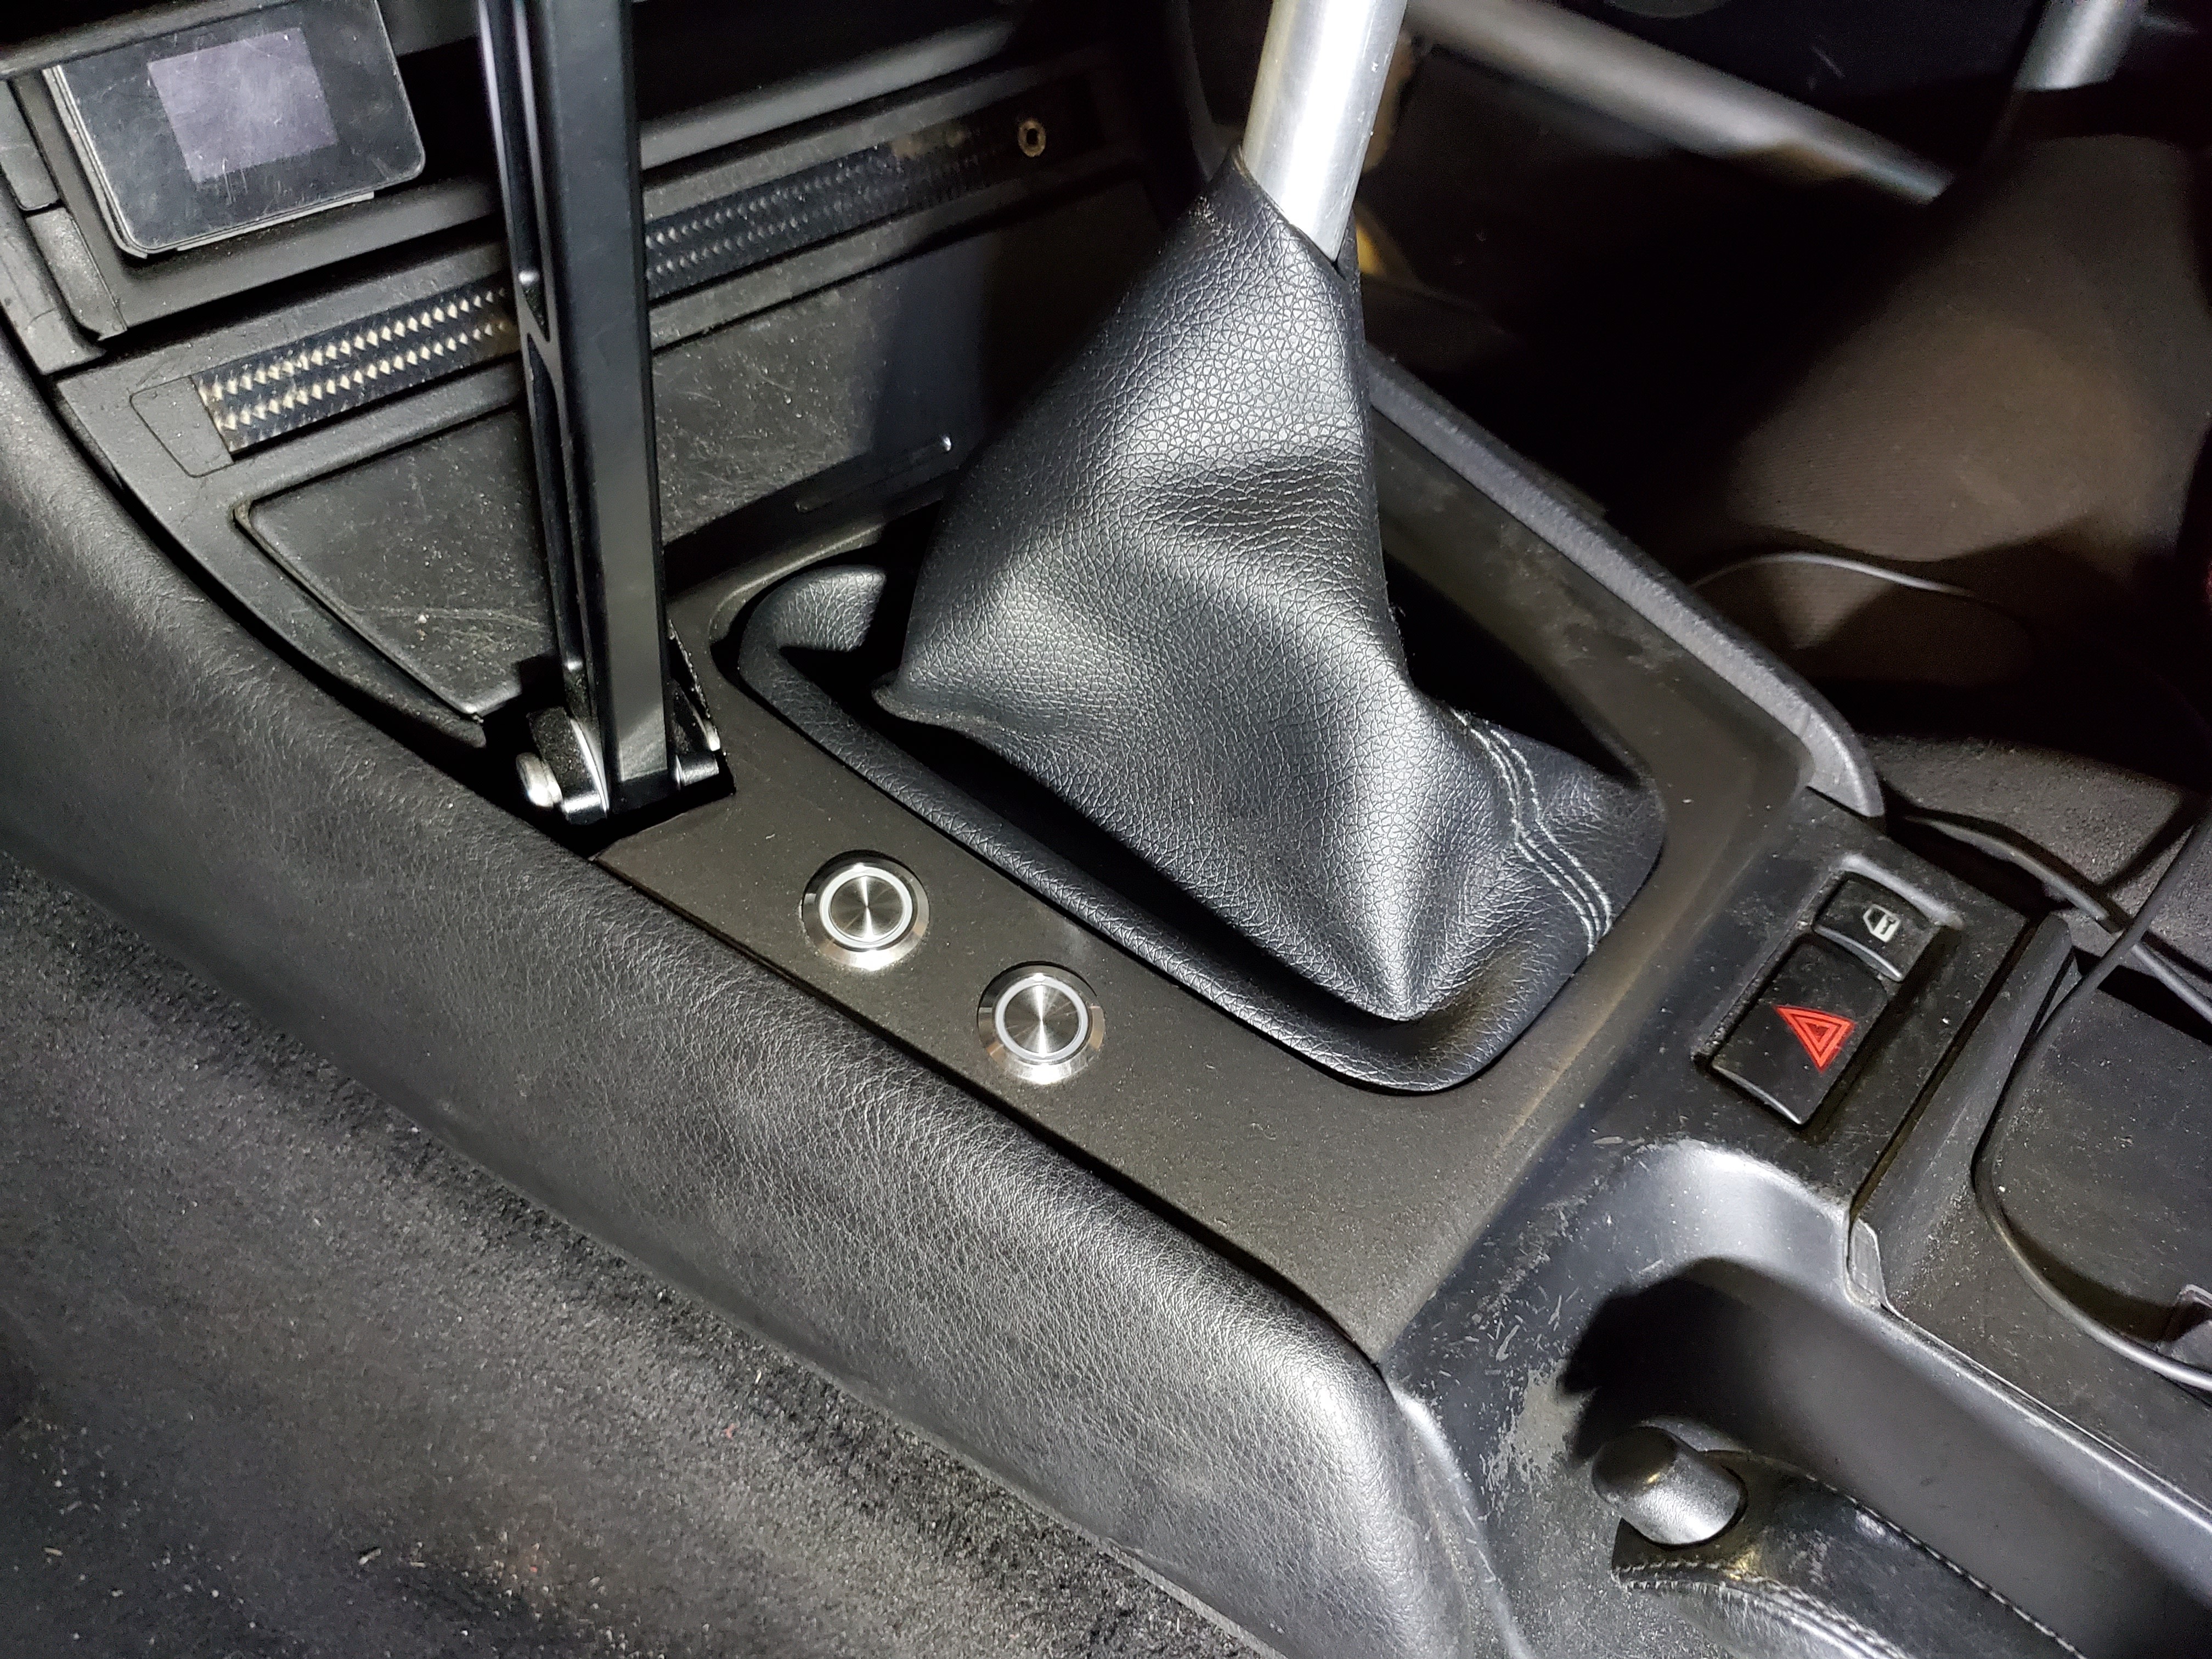
I added a switch similar to the switch for the tire sprayer but it is an on/off rather than a momentary switch.
And here it is all lit up! Really hyped to see it once it's on the ground with the underglow on too
Thats about it for now, waiting on a few more parts. (Seems to be the usual latley lol)
More updates as parts roll in!
-
That coolant cap is sick.
Also, tire sprayer? Does it spray water or some solution onto the tires before a run so you don't have to get out of the car? I remember the guys at Auto-X would mist a bit of water on the tires before a run.
I installed the sprayer awhile ago but the idea is to spray down the tires after a run to cool them. The cooler the tires stay the longer they last.
-
Small update with a few random things.
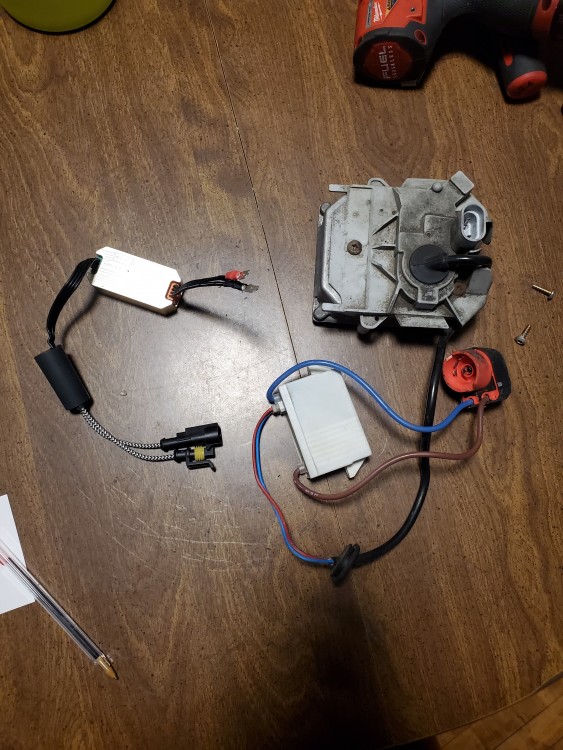
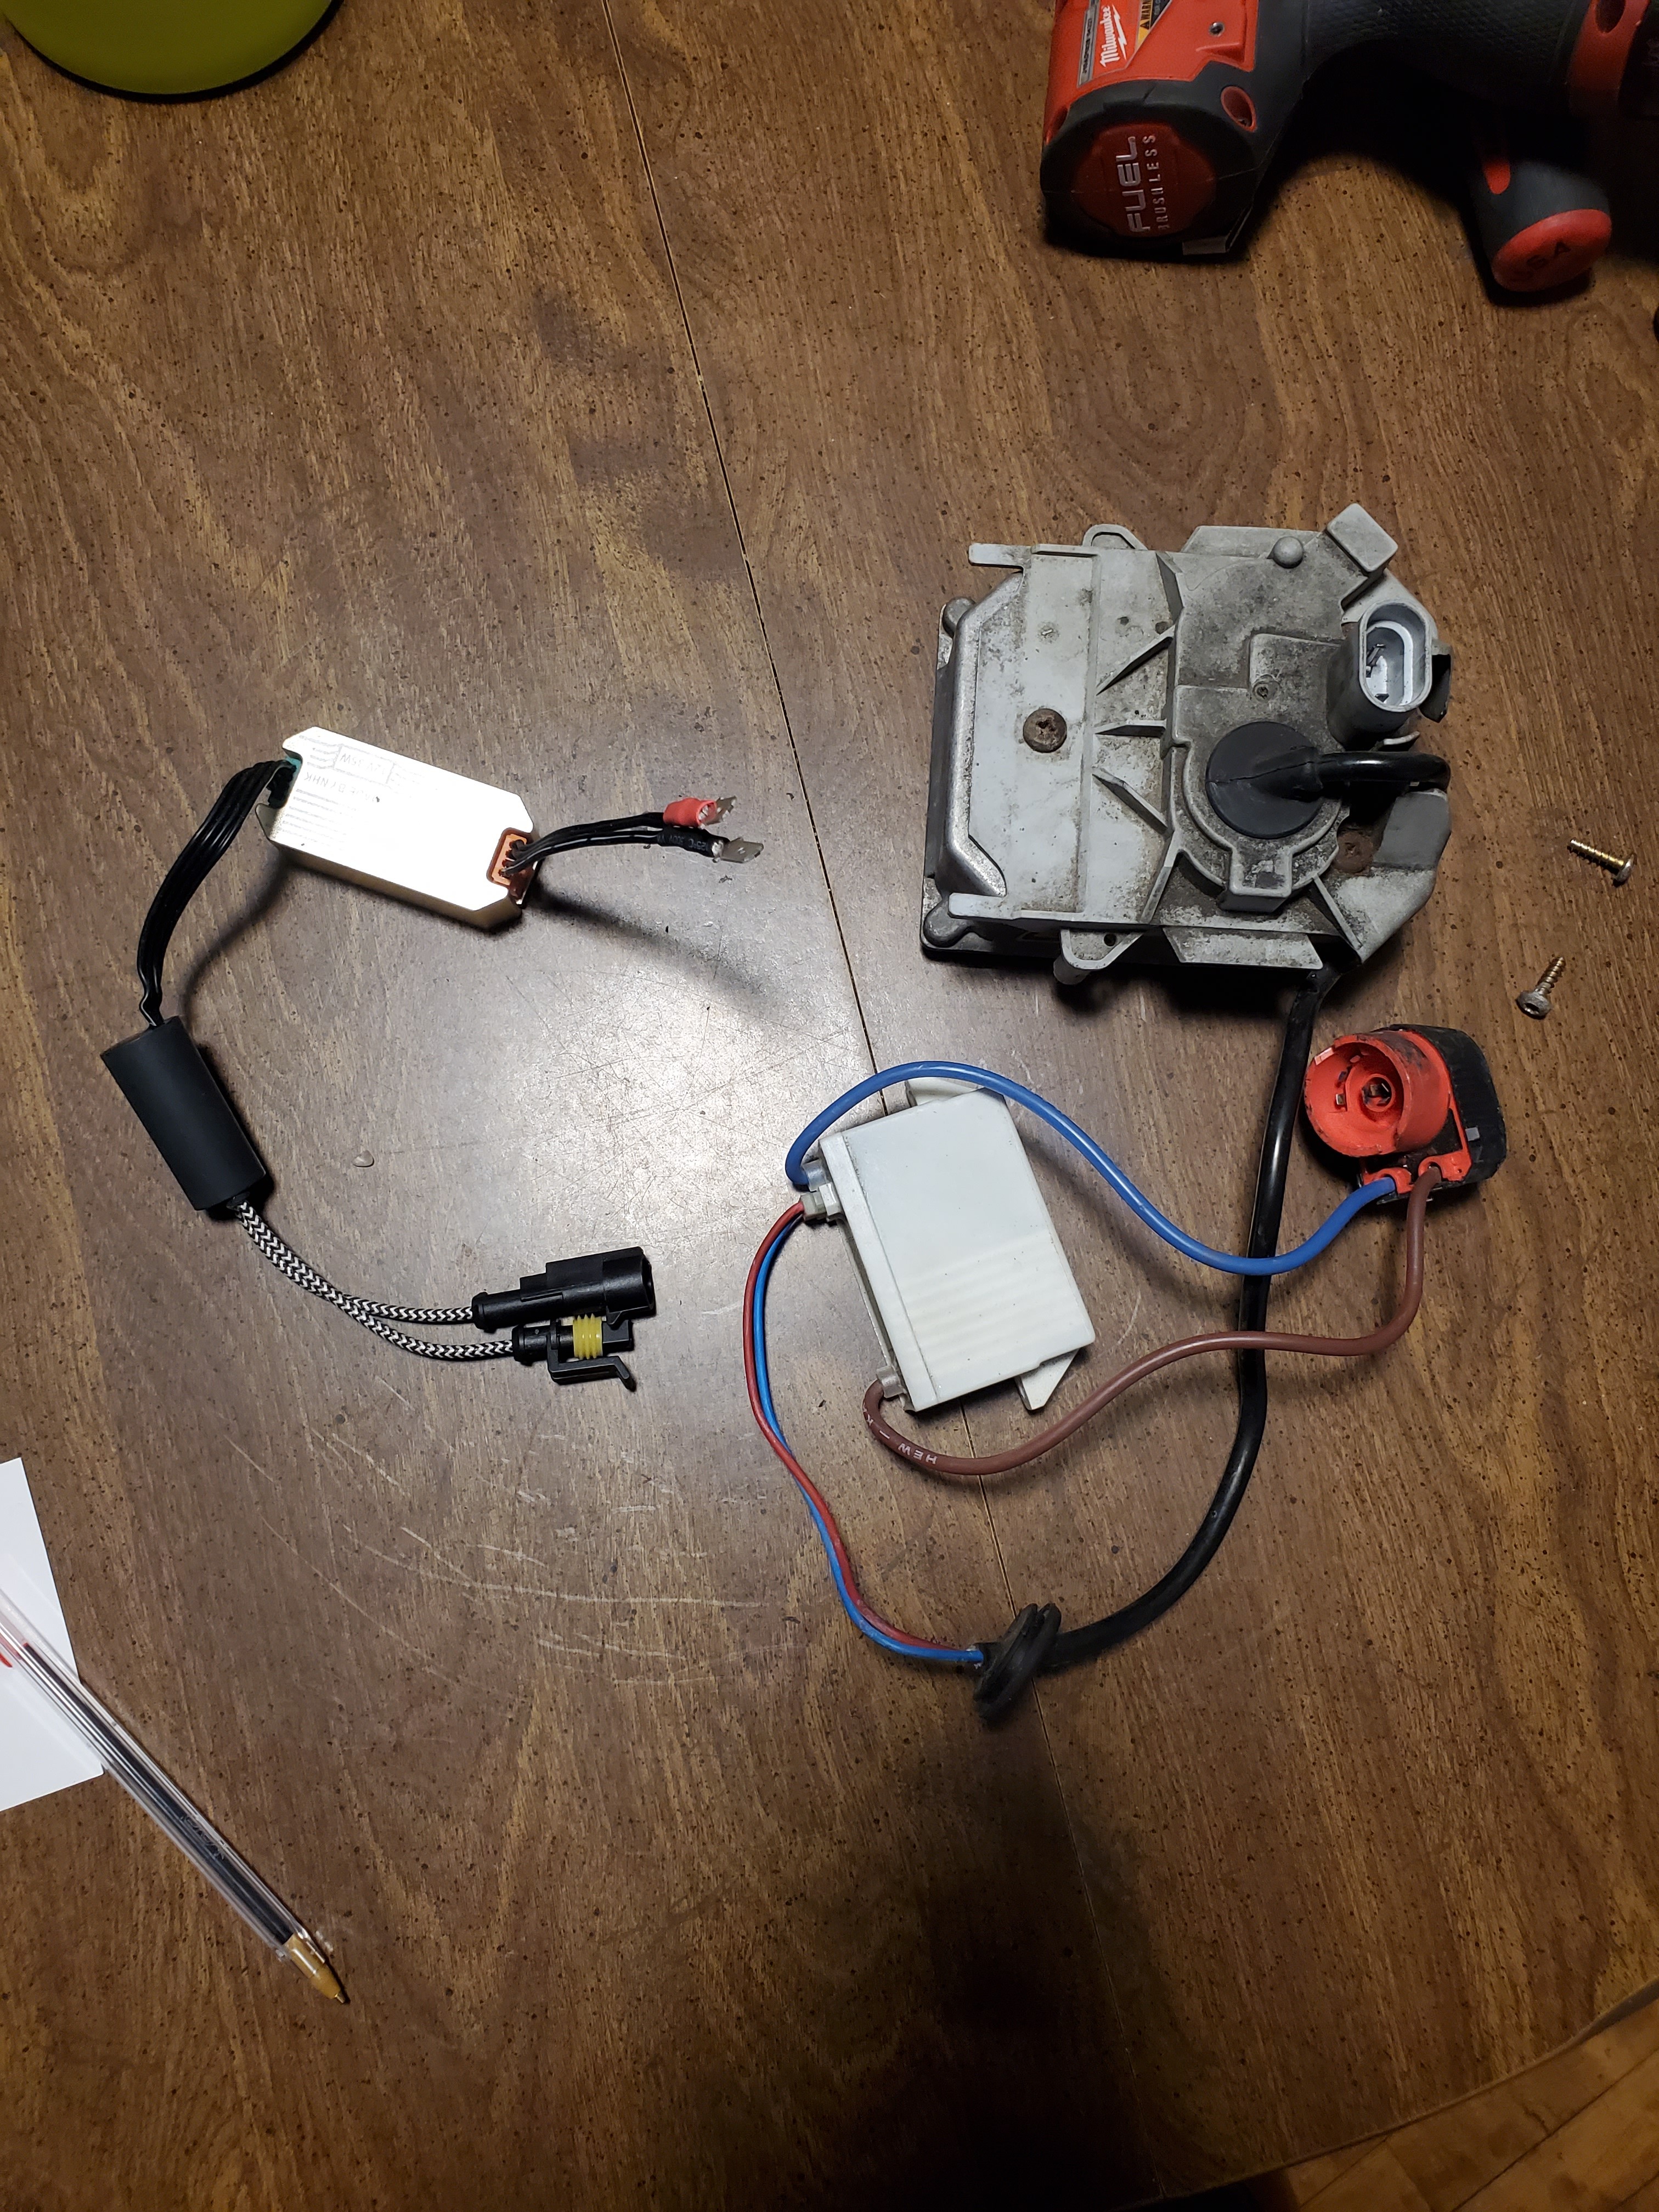
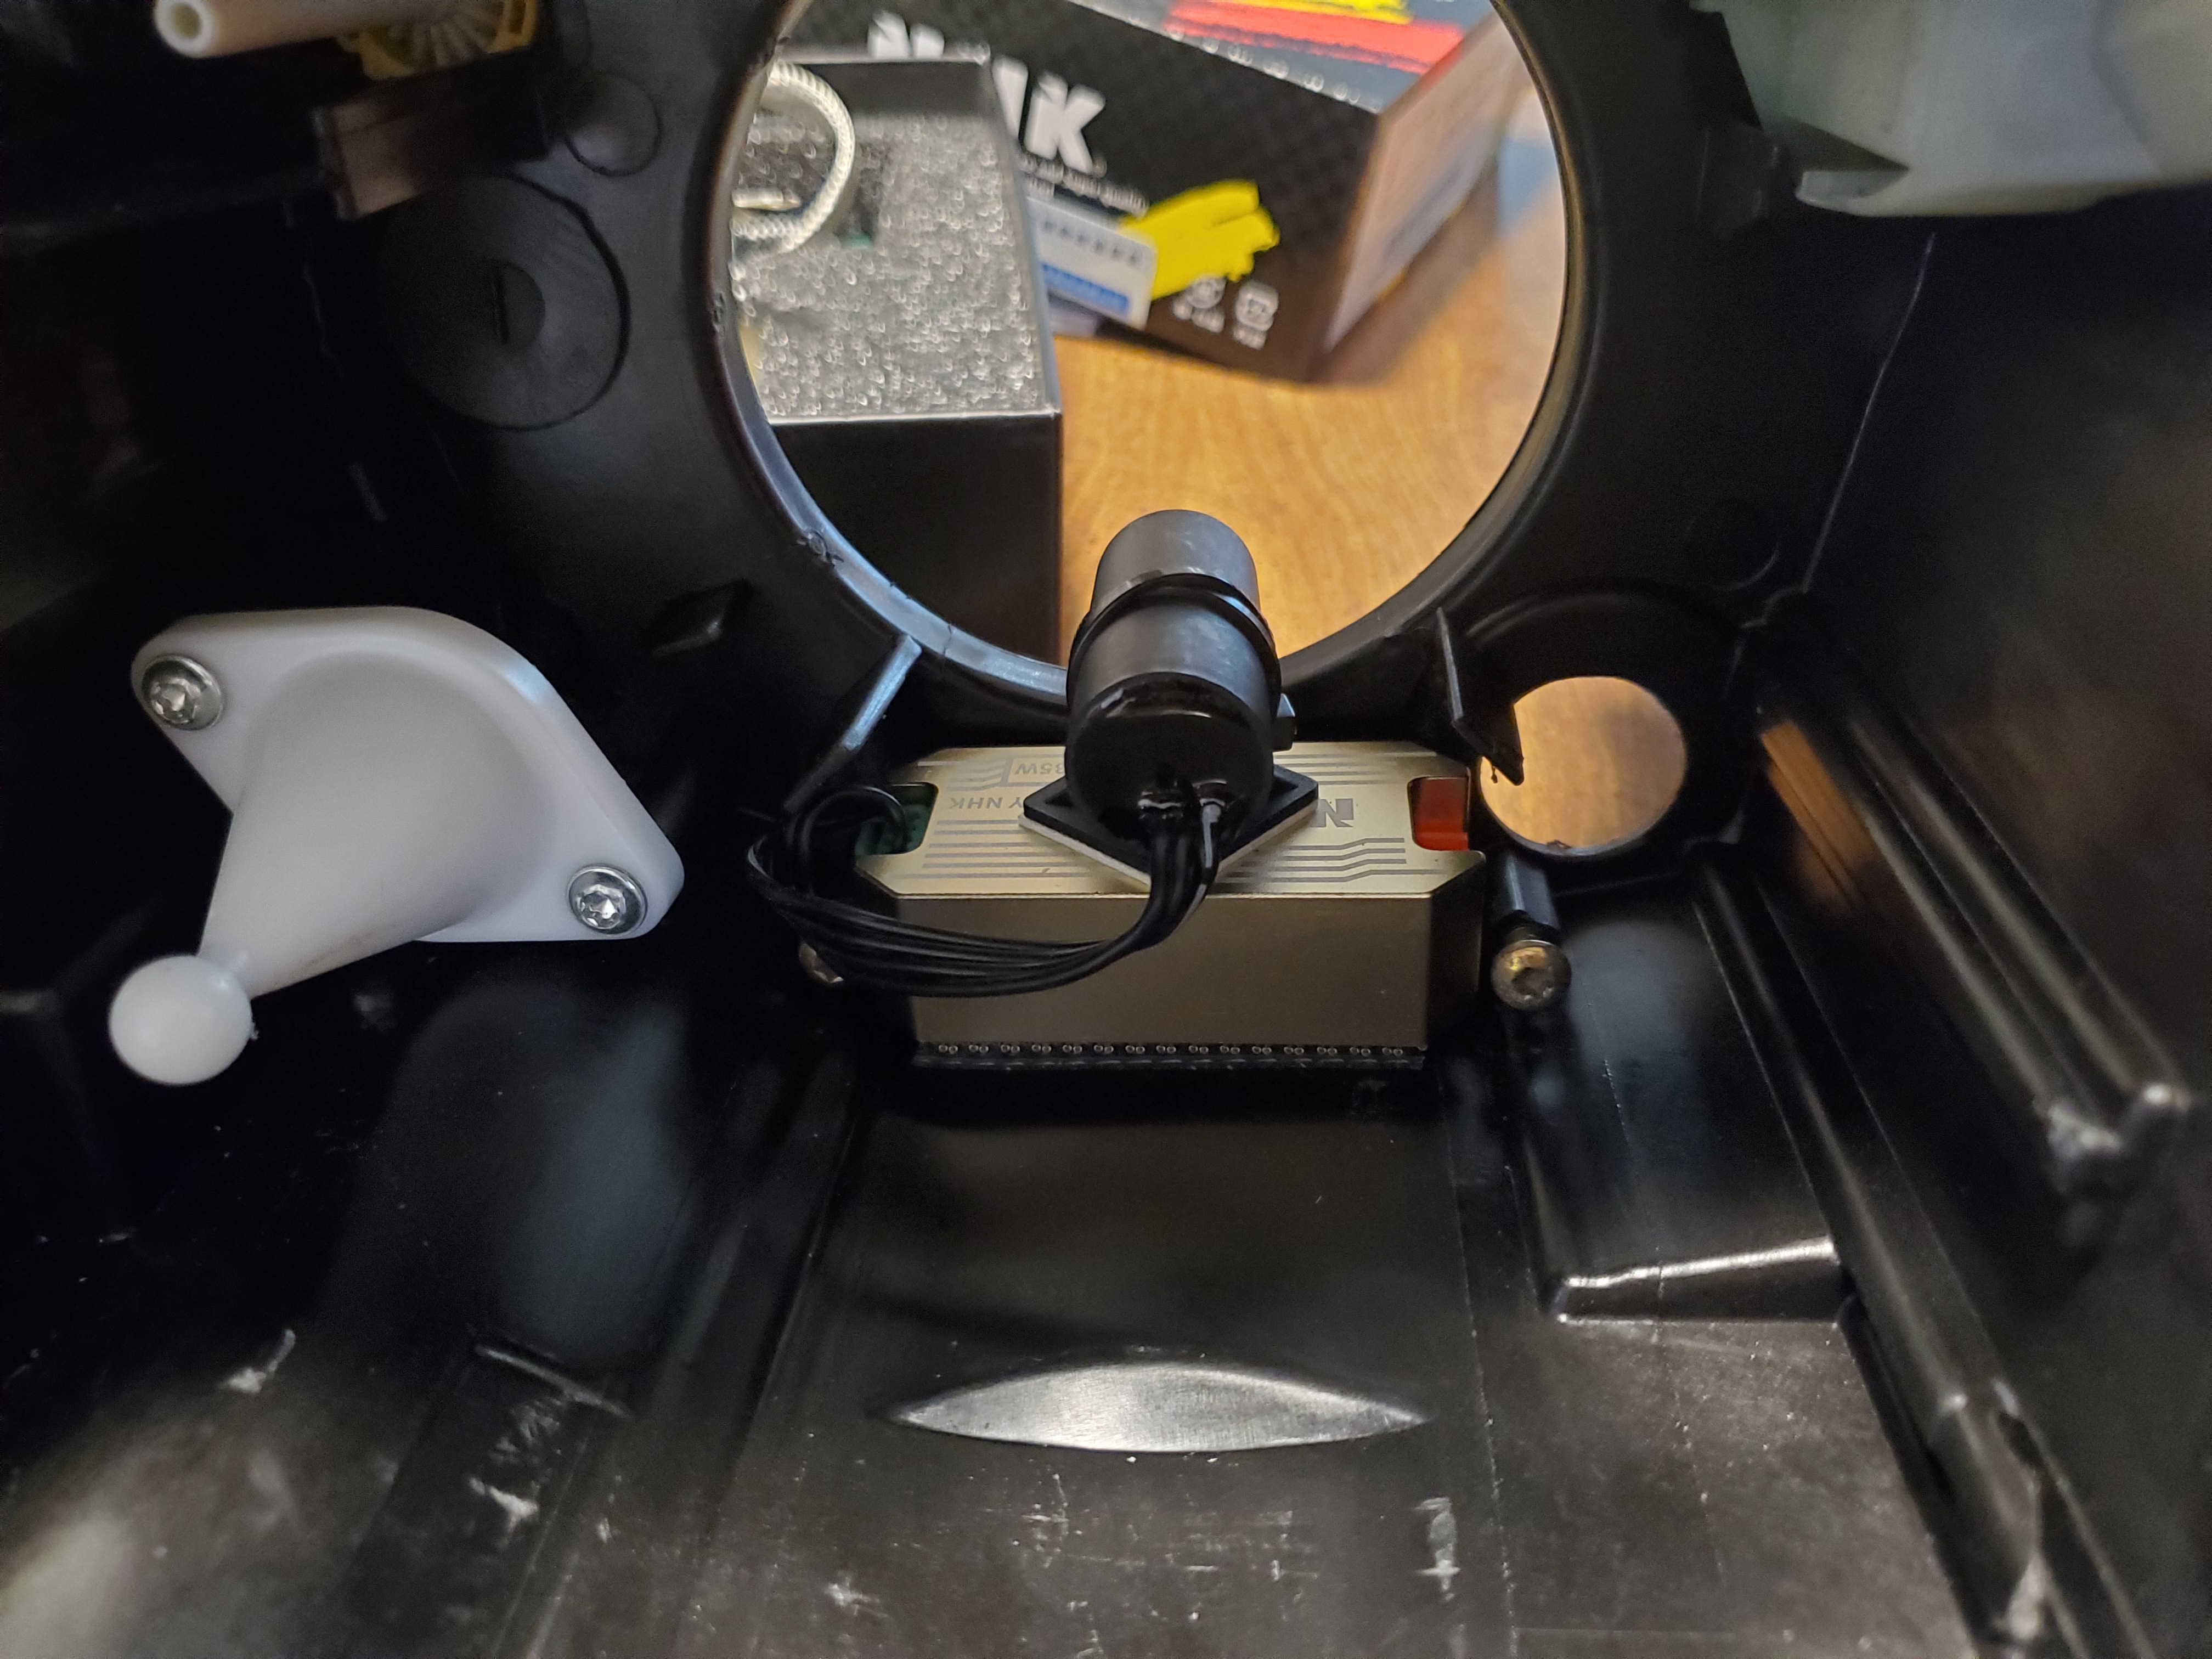
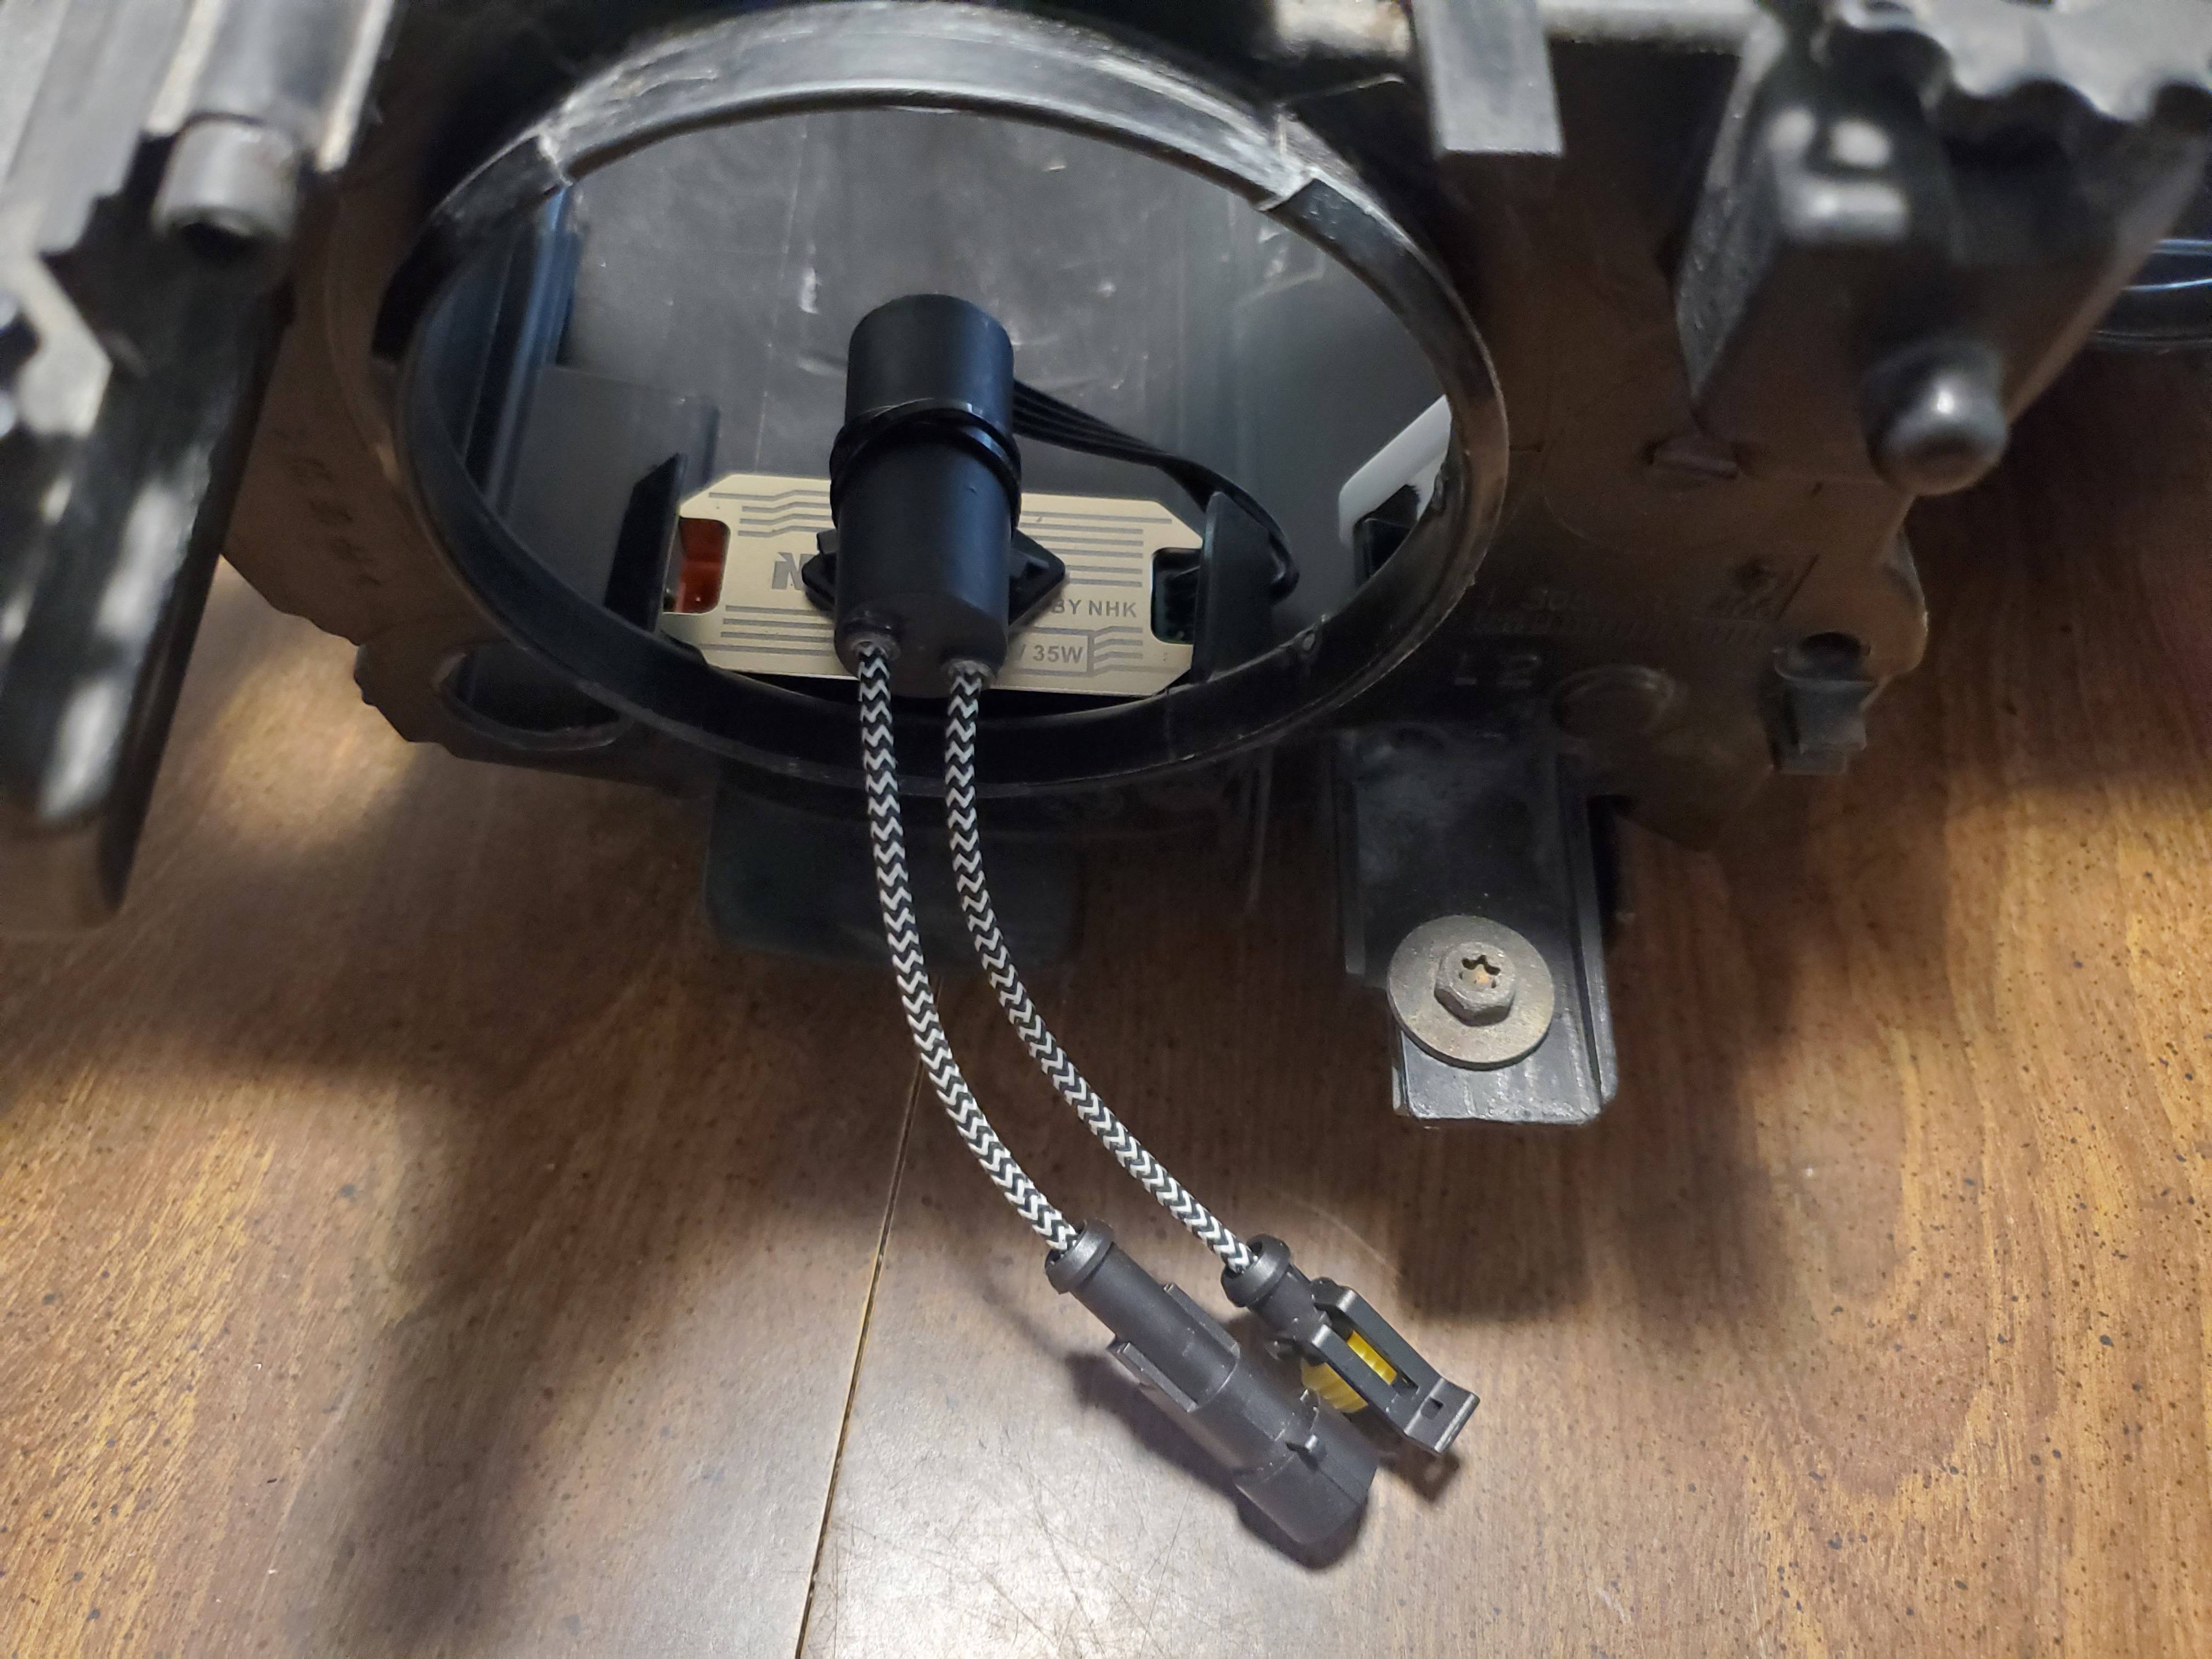
Got the parts in to remove the oem headlight ballast and igniter.
On the left is the new ballast and igniter, on the right is the oem ballast and igniter.
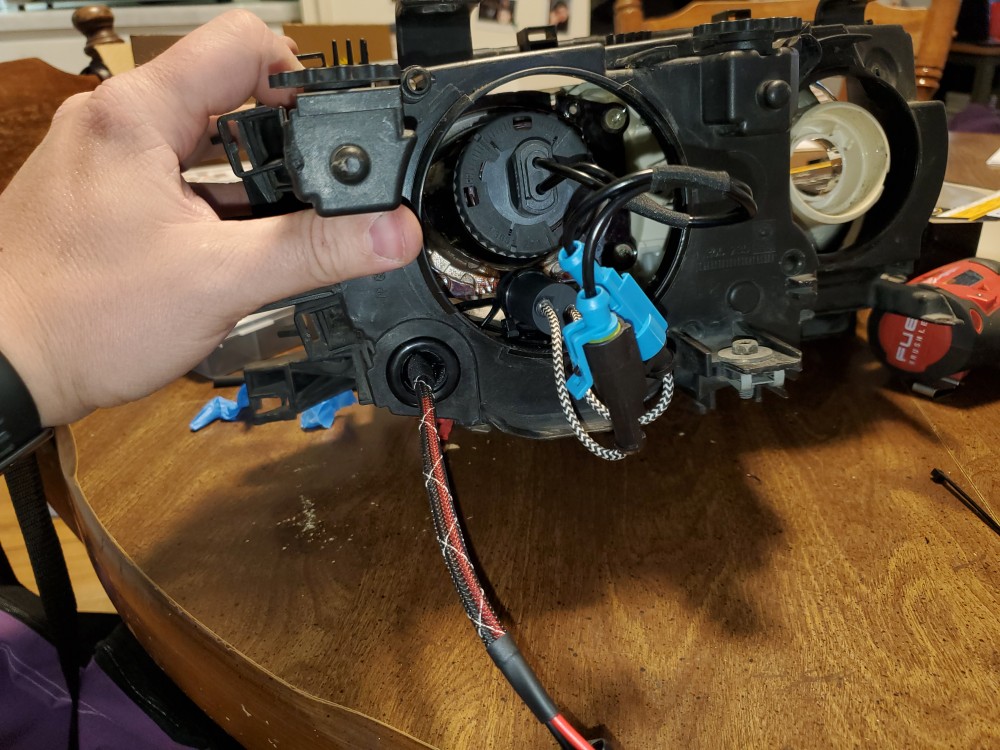
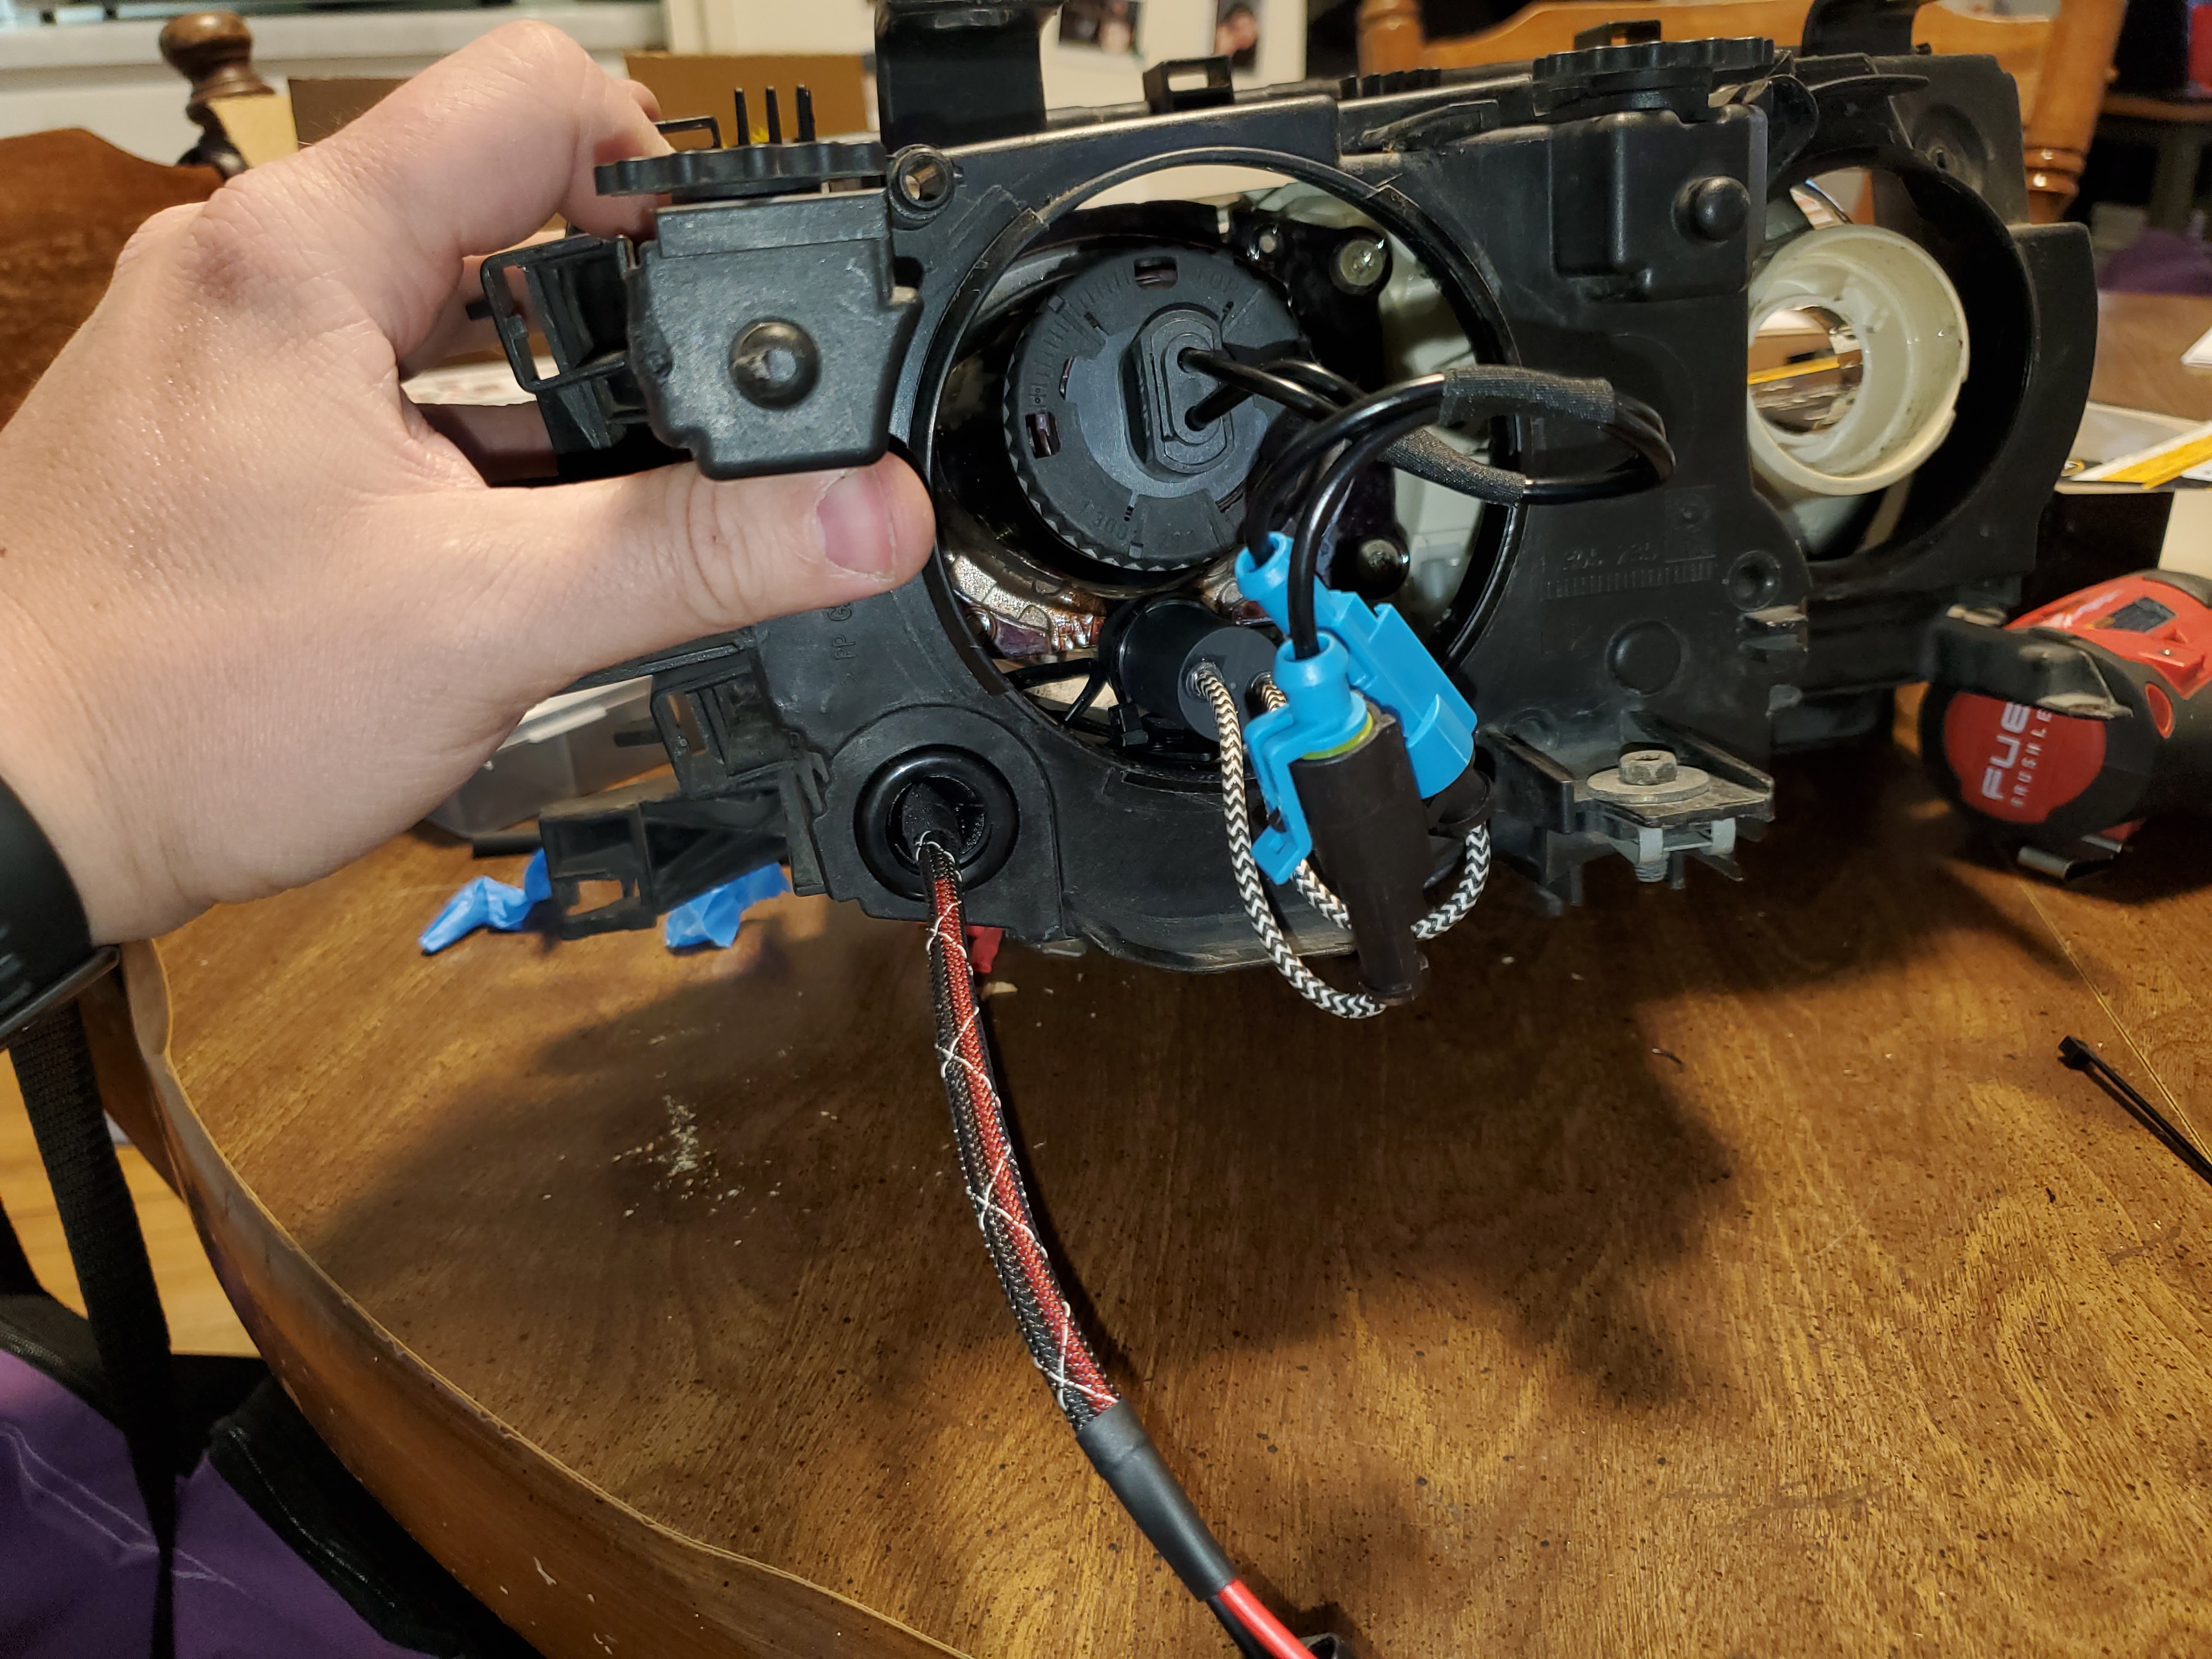
I was able to mount the entire set up in the headlight housing which saves alot of room!
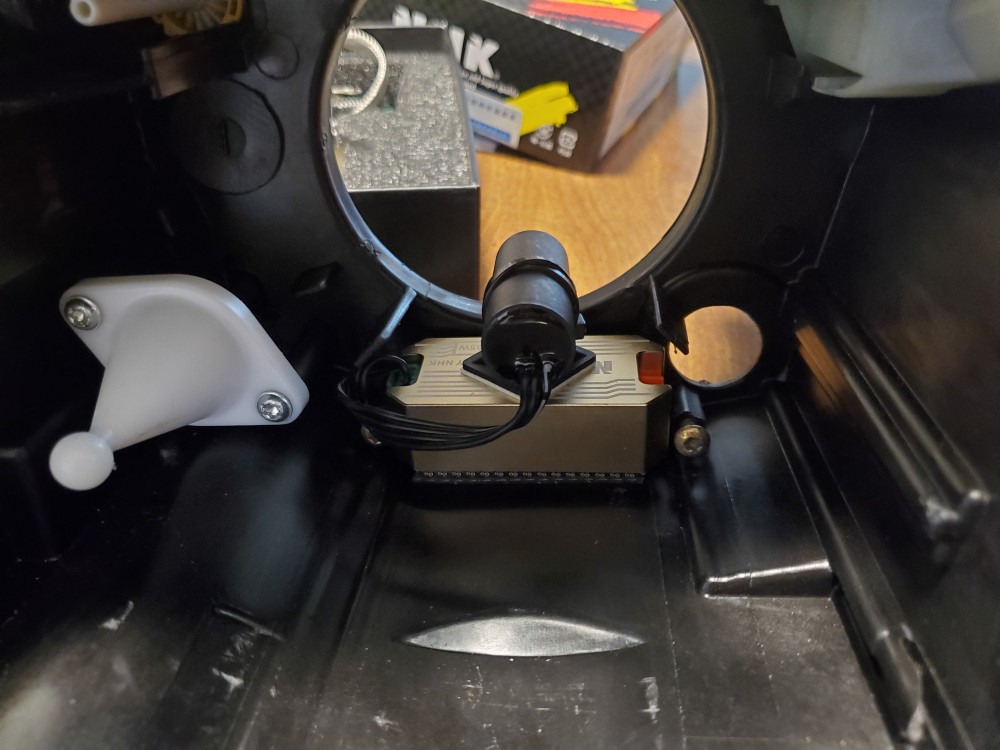
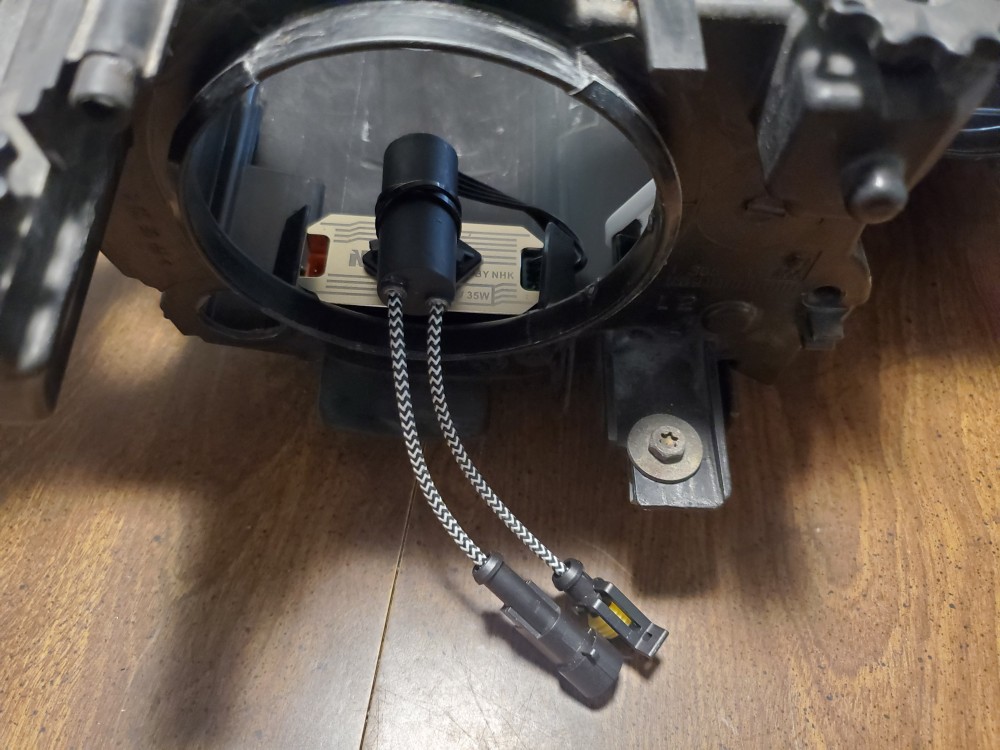
And then I added a plug which comes out of the headlight and plugs into the original chassis harness.
I also ordered a 3d printer and started teaching myself to draw things, which has always been a struggle for me to wrap.my head around. But! Slowly I am teaching myself and learning.
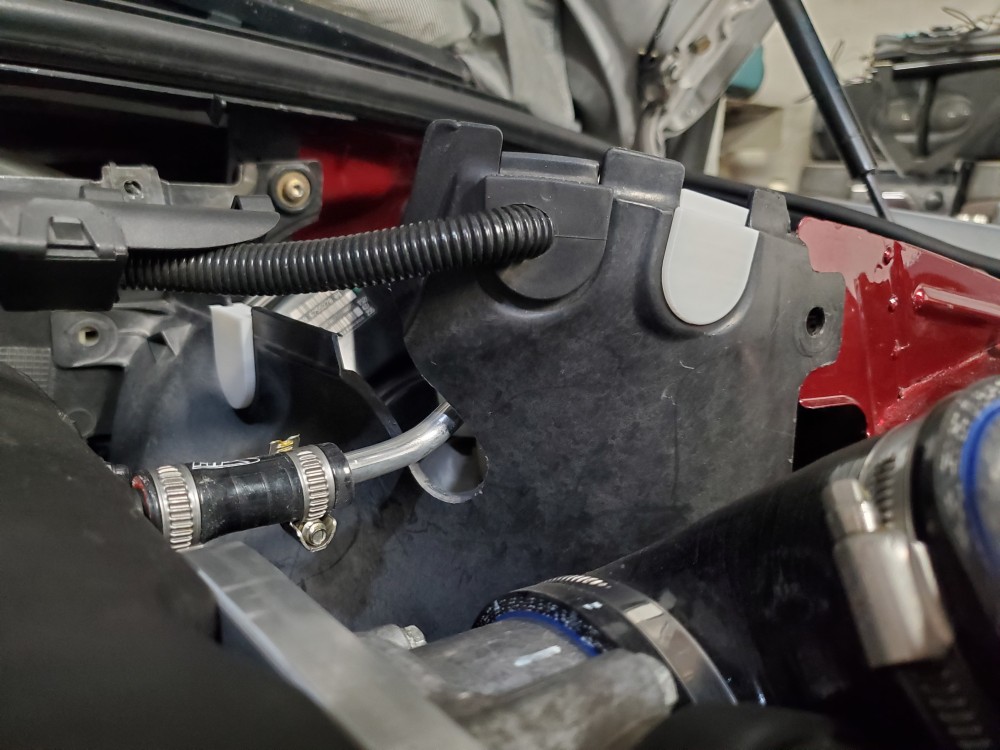
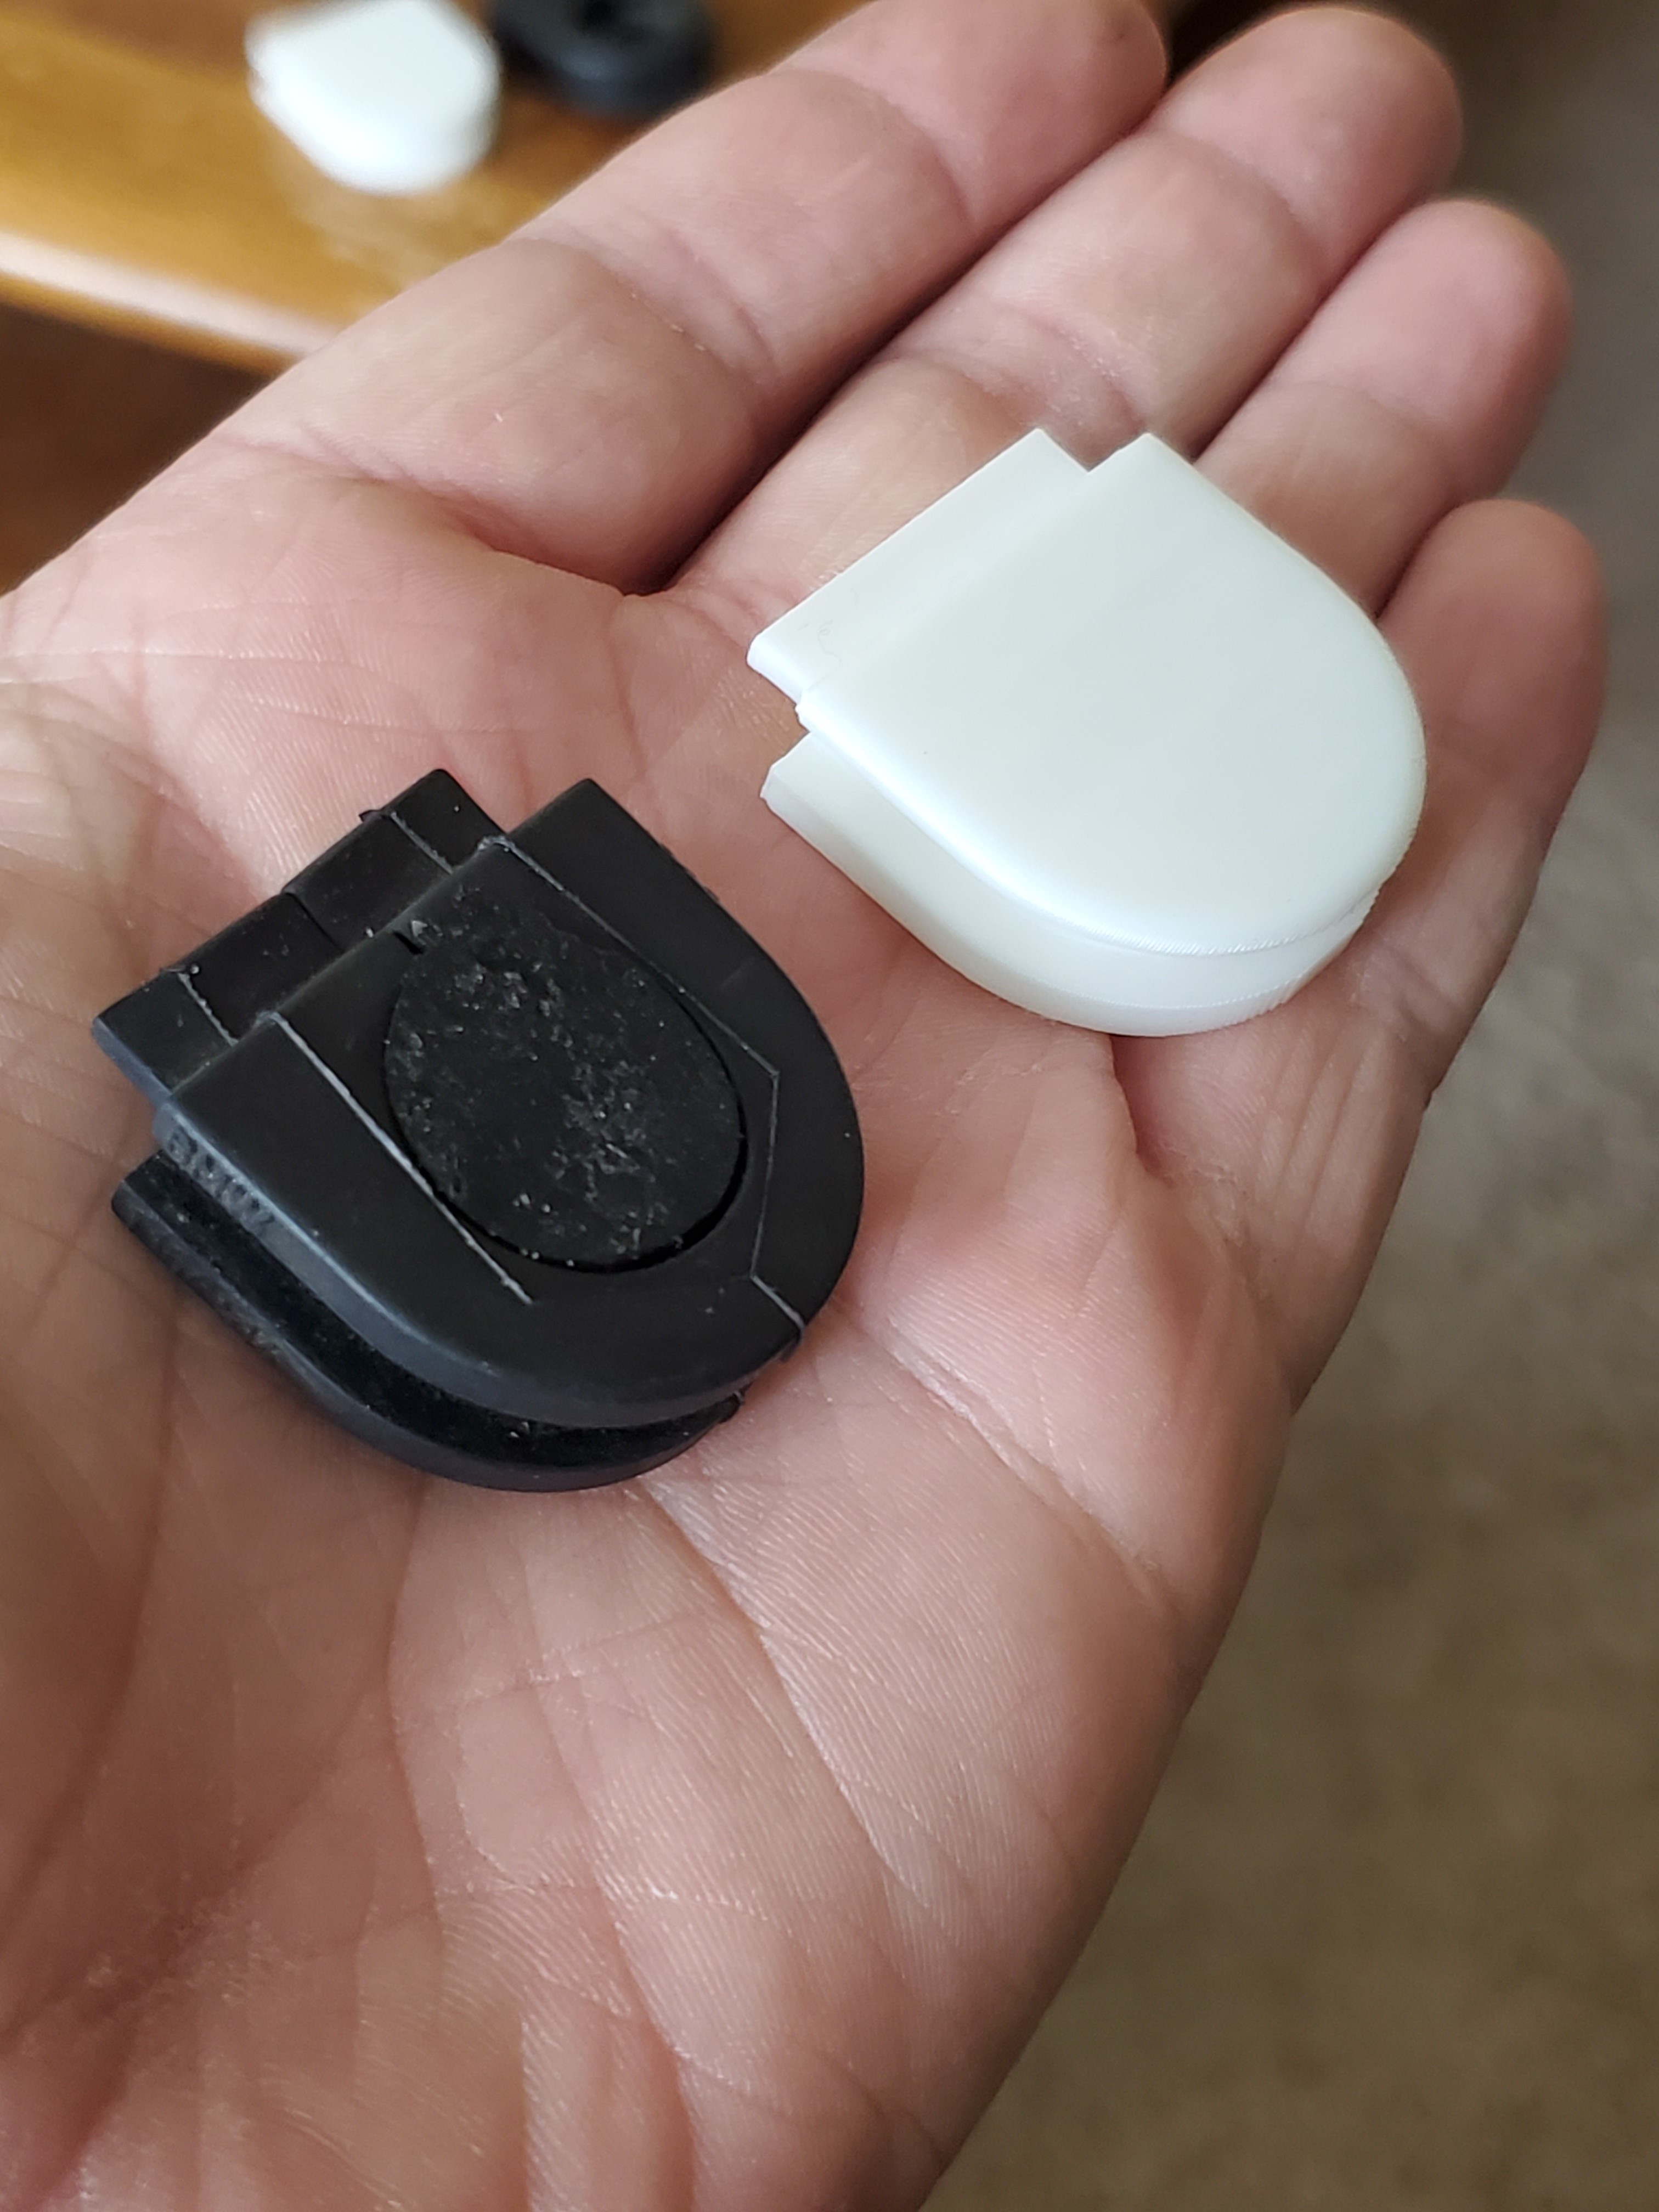
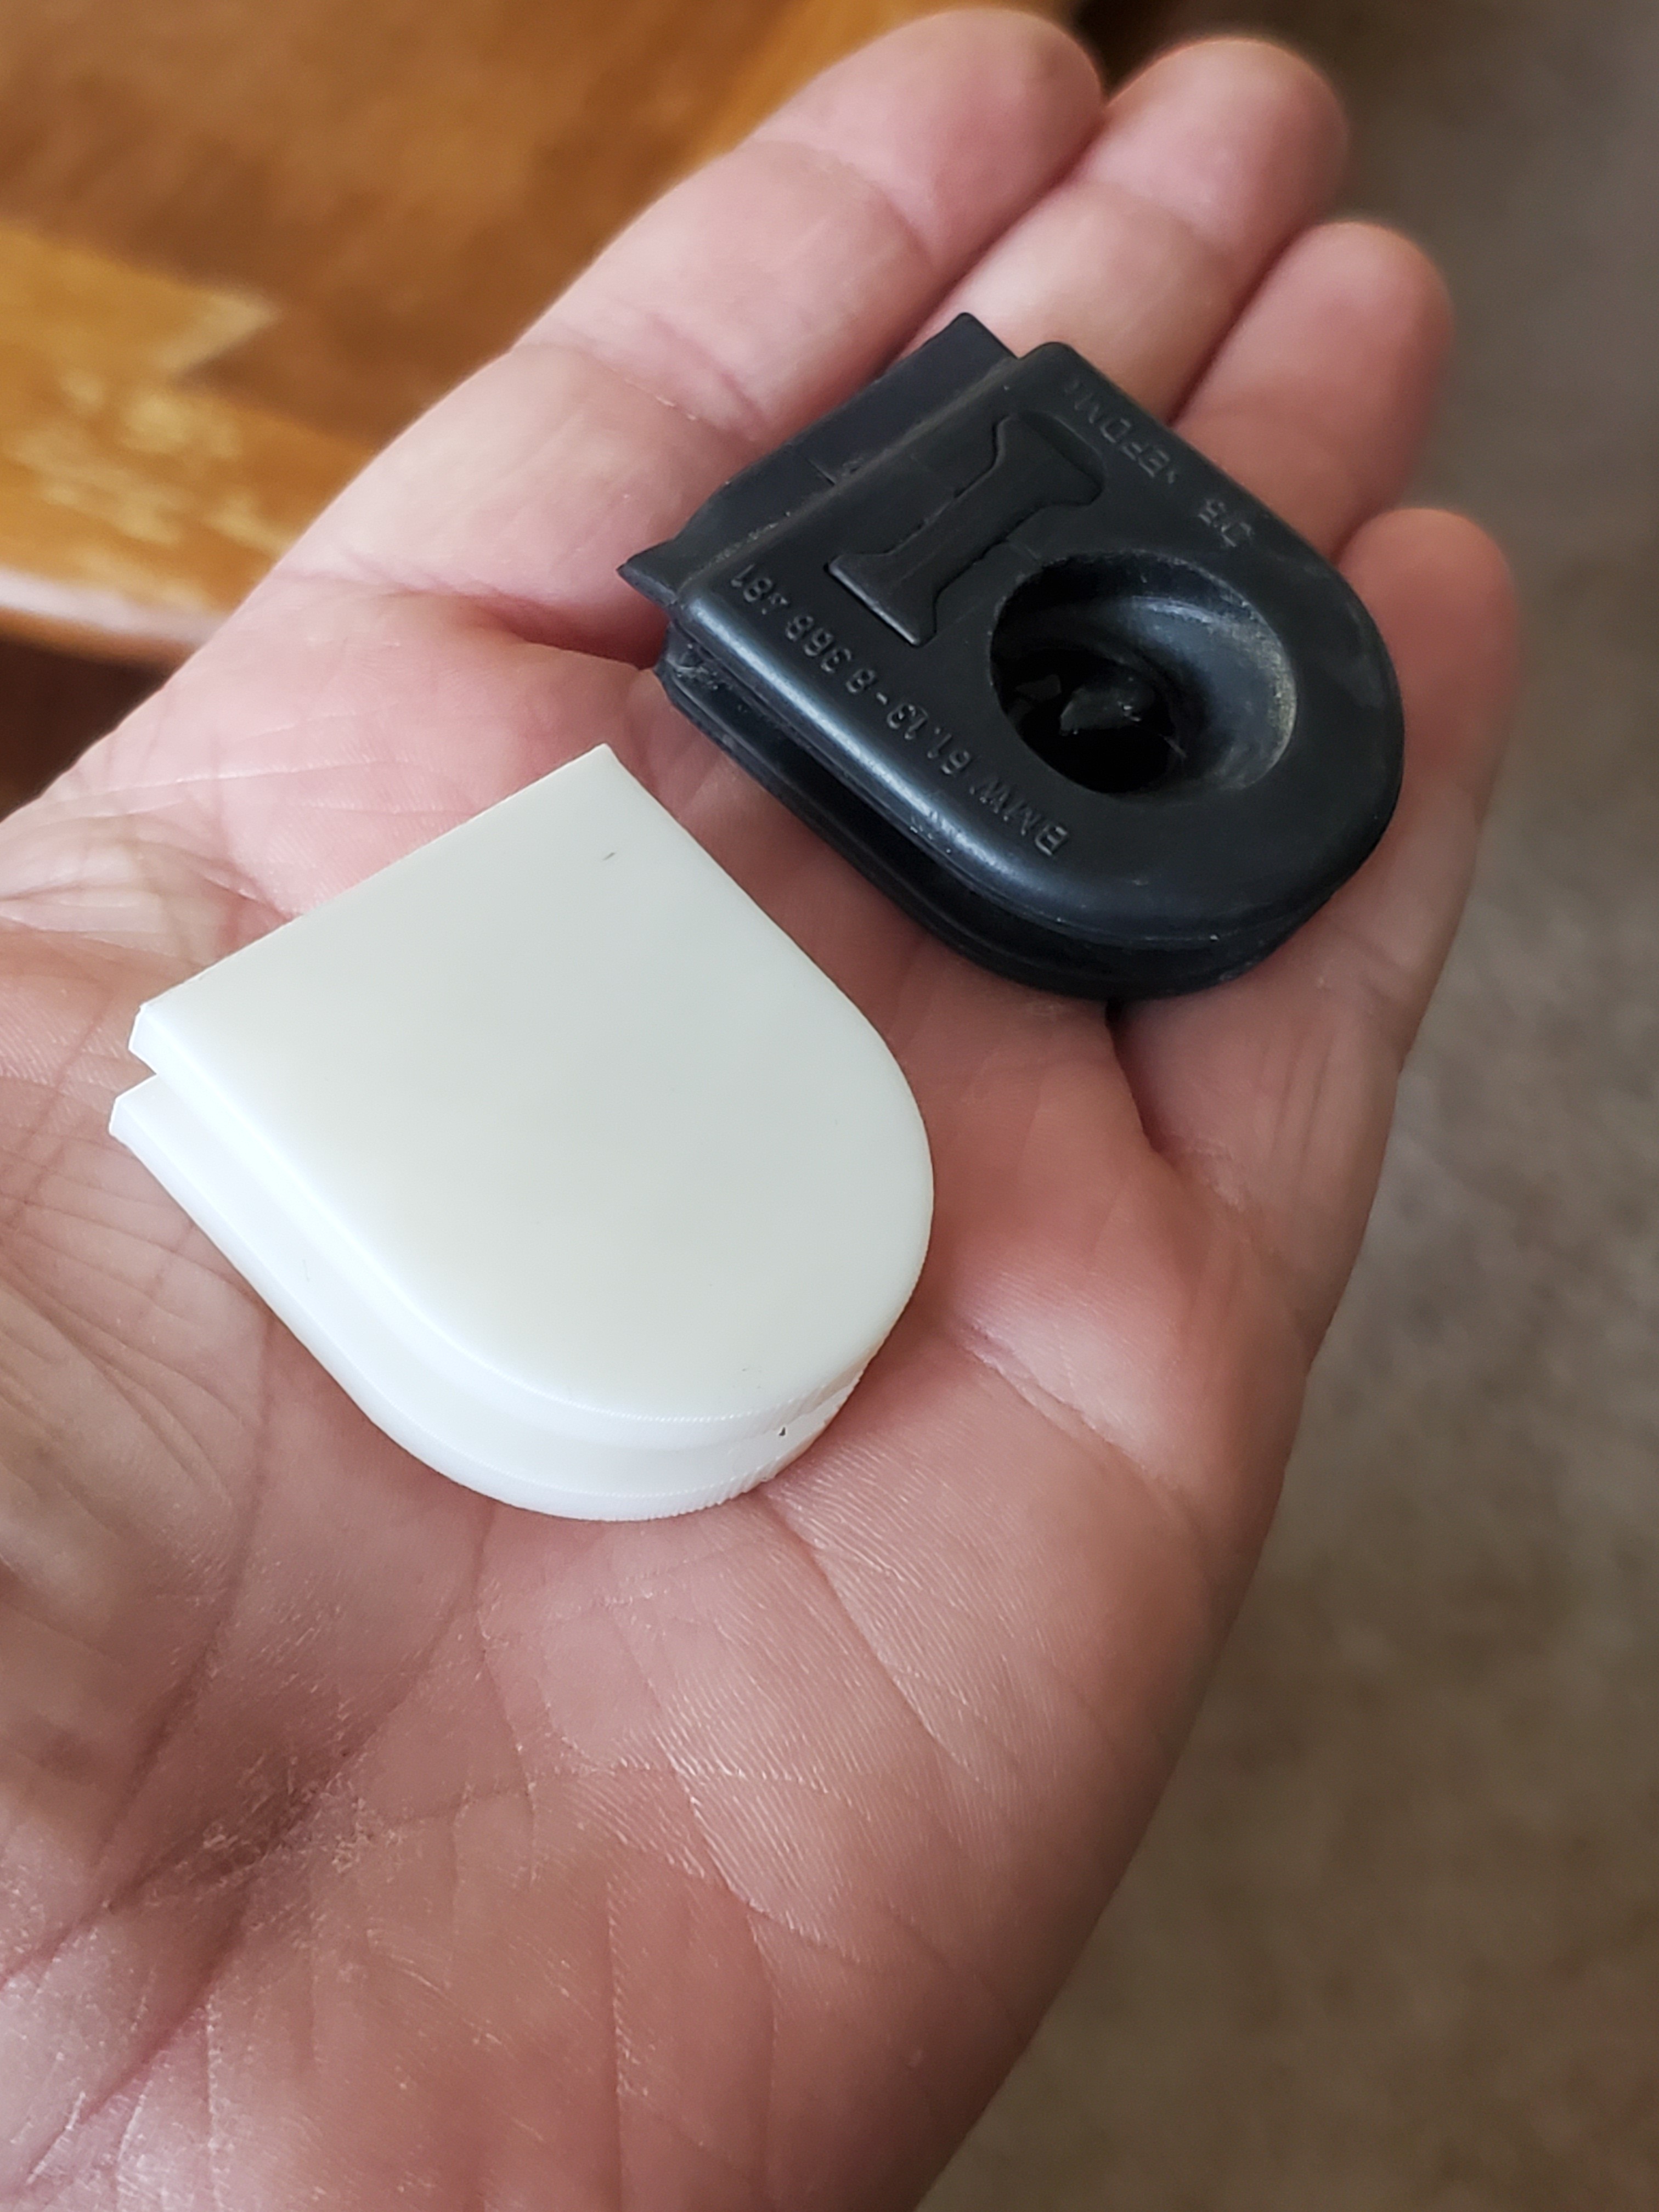
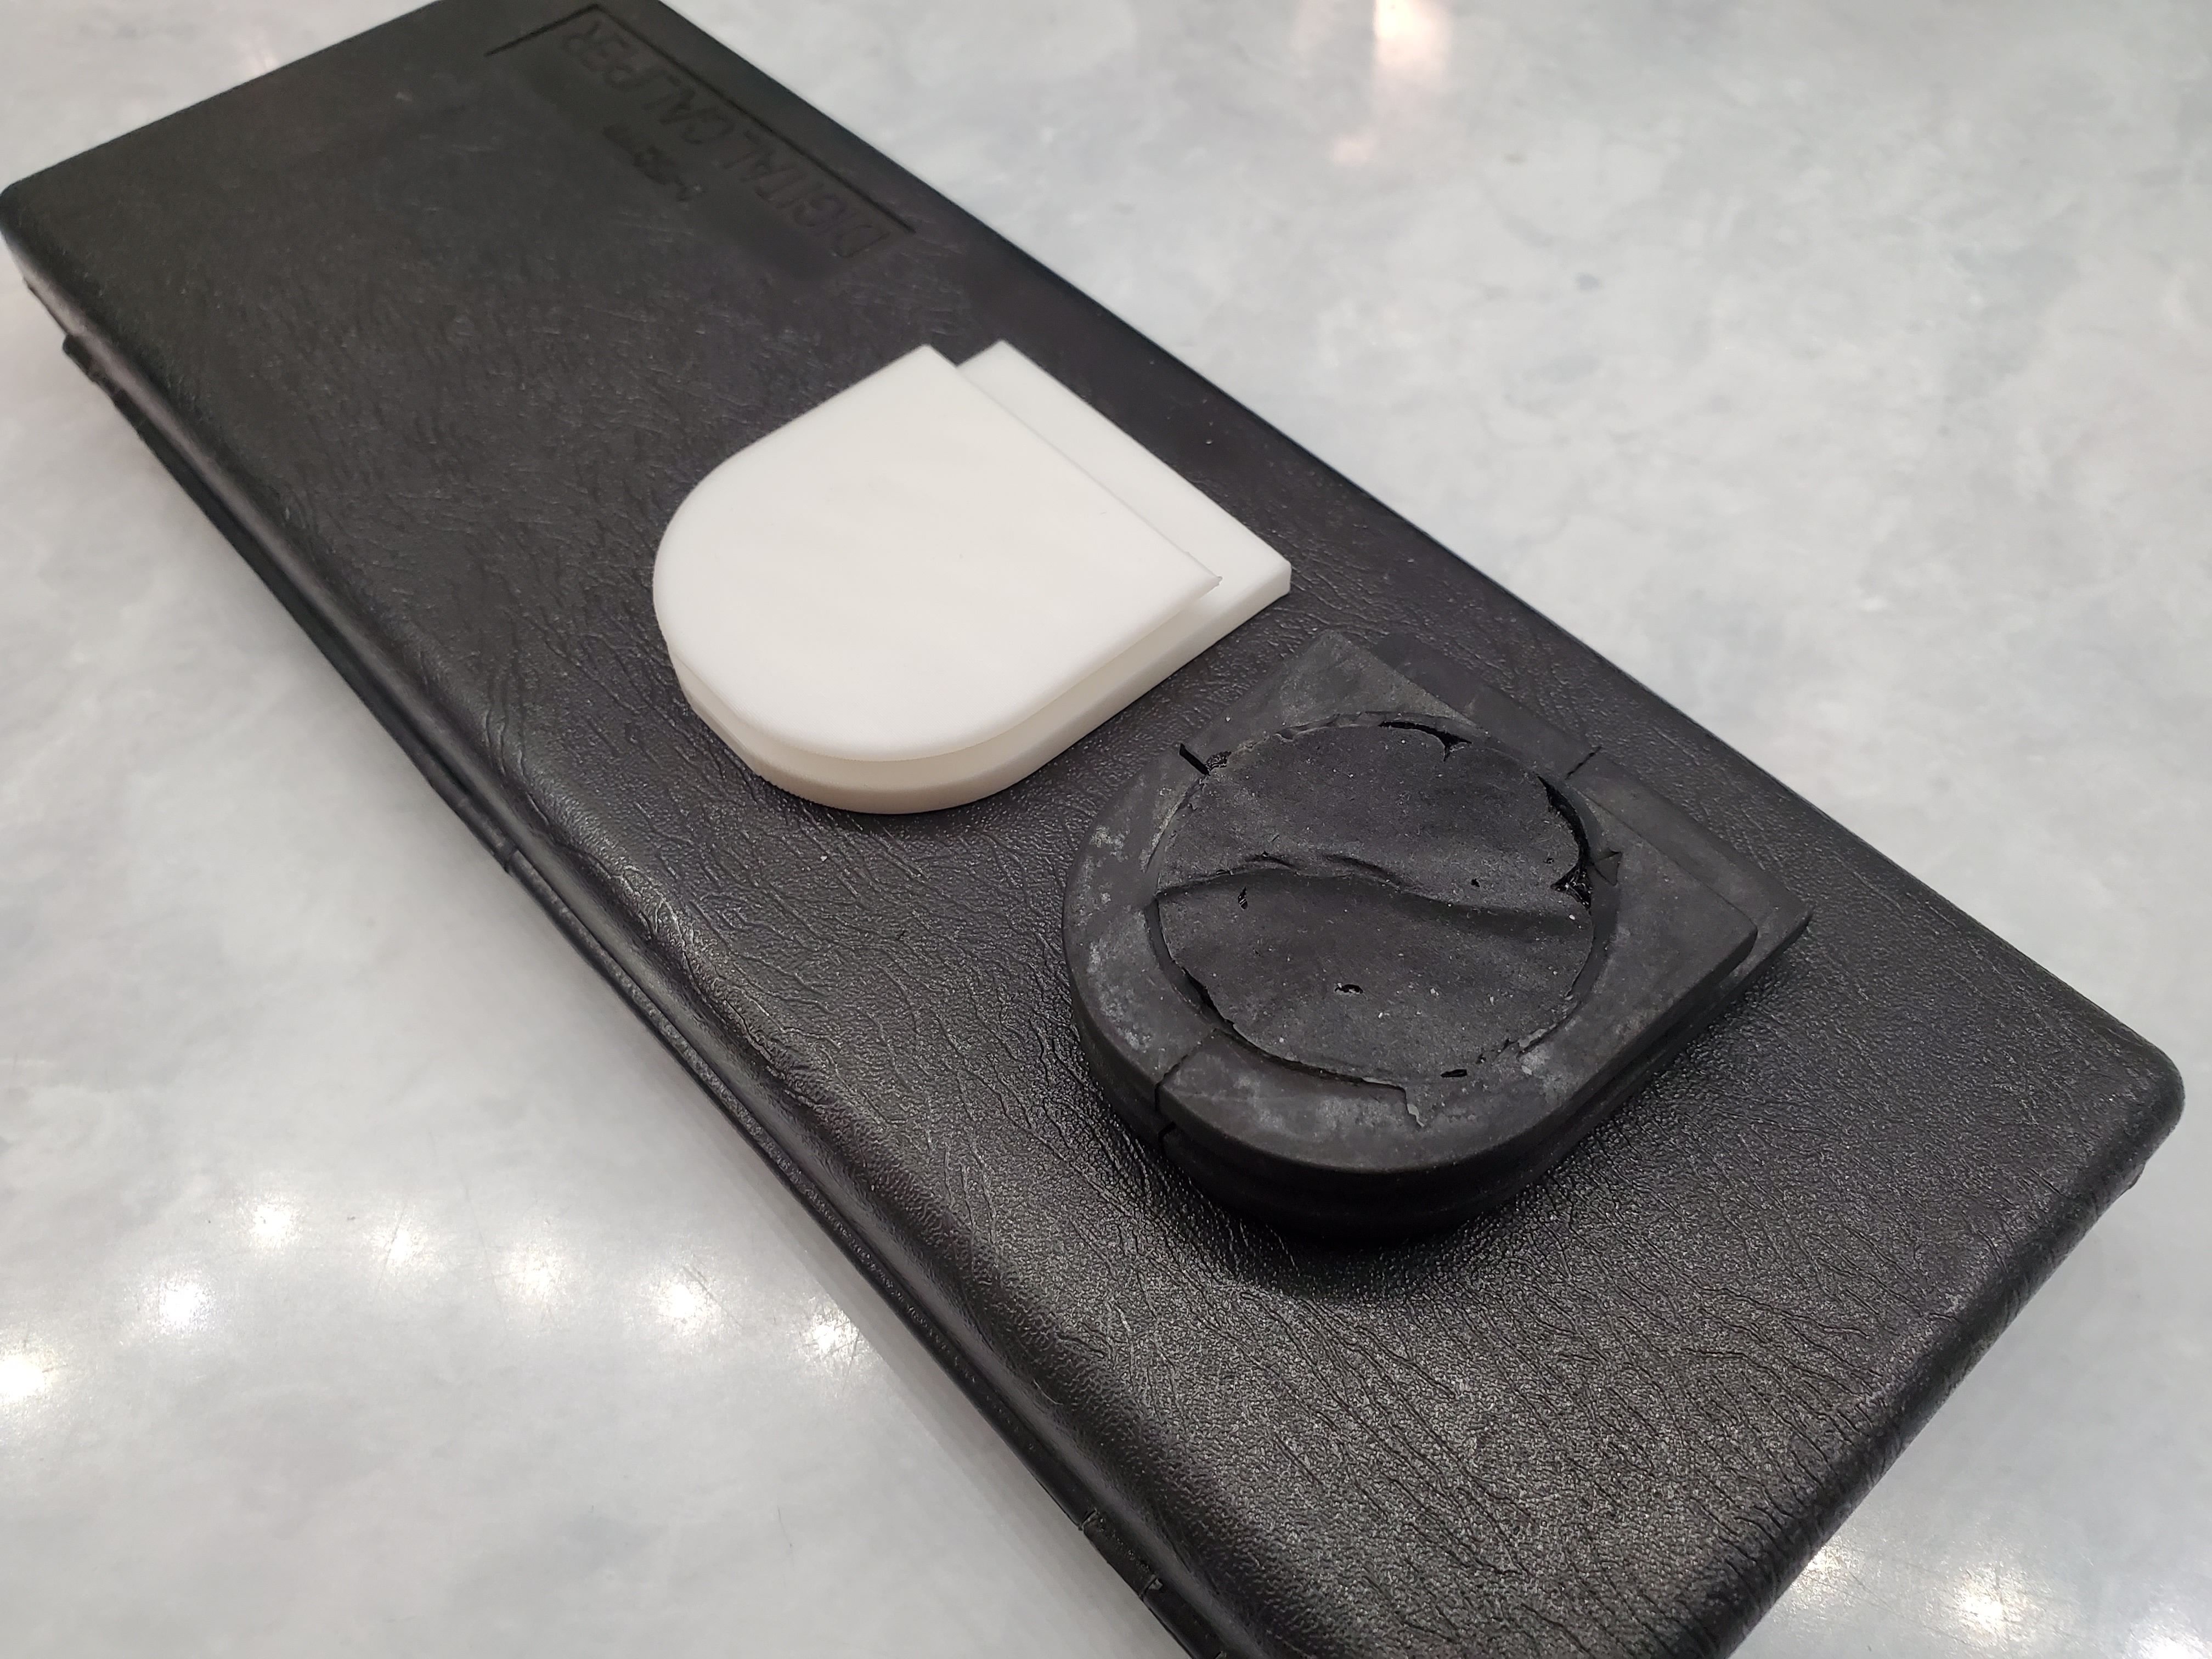
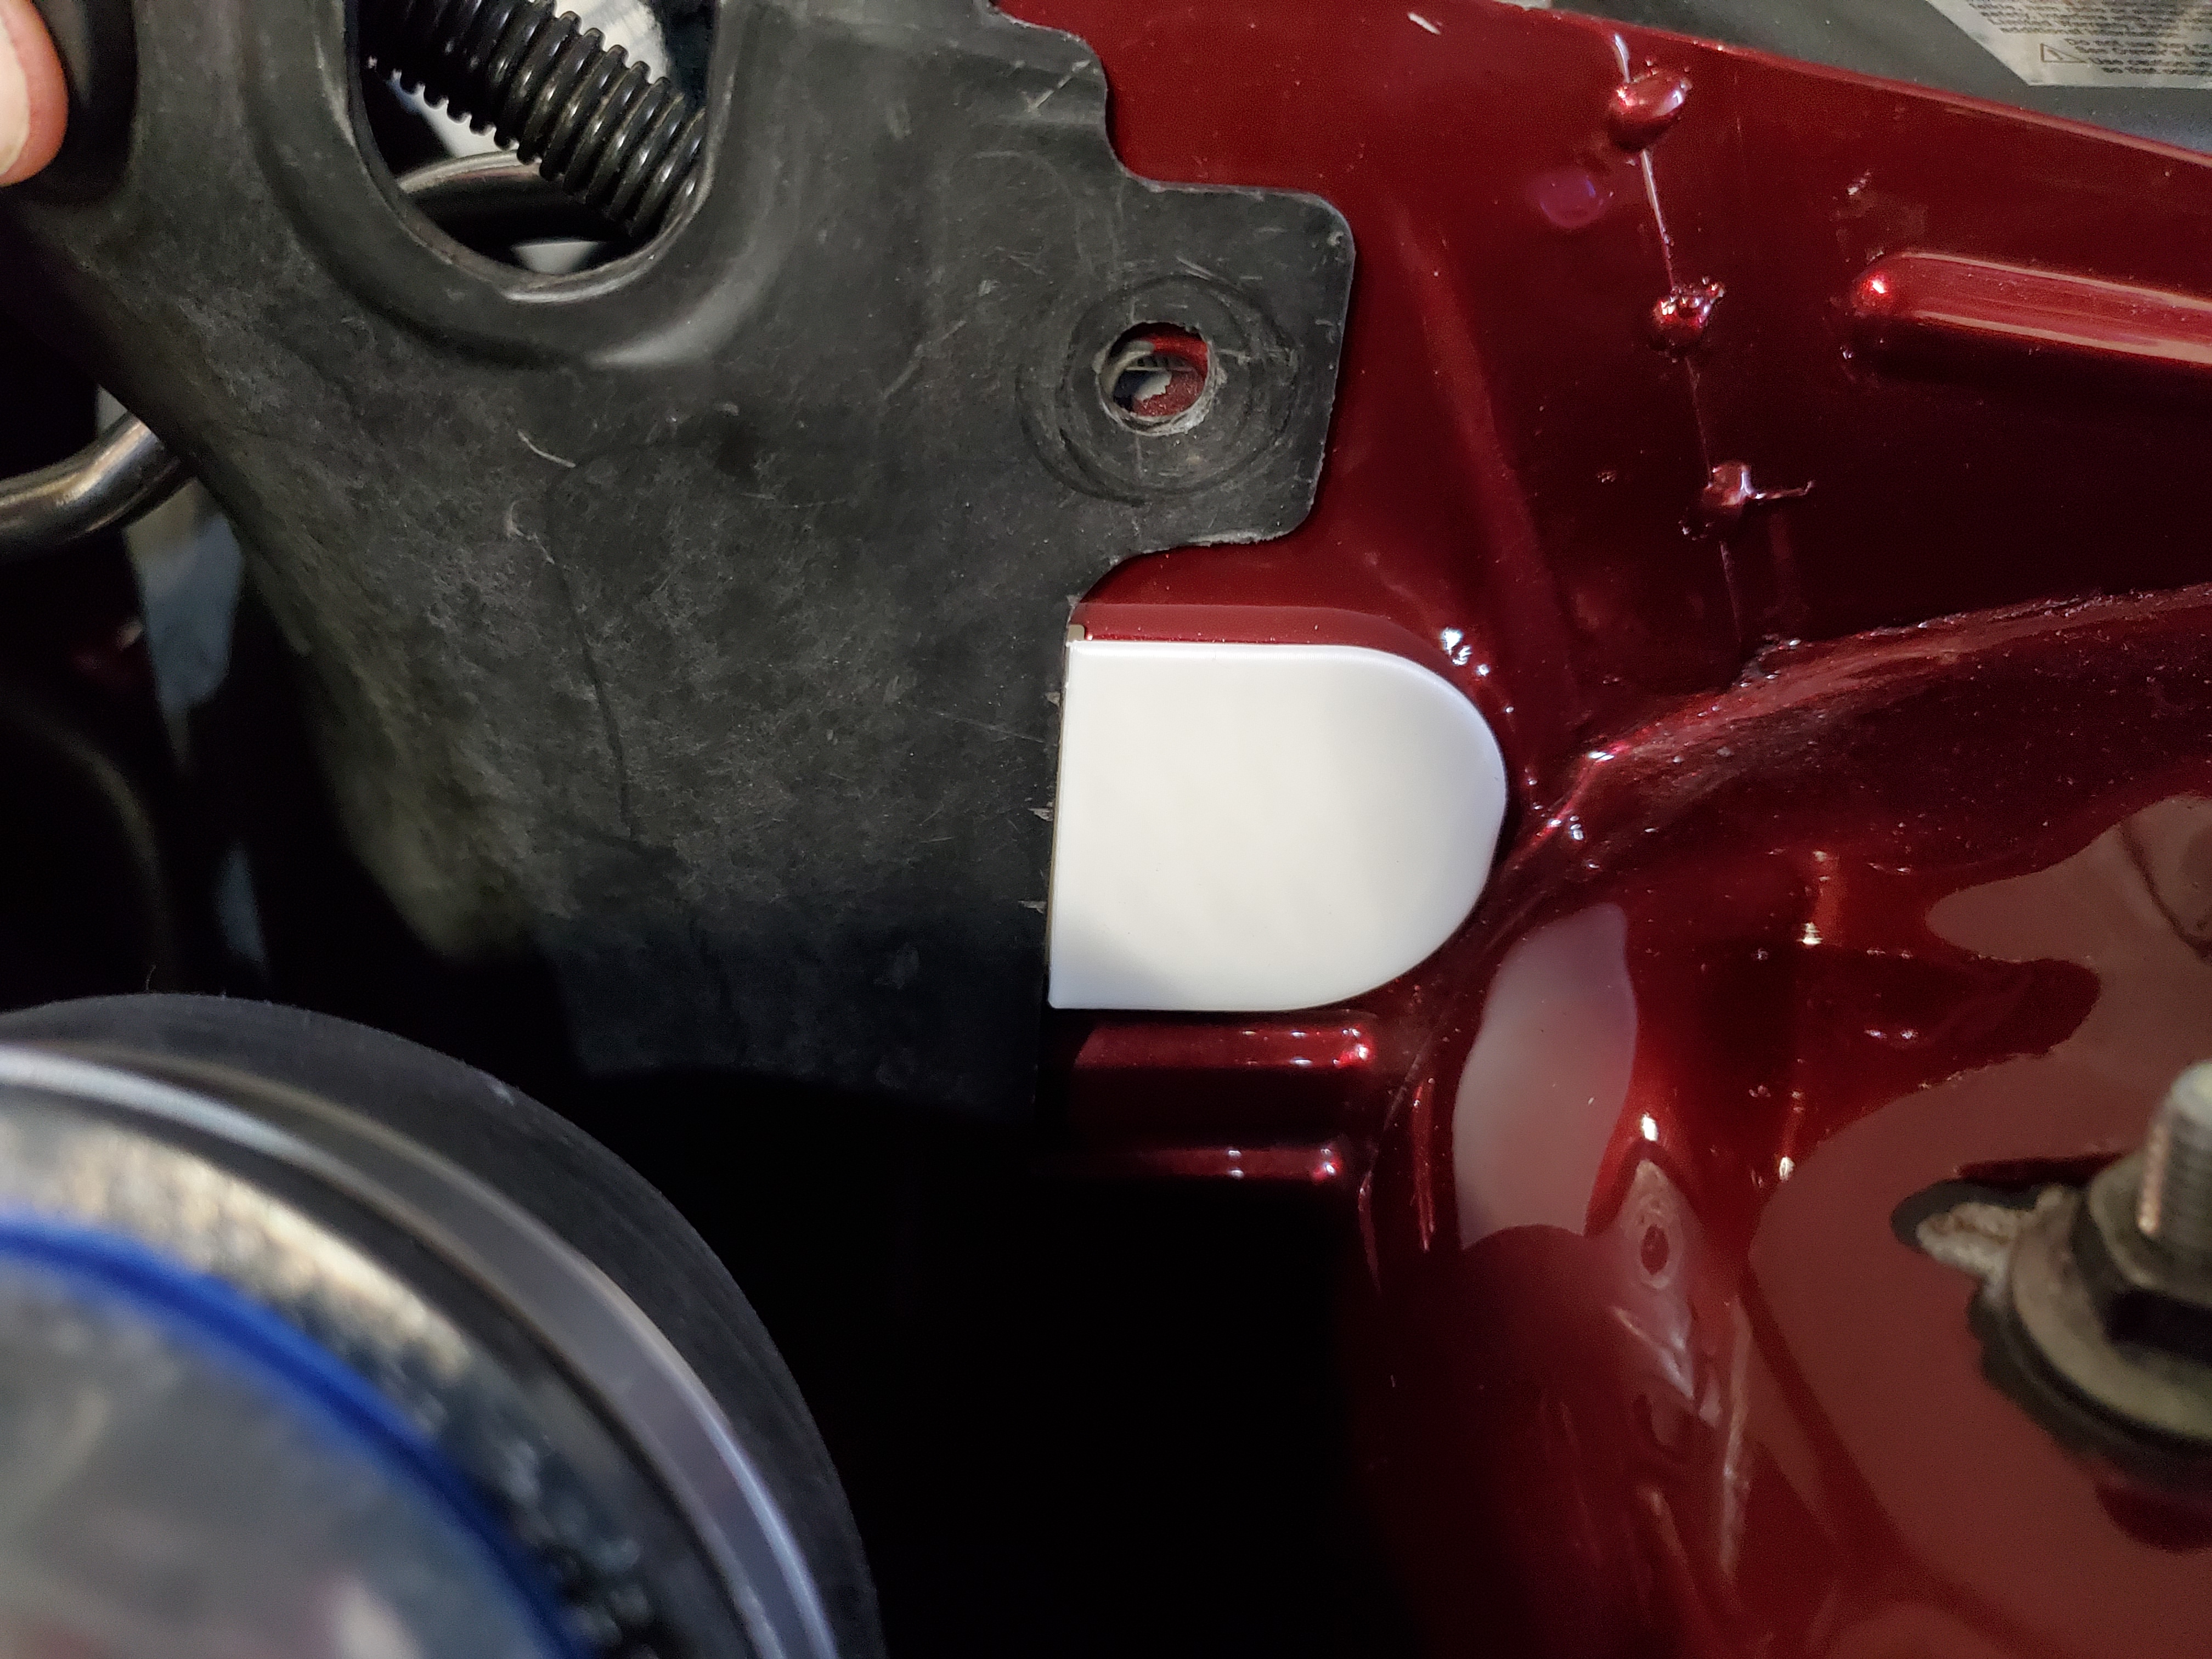
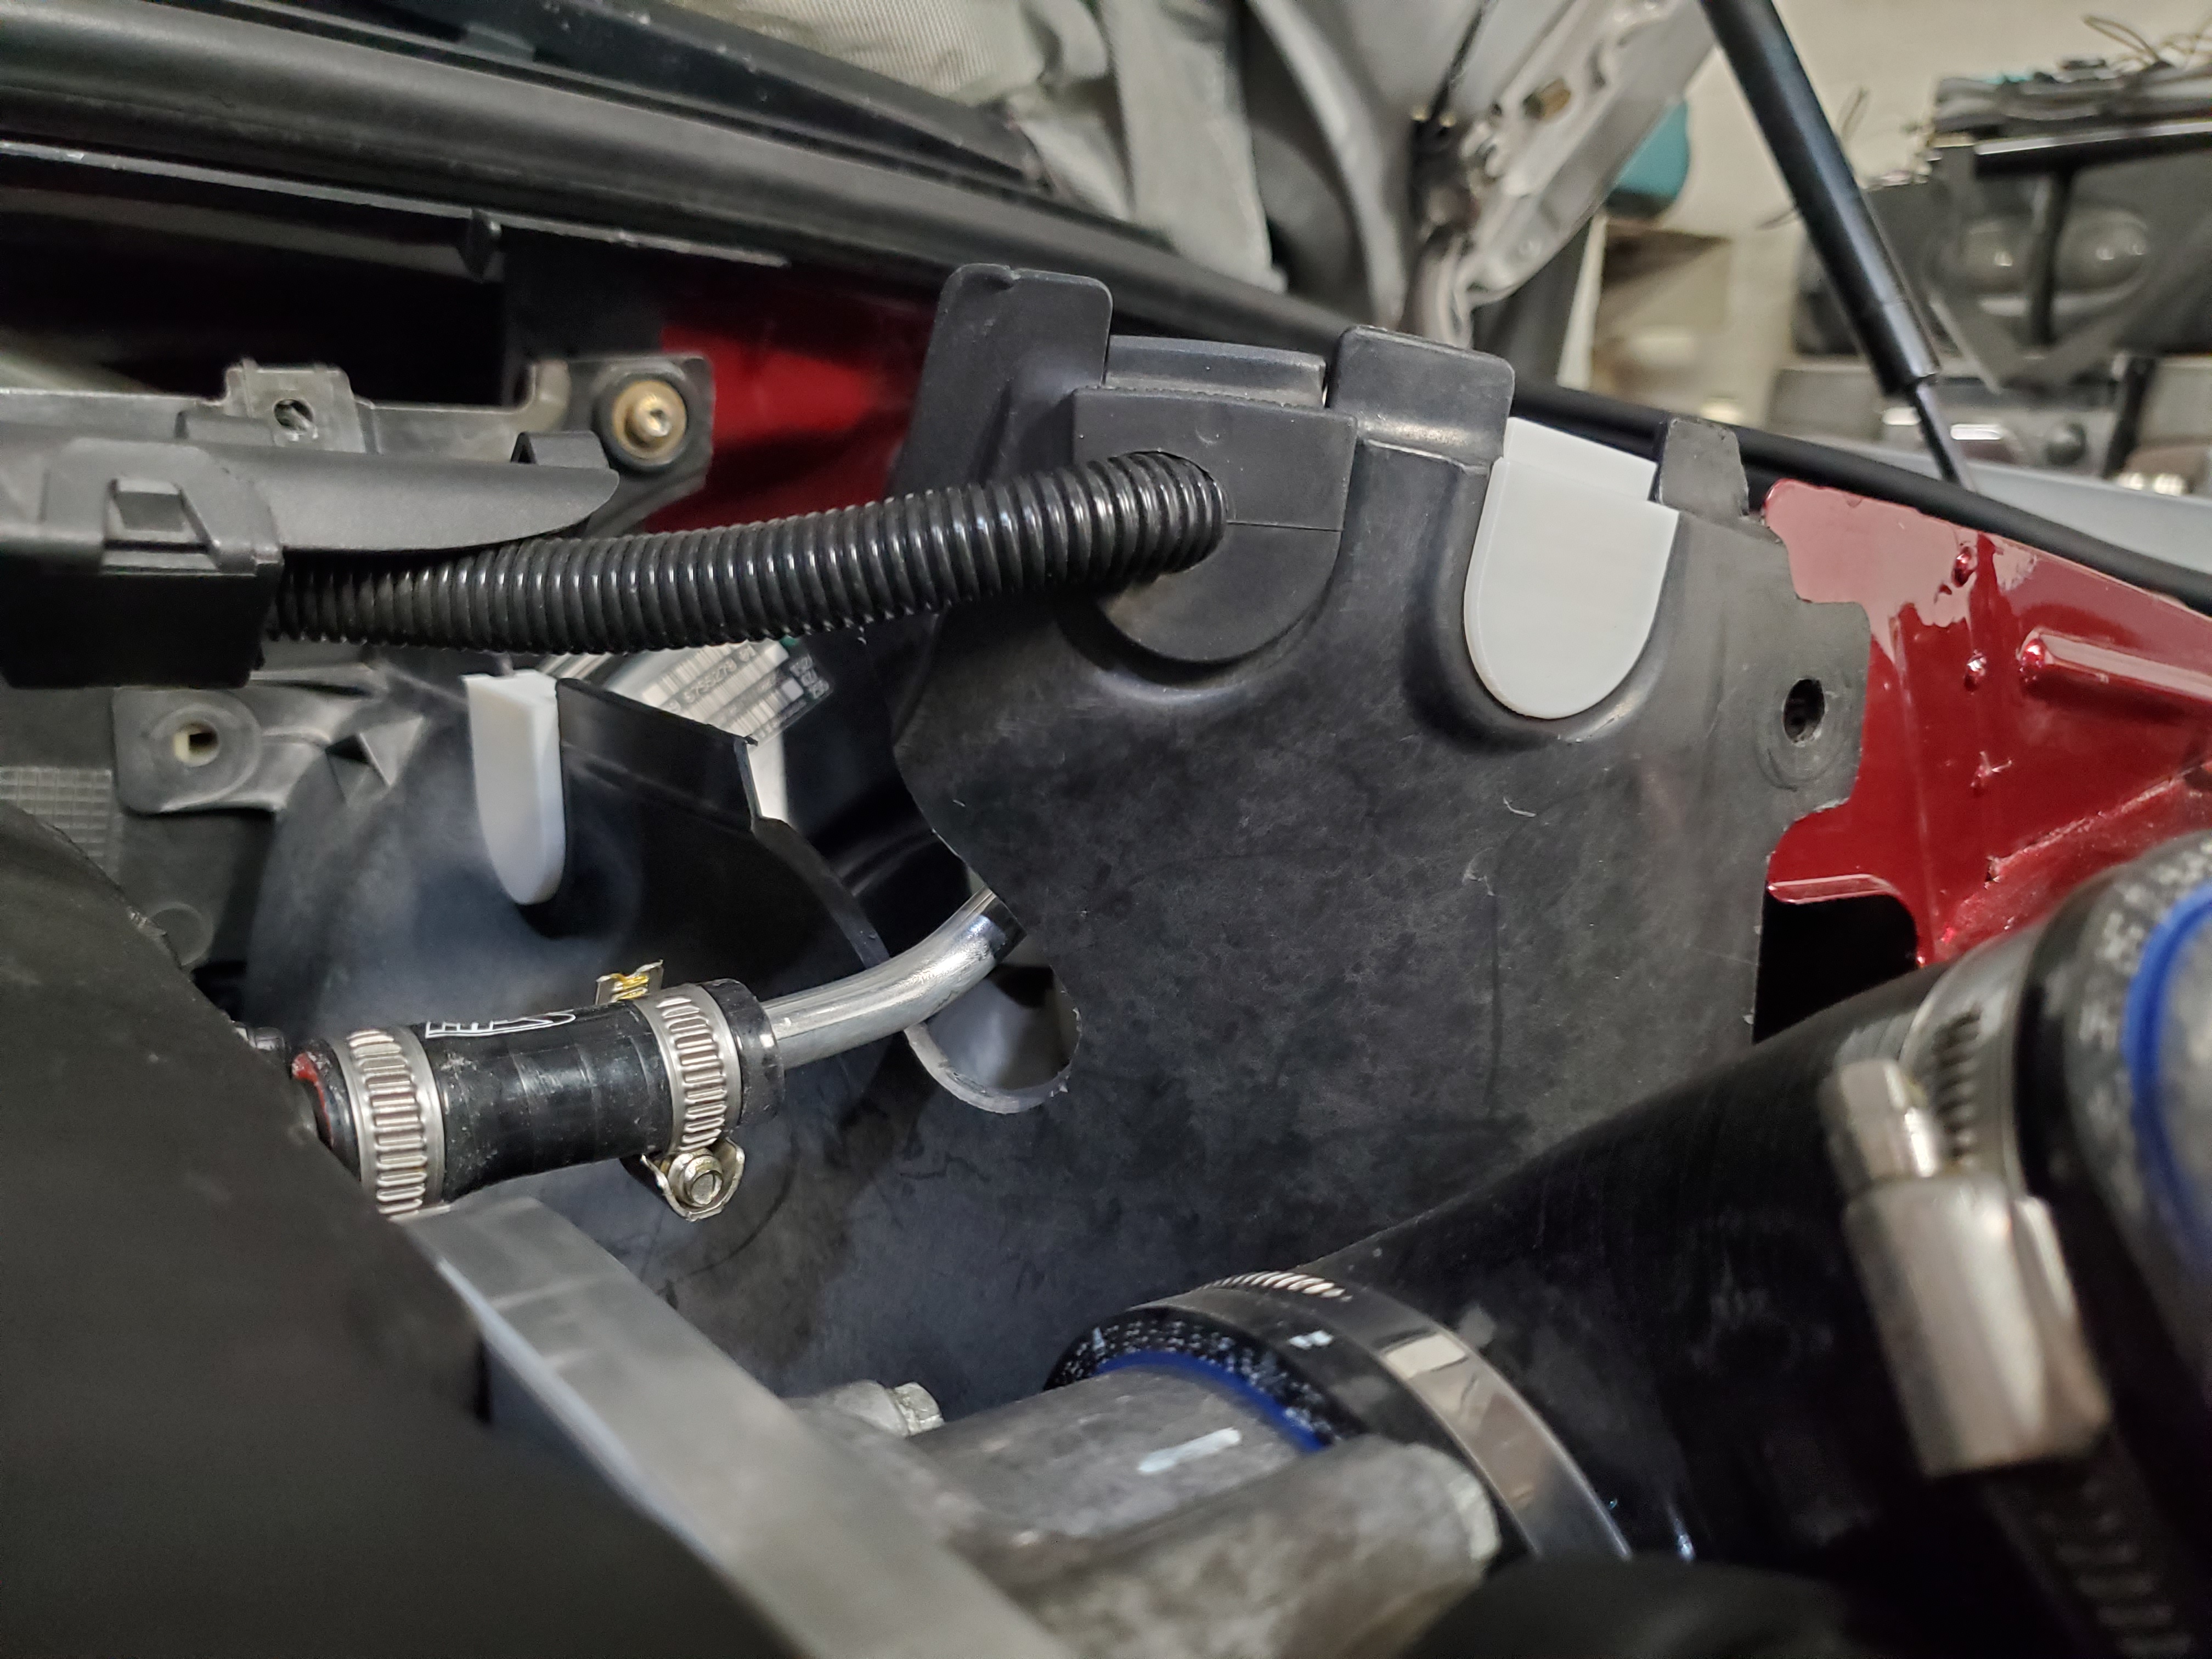
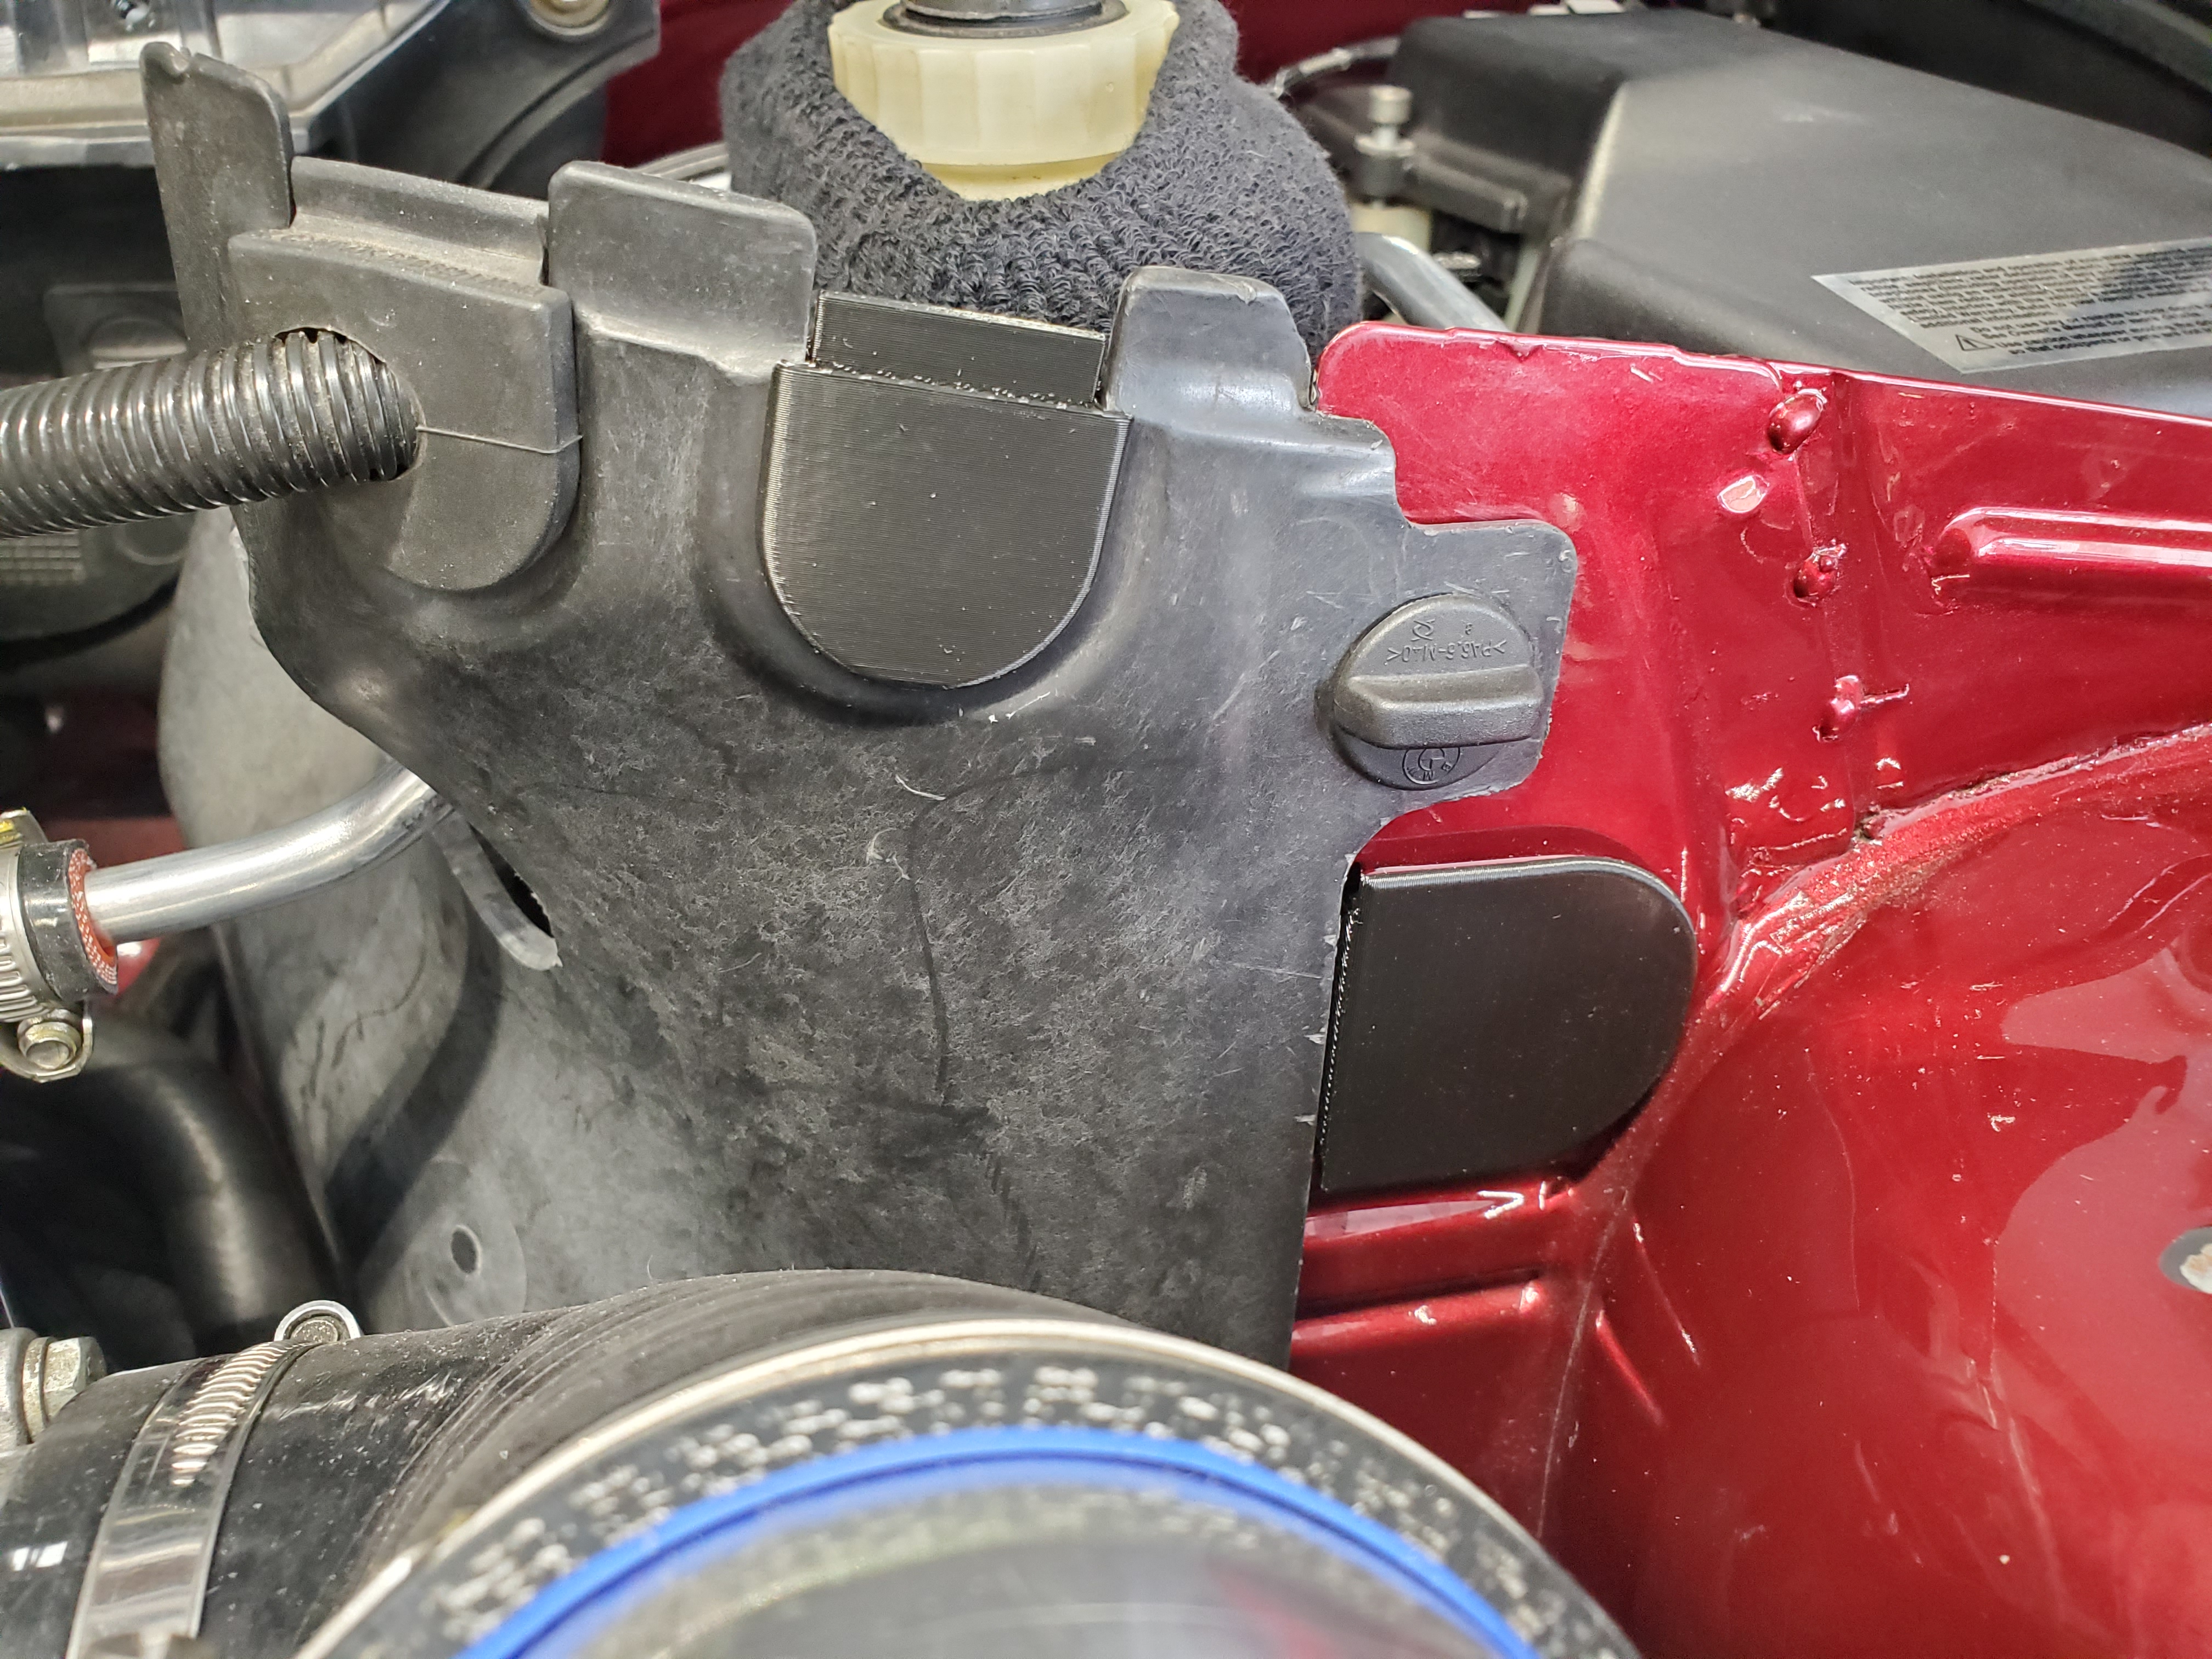
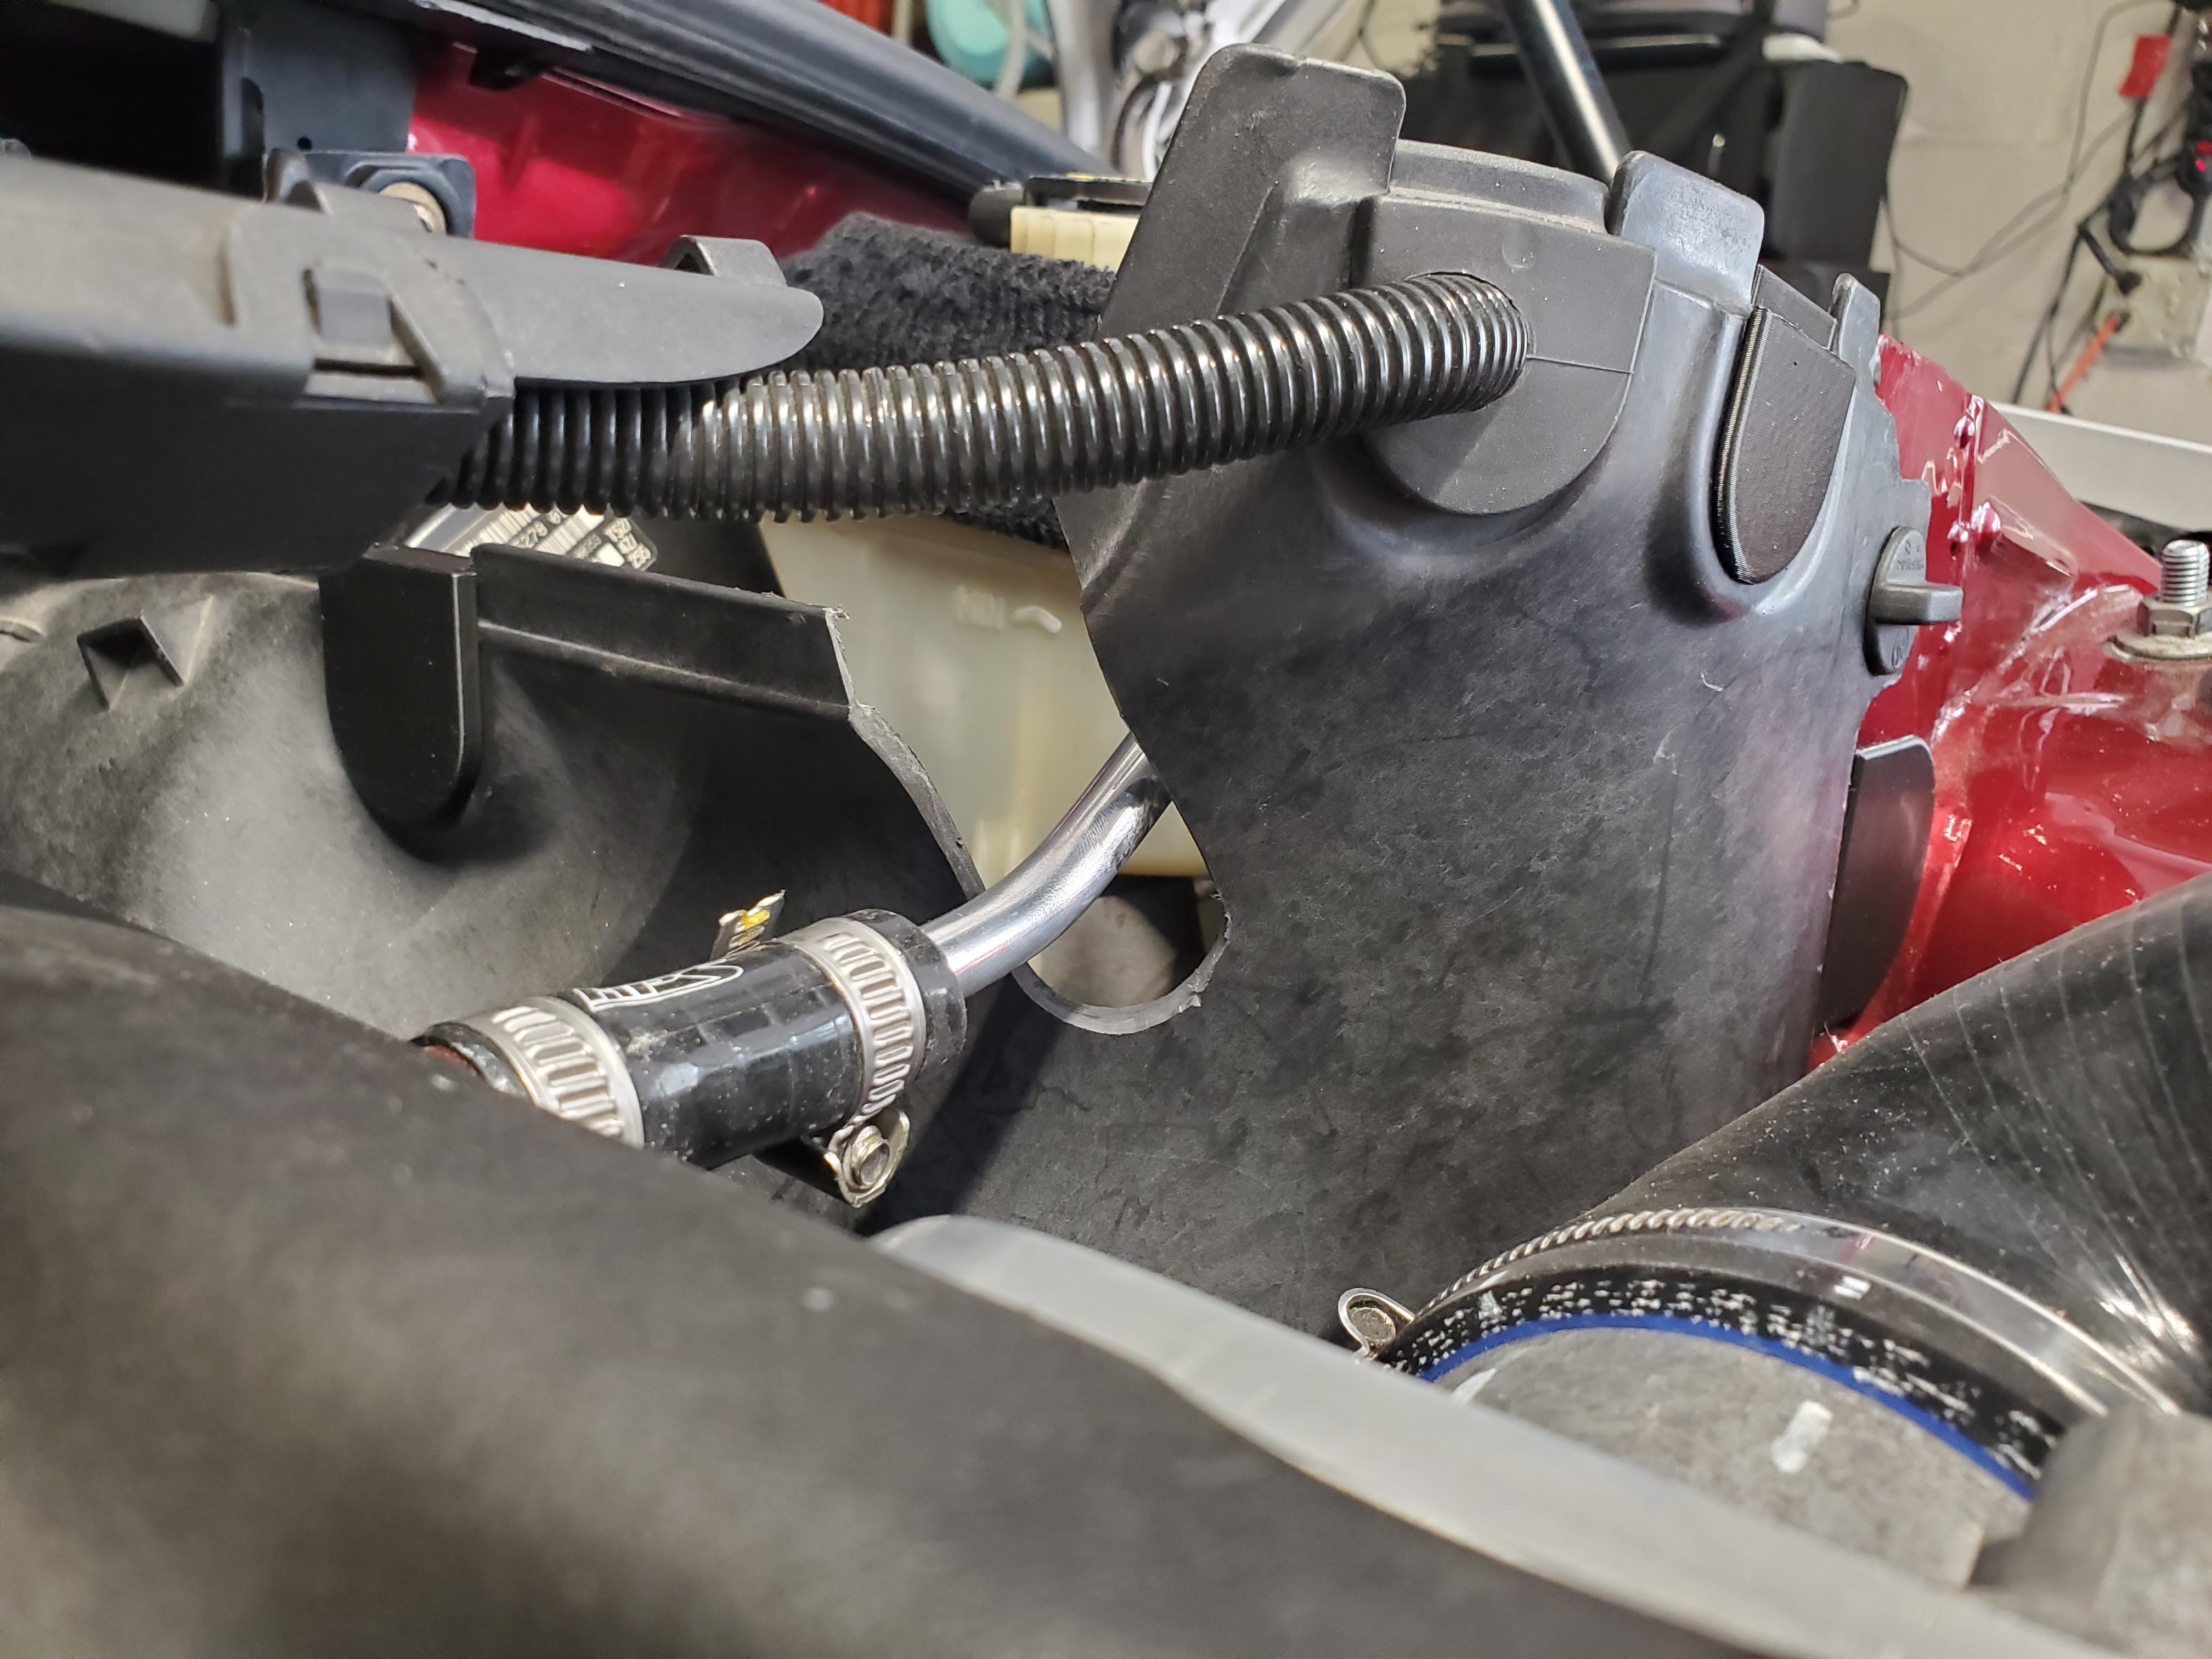
I drew up and printed these plugs to replace the ones that I filled with silicone since the spots that previously had things passing through them are not in use anymore.
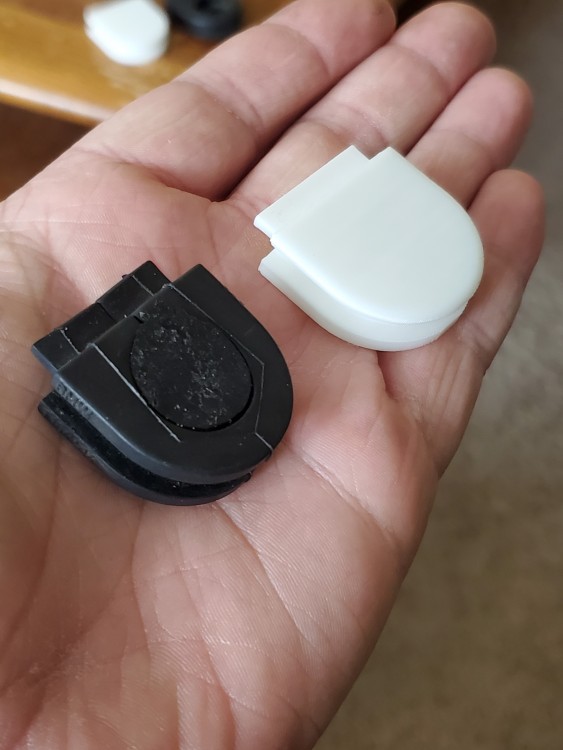
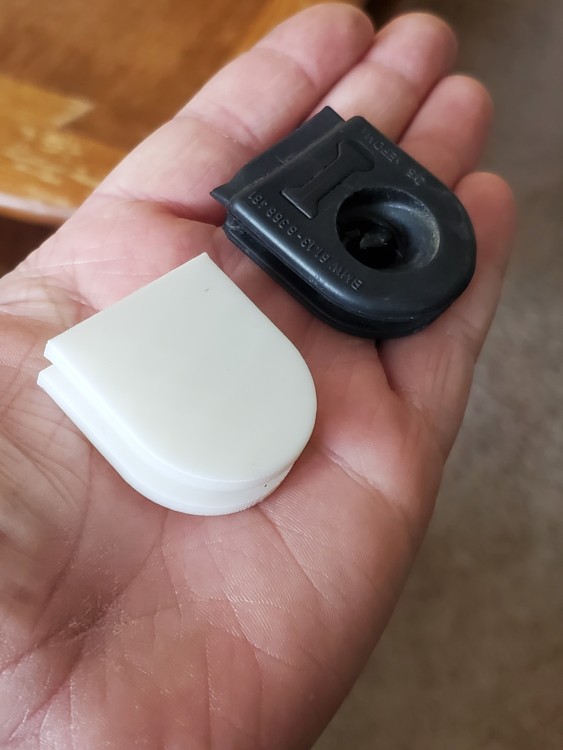
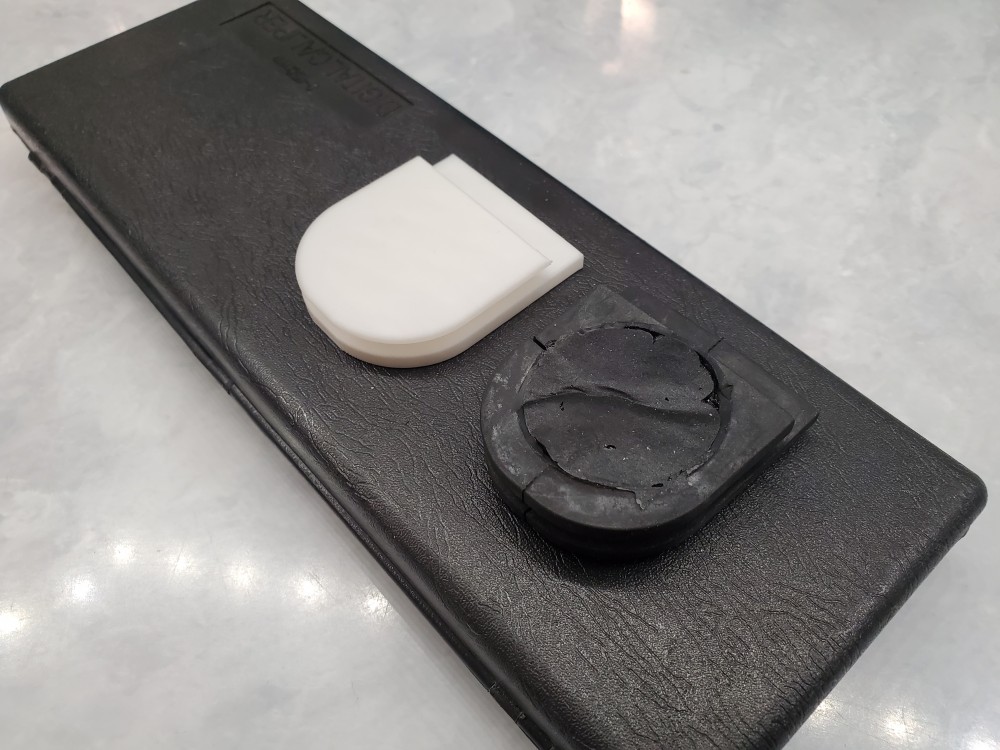
All these white ones were some of the first test prints and black ones are incoming!
Here's another pic of the one that plugs the harness hole.
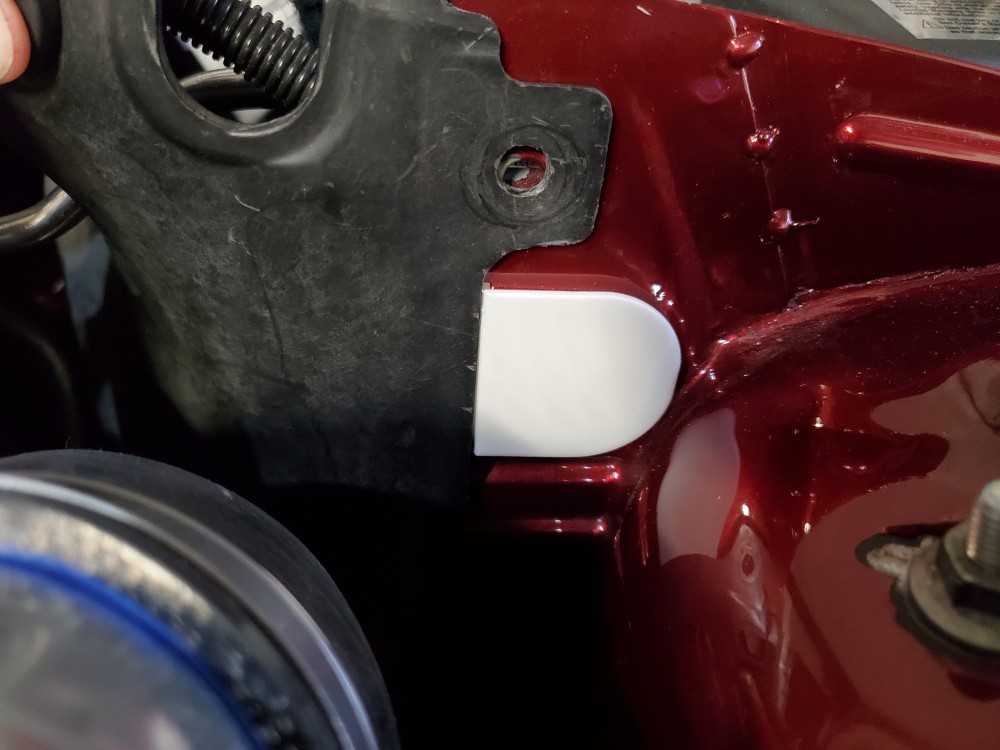
and the other 2 installed here.
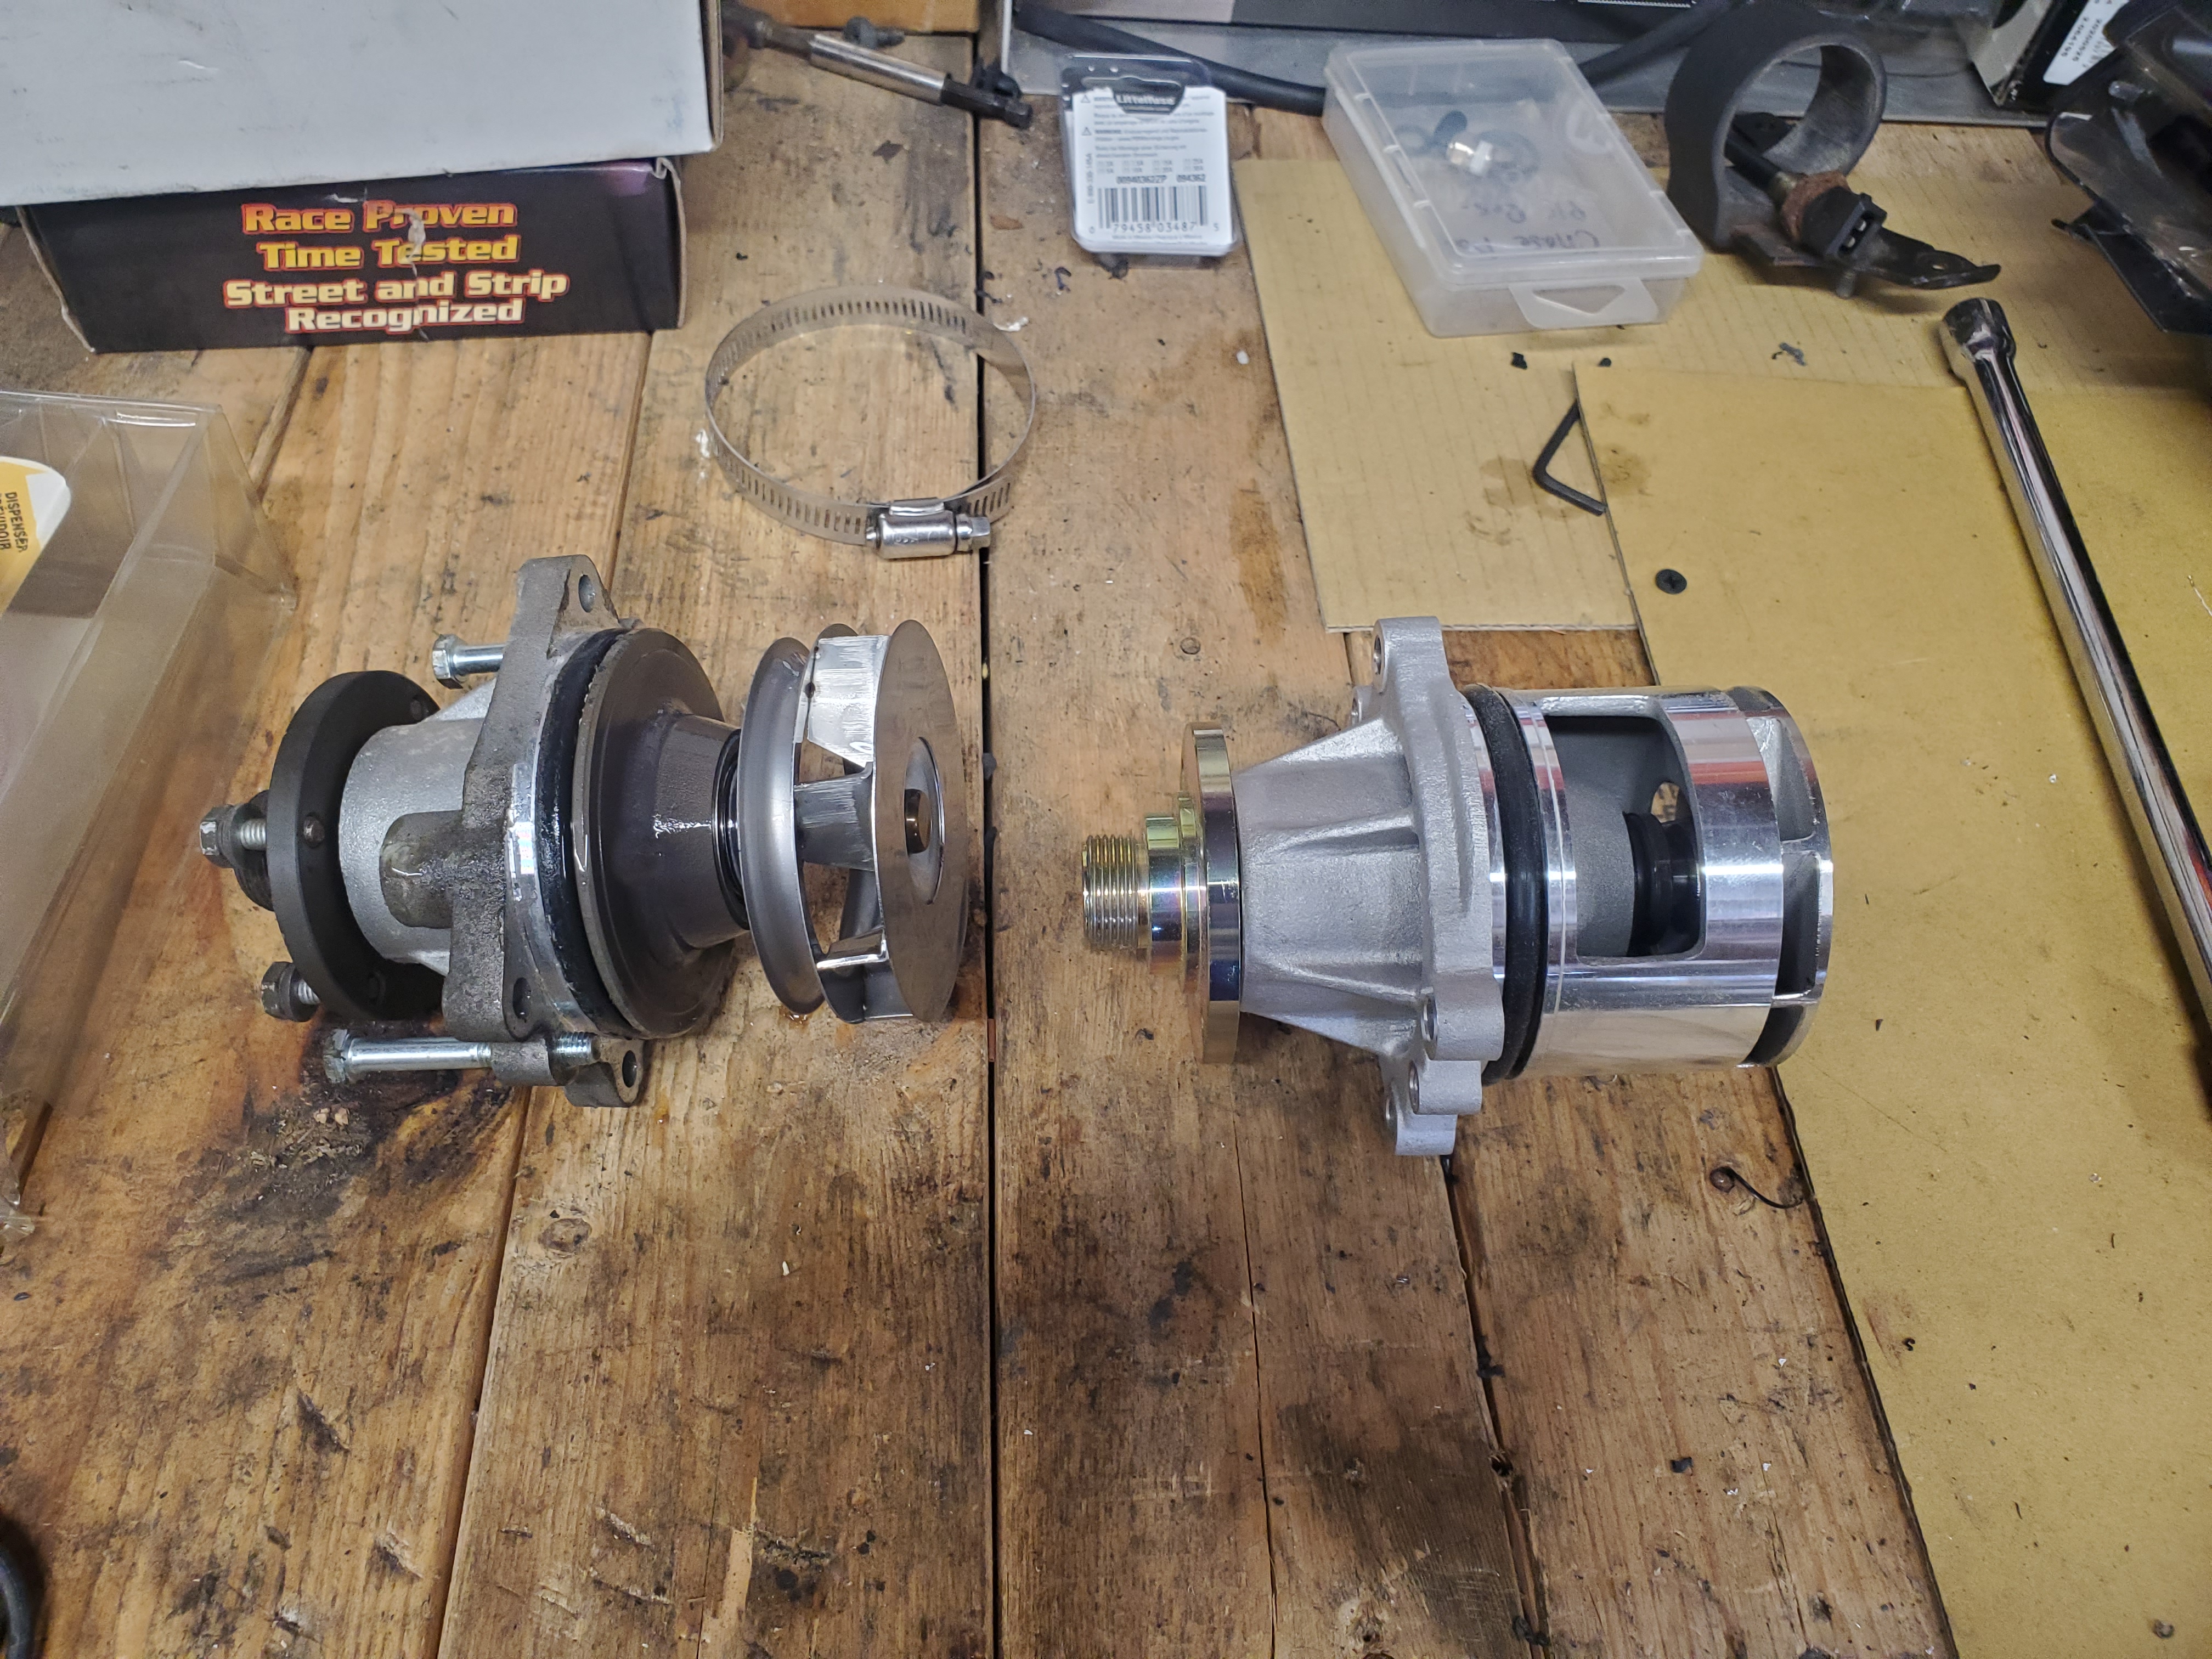
I also got my new EMP Stewart water pump and installed it.
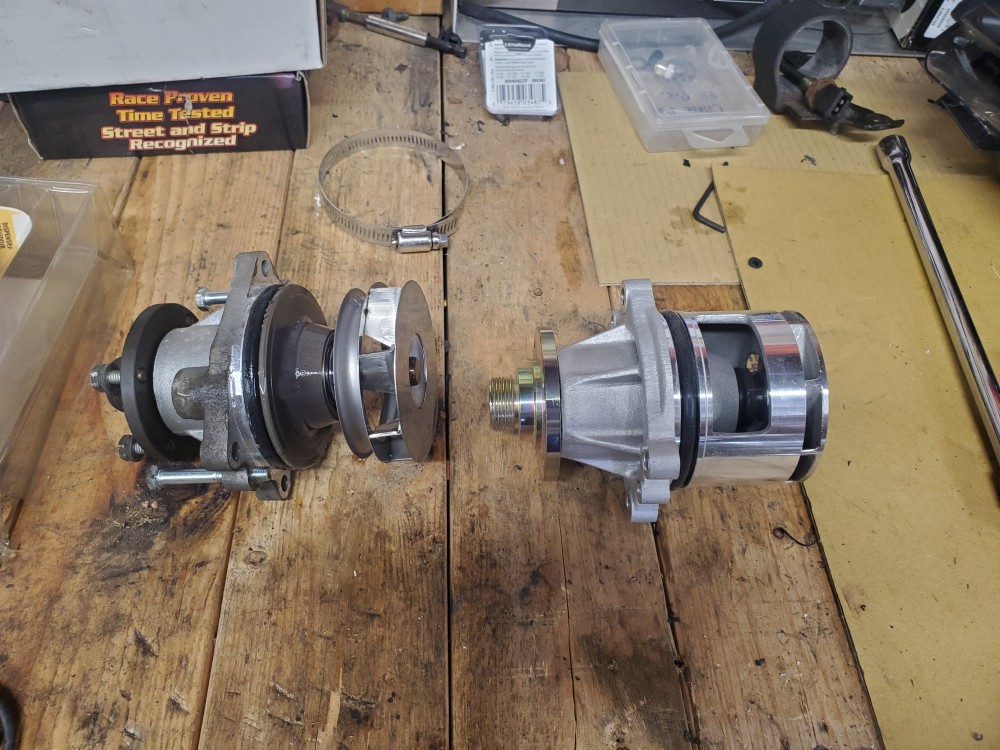
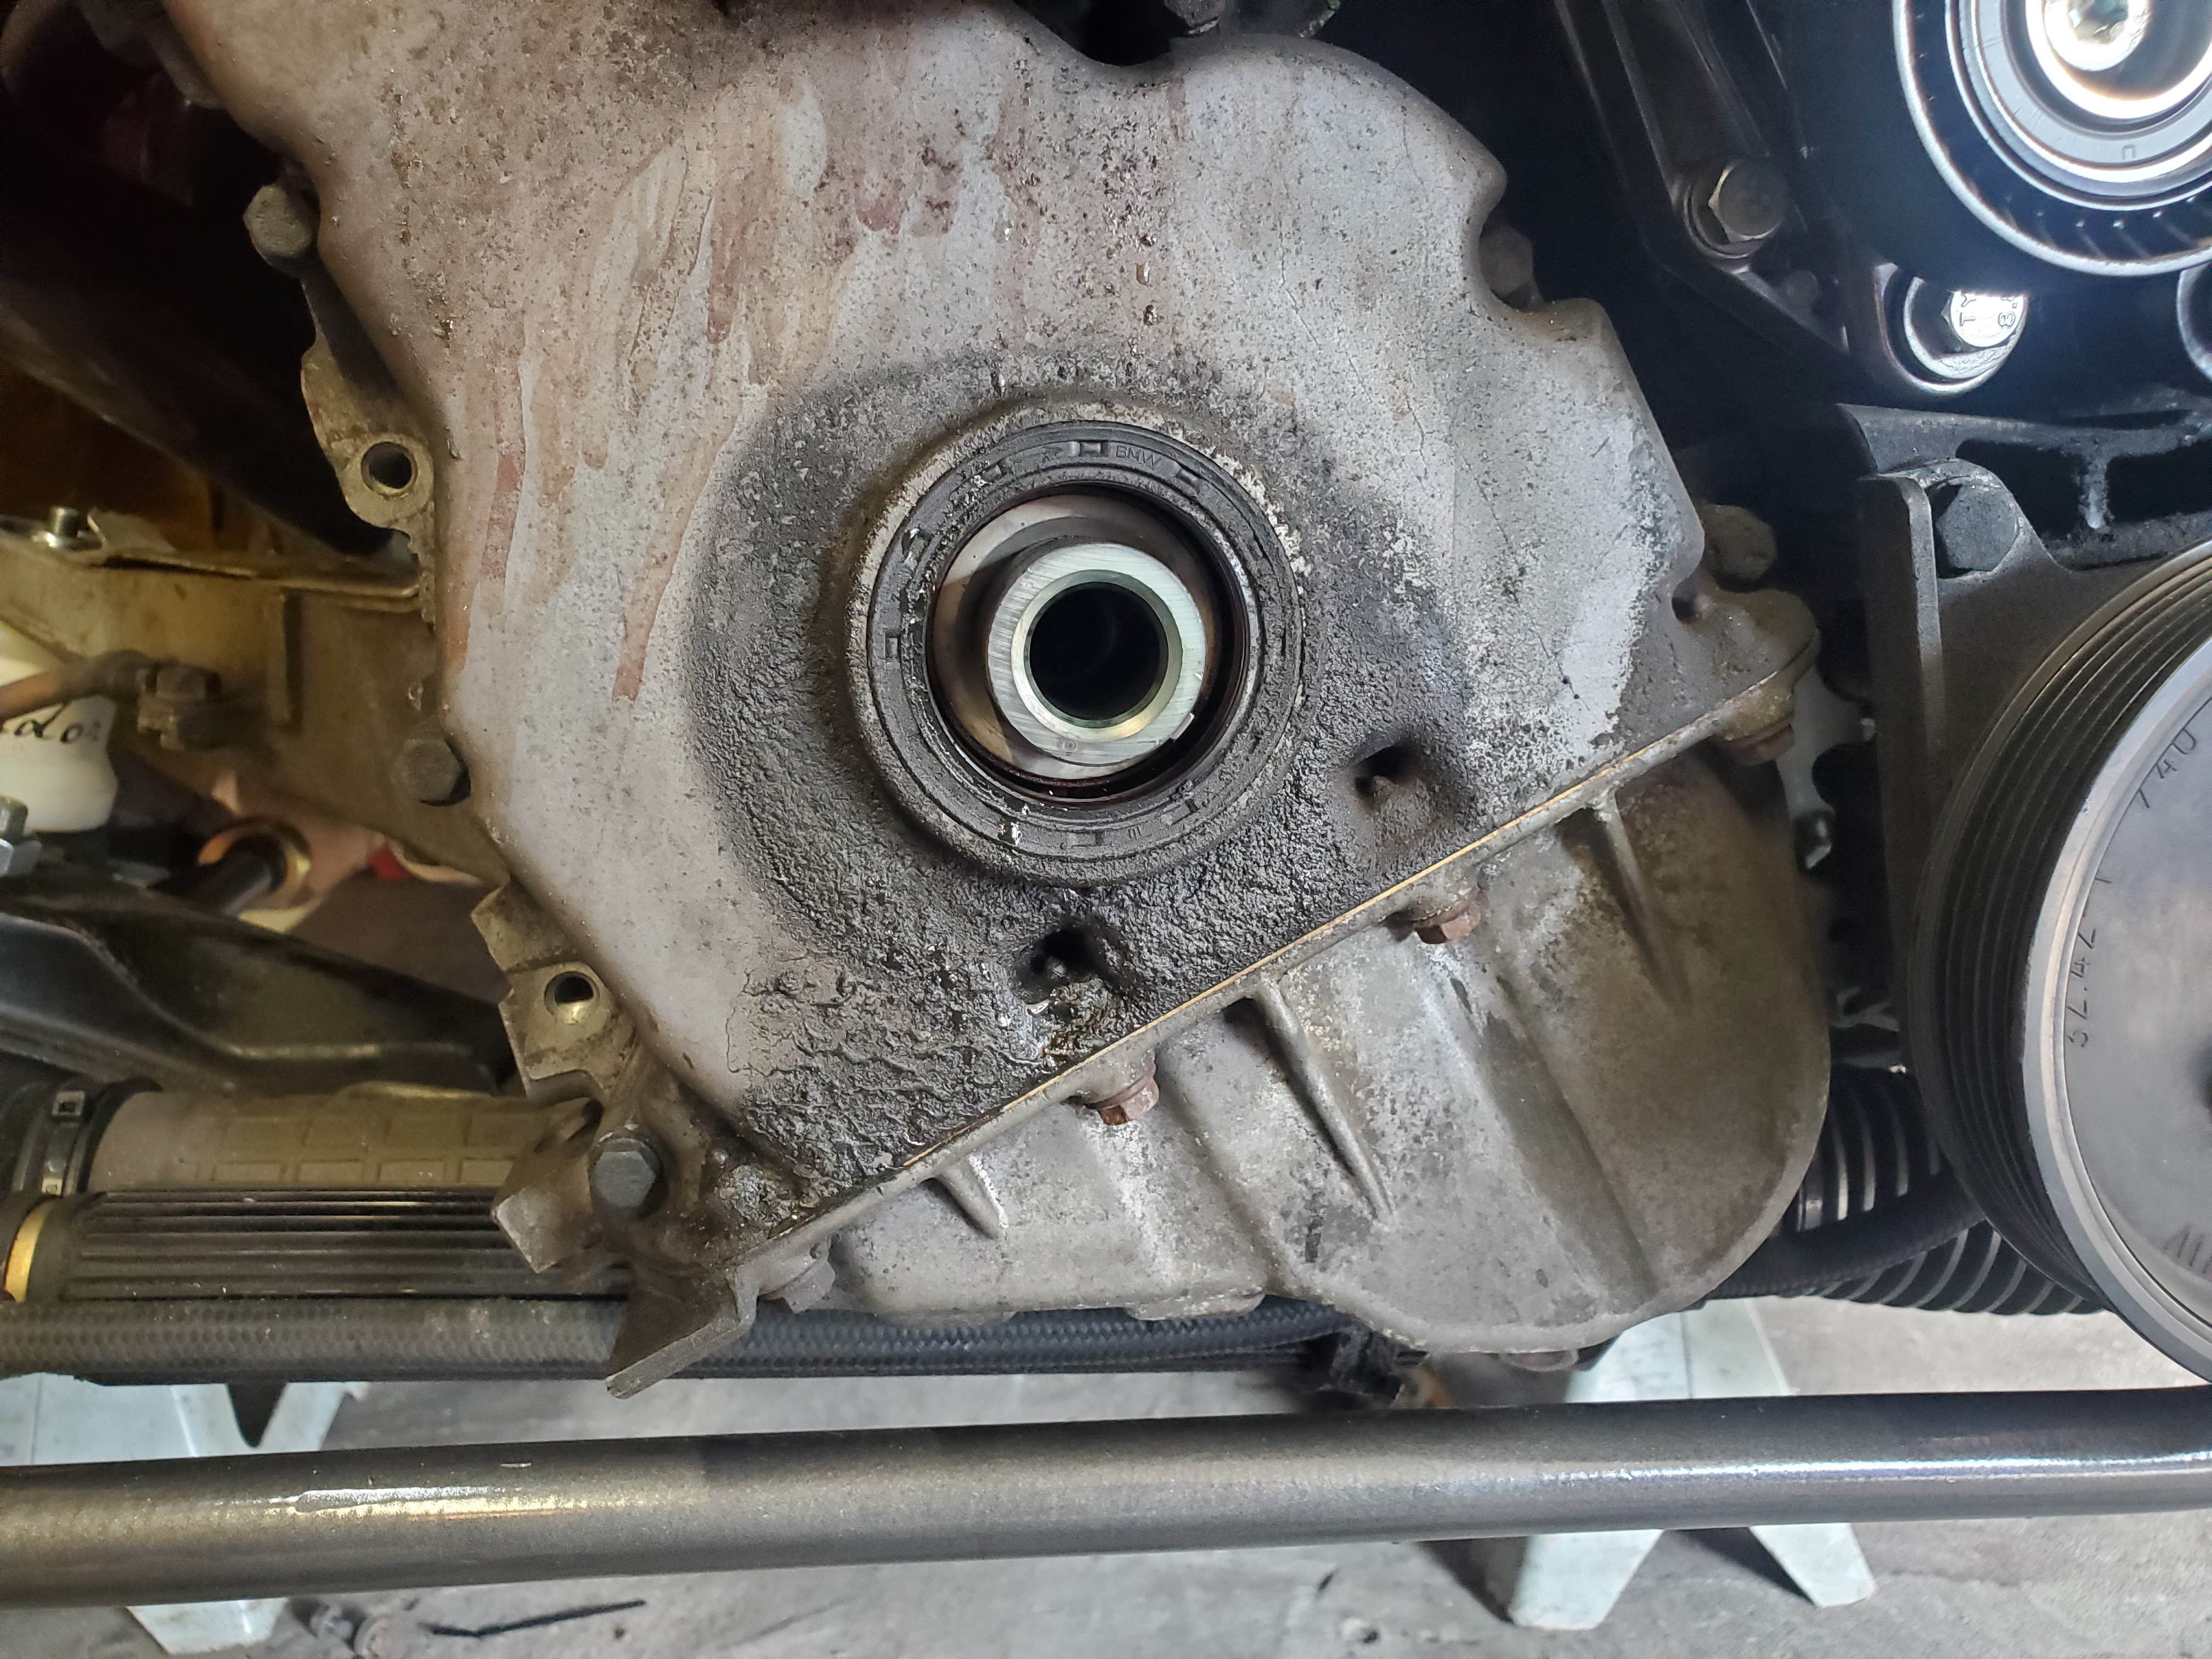
This thing is beefy and really excited to see how it performs. While I was replacing the pump I noticed that the front main seal was starting to leak ever so slightly. So I have a new seal on order.
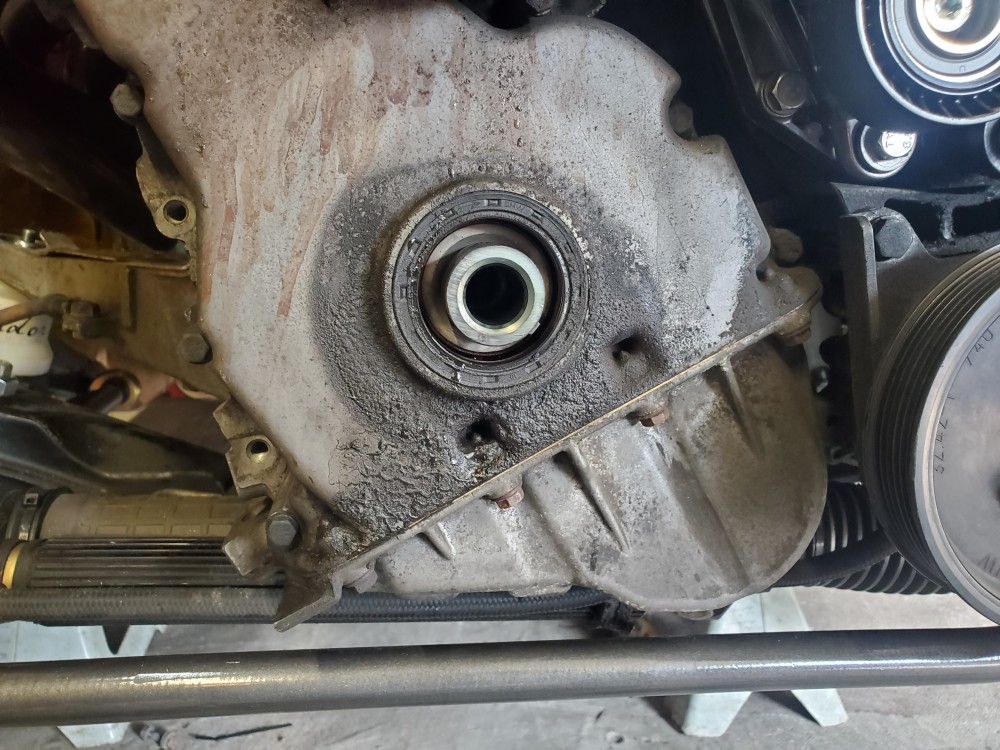
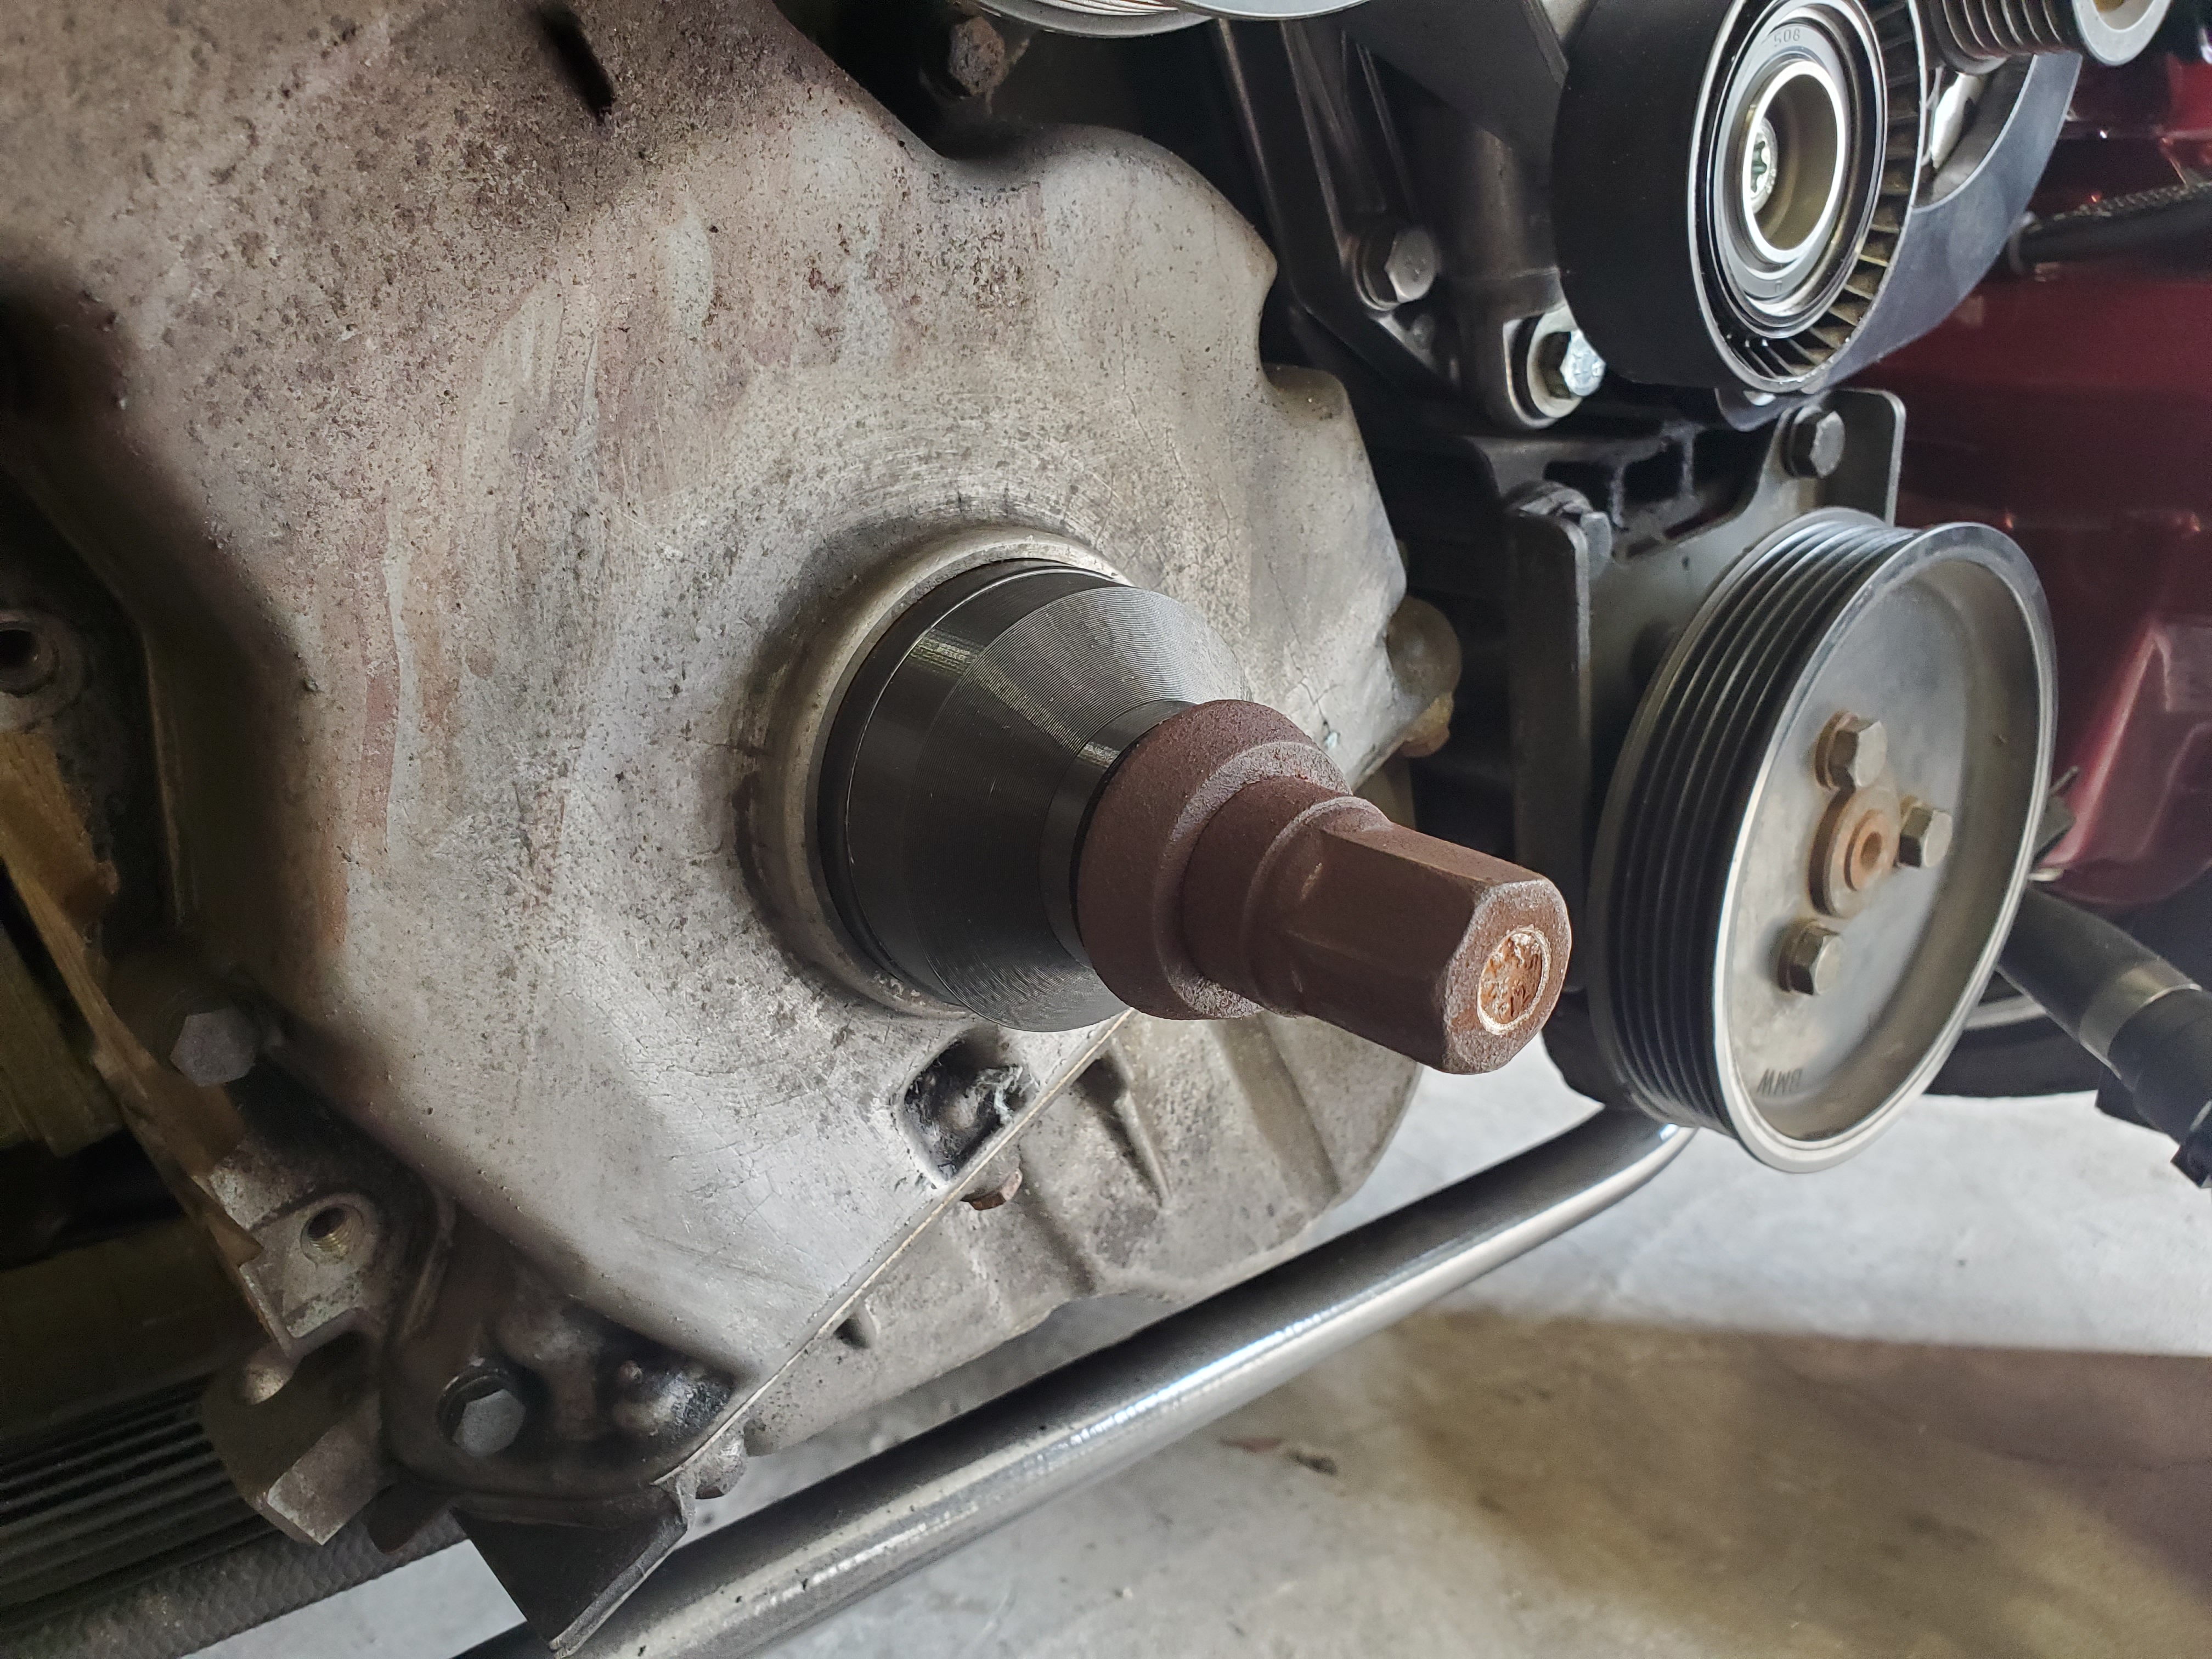
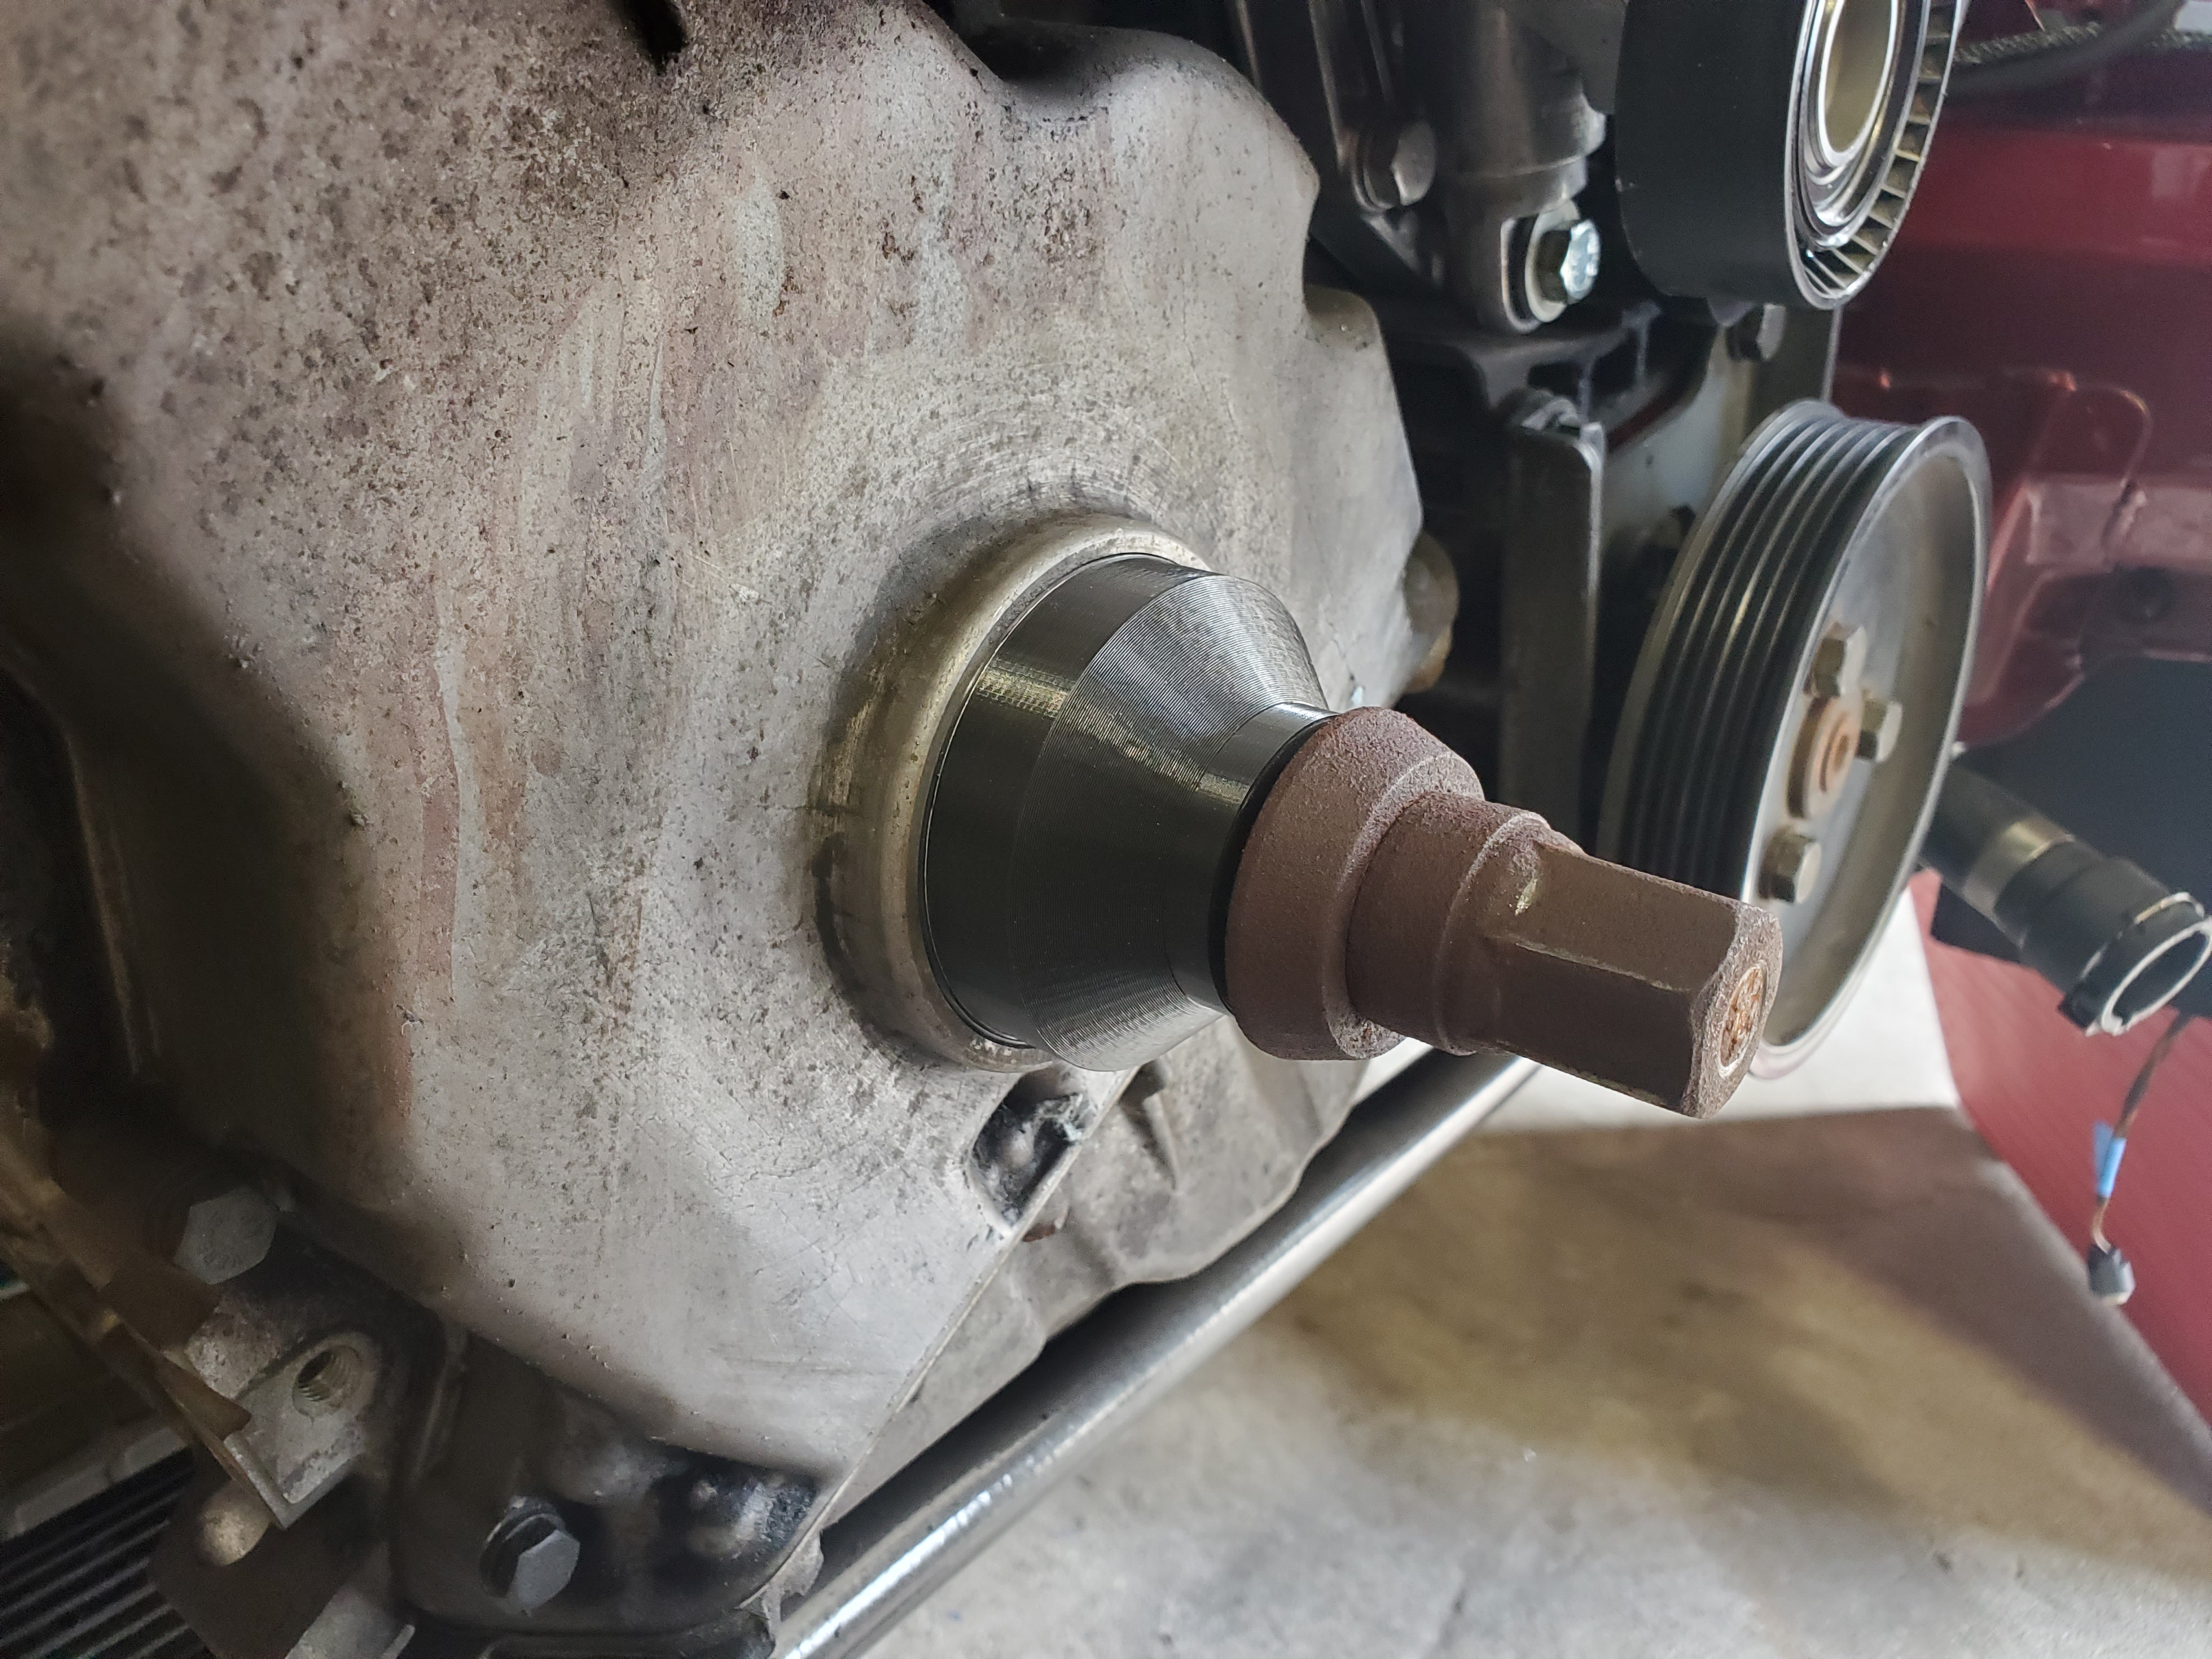
I went to order the install tool since it was fairly cheap and I like to do things right and I found that it was no longer available.
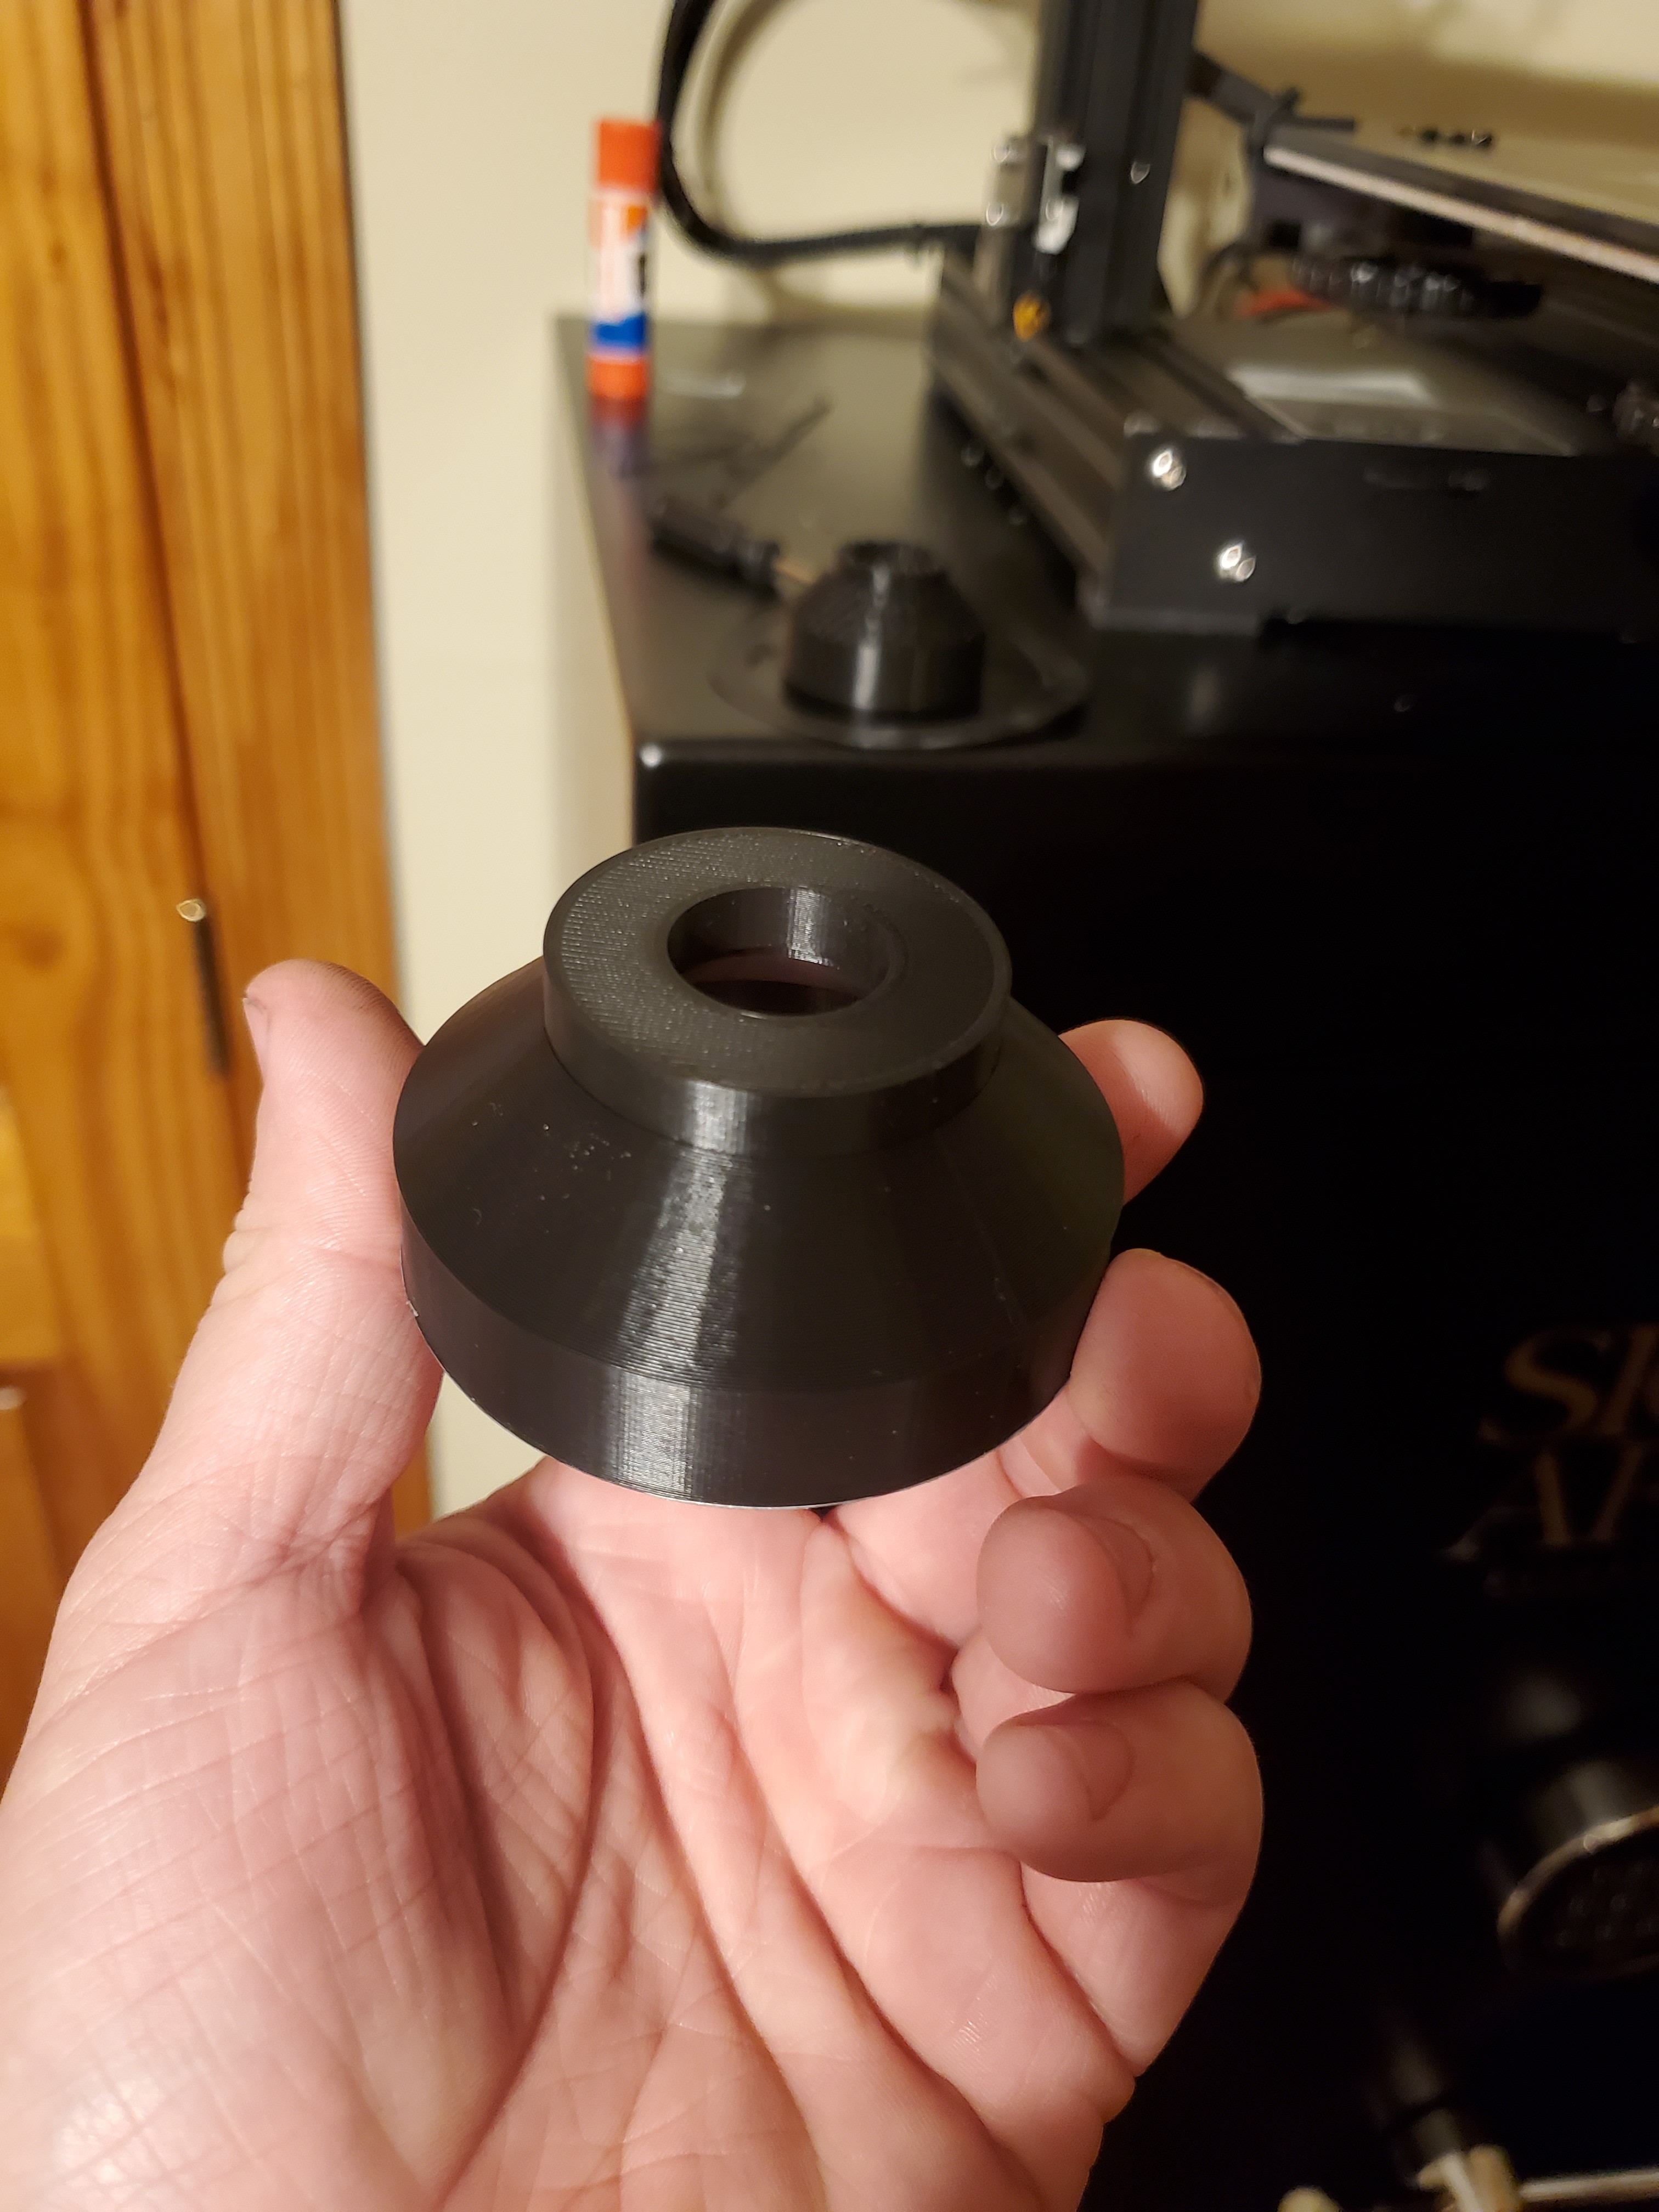
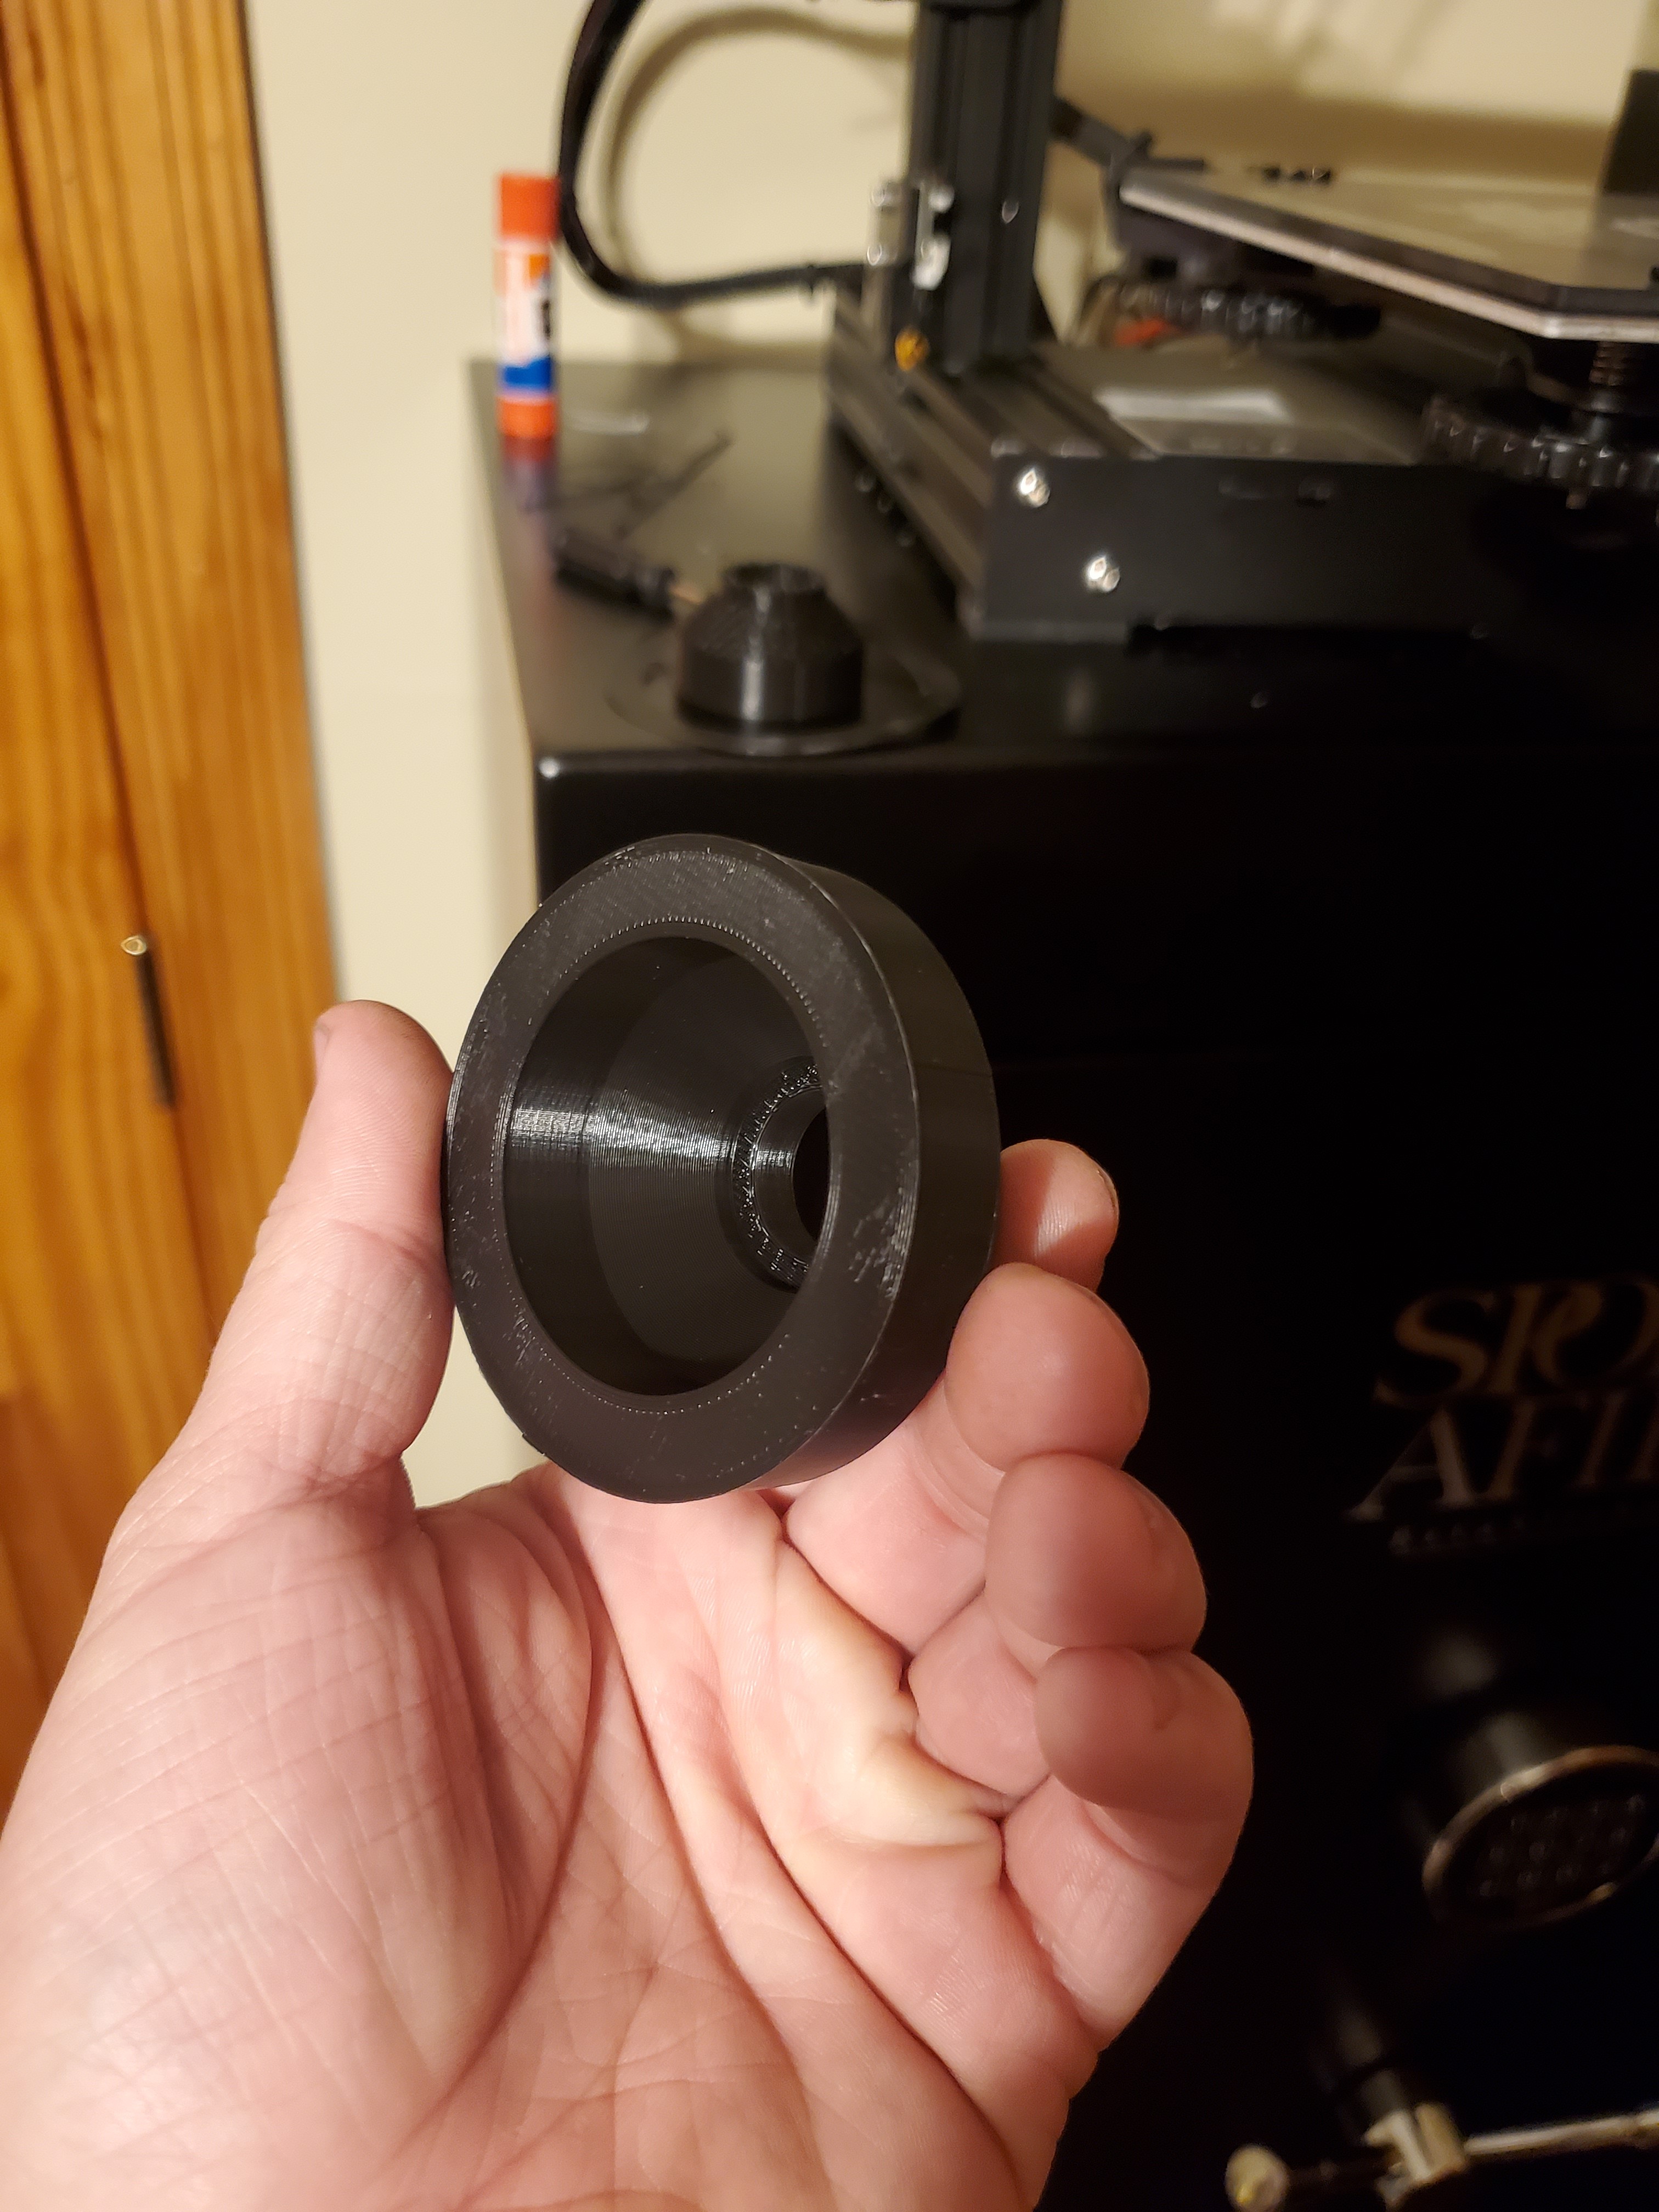
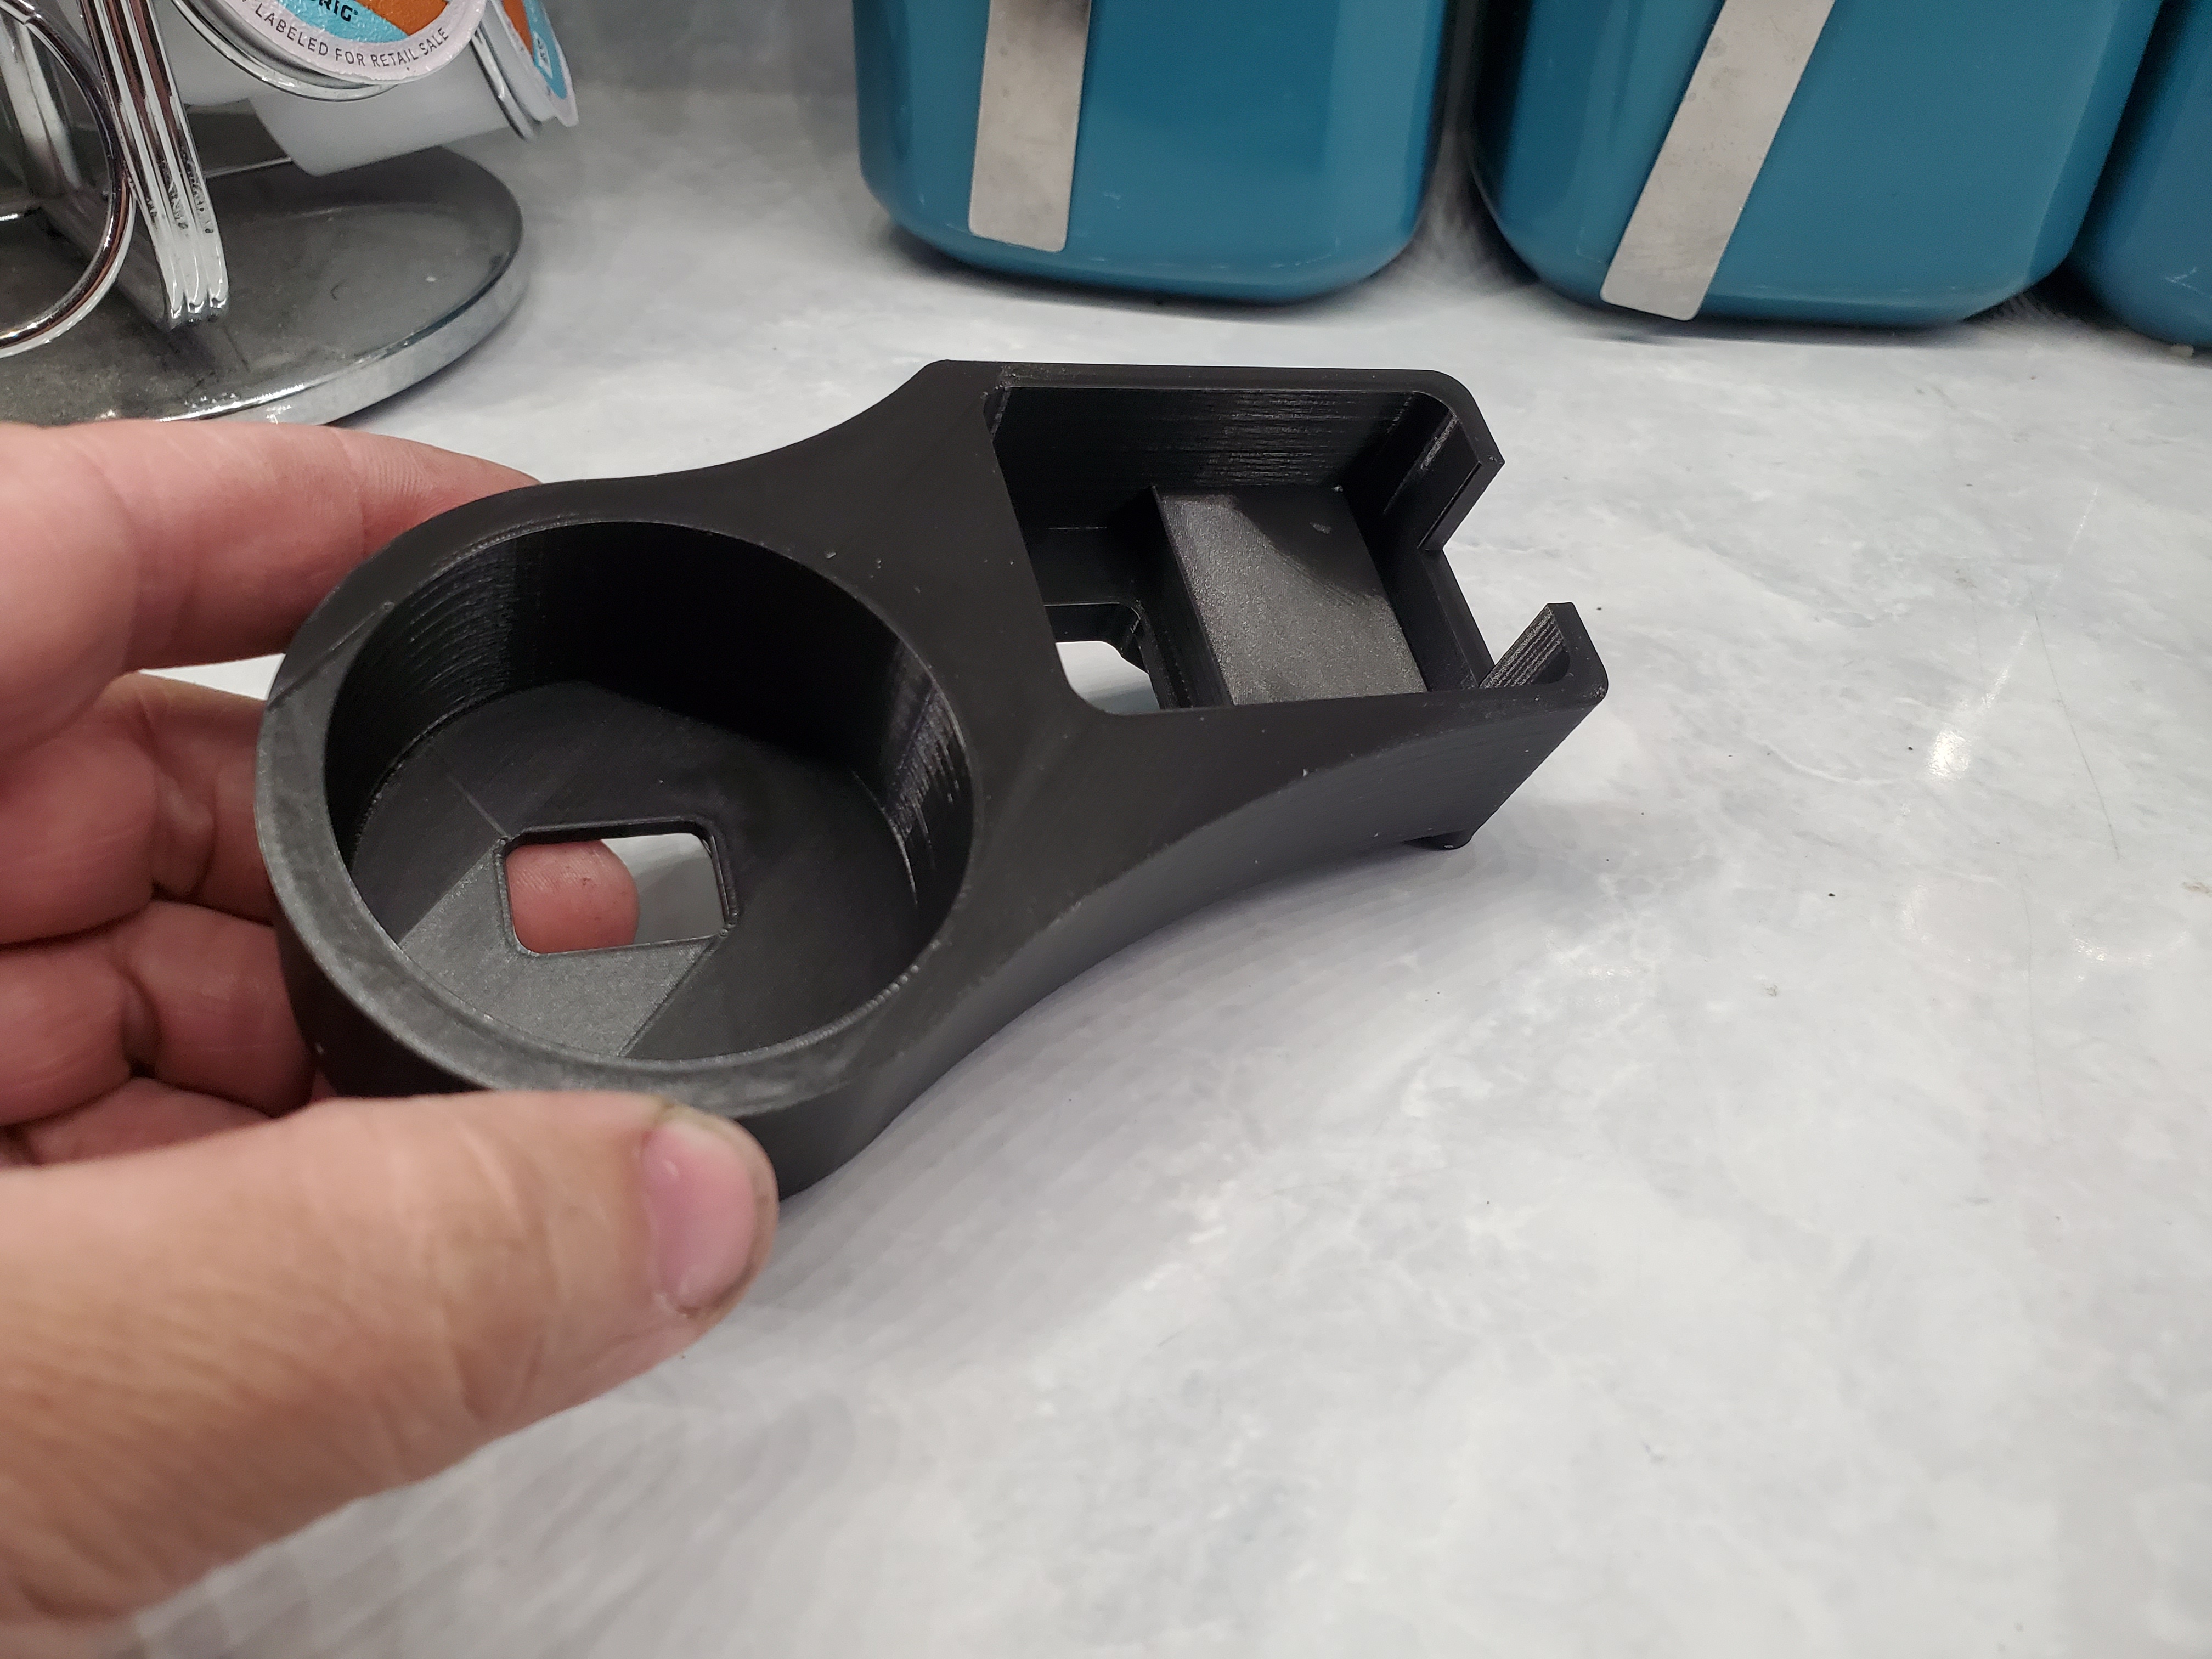
I decided to draw up and print one!
Here is how it came out.
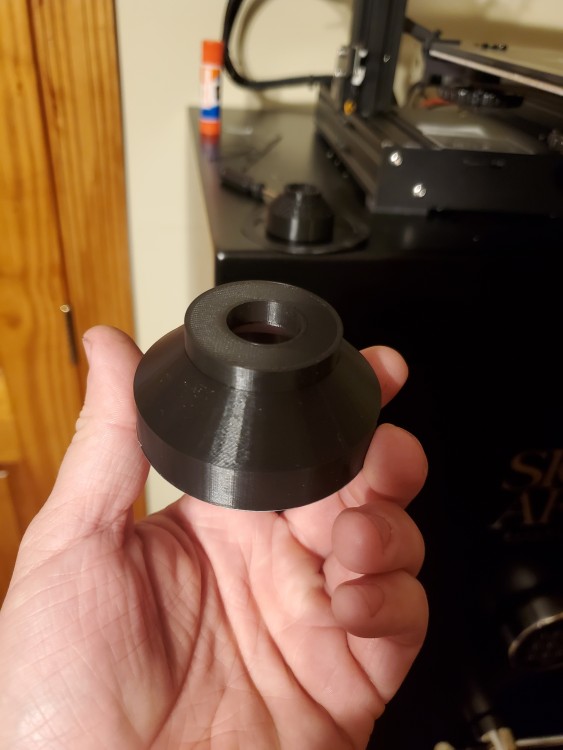
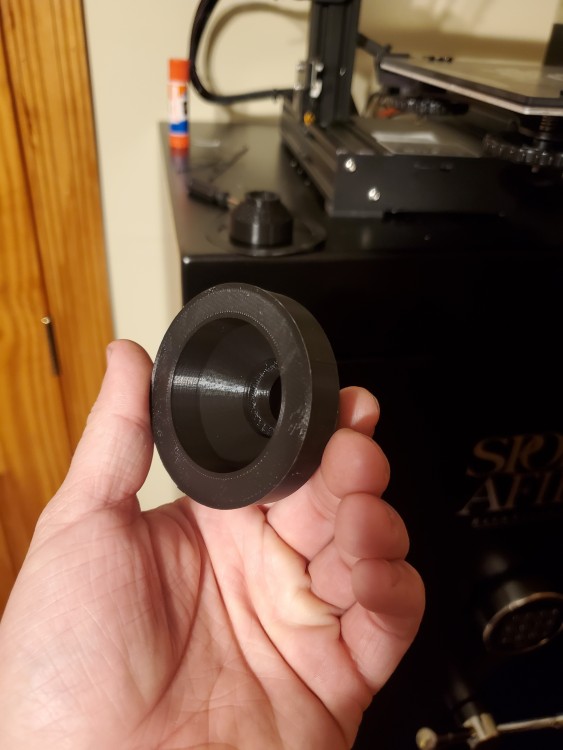
We will see how it works but I am confident and excited.
Hopefully more updates at the end of the weekend!
-
I do the same thing with my 3d printer. Its definitely satisfying and addicting when things you create/draw yourself actually end up working like they should, lol.
-
Update
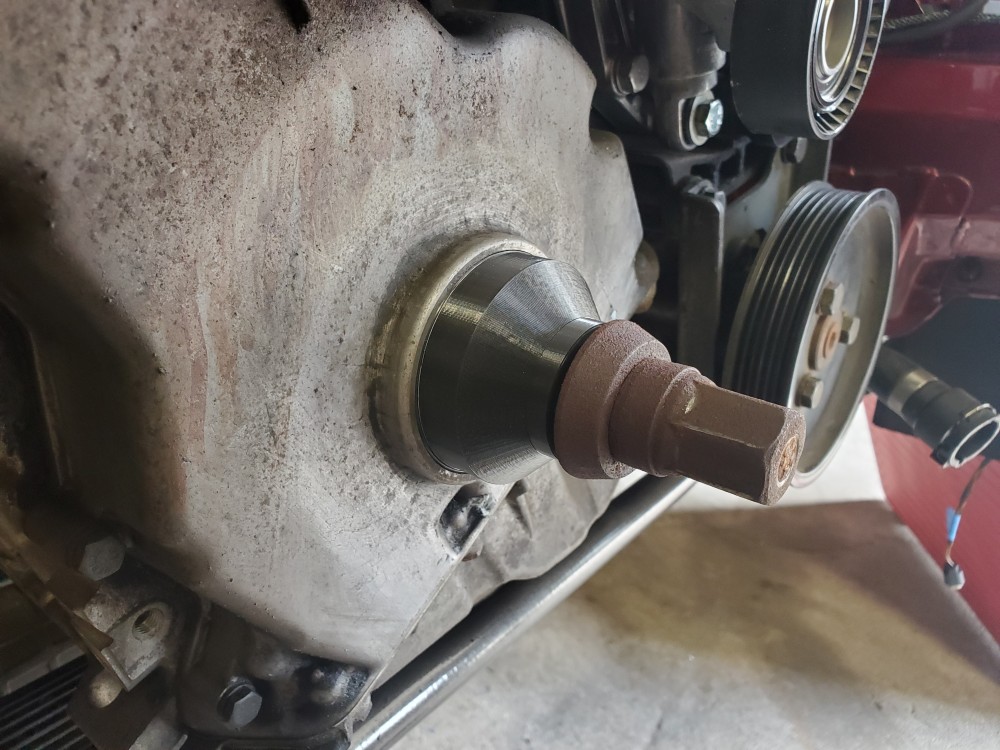
The 3D printed front main installation tool worked!
Lined up to be pulled in.
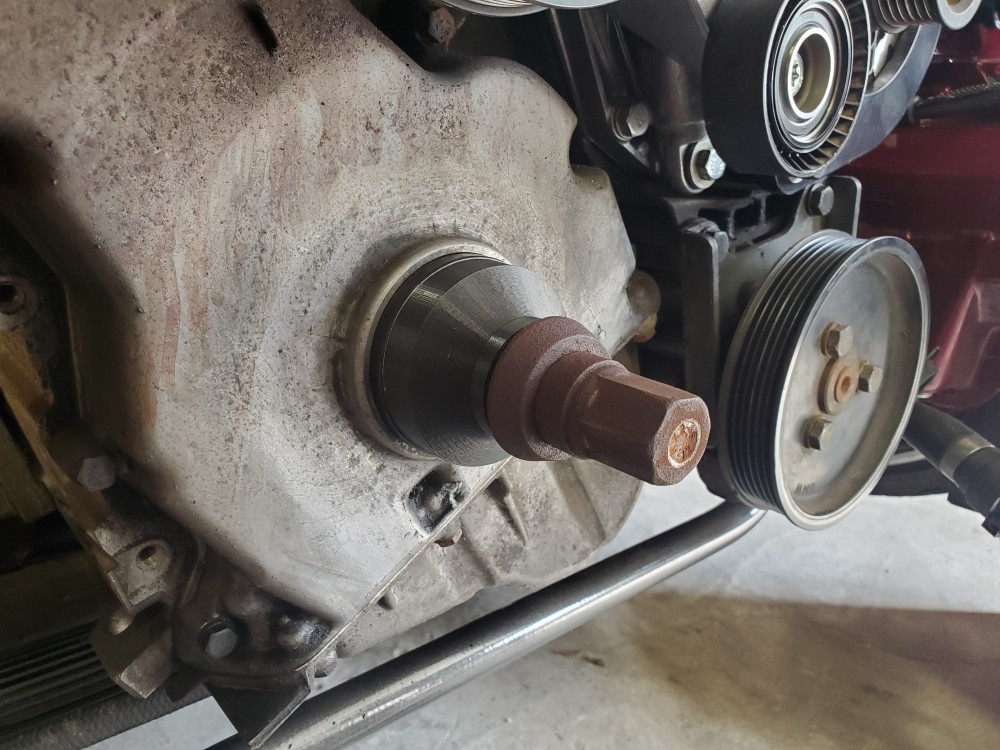
Pulled into place. All I used was a ratchet and slowly tightened the bolt. Super pumped that worked out!
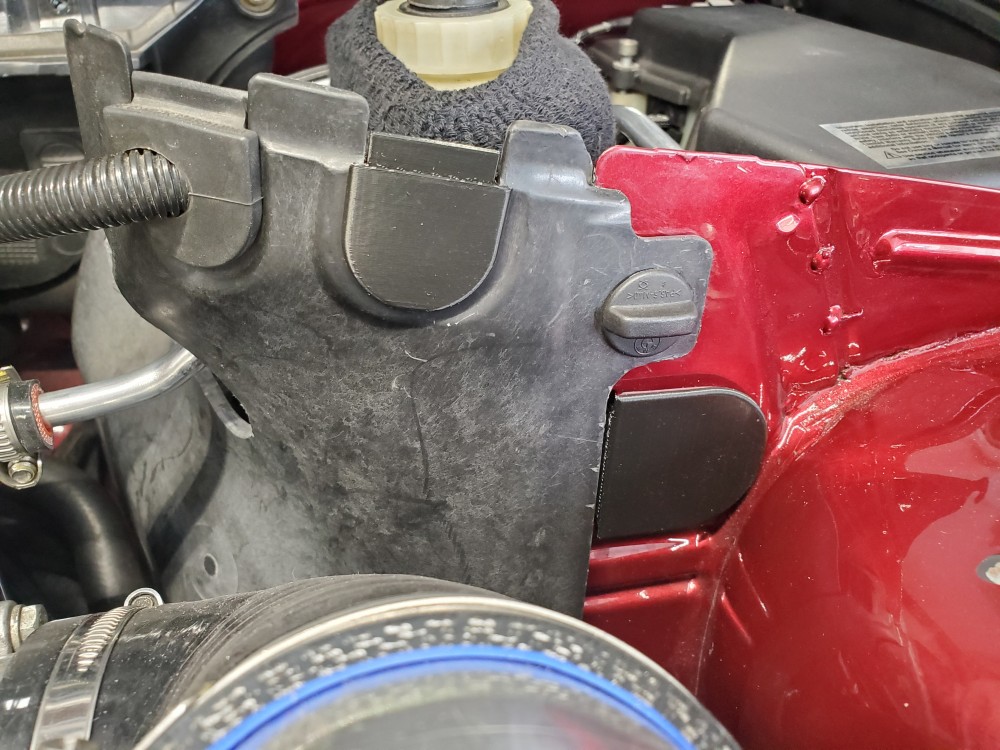
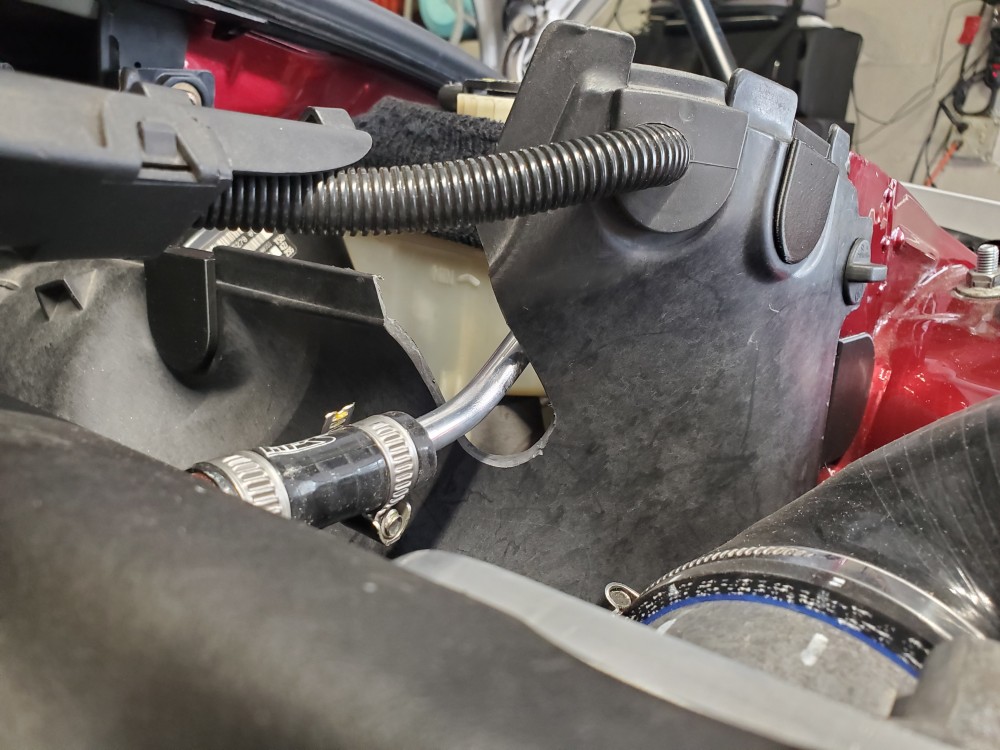
And here is photos of the 3 block off plugs I made for the original engine harness pass through, original booster vacuum pass through and one more that I forget what it did haha.
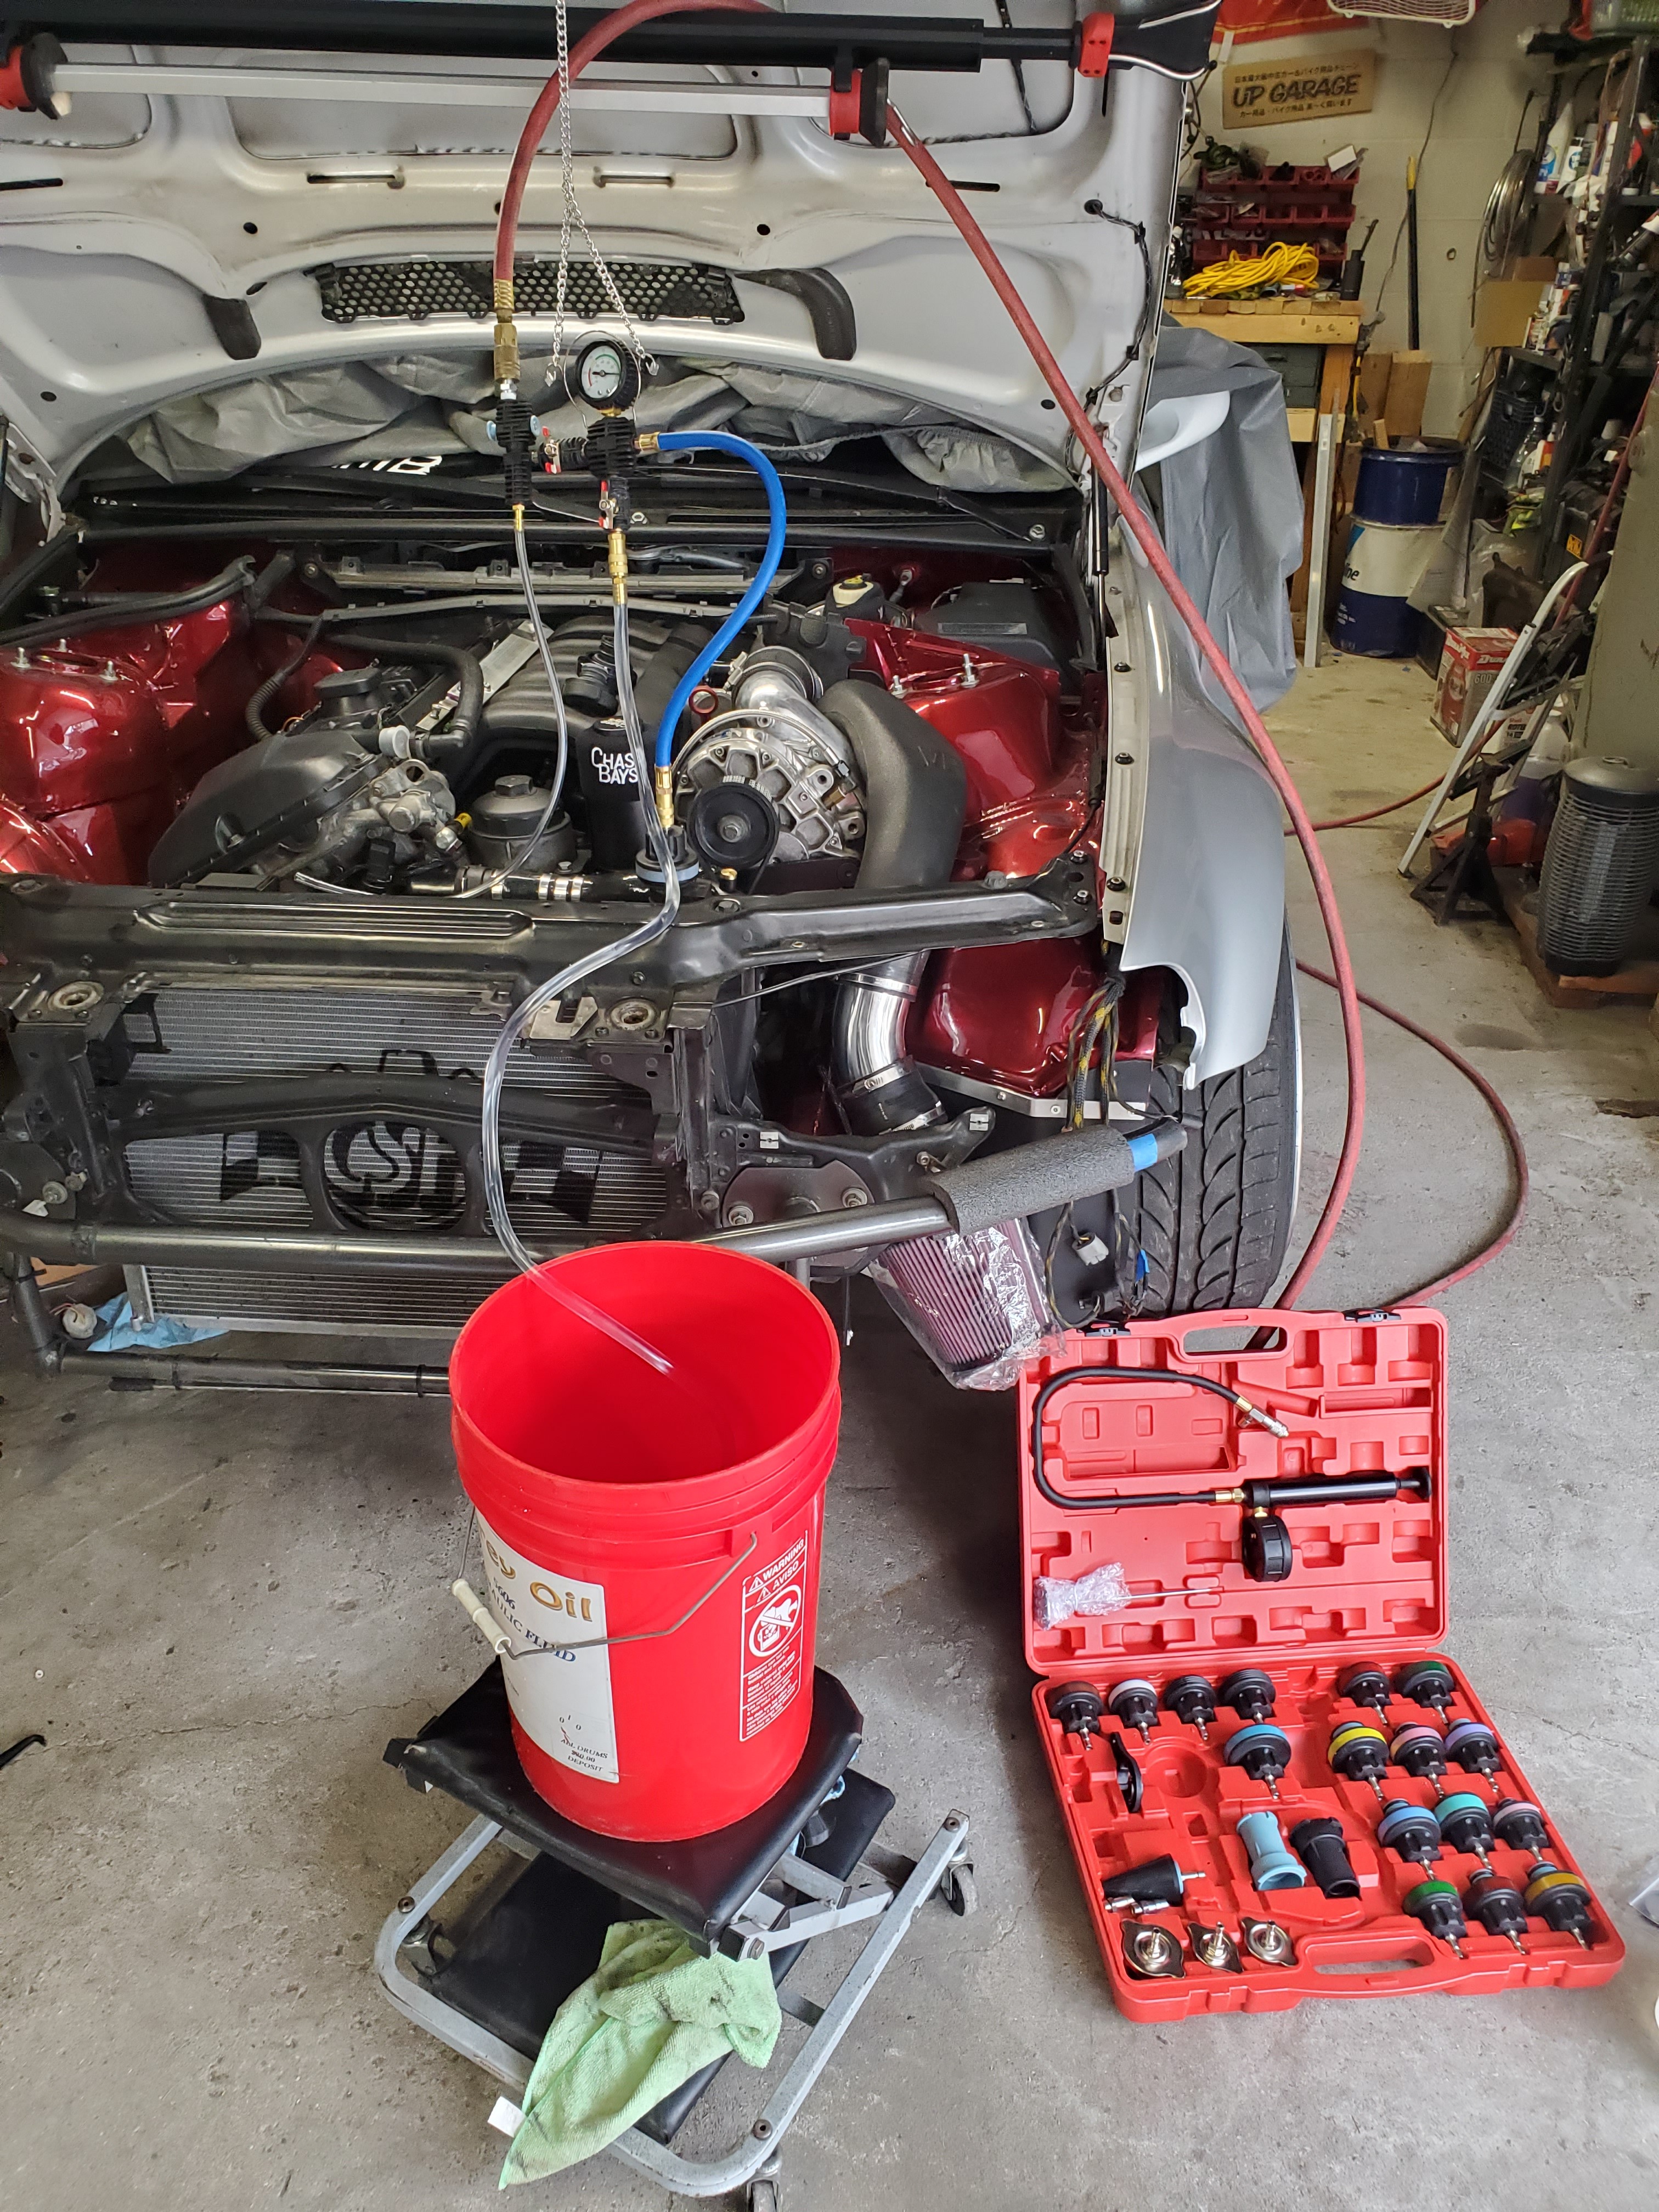
Now with the front main reinstalled I put the cooling system together for the final time, bolted up the bash bar and radiator support and sucked some coolant into it.
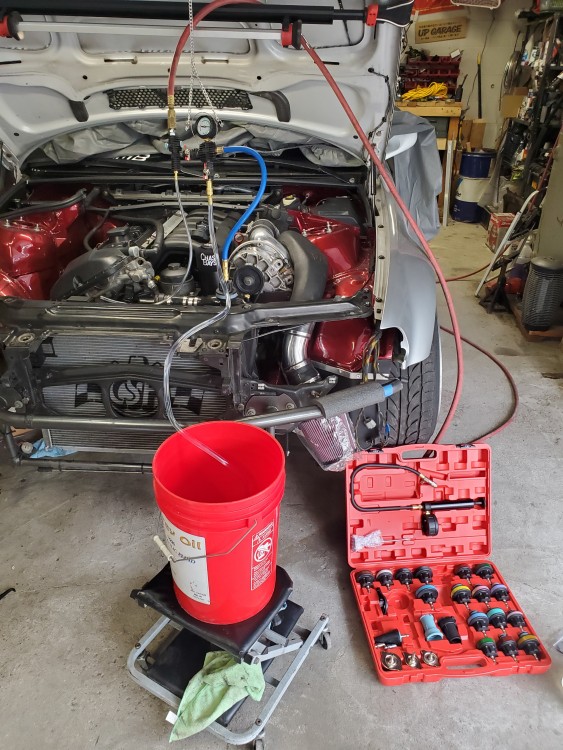
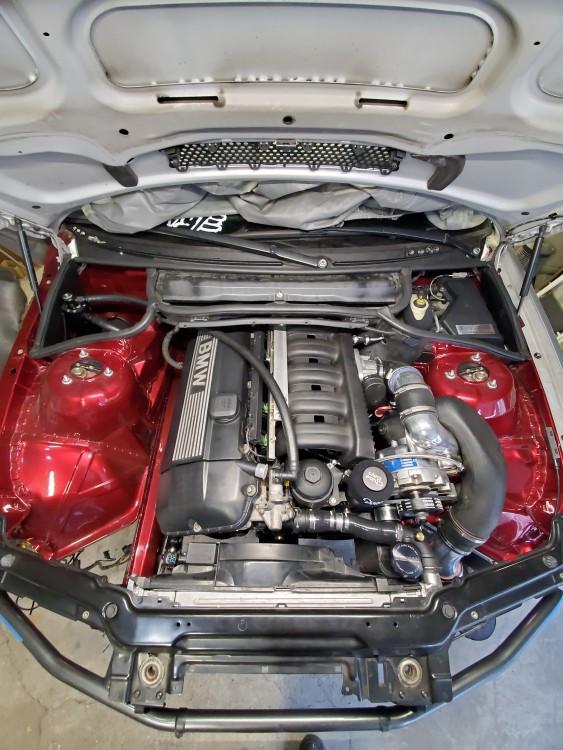
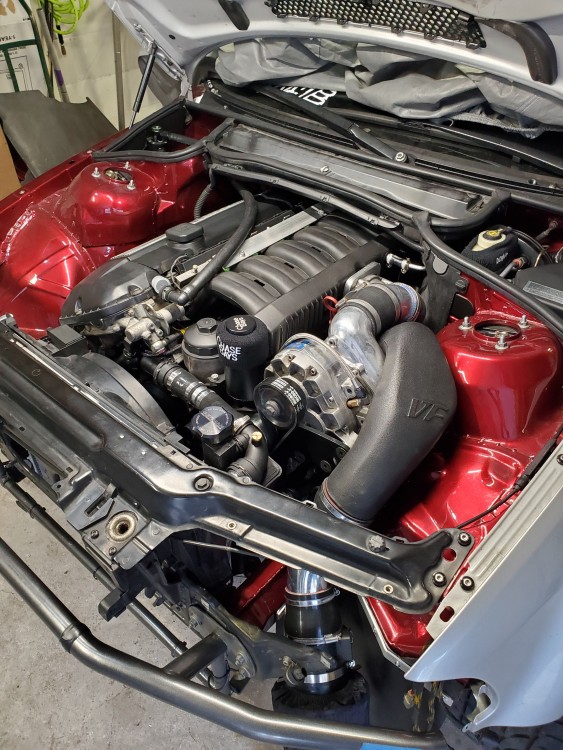
It feels good to be close to first start up.
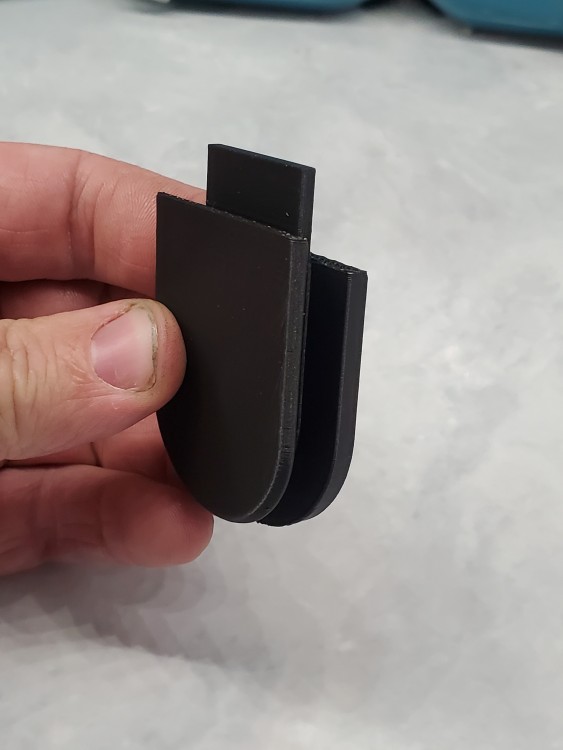
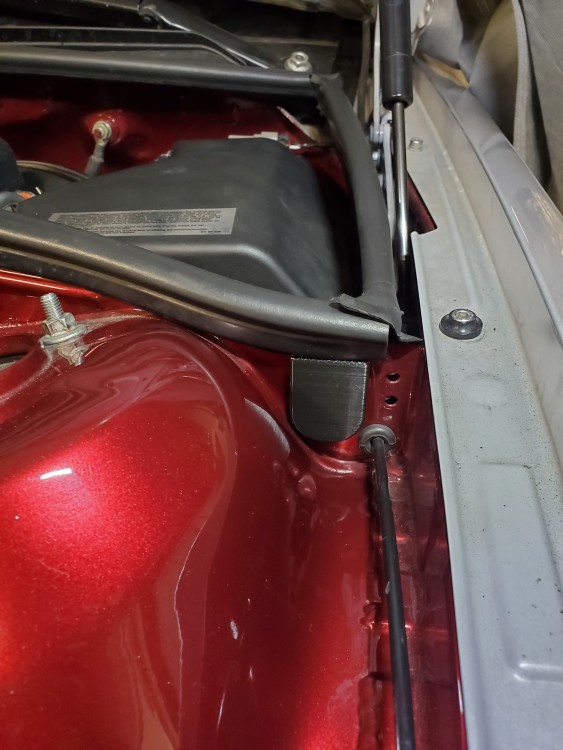
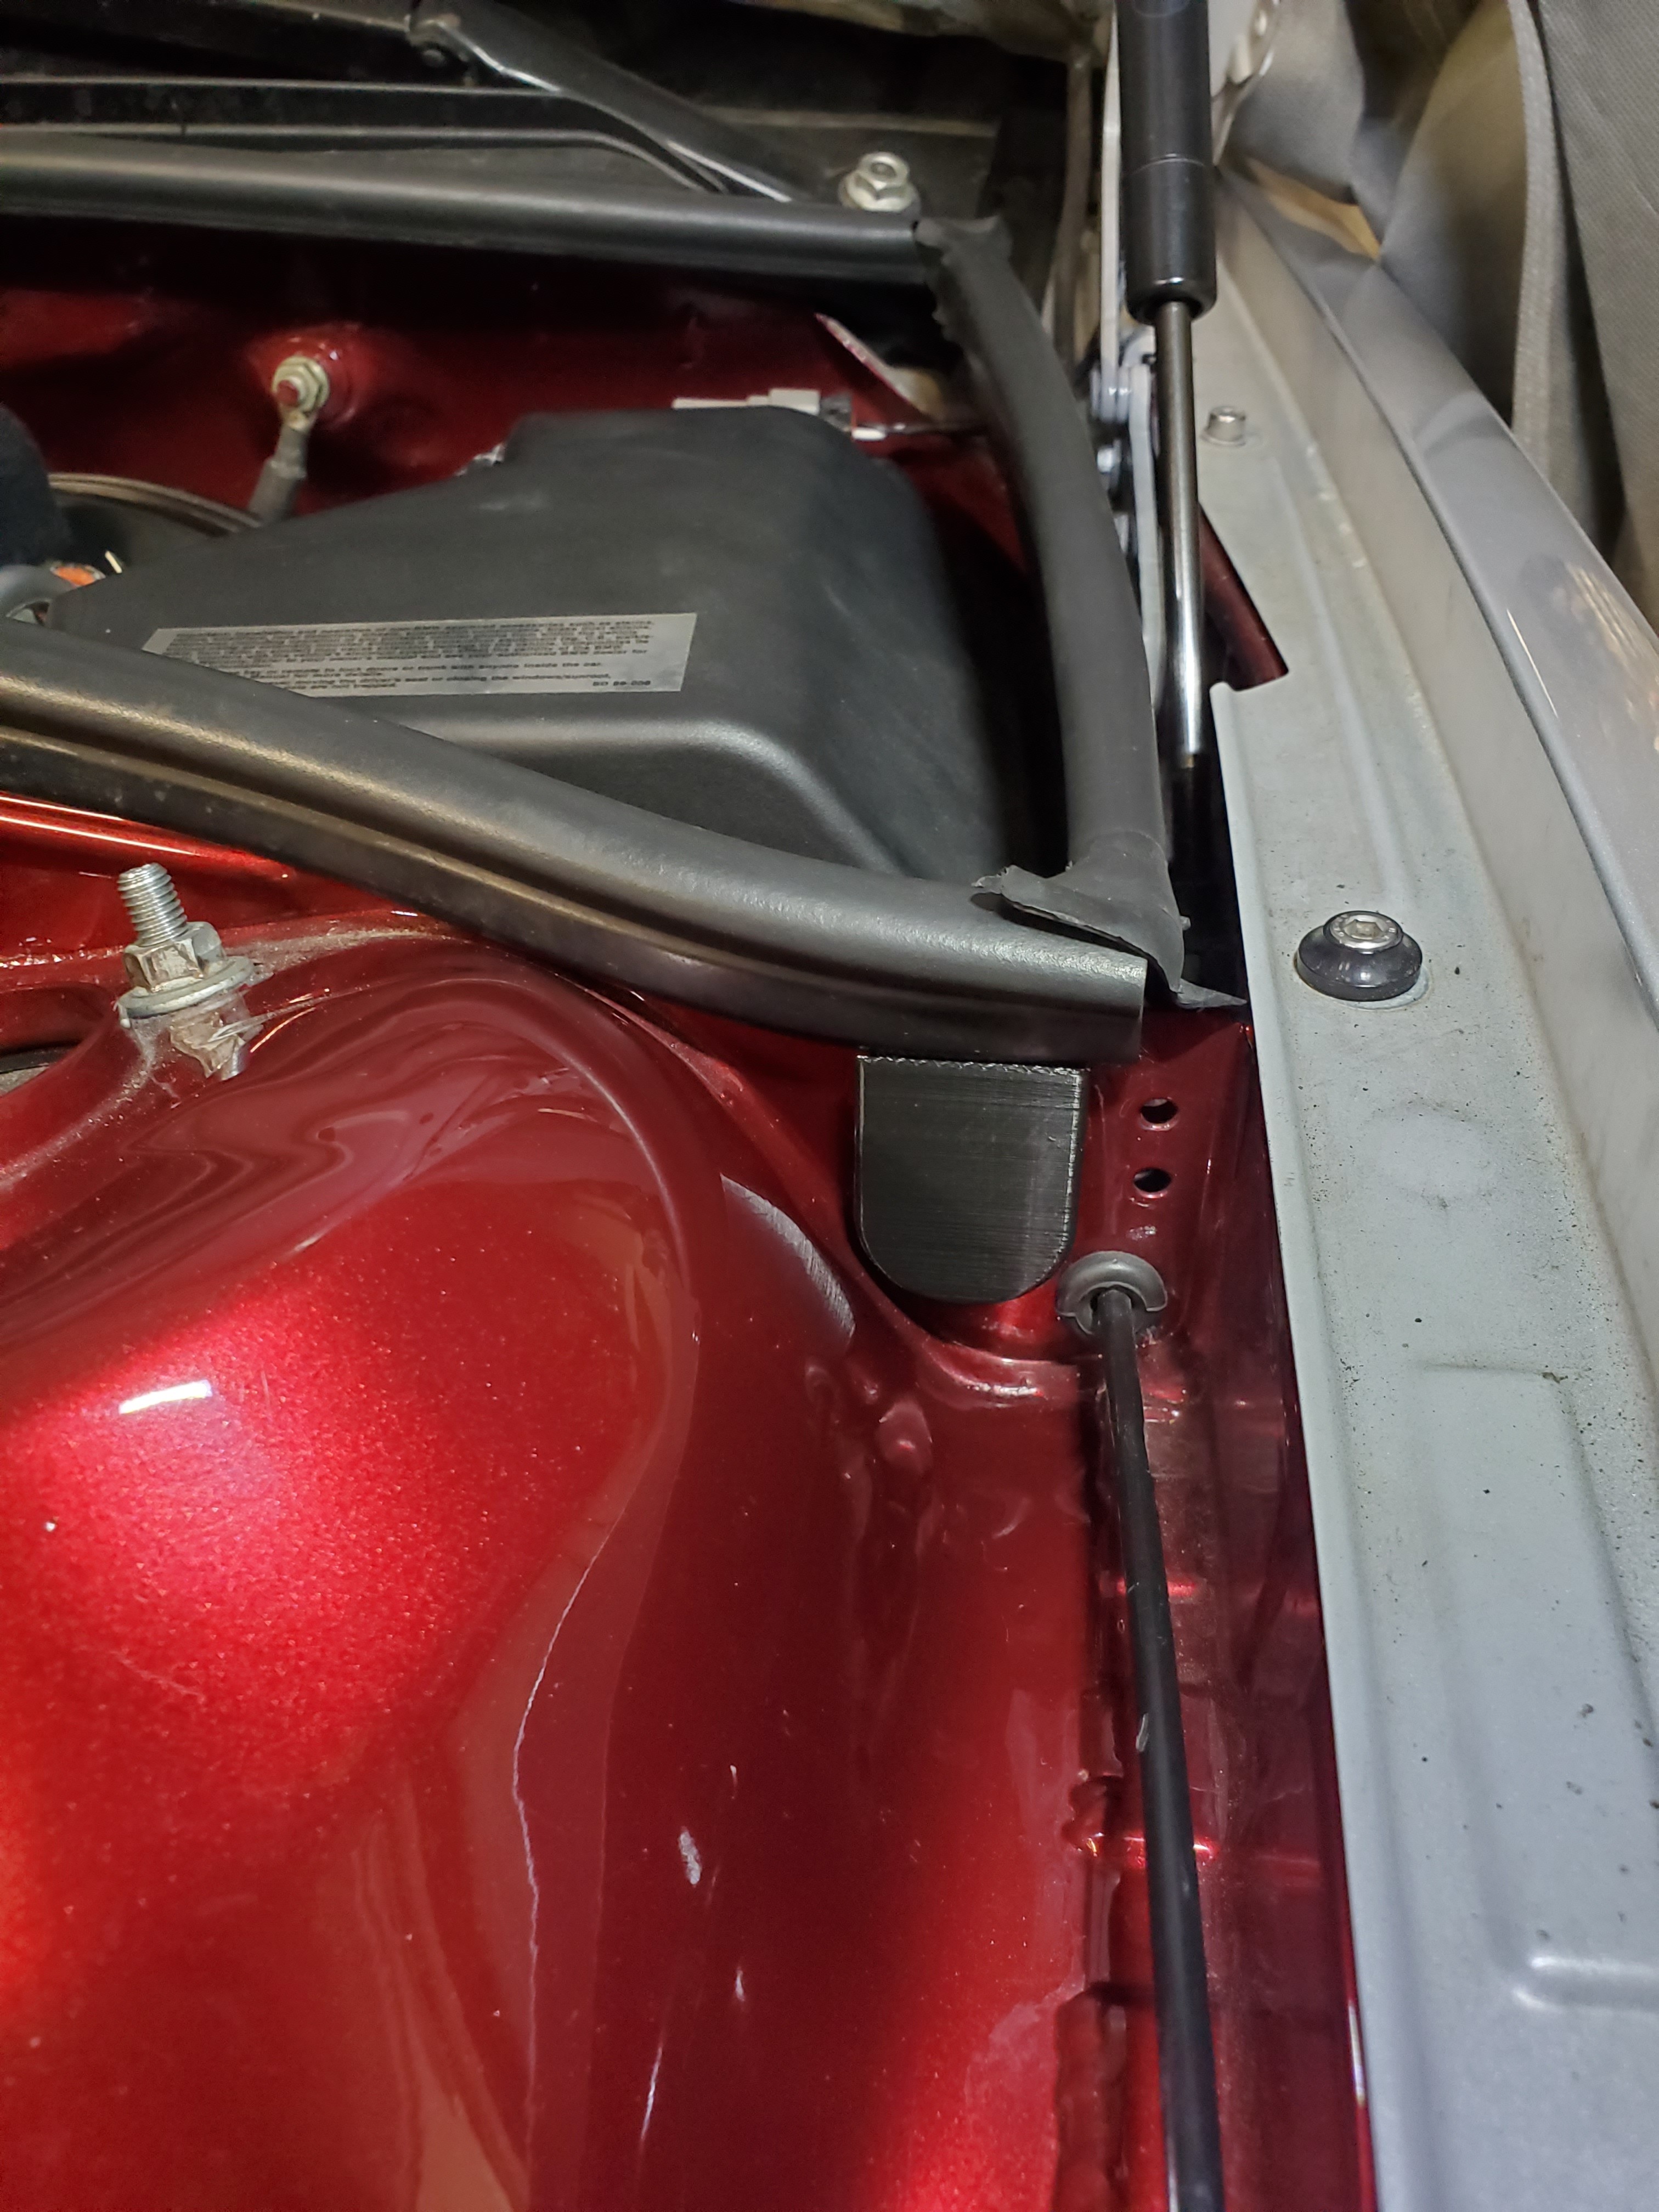
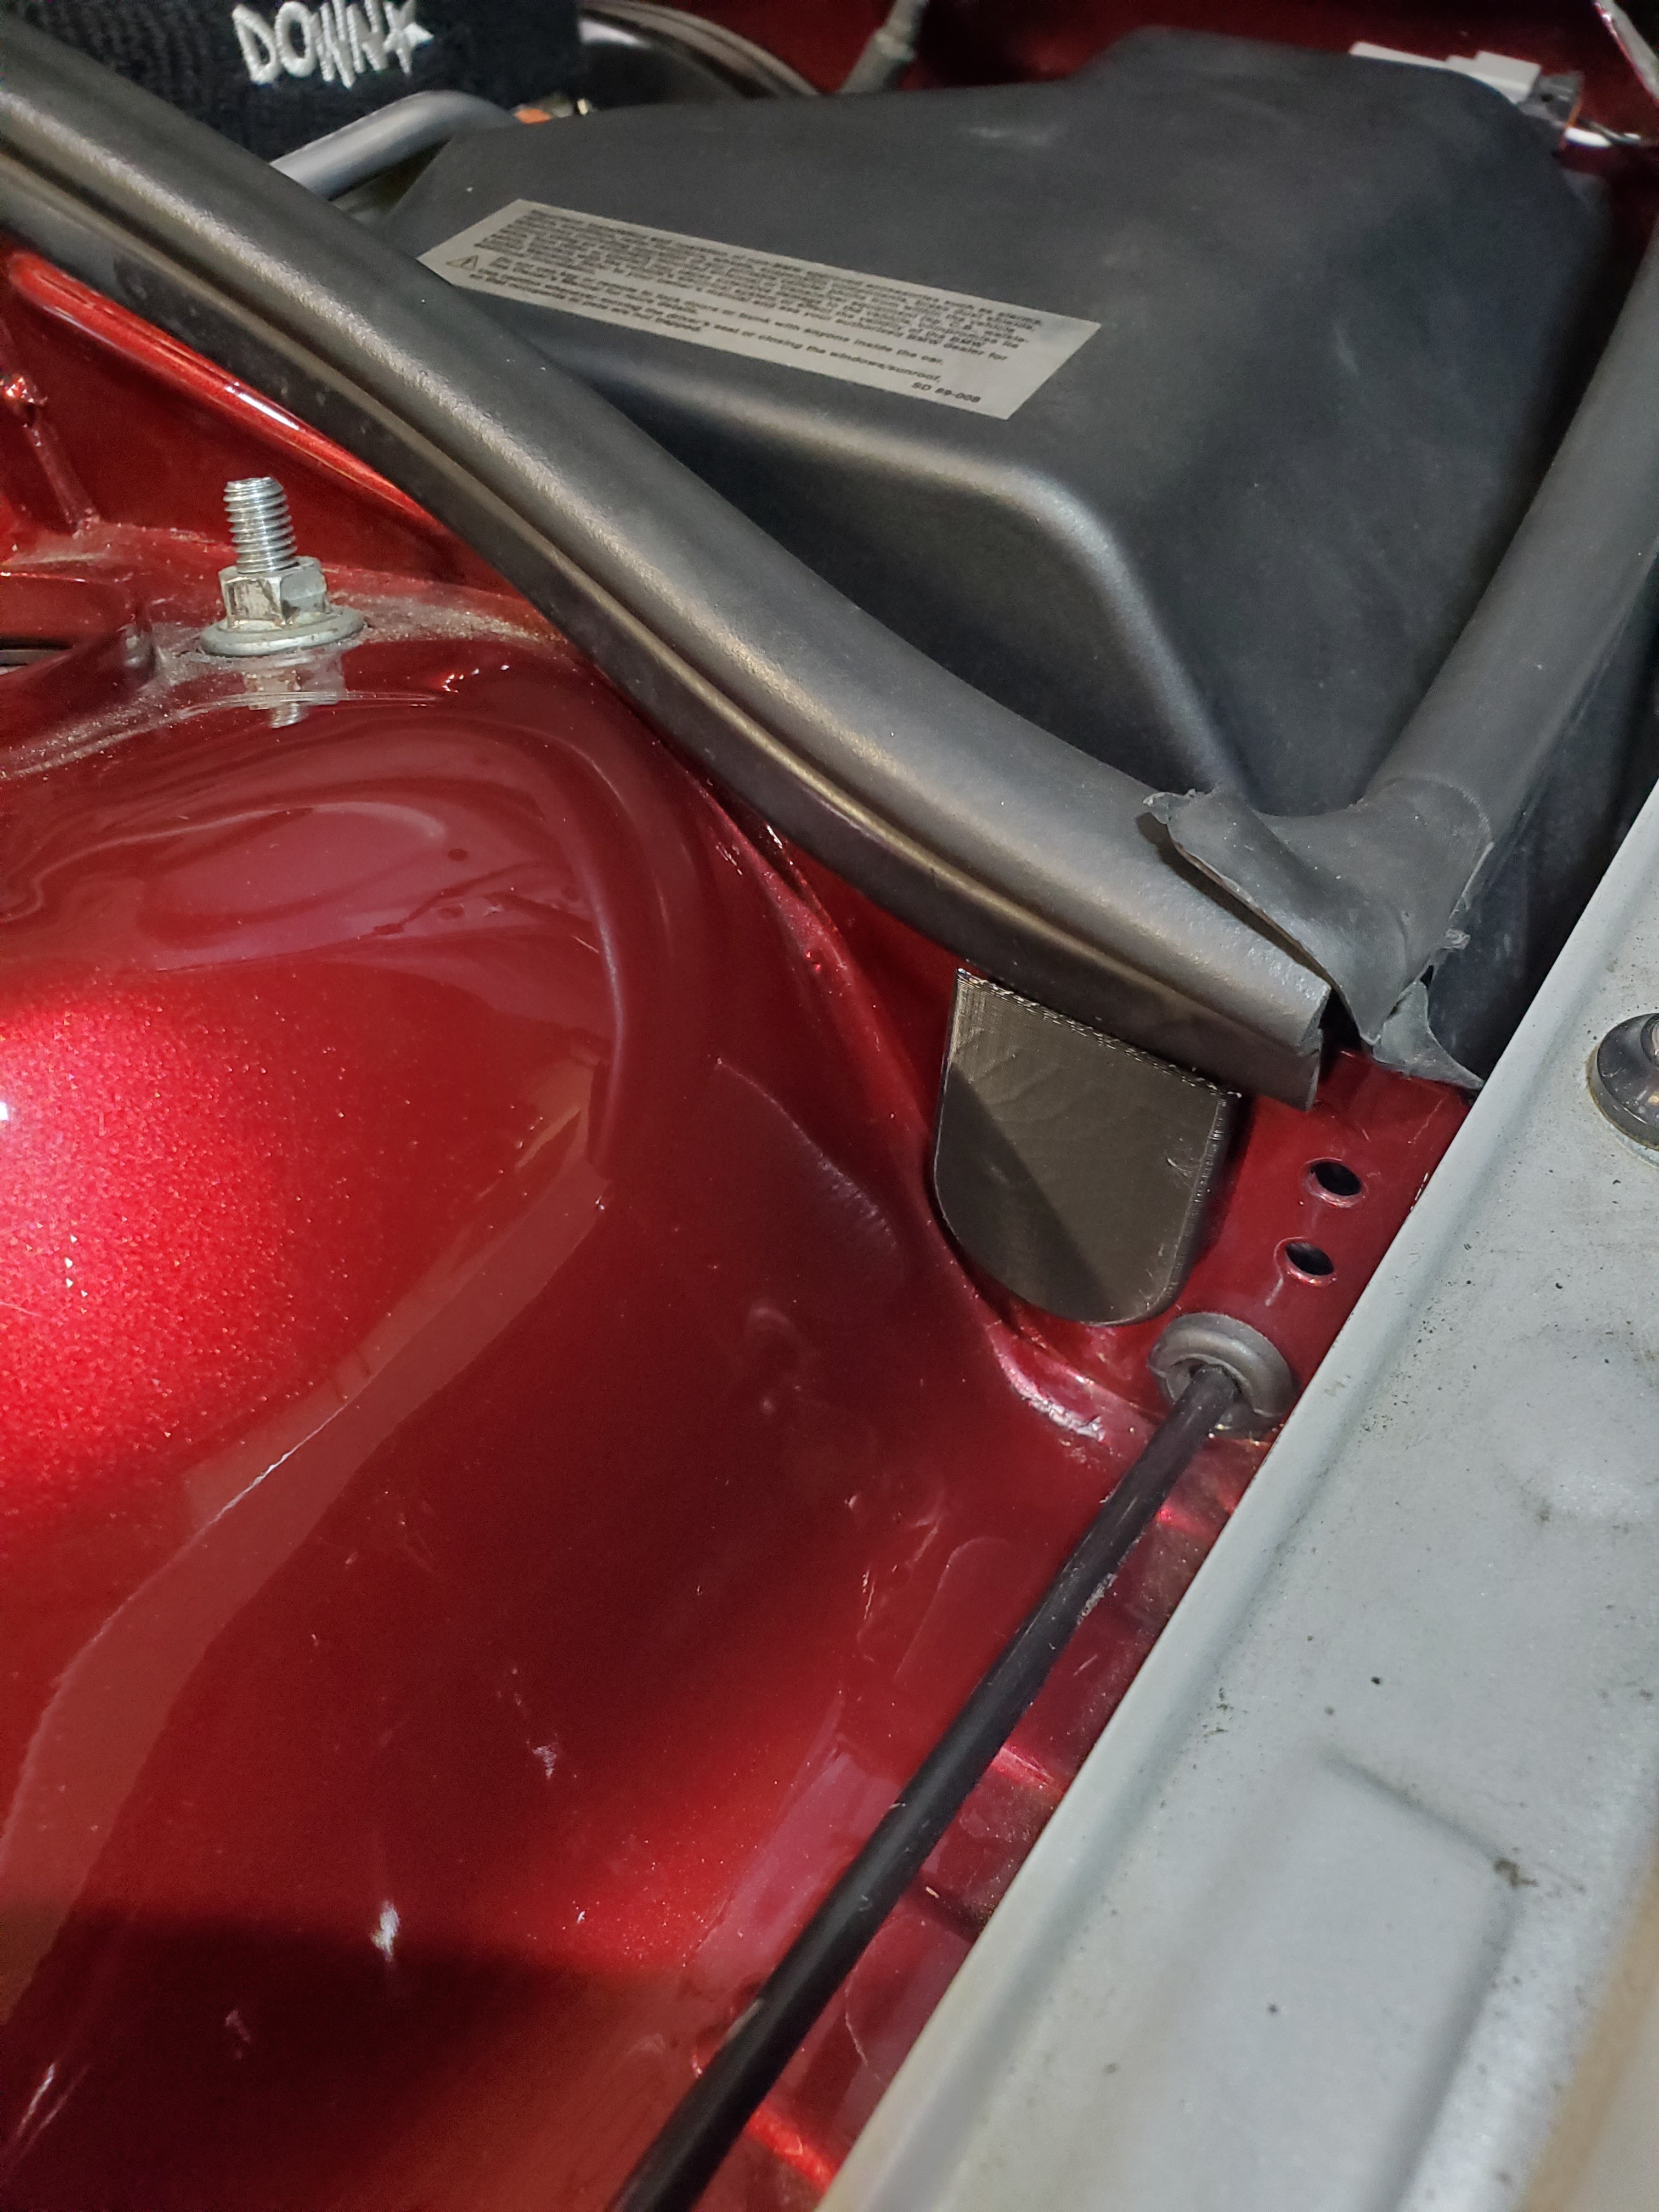
I also went ahead and drew and printed some block offs for the original chassis harness pass through areas. I didnt shave that when we did the bay because they are in way to tight of an area to weld, grind, and sand properly. These came put pretty nice and I am pretty happy with the results.
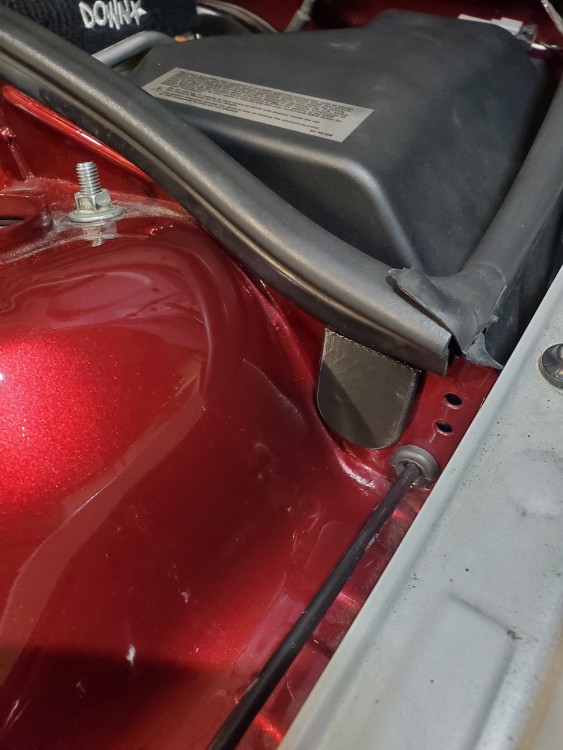
My fuel pump and install kit came in too as well as my wrap!
I have a few more fluids to replace as well as spark plugs and the fuel pump and we should be close to startup!
-
Short update.
Still trying to find time to get the fuel pump and fluids in the car for start up.
But I have made some more progress.
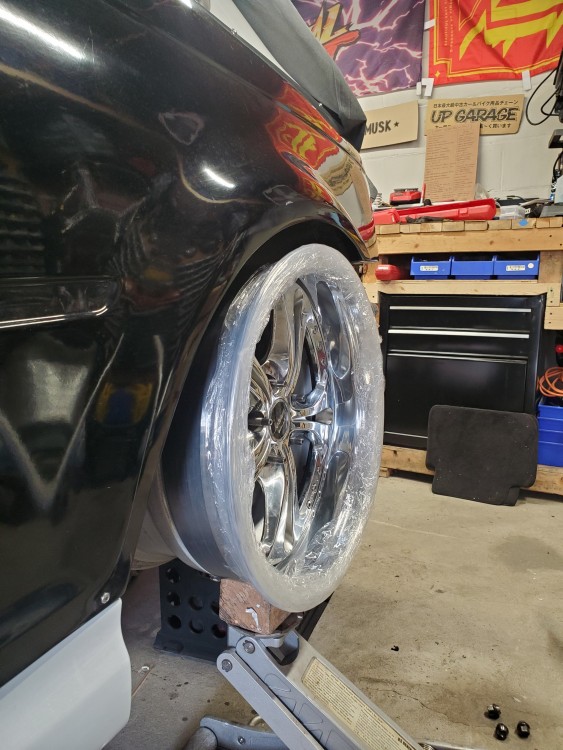
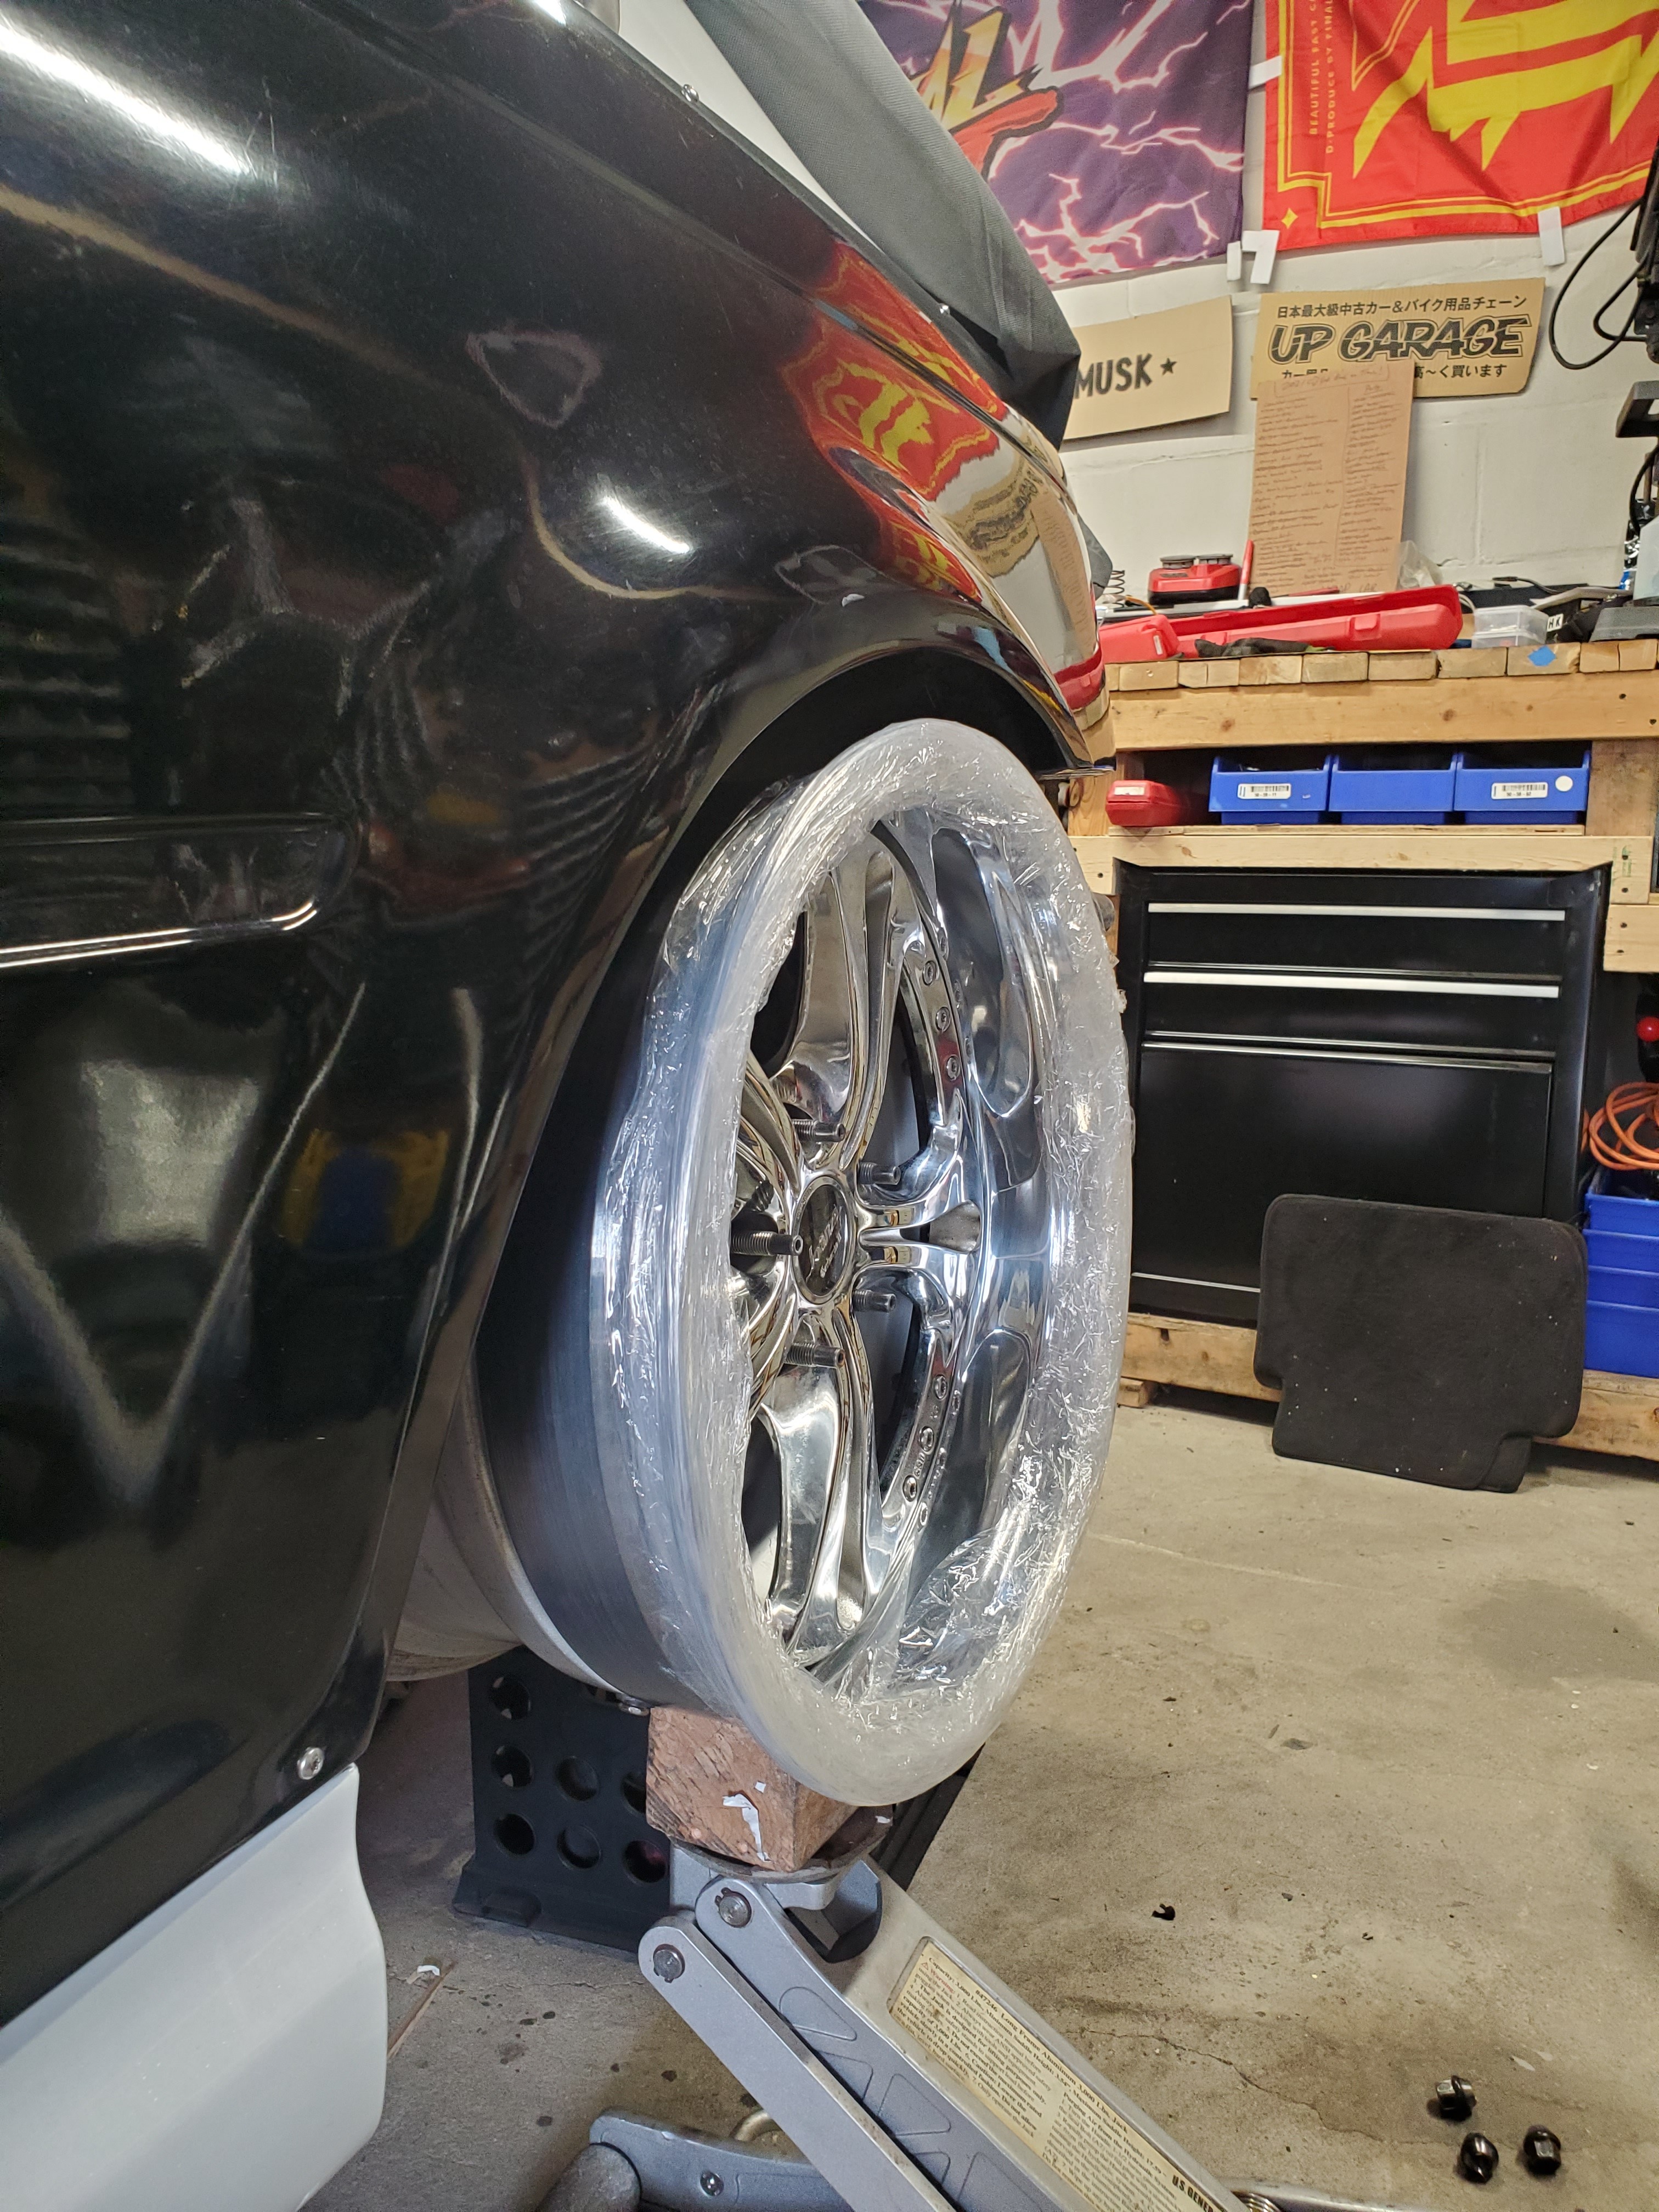
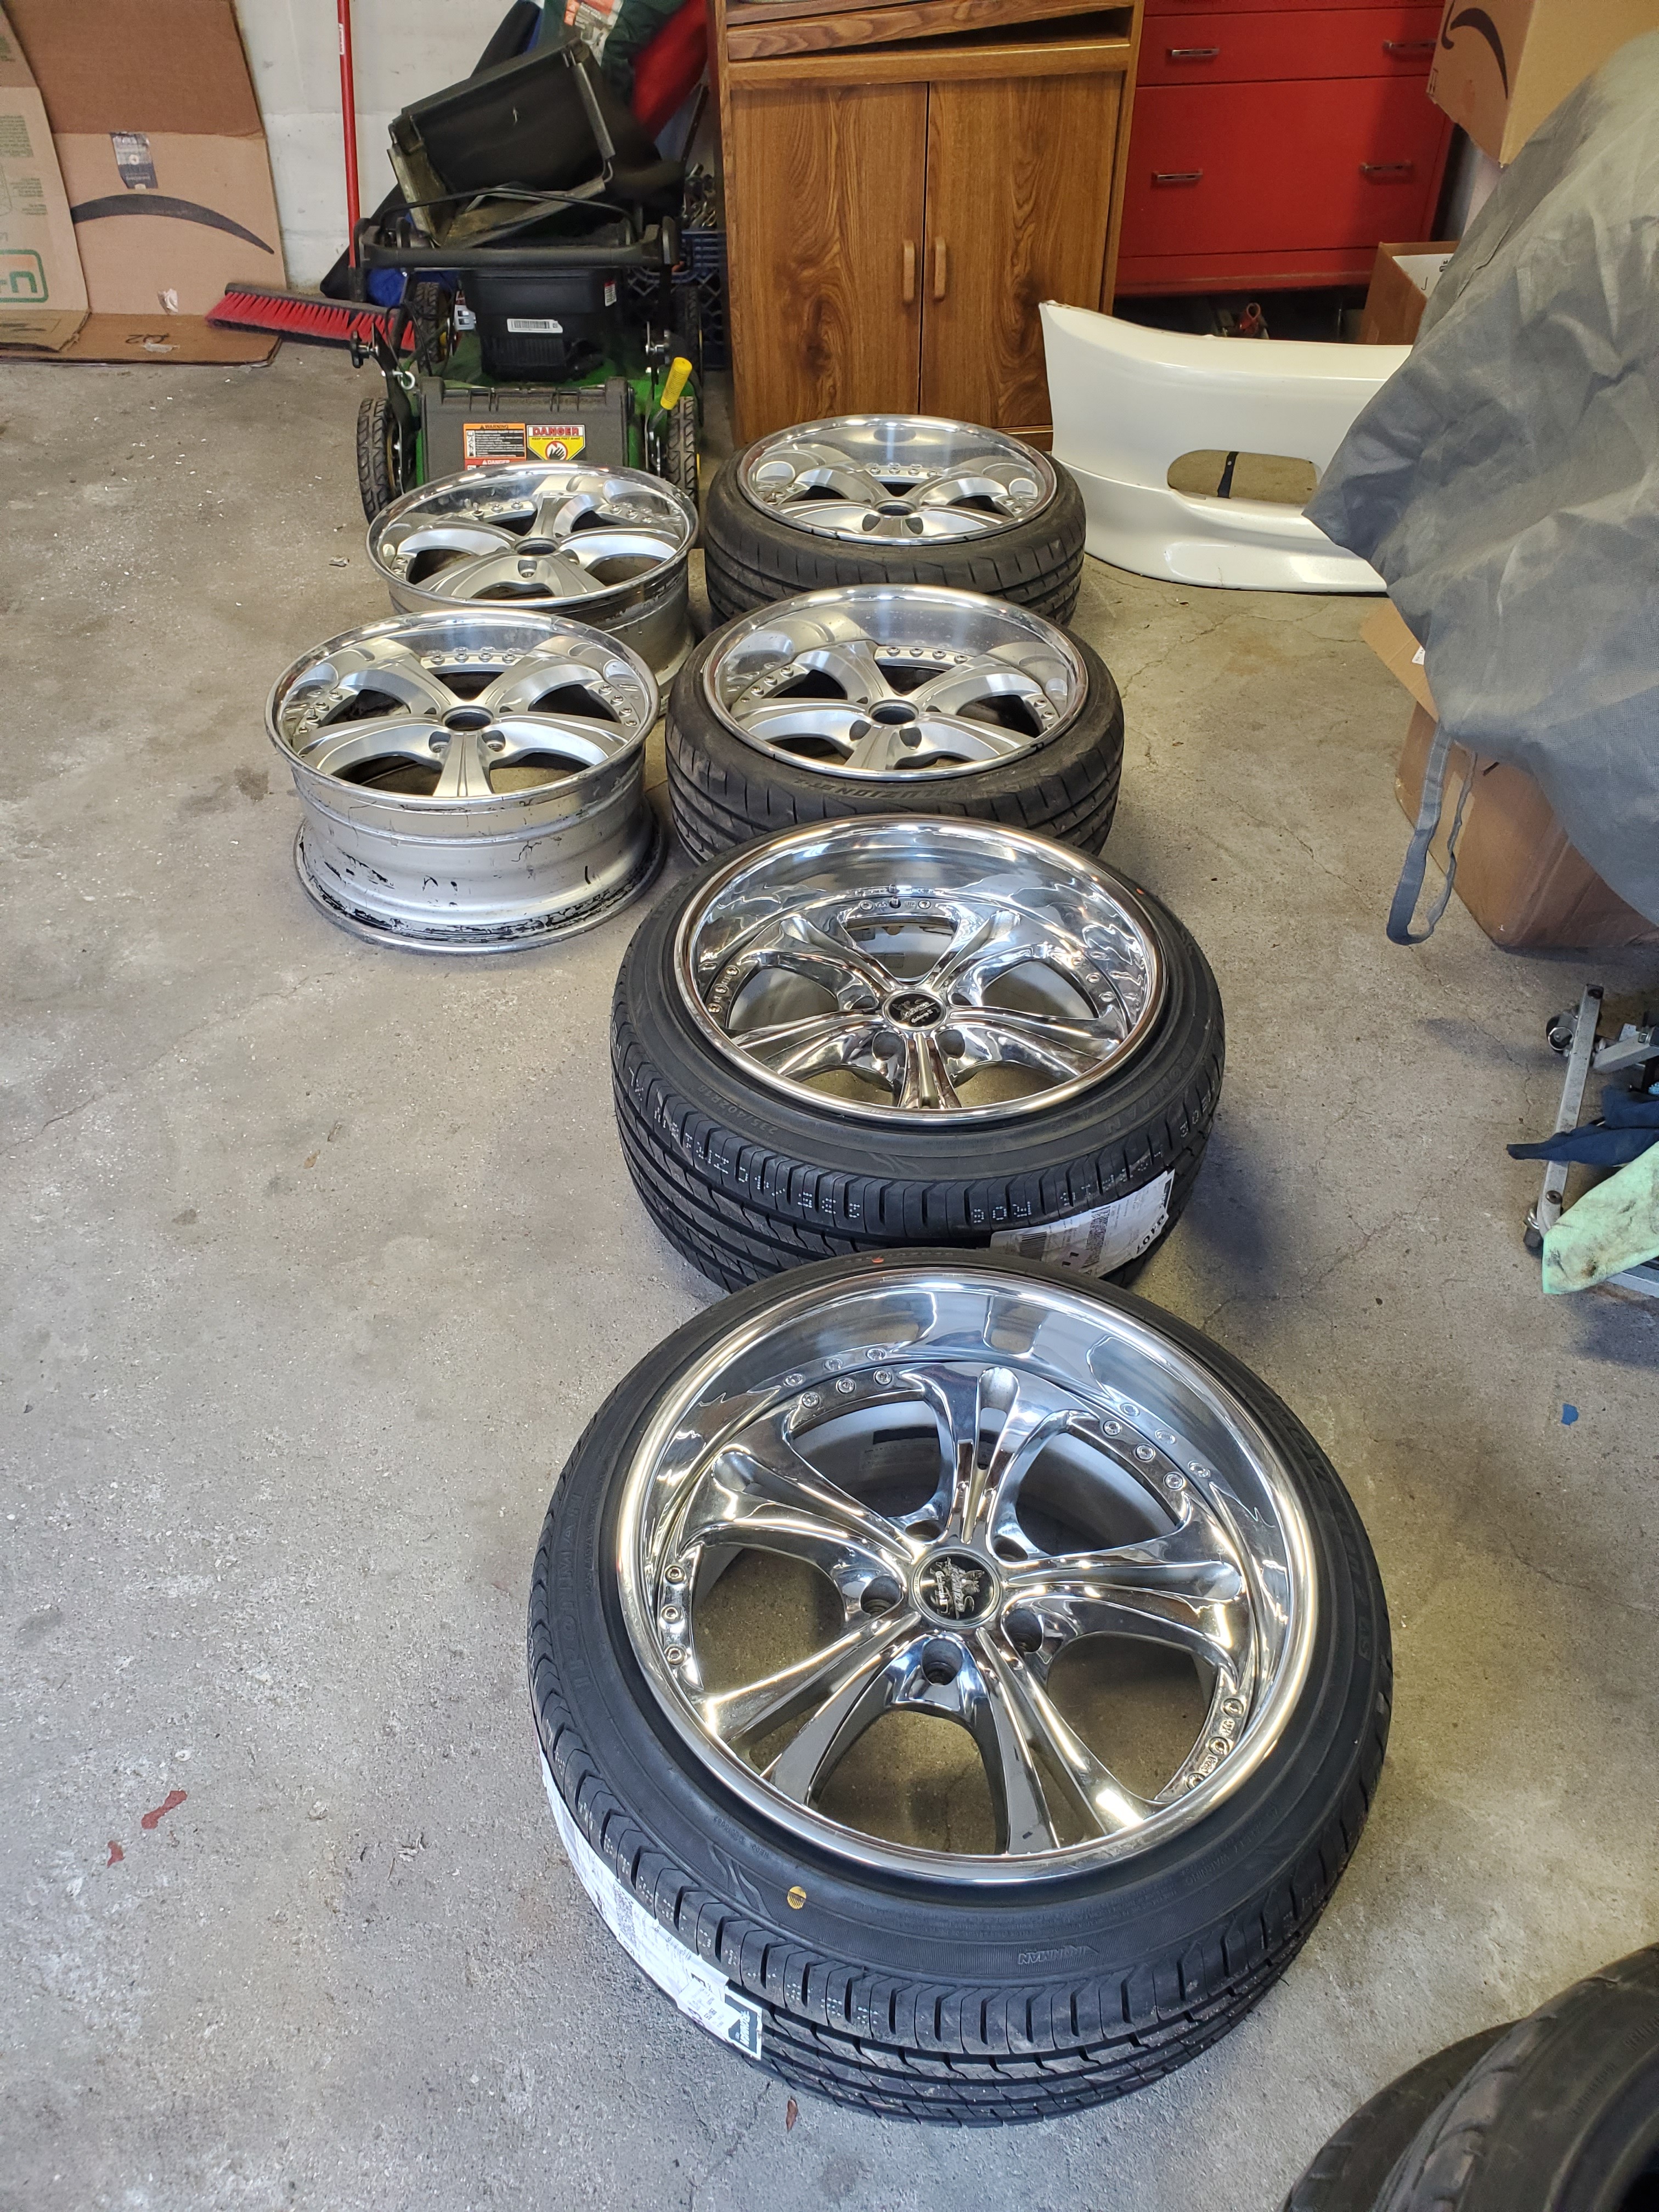
One of my pairs of lips came in so I split and replaced the lips on some of my Weds Kranze Cerebus 2s.
They went from 18x8 to 18x10.5. My plan is to make all the rears 10.5s.
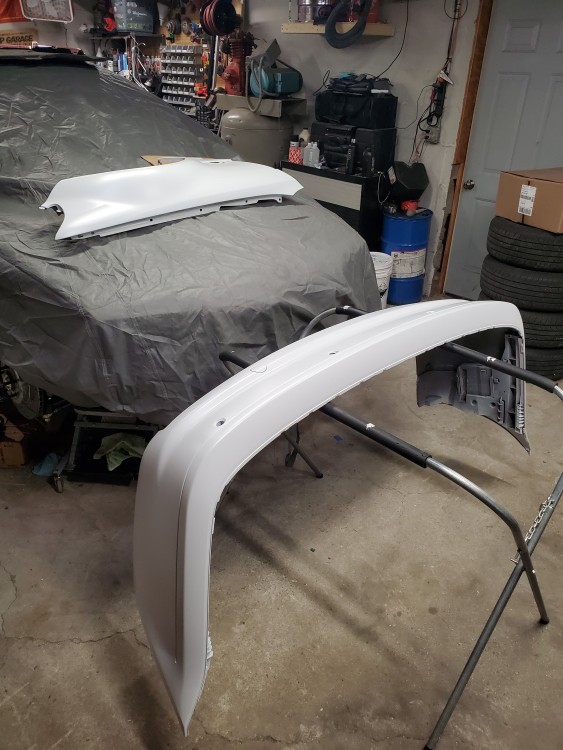
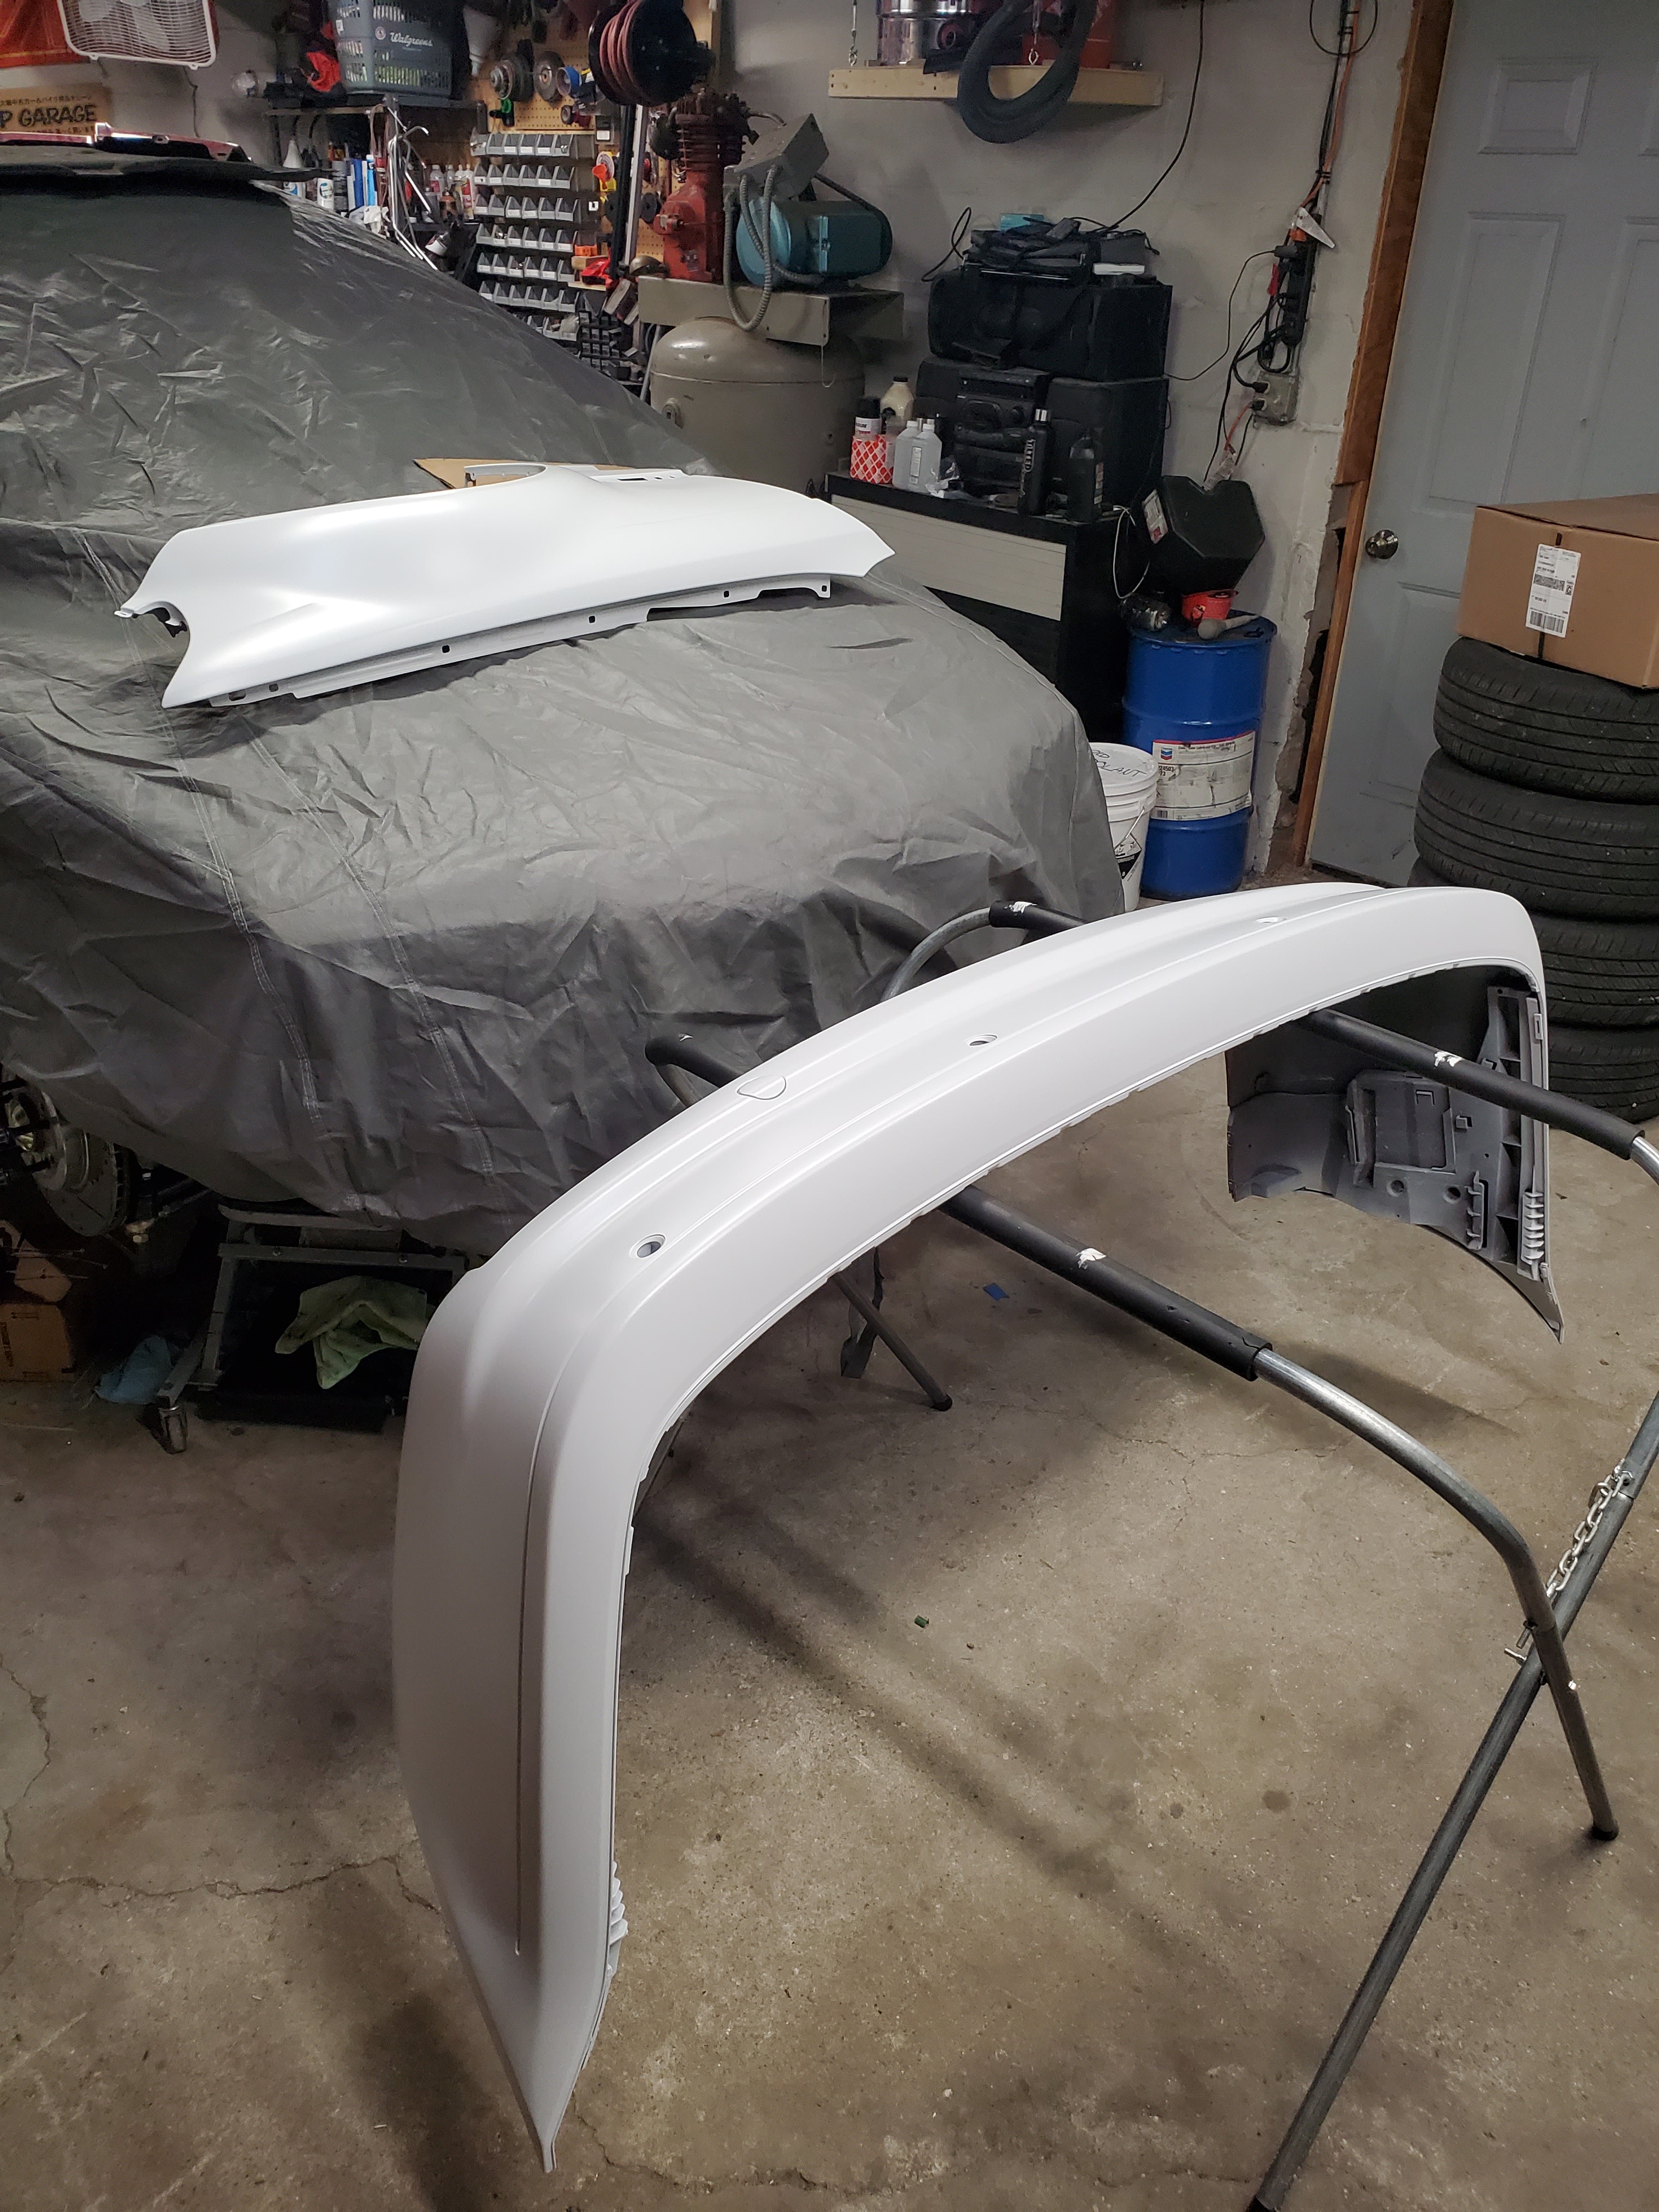
I also got my rear bumper and the right side fender back from being repaired.
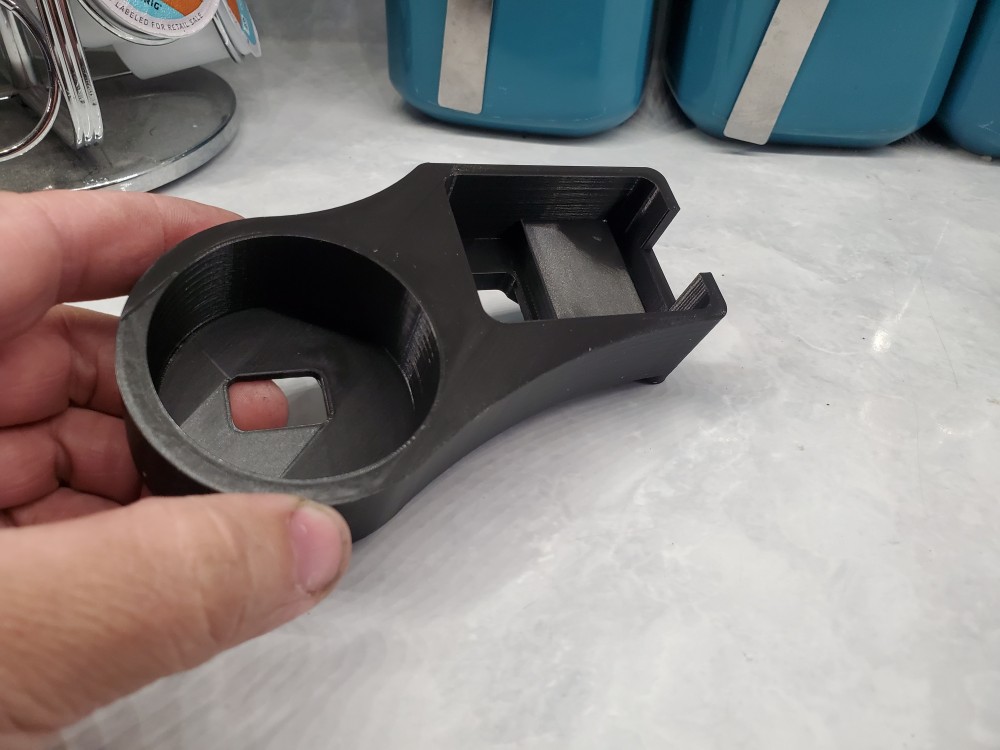
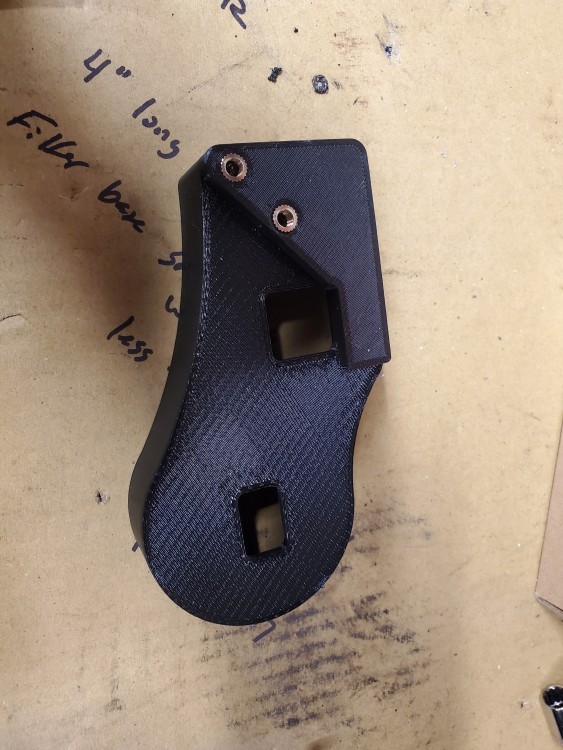
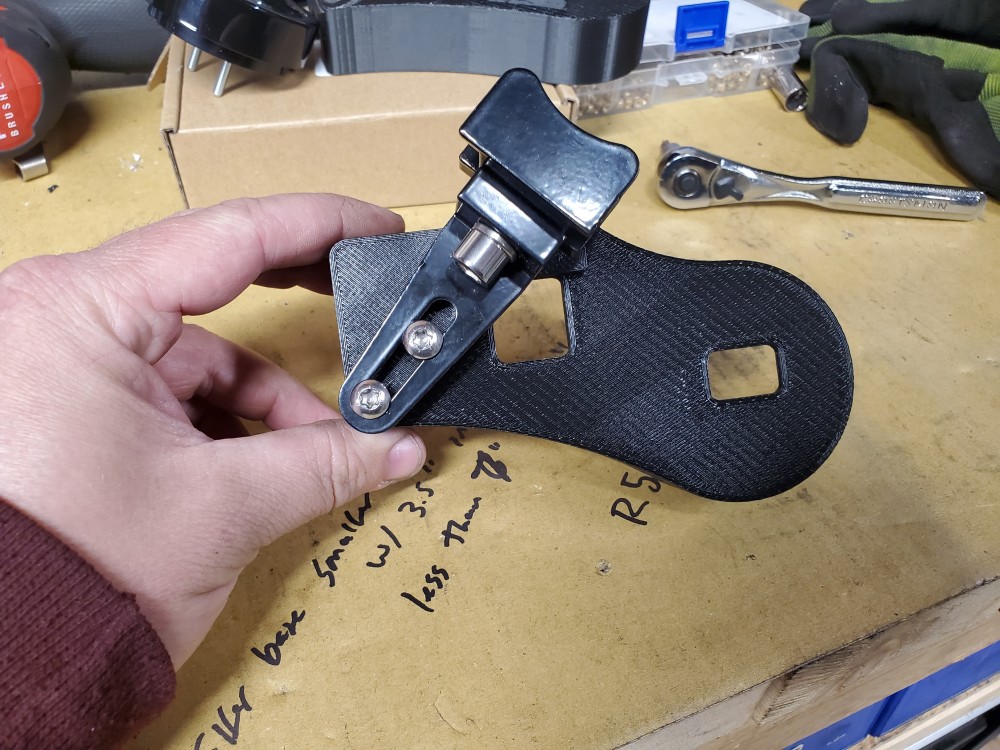
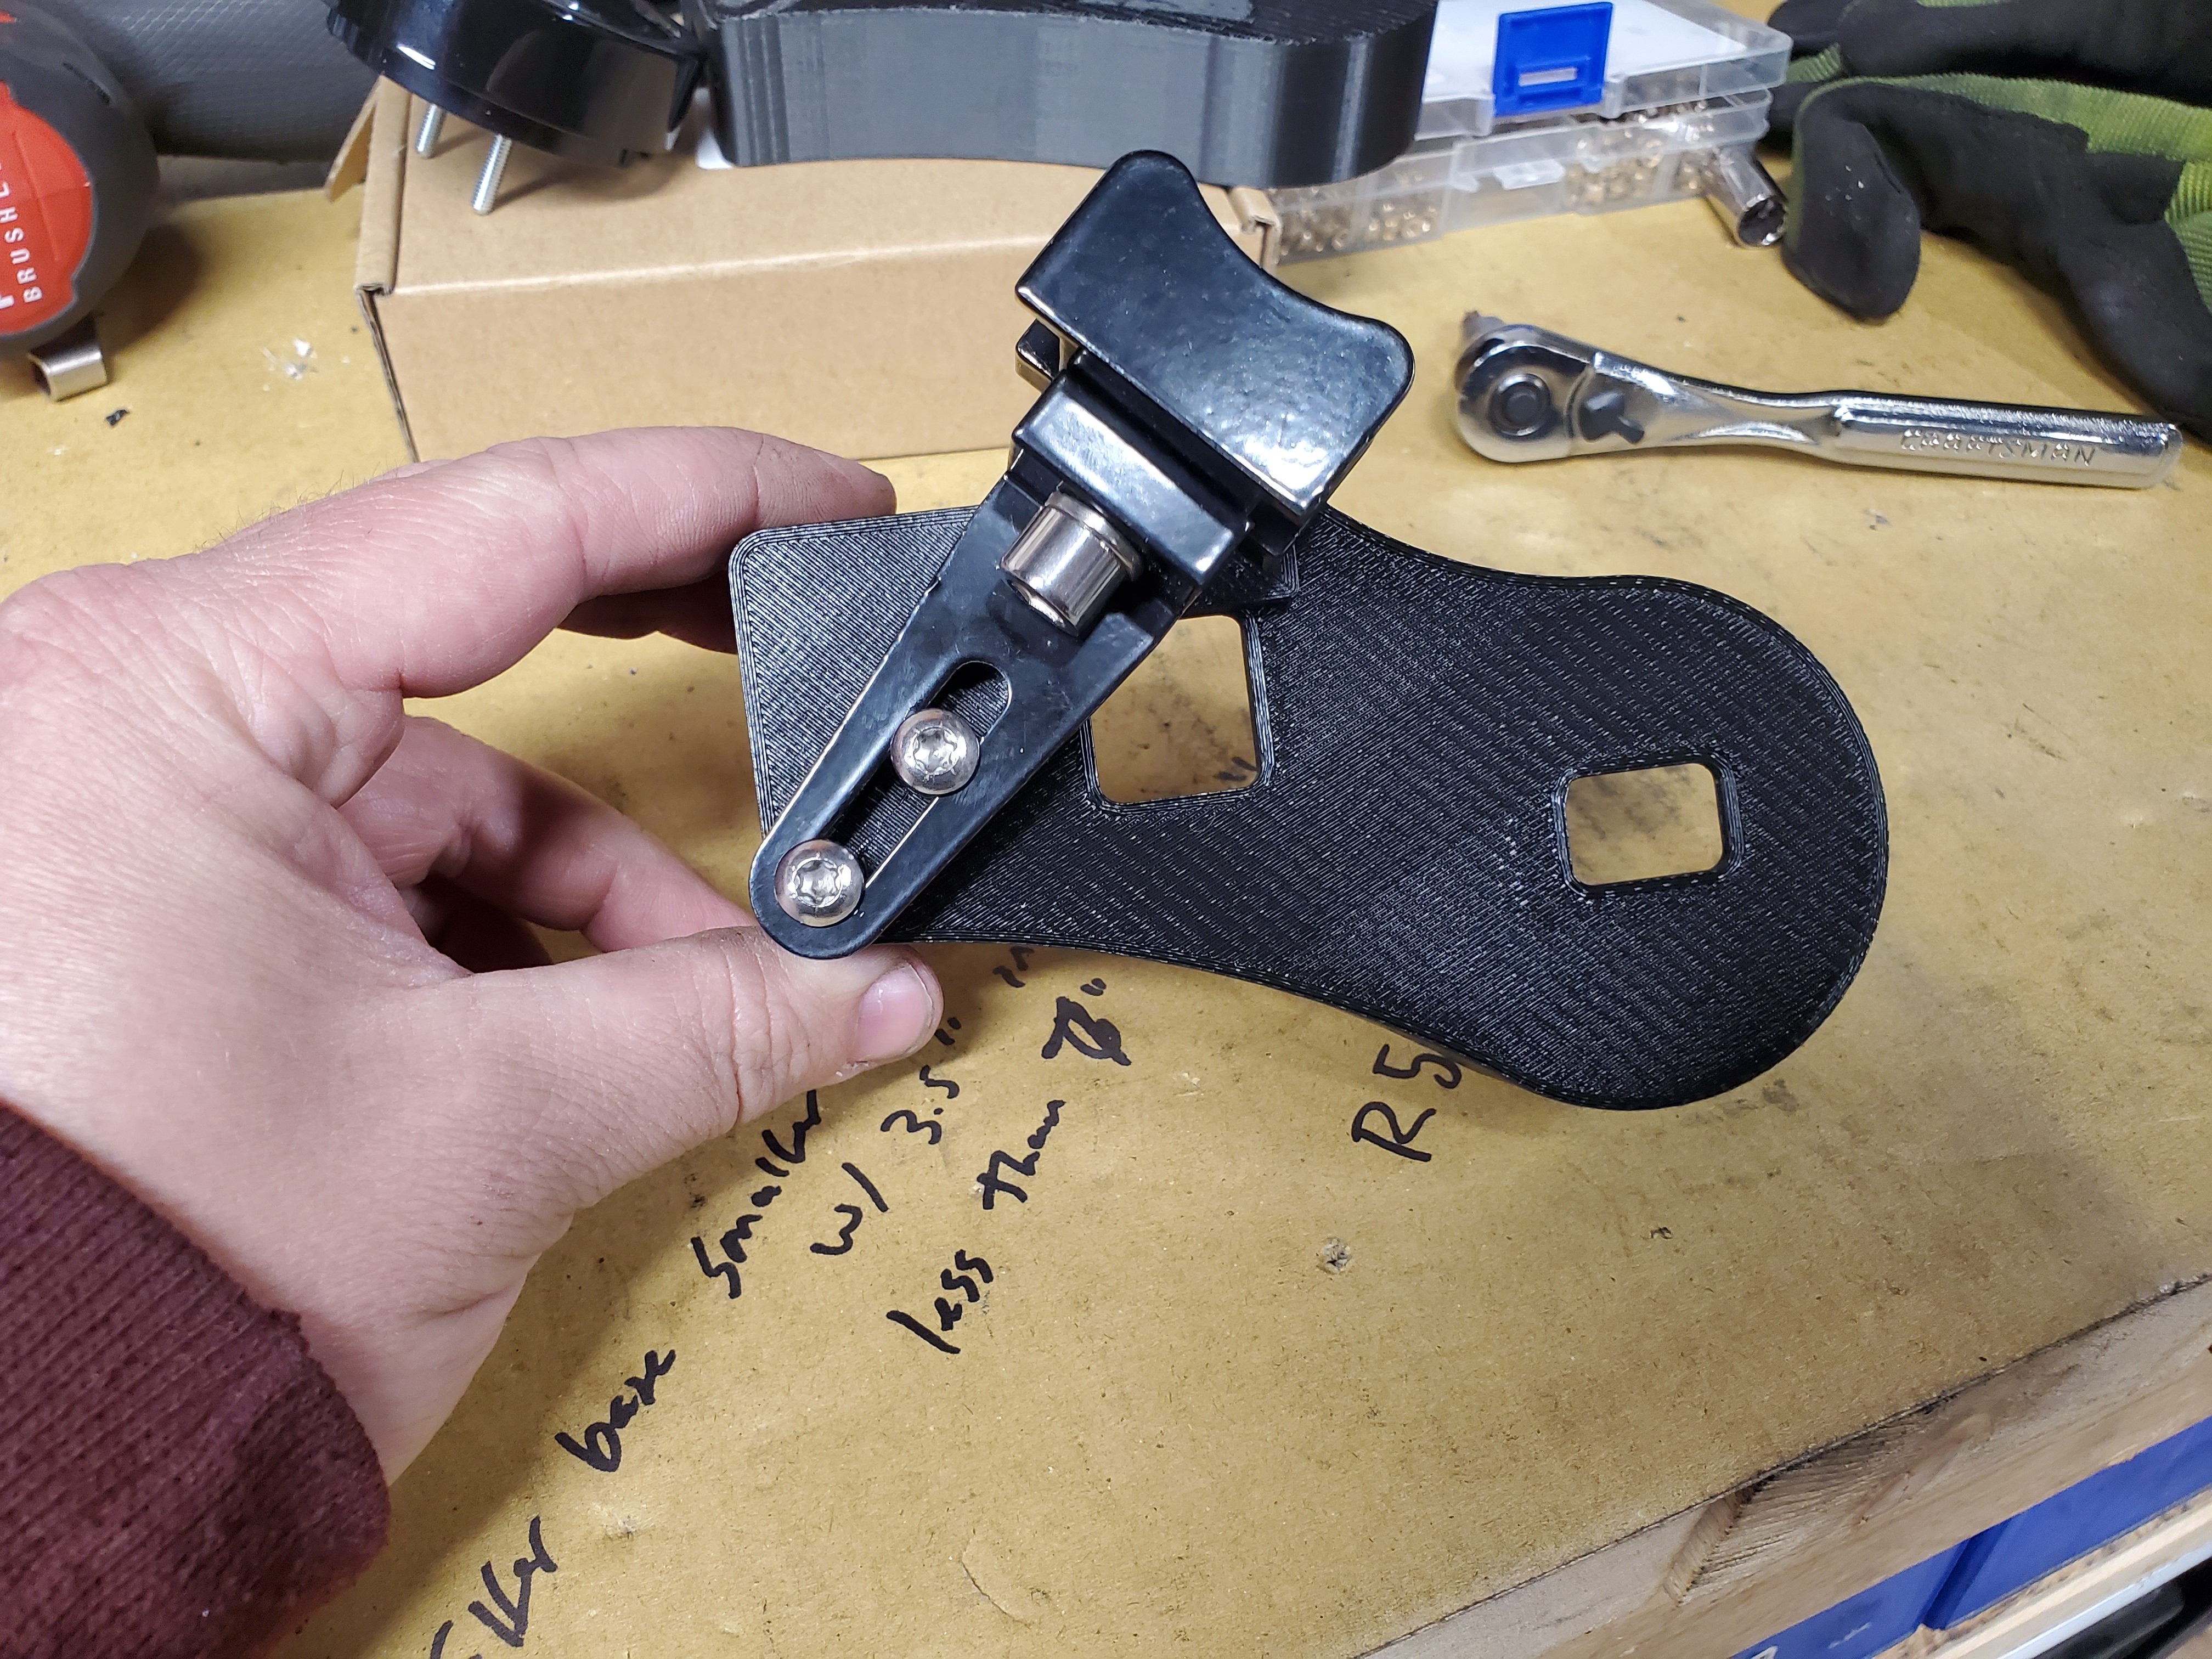
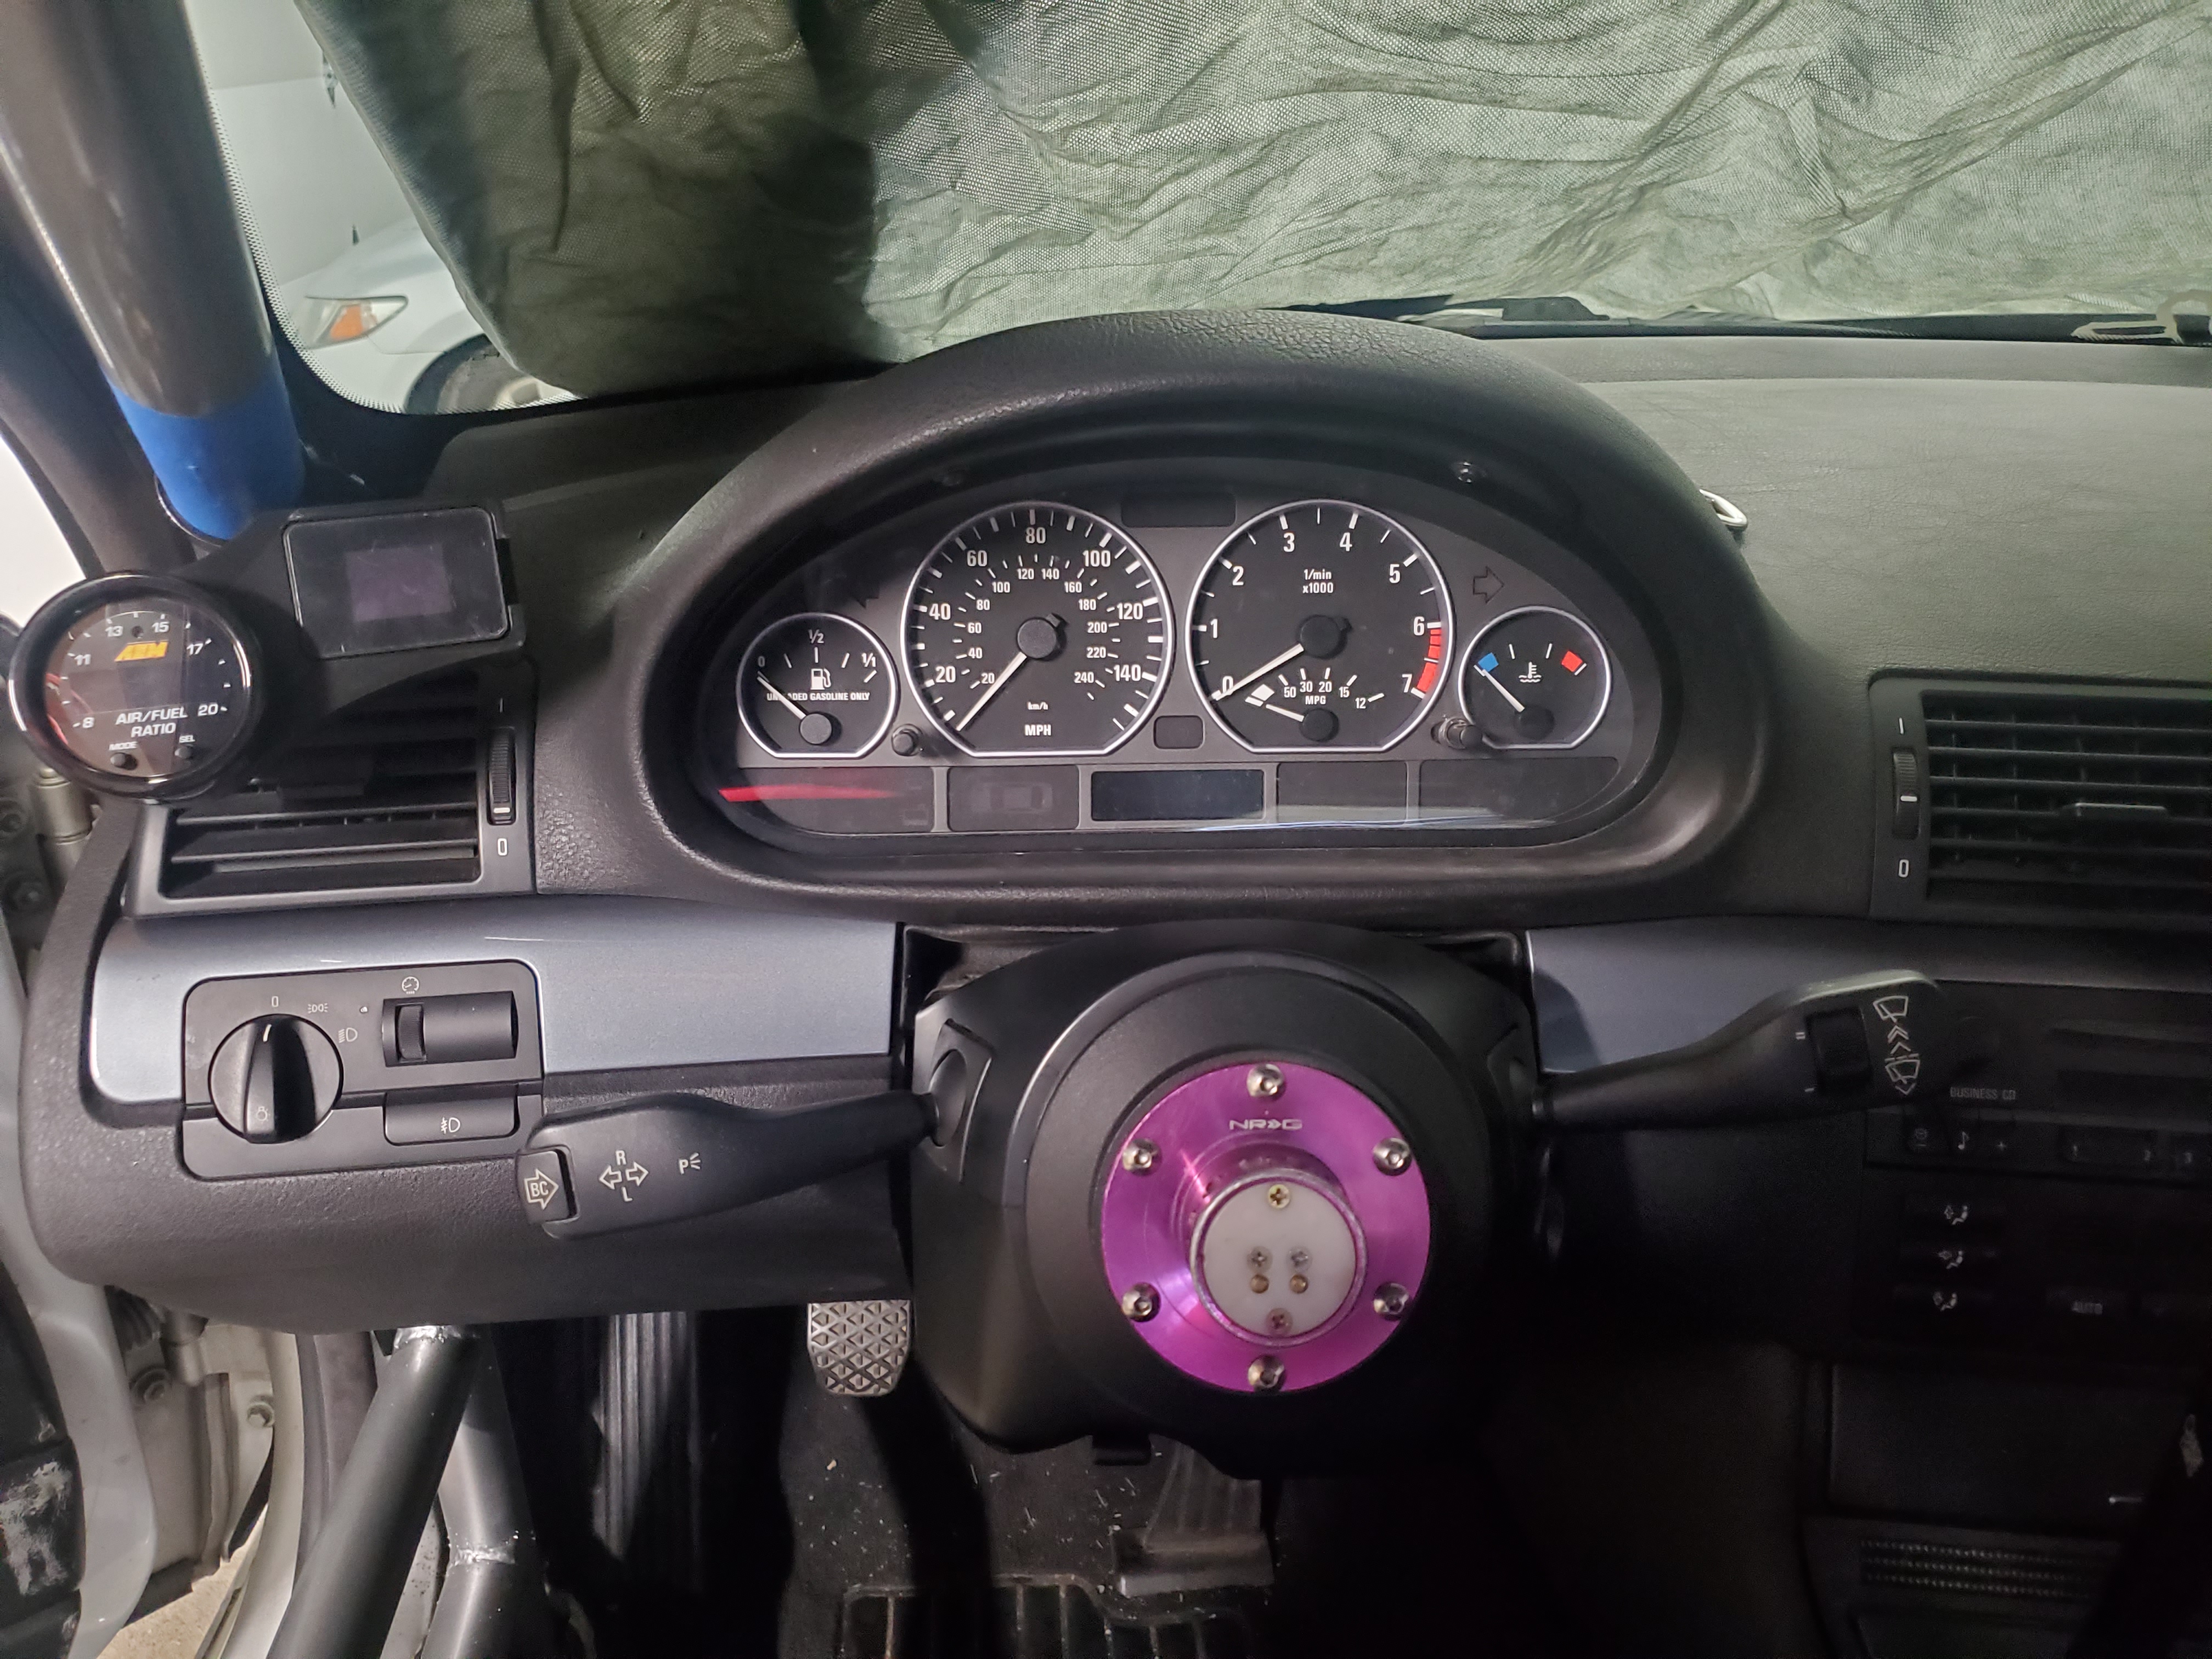
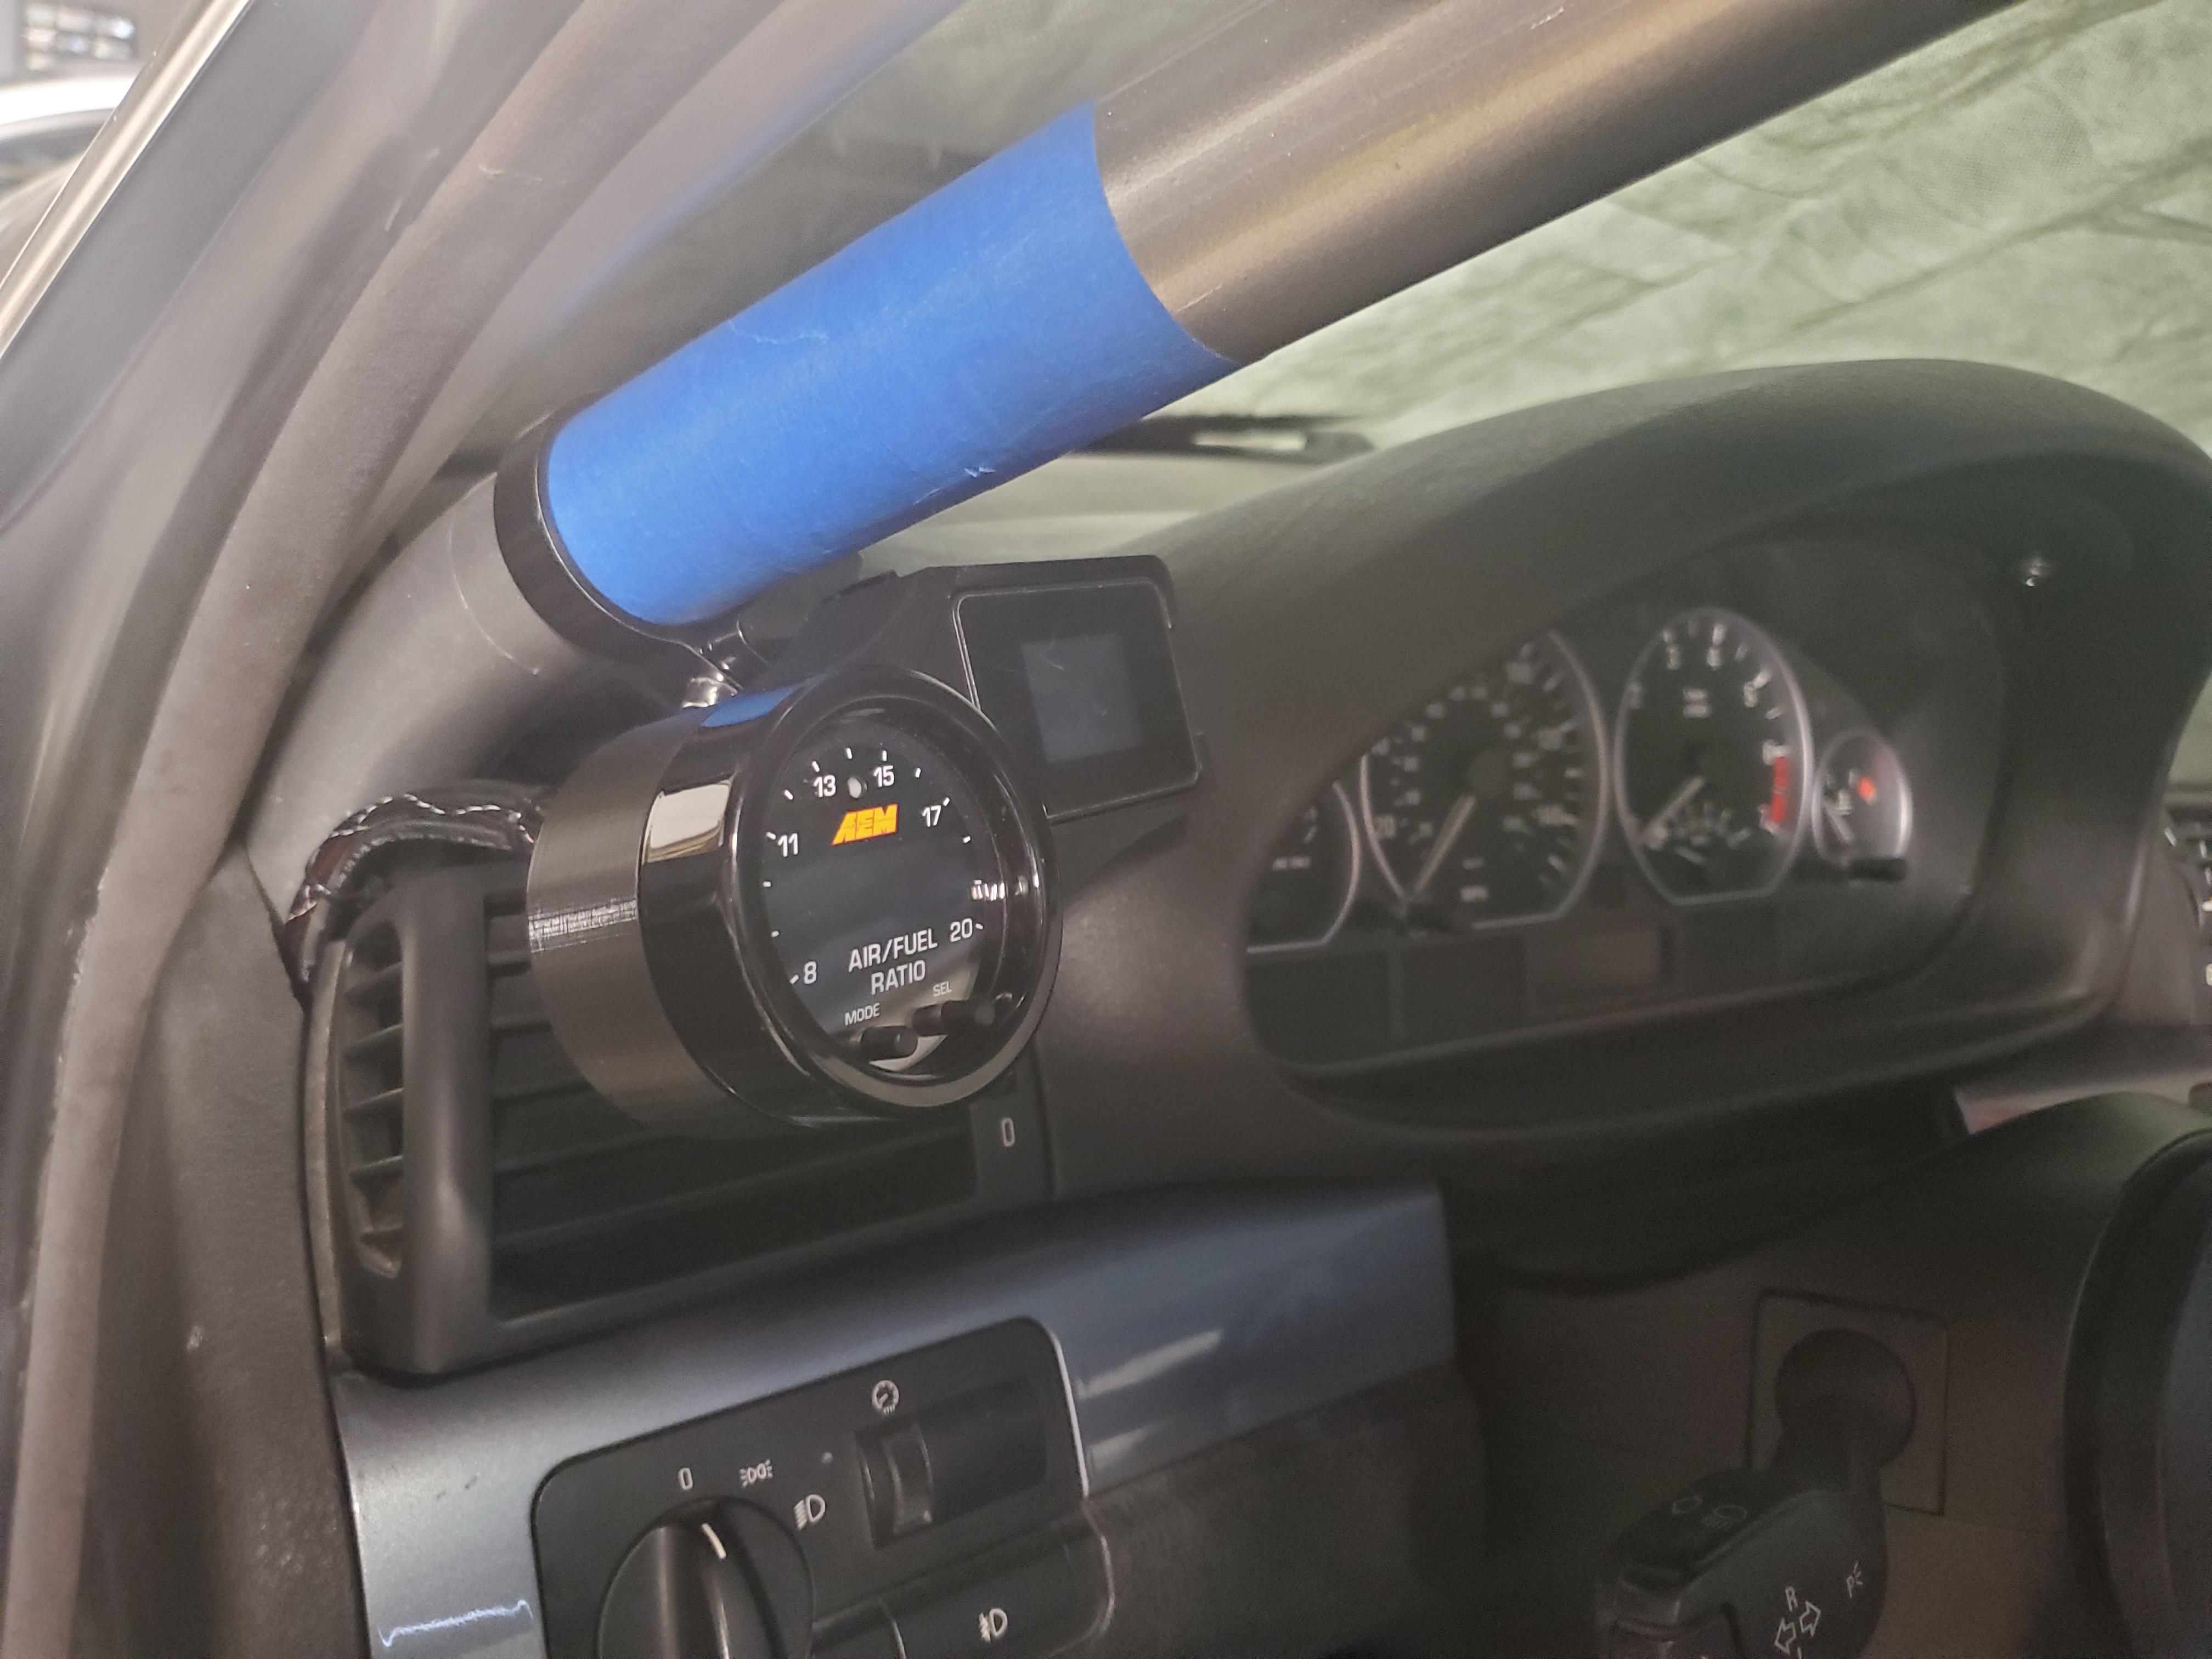
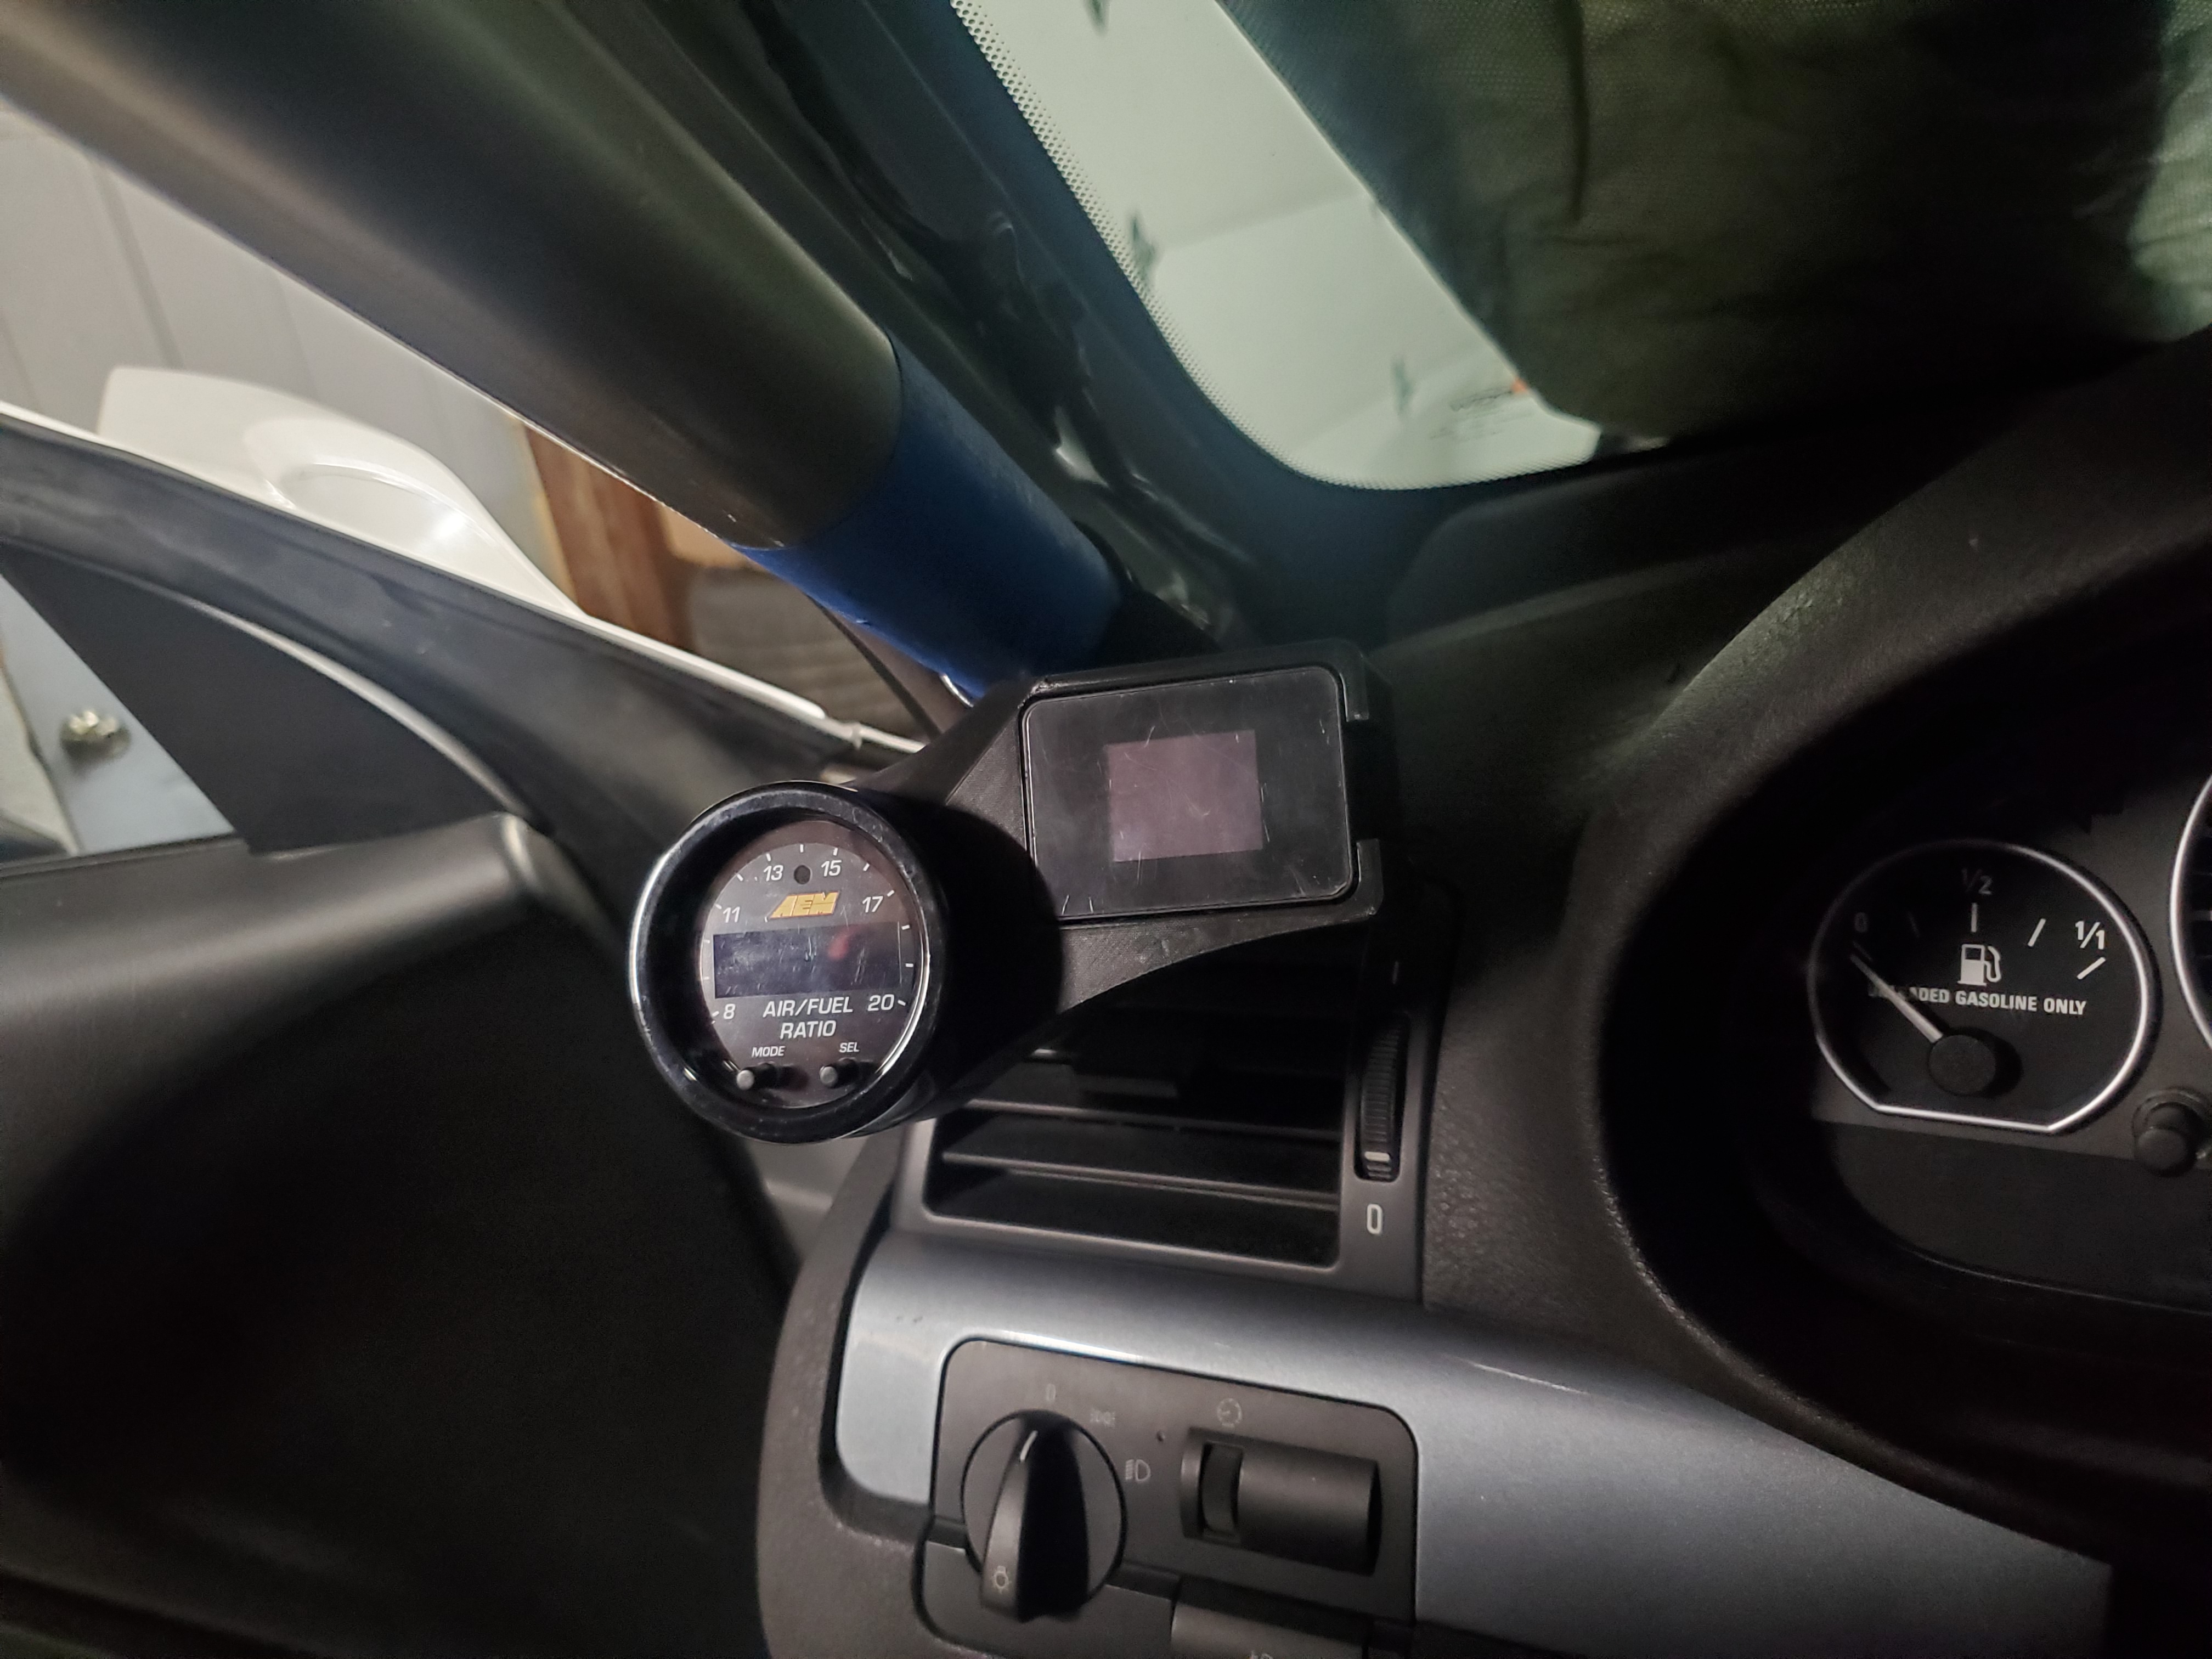
And finally something I have been working on that I am really excited about, I did not think I'd be drawing and printing this so soon but here is the custom gauge pod that I created to house the new wideband and also the PBM digital multi gauge I previously had in the center console.
I used a lightbar mount to mount it to the roll cage.
And here is is mounted!
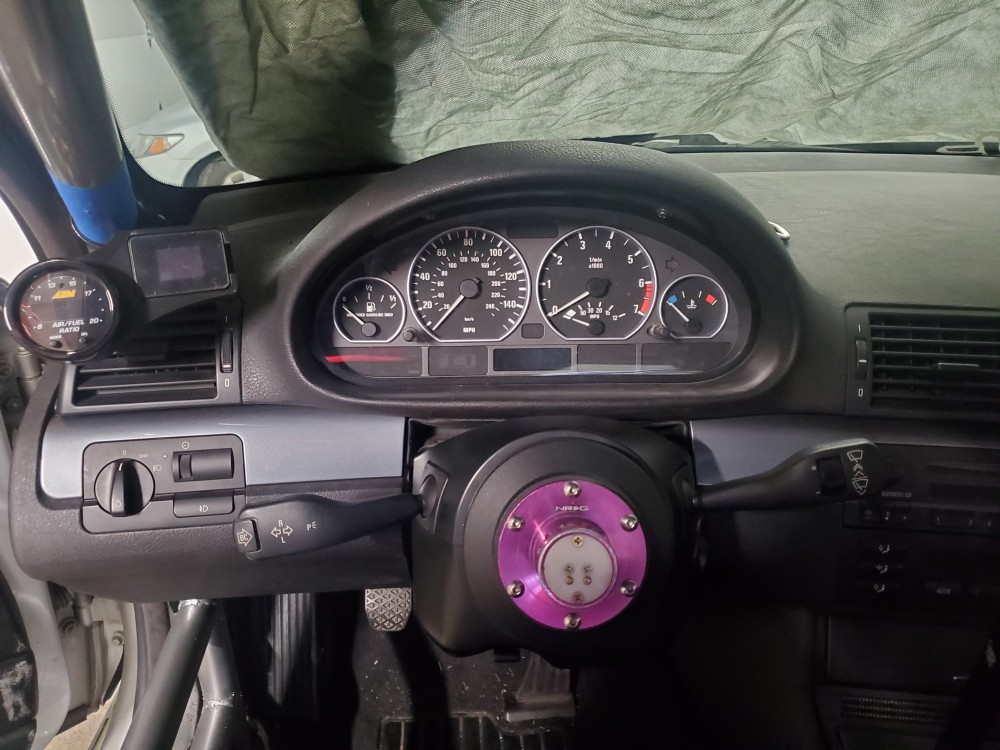
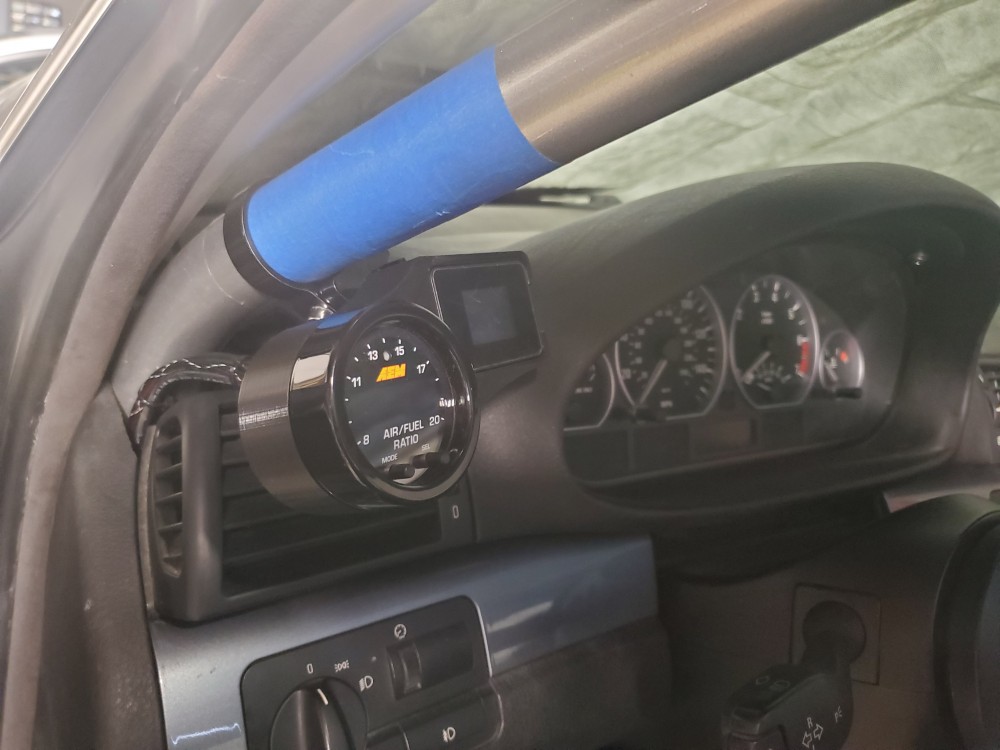
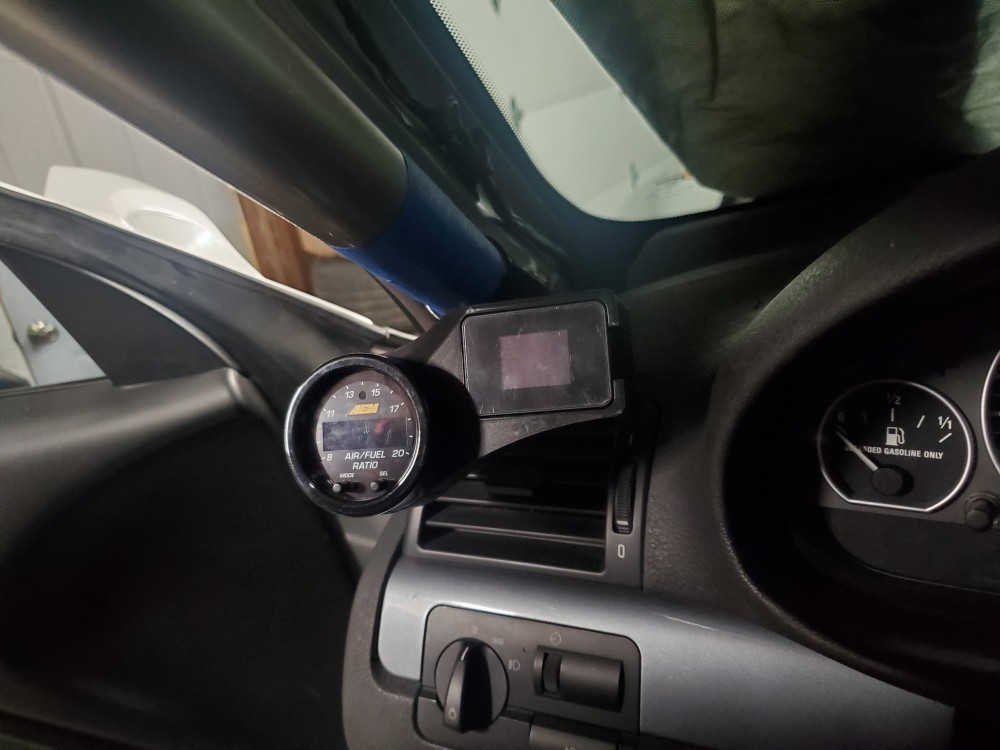
Some adjusting needs to be done yet but I am excited with the result for now!
Hopefully I will get time to install the new fuel pump and get the first start up out of the way this weekend!
-
UPDATE
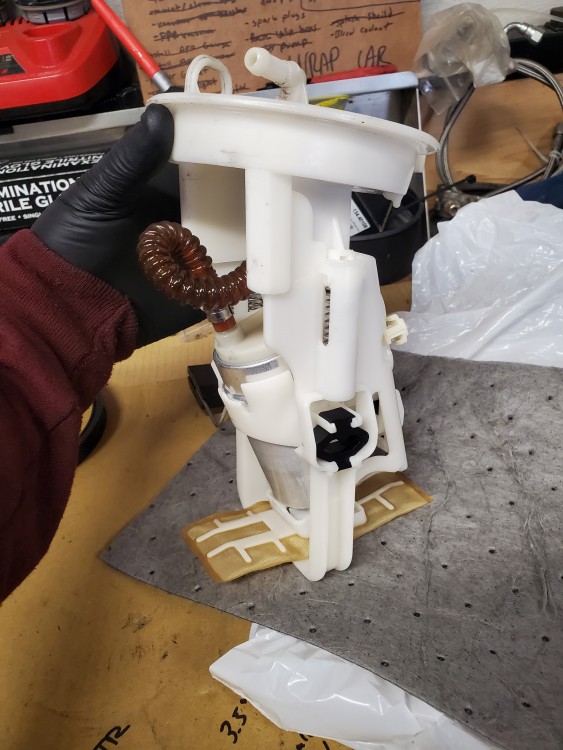
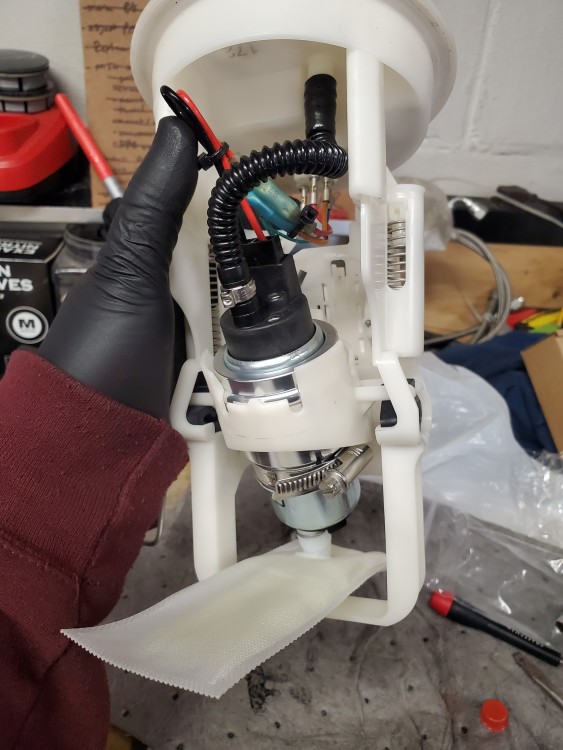
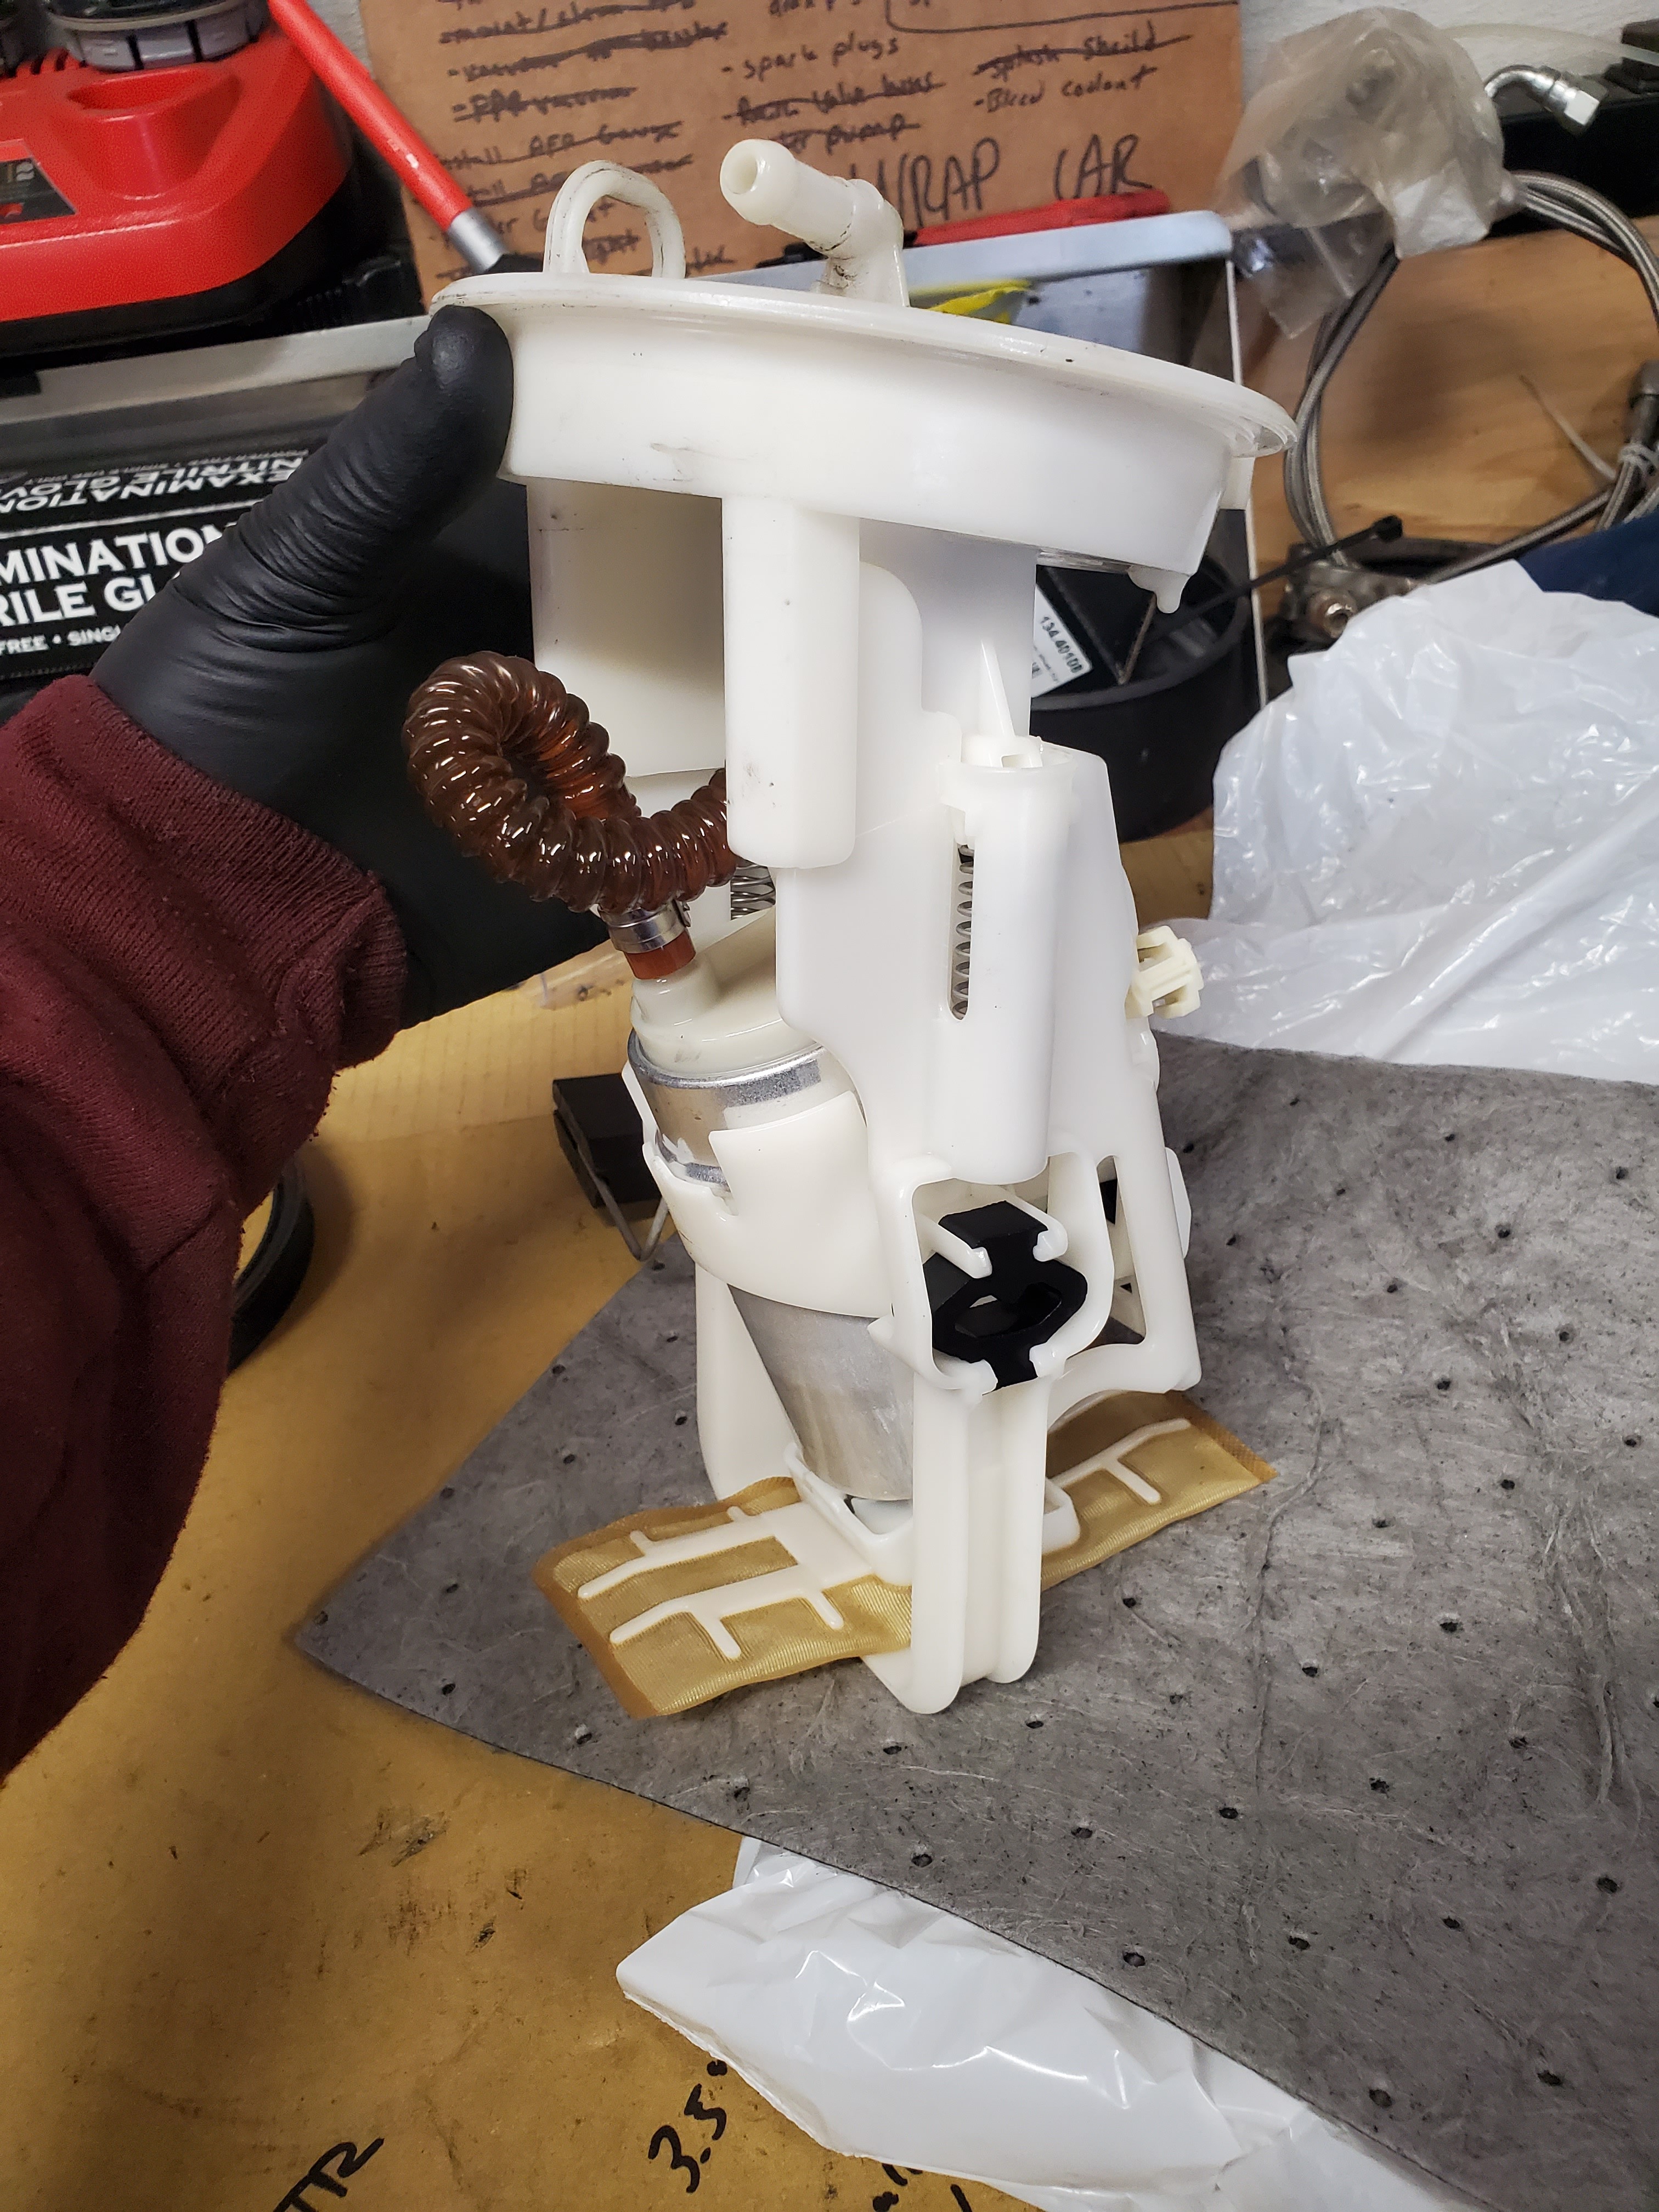
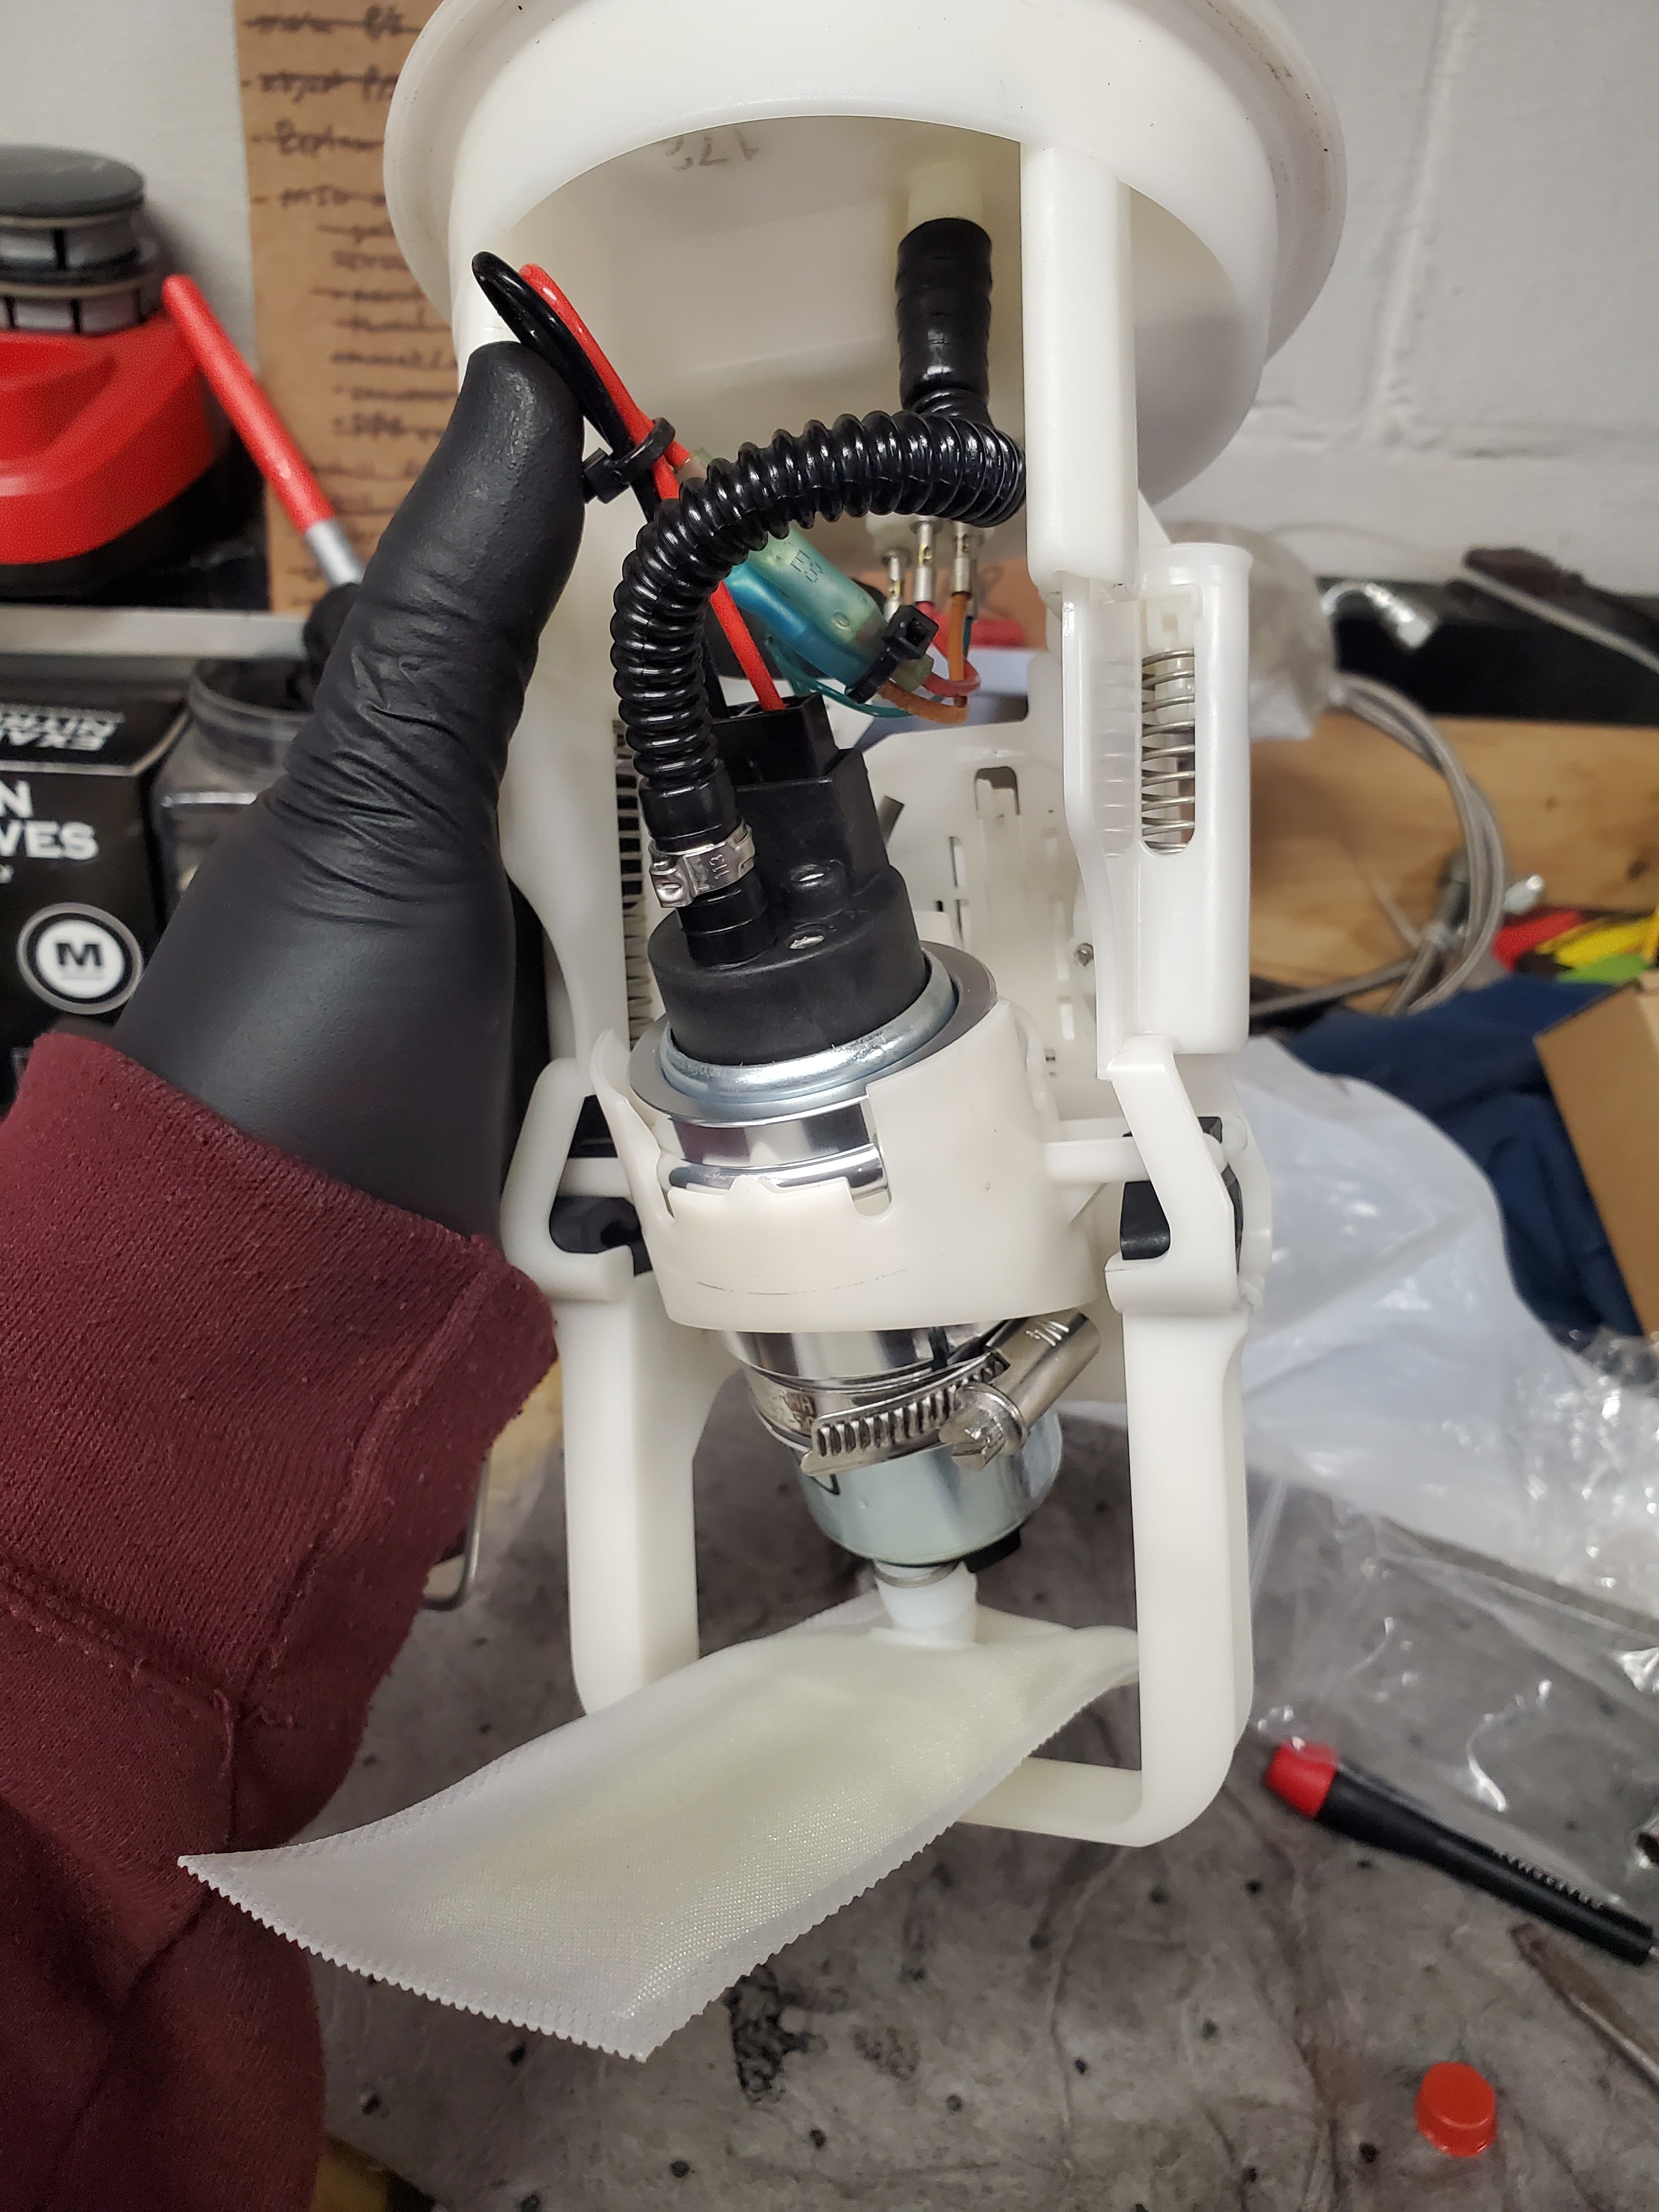
Got the fuel pump hanger out of the car and replaced the stock fuel pump.
Original.
And here is the DW200 mounted with the rally road fuel pump sleeve. The install kit and sleeve made for a really nice install.
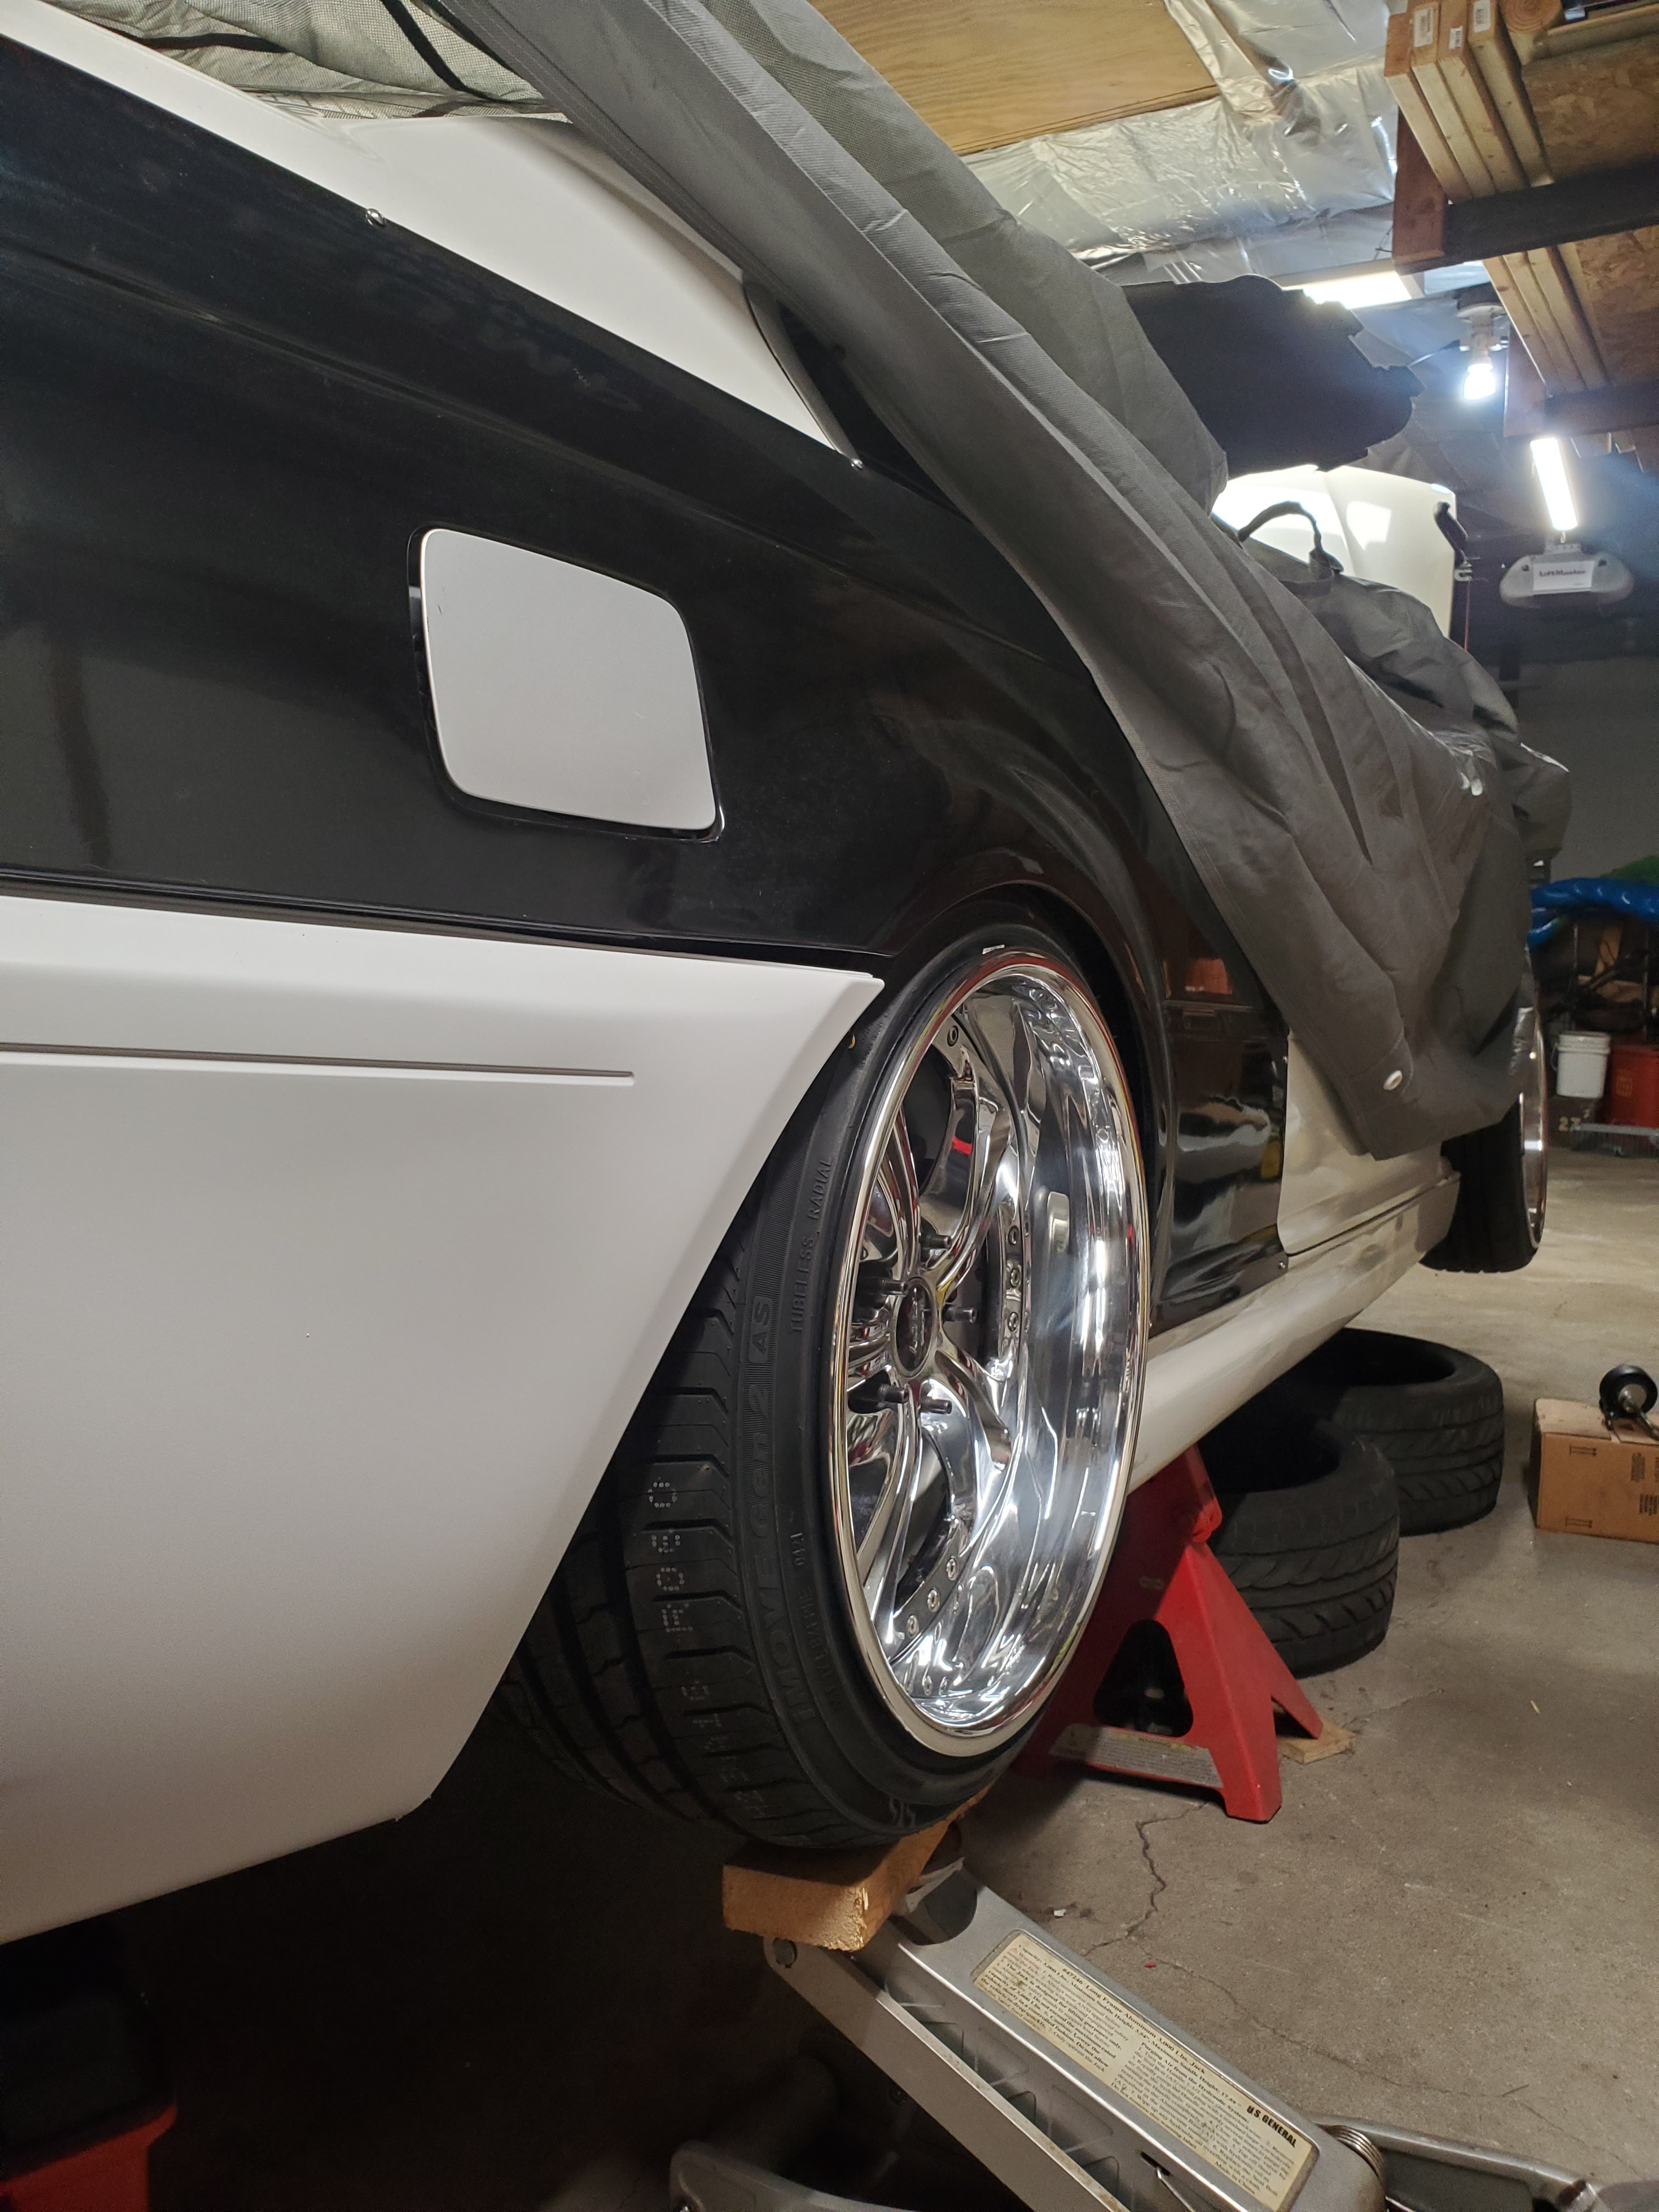
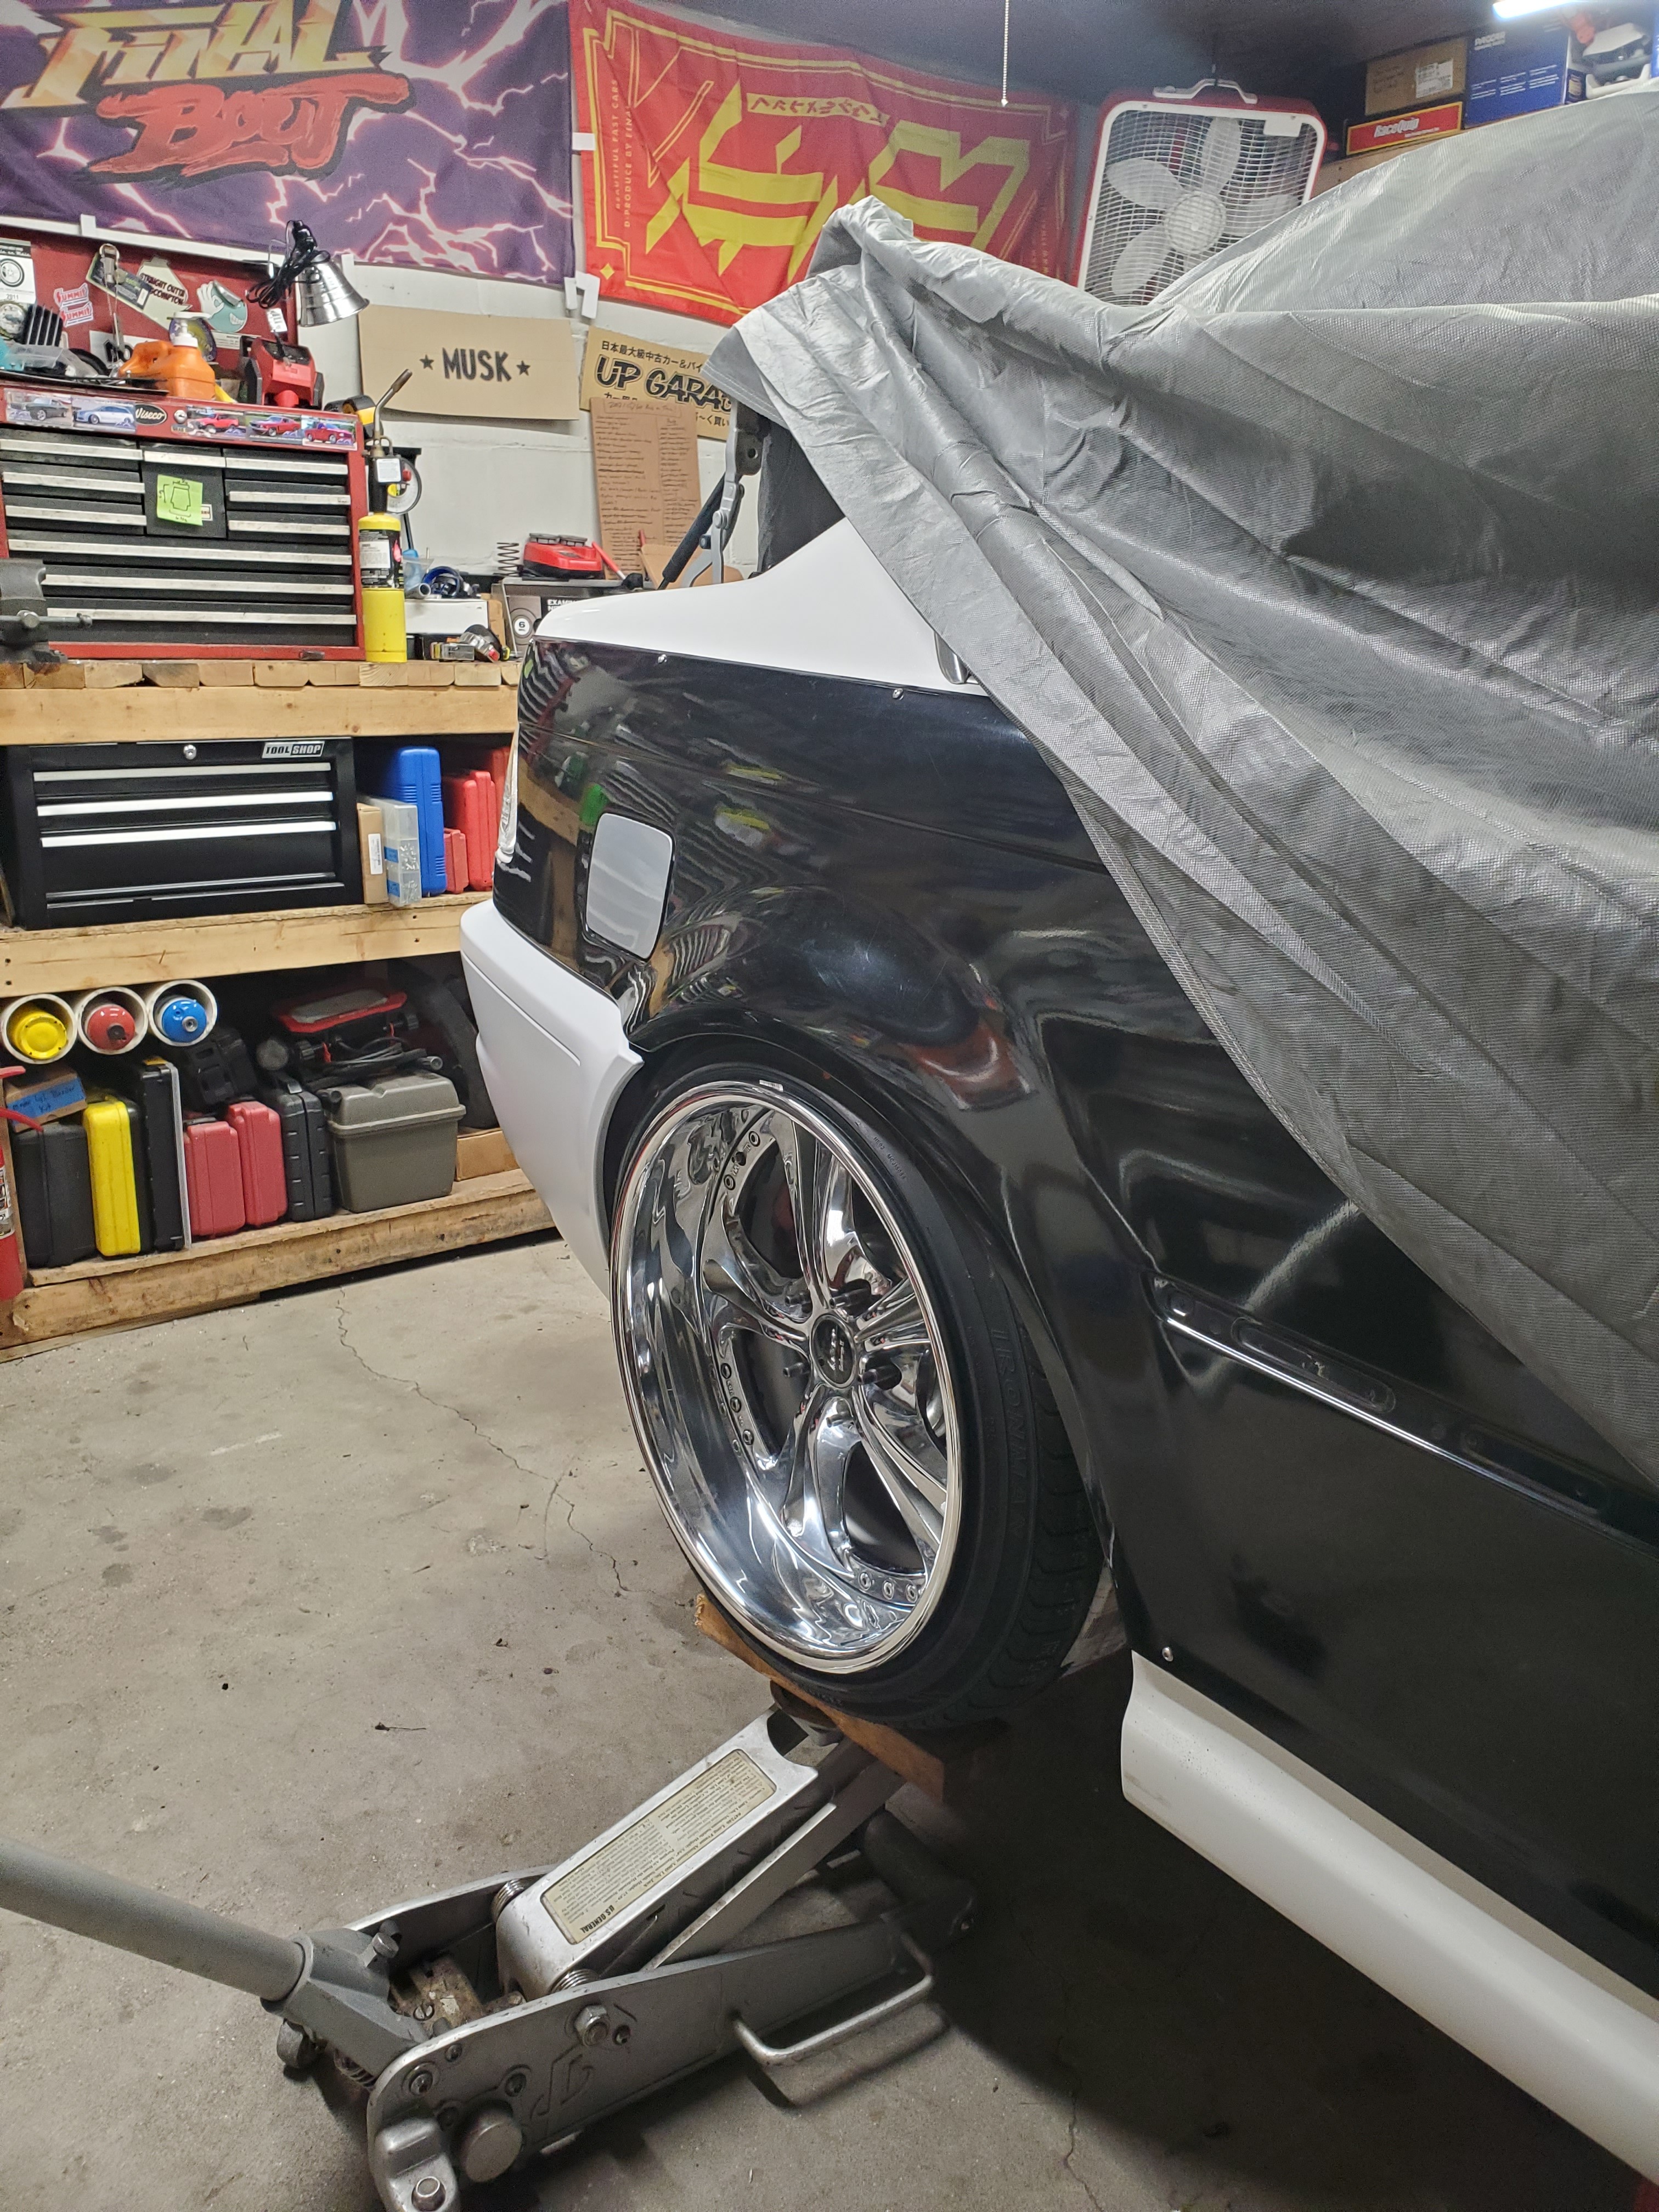
I also was able to get my steering tires swapped to the new steering wheels along with some tires mounted for the rears.
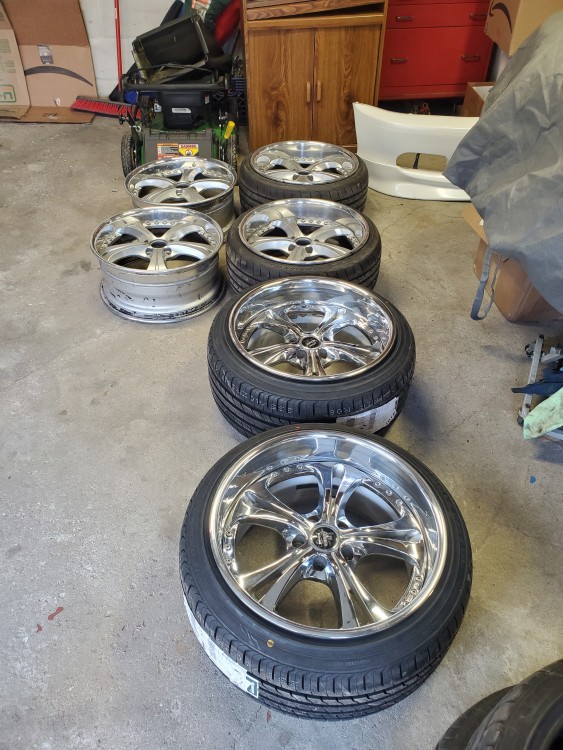
New rear fitment is exciting as well haha
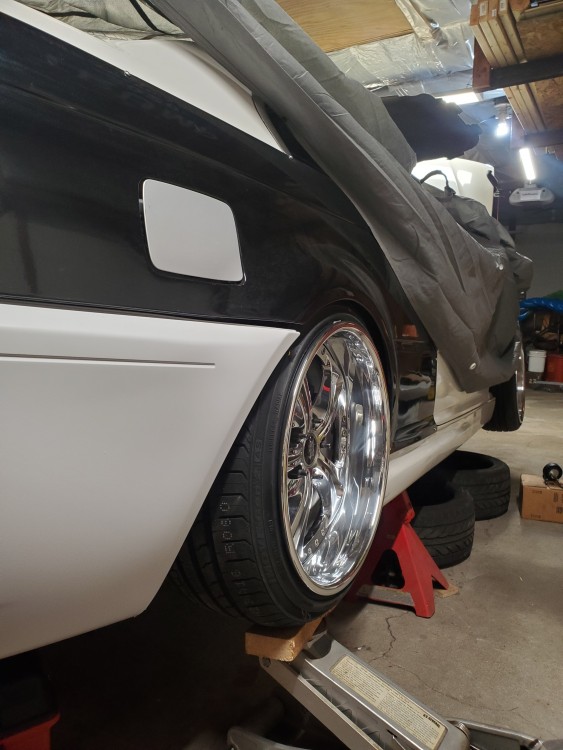
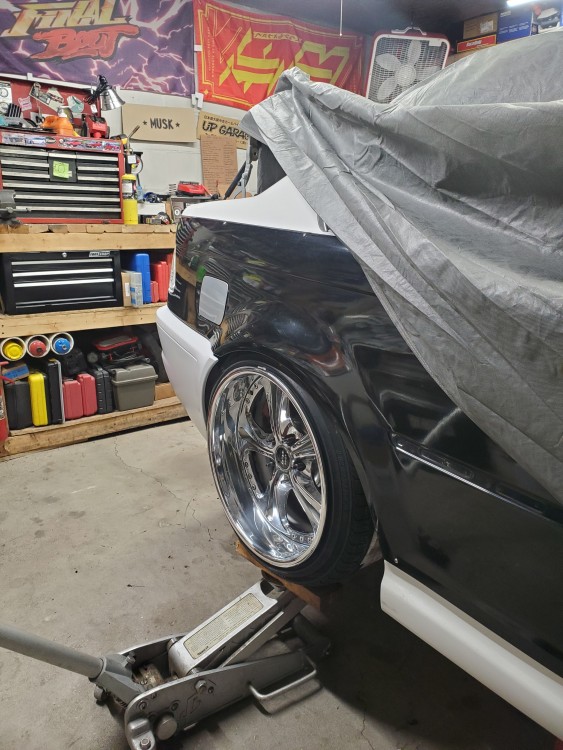
AND FINALLY!
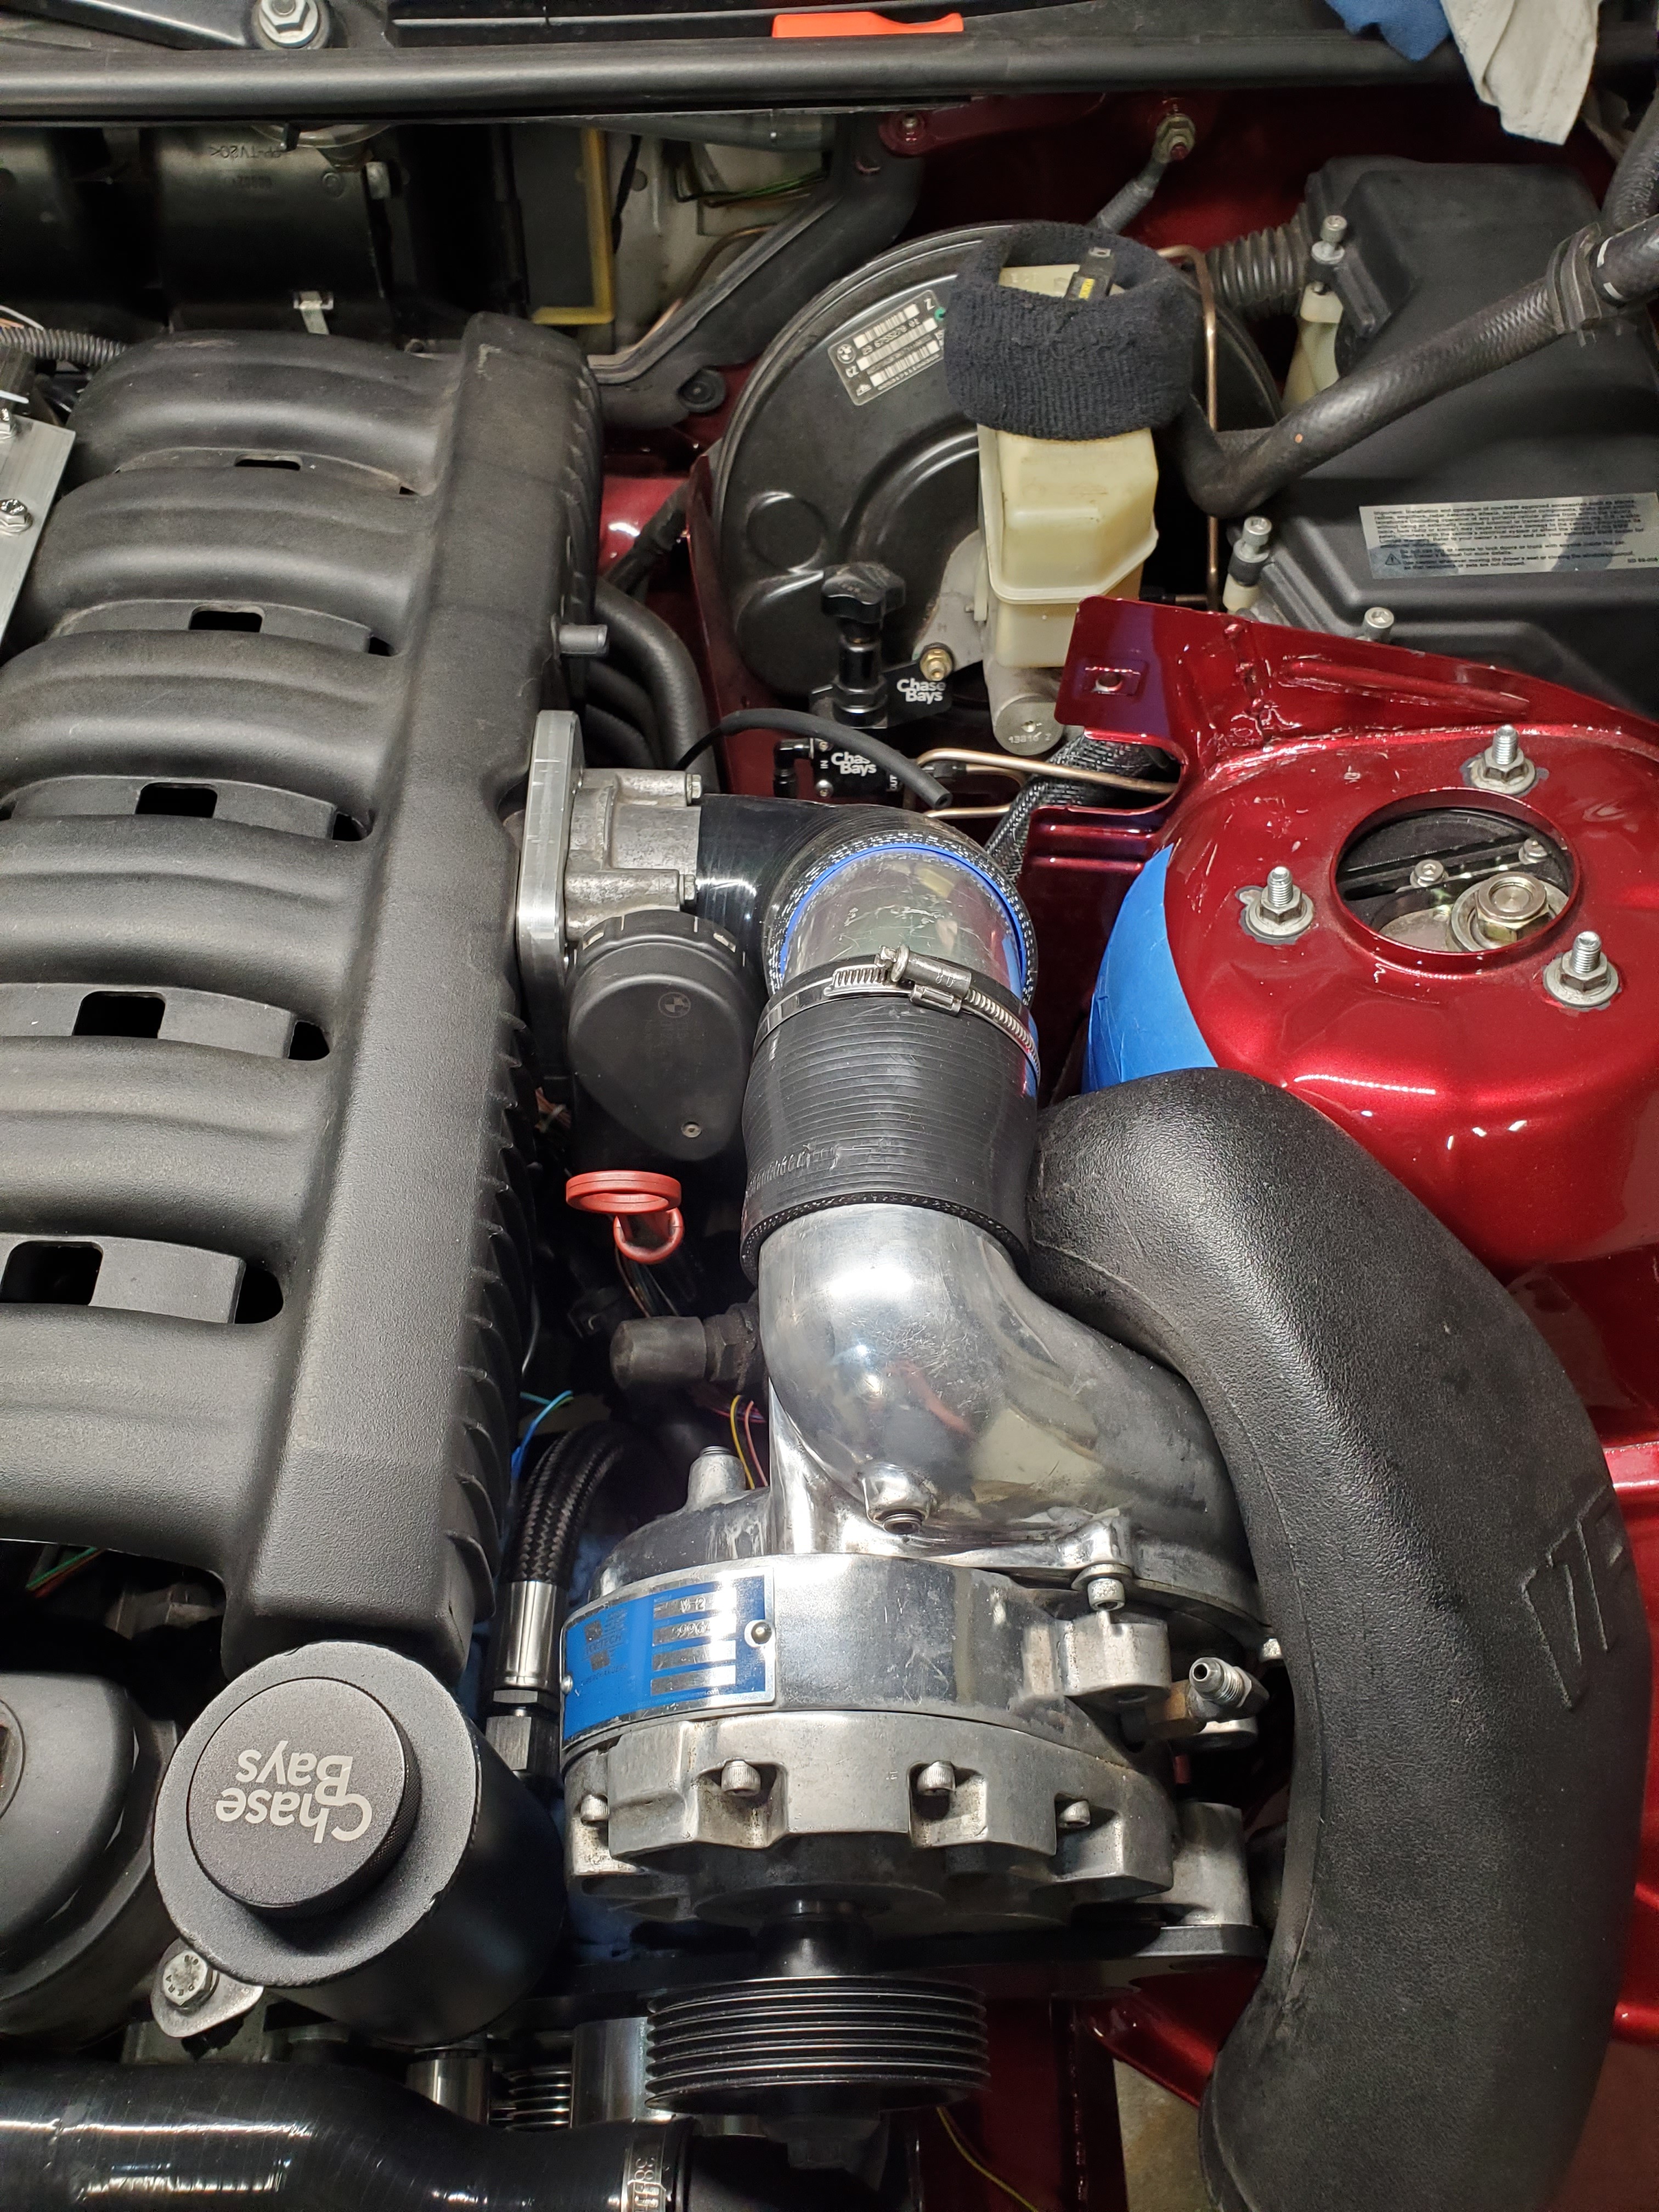
I changed the oil and filter, filled up the power steering and then went for first start up!
Everything seems to be working as it should although the belt jumped inward one rib on the charger pulley. I believe there is a spacer that I can take out even though it looks lined up. Still need to do some digging there but it fired up and idled well with good AFRs.
-
Small UPDATE
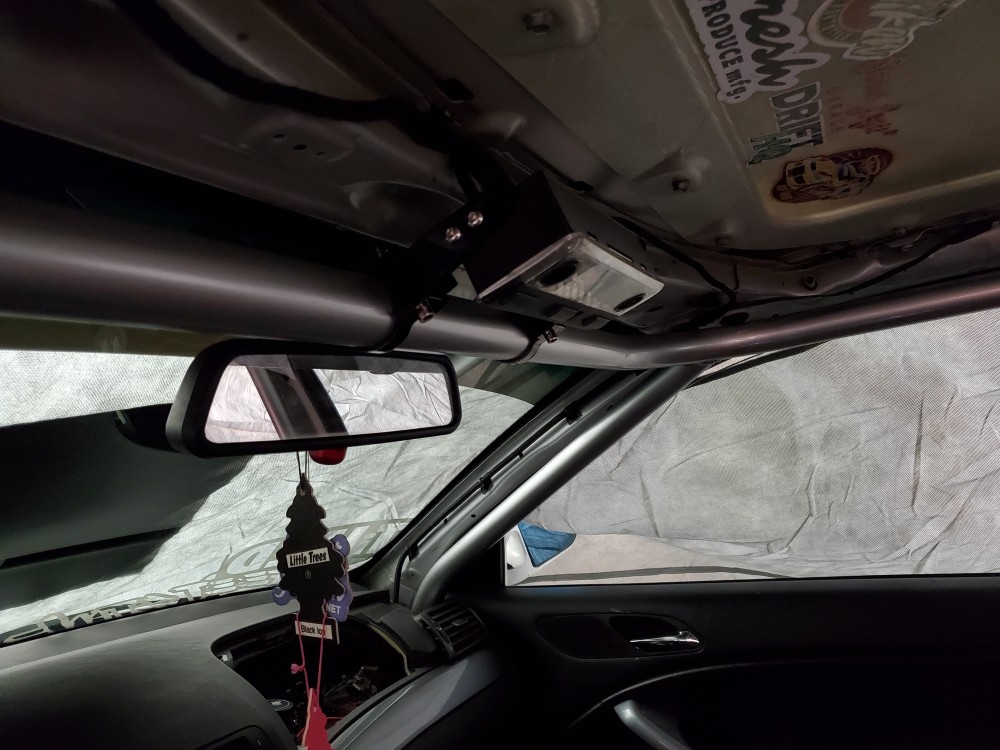
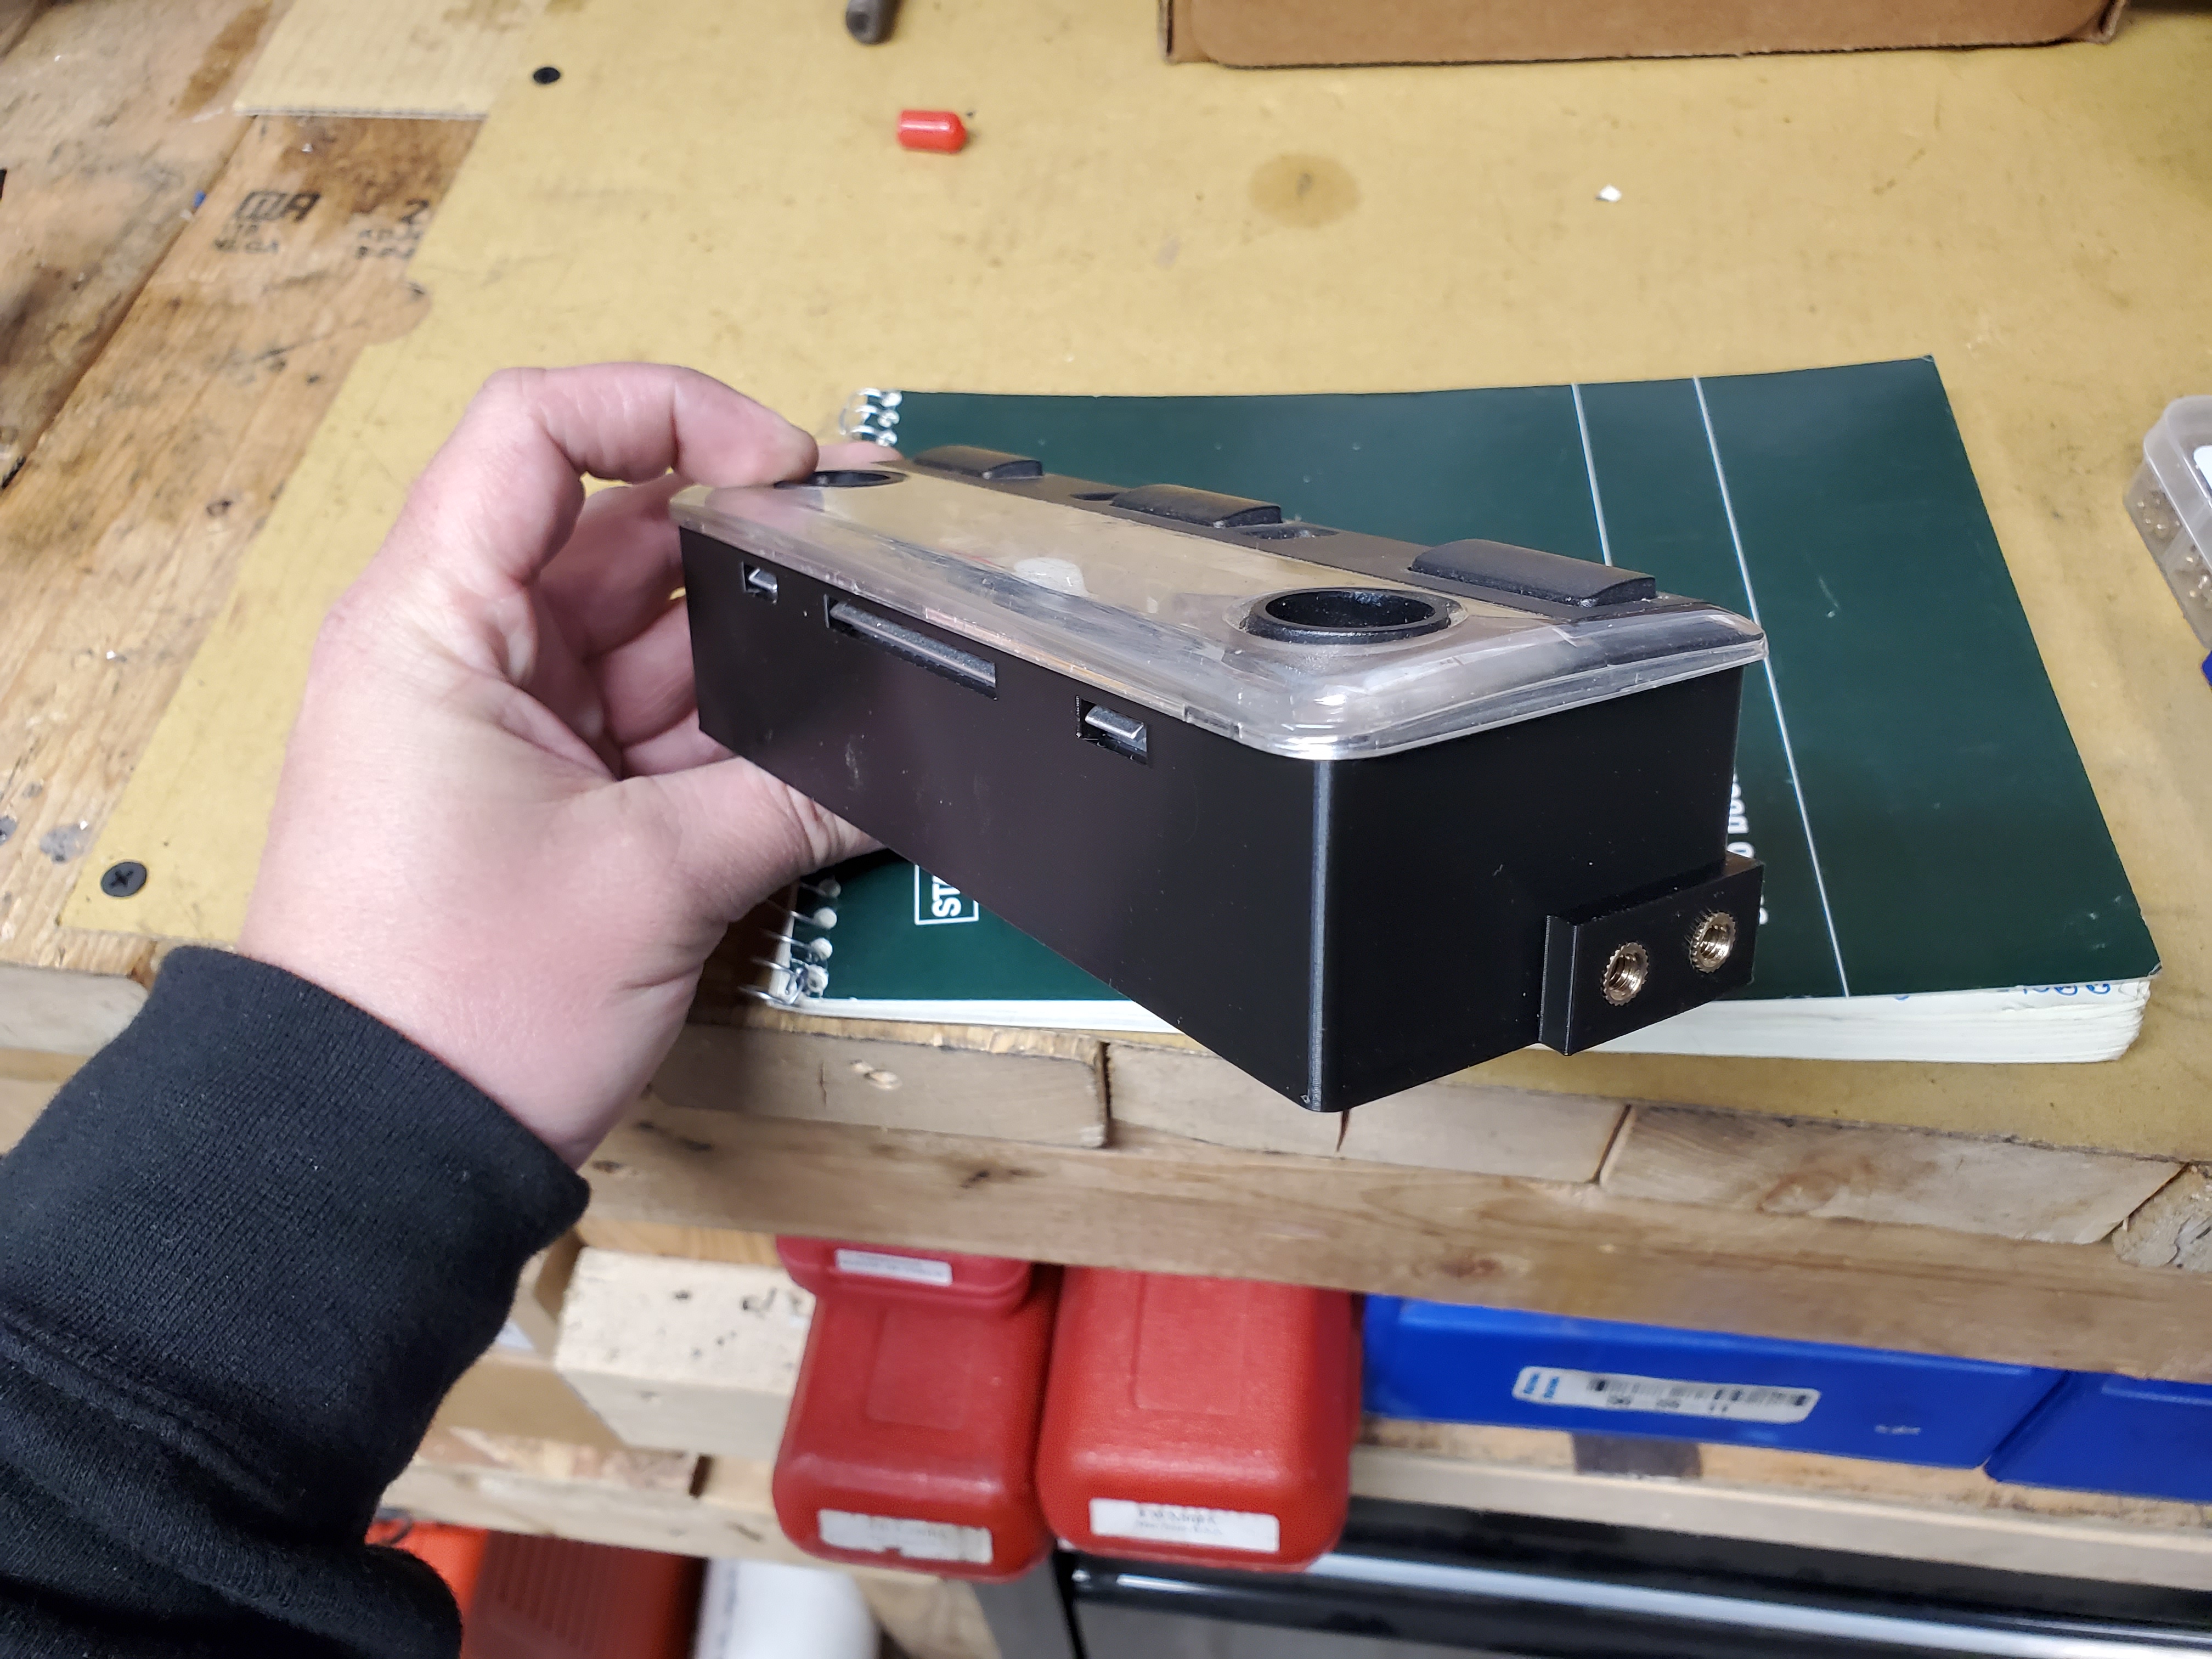
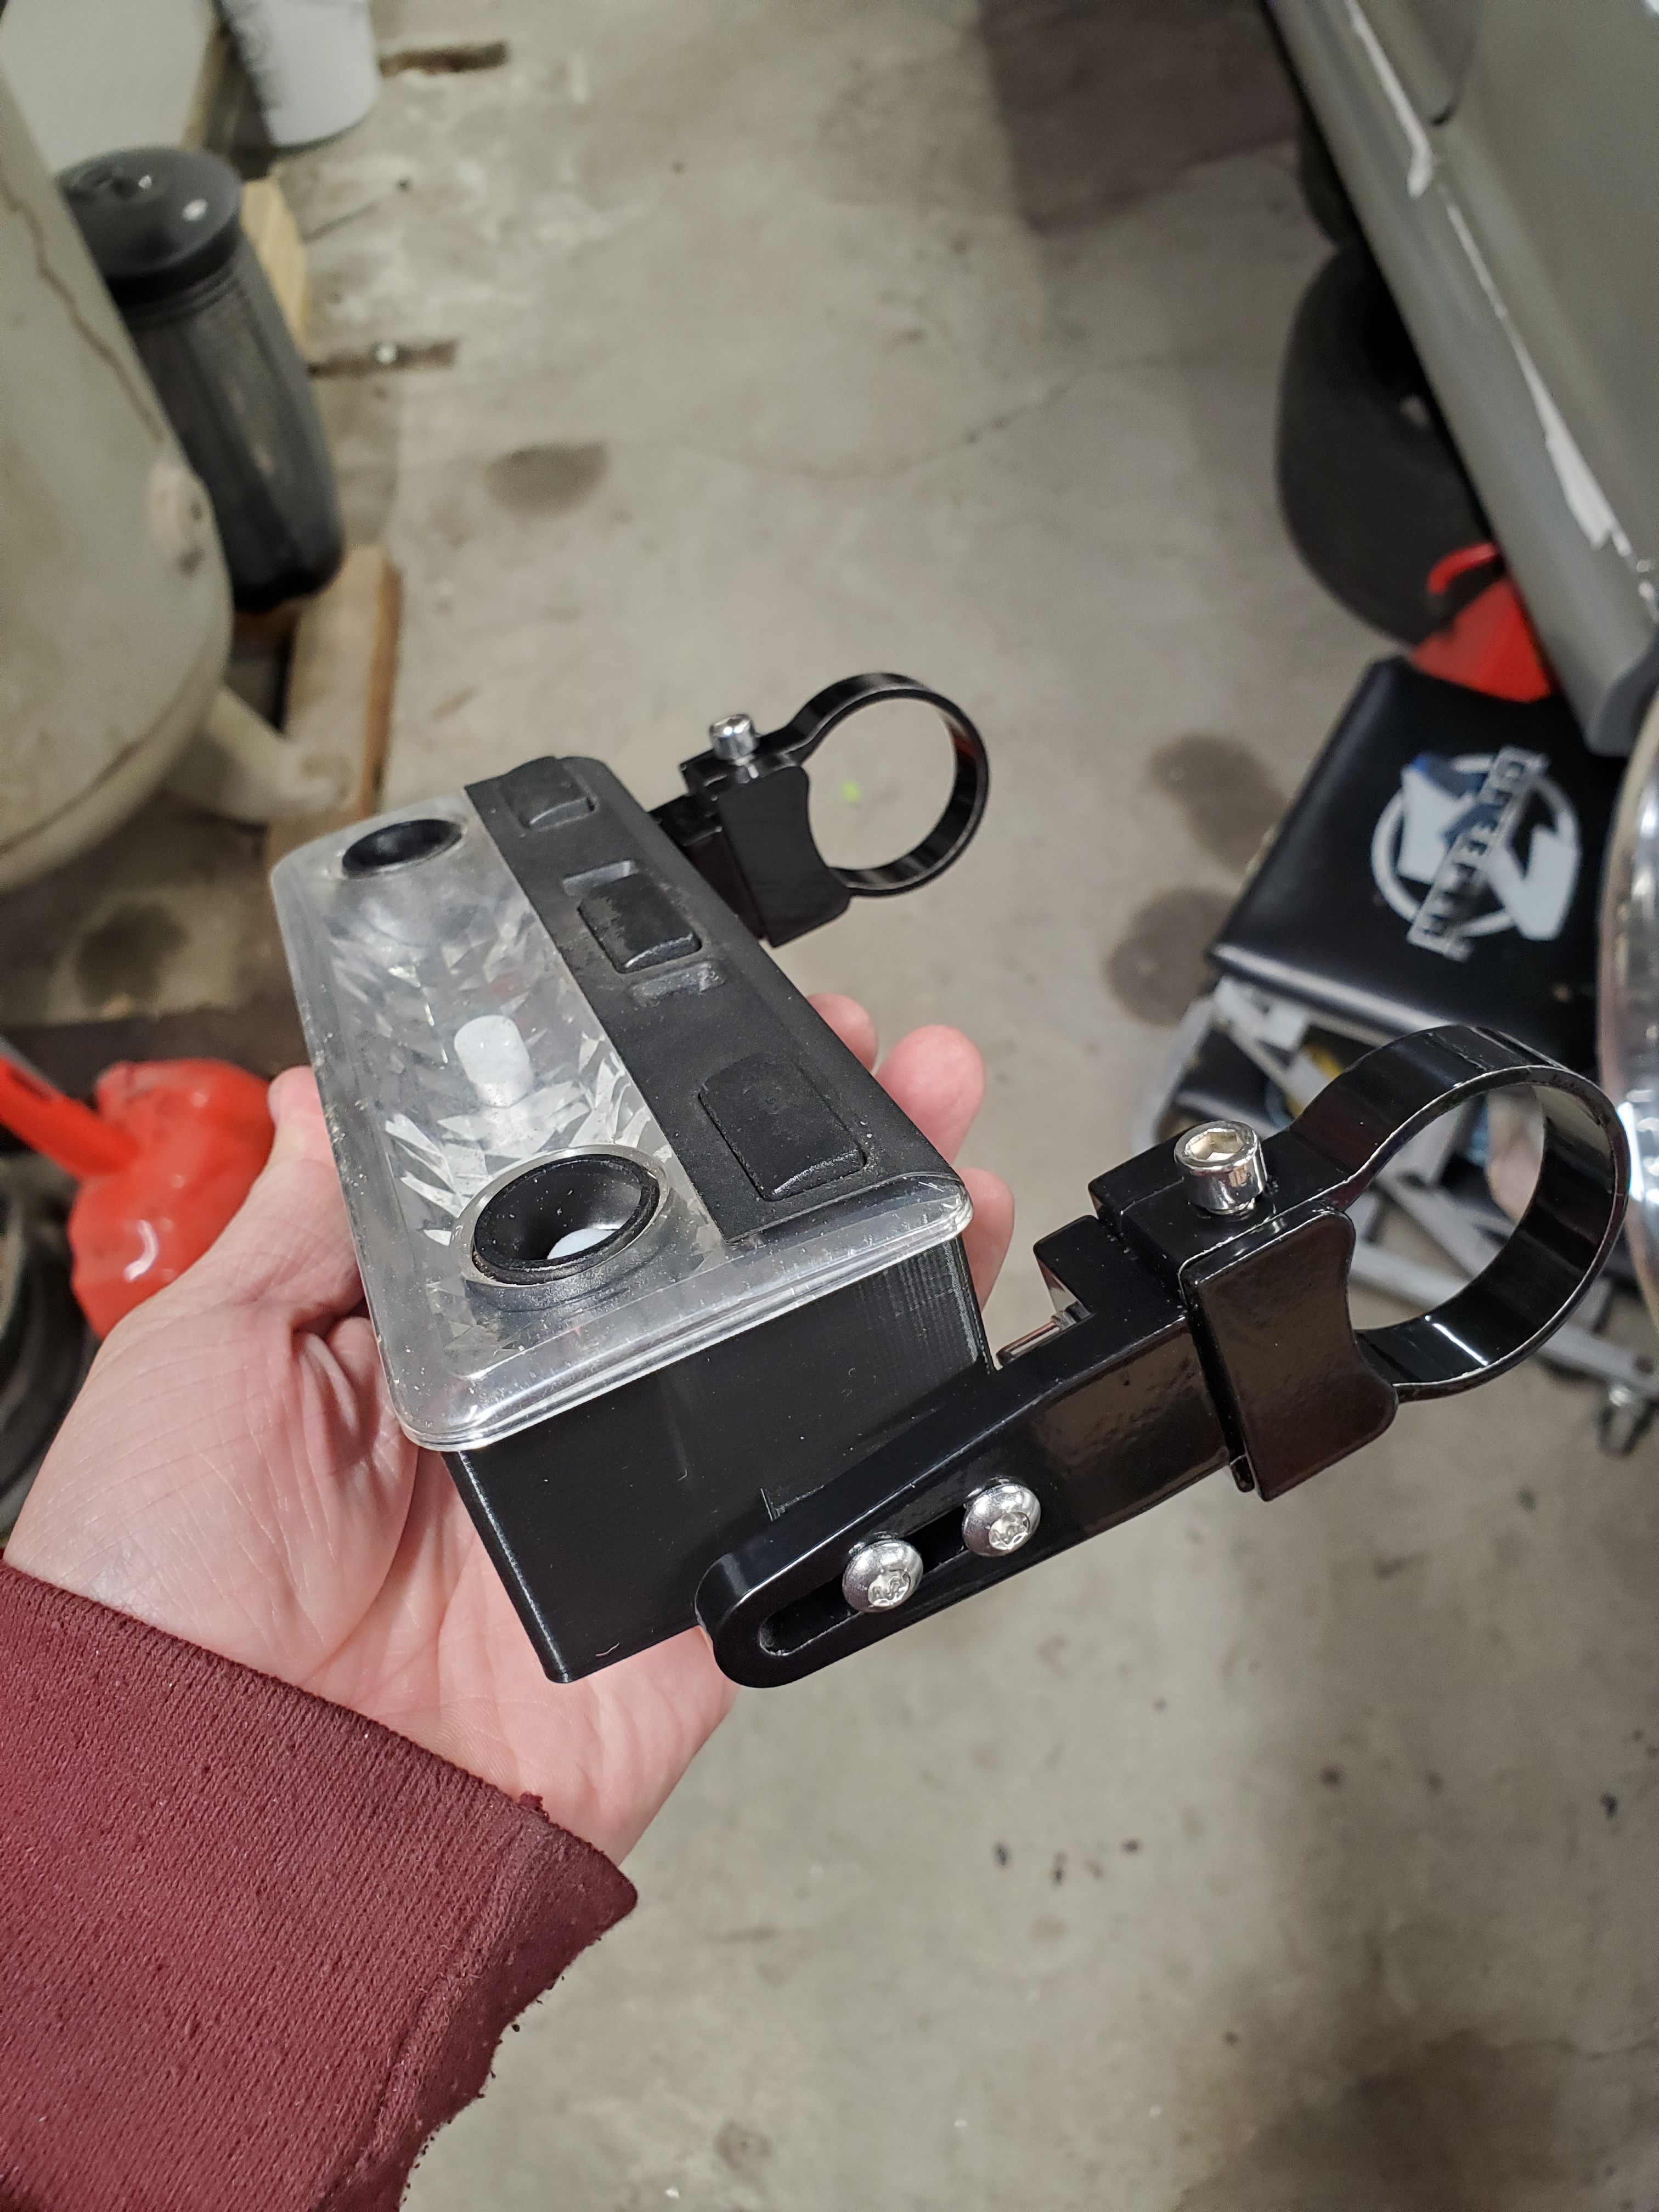
The whole no dome light thing has been bothering me ever since the first attempt at Sam designing and 3D printing a housing didn't work out and fell to the wayside respectively.
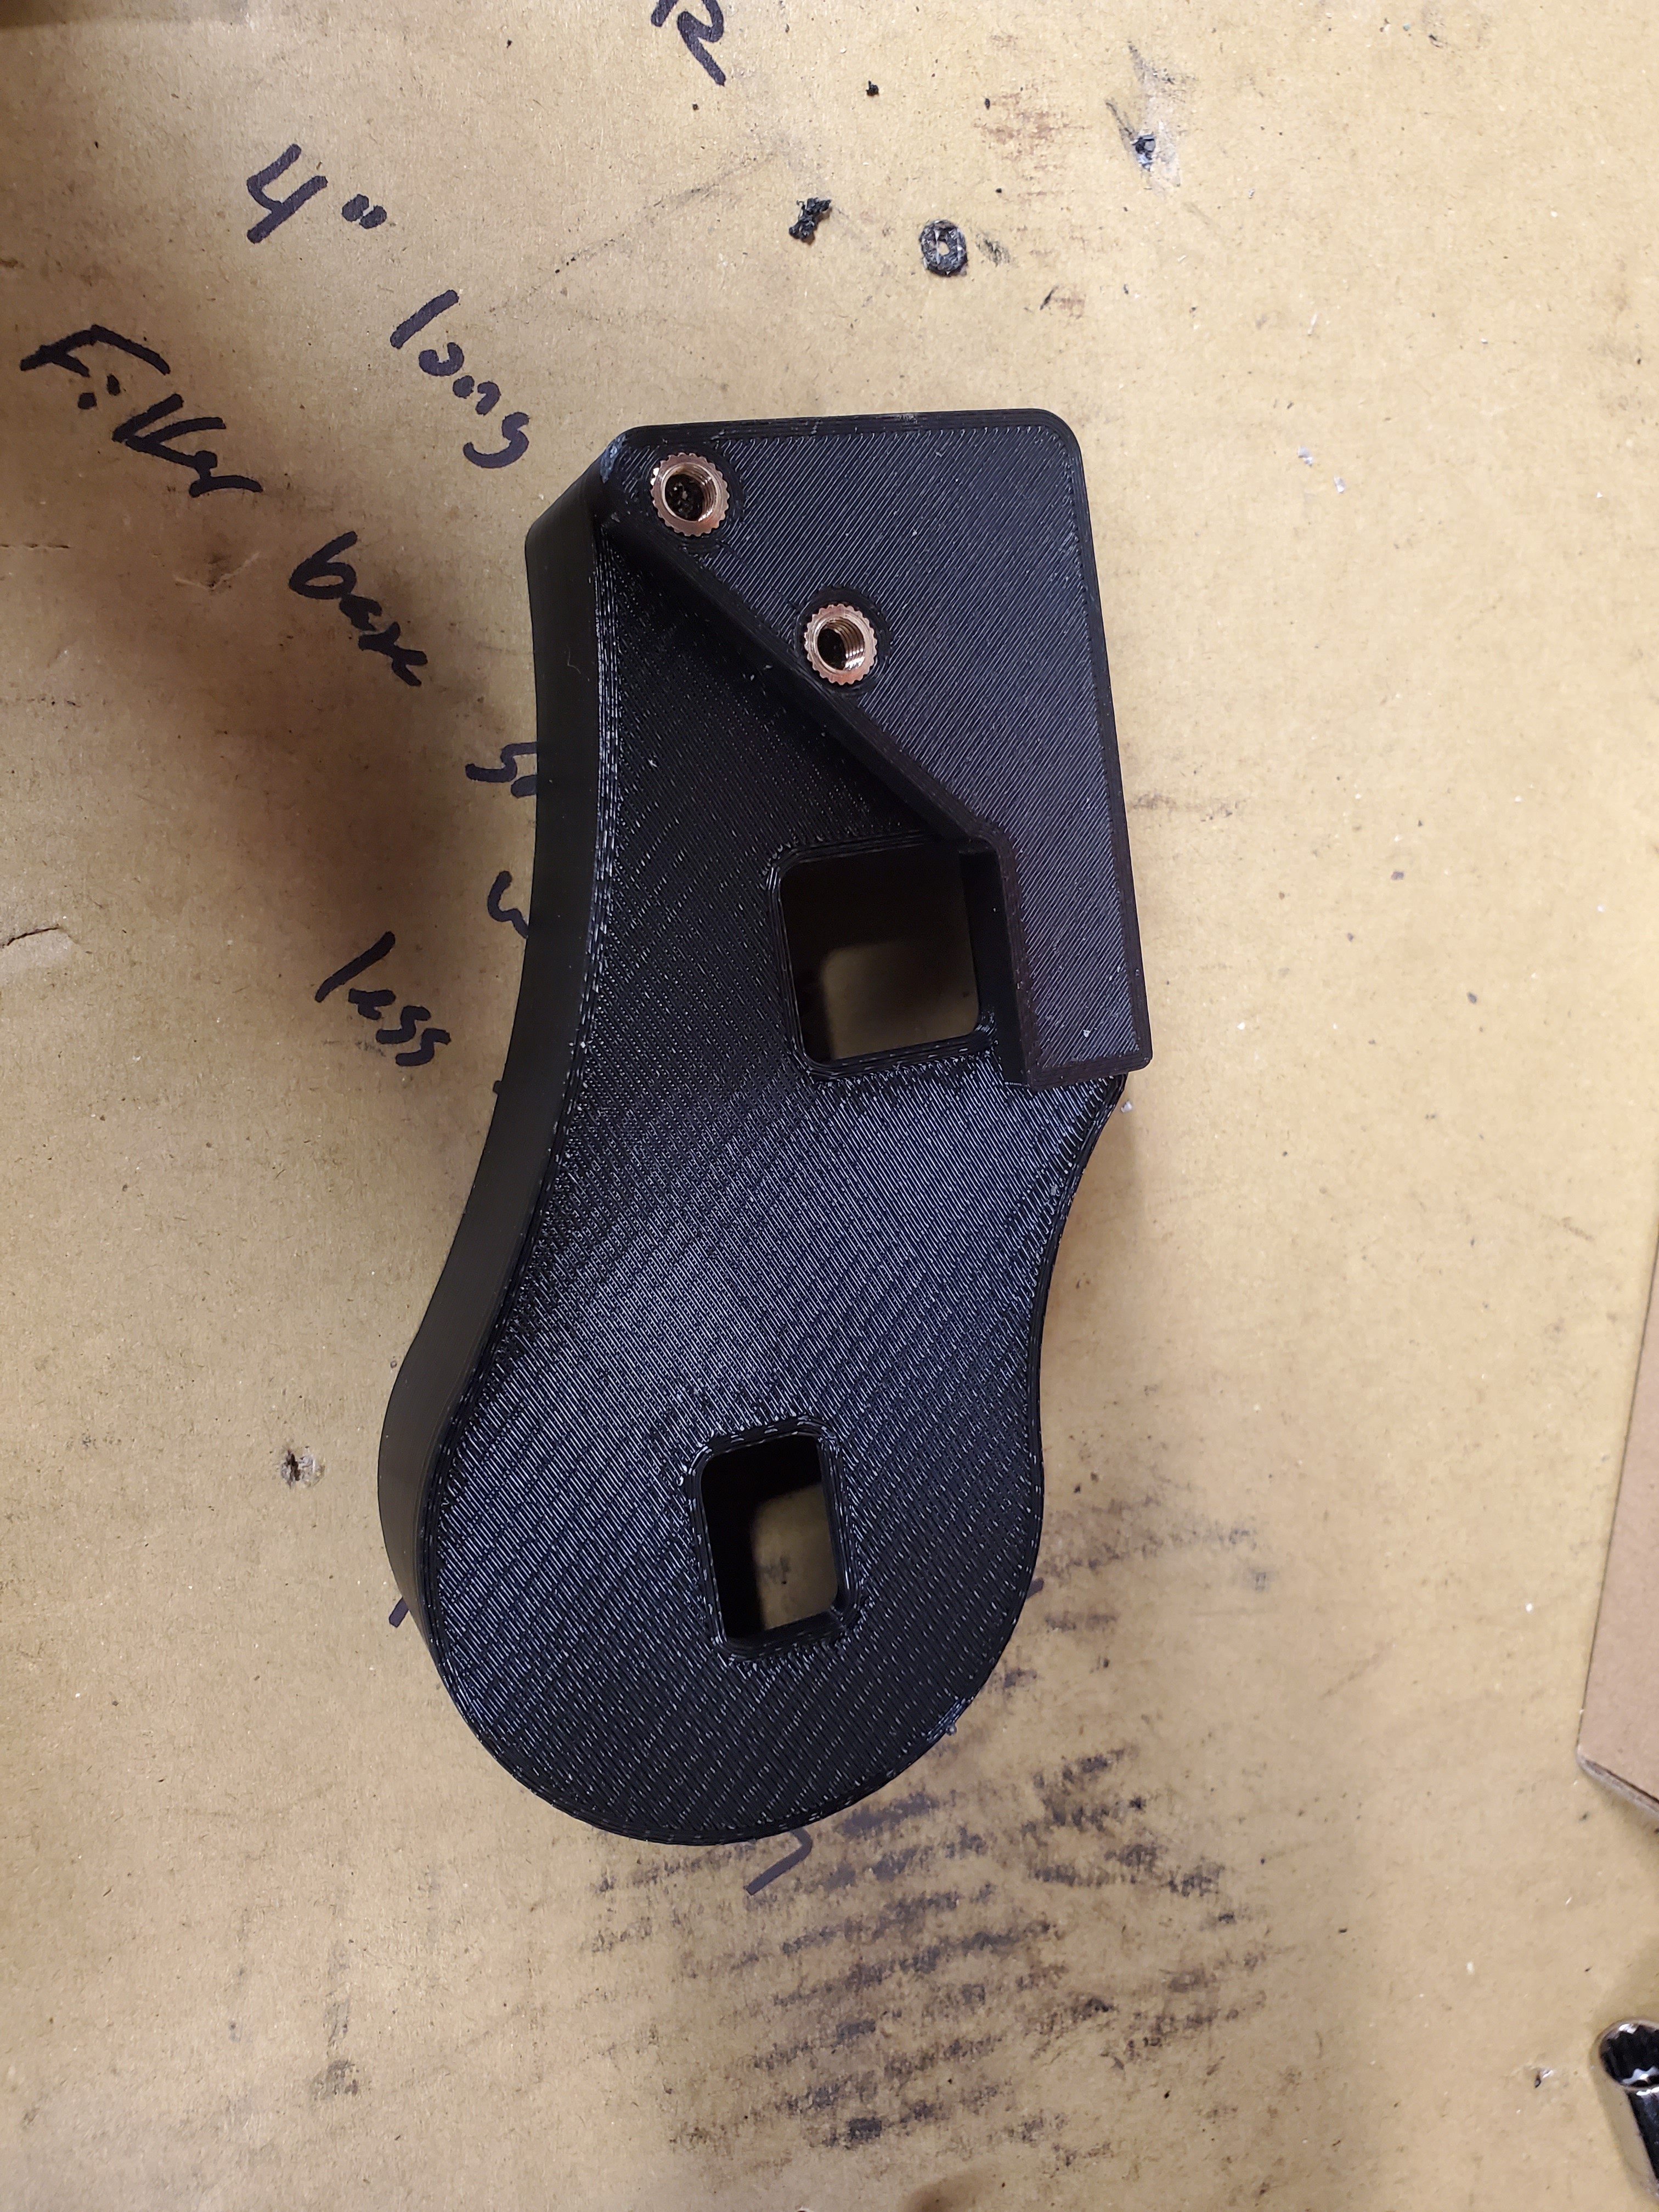
So now that I have my own printer I recreated the housing and added some holes for threaded inserts to be able to use some roll bar mounts.
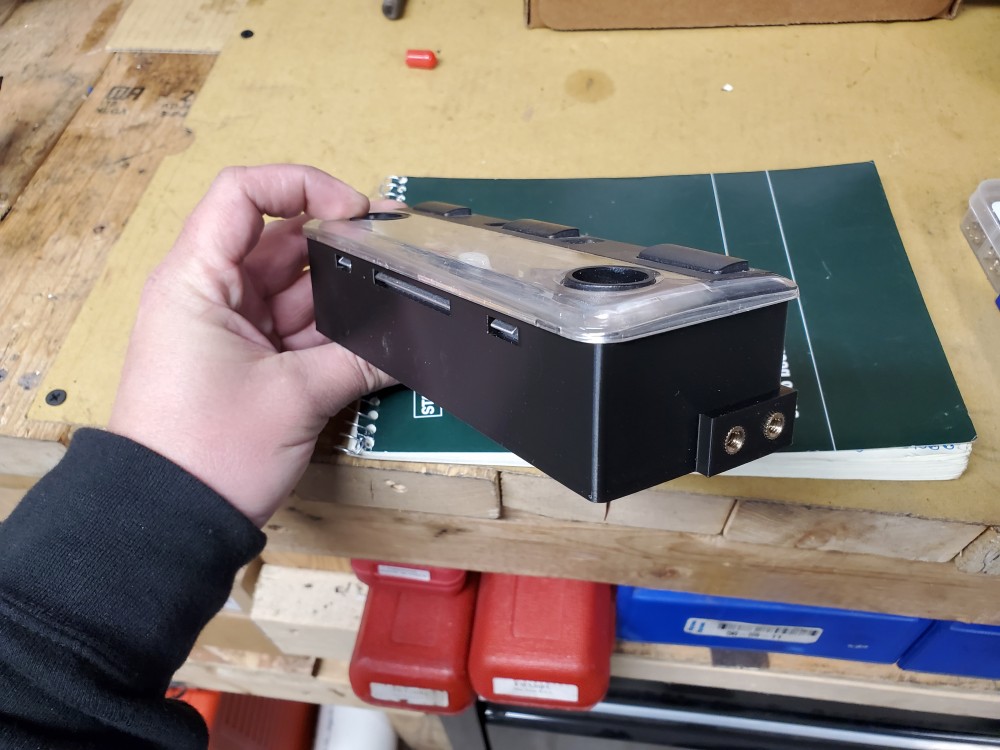
Here it is with the mounts bolted up. It's not super great looking but it works. Definitely could stand to have some fine tuning done.
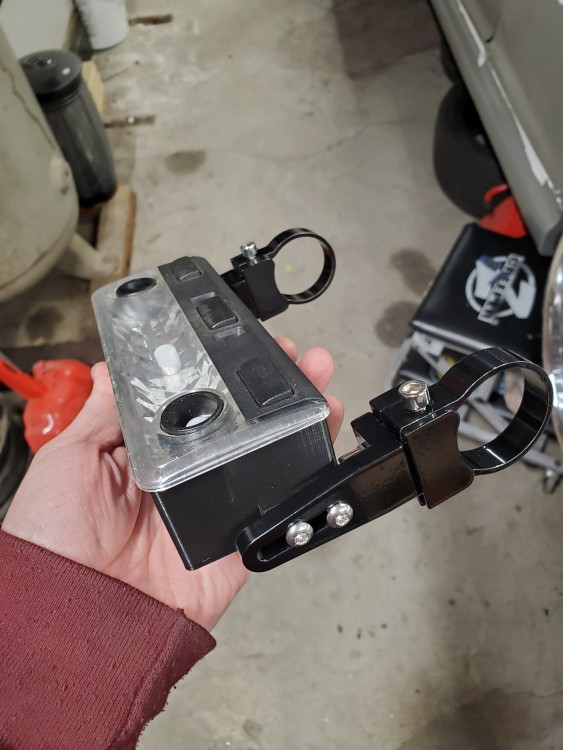
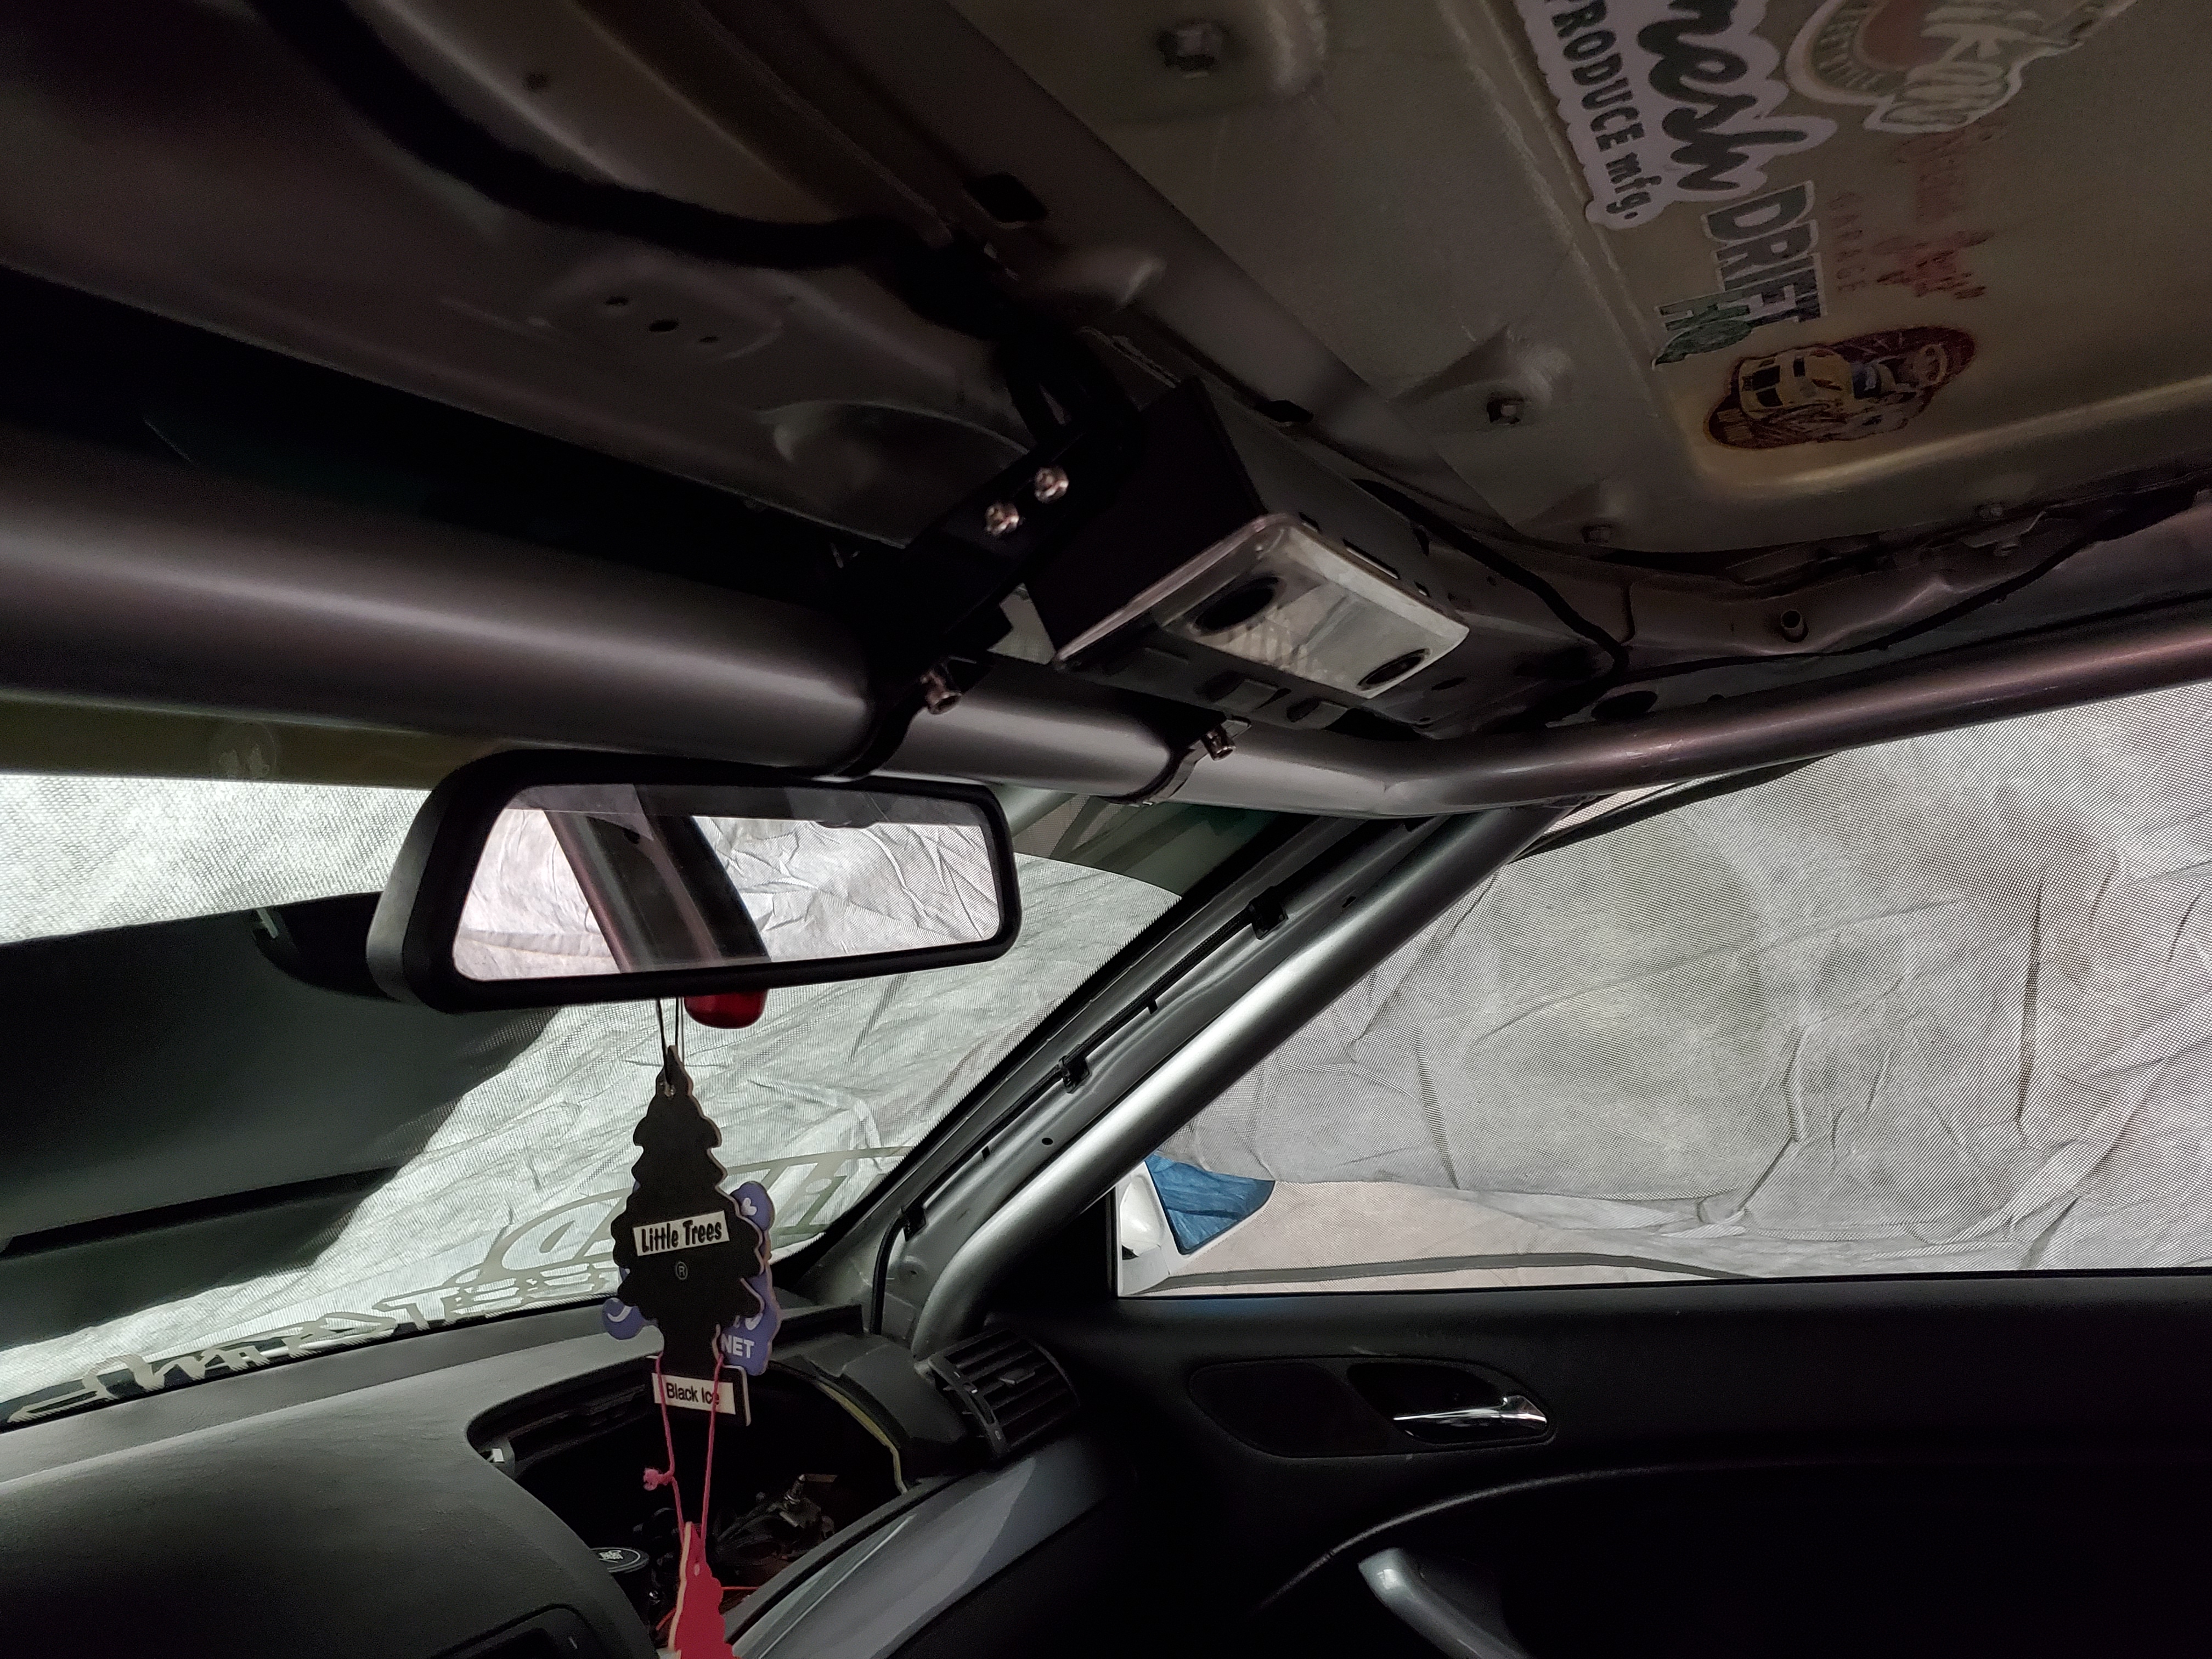
And here it is mounted in the car. I have some ideas on how to improve it but for now this works.
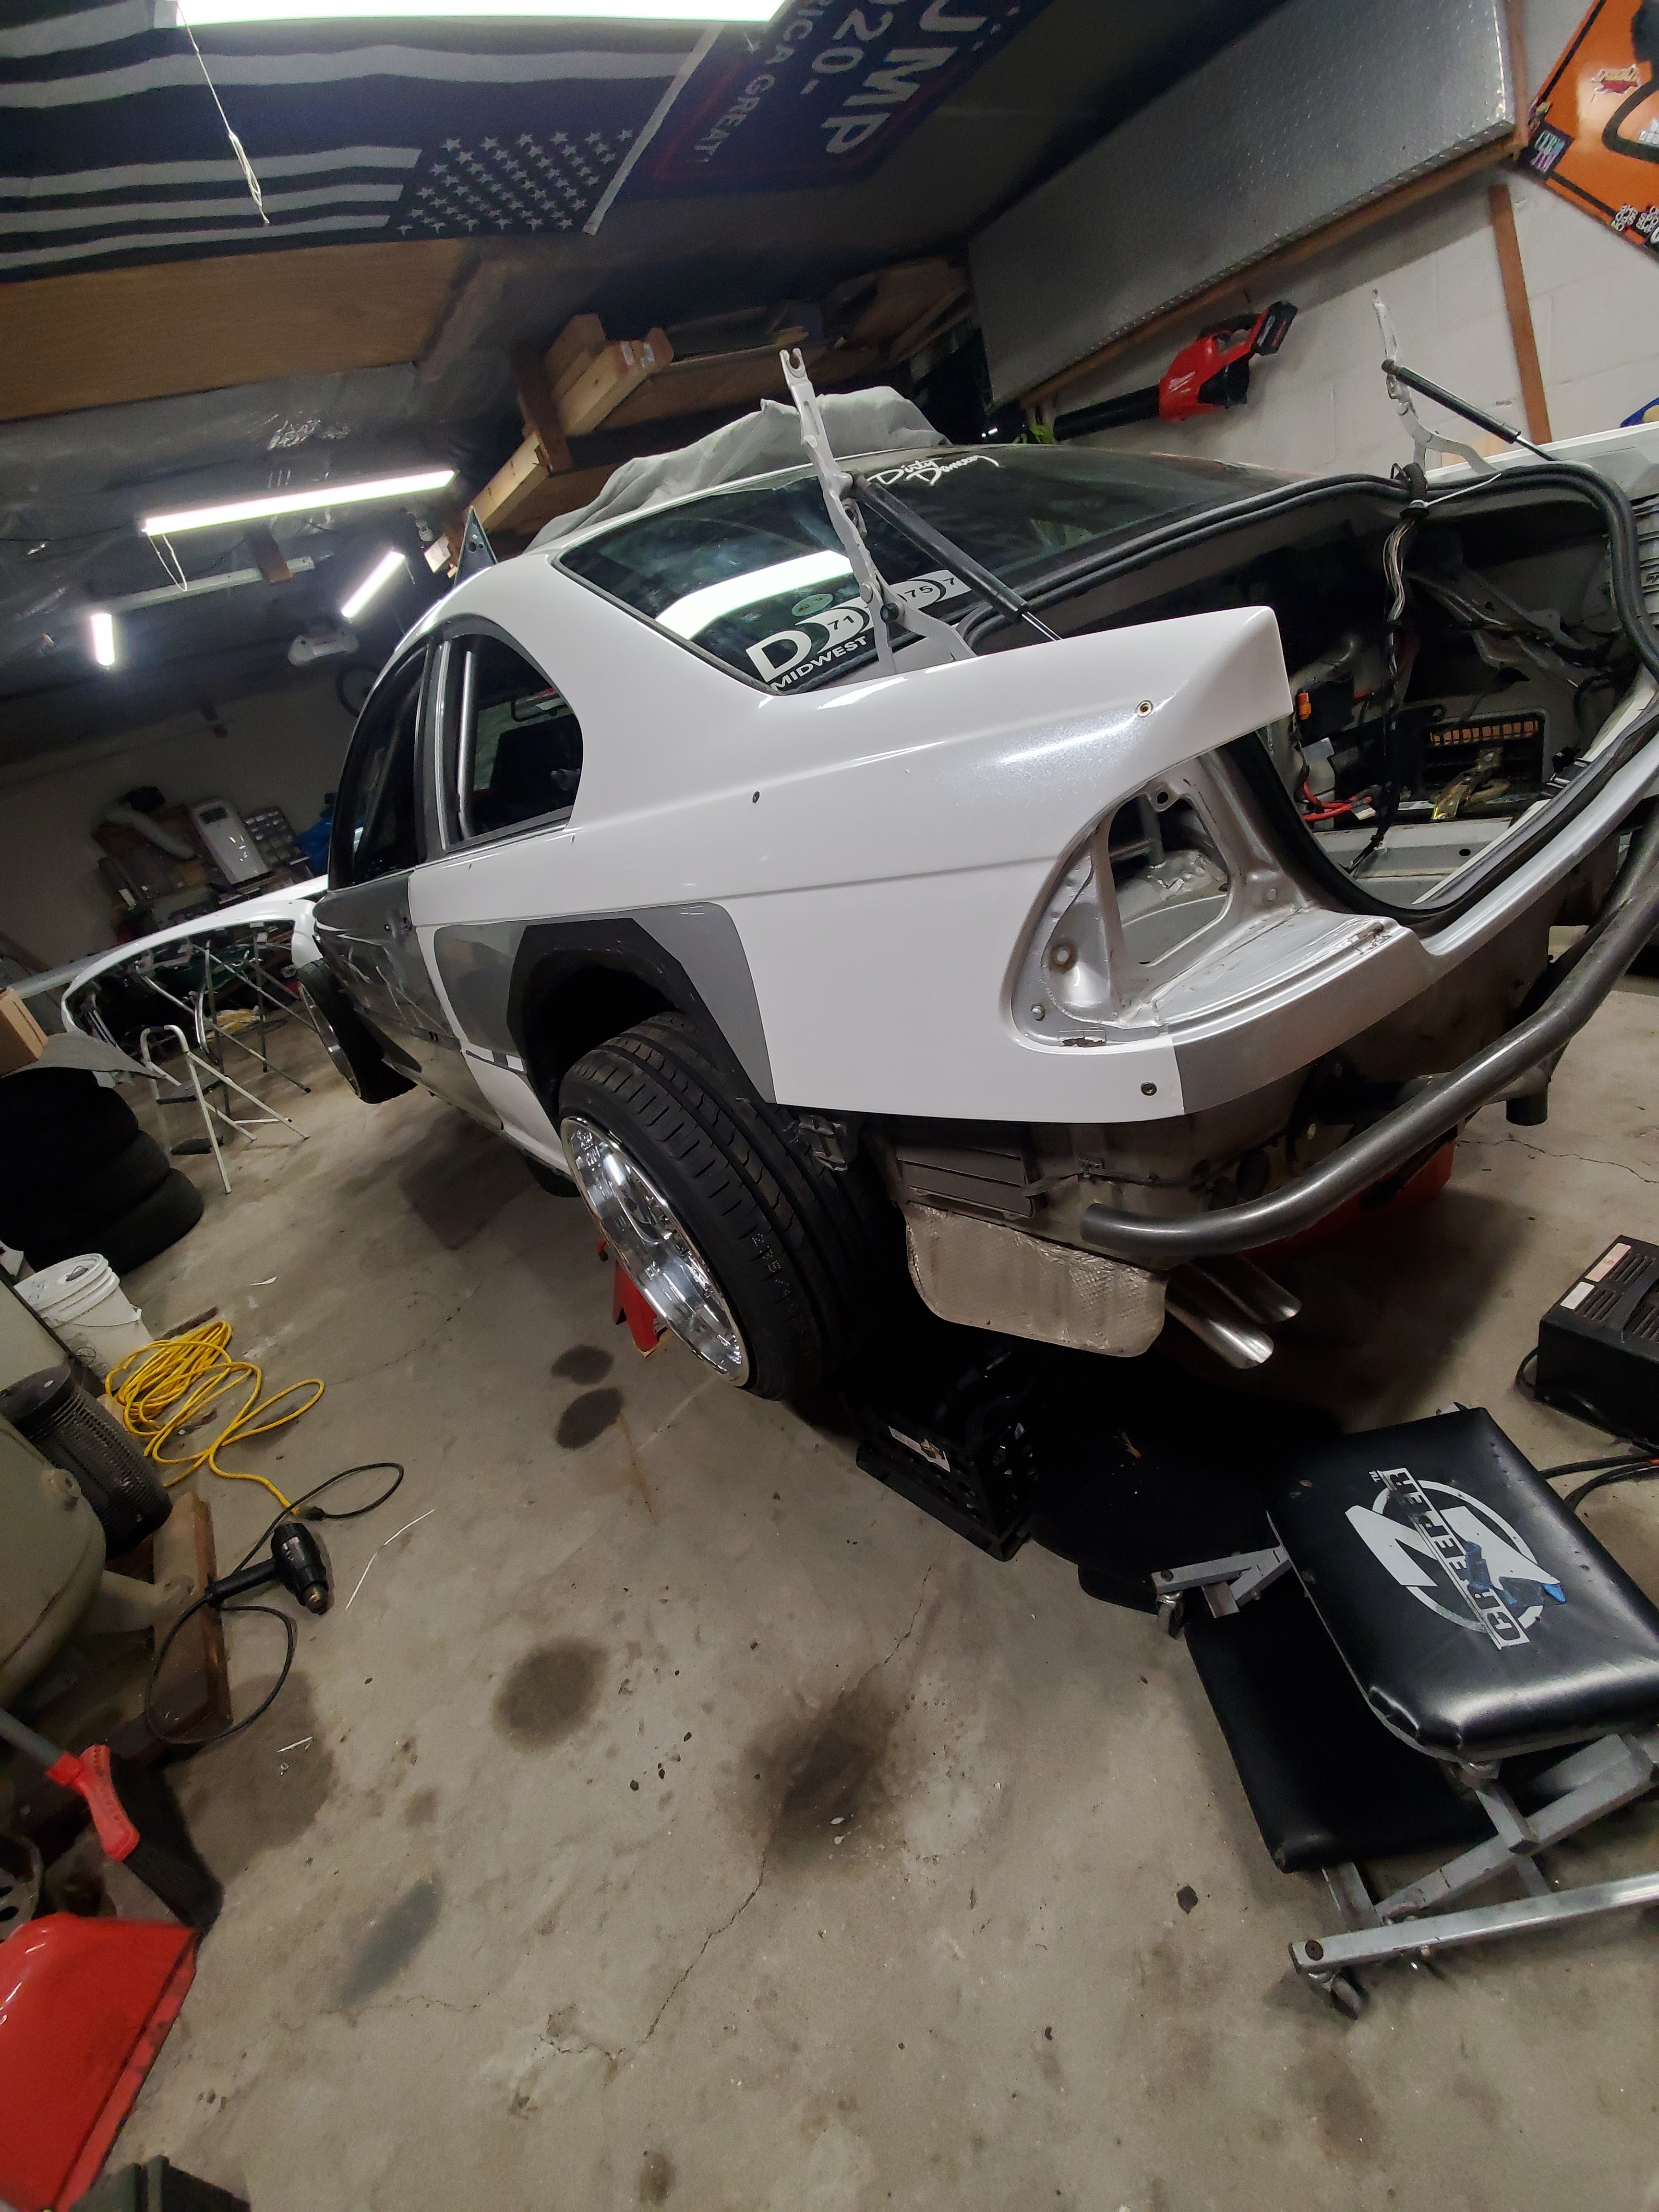
And rewrapping the car has also begun!
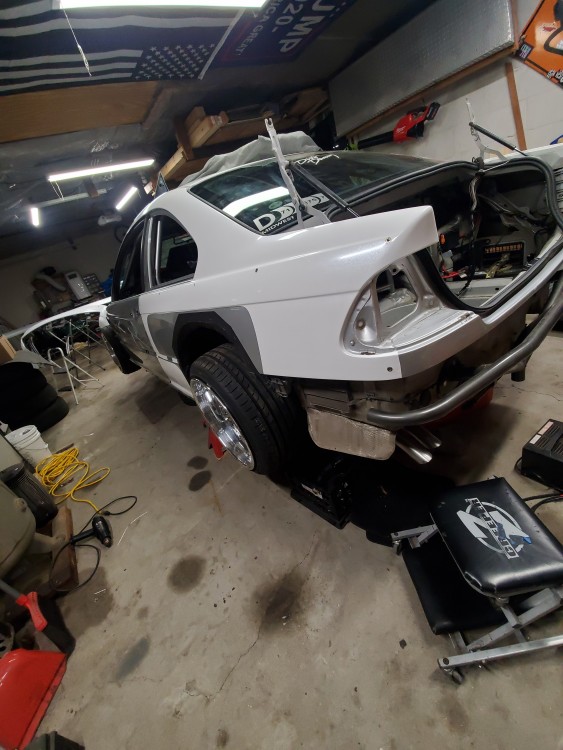
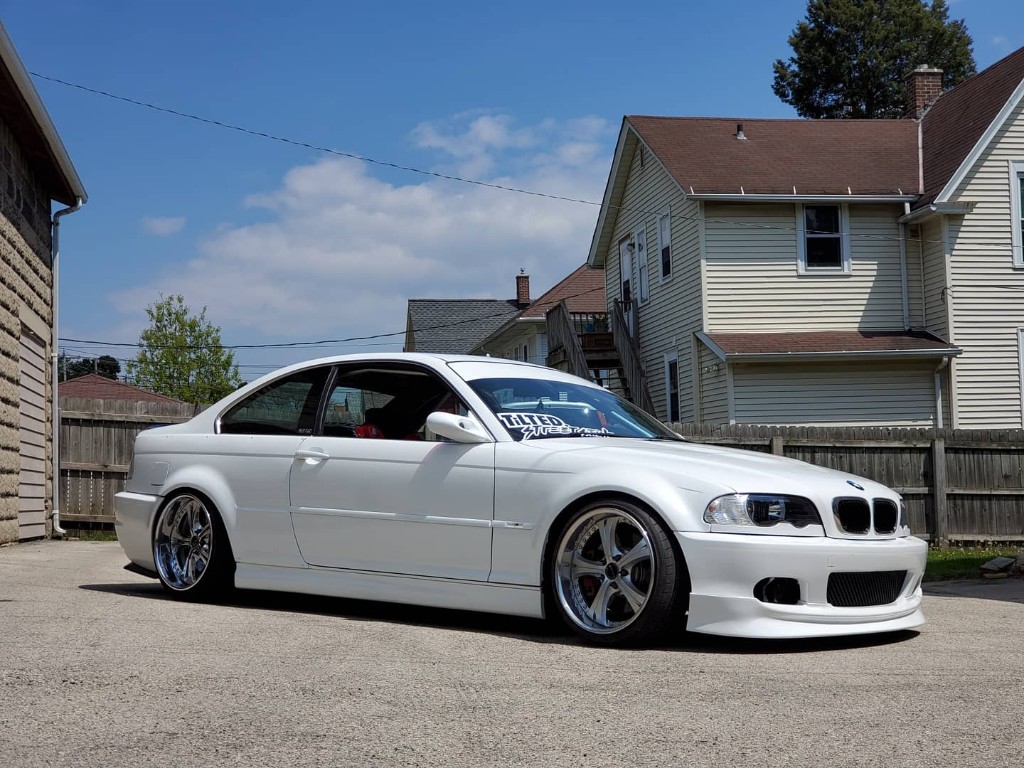
I am very excited to see this thing in all fresh white again!
Thats about it for now!
-
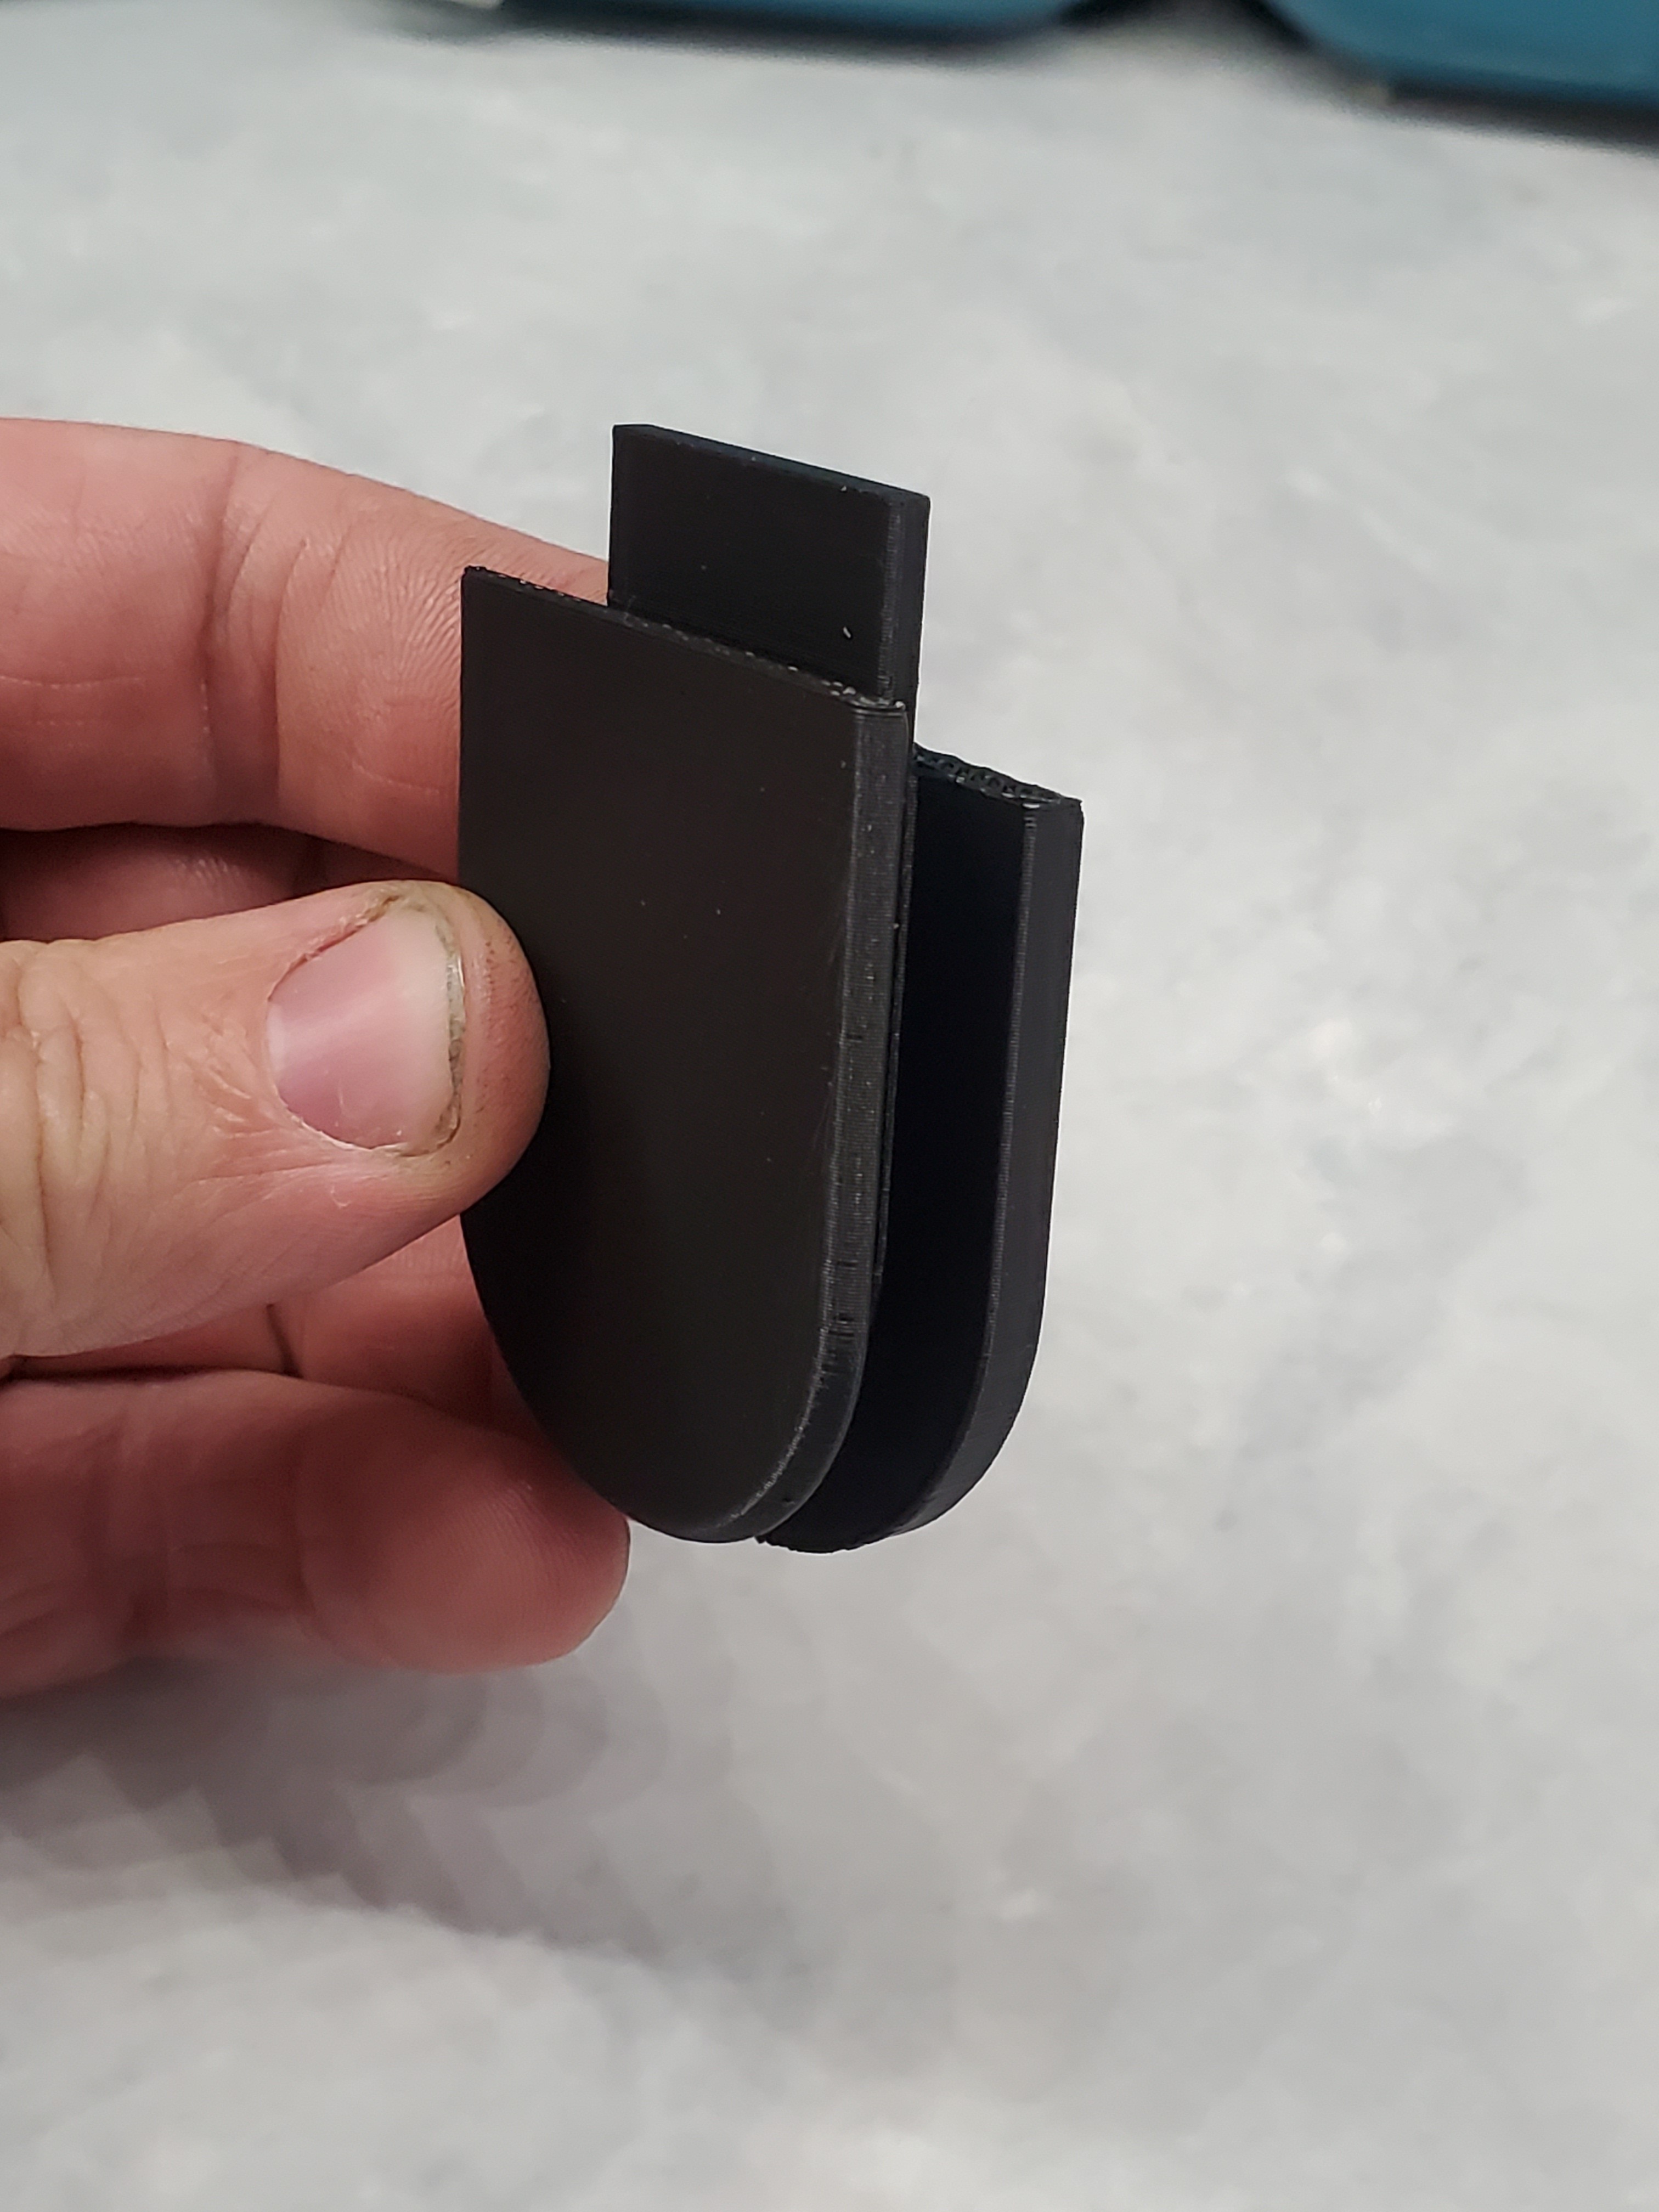
That print quality looks really nice, what printer do you have?
Bump for this, I have a creality ender 3 but I have no clue how to dial in settings LOL.





Hello! It looks like you're interested in this conversation, but you don't have an account yet.
Getting fed up of having to scroll through the same posts each visit? When you register for an account, you'll always come back to exactly where you were before, and choose to be notified of new replies (either via email, or push notification). You'll also be able to save bookmarks and upvote posts to show your appreciation to other community members.
With your input, this post could be even better 💗
Register Login