
2002 E46 M3 // Build Thread
-
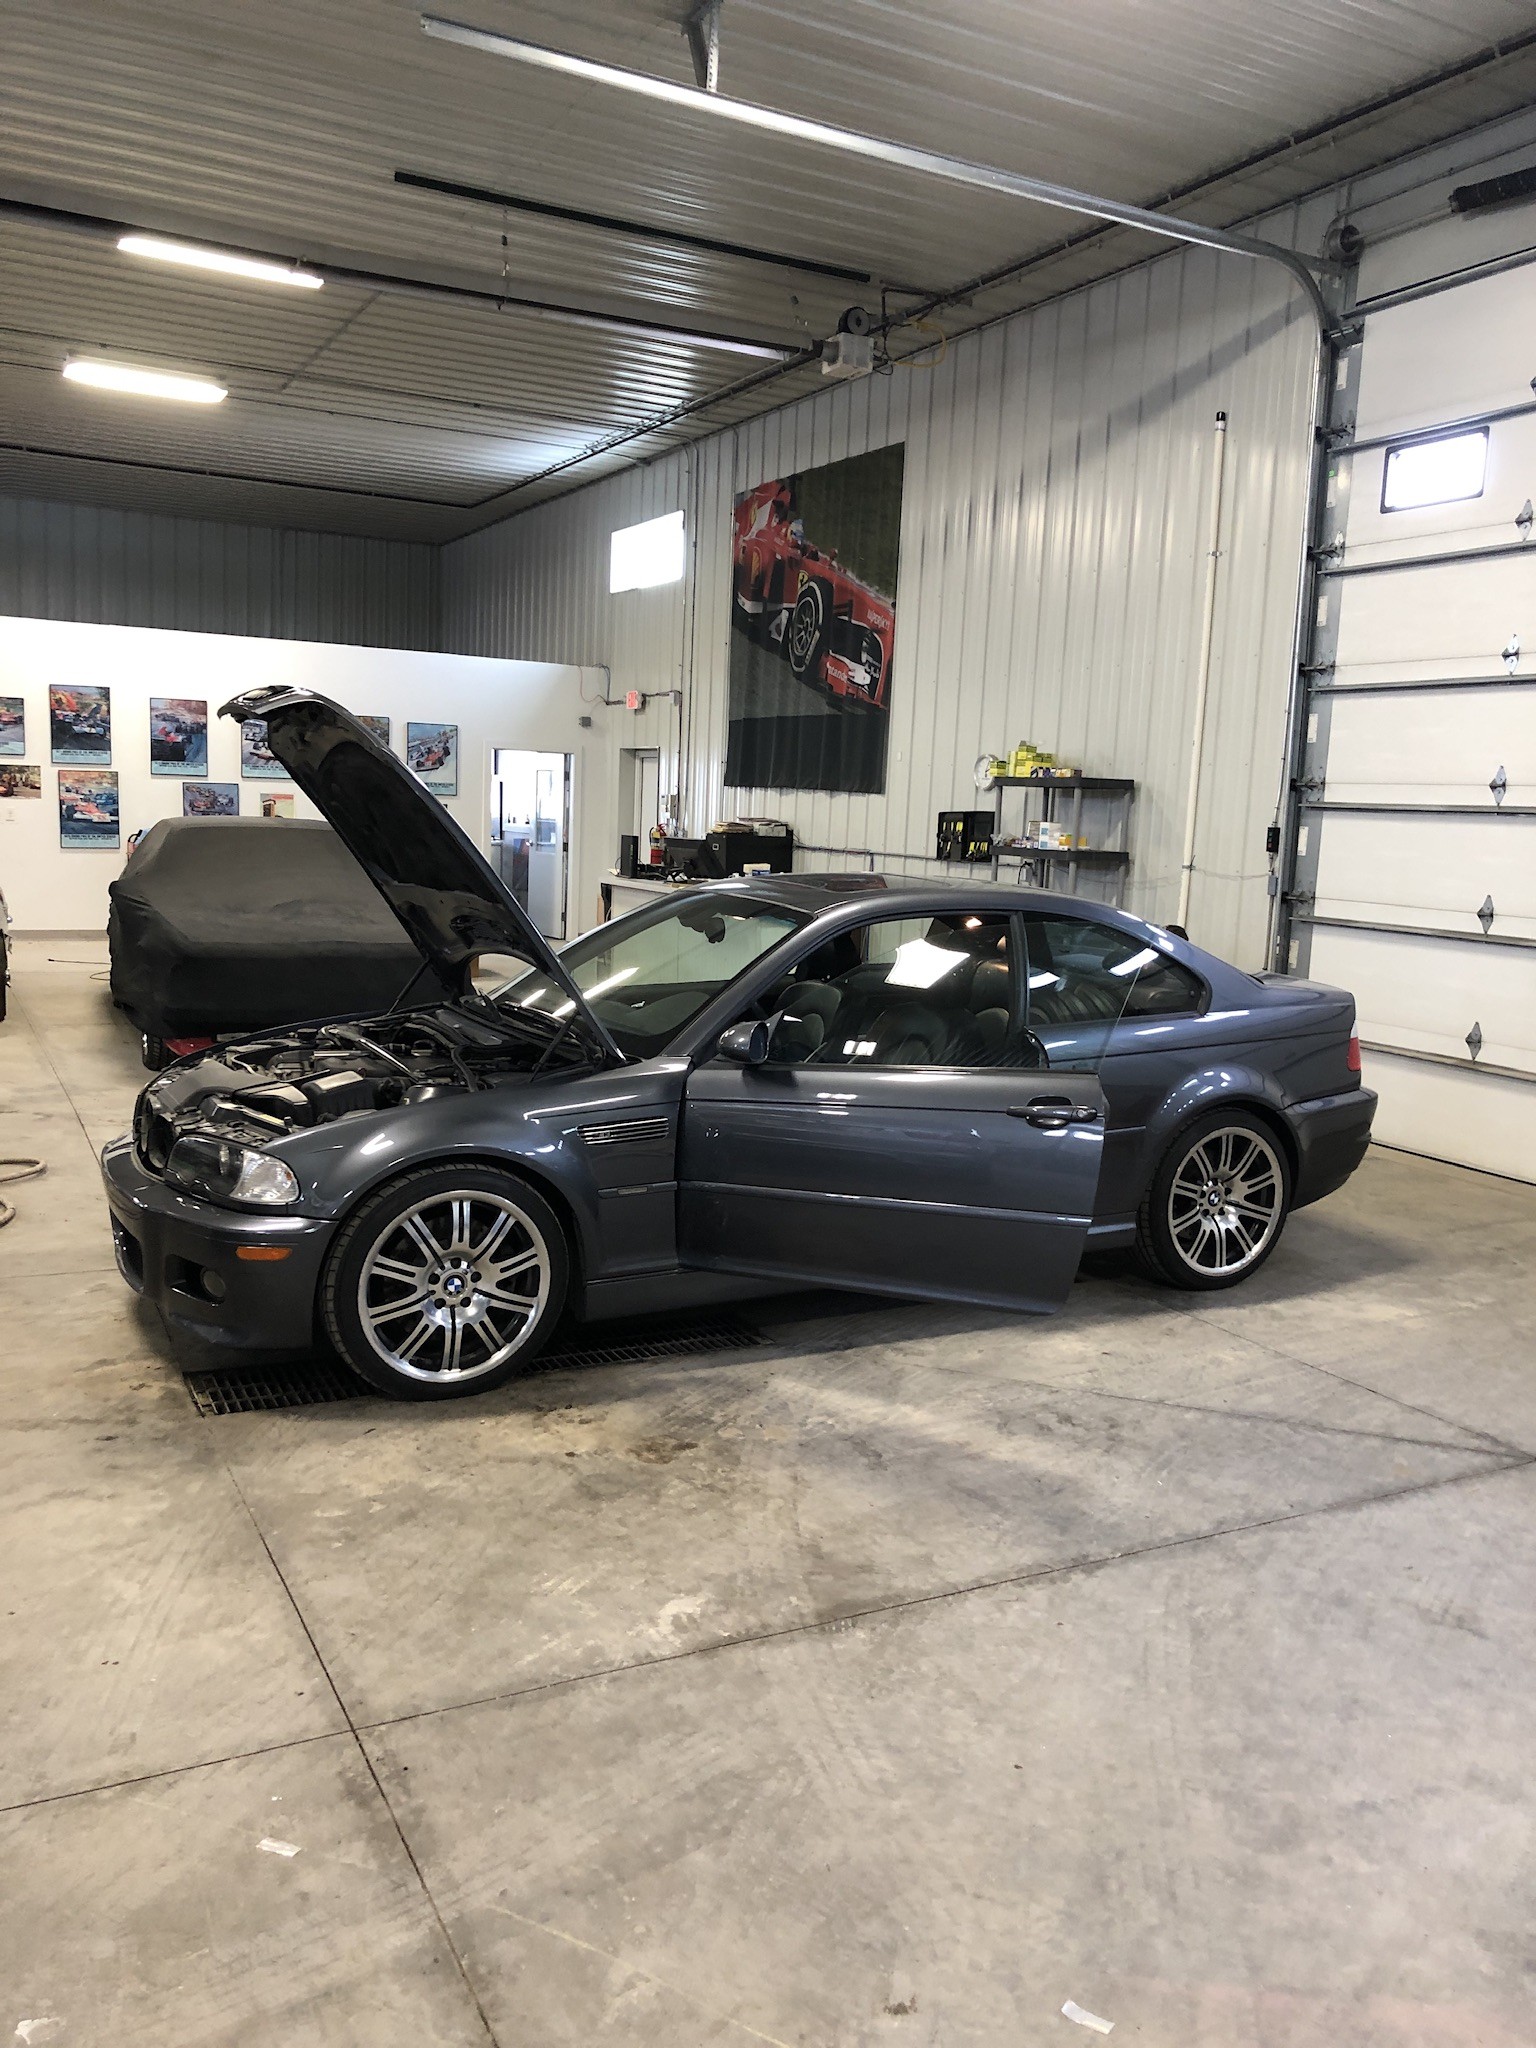
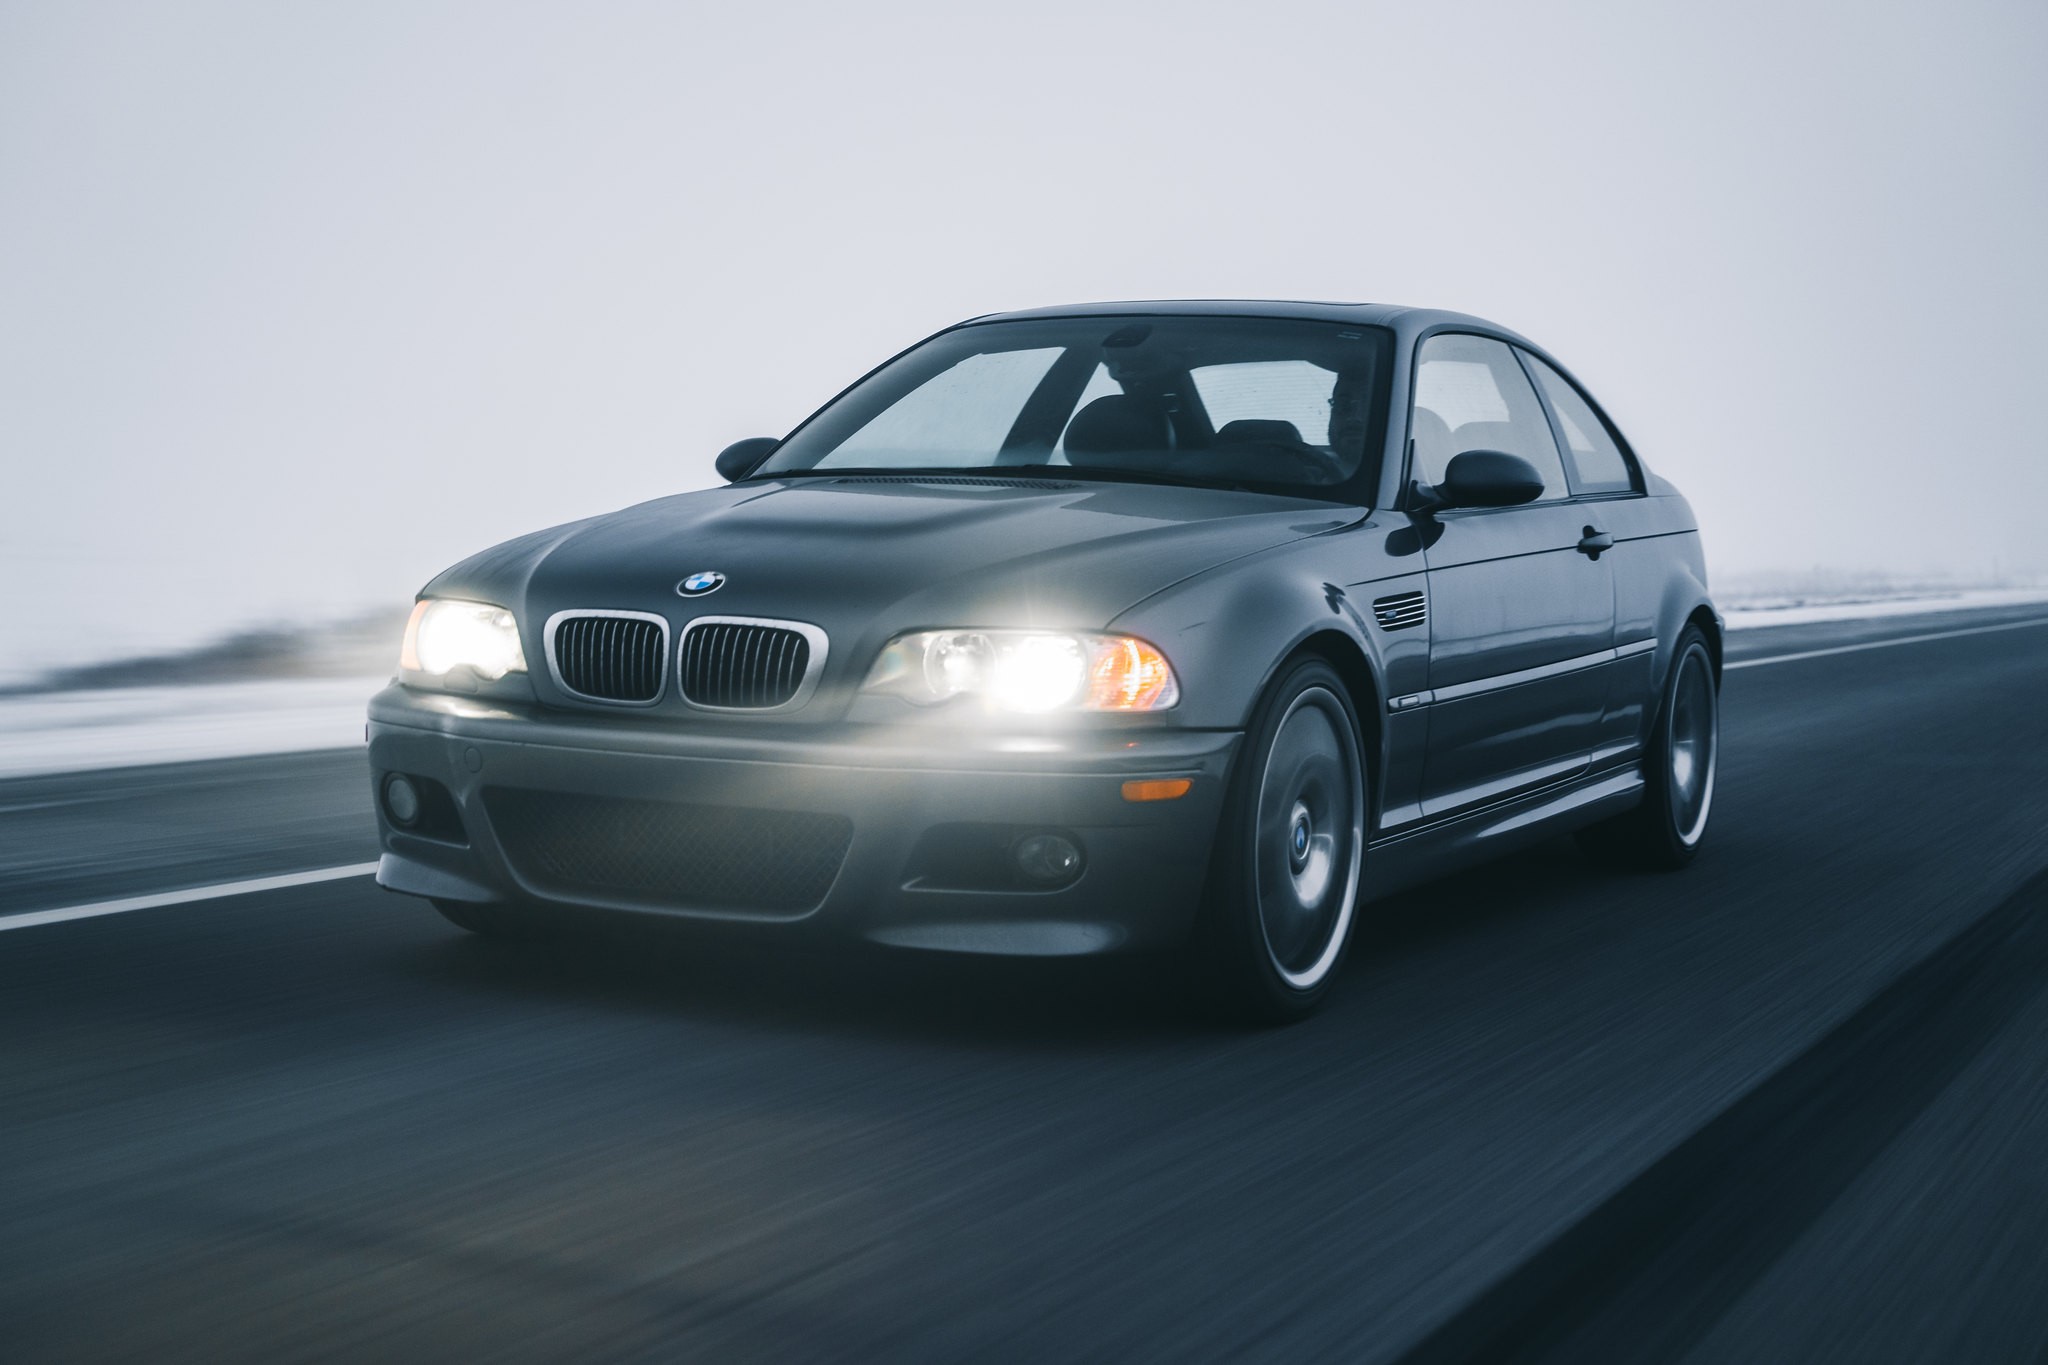
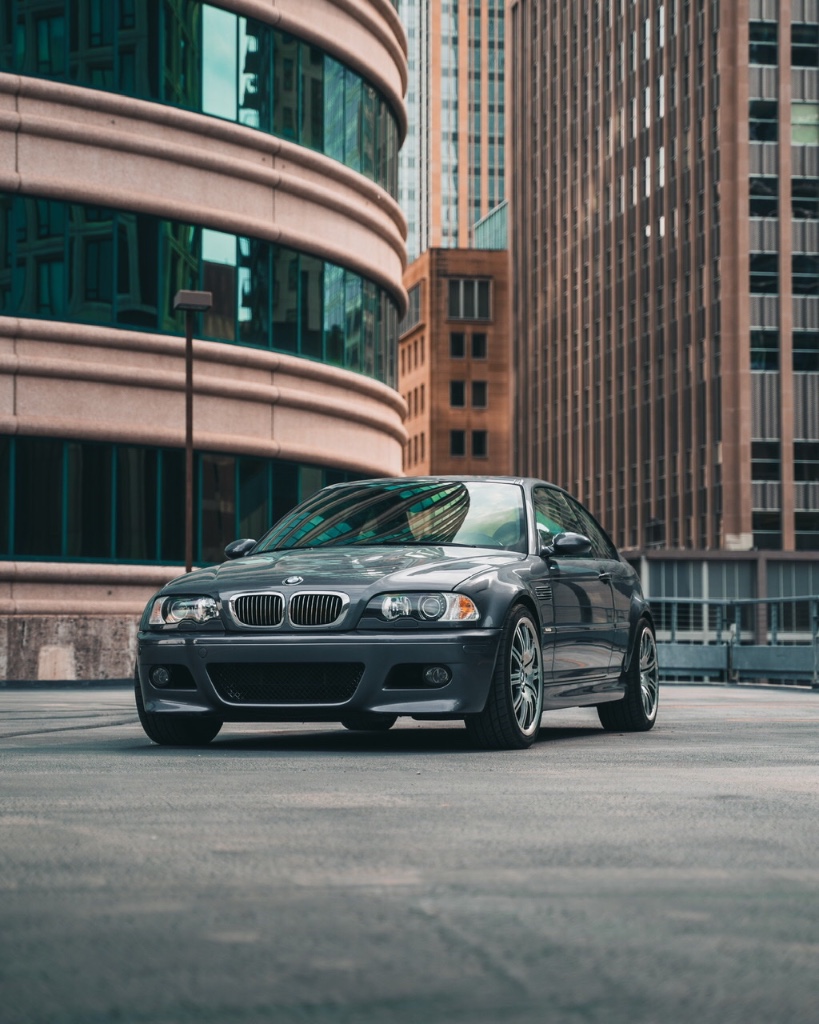
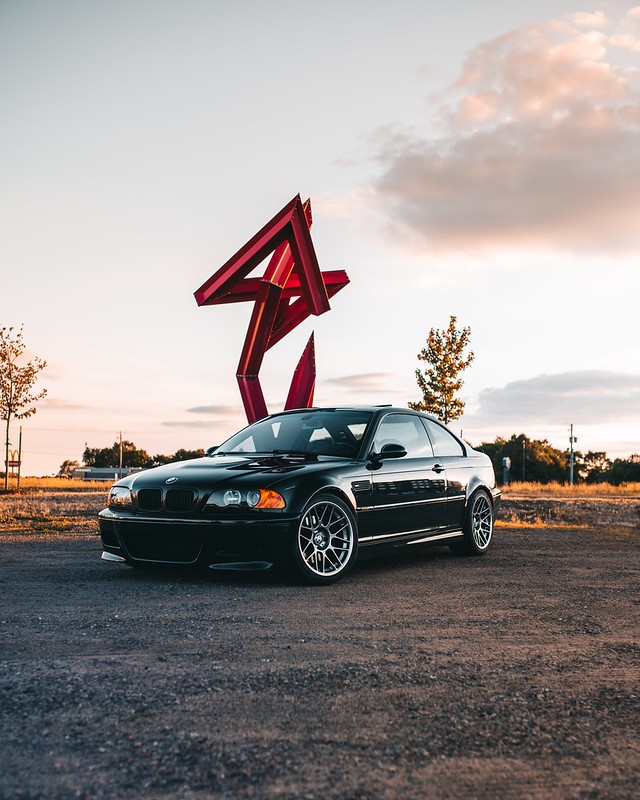
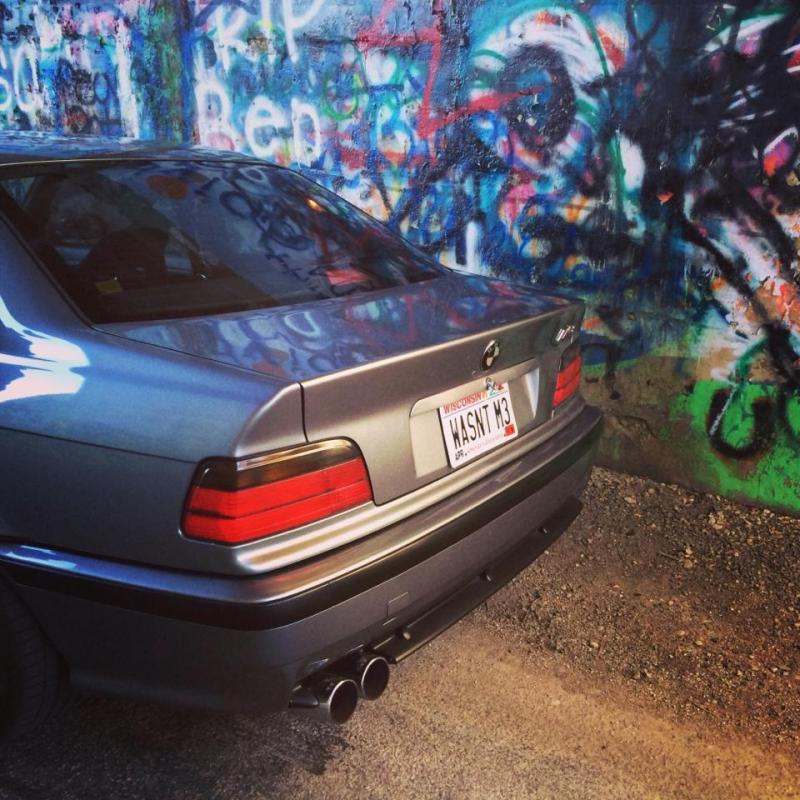
Official start to my E46 M3 build thread! This is joining my garage along with my 2015 335i M Sport and my 2008 328i daily. Progress may be slow over the winter months, but progress is better than none at all! Car is completely bone stock minus a brake rotor upgrade and some Bilstein shocks. It also came with a mountain of maintenance receipts to sift through, but the most important are vanos and rod bearing replacements. Sadly didn't come with subframe reinforcement so that will likely be the first order of business come spring. It was inspected and in great shape, but we all know how important it is to do preventatively on these cars. Here's a quick spec list and a nice roller photo I got on the drive home!
WBSBL93492JR17883
2002 BMW M3
Steel Gray on Black Nappa
6 Speed Manual Coupe
134,210 miles
01/2022 (@135k) Updates
Engine
- Fabspeed catless headers
- WPC treated rod bearings + ARP rod bolts
- OE coolant expansion tank
- OE expansion tank line
- OE BMW coolant
- OE BMW motor mounts
- Achilles Motorsports SAP block off plate
- SAP + valve delete
- Valve adjustment
- OE valve cover gasket kit
- OE Meyle fan clutch + fan blades
- NGK spark plugs
Transmission
- Rogue Engineering transmission mounts
- UUC Evo 3 short throw shifter + DSSR
- Trans fluid change - Redline DT4 ATF (auto/manual)
- Delrin shift carrier bushings
Chassis
- TMS RACP reinforcement weld in plates
- Revshift 80A differential bushings
- Revshift 80A subframe bushings
- Differential output flange + input shaft seals
- Differential fluid change - OE BMW SAF-XJ + FM booster
- TMS Zinc-Nickel plated stainless steel brake lines
- Motul RBF600 brake fluid
Suspension
- Turner sealed monoball RTABs
- TCK S/A Coilovers (F - 500lb R - 600lb)
- Ground Control race camber plates
- OE BMW front strut reinforcement plates
- OE Lemforder end links
- Rogue engineering RSM + perch reinforcement plates
- TCK RSM + buna bushings
Exterior
- Paint matched front reflectors
- OE BMW LED tail lights + OE BMW wiring adapters
Interior
- OE BMW Cinnamon interior swap
- OE BMW Aluminum trim swap
- OE BMW M3 floor mats
- OE Illuminated 6 speed ZHP knob
-
Absolutely gorgeous car. One of the best colors, factory 19’s and from here it looks to be in great shape!
How are you enjoying it?
Coming from the turbo N55, it's so much different. Throttle response is WAY better than I imagined, induction noise is beautiful, exhaust is meh (not a huge fan of the tingy sound stock), steering is incredible and my favorite part of the car. Coming from electronic steering where it sometimes gets floaty and feels like you're not in control, this is a HUGE upgrade.
Overall I love it, and it'll likely replace my 335i come spring
-
?? I don't have a steel gray anything.
You're right. I just had a major Brain fart.
-
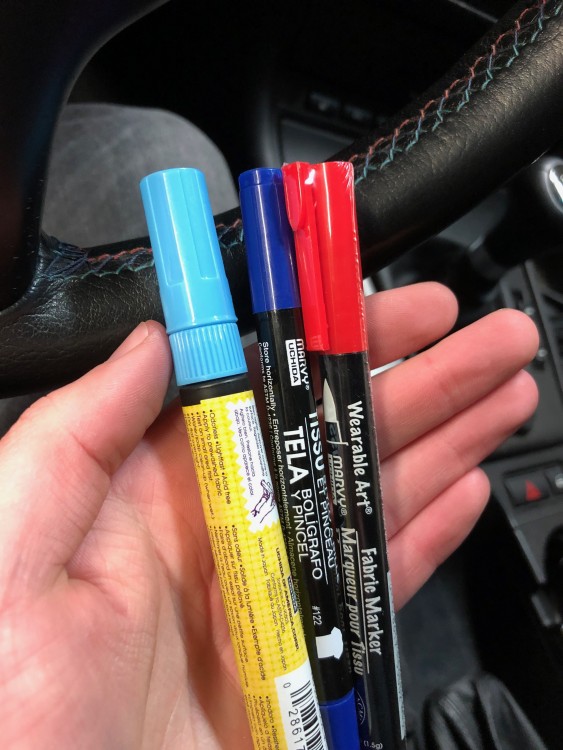
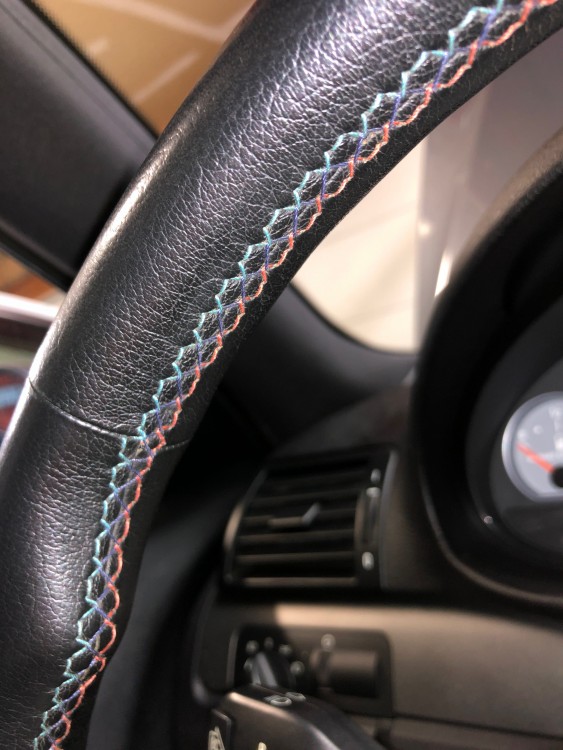
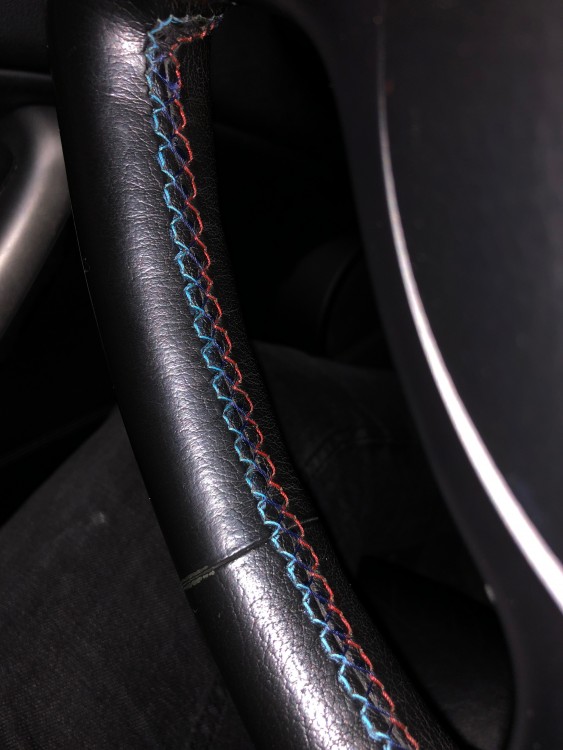
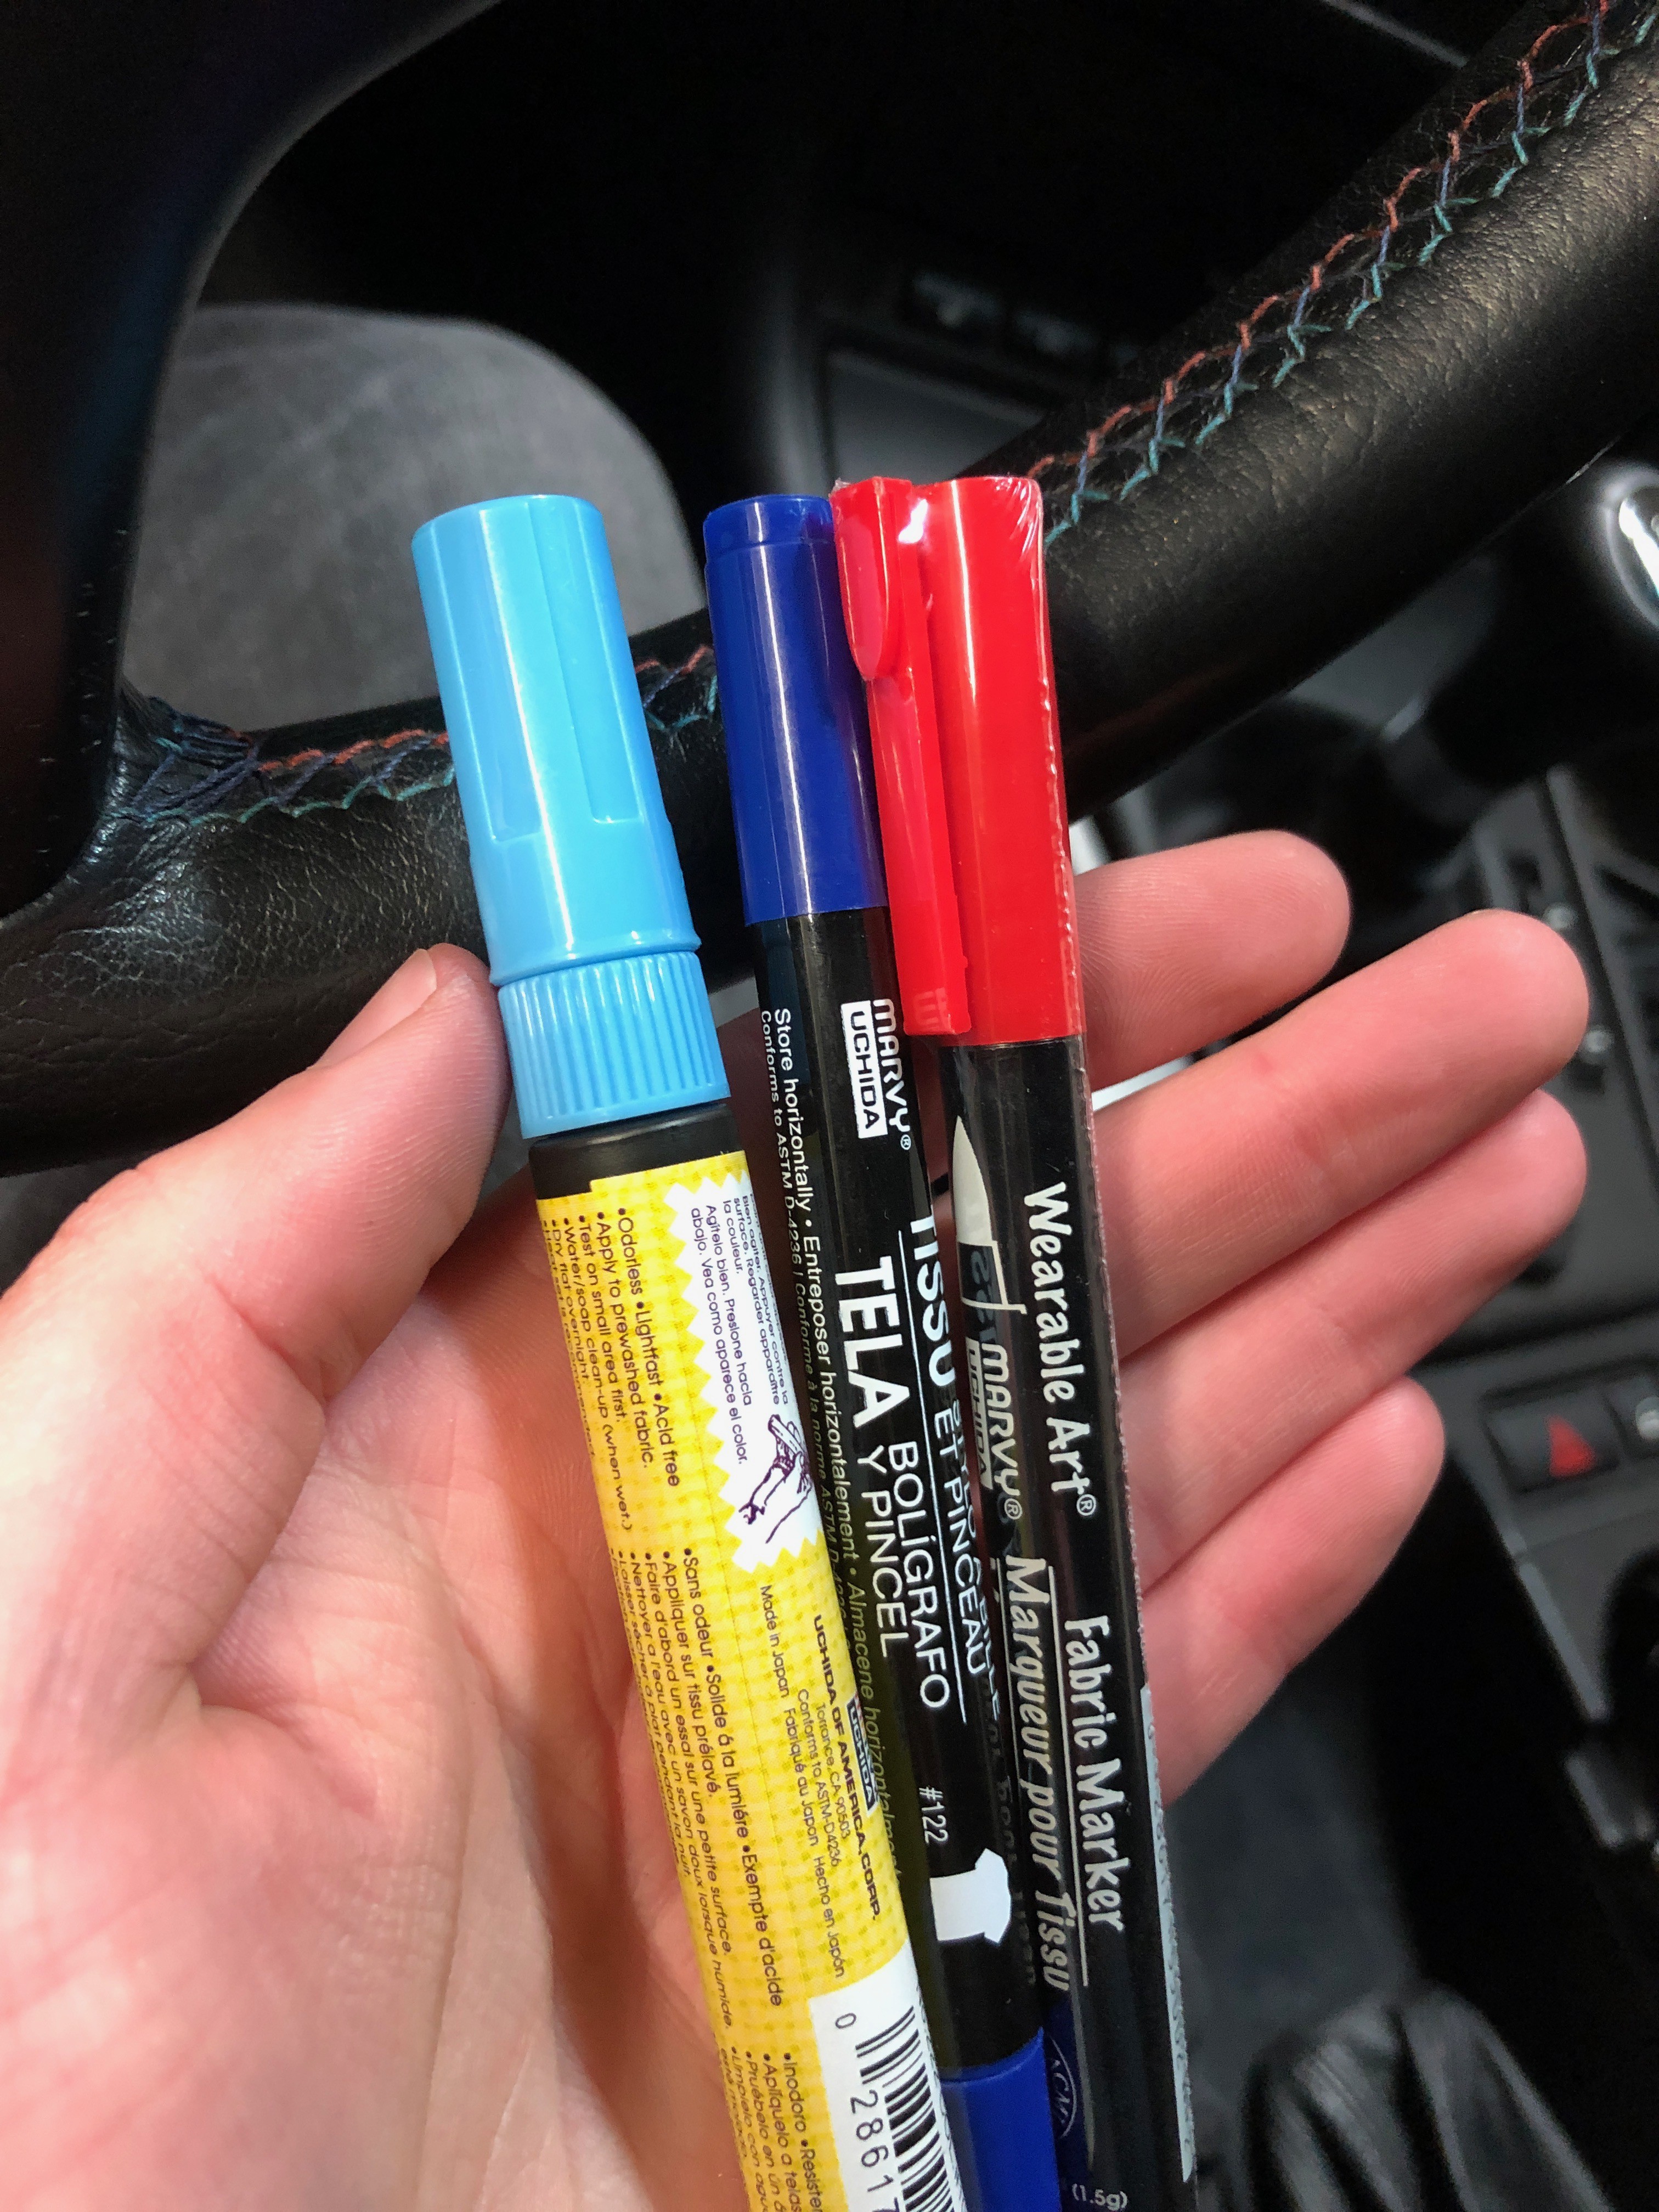
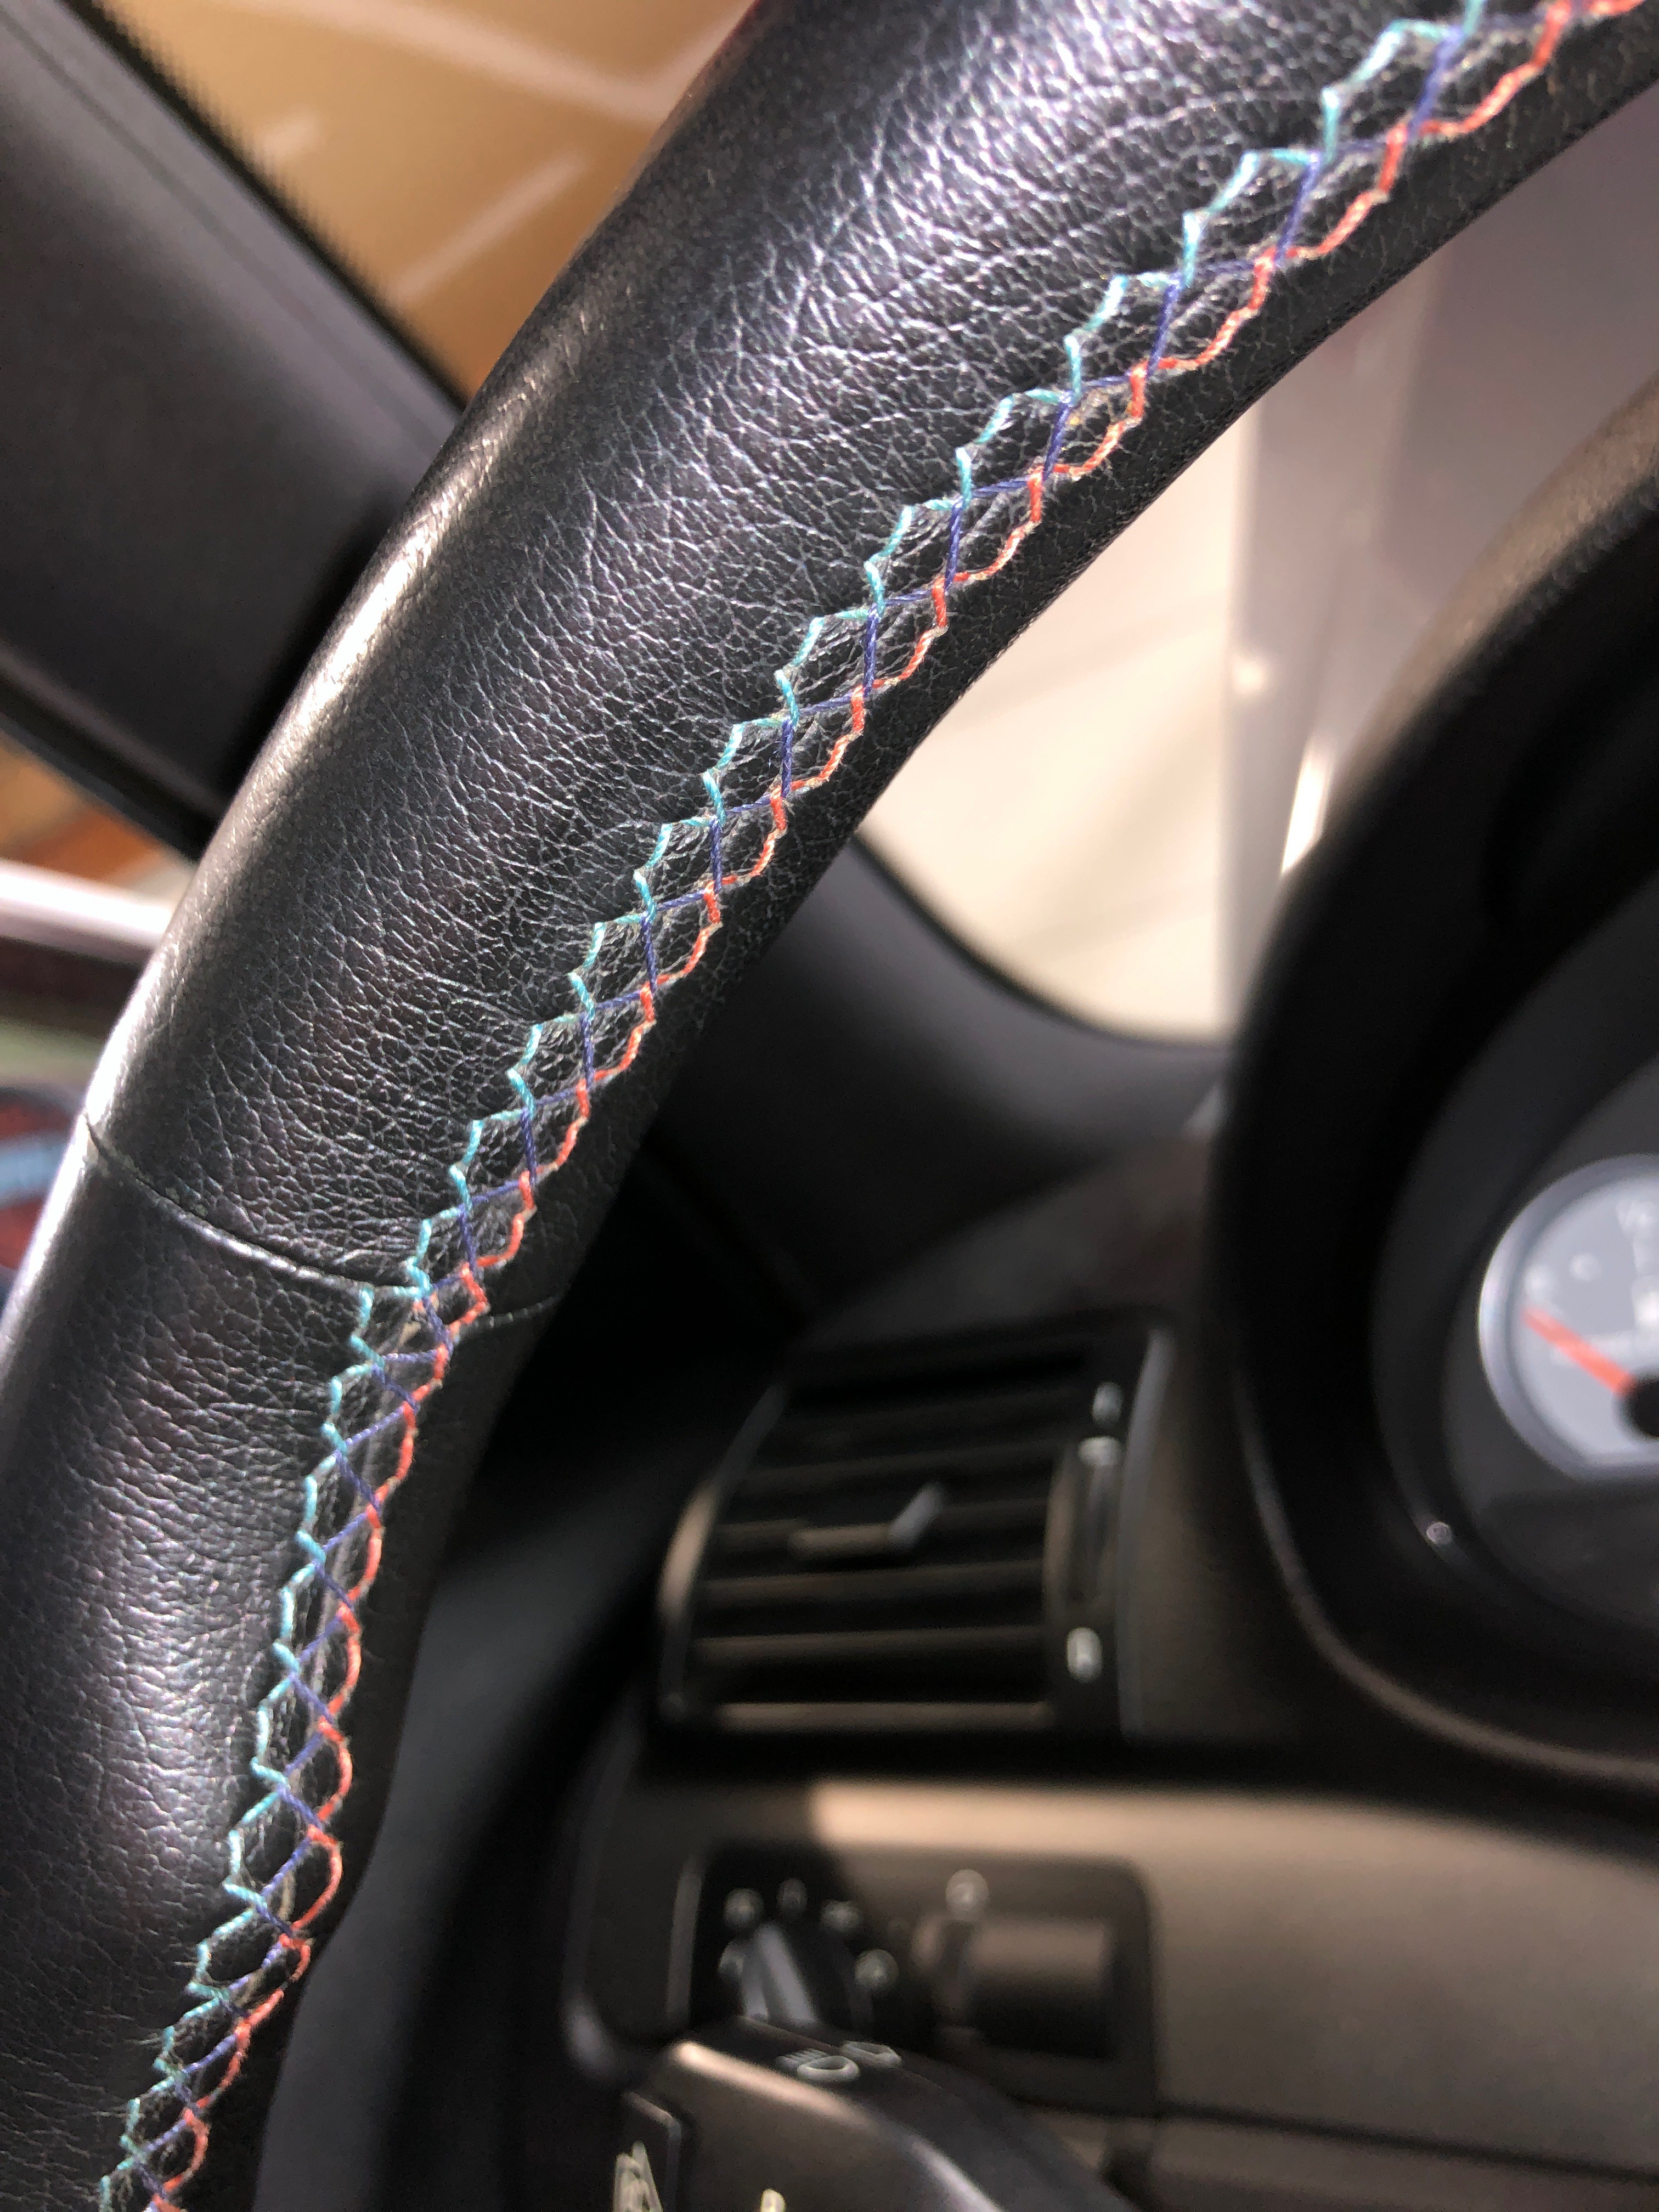
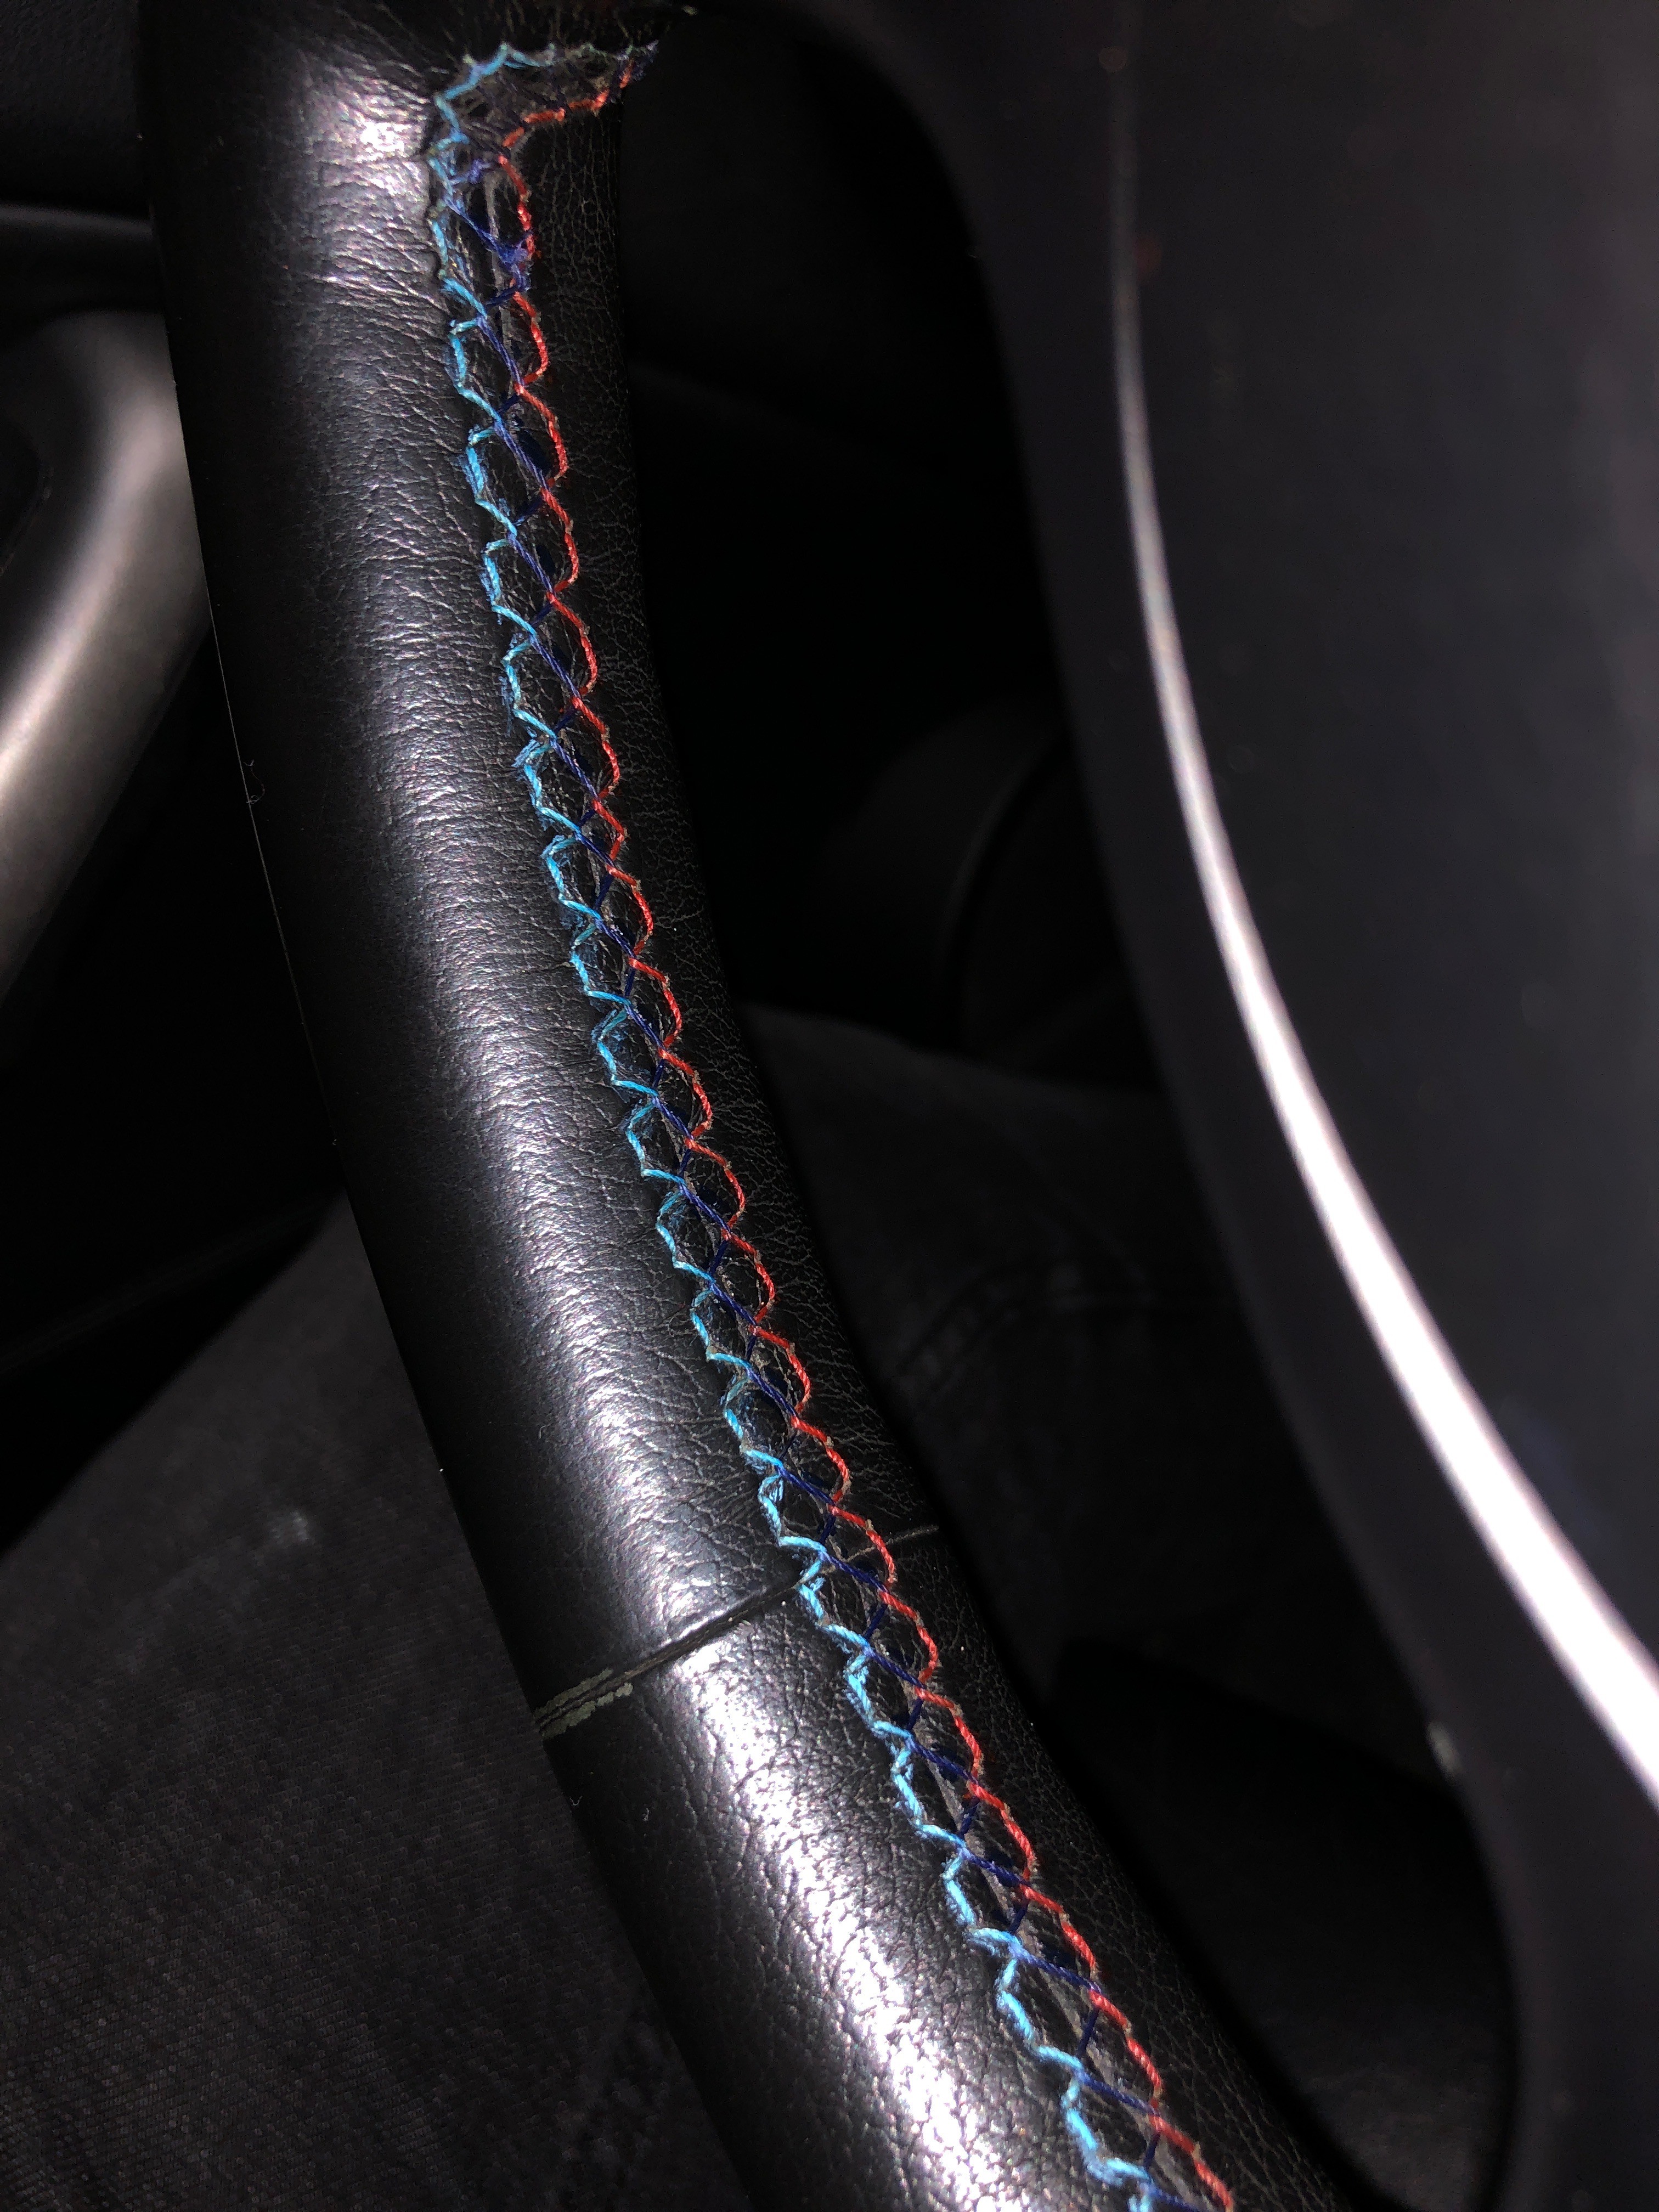
Really wanted to salvage the original steering wheel since the leather is in decent shape. Tried my best to "refresh" the stitching with some felt fabric markers. Probably didn't match color exactly but I think it came out alright, here's a before/after
Edit: I did wipe off the excess dye from the leather with alcohol afterwards
-
He plans on slamming it to the ground.
You out of anyone should know its gonna look sick slammed on Apex ARC8’s
-
Turned out great!
Thank you! Happy with it for the low cost anyways
-
You out of anyone should know its gonna look sick slammed on Apex ARC8’s
First time ive seen an idea like that. Not bad!
Any planS to track it/stance it/drift it/install a CF airbox?
Appreciate it. I think just going OEM+/restoration for this car. I'd love to see it on CSL style wheels but @Rekpoint says Apex or nothin. CF airbox is definitely in this cars future, unsure if I can afford the CSL one but we'll see

-
Another small update, small details matter though right? Noticed the rear badge was pretty sun faded/cracking on the M stripe section. Rather than replacing the entire badge, if you just apply a bit of heat (enough to make it warm to the touch but not compromise the badge adhesive) the M stripes can peel right off and be replaced. I got the replacement vinyl from here if anyone is curious. Badge looks brand new and cost $8 and 2 min of time!


-
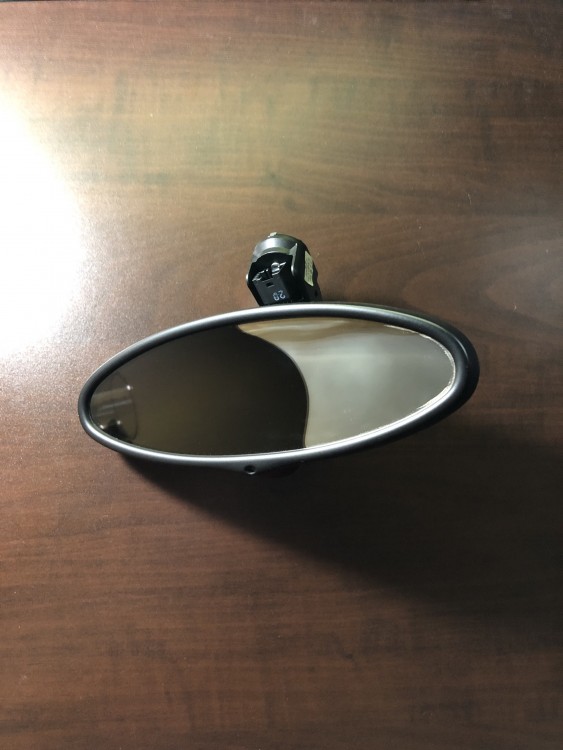
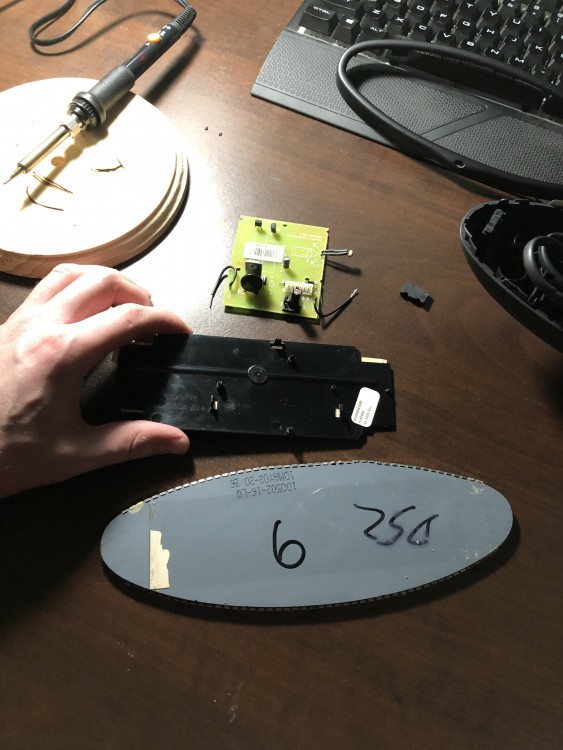
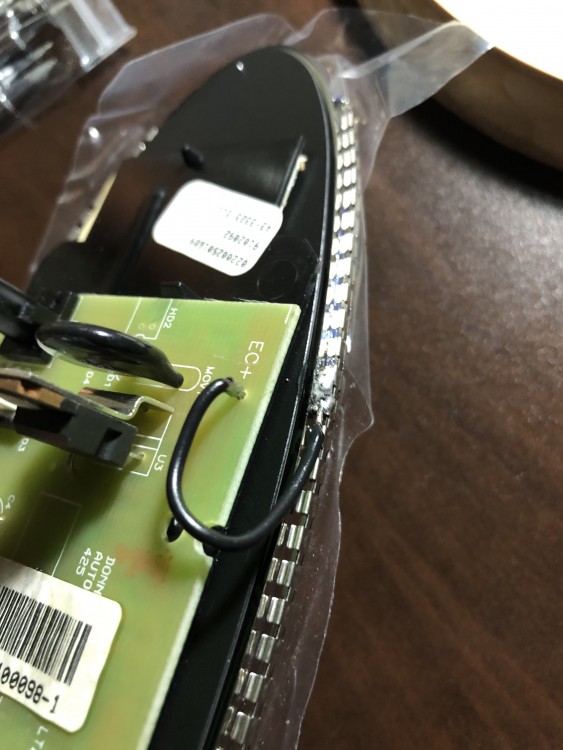
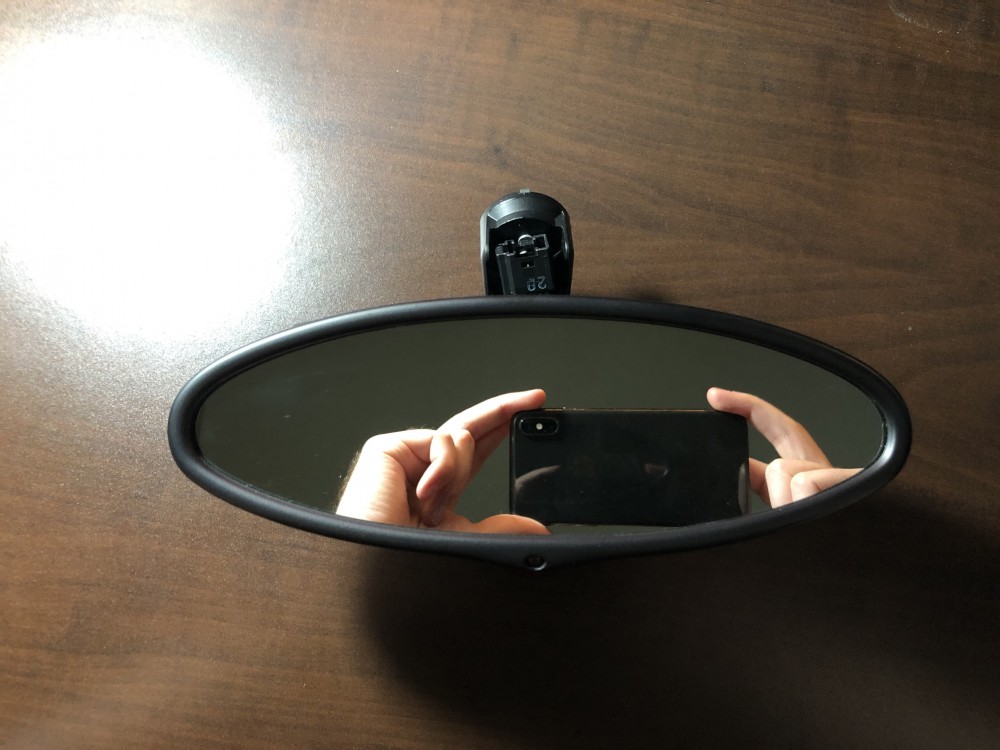
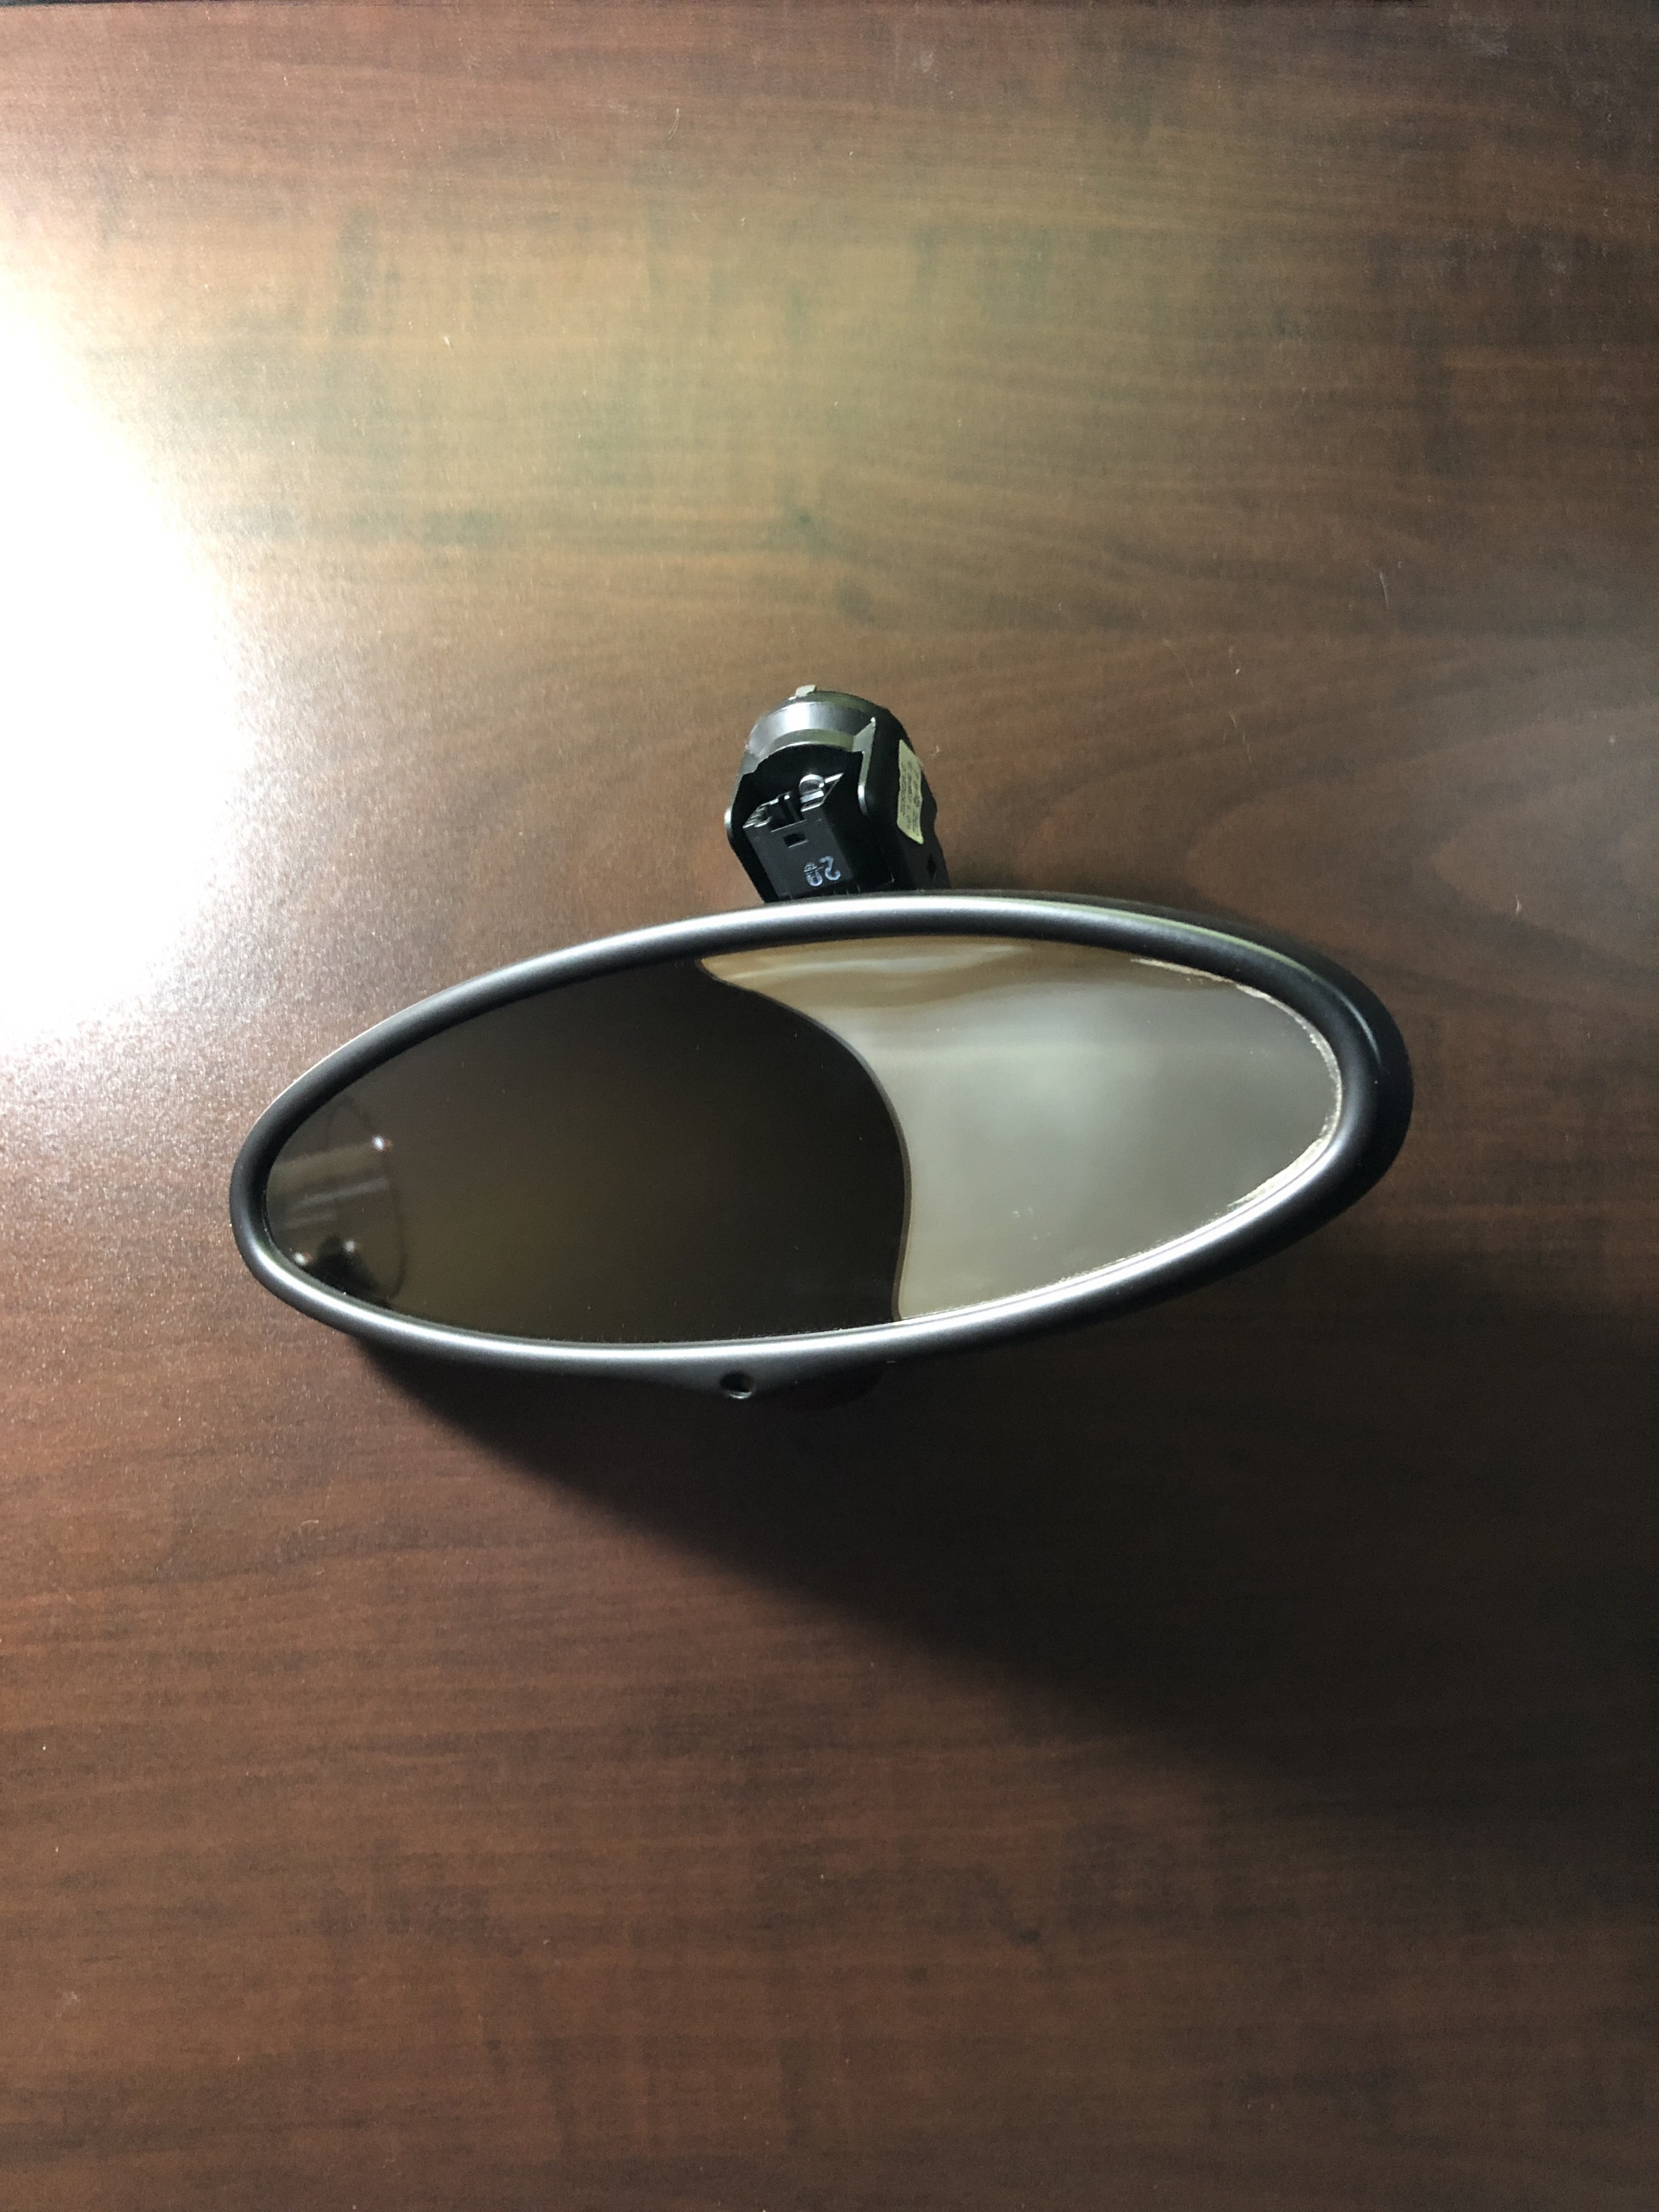
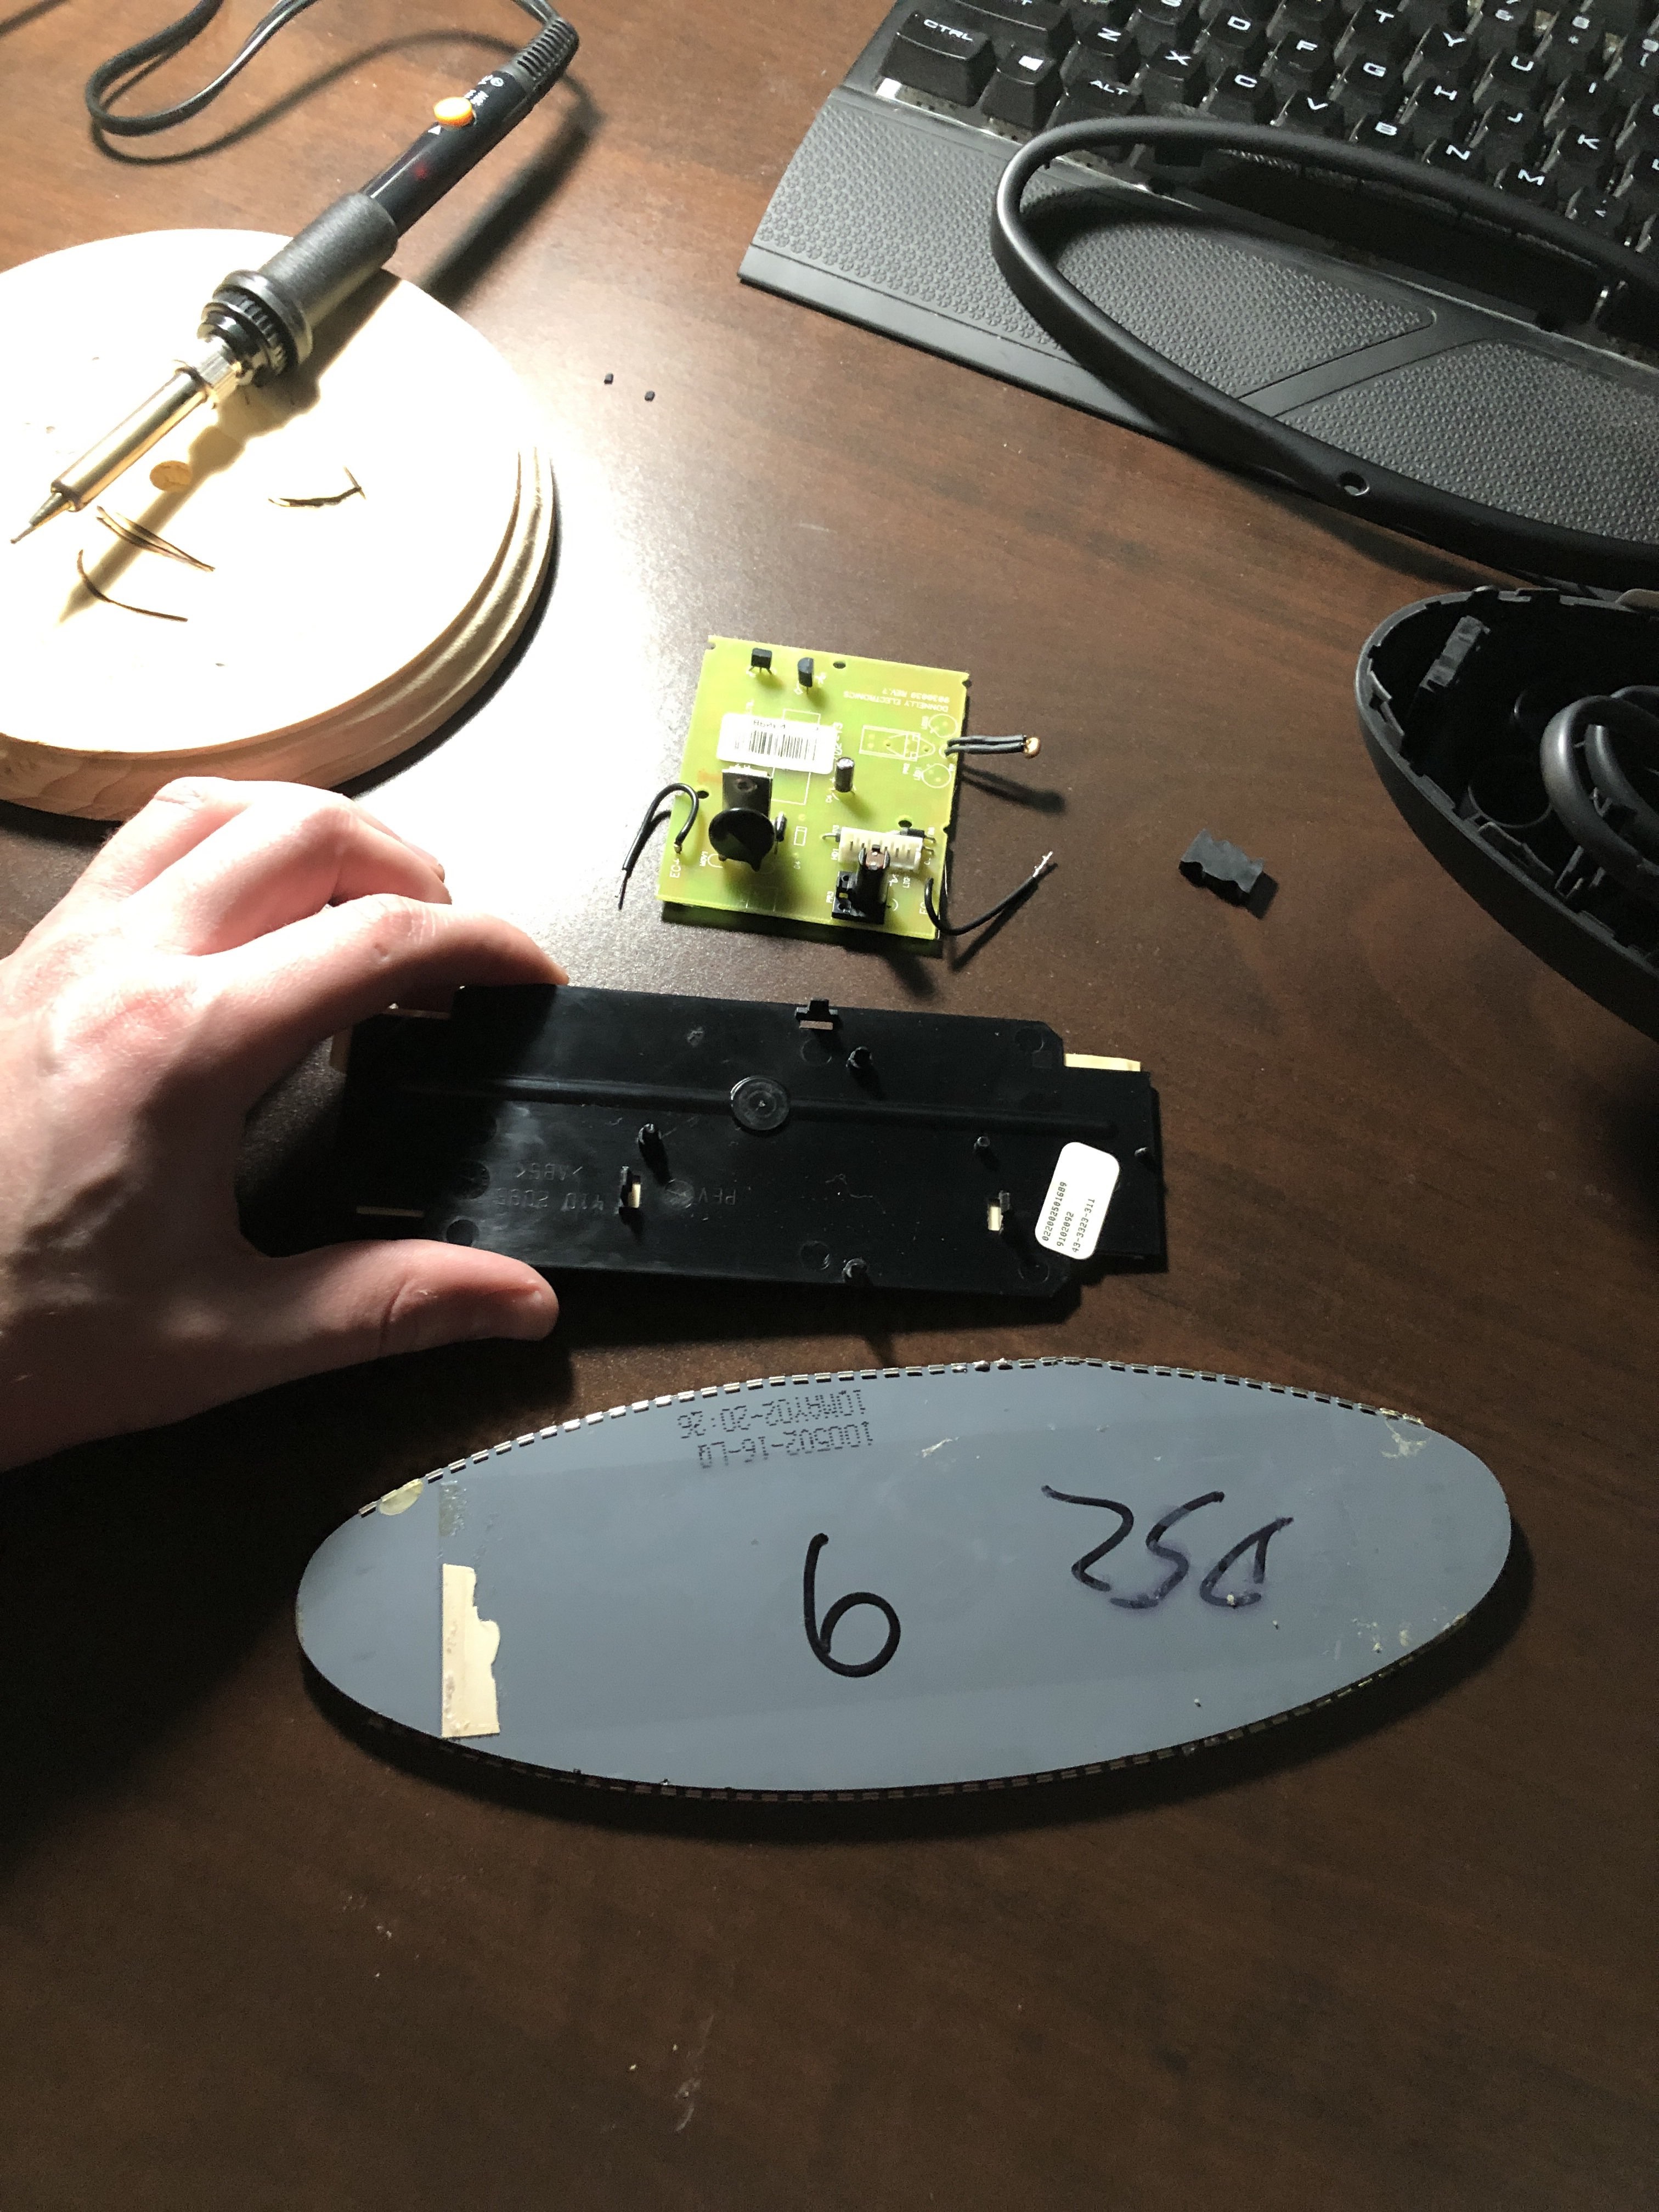
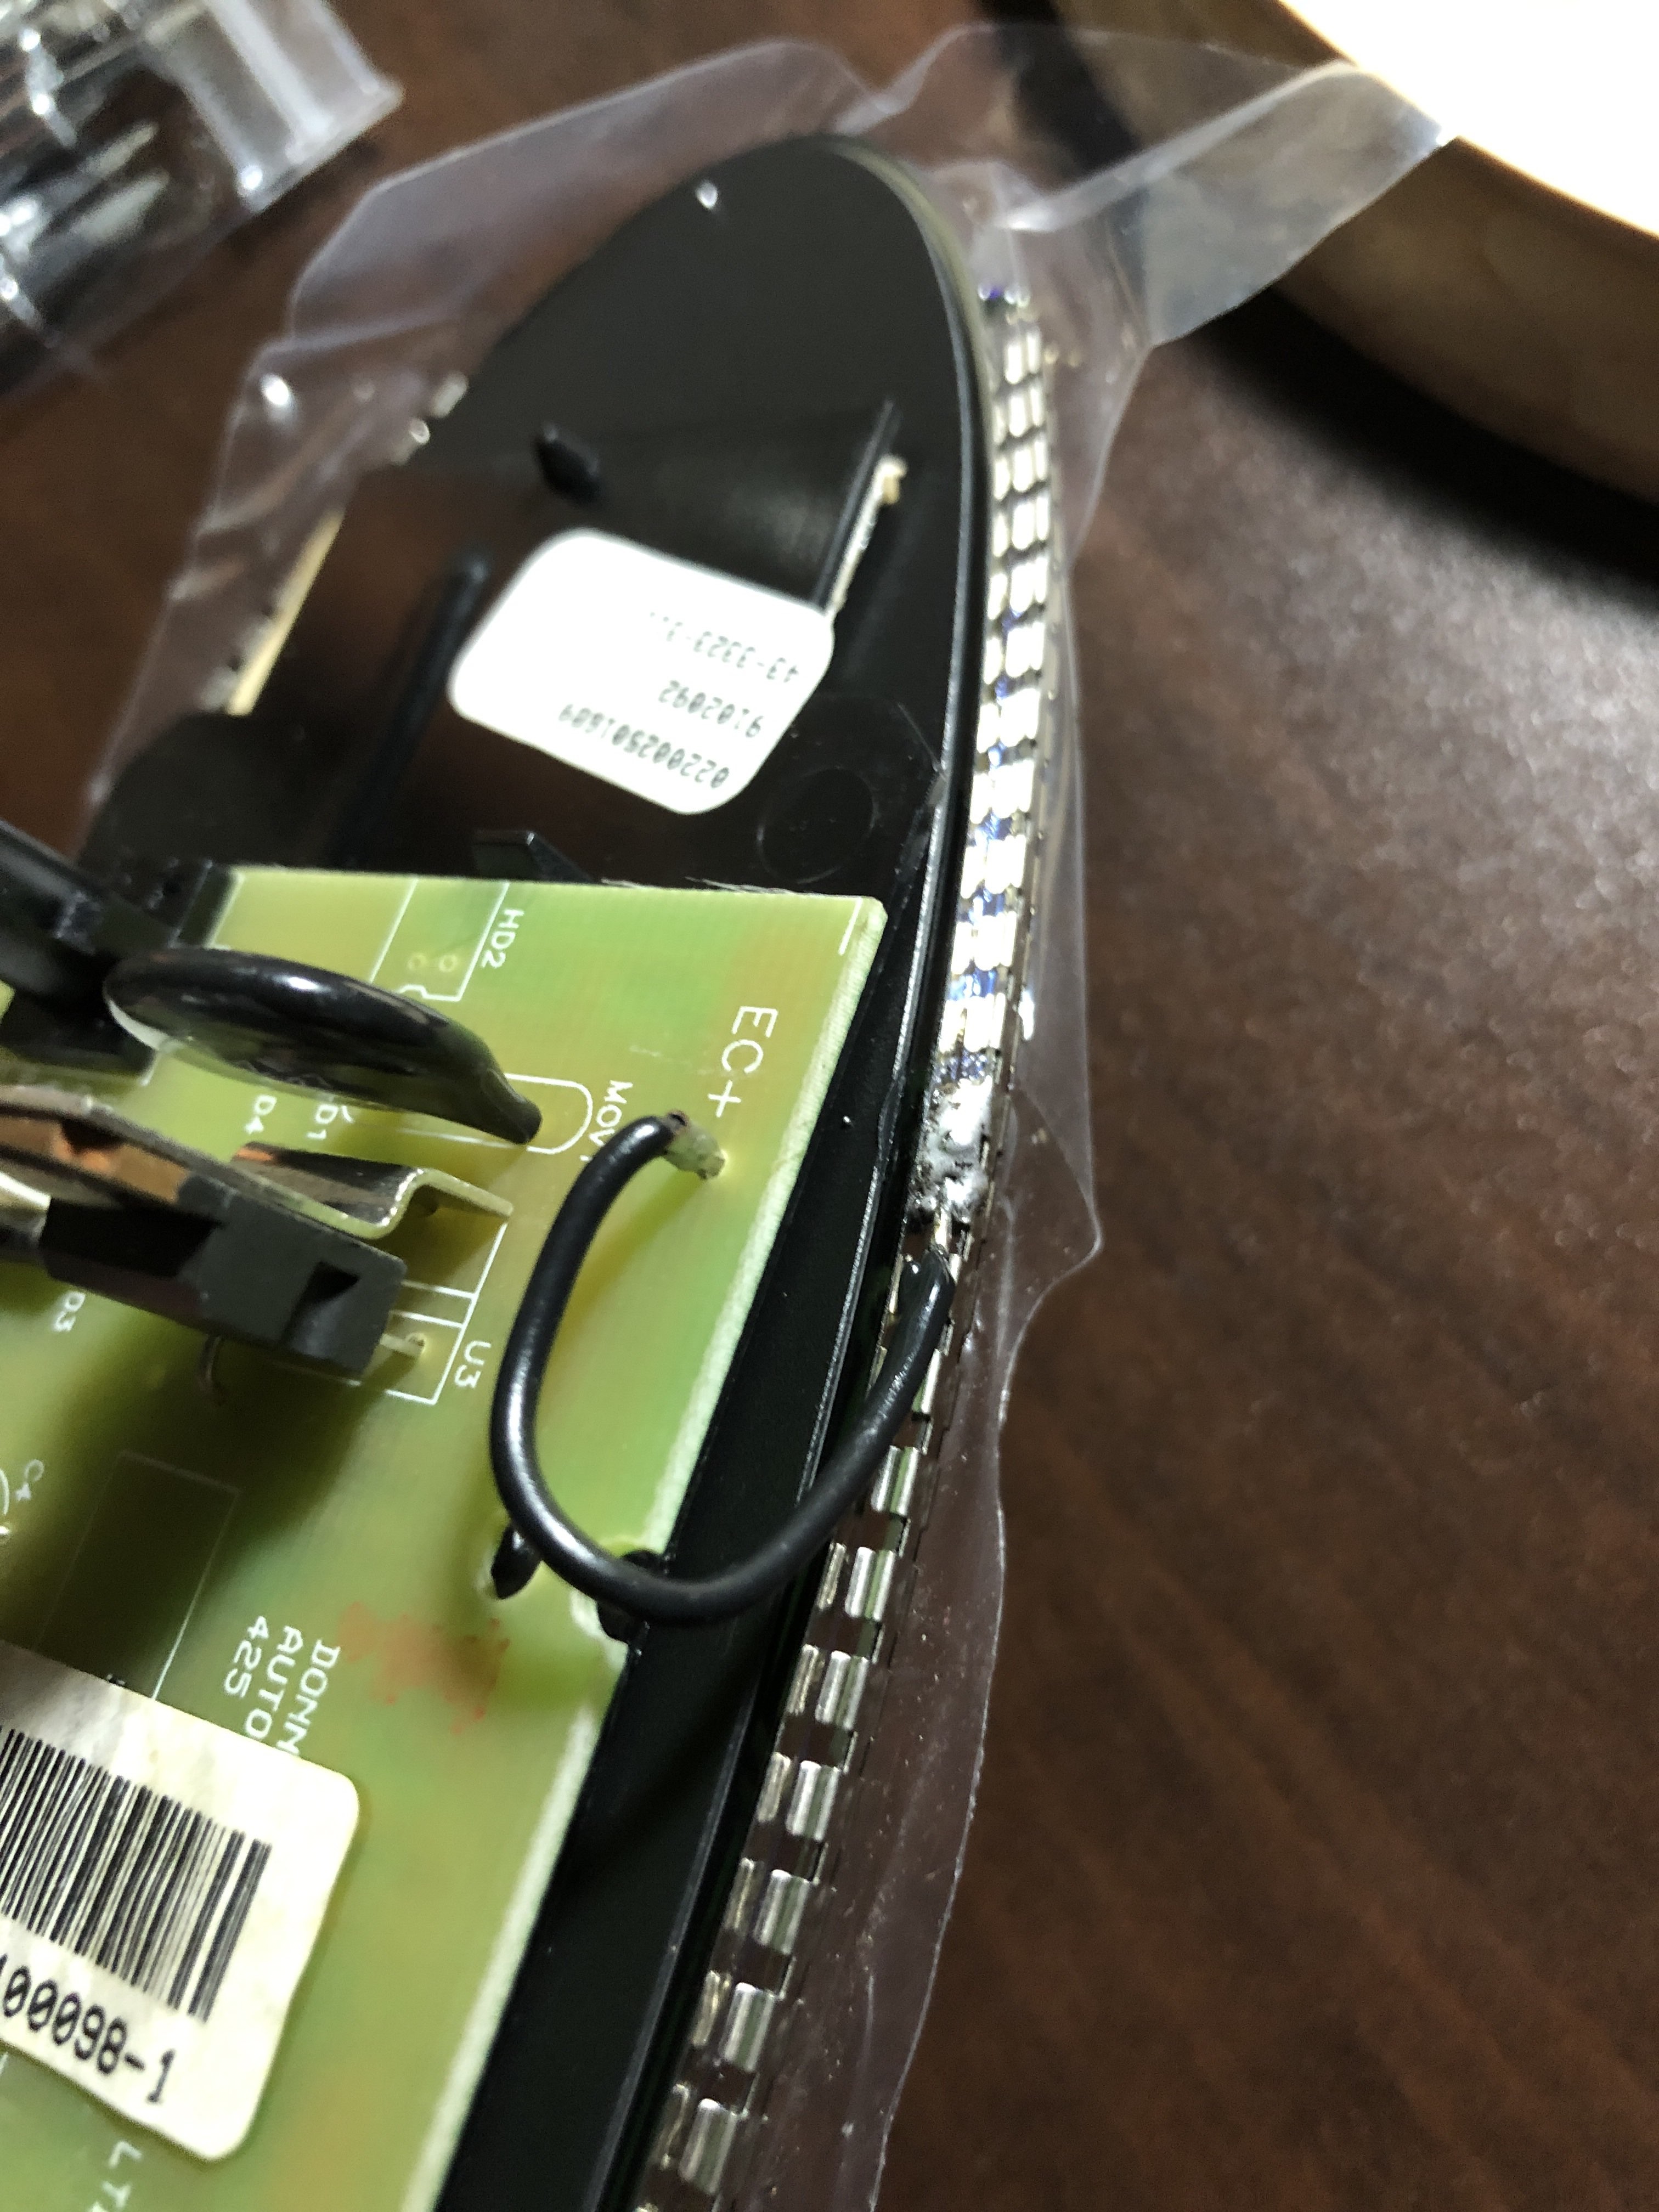
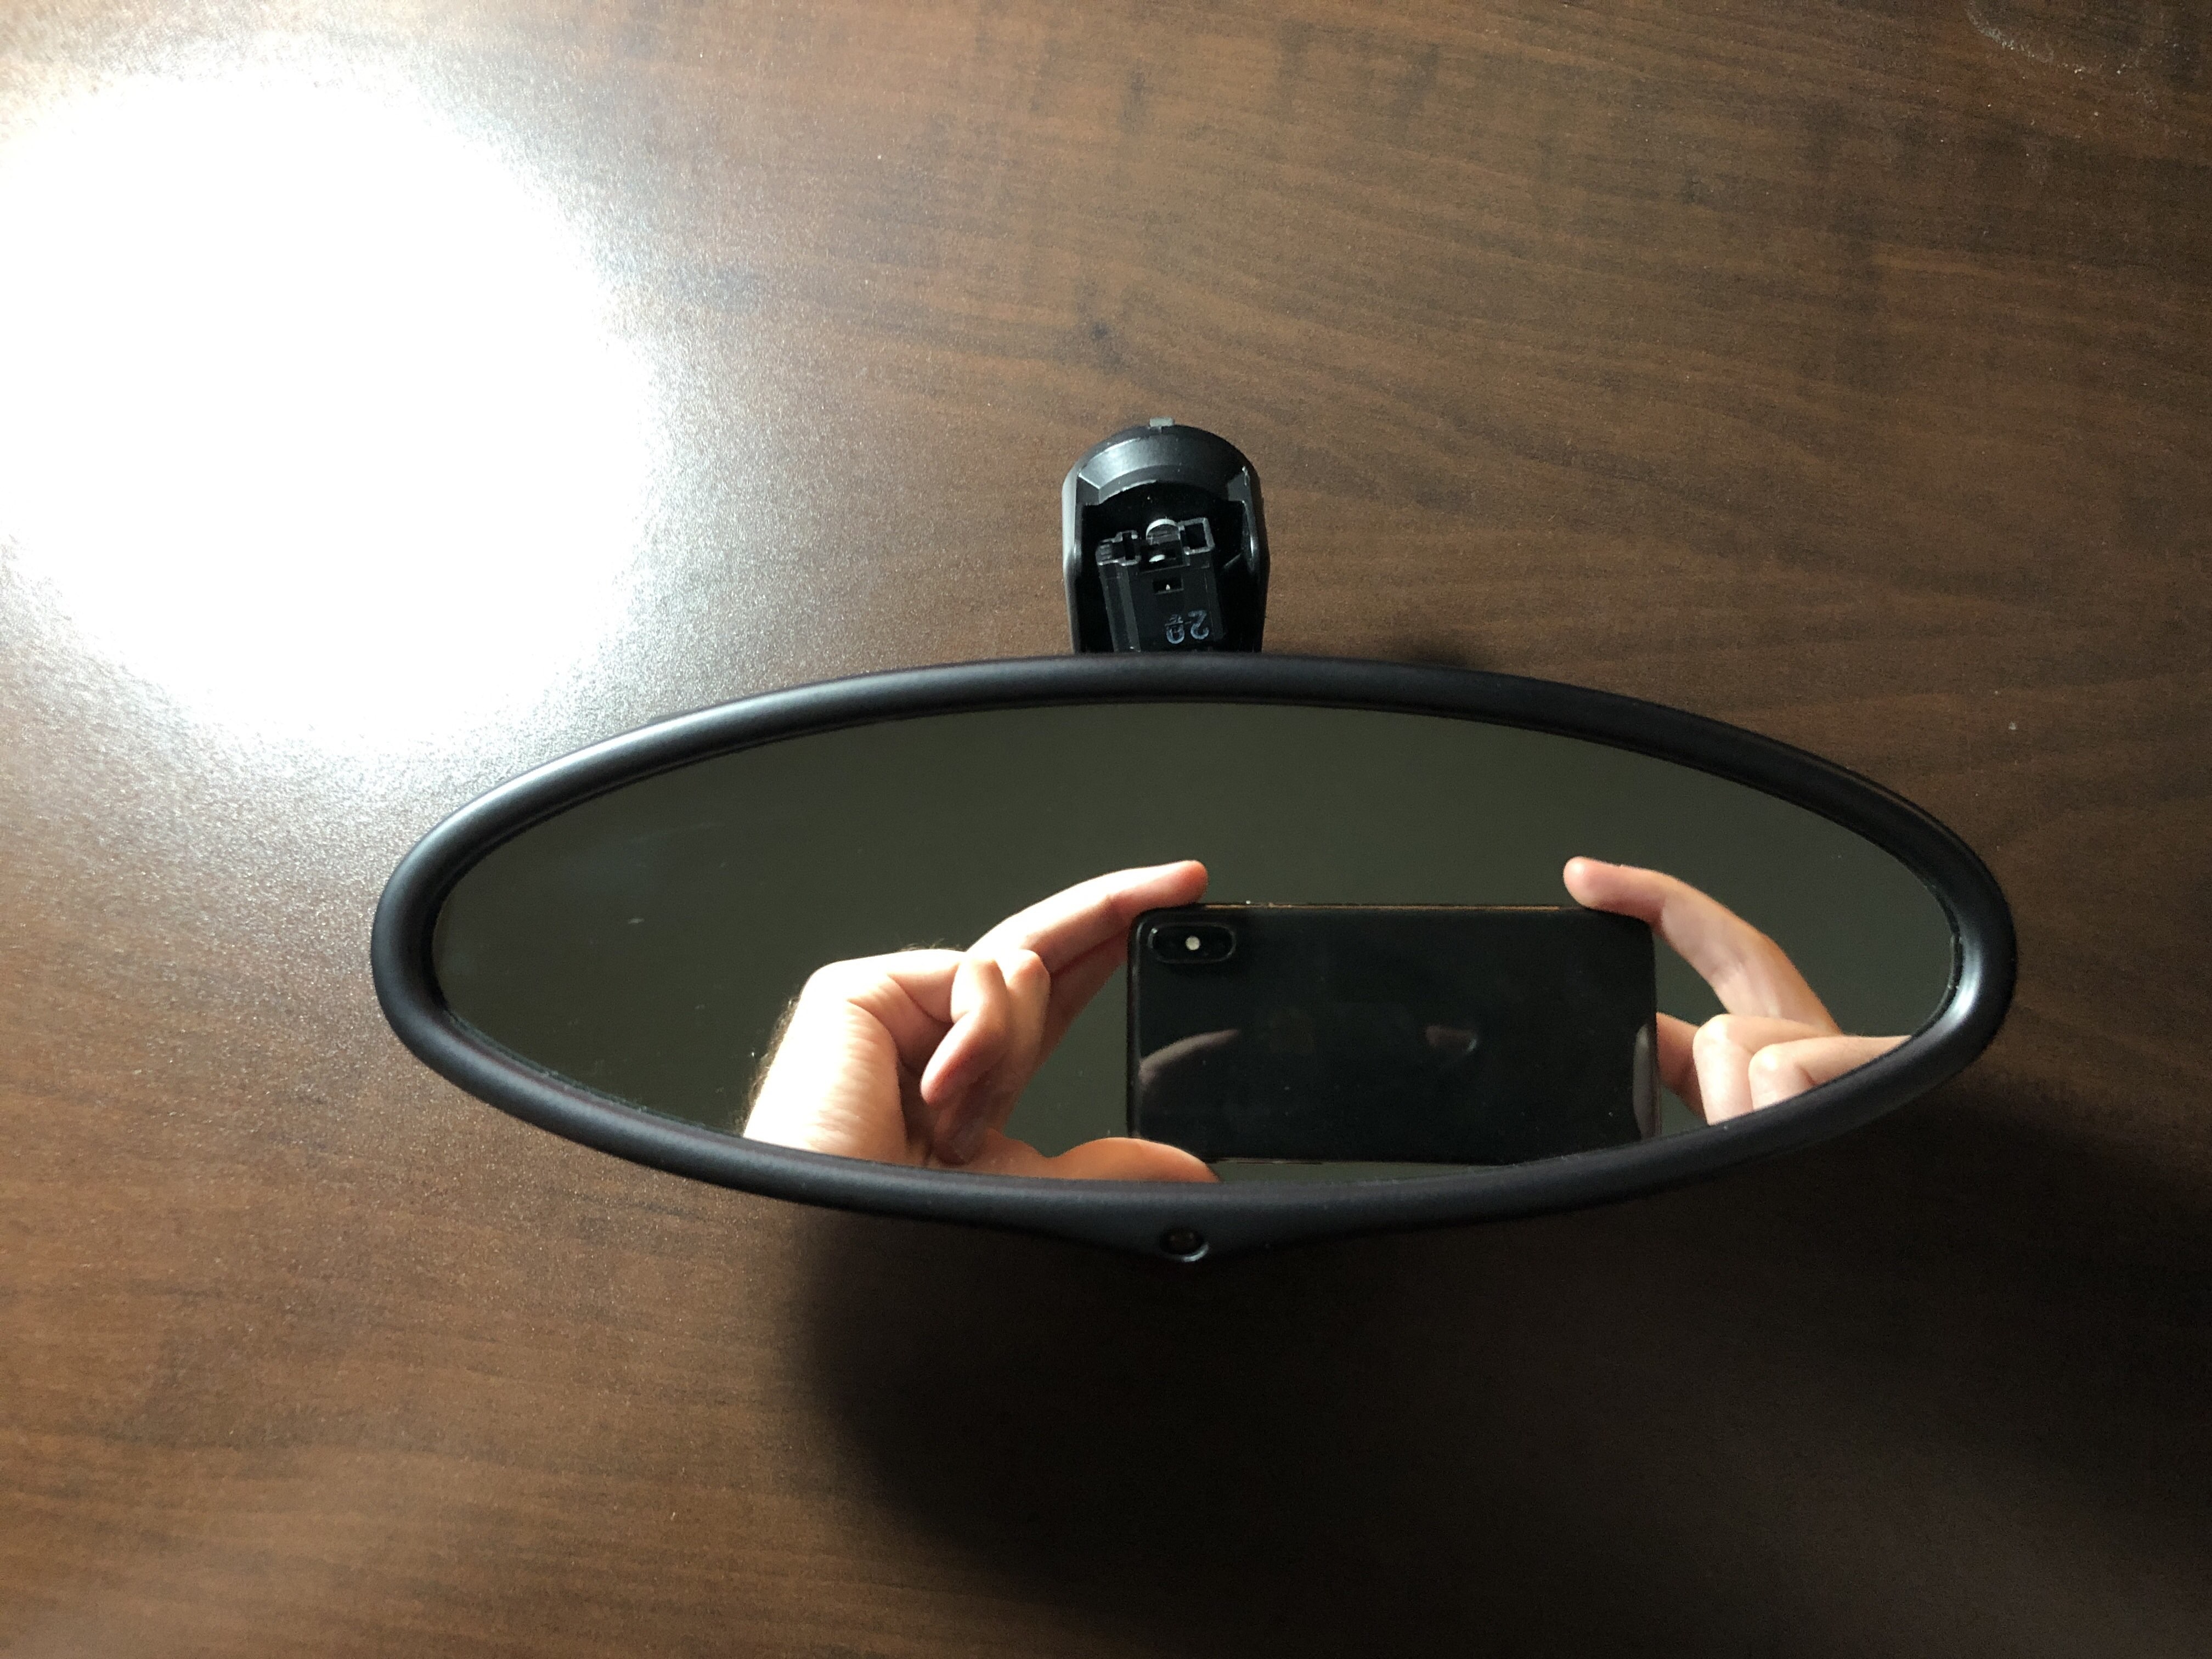
friend thought I was playing a prank saying I have to replace my mirror fluid. Cursed with the infamous dimming mirror delaminating and evaporating/leaking. Decided to take the DIY approach rather than send it off to save a few bucks. Ended up being a super easy 30 min project and looks brand new. Mirror link




Hello! It looks like you're interested in this conversation, but you don't have an account yet.
Getting fed up of having to scroll through the same posts each visit? When you register for an account, you'll always come back to exactly where you were before, and choose to be notified of new replies (either via email, or push notification). You'll also be able to save bookmarks and upvote posts to show your appreciation to other community members.
With your input, this post could be even better 💗
Register Login