
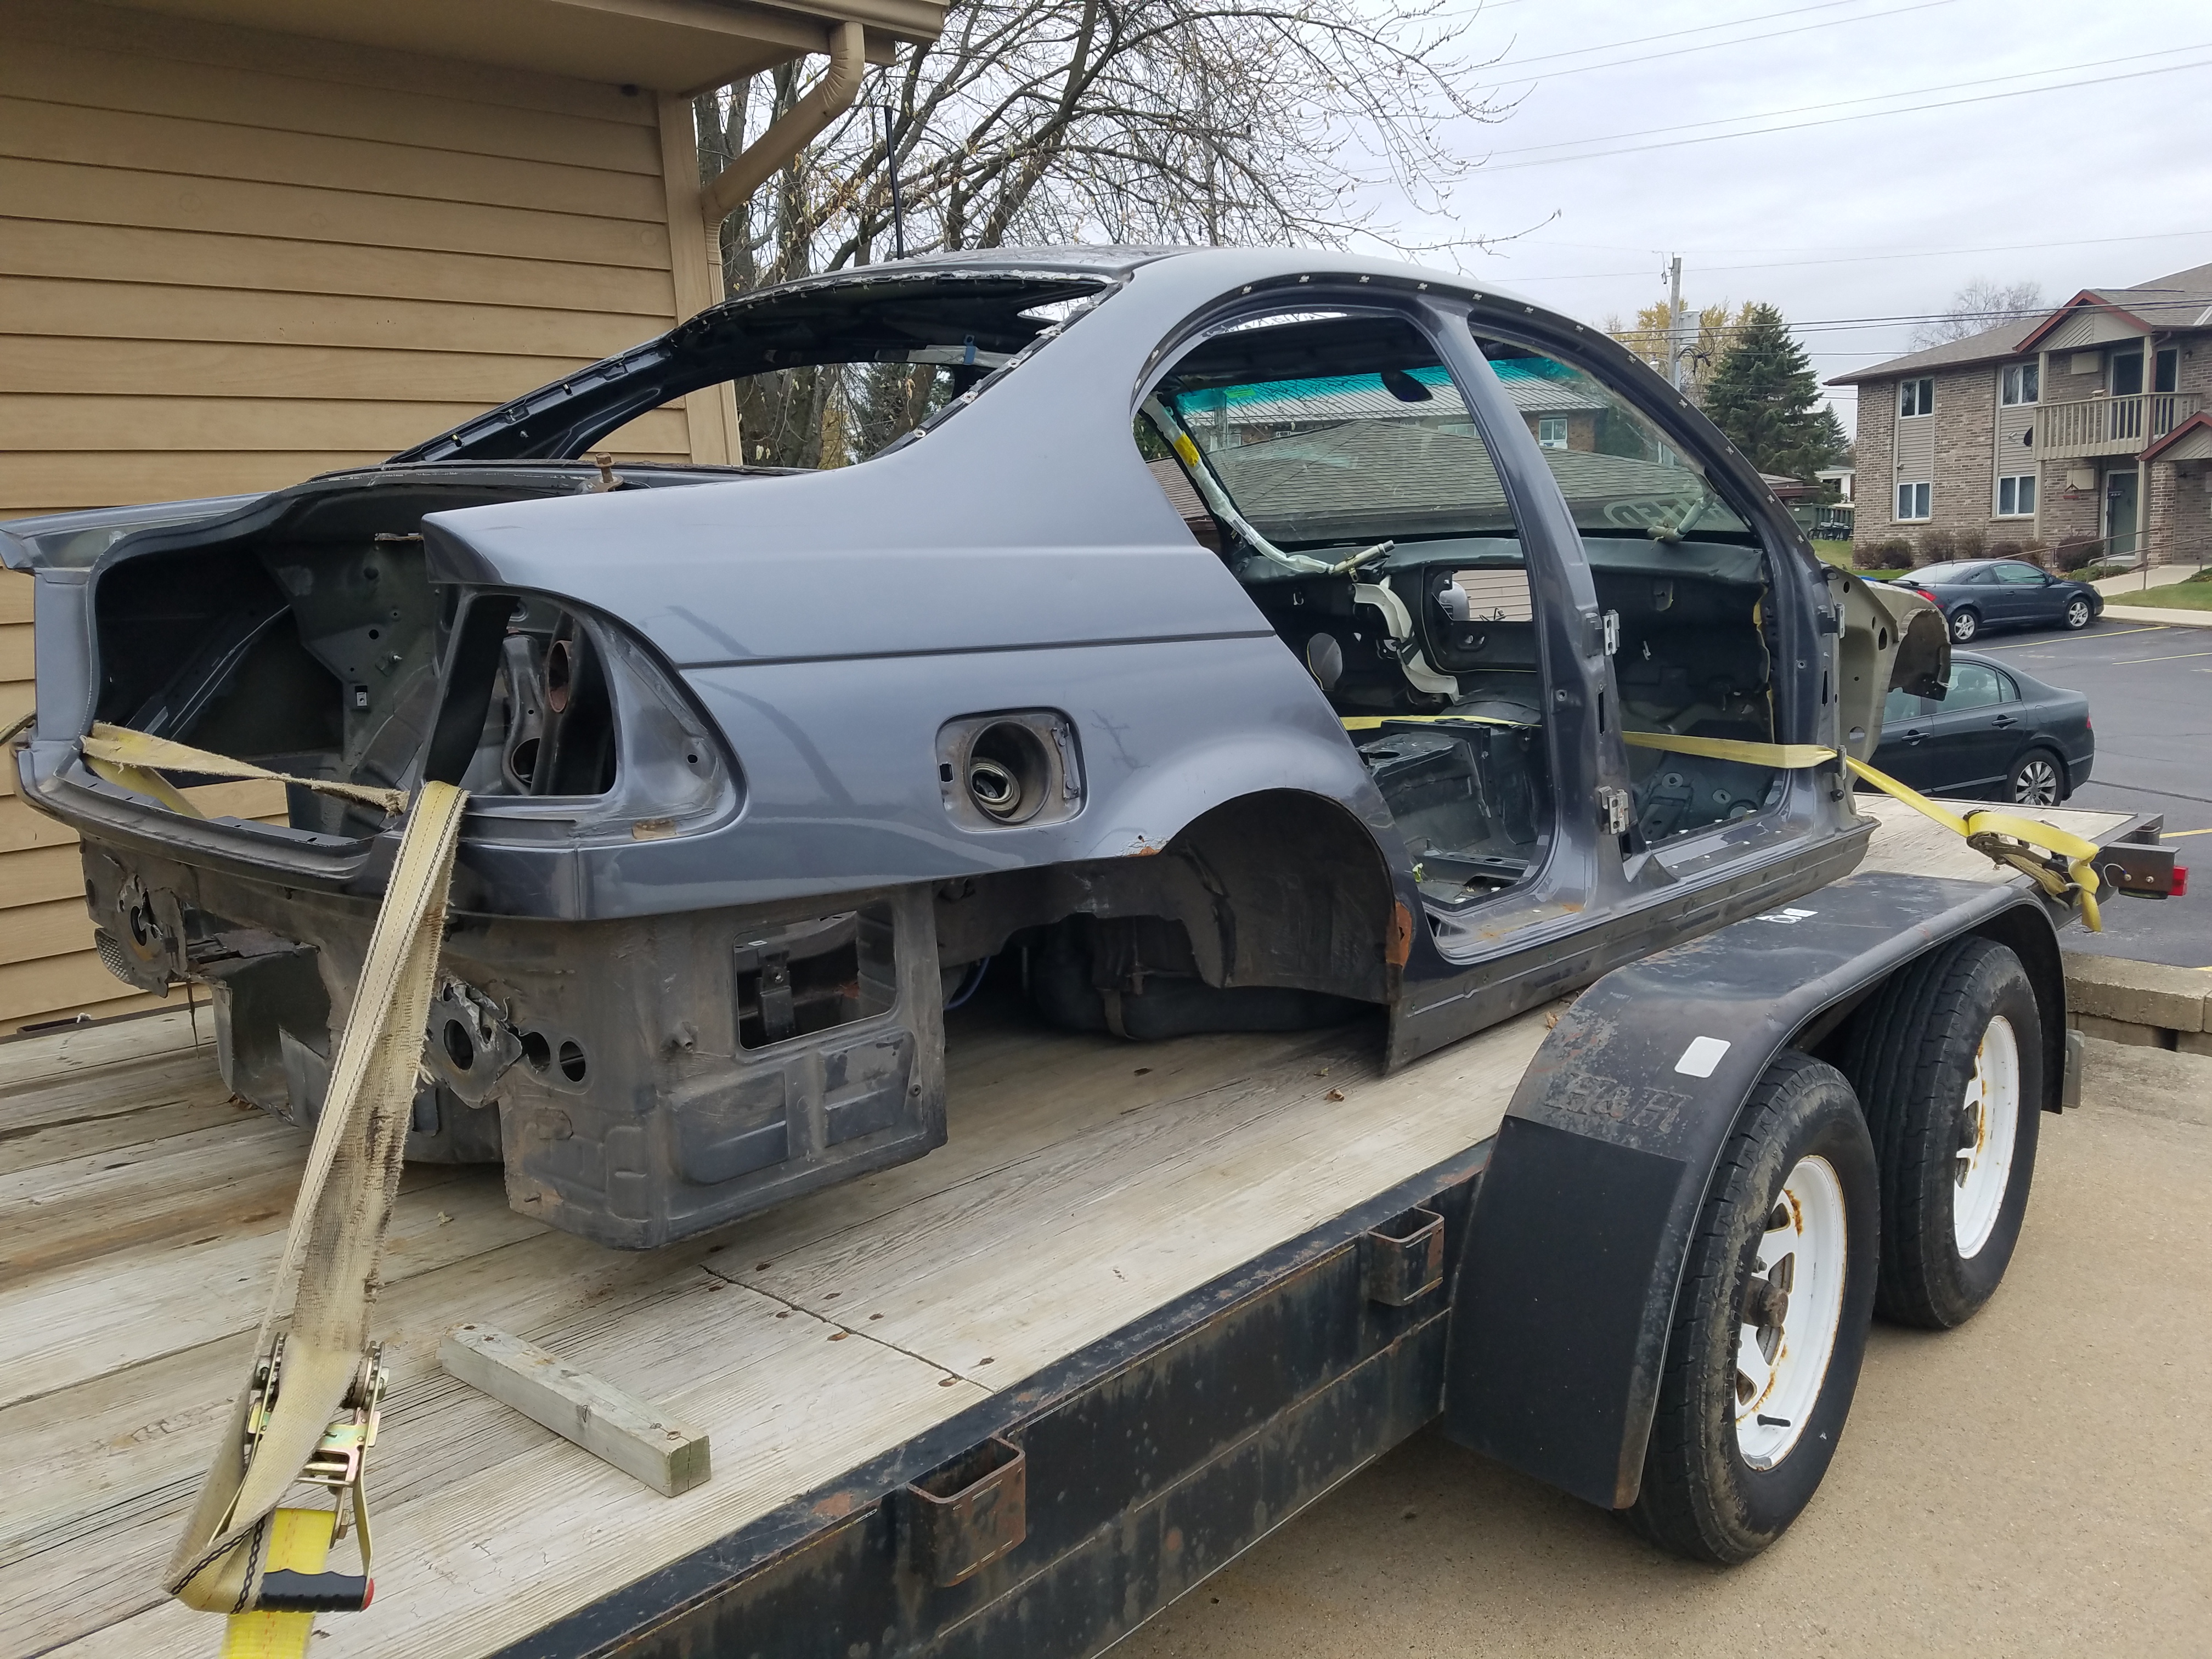
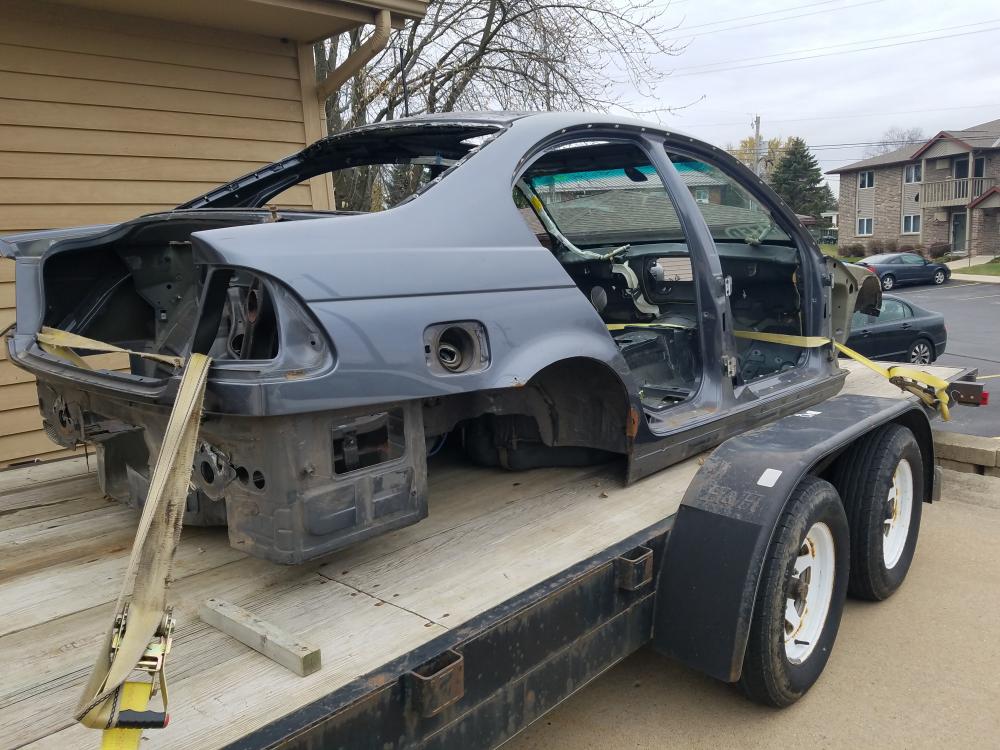
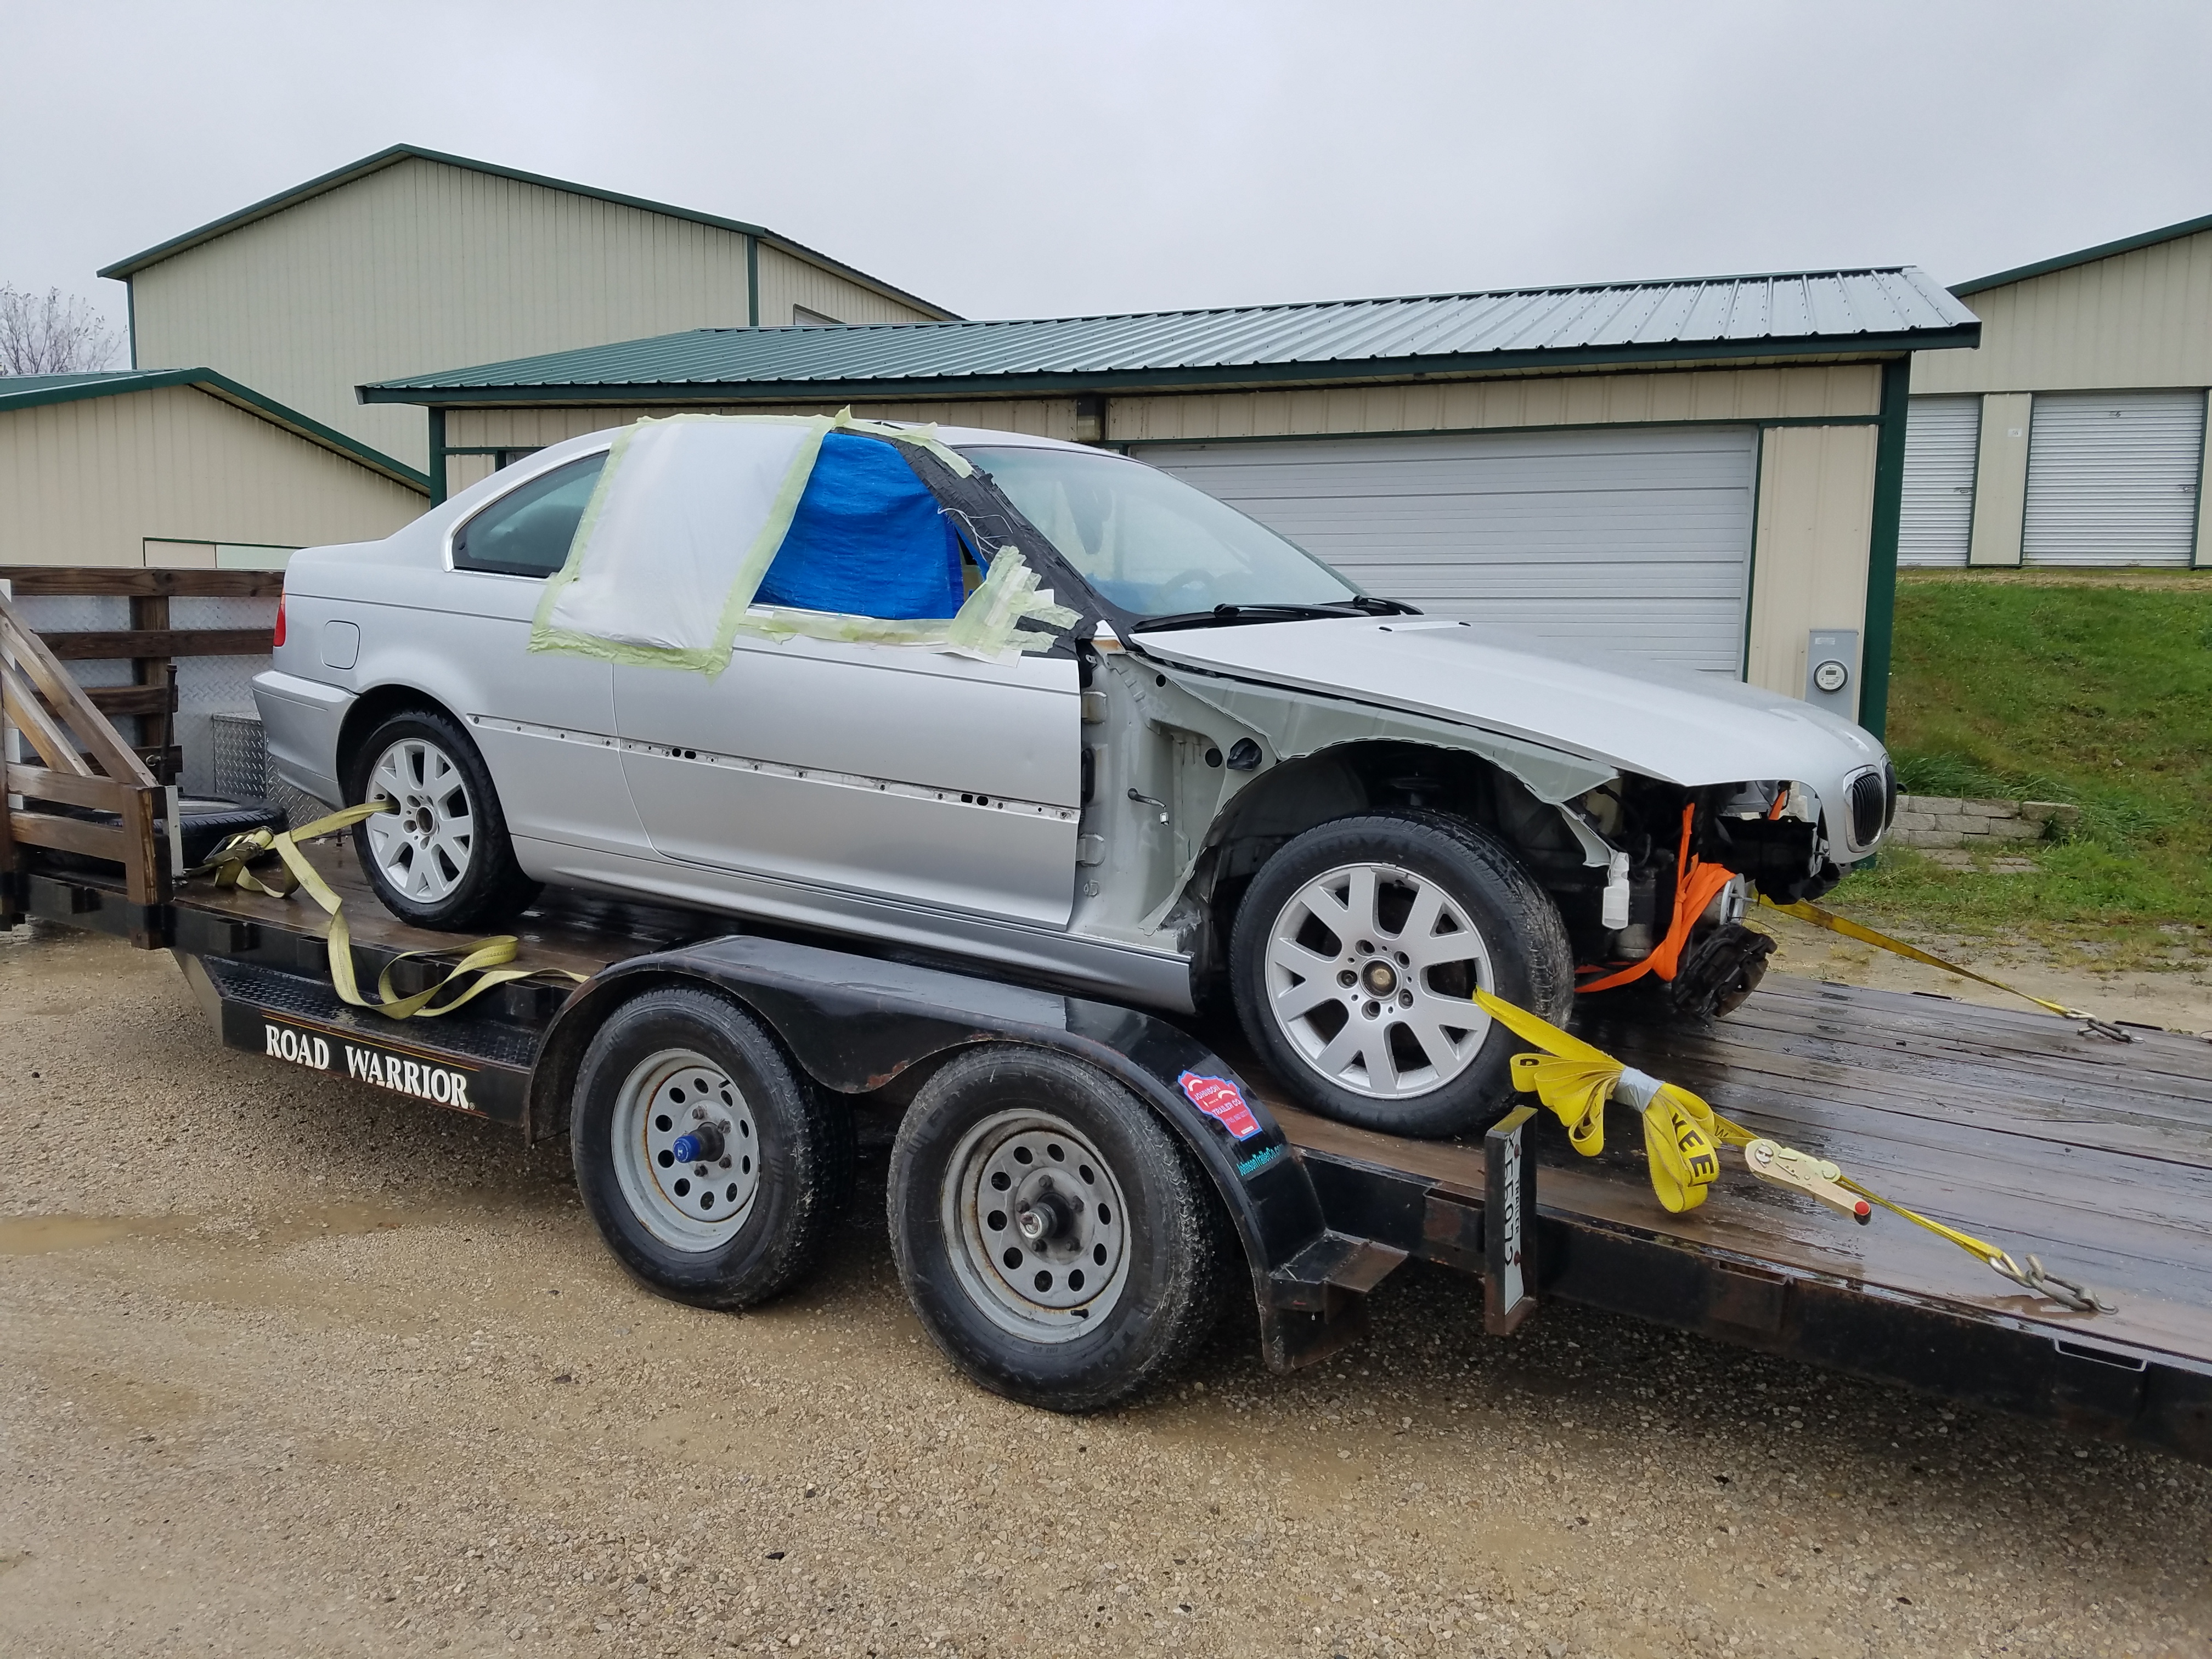
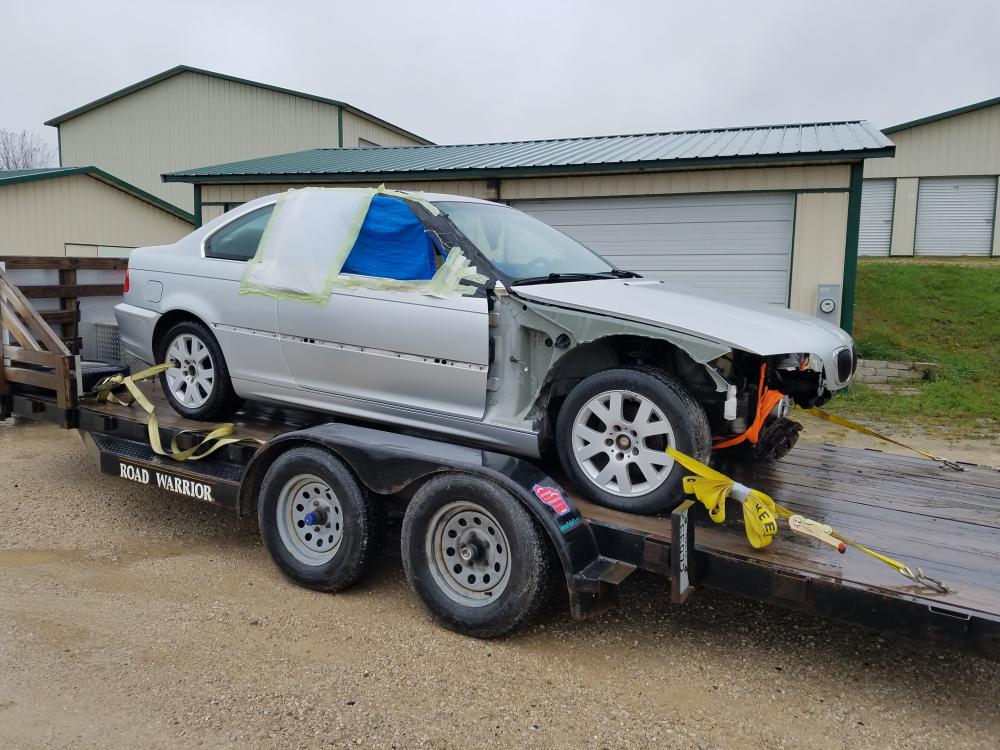
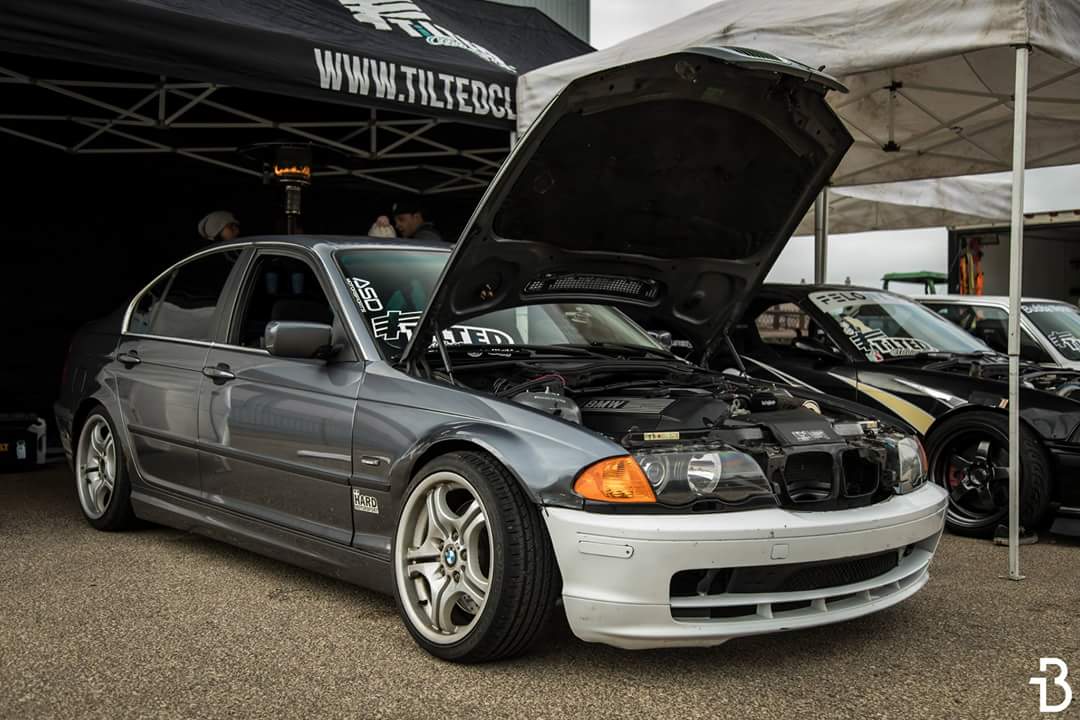
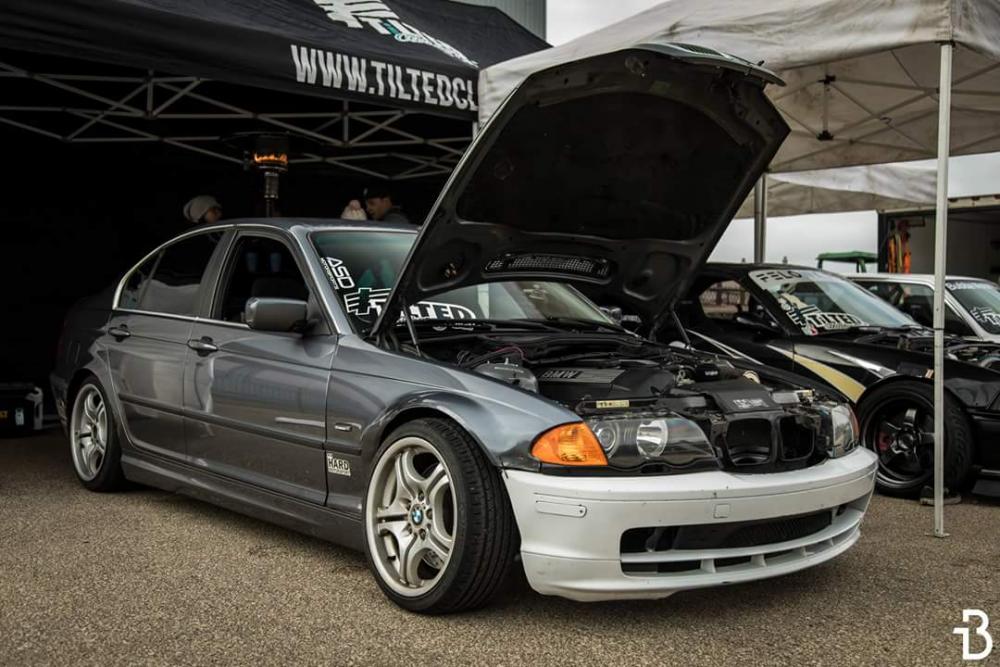
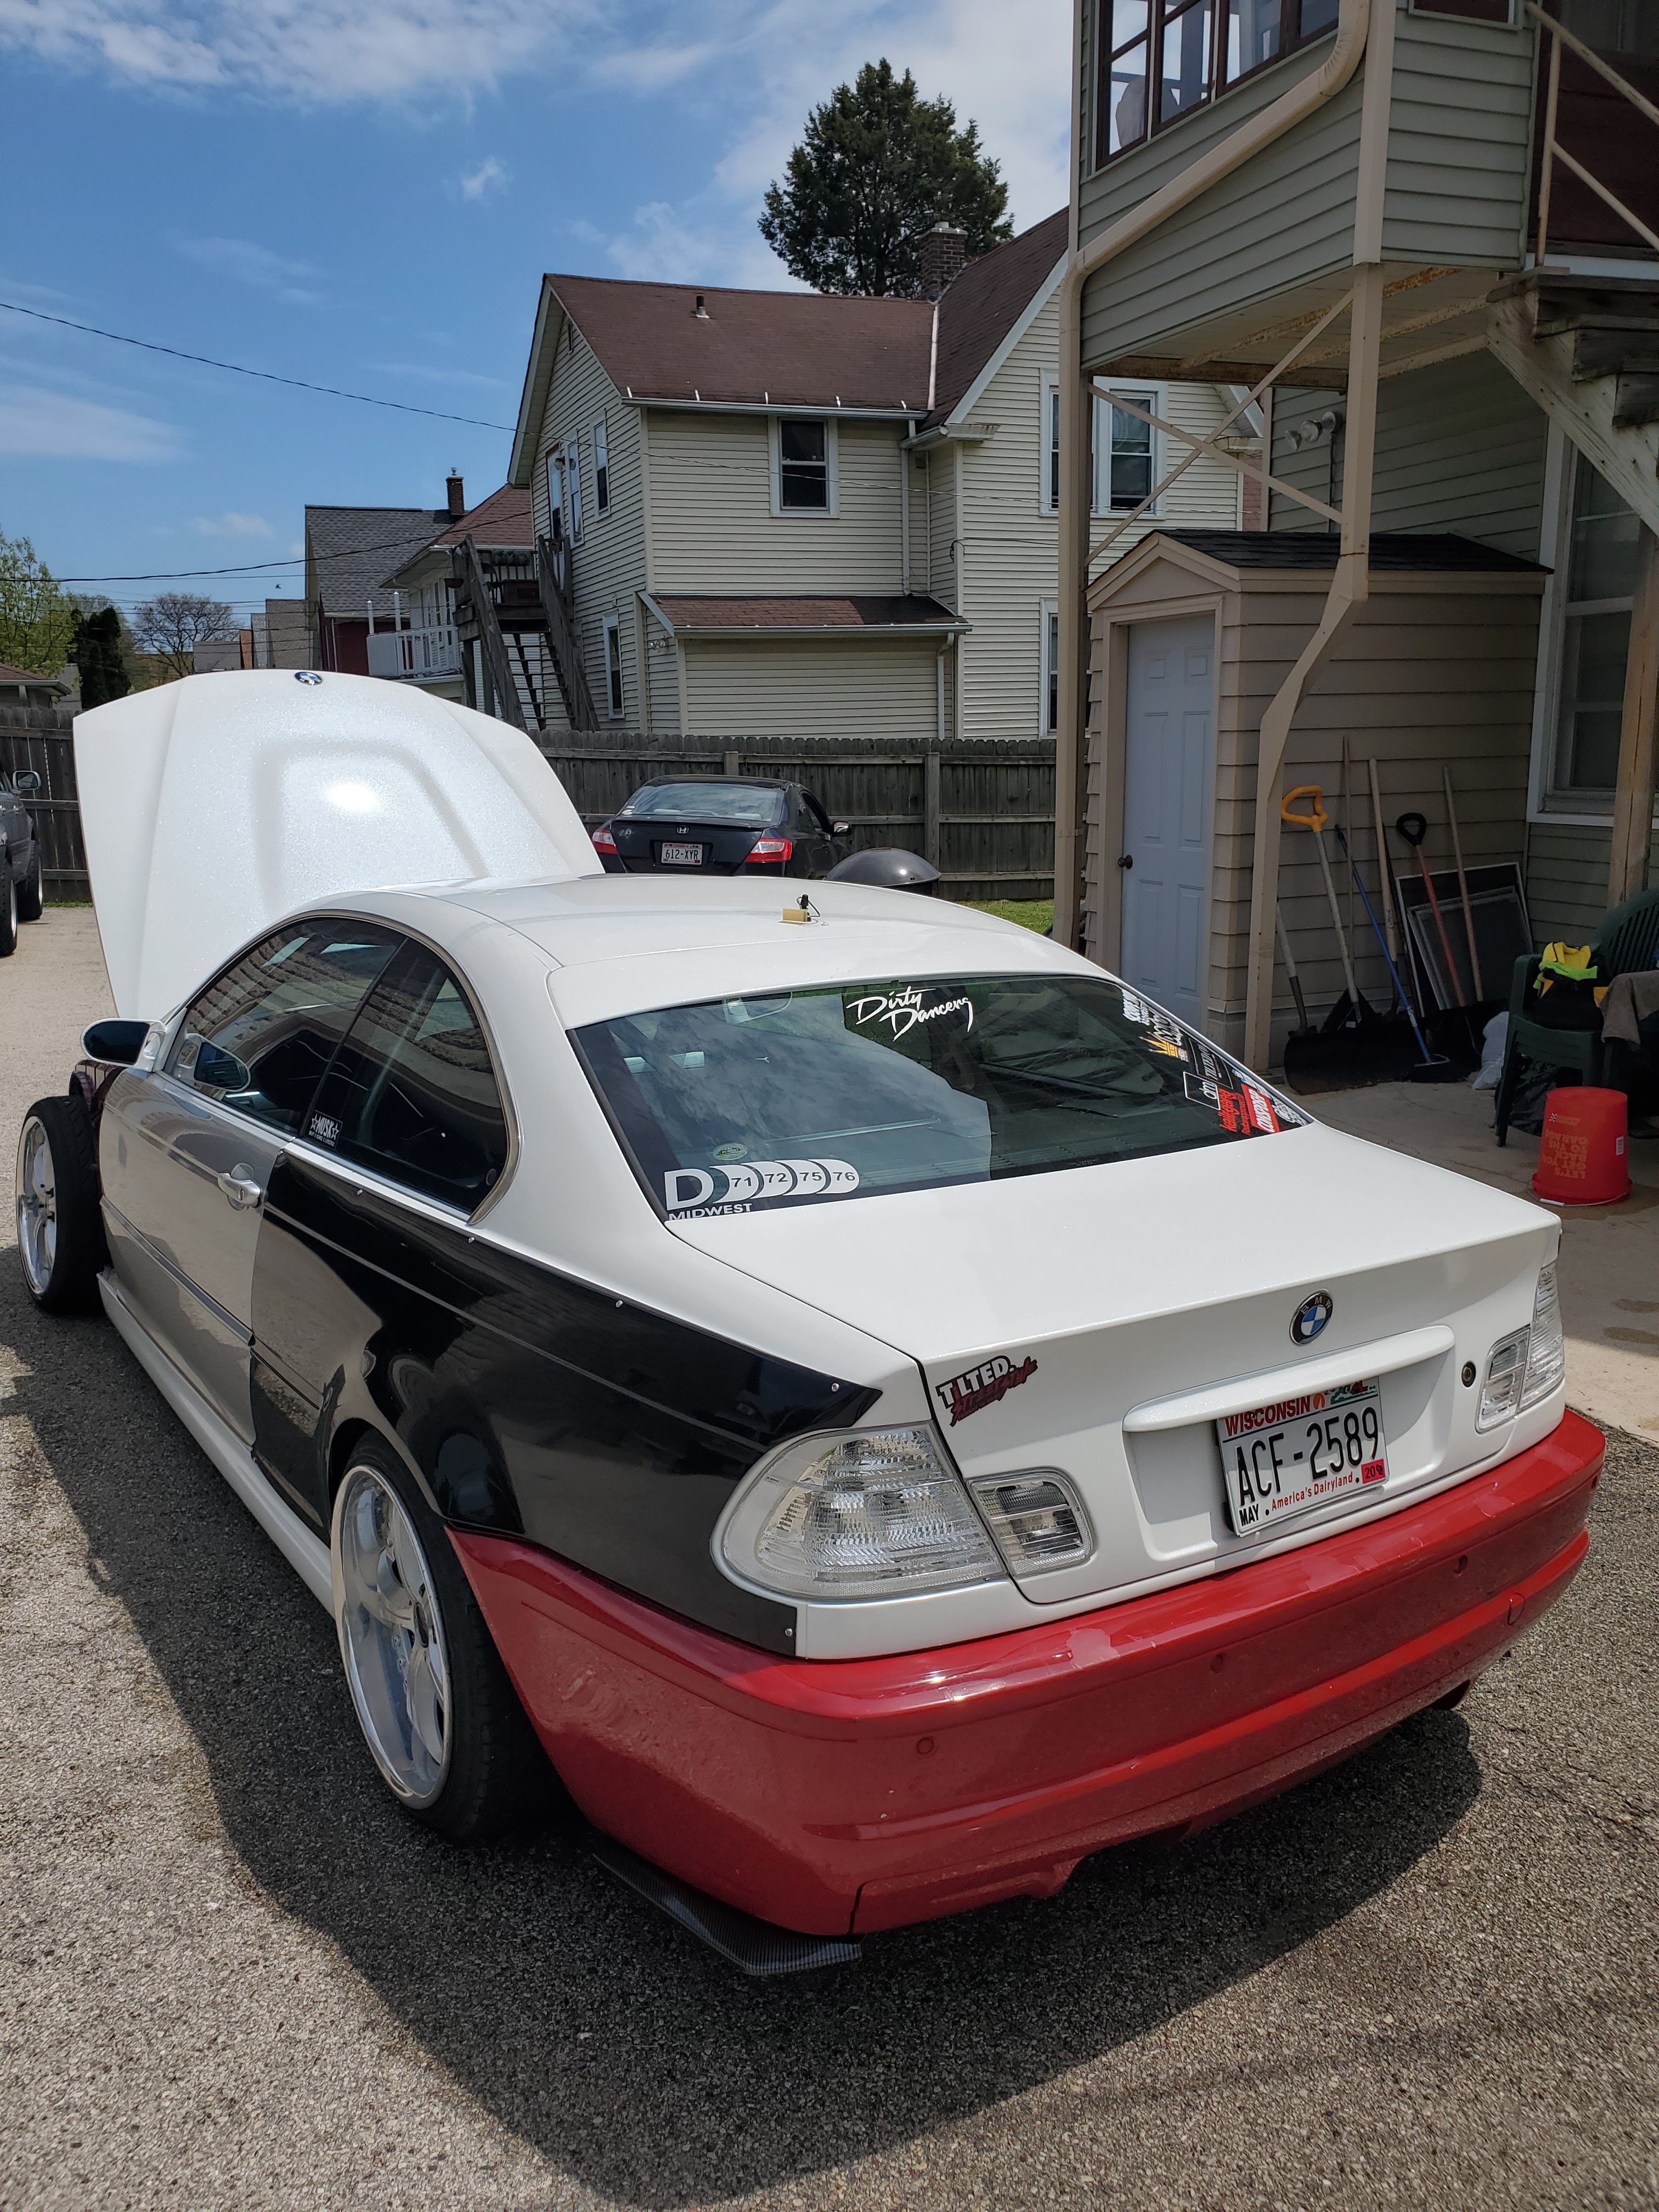
A purists nightmare - E46 drift build

-
I was going to say that the standoffs will break, but I'm going going to revise that and just say that they might break.
Anyway, it could be worse.

I dont believe it will be a problem. Its the same way a friend did his and that was over a year ago.
-
Is that scotch-weld stuff the same as panel bond?

https://www.instagram.com/_jdesigner_/ http://nevertoolow.tumblr.com/
🥳SOLD BMW E24 633CSI - BMW M30B32 🧪SOLD HCH ES9 - 1.3 LDA
👽BMW E30 325IC - Toyota 1JZ-GTE ⏰ HONDA EF9 CIVIC SI - JDM B18C5
☠️BMW E36 318i - Ford 5.0 FE302 🚴♂️ GT-Labomba - 26x2.75 Freeride
🤹♀️SOLD BMW E36/7 Z3 - BMW M54B25 🧓SOLD BMW E10 2002 - BMW M10M05 -
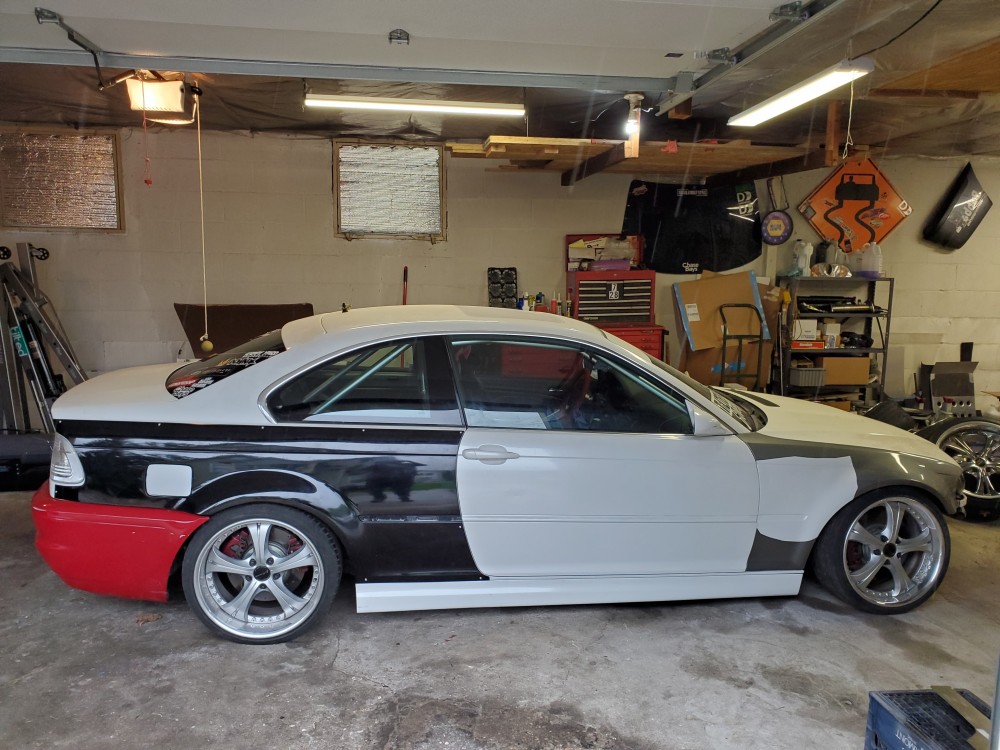
I don’t know why, but I kind of like how it looks as is.
-
Is that scotch-weld stuff the same as panel bond?
I wouldnt say the same, it has metallic pieces in it and im not sure if panel bond does. It does come up down the list when you search panel bond, but panel bond and scotch weld are both 3M products. I believe panel bond is more for gluing 2 surfaces together like a quarter panel. Or if you were trying to mold a over to a car? I'm no body guy lmao
Definitely do NOT have the patience for that stuff thats for sure.
-
I don’t know why, but I kind of like how it looks as is.
it looks like a drift car thats for sure lol. I can't wait to be able to get some wrap ordered!
-
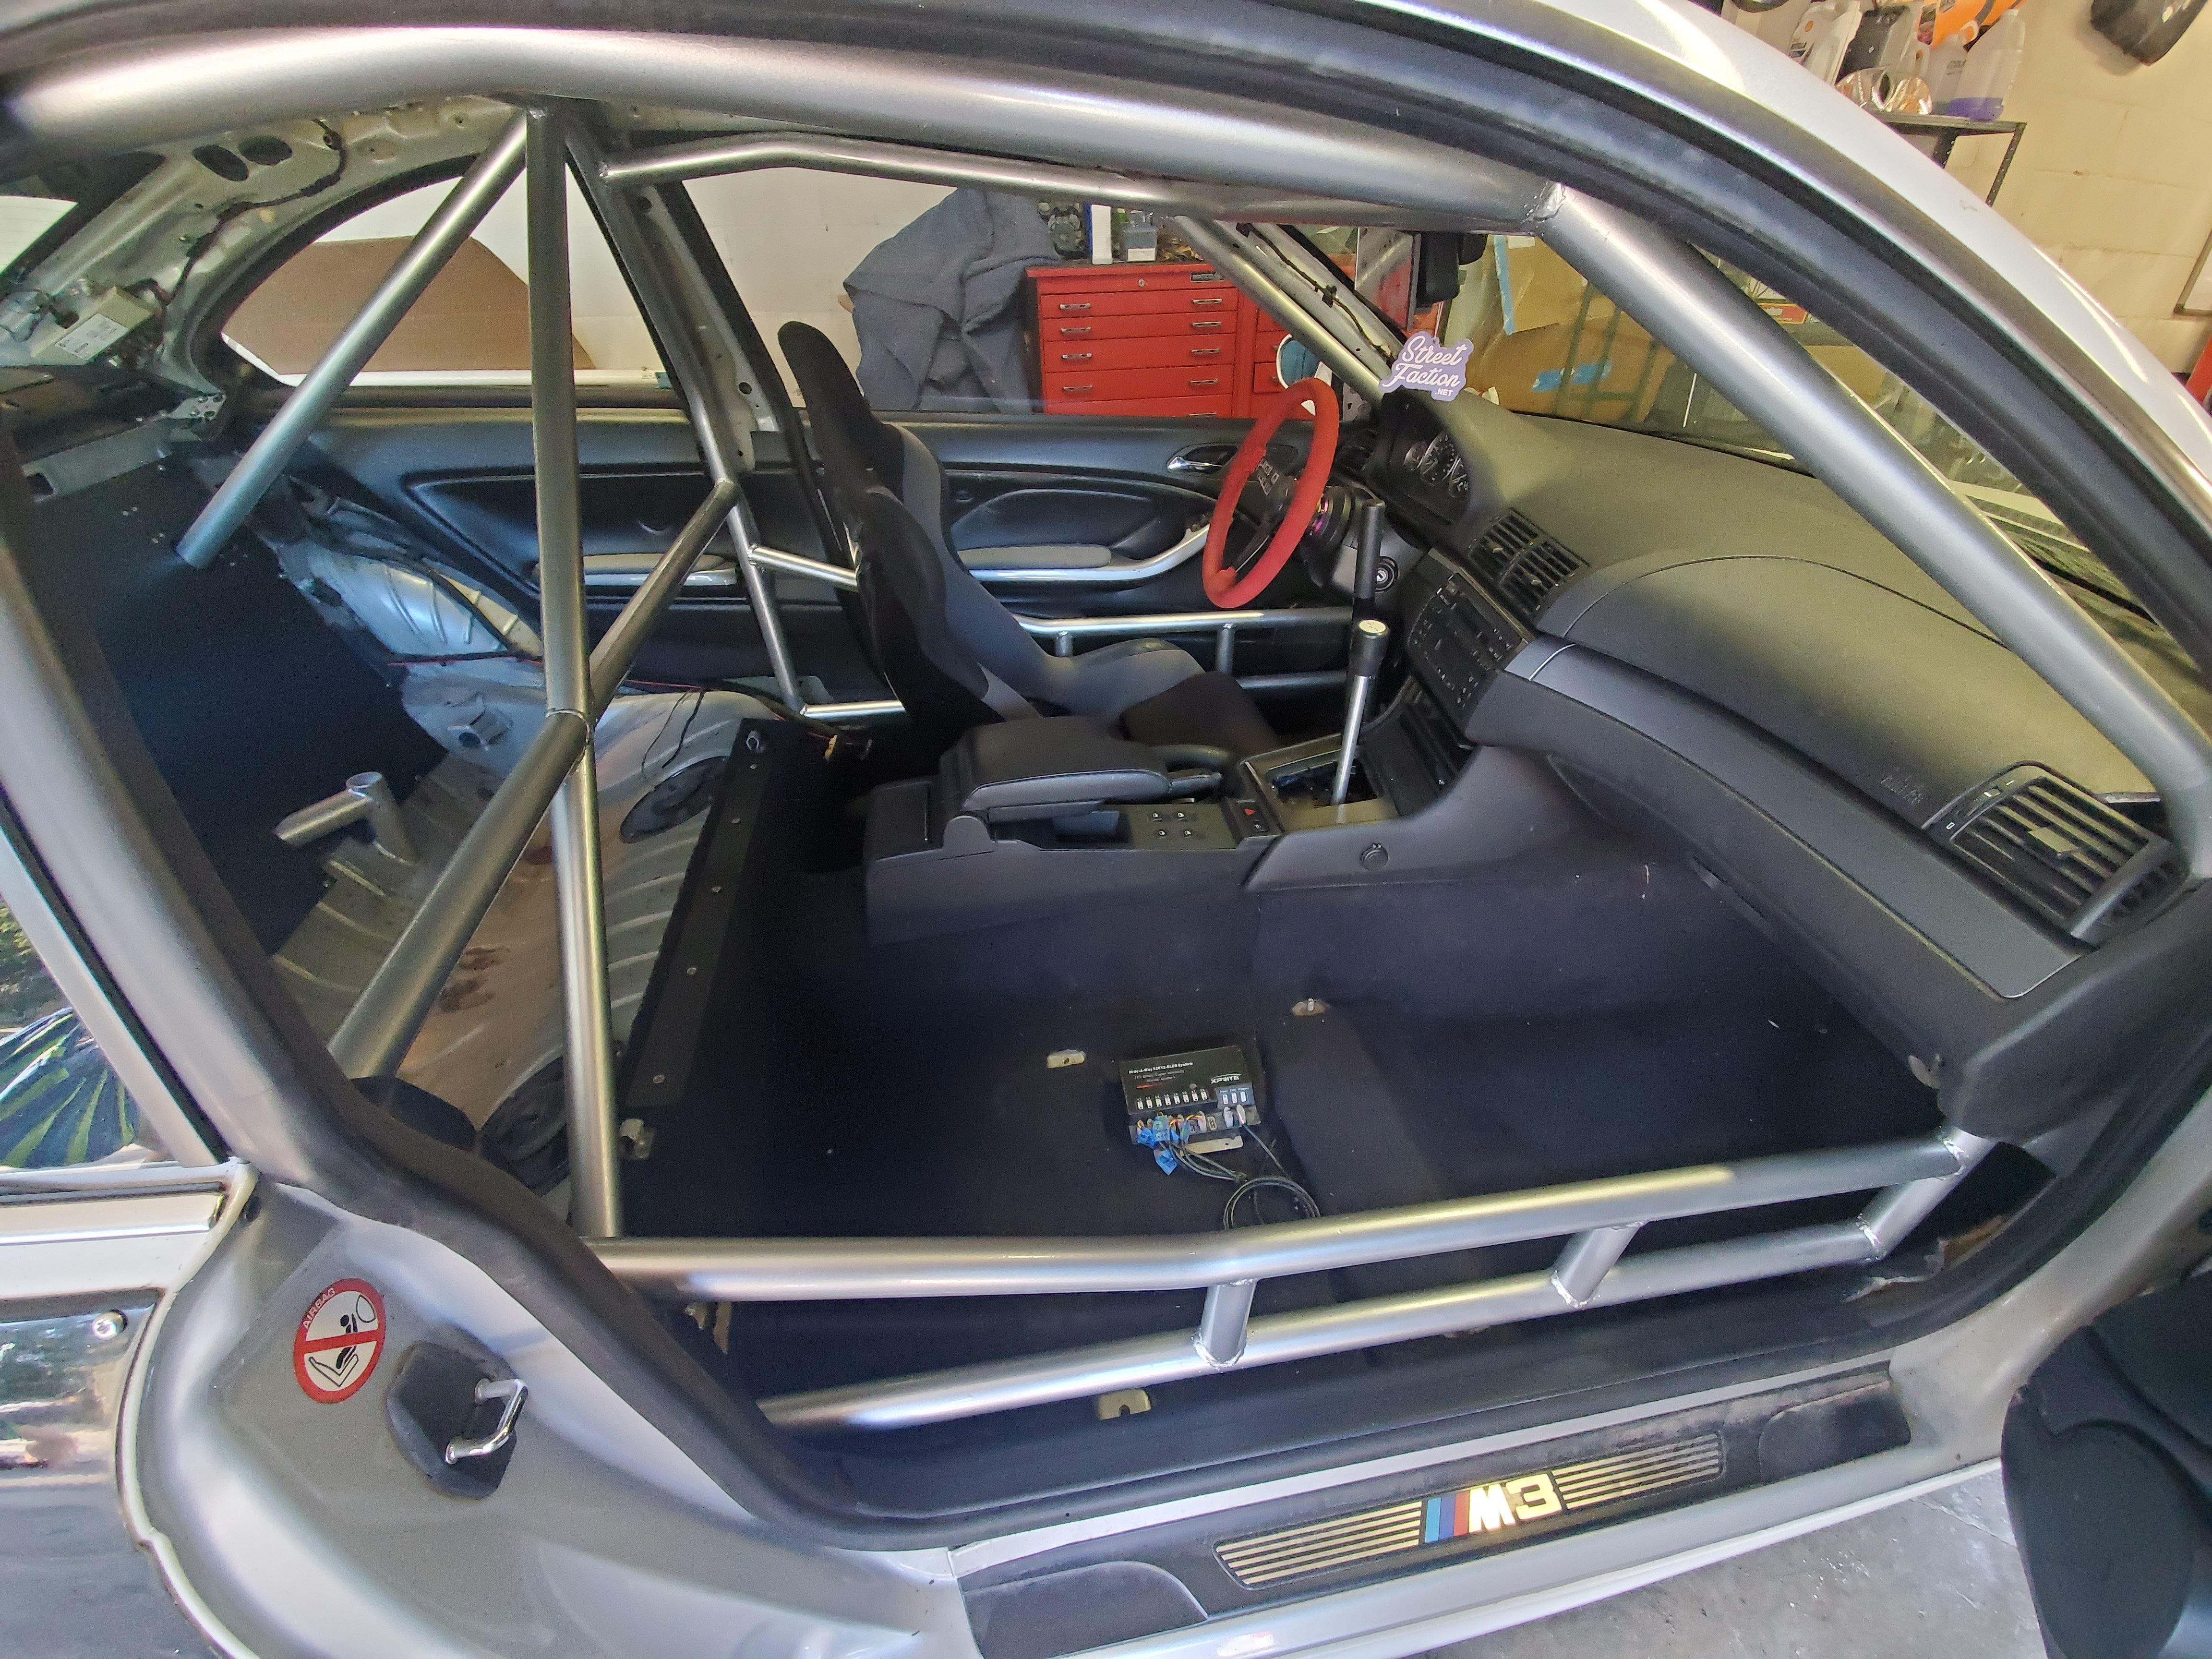
Finally got around to putting the clear vinyl on the cage to protect it. Obviously can't see much in the photo but its nice to have the cage fully exposed and not covered.
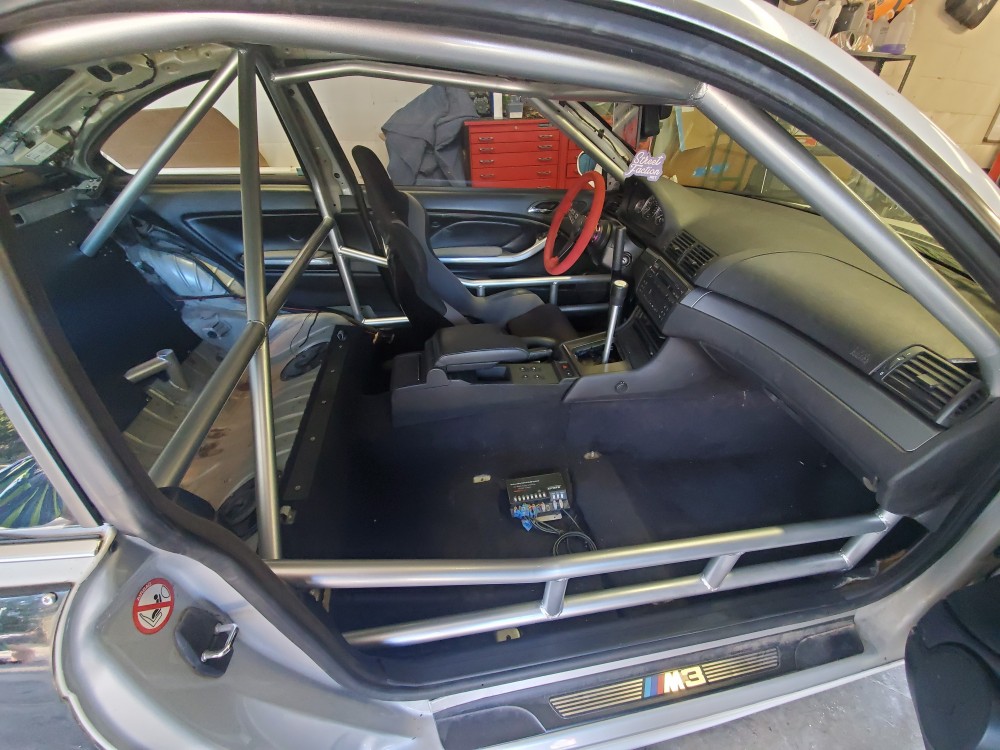
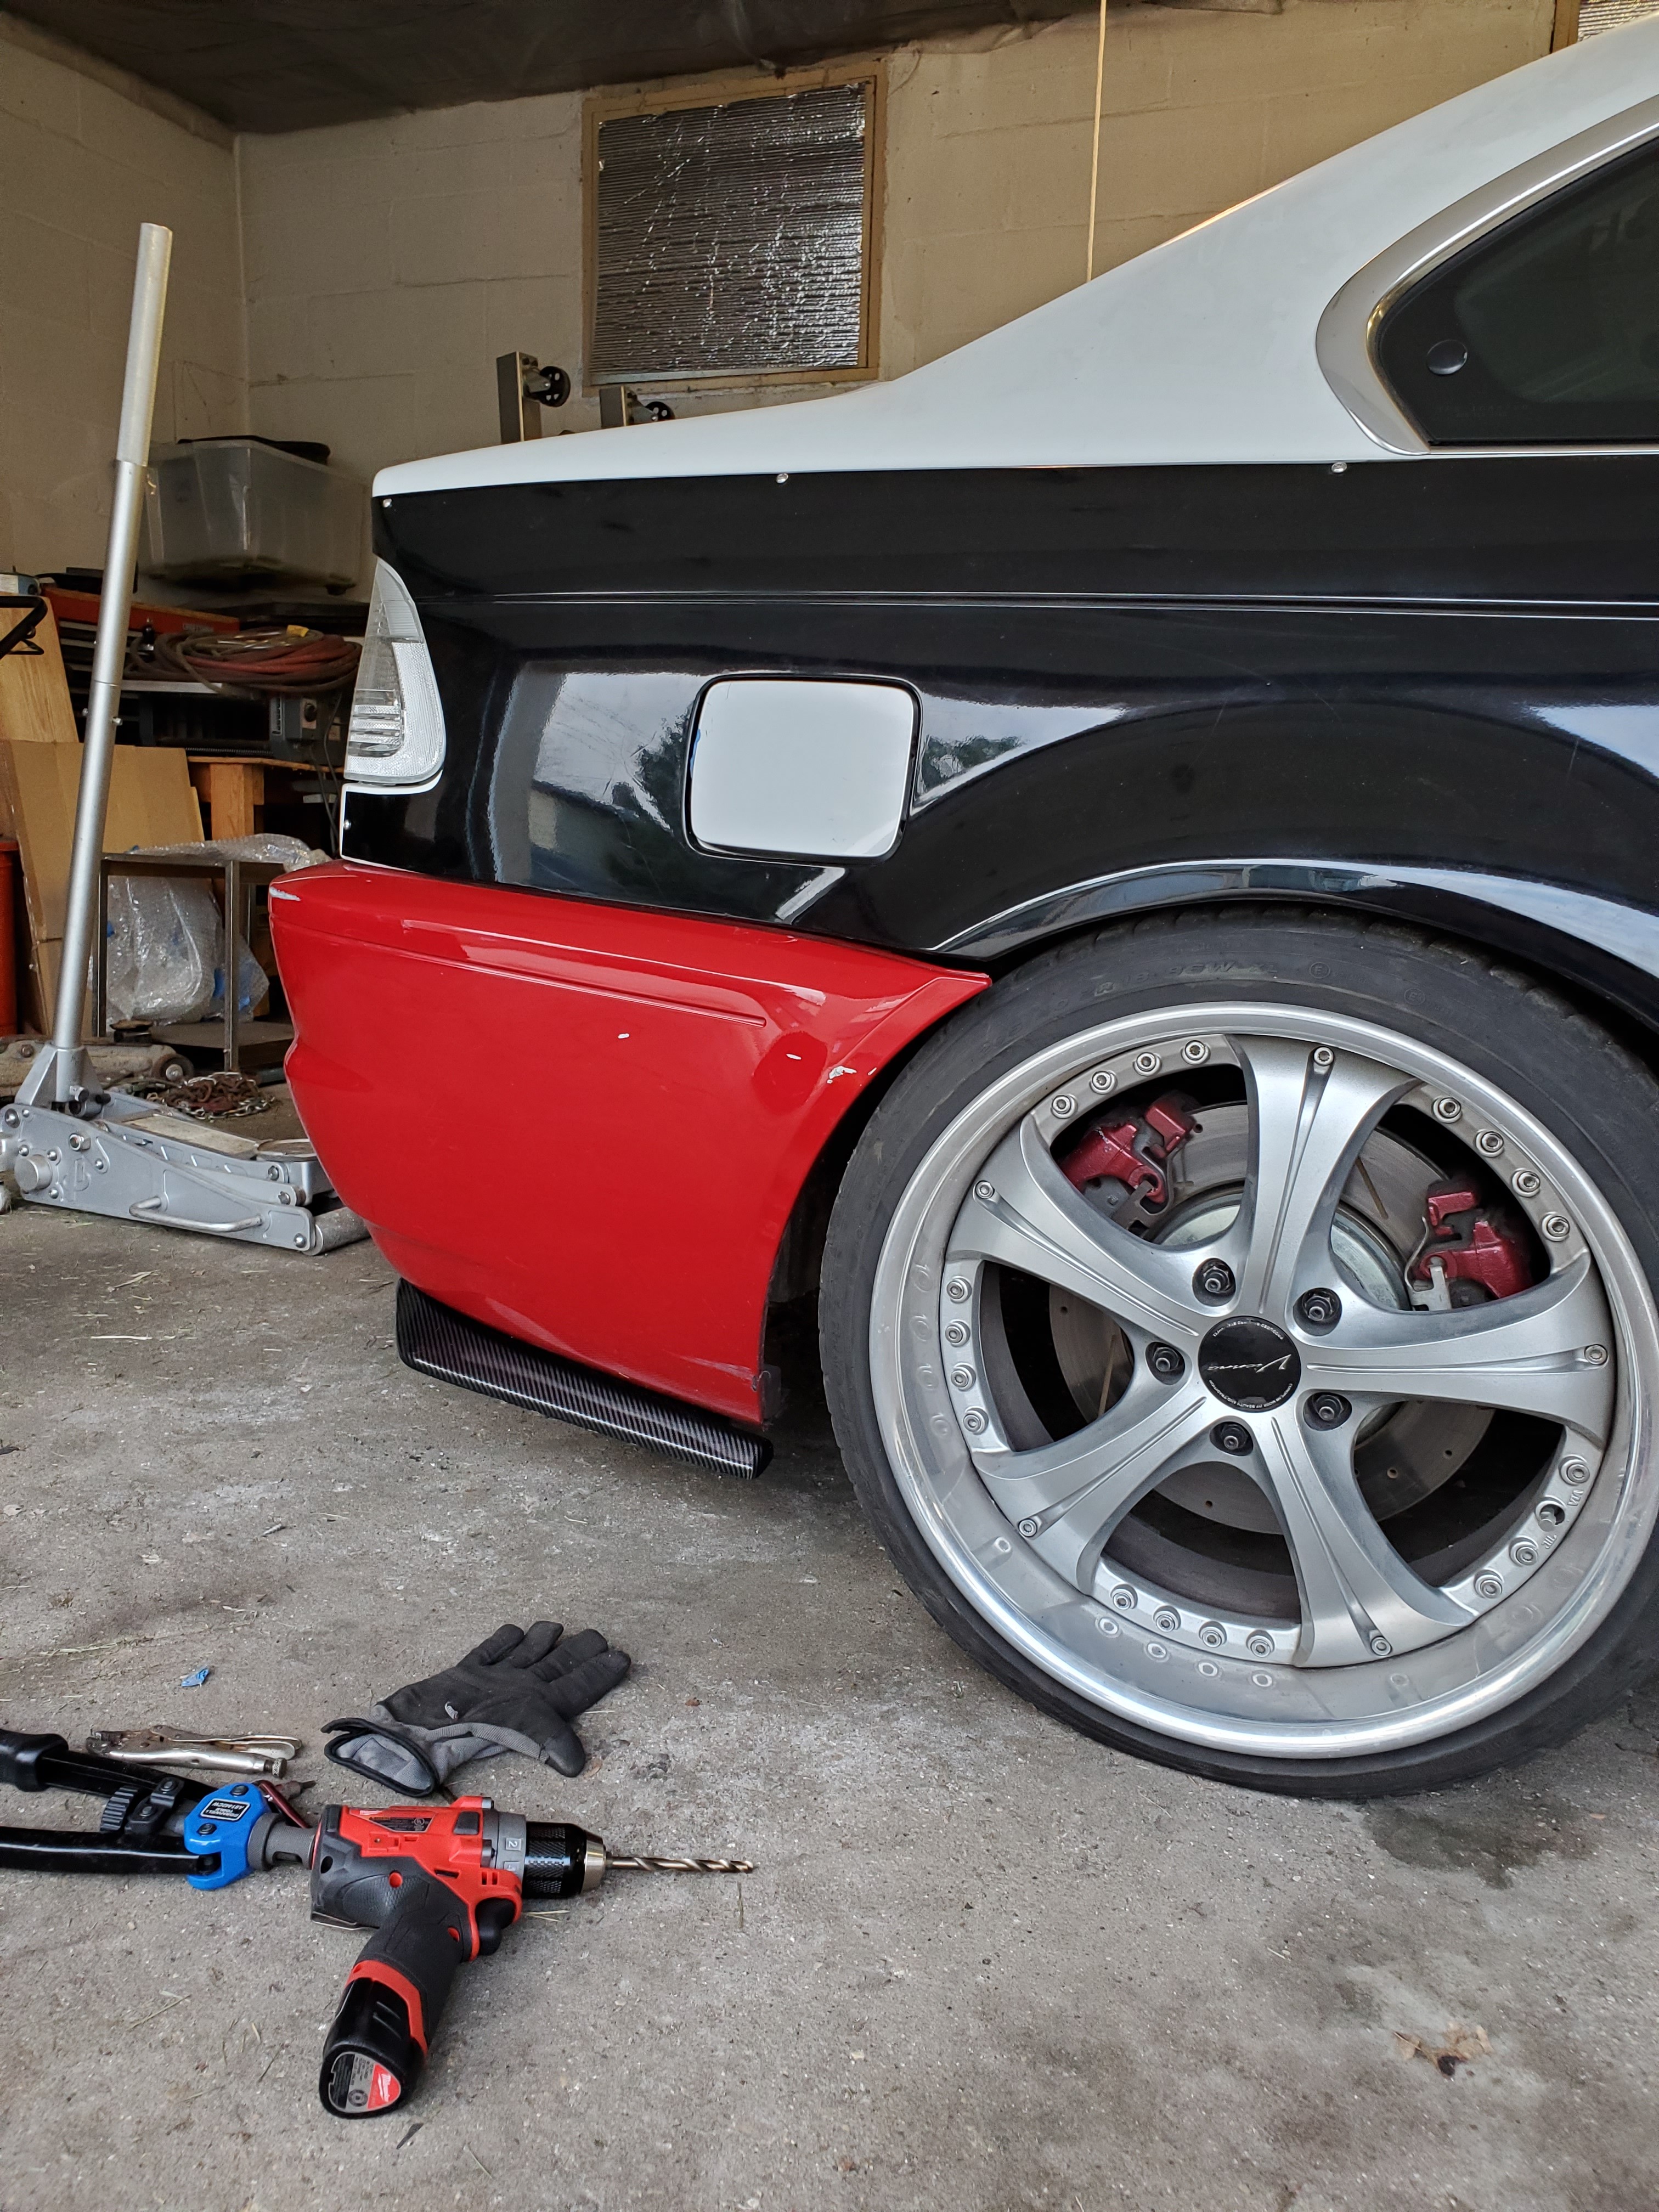
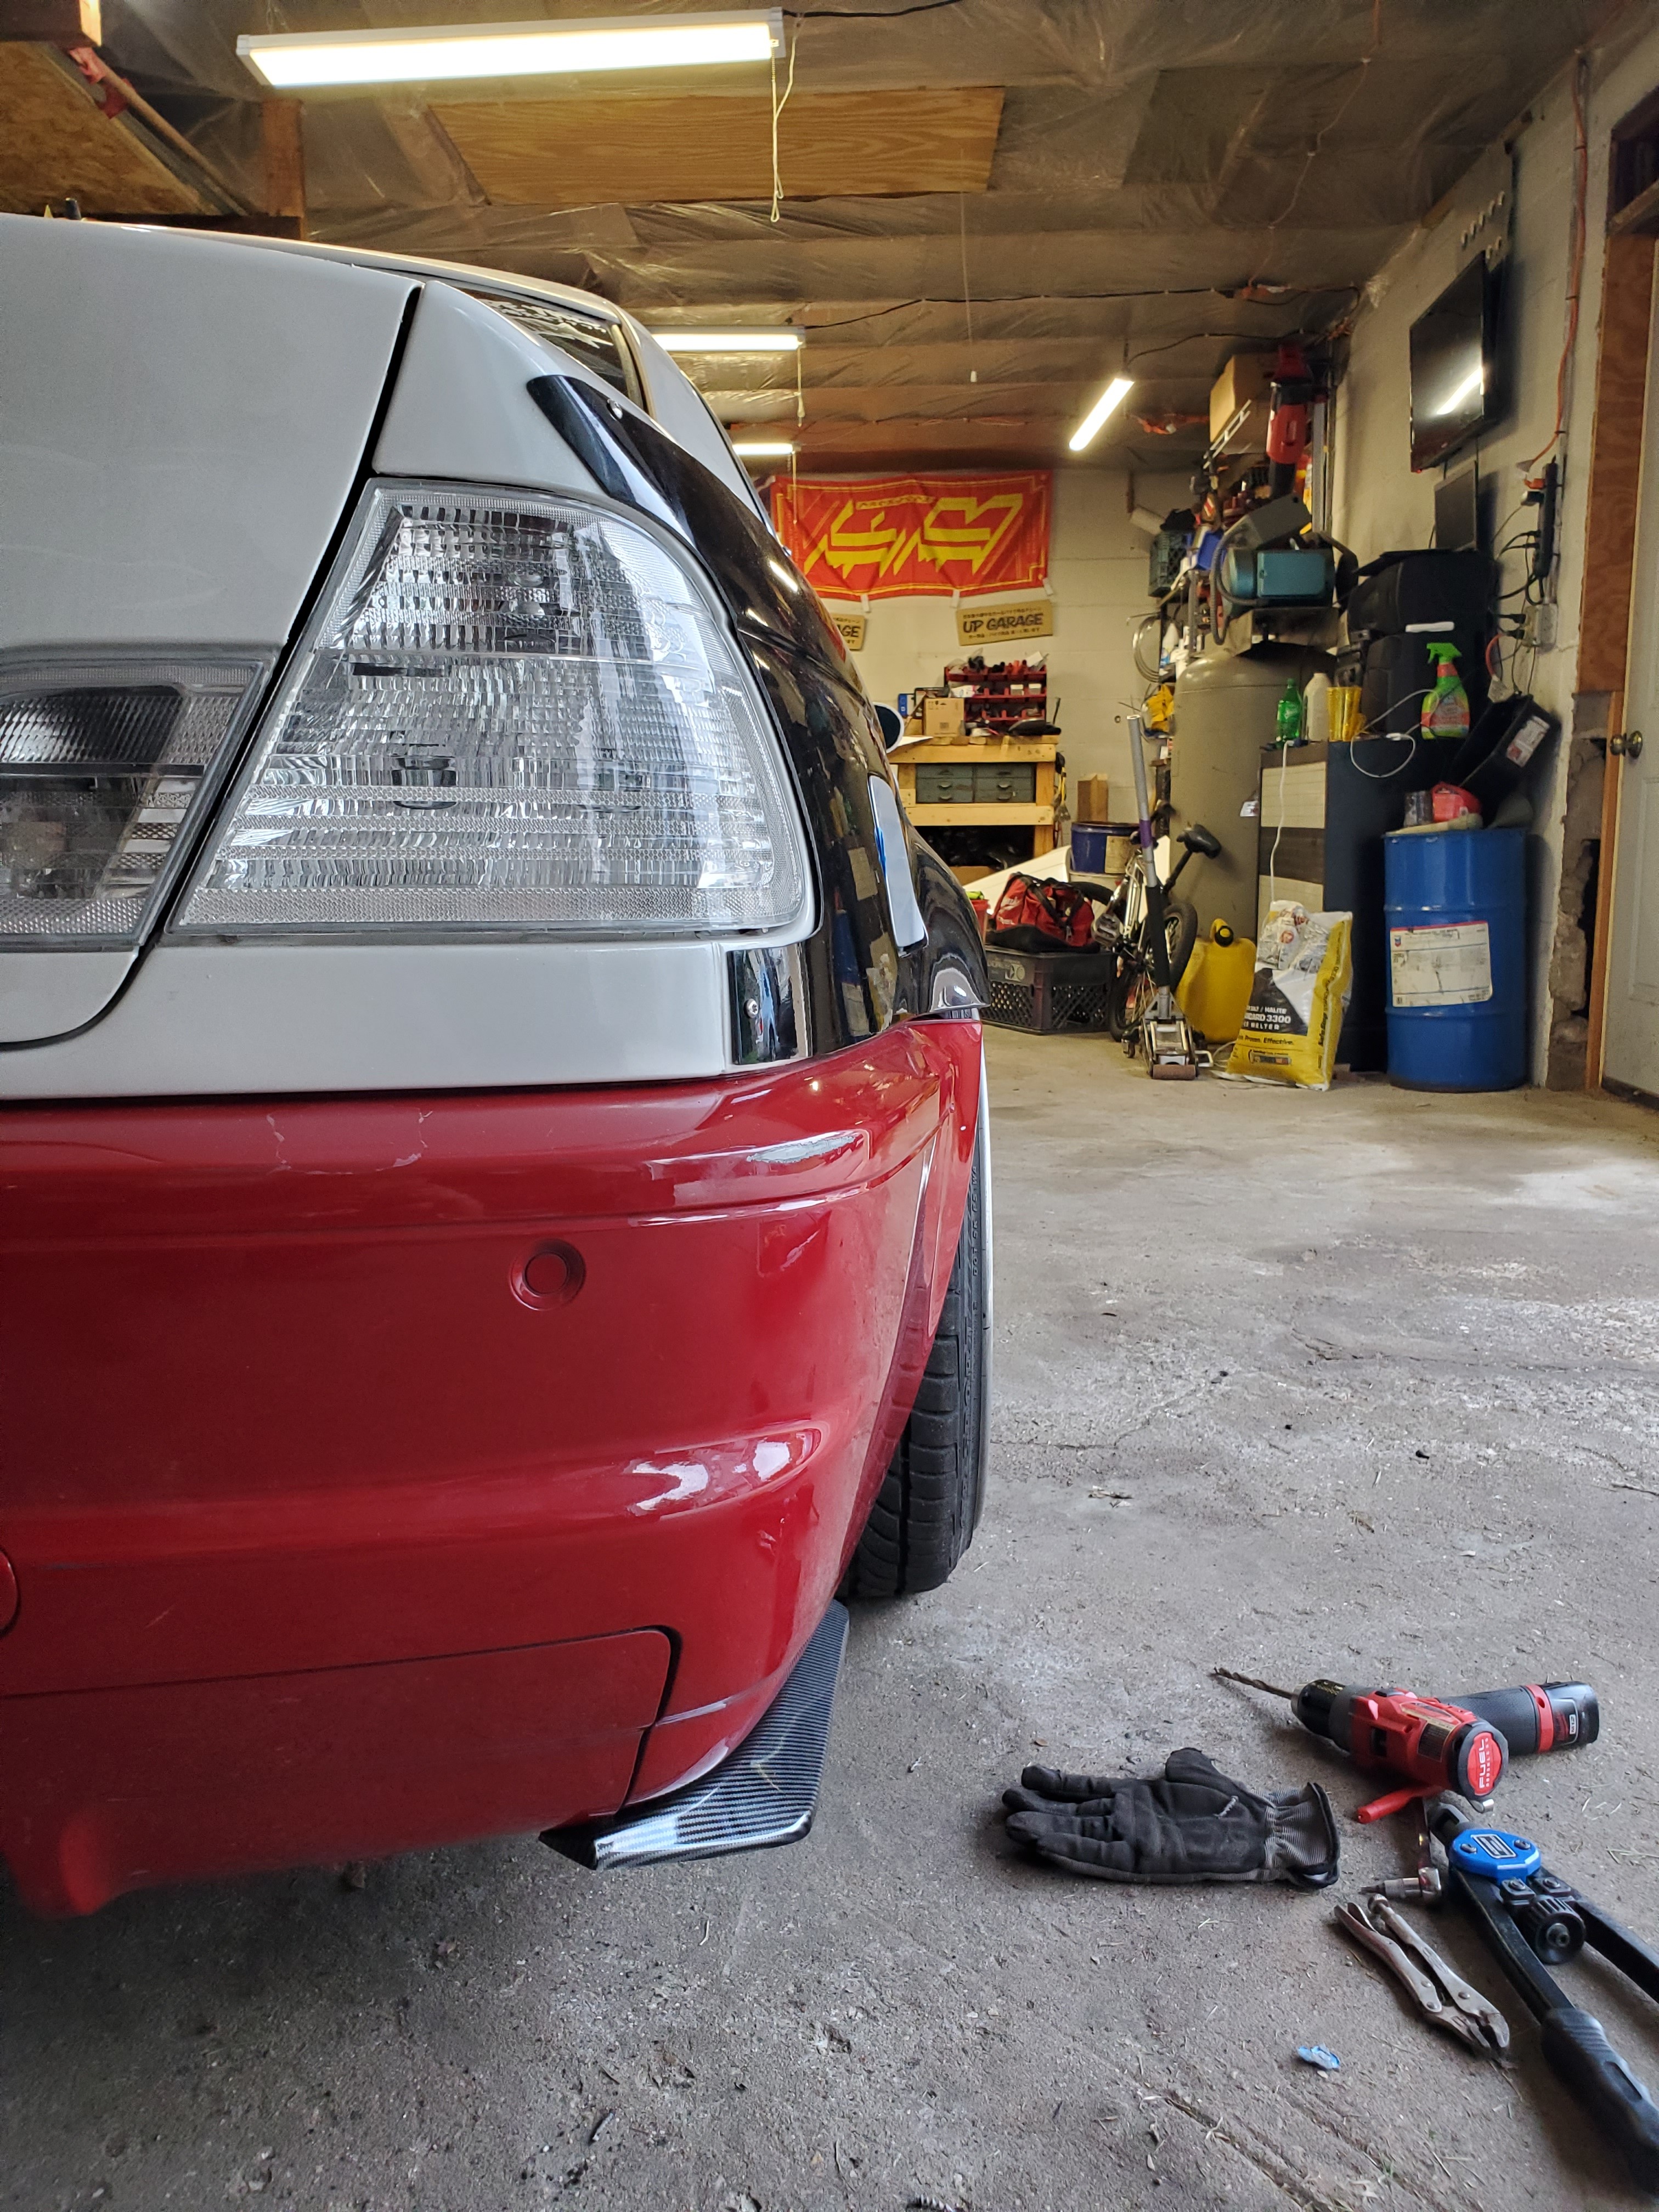
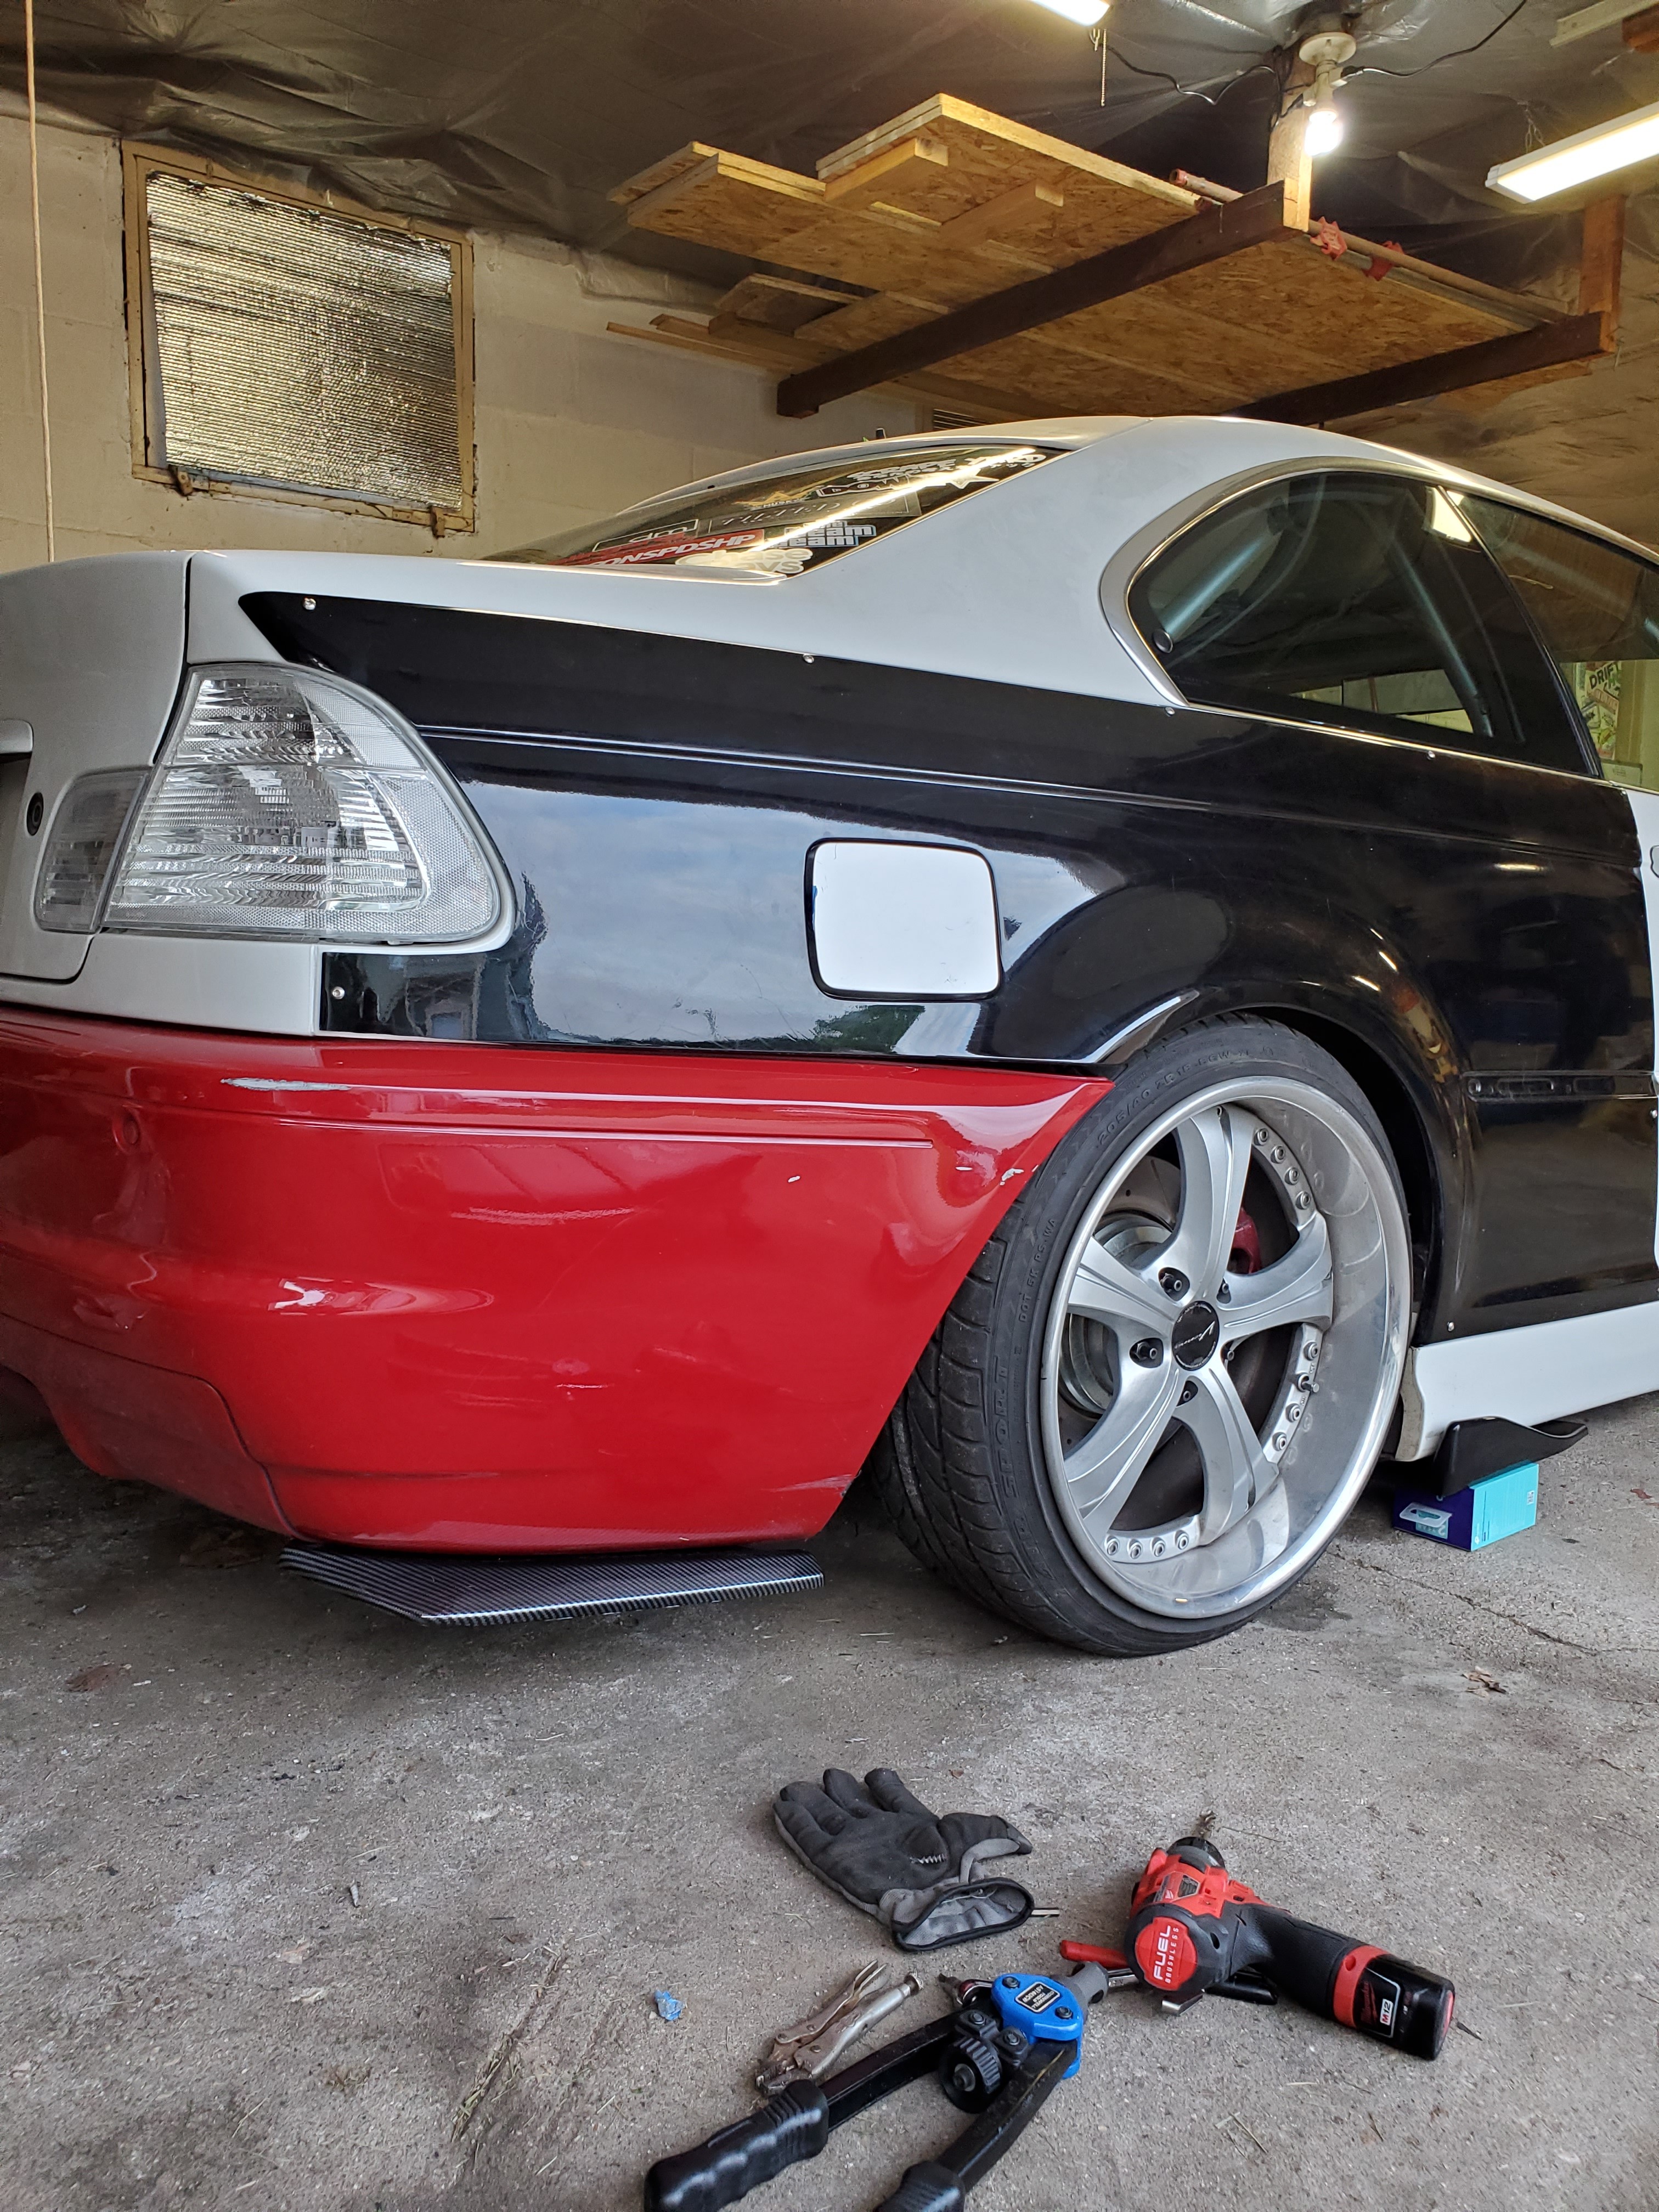
Also ordered these rear bumper extensions off of ebay, and I am pleasantly surprised with how they look!
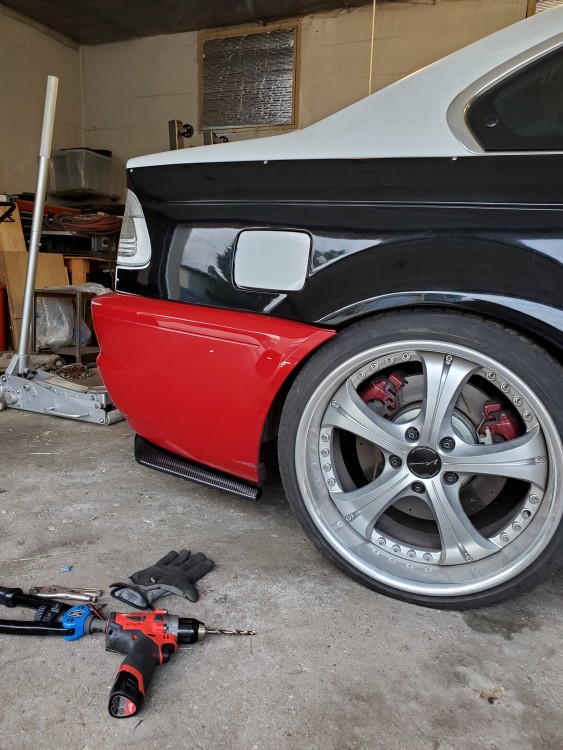
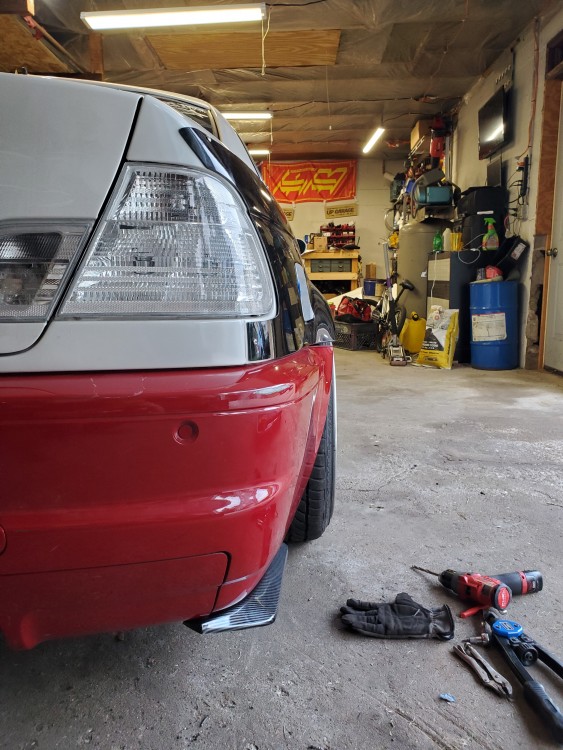
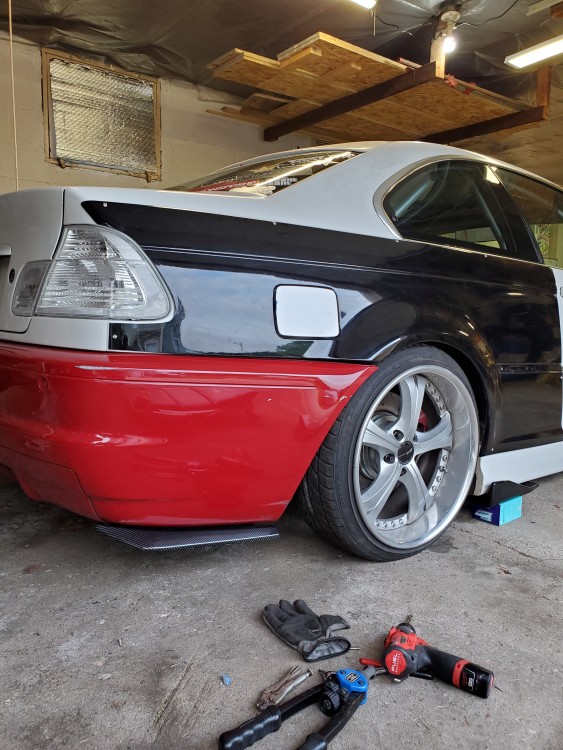
Hard to get a decent photo with my phone of them but it was a decent $25 gamble lmao.
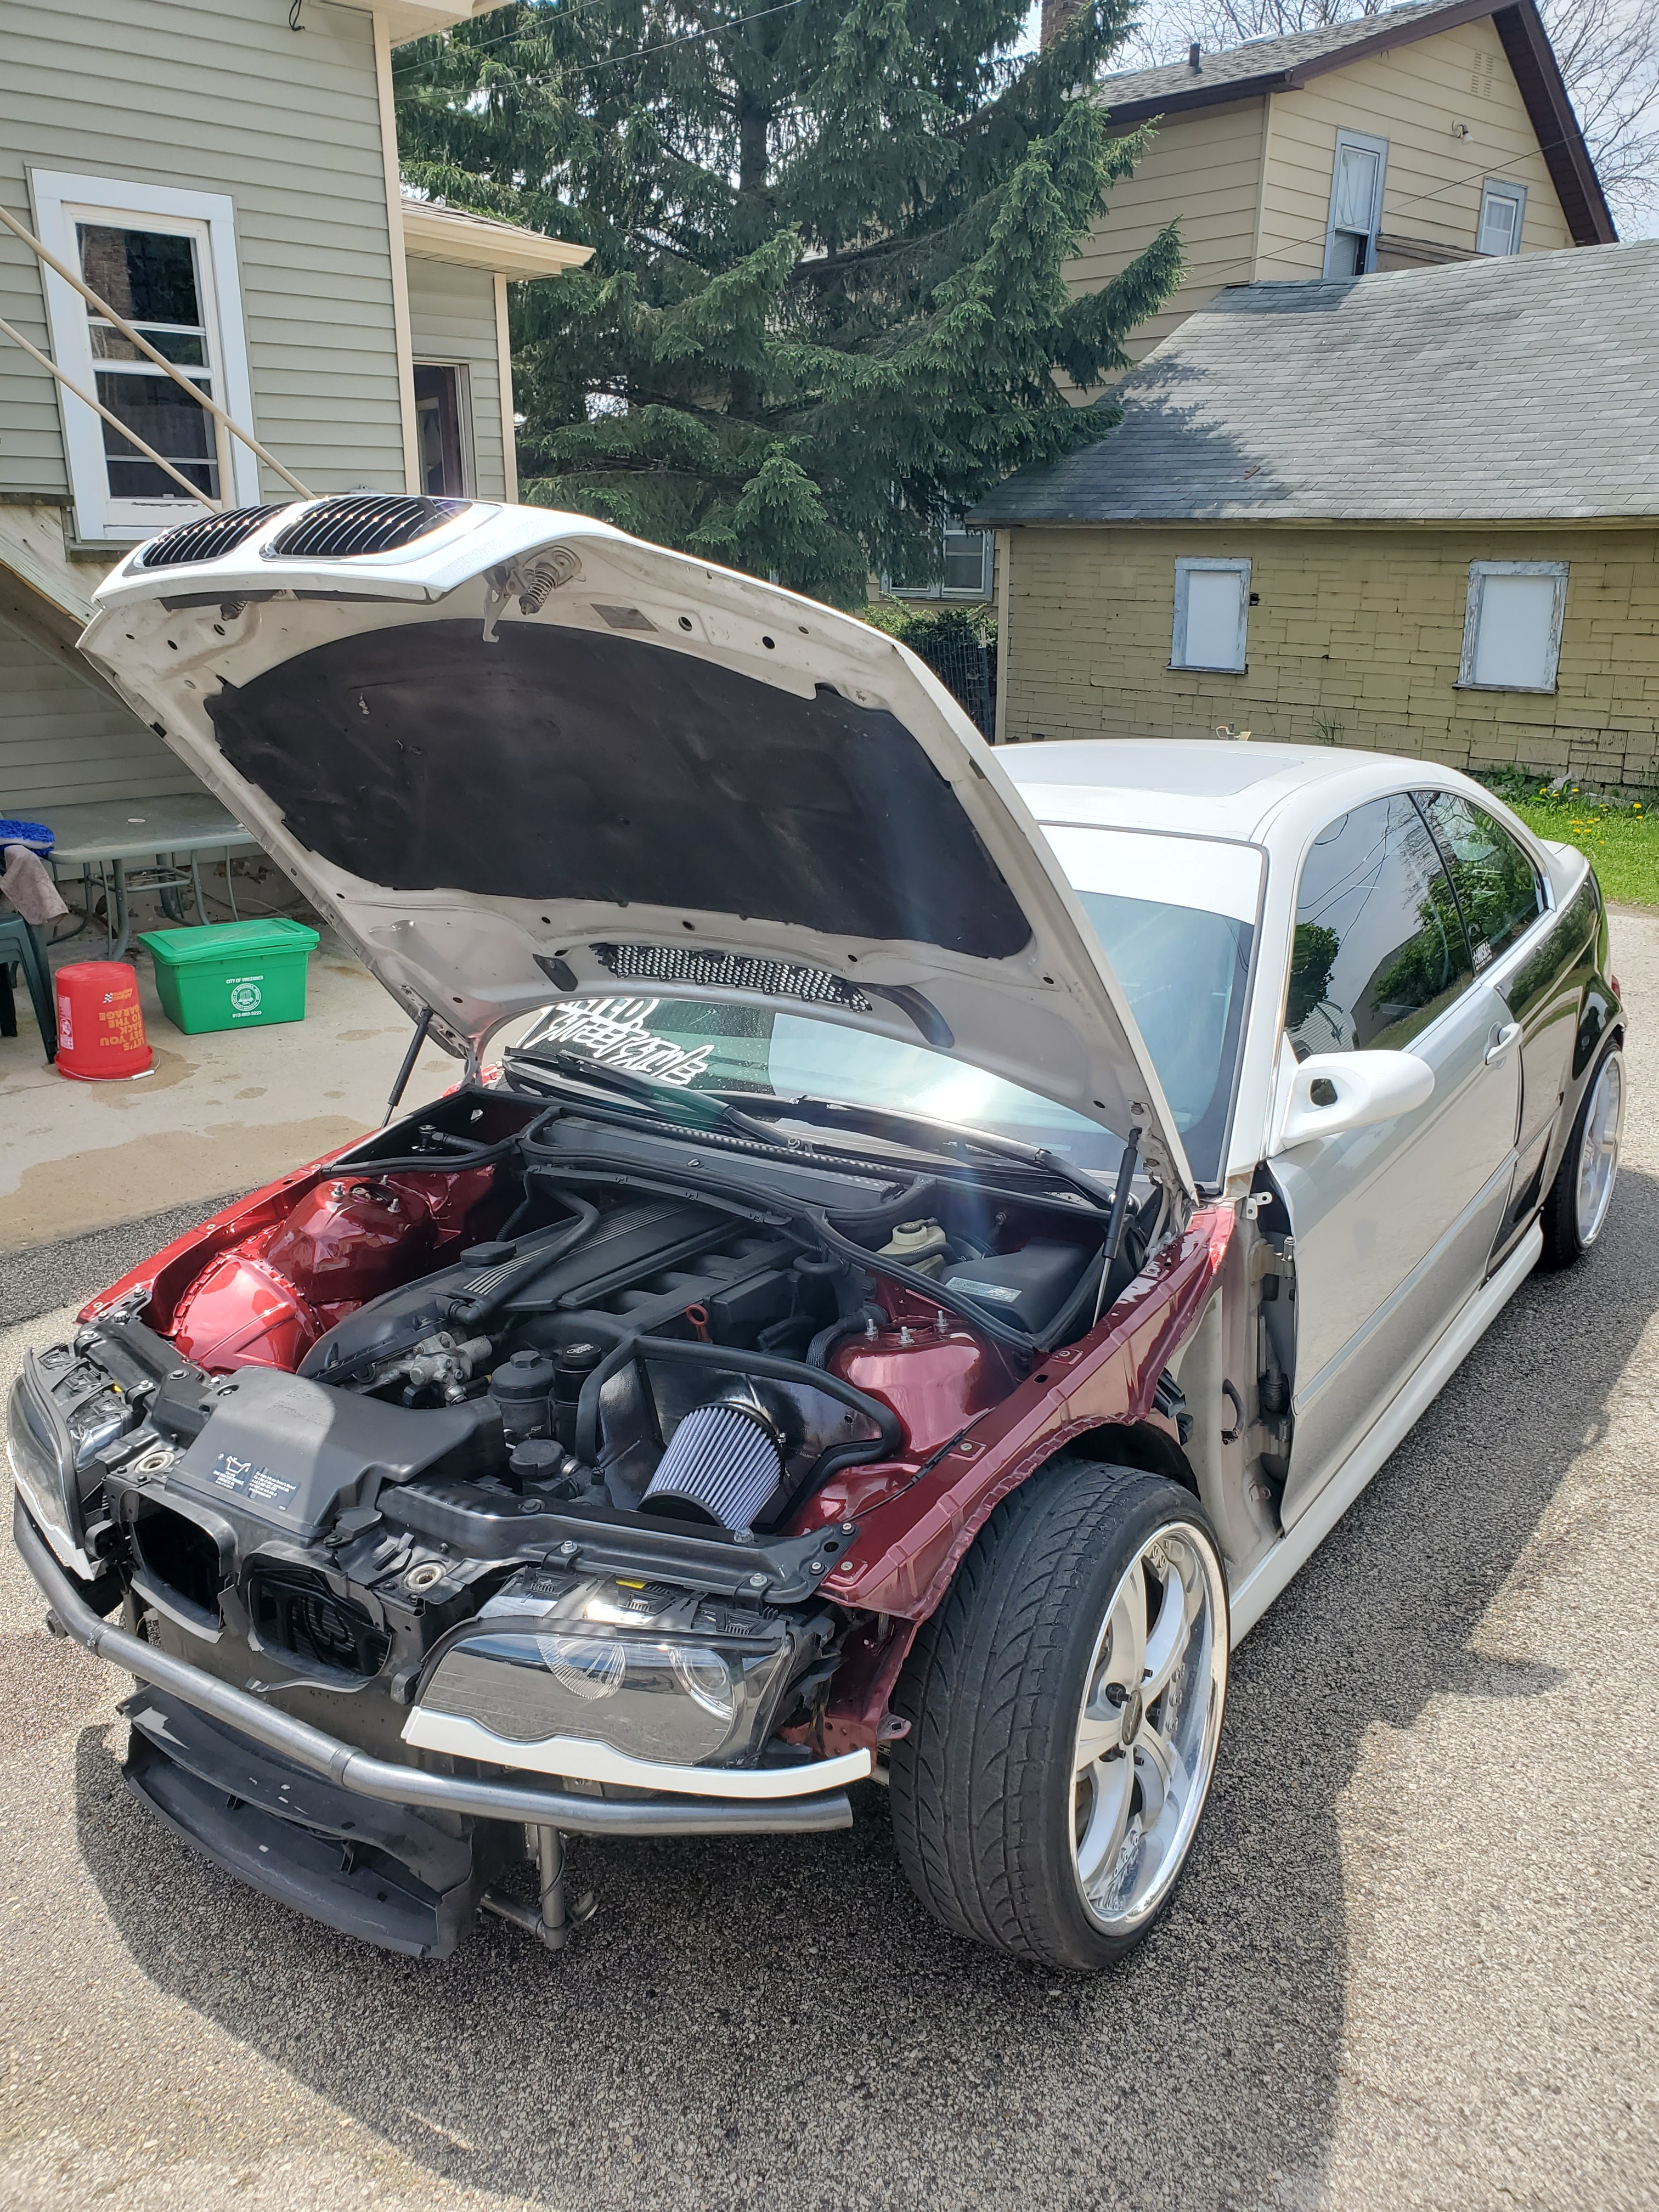
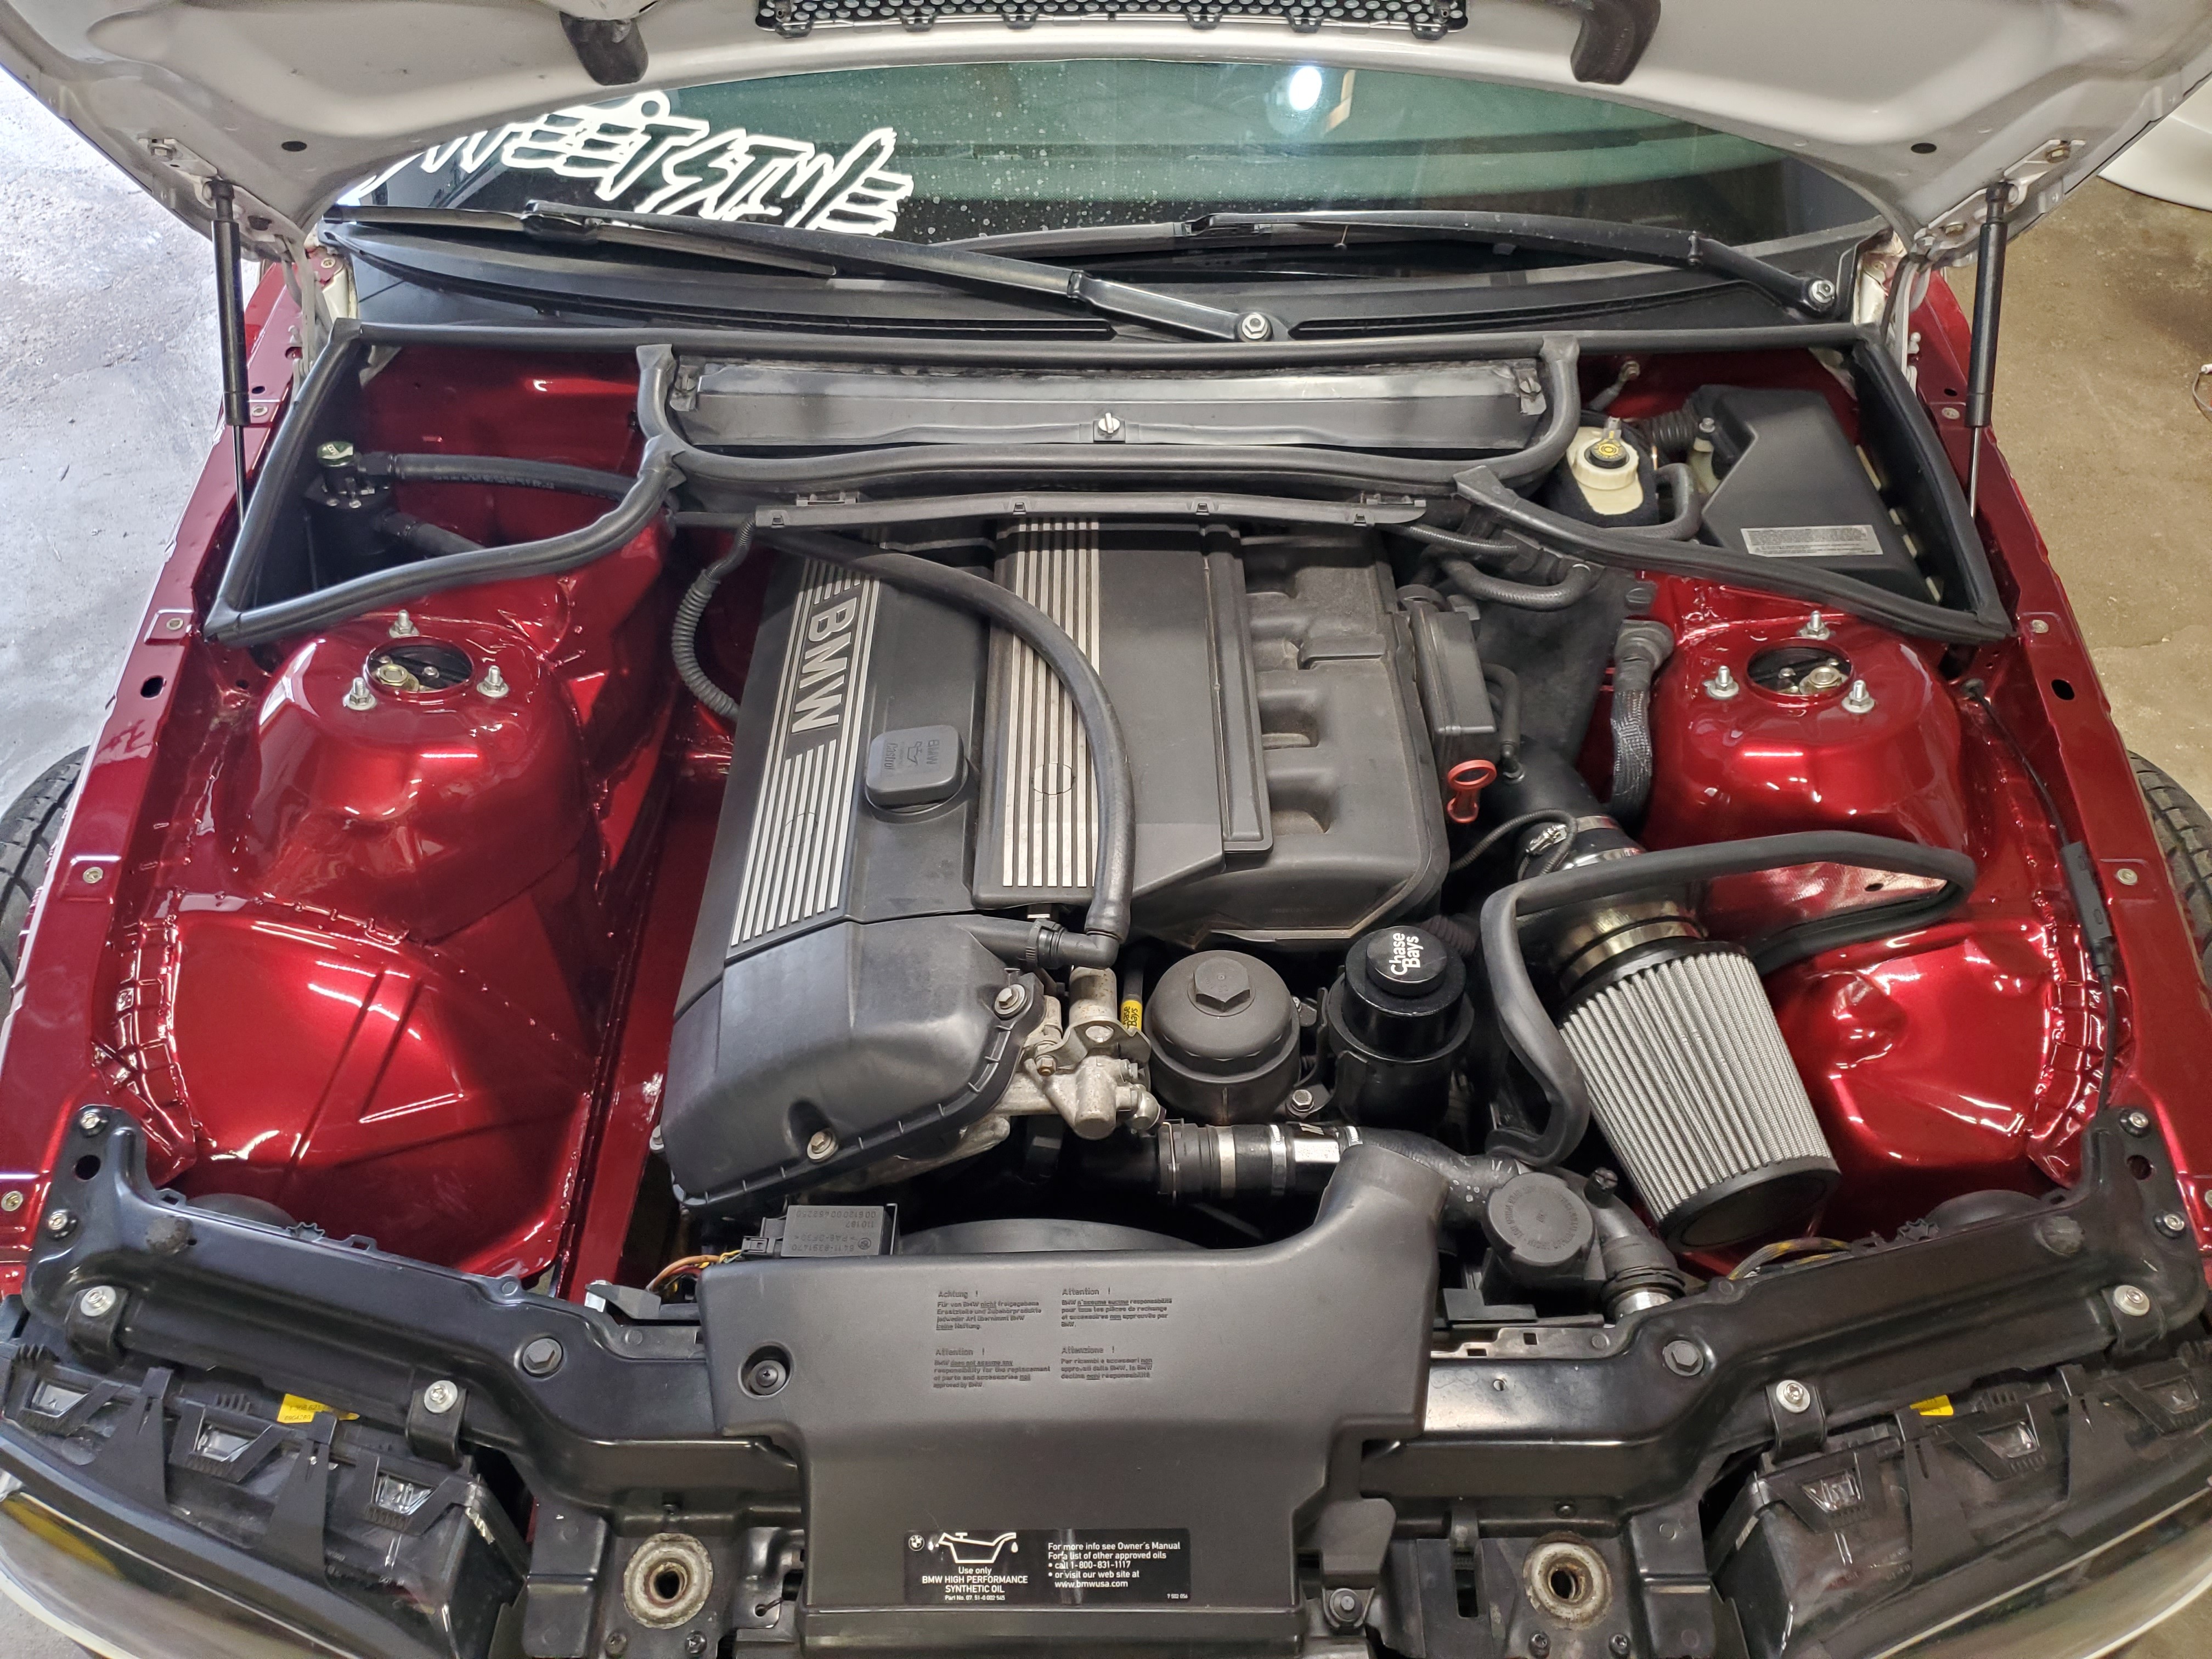
And also finally got the car and engine bay washed.
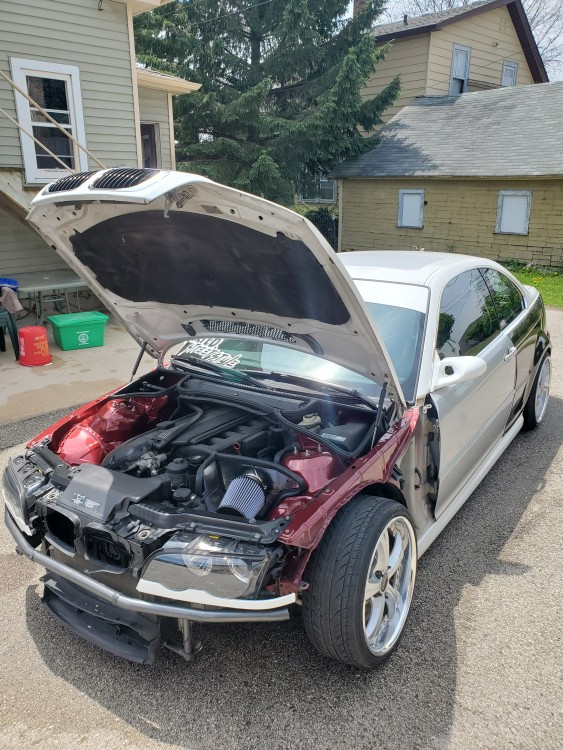
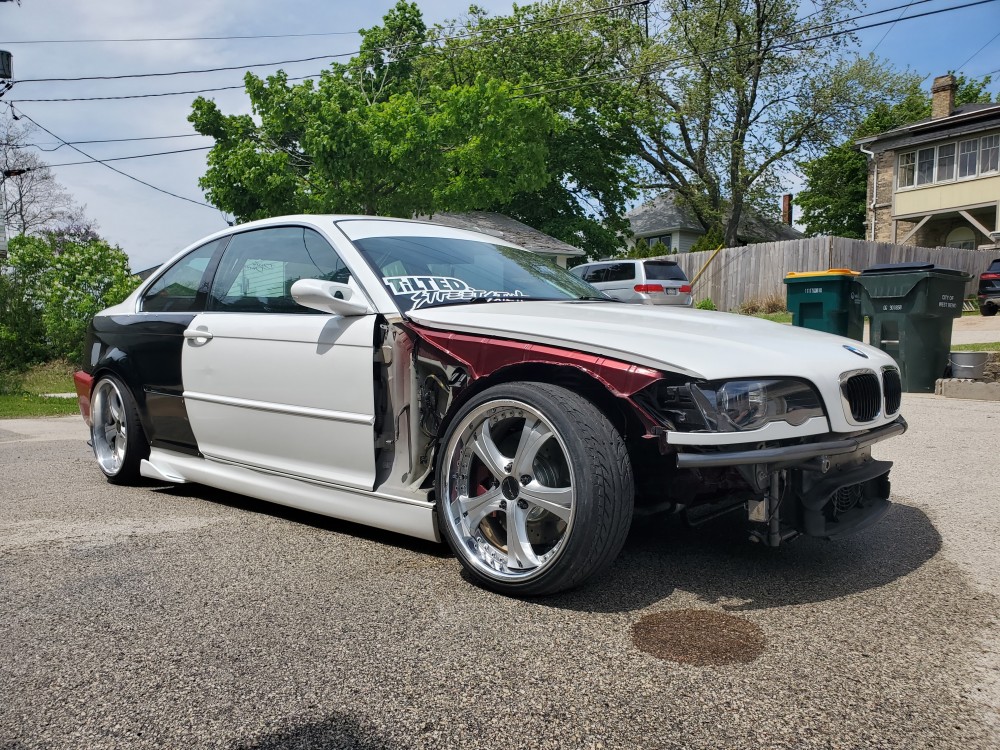
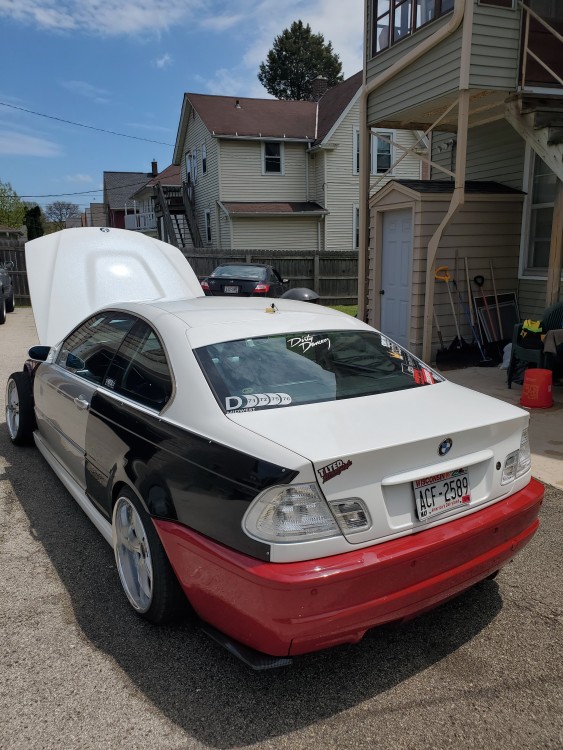
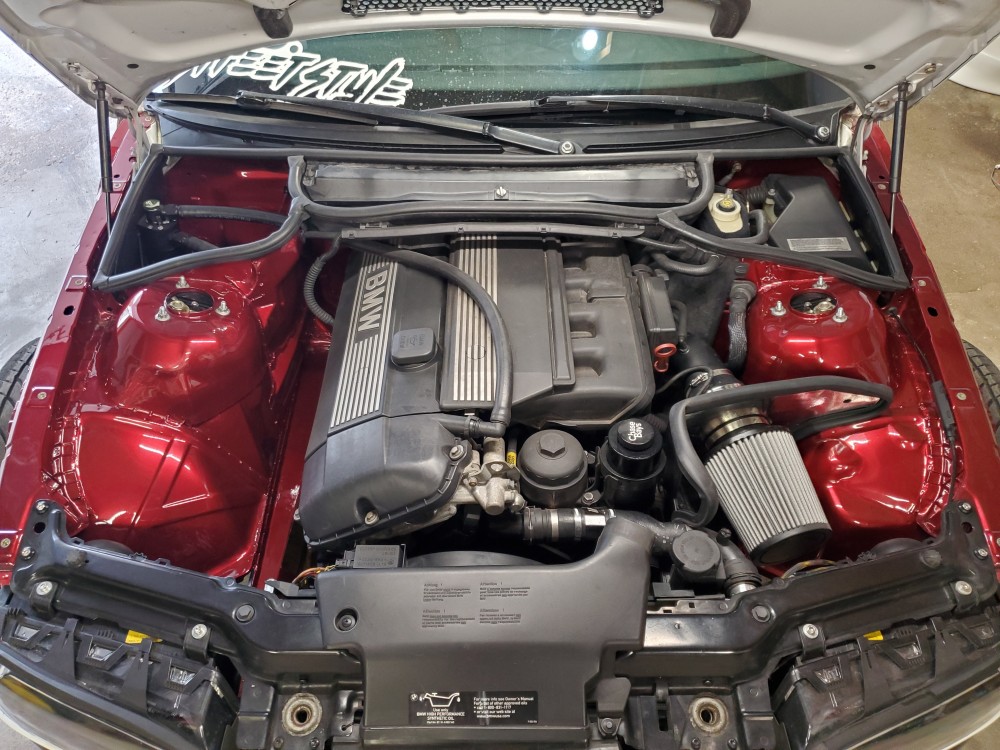
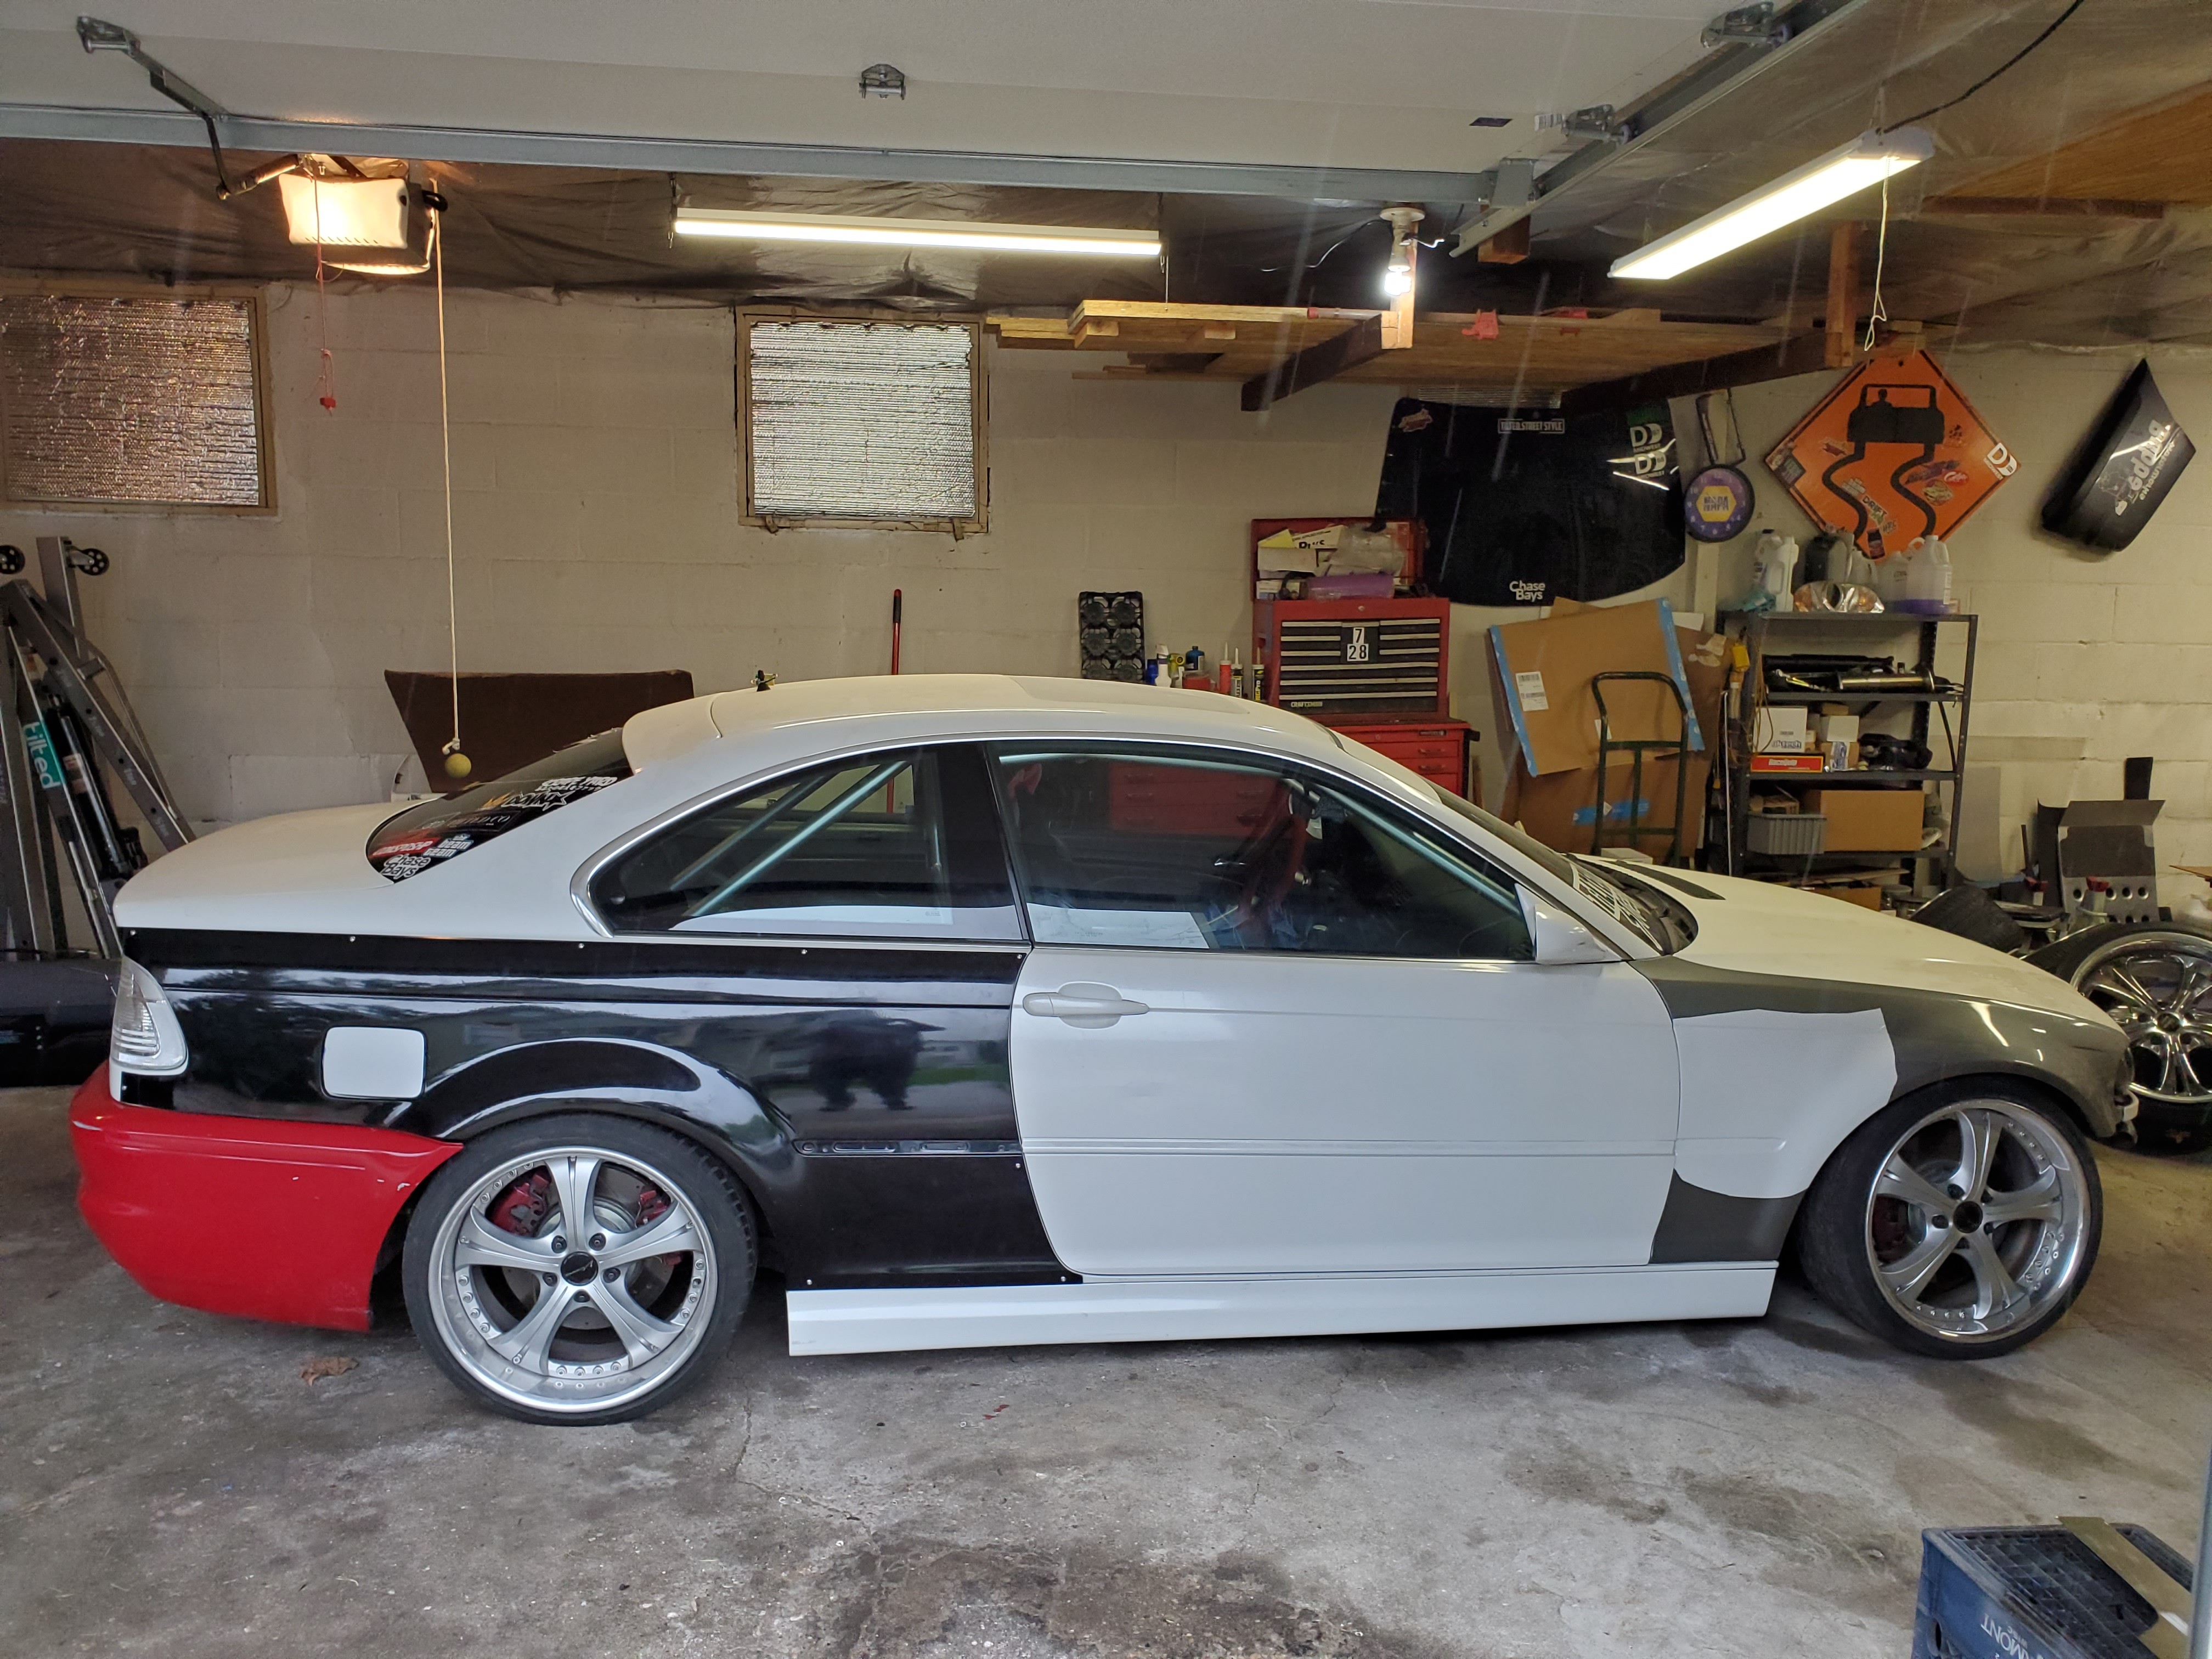
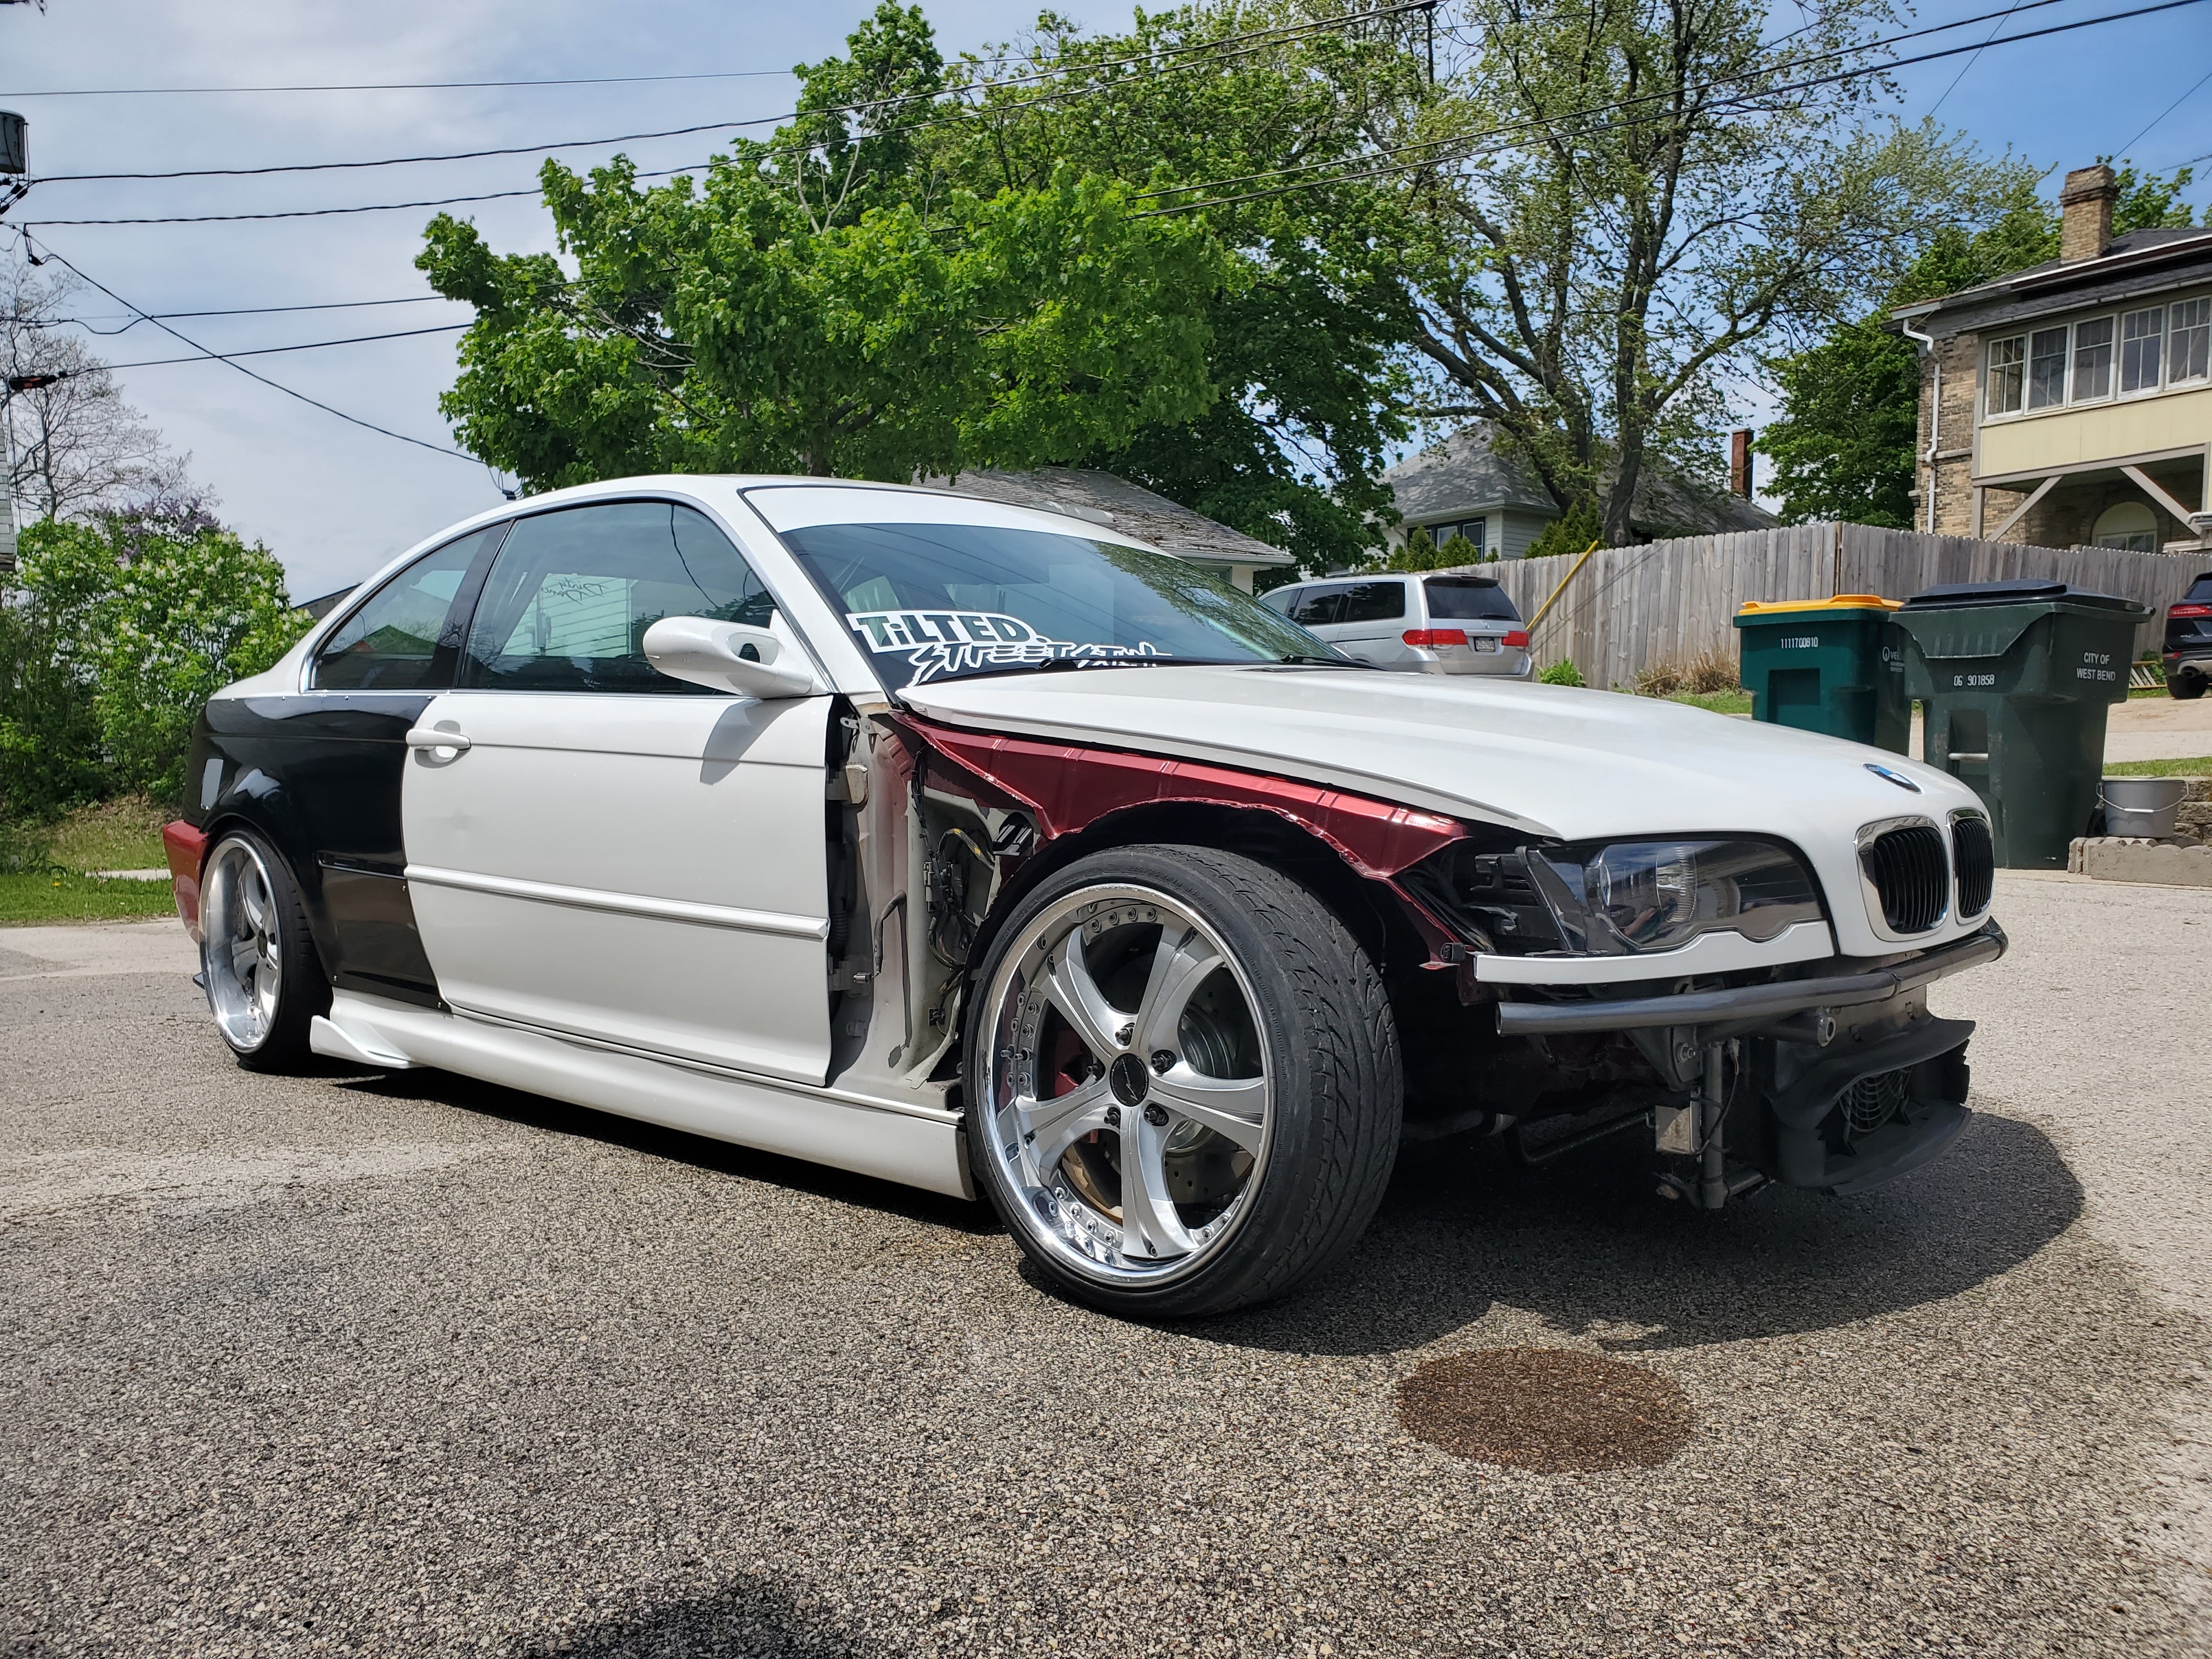
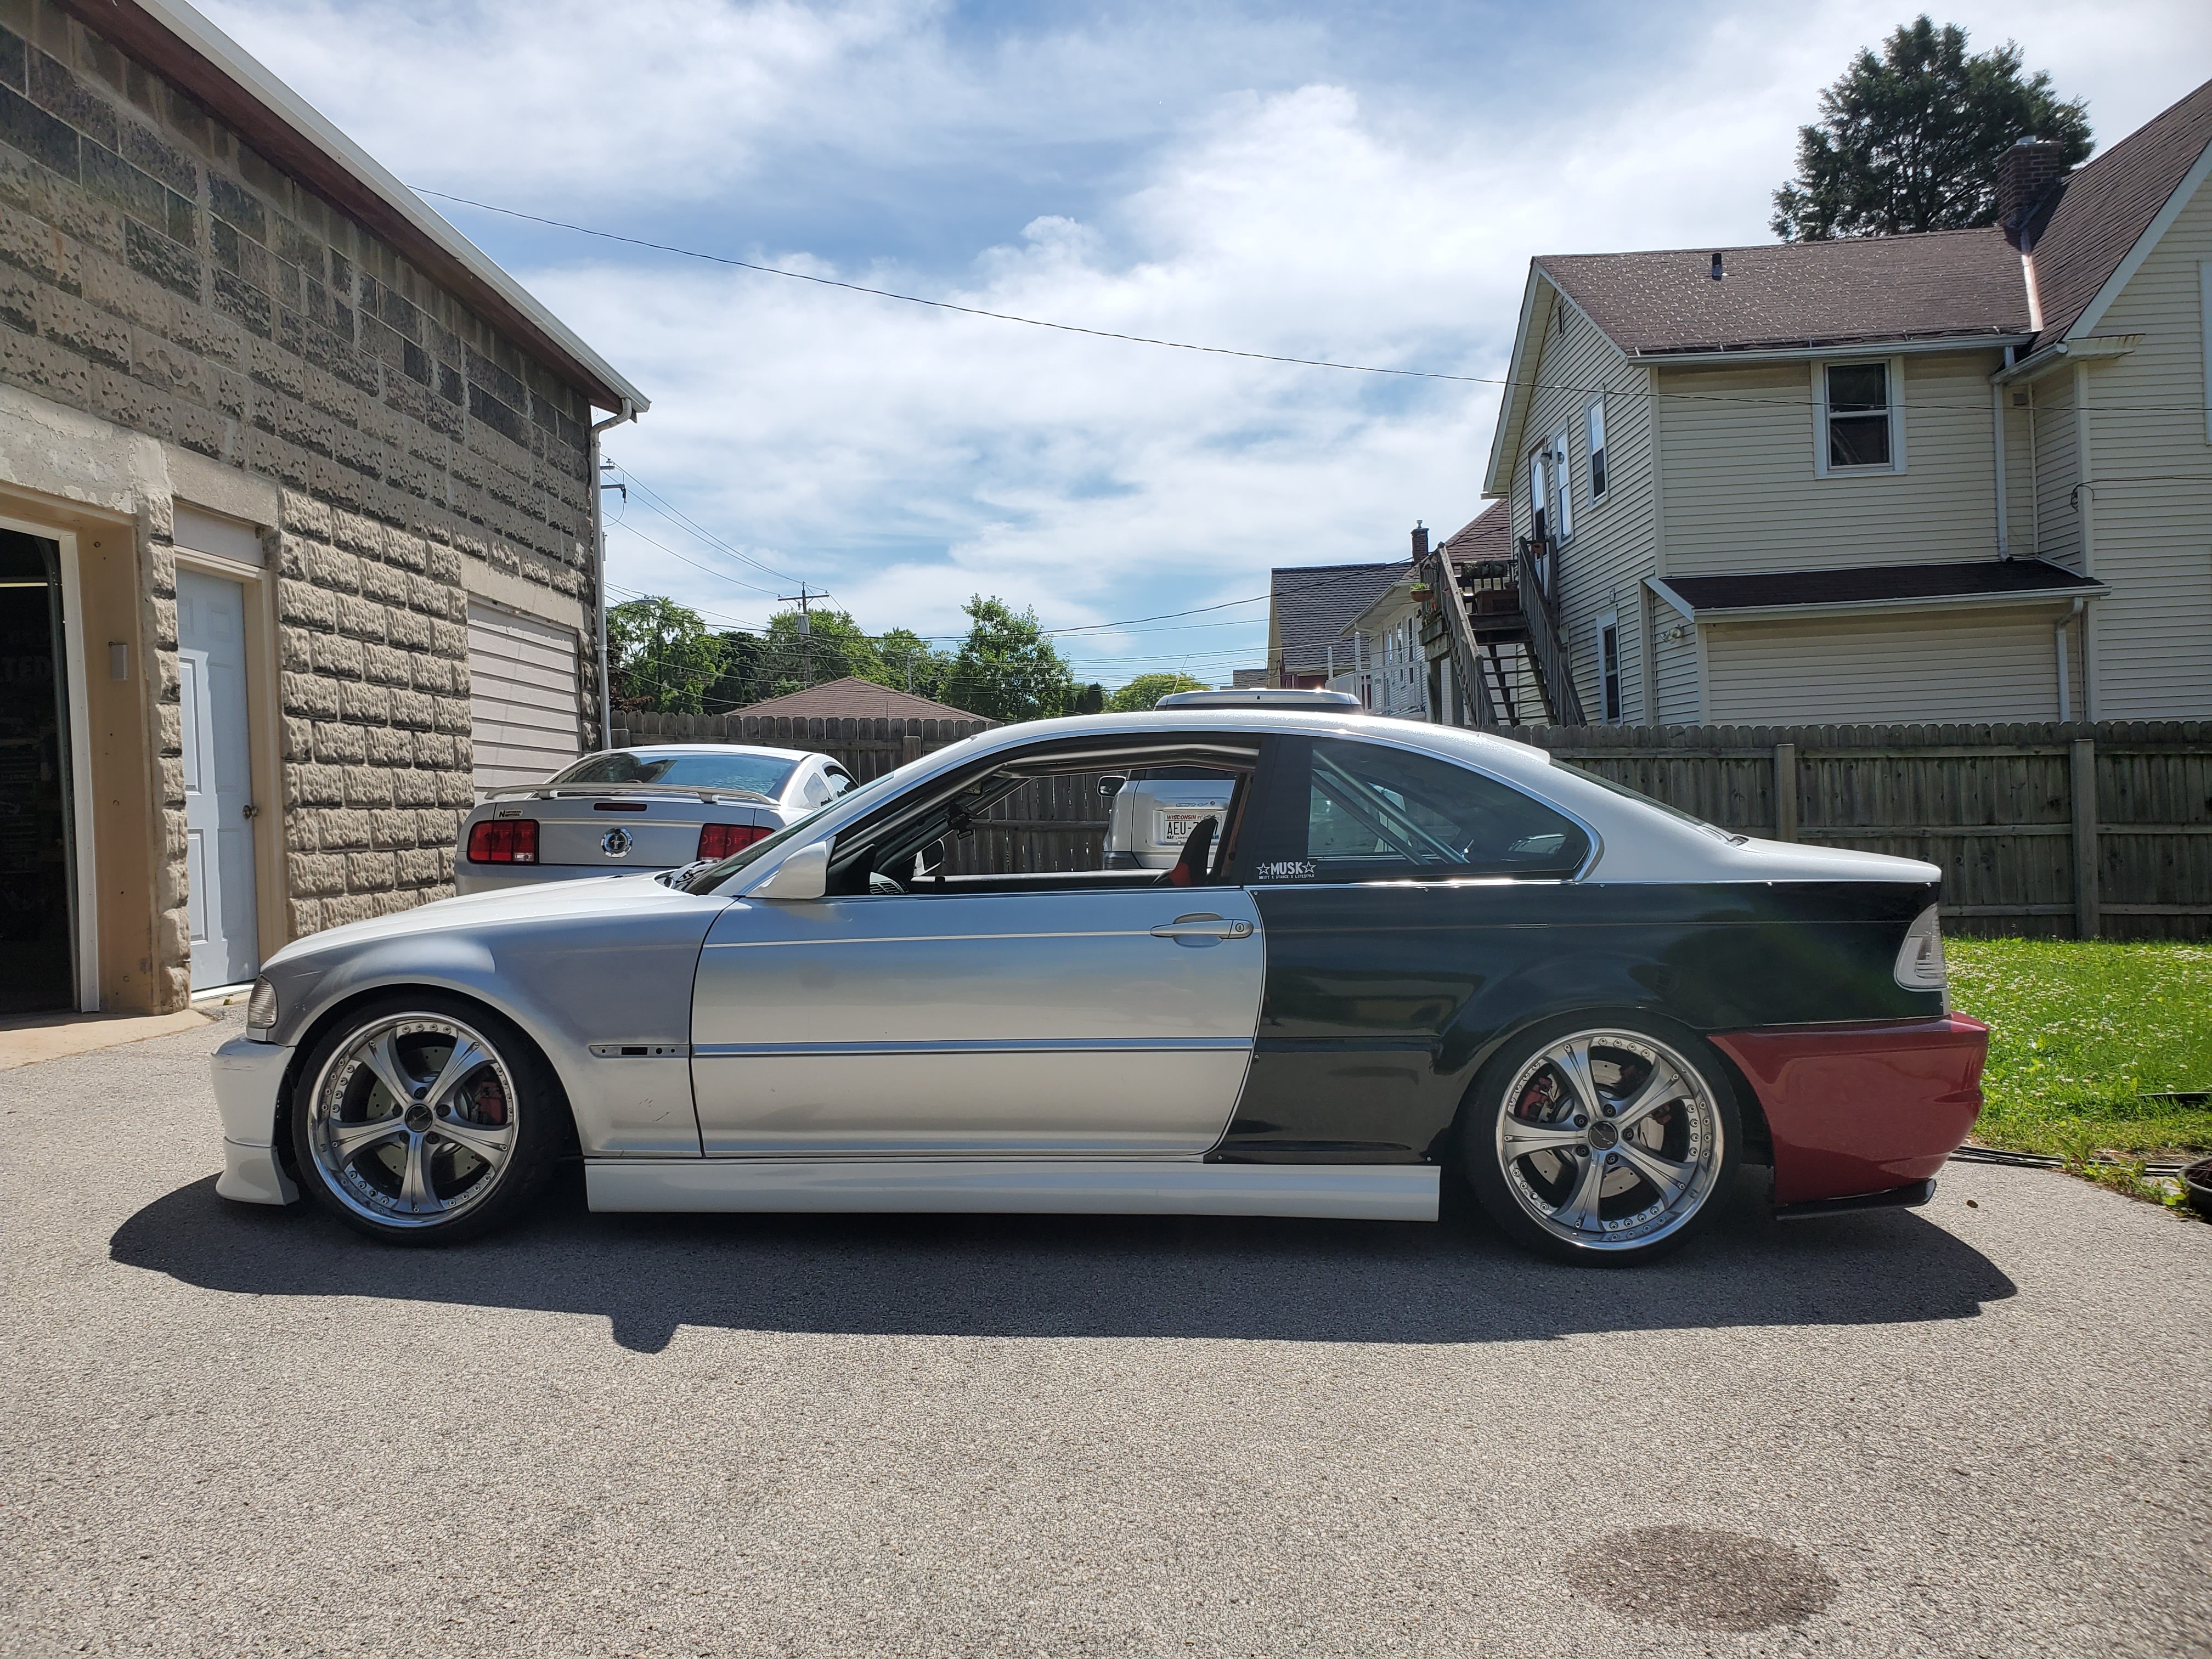
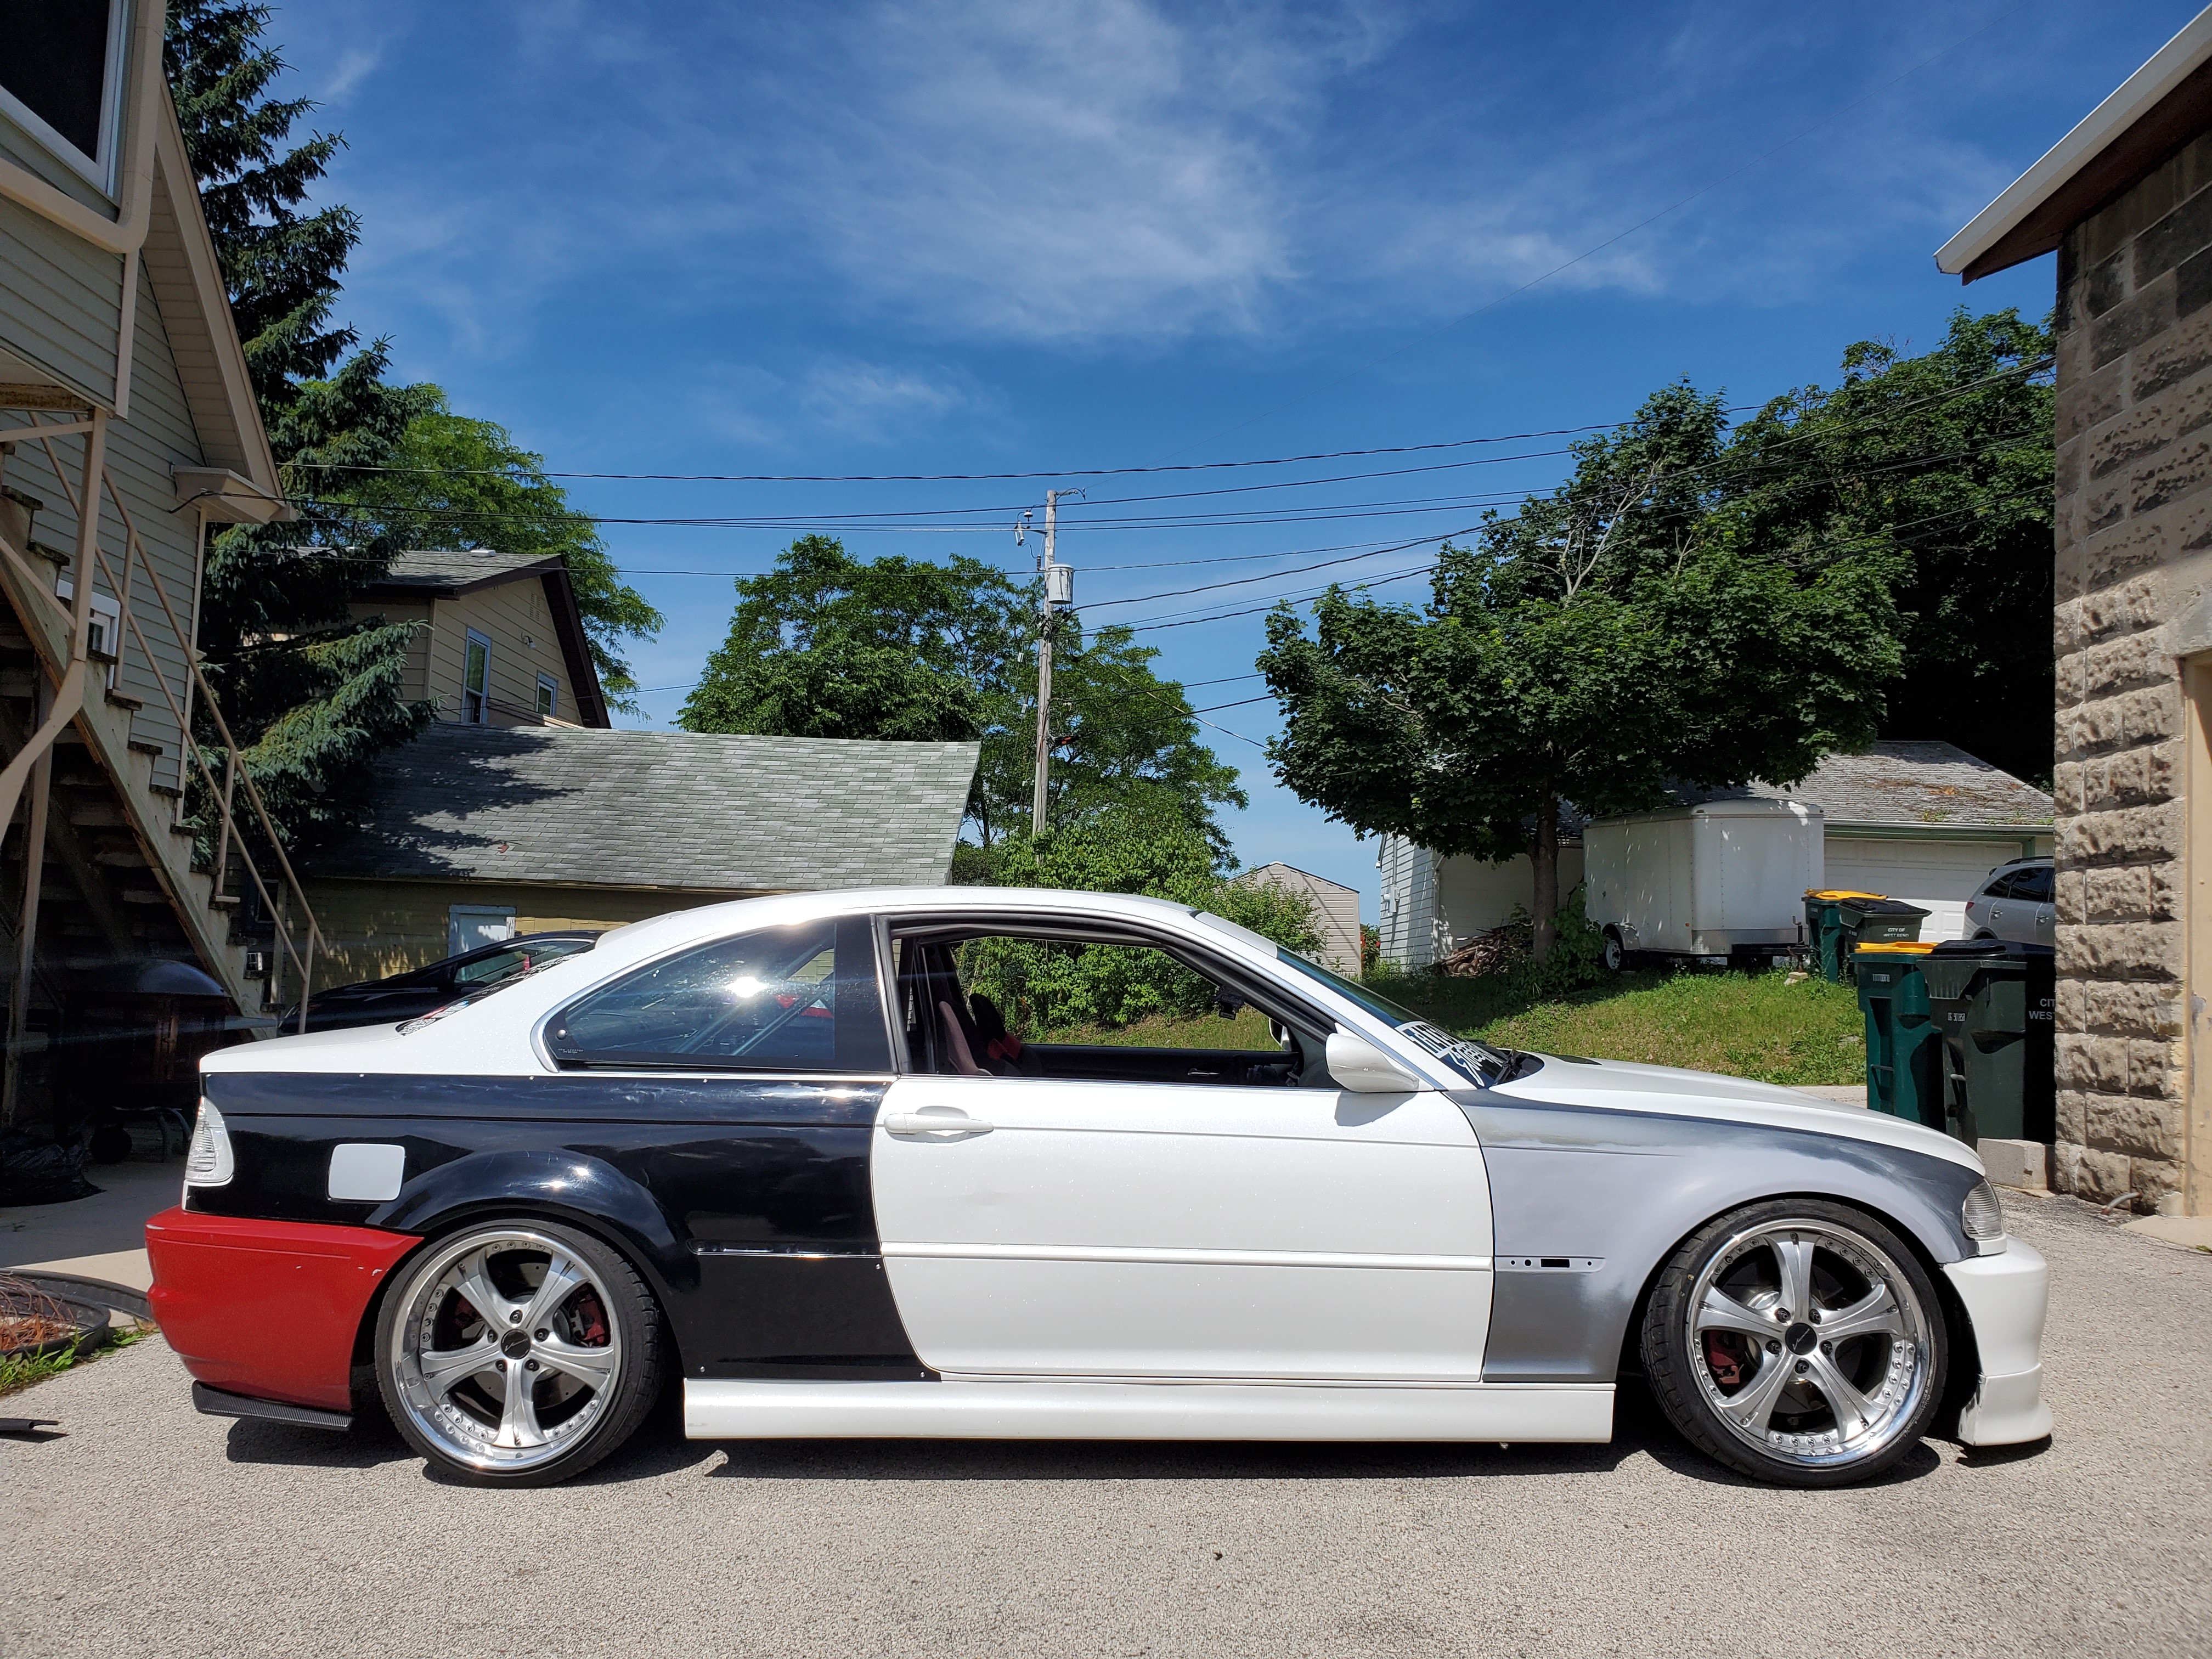
Just a few things left to tidy up before its ready to drive, even though it will be 5 different colors lol.
-
Where did you order your clear vinyl from?
-
Where did you order your clear vinyl from?
From Amazon, but it is vivvid brand vinyl and worked out really well!
-
From Amazon, but it is vivvid brand vinyl and worked out really well!
Ahh gotcha. Been struggling to find quality stuff in larger sizes
-
Ahh gotcha. Been struggling to find quality stuff in larger sizes
I'm sure if you contacted vivvid they could get you a larger size
-
UPDATE
Totally have been slacking on the updates again now that there's no major things going on.
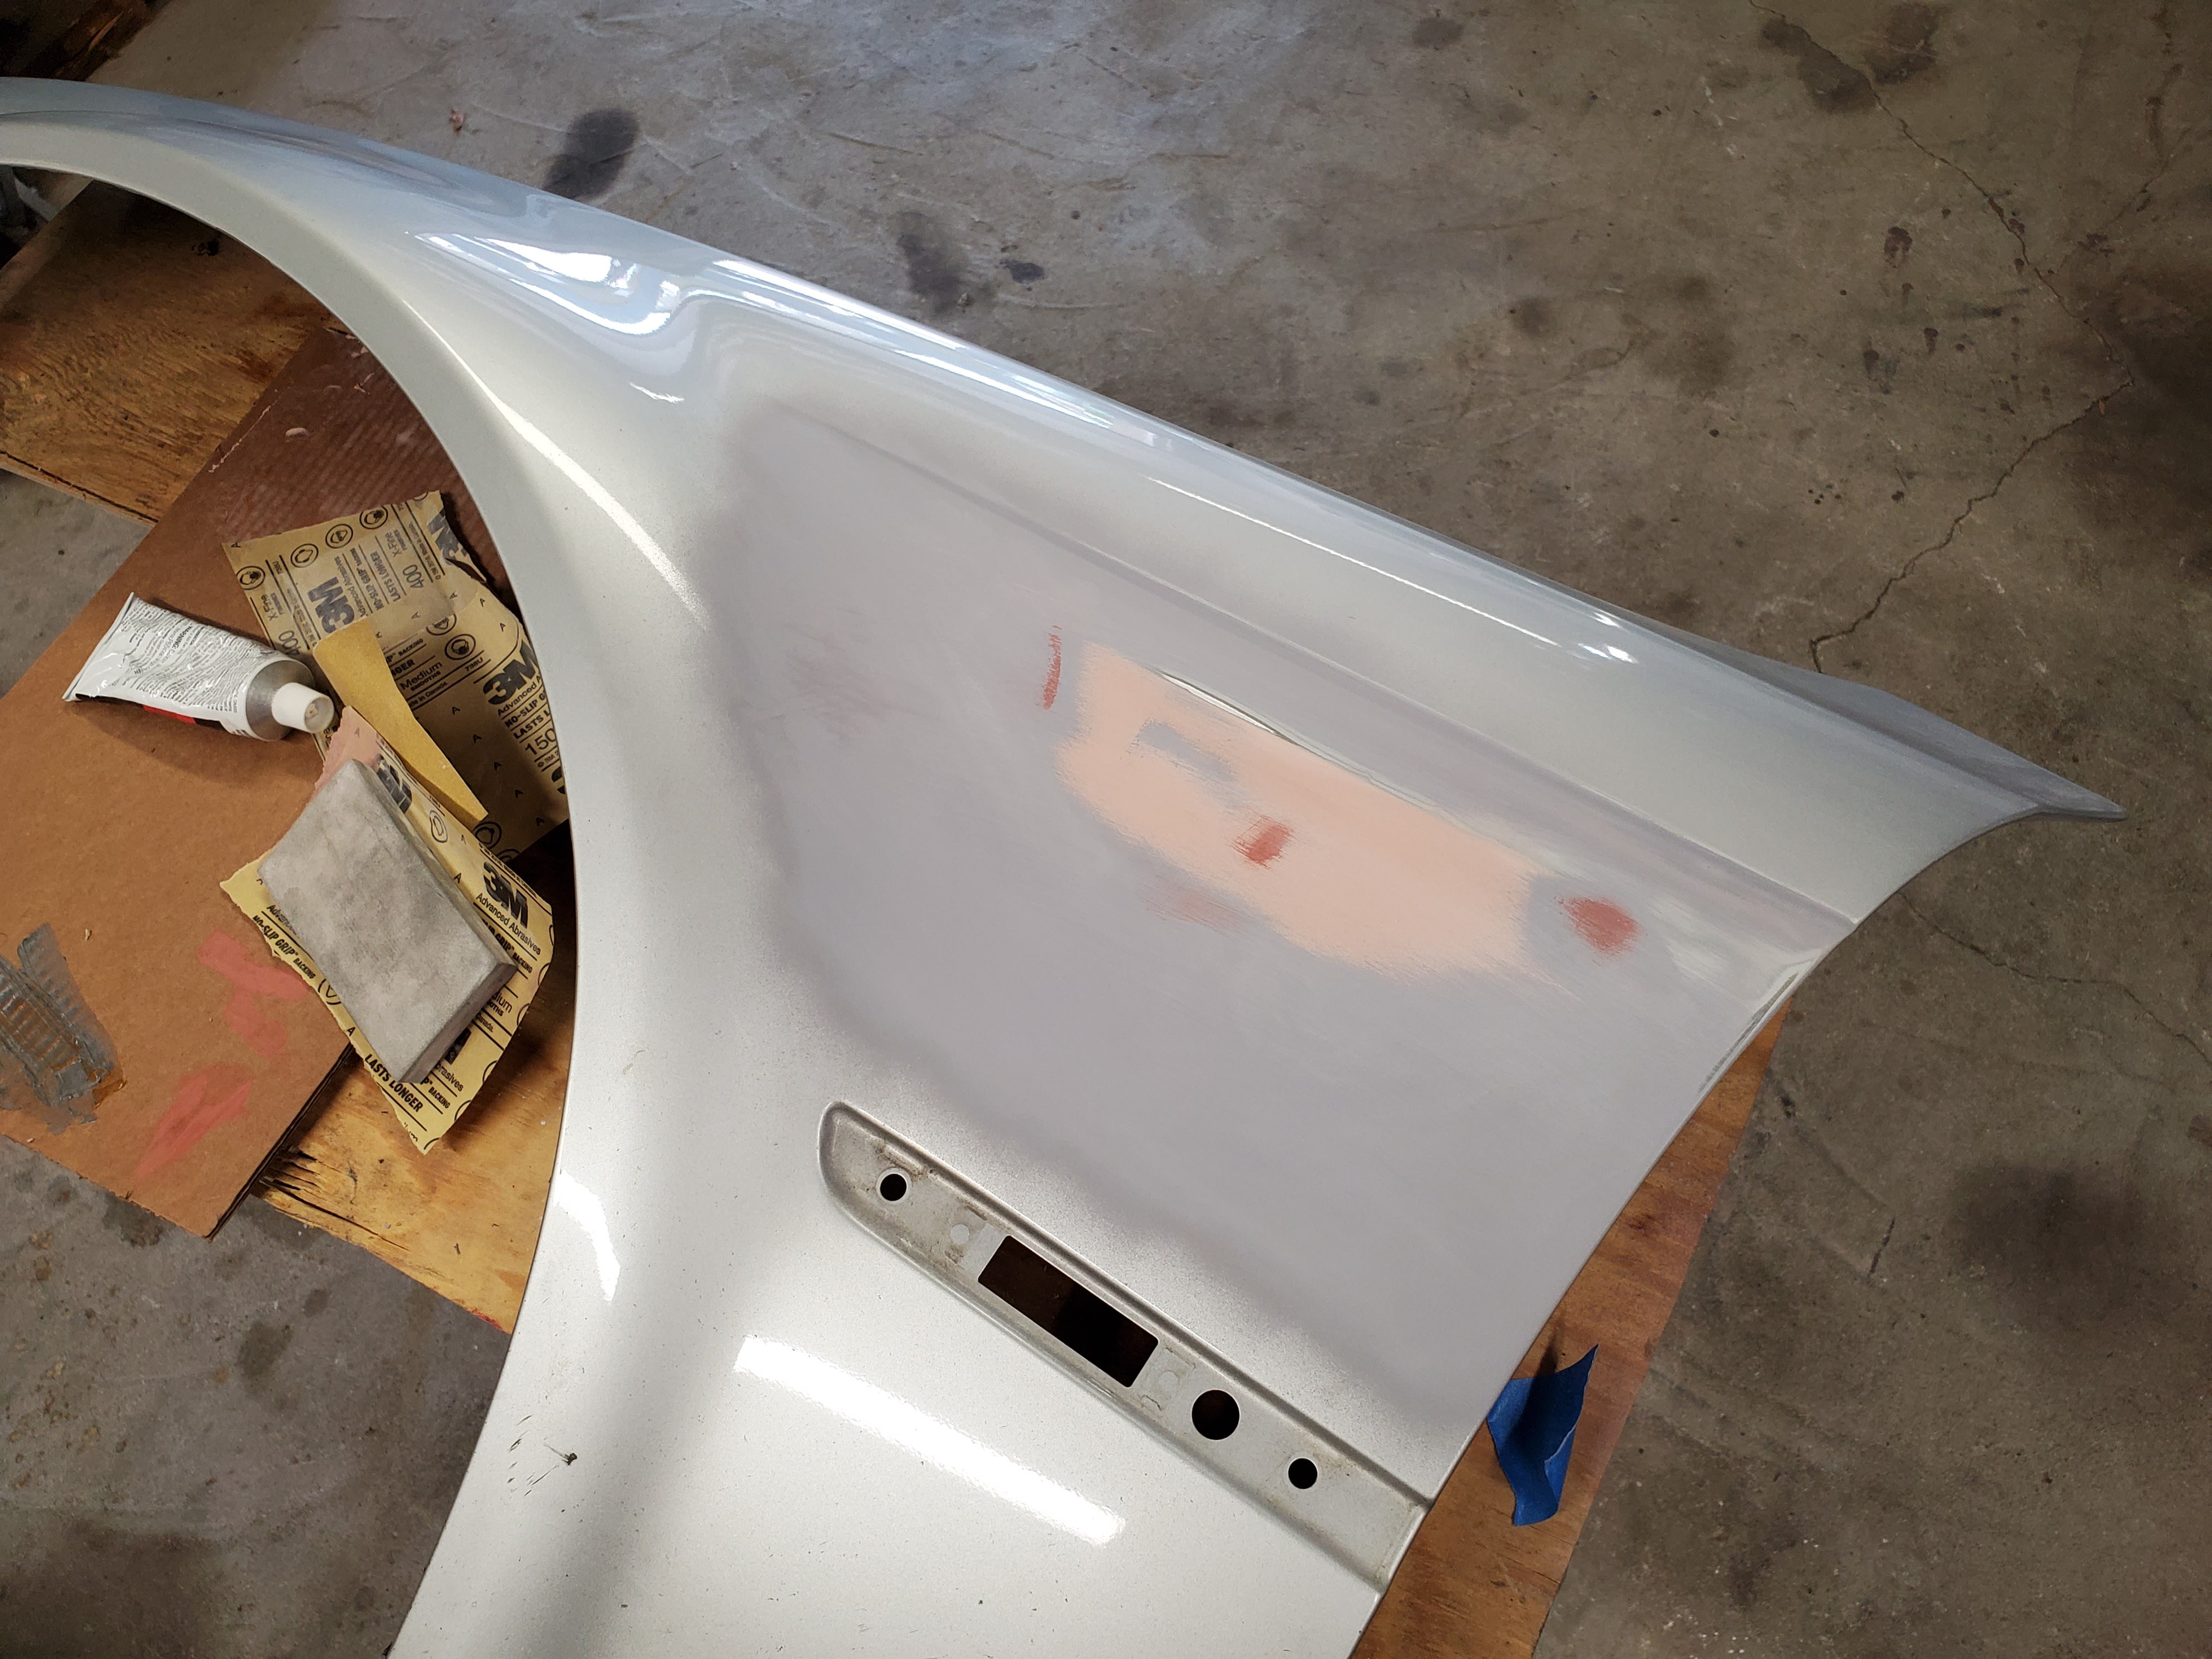
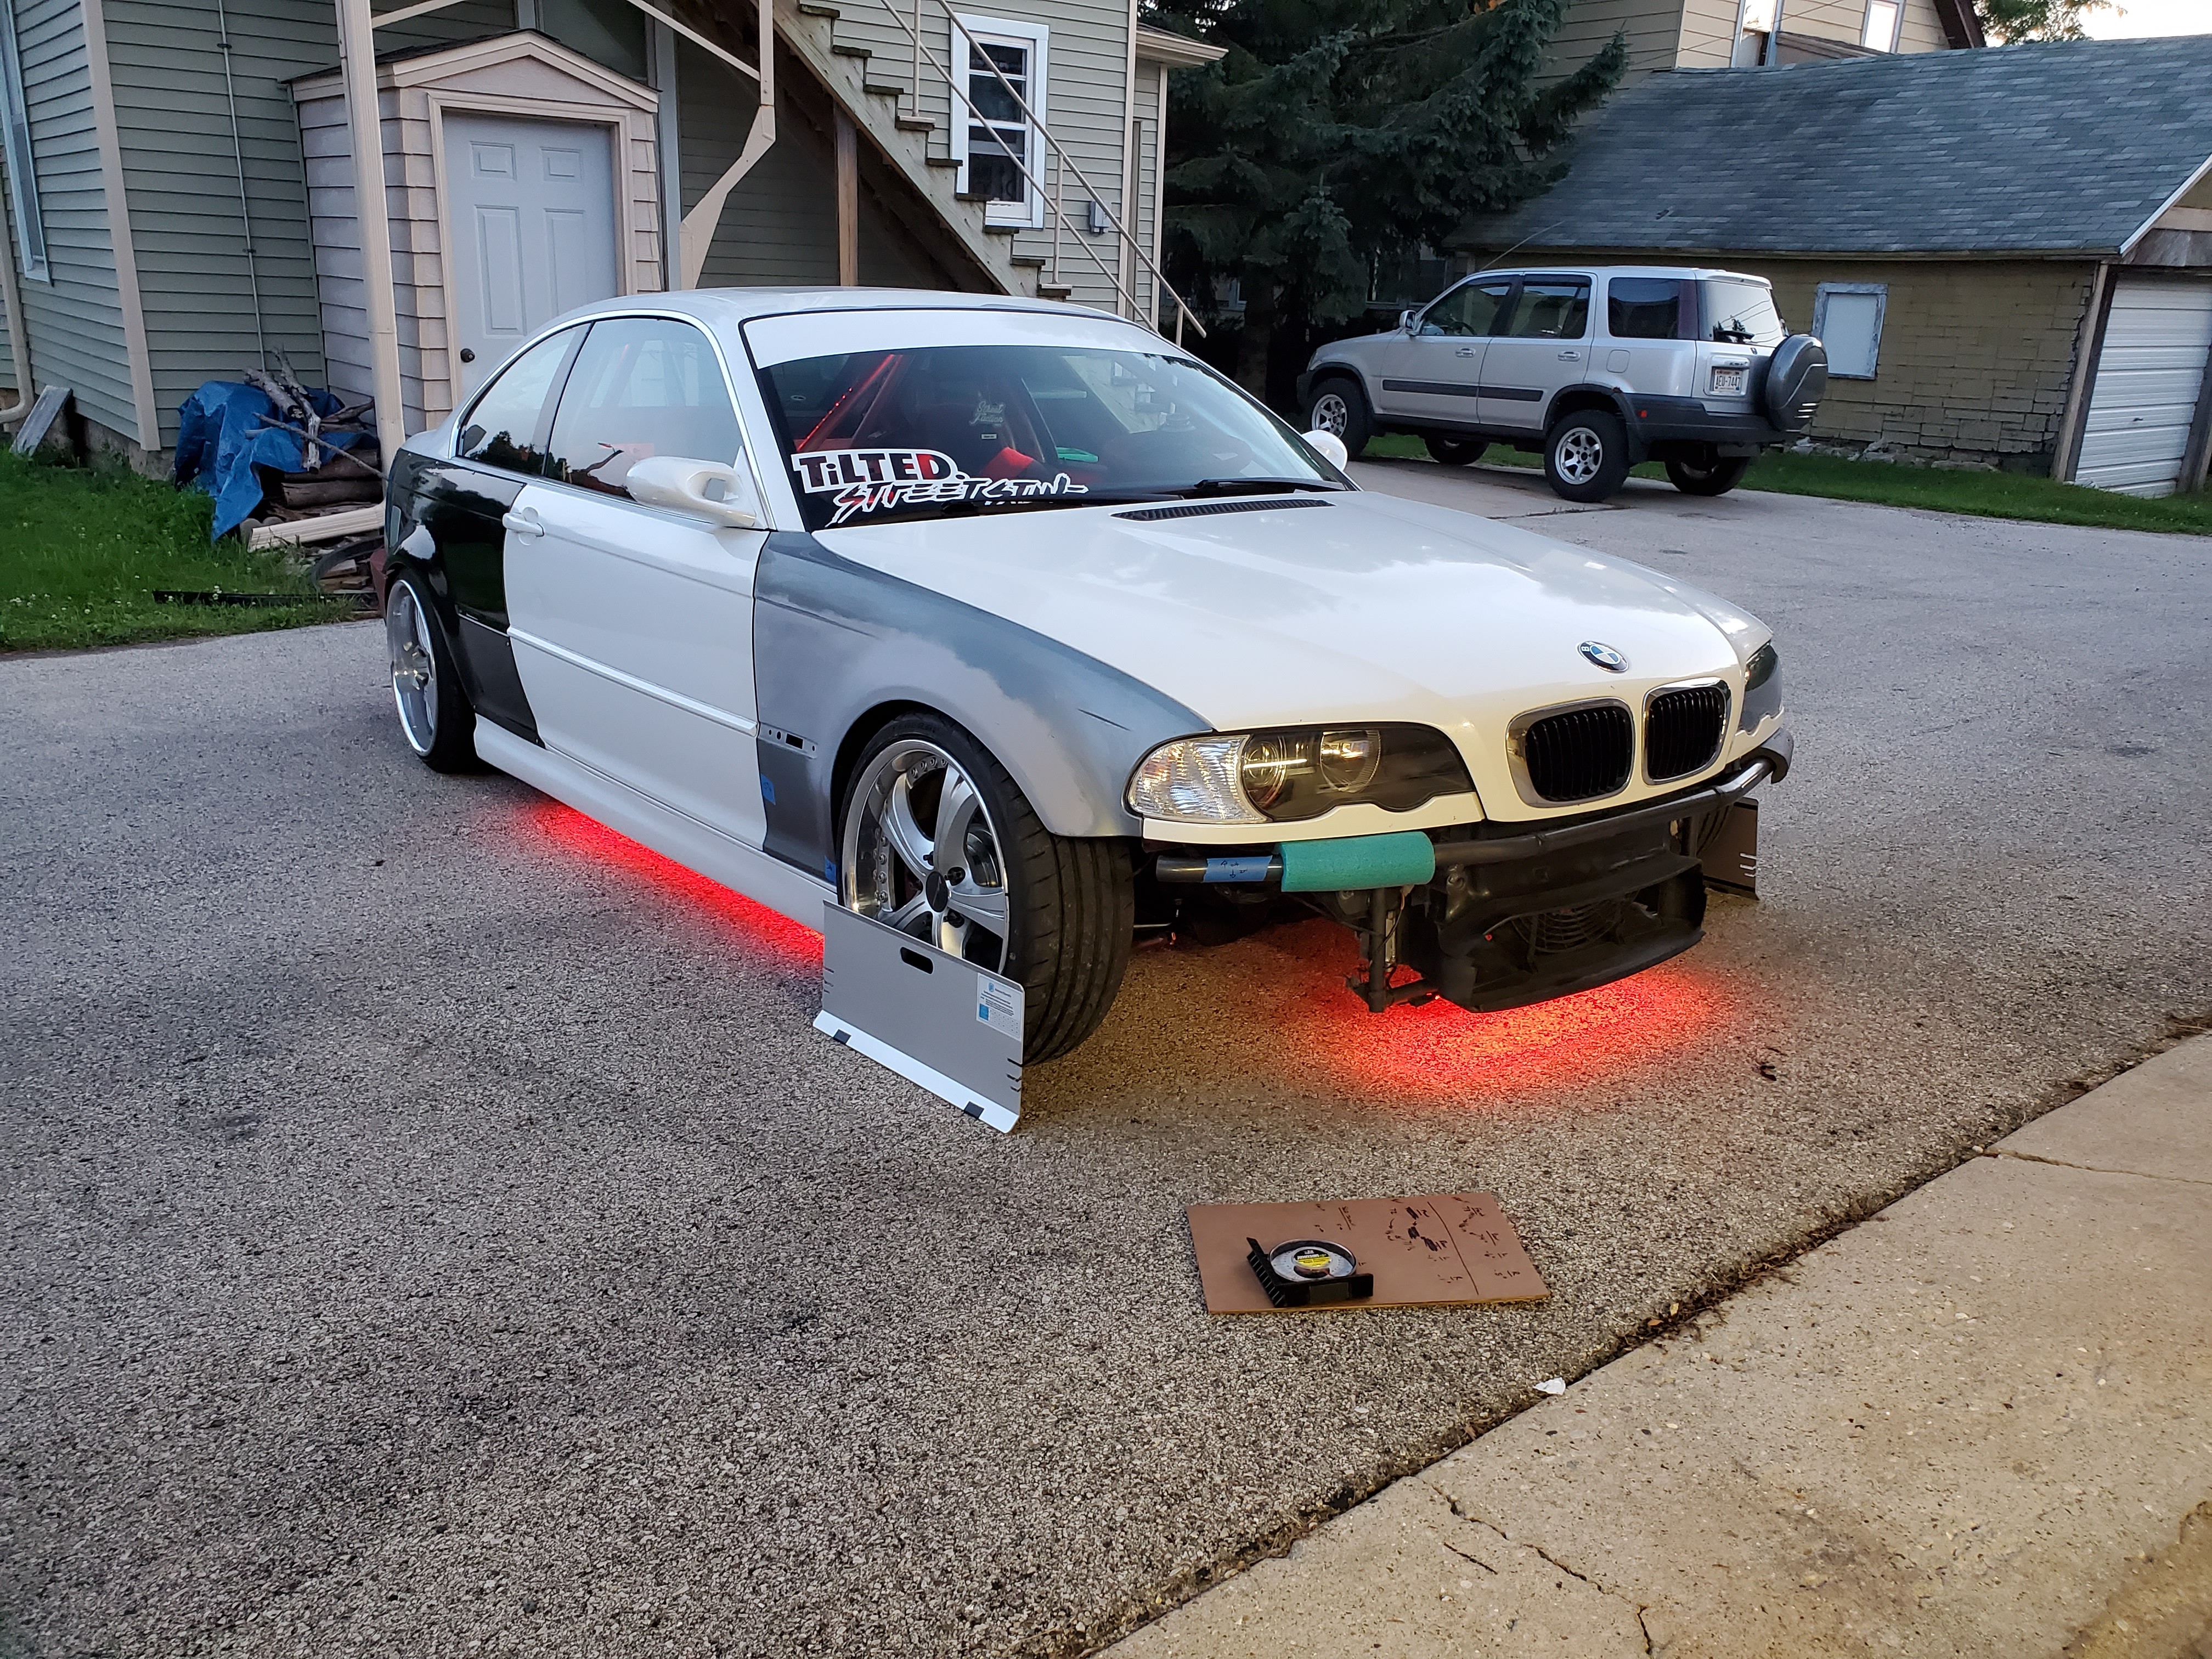
Finished shaving the driver side fender and got it primed and put on the car.
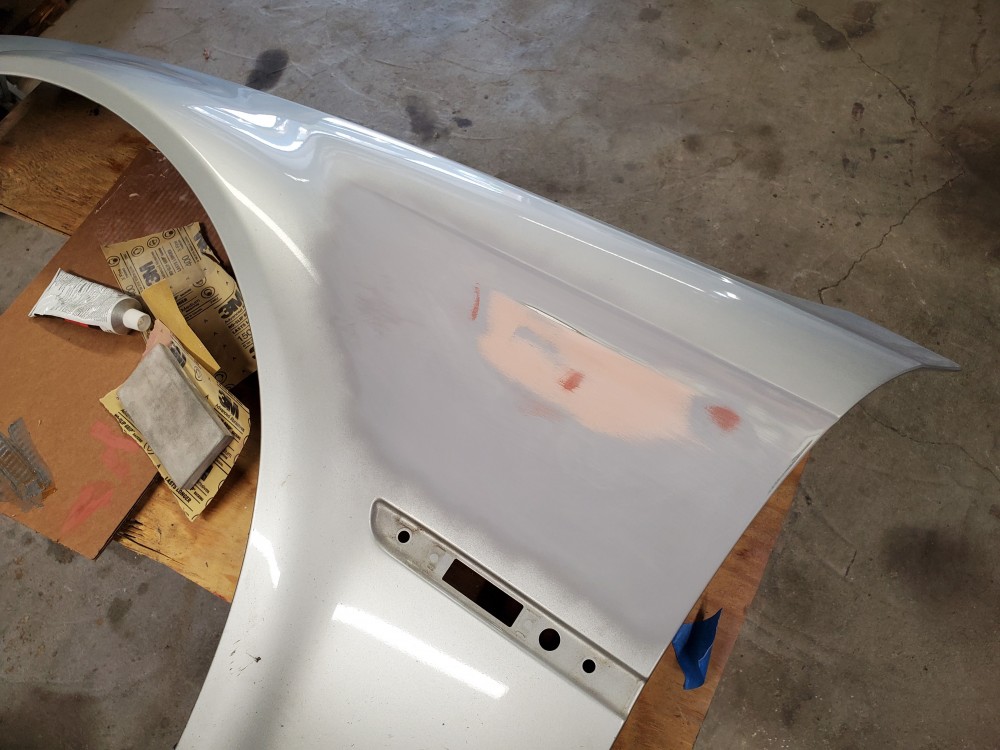
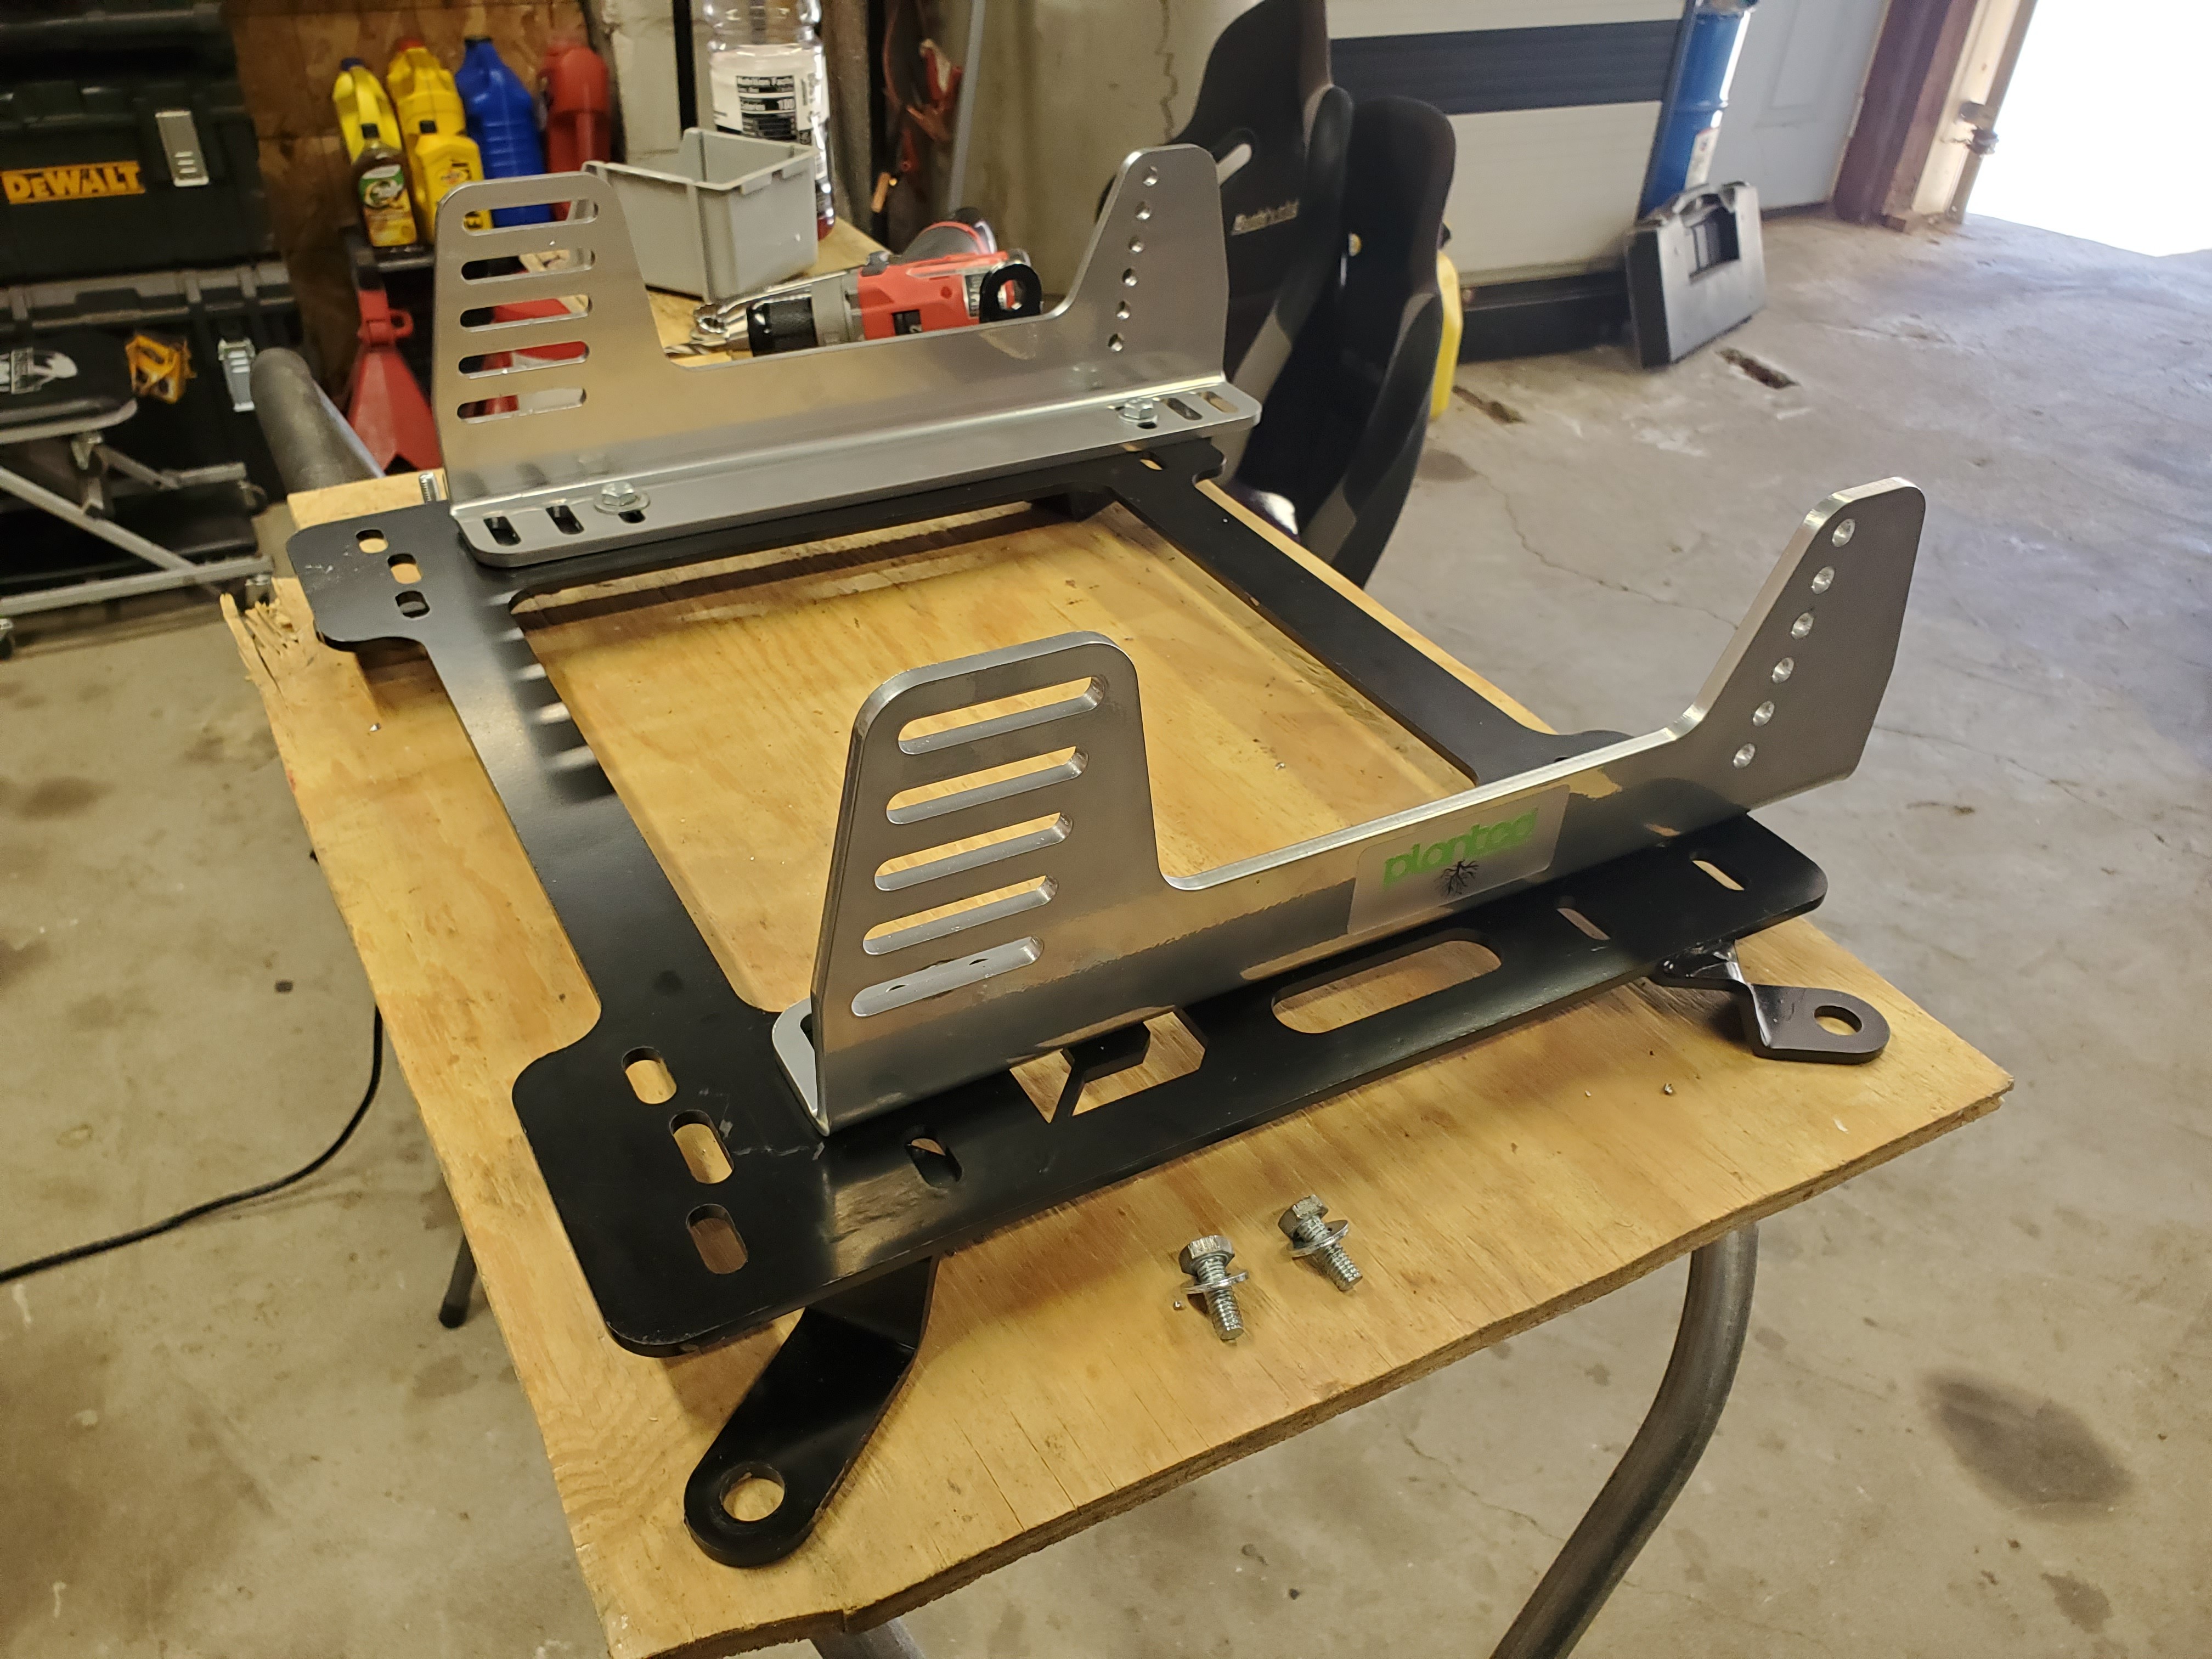
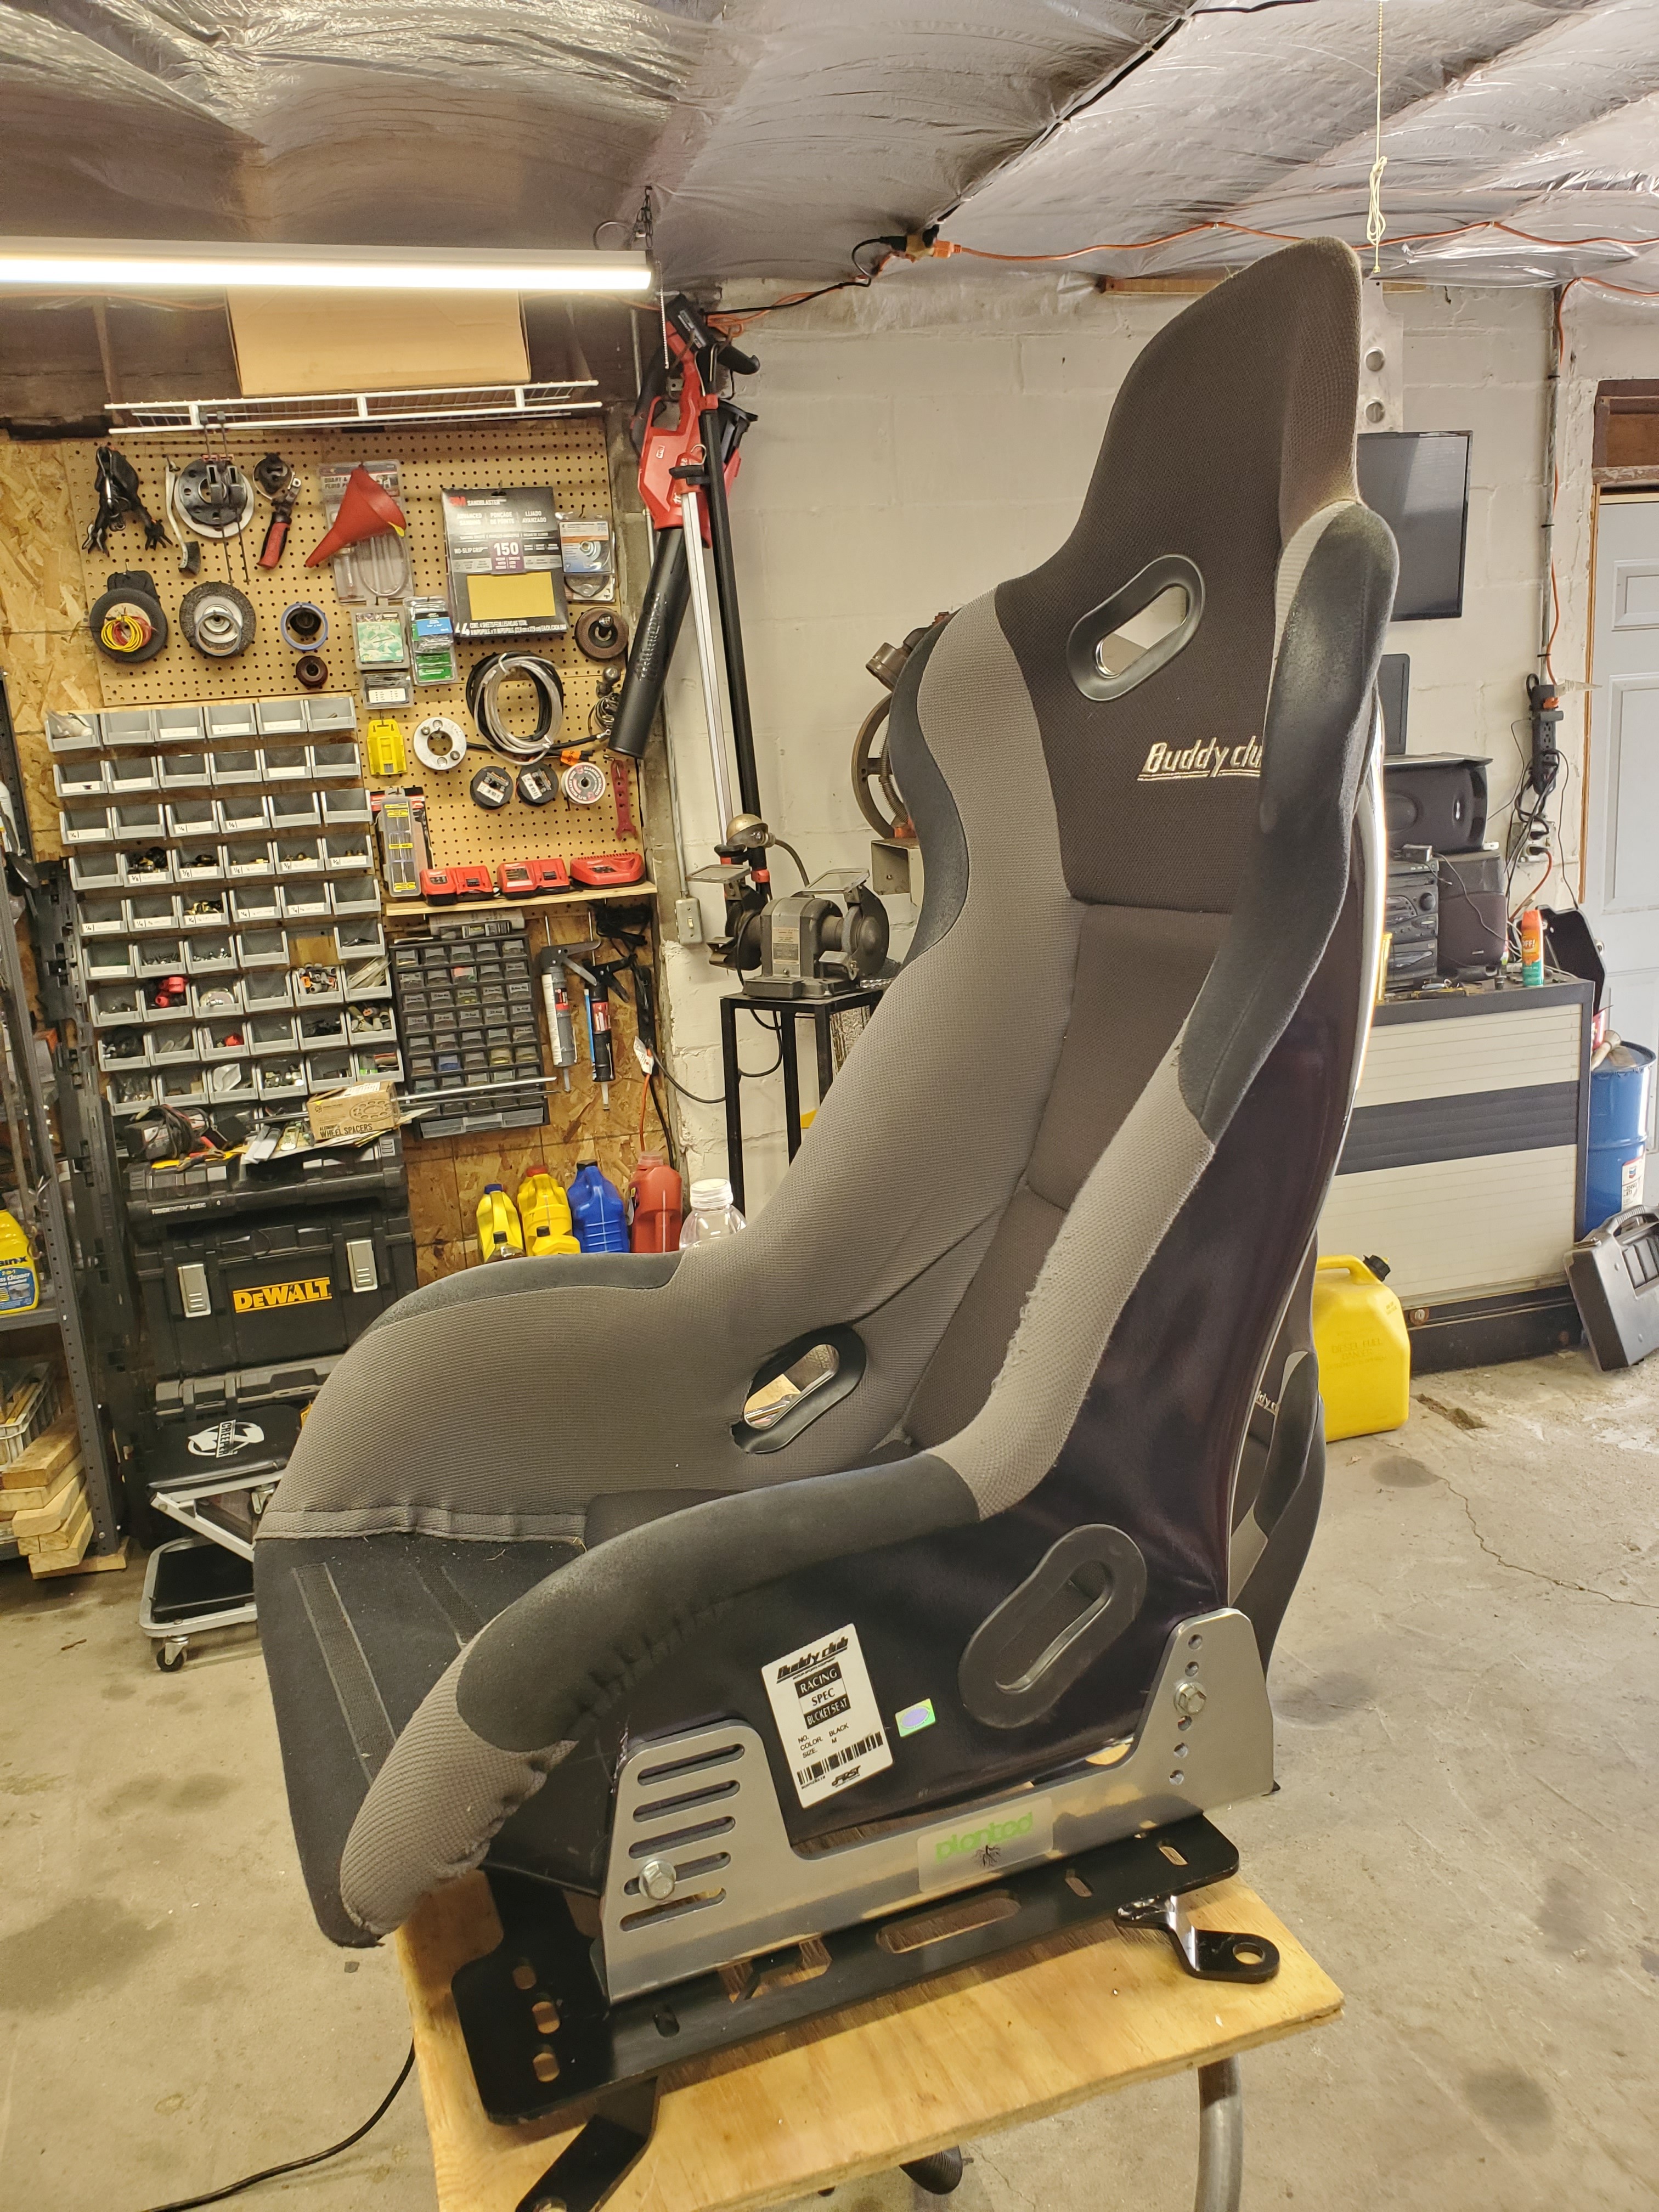
I tried putting in the passenger seat with the home made seat bases and brackets that I had from before and it just was not going to work. So I finally splurged on some real swat brackets and bases.
Planted steel bases with planted aluminum side mounts.
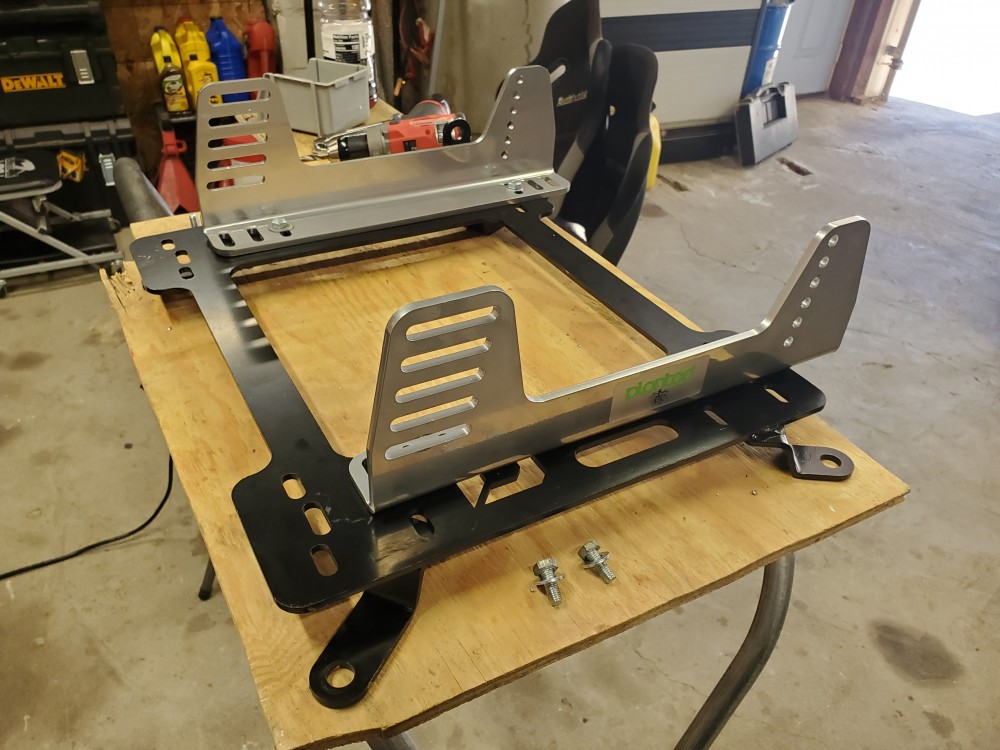
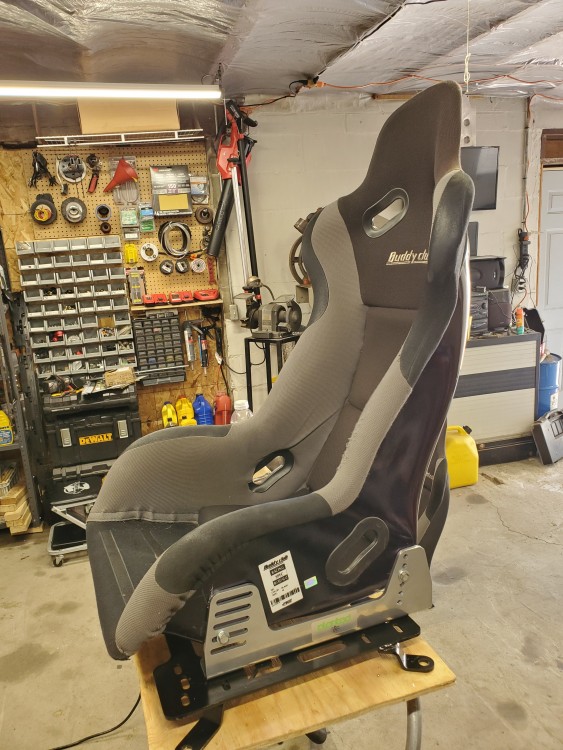
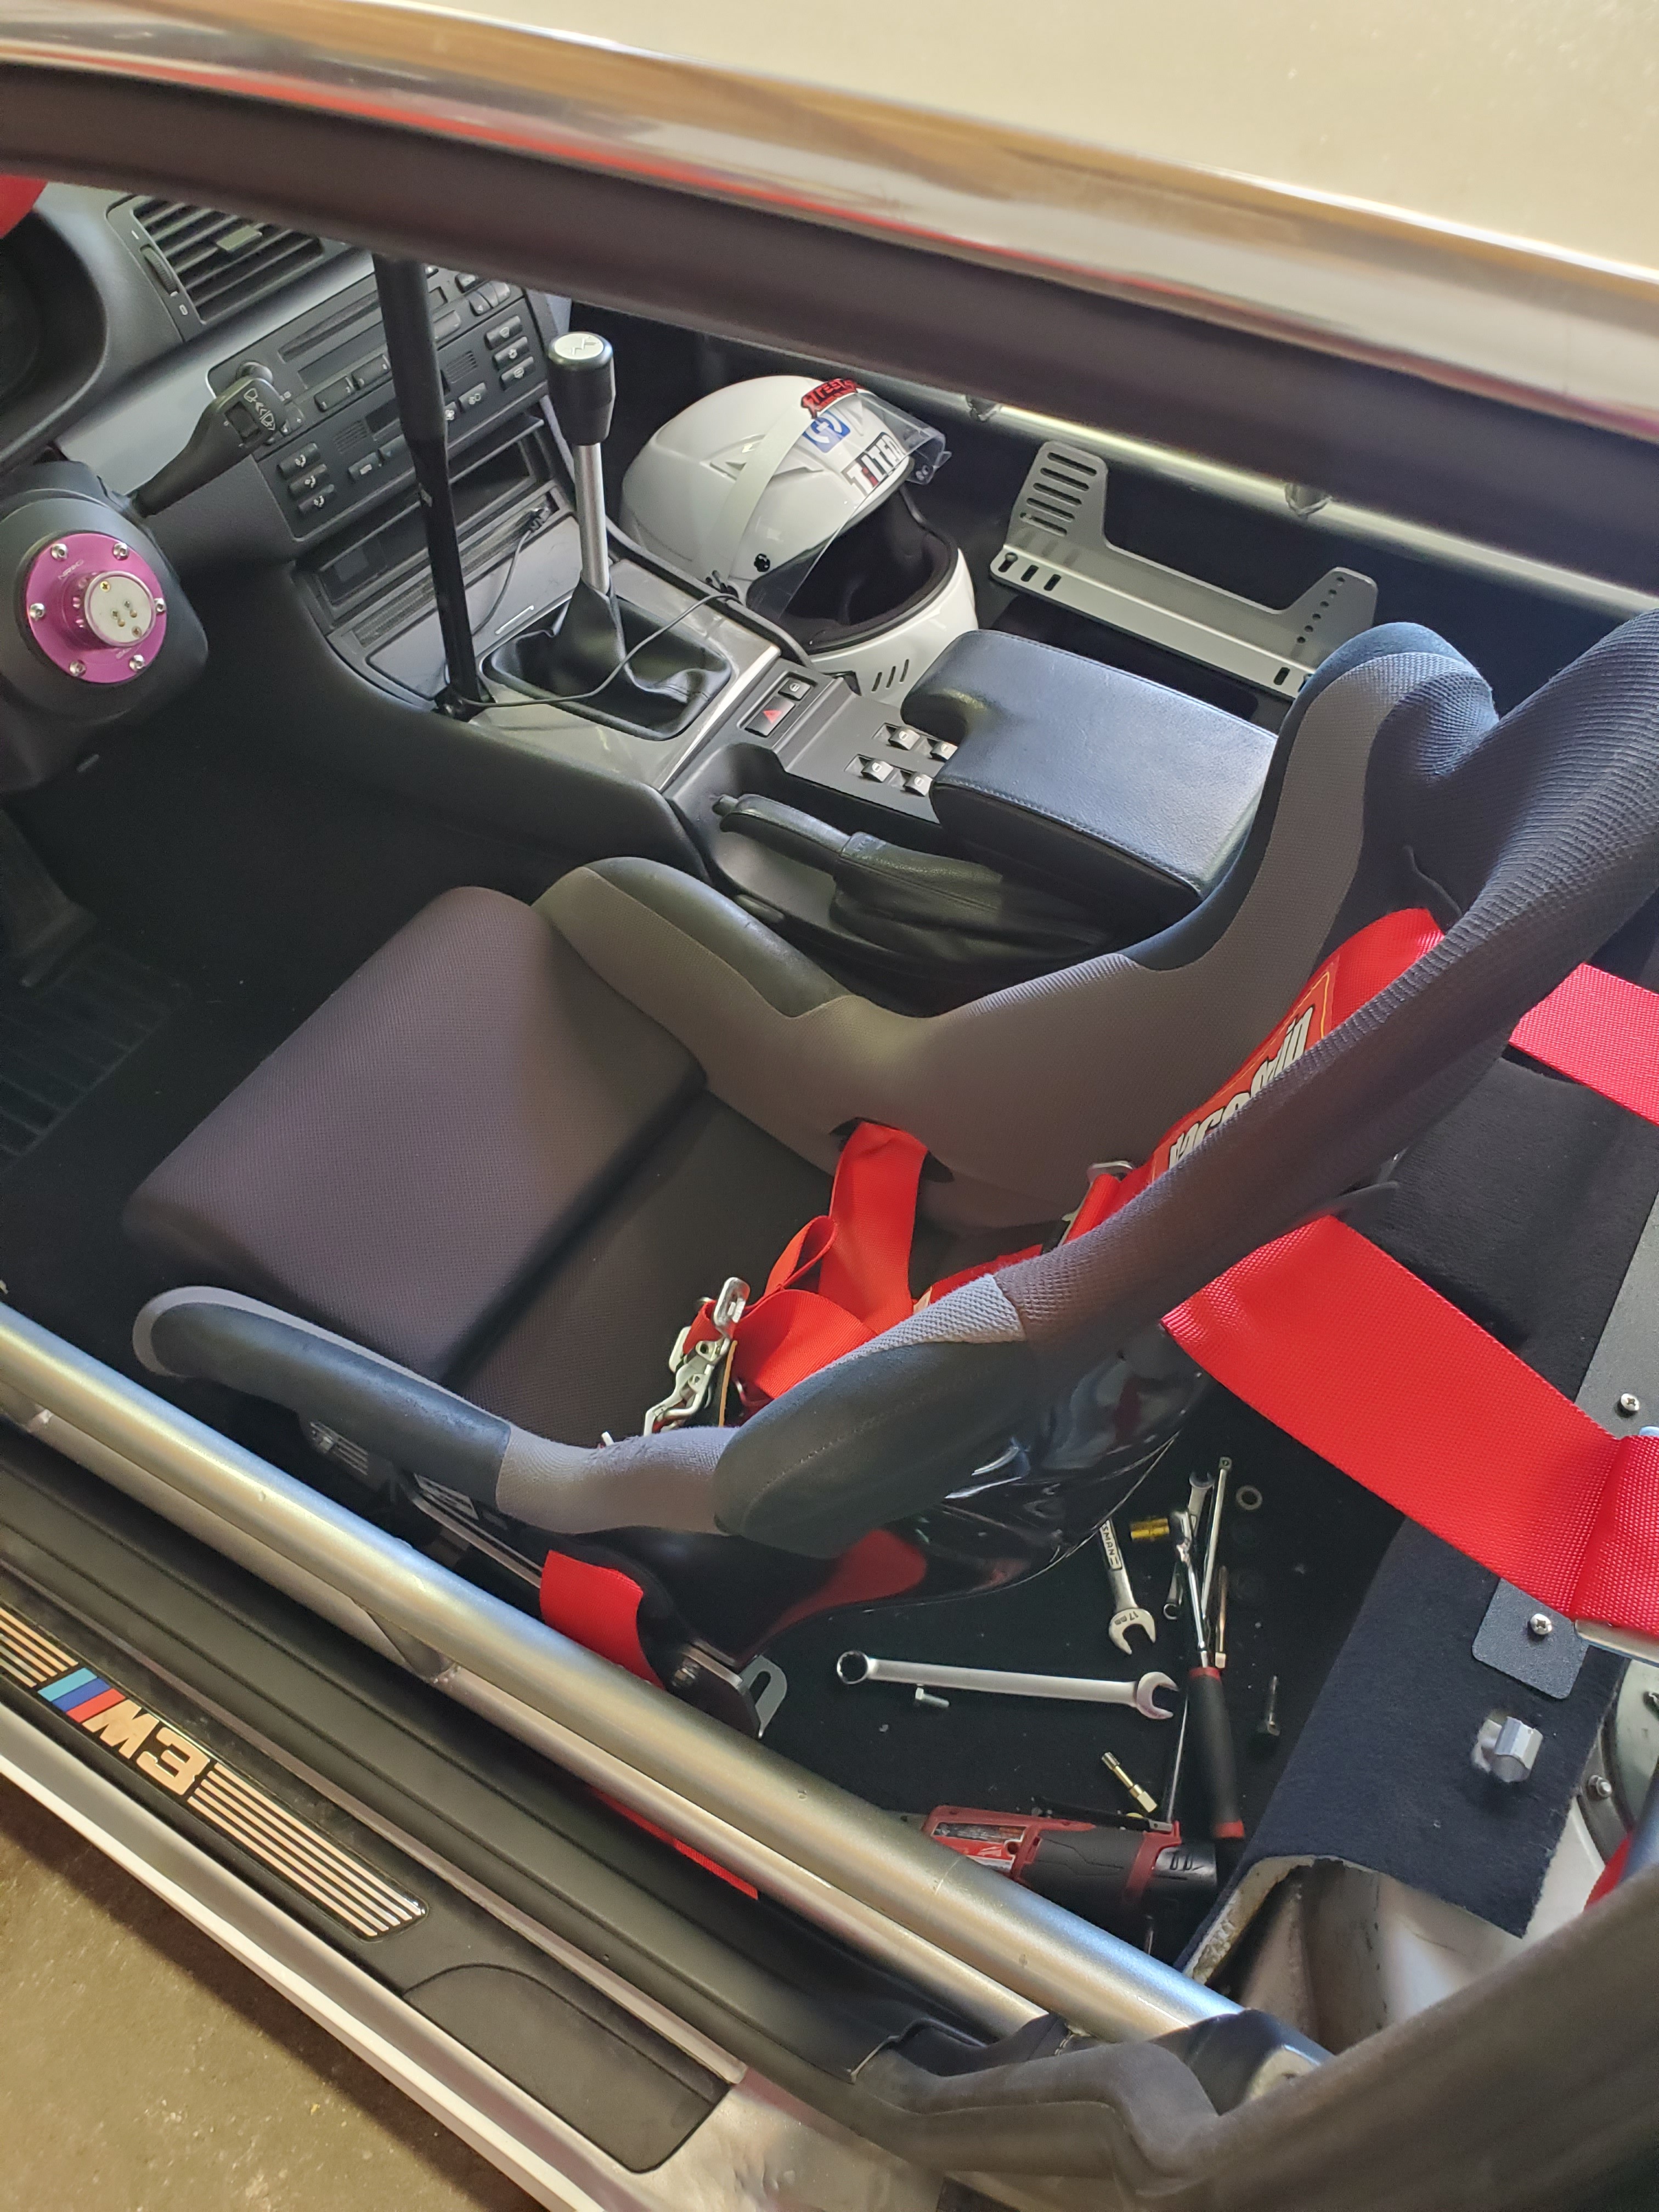
Here is the seat mounted. I really liked that they give you so much room to play with and drill your own holes in the seat mount baseplate.
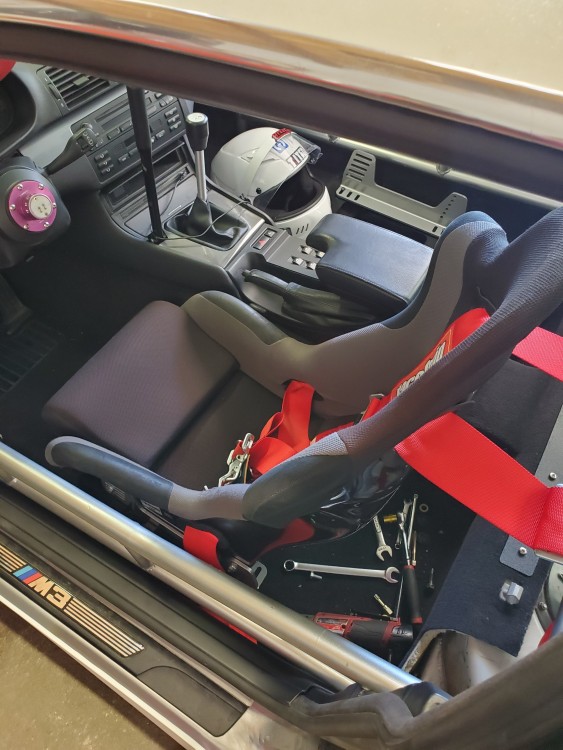
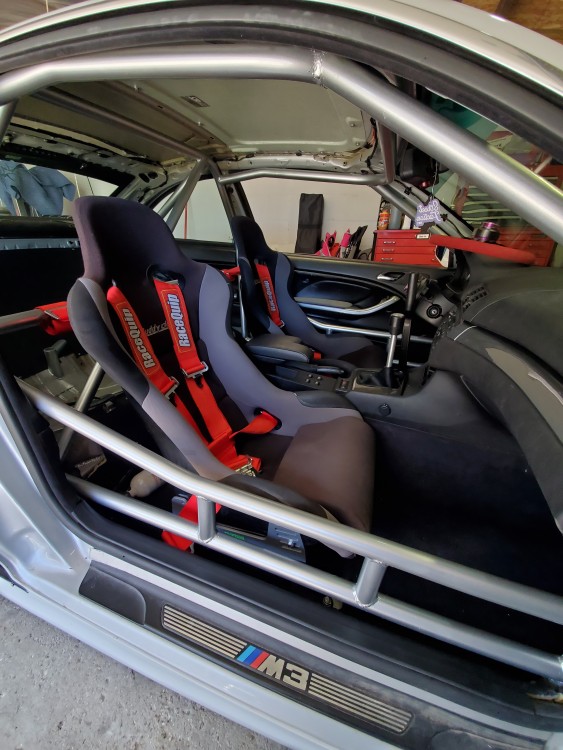
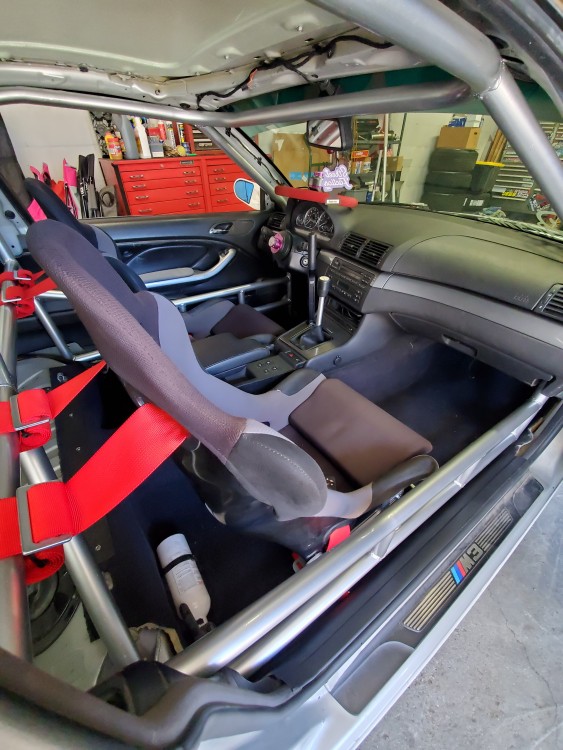
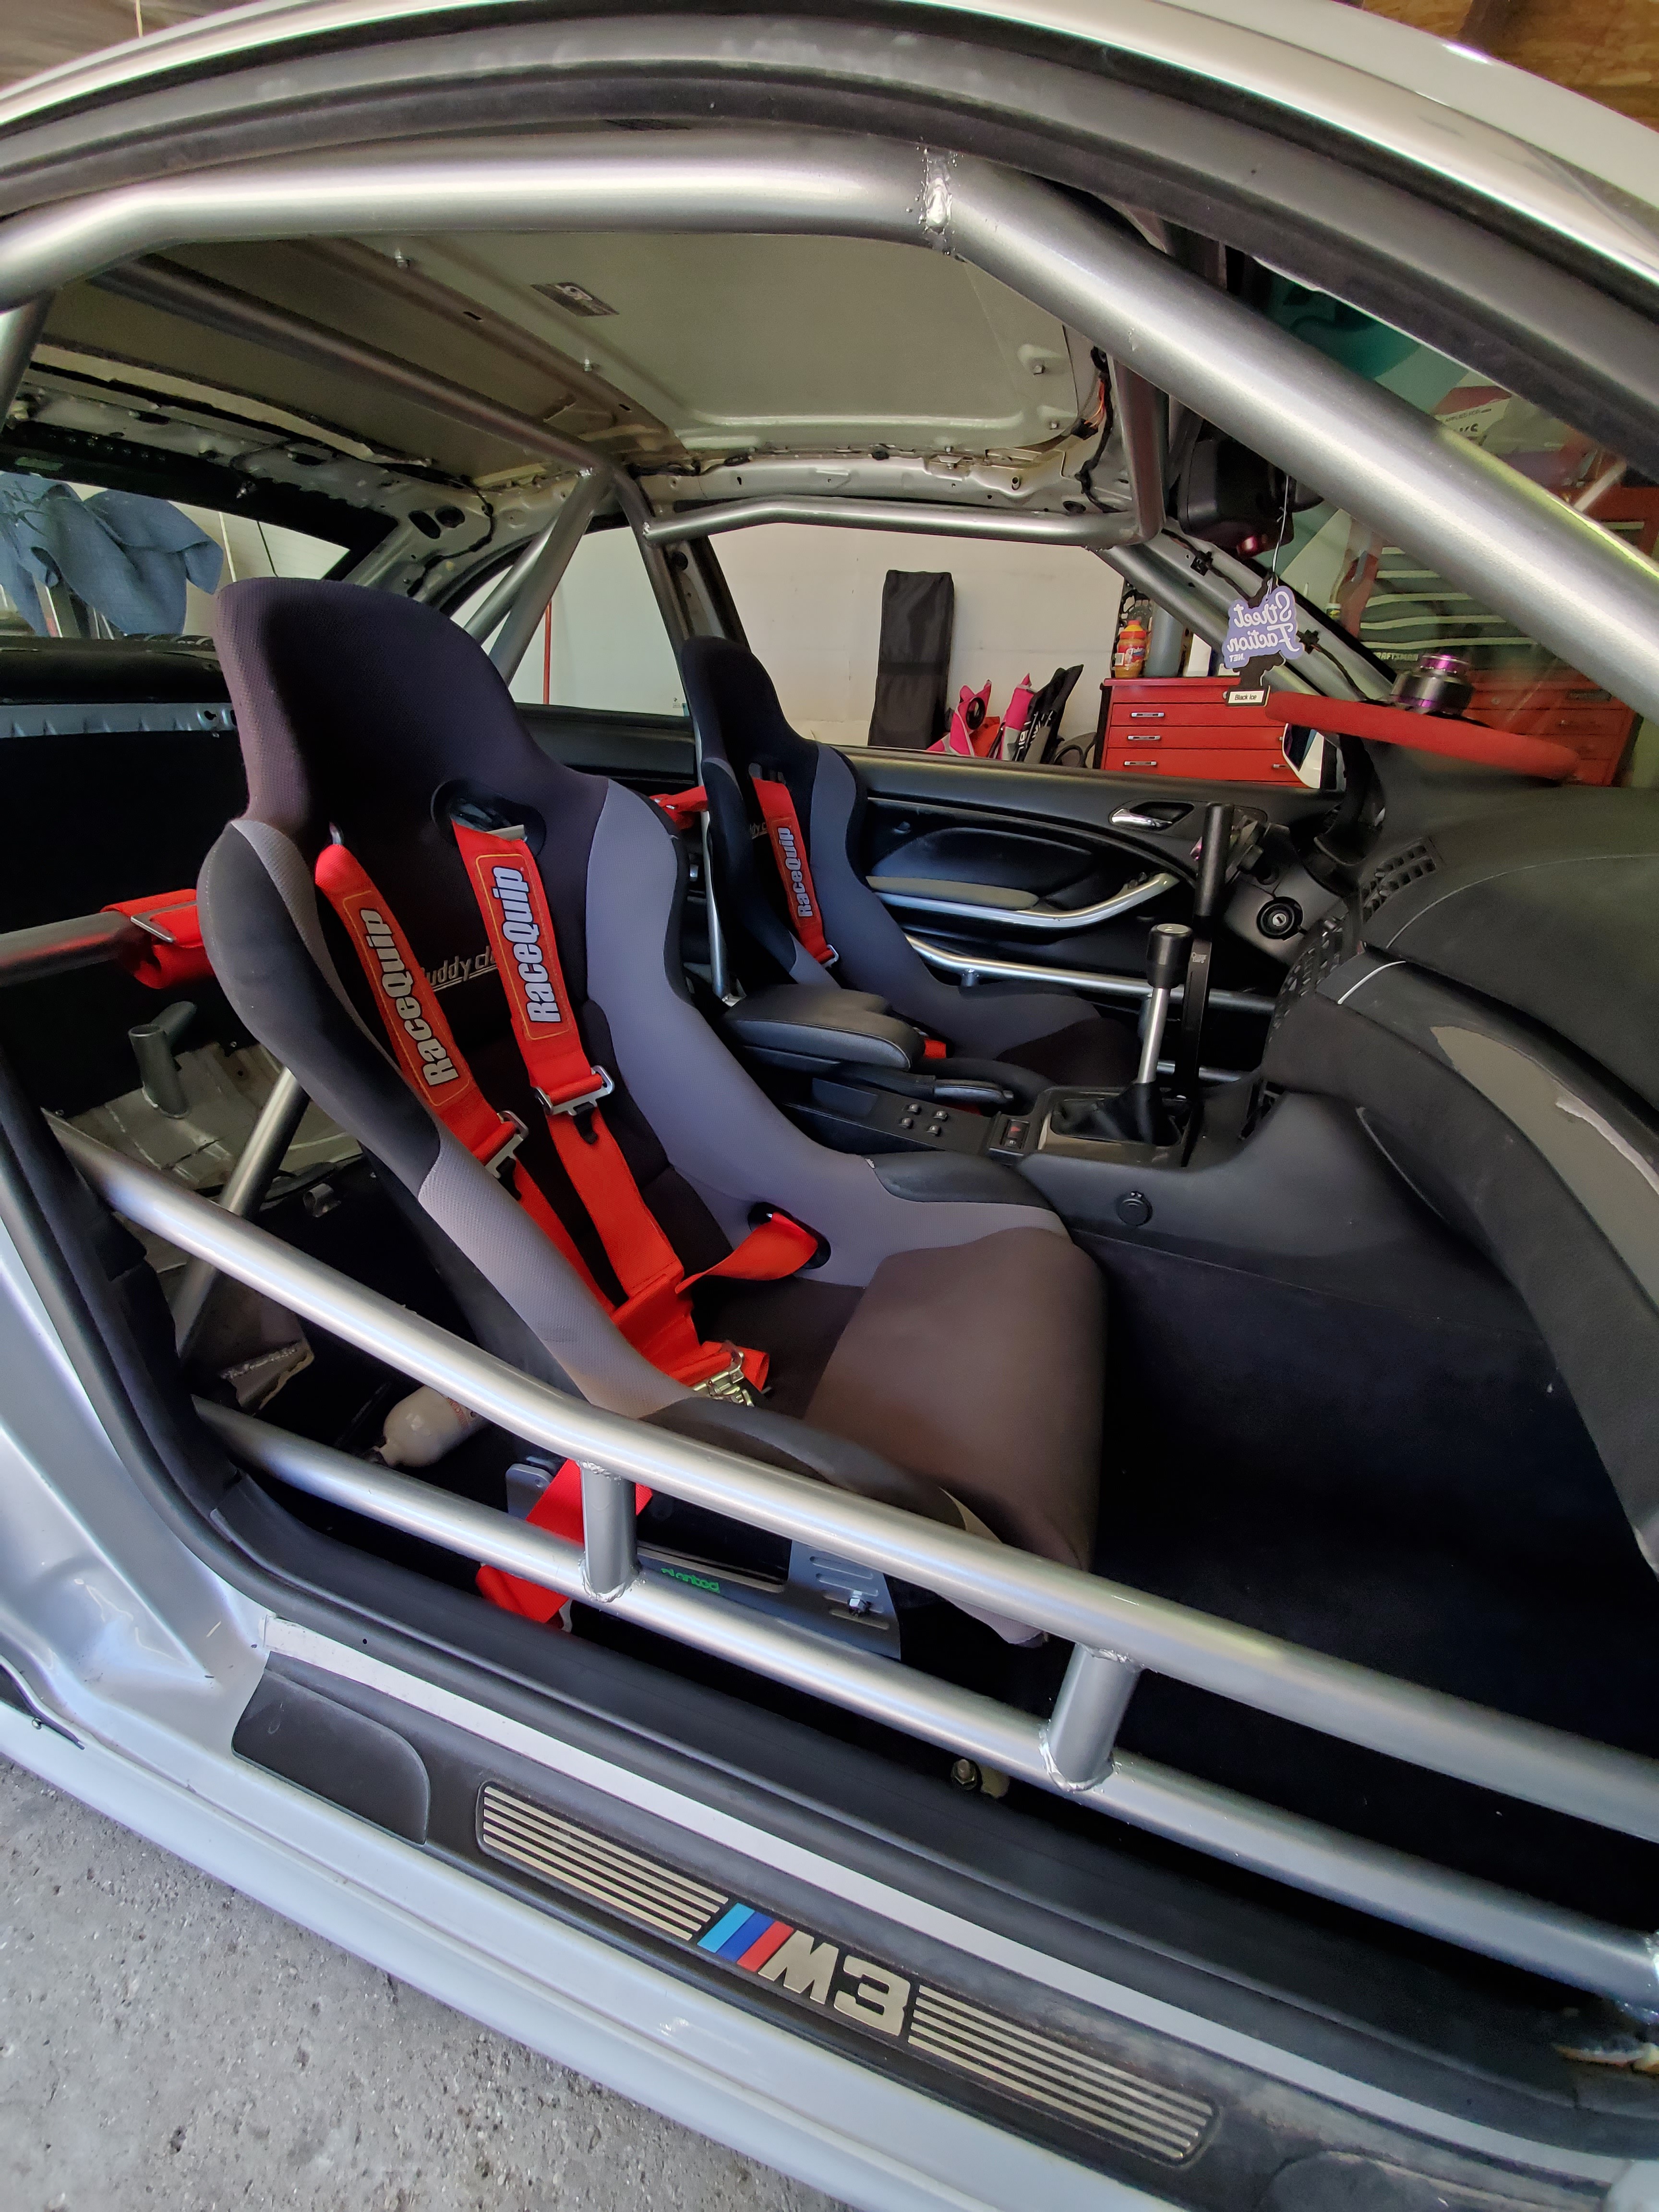
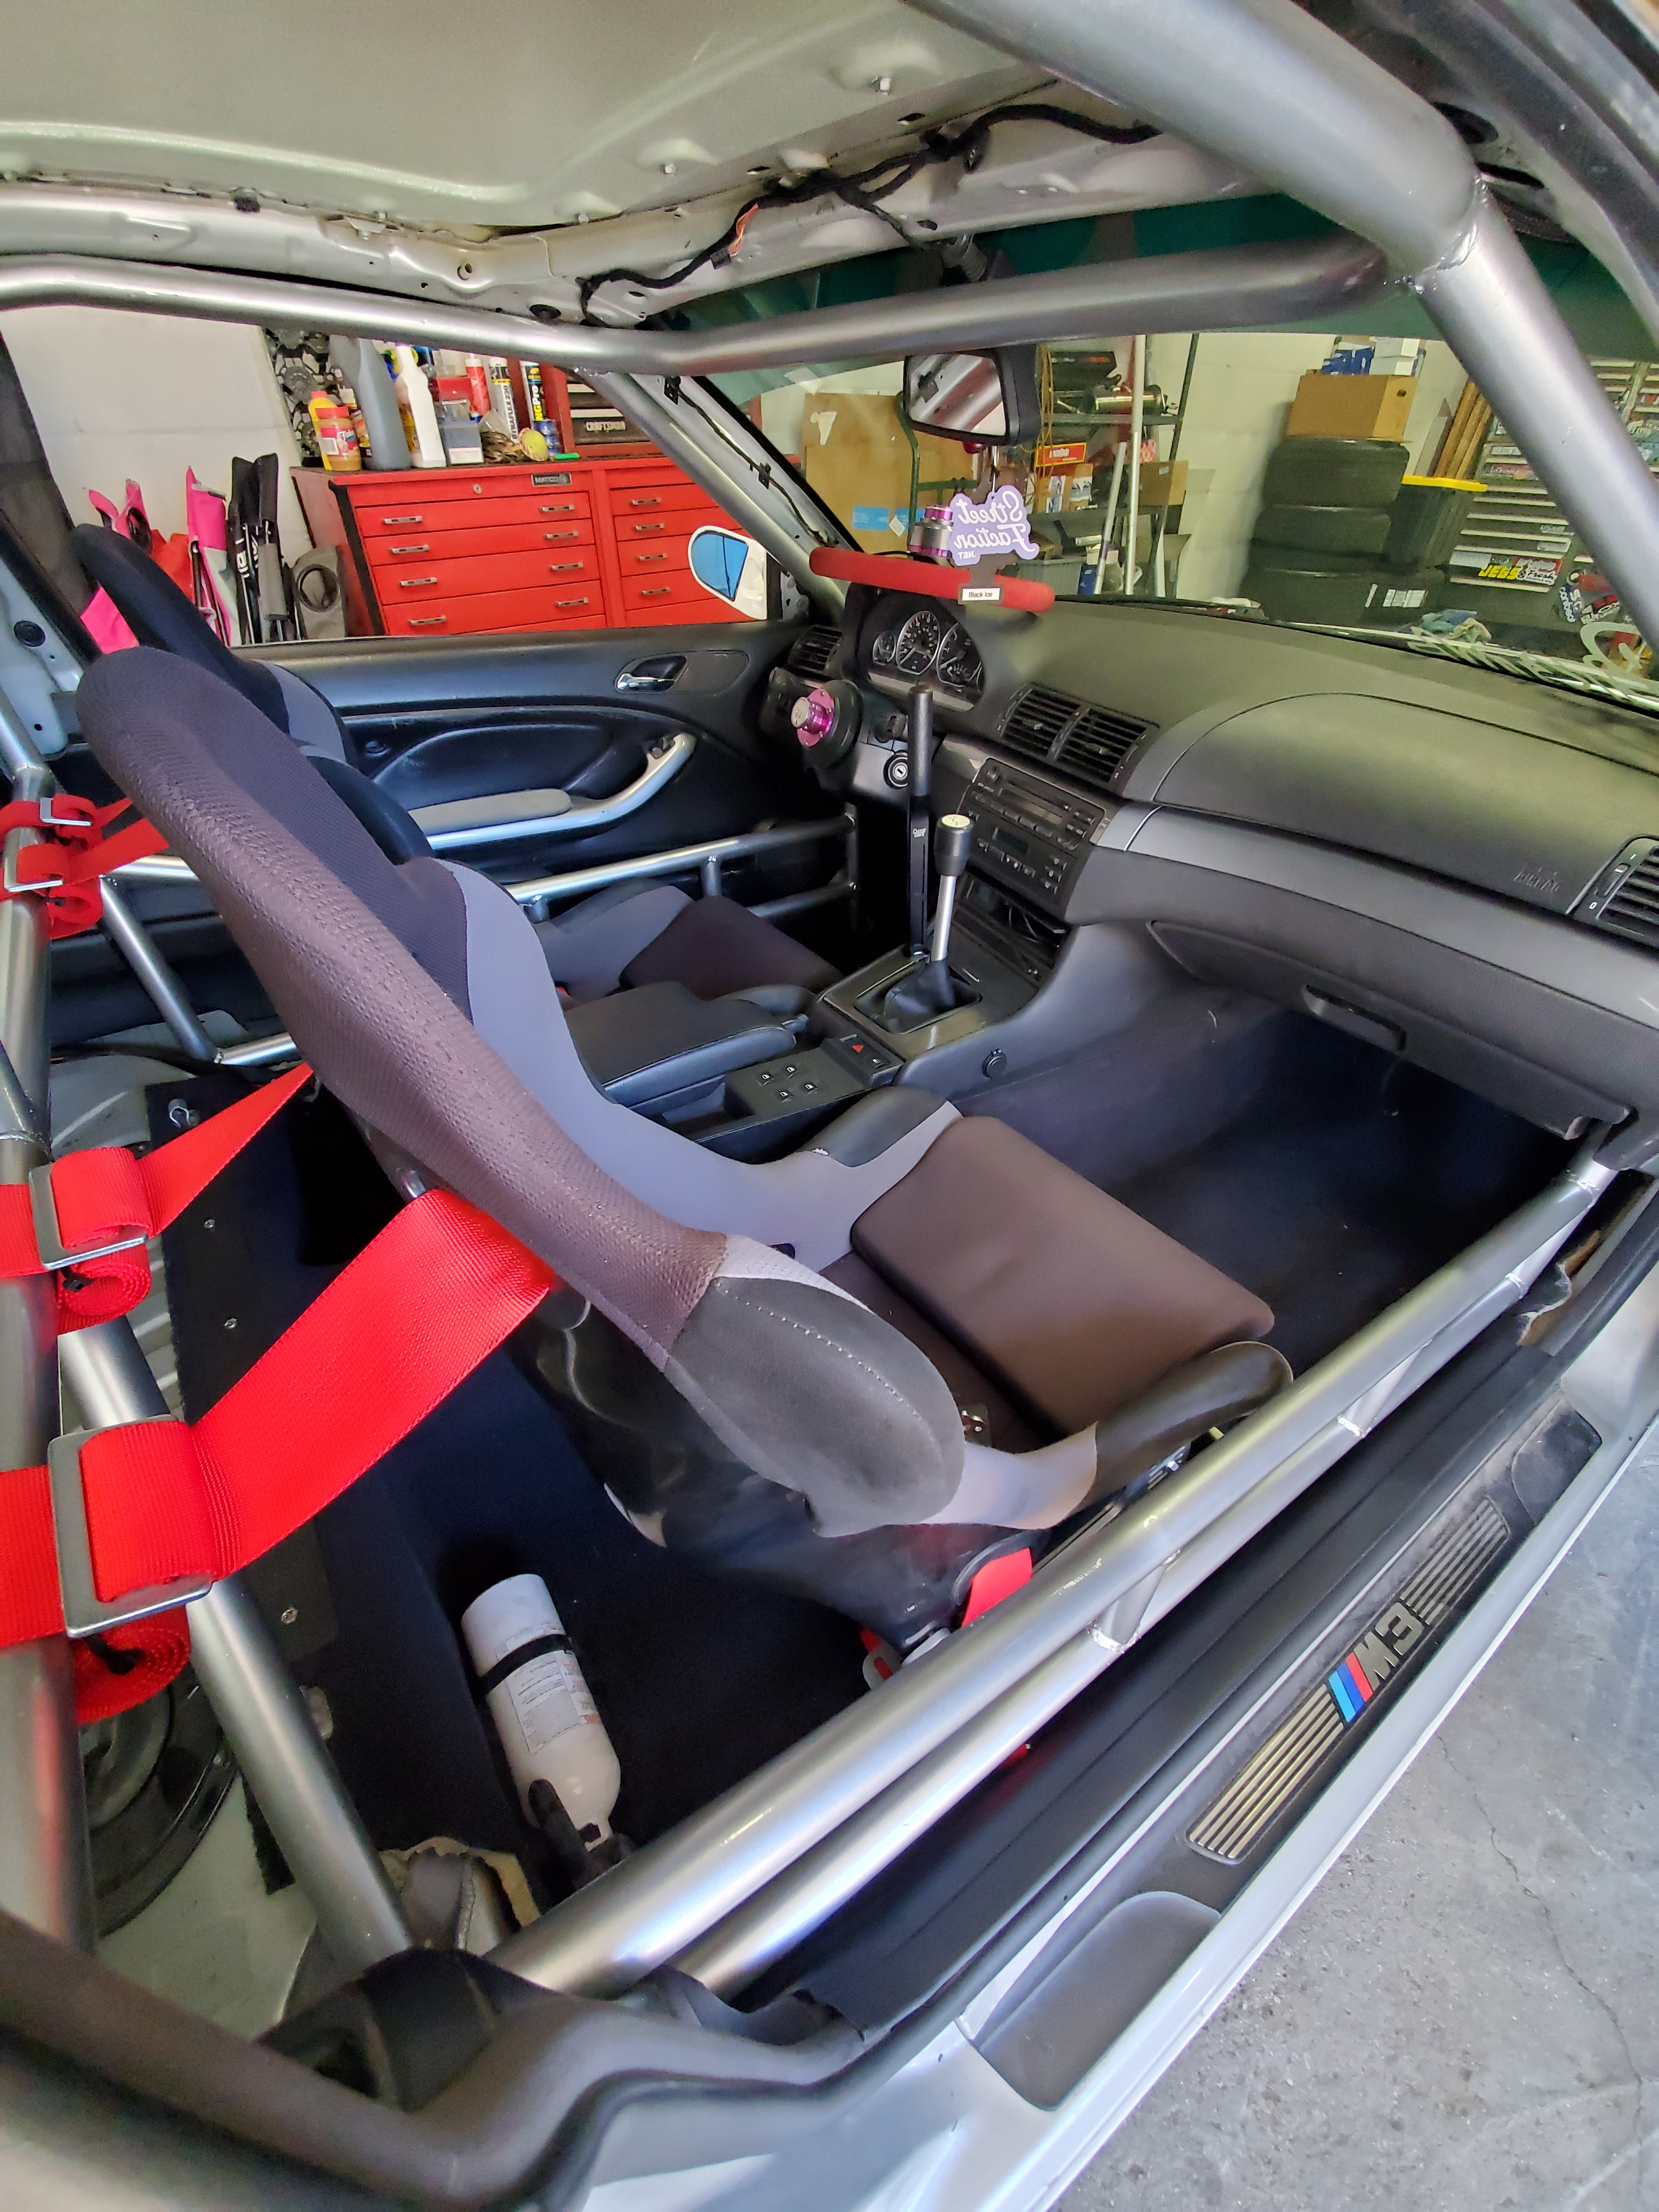
And here is both seats finally mounted in the car, with much better seating positions compared to before as well.
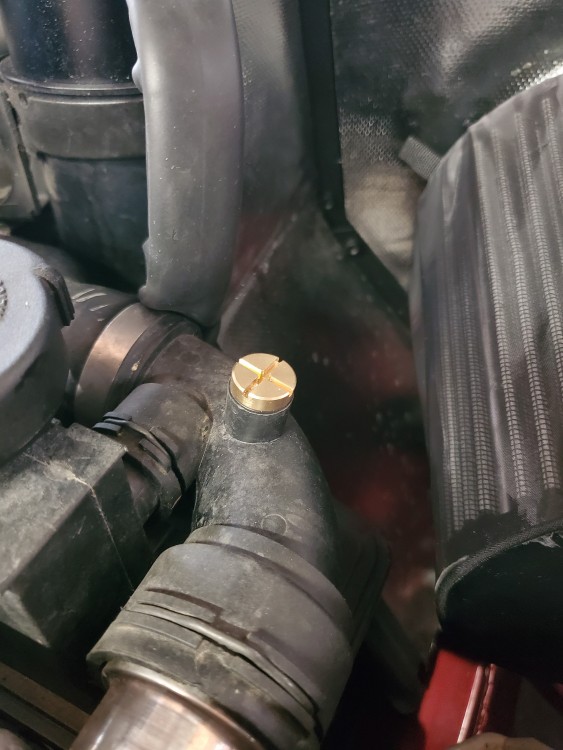
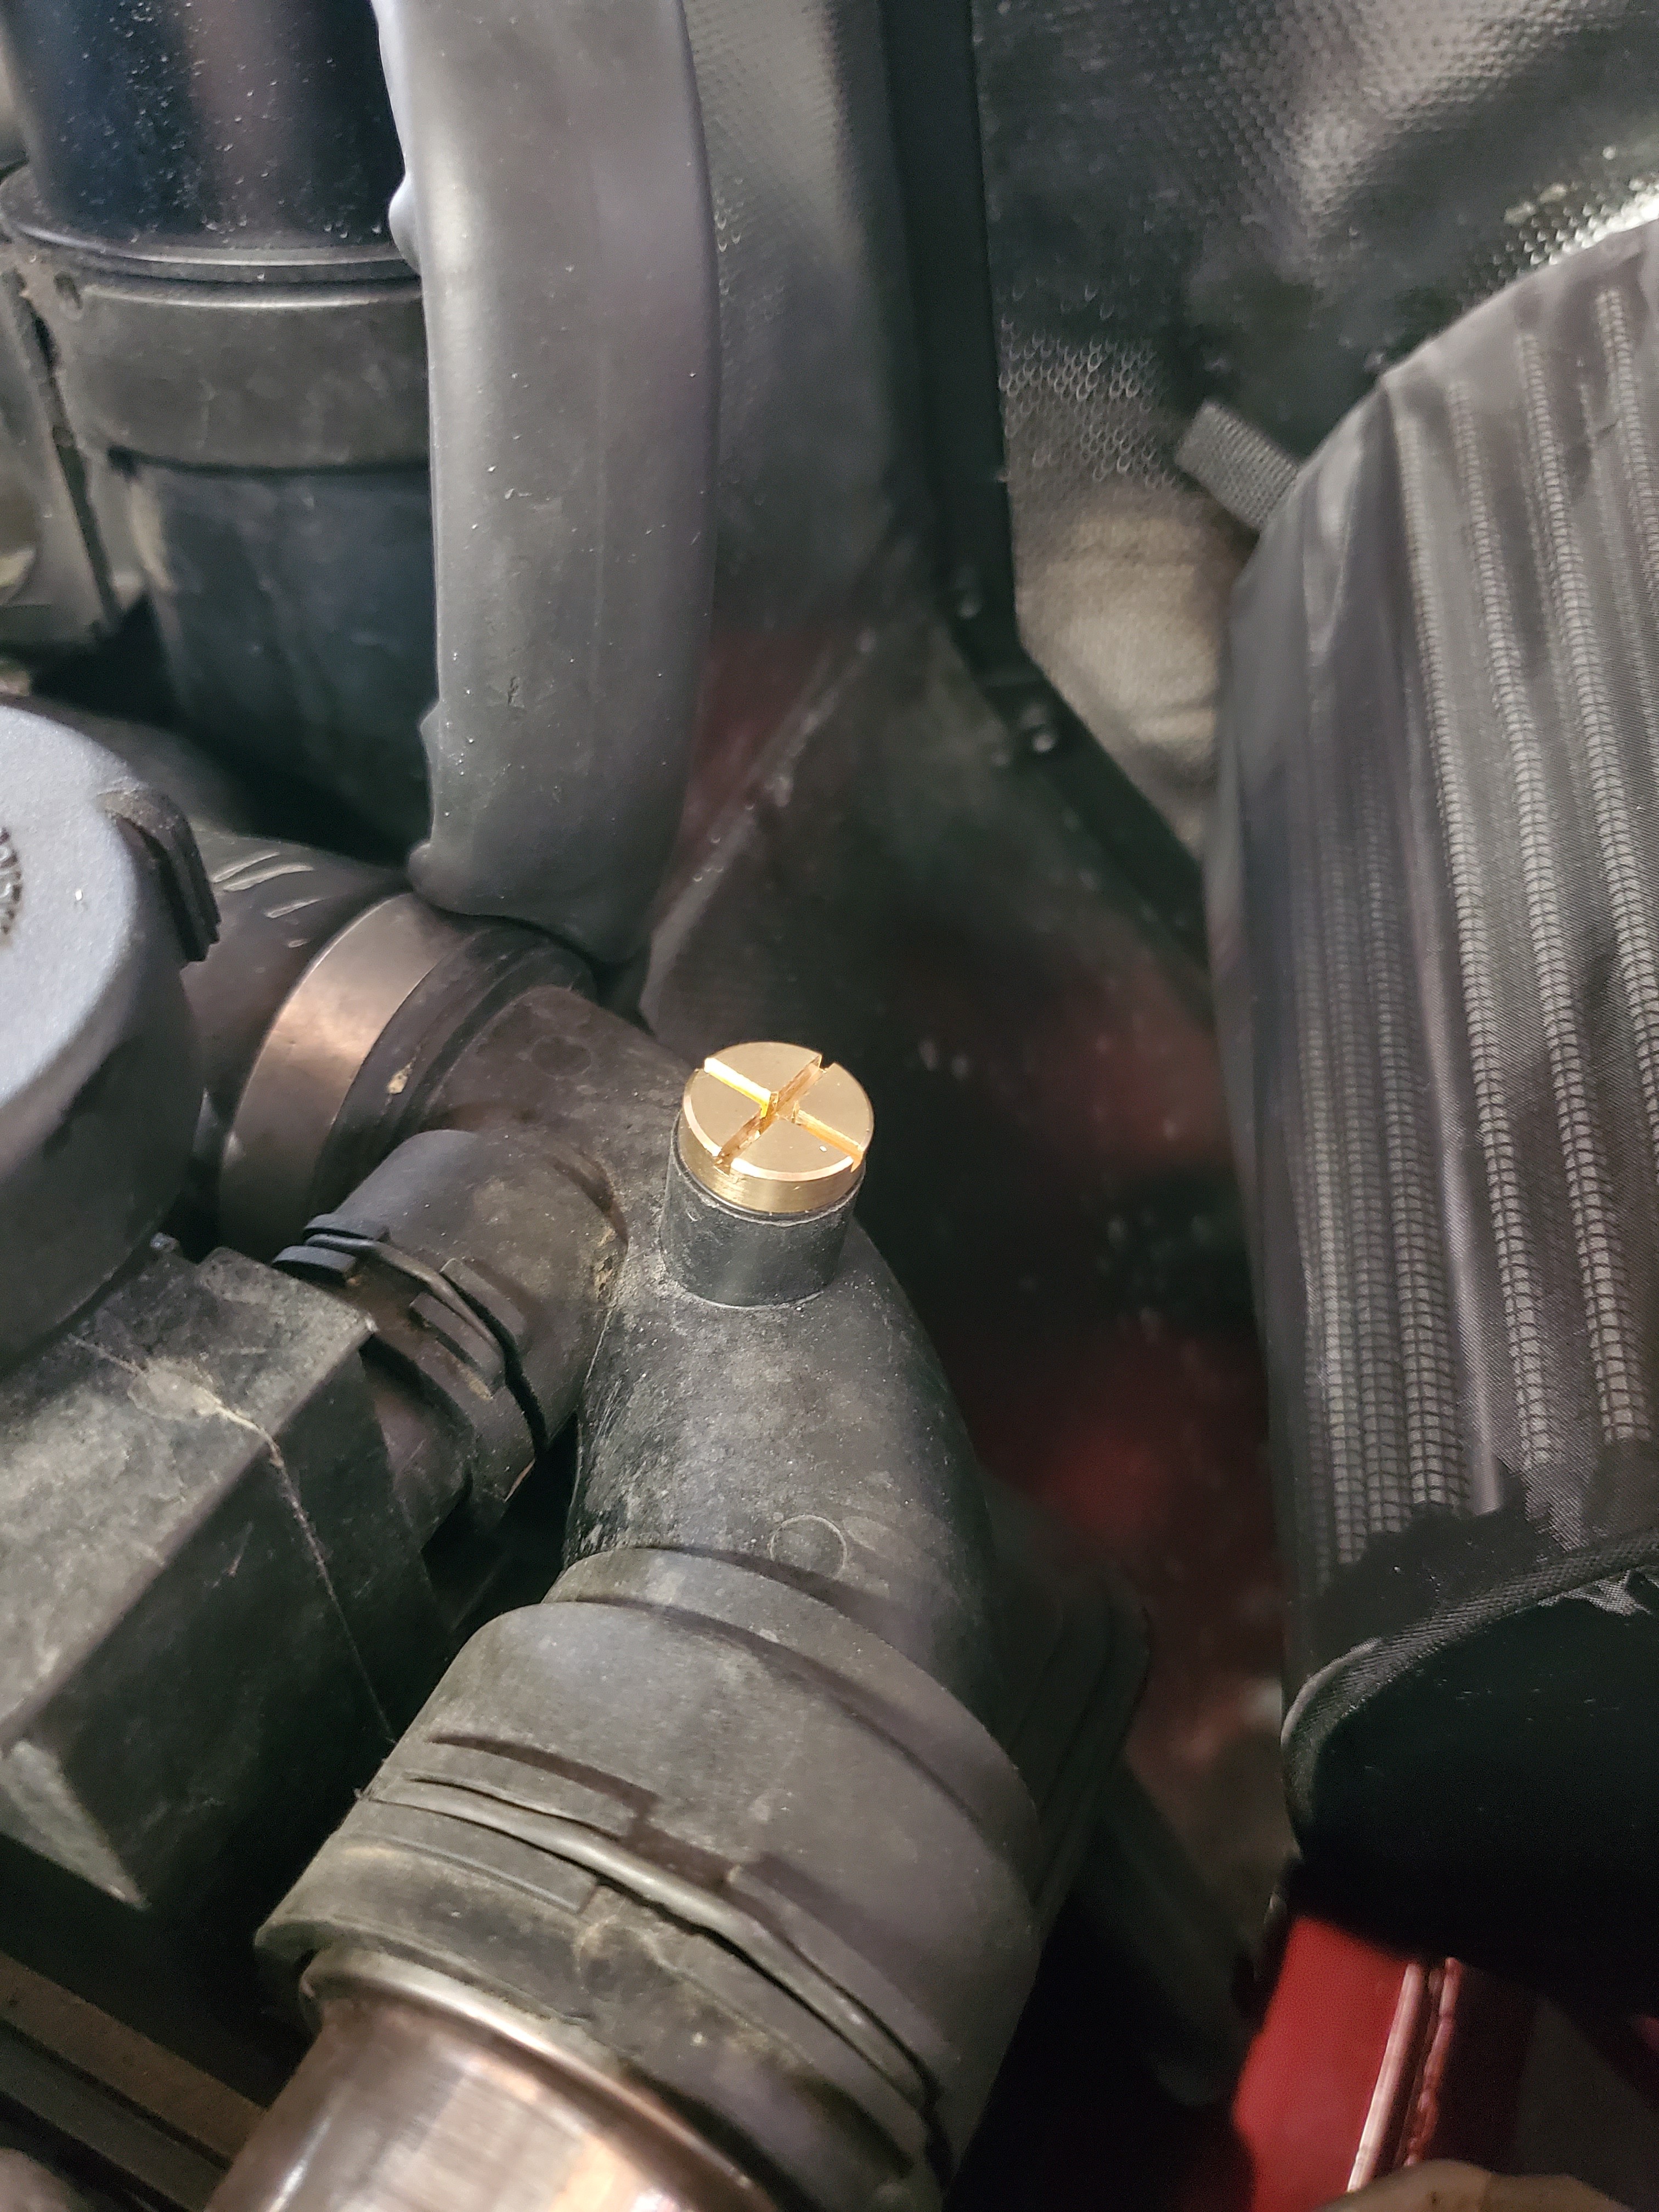
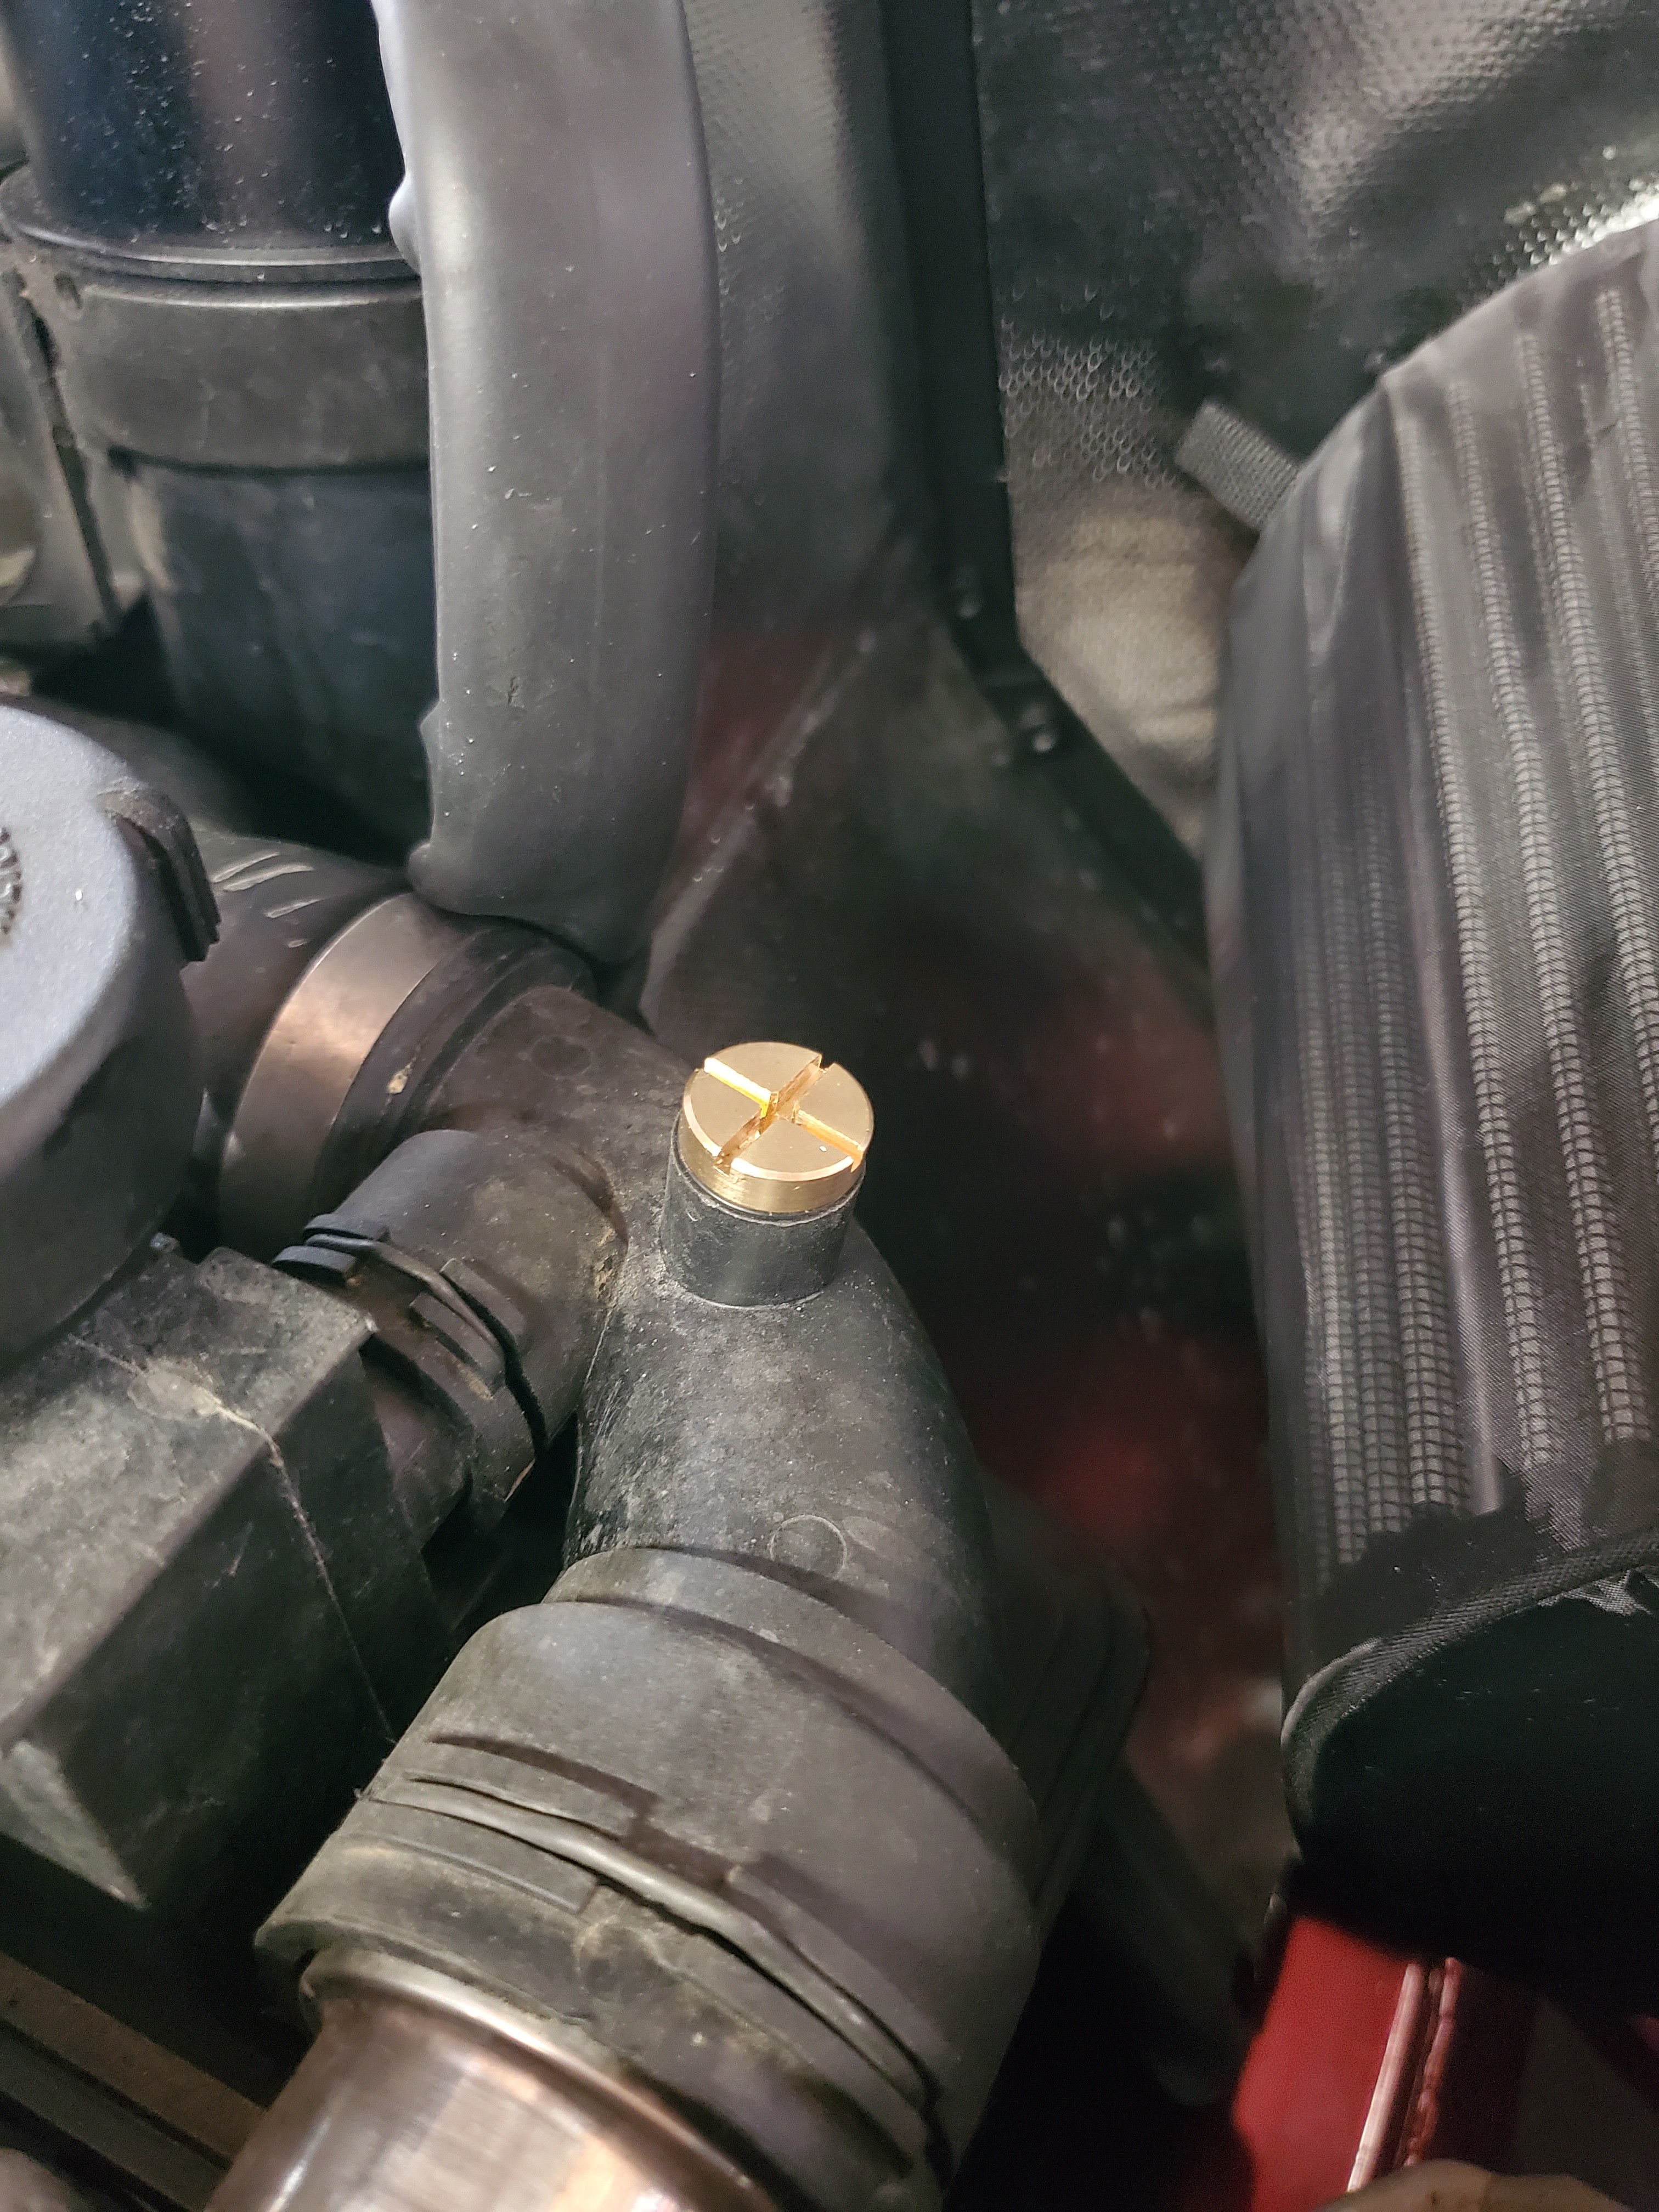
On to something smaller, I finally upgraded to the brass bleeder screw rather than the plastic one.
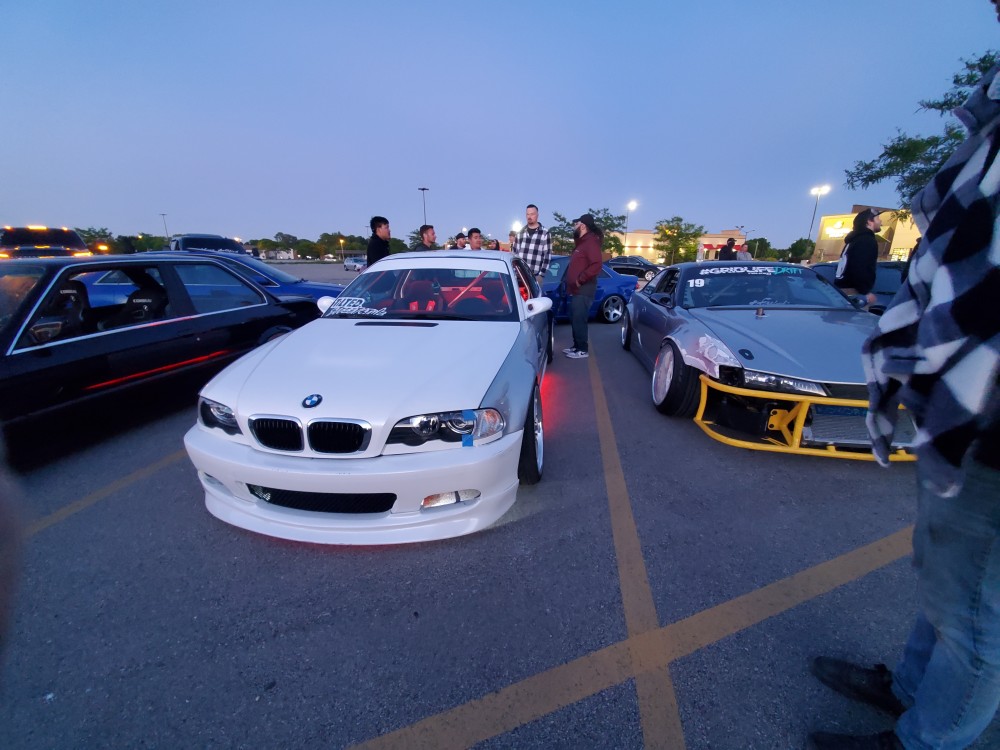
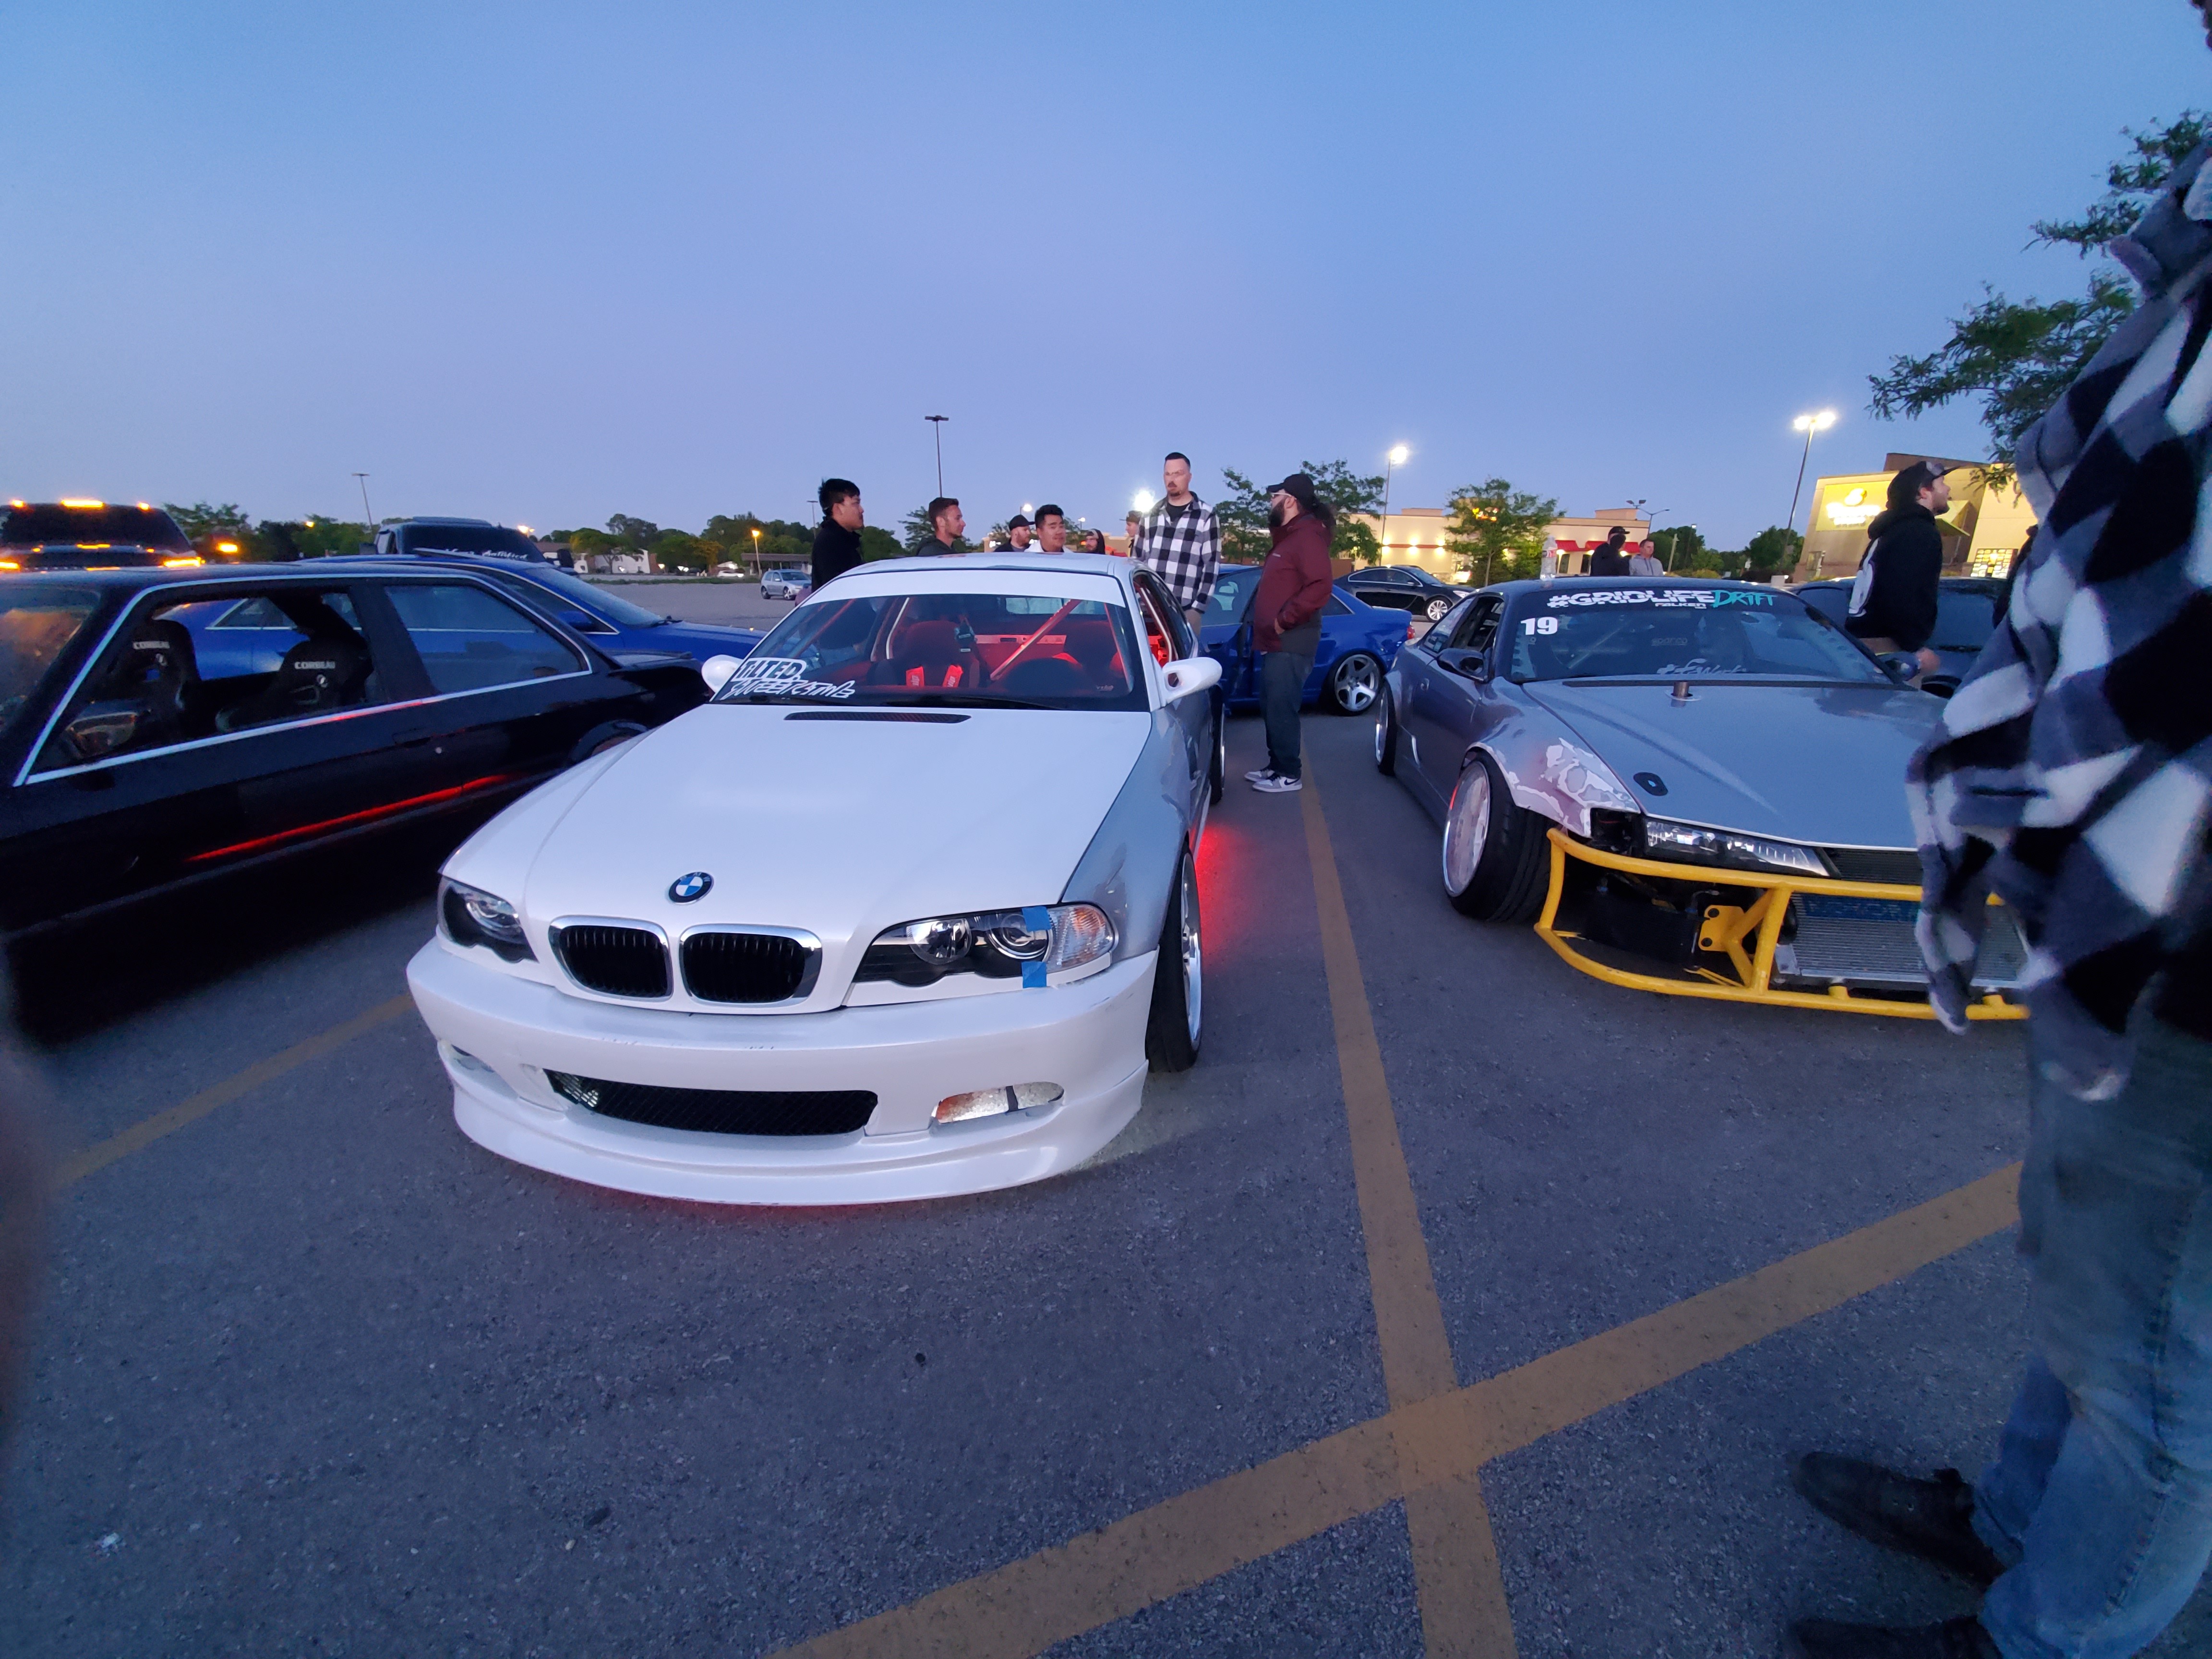
Was able to get out to a "meet" last weekend at the old forest mall in fond du lac so that was cool to get the car out for a bit.
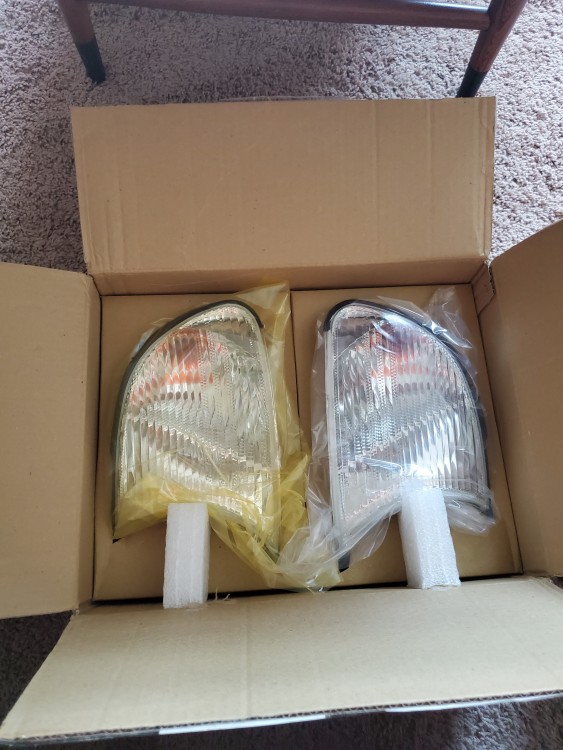
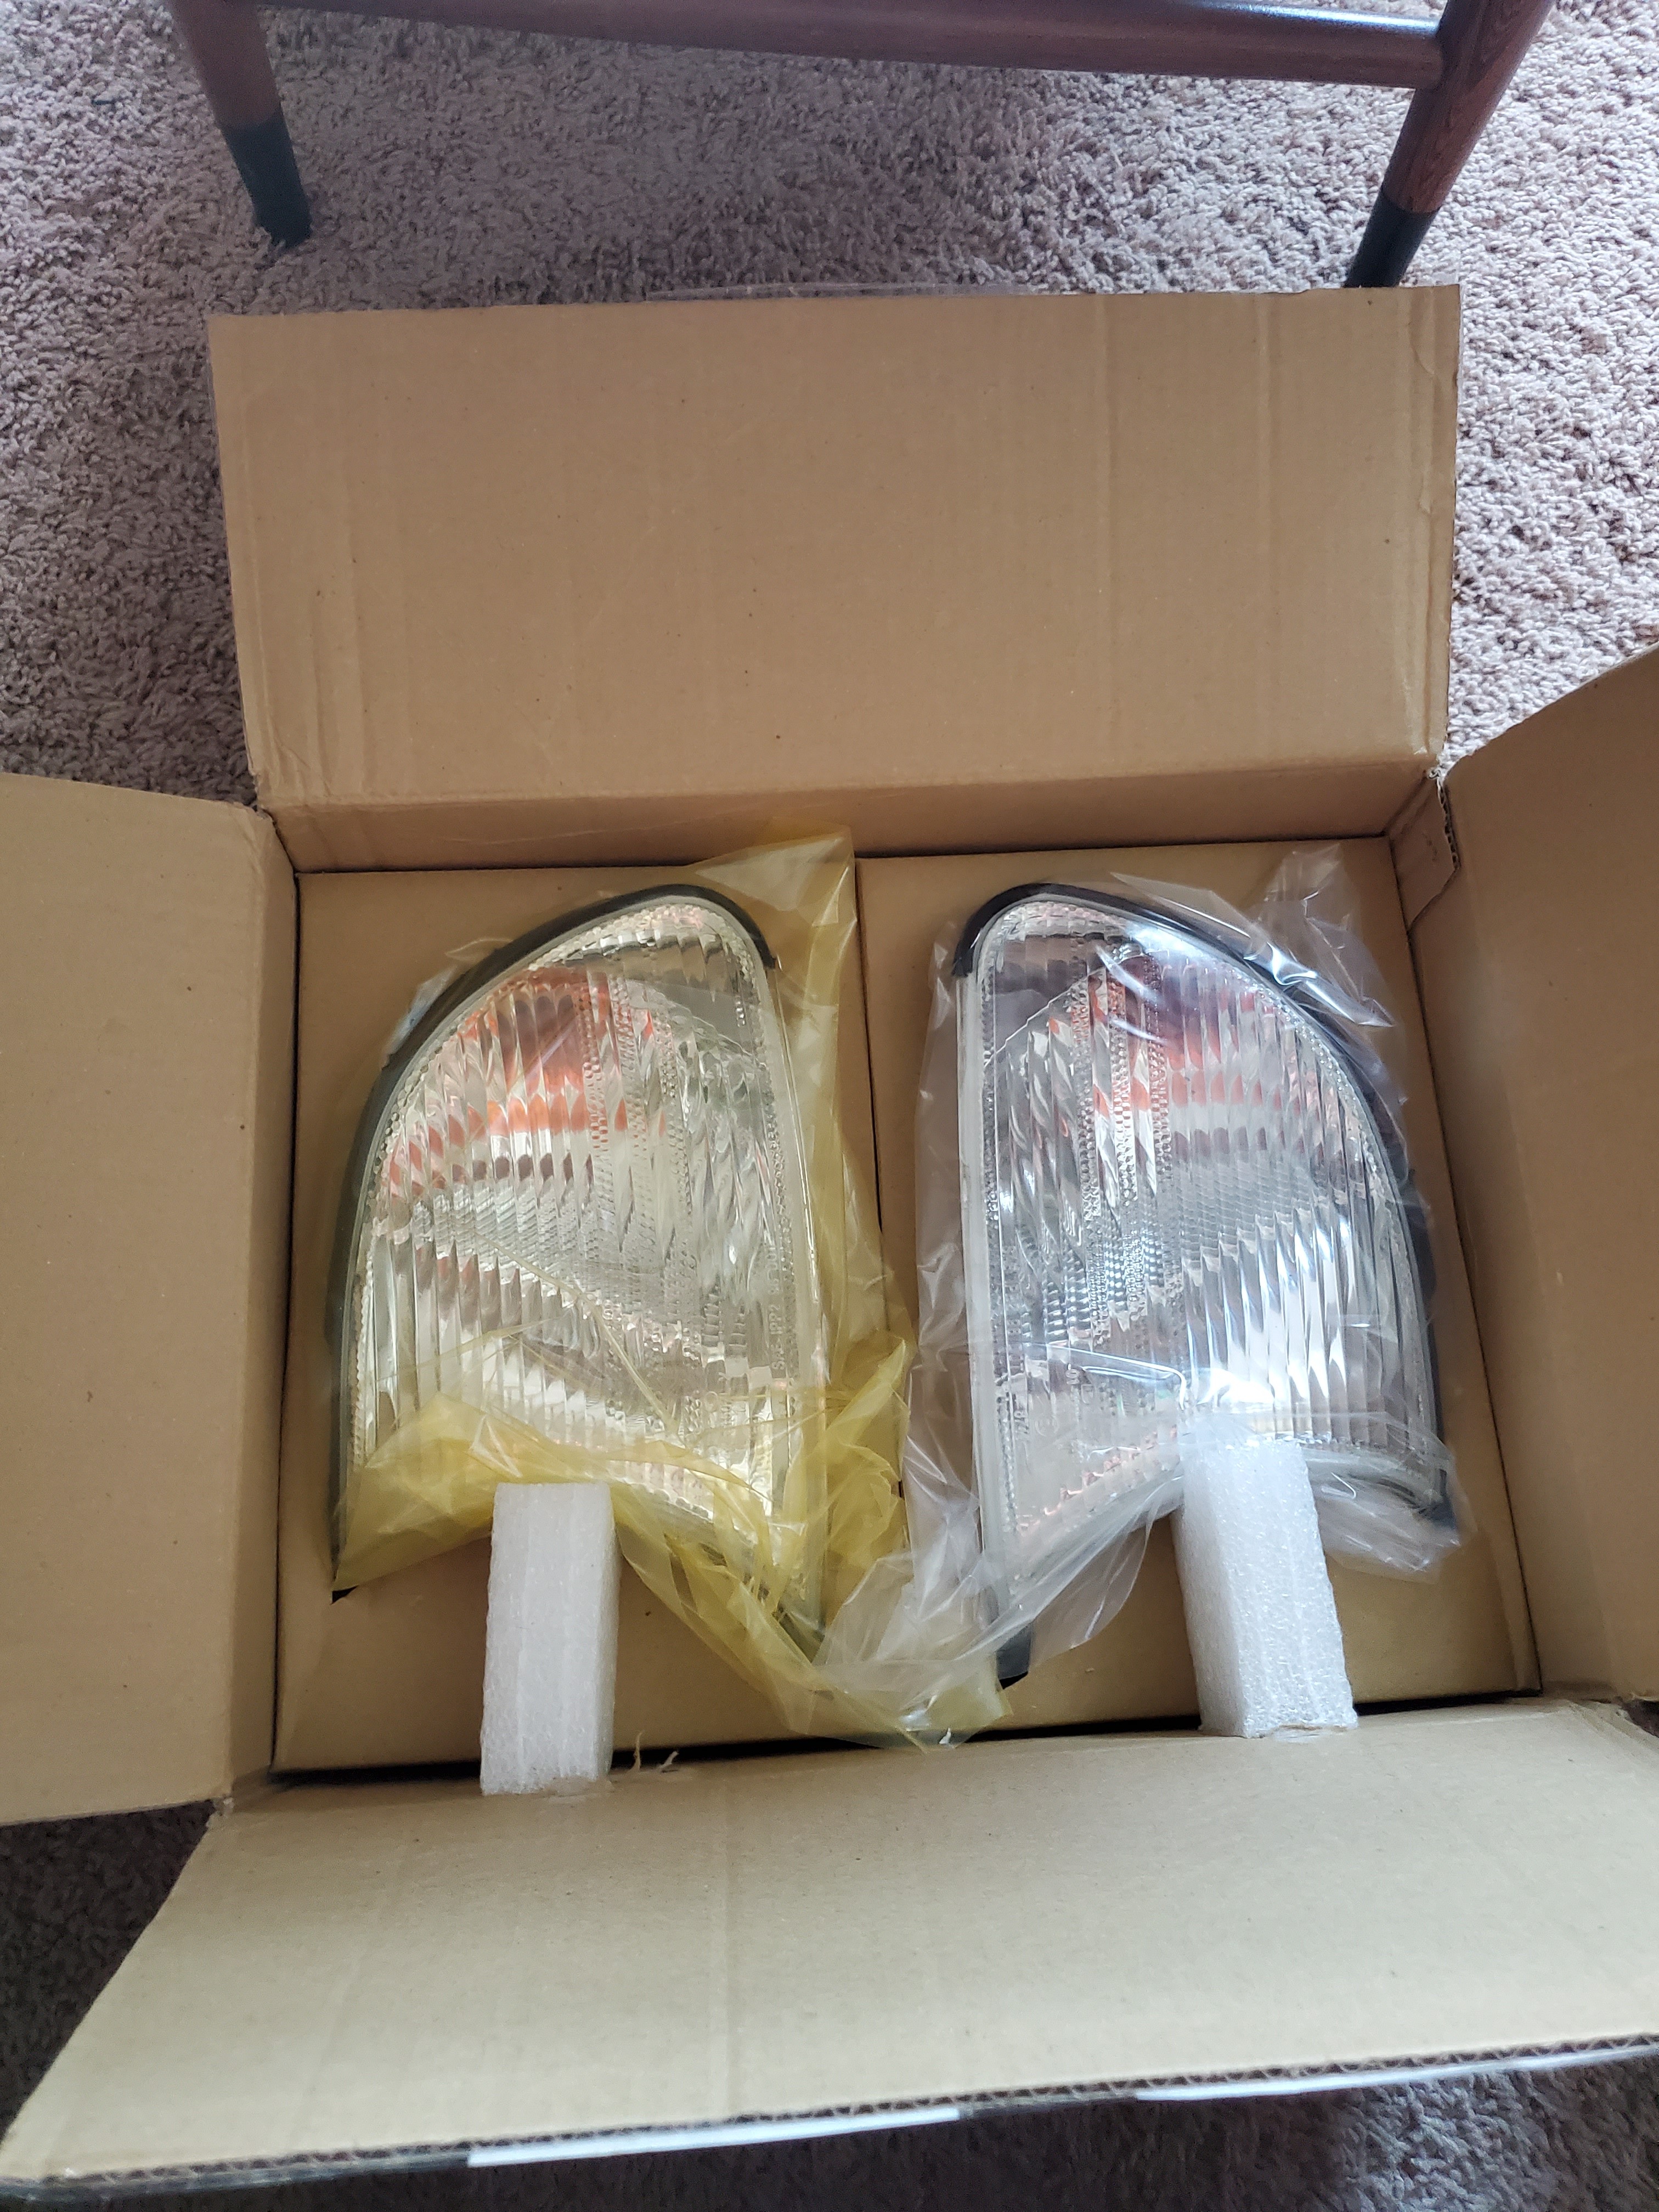
I also ordered some new DEPO clear front marker lights since I broke the tab on my left side one (thus the painters tape lmao).
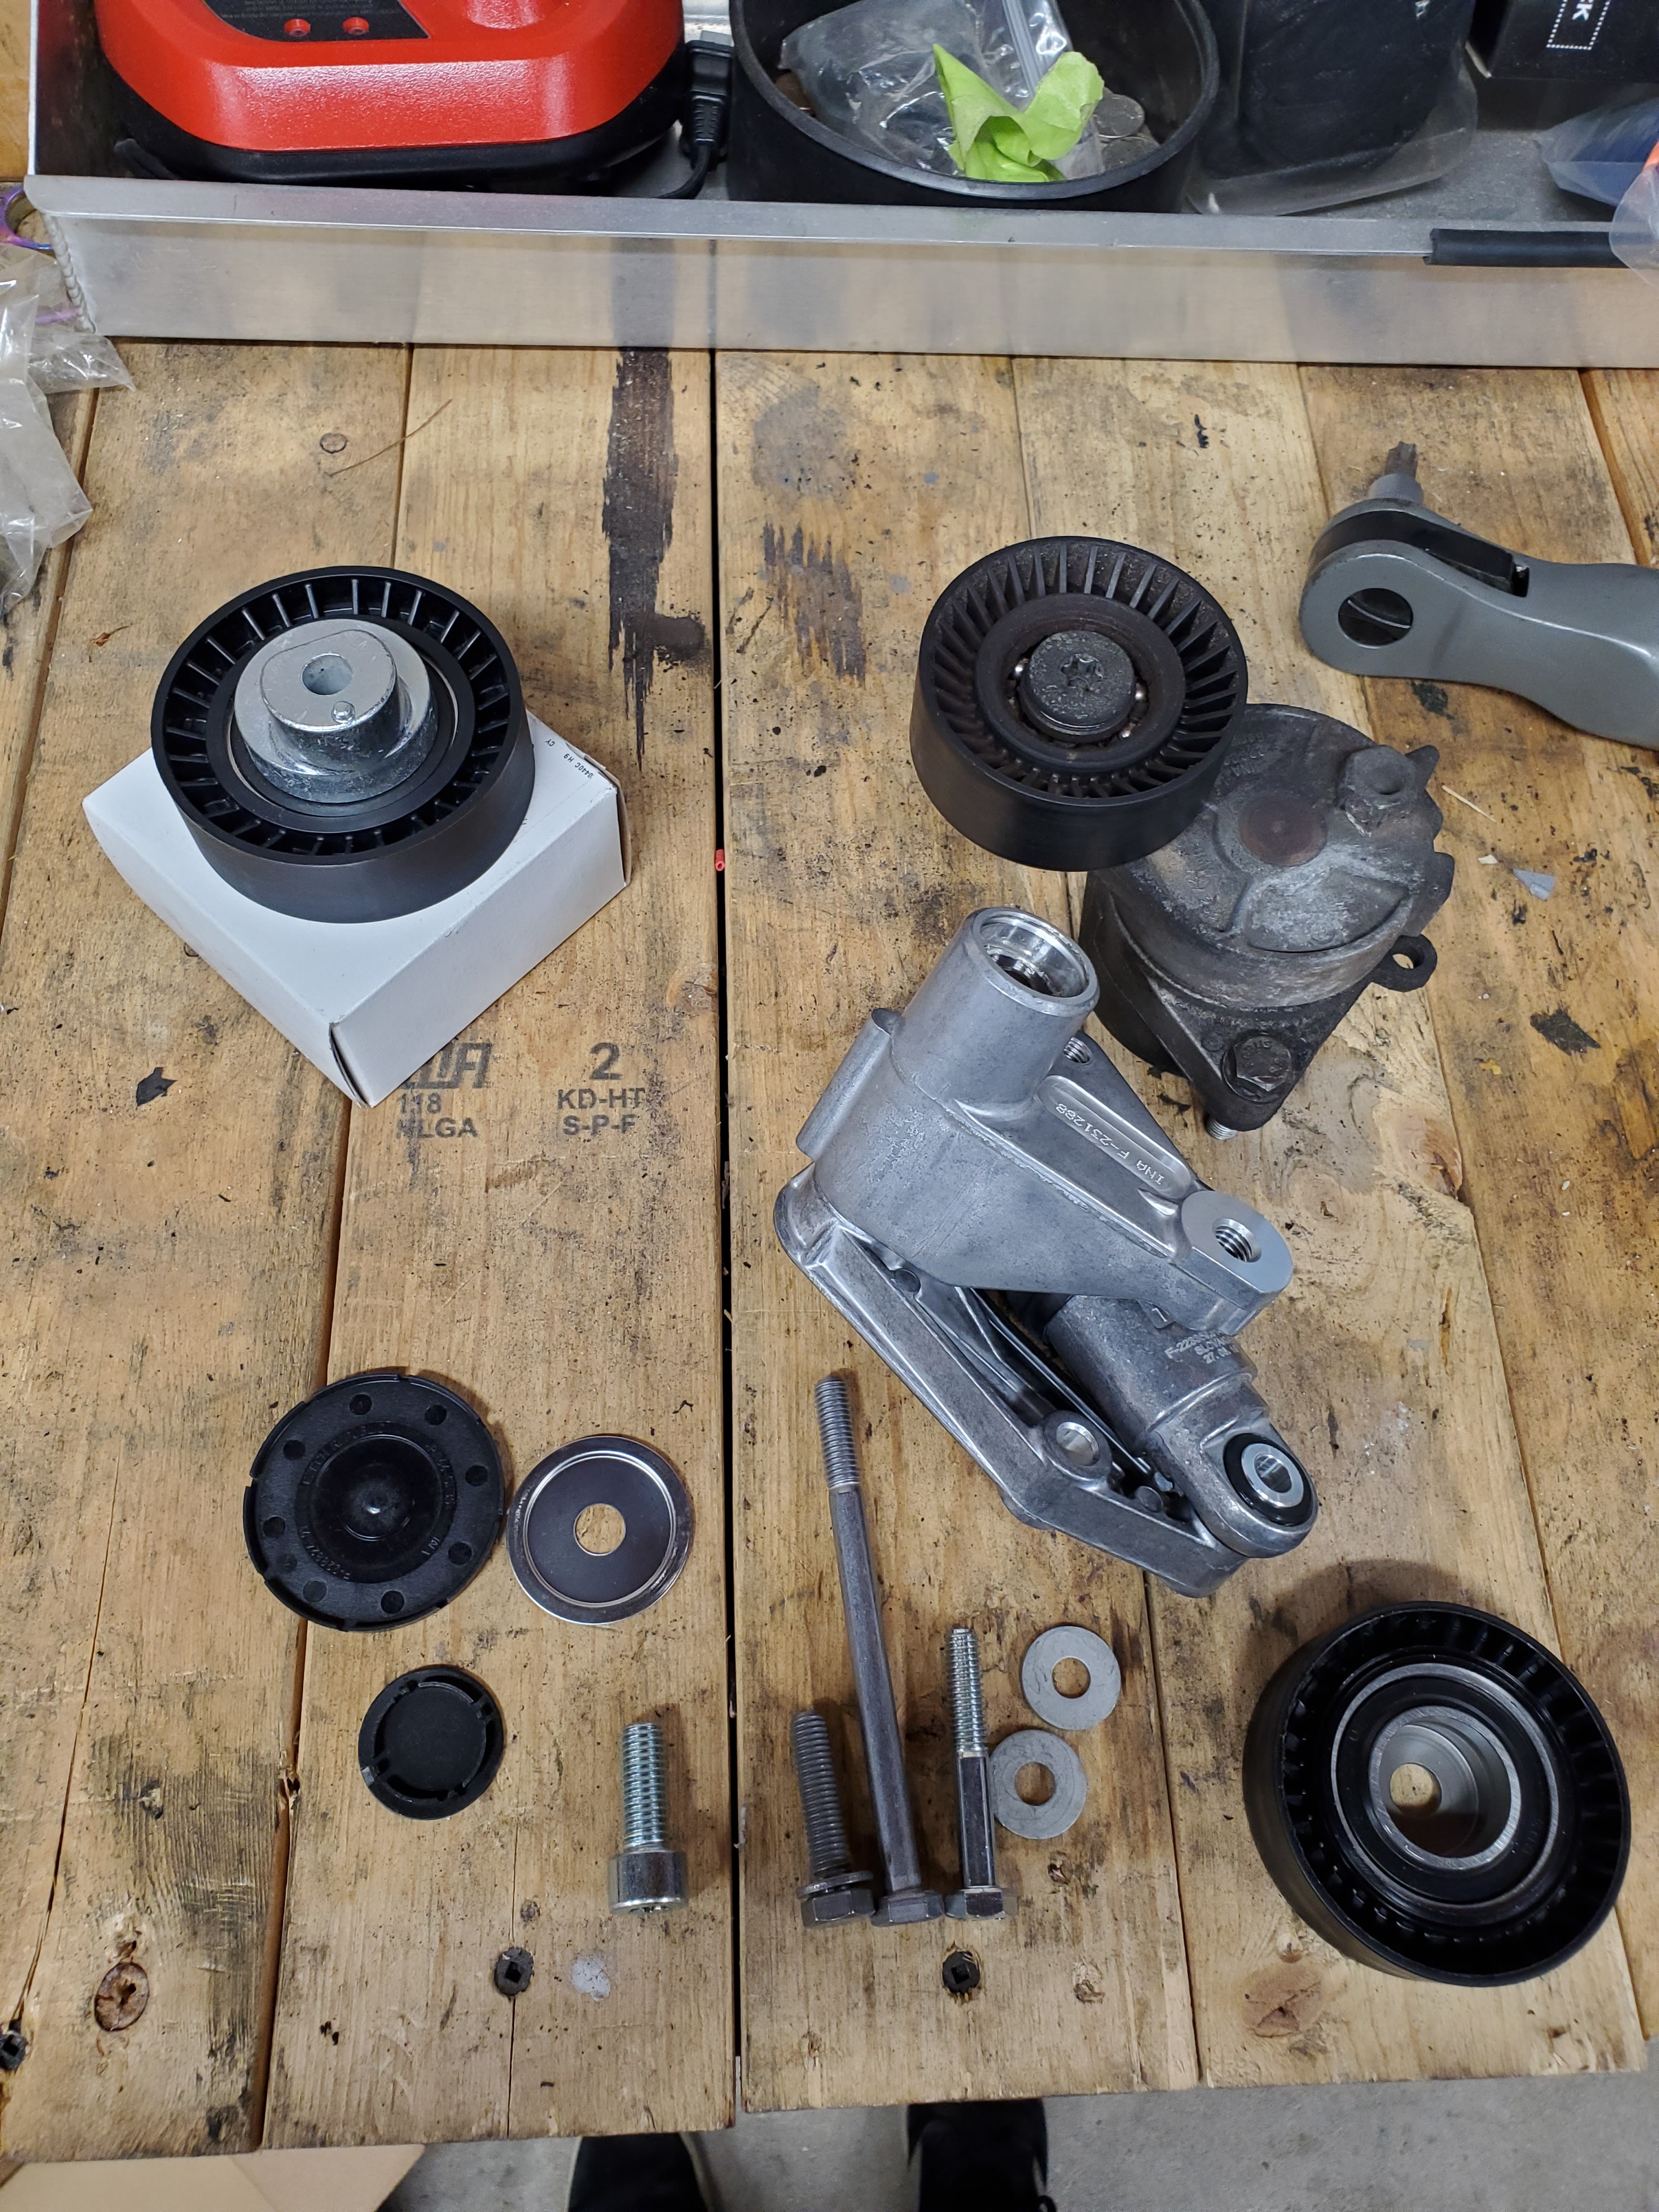
I also decided to take care of the worn out idler and tensioner pulleys. But soon found out that the tensioner pulley I ordered was for the hydraulic tensioner, and i have the mechanical one. After doing some reading it appears the hydraulic one is the upgrade that BMW put in place so I got one on order.
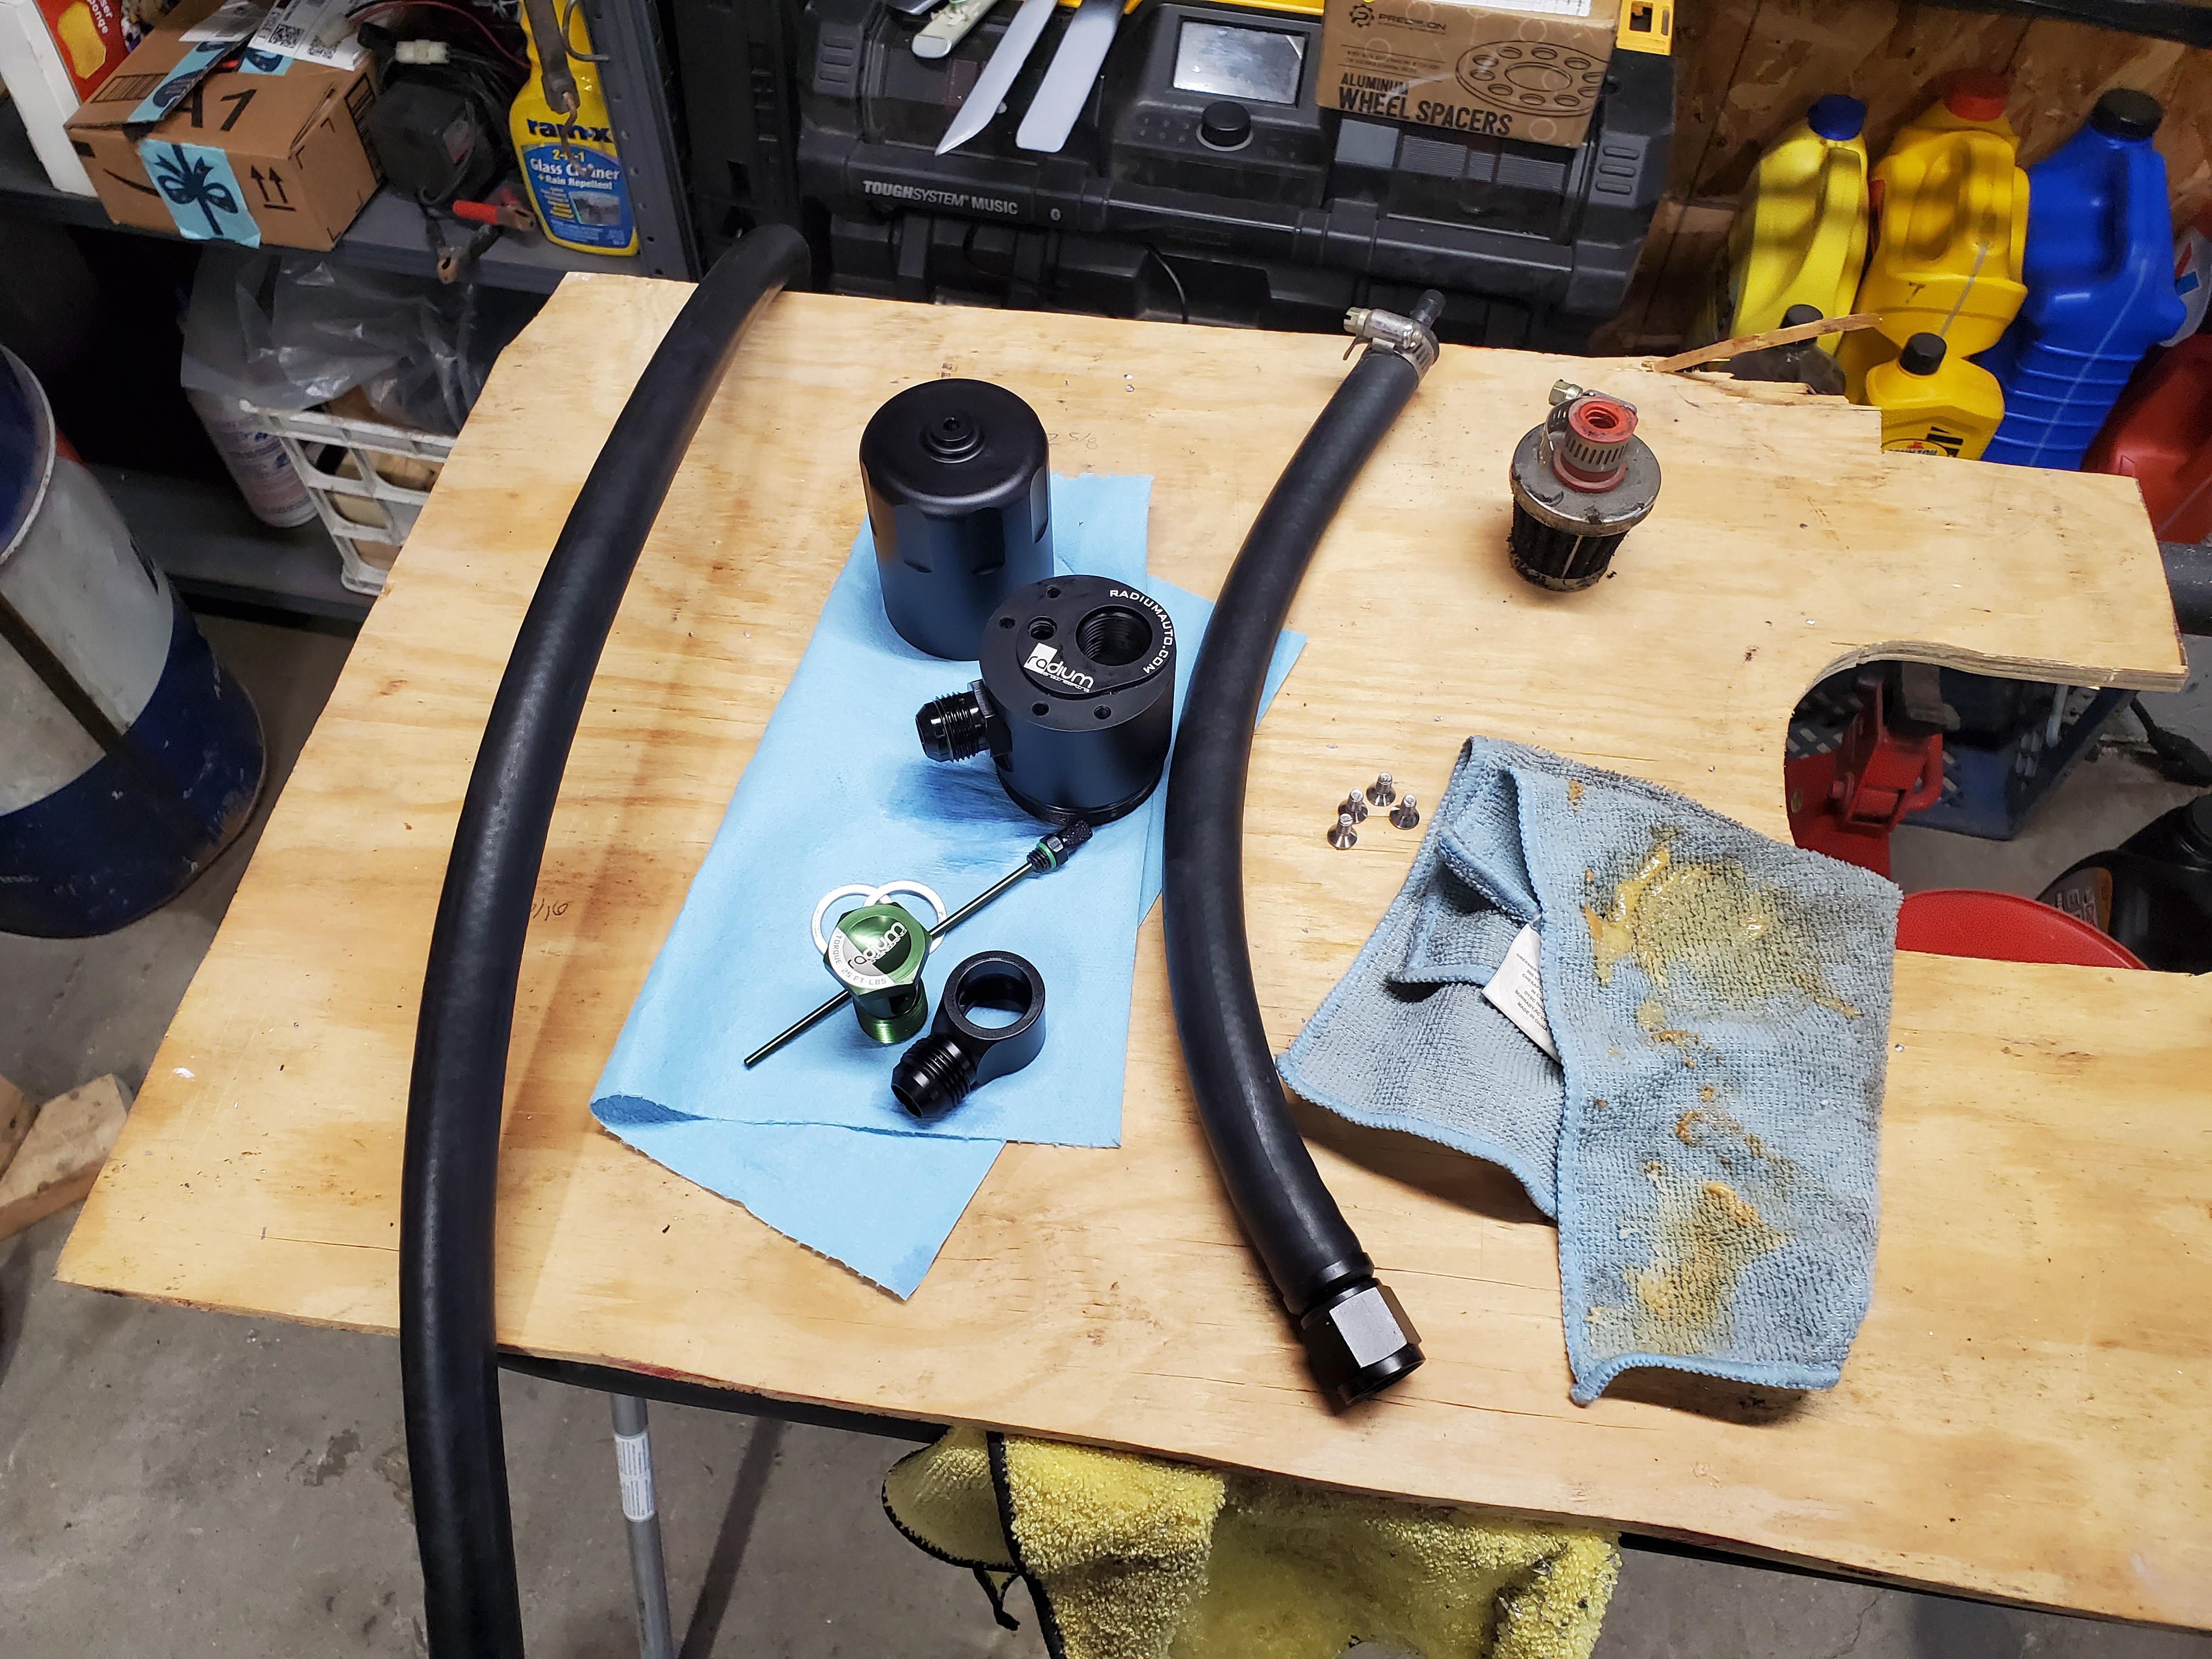
And while I was discouraged about not getting that simple job done I decided to completely clean out the catch can and all the lines for it.
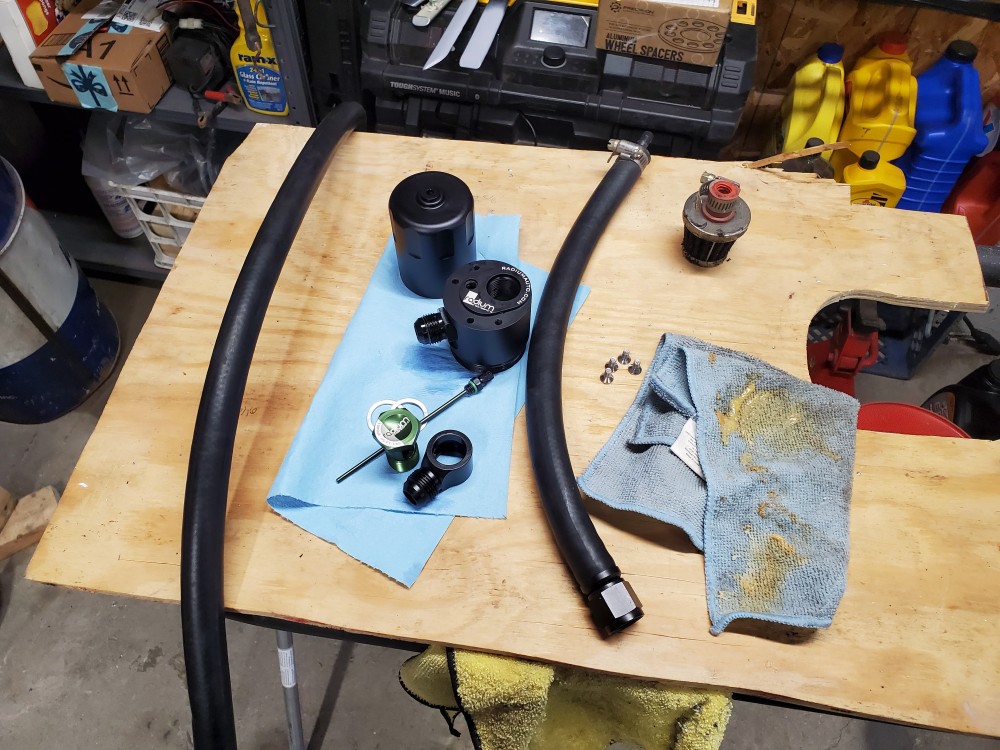
Thats it for now! I am waiting on a few new parts to show up that I am excited to share once they come in!
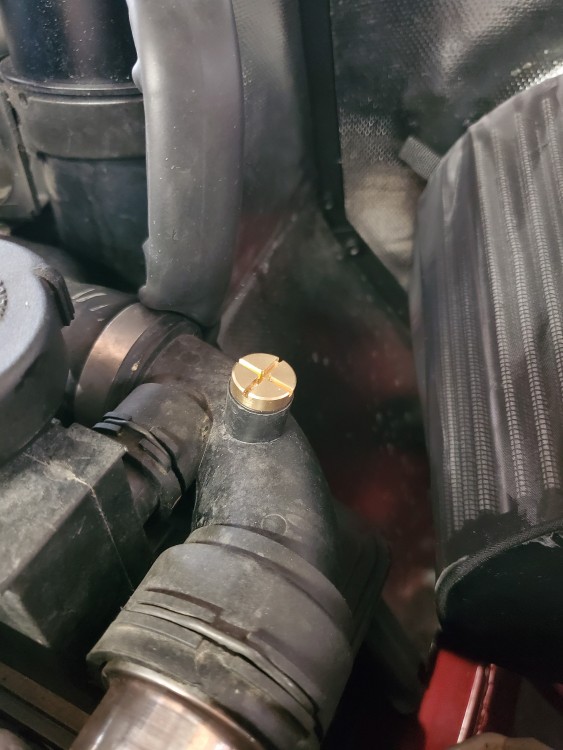
-
Is that Brock’s 240?
Yes
-
Small update:
Got the parts in to replace my tensioner. I went with the updated hydraulic one, which is nice because the pulley is replaceable rather than the whole unit unlike the mechanical style.
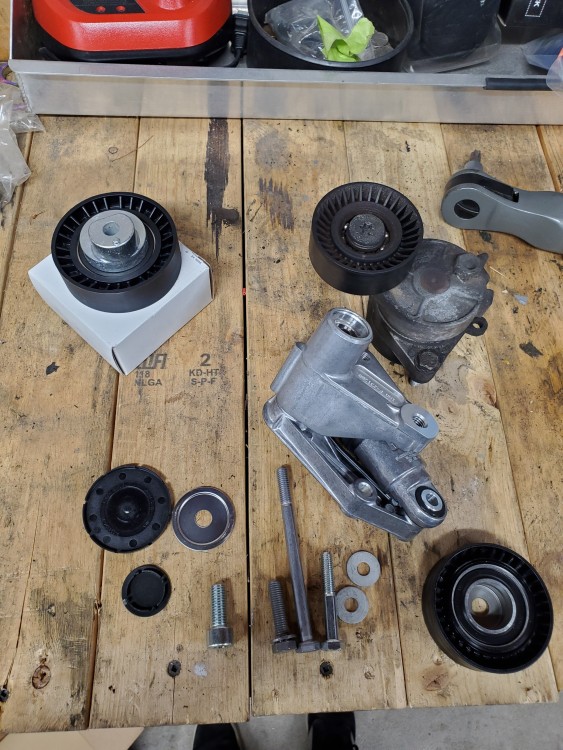
I also replaced the belt while I was in there and it's cheap.
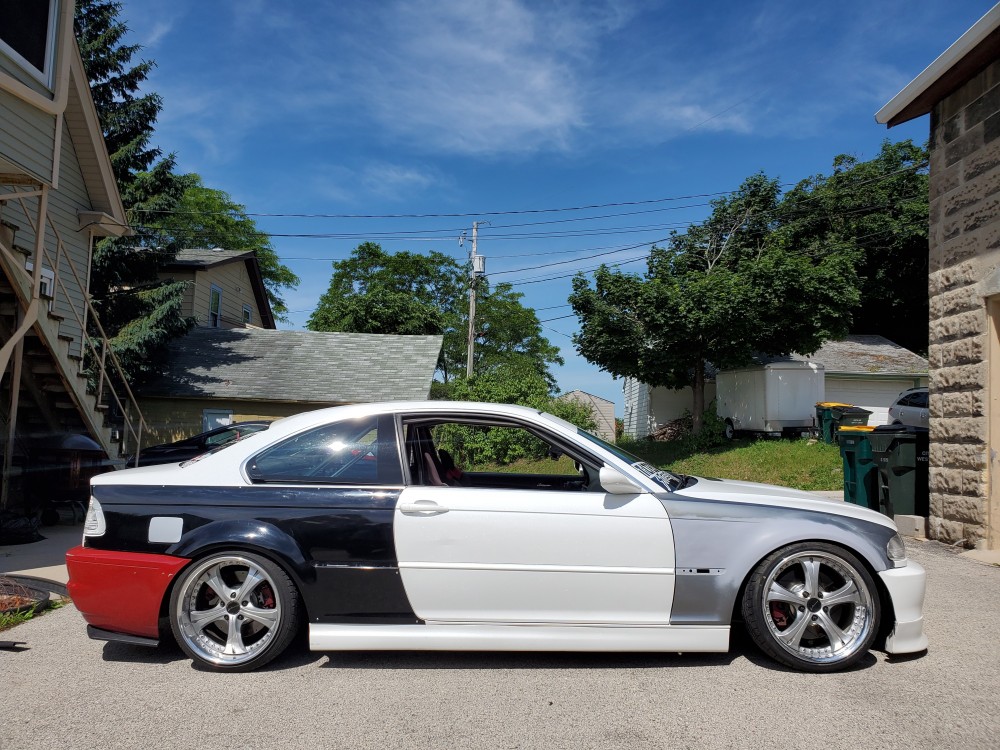
I also adjusted the preload on my coils (because I realized I never did it) and then went ahead and lowered the rear now that I have the room to.
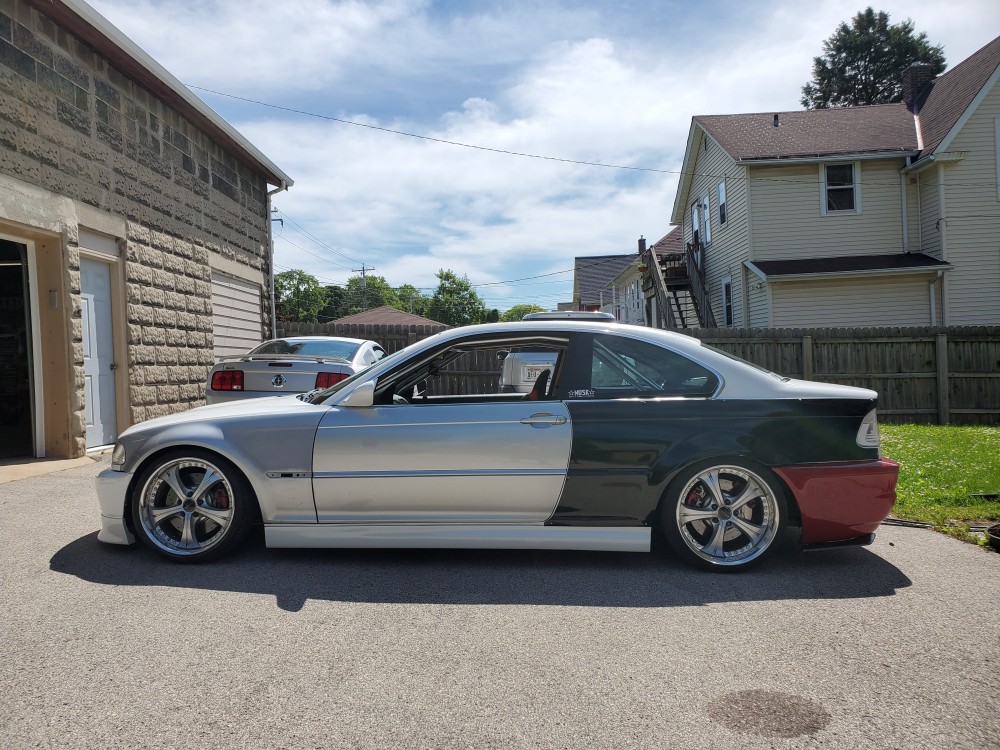
-
I see a livery when I look at this car and I wish I was talented enough to share it. I'm seeing white/dark red/ dark grey.
-
I see a livery when I look at this car and I wish I was talented enough to share it. I'm seeing white/dark red/ dark grey.
Id love to see it if you made it come to life! Haha but I cant wait to get it in all white.
-
Been a minute since I updated.
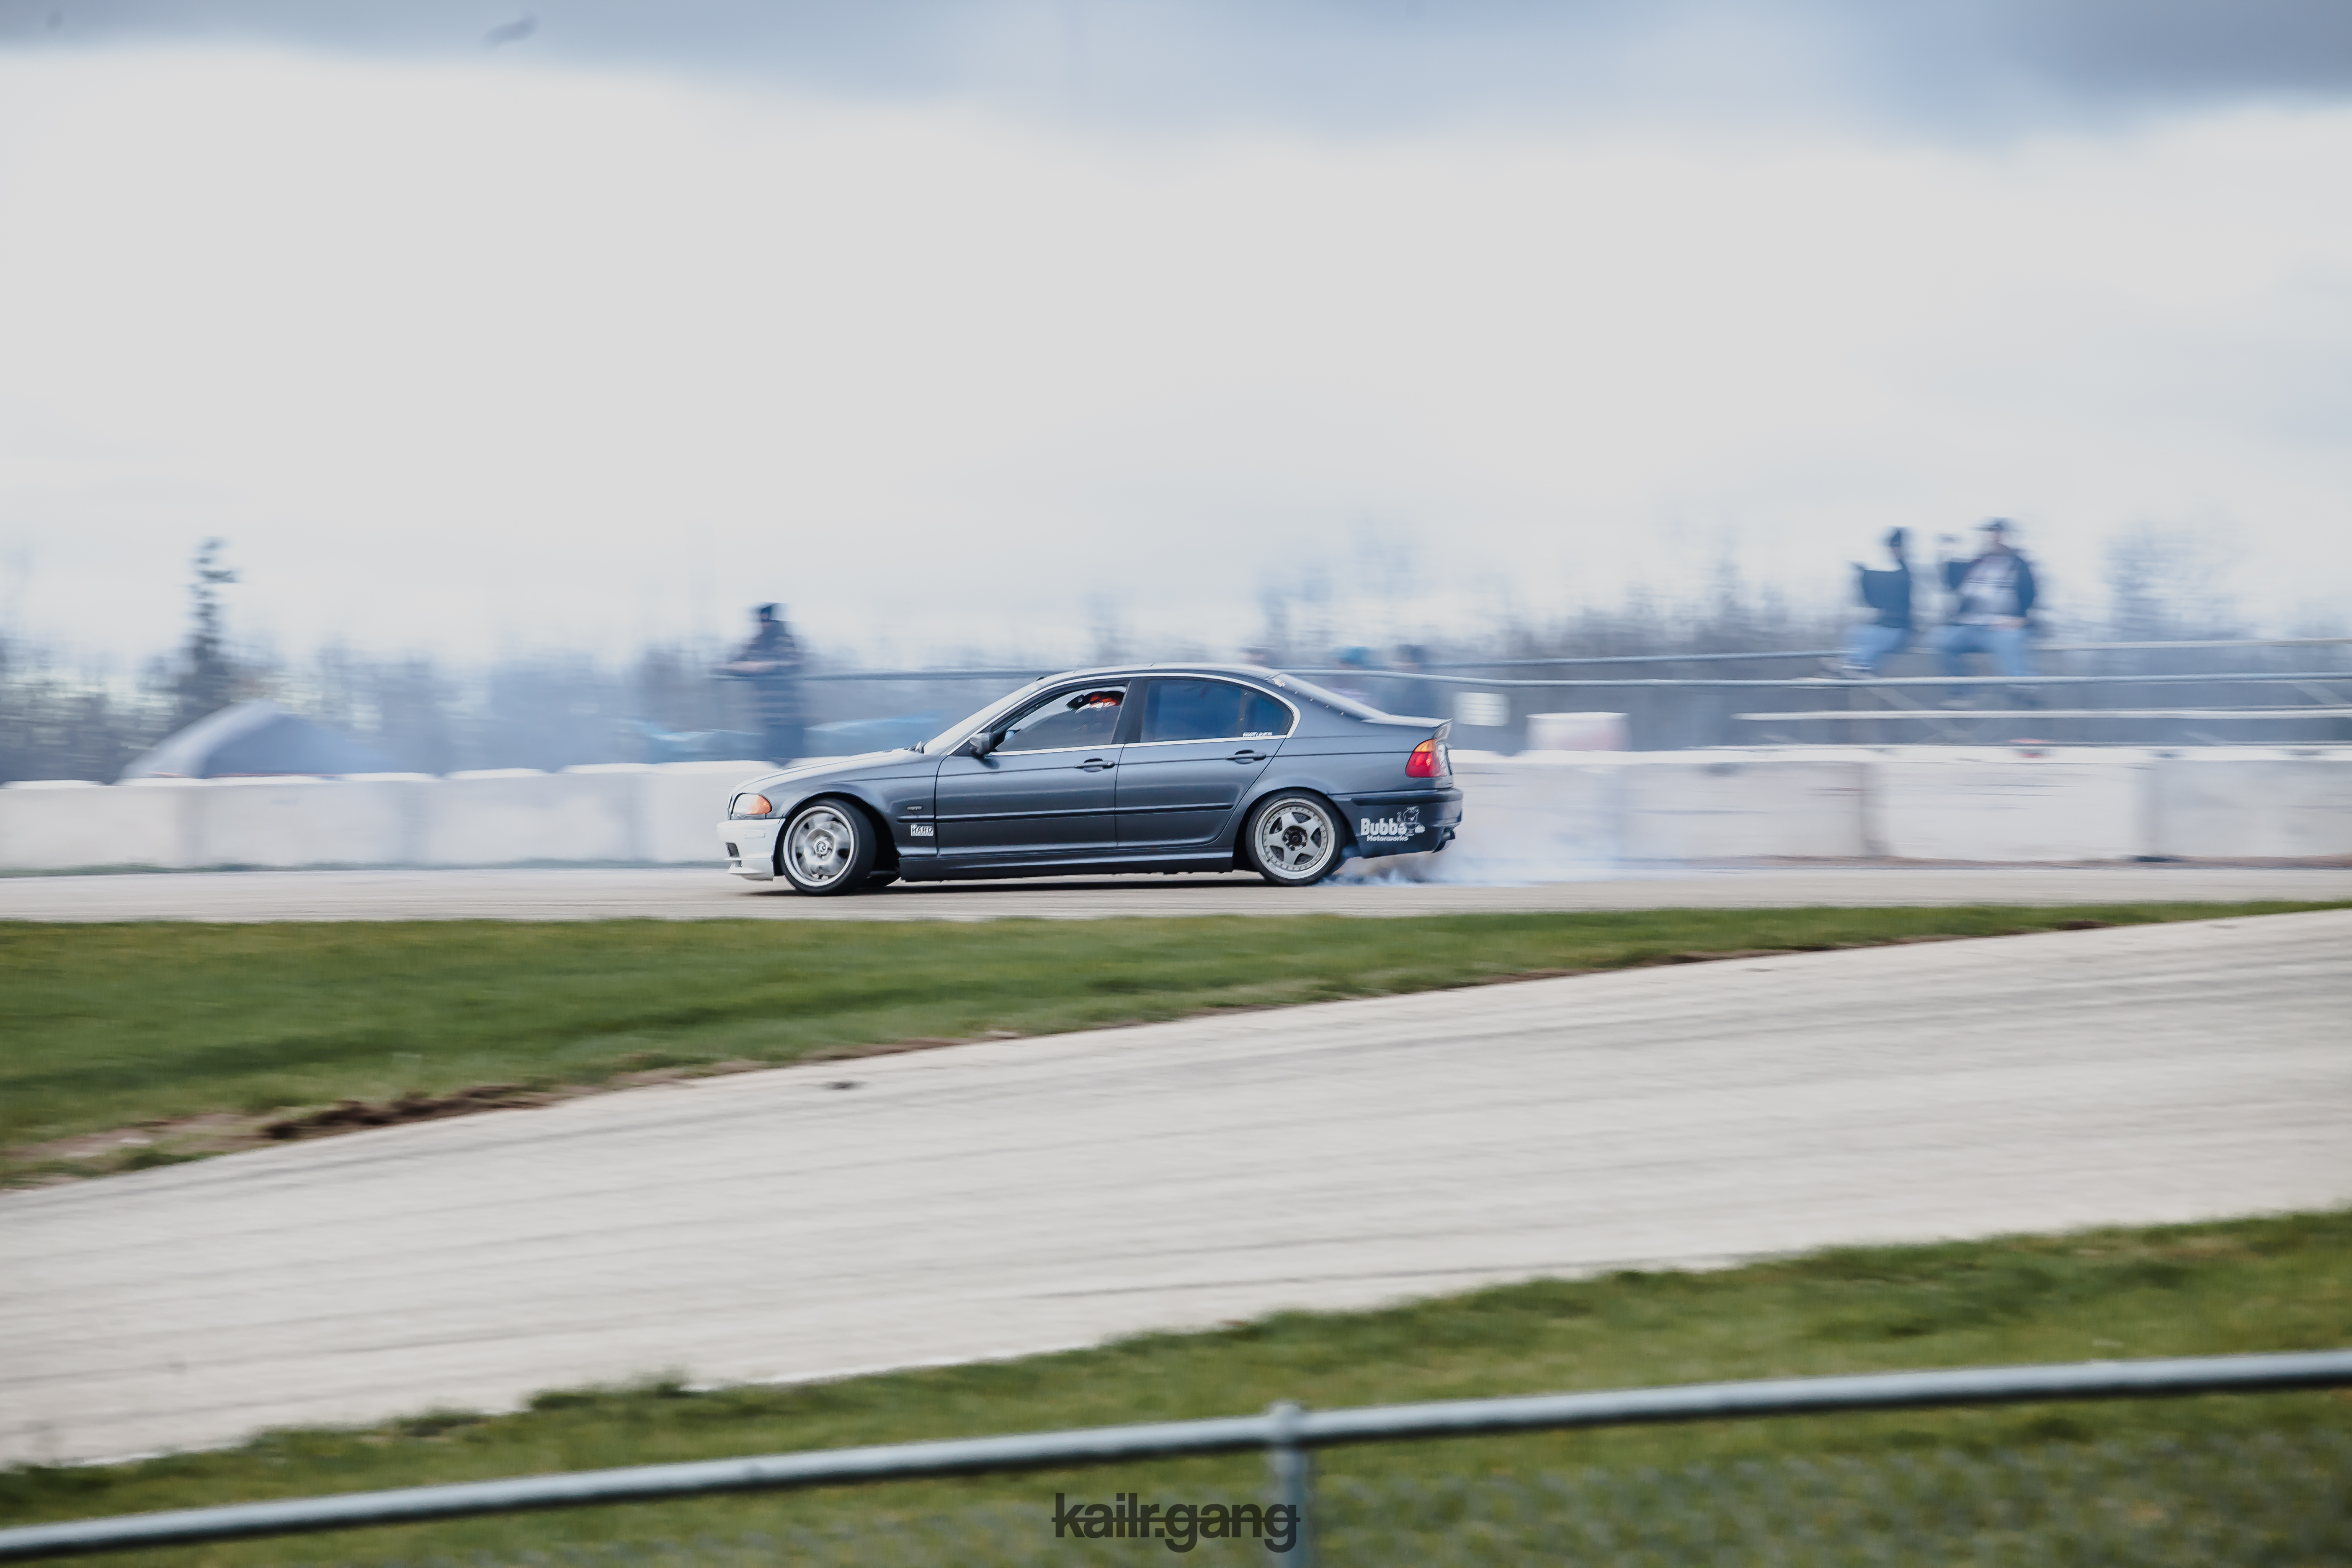
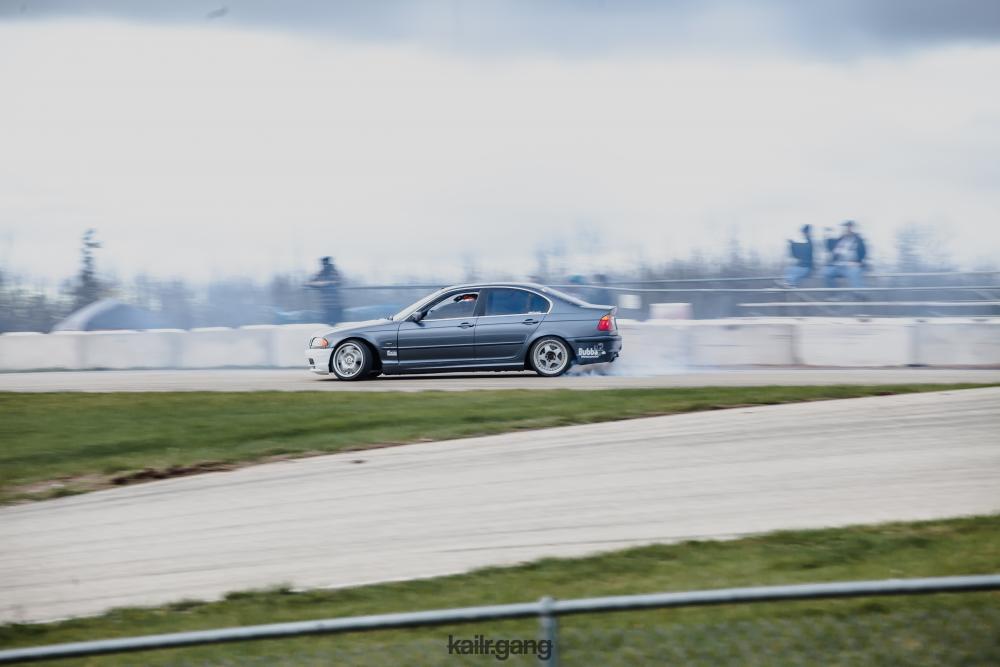
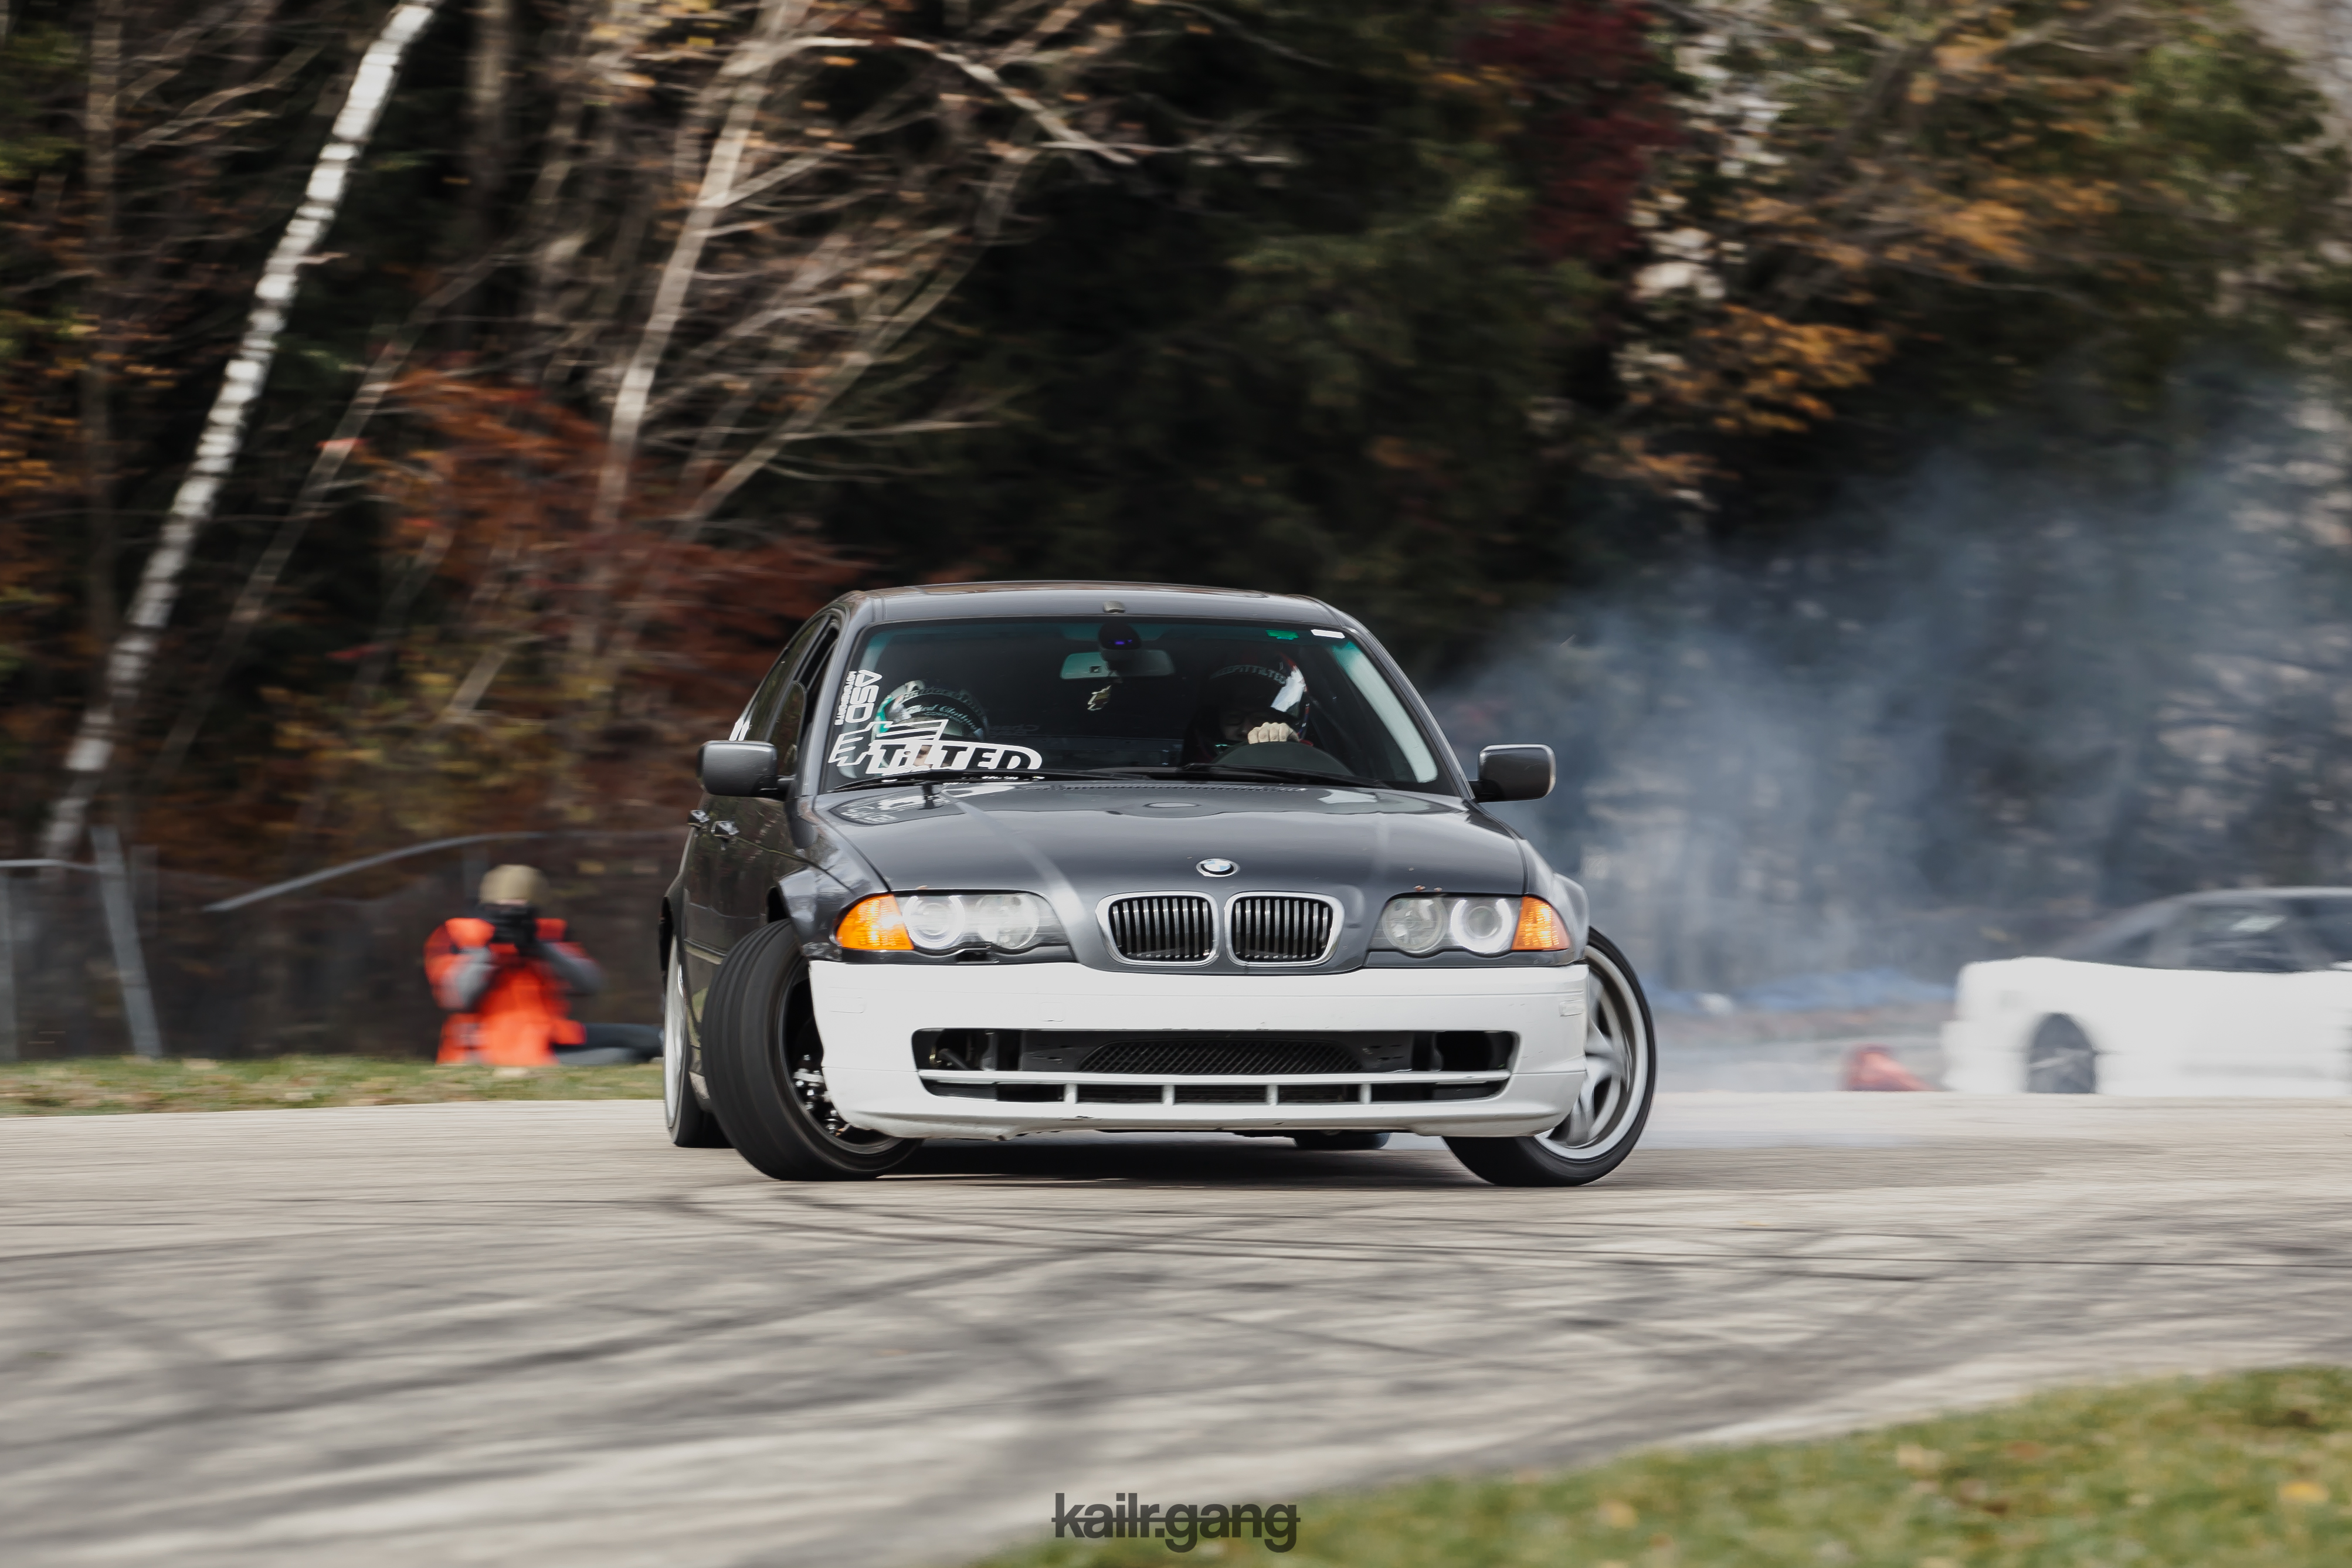
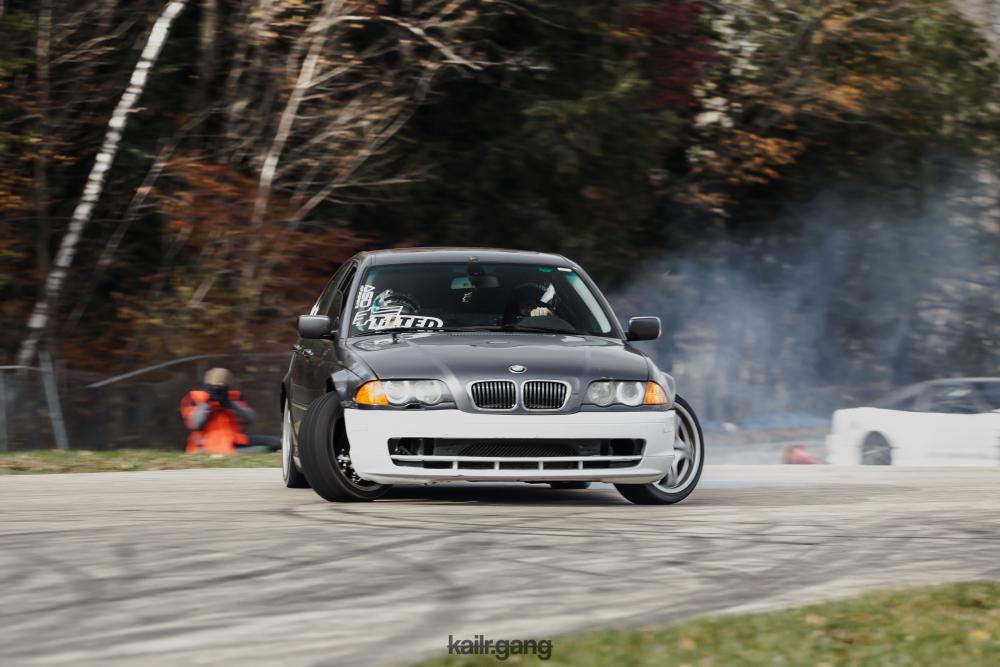
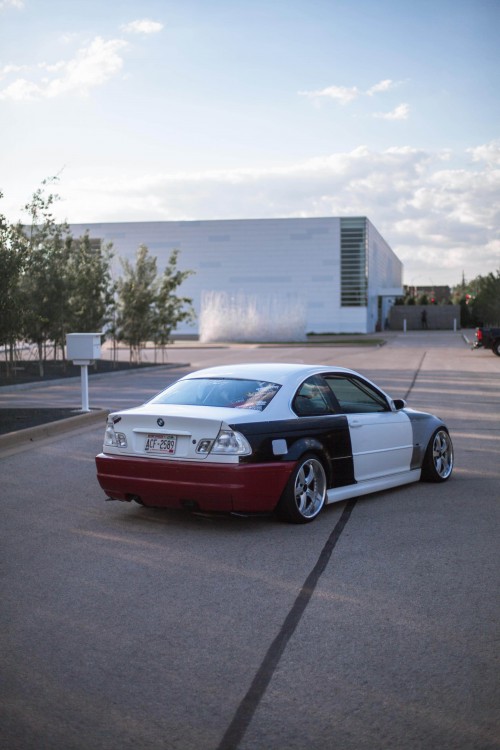
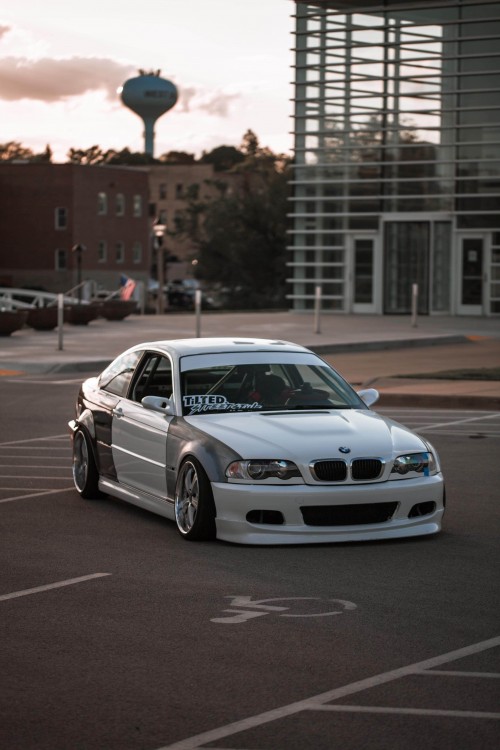
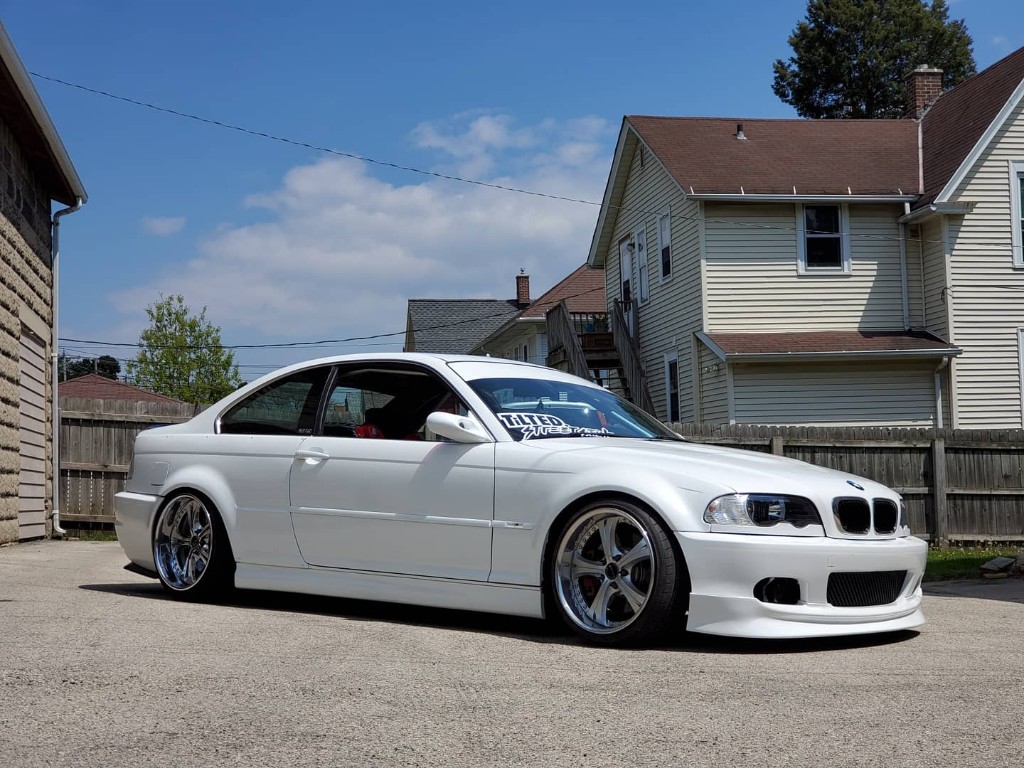
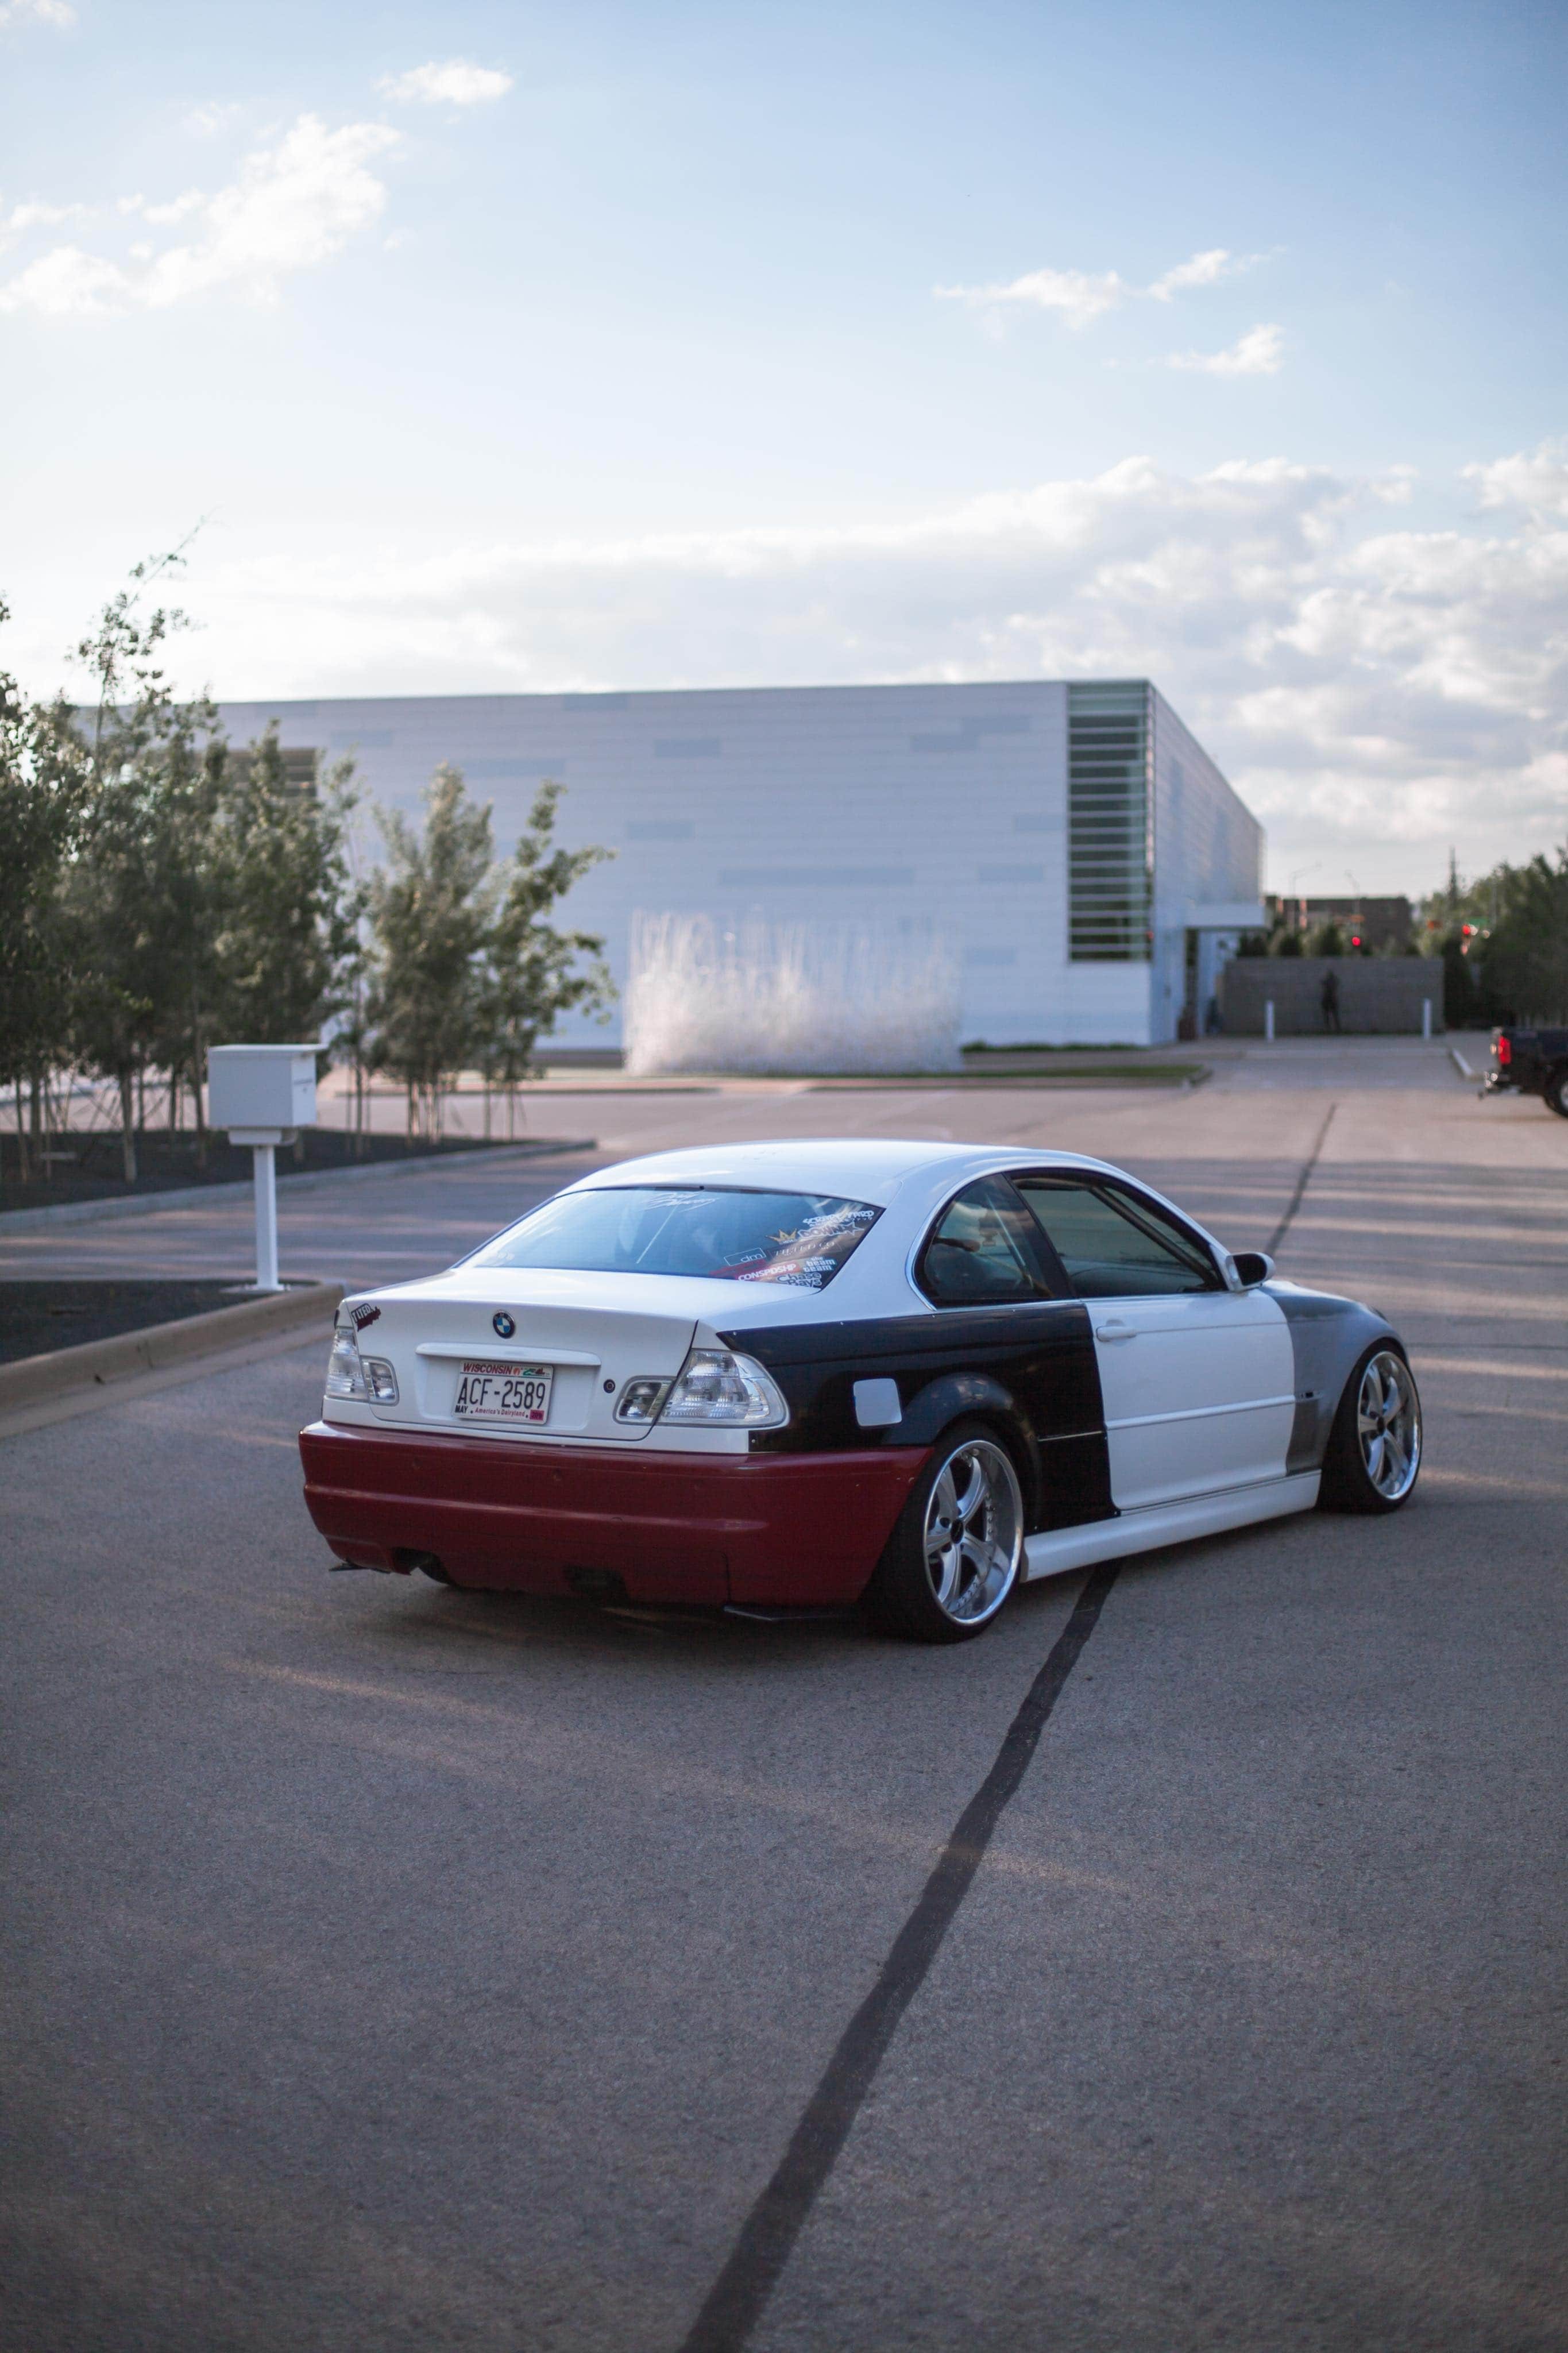
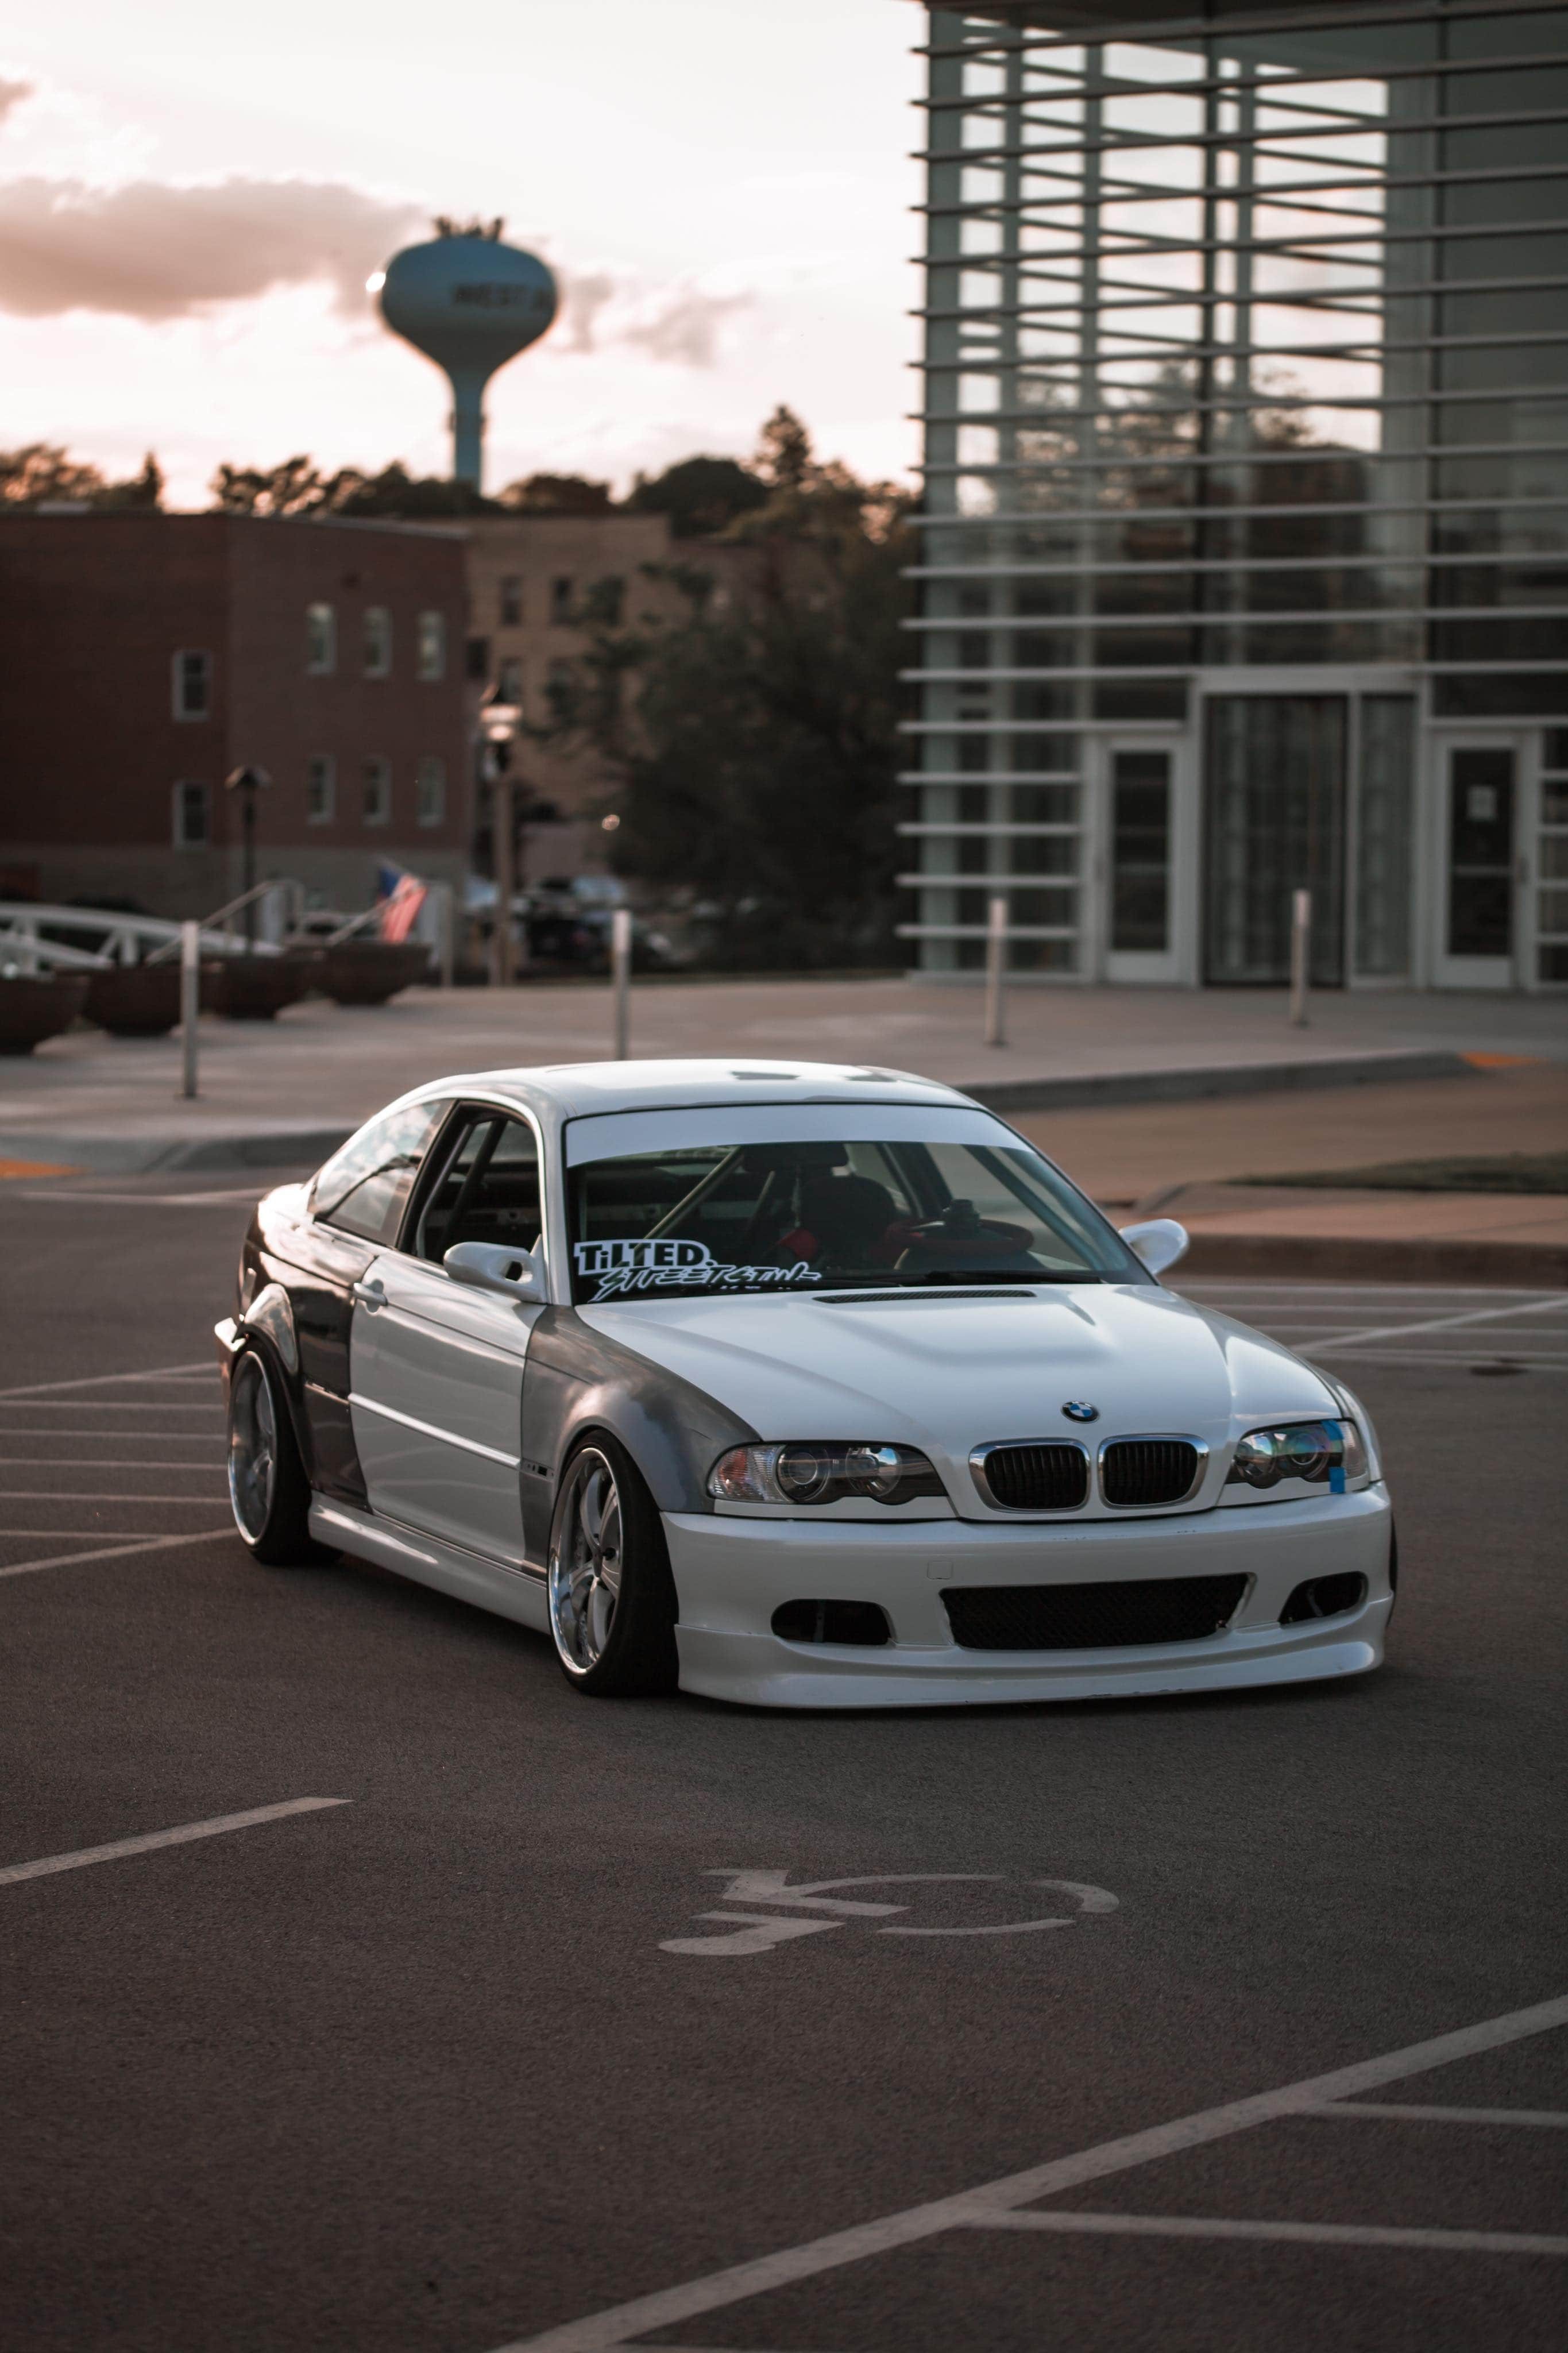
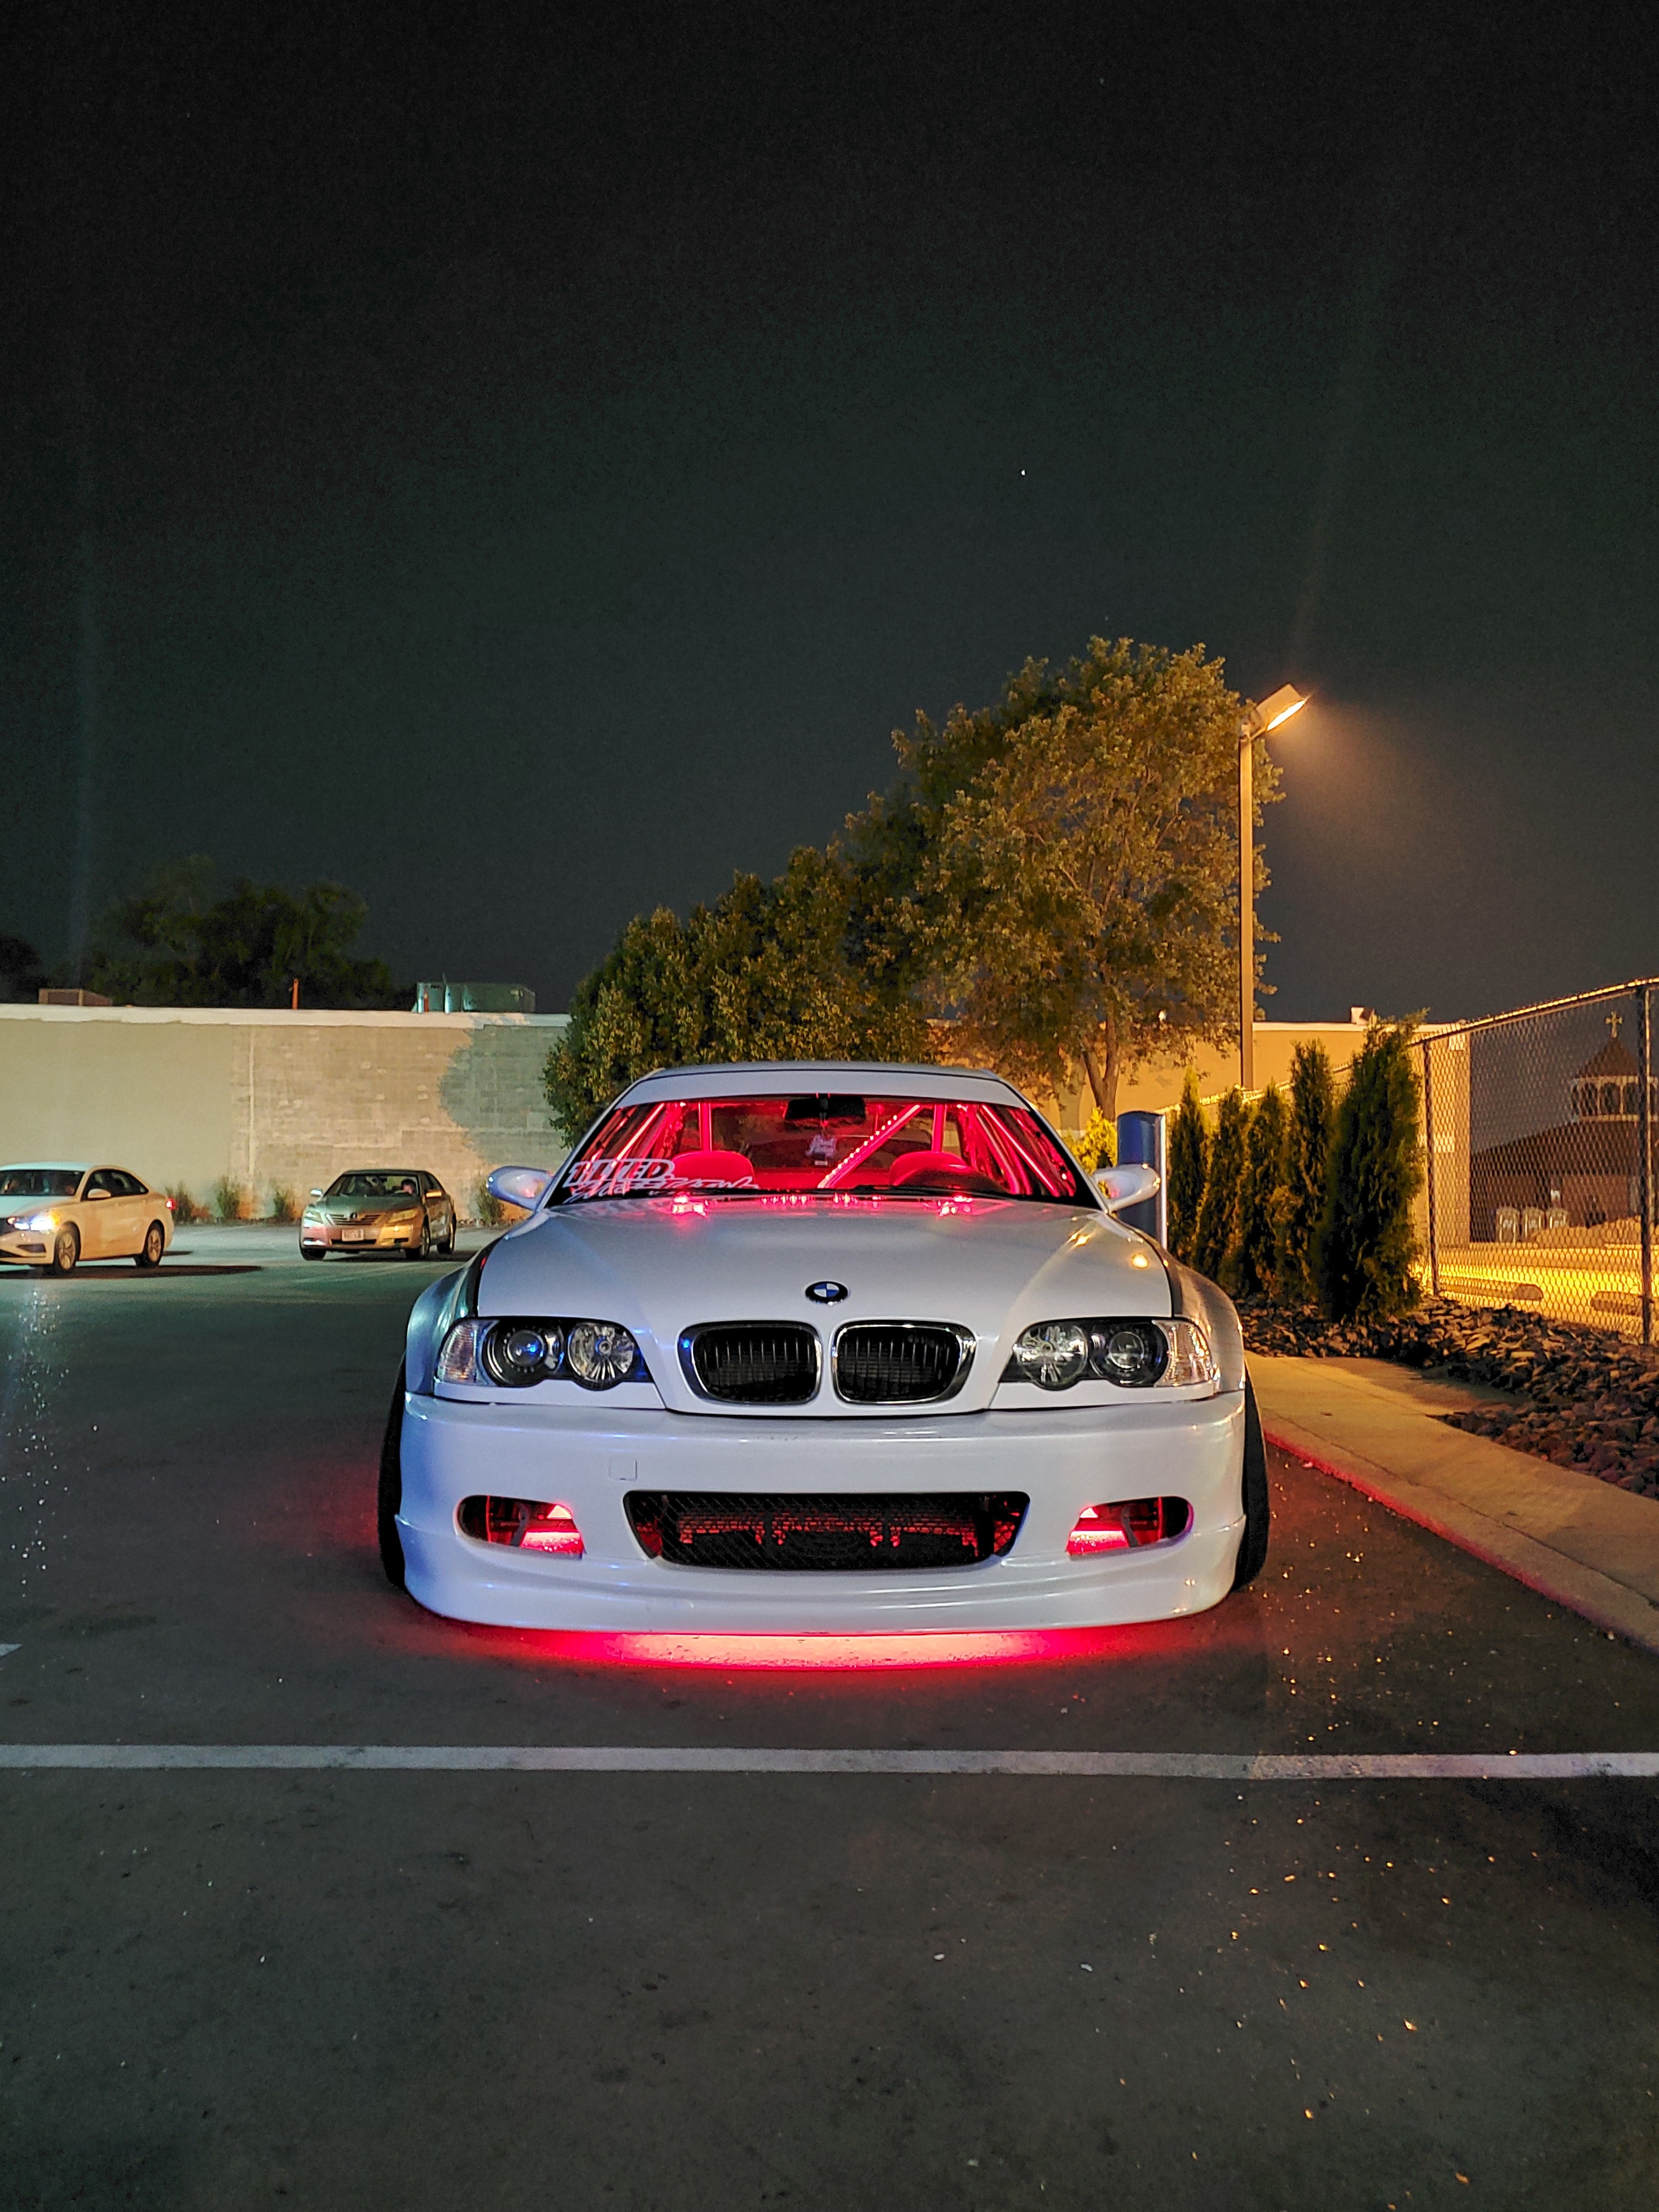
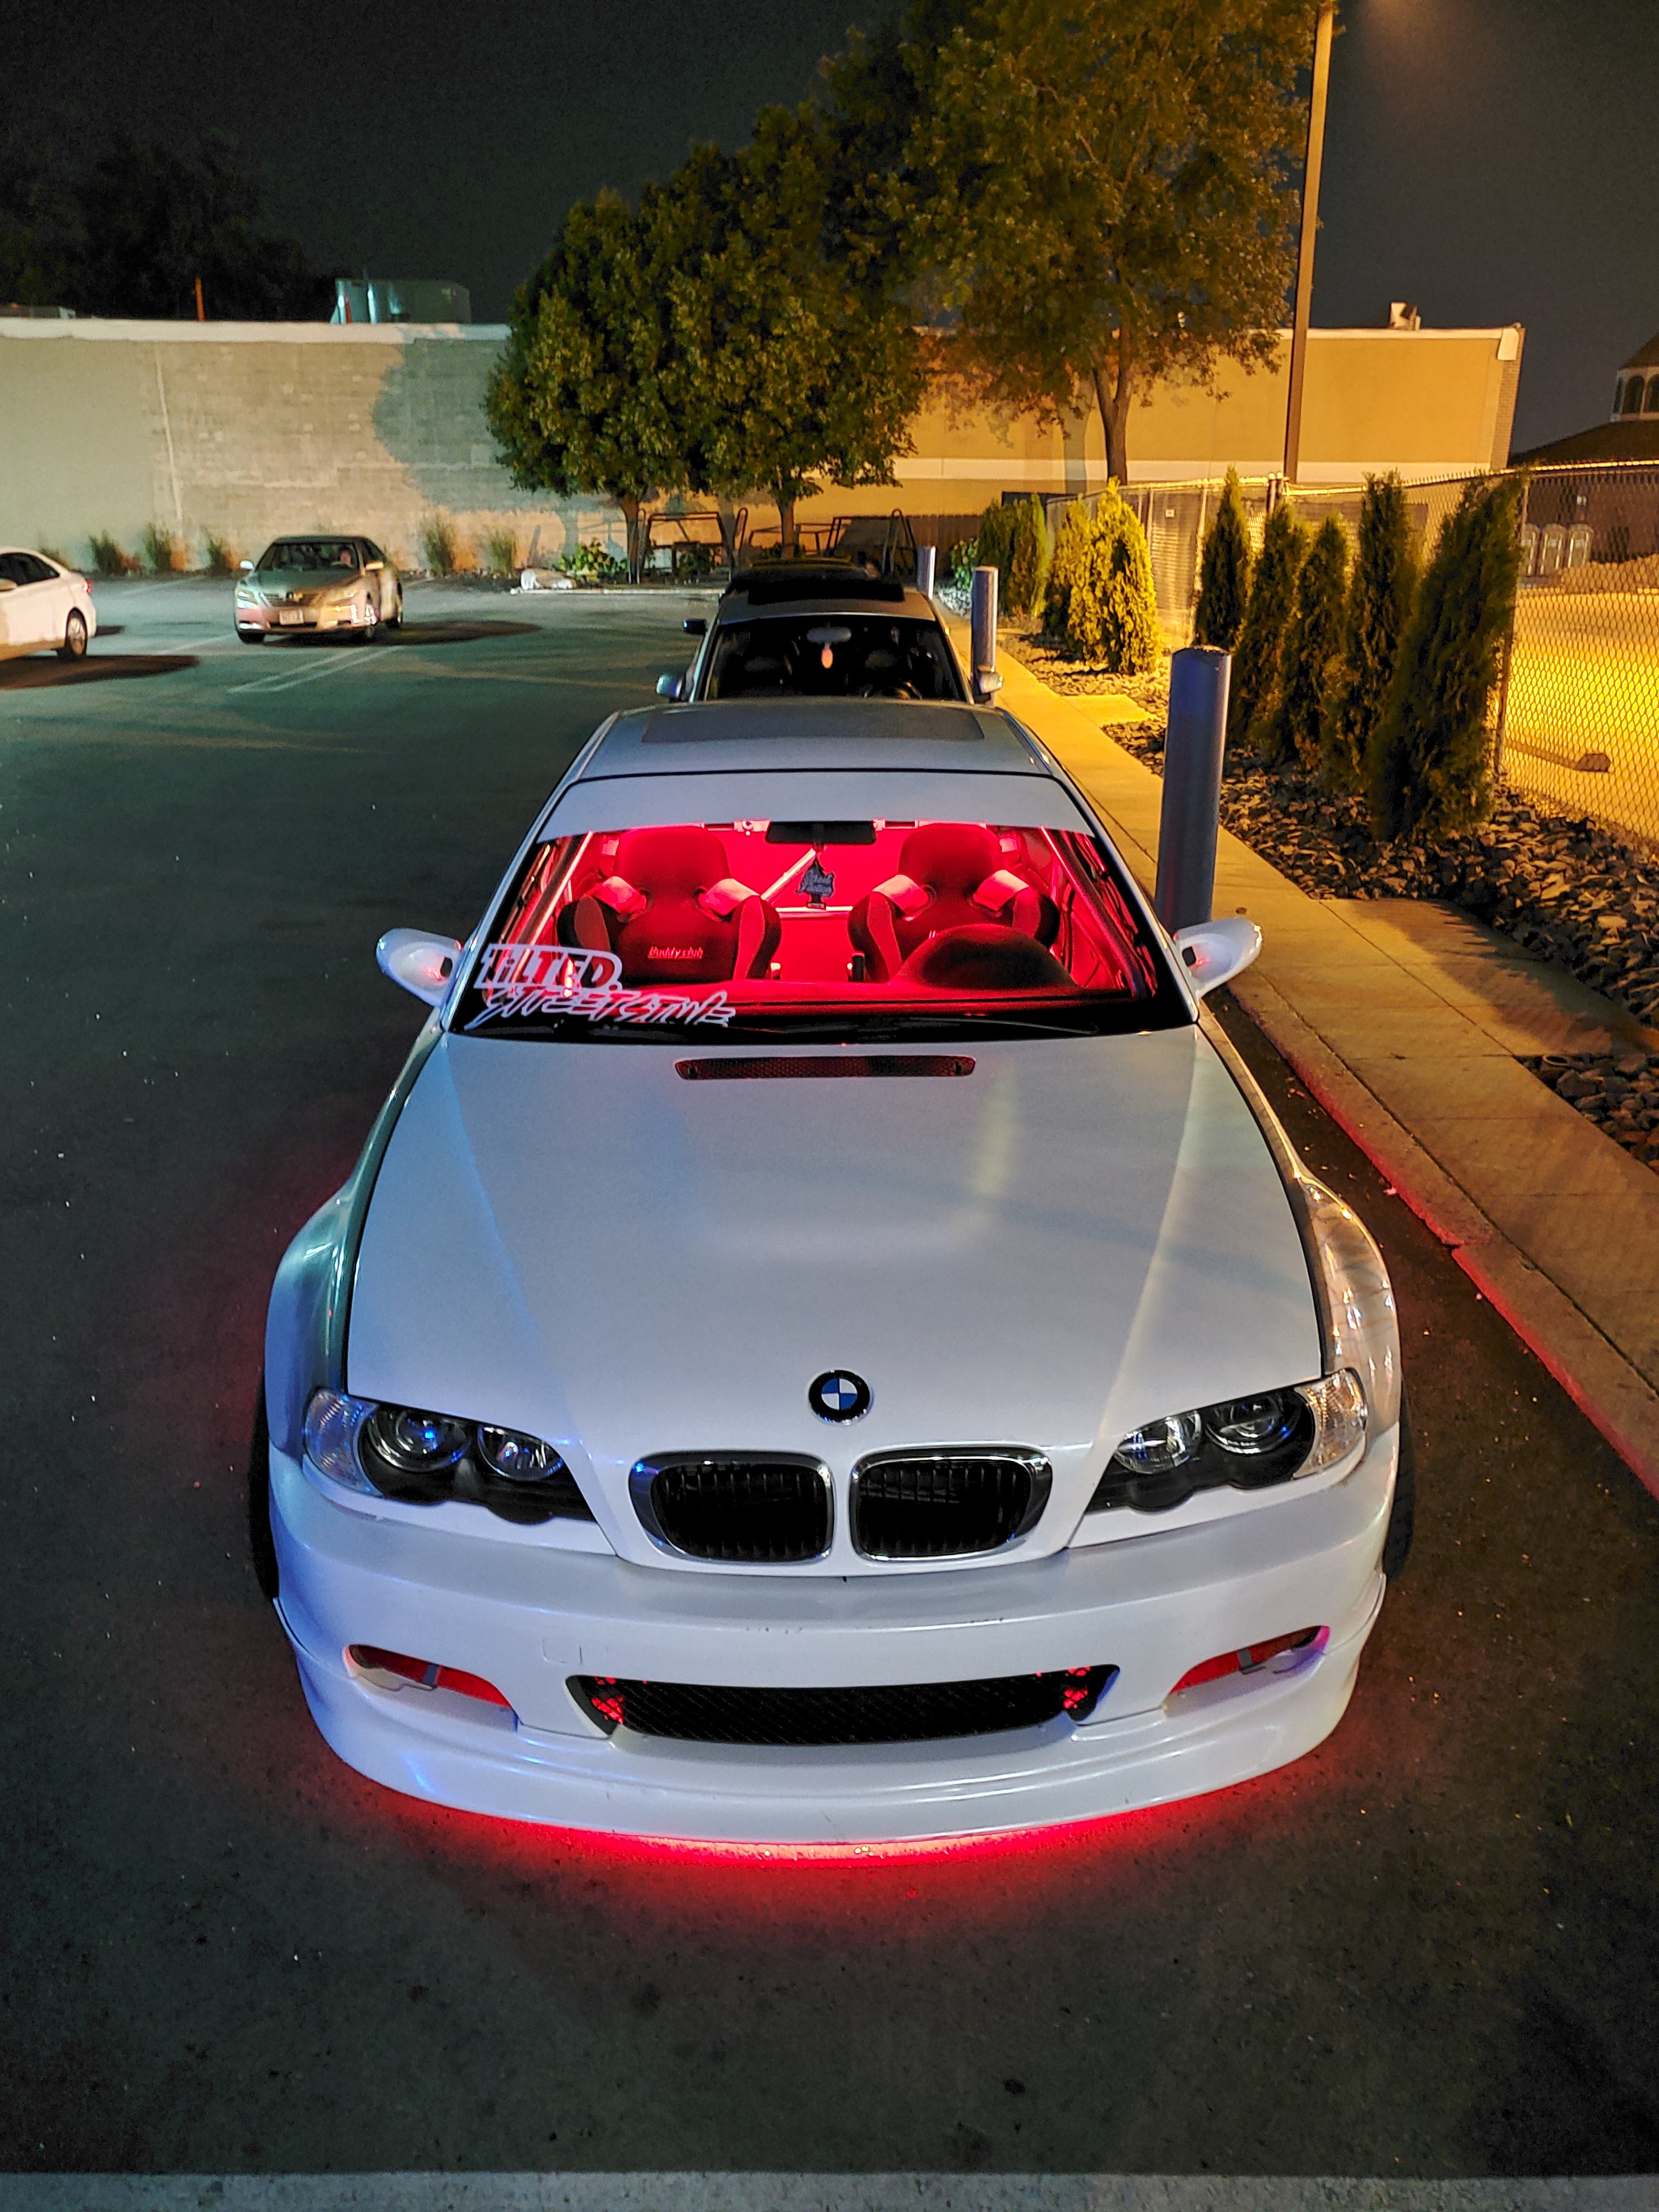
Got some photos from a shoot with a friend. Unfortunately this was before I lowered the rear haha.
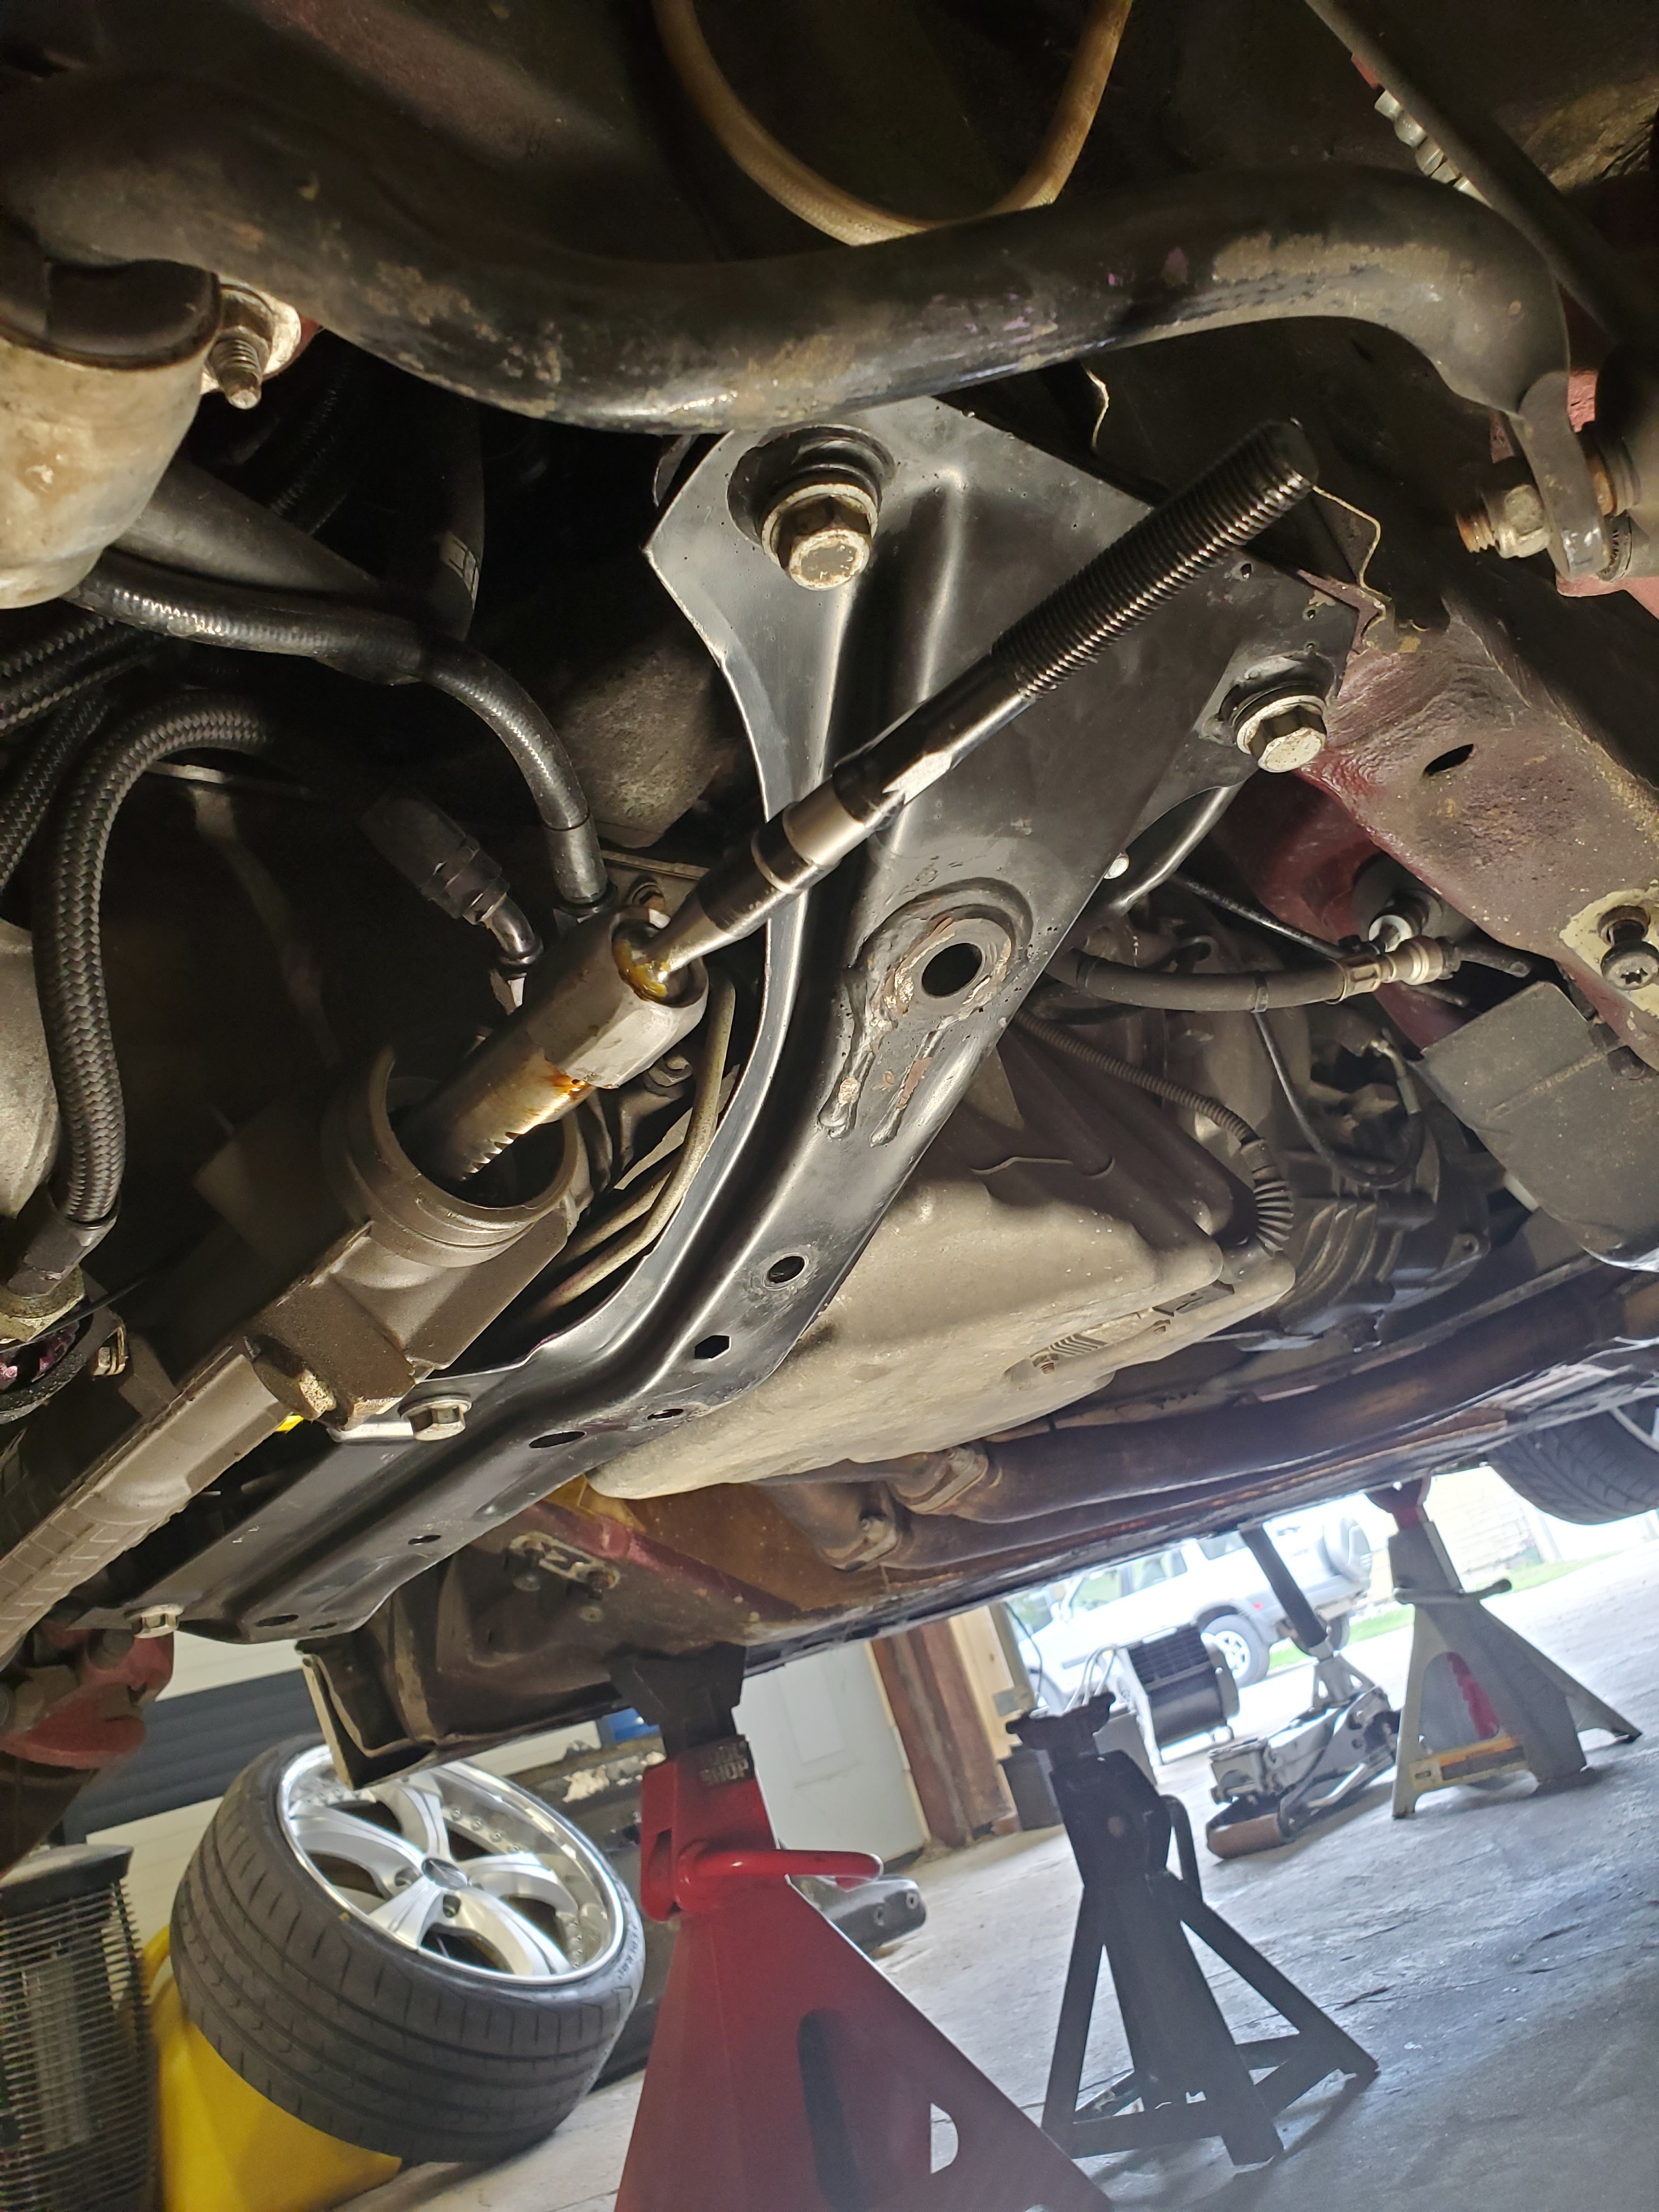
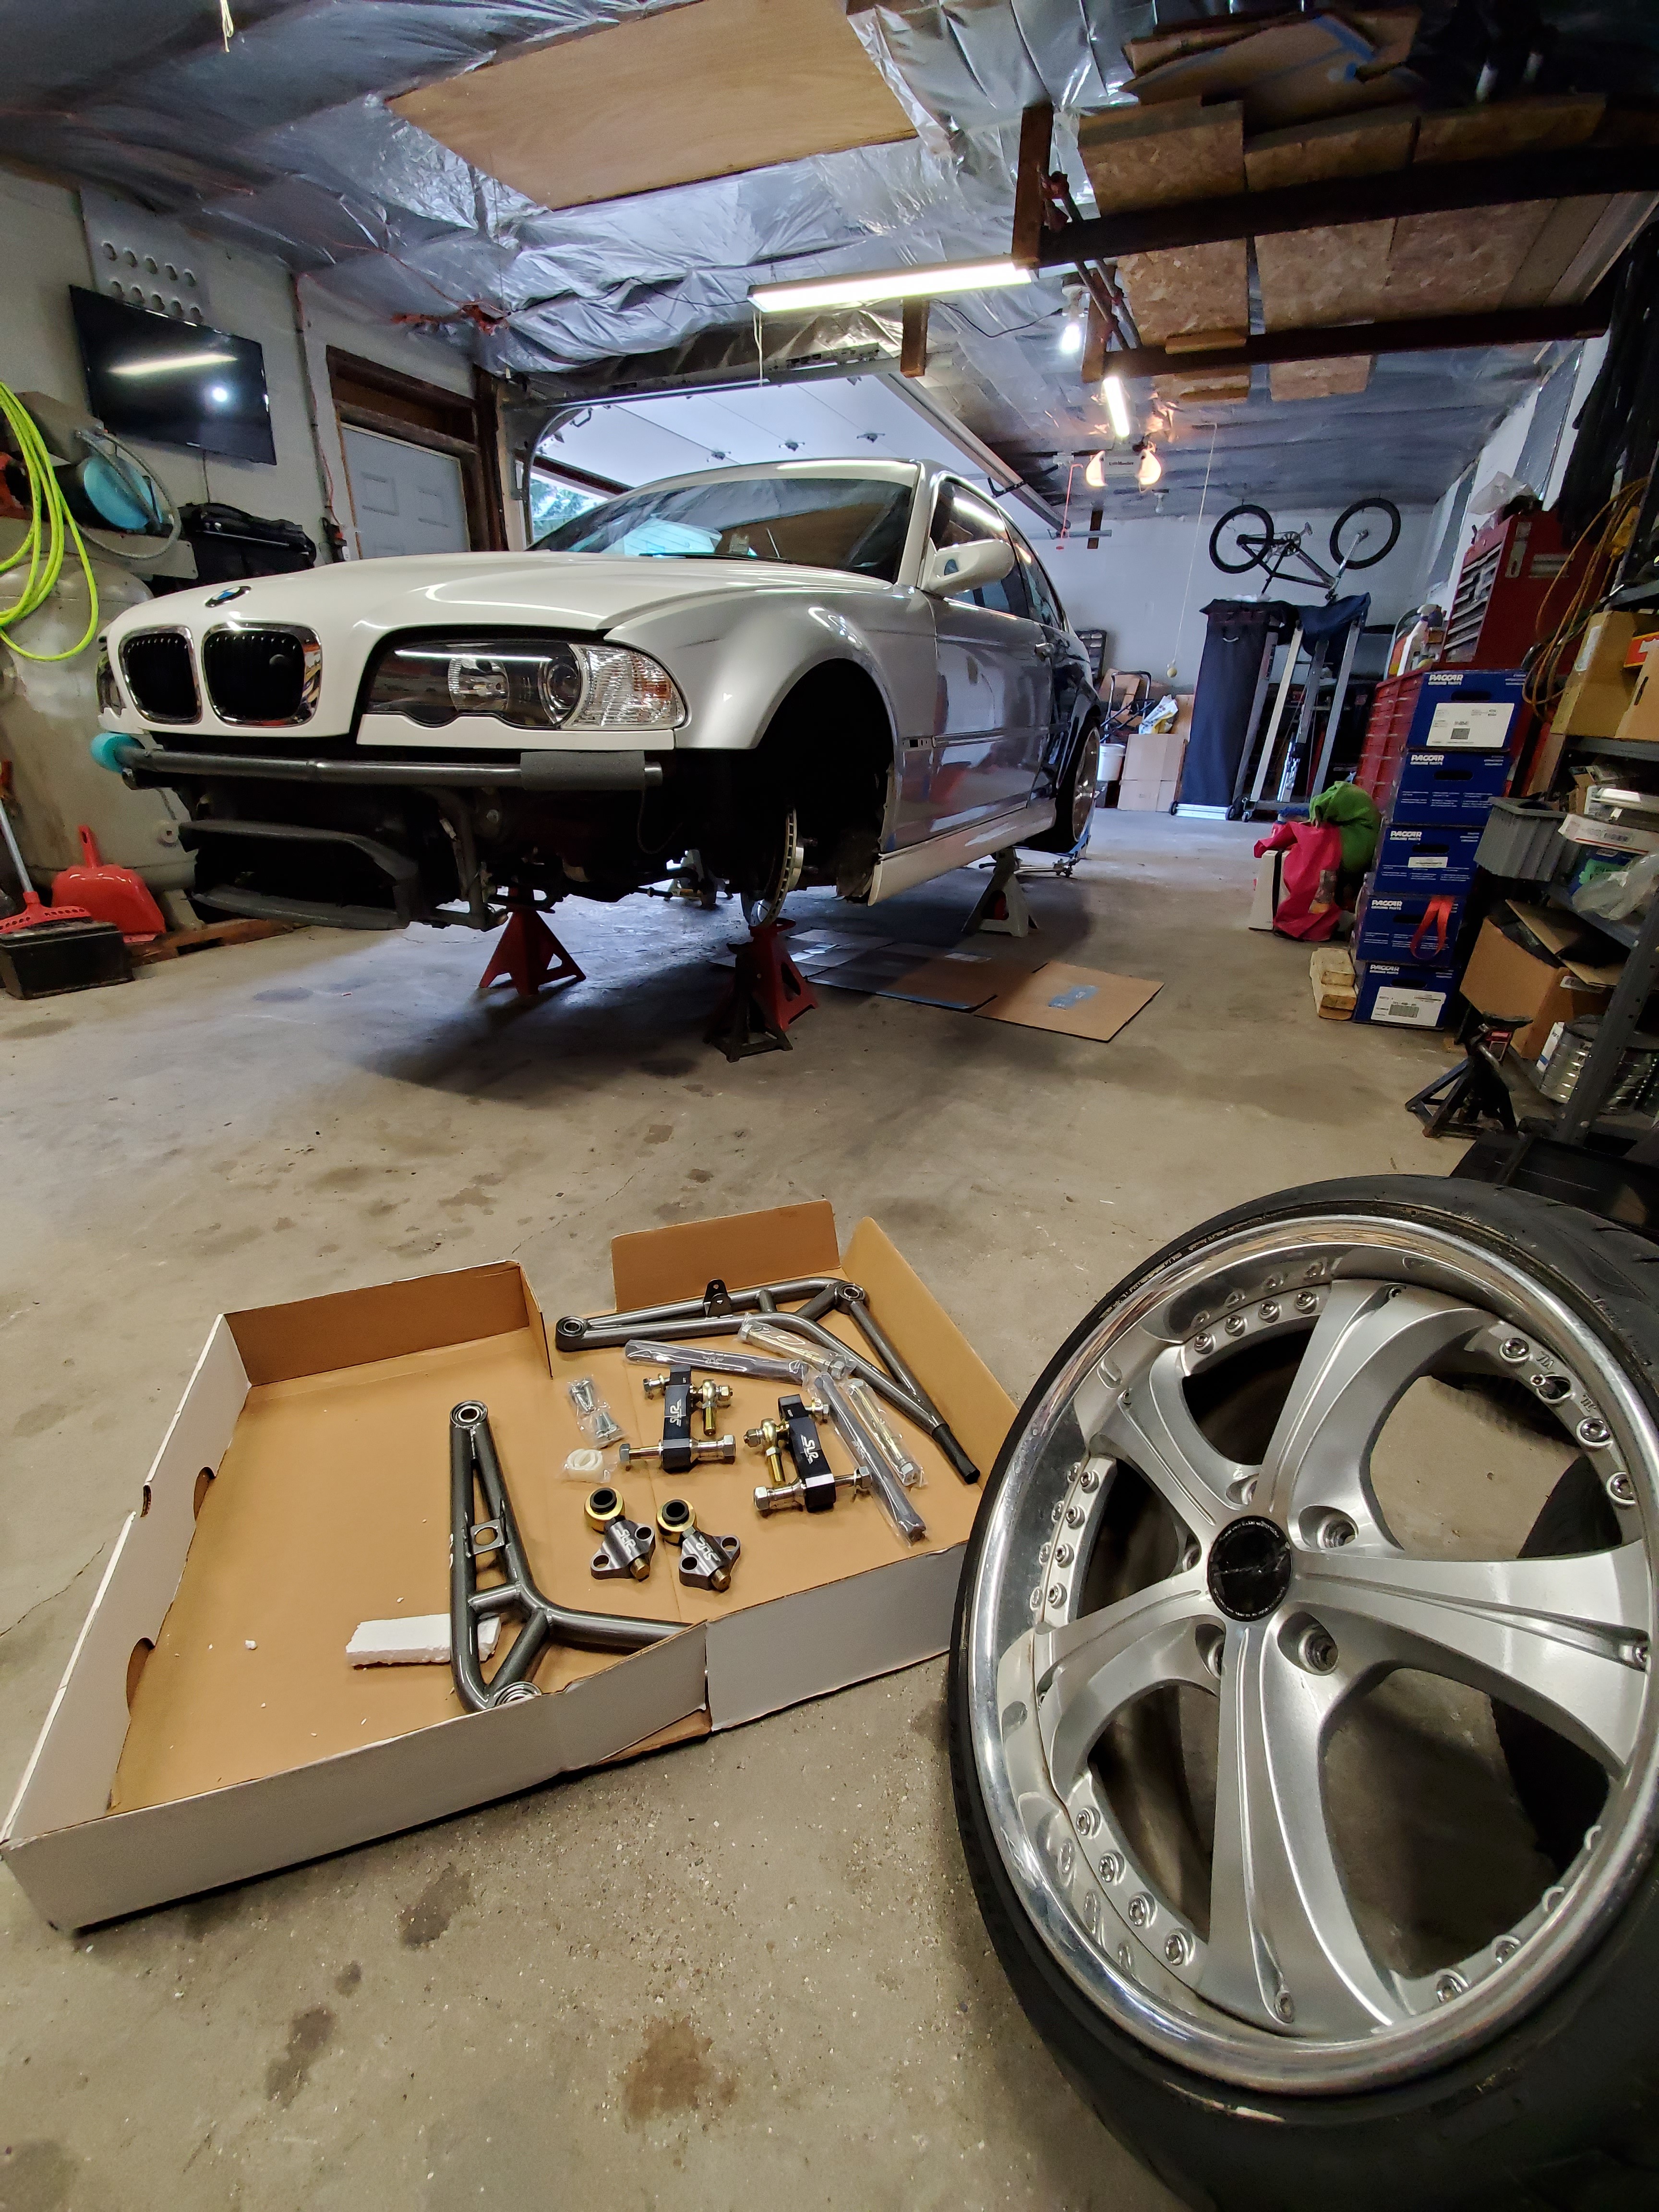
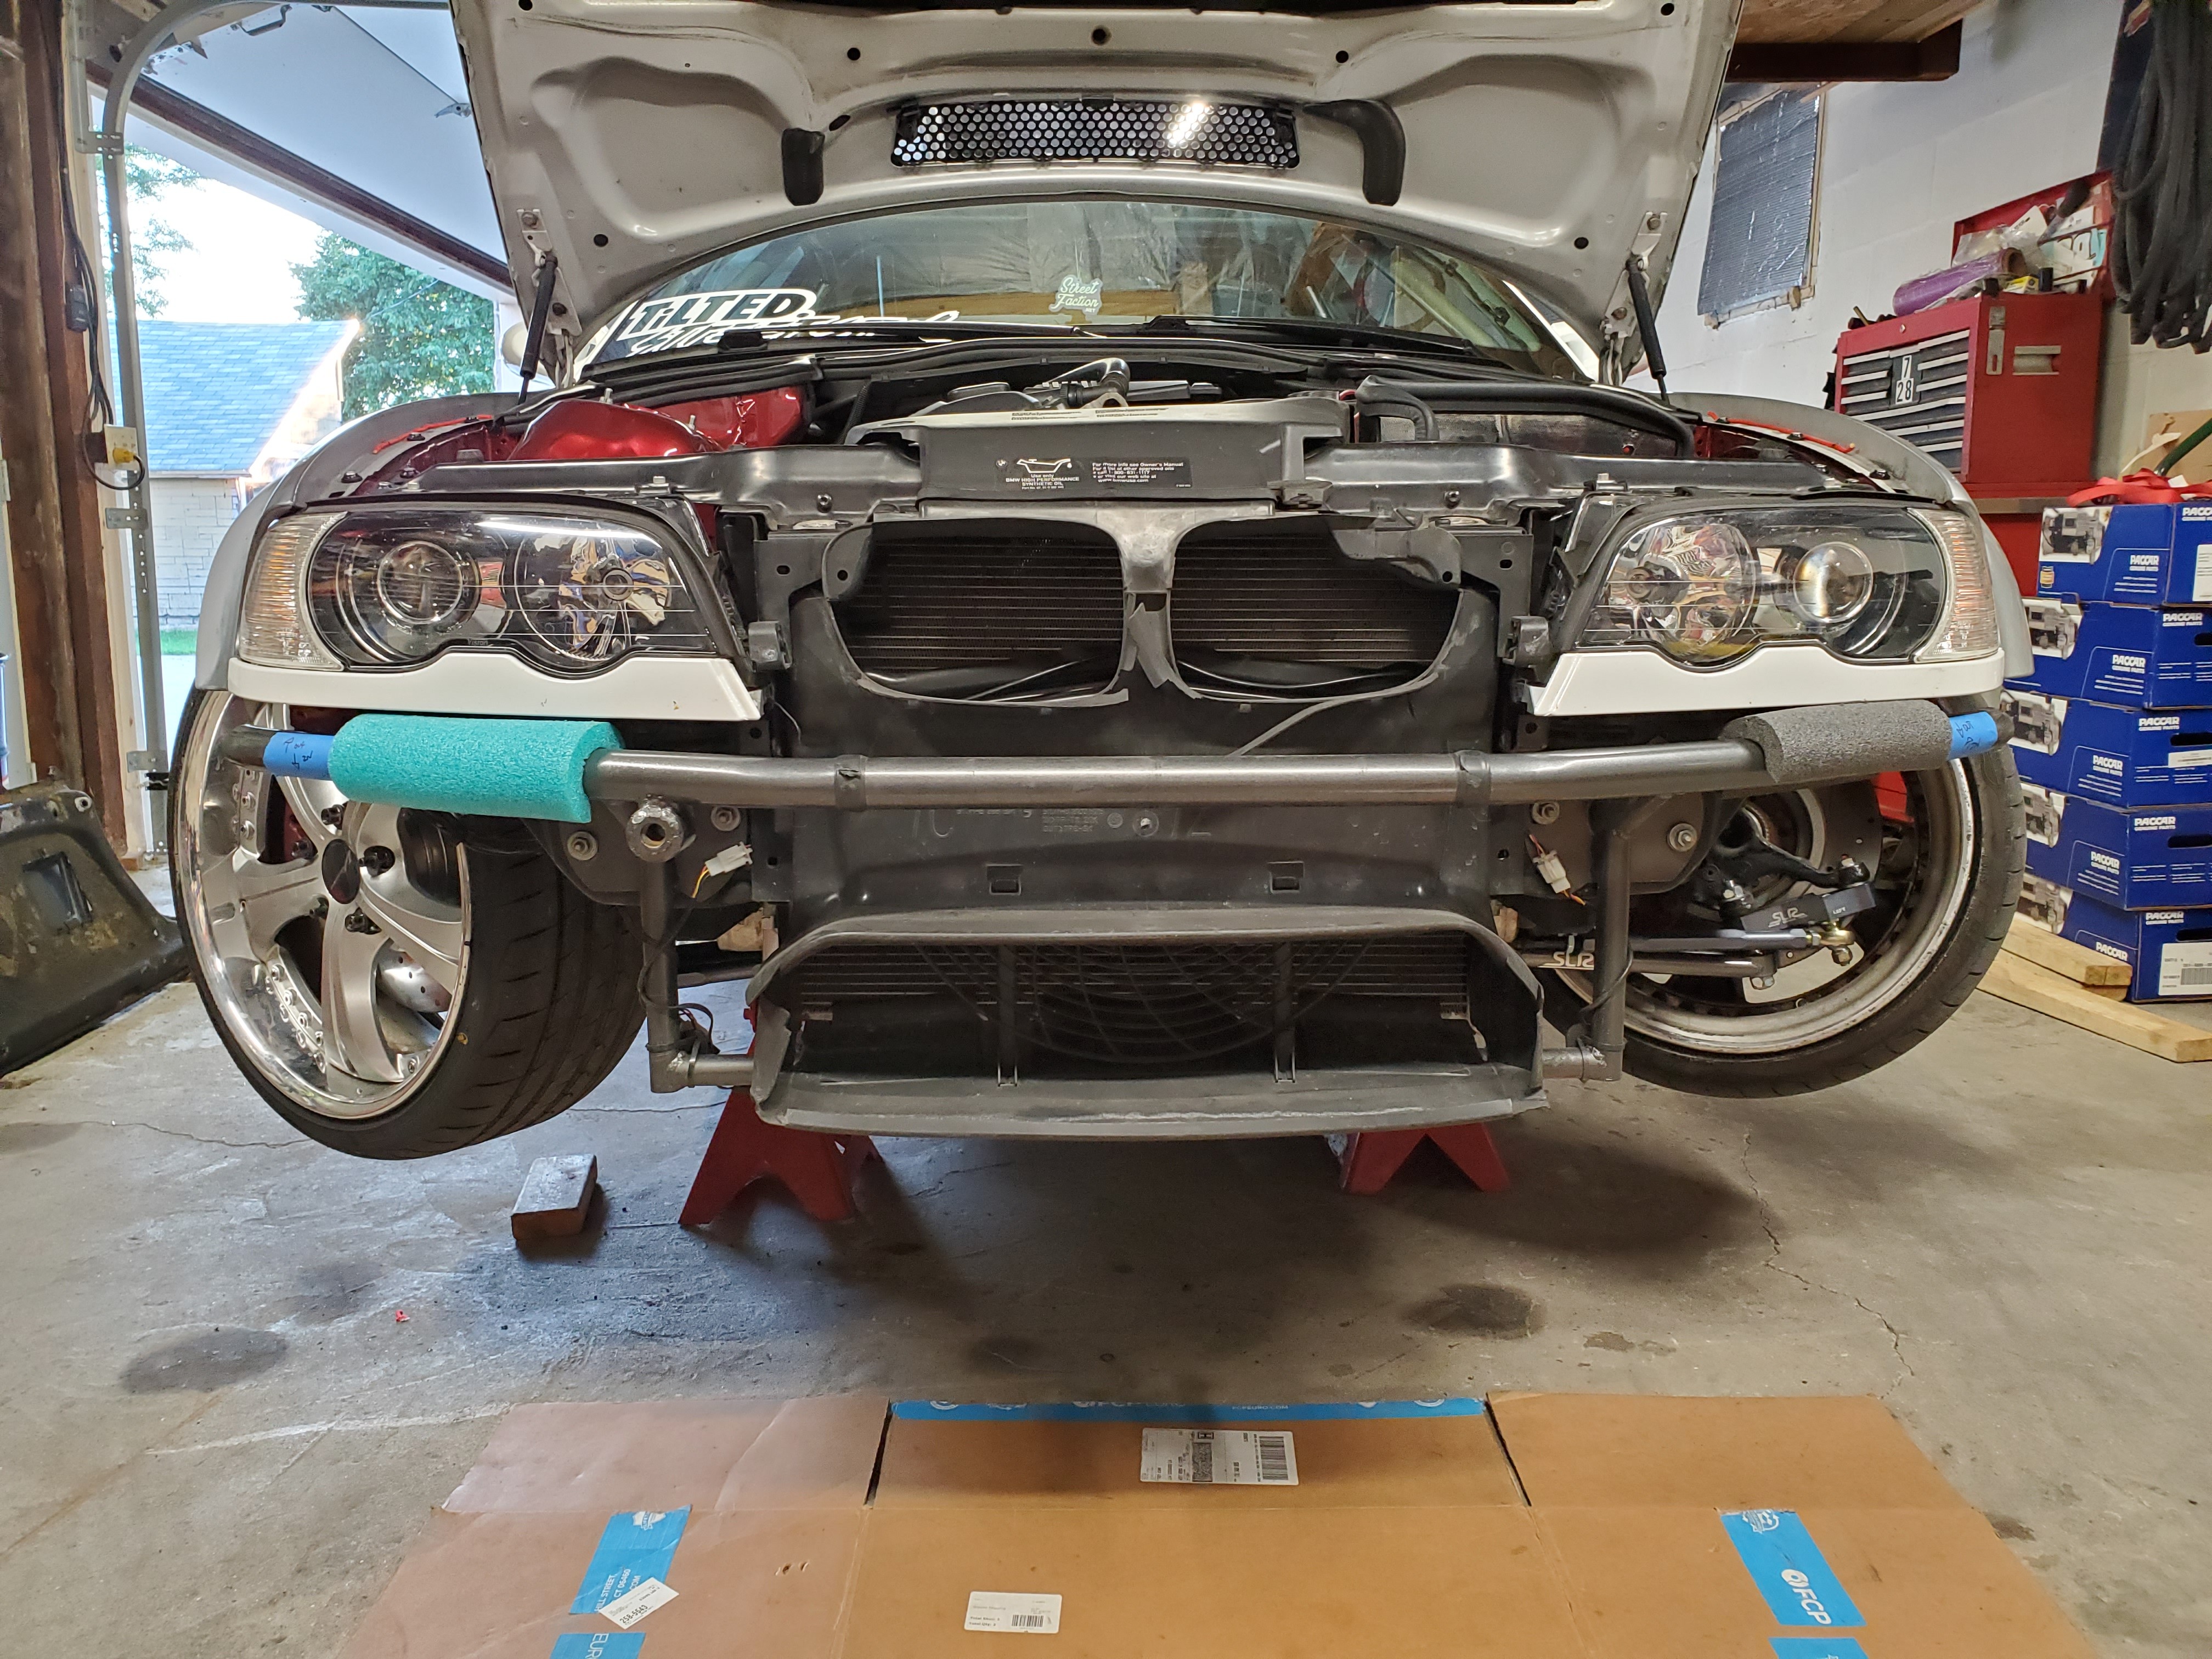
New SLR ultra angle kit should be here tomorrow! So I pulled the MG kit off the car along with swapped in a factory subframe.
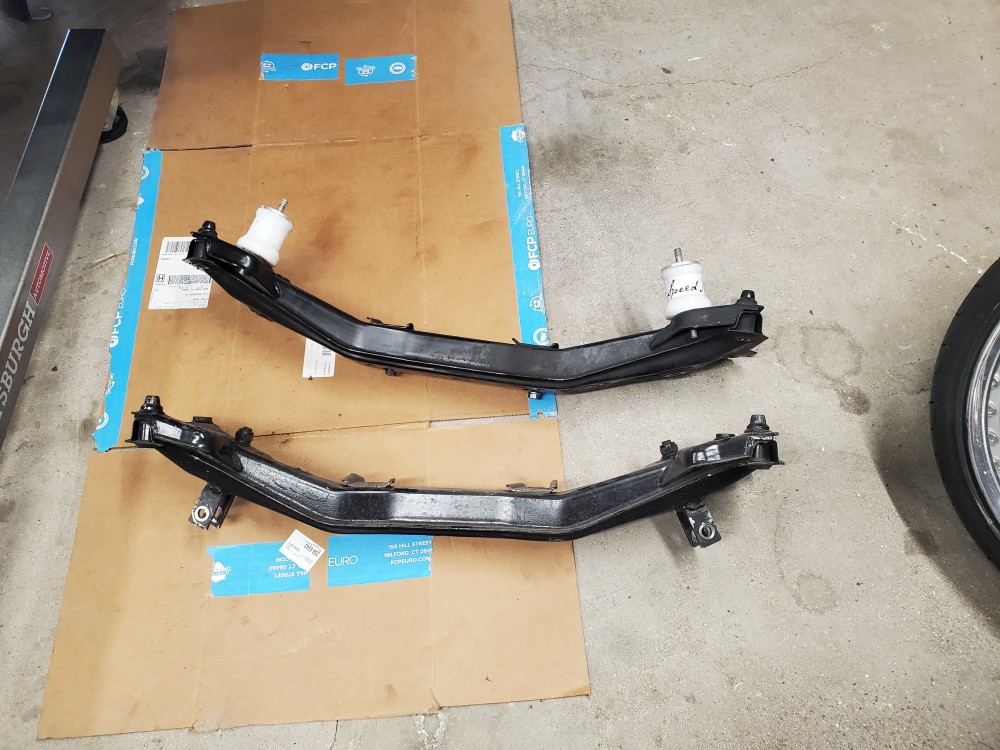
Installed new inner tie rods while everything was apart.
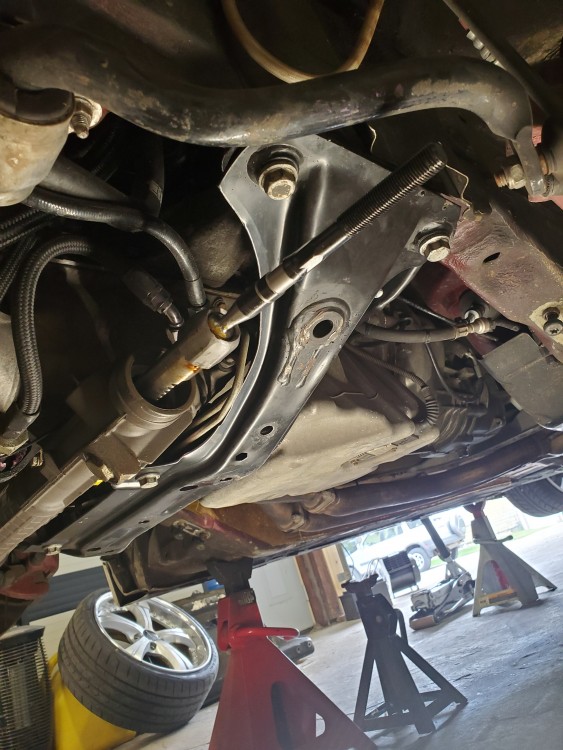
Picked up a used UUC dssr as well and got that installed while the car is down for a few days, excited to hopefully feel the difference
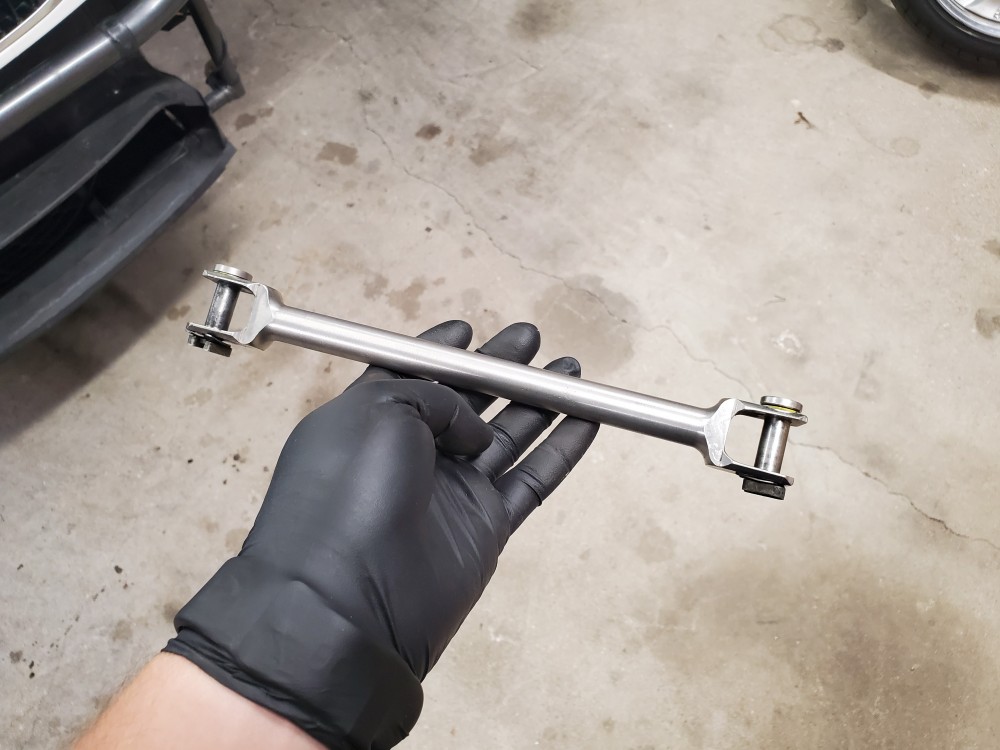
More updates soon hopefully!
-
Update!
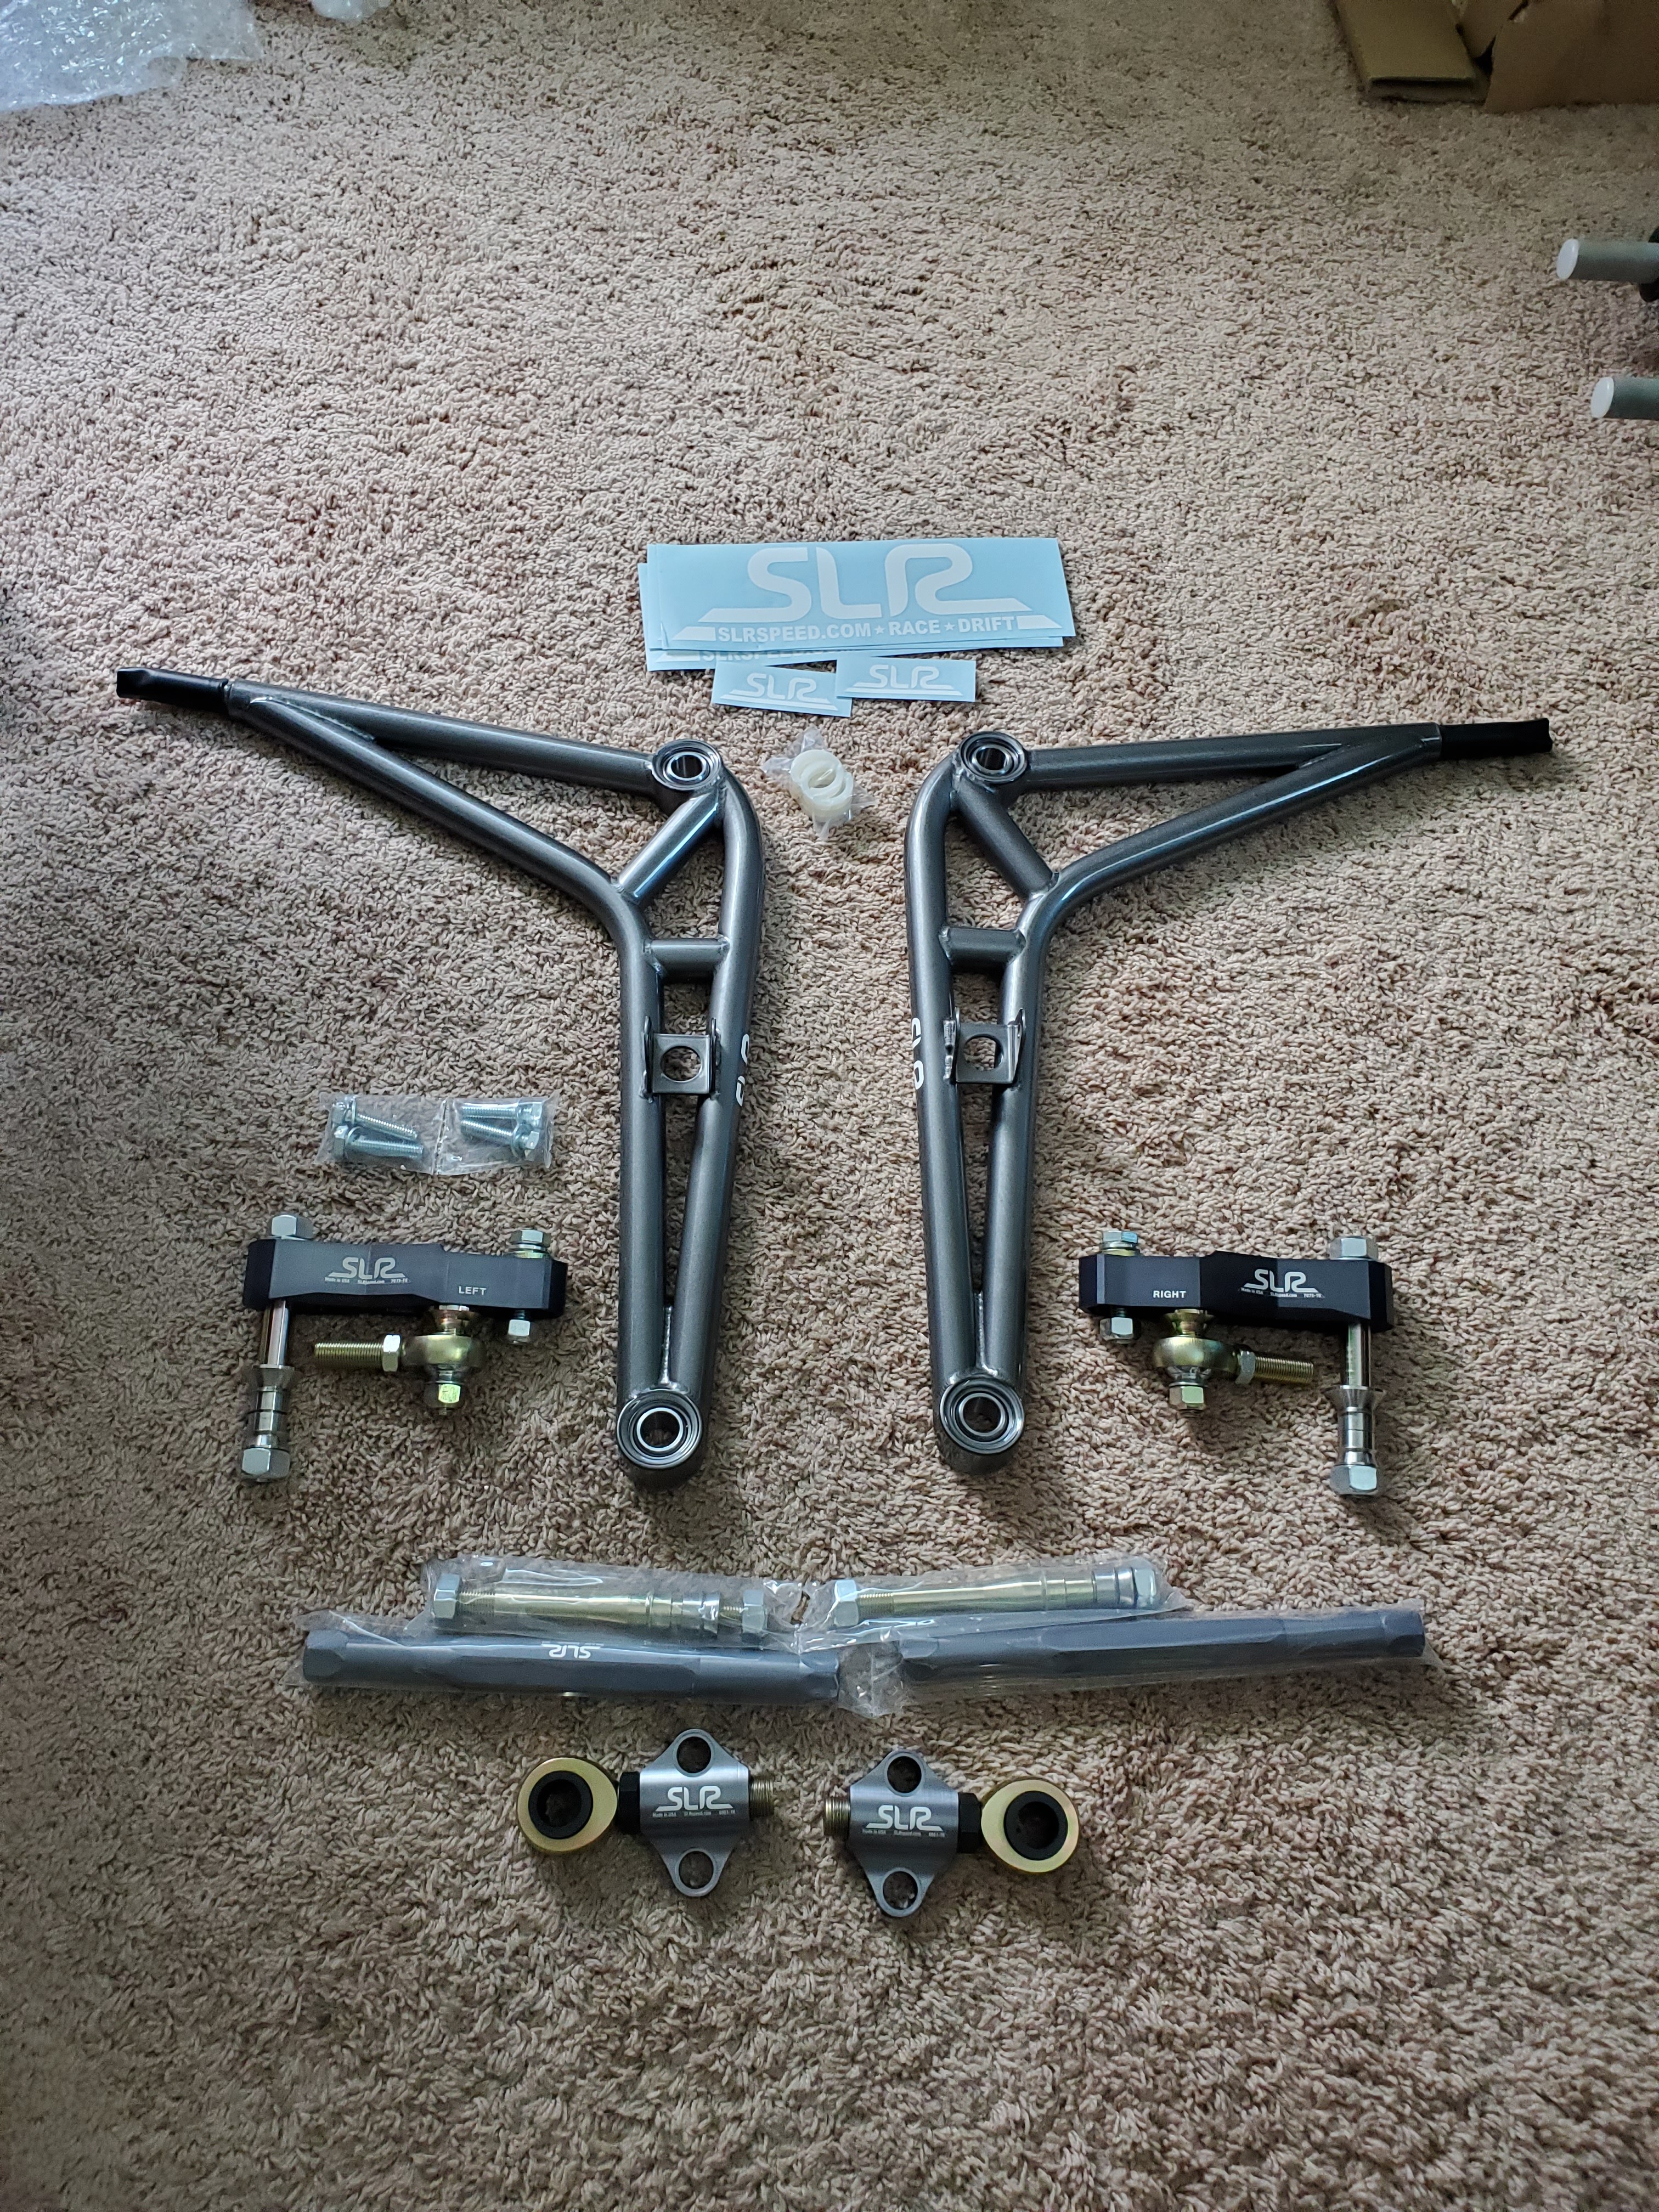
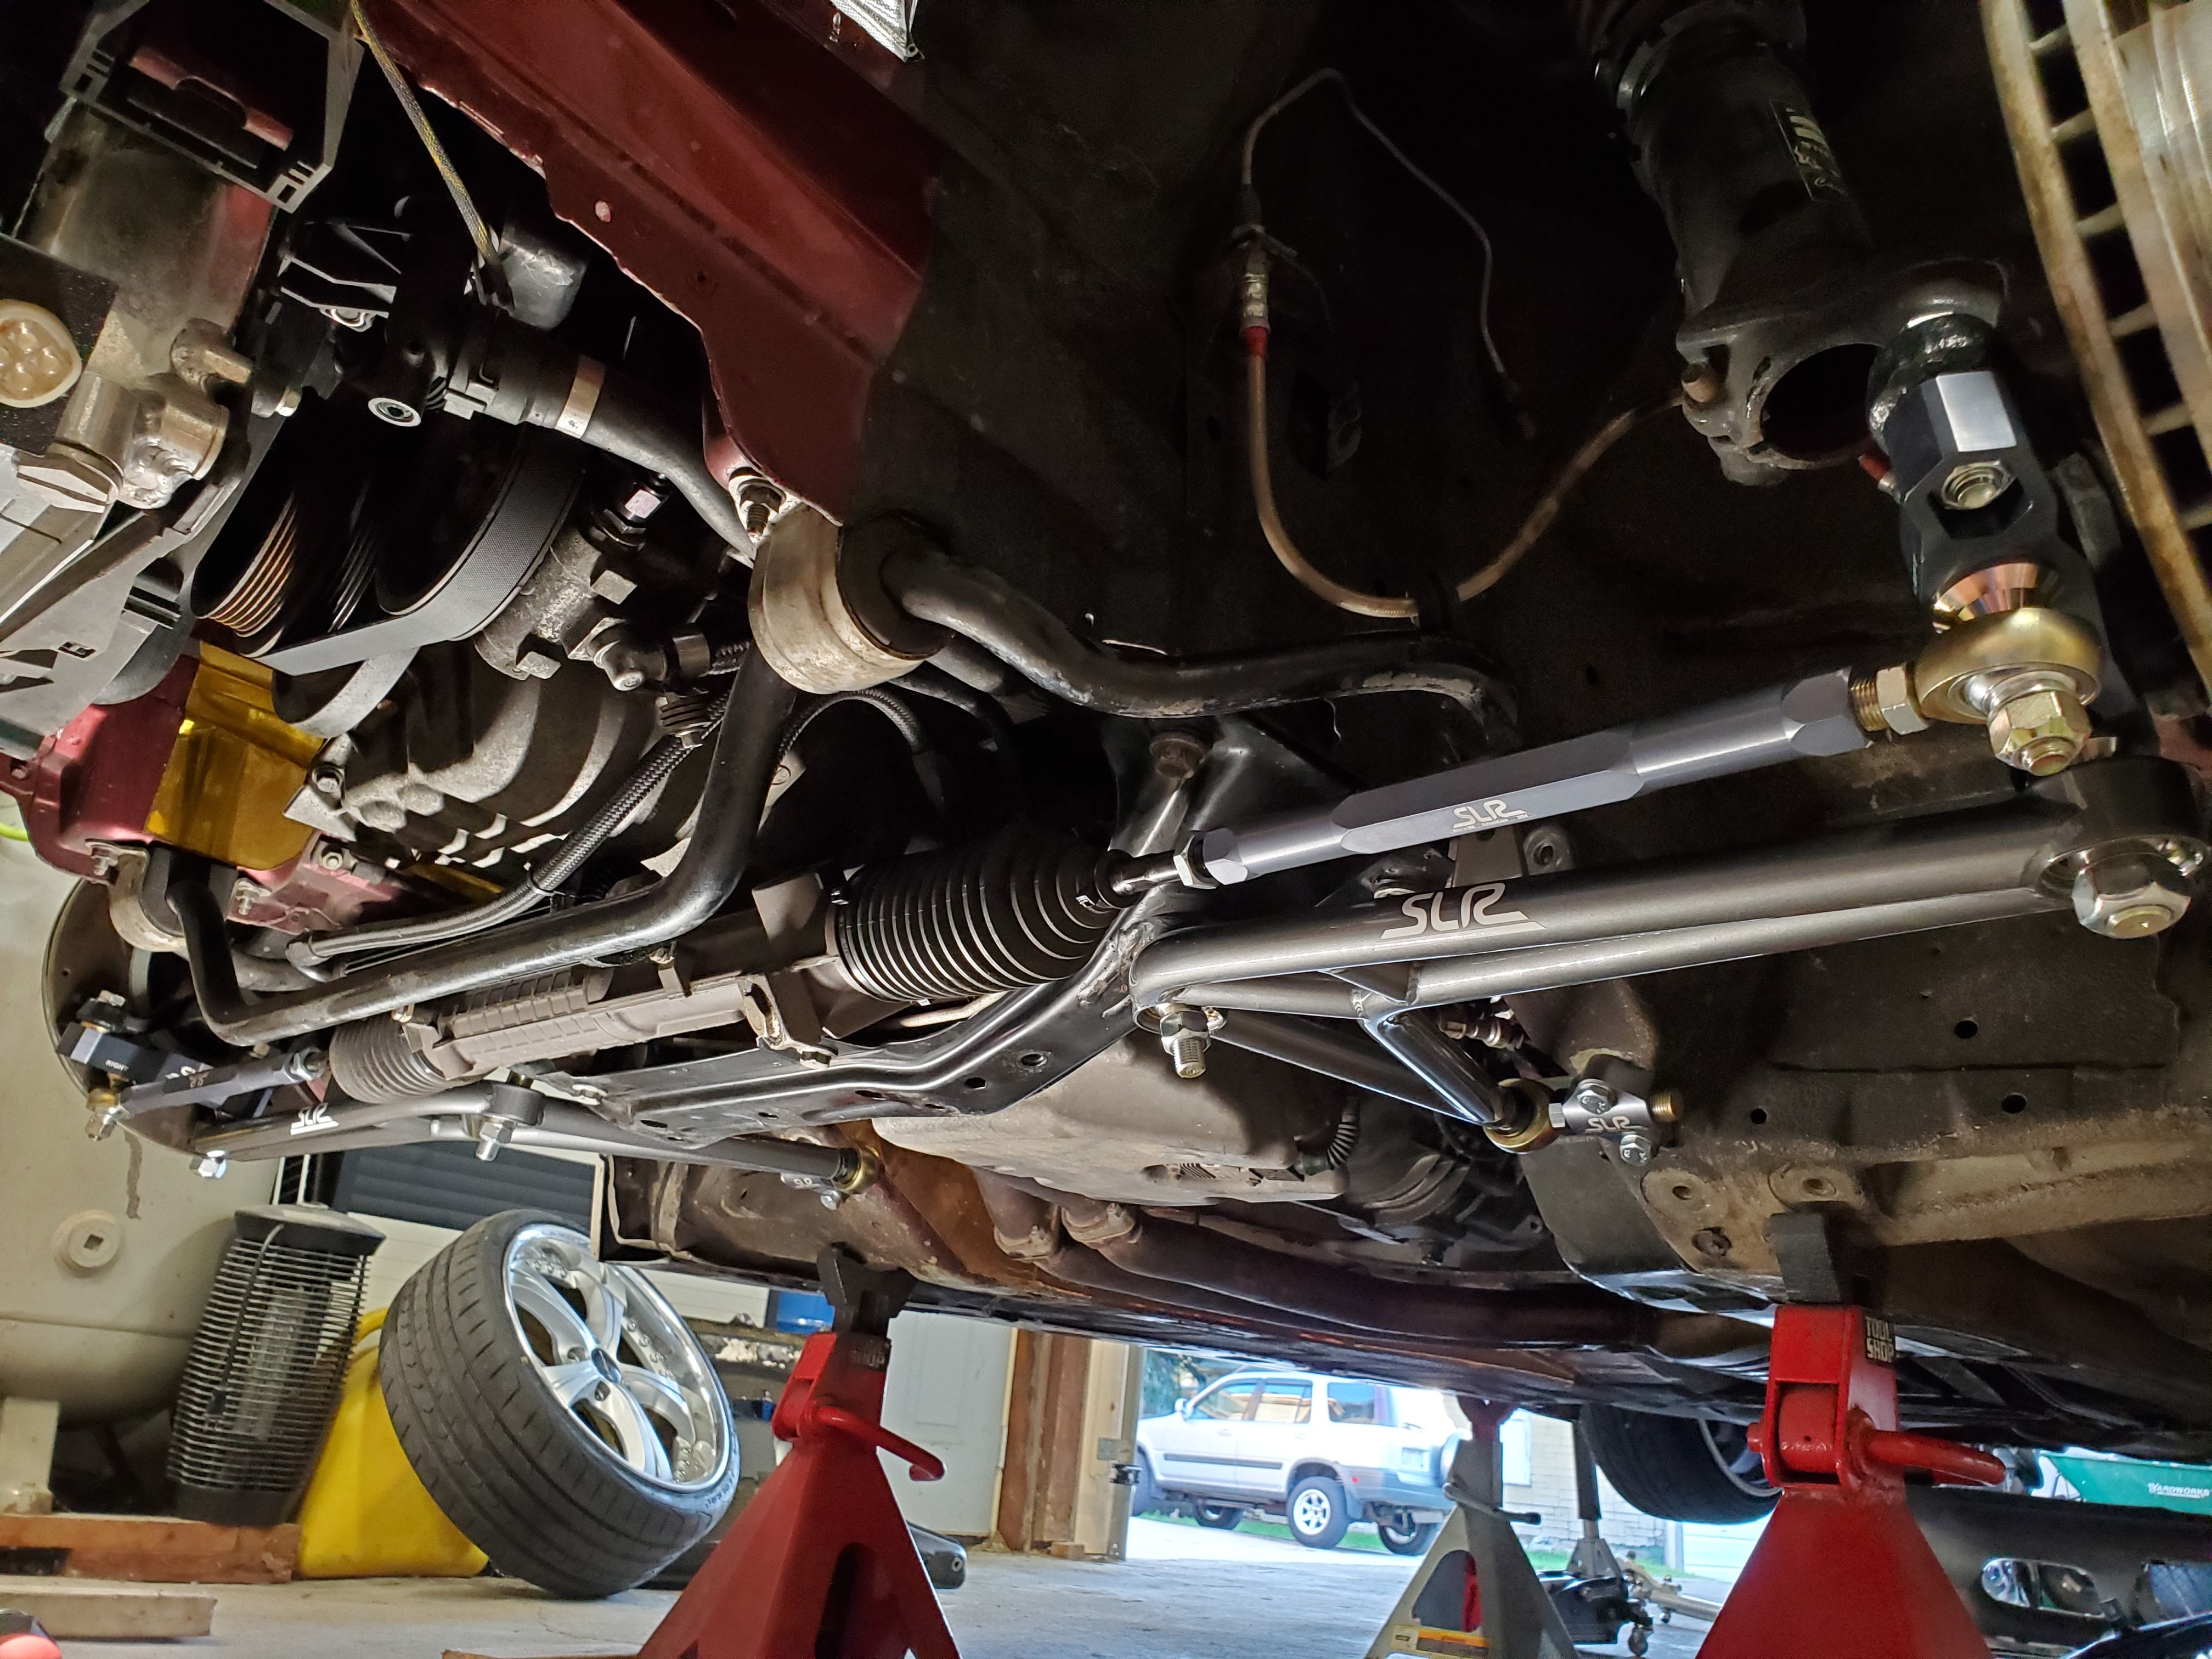
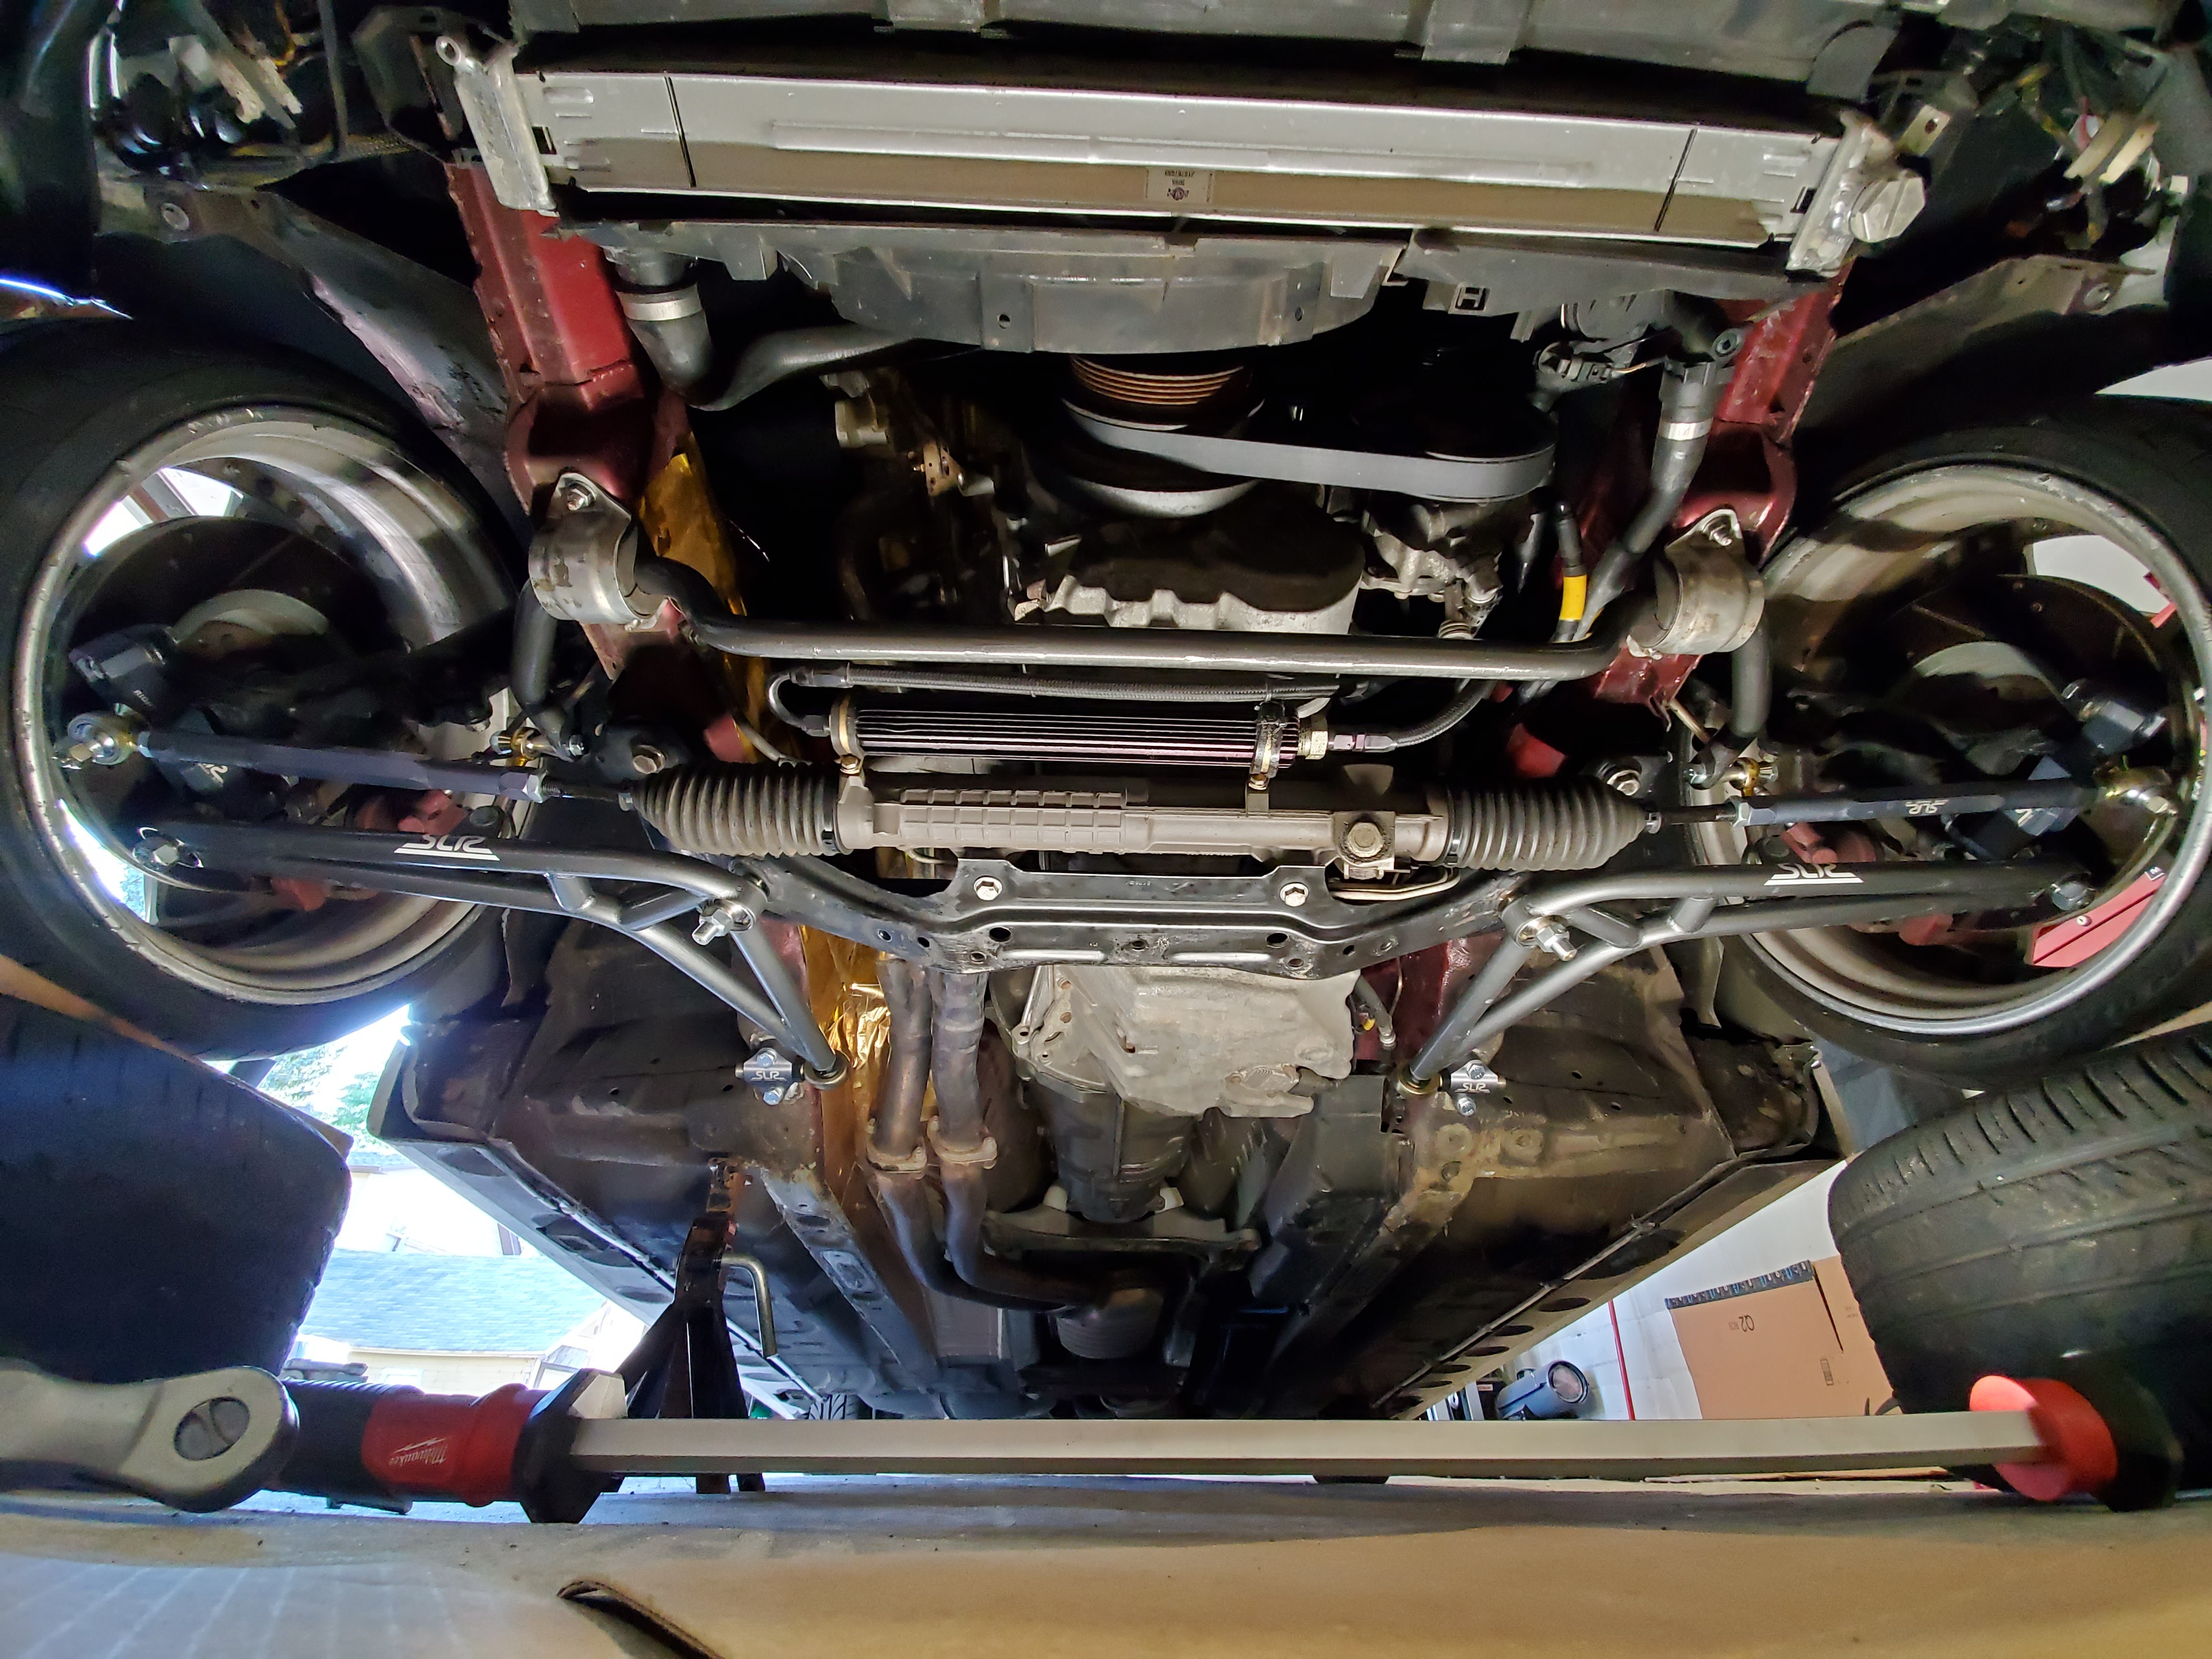
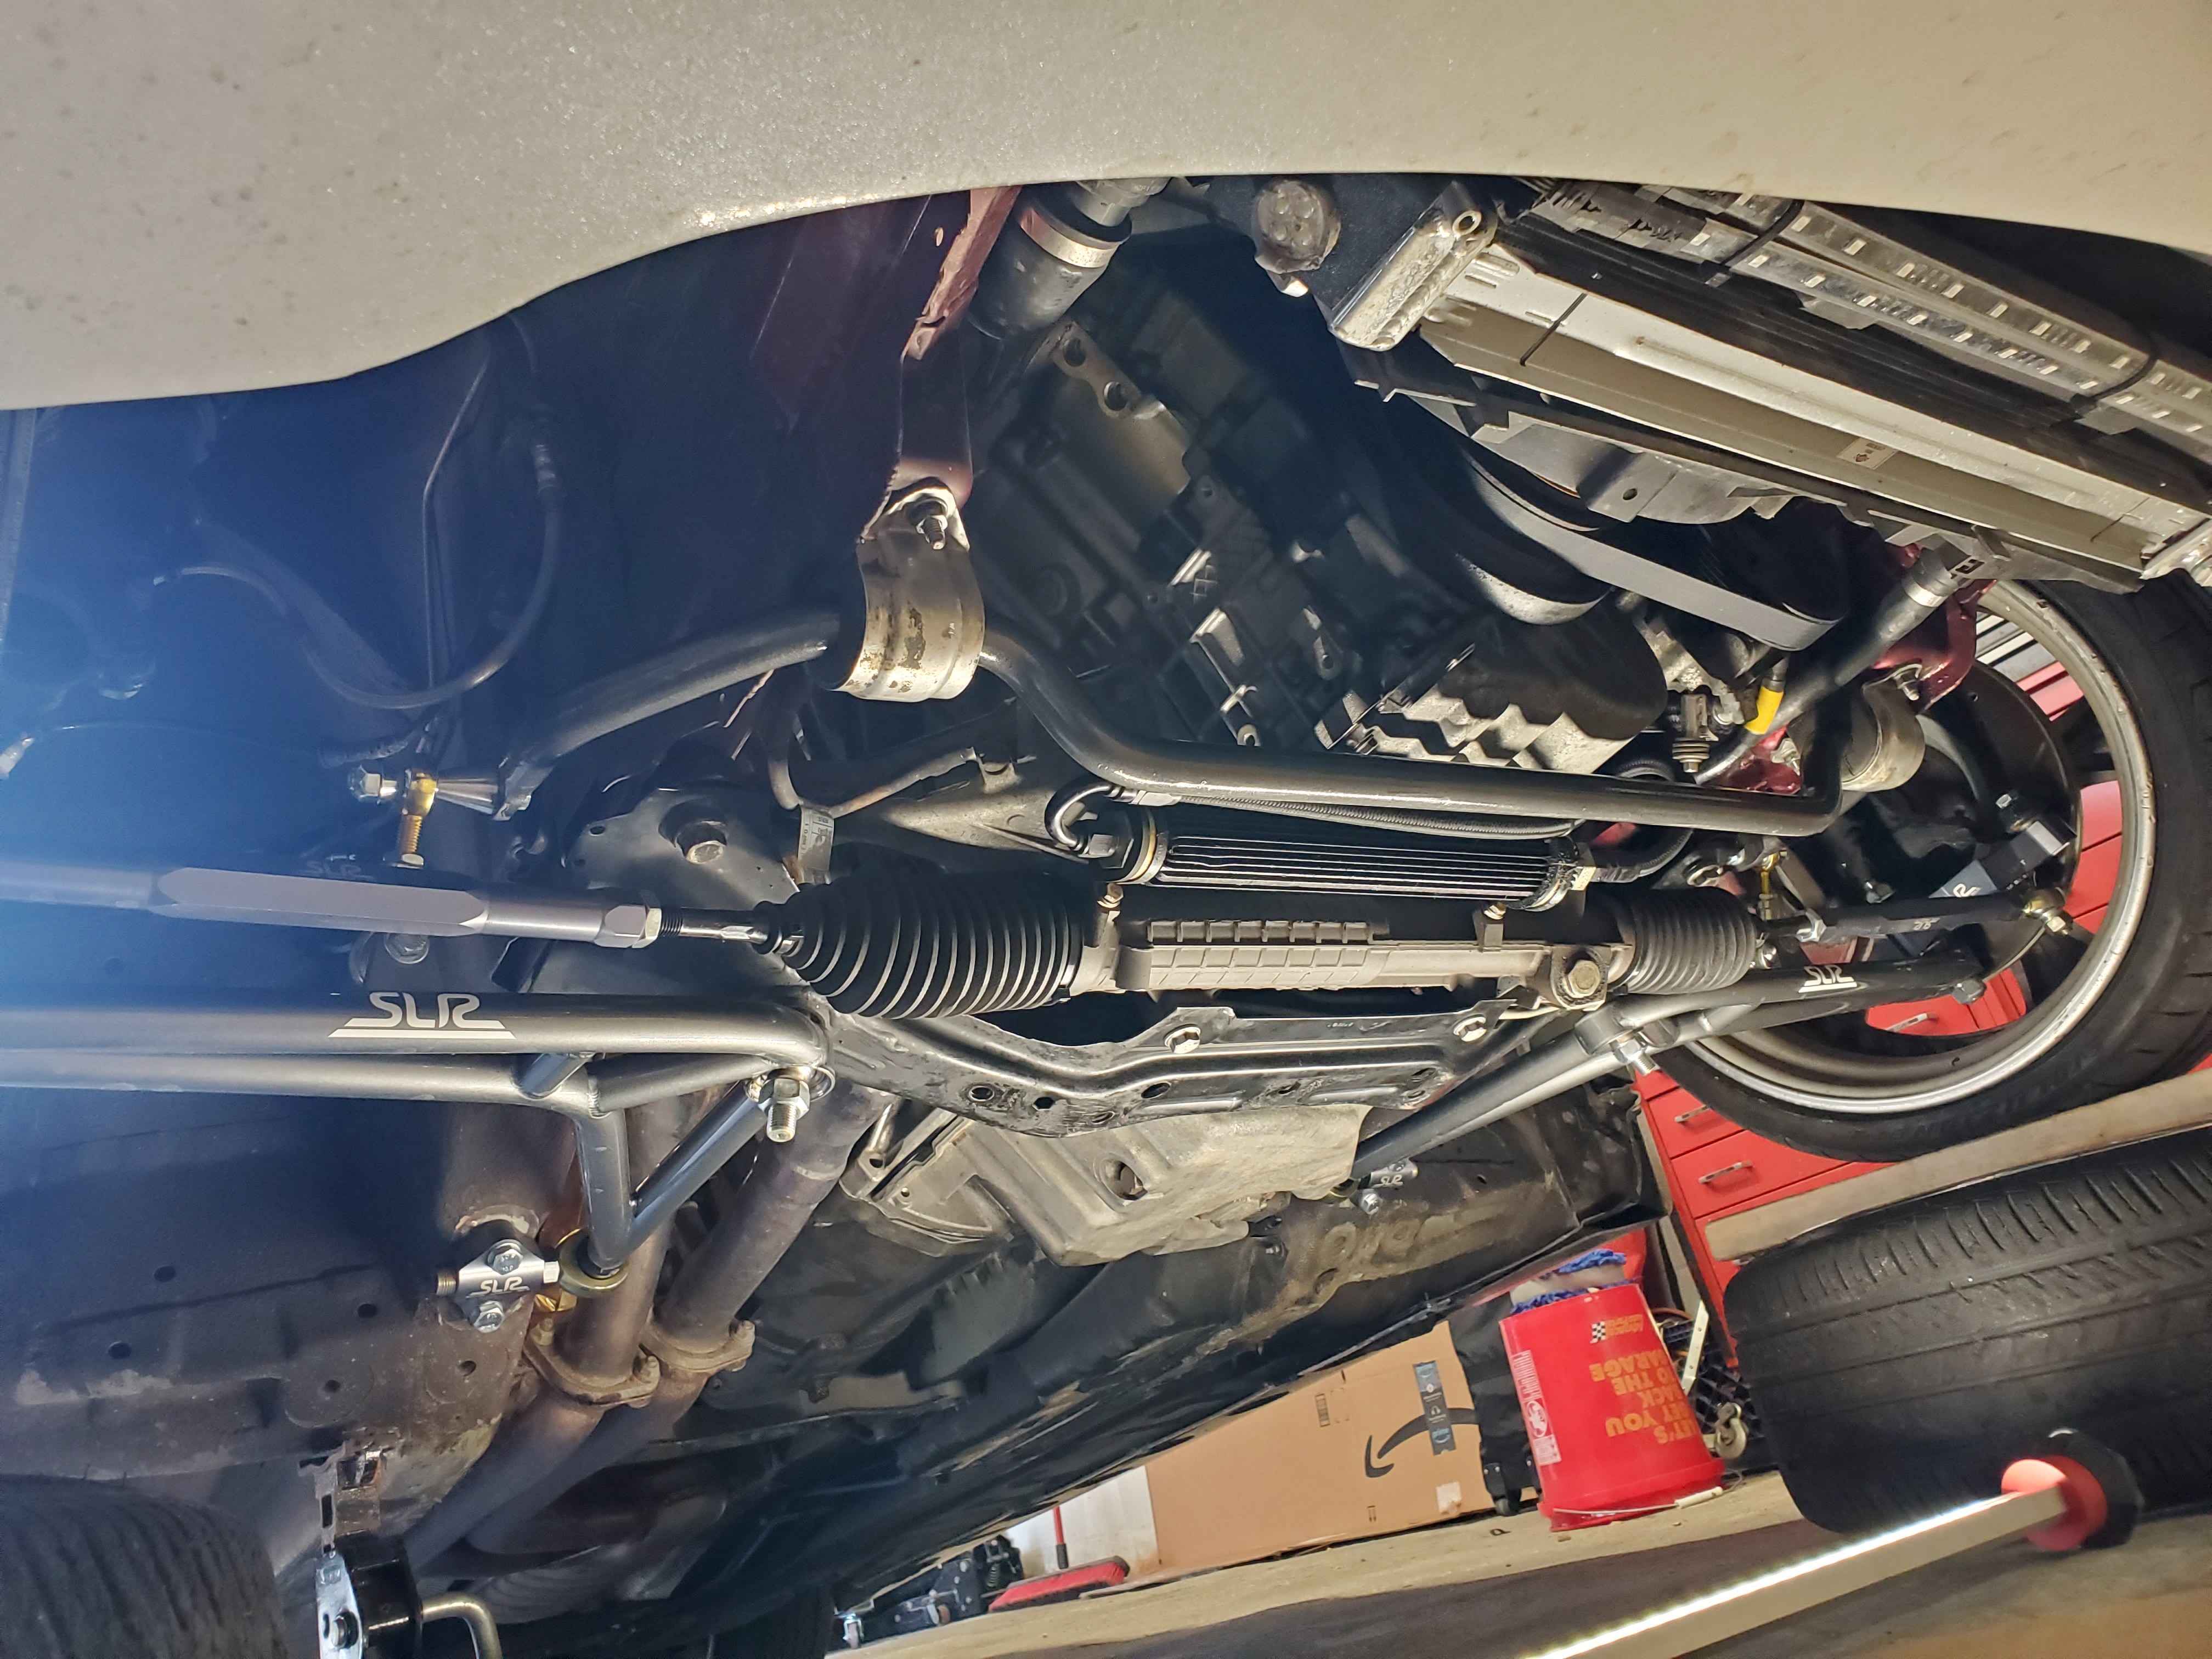
Received the new SLR kit and got it installed the same day!
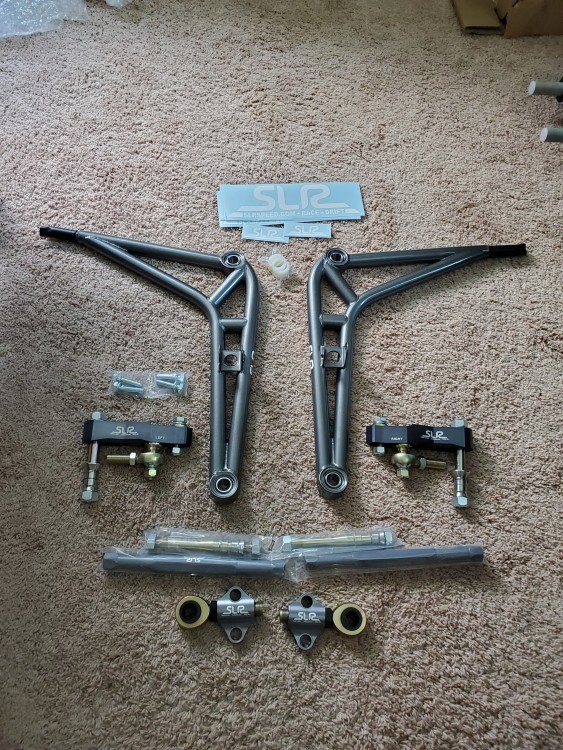
The quality and build of this kit is out of this world.
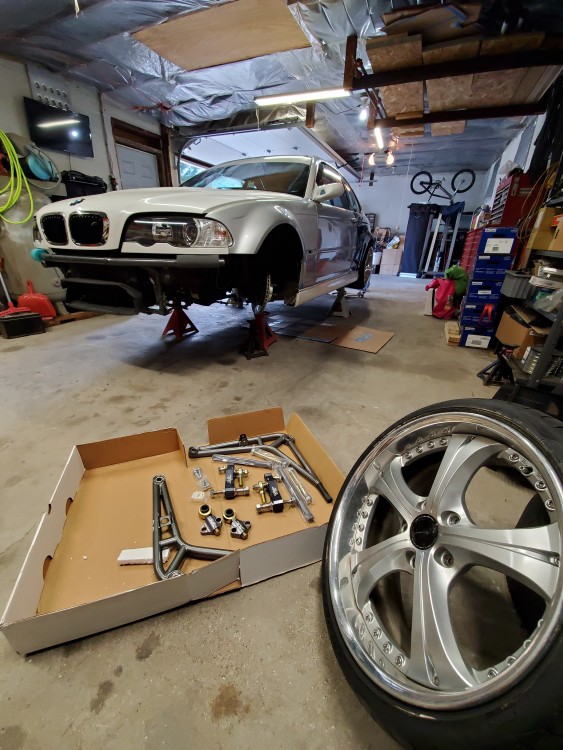
And fhe fit is right in par with everything else about it. I cannot believe I waited this long to purchase one.
Here is a photo of one installed.
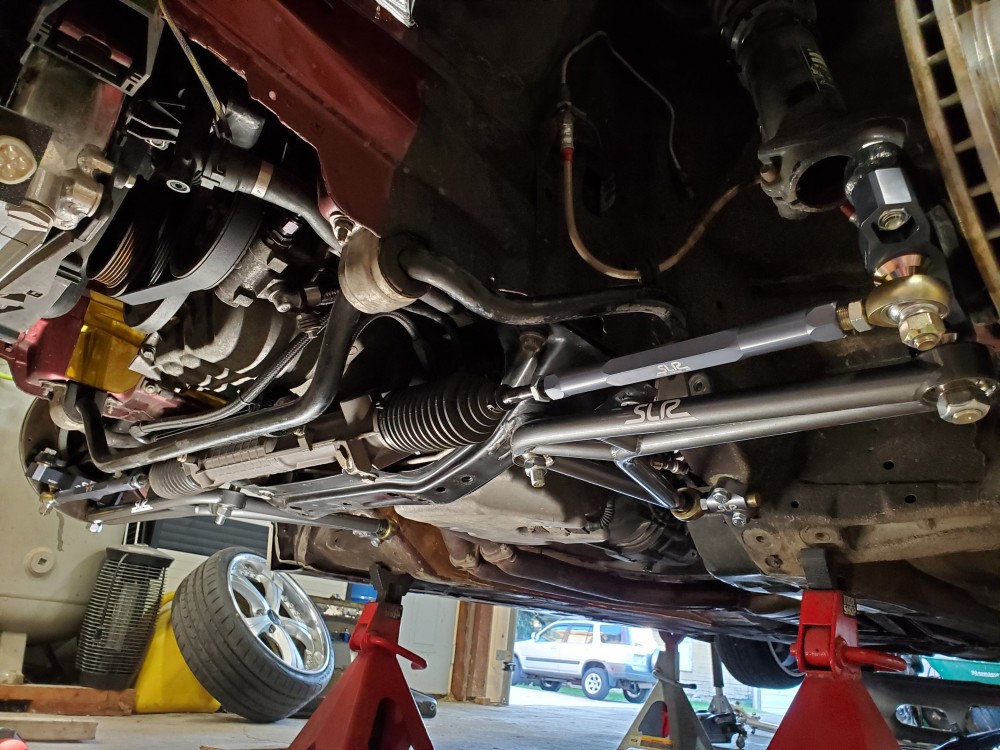
And a photo of the wheels on at full lock, mind you this is without the lock stops that keep the barrel from making contact with the lower arm. Its just insane what this kit is capable of.
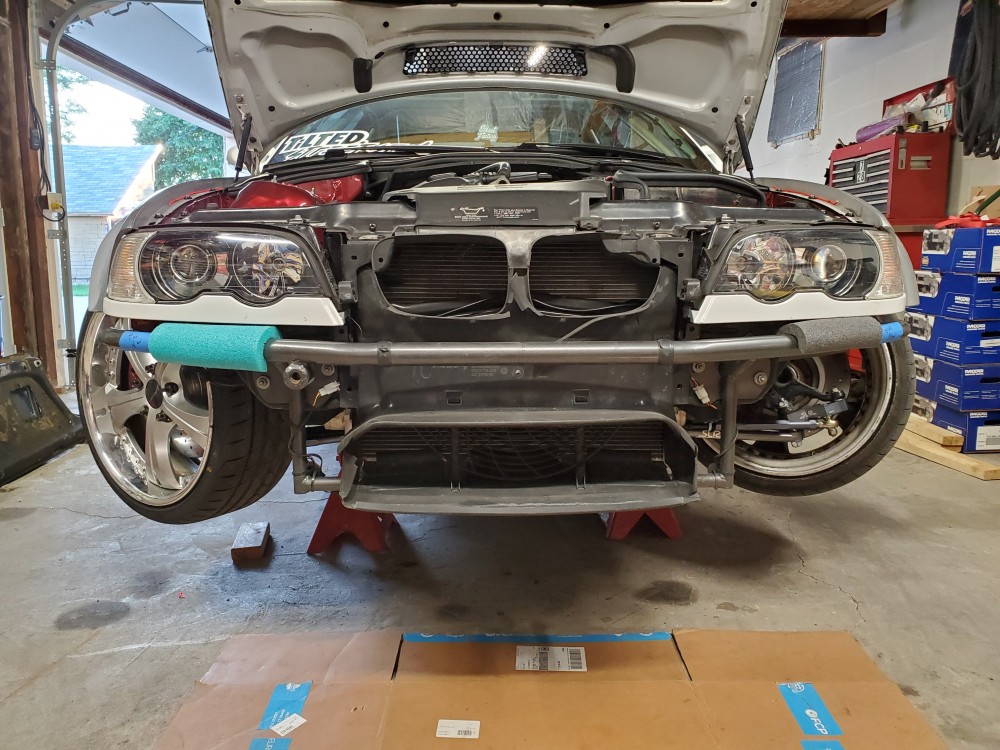
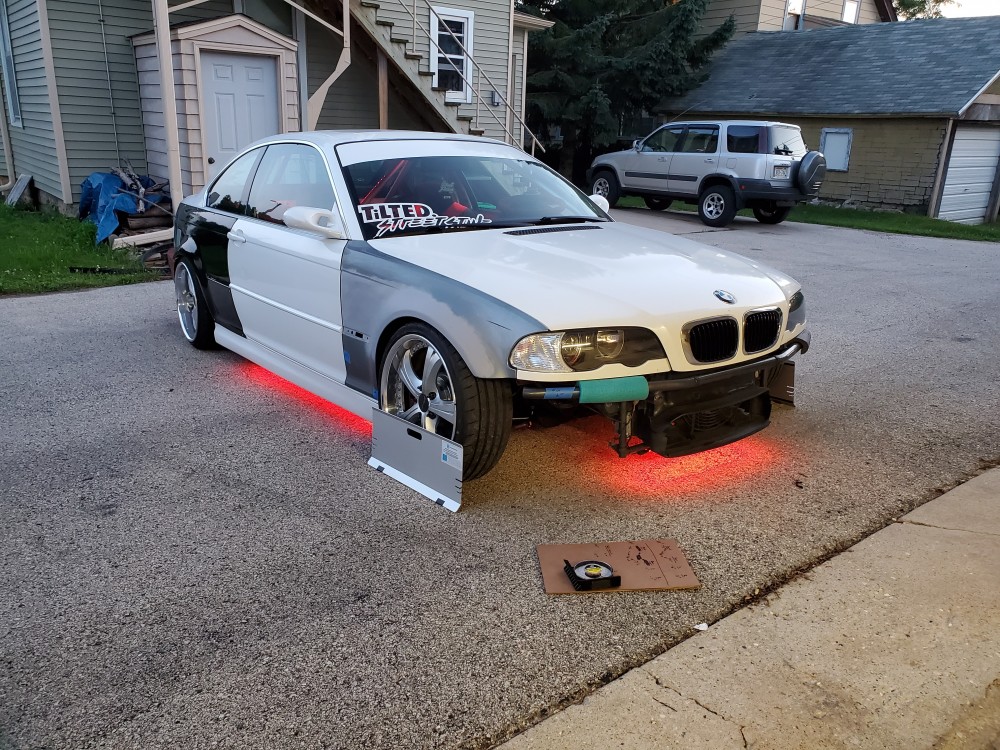
Once I had the lock stops dialed it was time for a good ole driveway alignment.
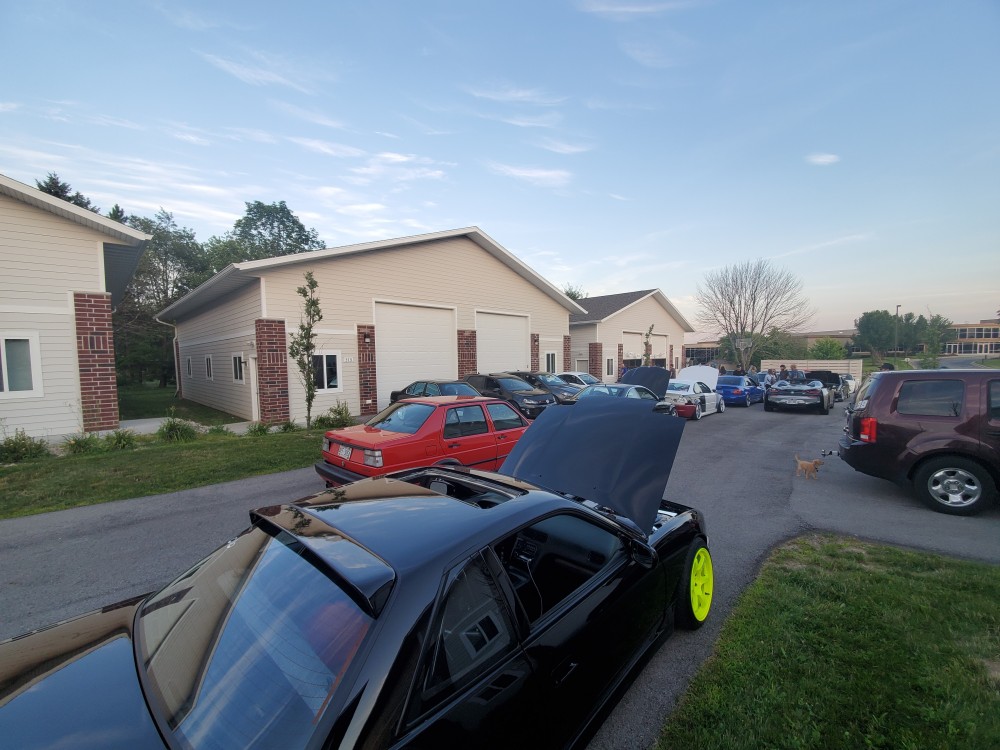
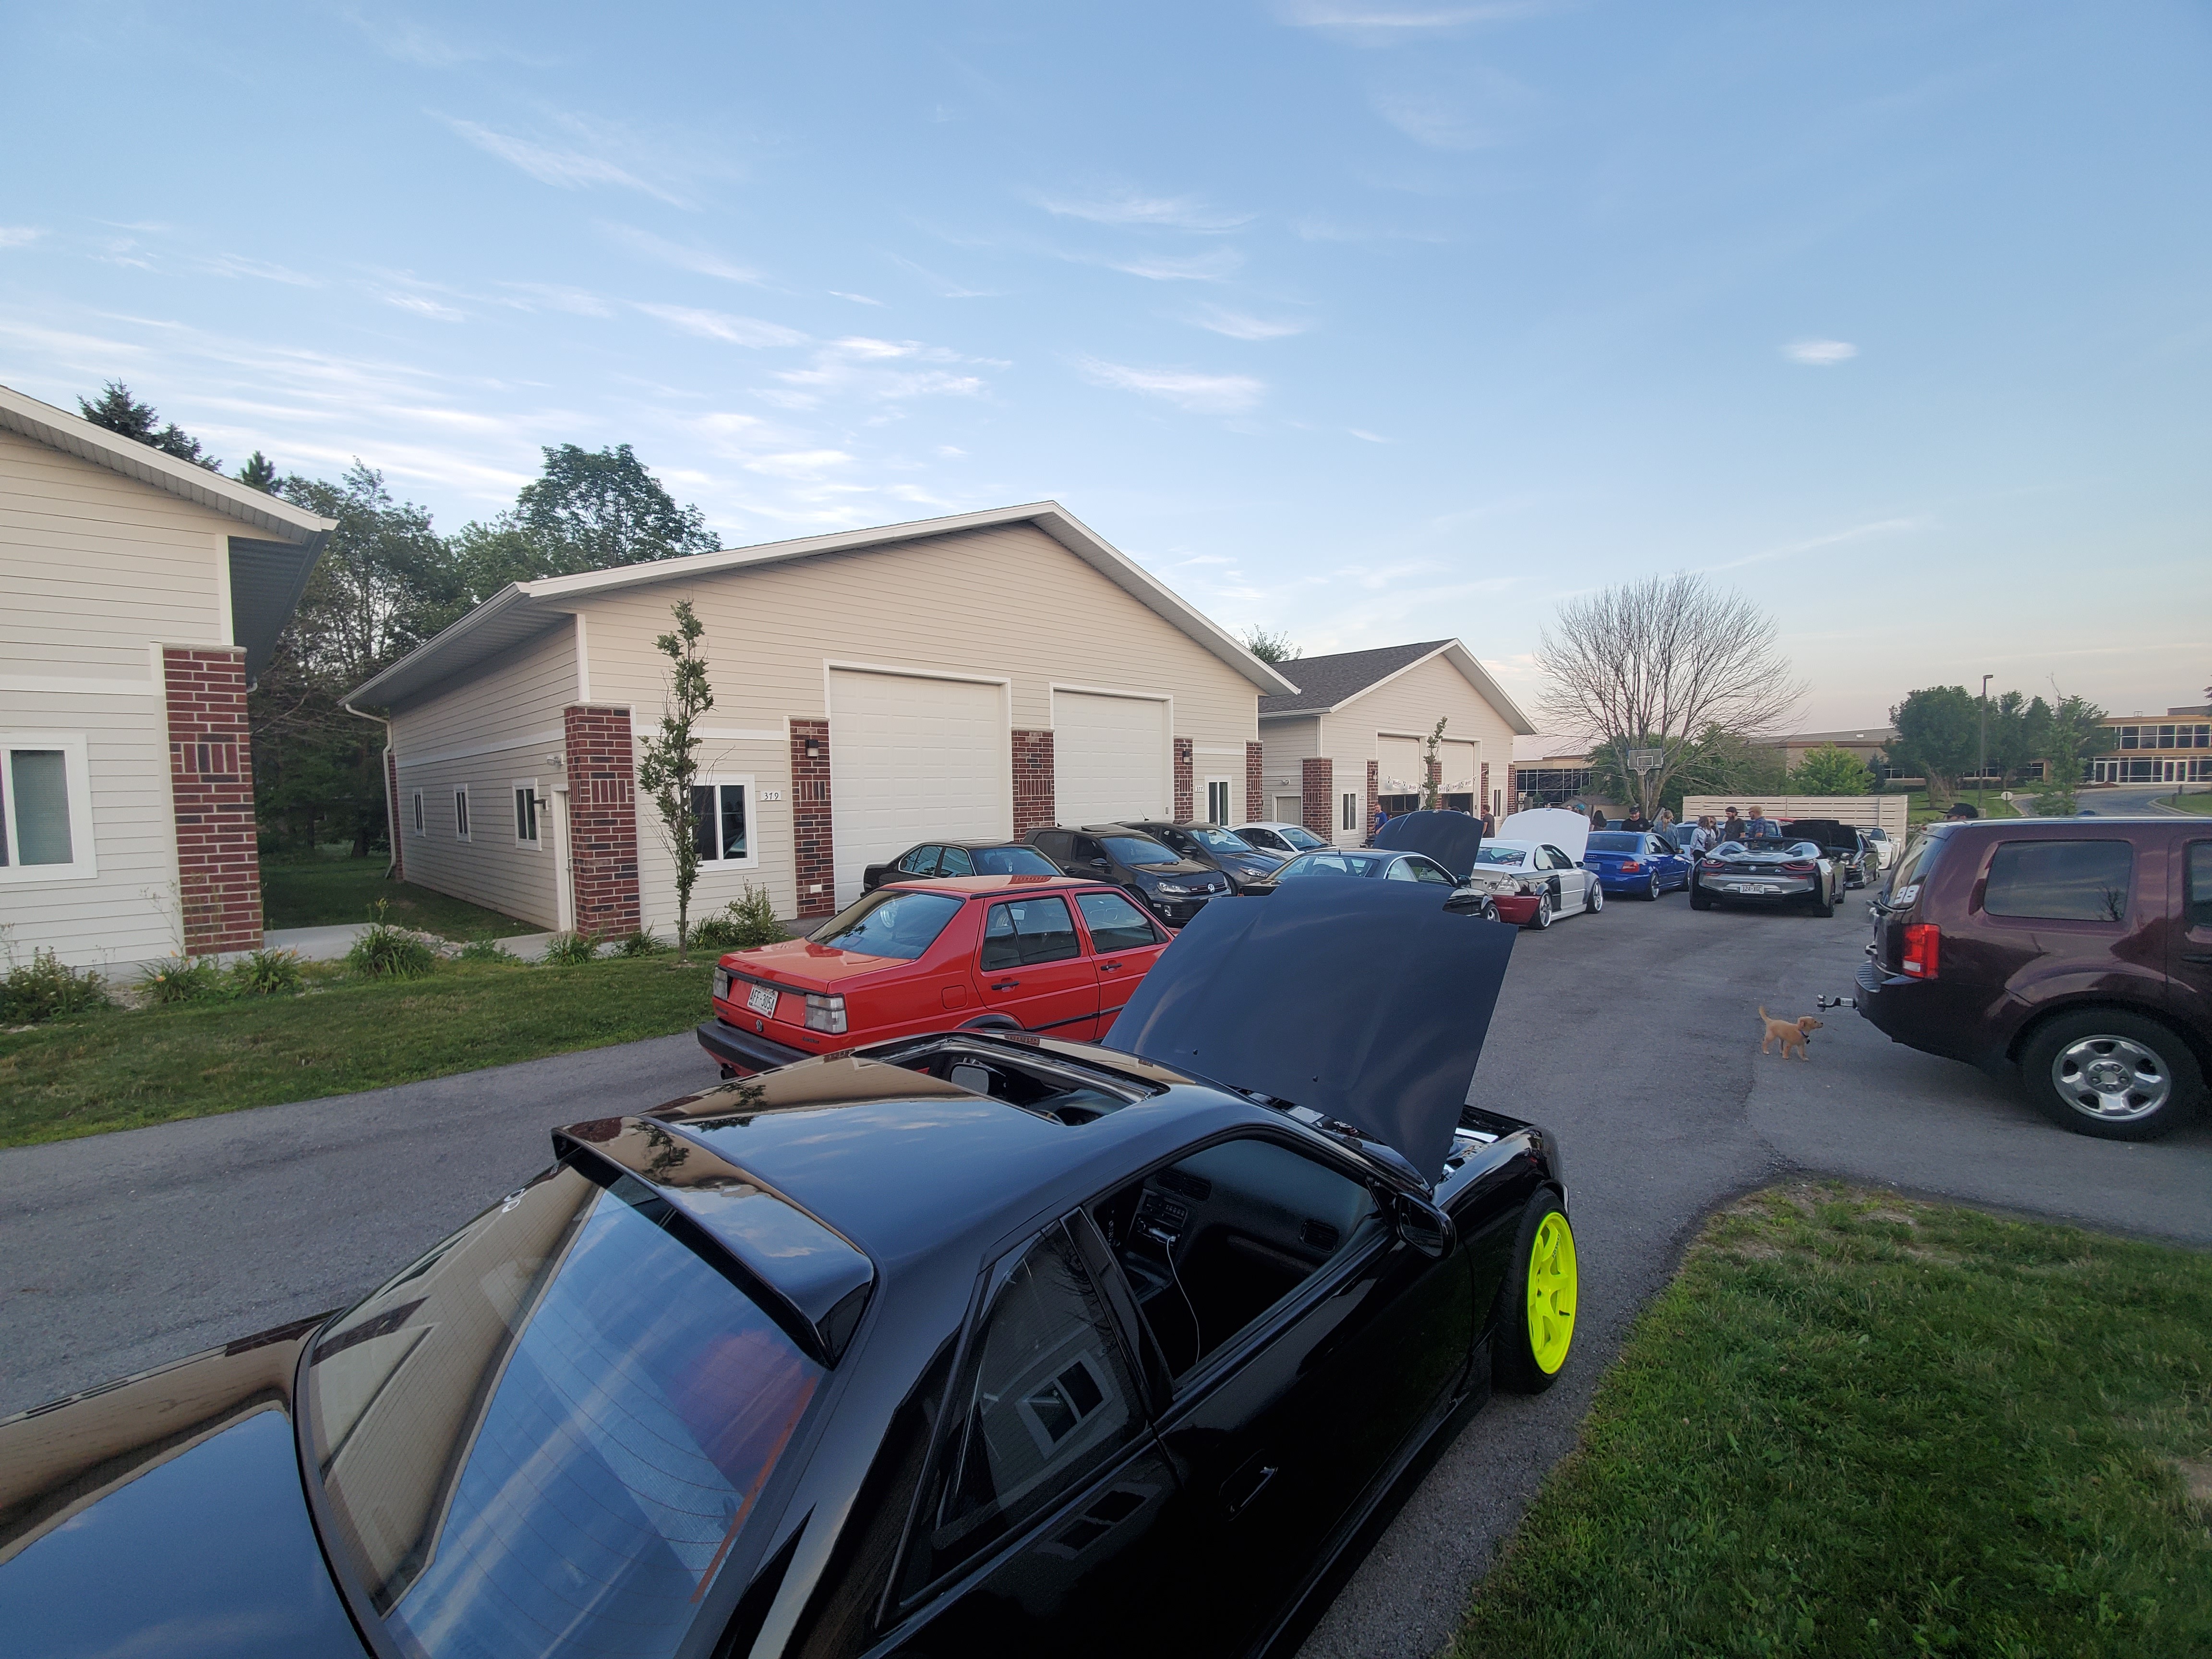
Went to a shop get together/party with the Pnuespeed guys (who we get our tires from) and they announced the big news of a rebranding! They are adding wheels, clutches, suspension and lots of other automotive parts to their arsenal and it will all be available through Track Day Direct.
Here's a photo from the get together
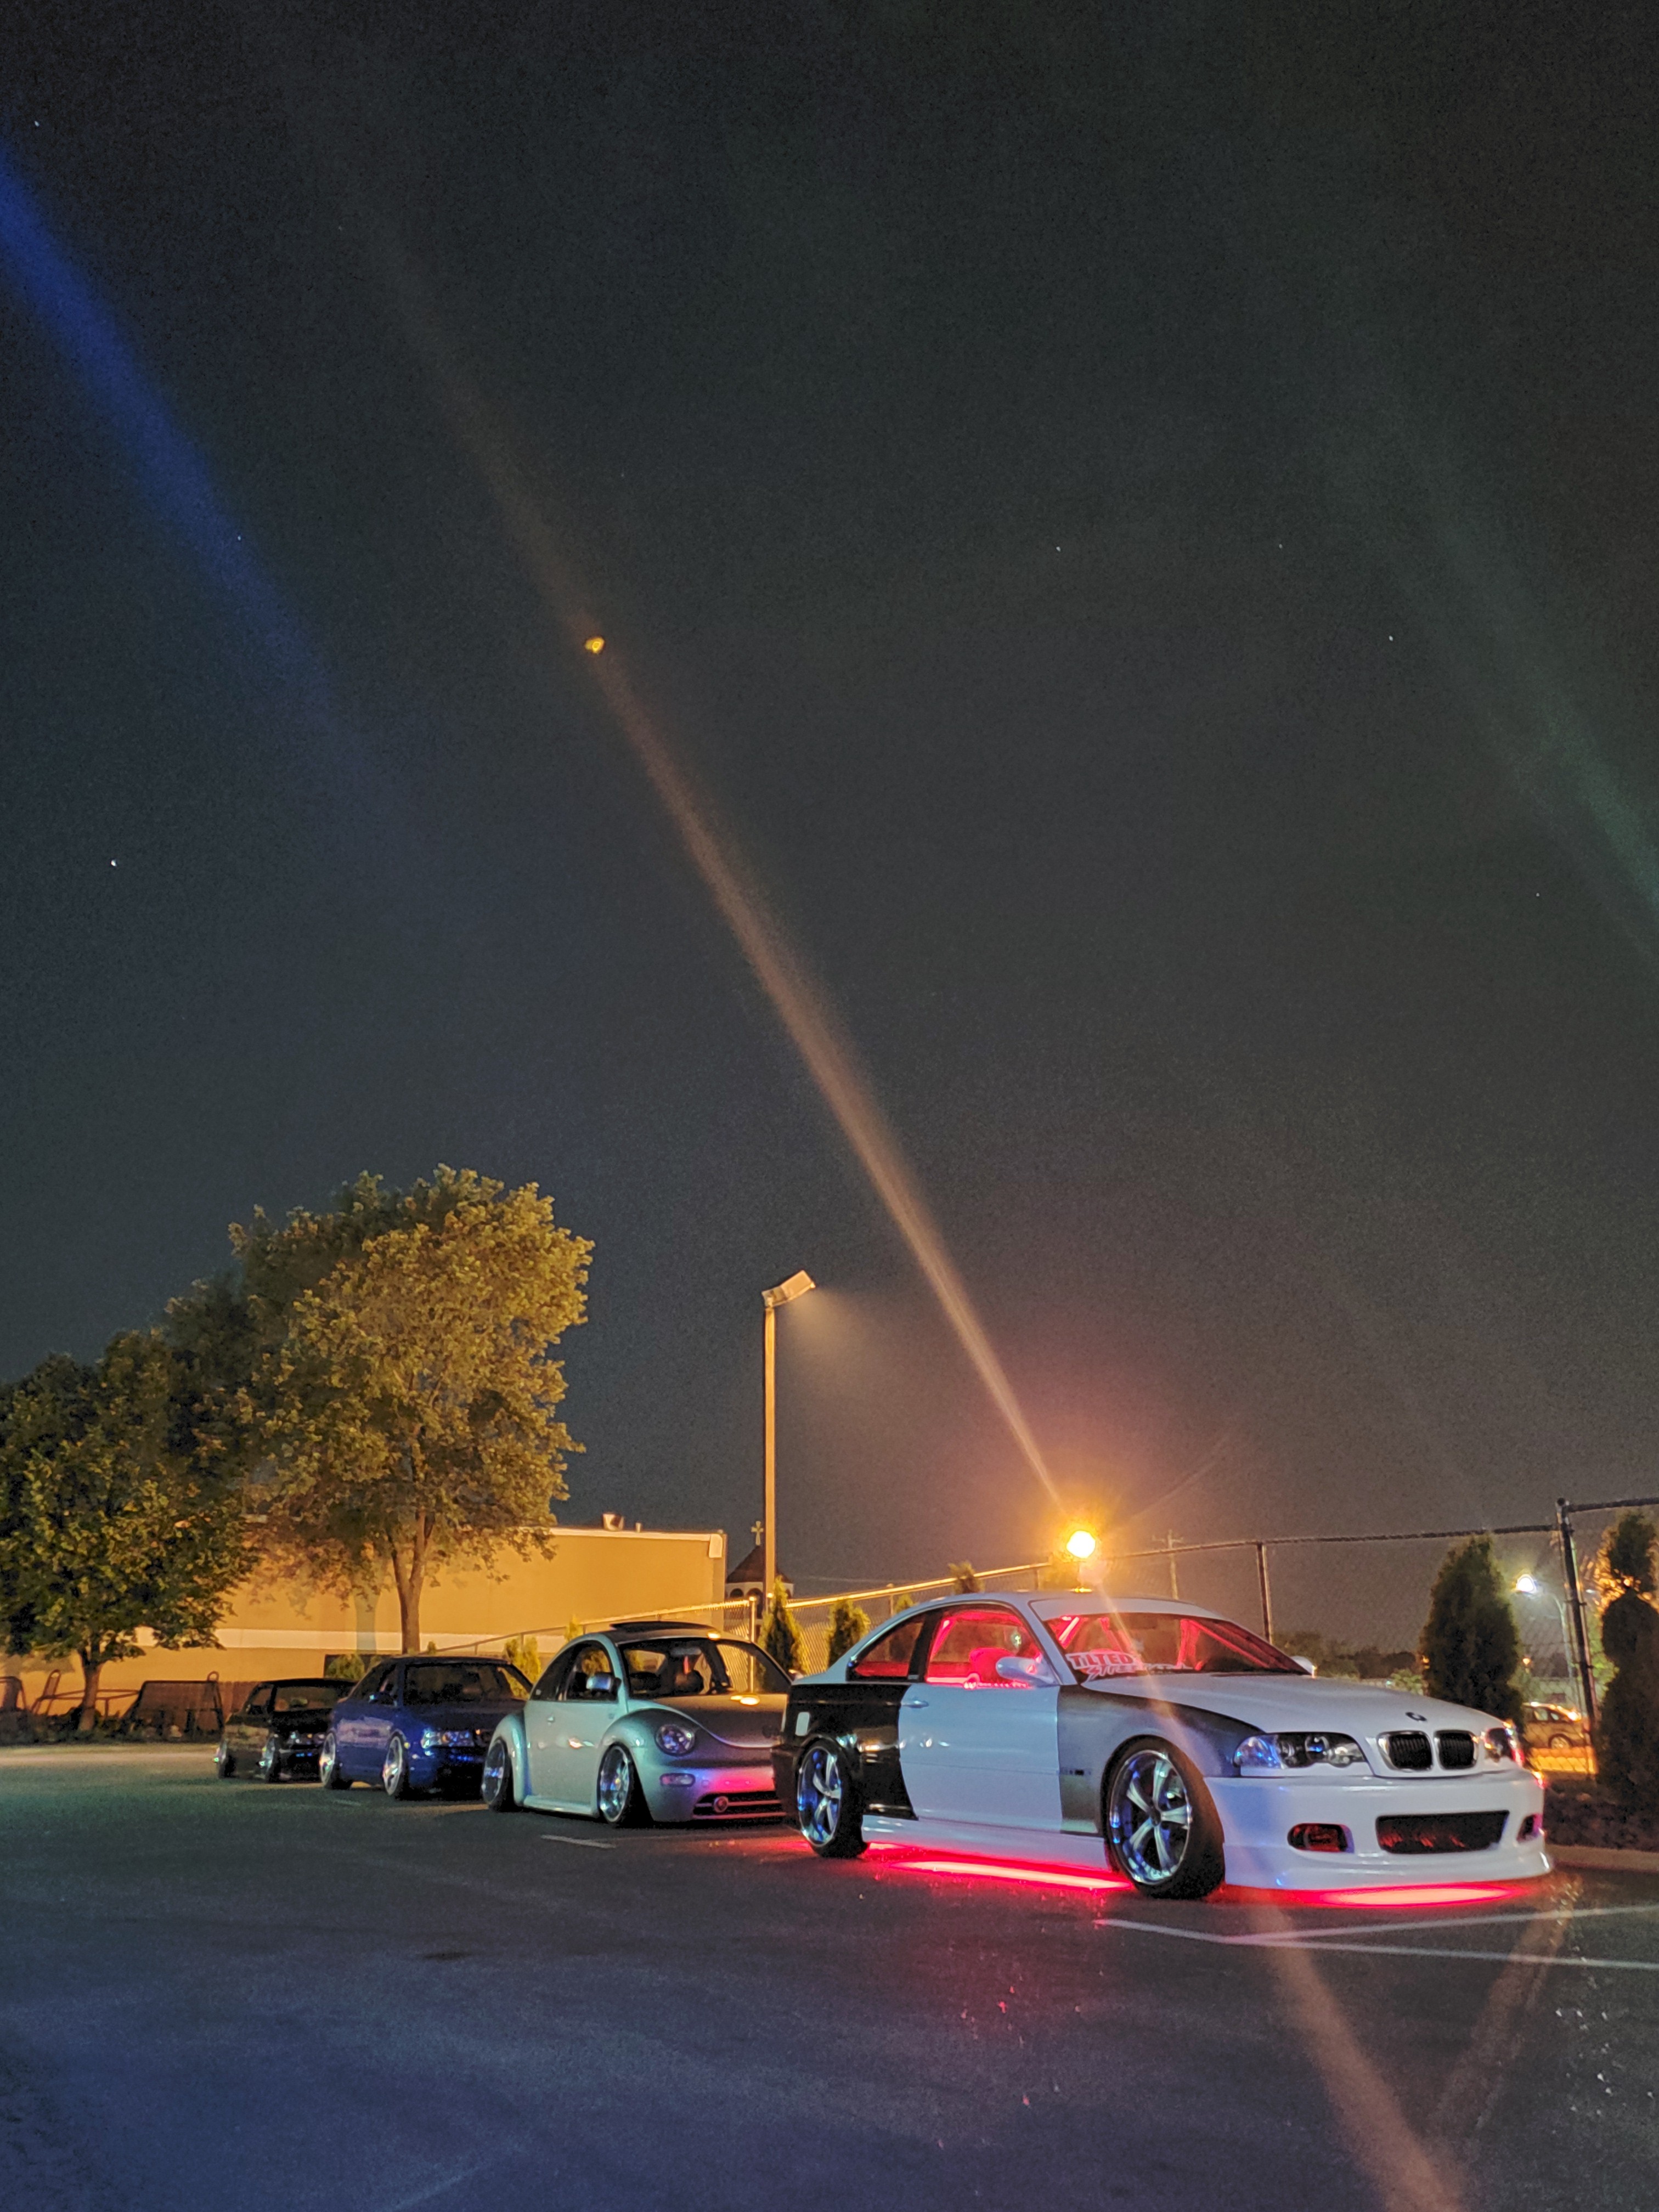
And after the shop party we went for a cruise to get ice cream in Milwaukee and I snagged a few pics!
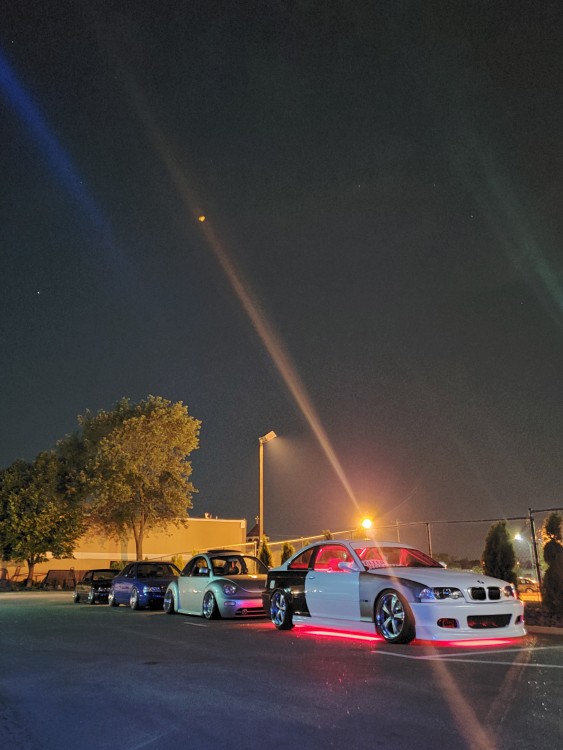
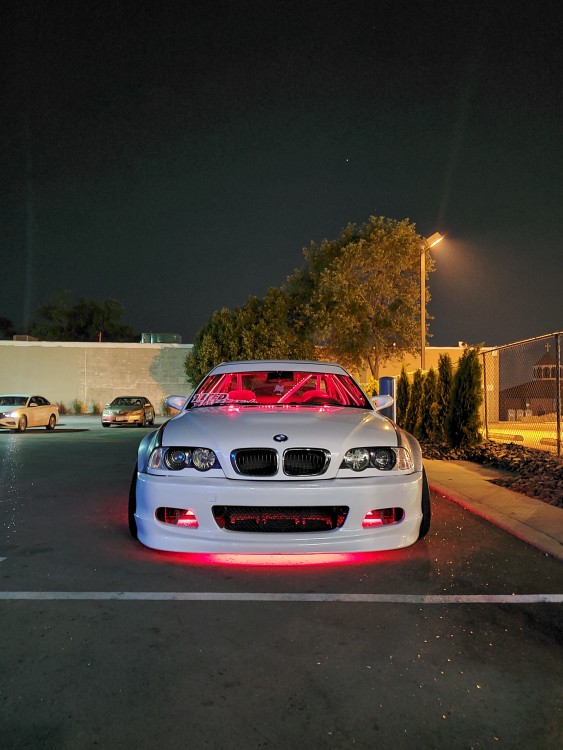
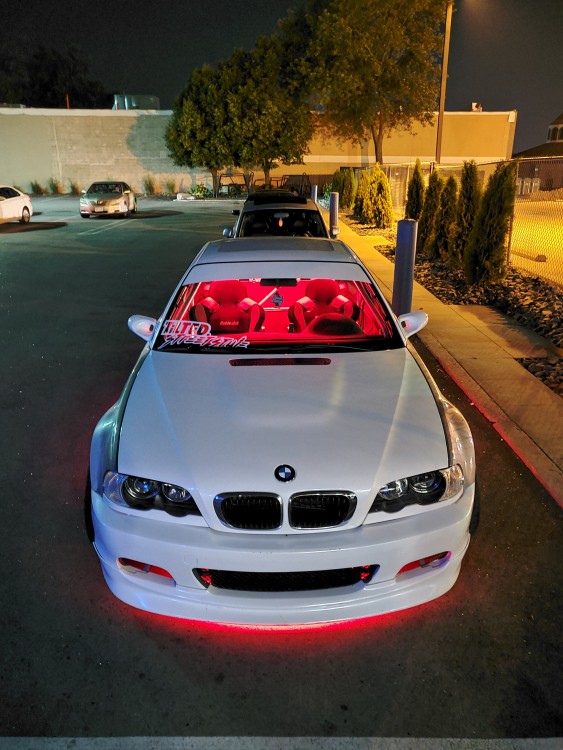
It was really nice getting to go for more than a 10 minute cruise! Hopefully after getting the sway bar set up sorted out/parts ordered ill be able to make it to an event this year lol.
-
Small update!
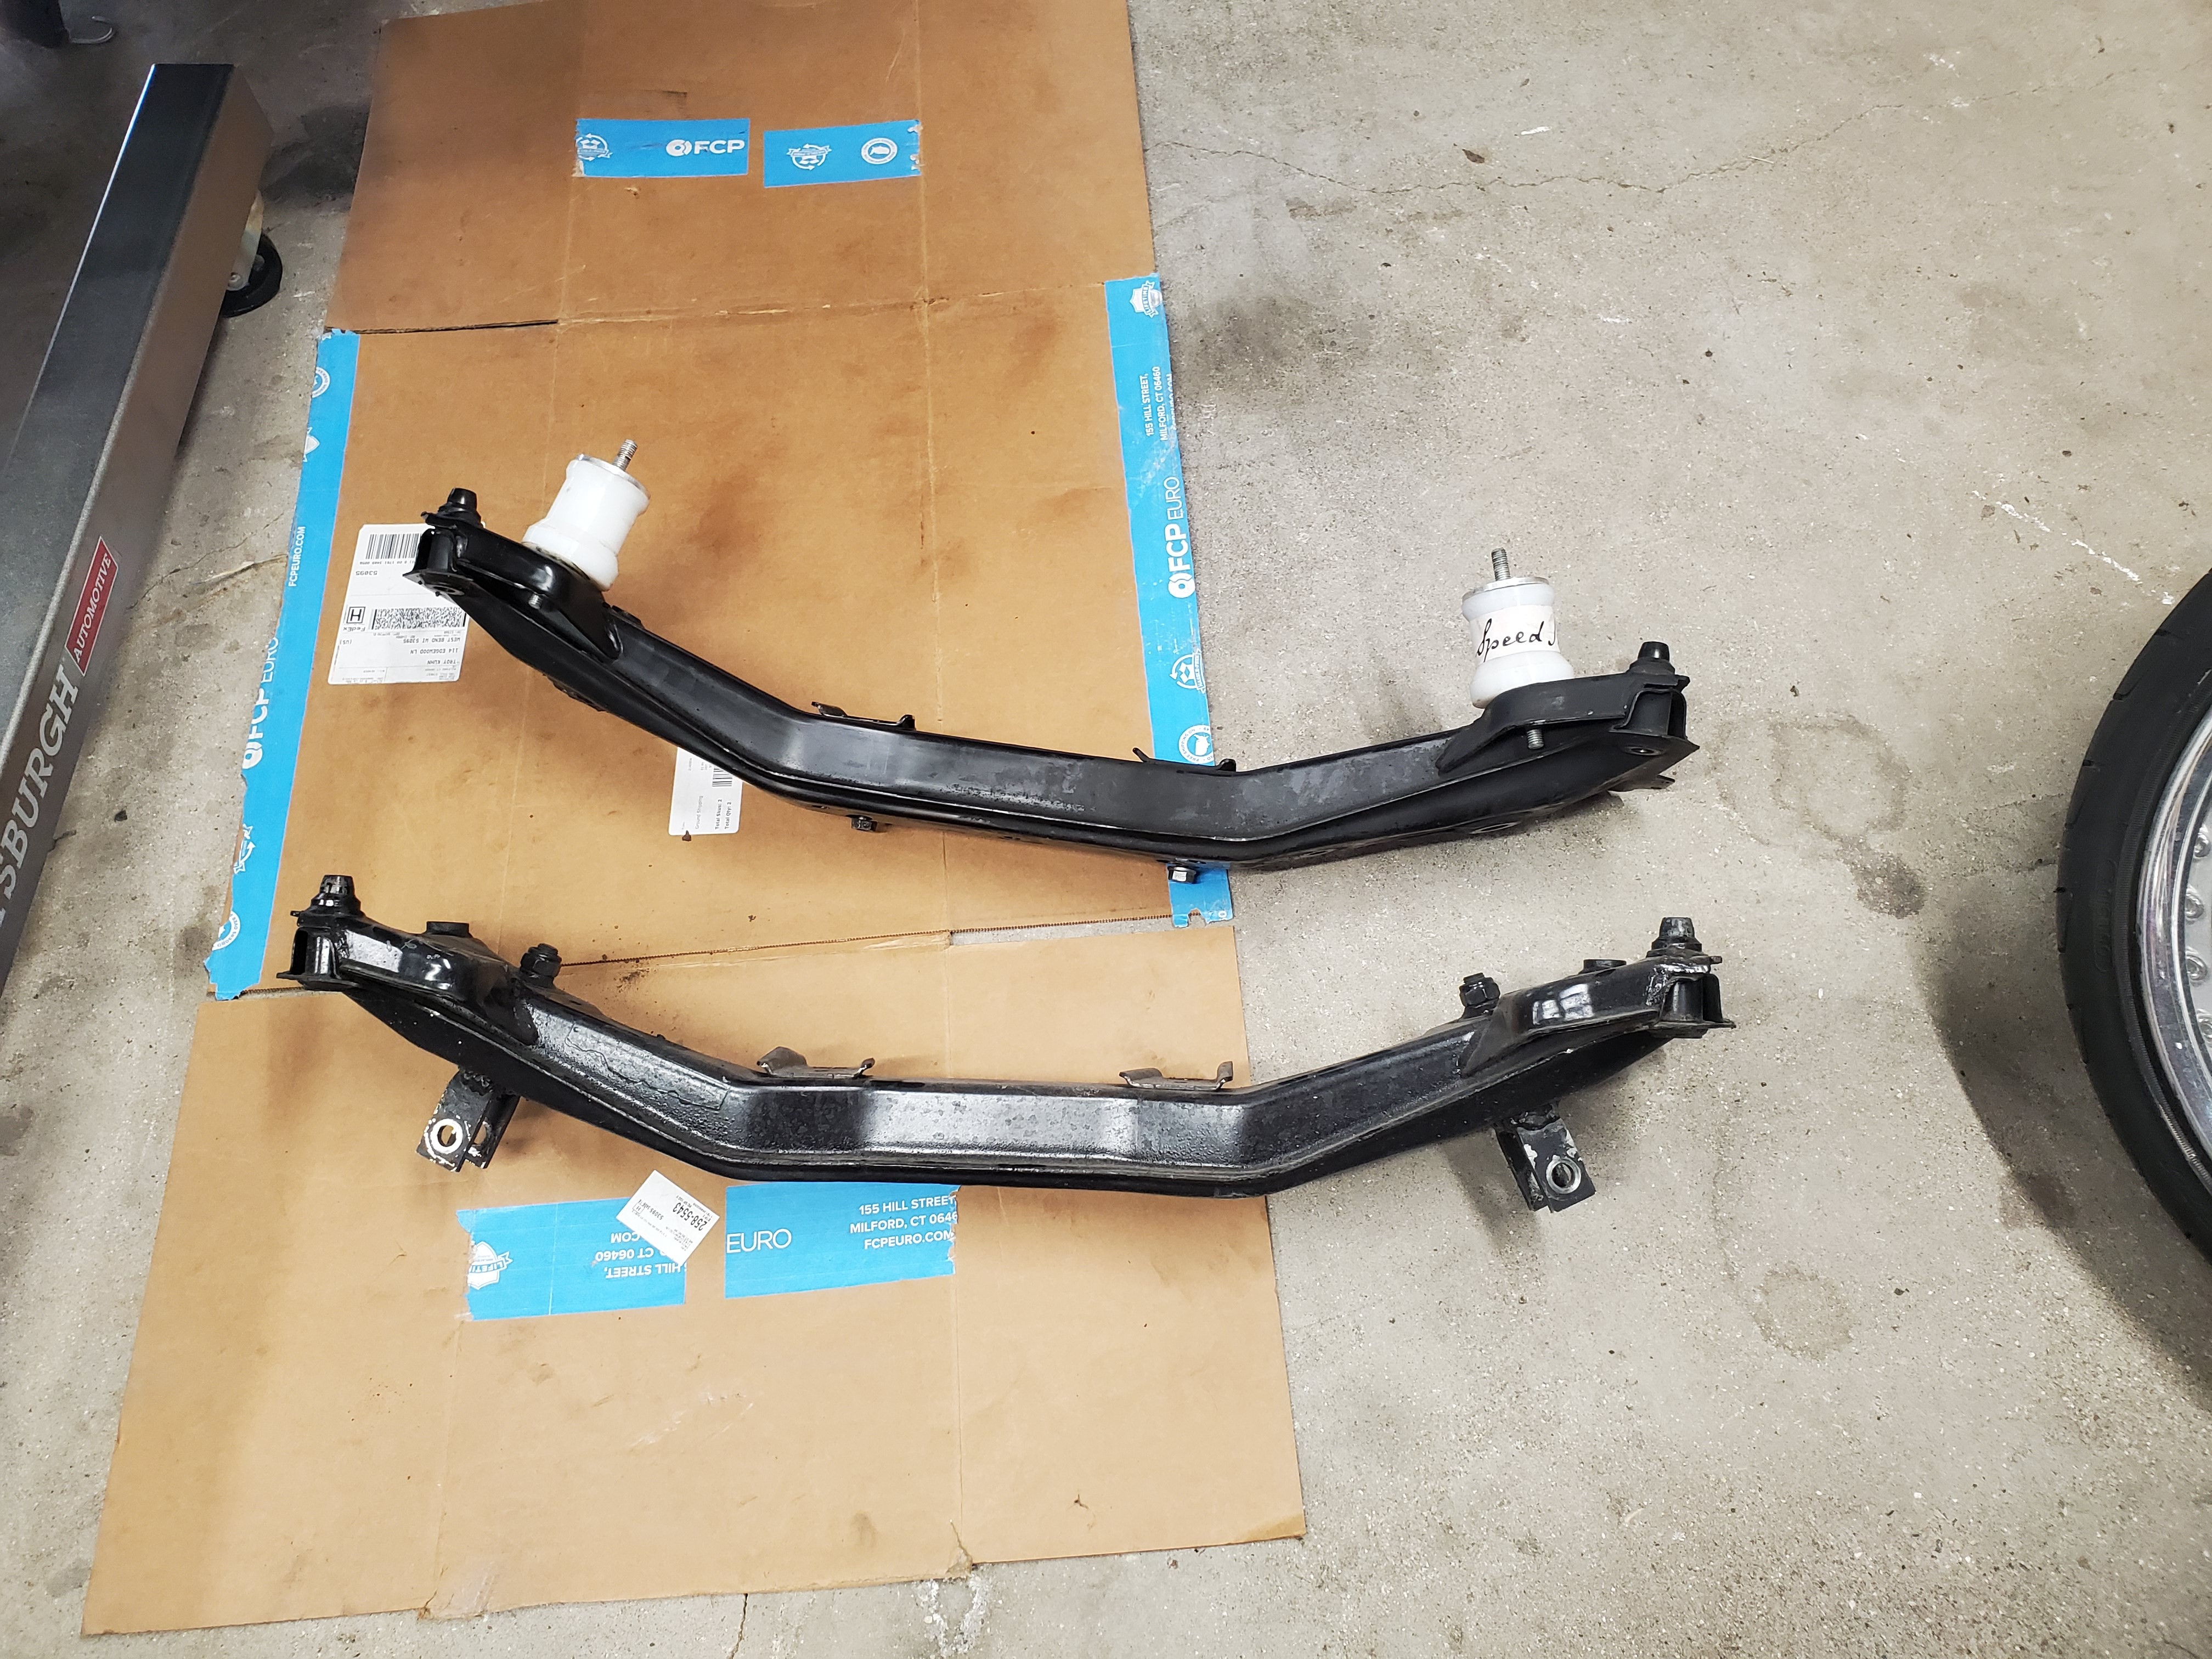
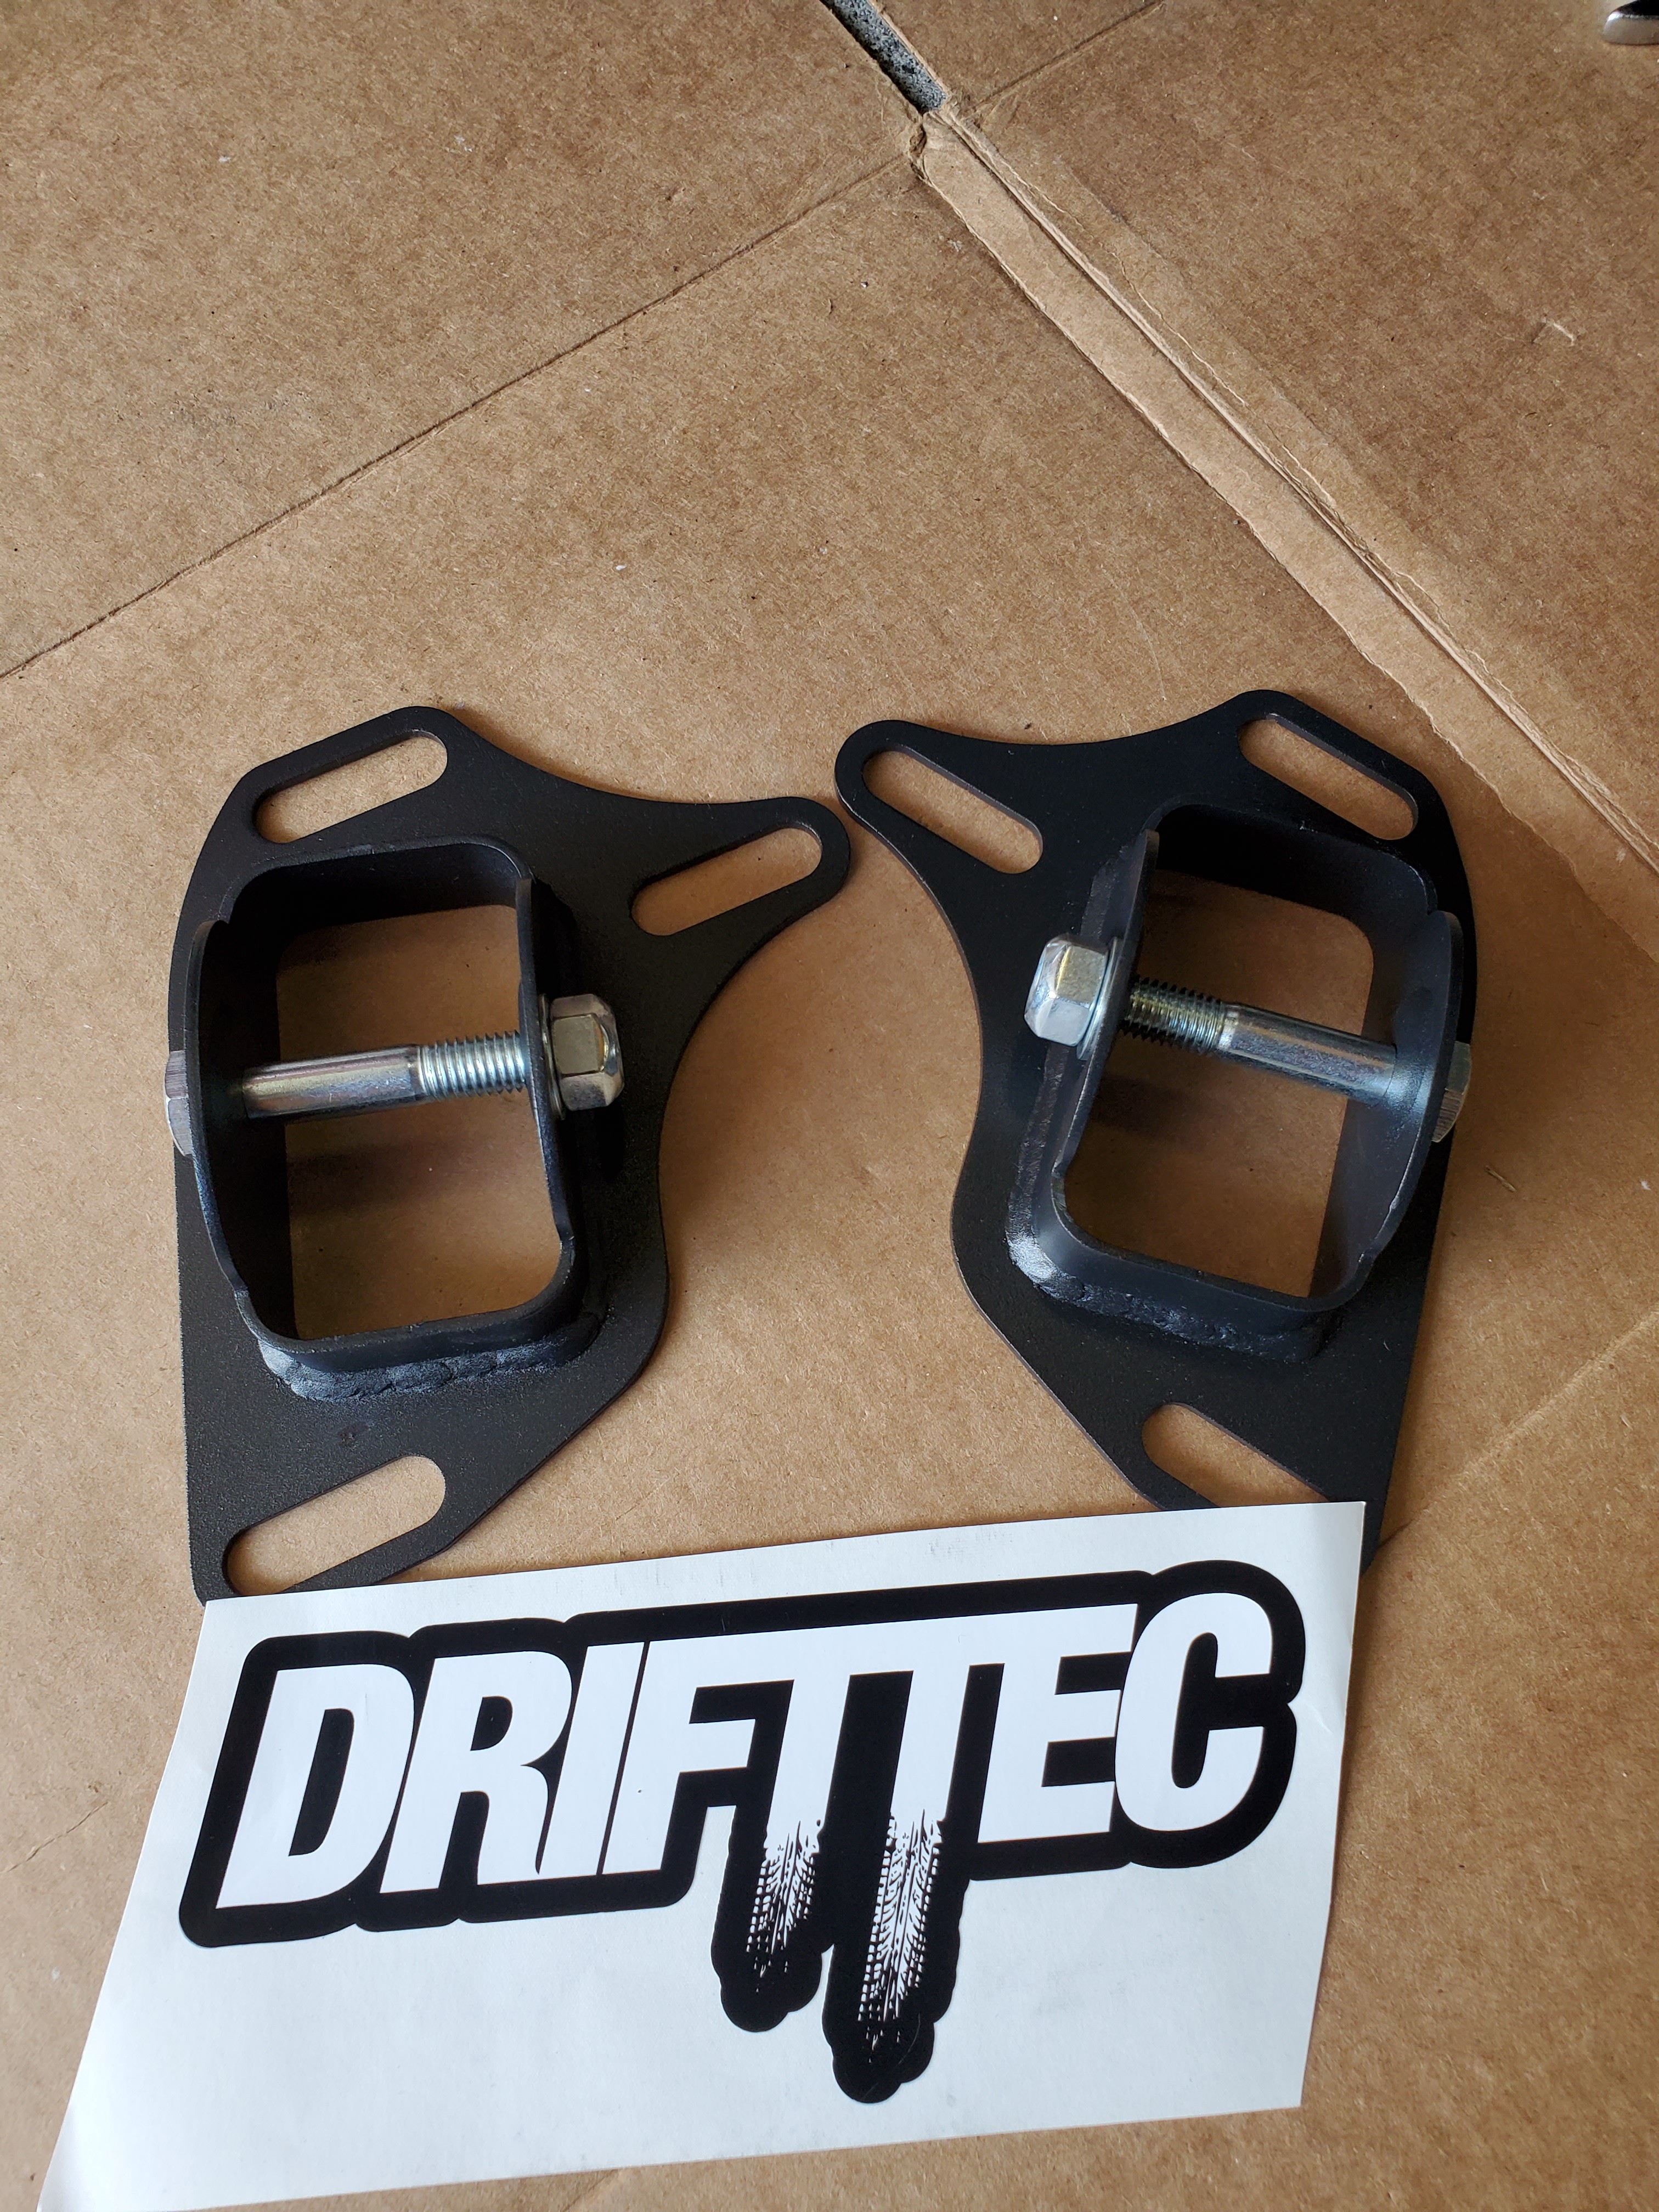
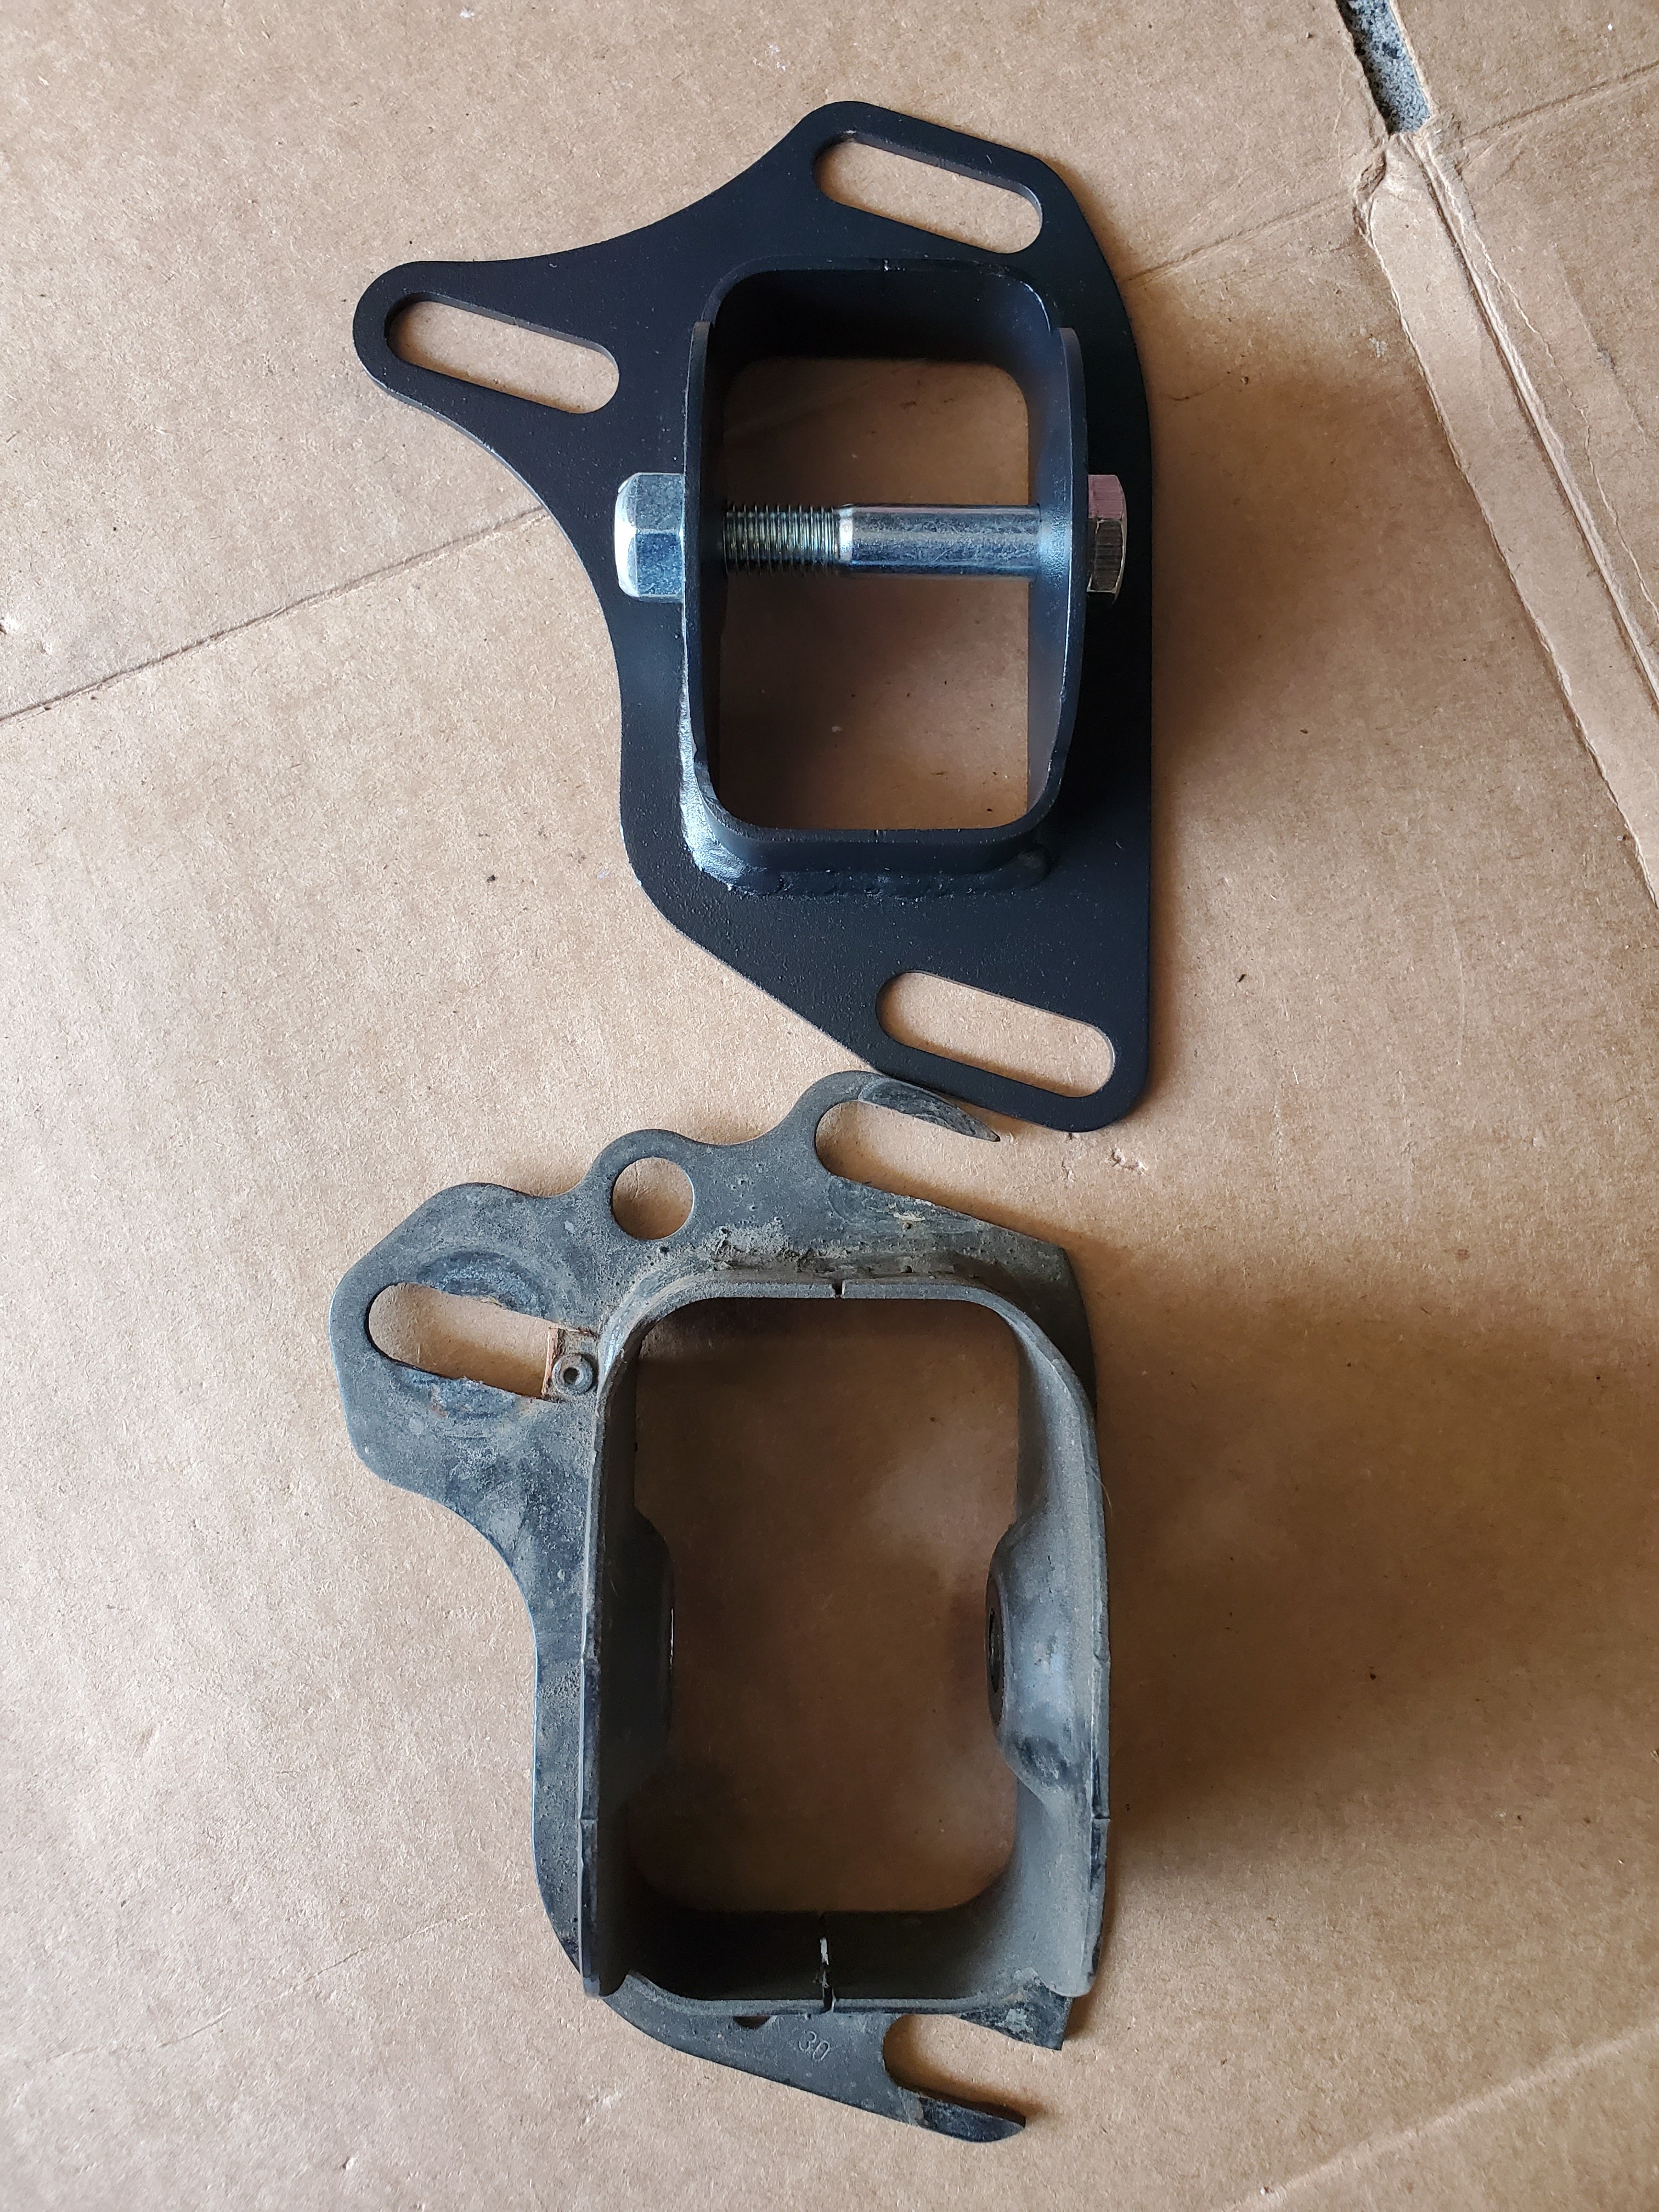
Ordered some drifttec toe brackets in hopes of really being able to dial in my rear alignment.
Last time i lowered the car it really messed up the rear alignment, the car had a 1/2" toe out which is obviously not great lol
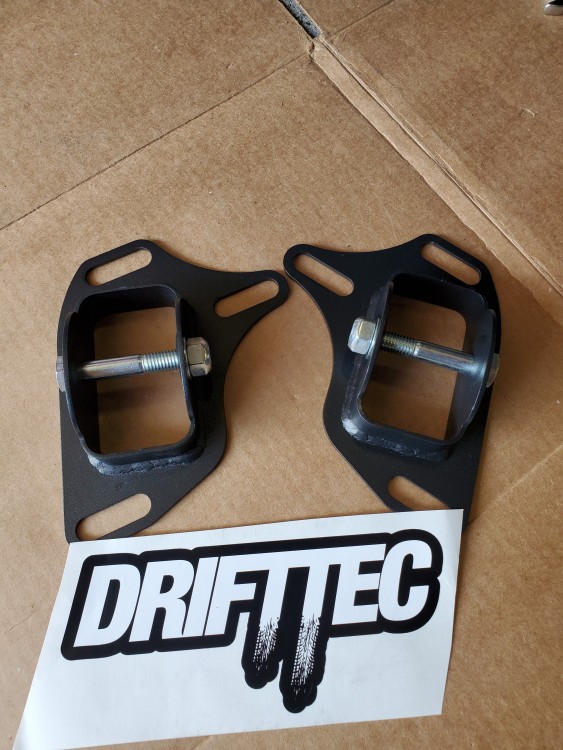
These braclets are really well made as i was kind of skeptical originally.
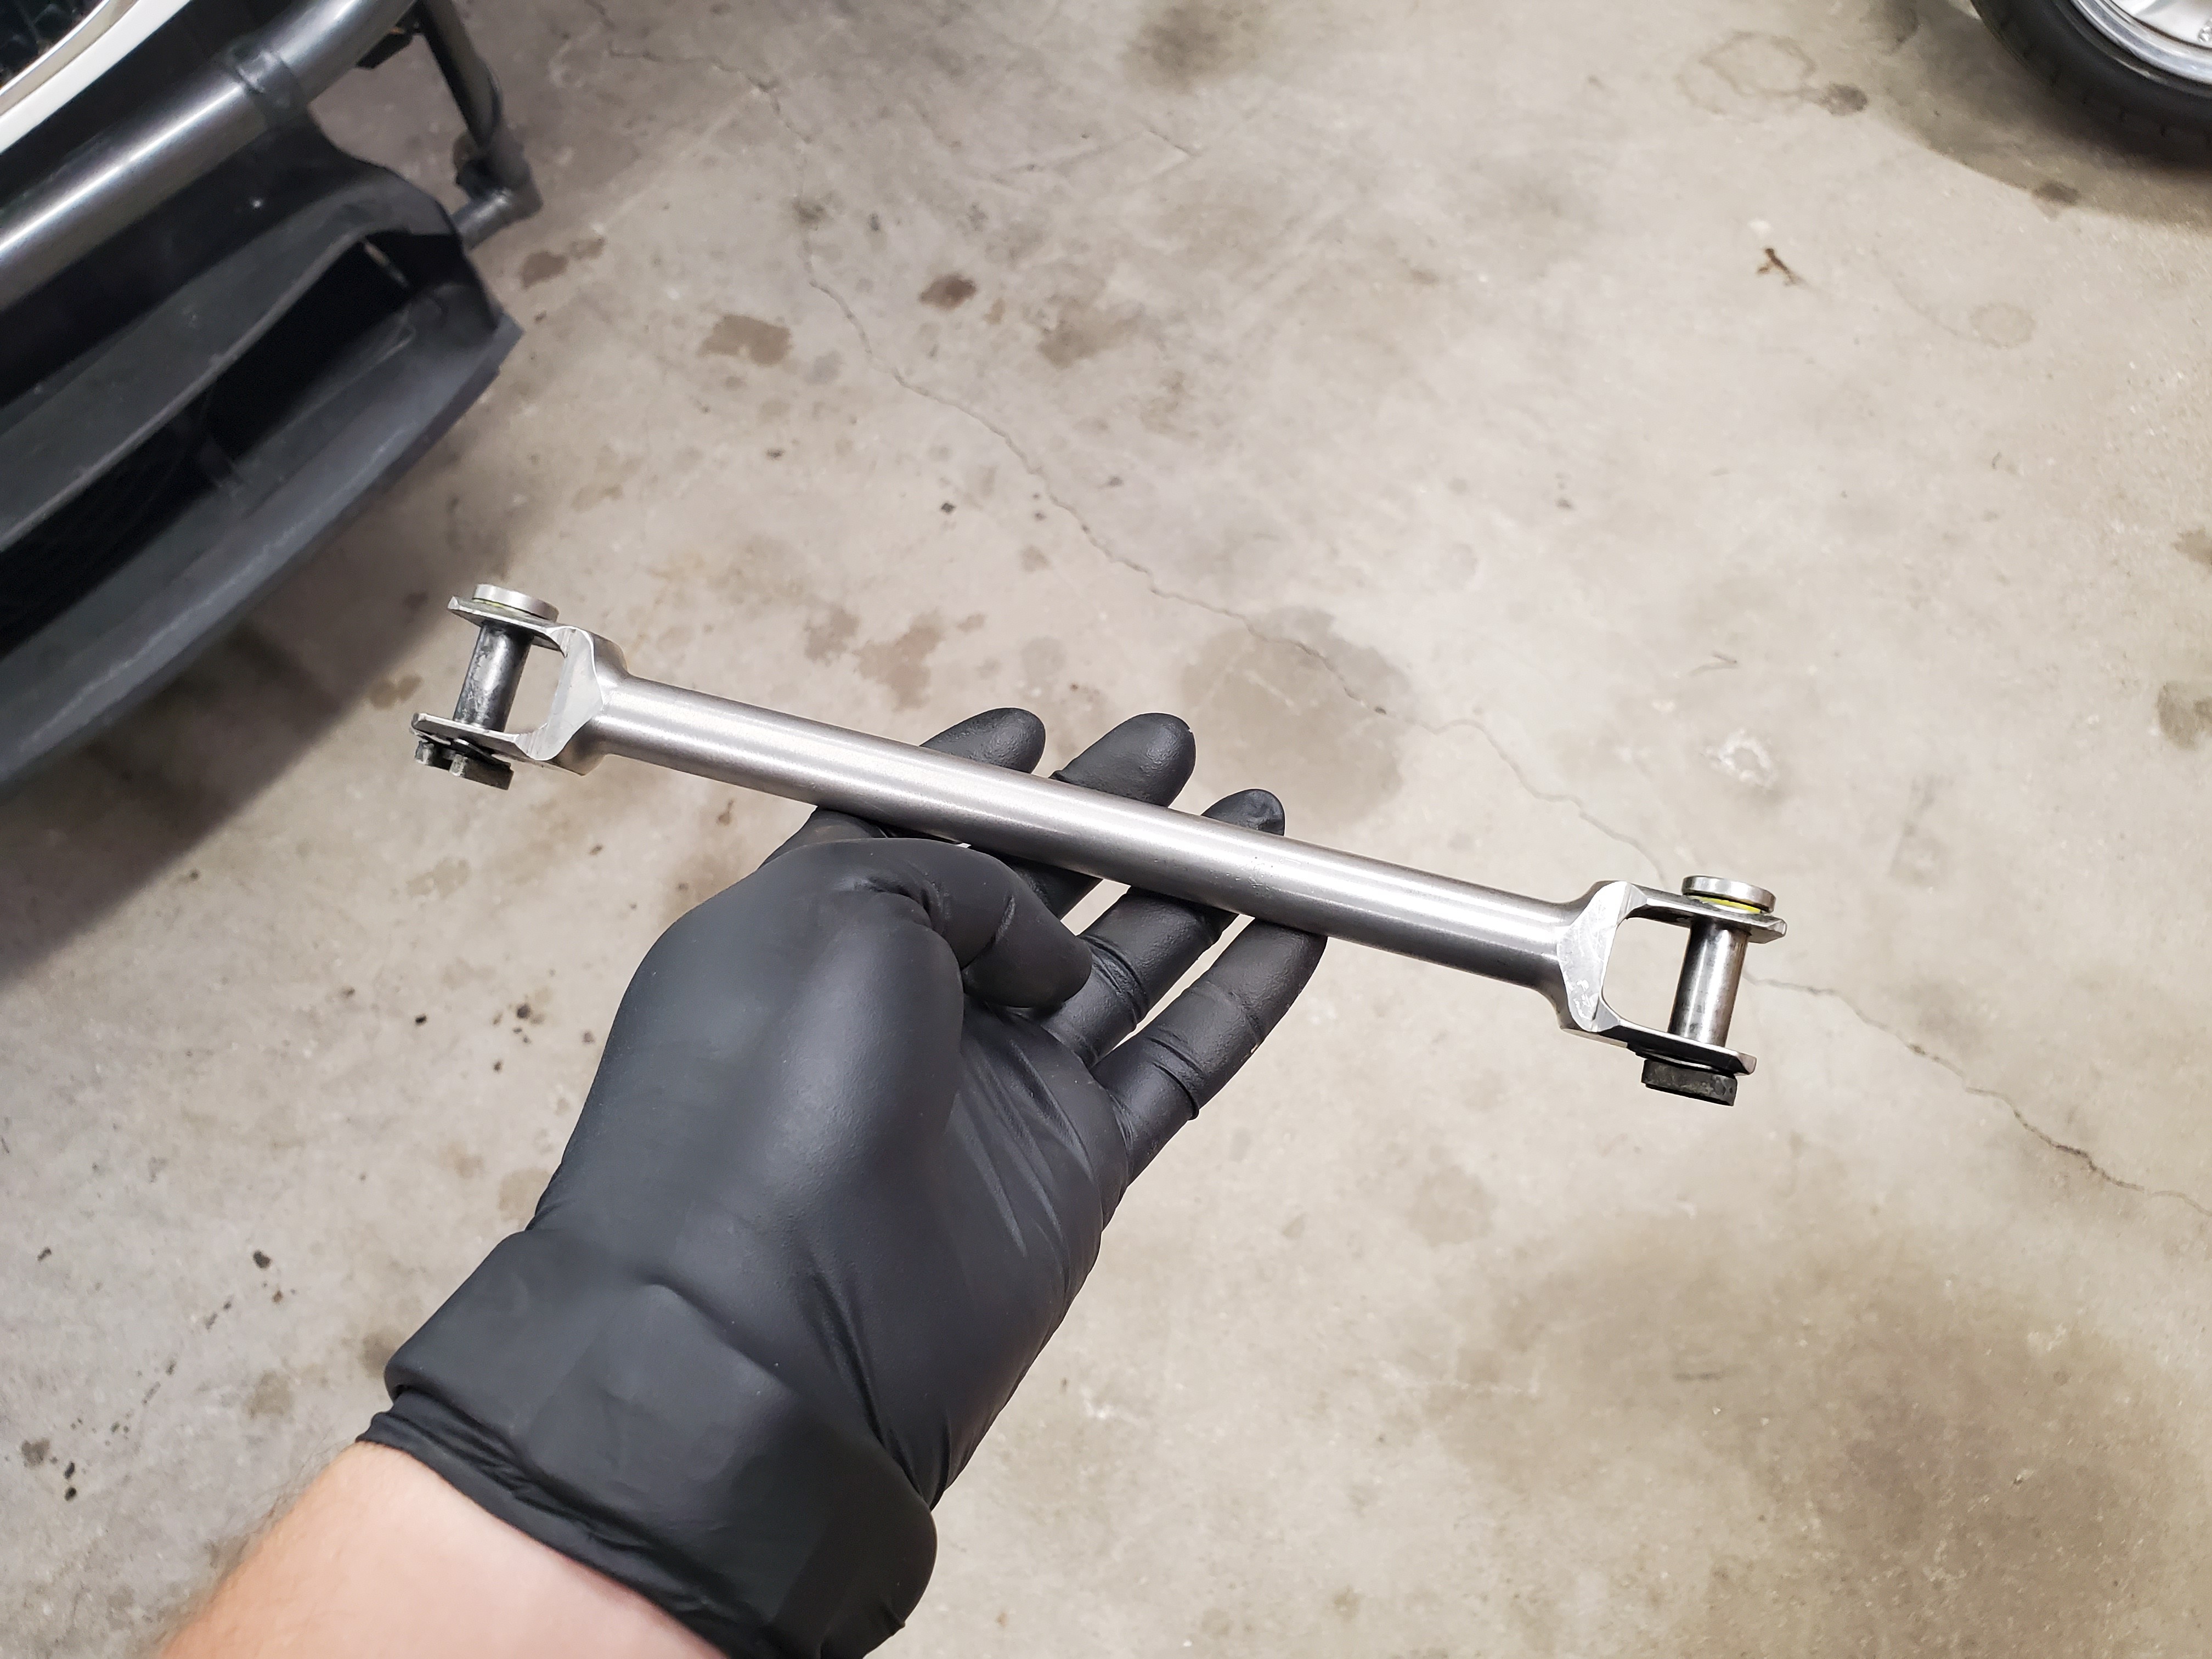
Here is a side by side with the original one I had in the car, sketchy slotting and all lol.
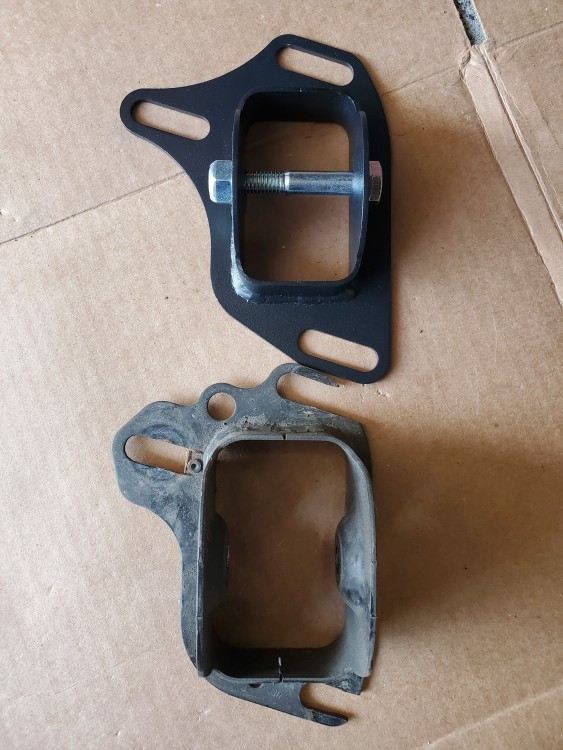
Got these installed and the car aligned in just over an hour which was great.
Now the rear is sitting at 3/16" toed in. Which for now will be worth trying and aging with some settings to see how it will affect grip.
-
UPDATE
With the new SLR ultra angle kit the general consensus seemed to be to run a non-m e36 sway bar in the front.
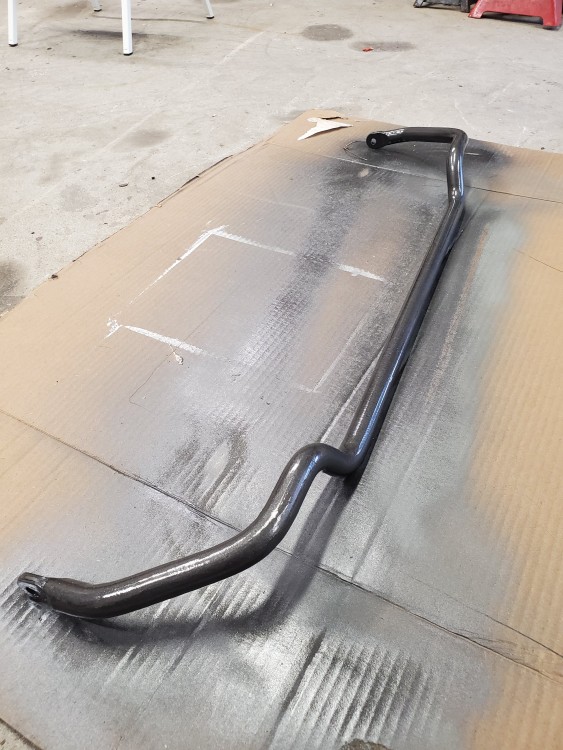
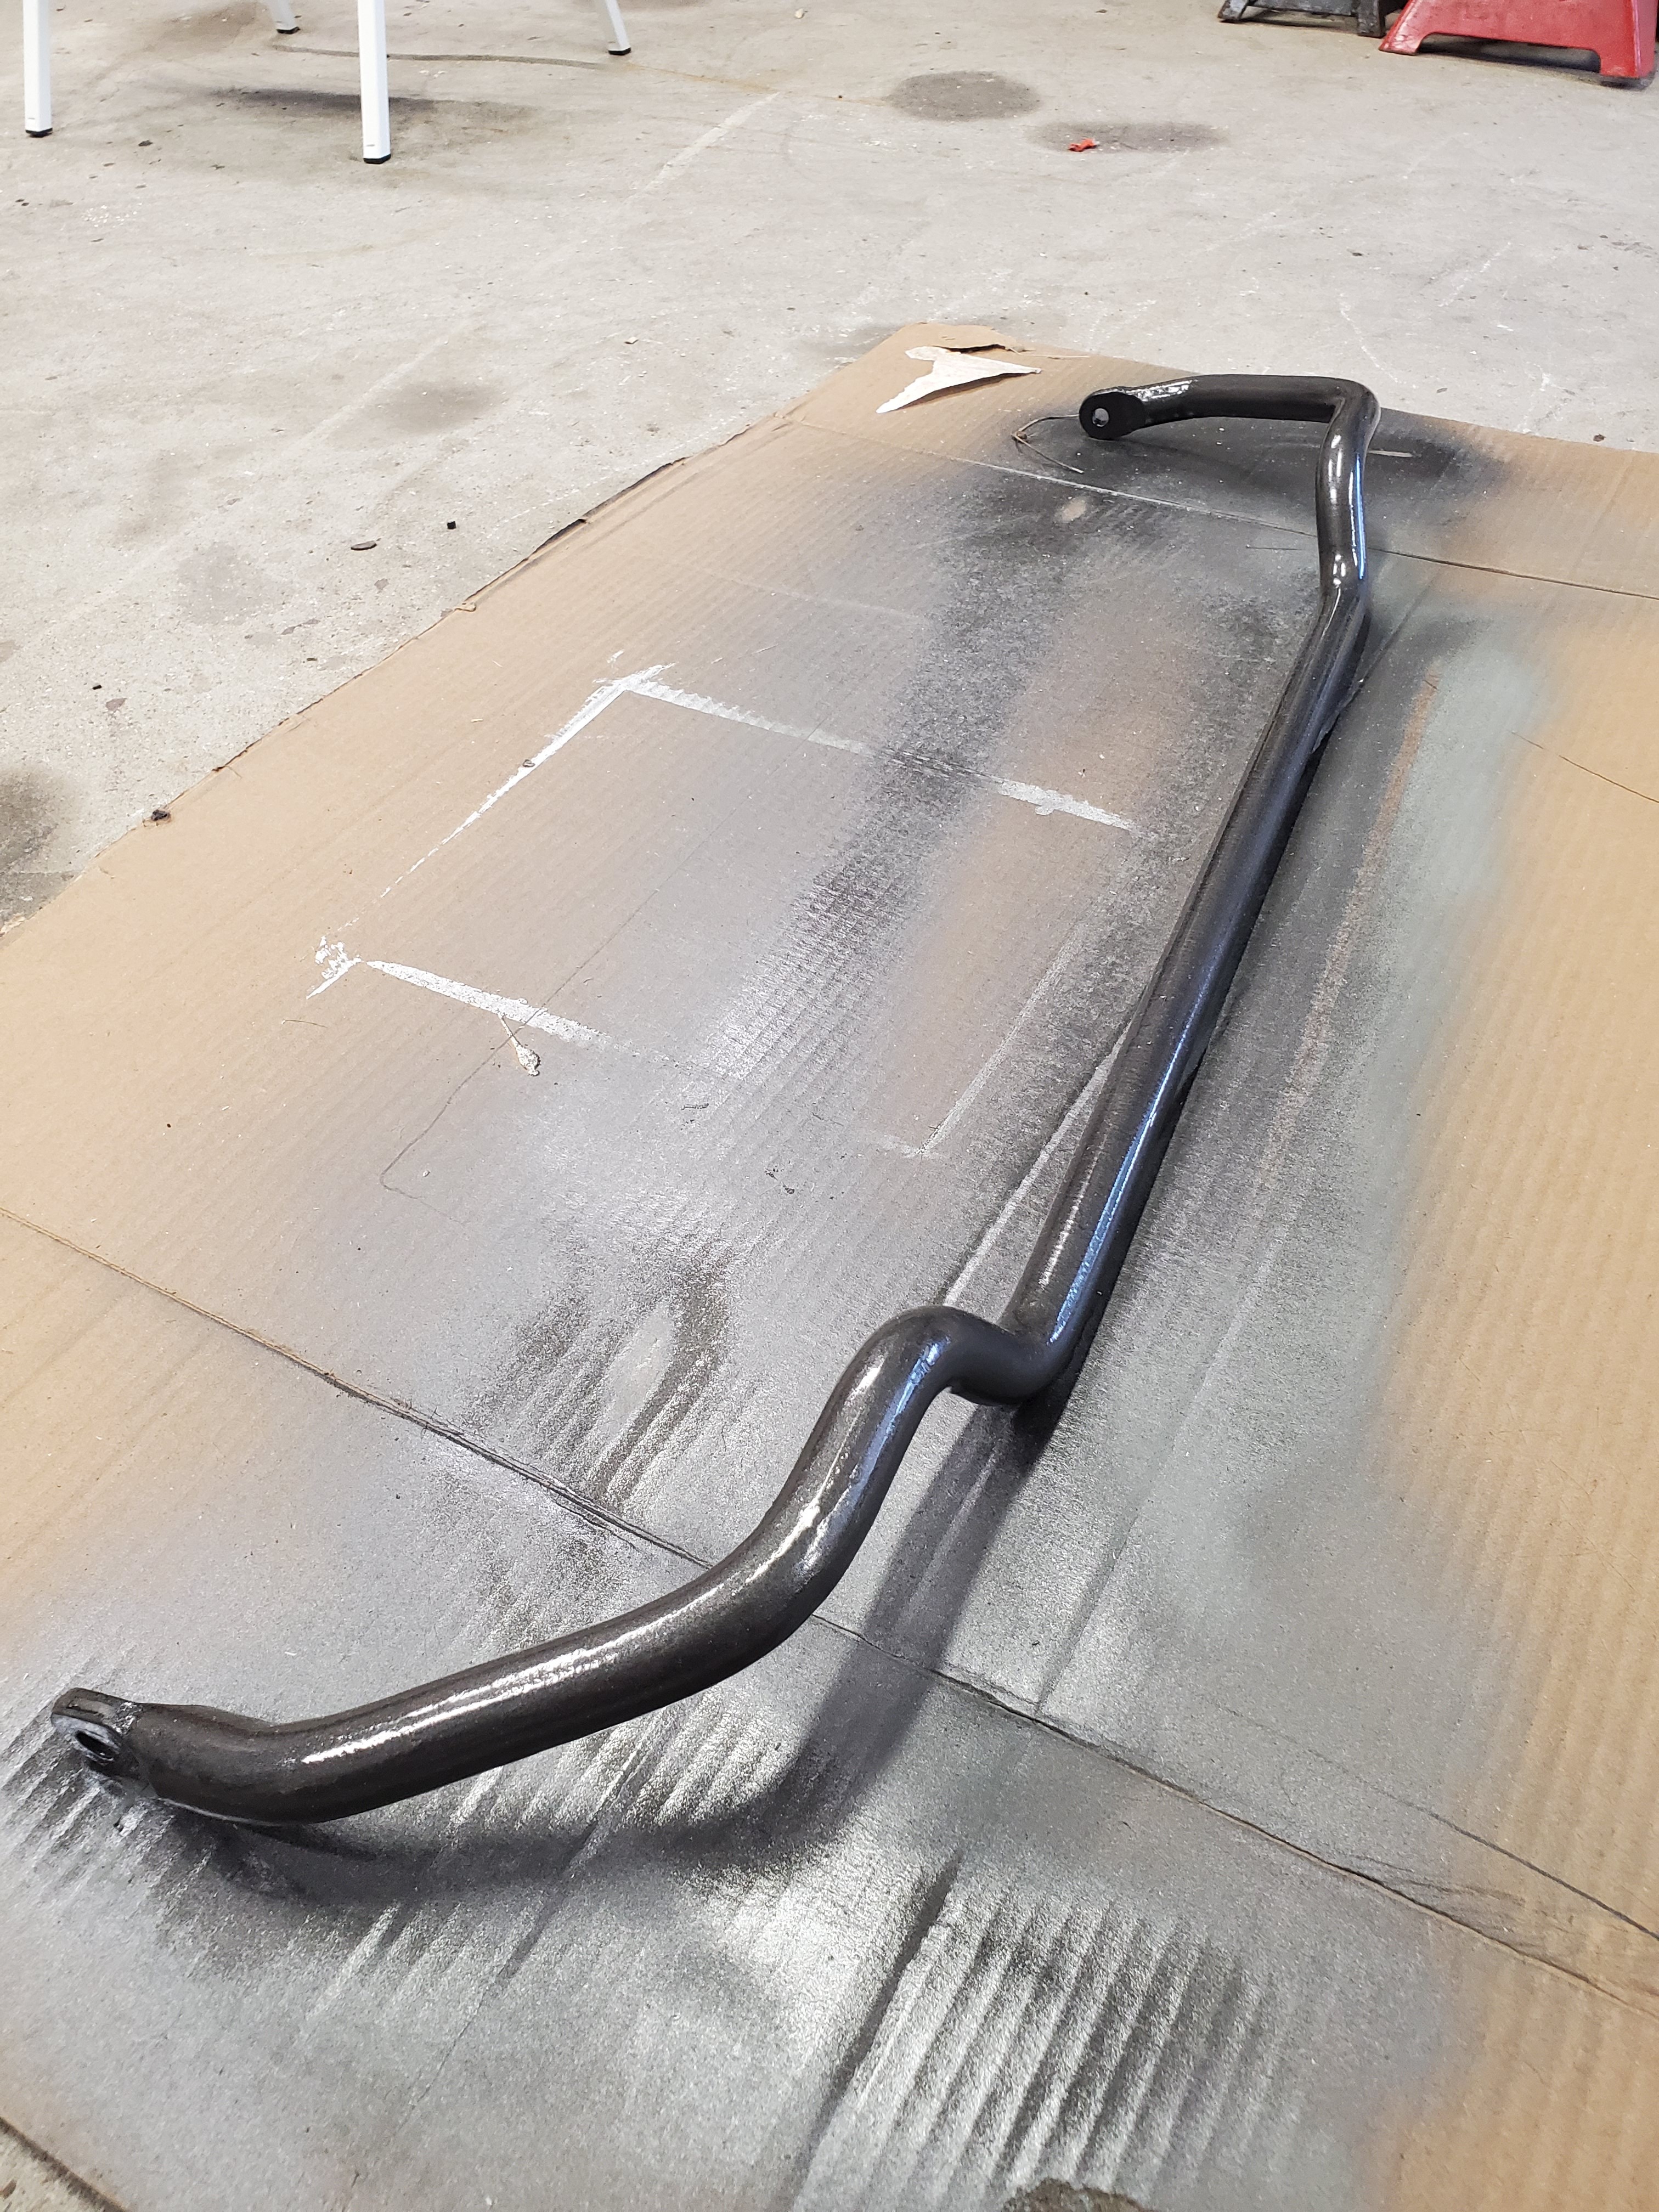
So I picked this one up from Earl. Also happy to know that this one is from a Ti and is slightly larger than the other non-m e36 ones.
I cleaned it up and painted it while I was waiting for the new endlinks to arrive.
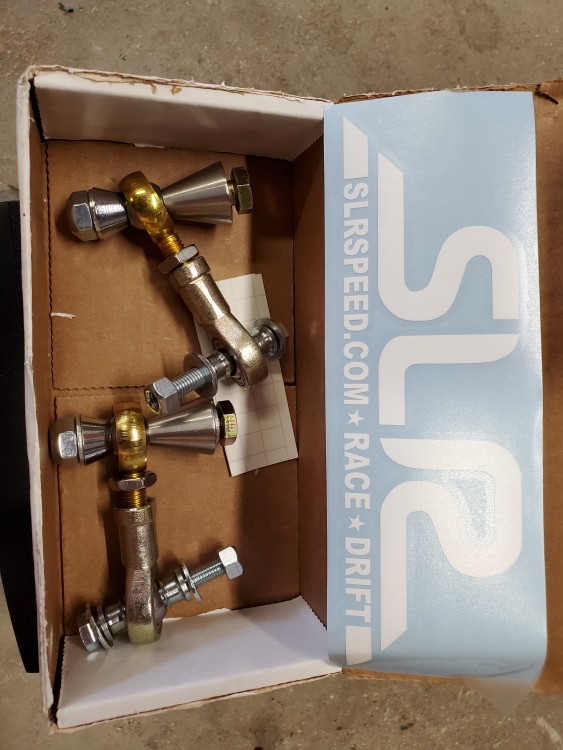
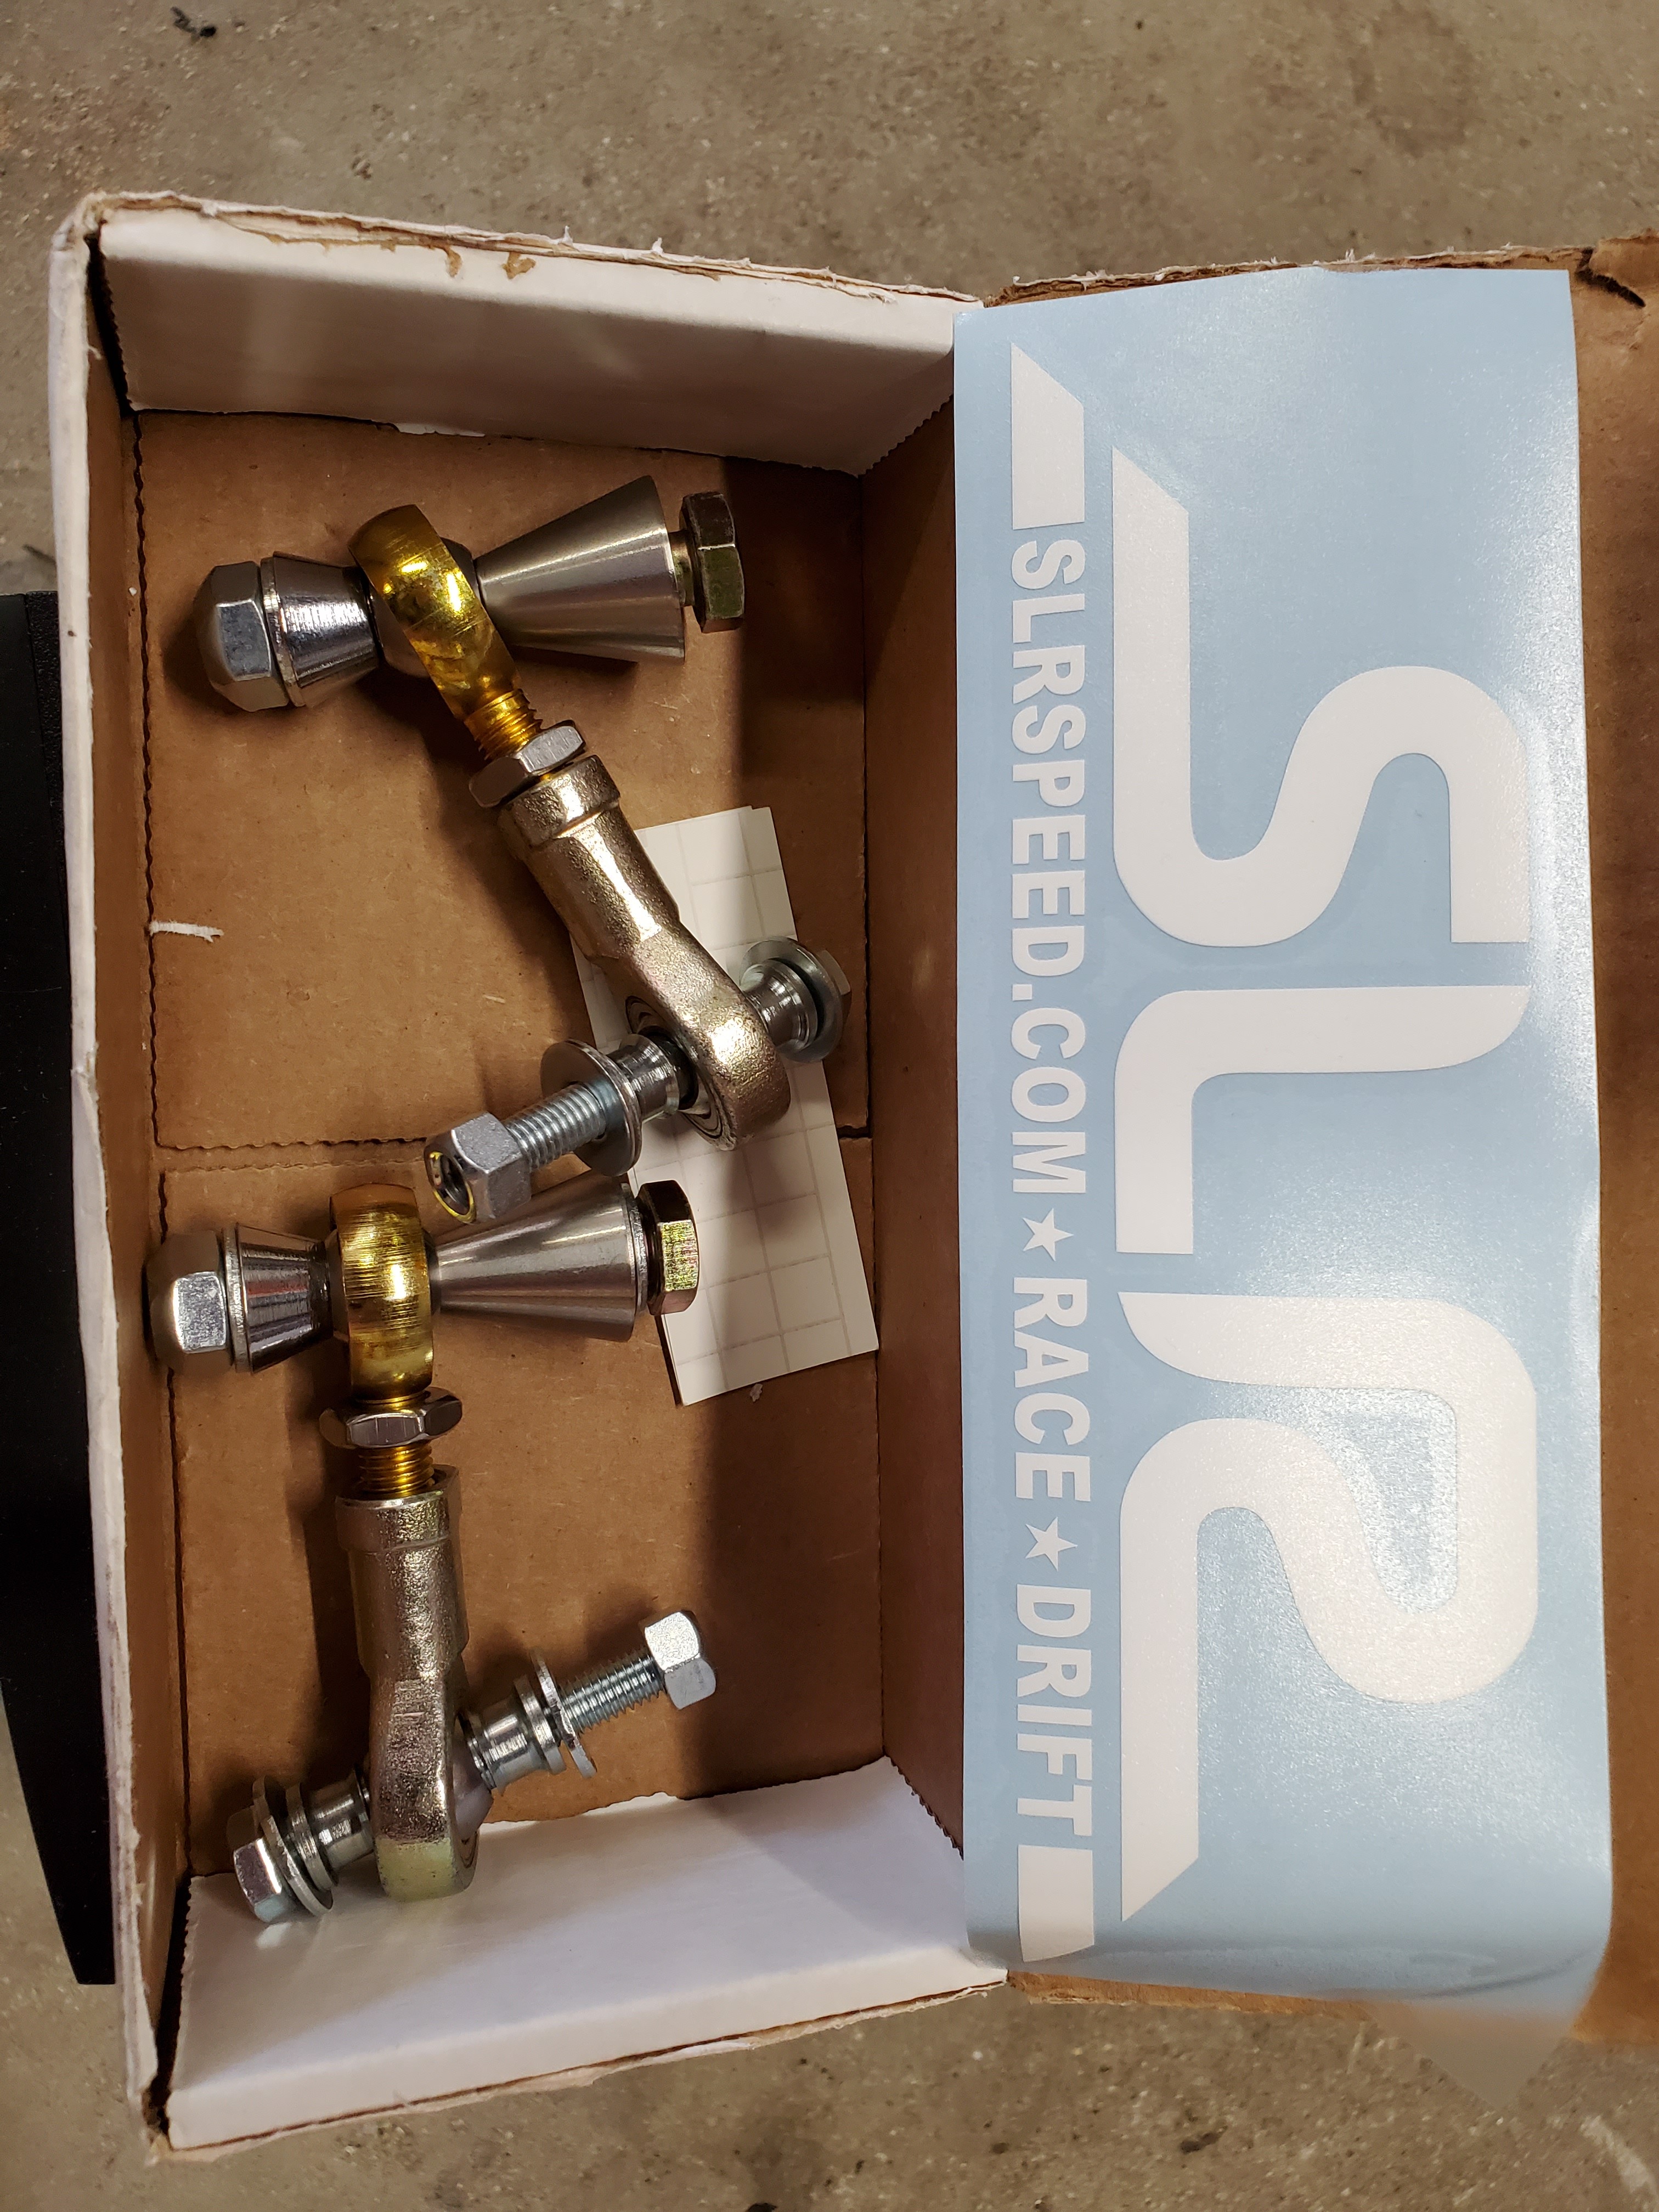
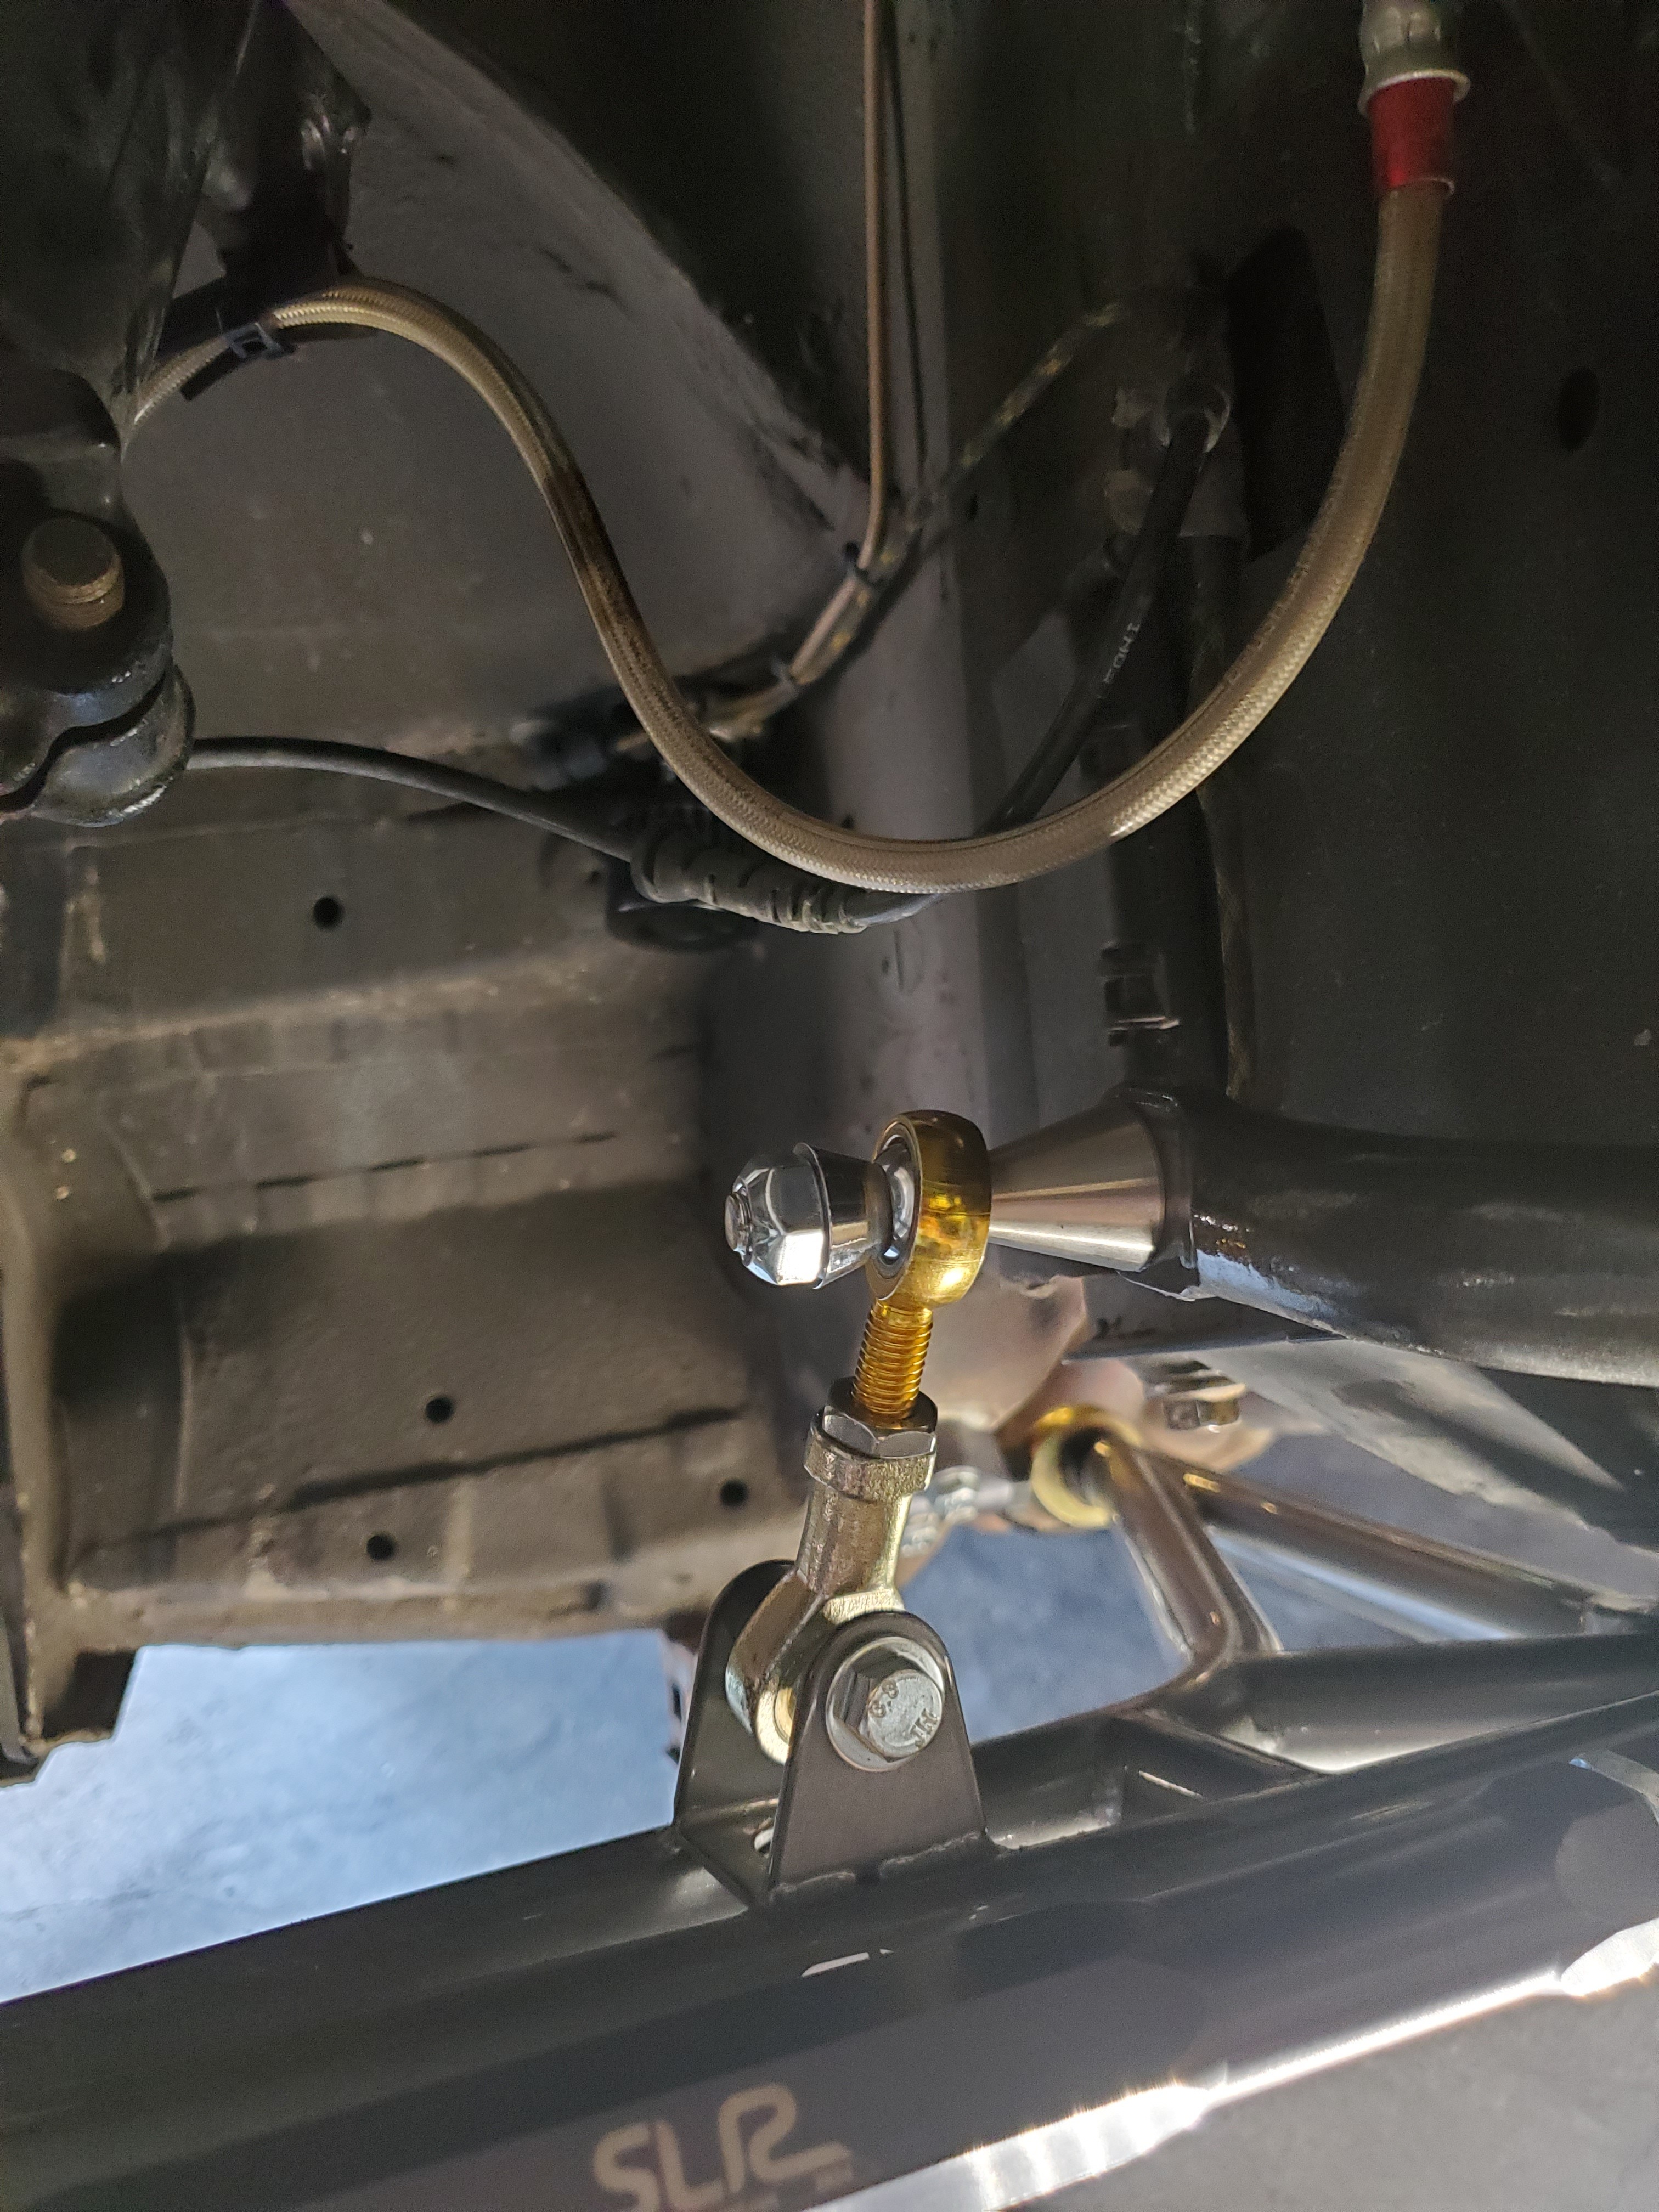
And here are the SLR end links. They attach the same way as non-m e36 ones do as the SLR arms have mounting provisions for them.
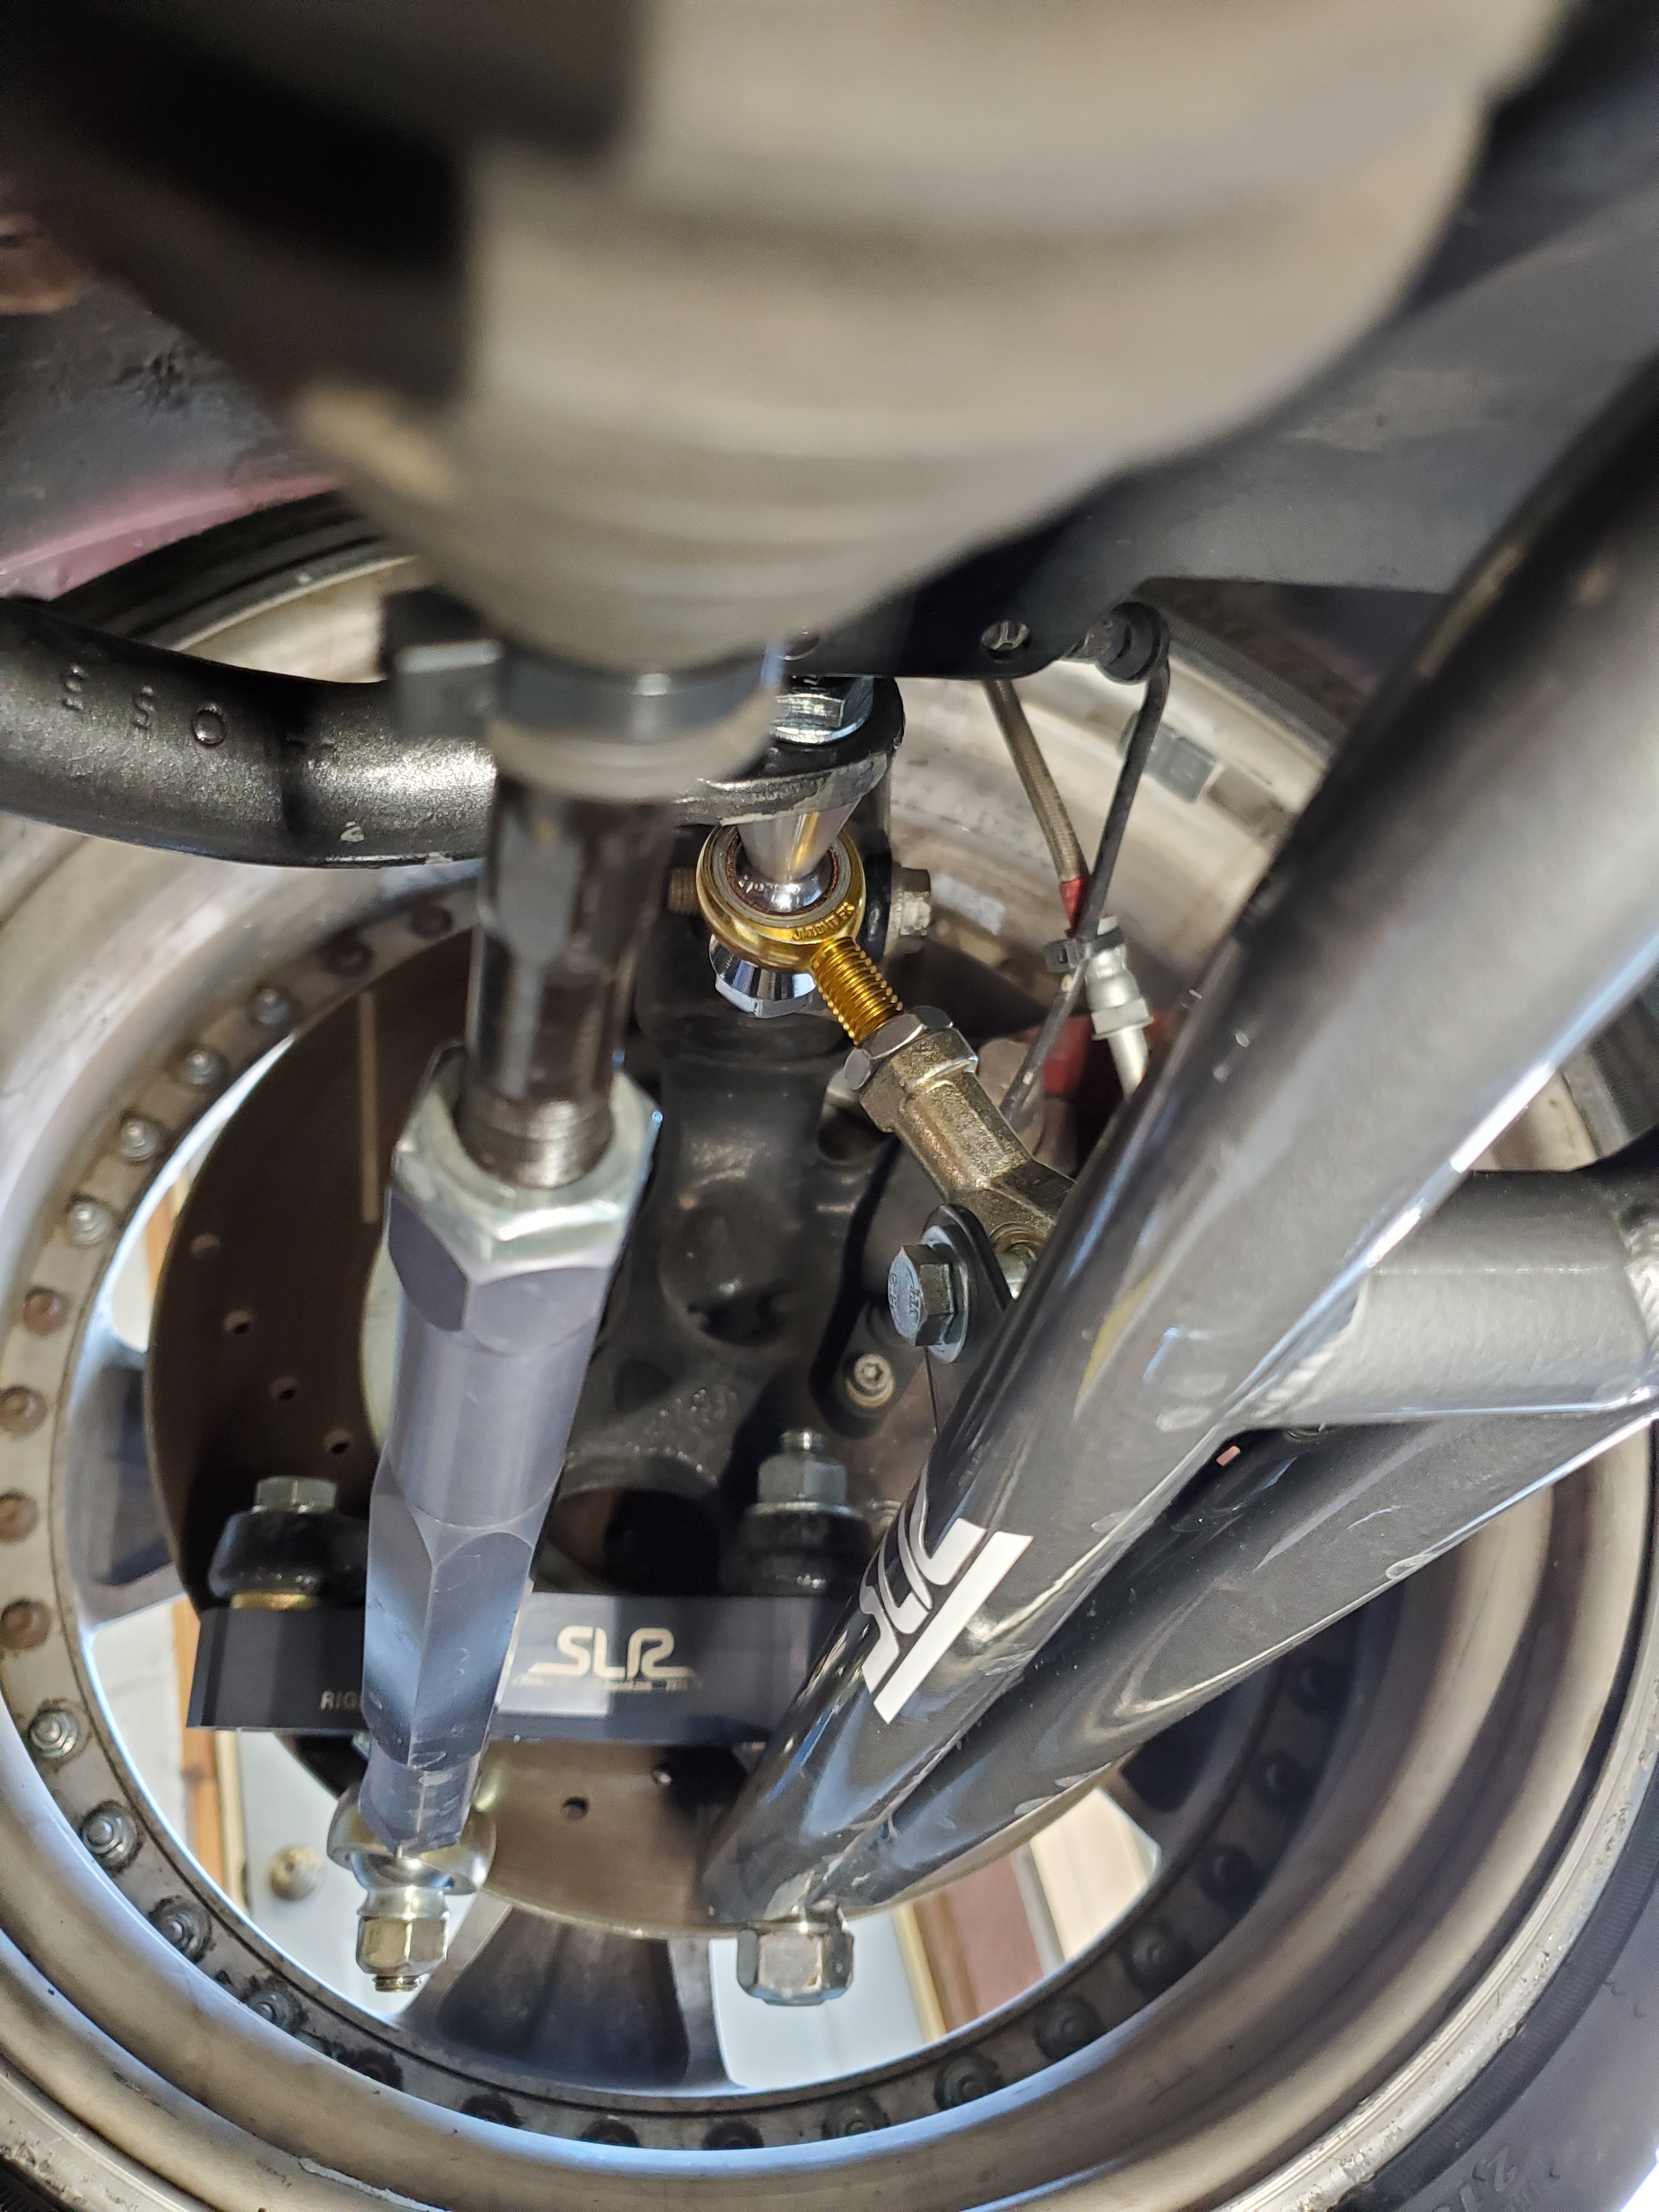
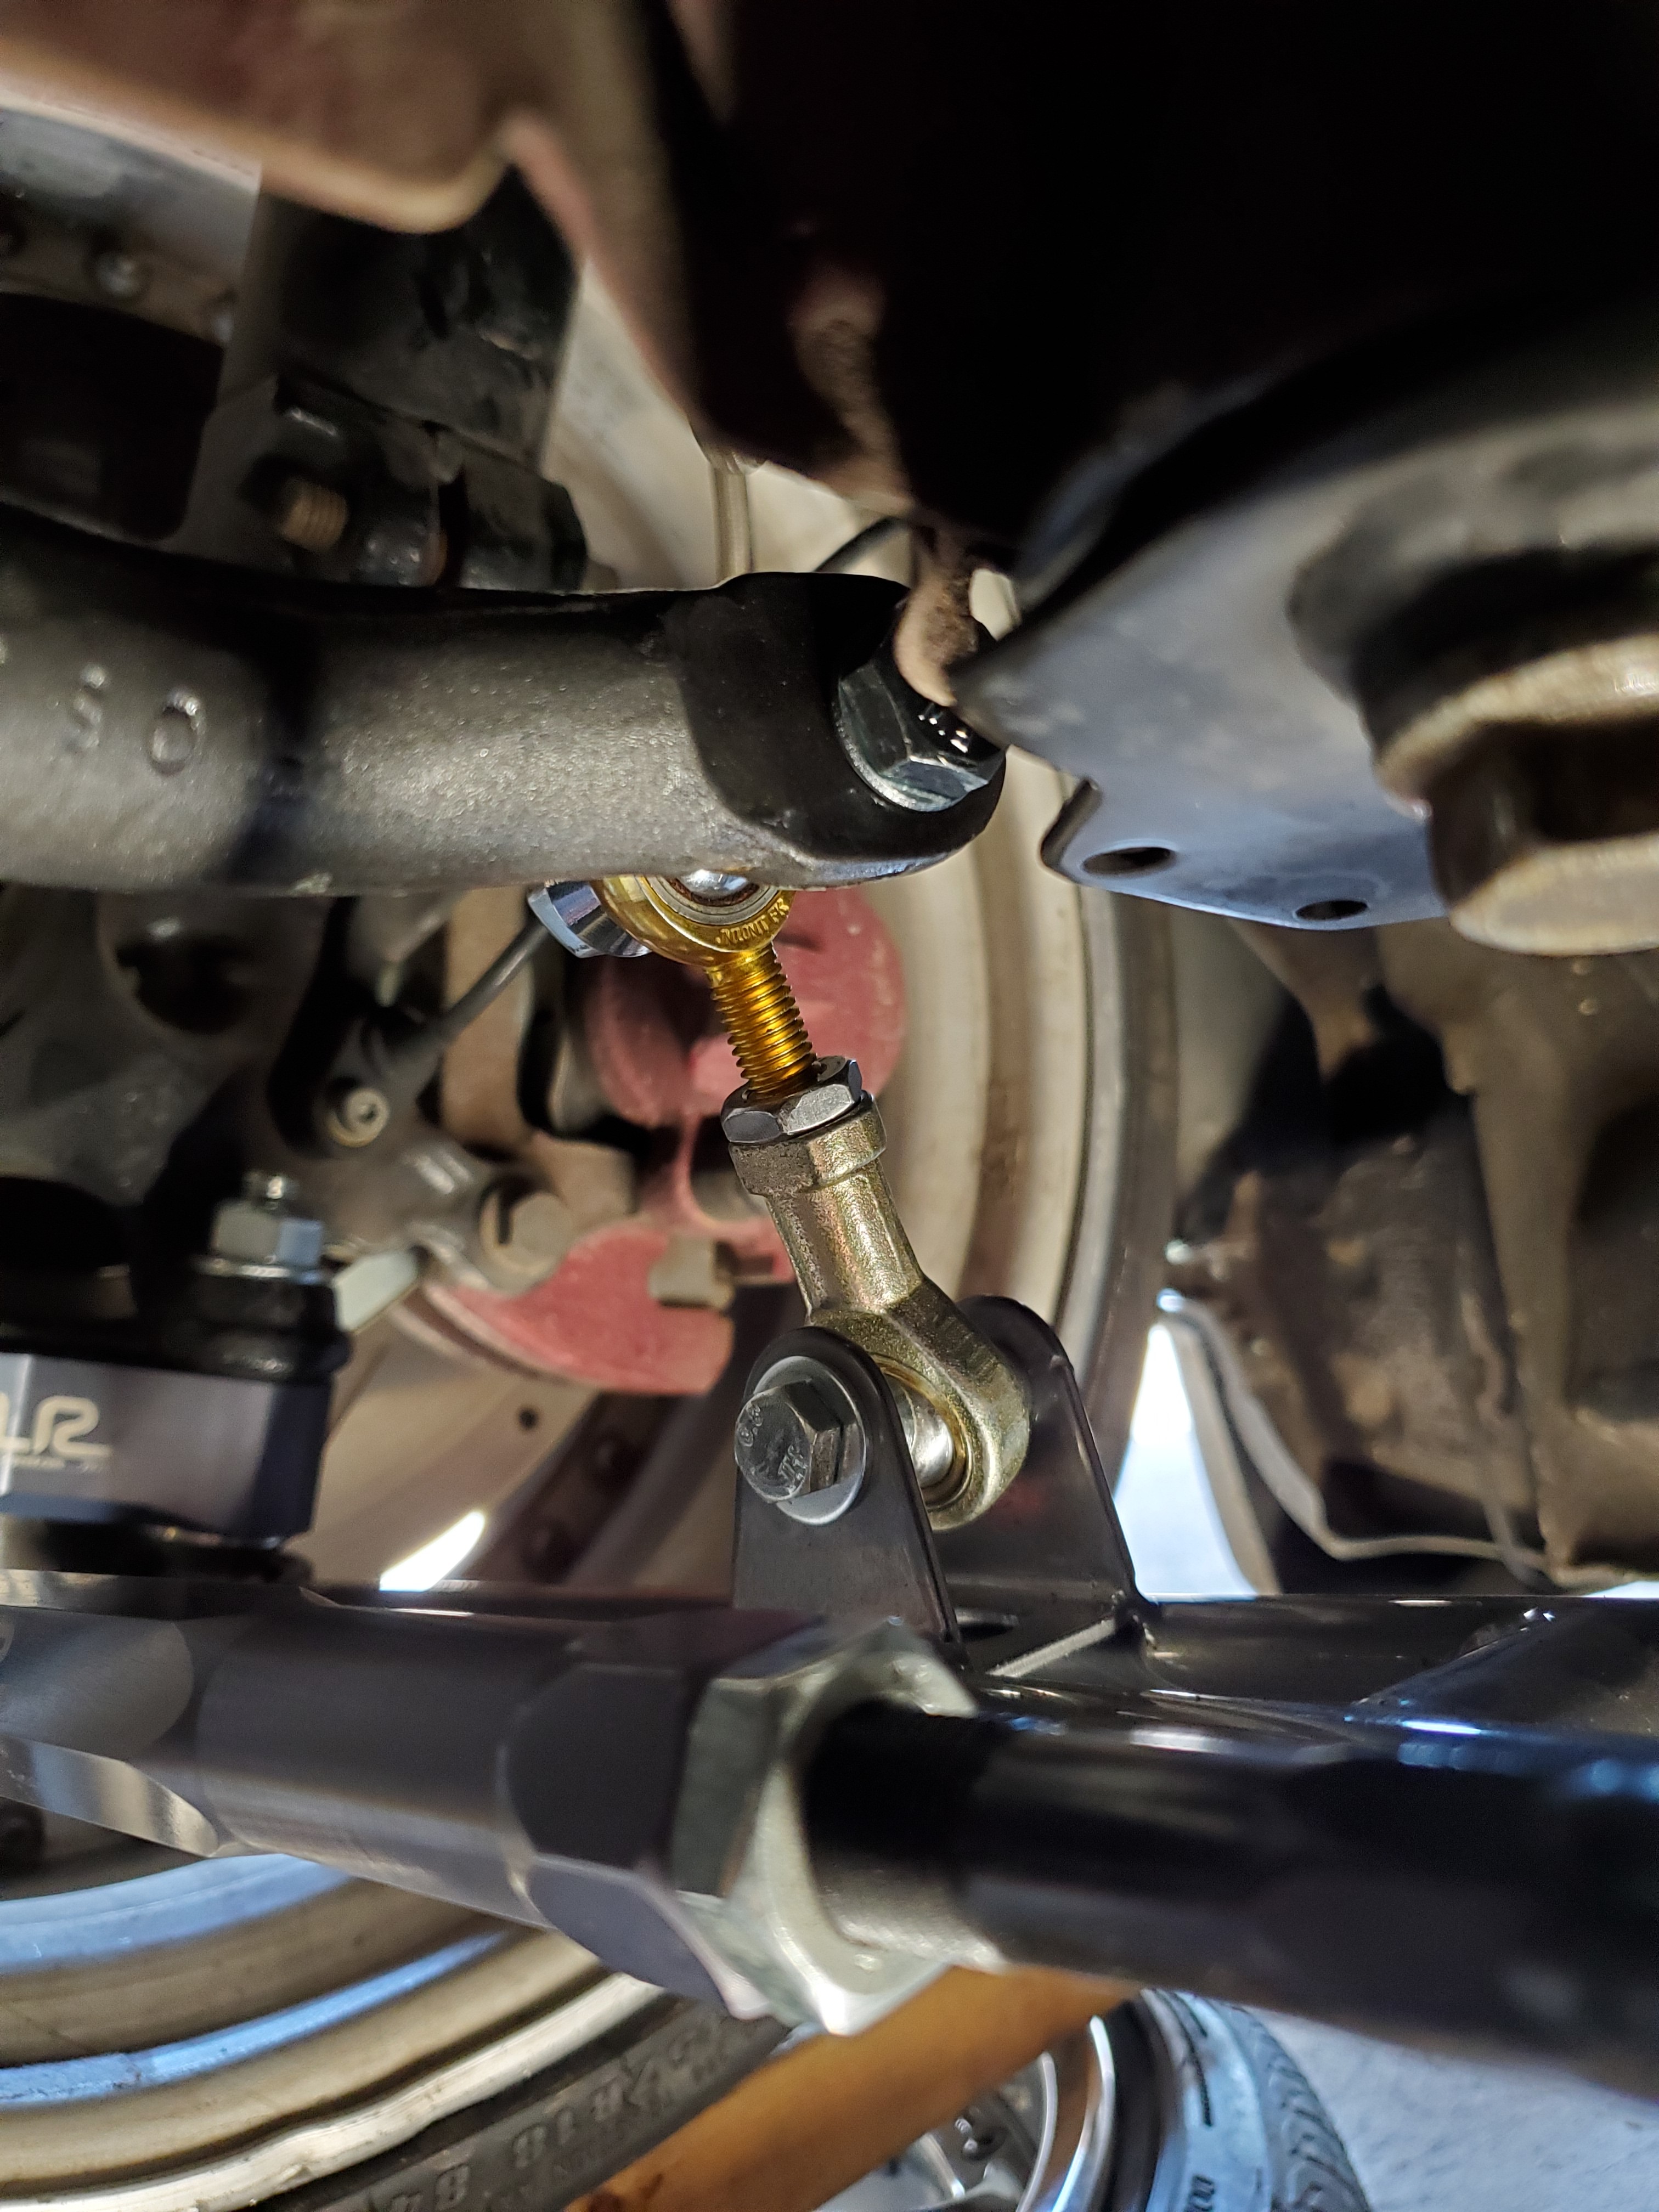
Now I got the bar installed along with the links. I was not super impressed with the angle of the links. After talking to Sean at SLR it seems that they (now) recommend cutting the stock e46 sway bar and reshaping the end then drilling a new hole. The e36 sway bar has seemed to work for many before though so I am leaving it in for now, there doesn't seem to be bind even with the angle on the links.
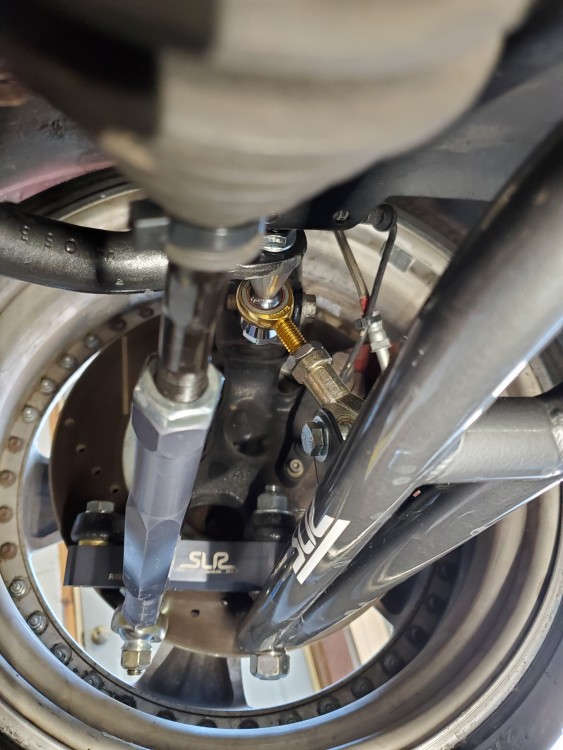
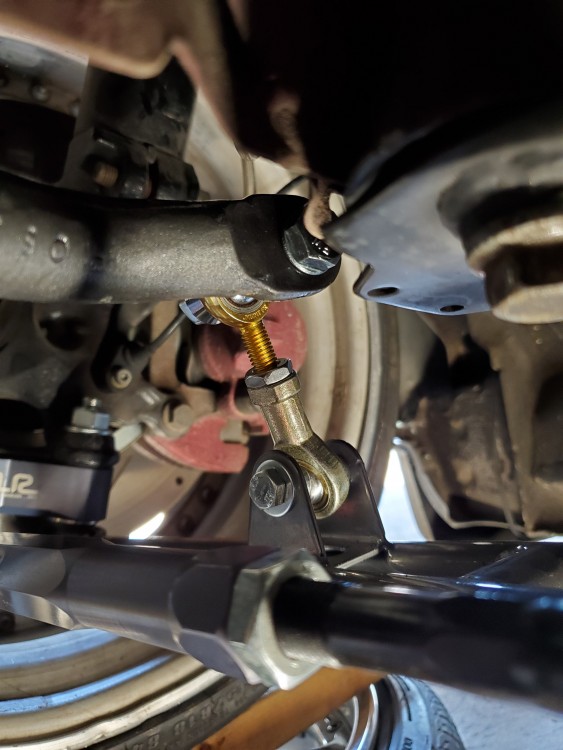
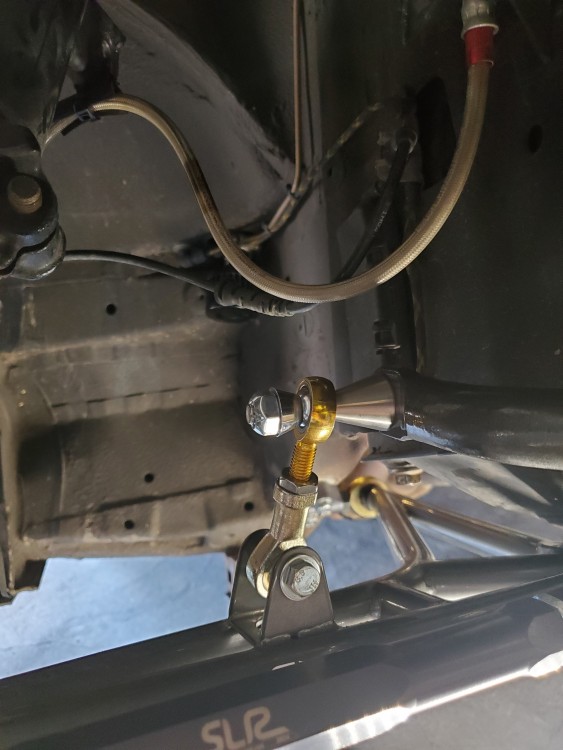
Once i am able to do some actual testing I will start to play with sway bars.
Definitely nice having the sway bar mounted to the lower arm now though.
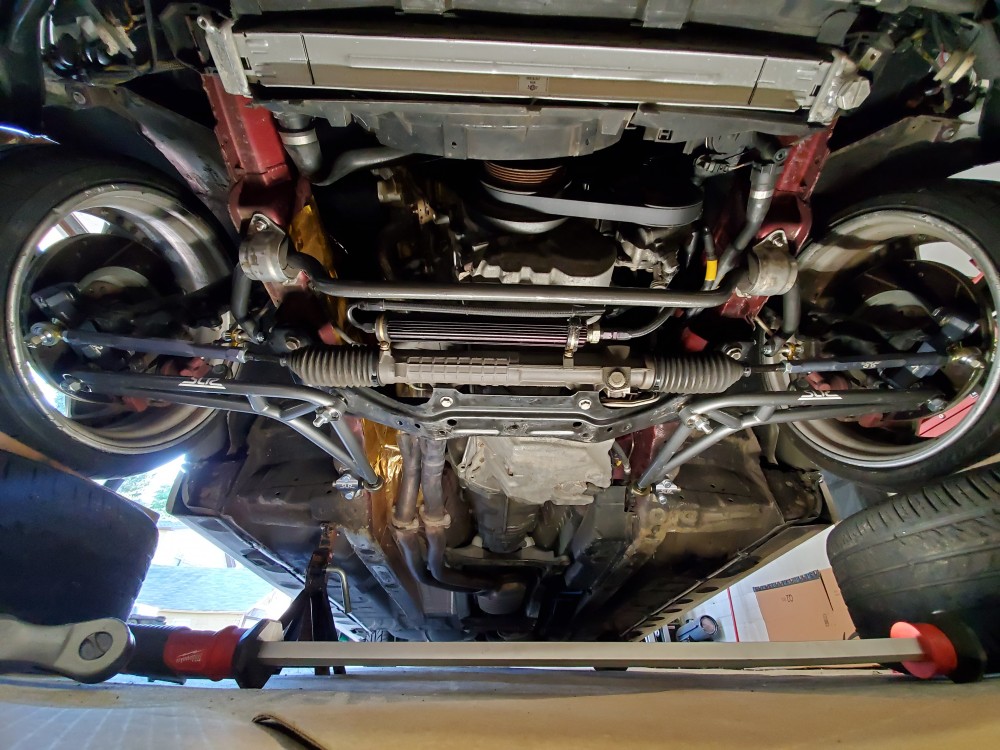
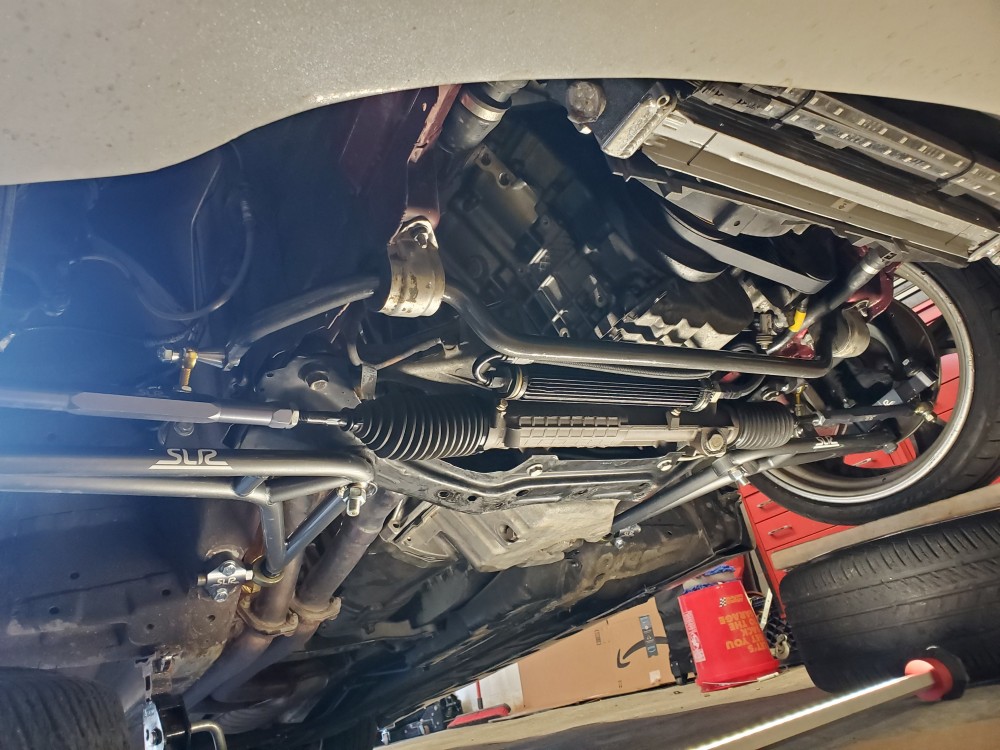
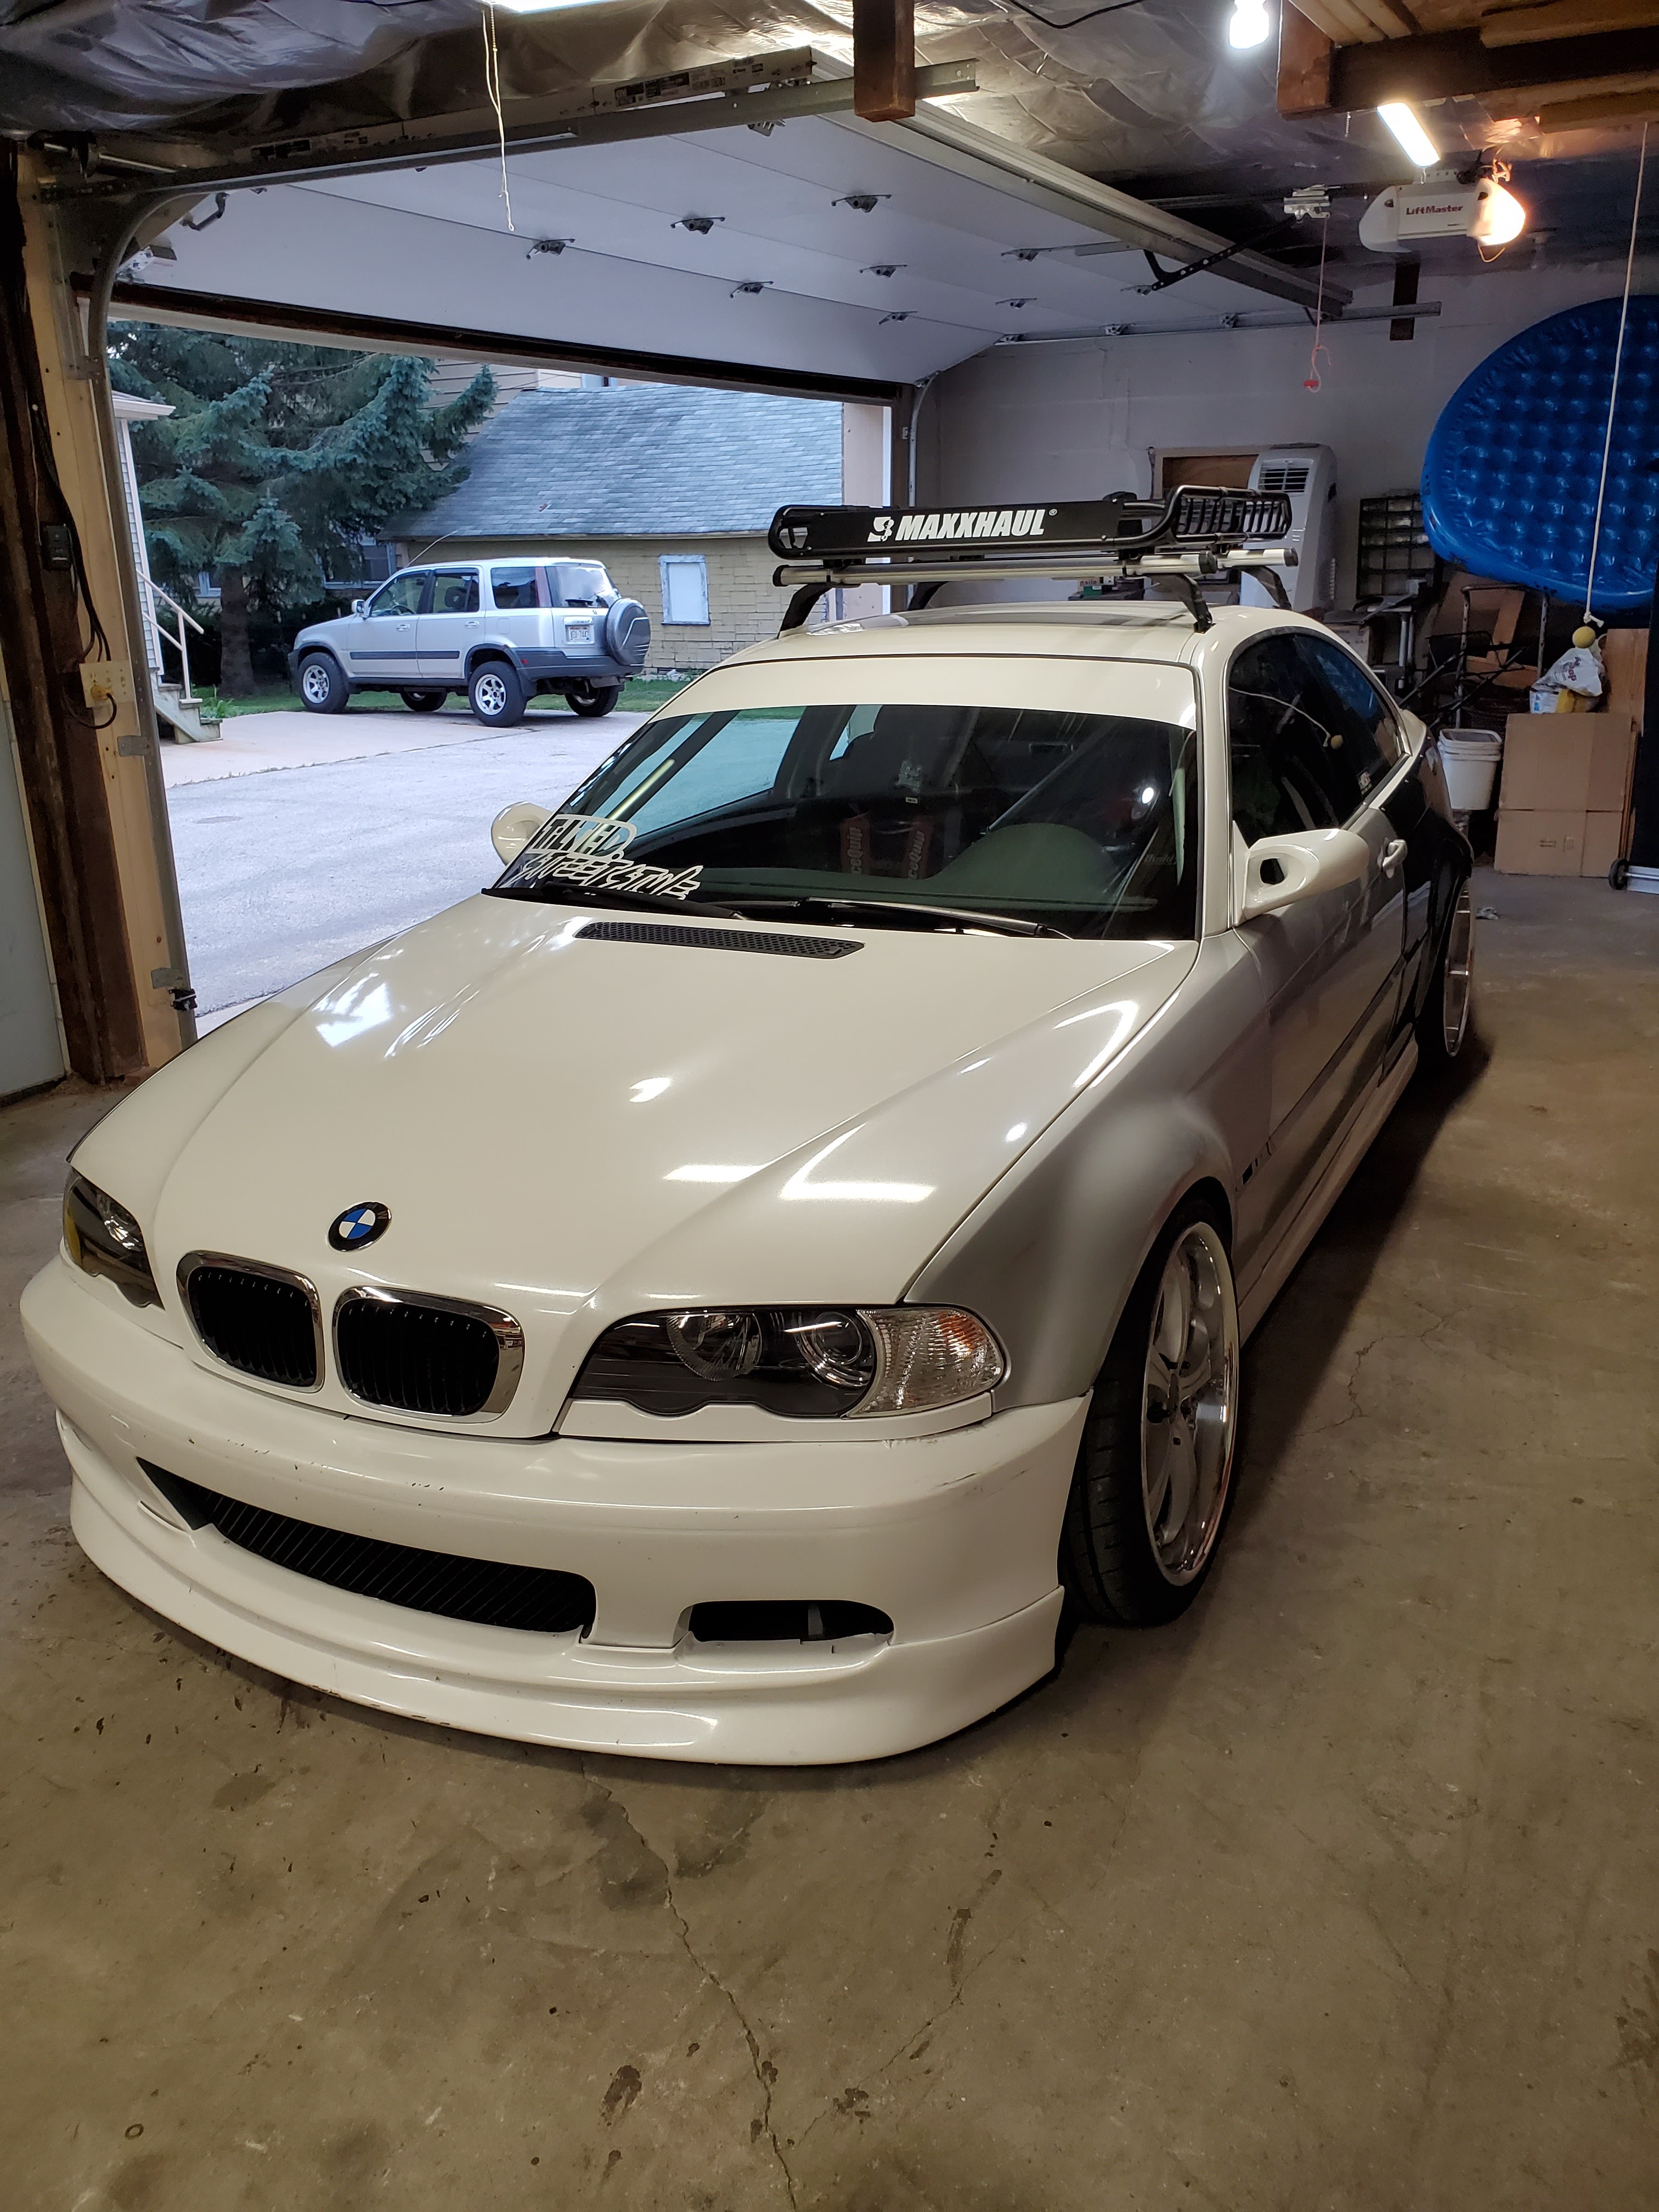
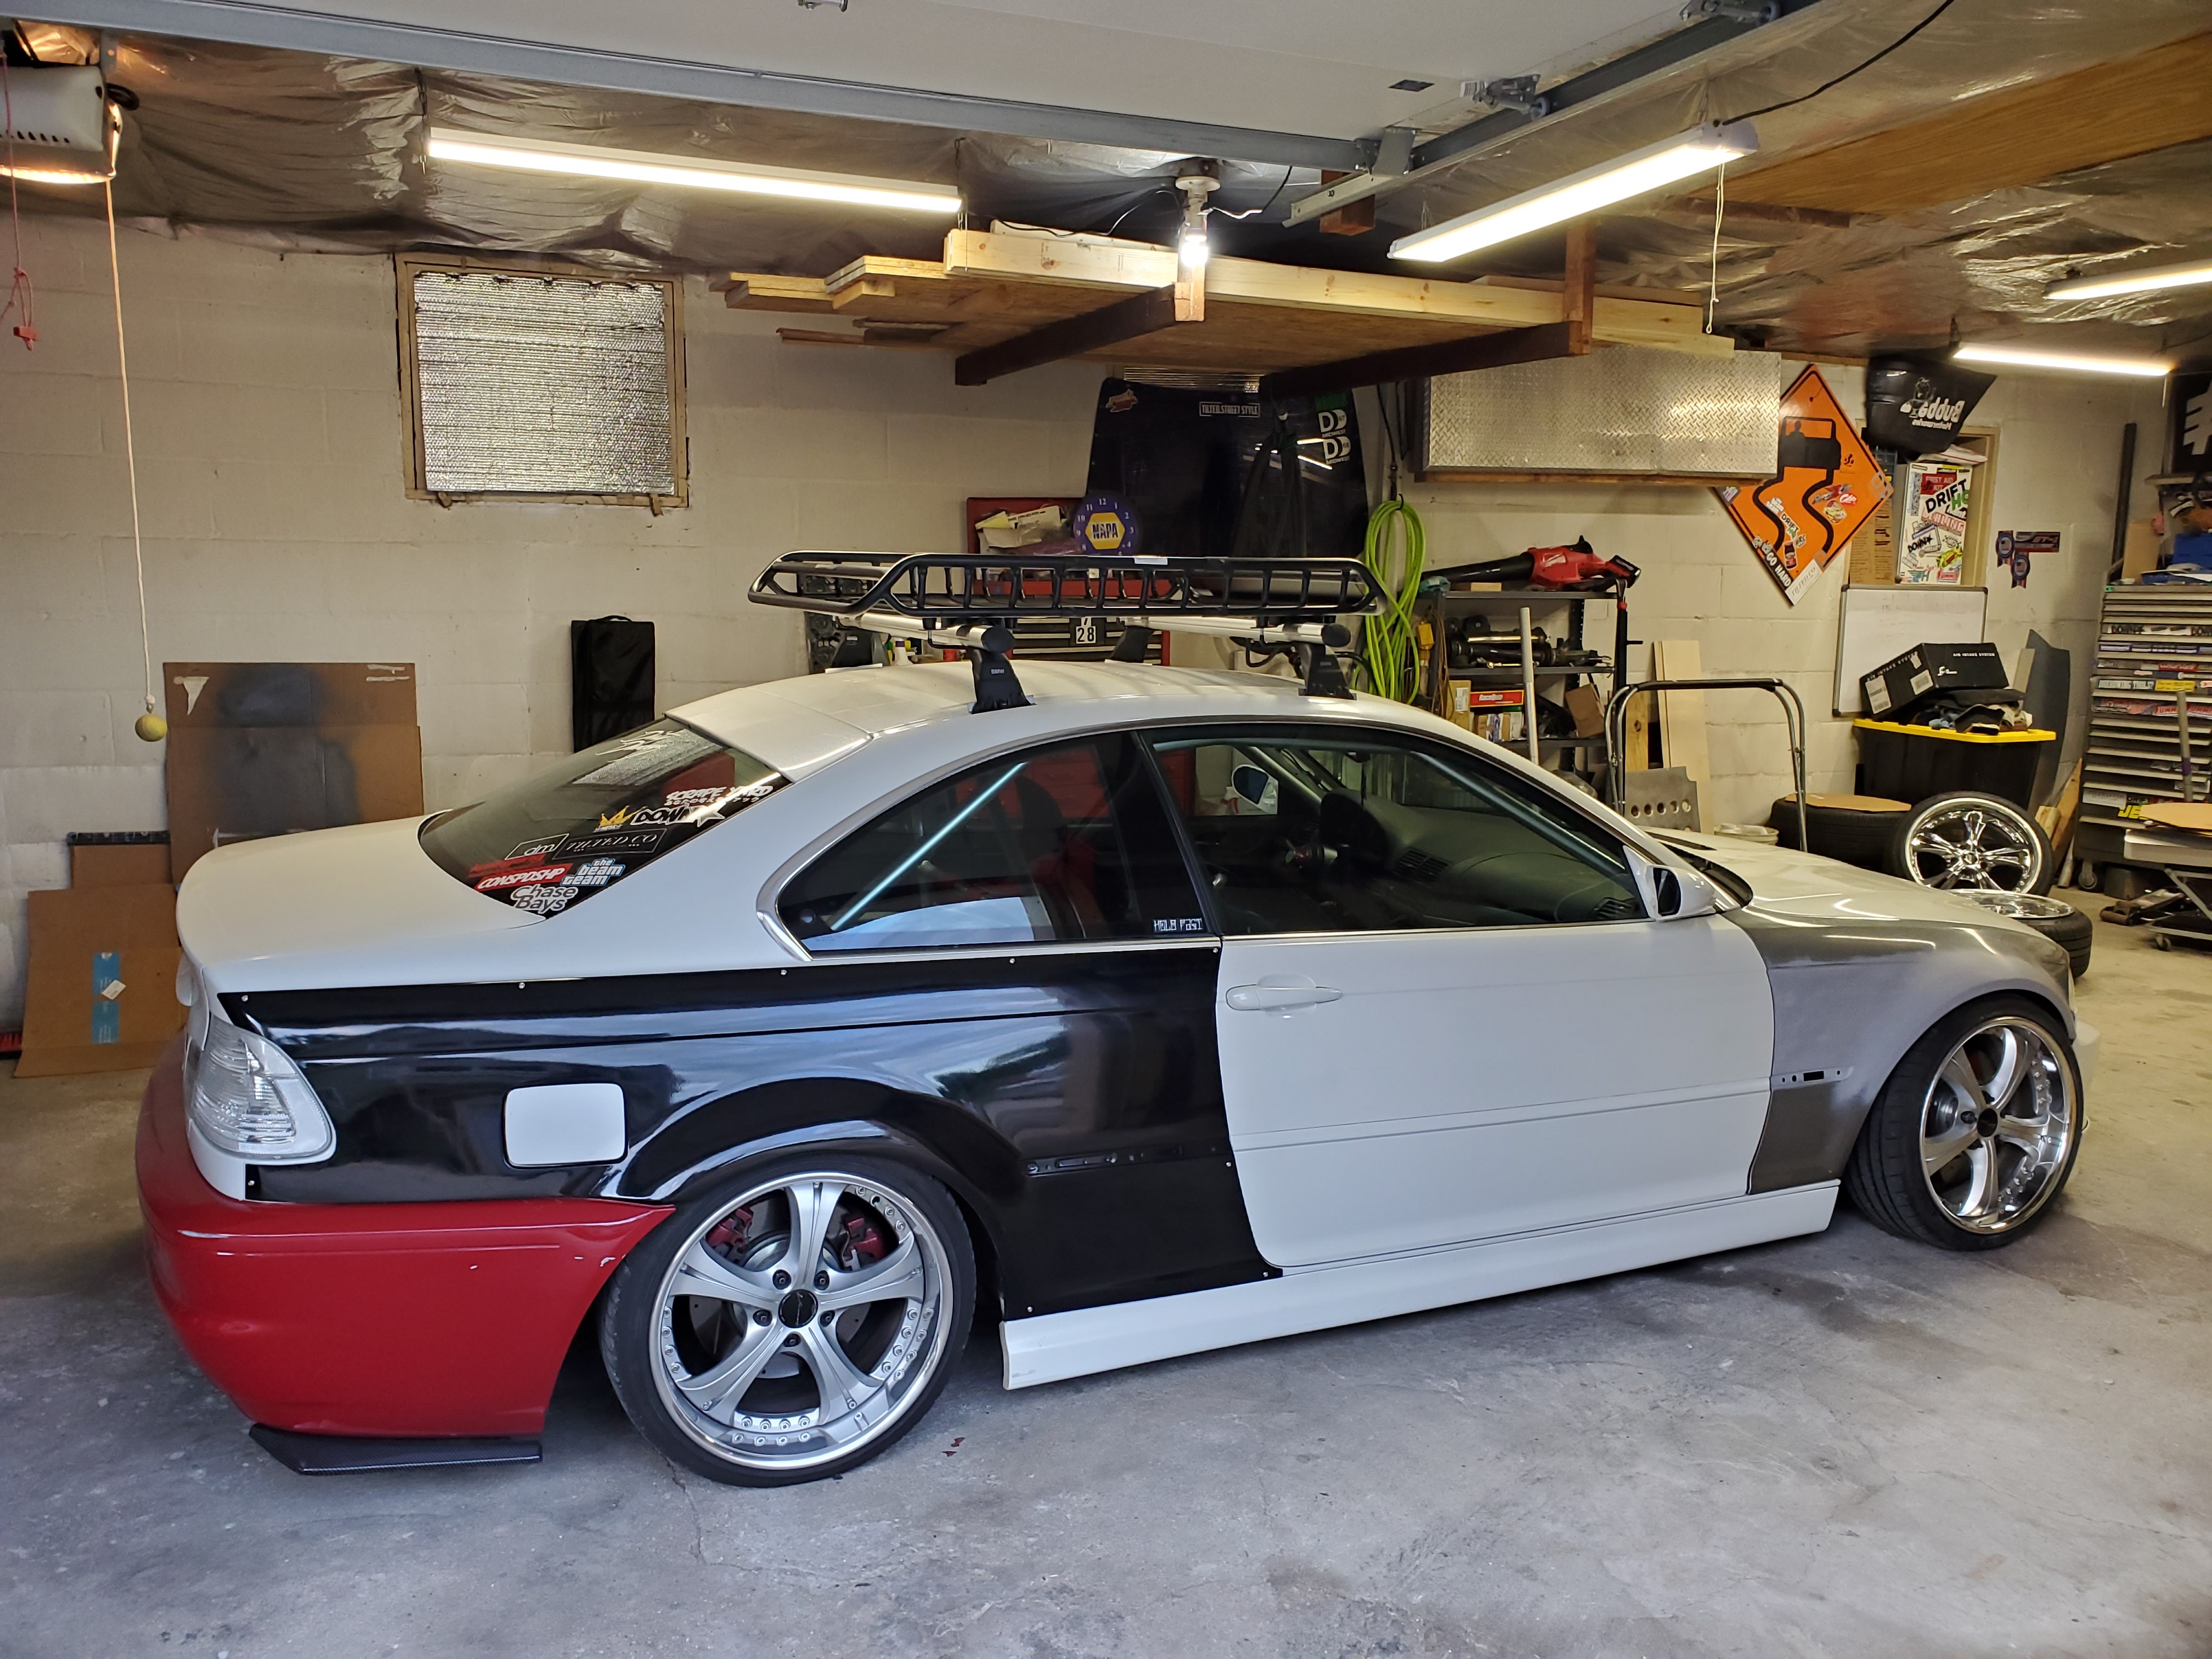
Now for something a little more fun. I finally ordered and assembled my roof basket to go with the roof rack that I have had for 2 years lol. Its kinda a cheapo basket but it should do the job of carrying a few tires to and from the track when im not able to have some help!
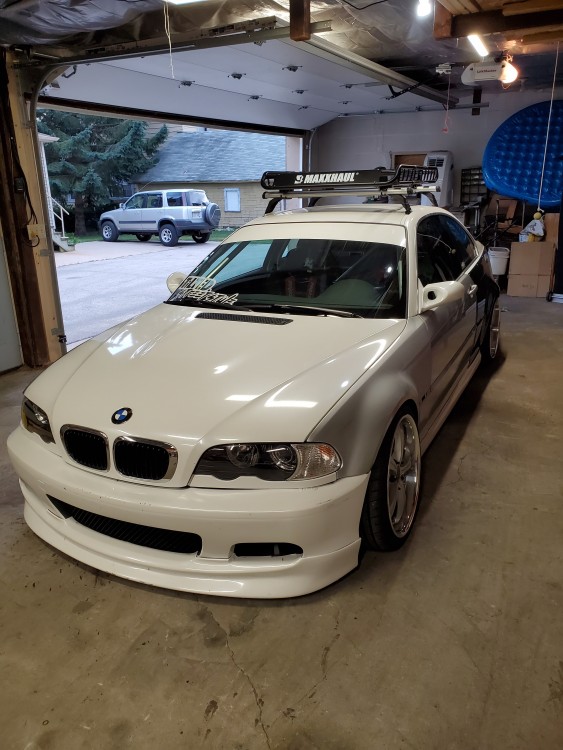
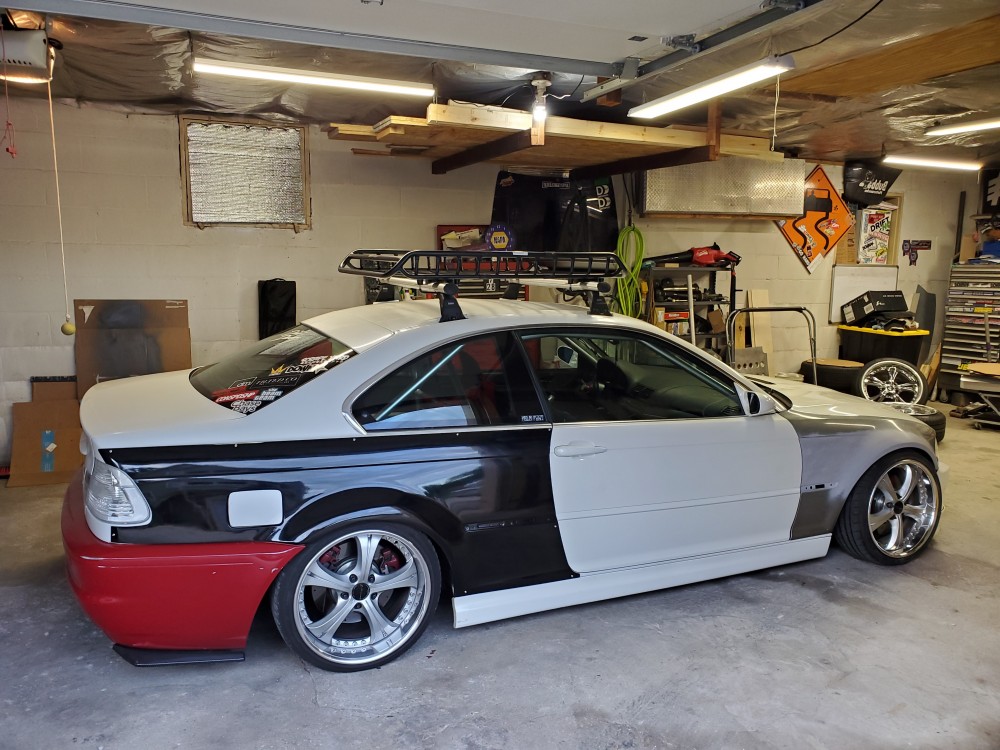
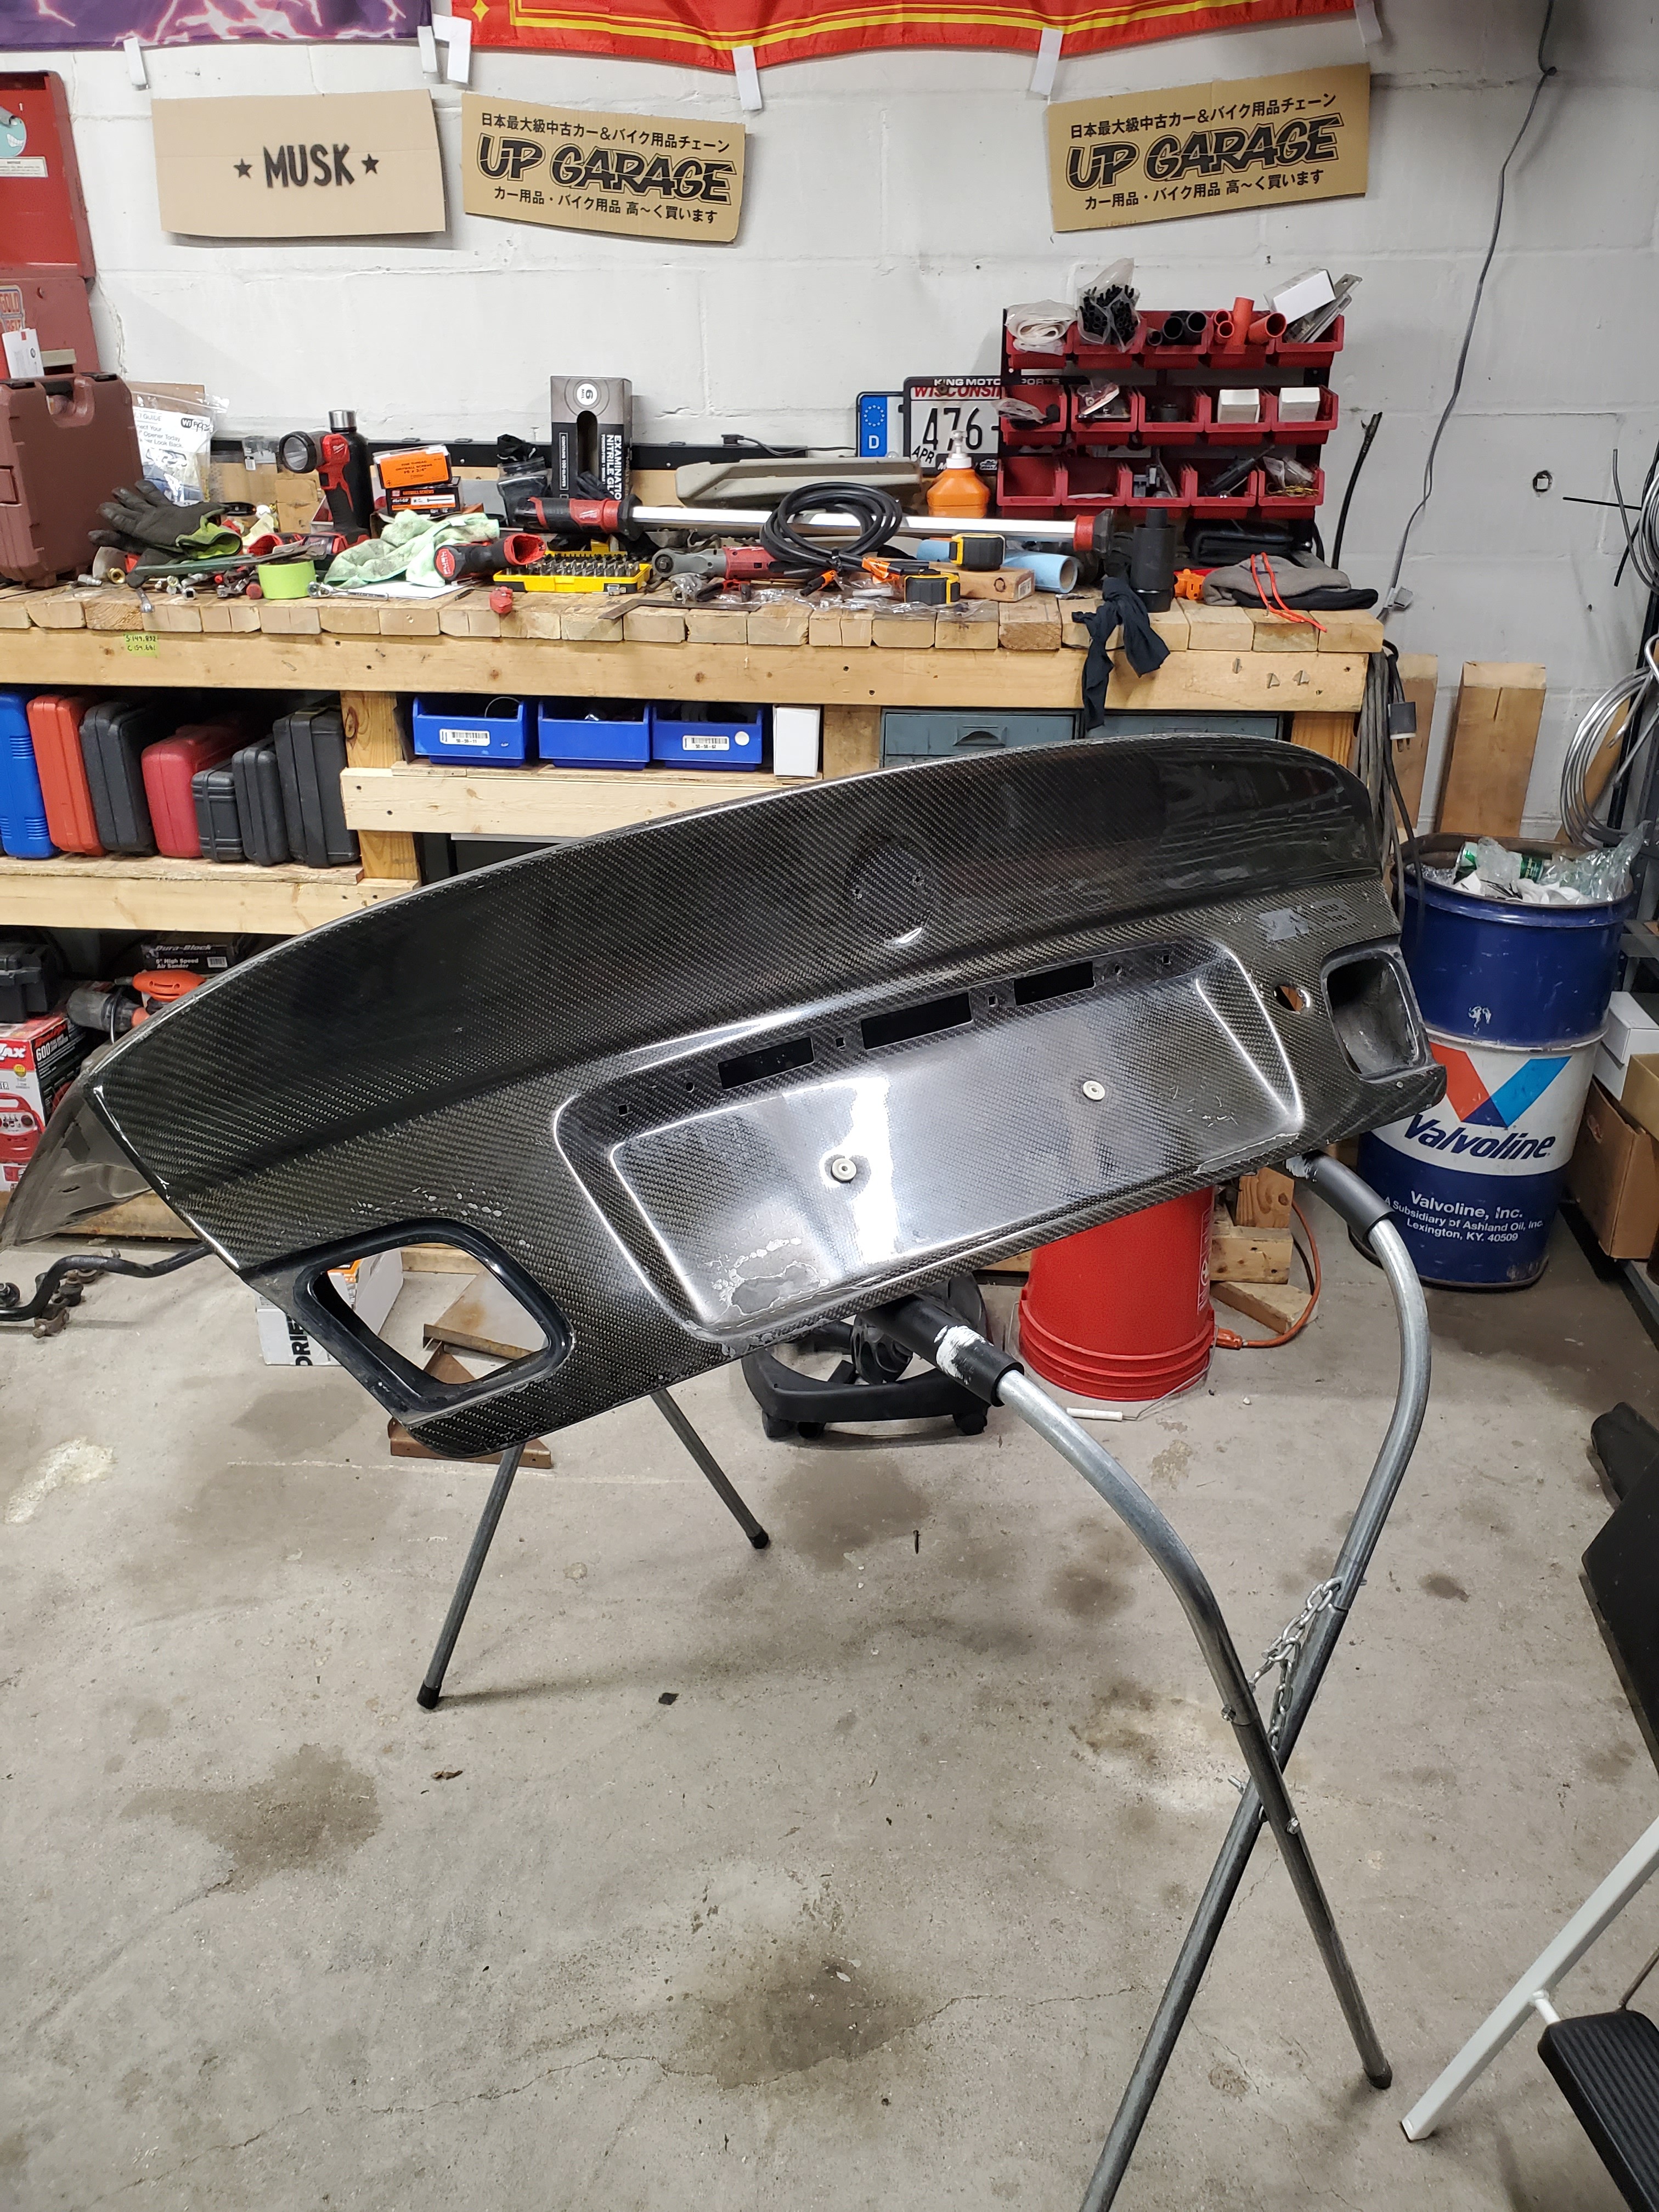
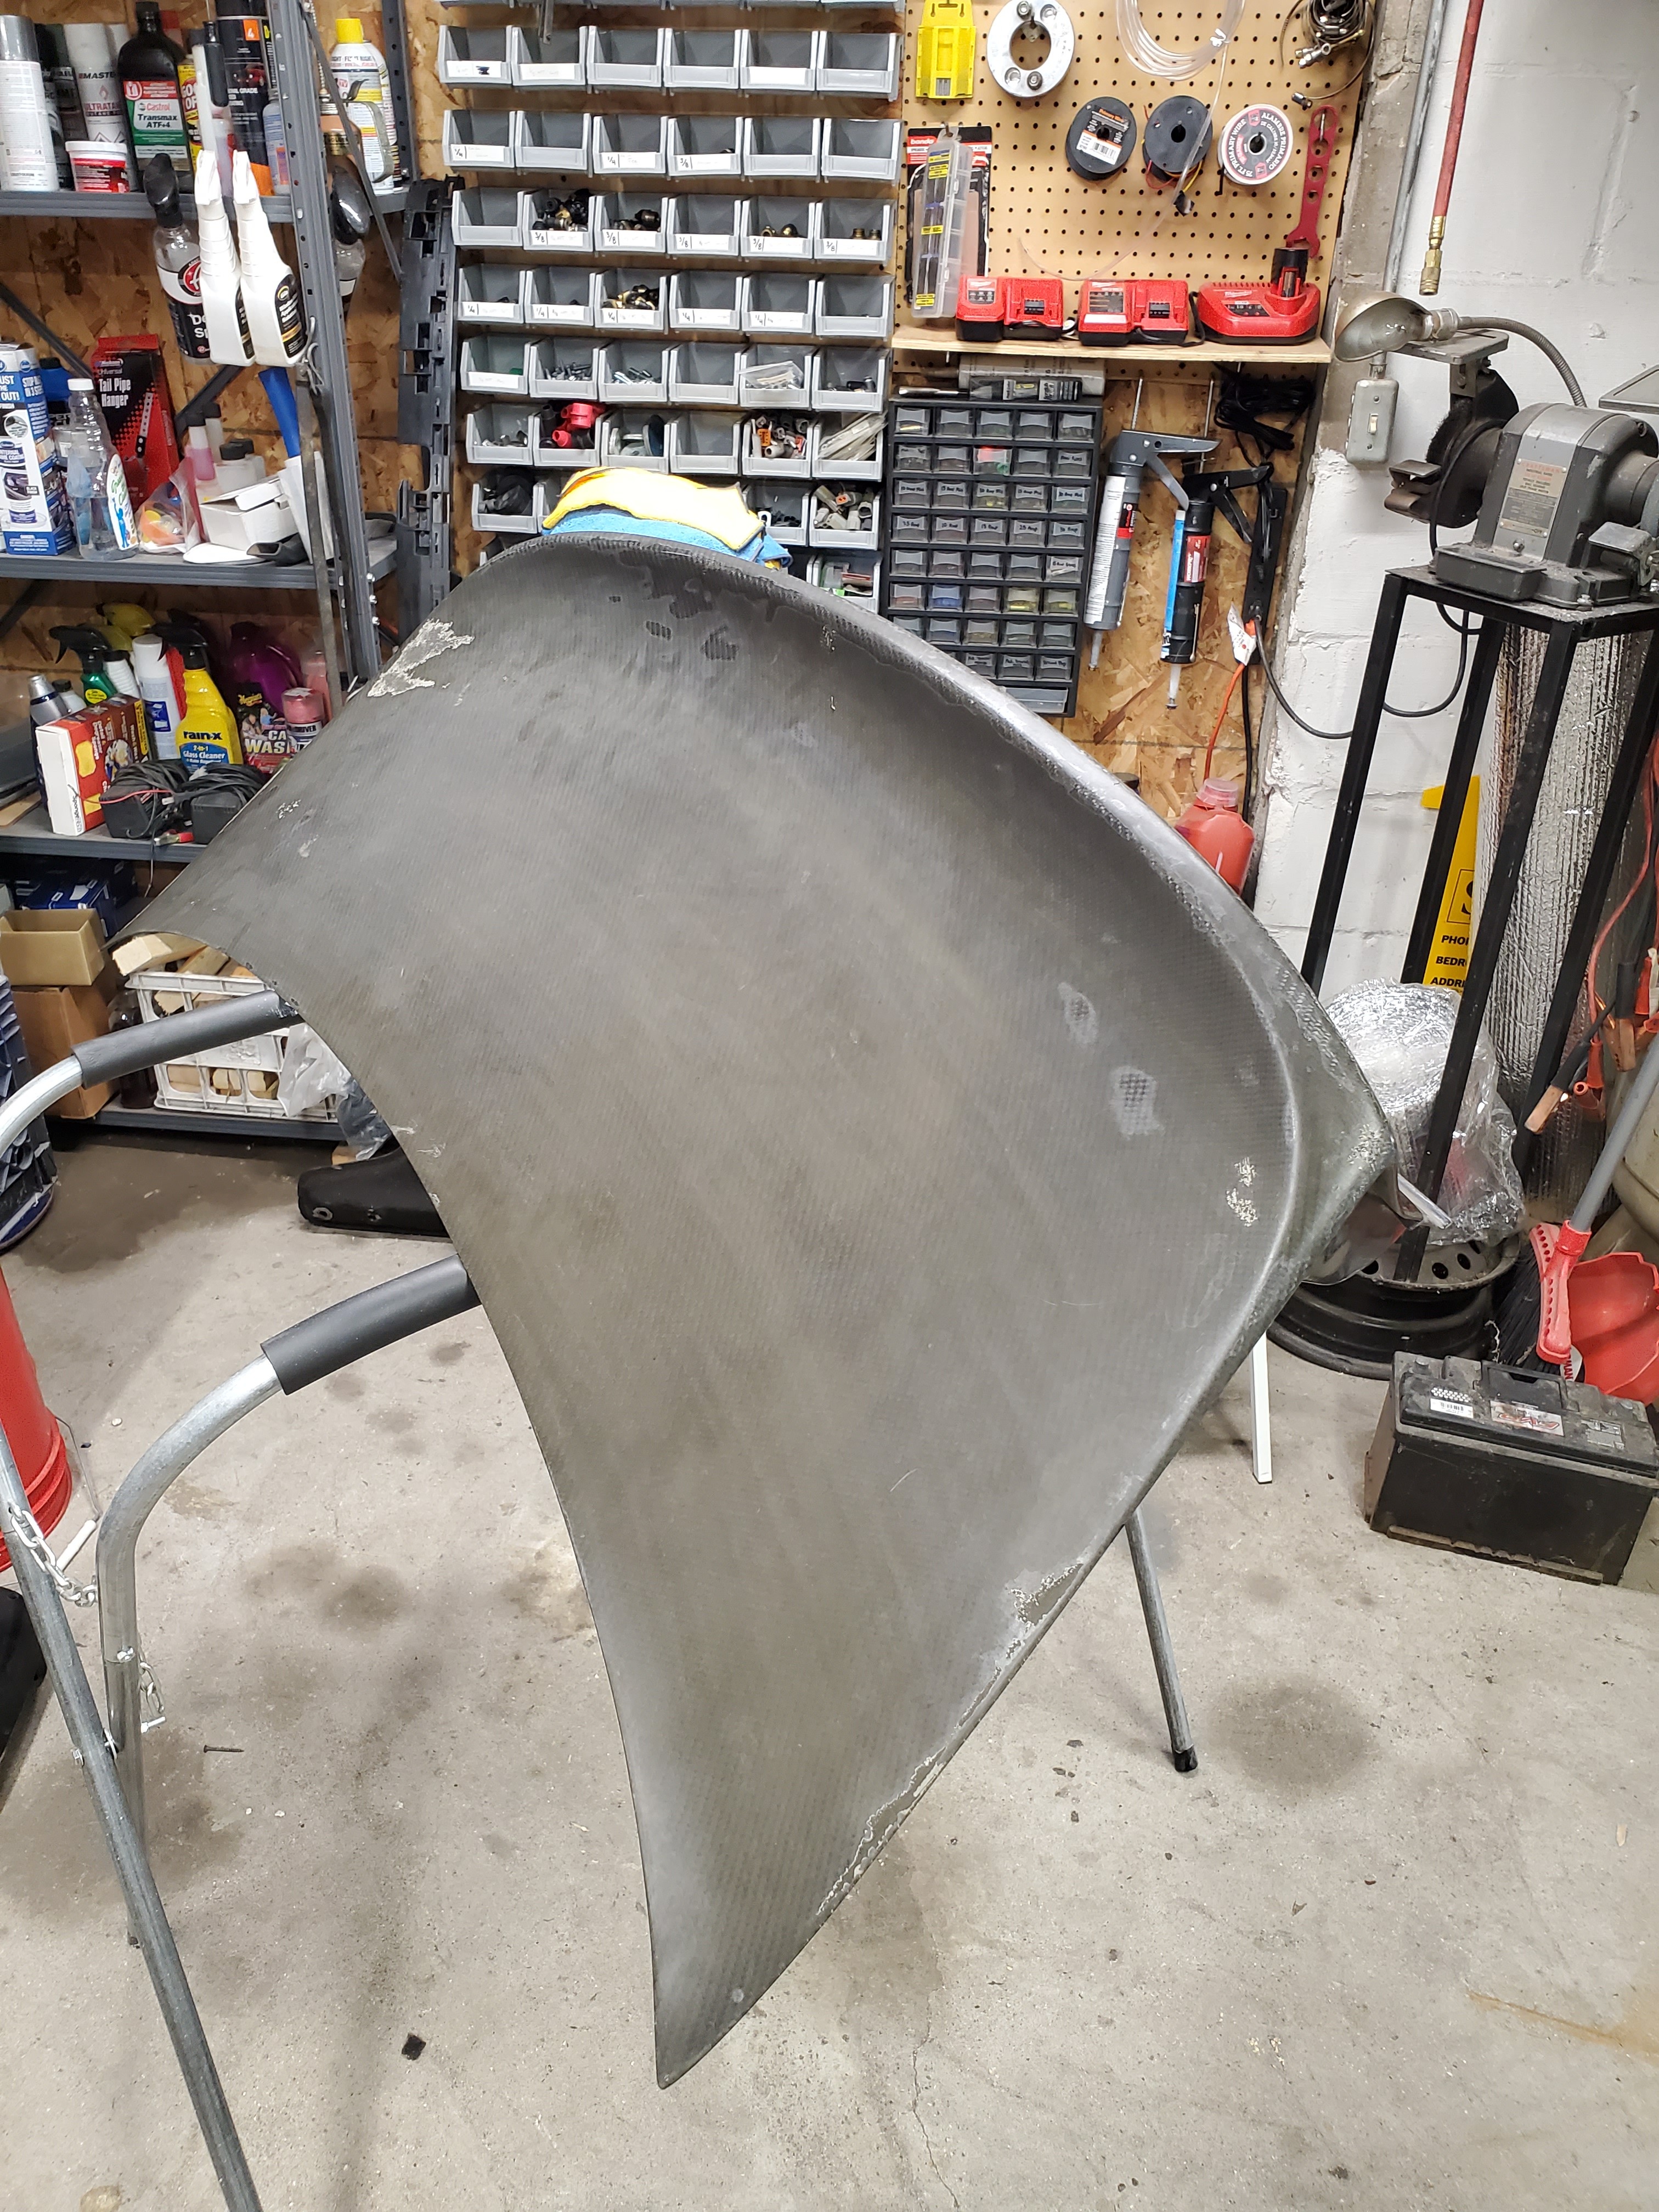
And finally, I snagged up a CSL style carbon fiber trunk! I've been wanting the don musk one but the price along with shipping is just not reasonable for me currently. While this one is in a bit of rough shape, extremely sun faded, its a great candidate to have cleaned up and then wrapped.
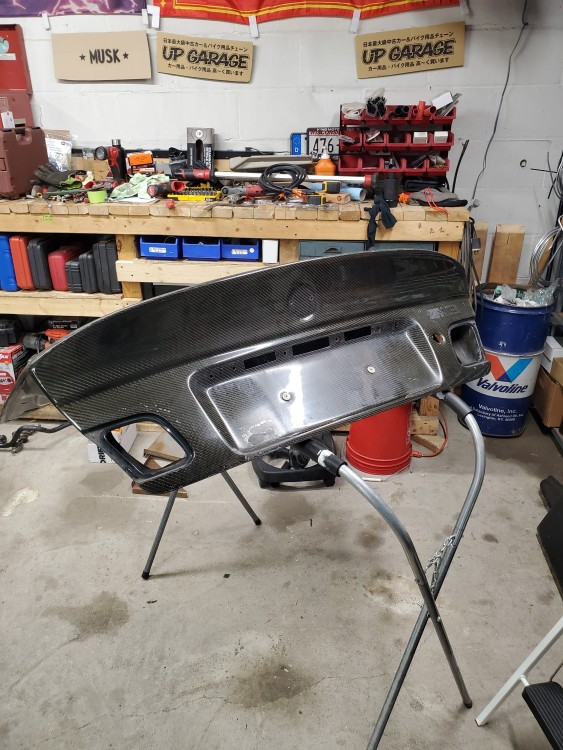
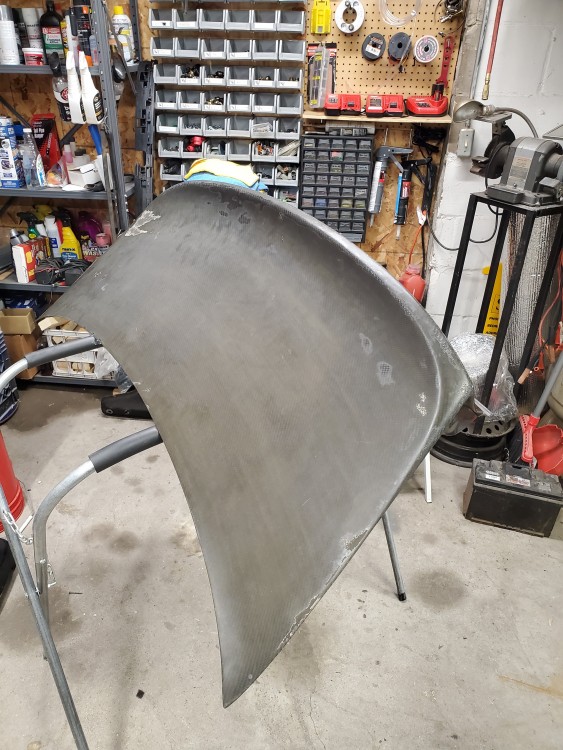
I will most likely end up putting this on the car in its current condition anyways to see how it looks, and if I'm going through all that work I'm just going to leave it on since the car is looking like a dumpster fire color wise always lol.




Hello! It looks like you're interested in this conversation, but you don't have an account yet.
Getting fed up of having to scroll through the same posts each visit? When you register for an account, you'll always come back to exactly where you were before, and choose to be notified of new replies (either via email, or push notification). You'll also be able to save bookmarks and upvote posts to show your appreciation to other community members.
With your input, this post could be even better 💗
Register Login